
Introduction to SF "Batyr Partnerships" App and Pipeline Board
Learn how to use the Batyr Partnerships app and the pipeline board in Salesforce. This guide covers accessing the app, managing opportunities, filtering by team, and using custom features to streamline your workflow.
In this guide, we'll learn how to use the Batyr Partnerships app and the pipeline board within Salesforce. The pipeline board is designed to help you manage and track opportunities across your team, filter by department, and update assignments as needed.
You will also see how to access the app, use key features like filtering and creating new opportunities, and understand the layout of the board. This guide will help you get started with the new system and make your daily work more organized.
Let's get started
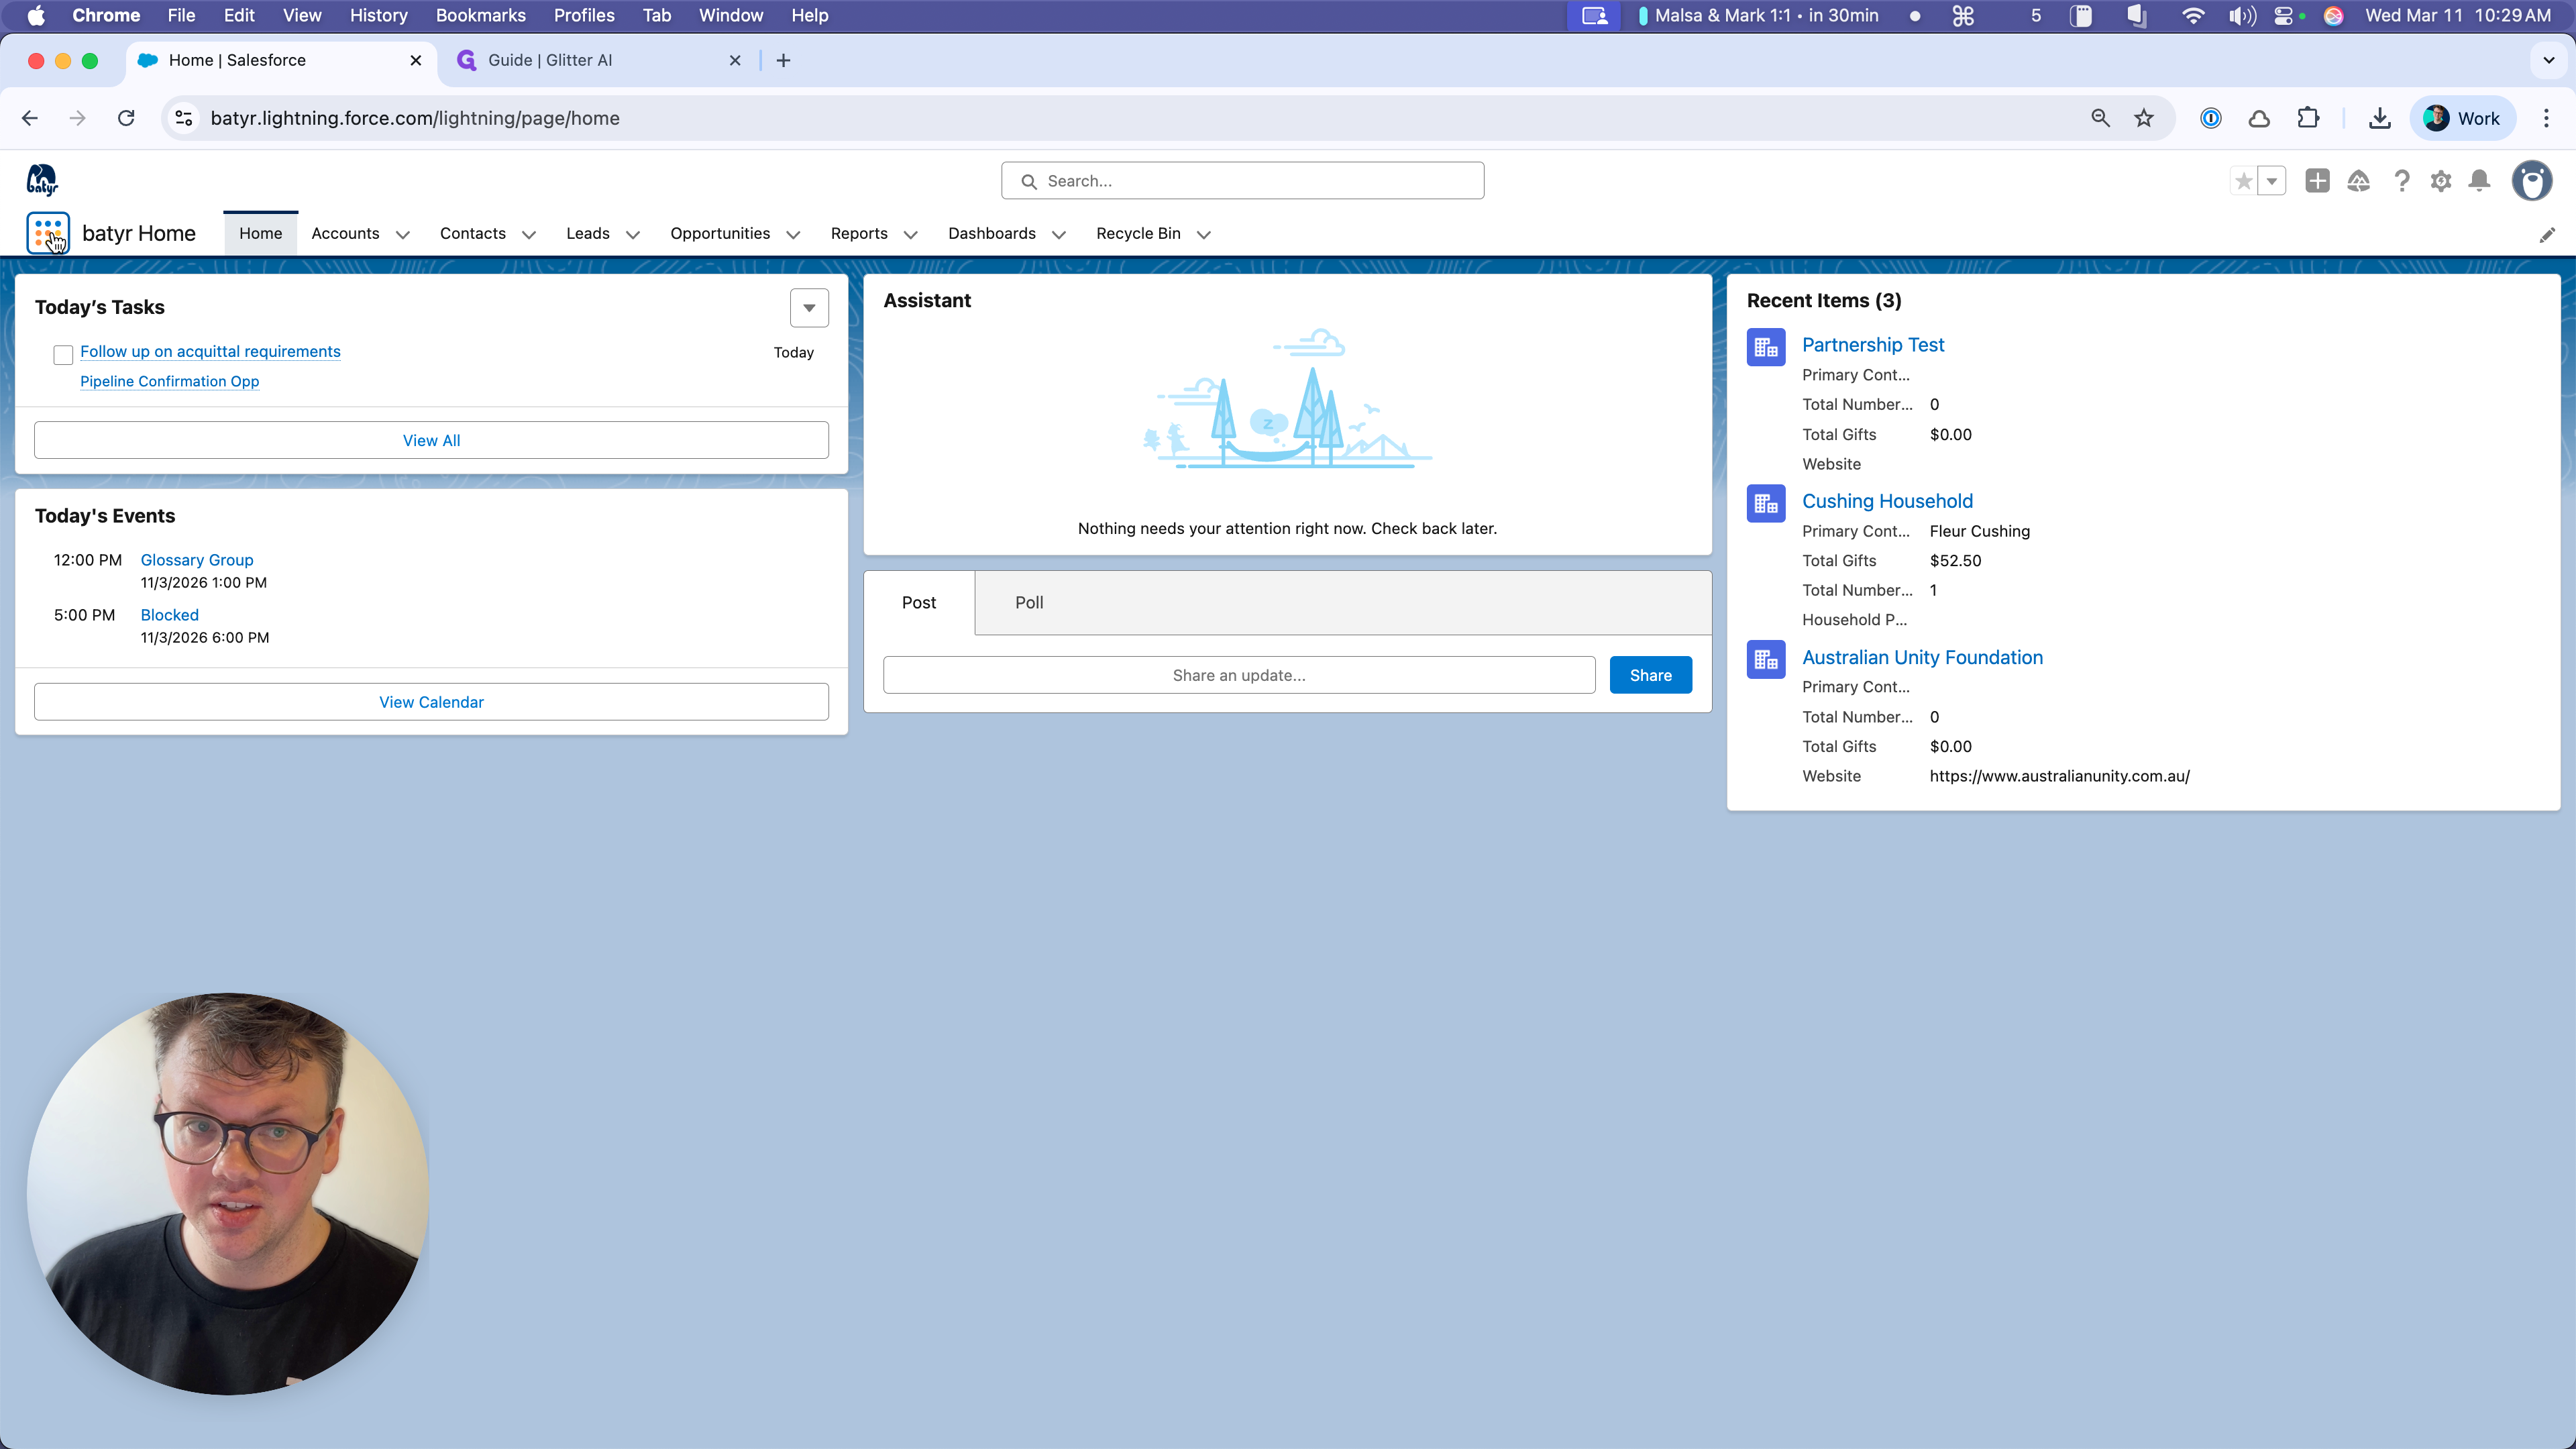
Okay. This is a quick introduction to the Batyr Partnerships app and the pipeline board, which is the centerpiece of the new system in Salesforce. If you're like me, after this deployment, you won't notice any changes on your usual homepage. All the important information you need is available at the top. Go to App Launcher, then select Batyr Partnerships.
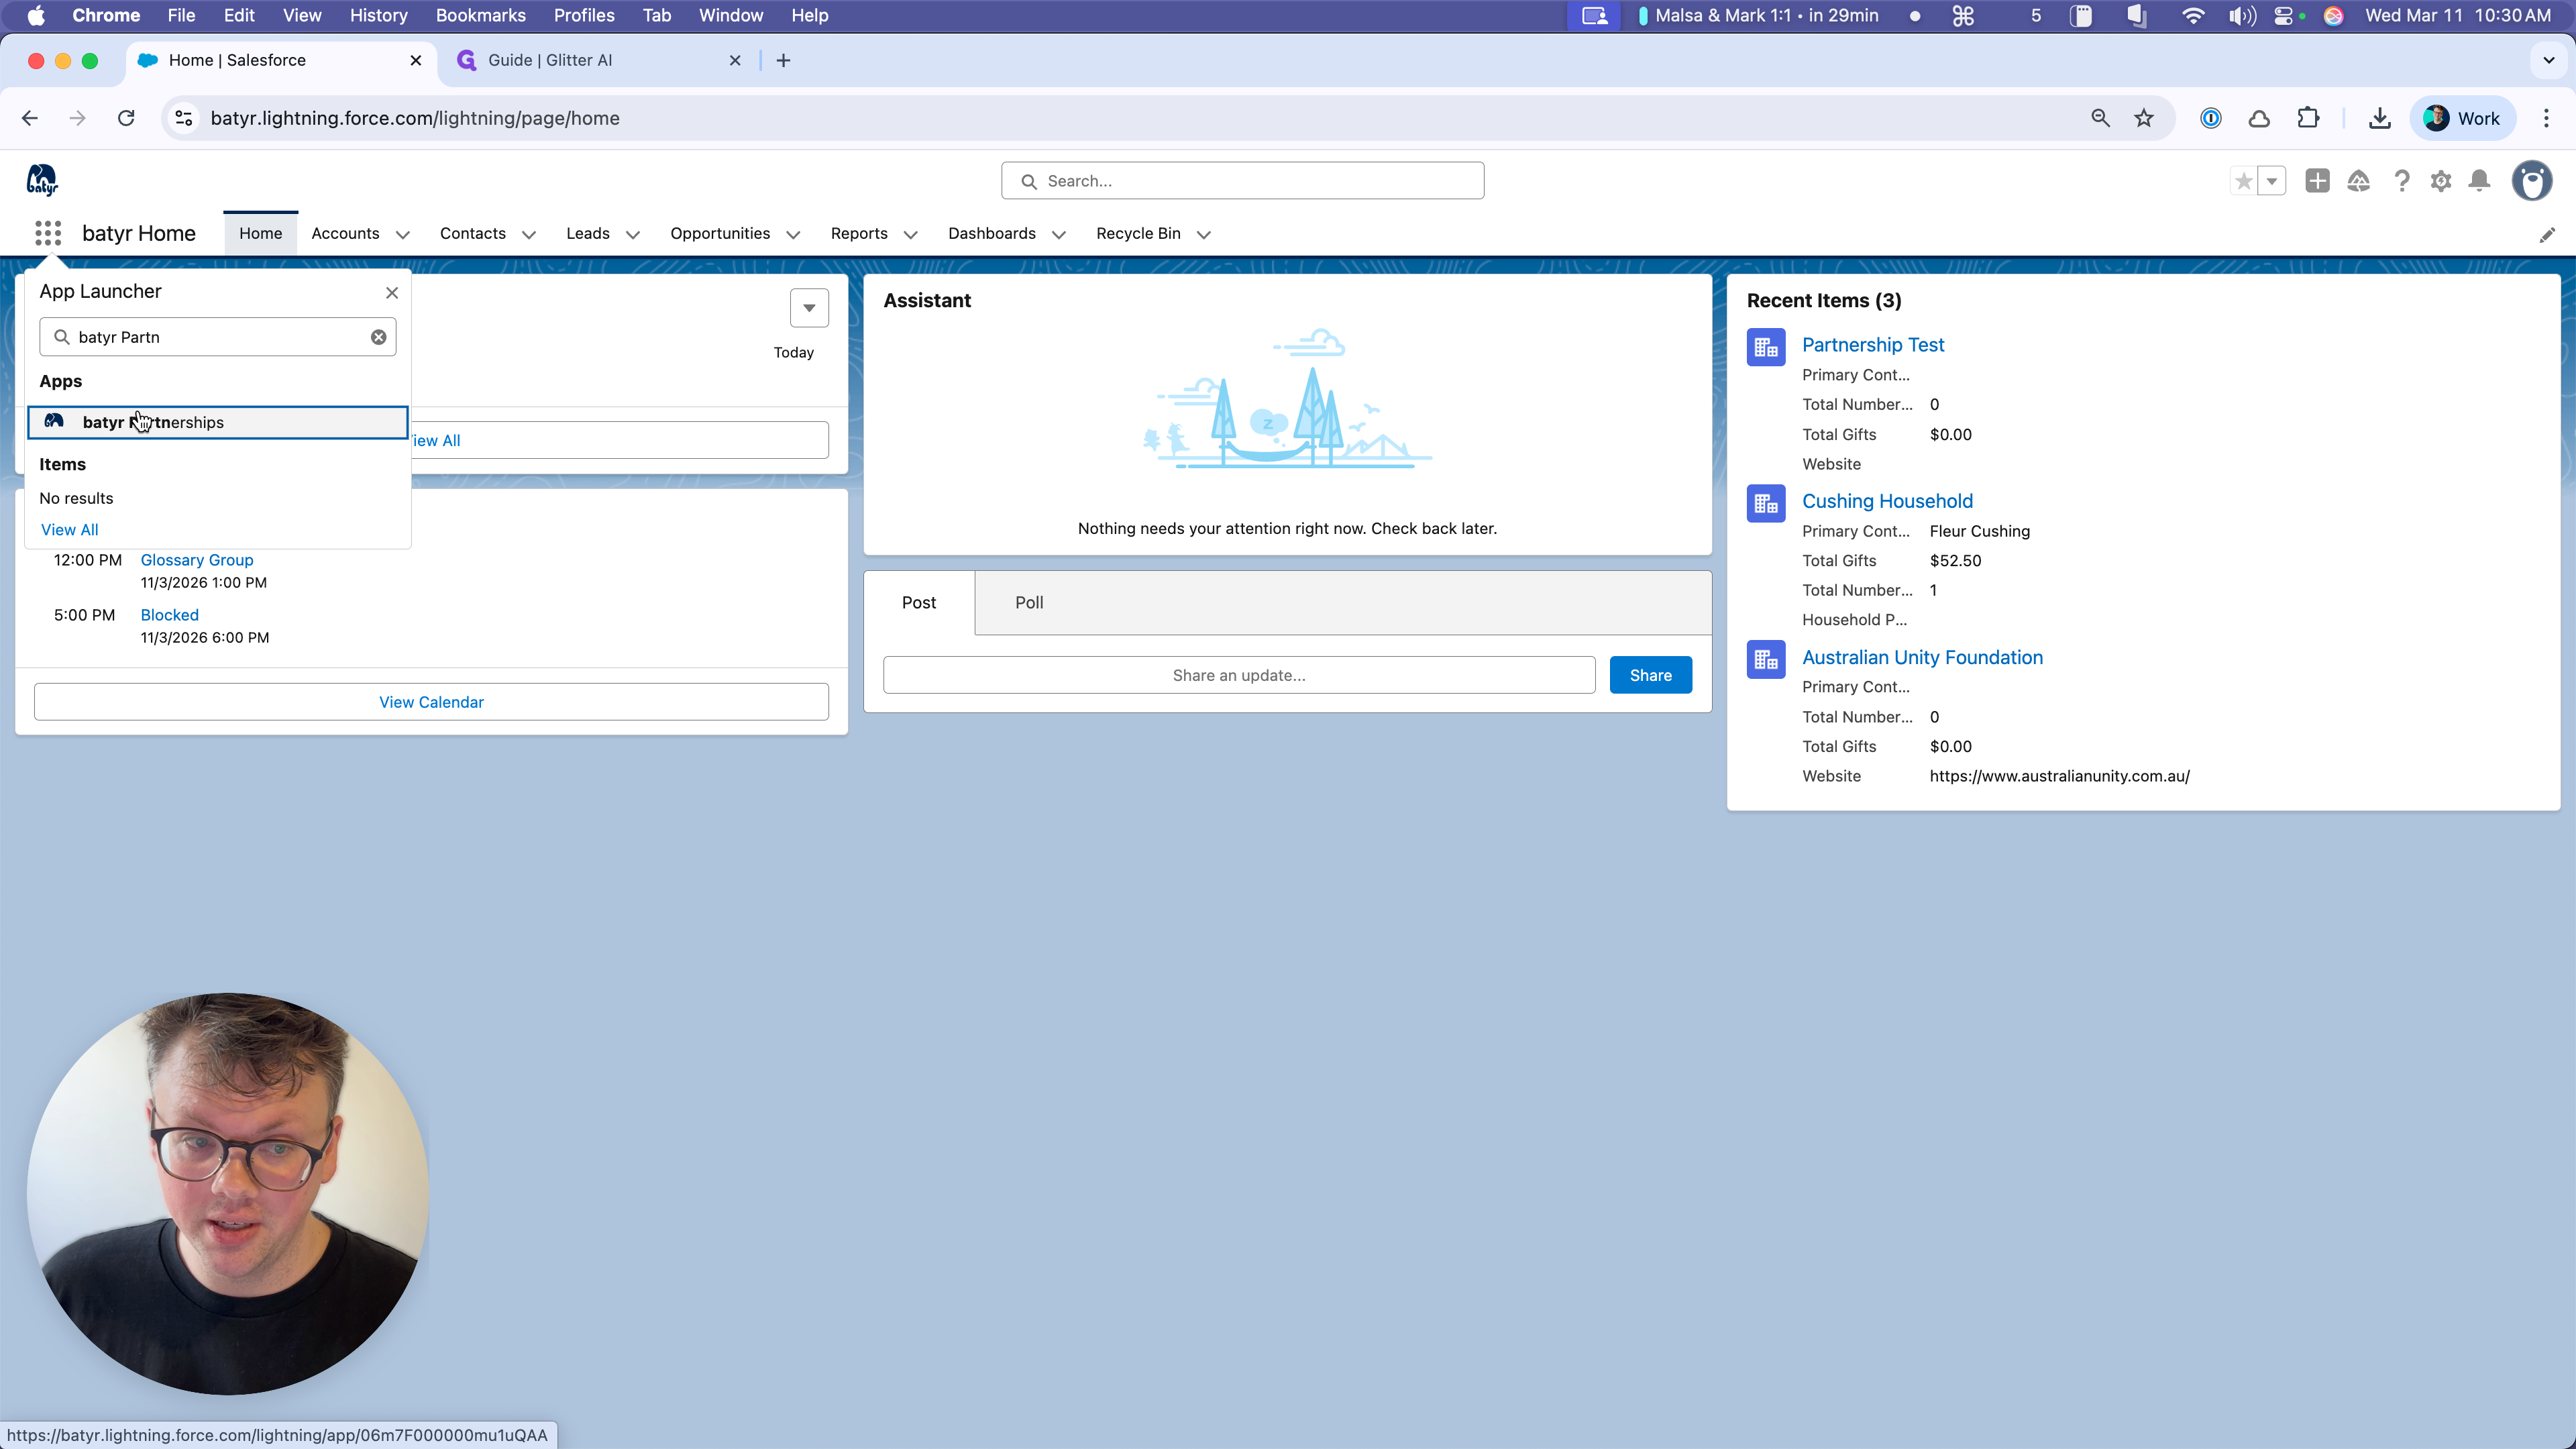
If you don't see it on the side, search for it. It should appear as the only option.
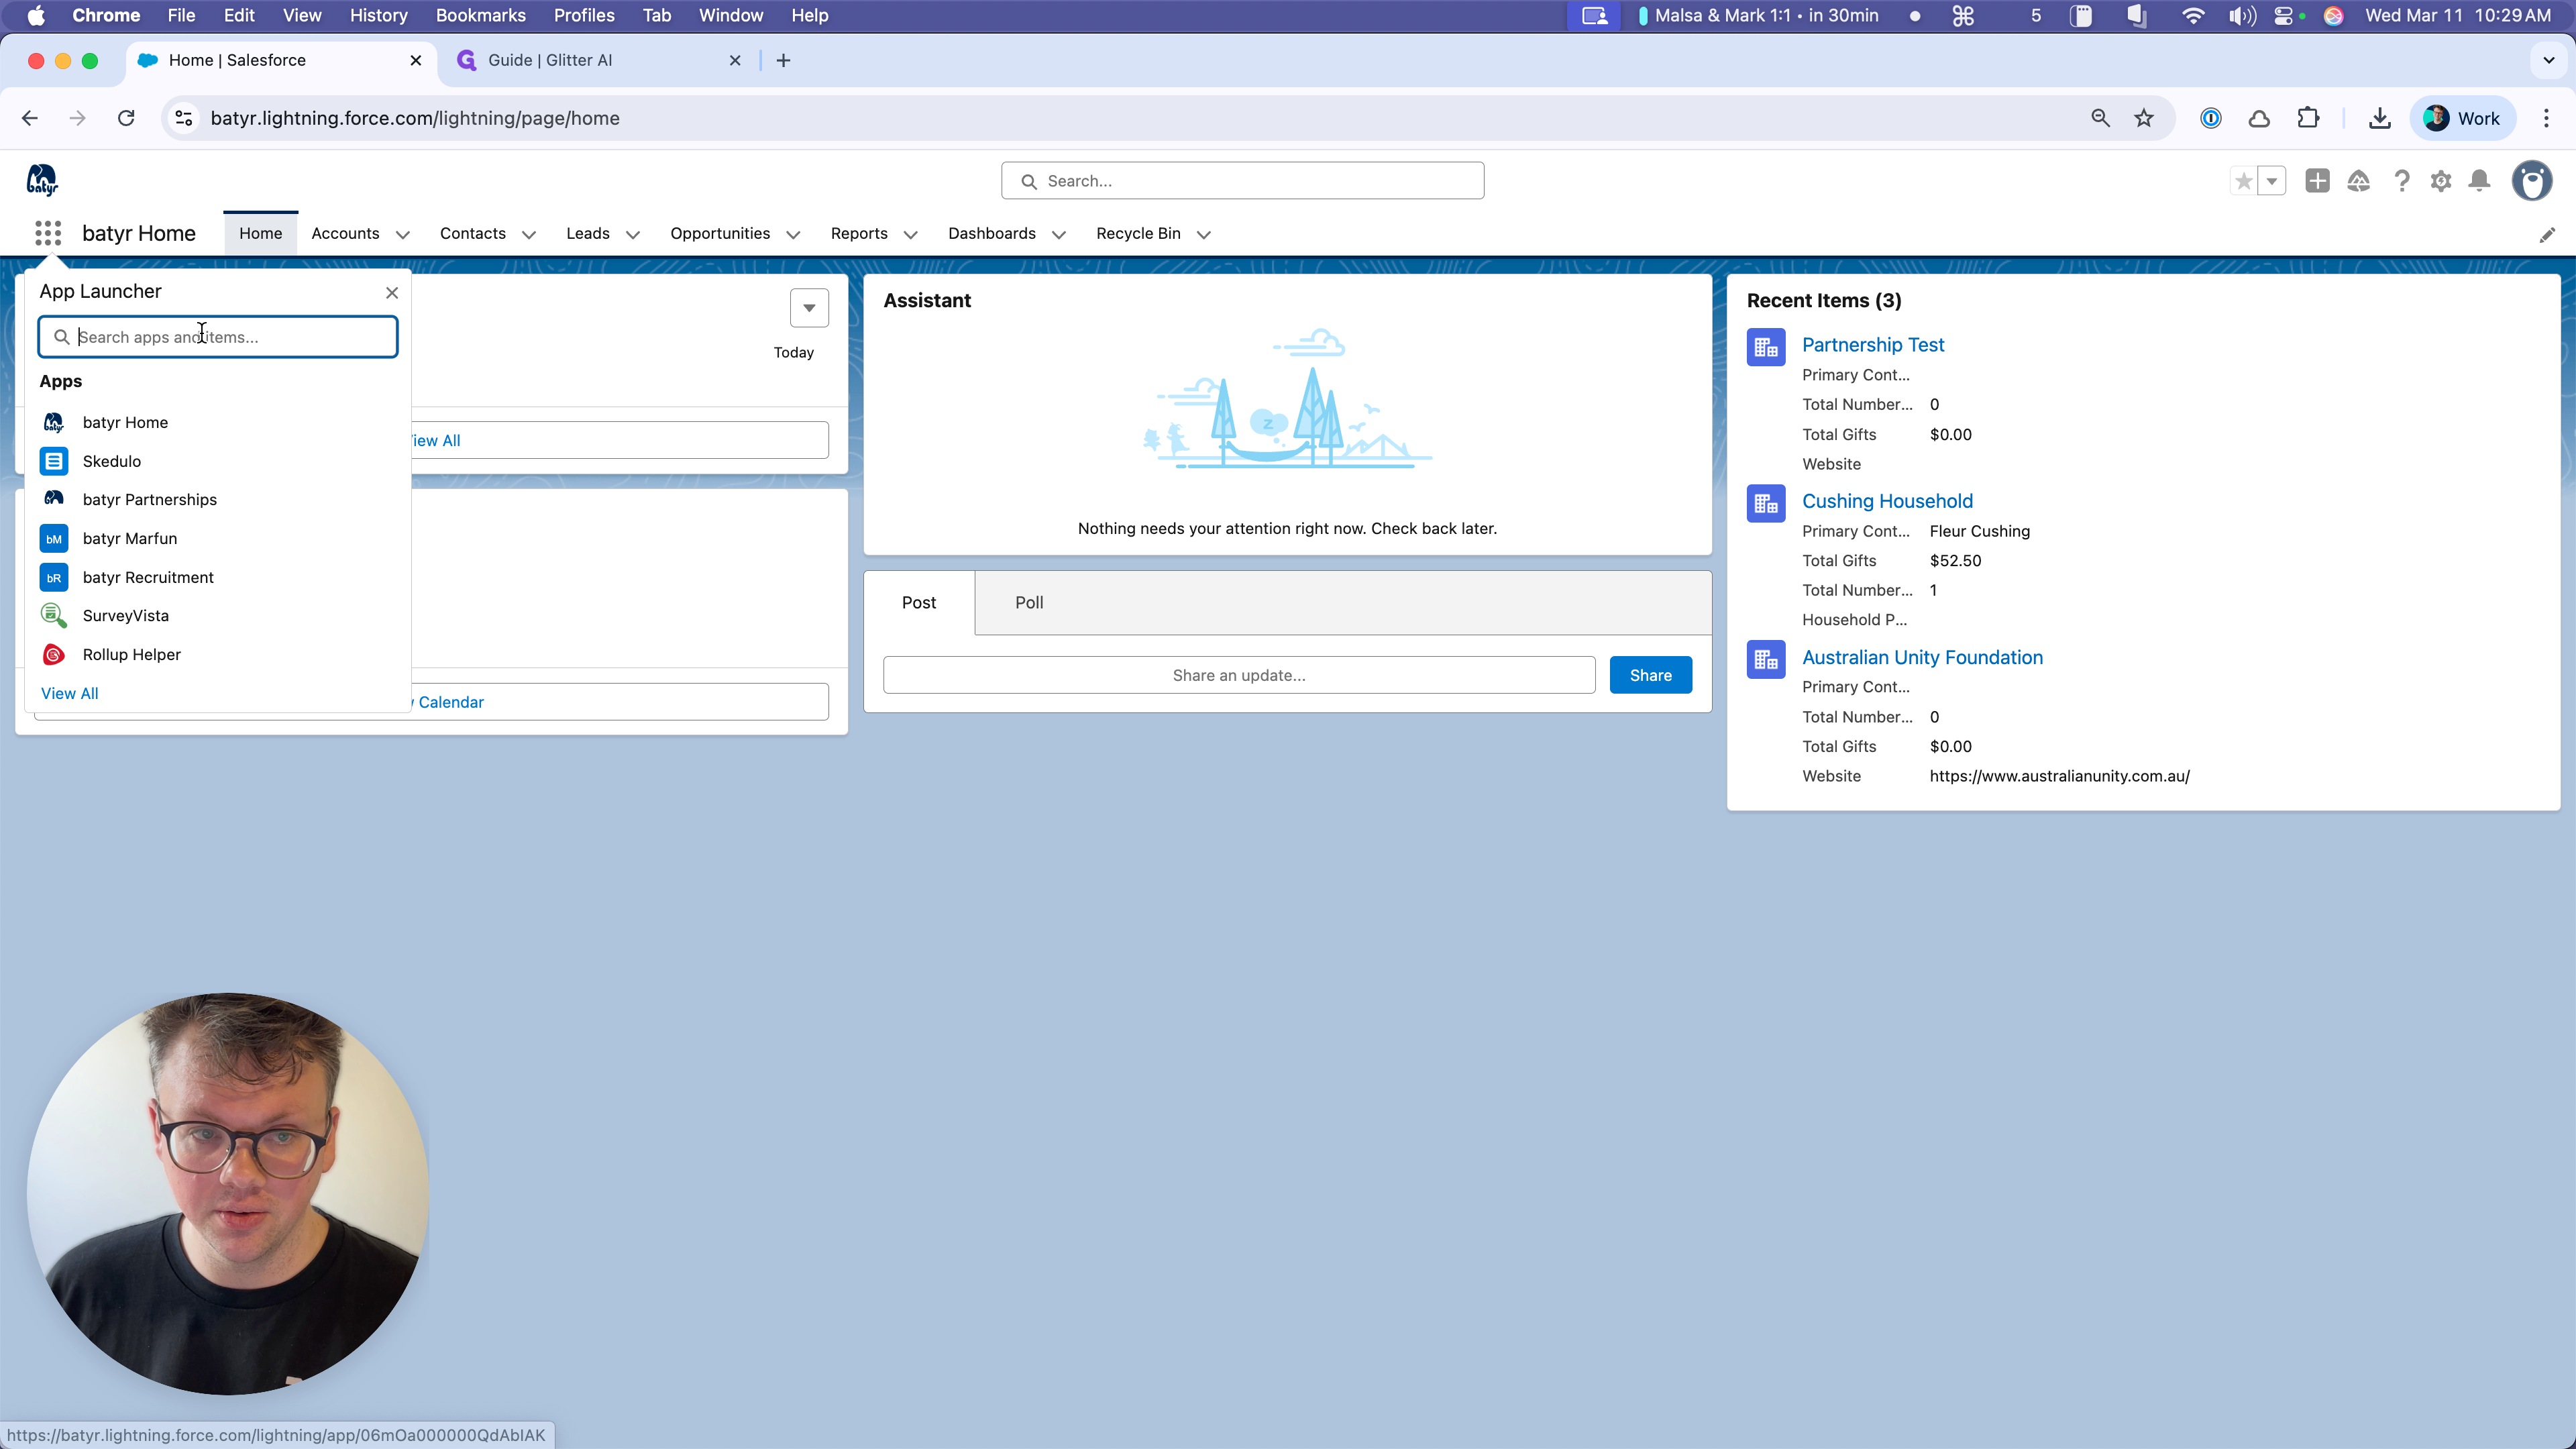
If you don't, it's because of permissions issues.
Reach out to Alana, myself, or someone in operations. We have a standard operating procedure to ensure you get access. If you received this directly from me, you should have permissions at this stage.
Welcome to the new app!

It's still Salesforce, but it's custom-coded to be a cockpit for your daily work, helping you optimize the key tasks you do regularly.
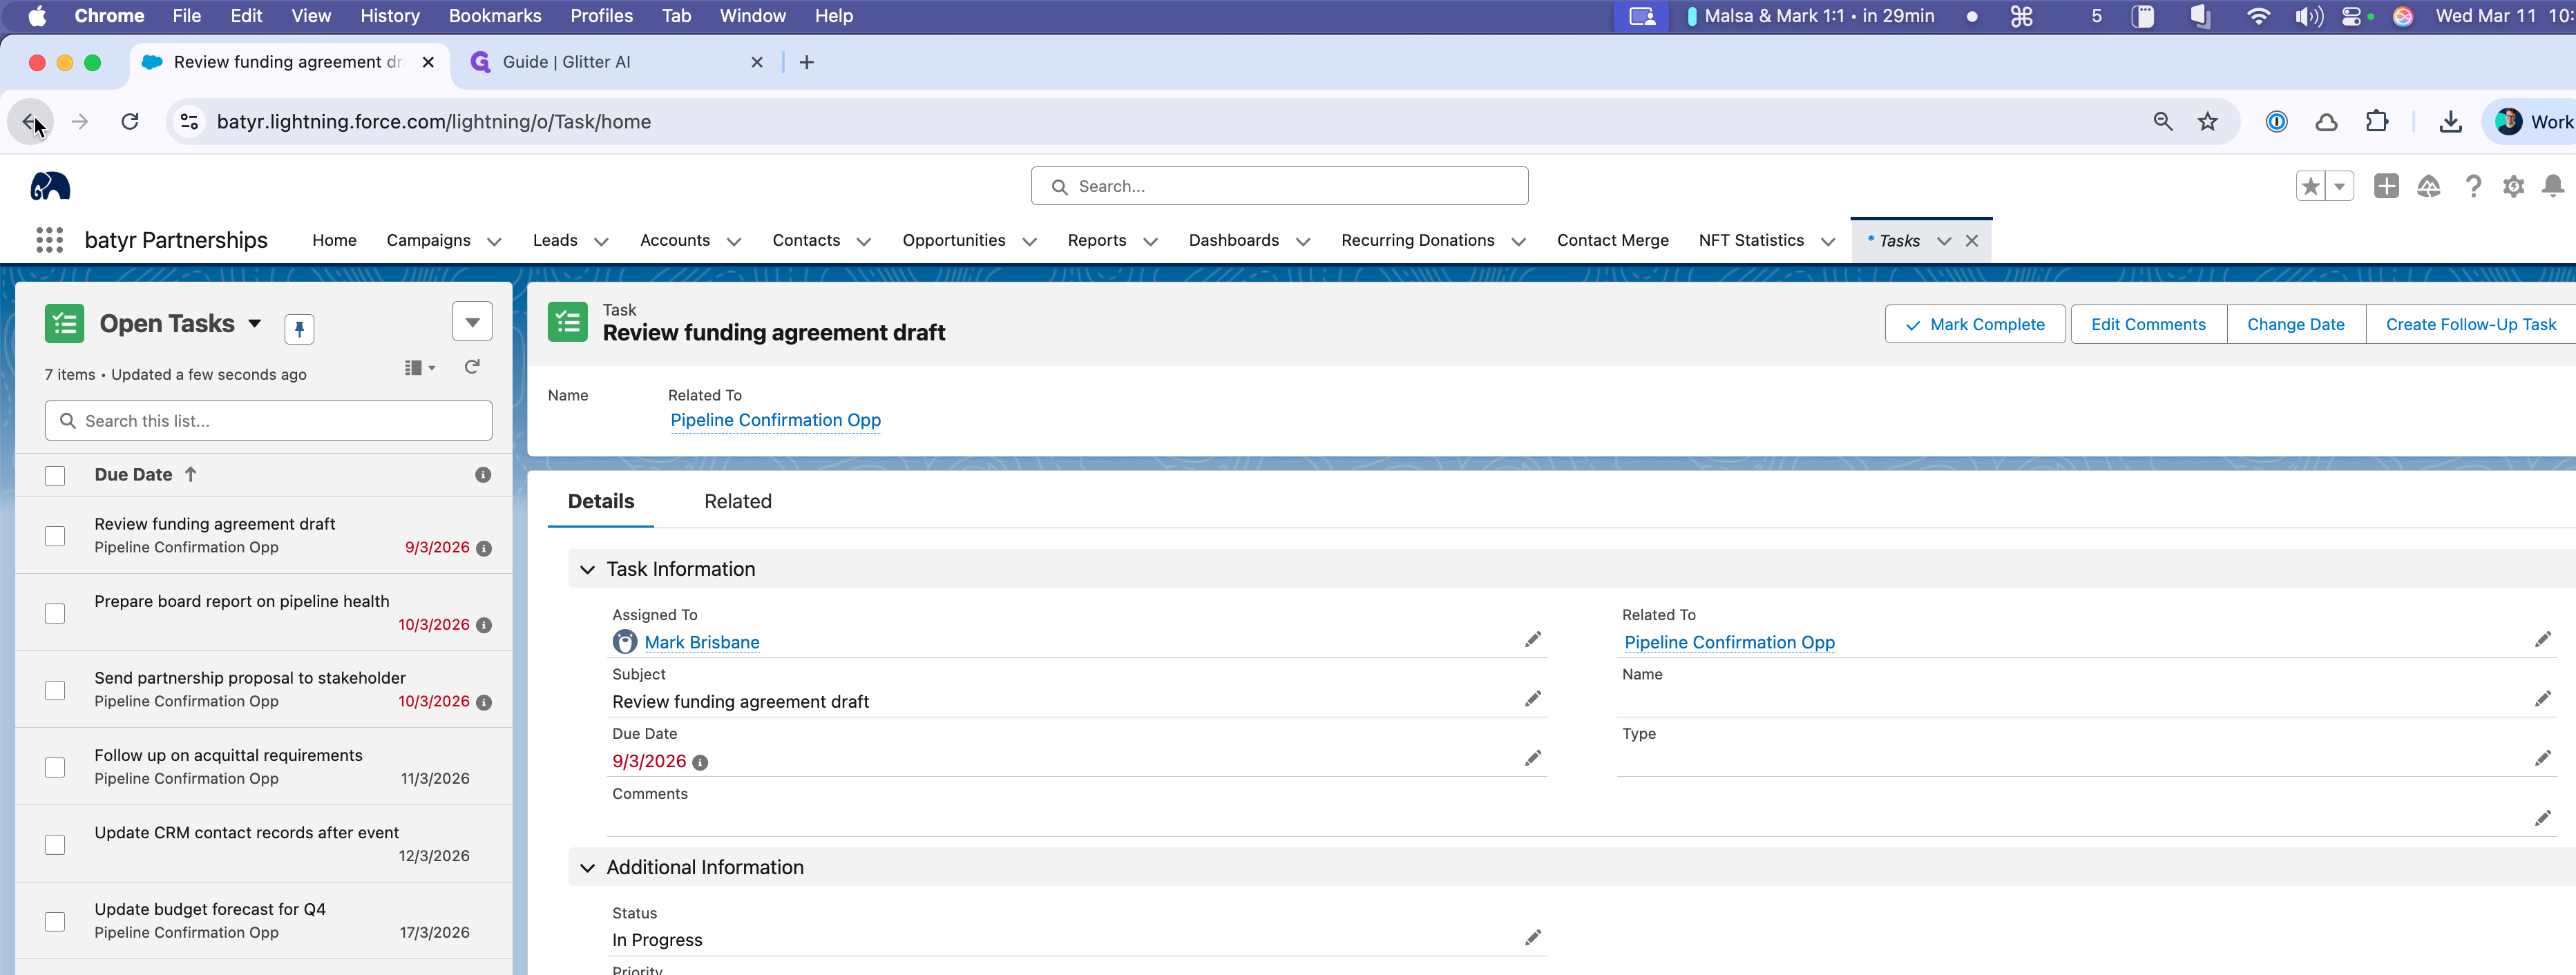
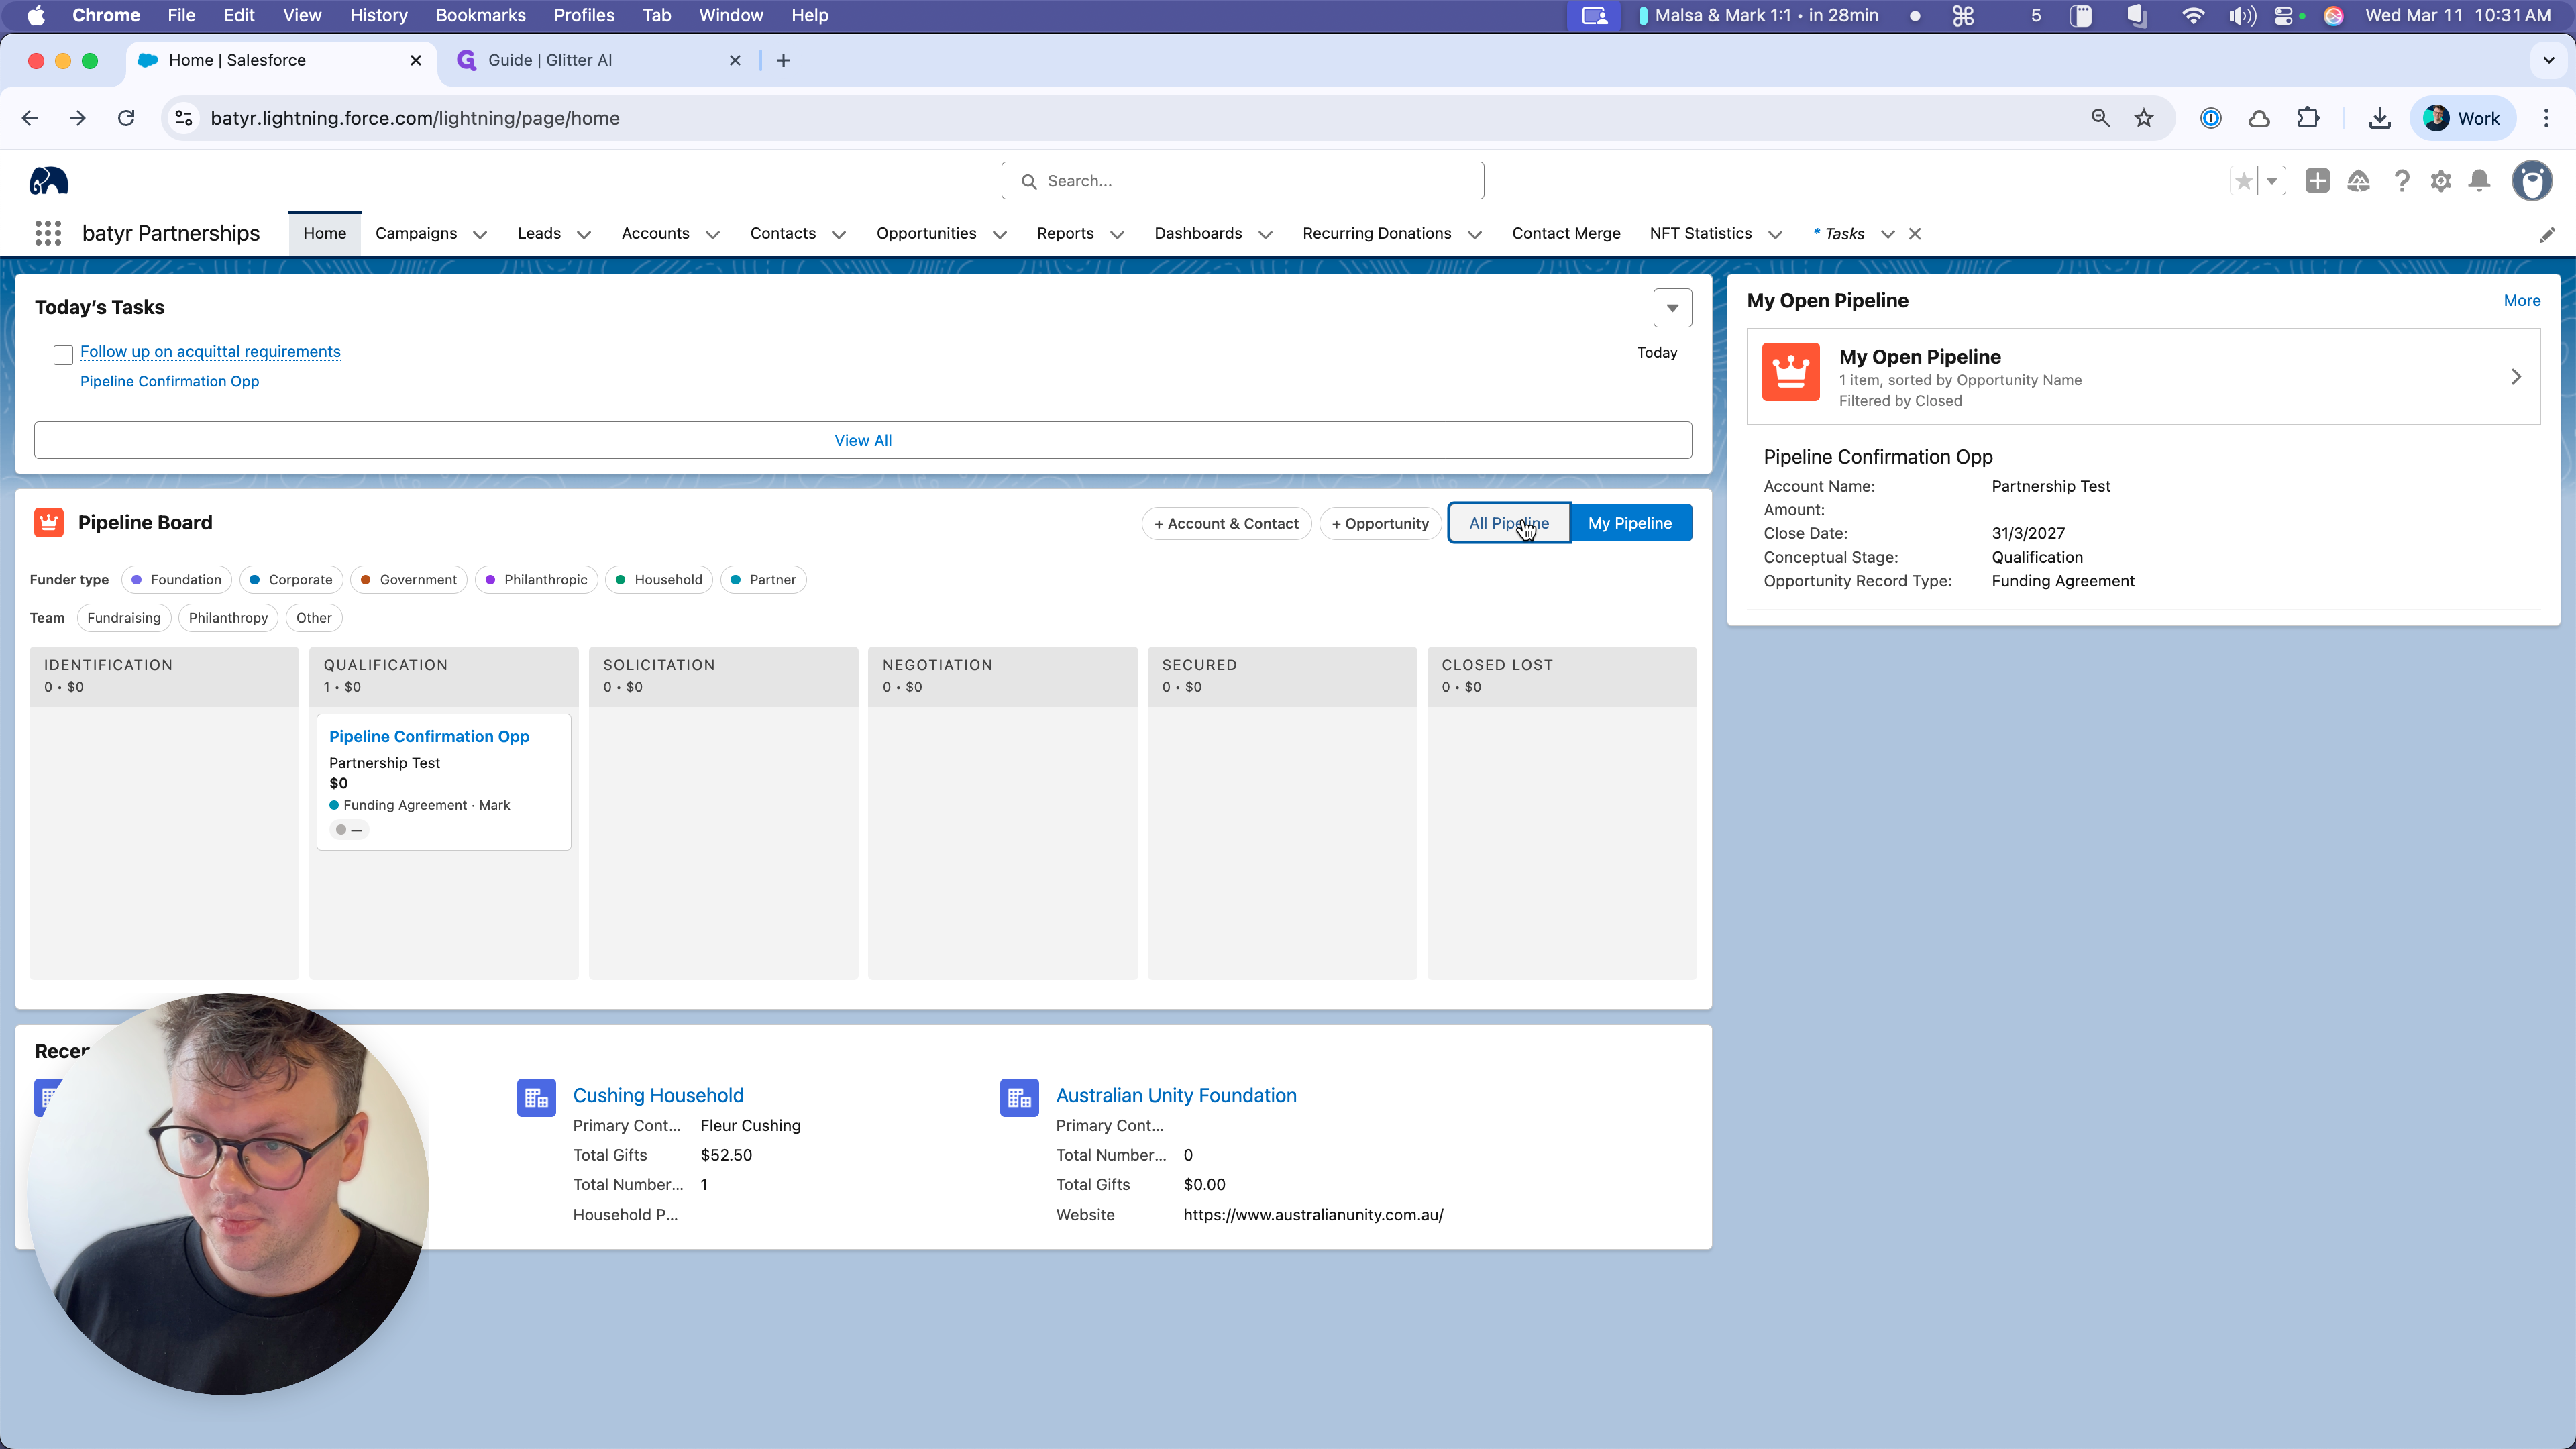
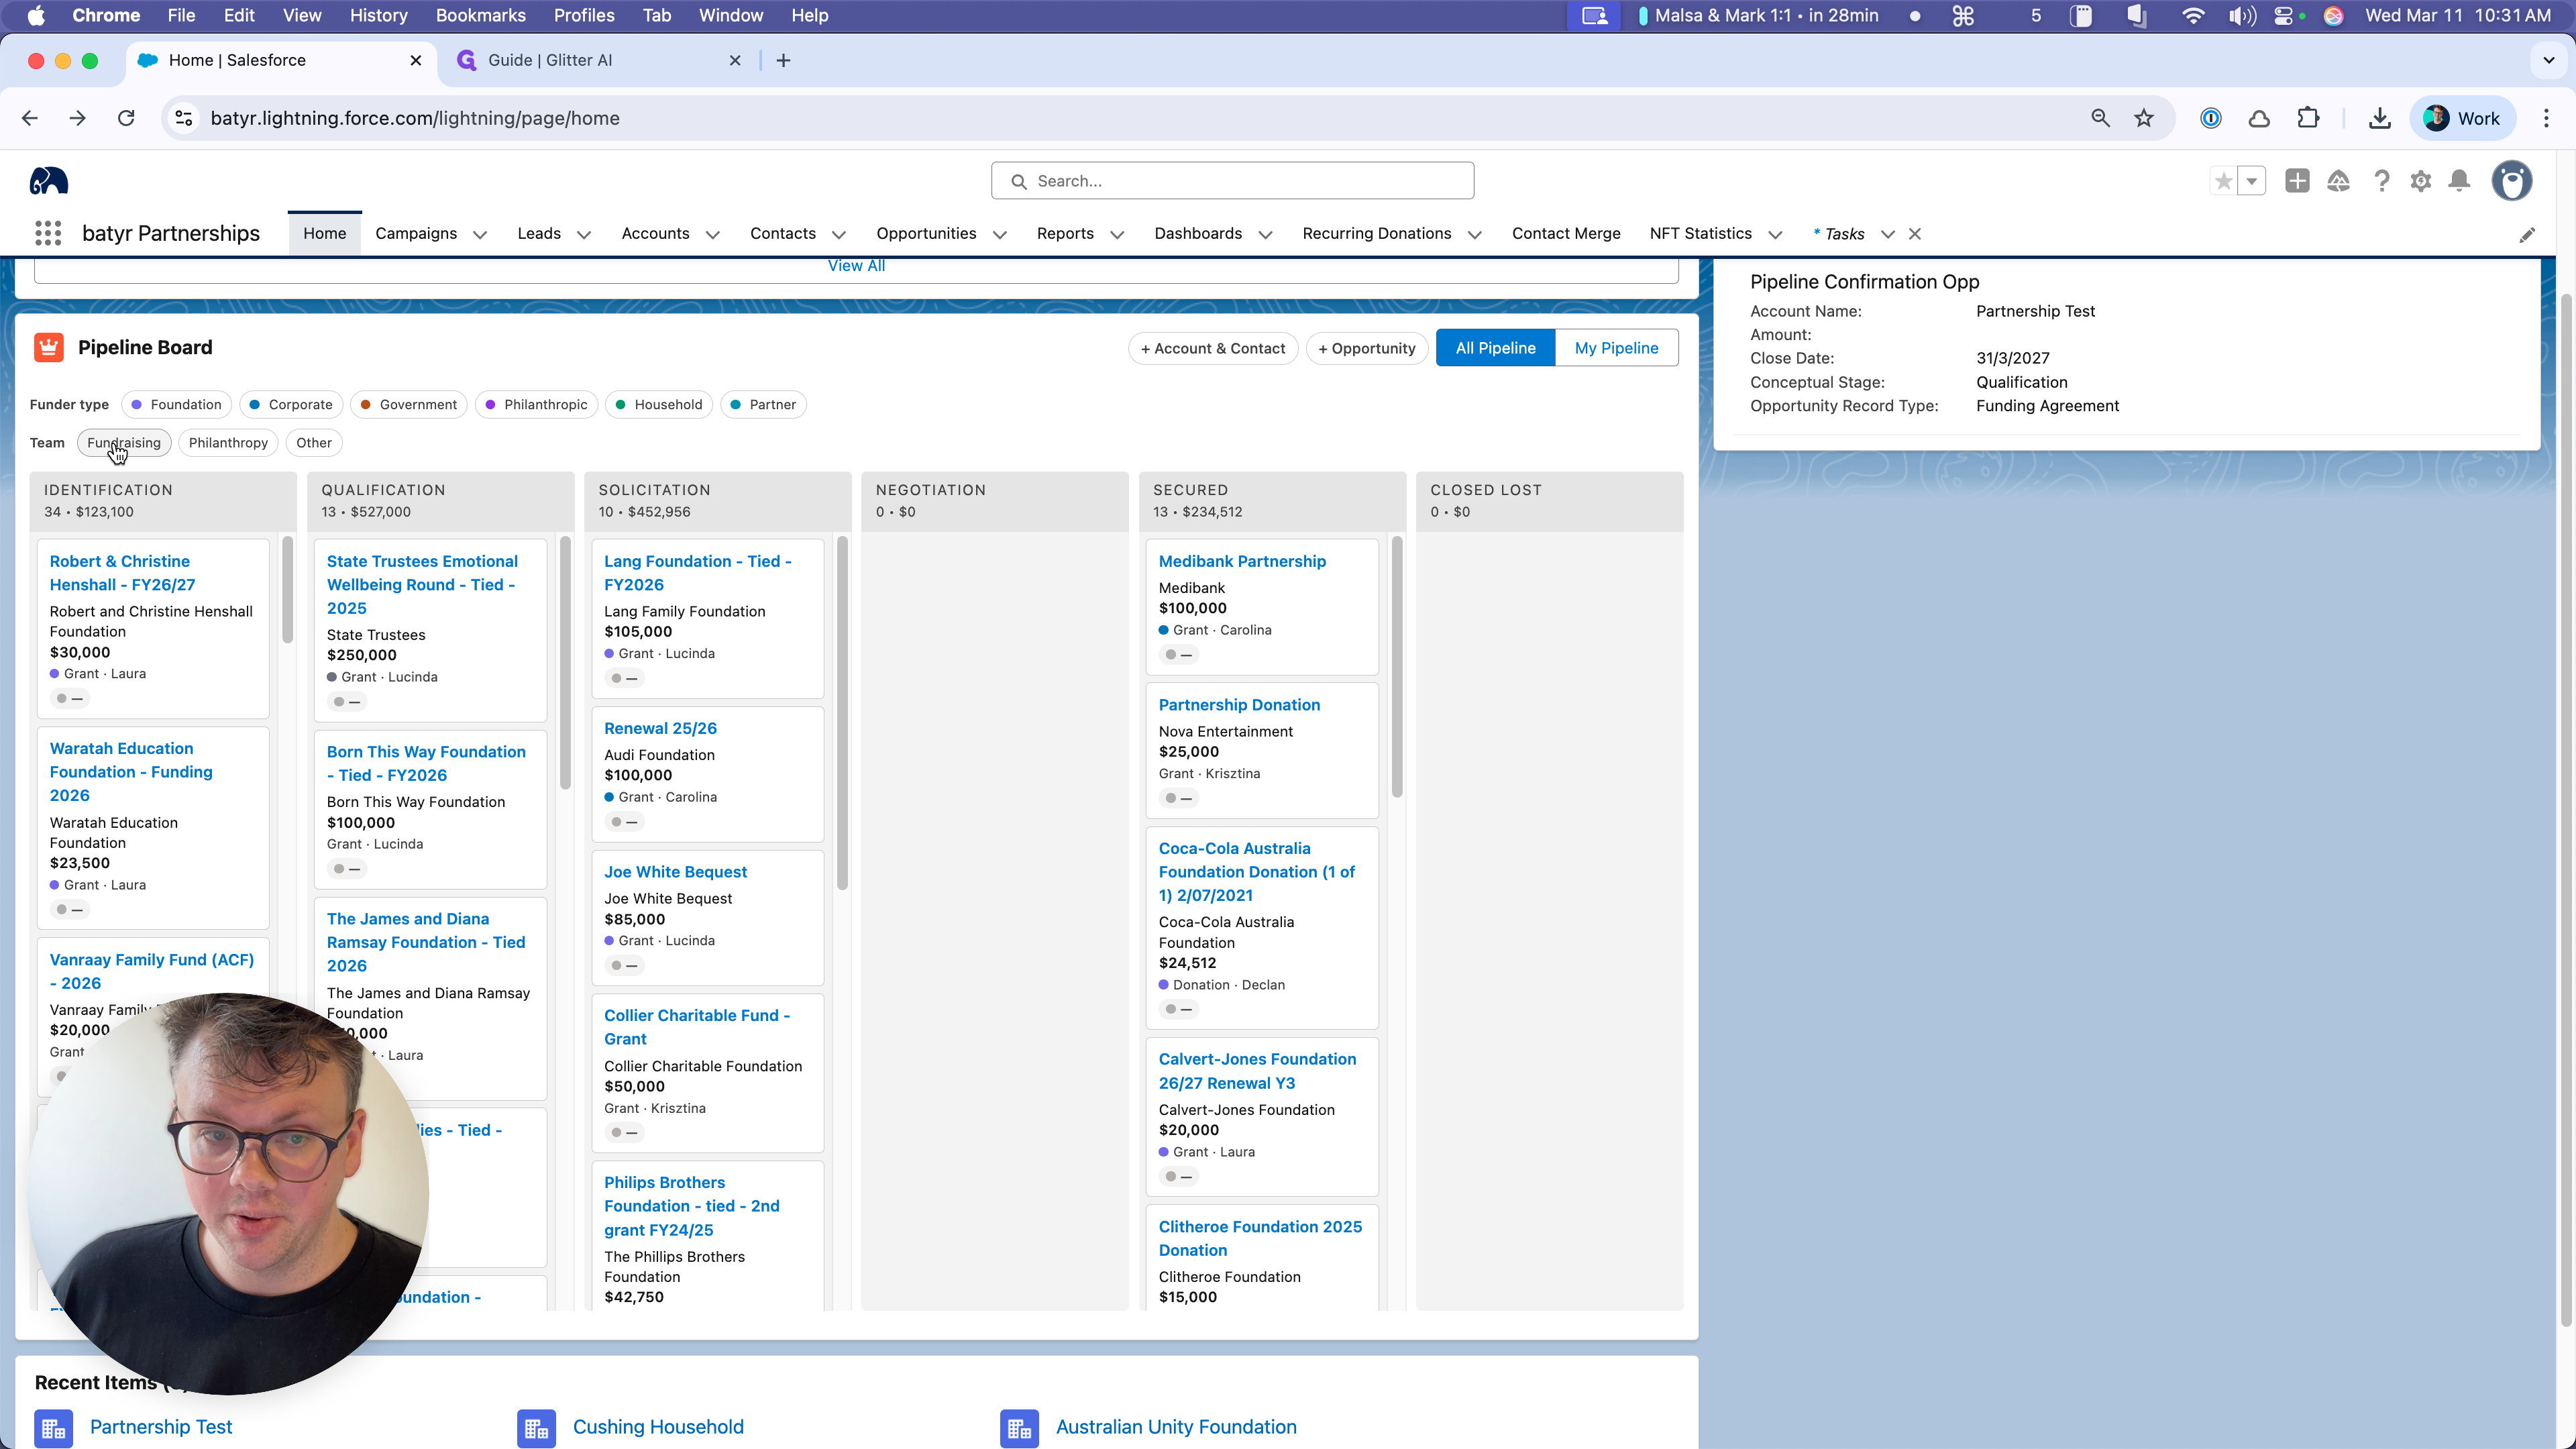
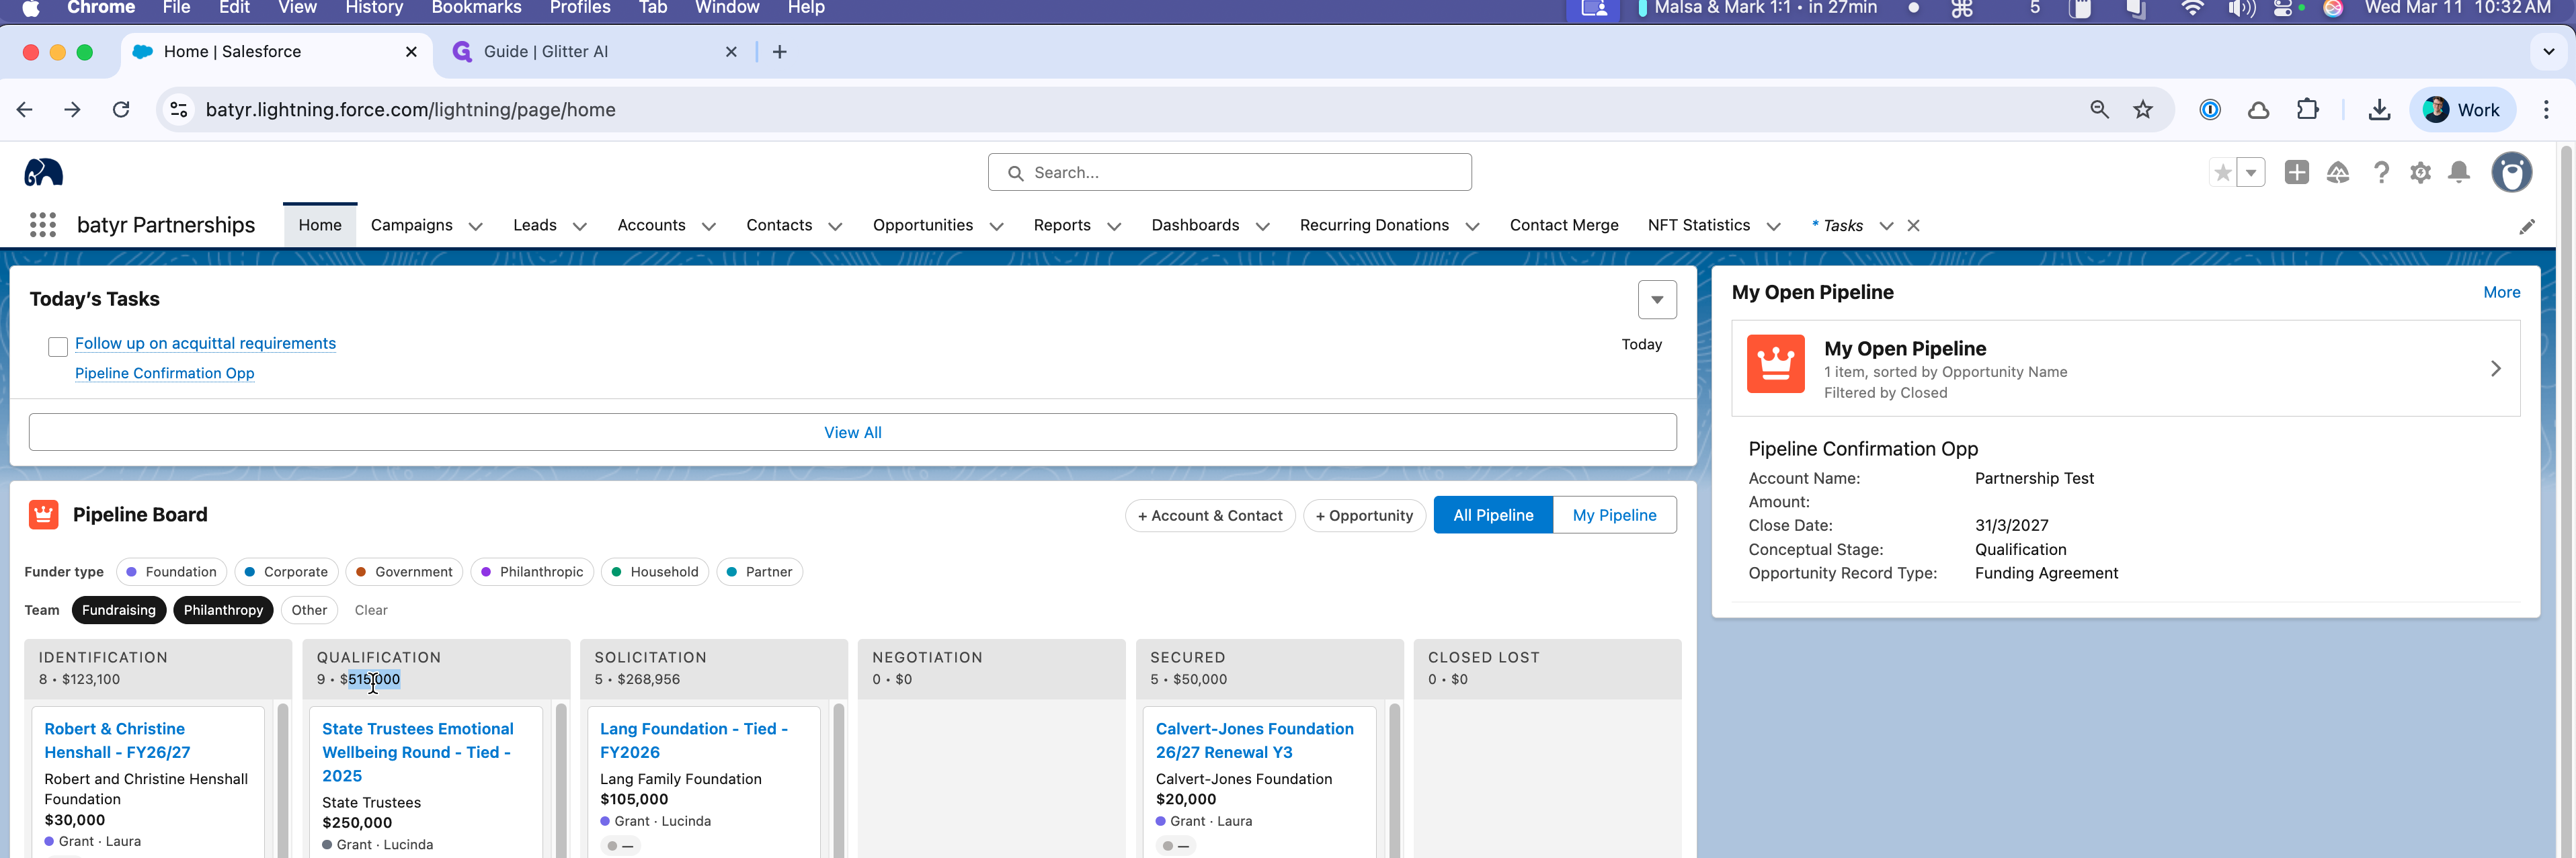
I recommend that you bookmark this. It's the same Salesforce as always, but custom-designed for you and your team. This is the pipeline board. We will spend most of our time today focusing on this, but keep in mind that Today's Tasks is also very useful.
I recommend that you bookmark this. It's the same Salesforce as always, but custom-designed for you and your team. This is the pipeline board. We will spend most of our time today focusing on this, but keep in mind that Today's Tasks is also very useful.
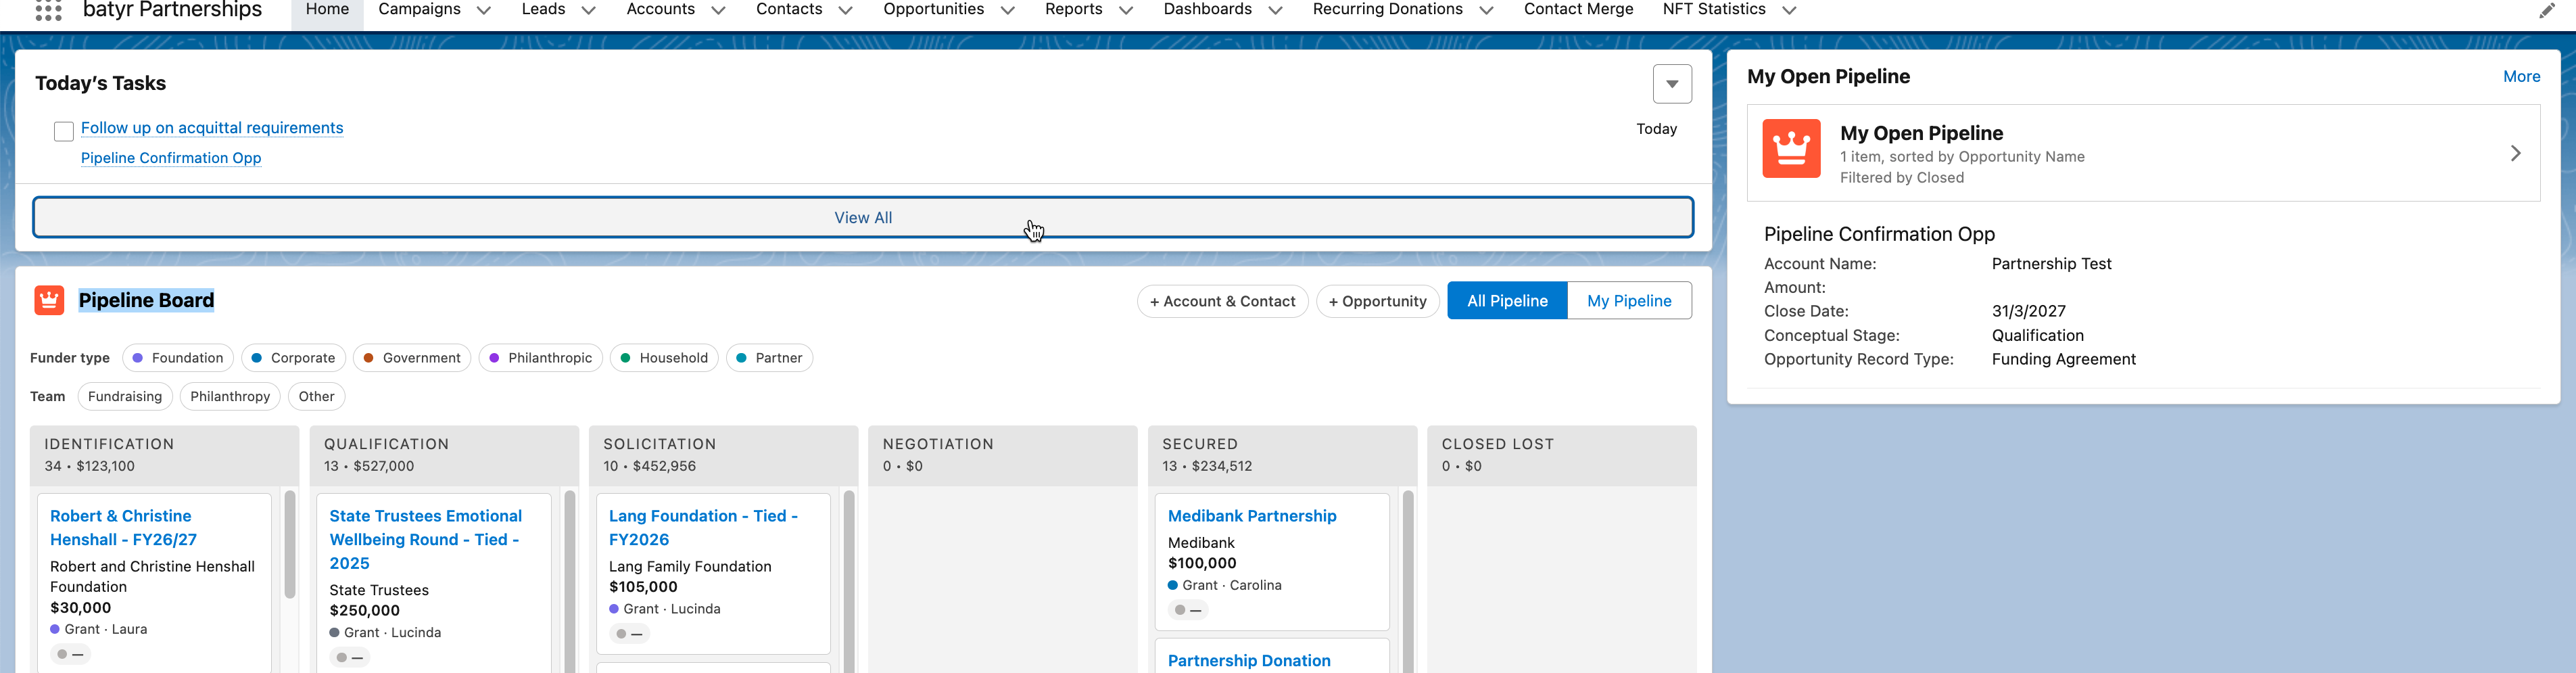
If you click through and update this to your open tasks and pin it, it becomes a great way to stay on track and manage your work.
In the future, we these tasks can be generated by standard actions that are set up based on your opportunities.
There are a few other filters we can use to show particular groups of opportunities.
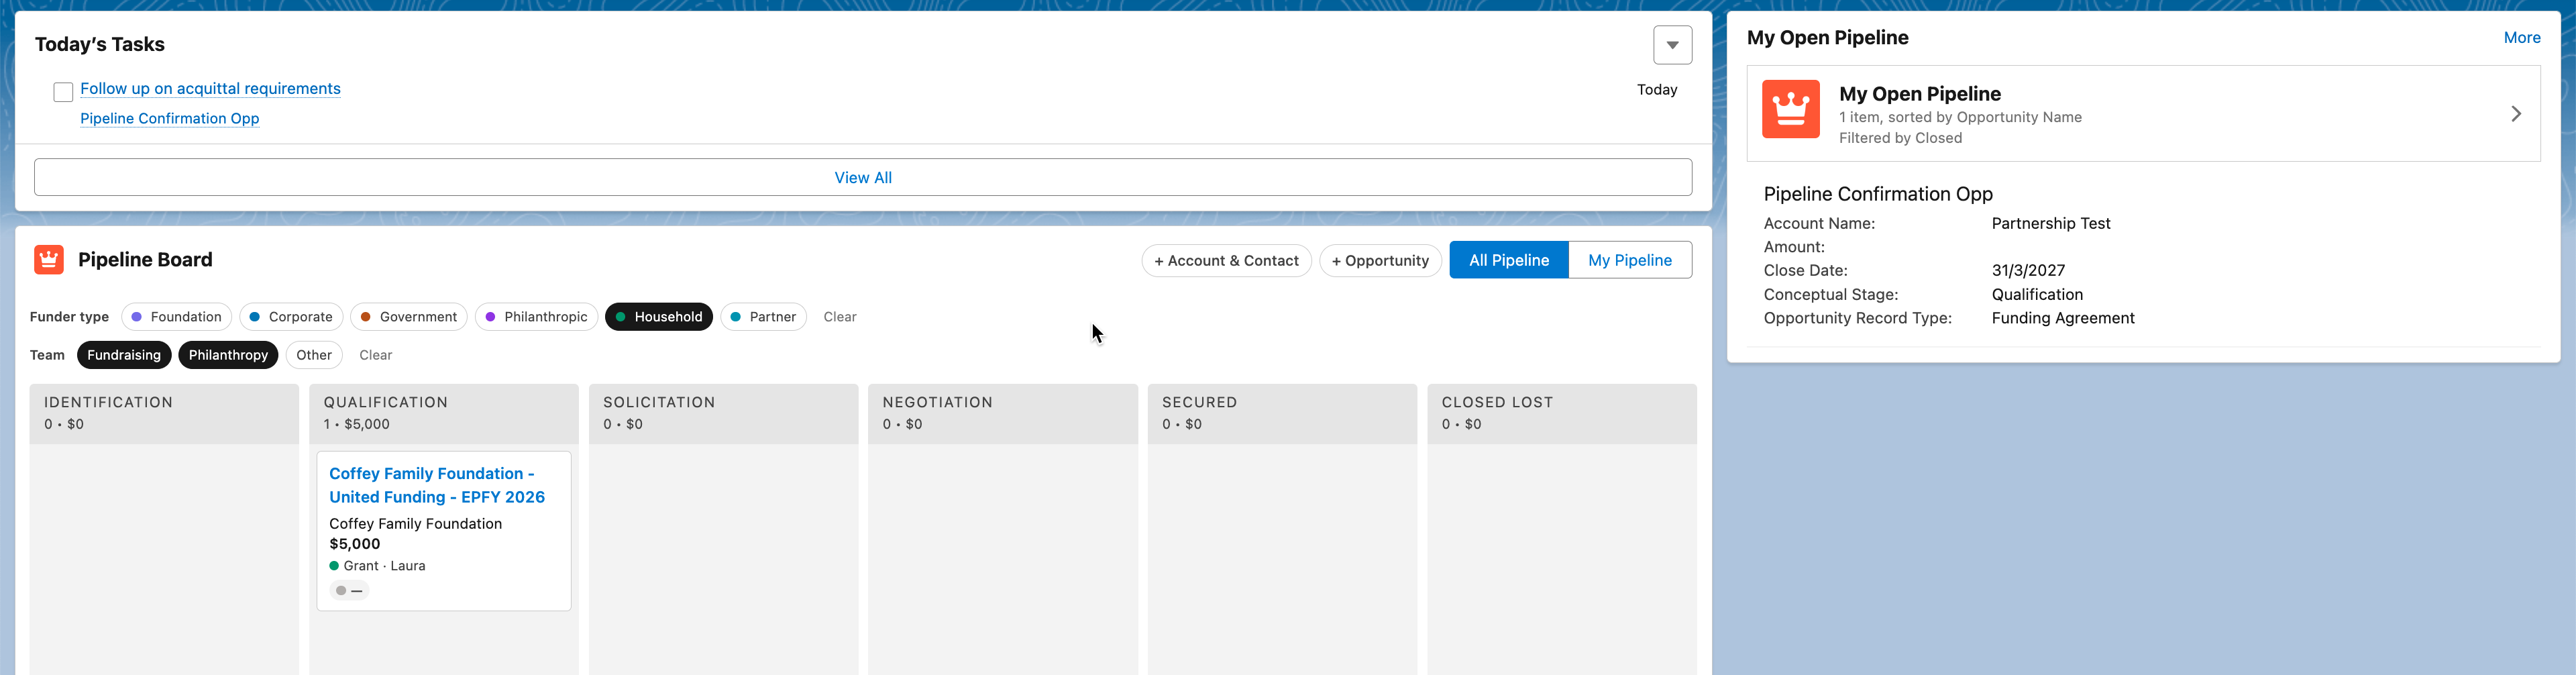
When just the "Fundraising" team is selected, the Pipeline Board updates to just show the opportunities assigned to staff members who fall under the "Fundraising" department.
Currently the Fundraising option includes:
Corina Vargas
Tyler Juel
To get yourself added to this list, ask a salesforce admin to:
"Update my salesforce user to be part of the Fundraising department"
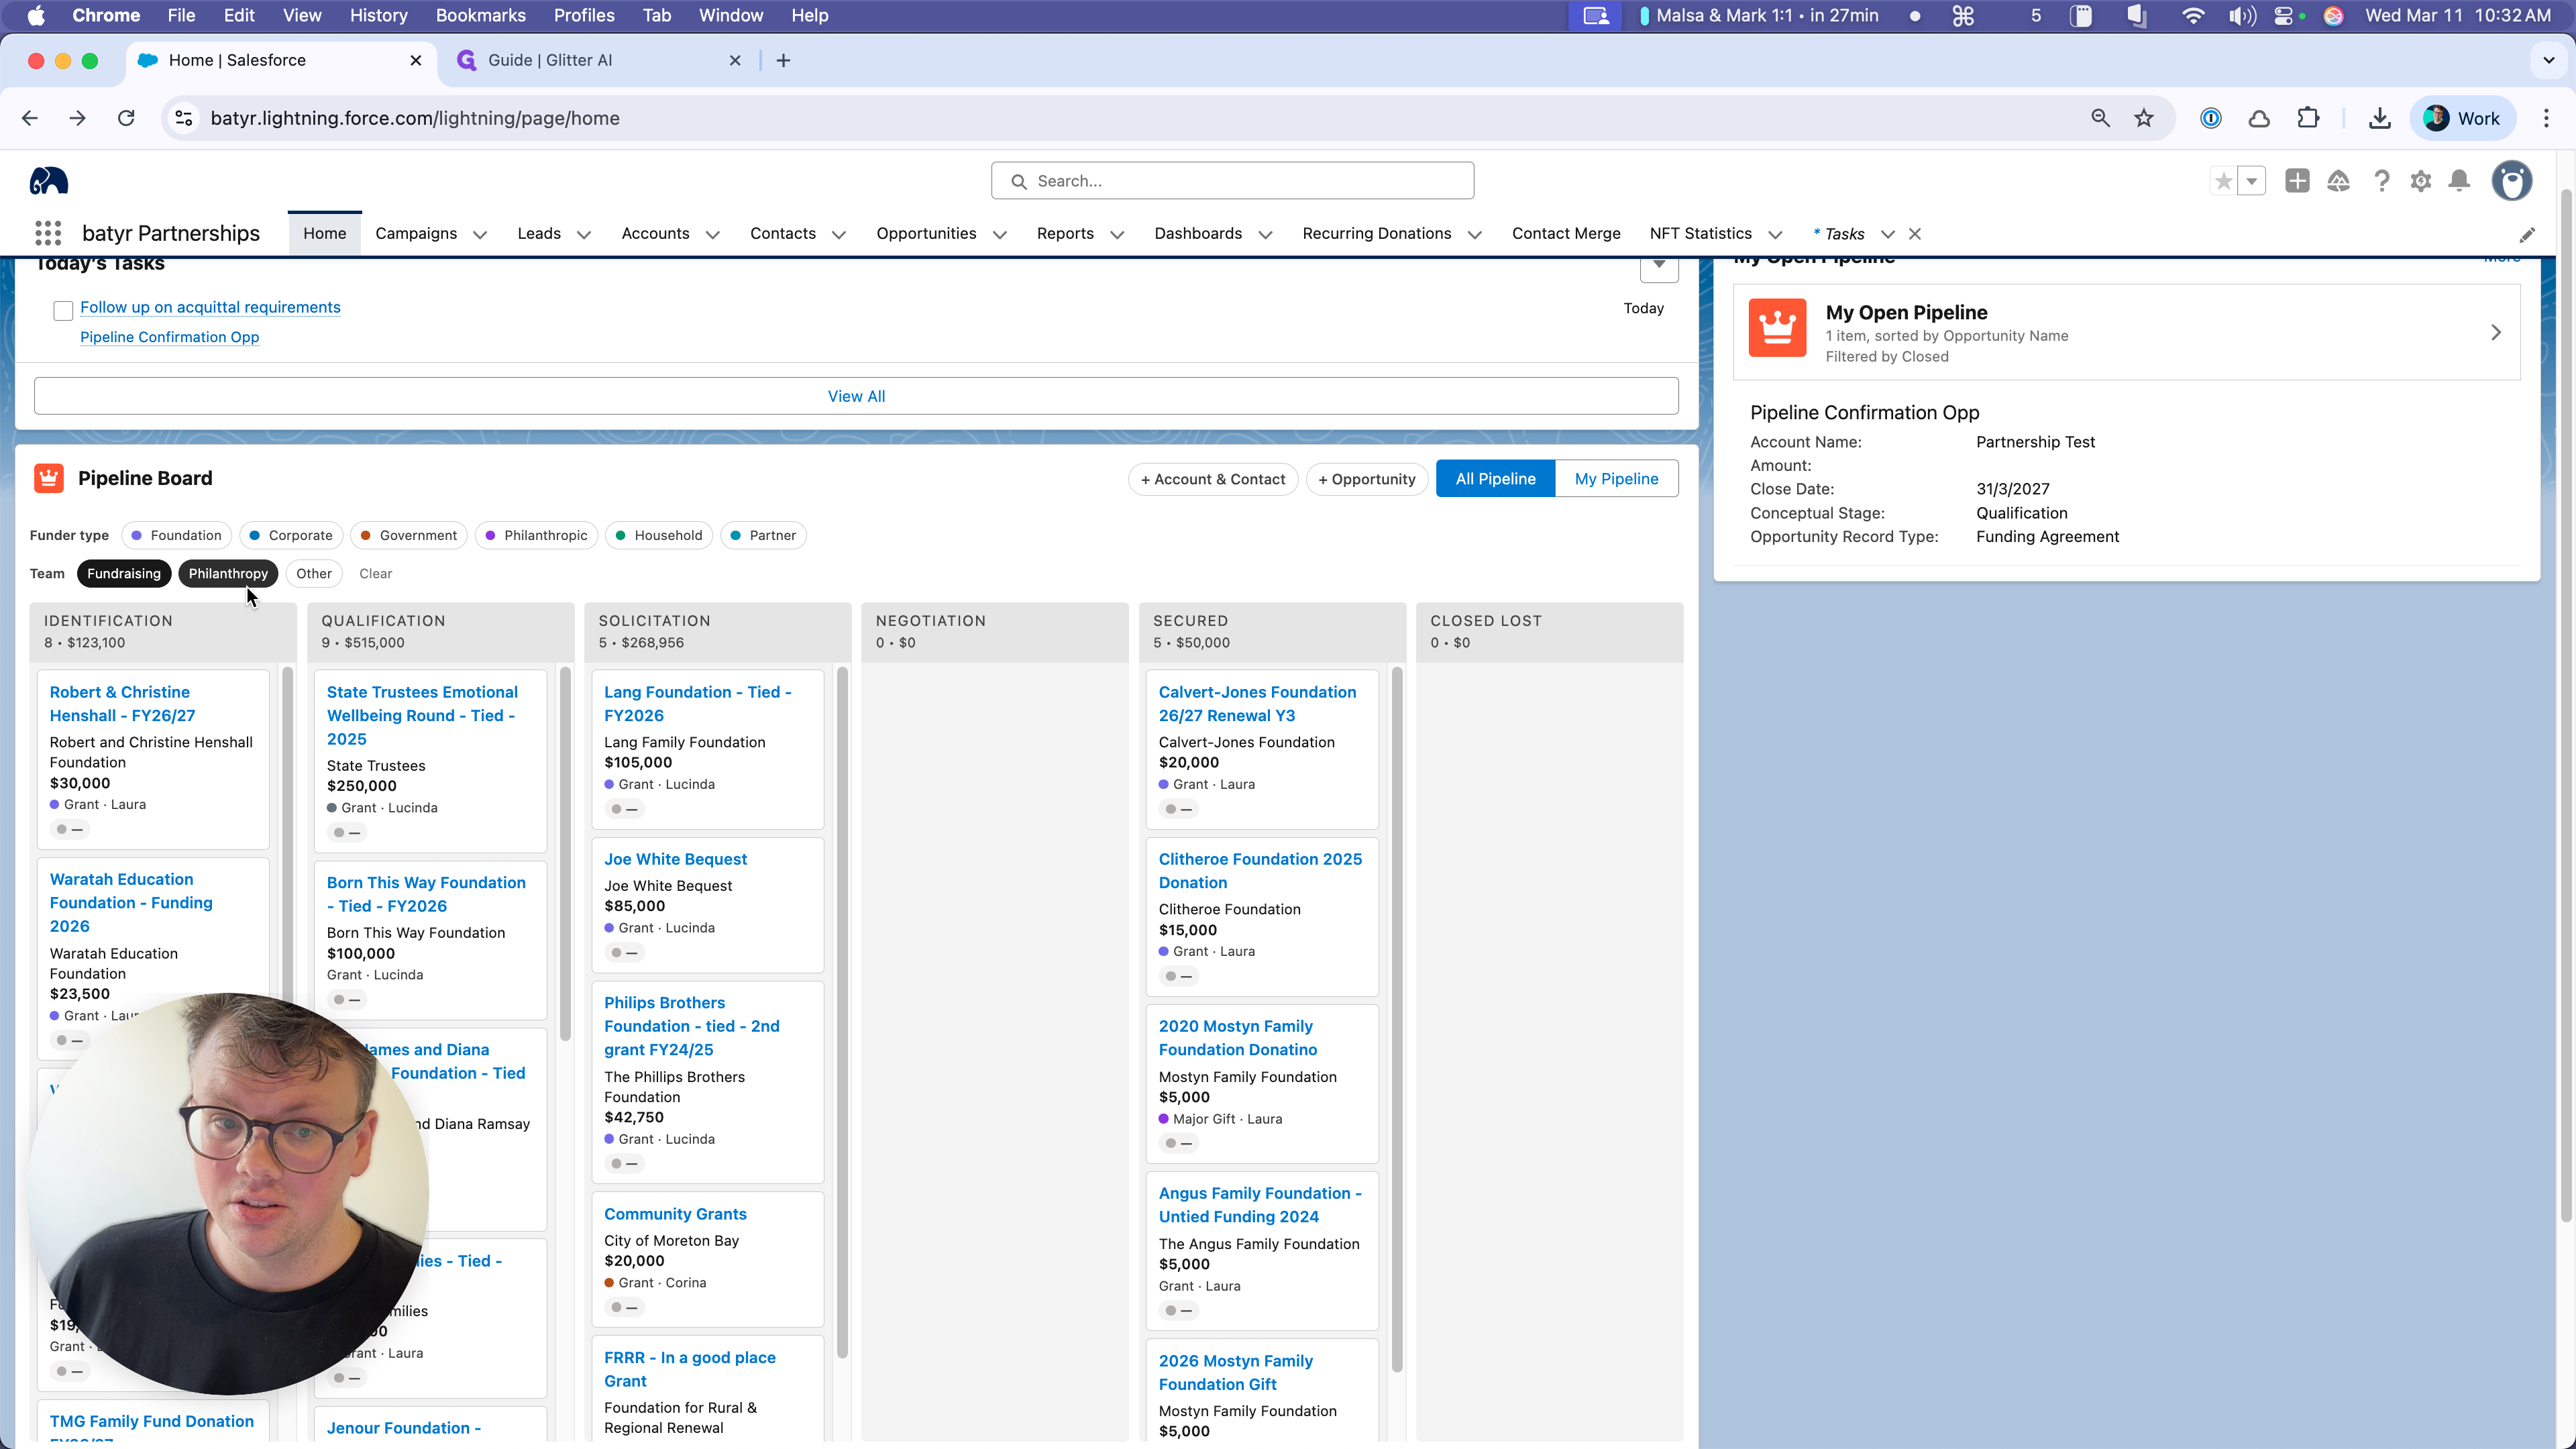
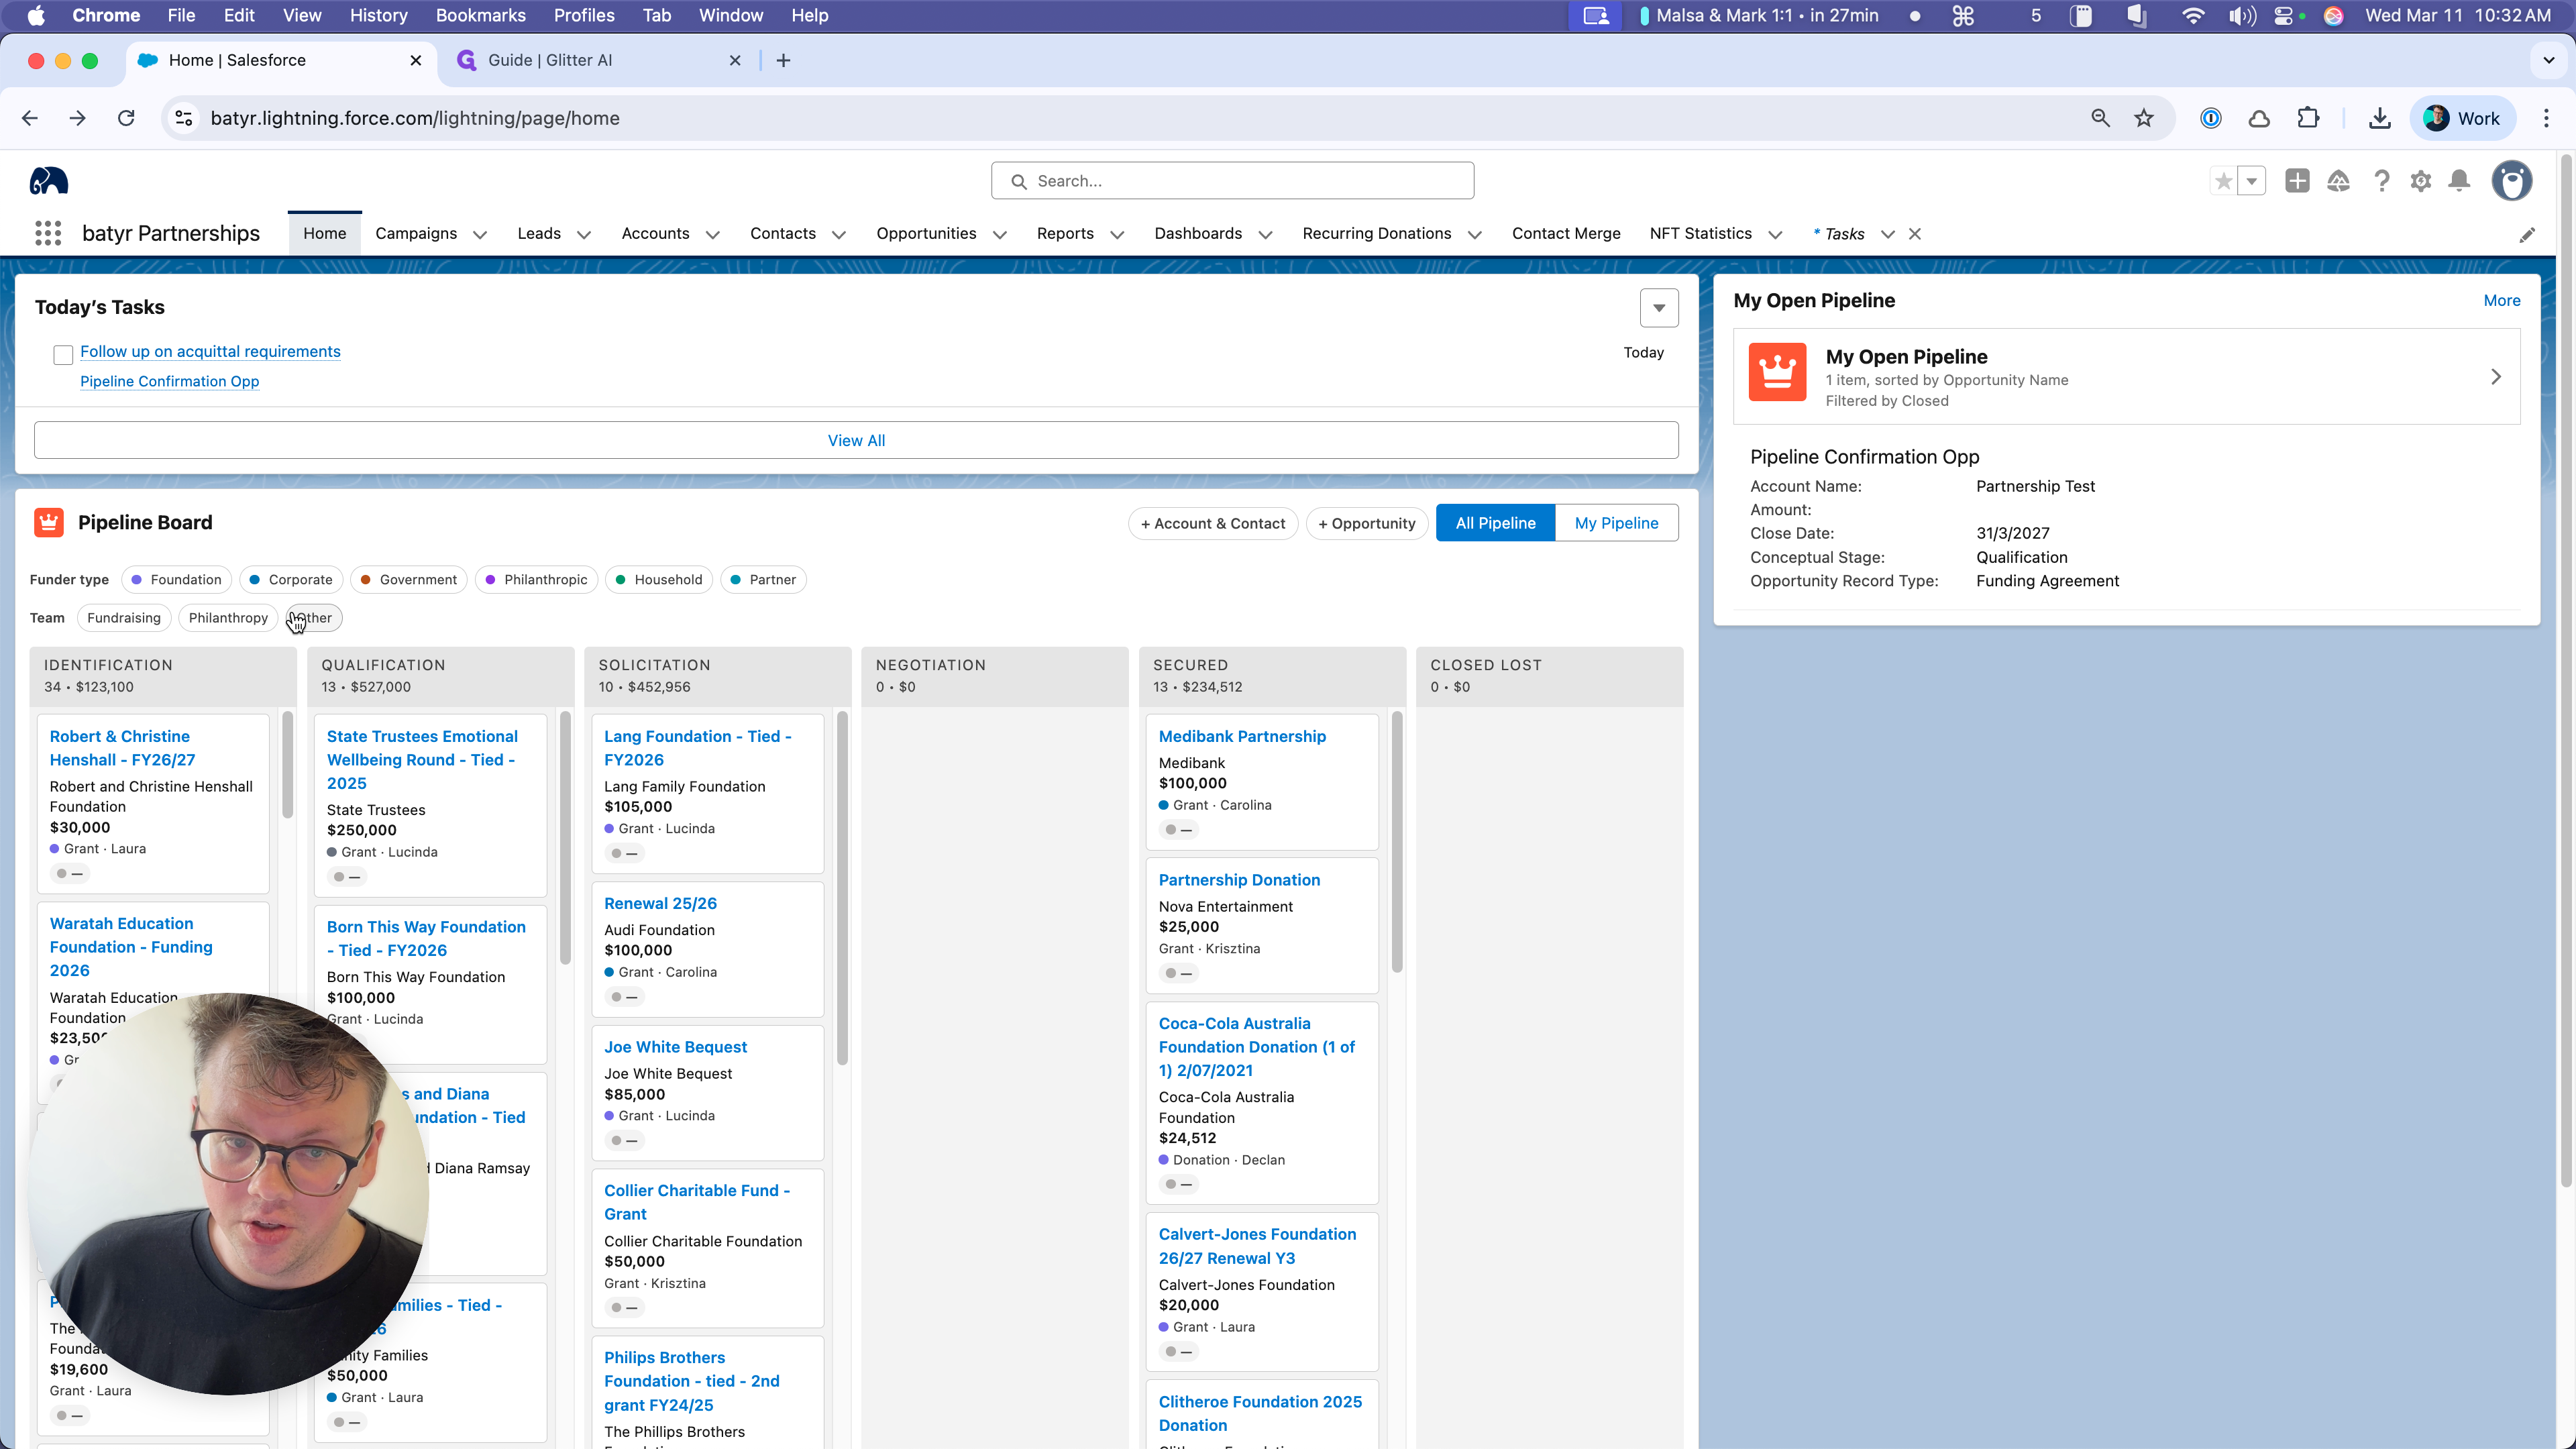
Note that selecting Philanthropy doesn't de-select Fundraising. This lets us specifically look at just the pipeline assigned to sf users under the Partnerships team.
Currently the Philanthropy option includes:
Laura Mason
Lucinda Steggles
To get yourself added to this list, ask a salesforce admin to:
"Update my salesforce user to be part of the Philanthropy department"
We will go through those and clean them up gradually. However, there are some that we need to ensure are properly assigned to the relevant partnerships team members. If they are not, and need to be closed, then we close them. That's a task I hope you can help me with.
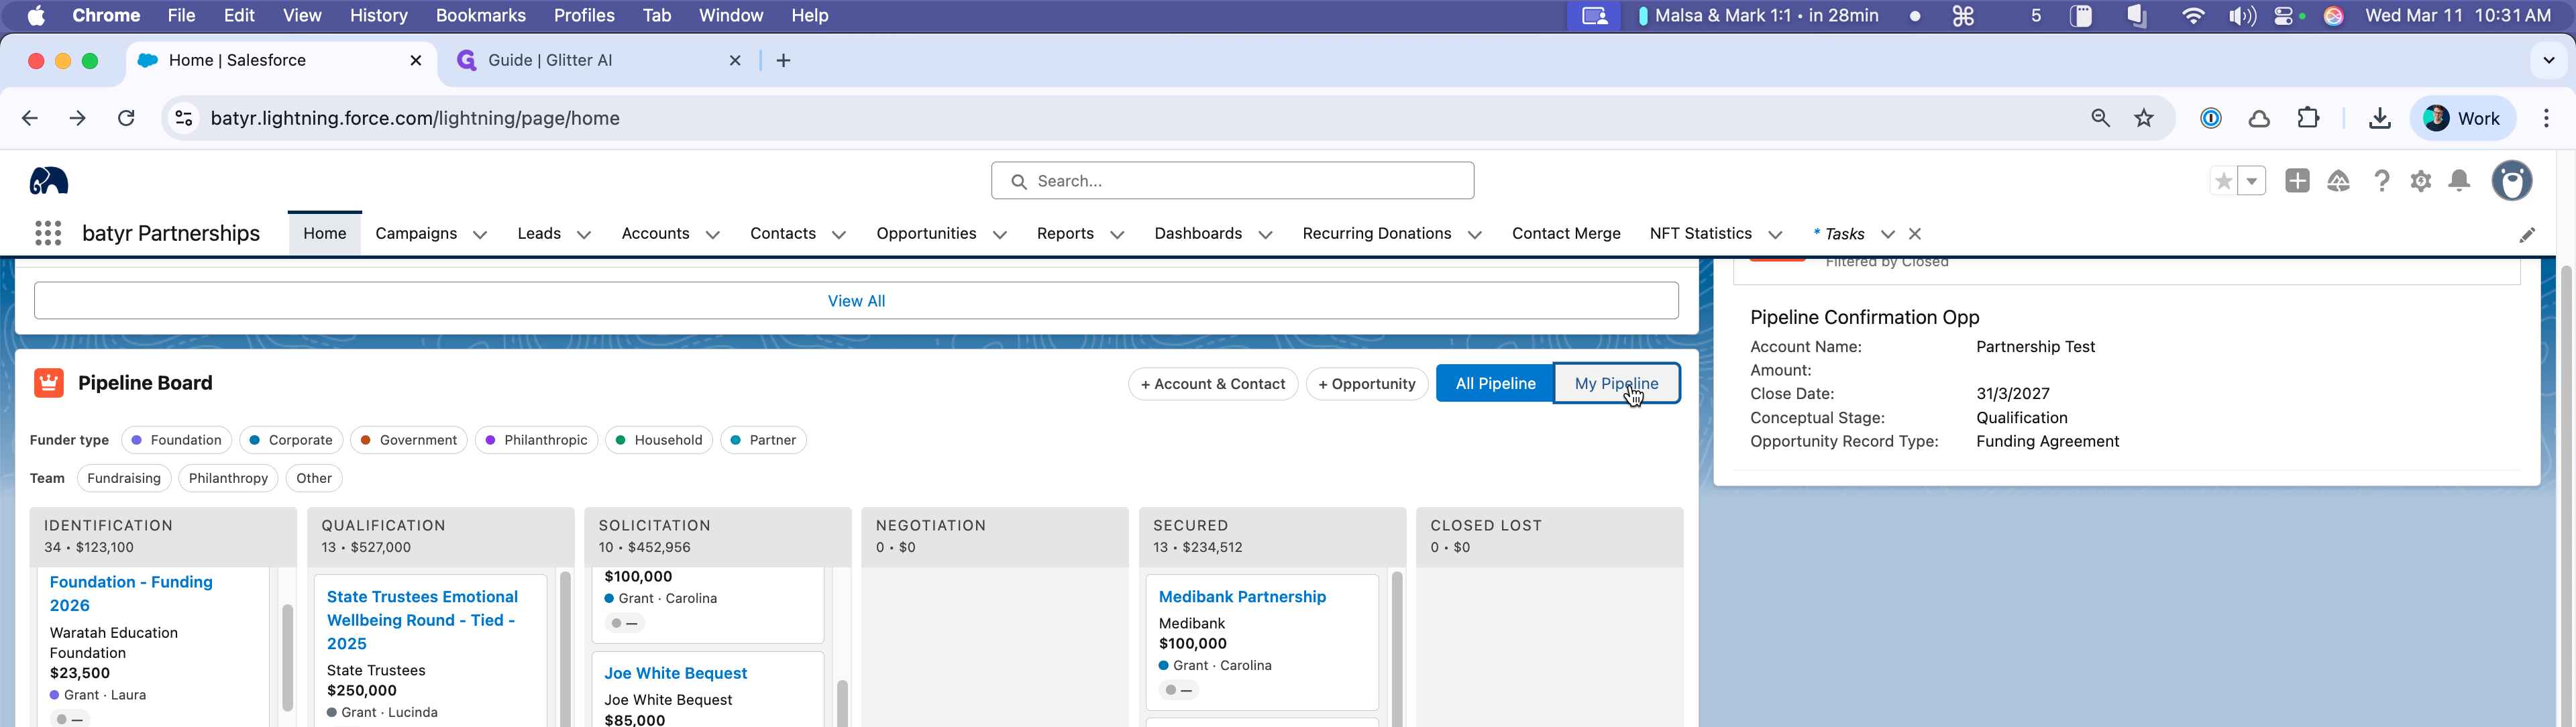
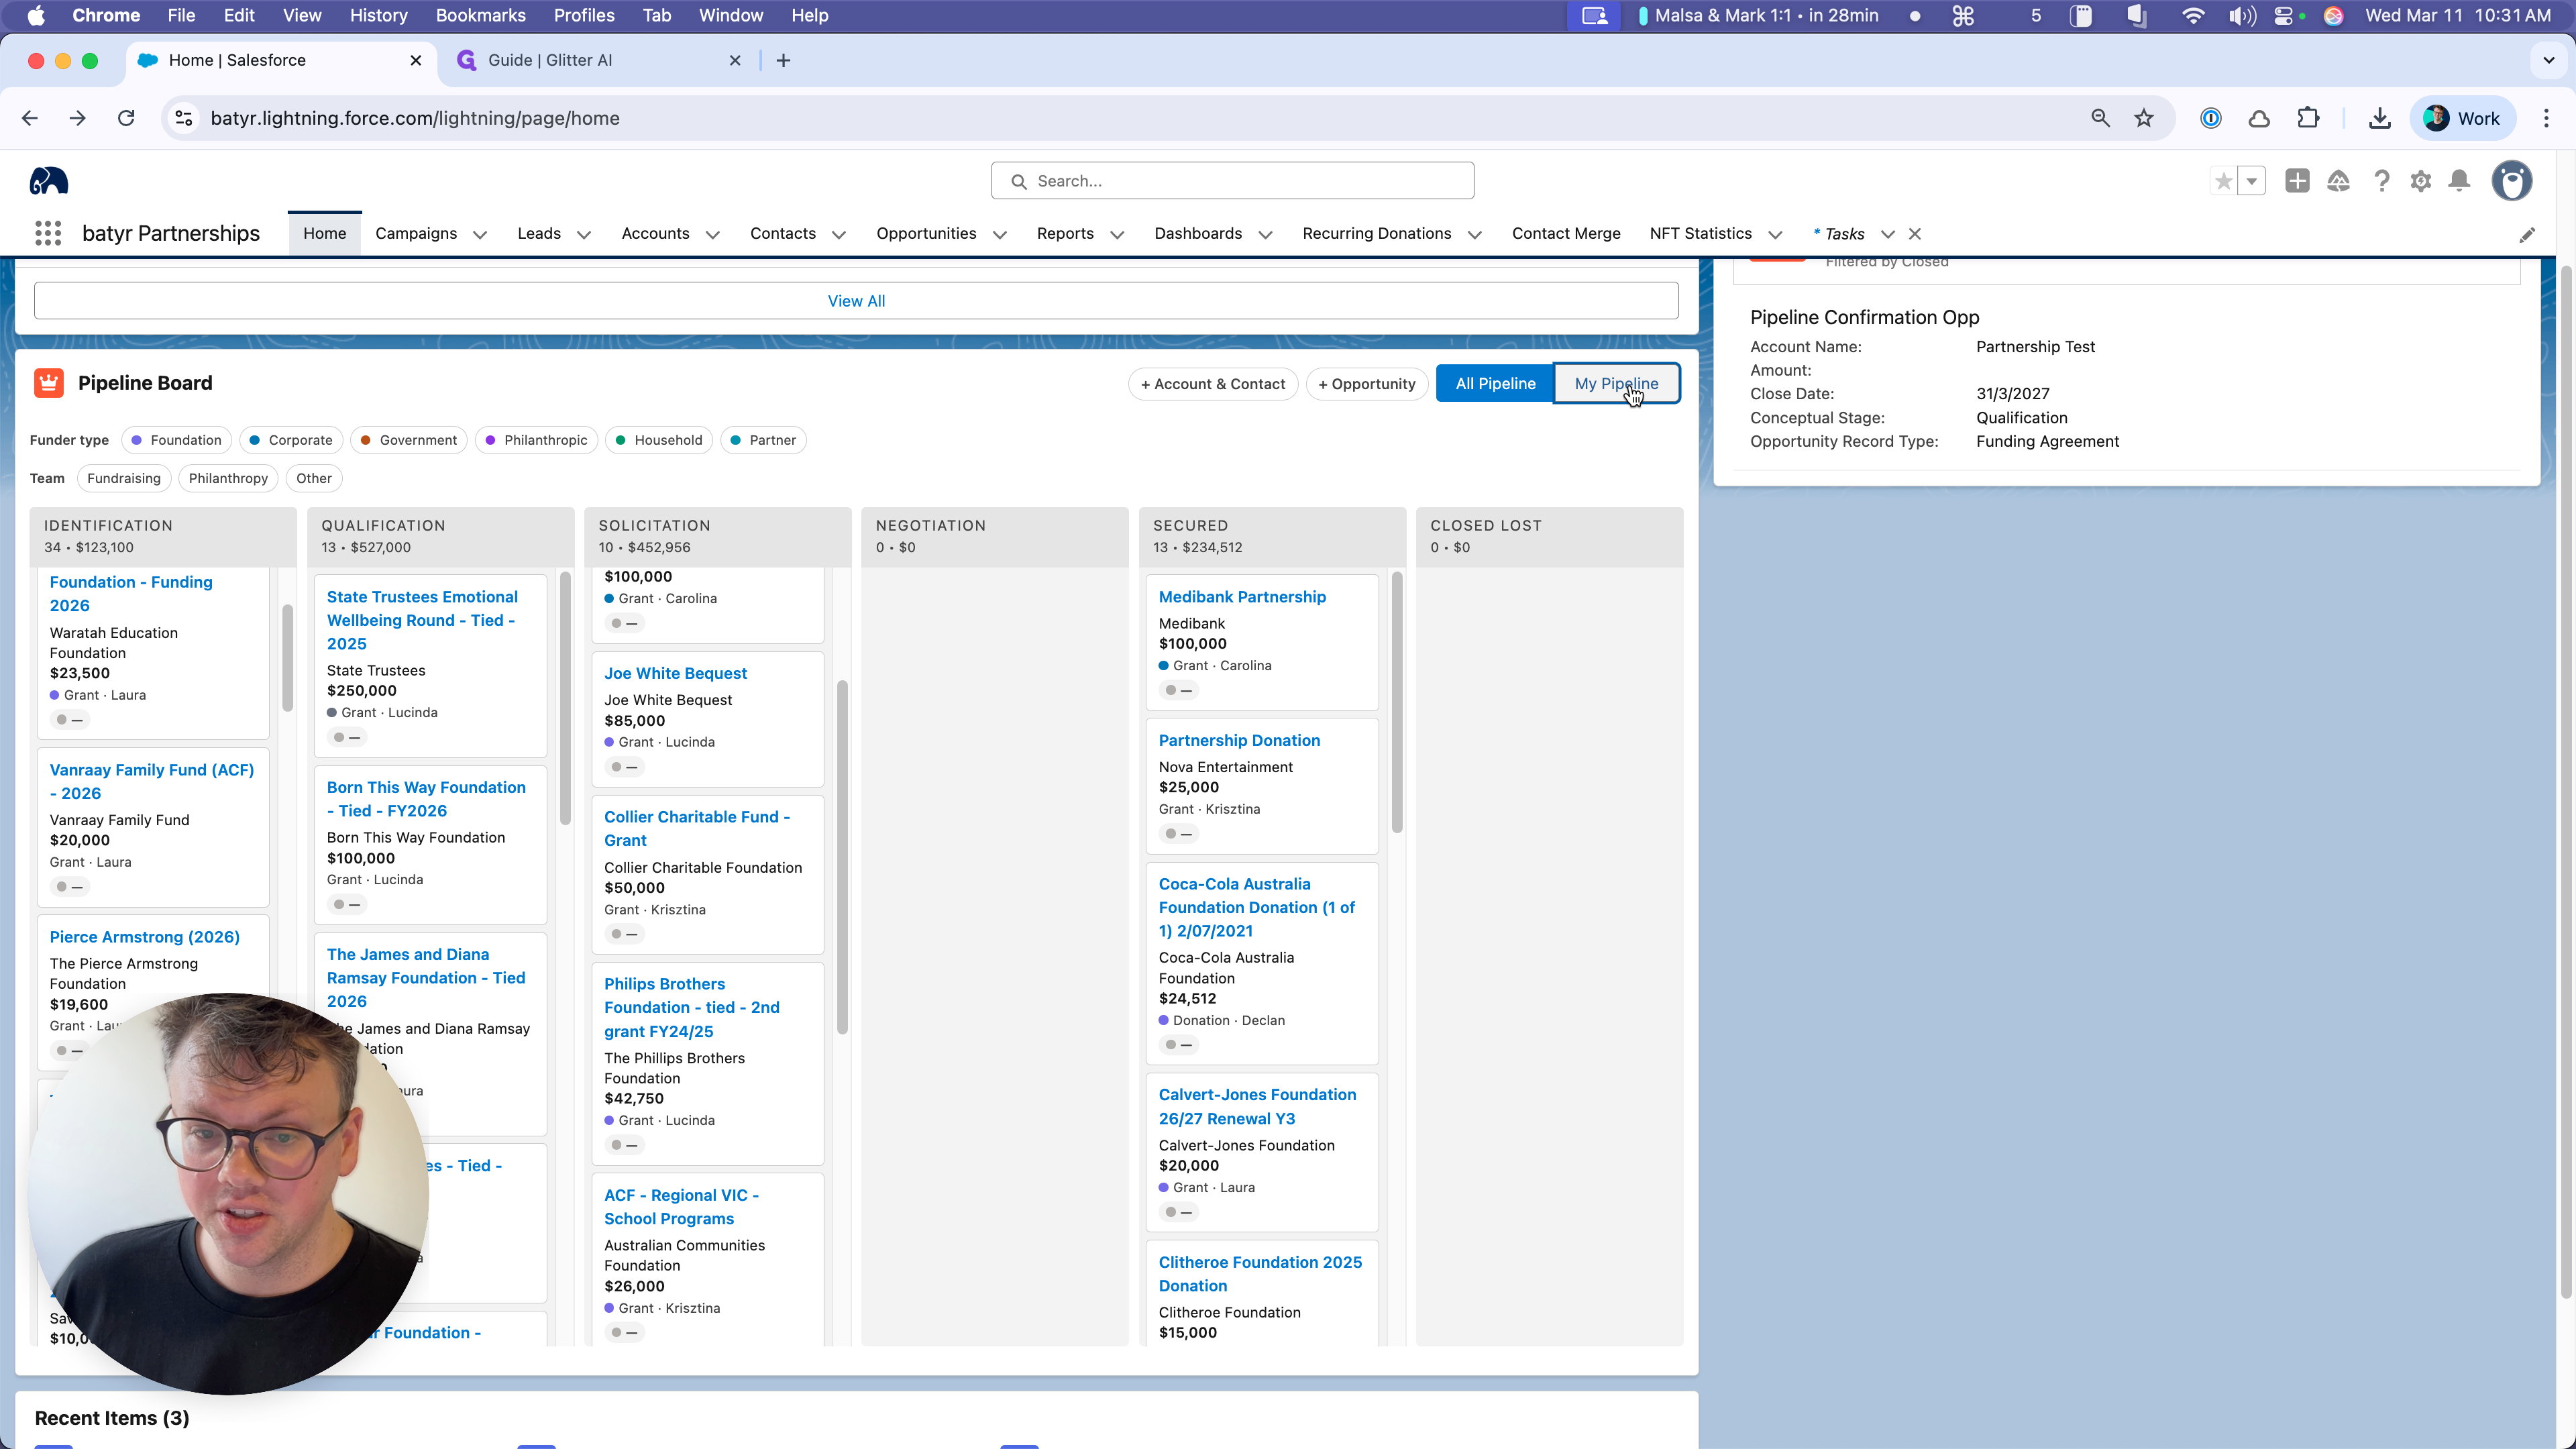
You'll also notice that as we scroll down, there are coloured dots against each of the opportunities. These correspond to "Funder Types" as shown in the legend above. You can use these as filters too.
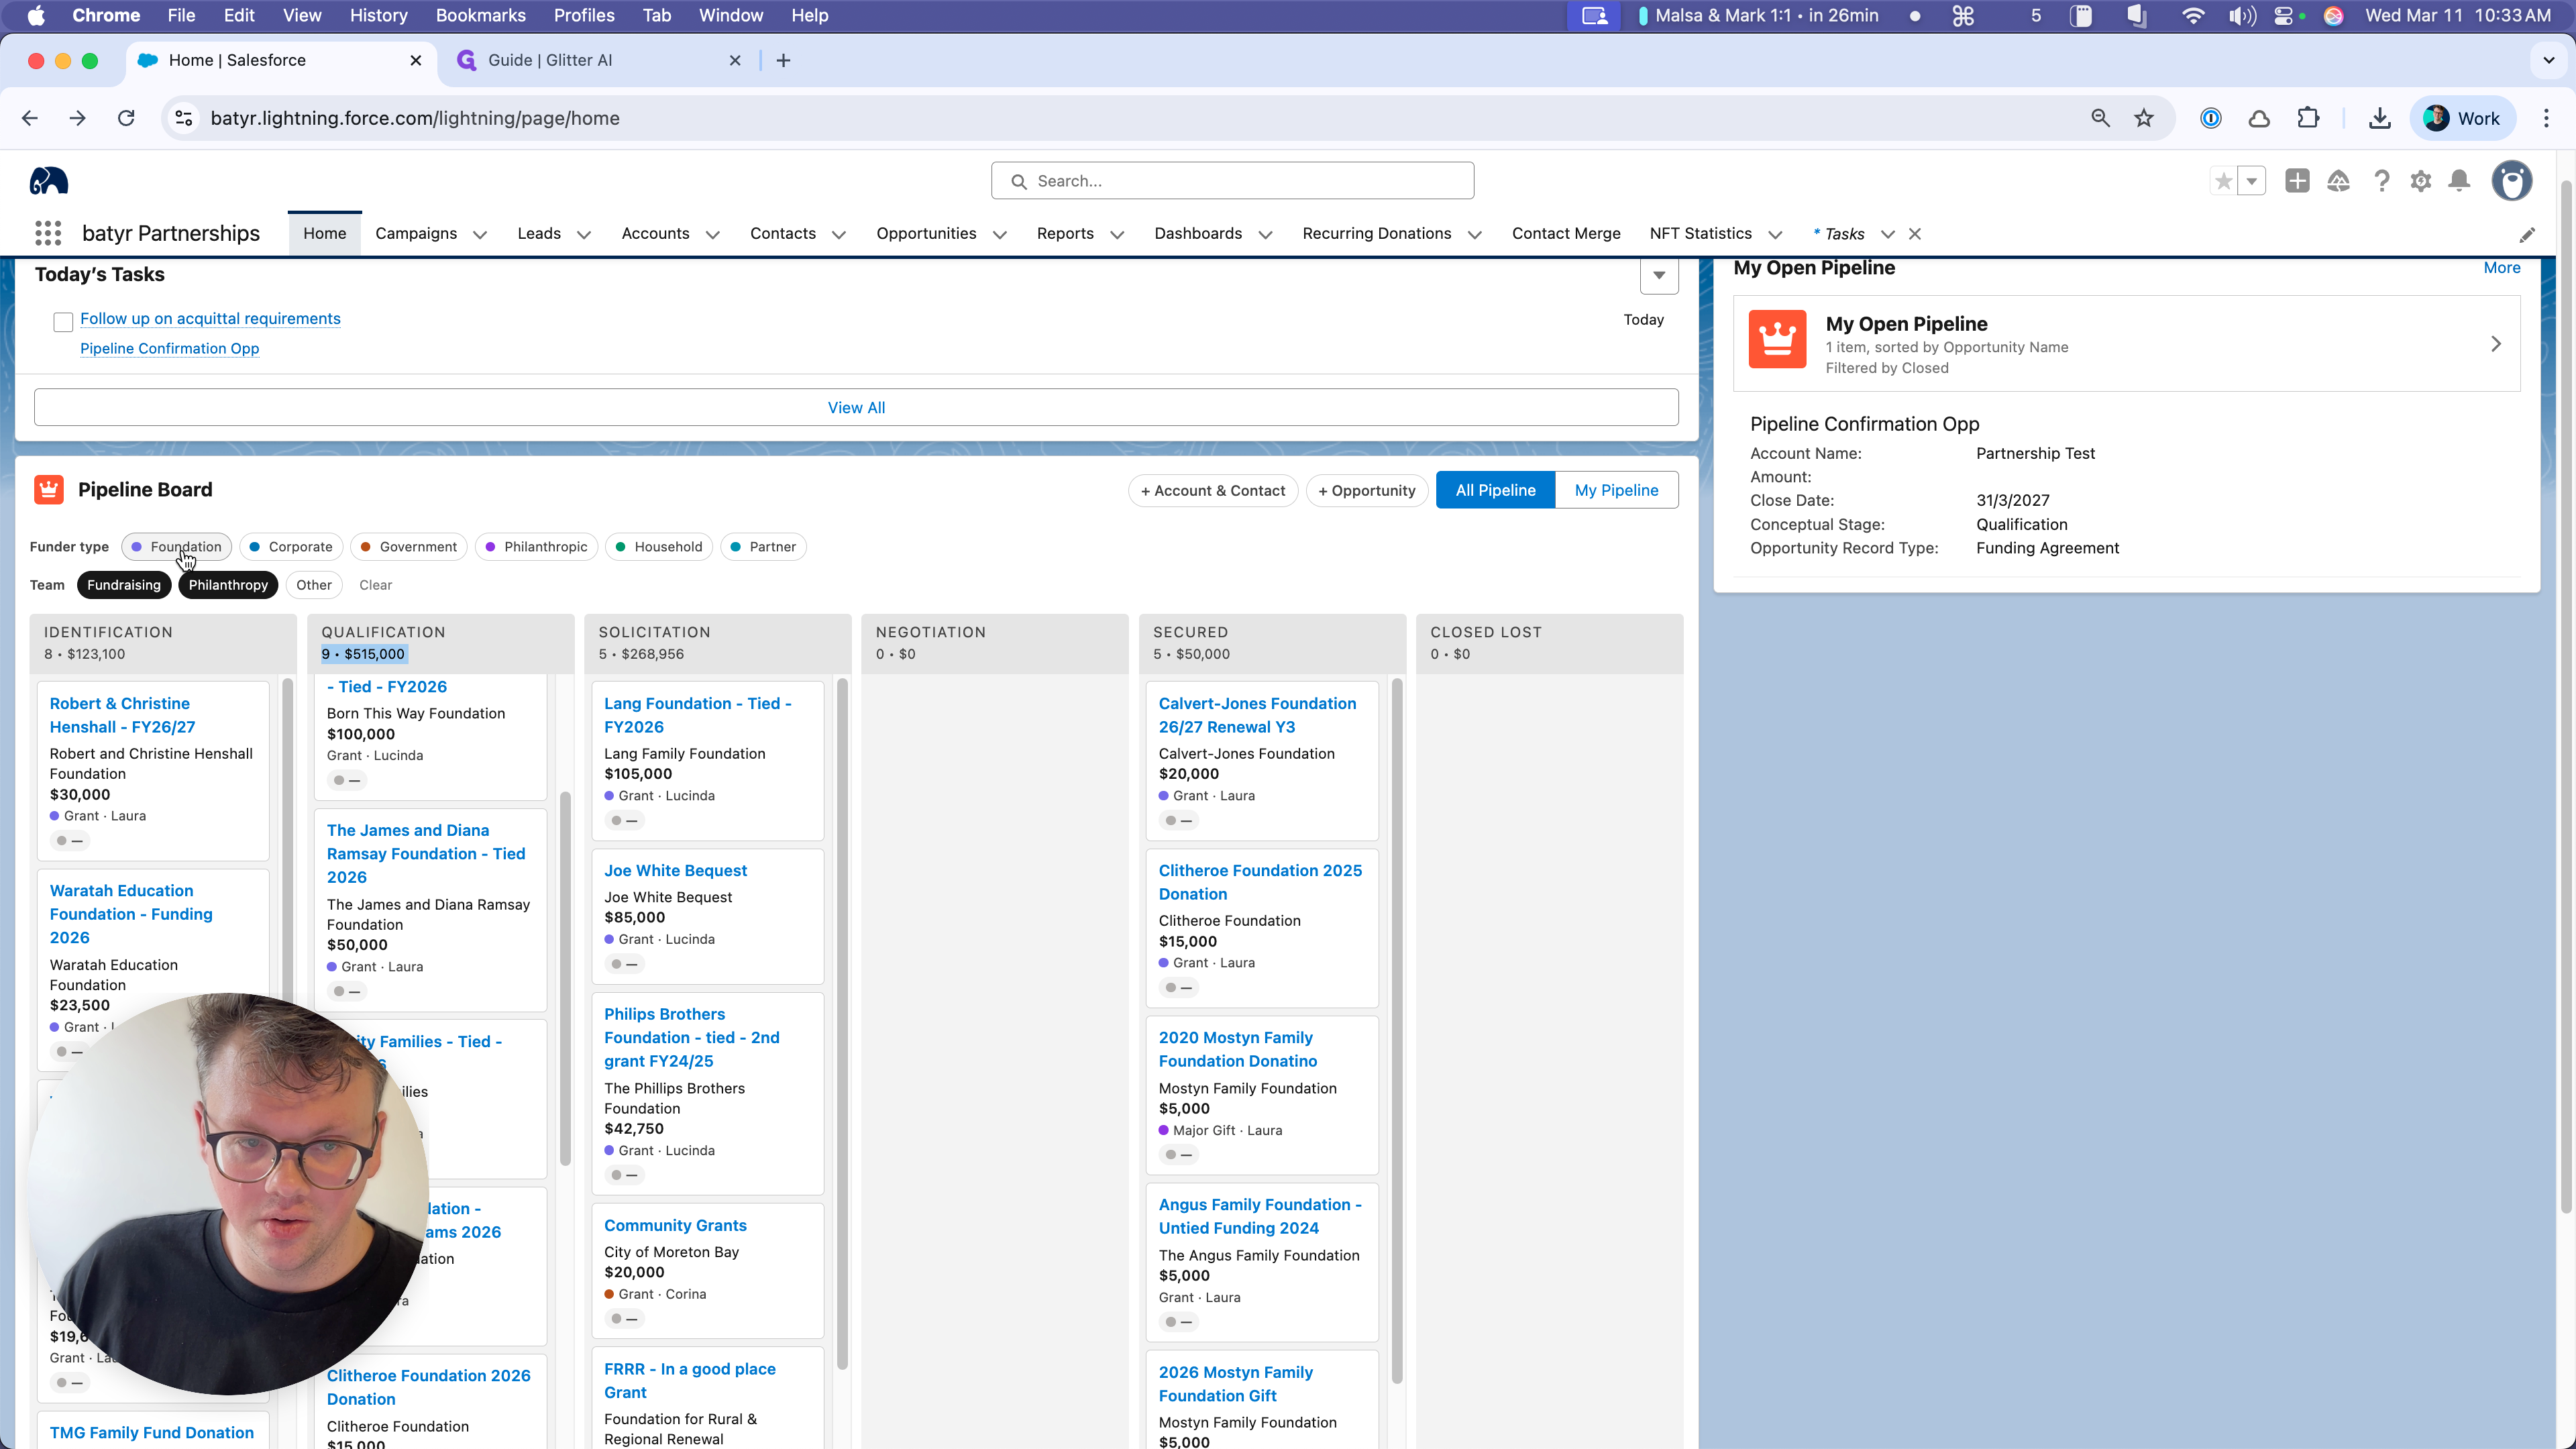
Finally, I want to emphasize that these two buttons are likely the most important ones you will use in Salesforce.
These are designed as shortcuts for some of the most common quick actions you'll need to take in Salesforce.

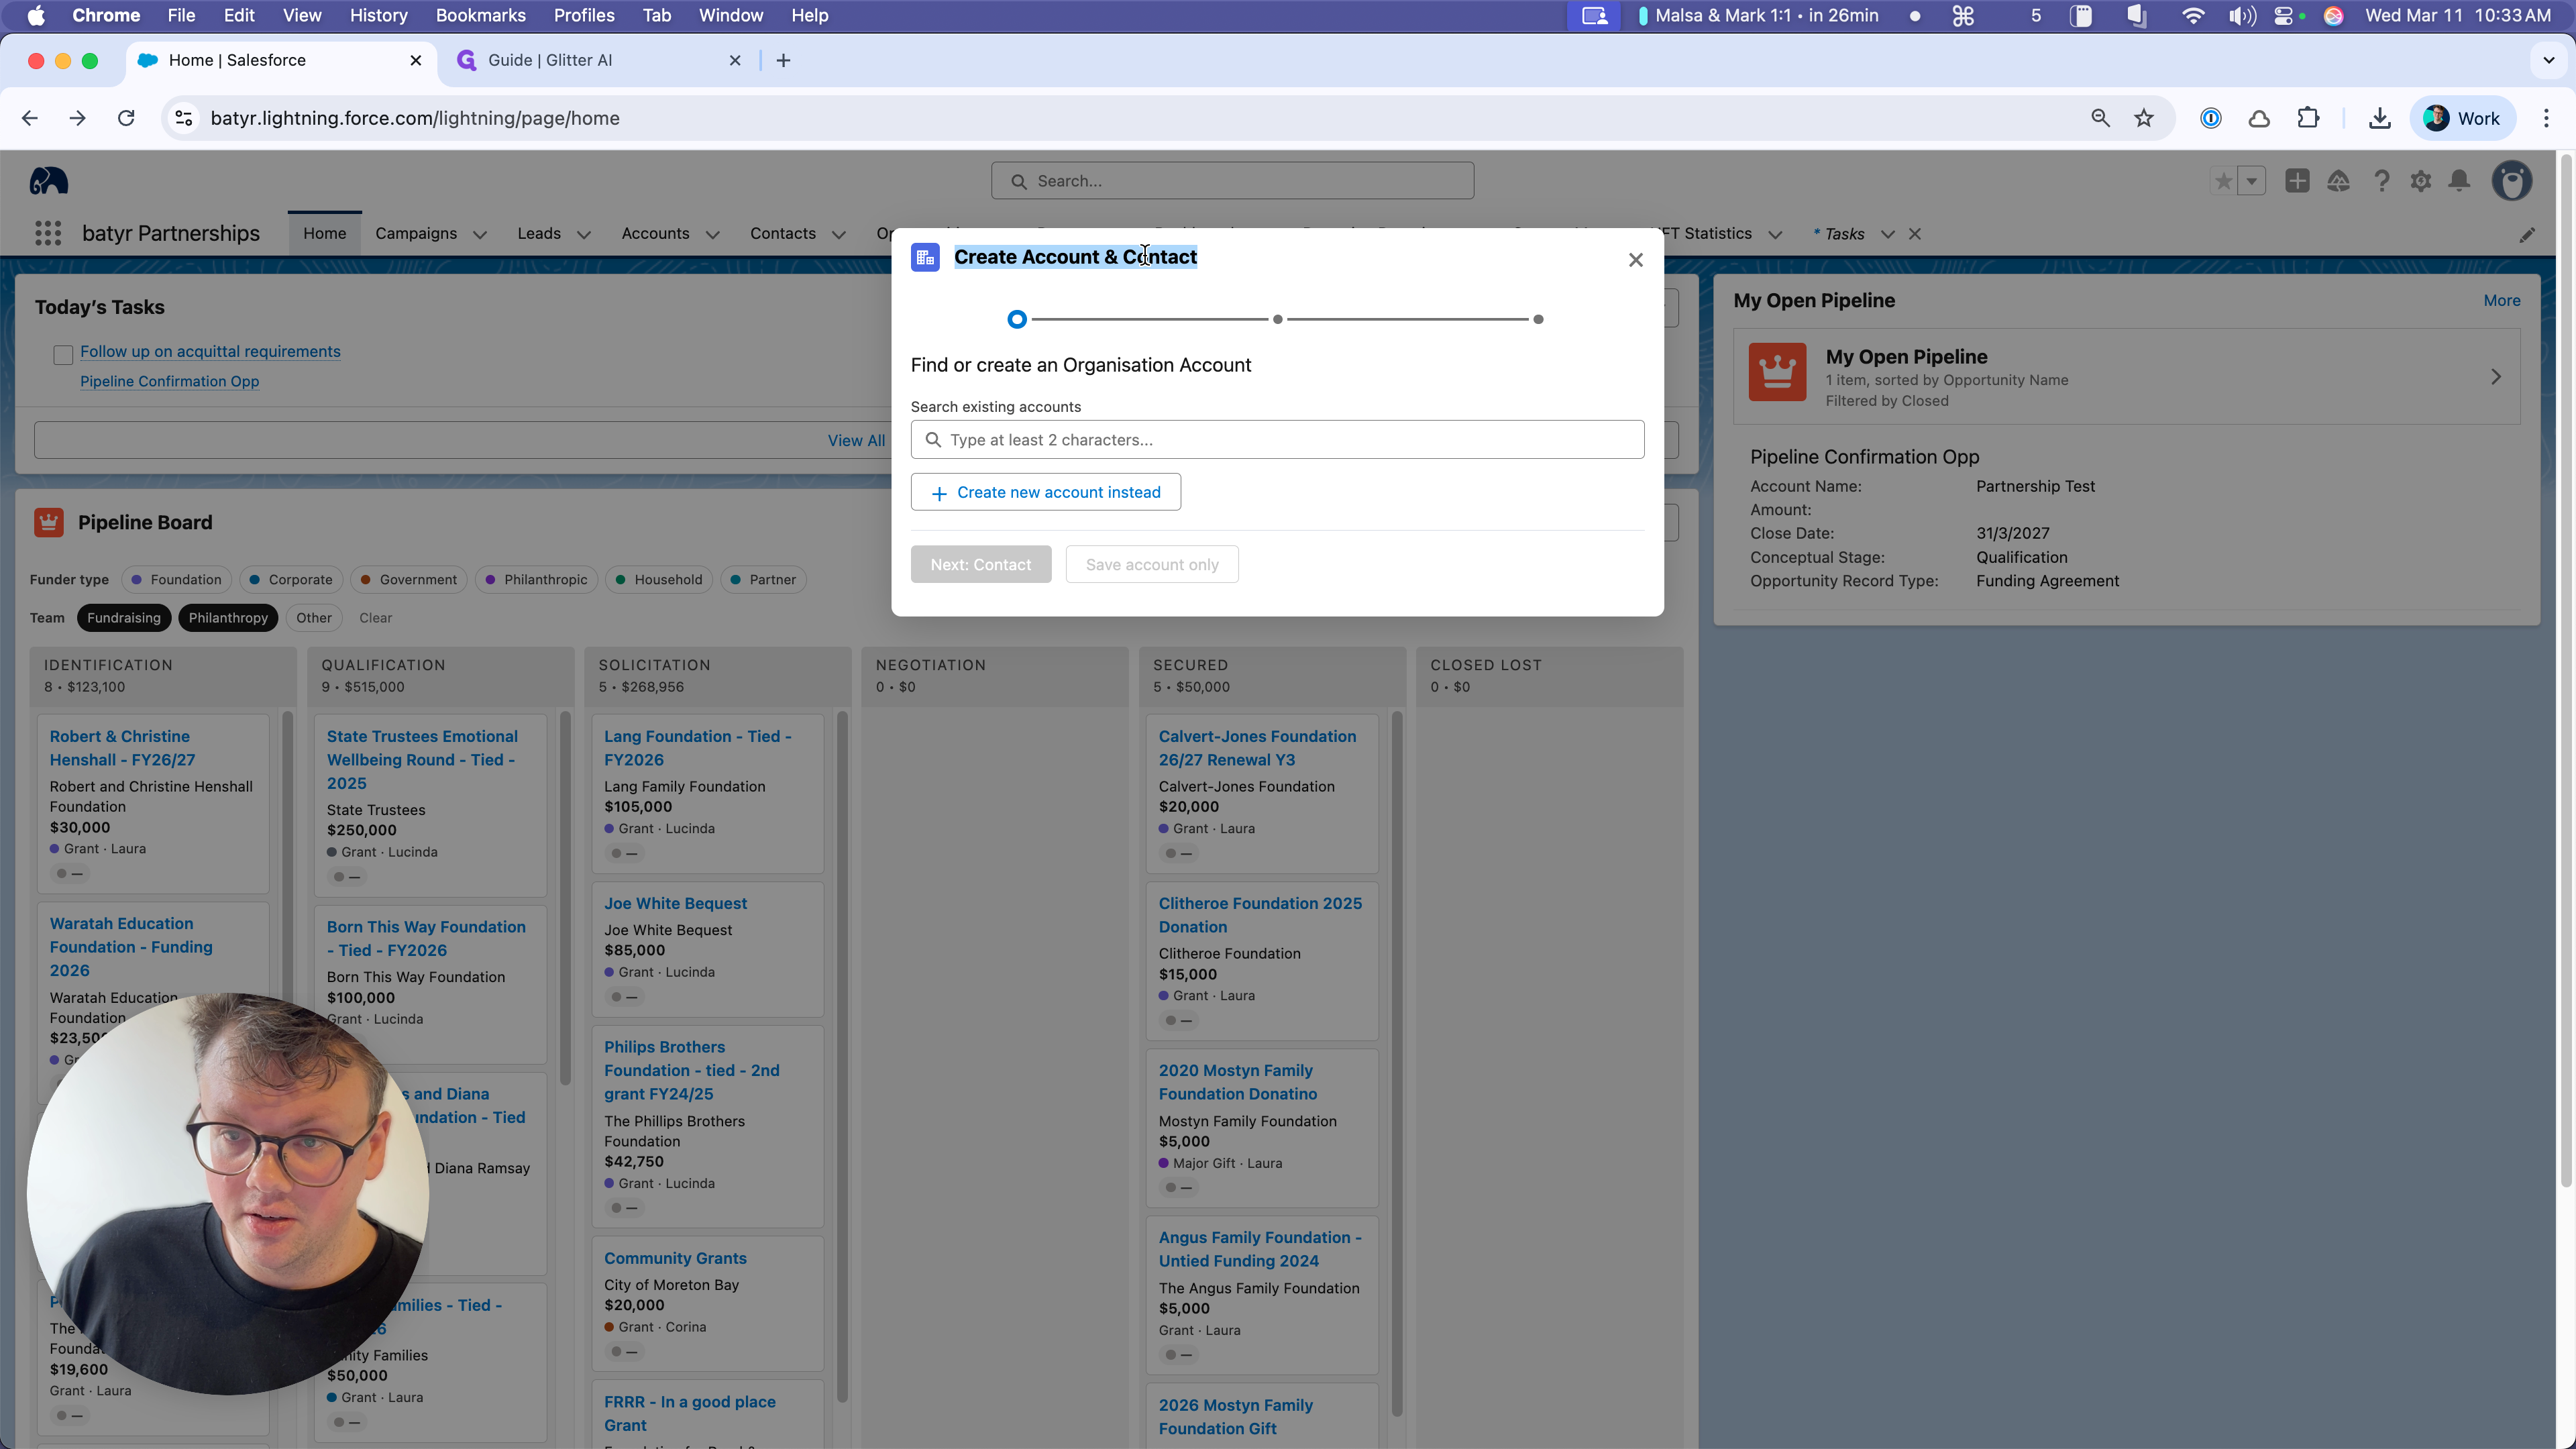
First, there is a Create Account and Contact Flow. I have a separate, clear guide on this.
GUIDE LINK TO BE ADDED ONCE UPLOADED TO CONFLUENCE.
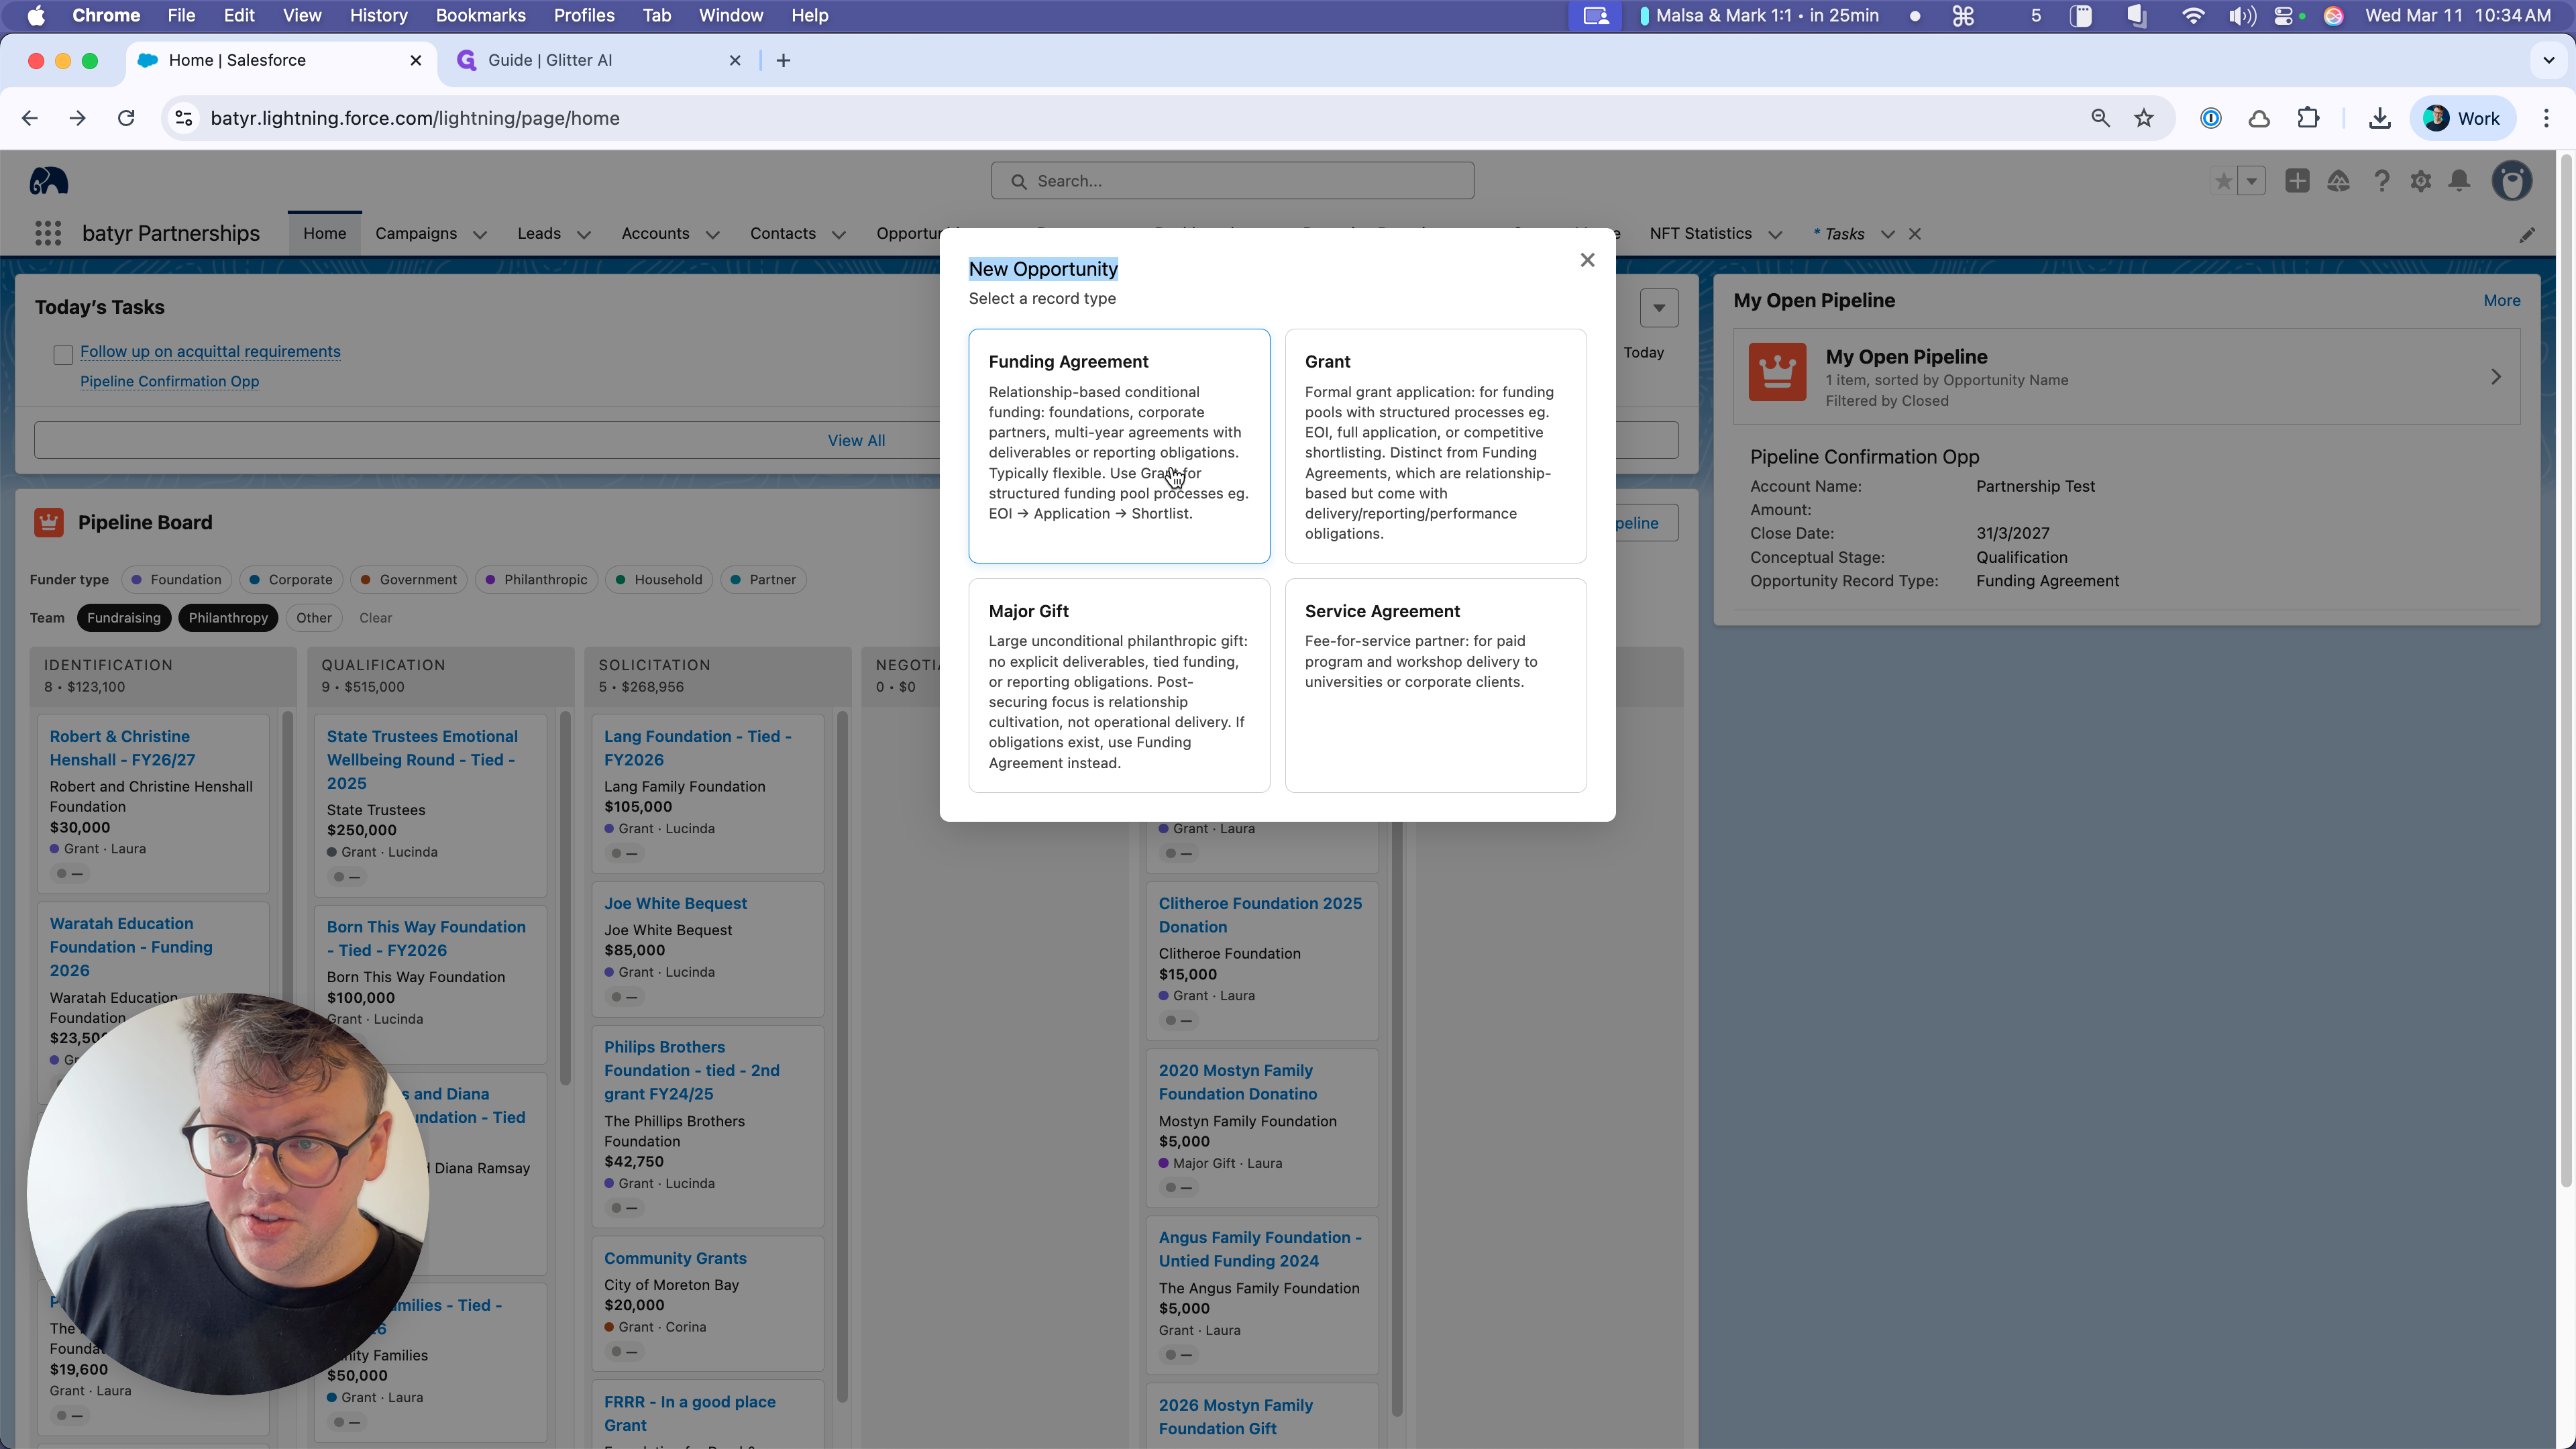
And the second is our "Create Opportunity" flow, which is different to what you'll see if you go to Opportunities > New

This option, Add Opportunity, is a custom opportunity creation flow that focuses specifically on new modern pipeline opportunities.
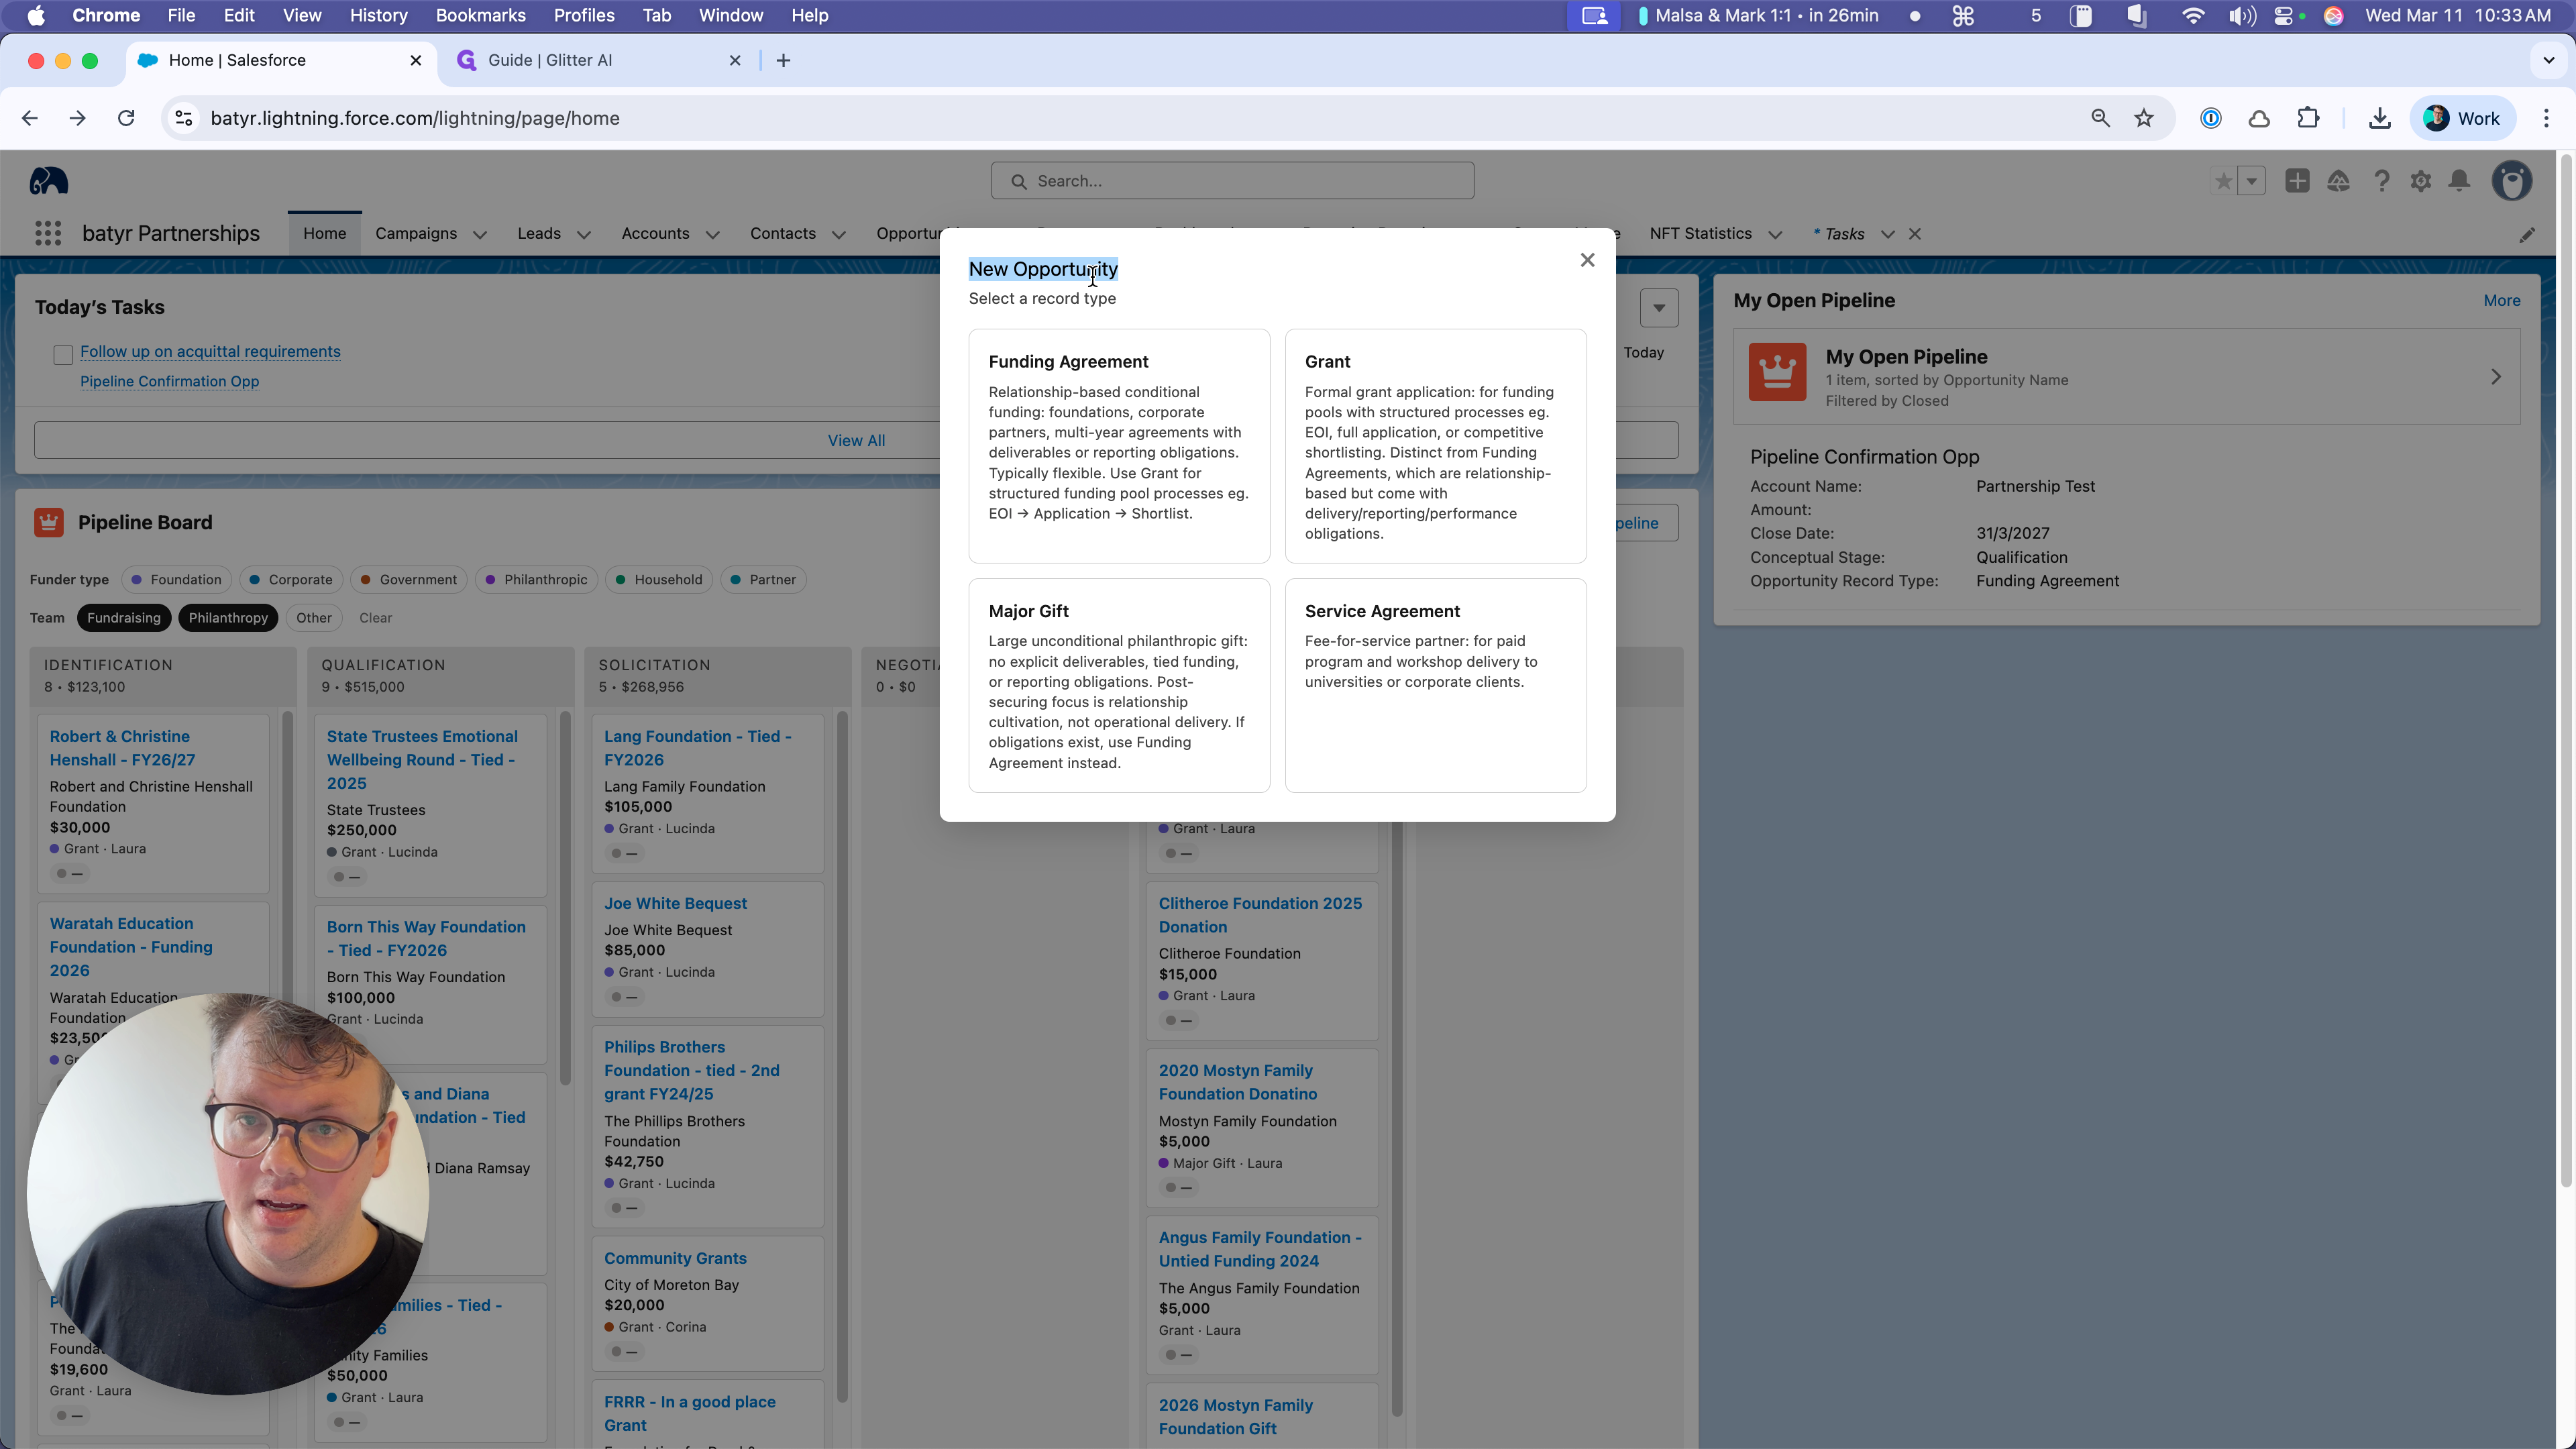
We have some descriptions here to help you decide which one to use. After that, it selects the most important information for you to include to create the new opportunity.
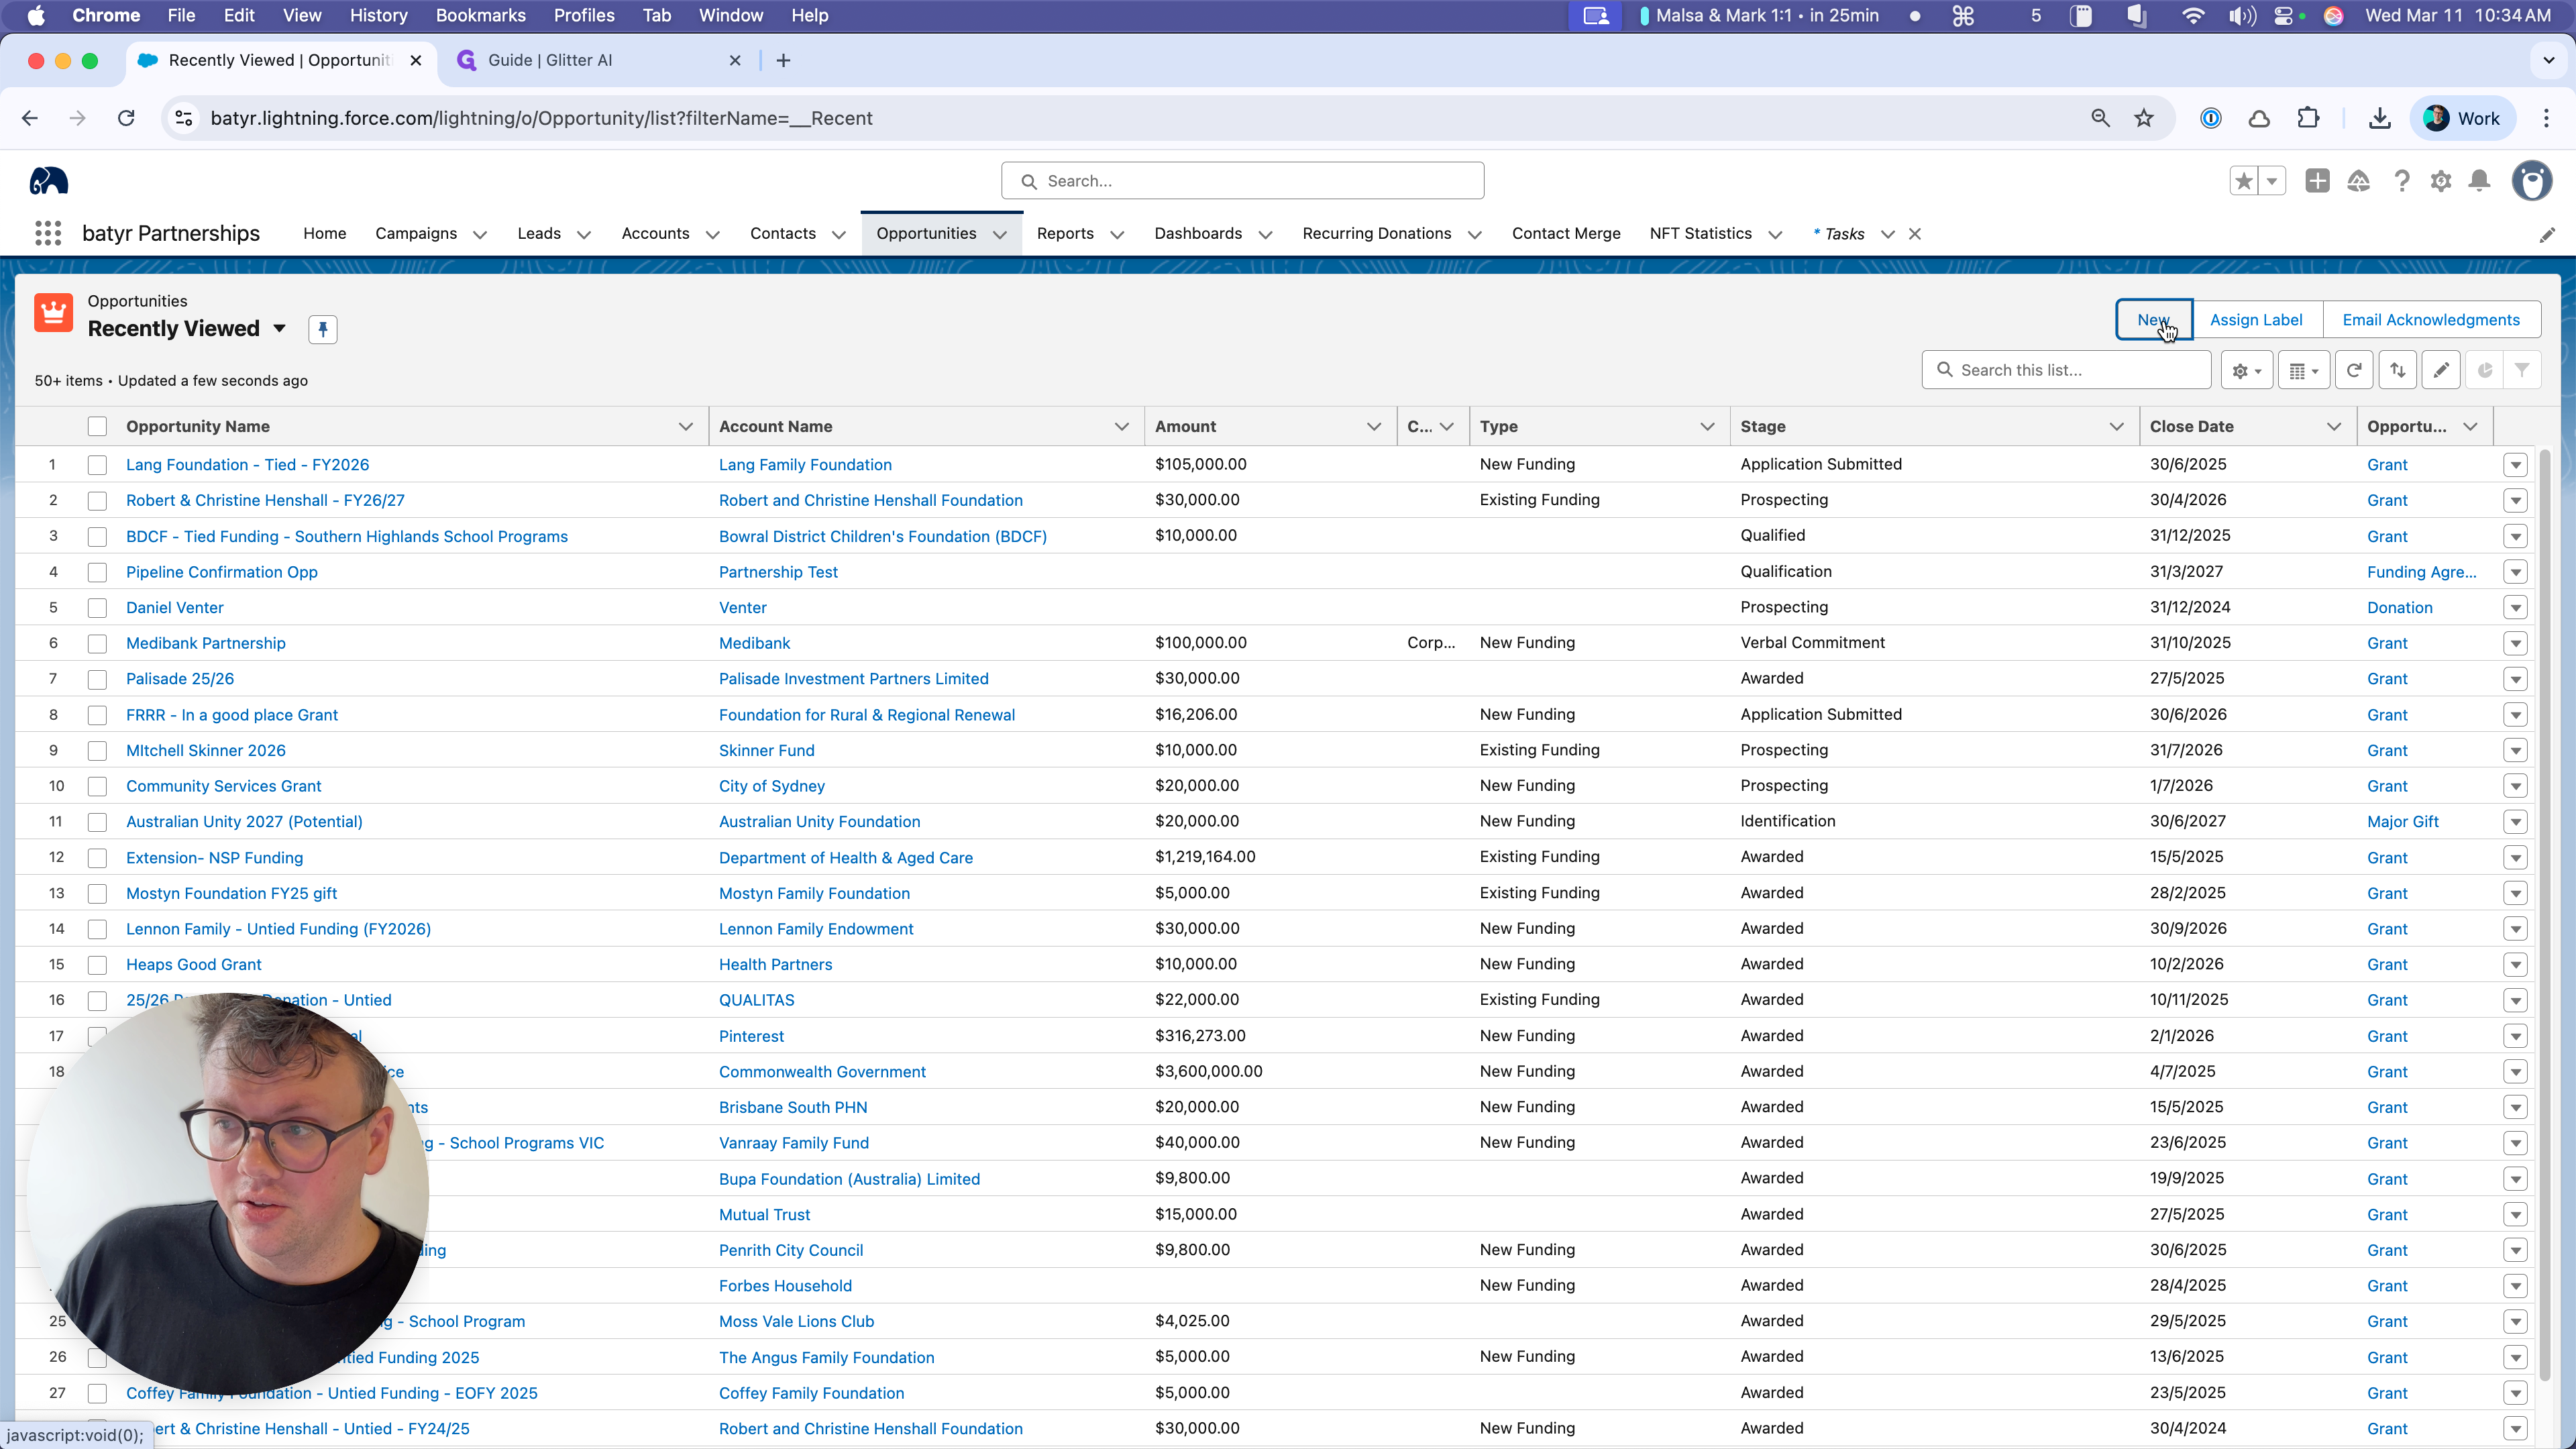
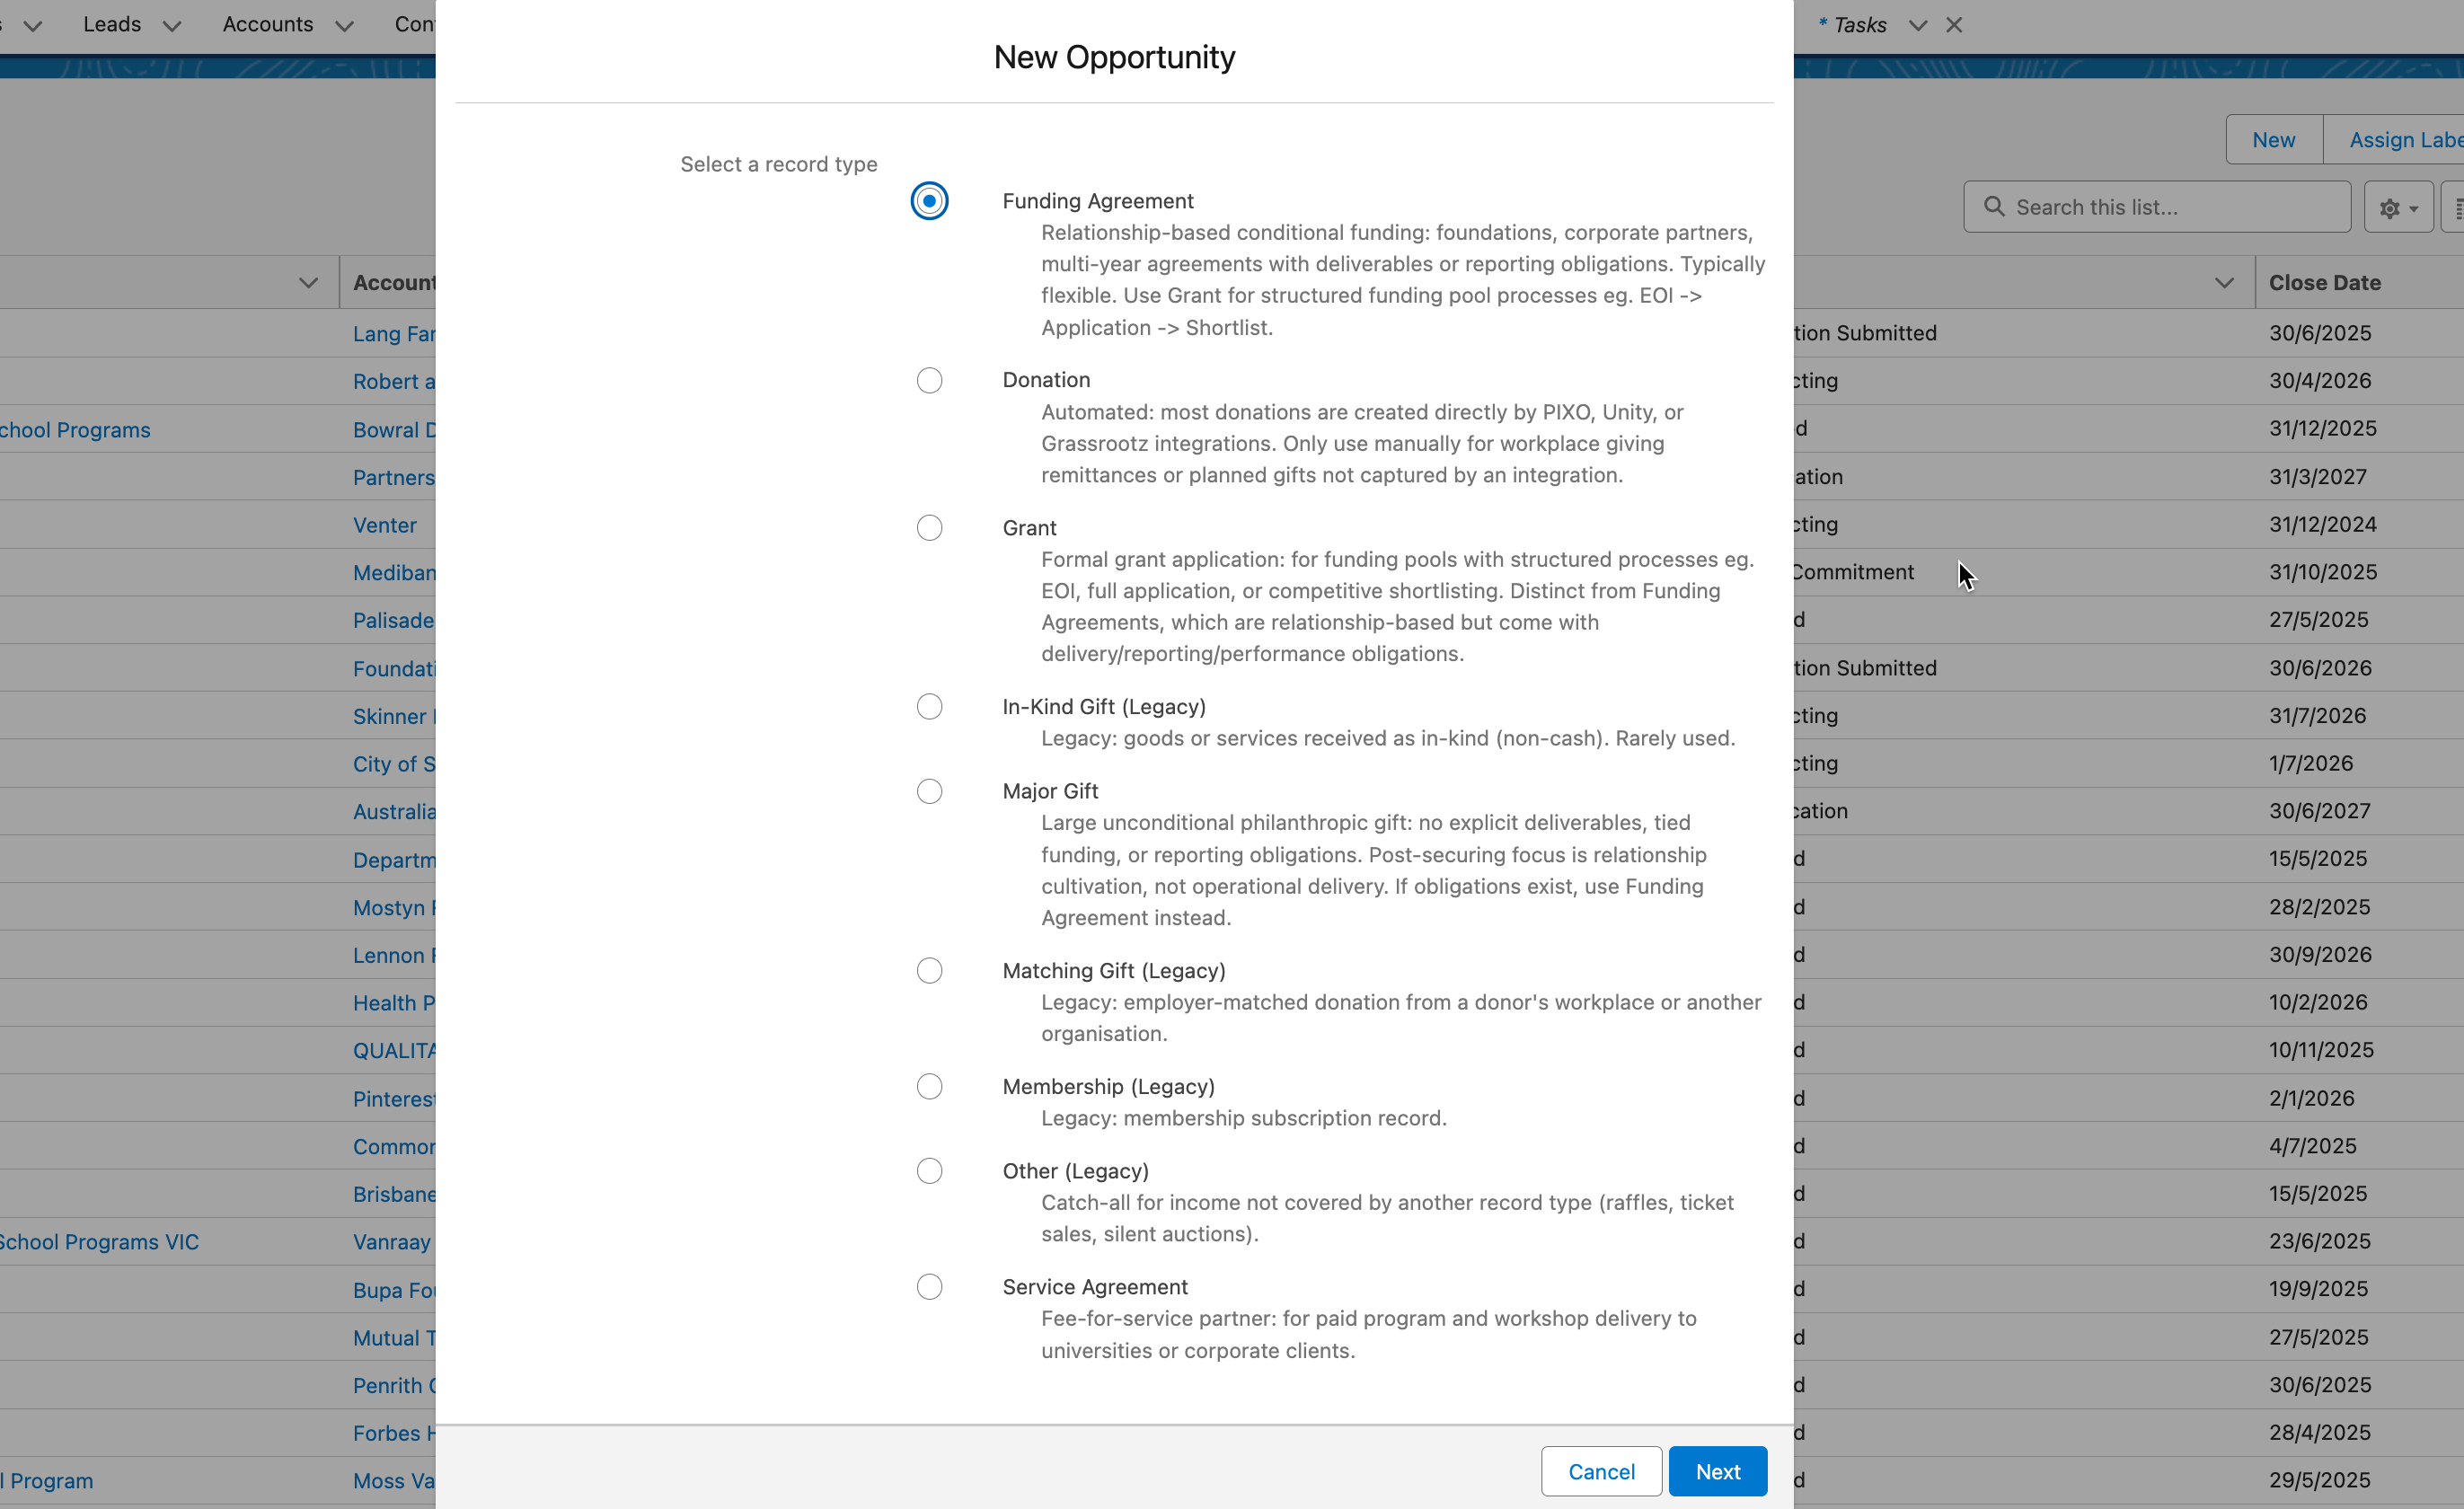
If you want to create an older opportunity type, you can still access them via the Opportunities menu:

That concludes our summary of the Pipeline Board!