
Introduction to Todoist: A Comprehensive Guide
Explore the basics of Todoist, a versatile task management tool, in this introductory guide. Learn about its functionalities, including task categorization, natural language recognition, and project management.
In this guide, we'll learn how to navigate Todoist, a versatile task management tool used for organizing tasks and facilitating communication. Todoist is accessible as a web application, a desktop application for various operating systems, a mobile app for Android and iPhone, and a browser extension. This overview will introduce you to the desktop application, focusing on its key features like the inbox, task categorization, and project management. Understanding these basics will help you efficiently manage tasks and collaborate with your team.
Let's get started
Greetings! Welcome to the introduction of our series of guides on using Todoist. 👋
This will be a brief overview. There will be individual guides covering various functionalities of this program. What is Todoist? It is the task management software we are using. It's also a way to communicate with each other while working. Additionally, it is a website accessible through any web browser. You can also download it as a desktop application for any operating system.
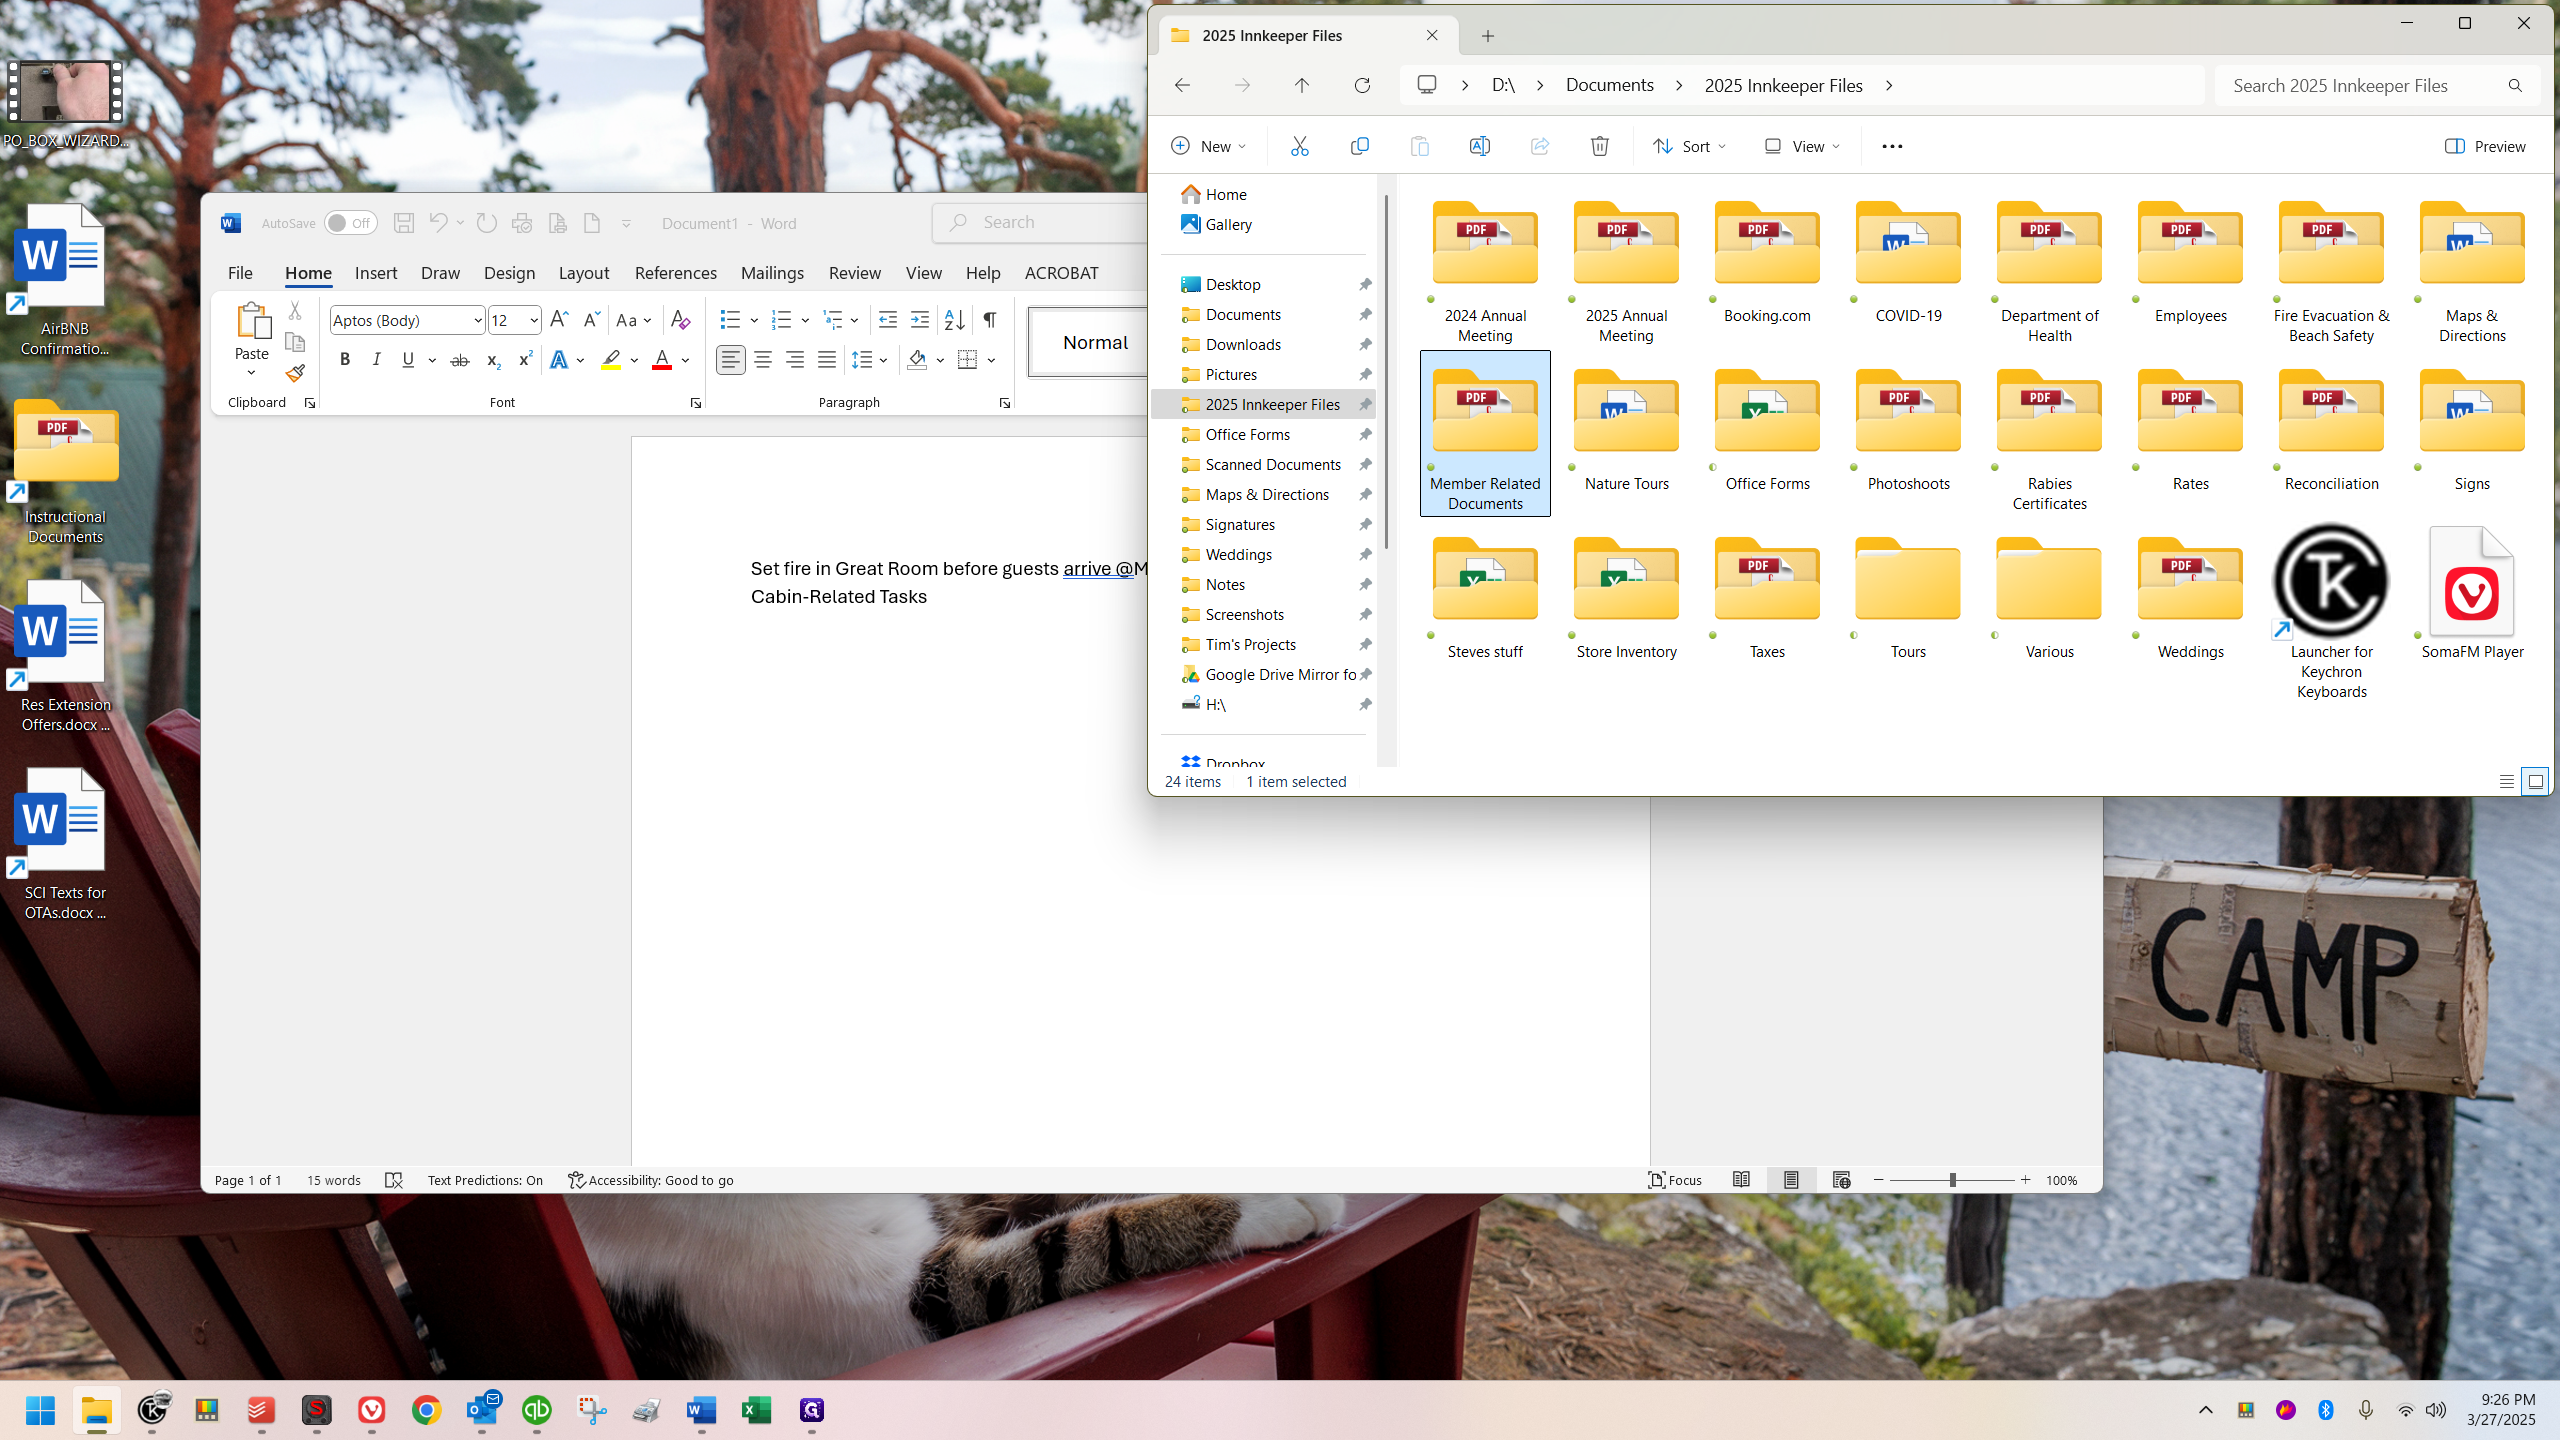
It is a mobile application available for both Android and iPhone. It also functions as a web browser extension, similar to Bitwarden. I'll open the desktop application now. It's the red icon on our taskbar.
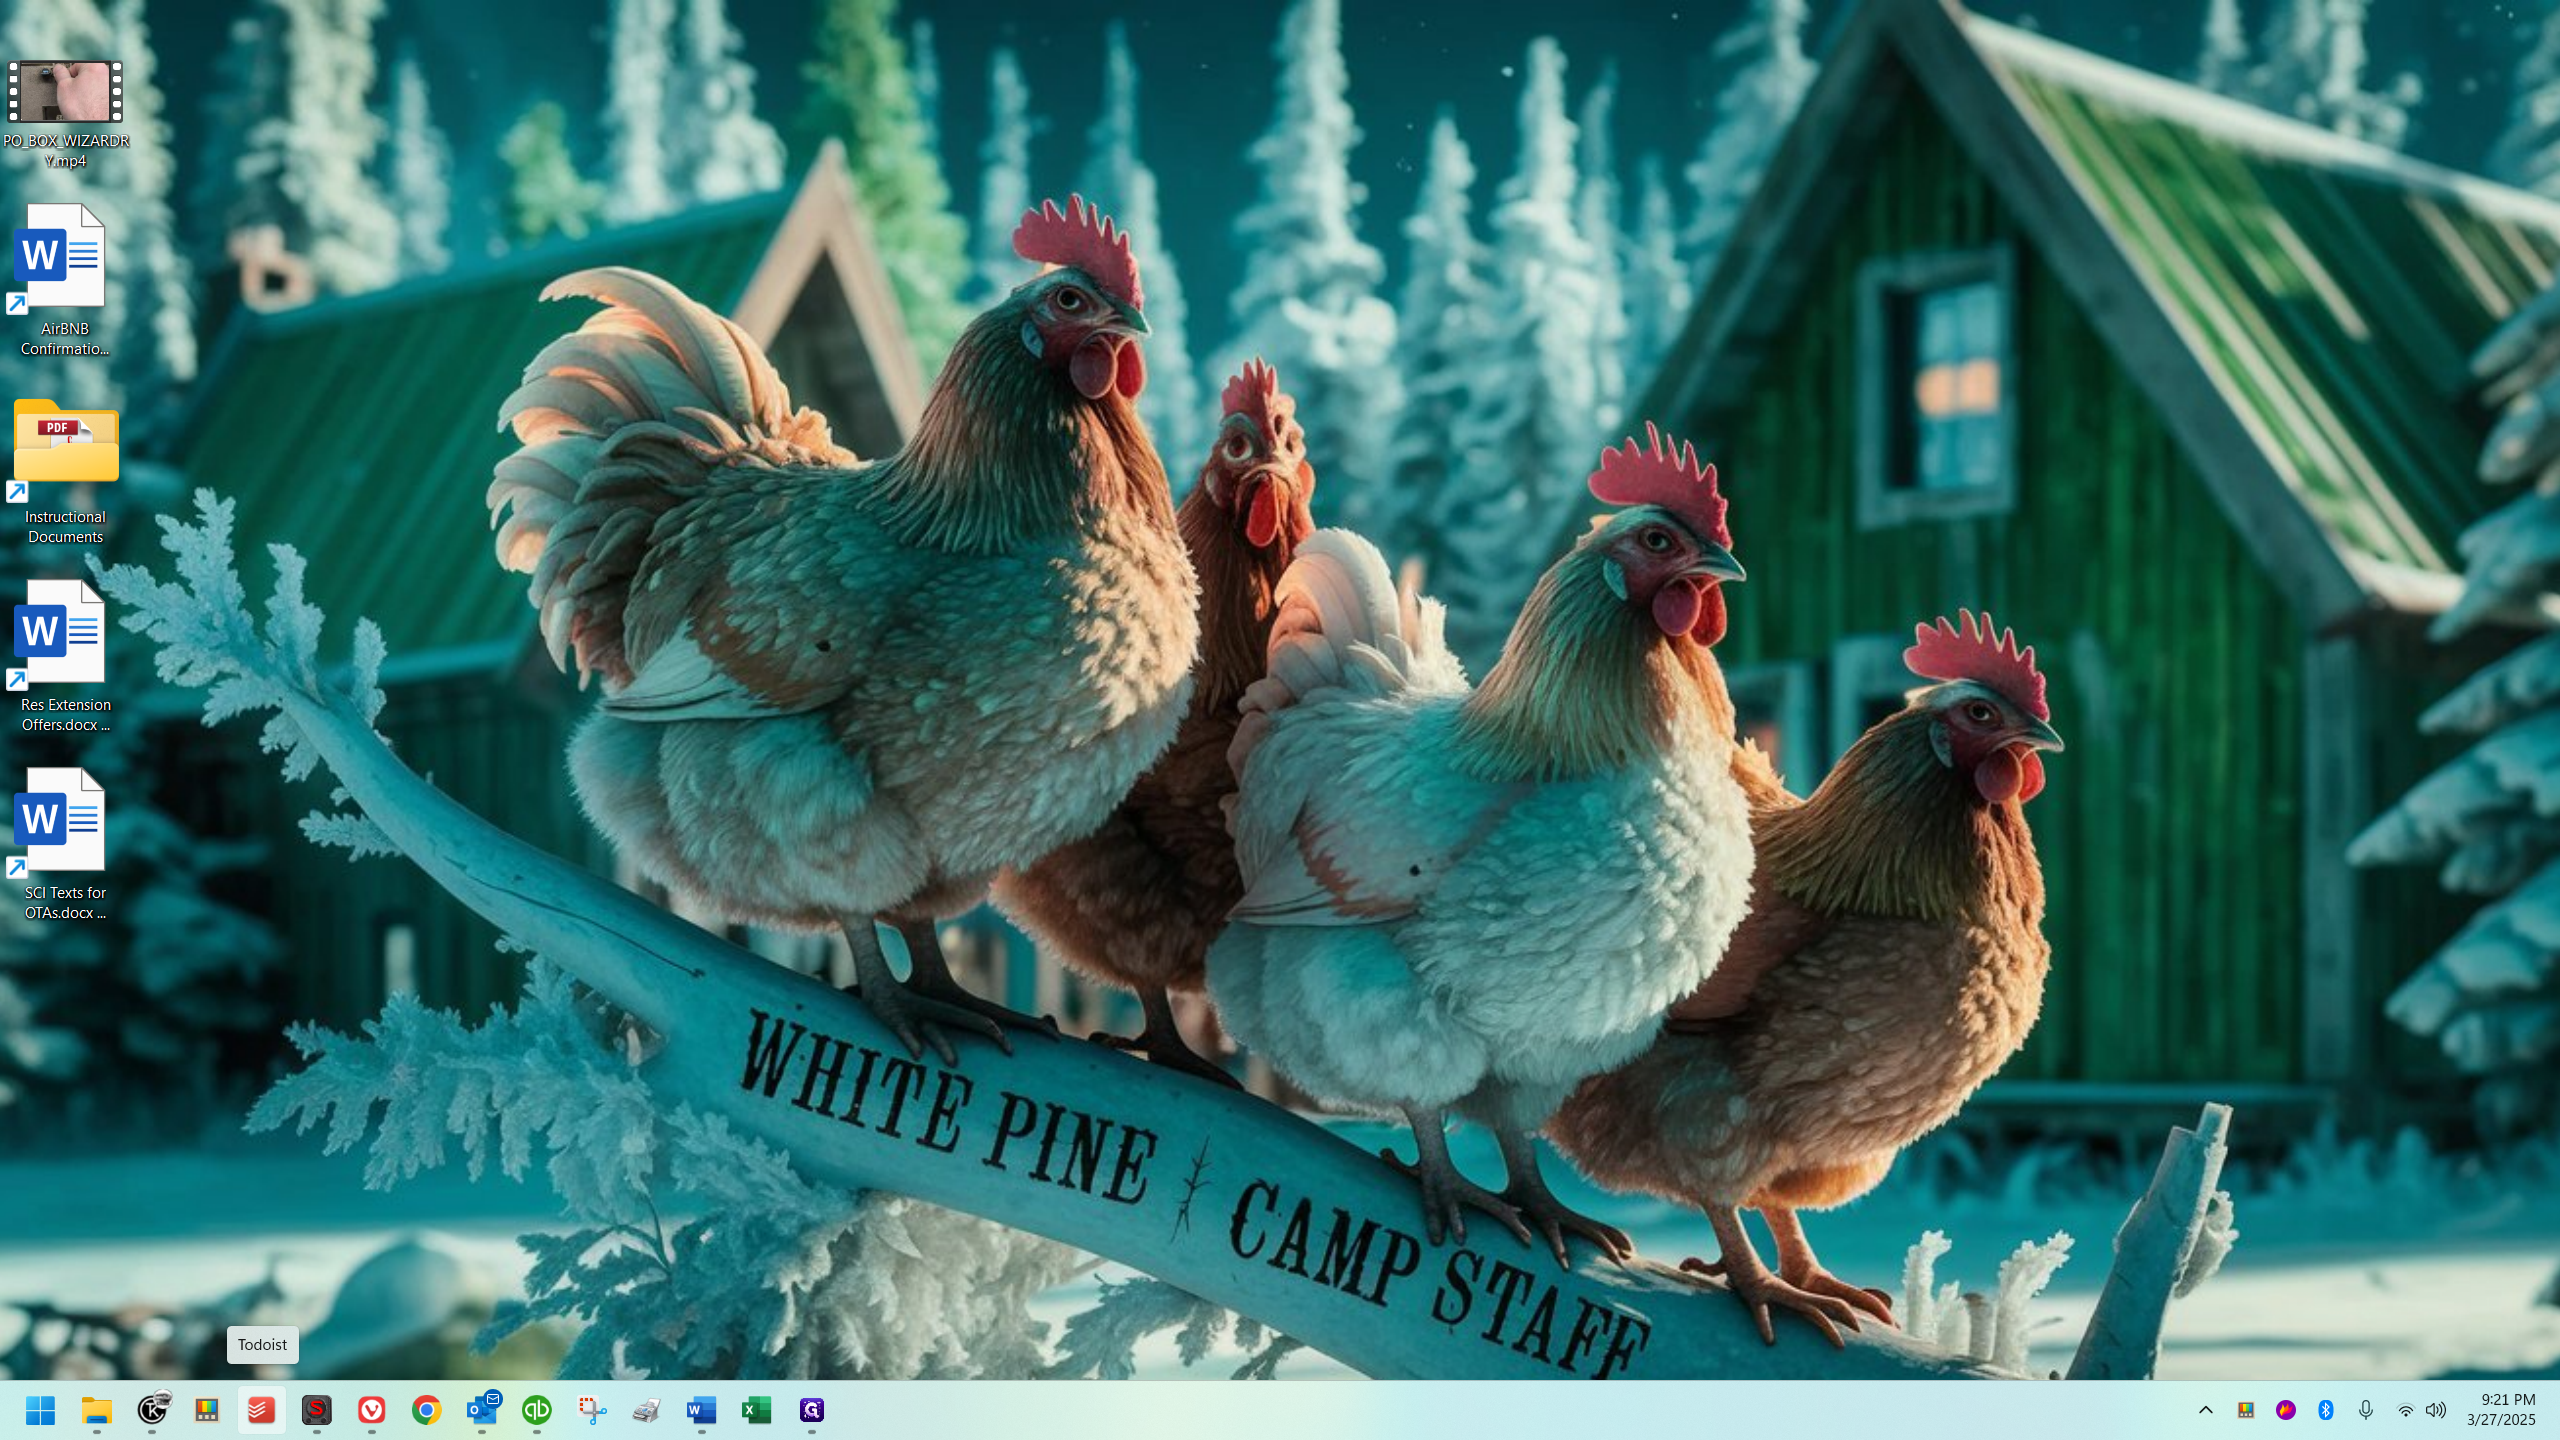
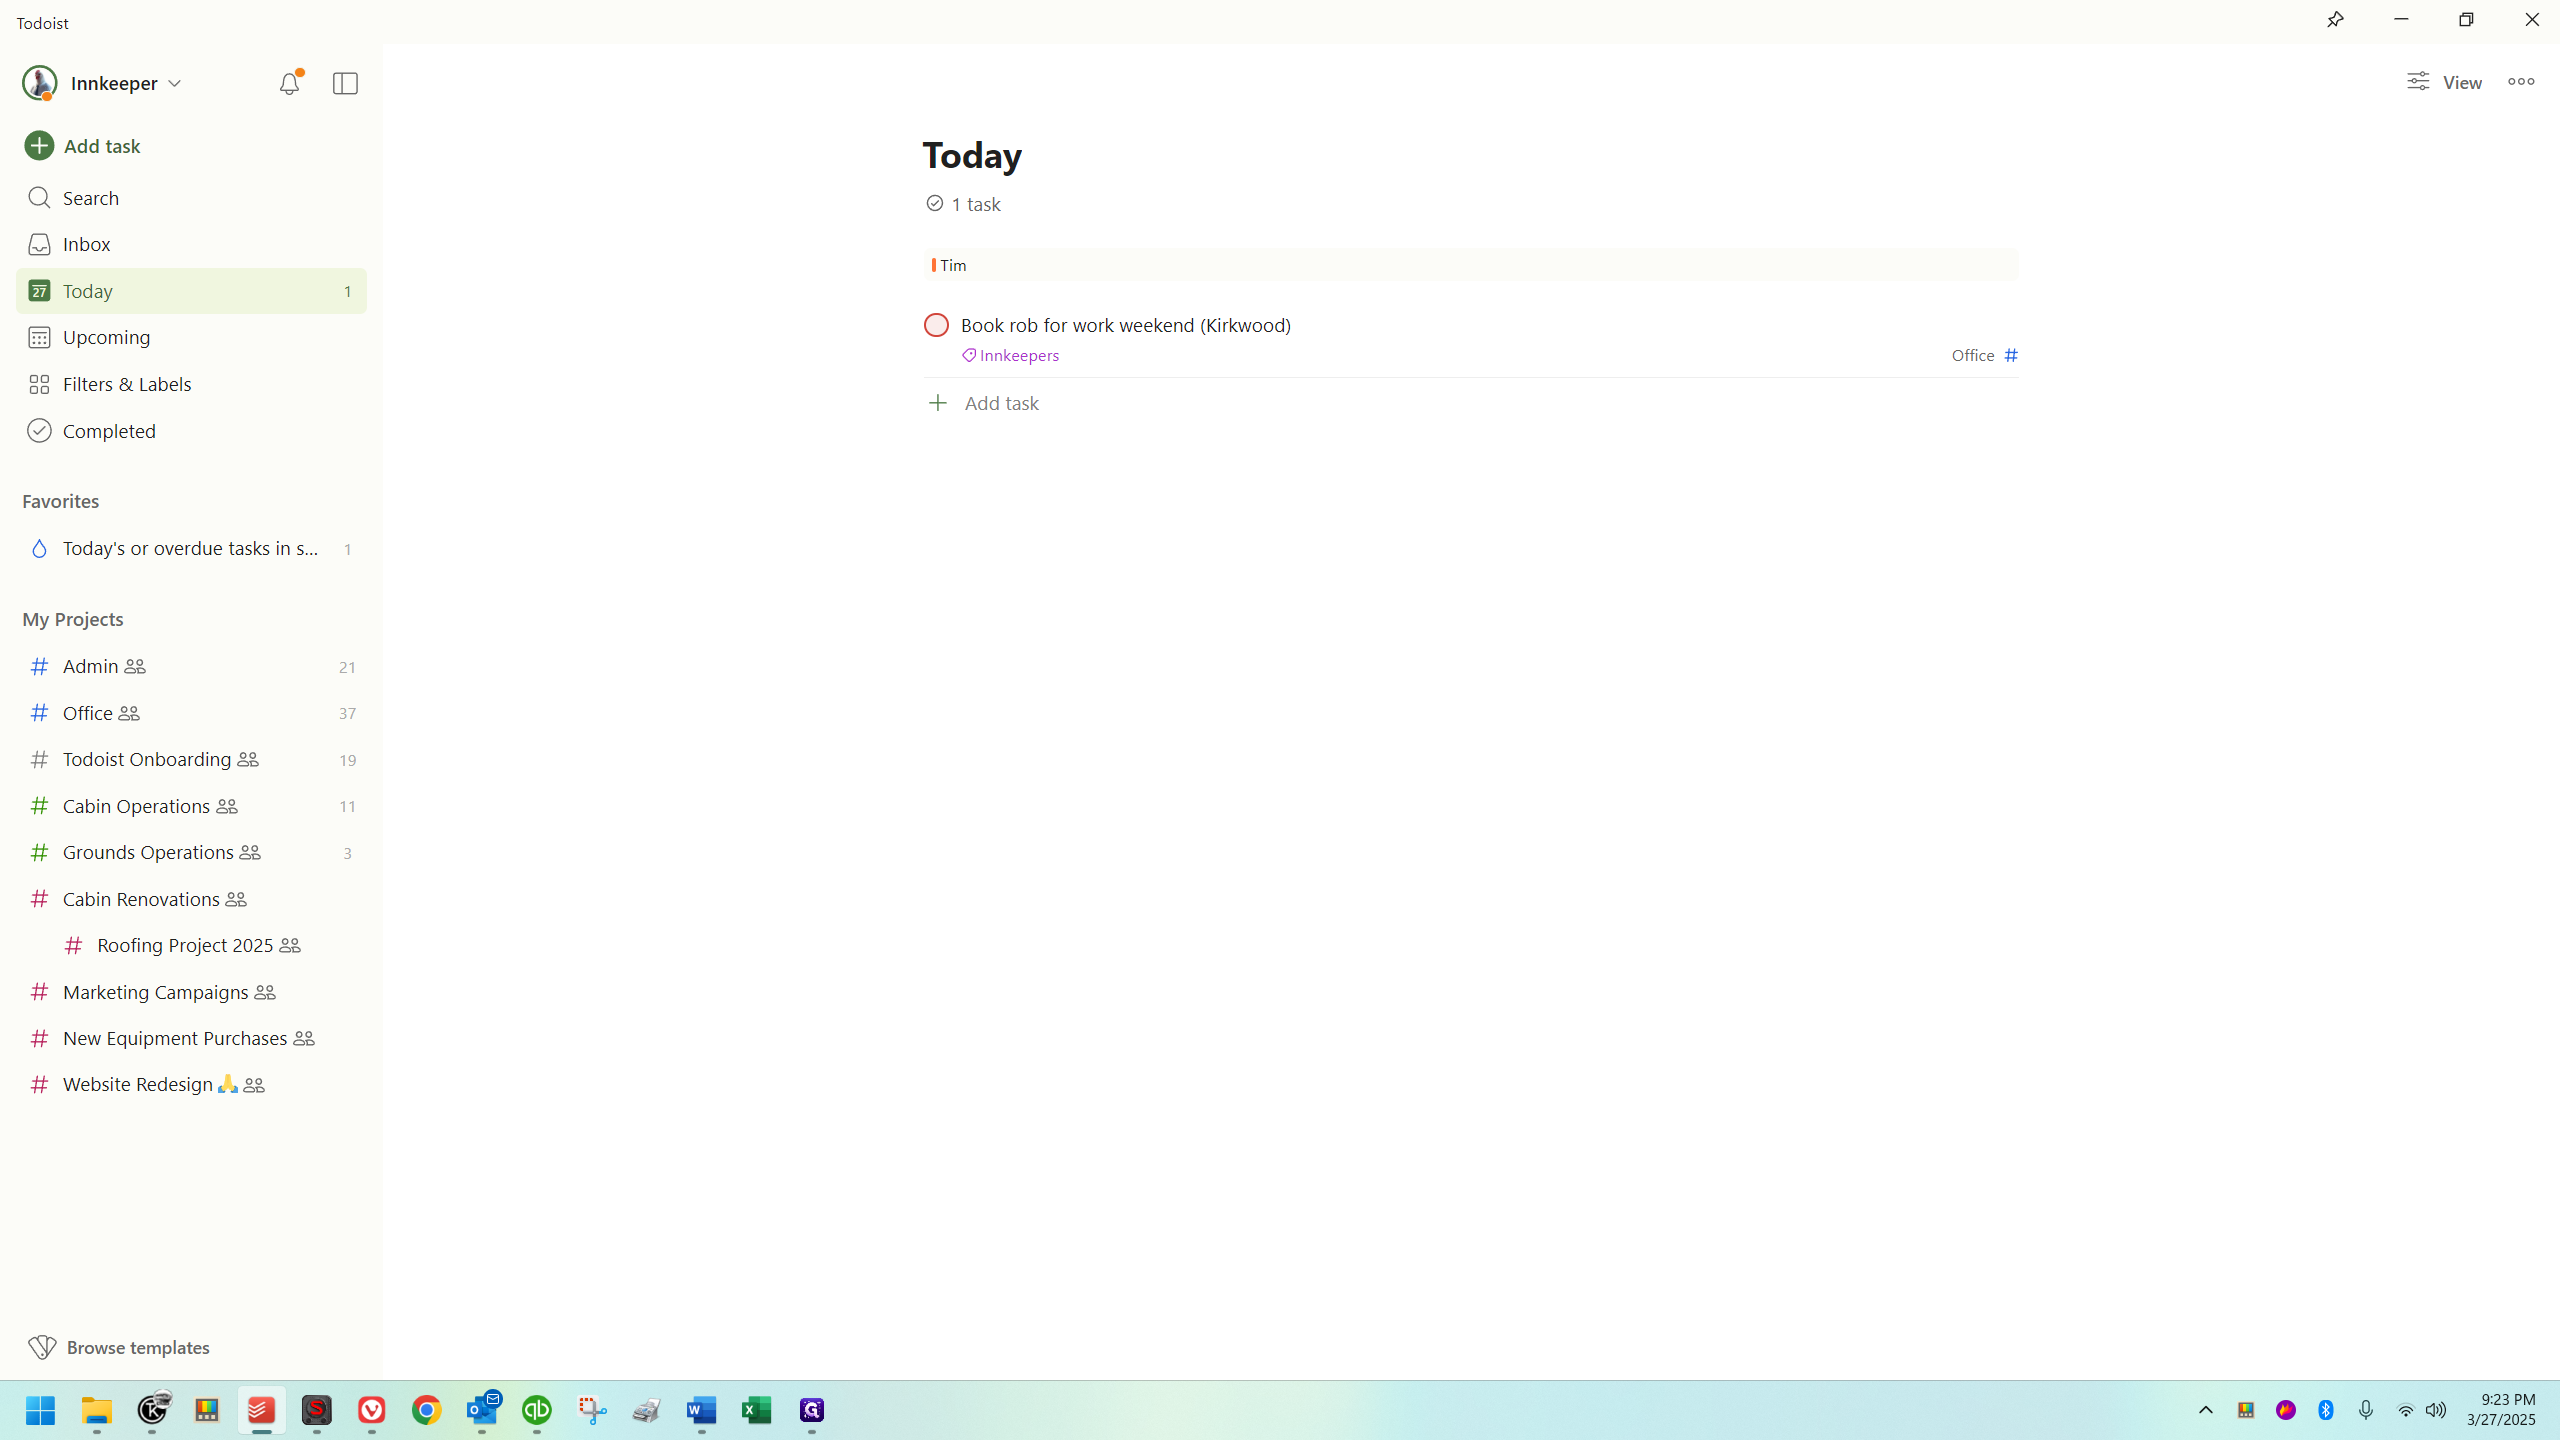
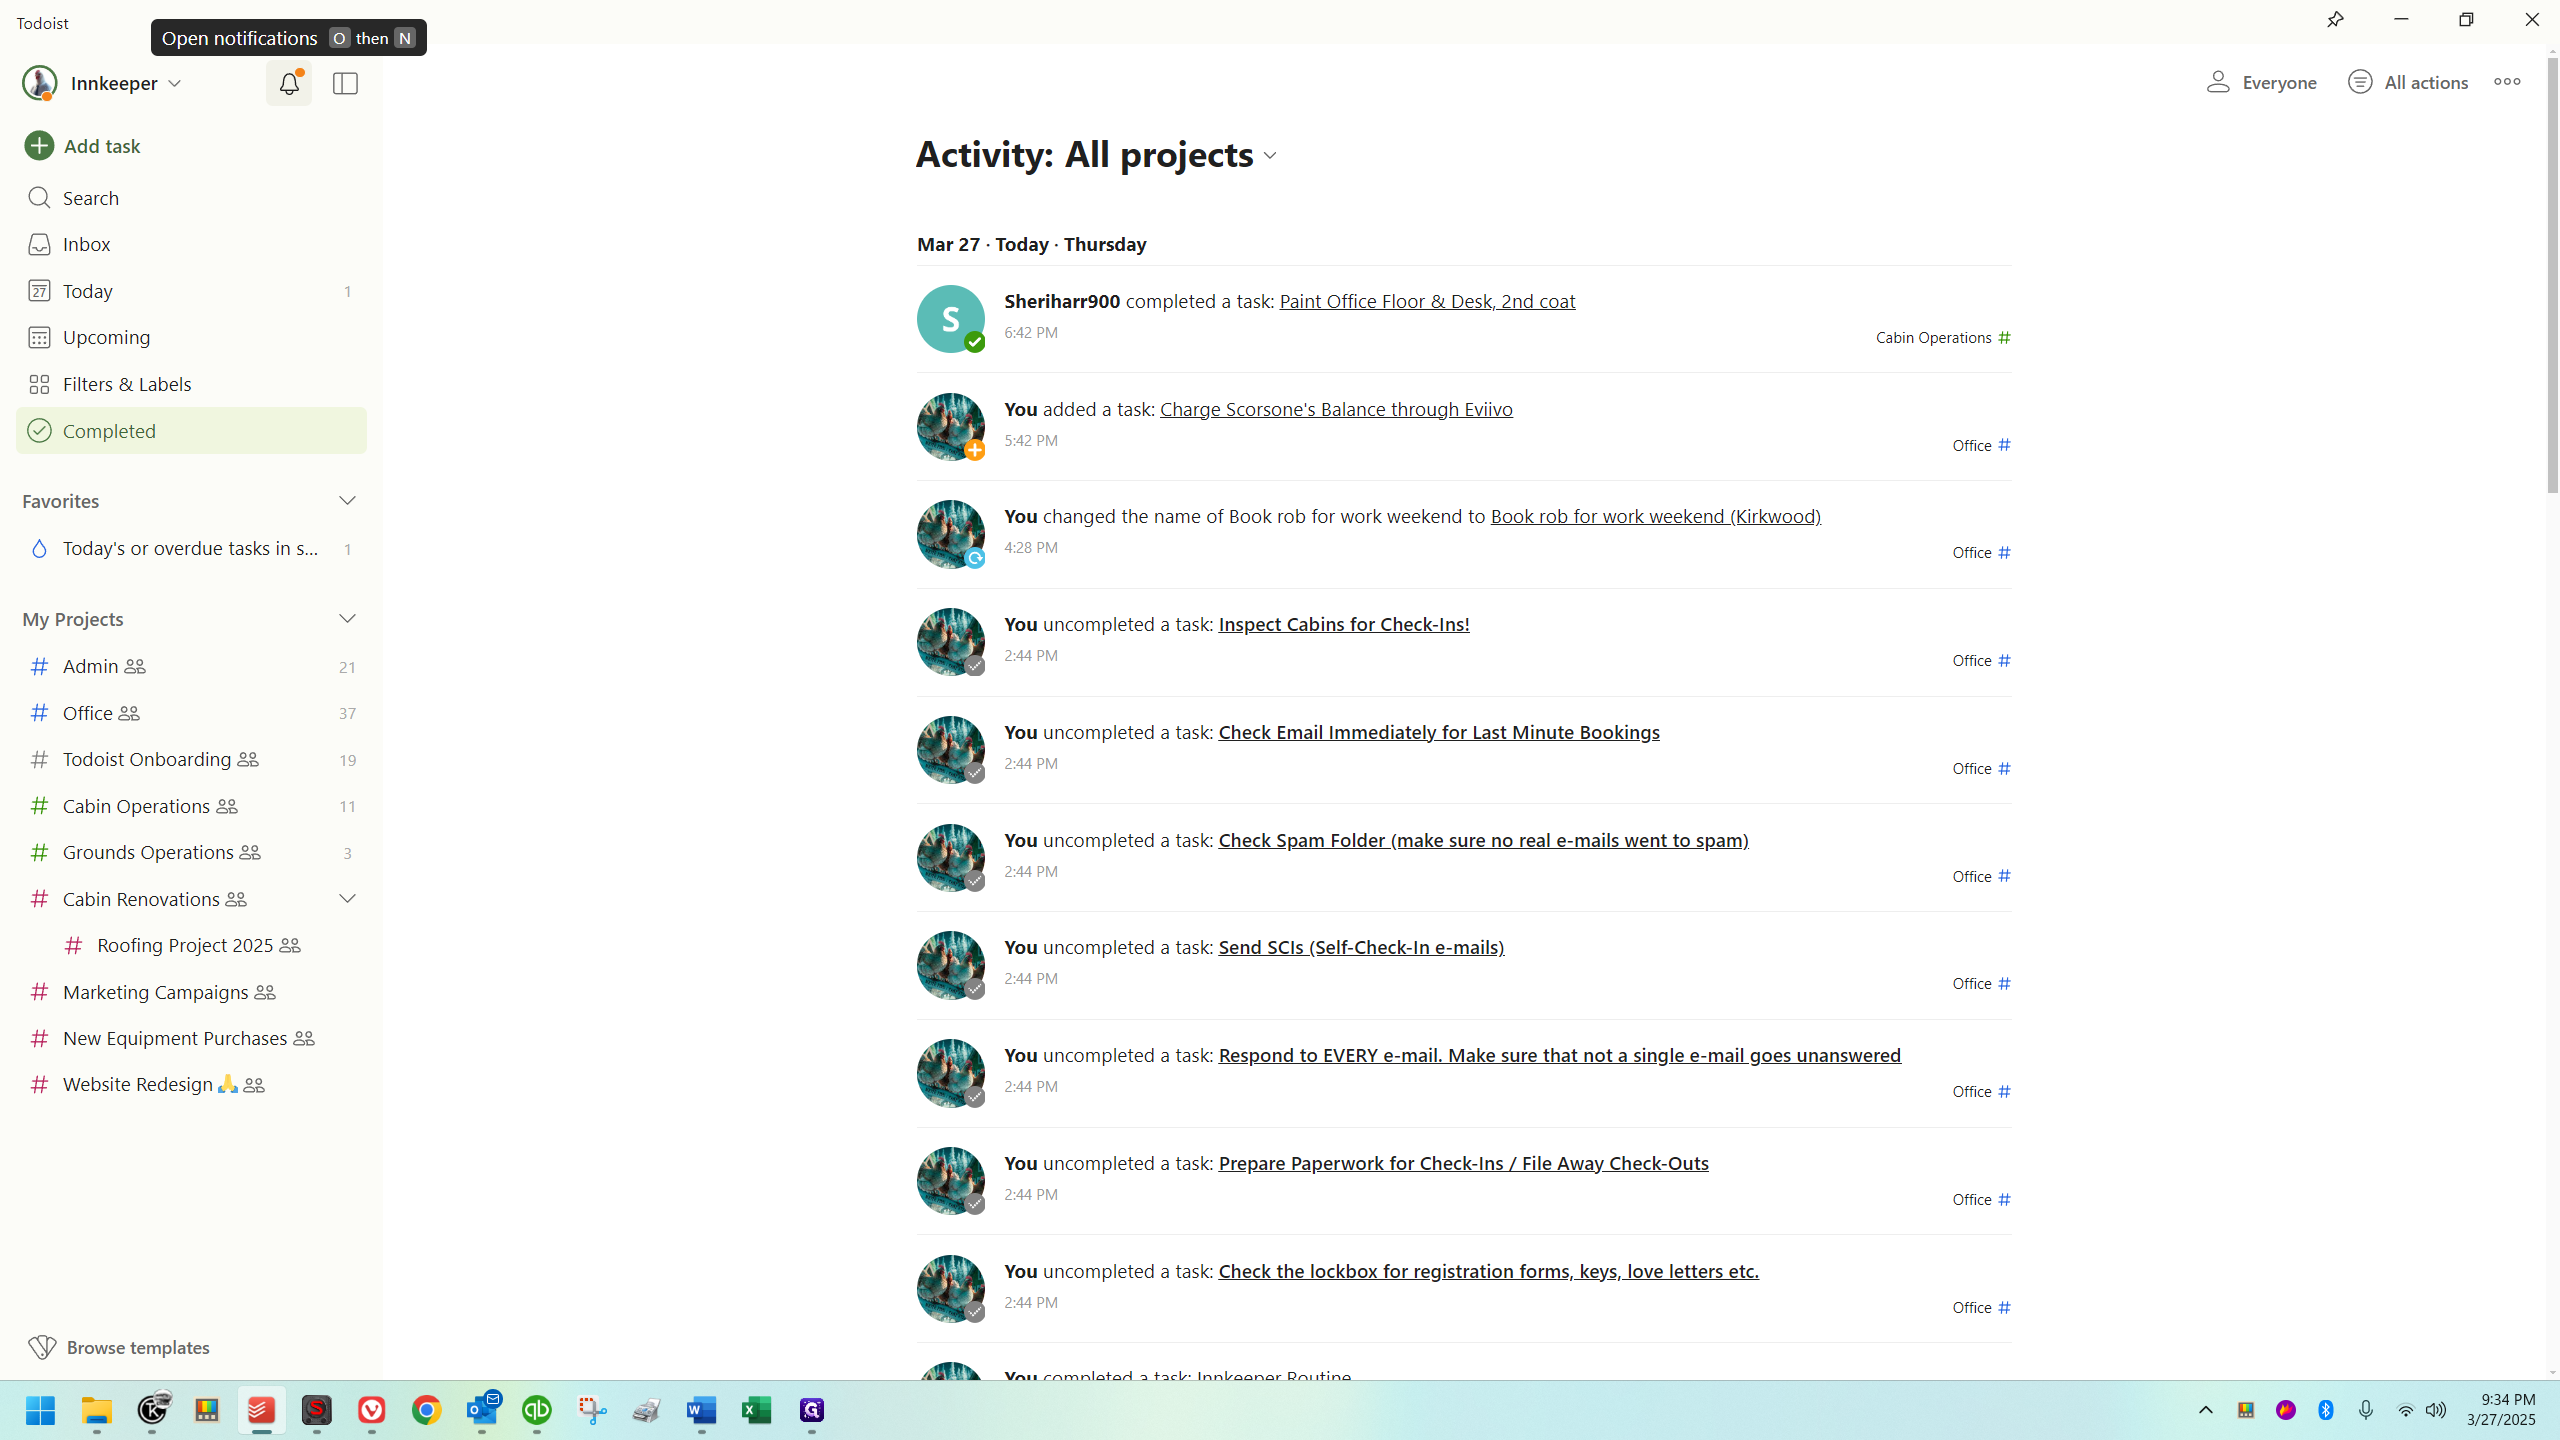
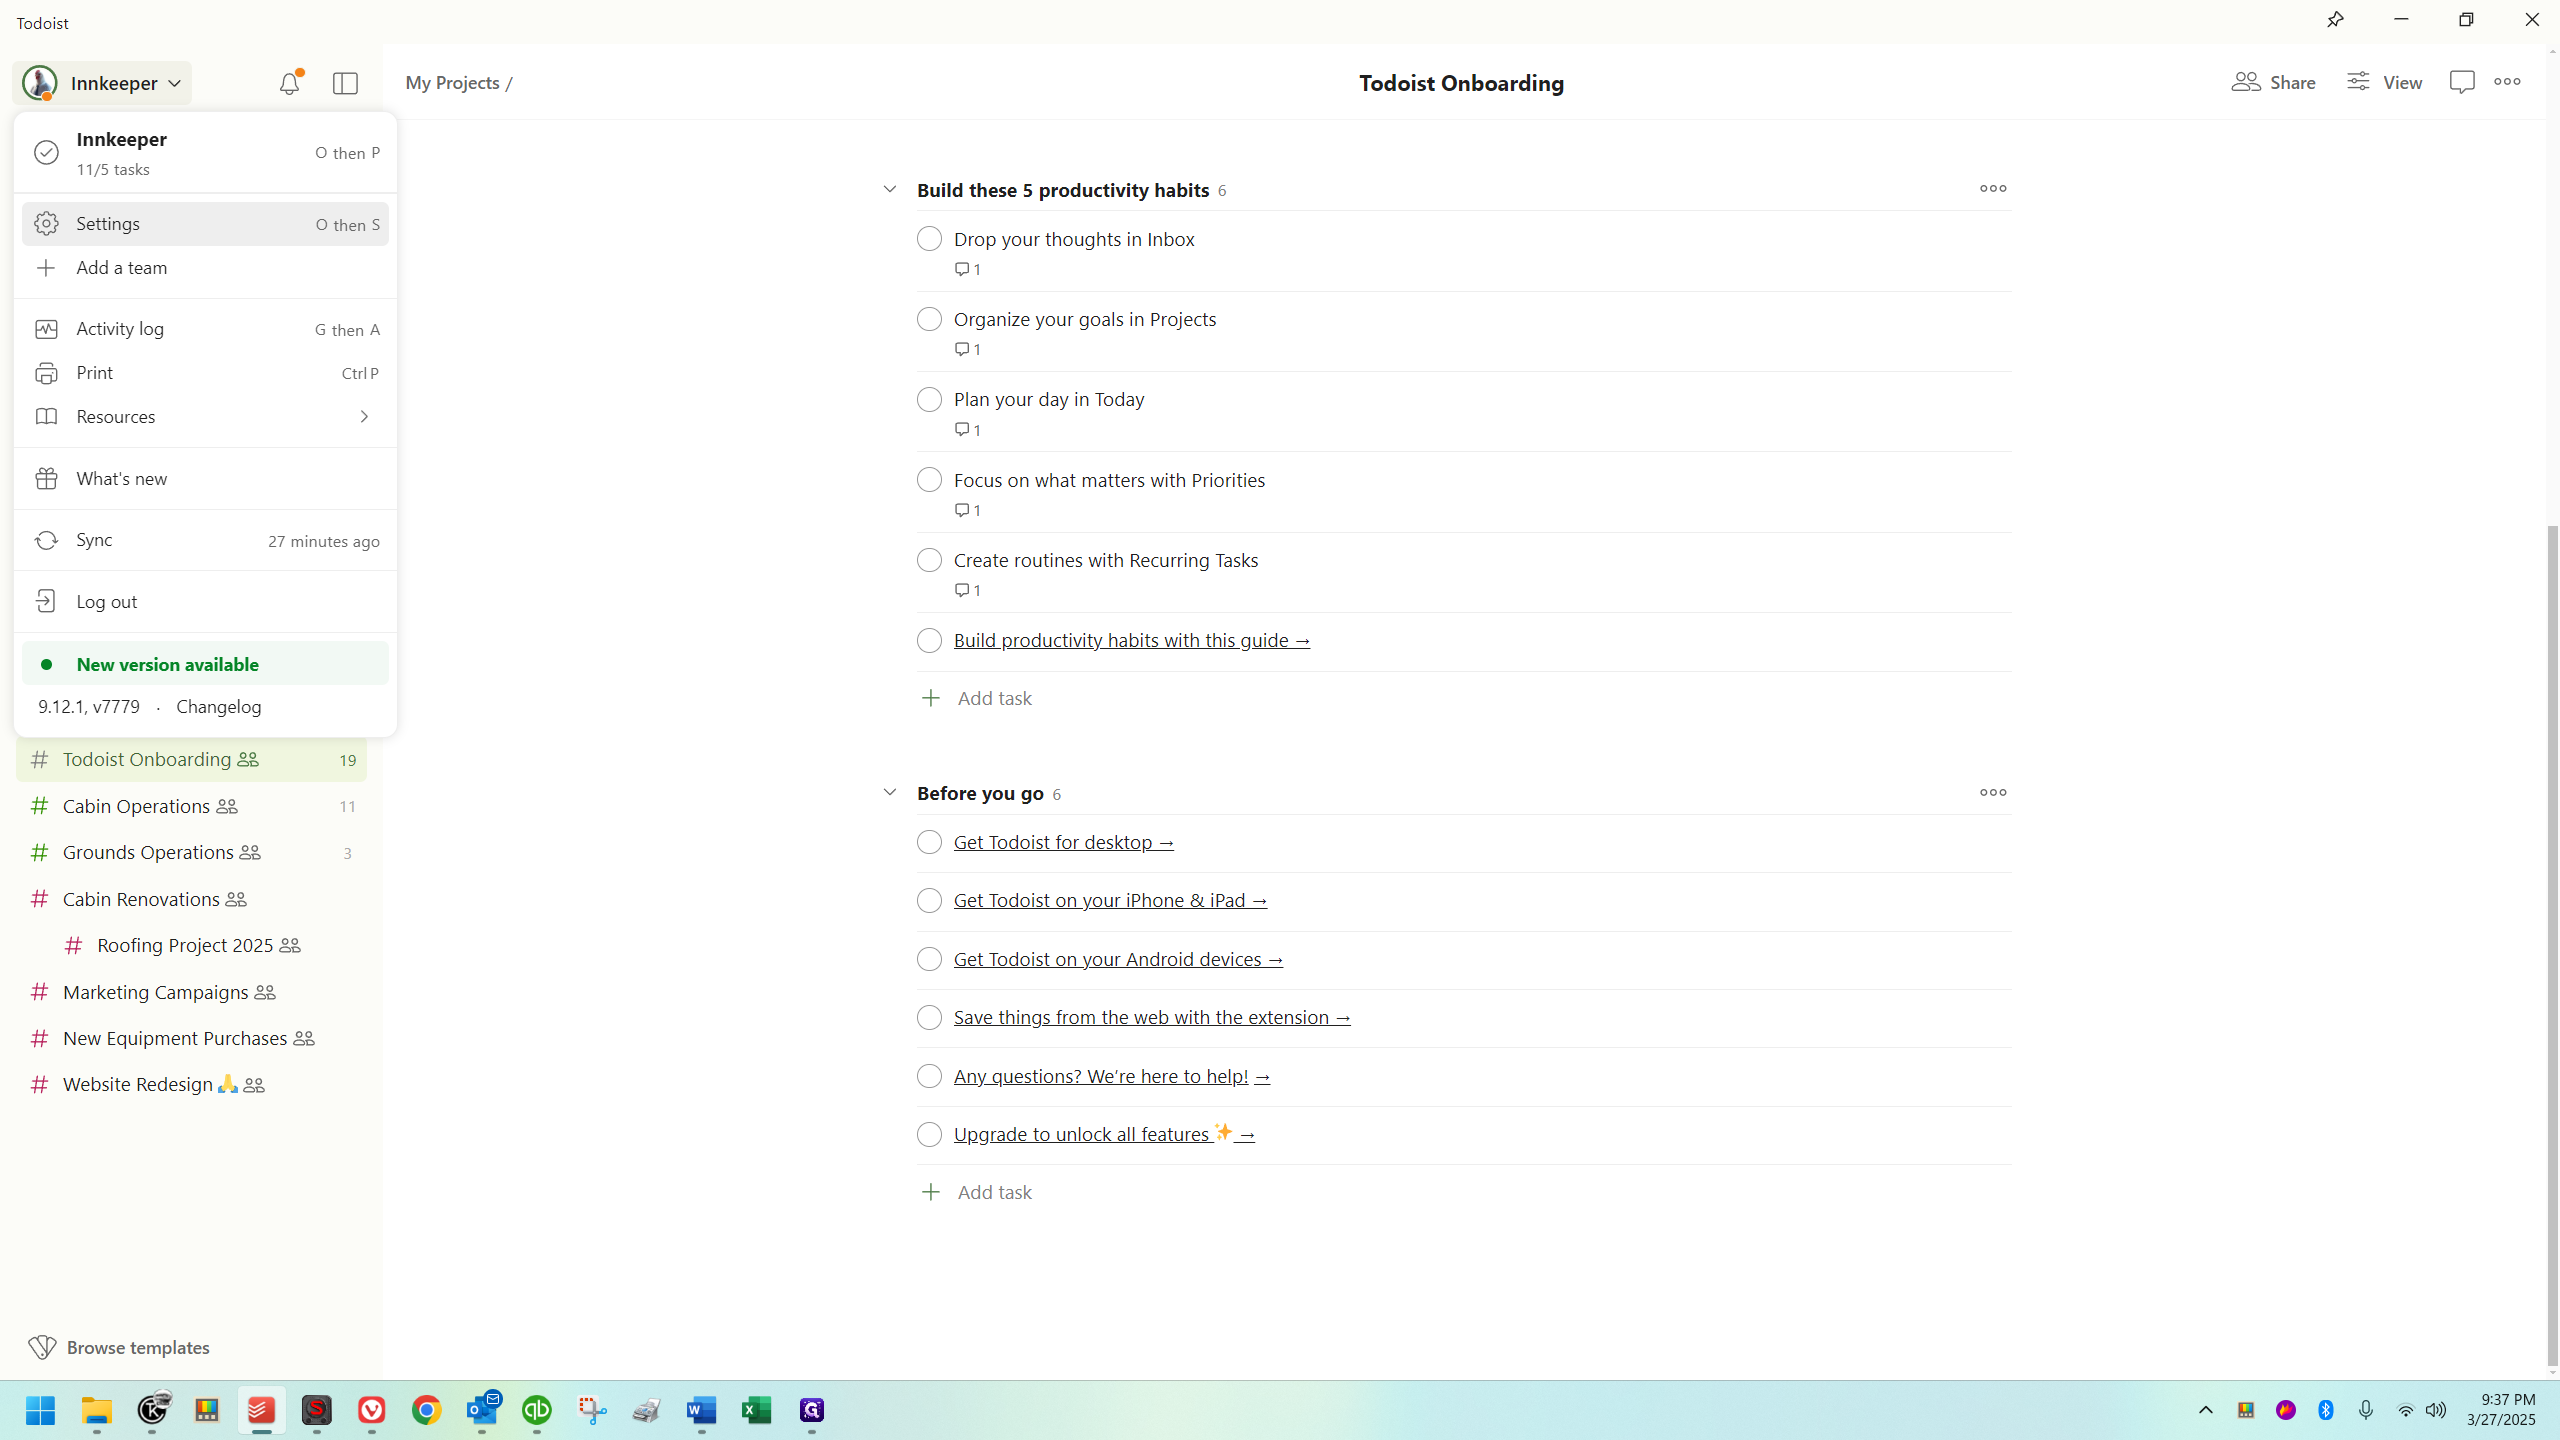
When you open it, it usually takes you to where you last left off, which is currently the inbox in my case.
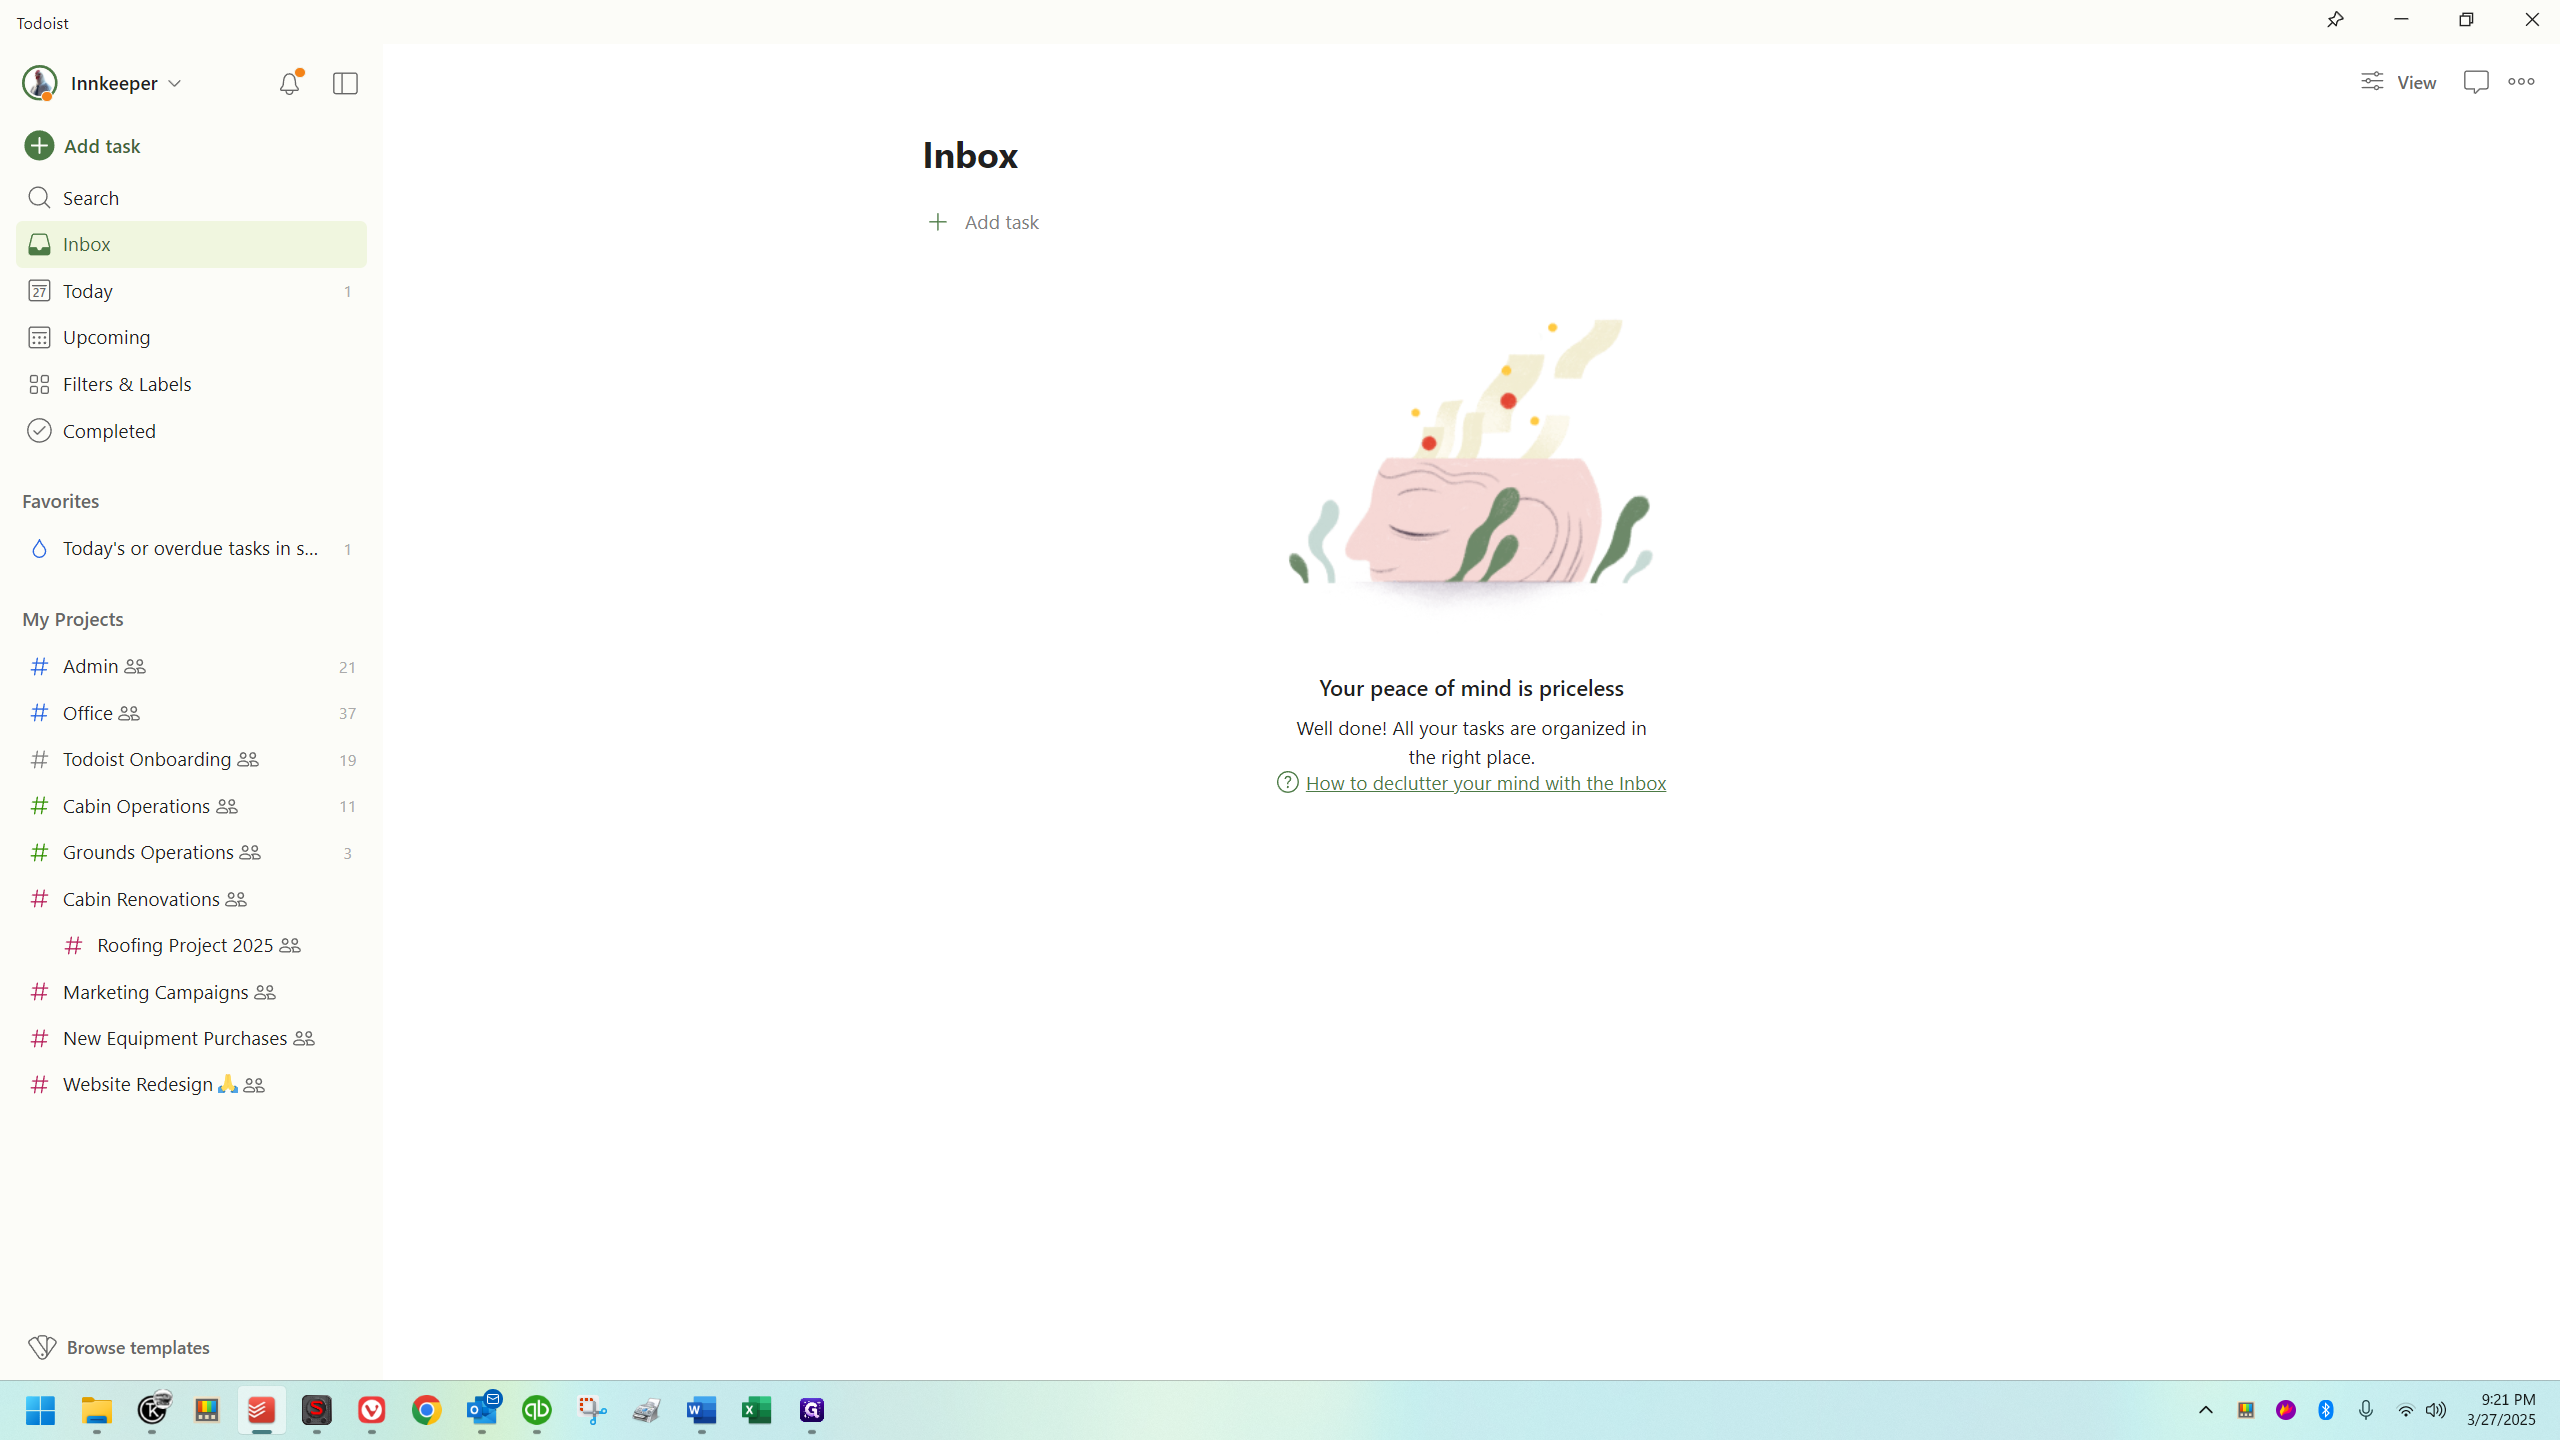
The Inbox is where items go if you don't specify a category. It waits there until you decide where it should be categorized as a task. You don't have to move it; you can manage tasks directly from the Inbox. However, it's intended as a temporary holding area. For example, if you're busy and on the go, and you think of something or someone mentions something, you can quickly pull out your phone and quickly create a task. It will go into the inbox unless you specify a different location. I don't use the inbox much; I prefer to place items where they belong immediately, and I recommend doing the same. However, if you're in a hurry, the inbox can be useful. As an organization, though, we should aim to keep the inbox empty.
Please ensure that all tasks are out of the inbox before ending a shift, keeping it decluttered.

Now, if we look over here on the left, we have our "Add Task" button near the top.
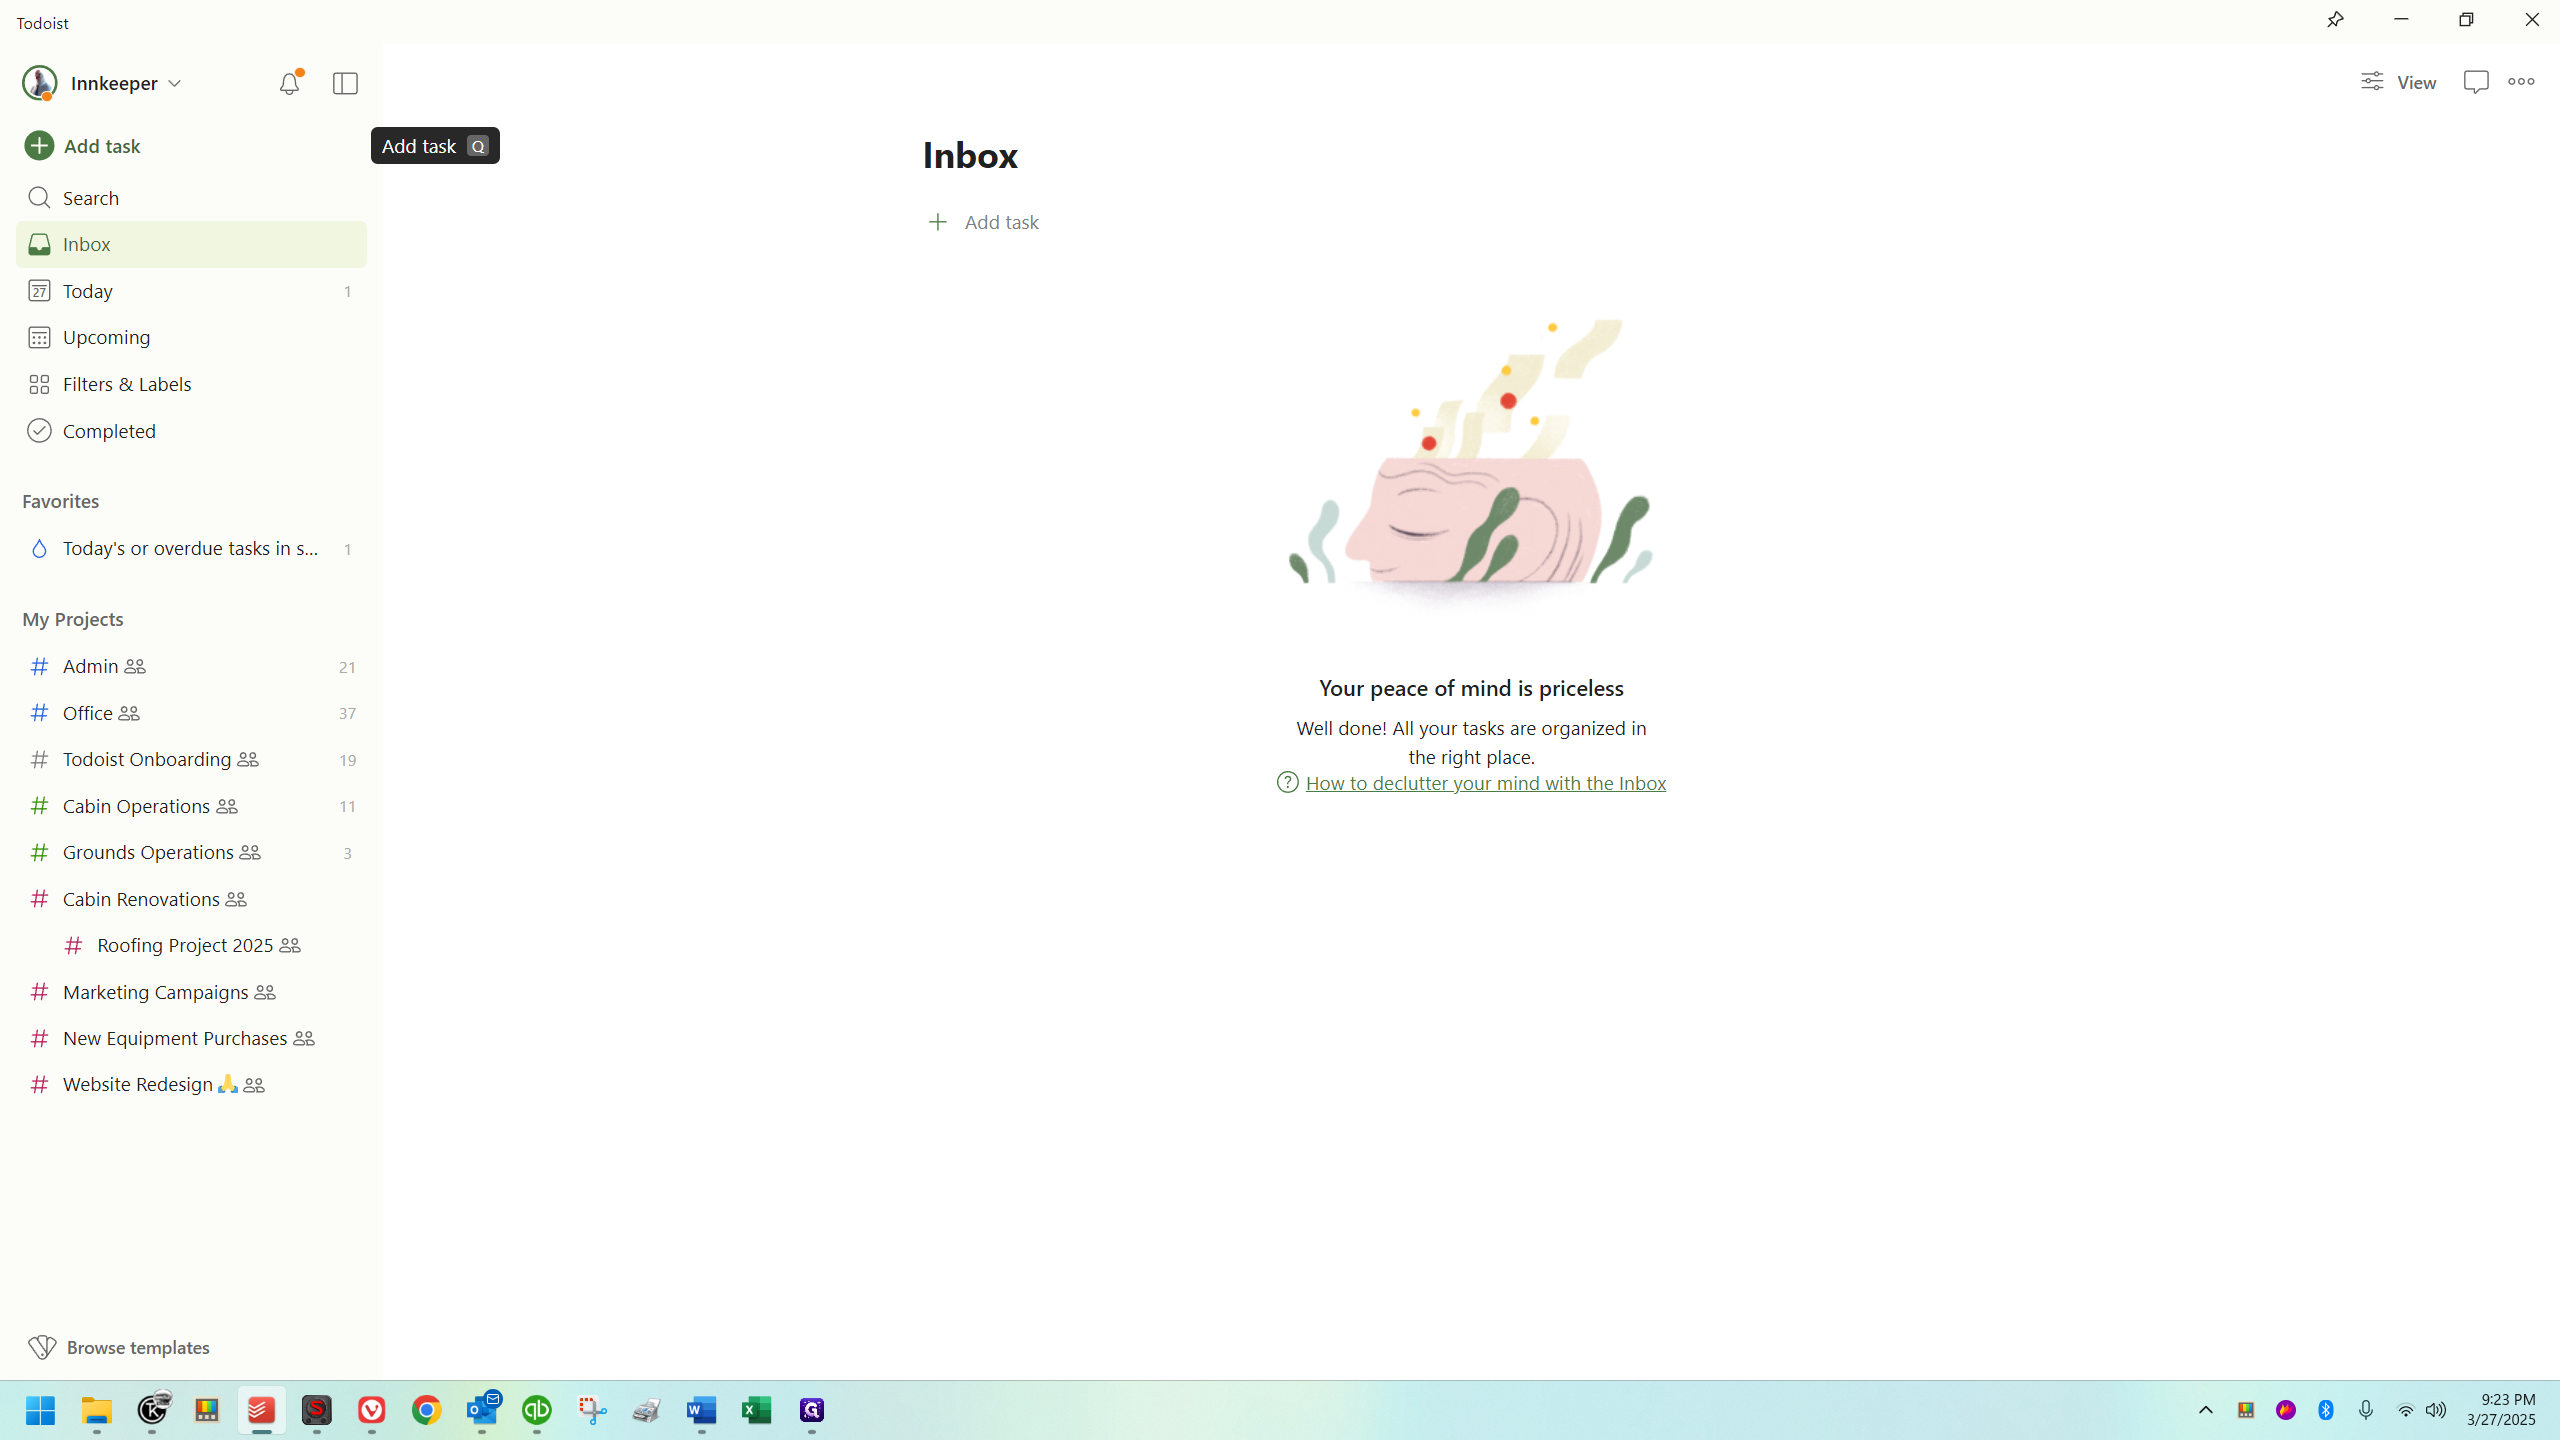
Below that, you can search. If you have a search term, like "taxes," you can find tasks related to it. Below the search (and below Inbox, which we already covered), there's "today," which shows all tasks due today.
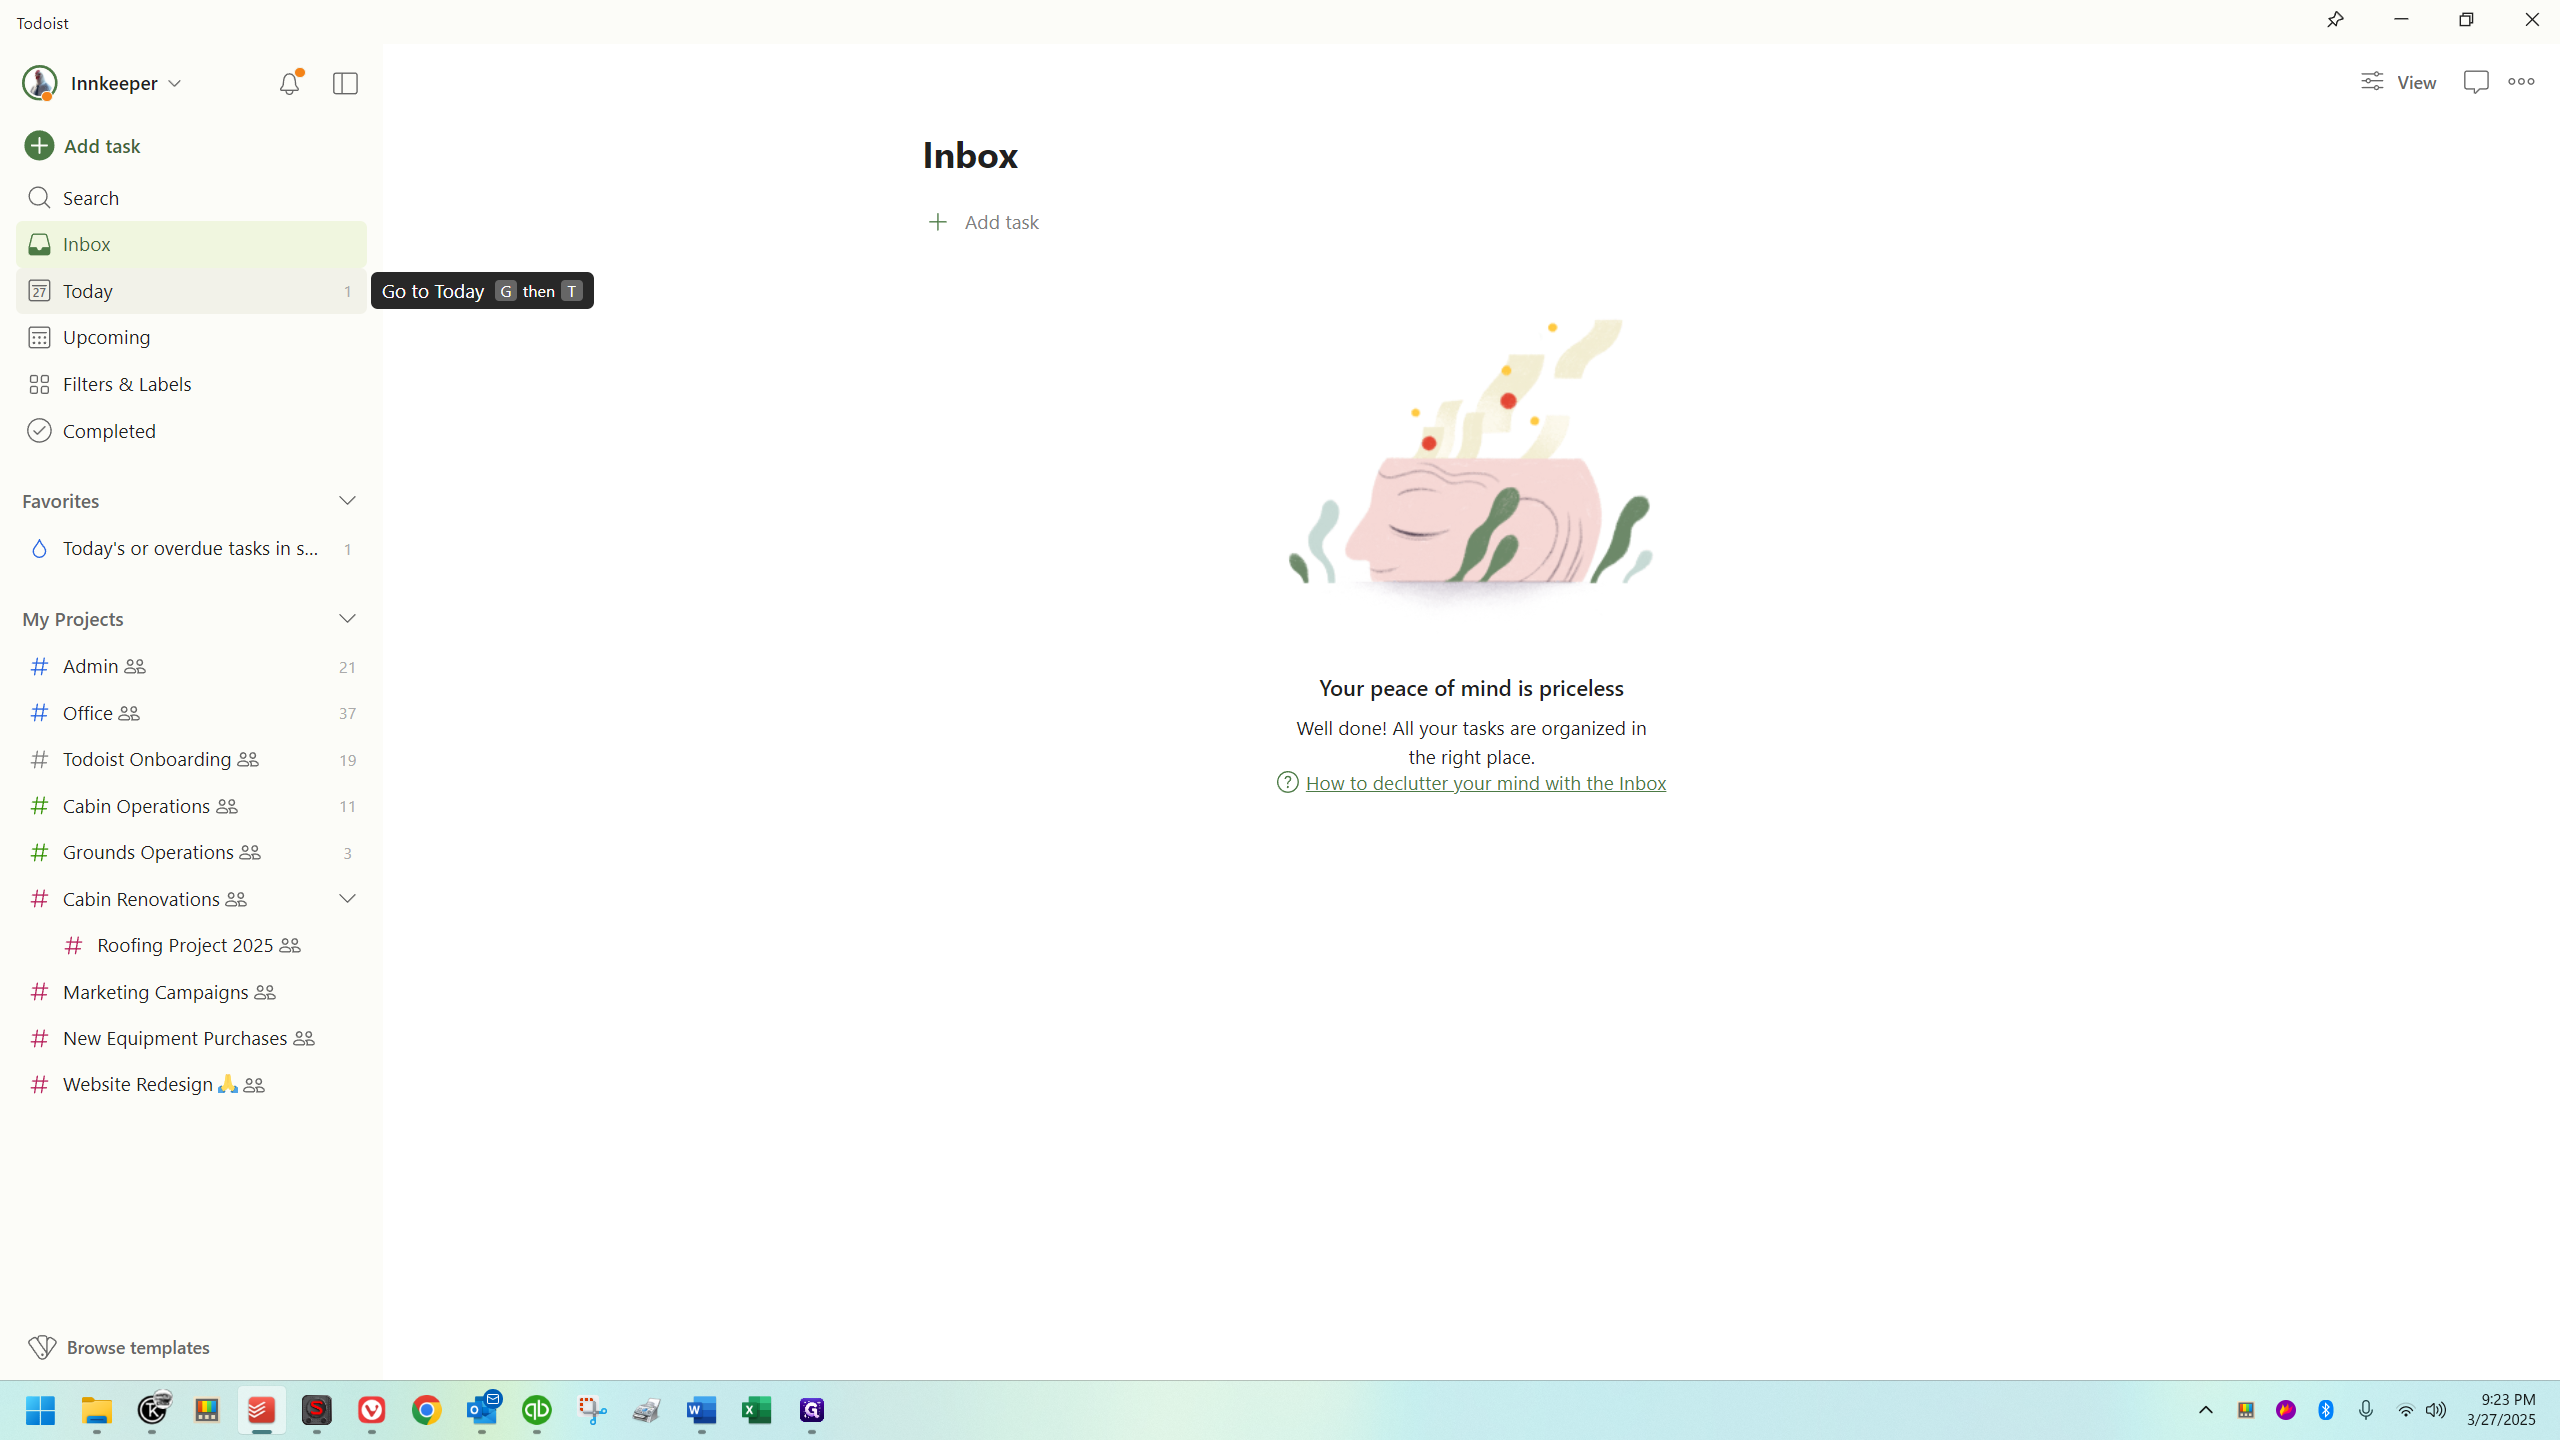
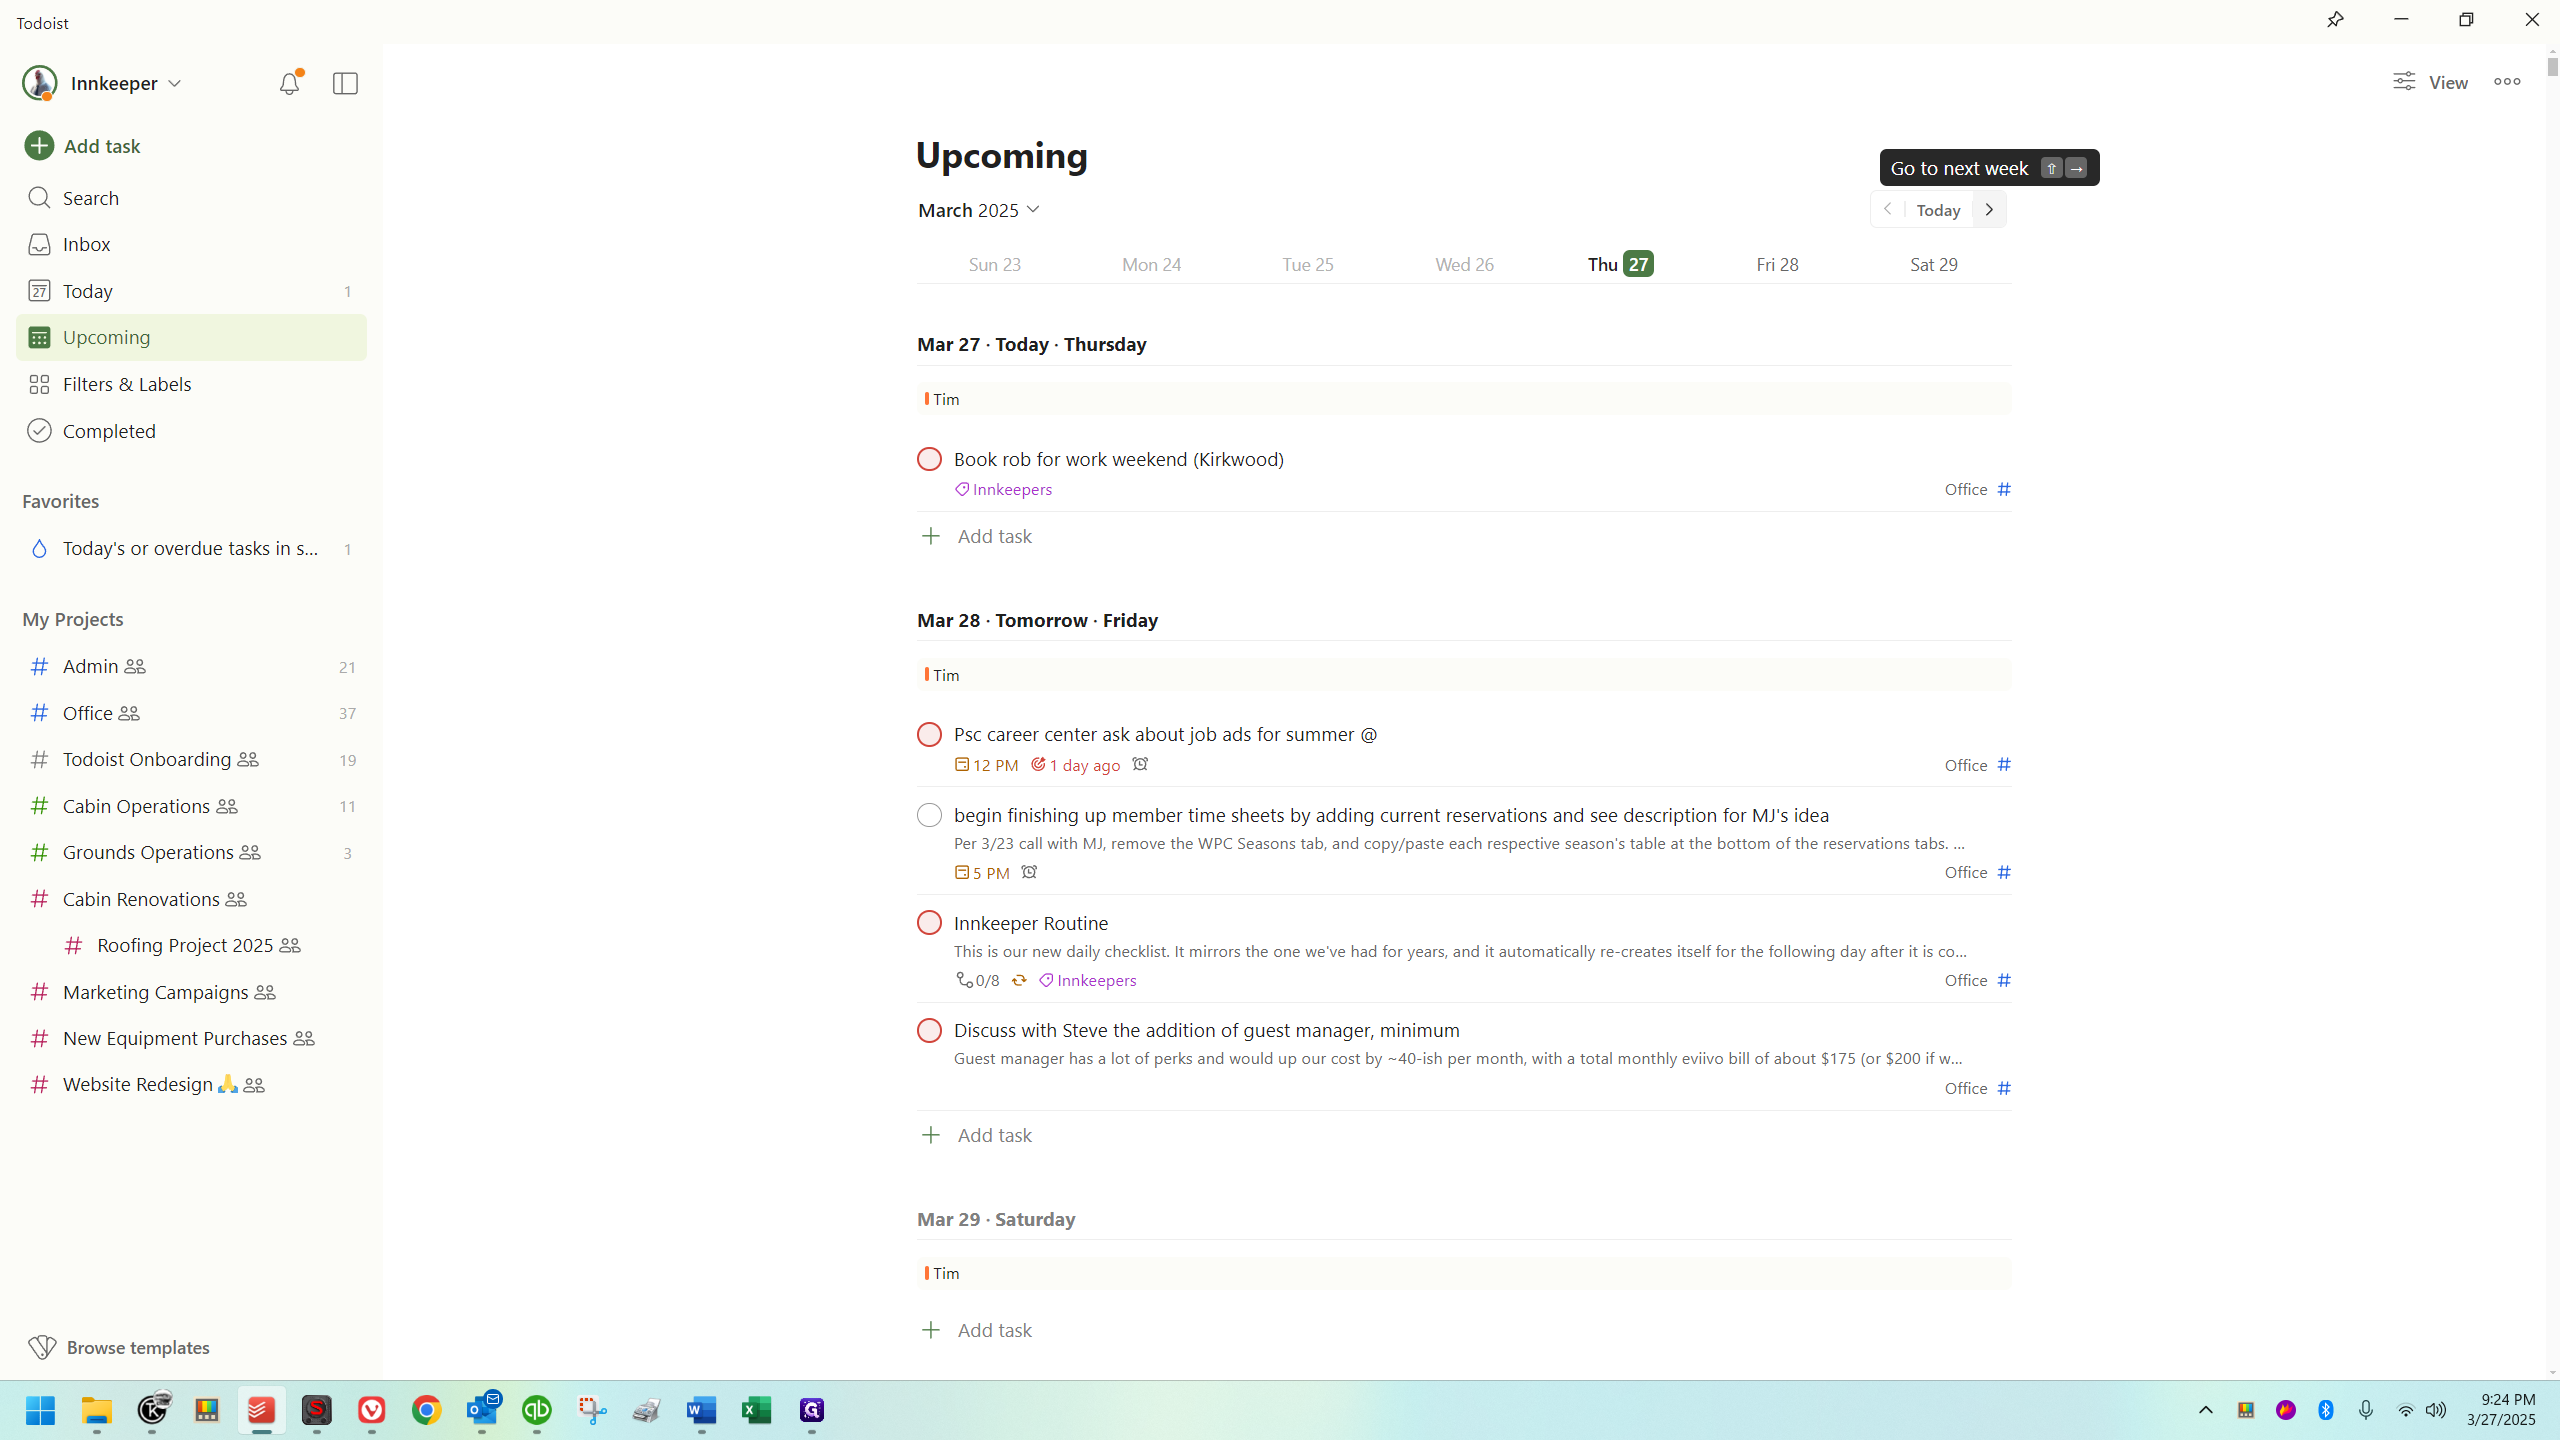
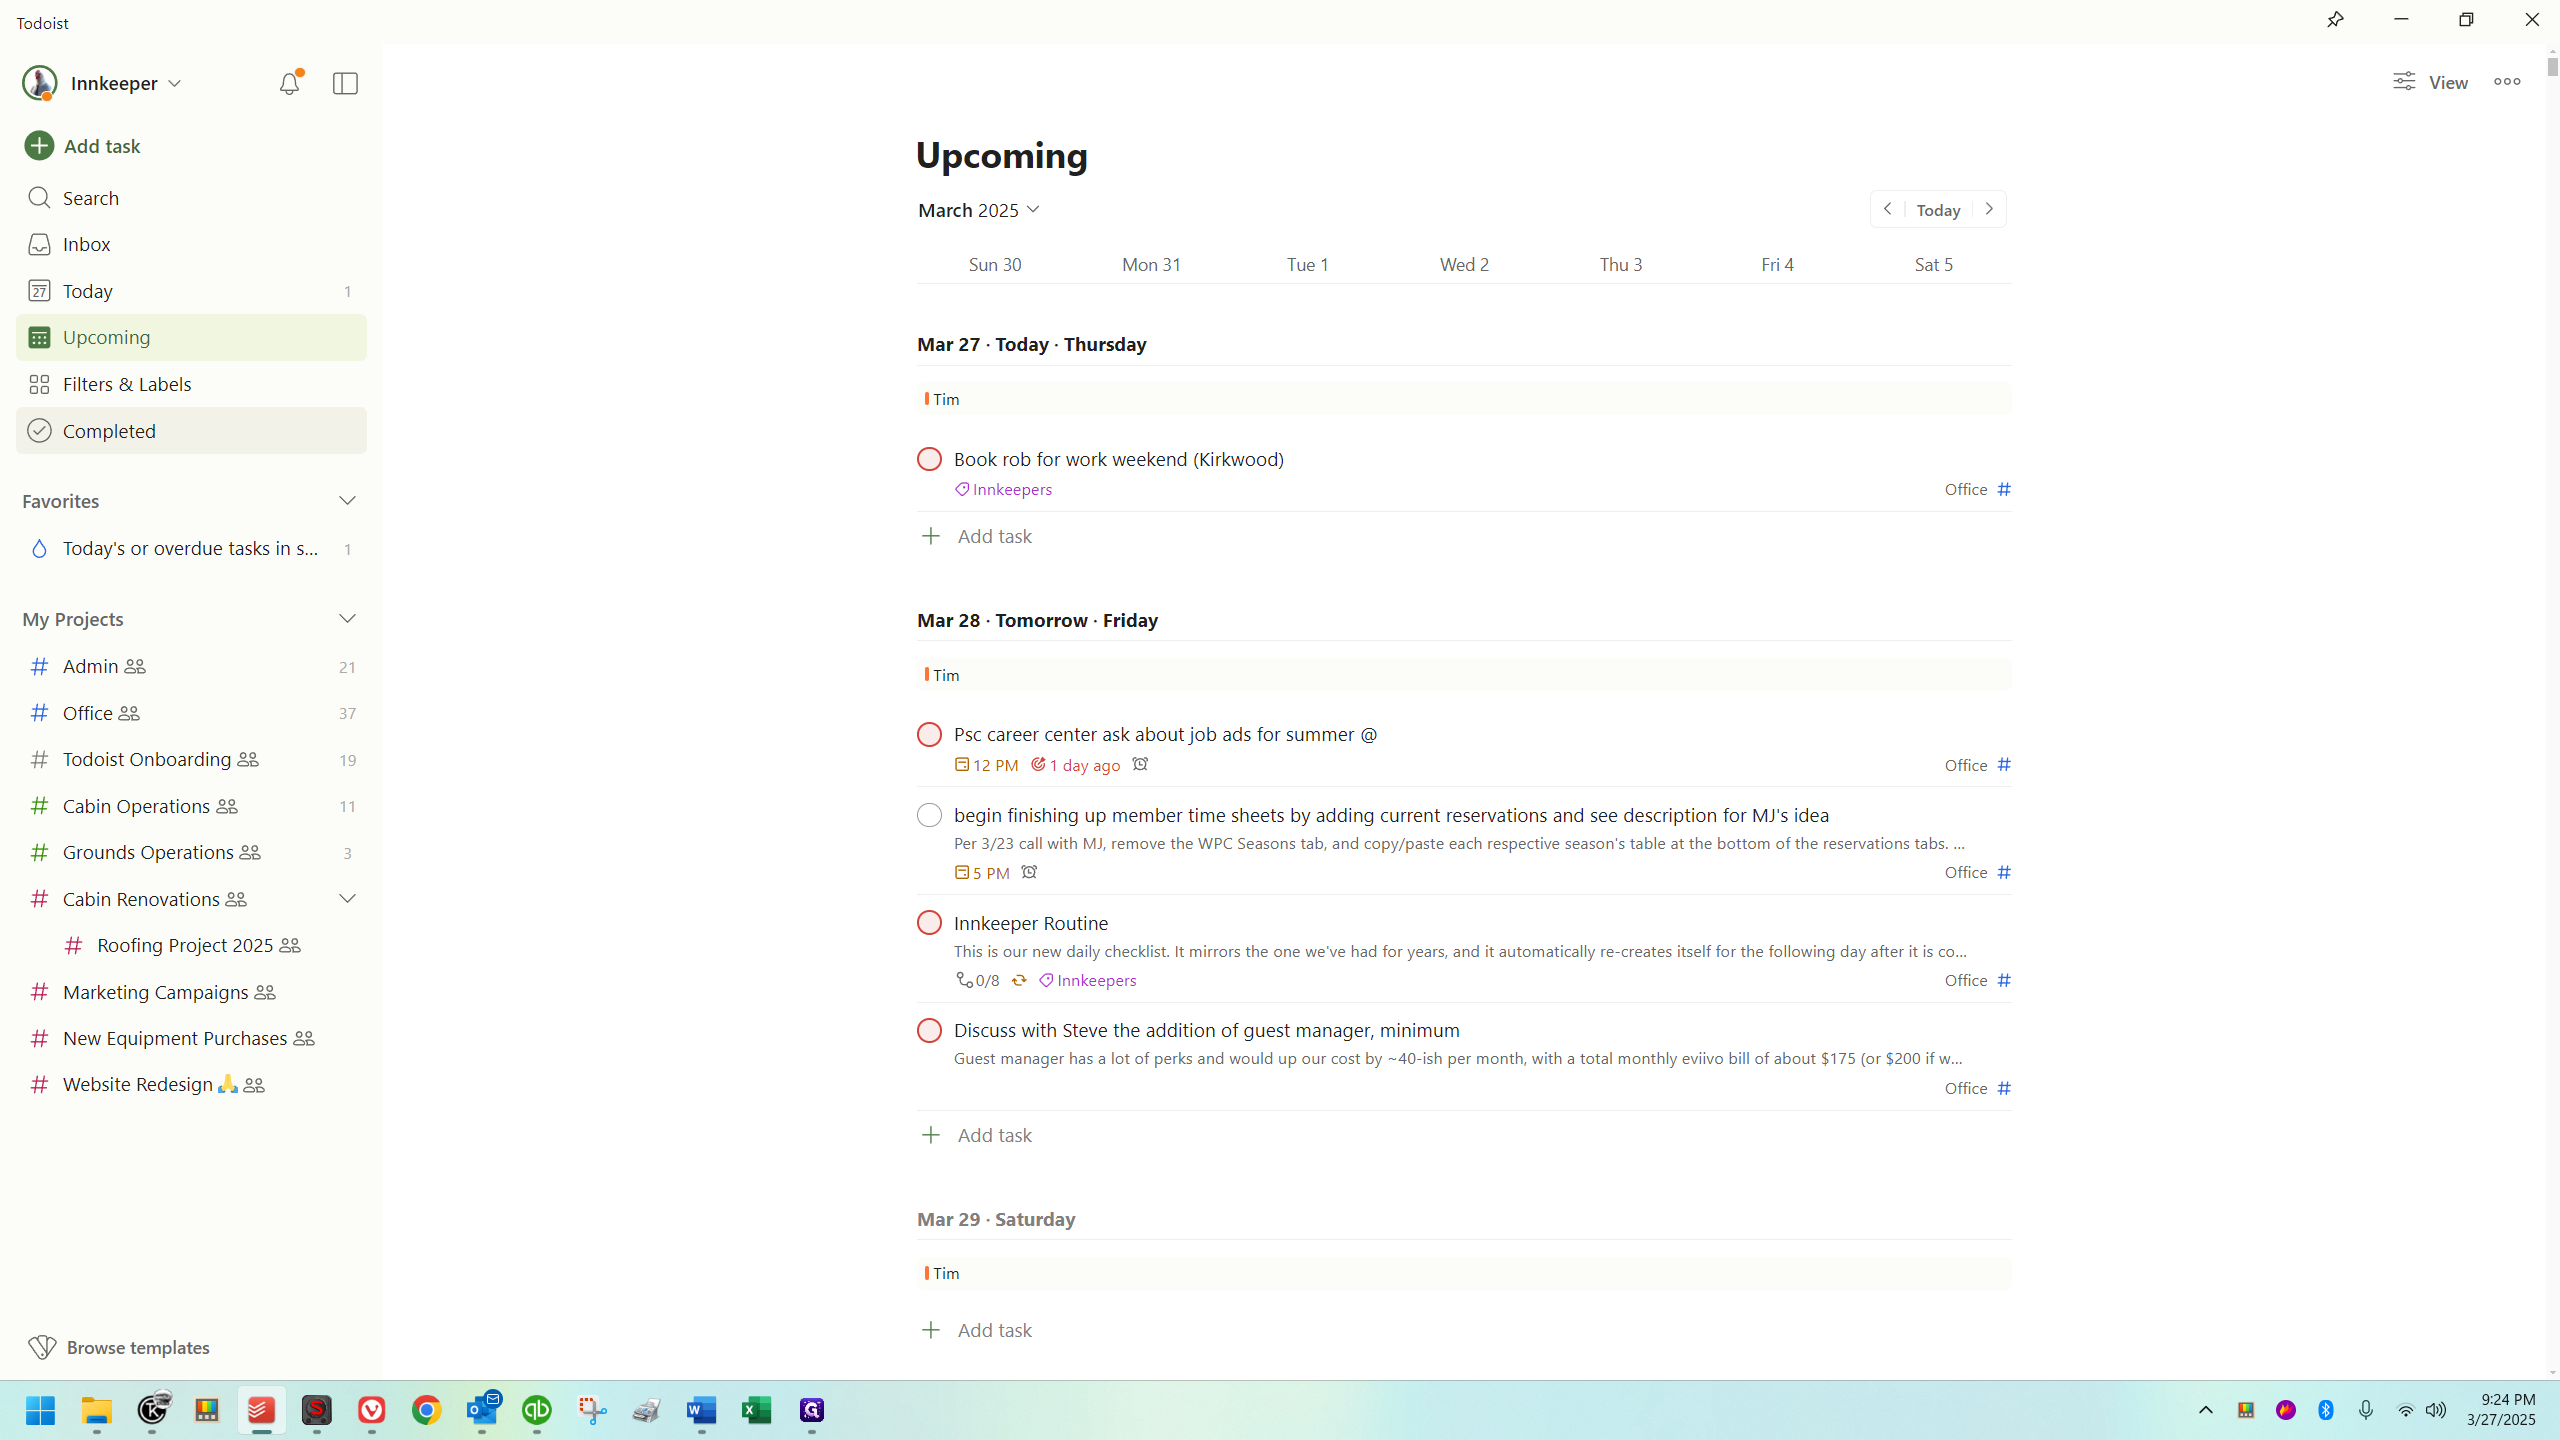
"Upcoming" functions just as it sounds.
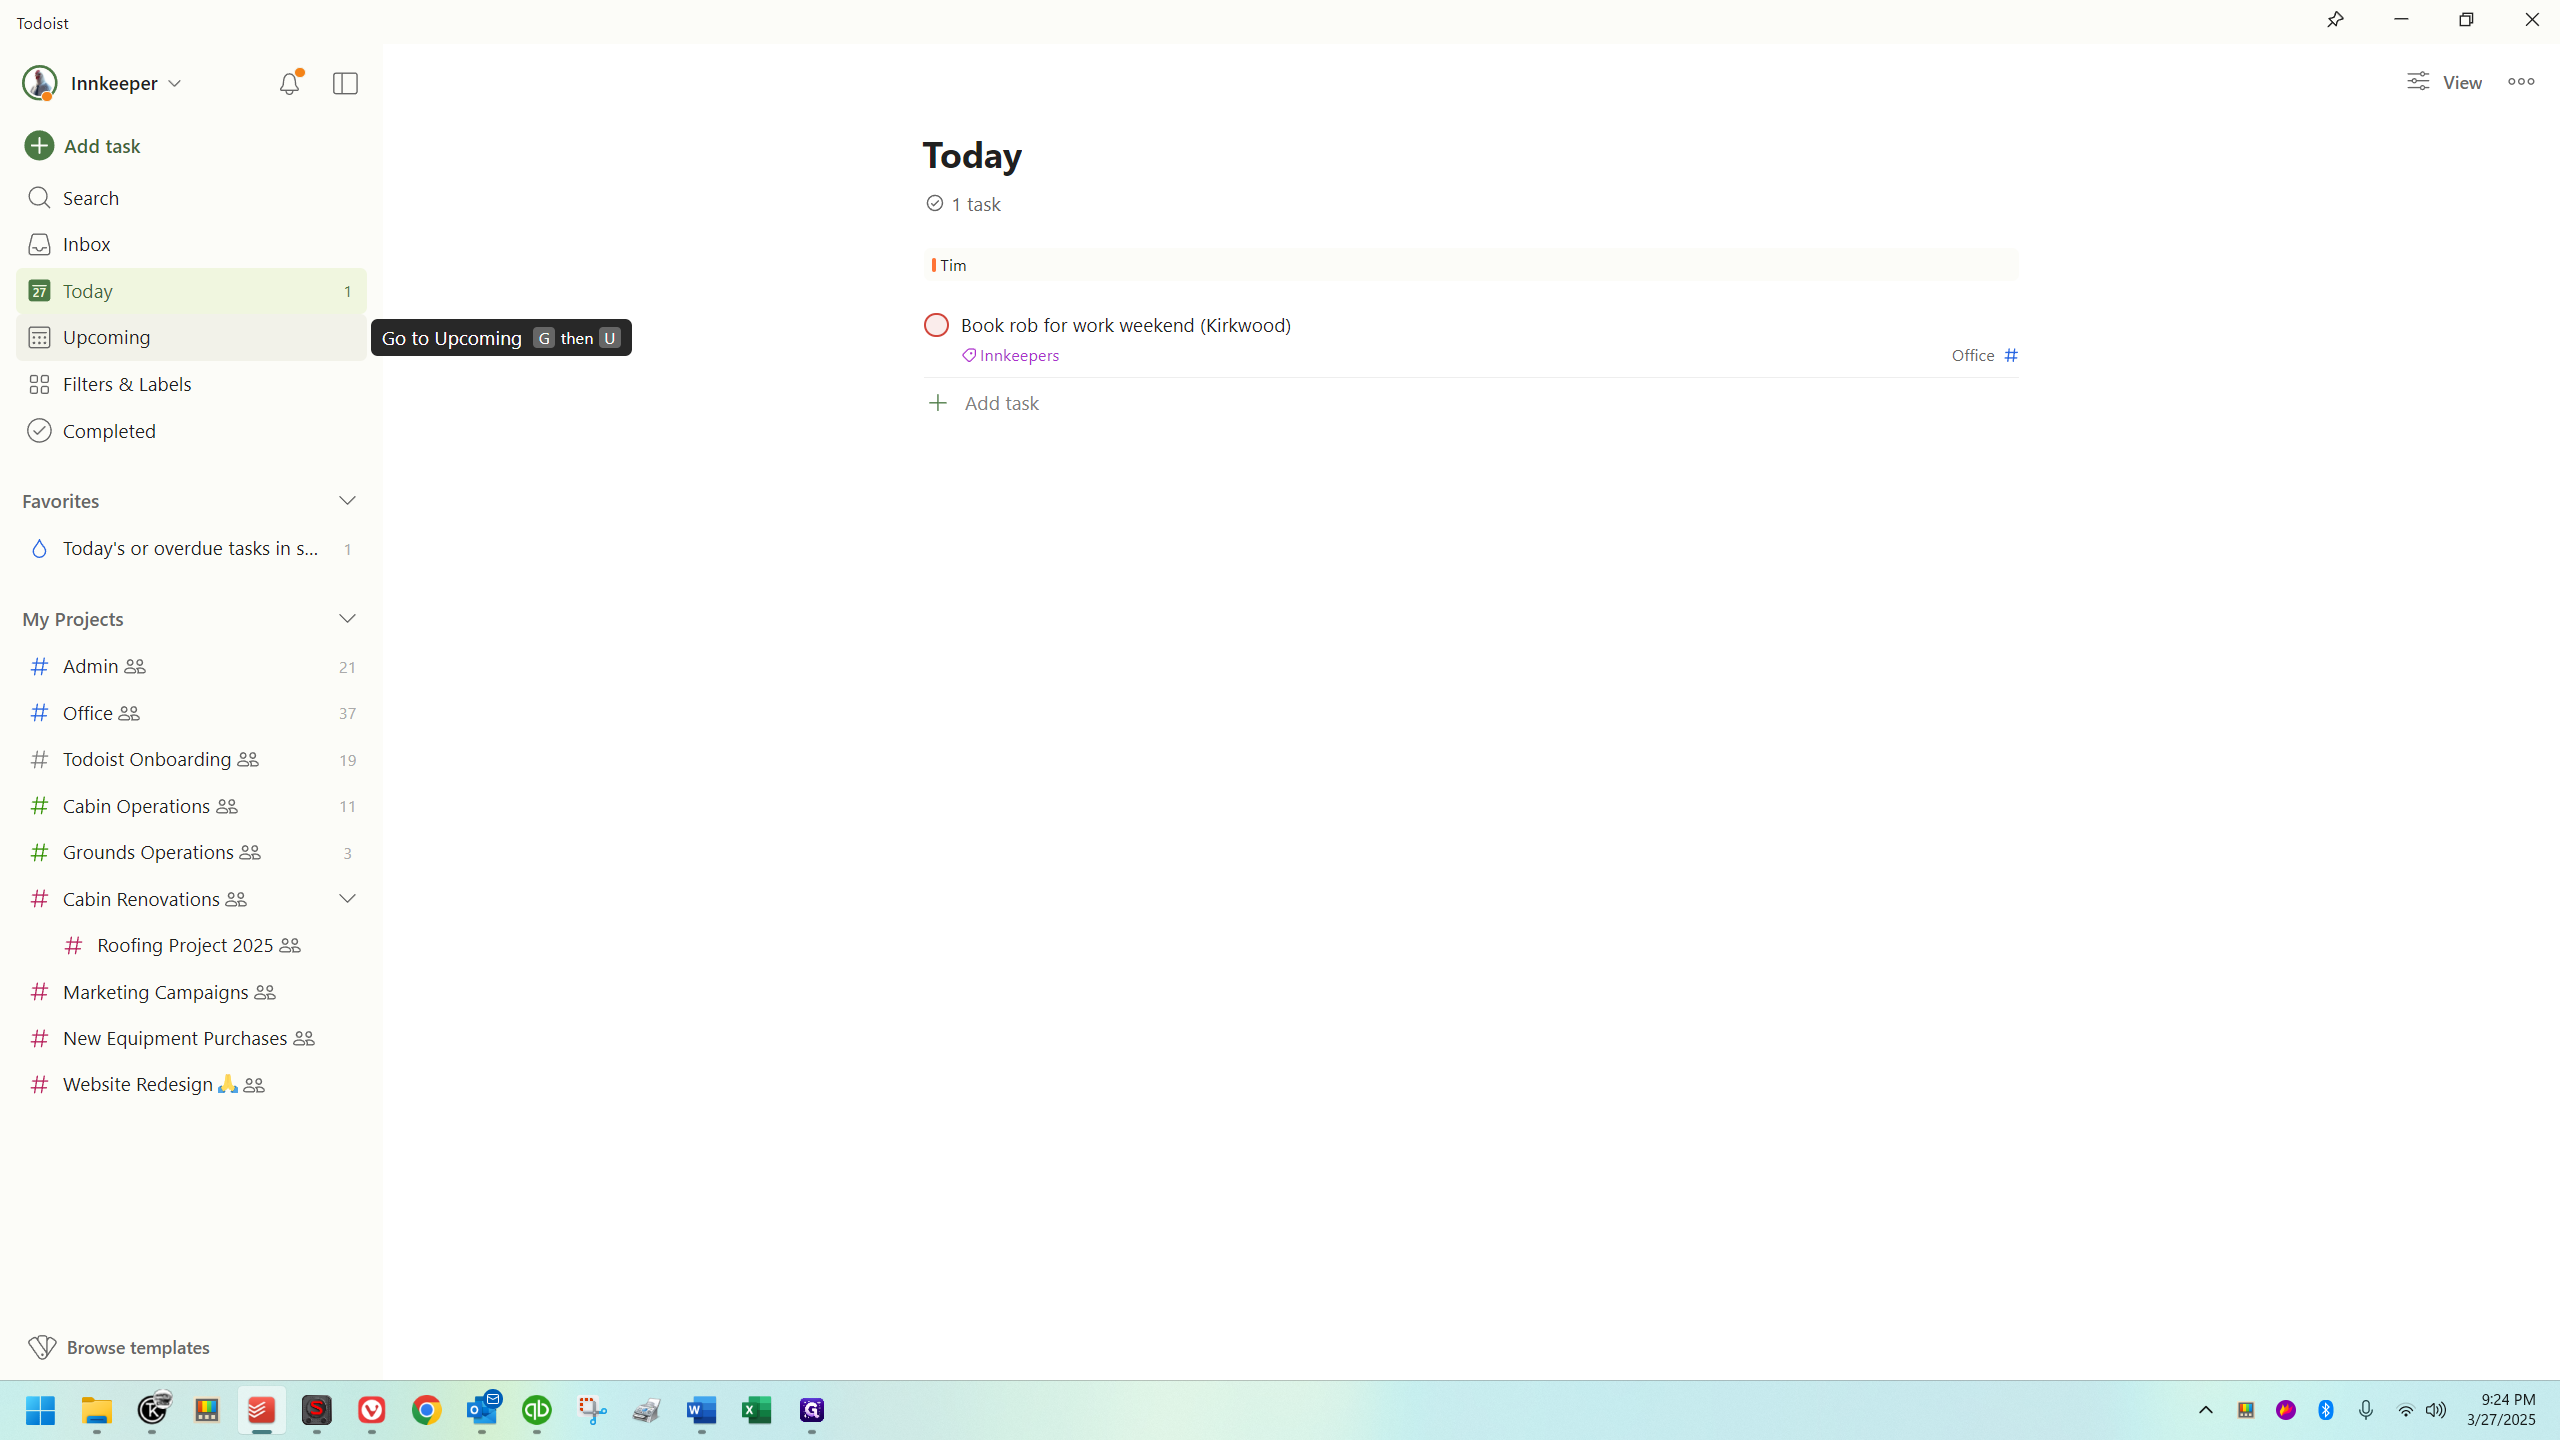
All upcoming tasks are displayed.

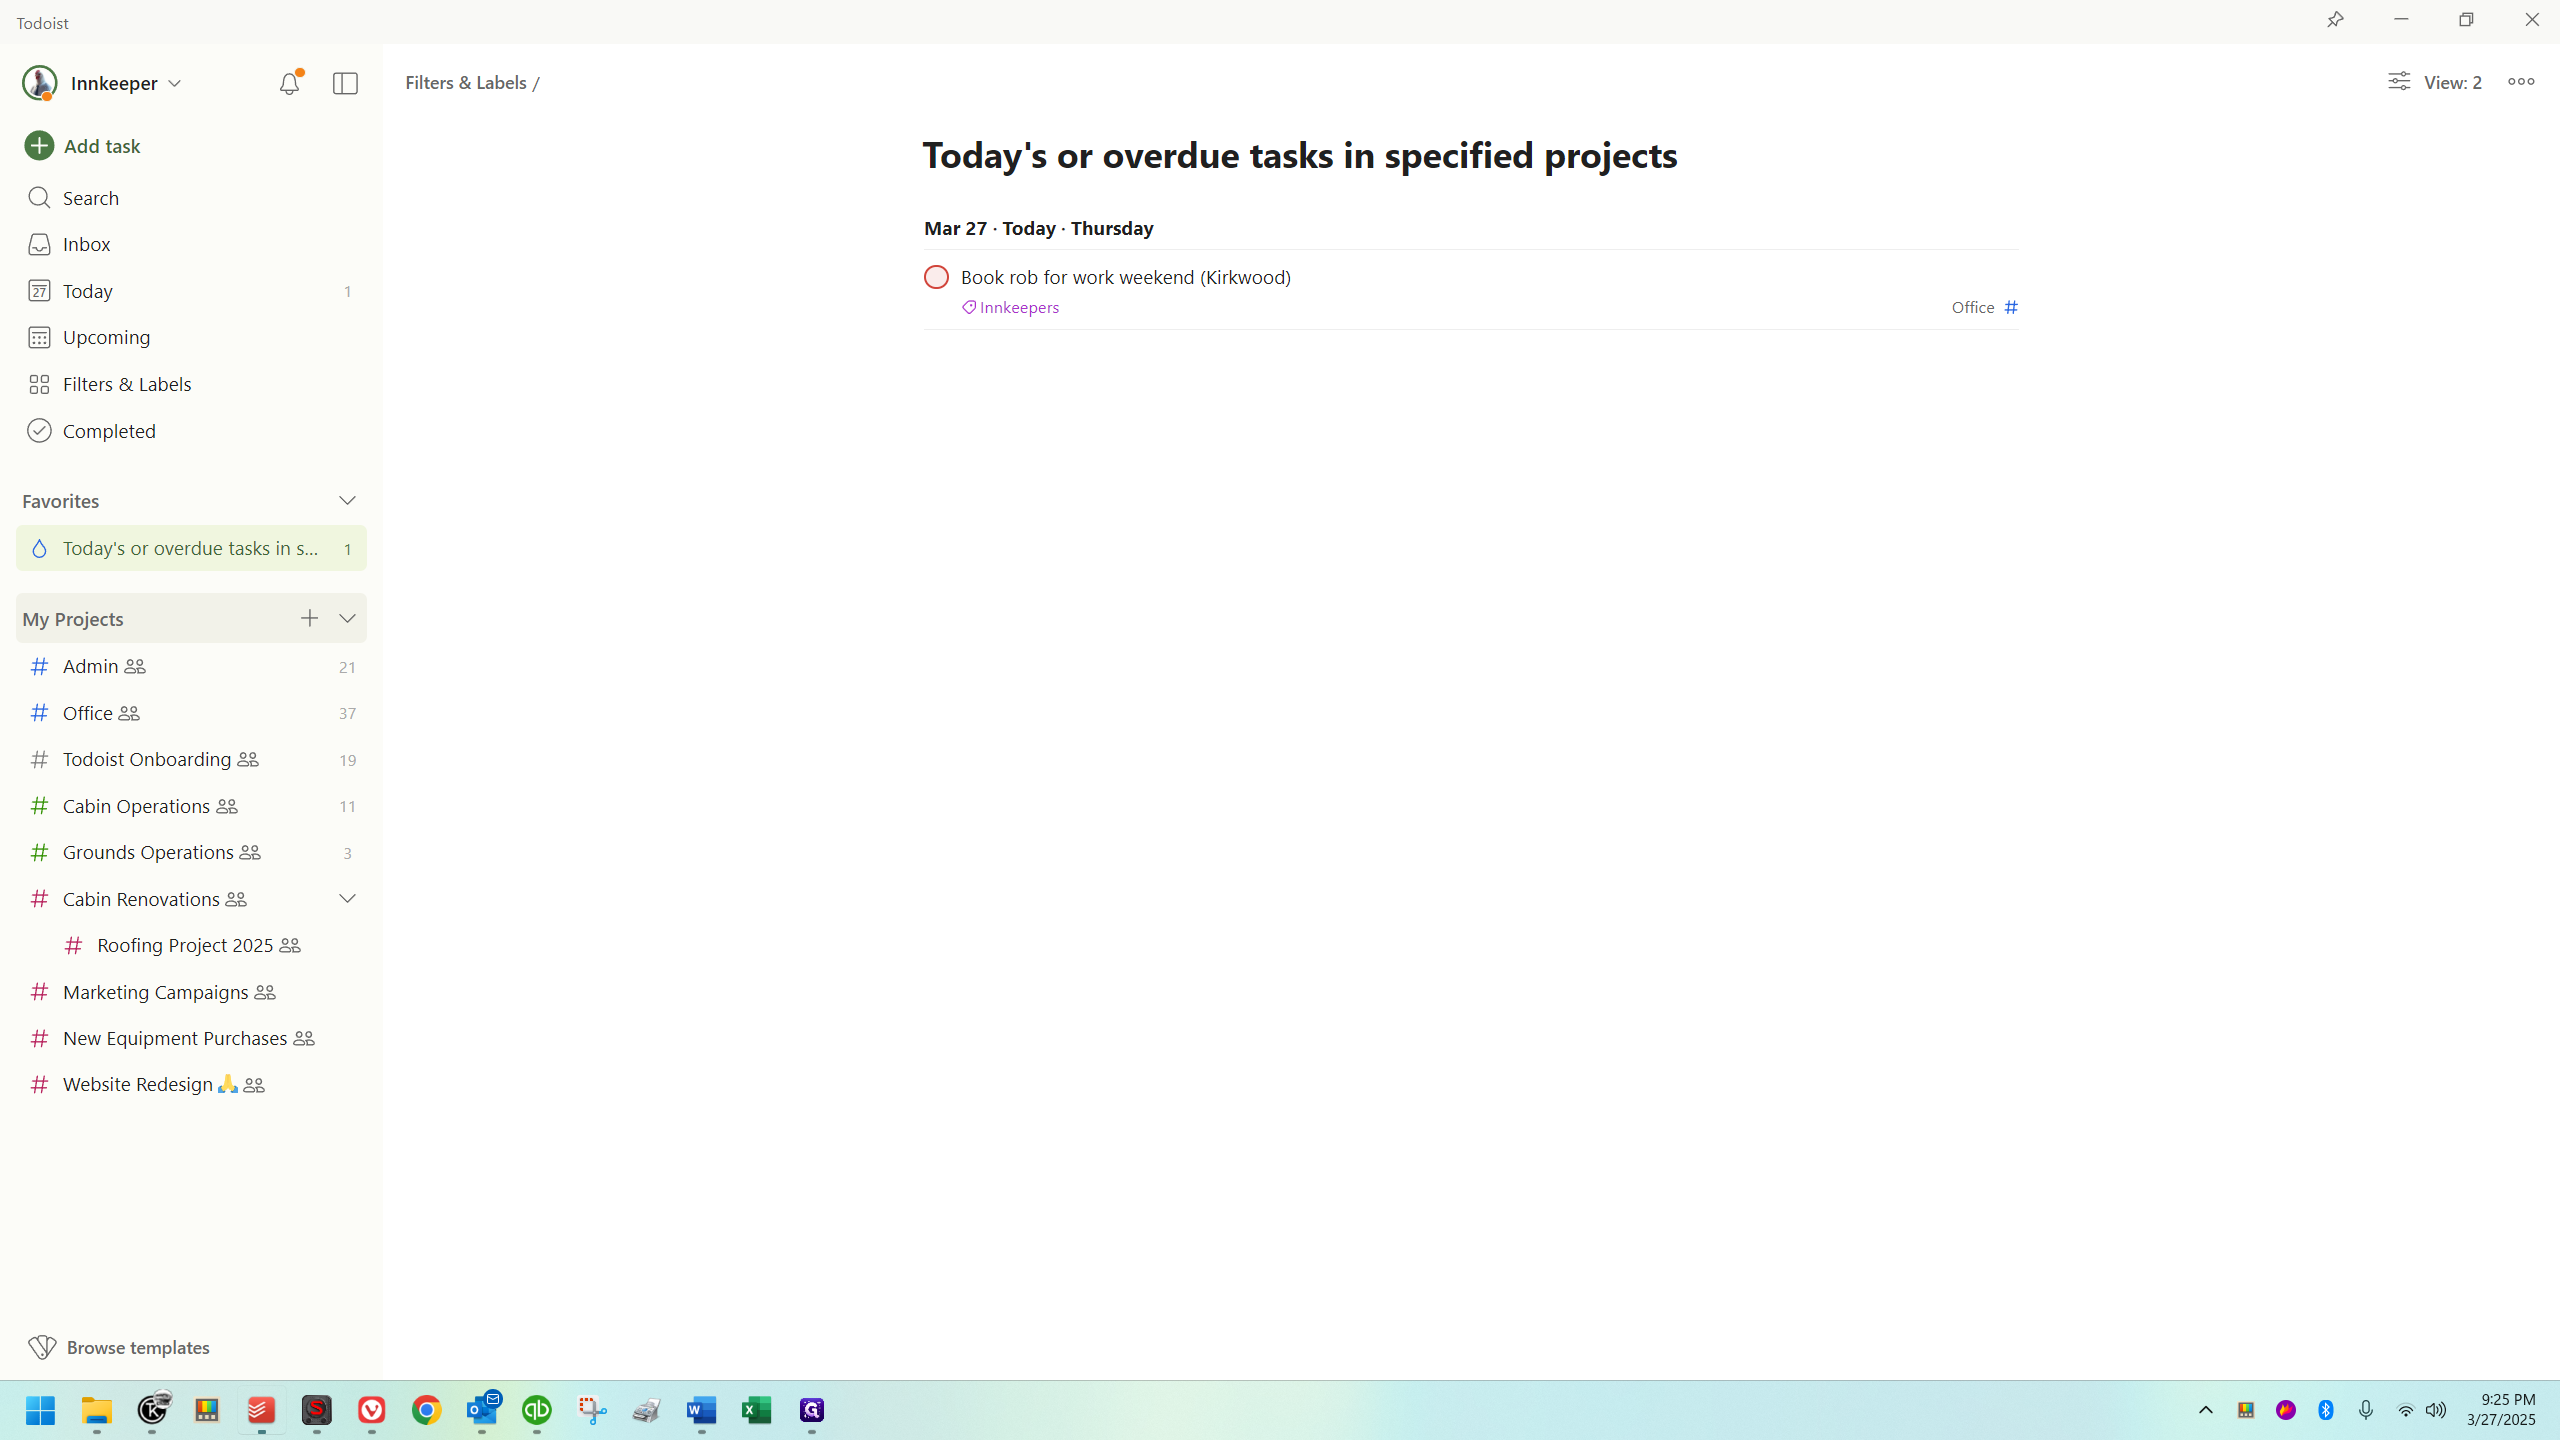
You can make a project or a filter a favorite, allowing you to quickly navigate between them.
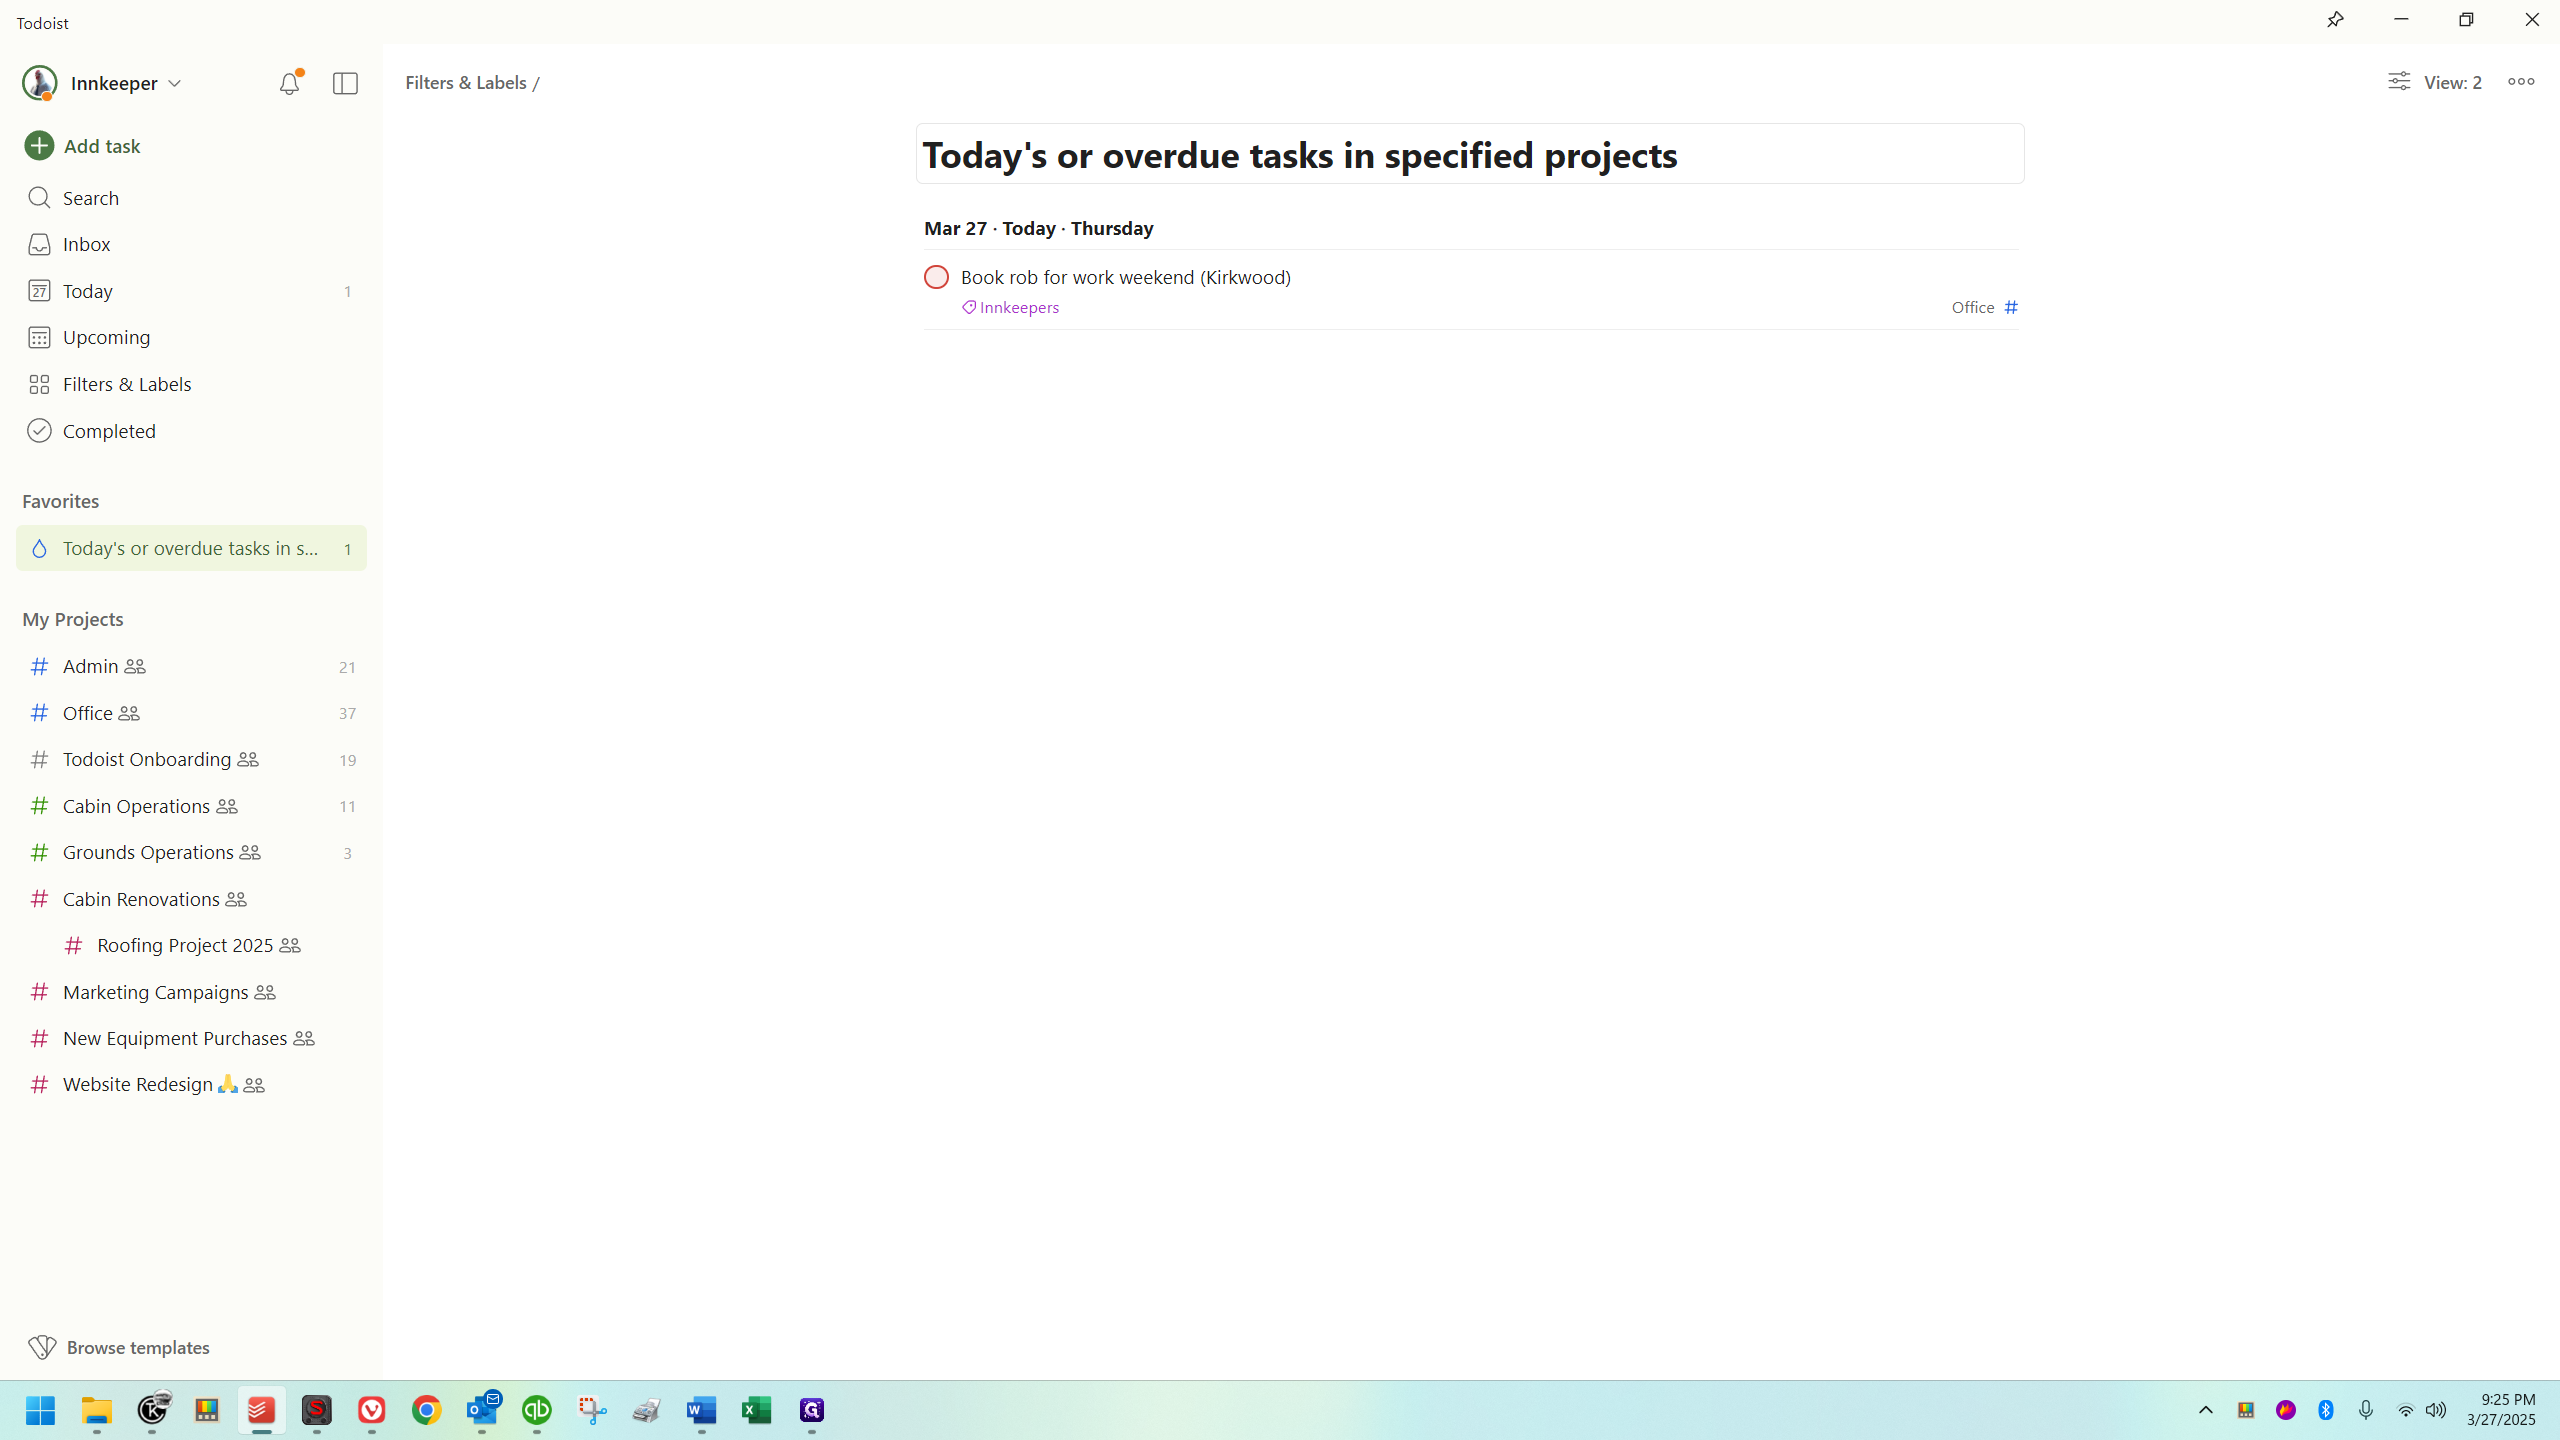
We'll discuss that another time, not in this overview. Let's just say it's a filter I created and added to favorites for quick access. Now, onto my projects.
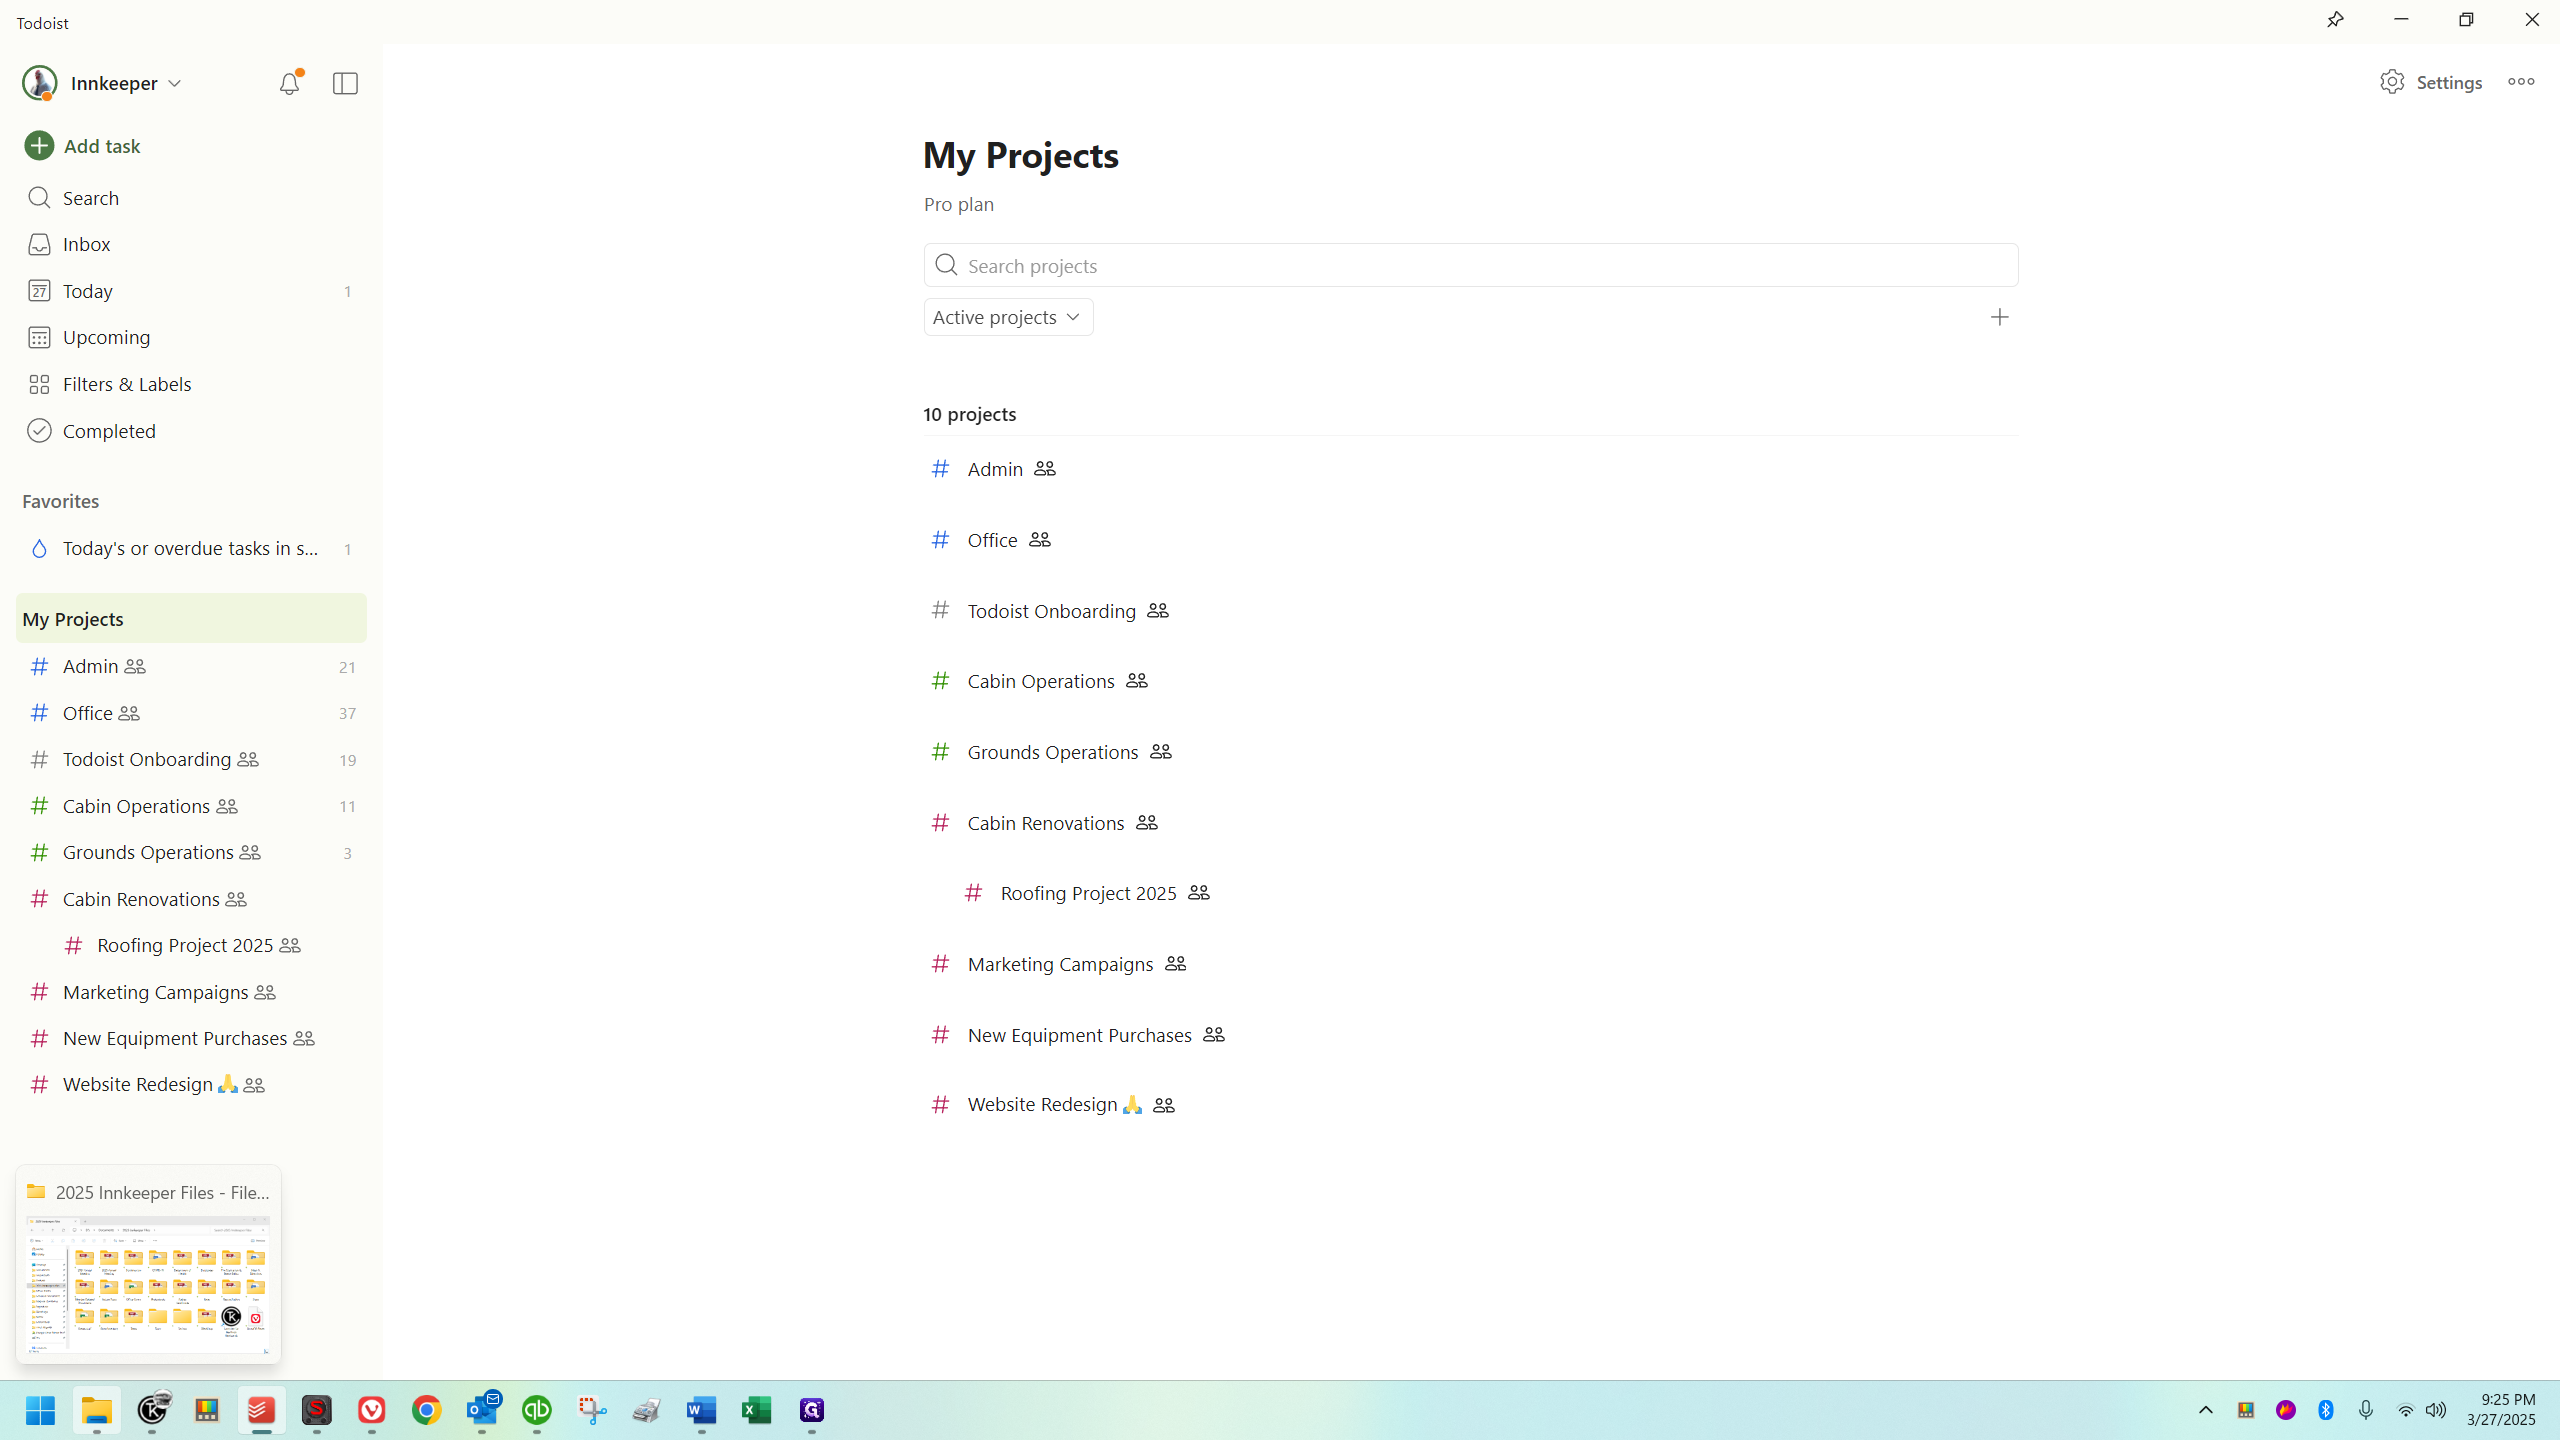
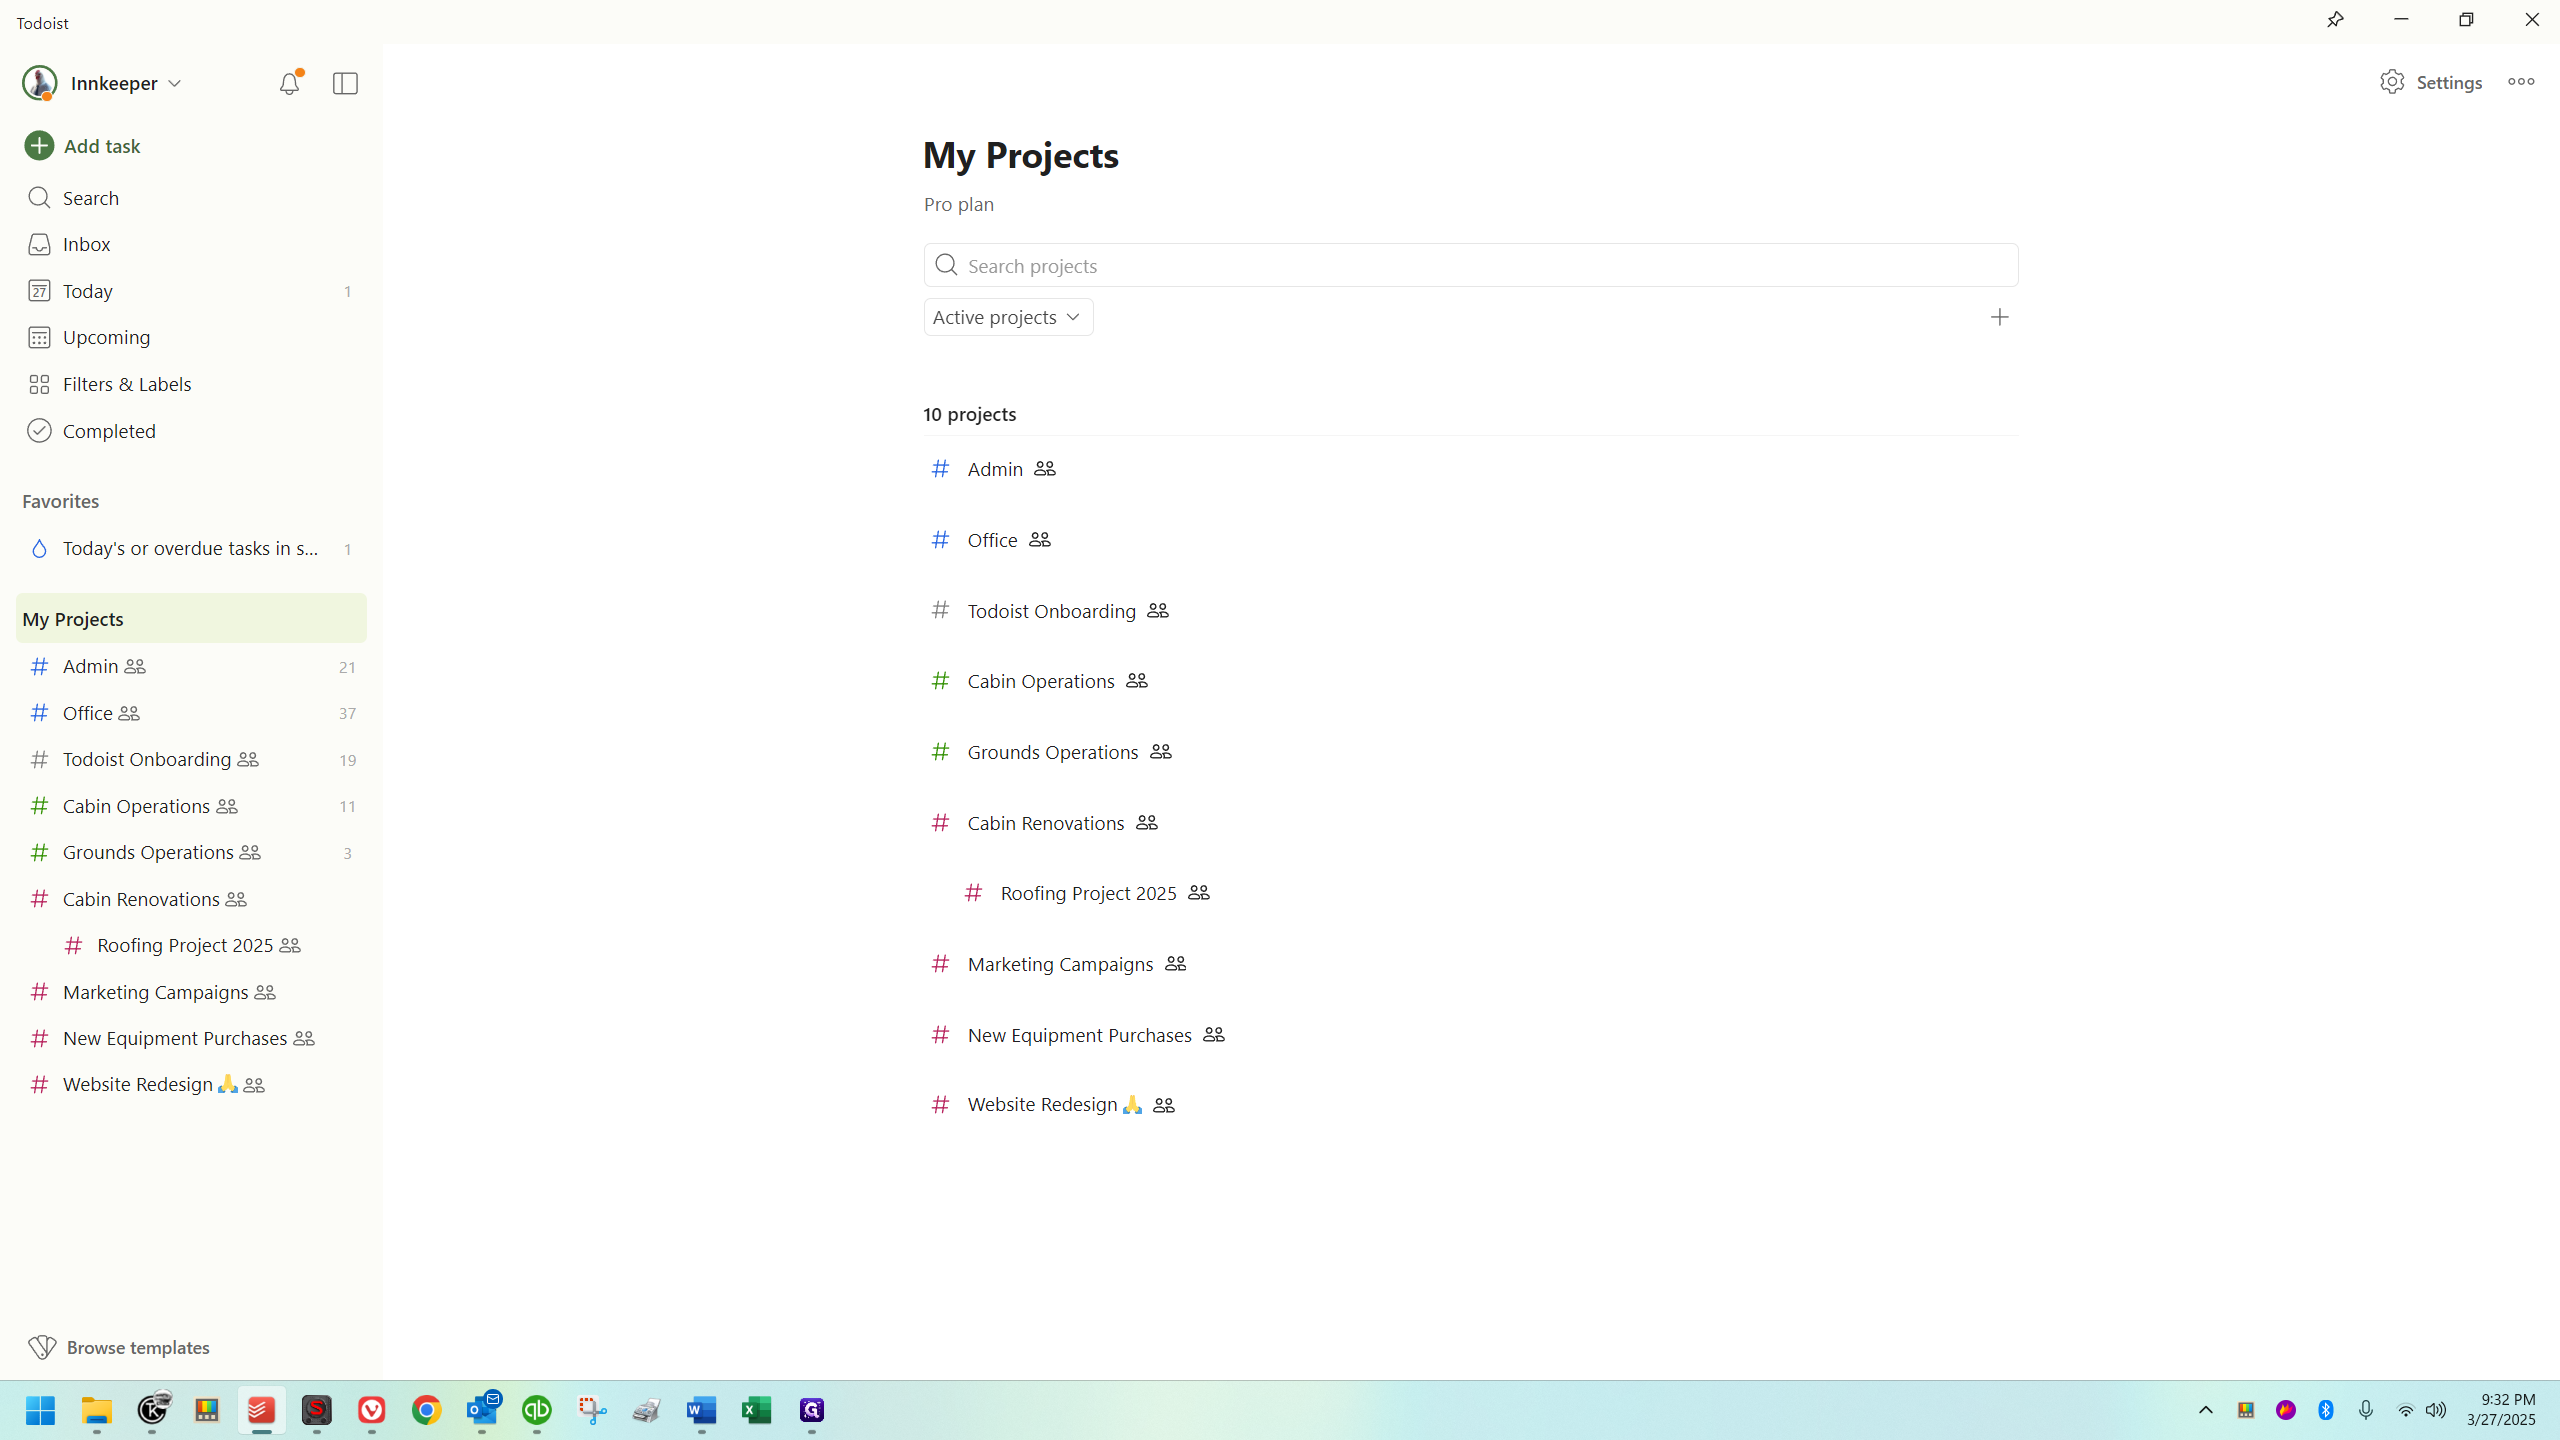
Projects
The most important aspect I want to highlight in this overview is this.
Projects are essentially like folders.
This has many folders inside.


All of these could be considered functionality equivalent to Todoist's projects. It's essentially the same concept. These are like folders where you store various files. In this case, however, they are not files; they are tasks, presented in the form of checklists.
I have categorized our projects in a specific way, and they are color-coded. I'll quickly explain what these are. Please note, I'm using the office's account, which is a pro (paid) account. Unlike free accounts, it has no limitations. The main limitation of free accounts is that they can't participate in more than five projects. A pro account allows you to be in as many projects as you want.
There is a third tier, the business plan. Without it, you can't have more than five people in a project. This limitation is inconvenient for us, but manageable. In the future, we might consider a business license. However, it is more expensive, and for this first year, it's unnecessary. Fortunately, there are no restrictions beyond what I've mentioned.
I've color-coded these:

Anything managerial-related is currently split into two categories. The first is admin, which includes tasks like payroll and taxes, primarily for myself. In the future, it may also include Steve and Sandy. However, it is not generally intended to be an outright innkeeper role.
It's fine if people look in there, but it should not be shared outside the office. You can generally ignore it unless you're asked to check it for something. There's nothing private; it's mostly where I've been putting my own tasks for anything beyond day-to-day innkeeping.
The office will handle day-to-day innkeeping tasks. That's essentially it.


This will cover your regular operations, excluding office-related tasks. I've divided it into two categories: cabin operations and ground operations. These are exactly as they sound, with the second focusing on outdoor activities.
Anything related to landscaping, such as raking, mowing, watering the flowers, planting, and making outdoor repairs (like fixing the bridge at the tea house) fall under grounds operations.
Cabin operations will cover everything else, basically.

Cabin renovations will focus on many capital improvements.


To recap:


This provides a decent overview of what projects are, and how they are setup and categorized for WPC.
Let's finish looking at the things on the left.
At the top left, where it says "innkeeper," you can access and open your settings.
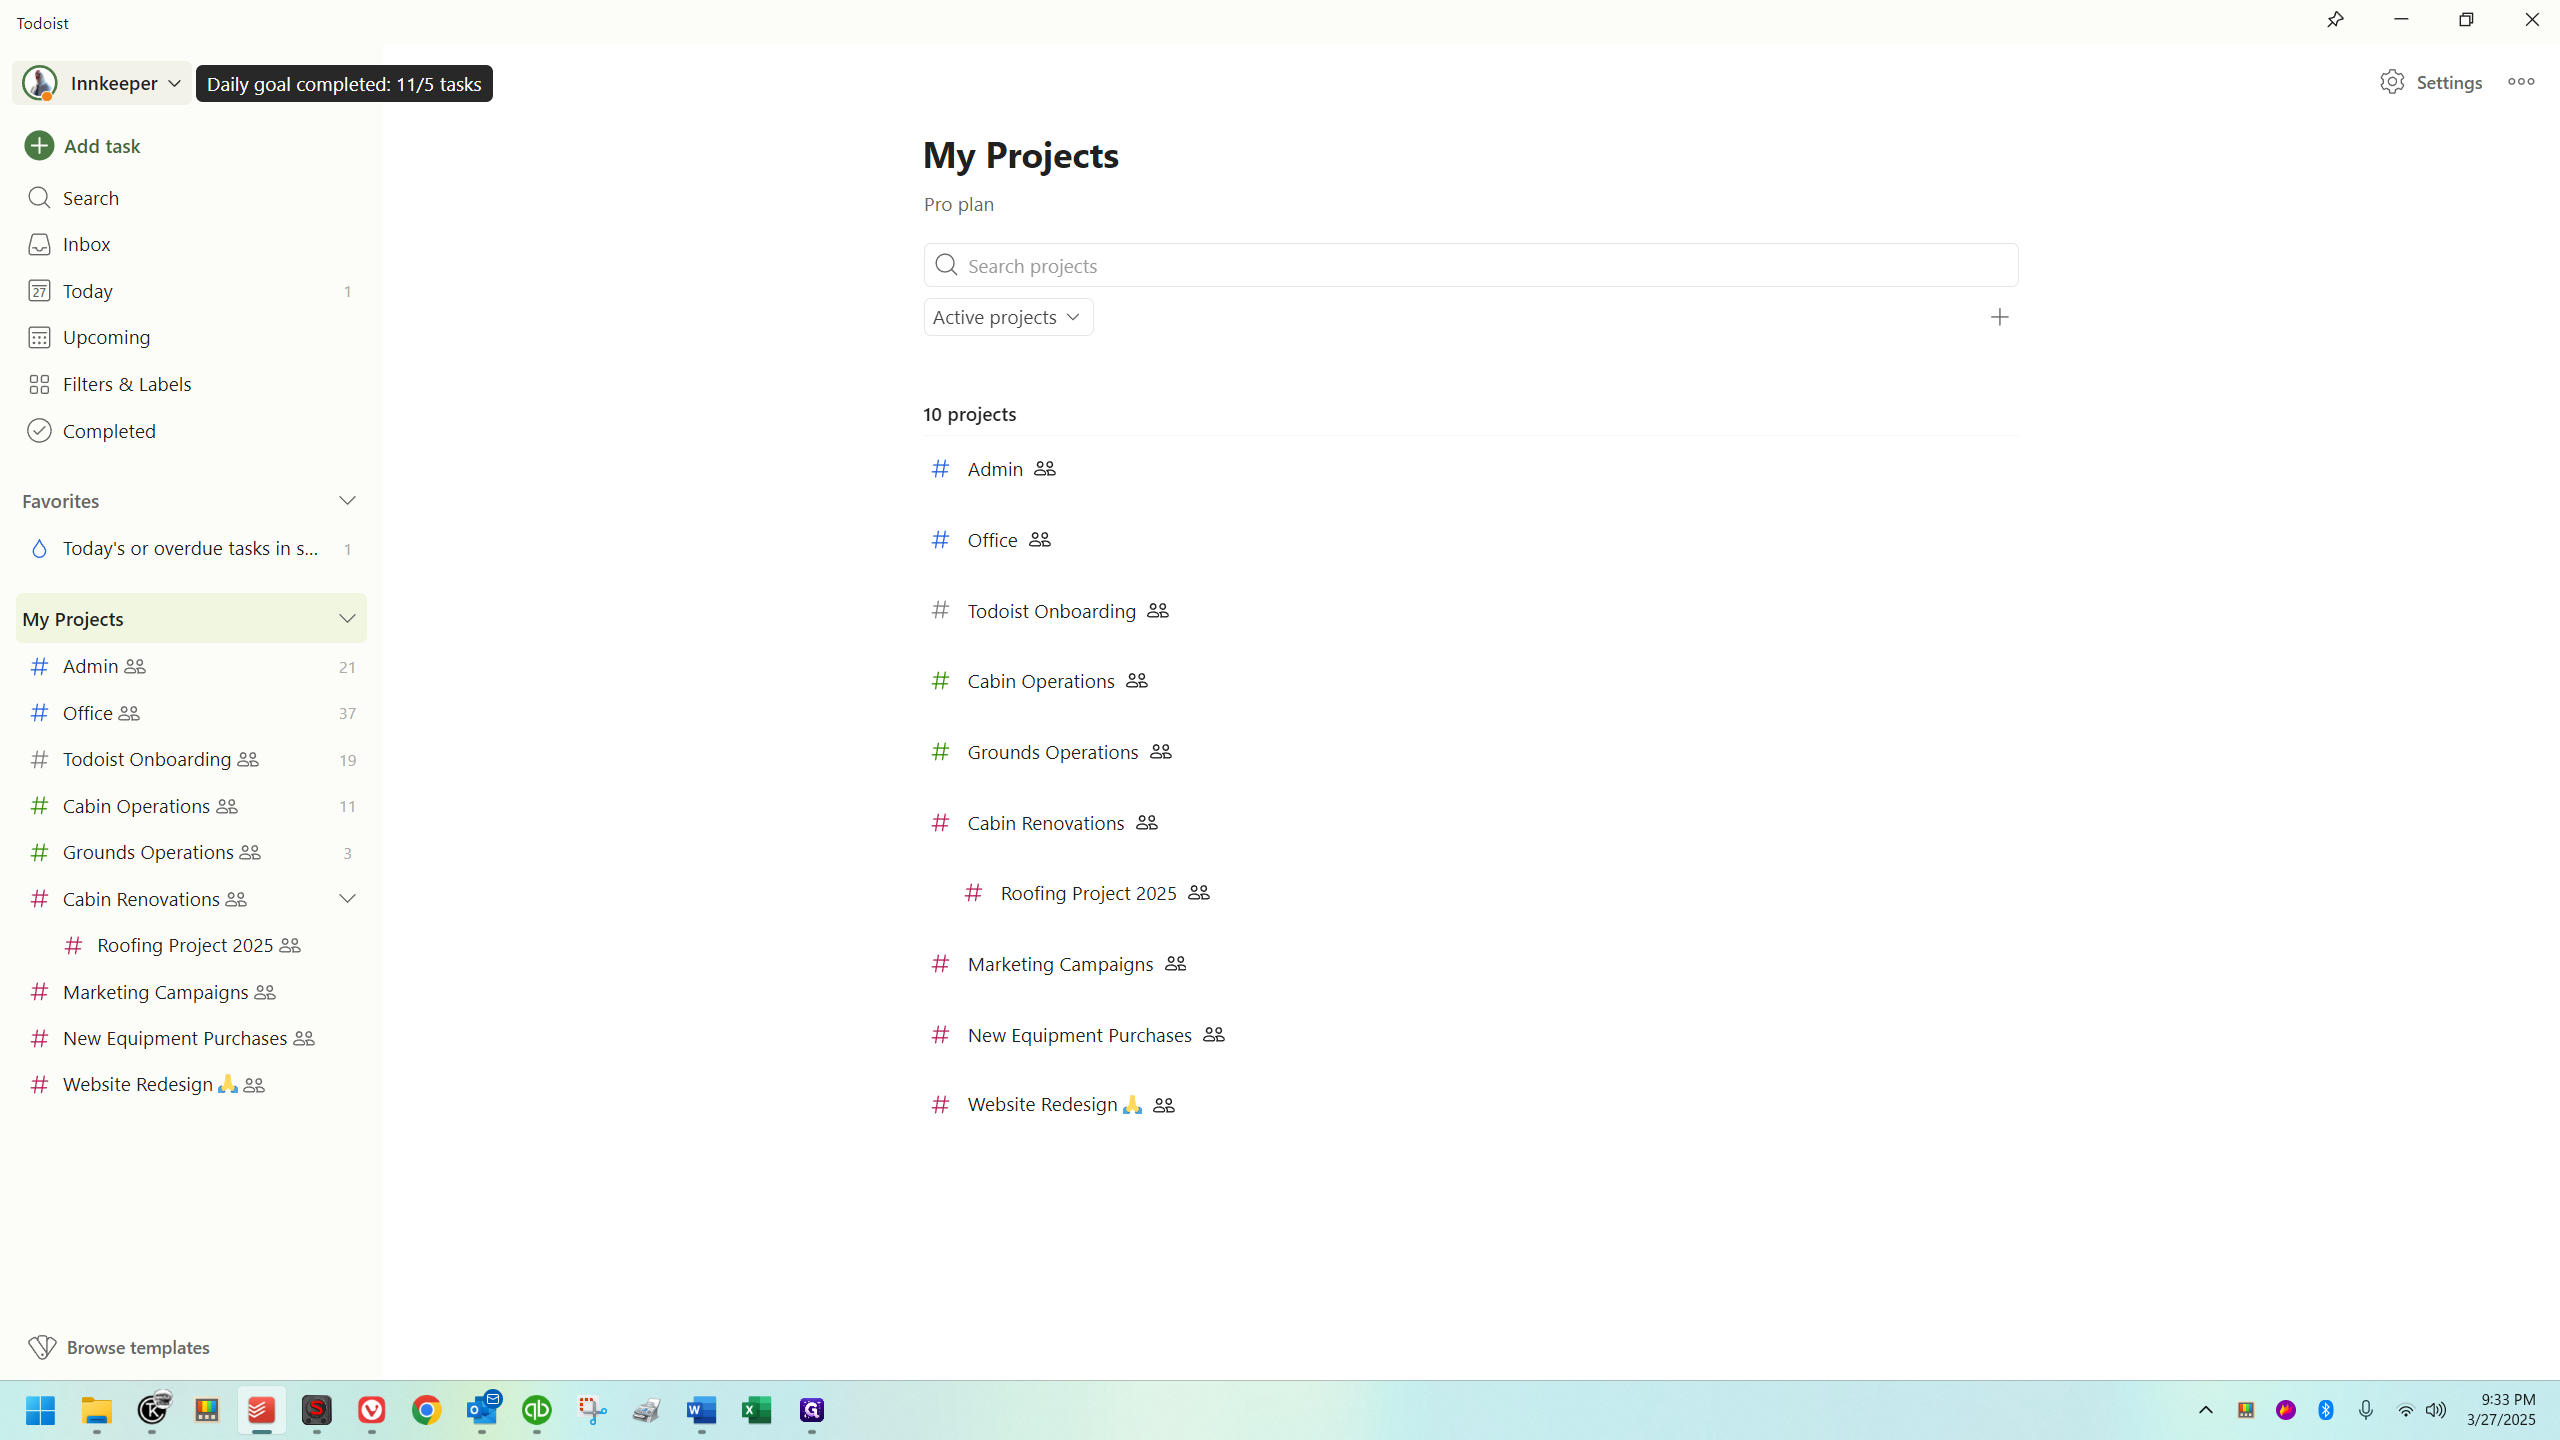
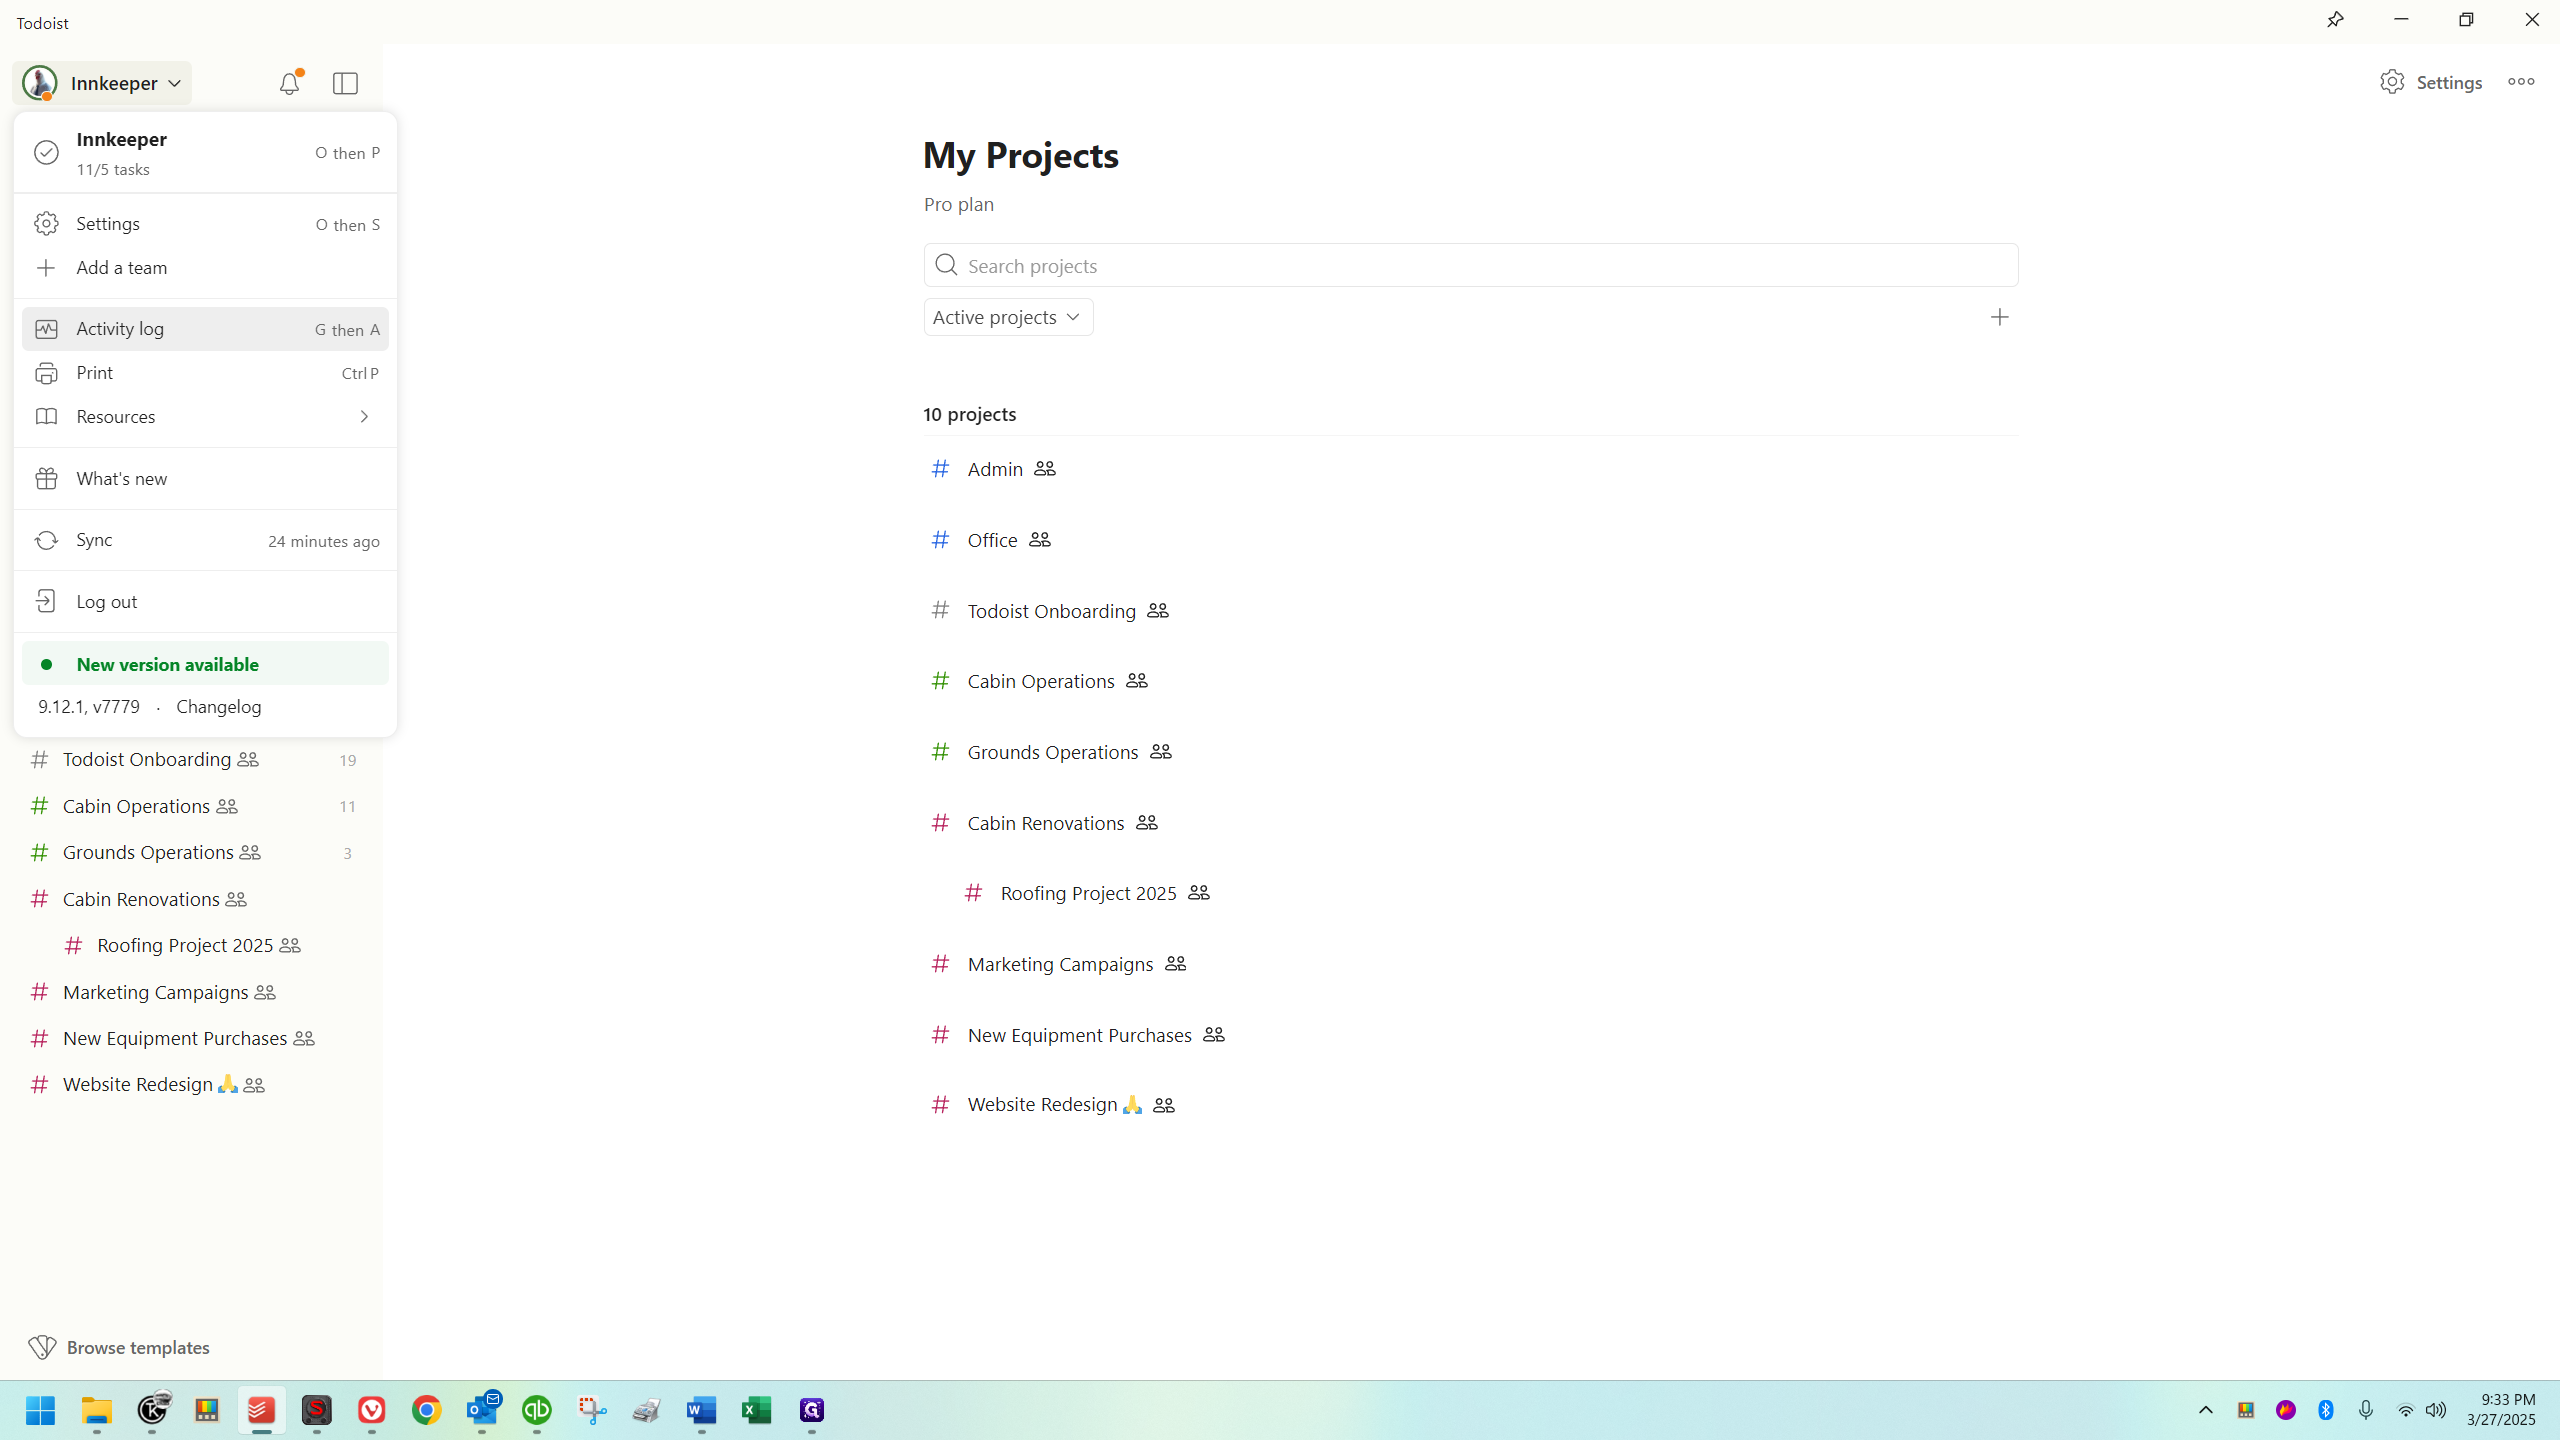
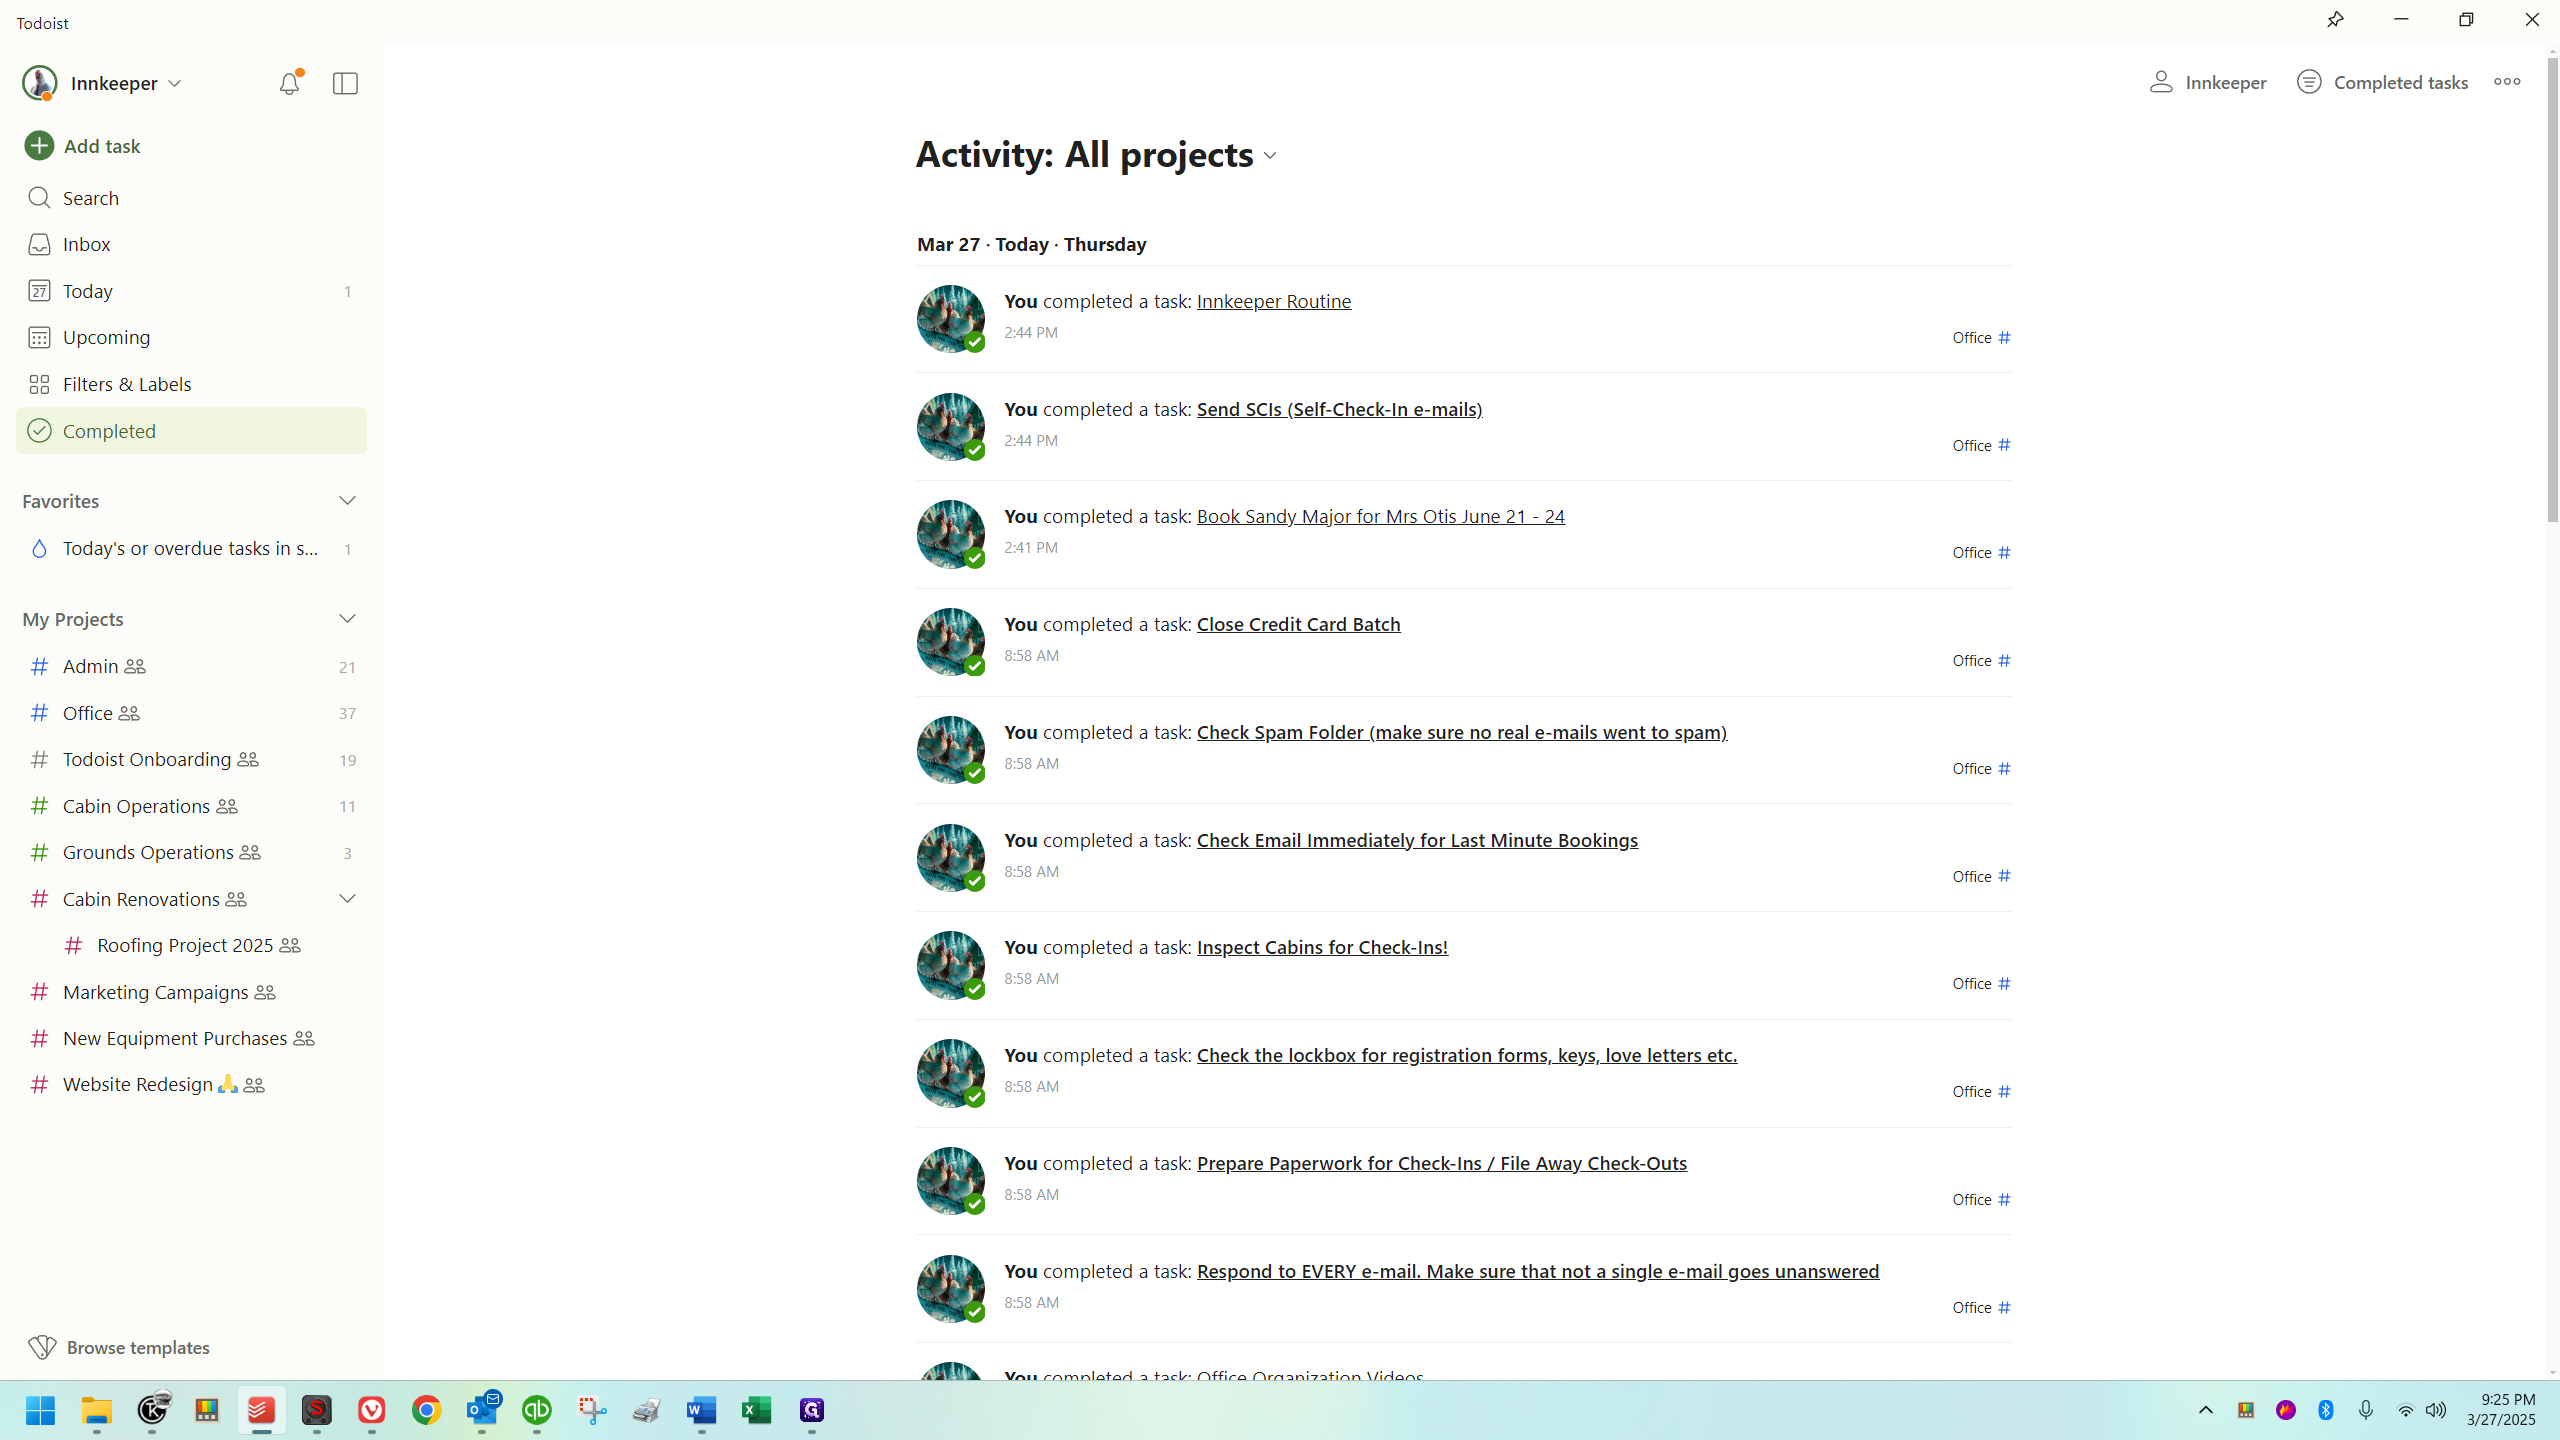
This will show you everything that's been done. It includes things that have been added and completed.
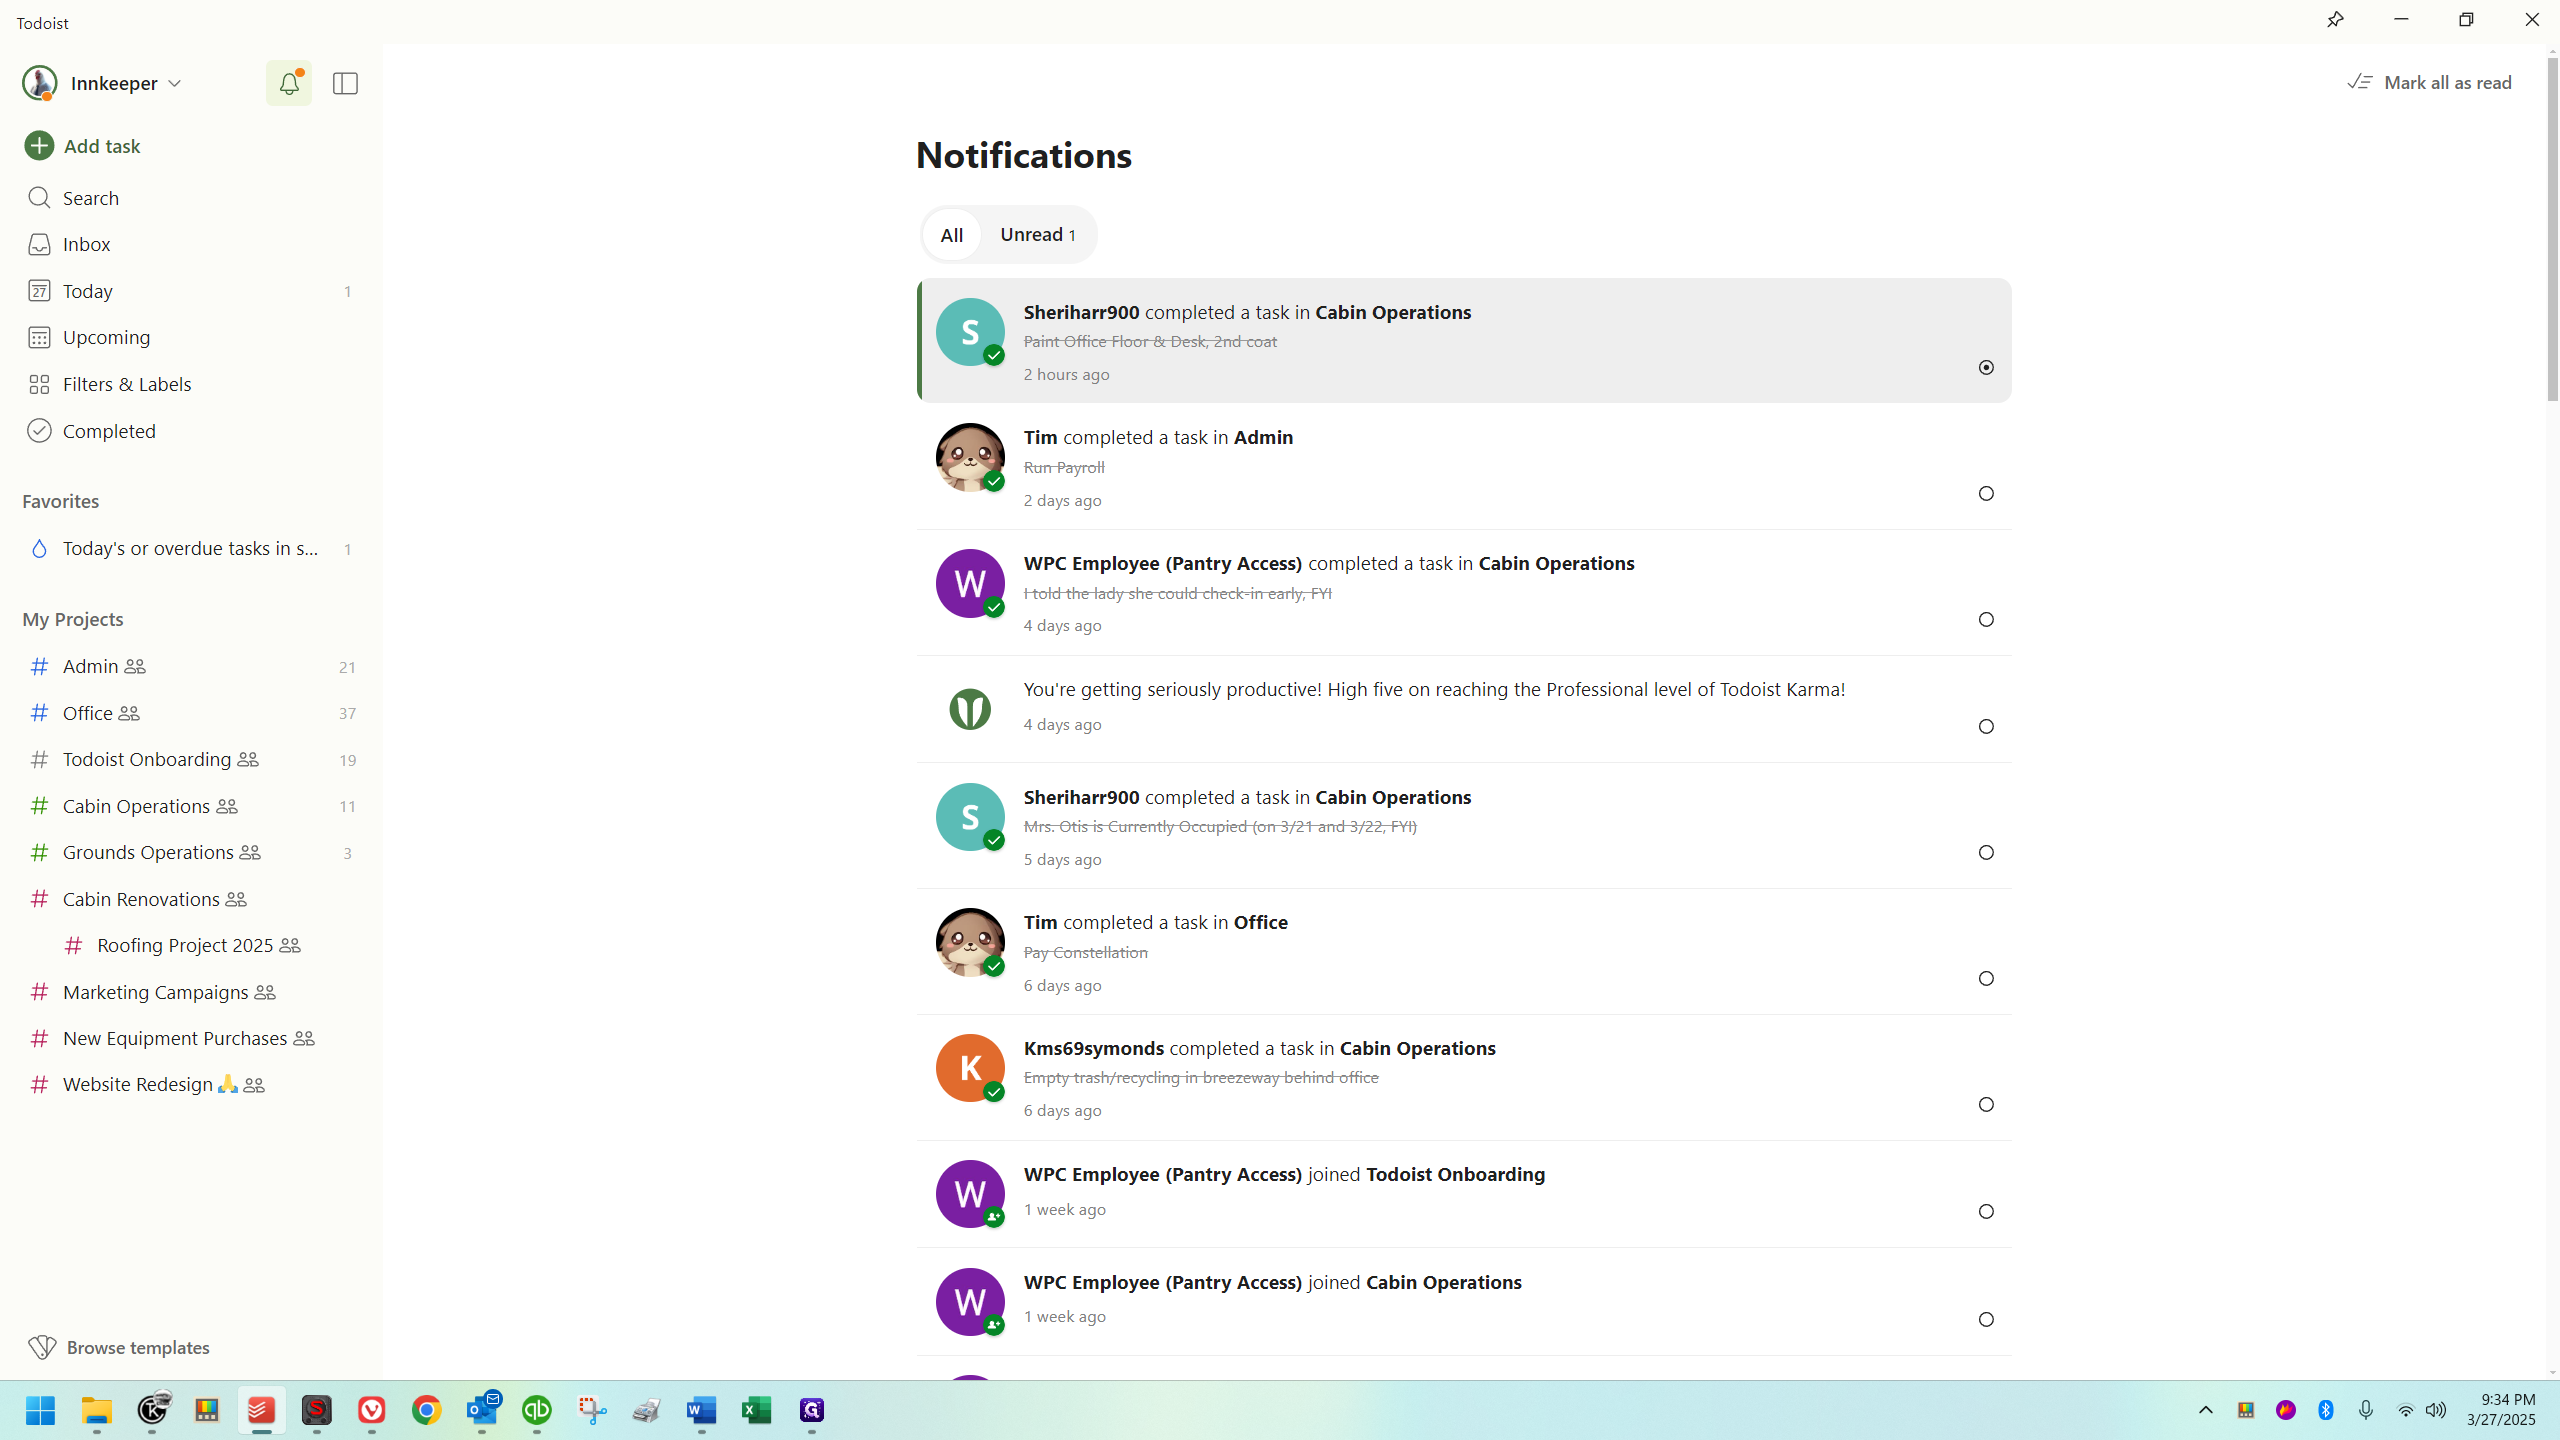
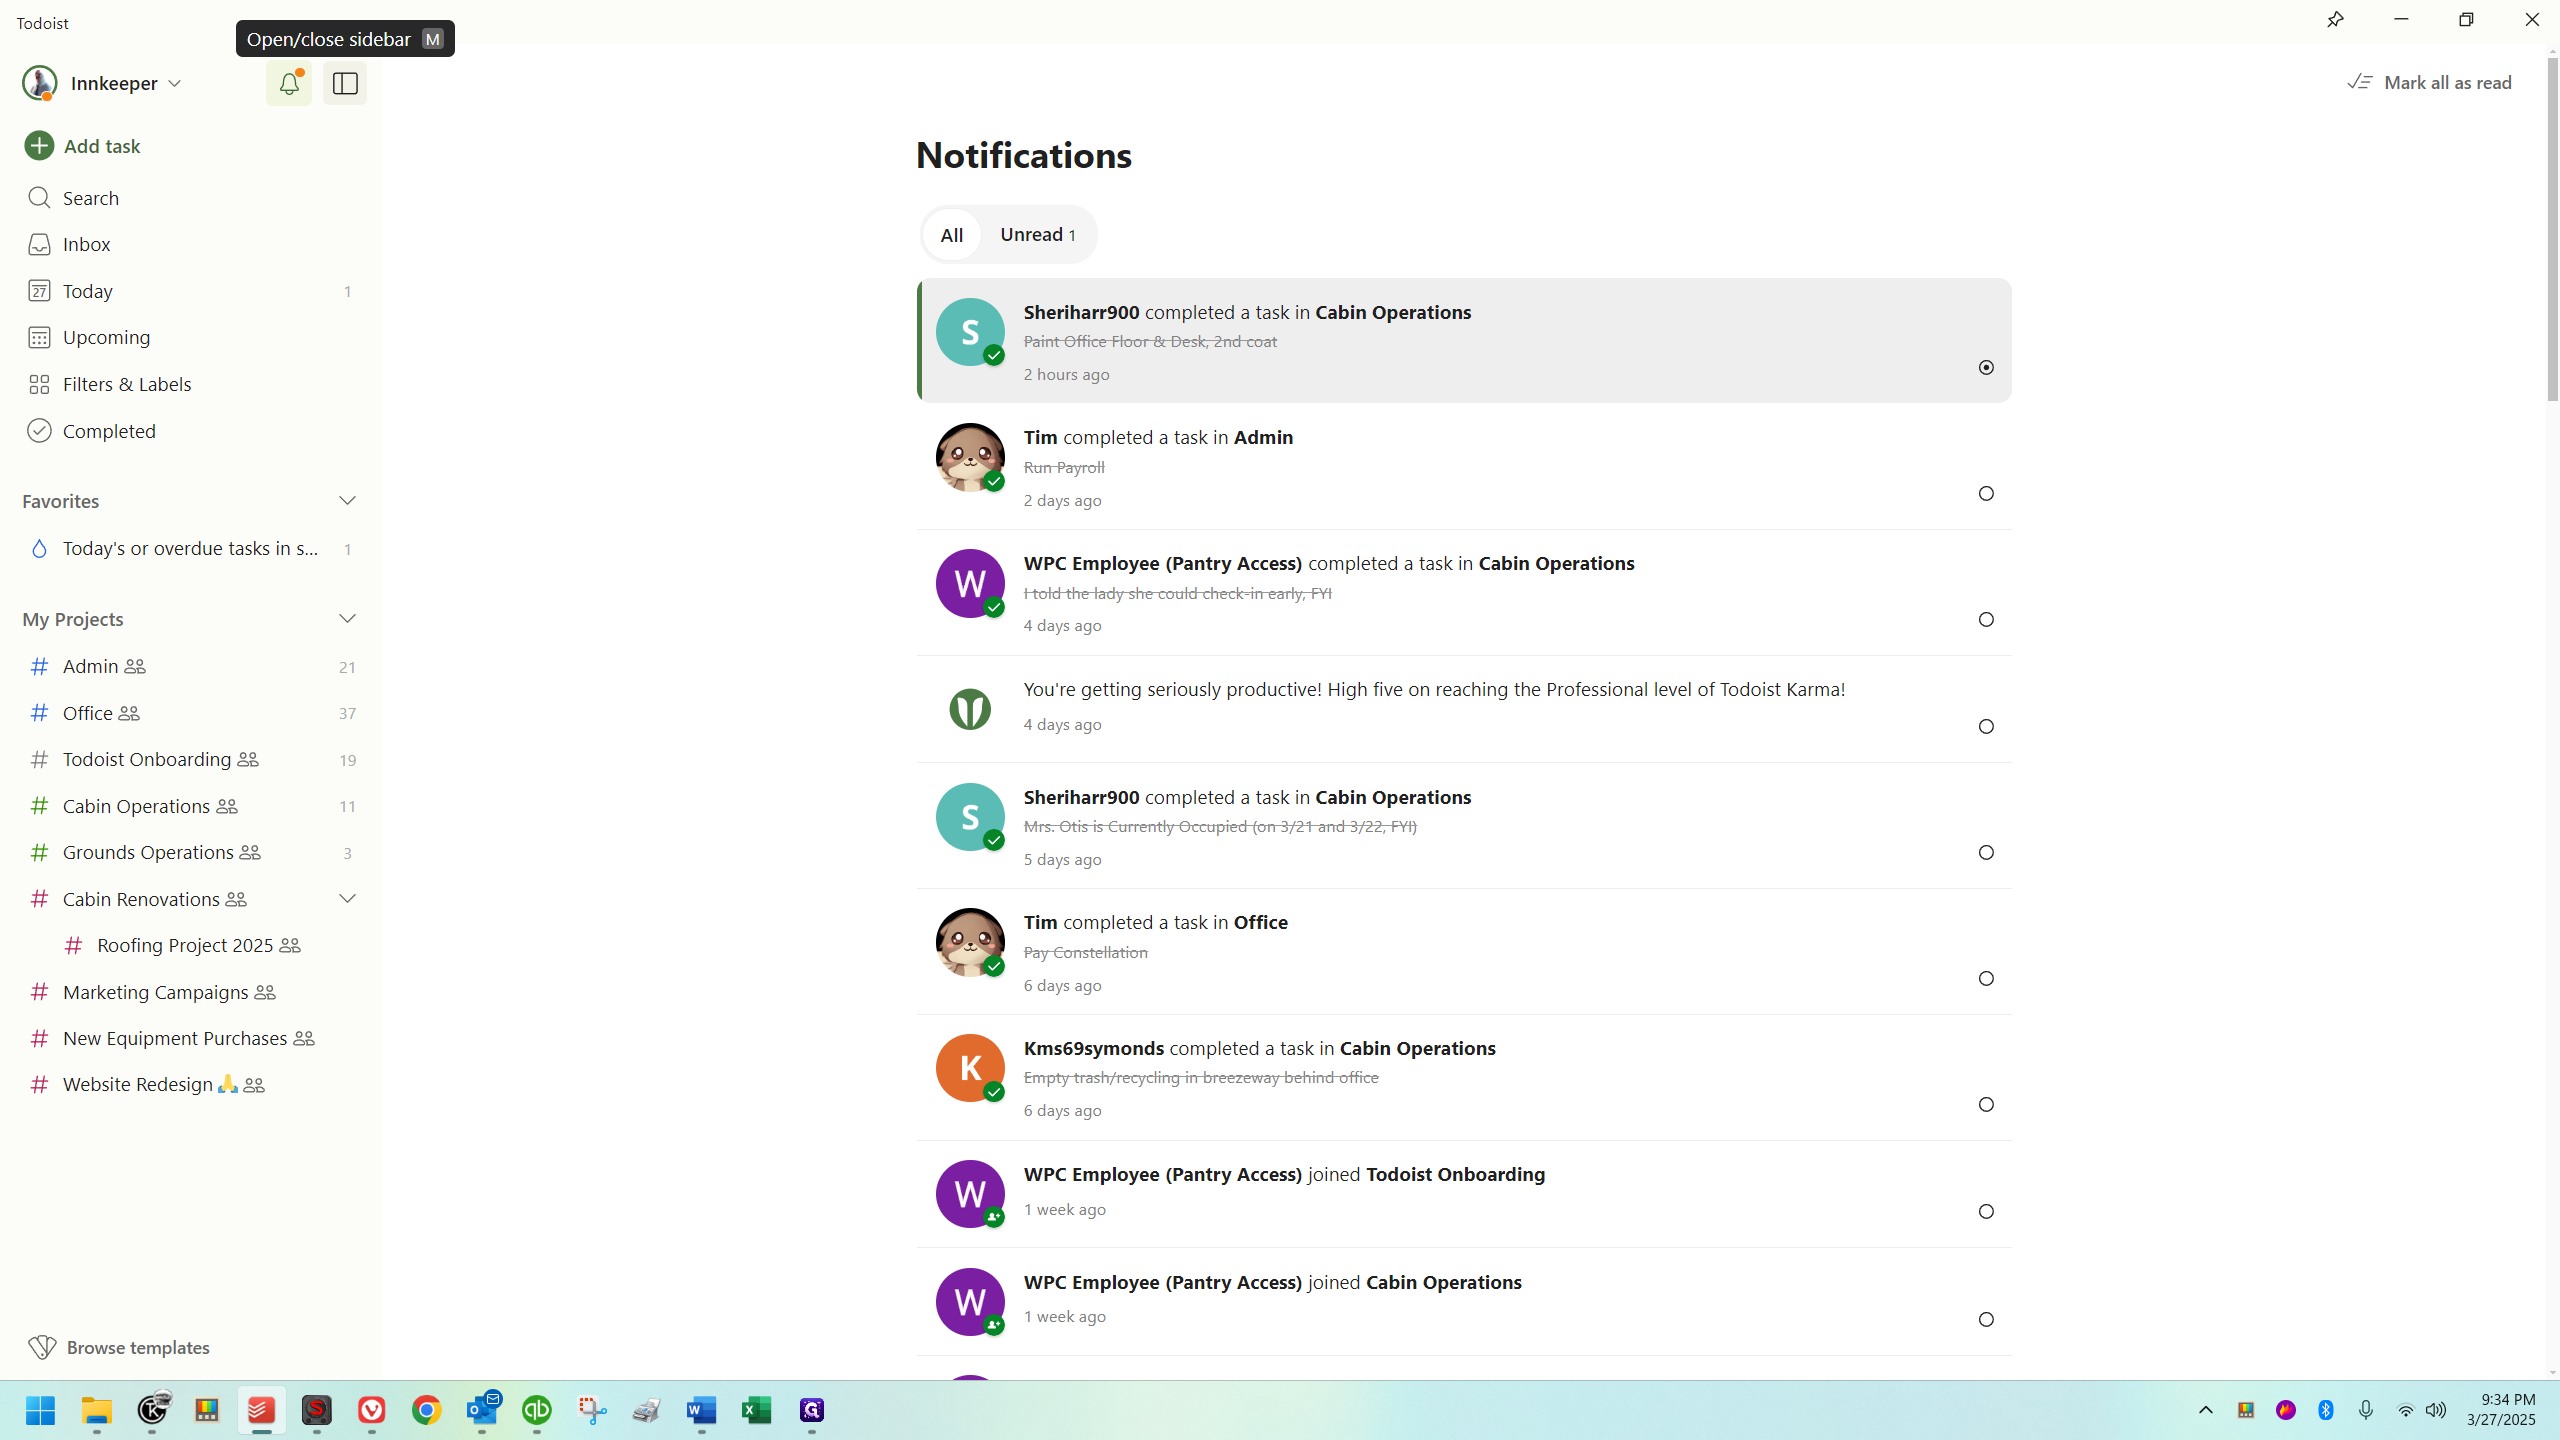
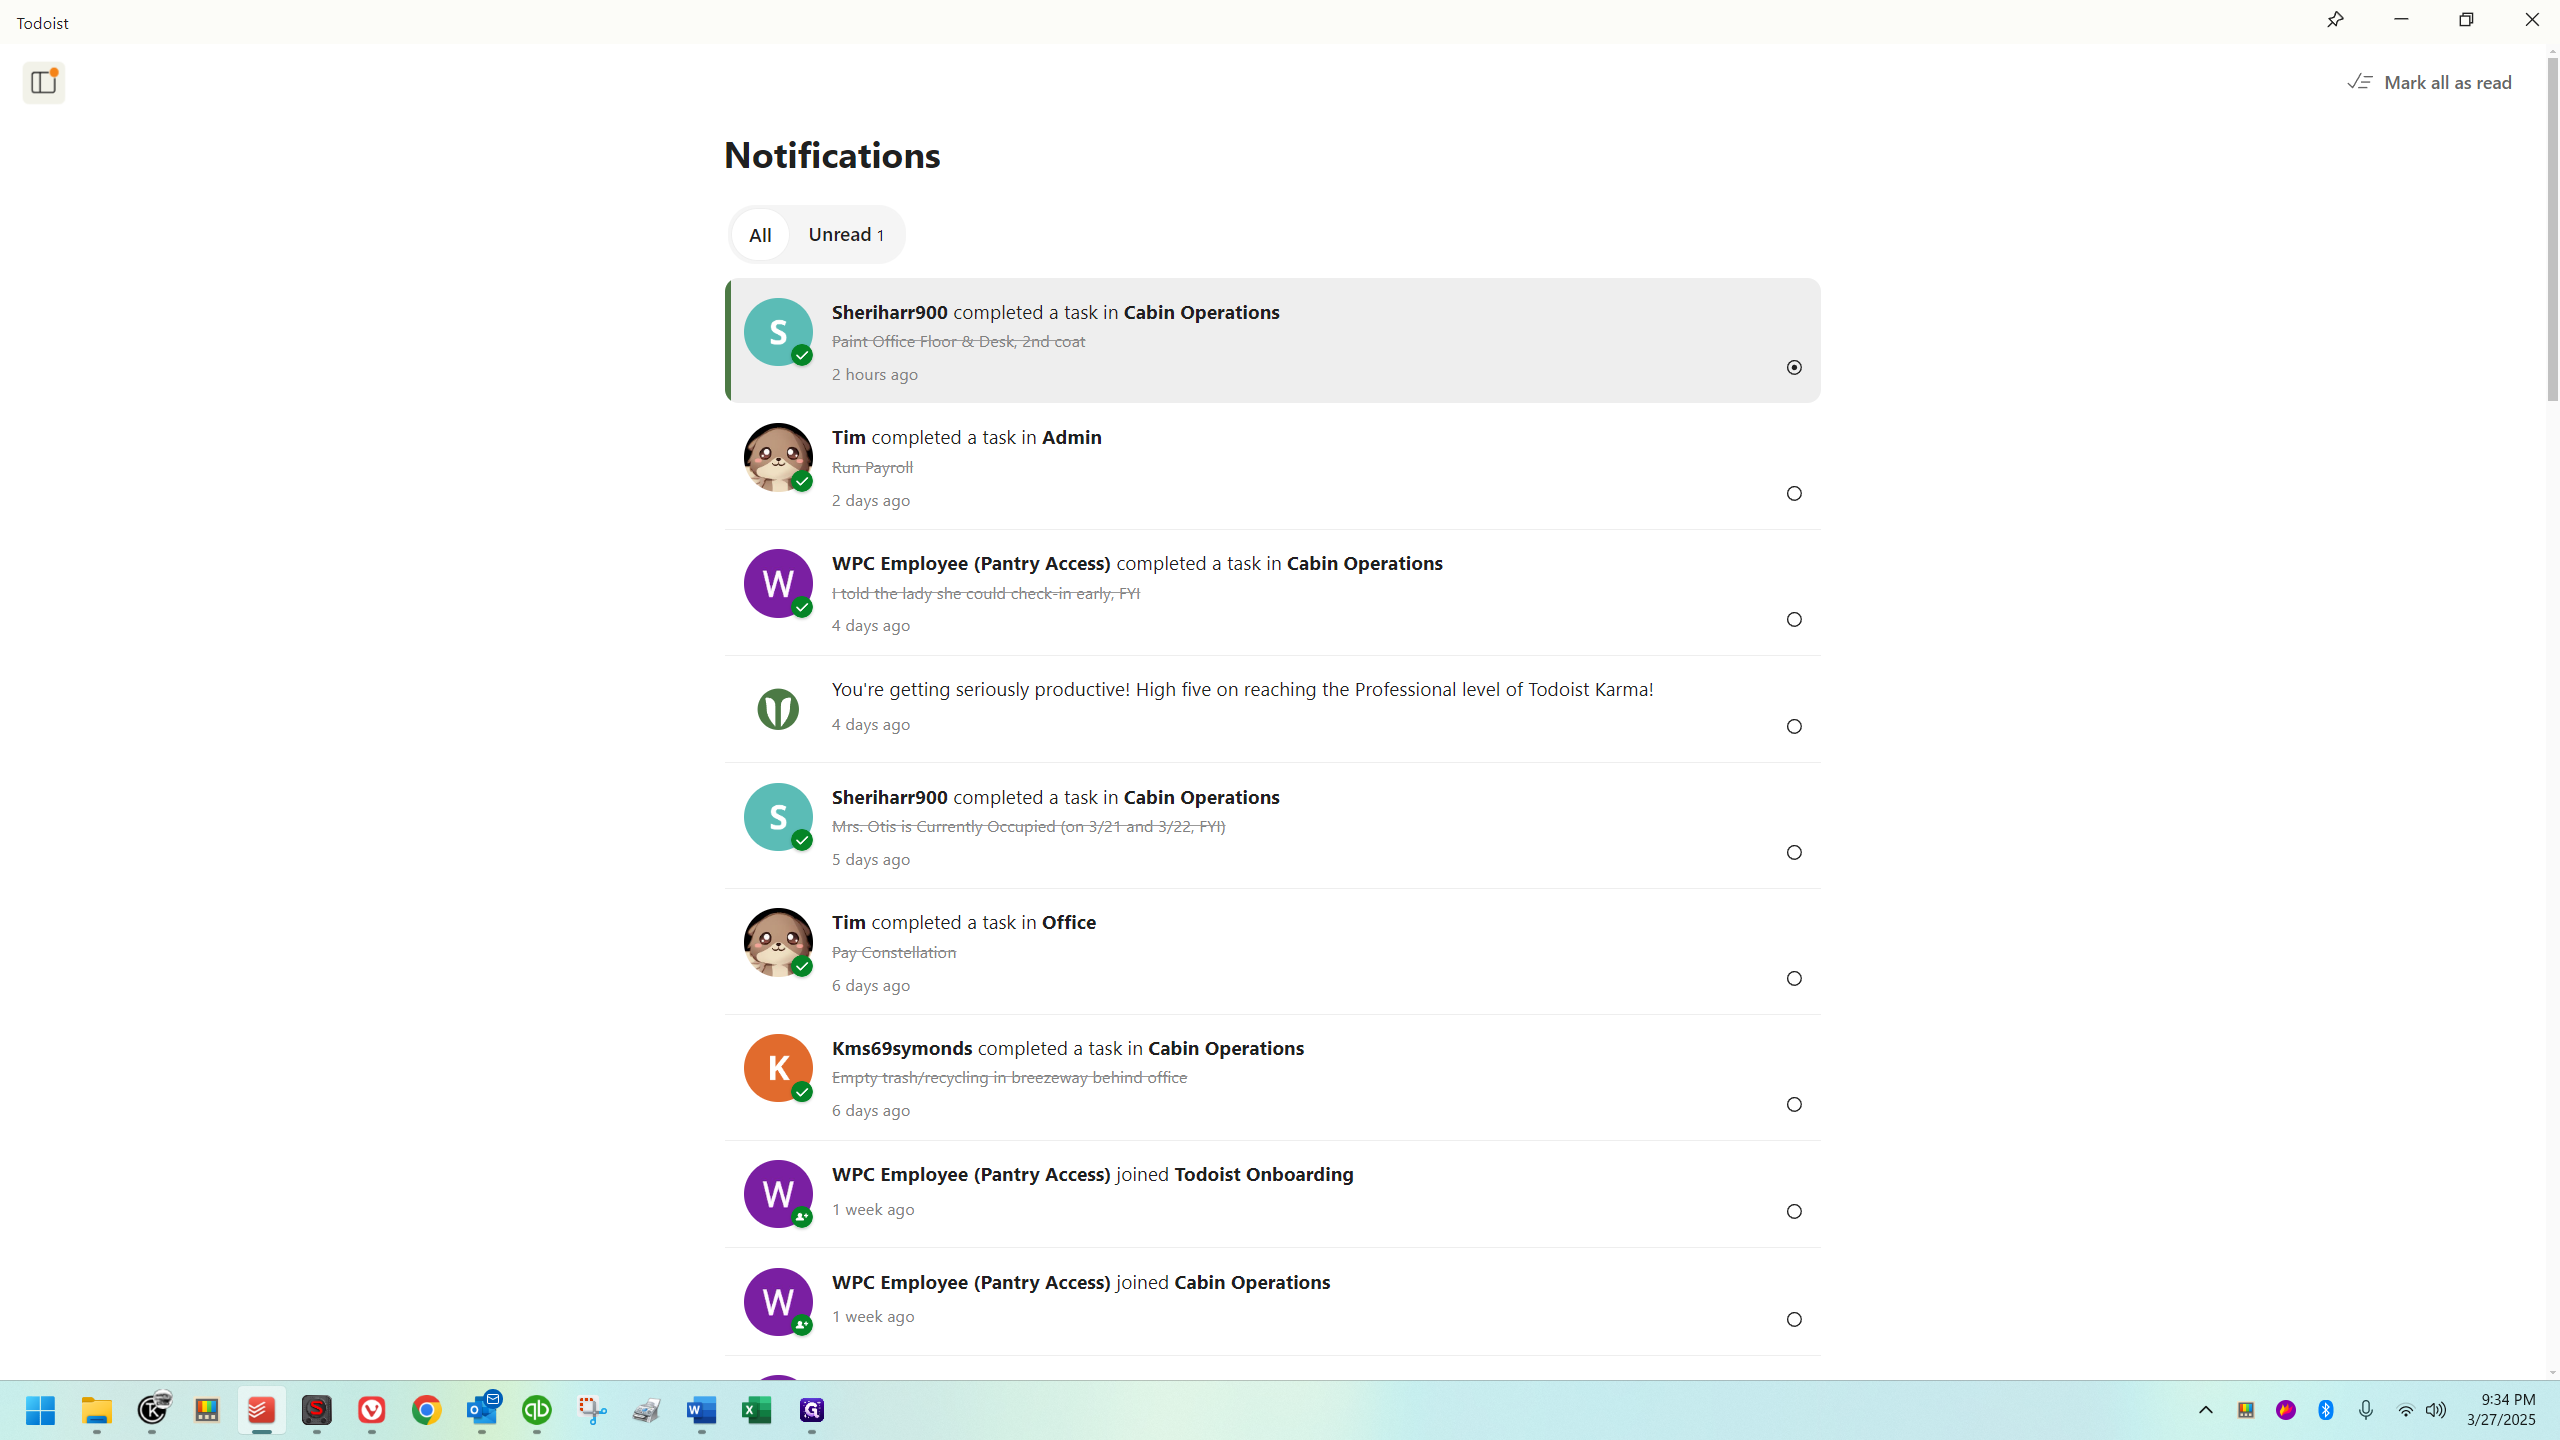
The bell icon here is for your notifications.
This will take you to a section where all notifications received by the camp will be displayed.
This button opens and closes the sidebar.
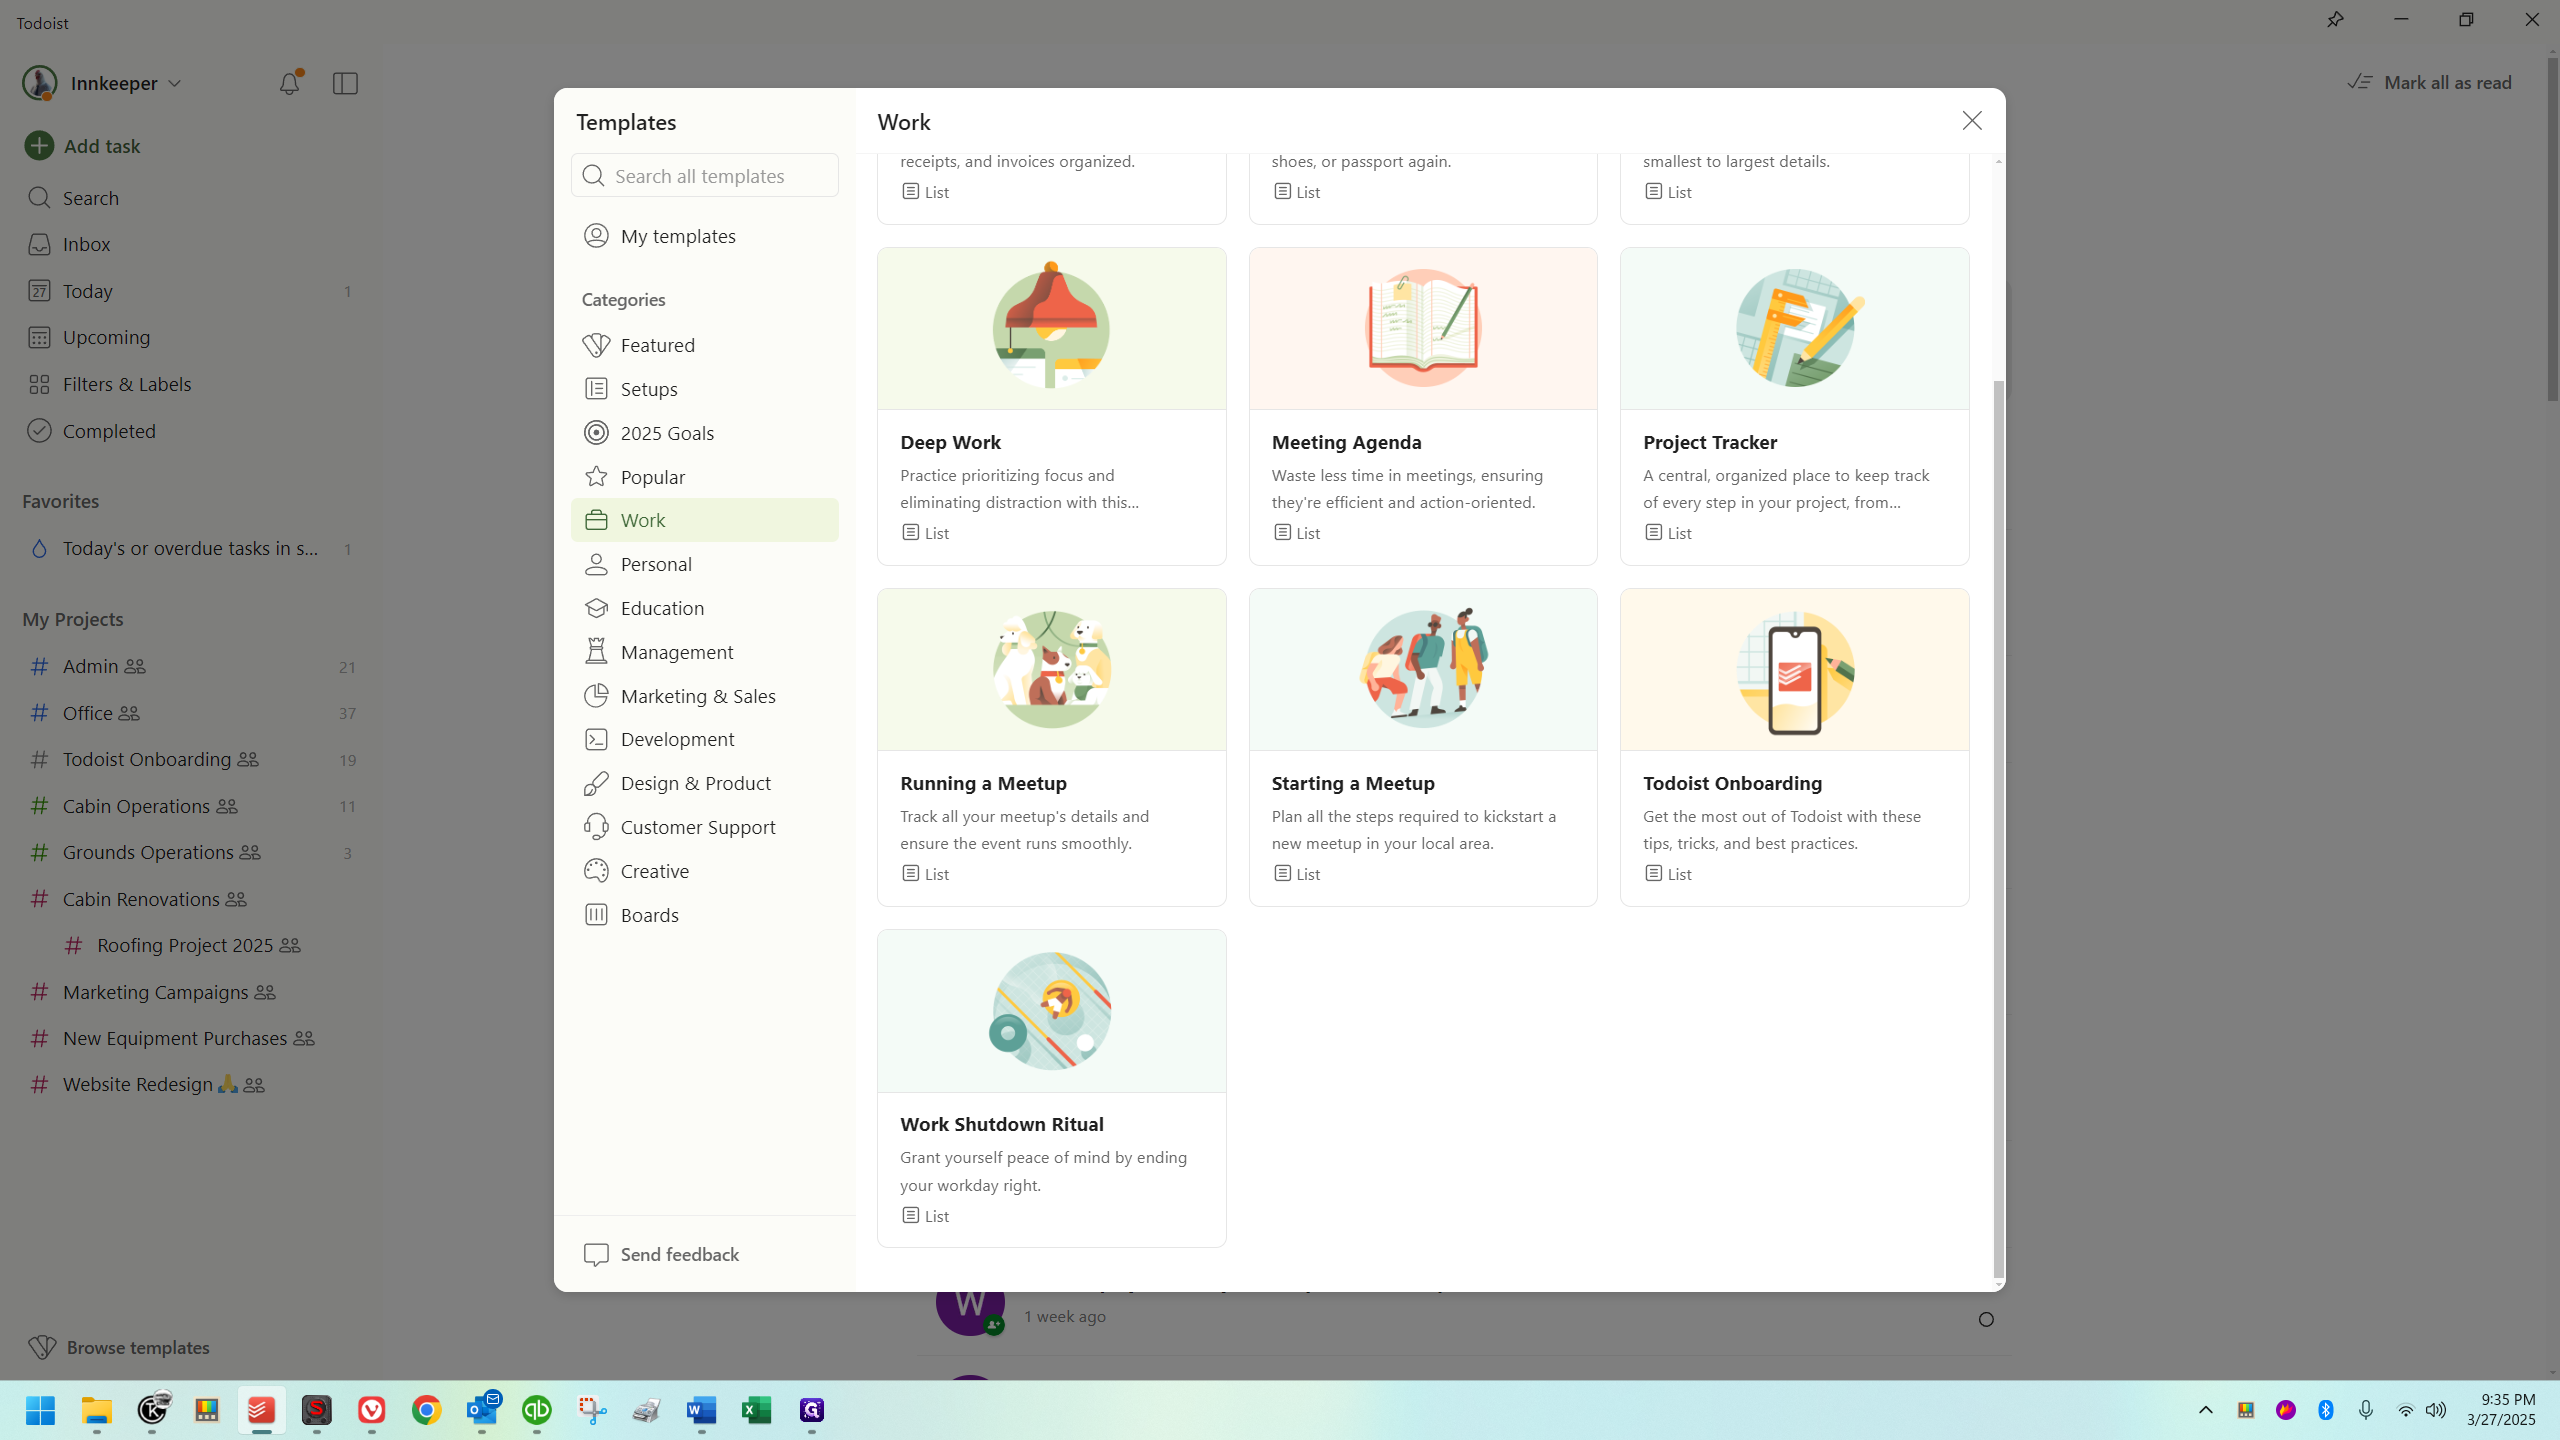
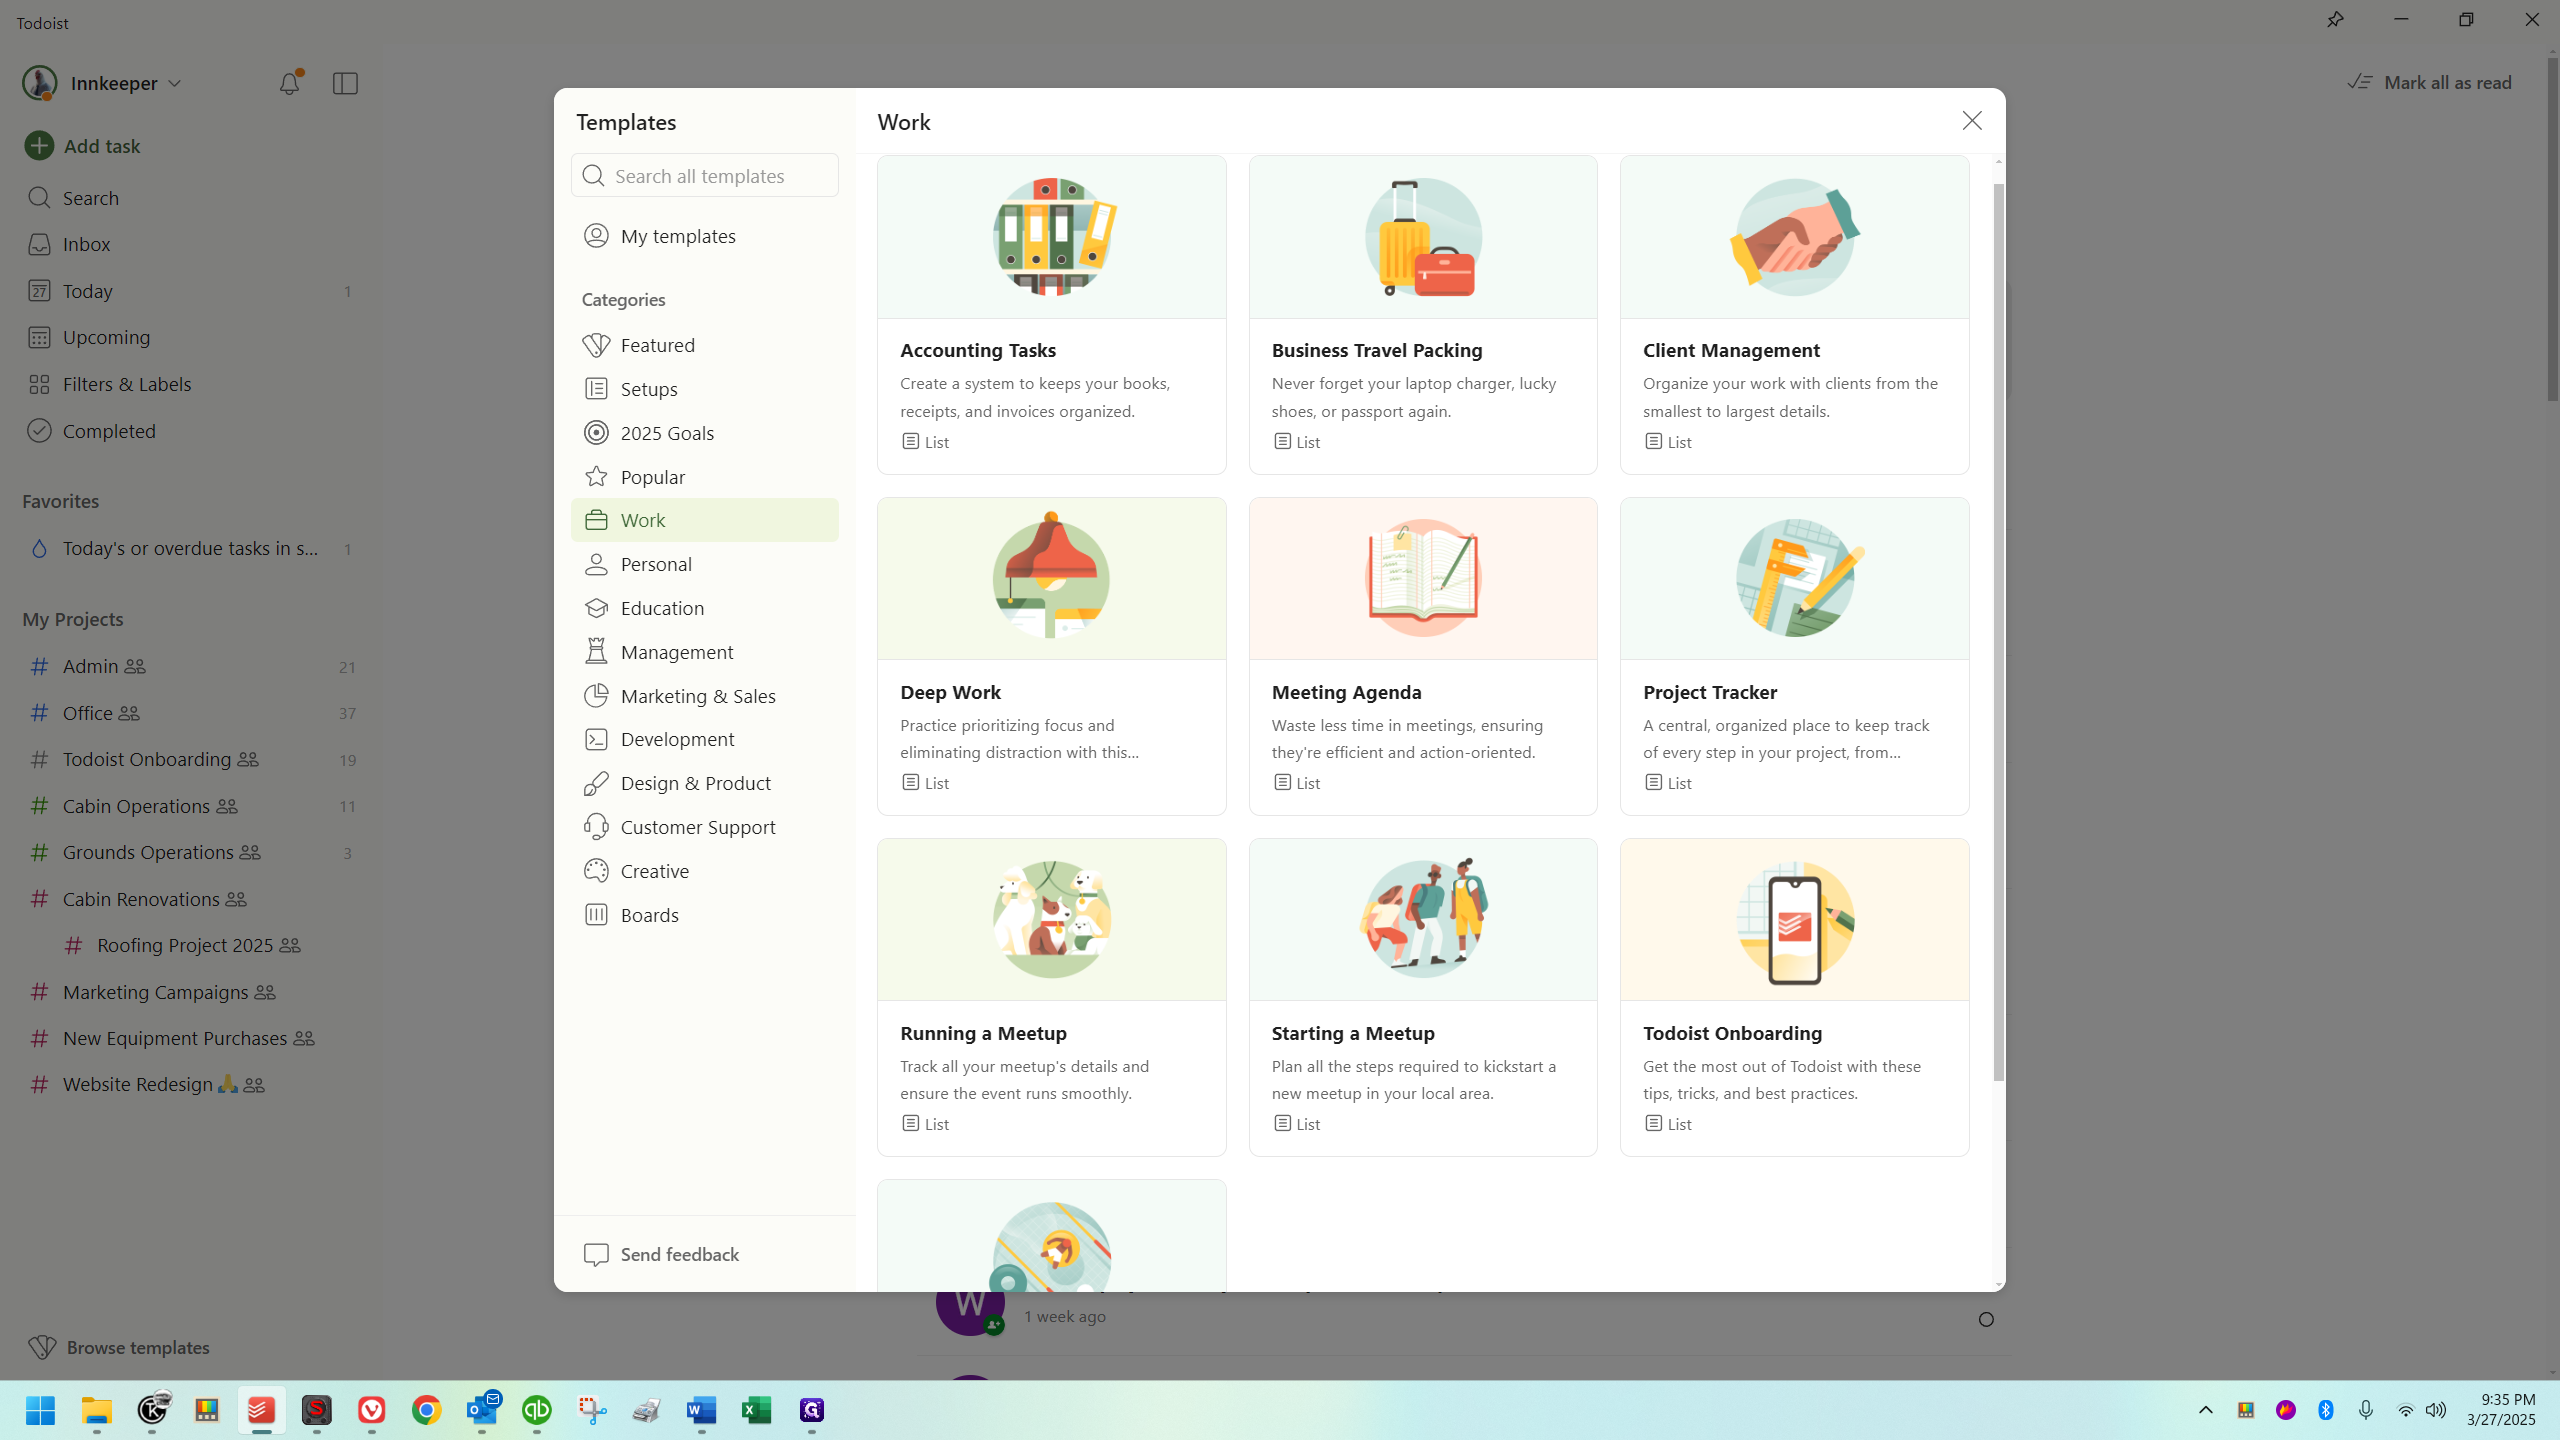
At the bottom left, you'll see an option called "Browse Templates."

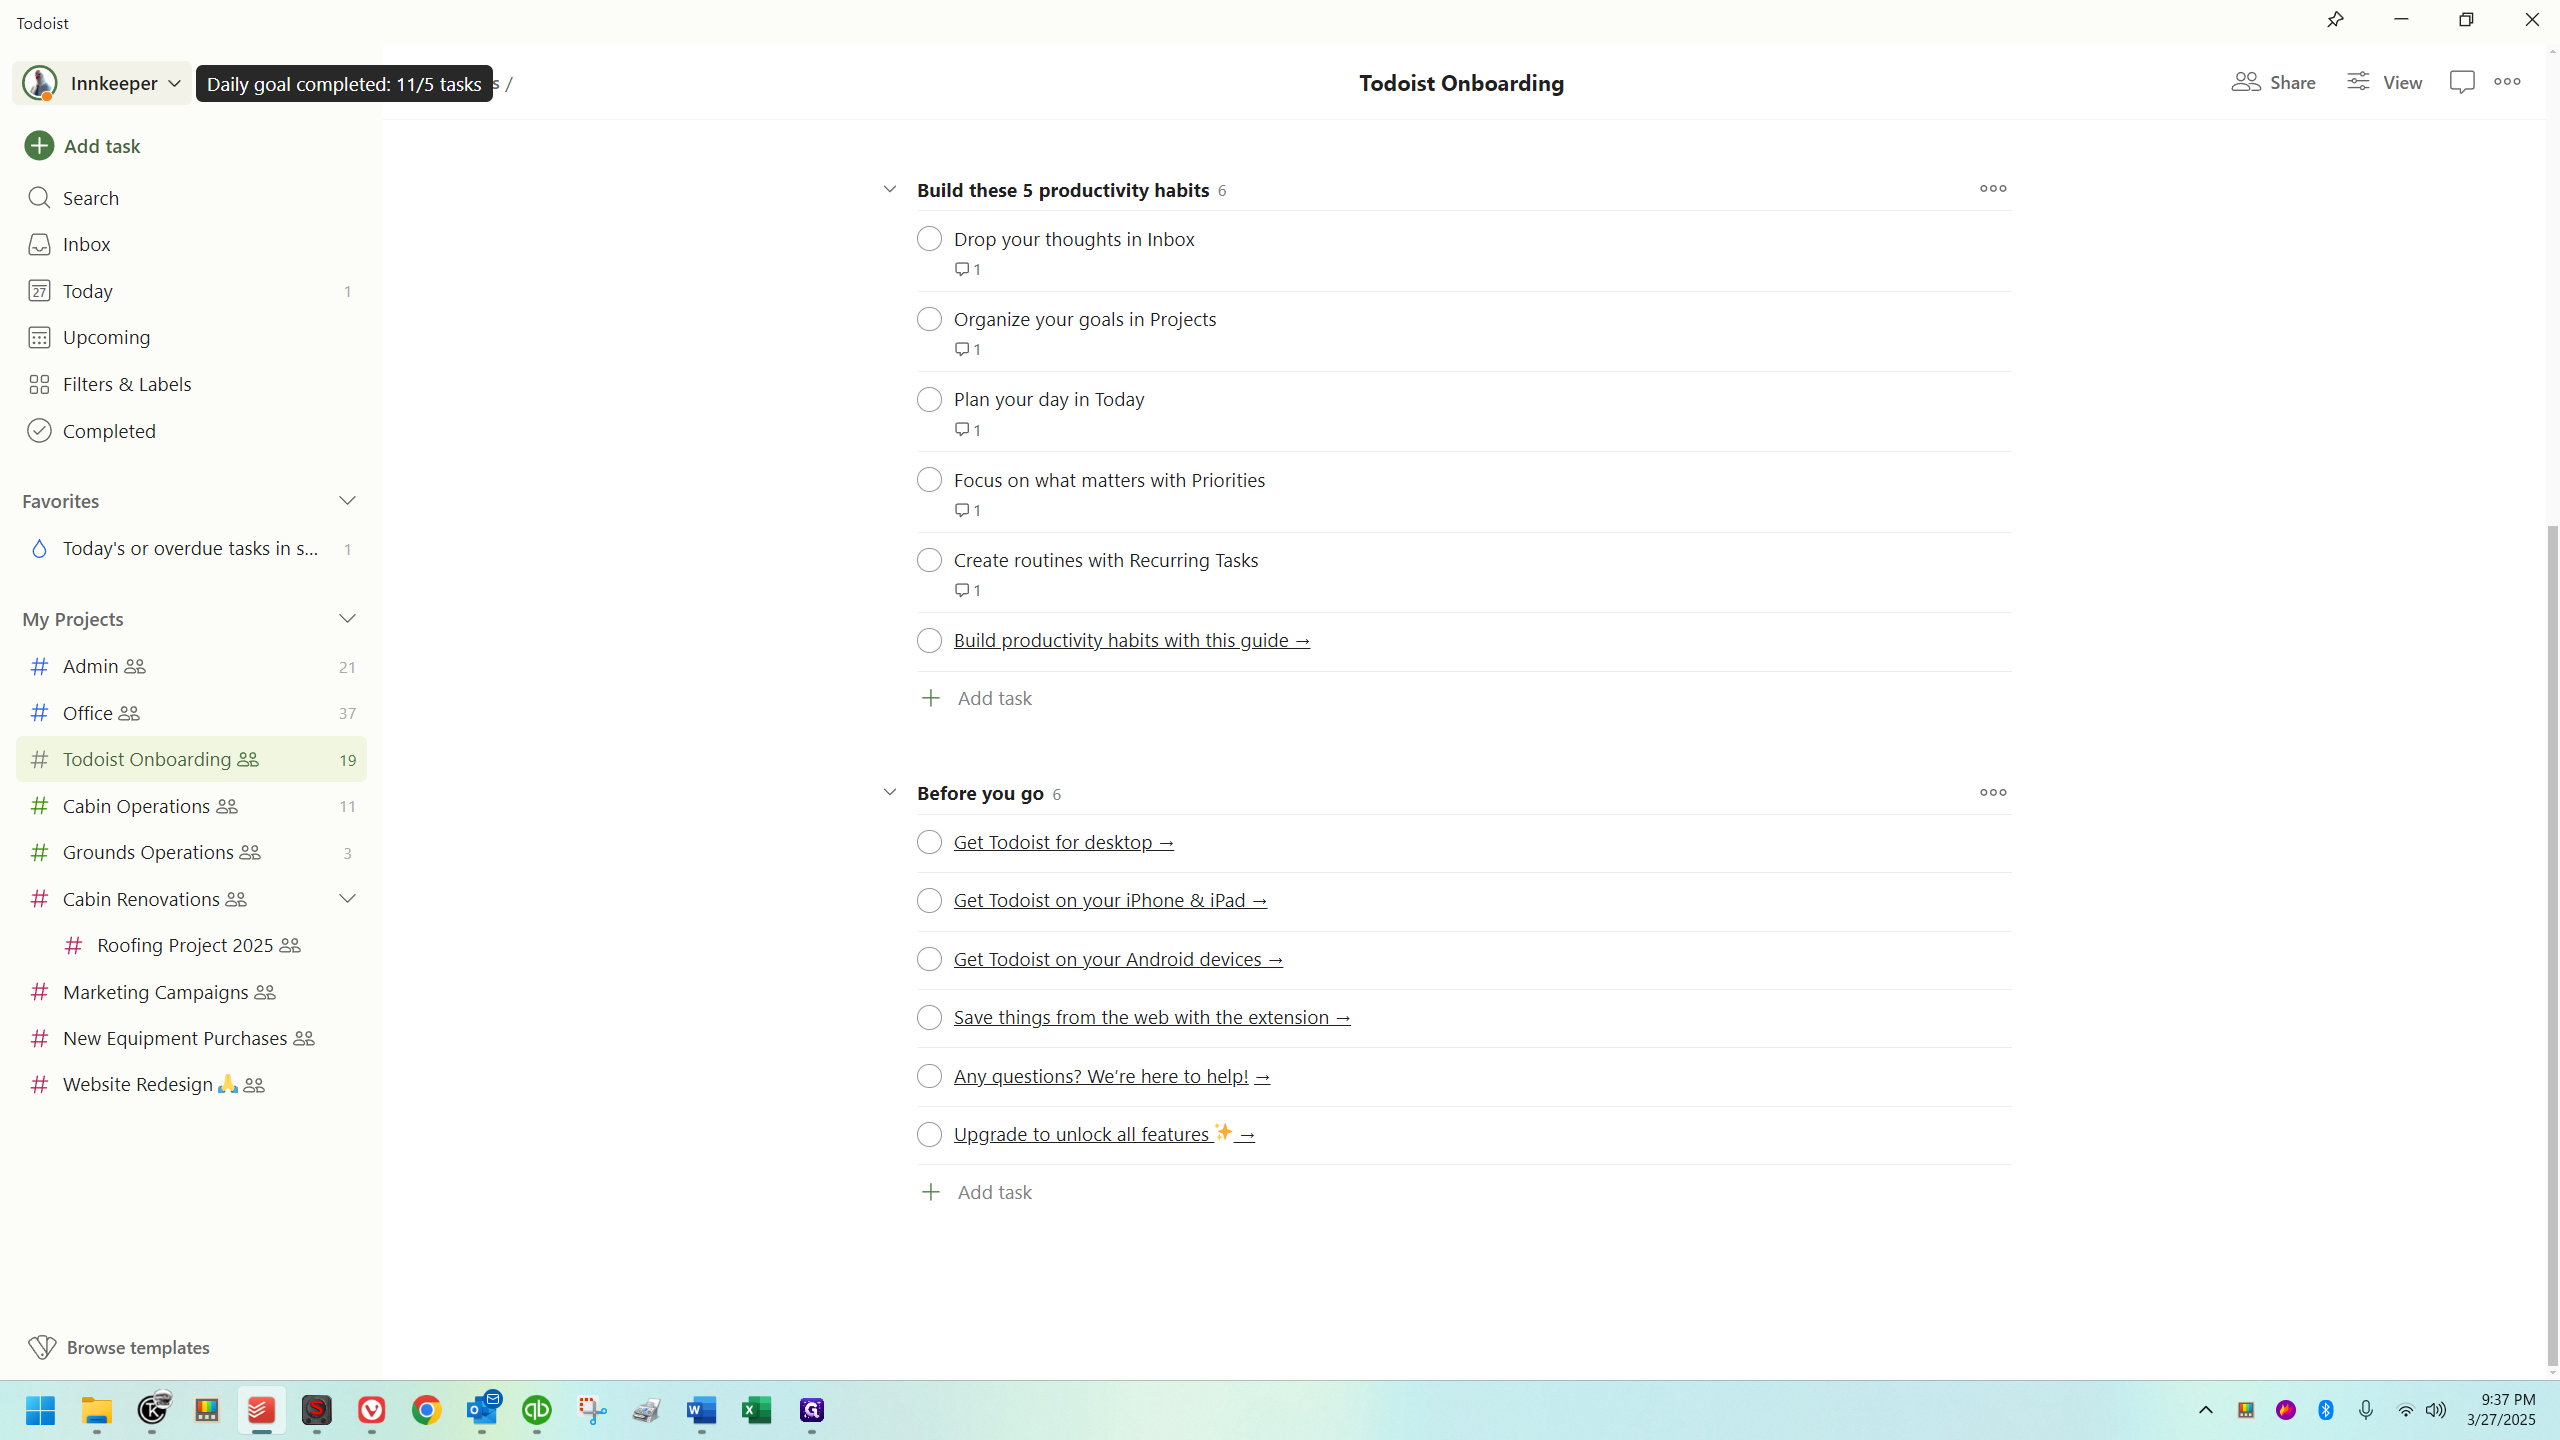
This is very cool. There are various templates available, which provide ideas and help you understand its use. Now, let's look at the work section.

You can take a look here. This is where I got the Todoist onboarding project.
When I check the popular section, I can see a grocery list, which I use on my personal Todoist account. It's actually amazing.

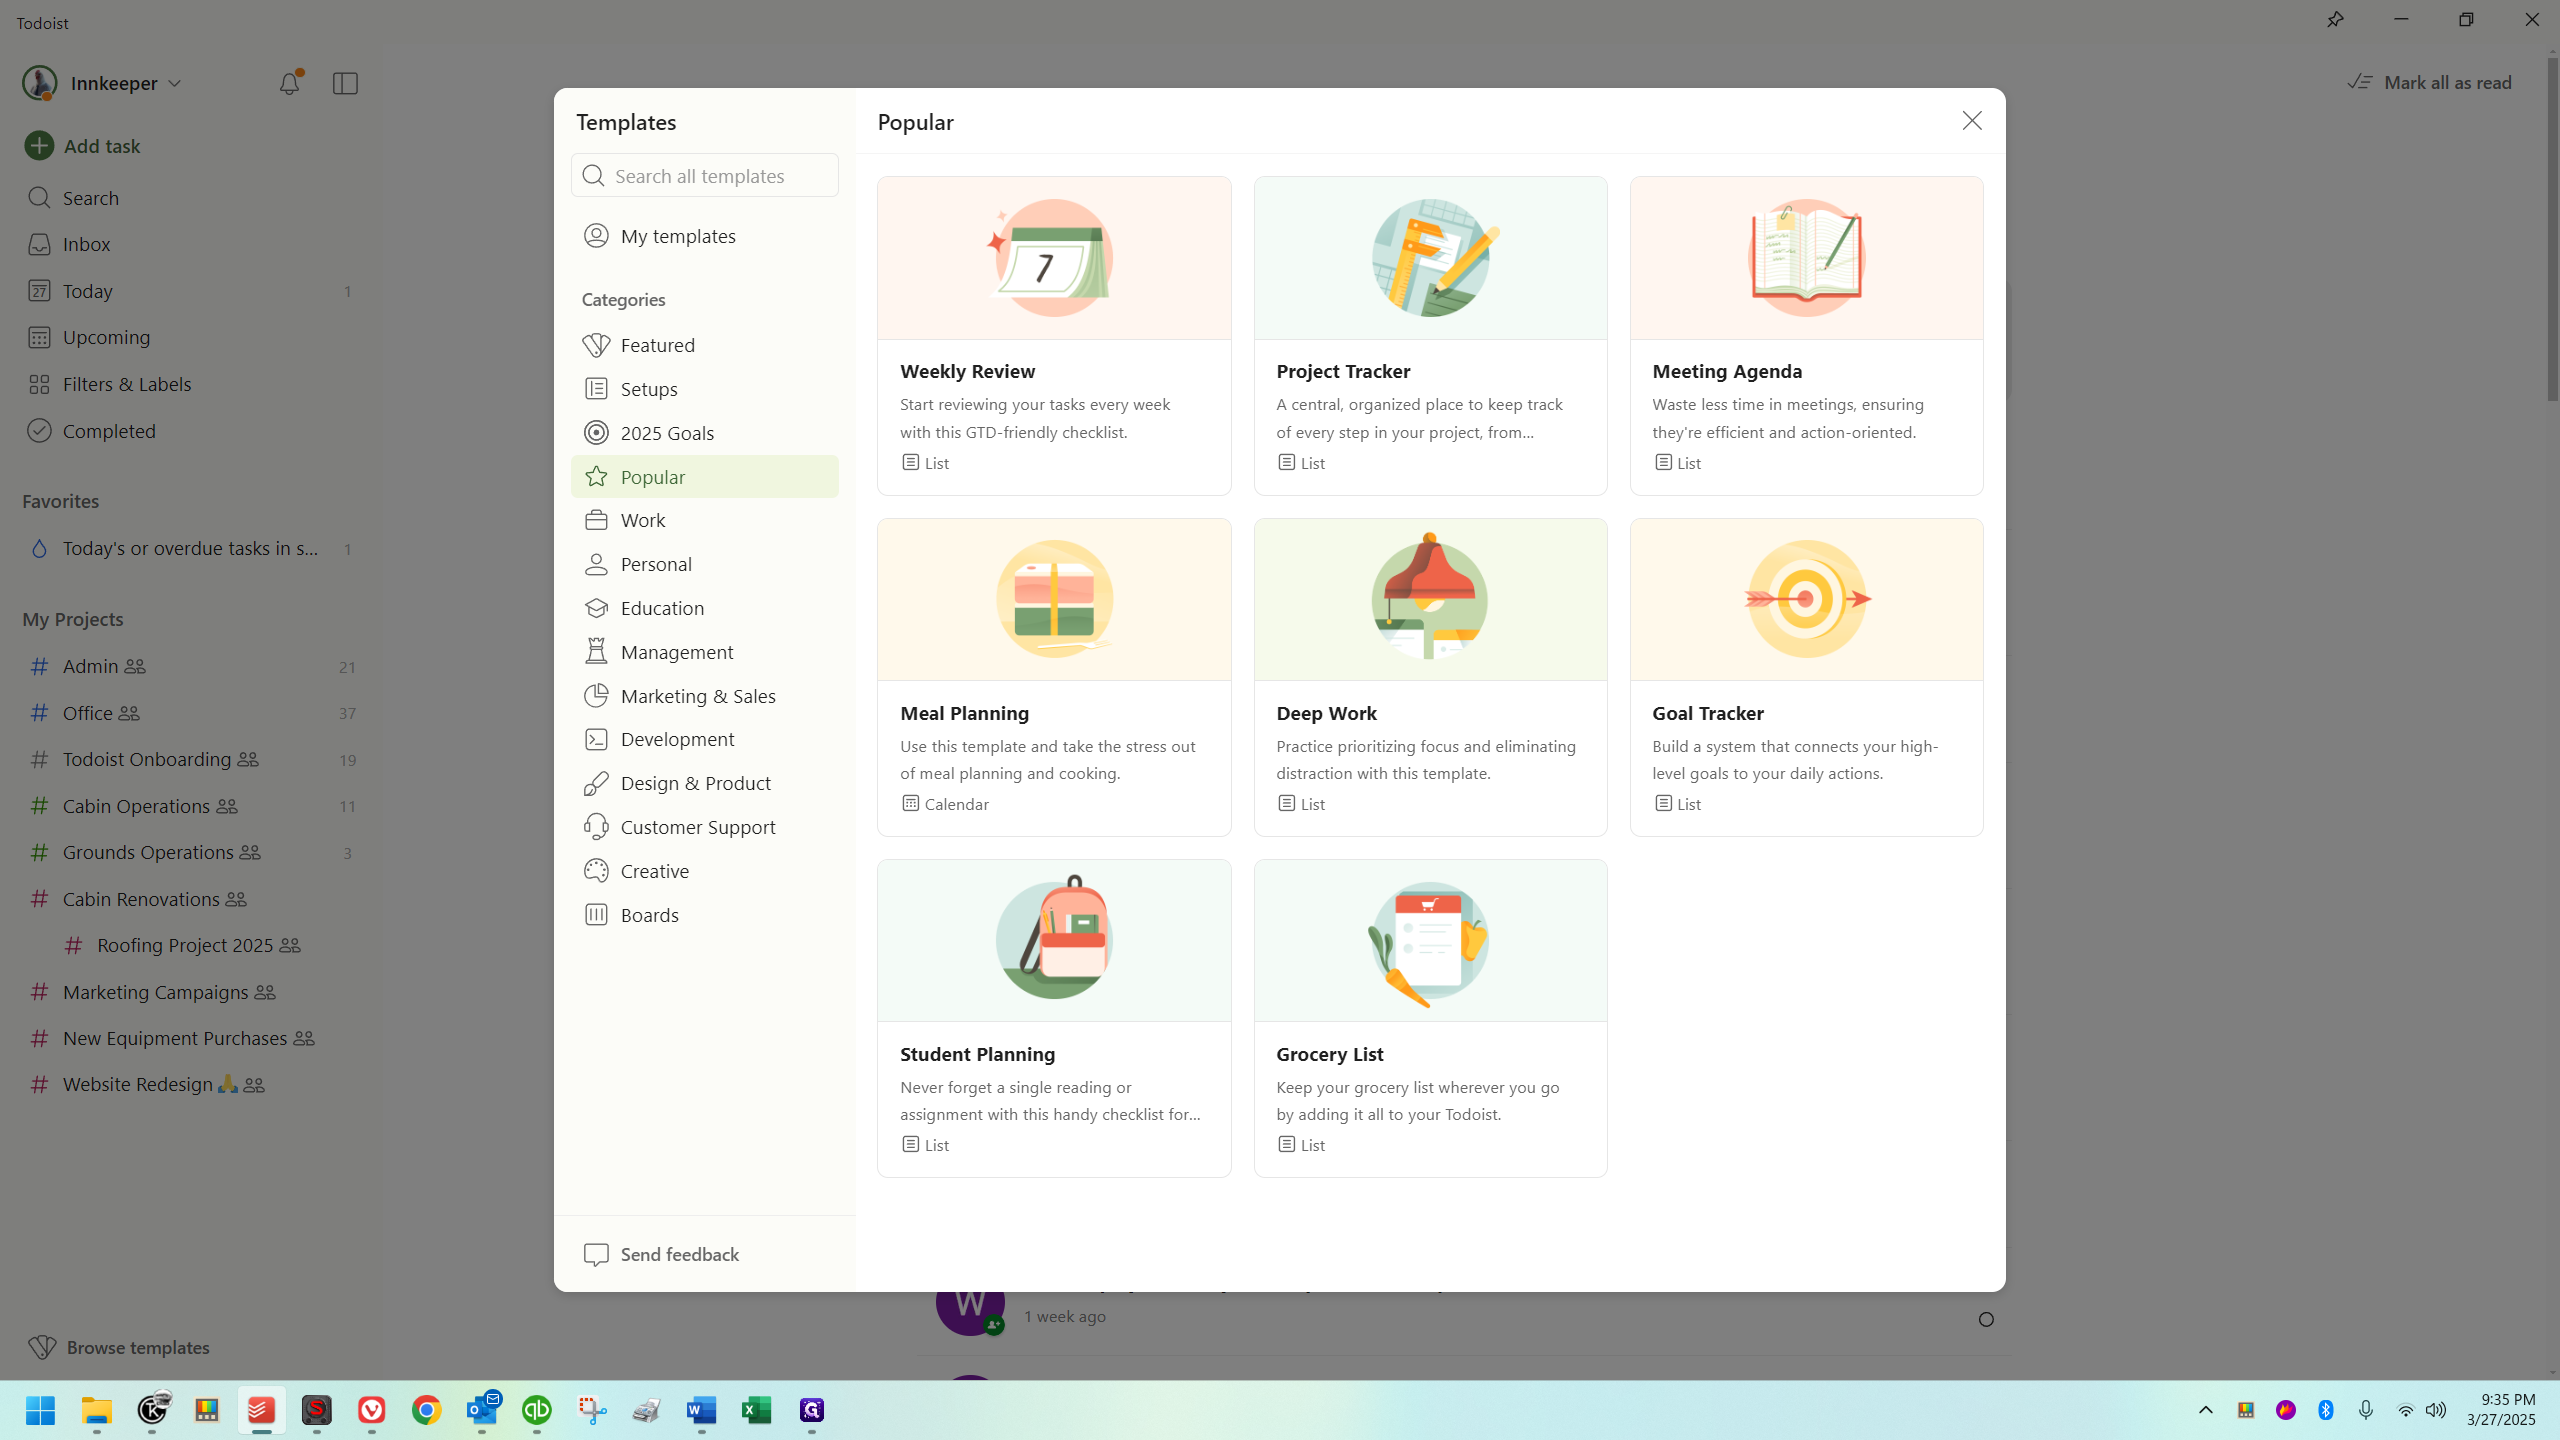
You can get an idea of how people are using this by looking through here. It includes things like employee onboarding and similar activities.
In this series of guides, we'll focus mainly on the desktop application for Windows. I haven't noticed any difference in layout or functionality between the desktop application and the website. The mobile application is slightly different due to its mobile interface, but the setup remains the same.
Notifications
Before we finish, it's wise to go into your settings and click on the notifications tab when you're first starting with Todoist.
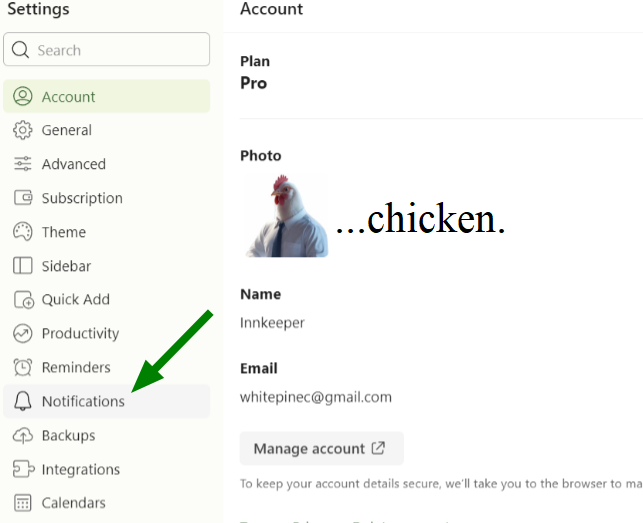
You might want to explore this area. You can select what notifications you want to receive and which ones you don't.
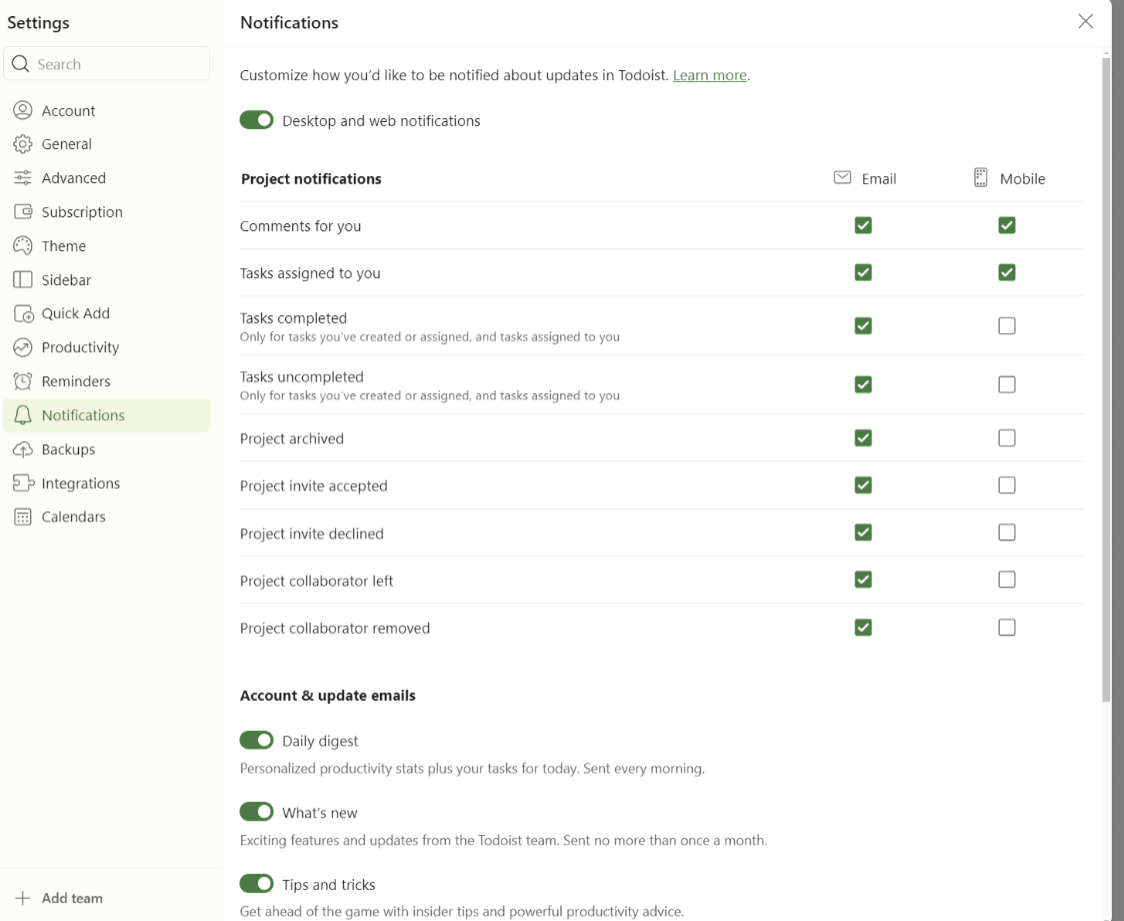
I don't like getting too many notifications except when I'm at the computer, so I've set my phone to limit them. However, I frequently check it. I recommend keeping some notifications on, especially if you're new, to help you remember to check it throughout the day. I will try not to ping people unless it's time-sensitive, but it's useful to reach out when needed.
Todoist is a terrific tool for both interdepartmental communication and task management, and it's very helpful. I look forward to exploring it further in upcoming guides with you! 👋