How to Log Into Paychex Flex and Enable SSO
Learn how to log into your Paychex Flex employee dashboard, complete two-factor authentication, and enable Single Sign-On (SSO).
By Thomas Proudfoot
This guide demonstrates how to log into Paychex Flex, complete two-factor authentication, and configure Single Sign-On (SSO) for your account.
This applies to employees accessing their Paychex Flex dashboard who want to streamline future logins by connecting their account to their organization's SSO provider.
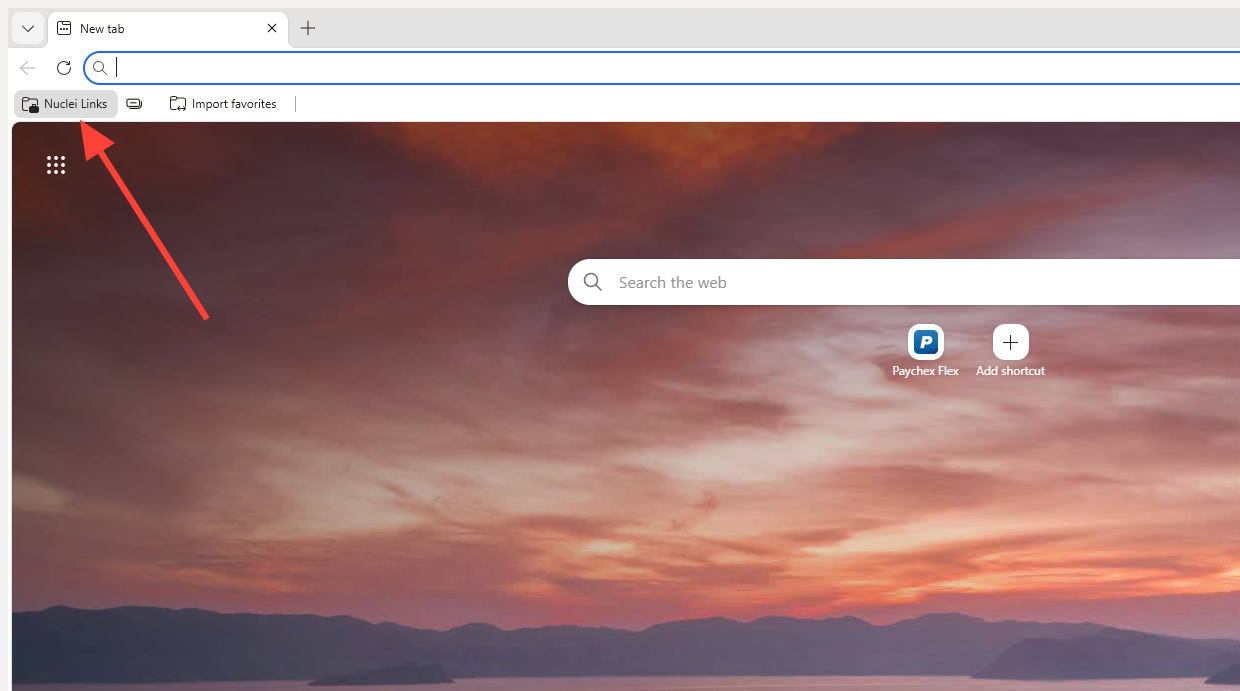
Log in to Paychex Flex
1
Access Paychex by clicking the 'Nuclei Links' folder in the top left of your browser and selecting Paychex Flex from the list.
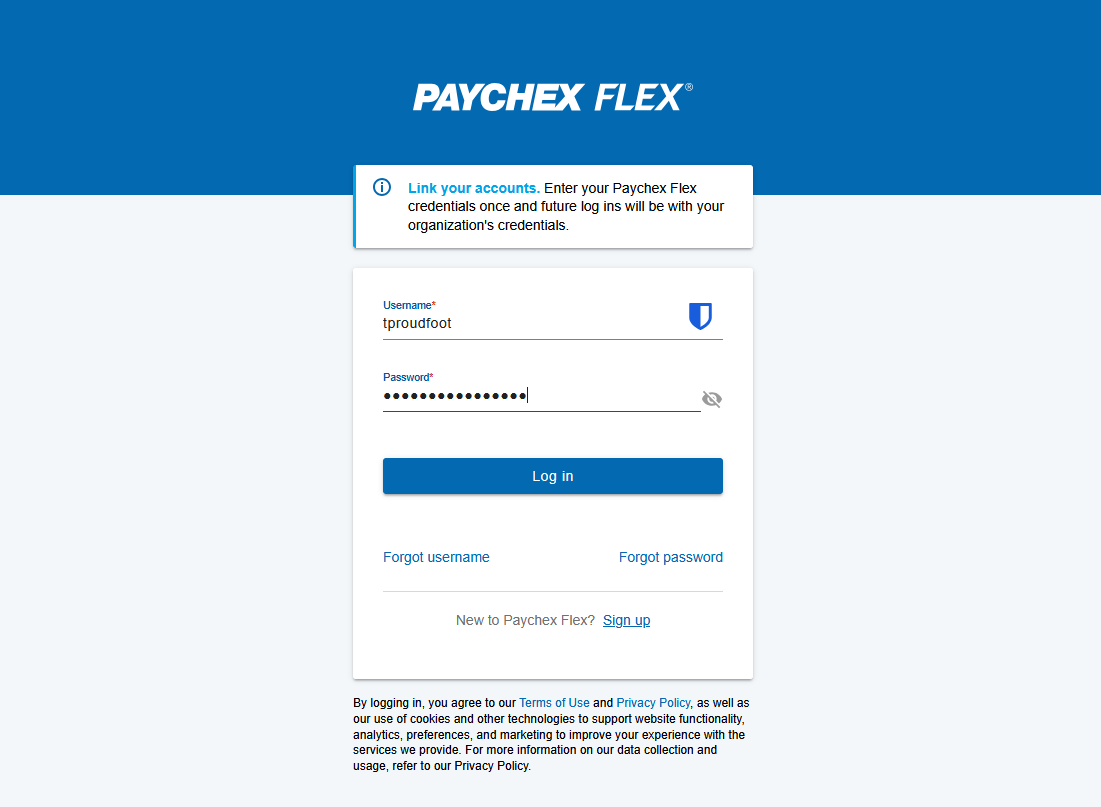
2
Enter your password in the designated field.
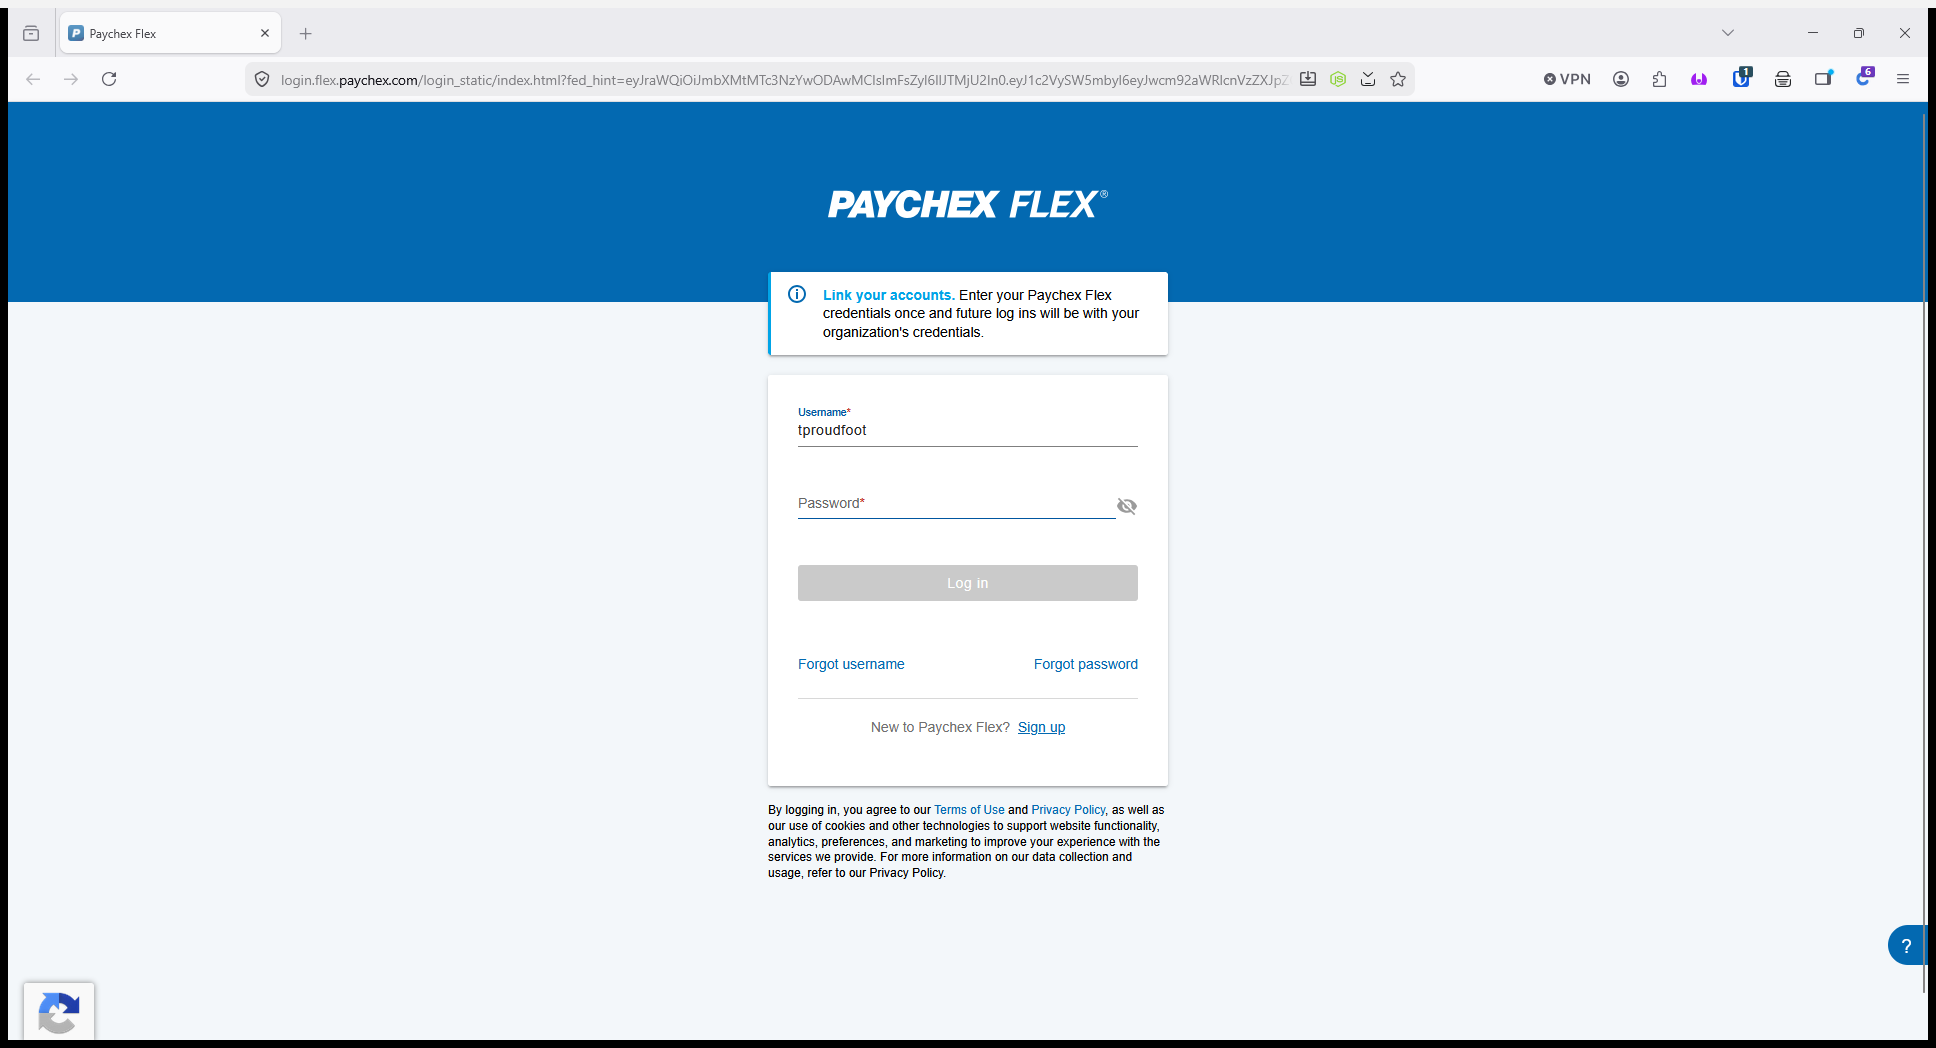
3
Click Log In to proceed.
Complete Two-Factor Authentication
4
Enter the 5-digit verification code sent to your device.
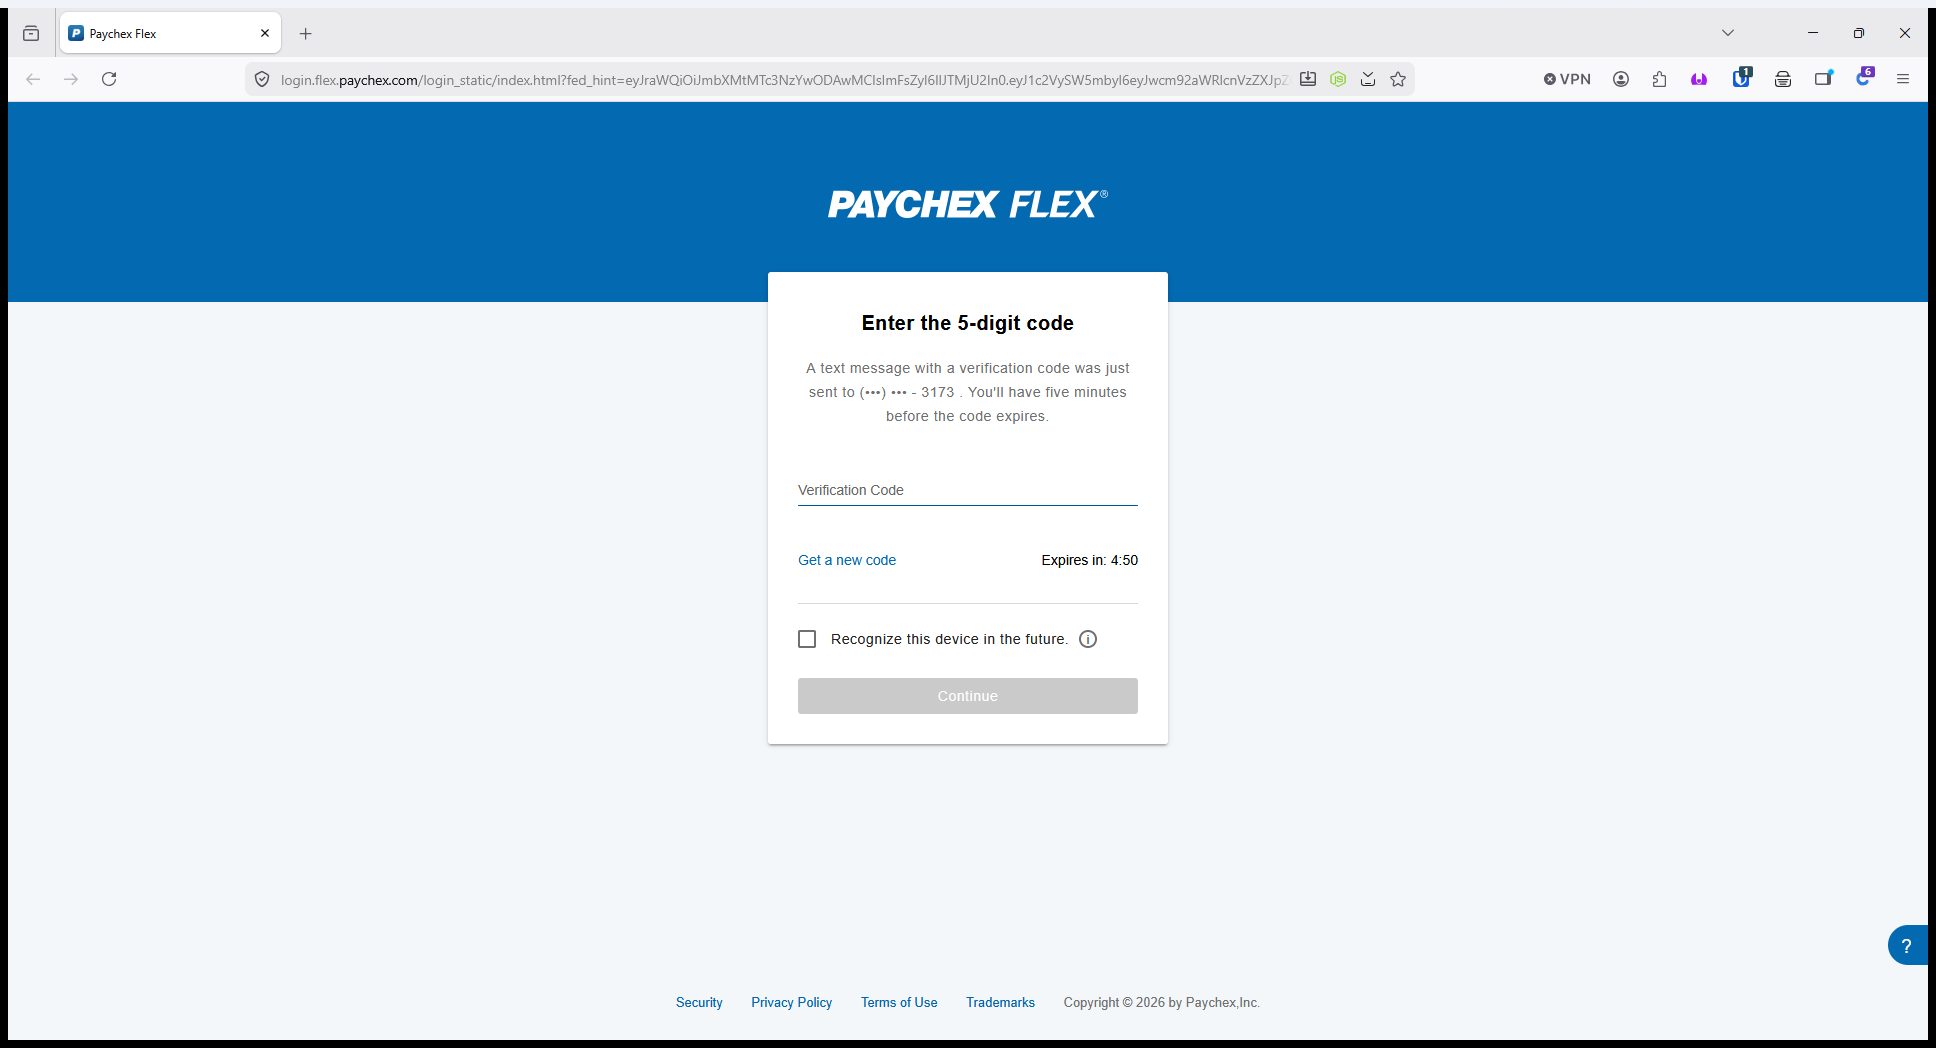
5
Click Continue to verify your identity.

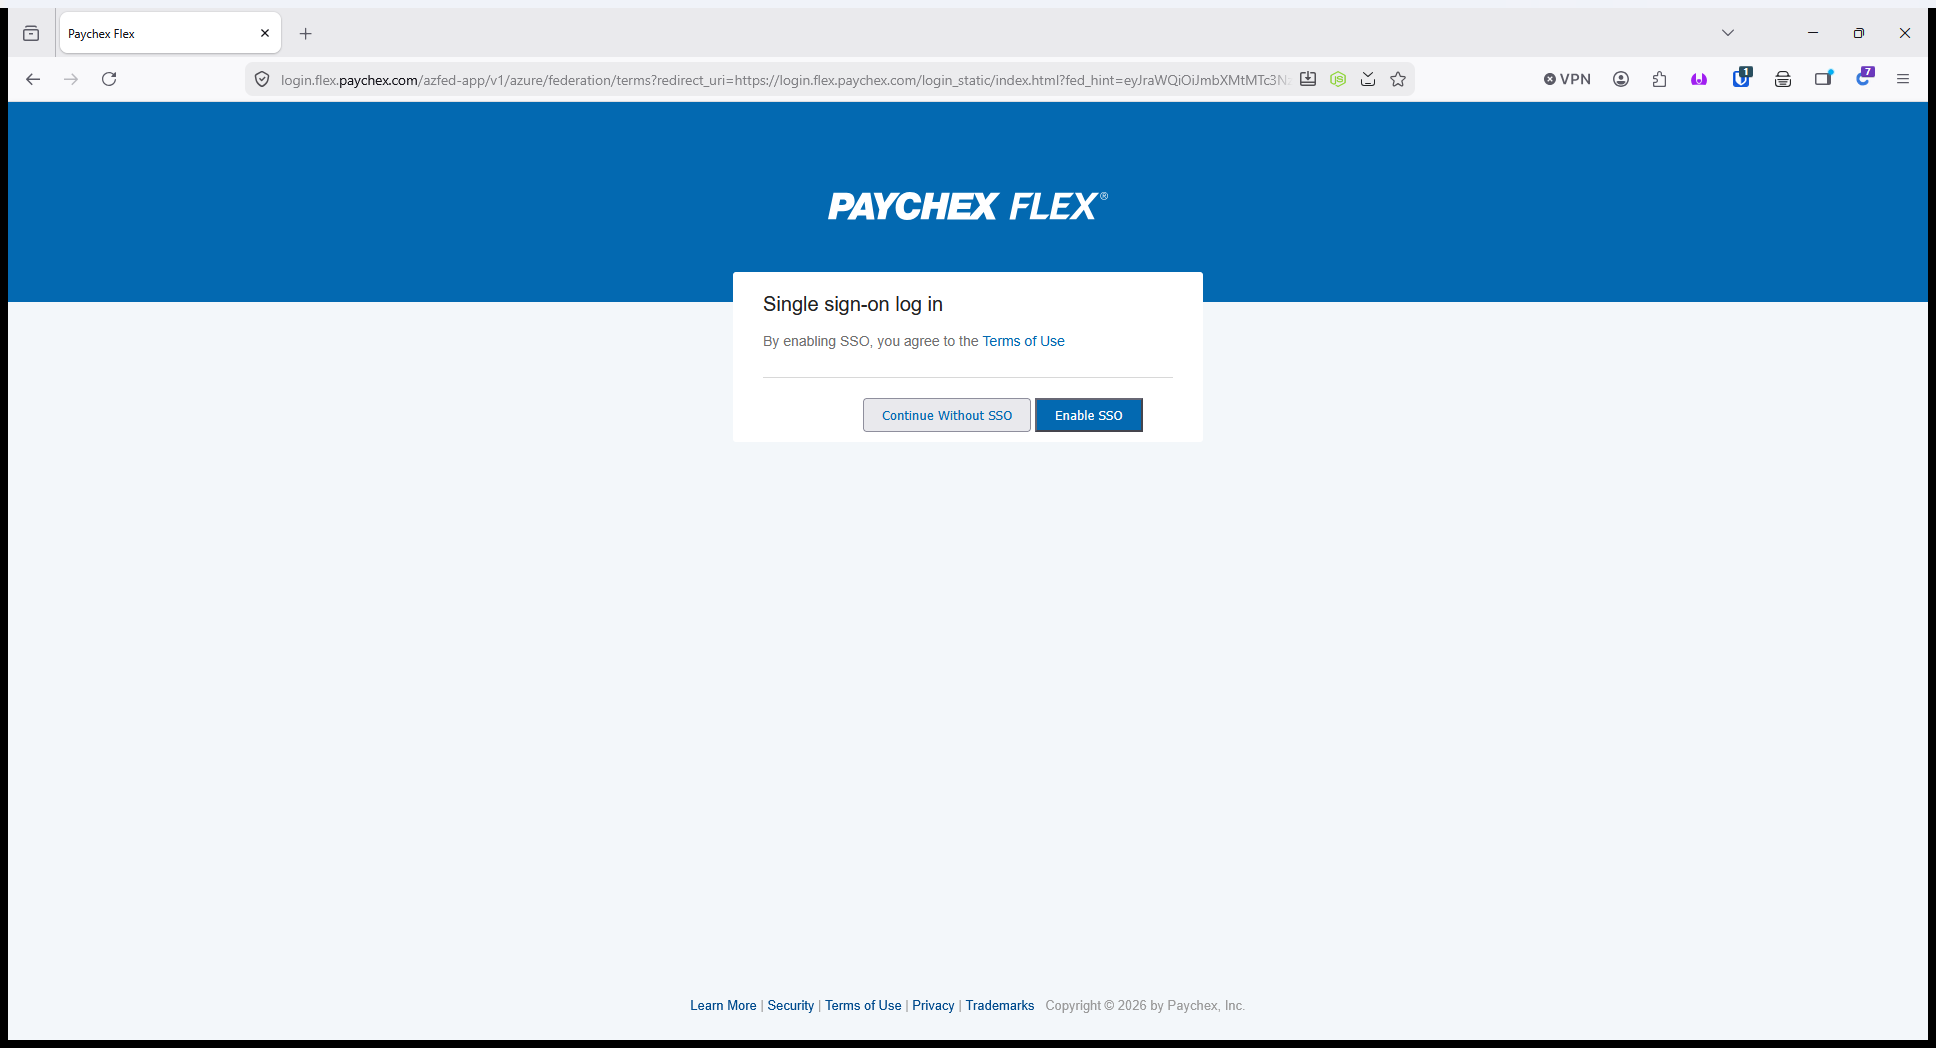
Enable Single Sign-On (SSO)
Upon logging in, you will be prompted to choose how you want to authenticate moving forward.
6
Click Enable SSO to link your Paychex account with your organization's single sign-on provider.