
Managing Automation Workflows in GoHighLevel
Learn how to navigate, review, and edit essential automation workflows, from purchase sequences to certification triggers.
This guide explains how to manage your automated workflows inside GoHighLevel. You will learn how to navigate your automation folders, review complex purchase workflows, and edit automated email templates.
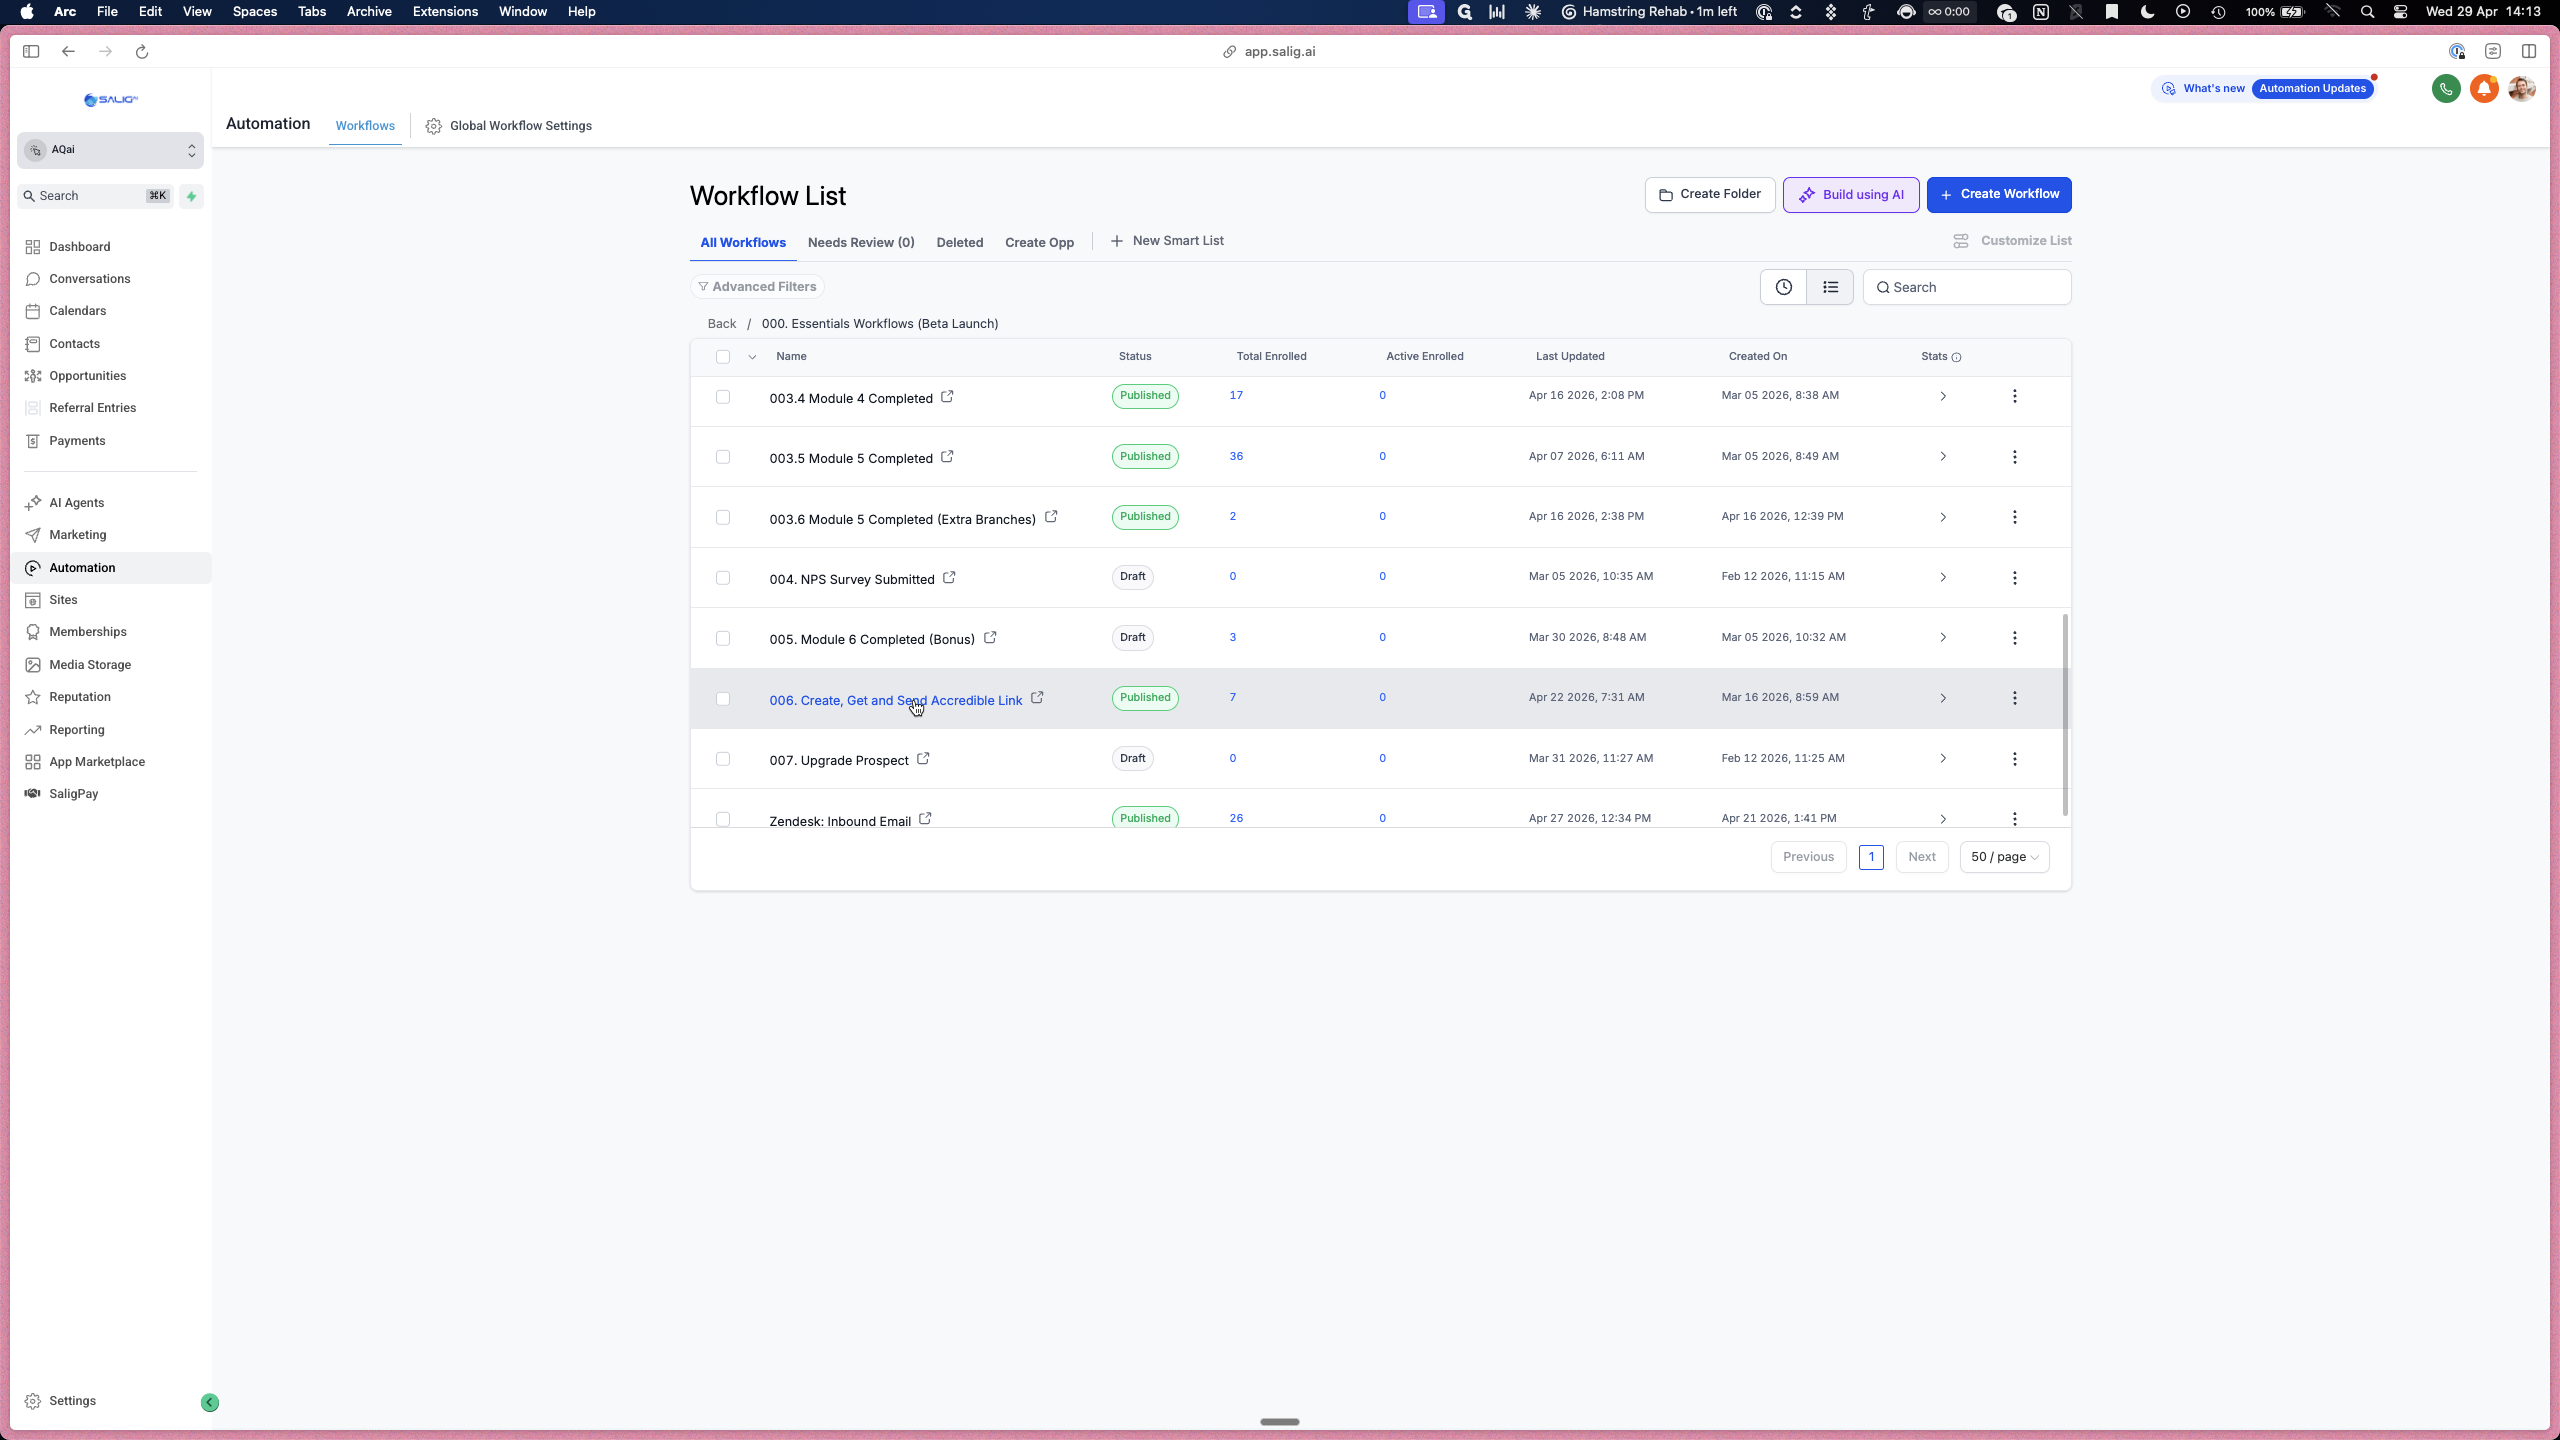
Navigating to Workflows
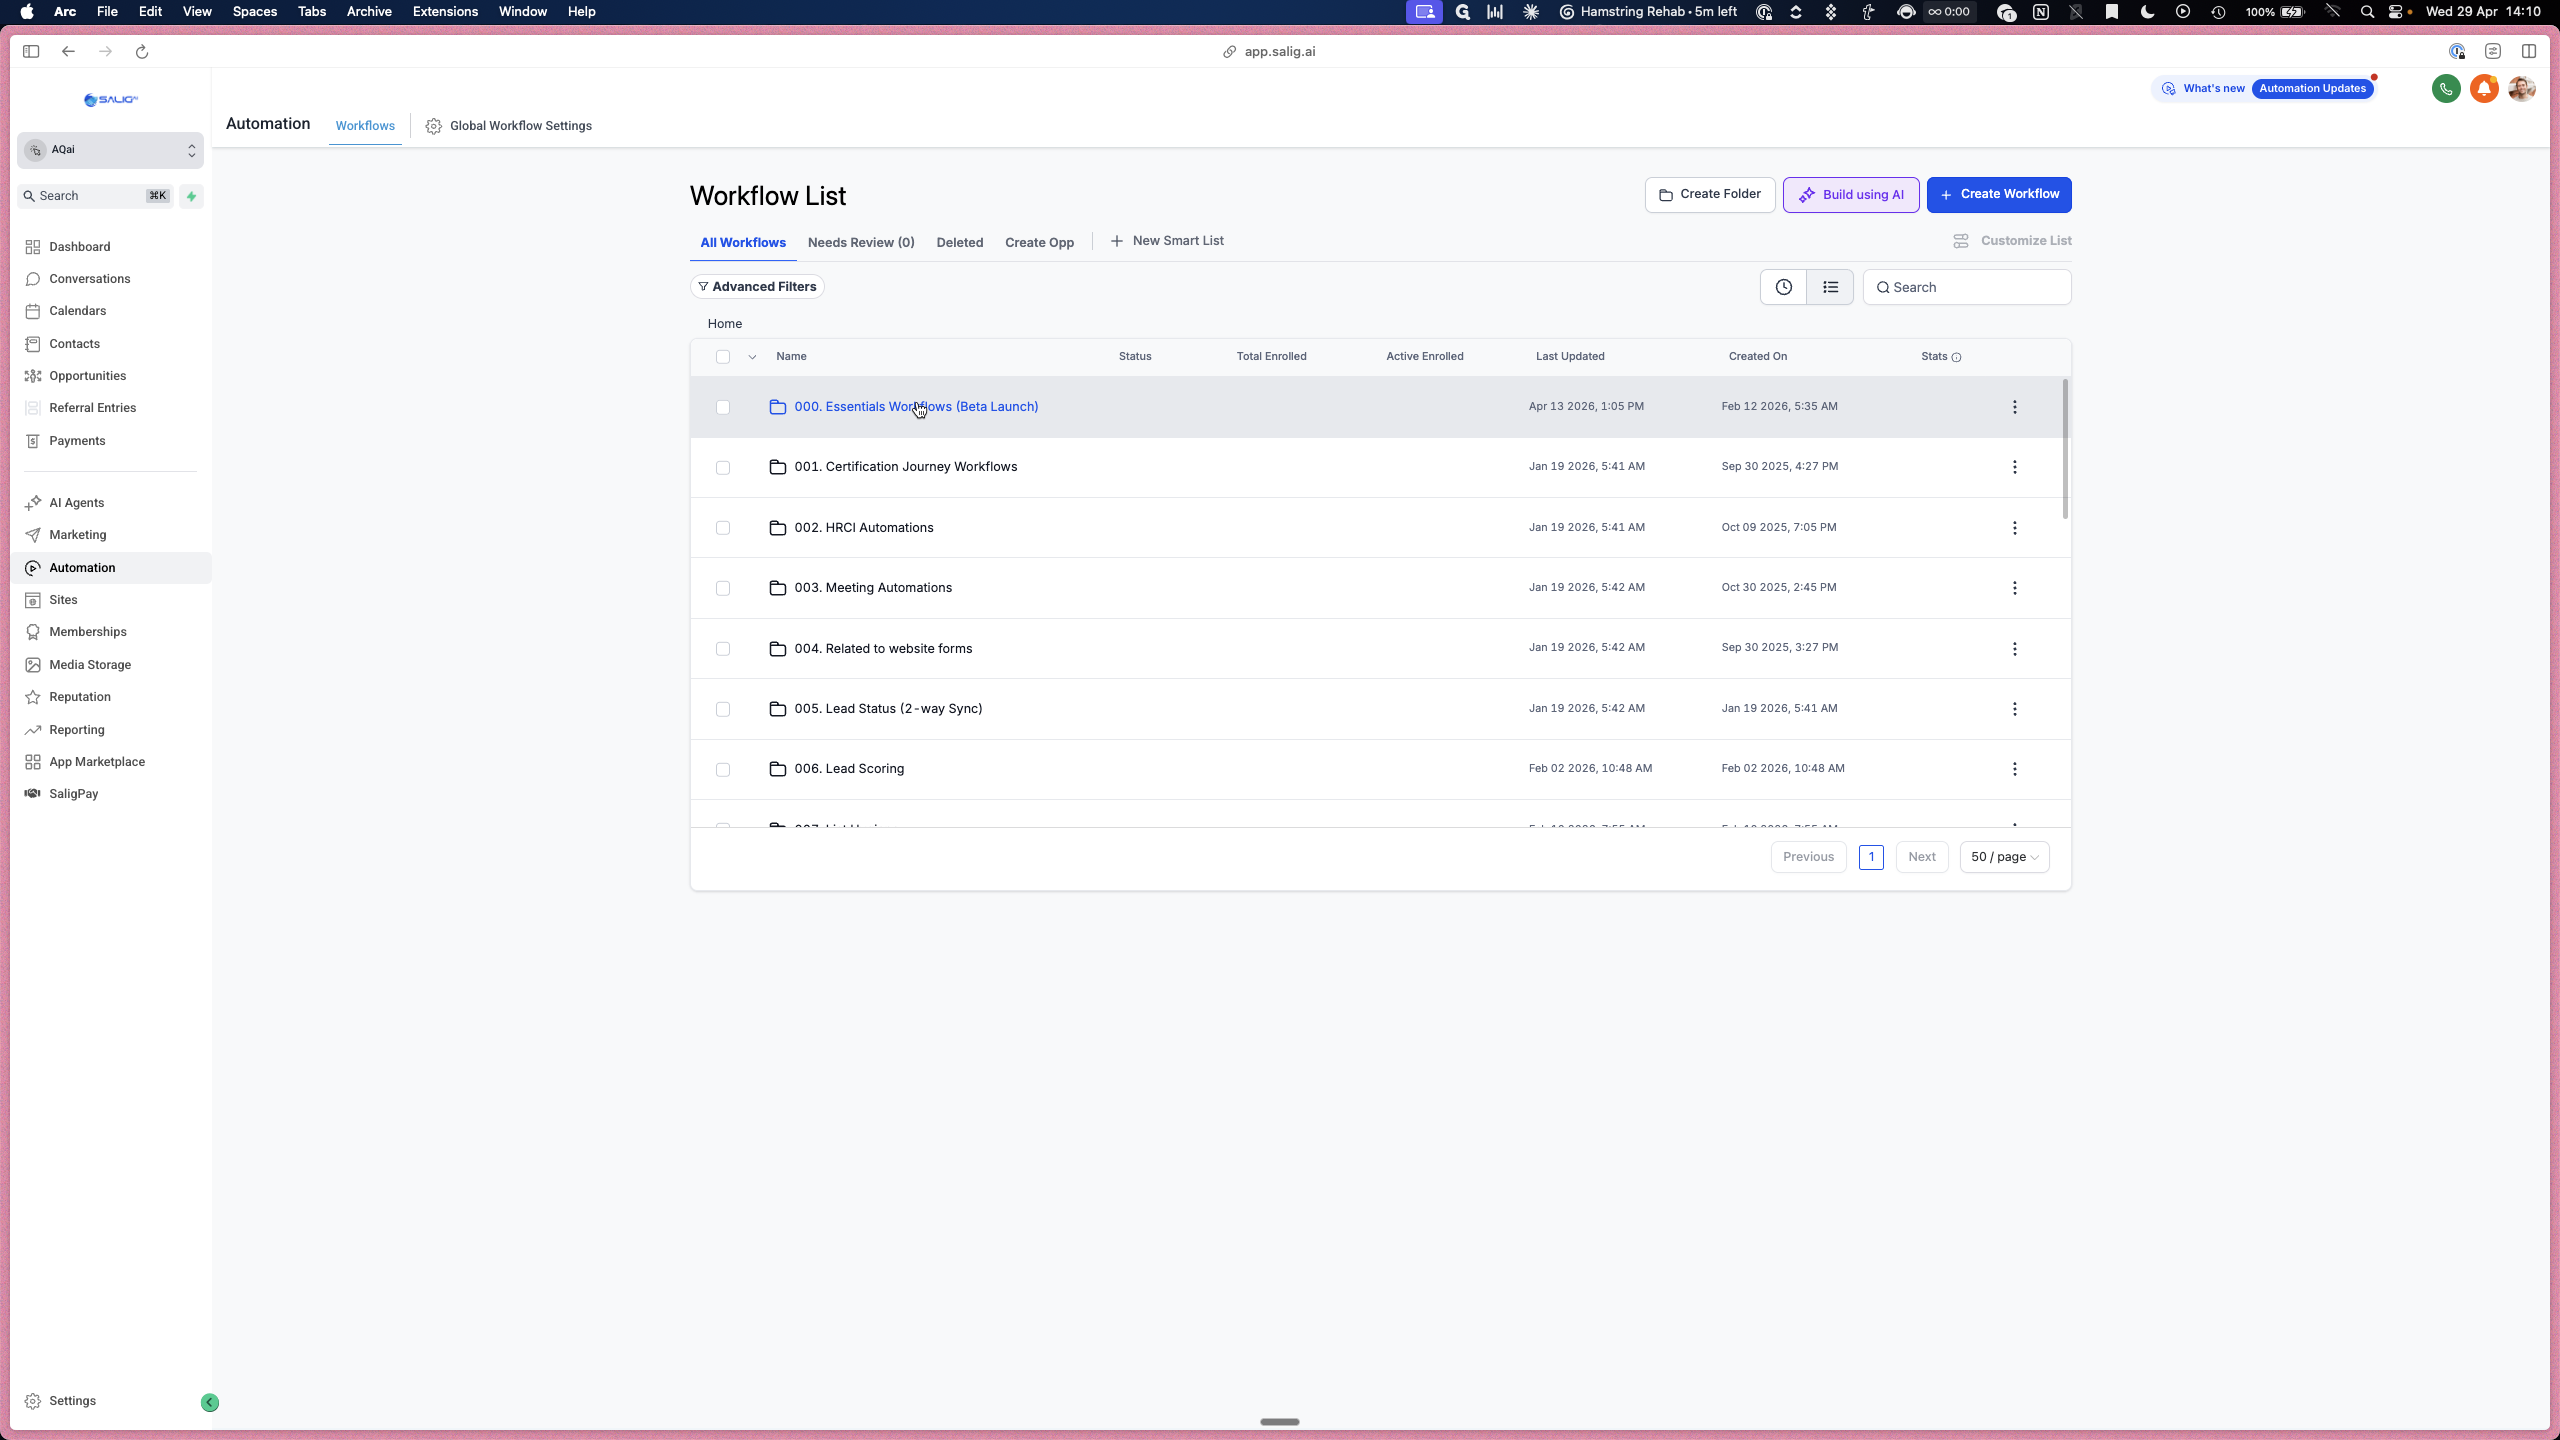
This folder contains all of the core workflows. From the dashboard, you can see at a glance which automations are currently published, which are in draft mode, and how many contacts are enrolled.
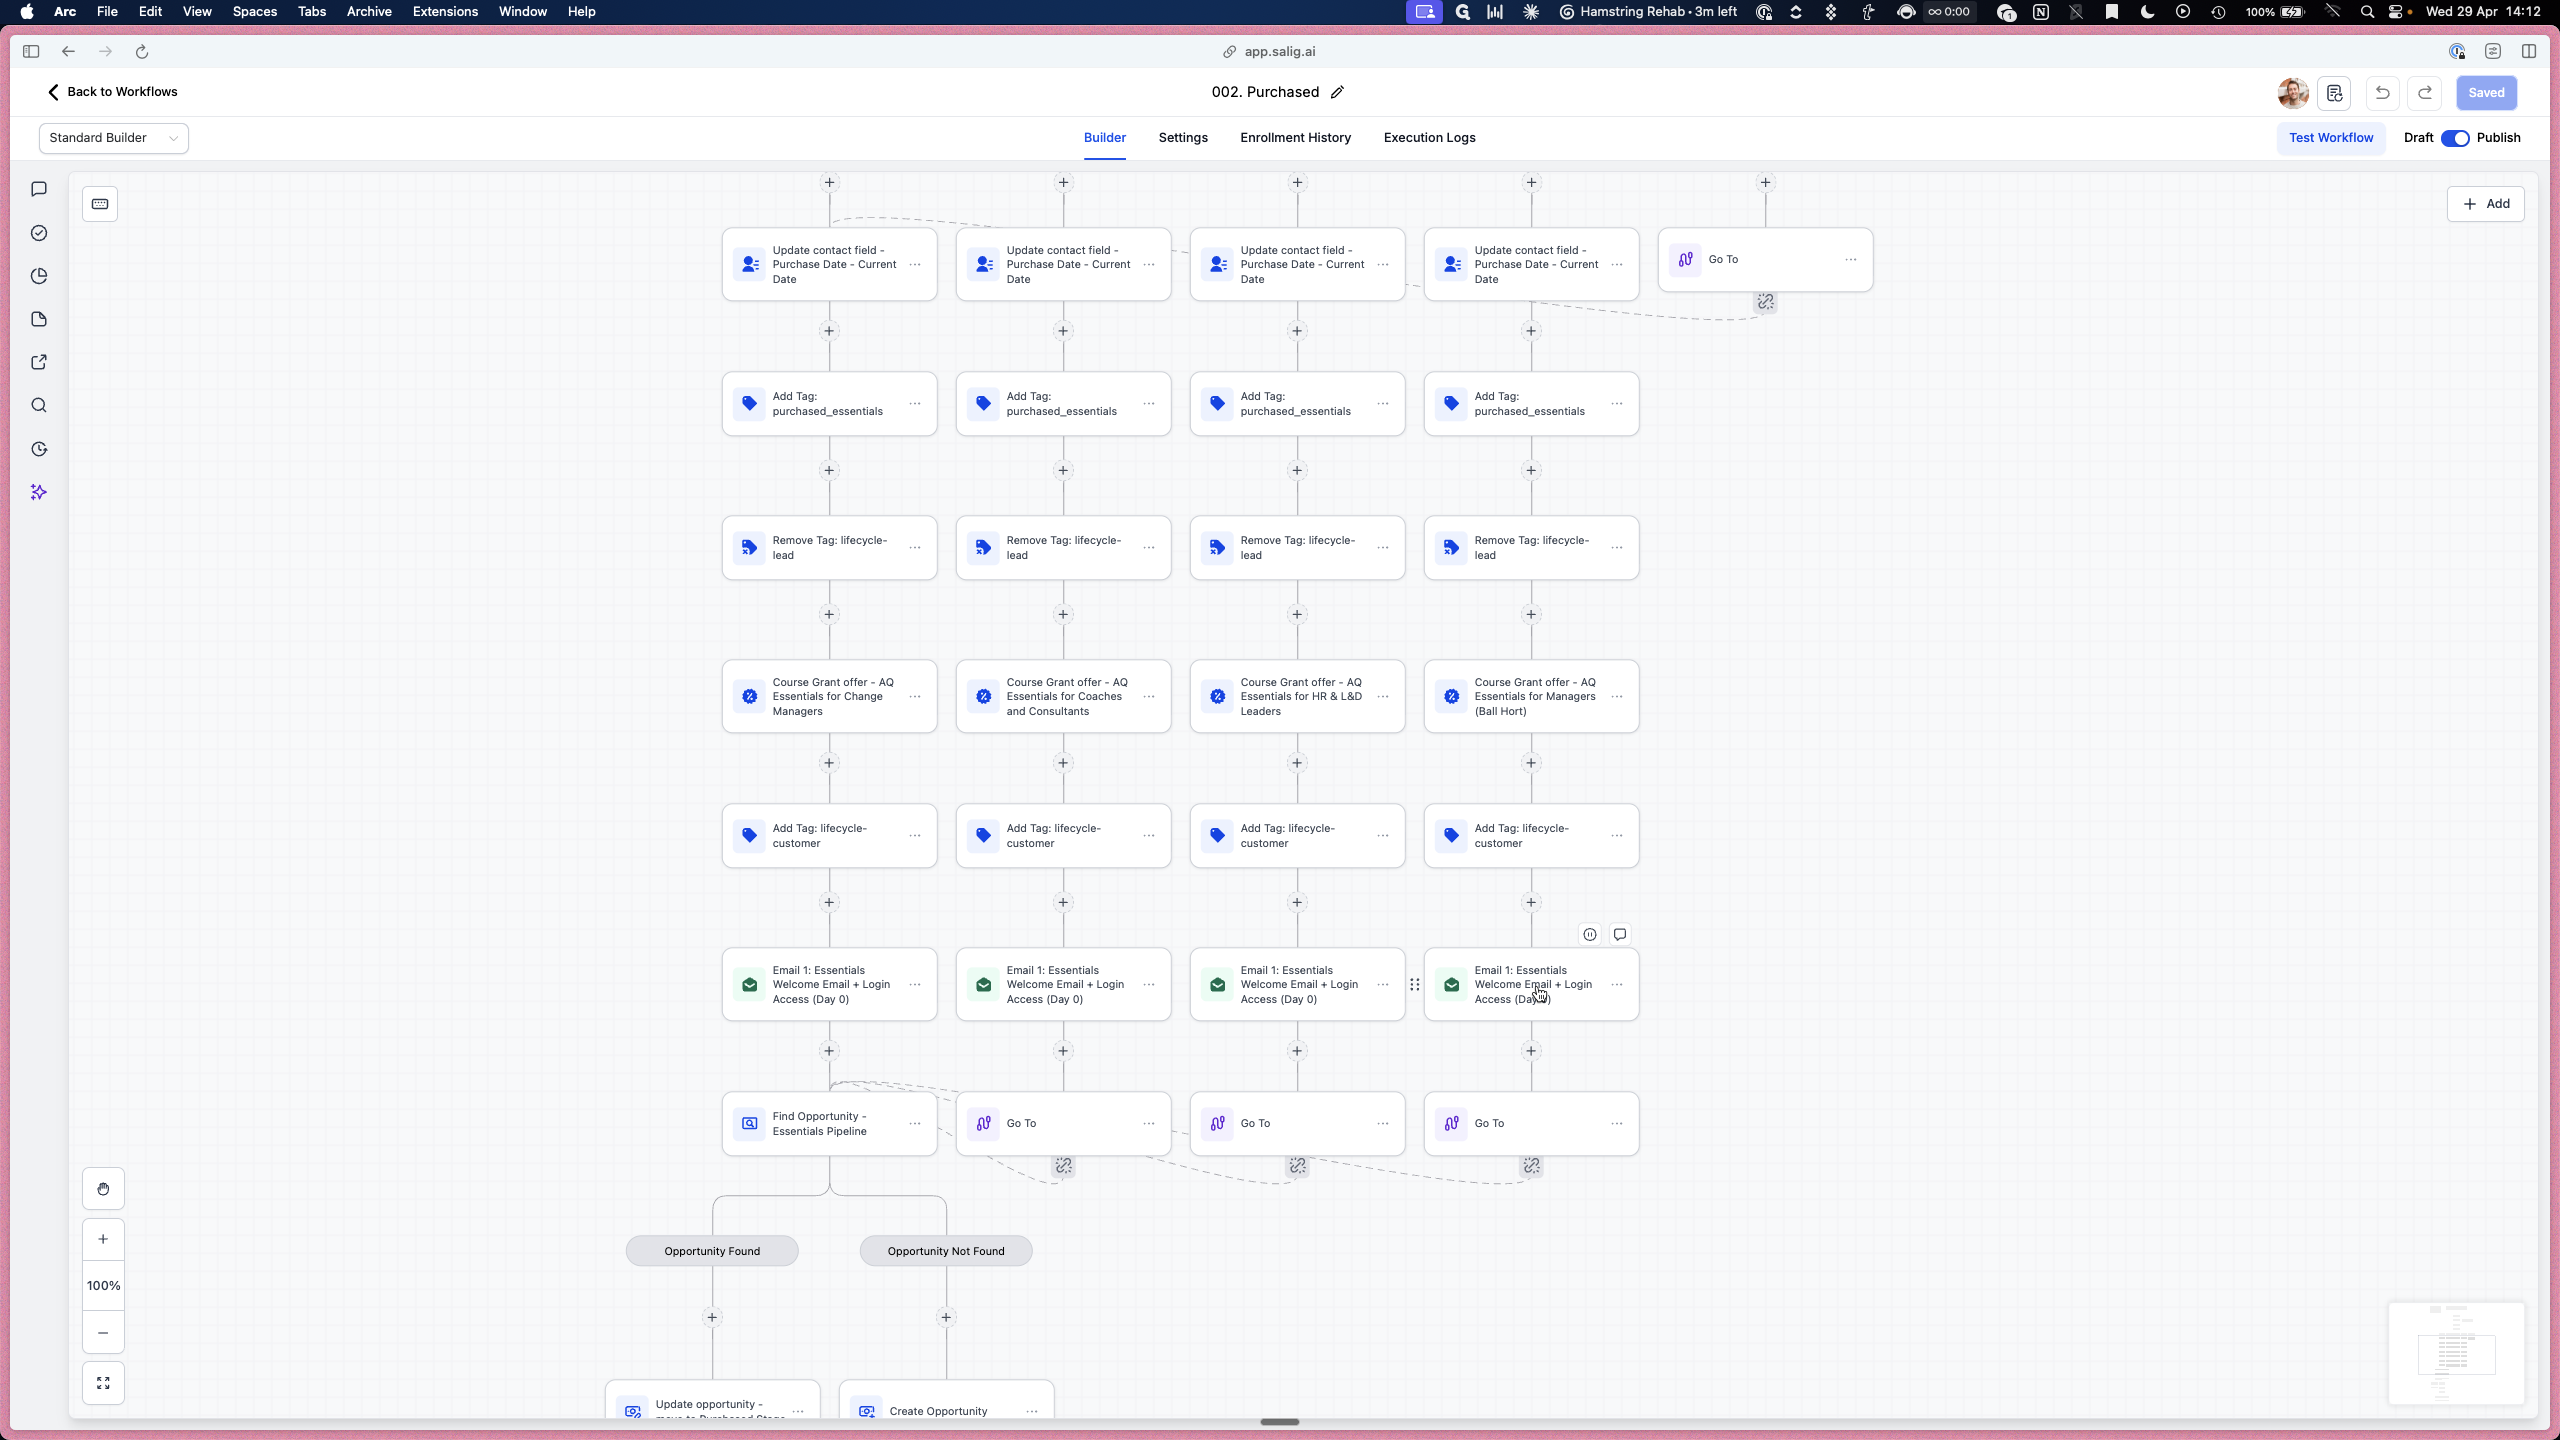
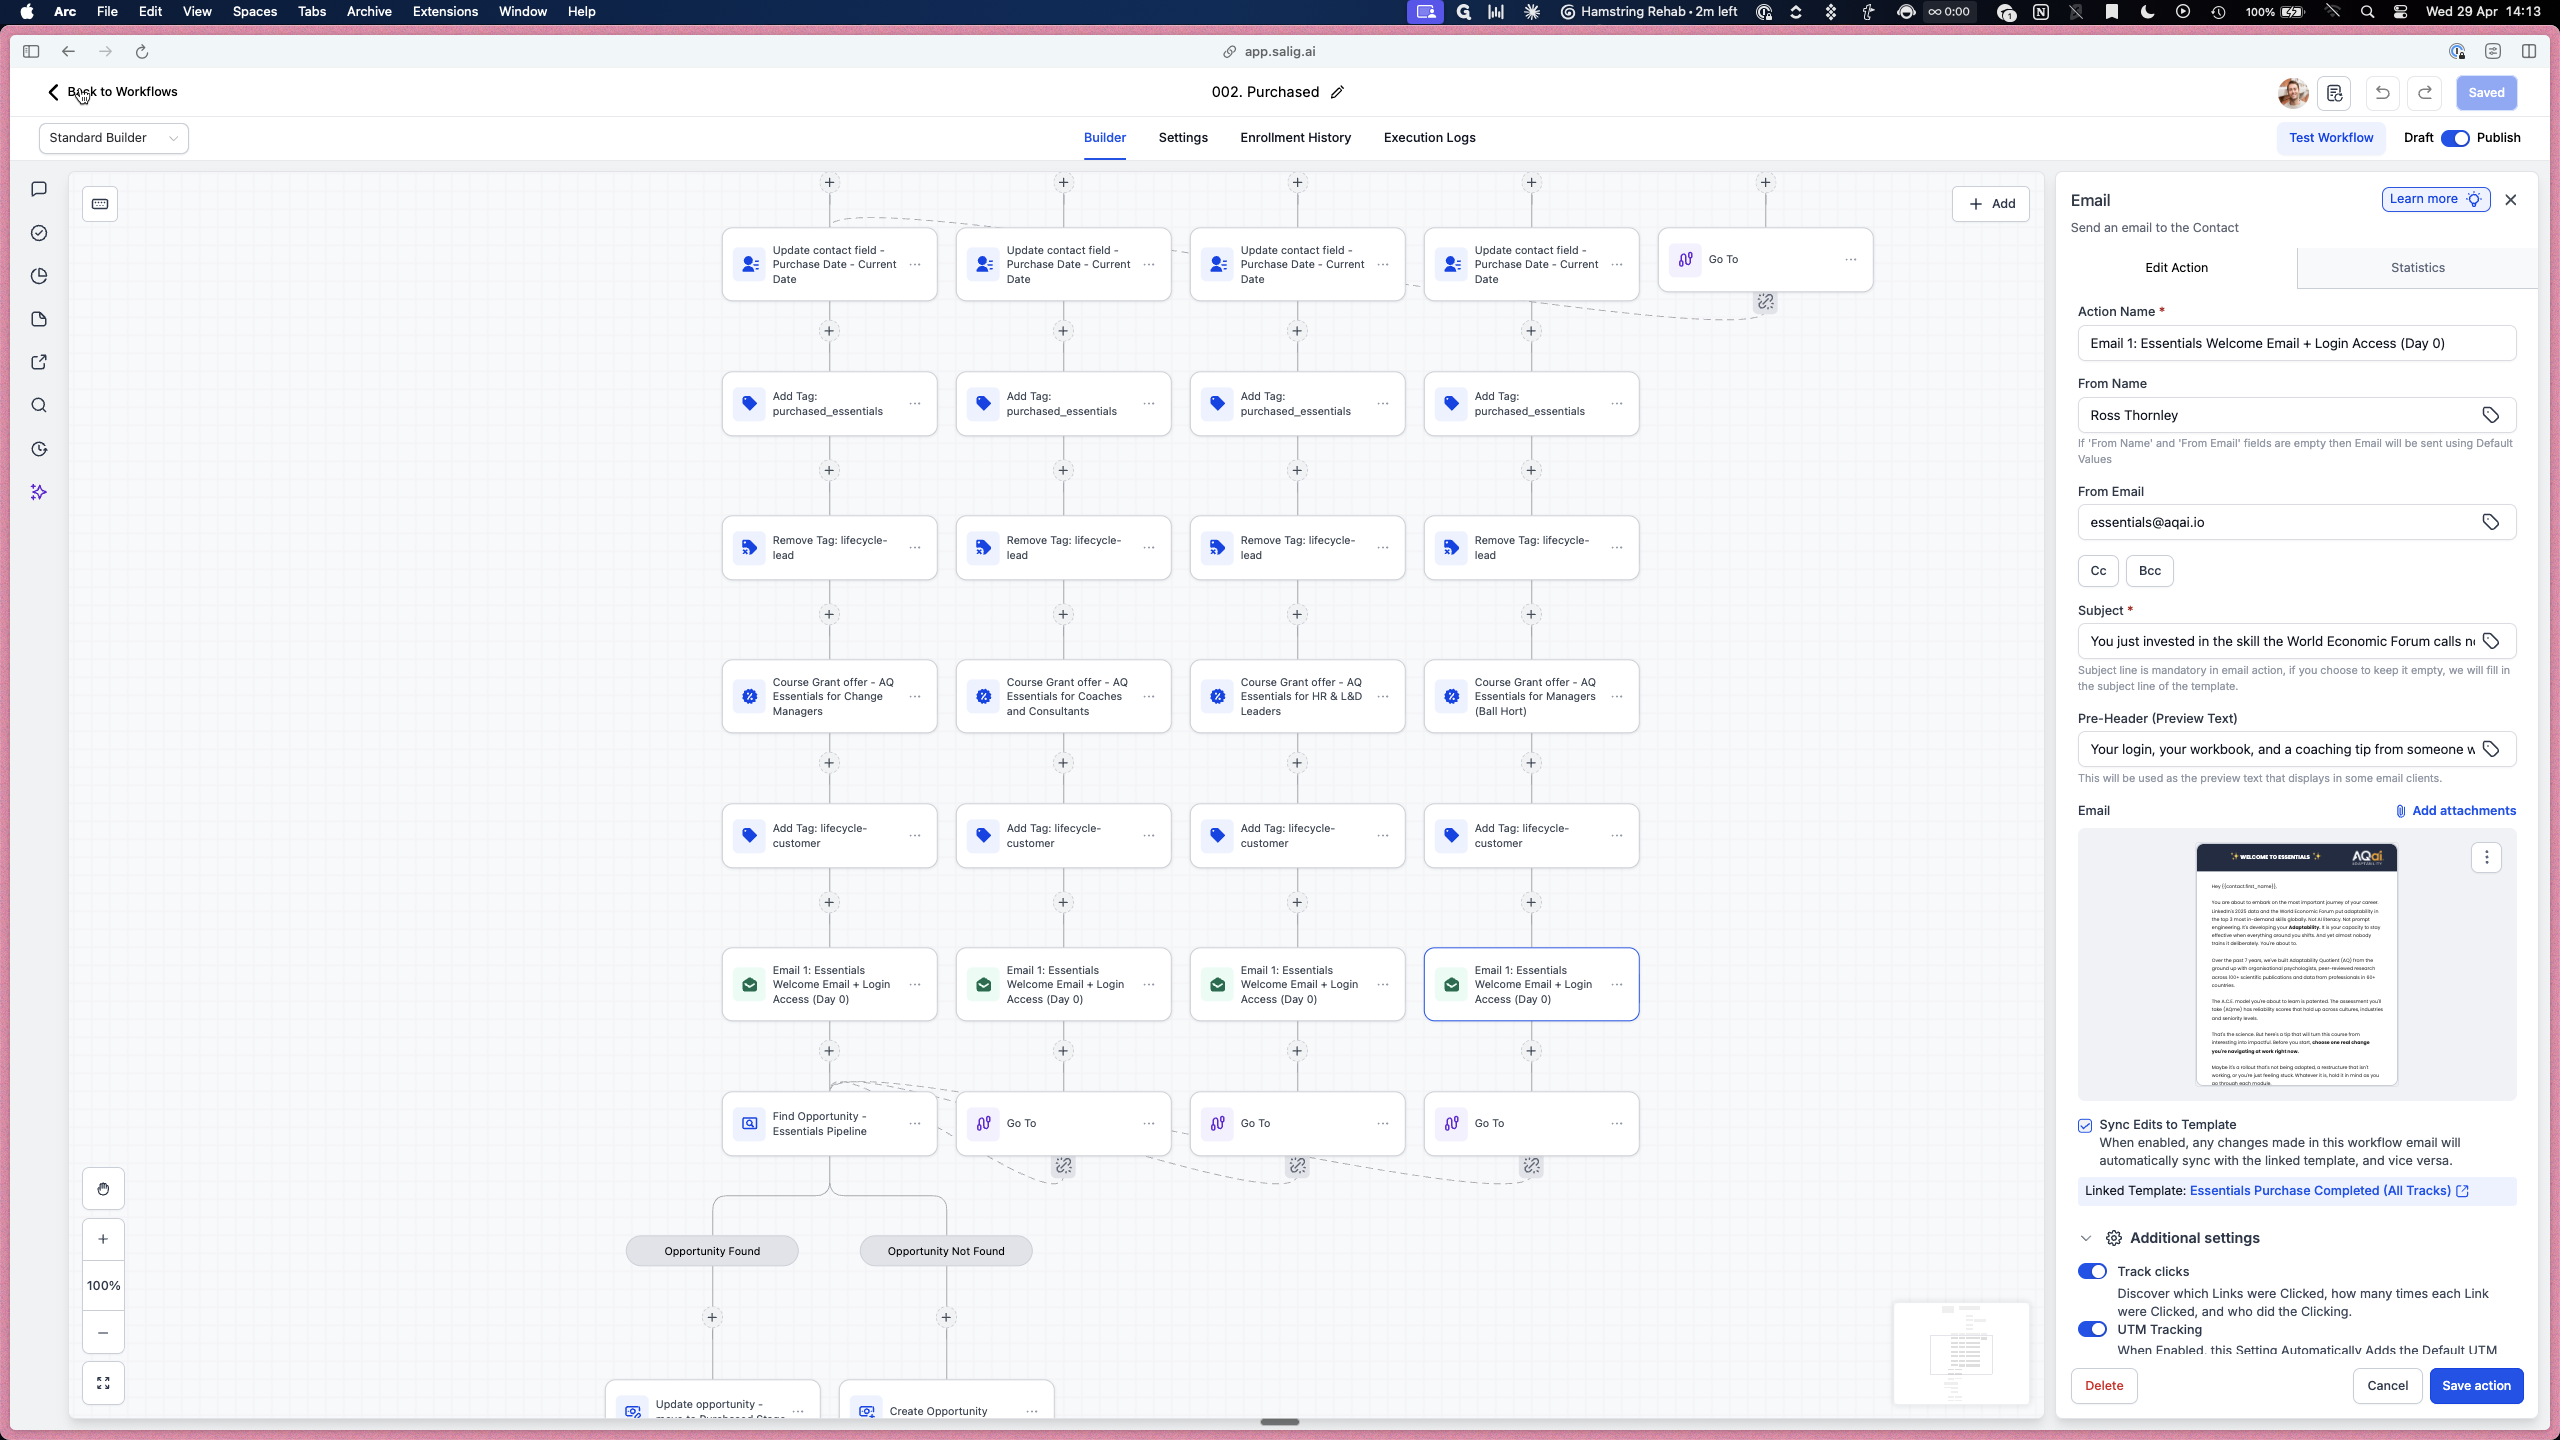
Reviewing the Purchase Workflow
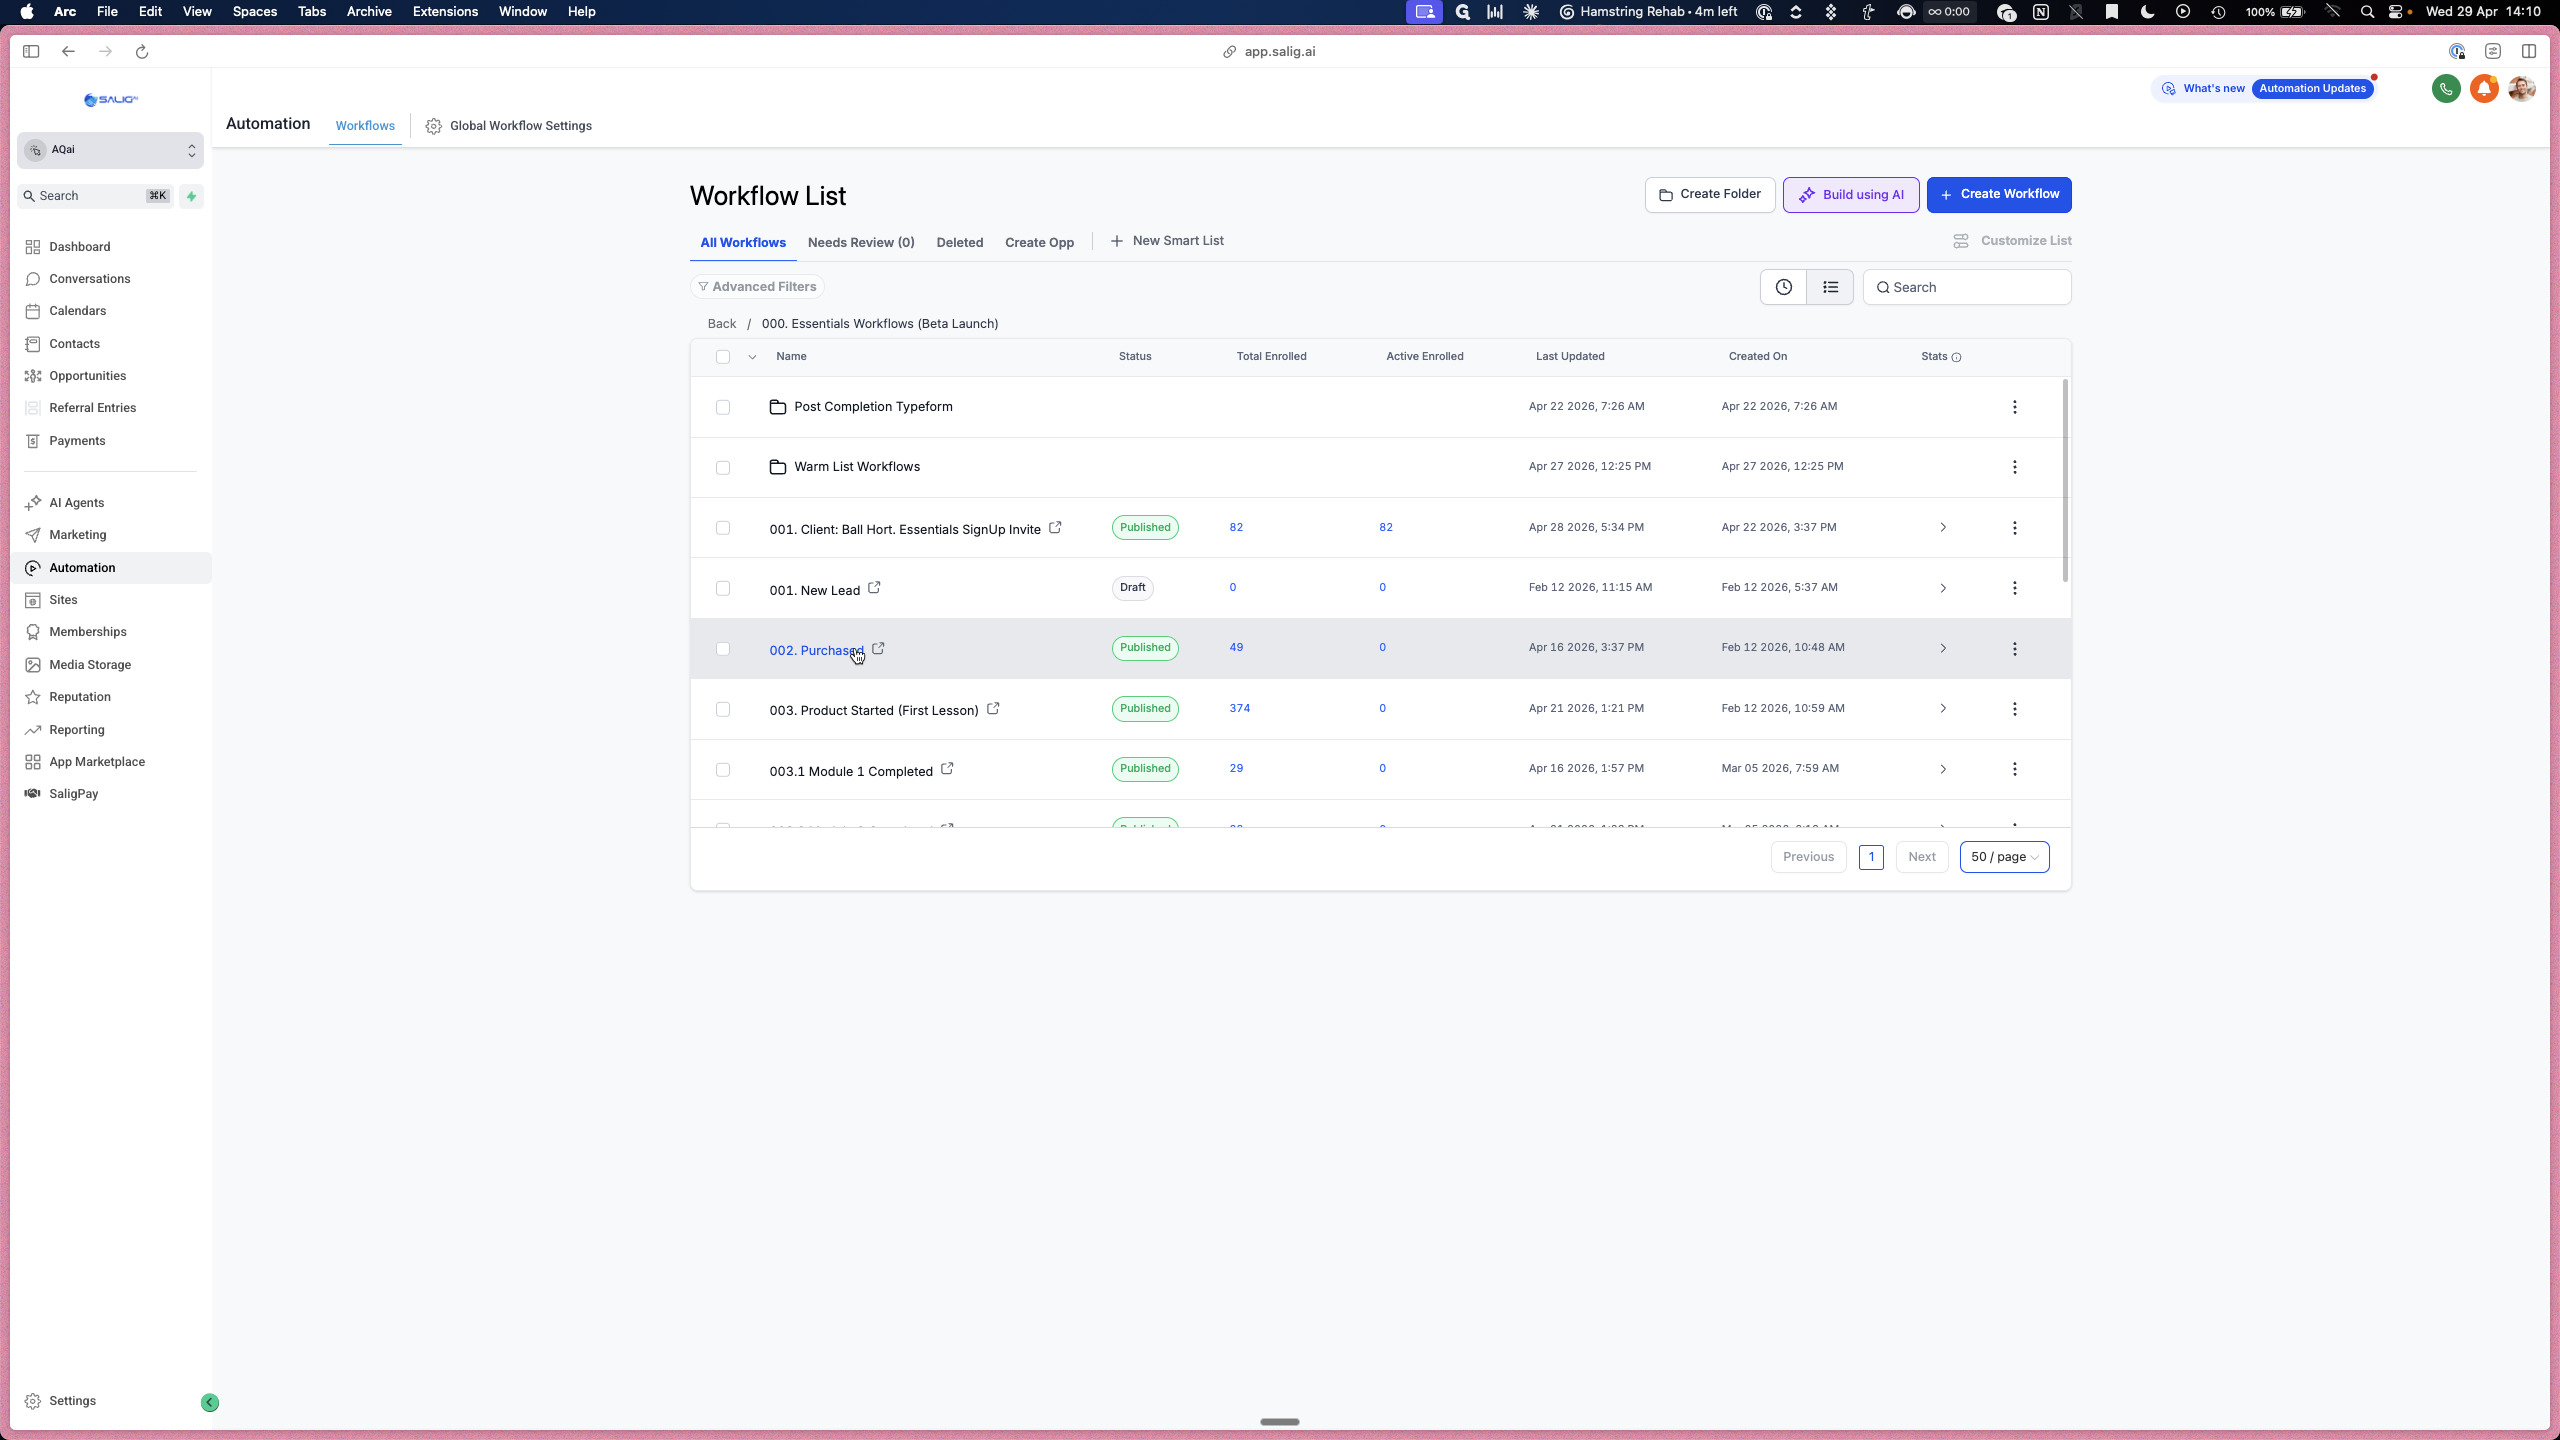
This workflow triggers immediately after a user purchases a course or submits an order page form.
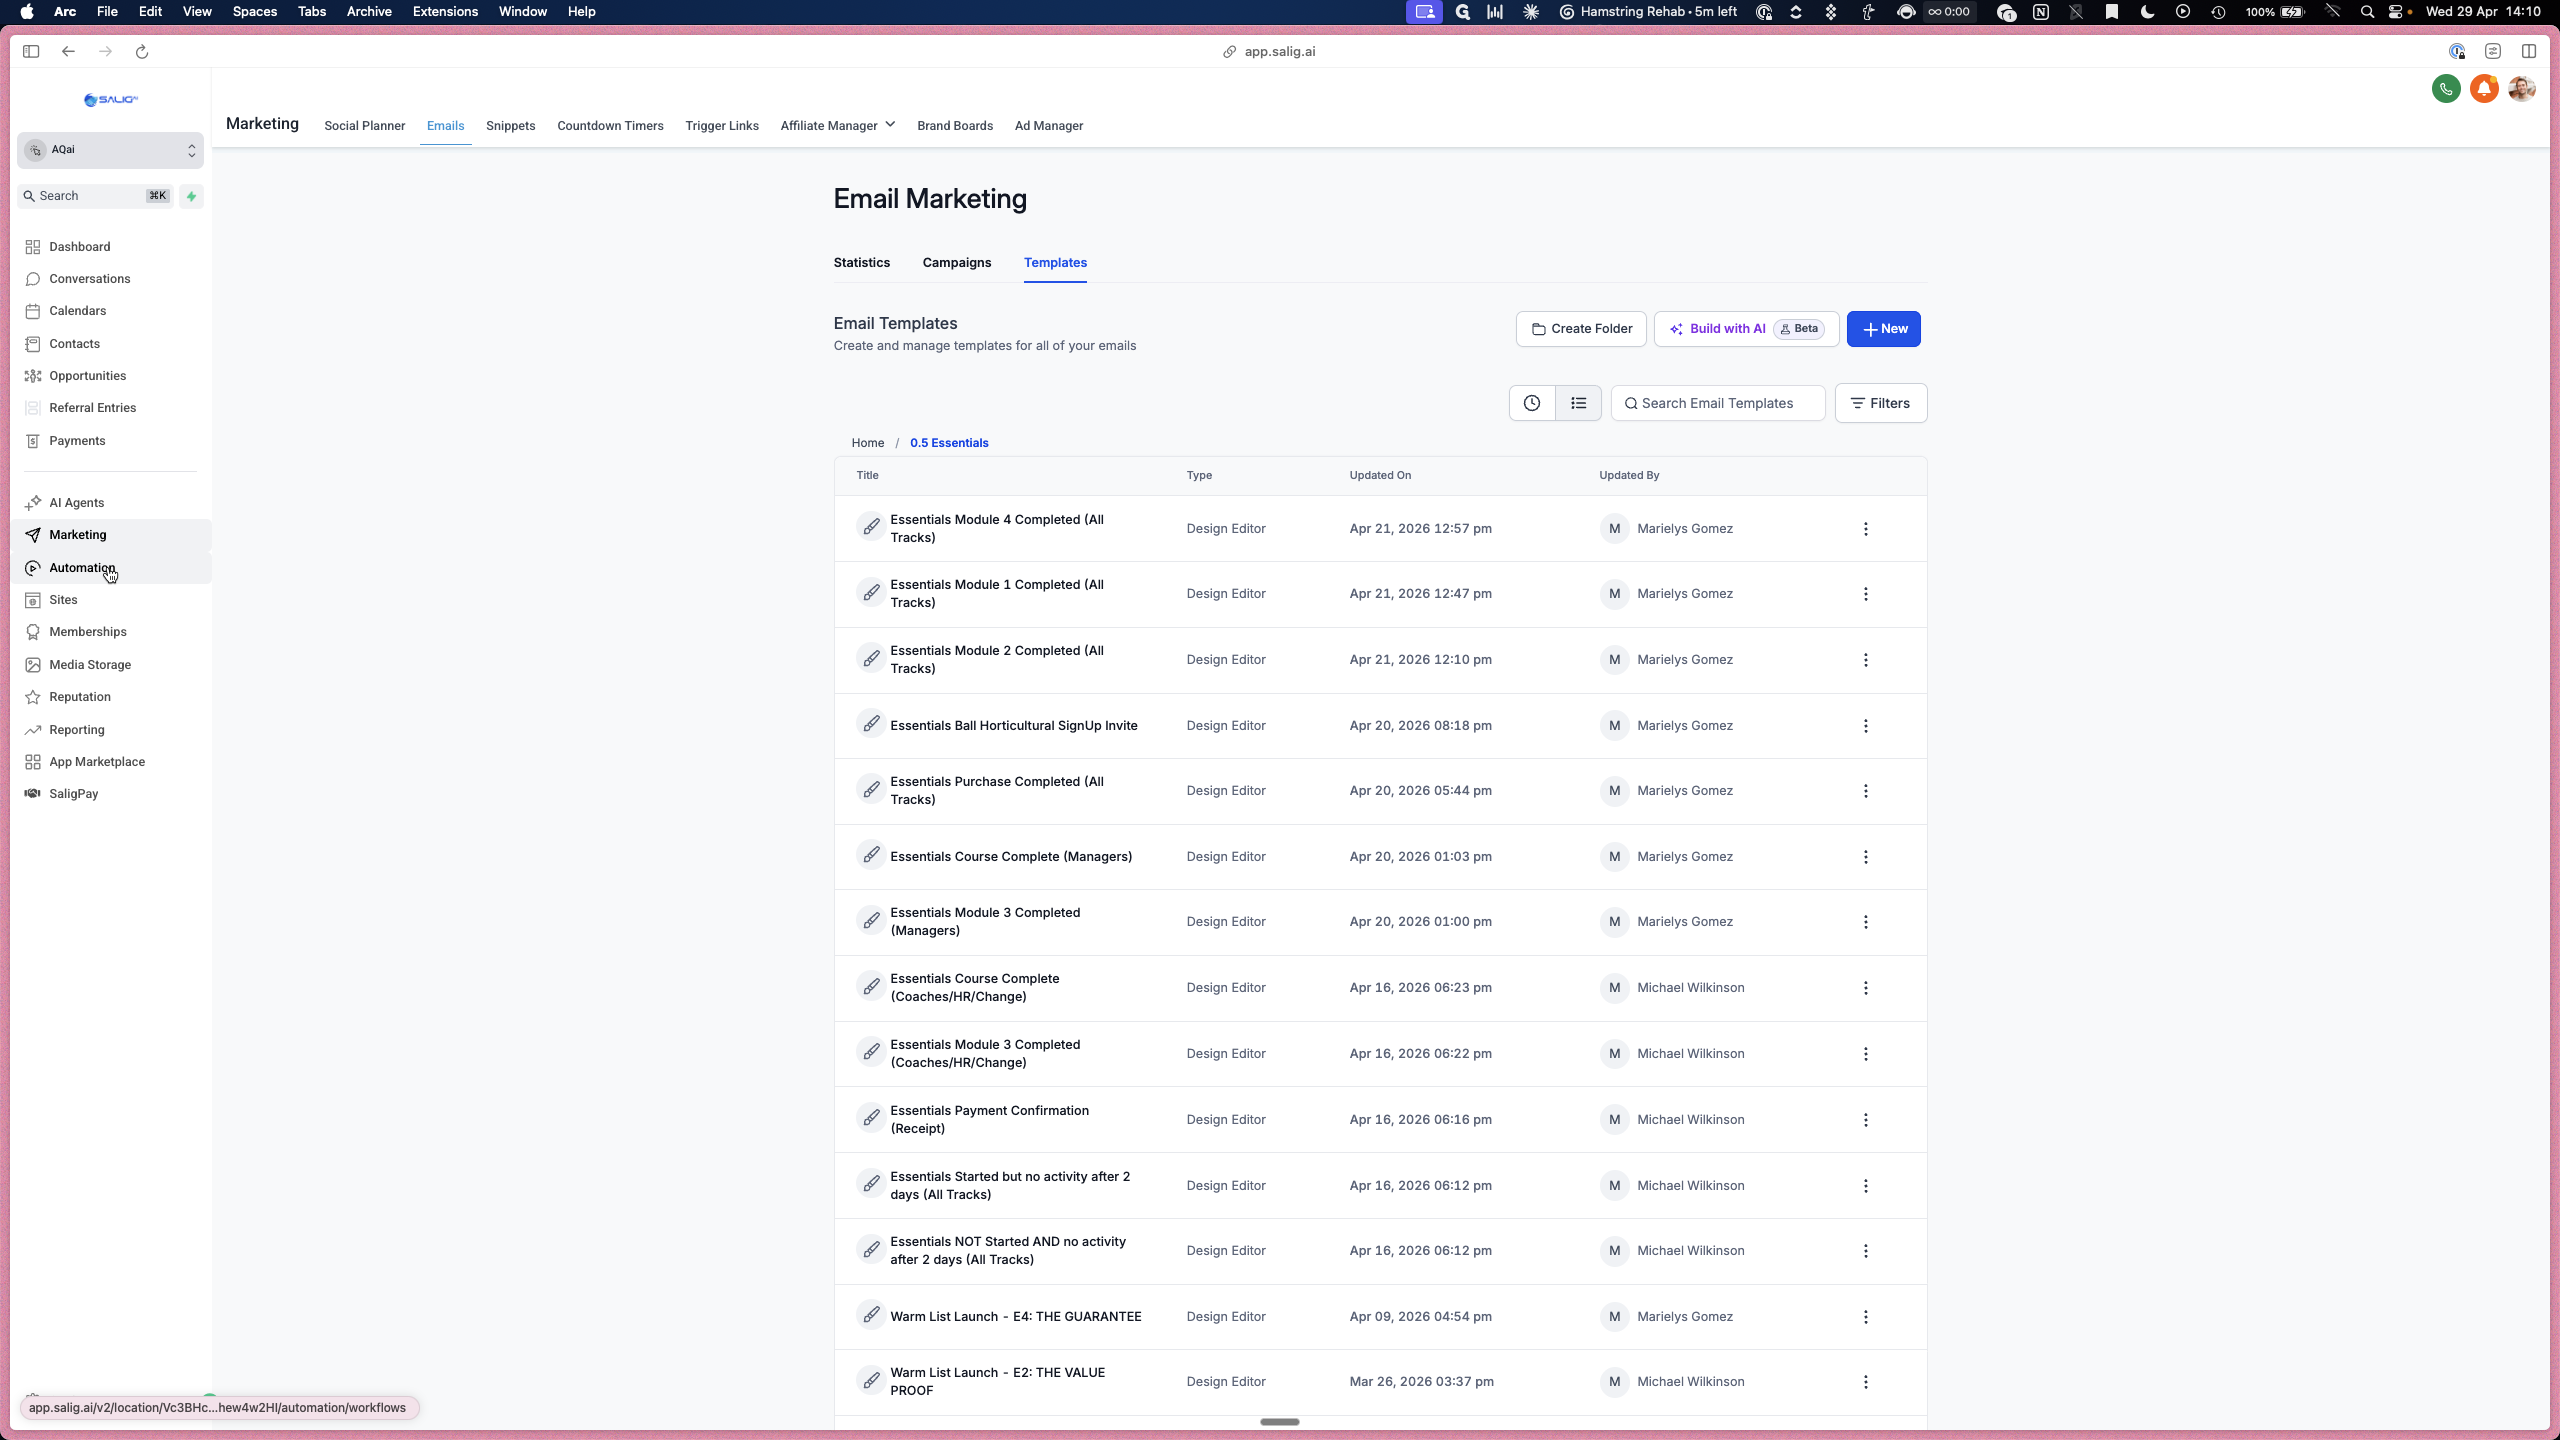
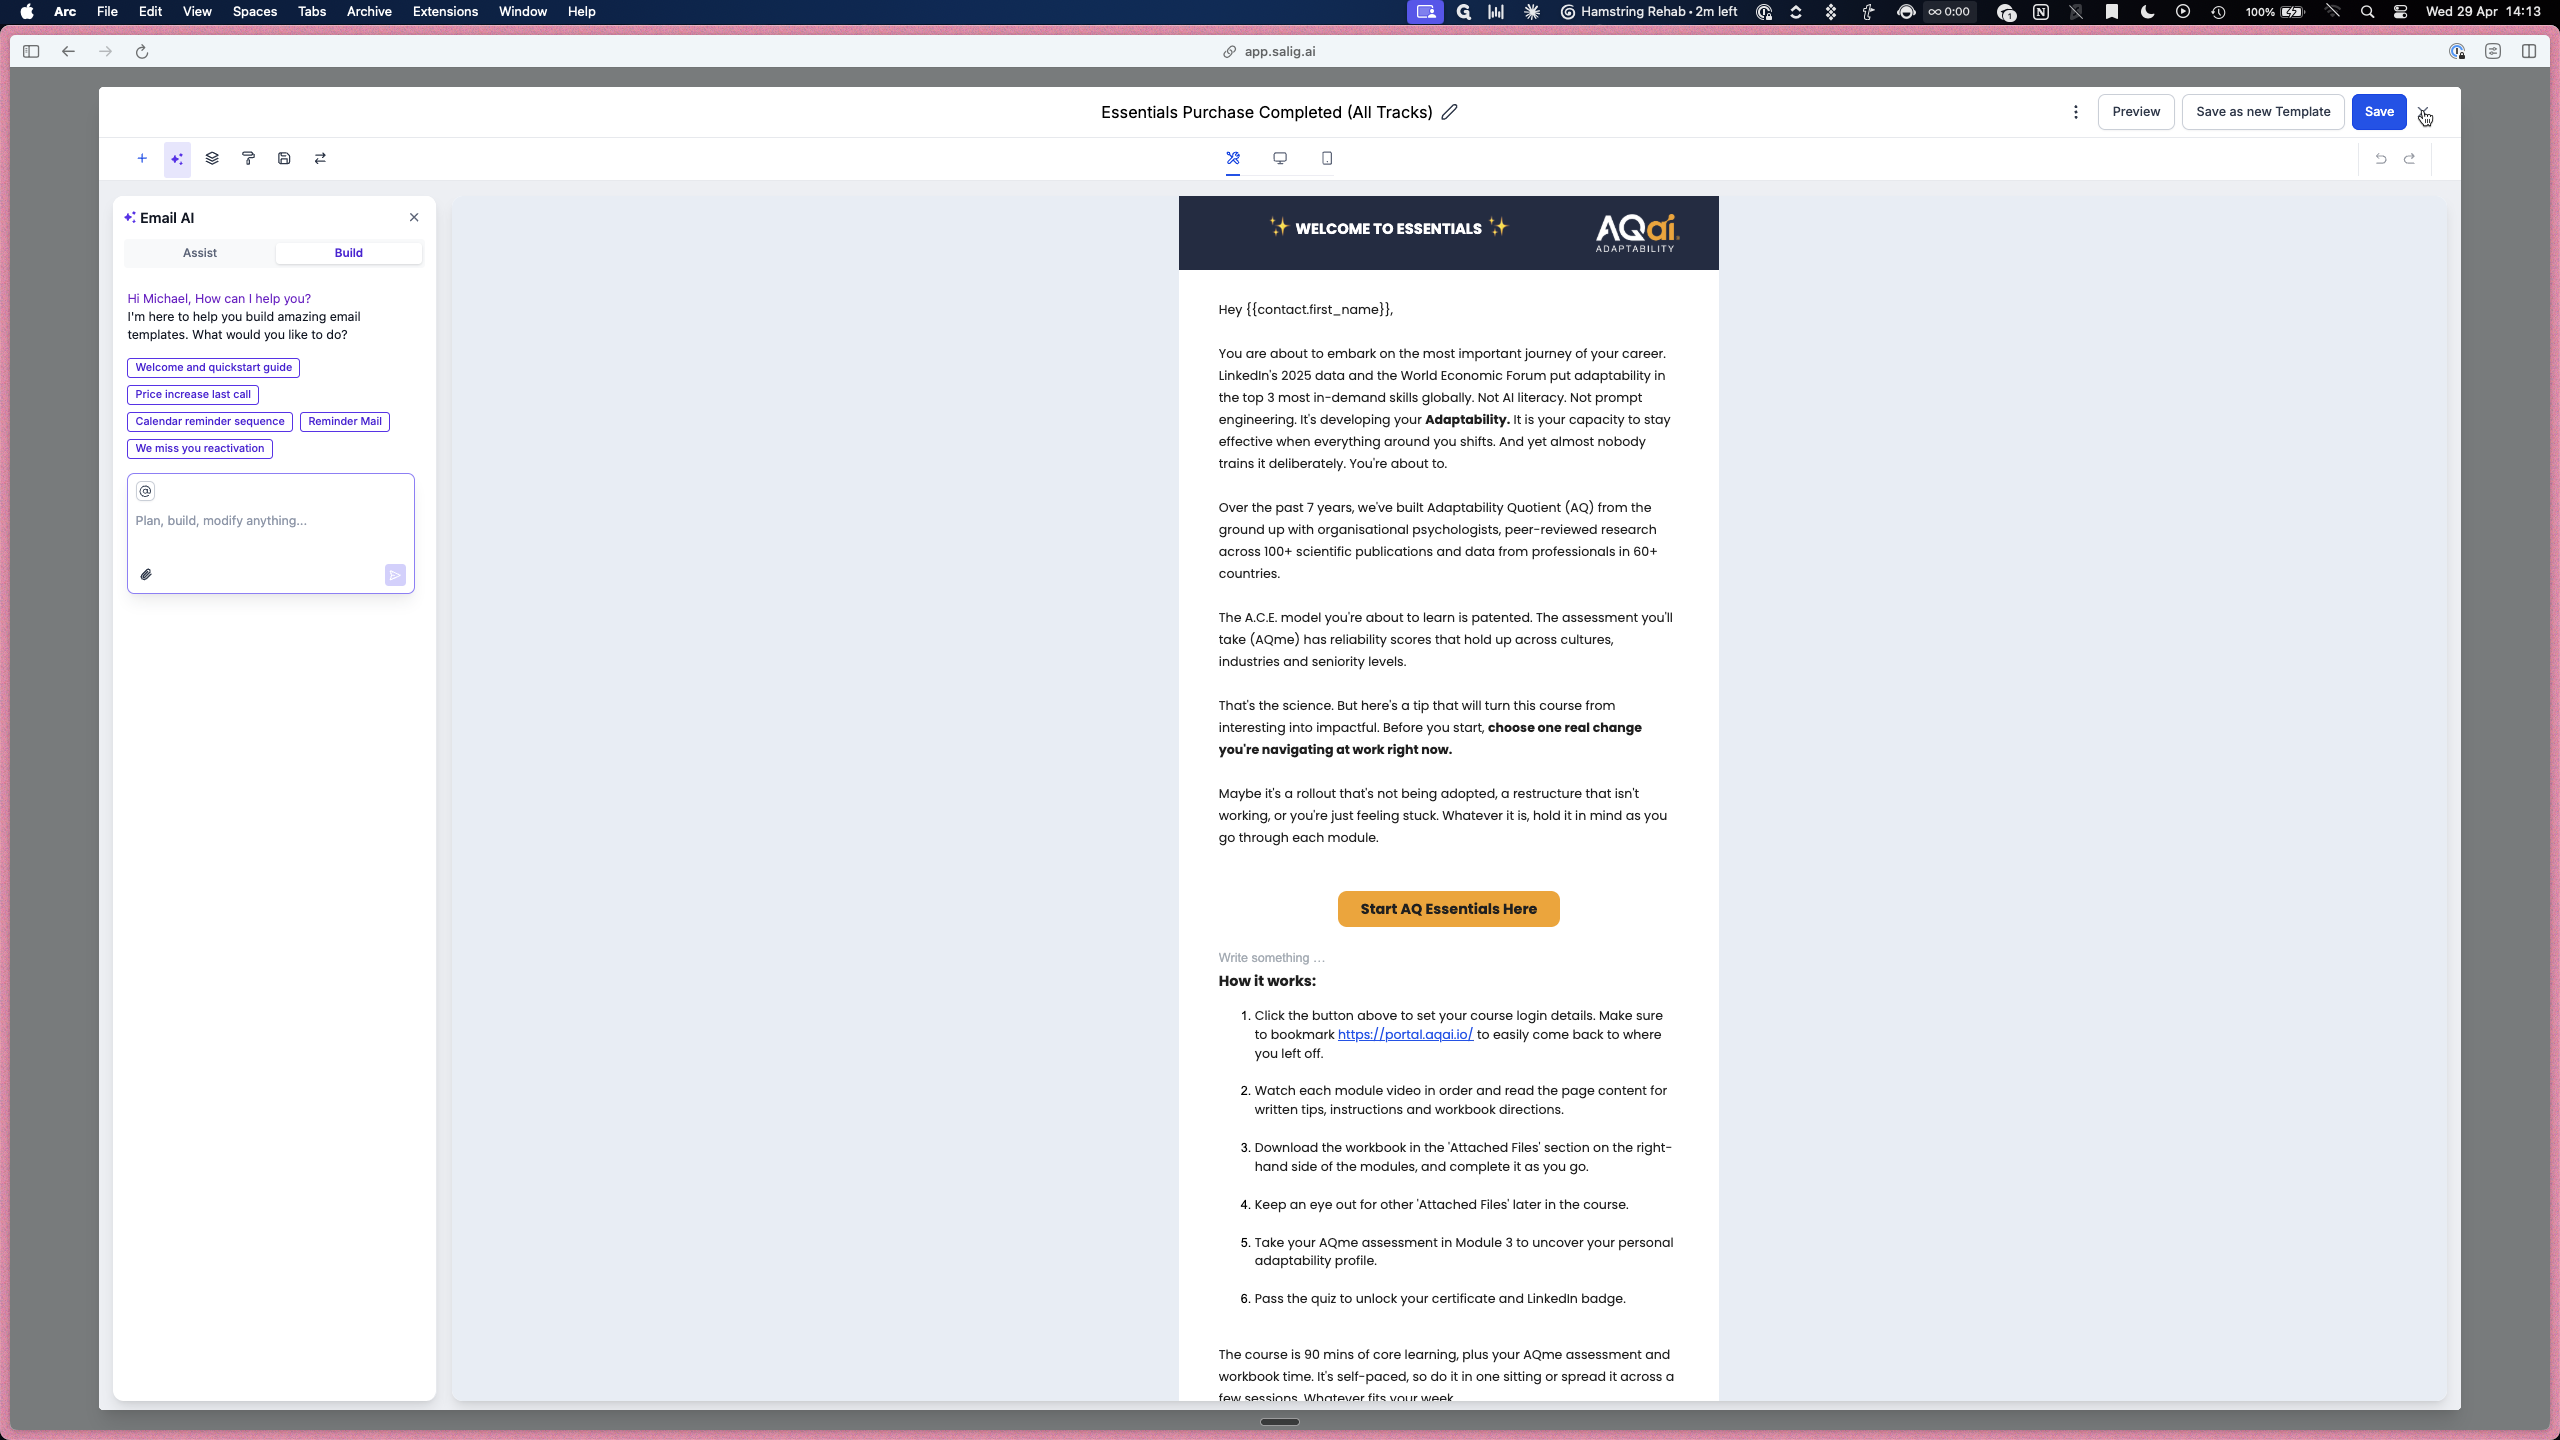
Editing Automated Emails
Once the system updates the new customer's tags and grants them course access, it sends them a welcome email.
A settings panel opens on the right side of the screen. Here, you can review the sender details, subject line, tracking parameters, and any attached files.

Managing Certification Workflows
You can also explore workflows designed around user progress, such as issuing certificates when a lesson is finished.
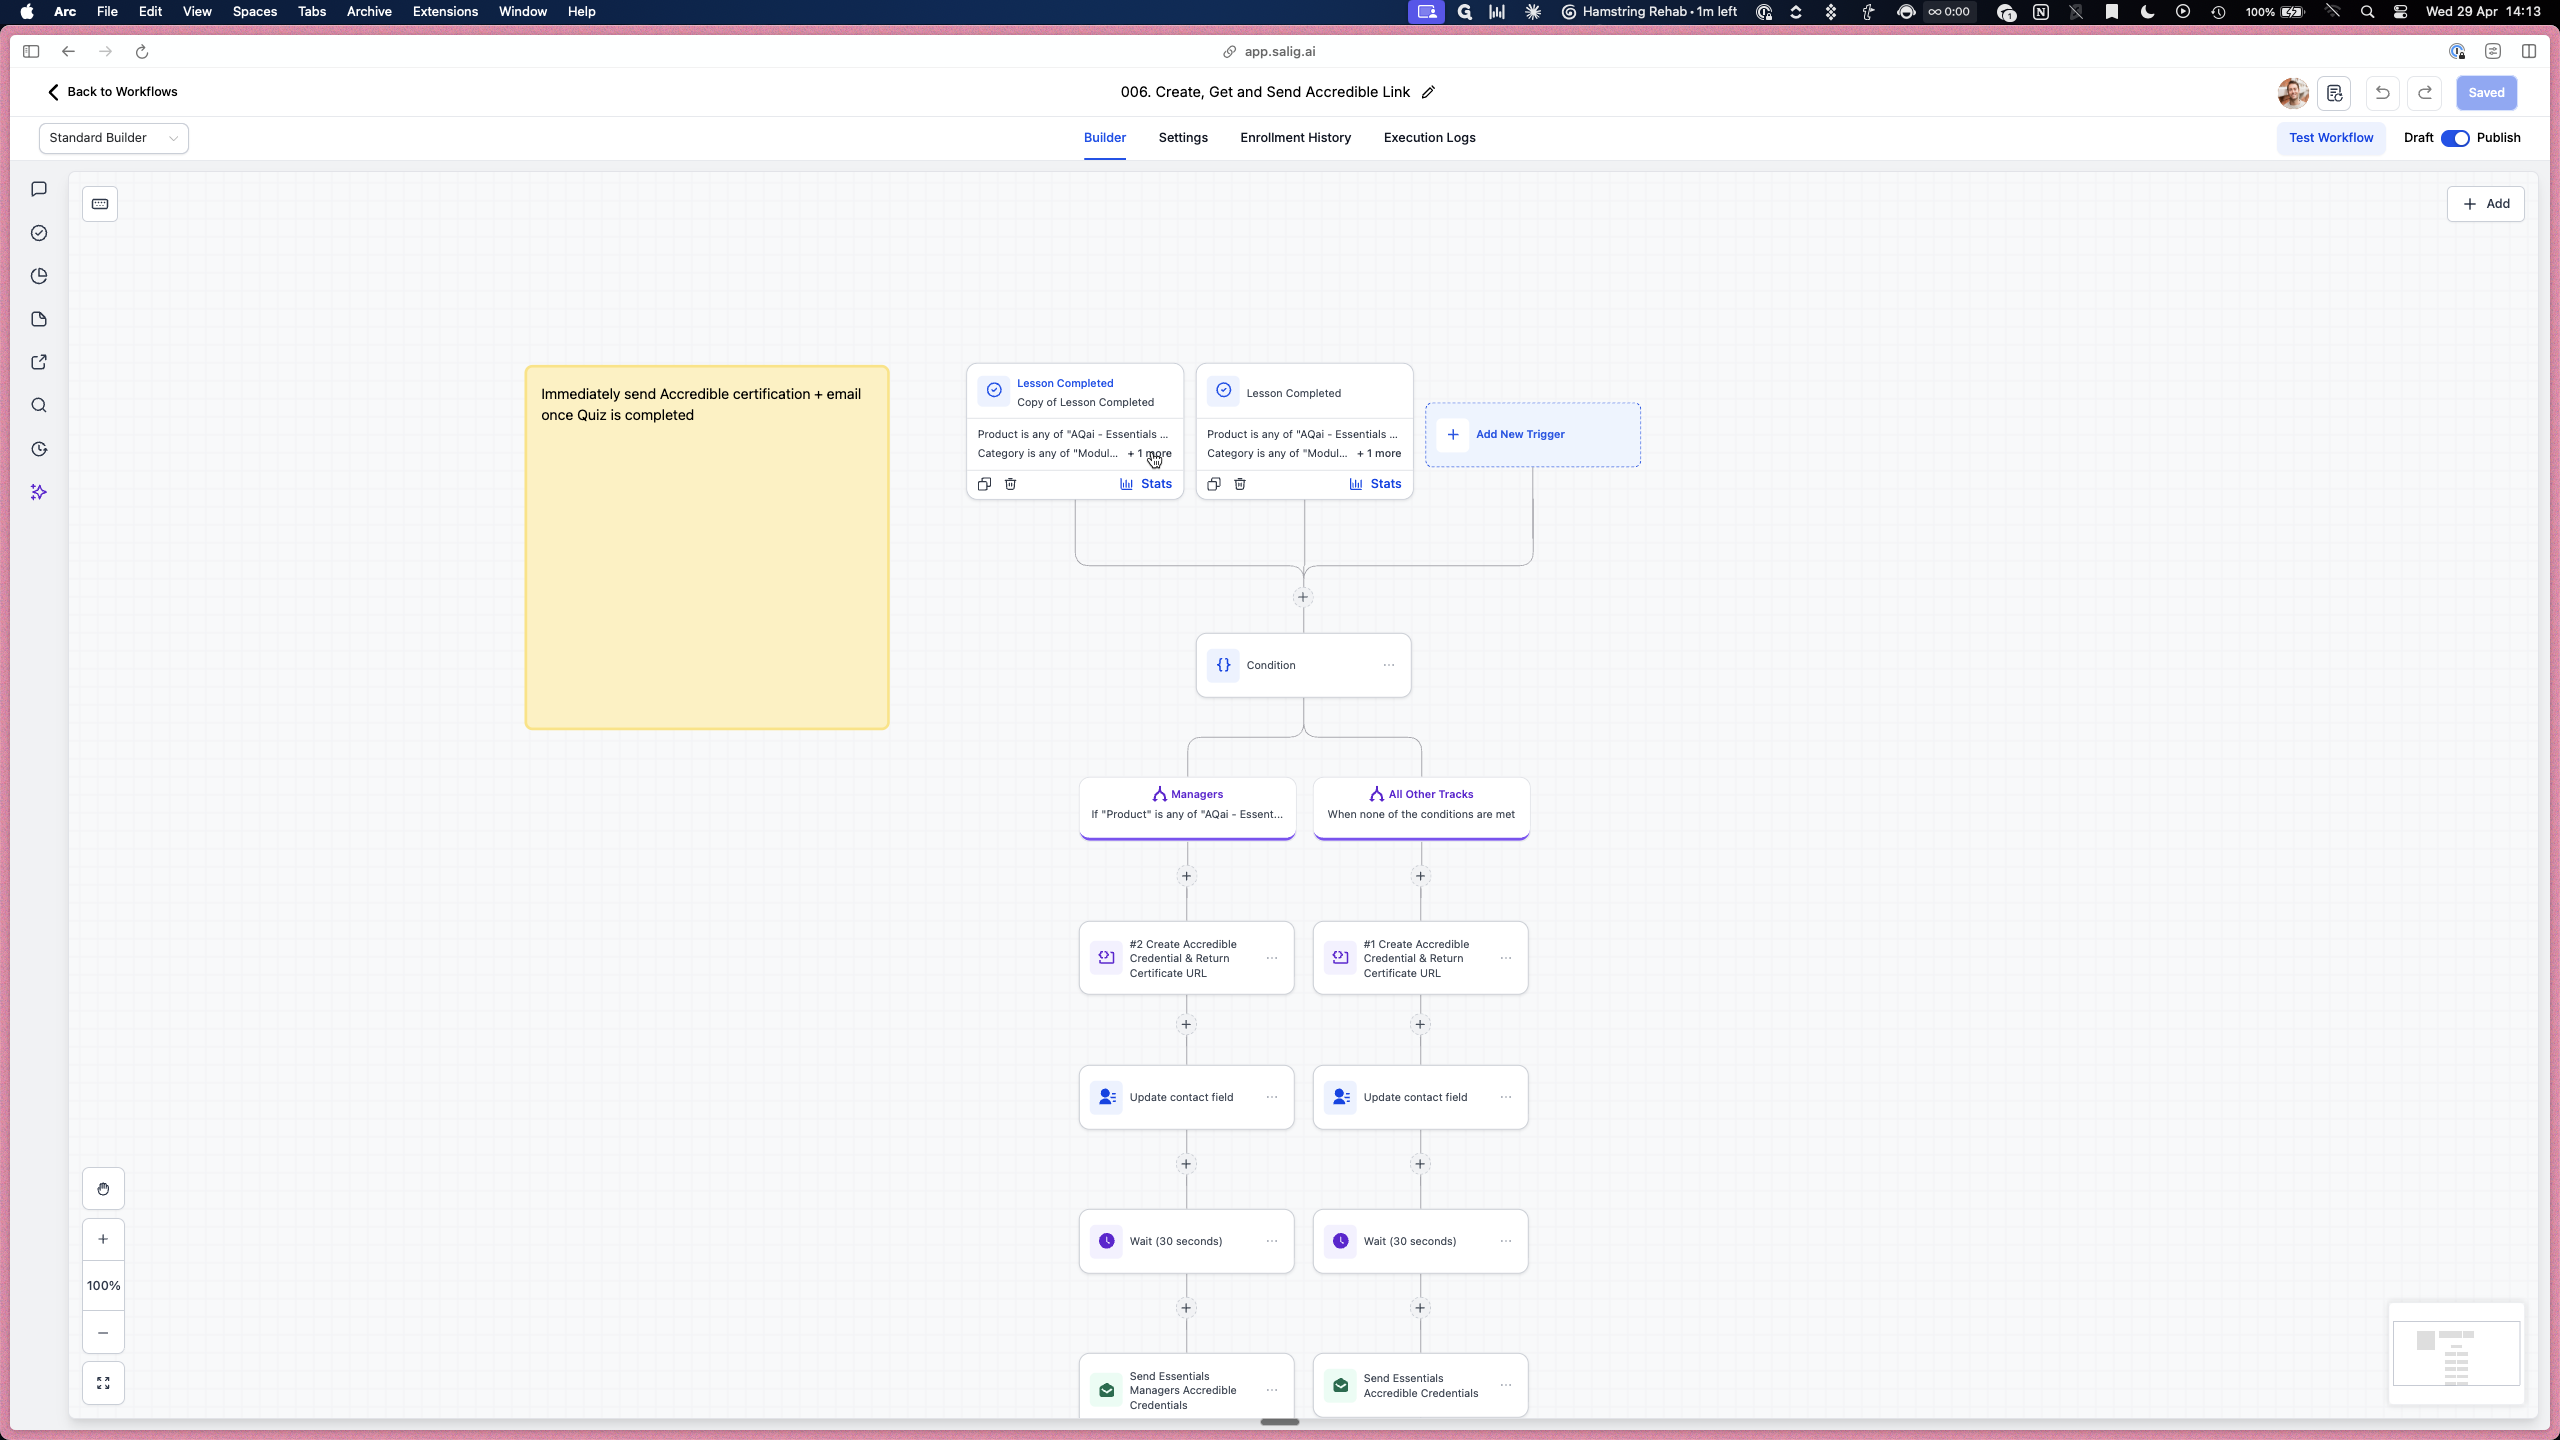
This allows you to review the specific product and category filters that initiate the certification process. Depending on the user track, the workflow will split into different conditional paths to issue the correct credentials.