
Manage Conference Bookings in Airtable
Learn how to view daily dashboards, update event statuses, manage follow-ups, and automate notifications using the Airtable conference bookings interface.
This guide demonstrates how to manage, view, and update conference bookings using the Airtable interface. By following these steps, you can efficiently track daily events, manage outstanding tasks, update booking details, and automatically notify operations and kitchen staff of any changes.
This process applies to booking coordinators, event managers, and administrative staff responsible for handling day-to-day event schedules and client follow-ups.
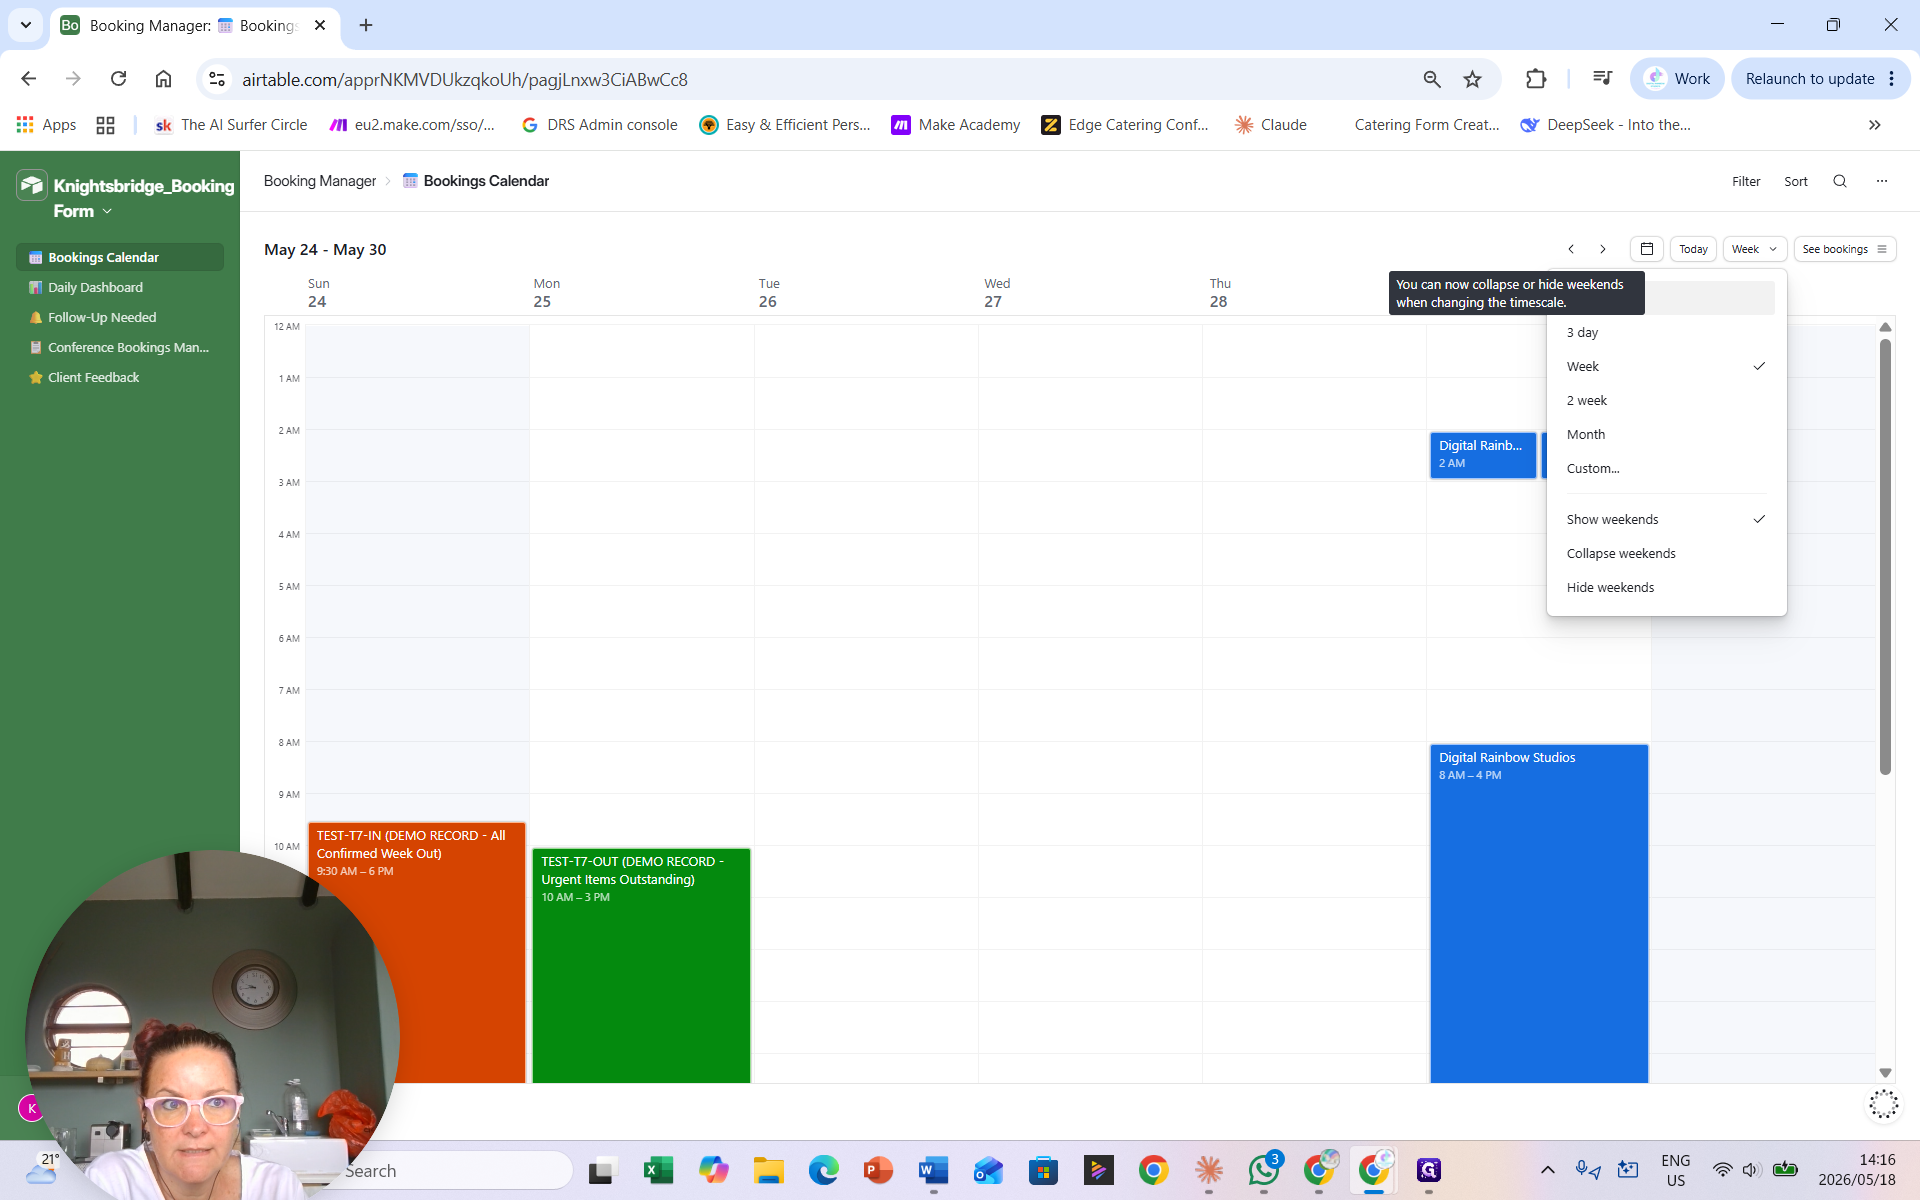
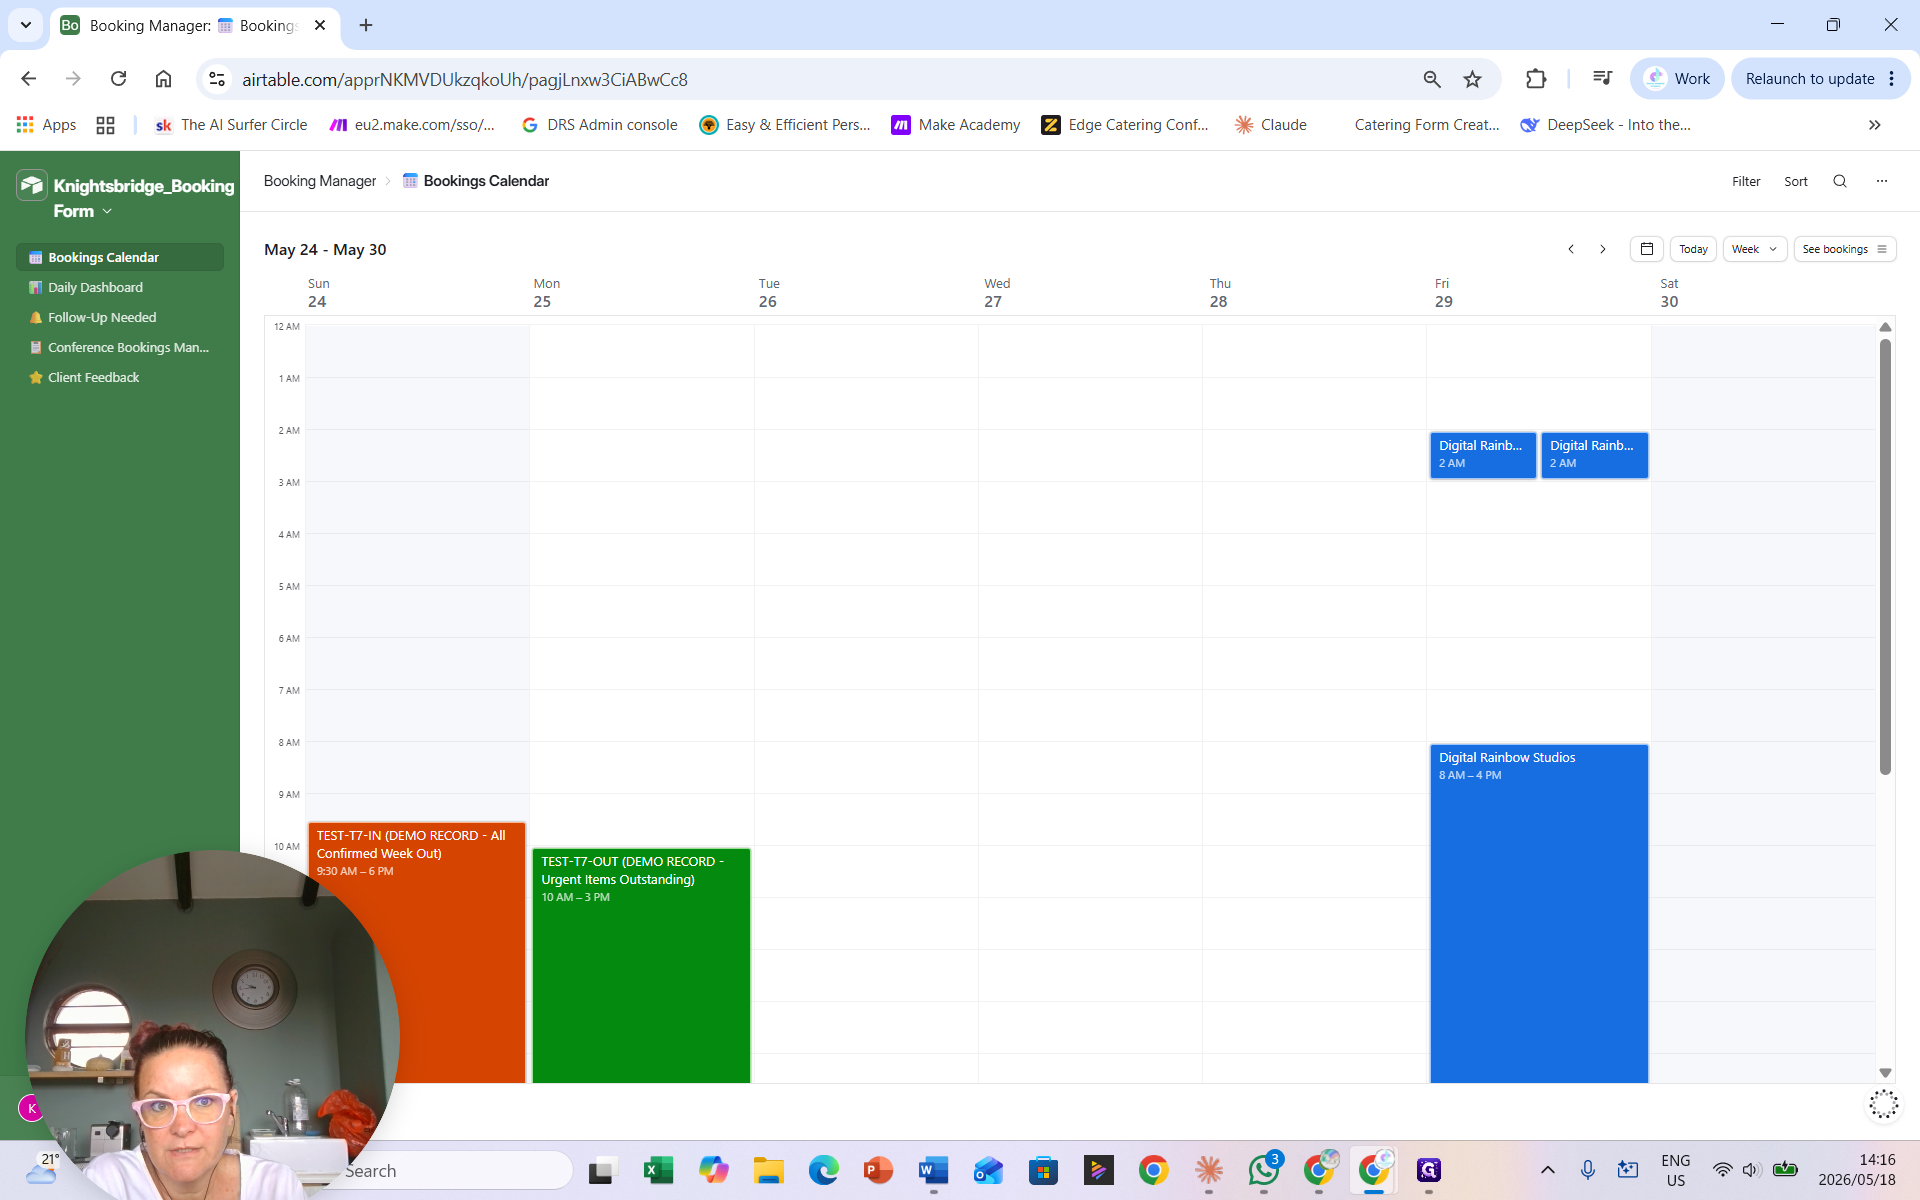
Navigating the Bookings Calendar
Use the calendar interface for a high-level view of your upcoming events.


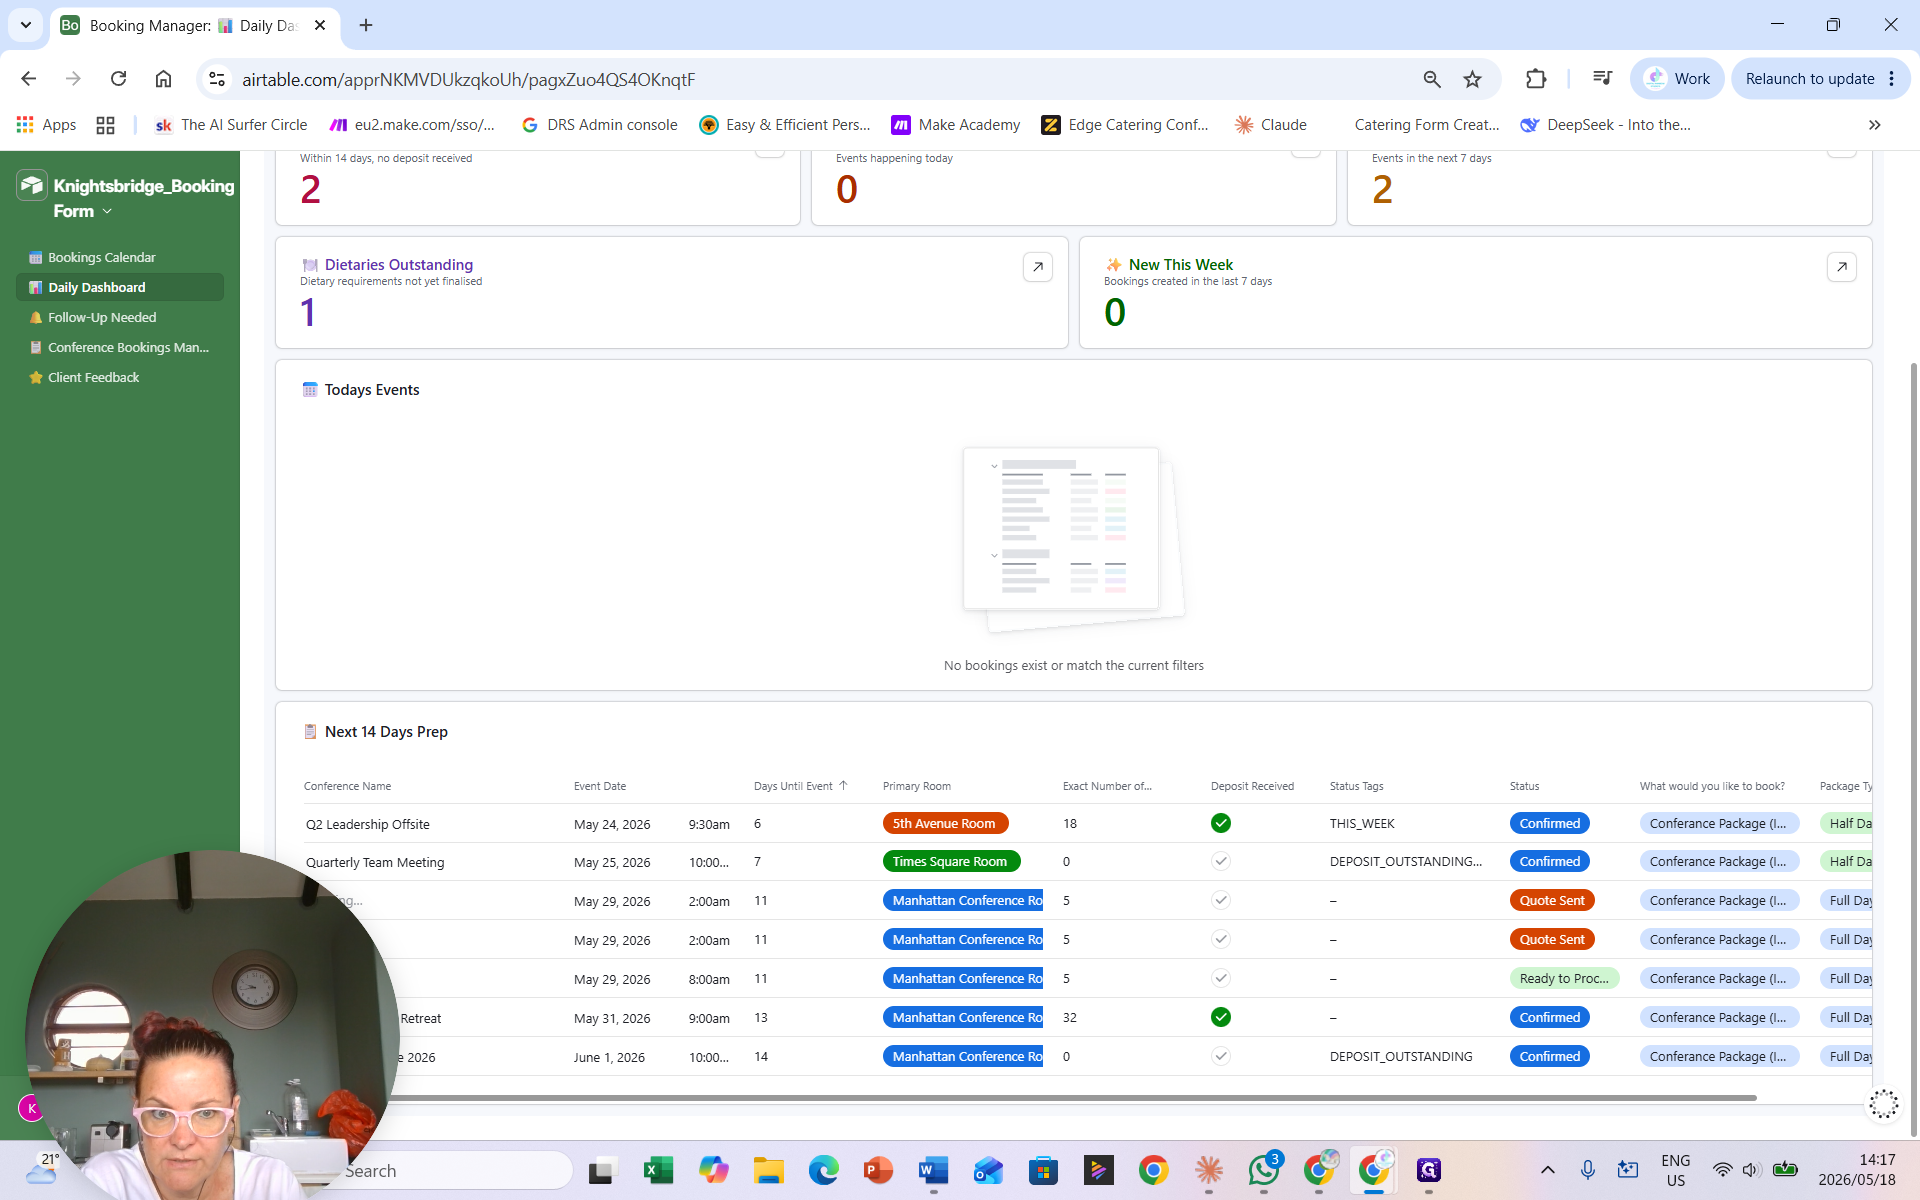
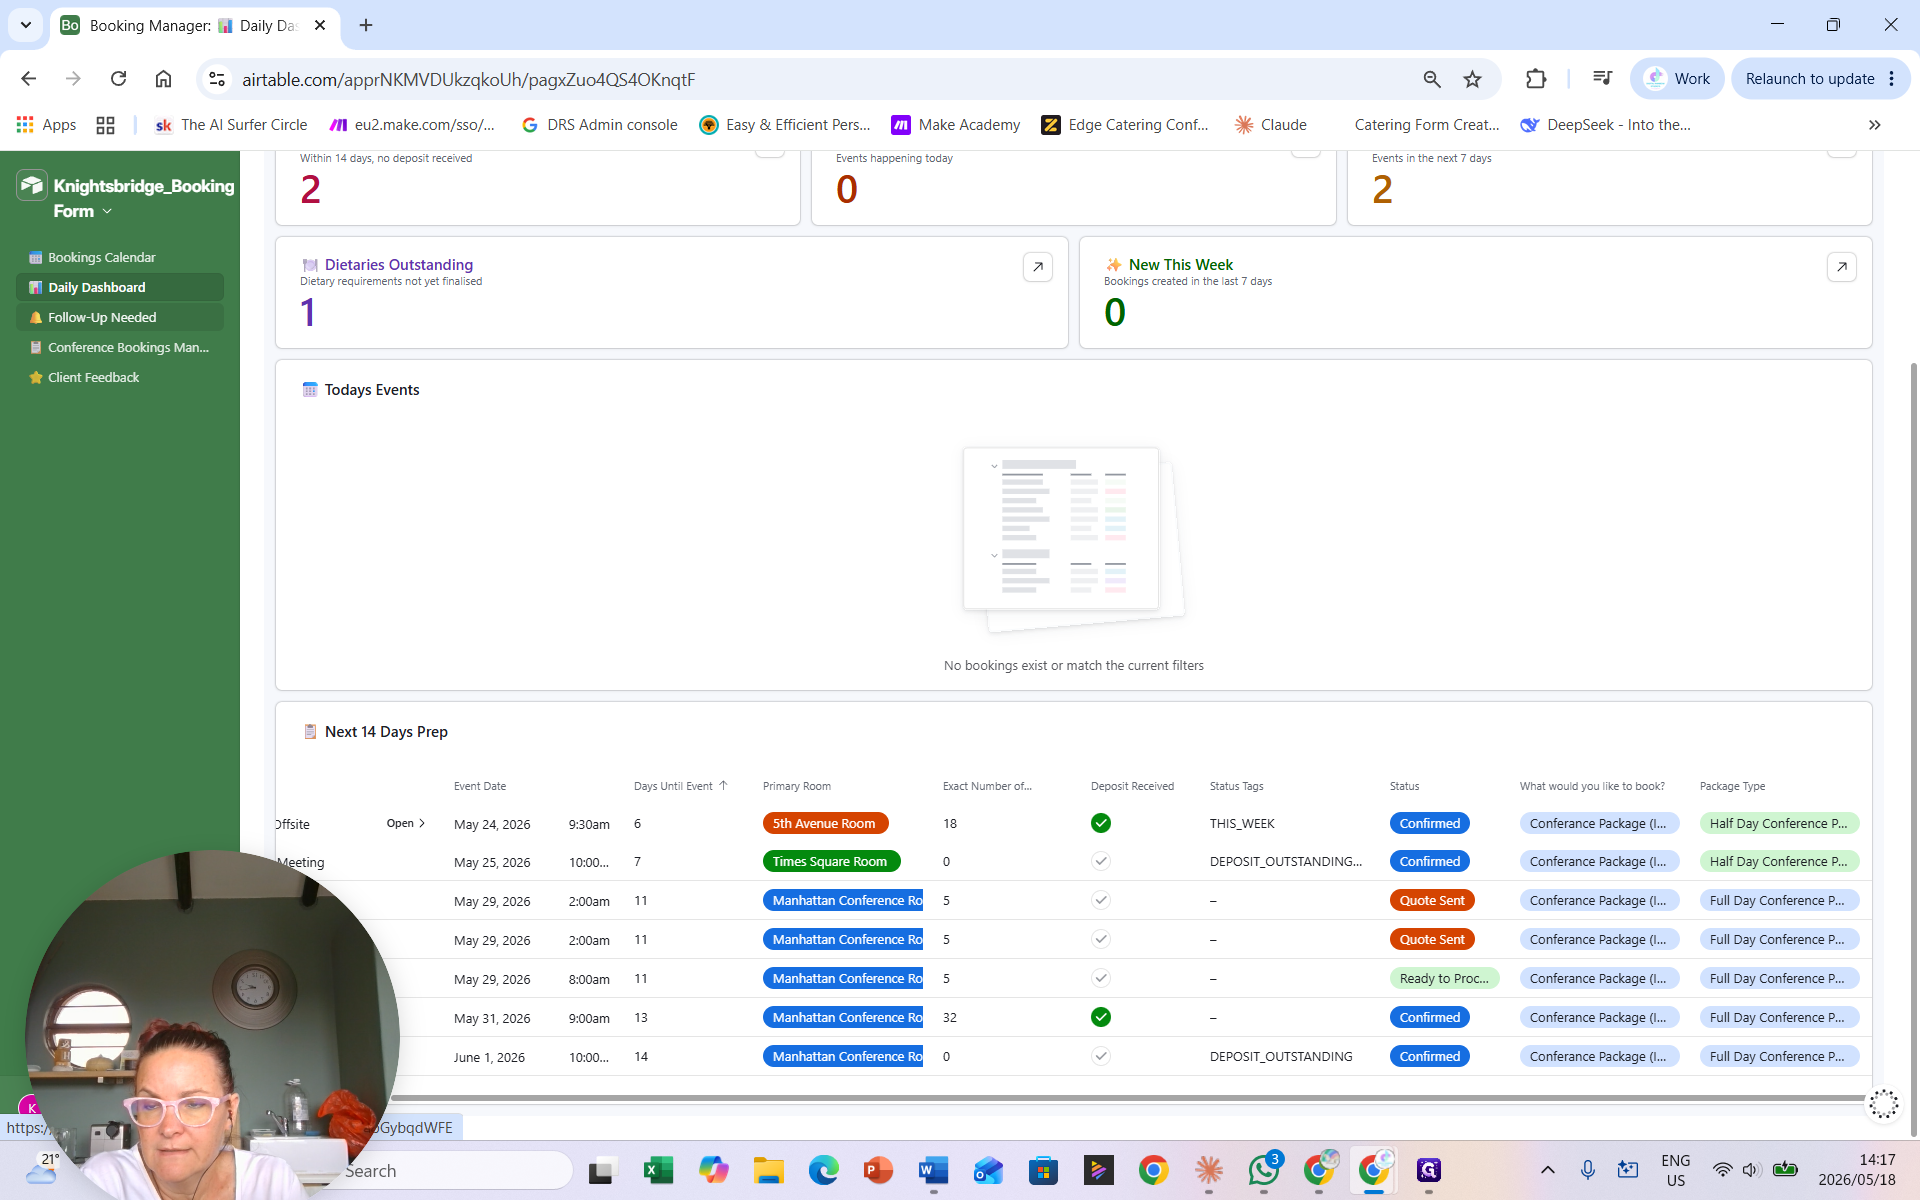
Monitoring Daily and Follow-Up Dashboards
The dashboard views provide a snapshot of current operations and pending administrative tasks.

This dashboard displays outstanding deposits, today's events, events for the current week, and dietary commitments.
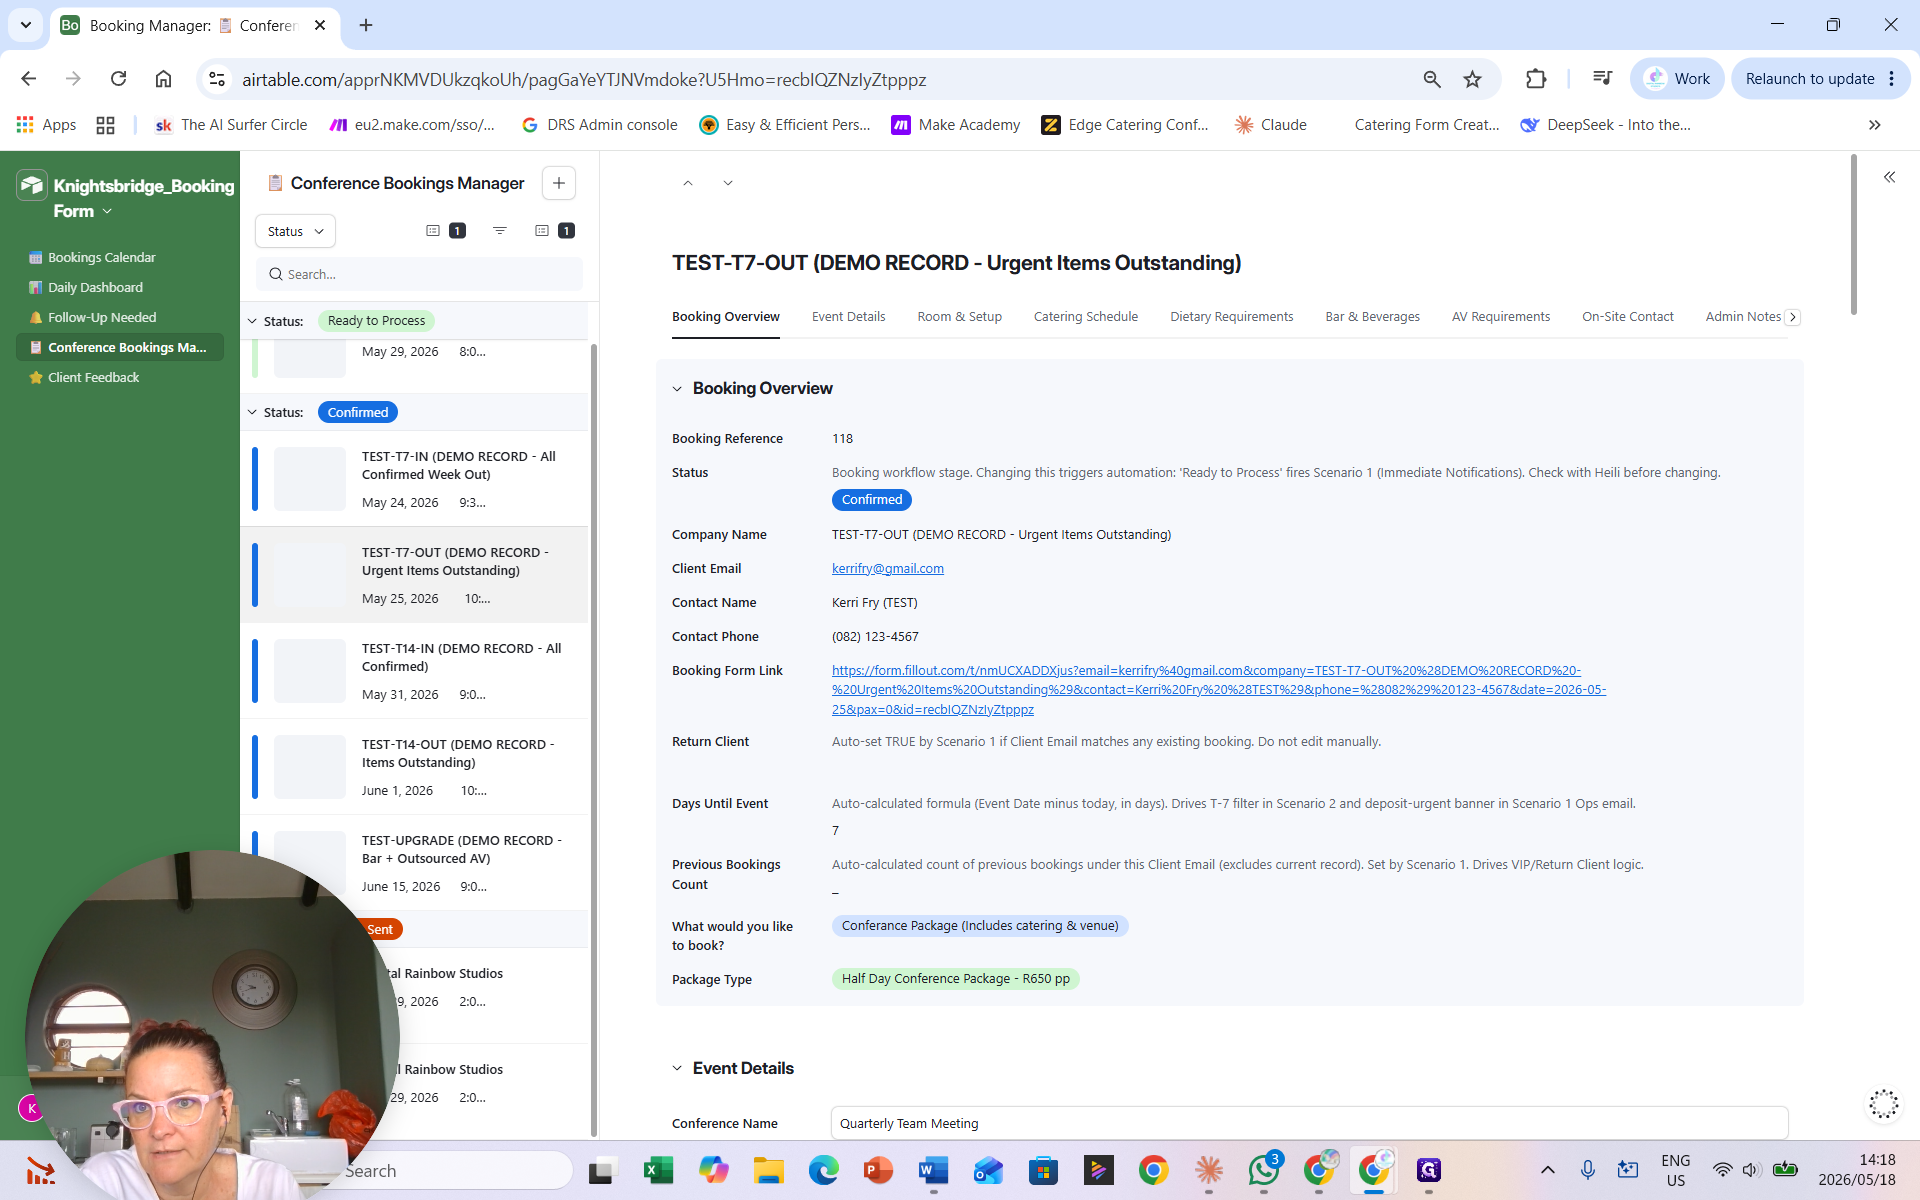
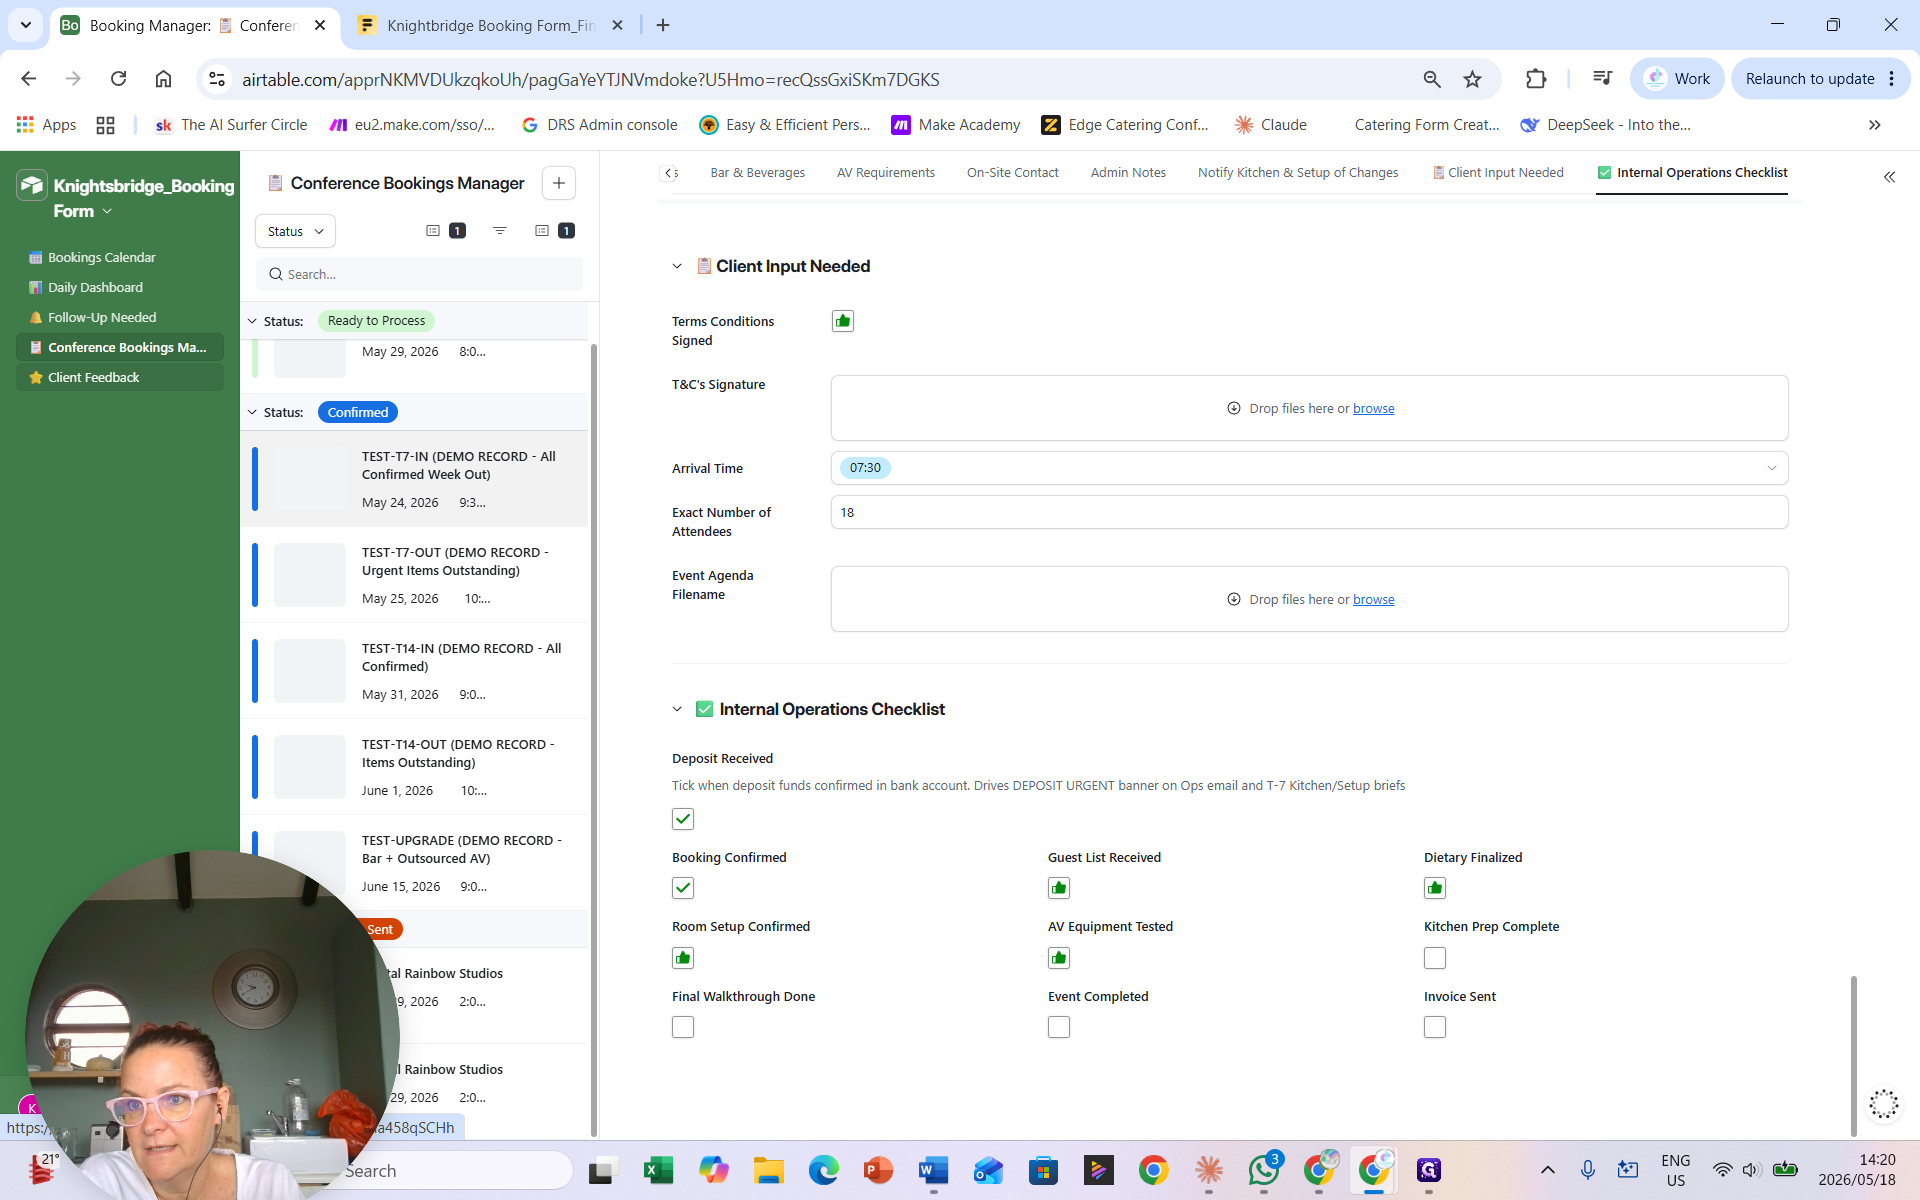
Managing Full Booking Details
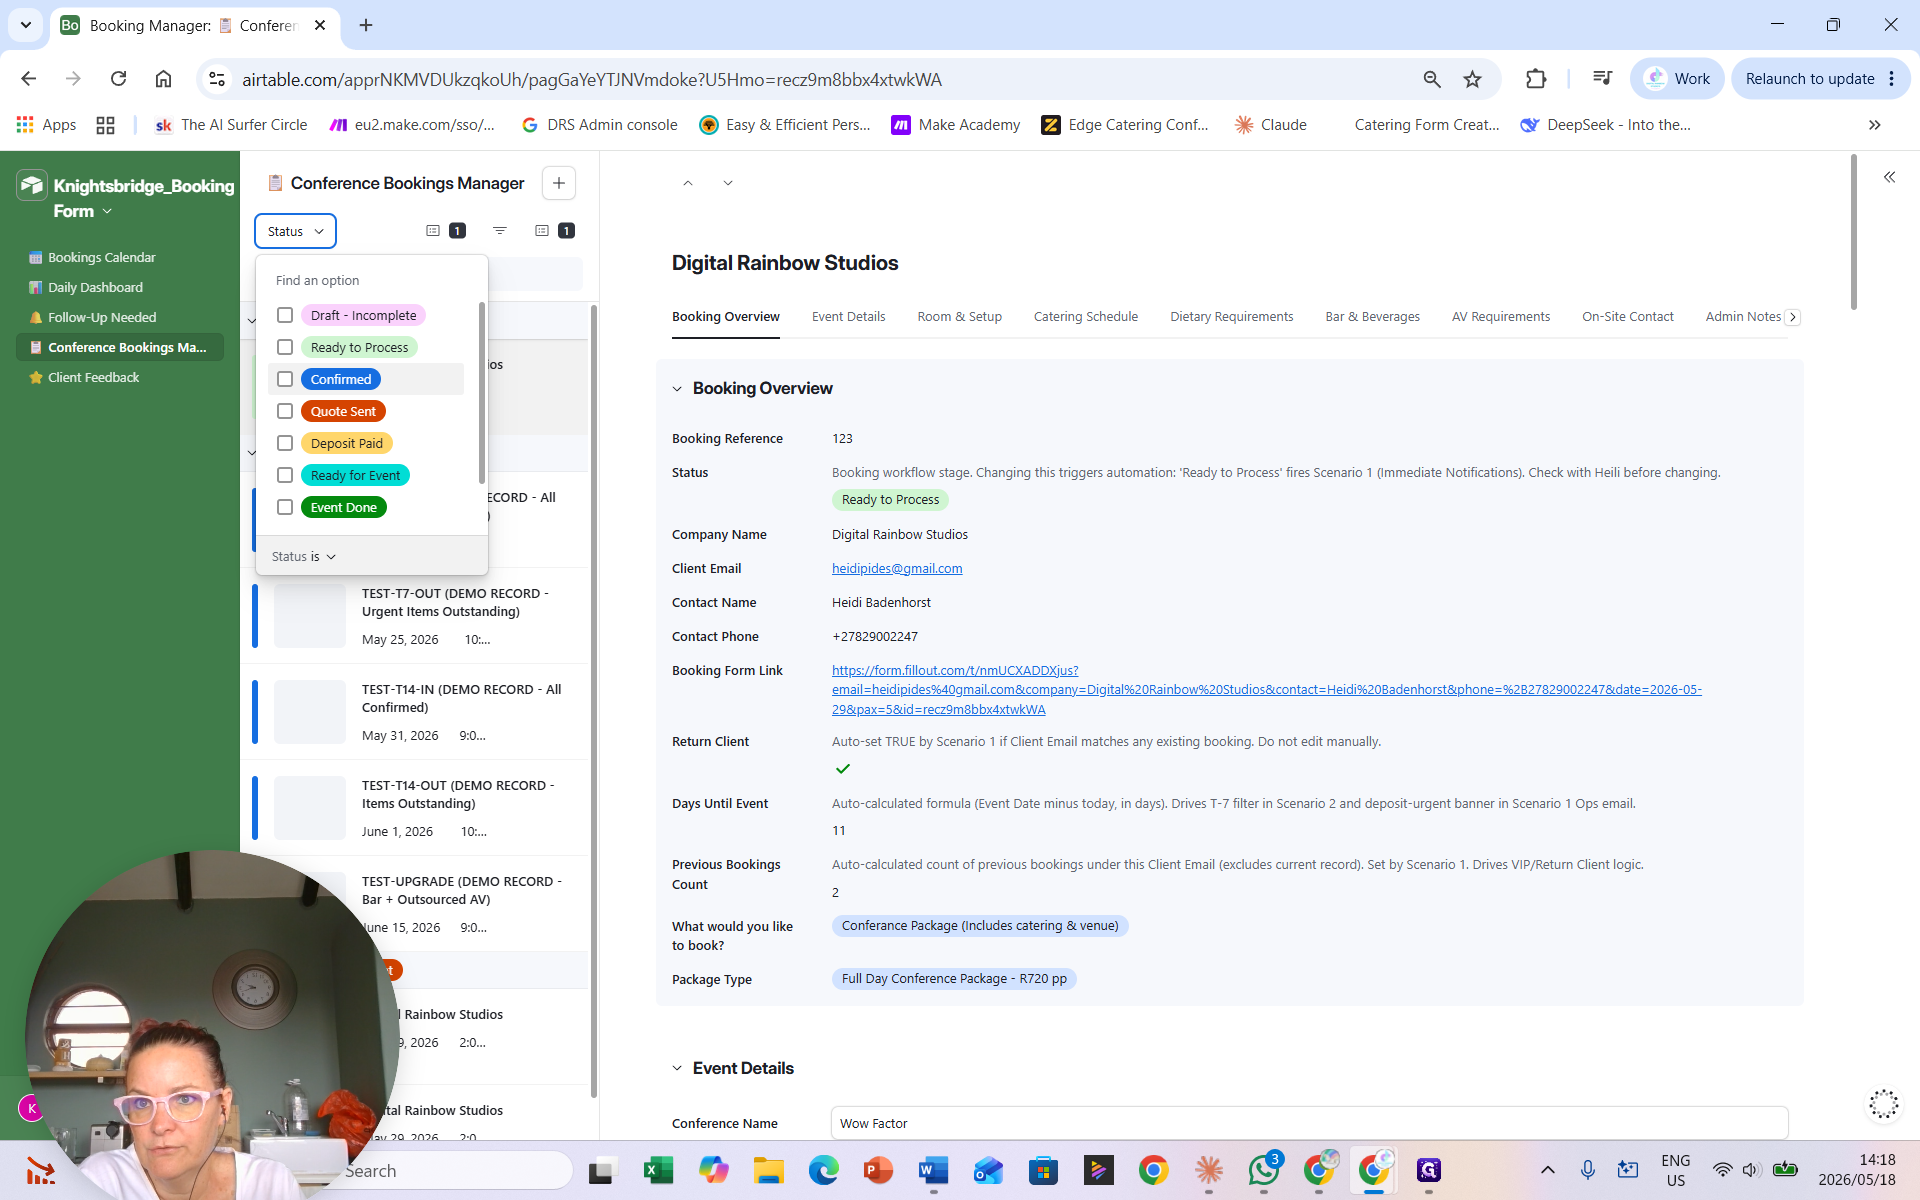
Use the Conference Bookings Manager for complete control over all records in the pipeline.
When reviewing your pipeline, you can filter and pivot views based on booking status.
Booking Status | When to use |
|---|---|
Draft / Incomplete | For quick quotes that are actively being drafted but not yet sent. |
Quote Status | When the final quote has been generated and sent to the client. |
Ready to Process | The client has accepted the quote, and you are awaiting their deposit. |
Confirmed | The deposit is paid, and the event is fully prepared and scheduled. |
Done / Closed | The event has successfully concluded. |

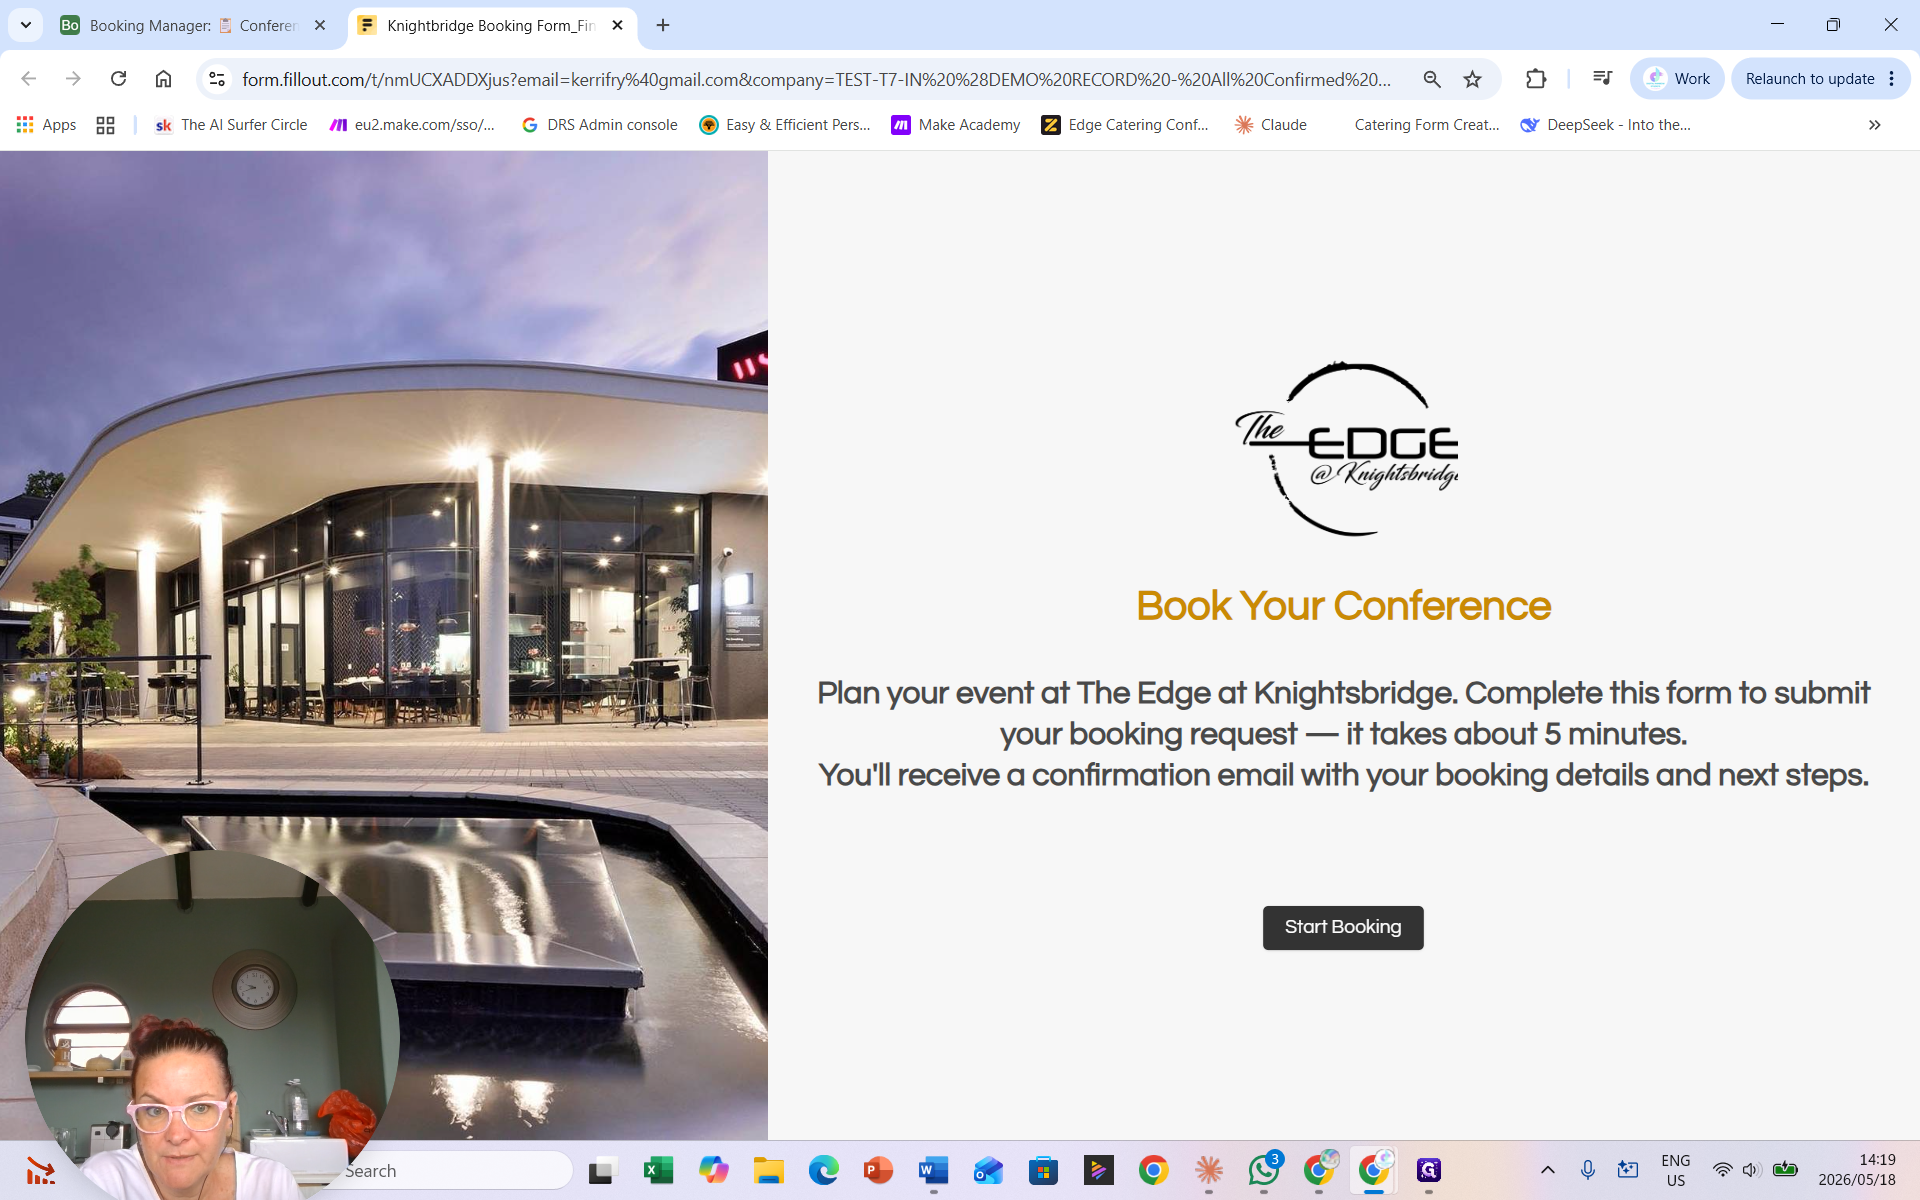
Updating a Booking and Triggering Notifications
You can update booking information through an external client-facing form link, or directly in the Airtable record.
Alternatively, update the fields manually within Airtable:

To alert the teams, check the confirmation box in the admin notes indicating a change, and type out your new notes. The system will automatically regenerate and send updated notification emails to the setup team and kitchen staff.
Reviewing Client Feedback
FAQ
Q: How do operations and kitchen staff know if I change an already-confirmed booking?
A: When updating the booking record in Airtable, check the designated box in the Admin Notes section indicating a change has been made, and write down the new details. The system will automatically resend the notification emails containing the updated requirements.
Q: Why would a booking appear in the Follow-Up Needed dashboard?
A: A booking is automatically flagged and sent to this dashboard if crucial information, such as the final number of guests or specific dietary commitments, has not yet been confirmed by the client.