How to Manage Course Settings and Memberships
Learn how to navigate your course architecture, track member progress, customize page layouts, and manage course offers.
By Michael Wilkinson
This guide covers how to navigate your membership portal, manage email settings, track student progress, and customize course details and checkout offers.
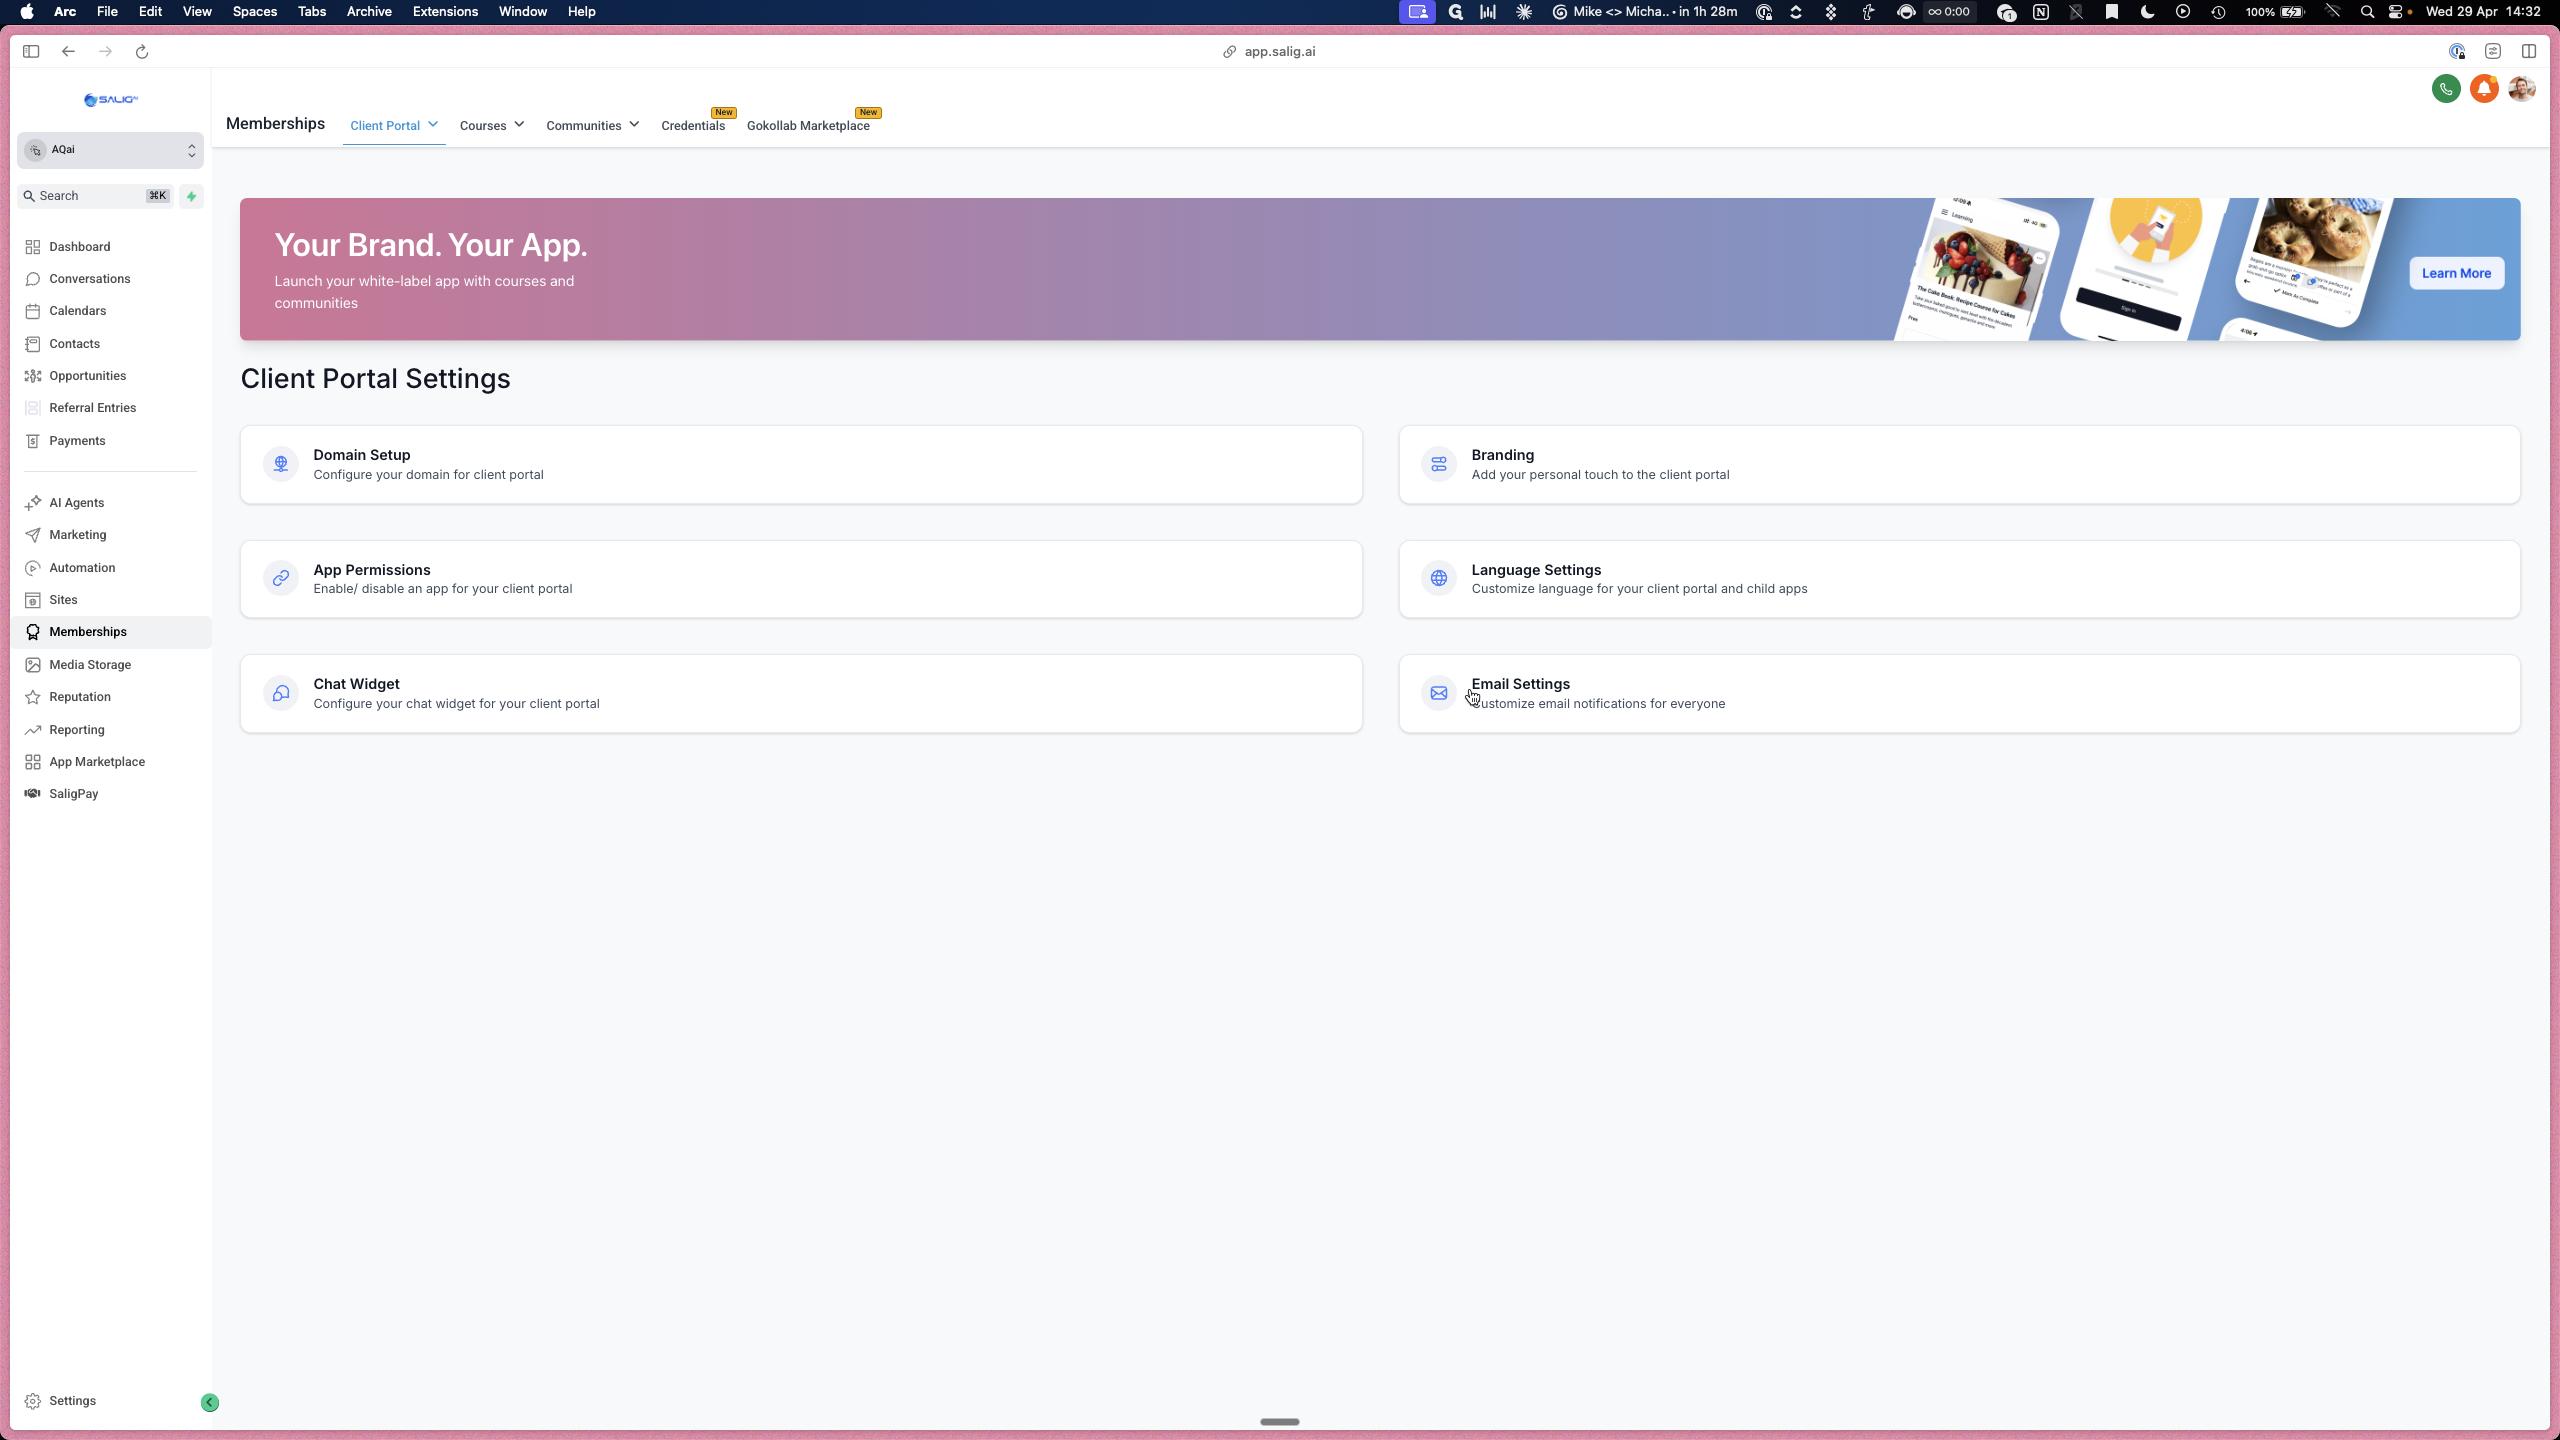
1. Access General Membership Settings
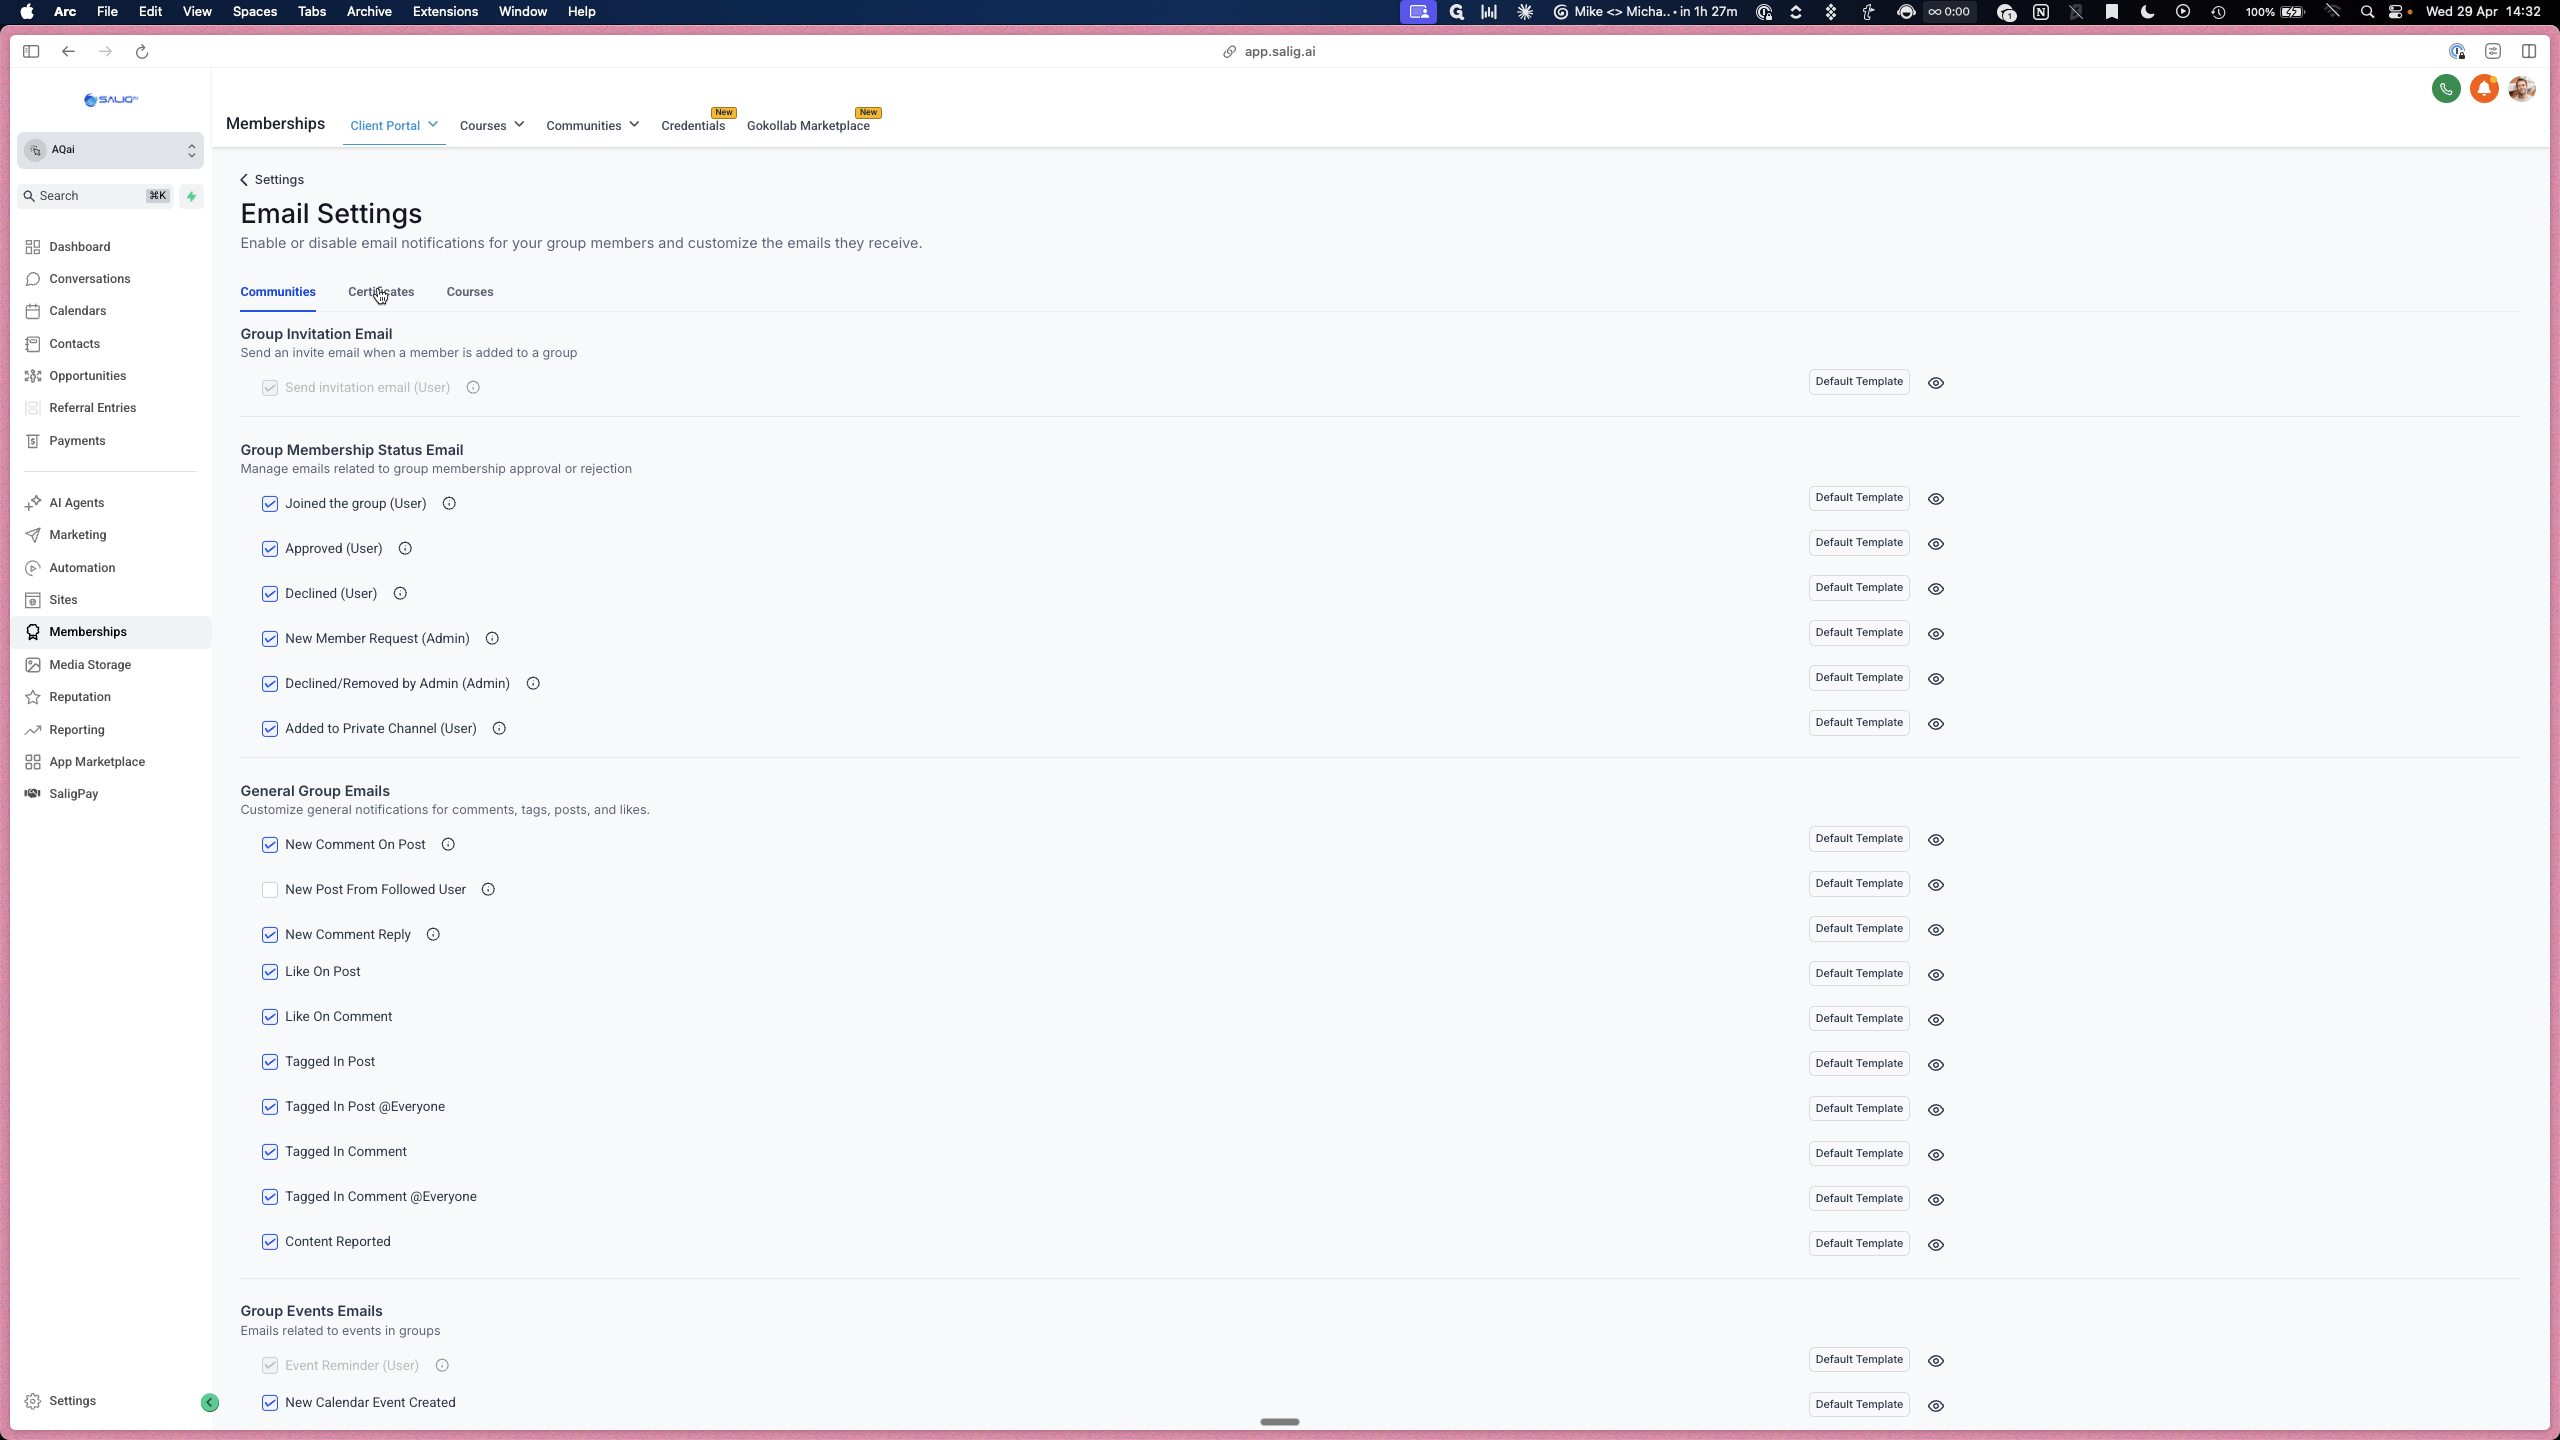
Before modifying specific courses, explore the global settings that apply to your entire membership portal.
1
Click Memberships in the left-hand navigation menu.
2
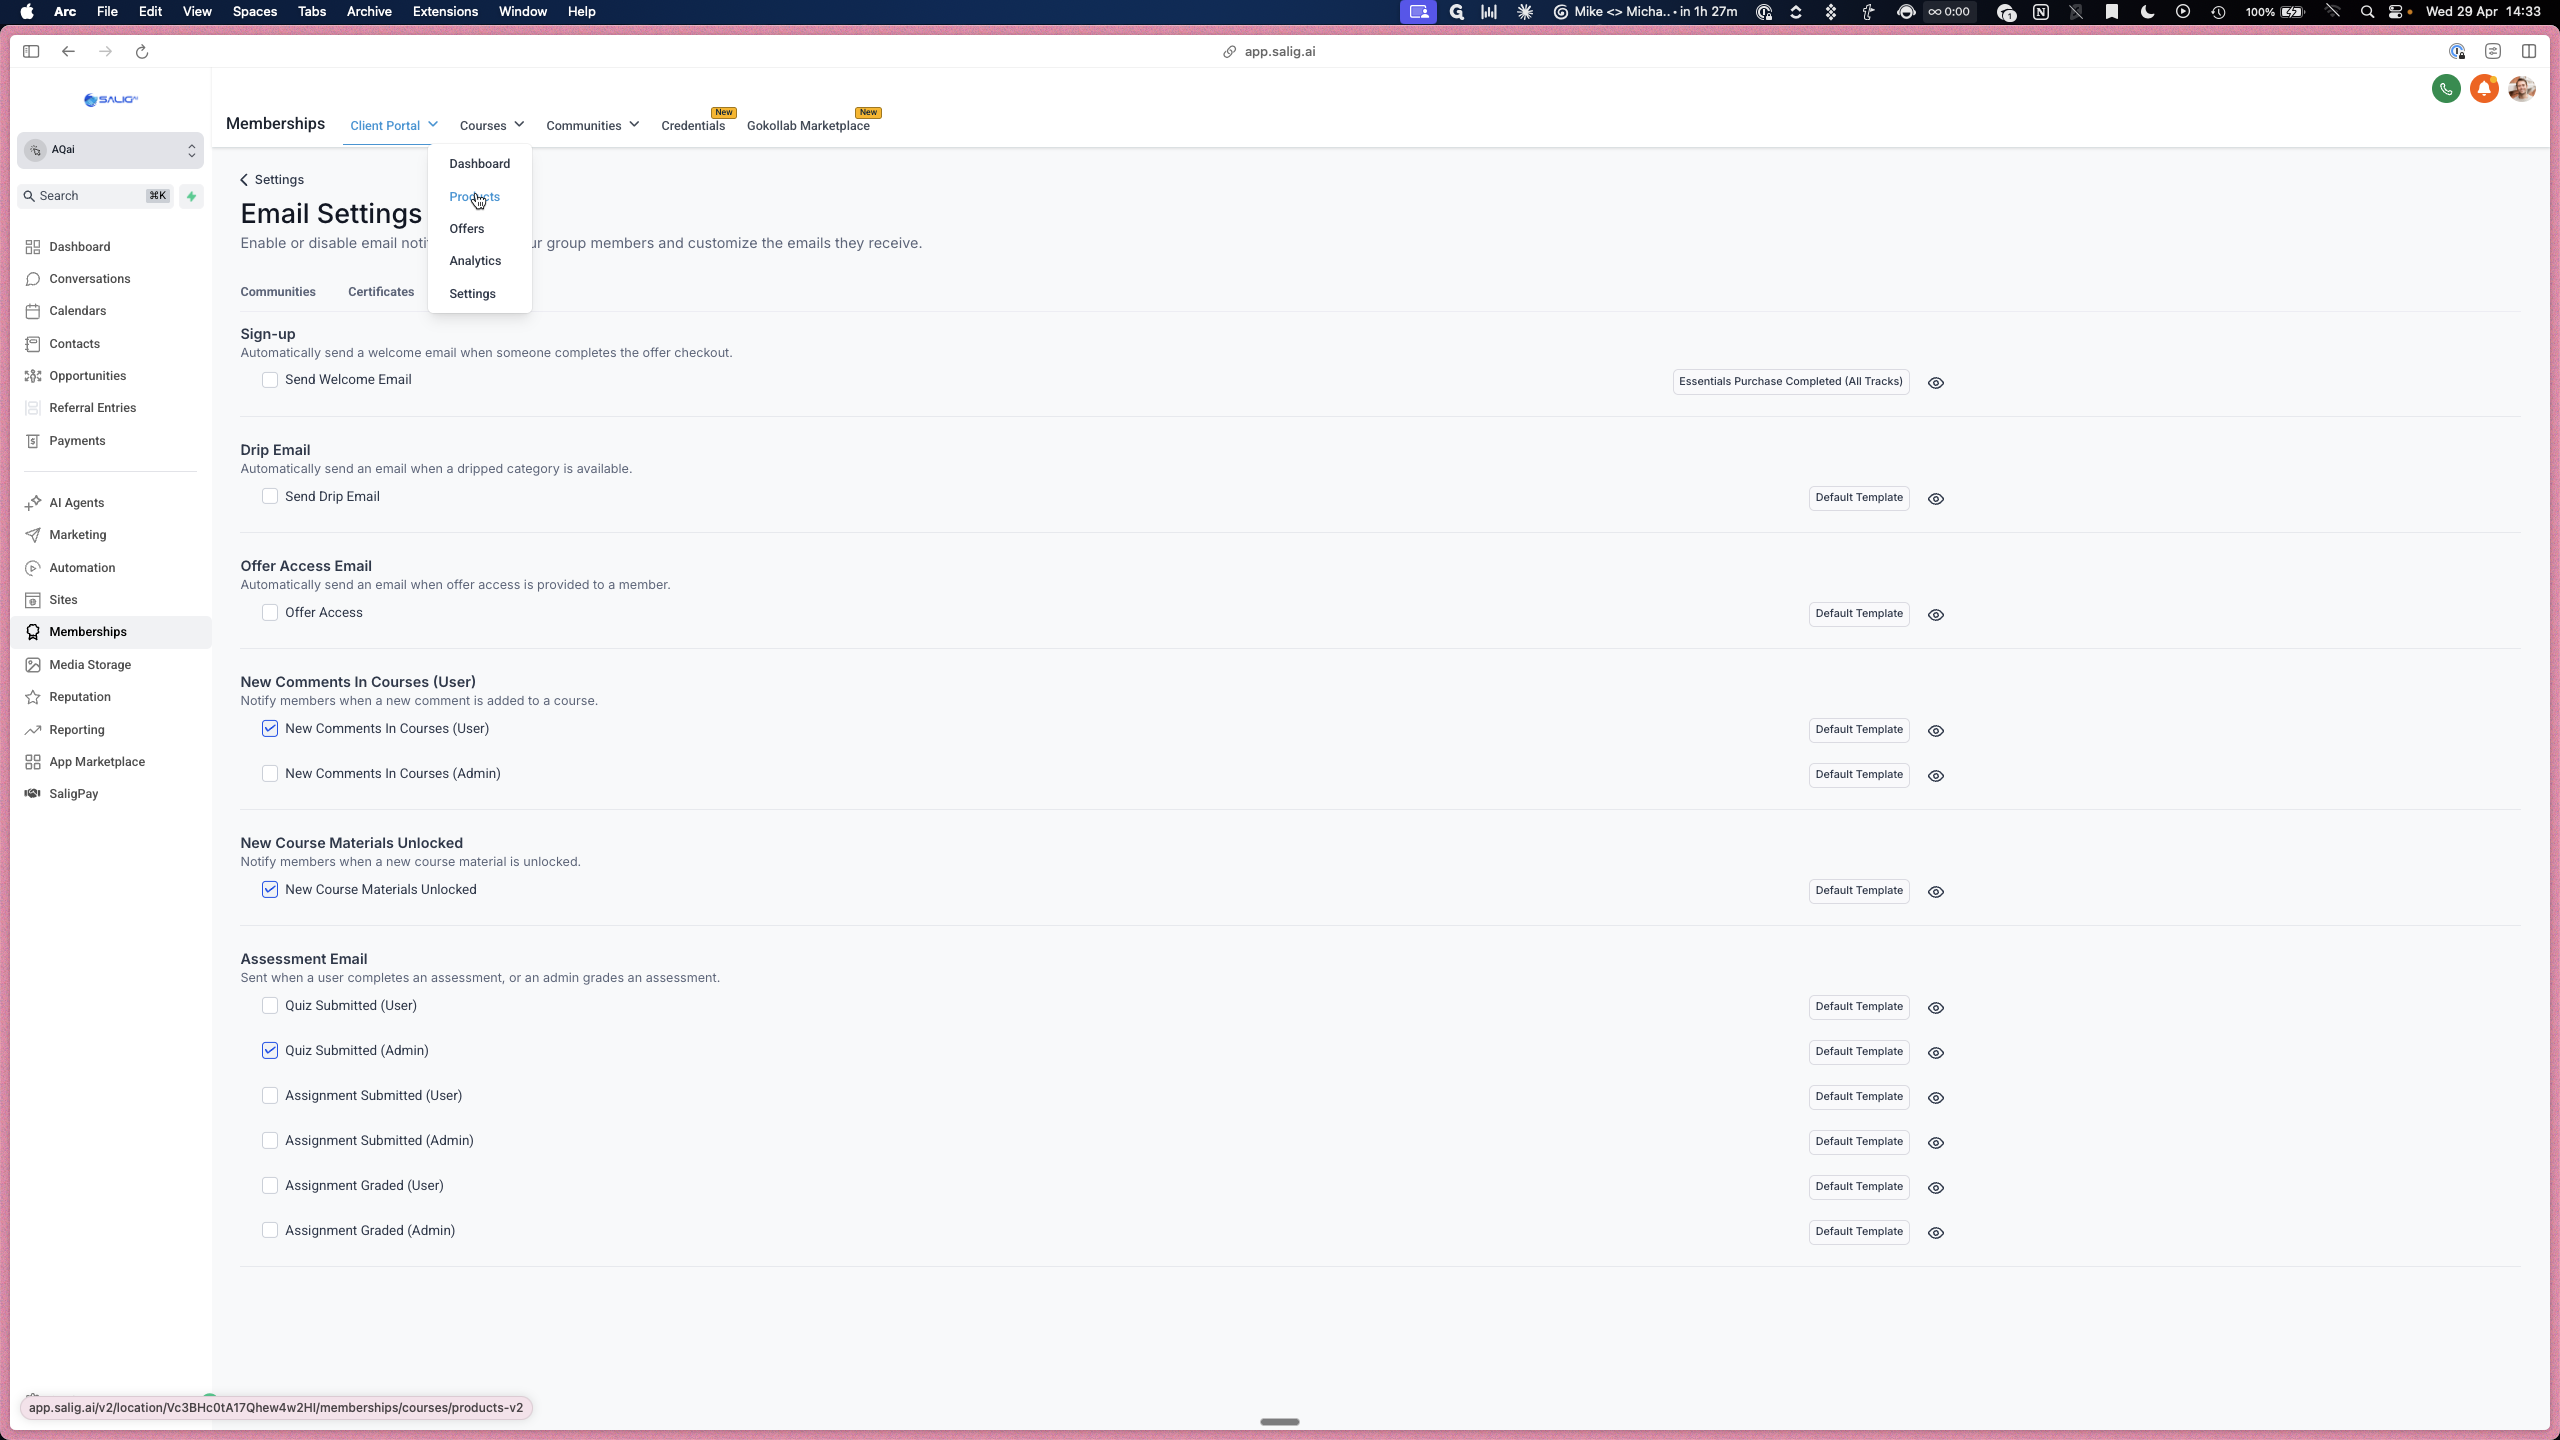
Navigate to Email Settings to manage automated notifications such as "New Course Available" or "Materials Unlocked."
3
Click Certificates to manage any completion certificates tied to your portal.
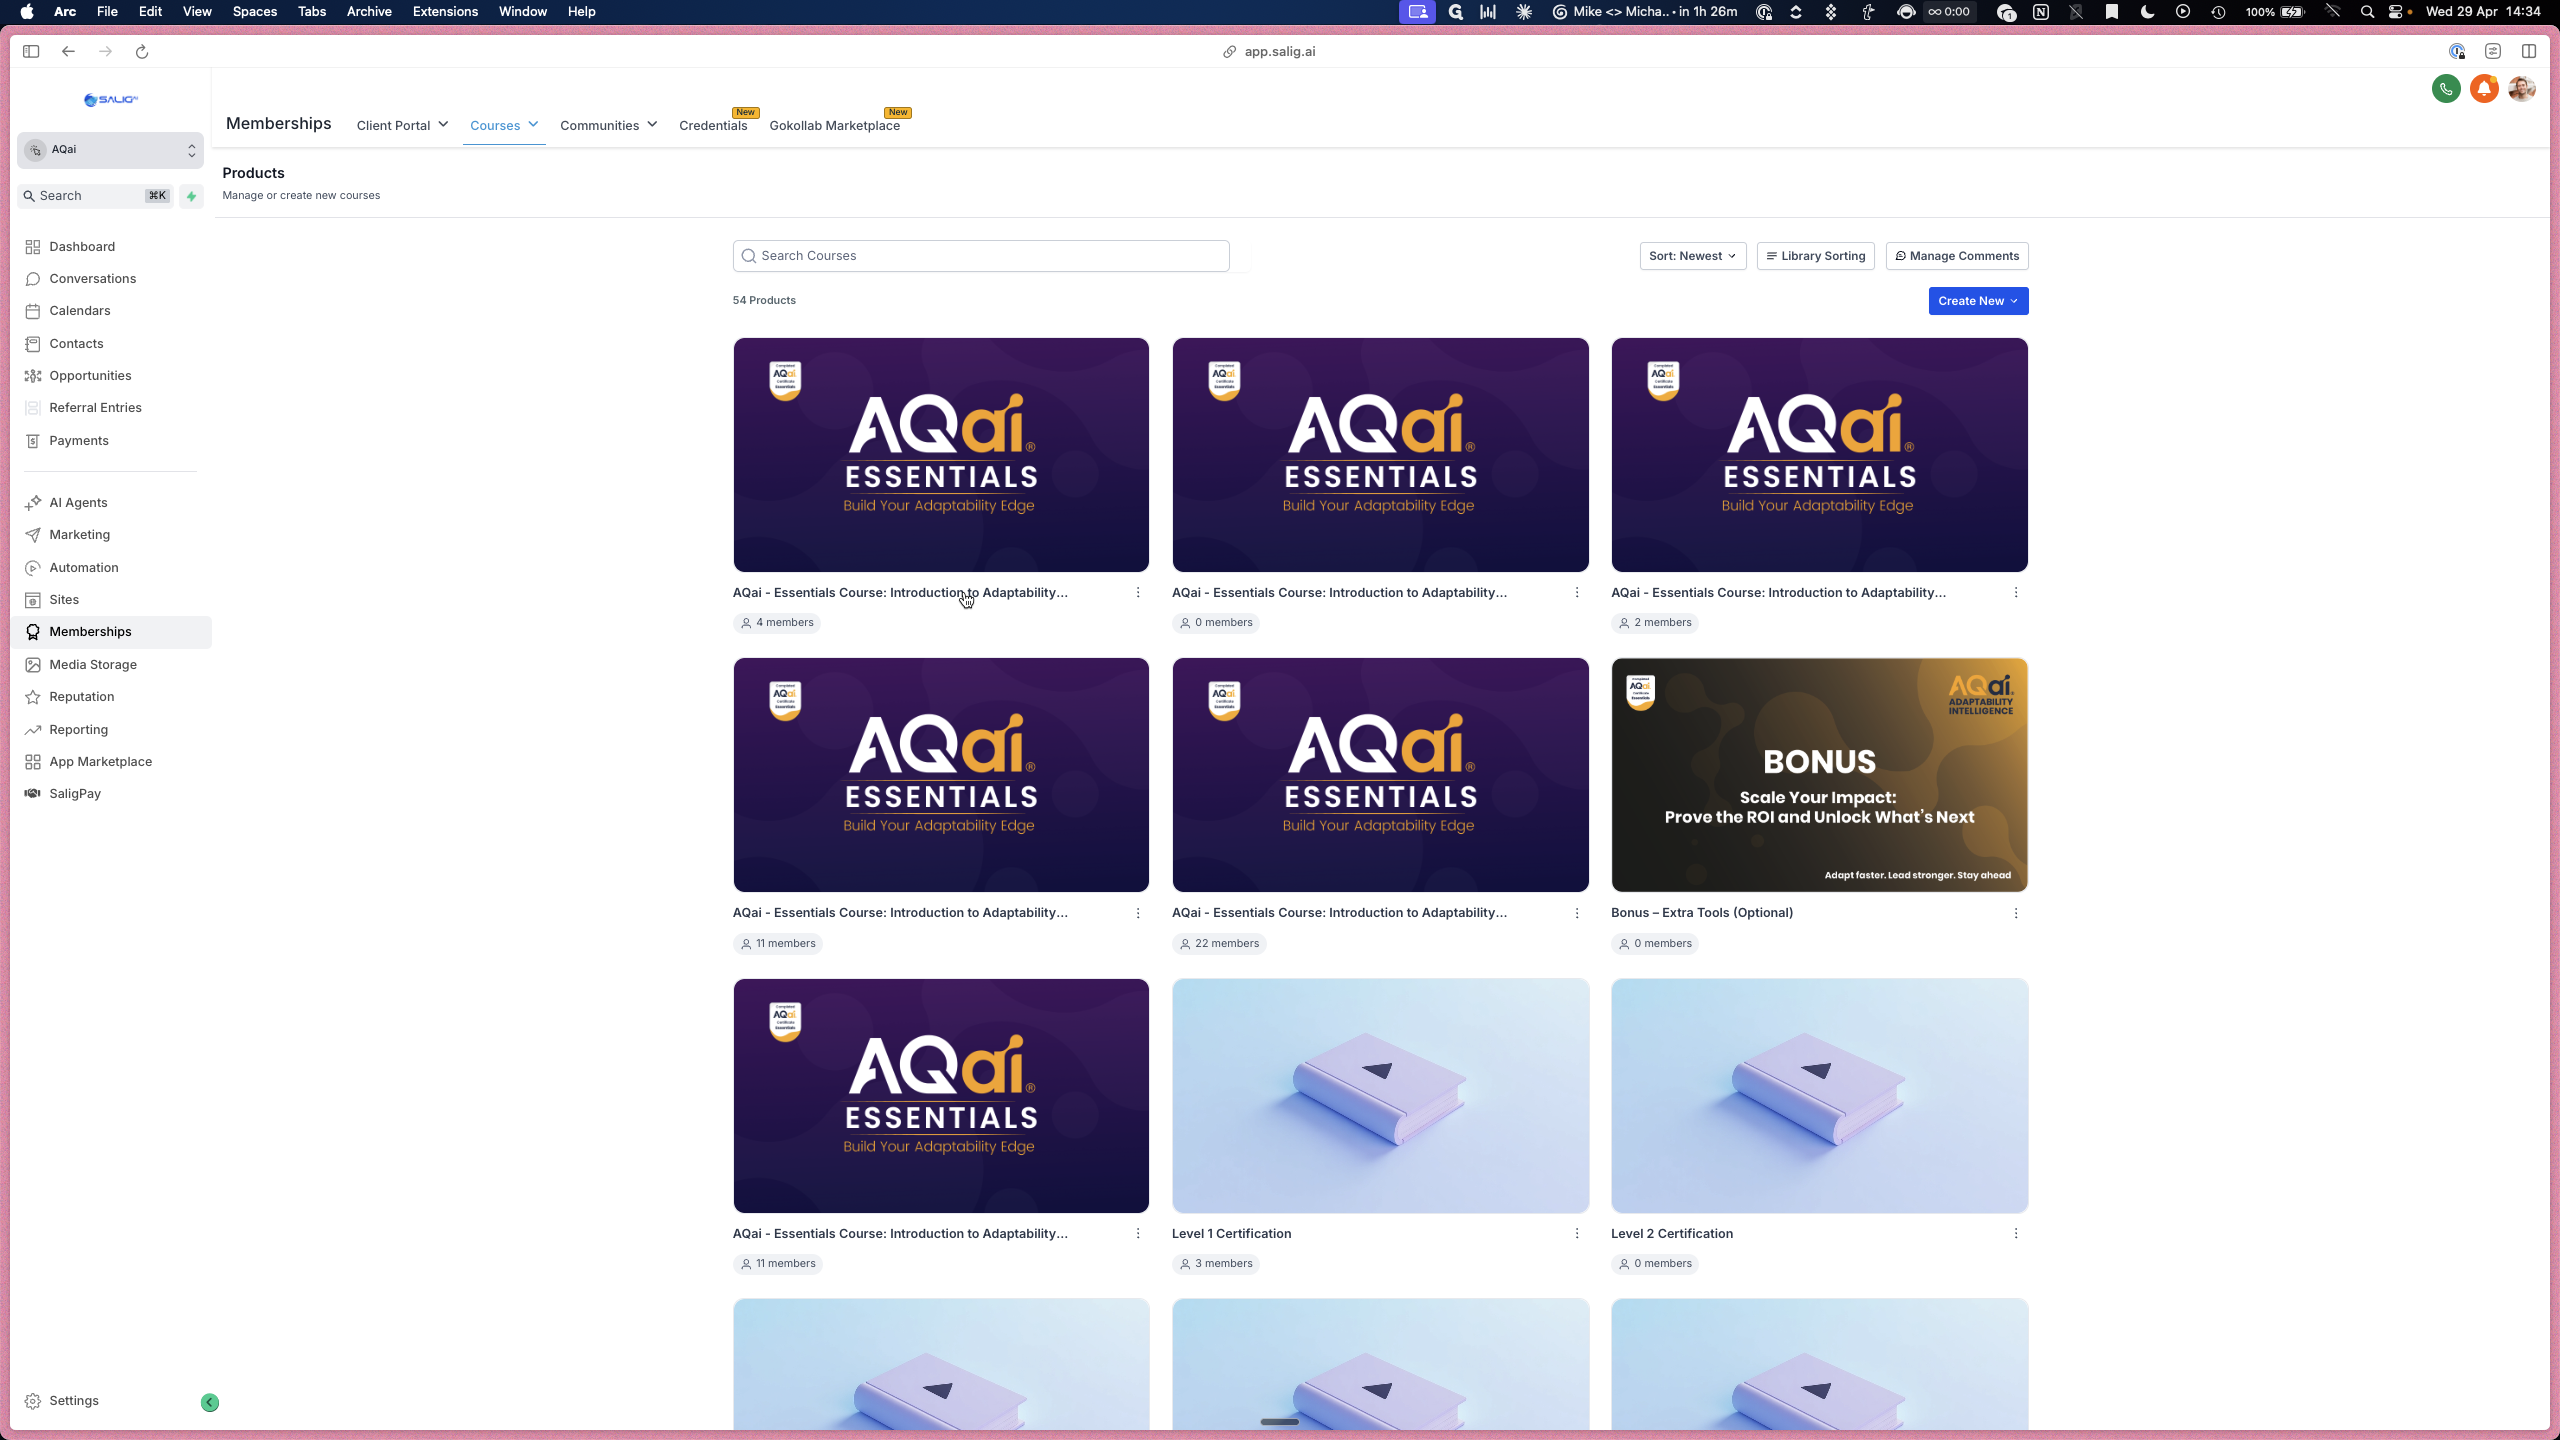
2. Track Member Progress
You can track which members are enrolled in specific courses and view their detailed module progress.
4
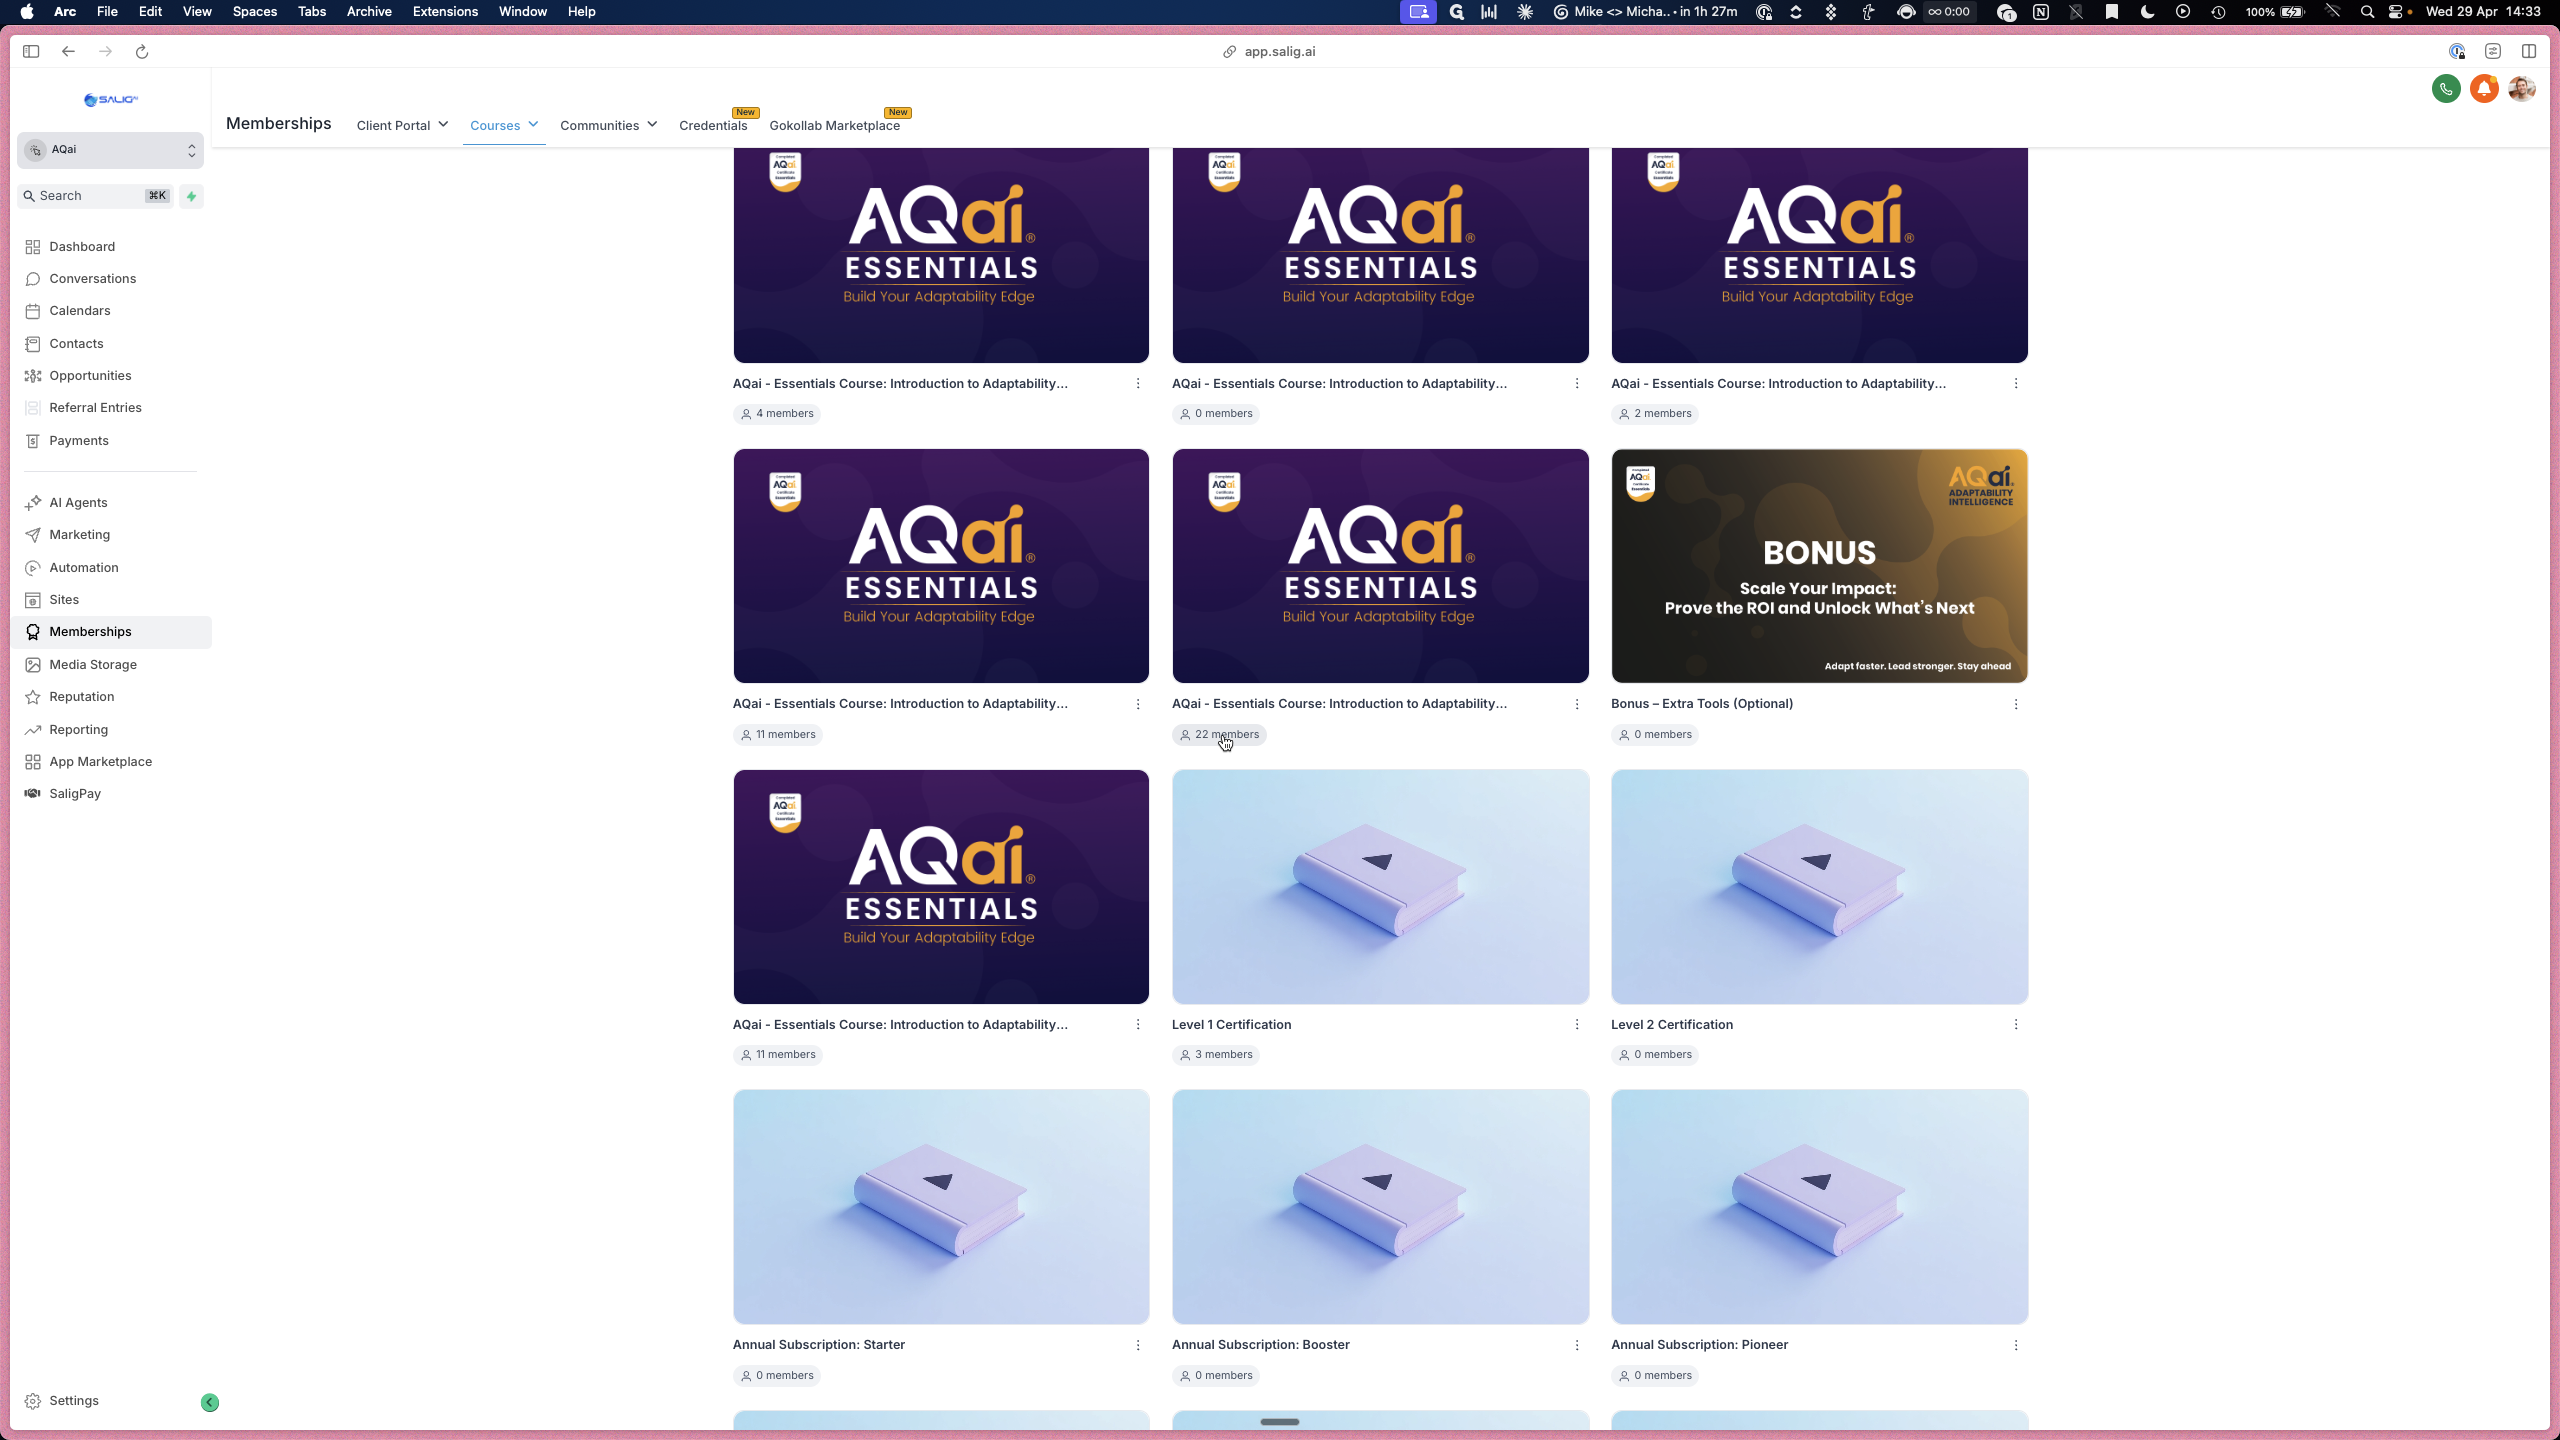
From the top navigation, click Products.
5
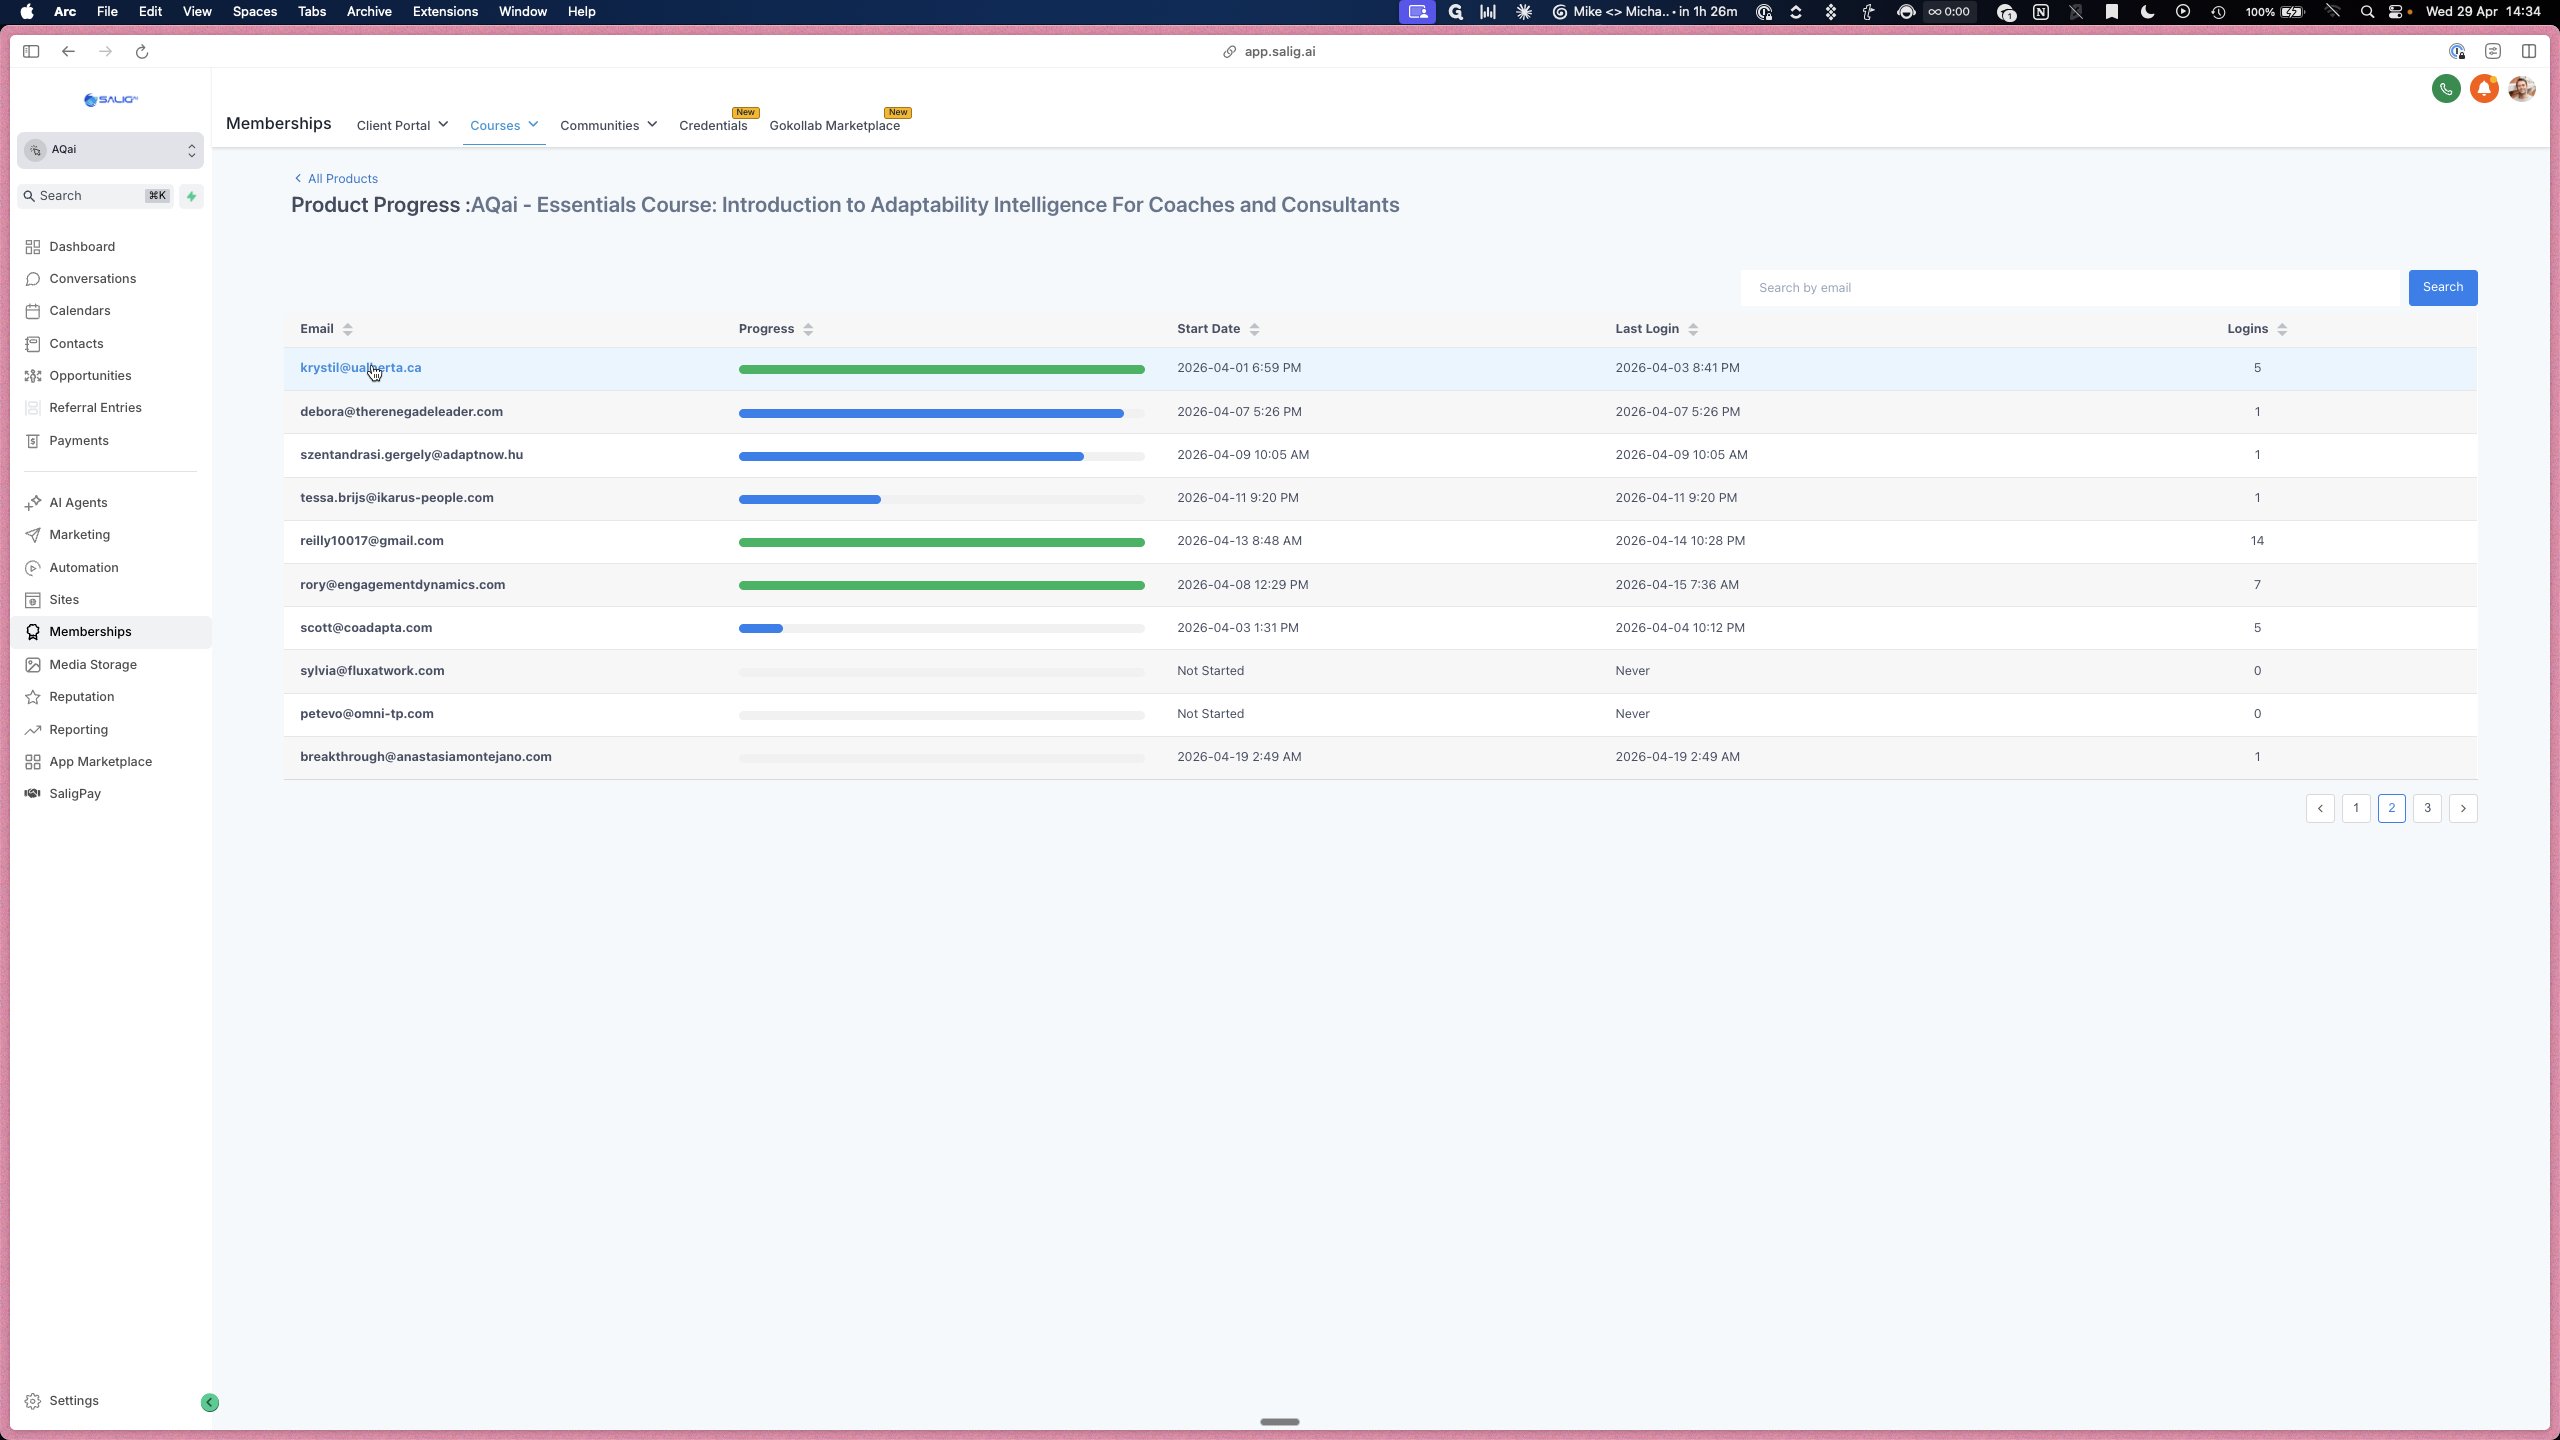
Click on the member count badge (e.g., 22 members) on any course tile to view the roster.
6
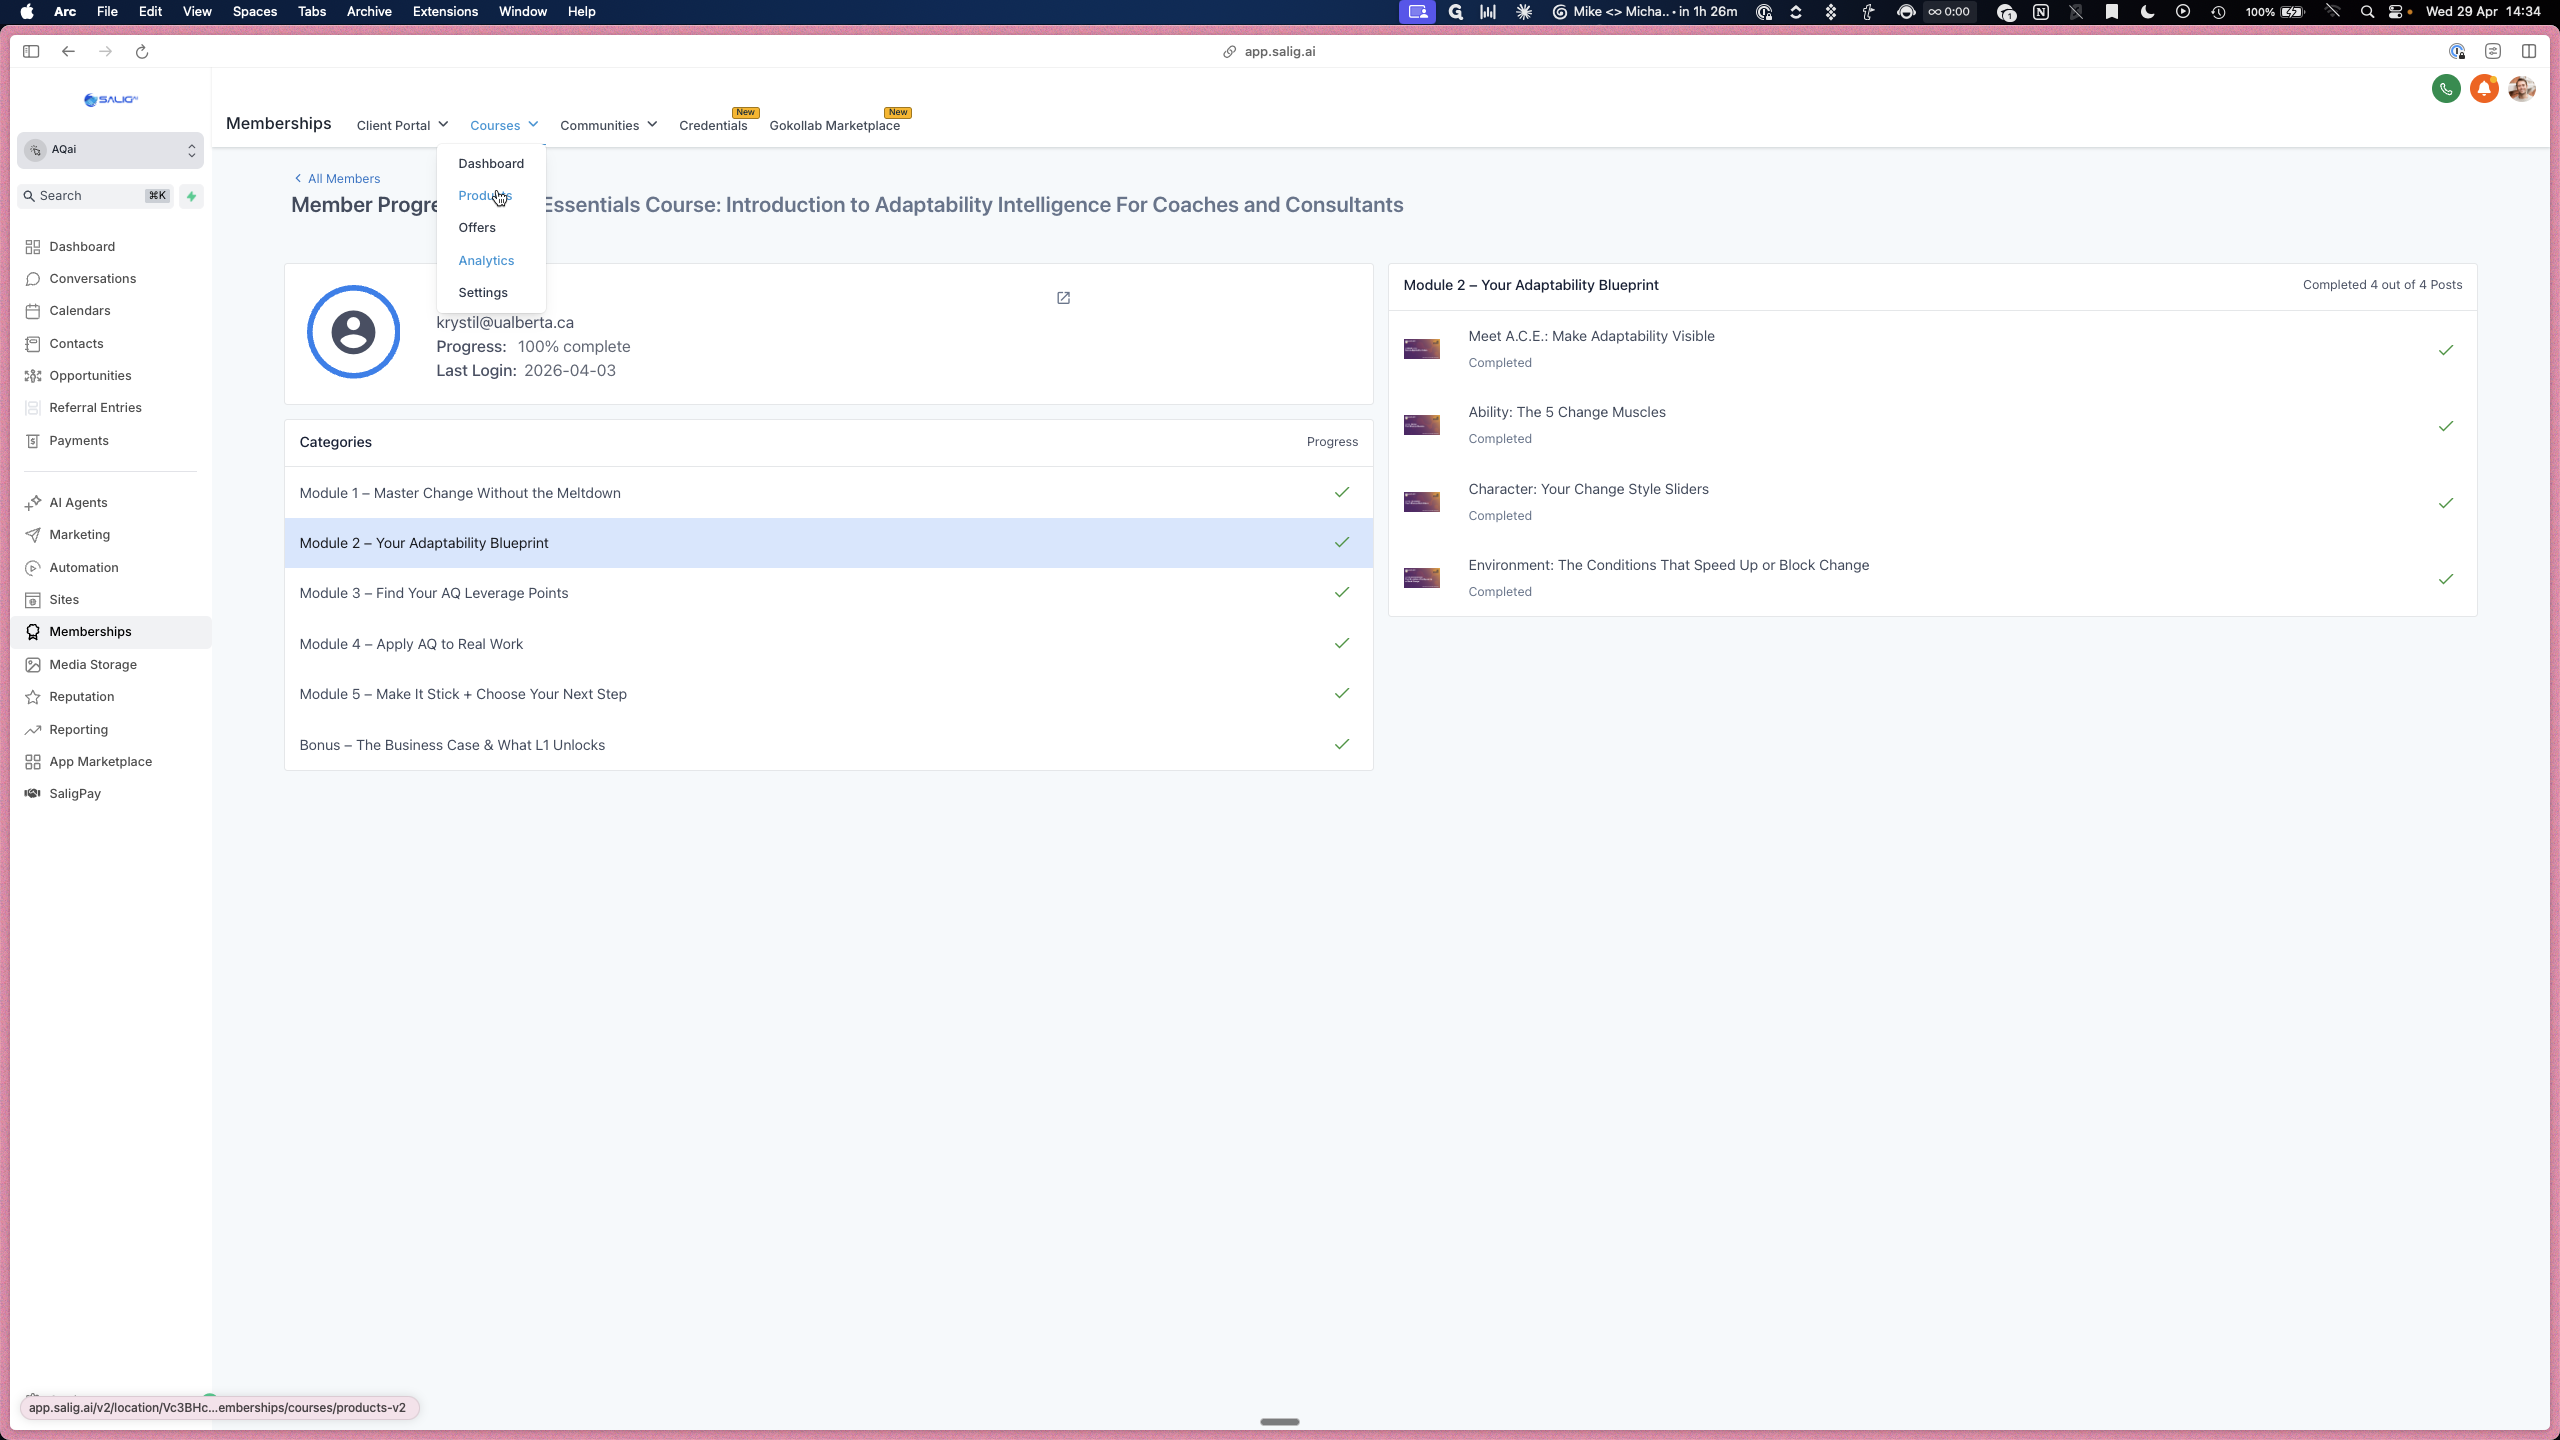
Click on a member's email address in the user list to view their specific progress.
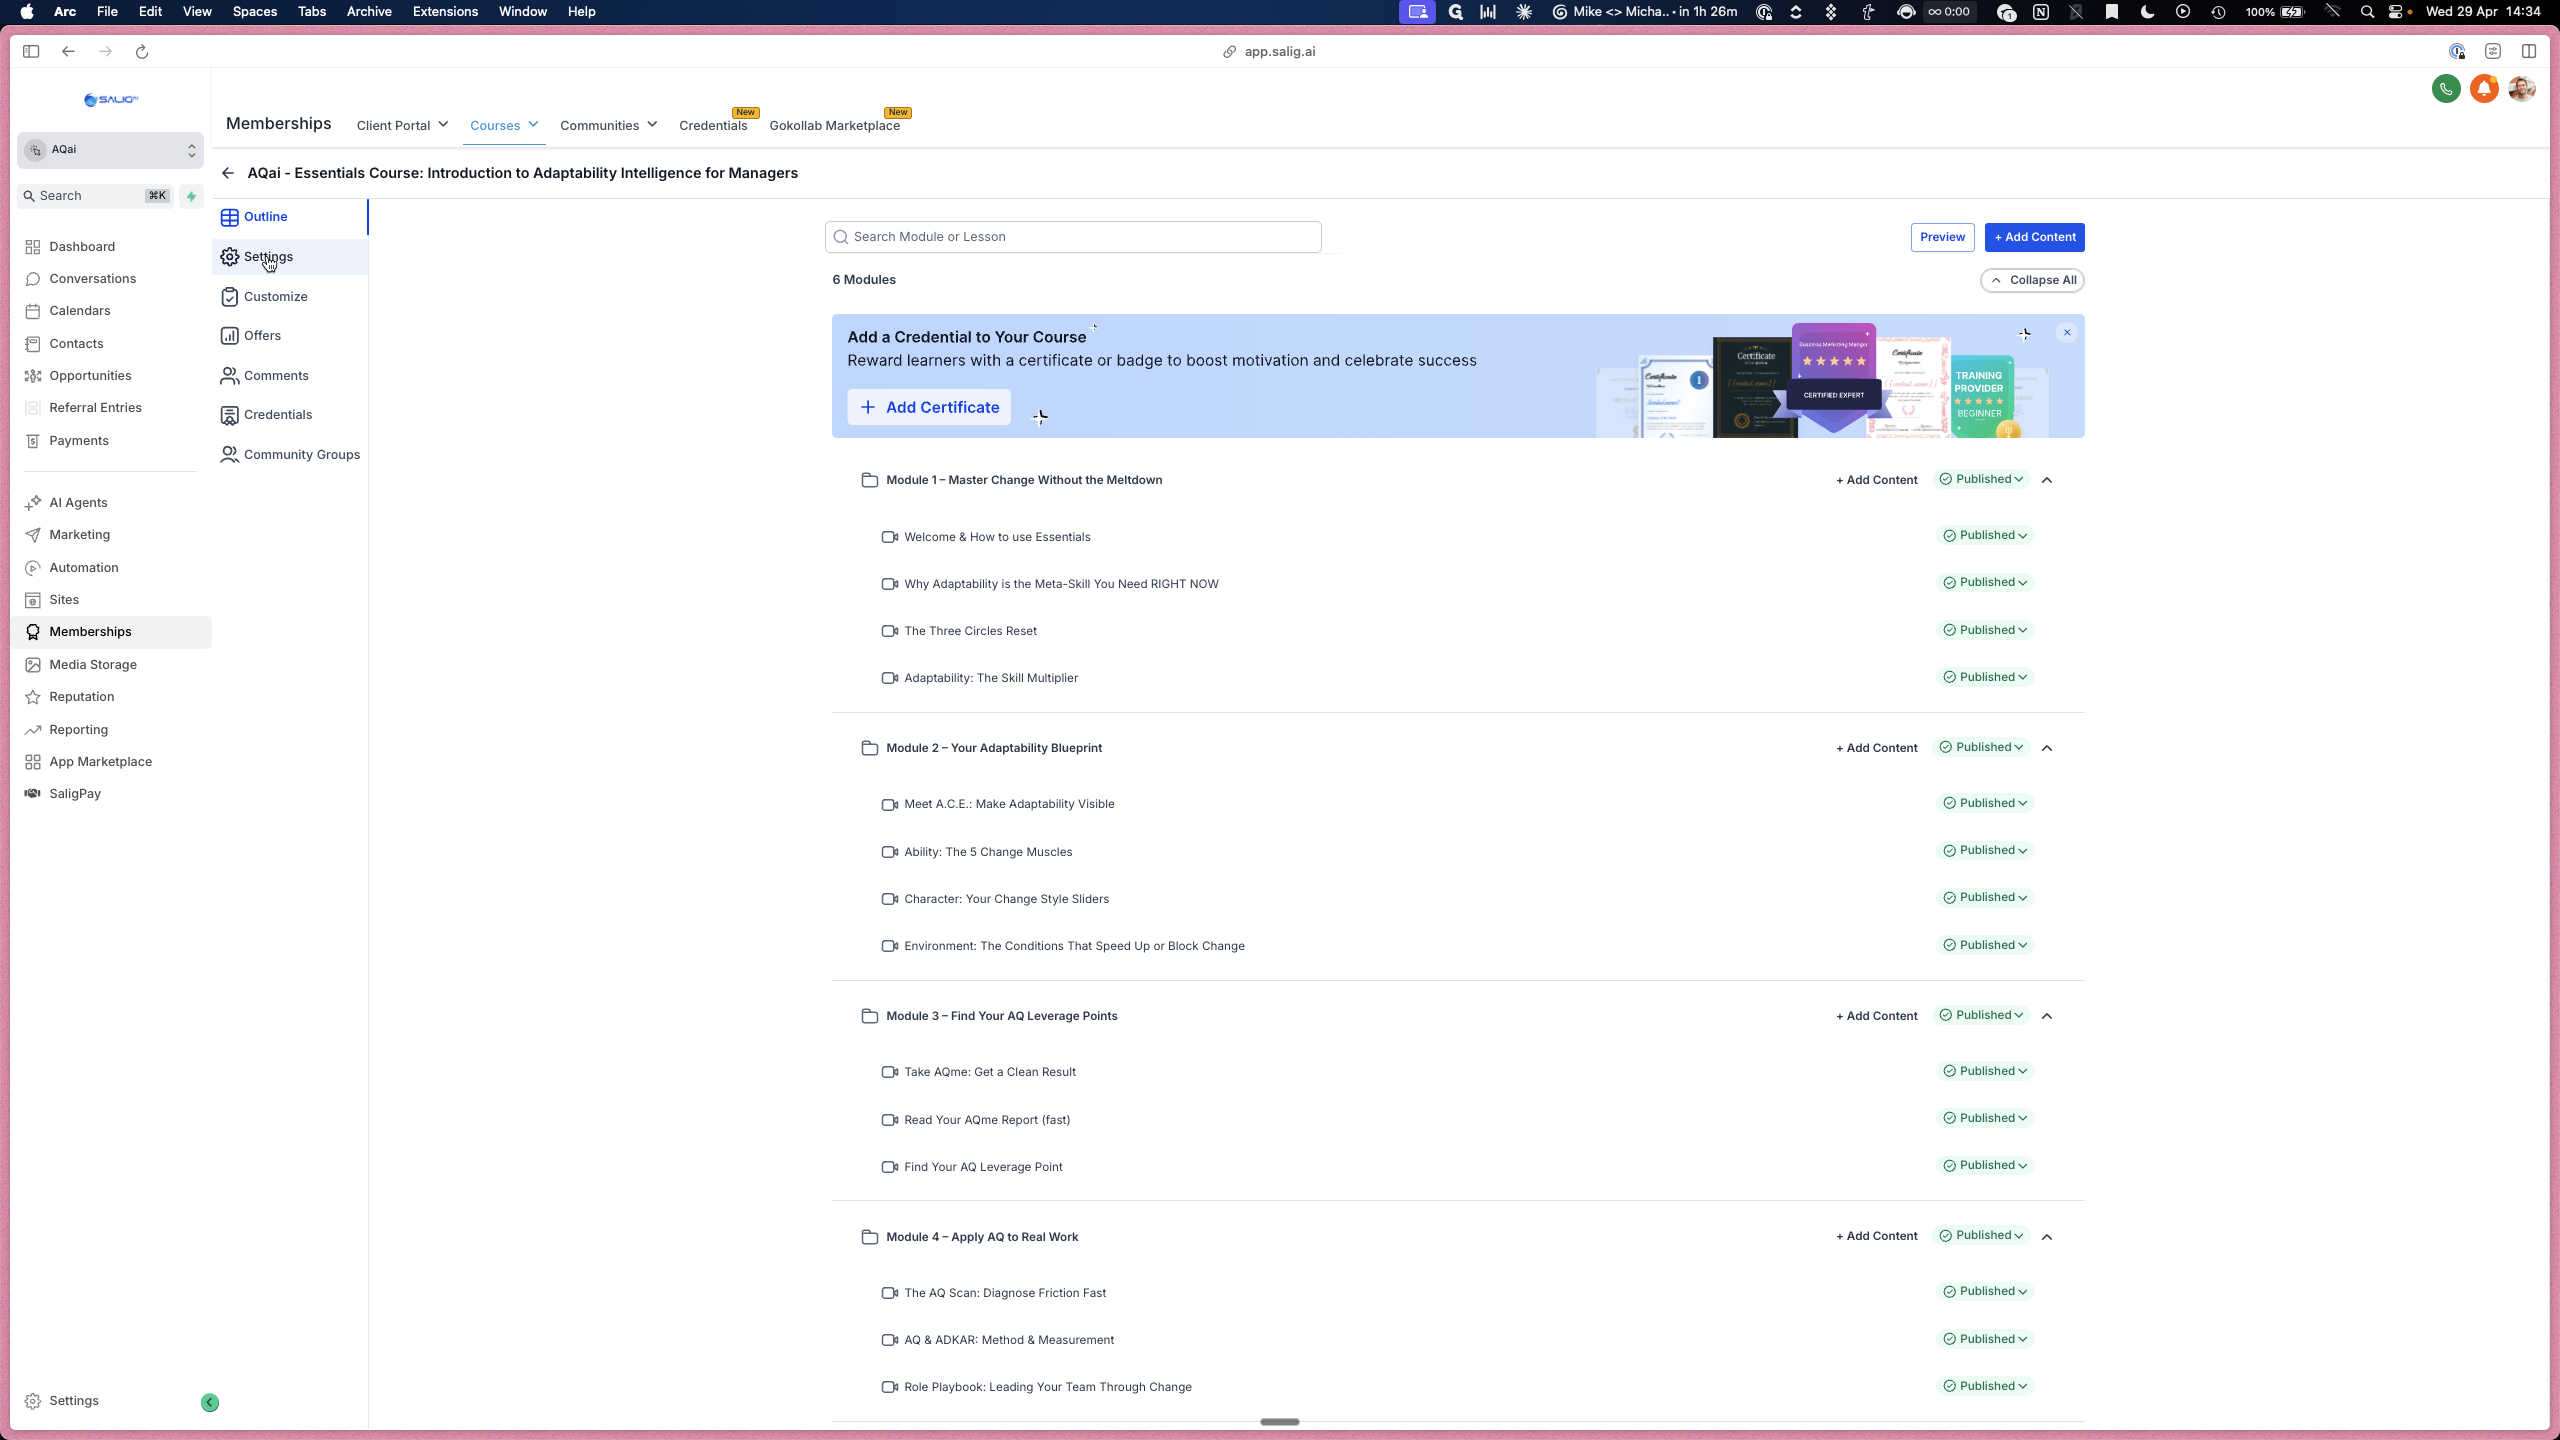
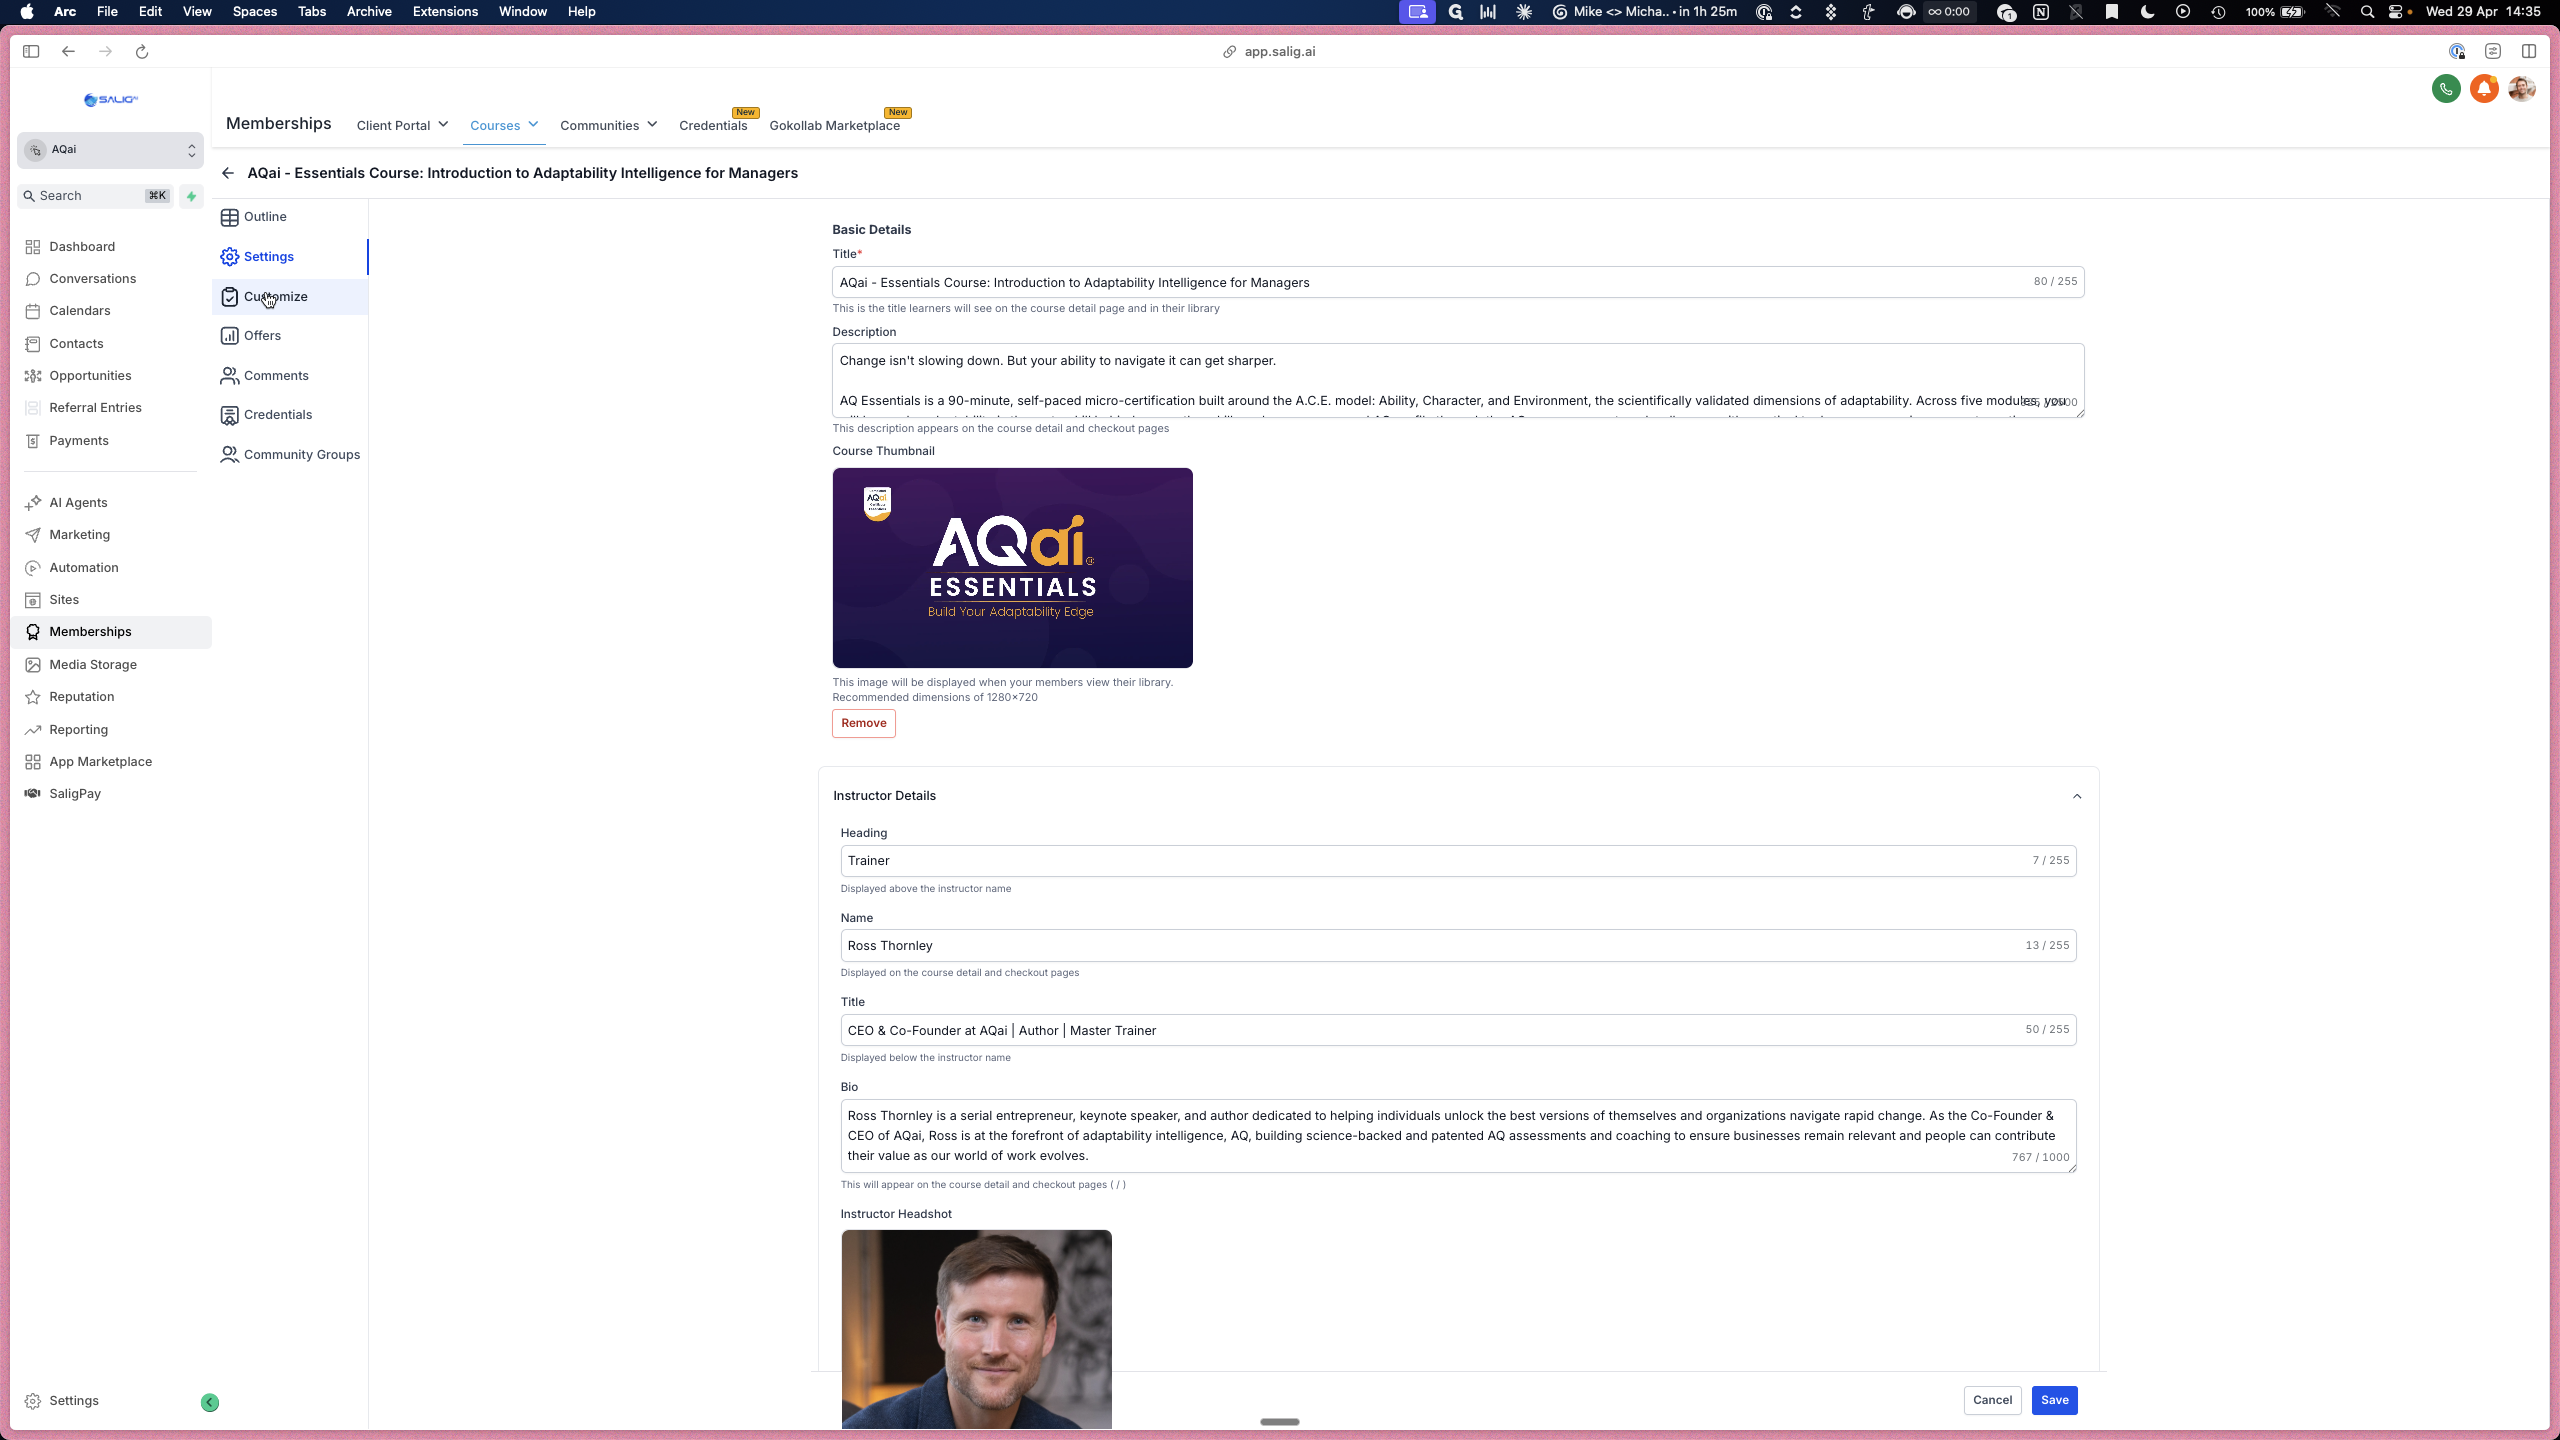
3. Configure Course Details
Adjust the fundamental details of your individual courses, including instructor bios and branding.
7
Return to the main Products dropdown menu.
8
Click on the specific course thumbnail you want to edit.
9
In the left sidebar, click Settings.
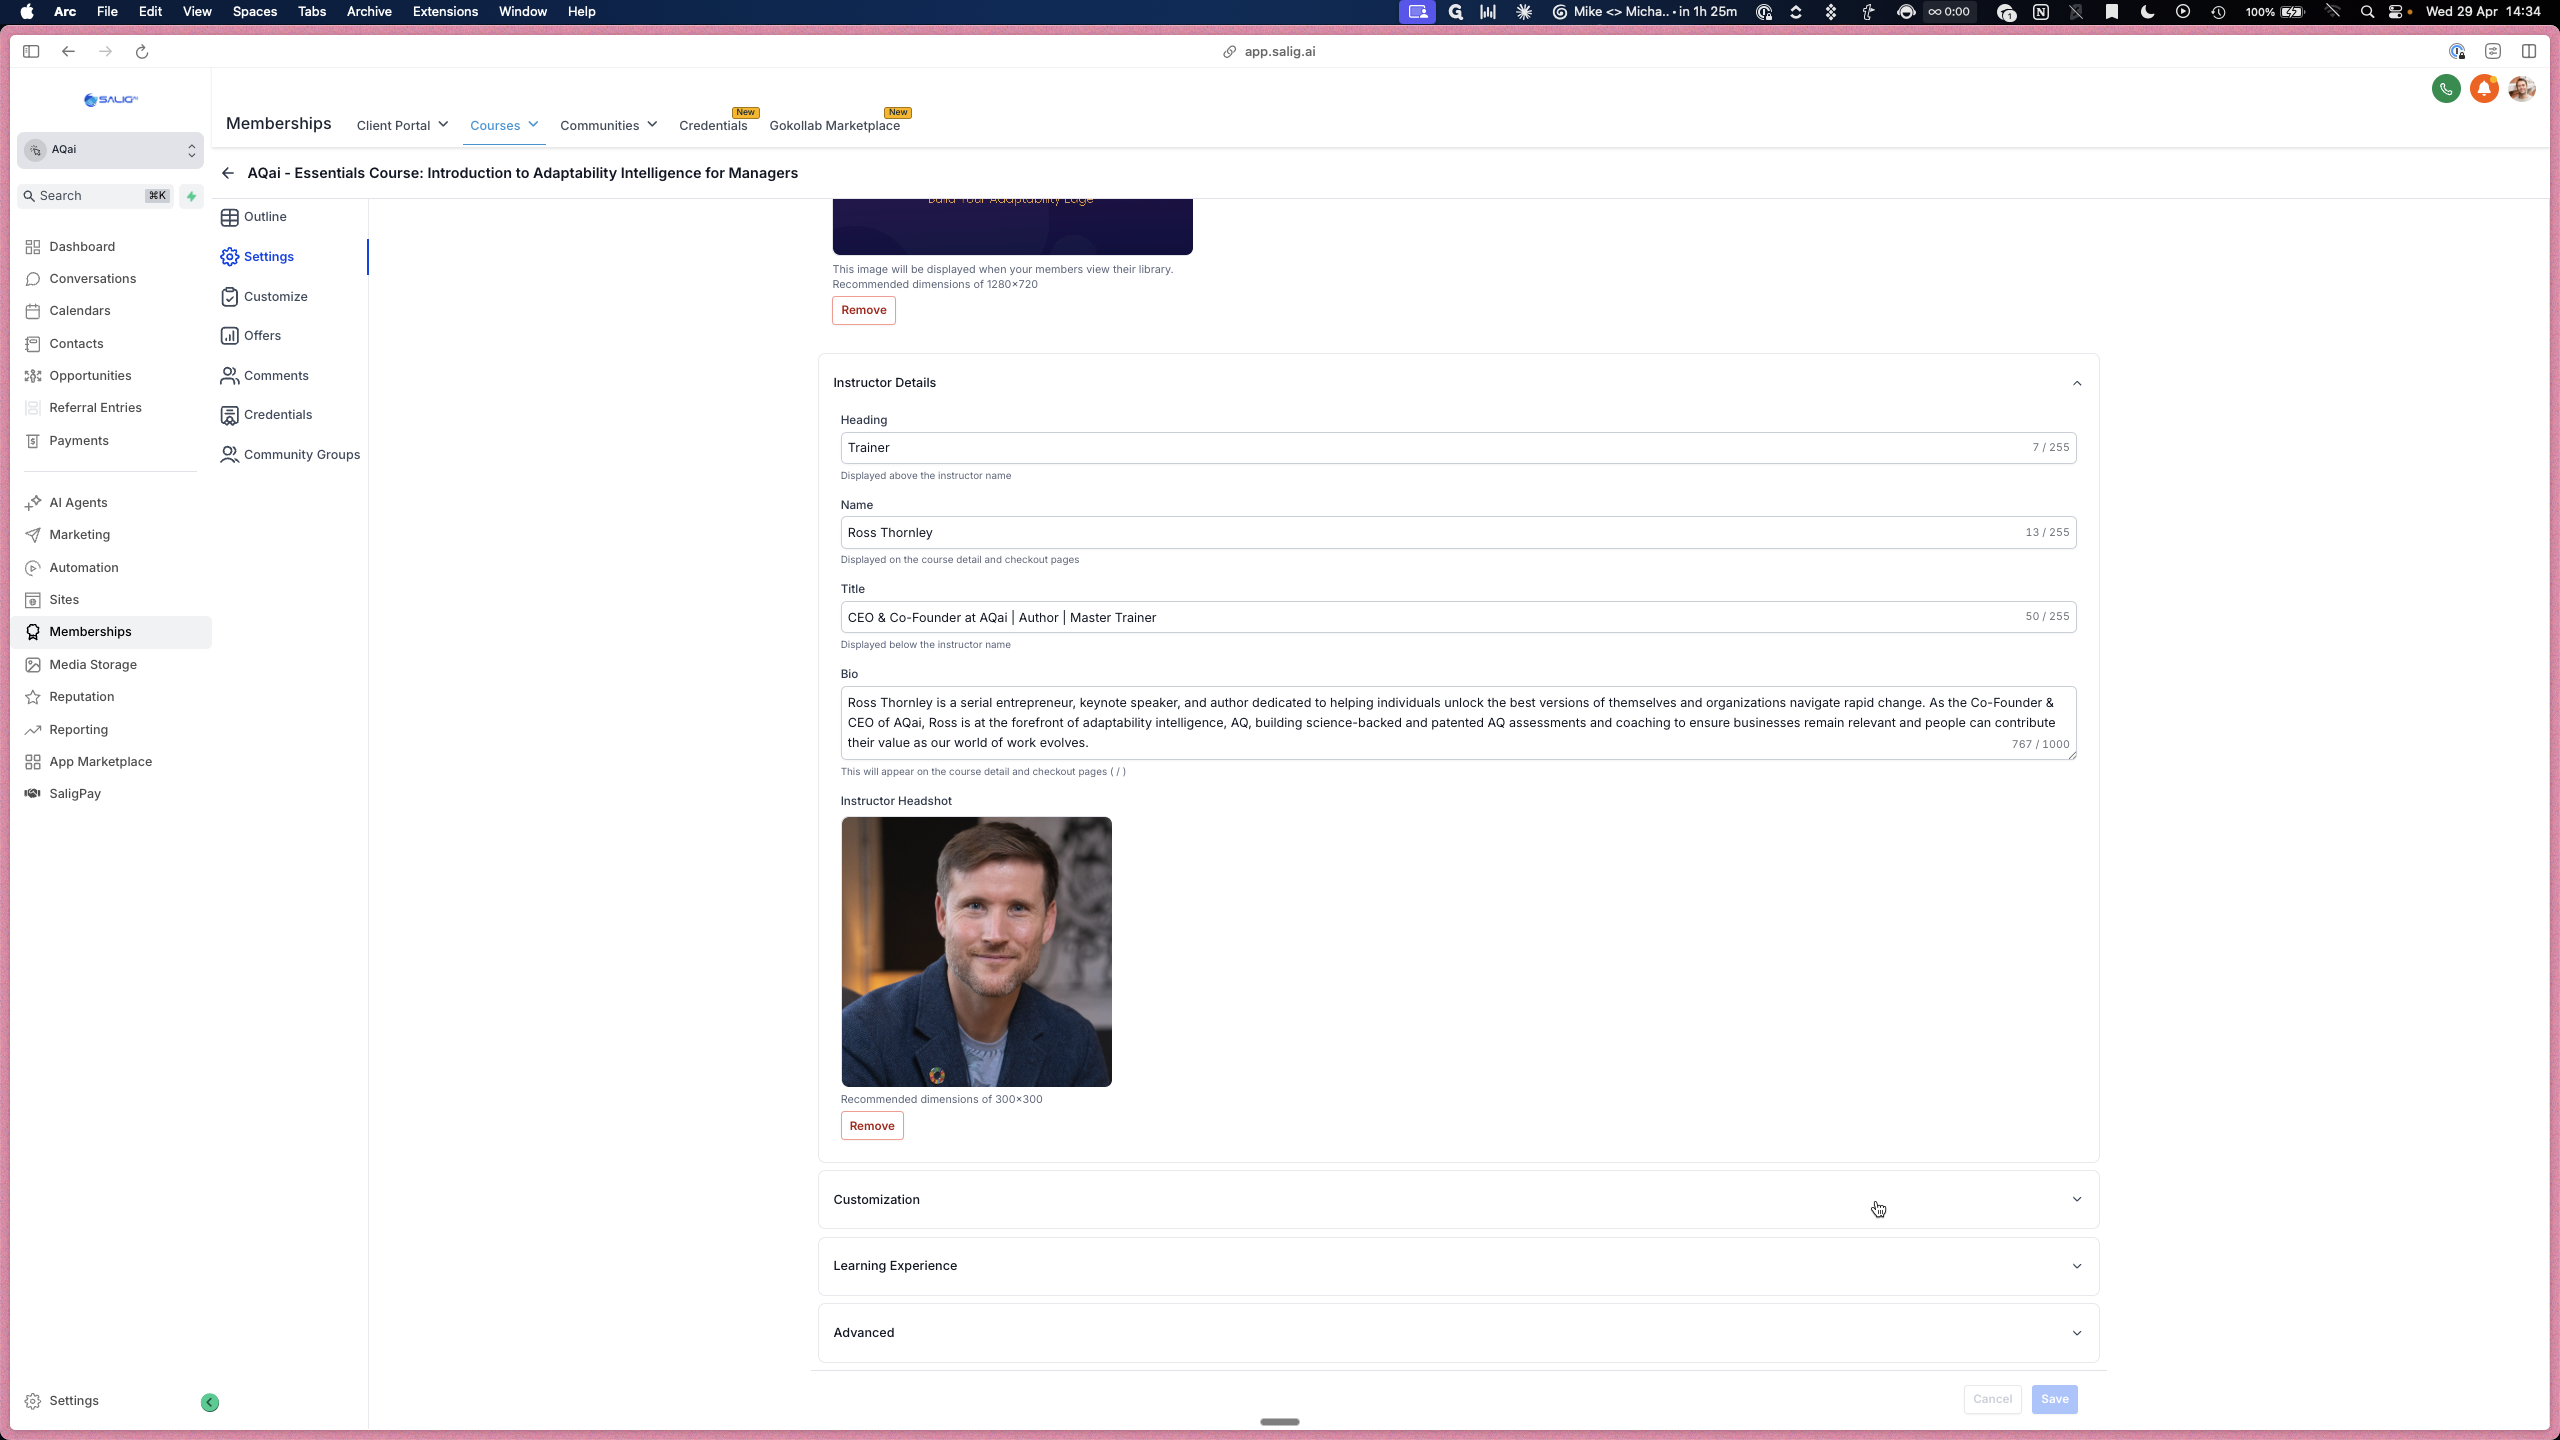
10
Expand the Instructor Details section to edit the instructor's name, title, bio, and headshot.
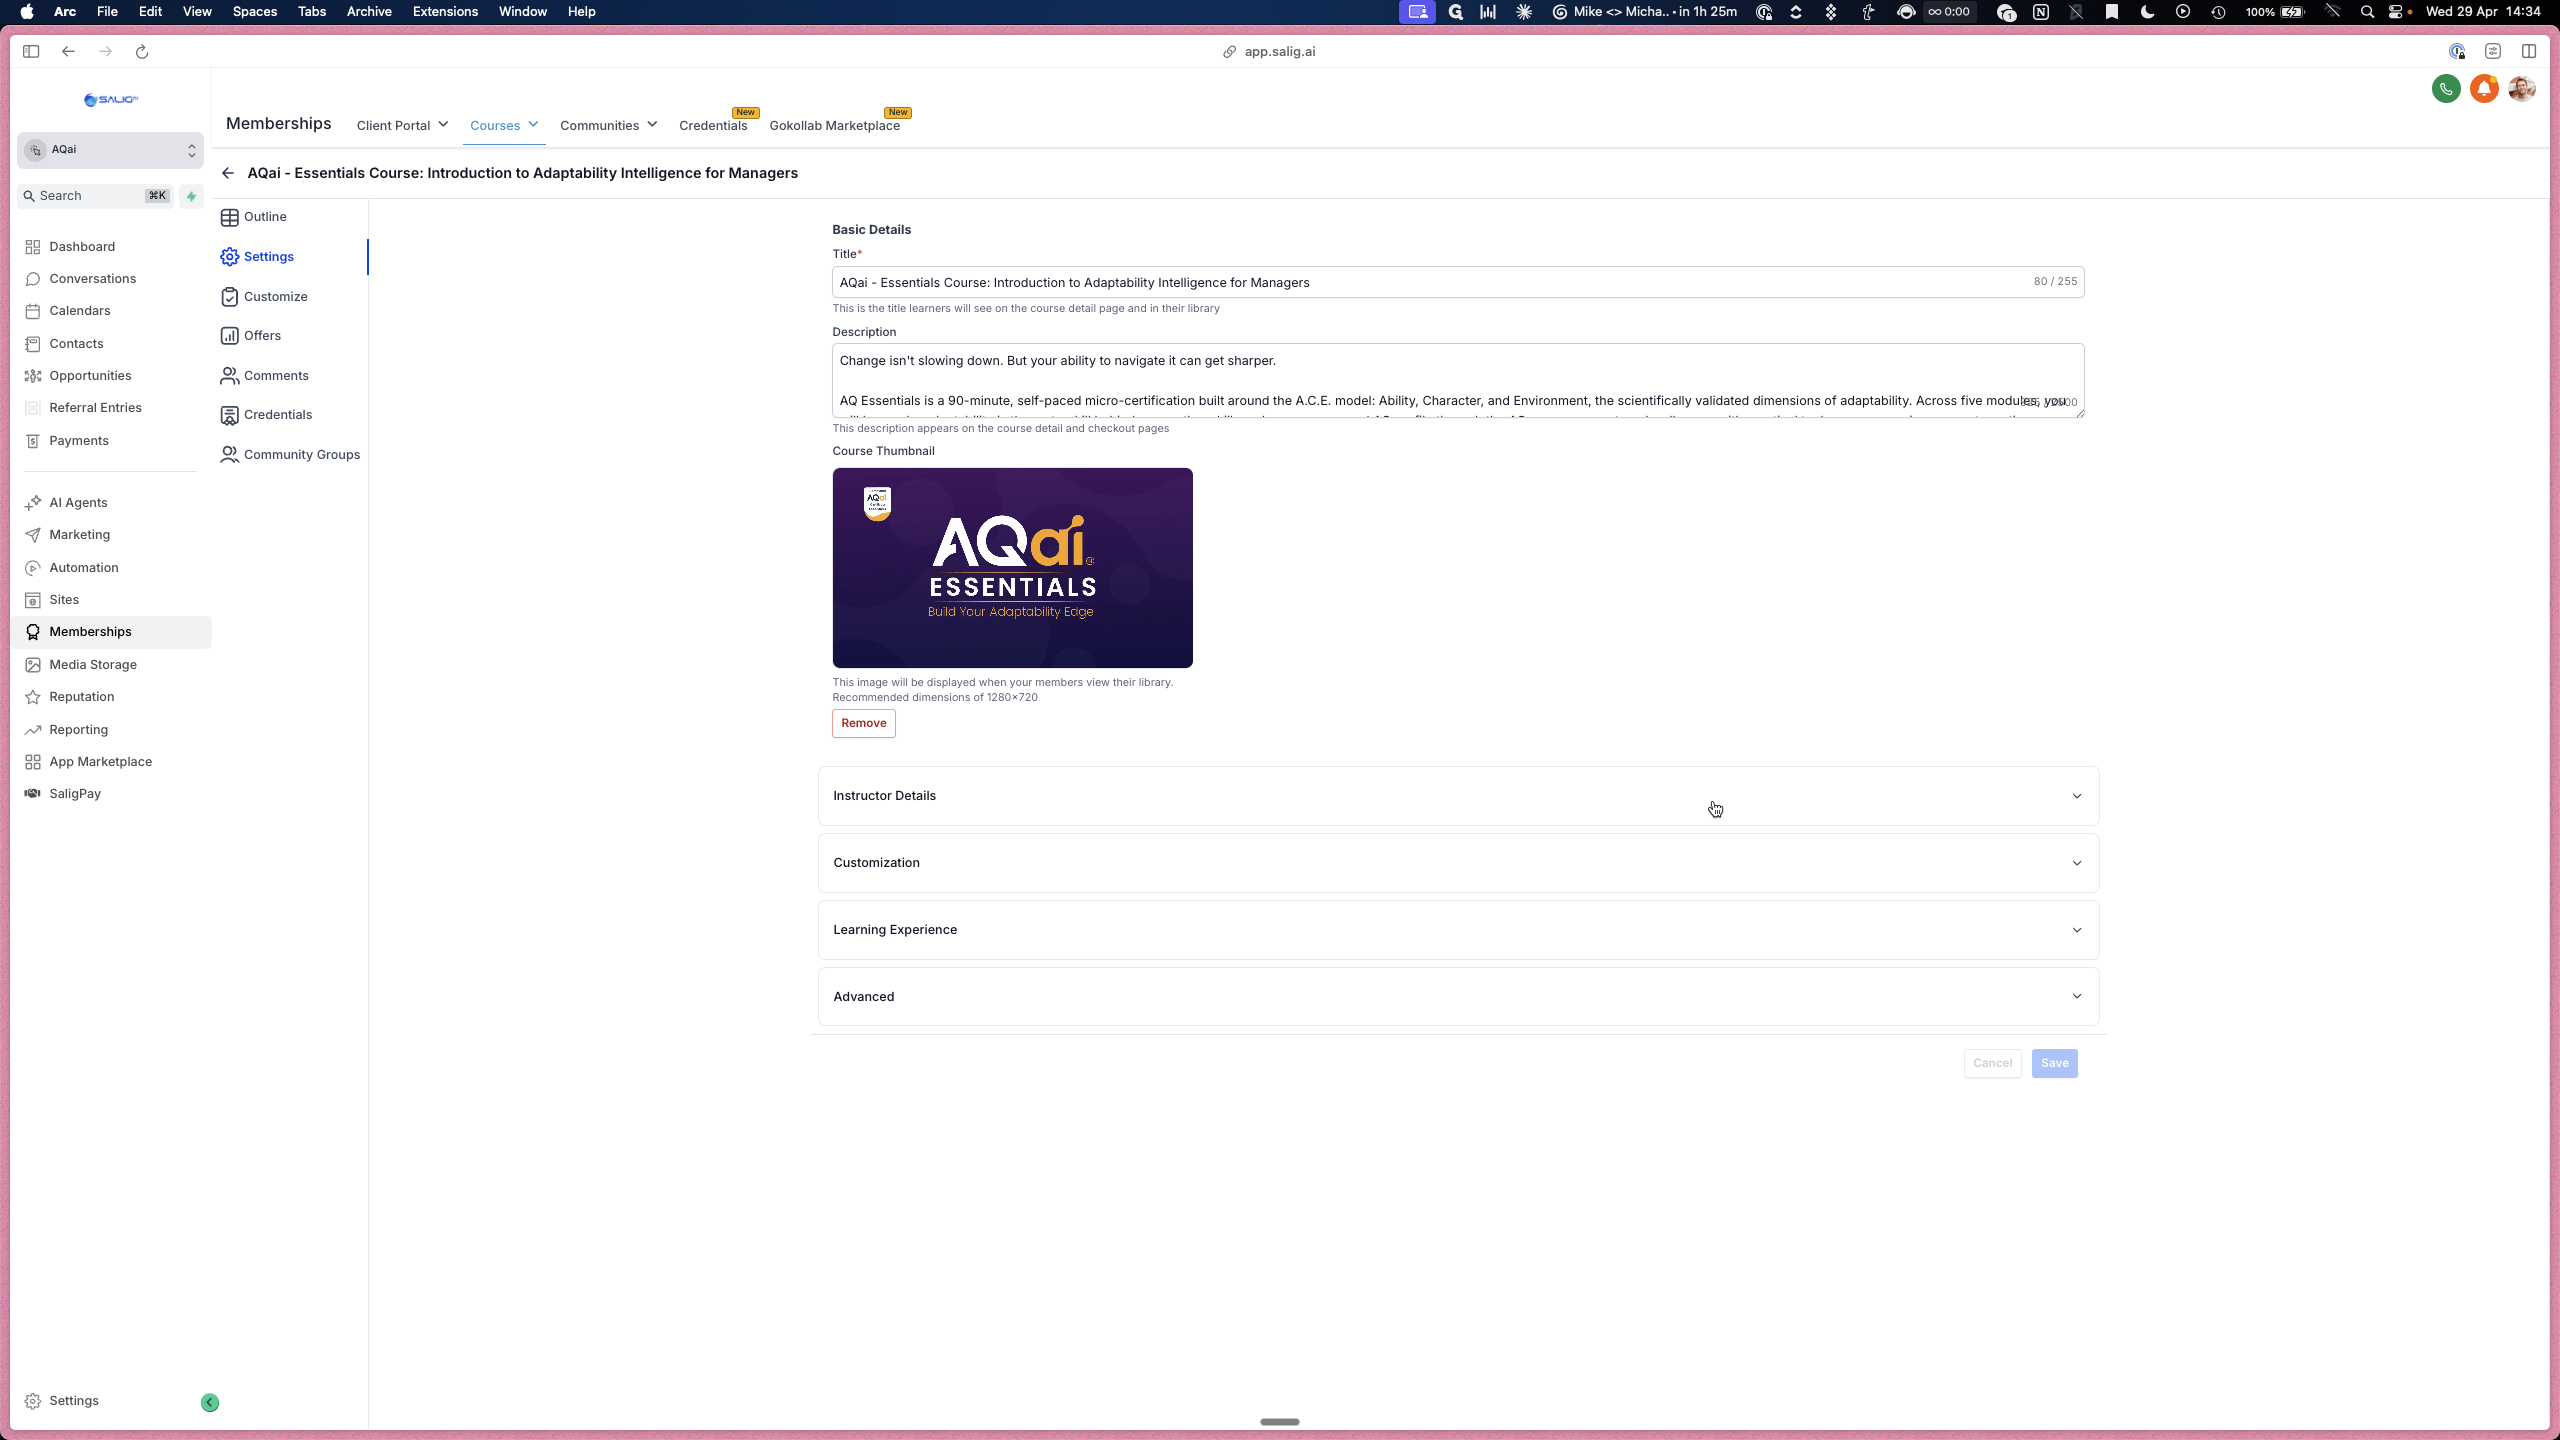
11
Open the Customization section to update your course logo and favicon.
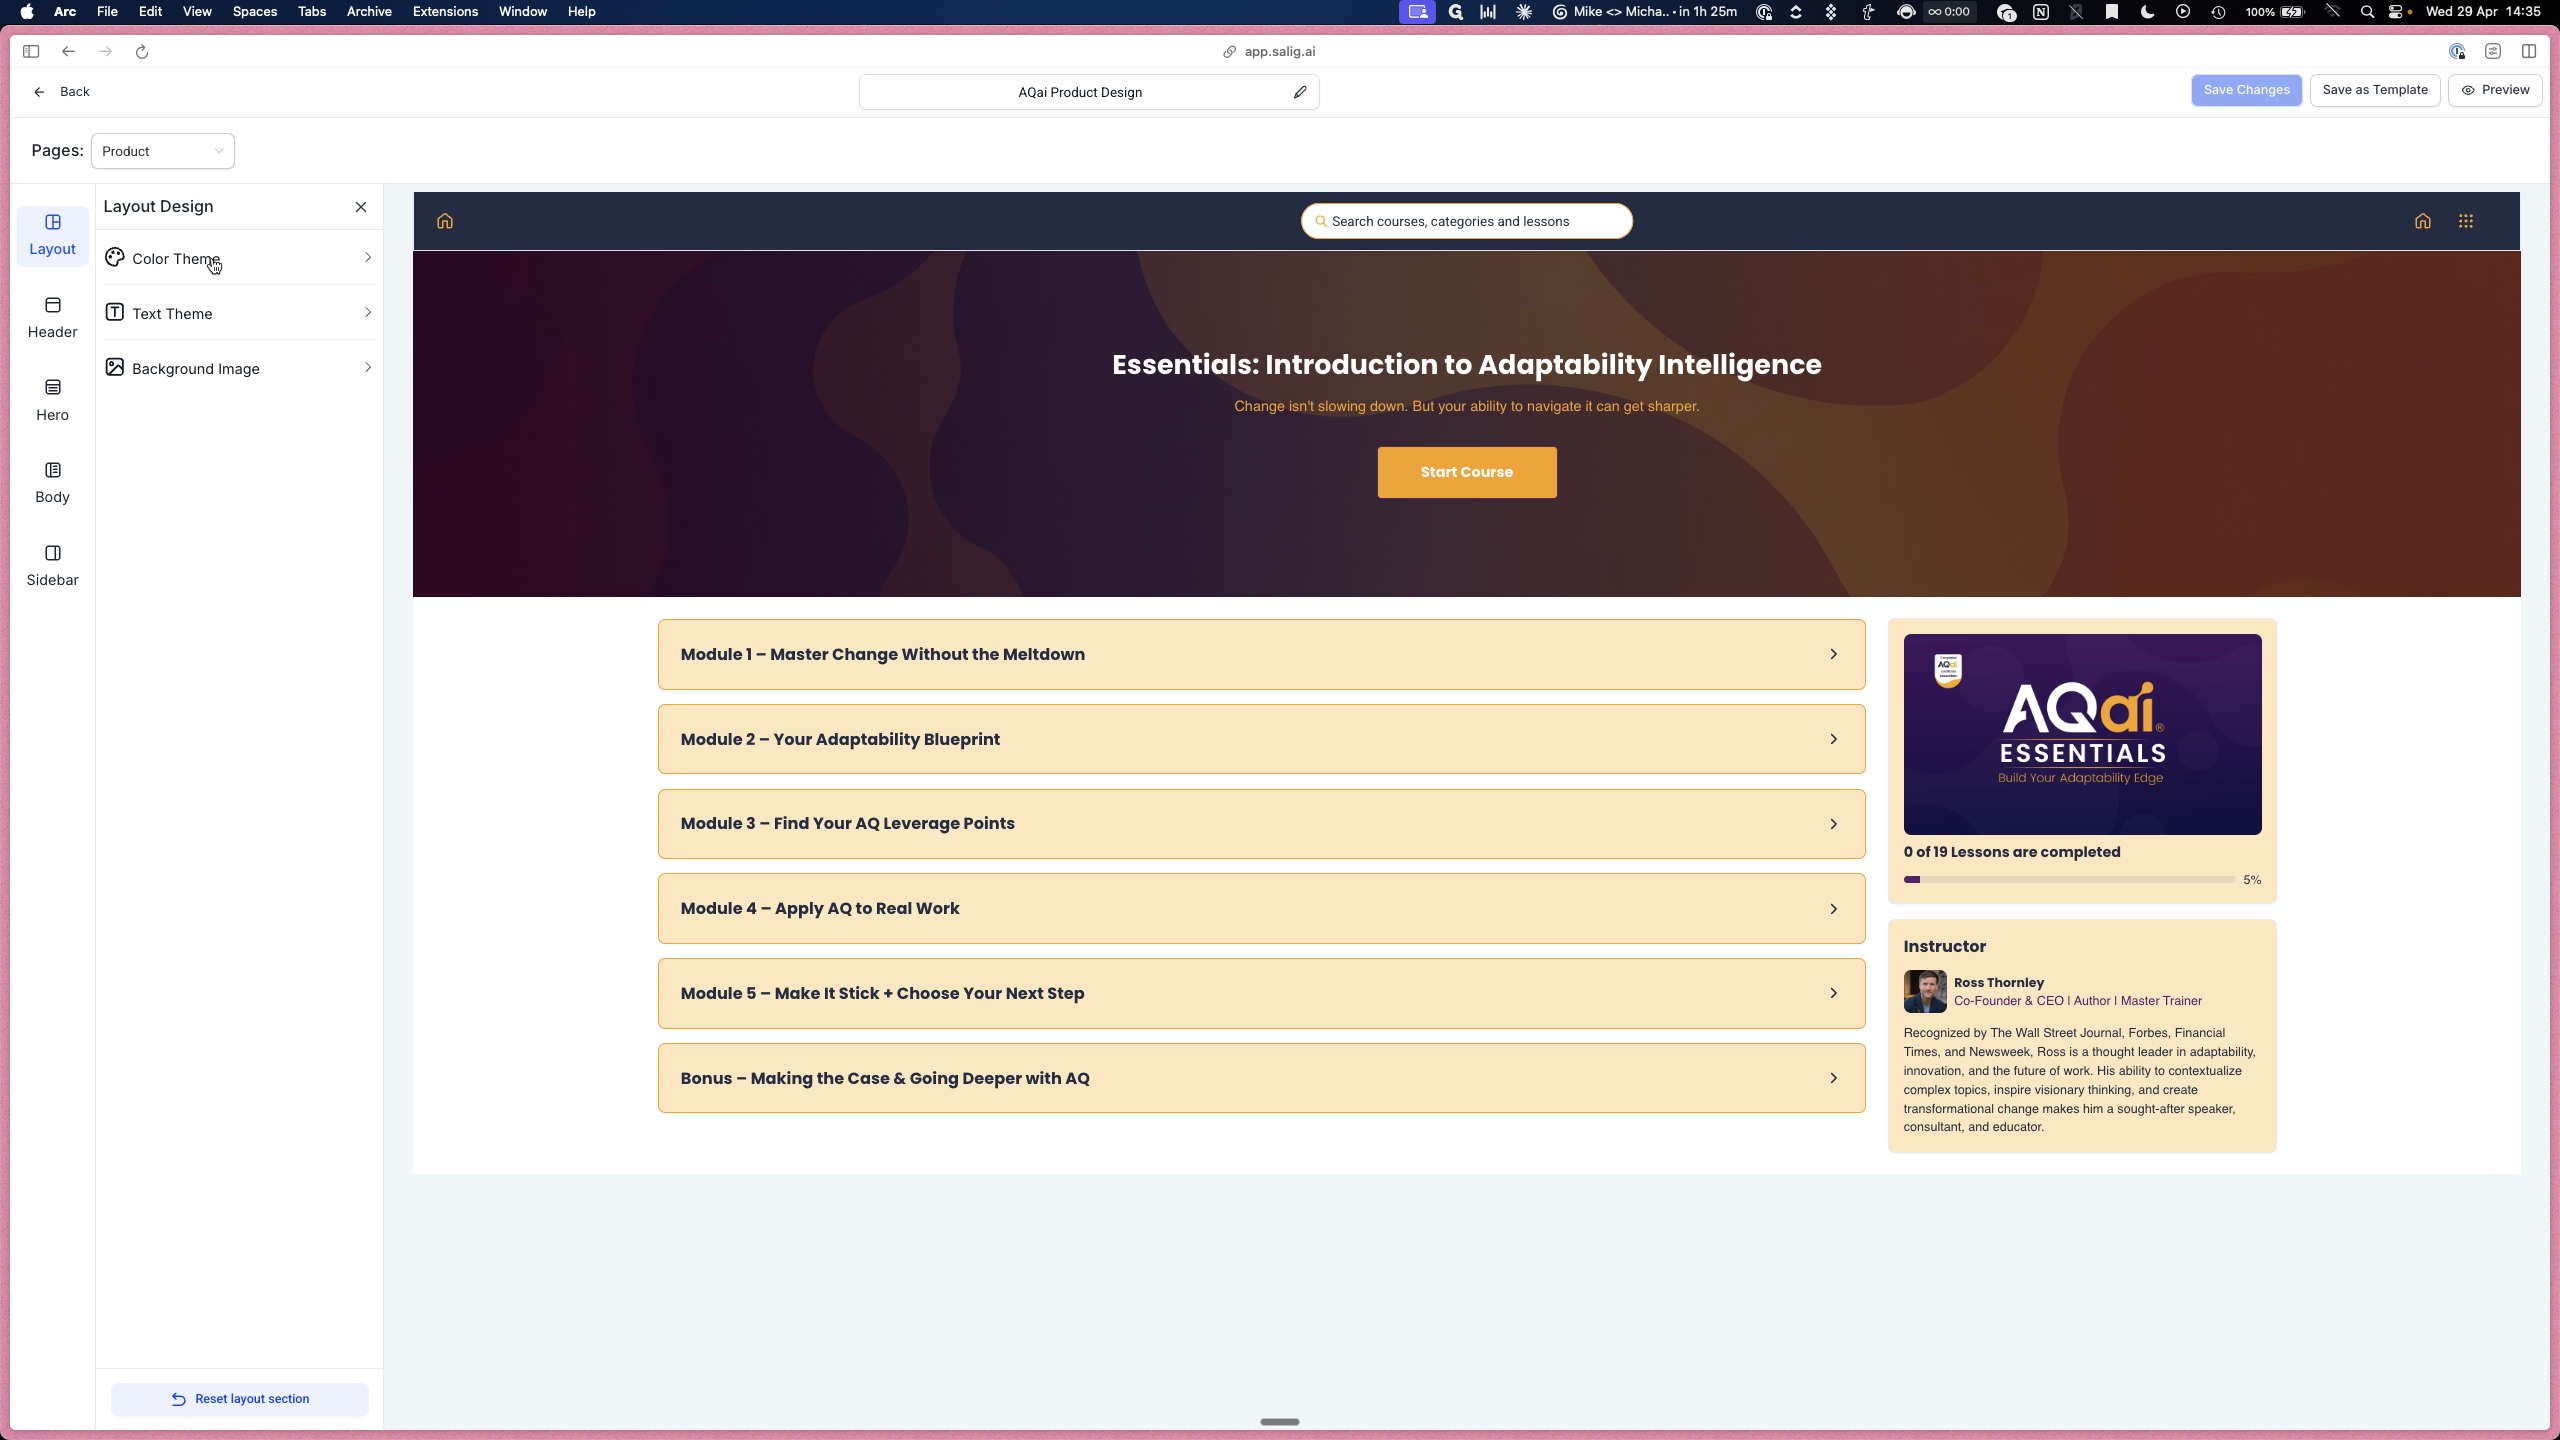
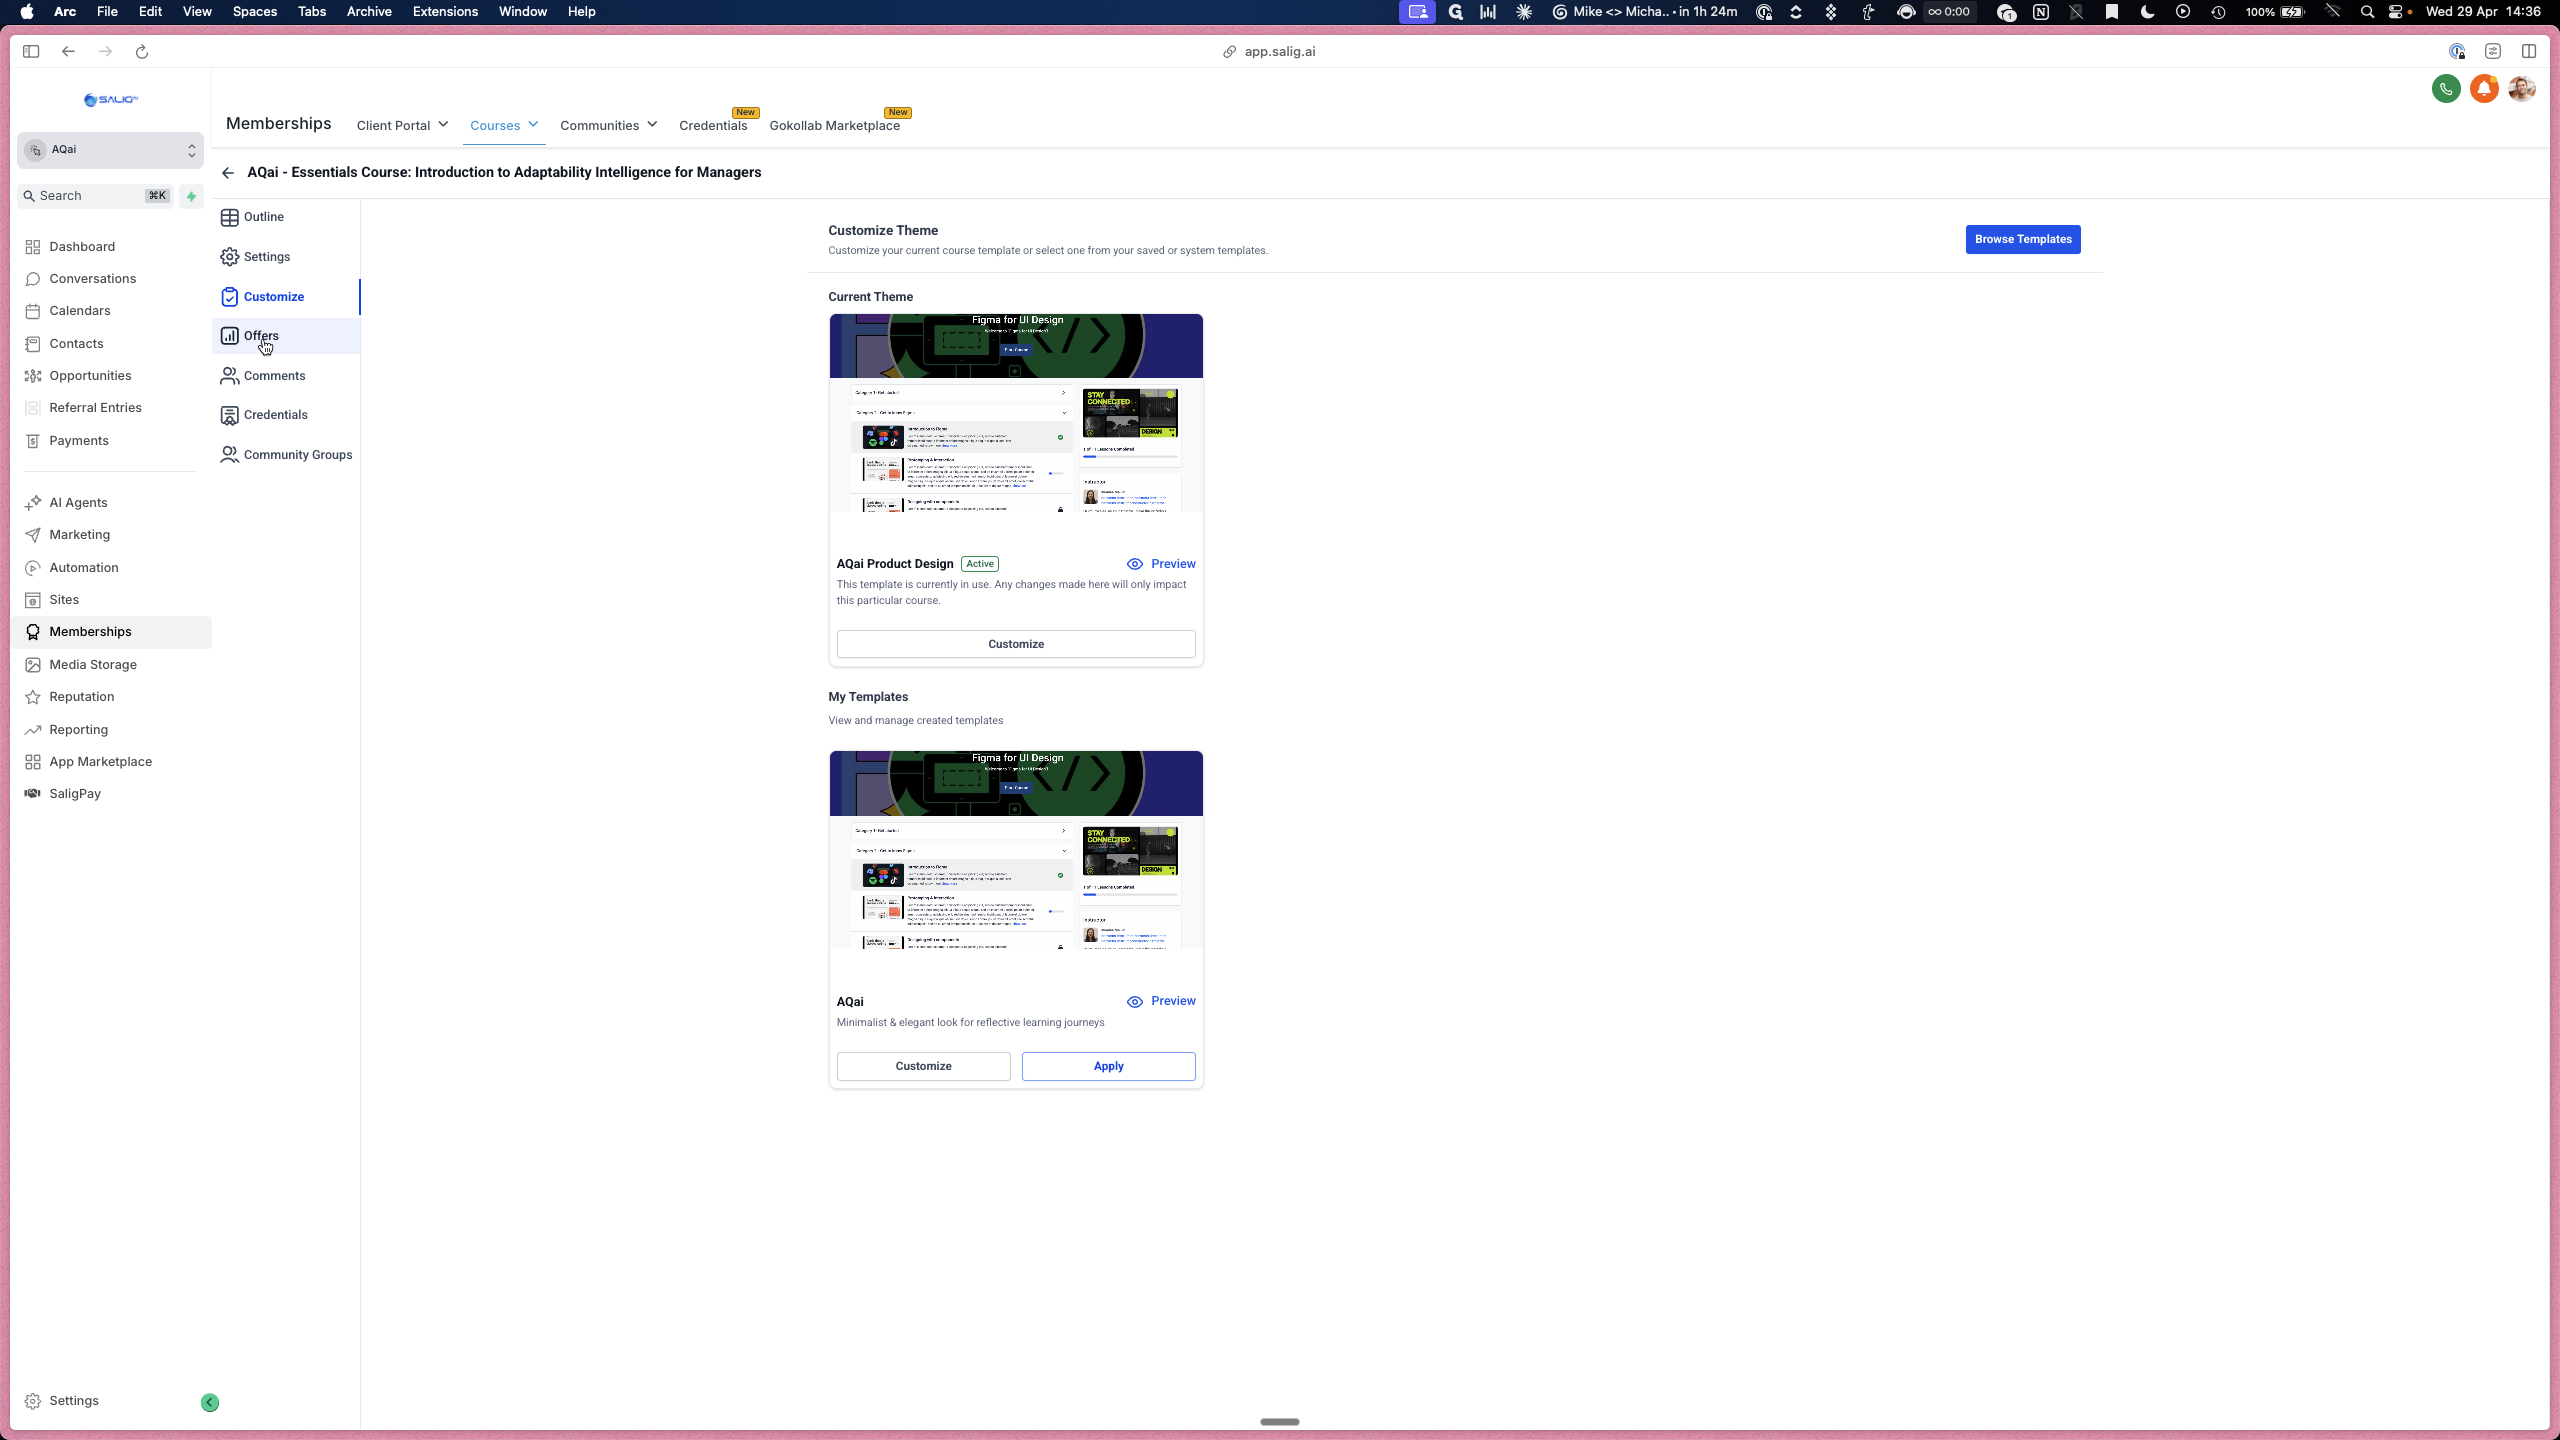
4. Customize Course Layout and Design
You can tweak the visual layout of your course pages using the built-in theme editor.
12
In the left sidebar, click Customize.
13
Click the Customize button on your active theme template.

14
Use the Layout Design sidebar on the left to adjust the Color Theme, Hero Section, Sidebar, and Body elements as needed.
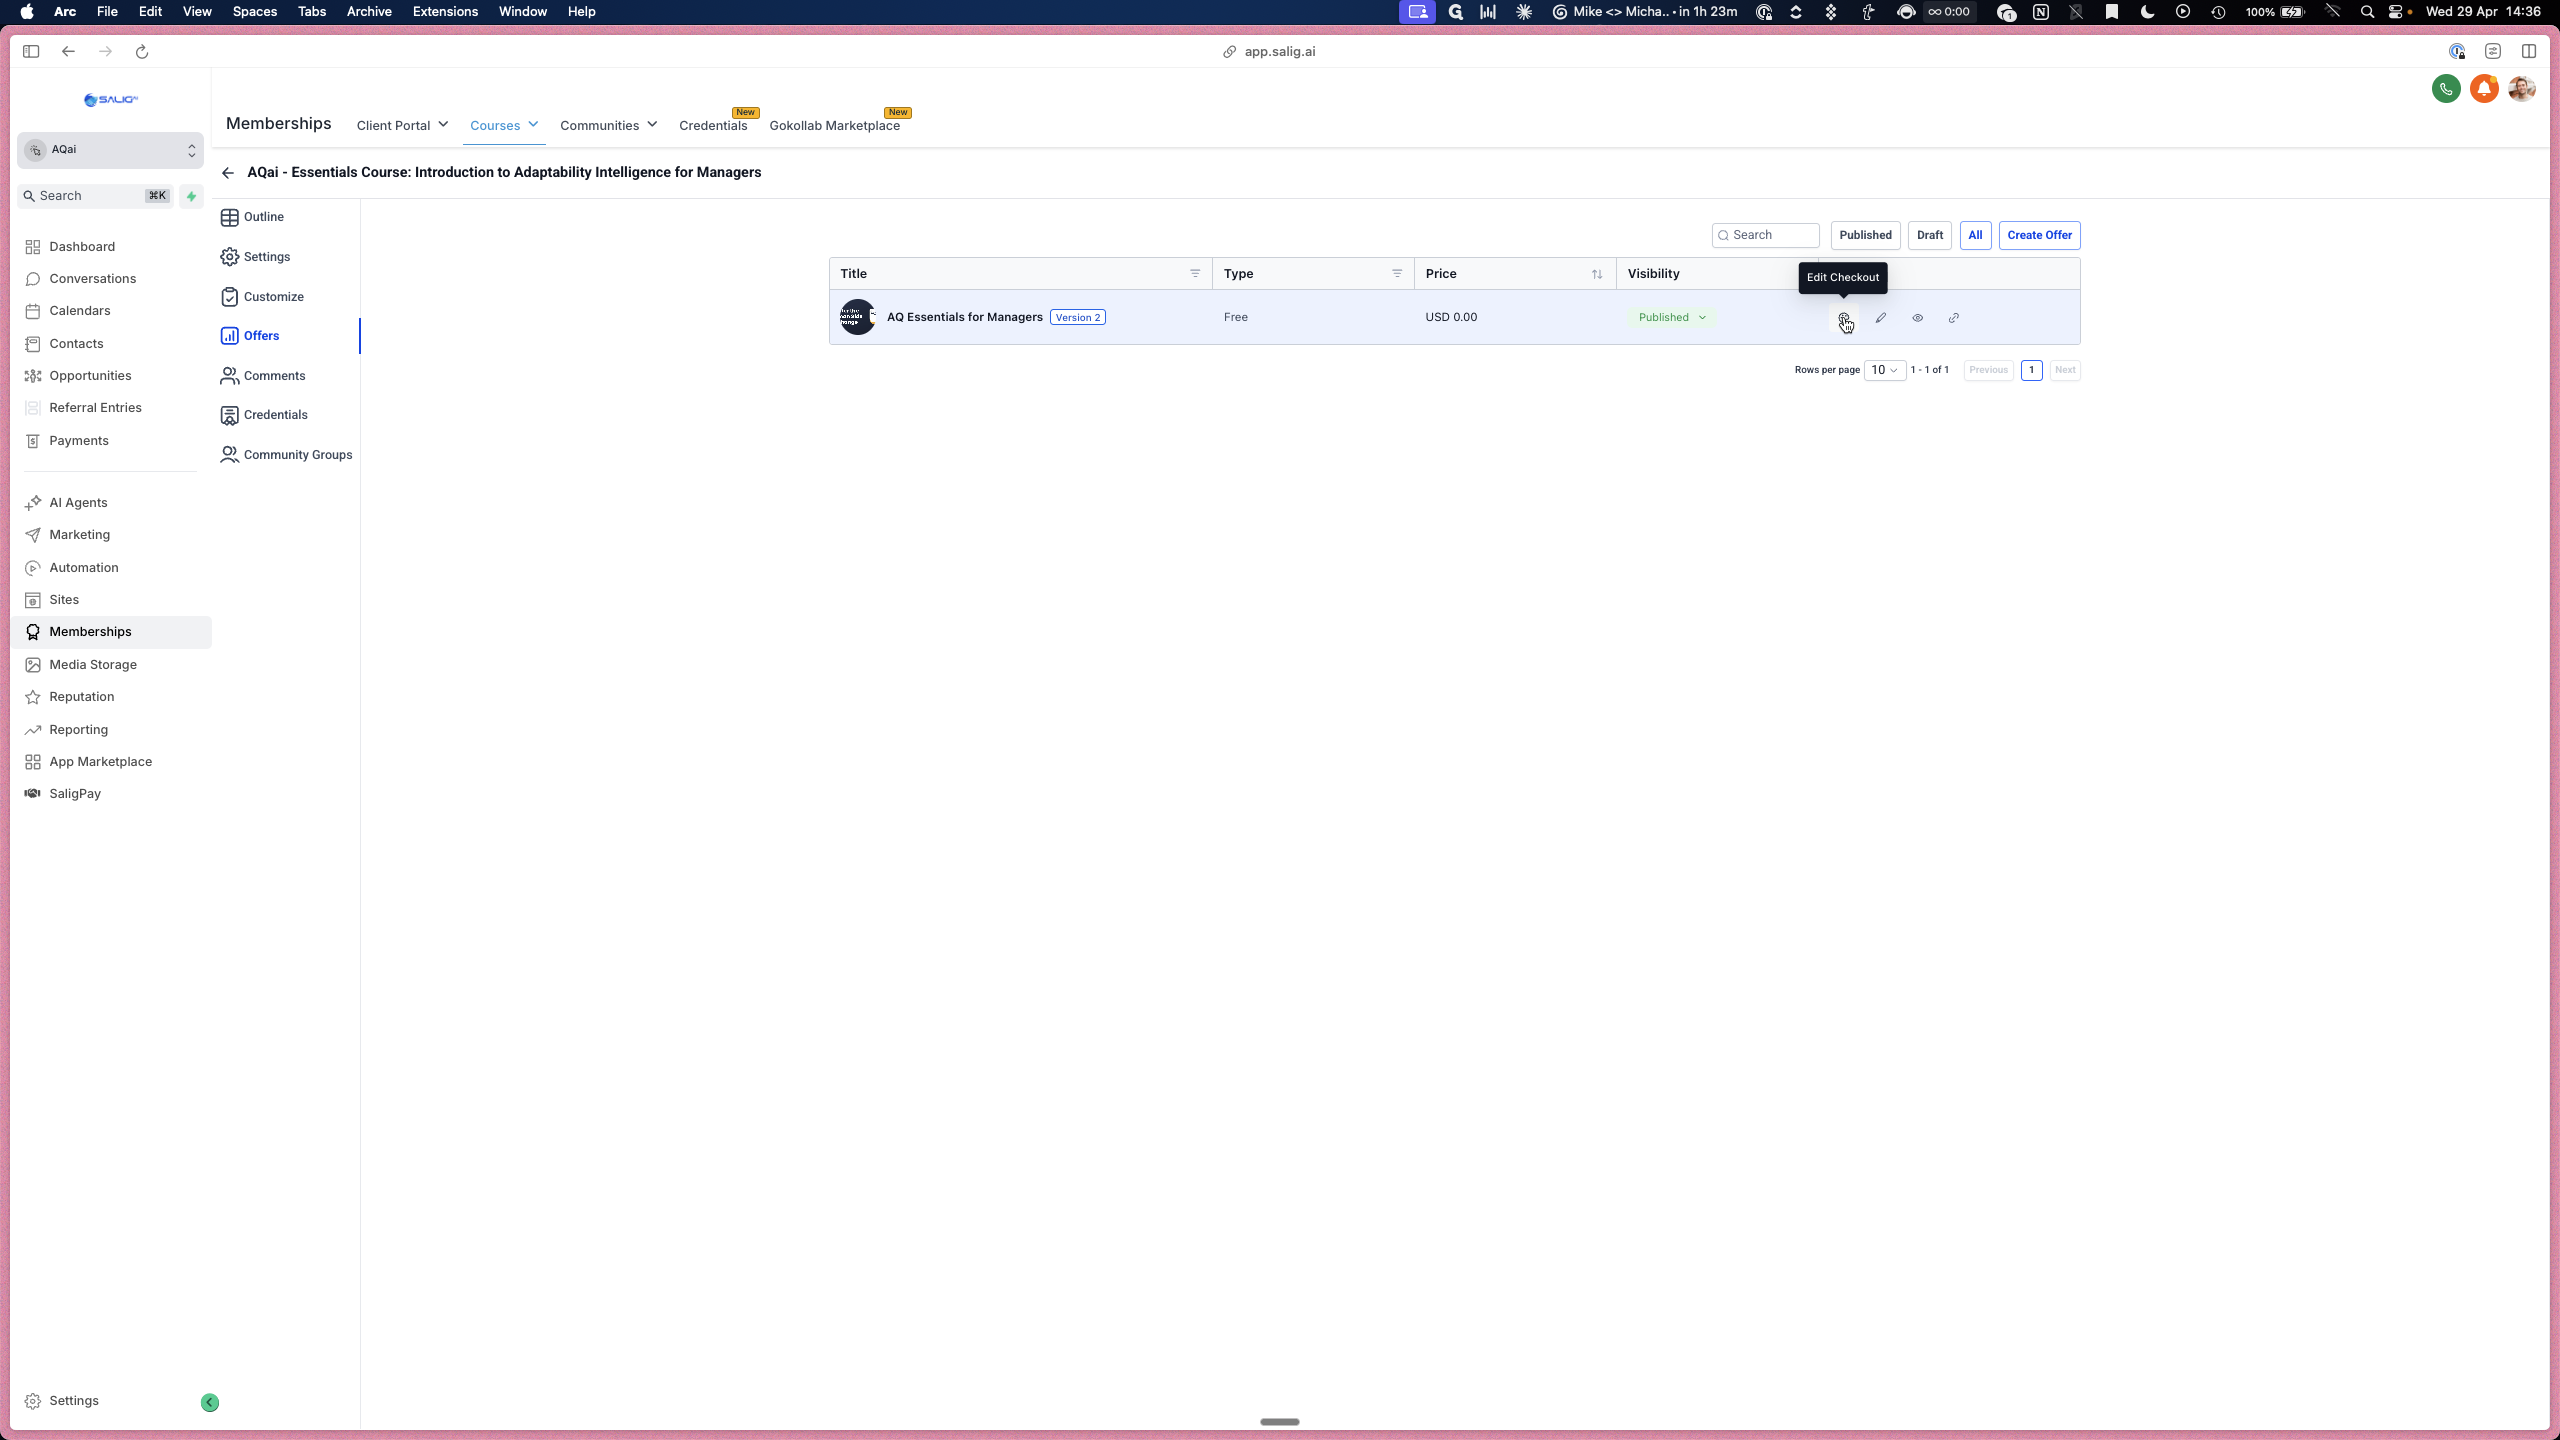
5. Manage Offers and Checkout Pages
Offers determine how your course is priced and presented to potential buyers. Customizing the offer checkout page lets you add sales copy and promotional videos.
15
Click Offers in the left-hand menu.
16
Select the specific offer you want to modify.

17
Click Preview to view how the offer page currently looks to potential buyers.
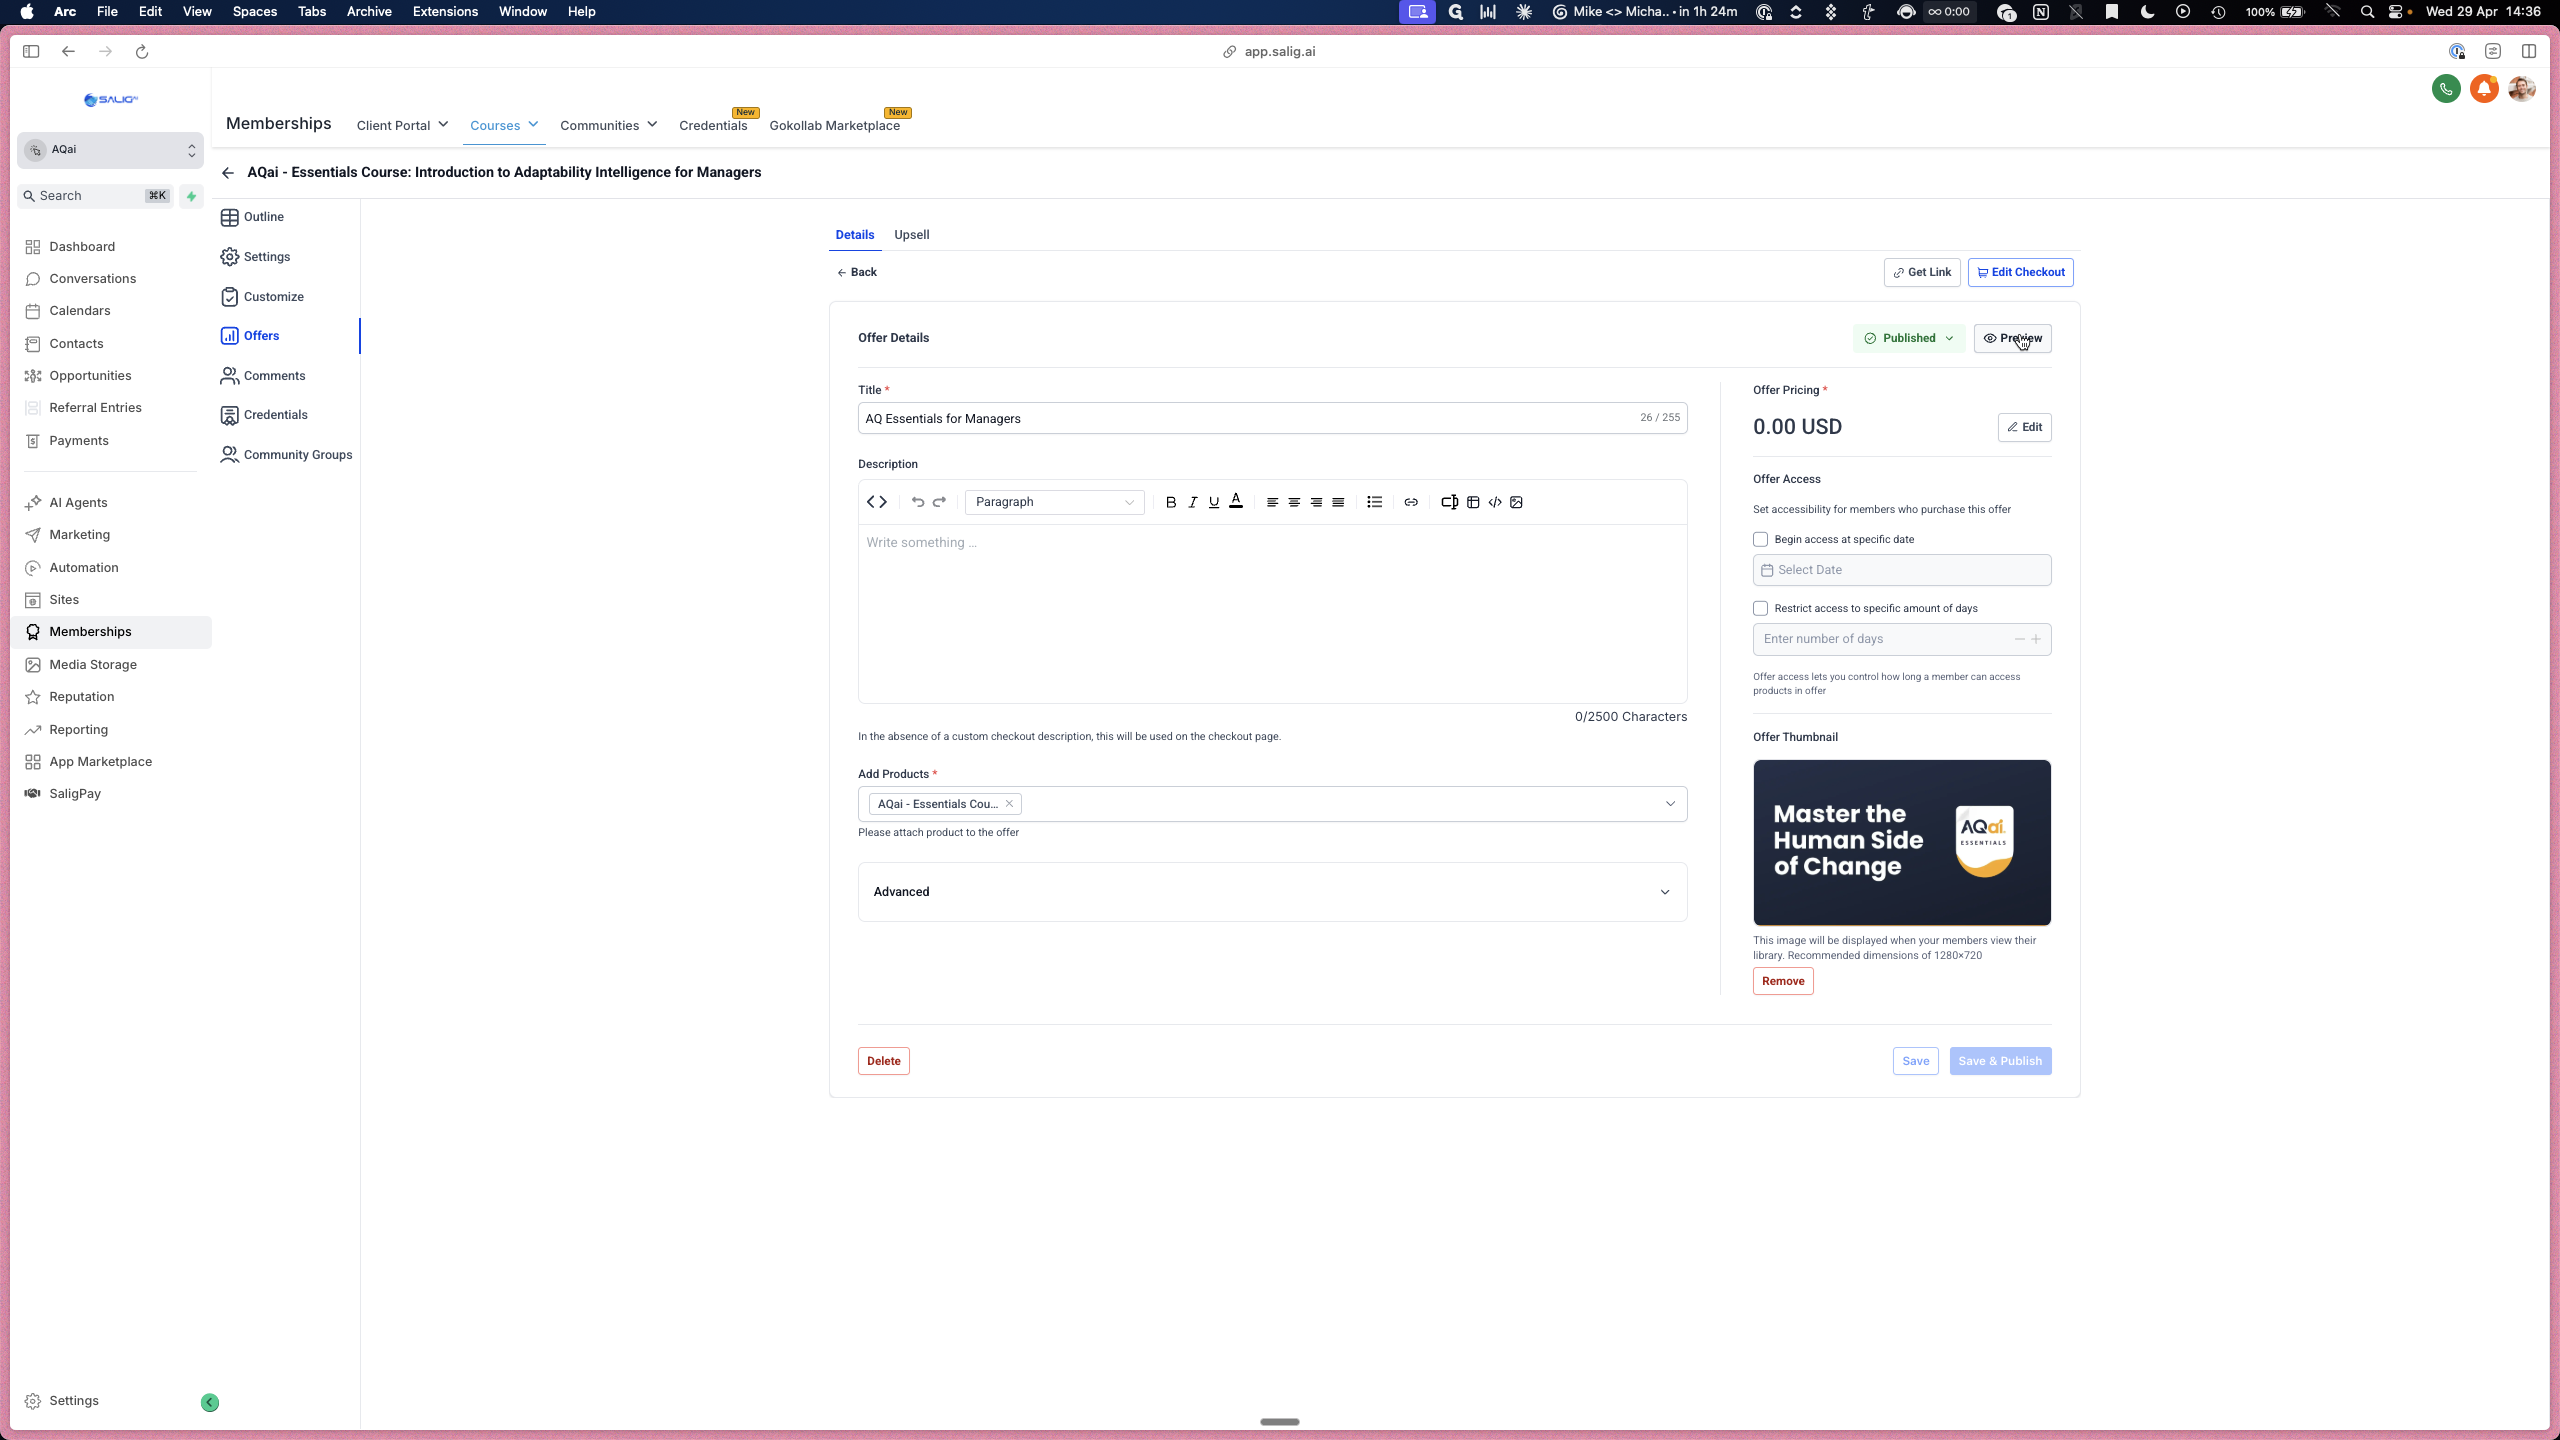
18
Click Back to return to the configuration screen.

19
Click Edit Checkout to update the checkout copy, upload a promotional video, and assign a poster image.