How to Manage and Export Activity Events
Learn how to create, edit, filter, and export activity events in the Concordia Management System.
This guide explains how to create, edit, filter, and export activity events within the management system. By following these steps, you can ensure the school's event calendar is accurate, up-to-date, and accessible to the community.
This process is designed for activity coordinators and administrative staff who manage scheduling and extracurricular programs. It should be used whenever a new event needs to be added to the calendar or an existing event requires updates.
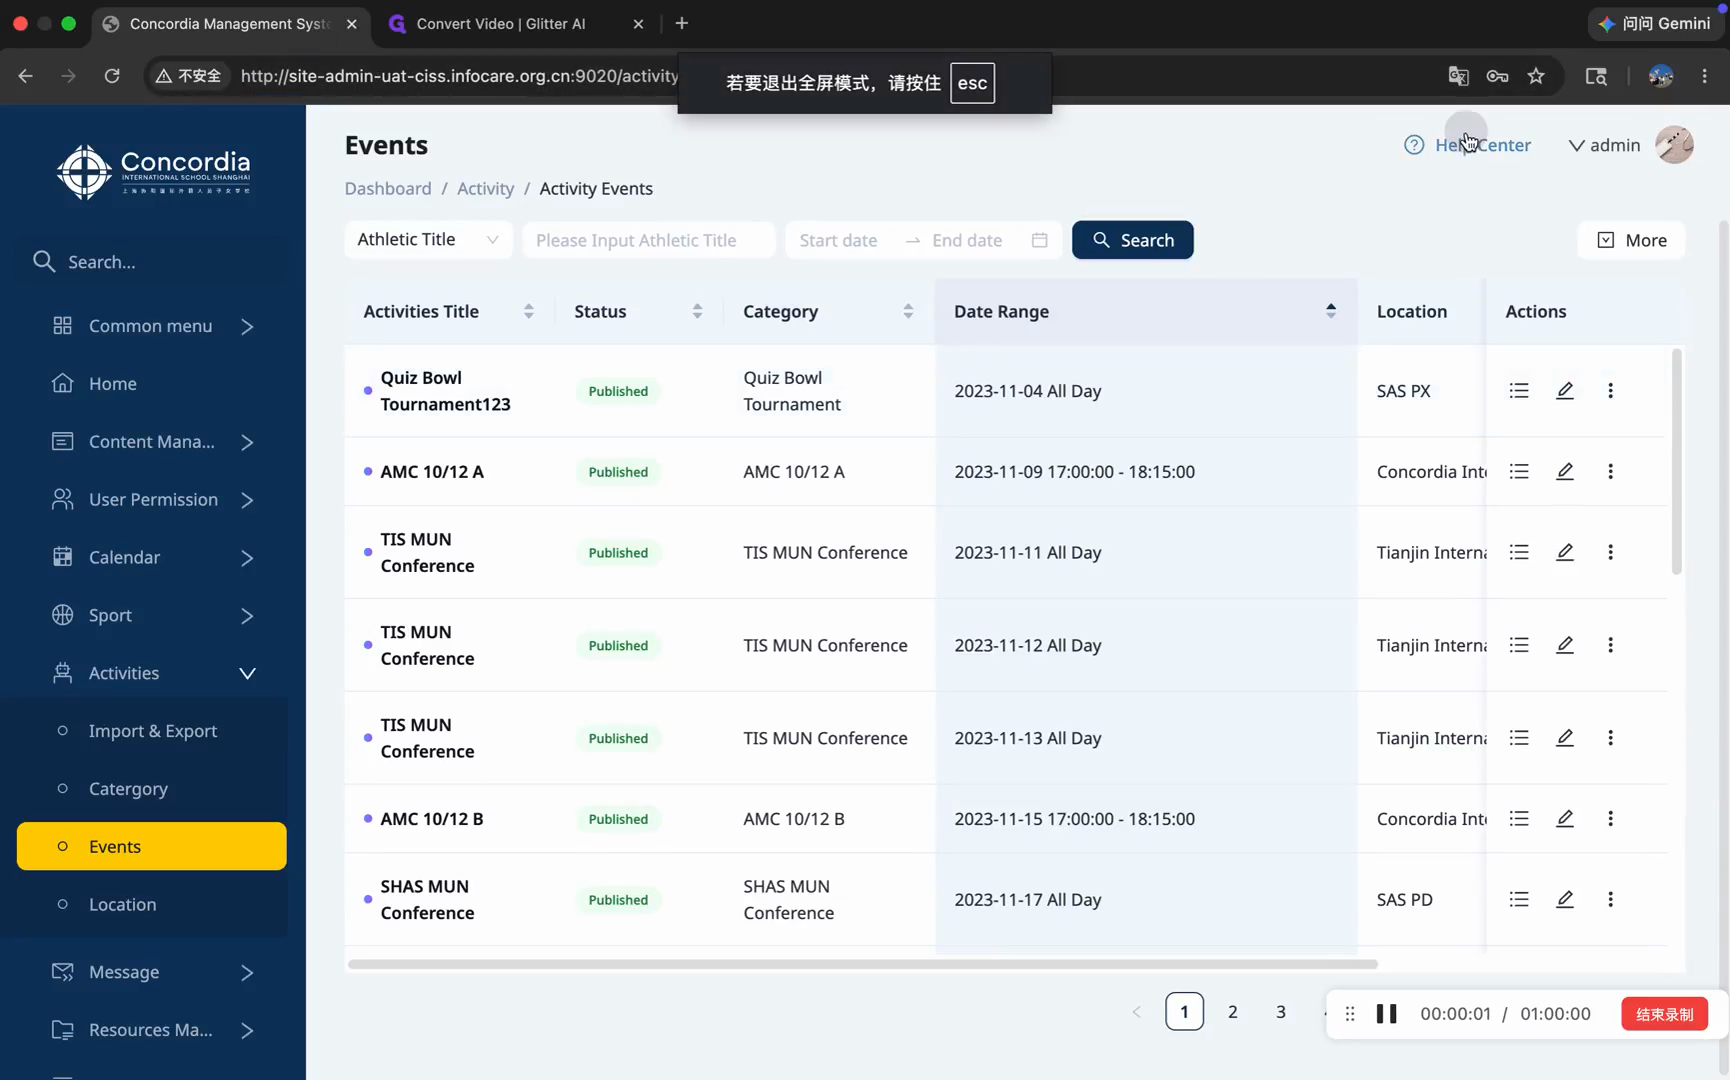
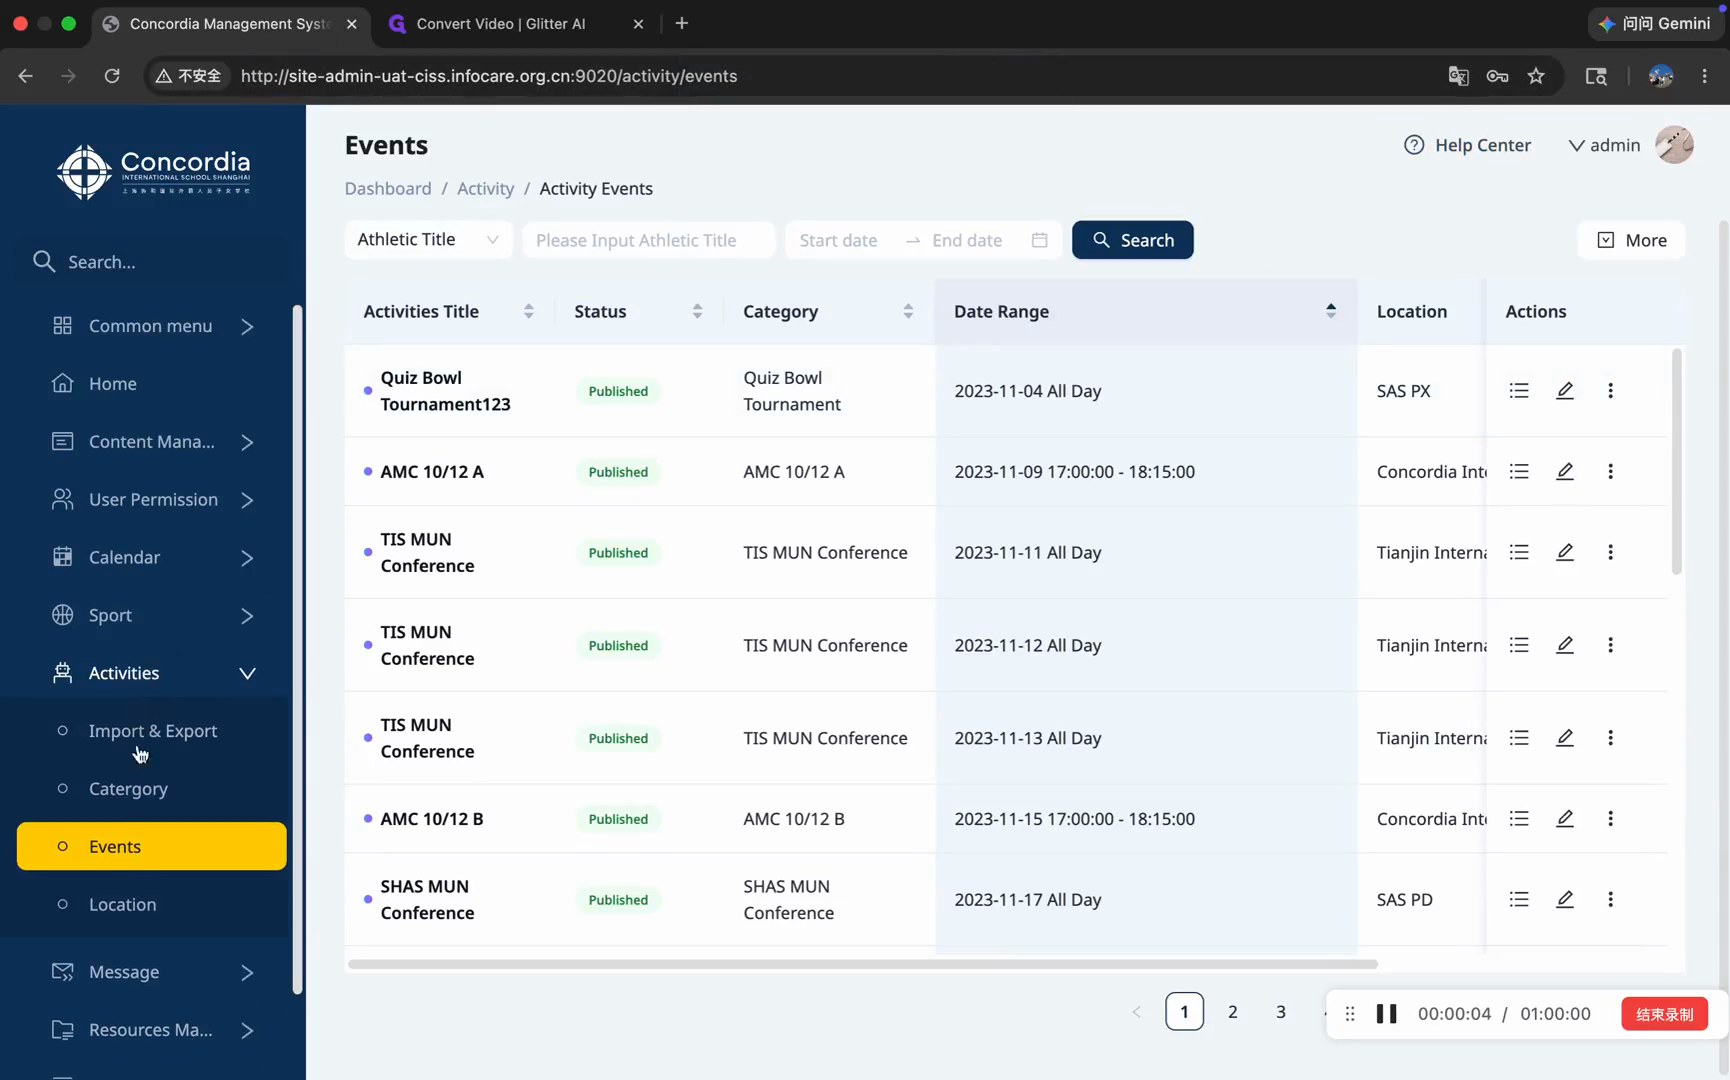
Navigating to Events
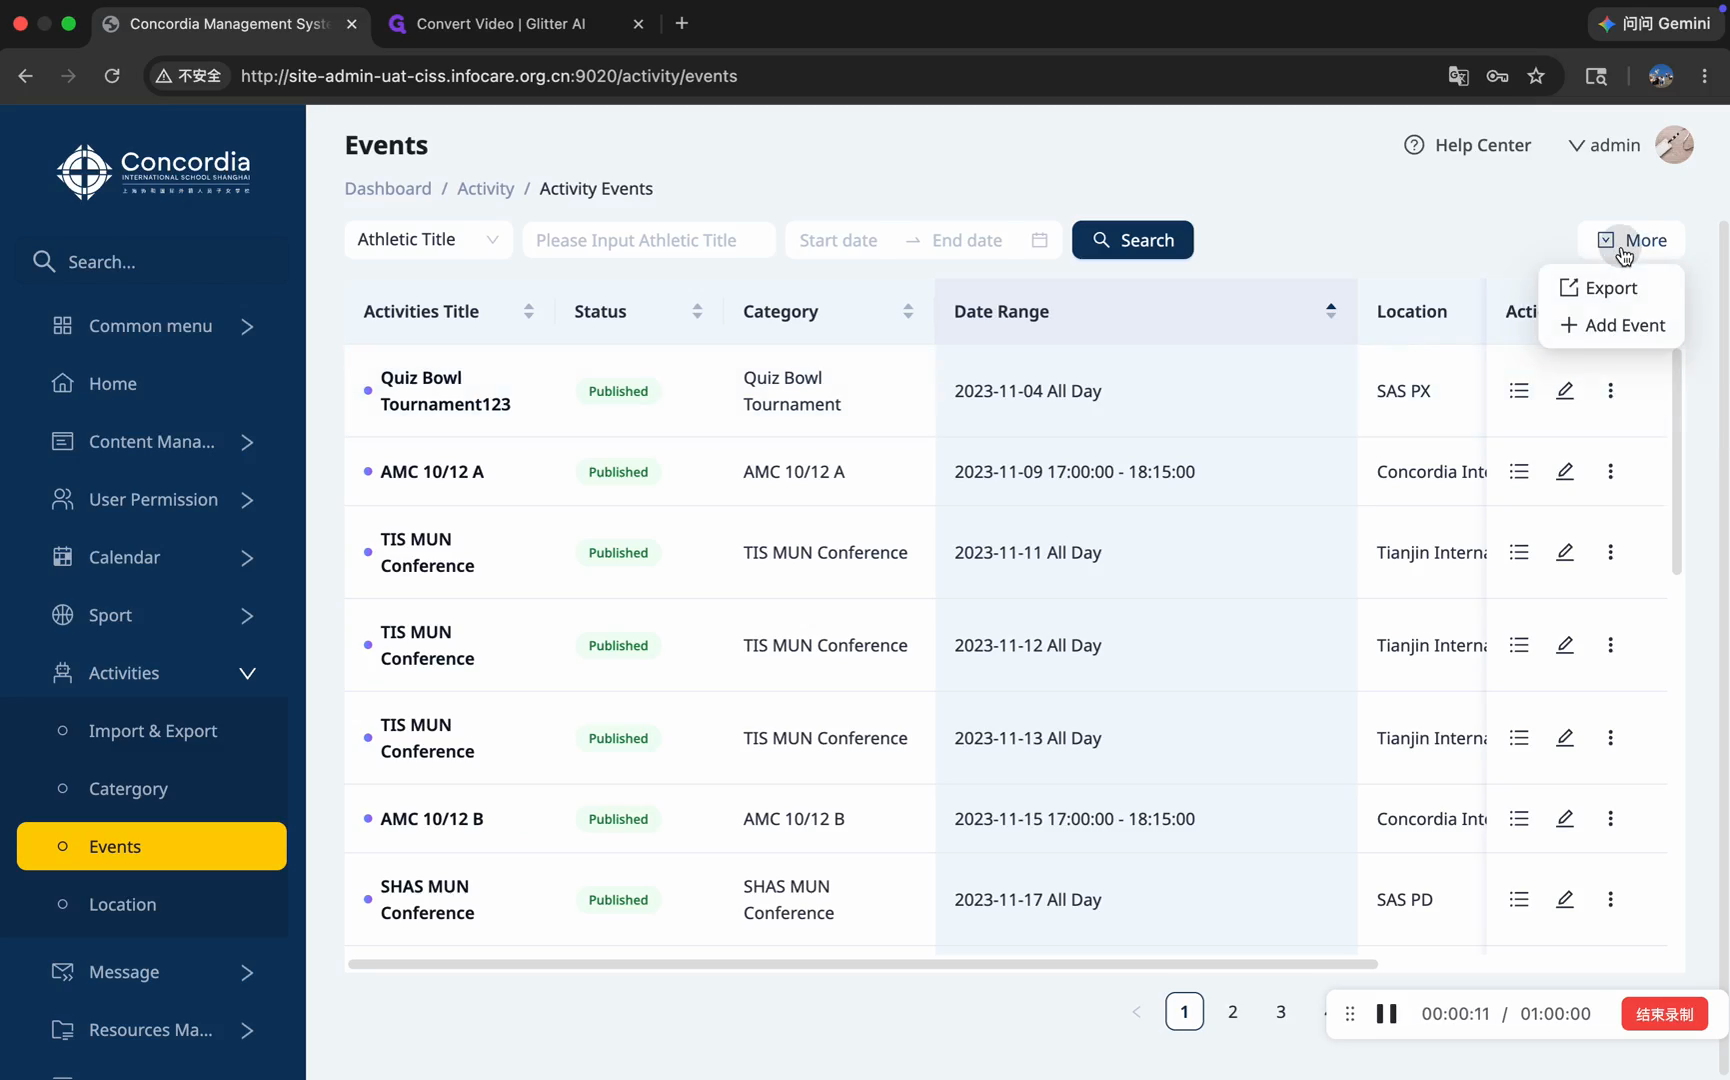
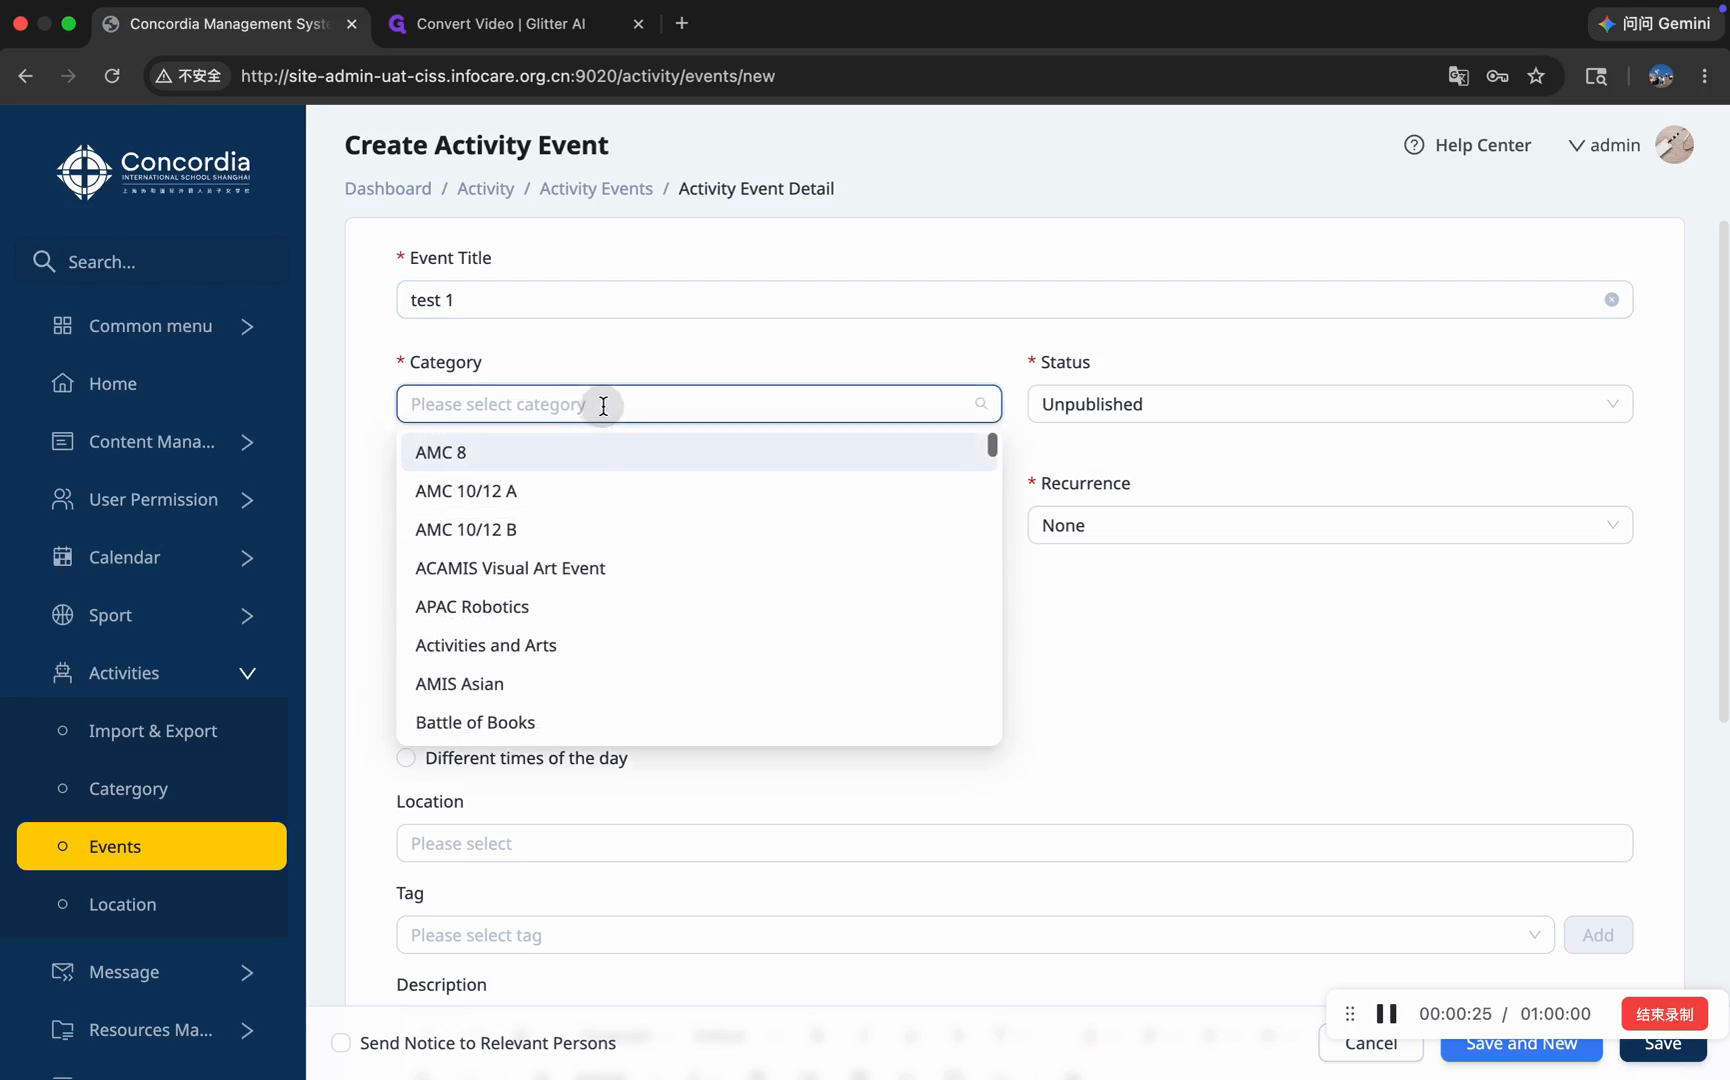
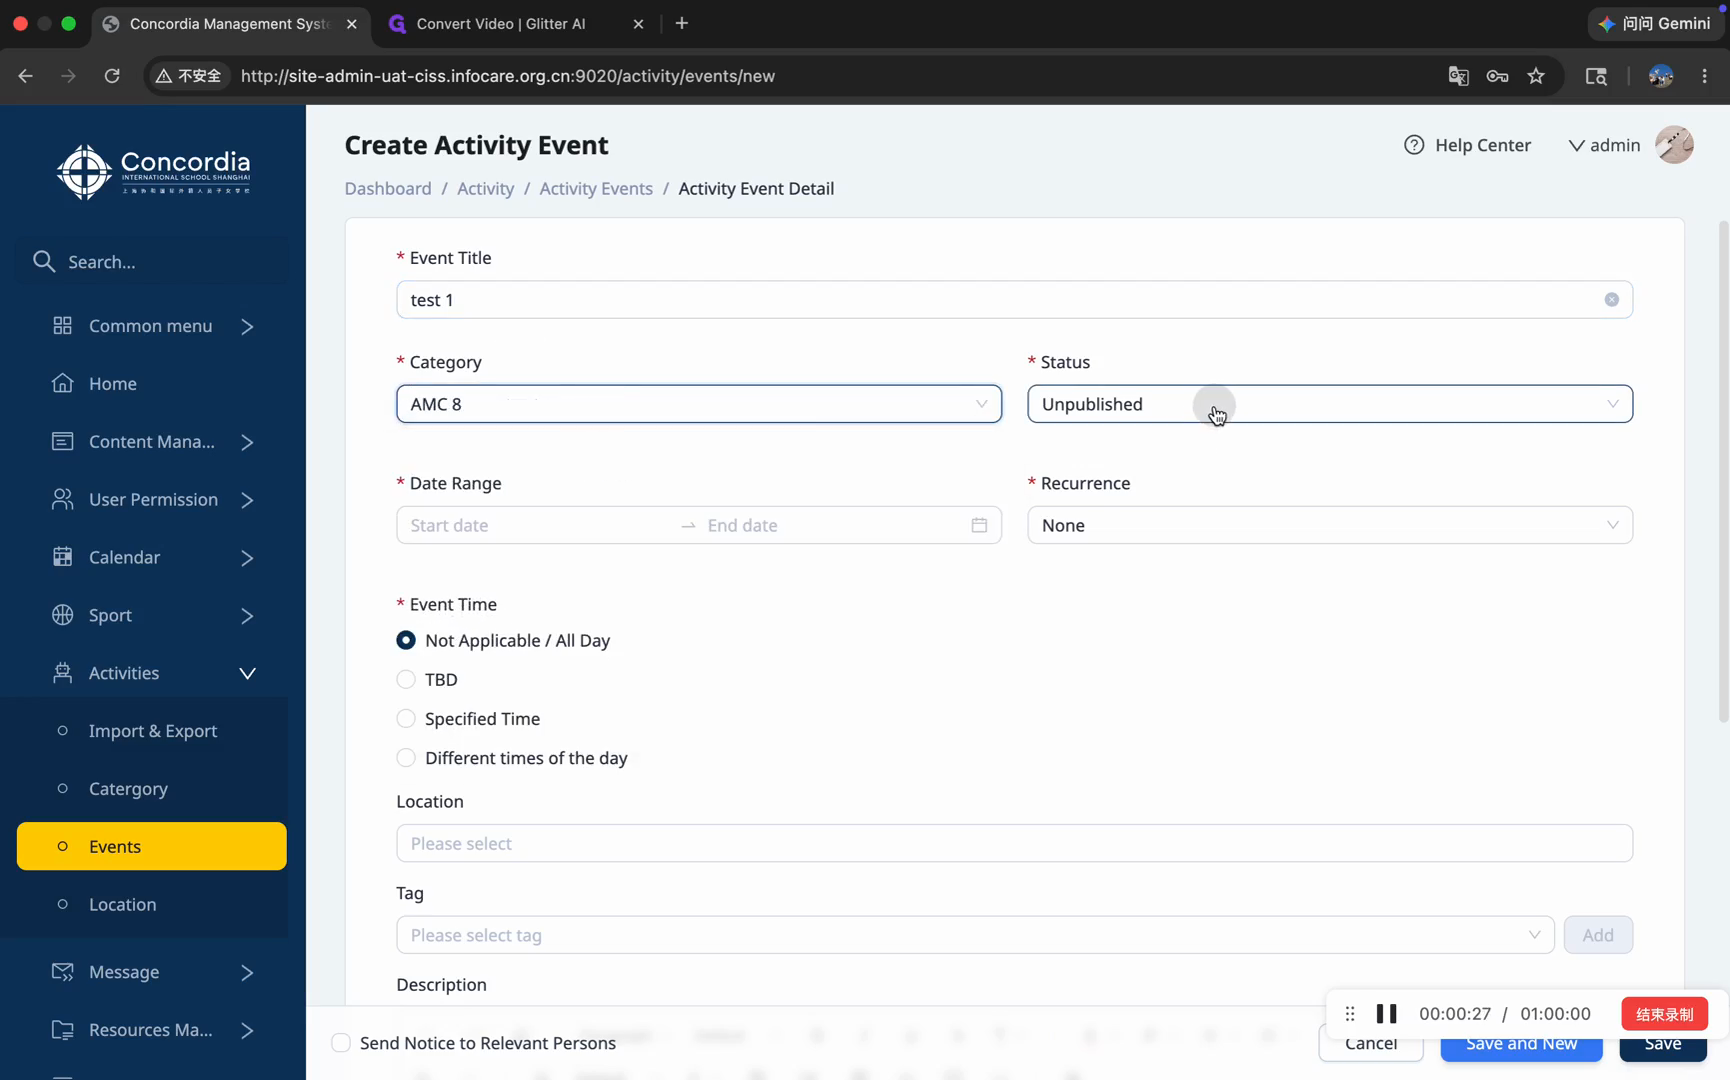
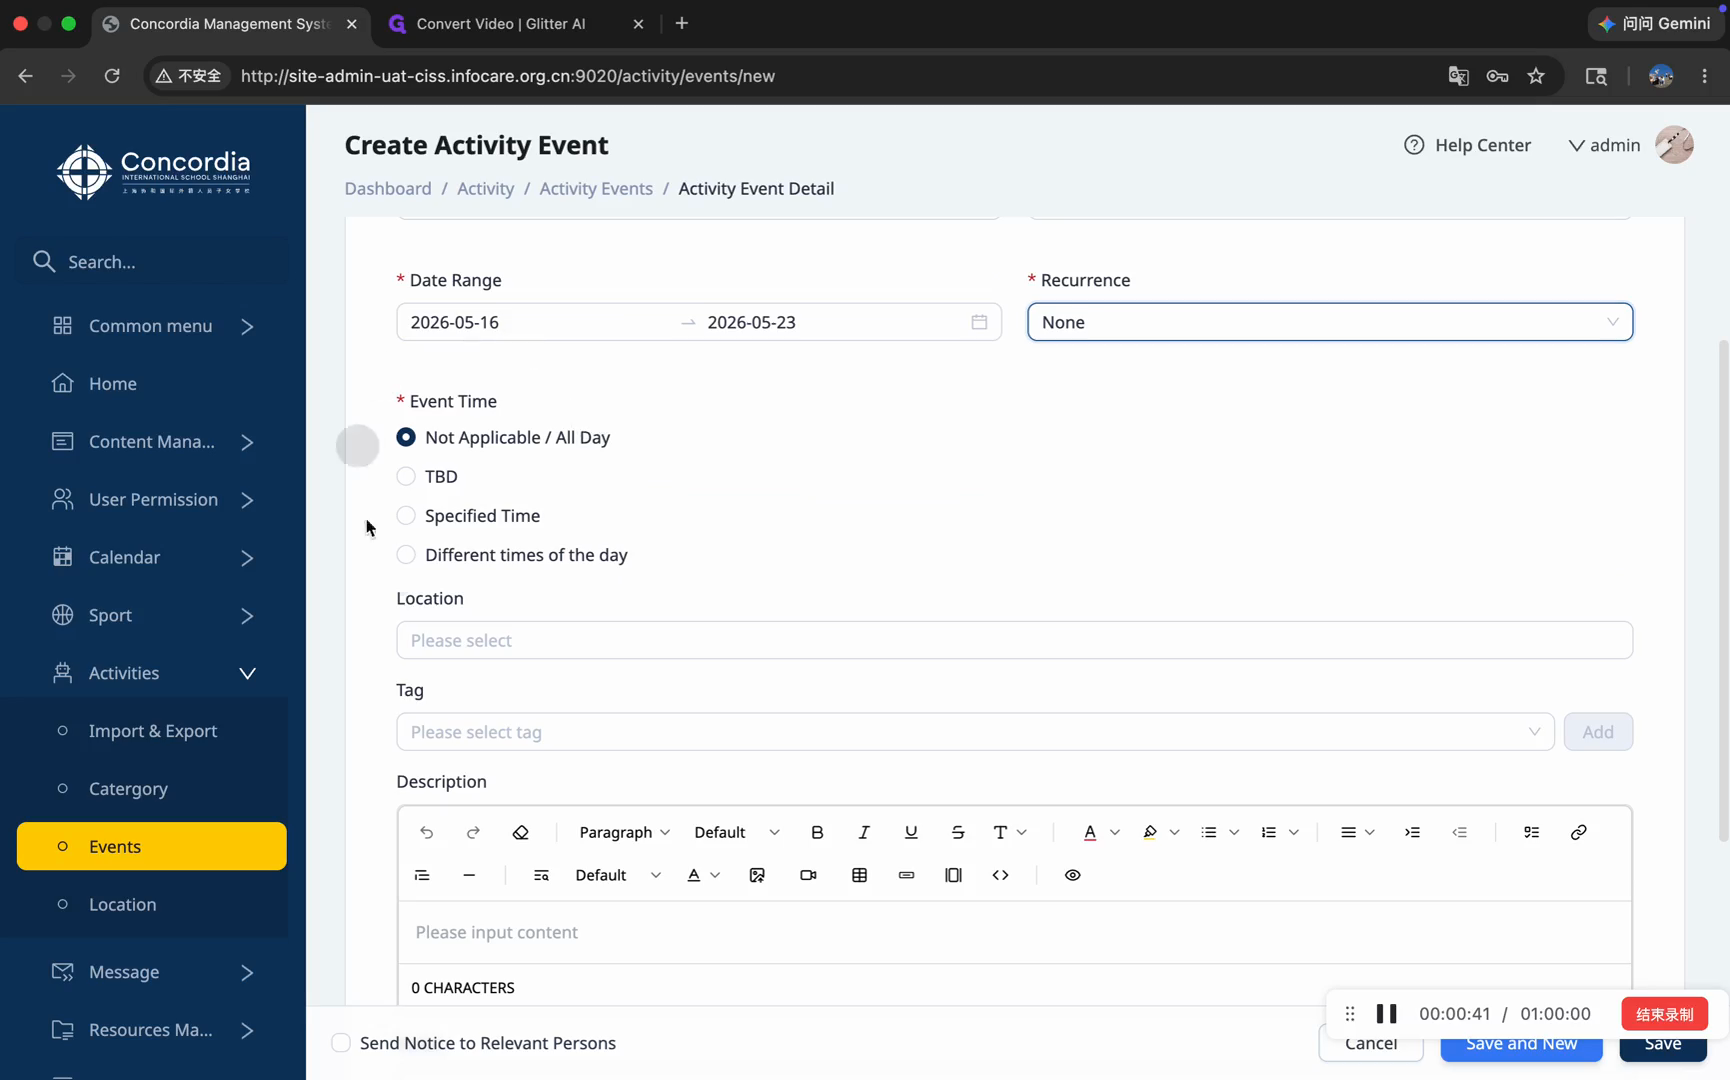
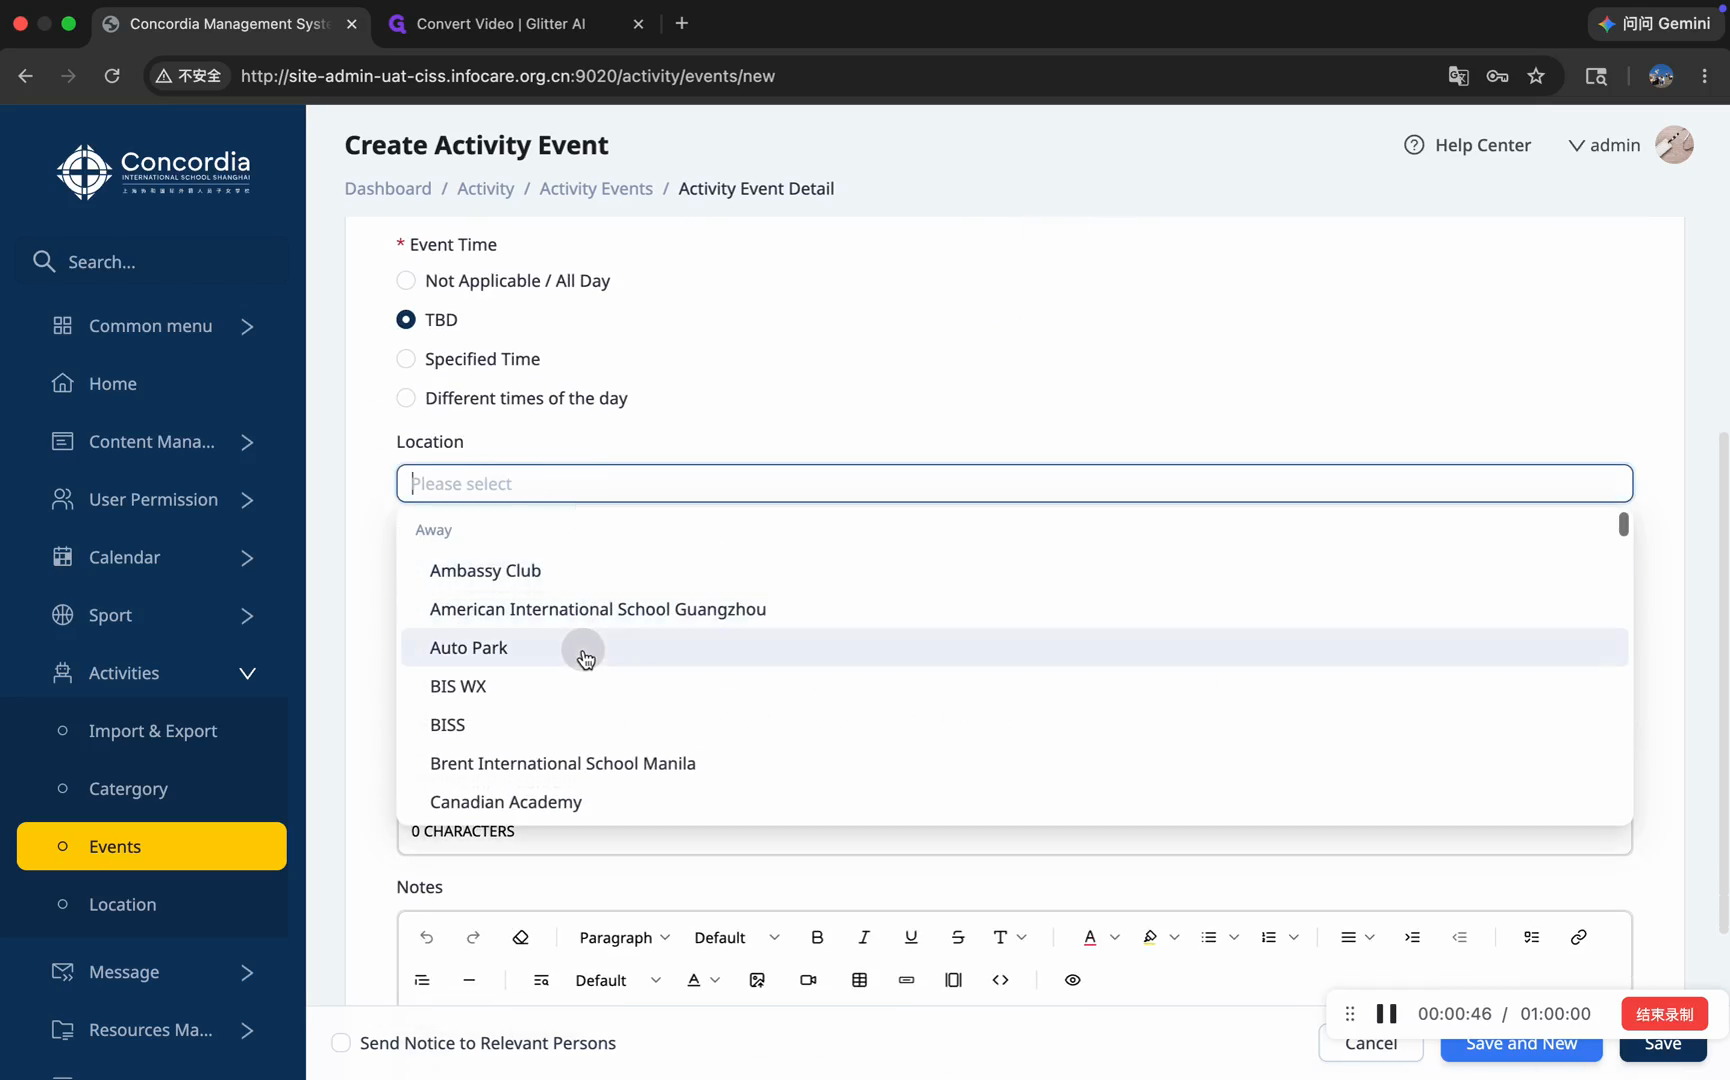
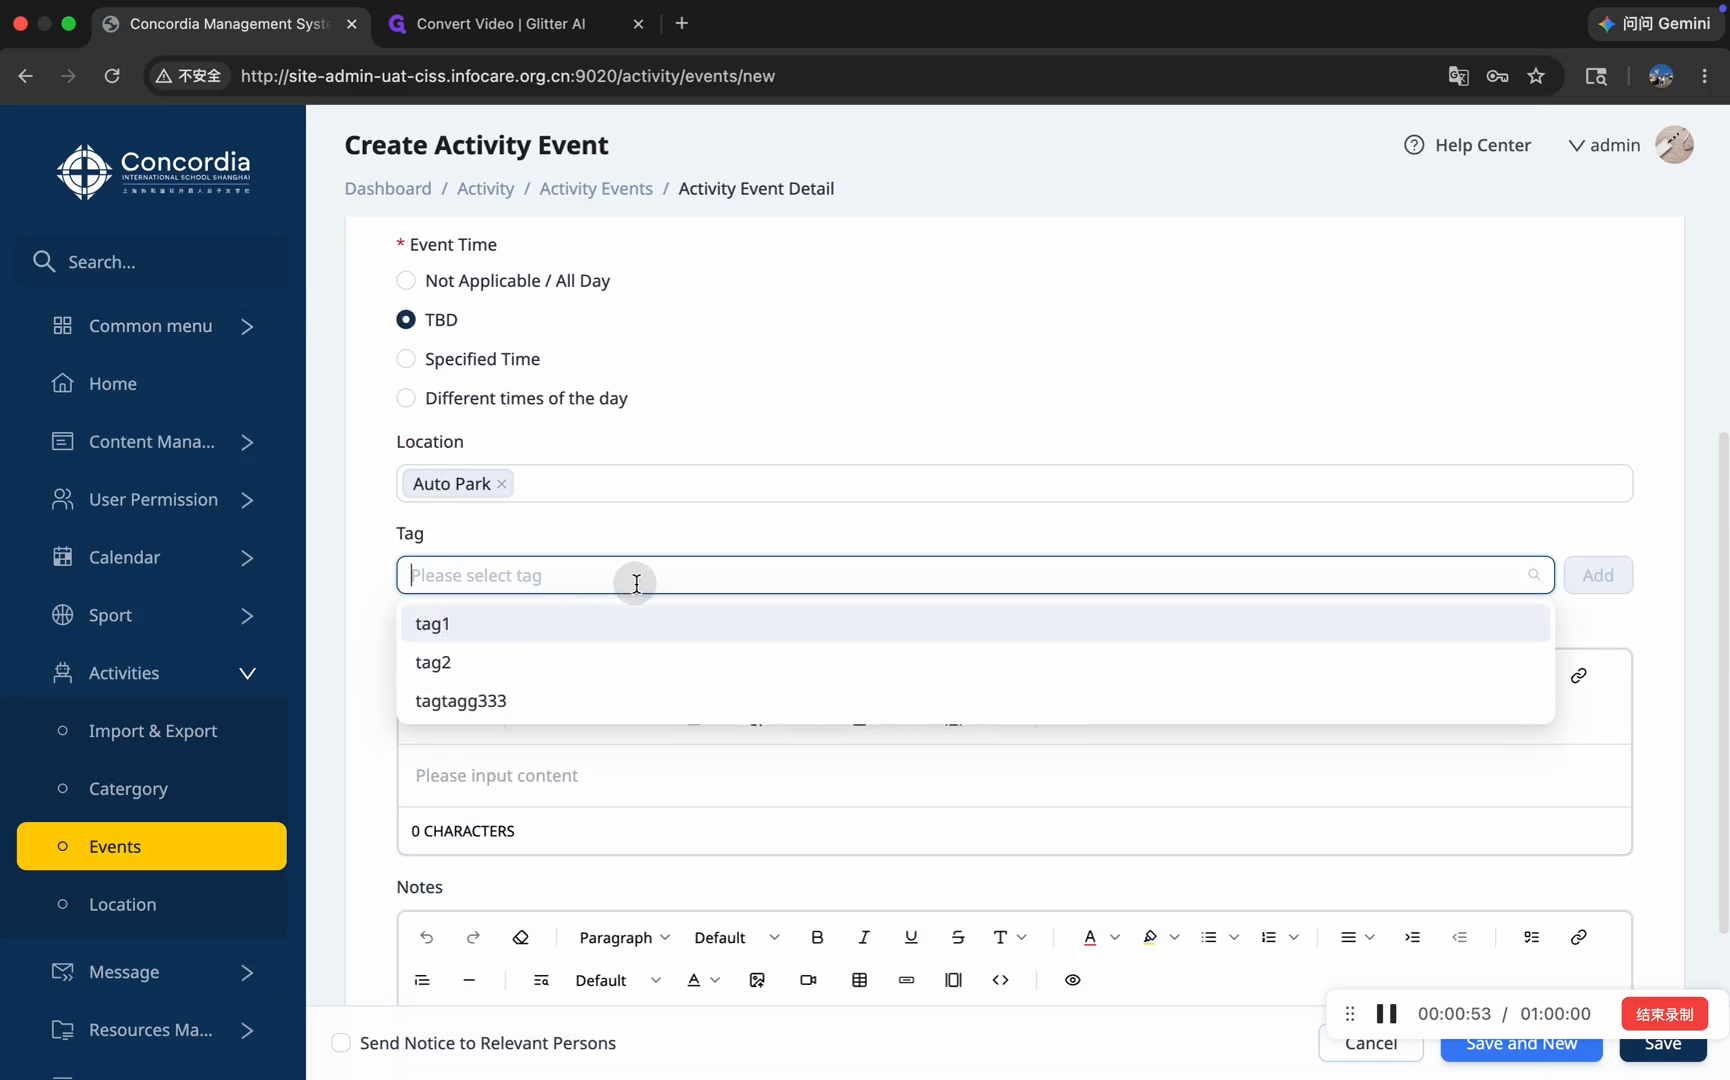
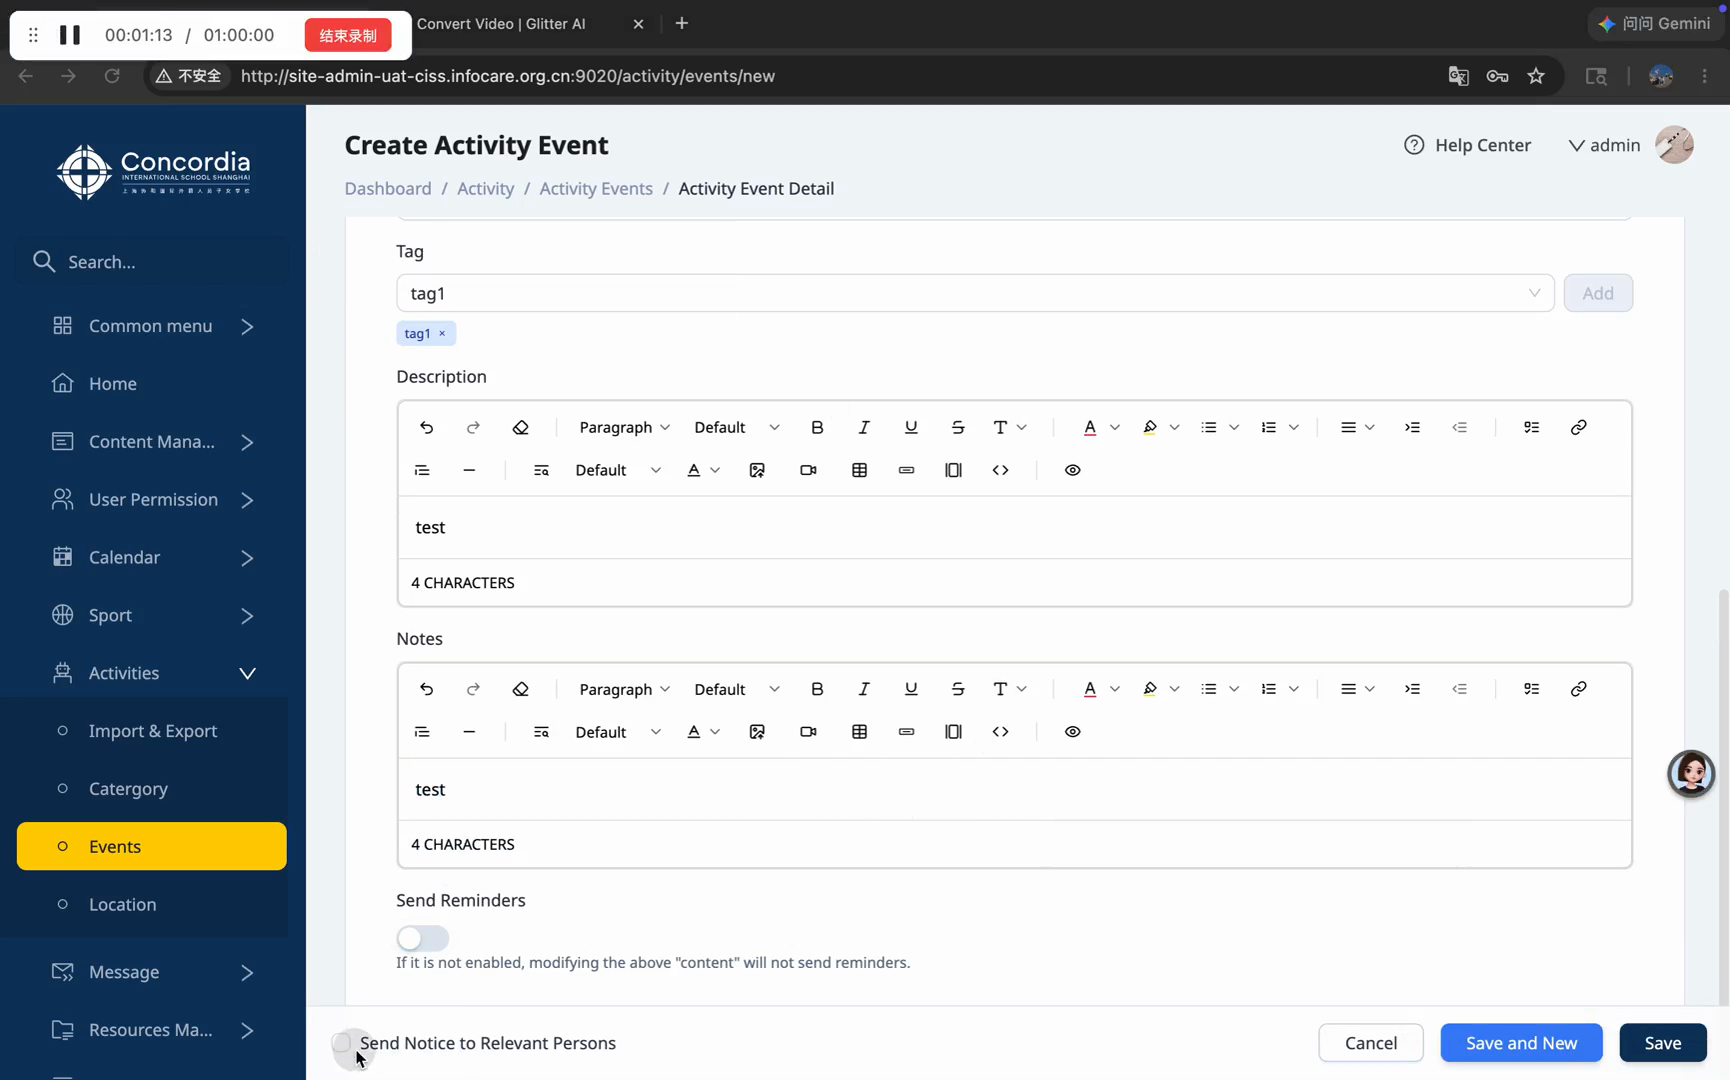
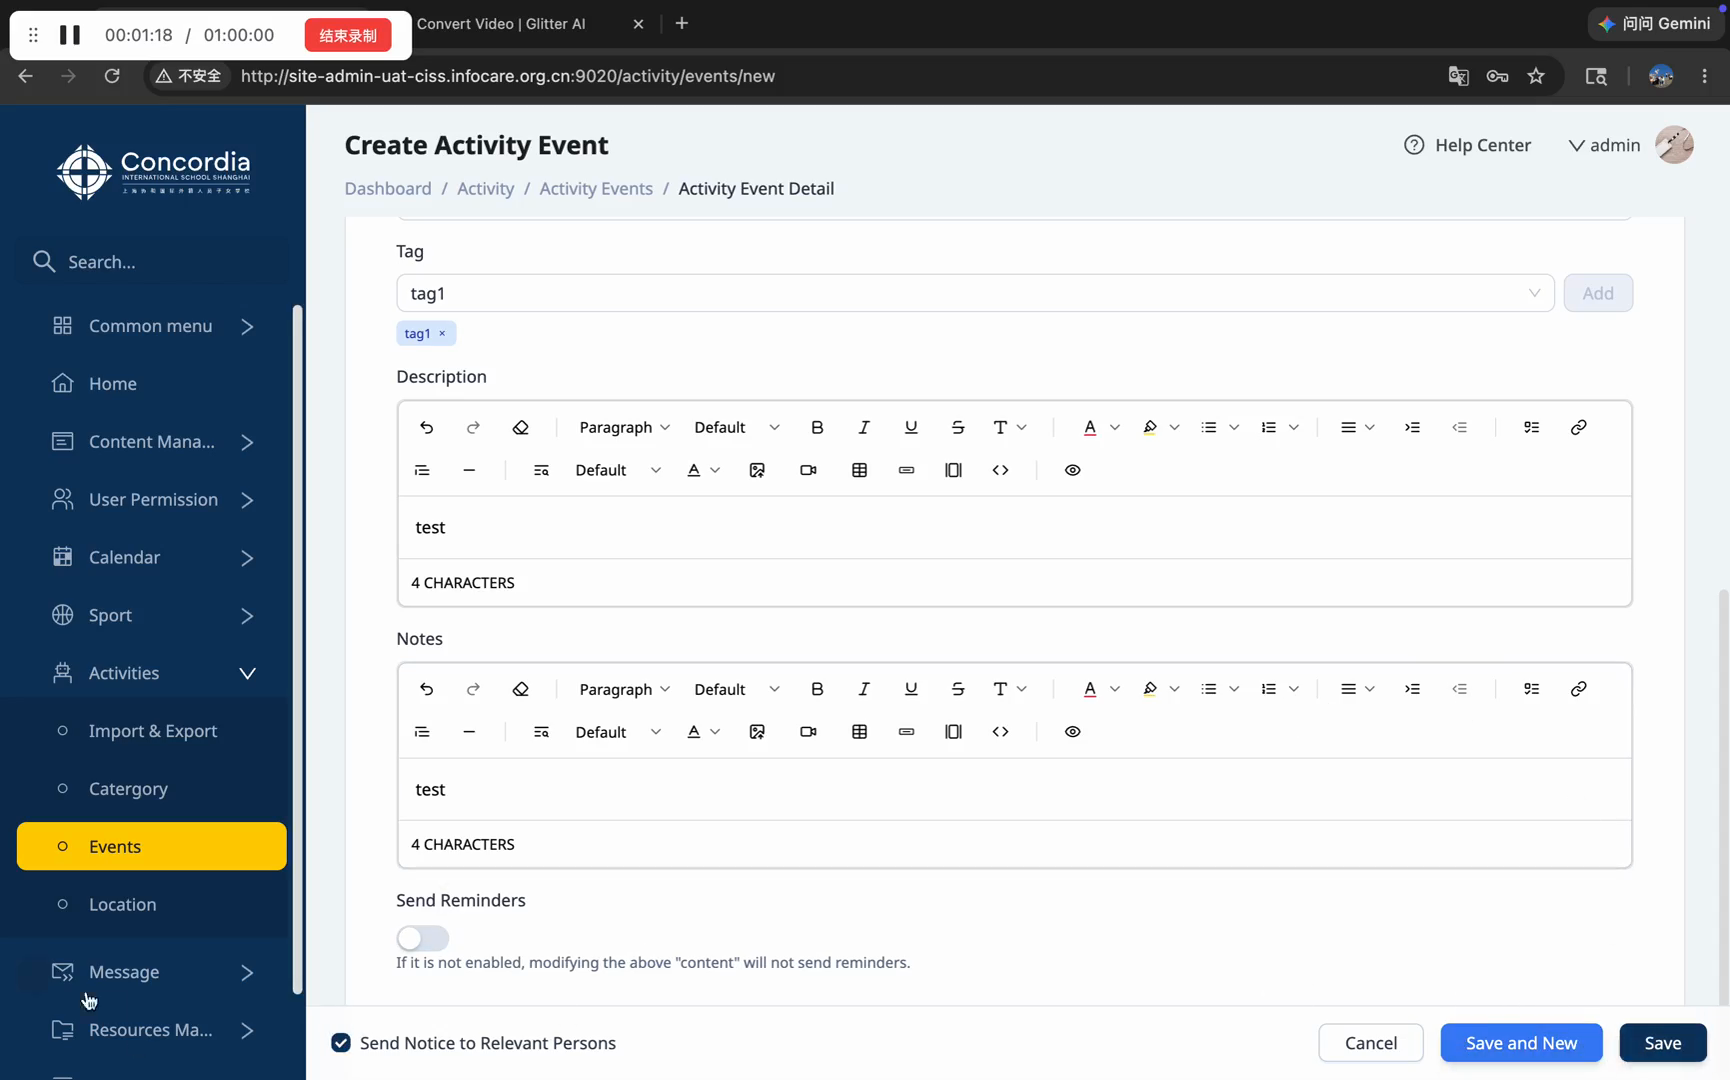
Creating a New Event

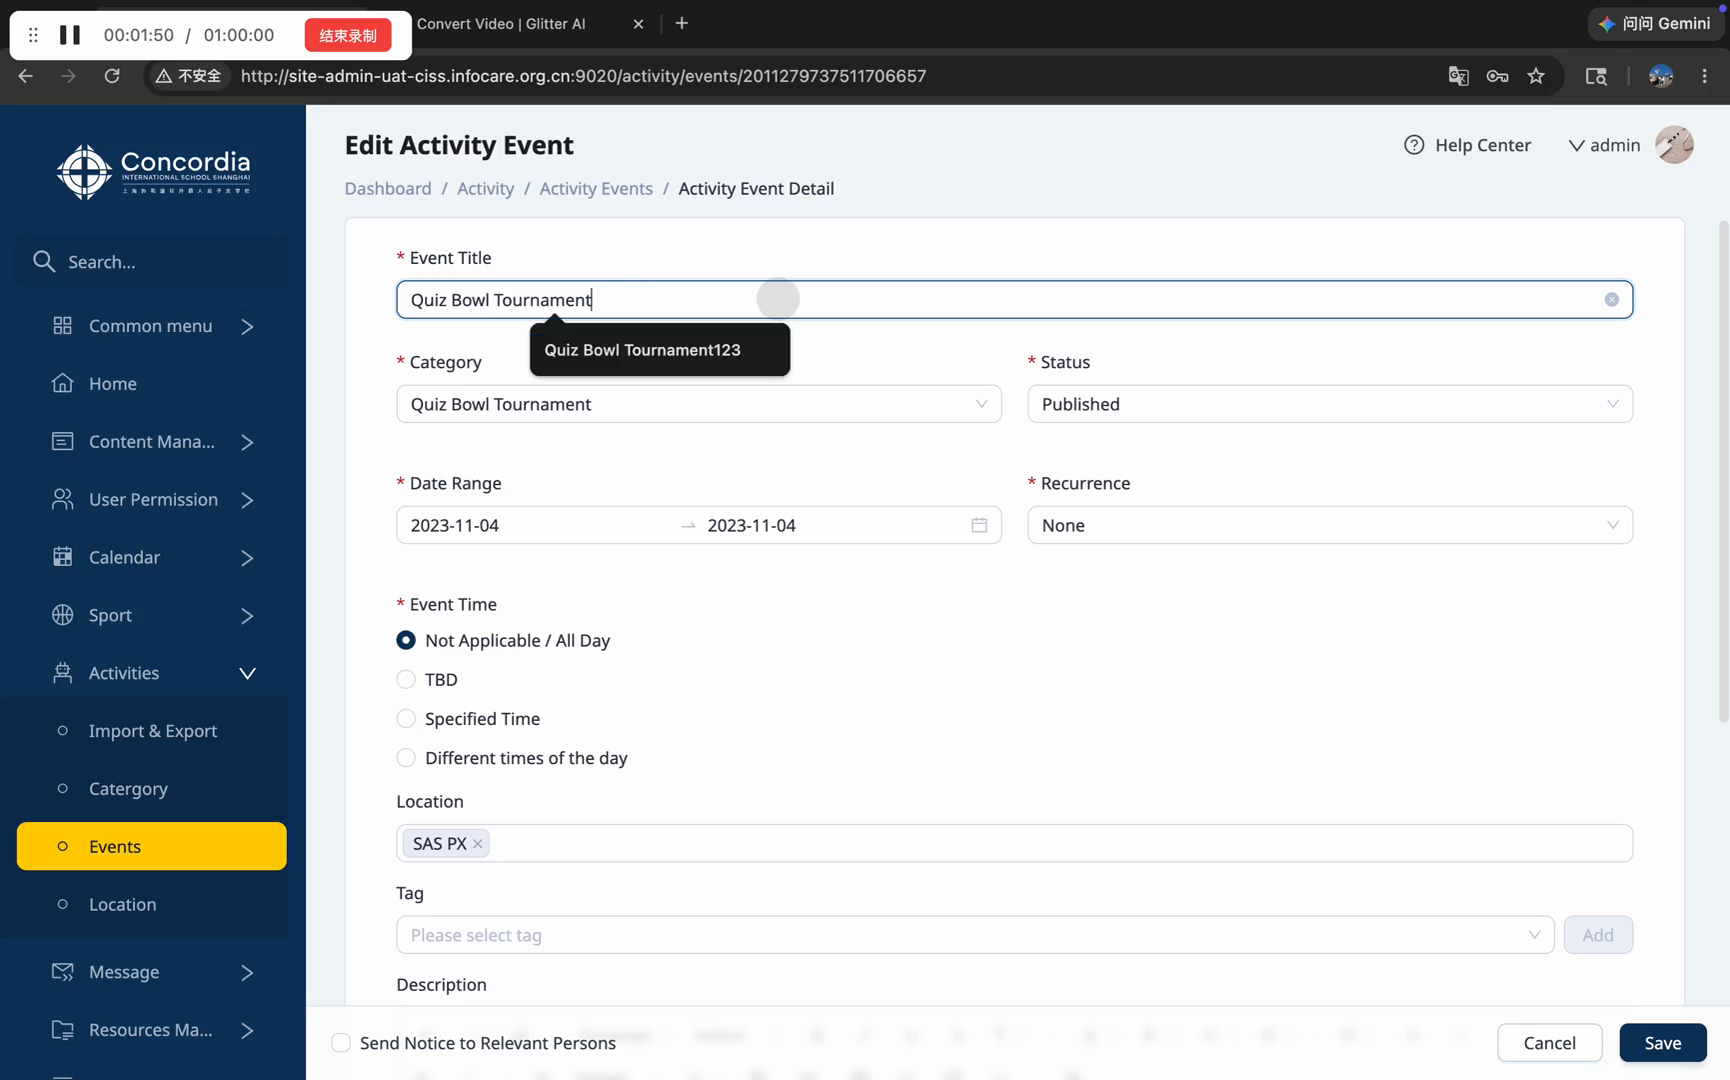
Editing an Existing Event

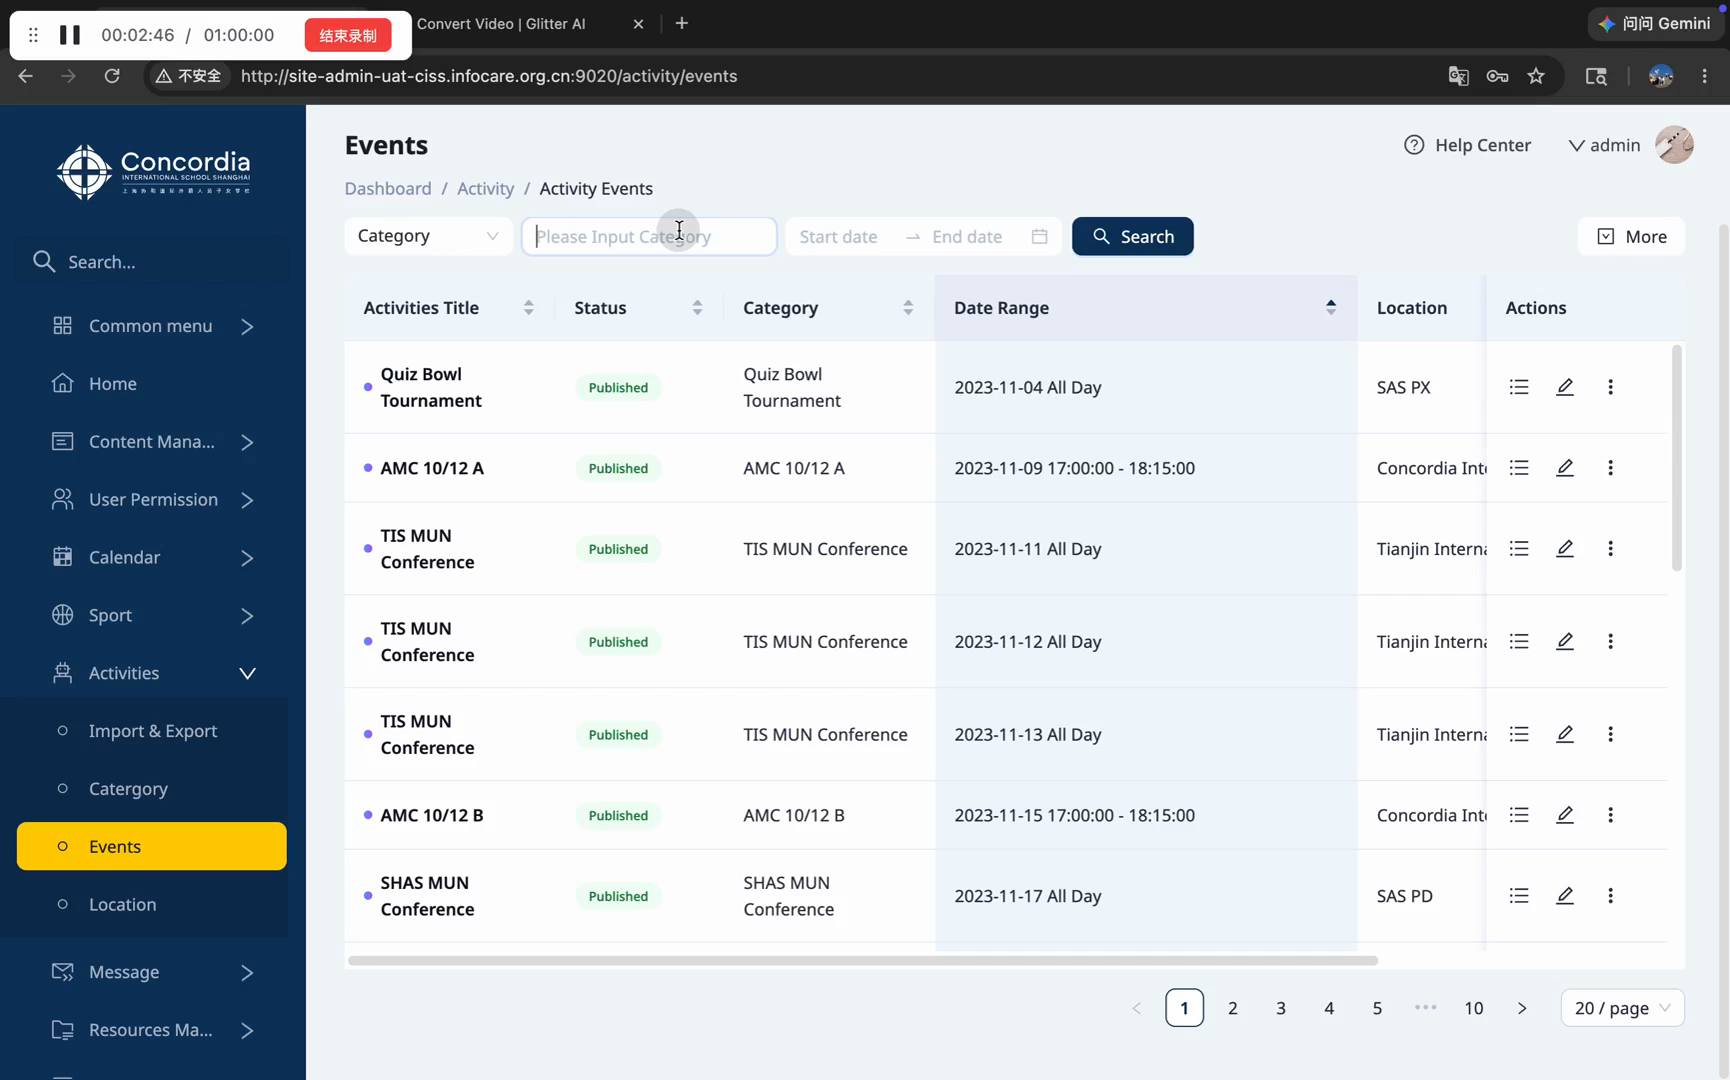
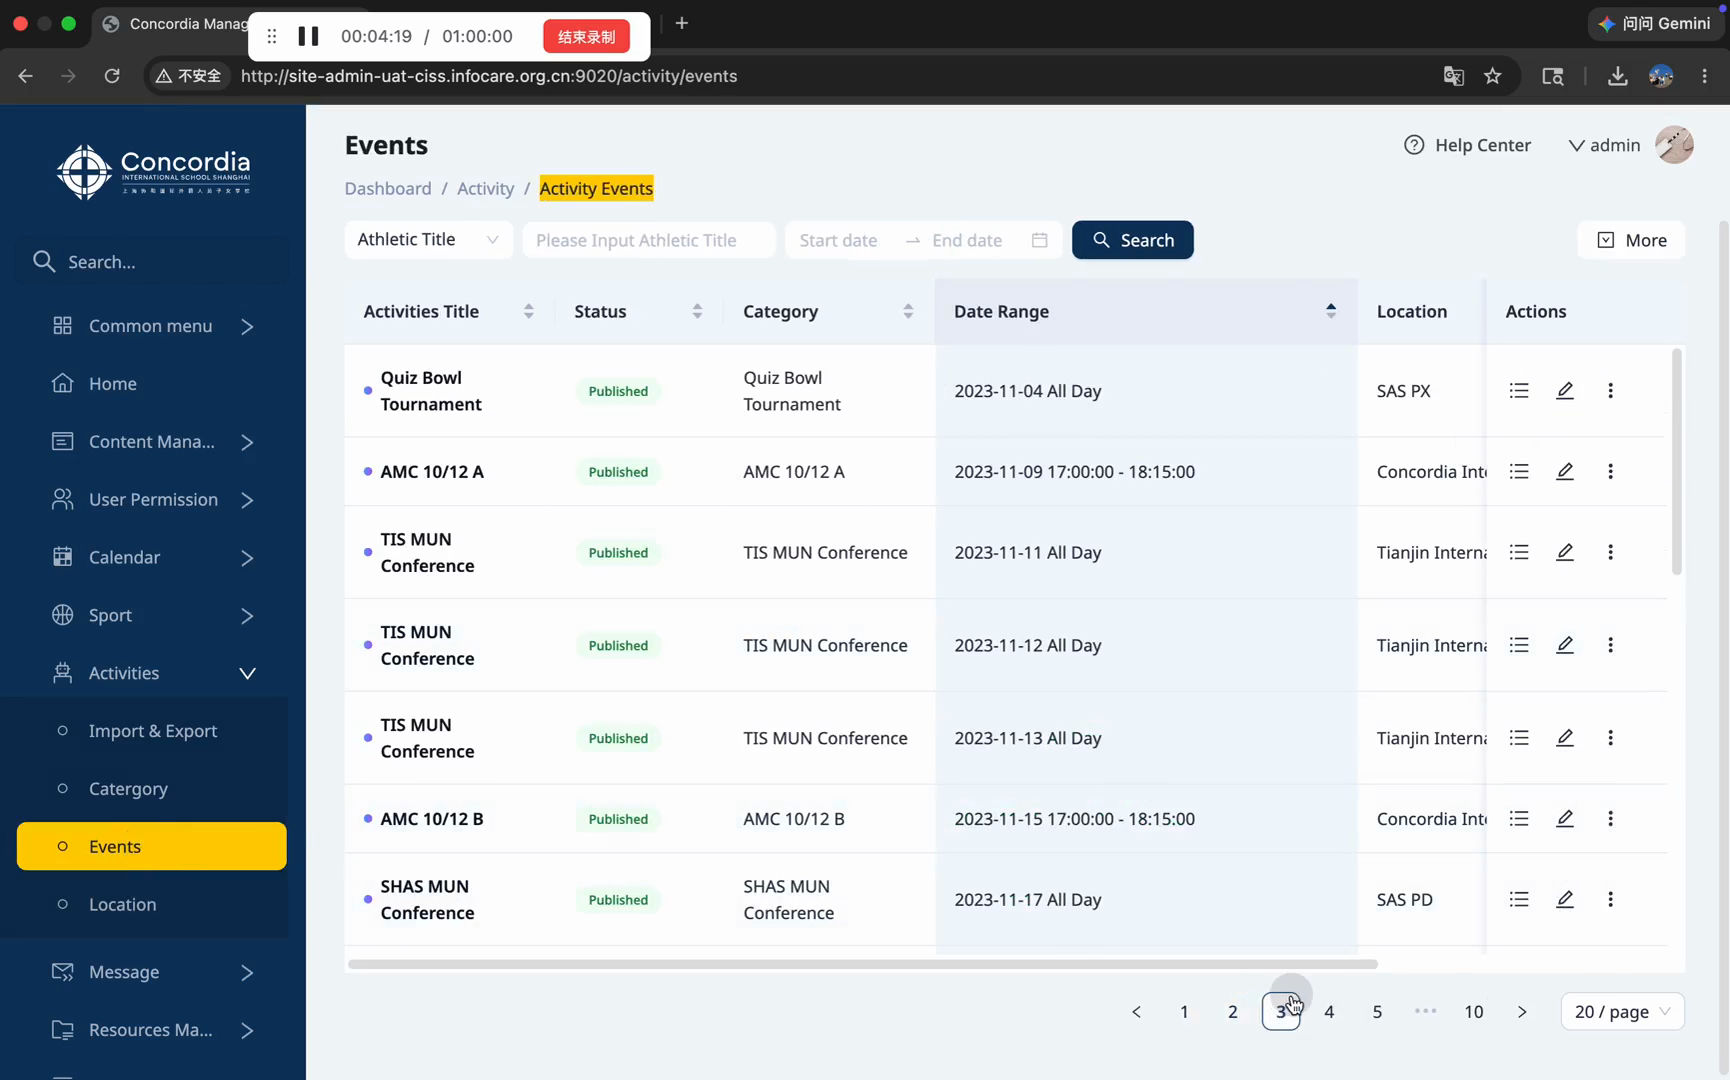
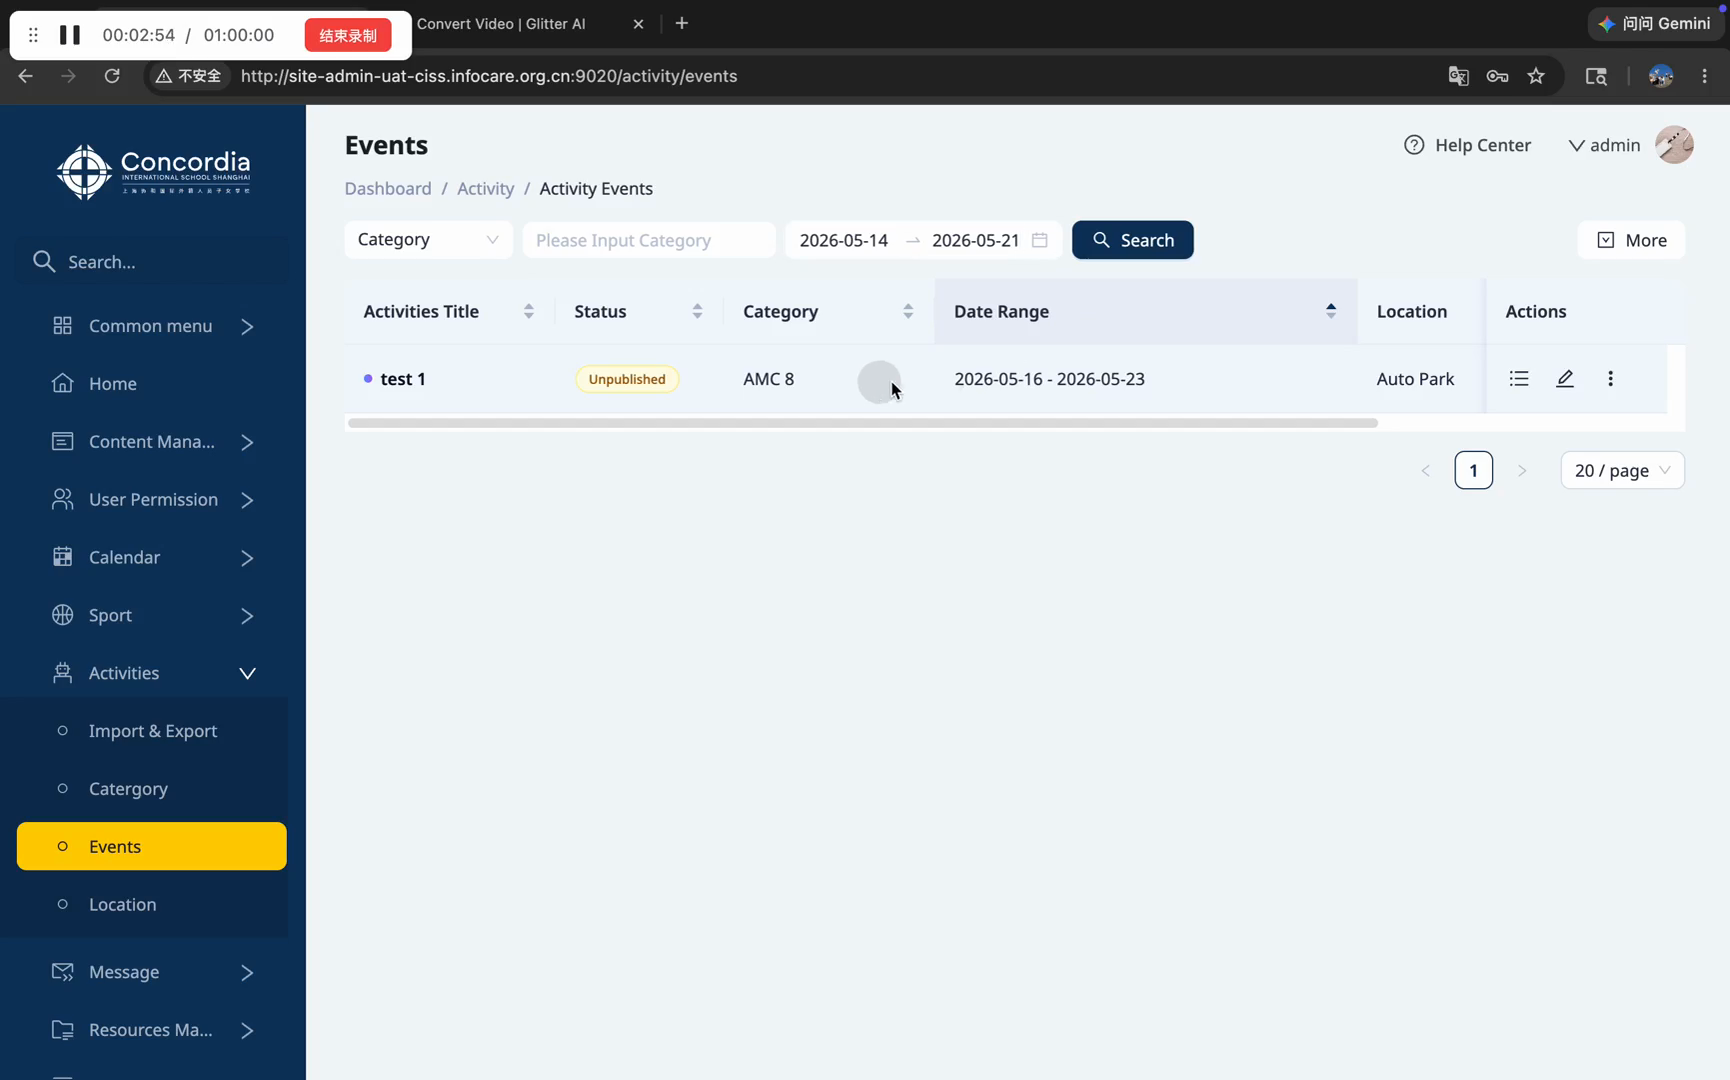
Managing and Locating Events
As your calendar grows, you can use several methods to locate and manage specific events.
Method | When to use | How it works | Where to find it |
|---|---|---|---|
Date Filtering | Finding events within a specific timeframe. | Narrows the list to a selected start and end date. | Top filter bar above the table. |
Sorting | Grouping similar events together. | Organizes the table alphabetically by column. | Clickable column headers (e.g., Category). |
Pagination | Browsing large volumes of events. | Navigates through pages of results. | Numbered links at the bottom center. |

Exporting the Event List
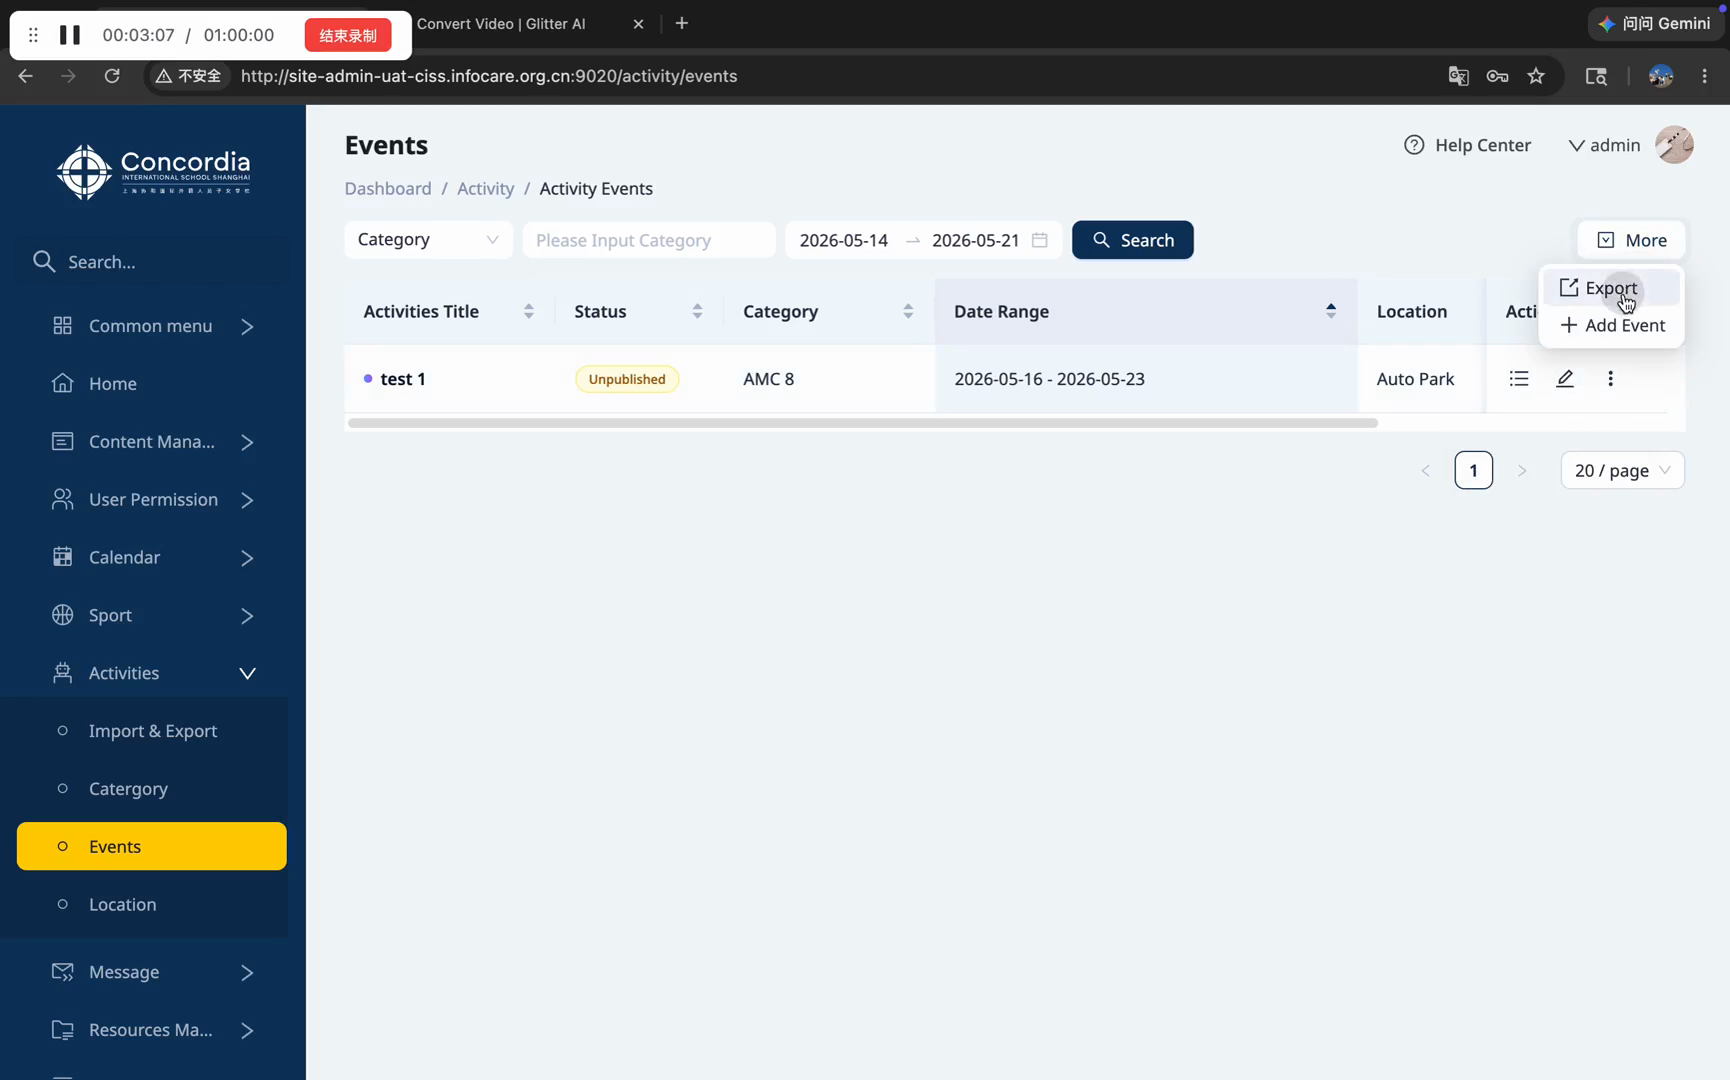
activity-events.xlsx file from your browser's download manager.
FAQ
Q: What should I do if an event's exact schedule isn't finalized yet?
A: You can select the "TBD" radio button under the Event Time section. This acts as a placeholder until the final times are confirmed.
Q: What format does the event export use?
A: The system exports your event list as an .xlsx (Excel) spreadsheet, which can be opened in Microsoft Excel, Google Sheets, or Apple Numbers.