Learn how to categorize media assets, upload project documents, add construction updates, and configure an interactive map for your real estate development.
By Dmitrii B.
This guide covers how to enrich your real estate development project profile. You will learn to categorize gallery media, upload 3D virtual tours and permissioned documents, post construction updates, and build a localized interactive map.
1. Manage Media and Asset Categories
To keep your project's gallery organized, group your images using custom categories like Exterior, Interior, or Pool.
4
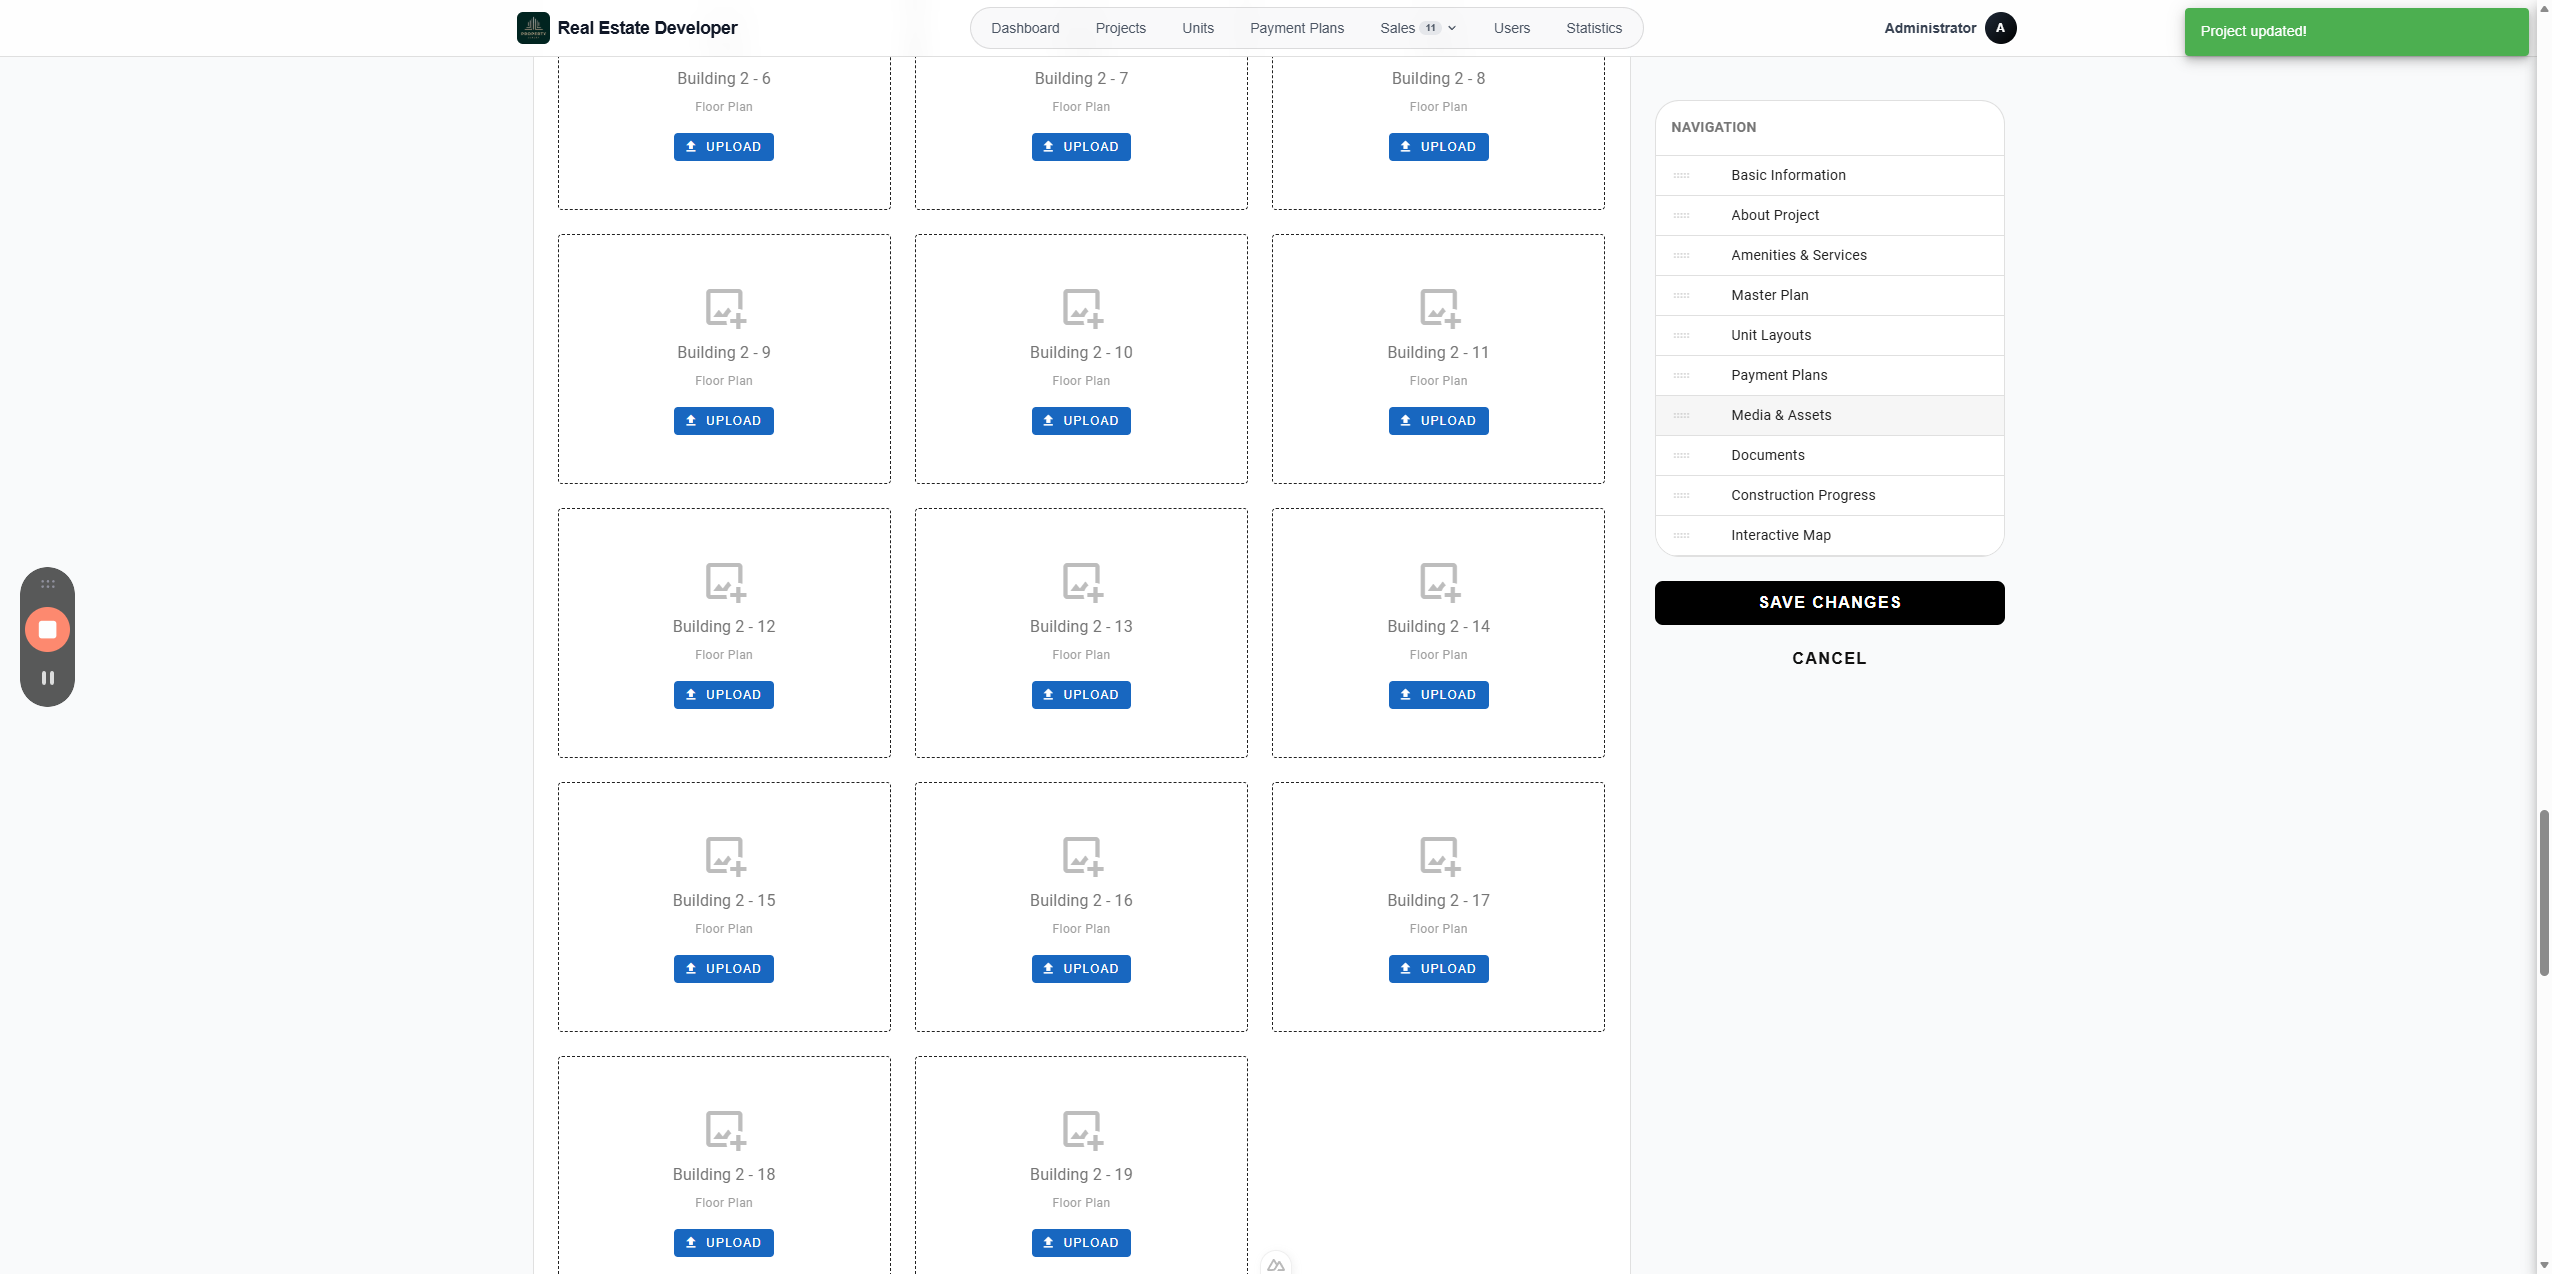
Navigate to your project's edit dashboard.
8
Open the Media & Assets tab from the right-hand sidebar.
10
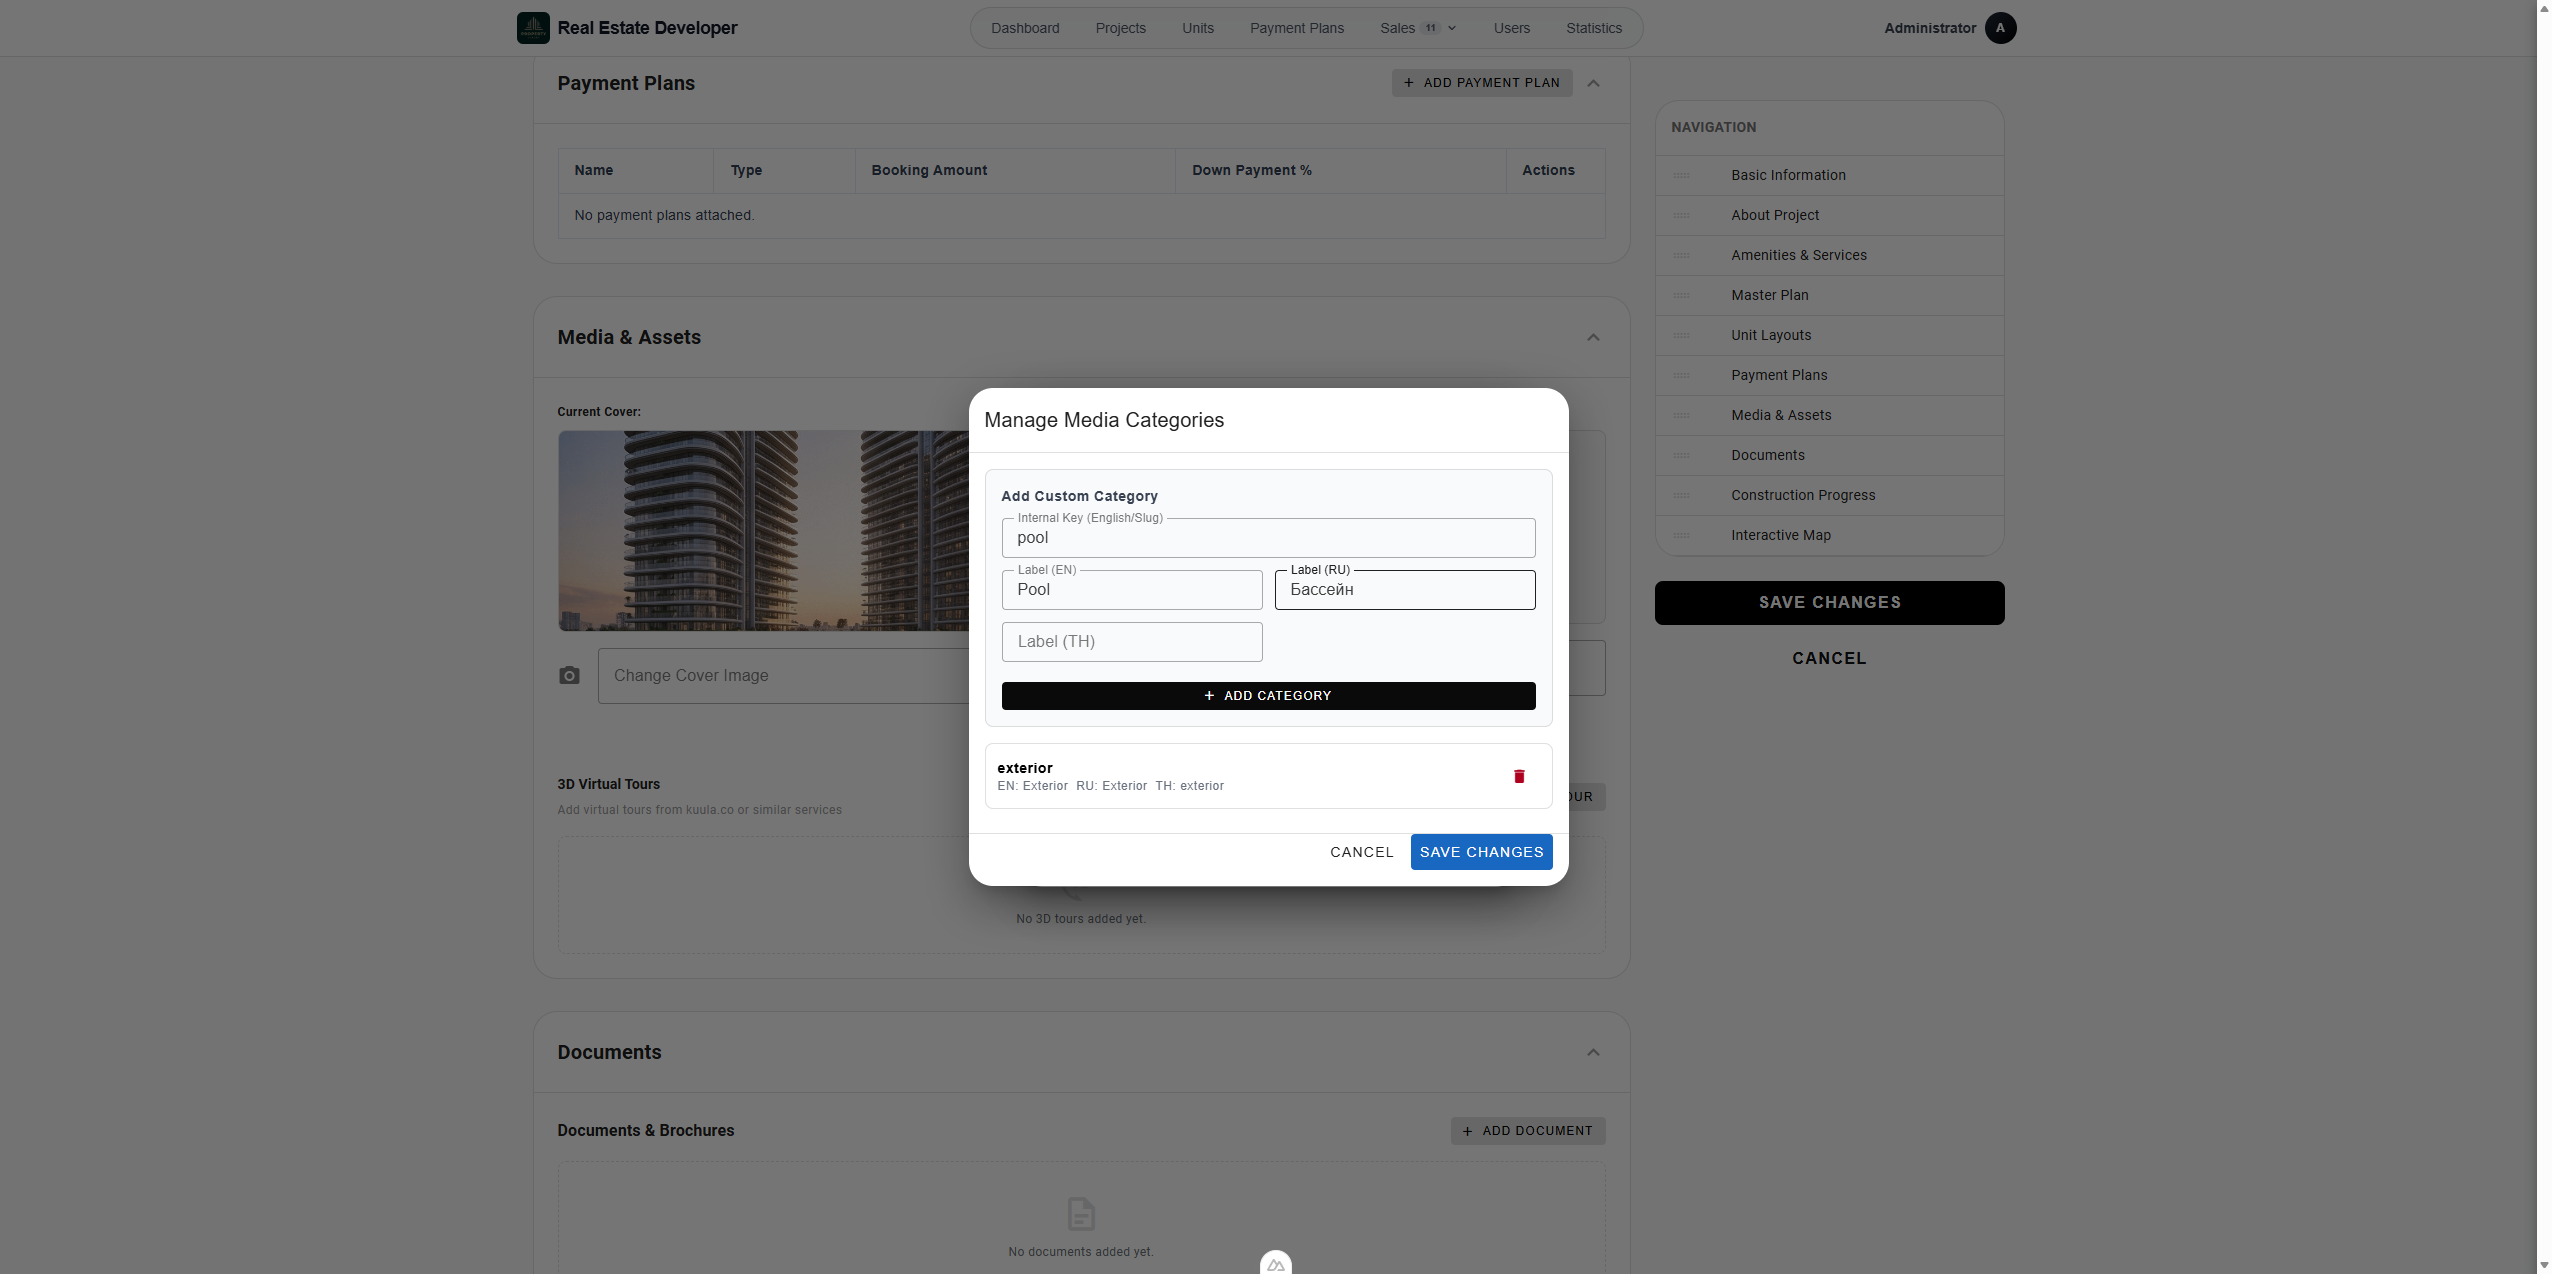
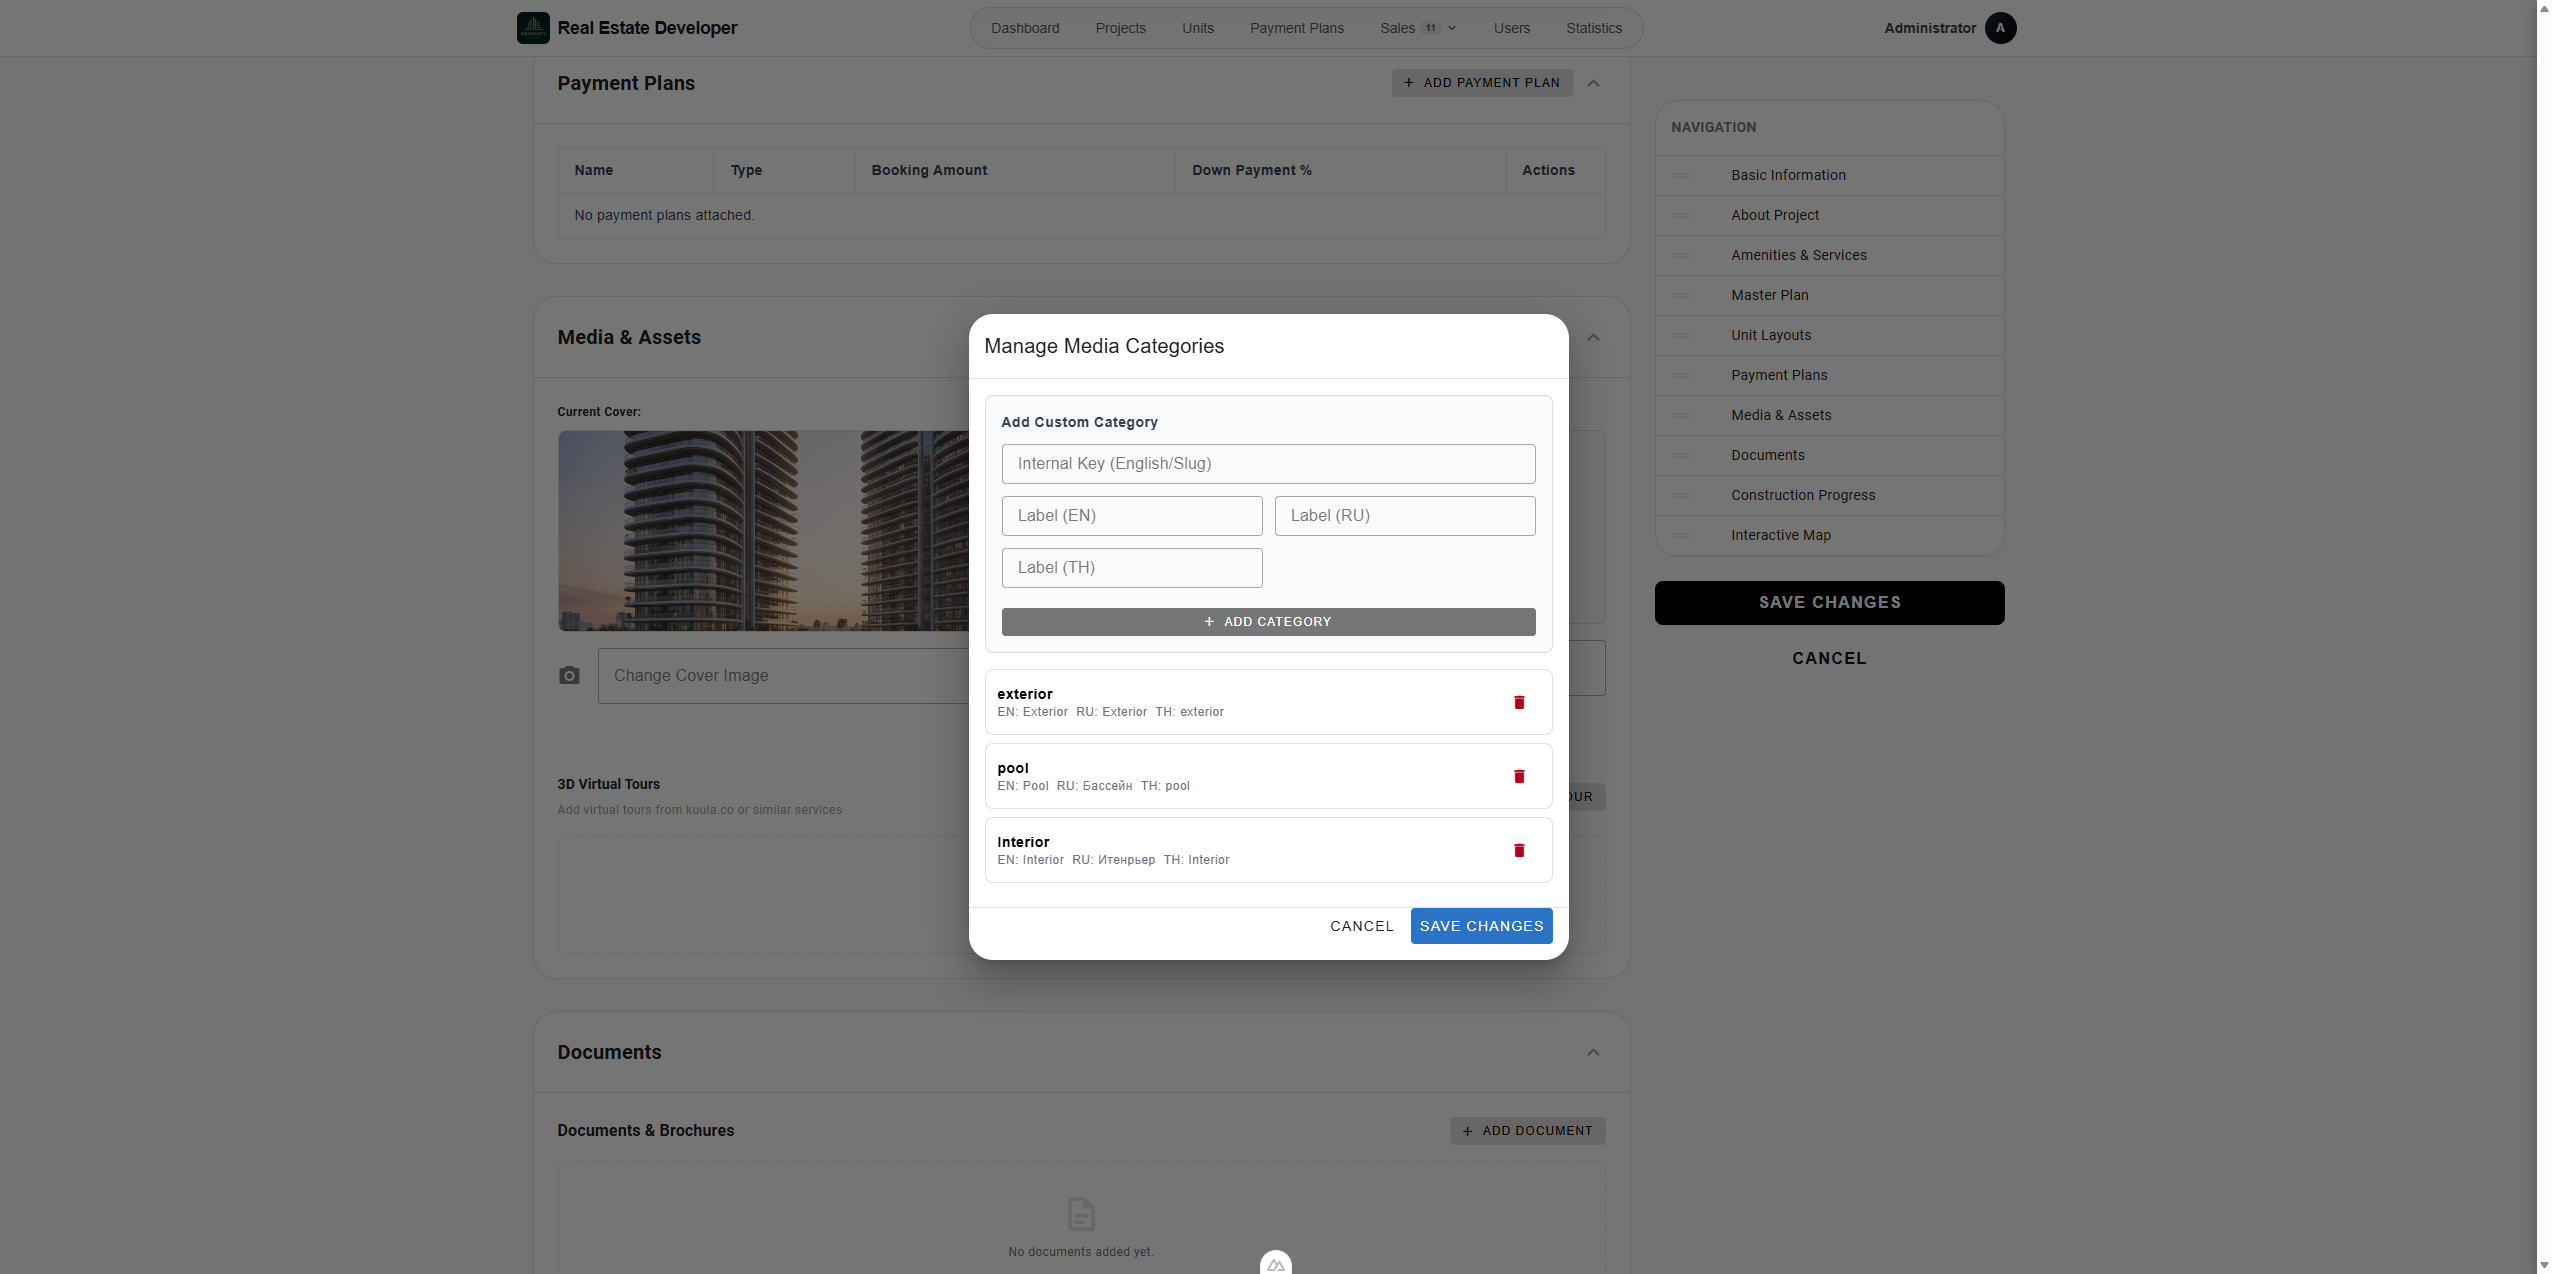
Click Manage Categories to define new tags for your images.
14
Enter an internal key and provide multi-language labels for your new category.
30
Click + Add Category to append it to your list.
42
When finished creating categories, click Save Changes.
43
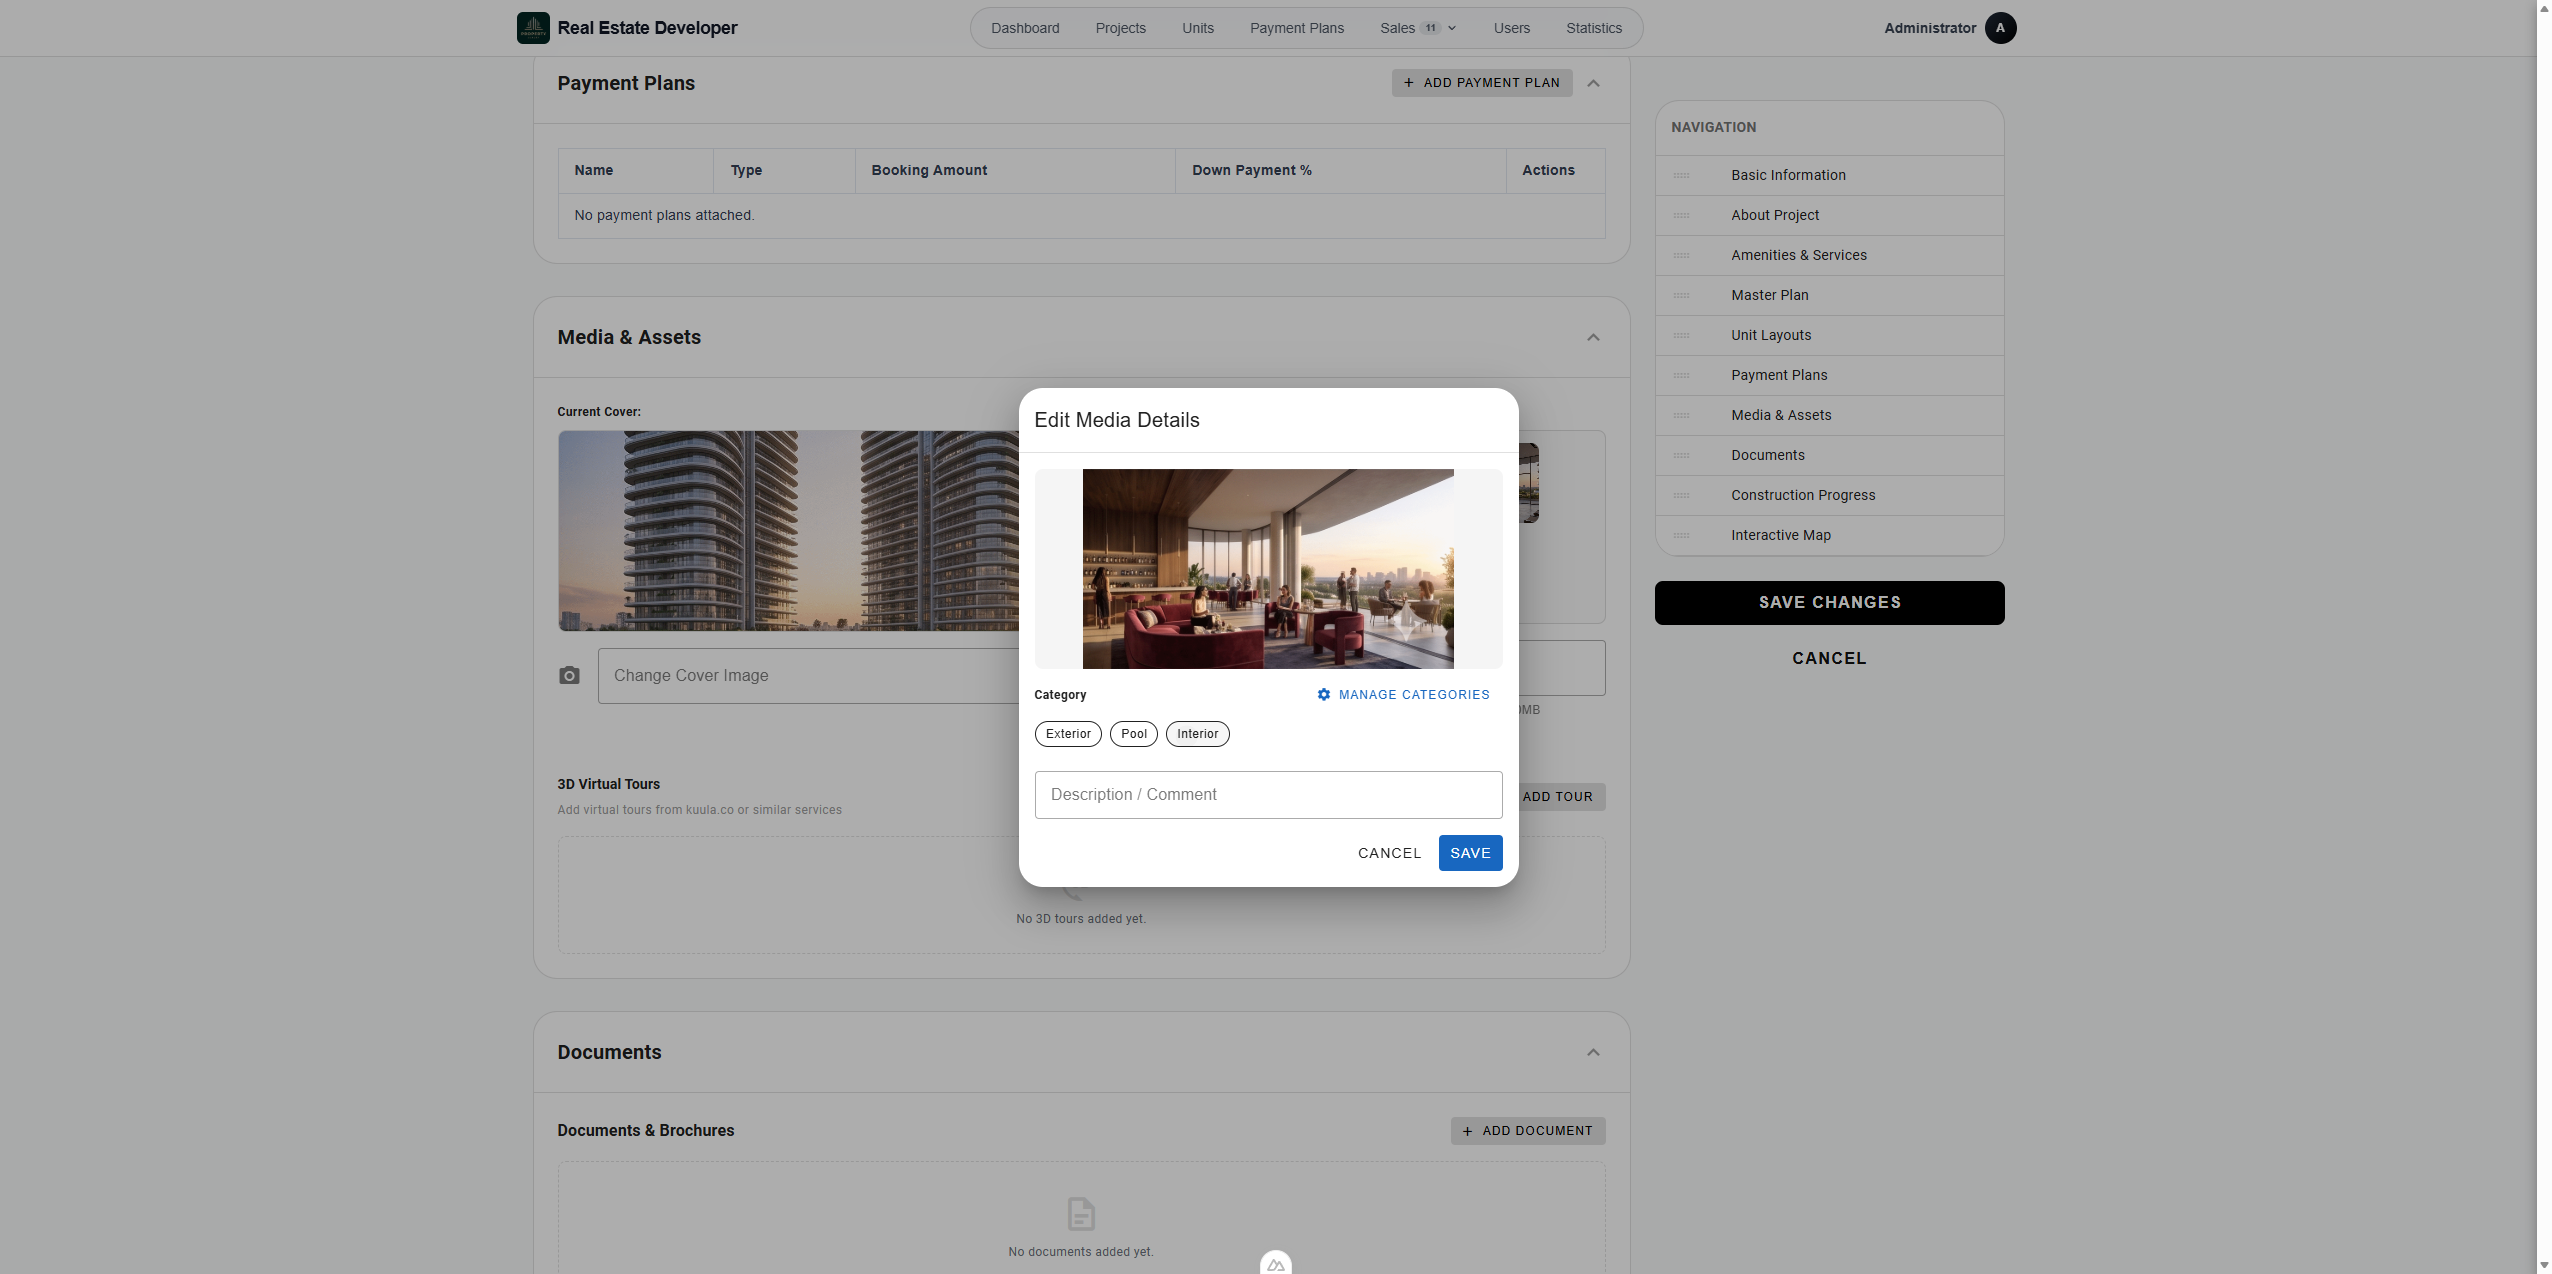
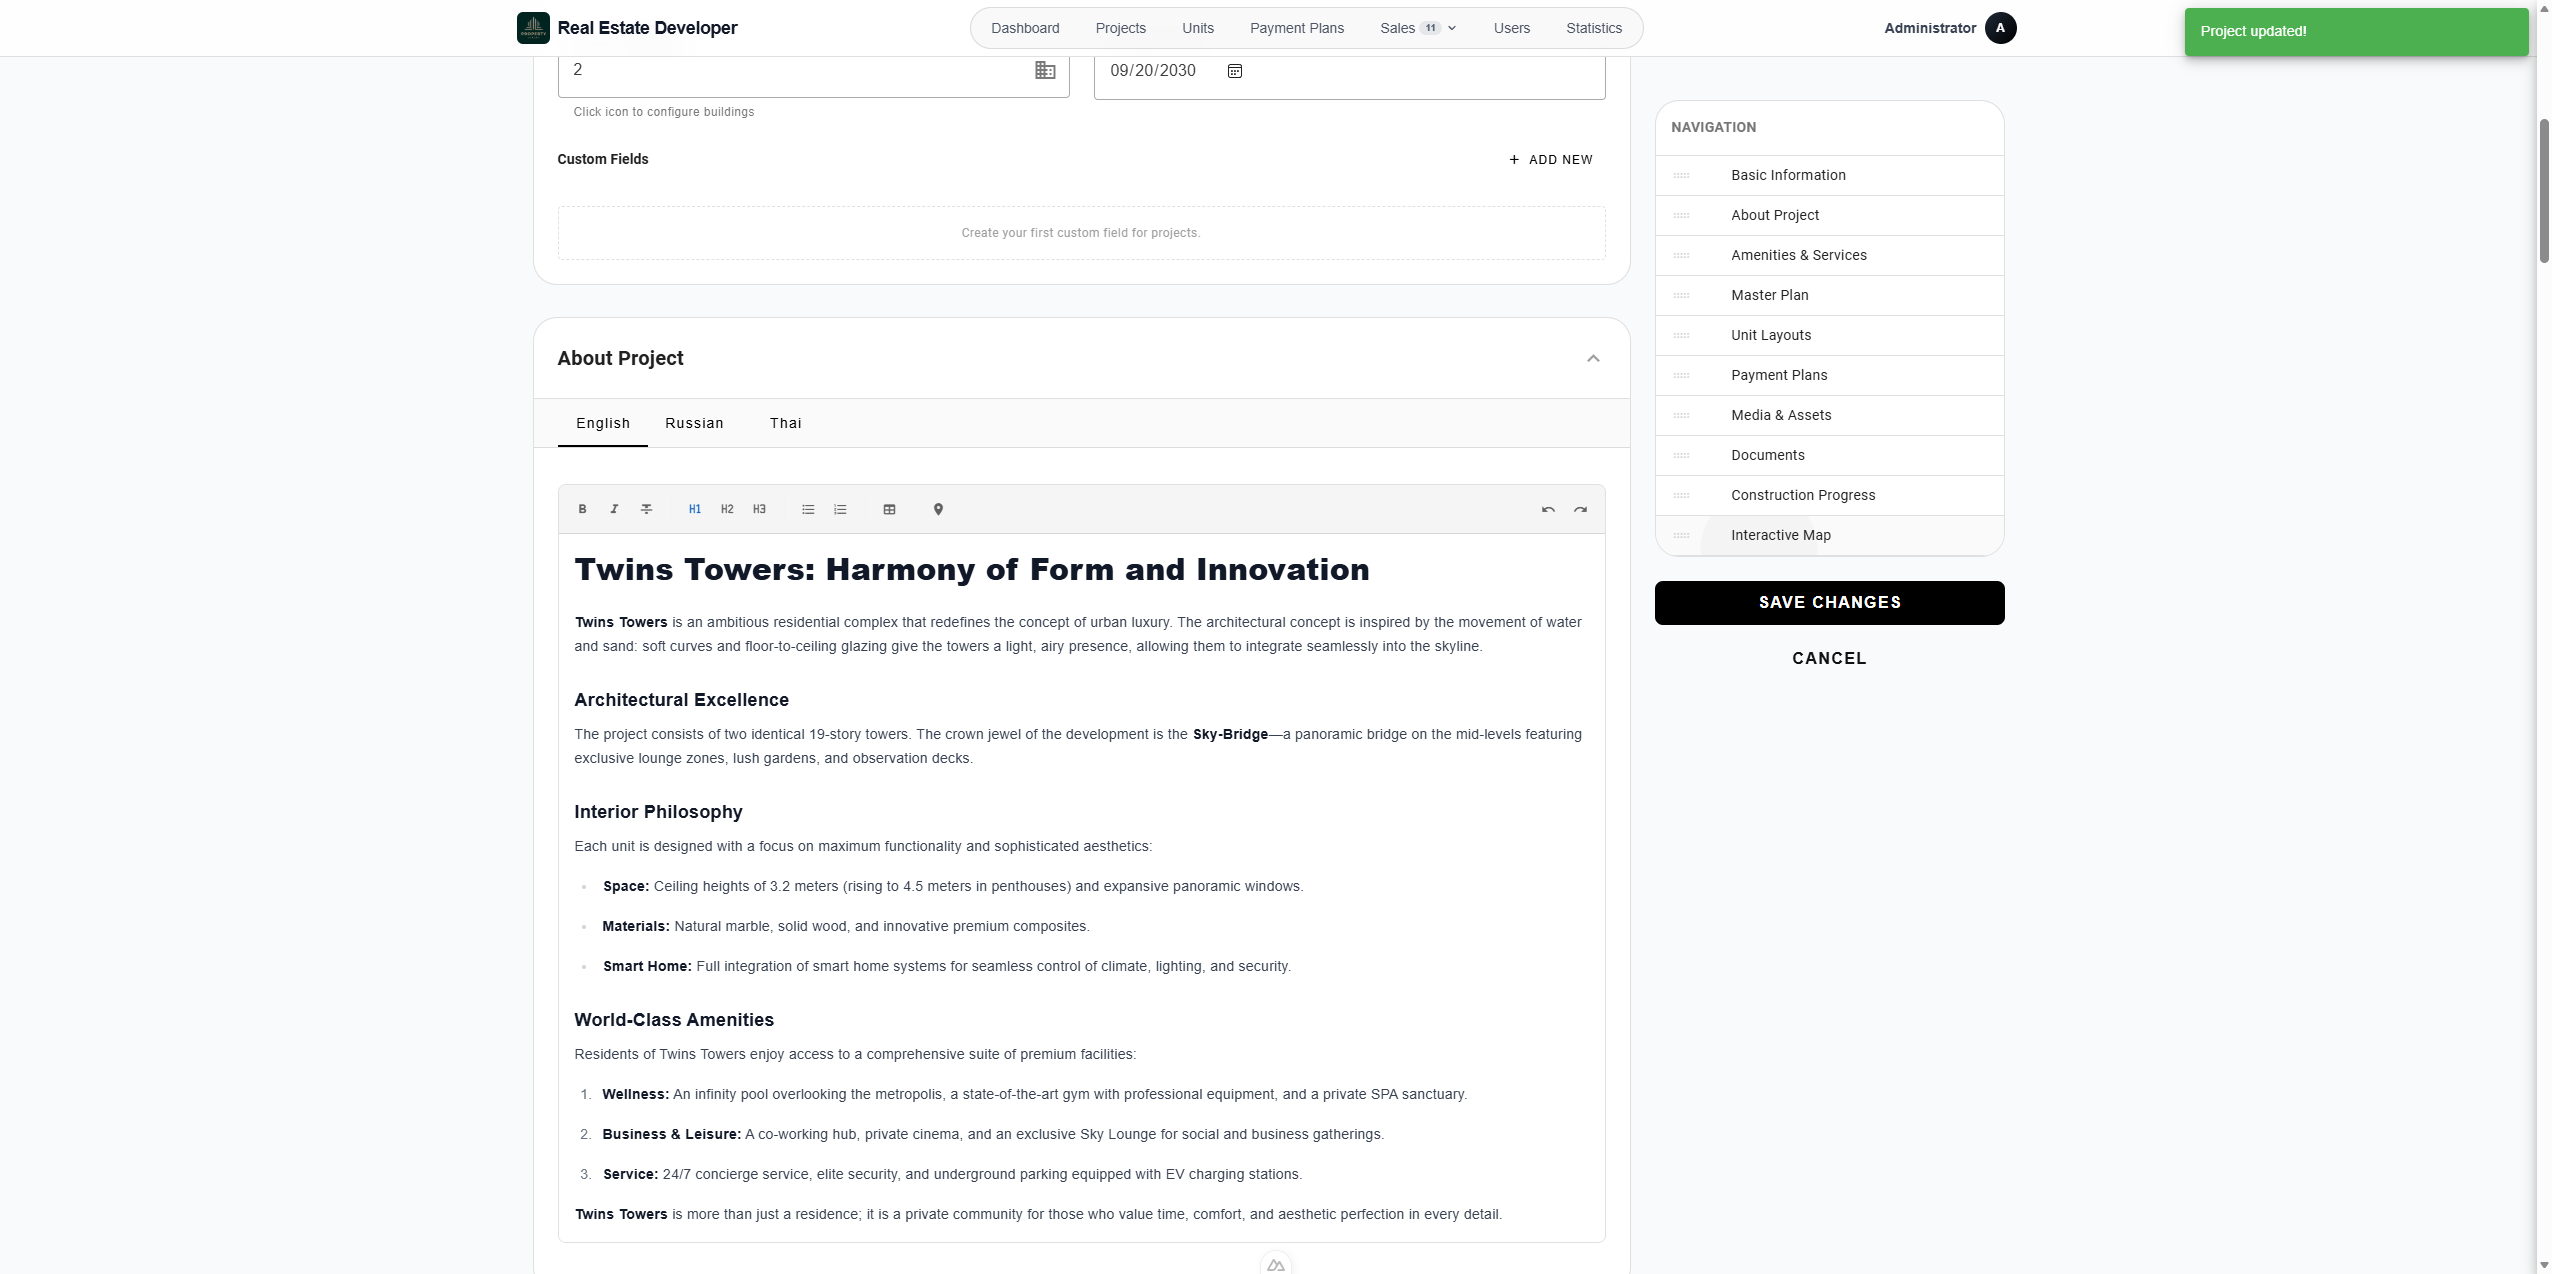
To assign a category, click on a gallery image to open its details, select a radio button (such as Interior), and click Save.
2. Add a 3D Virtual Tour
Embed a 360-degree tour to give prospects an immersive walkthrough of the property.
65
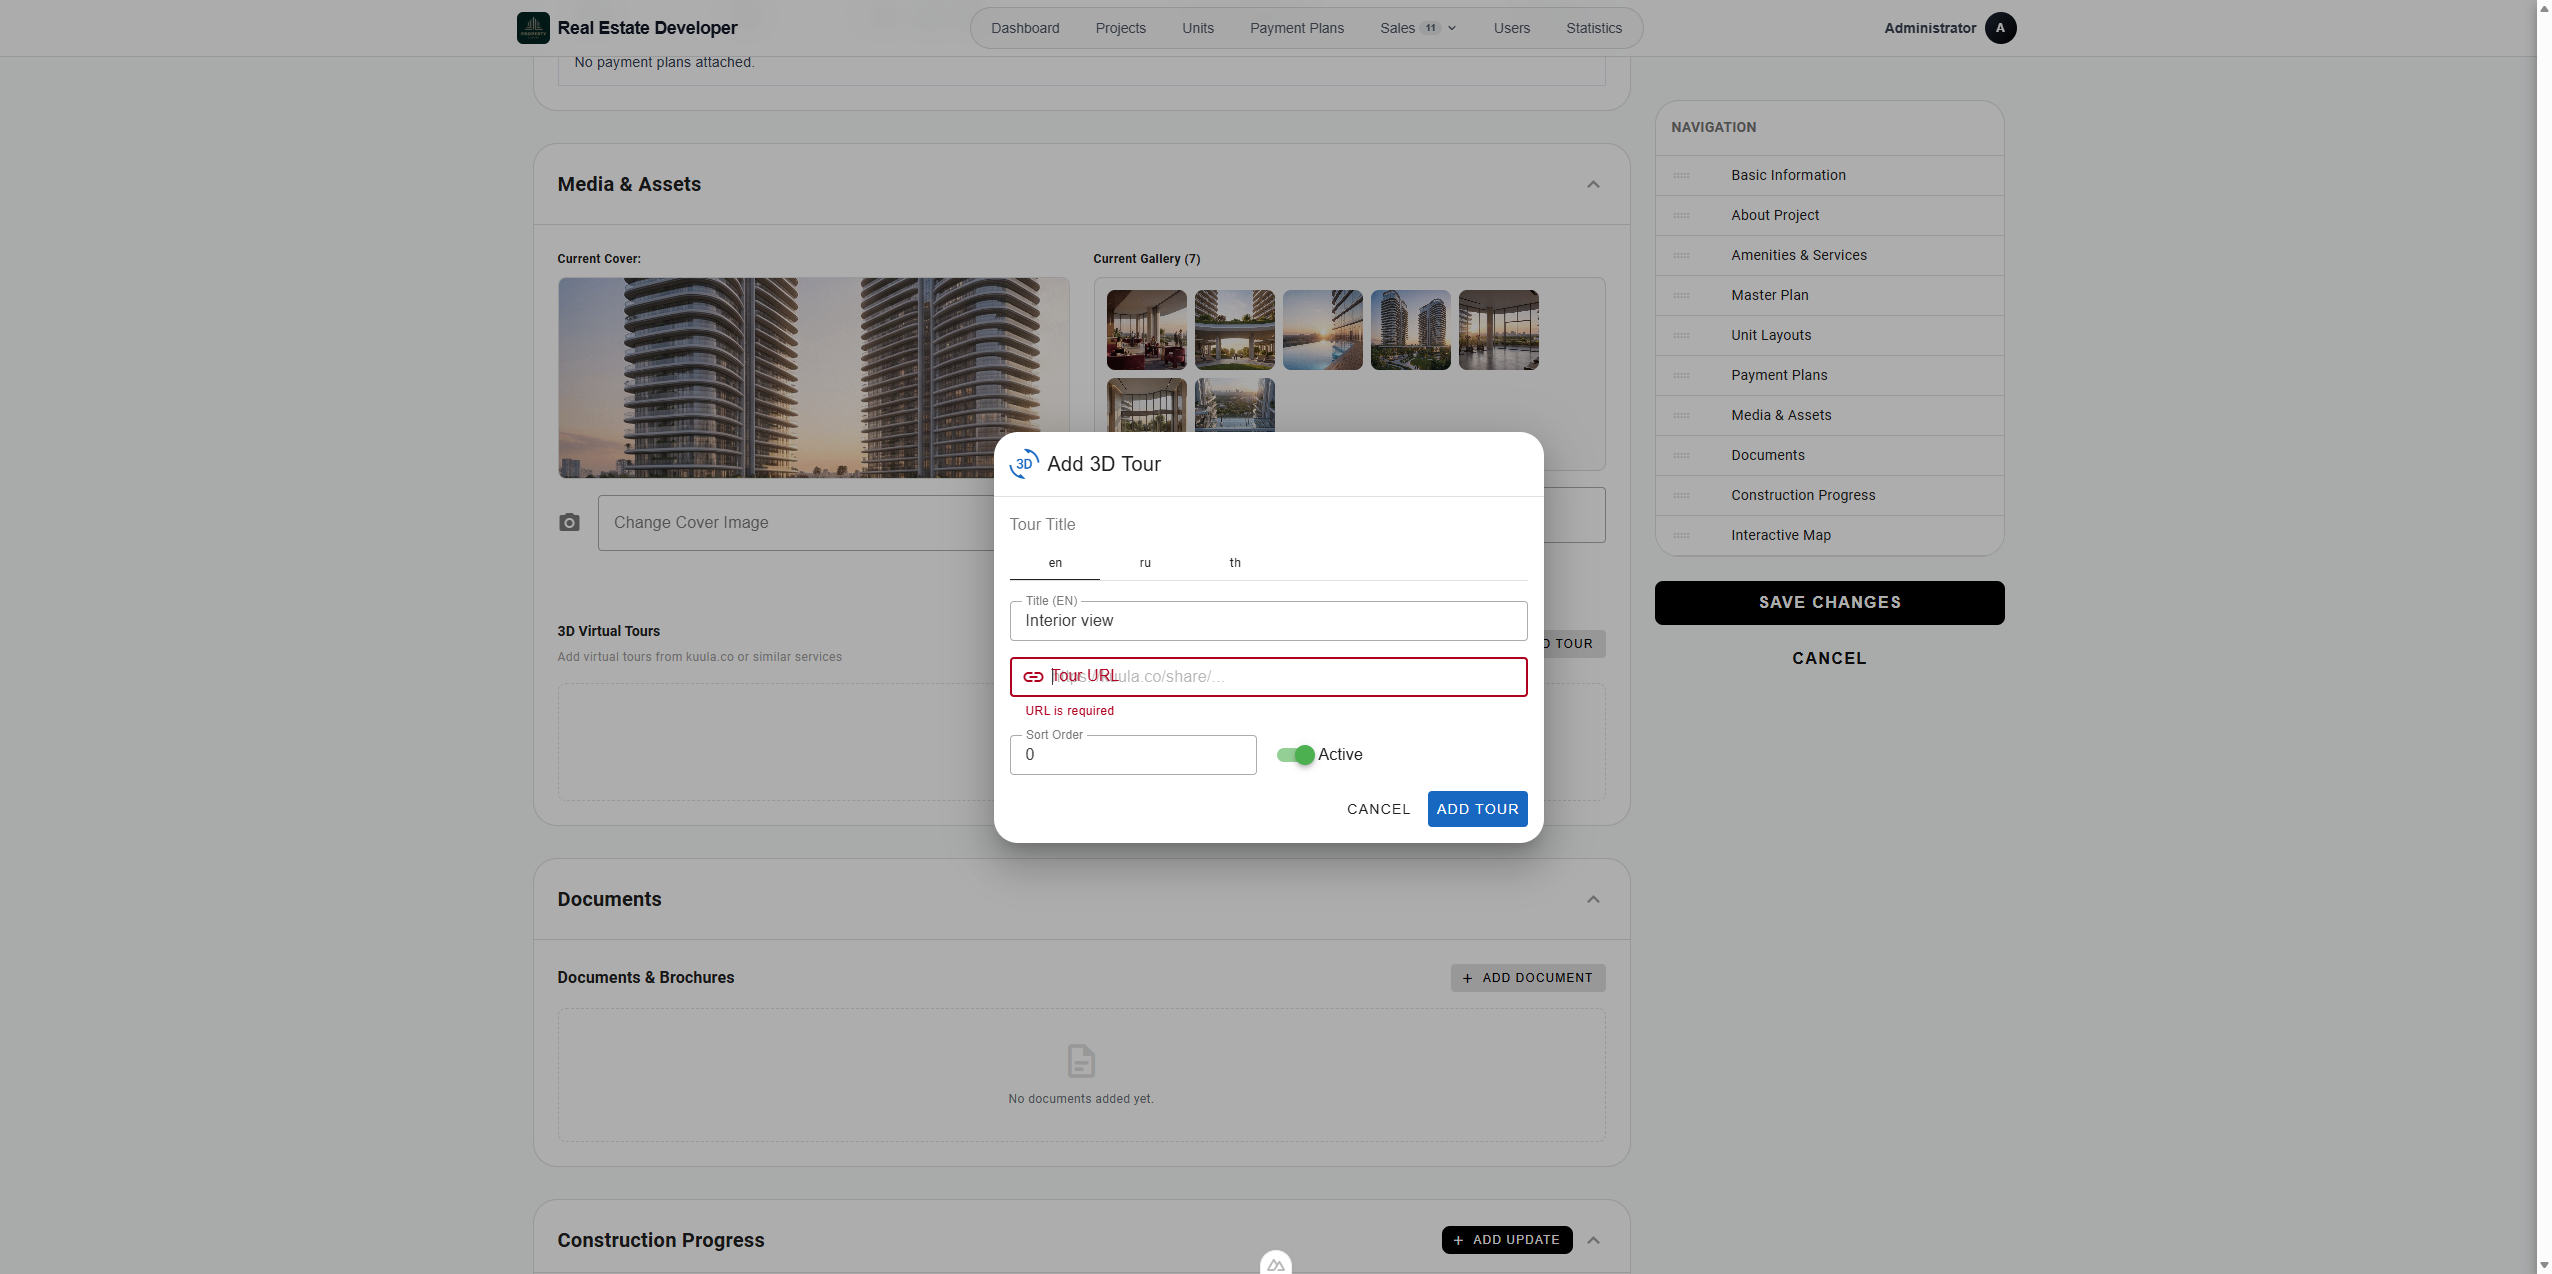
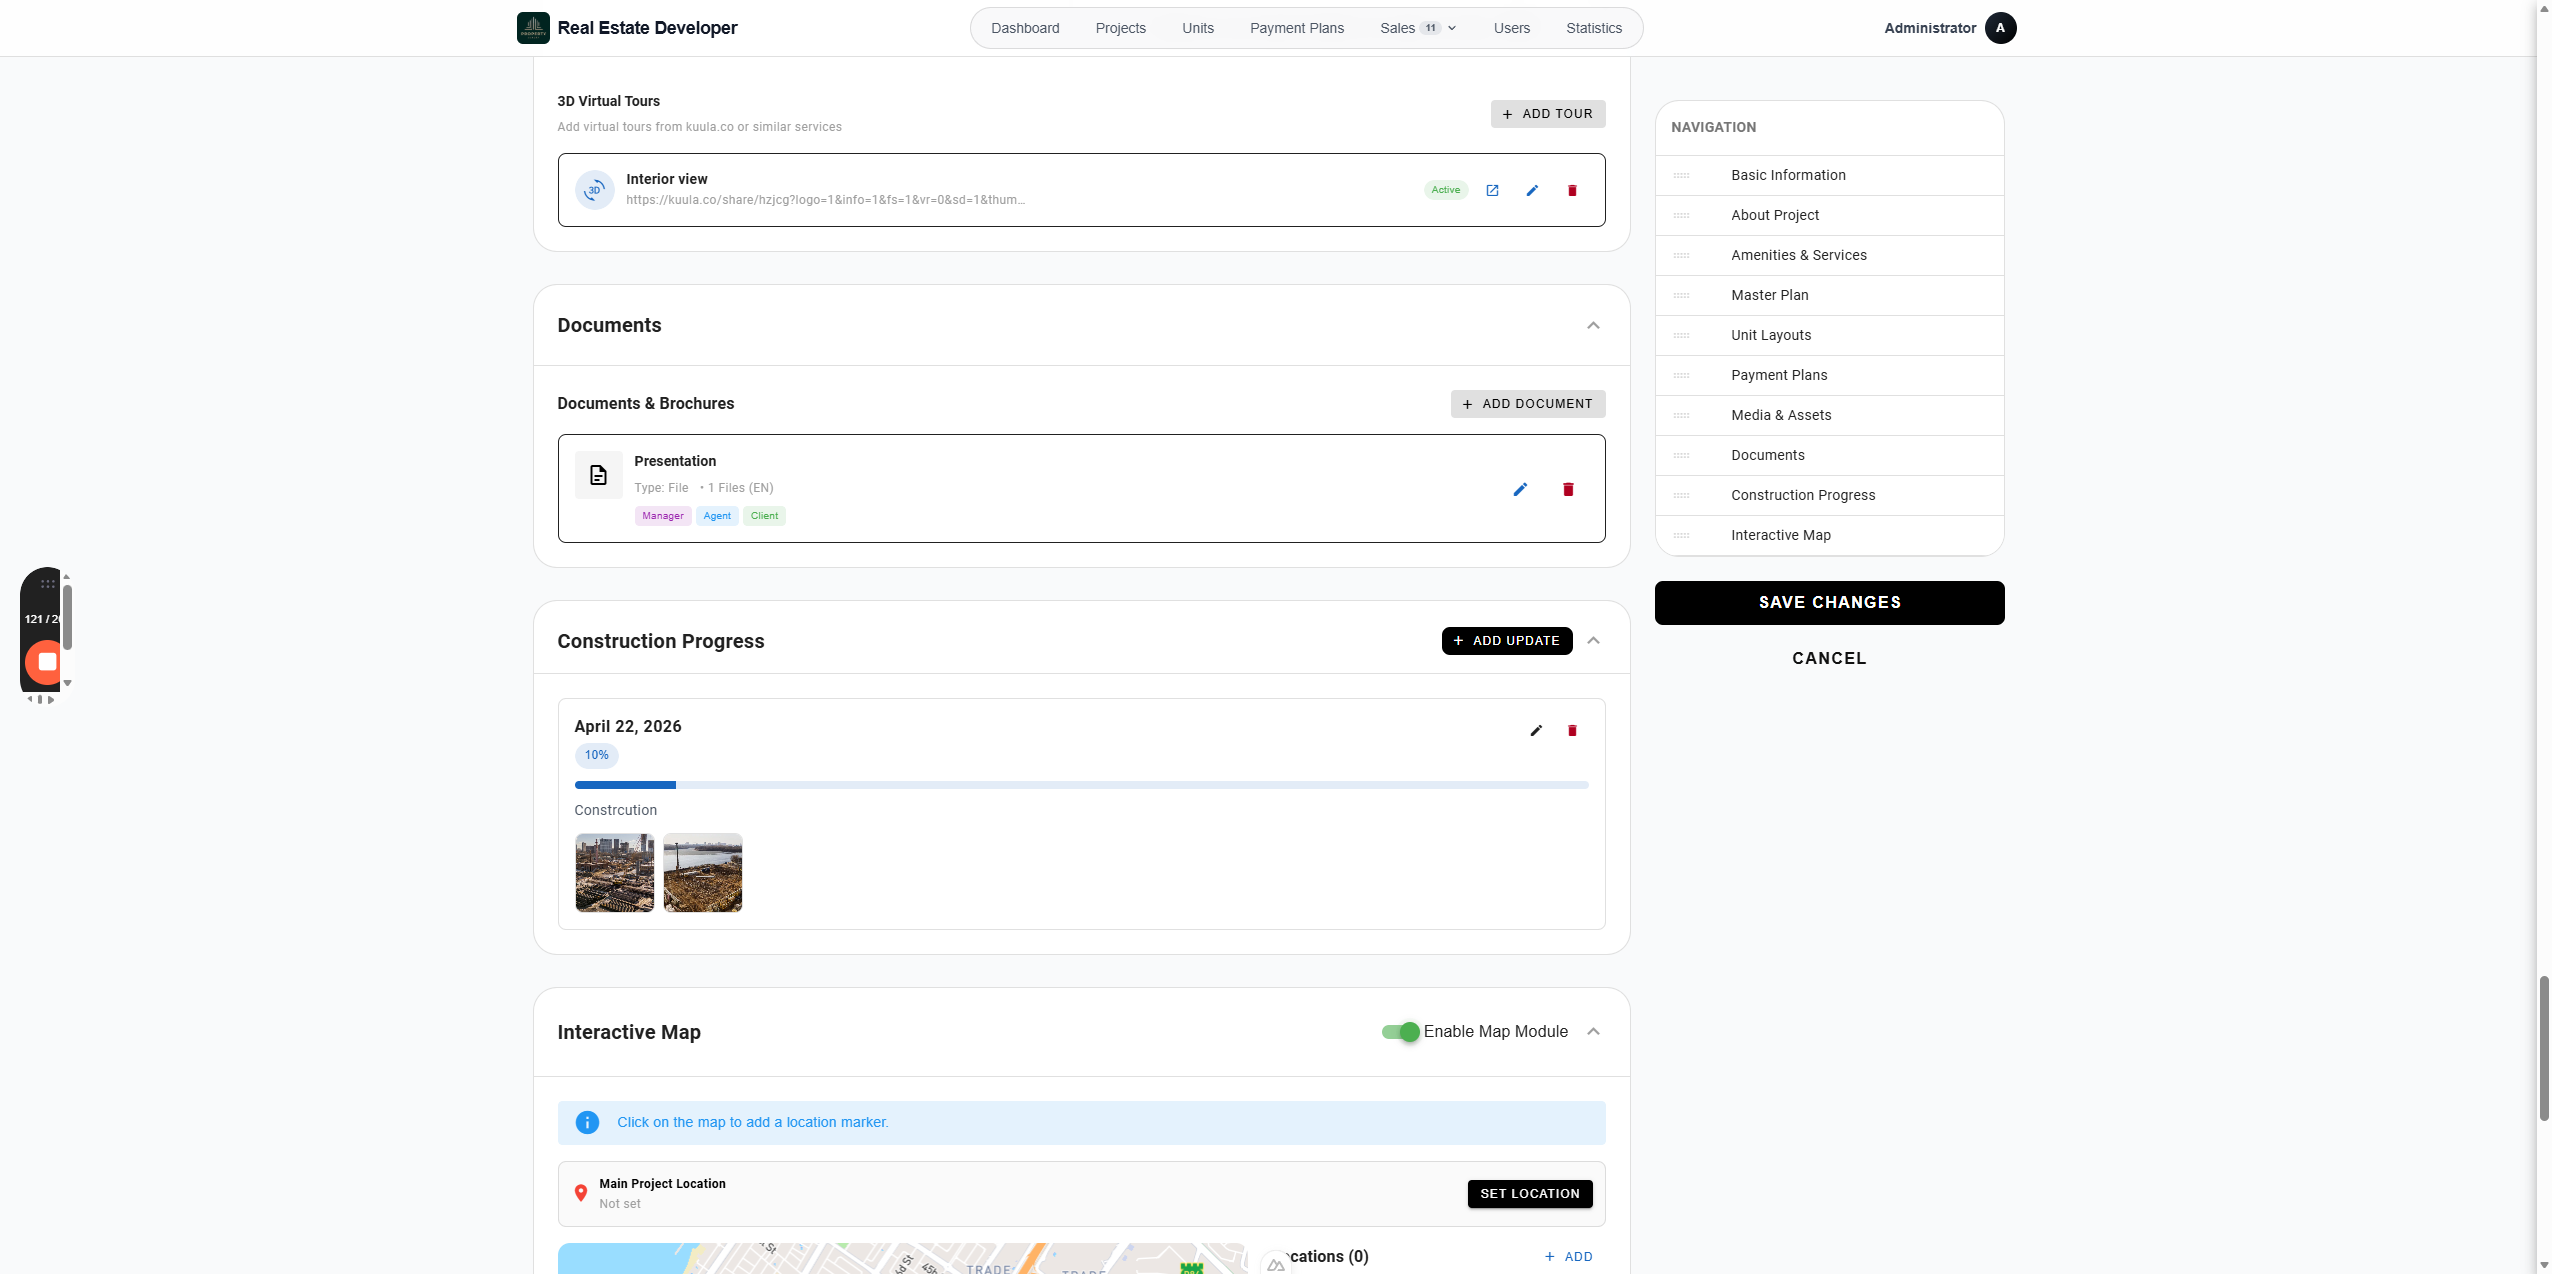
Scroll down to the 3D Virtual Tours section and click + Add Tour.
72
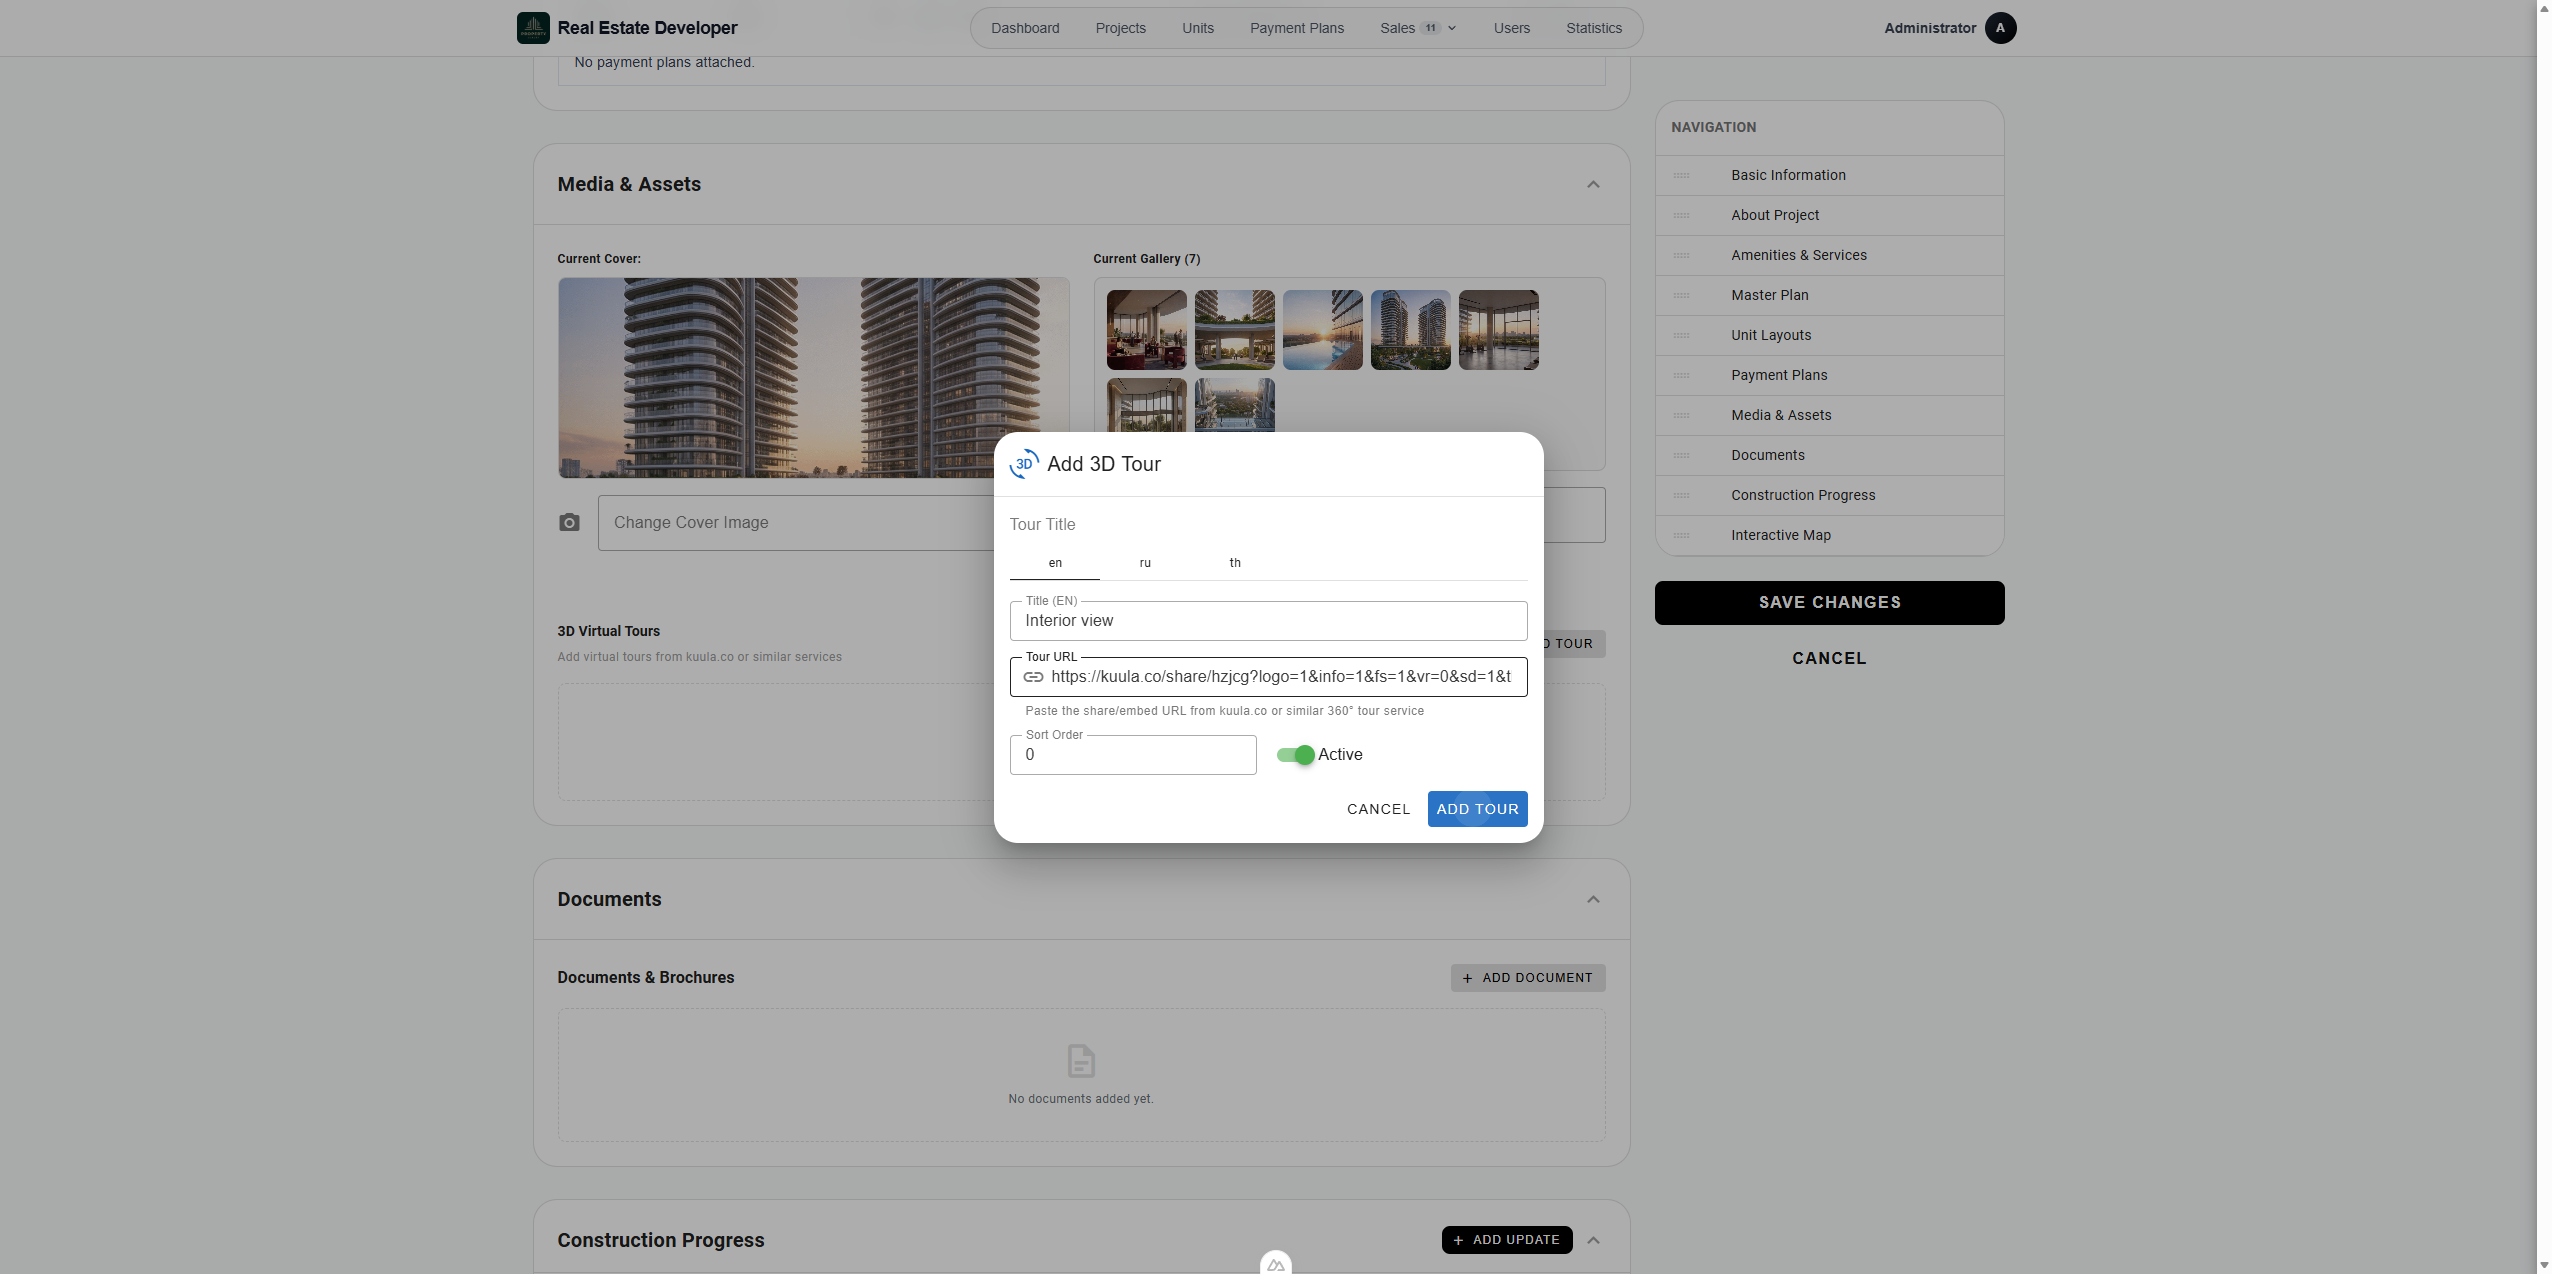
Provide a title for the tour, such as "Interior view".
80
Paste the external link (e.g., a Kuula or Matterport link) into the Tour URL field.
82
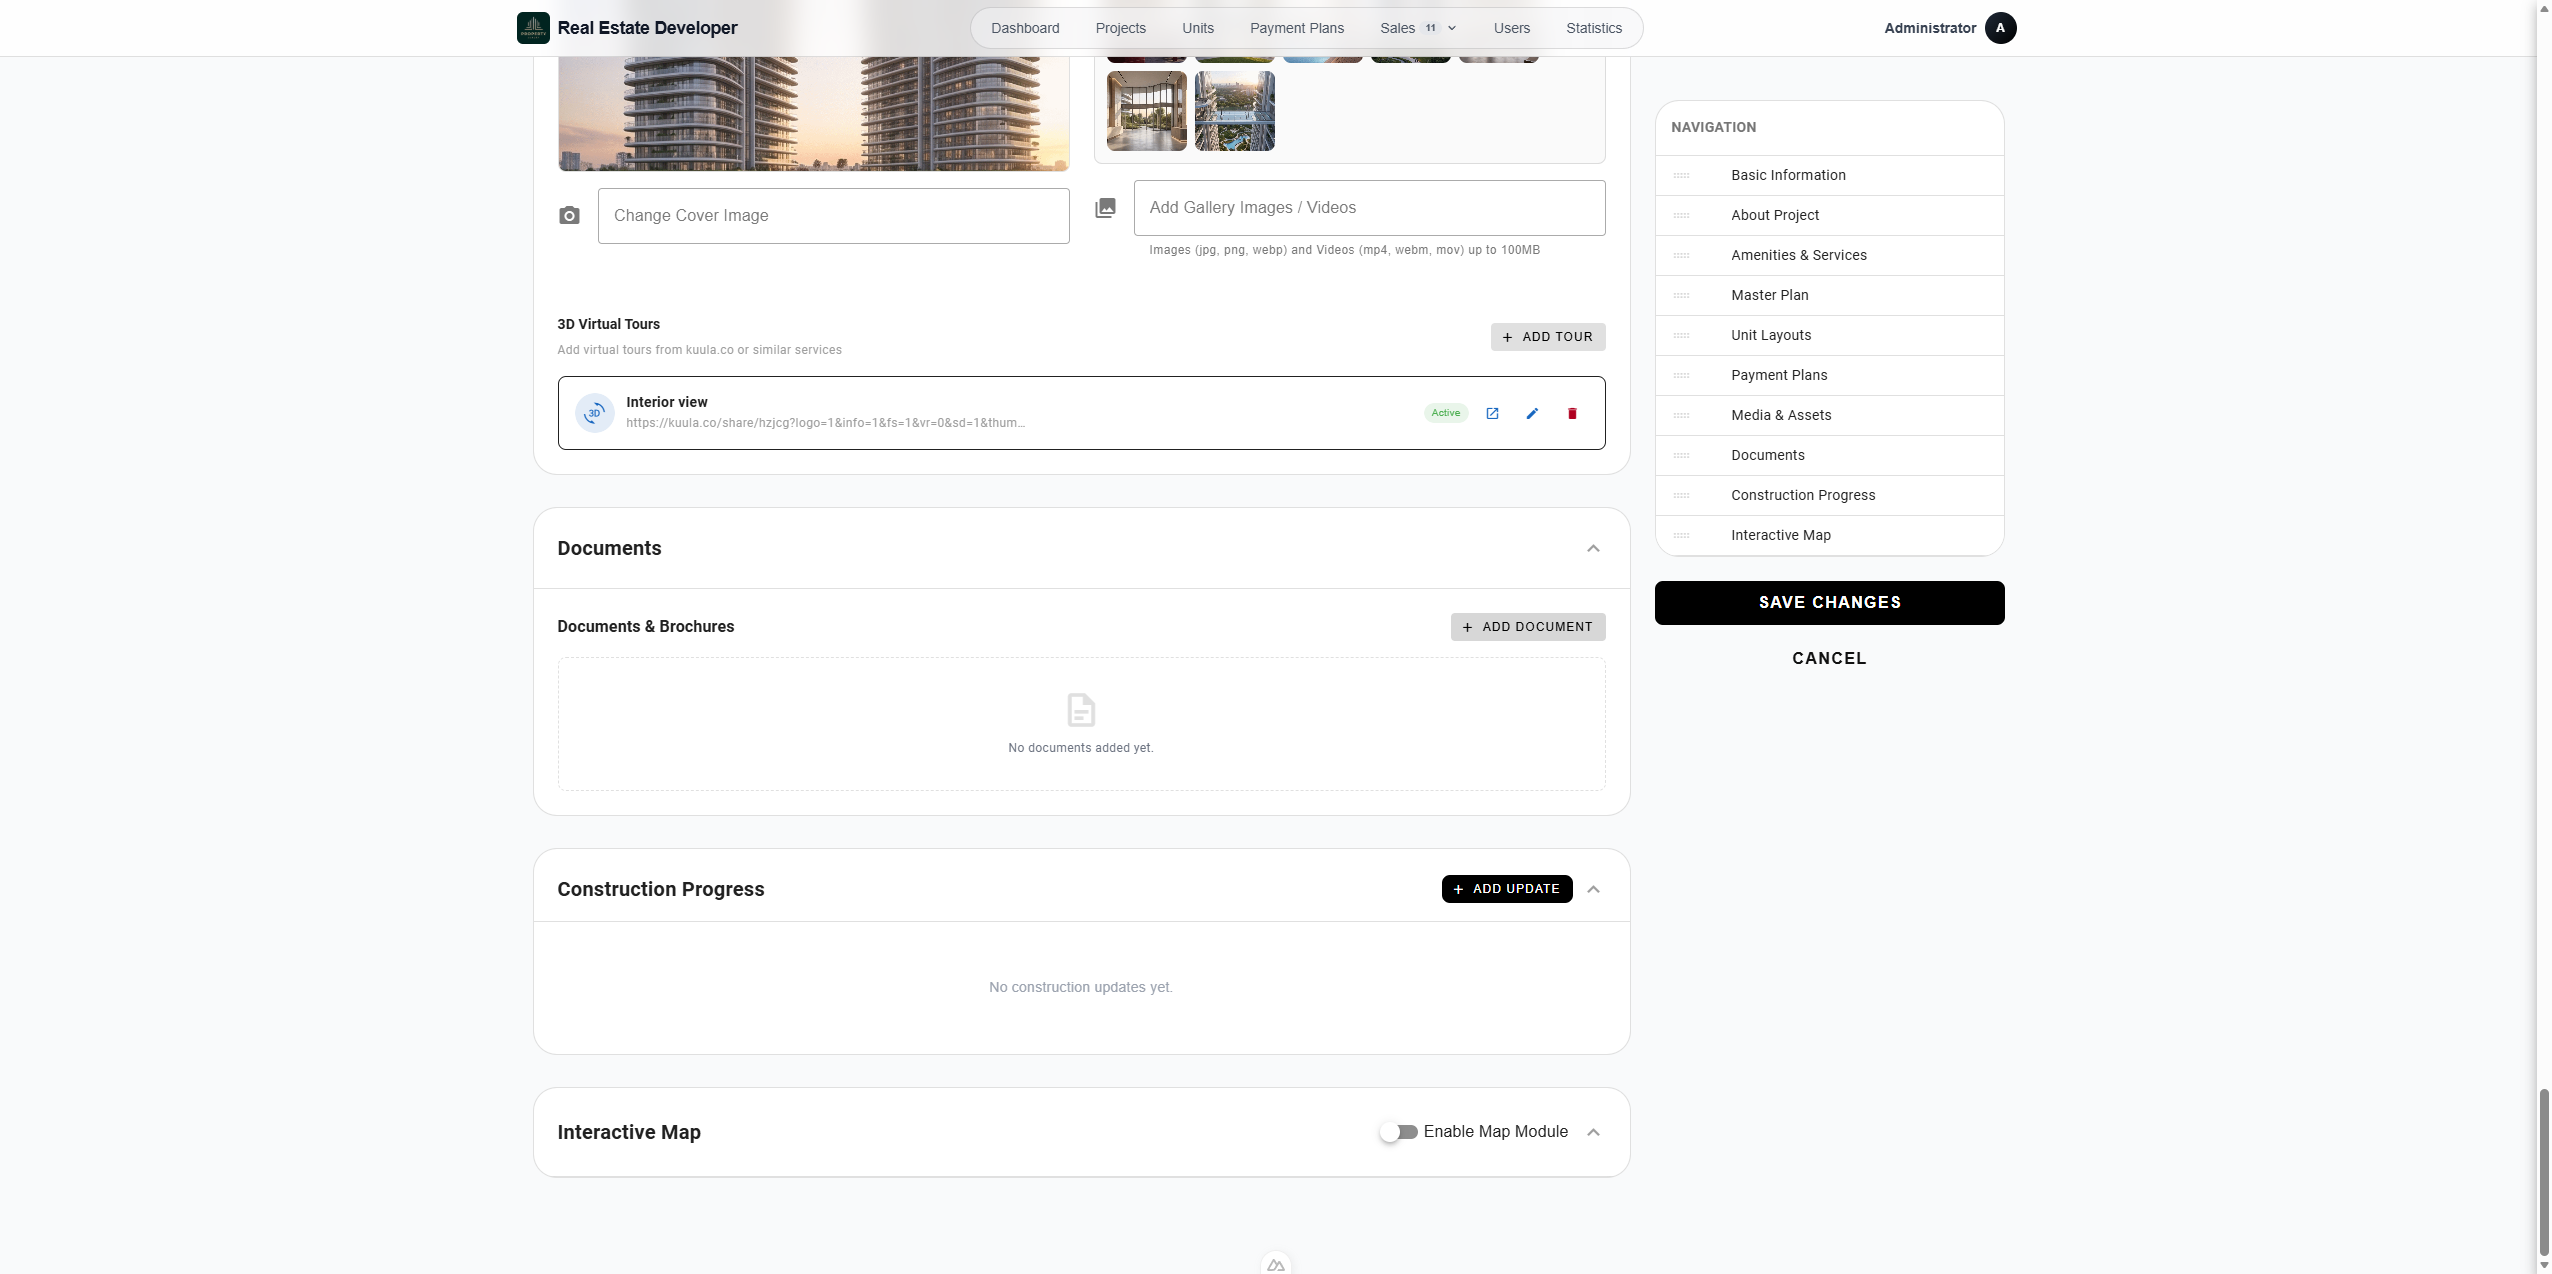
Click Add Tour.
3. Upload Project Documents
Upload brochures, floor plans, and presentations. You can restrict document visibility based on user roles.
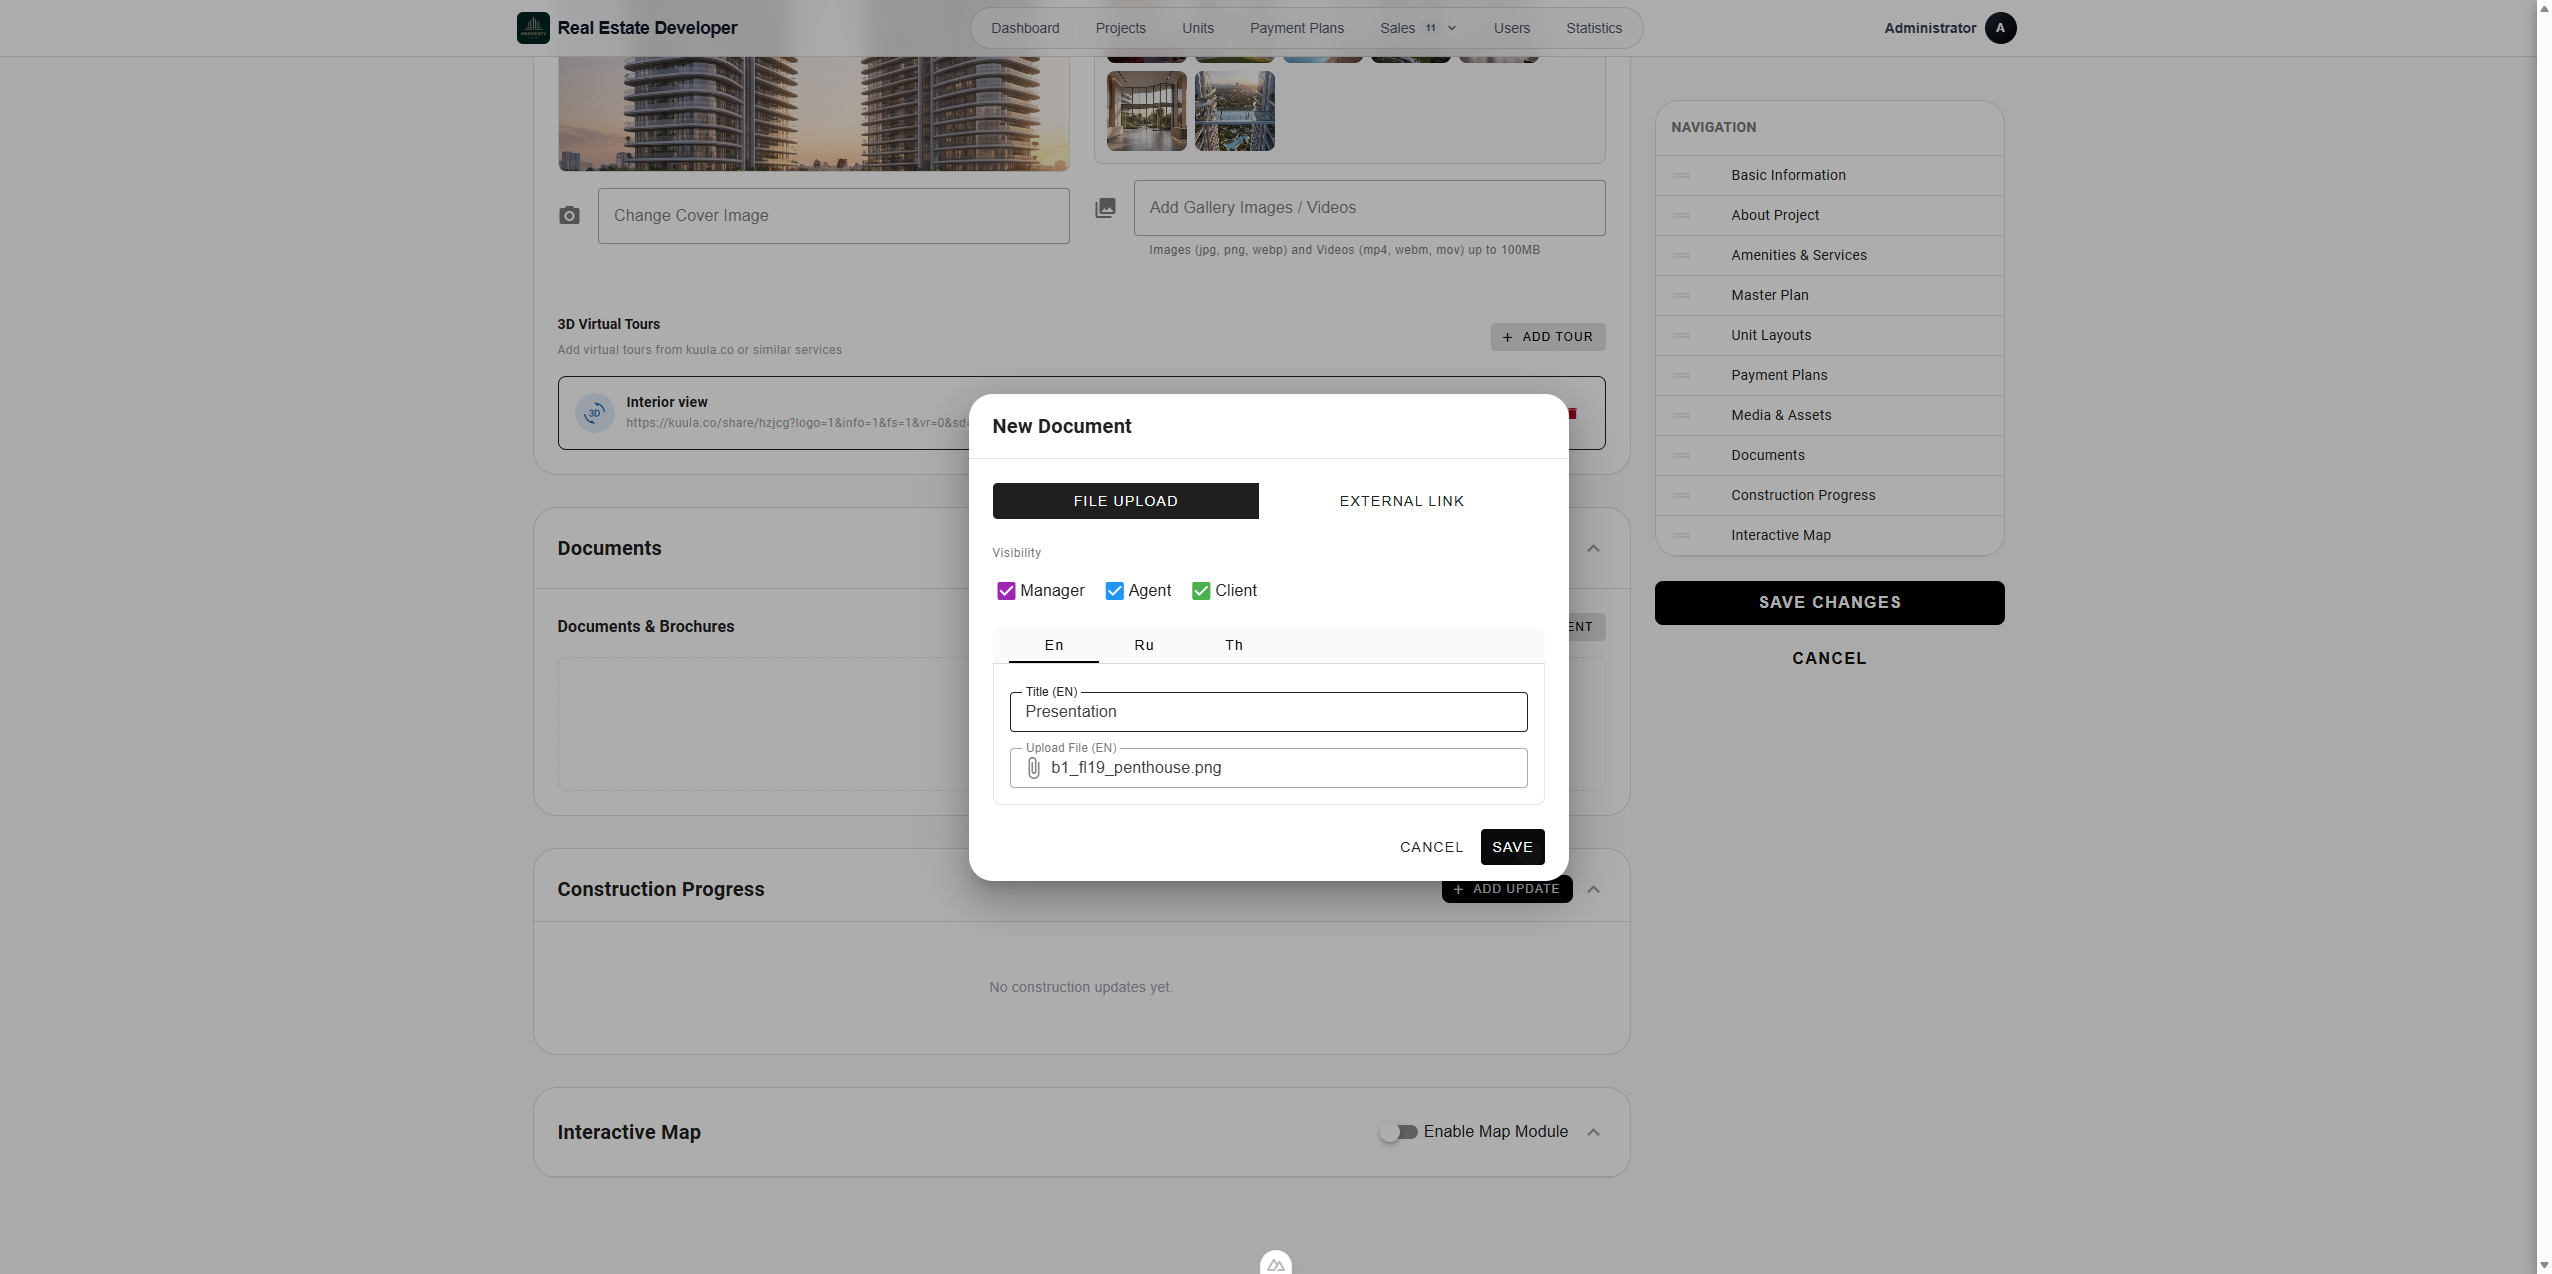
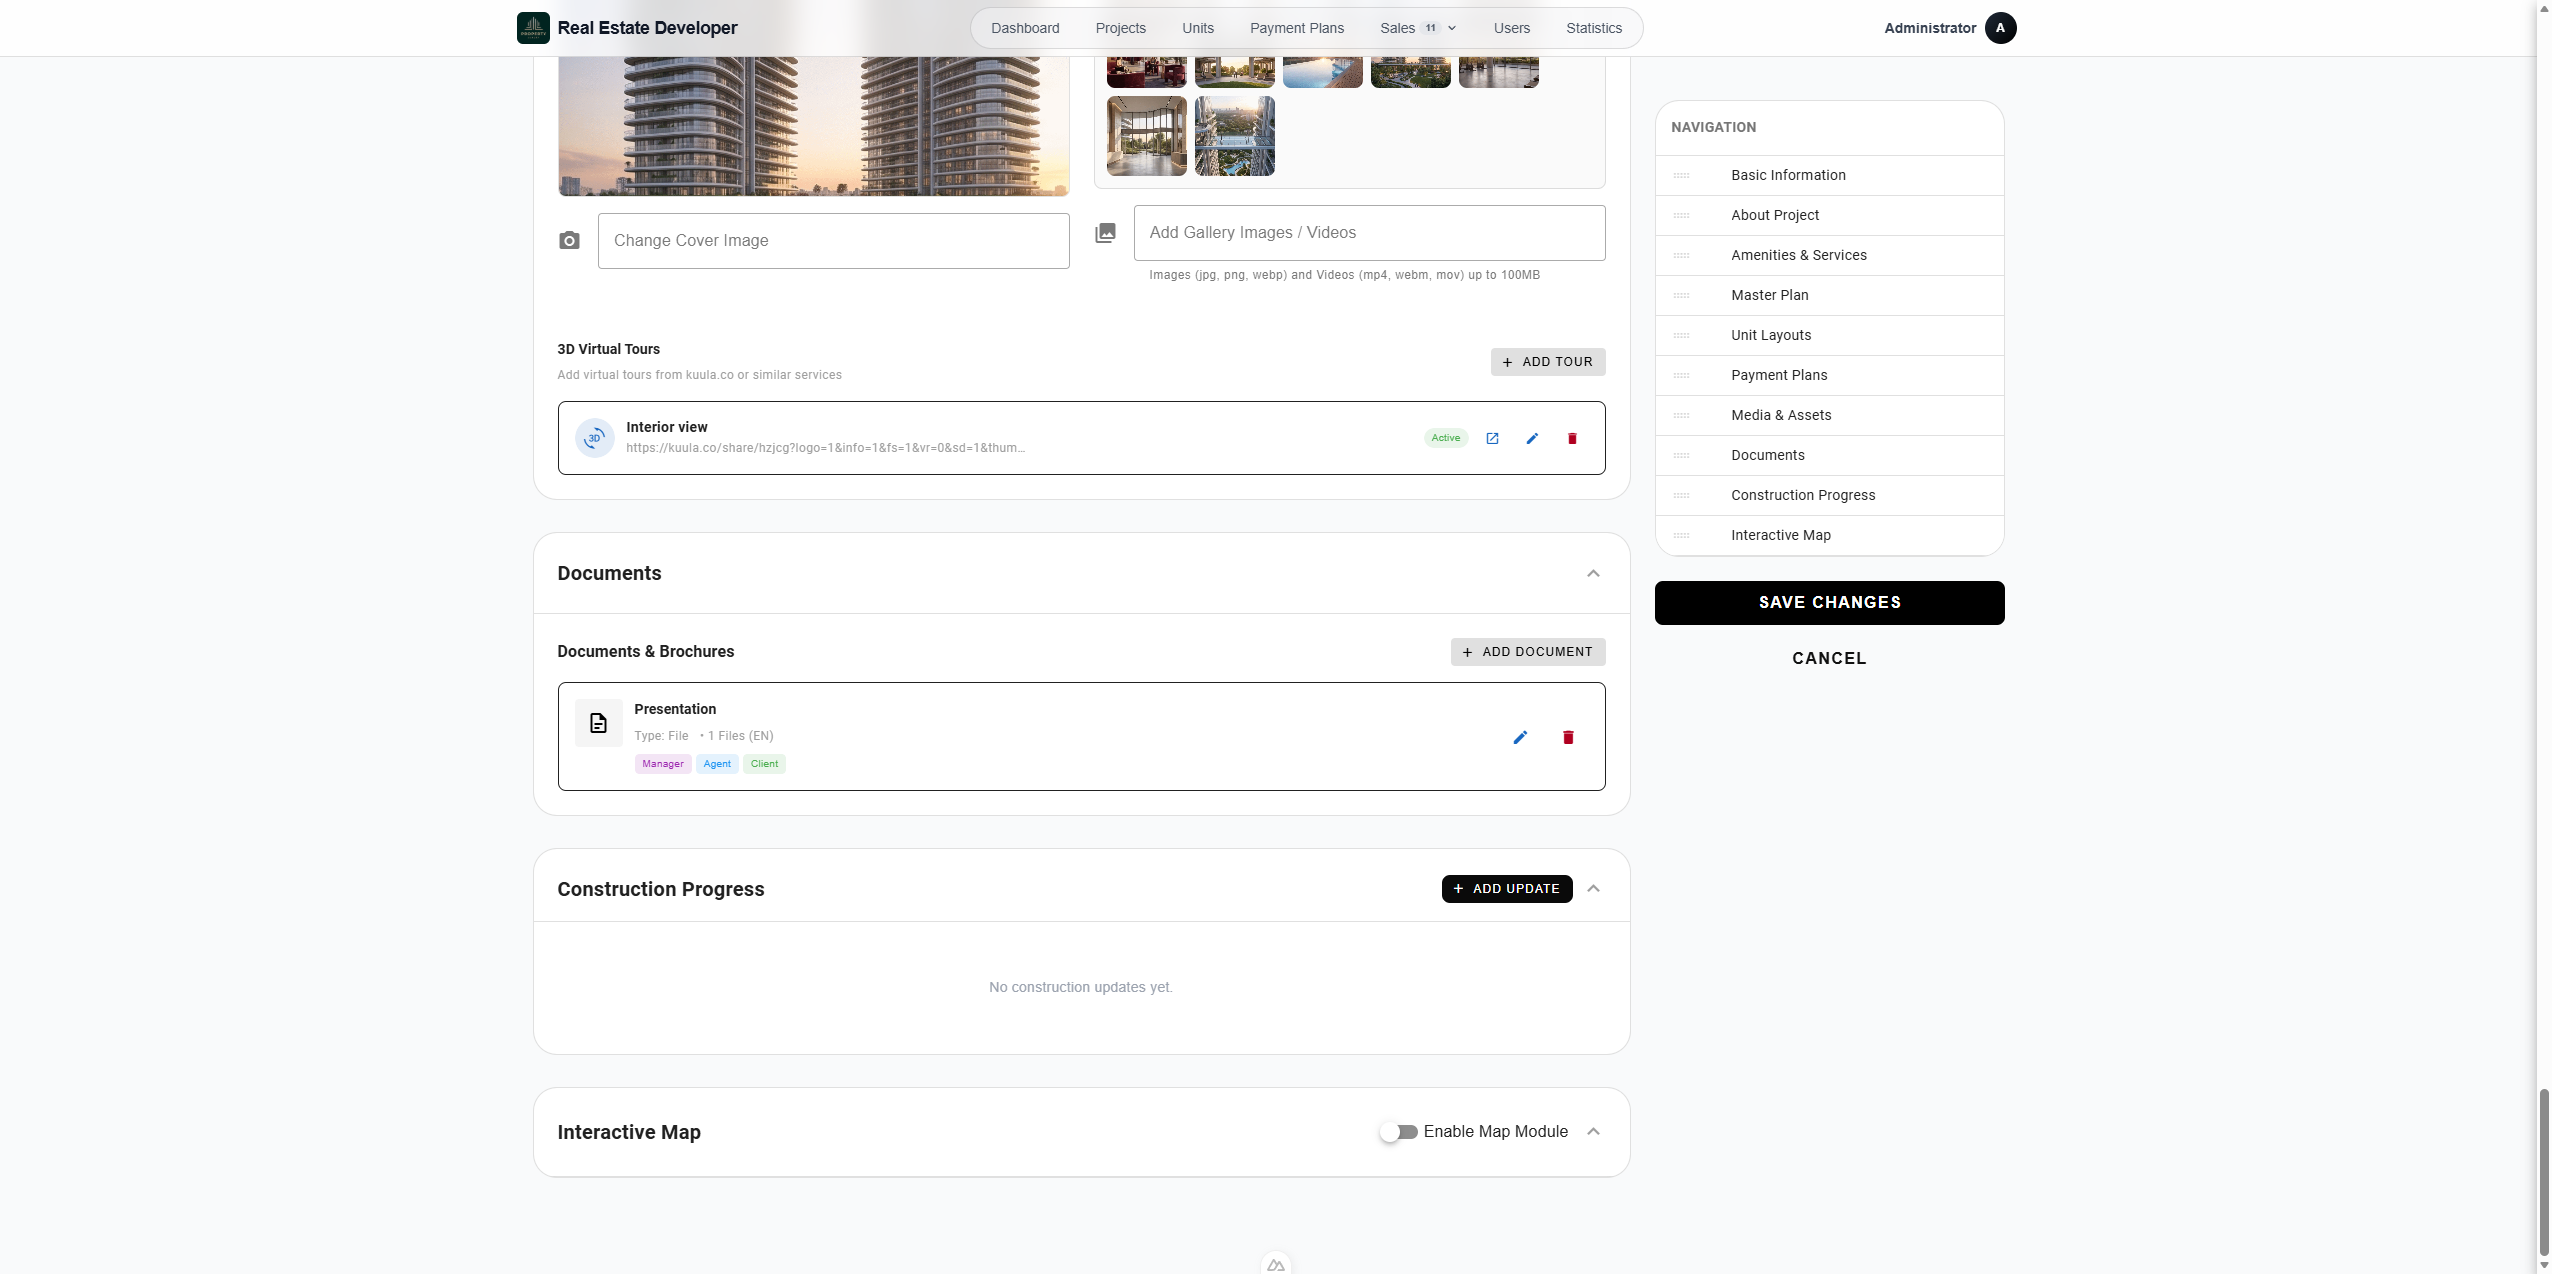
84
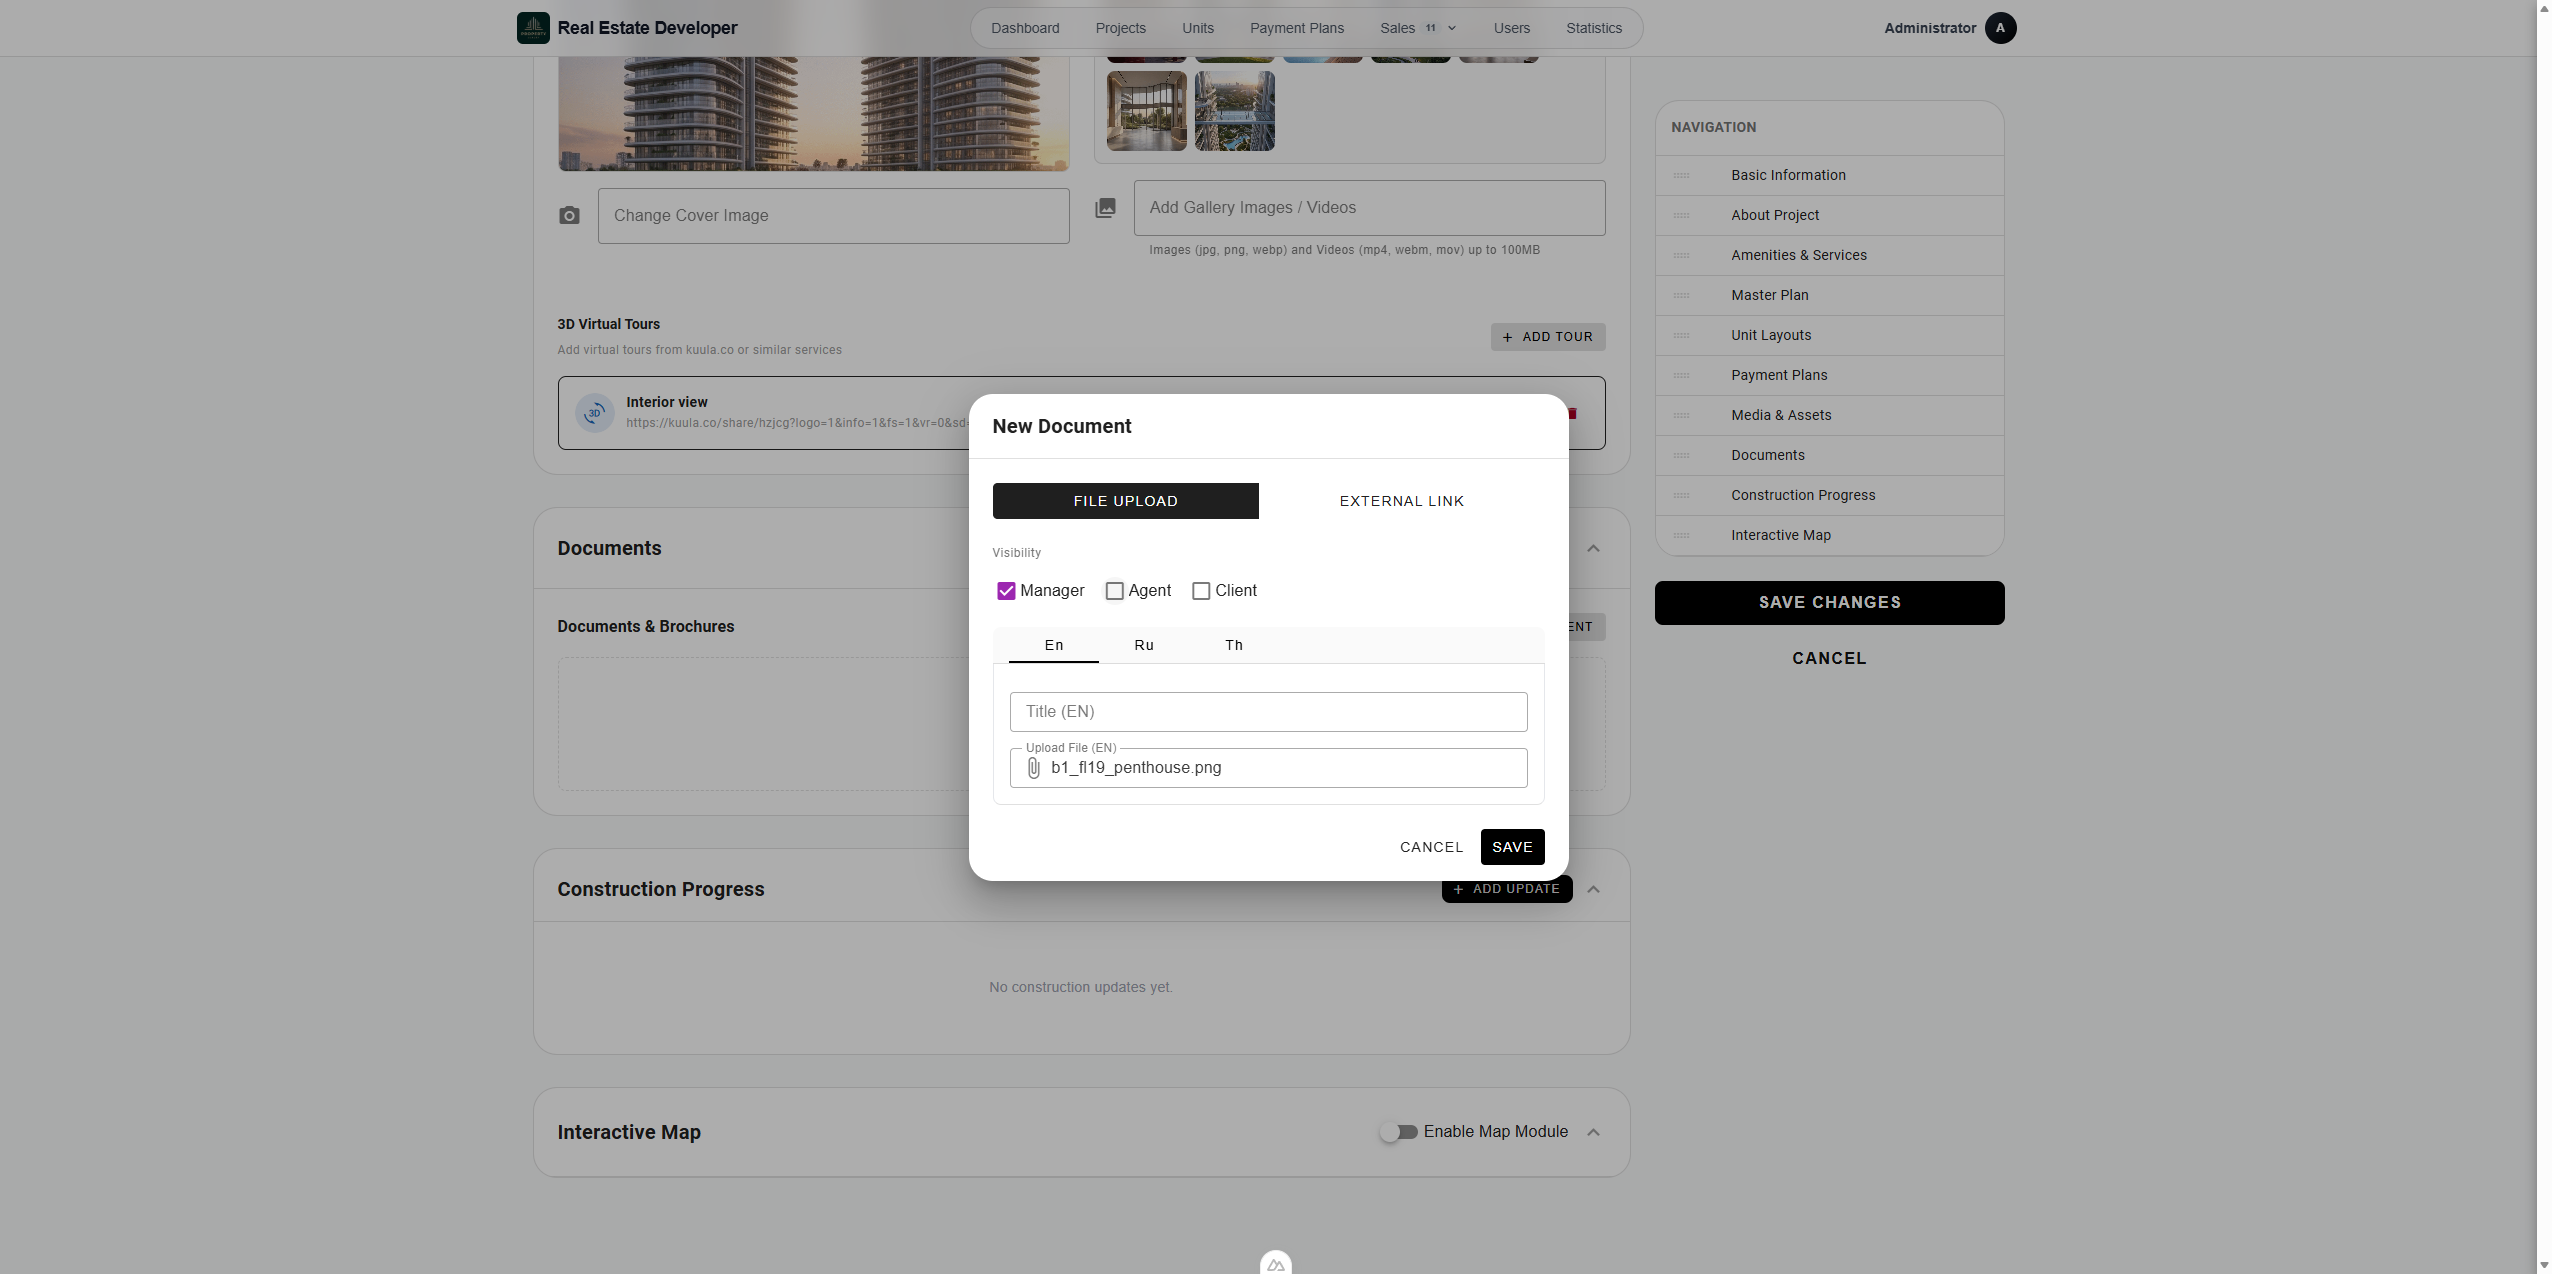
In the Documents & Brochures section, click + Add Document.
93
Enter a document title, like "Presentation".
90
Select the visibility permissions to control which user roles (e.g., Manager, Agent, Client) can view or download the file.
94
Upload your file and click Save.
4. Post Construction Updates
Keep buyers and stakeholders informed about the building's progress over time.
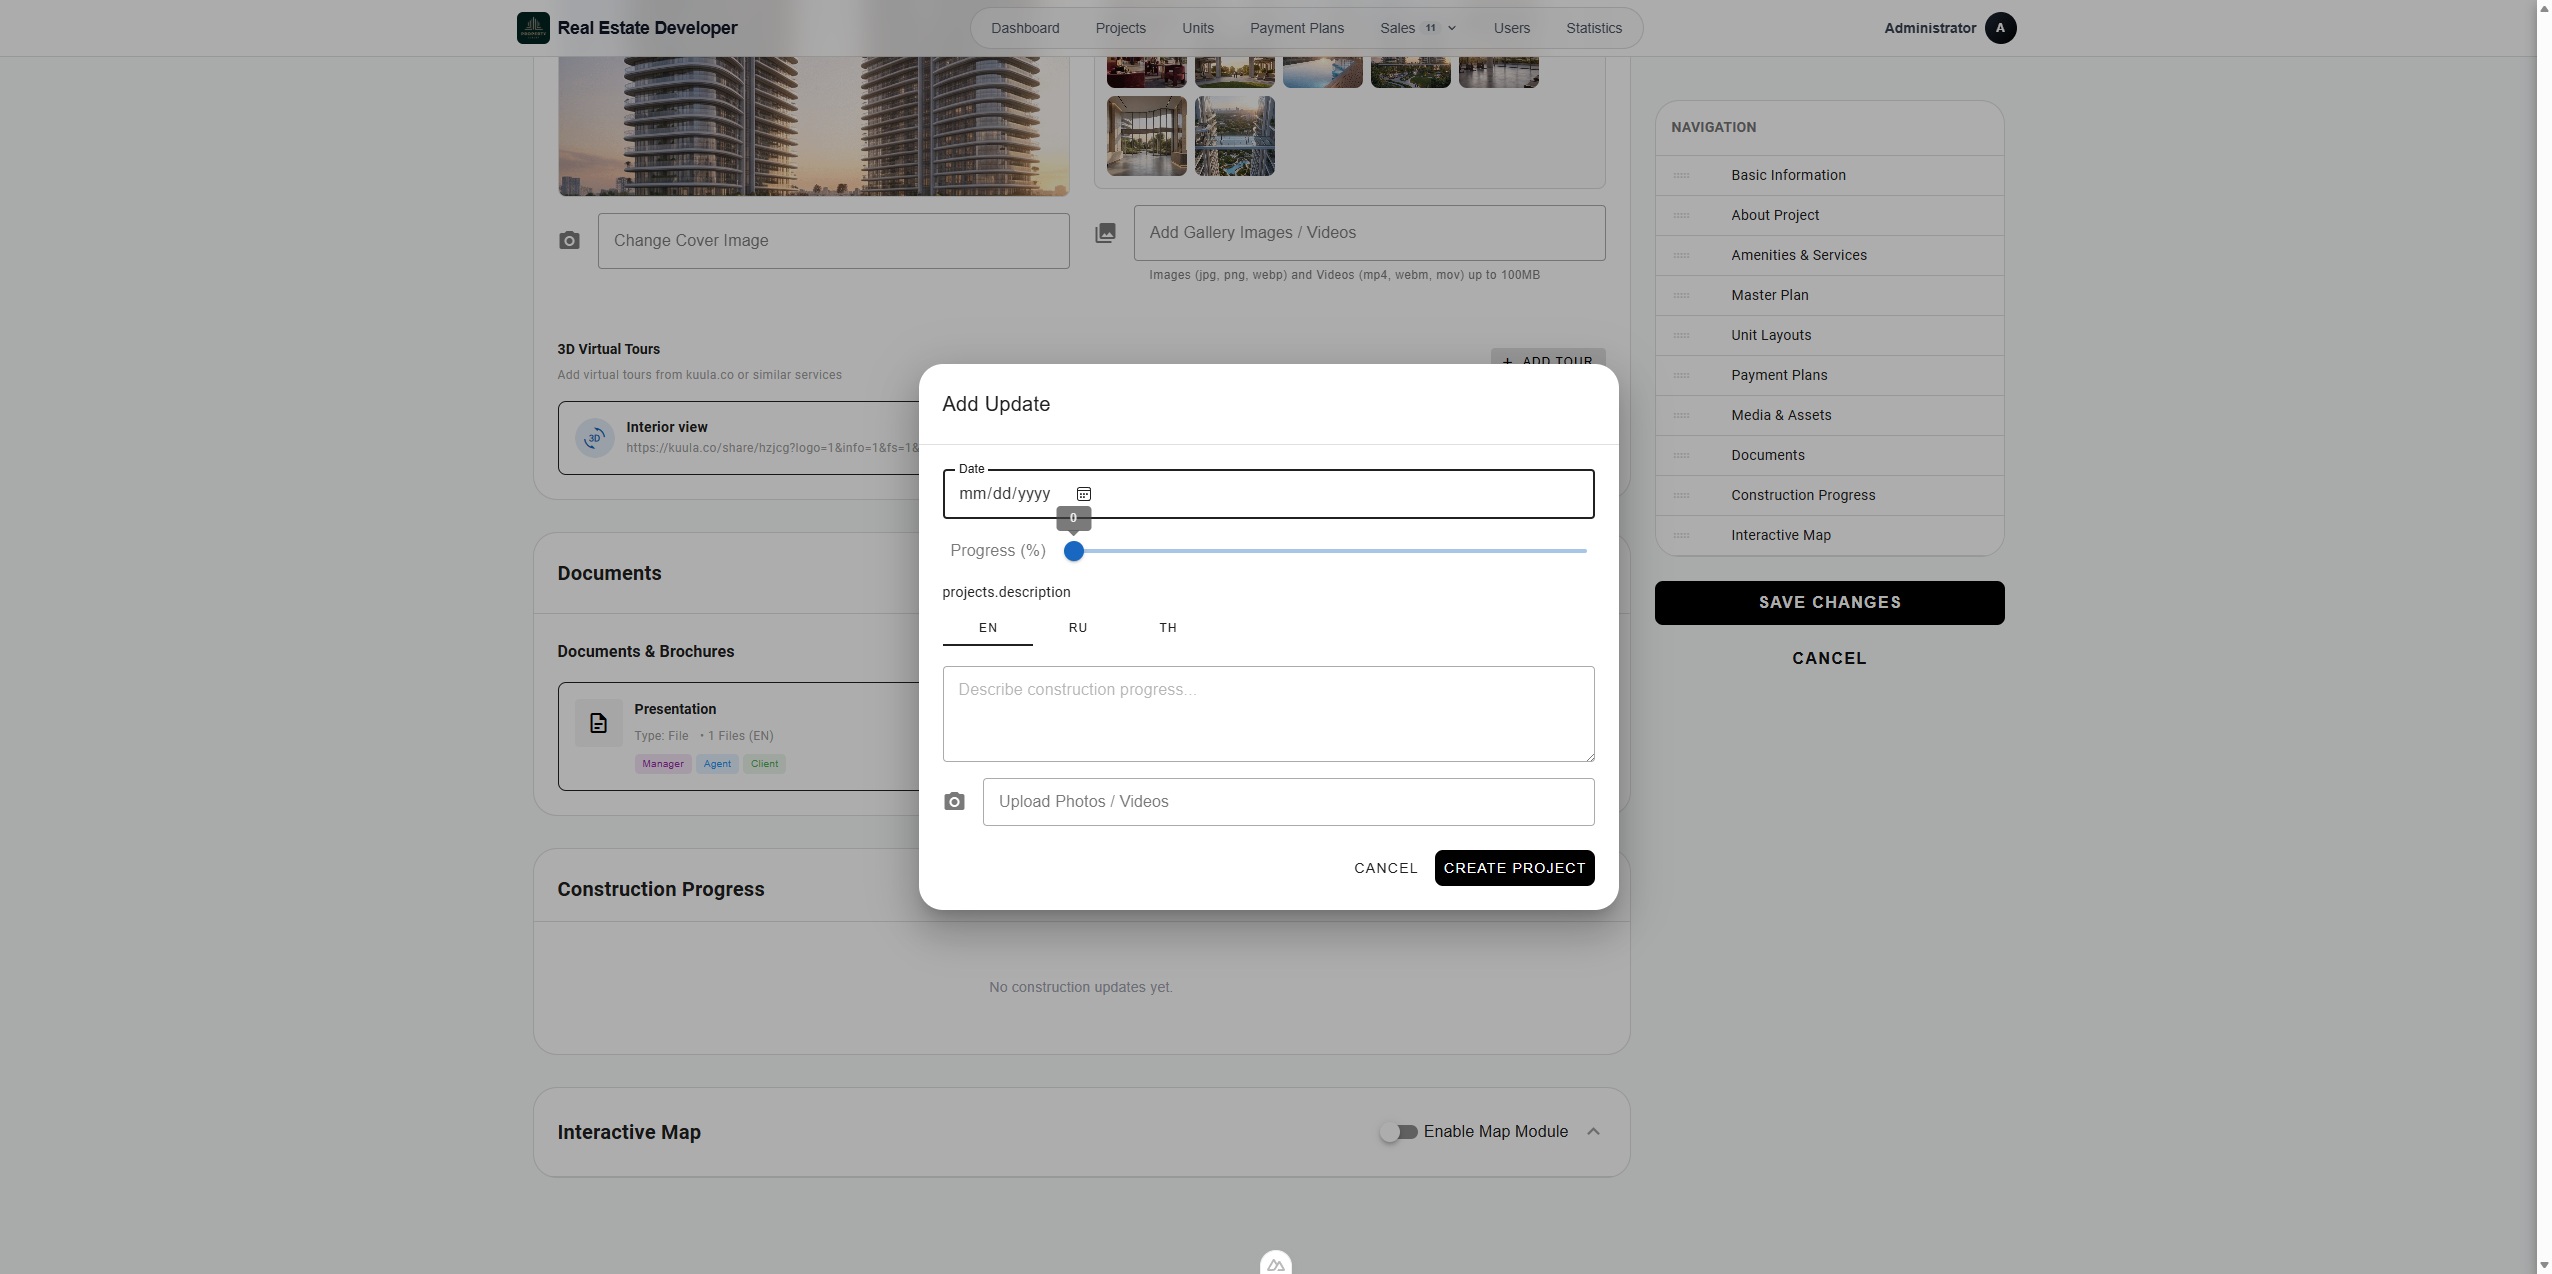
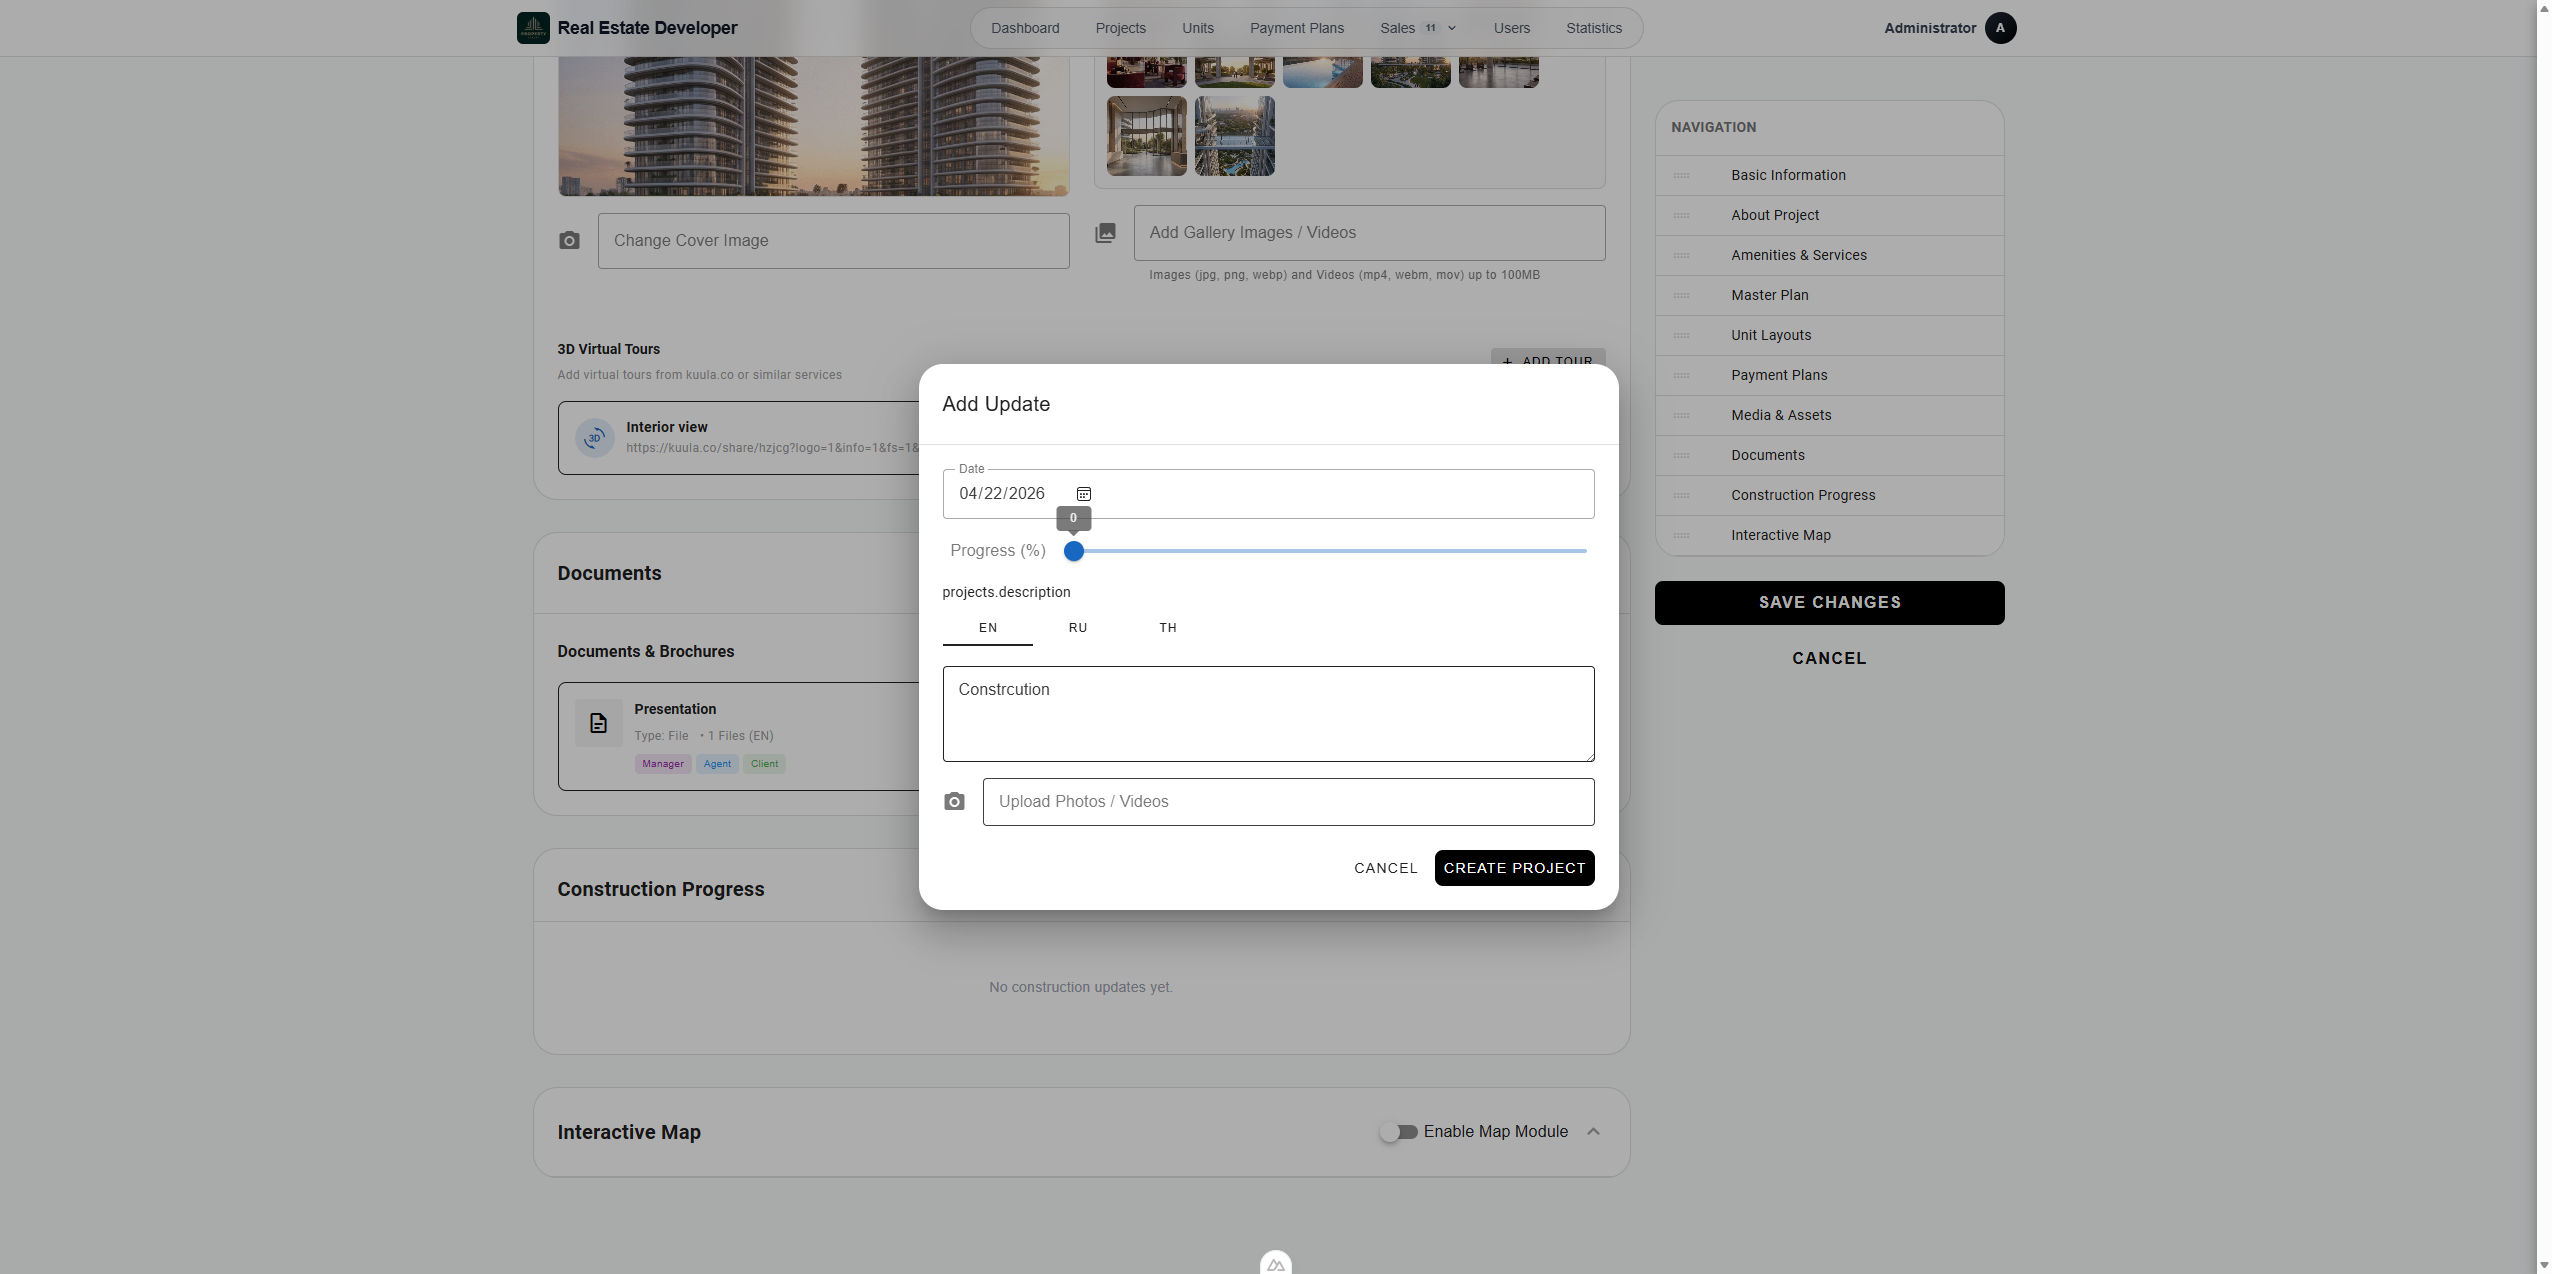
108
Navigate to the construction progress section and click + Add Update.
110
Select the report date and adjust the progress percentage slider.
114
Provide a brief description of the current construction status.
115
Upload relevant project photos or videos to visually track progress, then save the update.
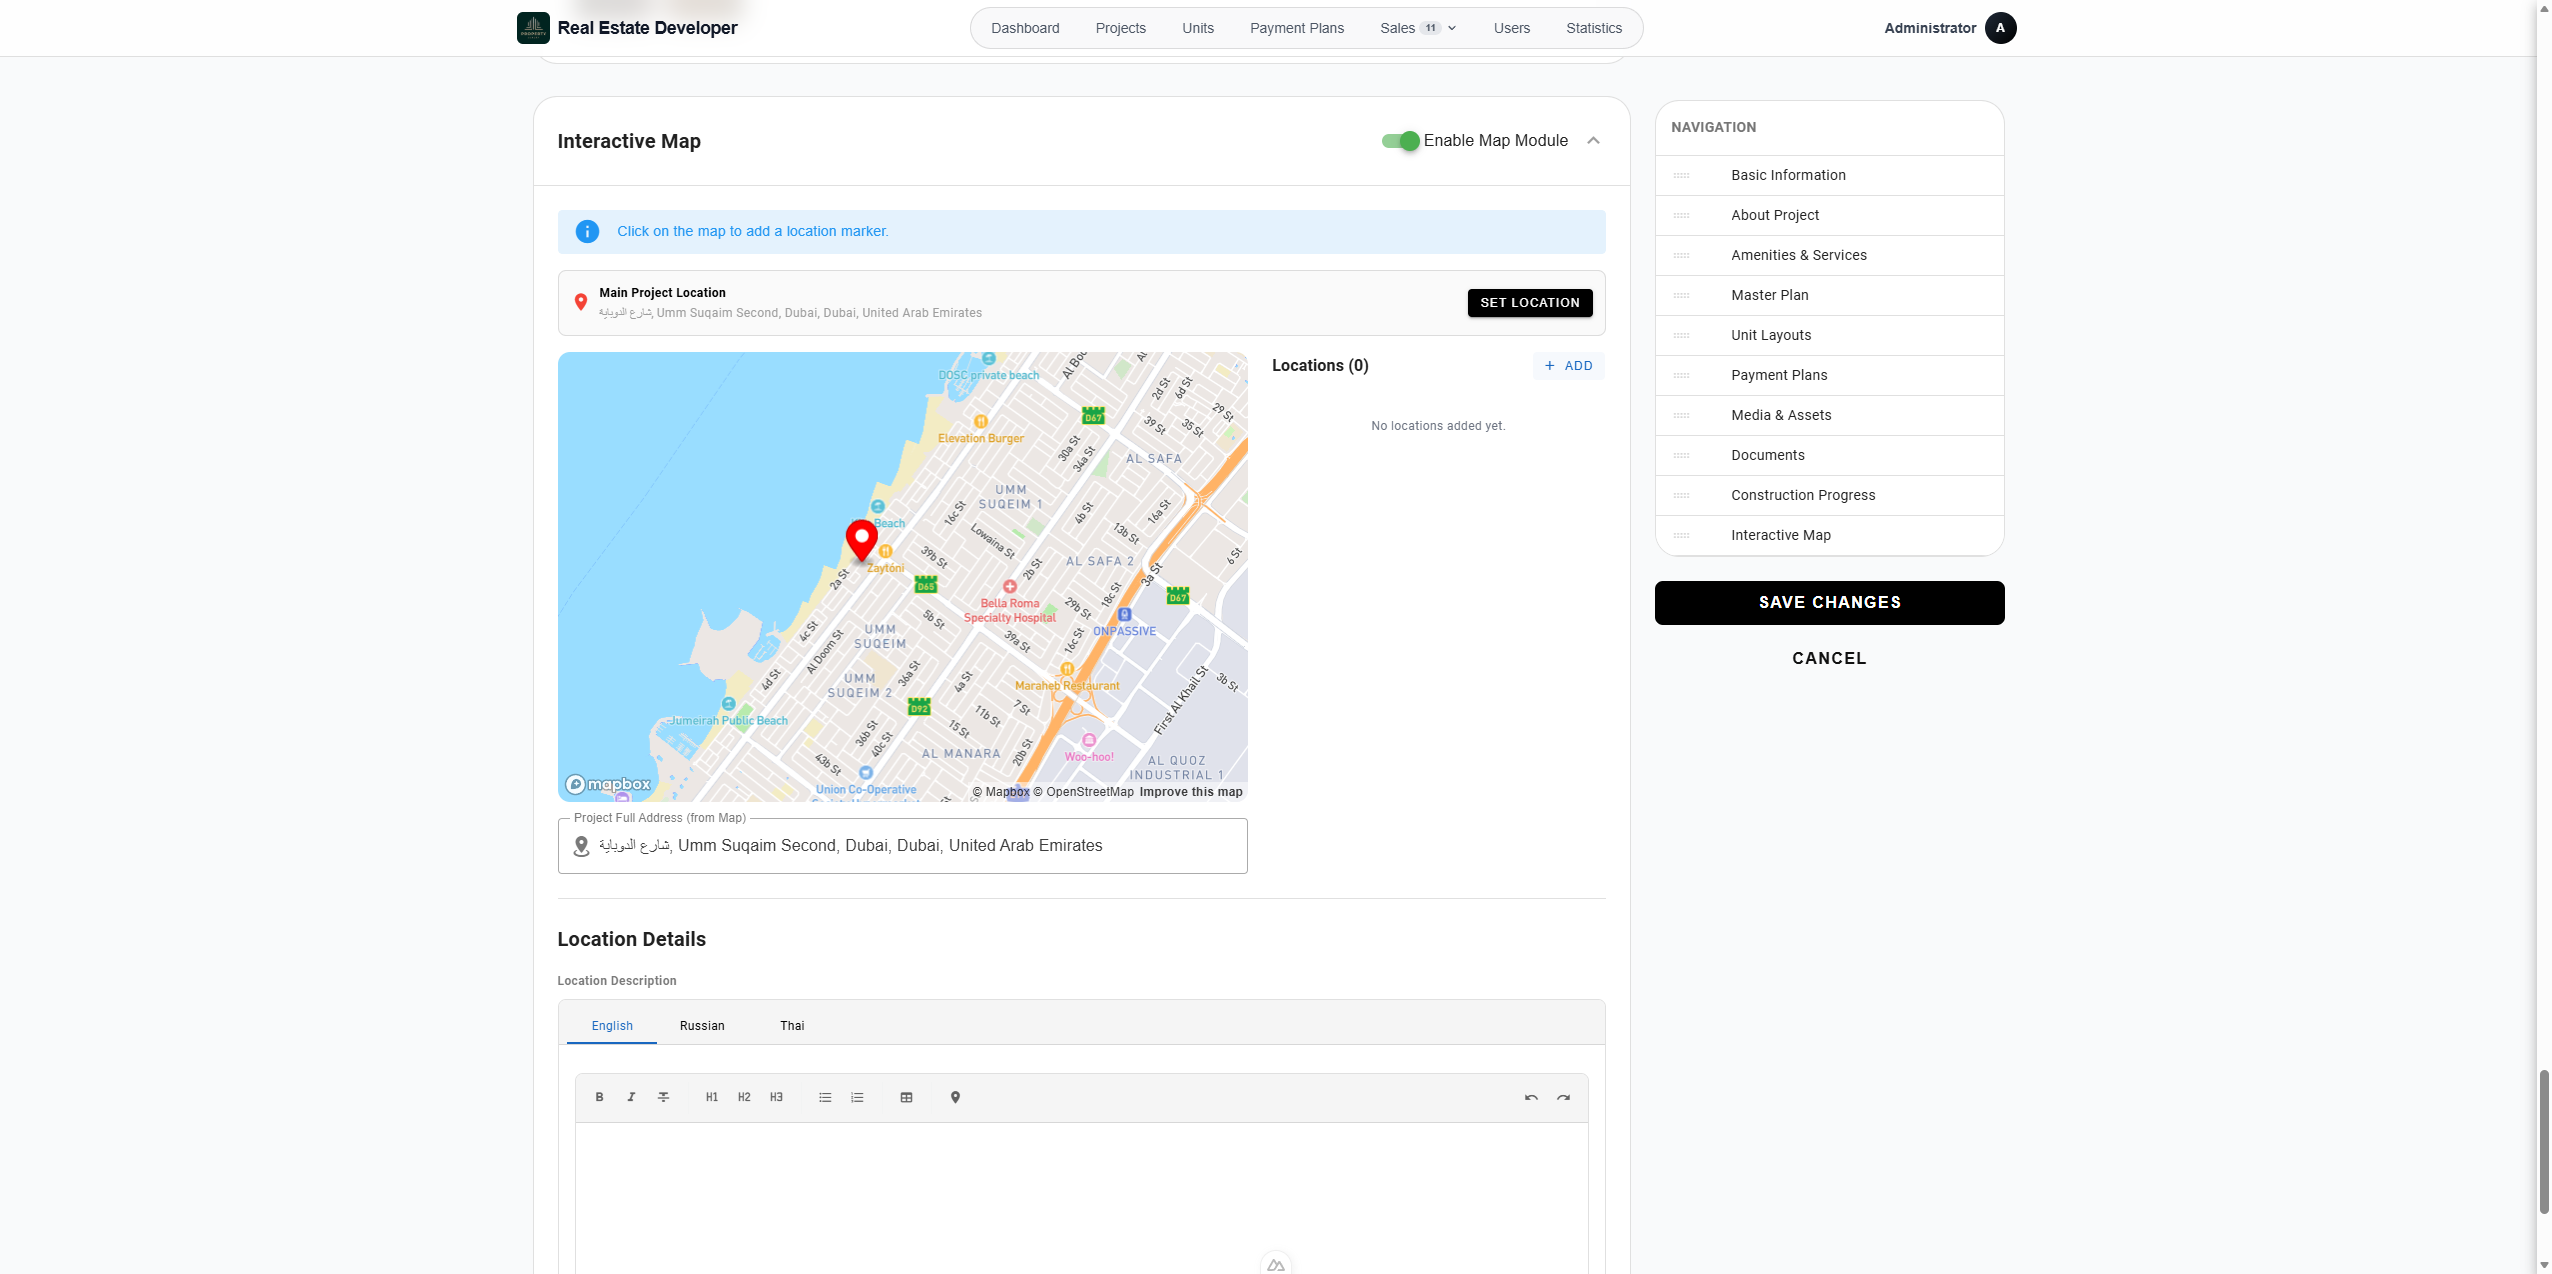
5. Configure the Interactive Map
Highlight your project's physical location and showcase nearby amenities (points of interest) directly on a Mapbox-powered map.
135
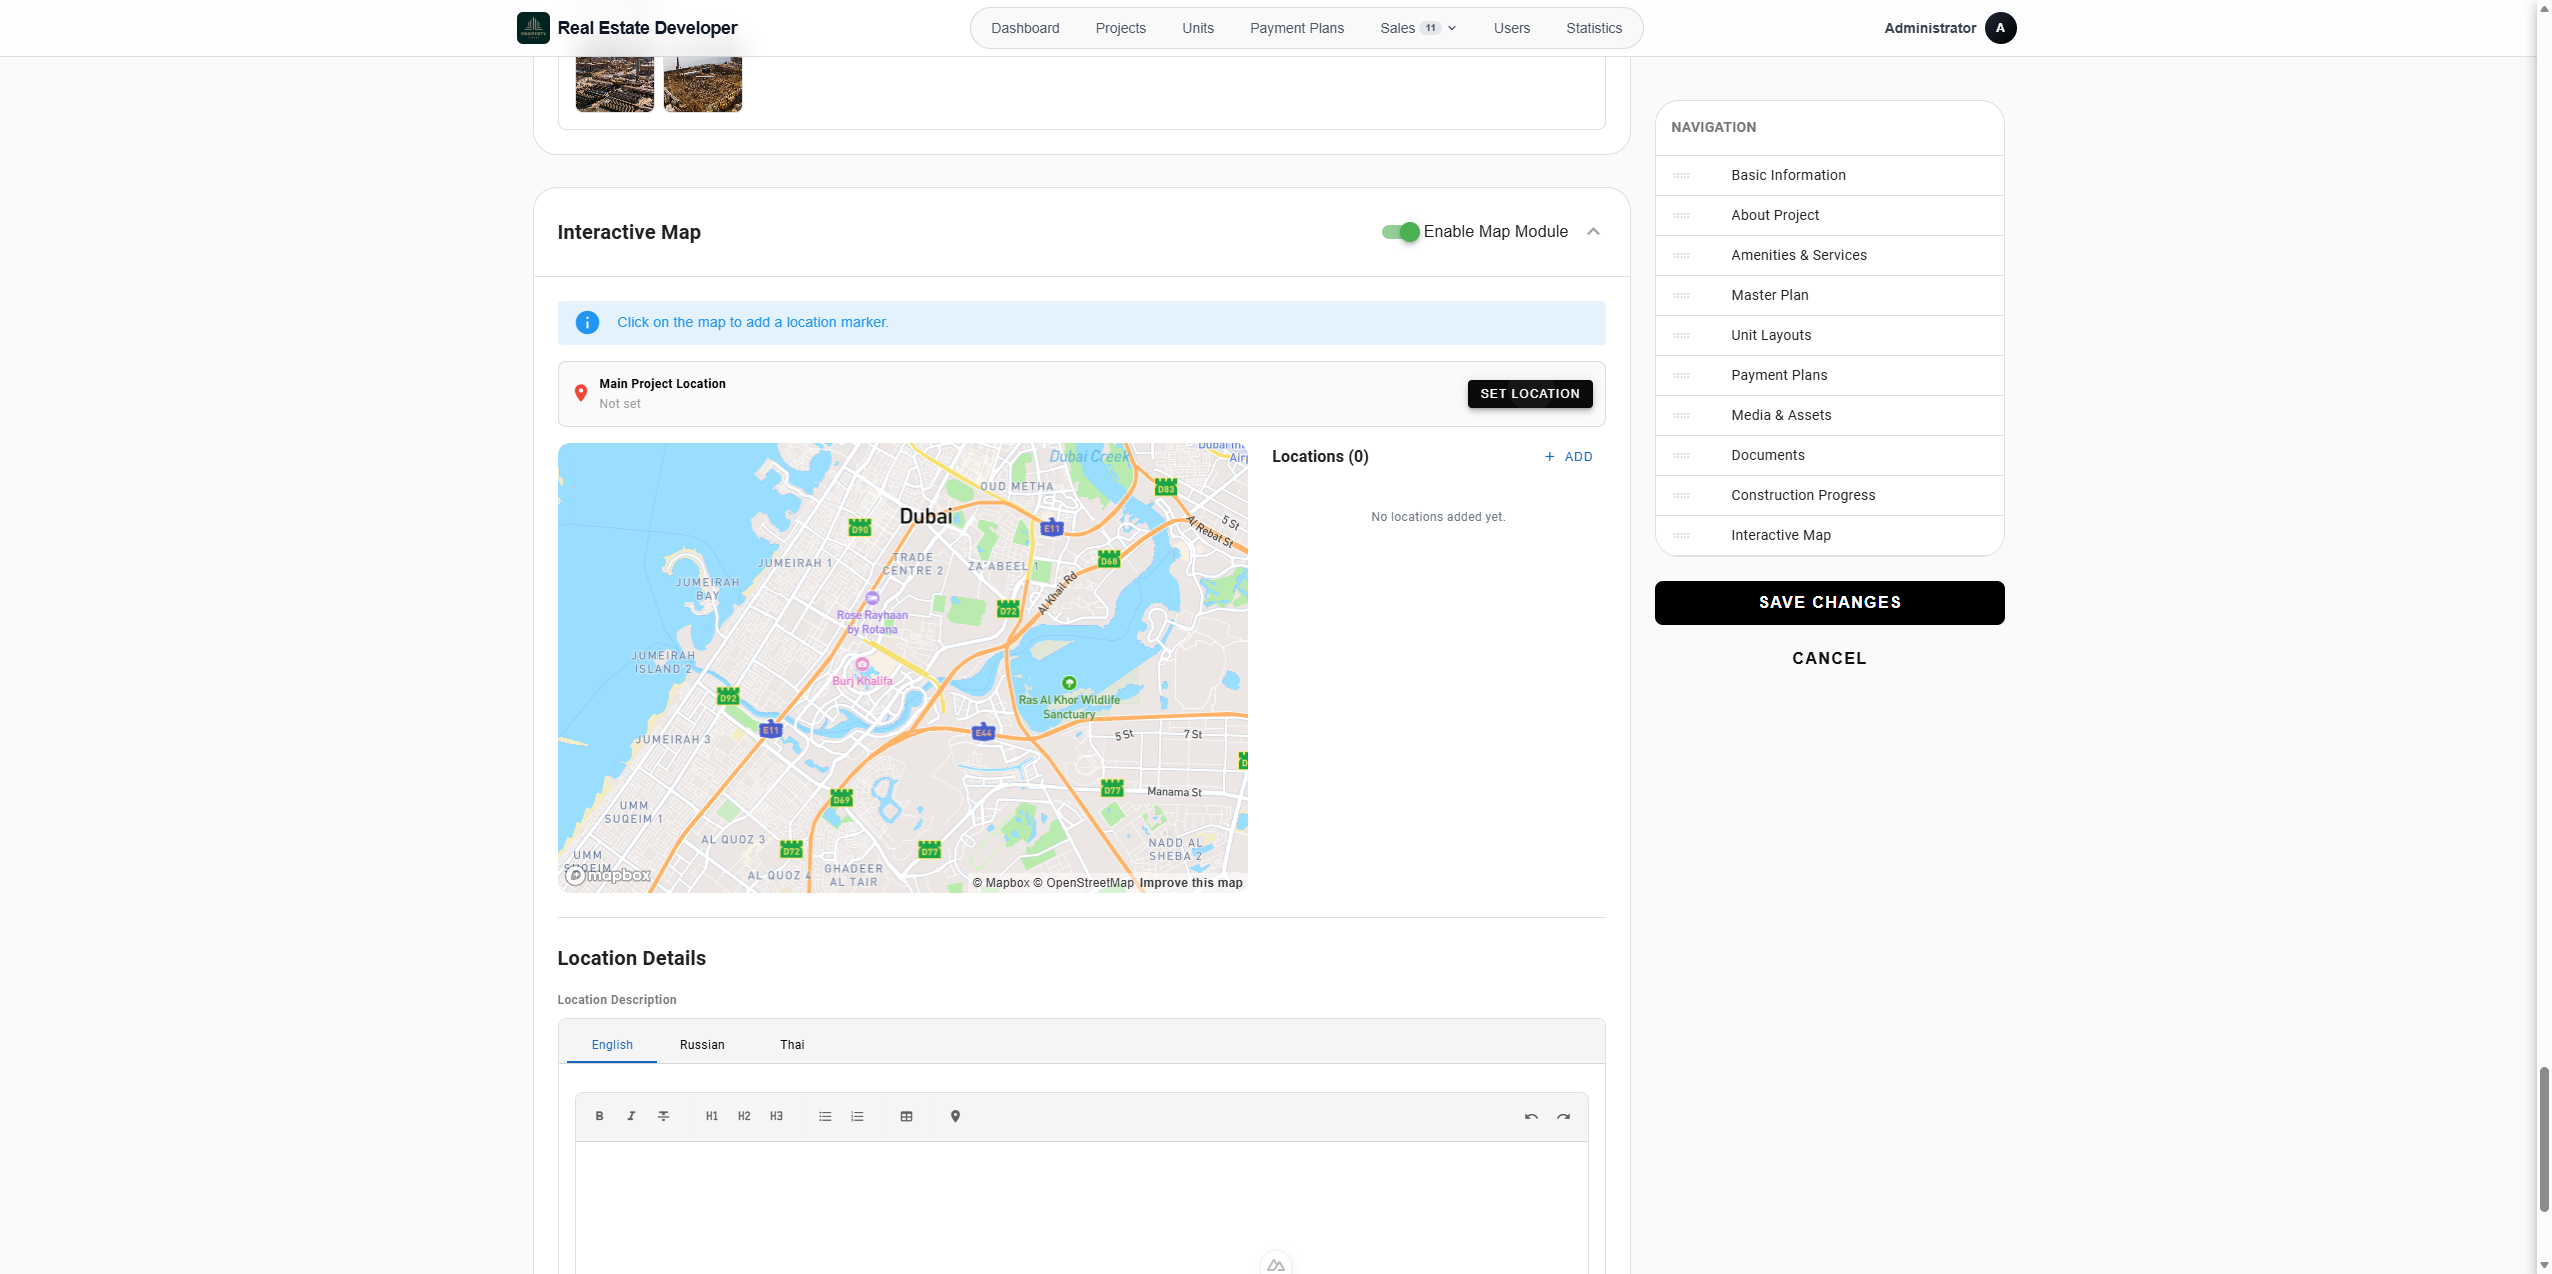
Open the Interactive Map tab from the right-hand sidebar.
122
Toggle on Enable Map Module.
124
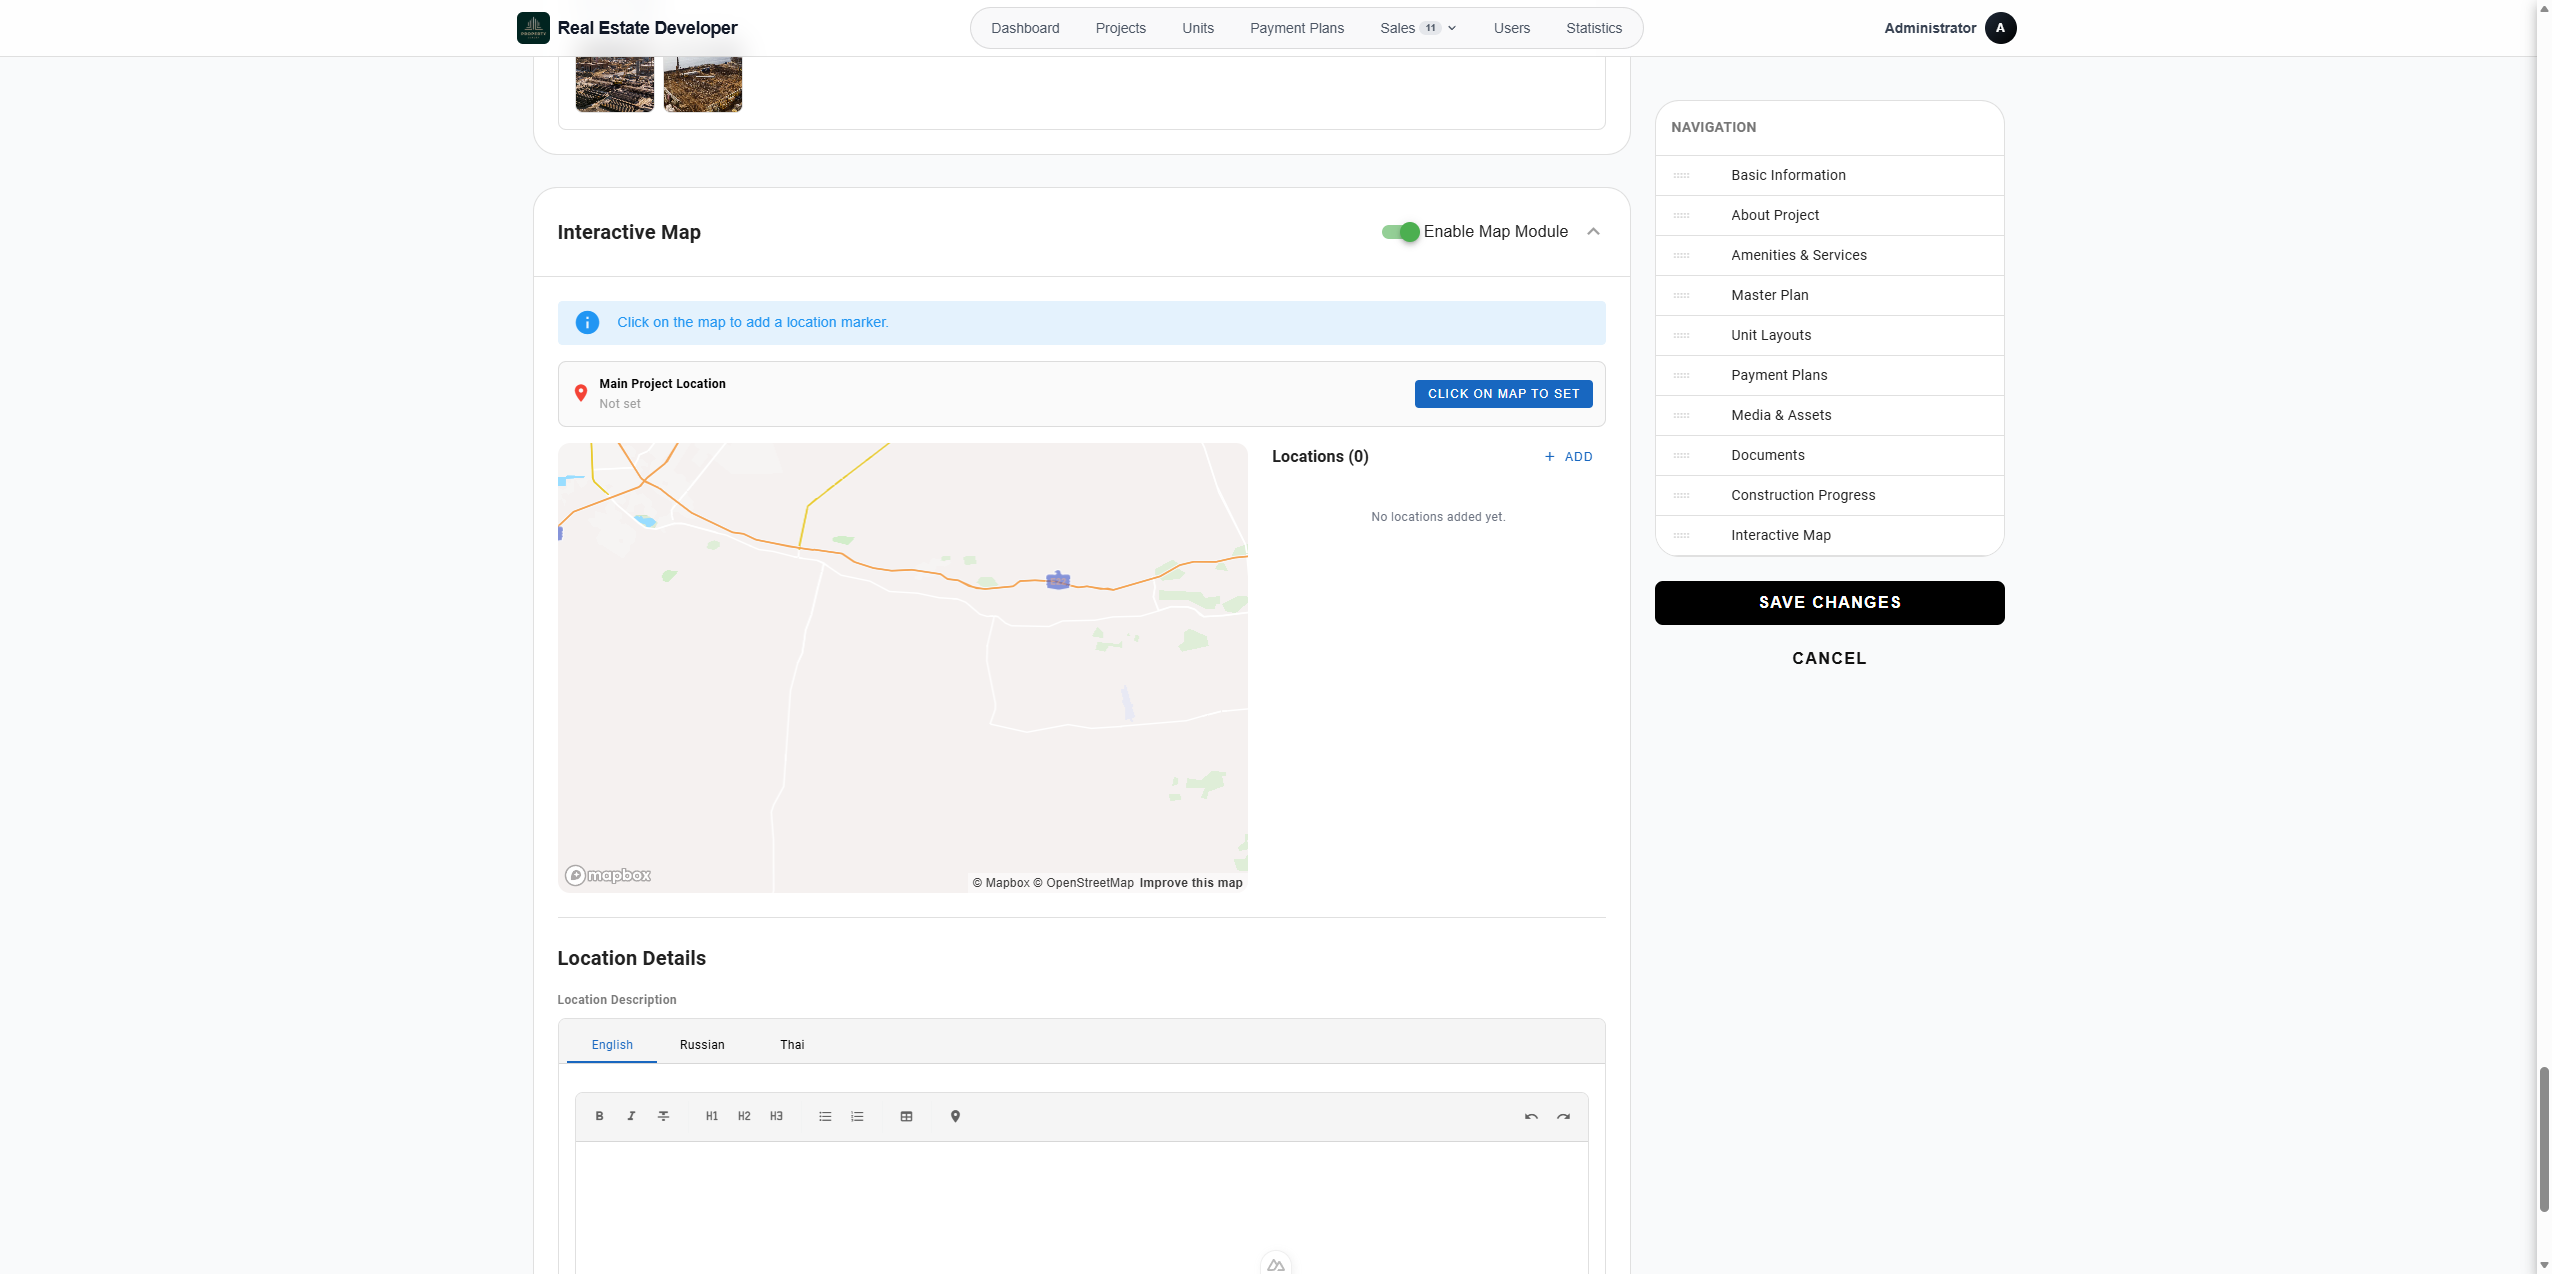
Click Set Location.
128
Click anywhere on the map to pin your main project coordinates.
141
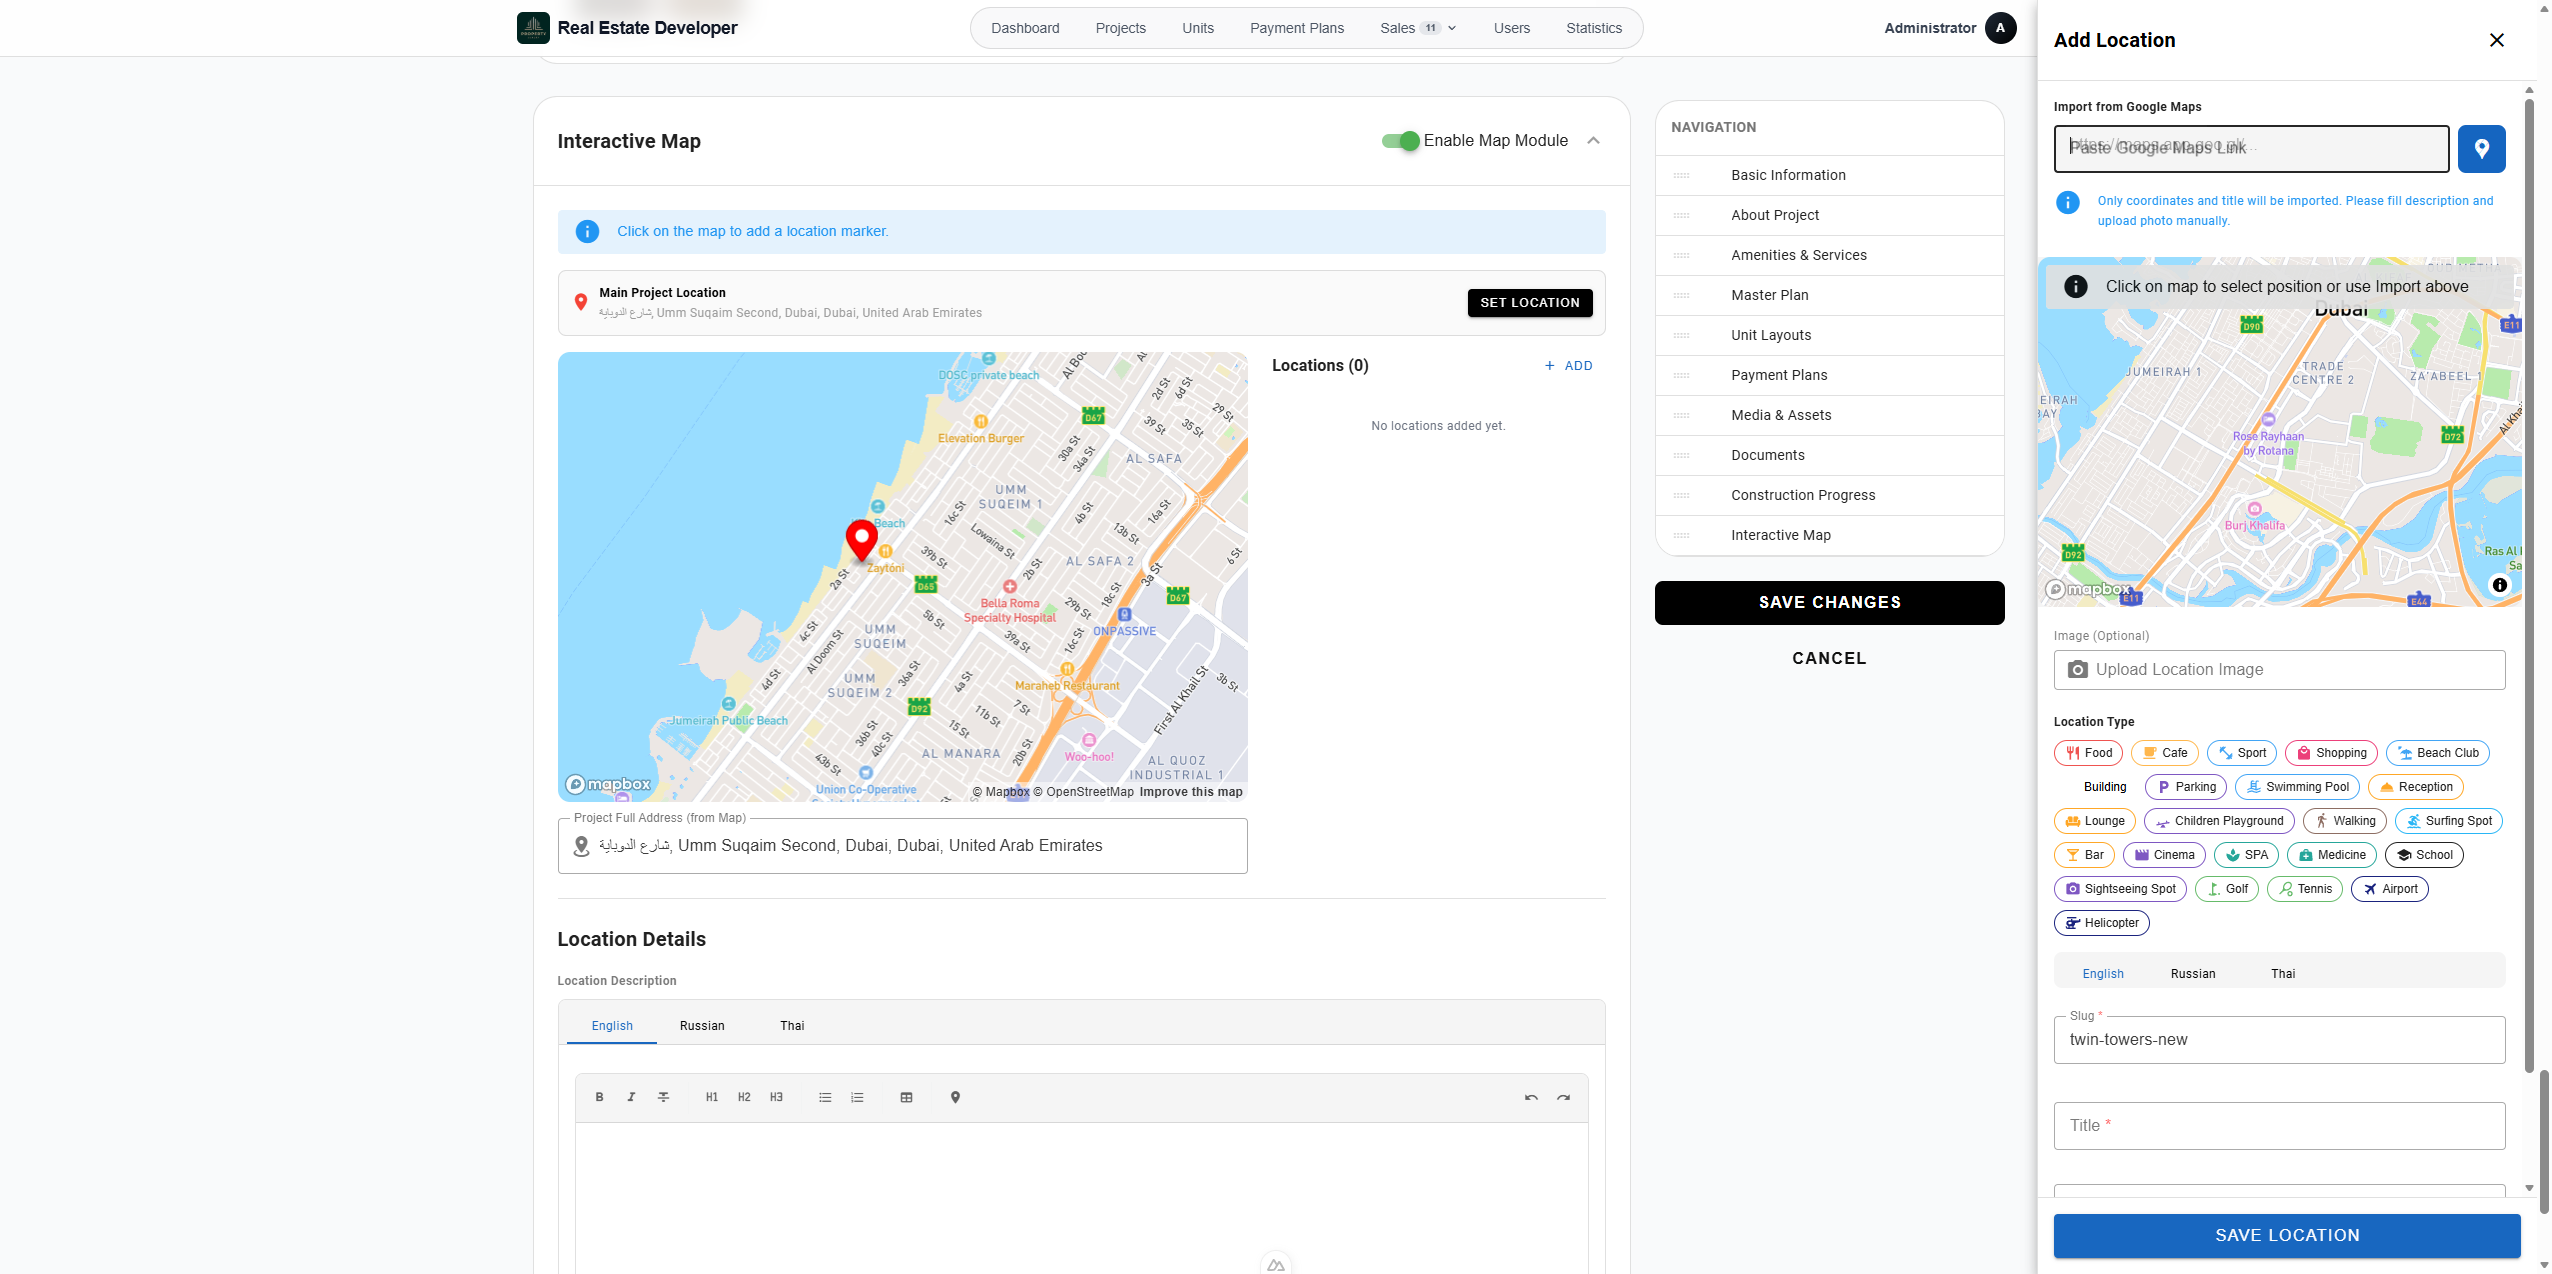
To highlight nearby amenities, expand the Locations menu and click + Add.
You can manually drop a pin on the map for a new point of interest, or quickly import details.
144
Click Paste Google Maps Link to automatically import a location's coordinates.
160
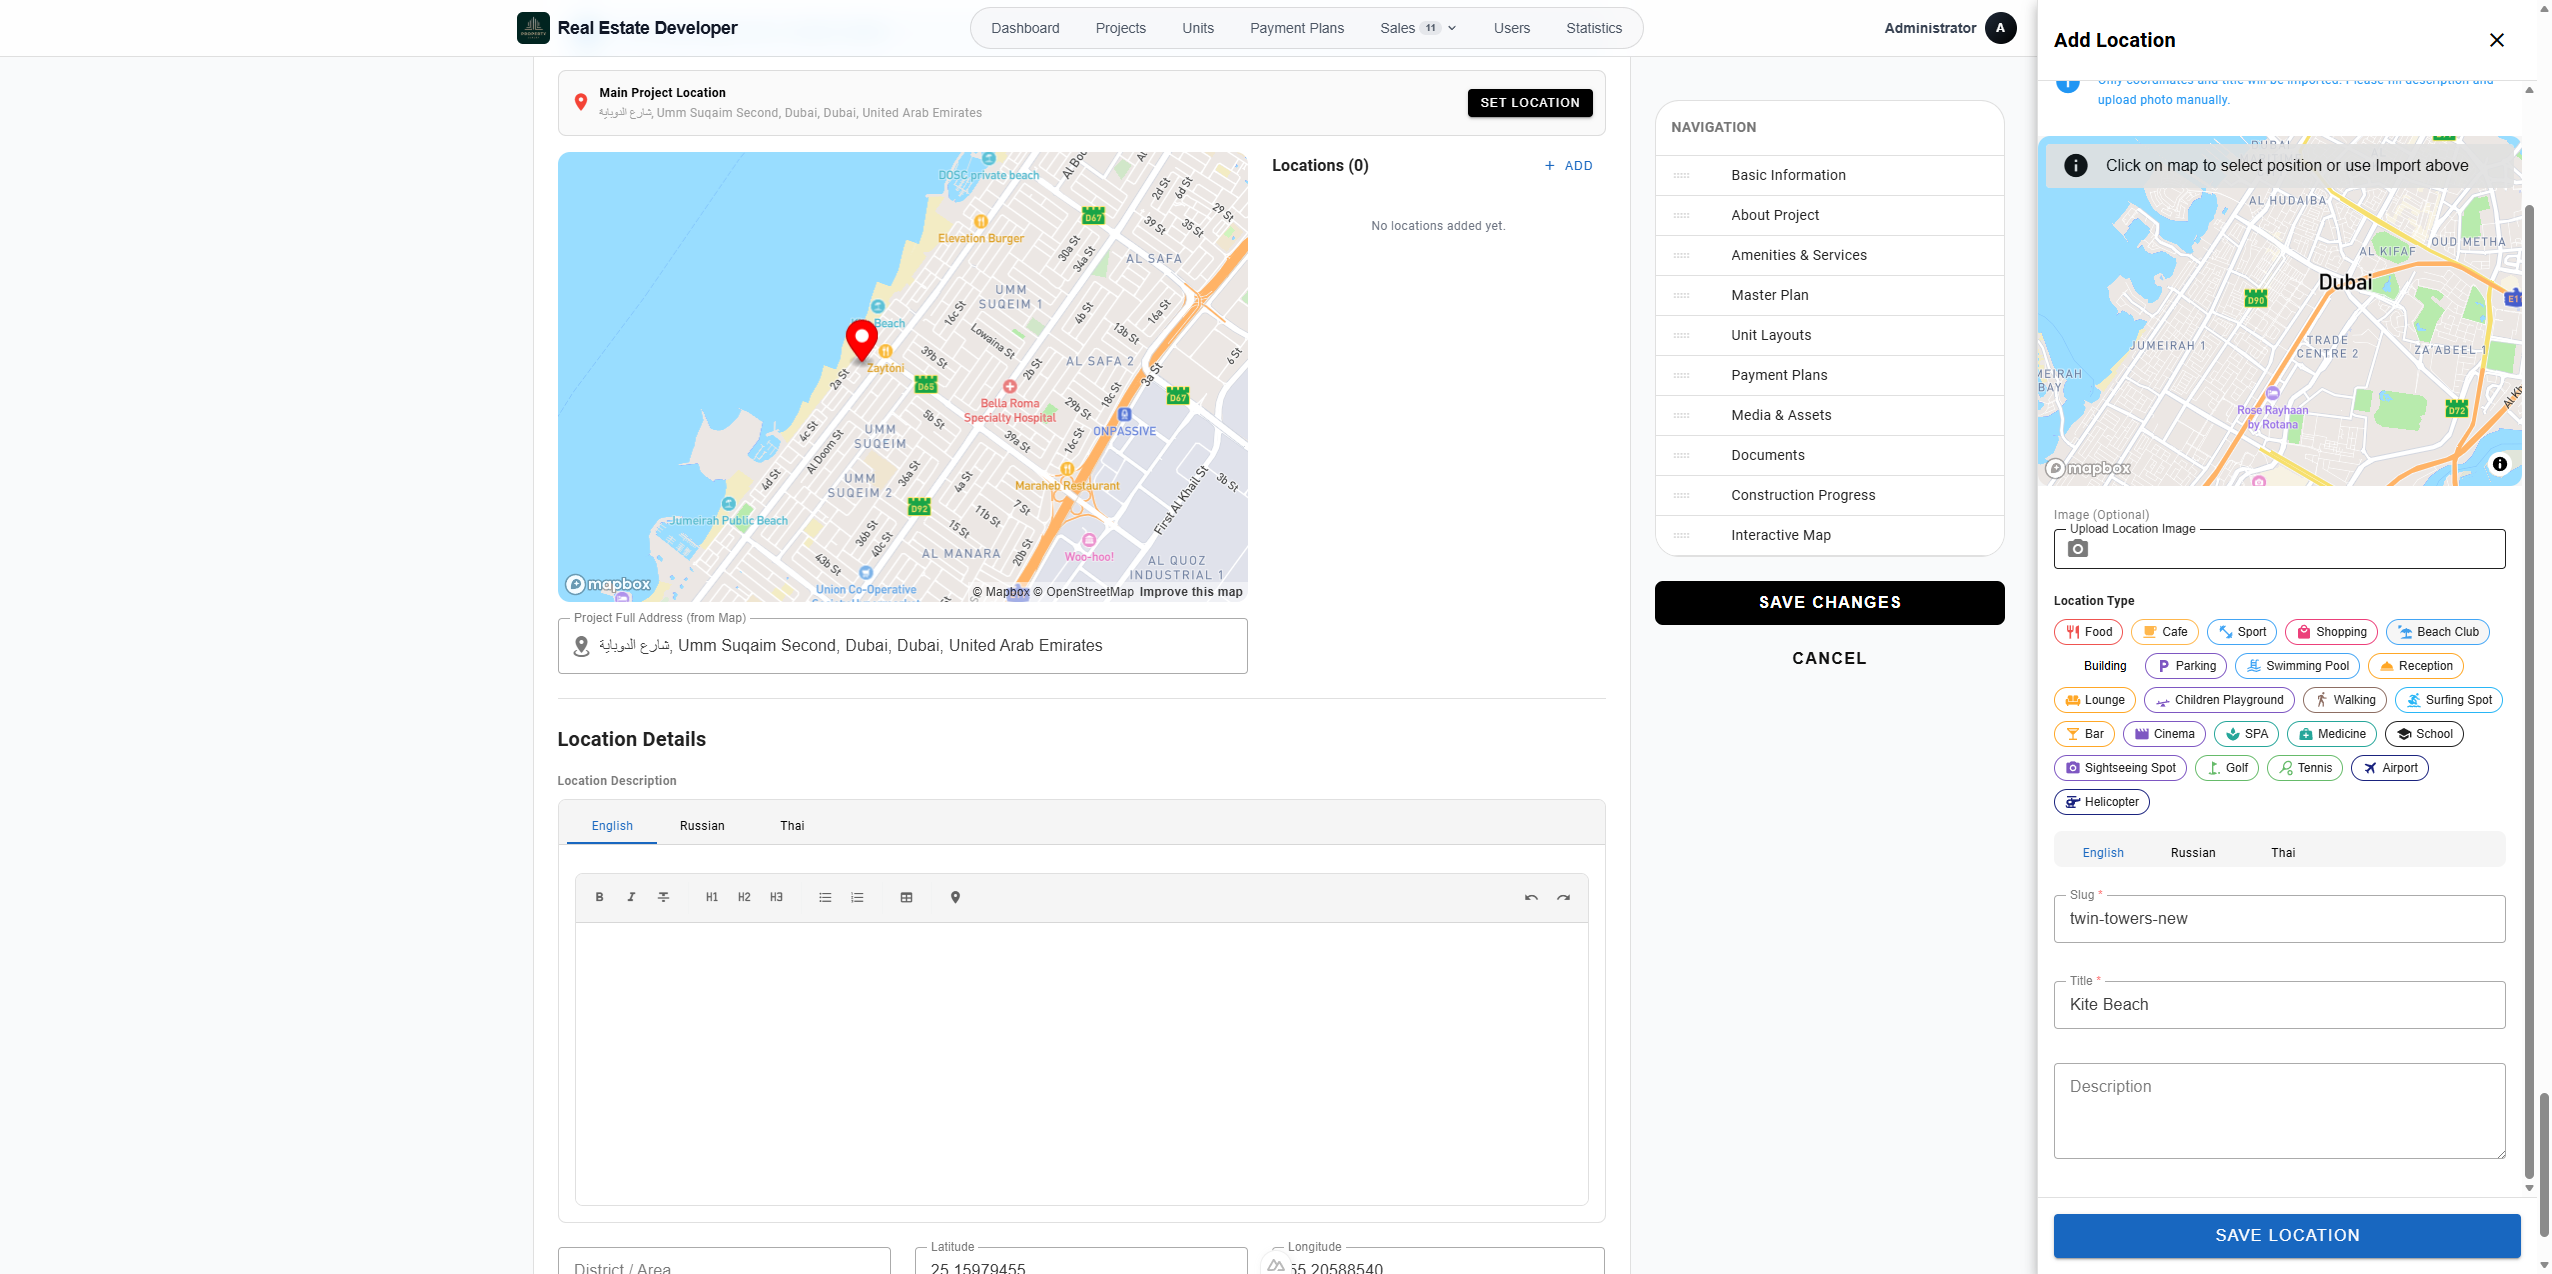
Select a category icon that fits the point of interest (e.g., Beach Club, Cafe).
162
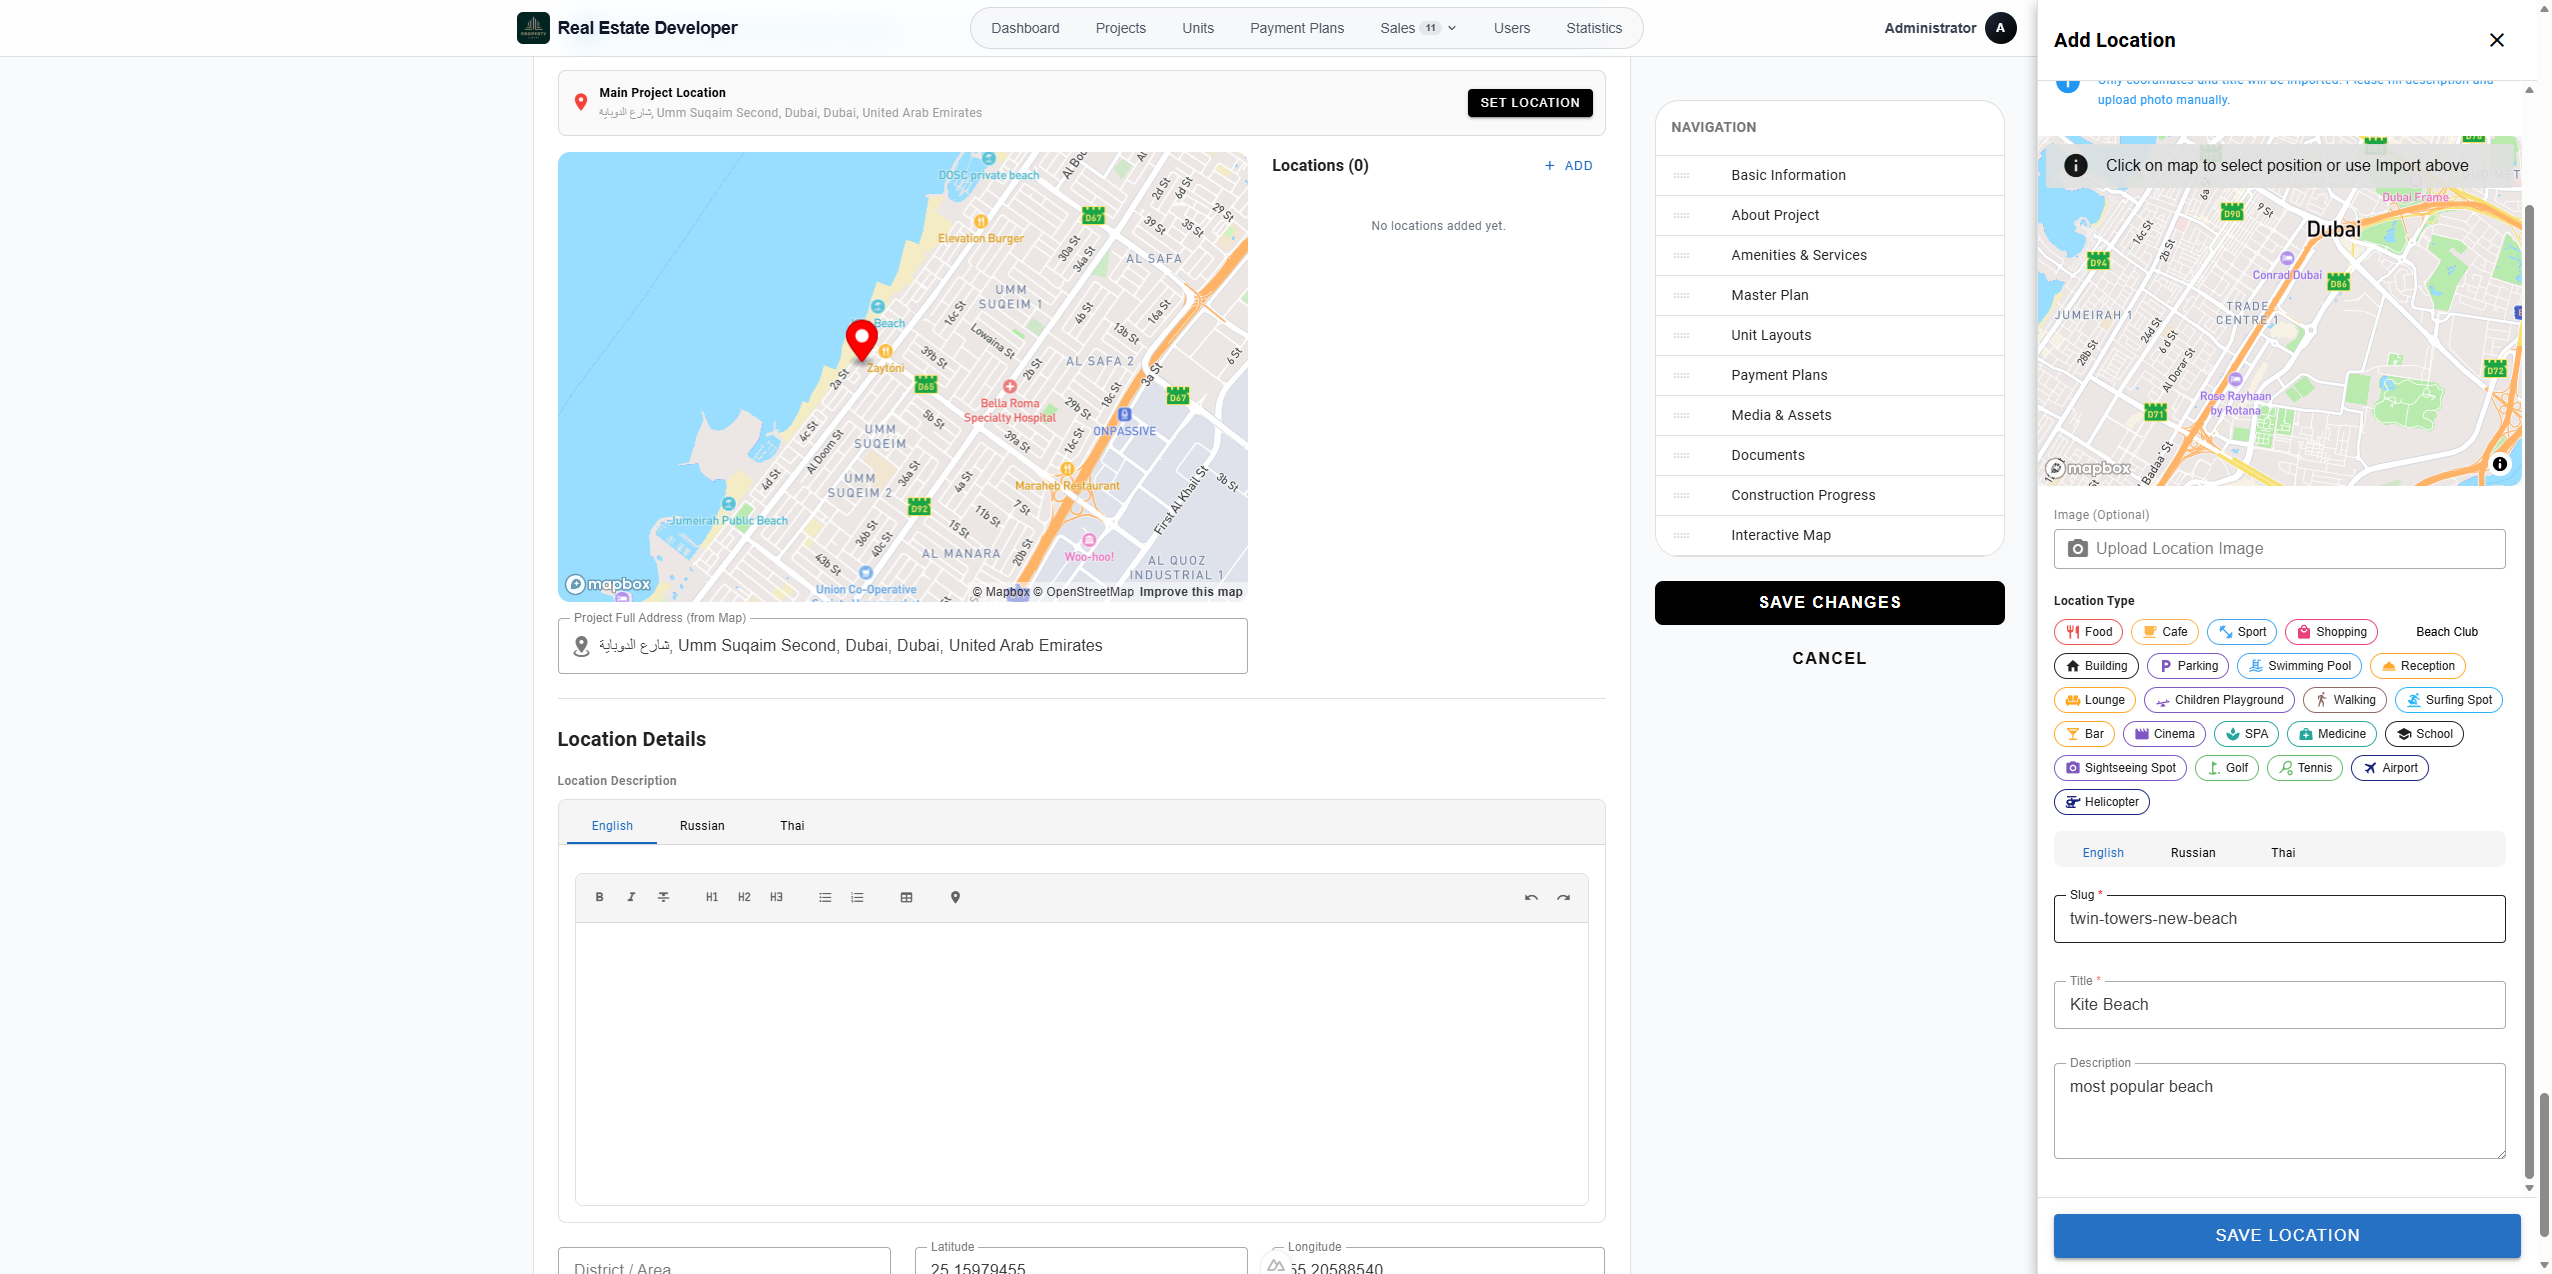
Enter a title and brief description for the location.
165
Add a custom URL slug.
166
Click Save Location.
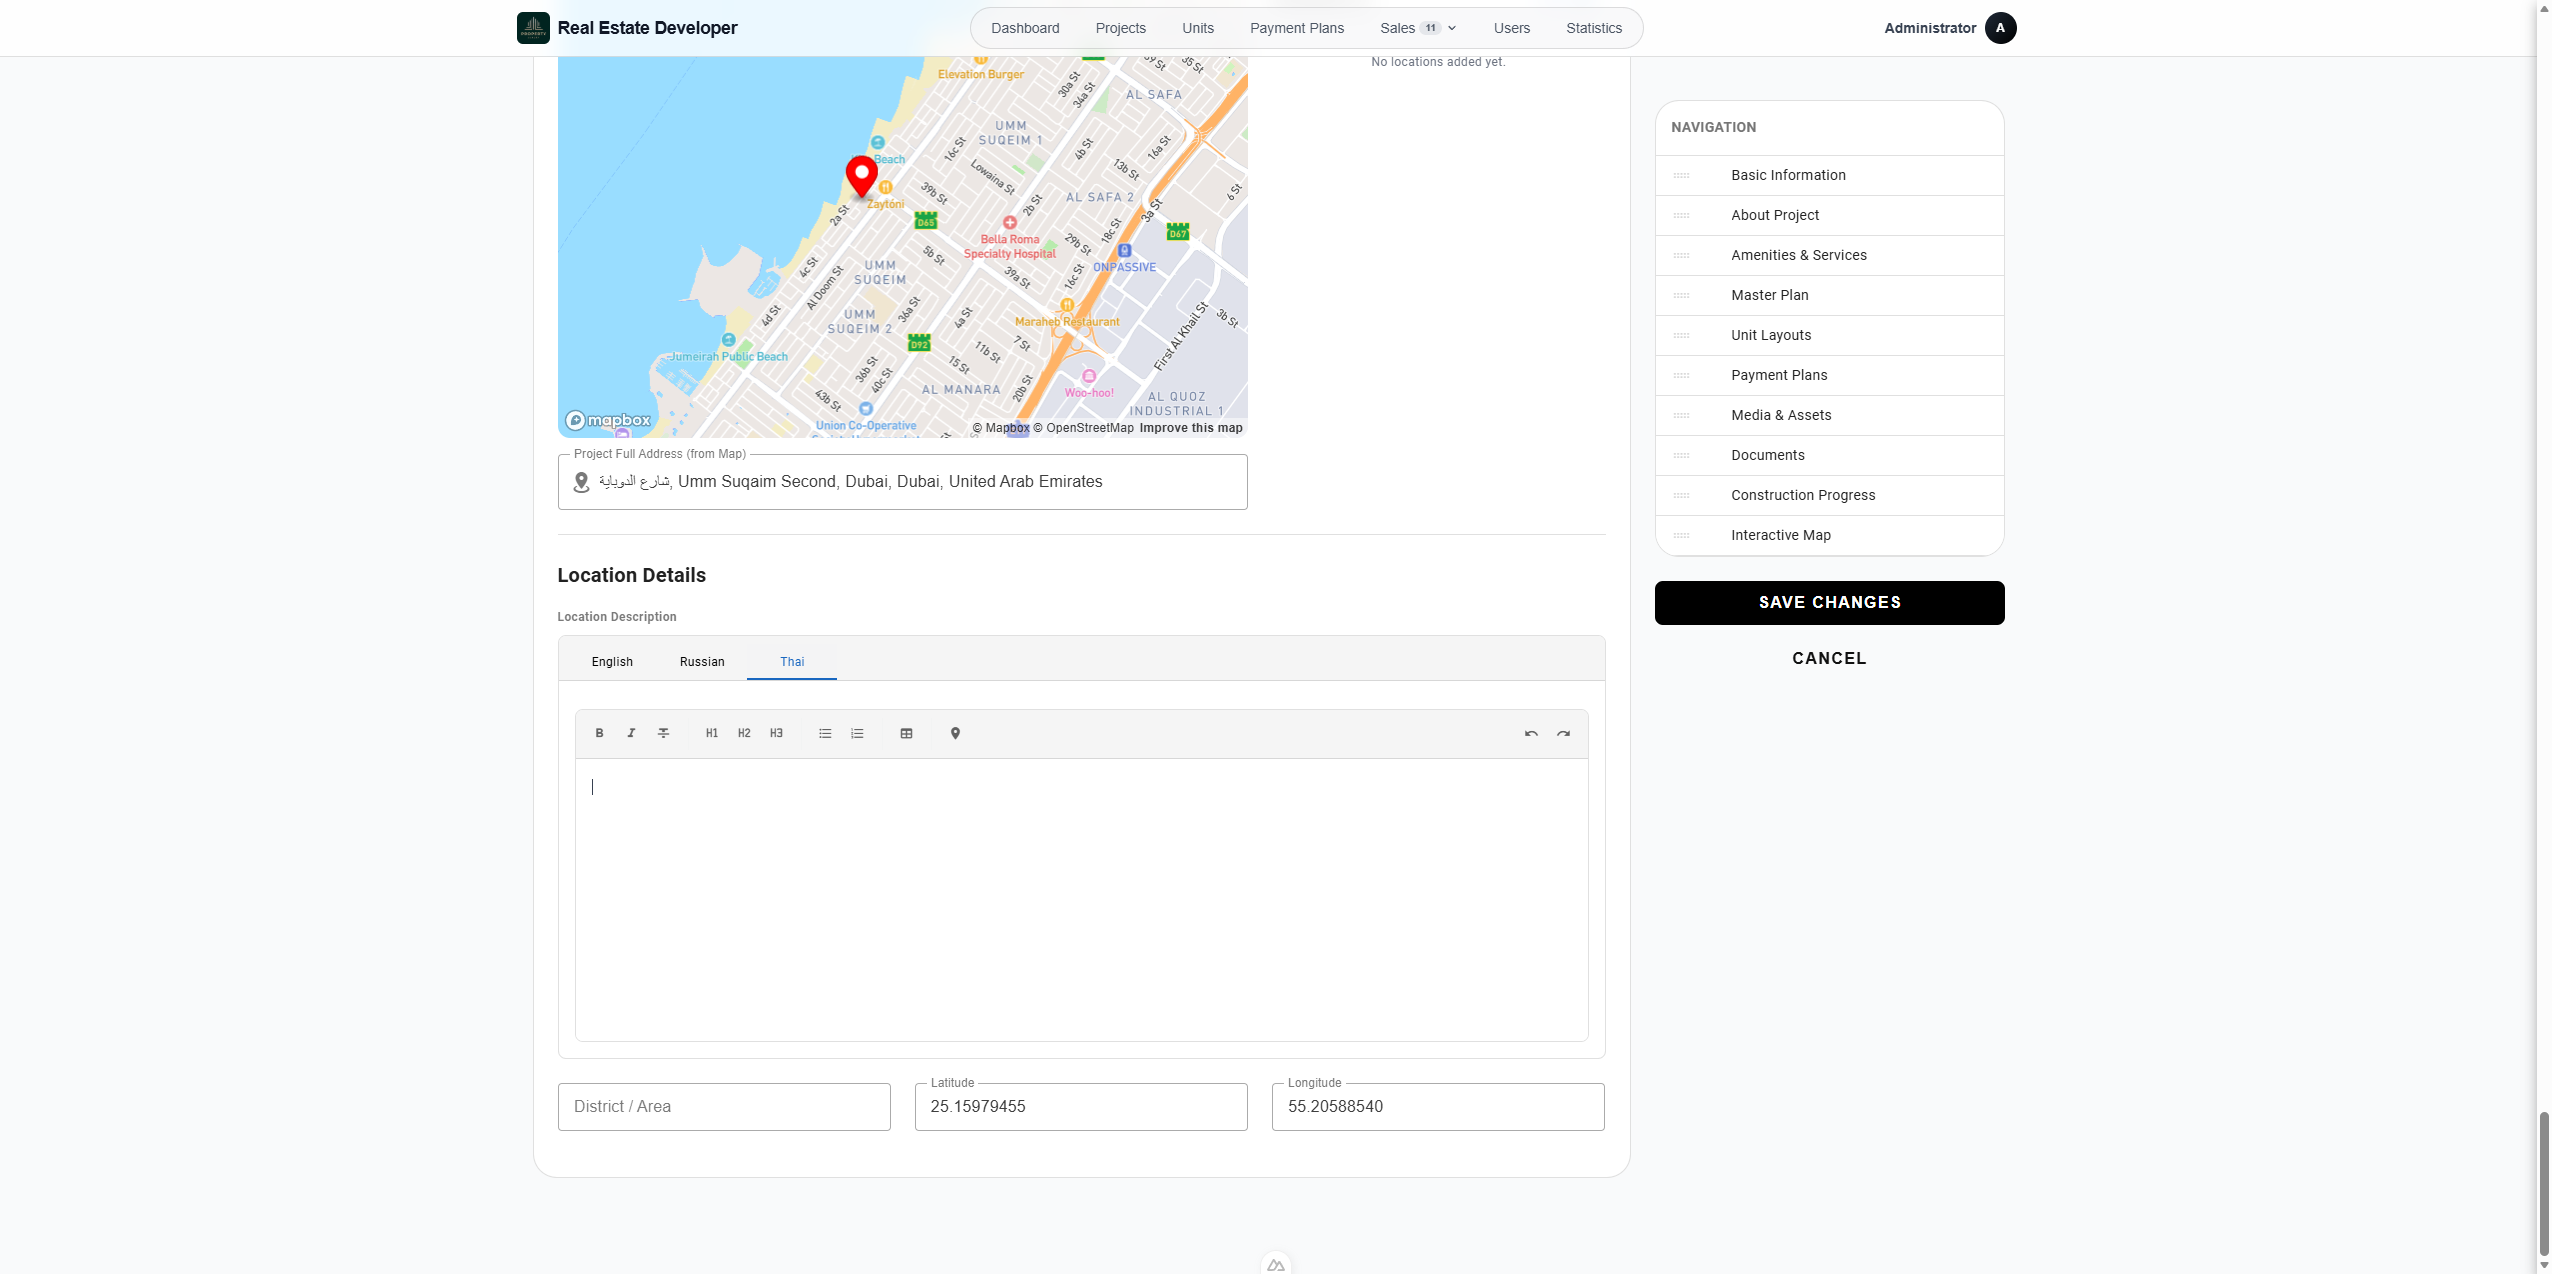
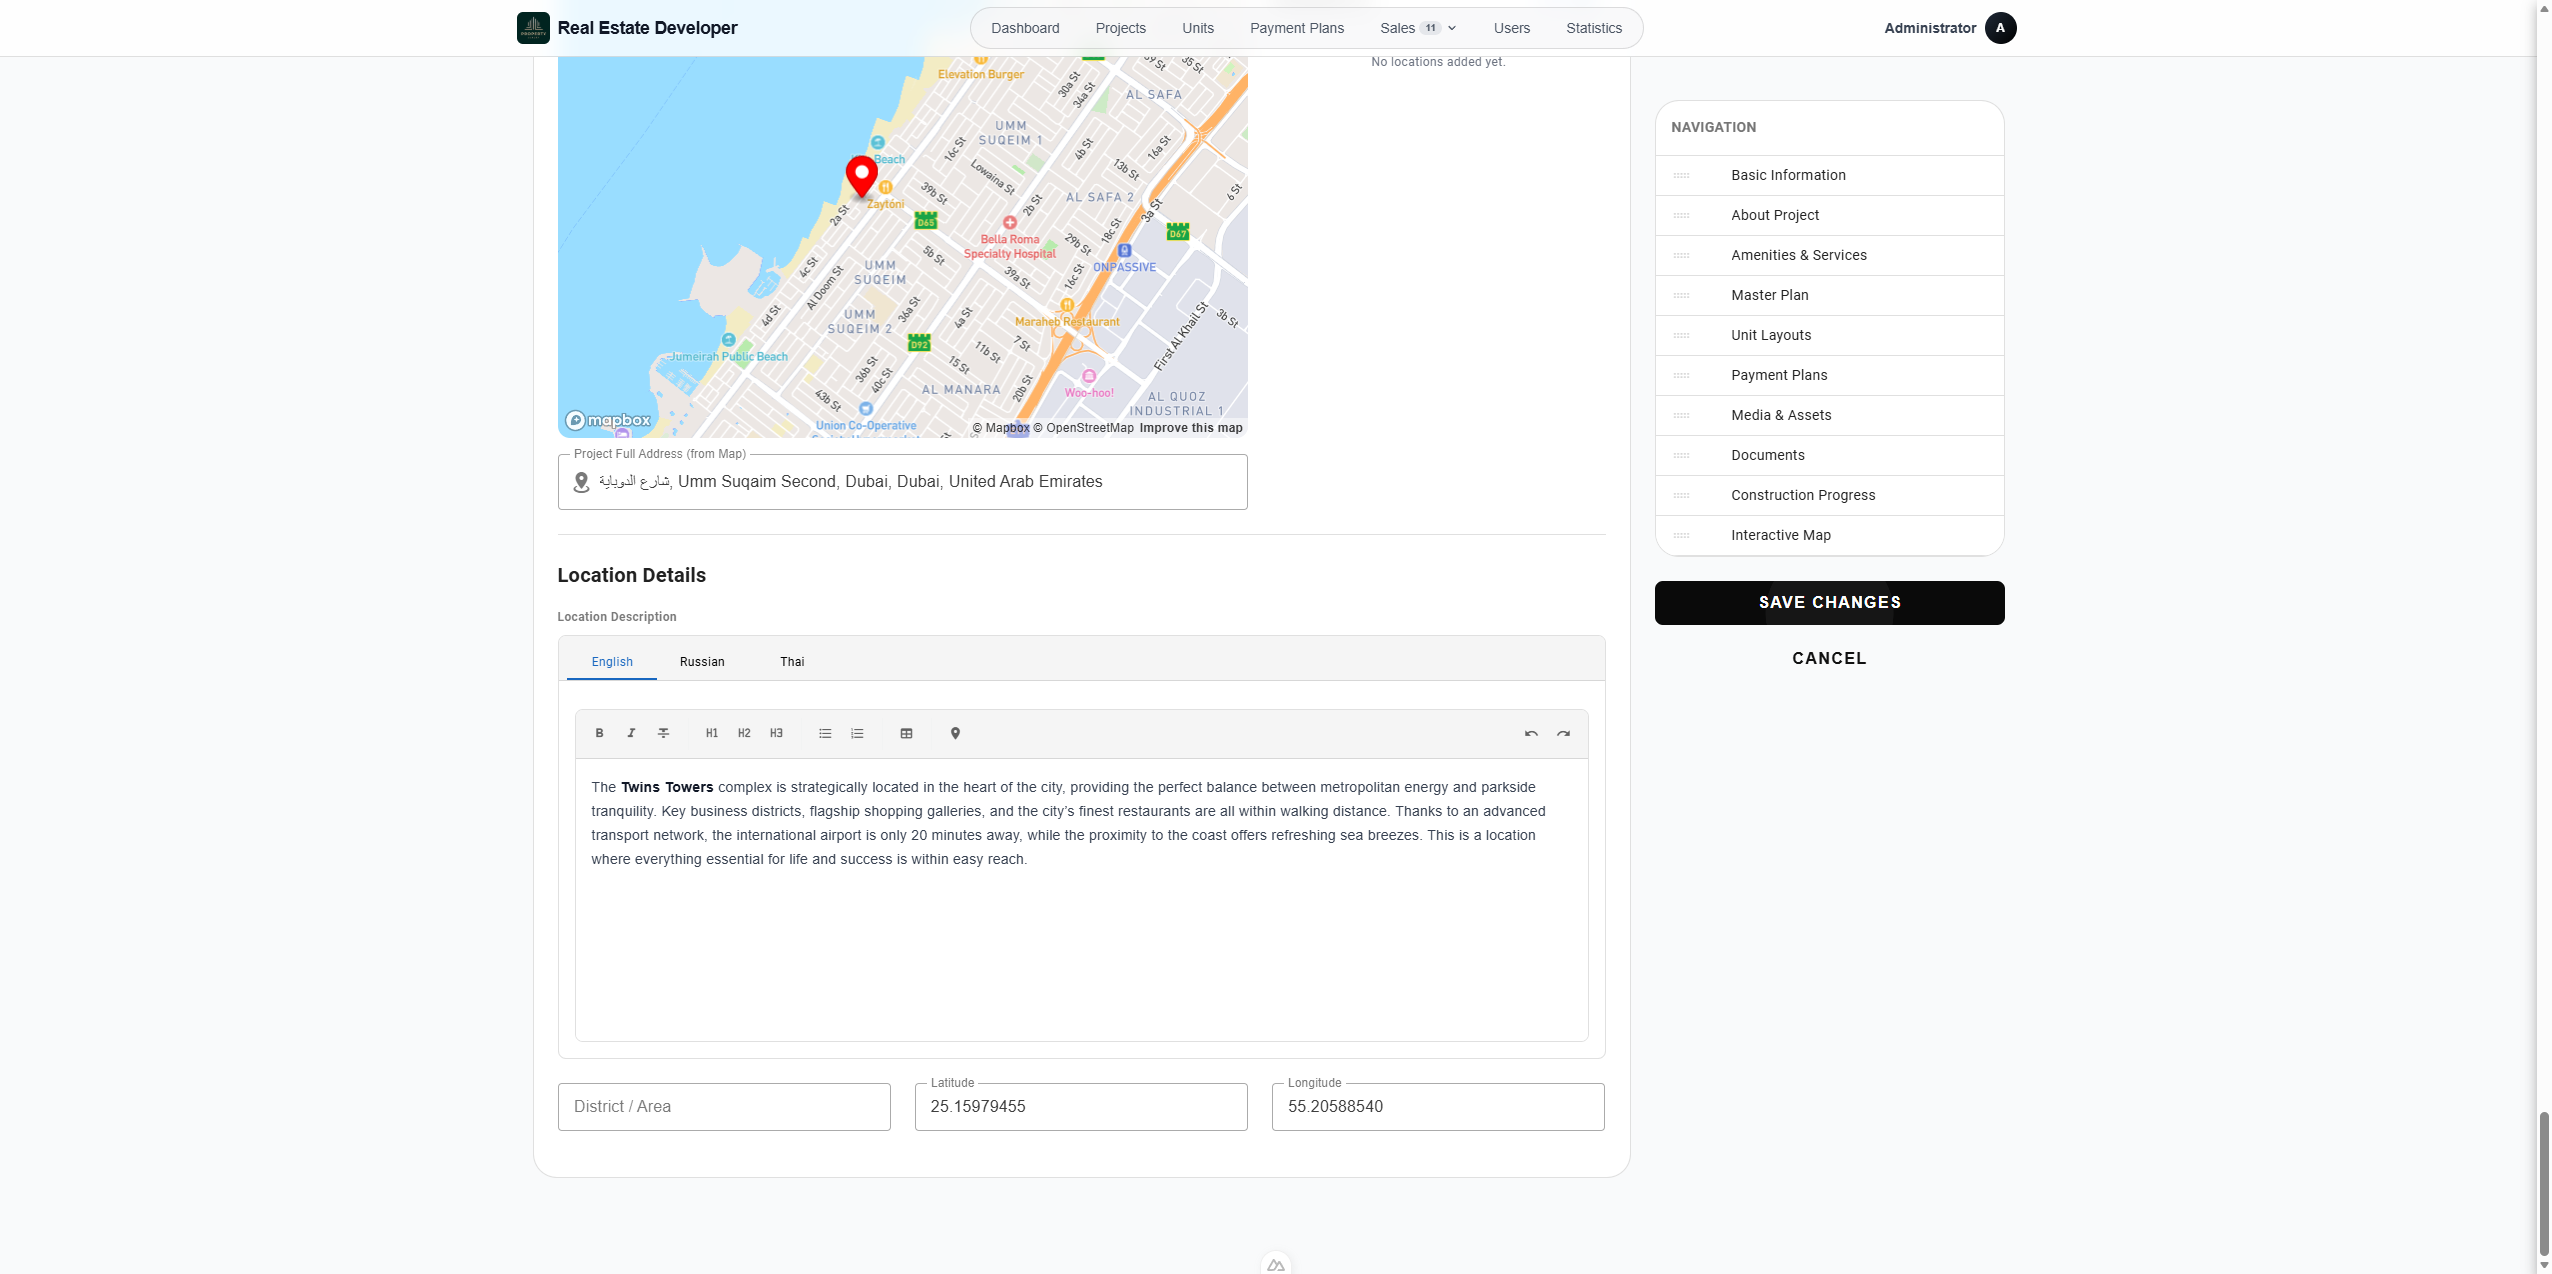
178
Use the rich-text editor at the bottom of the map settings to add detailed, multi-language descriptions of the project's overall neighborhood.
180
When you are done setting up your project, click Save Changes in the sidebar.