Managing and Creating Email Templates on Reservety
Learn how to customize default automated email templates and create entirely new automated email workflows using the drag-and-drop editor in Reservety.
By Reservety
This guide explains how to edit automated email notifications and build custom email templates from scratch in Reservety.
Completing this process ensures your system communications match your brand and include relevant details for your customers.
This guide applies to store administrators and business owners managing customer communications. Use these steps during initial store setup or when refining your automated messaging workflows over time.
Managing Default Email Templates
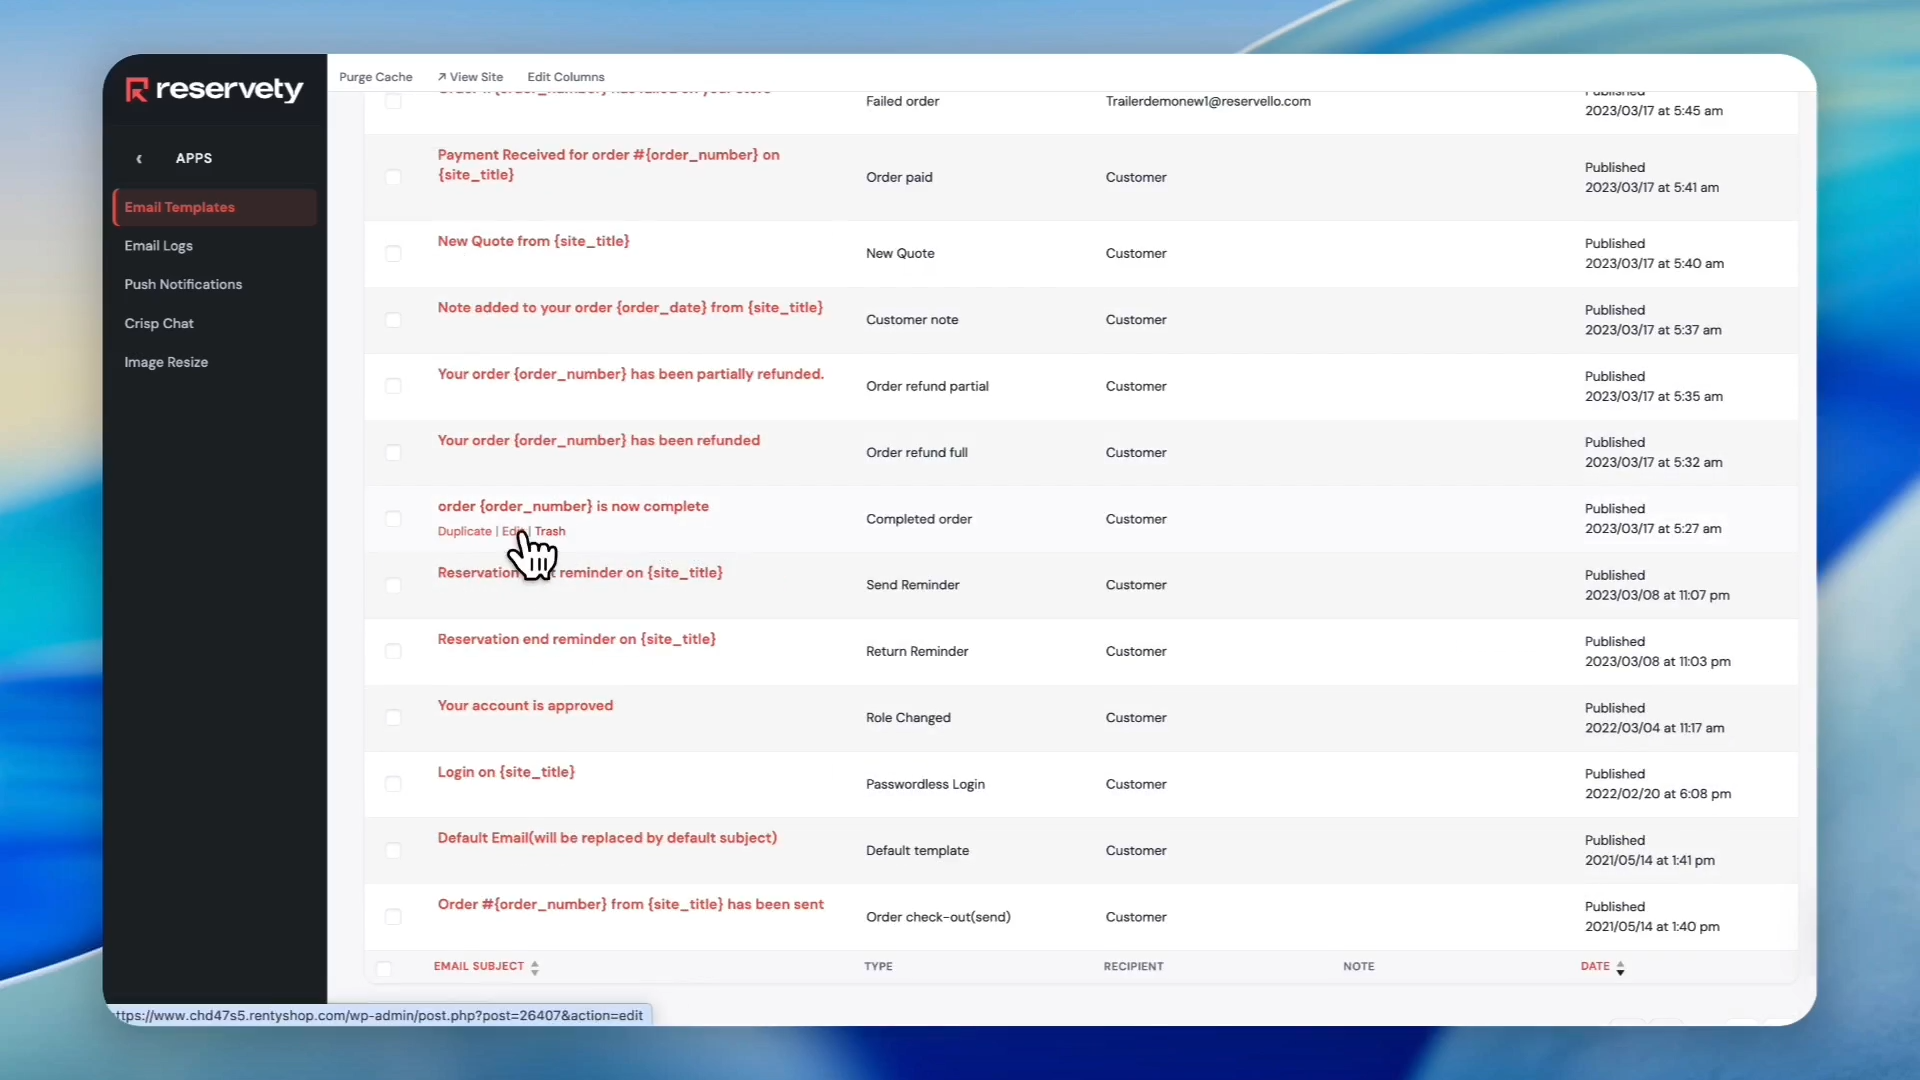
Reservety comes with several default templates that handle vital events out of the box.
1
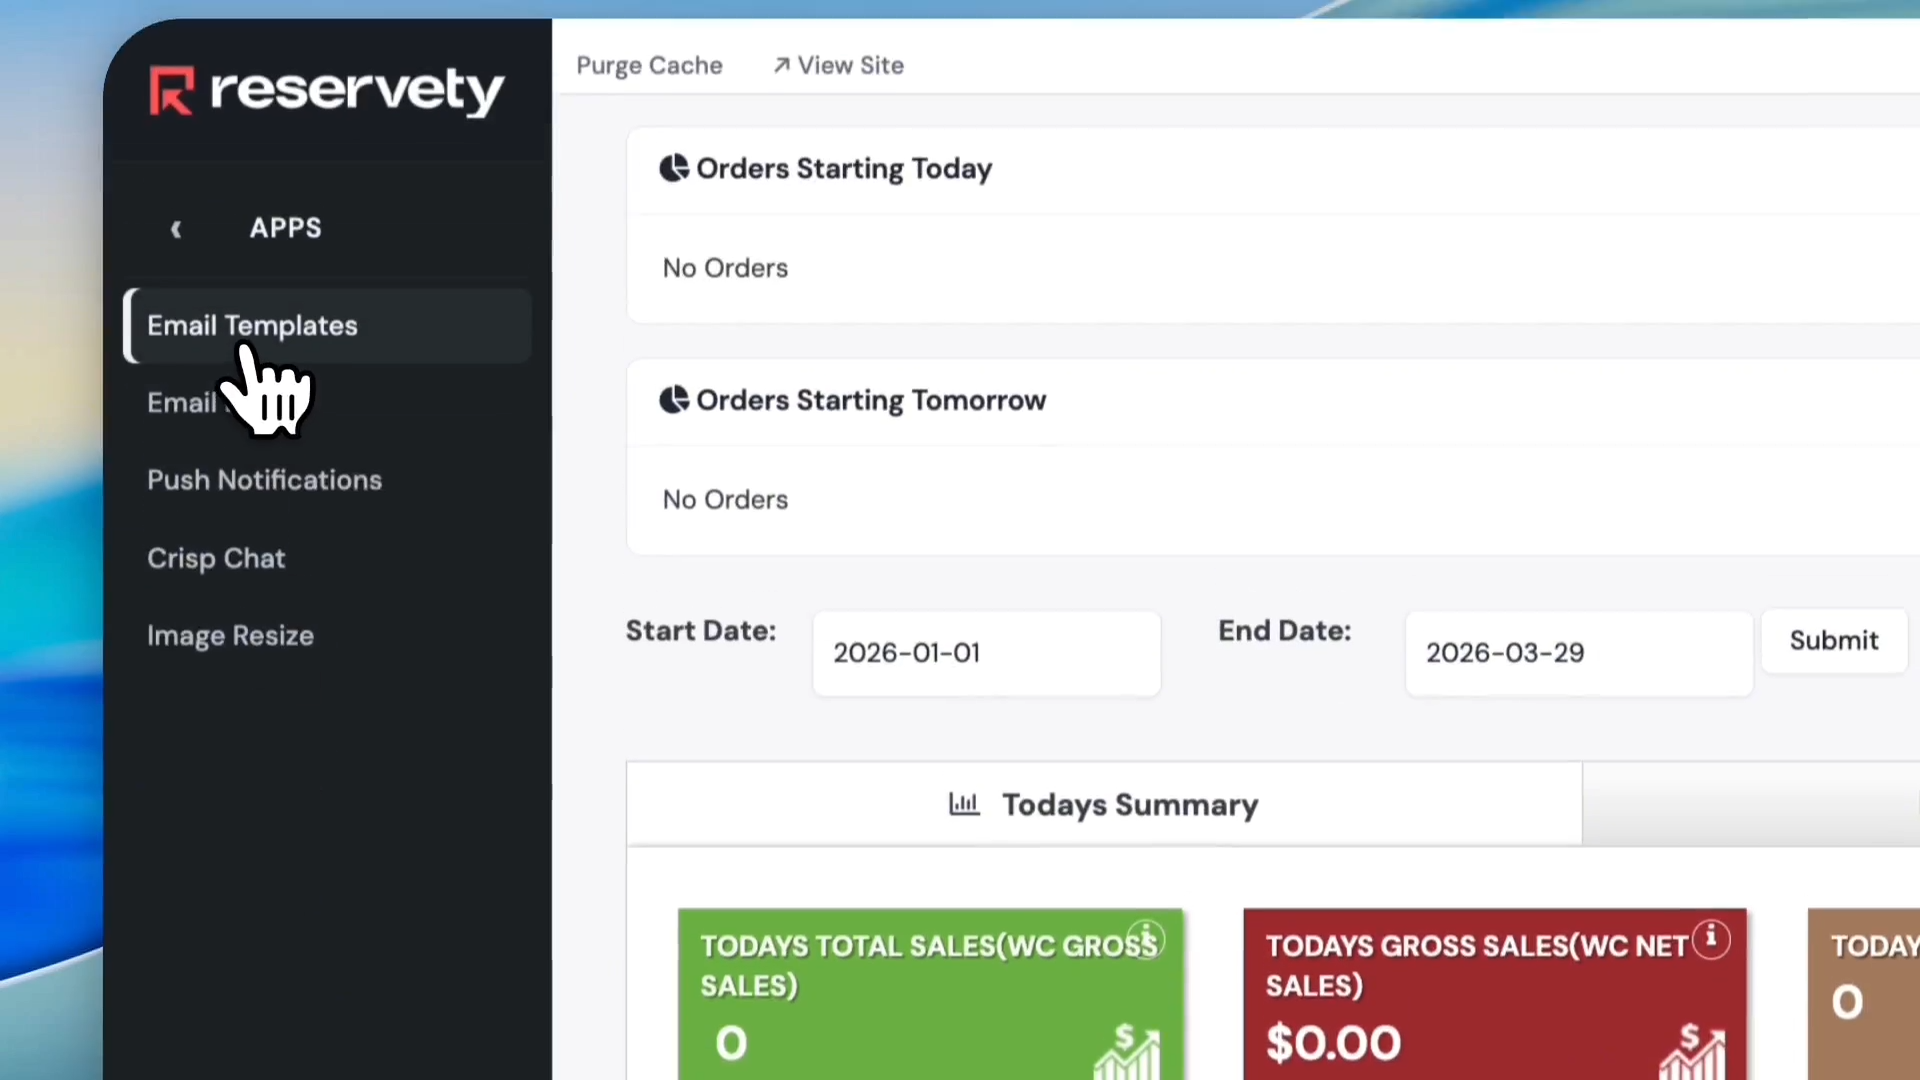
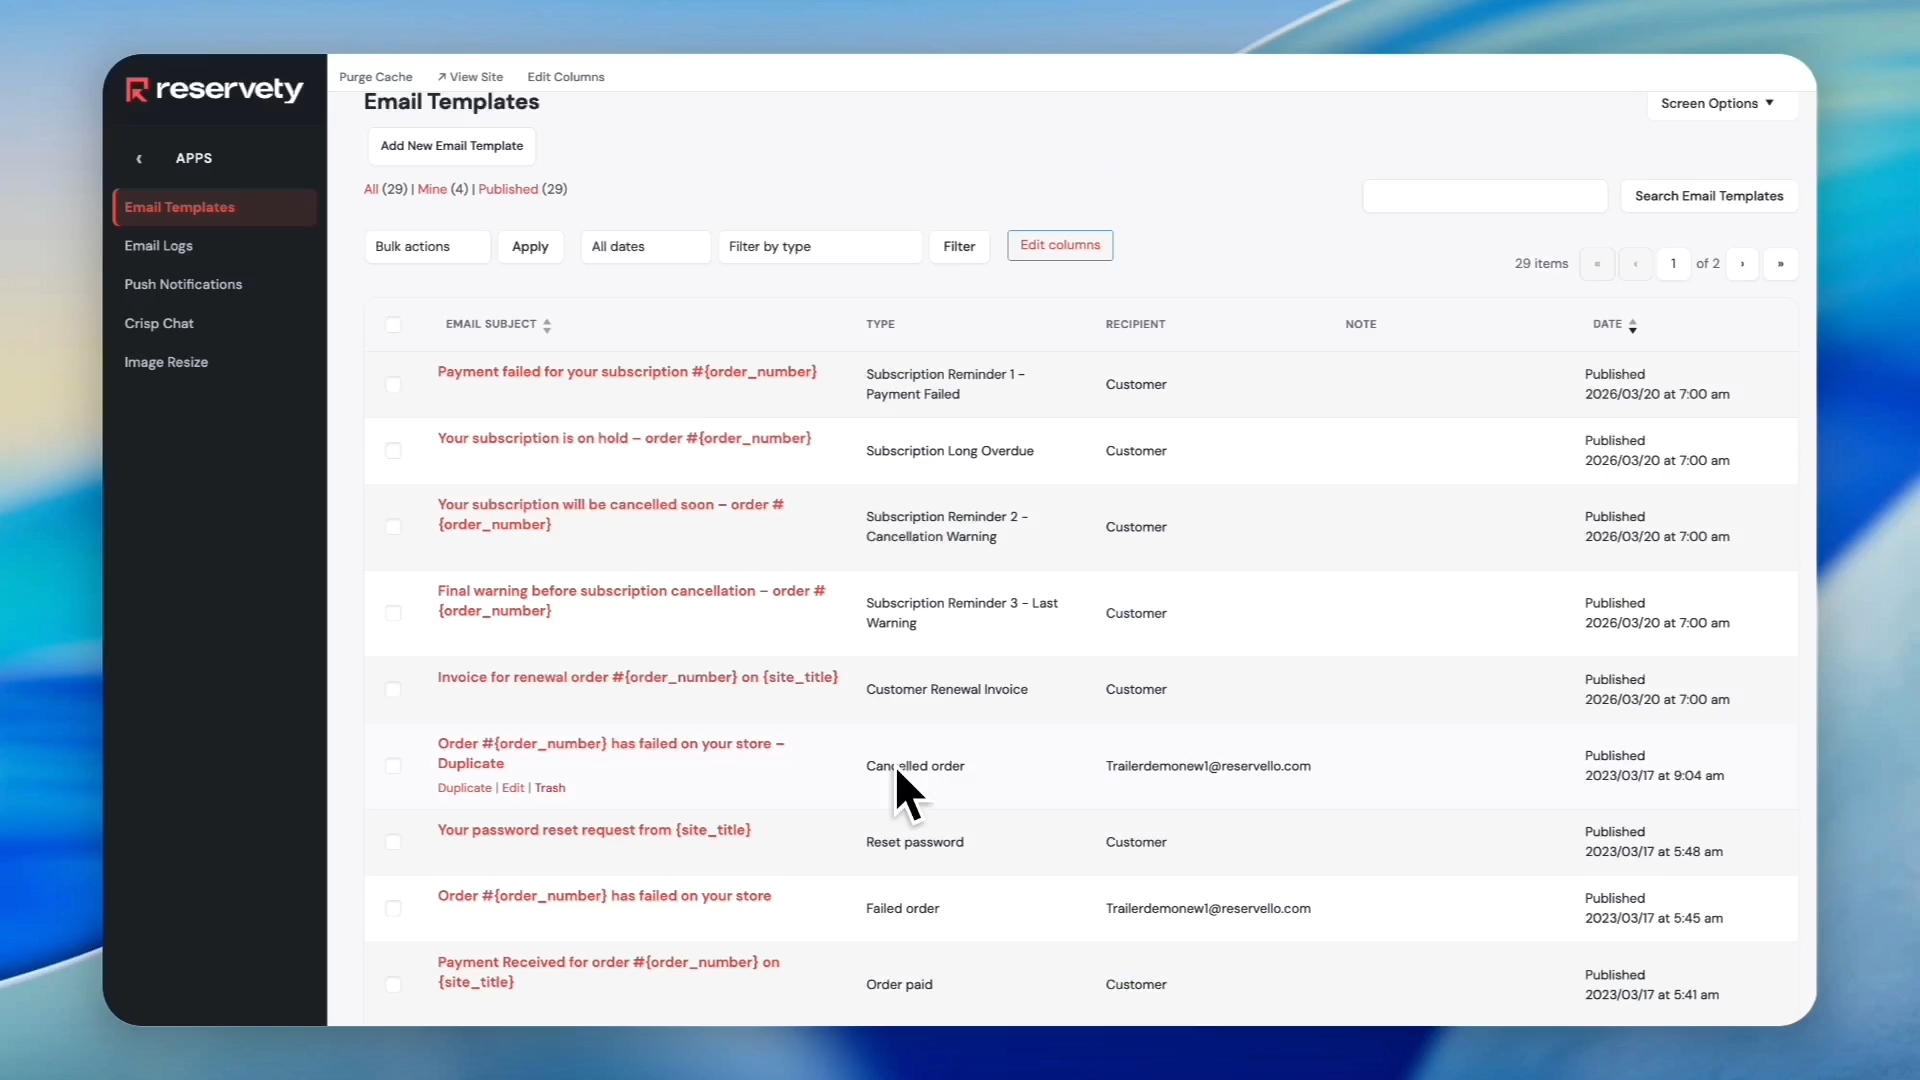
Click Apps in the main navigation sidebar.
2
Click Email Templates to view your list of automated messages.
These default templates handle events like failed bookings, successful payments, and account actions. They are automatically sent to customers or business owners based on predefined workflow triggers.
3
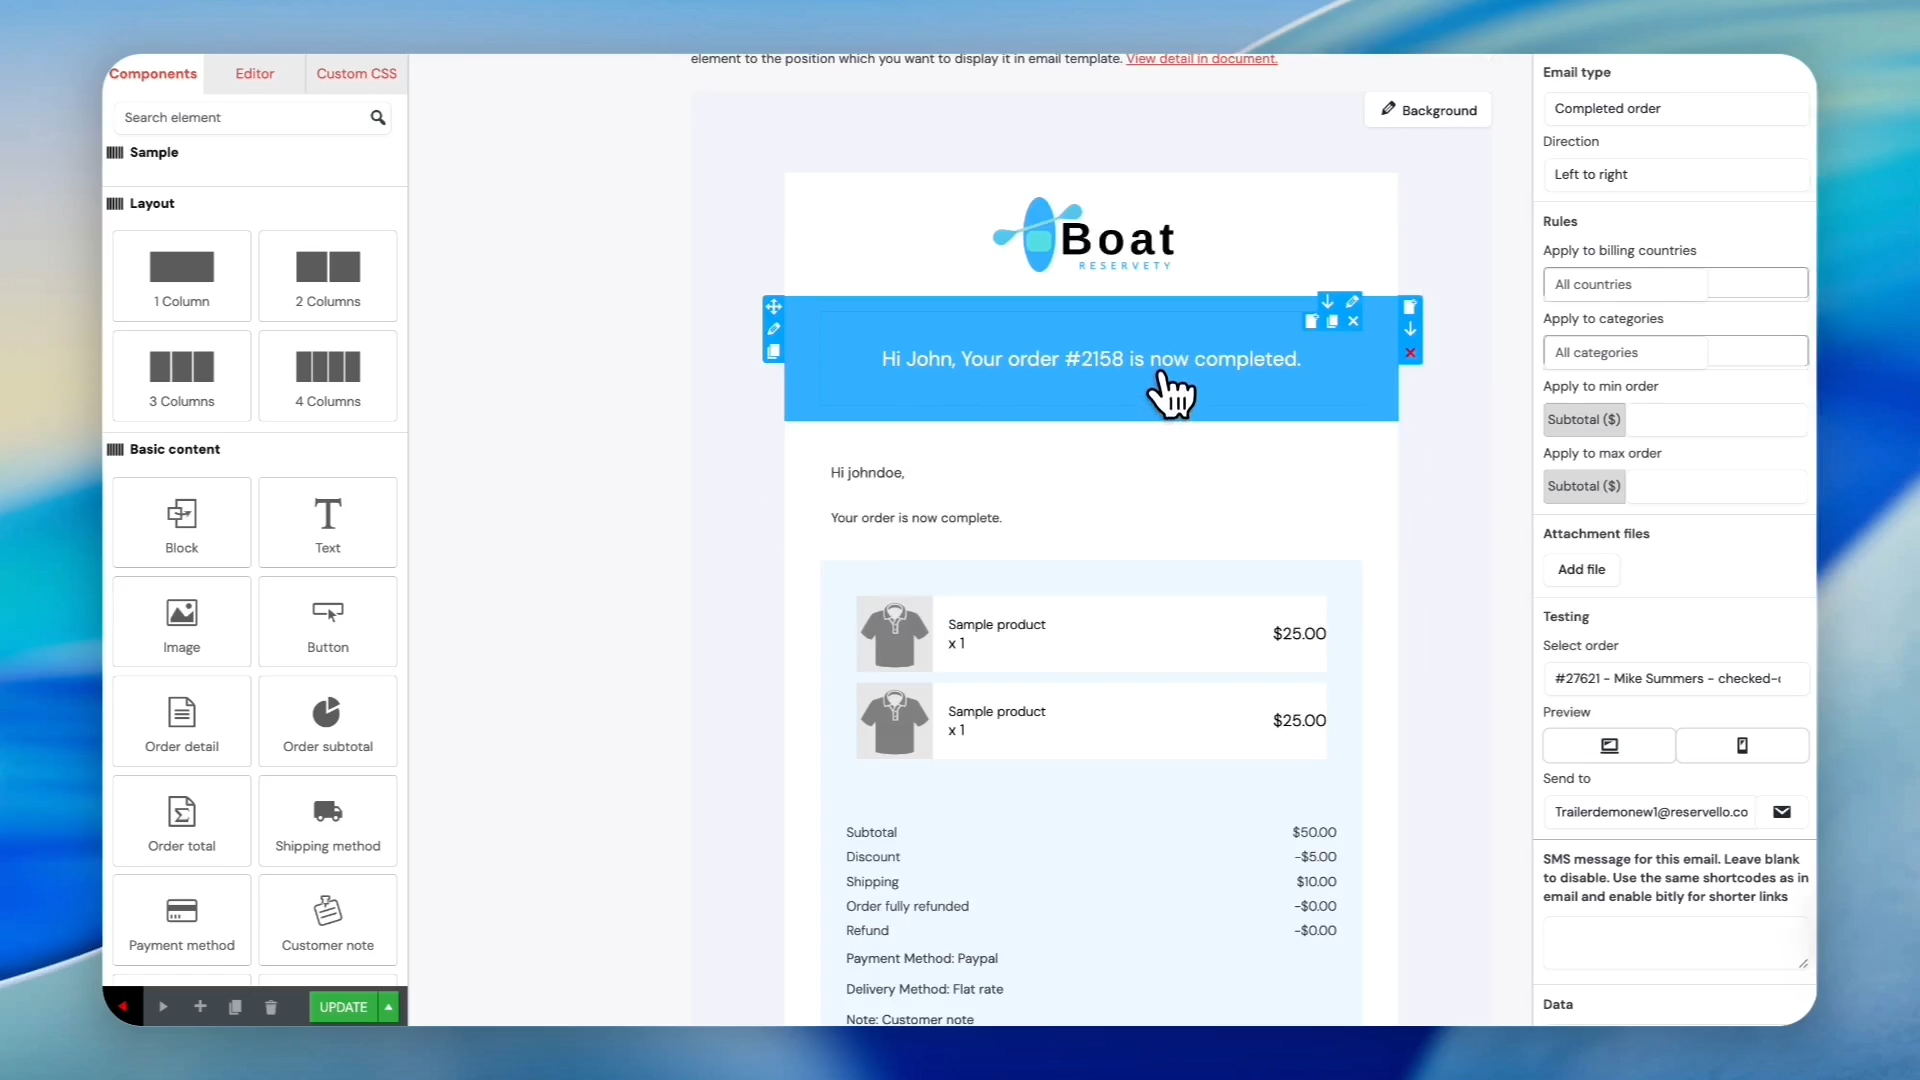
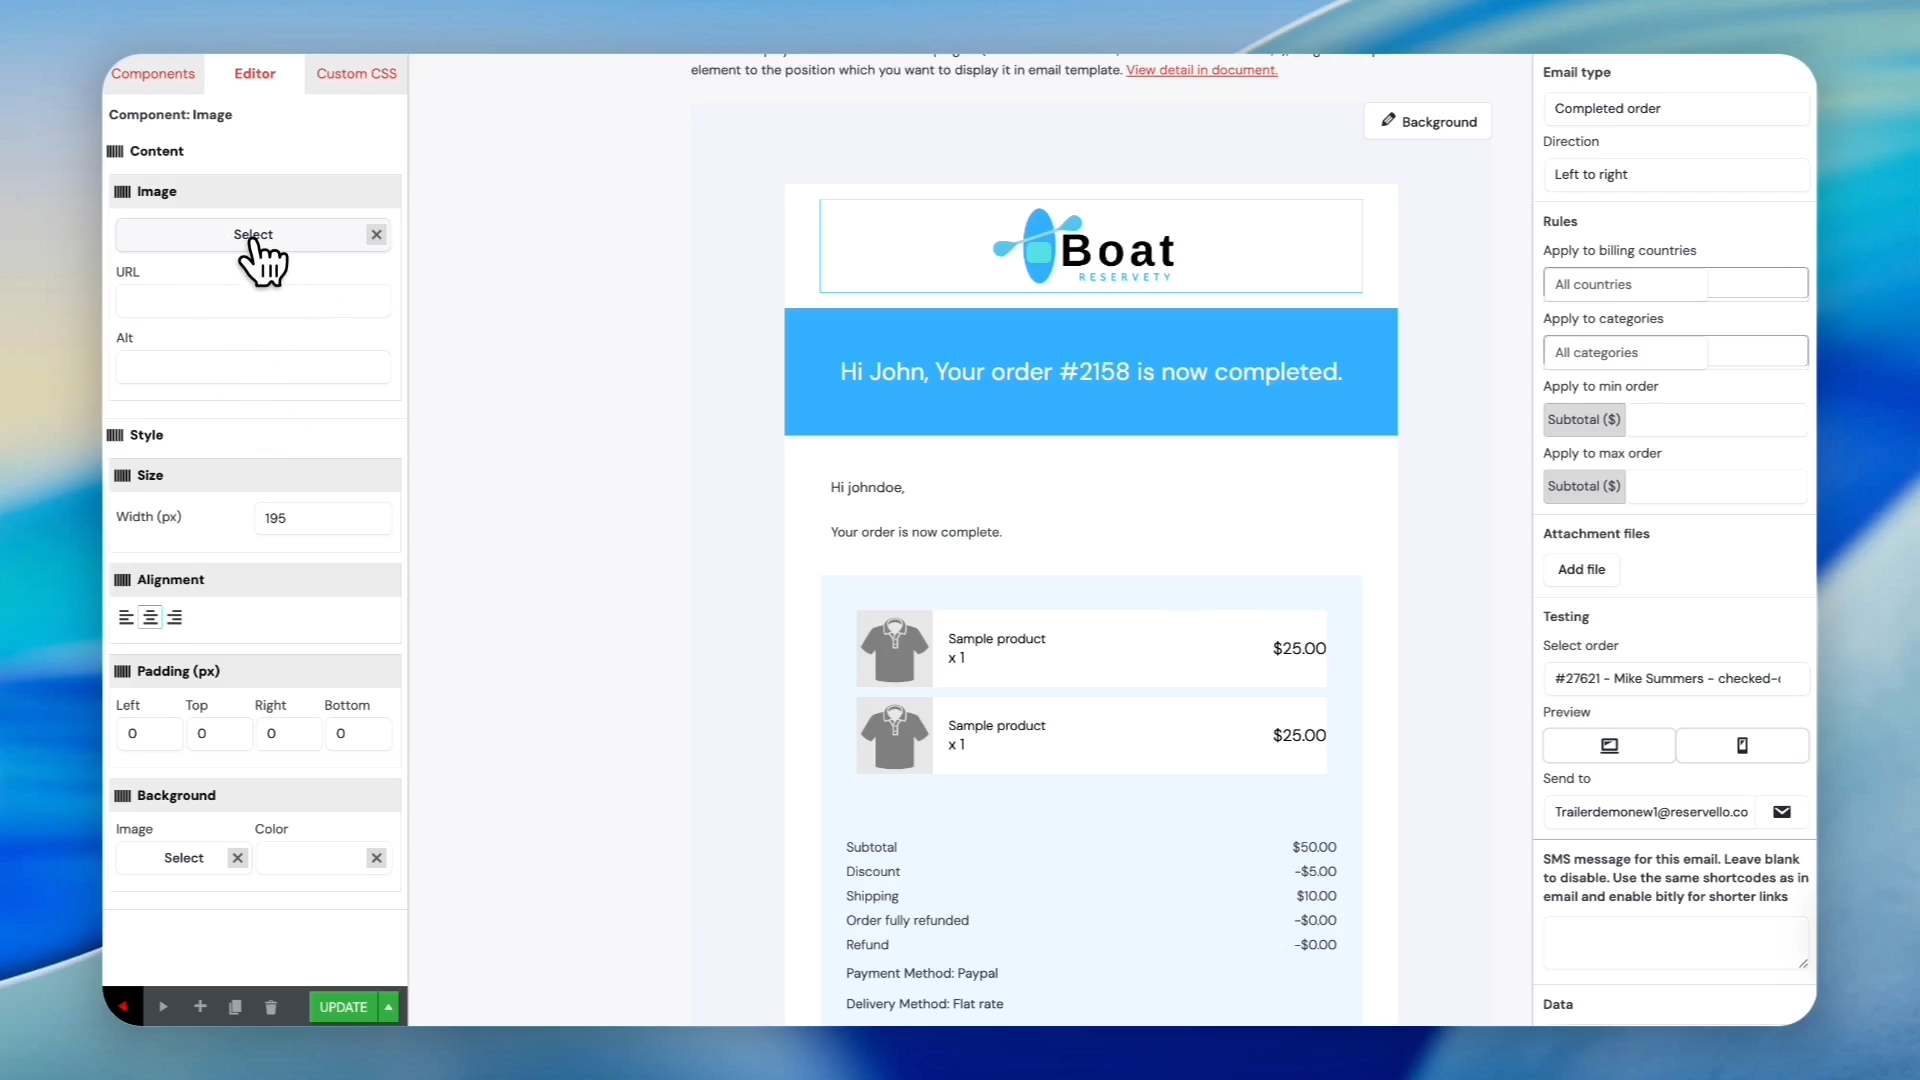
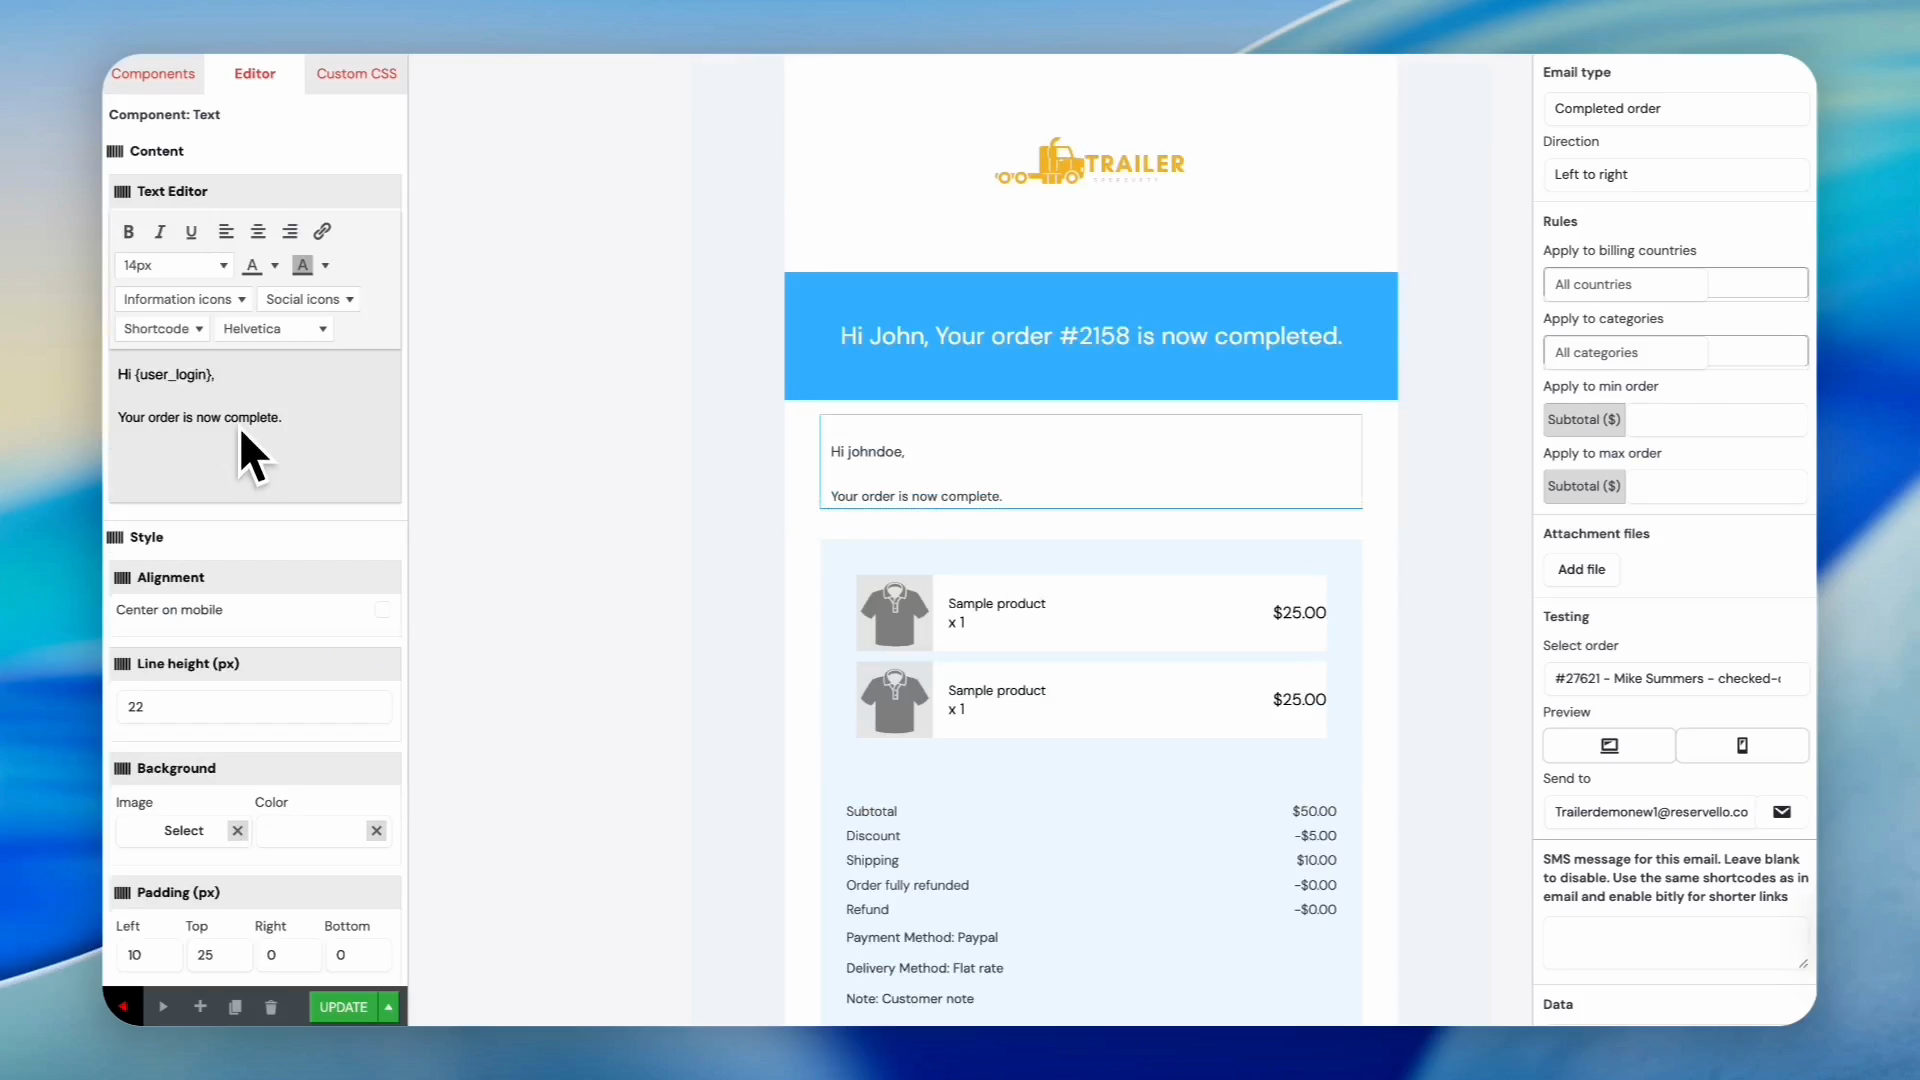
Hover over the desired template you want to modify, such as the Order Completion template. Click Edit to open the drag-and-drop builder.
Customizing Text and Styling
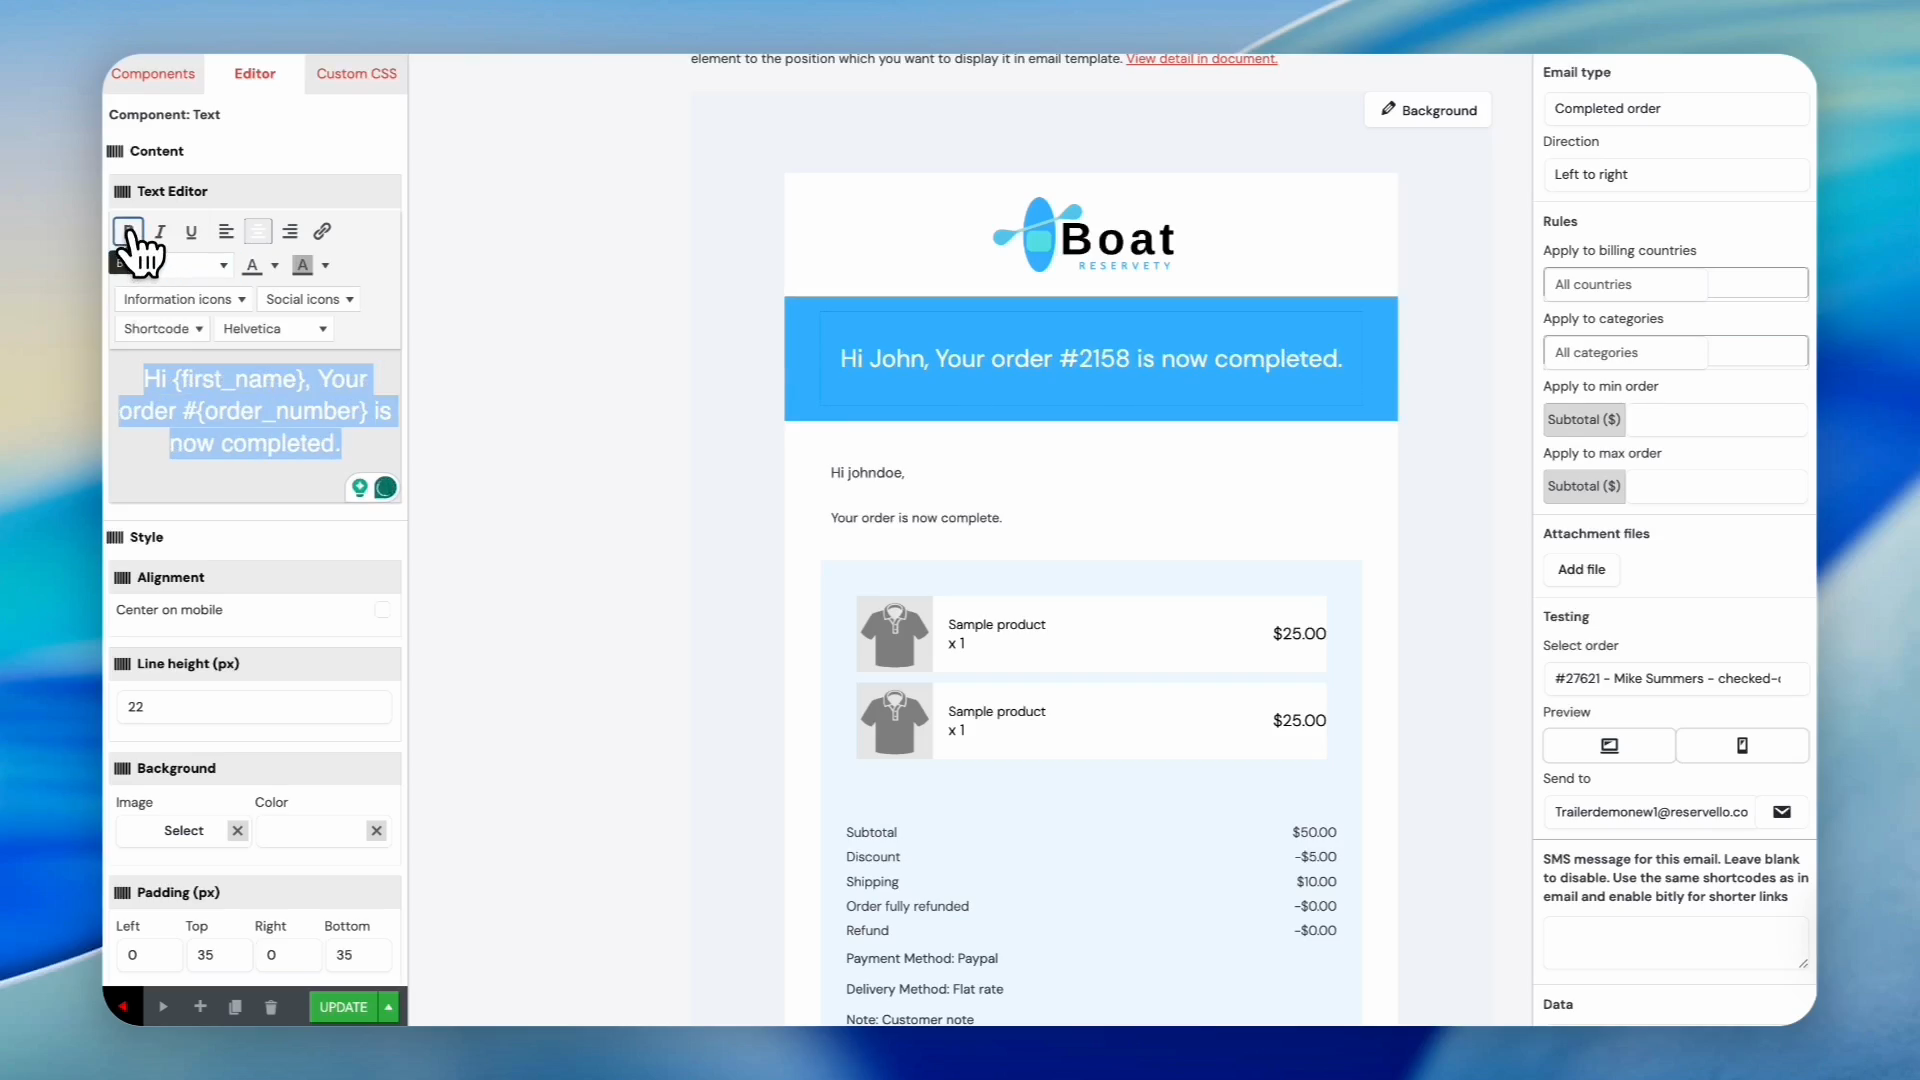
4
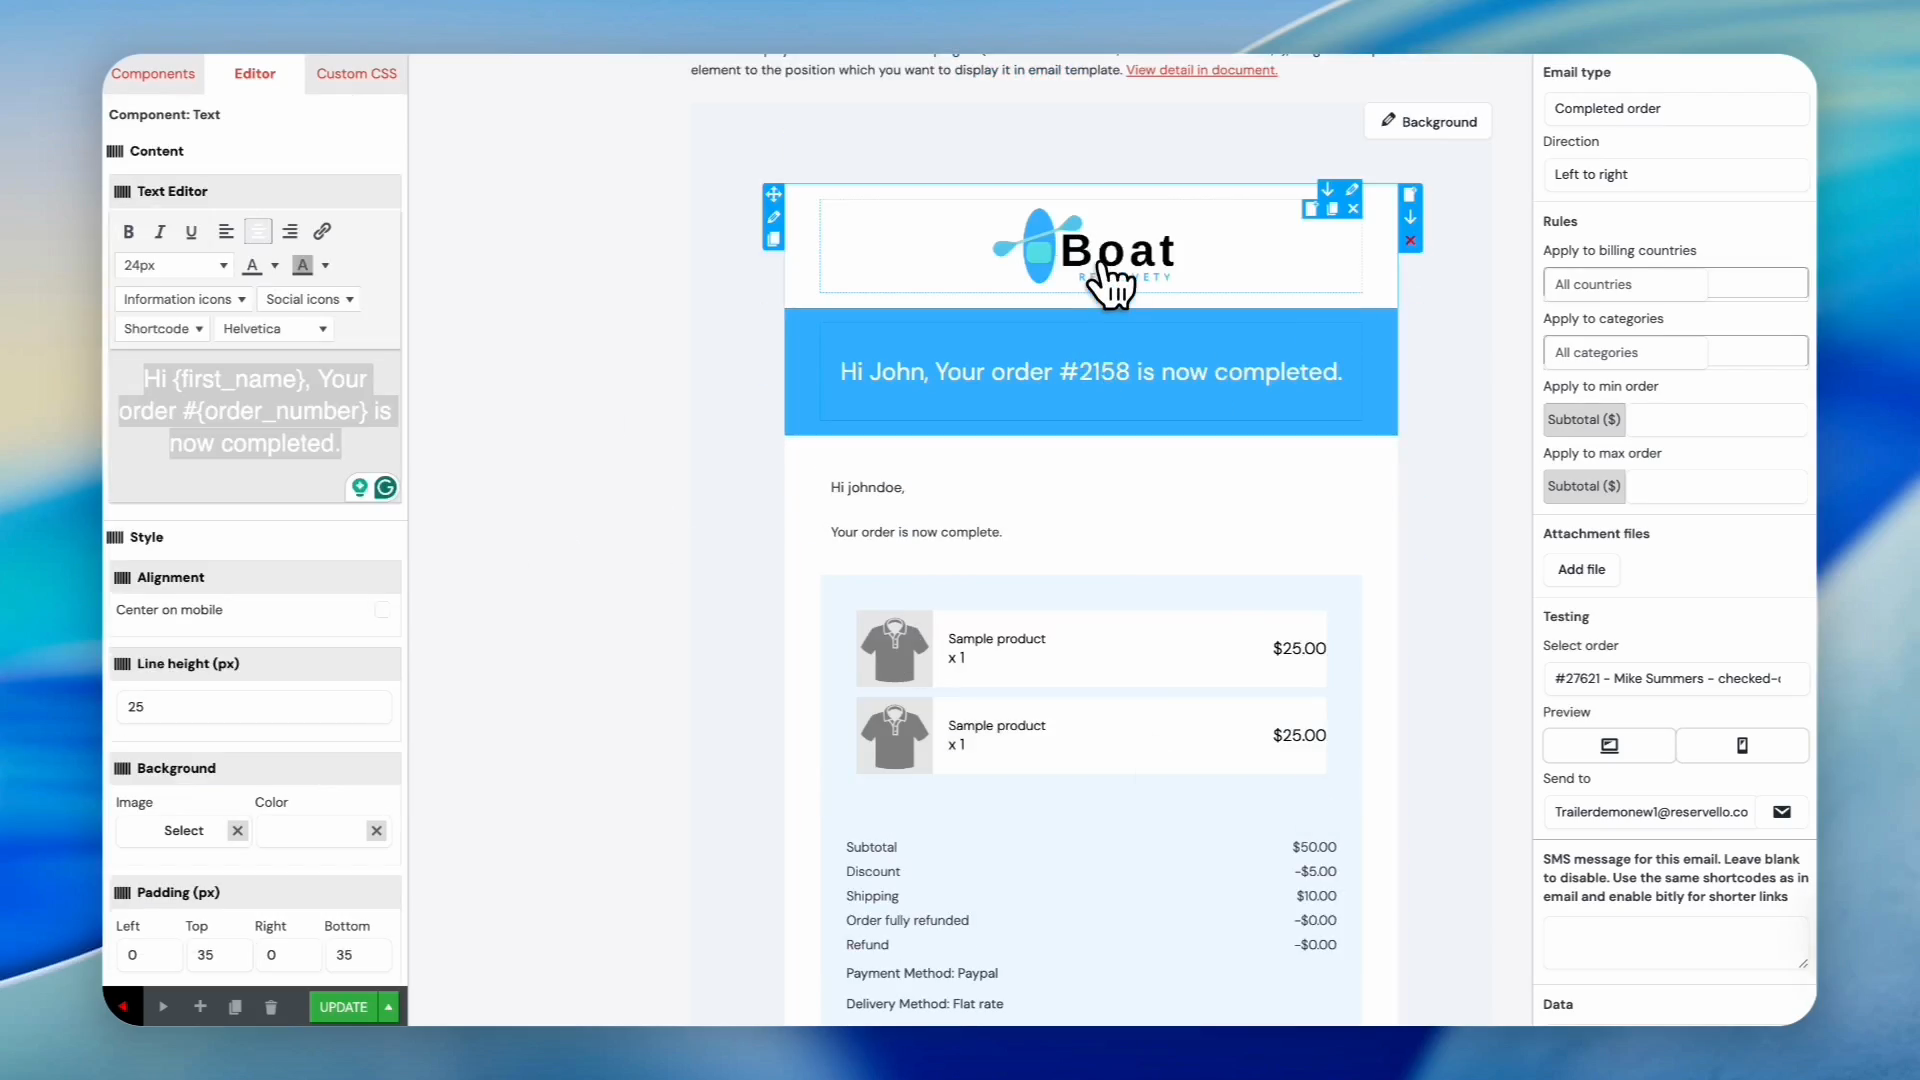
Click any heading or text element in the template preview to reveal its settings on the left sidebar.
5
Click the text box in the sidebar to rewrite the notification message.
The system automatically personalizes messages using shortcodes. For instance, putting {first_name} and {order_number} dynamically injects the real order details.
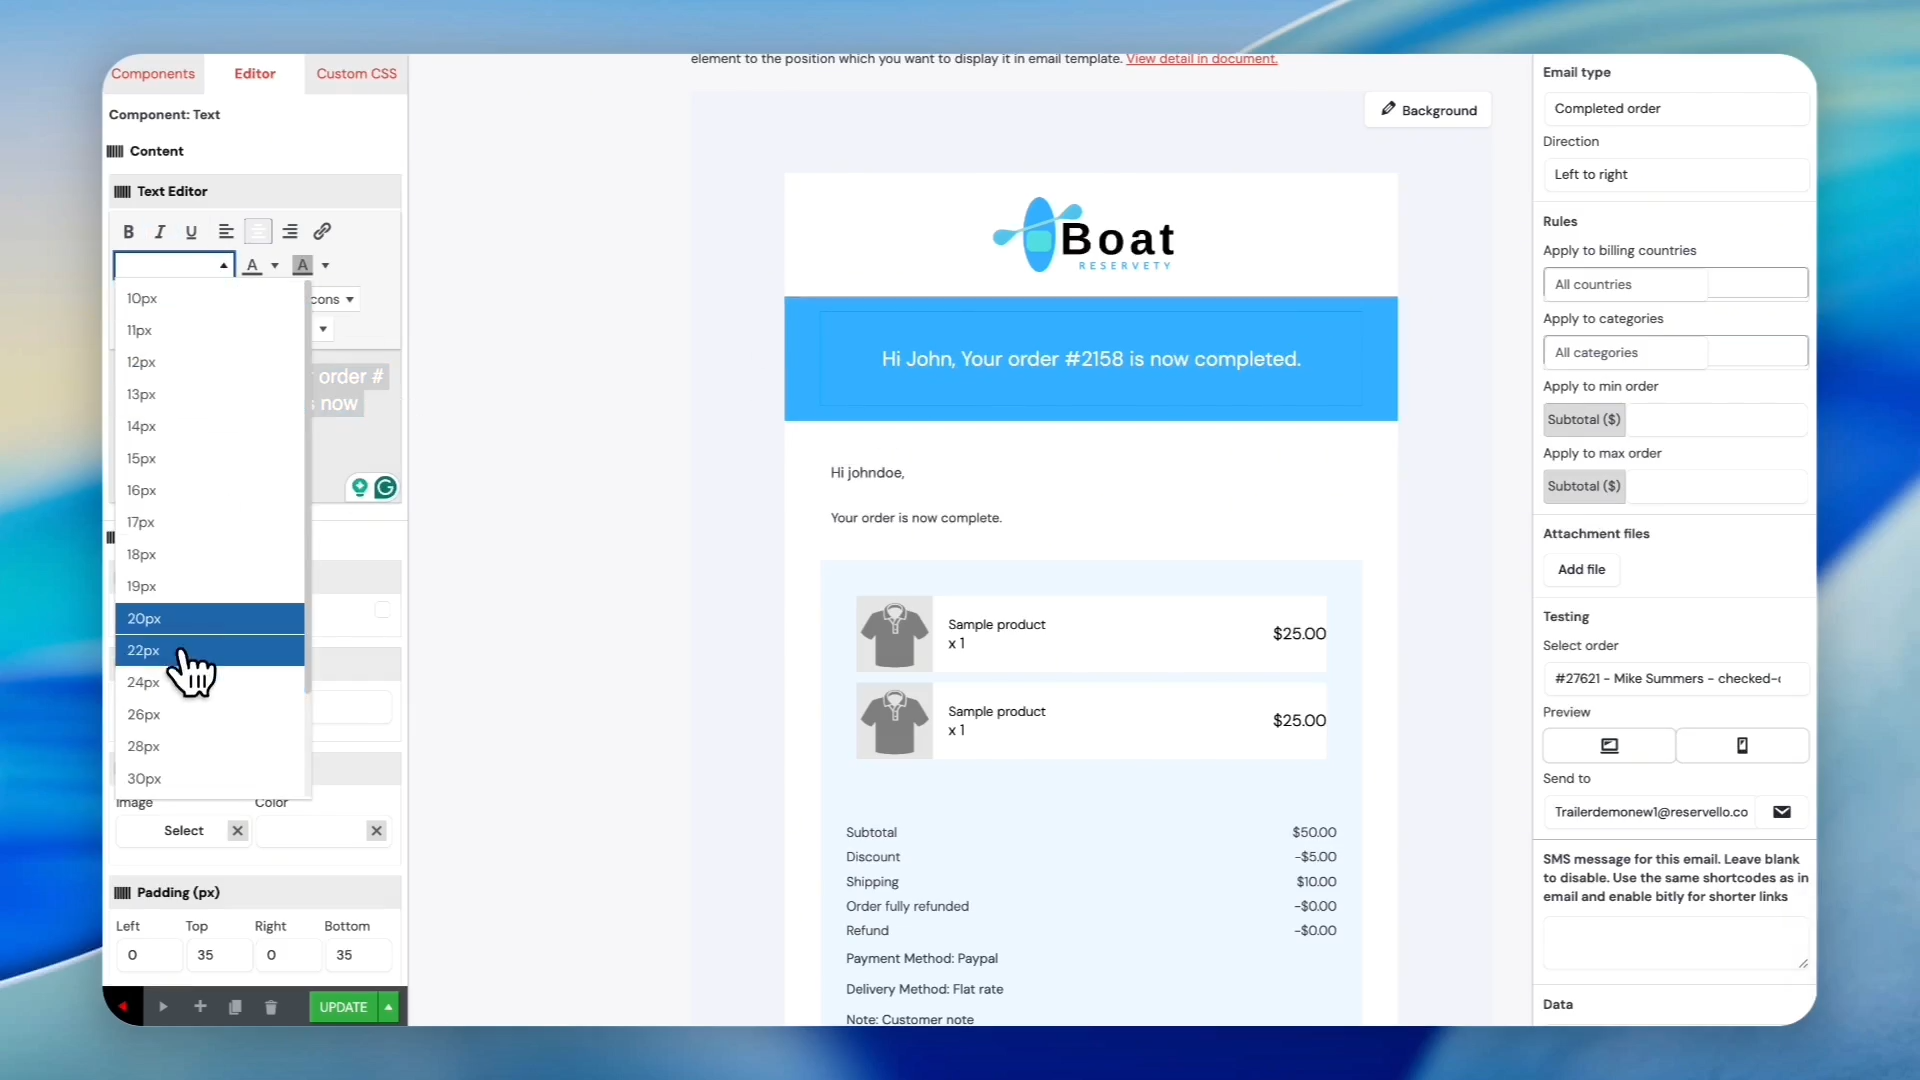
6
Click the font size dropdown and select the preferred size to adjust the text size.
7
Select another size, like 24px, from the dropdown menu to make it even larger.
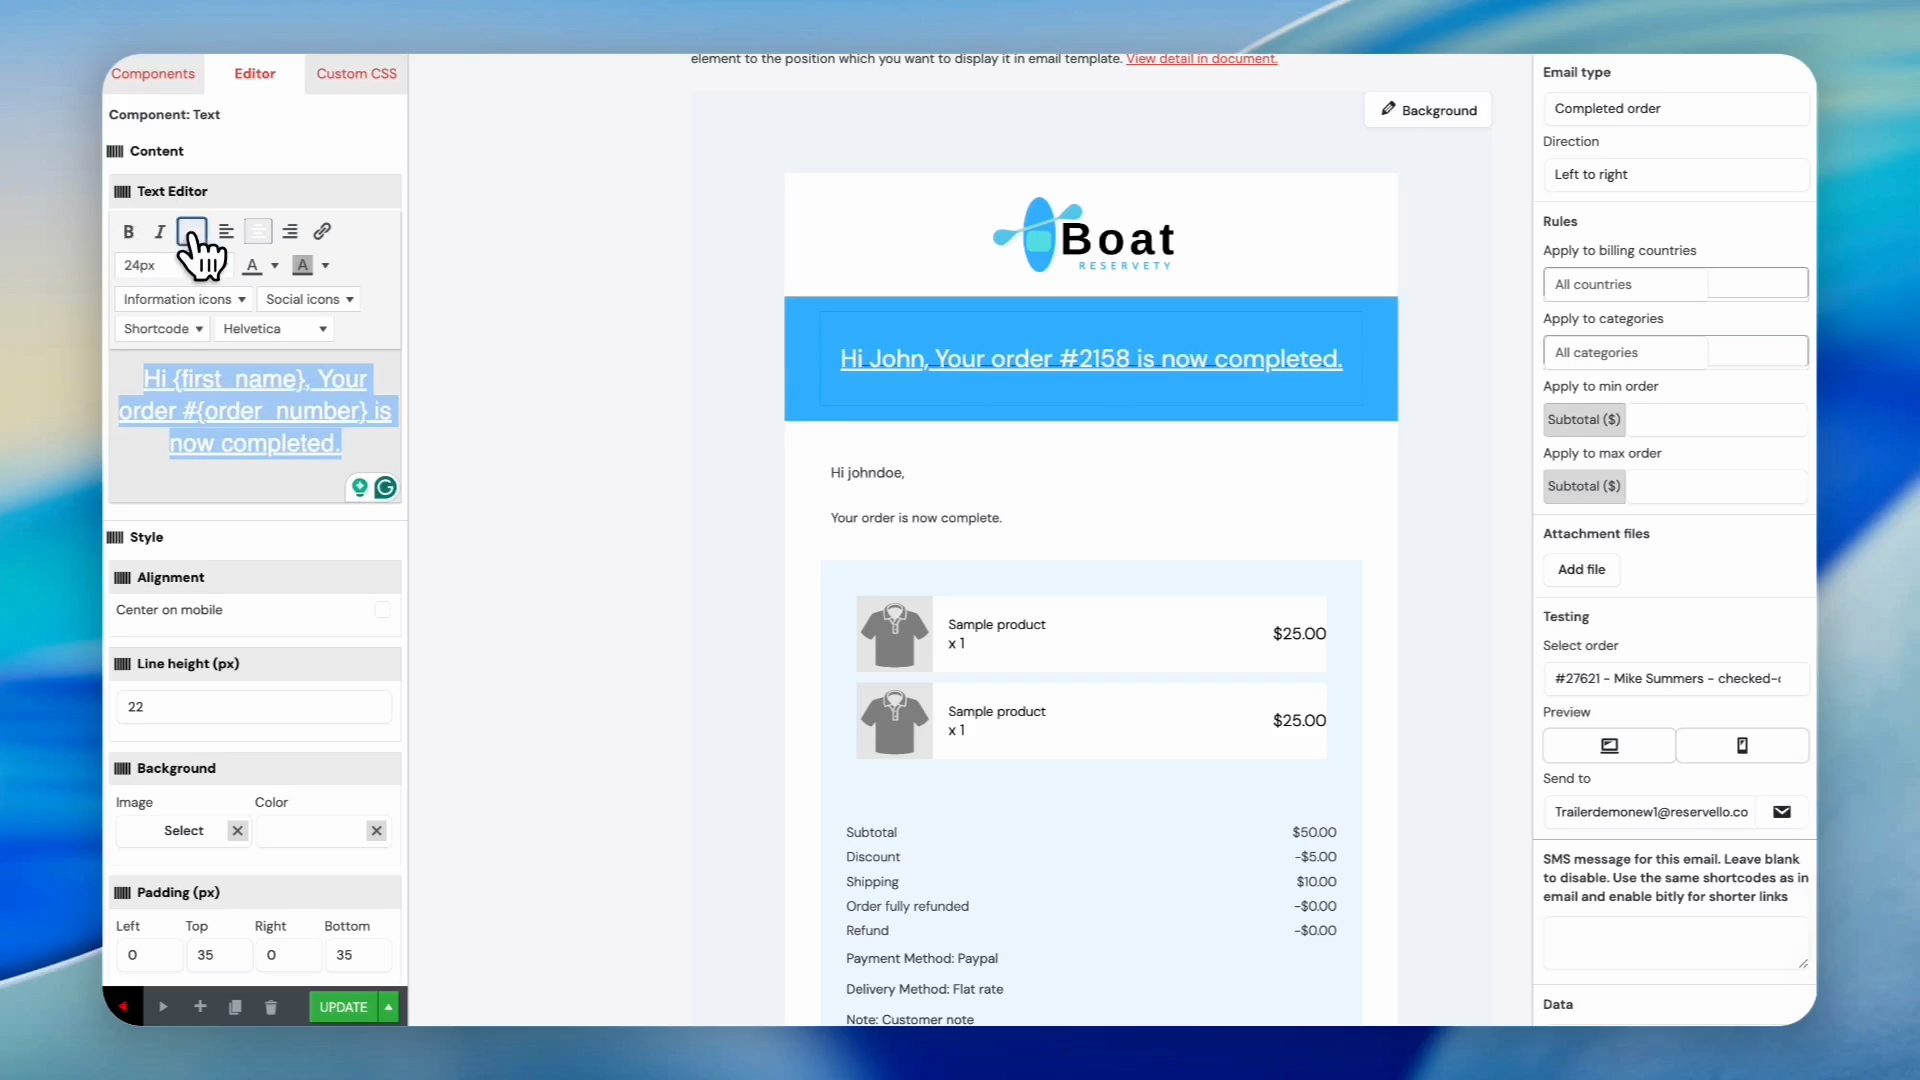
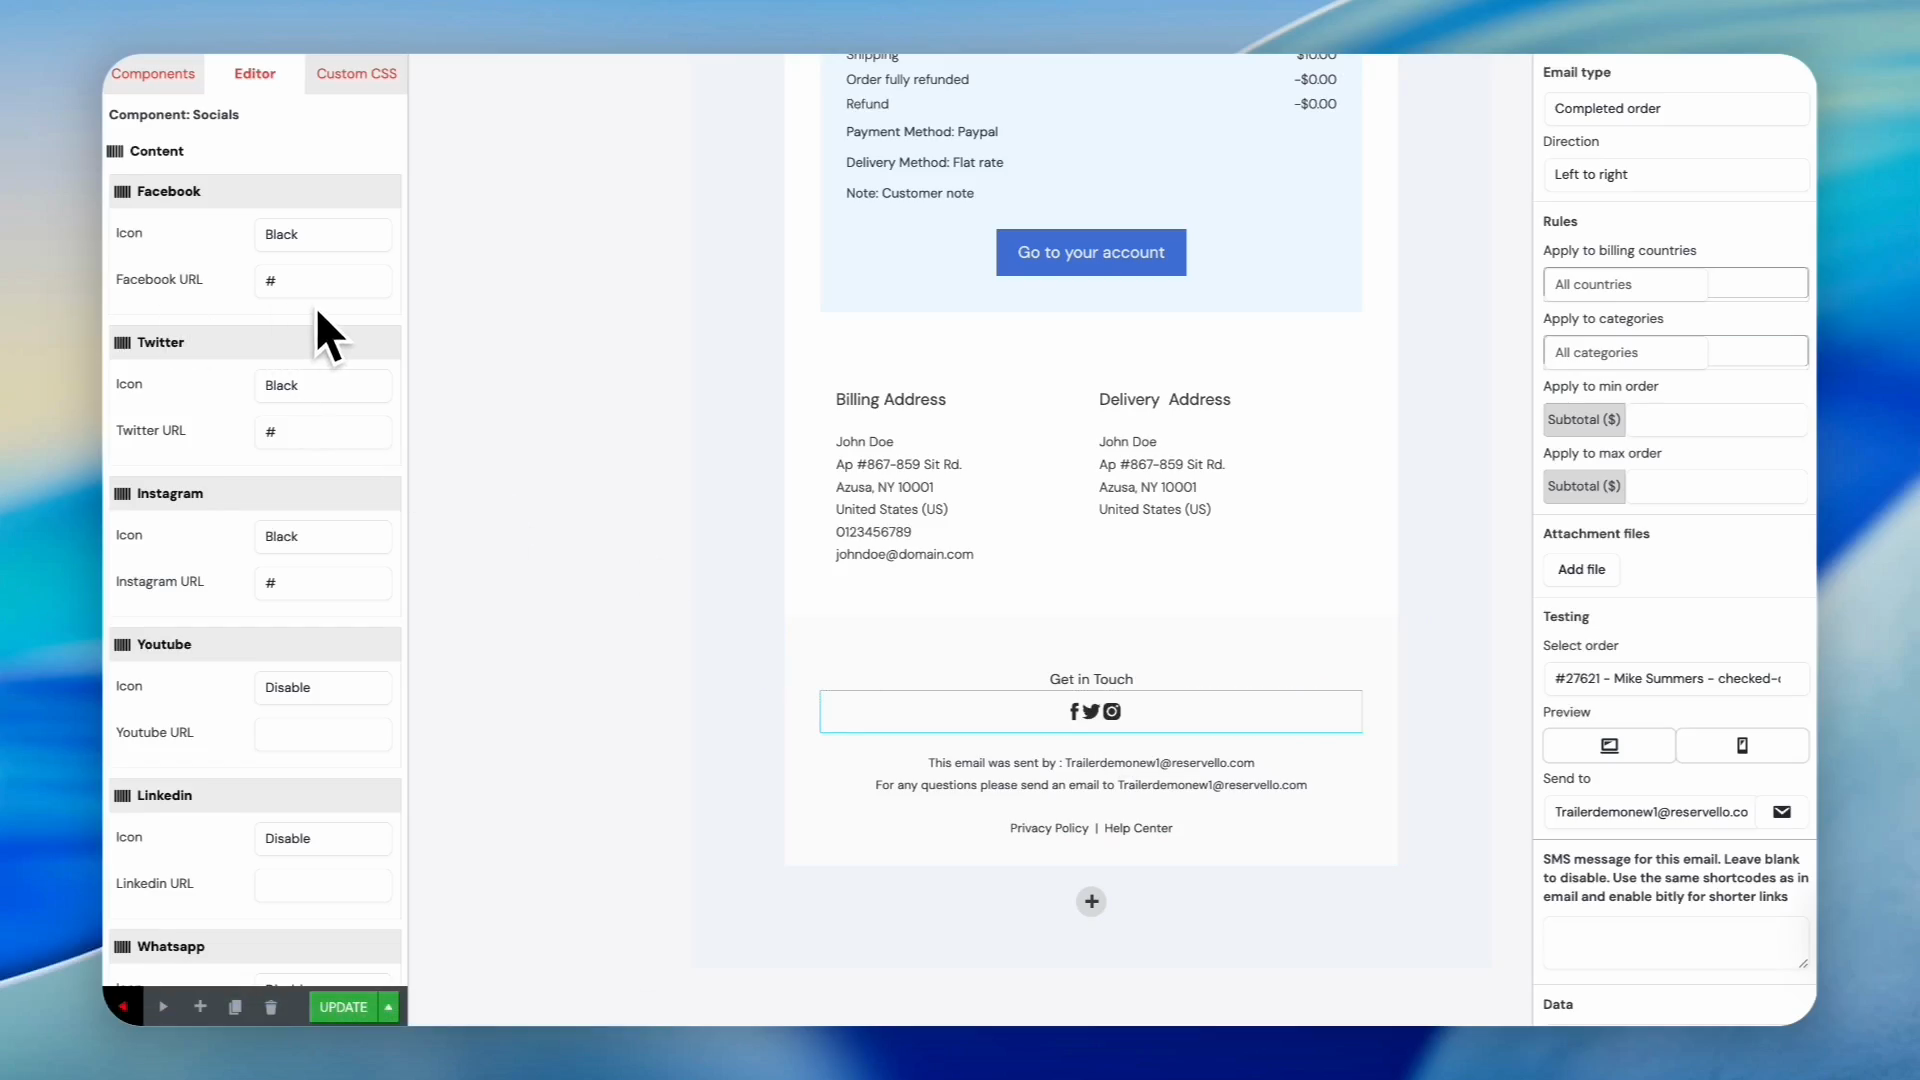
8
Click the B button in the text editor toolbar to make the text bold.
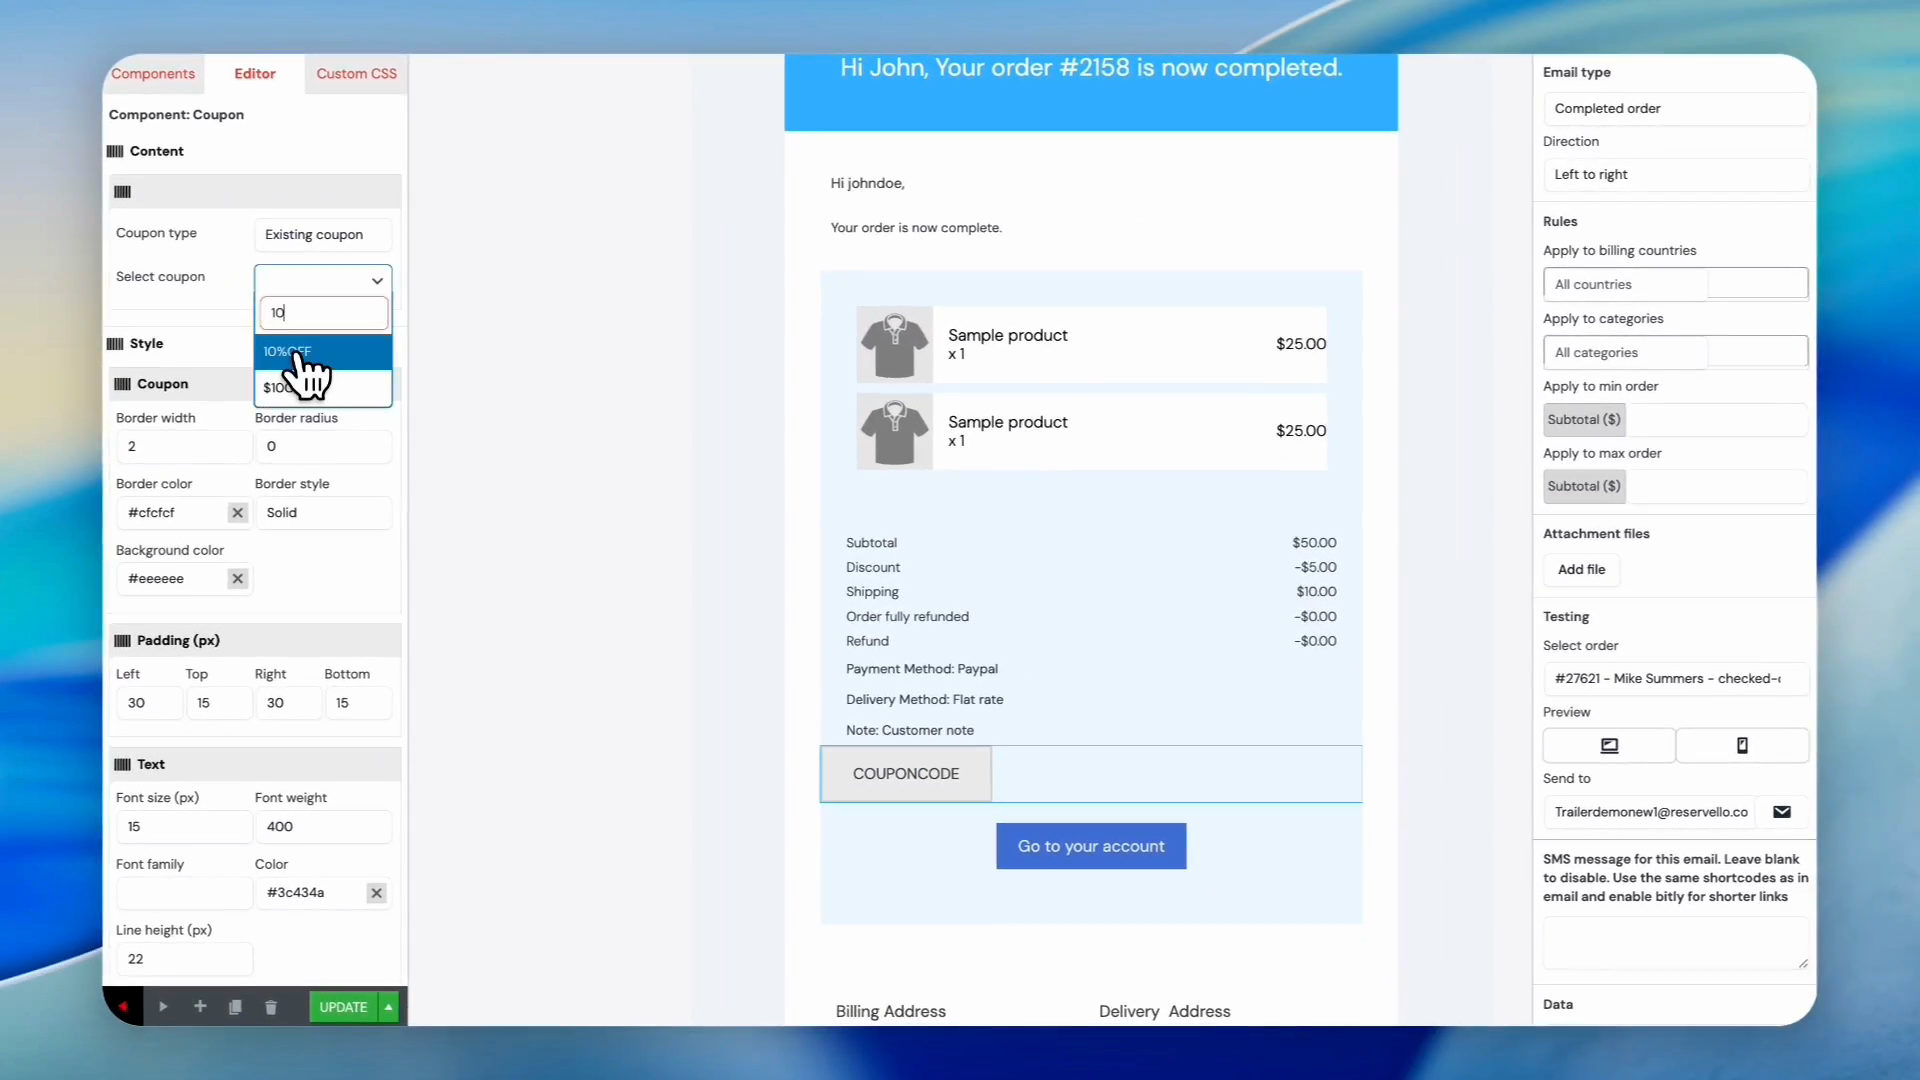
9
Click the U button to underline the text.
10
Change the line height of the email header text using the up and down arrows.
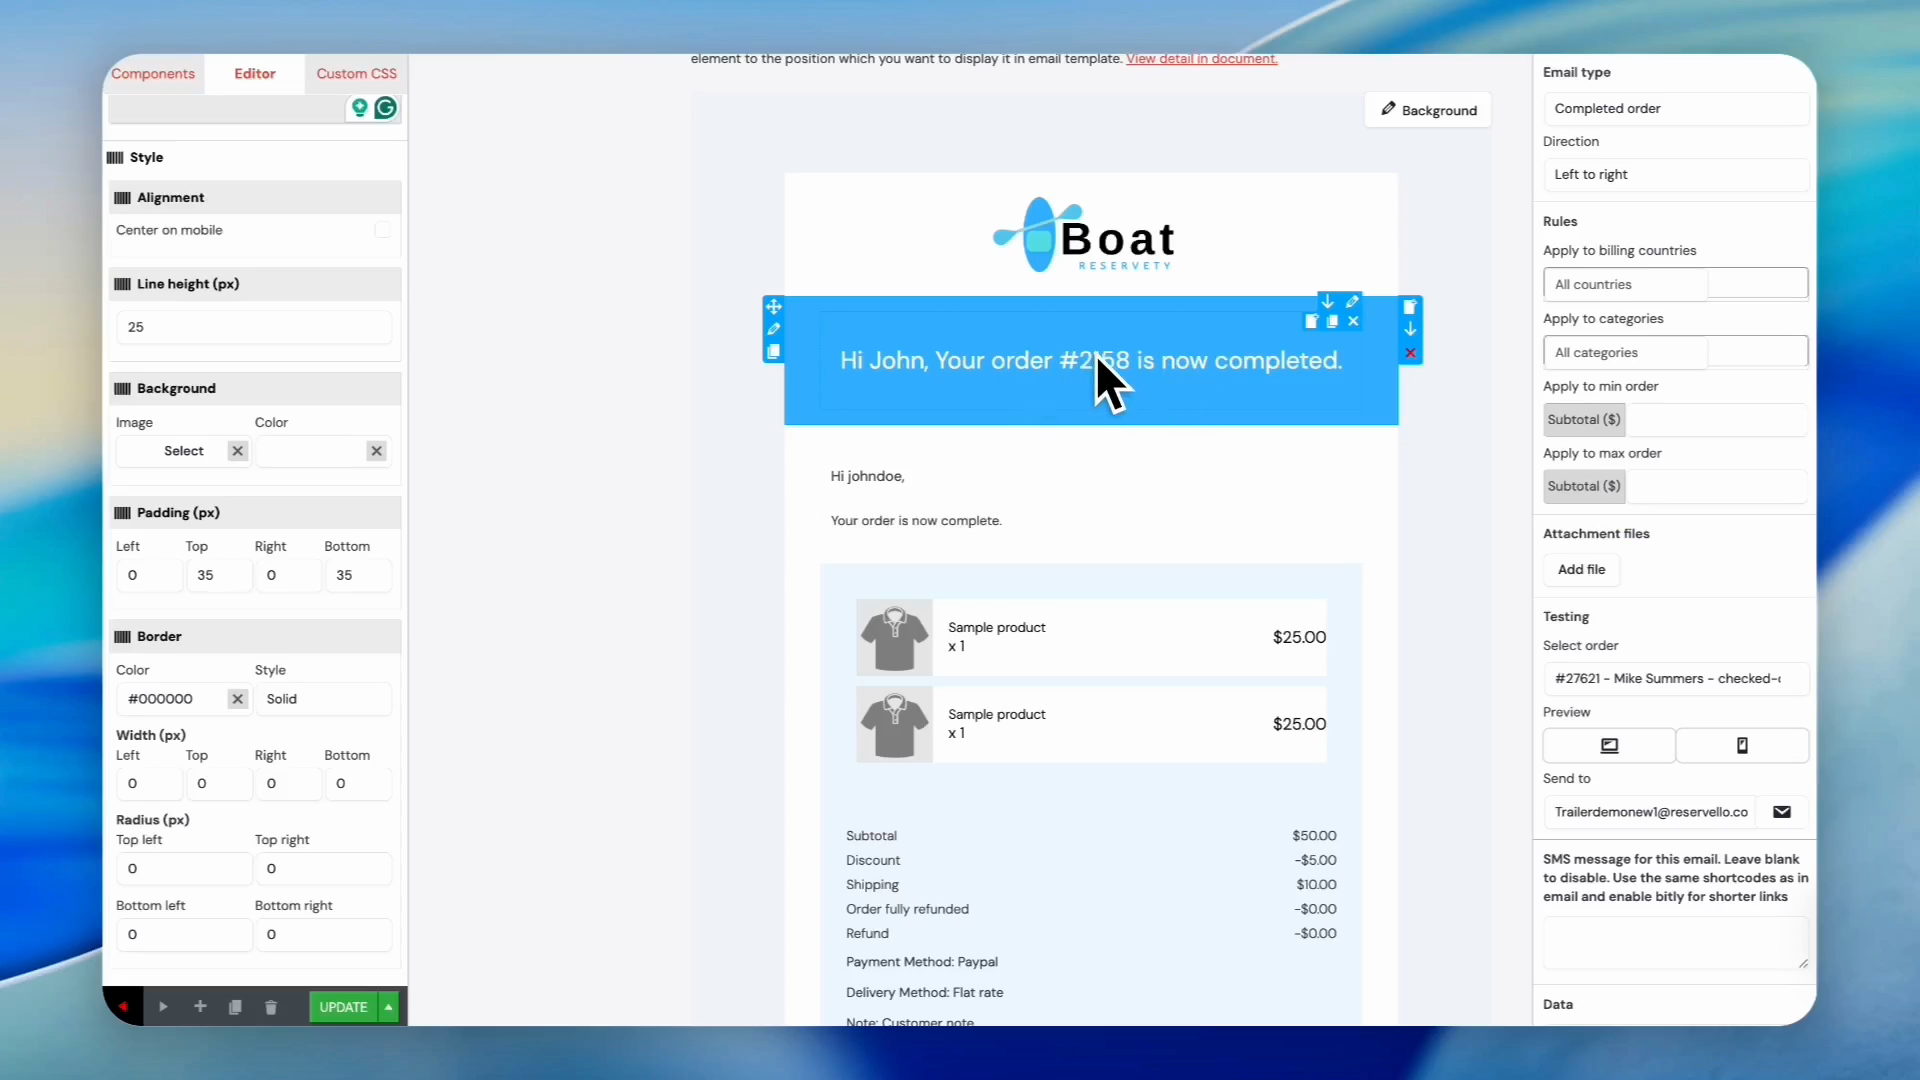
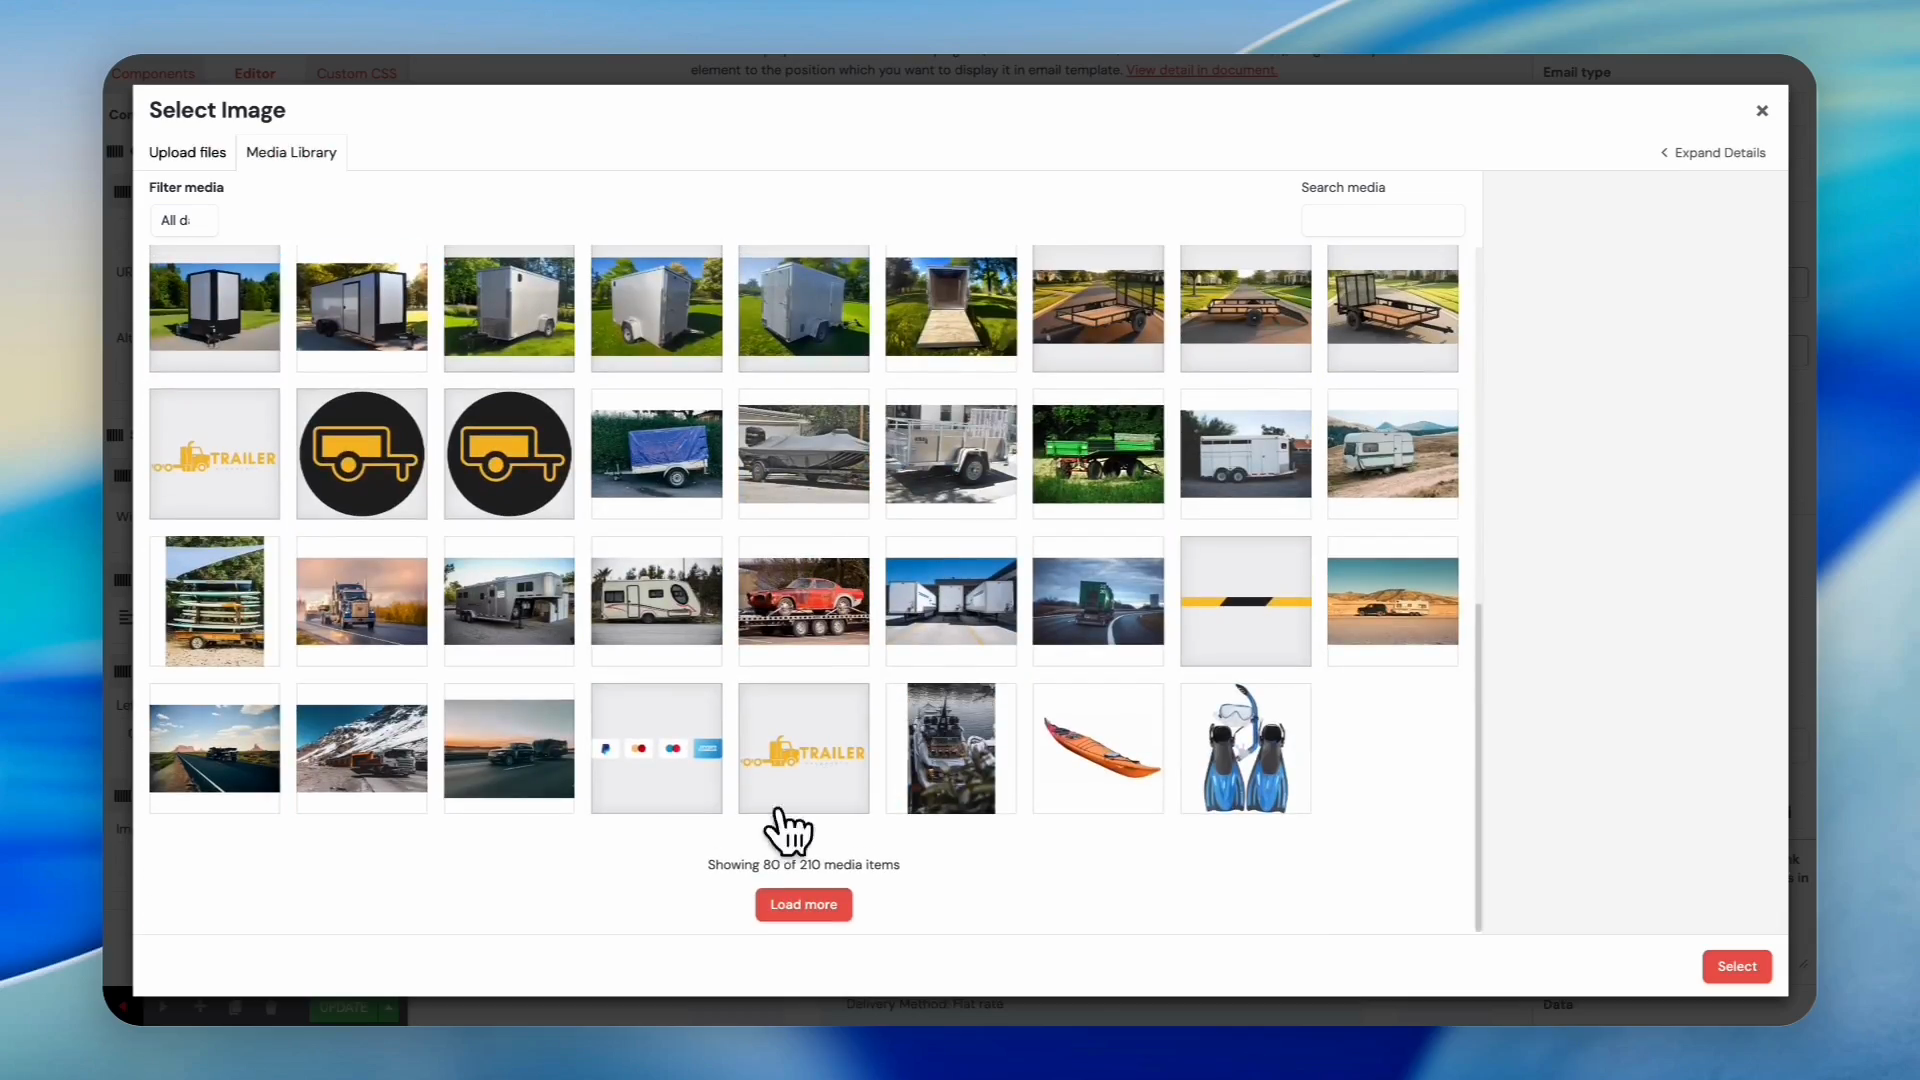
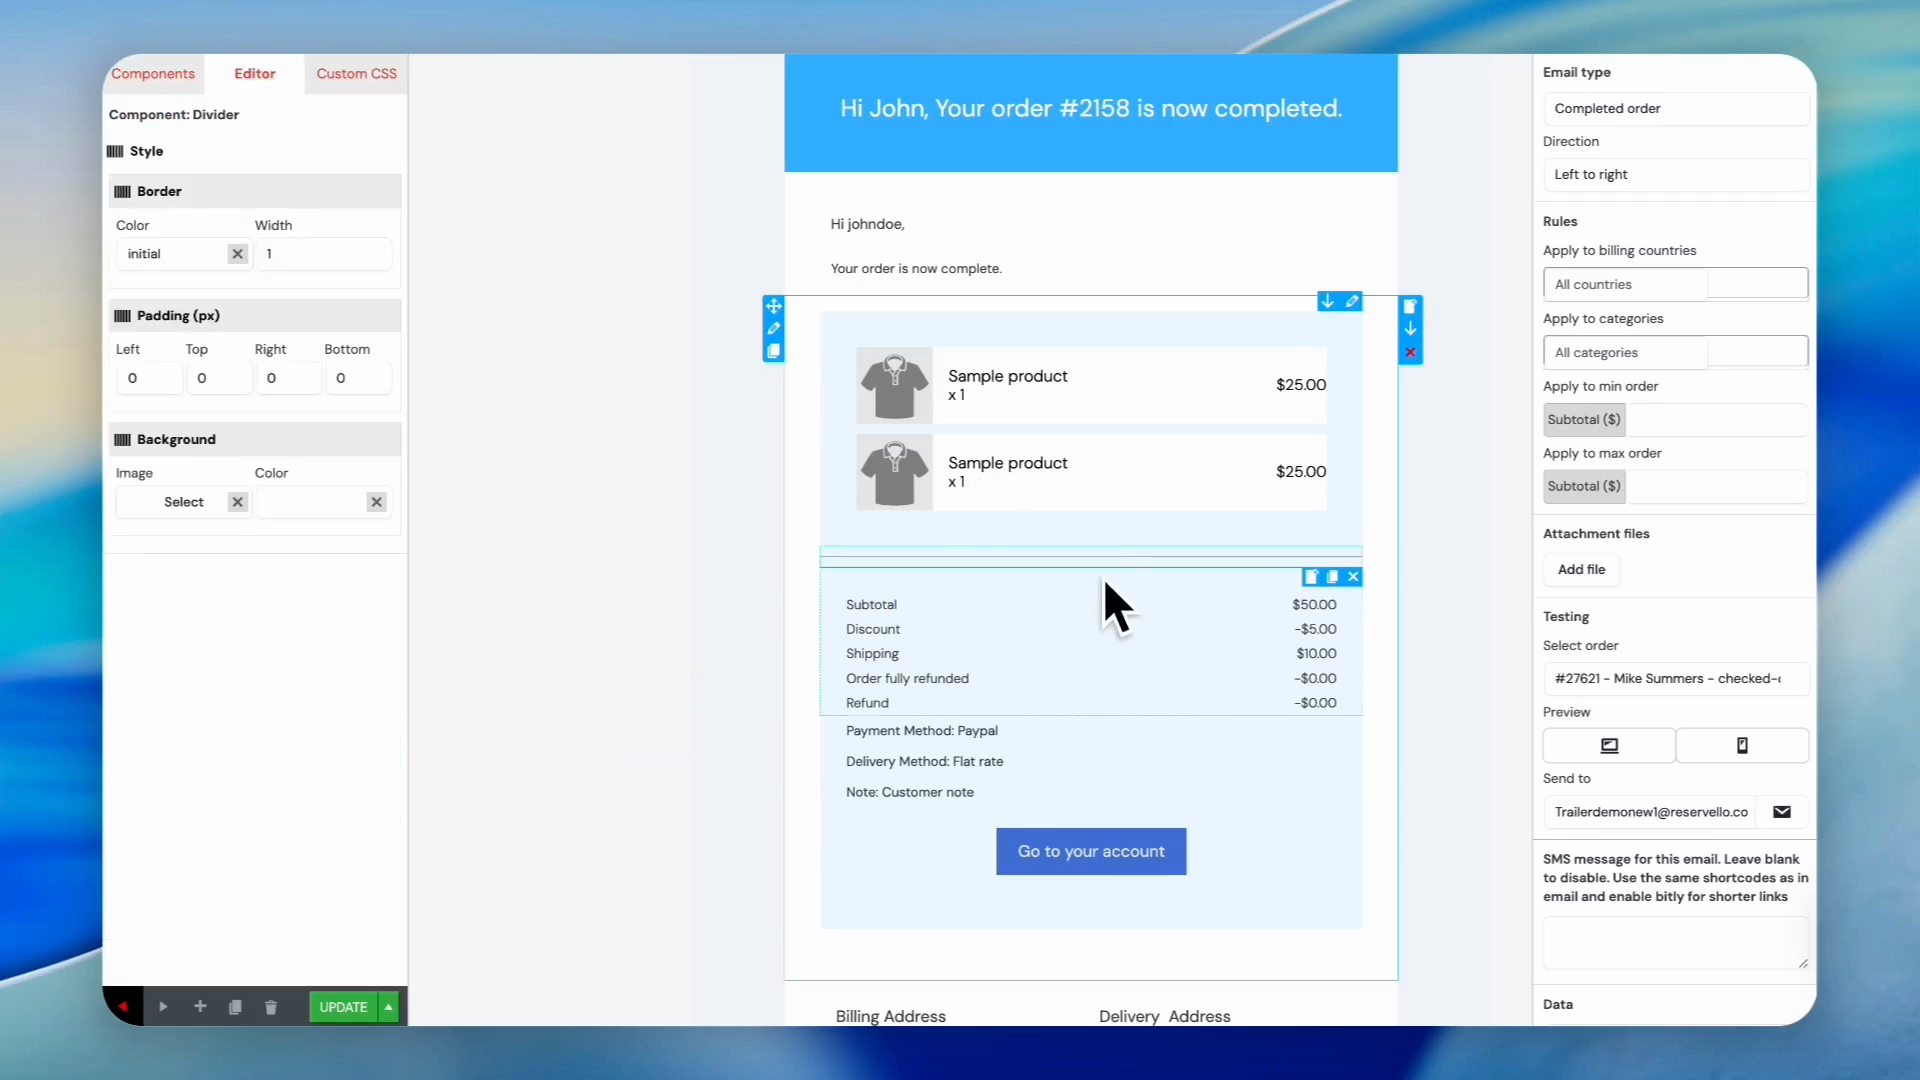
Updating Backgrounds and Logos
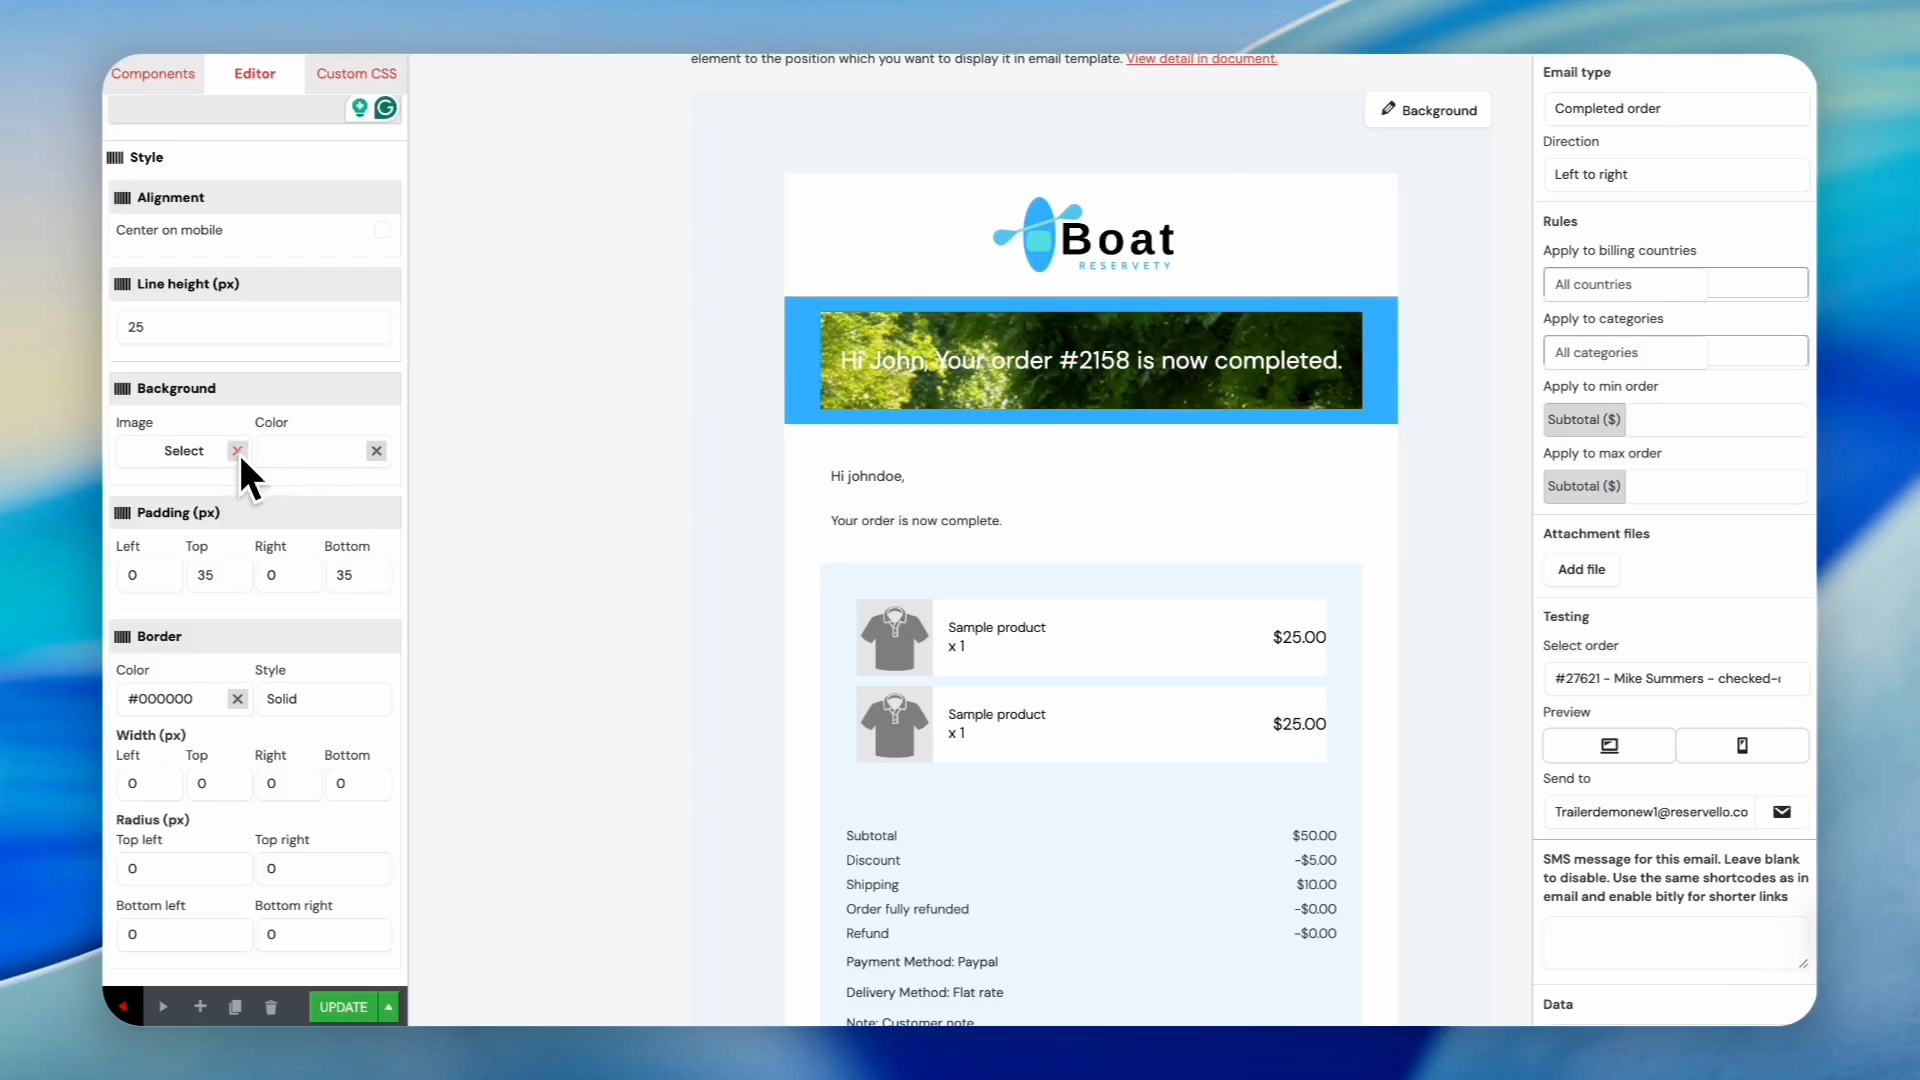
11
Click Select under the Background menu to choose a background image for the active block.
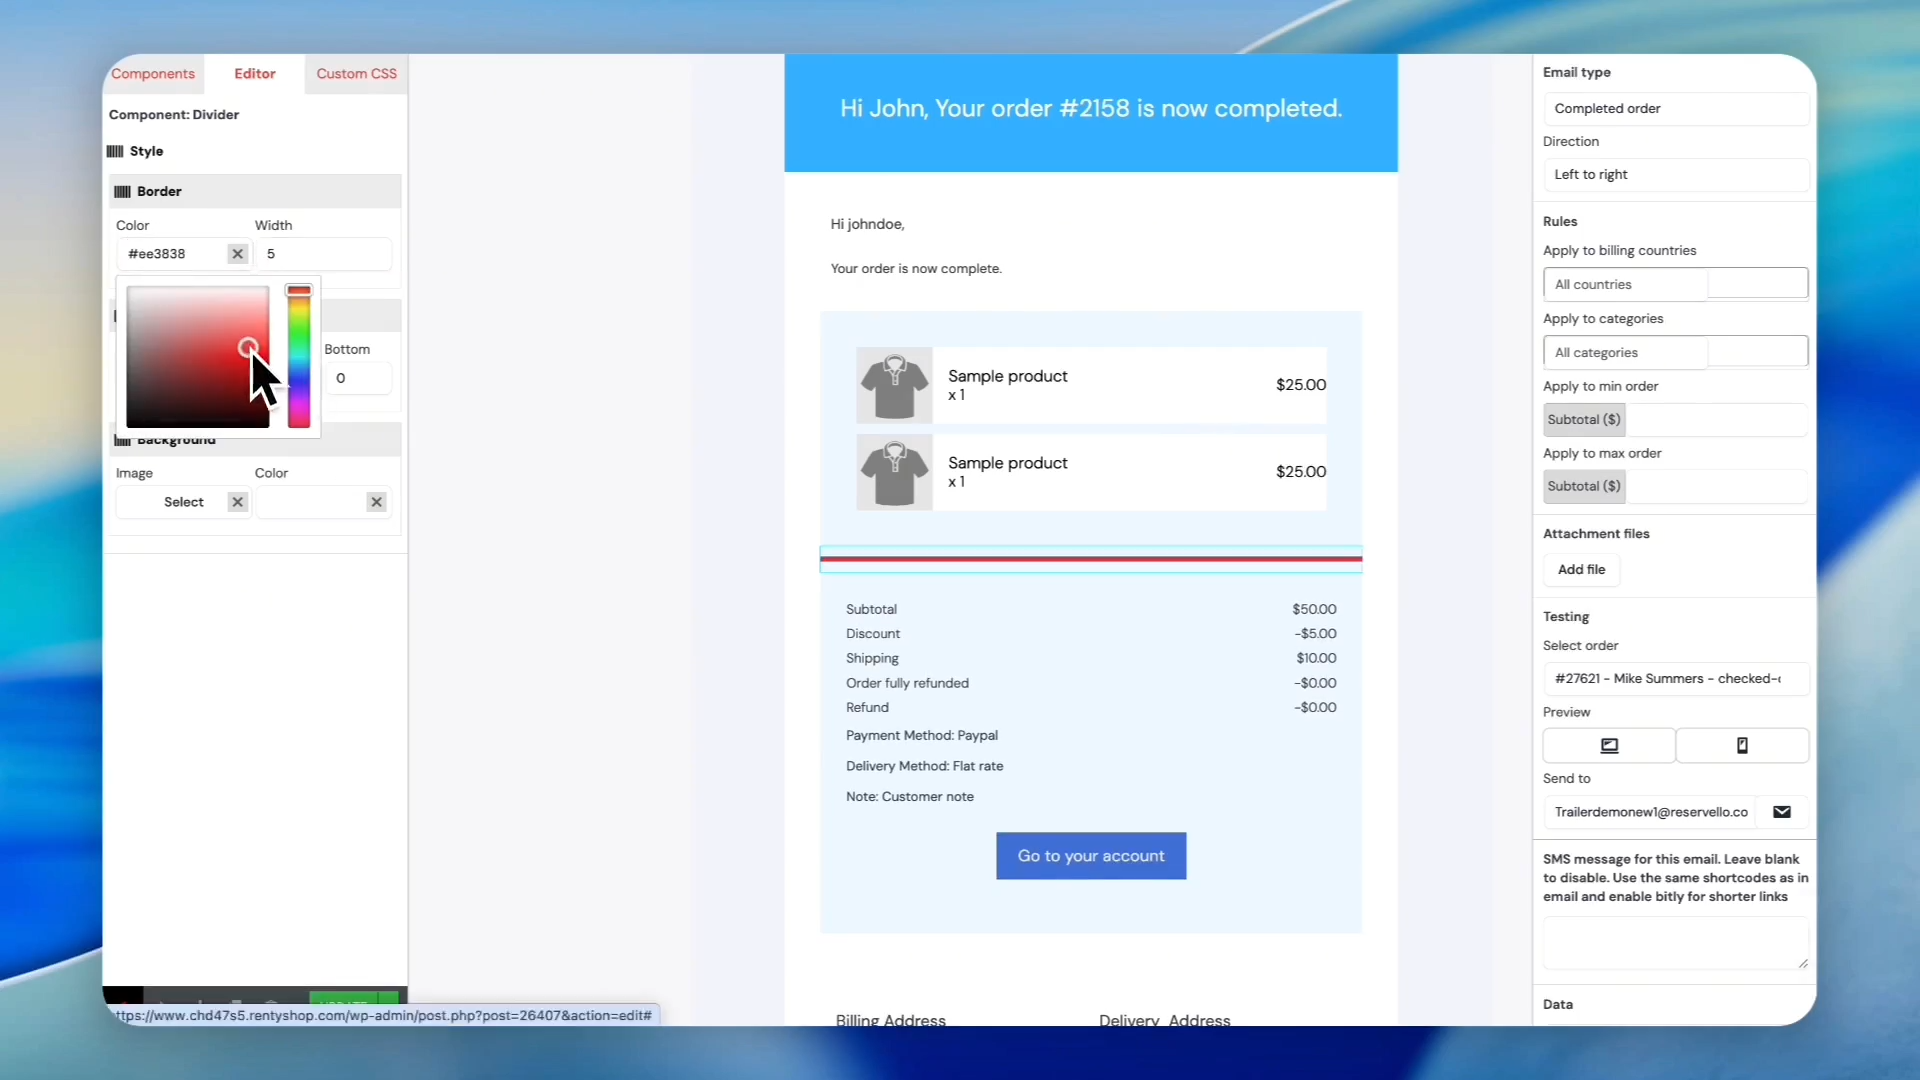
12
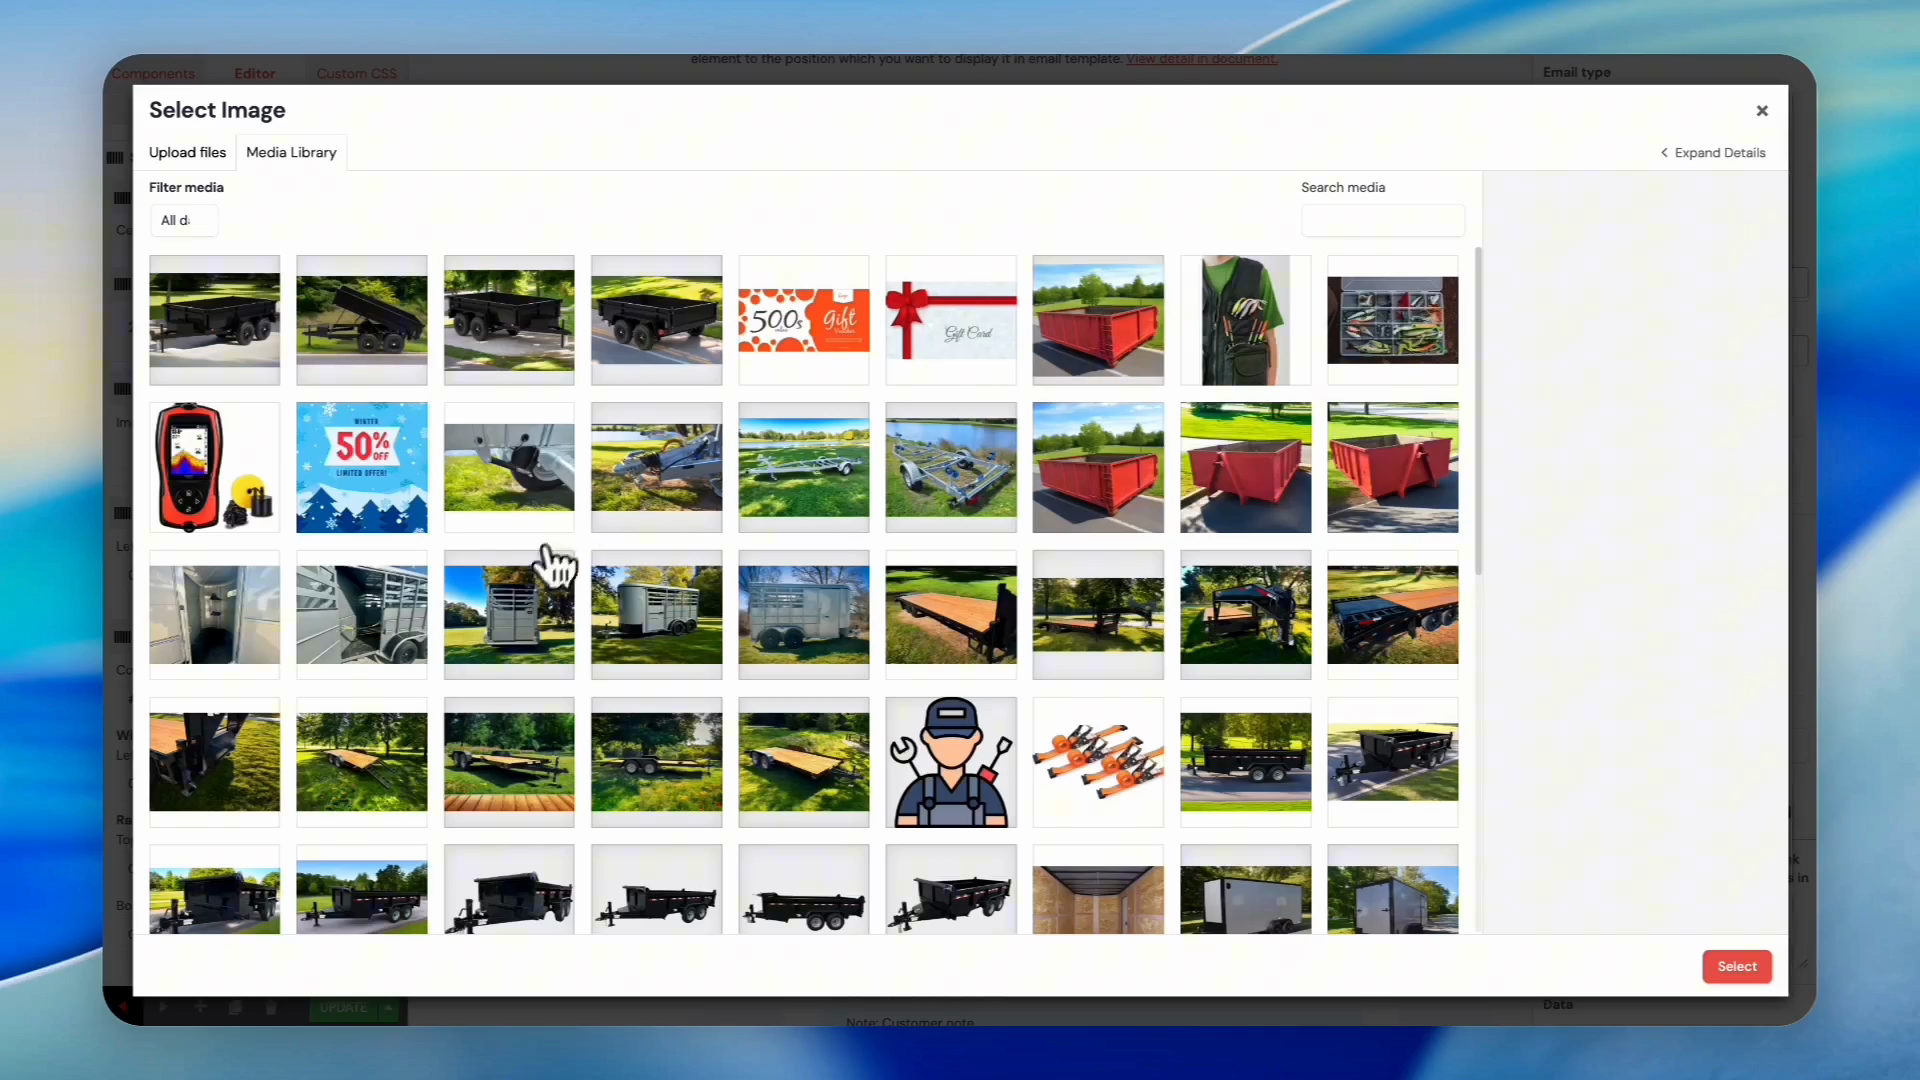
Select an image from the Media Library to use as the background.
13
Click the X next to the background image to remove it and revert to the default.
14
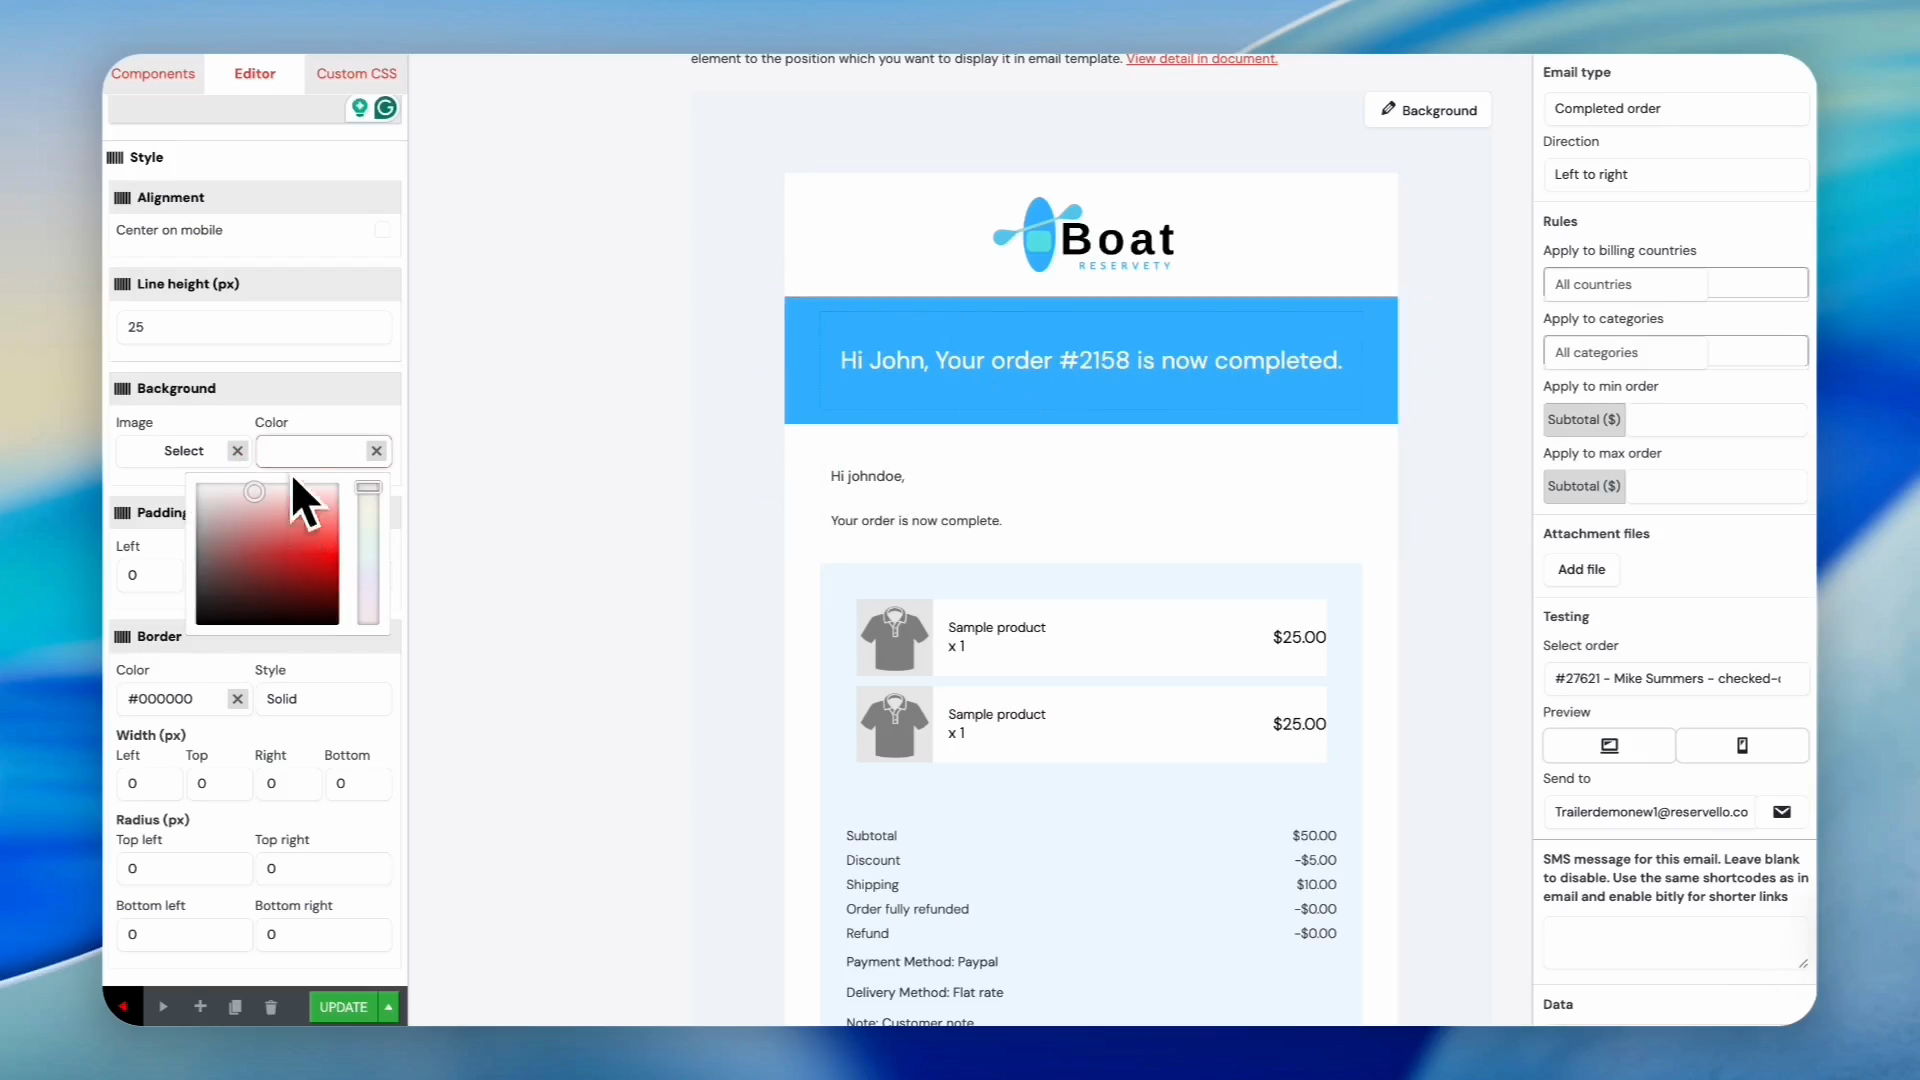
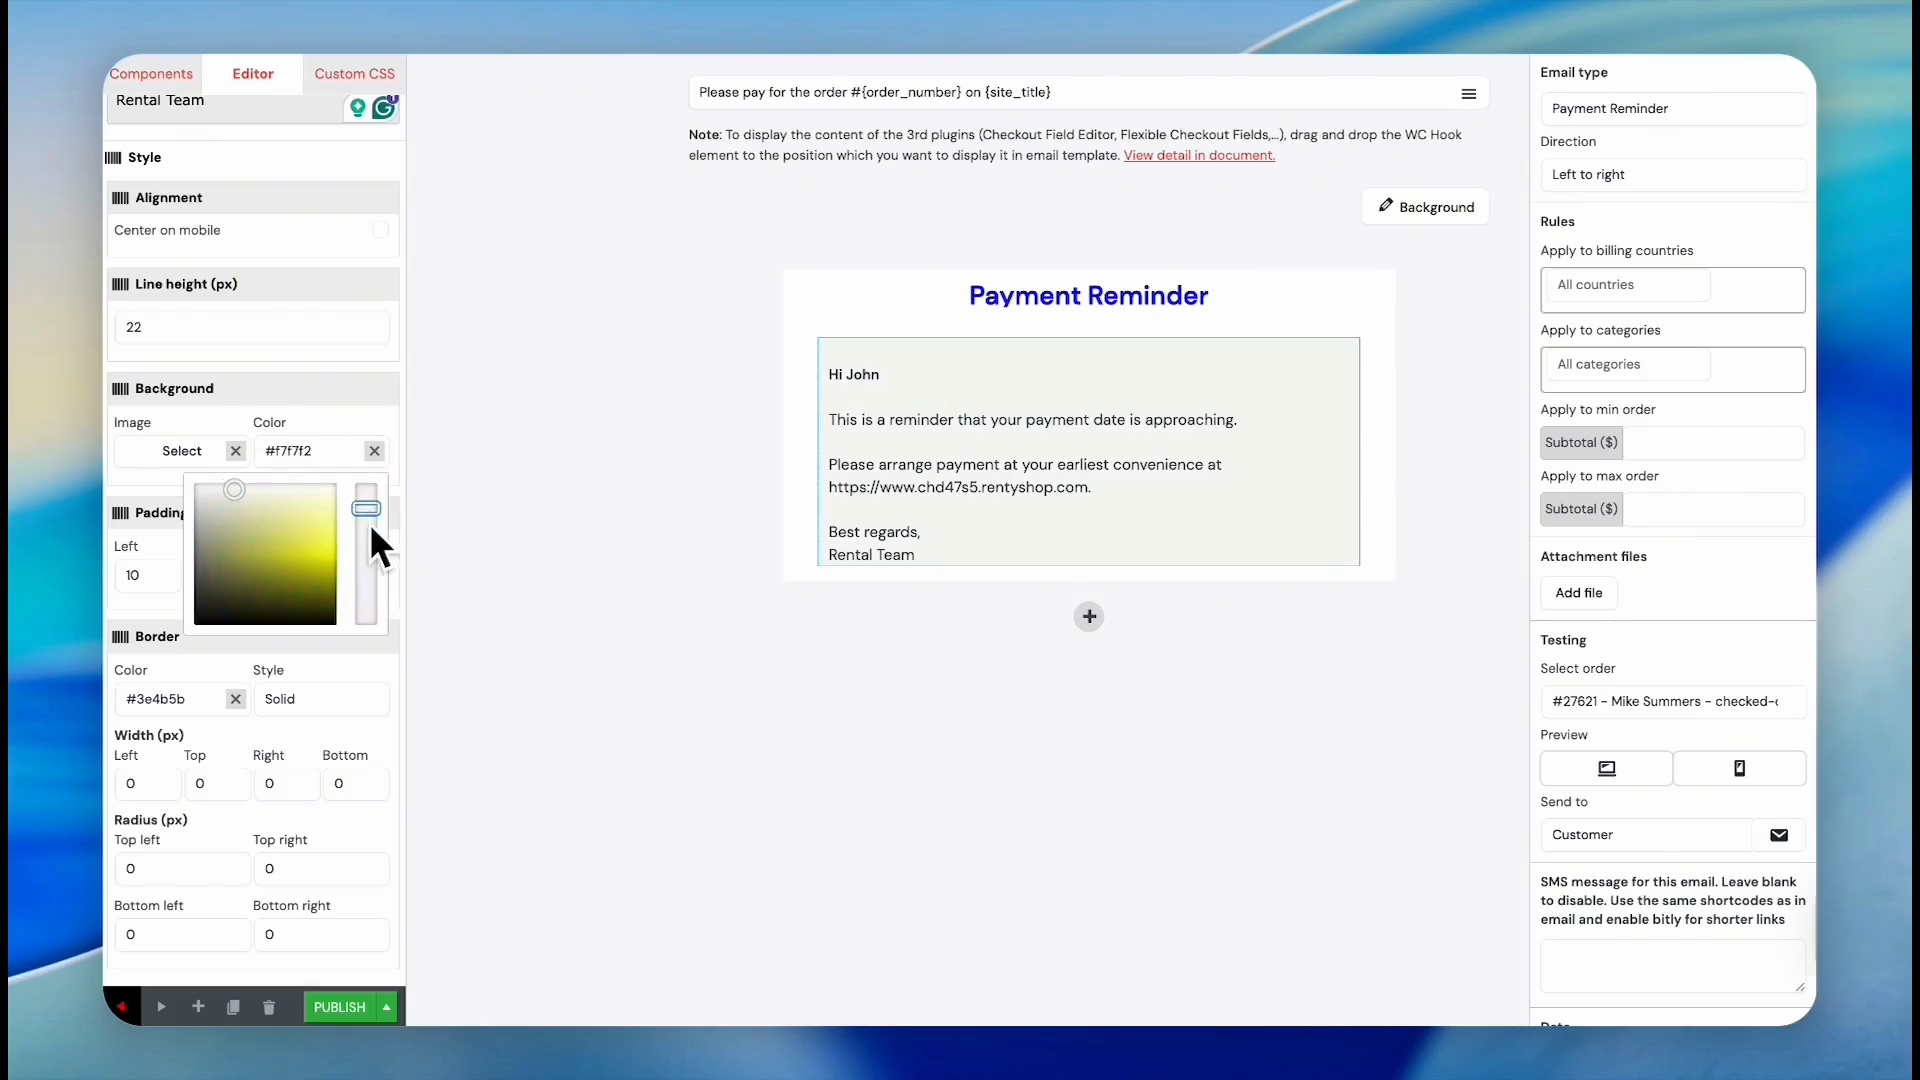
Click the color field under Background to choose a solid background color instead of an image.
15
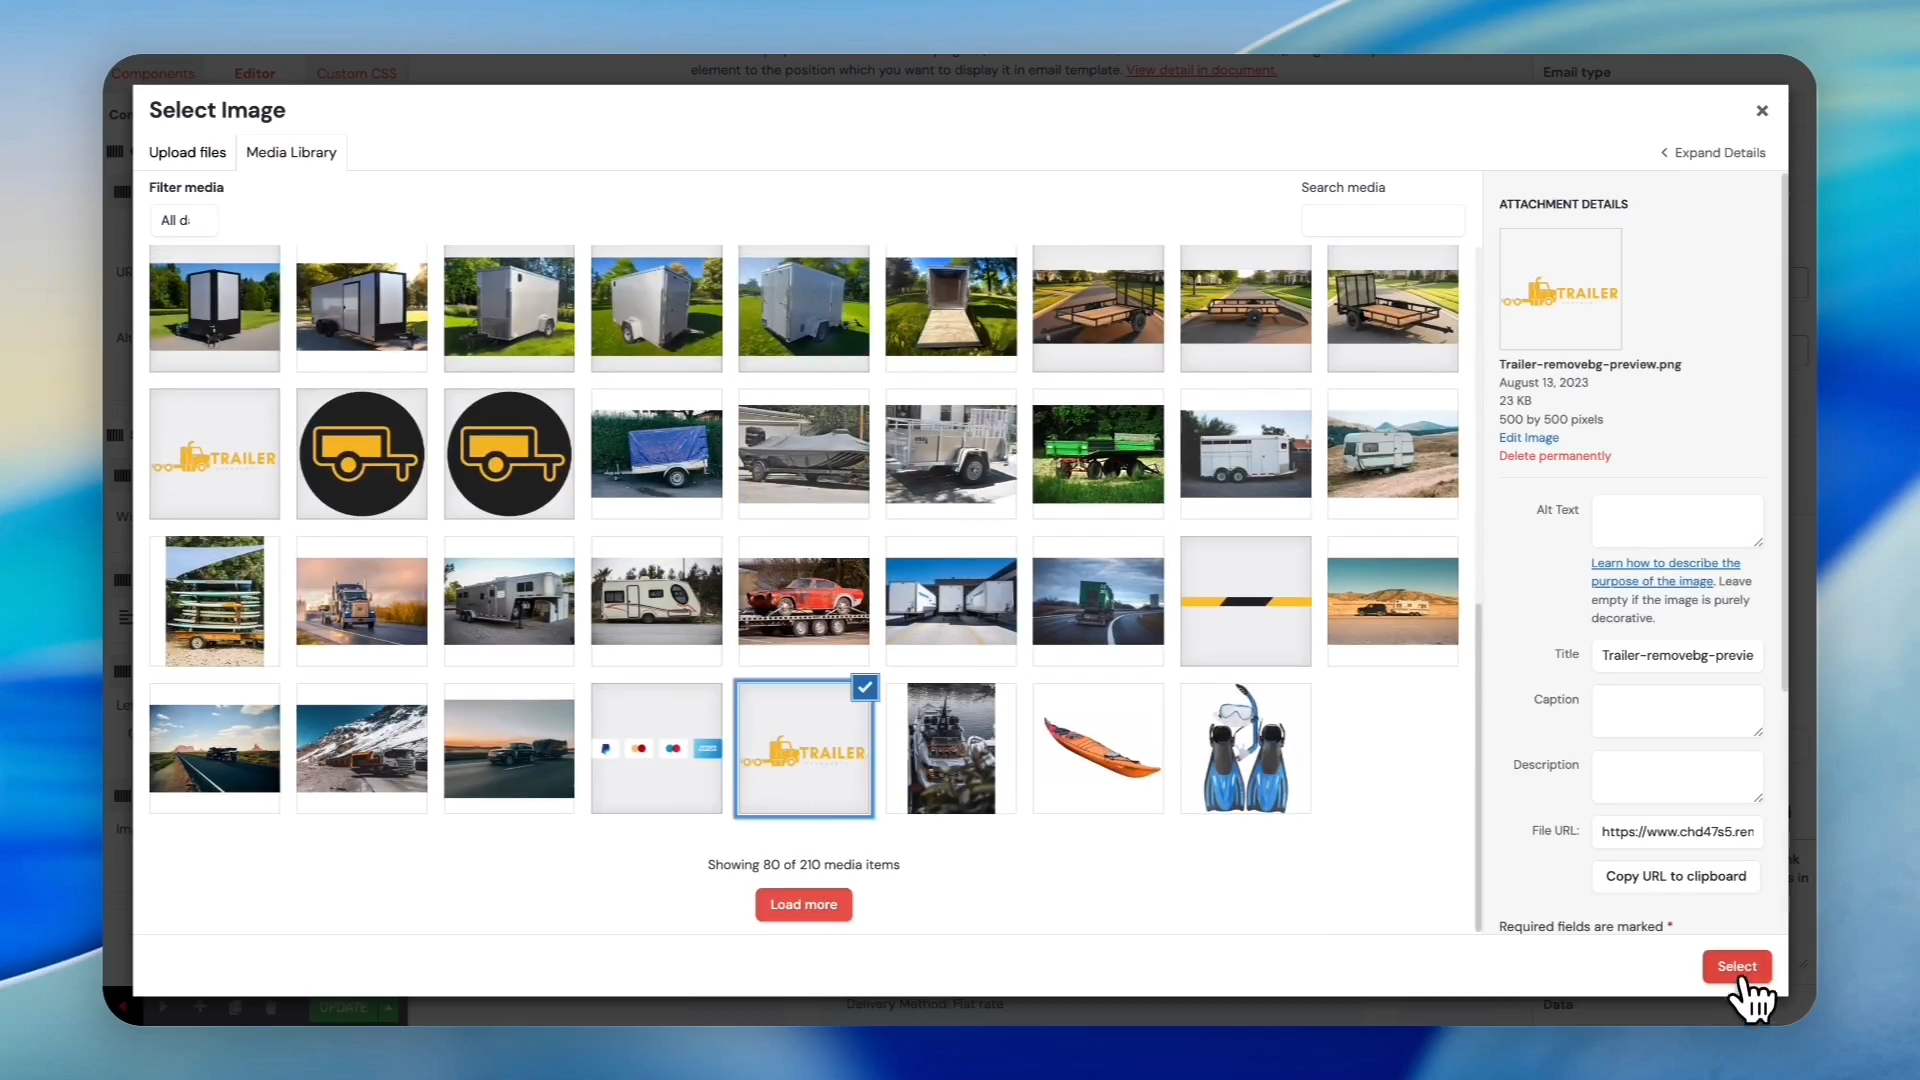
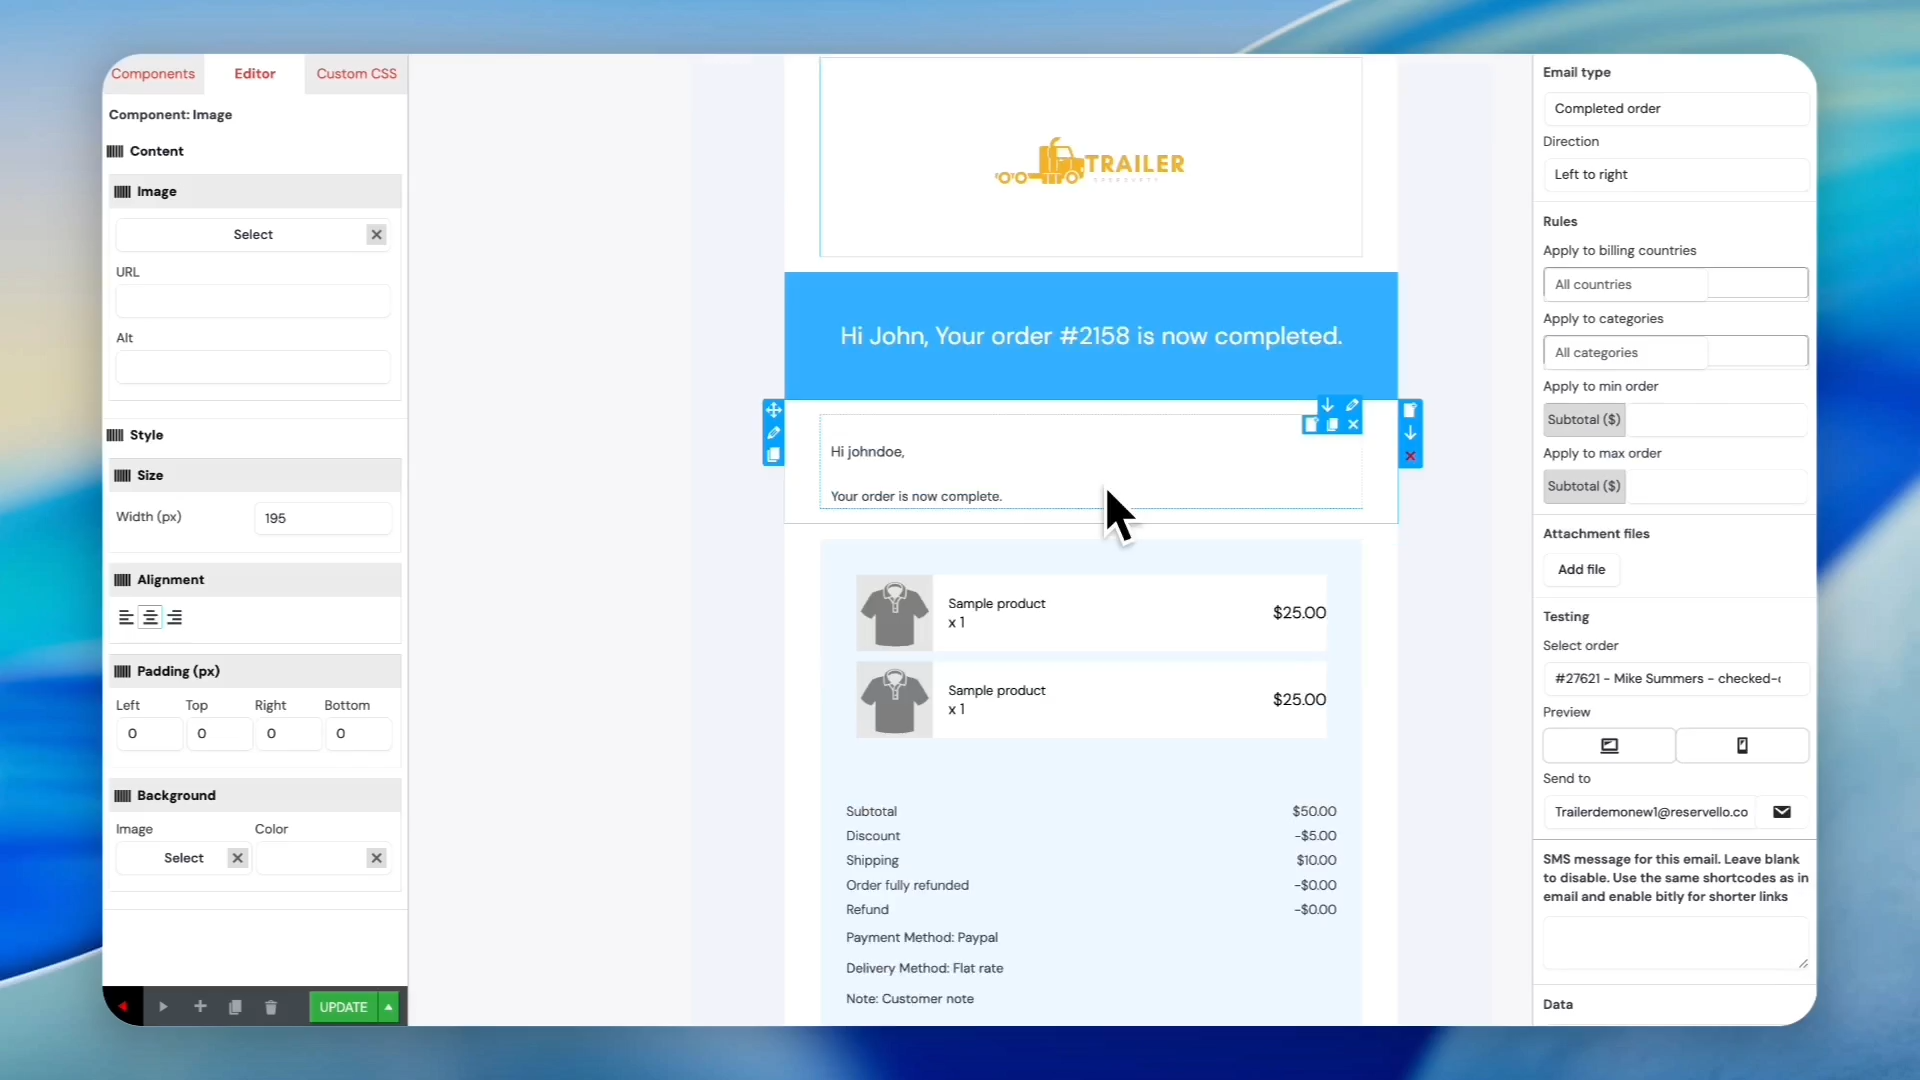
To update the company logo: Click the existing logo at the top of the email template.
16
Click Select under the Image section in the left sidebar to swap the logo.
17
Select a new logo image from your Media Library.
18
Click Select to finalize the logo update.
Editing Message Body and Social Links
19
Click the introduction text (e.g., "Hi John...") in the preview window.
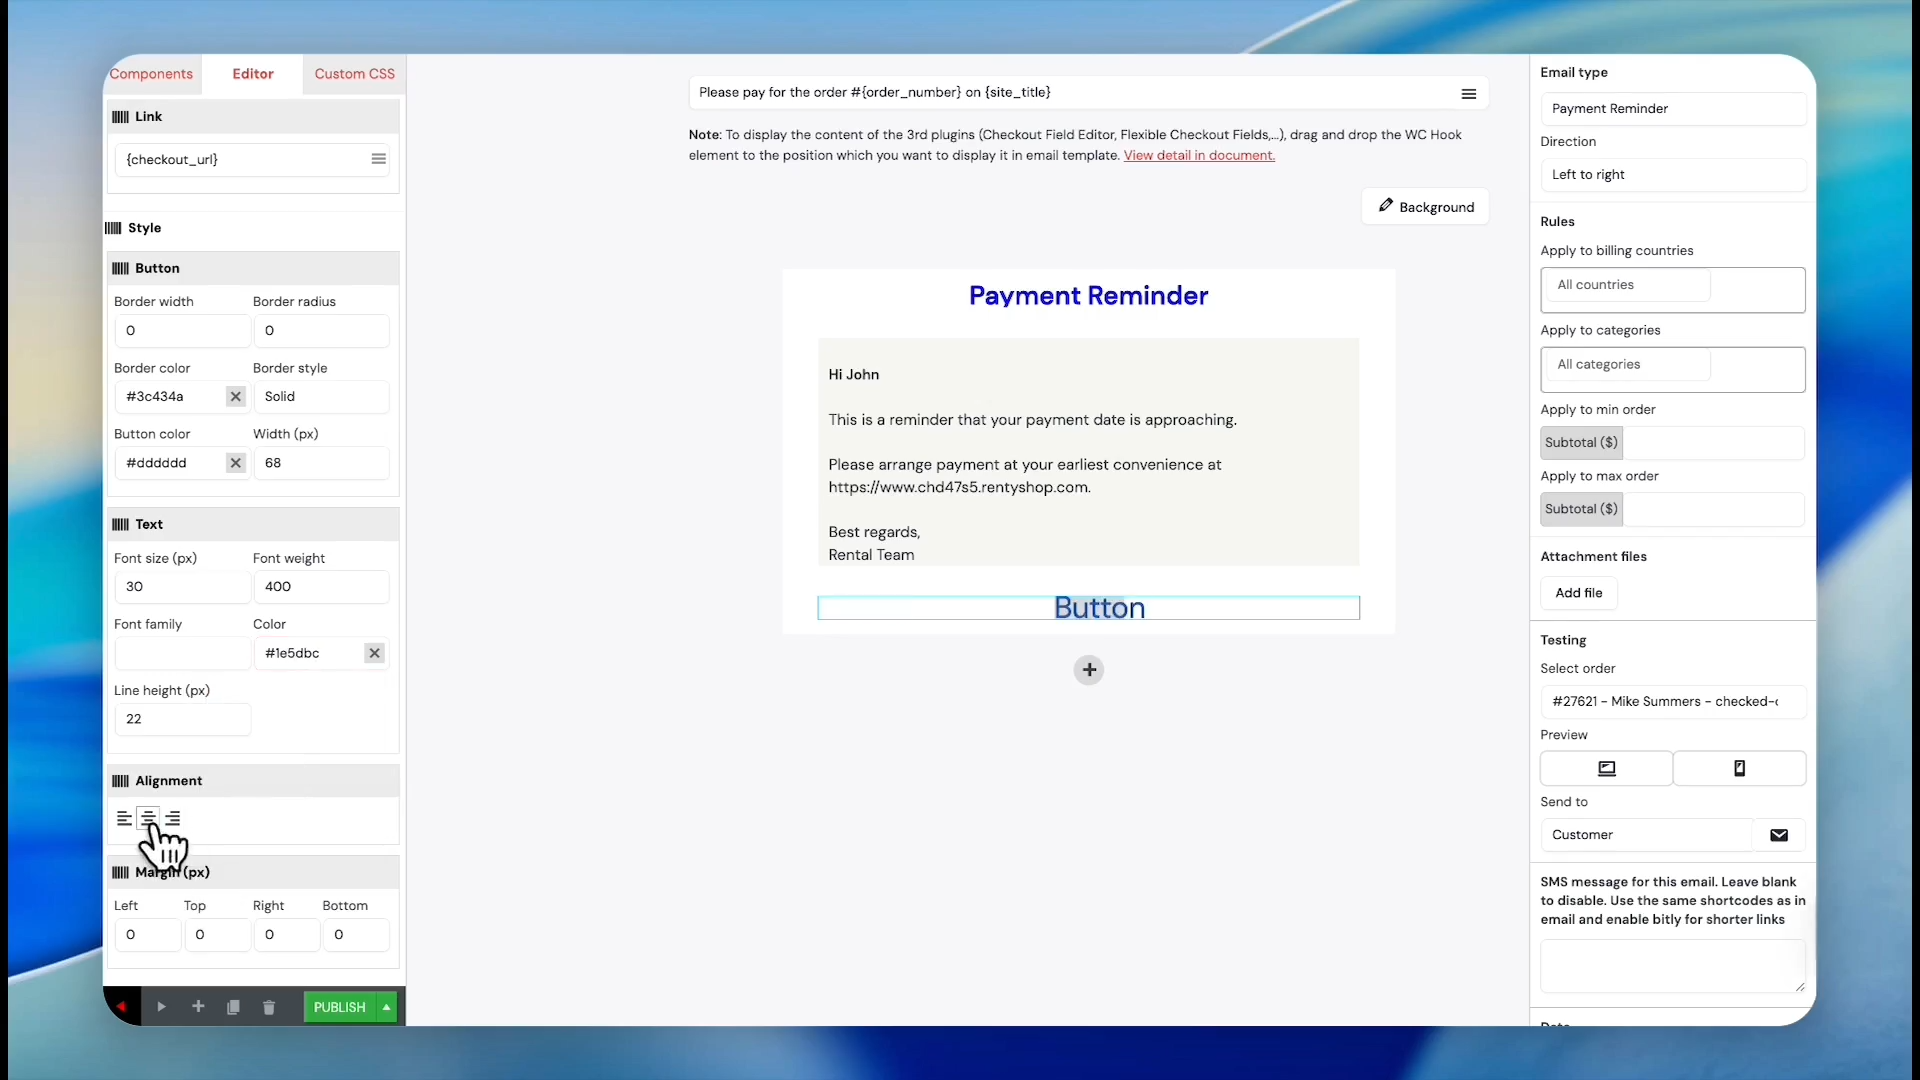
20
Click the Text field in the sidebar to enter your own message body.
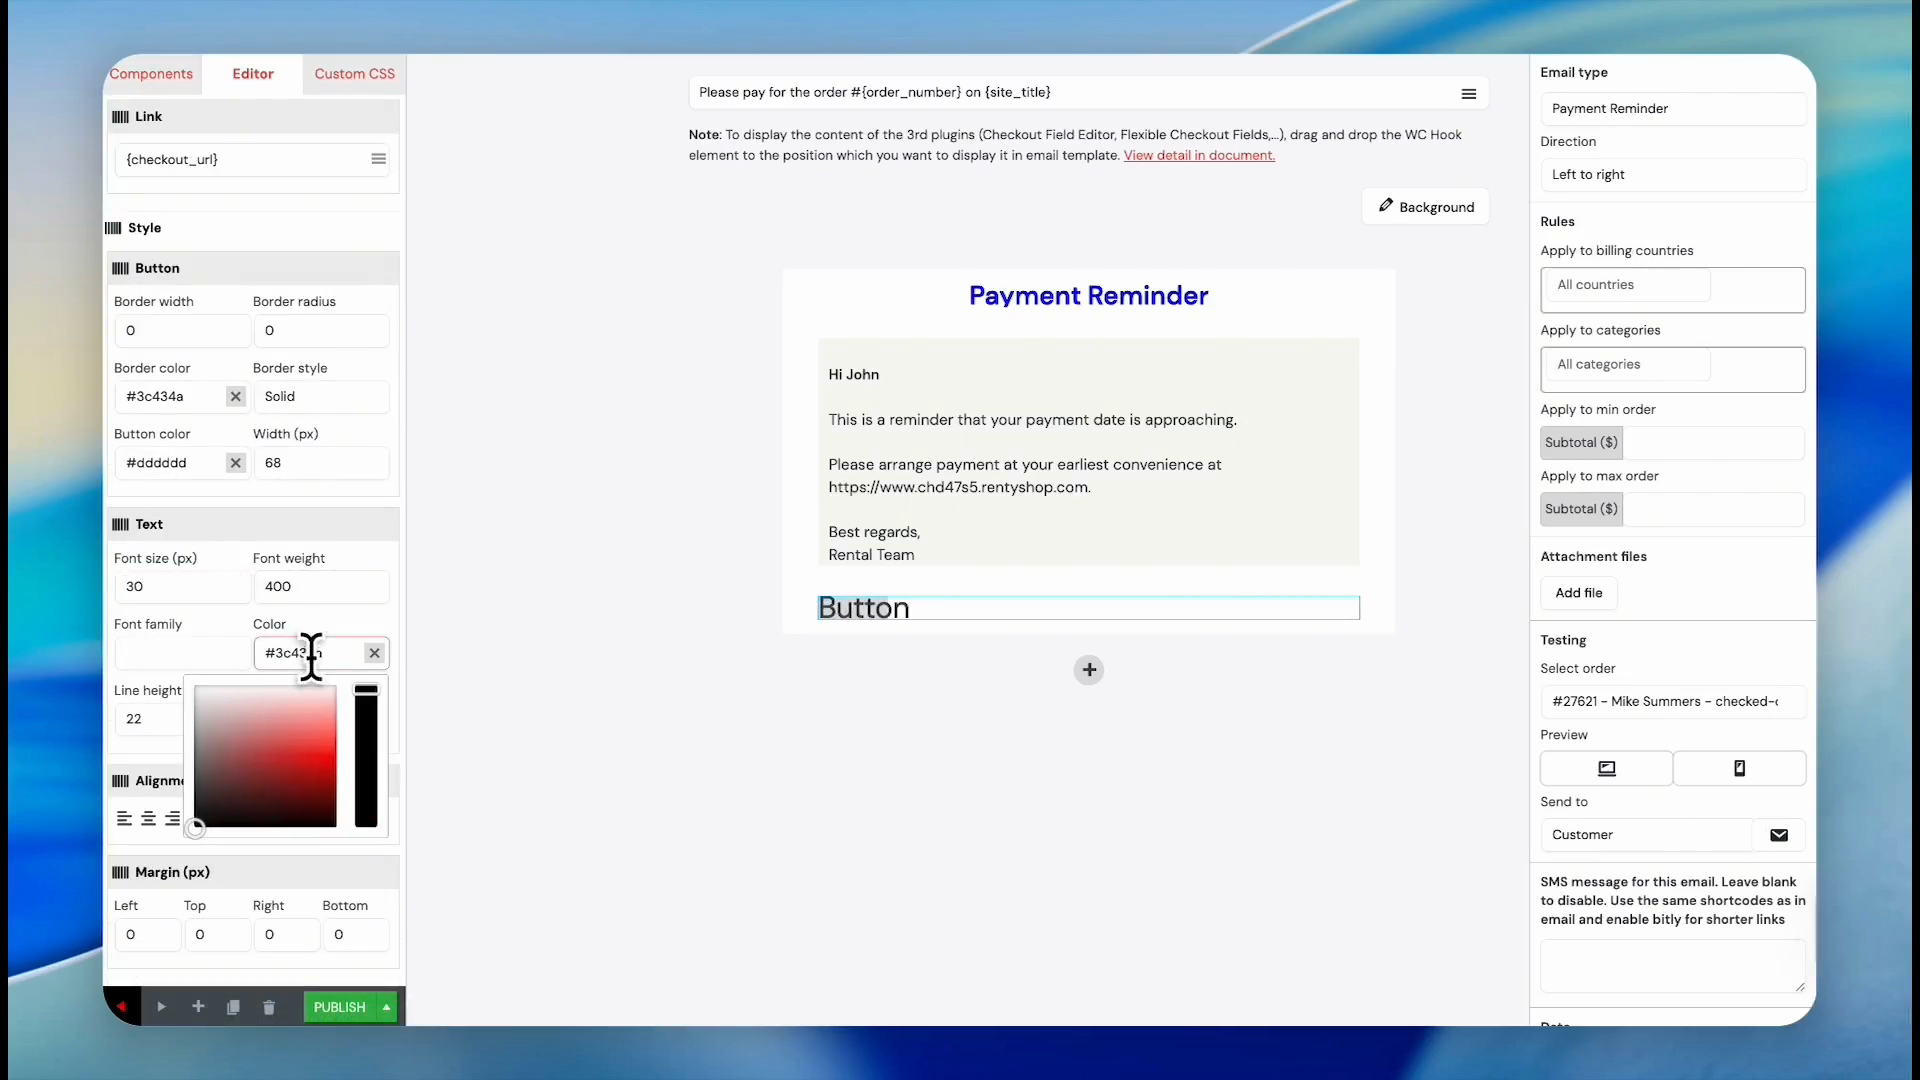
21
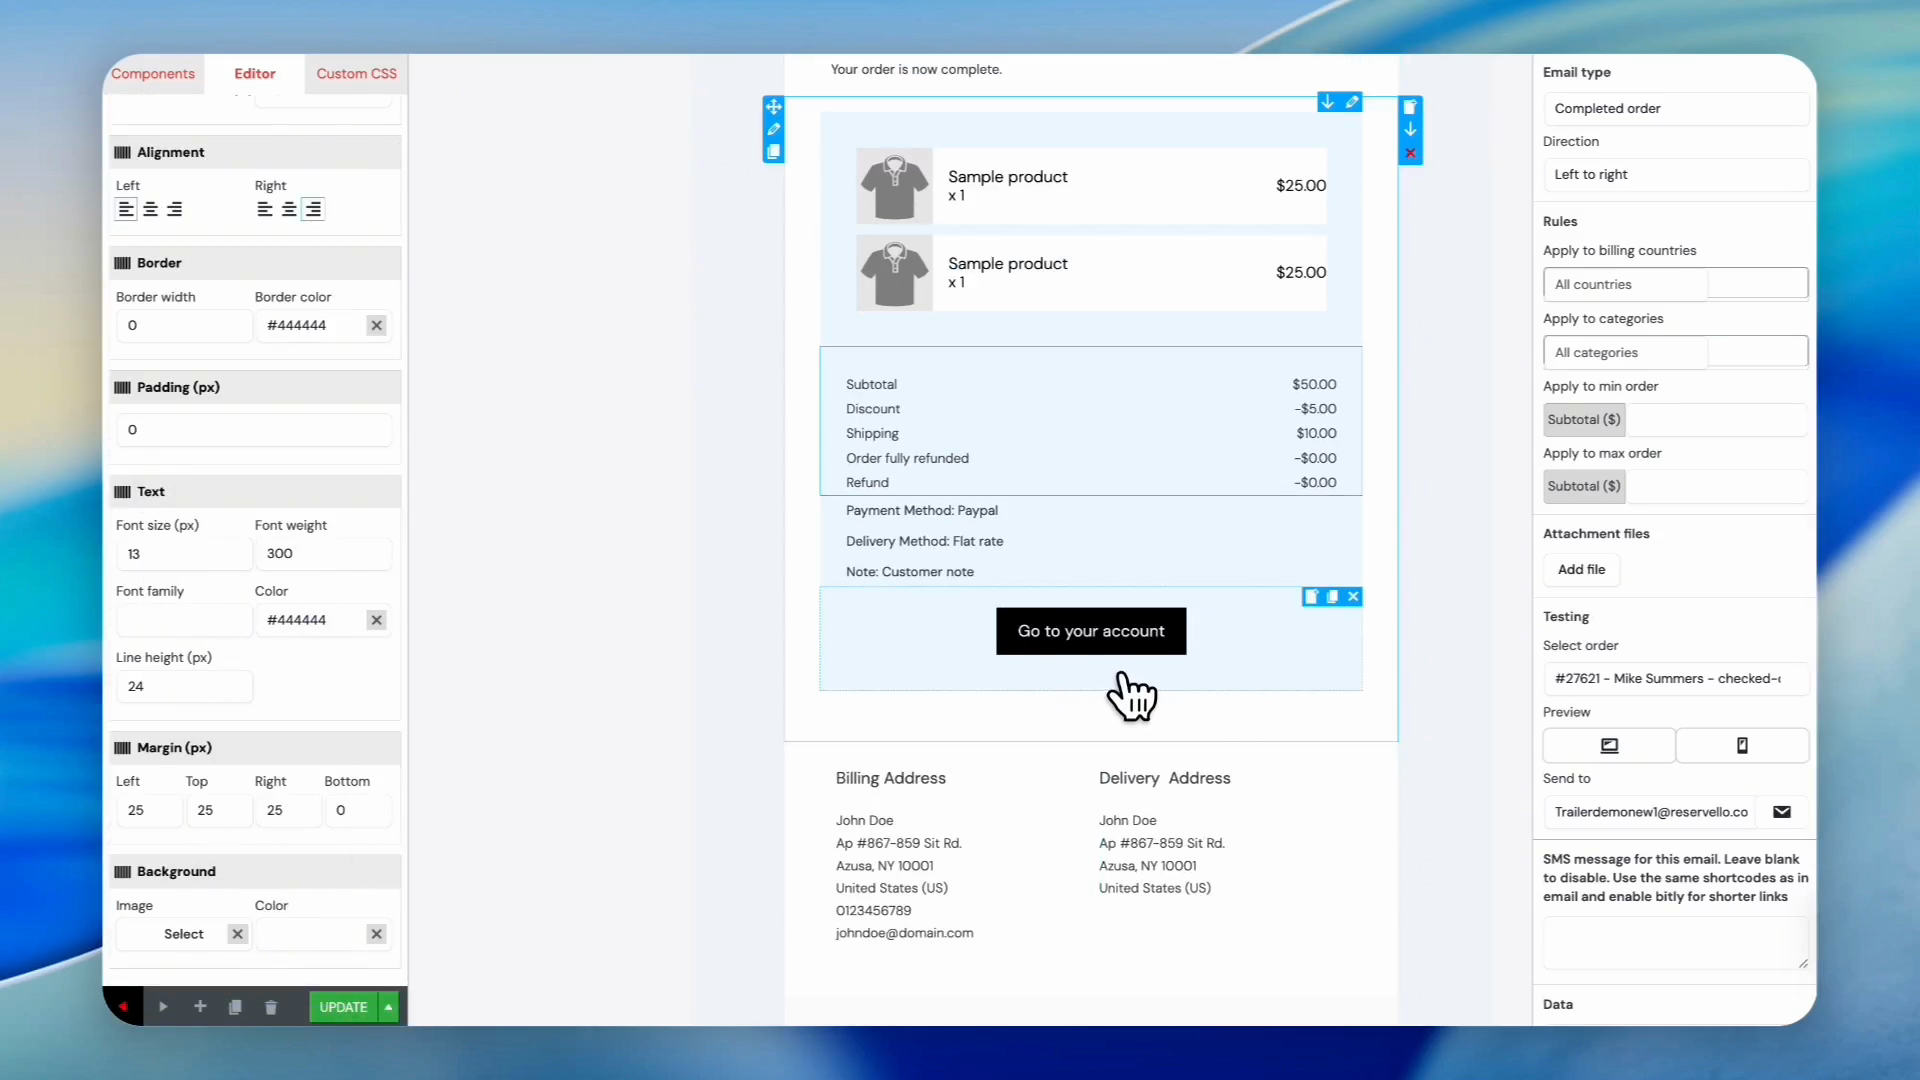
Click the Go to your account button in the layout.
22
Click the background color menu under the Style section to expand it.
23
Click the color map to change the button color (e.g., to blue).
24
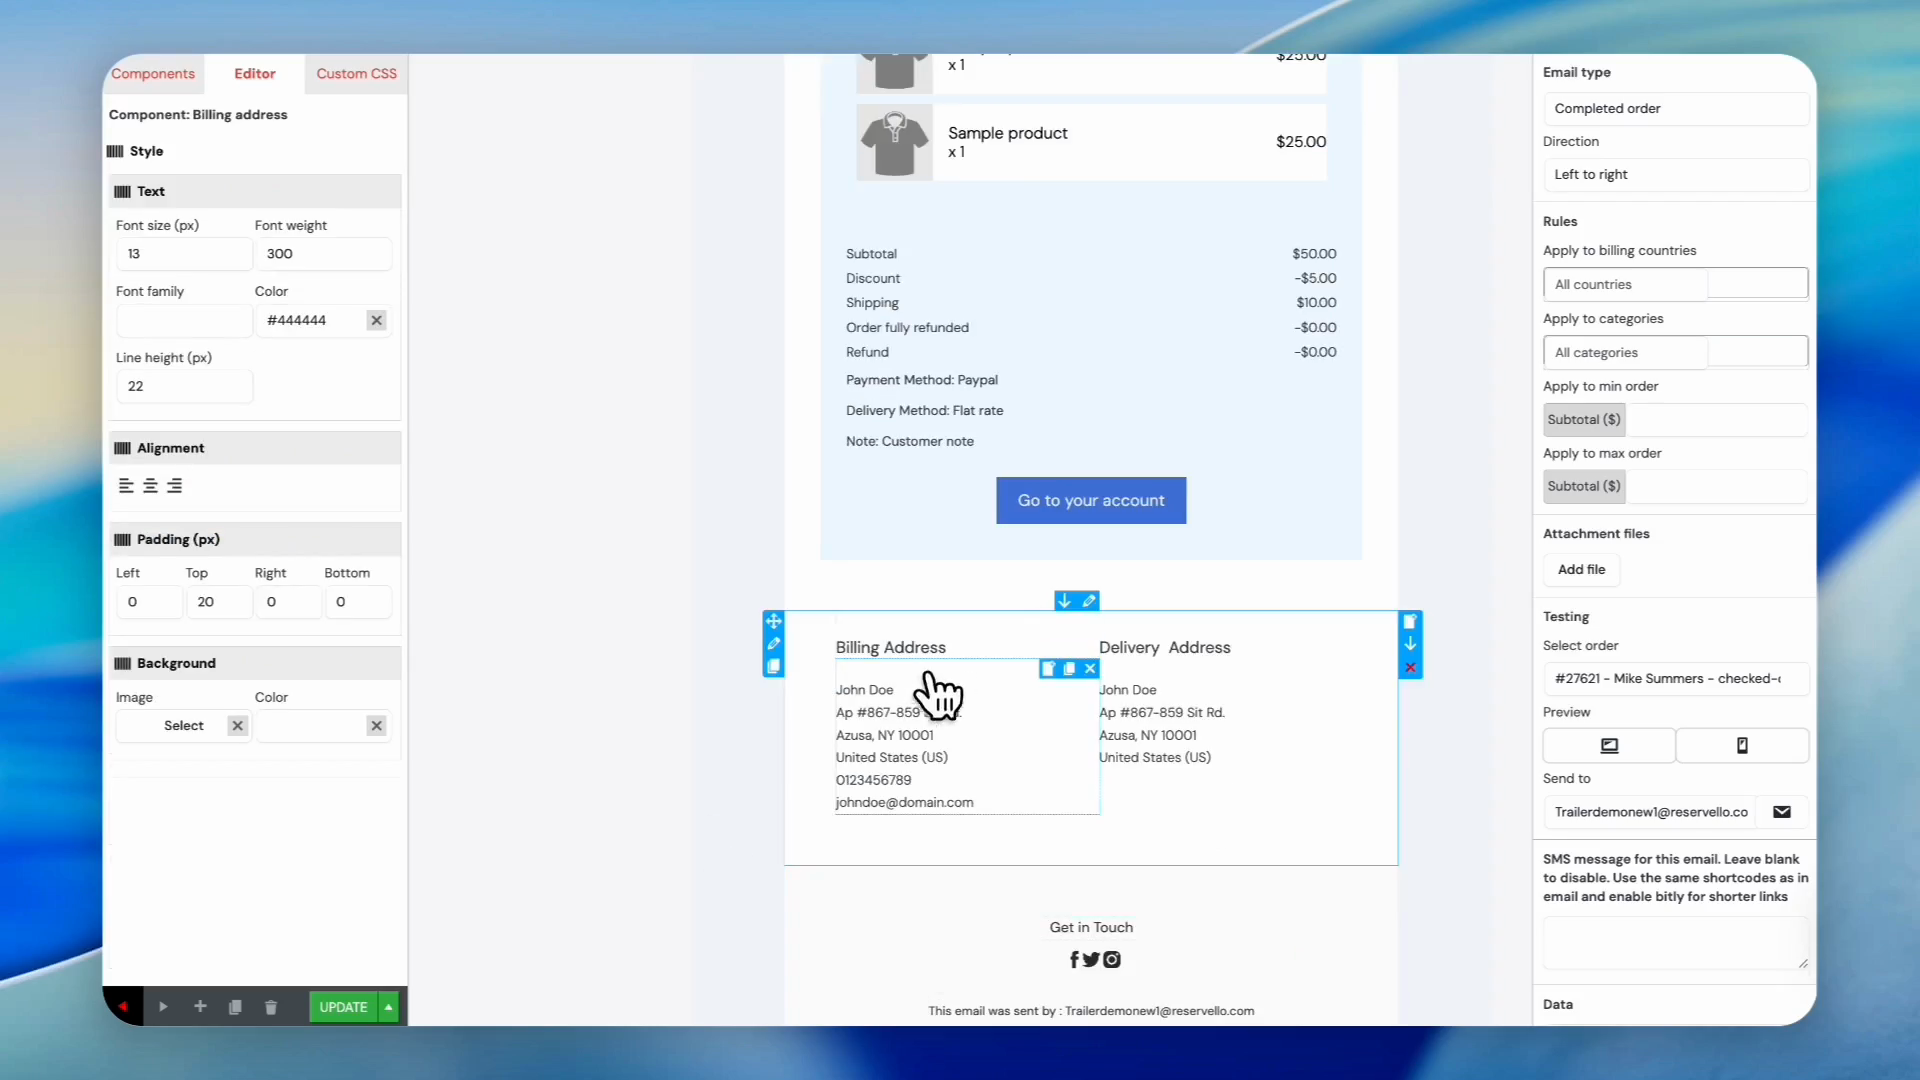
Click the Billing Address or Delivery Address block to adjust its padding and border style.
25
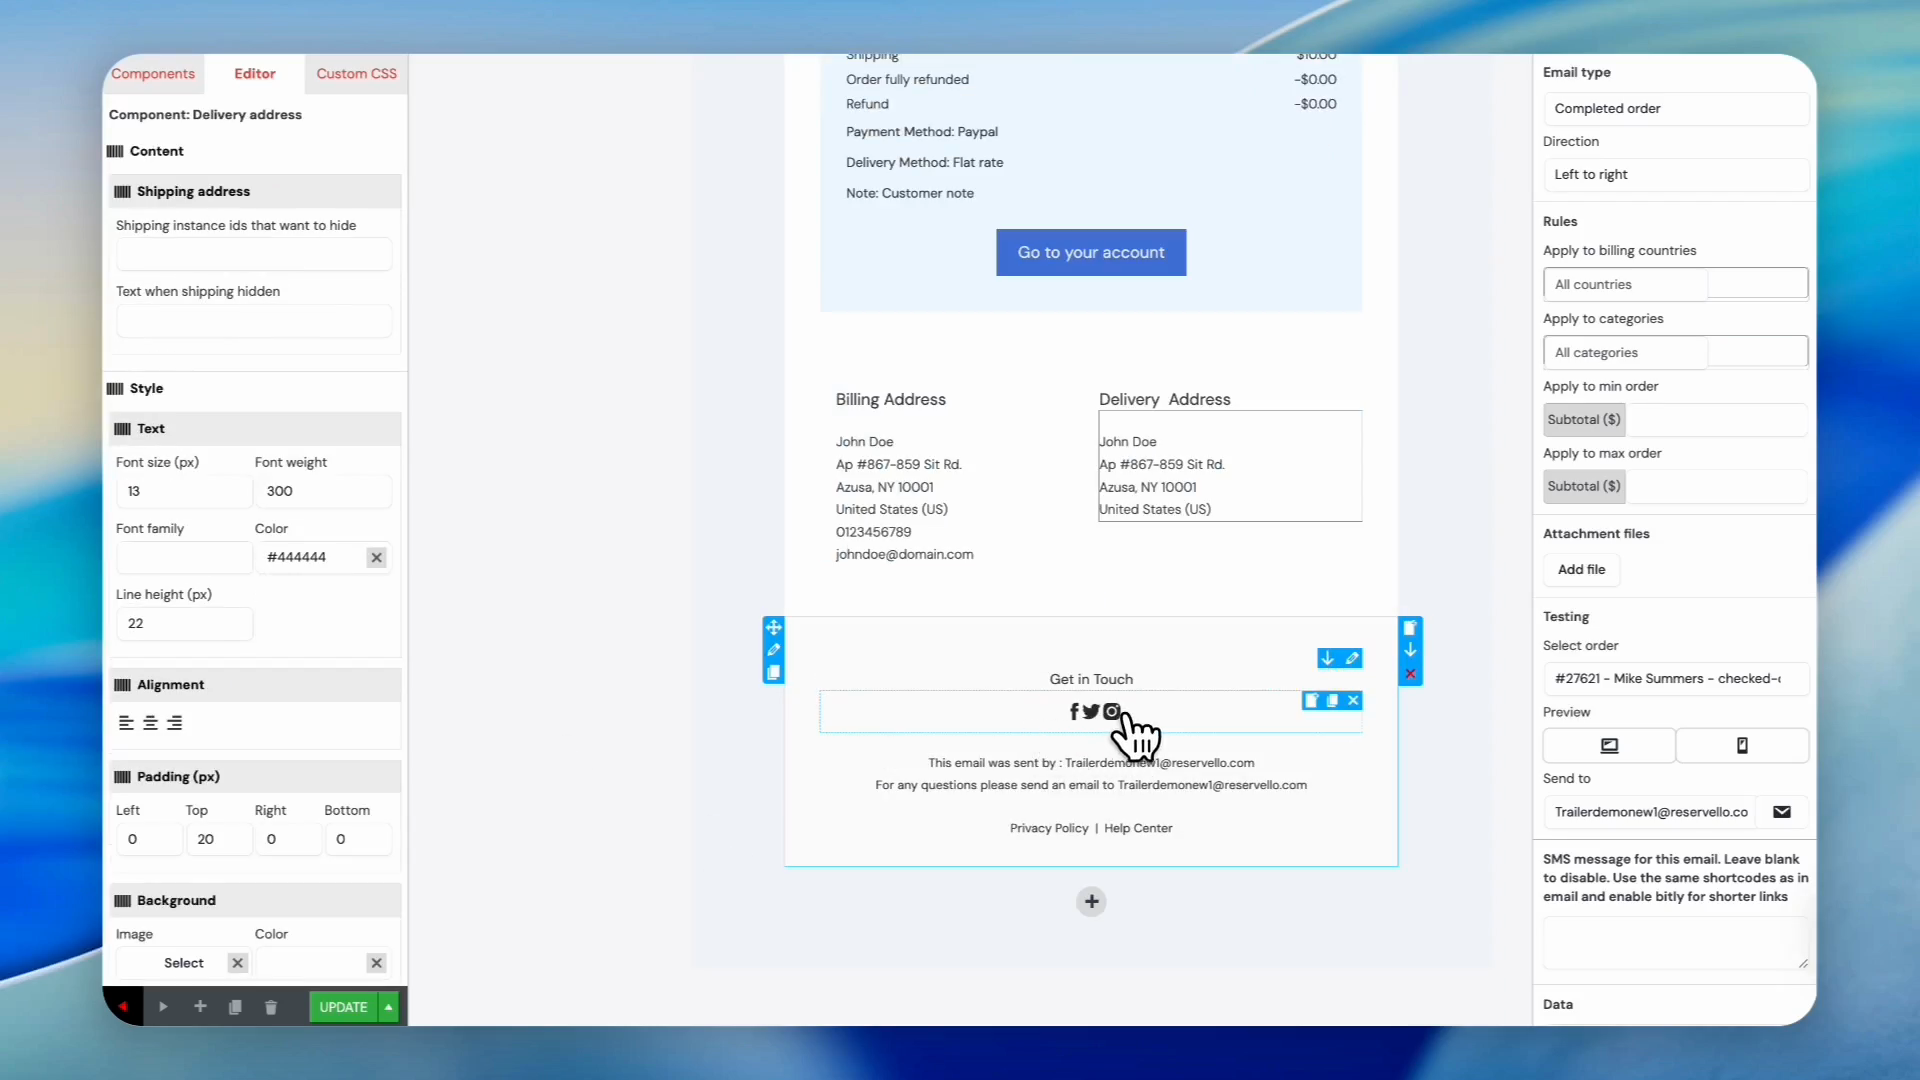
Scroll to the bottom and click the social media icons block.
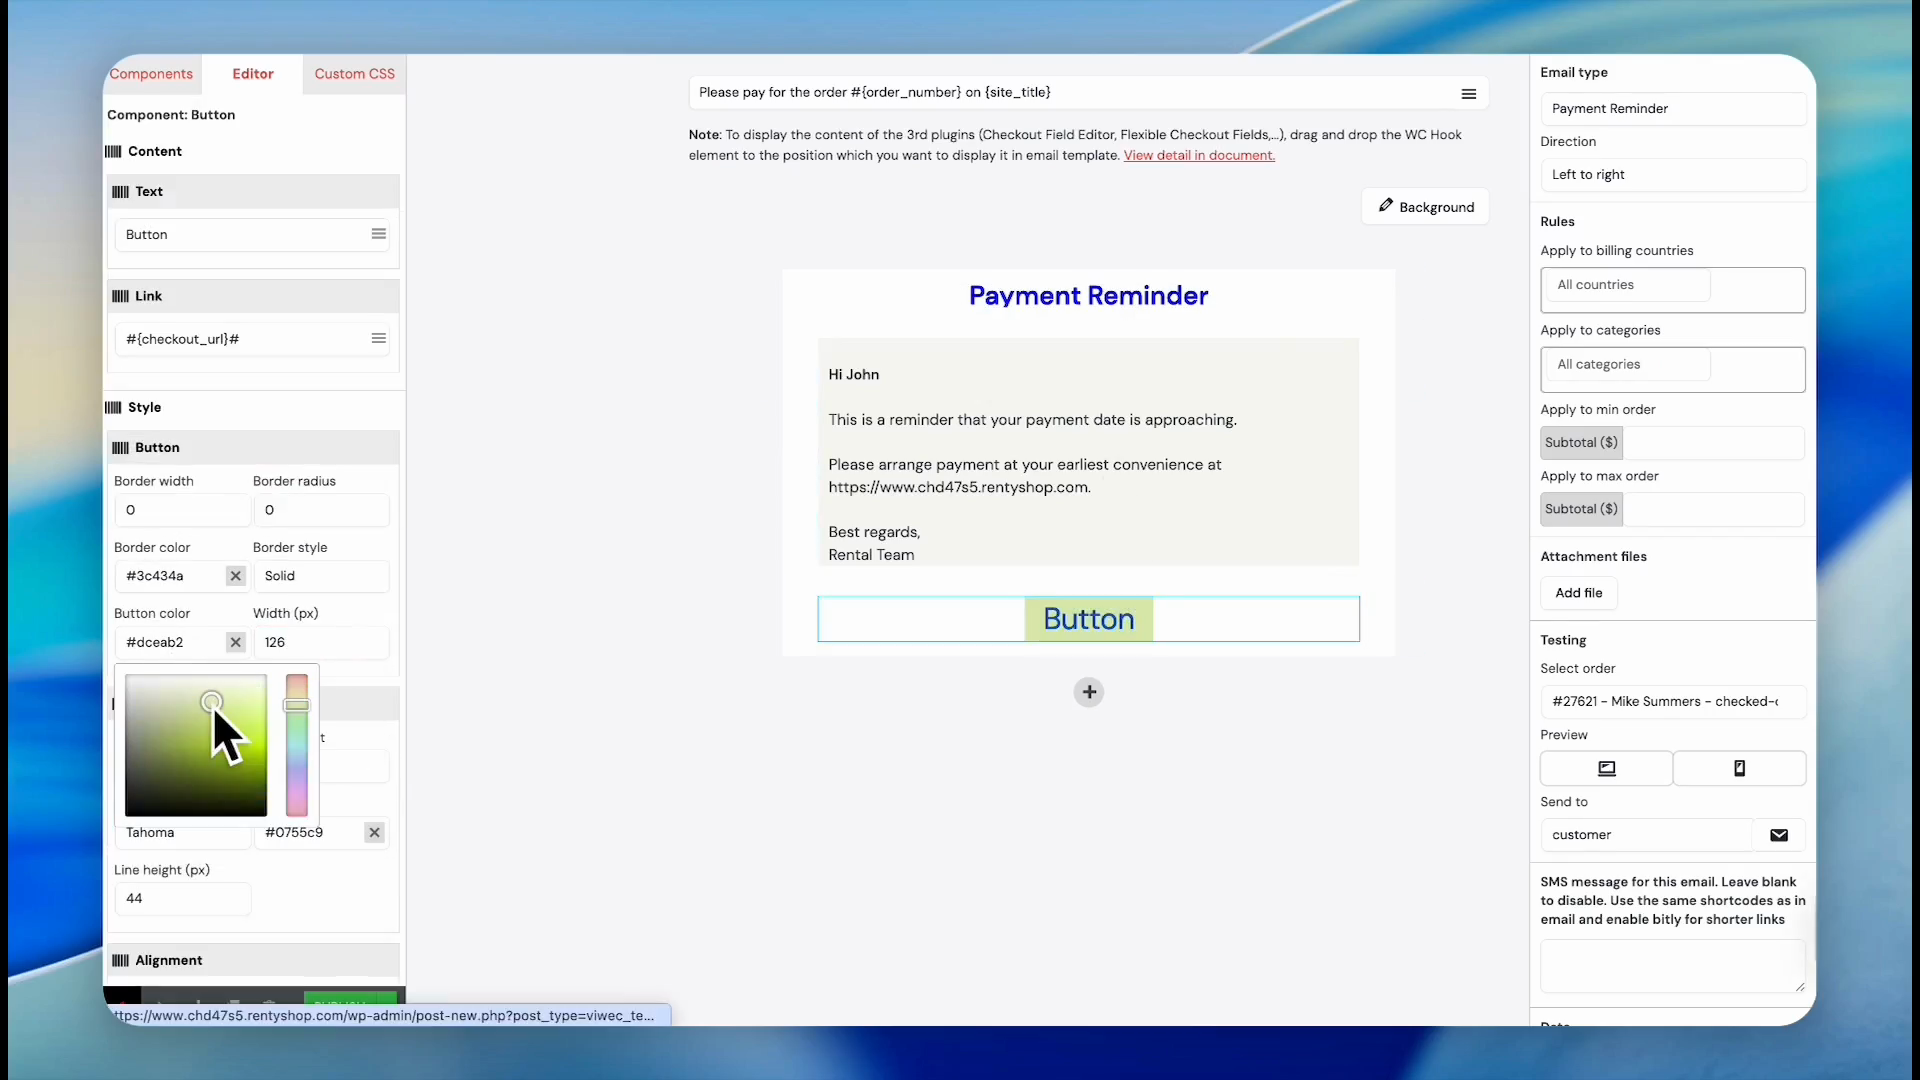
26
Click the Social Media URLs input field and replace it with your links.
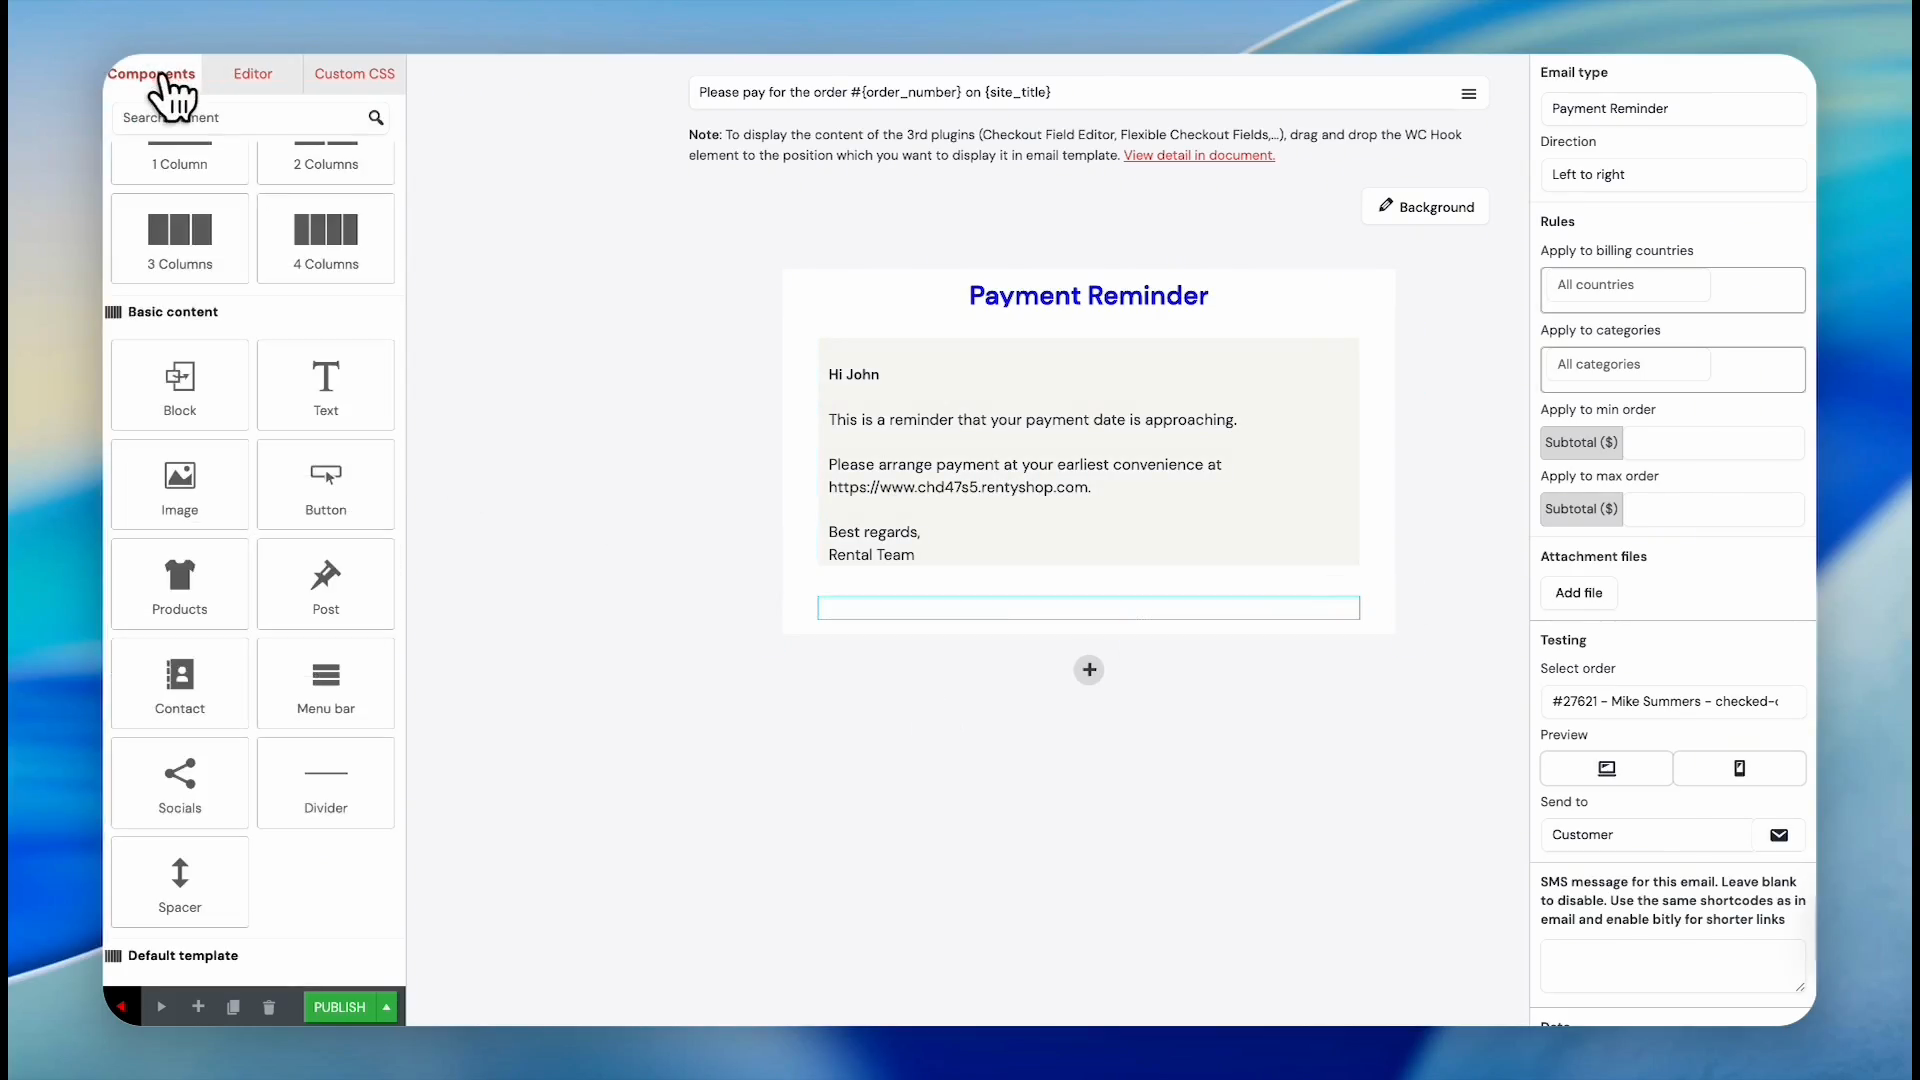
Adding Components and Coupons
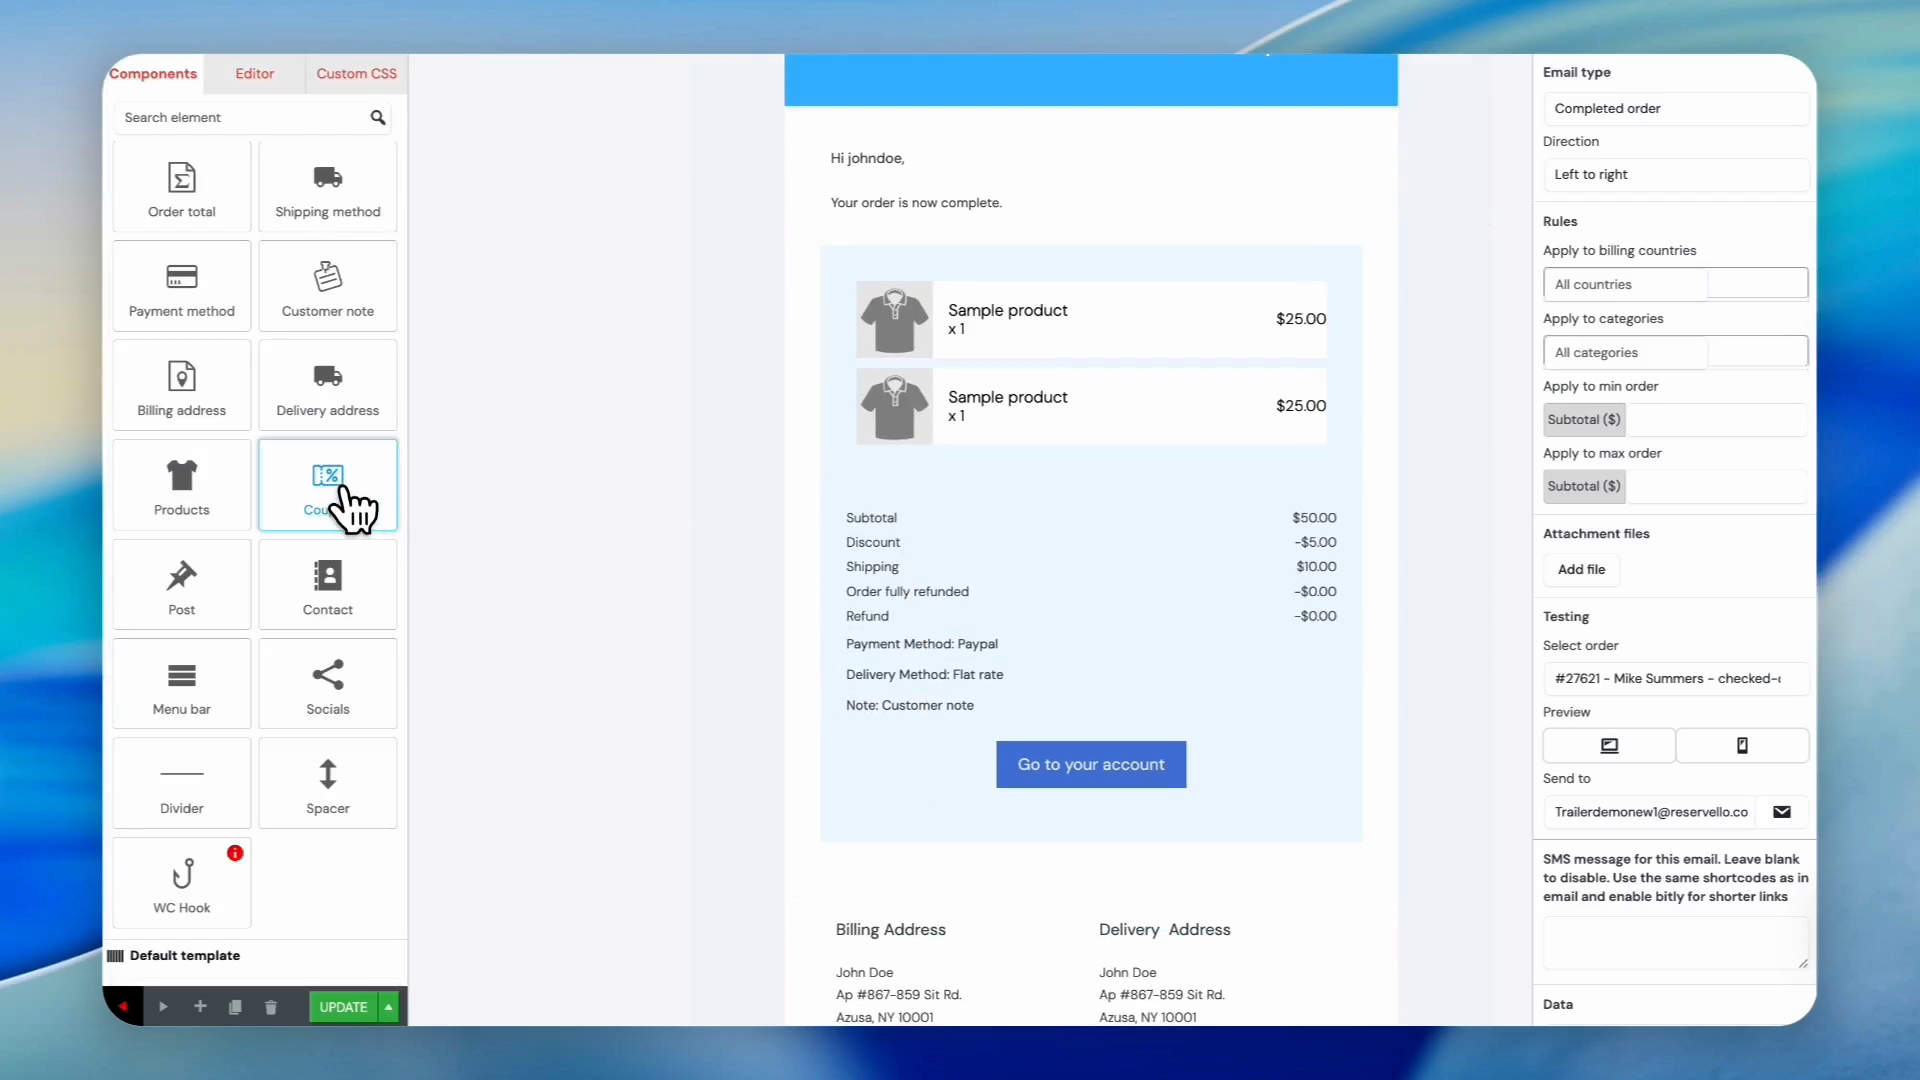
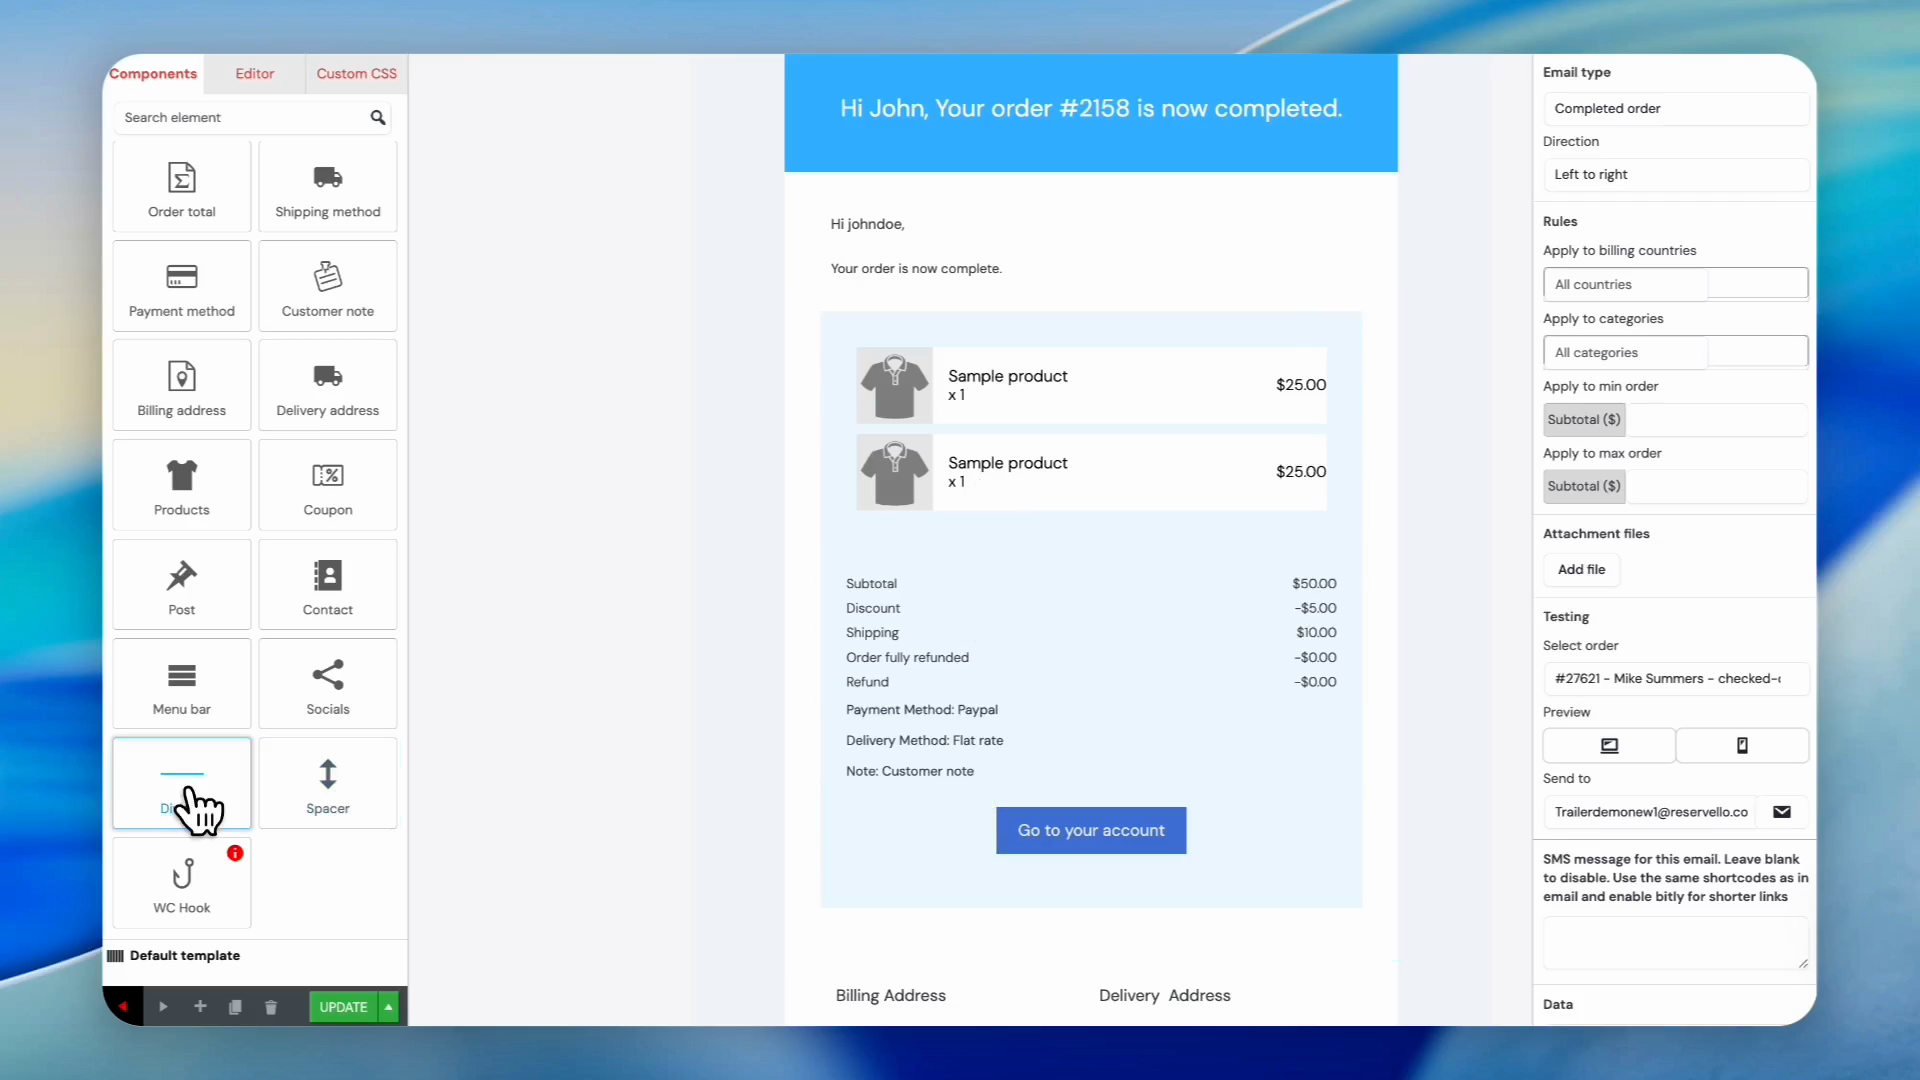
You can add functional elements to your template by dragging them from the Components tab.
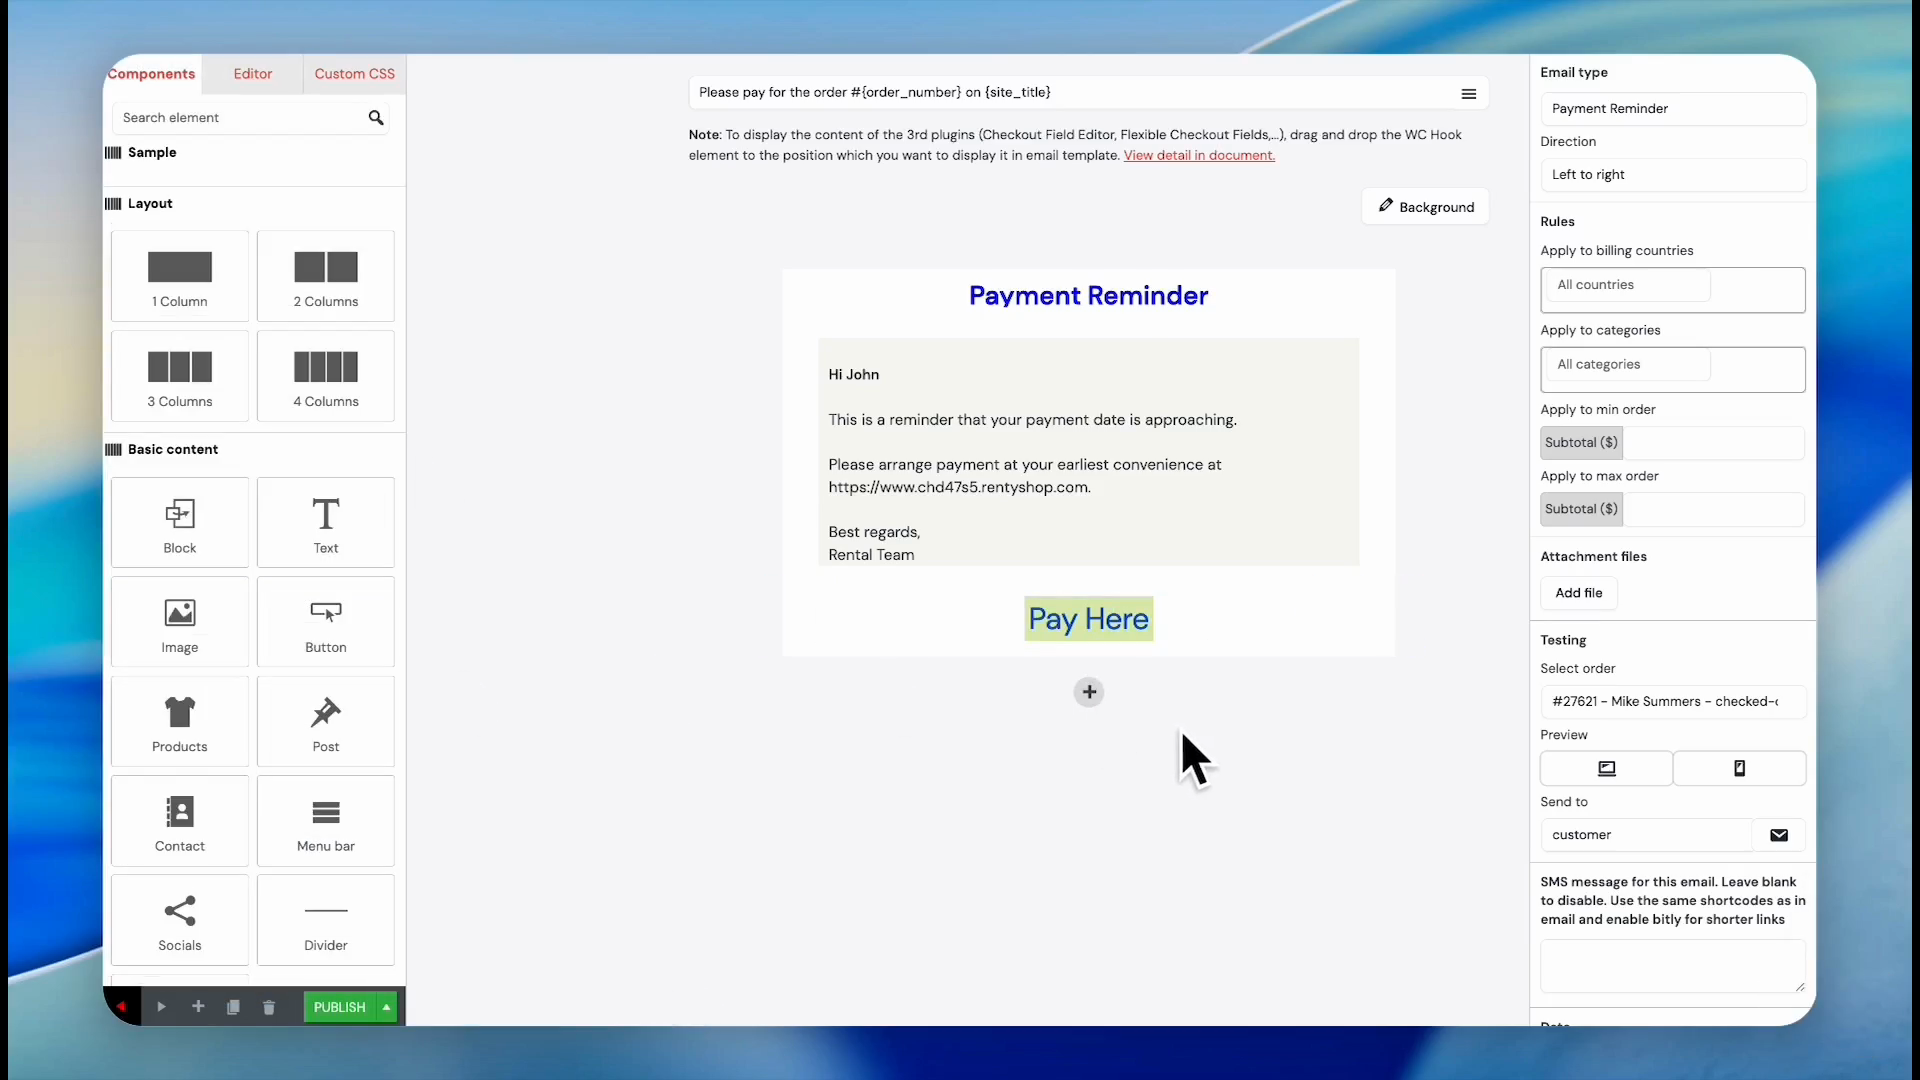
27
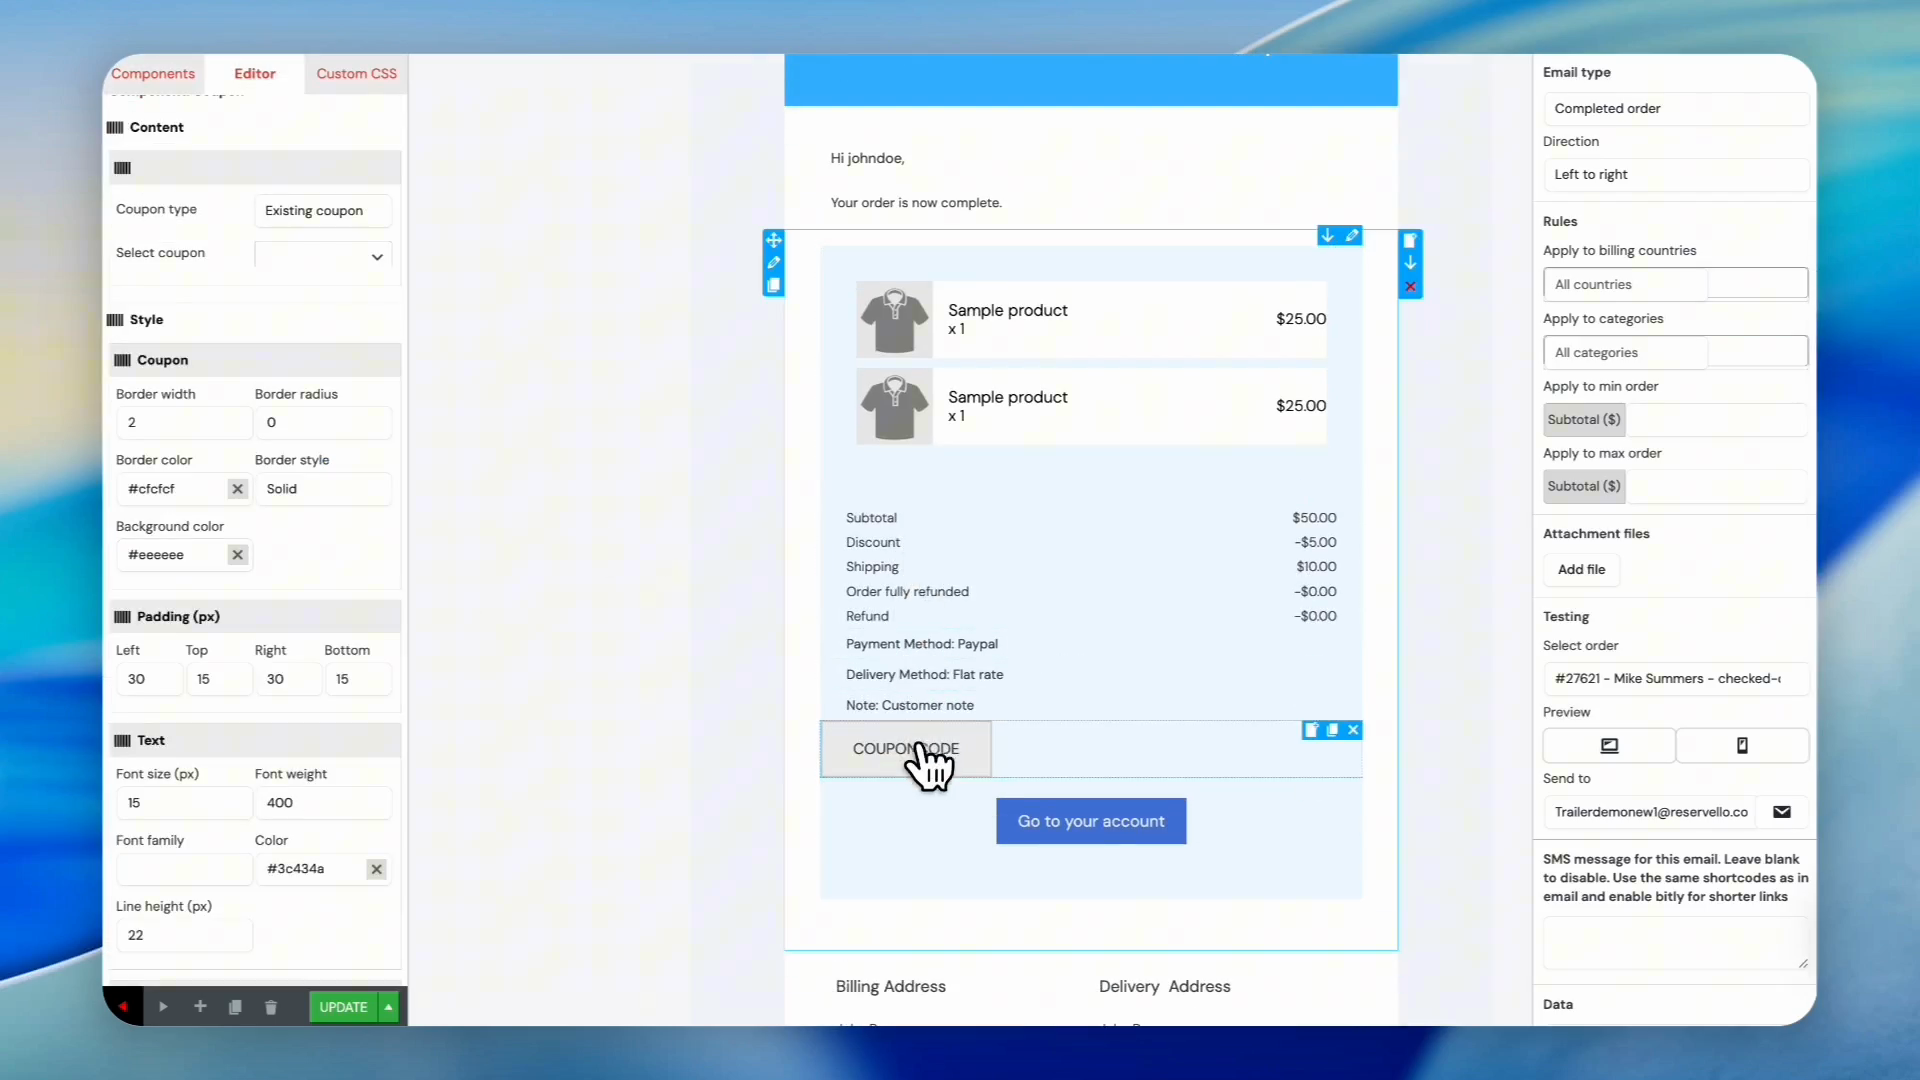
For example, let's add a coupon to the existing email template. Drag the Coupon icon from the components panel and drop it into your desired location (e.g., under payment details).
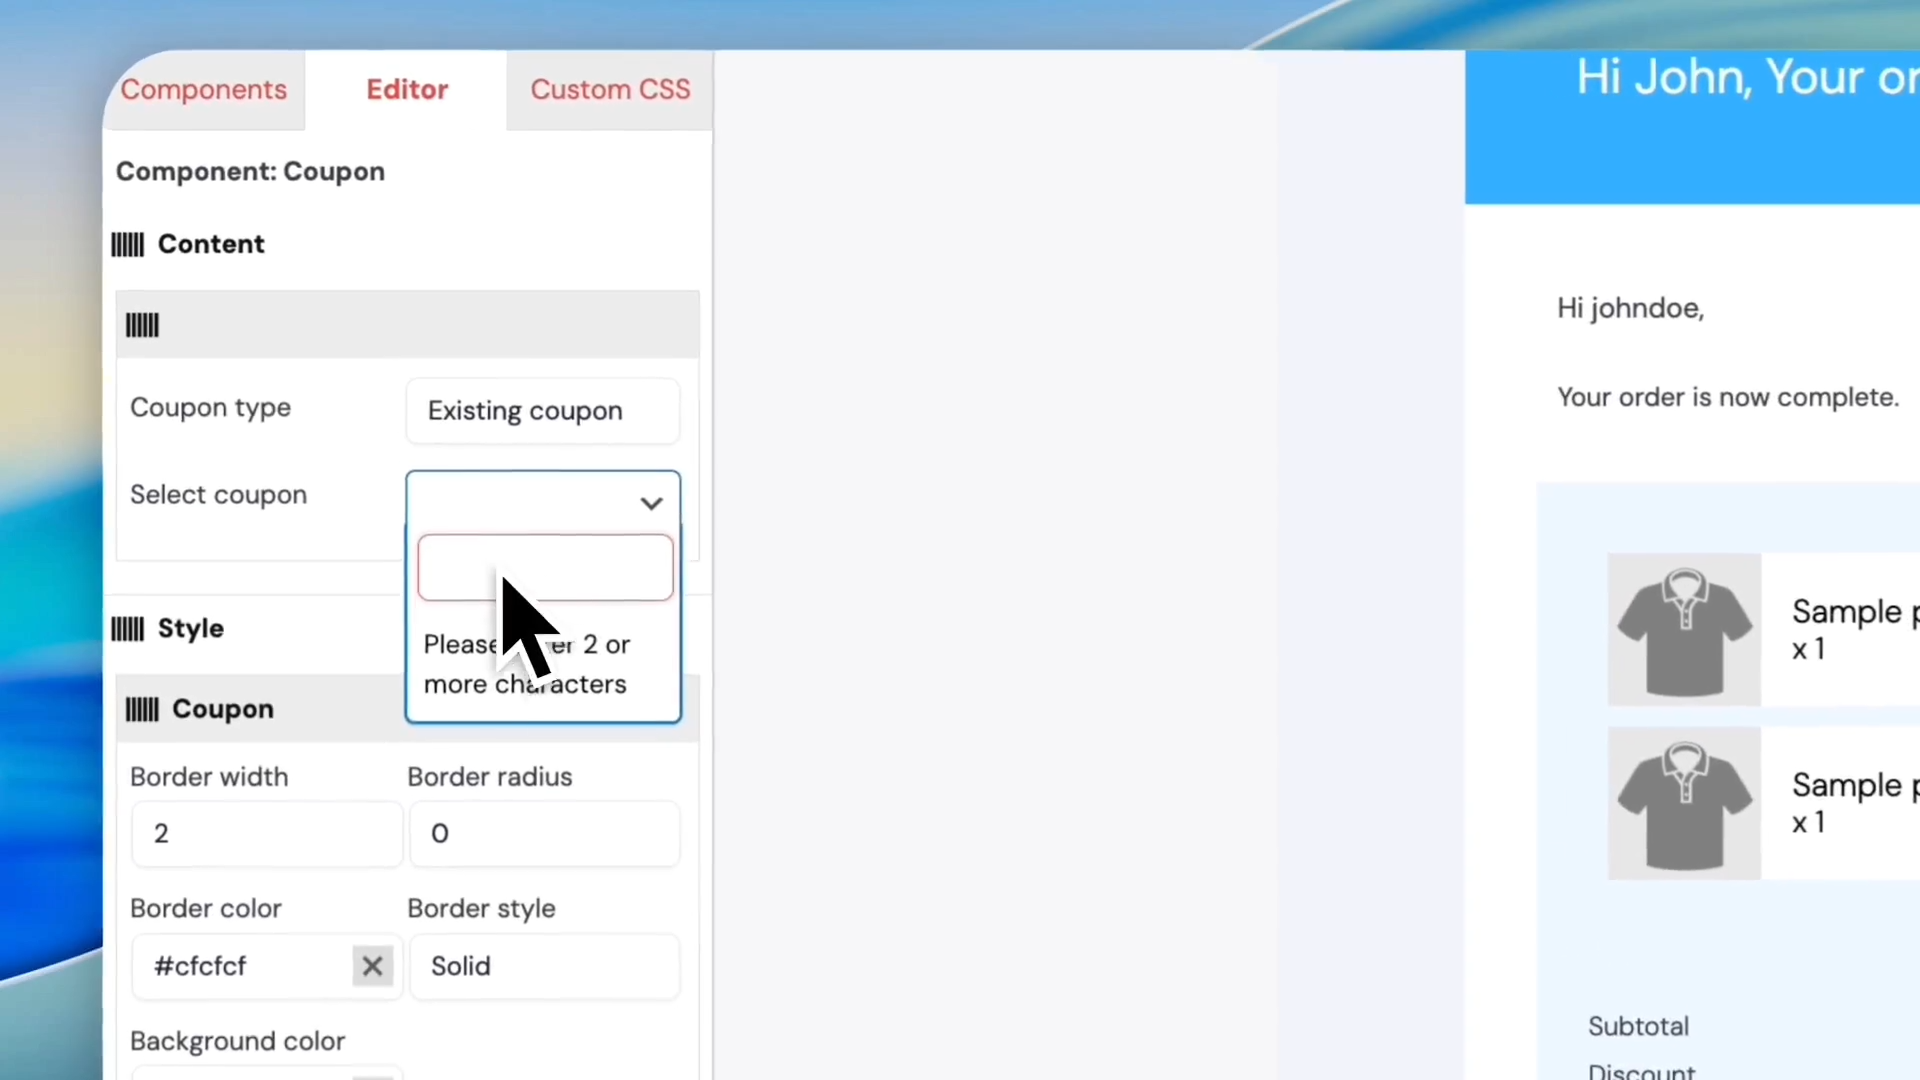
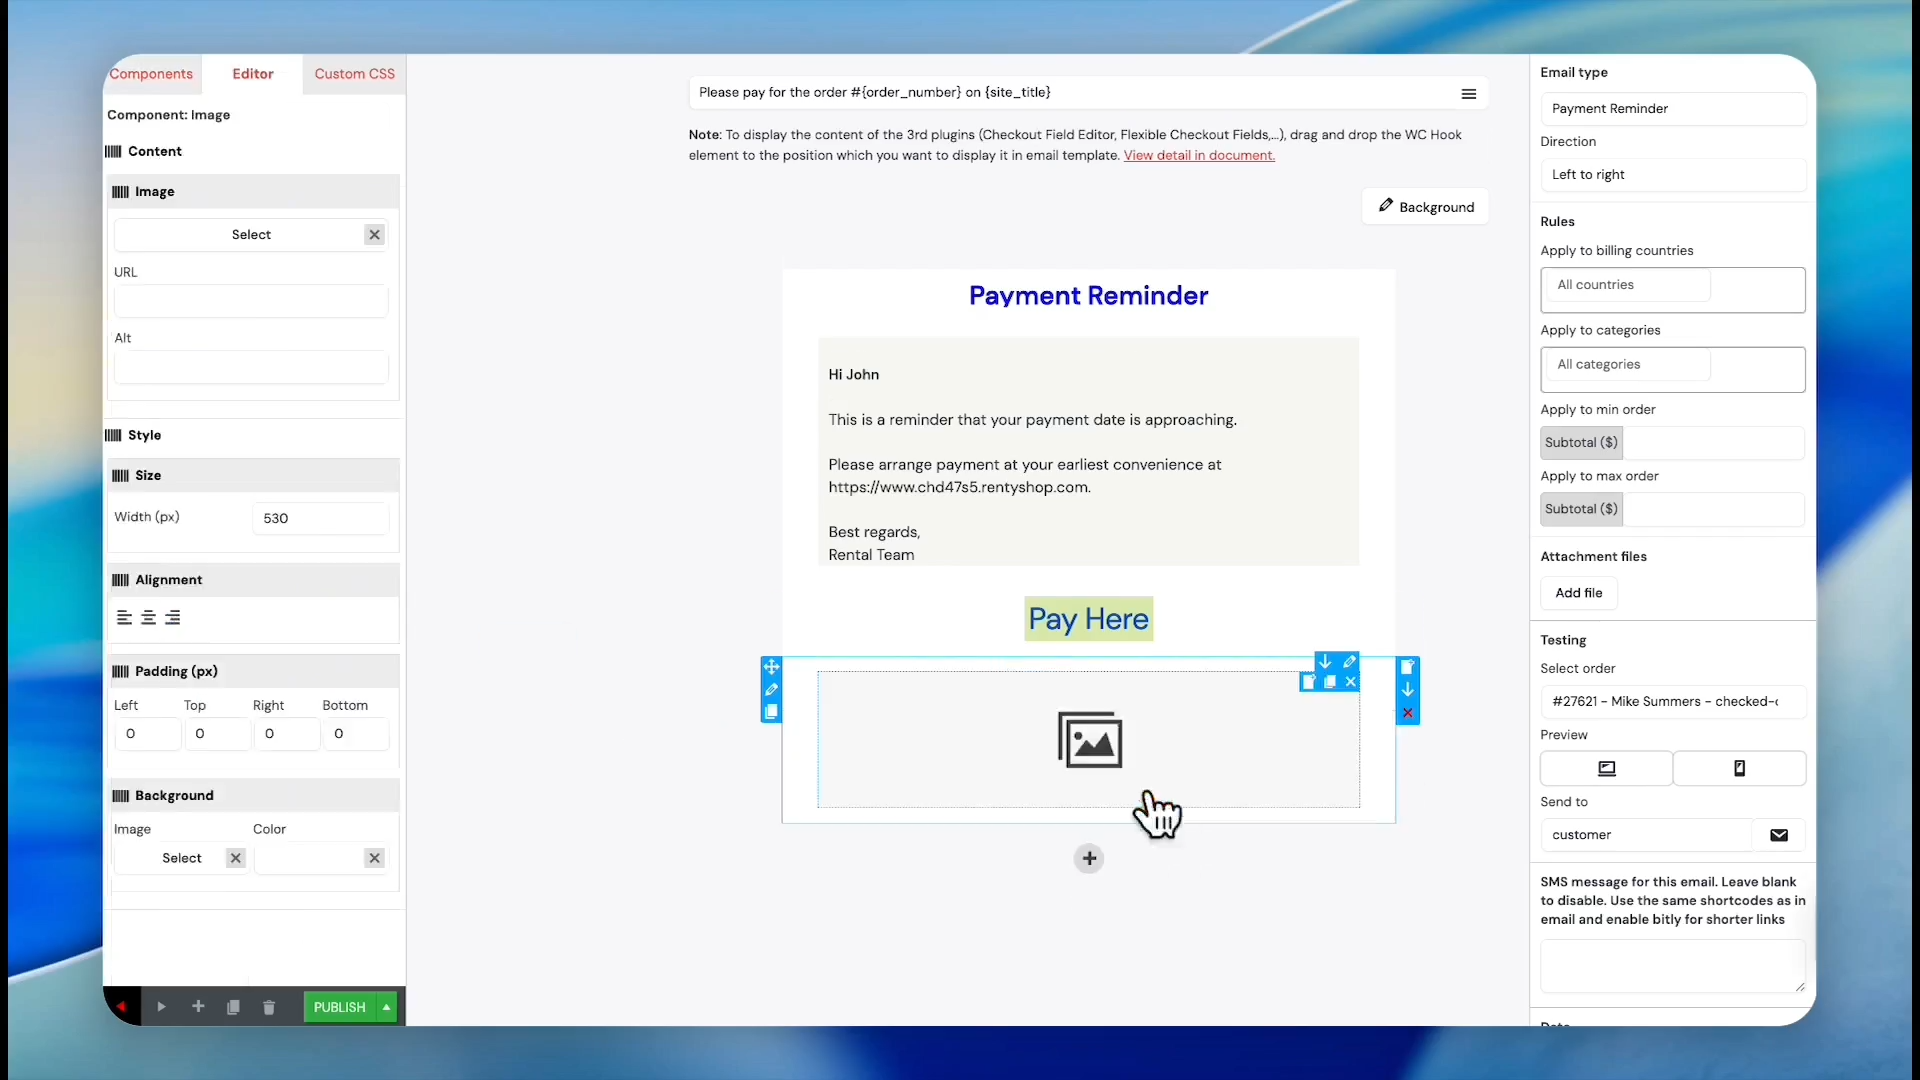
28
Click the newly placed coupon block to open its configuration settings.
29
Click the Select coupon dropdown.
30
Select the correct coupon code from the search results, like 10%OFF.
31
Let's say we want to divide the template with a single line. Drag the Divider component from the sidebar.
32
Drop it between two sections to create a visual break.
33
Click the divider border line to access its style settings.
34
Type the higher number in the width field to make the line thicker.
35
Click the color map to change the divider's color (e.g., to red).
Applying Target Rules
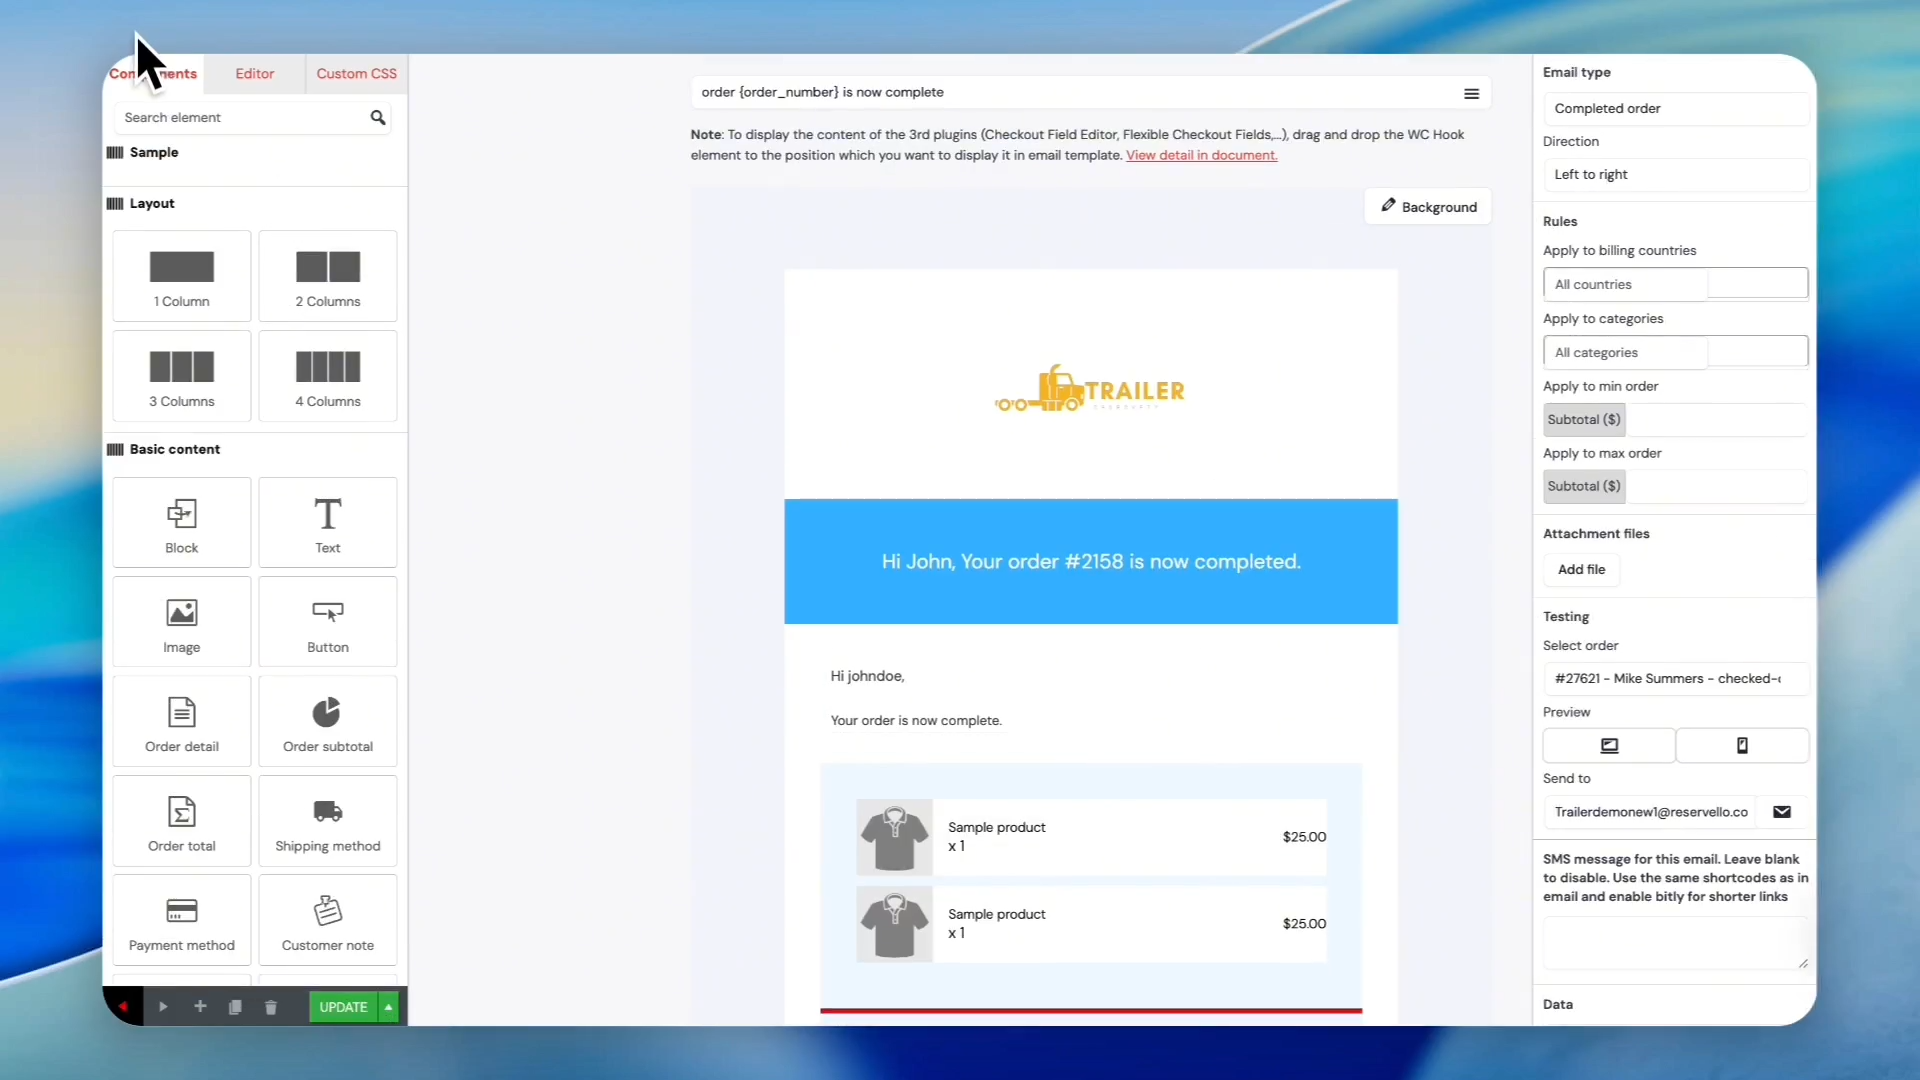
You can set specific target rules for your template to control exactly when it triggers. Choose from the targeting rules below:
Rule Type
Description
Billing Countries
Restricts the email so it only sends to customers checking out from specified countries.
Categories
Triggers the email only when a purchase contains products from a specific category.
All/Default
Applies the email globally across all checkout events regardless of region or items.
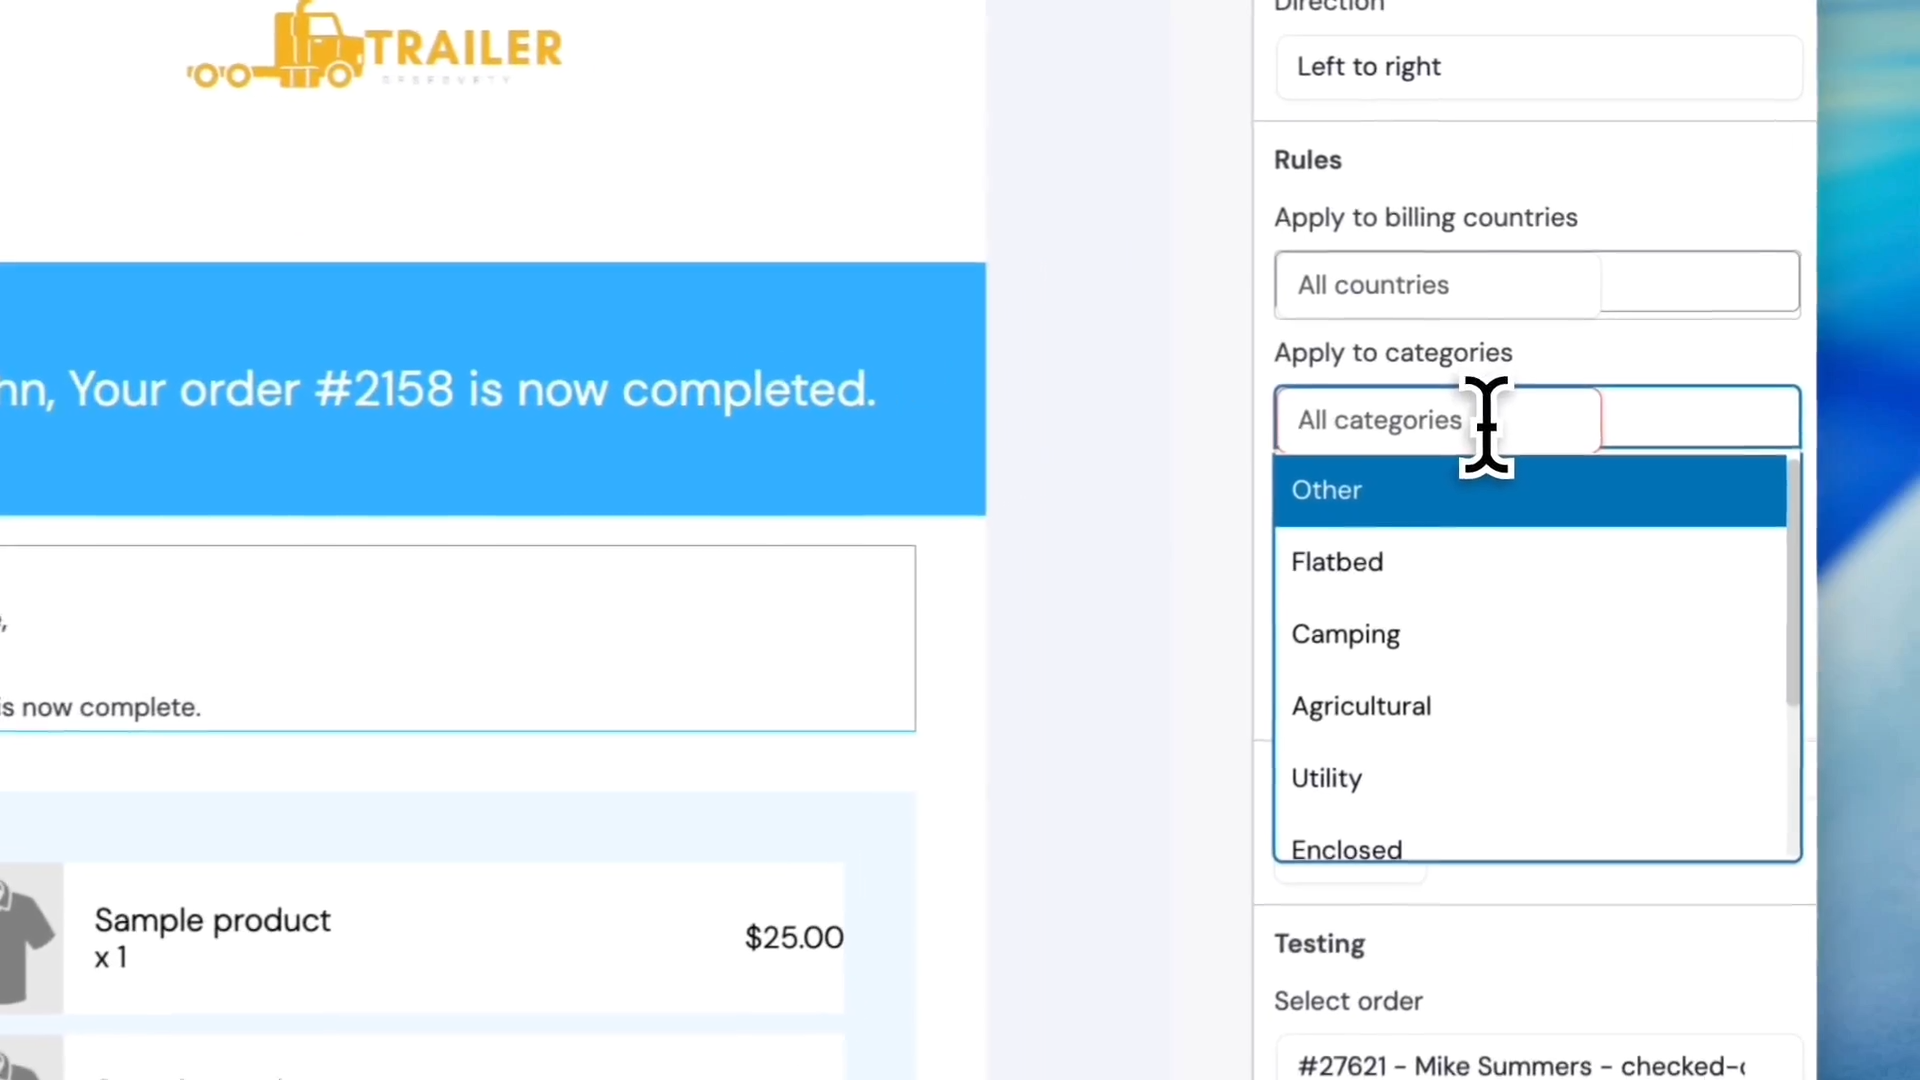
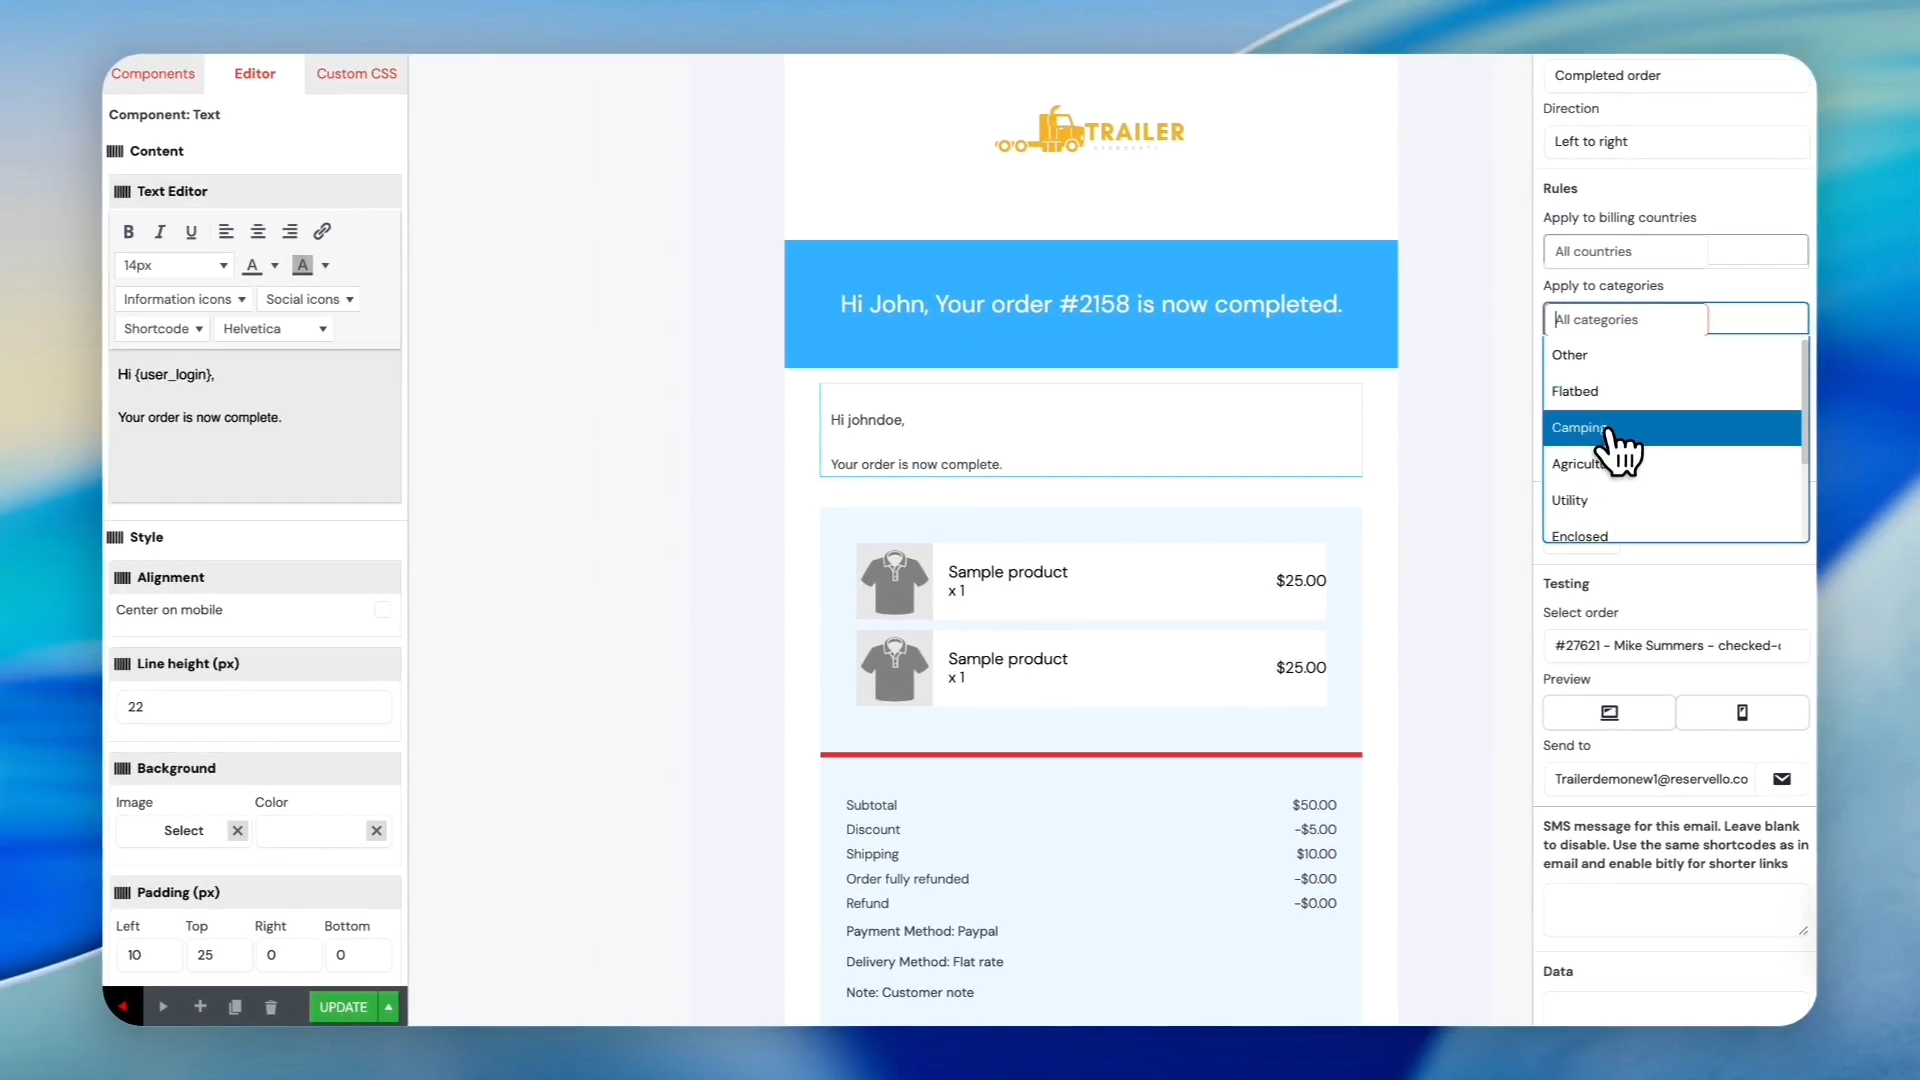
36
Click All categories on the right-hand functional settings panel.
37
Click Camping or another category to restrict the template to those products.
38
Click the close icon (X) next to 'Camping' to remove the restriction and apply it globally.
39
Click Update to save the configured email template.
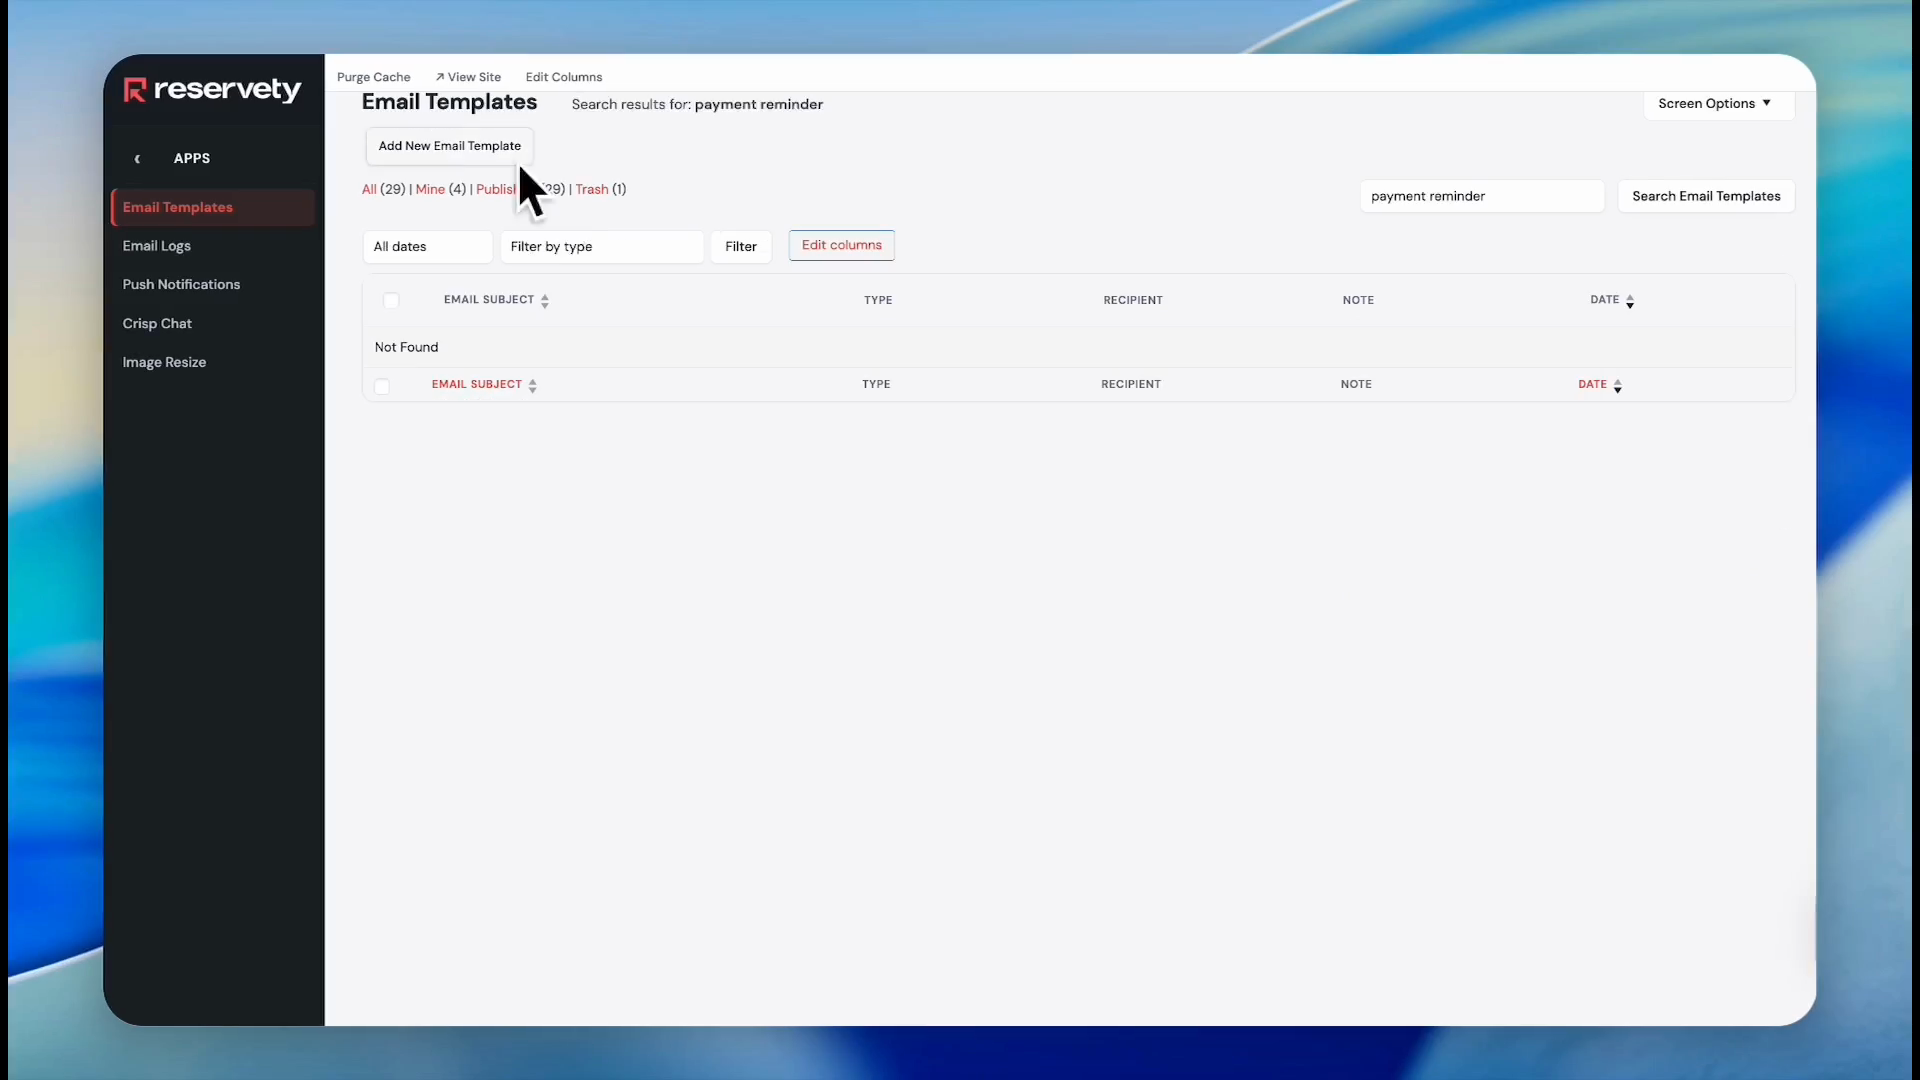
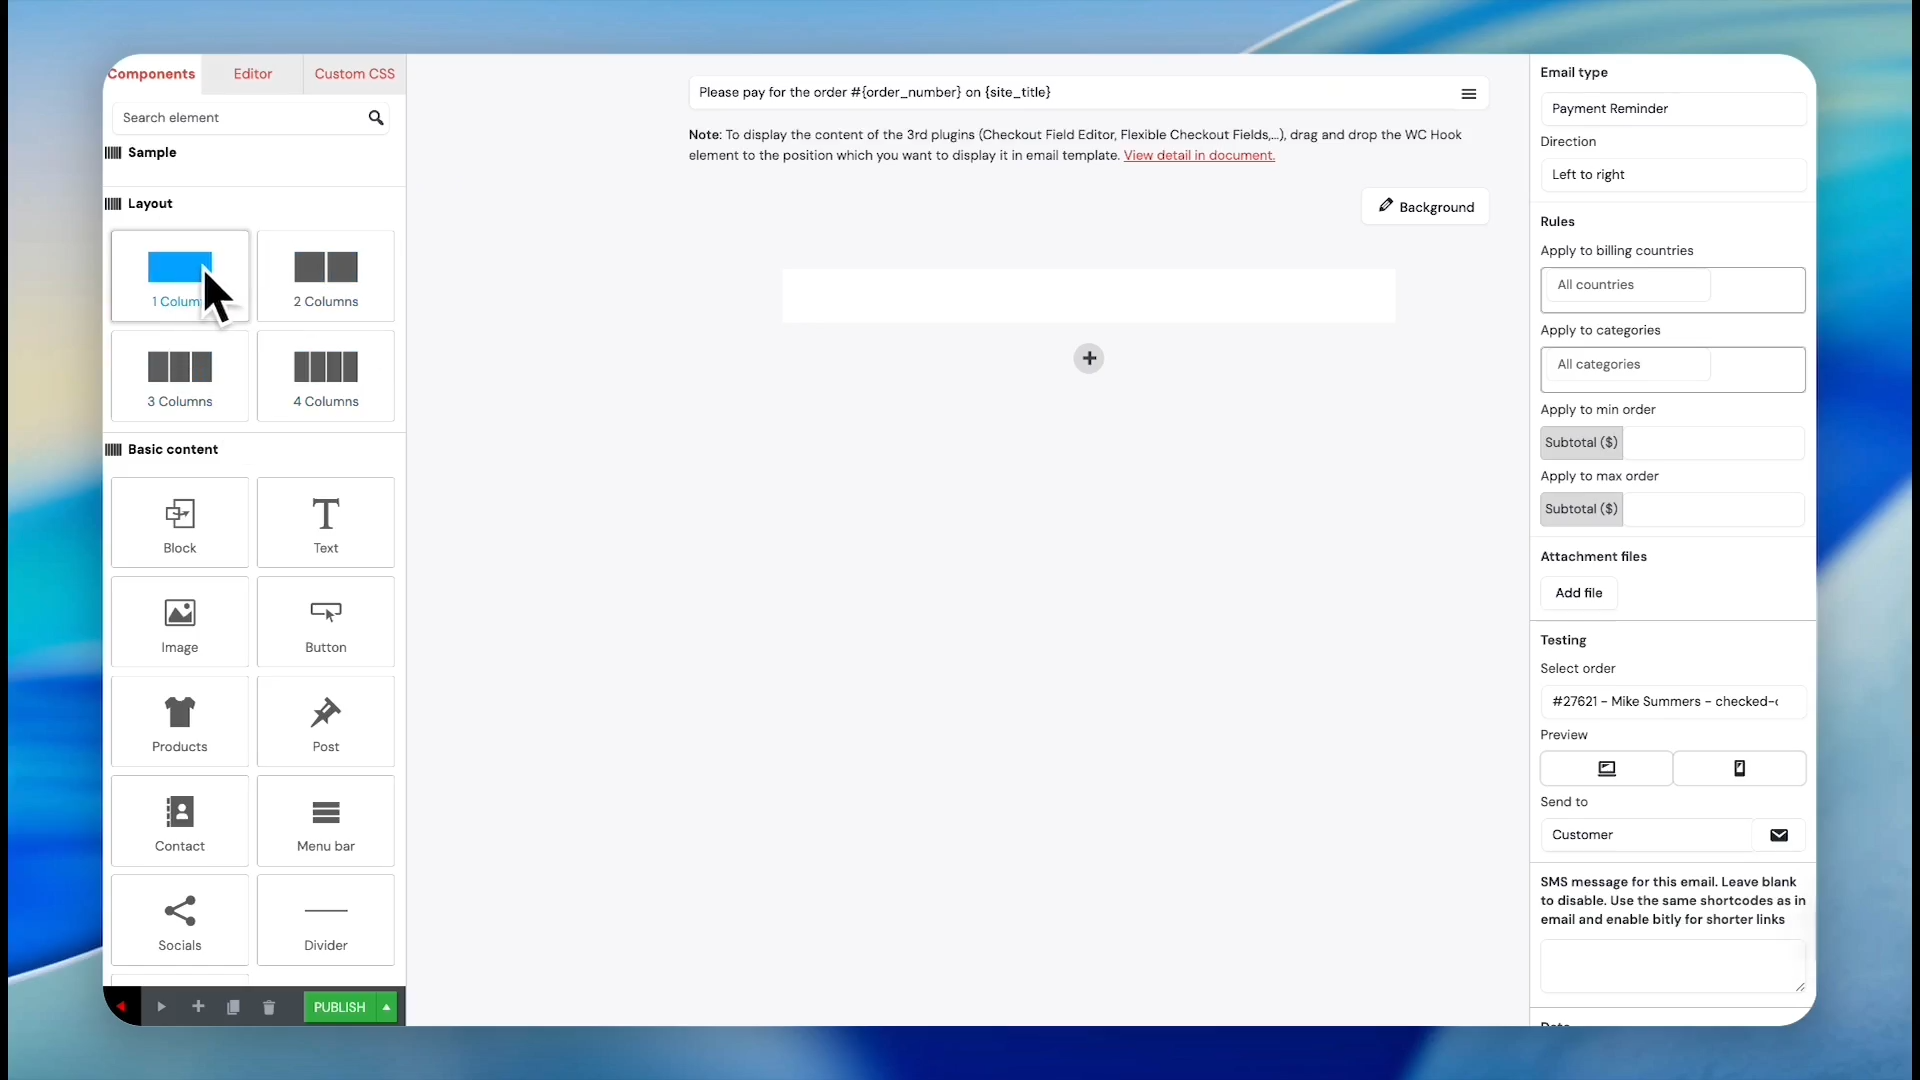
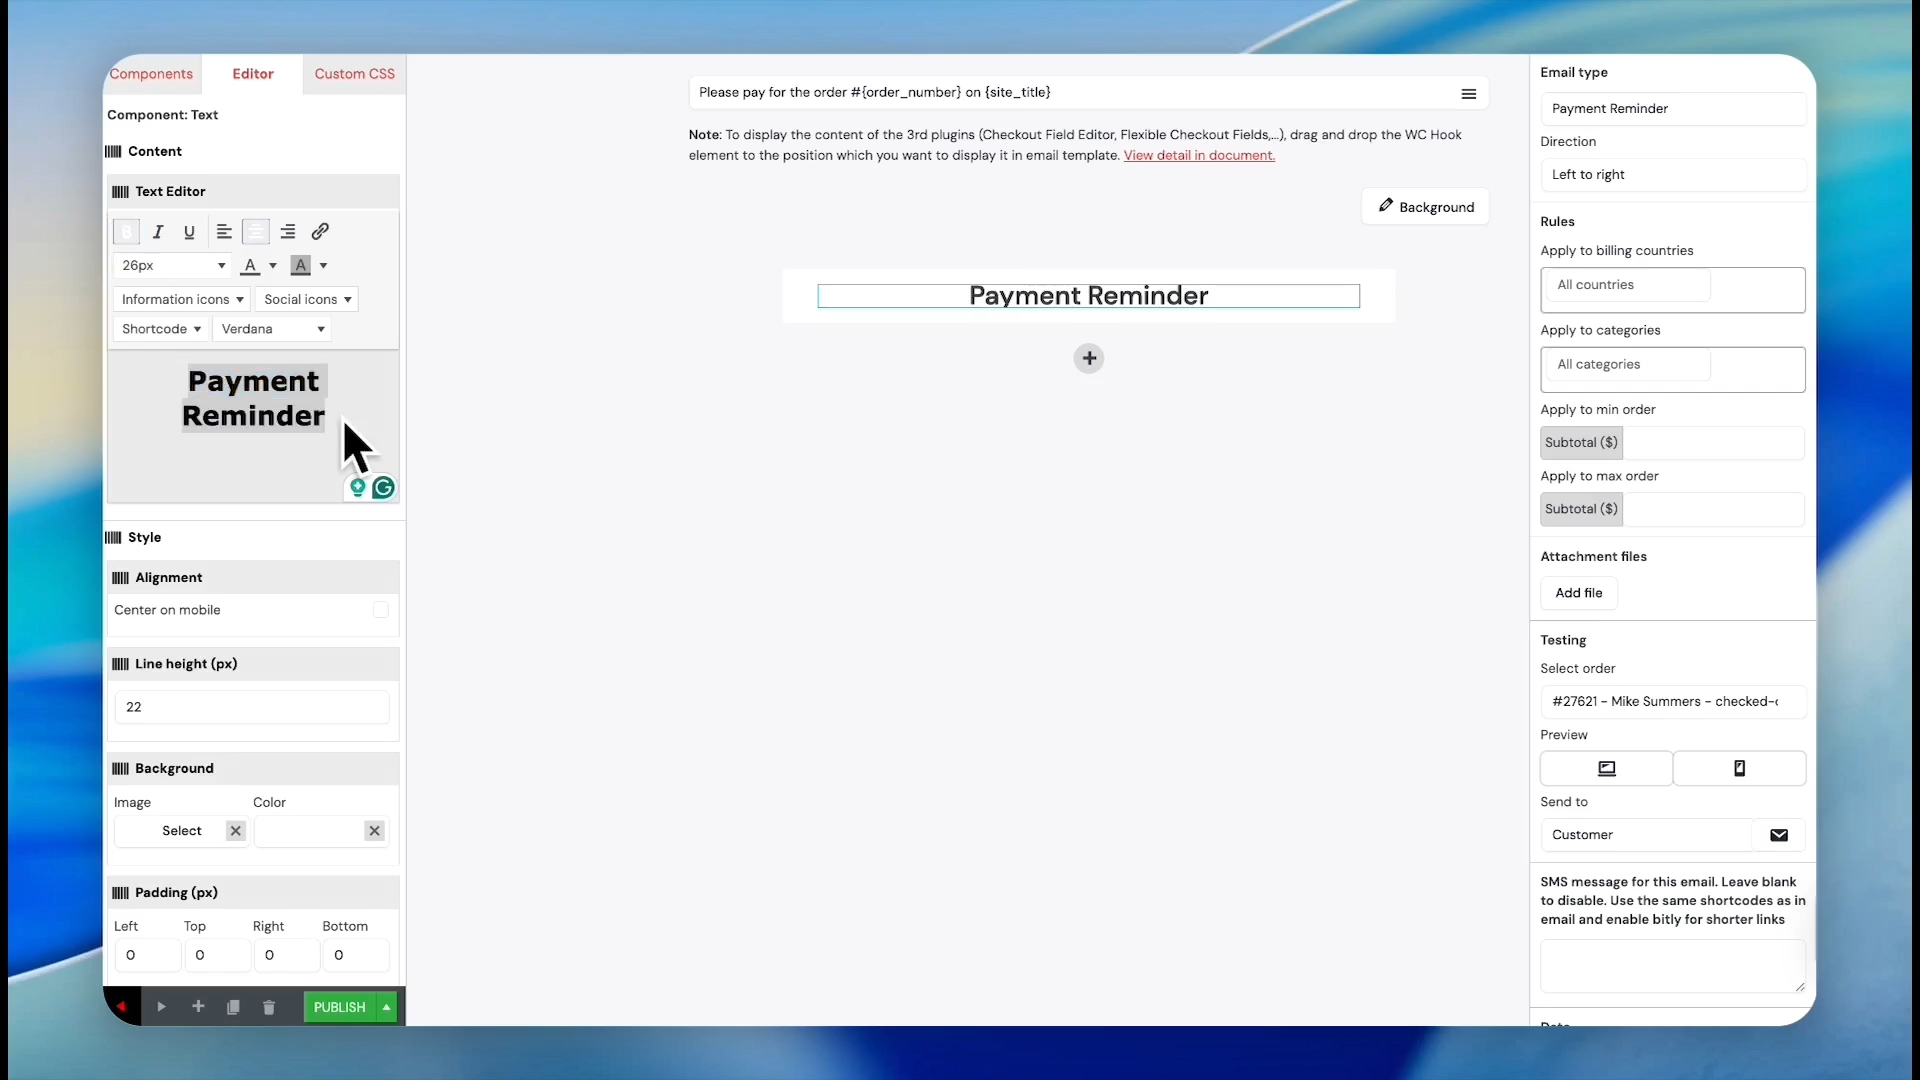
Creating a New Email Template
40
Return to the templates directory.
Use the Filter by type option to quickly locate specific templates if your list grows too large. If you do find the template you need, you can create one from scratch.
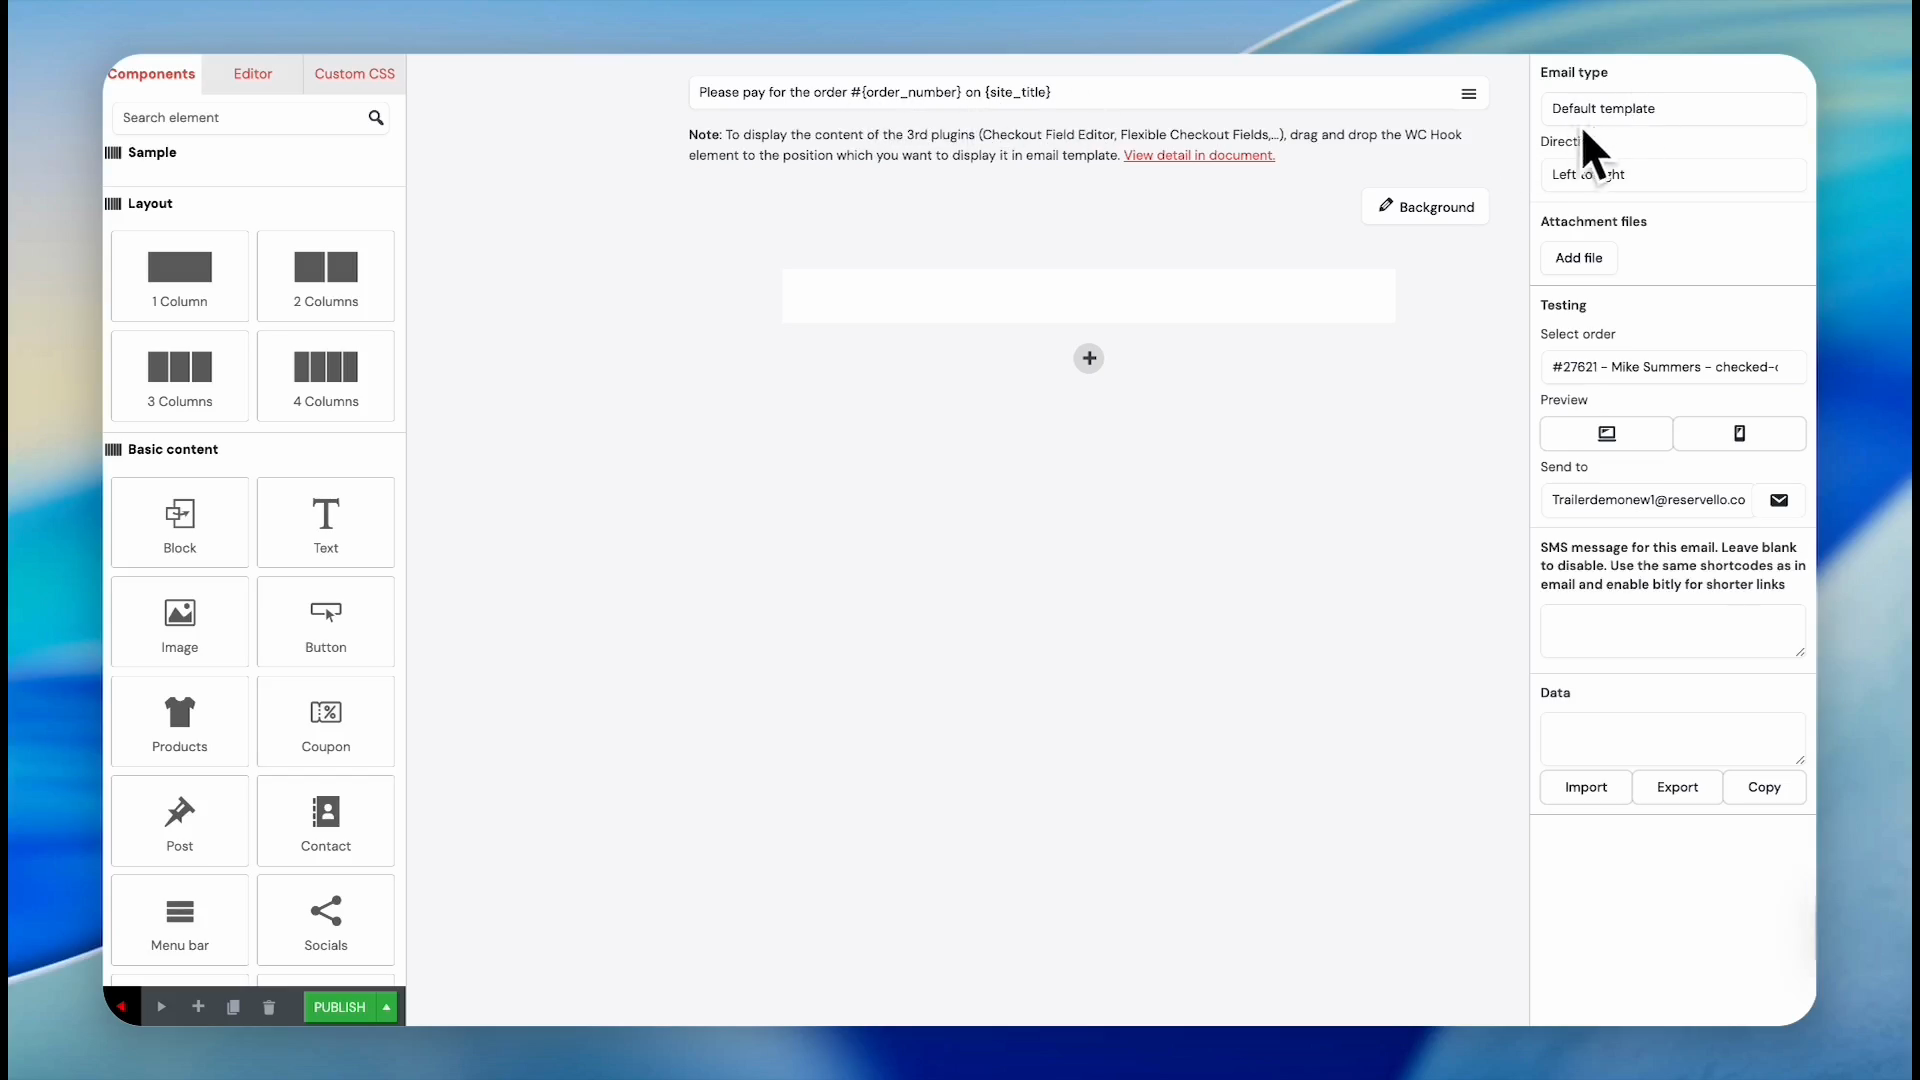
41
Click Add New Email Template.
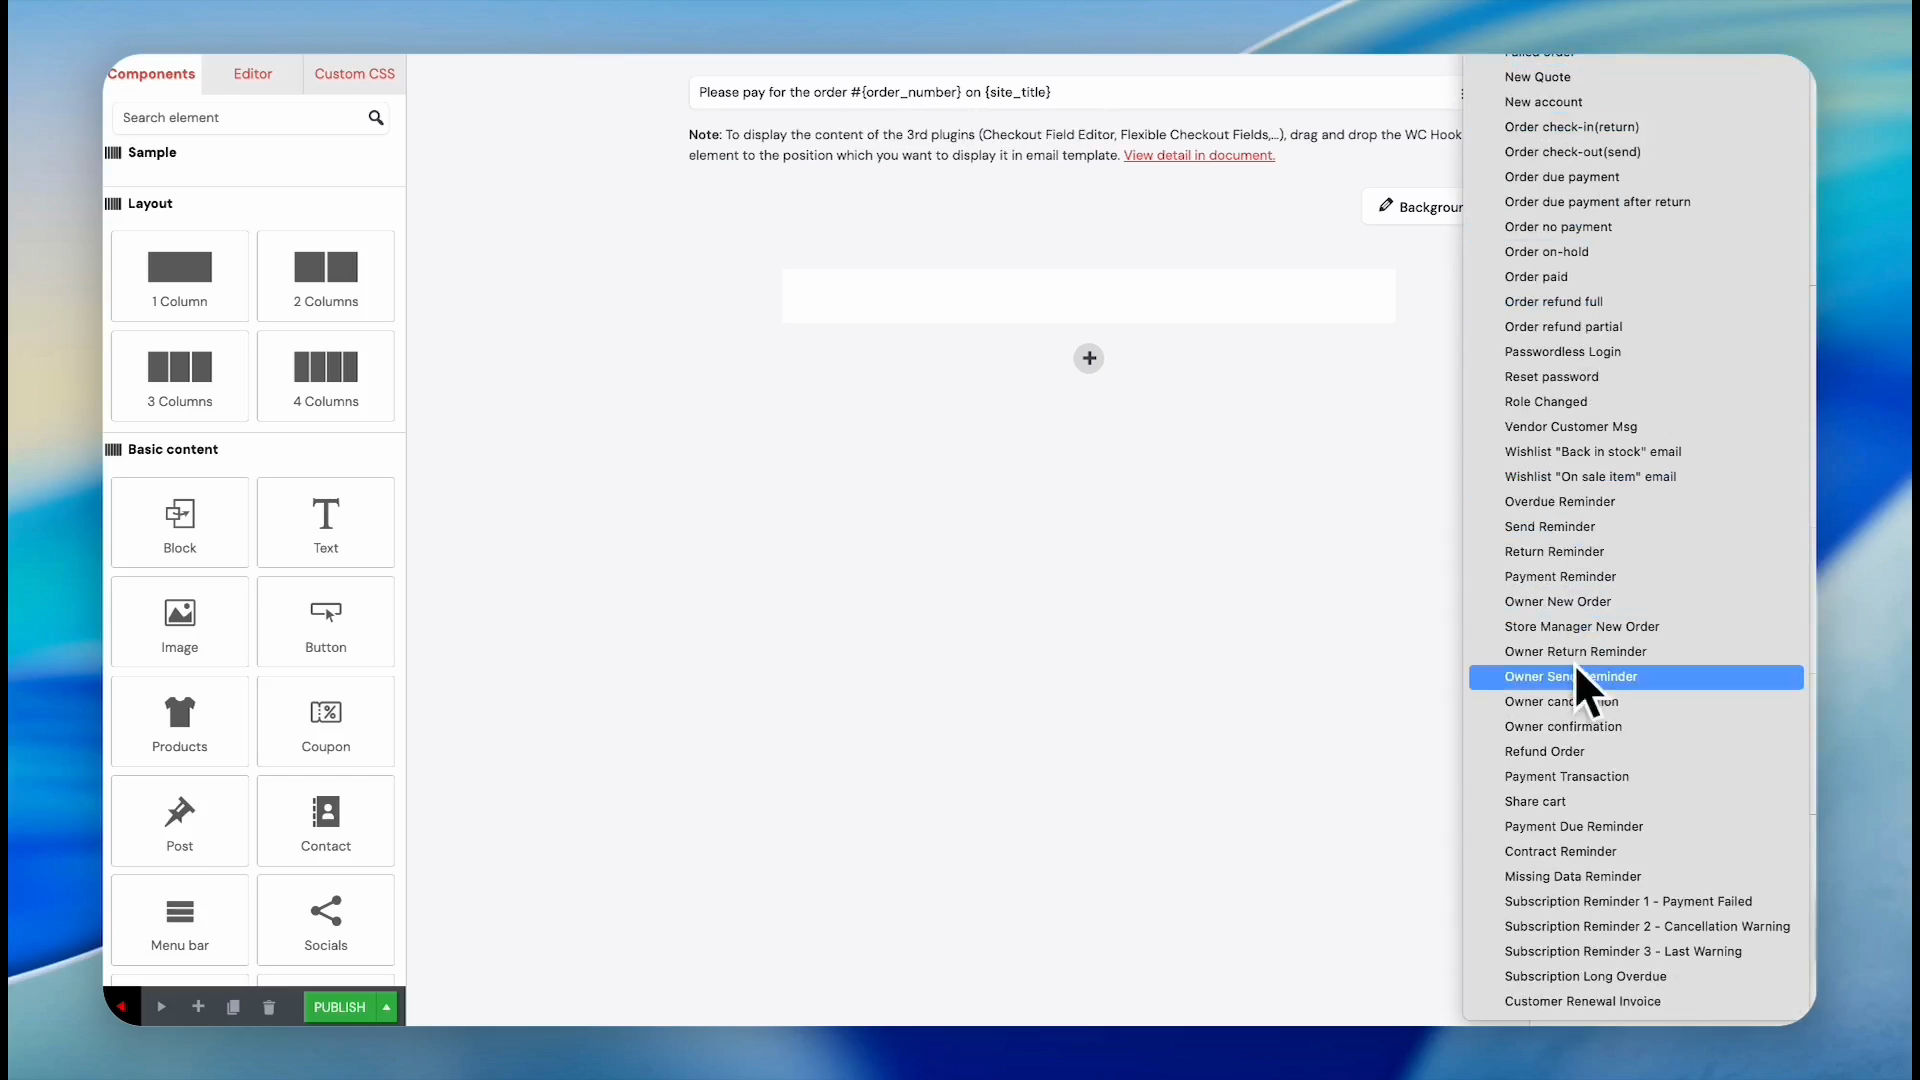
42
Click Default Template under the Email Type dropdown in the right sidebar.
43
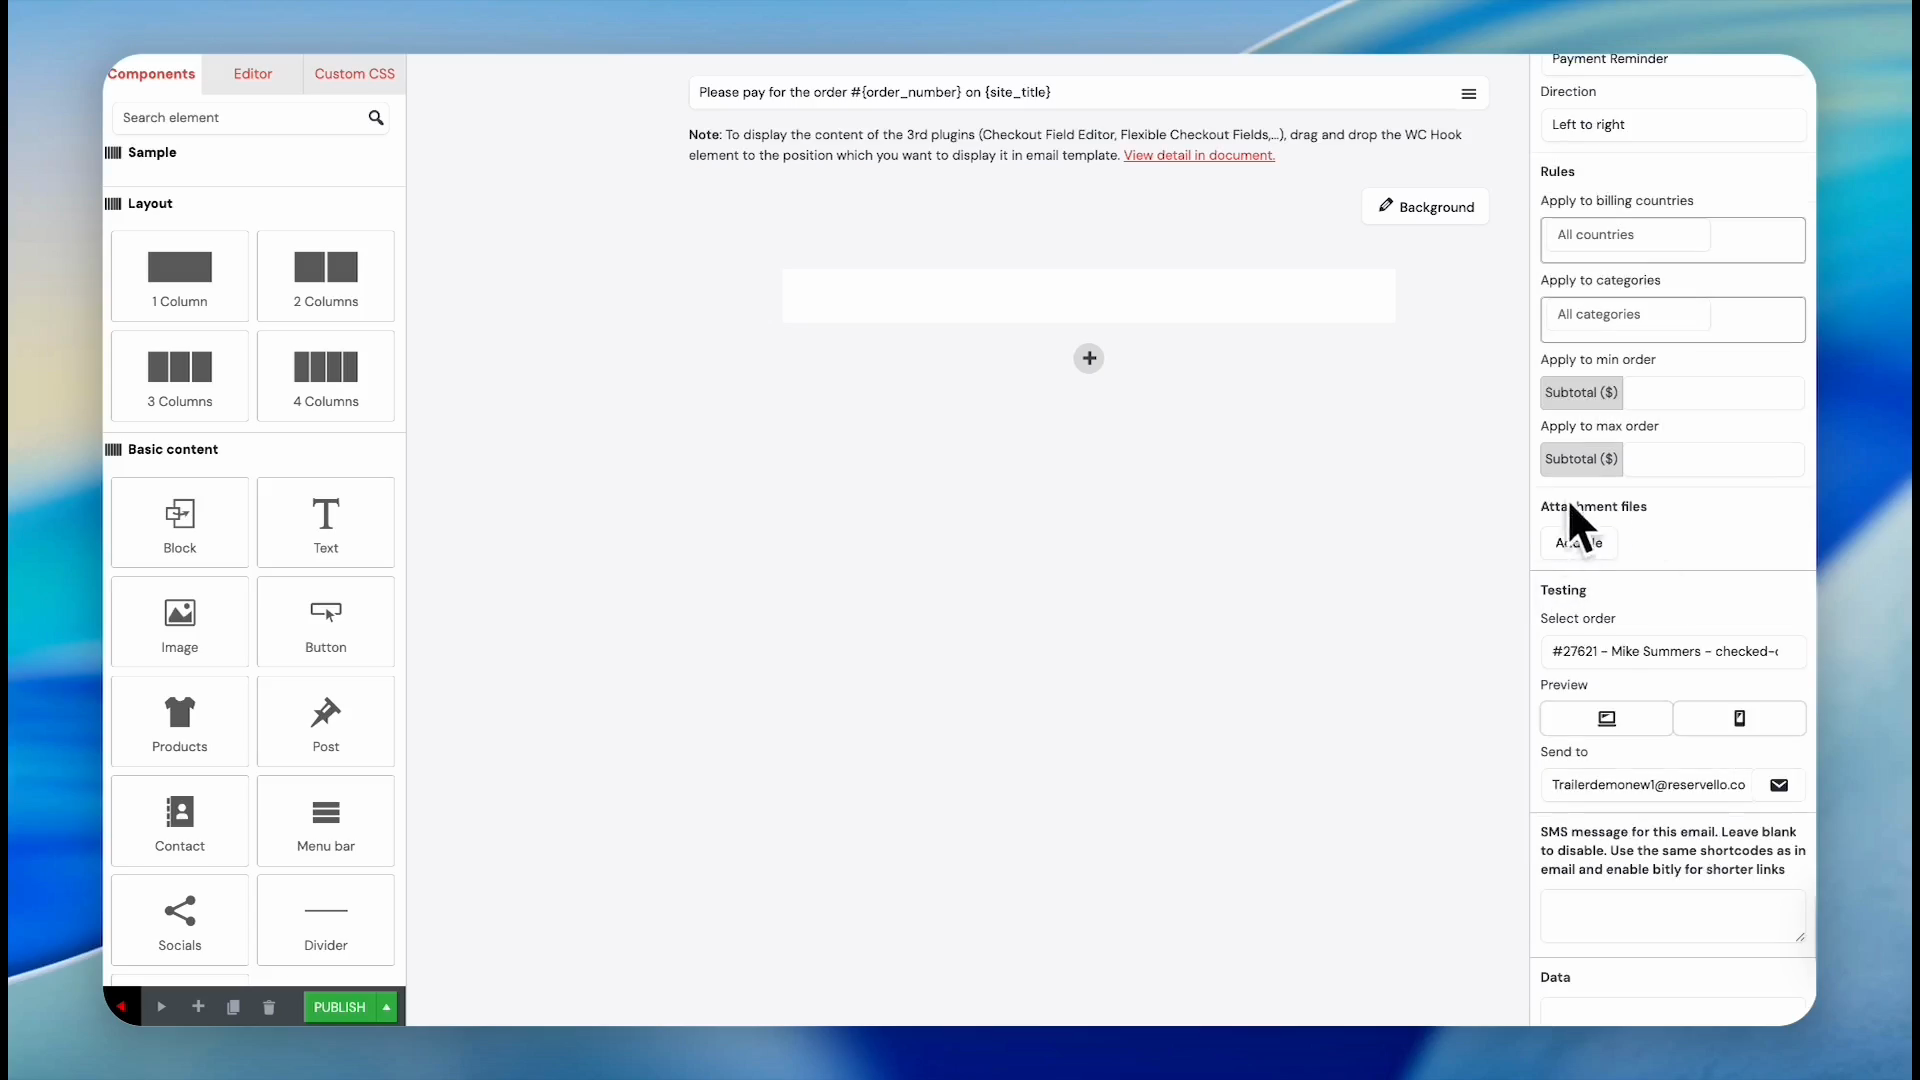
Select Payment Reminder (if you are trying to create a template for a payment reminder)
44
Click Apply to billing countries to restrict by geographic region, if necessary.
45
Click Apply to categories to restrict by product group, if necessary.
46
Click Add file under Attachment files to append documents to the email.
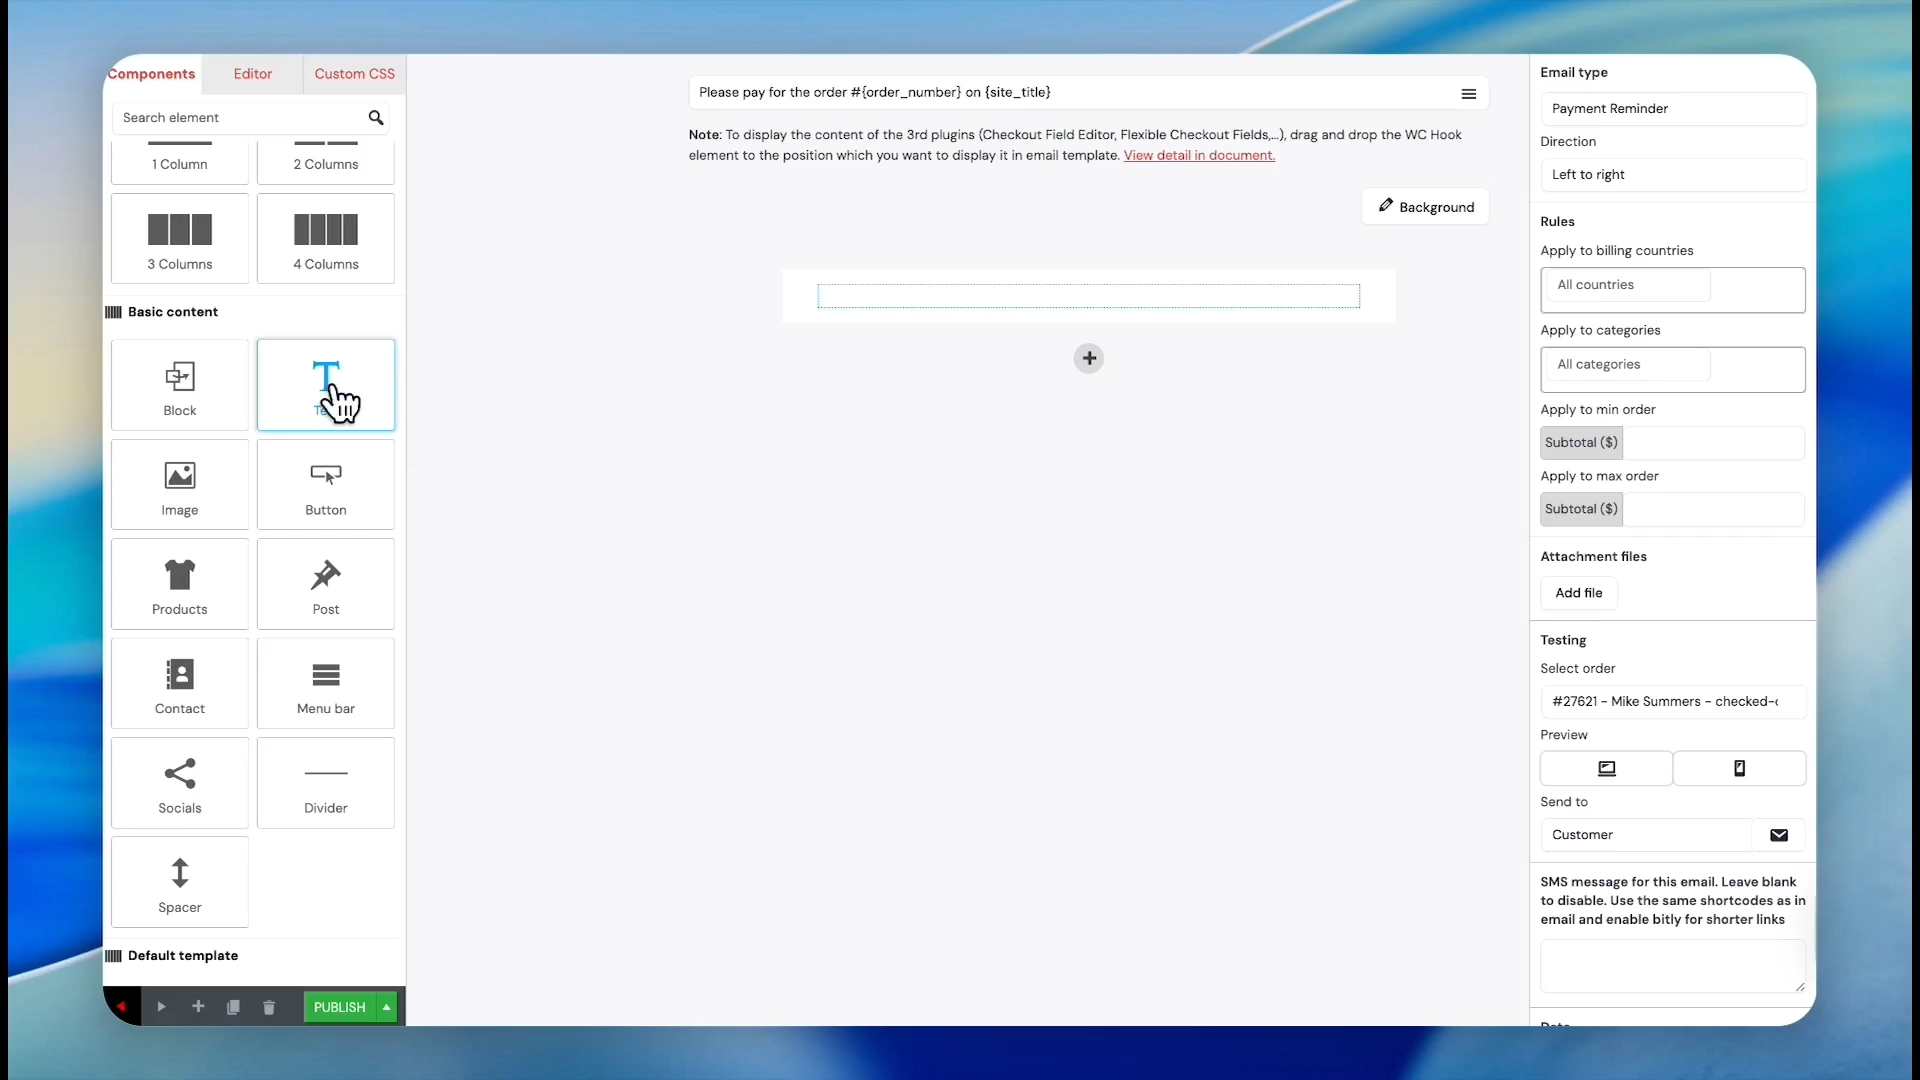
47
Drag the 1 Column layout block and drop it into the empty email template area.
48
Drag the Text basic content block into your new layout box.
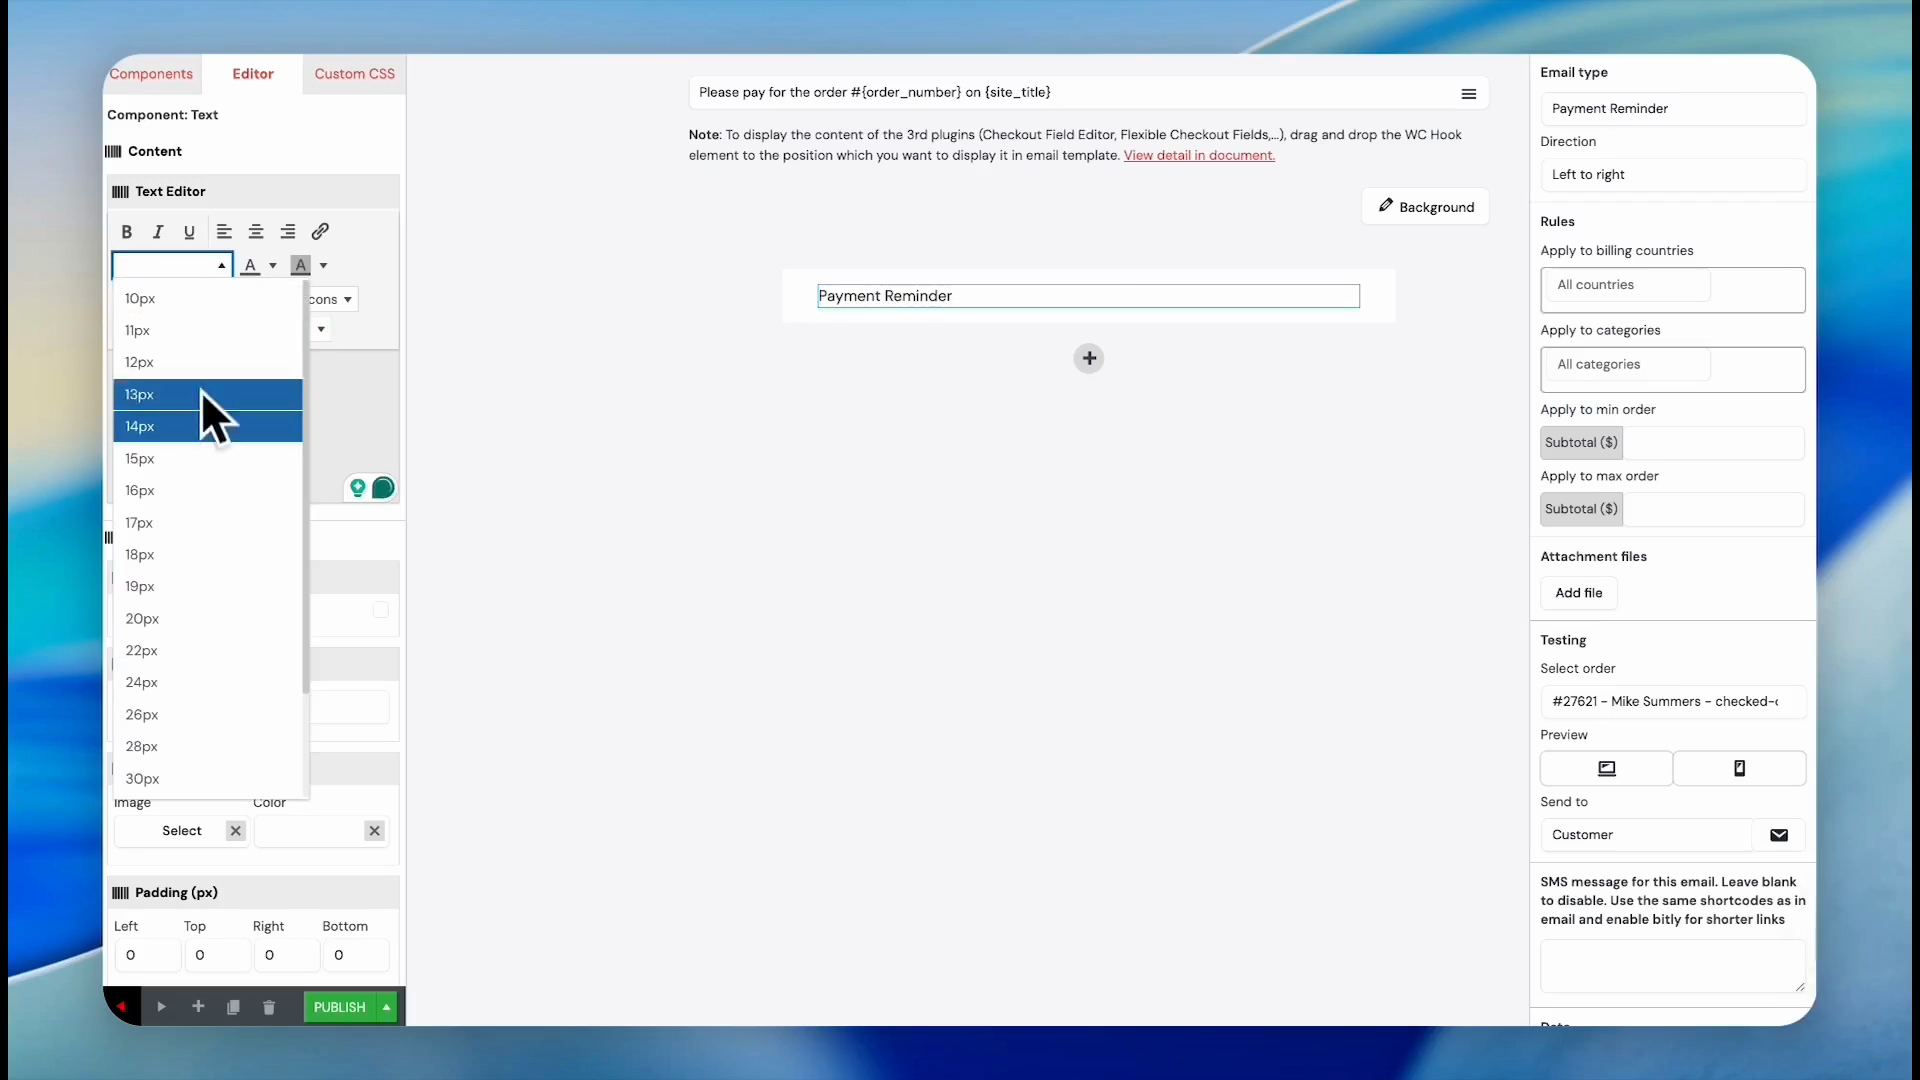
49
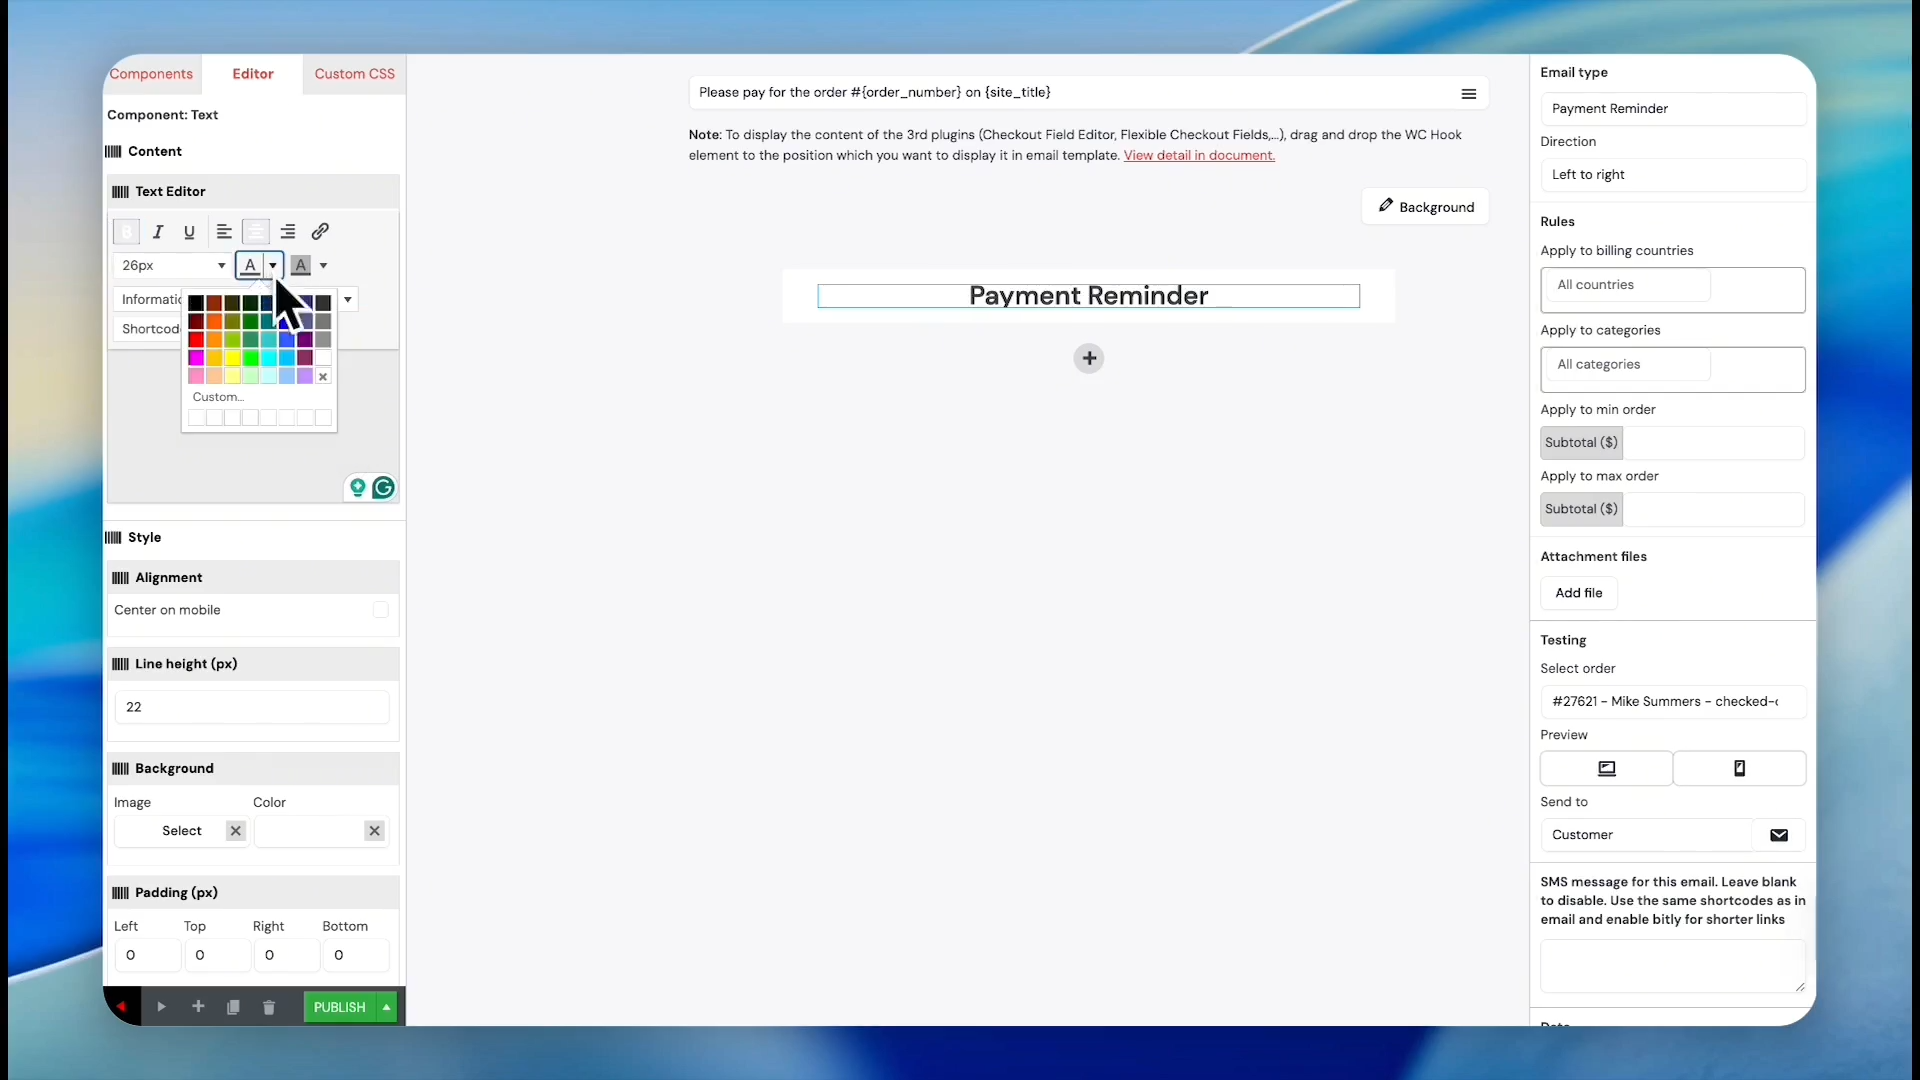
Type 'Payment Reminder' into the text editor field on the left sidebar.
50
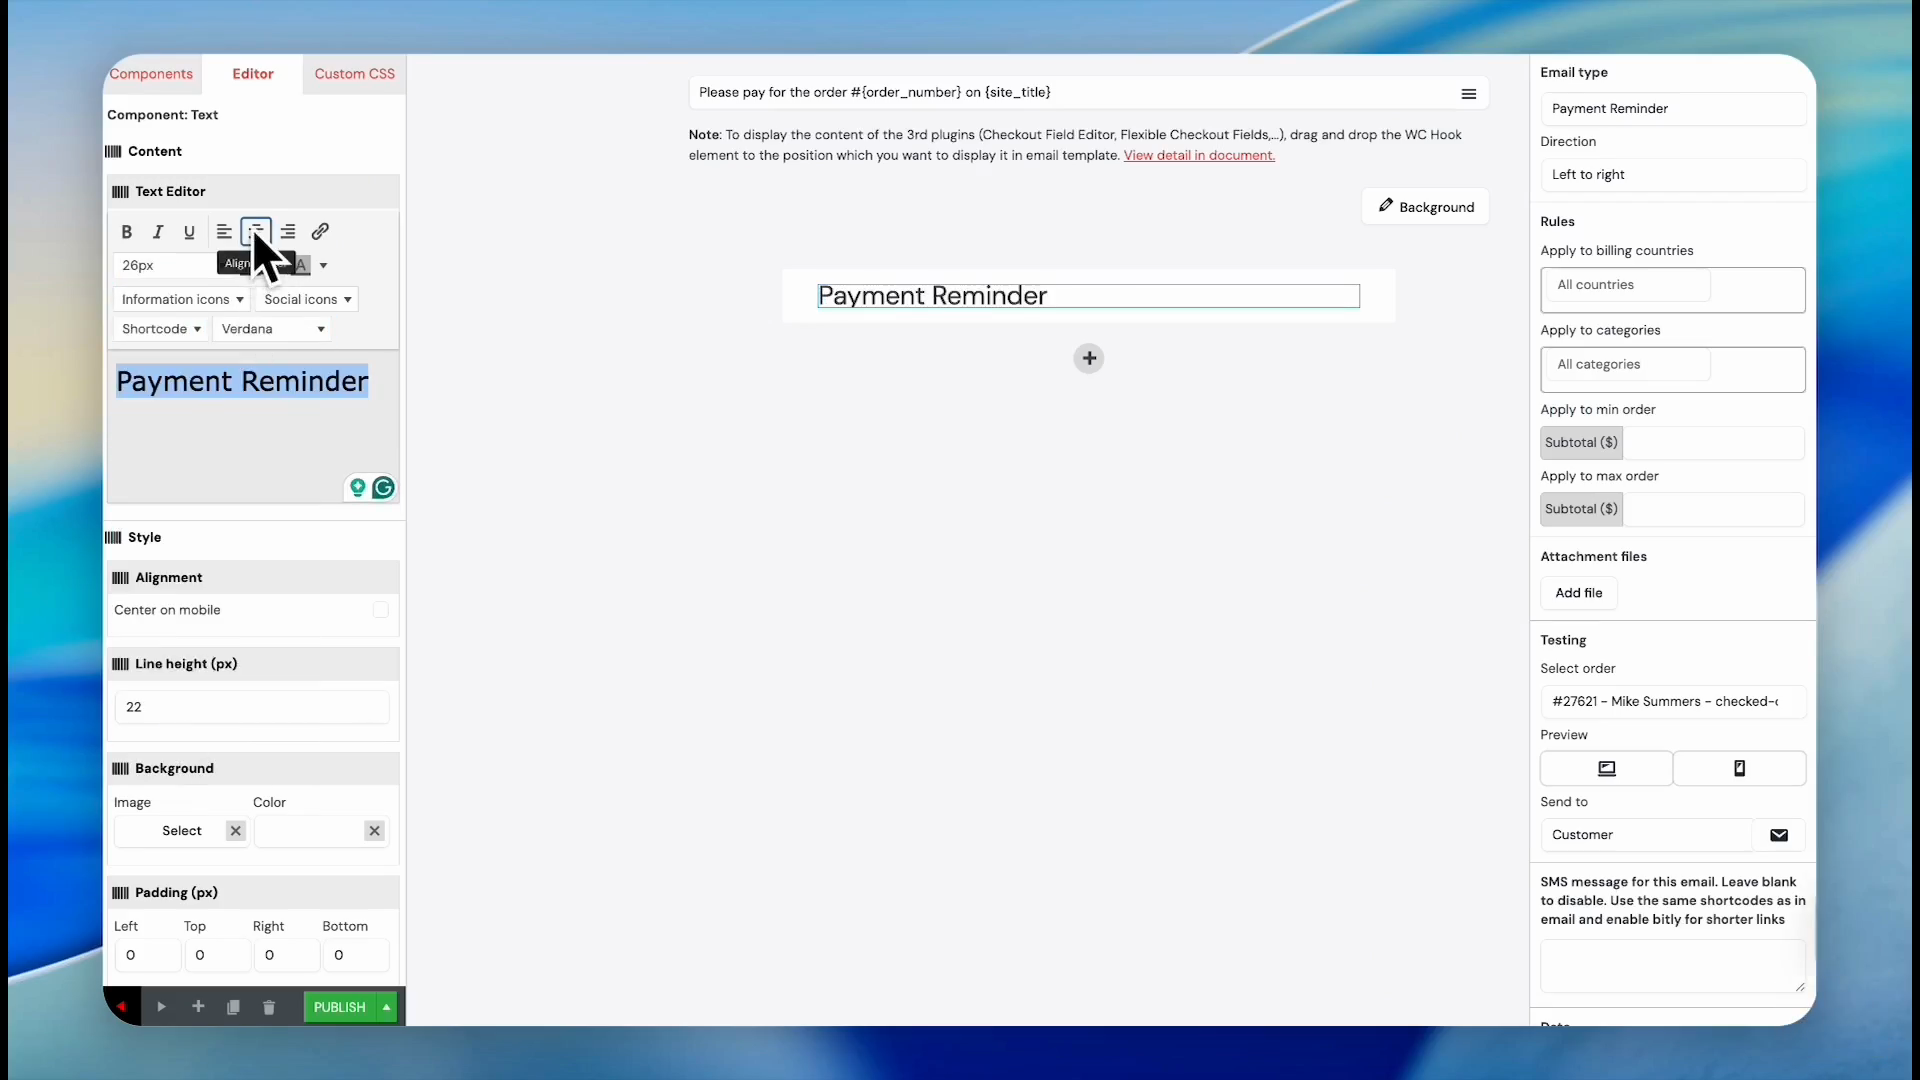
Highlight the text and select text size from the dropdown.
51
Click the center alignment button to make the heading in the center.
52
Click the B button to make it bold.
53
Click the text color icon in the toolbar. Select Blue to tint the text.
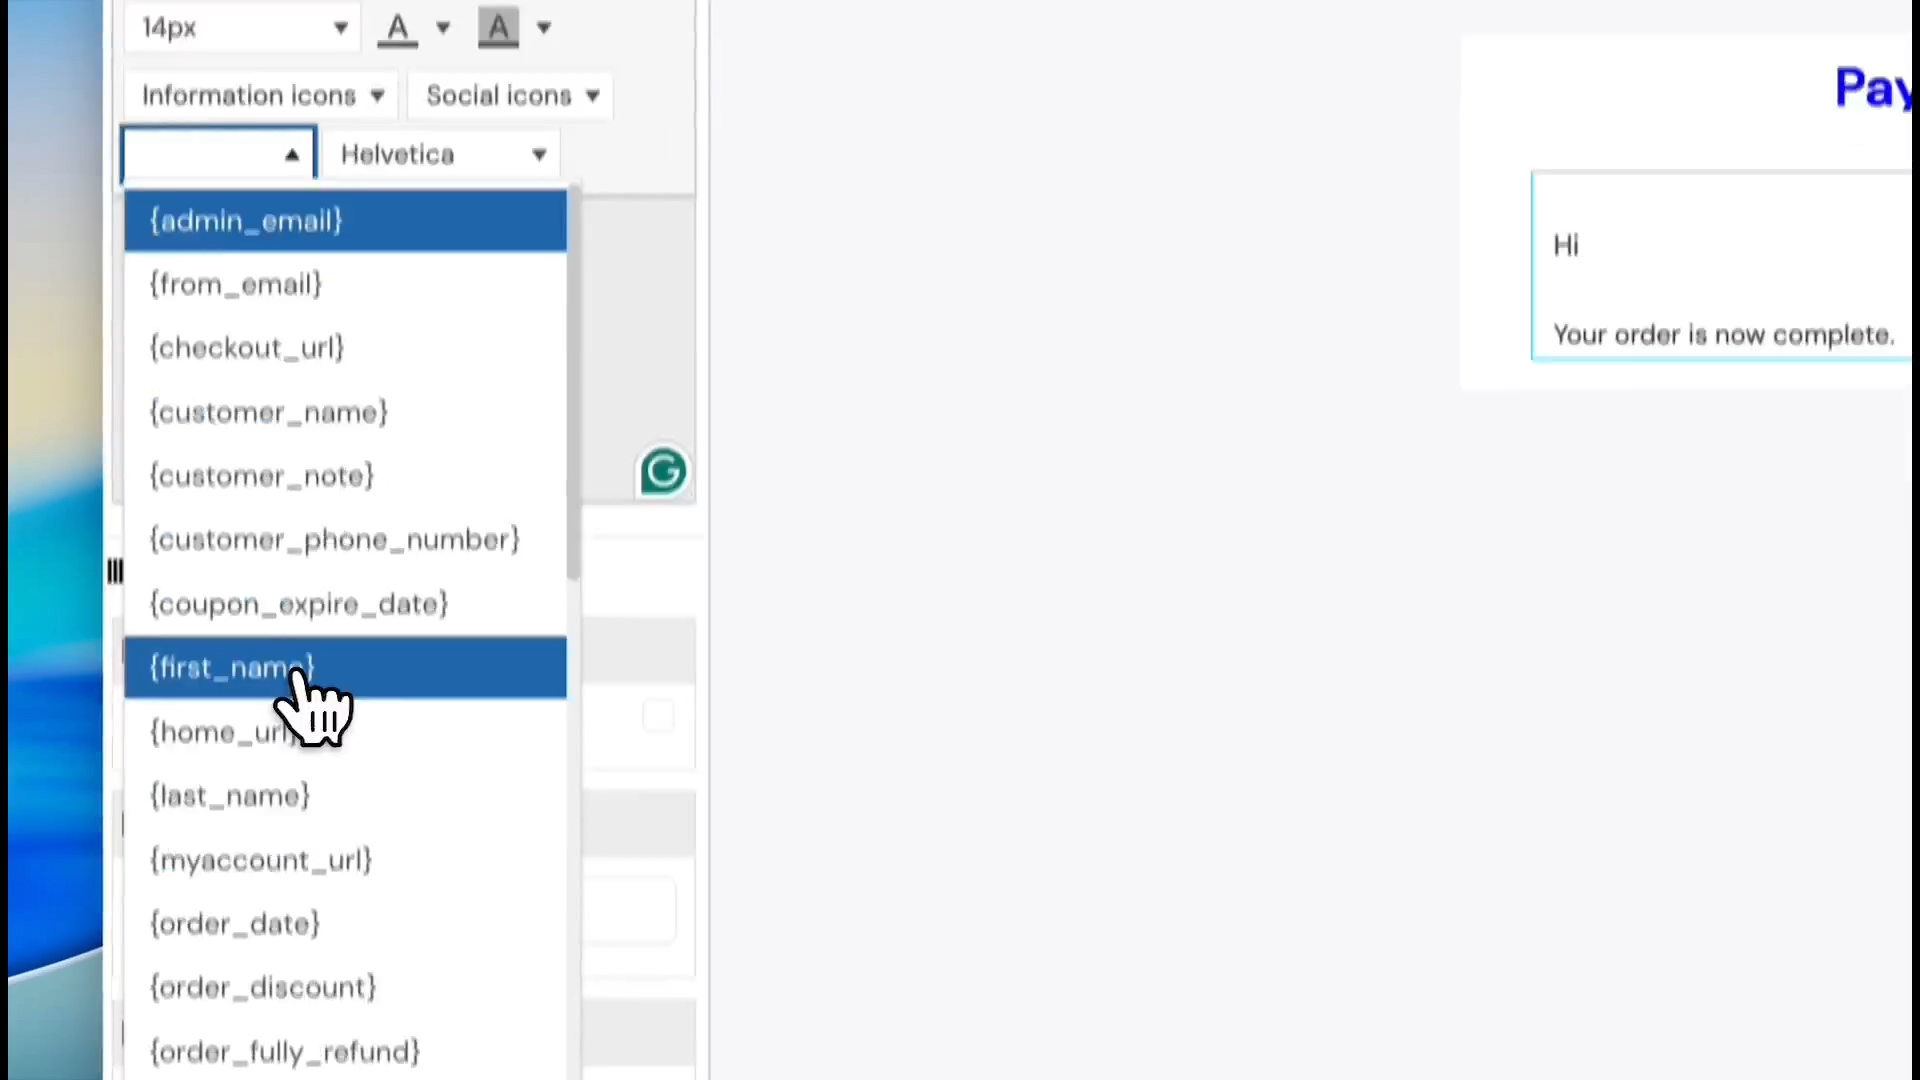
Inserting Personalized Shortcodes
54
Click the arrow icon on the right side to append standard greeting text.
55
If you want to use a customer's first name instead of the user login in the greeting. Delete the {user_login} placeholder from the generated text.
56
Click the shortcode selection dropdown. Select First Name to replace the old placeholder with the customer's actual name.
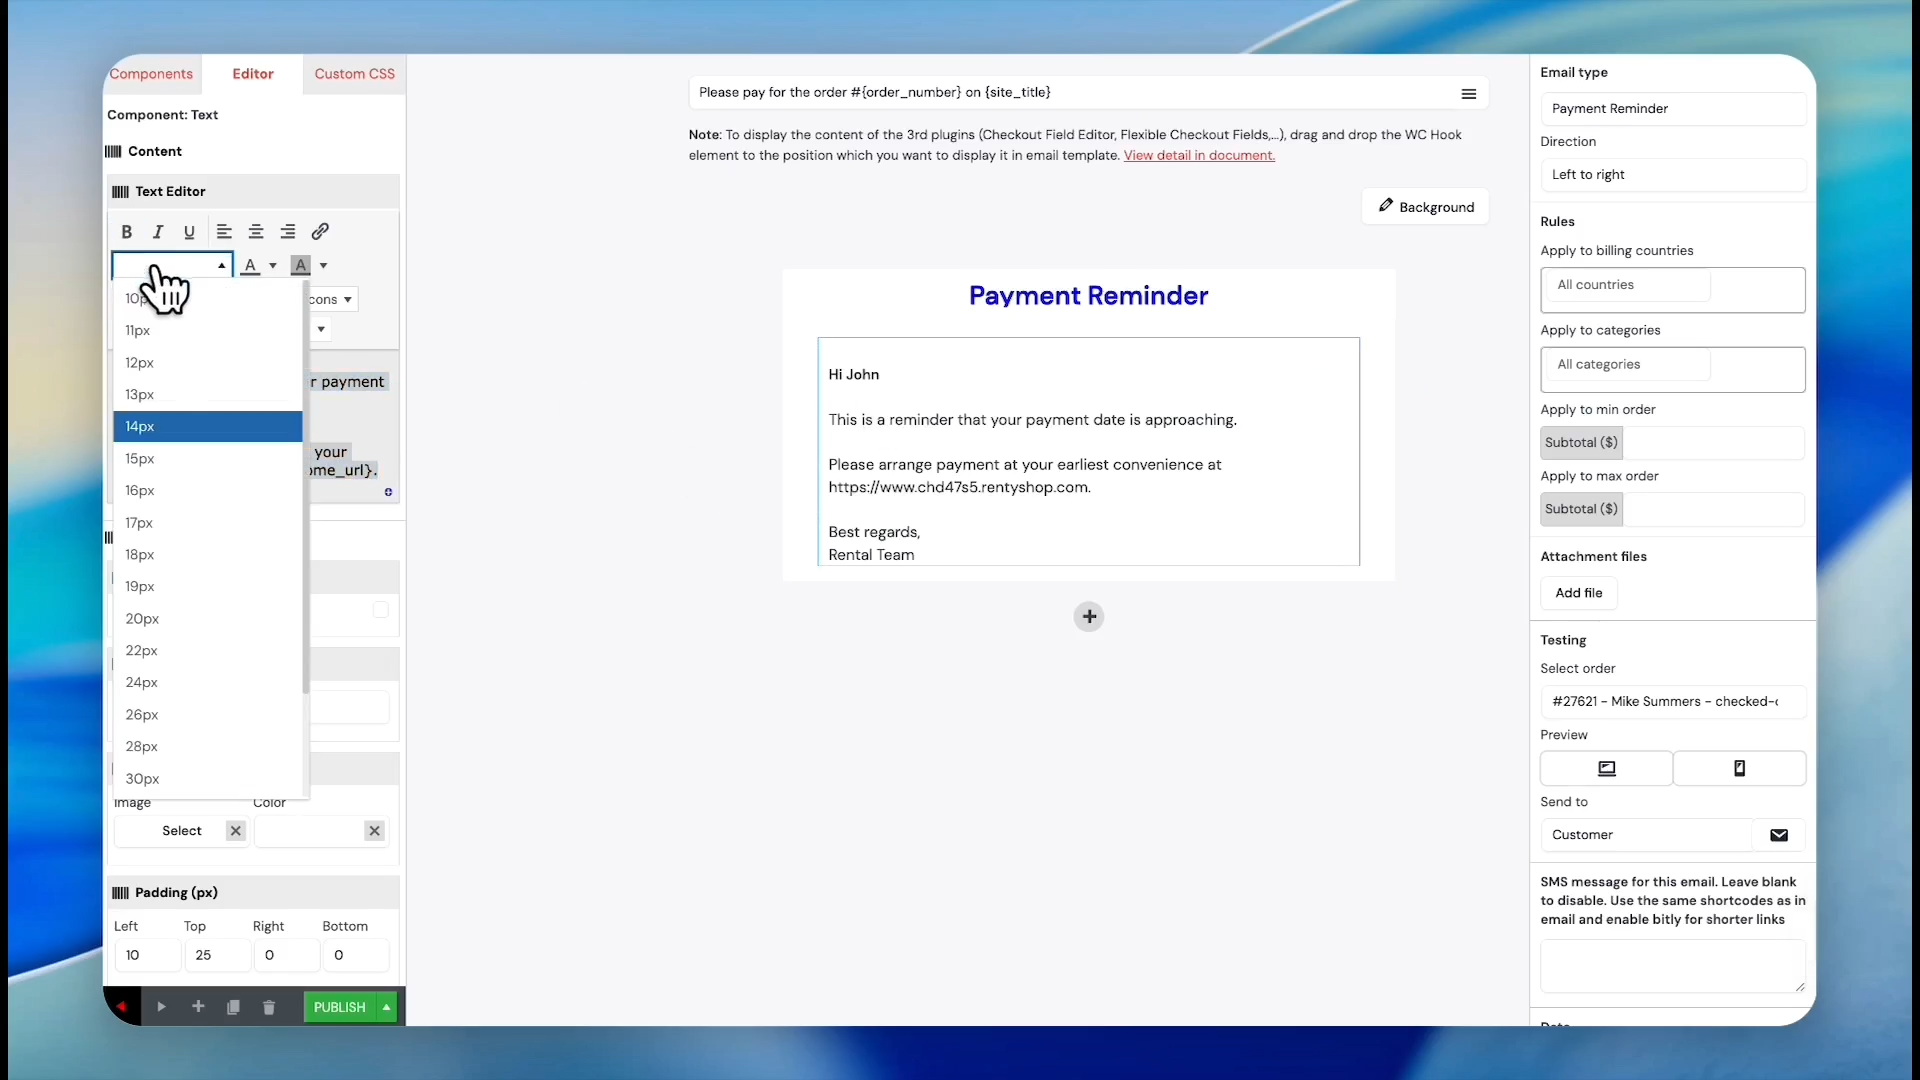
57
Delete the default generic body line.
58
Replace it with your own custom reminder message.
59
Change the font size of the text to the preferred size.
60
Change the background color of the text block to match your branding.
Finalizing Layout with Buttons and Images
61
Click the Components tab to view available layout elements.
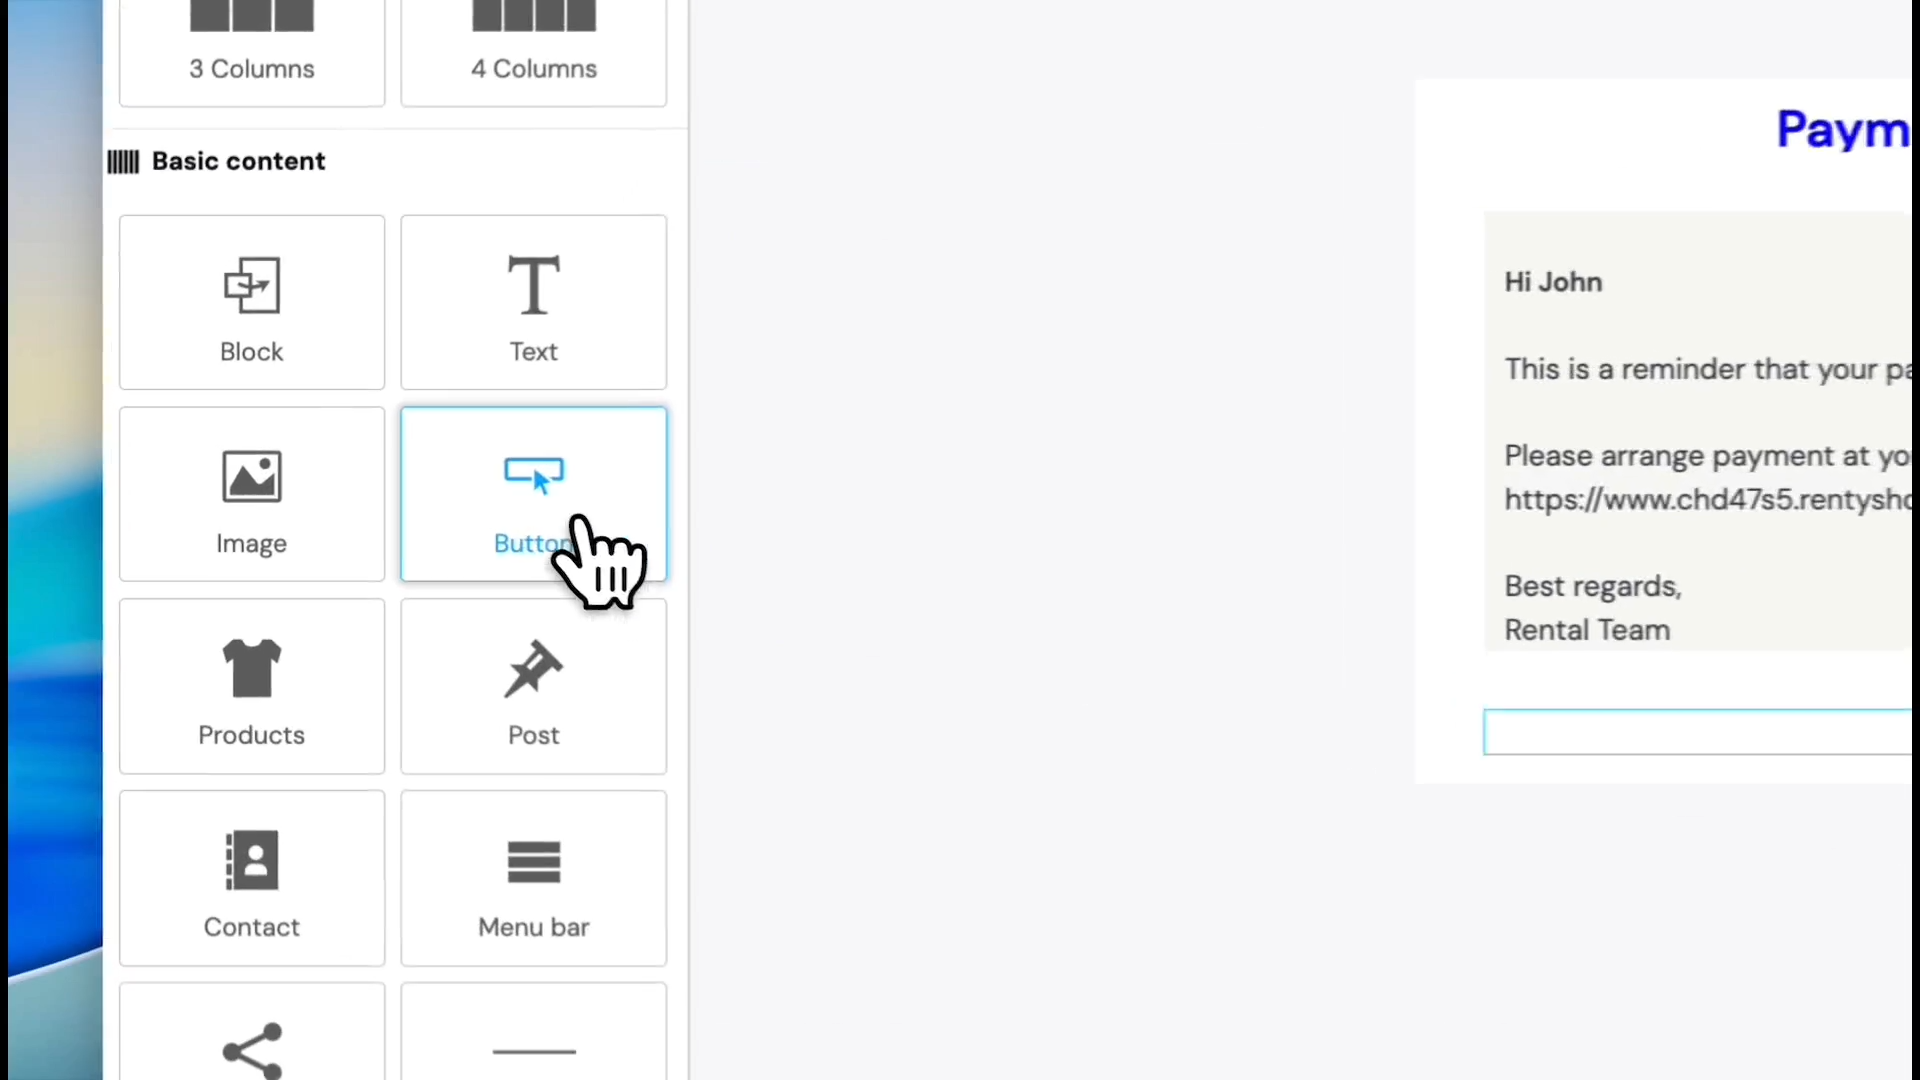
62
Drag the Button component into the email layout.
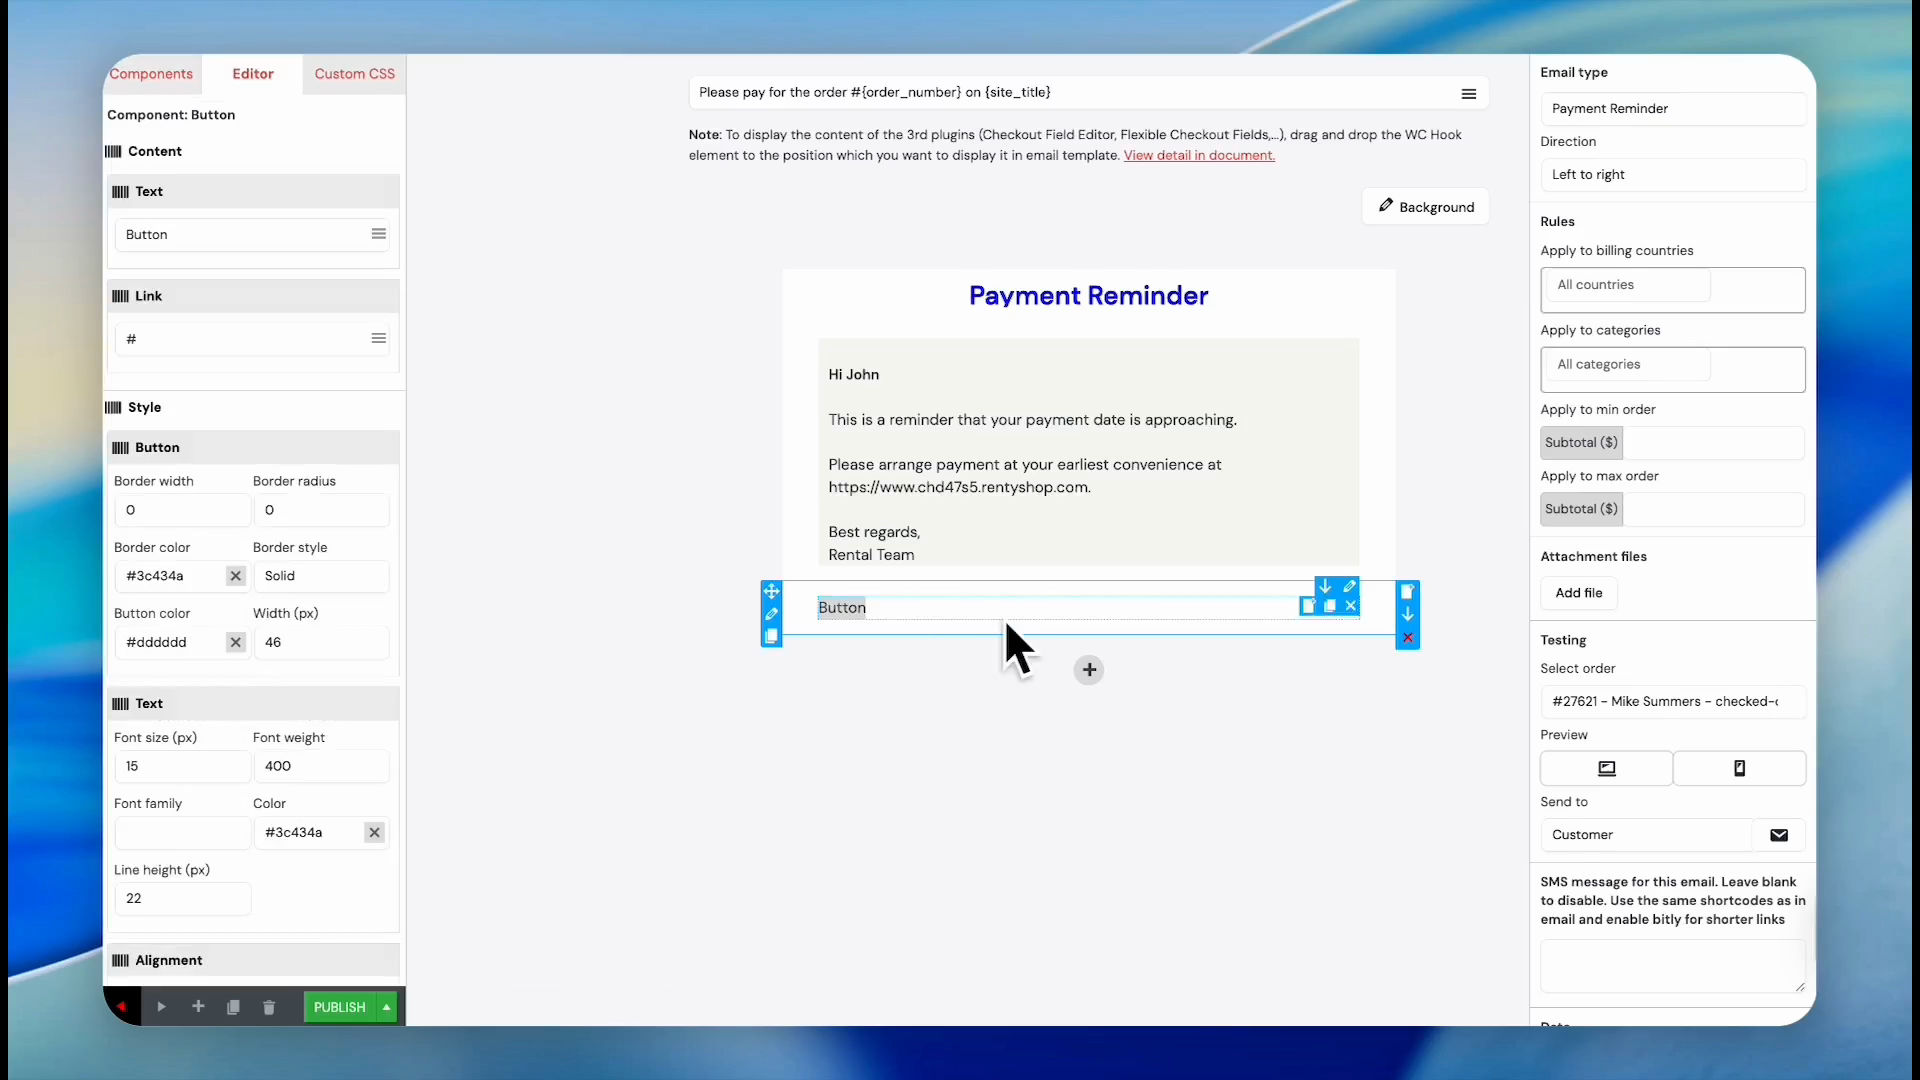
63
Click the button to access its configuration options.
64
Change the button's background color in the Style settings.
65
Click the center icon under Alignment to center the button.
66
Select your preferred final button color, like green, from the map.
67
Type 'Pay Here' in the button text field or any other desired text.
68
Click the plus icon to add another structure block.
69
Select a single-column layout block.
70
Grab an image component and drop it into the newly created box.
71
Click Publish to make your new template active.
Q: Can I customize the default system emails?
A: Yes. Reservety provides pre-configured templates for essential actions like failed bookings and successful payments, but you can edit their layouts, text, and styling at any time.
Q: How do I personalize the email text for each customer?
A: The system uses shortcodes like {first_name} and {order_number} to automatically inject the customer's specific details directly into the text when the email is sent.
Q: Can I restrict an email notification to specific products?
A: Yes. In the email template settings, use the "Apply to categories" field to restrict the automated email to specific product groups, such as camping trailers.
Q: How do I include a discount code in the confirmation email?
A: Drag the Coupon component into your template, then select an existing discount from the dropdown or click Generate Coupon to create a new one on the spot.
Term
Definition
Shortcode
A dynamic placeholder (e.g., {first_name}) that automatically populates with specific customer or order data when the email is sent.
Component
A drag-and-drop structural element, such as text, images, or buttons, is used to build an email layout.
Email Rules
Conditional settings that determine who receives the email based on their billing country or the product category purchased.
Managing and Creating Email Templates on Reservety