Managing Articles and Configurations in Munu Cloud Portal

Learn how to create articles, configure pricing, manage barcodes, and set up hardware integrations within the Munu Cloud Portal.

By Elisabet Søyland

This guide demonstrates how to configure and manage articles in the Munu Cloud Portal. By following these steps, you will be able to organize product catalogs, establish precise pricing and VAT structures, and configure items for specialized hardware like scales and barcode scanners.

This process is intended for system administrators, store managers, and back-office staff who handle product inventory, pricing updates, and POS configurations within Munu.

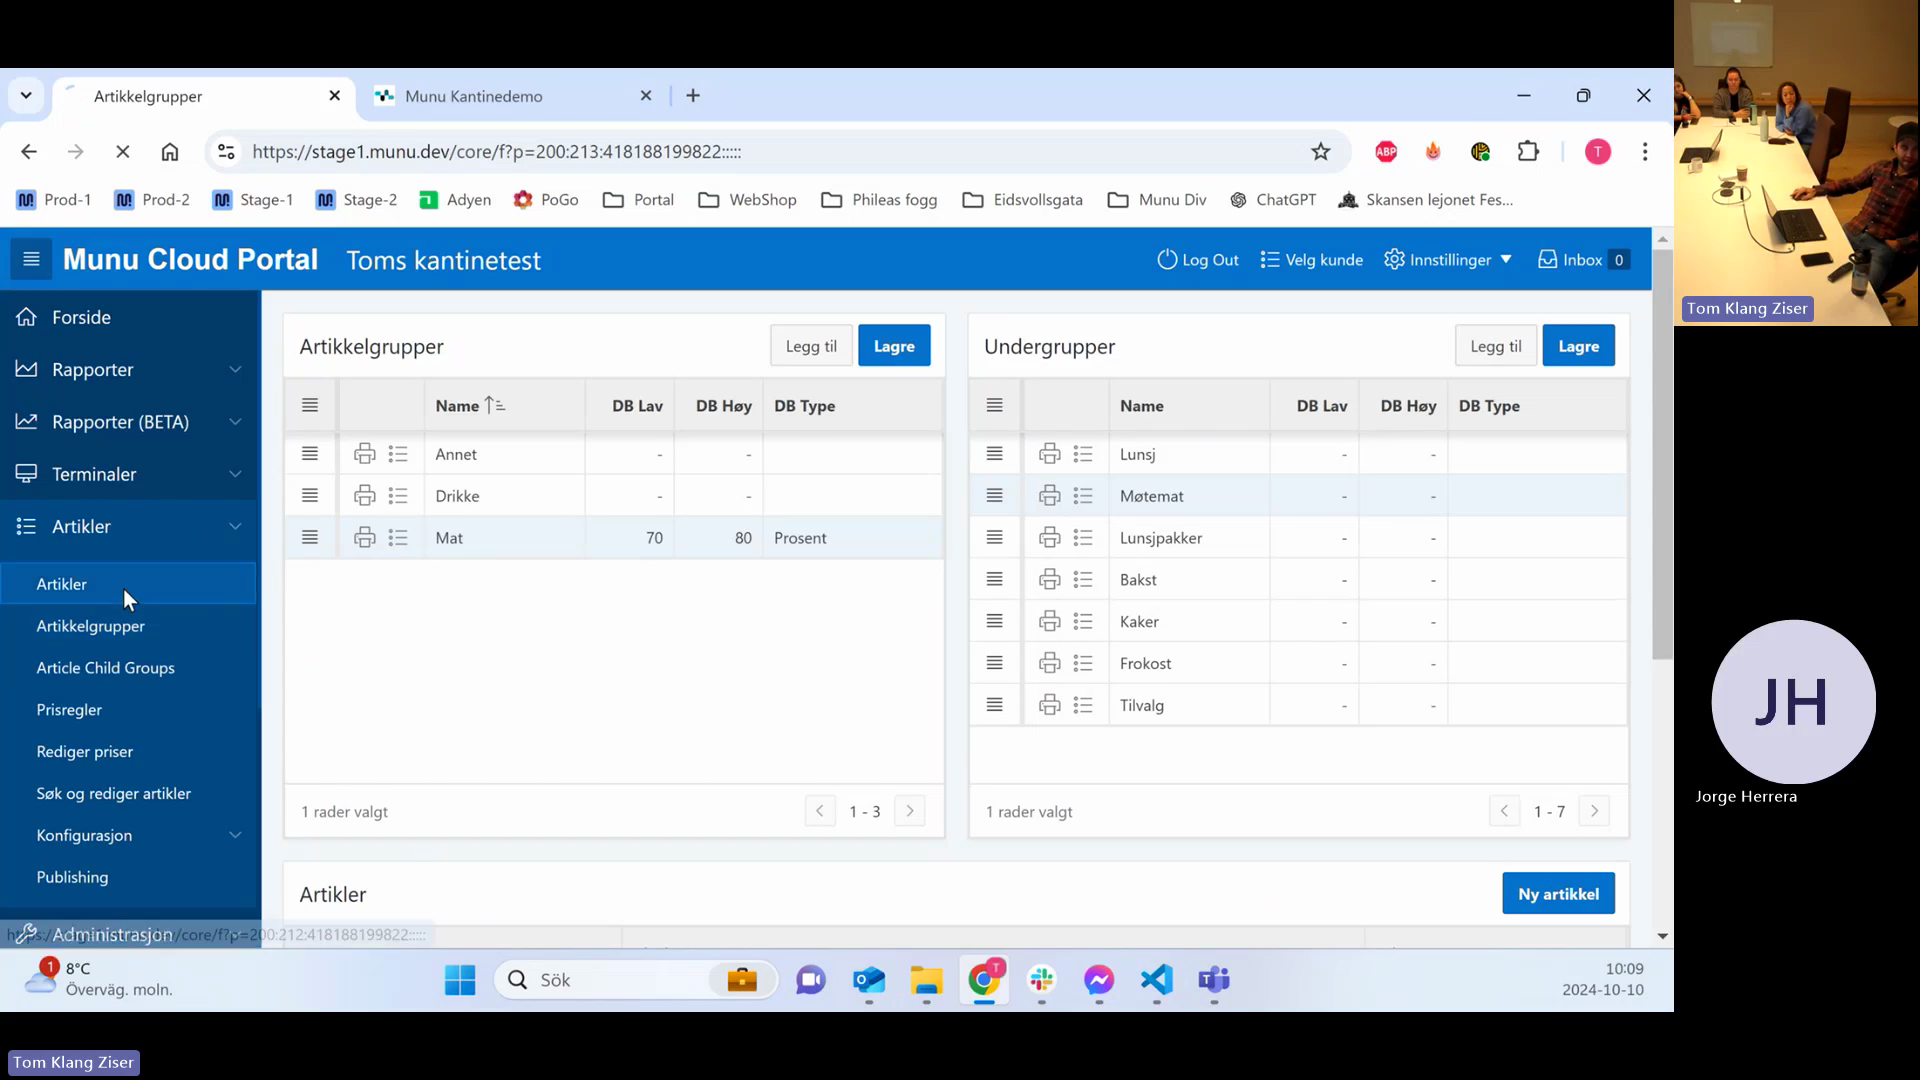
Article Hierarchy and Print Configuration

The system inherits properties from top to bottom: Article Group > Subgroup > Article. Configurations set at a lower level take precedence over those set higher up.

1
Understand that every article must belong to a subgroup, and every subgroup must belong to an article group.
2
Understand that every subgroup must belong to an article group.
3
Understand that article properties are inherited from article groups down to subgroups and articles.
4
Understand that print configurations set at a lower hierarchy level have higher priority than those set at a higher level.
5
Set a print configuration on an article group to ensure any new articles placed in this group automatically print to the correct destination.

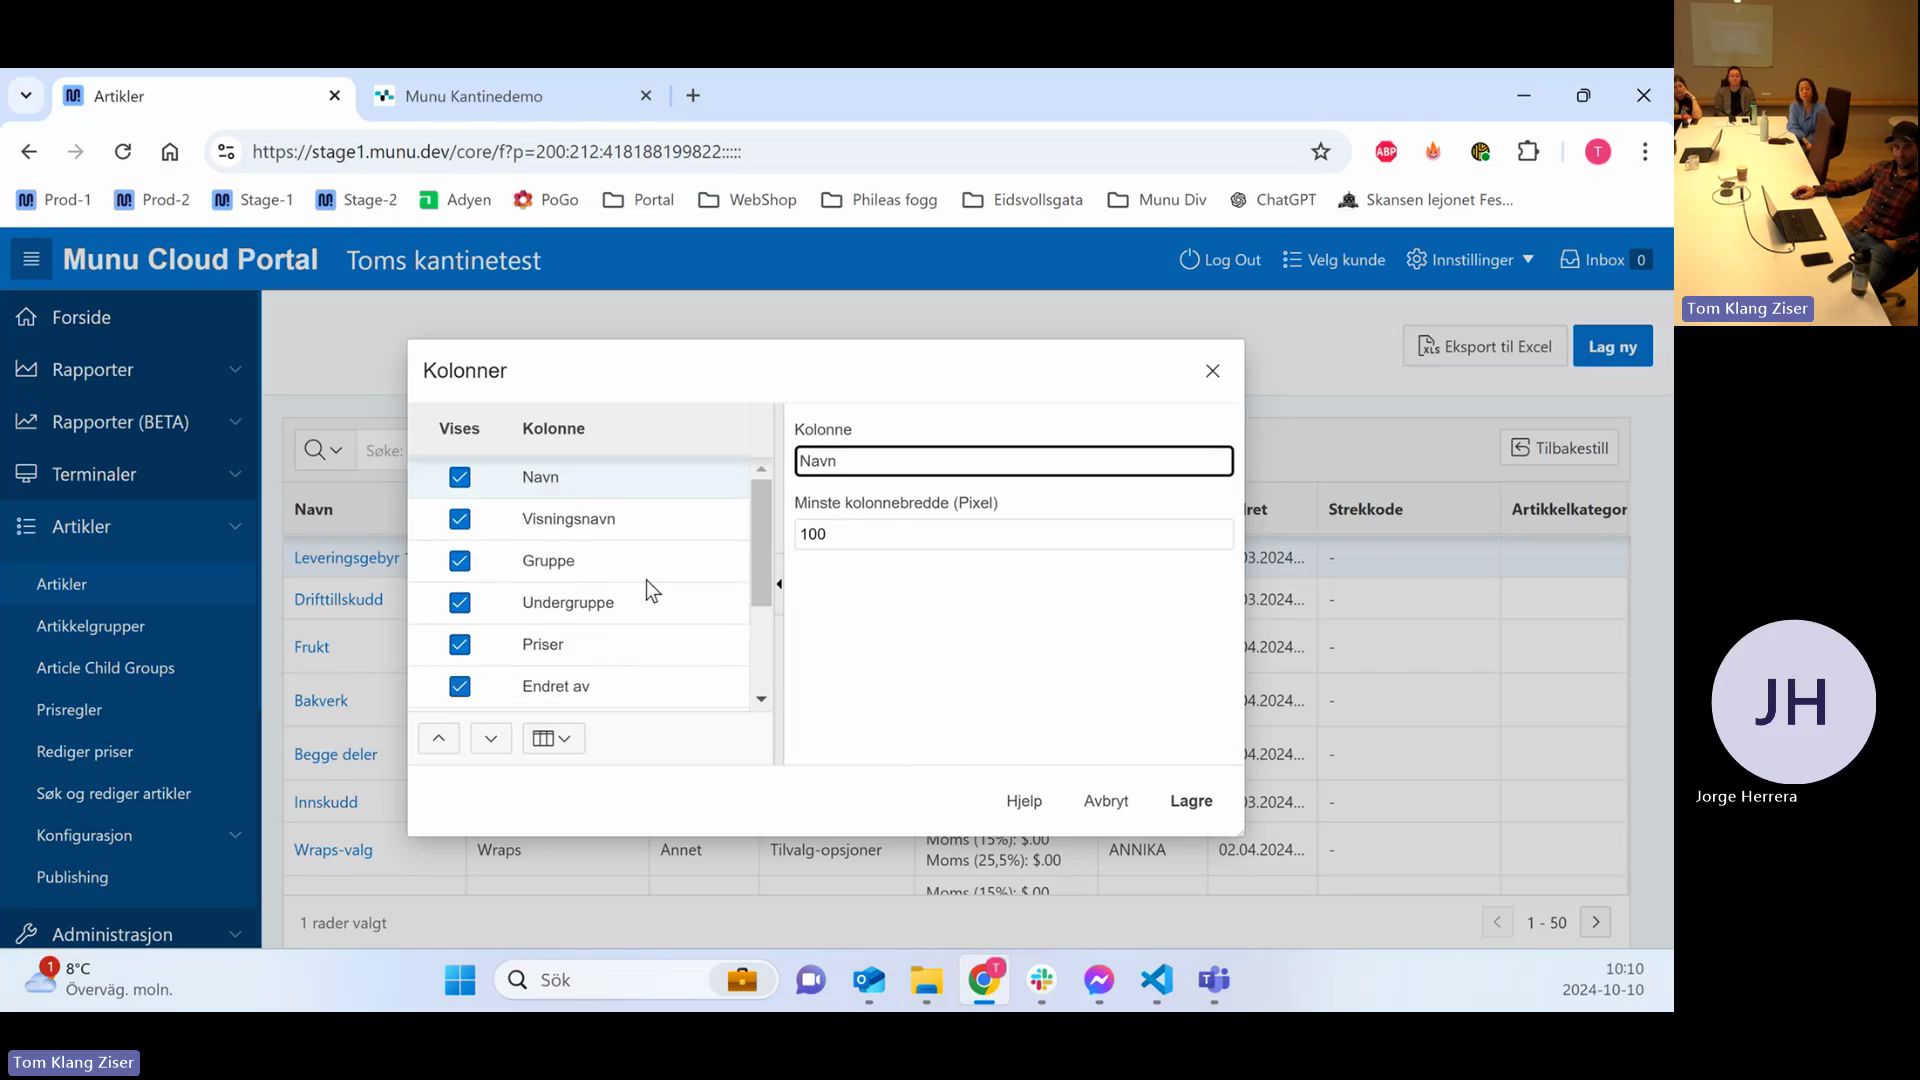
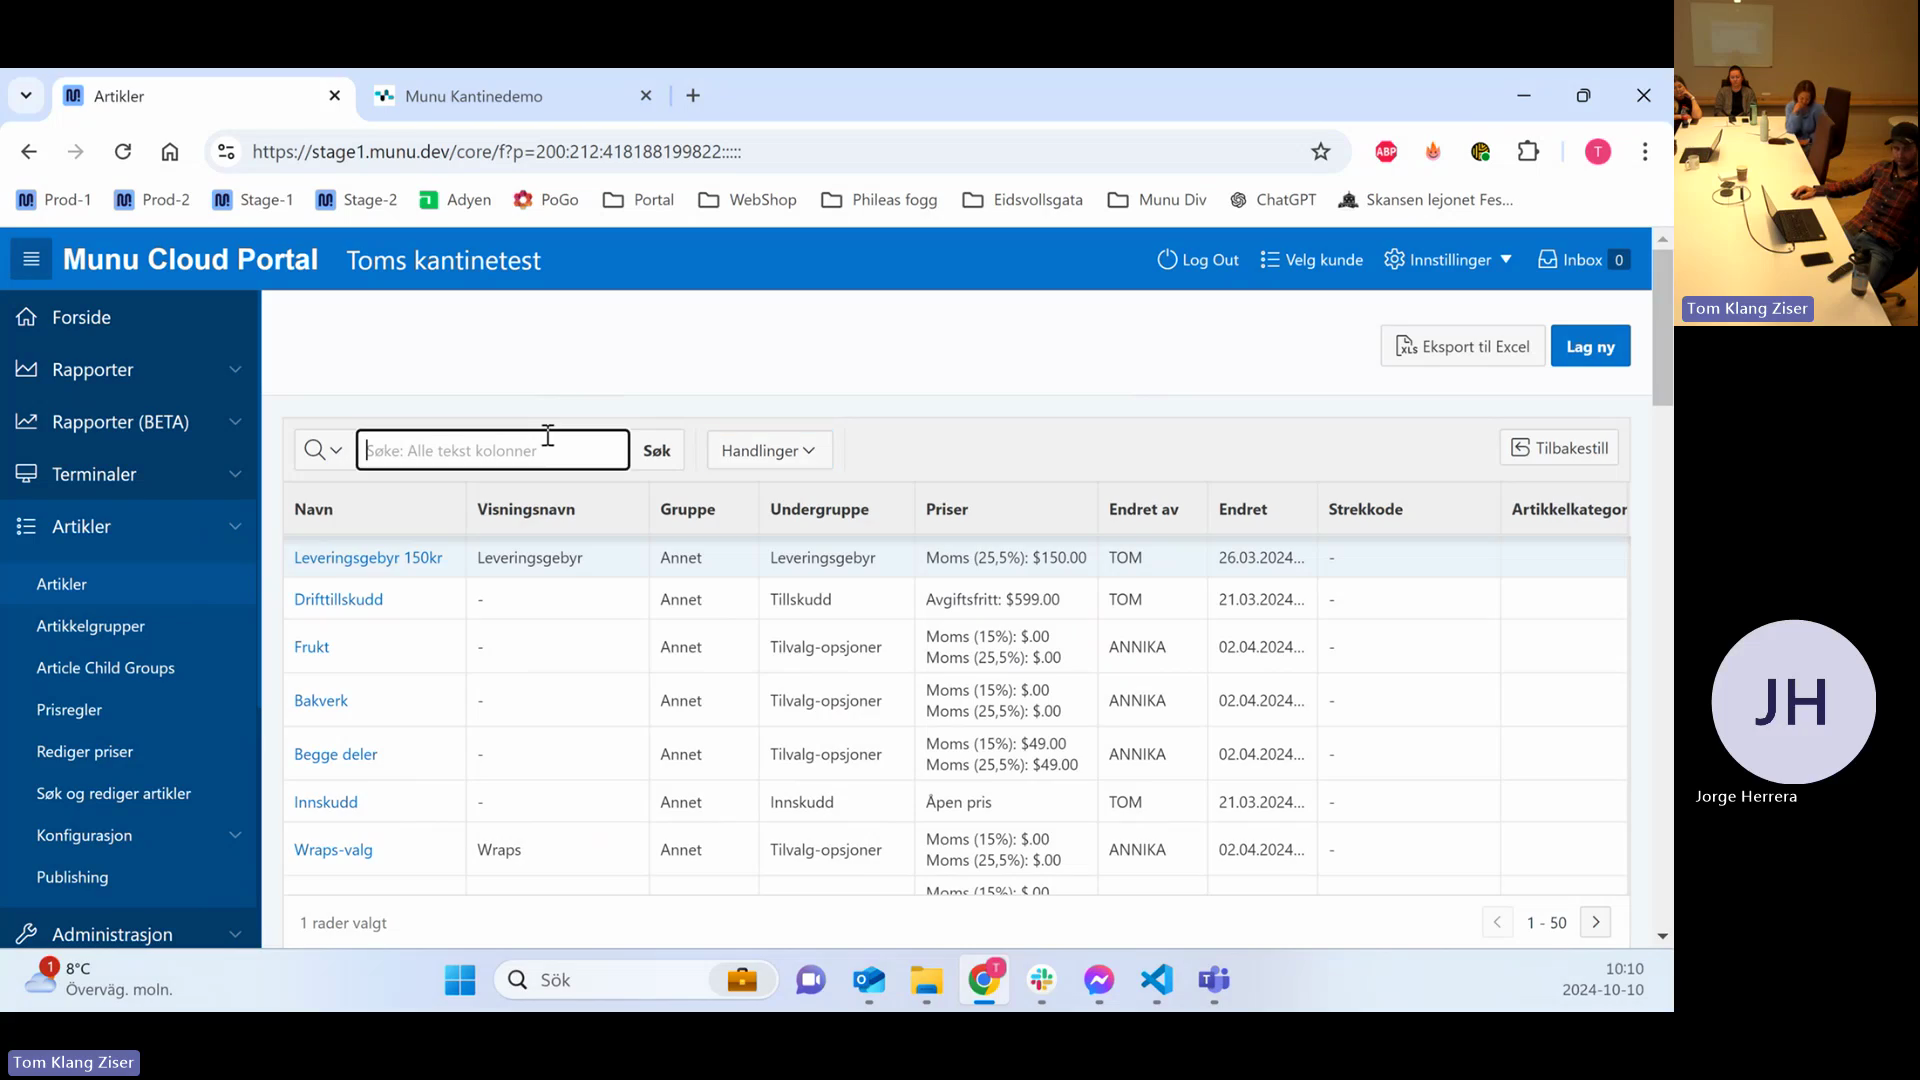
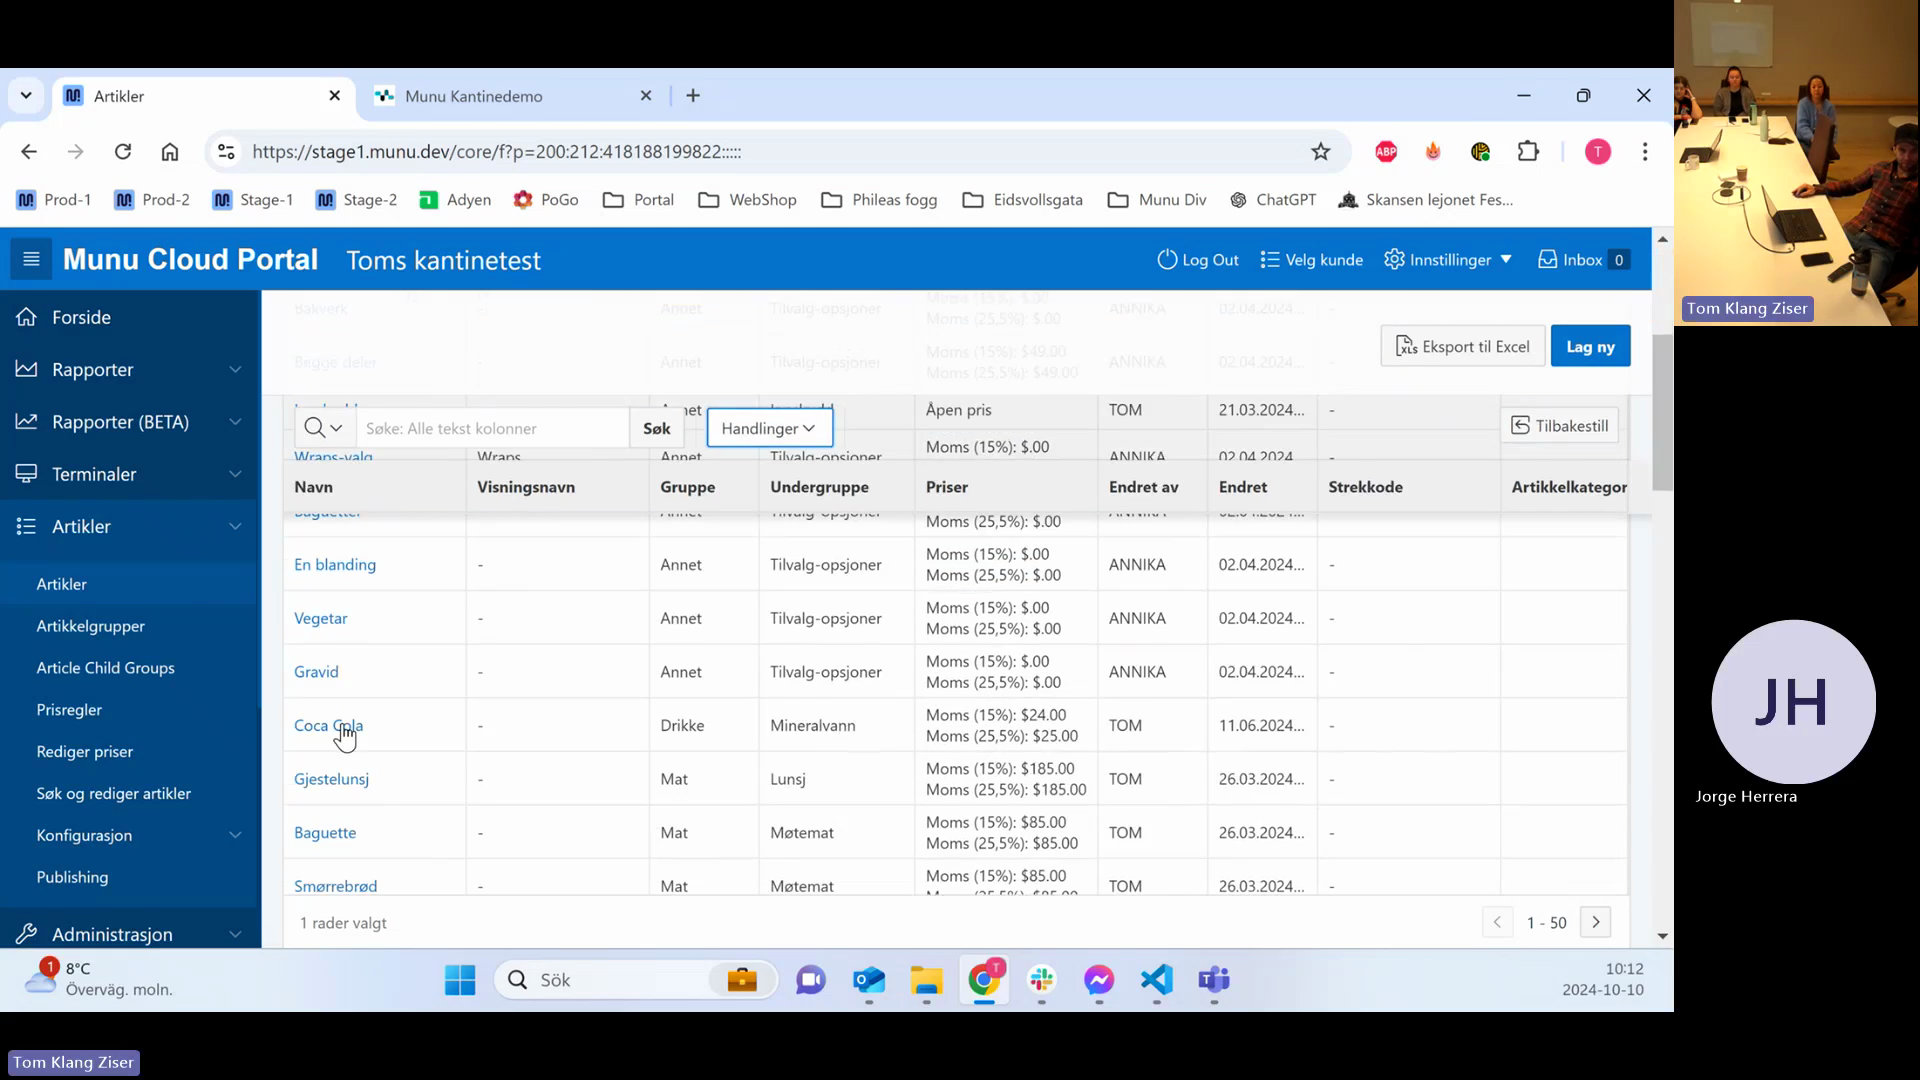
Navigating the Articles Page

6
Click Artikler in the left-hand navigation menu.
Step #6: Click Artikler in the left-hand navigation menu.
7
Click Artikler under the expanded menu to access the article management grid.
Step #7: Click Artikler under the expanded menu to access the article management grid.

You can configure the columns and search for specific items:

8
Click Handlinger (Actions) and select Kolonner to configure visible columns.
Step #8: Click Handlinger (Actions) and select Kolonner to configure visible columns.
9
Select the checkbox for the column you want to add, such as Annet.
Step #9: Select the checkbox for the column you want to add, such as Annet.
10
Click Lagre to save your column preferences.
Step #10: Click Lagre to save your column preferences.

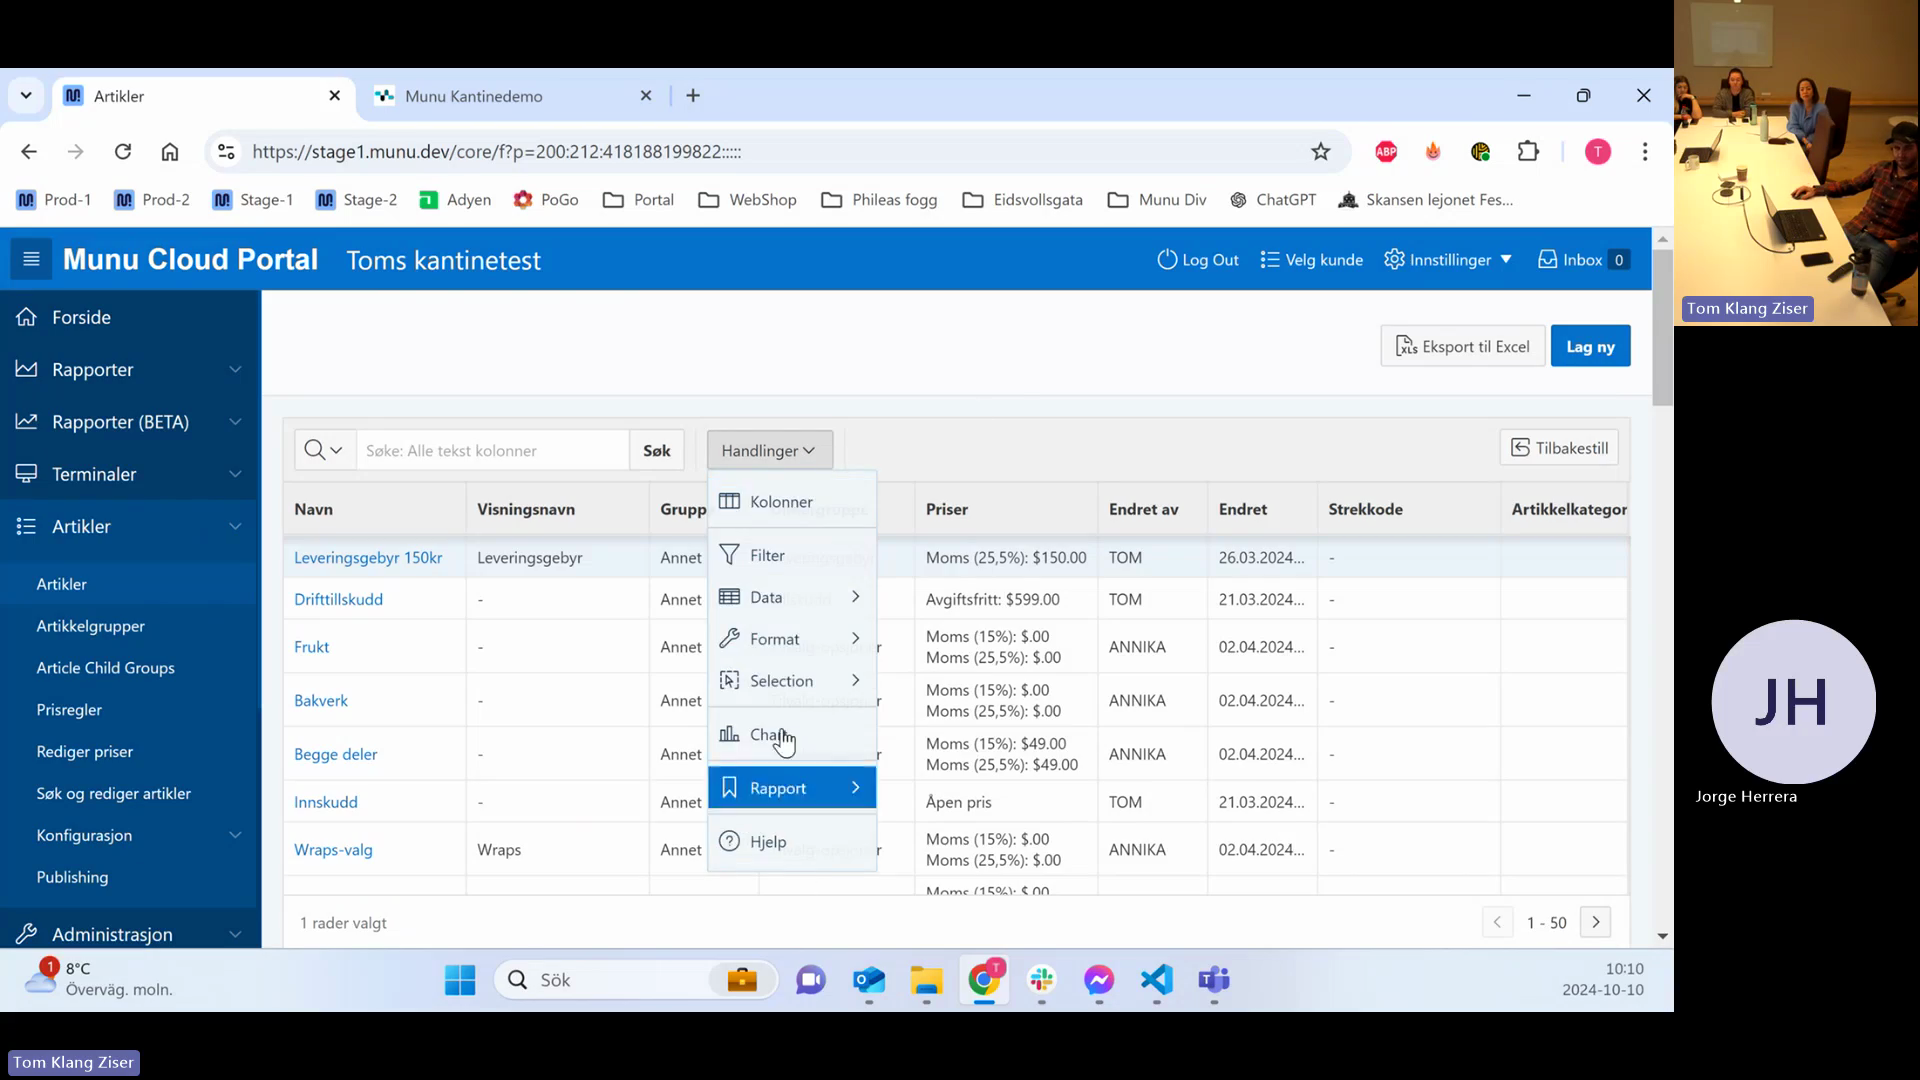
To search or filter effectively:

11
Click the main search field labeled Søk: Alle tekst kolonner to search across all columns.
Step #11: Click the main search field labeled Søk: Alle tekst kolonner to search across all columns.
12
Click the filter icon next to a specific column name like Navn or Undergruppe.
Step #12: Click the filter icon next to a specific column name like Navn or Undergruppe.
13
Click the search input field within the column menu.
Step #13: Click the search input field within the column menu.
14
Type your search term and adjust logic filters to isolate specific items.

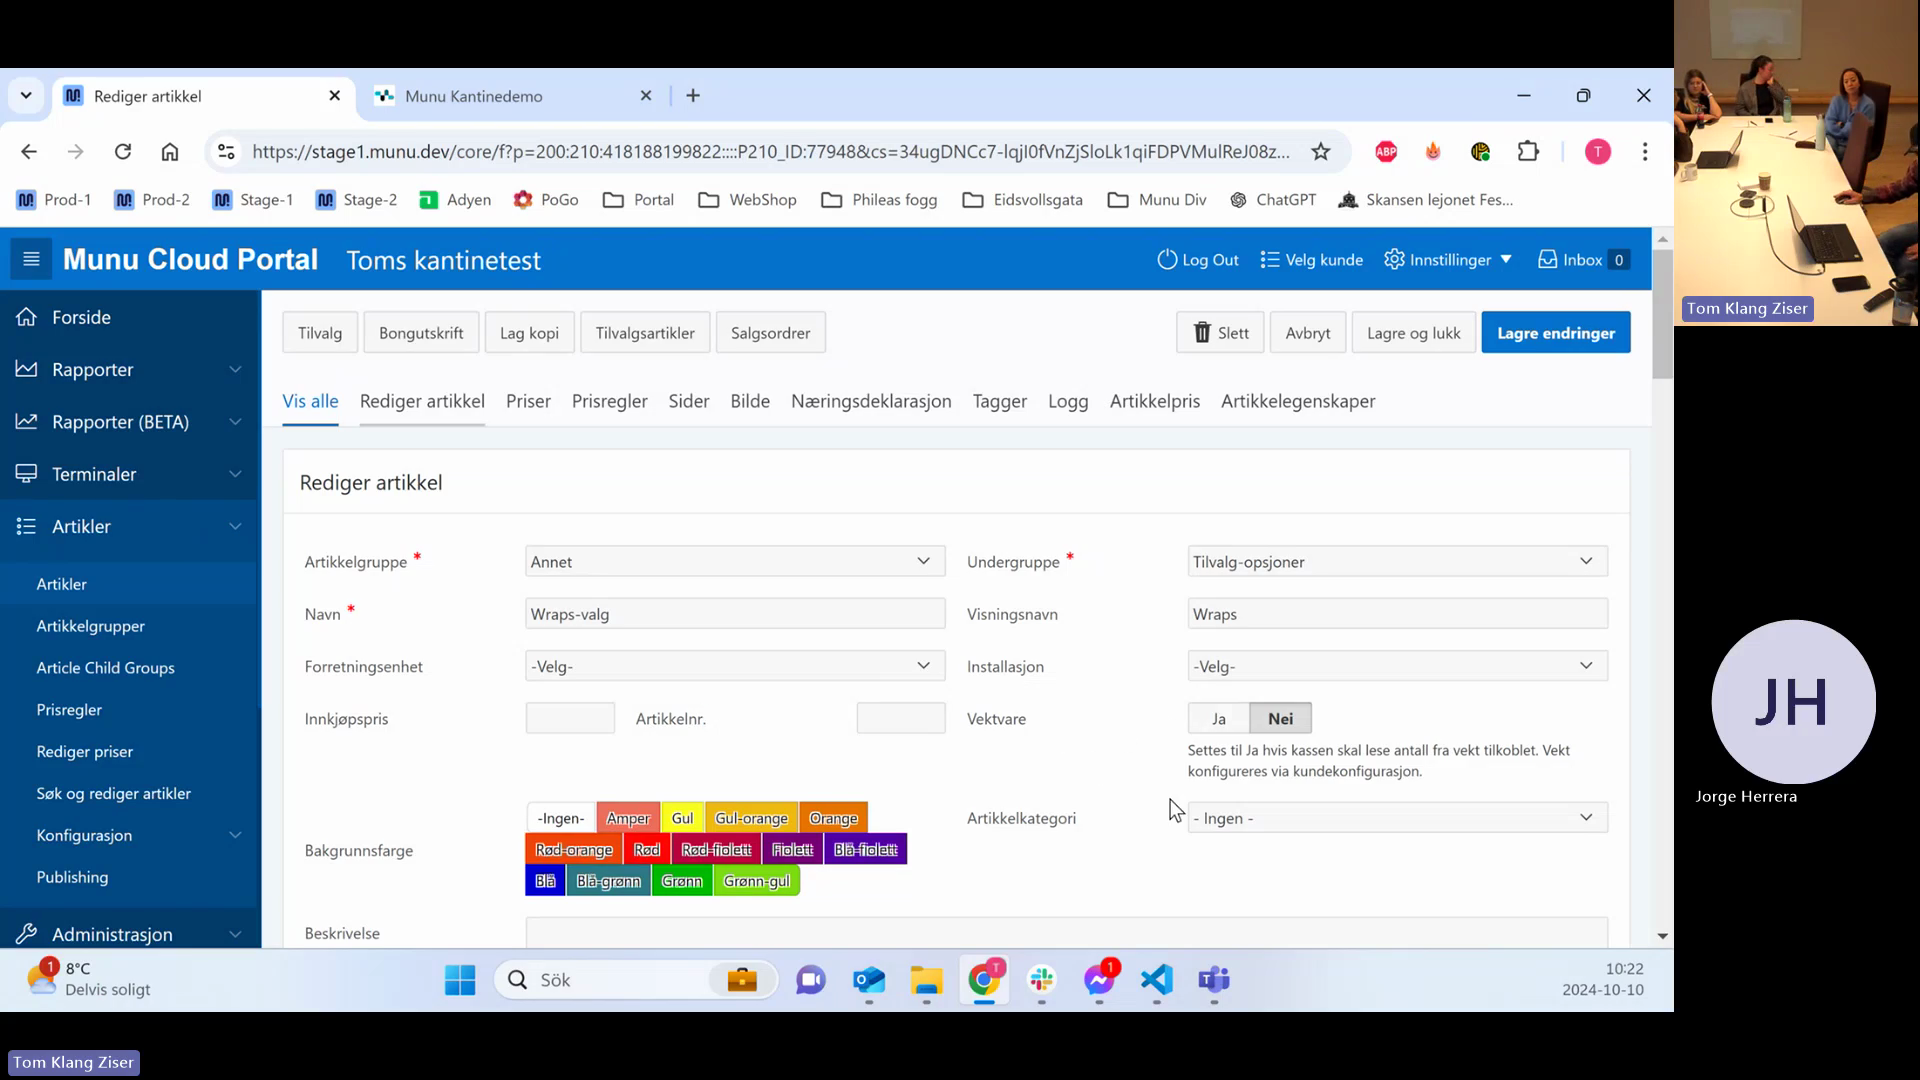
Creating and Editing Articles
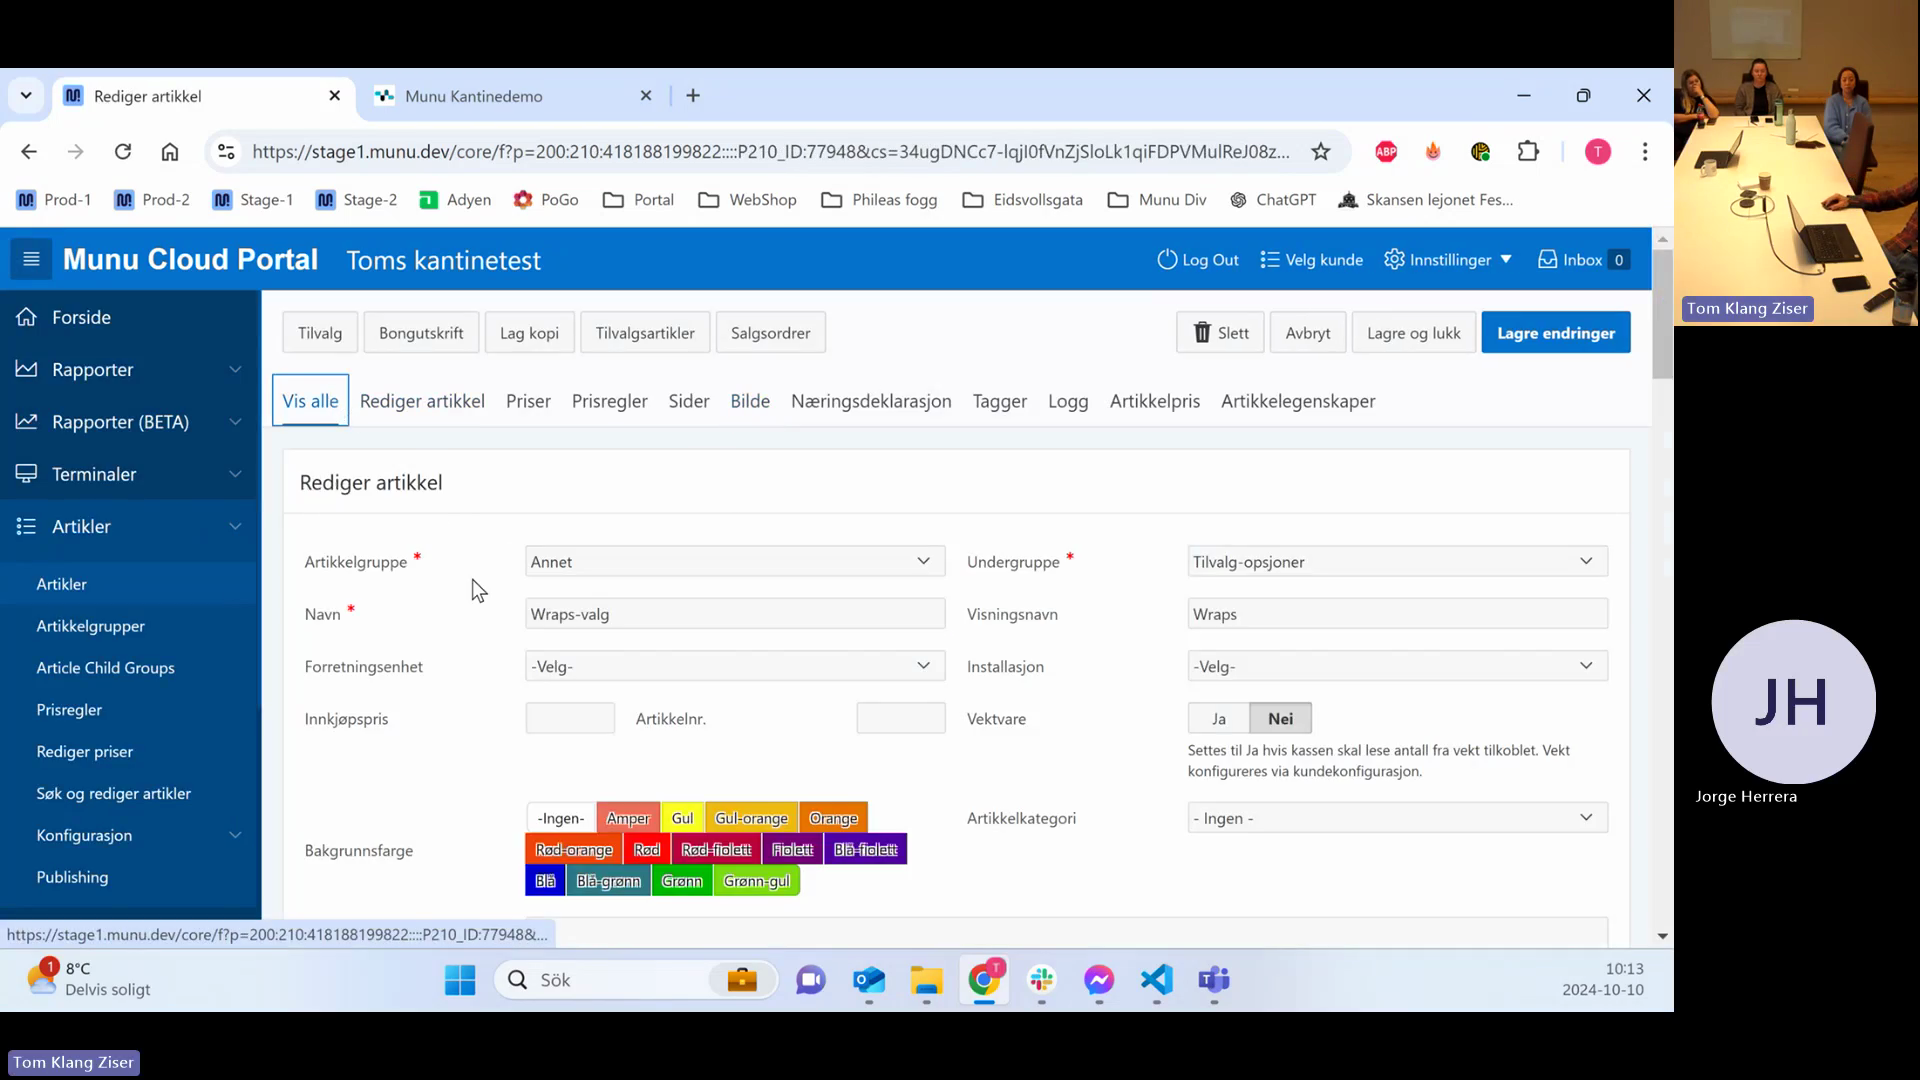
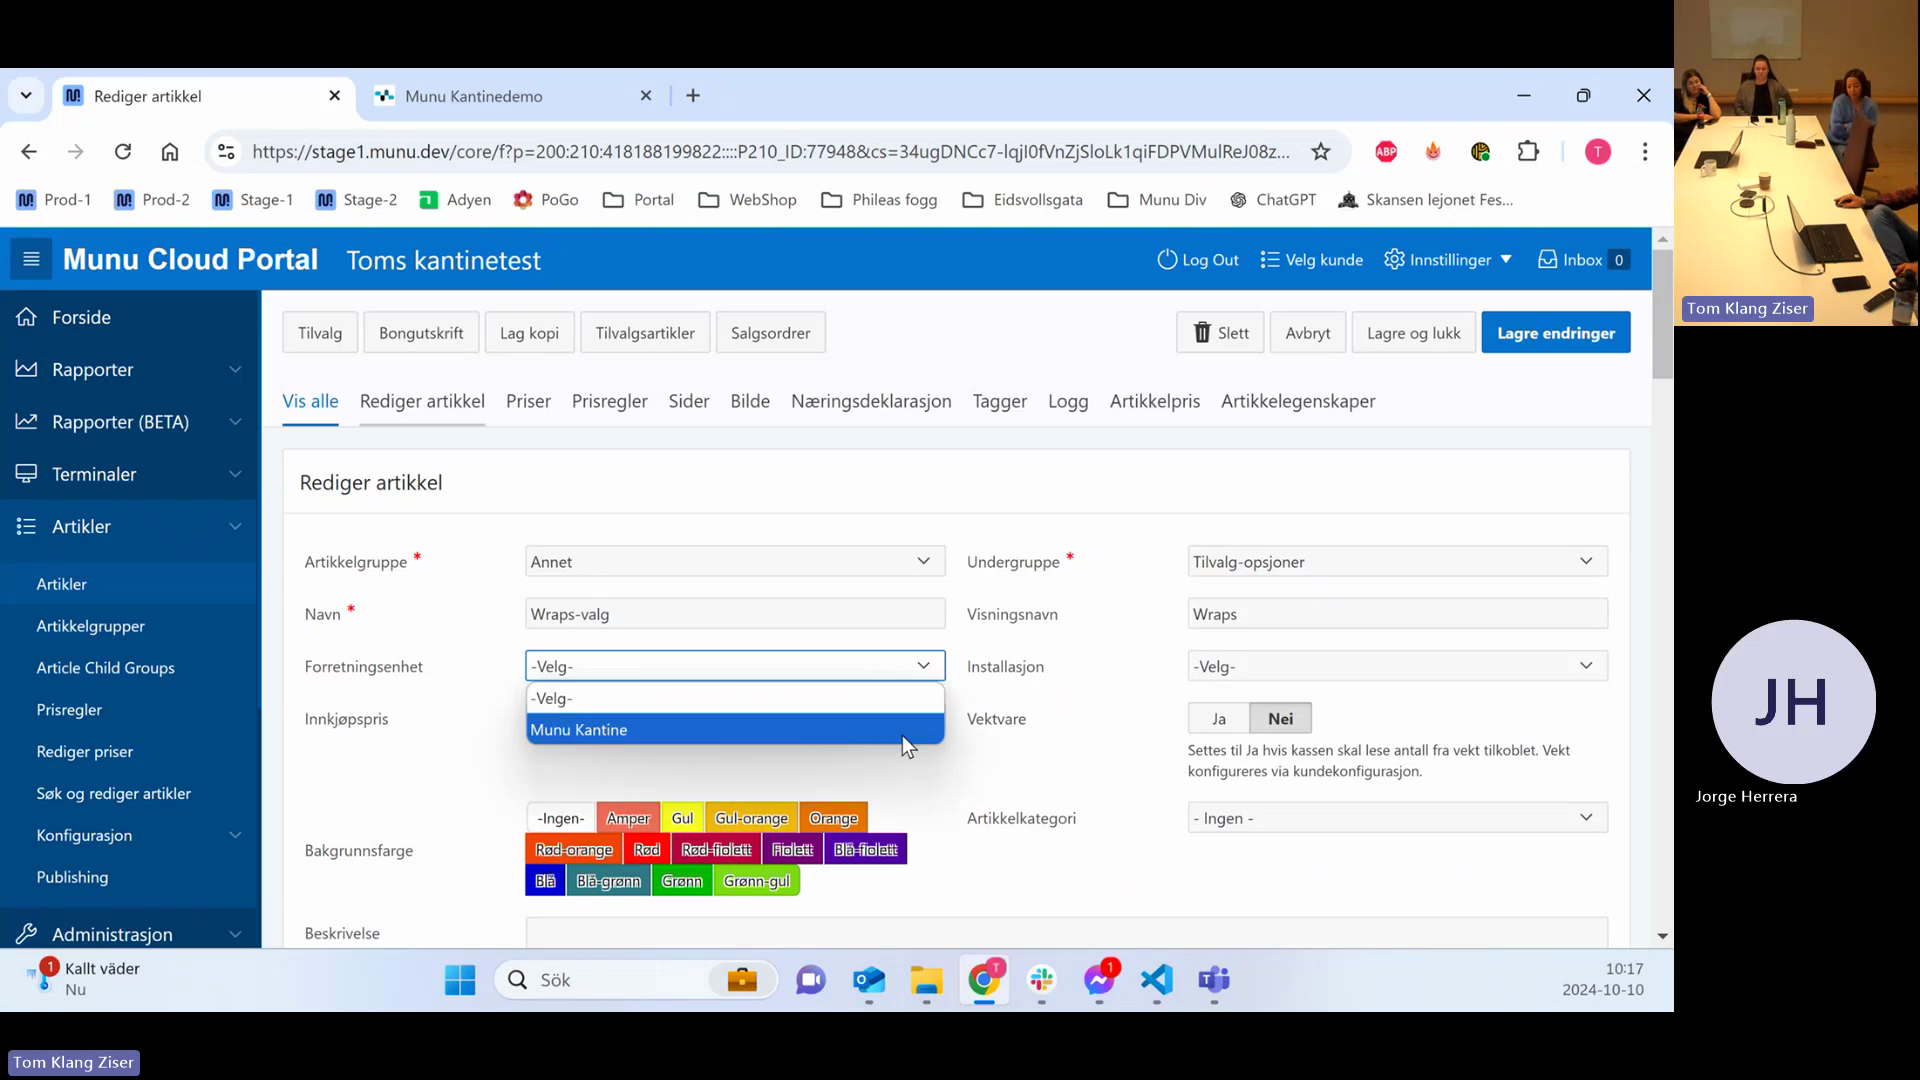
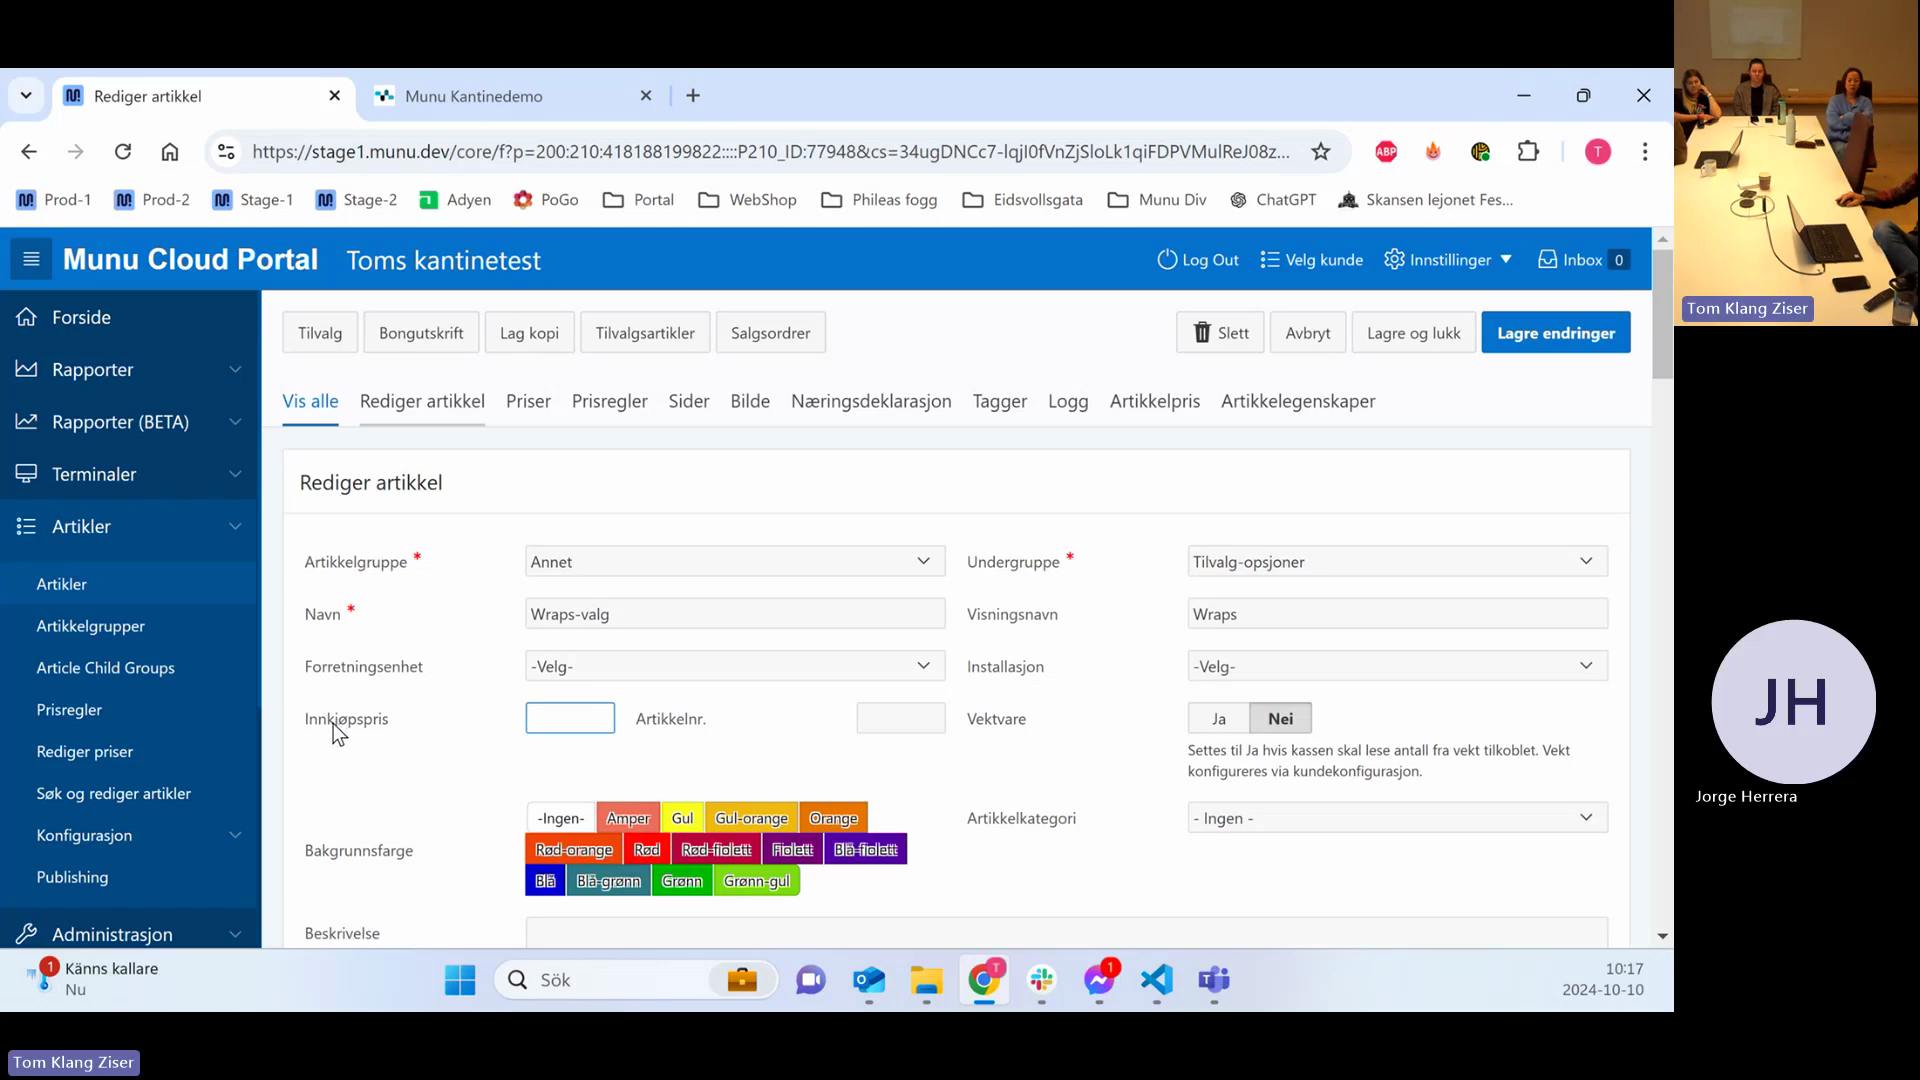
15
Click an existing article to open its details.
Step #15: Click an existing article to open its details.
16
Ensure you are on the Rediger artikkel (Edit article) tab.
Step #16: Ensure you are on the Rediger artikkel (Edit article) tab.

Basic Setup

To exist, an article requires an article group, subgroup, name, at least one price, and a sales account.

17
Choose an article group from the Artikkelgruppe drop-down menu.
Step #17: Choose an article group from the Artikkelgruppe drop-down menu.
18
Choose a subgroup from the Undergruppe drop-down menu.
Step #18: Choose a subgroup from the Undergruppe drop-down menu.
19
Enter the internal back-office name in the Navn field.
Step #19: Enter the internal back-office name in the Navn field.
20
Optionally, enter a customer-facing name in the Visningsnavn field.
Step #20: Optionally, enter a customer-facing name in the Visningsnavn field.
21
Click the Forretningsenhet (Business Unit) drop-down menu.
Step #21: Click the Forretningsenhet (Business Unit) drop-down menu.
22
Select a specific business unit to restrict the article's availability.
Step #22: Select a specific business unit to restrict the article's availability.
23
Optionally, select a specific installation in the Installasjon drop-down menu.
Step #23: Optionally, select a specific installation in the Installasjon drop-down menu.

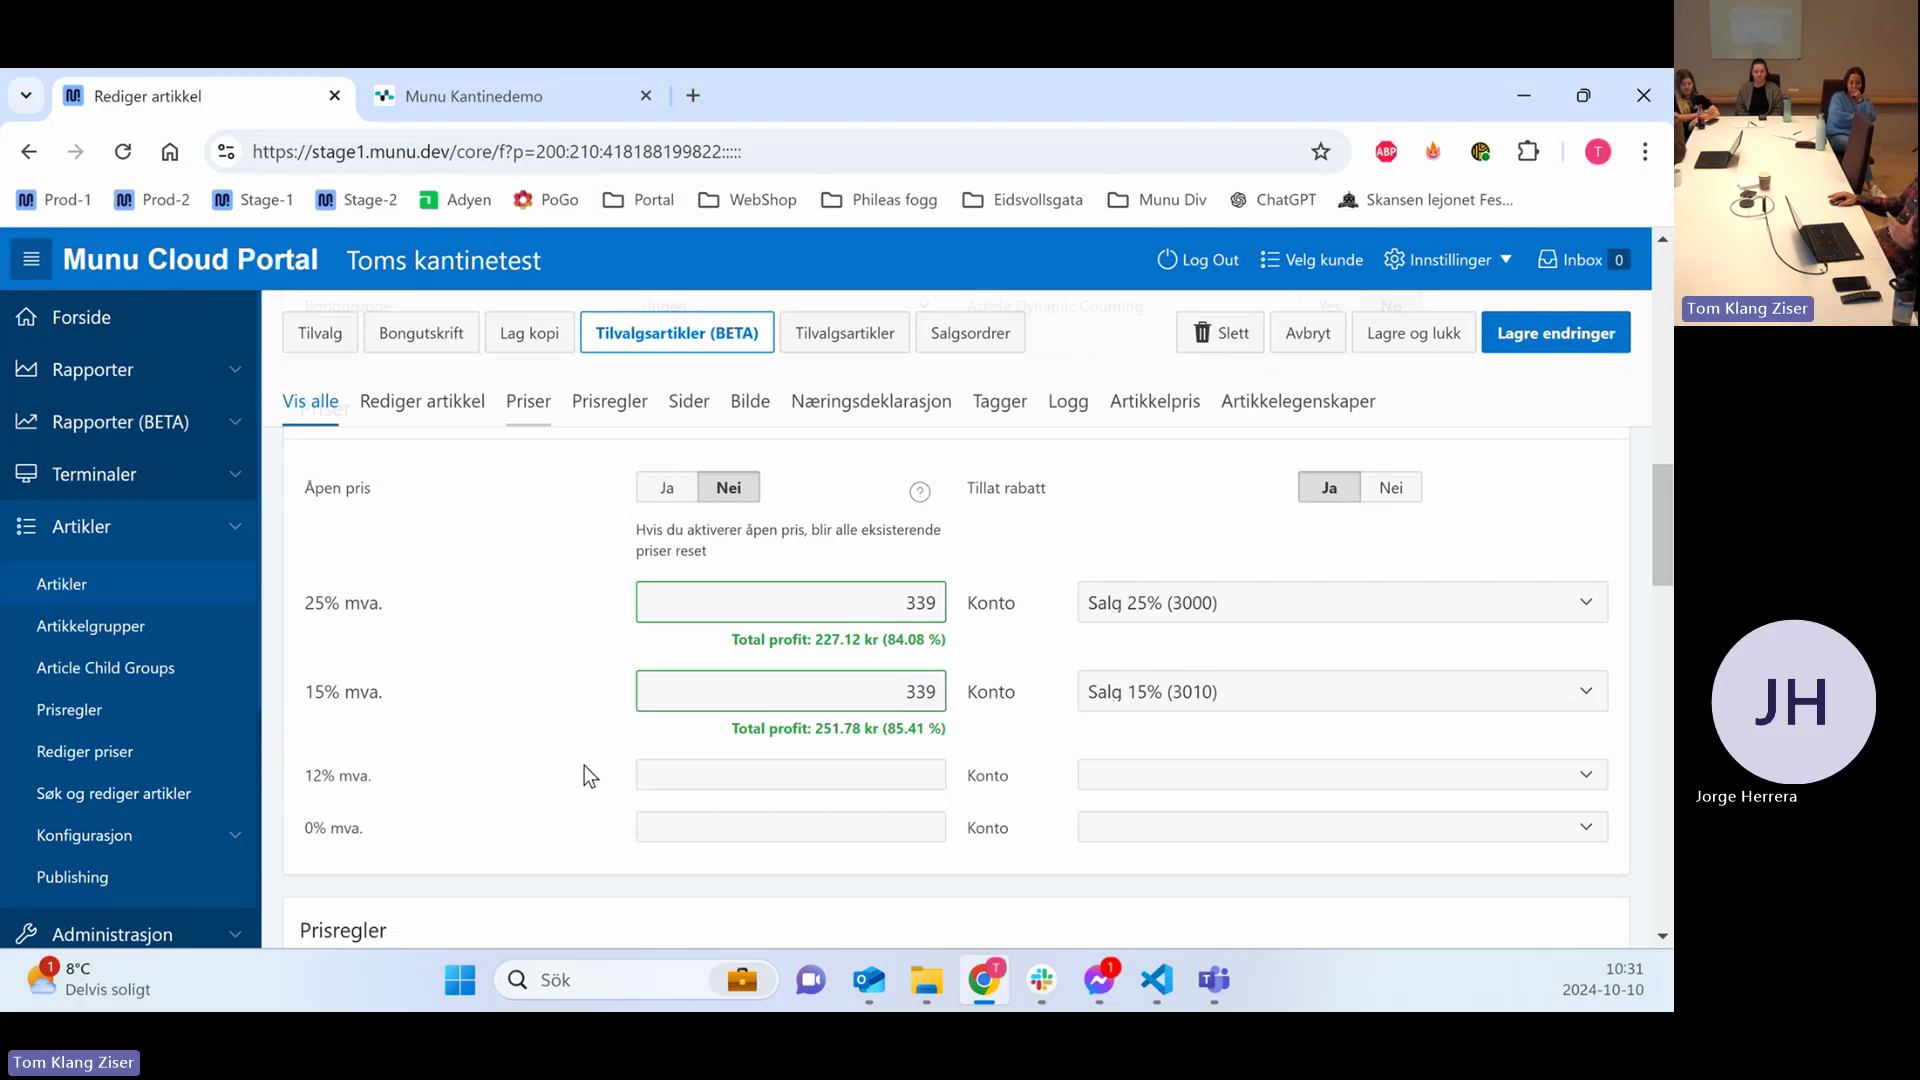
Pricing and VAT (MVA) Settings

24
Click the Priser tab to manage pricing and VAT.
Step #24: Click the Priser tab to manage pricing and VAT.
25
Click the Innkjøpspris (Purchase Price) input field.
Step #25: Click the Innkjøpspris (Purchase Price) input field.
26
Enter the total net cost price of the full article, excluding VAT.

You can set multiple sales prices for a single article depending on the applicable VAT (MVA) rate.

VAT Rate (MVA)

Common Usage

25%

In-house food and drink, alcohol, services.

15%

Takeaway food and drink.

12%

Hotel rooms, transport, plane tickets.

0%

Library fees, alcohol-free concerts, specific games like pool.

27
Open the relevant VAT category section.
Step #27: Open the relevant VAT category section.
28
Enter the sales price and assign the corresponding sales account from the drop-down menu.
Step #28: Enter the sales price and assign the corresponding sales account from the drop-down menu.

Identifiers and Hardware Connectivity

29
Double-click the Artikkelnr. (Article Number) input field to edit it.
Step #29: Double-click the Artikkelnr. (Article Number) input field to edit it.
30
Enter an article number only if required by external hardware (e.g., beverage dispensers, large deli scales) or for internal barcode generation.
31
Toggle the Vektvare (Weighable item) setting depending on your hardware.
Step #31: Toggle the Vektvare (Weighable item) setting depending on your hardware.
32
Select Ja (Yes) only if the item is weighed on a scale plugged directly into the POS via a USB or COM cable.
Step #32: Select Ja (Yes) only if the item is weighed on a scale plugged directly into the POS via a USB or COM cable.
33
Select Nei (No) if using external deli scales that print barcodes.
Step #33: Select Nei (No) if using external deli scales that print barcodes.

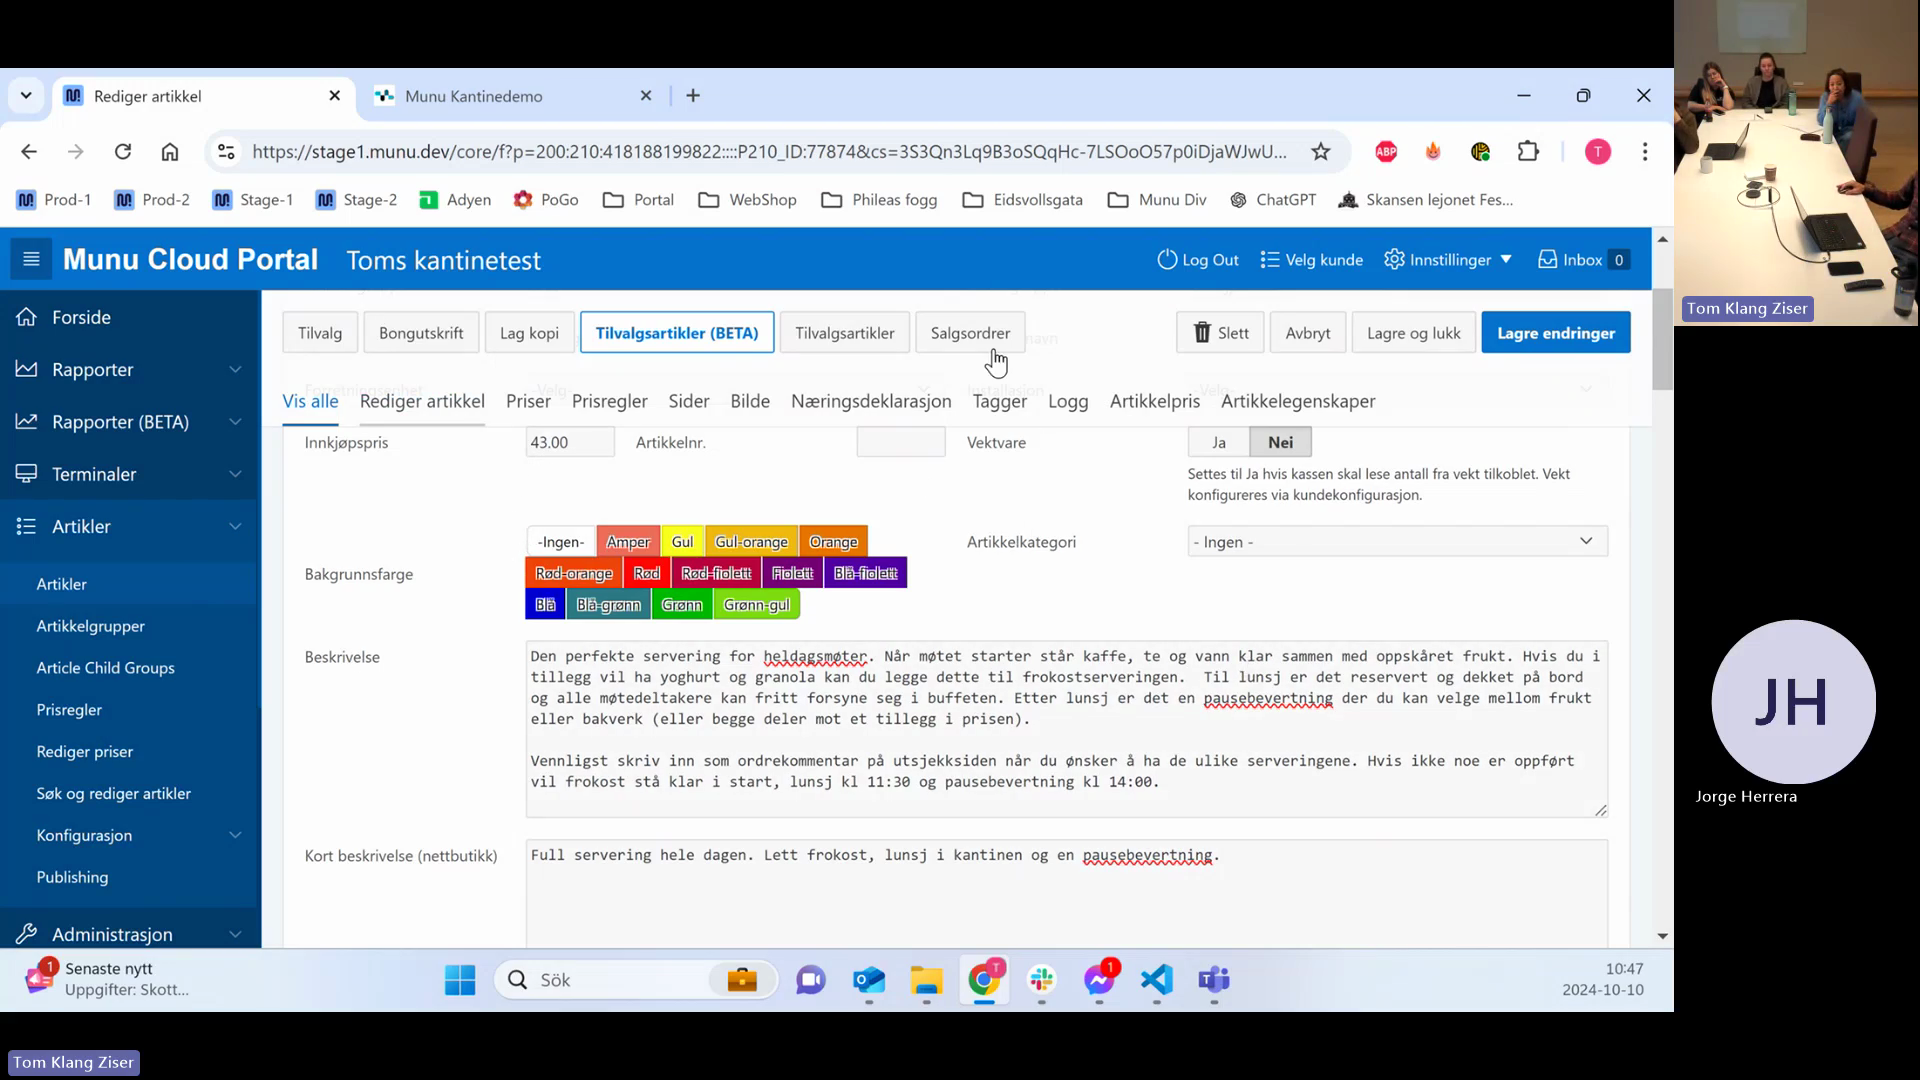
Descriptions and Webshop Display
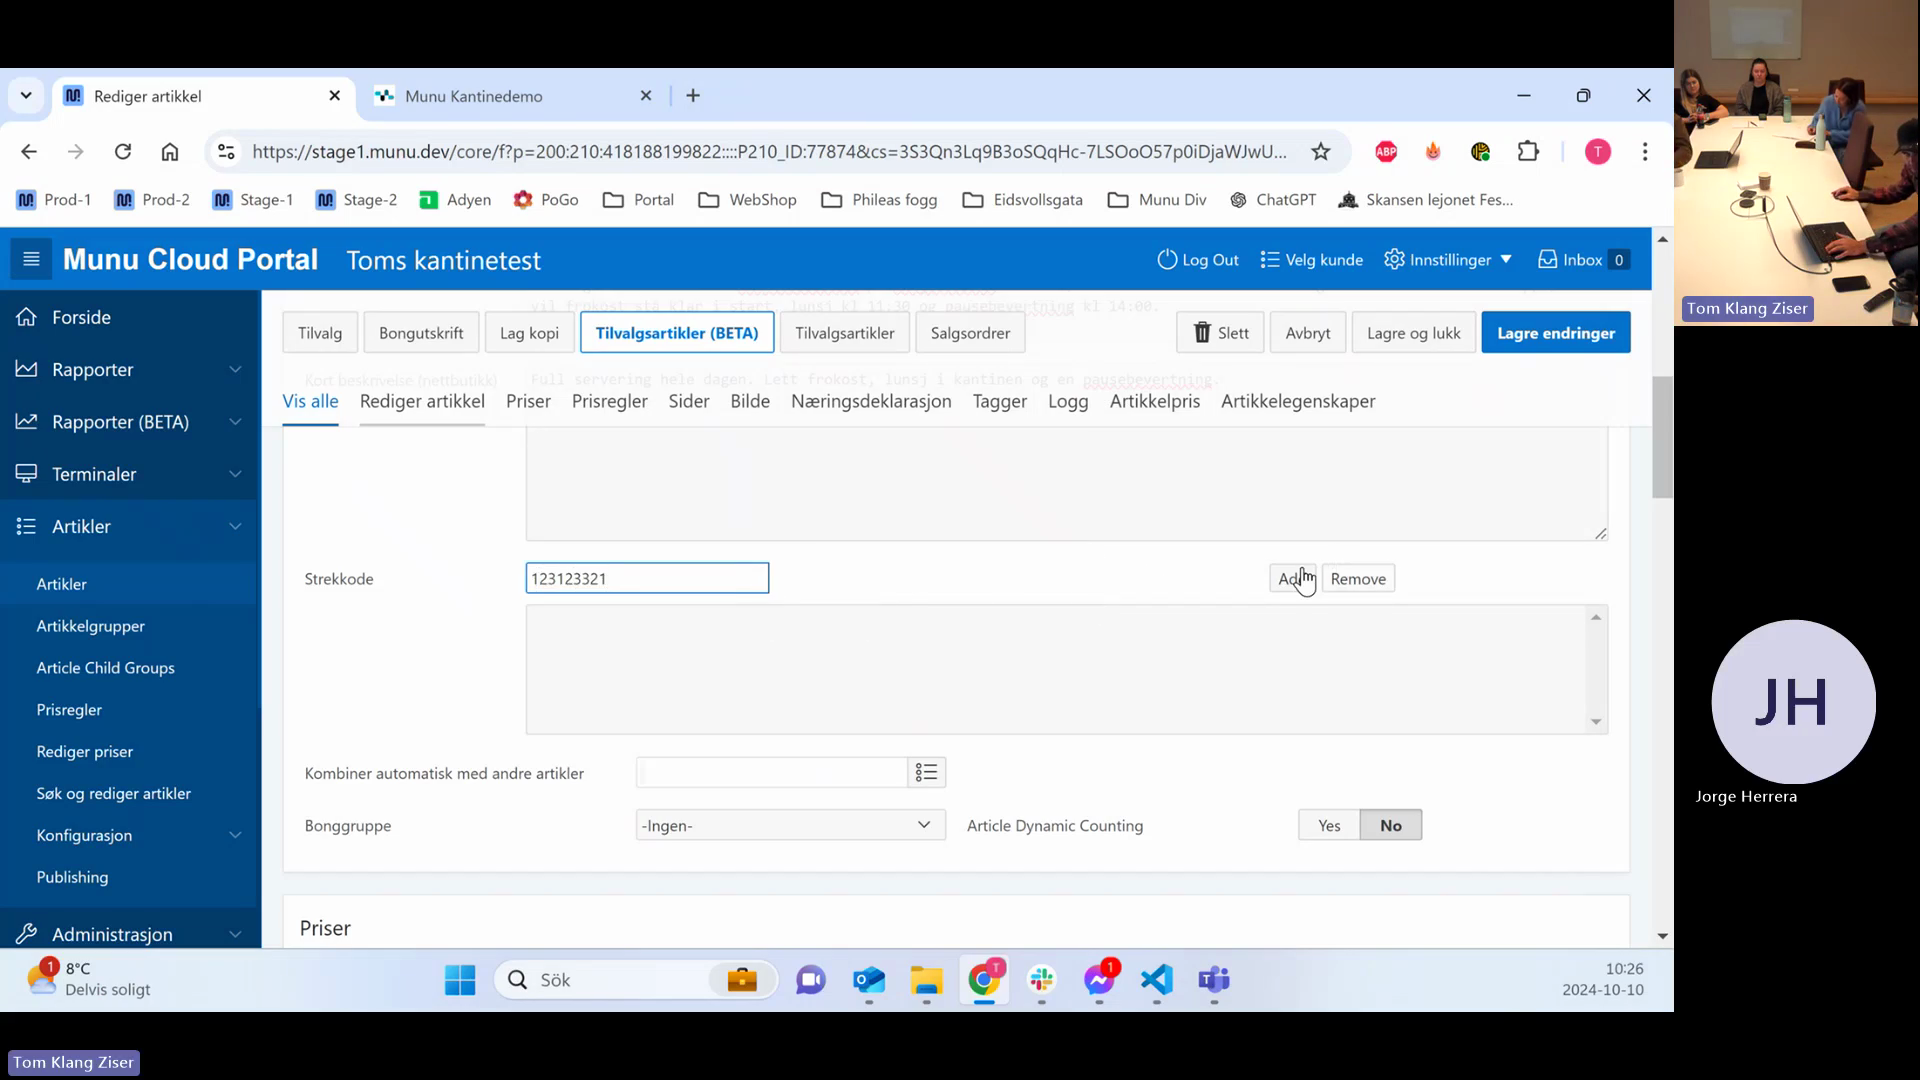
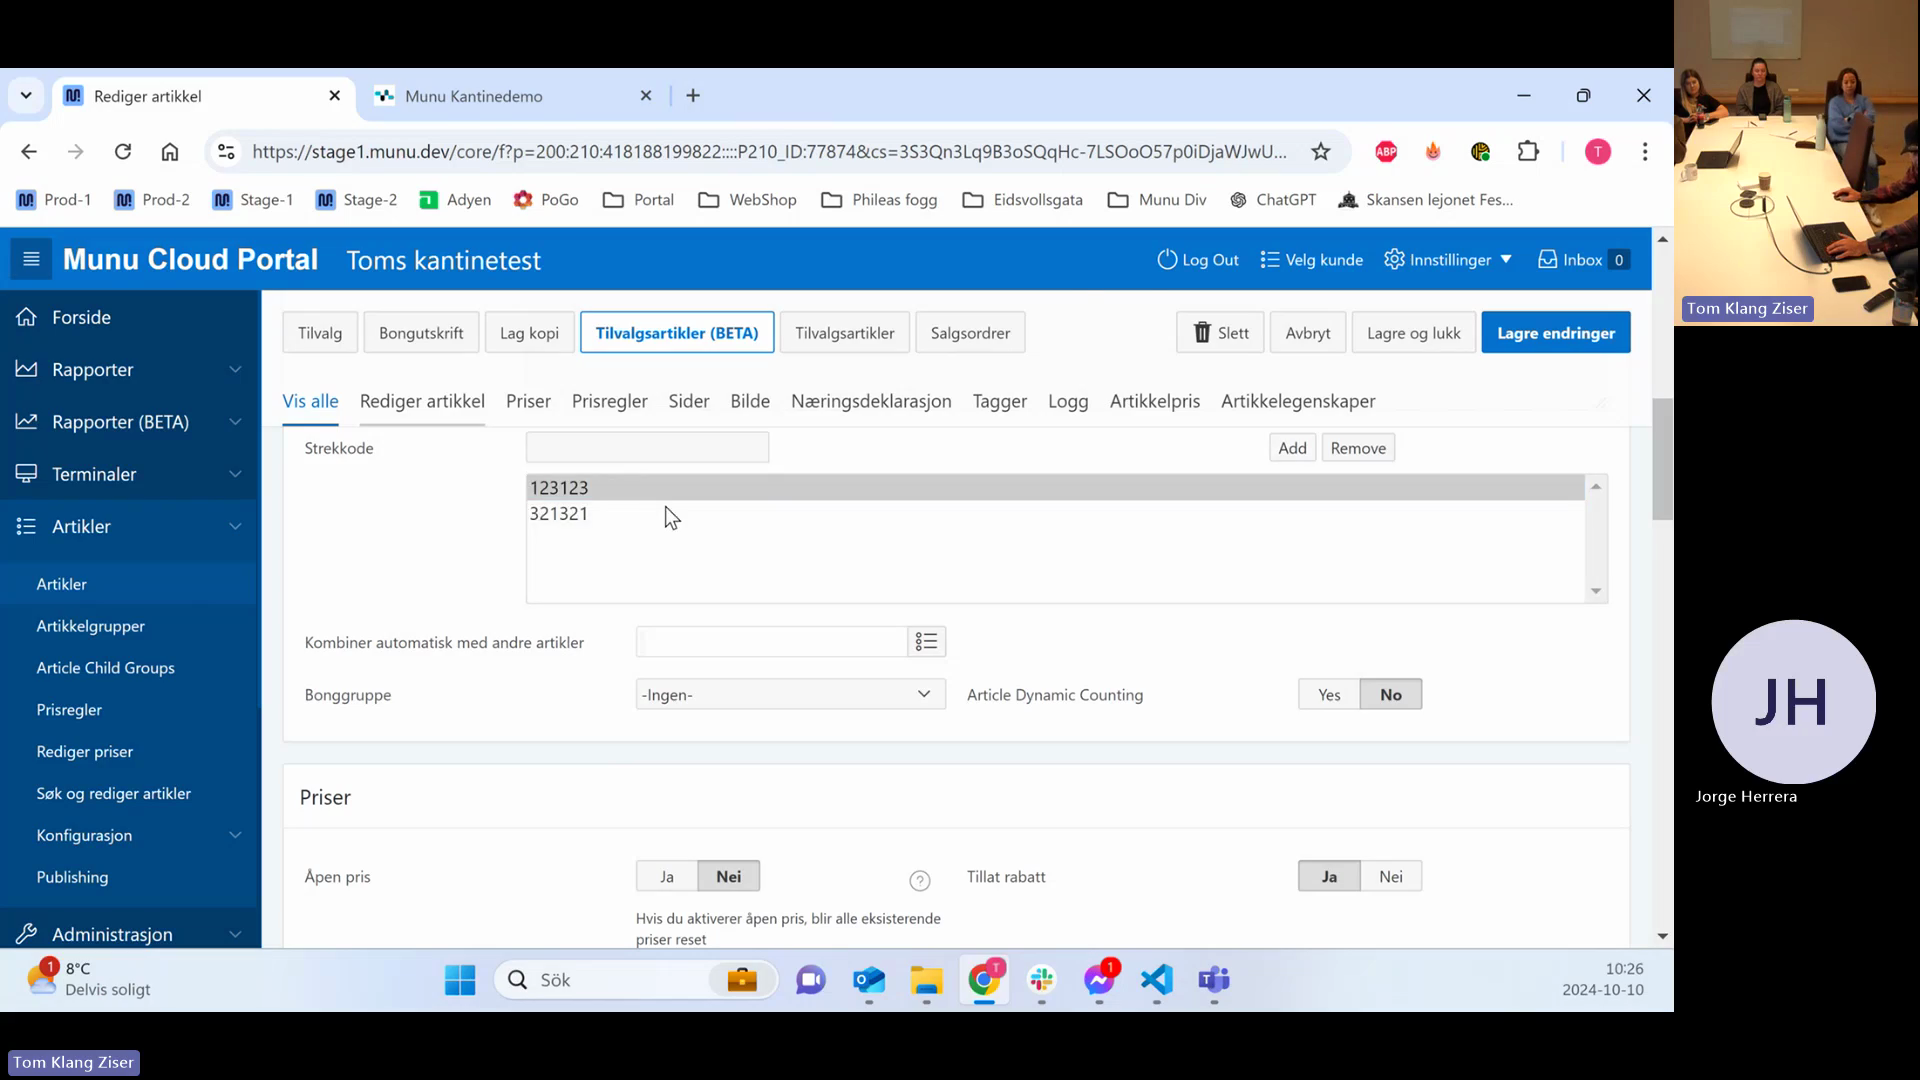
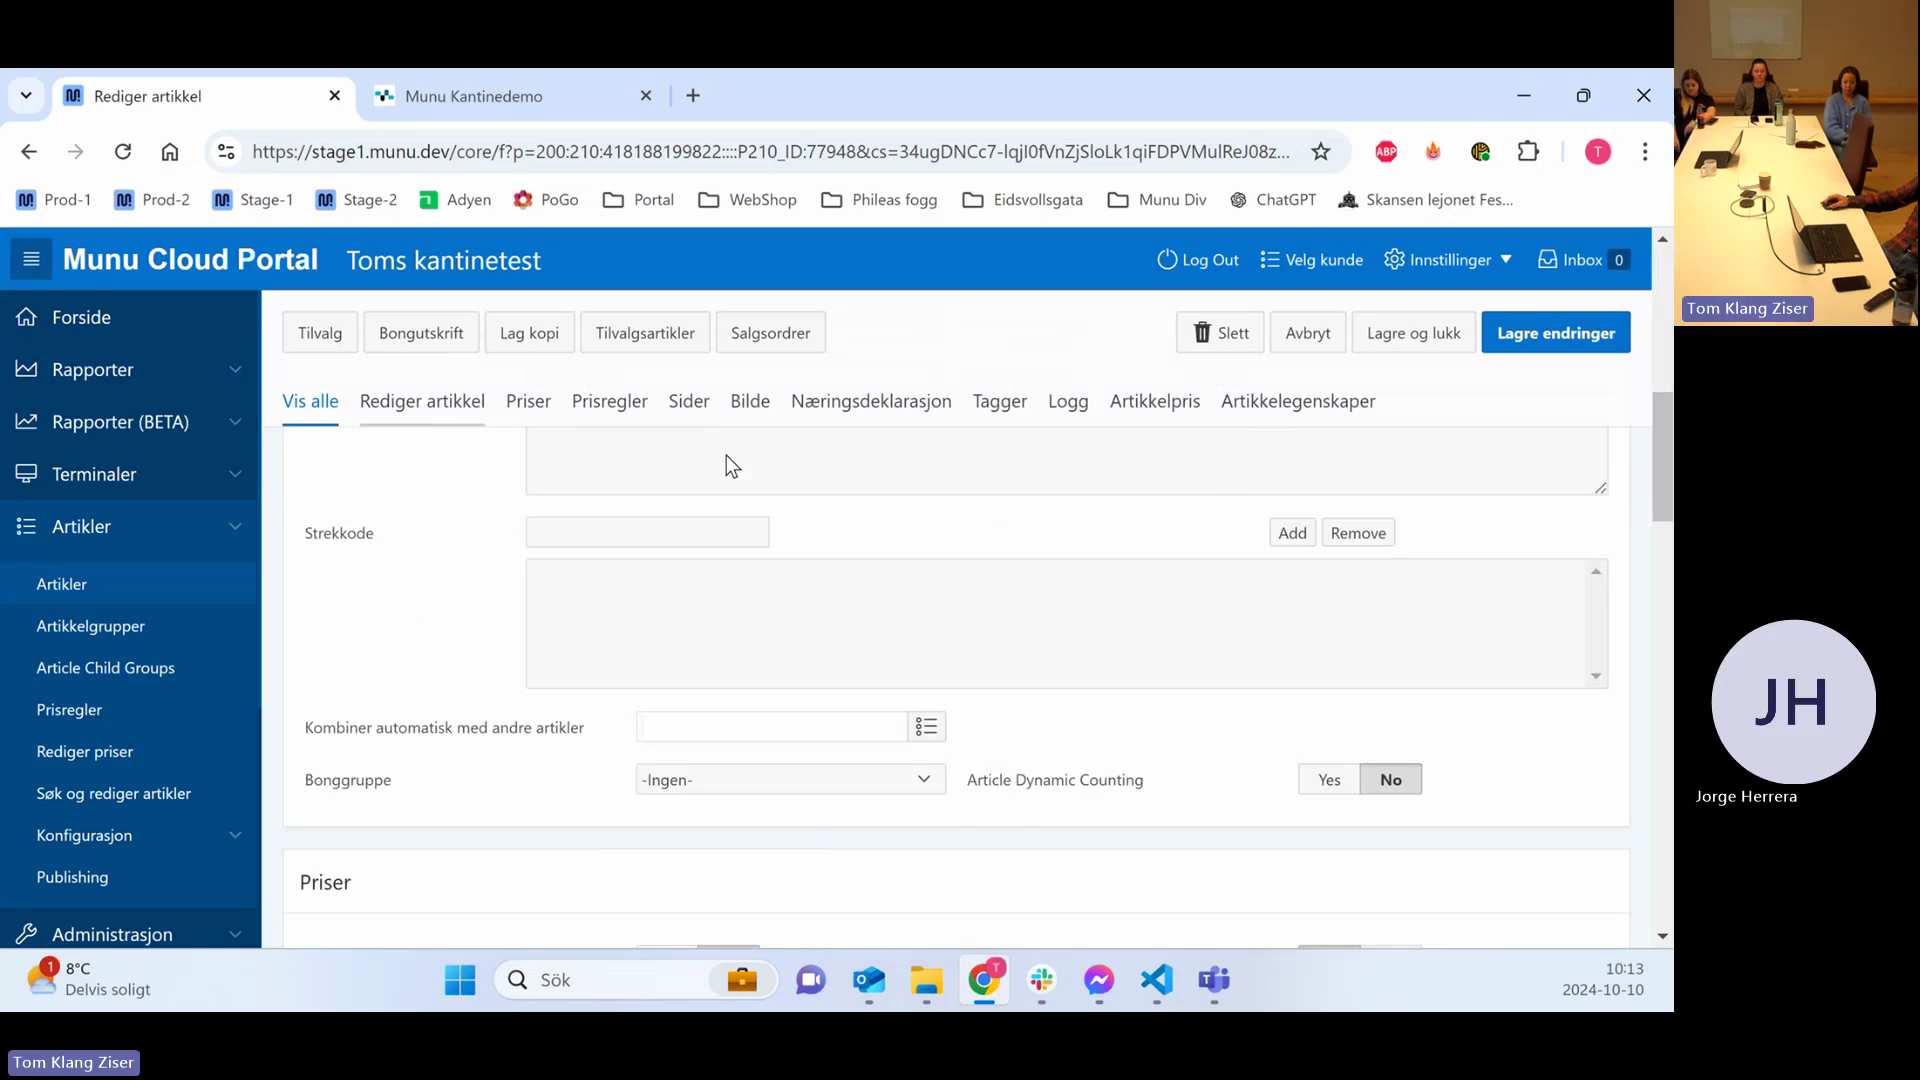
34
Enter a brief summary in the Kort beskrivelse (Short description) field.
35
Enter full details in the Beskrivelse (Long description) field.

Managing Barcodes

An article can hold multiple barcodes, allowing it to adapt to supplier packaging changes without creating duplicate items.

36
Click the empty input field next to Strekkode (Barcode).
Step #36: Click the empty input field next to Strekkode (Barcode).
37
Type the barcode sequence.
38
Click Add.
Step #38: Click Add.
39
Click a specific barcode in the list to select it.
Step #39: Click a specific barcode in the list to select it.
40
Click Remove to delete the selected barcode.
Step #40: Click Remove to delete the selected barcode.

Auto-Combining Articles

41
Click the Kombiner automatisk med andre artikler drop-down menu.
Step #41: Click the Kombiner automatisk med andre artikler drop-down menu.
42
Select an article, such as a bottle deposit (Pant), to automatically add it to the cart whenever the main item is sold.
Step #42: Select an article, such as a bottle deposit (Pant), to automatically add it to the cart whenever the main item is sold.

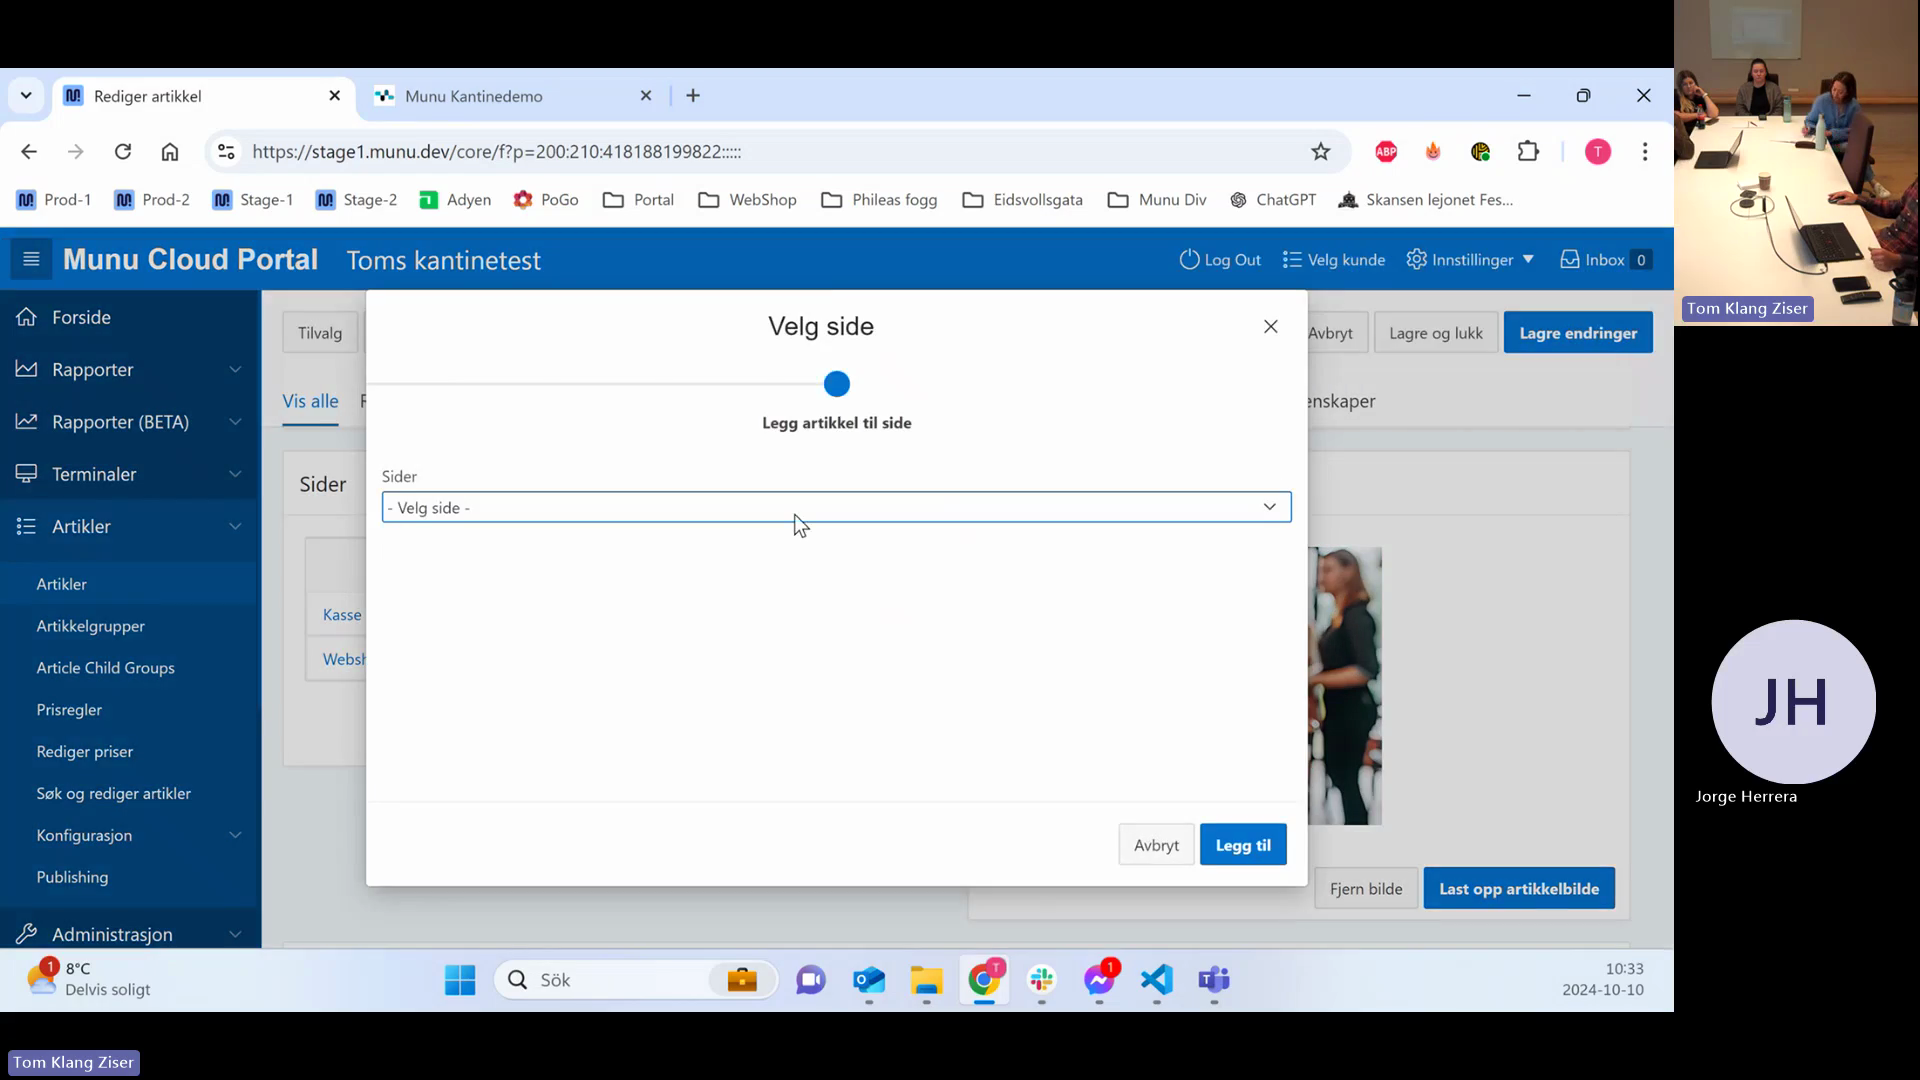
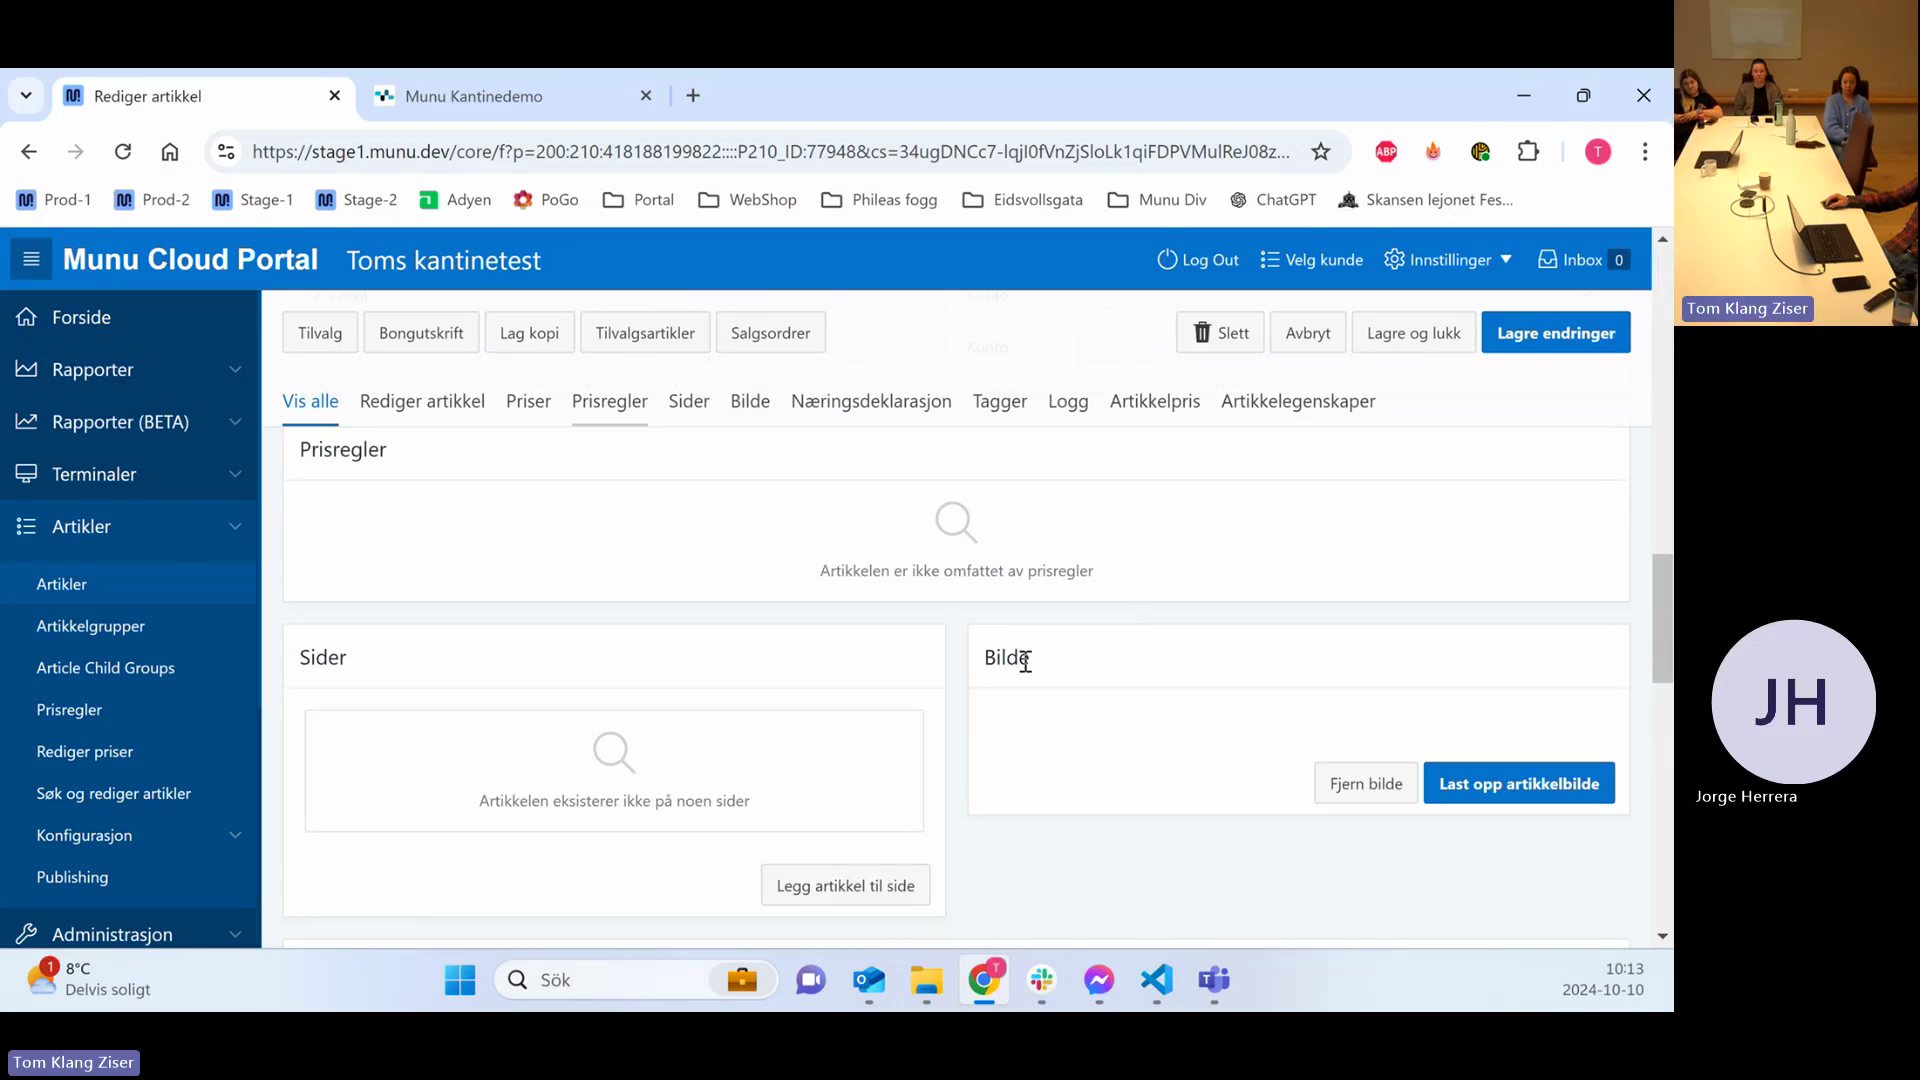
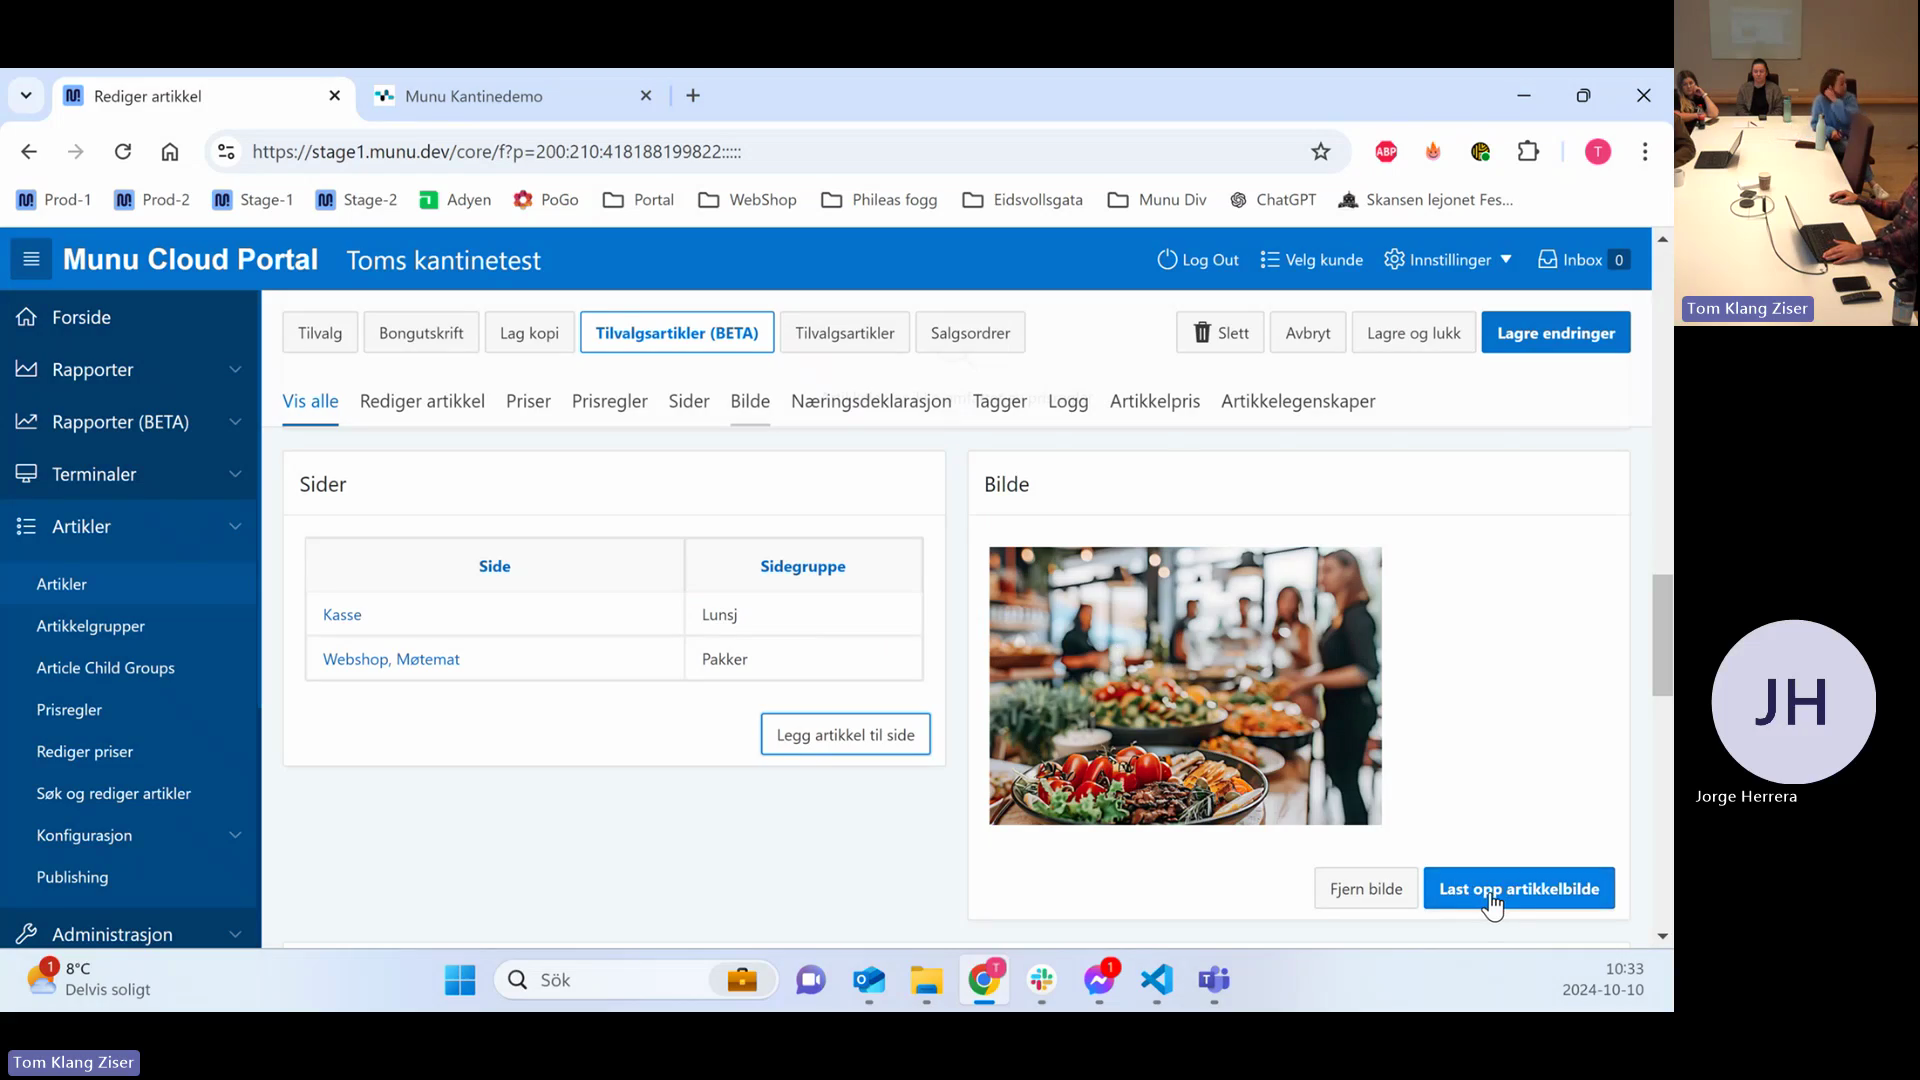
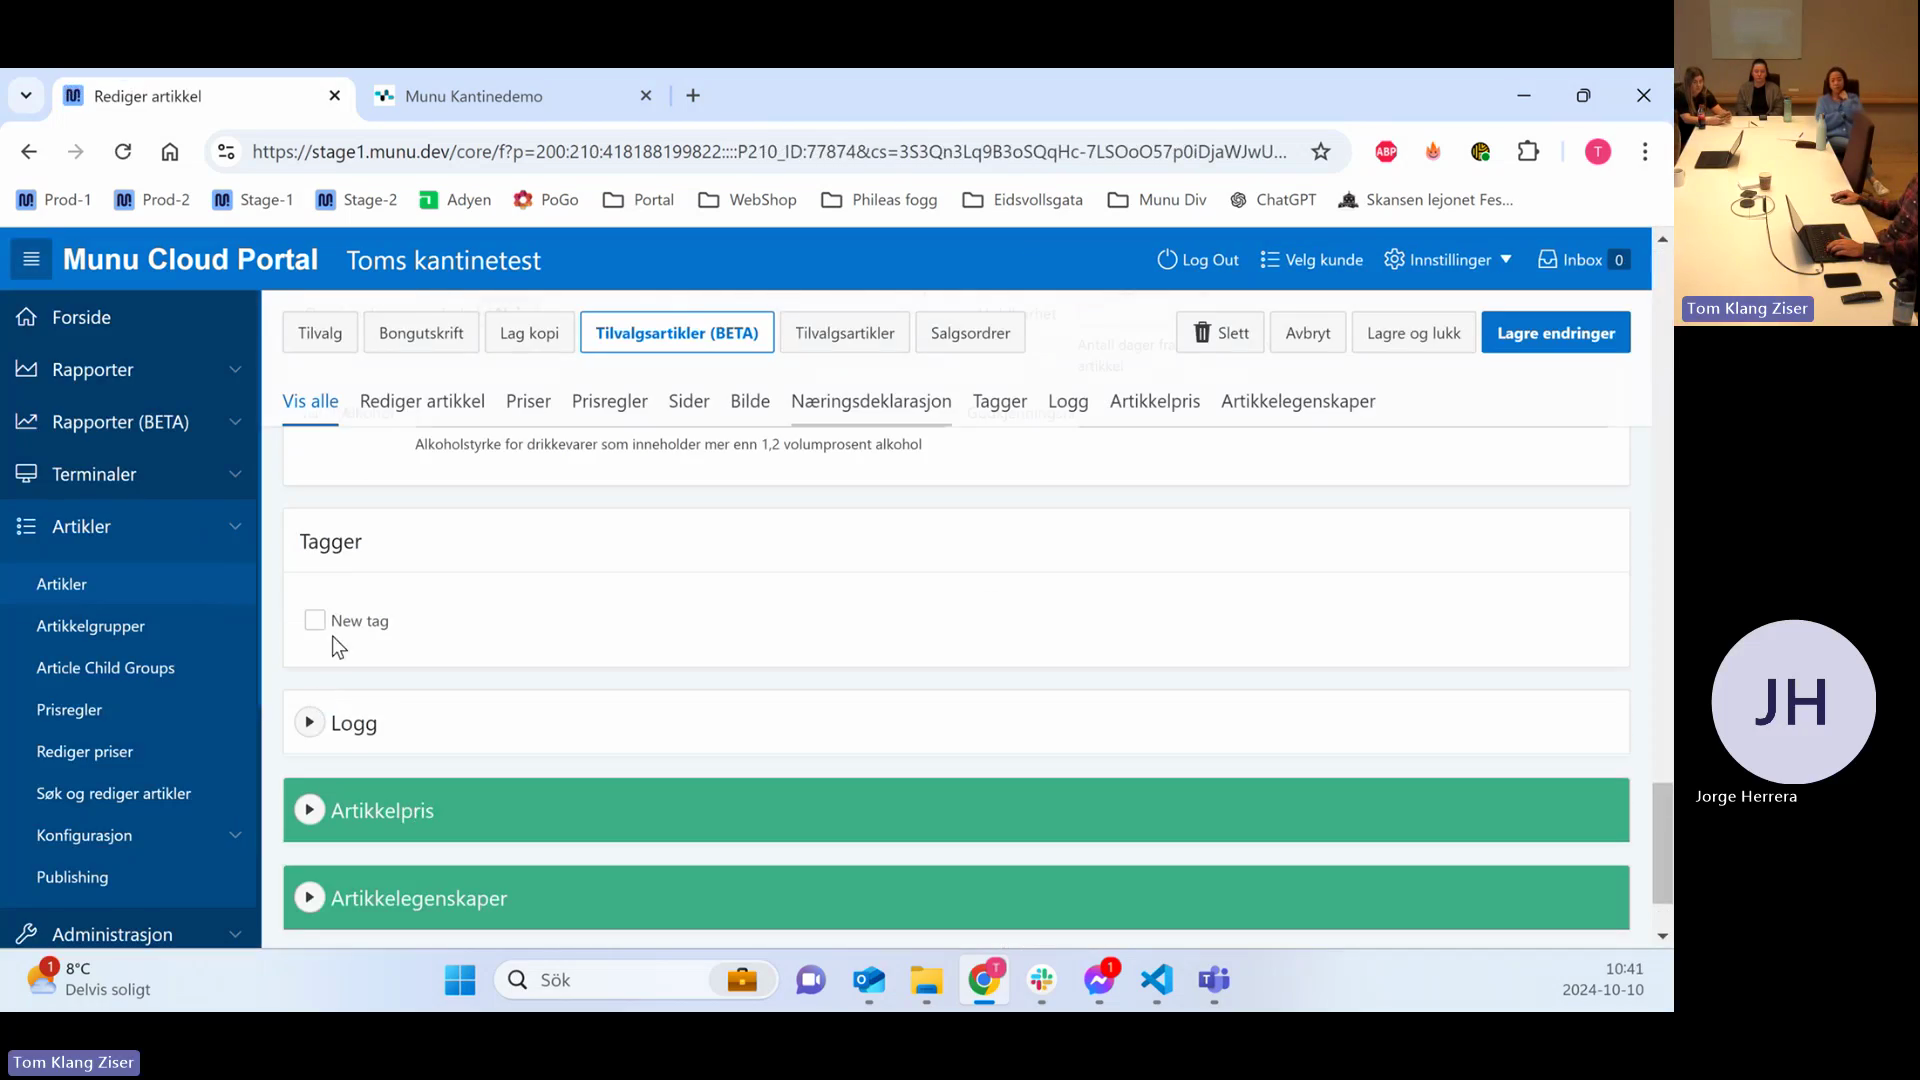
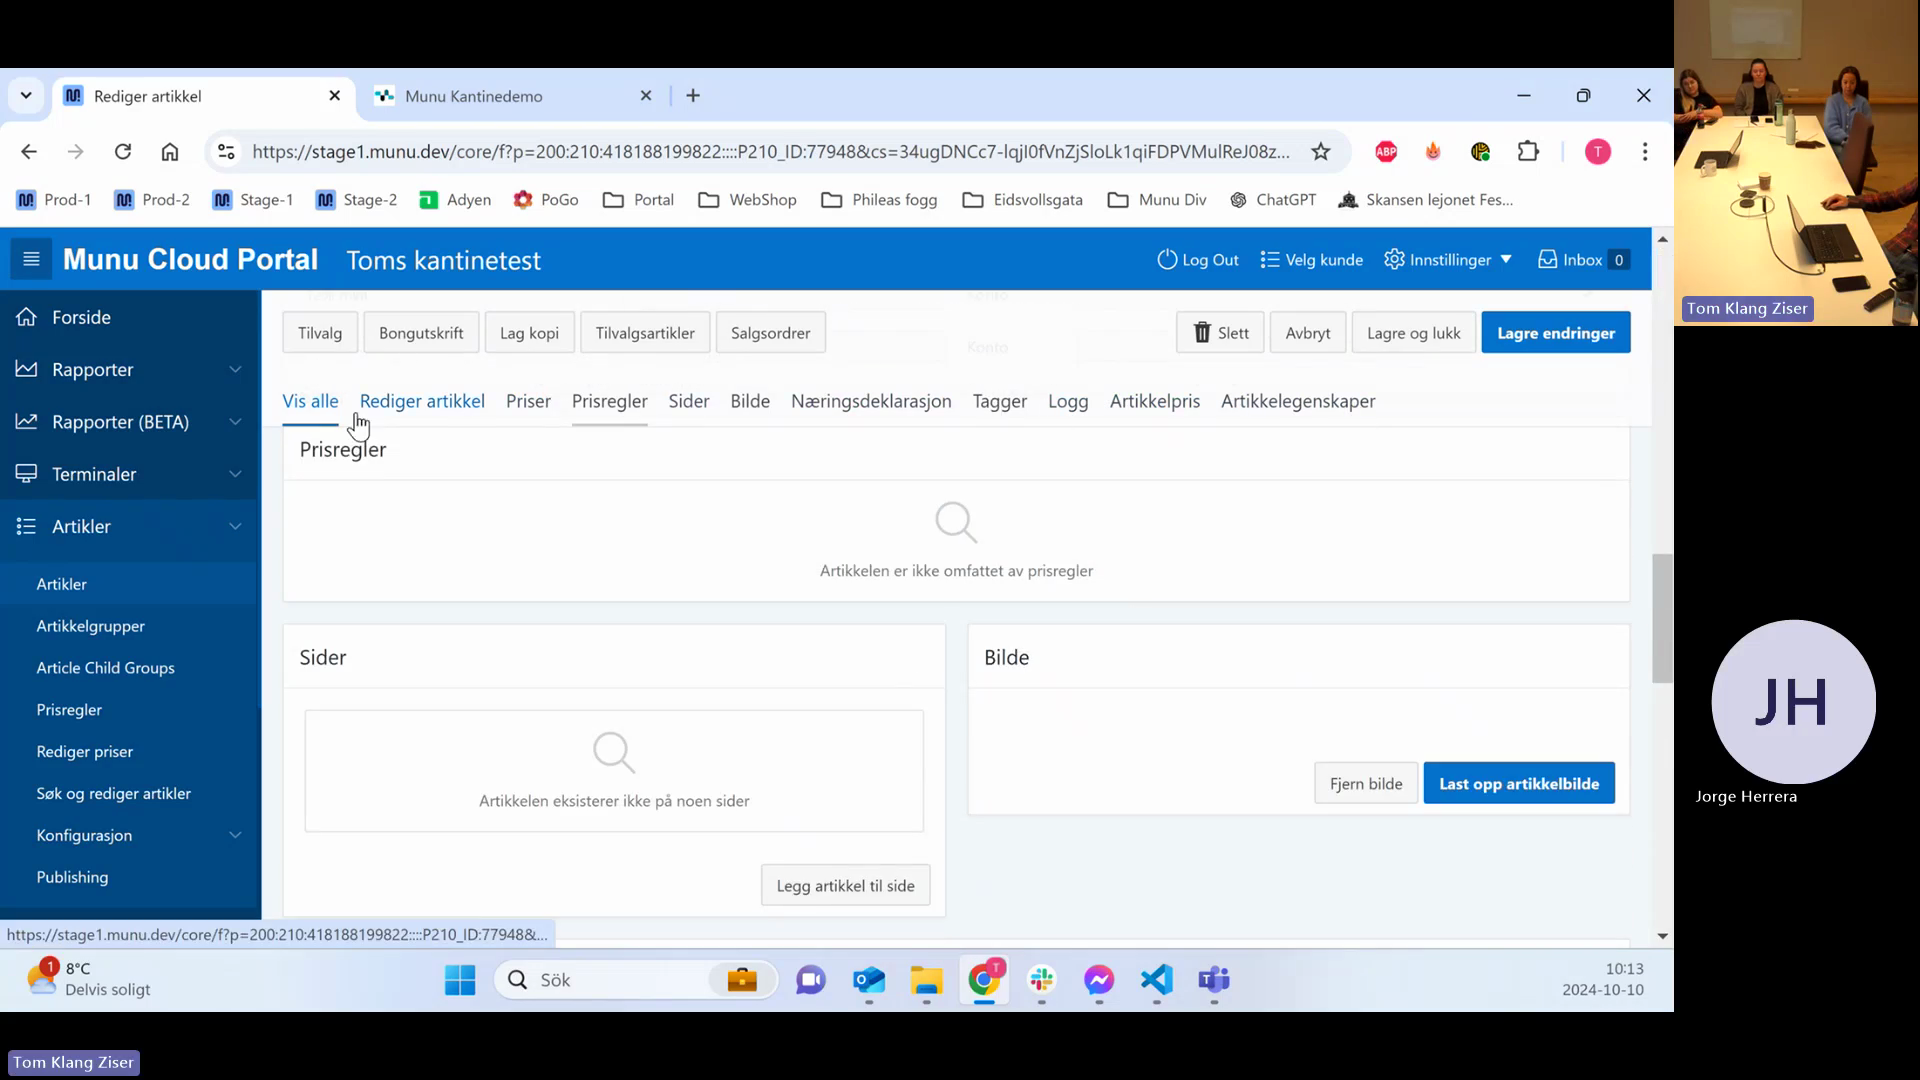
Pages, Images, and Tags

43
Click the Sider tab to see where the article is published.
Step #43: Click the Sider tab to see where the article is published.
44
Click Legg artikkel til side (Add article to page).
Step #44: Click Legg artikkel til side (Add article to page).
45
Select the desired page and click Legg til (Add).
Step #45: Select the desired page and click Legg til (Add).
46
Click the Bilde tab to manage images.
Step #46: Click the Bilde tab to manage images.
47
Click Last opp artikkelbilde to upload an image from your device.
Step #47: Click Last opp artikkelbilde to upload an image from your device.

Tags can be used to group disparate items for custom reporting.

48
Click the Tagger tab.
Step #48: Click the Tagger tab.
49
Check the box next to an existing tag to assign it to the article.
Step #49: Check the box next to an existing tag to assign it to the article.
50
To create a new tag, go to Konfigurasjon > Artikkeltagger in the main navigation menu.
Step #50: To create a new tag, go to Konfigurasjon > Artikkeltagger in the main navigation menu.

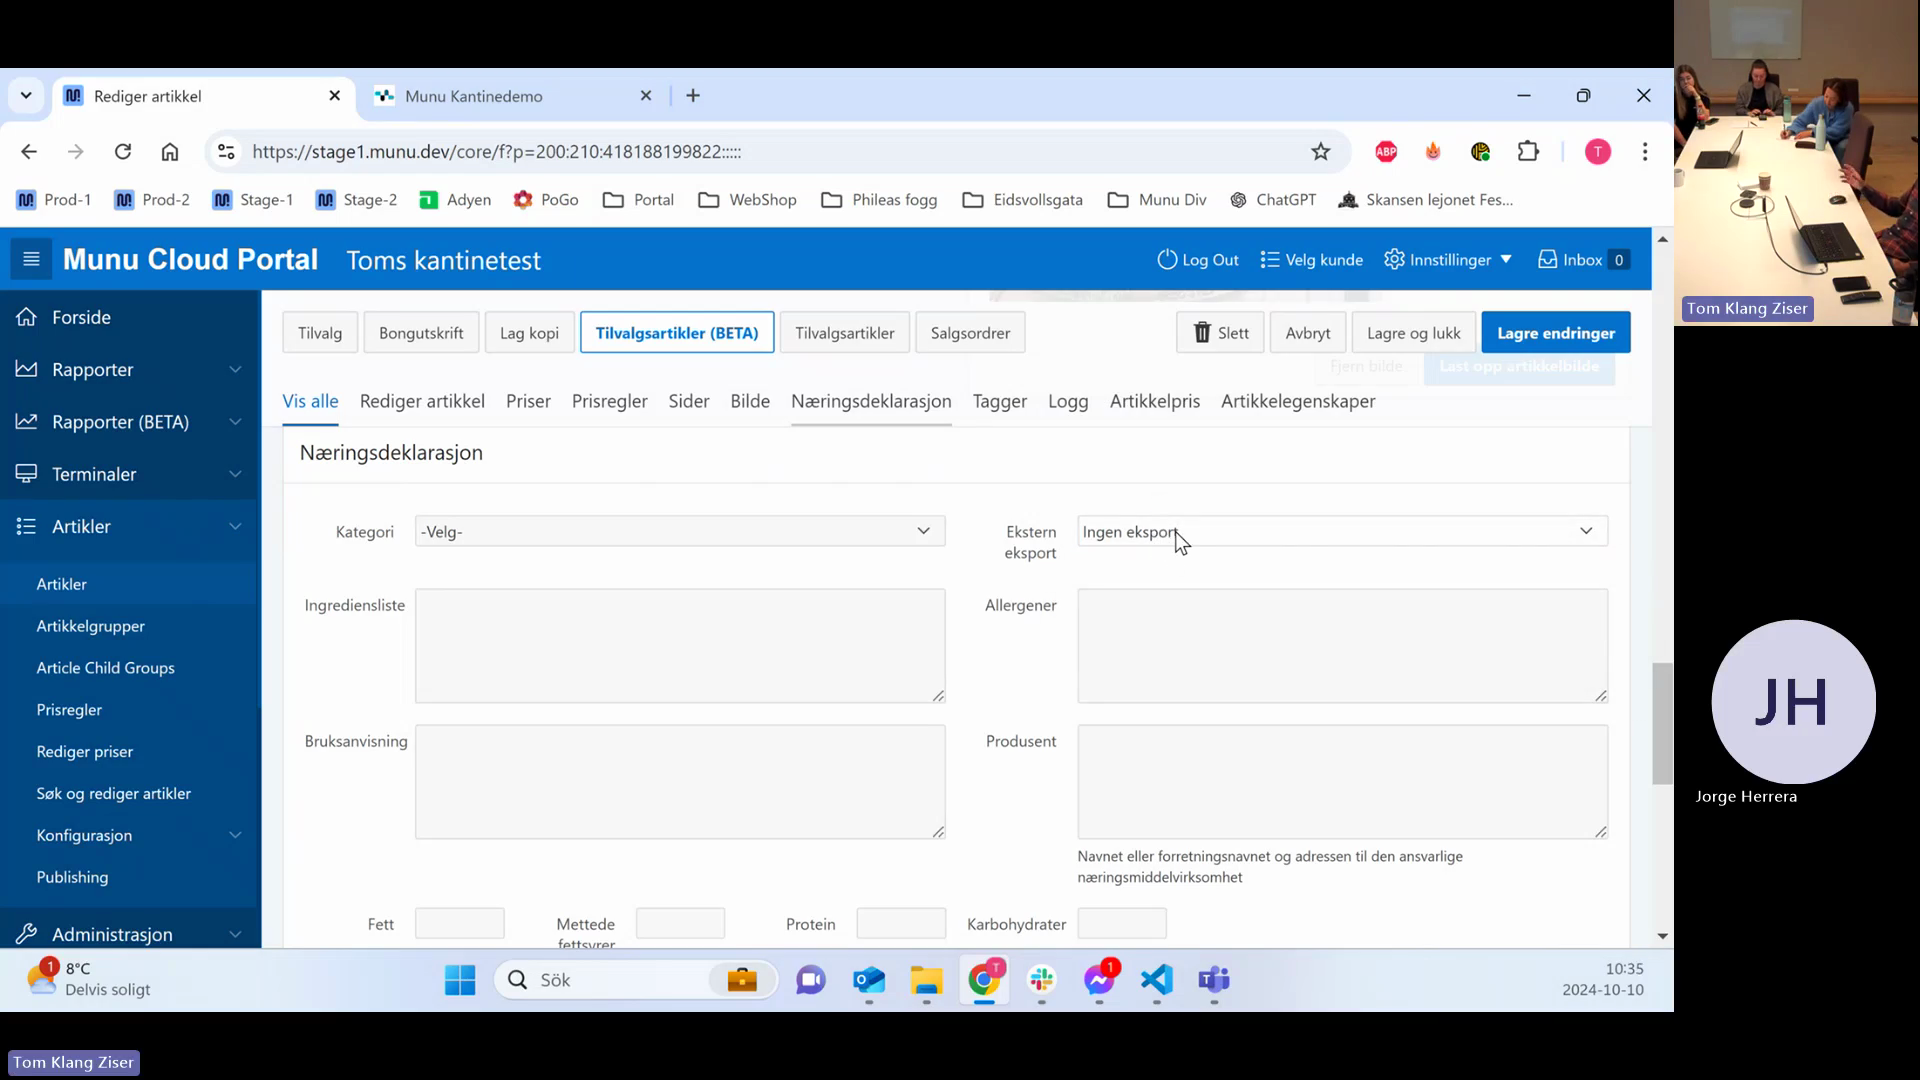
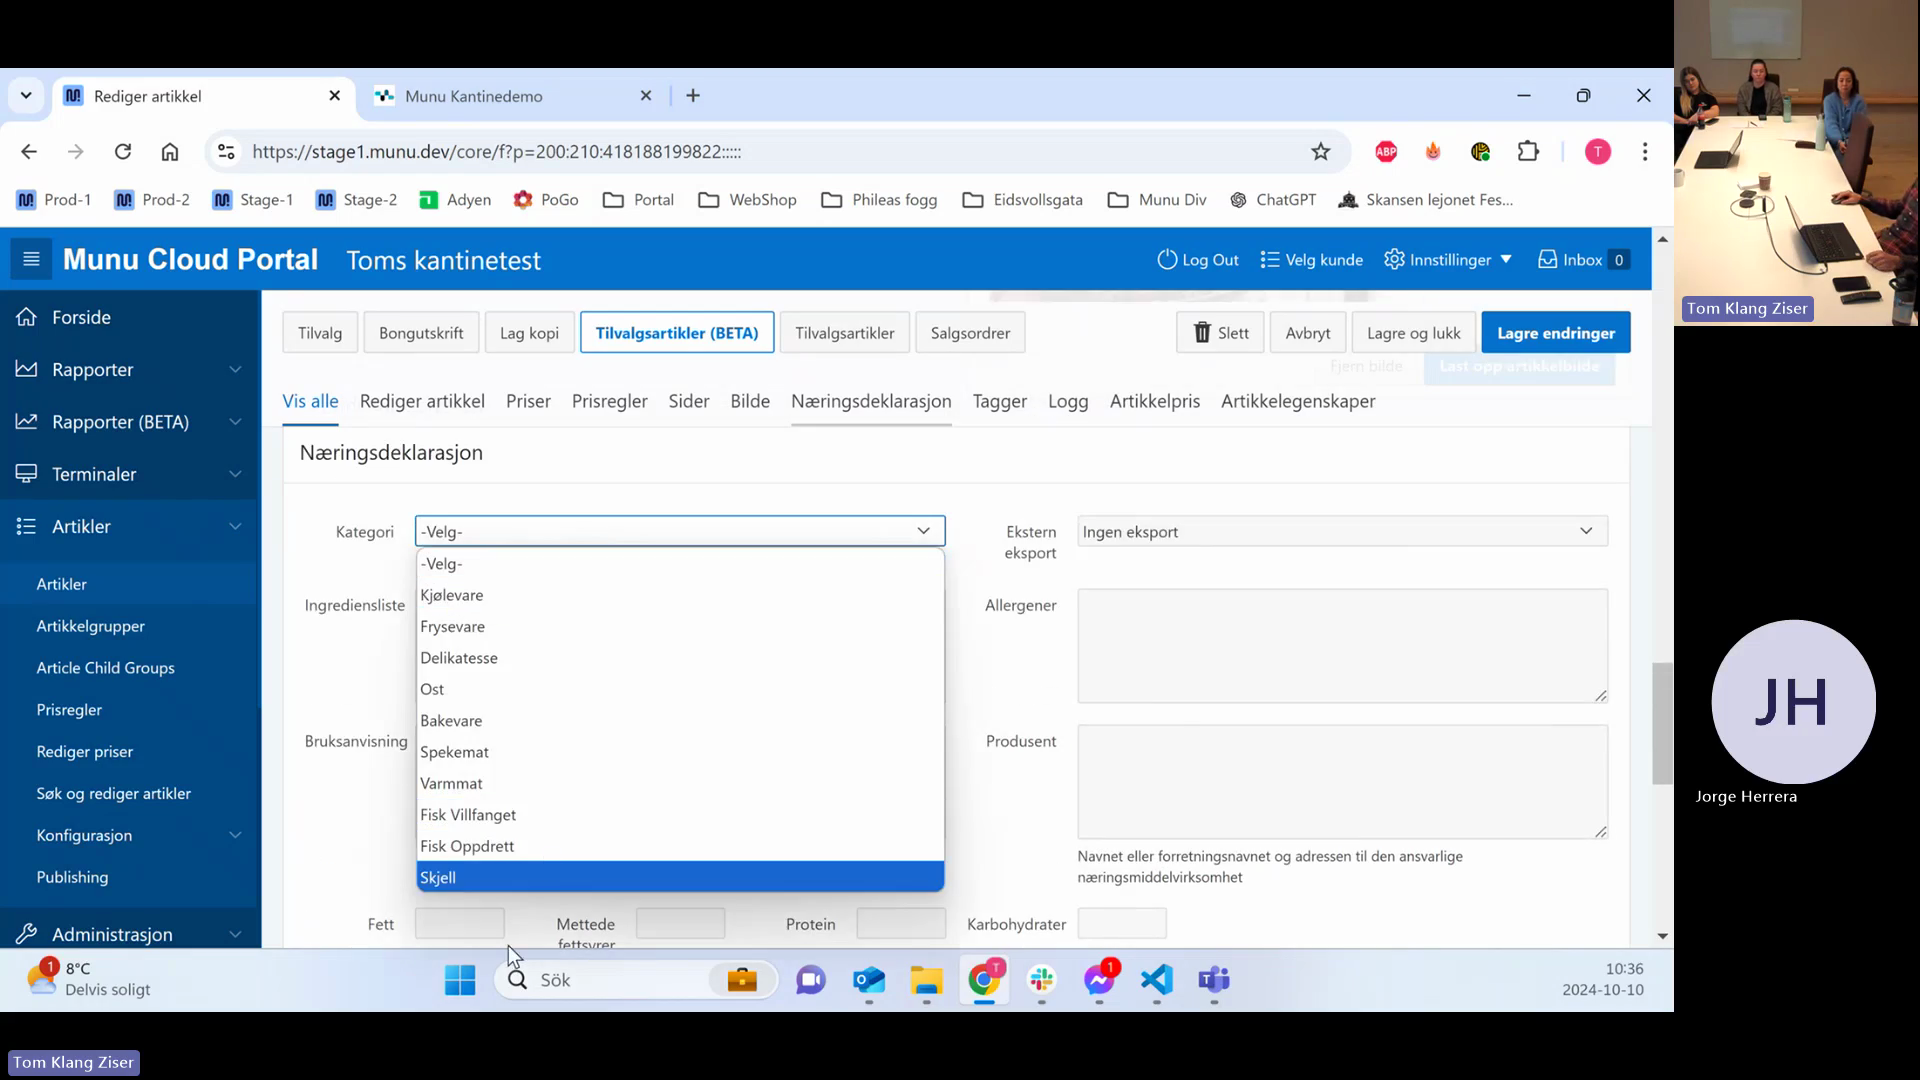
Nutritional Declaration and External Scales

The Nutritional Declaration module (Næringsdeklarasjon) requires activation. It allows you to define allergies and sync data to large external deli scales.

51
Click the Næringsdeklarasjon tab.
Step #51: Click the Næringsdeklarasjon tab.

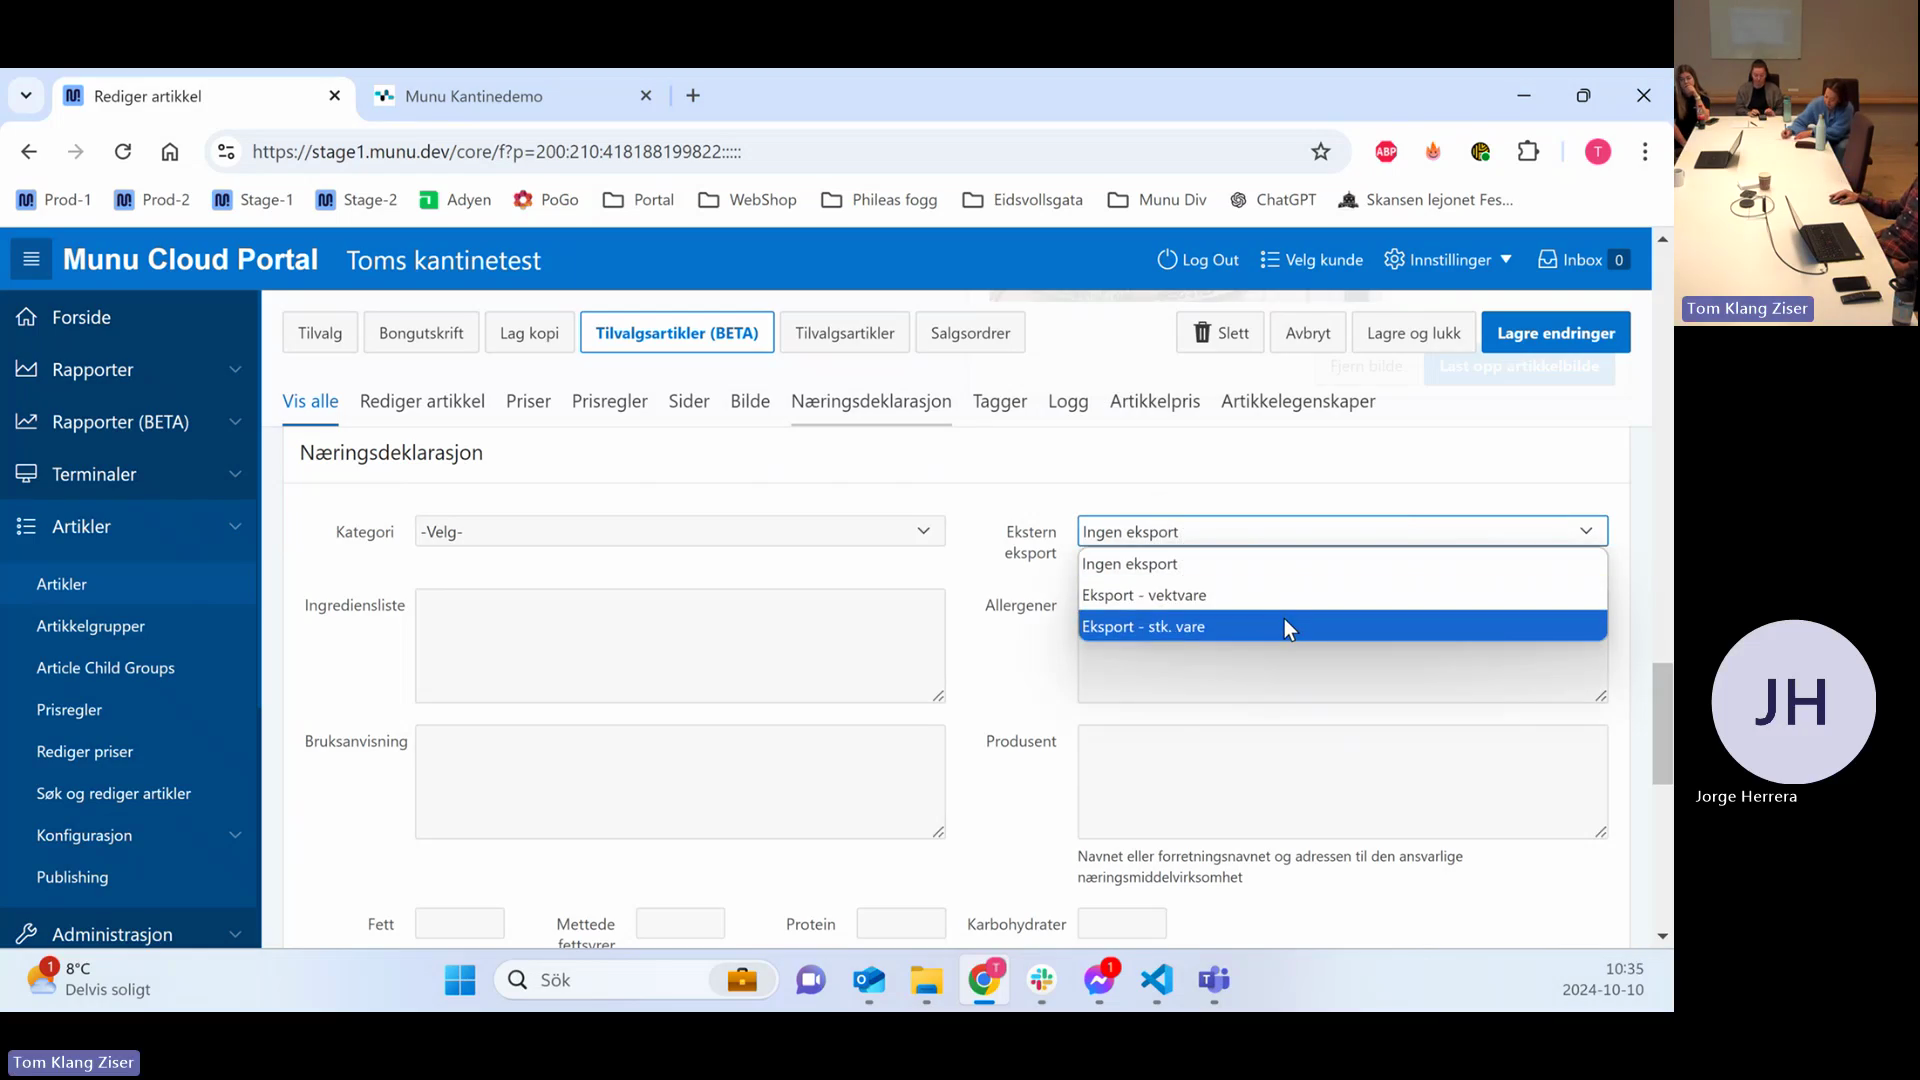
Select the appropriate export type for your external scale.

Export Type

Use Case

Pricing Behavior

Ingen eksport

Item is not exported to external scales.

N/A

Eksport - vektvare

Item sold by weight.

Price calculated per kilo.

Eksport - stk. vare

Item sold by the piece.

Fixed price per item.

52
Click the Ekstern eksport drop-down menu.
Step #52: Click the Ekstern eksport drop-down menu.
53
Select the appropriate export type.
Step #53: Select the appropriate export type.
54
Click the Kategori drop-down menu.
Step #54: Click the Kategori drop-down menu.
55
Select a category to enforce what nutritional information must print on the label.
Step #55: Select a category to enforce what nutritional information must print on the label.

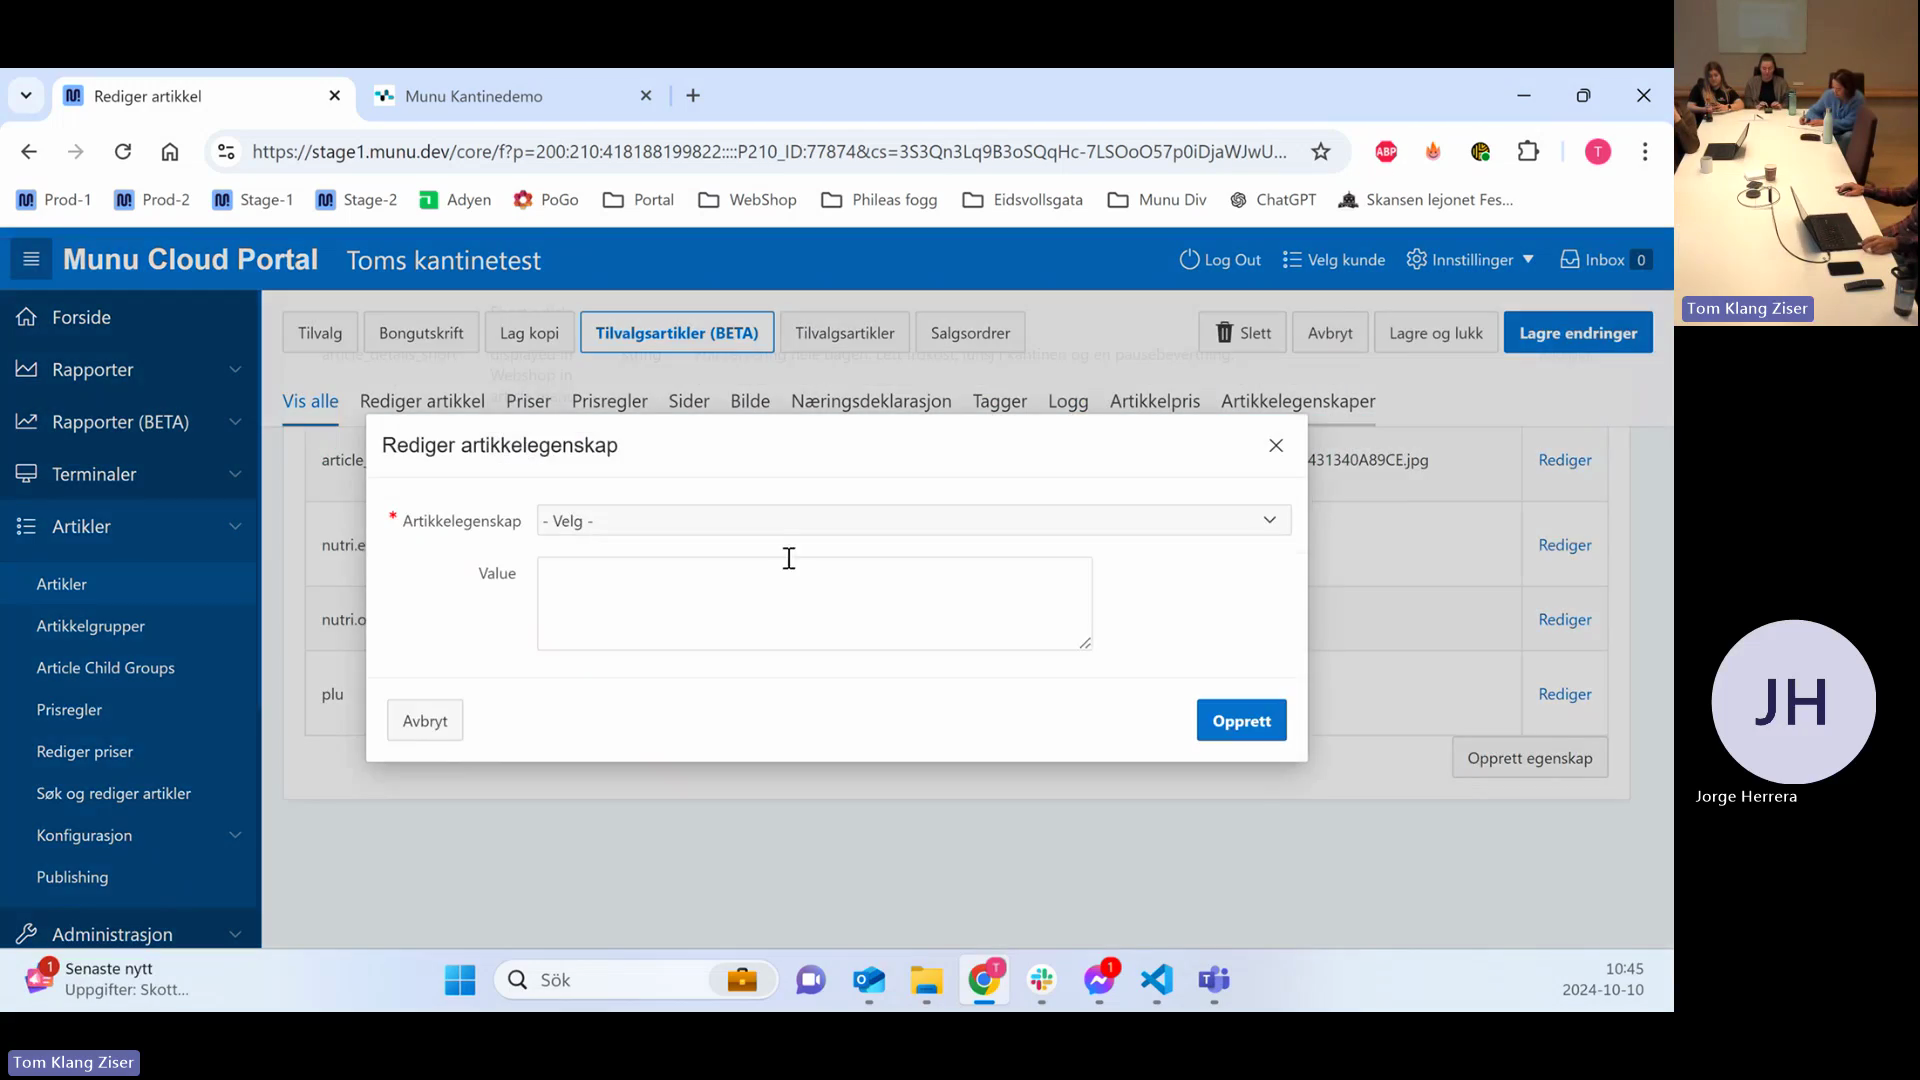
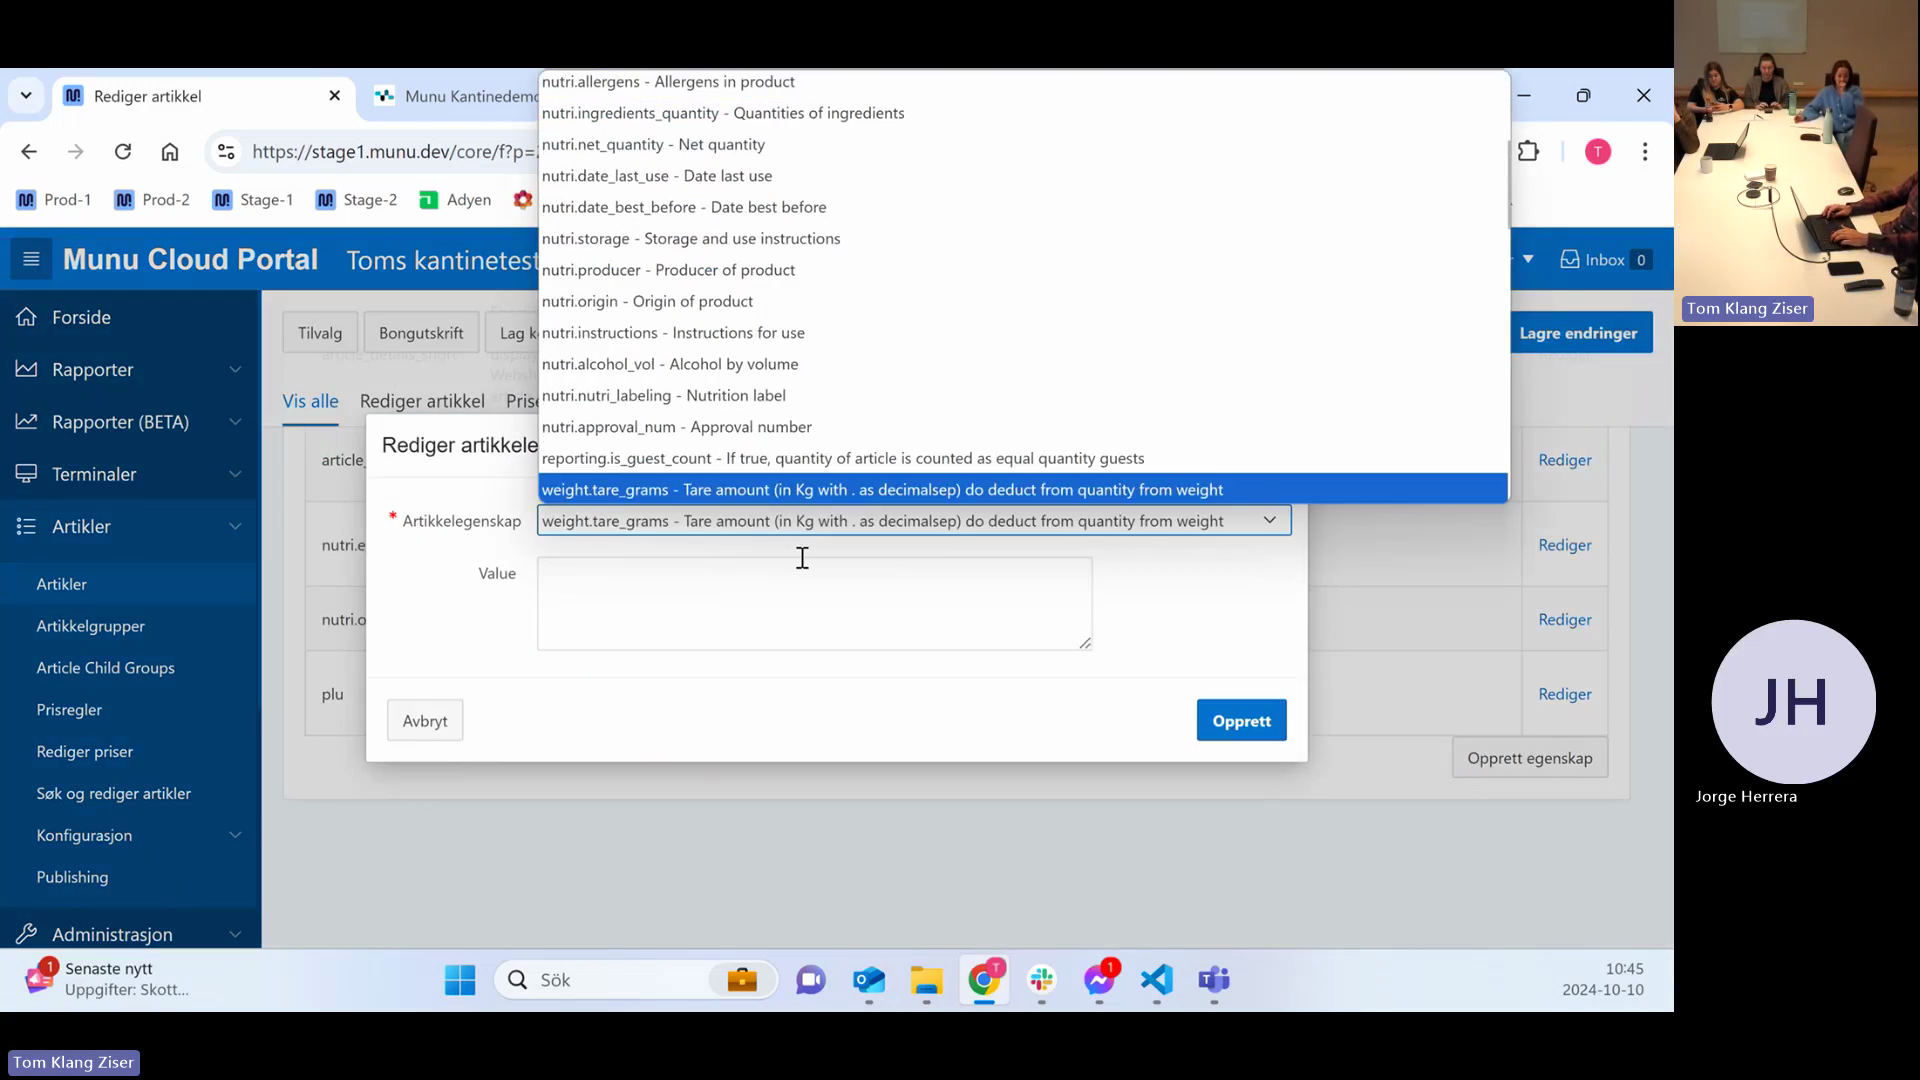
Article Properties (Tare Weight)

Article properties handle specific overrides, such as subtracting the weight of a plate (Tare) from a weighable buffet item.

56
Click the Artikkelegenskaper tab.
Step #56: Click the Artikkelegenskaper tab.
57
Click Opprett egenskap (Create property).
Step #57: Click Opprett egenskap (Create property).
58
Click the Artikkelegenskap drop-down menu.
Step #58: Click the Artikkelegenskap drop-down menu.
59
Select weight.tare_grams.
Step #59: Select weight.tare_grams.
60
Enter the plate's weight in kilograms using a decimal point (e.g., enter "0.3" for 300 grams).
61
Click Lagre endringer to save your configurations.
Step #61: Click Lagre endringer to save your configurations.

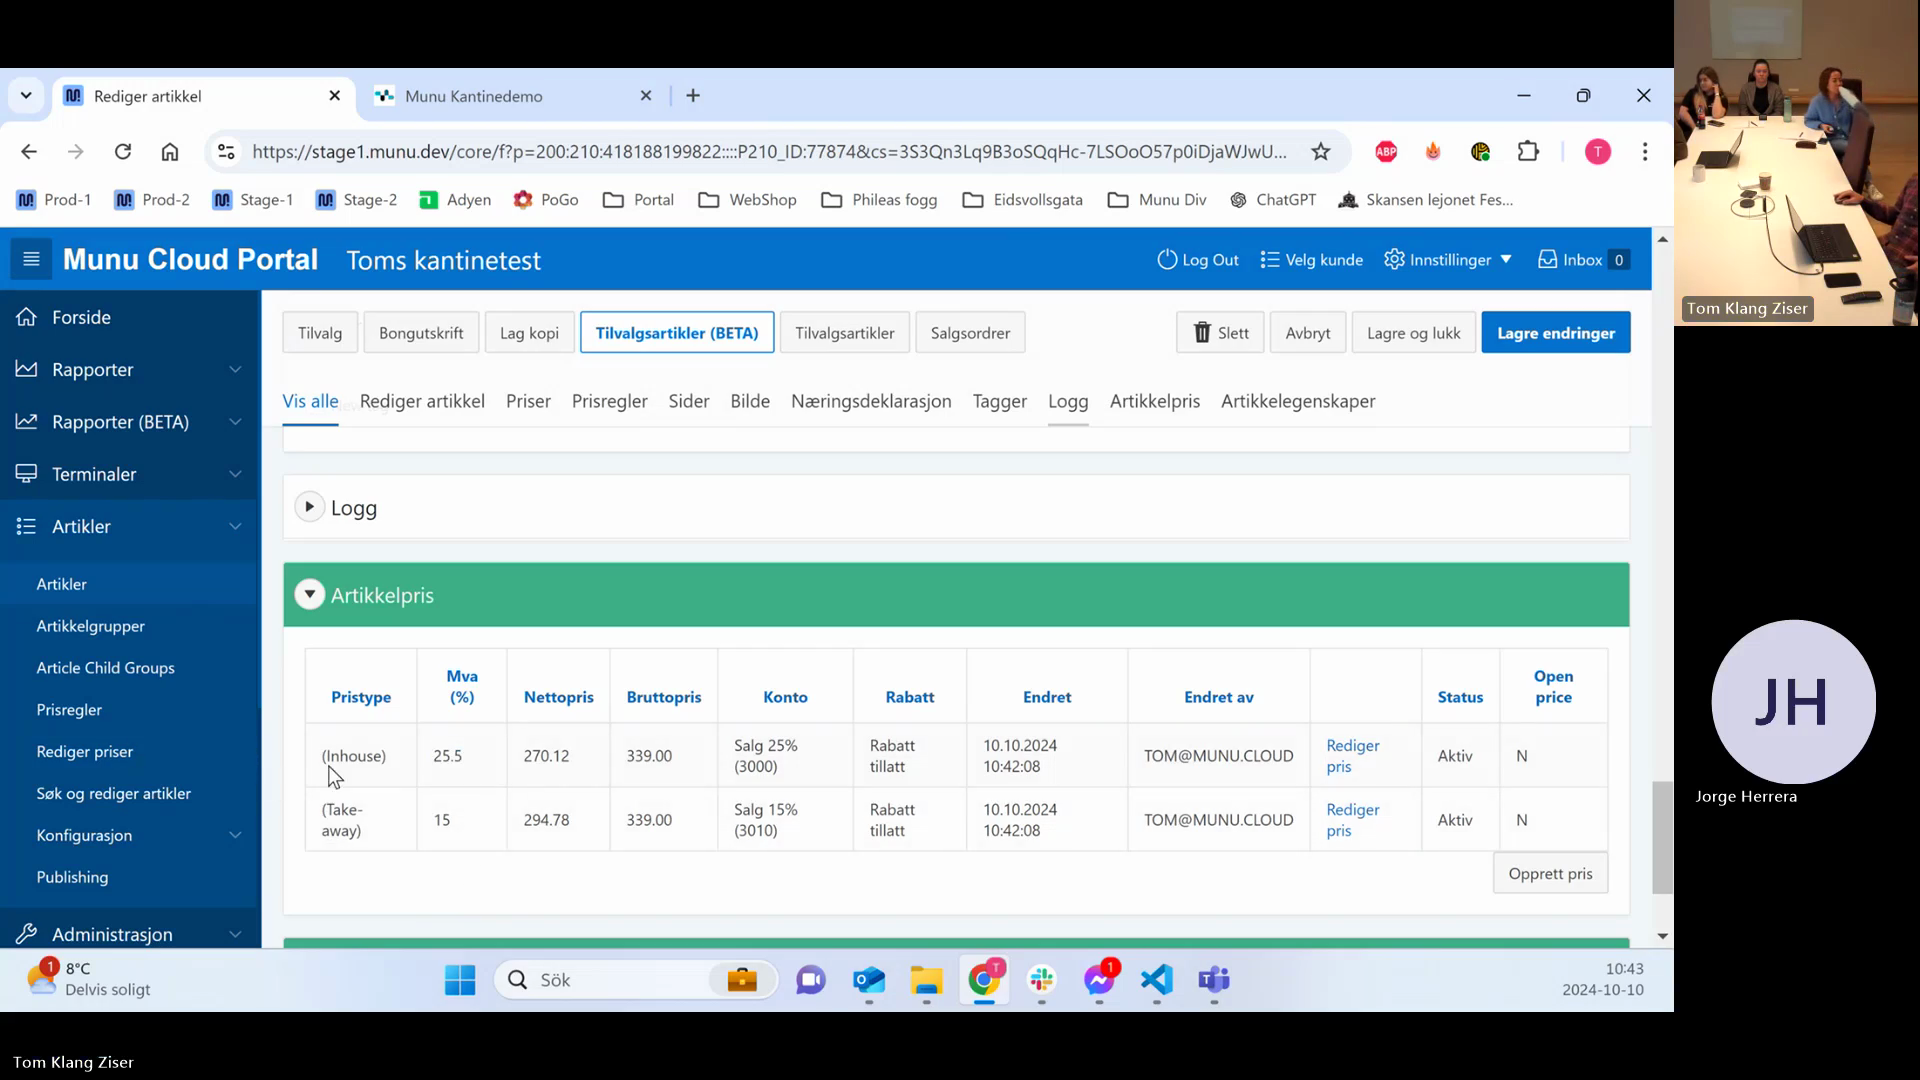
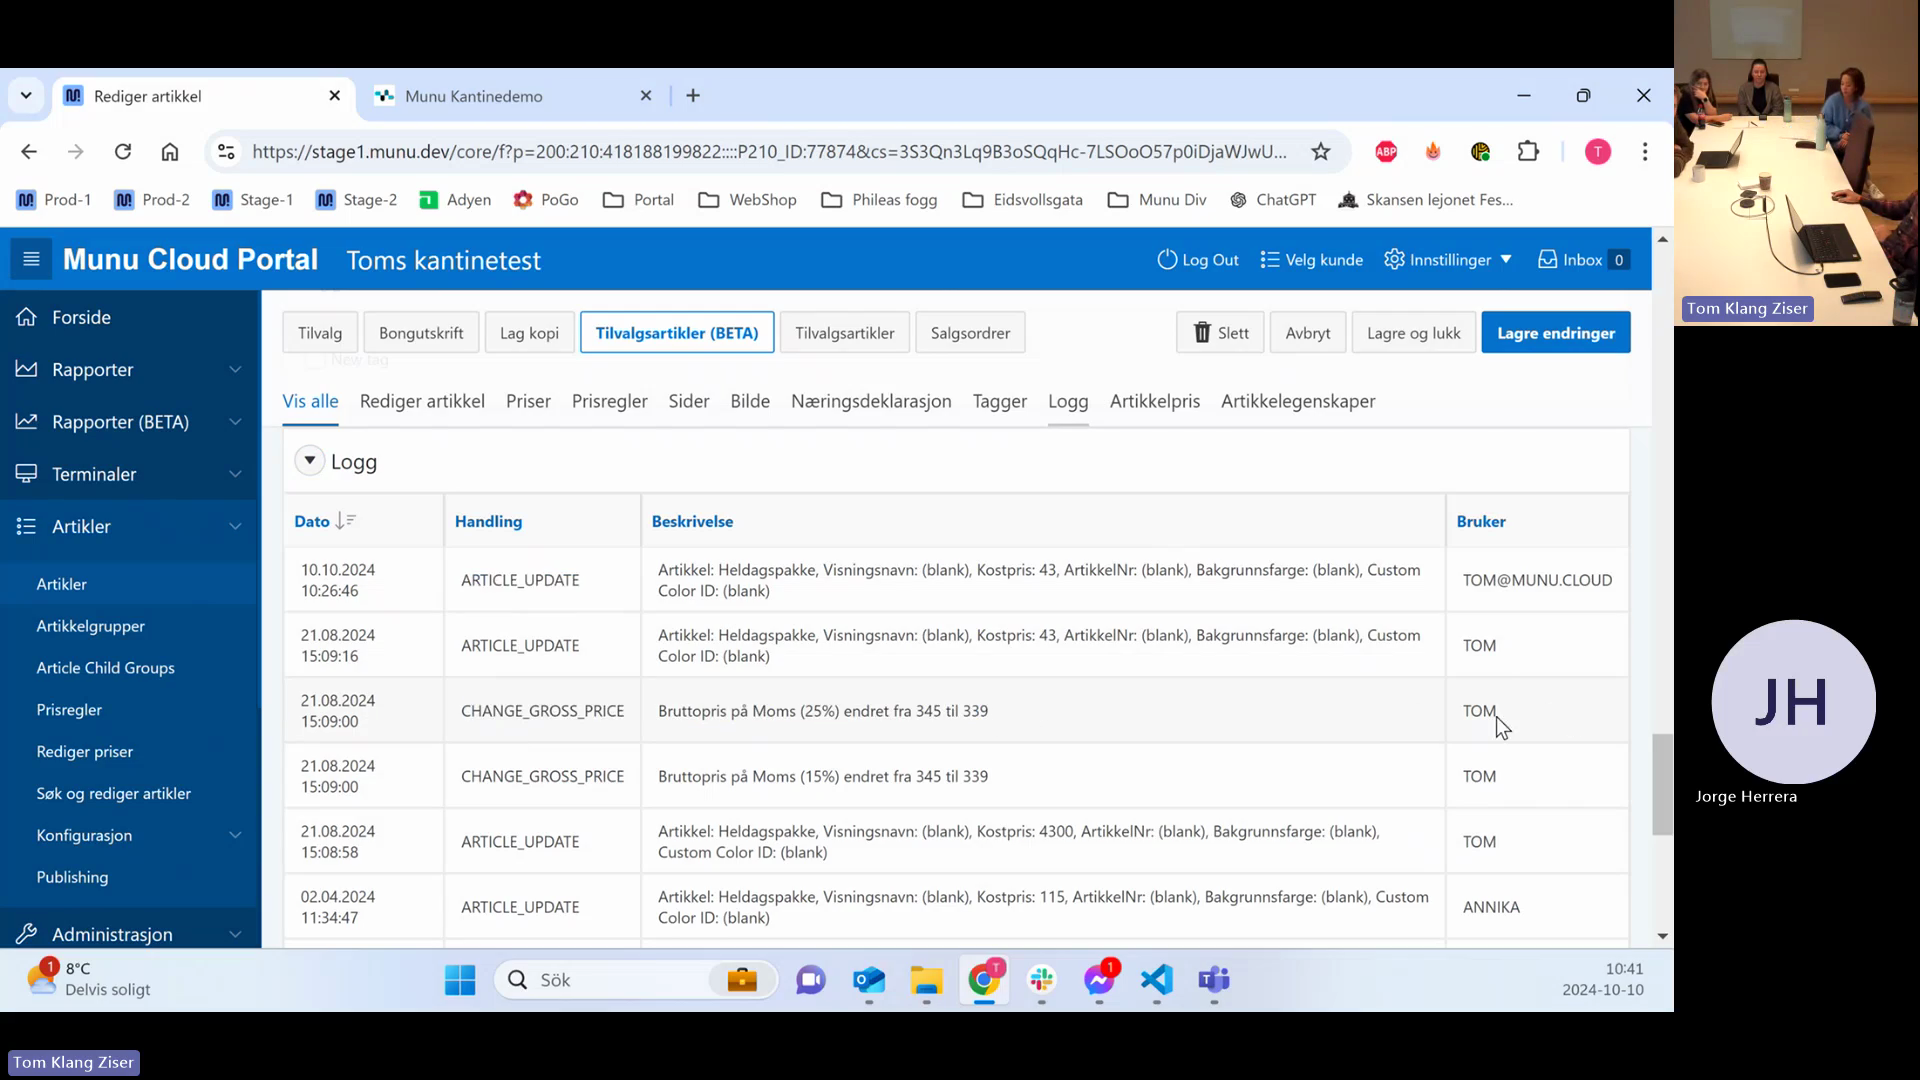
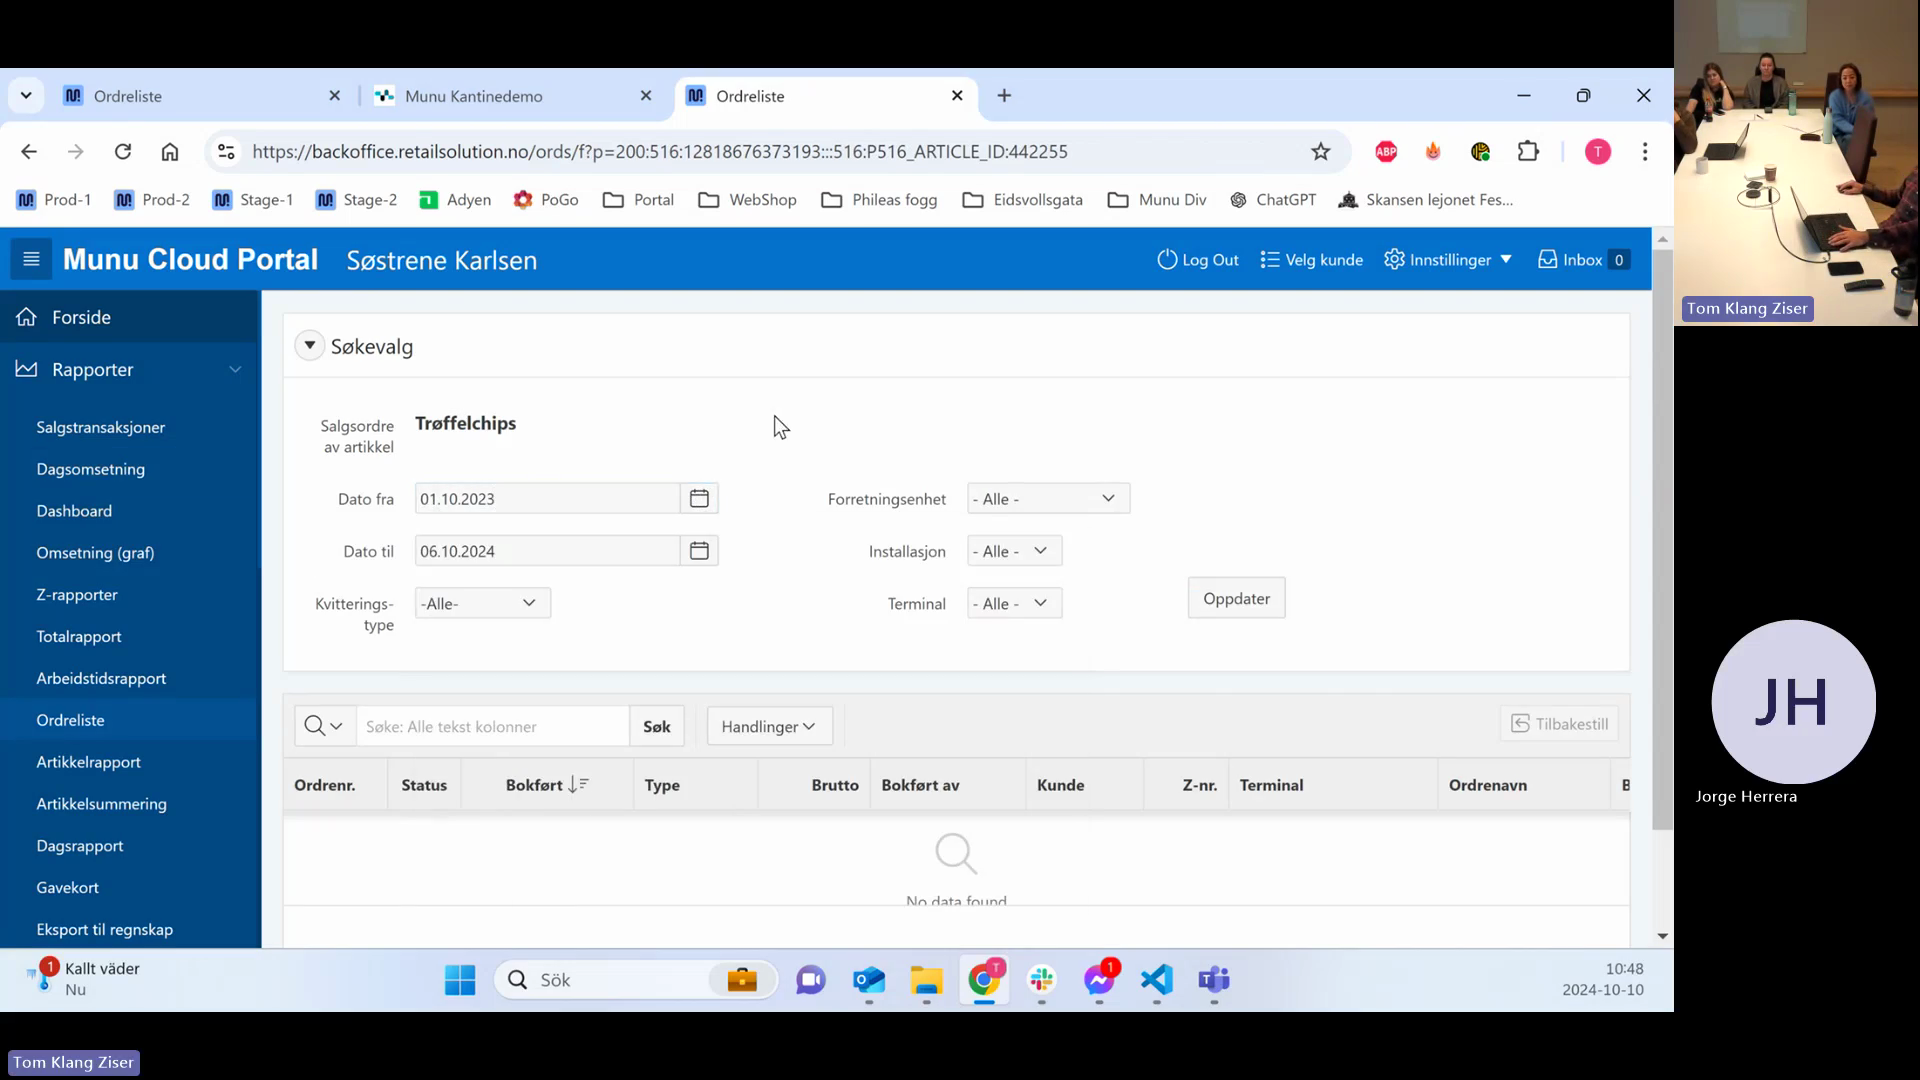
Reviewing Logs and Sales Orders

You can audit price changes and find related sales transactions directly from the article view.

62
Click the Logg tab to view a history of all changes made to the article.
Step #62: Click the Logg tab to view a history of all changes made to the article.
63
Review the user column and timestamp to identify who made specific updates.
Step #63: Review the user column and timestamp to identify who made specific updates.
64
Click the Salgsordrer tab to view transactions containing this specific article.
Step #64: Click the Salgsordrer tab to view transactions containing this specific article.
65
Click the Dato fra (Date from) field to filter the transaction list by date.
Step #65: Click the Dato fra (Date from) field to filter the transaction list by date.
66
Click Oppdater to load the matching sales orders.
Step #66: Click Oppdater to load the matching sales orders.

Q: Do I need to enter an article number?

A: An article number is only required if you are using specific external hardware, such as beverage dispensers or standalone deli scales, or if you generate internal barcodes. Otherwise, it can be left blank.

Q: Should I use the "Vektvare" toggle for large butcher scales?

A: No. The Vektvare toggle is only for scales connected directly to the POS via a USB or COM cable. For large, standalone scales, configure the export settings under the Næringsdeklarasjon tab.

Q: Can I assign multiple barcodes to a single article?

A: Yes. You can add and save multiple barcodes to one article, allowing you to recognize both old and new packaging without duplicating the product in your database.

Q: How does the system handle "Tare" weight for buffet plates?

A: You handle tare weight by adding a specific article property called weight.tare_grams. Ensure you enter the value in kilograms (e.g., 0.3 for 300 grams).

Q: Is there an extra cost to activate the Nutritional Declaration or Weights modules?

A: There are no extra licensing costs to activate these software modules. However, there are hardware costs if the customer needs to purchase the physical scales.

Term

Definition

Article Group

The highest level of categorization for products, used to group related items and set inherited configurations.

Subgroup

A secondary categorization level nested under an article group, which directly holds individual articles.

Display Name (Visningsnavn)

The customer-facing product name displayed on receipts and webshops.

Purchase Price (Innkjøpspris)

The net cost to the business for acquiring the complete article, excluding VAT.

MVA (Merverdiavgift)

The Norwegian value-added tax (VAT) applied to goods and services.

Tare Weight

The weight of an empty container or plate that must be deducted from the gross weight to determine the actual weight of the food item.

Vektvare

A toggle indicating that an item is sold by weight, used specifically for scales connected directly to the POS terminal.

Pant

A bottle deposit automatically added to the cart when a qualifying beverage is sold.