Learn how to process import/export classification requests, update Descartes CIM, handle broker tickets, and generate weekly trade compliance reports.
By Keith Zampino
This guide covers the end-to-end workflow for processing trade compliance requests, including standard classification tickets, Descartes CustomsInfo Manager (CIM) updates, broker incident handling, and reporting.
1. Processing Classification Requests
When a client submits a new classification request, it will automatically generate a ticket in Freshdesk containing a request form and any accompanying documentation (drawings, specs).
1
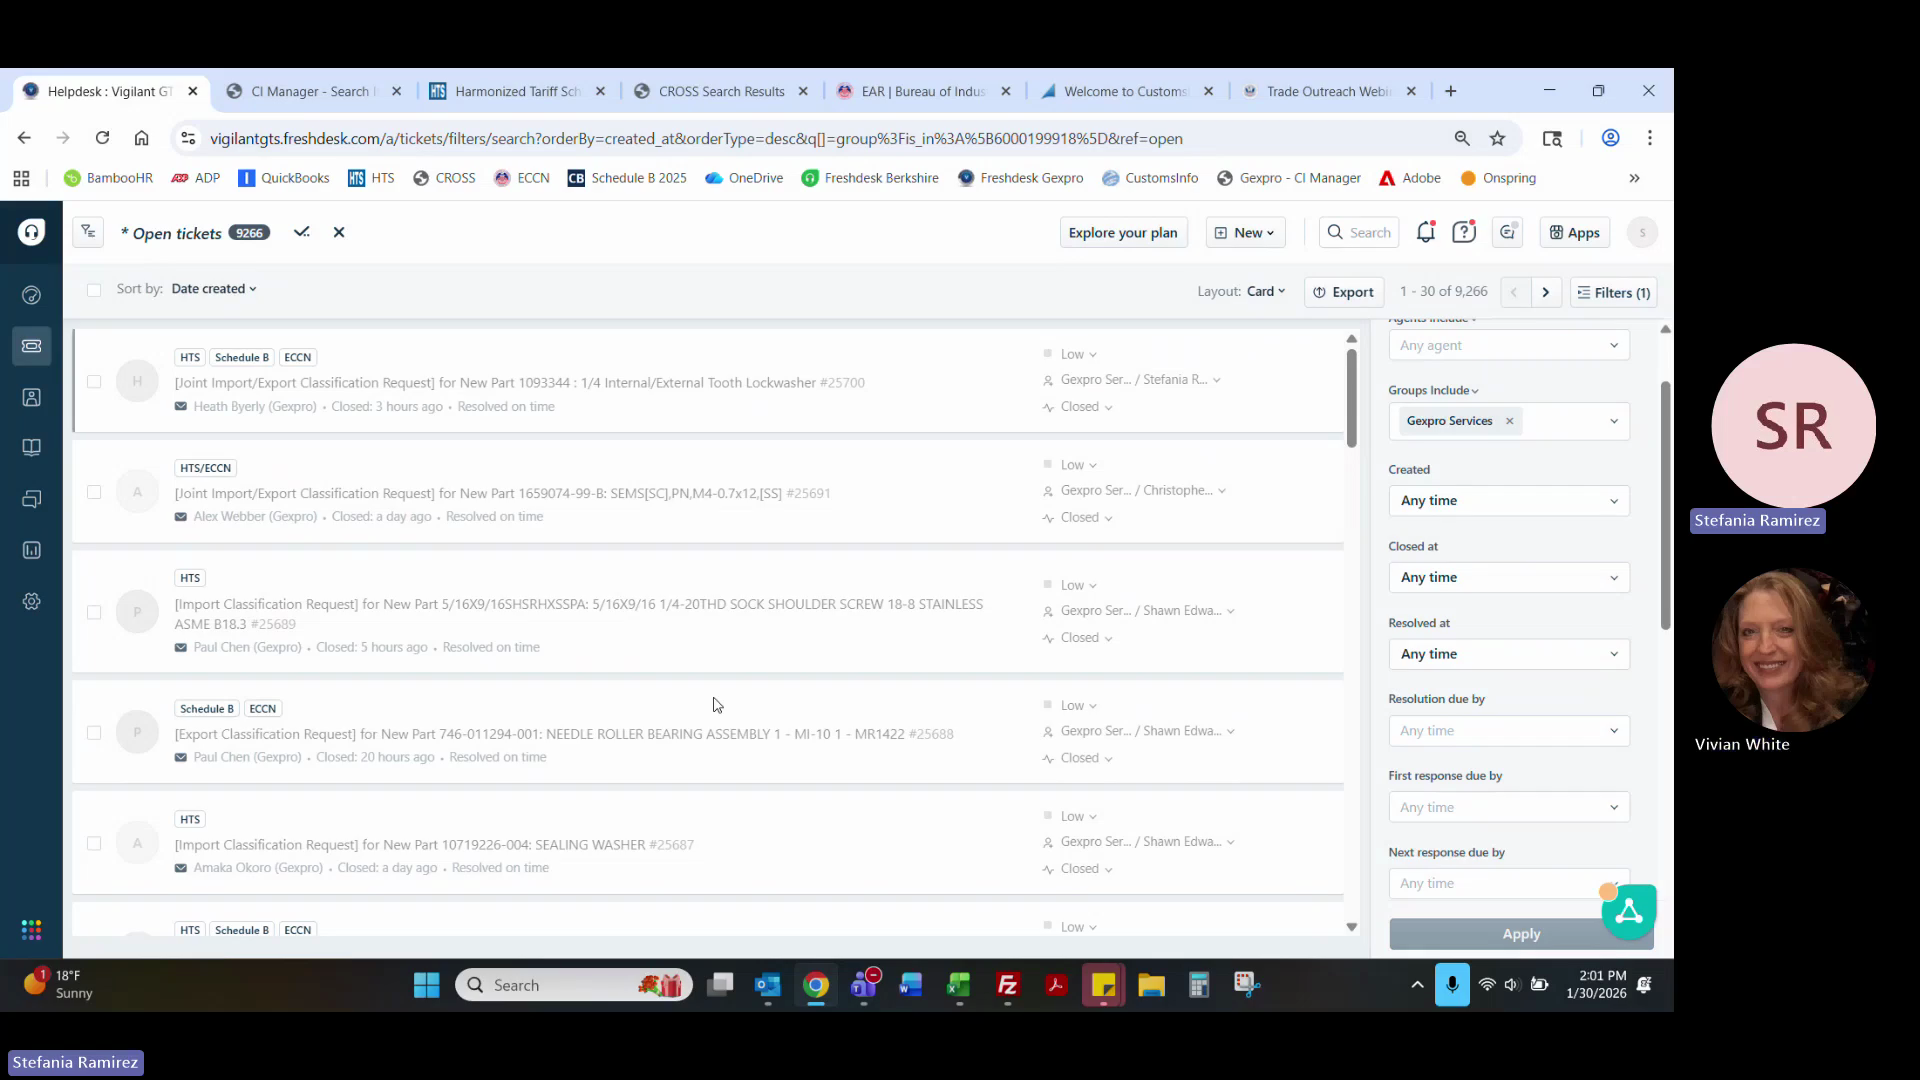
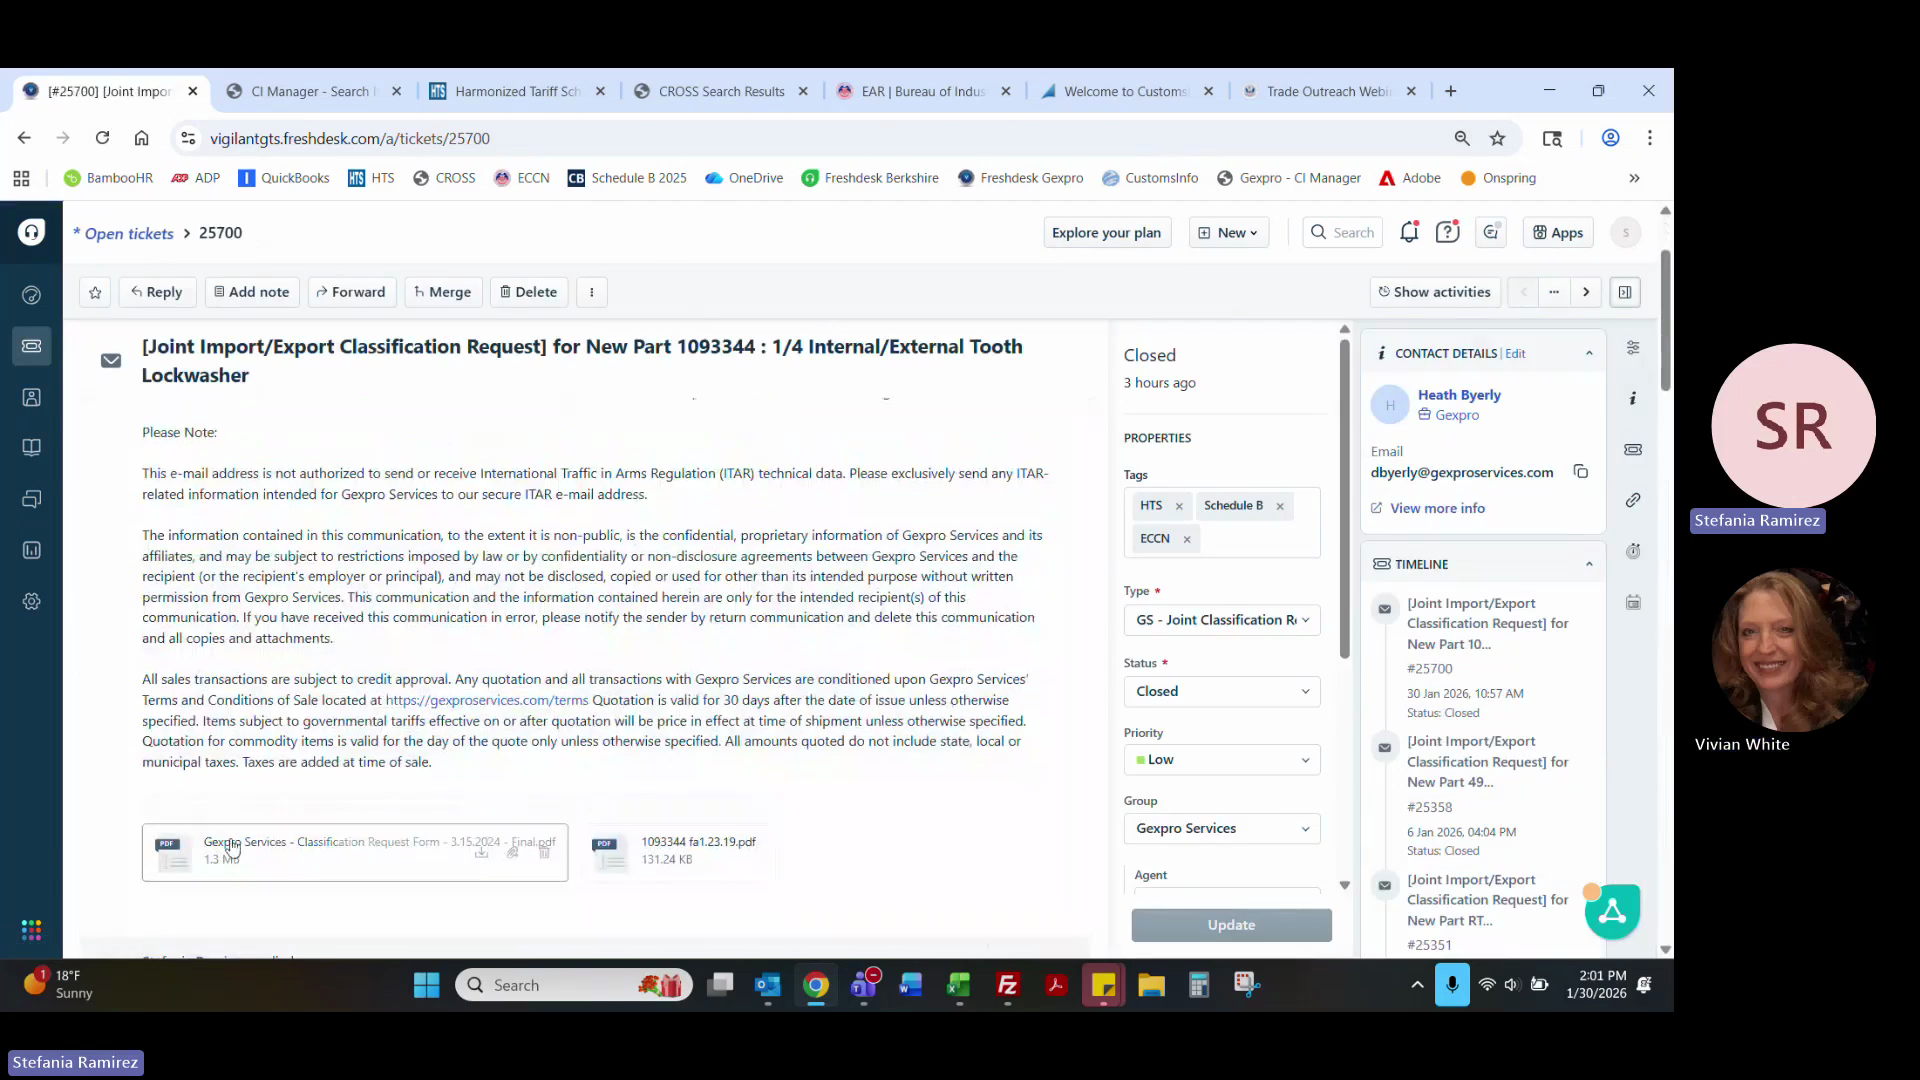
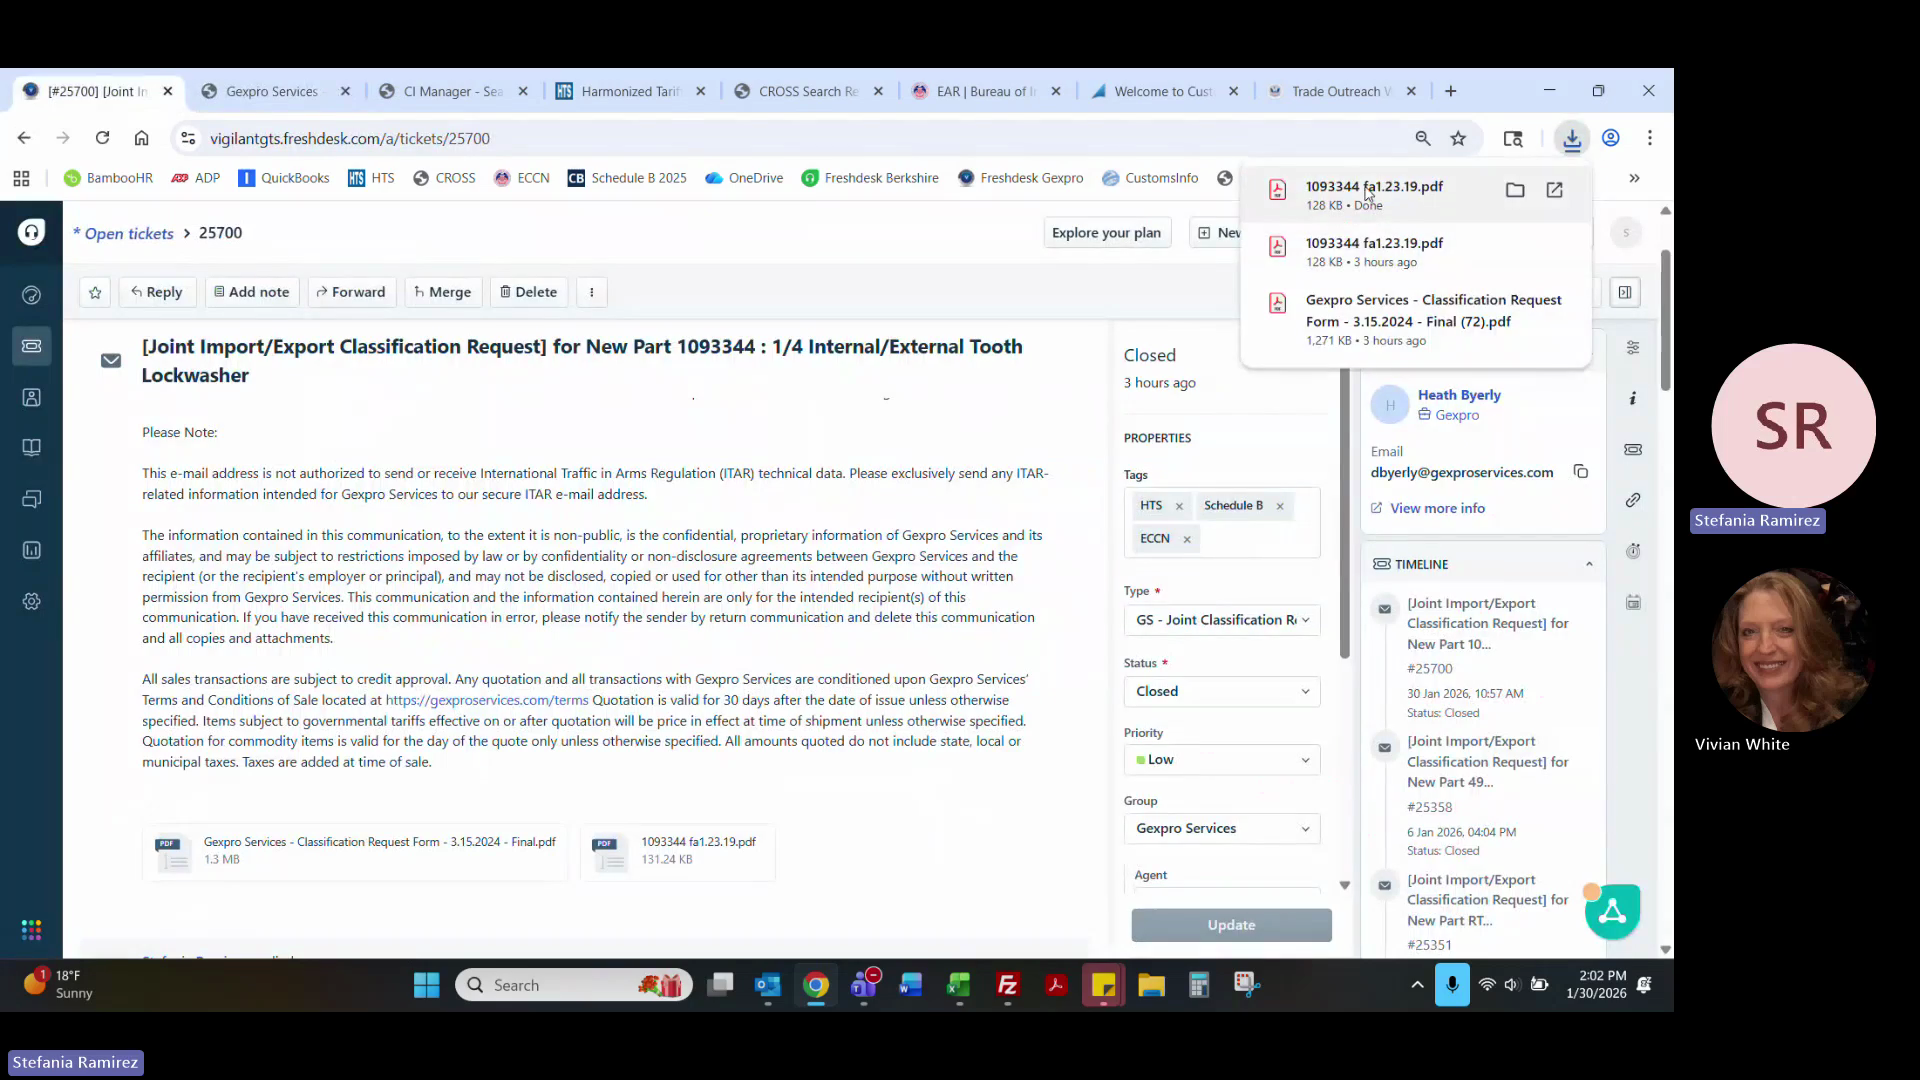
Open the classification request ticket in Freshdesk.
2
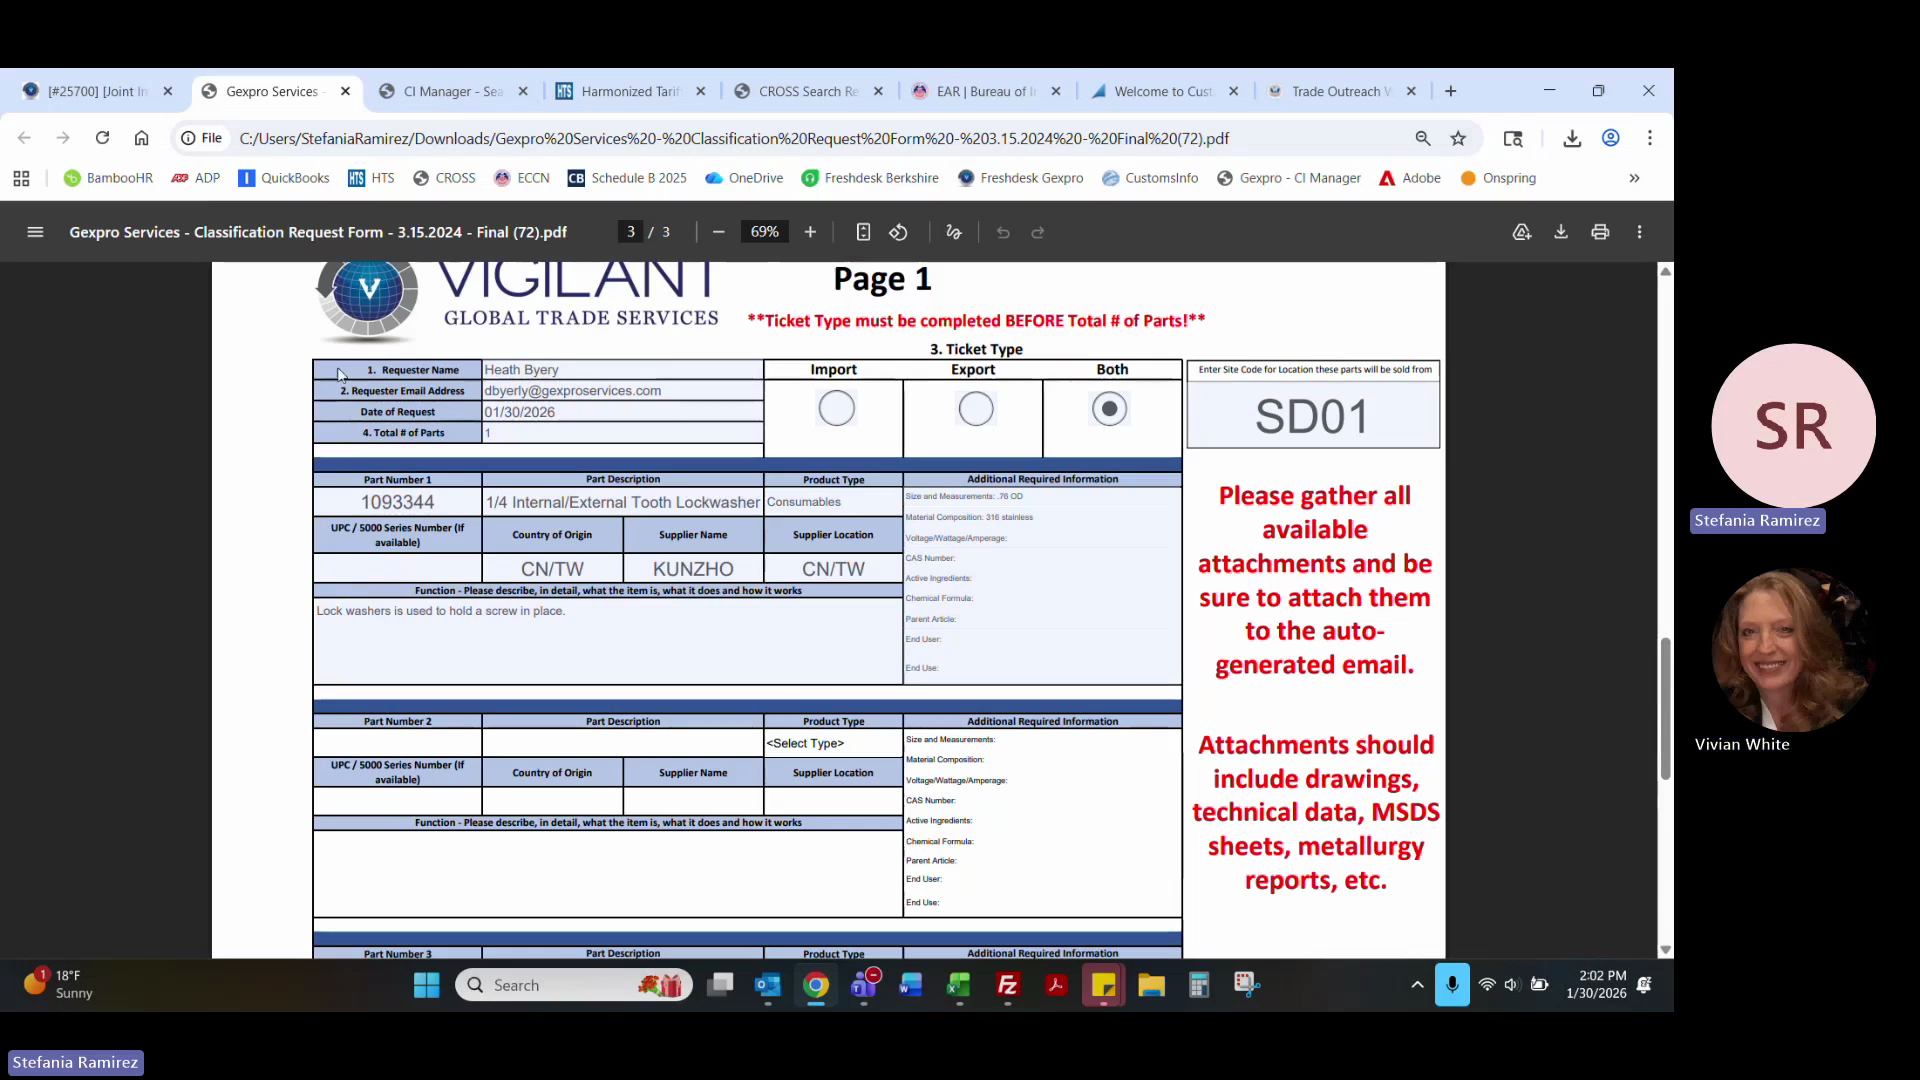
Click the attached PDF form to view the request documents.
3
Review the instruction sheet and proceed to the request form.
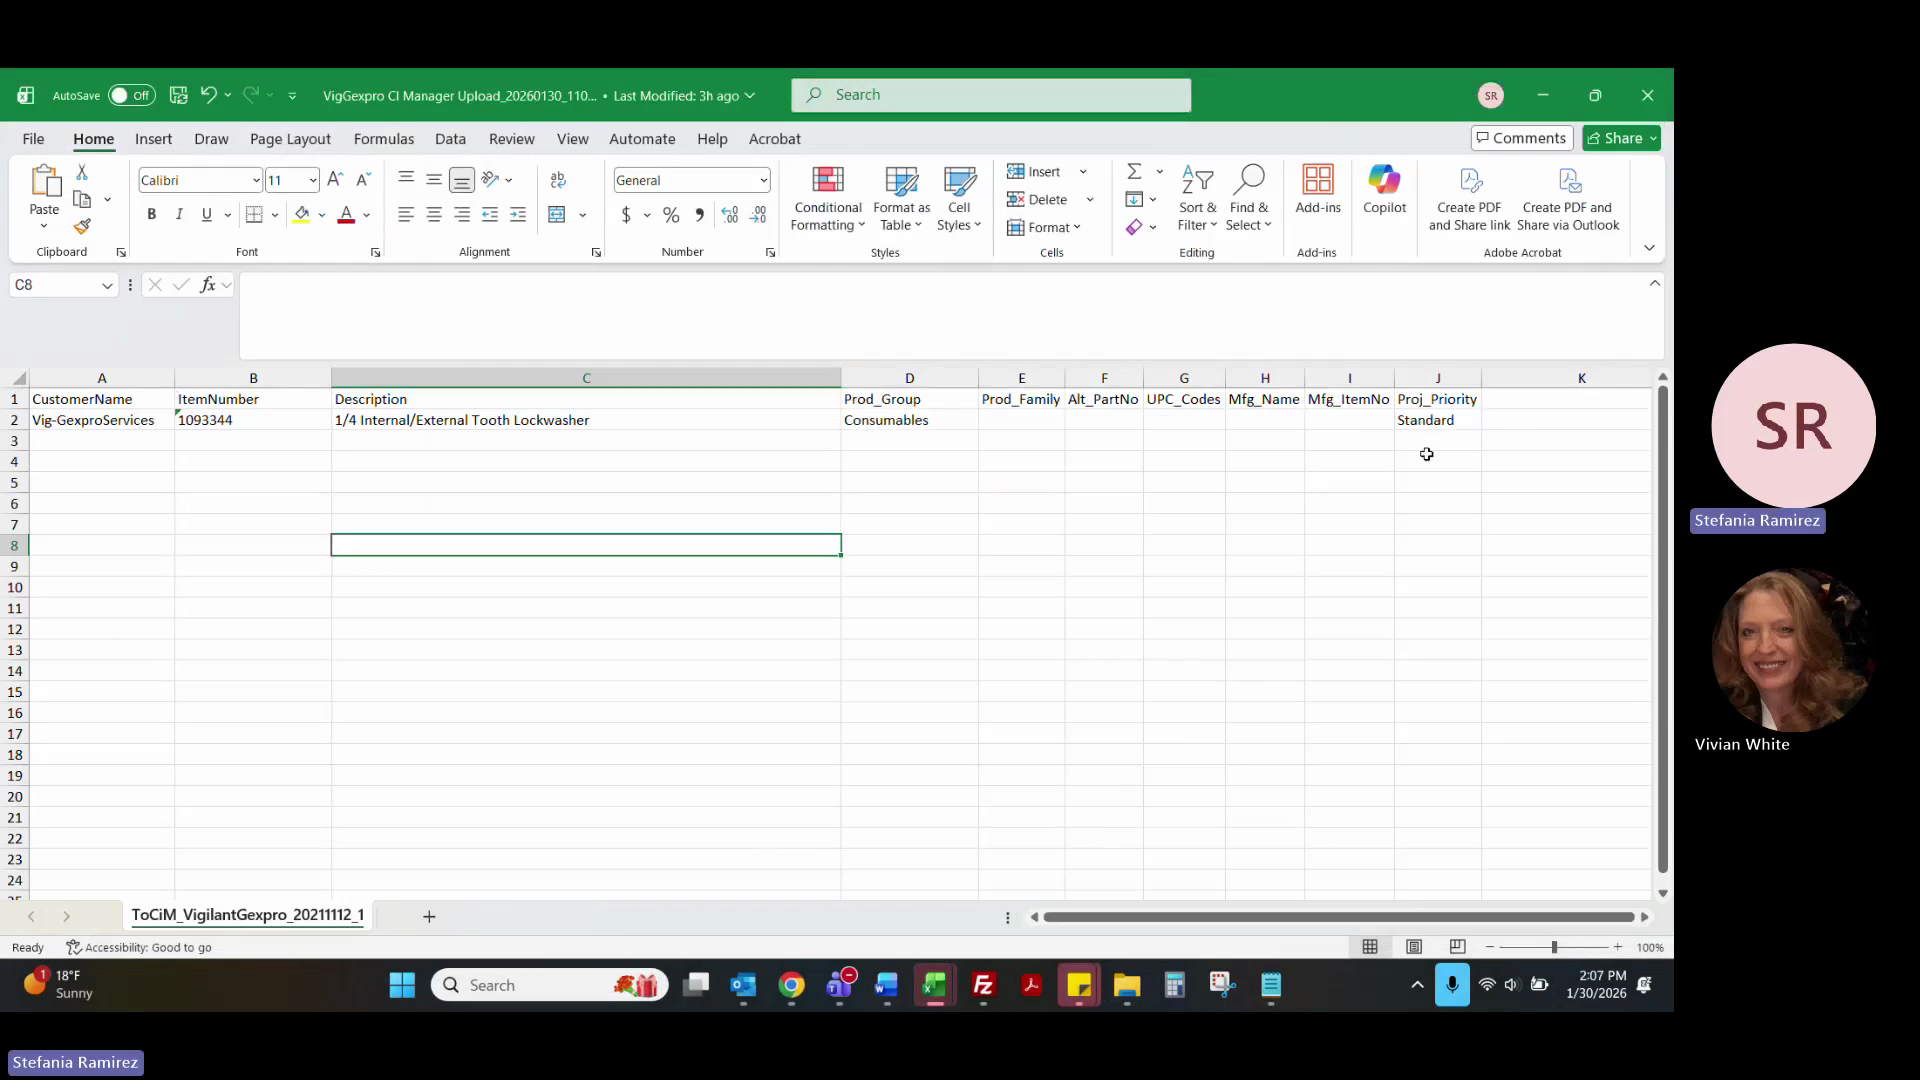
4
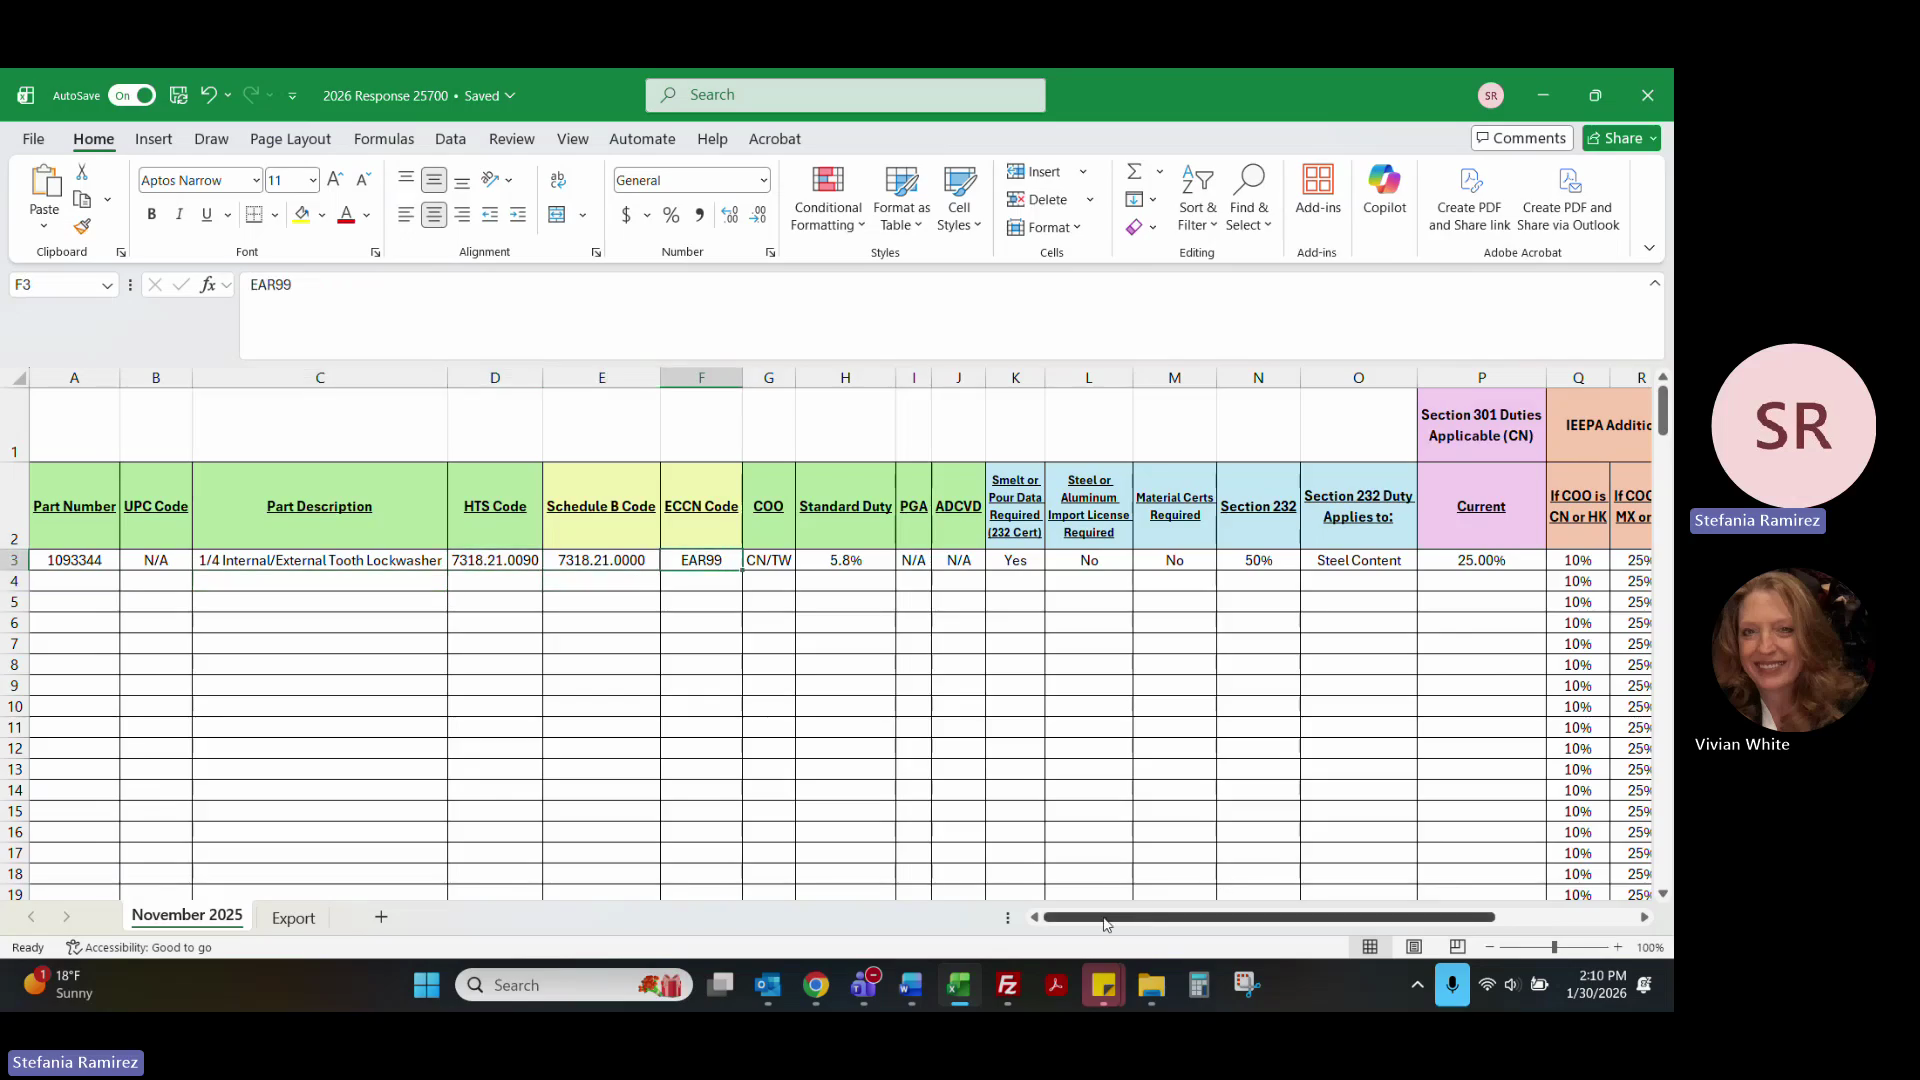
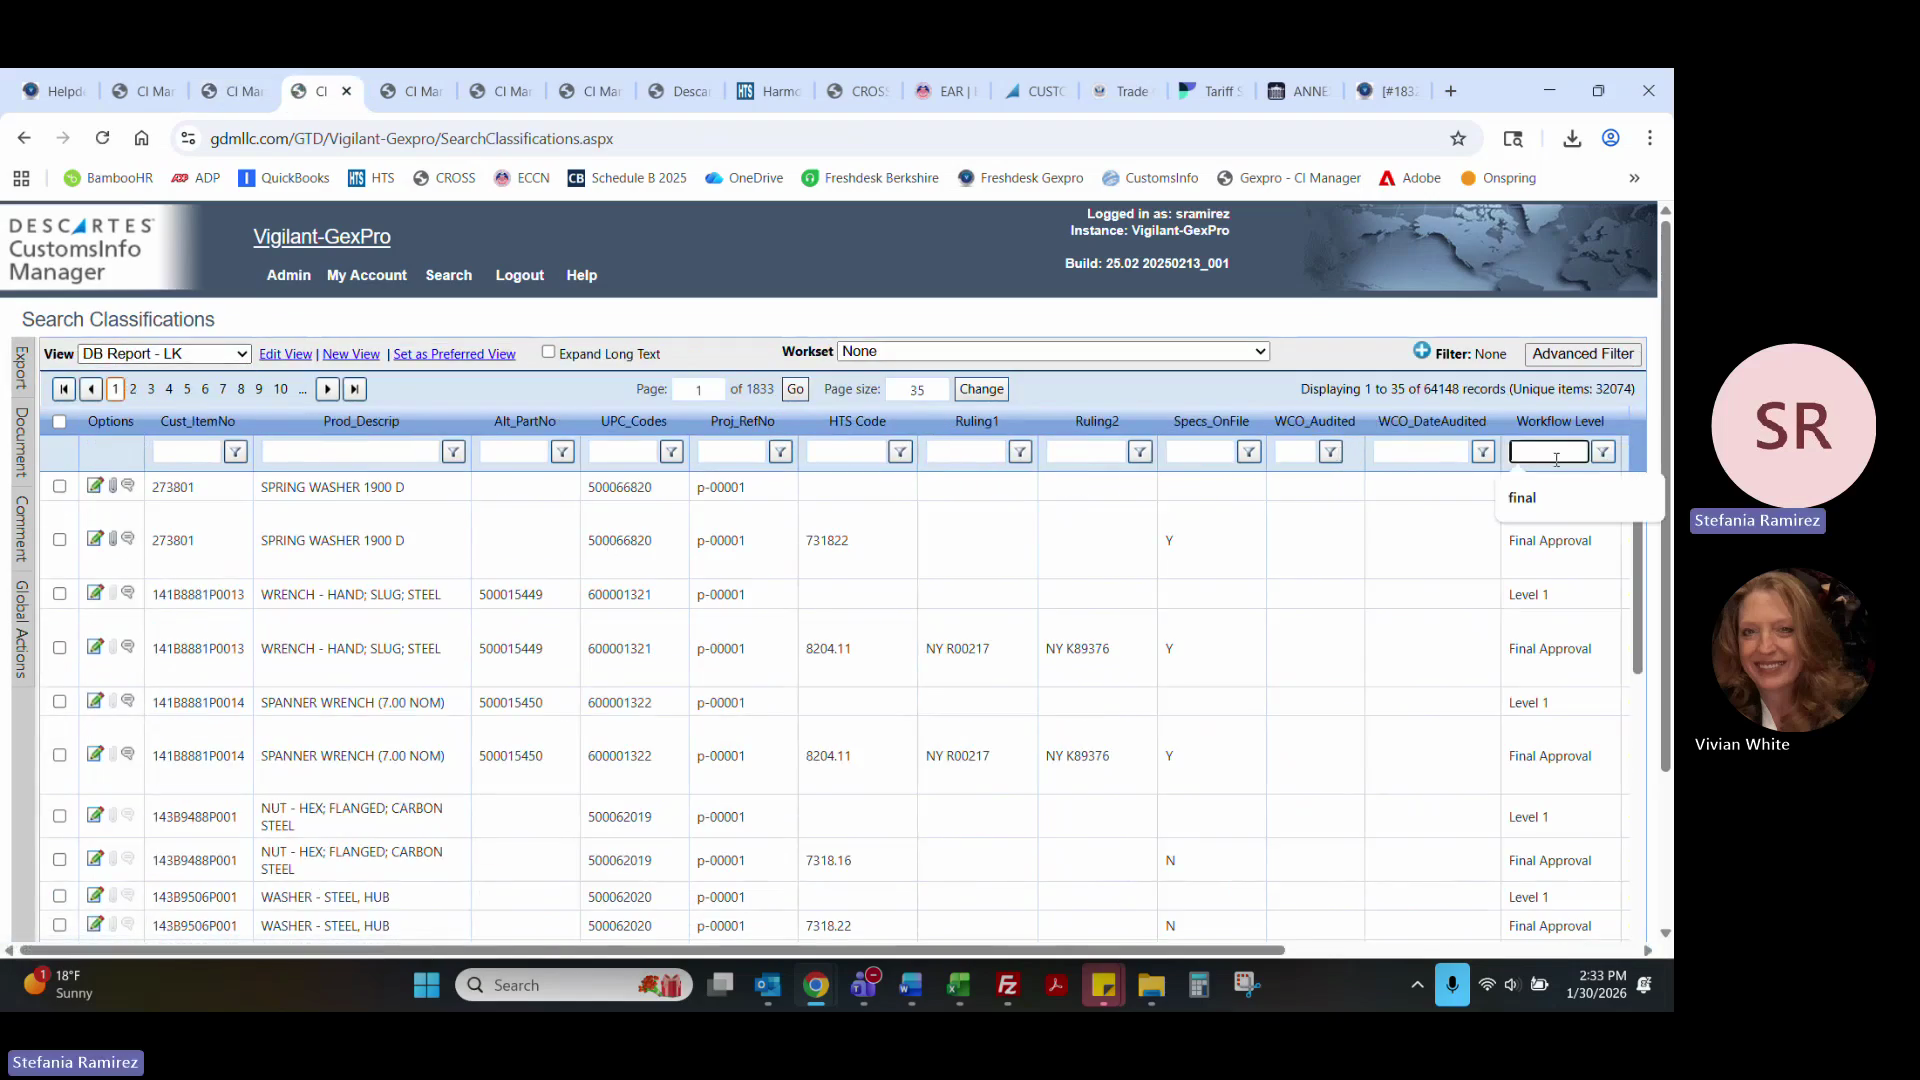
Review the classification details, including the part number, country of origin, description, and site code.
5
Check any attached drawings or technical data. If drawings are missing for standard items, consult the international fastener sheet.
6
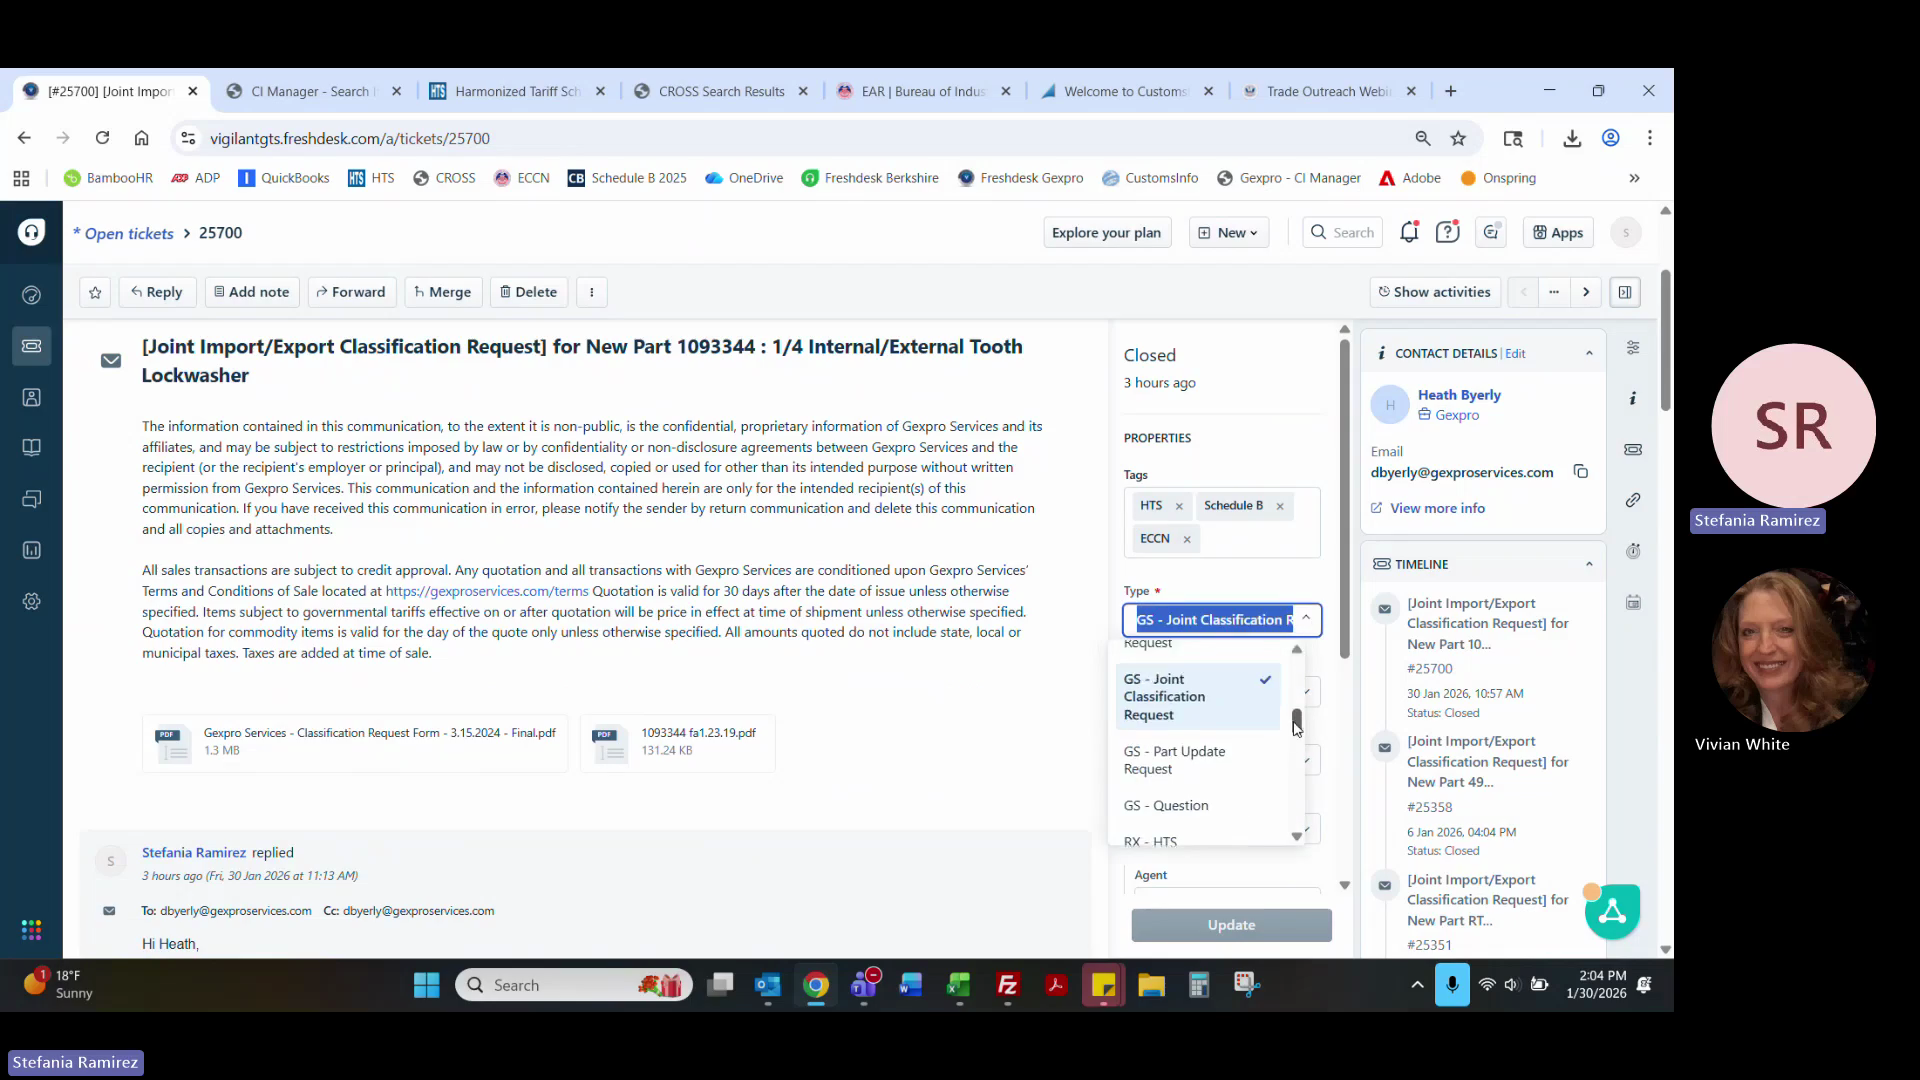
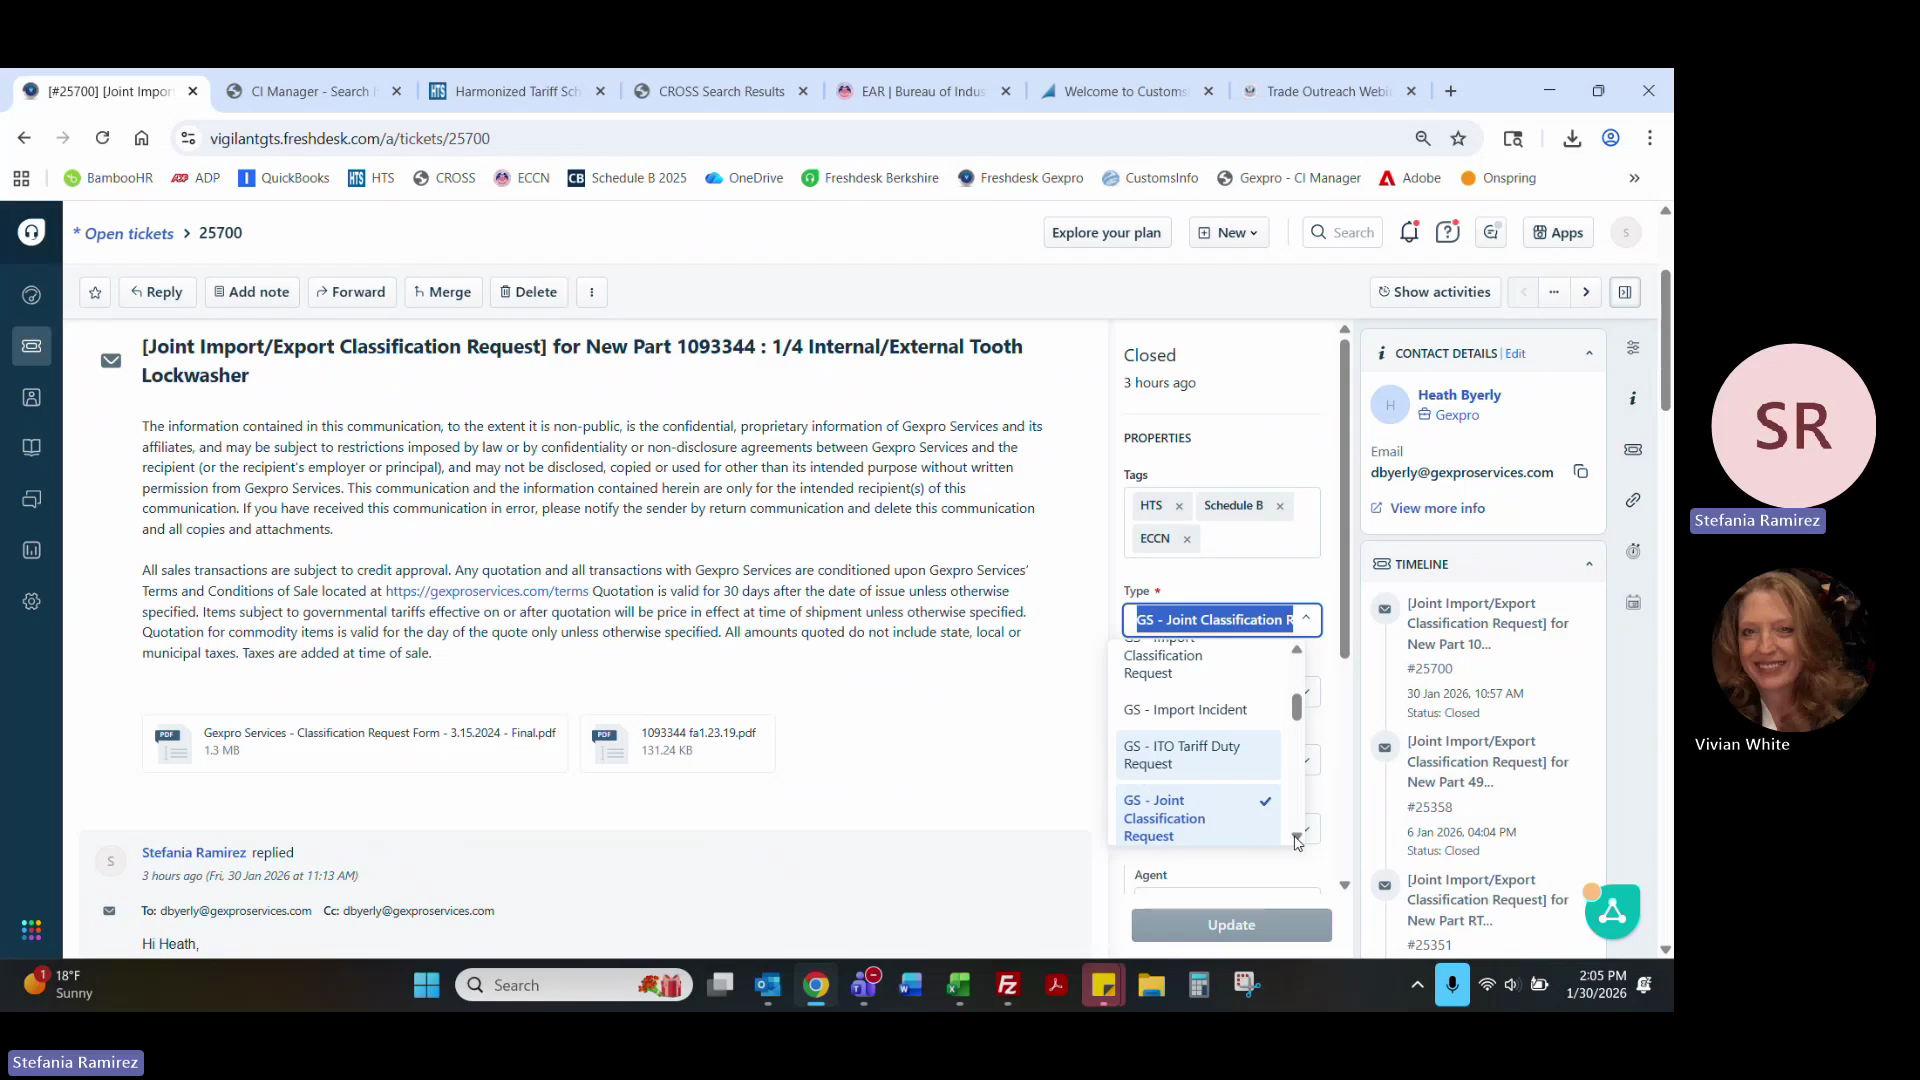
Set the ticket type to GS - Joint Classification Request.
If the request involves Free Trade Agreements (FTA), note that clients typically only open tickets for USMCA verification, as KORUS parts are usually maintained in a separate broker file.
7
If applicable, update the ticket type to 01 - Import/Export Classification Request or Part Update if a UPC code was recently assigned to the product.
8
Identify the part number on the Commercial Invoice (CI).
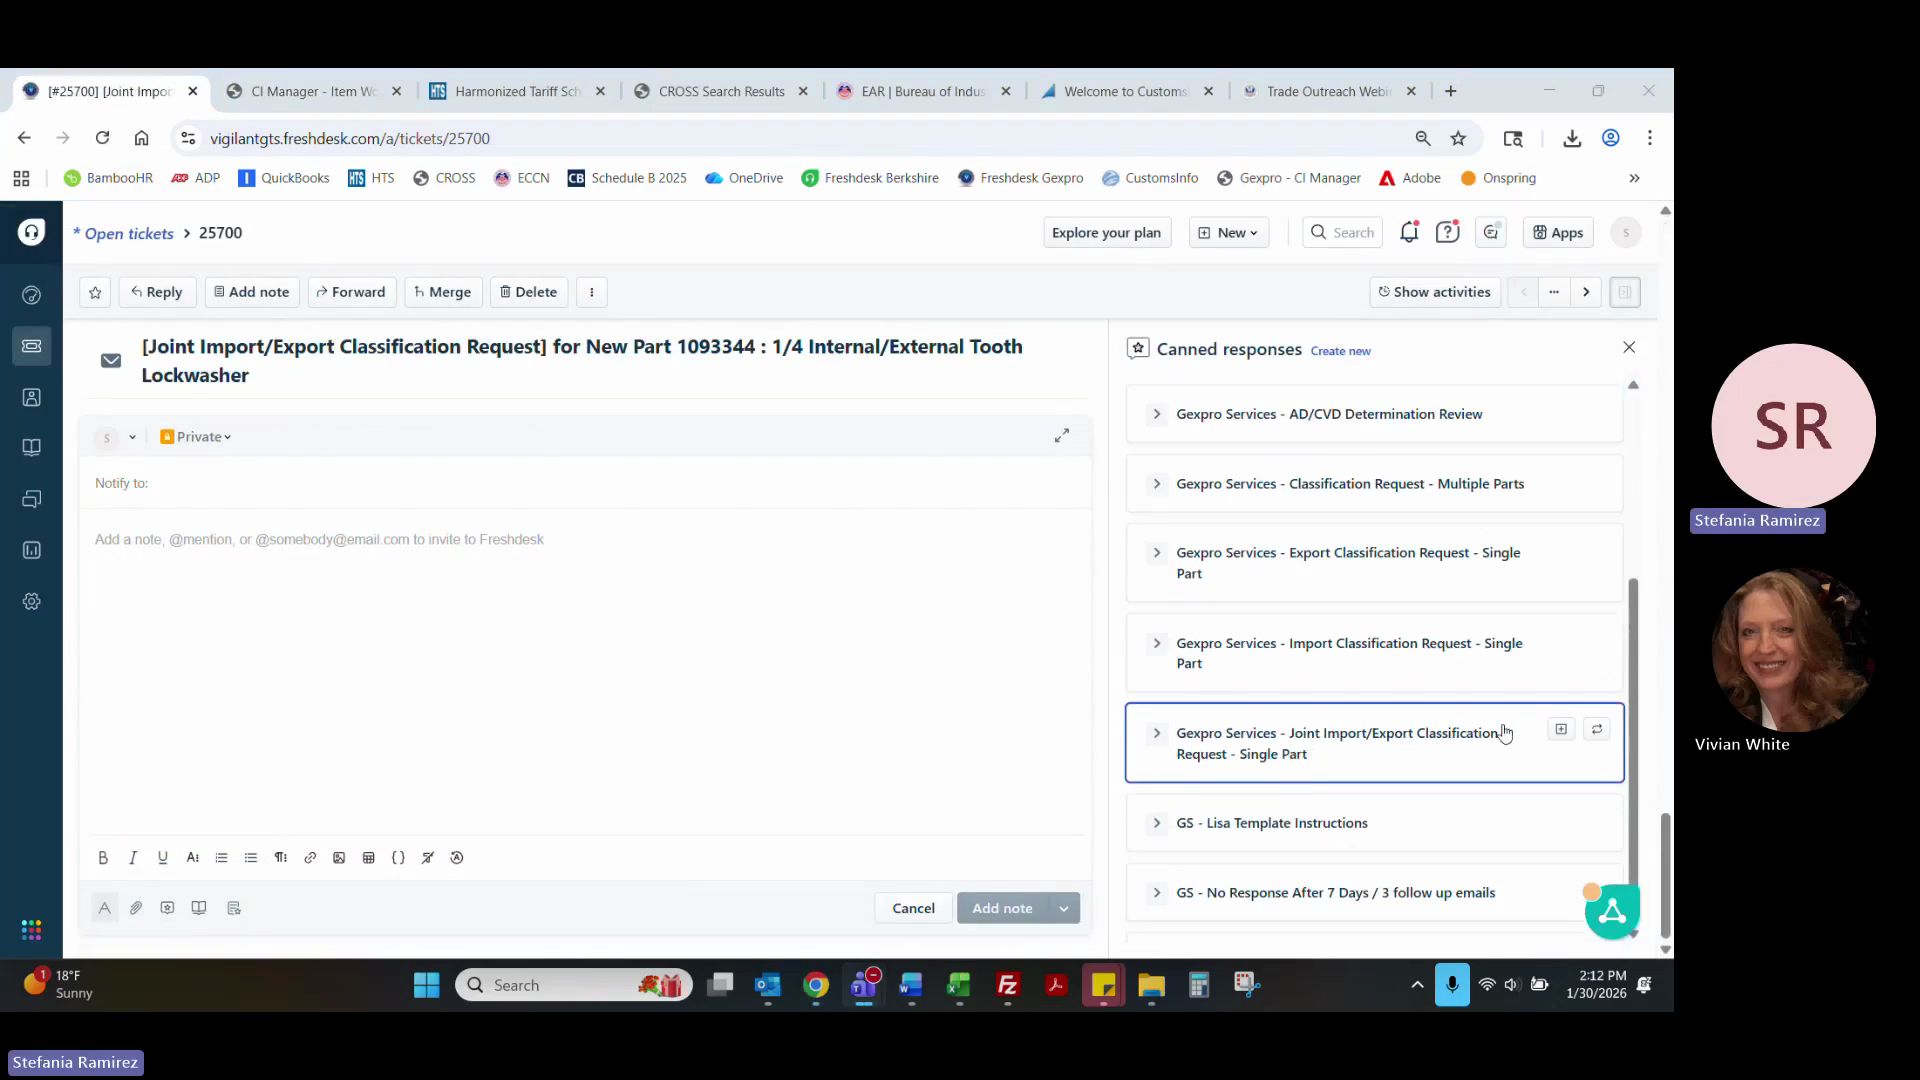
Preparing the Audit Trail
9
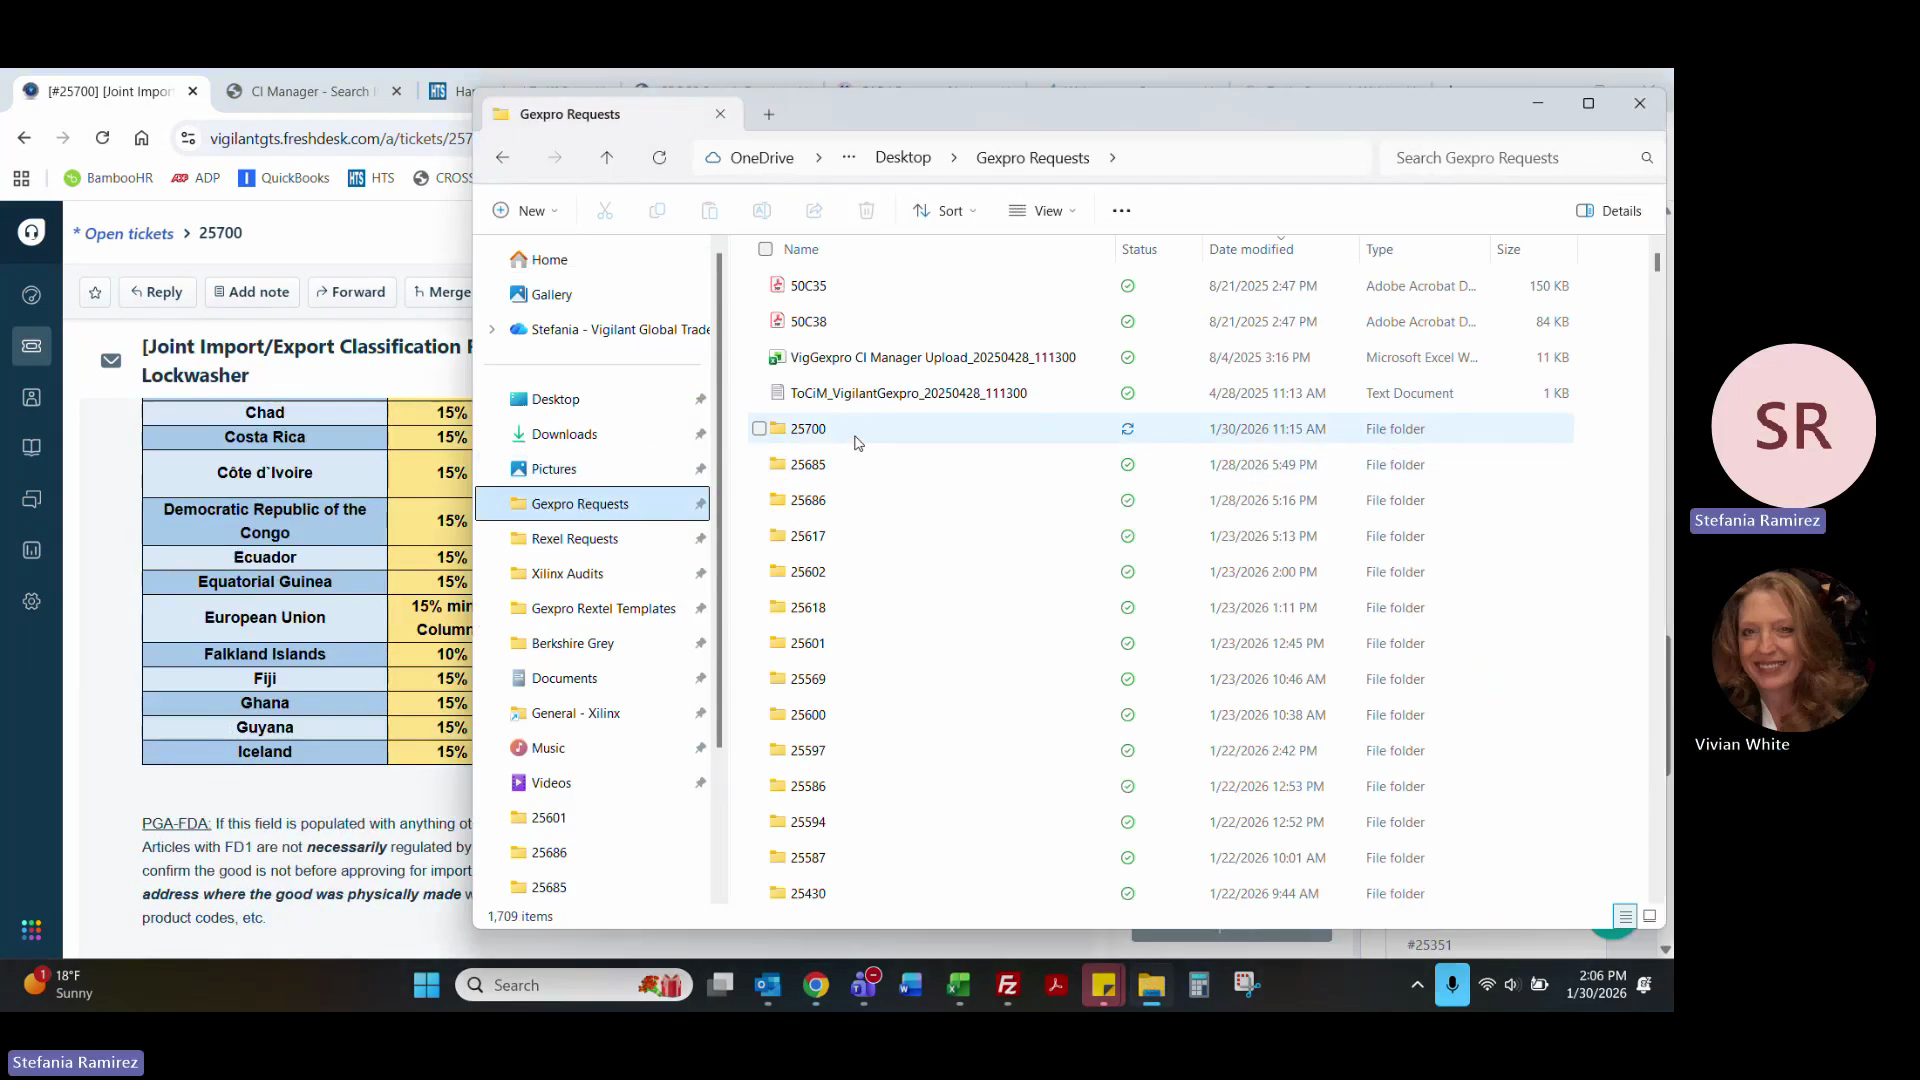
Locate and open the local folder corresponding to the Freshdesk ticket number.
10
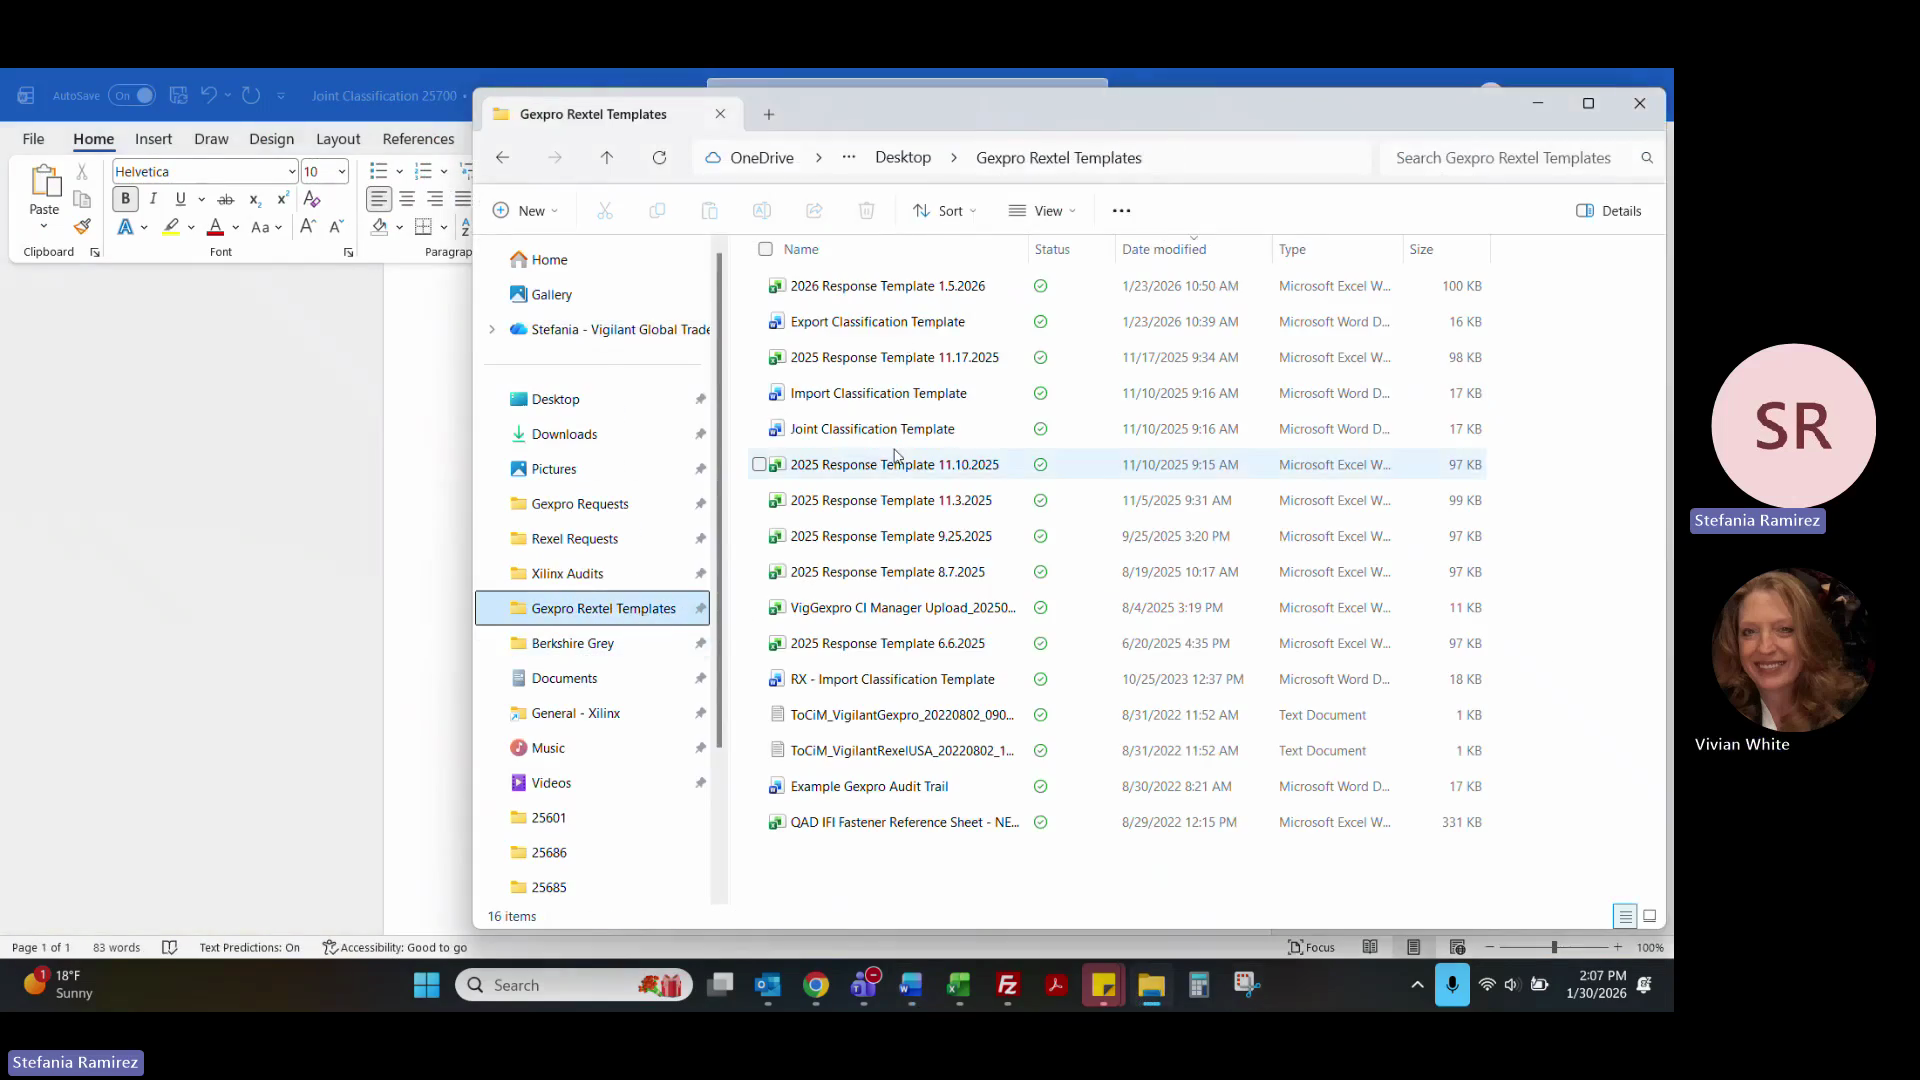
Open the Excel response template file.
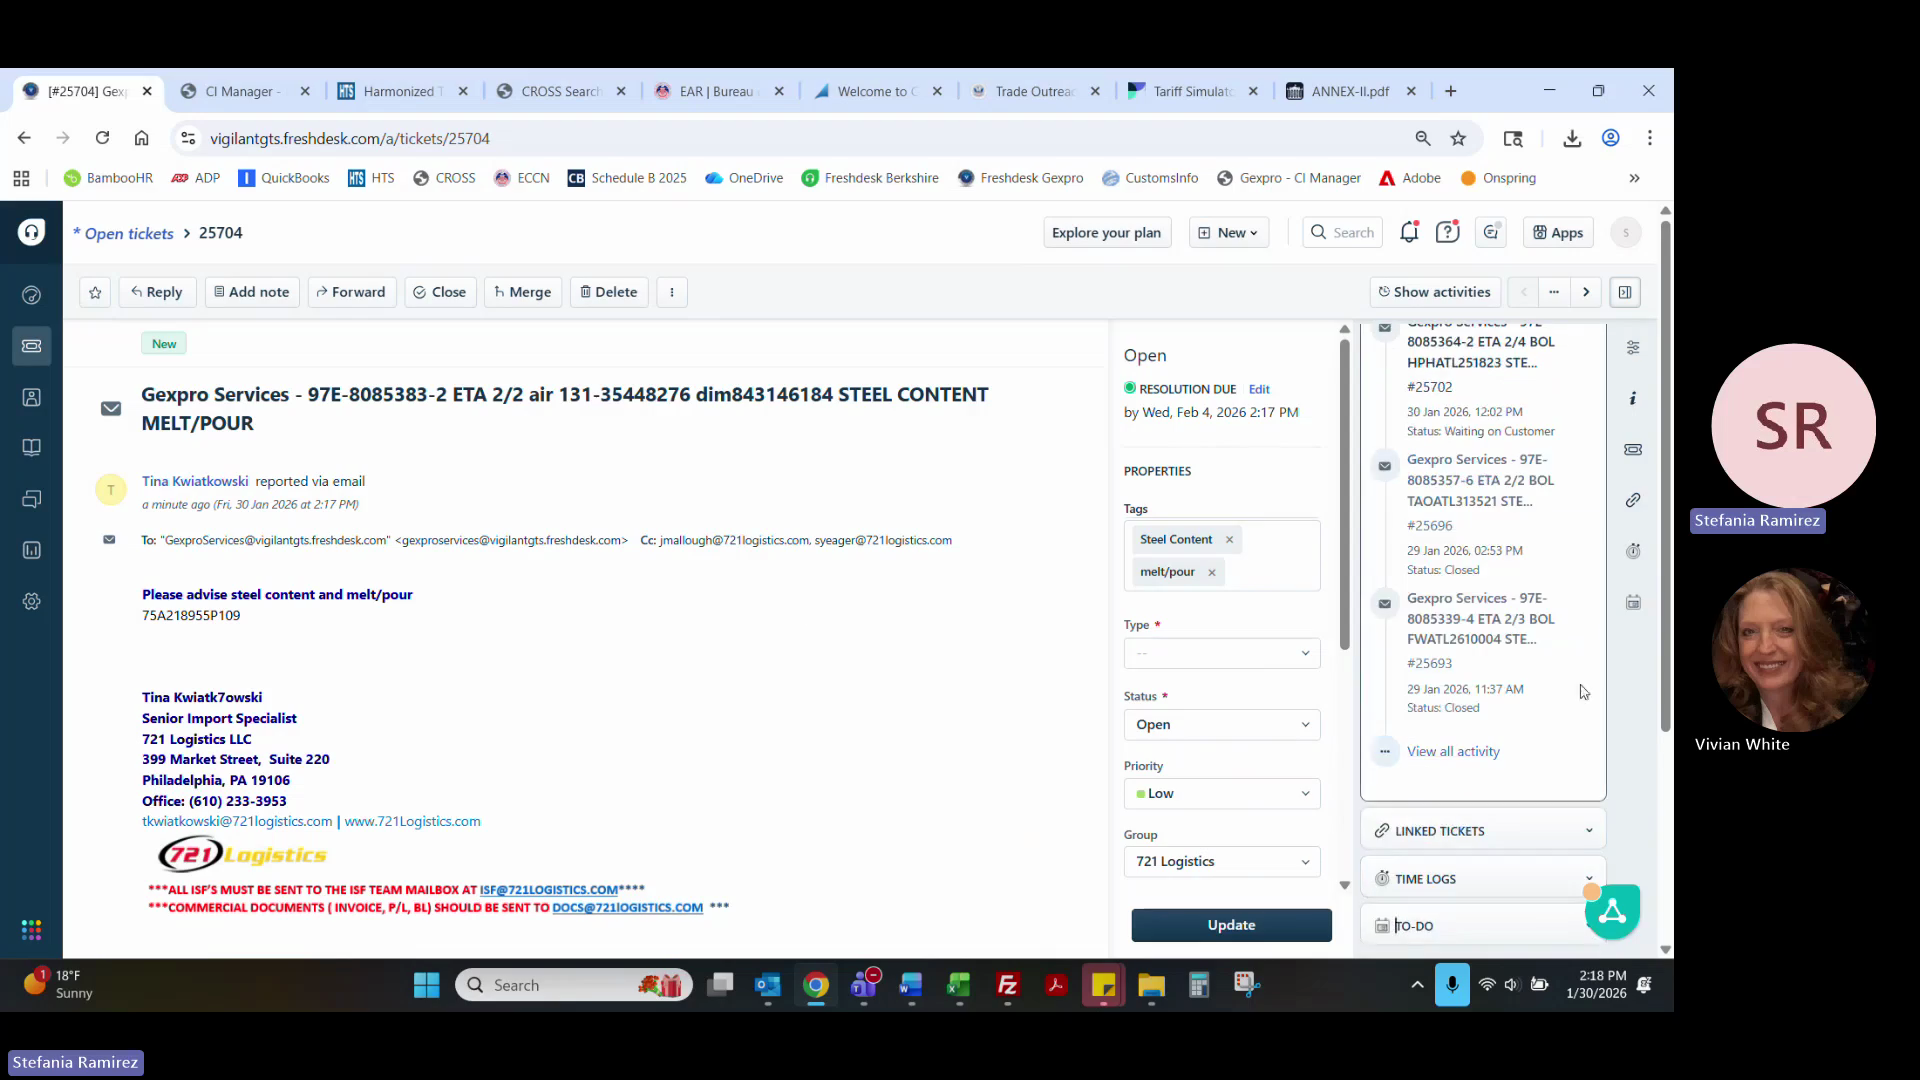
11
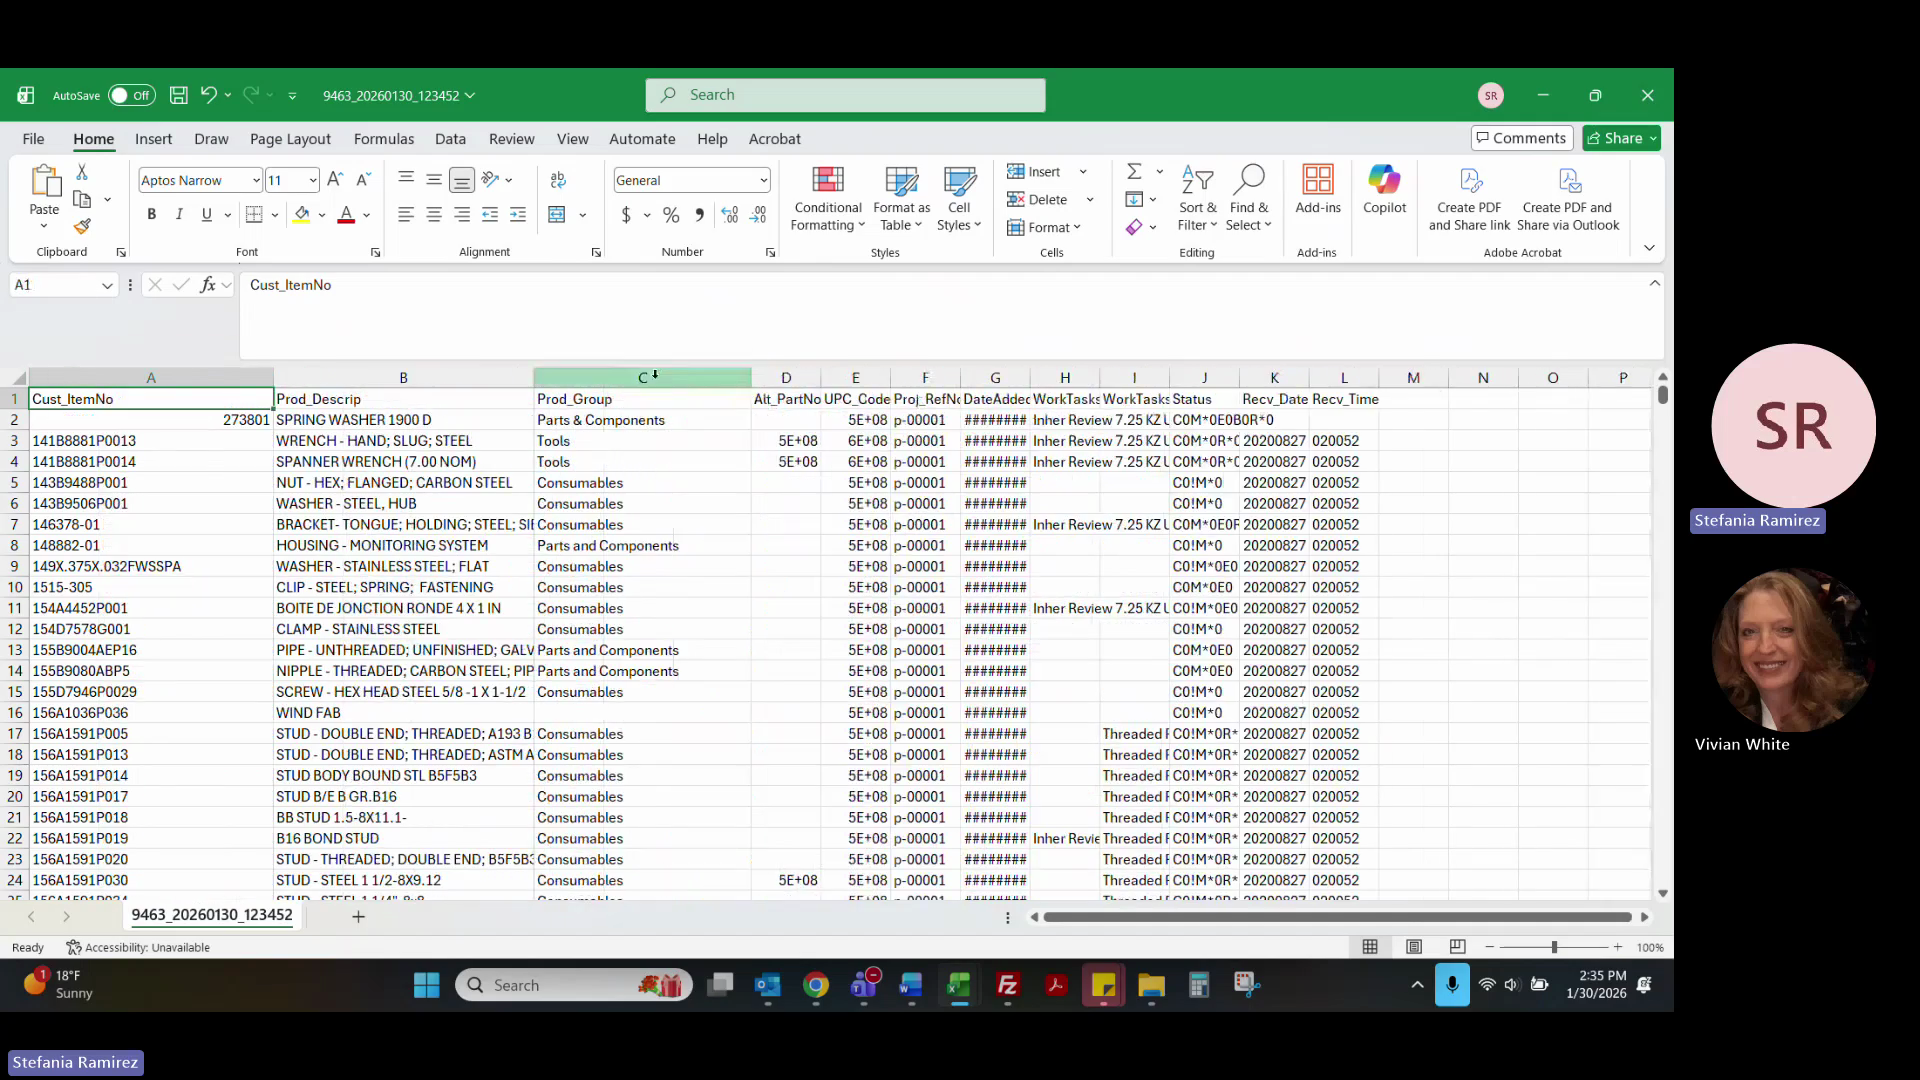
Verify the customer information, item number, description, and product group match the required format.
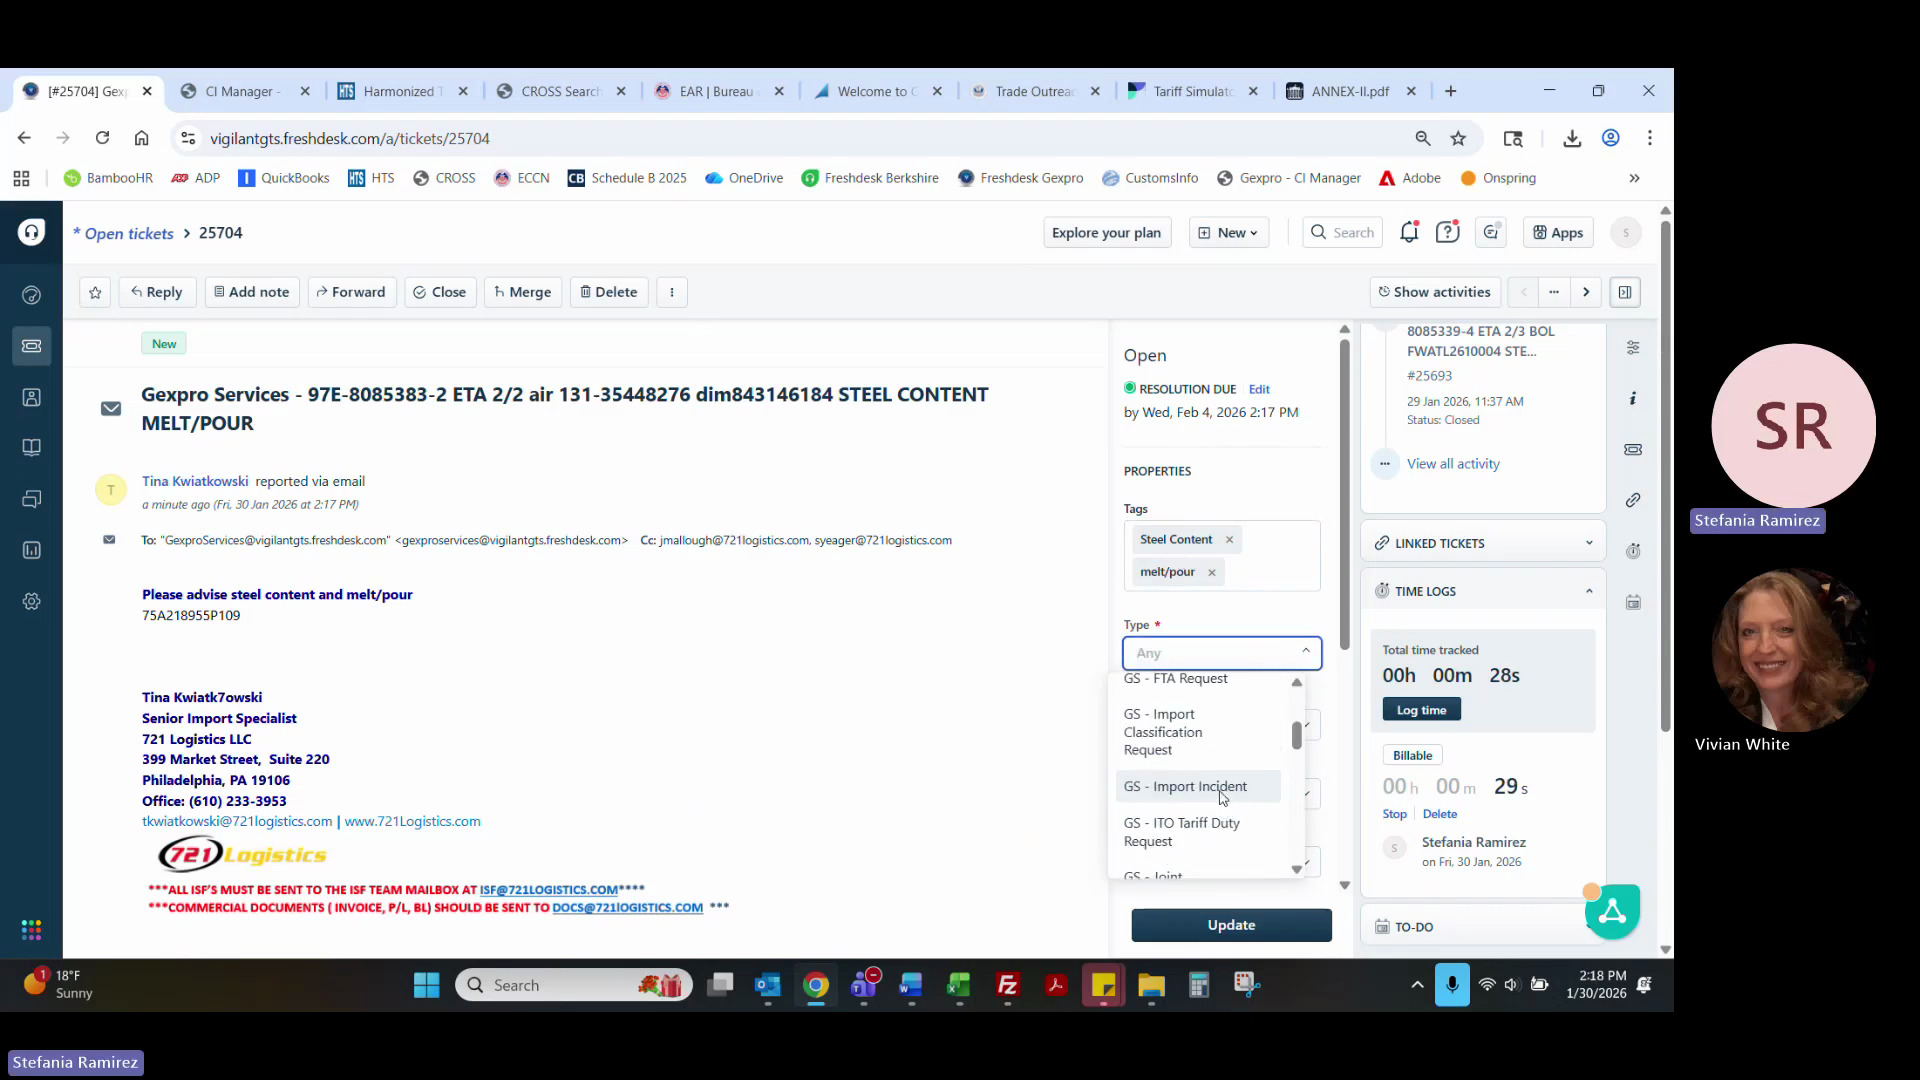
2. Updating Descartes CIM
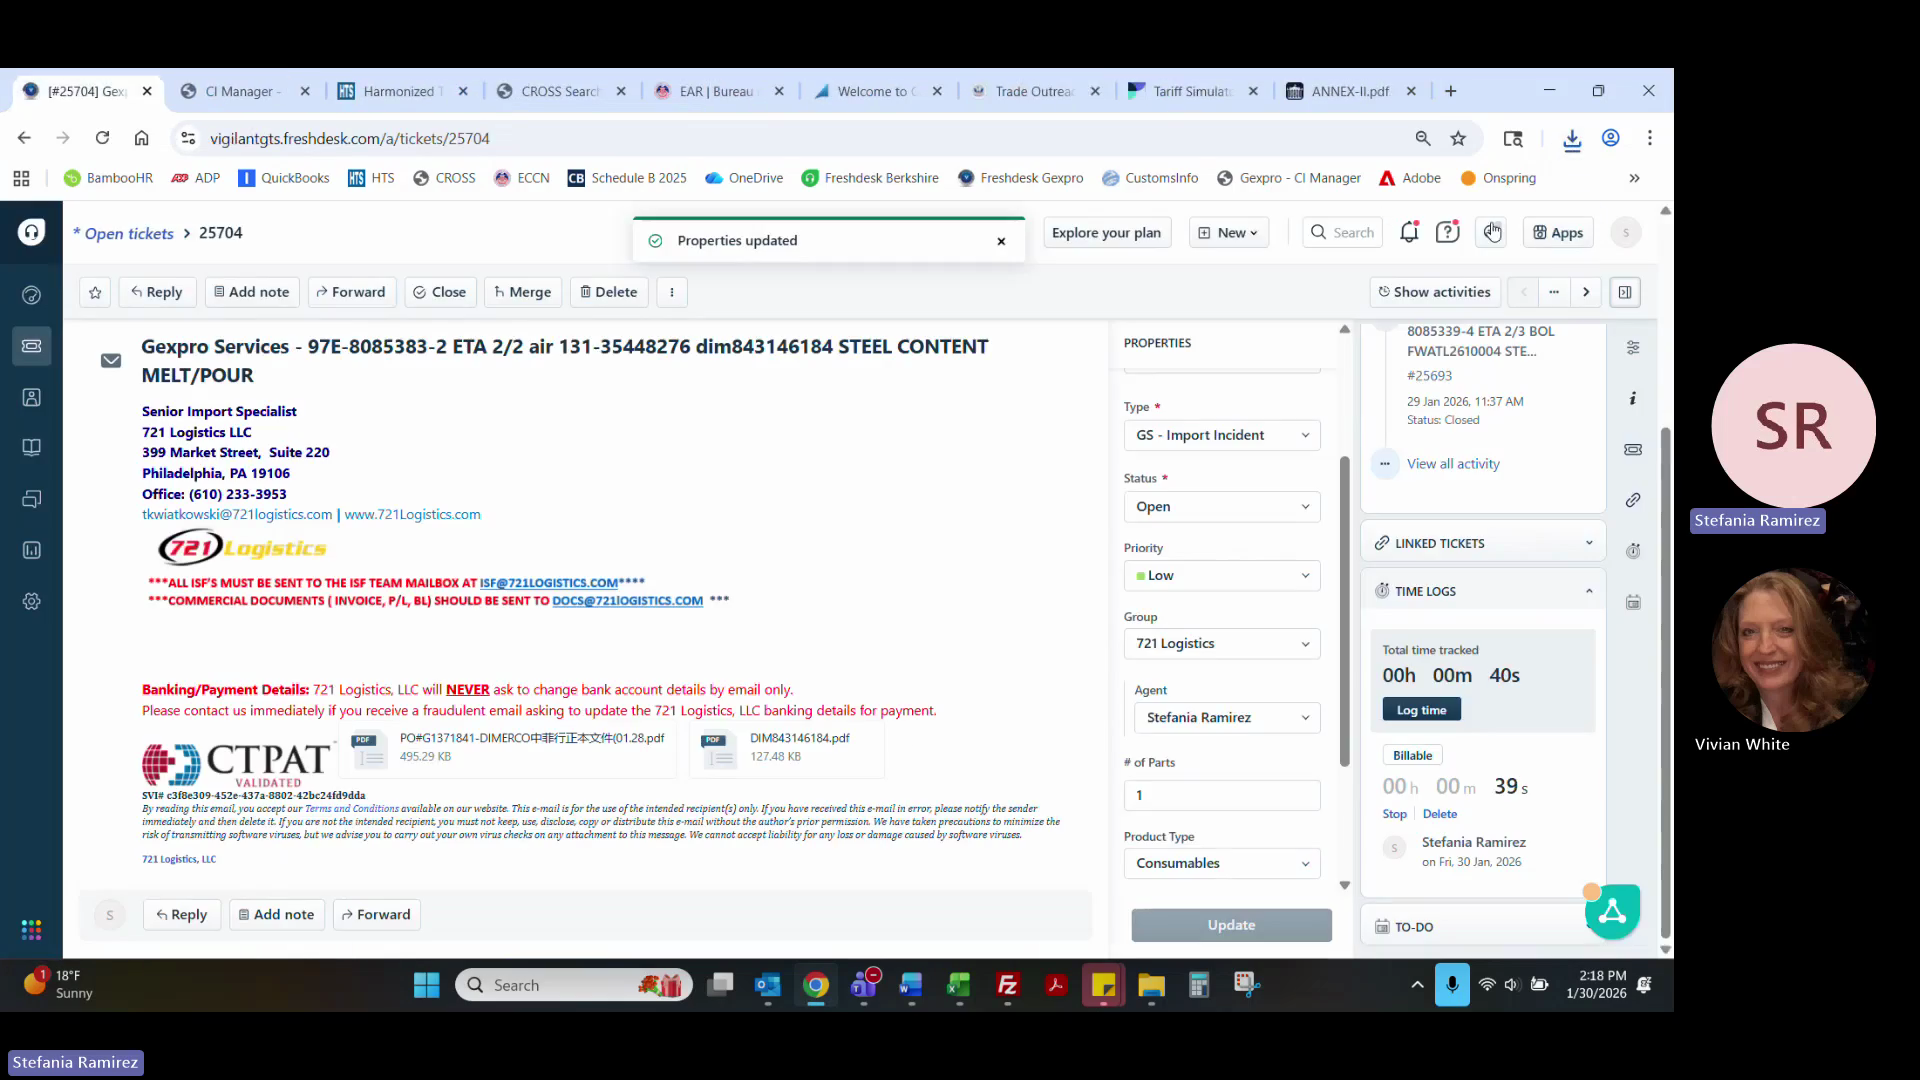
Once the classification details are confirmed, the data must be recorded in Descartes CIM before finalizing the client response.
12
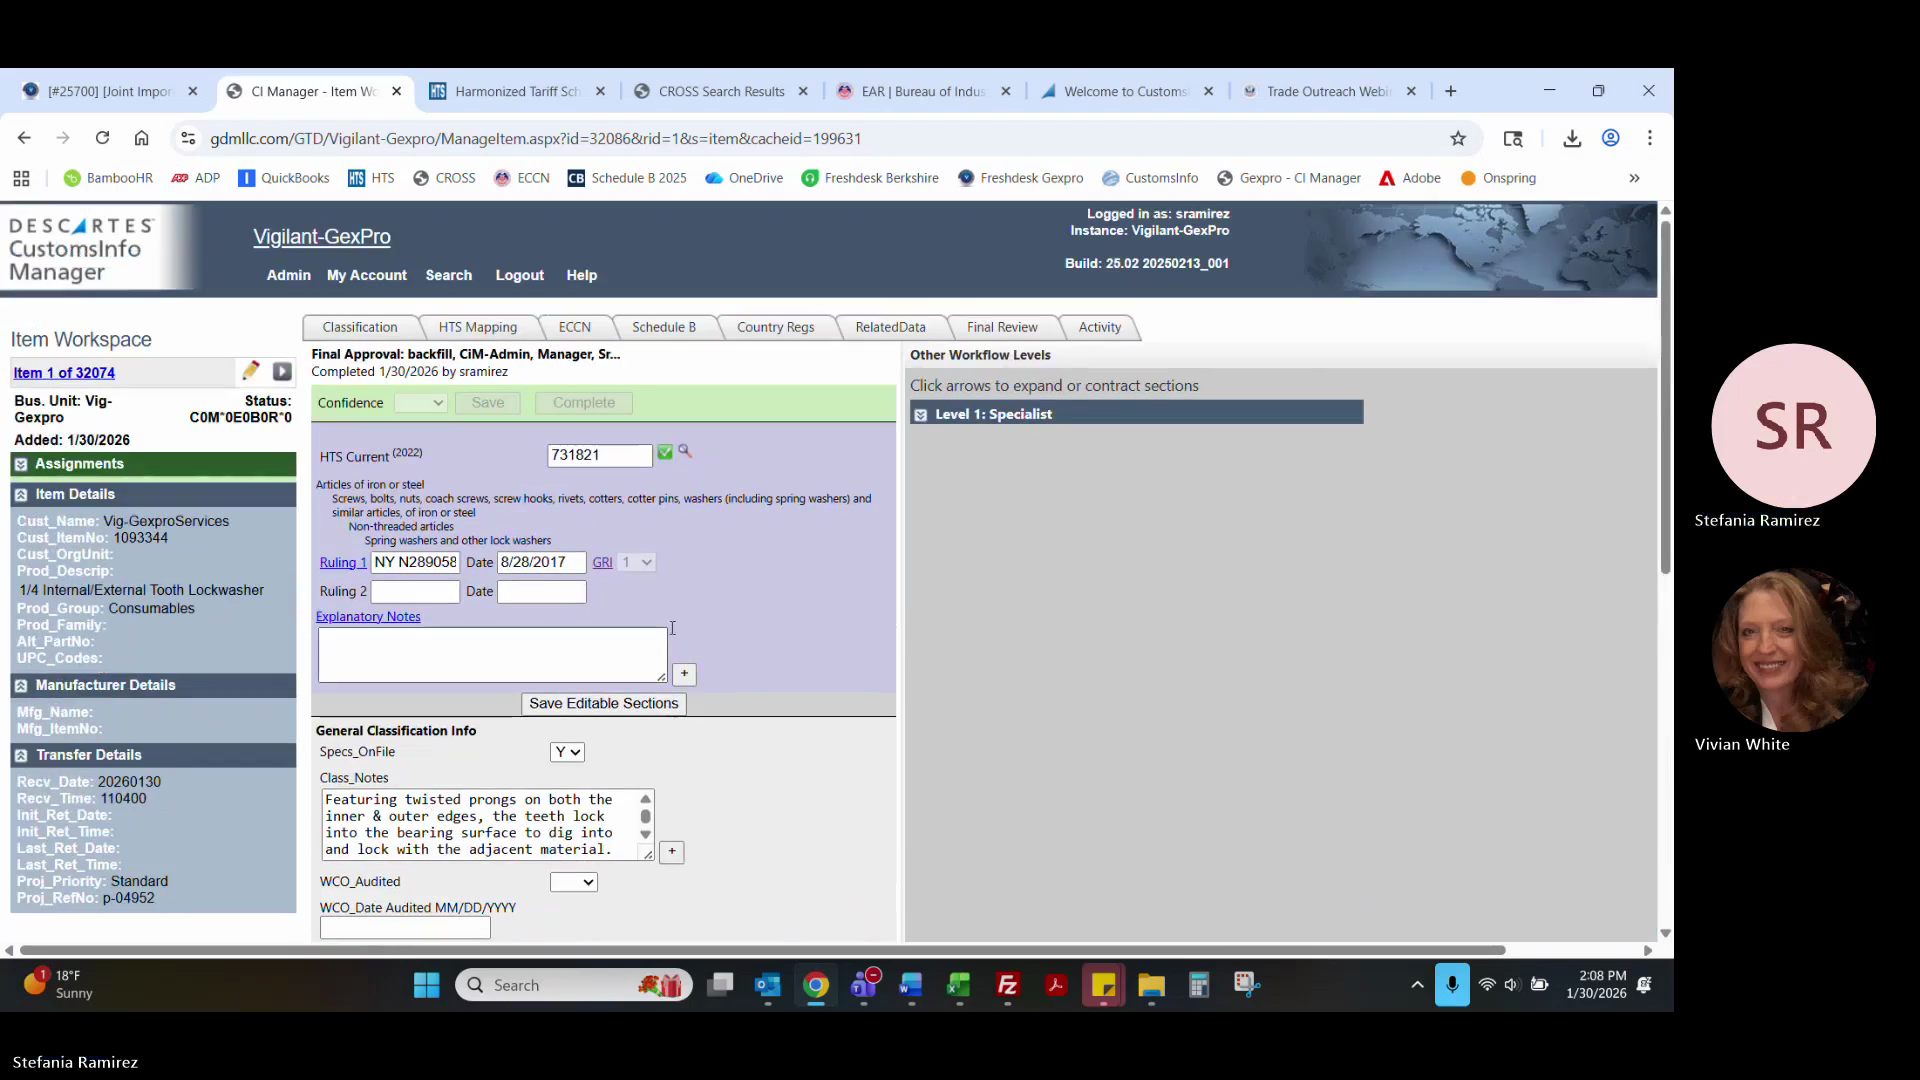
Log into Descartes CustomsInfo Manager (CIM).
13
Select the part link to view its details.
14
Ensure at least one ruling is documented, upload your drawing and request form, and check the Complete box.
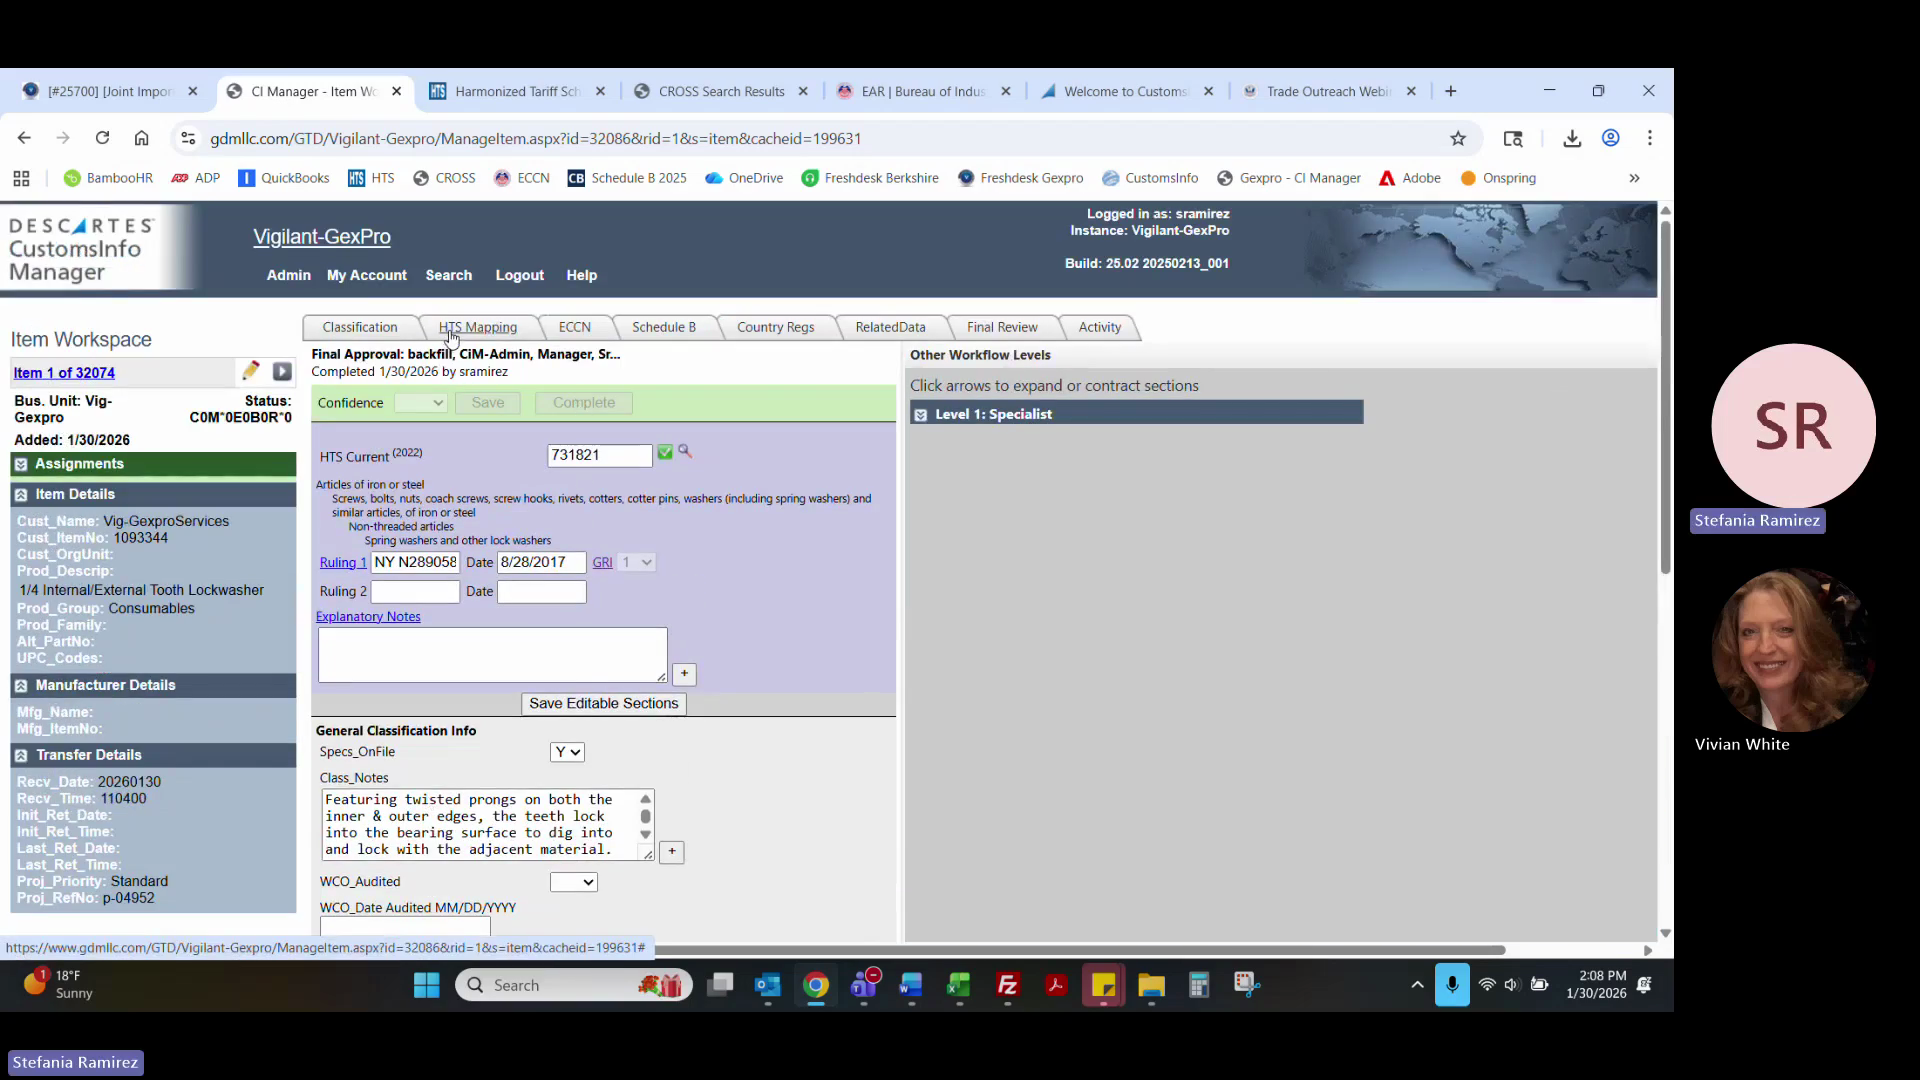
15
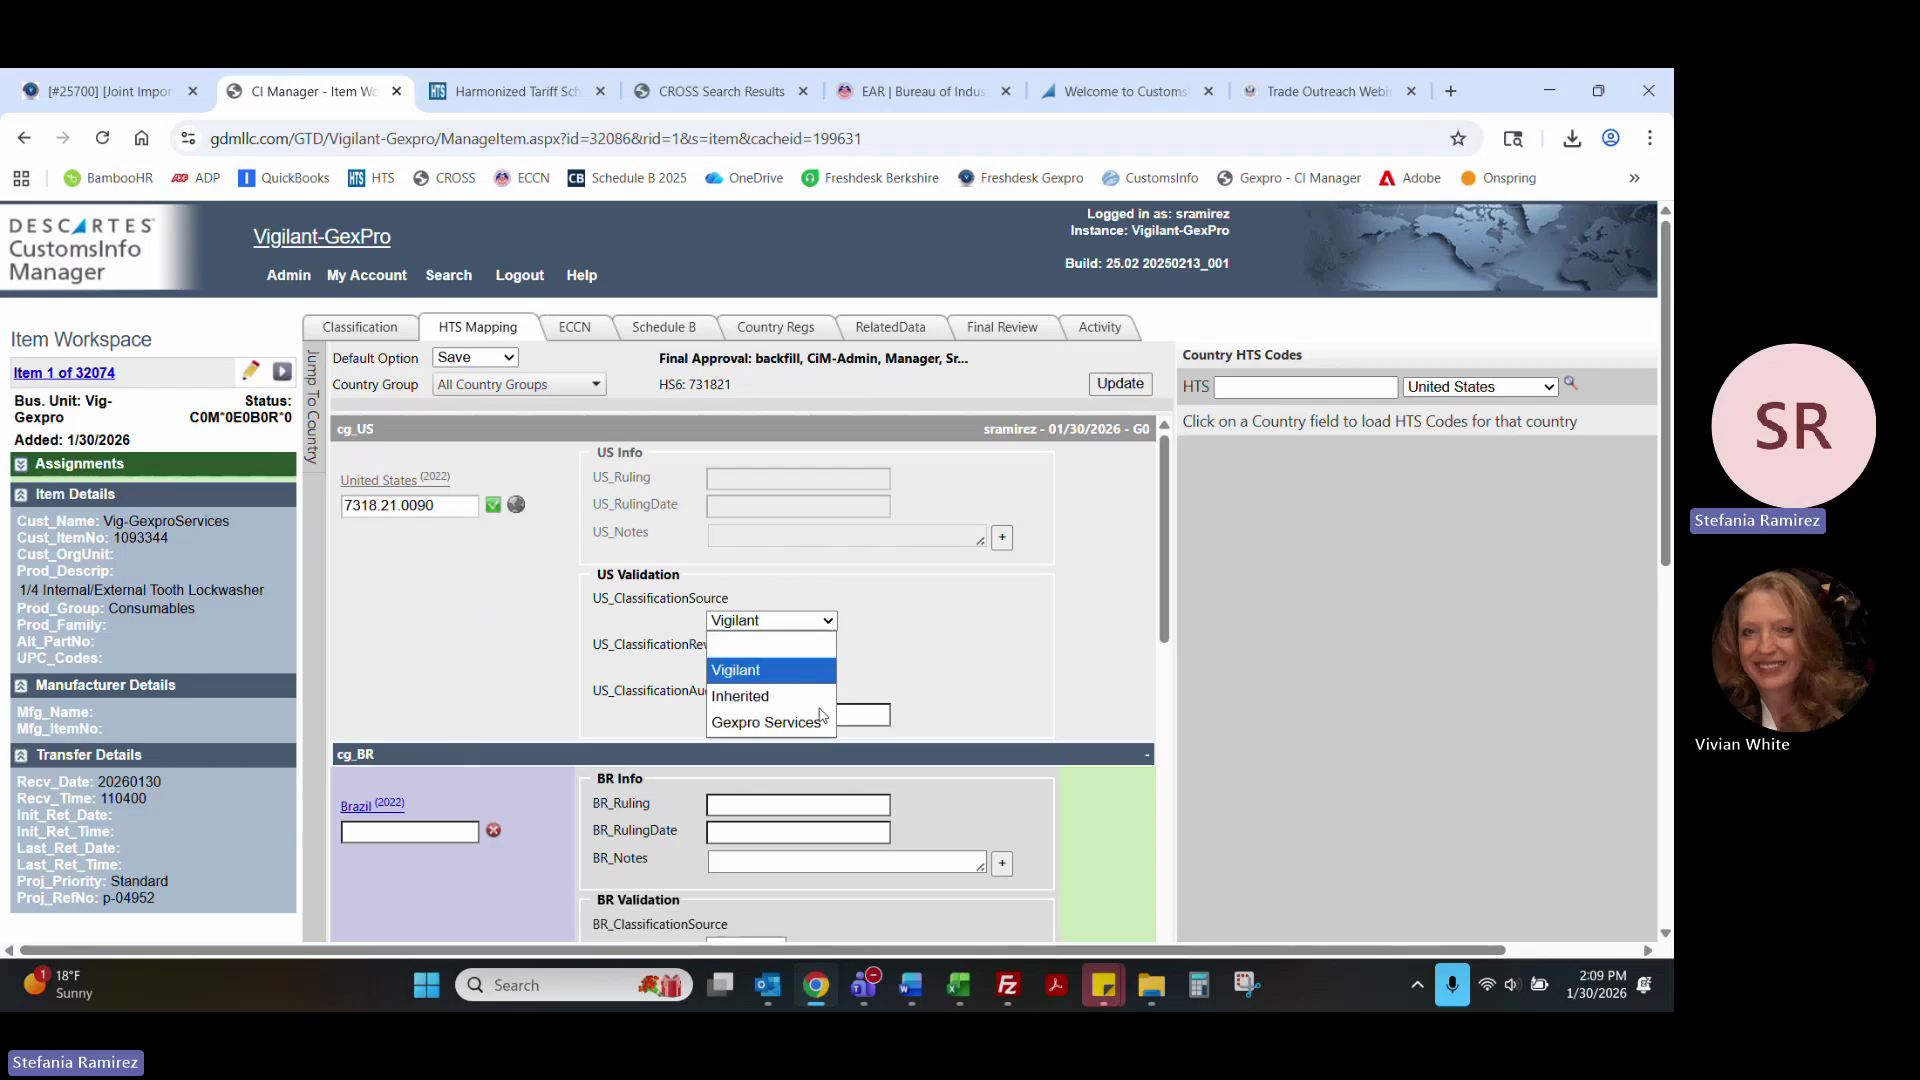
Click the HTS Mapping tab.
16
Select Vigilant (or the appropriate classification source) from the US Classification Source dropdown.
17
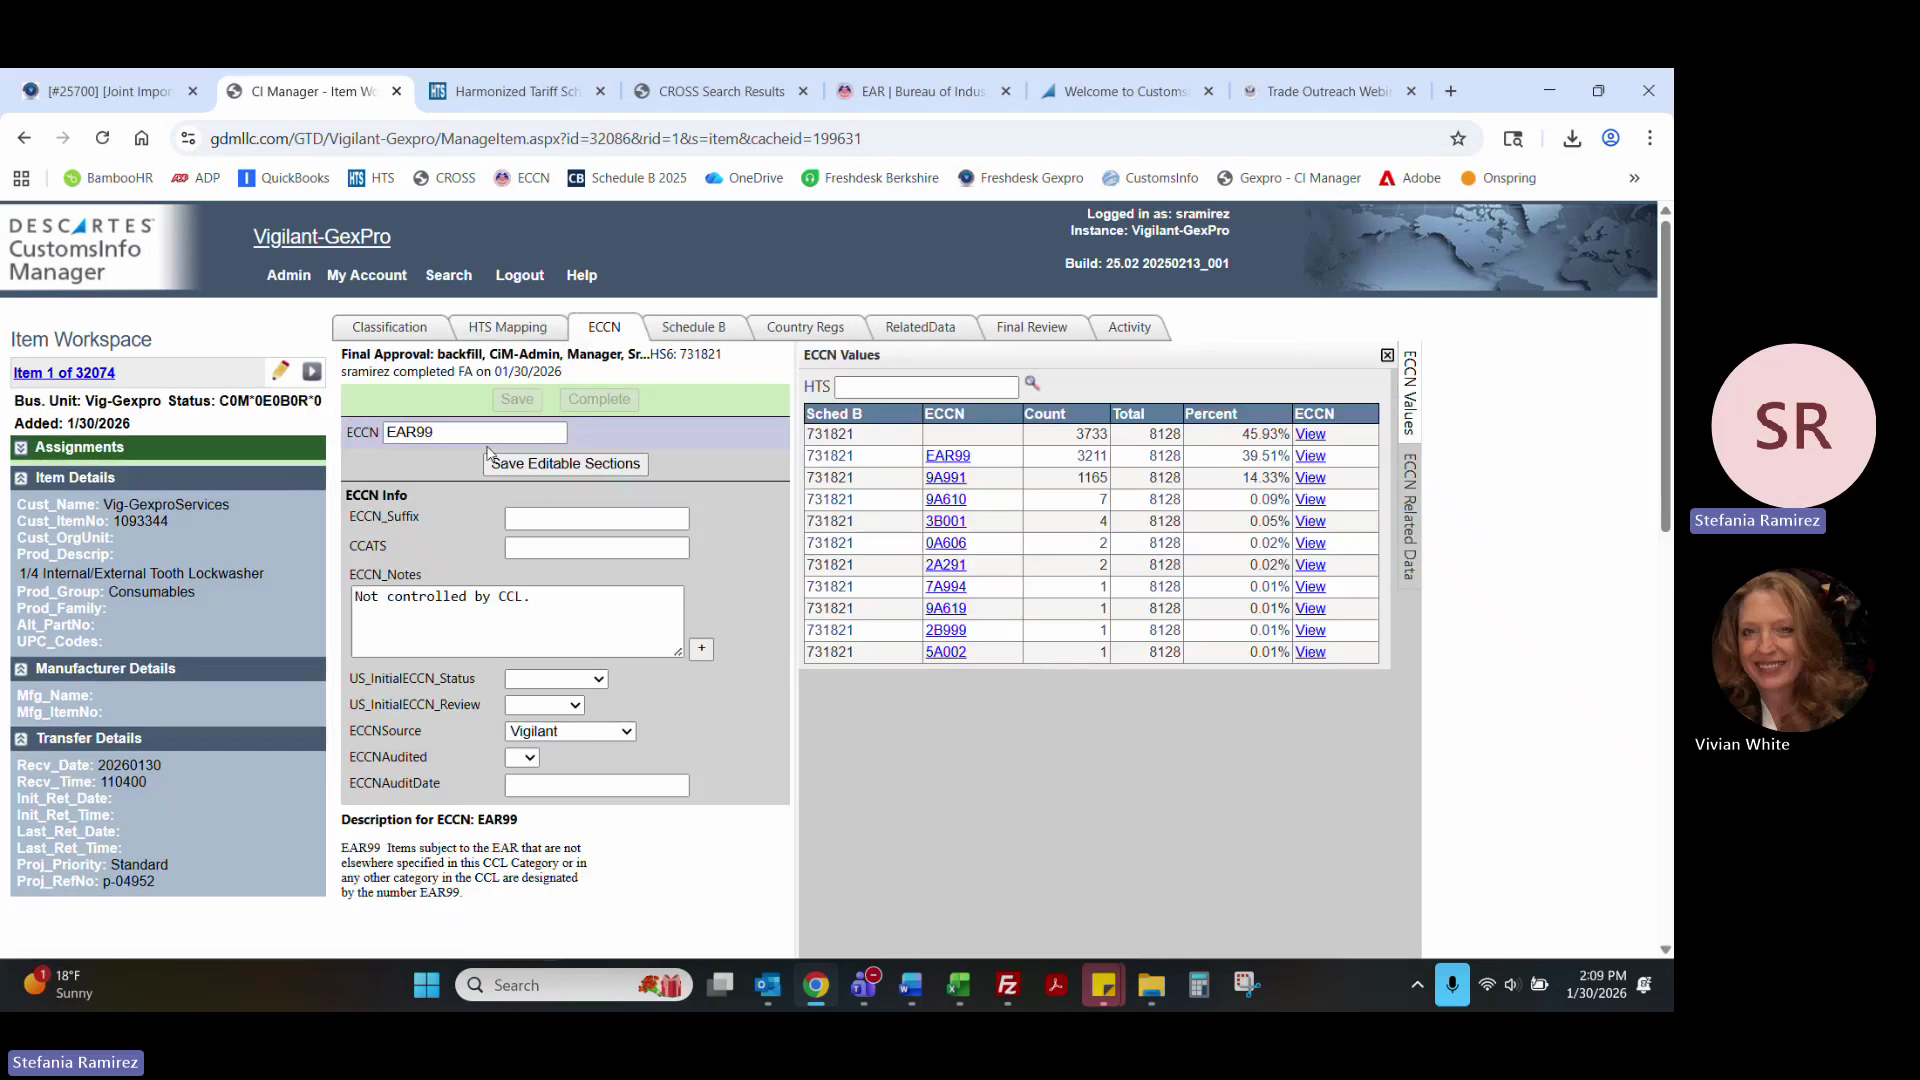
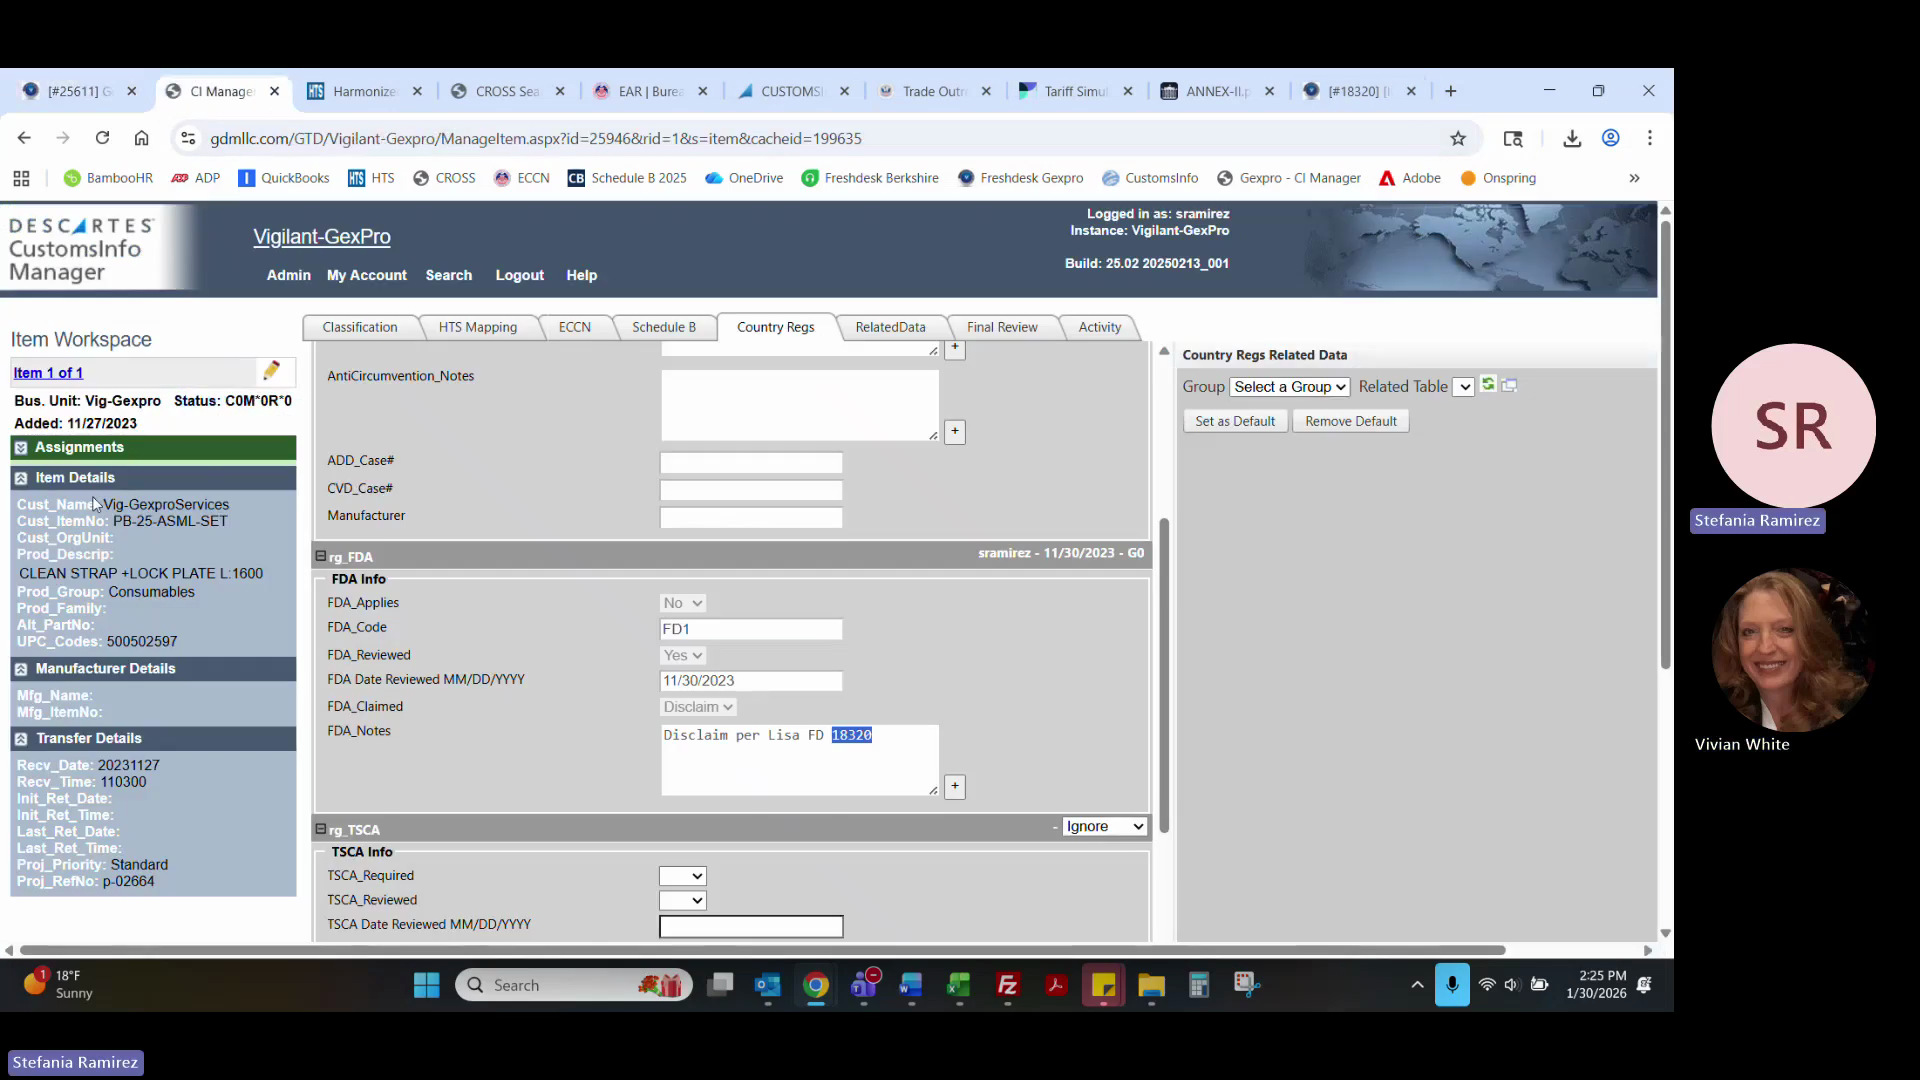
Click the ECCN tab and verify the classification.
18
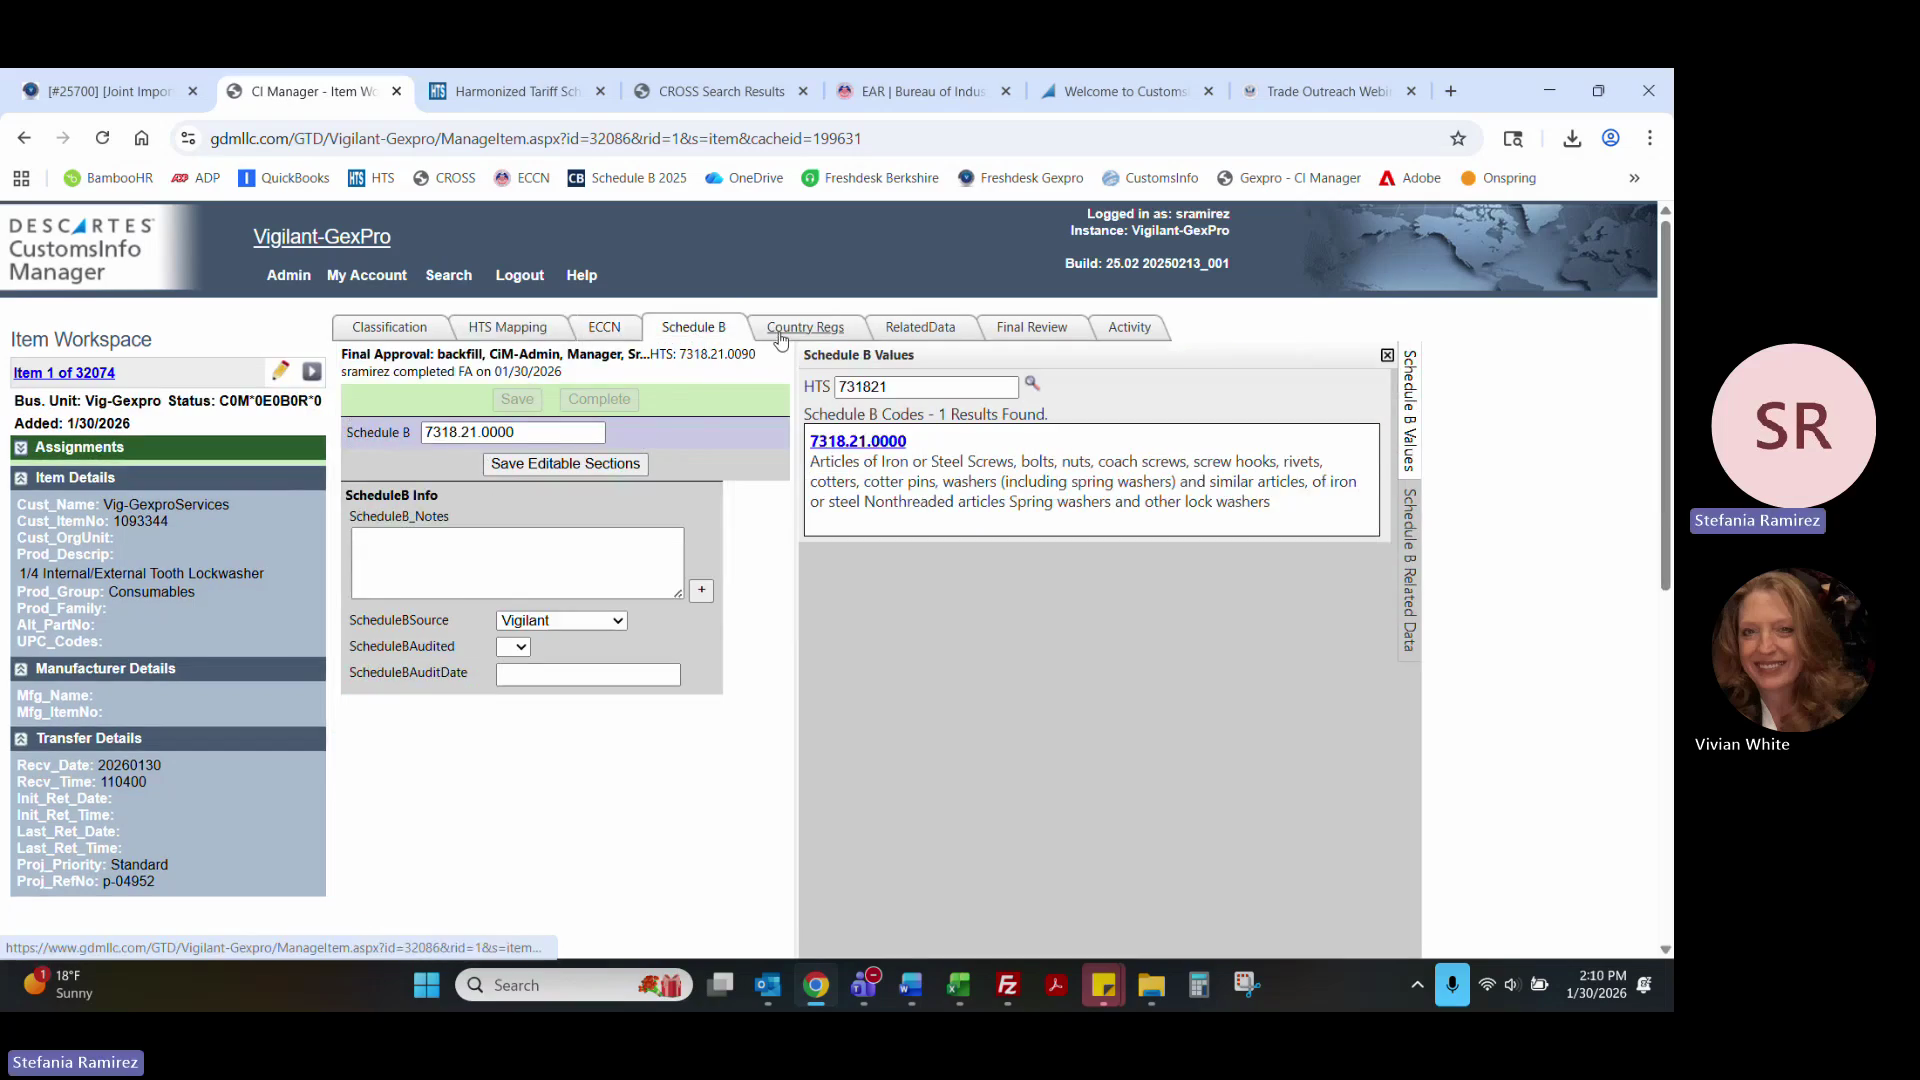
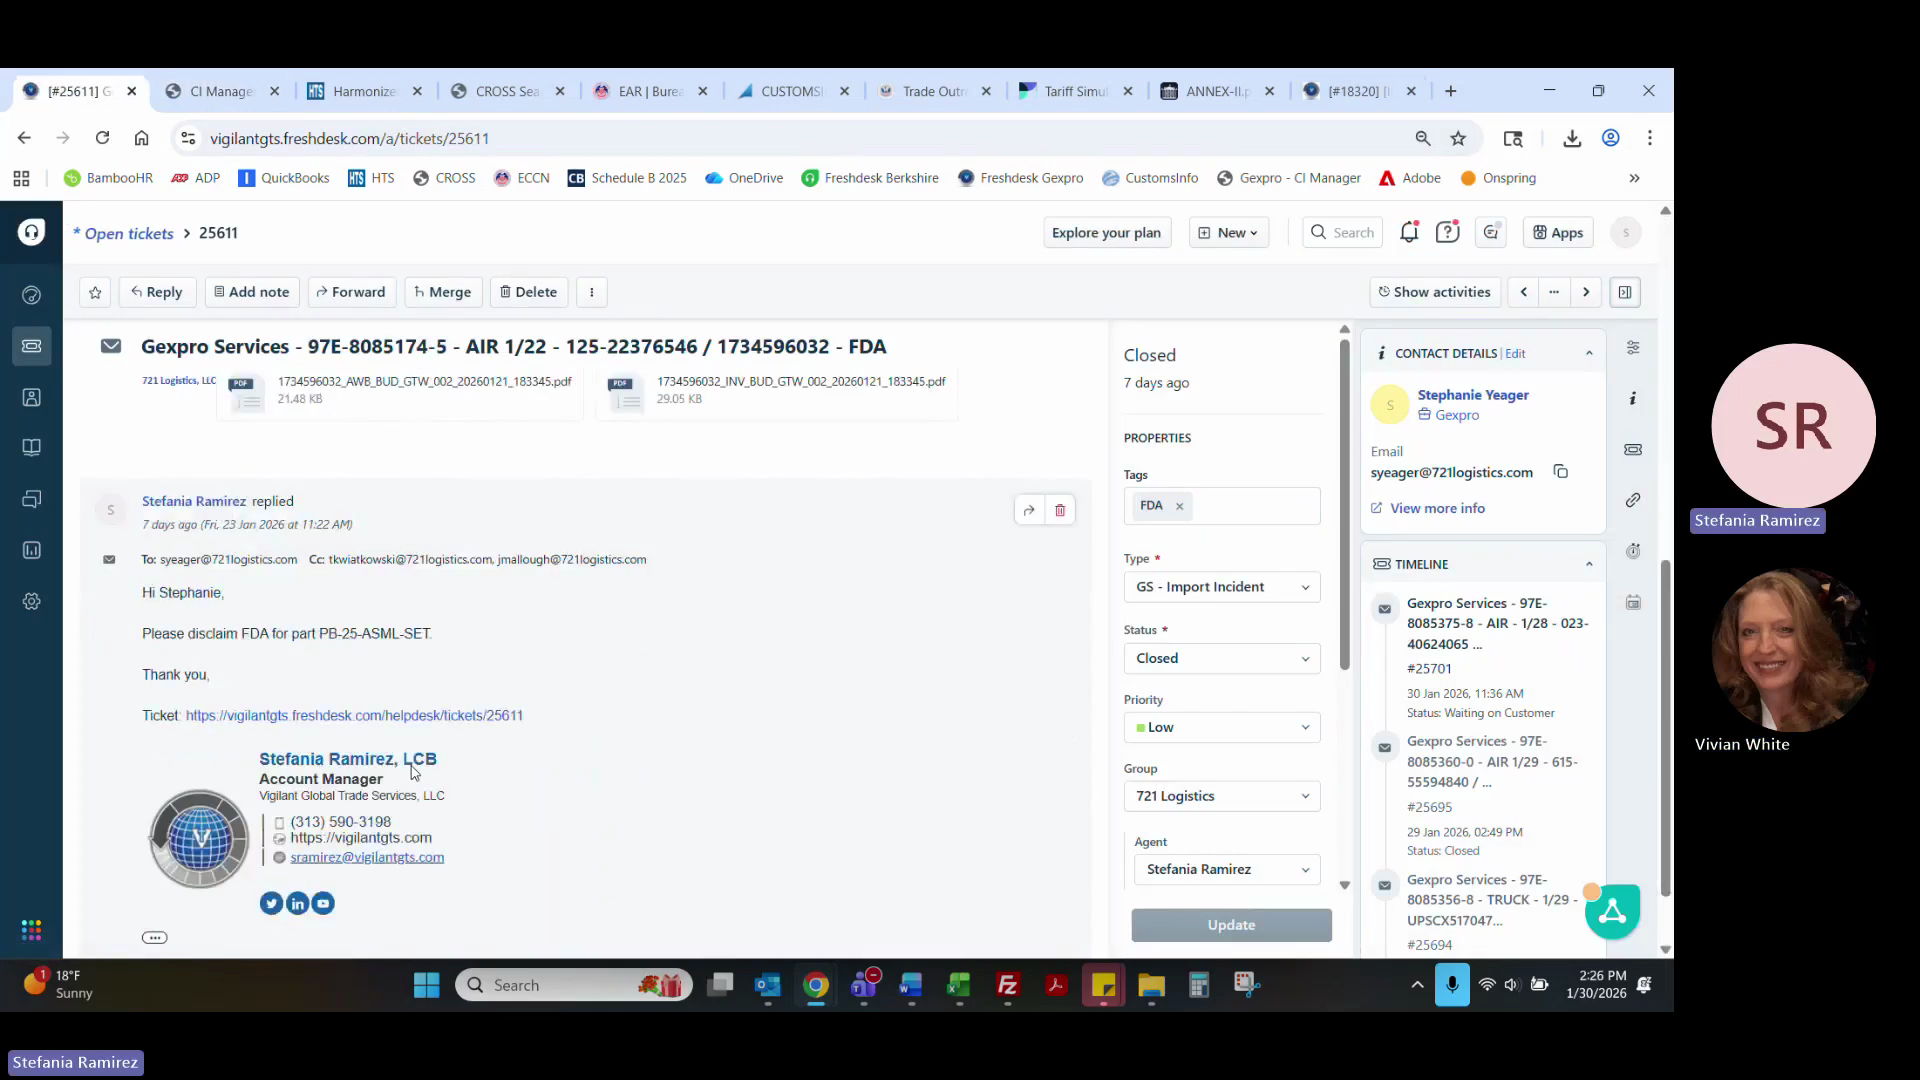
Click the Schedule B tab and verify.
19
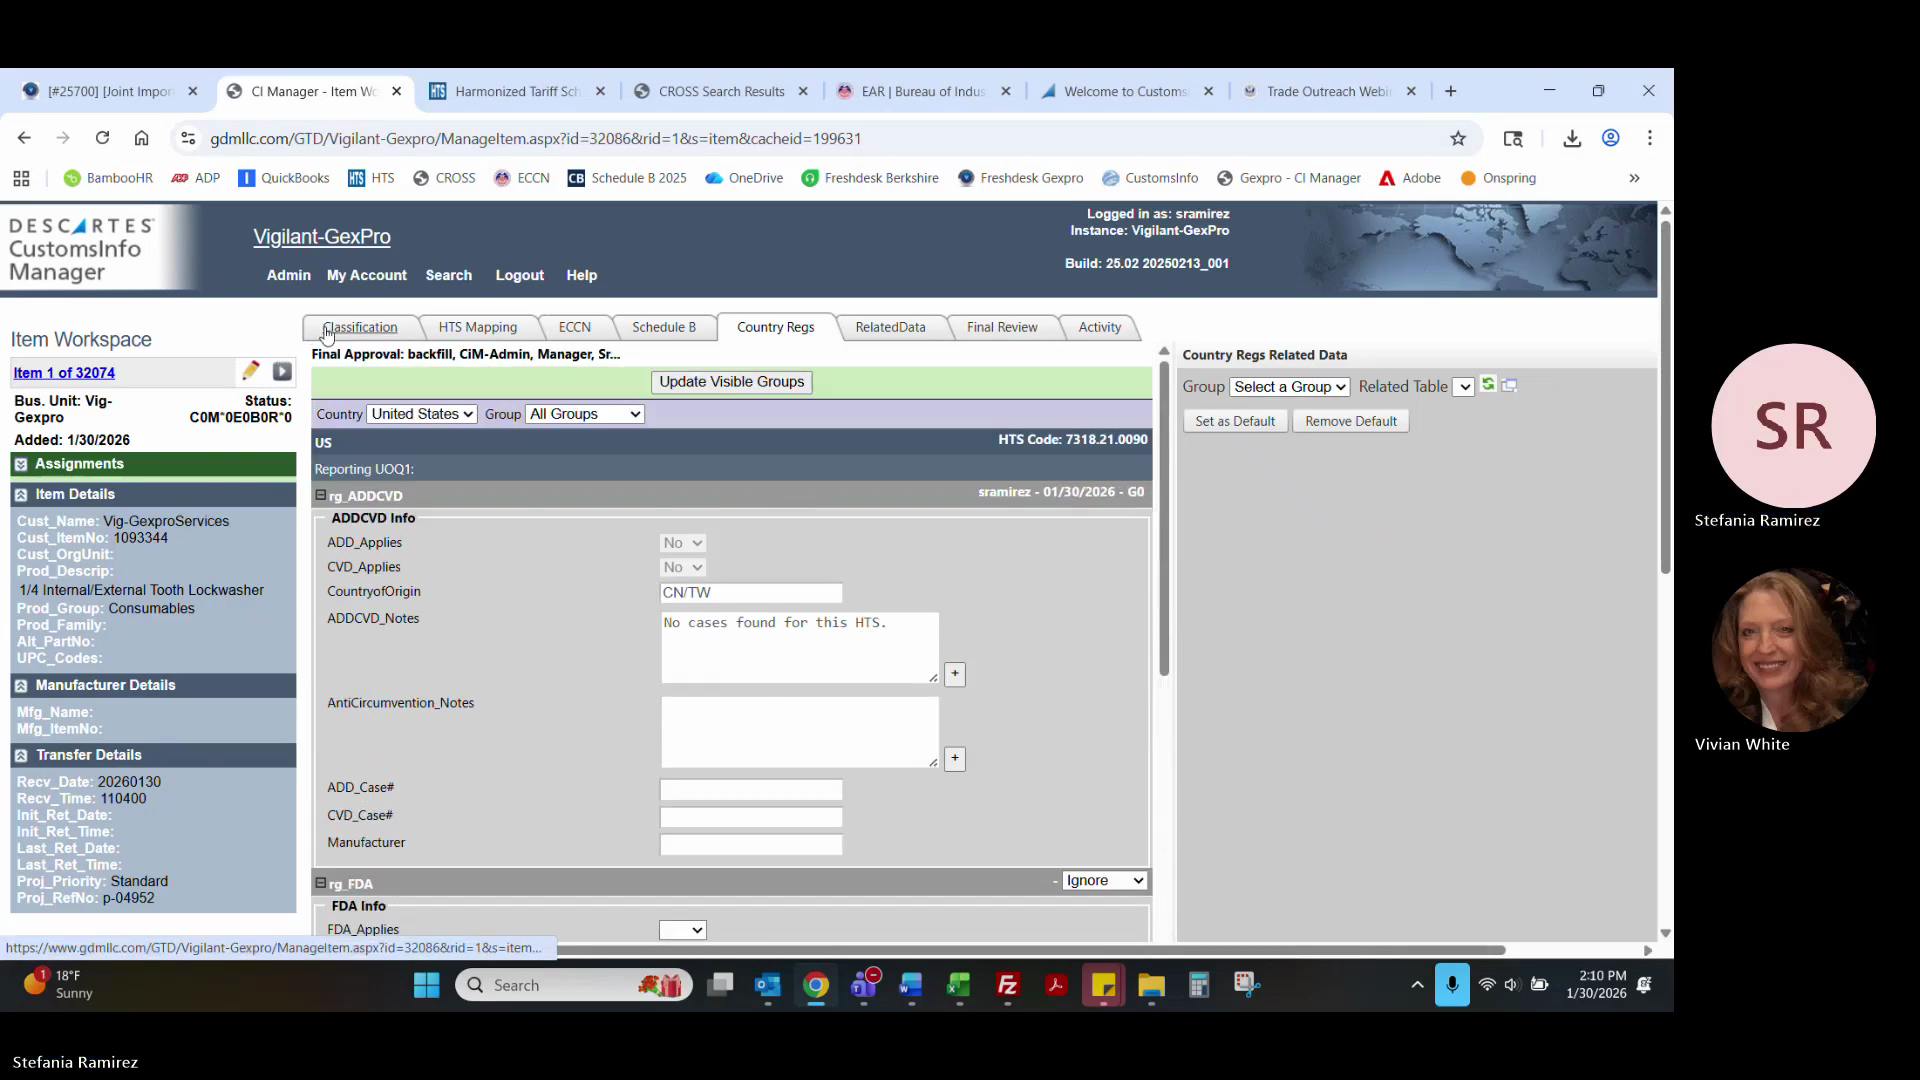
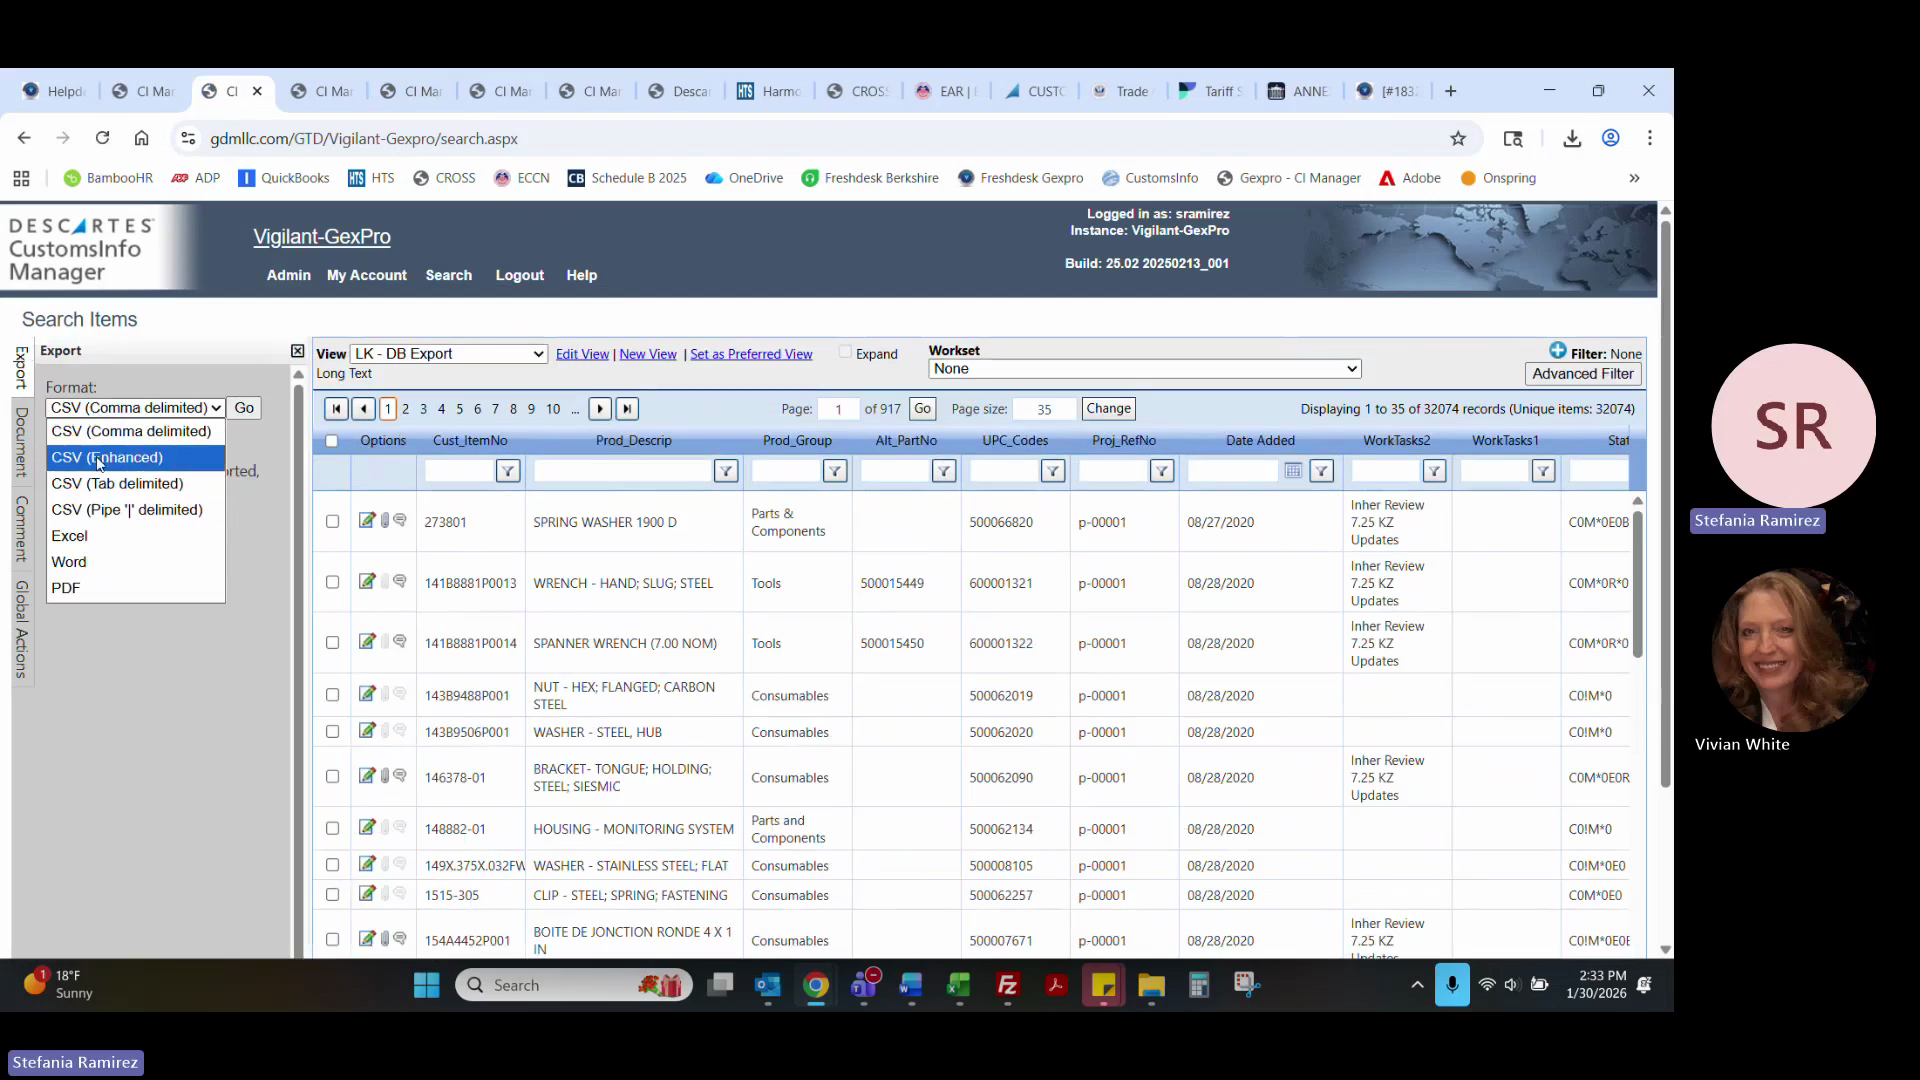
Click the Country Regs tab to check AD/CVD and PGA information.
20
Once everything is updated, proceed to the Final Review tab.
For Joint/Import tickets, CIM data exports to the broker automatically each night, provided the HTS mapping and AD/CVD fields are completed. Export-only tickets will not feed over if Country Regs are left blank.
3. Responding to the Customer
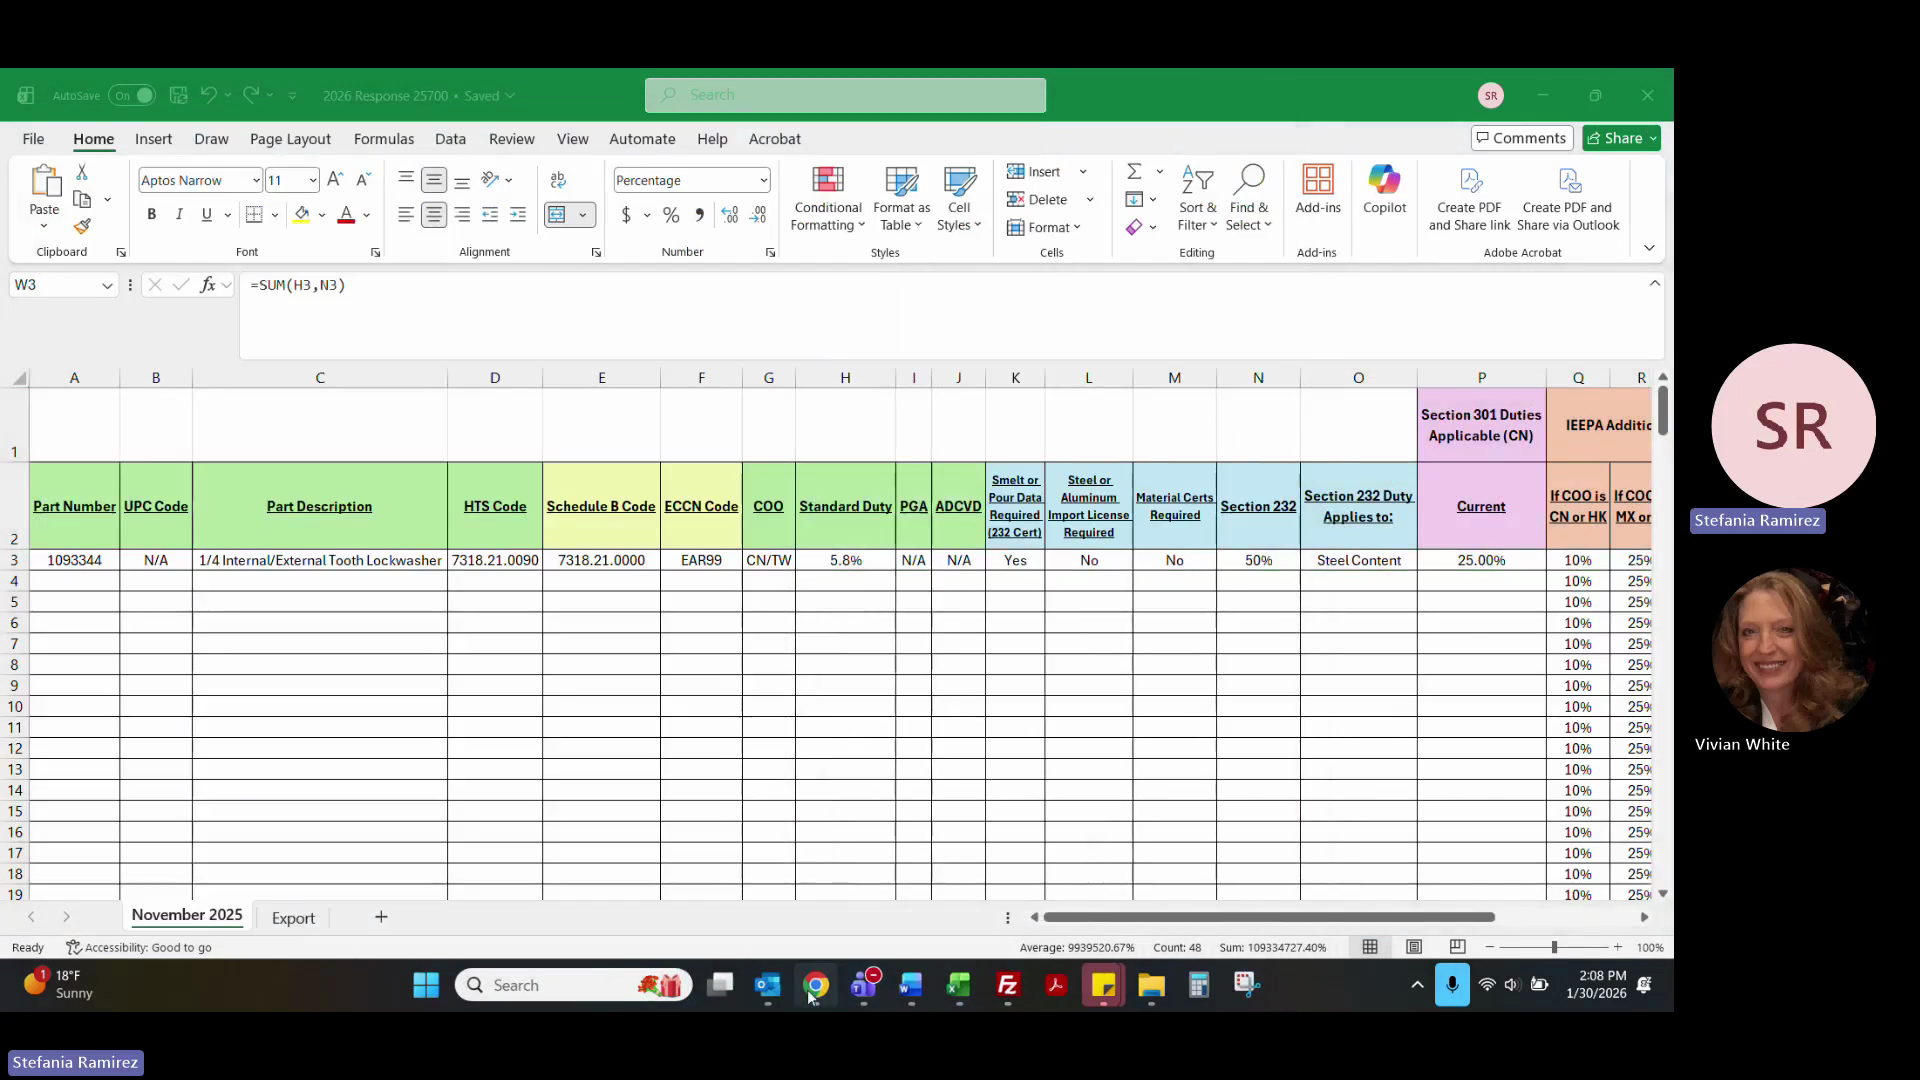
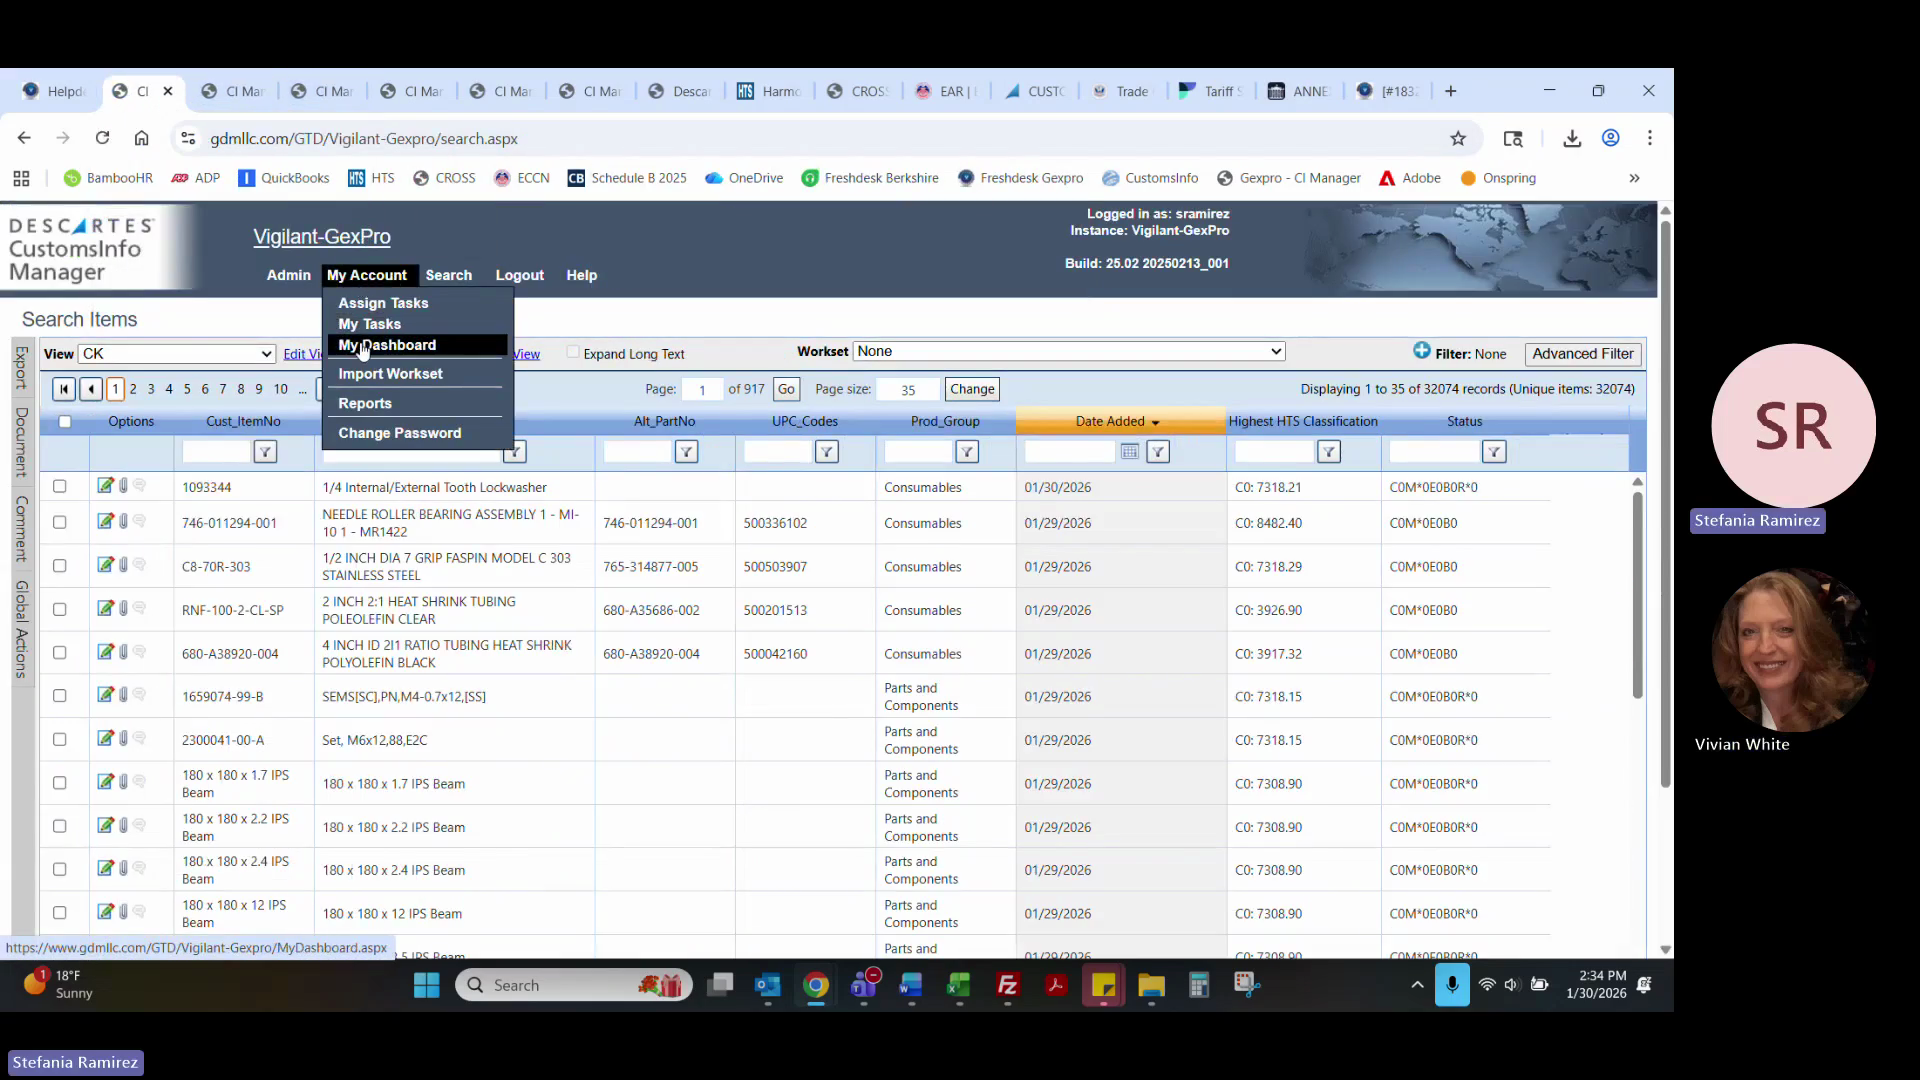
21
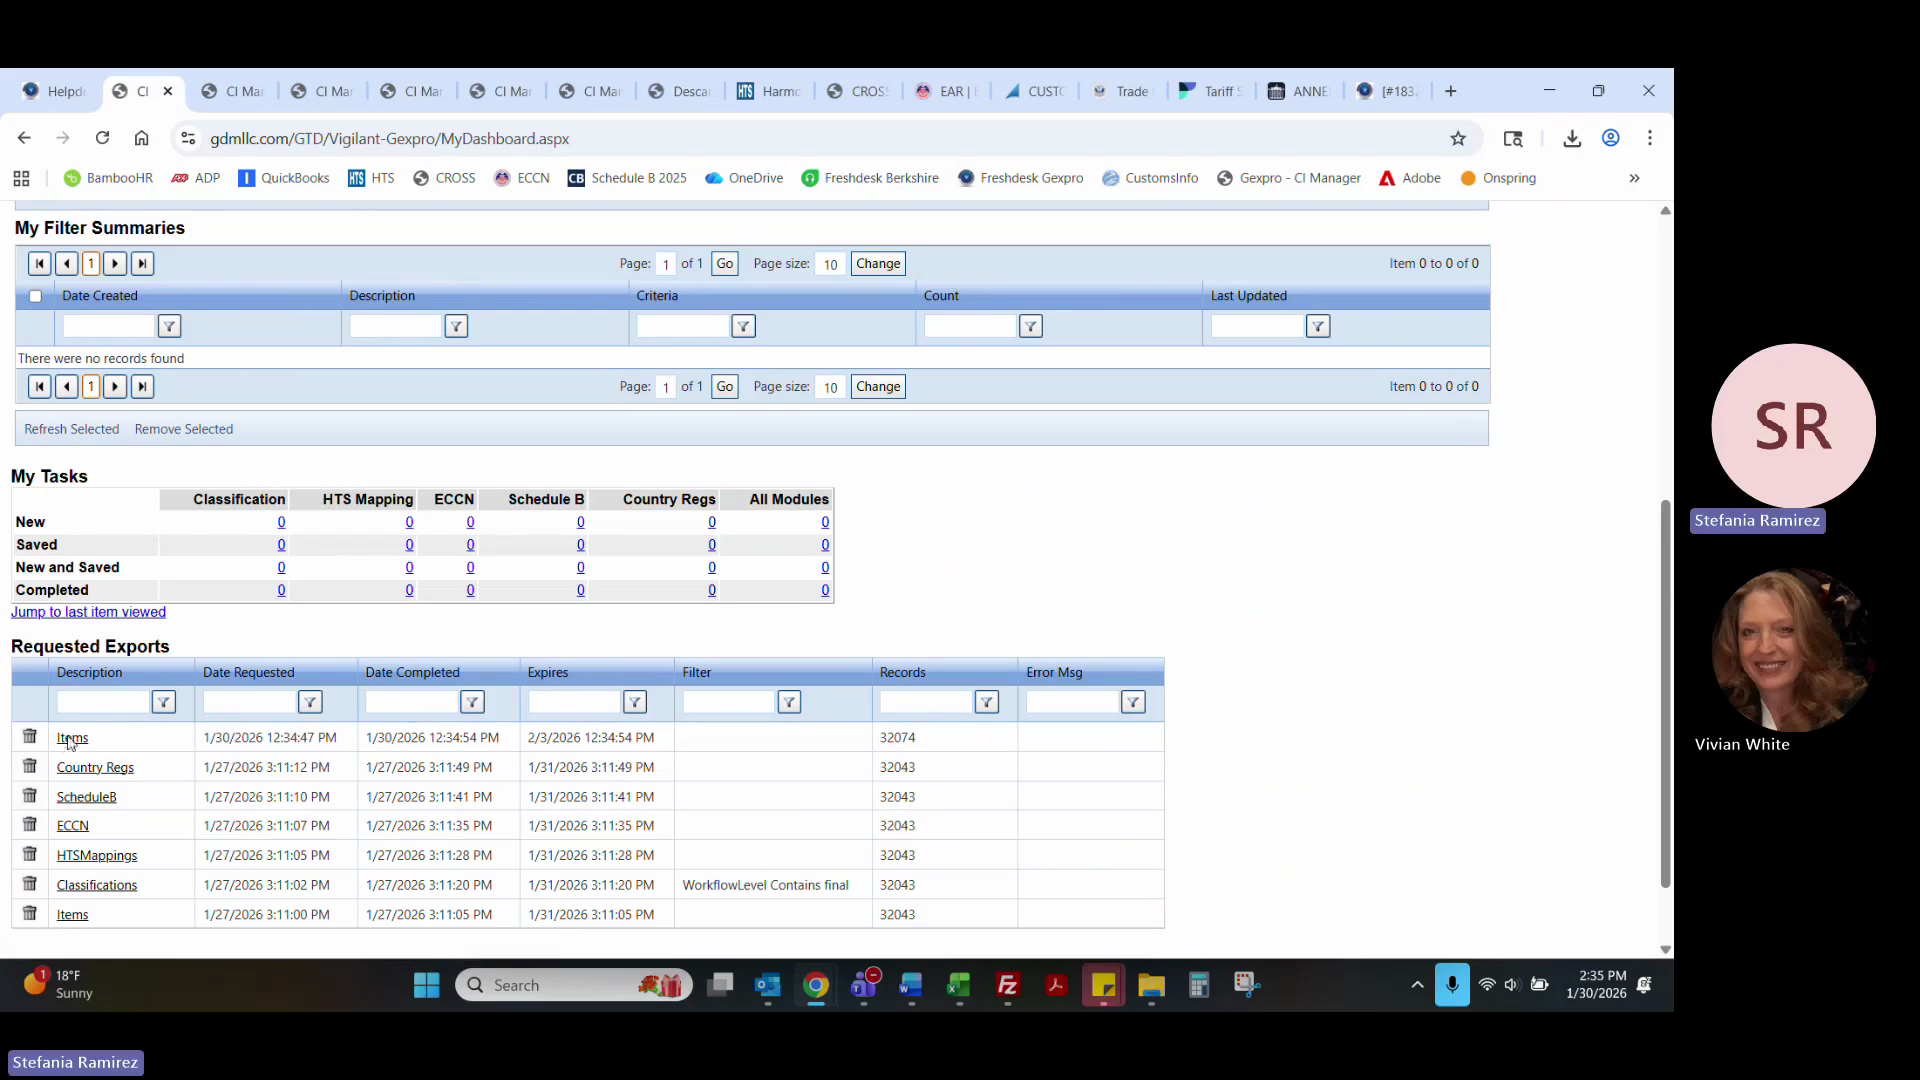
Copy the updated HTS, Schedule B, ECCN, and duty/tariff data (including Section 232 and 301 duties) into your Excel response template.
22
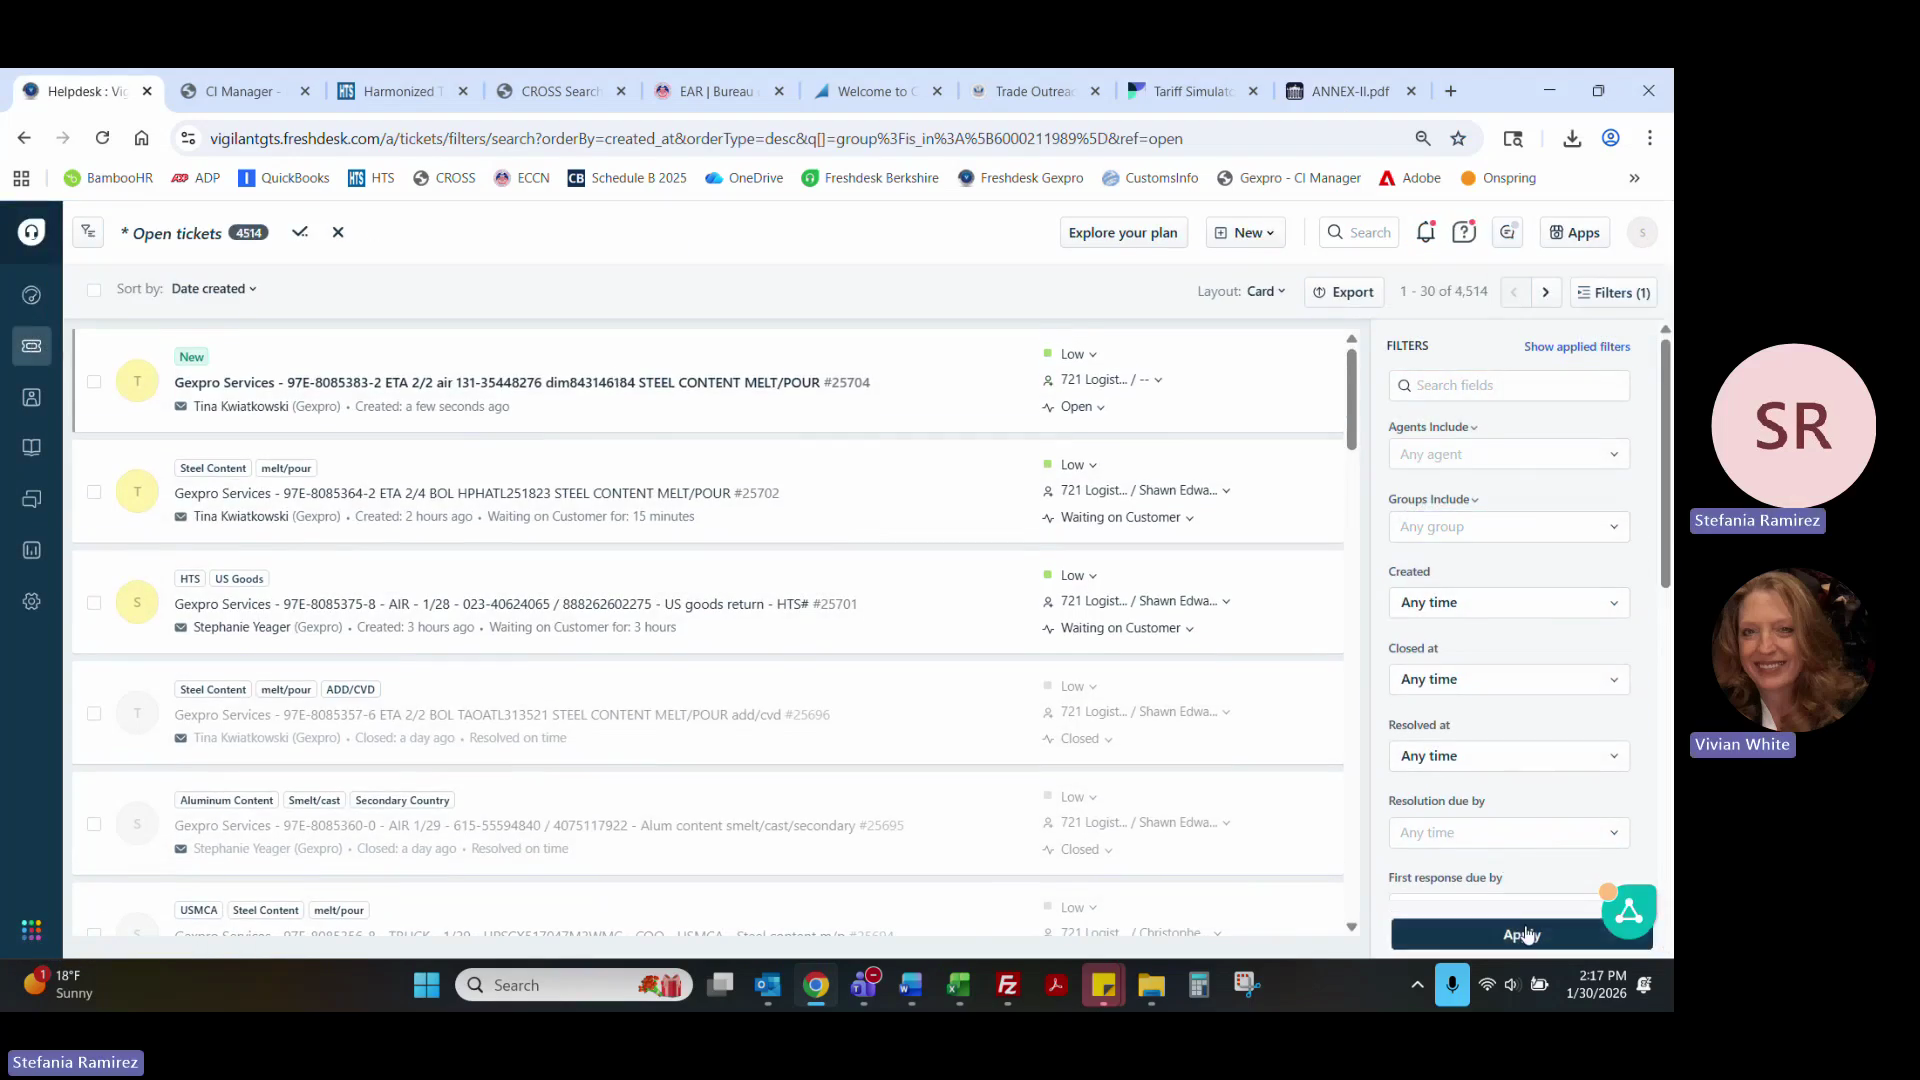
Return to the Freshdesk ticket and click Canned responses.
23
Insert the appropriate canned response template (e.g., Joint Import/Export).
24
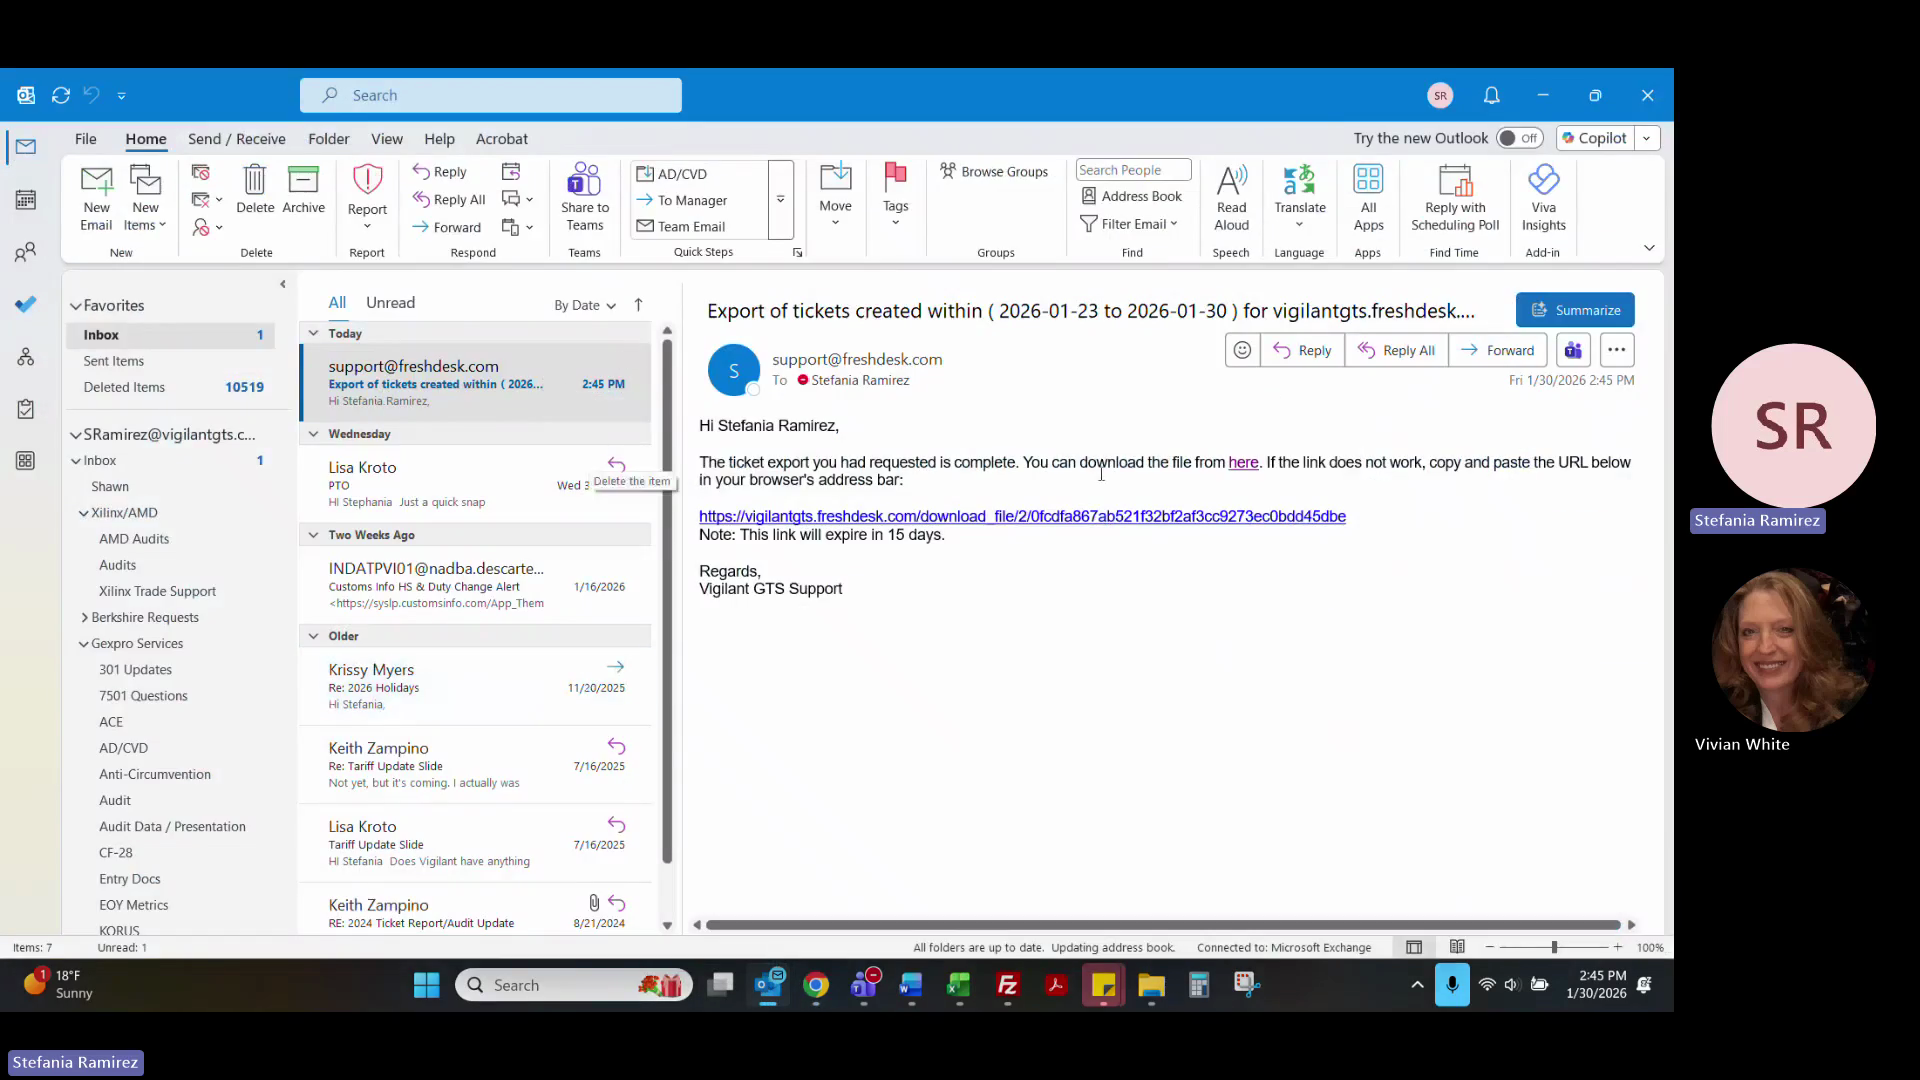
Paste the completed classification table from your Excel template into the message body.
25
If addressing complex exemptions, consult the Section 232 Guidelines Annex II and attach documentation as needed.
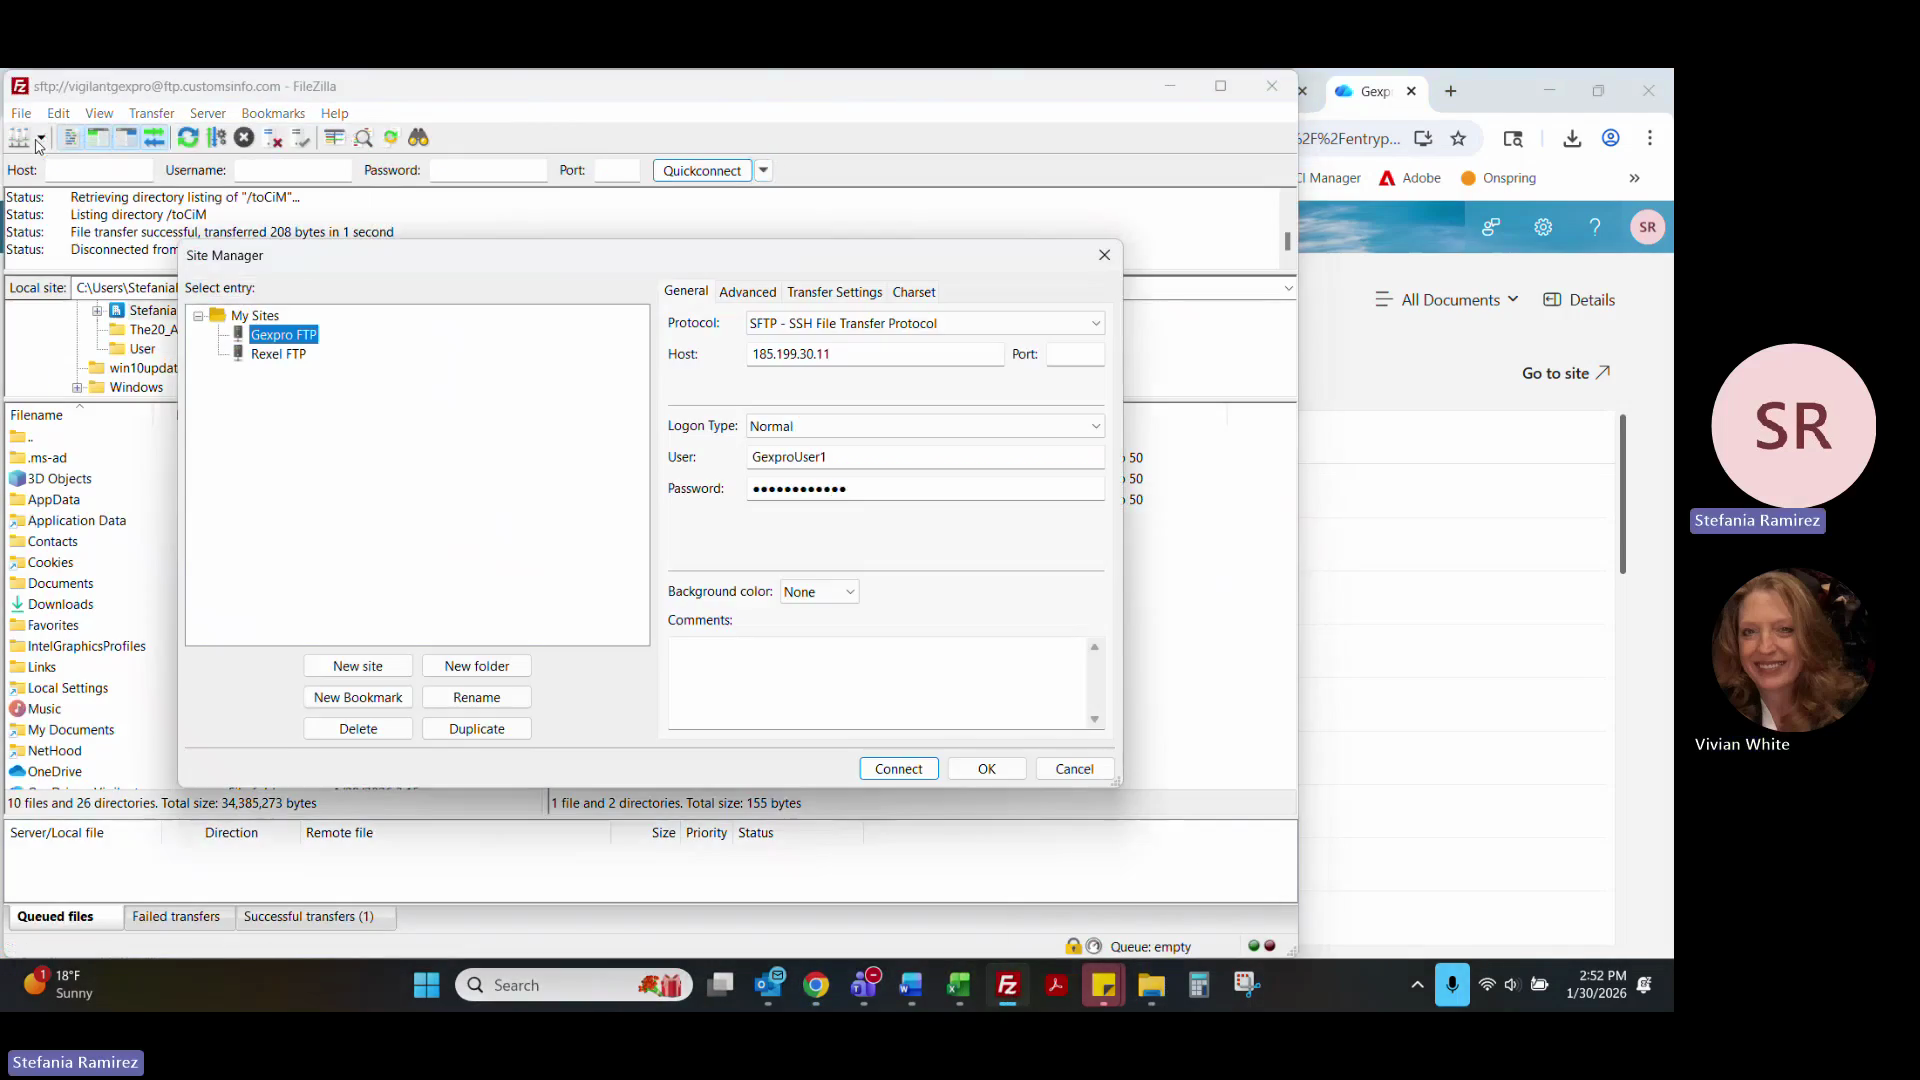
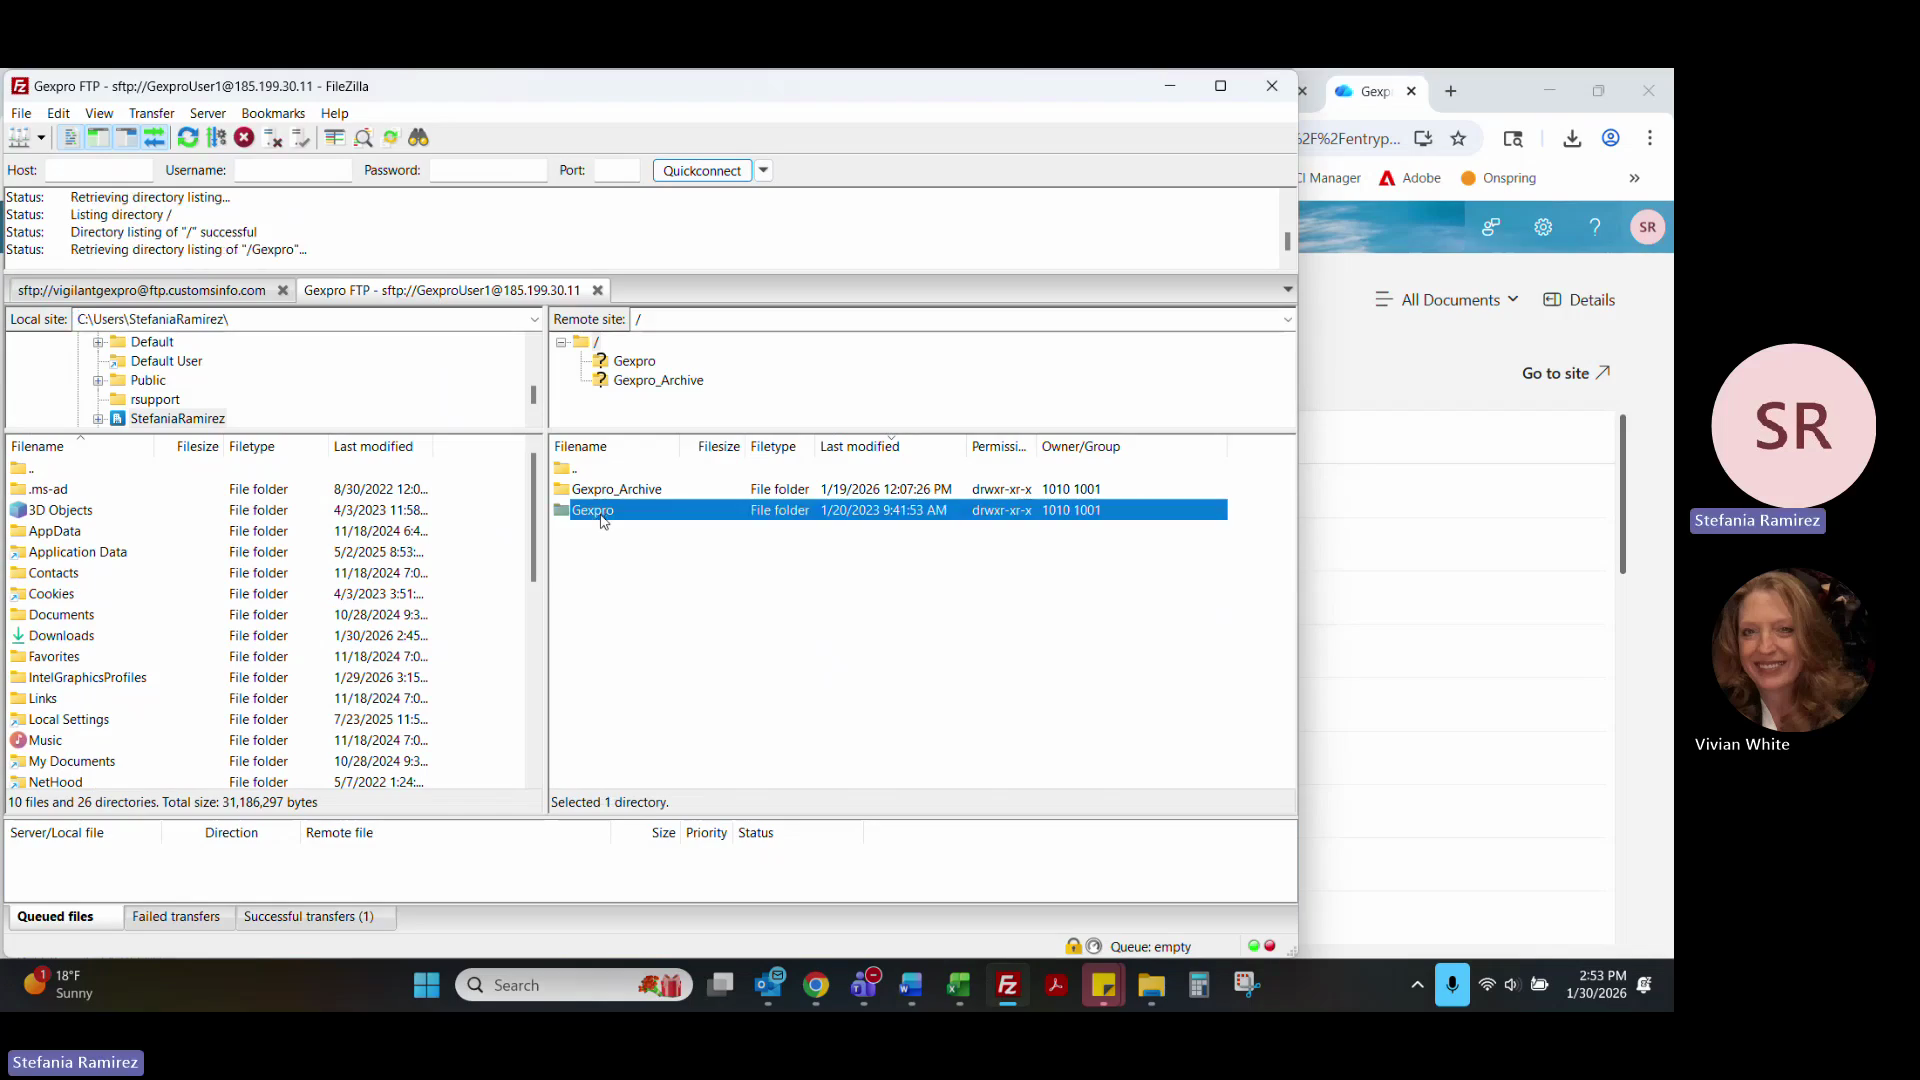
26
Update the ticket status to Closed and send the response.
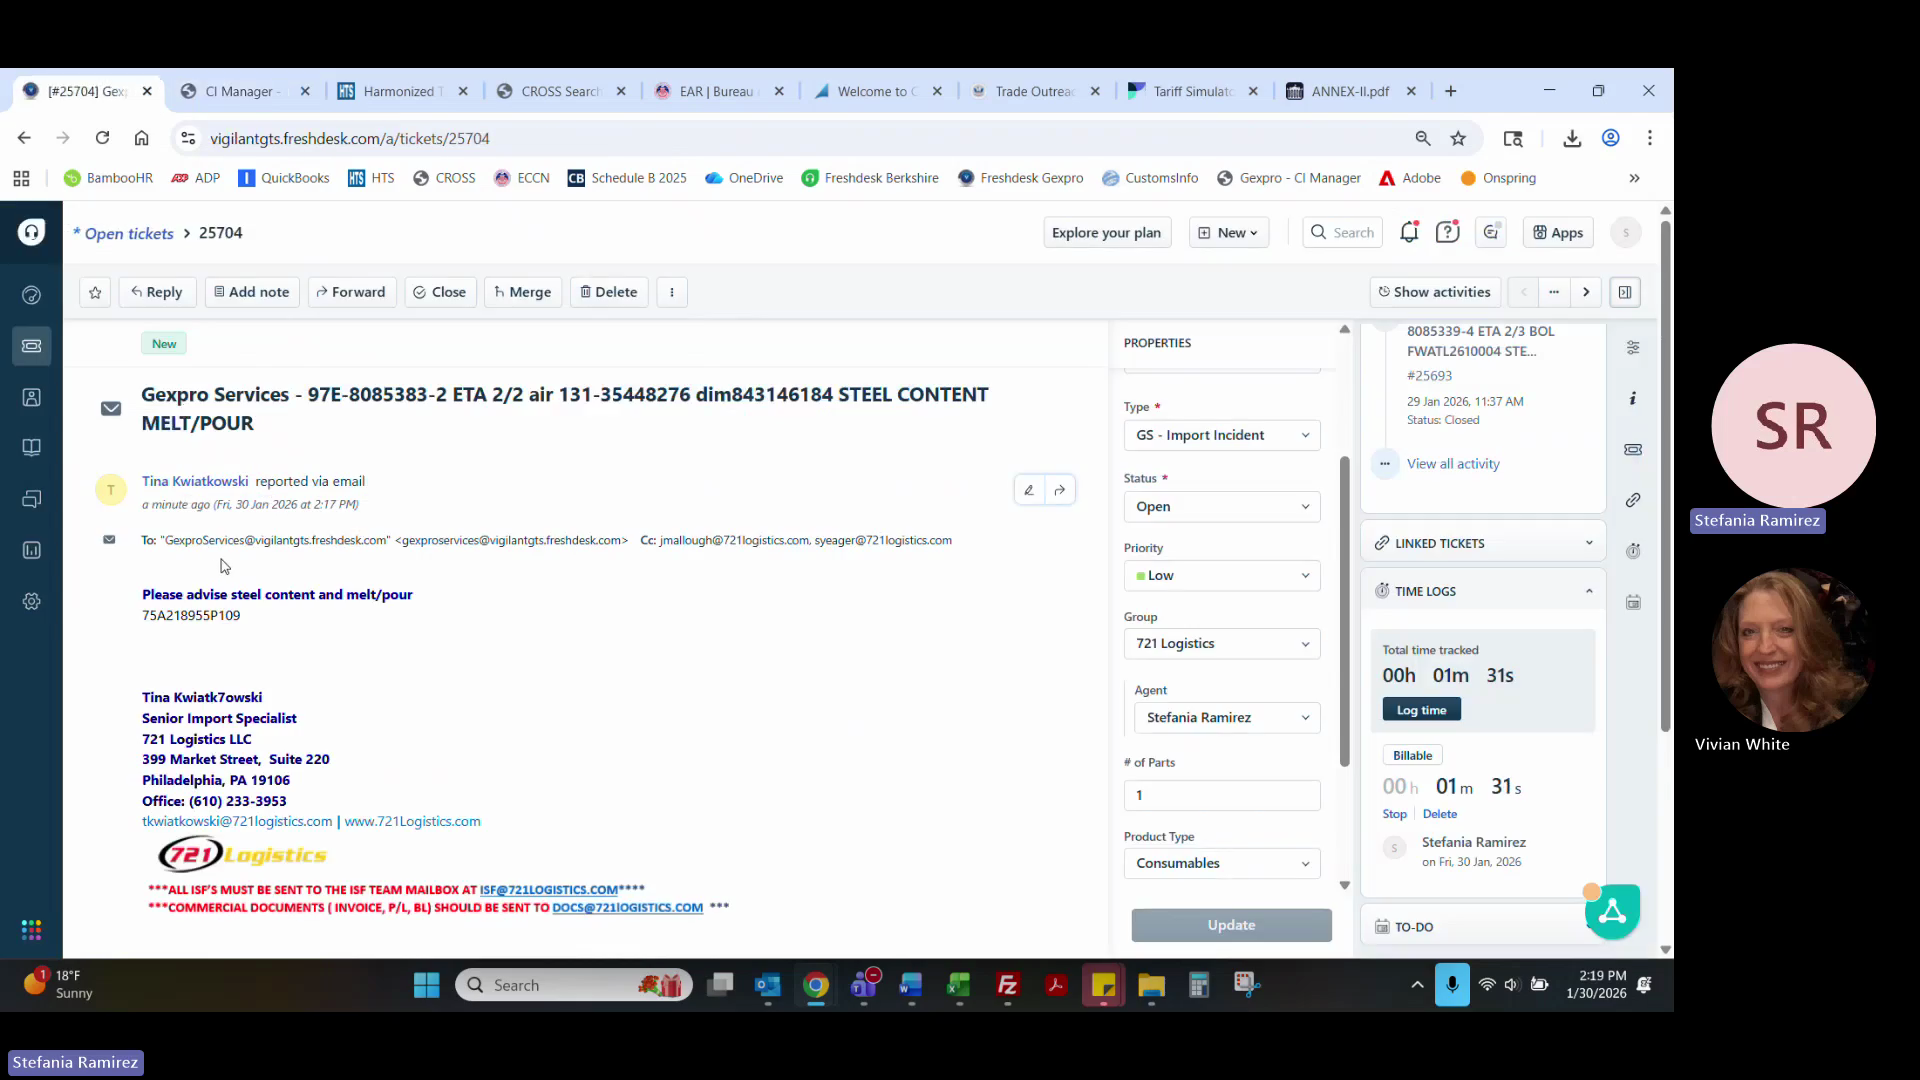
4. Processing Broker Tickets (Import Incidents)
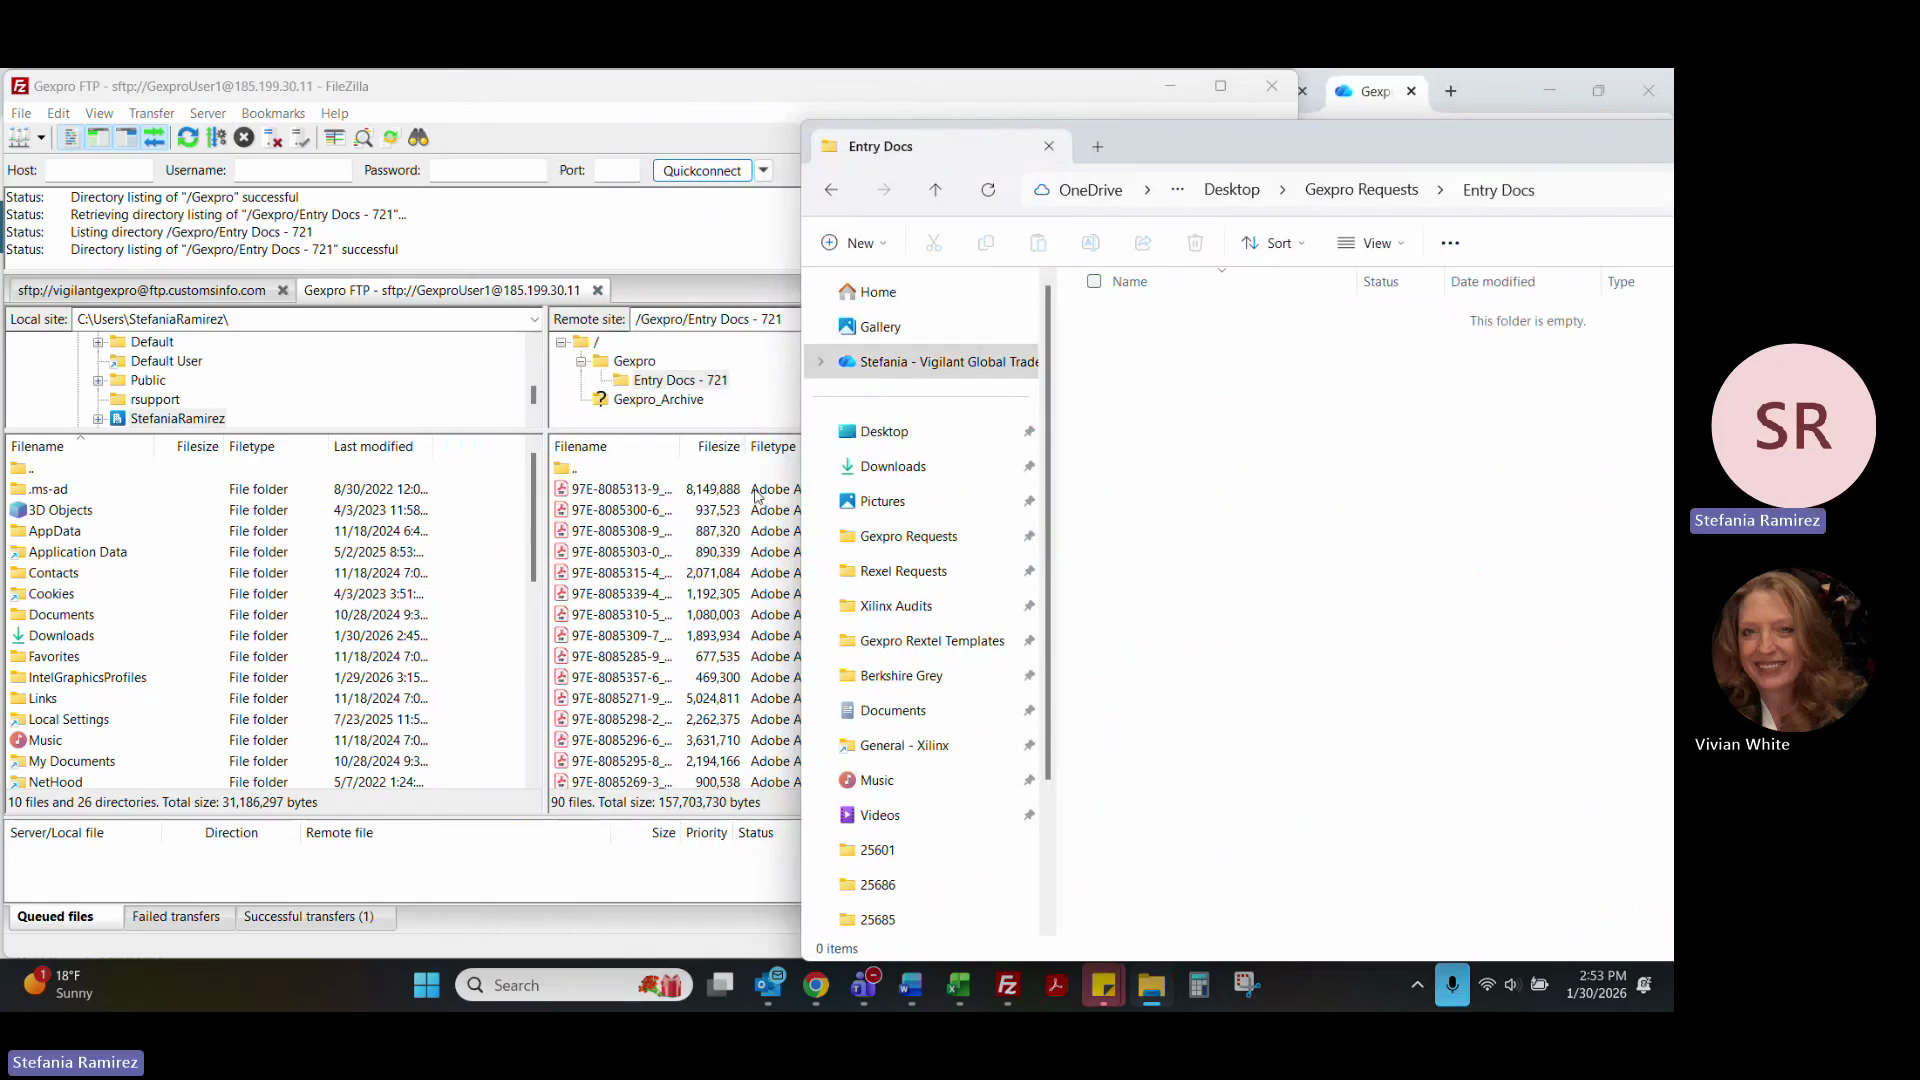
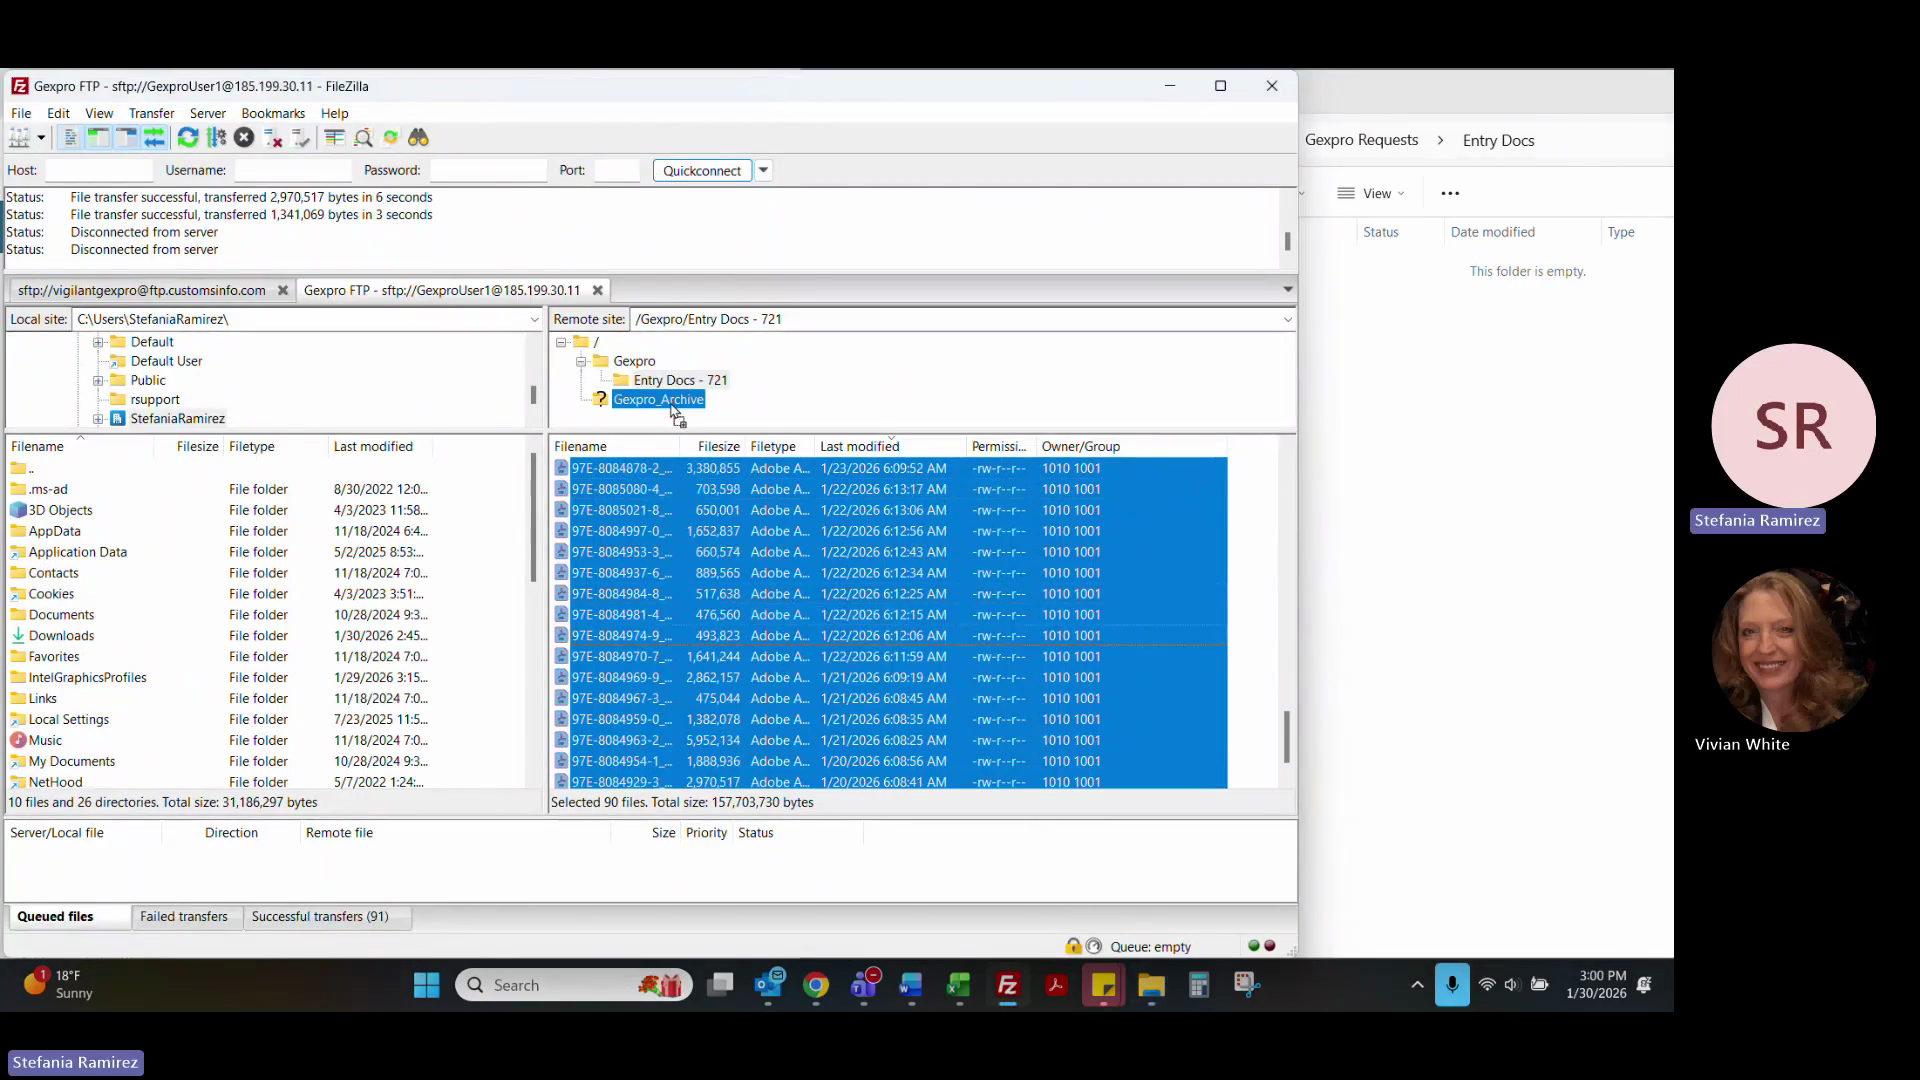
Broker tickets usually involve missing information (like steel content or country of melt/pour) needed to clear a shipment.
27
Select a broker ticket from the queue.
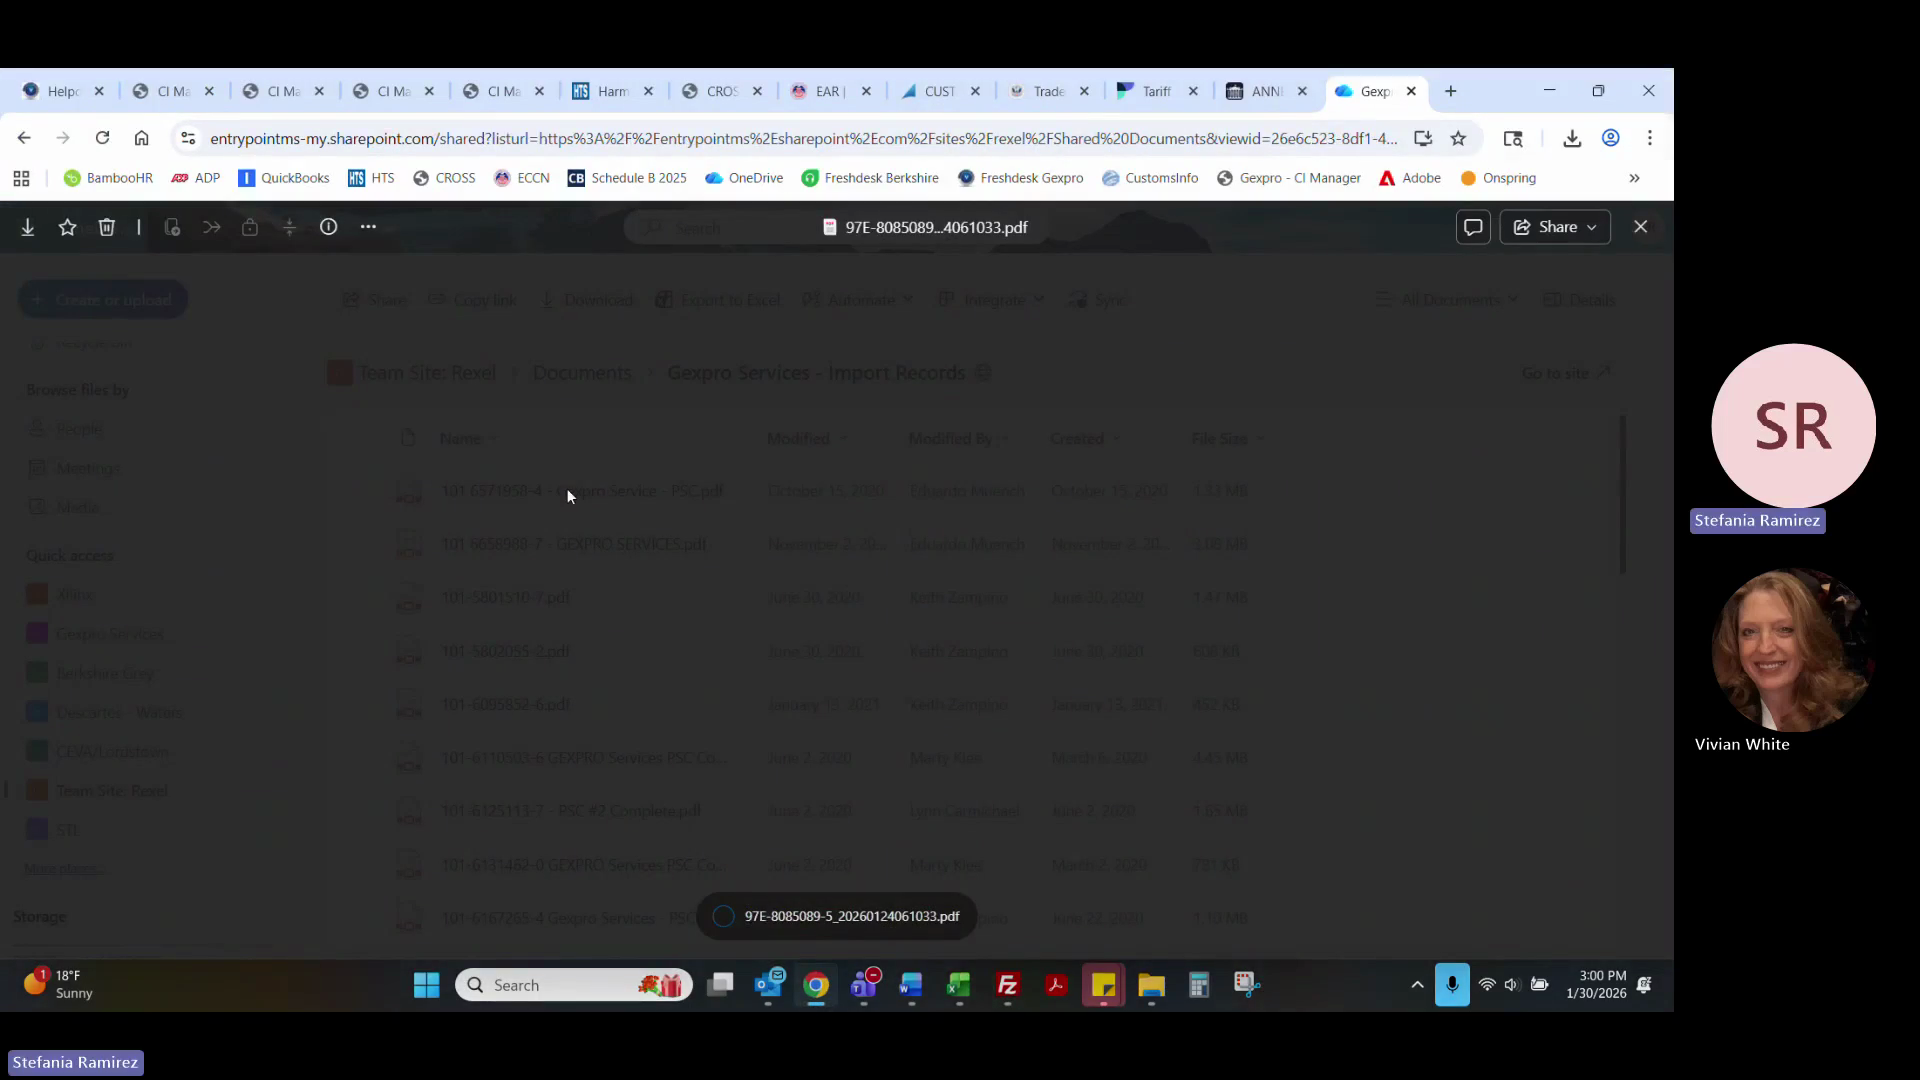
28
Start your time tracker.
29
Set the ticket Type to Import Incident and assign the ticket to yourself.
30
Enter the number of parts involved into the ticket properties.
31
Open the attached commercial invoice or purchase order.
32
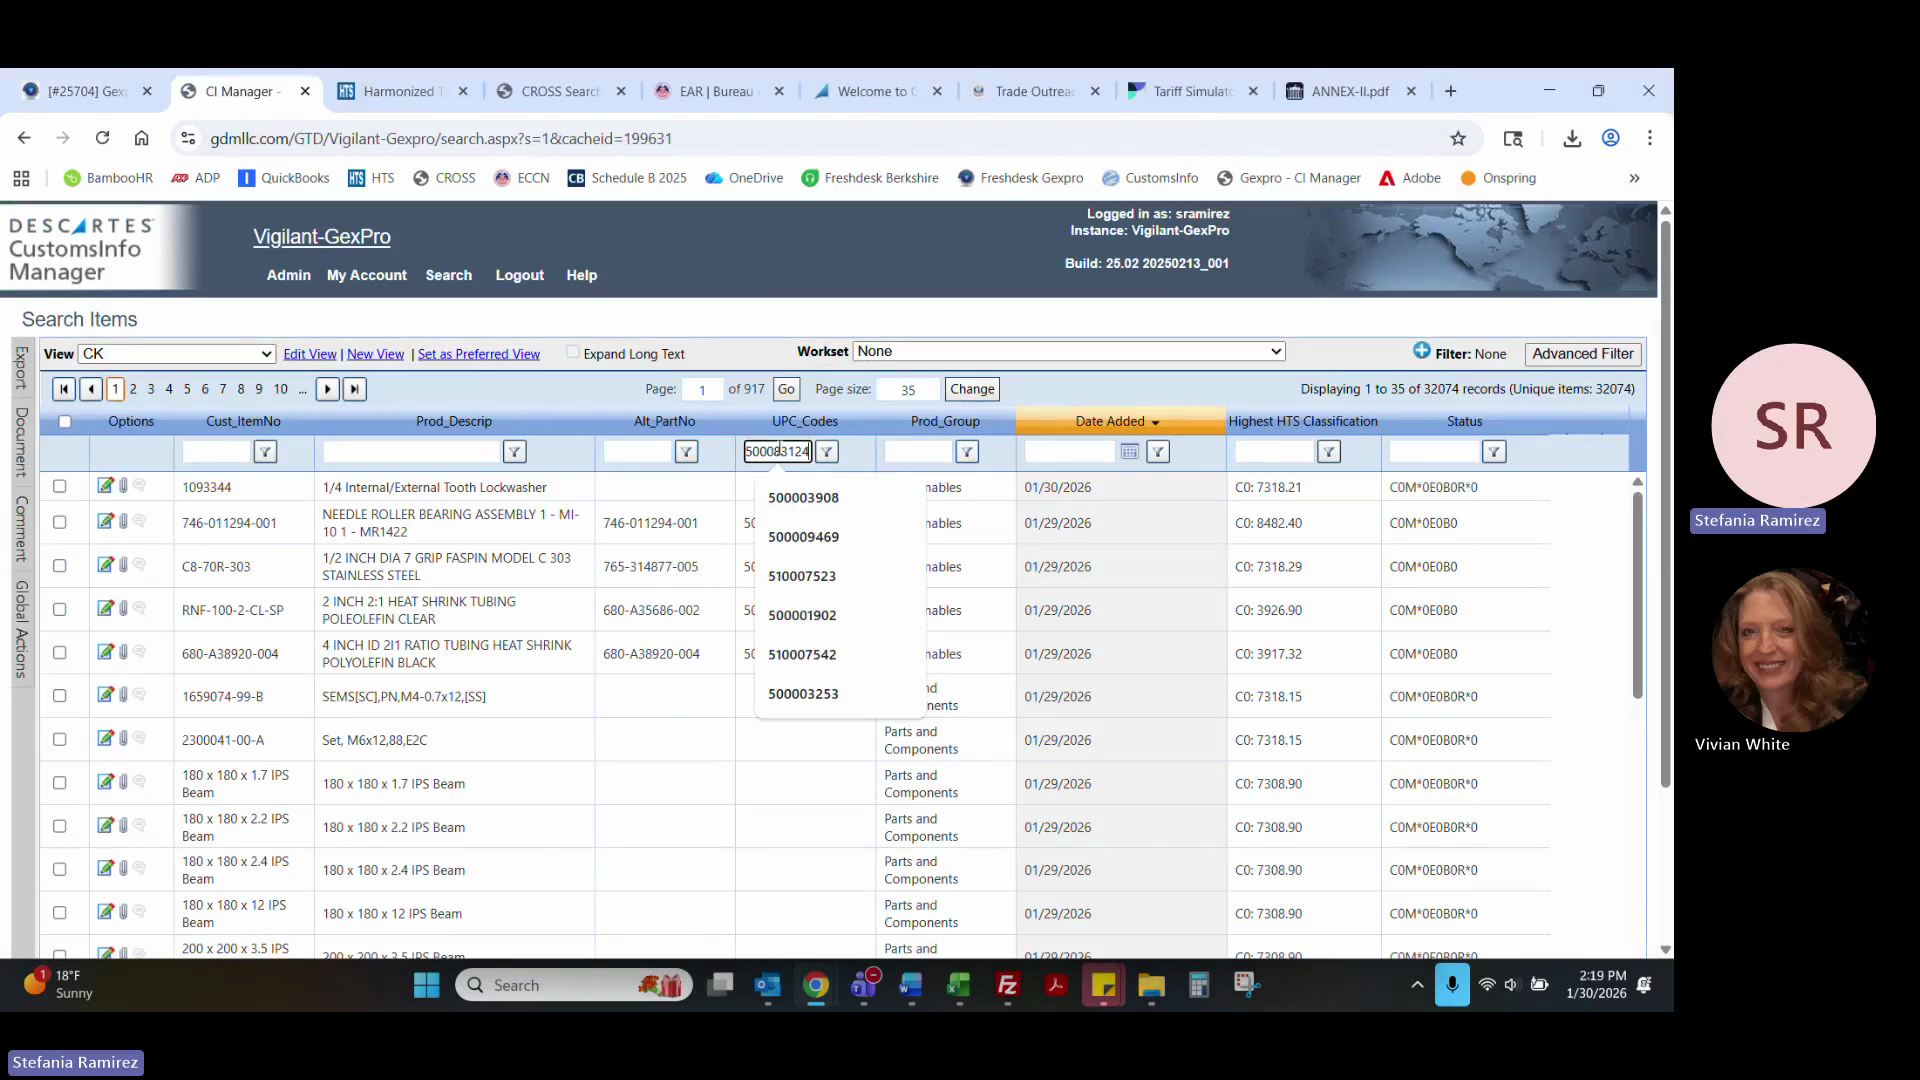
Verify the part number. If the part number on the document doesn't match the request exactly, search using the UPC code in CIM.
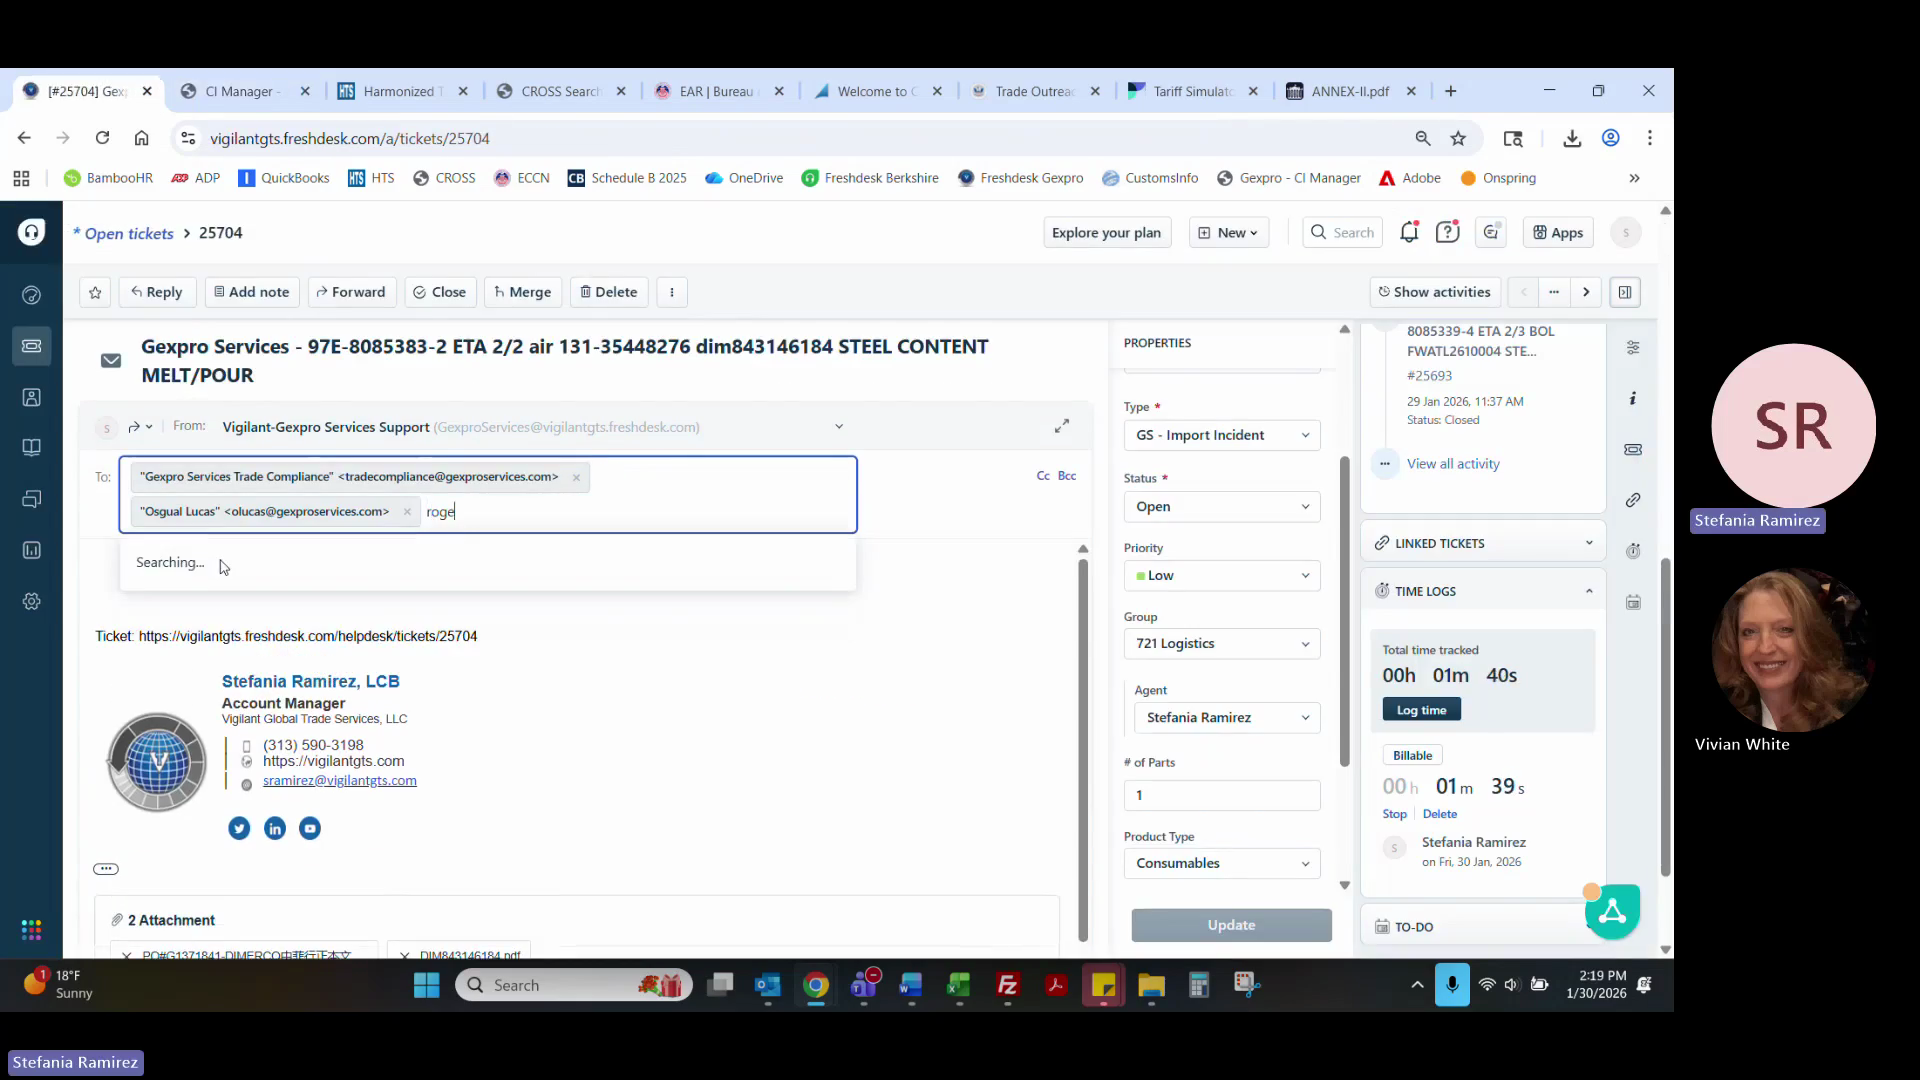
33
Click Forward to send an inquiry to the trade team regarding the missing data.
34
Add the necessary trade team members to the "To" field.
35
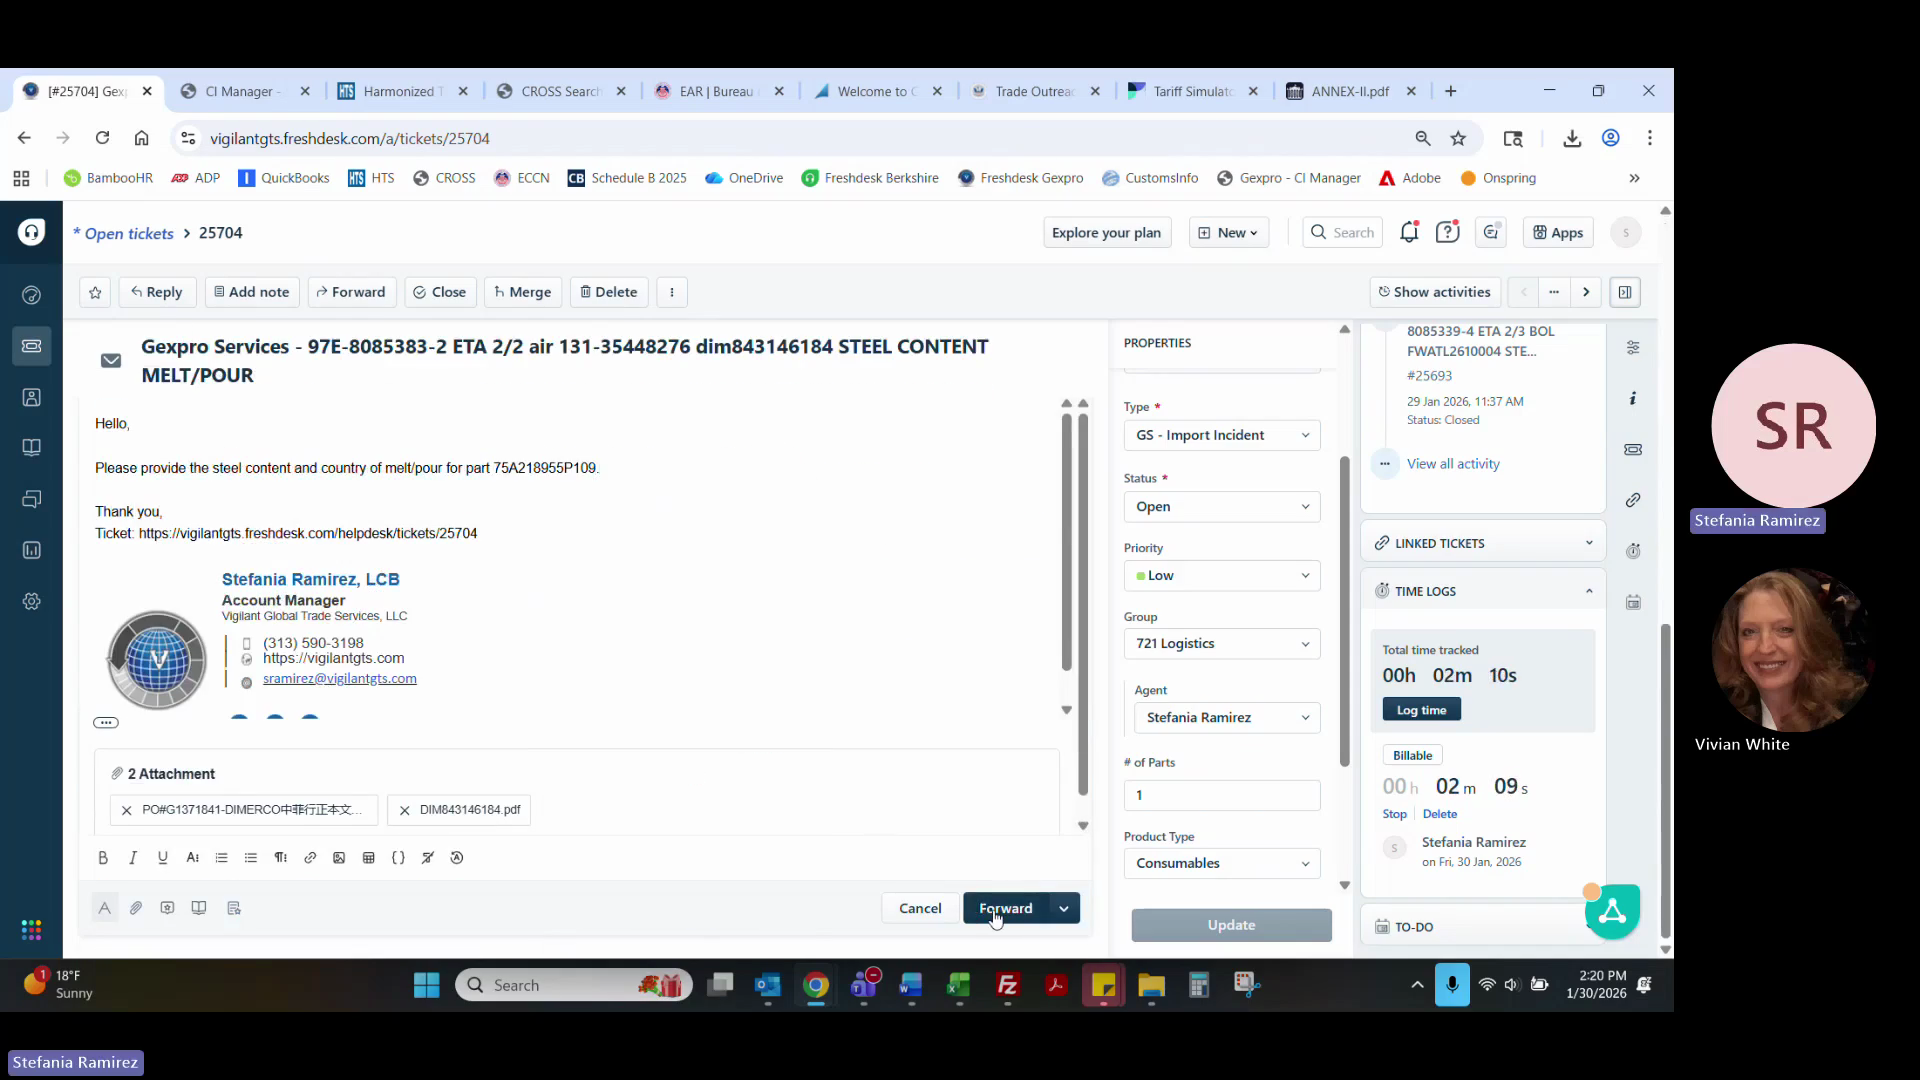
Draft a message requesting the steel content and country of melt/pour for the part.
36
Send the forwarded message.
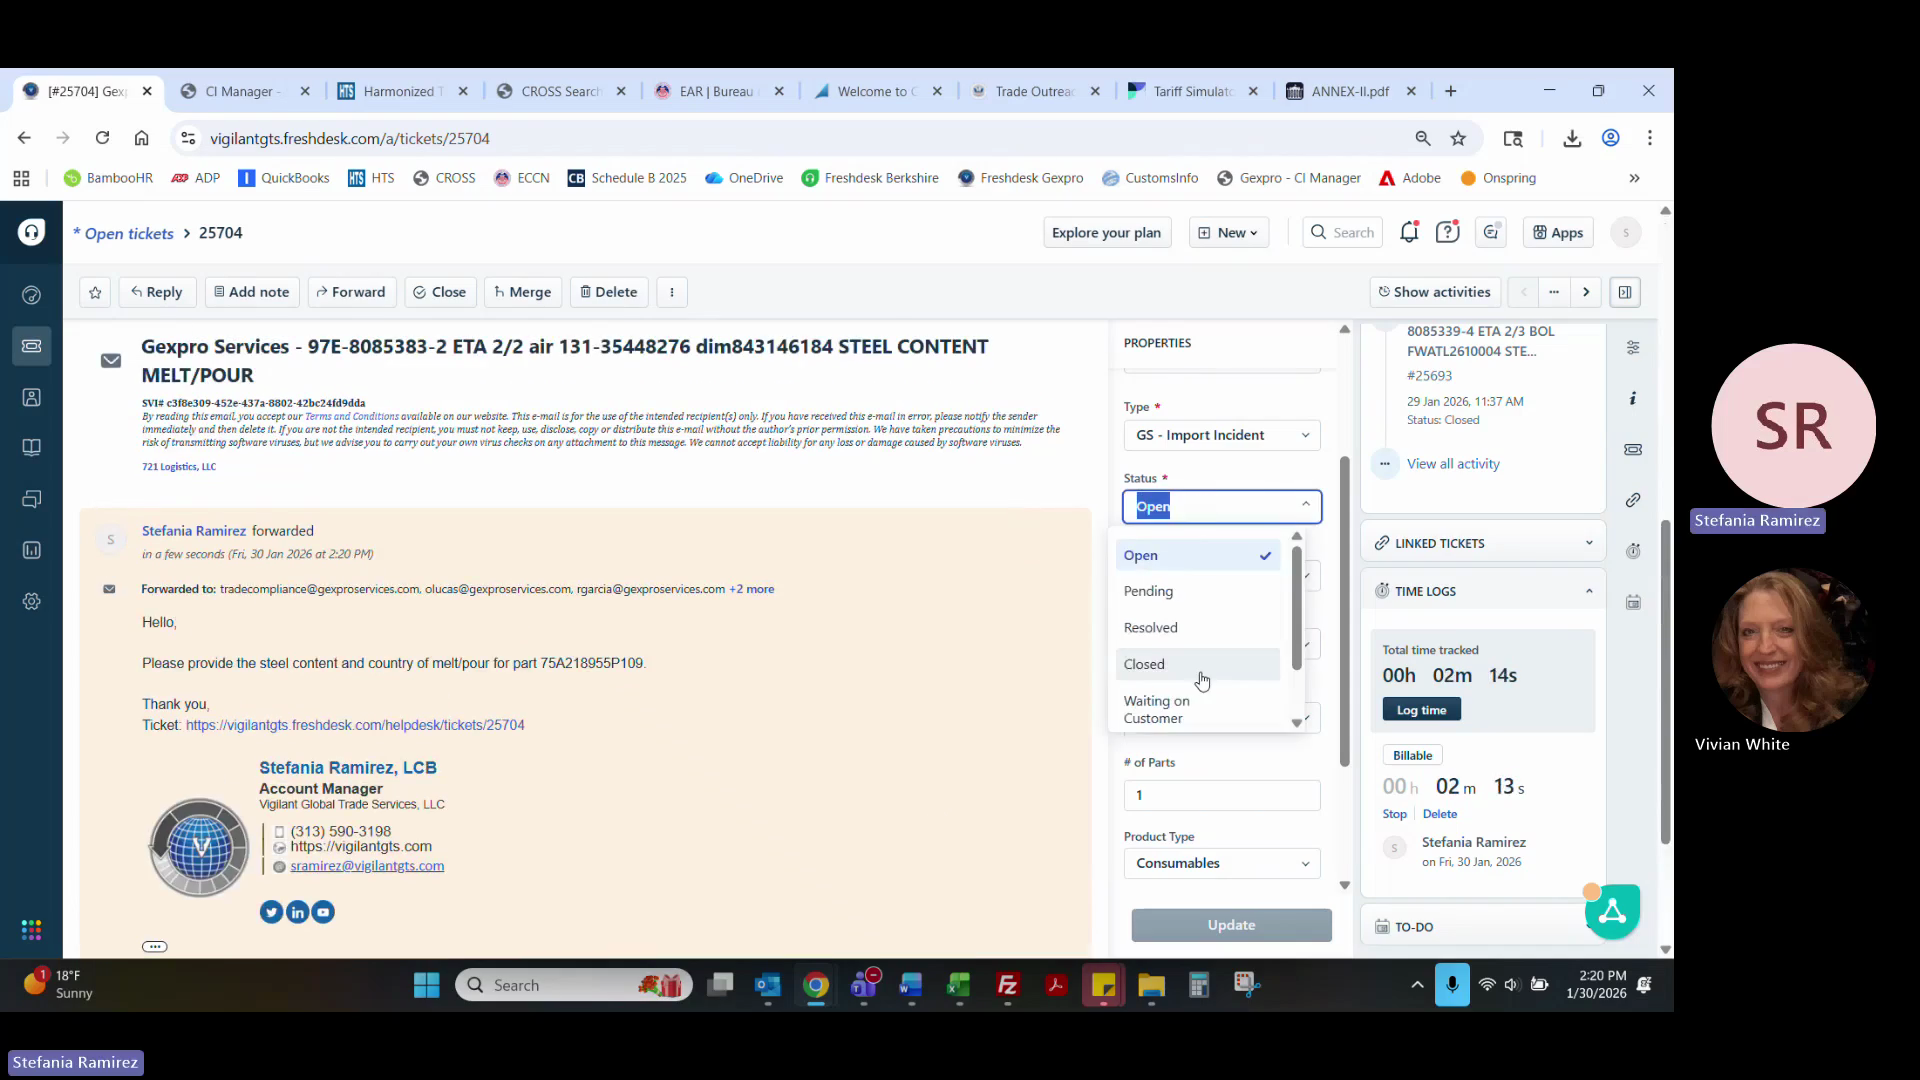
37
Change the ticket status to Waiting on Customer and stop your timer.
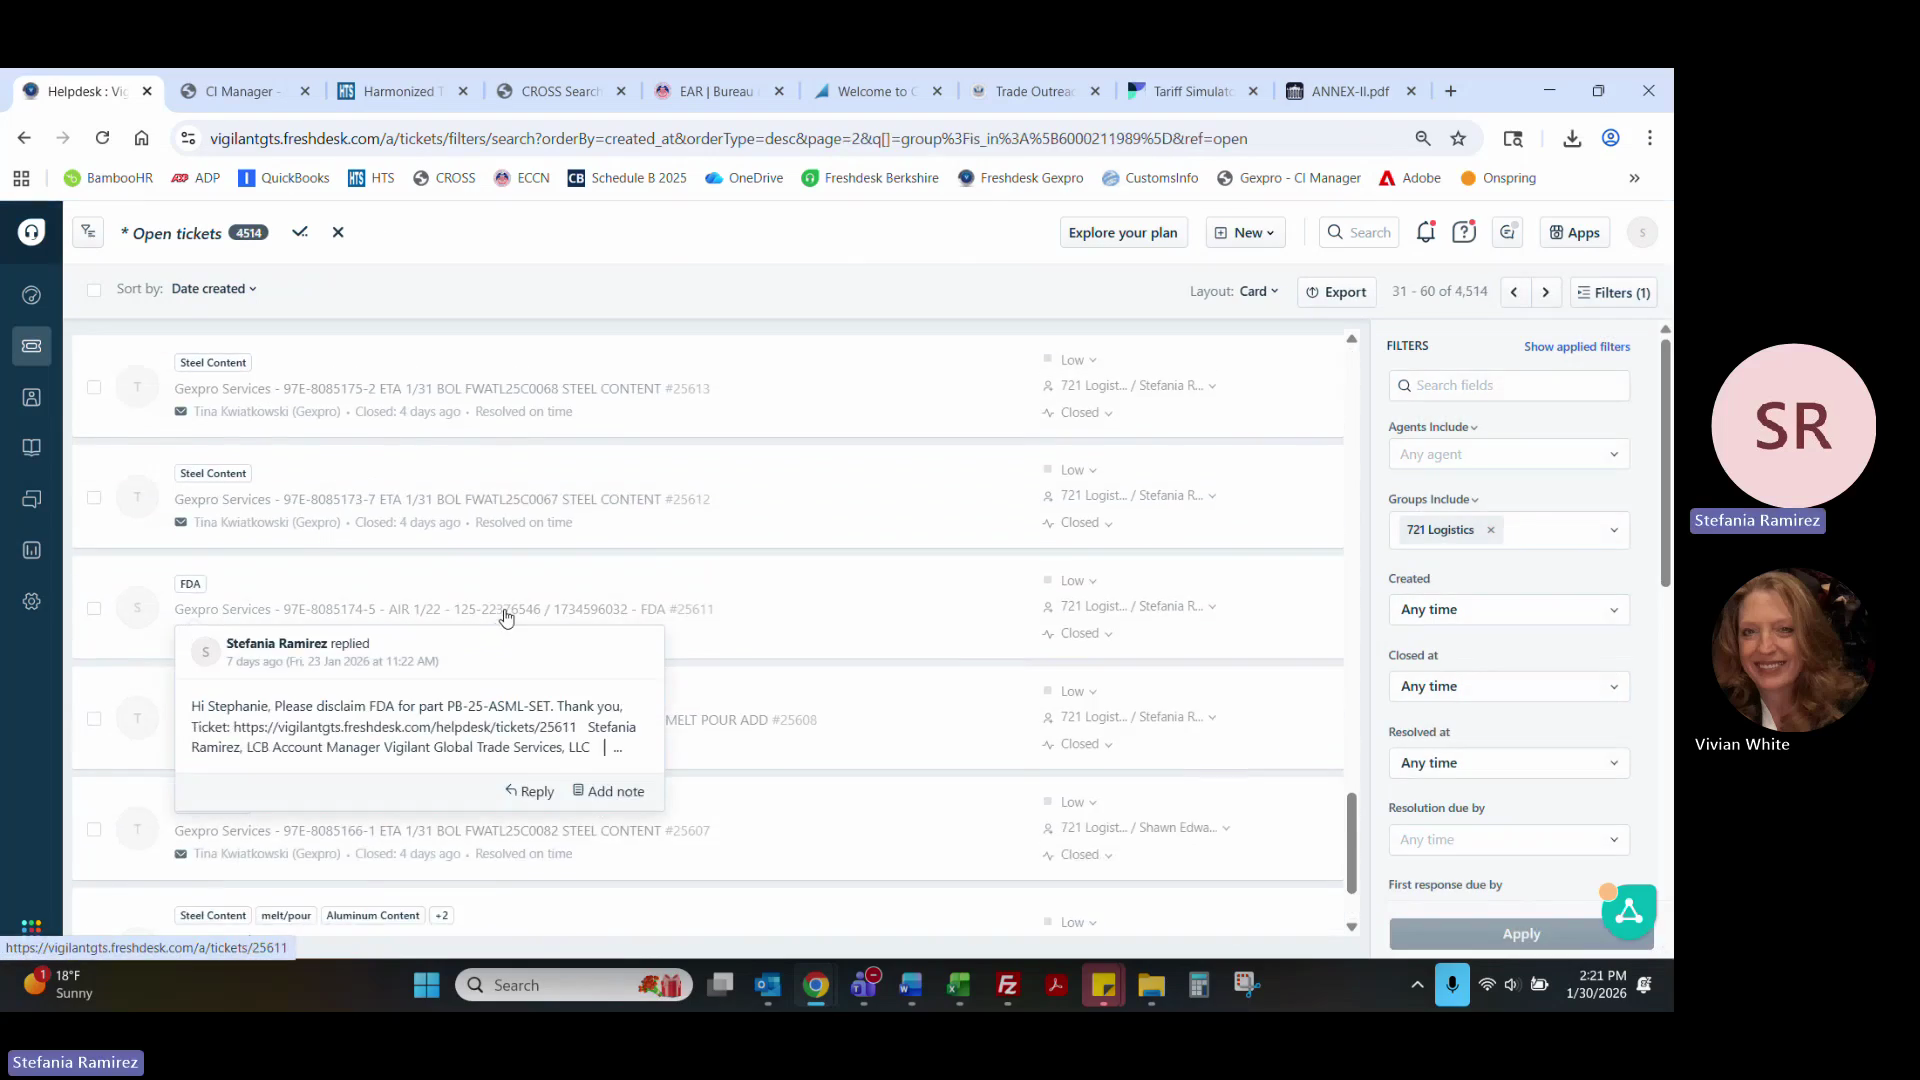
5. Checking FDA and ADD/CVD Requirements
Sometimes broker tickets request confirmation on FDA or ADD/CVD flagging.
38
Open the FDA/PGA inquiry ticket.
39
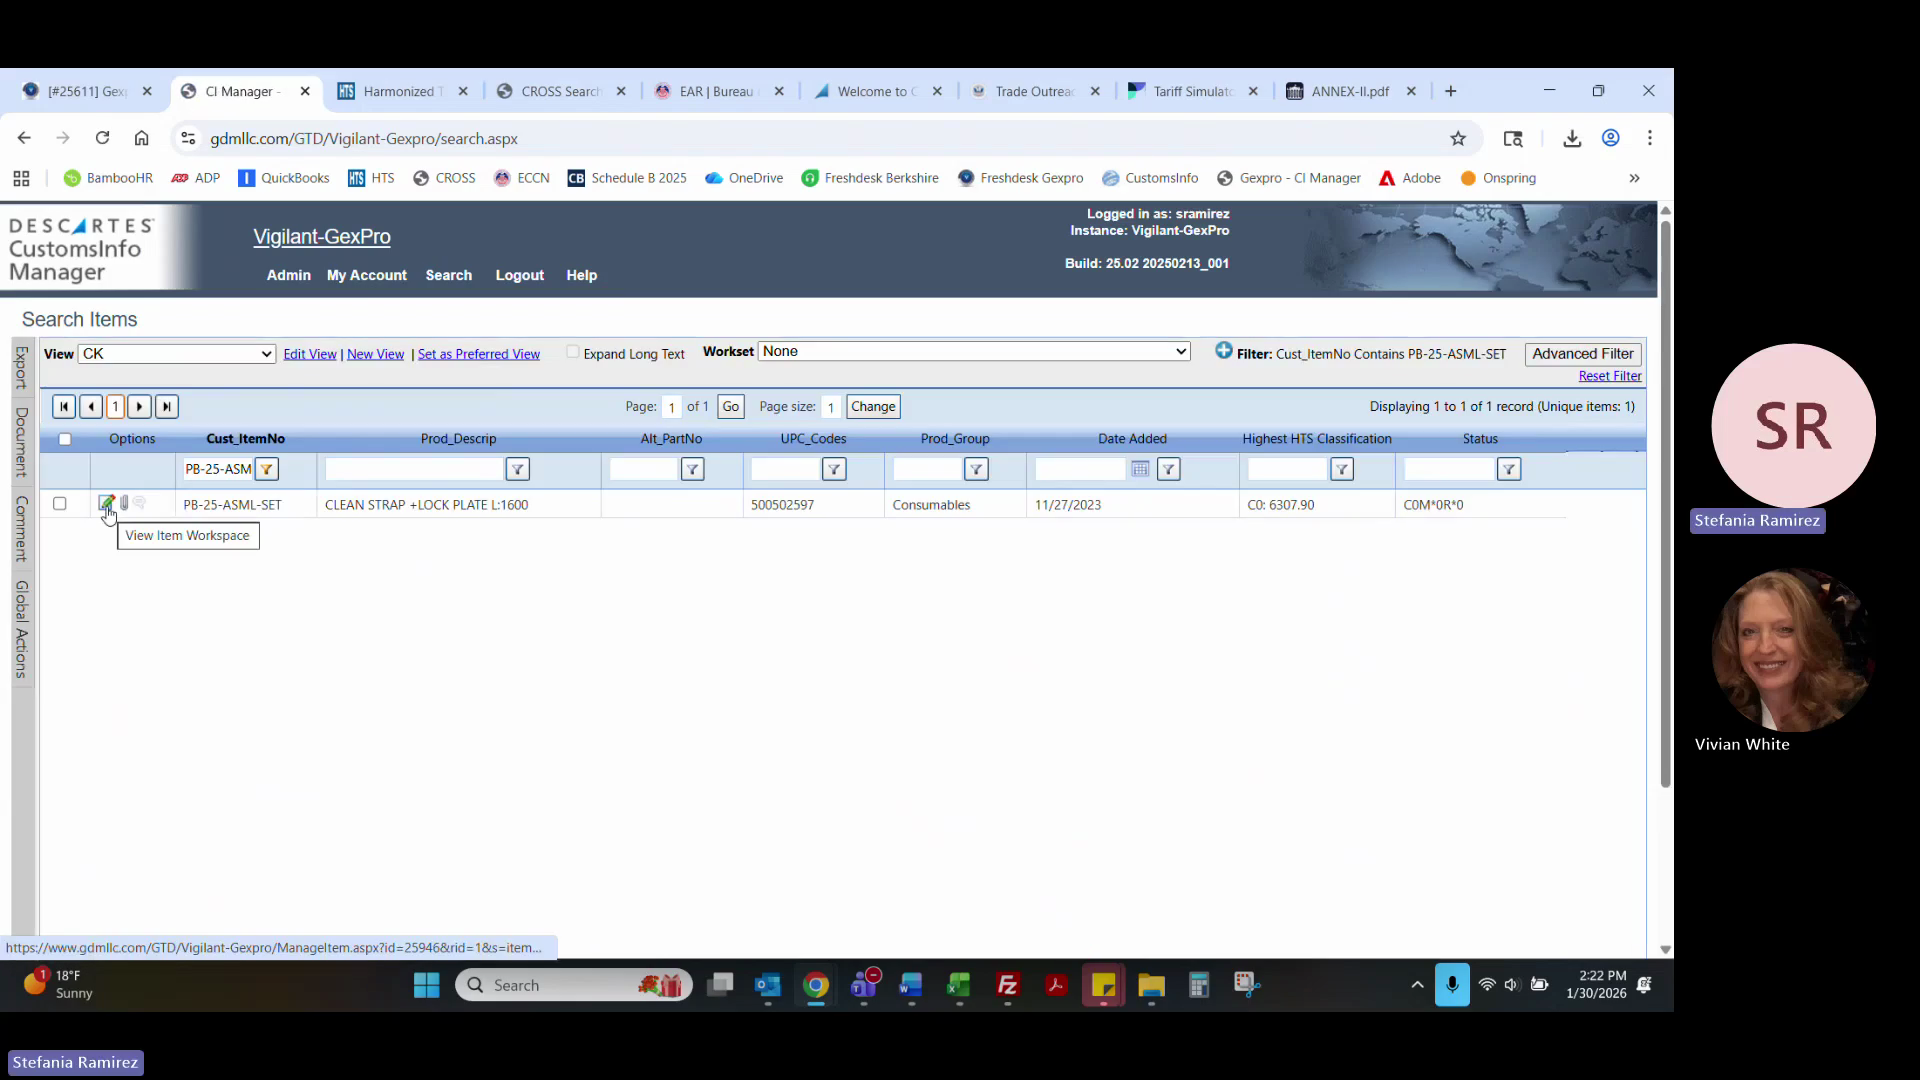
Search for the item number in CIM and click the pencil icon to view the item workspace.
40
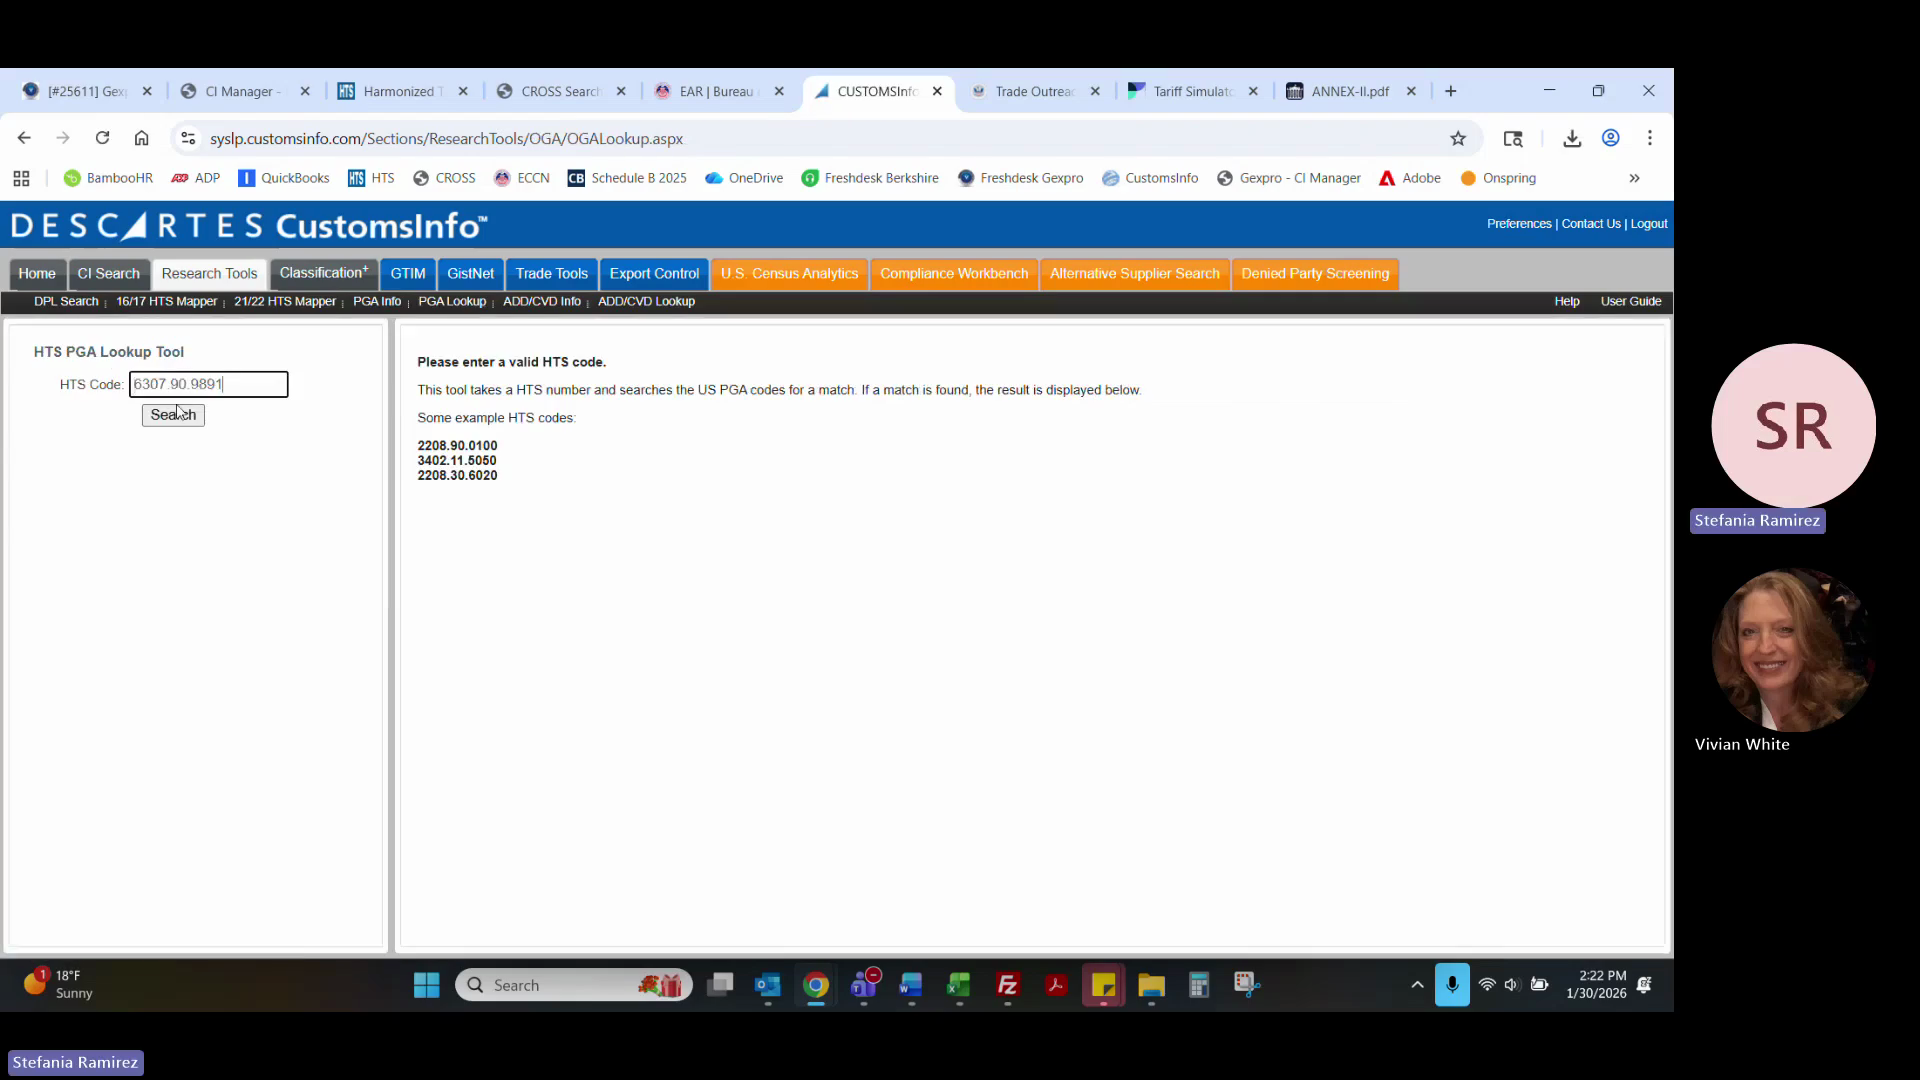
Navigate to Research Tools > HTS AD/CVD Lookup and enter the HTS code to check for active cases.
41
Use the HTS PGA Lookup tool to verify if the code flags for FDA requirements (e.g., FD1).
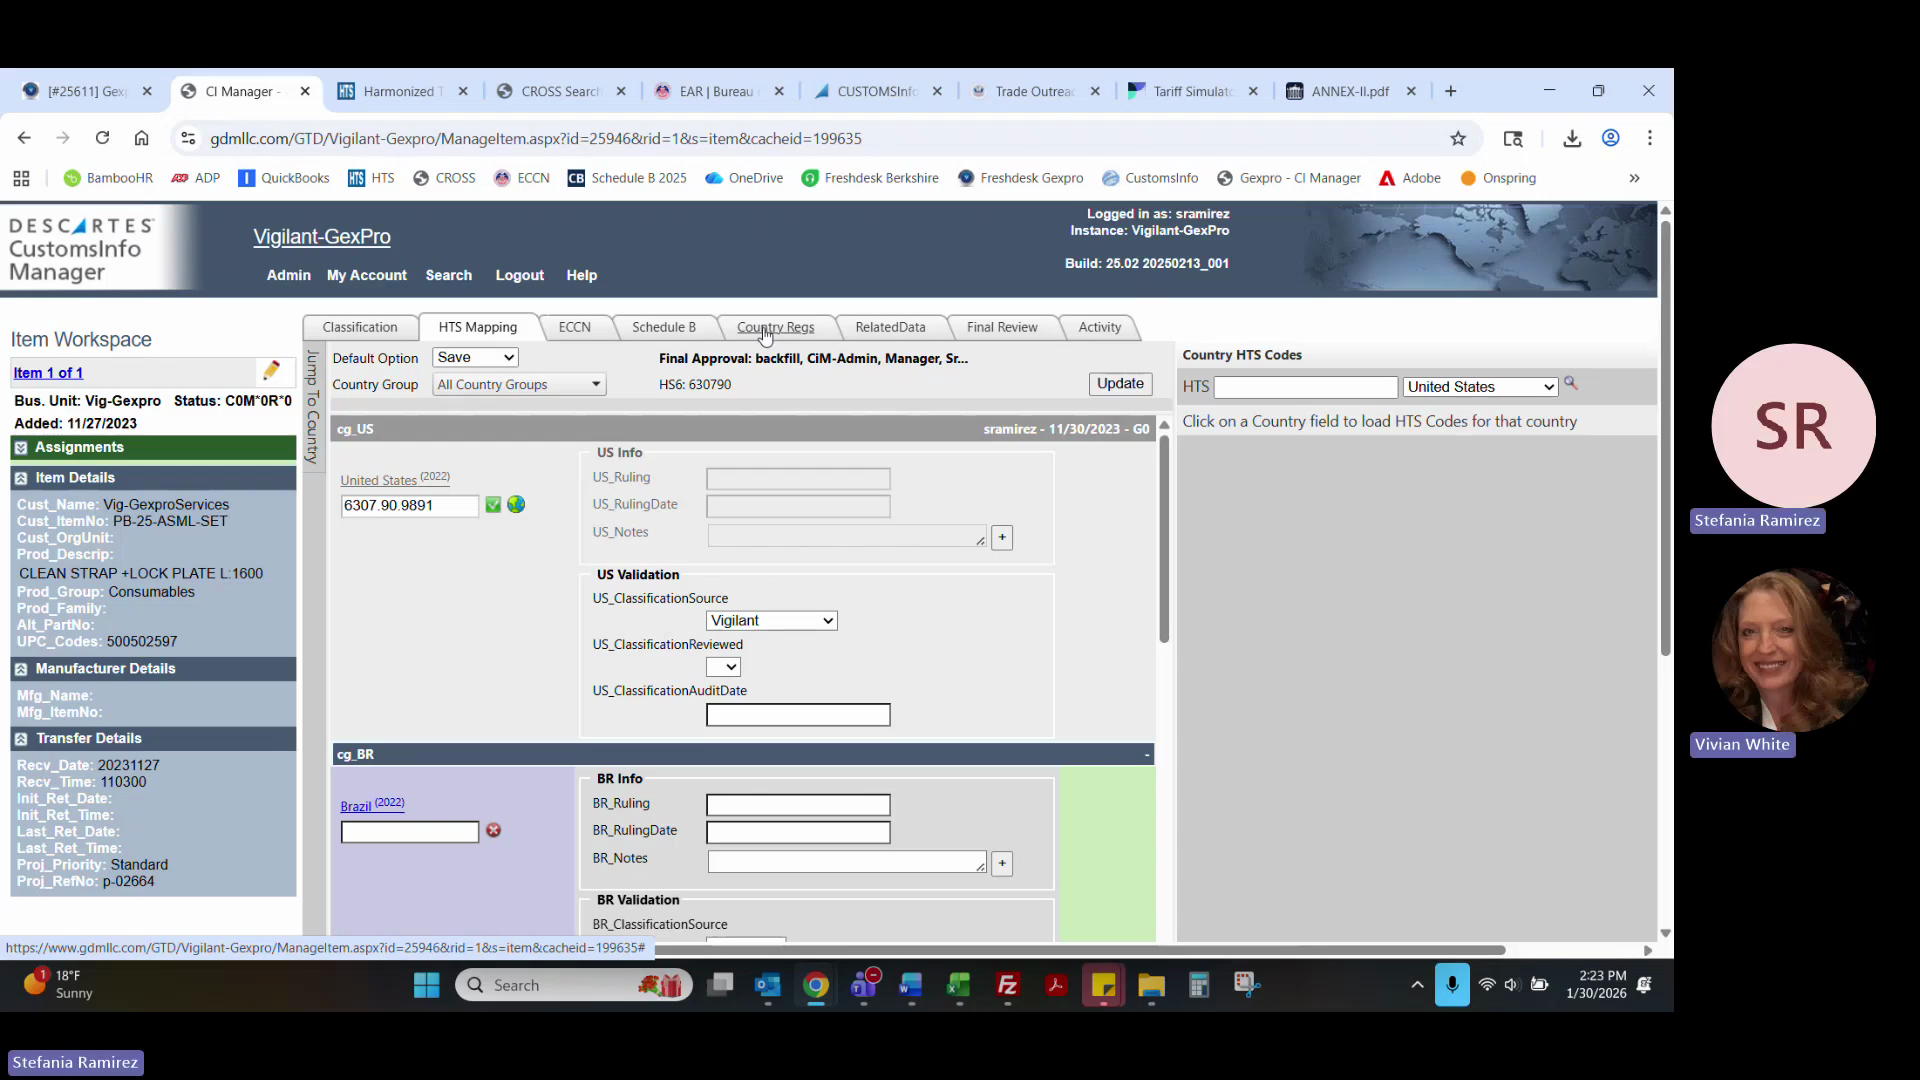
42
Return to the item's Country Regs tab.
43
Check the FDA status field to see if it has been previously disclaimed.
44
If unconfirmed, draft an email to the trade team providing the classification code and asking if FDA should be disclaimed.
45
Once the trade team confirms, reply to the broker instructing them to disclaim FDA.
6. Generating Weekly Reports
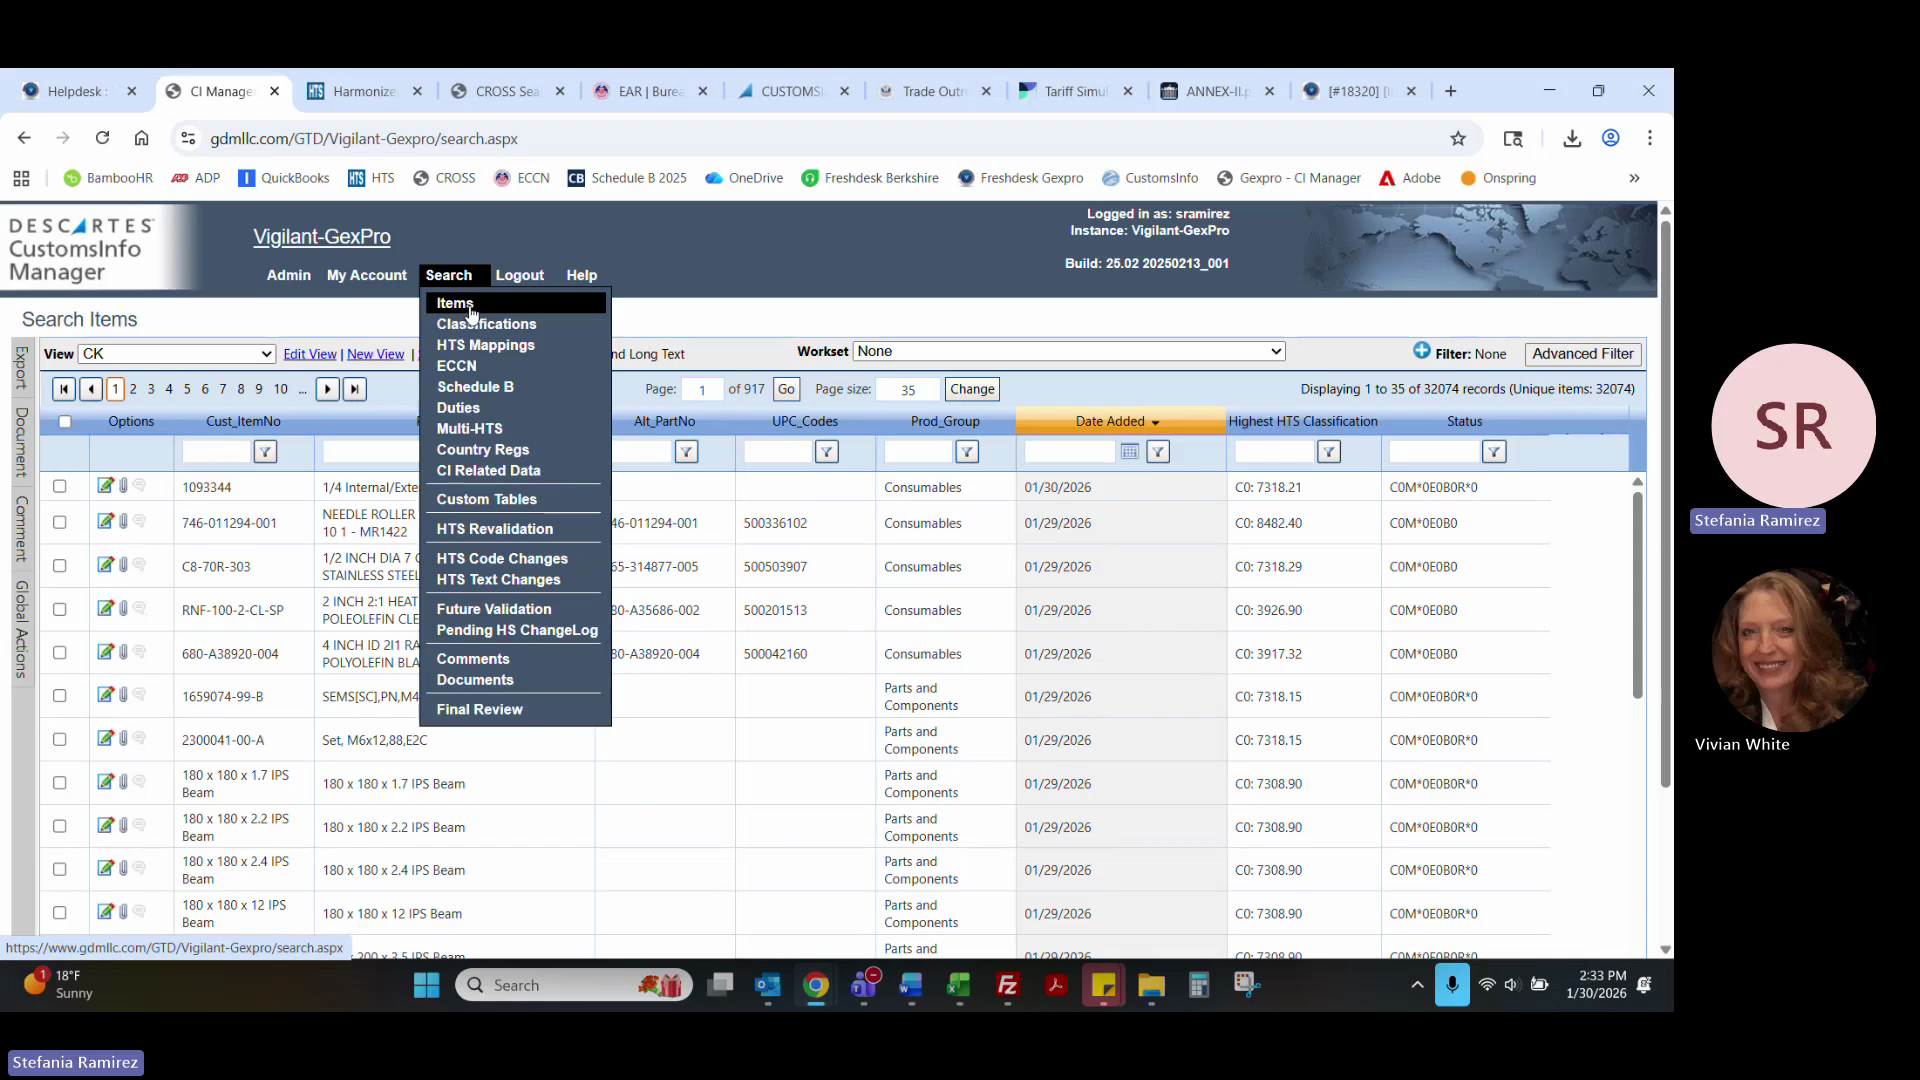
Clients often require weekly database exports and open ticket reports.
CIM Database Exports
46
In CIM, hover over the Search tab.
47
Run separate searches for Classifications, HTS Mappings, ECCN, Schedule B, and Country Regs.
48
For each search, change the View drop-down to the client-specific database export view (e.g., LK - DB Export).
49
For the Classifications search, set the Workflow Level filter to Contains: Final.
50
Select CSV (Enhanced) from the Select Export drop-down and execute the export.
51
Go to My Account > My Dashboard.
52
Download all generated reports from the Requested Exports table.
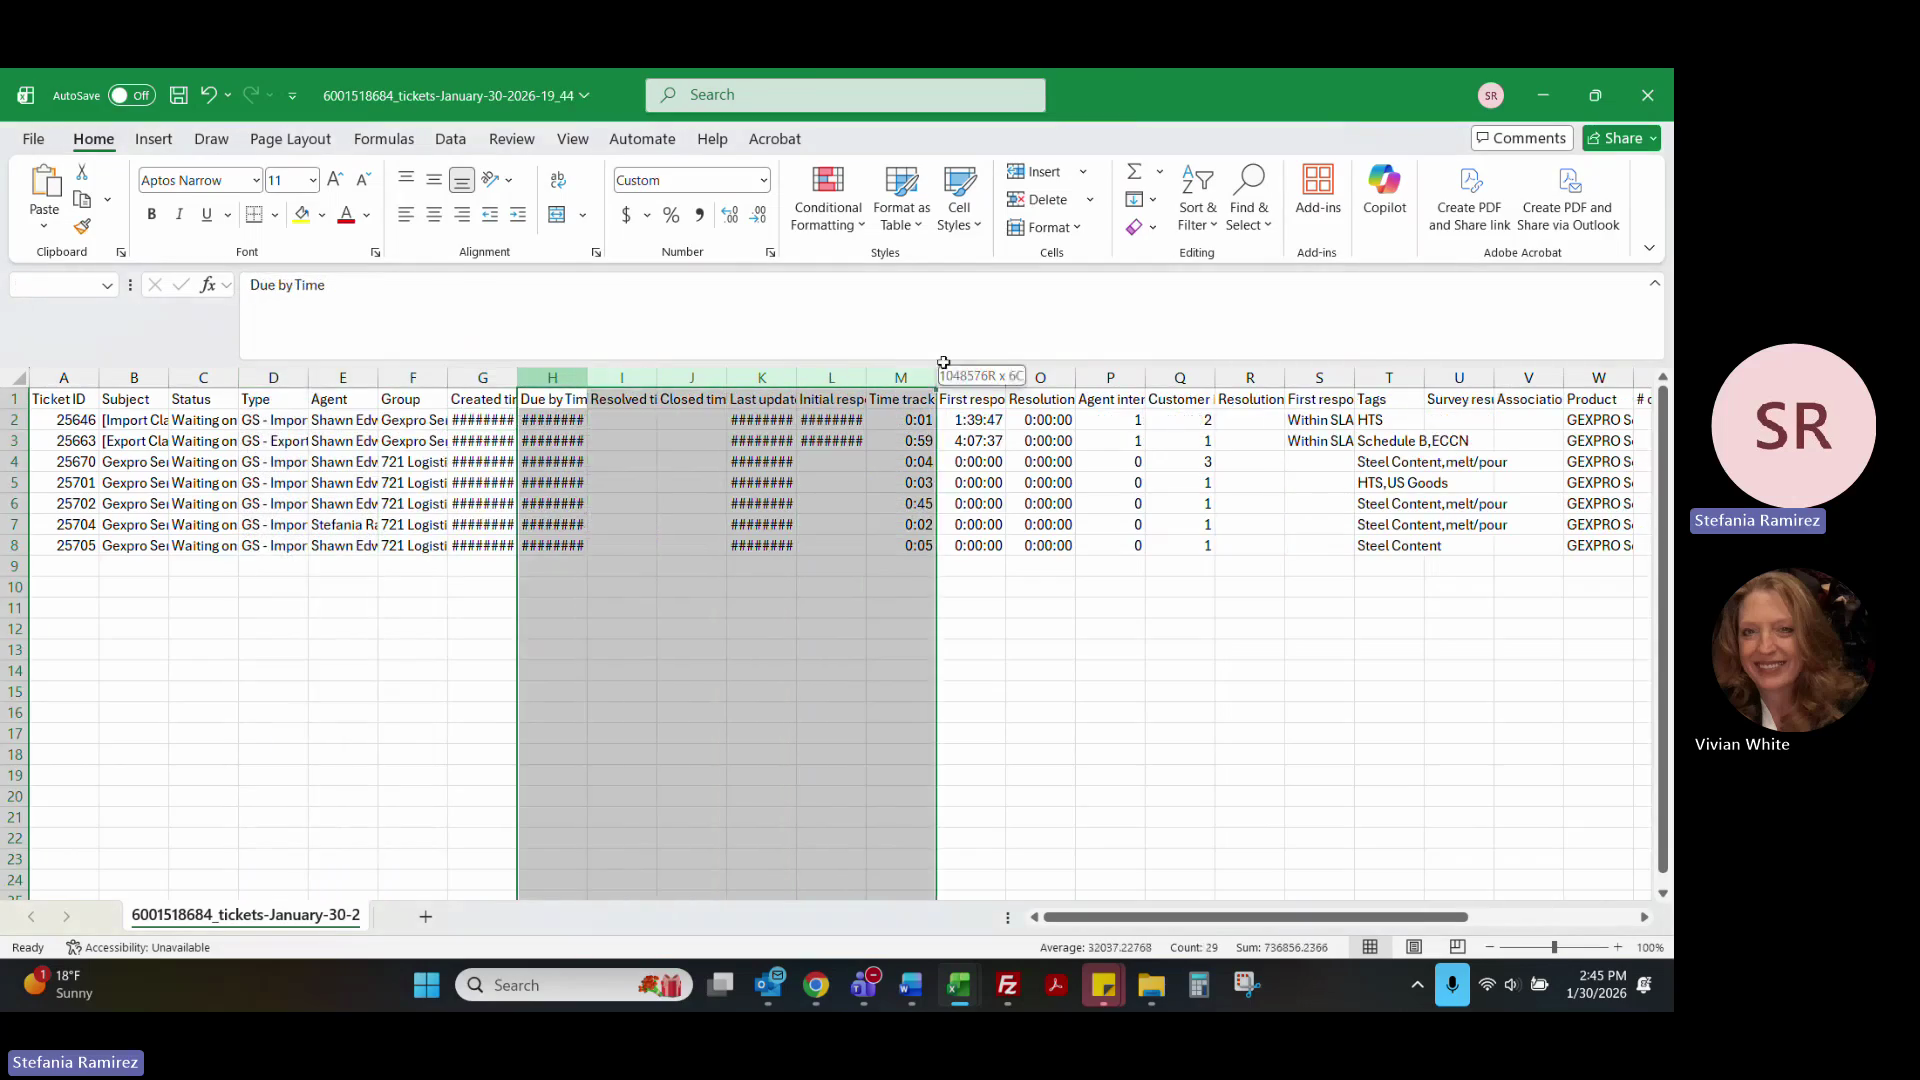
53
Consolidate the downloaded reports into a single master Excel sheet, matching them by part number, and delete any unnecessary system columns.
Freshdesk Open Ticket Reports
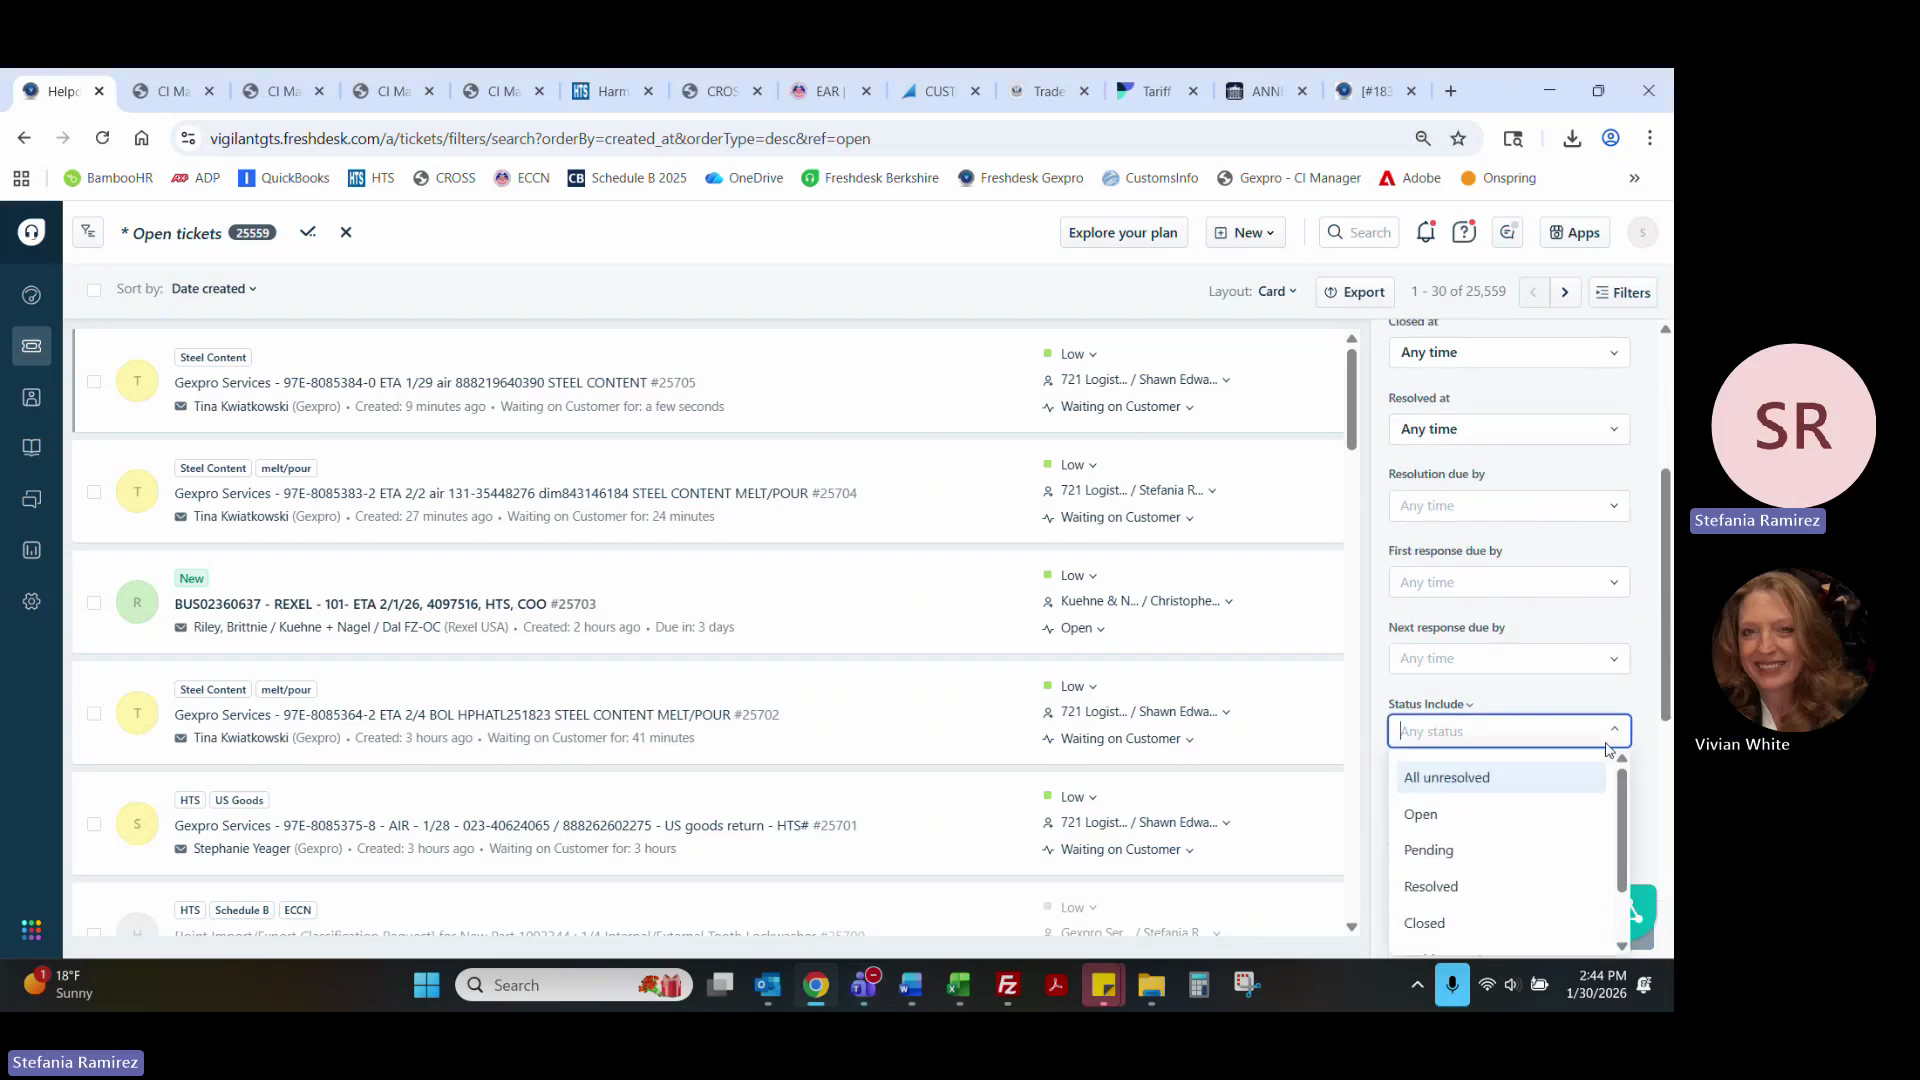
54
In Freshdesk, filter the ticket list by Status Includes: All Unresolved.
55
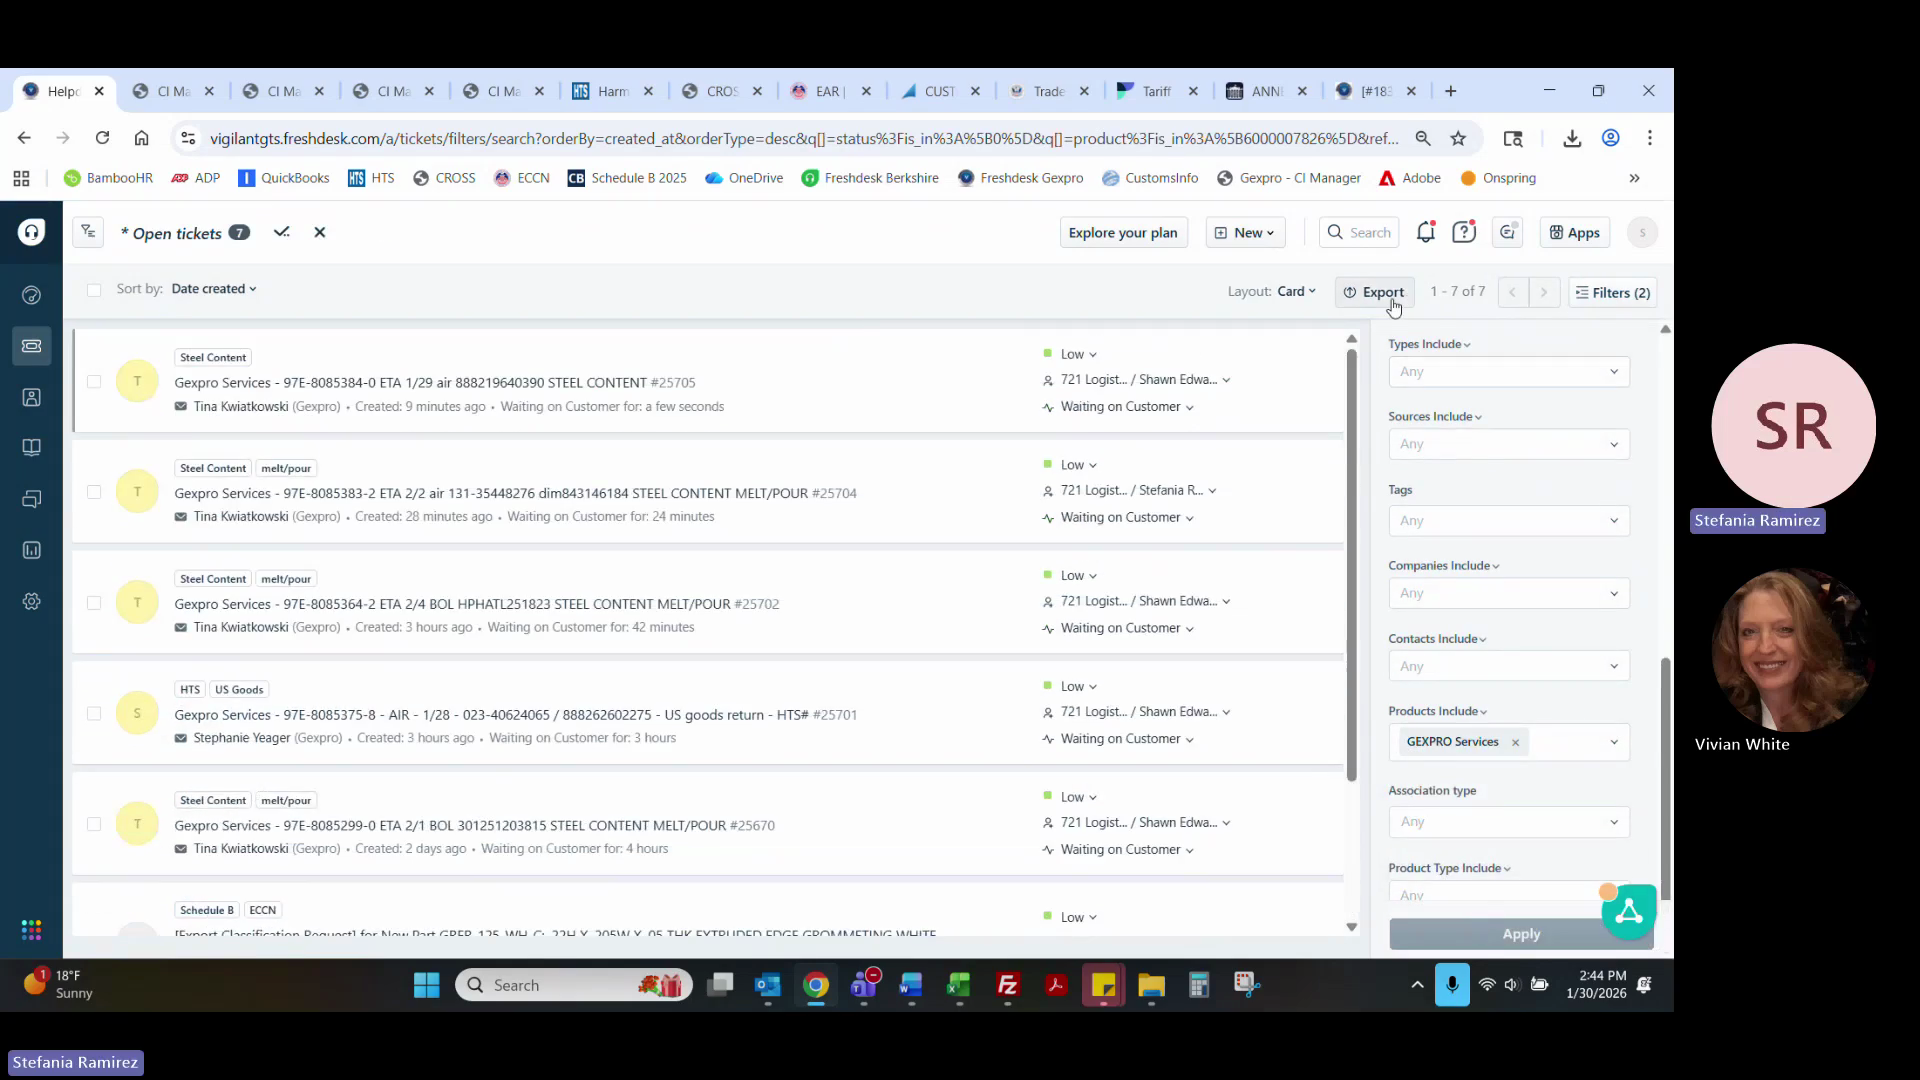
Set the Products filter to your specific client.
56
Click Export.
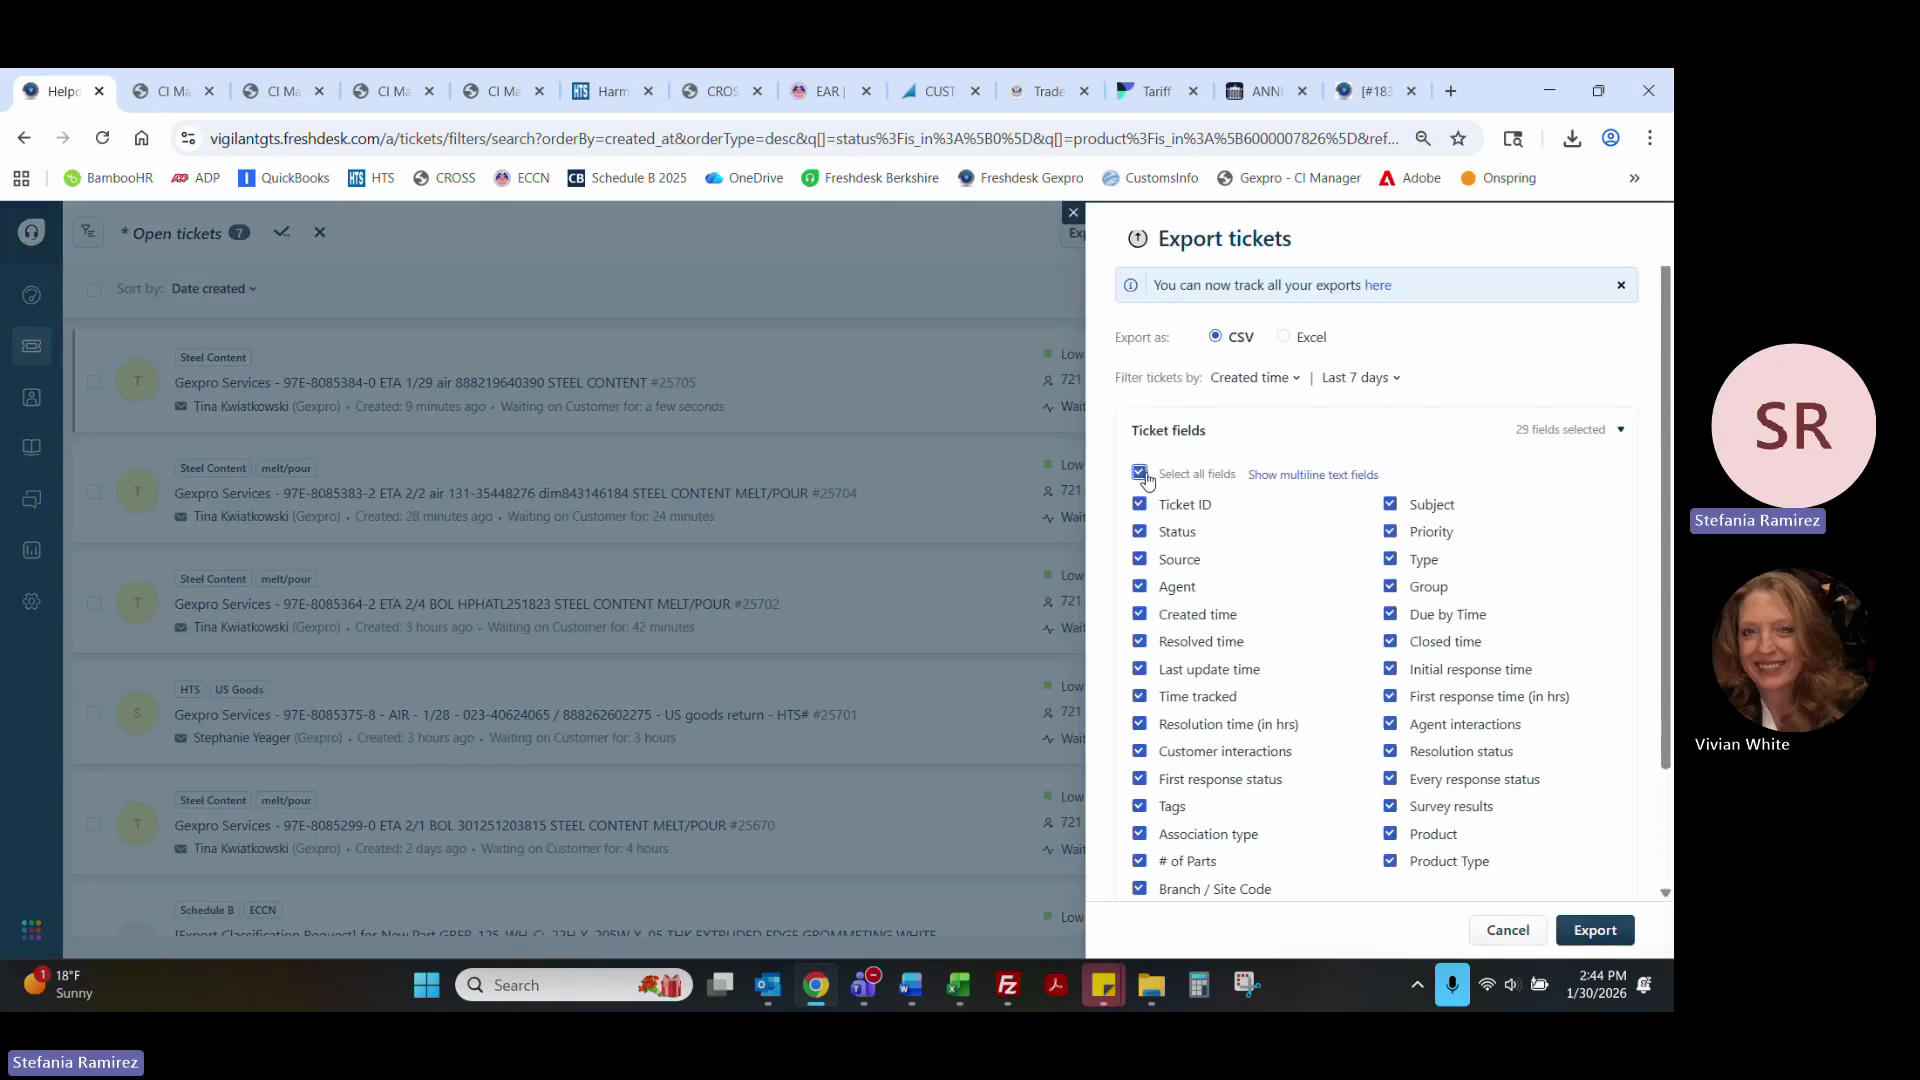
57
Select Show all ticket fields and initiate the export.
58
Download the report from the automated Freshdesk email.
59
Clean up the Excel sheet by deleting irrelevant columns (e.g., Priority, First Response, Associations).
60
Save the cleaned workbook with the current date and distribute it to the client team.
7. Auditing Entry Documents
Routine audits verify that broker entries match commercial invoices and include required documentation like mill certificates.
61
Open FileZilla.
62
In the Site Manager, select the appropriate SFTP profile and click Connect.
63
Navigate to the remote file directory.
64
Drag the newly uploaded entry PDFs to a local folder on your computer.
65
Upload the local files into the designated Import Records folder in SharePoint.
66
In FileZilla, move the processed files into the archive directory.
67
Open the entry documents and verify the commercial invoice, country of origin, steel content, and the presence of mill certificates.