Icon

How to Manufacture Part A Units from Pre-Mixed Stock

Learn how to manually create a works order, allocate components, build part A units, and clear leftover mix using stock takes in your manufacturing software.

By Ben Fotheringham

This guide explains how to manually process and build Part A units using pre-made mix. By following these steps, you will accurately log component allocations, record true yields, and clear any scrap material left in mixing bins.

This process applies to production and manufacturing staff who assemble finished units from existing subassemblies. Use this workflow when a mix is already prepared and waiting to be transferred into individual Part A containers.

Creating the Works Order
1
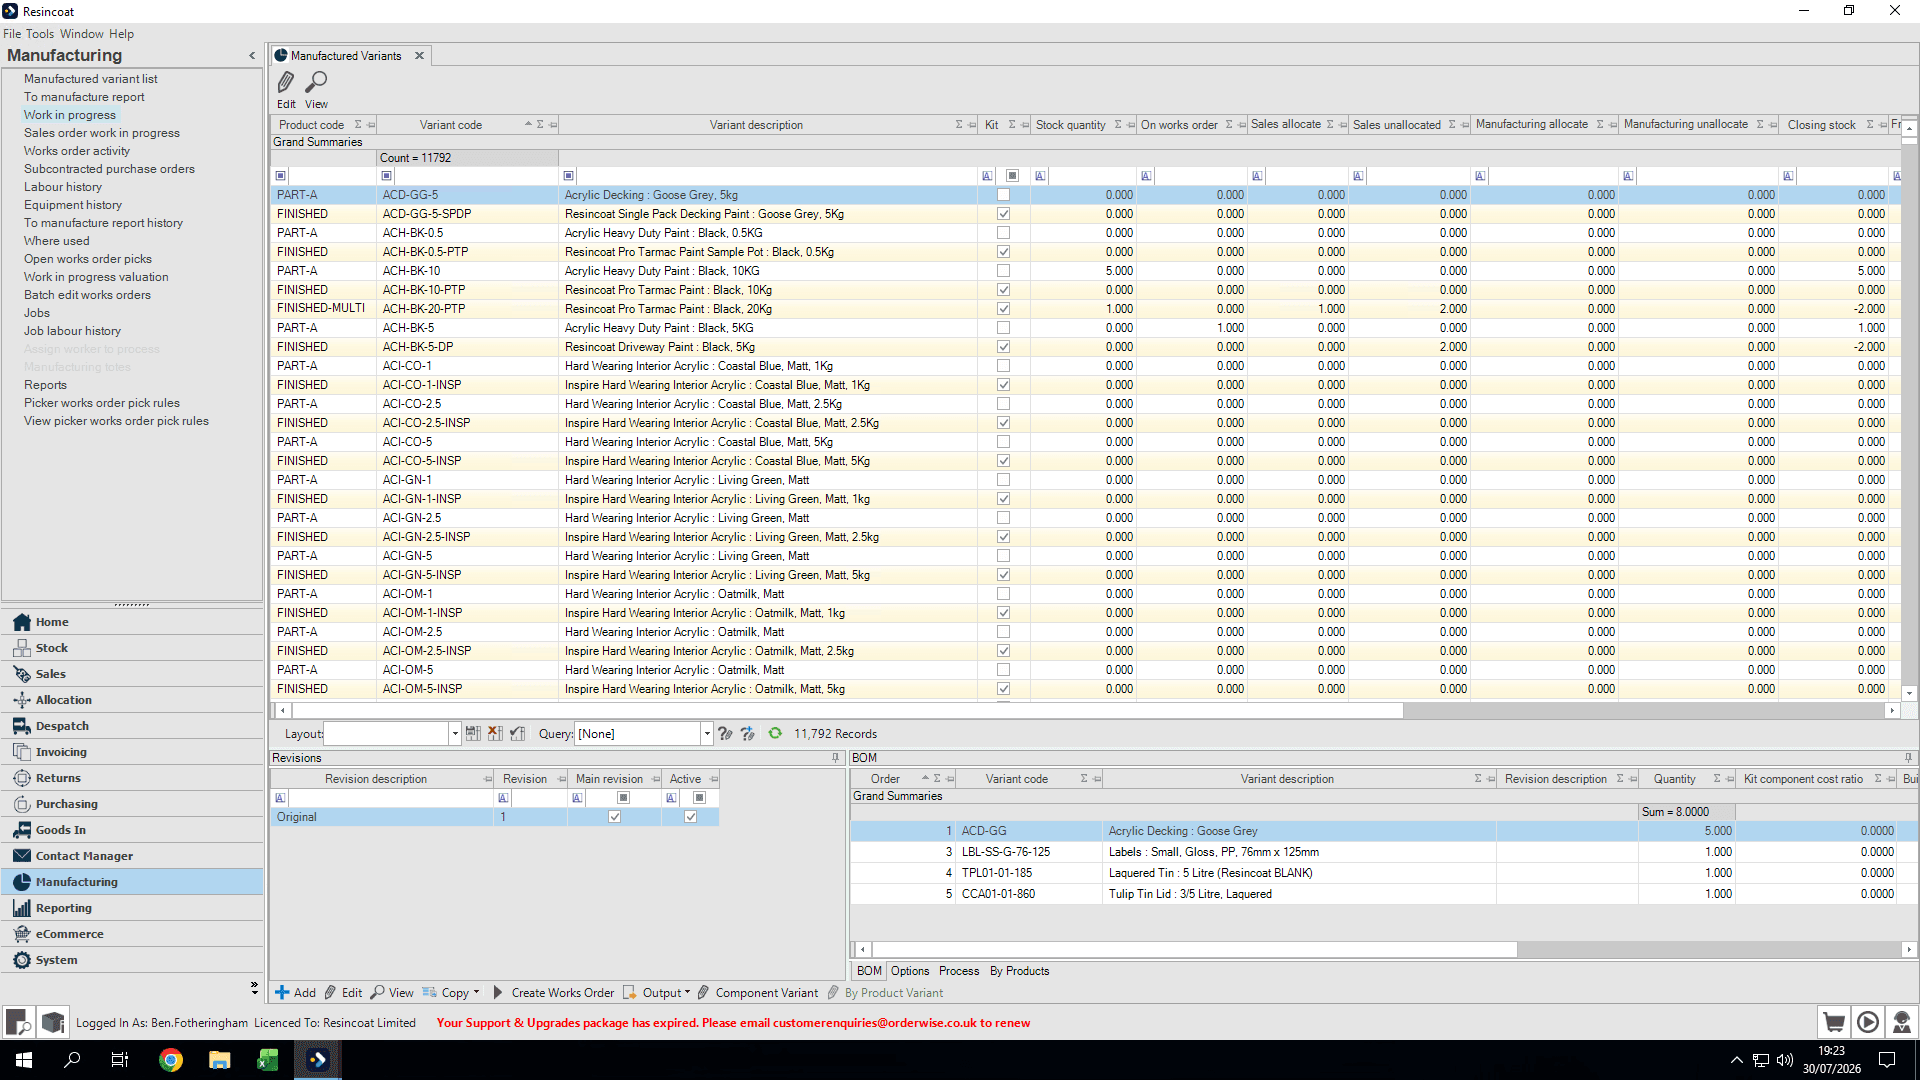
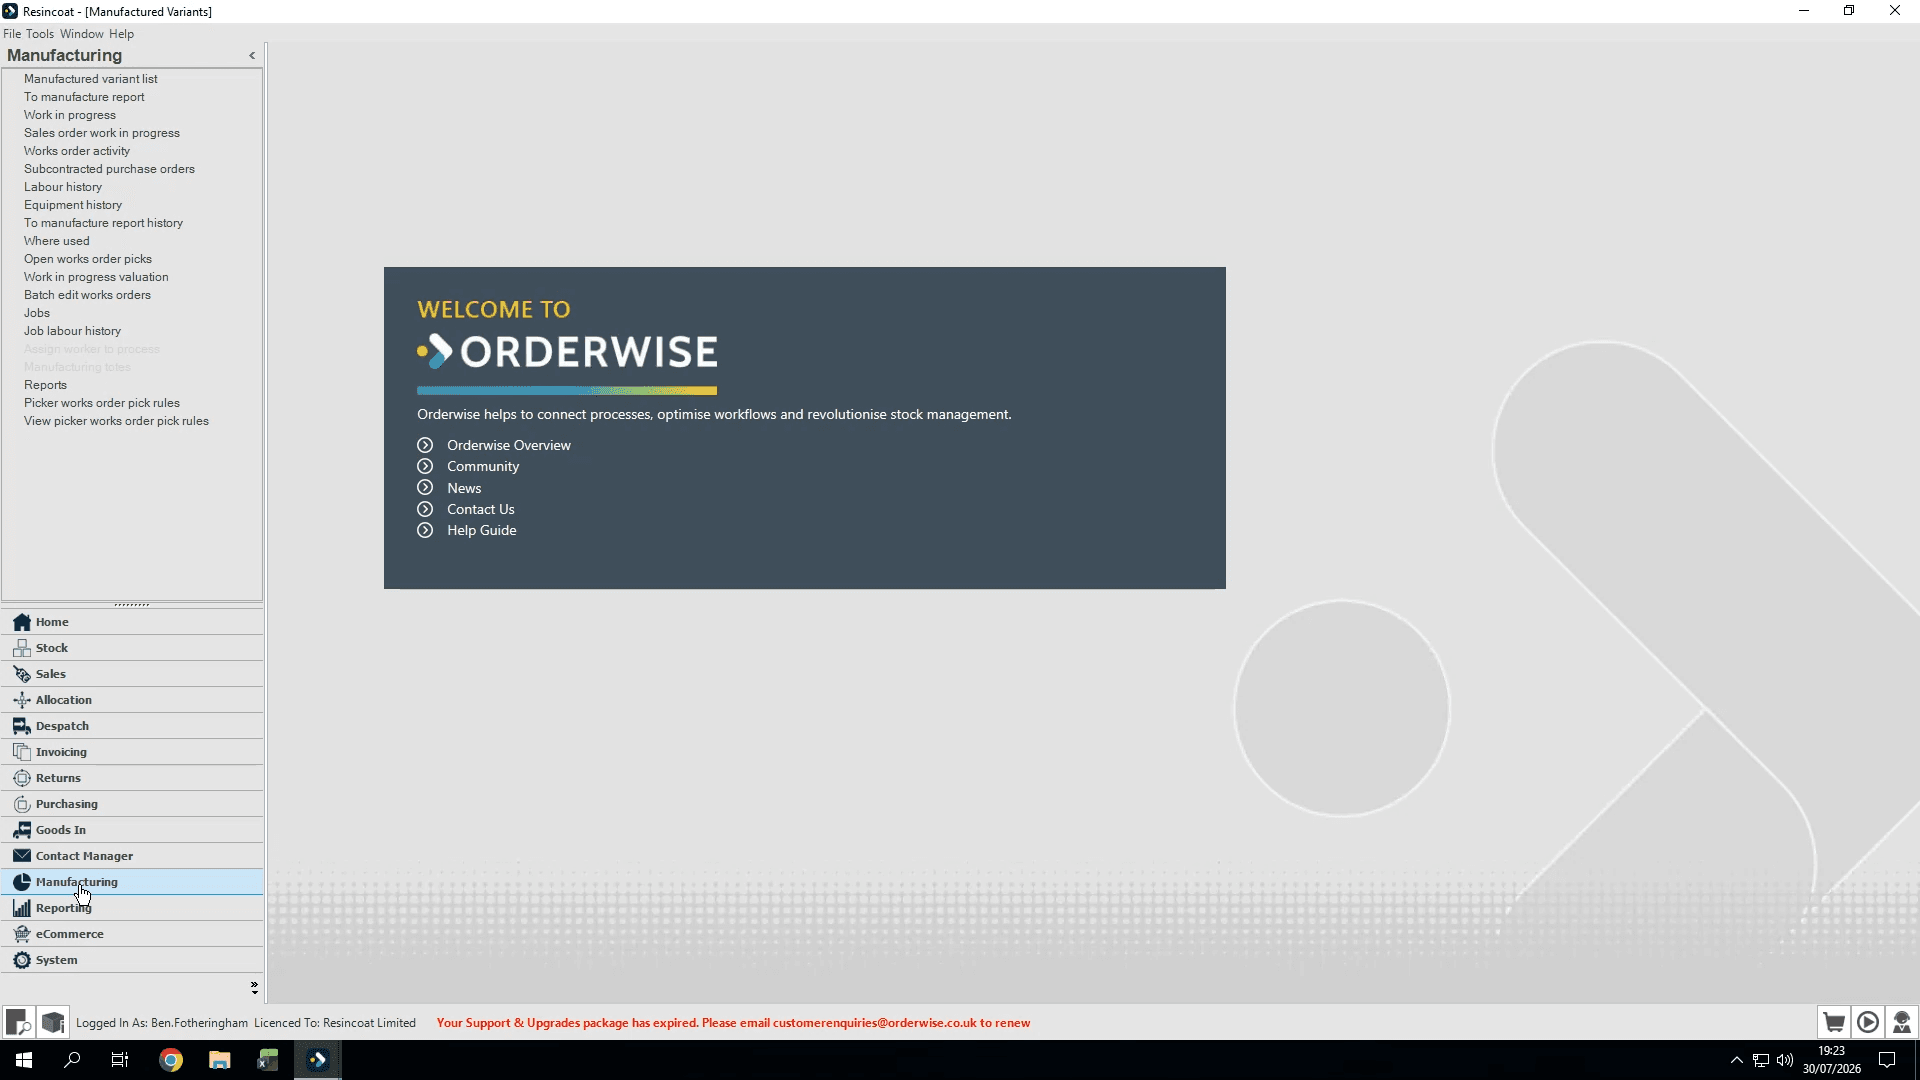
Head to Manufacturing Module
Step #1: Head to Manufacturing Module
2
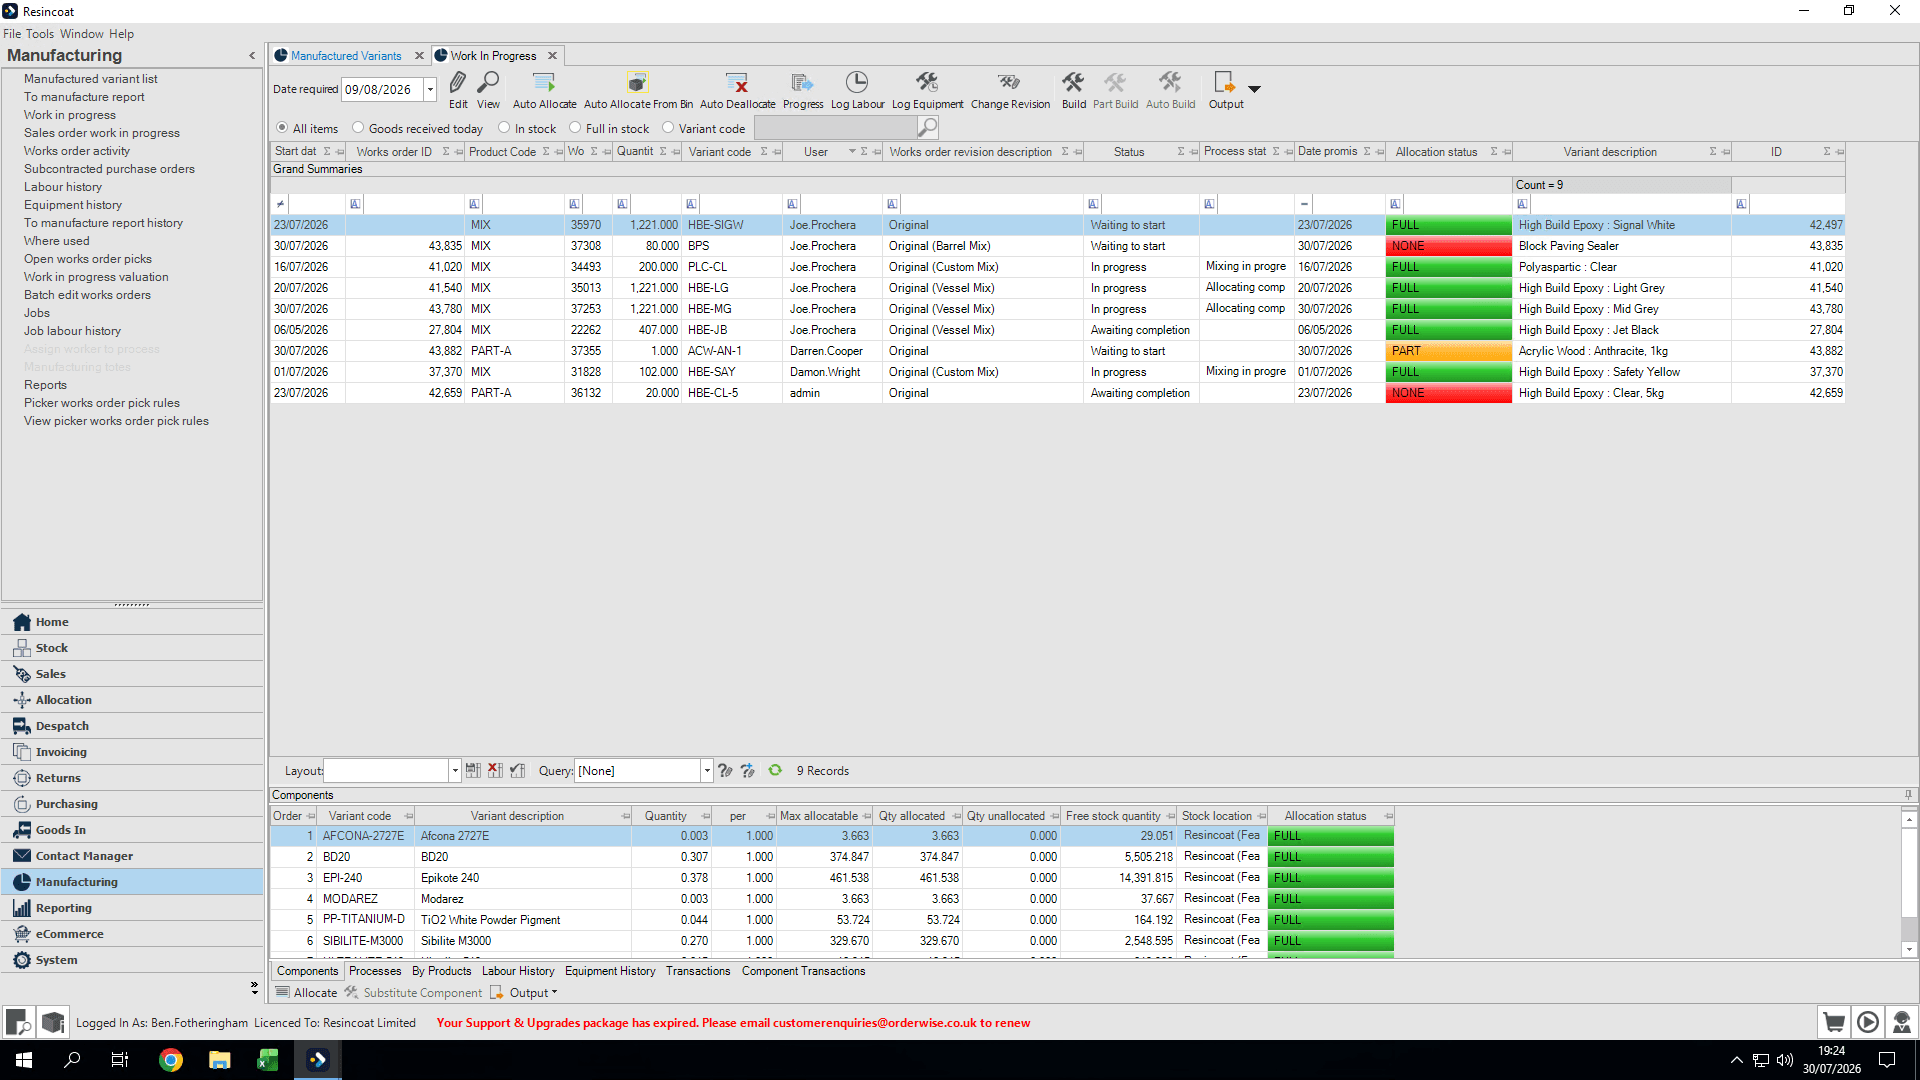
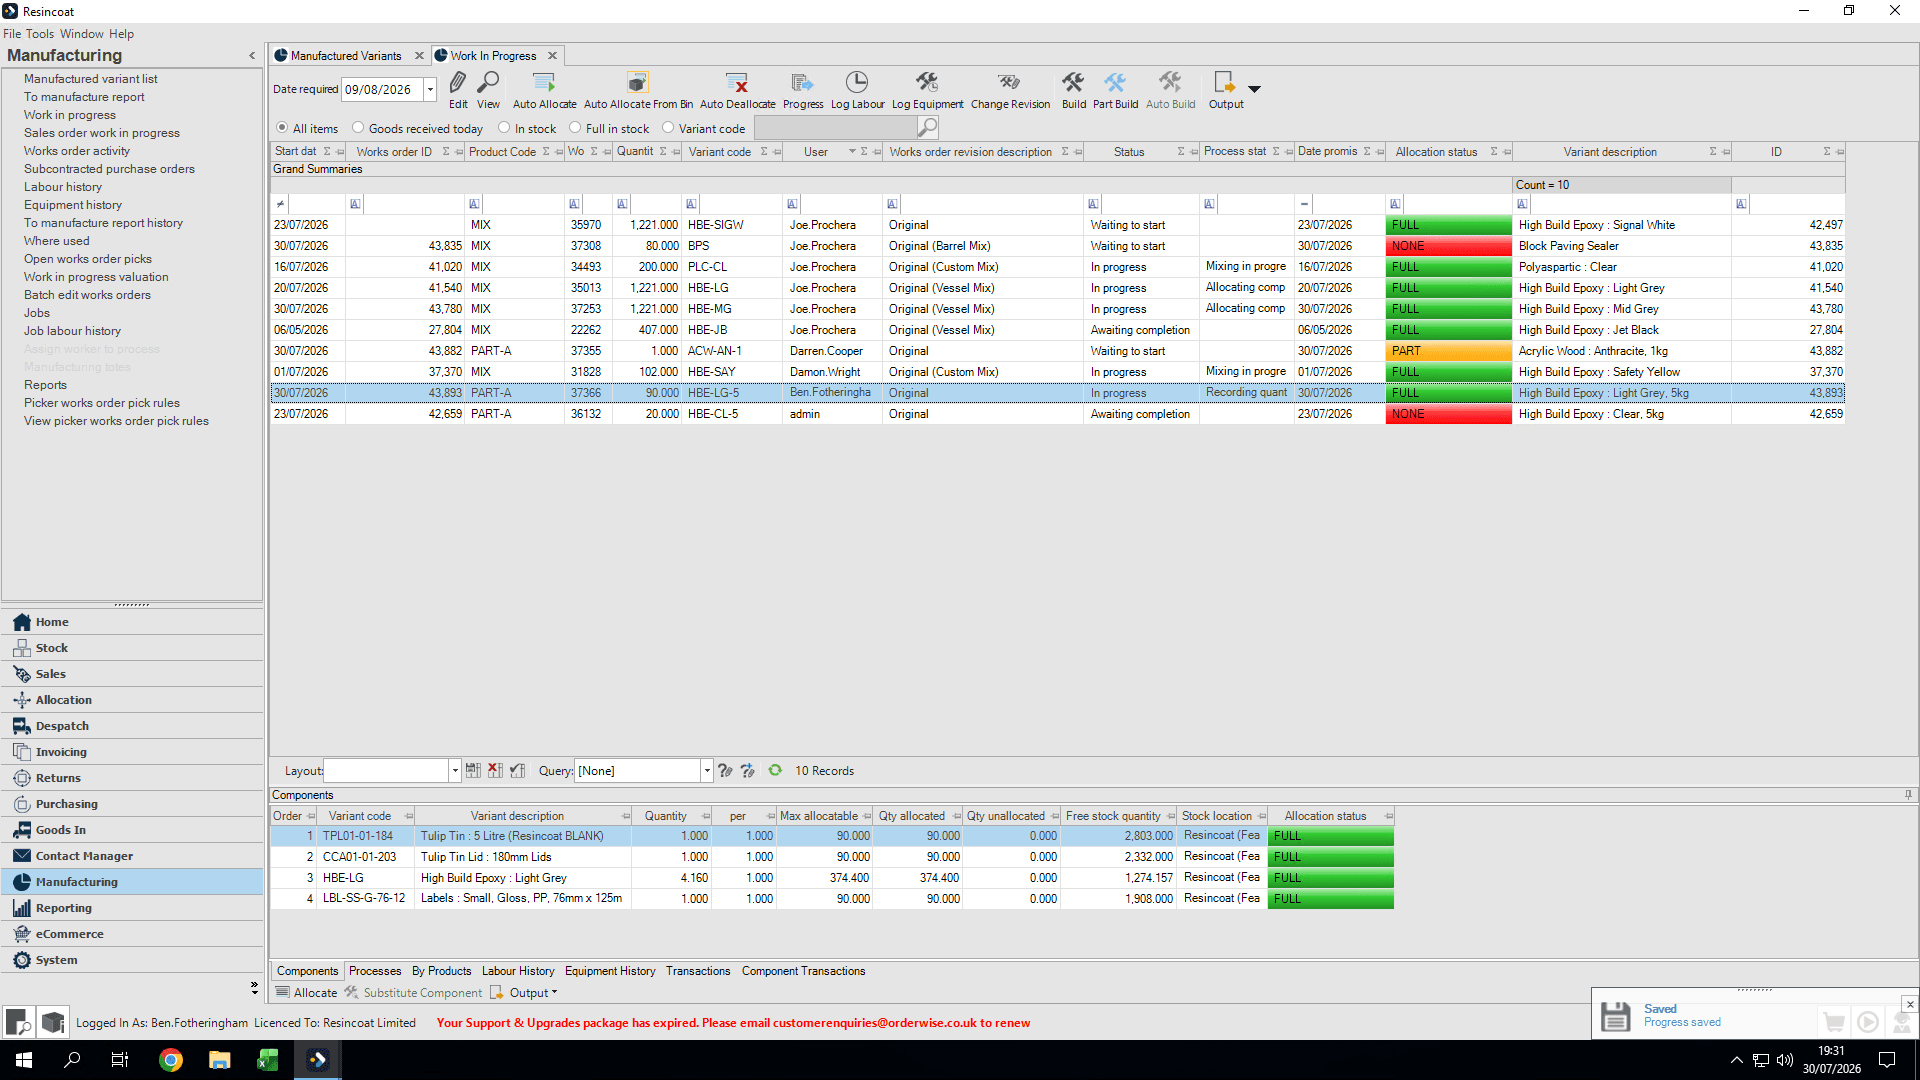
Click Work in progress.
Step #2: Click Work in progress.
3
Click Manufactured Variants.
Step #3: Click Manufactured Variants.
4
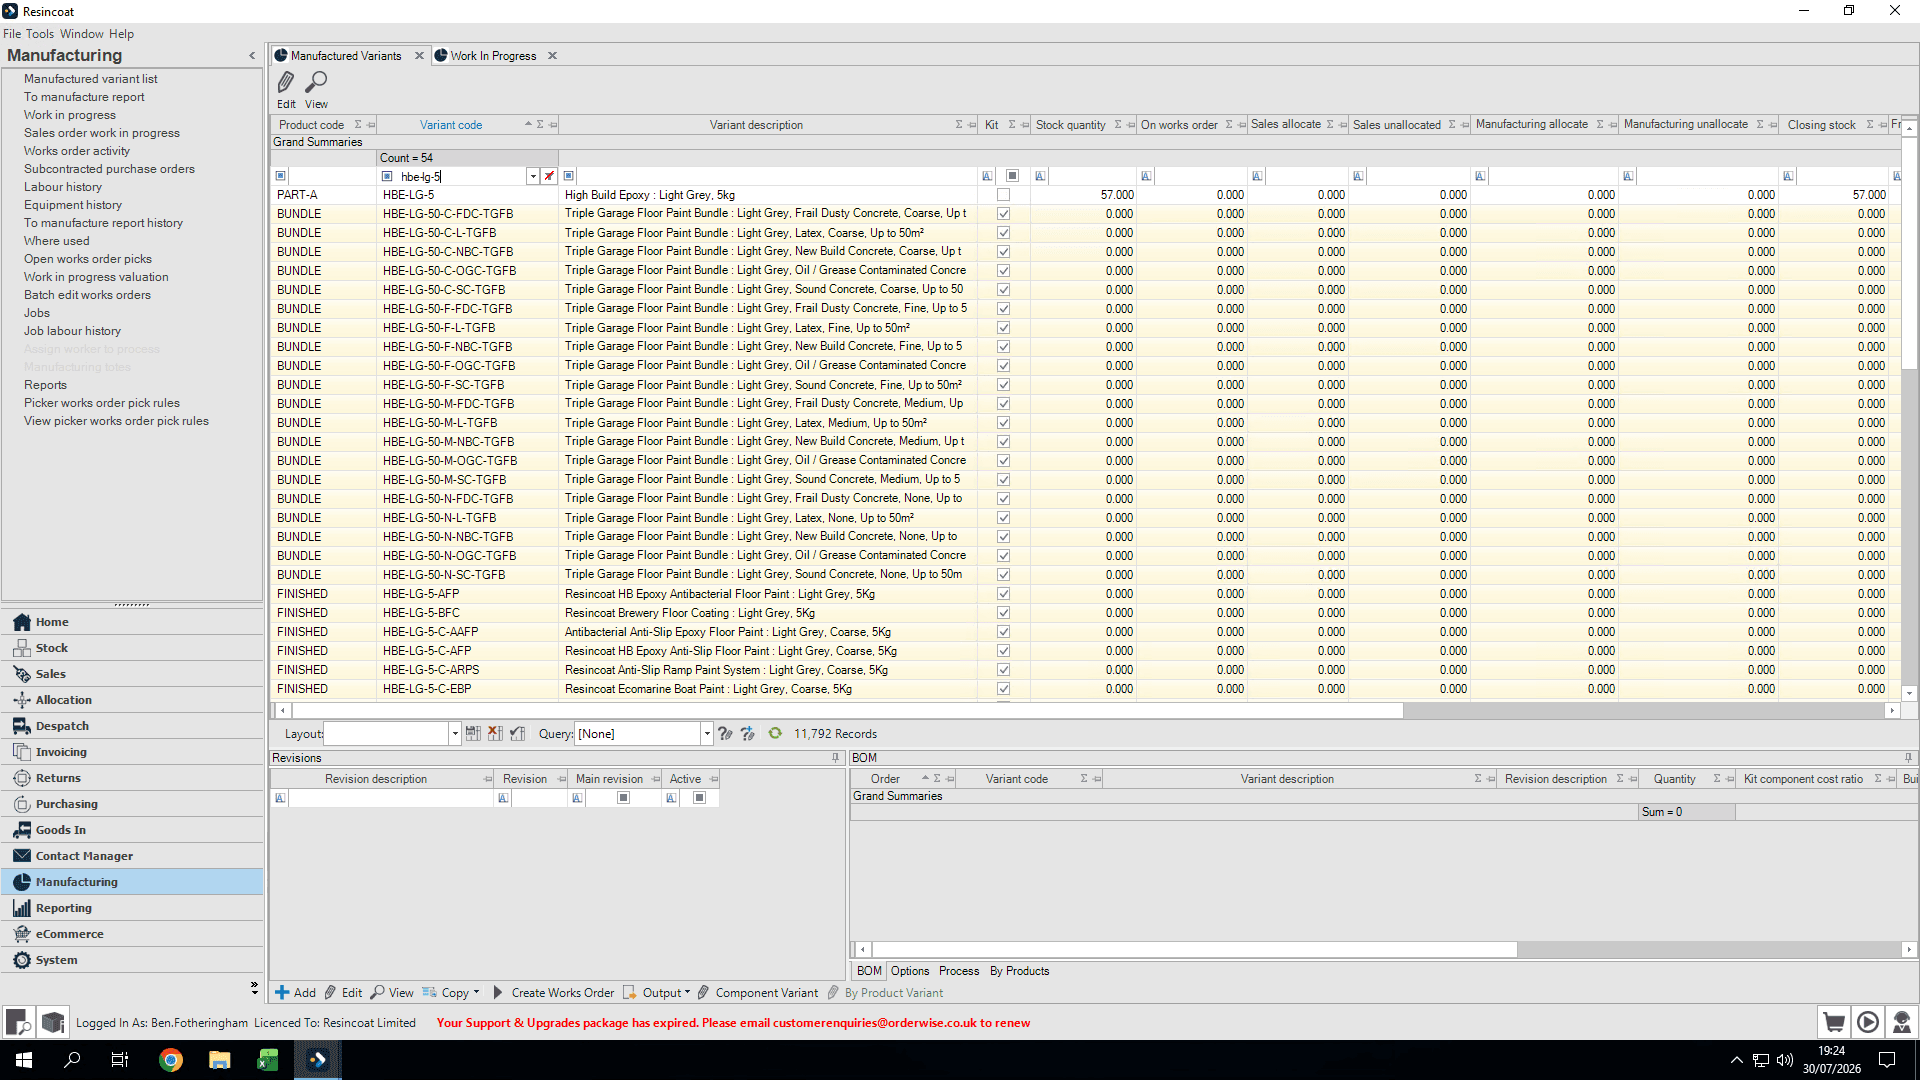
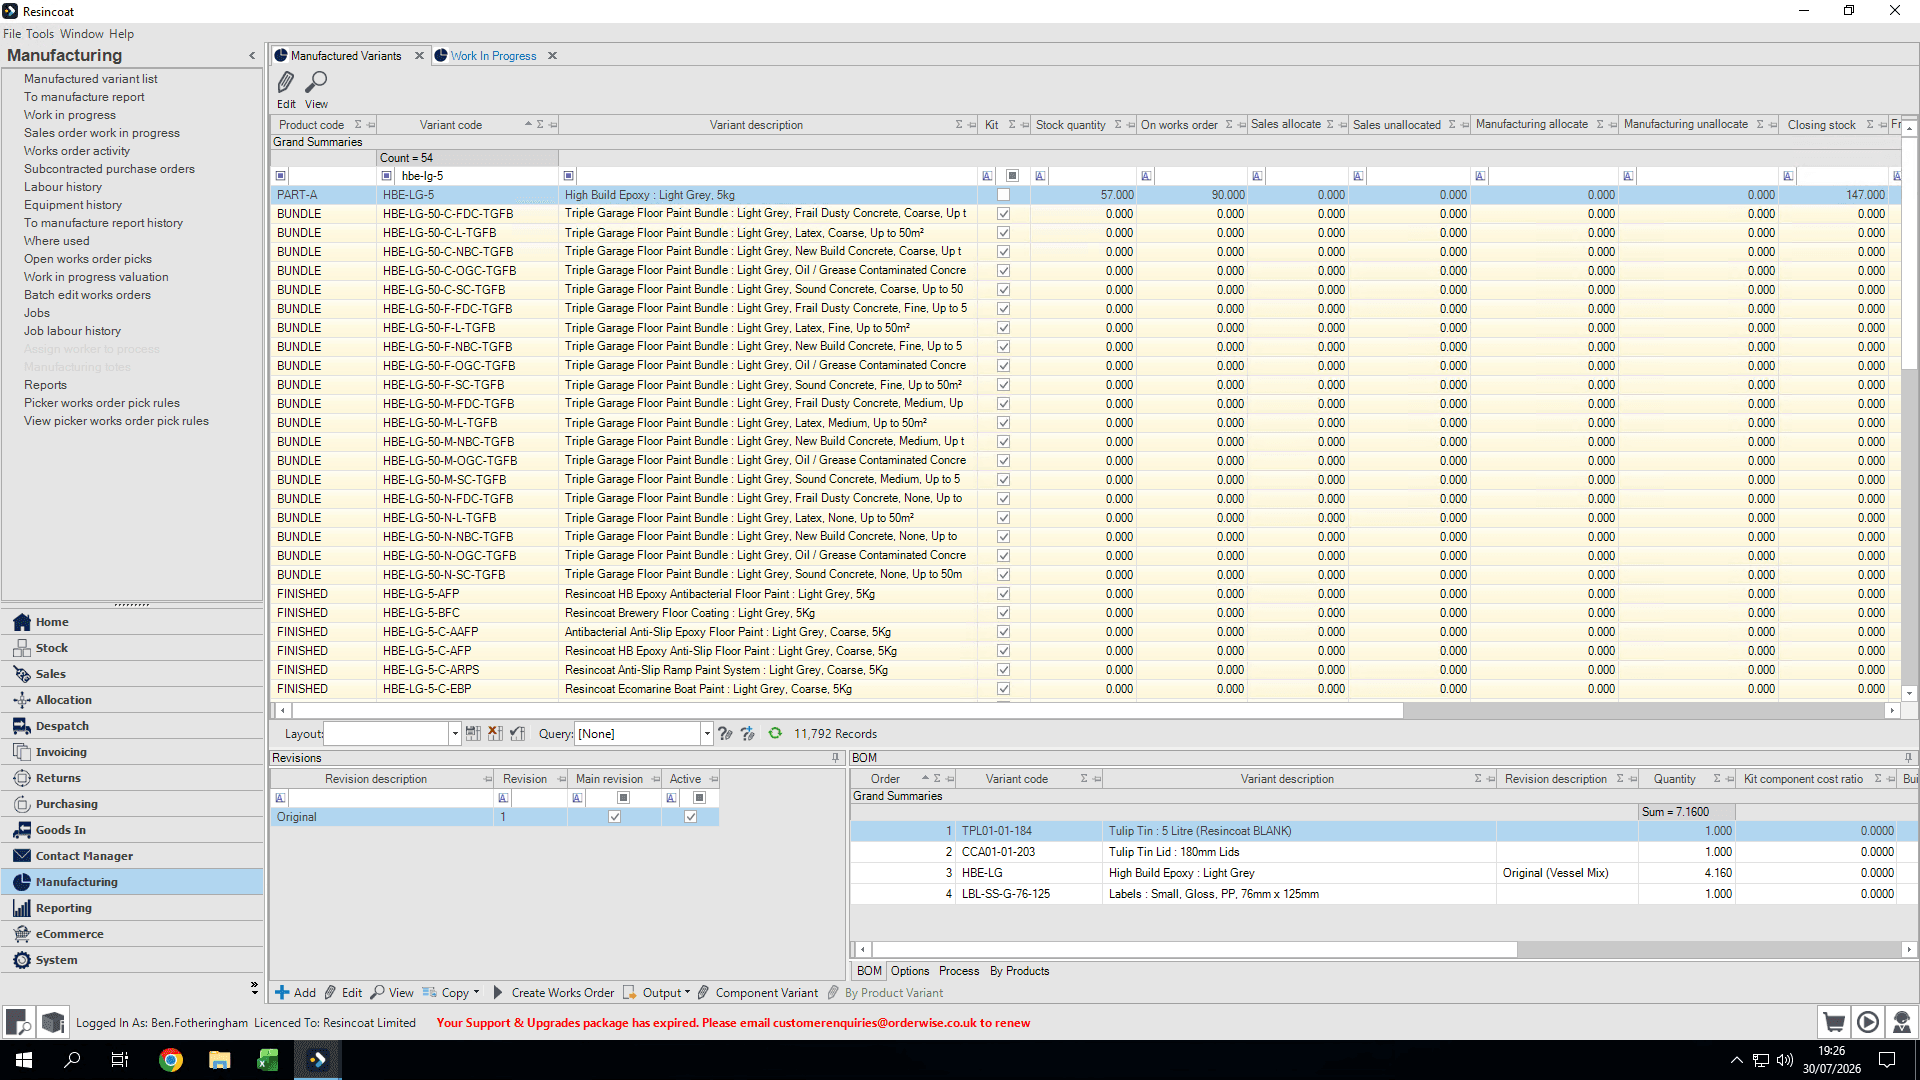
Search for the variant by typing its code (e.g., "hbe-lg-5").
5
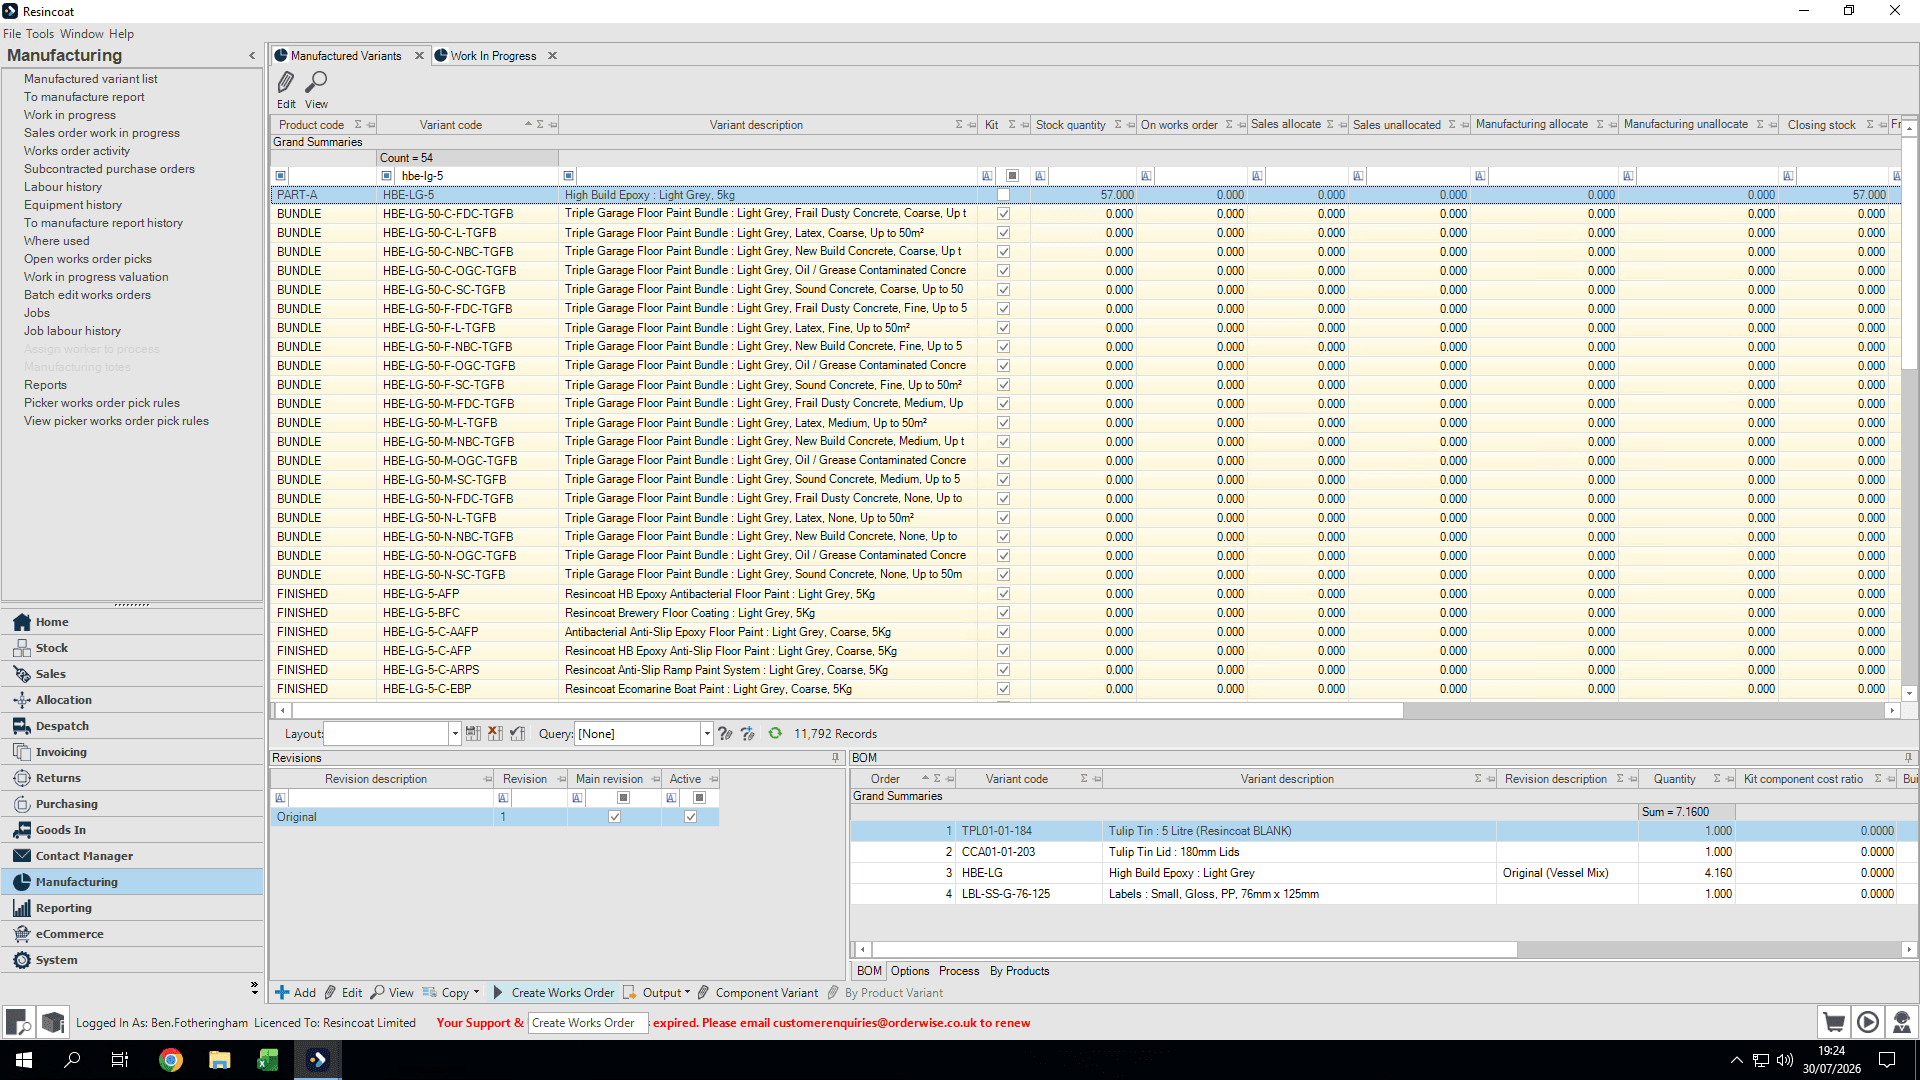
Select the desired variant from the list.
Step #5: Select the desired variant from the list.
6
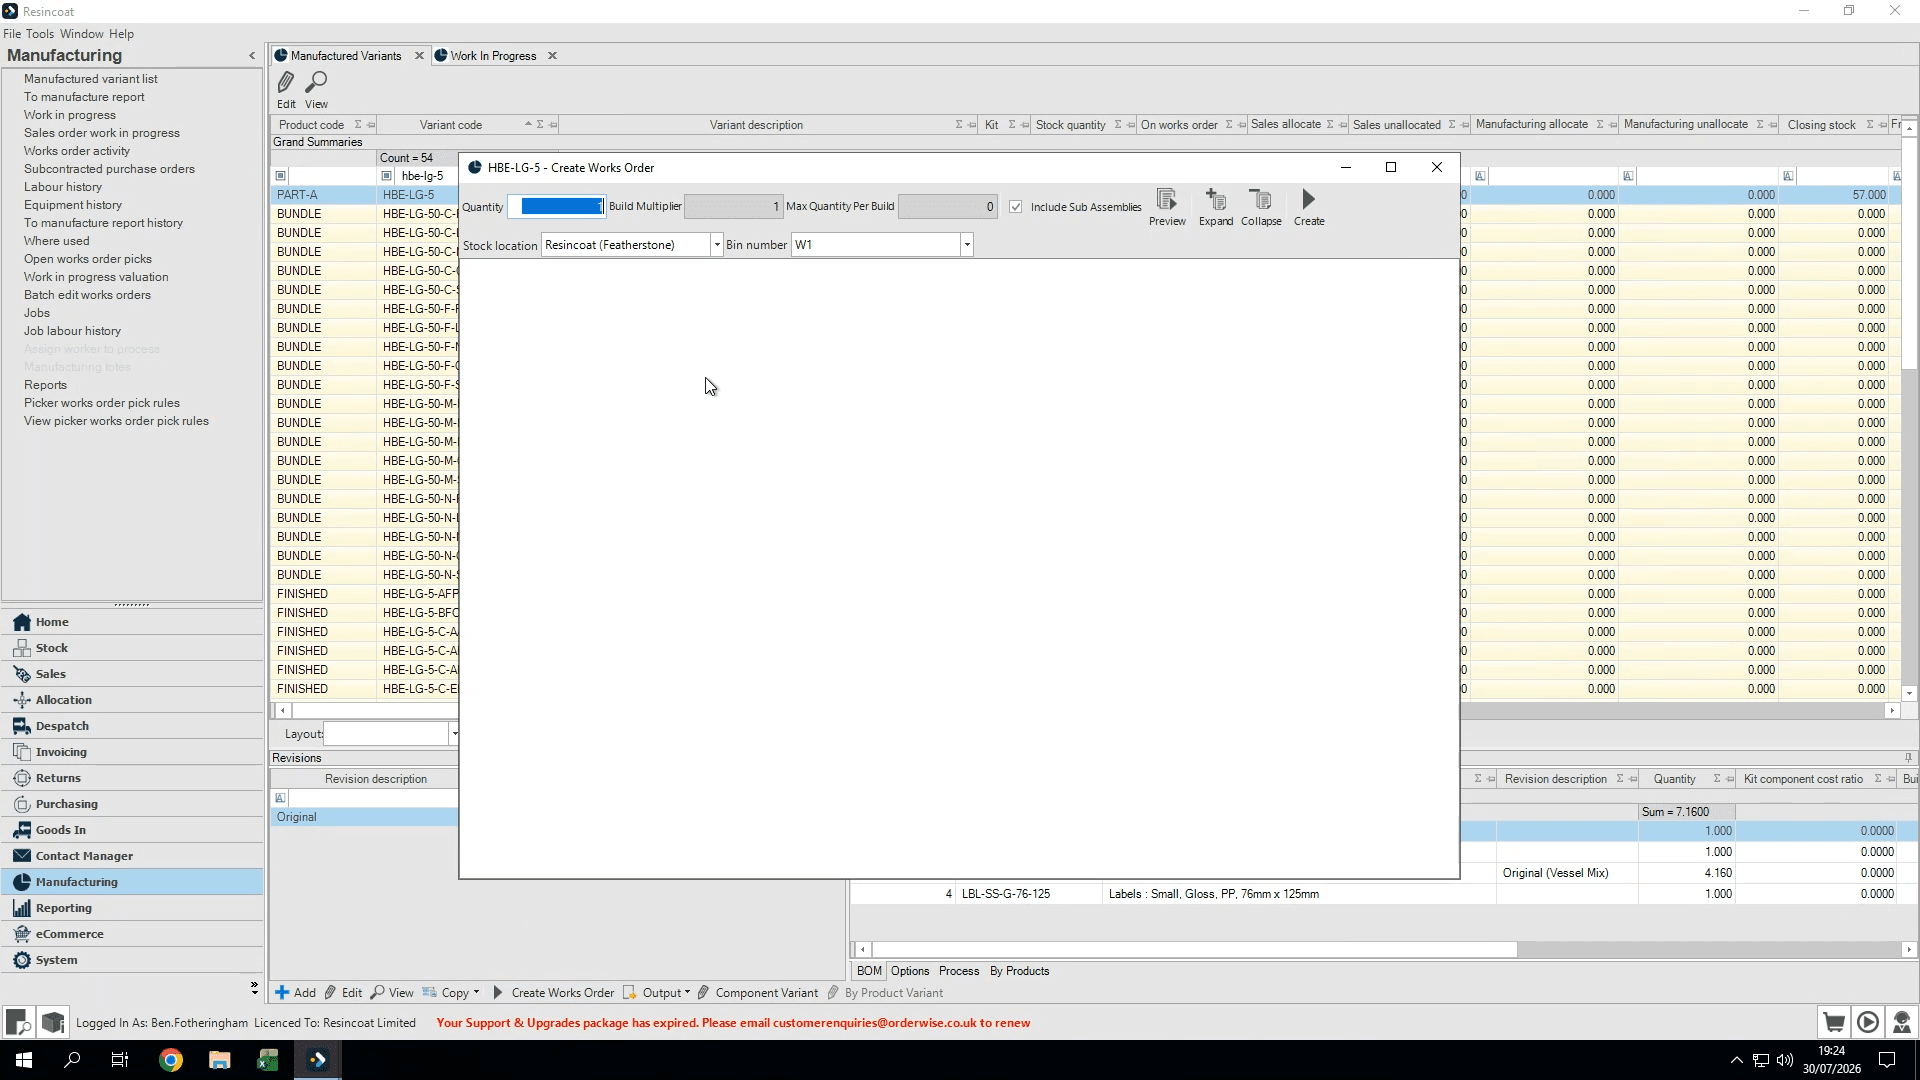
Click Create Works Order.
Step #6: Click Create Works Order.
7
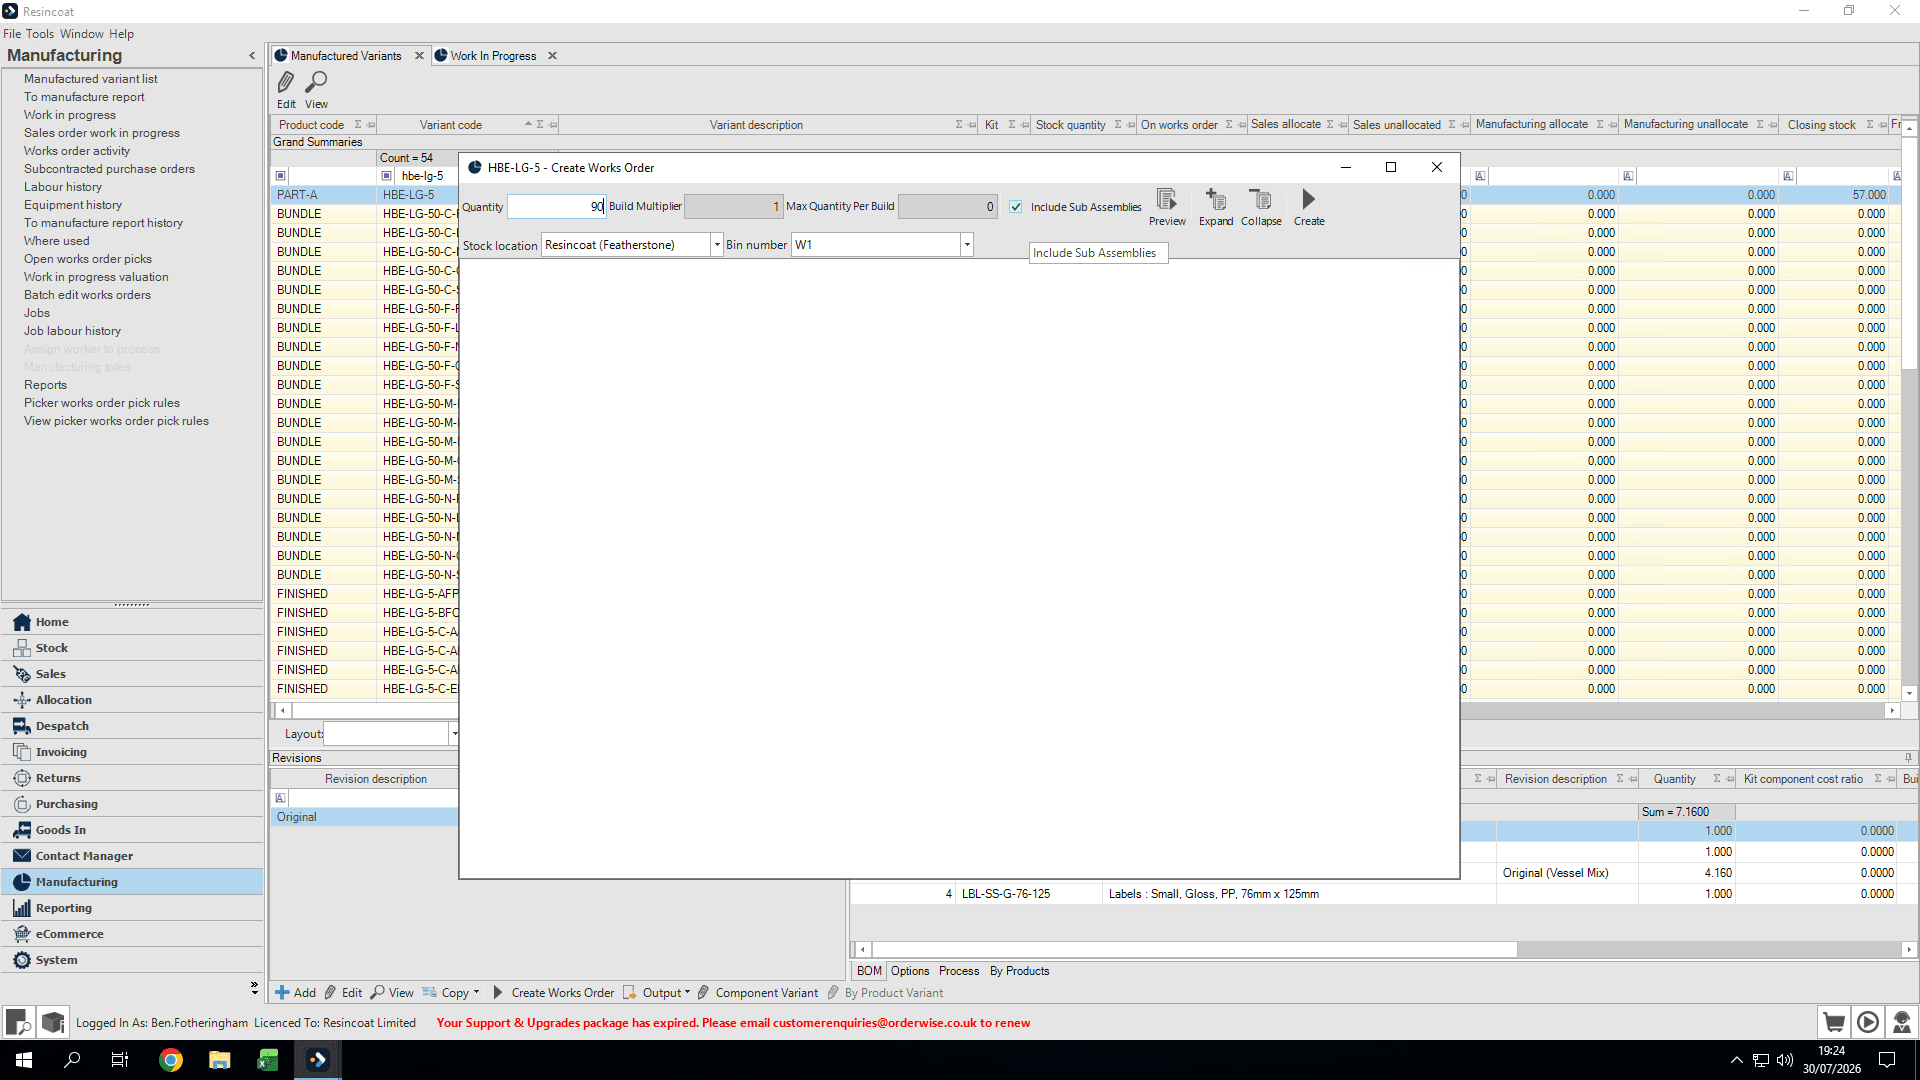
Type the expected production quantity (e.g., "90").
Step #7: Type the expected production quantity (e.g., "90").
8
Uncheck Include Sub Assemblies.
Step #8: Uncheck Include Sub Assemblies.
9
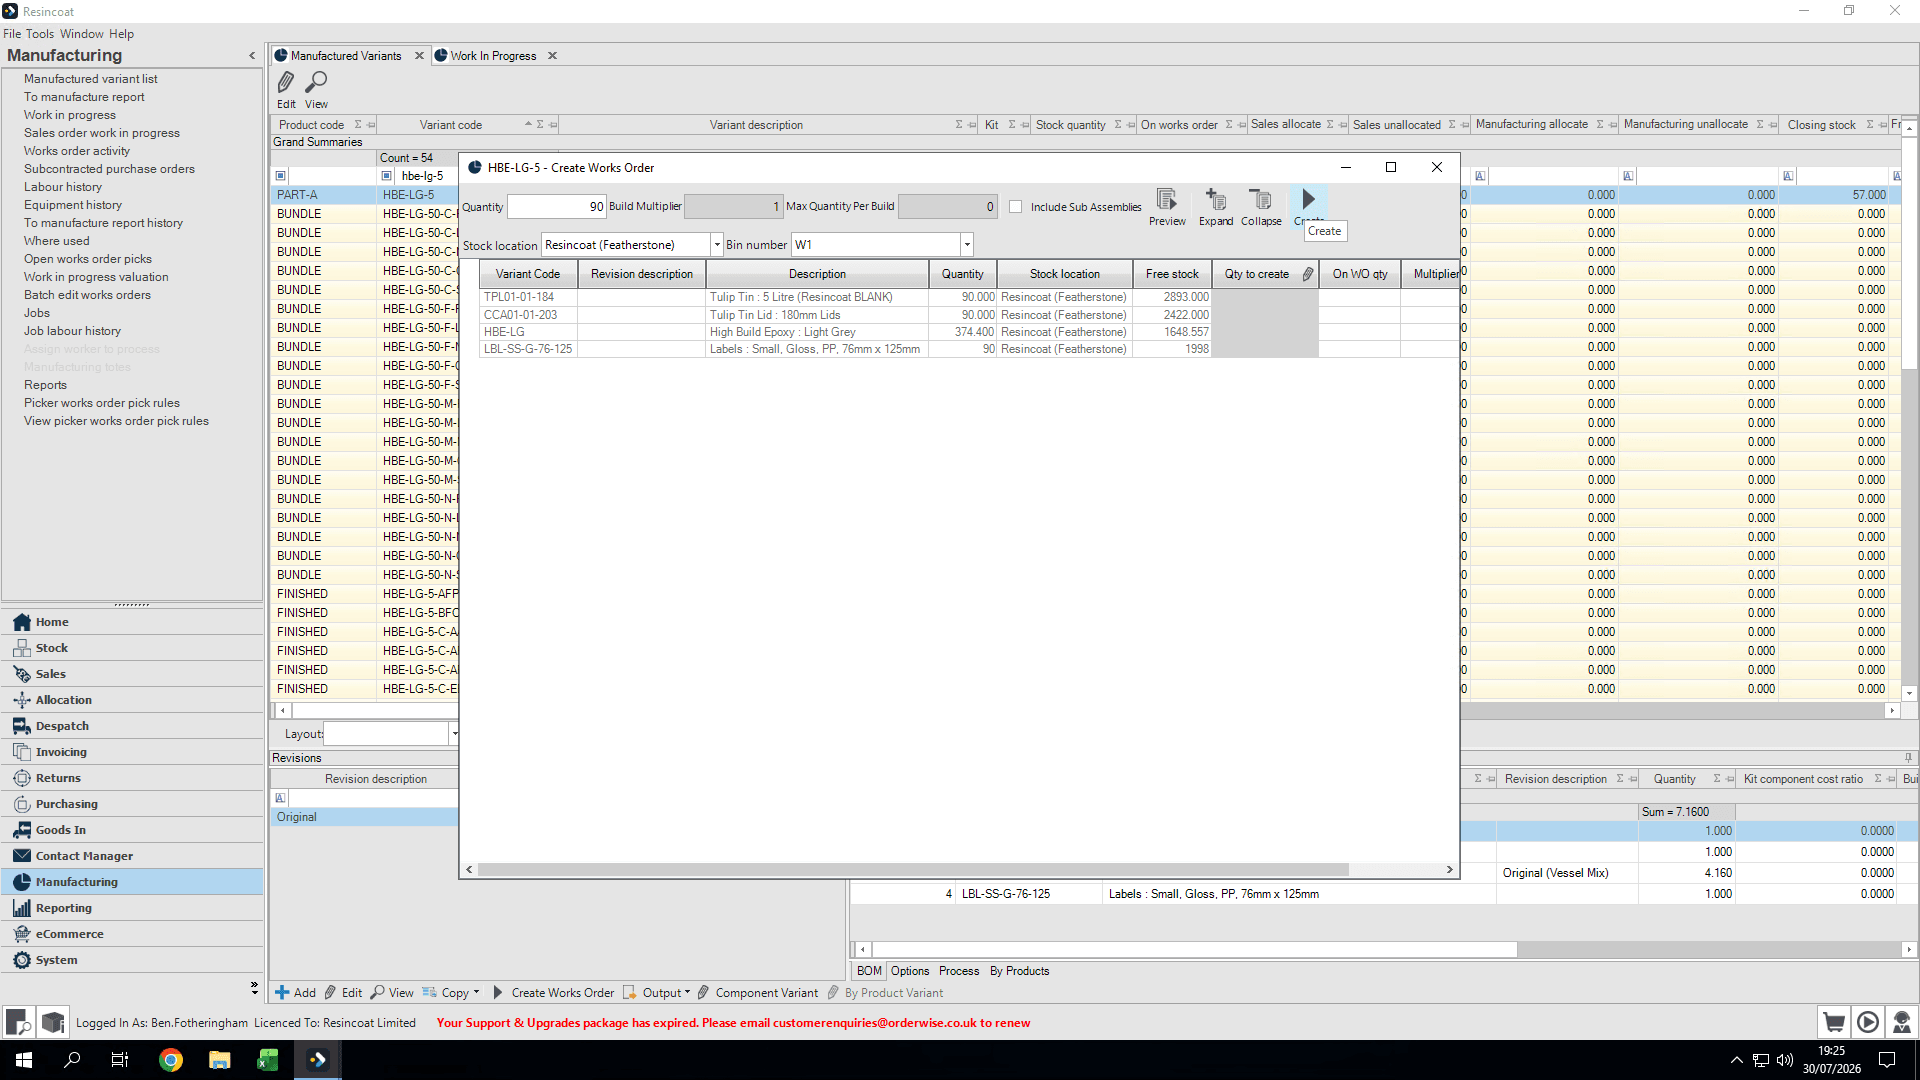
Click Create.
Step #9: Click Create.
10
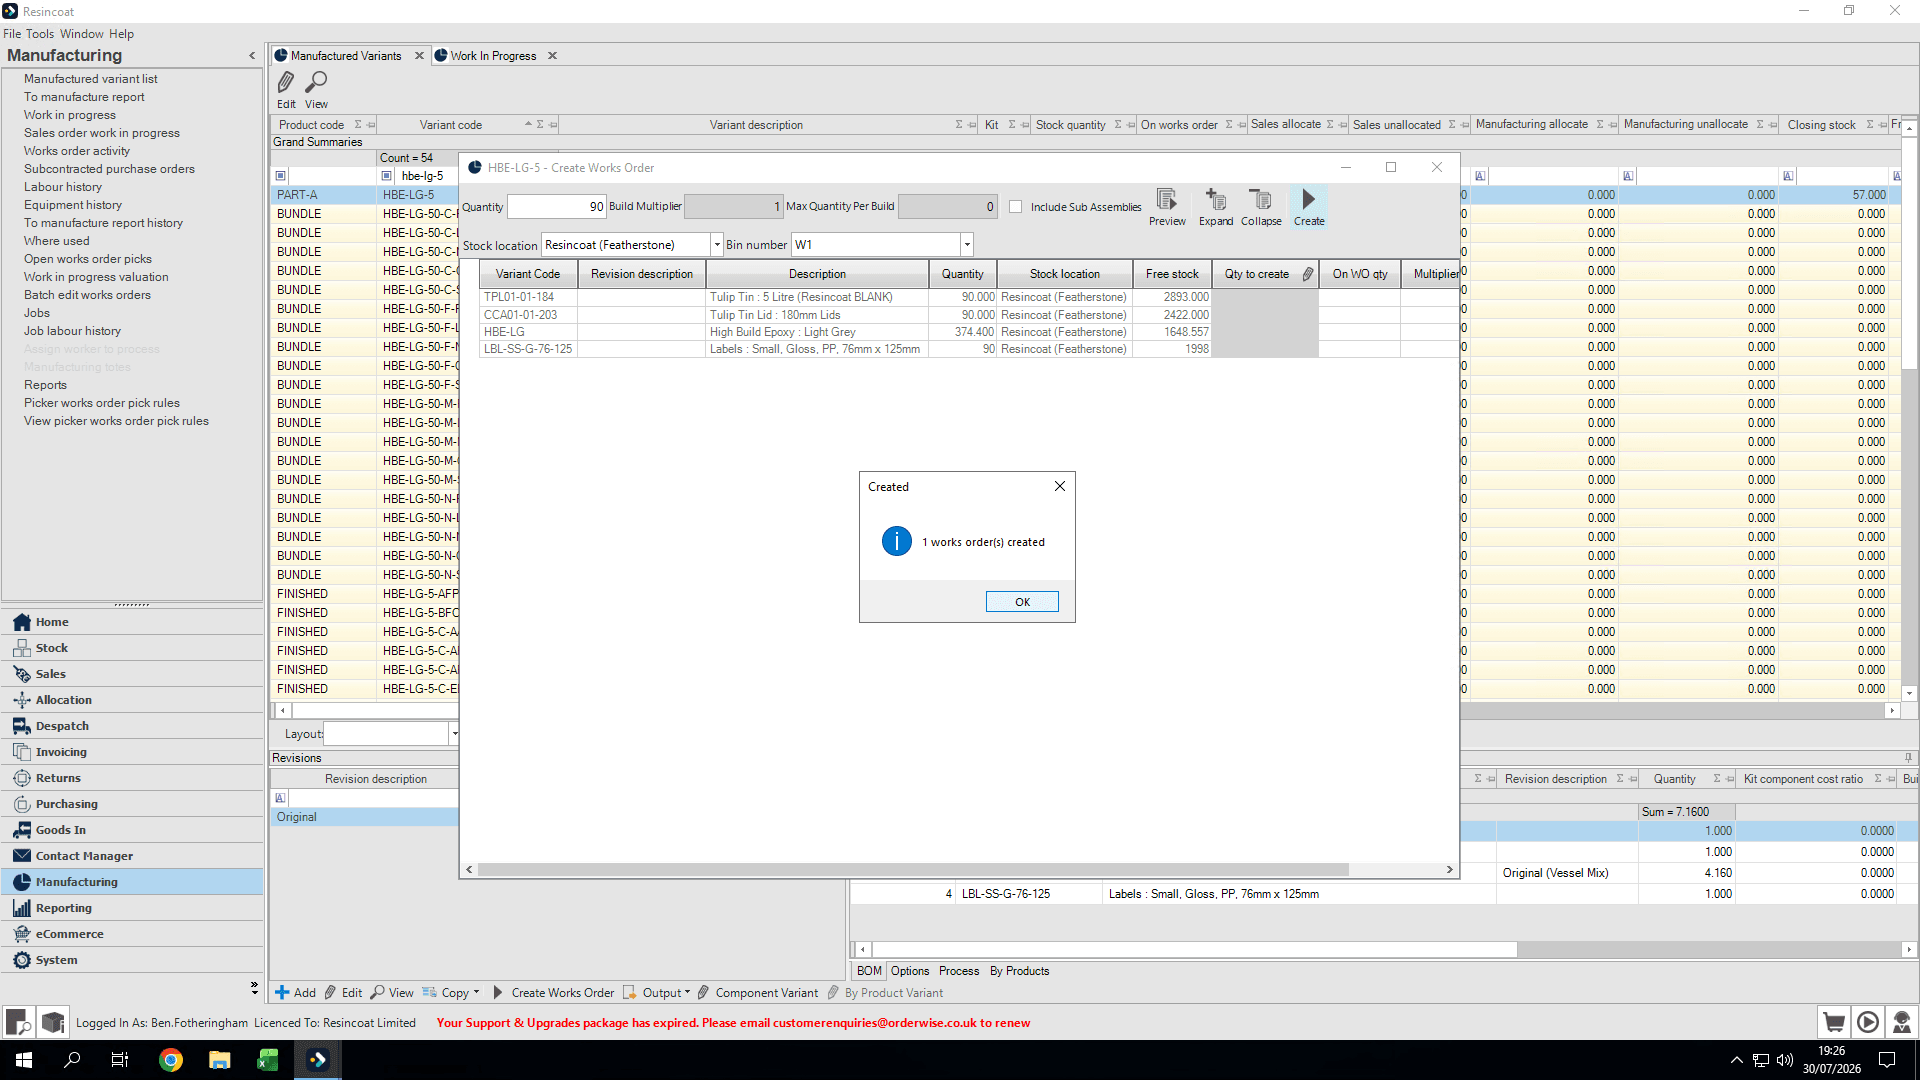
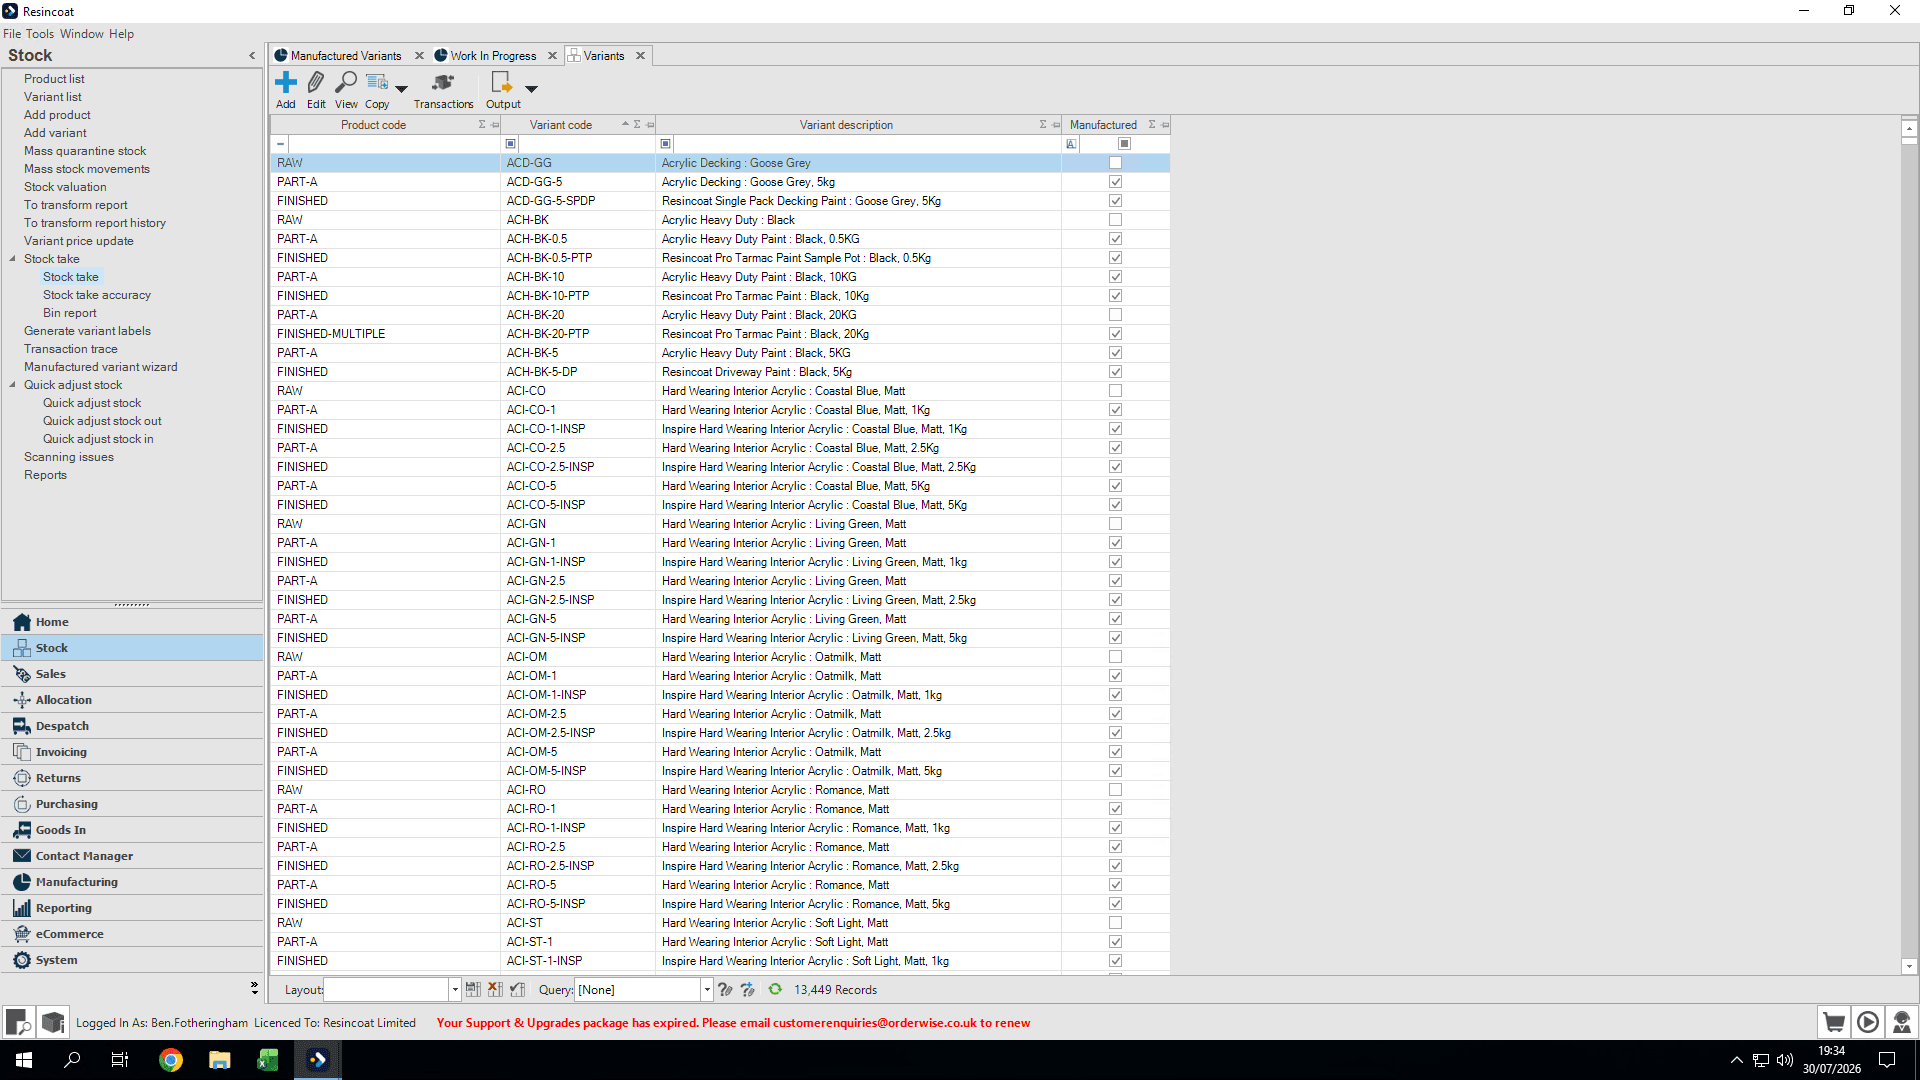
Click OK to confirm the works order creation.
Step #10: Click OK to confirm the works order creation.

Progressing the Order and Allocating Components
11
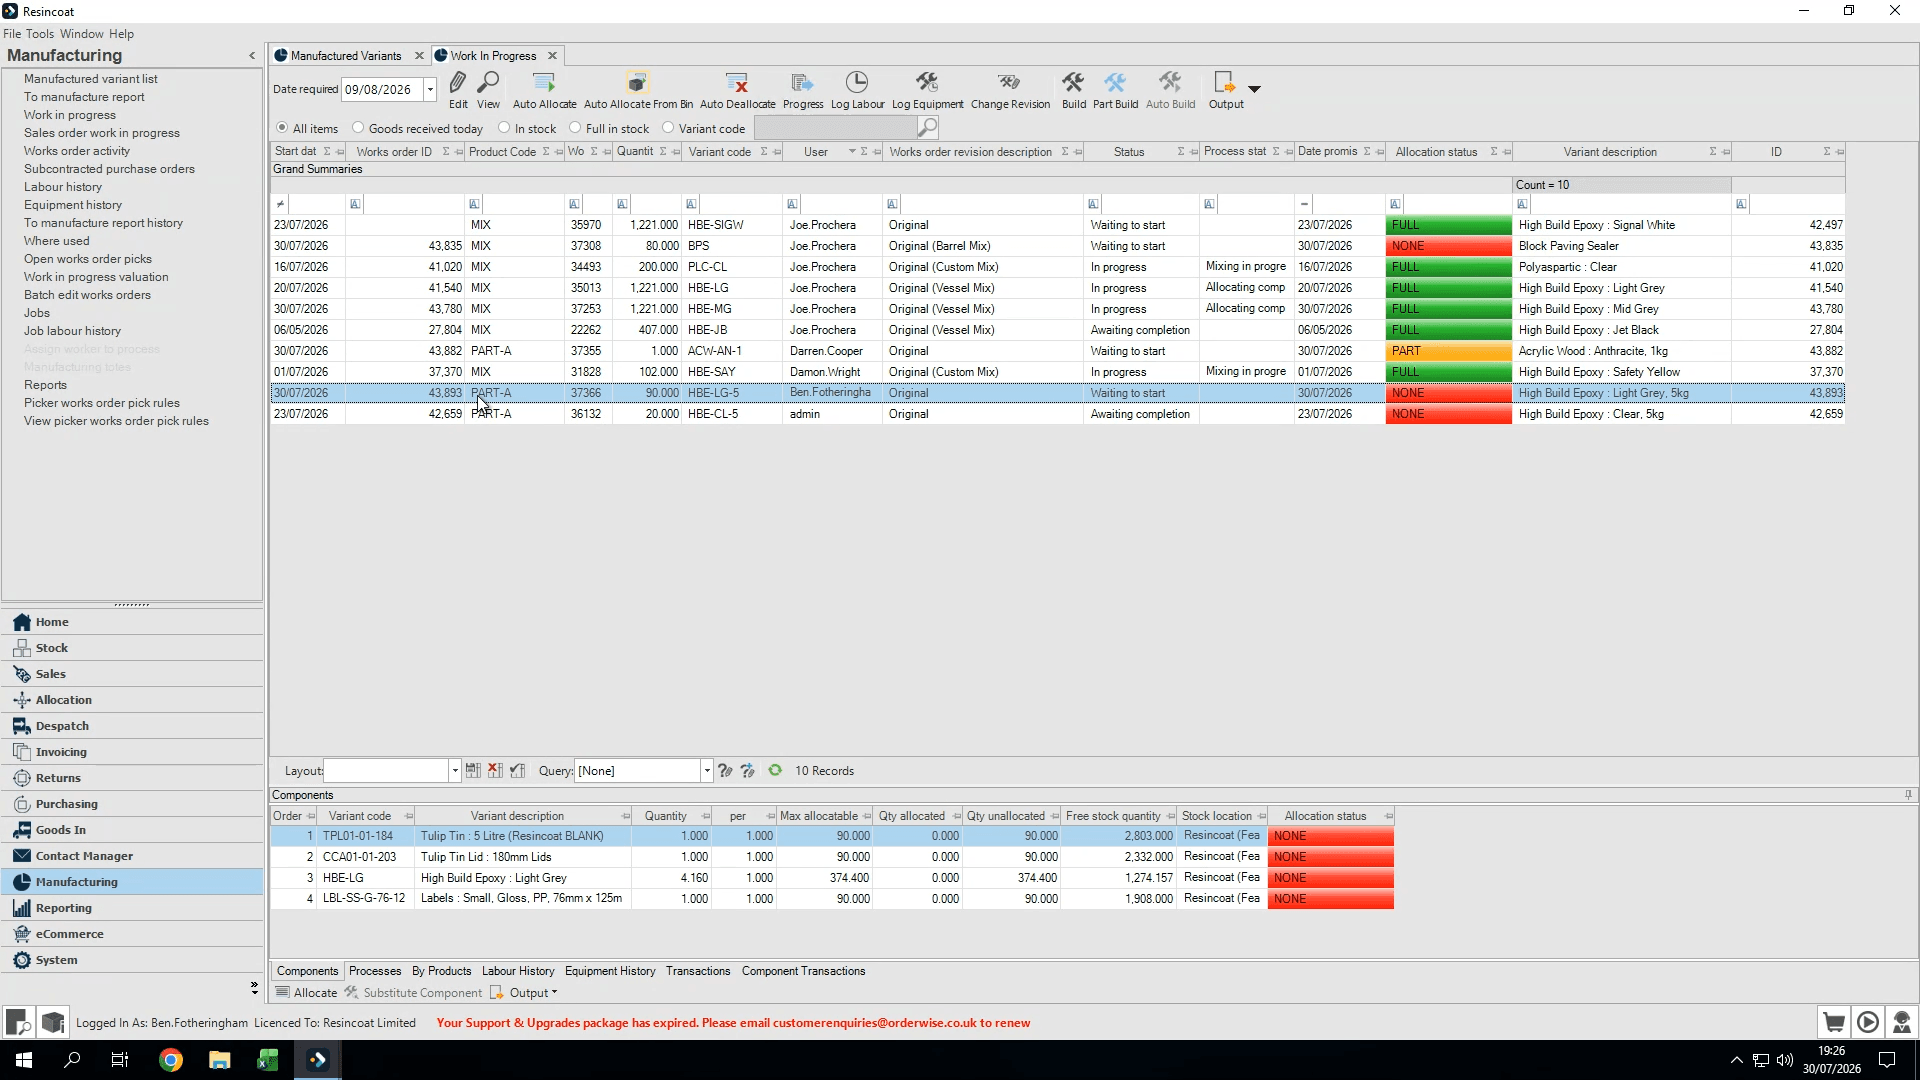
Return to the Work In Progress tab.
Step #11: Return to the Work In Progress tab.
12
Select the Work Order for the Part-A's we are working on
Step #12: Select the Work Order for the Part-A's we are working on
13
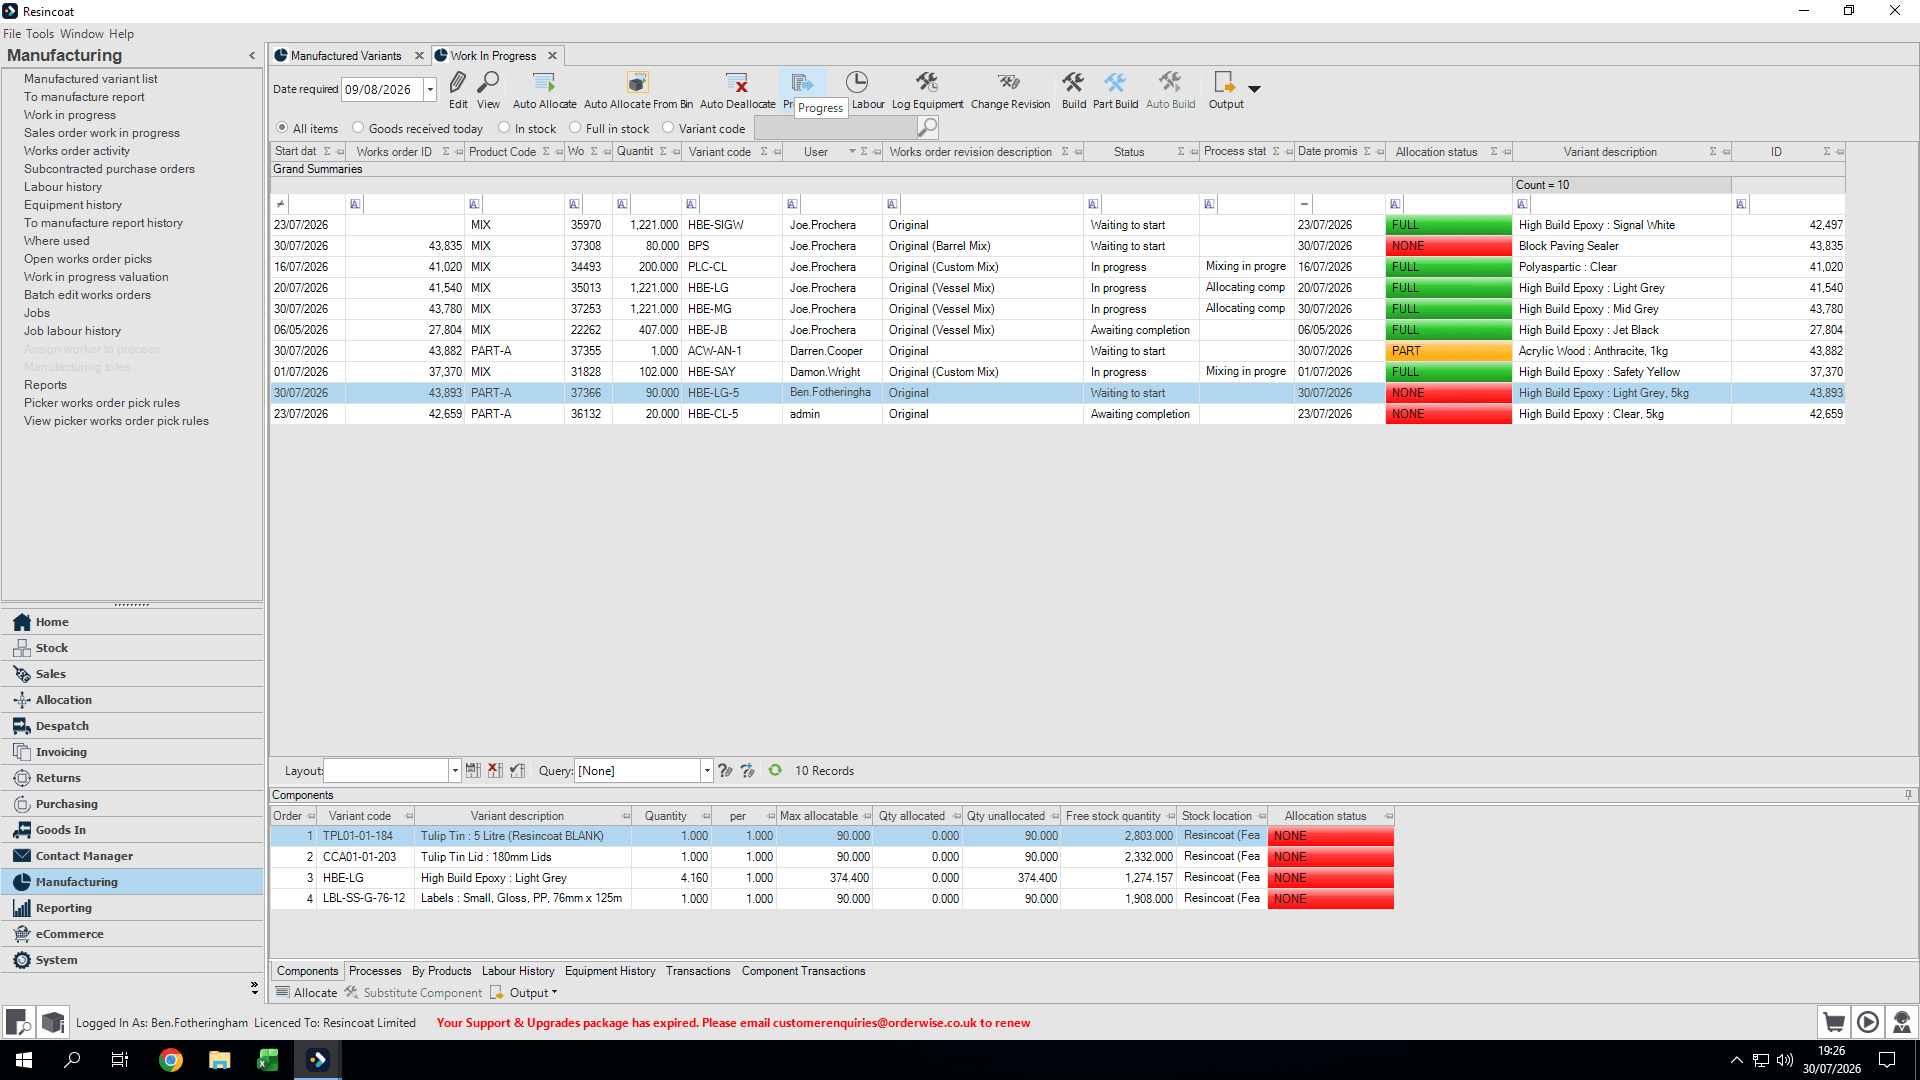
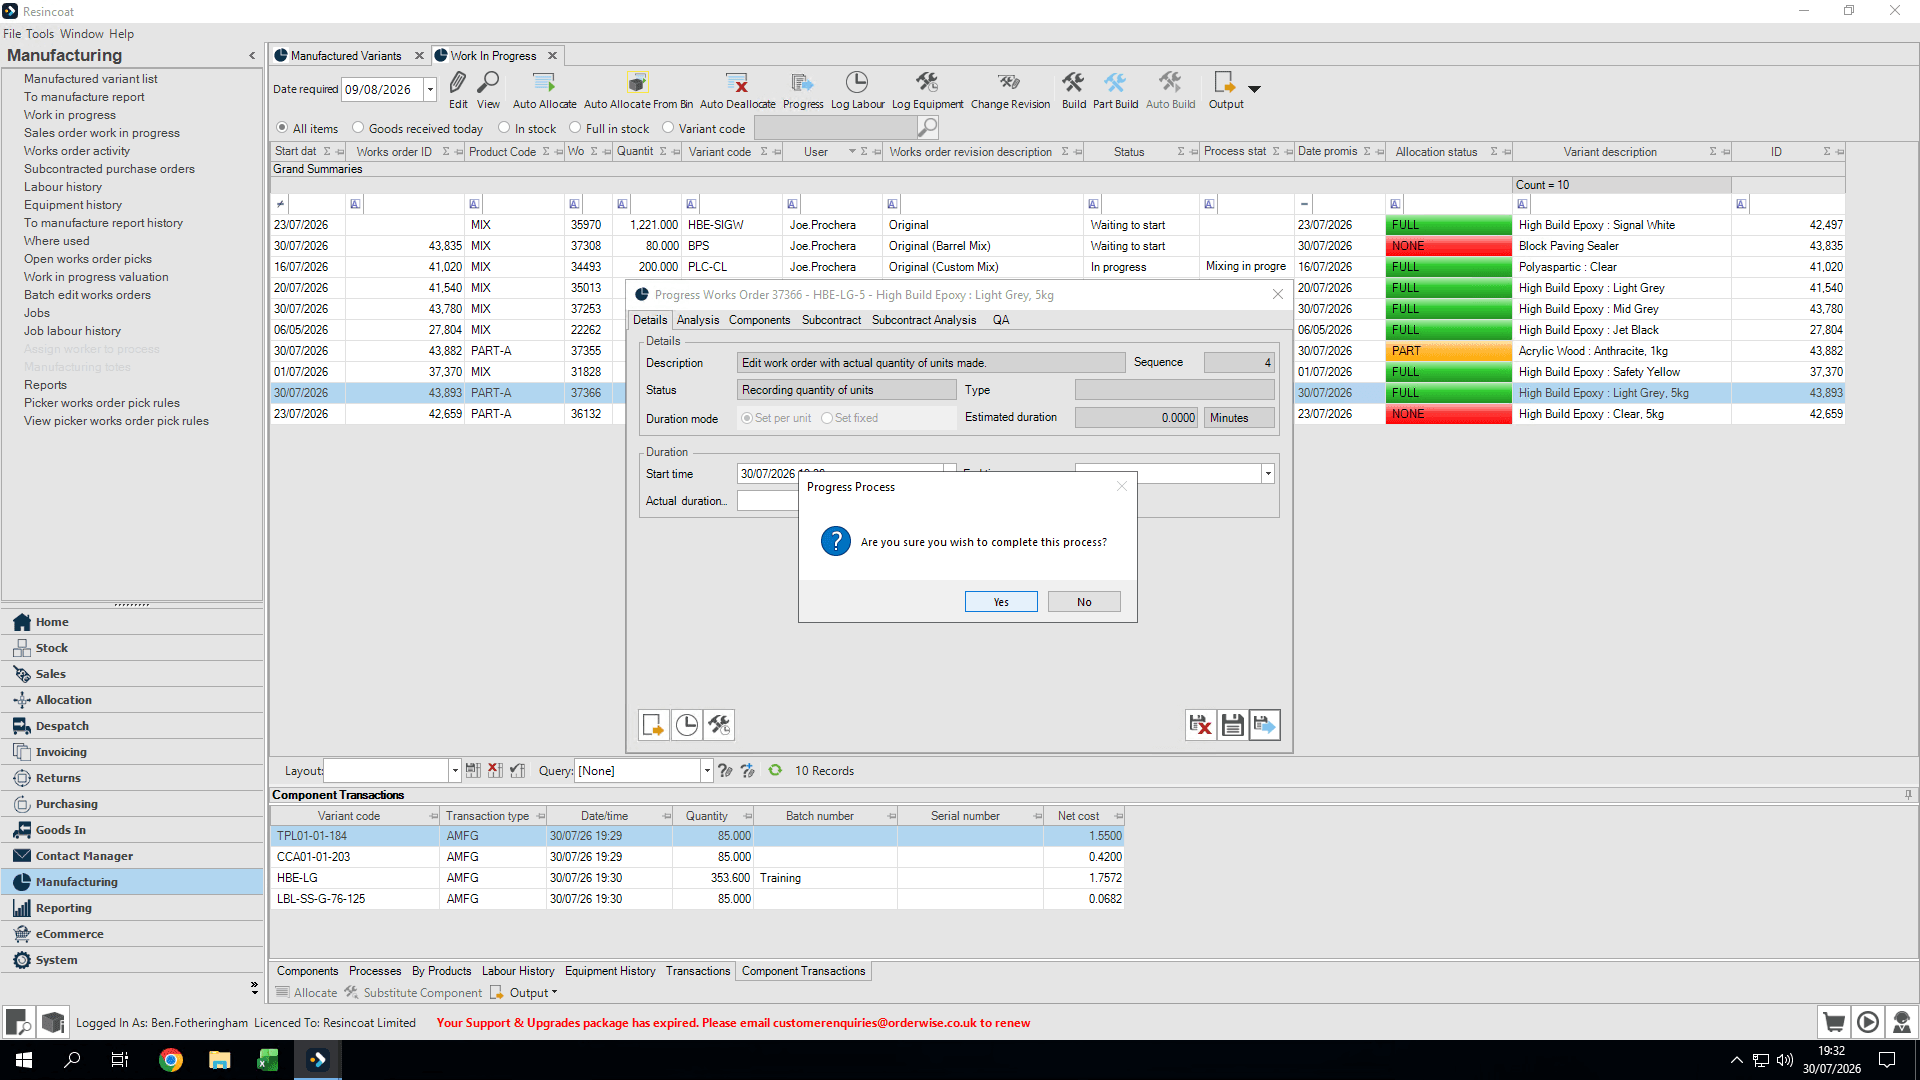
Click Progress and follow the prompts, clicking Yes to confirm progression to the next steps.
Step #13: Click Progress and follow the prompts, clicking Yes to confirm progression to the next steps.
14
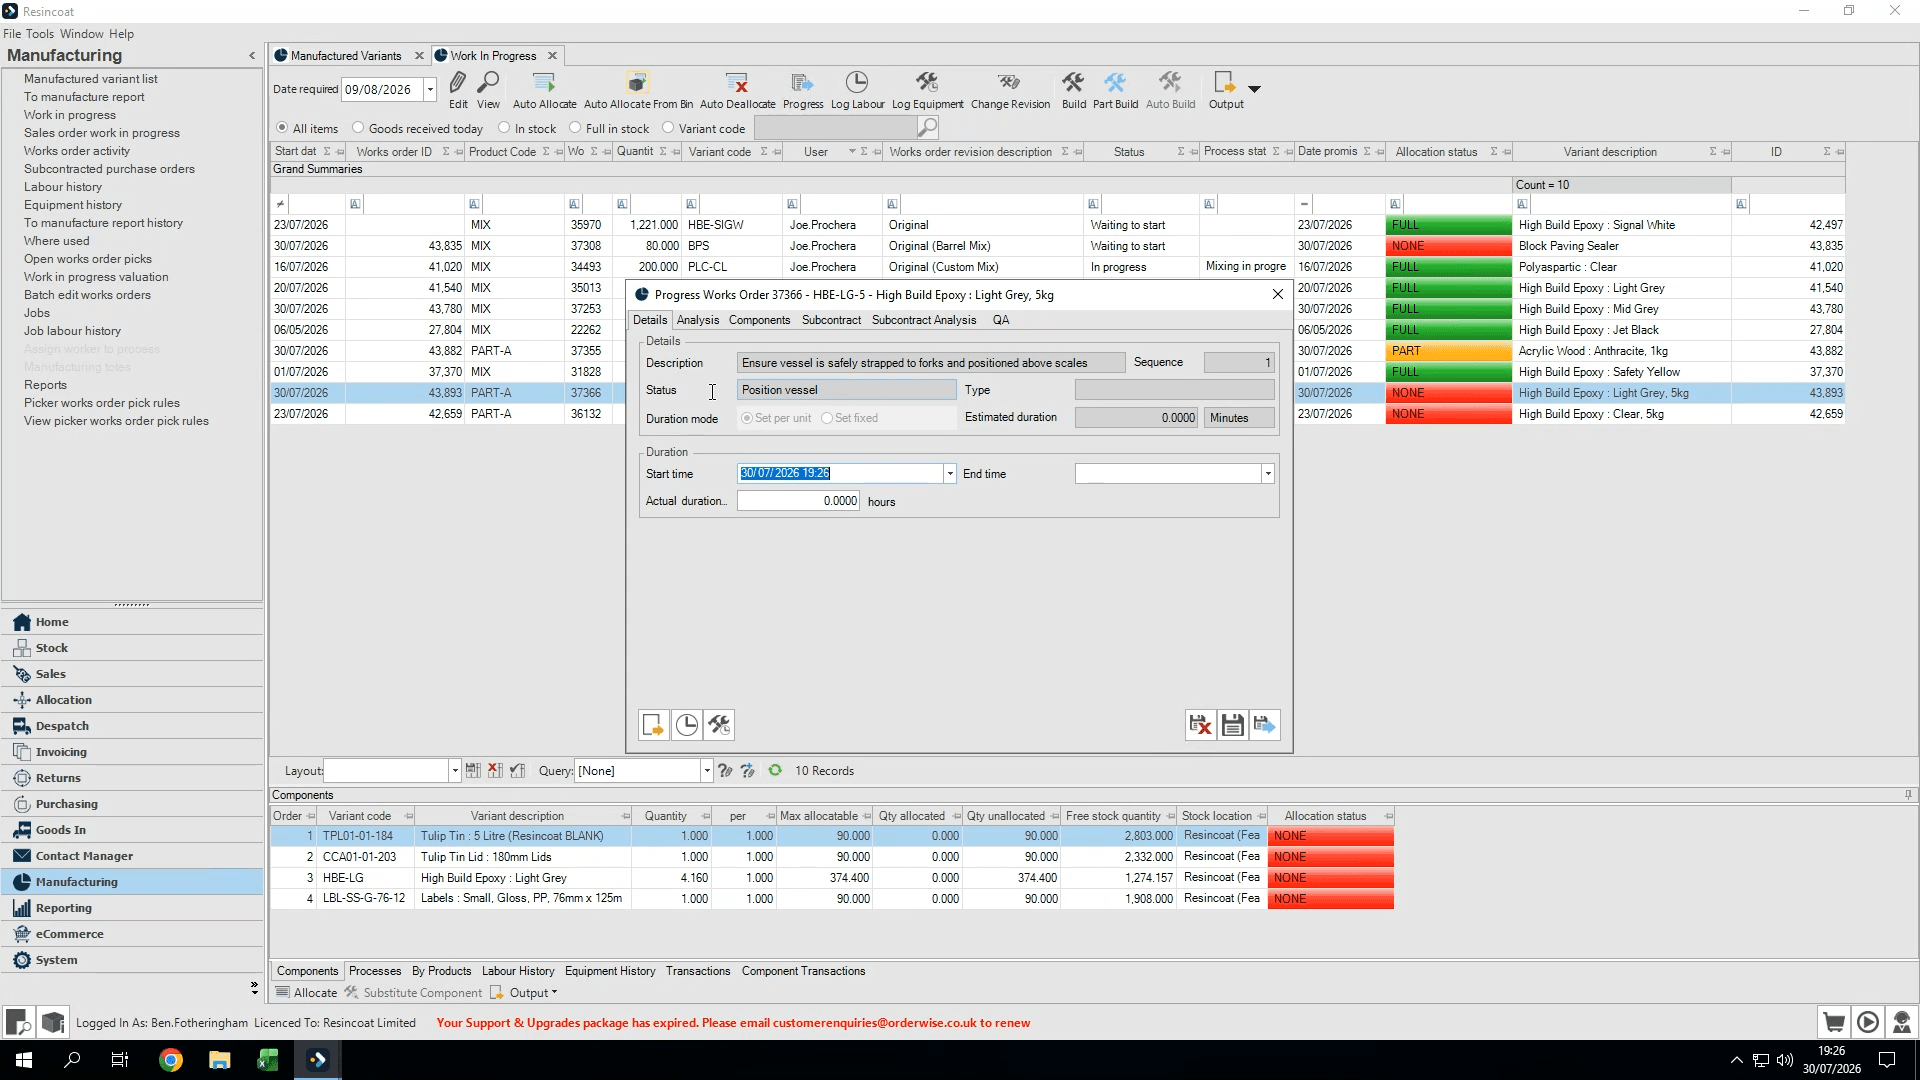
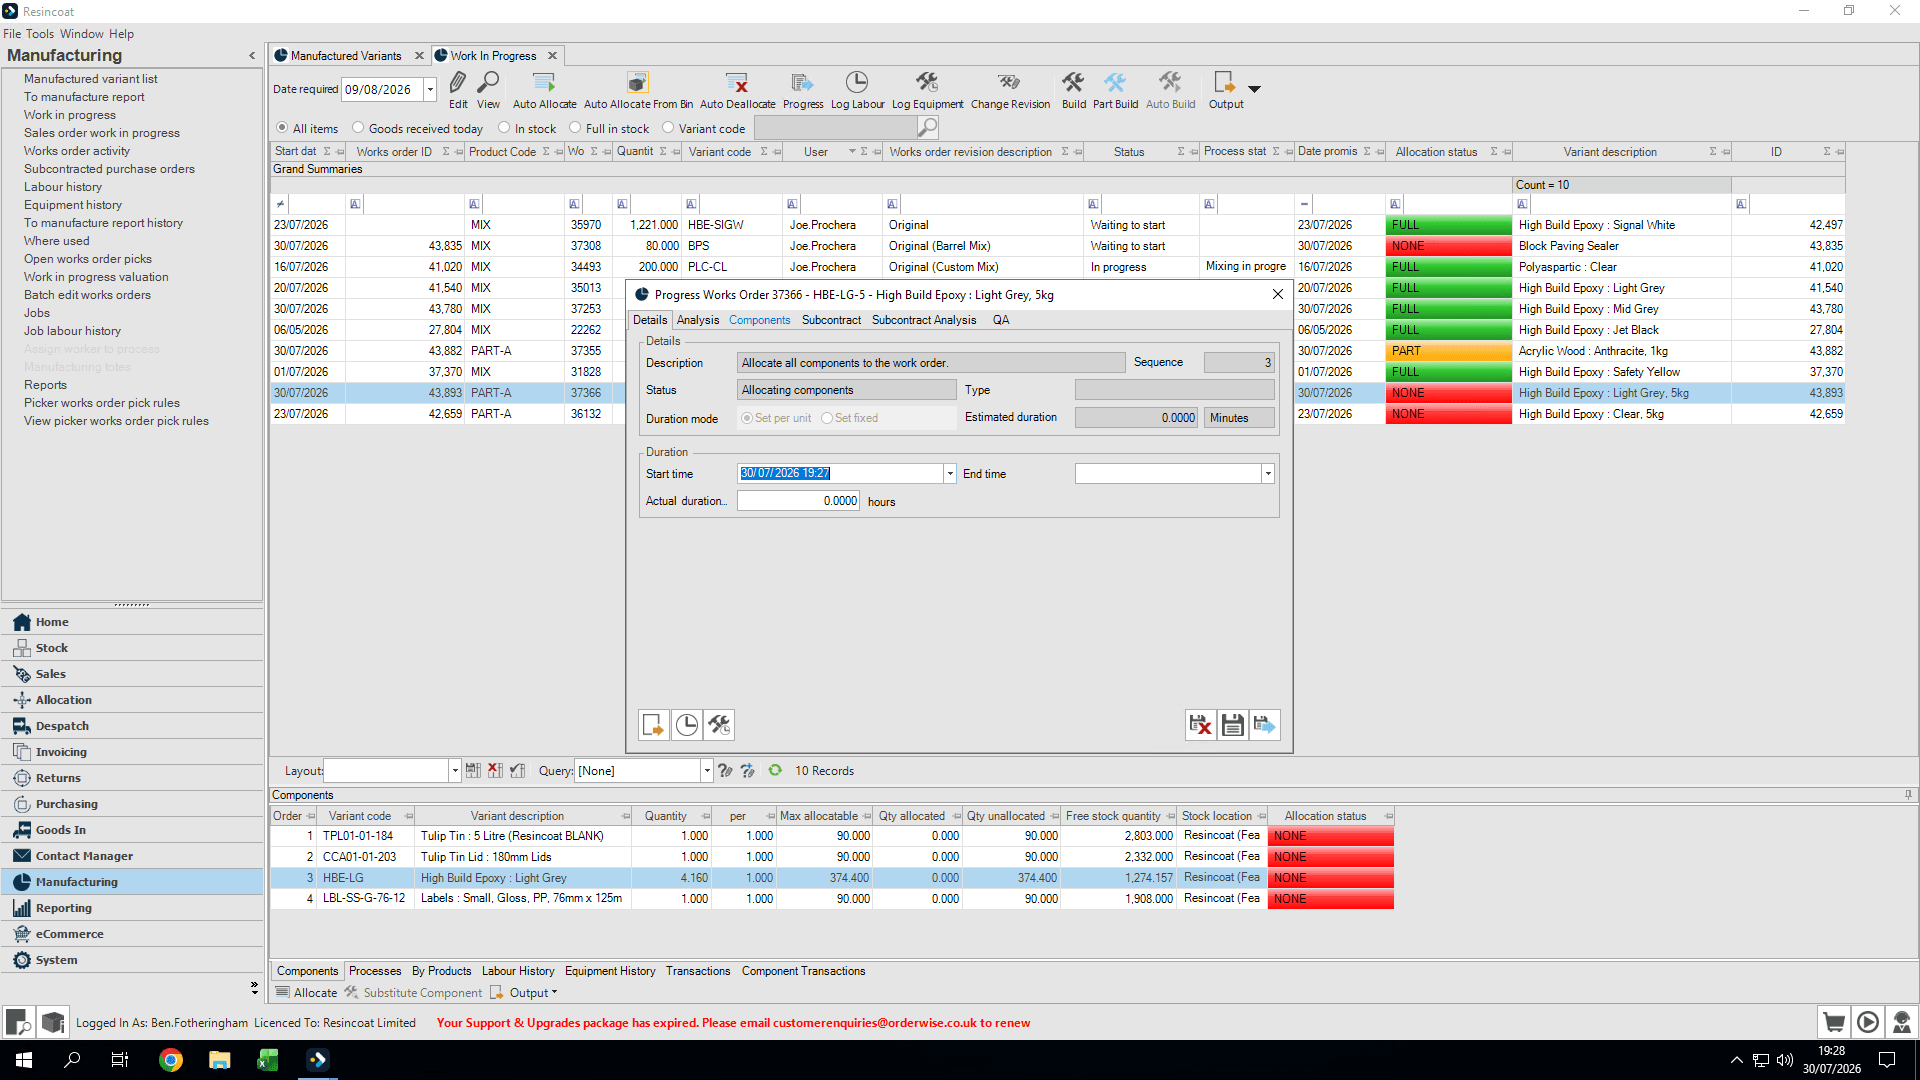
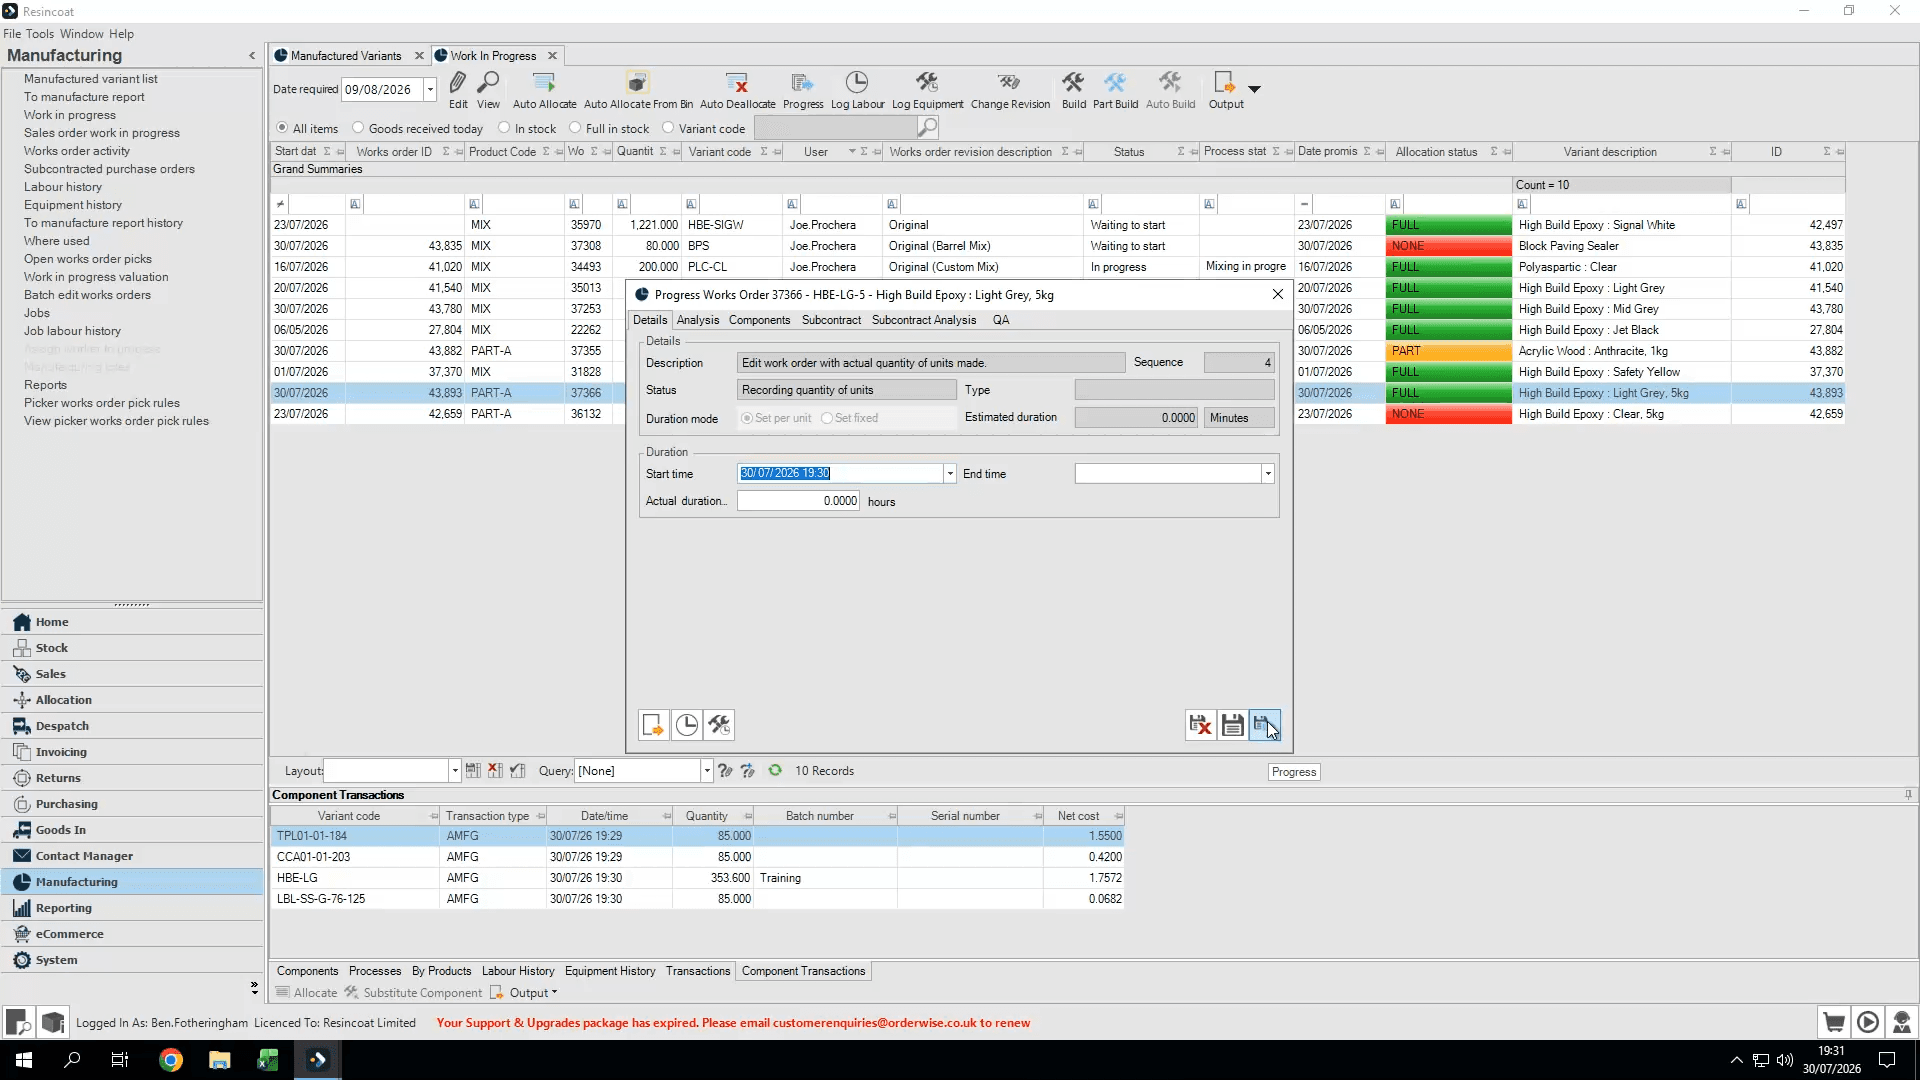
The description will tell us what to do at each stage
Step #14: The description will tell us what to do at each stage
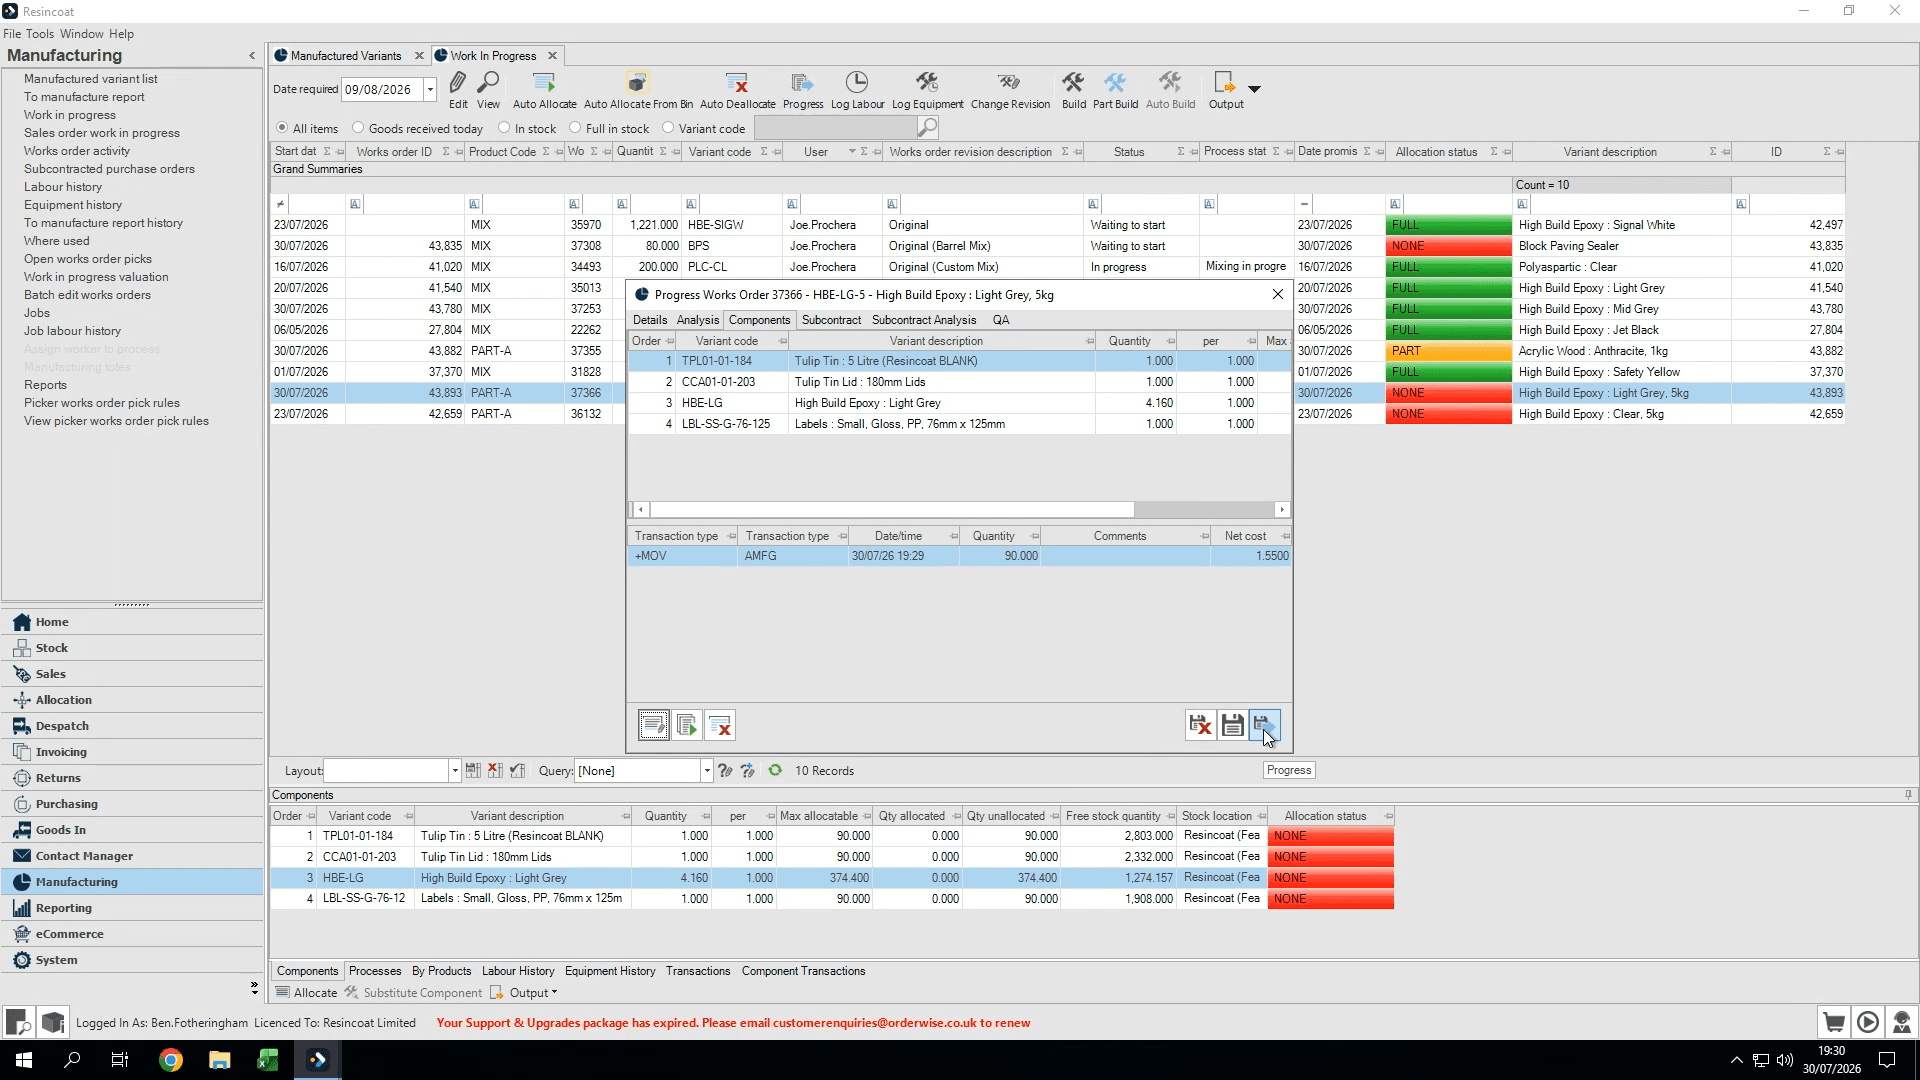
15
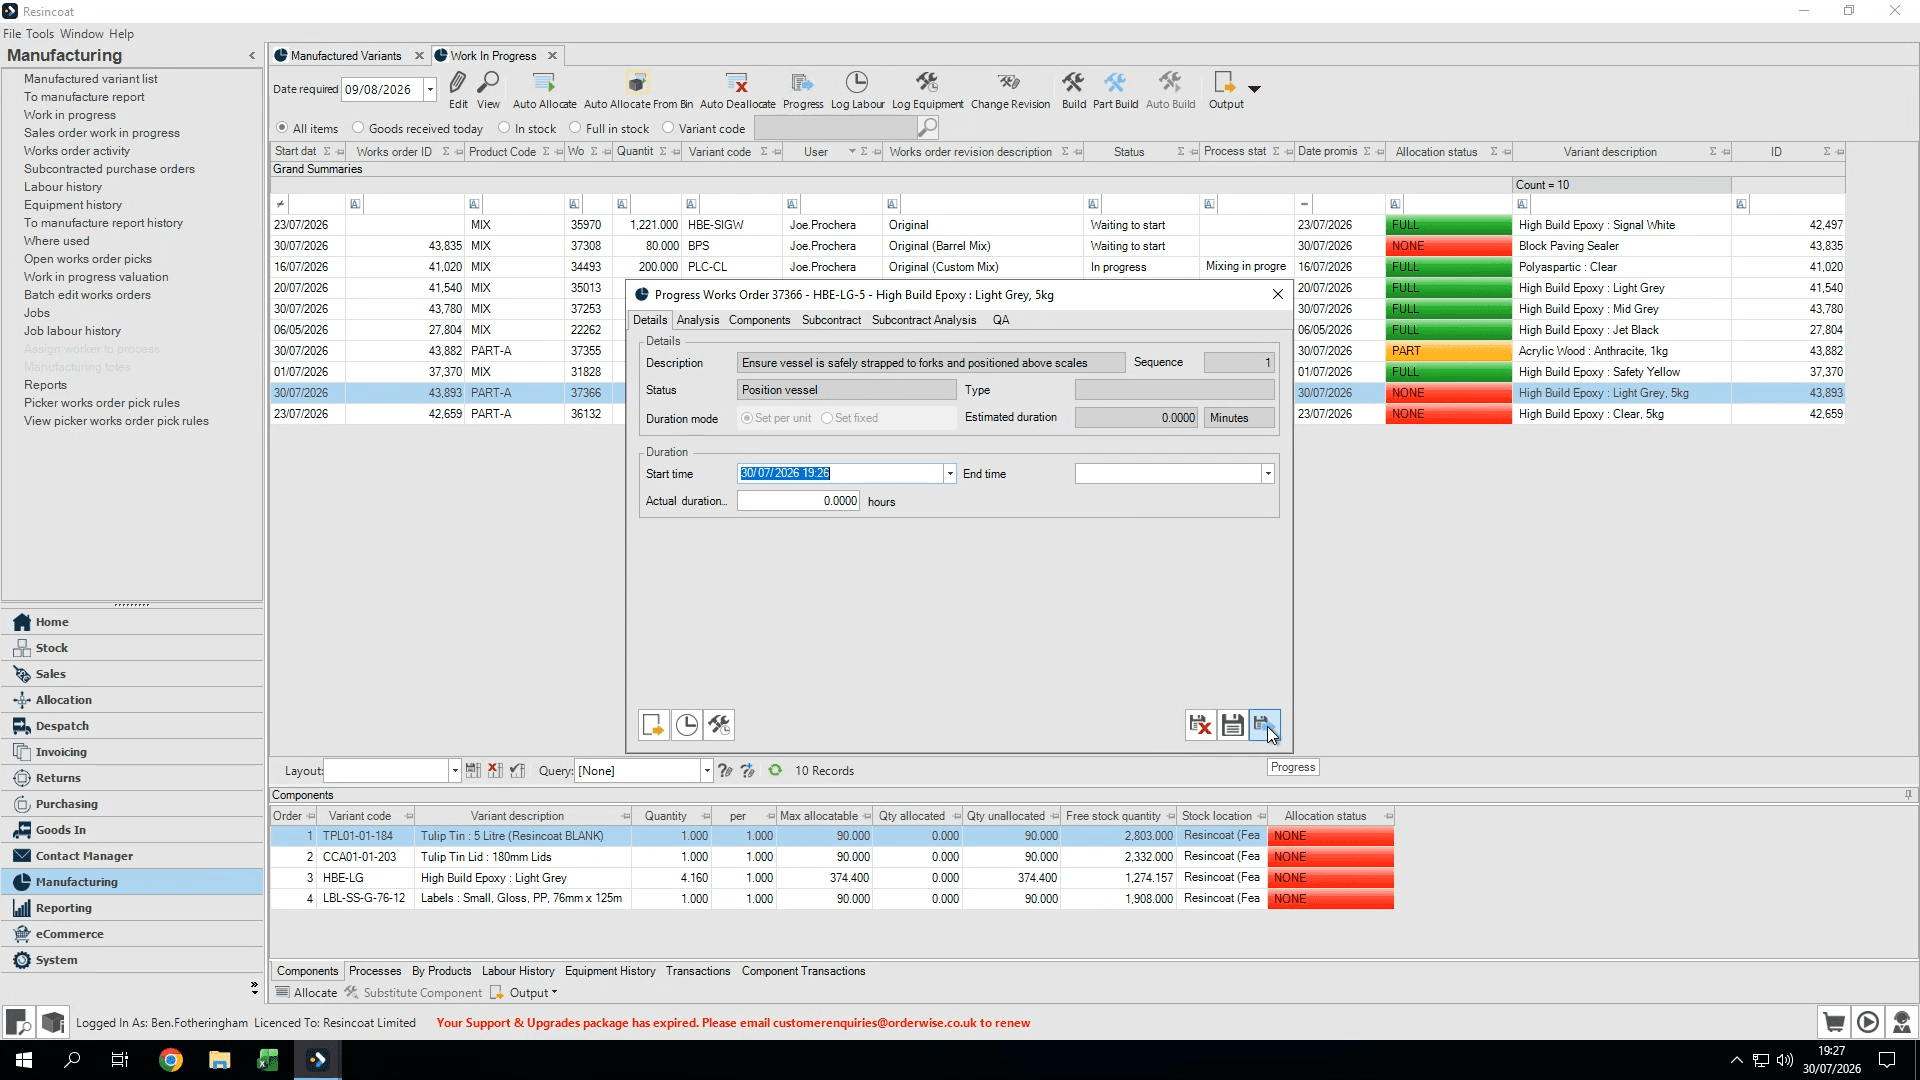
Click Save and Progress button to move to the next step.
Step #15: Click Save and Progress button to move to the next step.

16
Follow instructions until you get to the Allocate Components stage

17
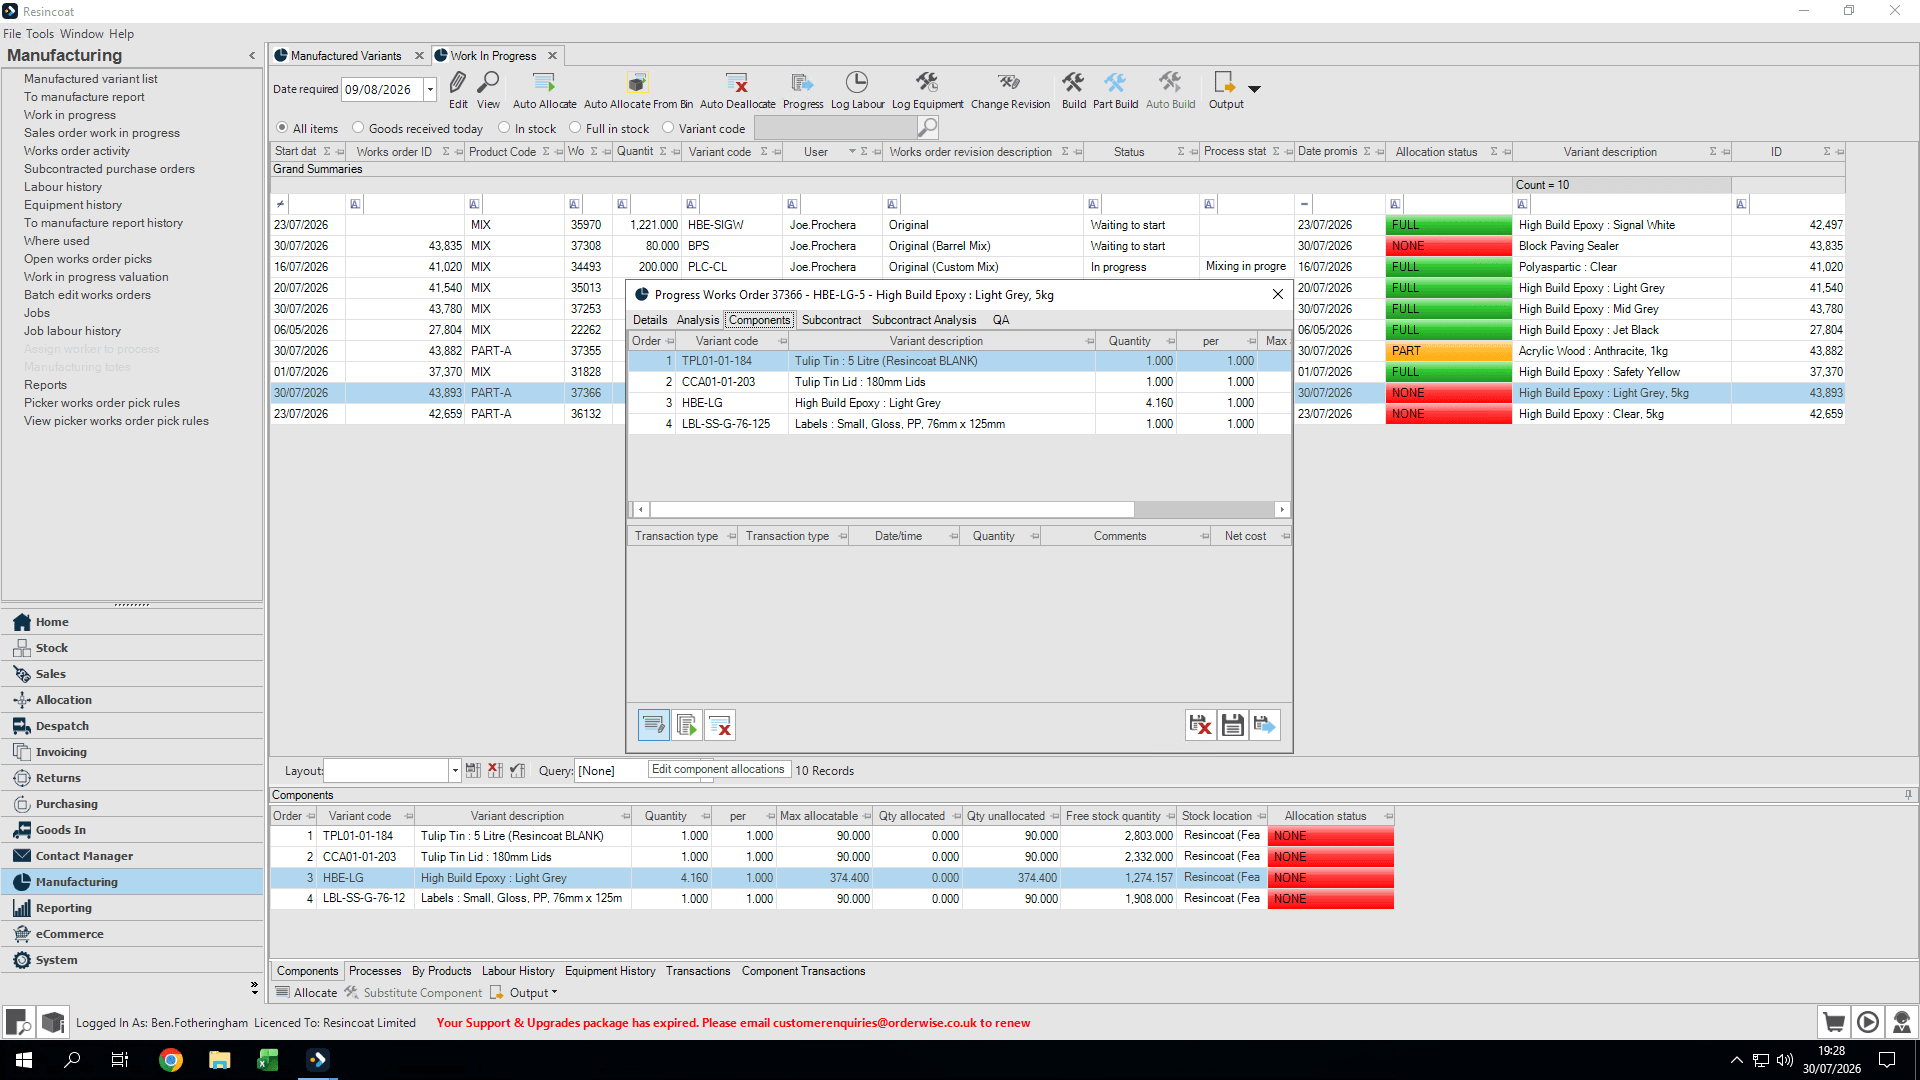
Click the Components tab.
Step #17: Click the Components tab.
18
Click Edit Component Allocations at the bottom of the screen.
Step #18: Click Edit Component Allocations at the bottom of the screen.
19
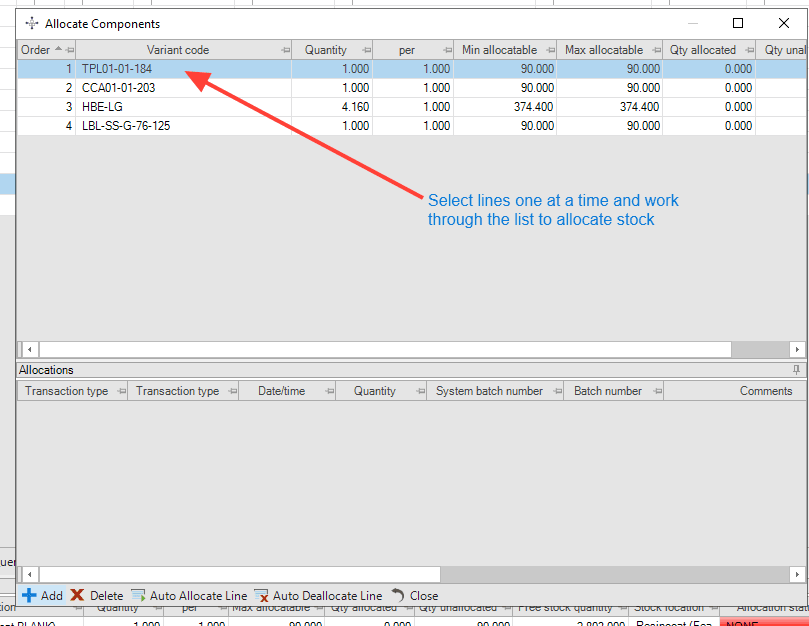
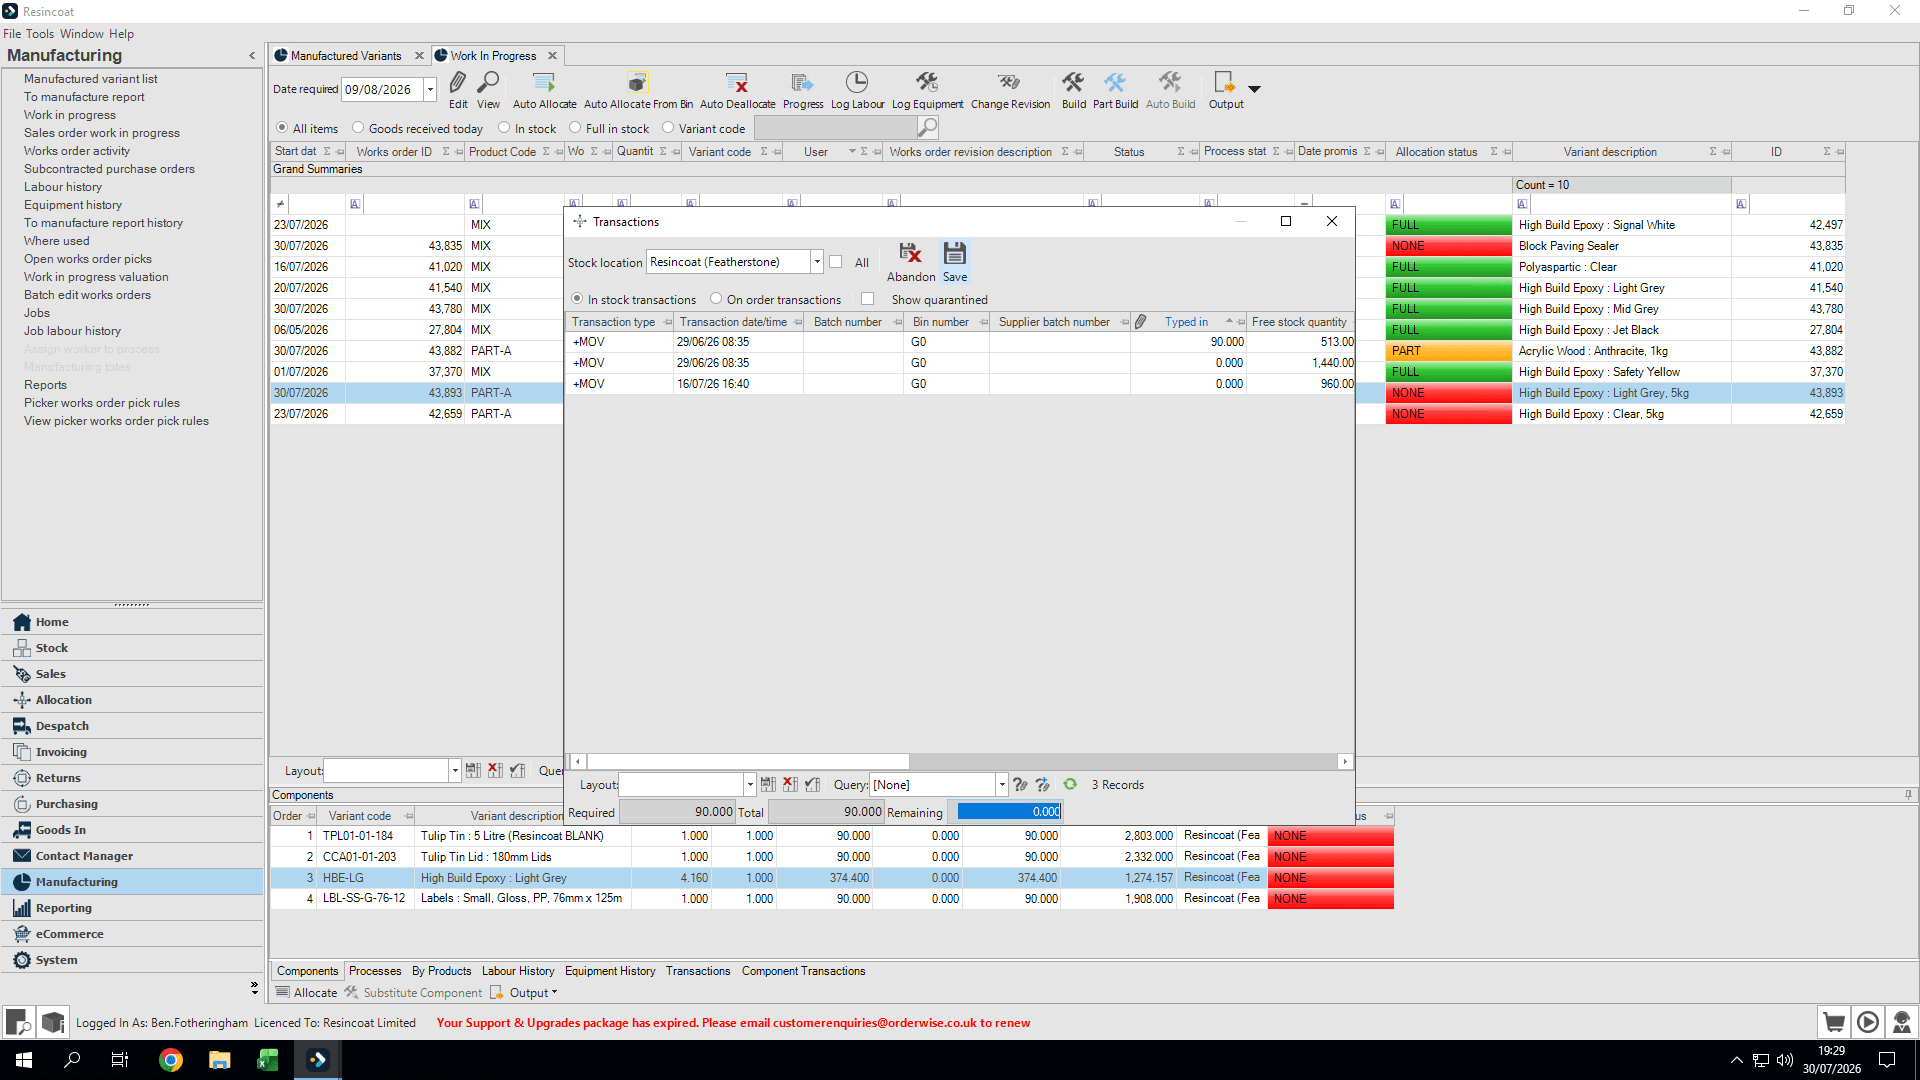
Select a component line (like tins) and click Add.
Step #19: Select a component line (like tins) and click Add.
20
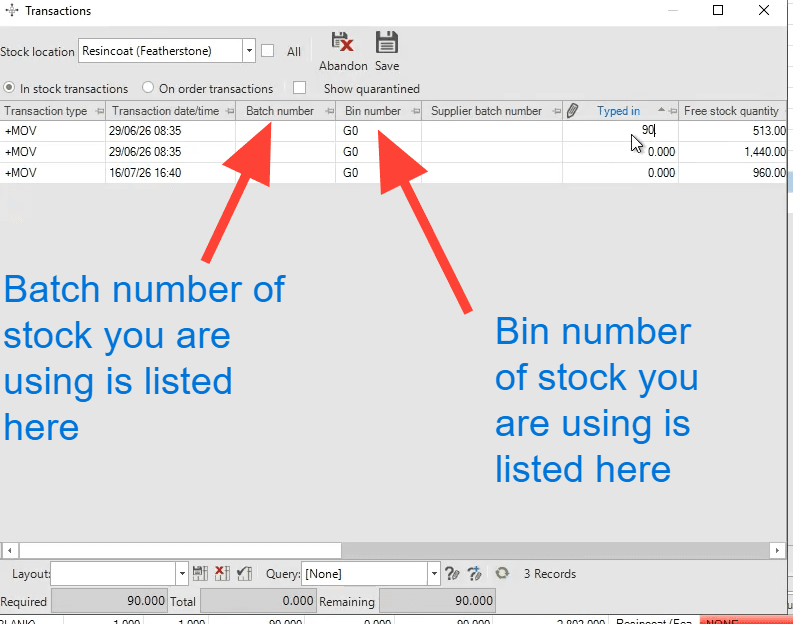
Type the amount of product being used directly into the Typed In column, on the row matching the batch/location of product you are using.
Step #20: Type the amount of product being used directly into the Typed In column, on the row matching the batch/location of product you are using.
21
Click Save.
Step #21: Click Save.
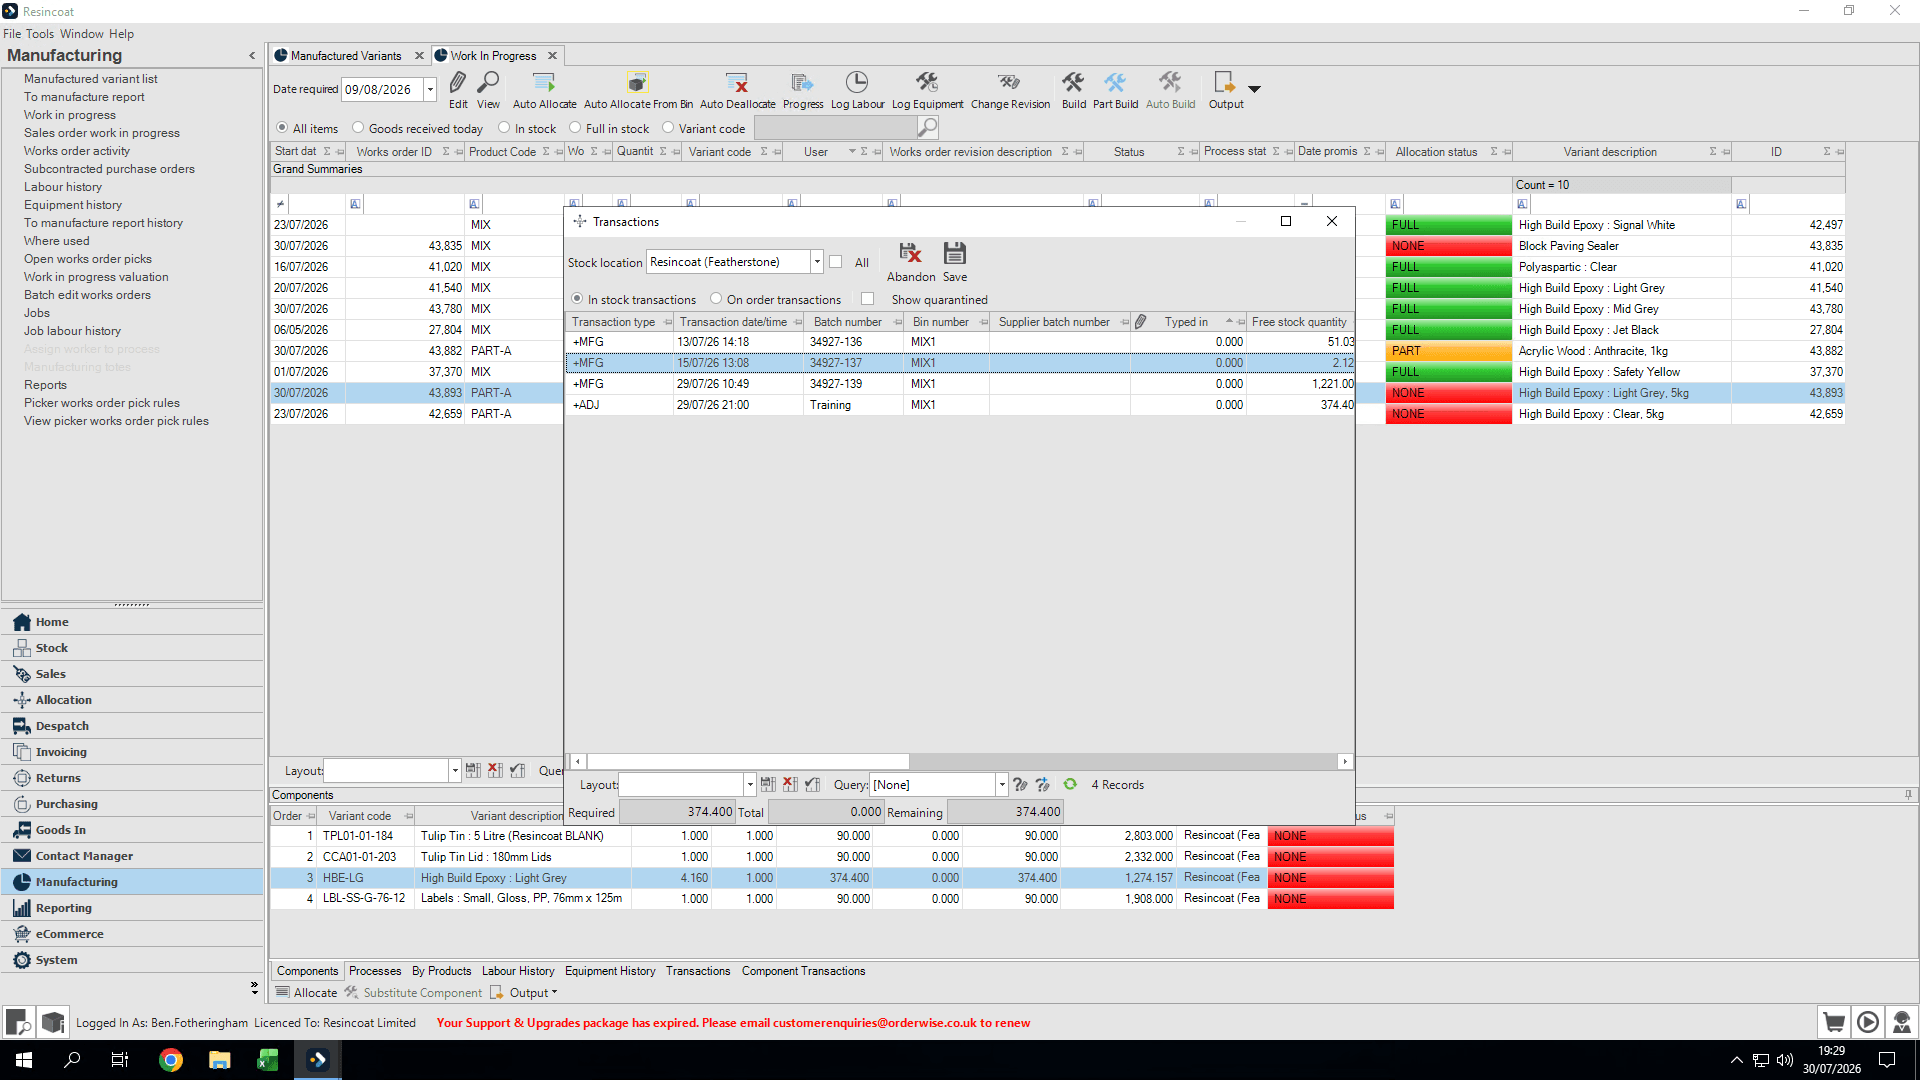
22
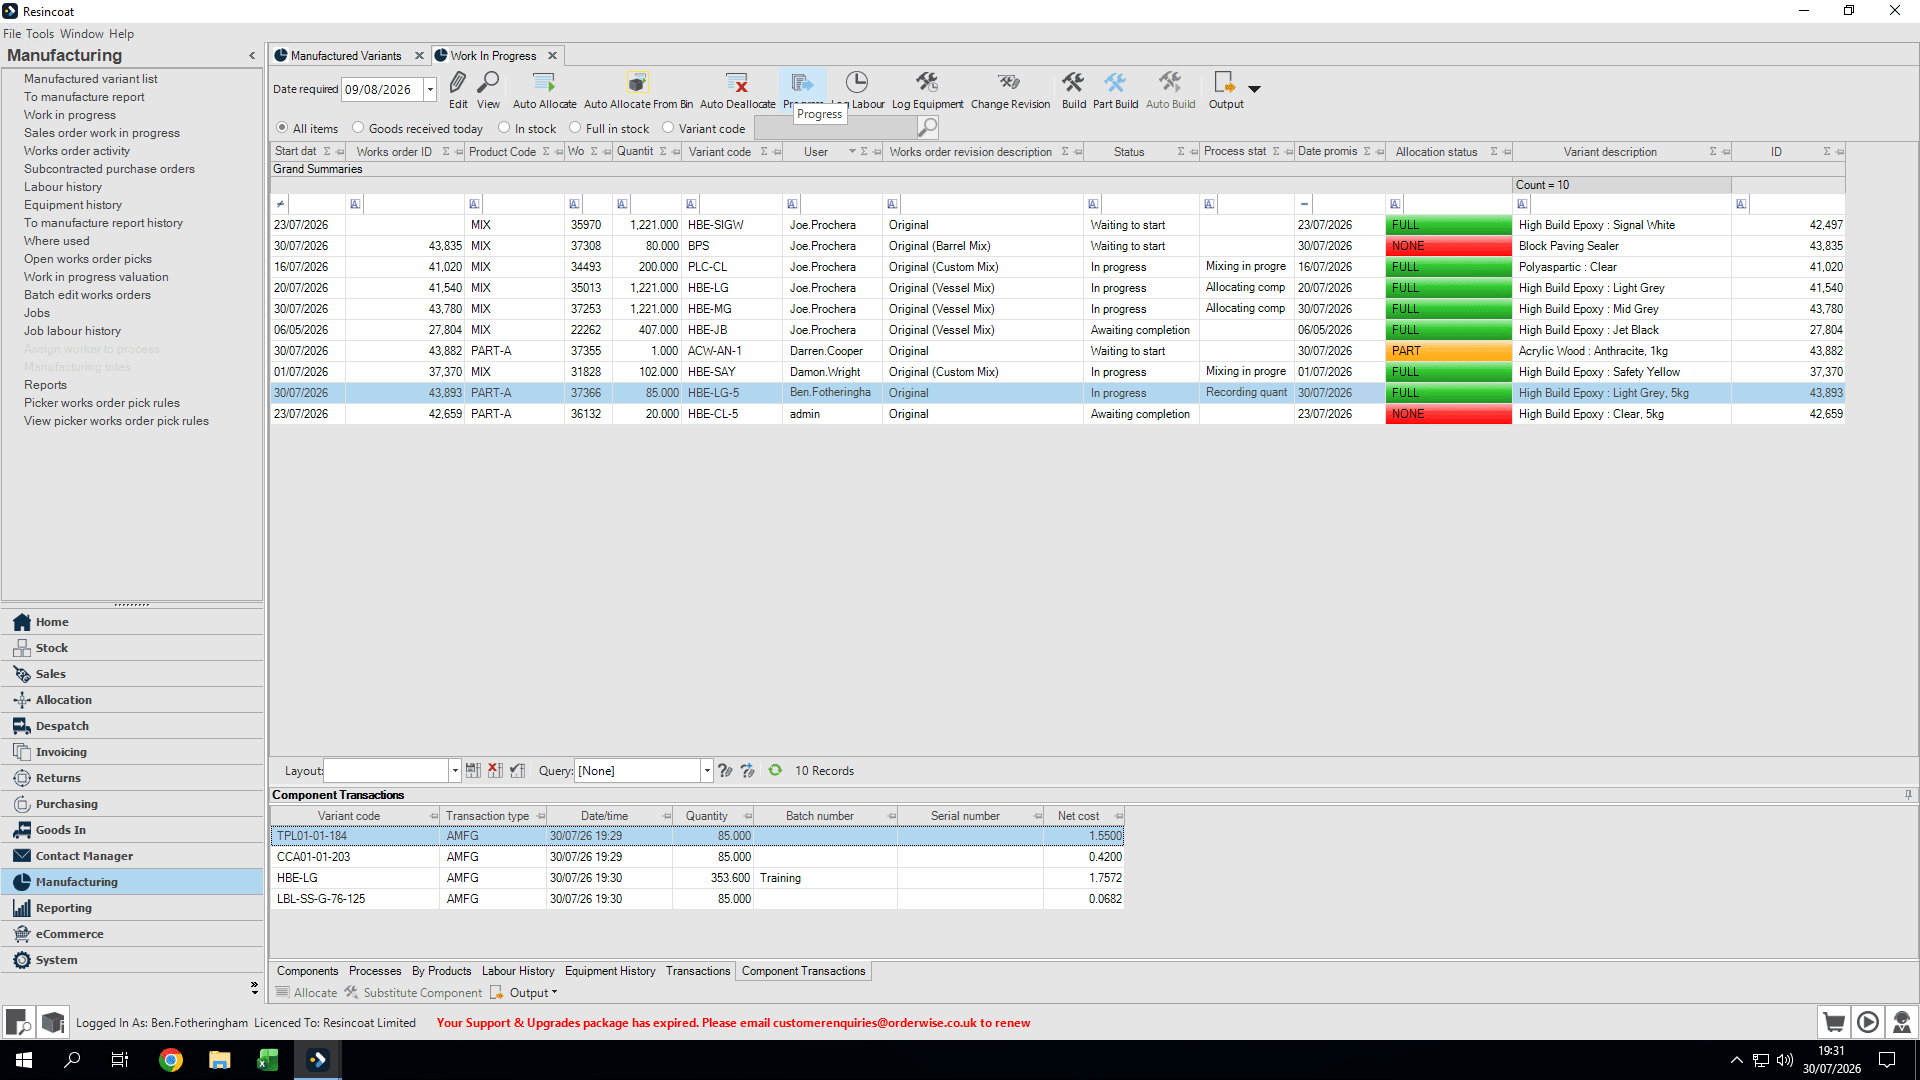
When allocating the mix component, select the specific batch you prepared (e.g., "Training"). Avoid assigning remnant batches left over from previous mixes.
Step #22: When allocating the mix component, select the specific batch you prepared (e.g., "Training"). Avoid assigning remnant batches left over from previous mixes.
23
Repeat this allocation process for all other items, including labels, and close the window when finished.
24
Save and Progress
Step #24: Save and Progress
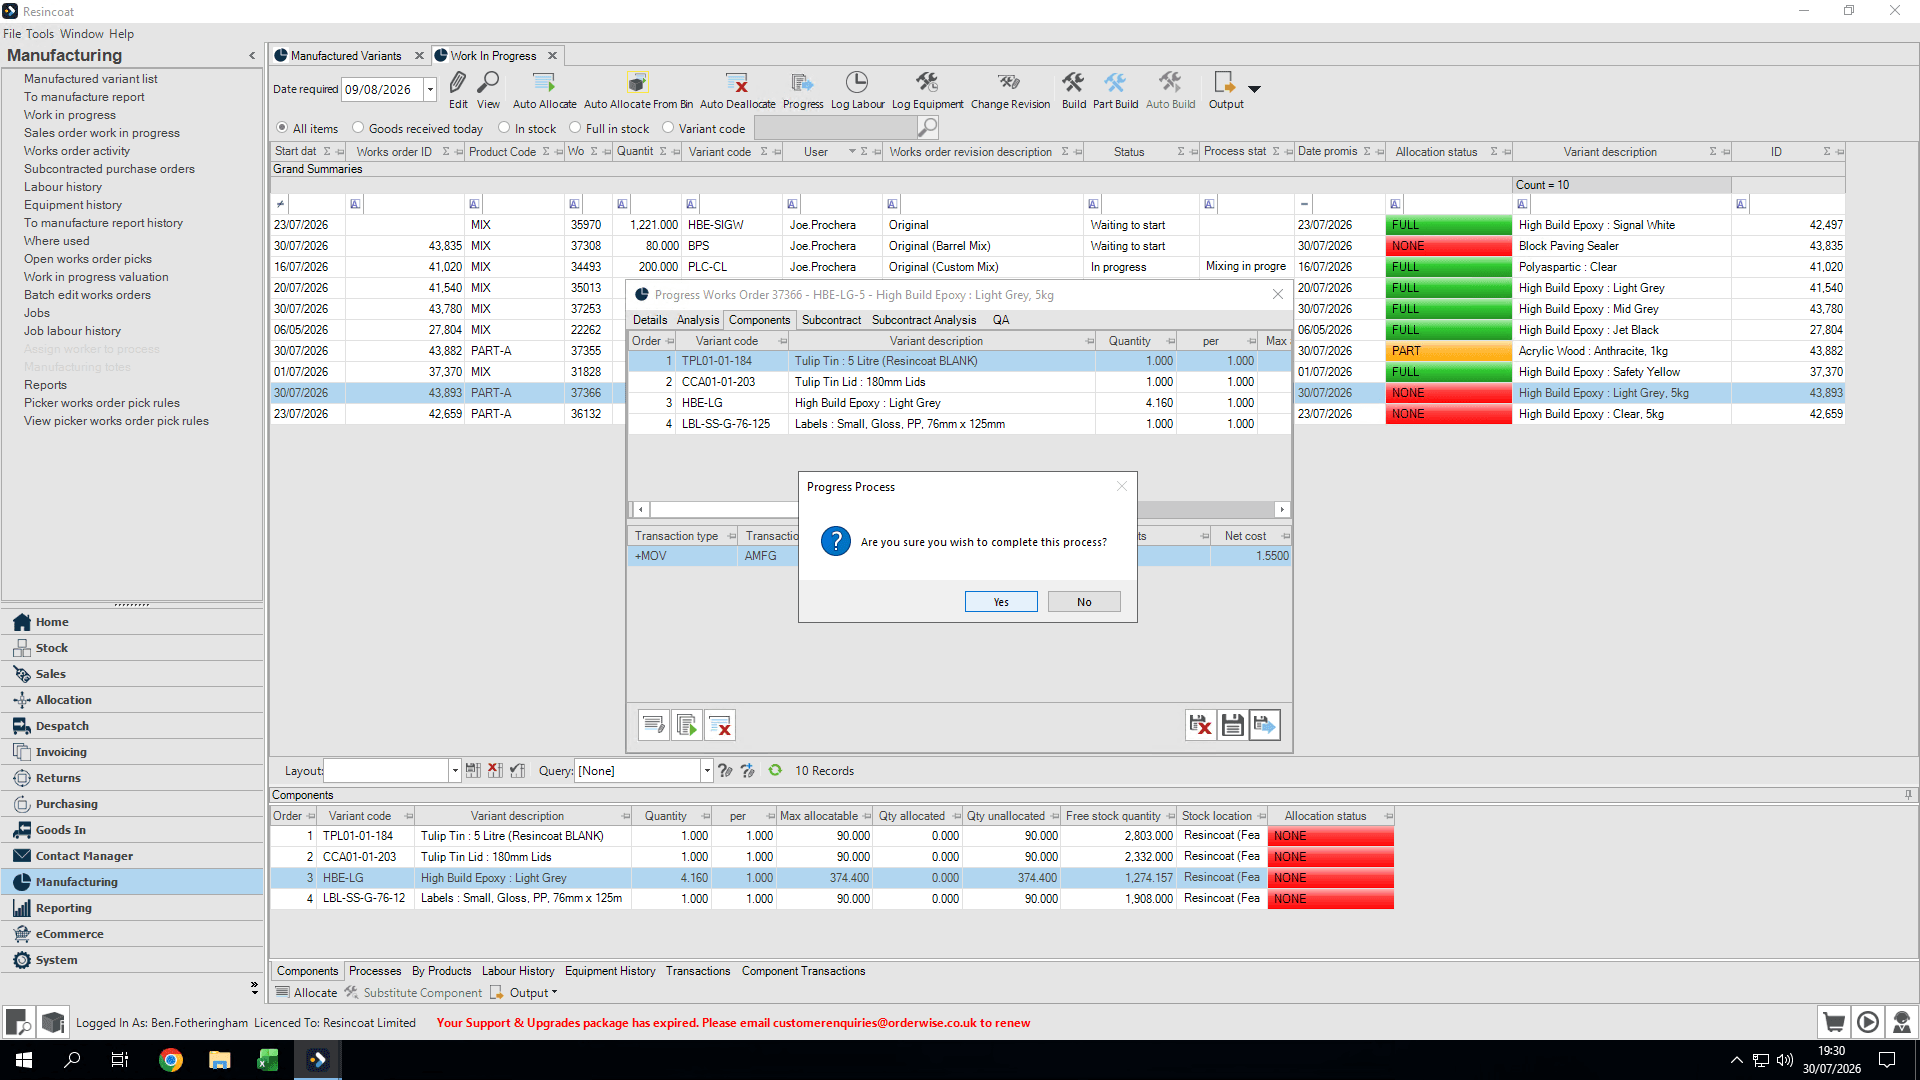
25
Click Yes to progress past the allocation process step.
Step #25: Click Yes to progress past the allocation process step.

Adjusting Yields and Building the Order
26
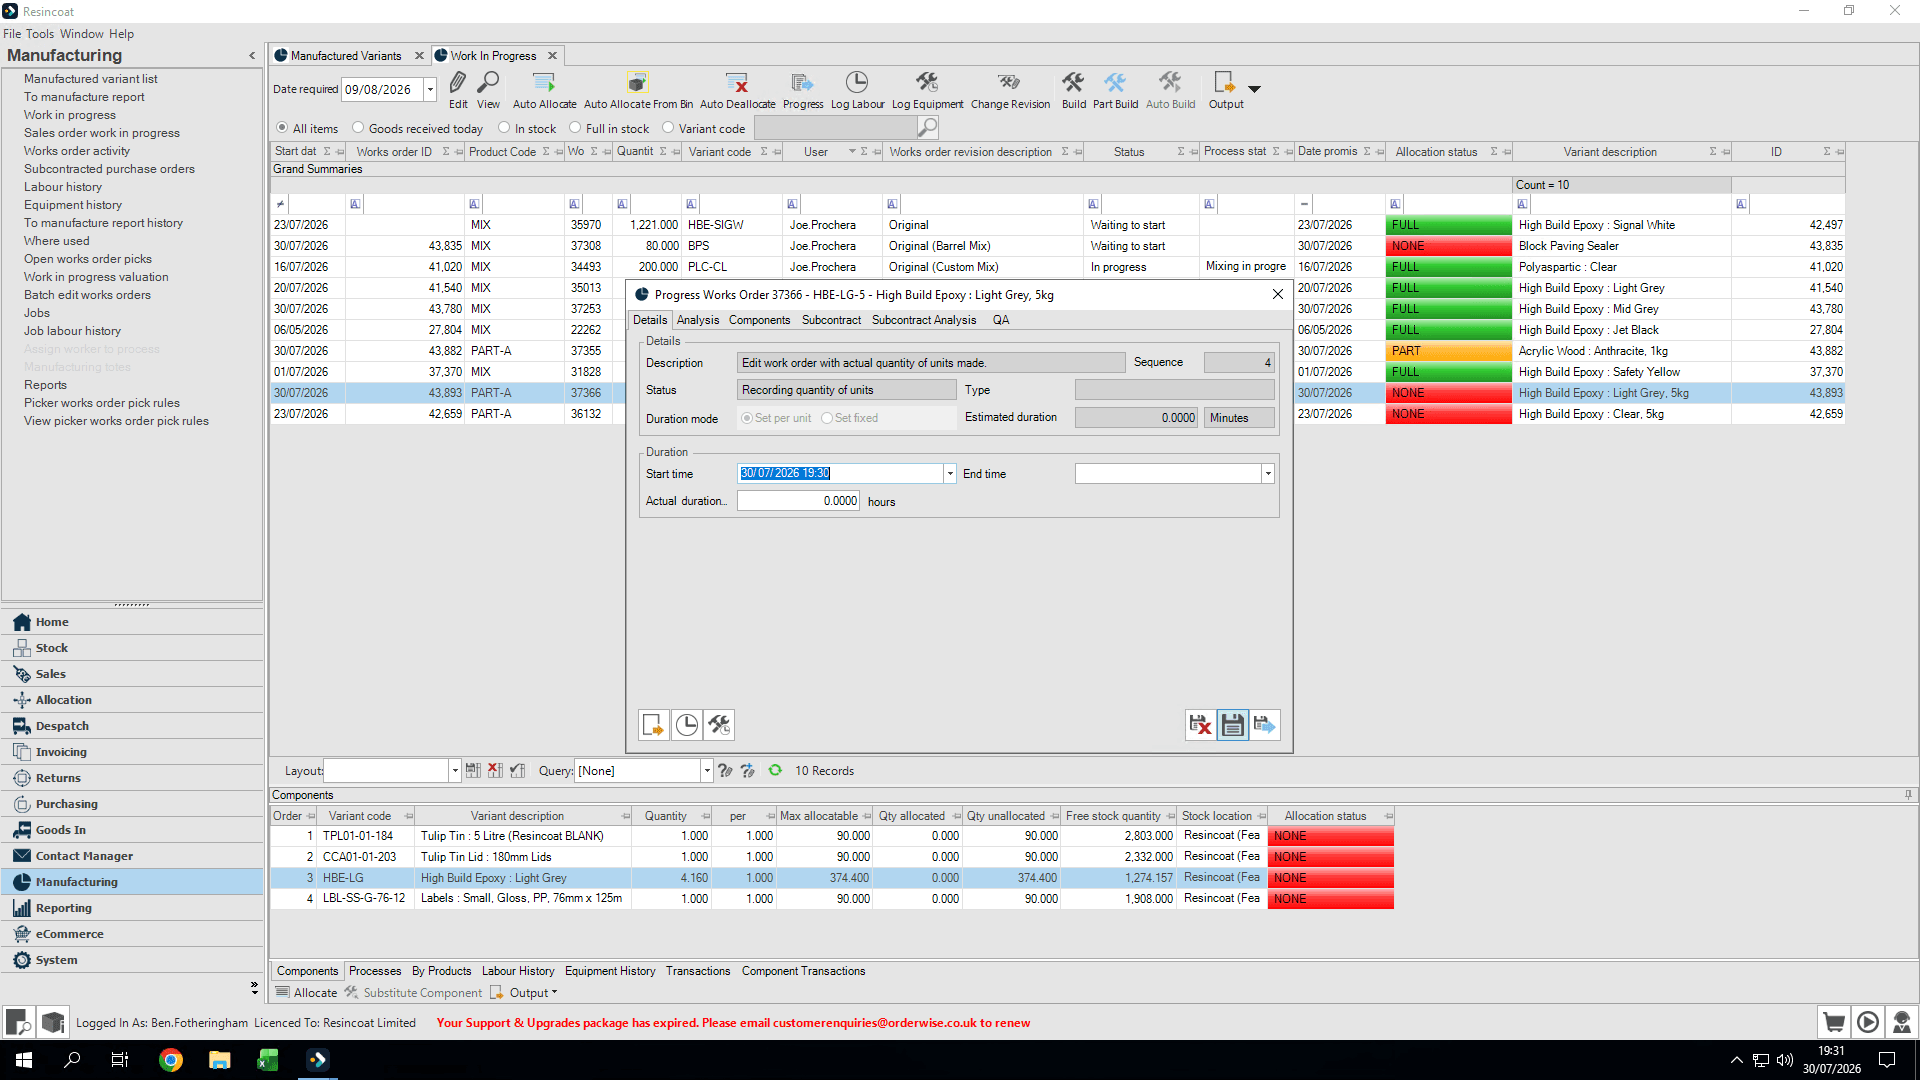
When we hit the Edit work order quantity step; Click Save on the progress screen to pause progression.
Step #26: When we hit the Edit work order quantity step; Click Save on the progress screen to pause progression.
27
Double-click the active Works Order.
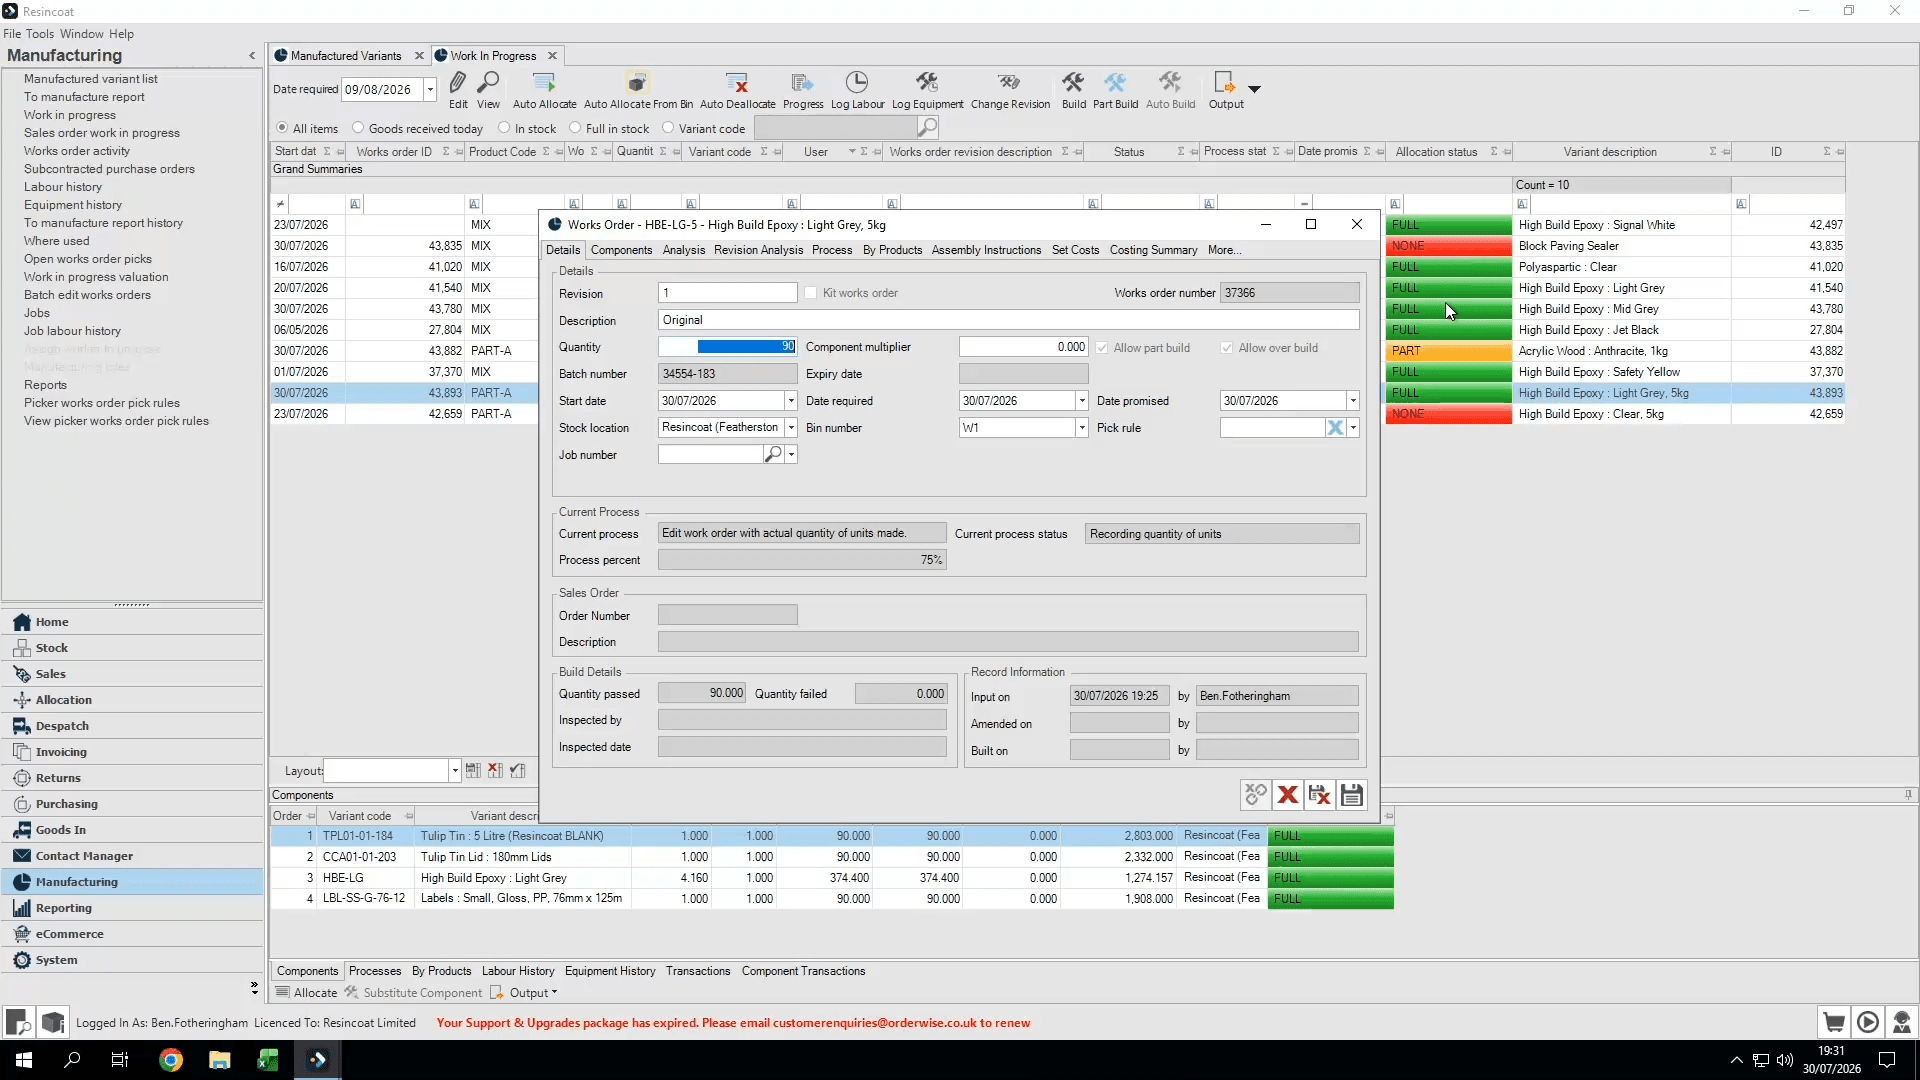
Step #27: Double-click the active Works Order.
28
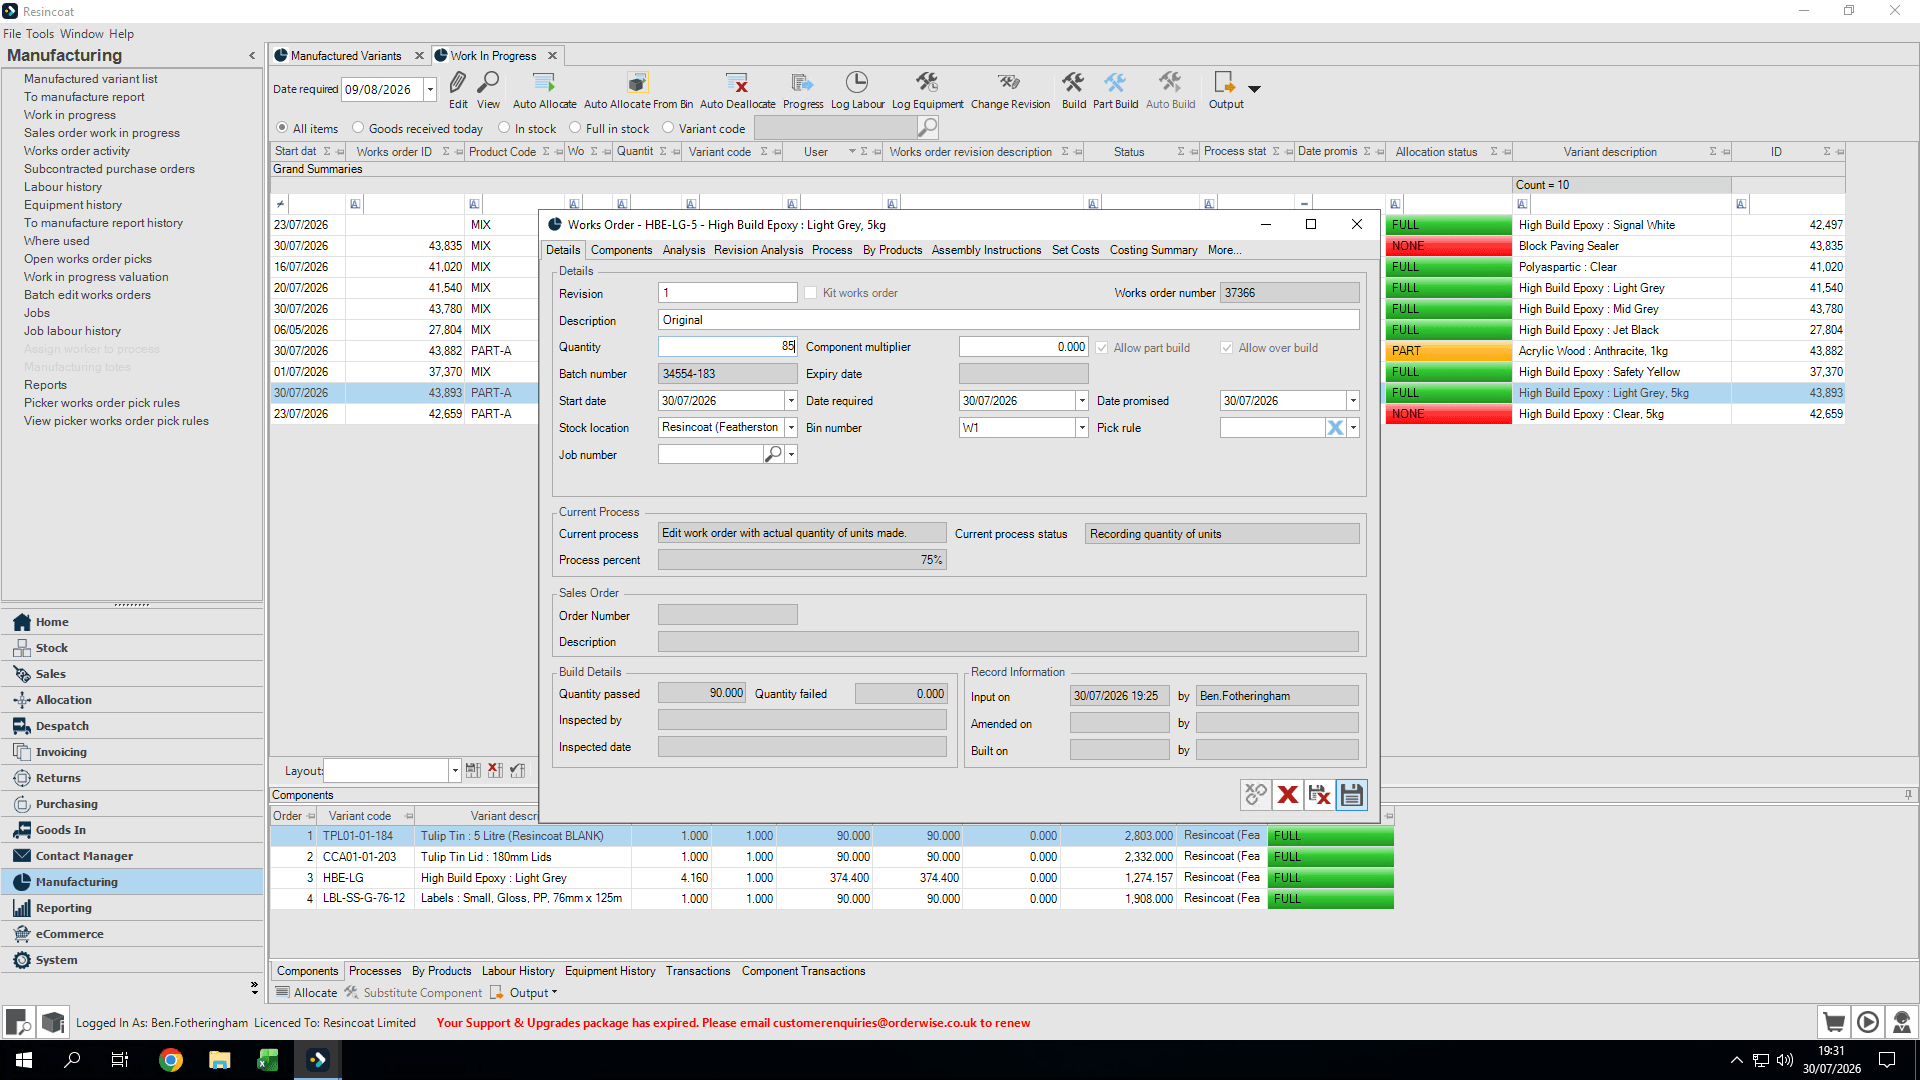
Update the original expected quantity to match your actual output (e.g., updating 90 to 85) to automatically de-allocate unused items.
Step #28: Update the original expected quantity to match your actual output (e.g., updating 90 to 85) to automatically de-allocate unused items.
29
Save the updated Works Order.
Step #29: Save the updated Works Order.
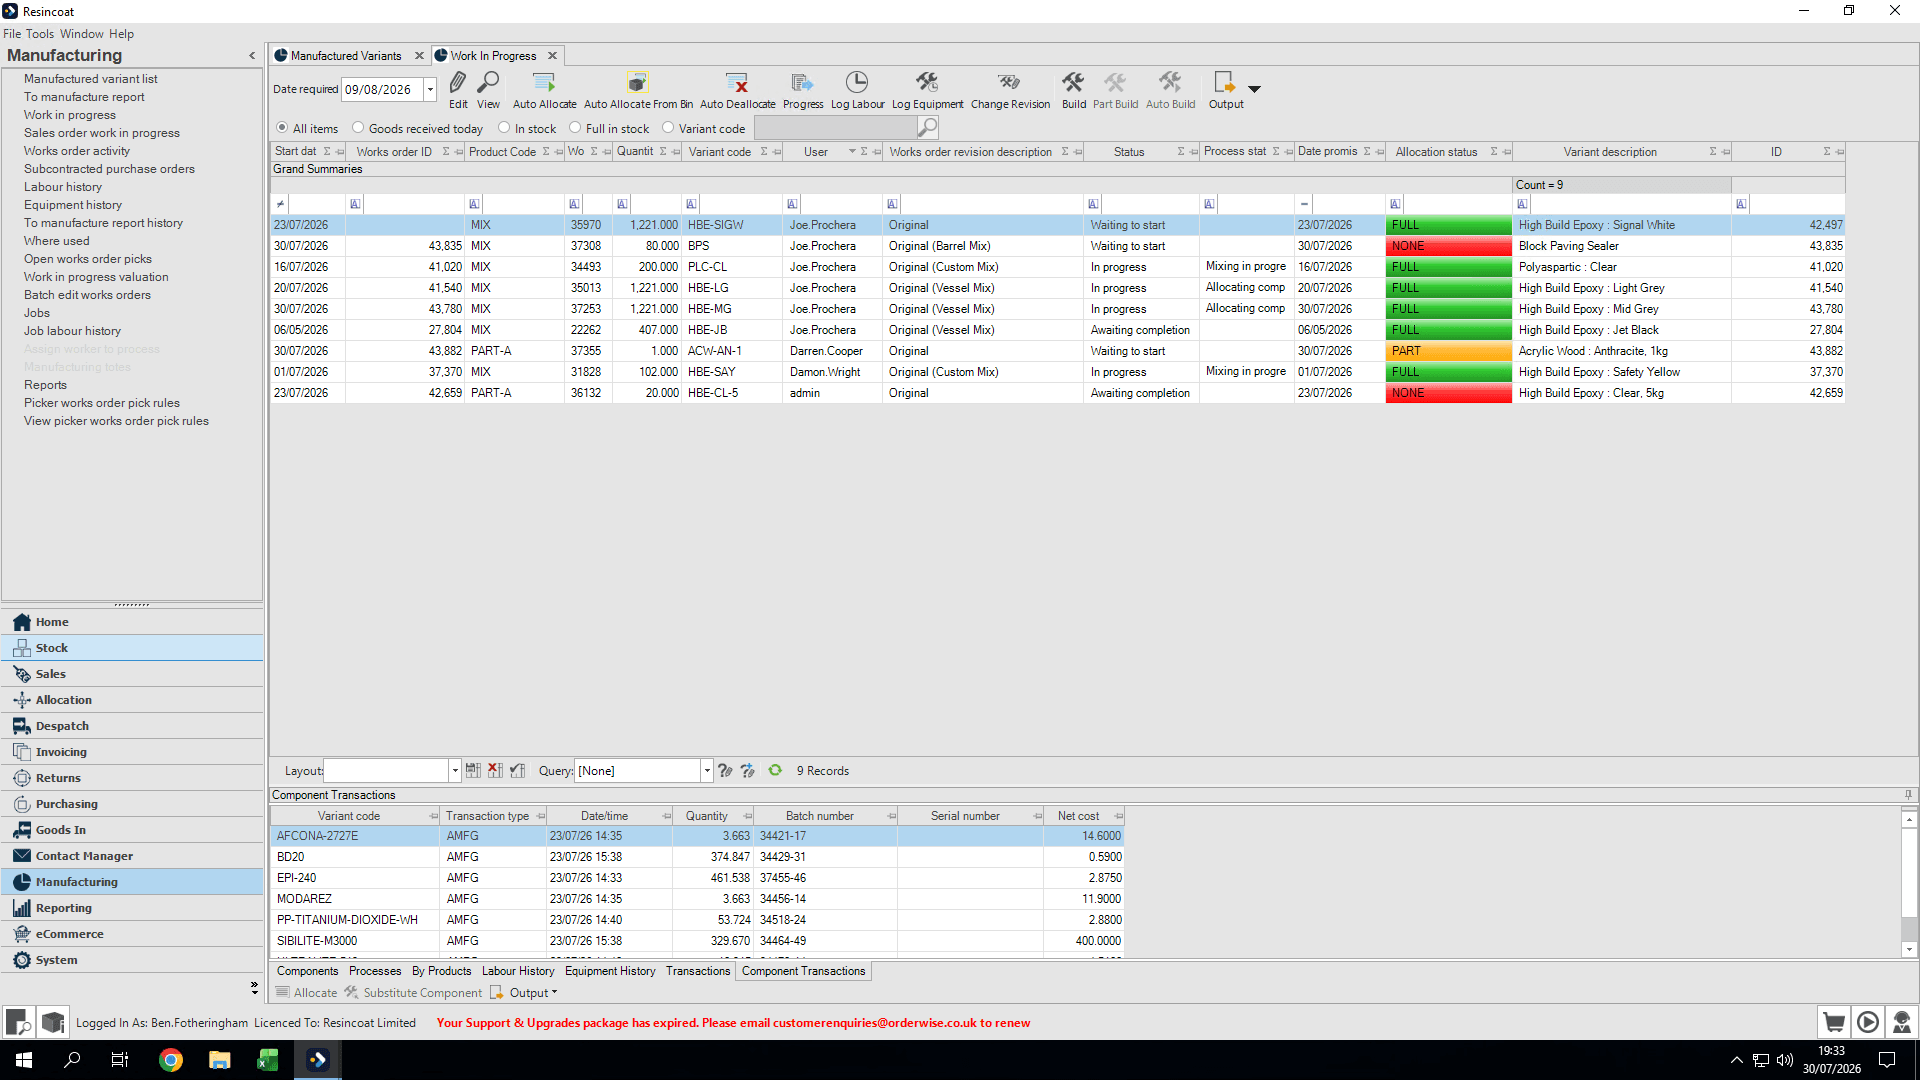
30
Click back into Progress.
Step #30: Click back into Progress.
31
Save and progress
Step #31: Save and progress
32
Click Yes to complete the progression and proceed to the Build section.
Step #32: Click Yes to complete the progression and proceed to the Build section.
33
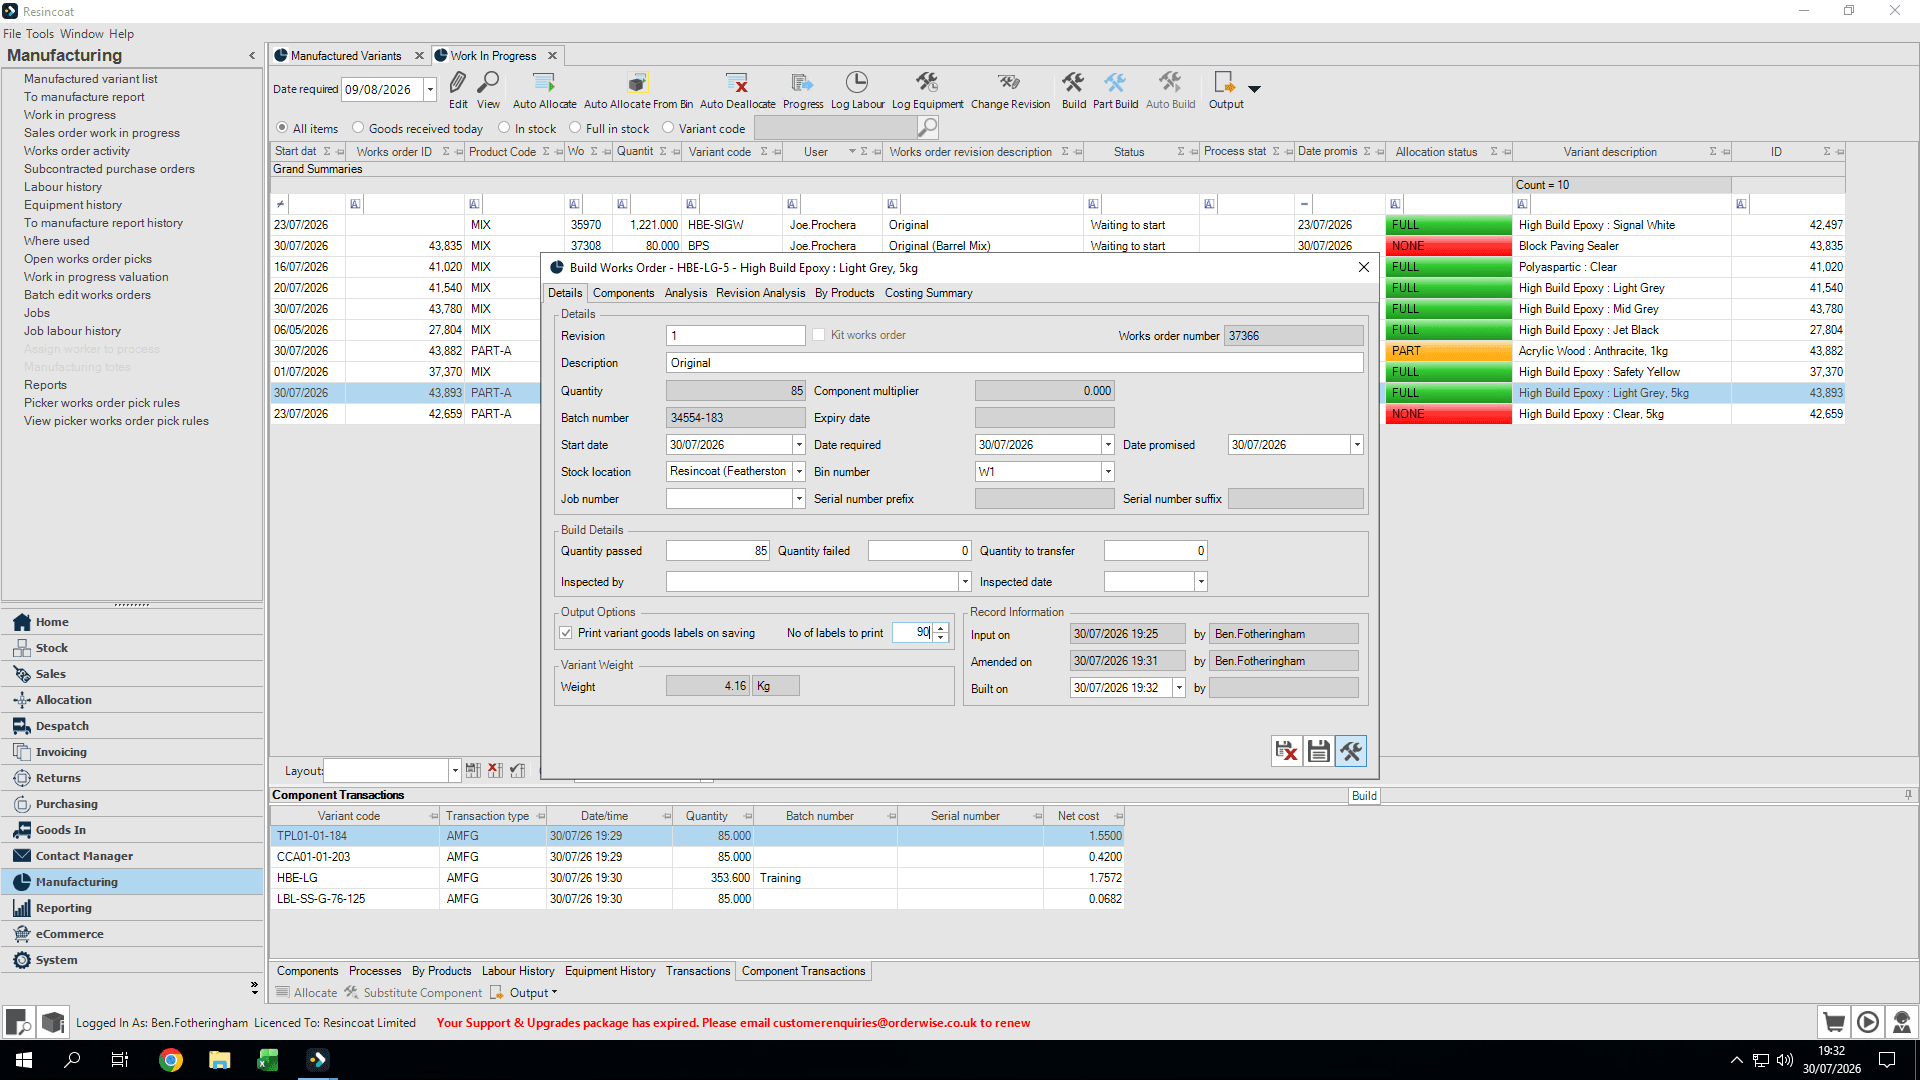
In the labels output options, enter the number of labels to print (you can print extra labels for the lab if needed).
Step #33: In the labels output options, enter the number of labels to print (you can print extra labels for the lab if needed).
34
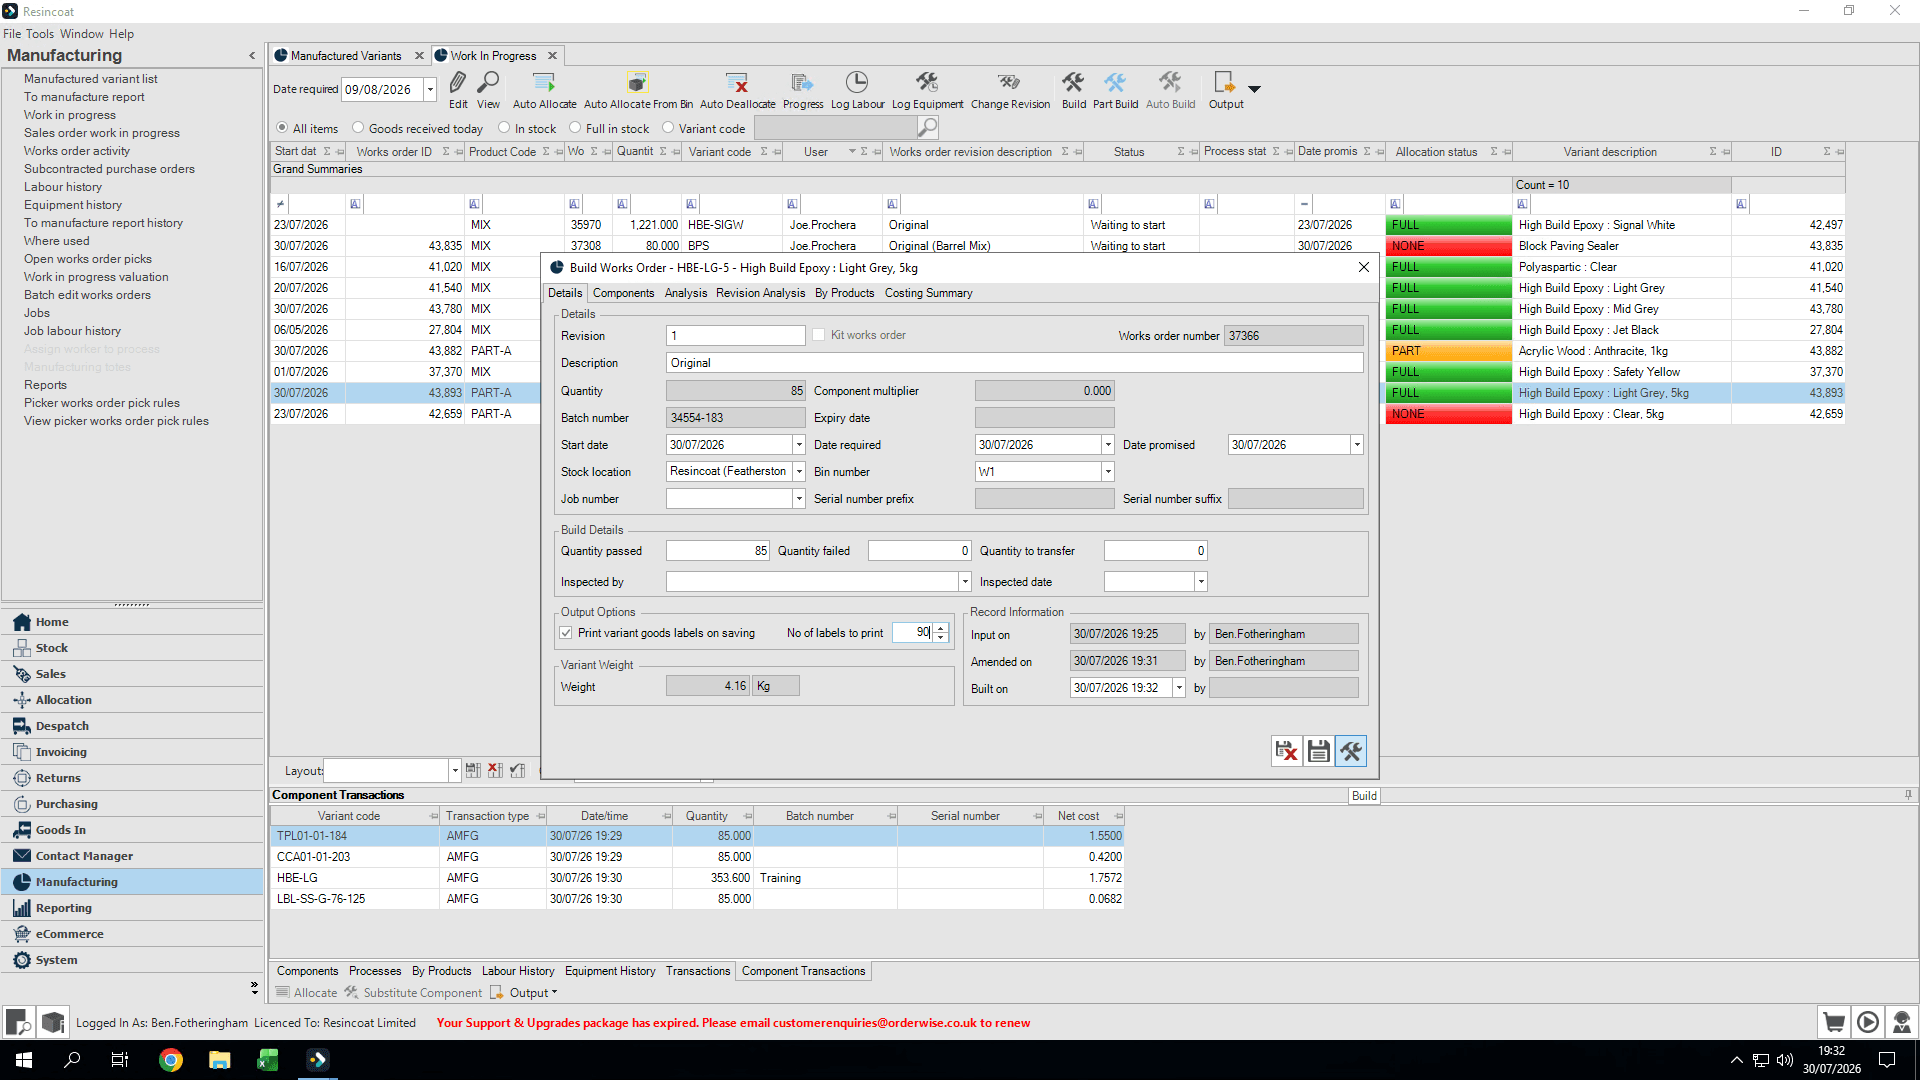
Click Build to finalize the order into stock and print your labels.
Step #34: Click Build to finalize the order into stock and print your labels.

Clearing Leftover Mix via Stock Take
35
Click the Stock module.
Step #35: Click the Stock module.
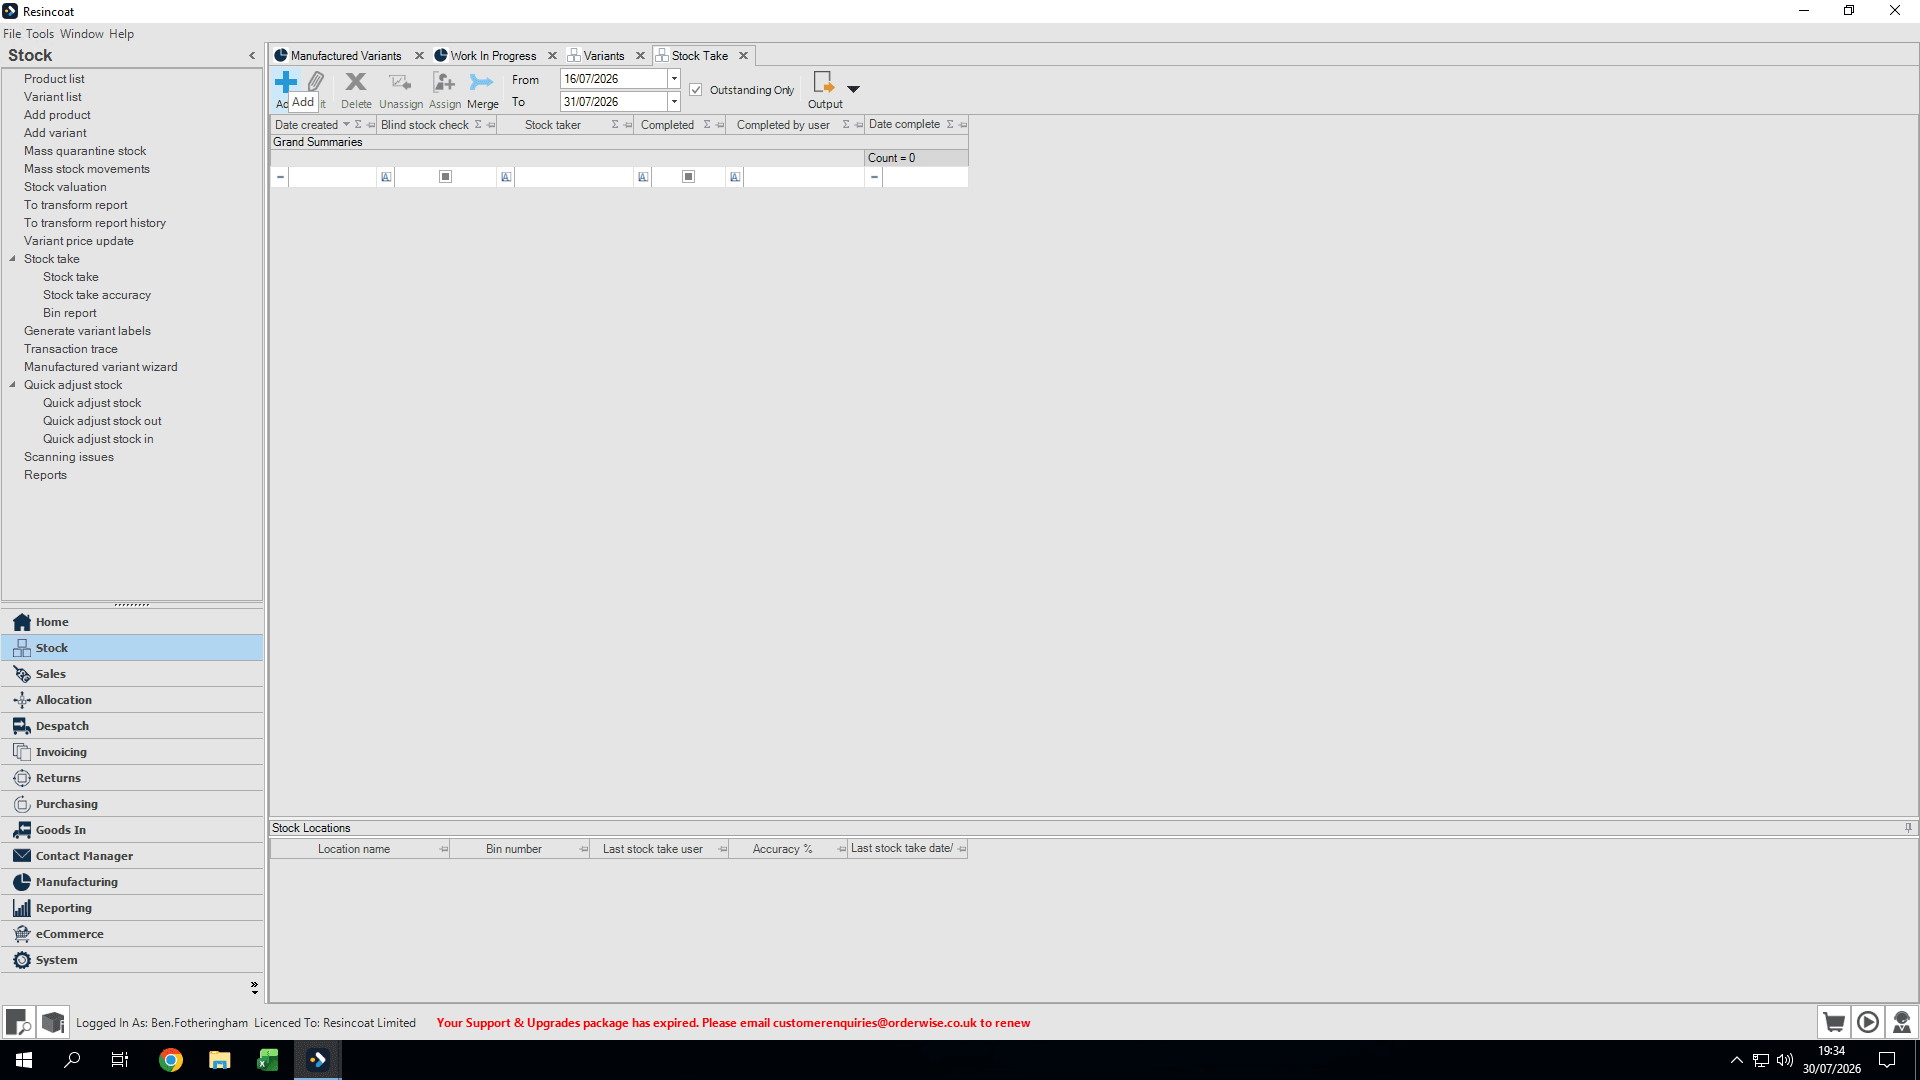
36
Click Stock take.
Step #36: Click Stock take.
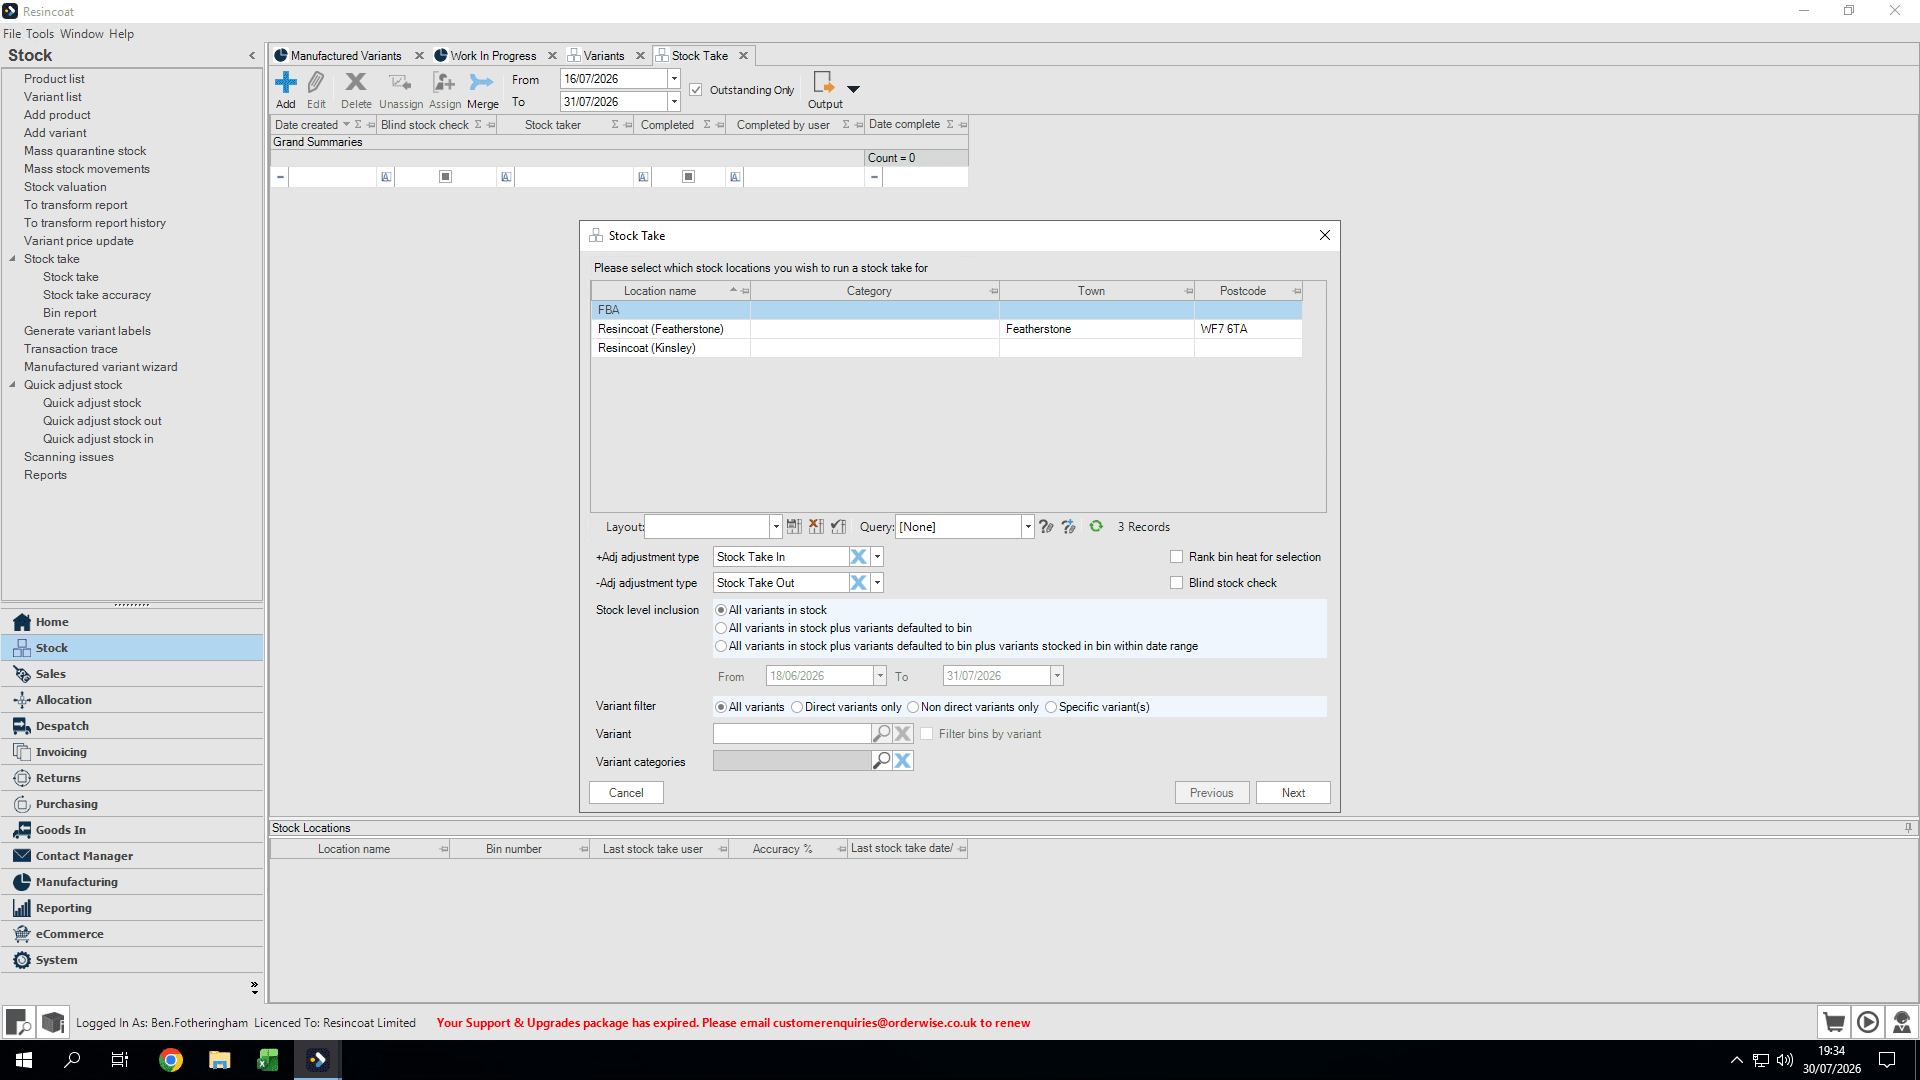
37
Click Add to begin a new stock take.
Step #37: Click Add to begin a new stock take.
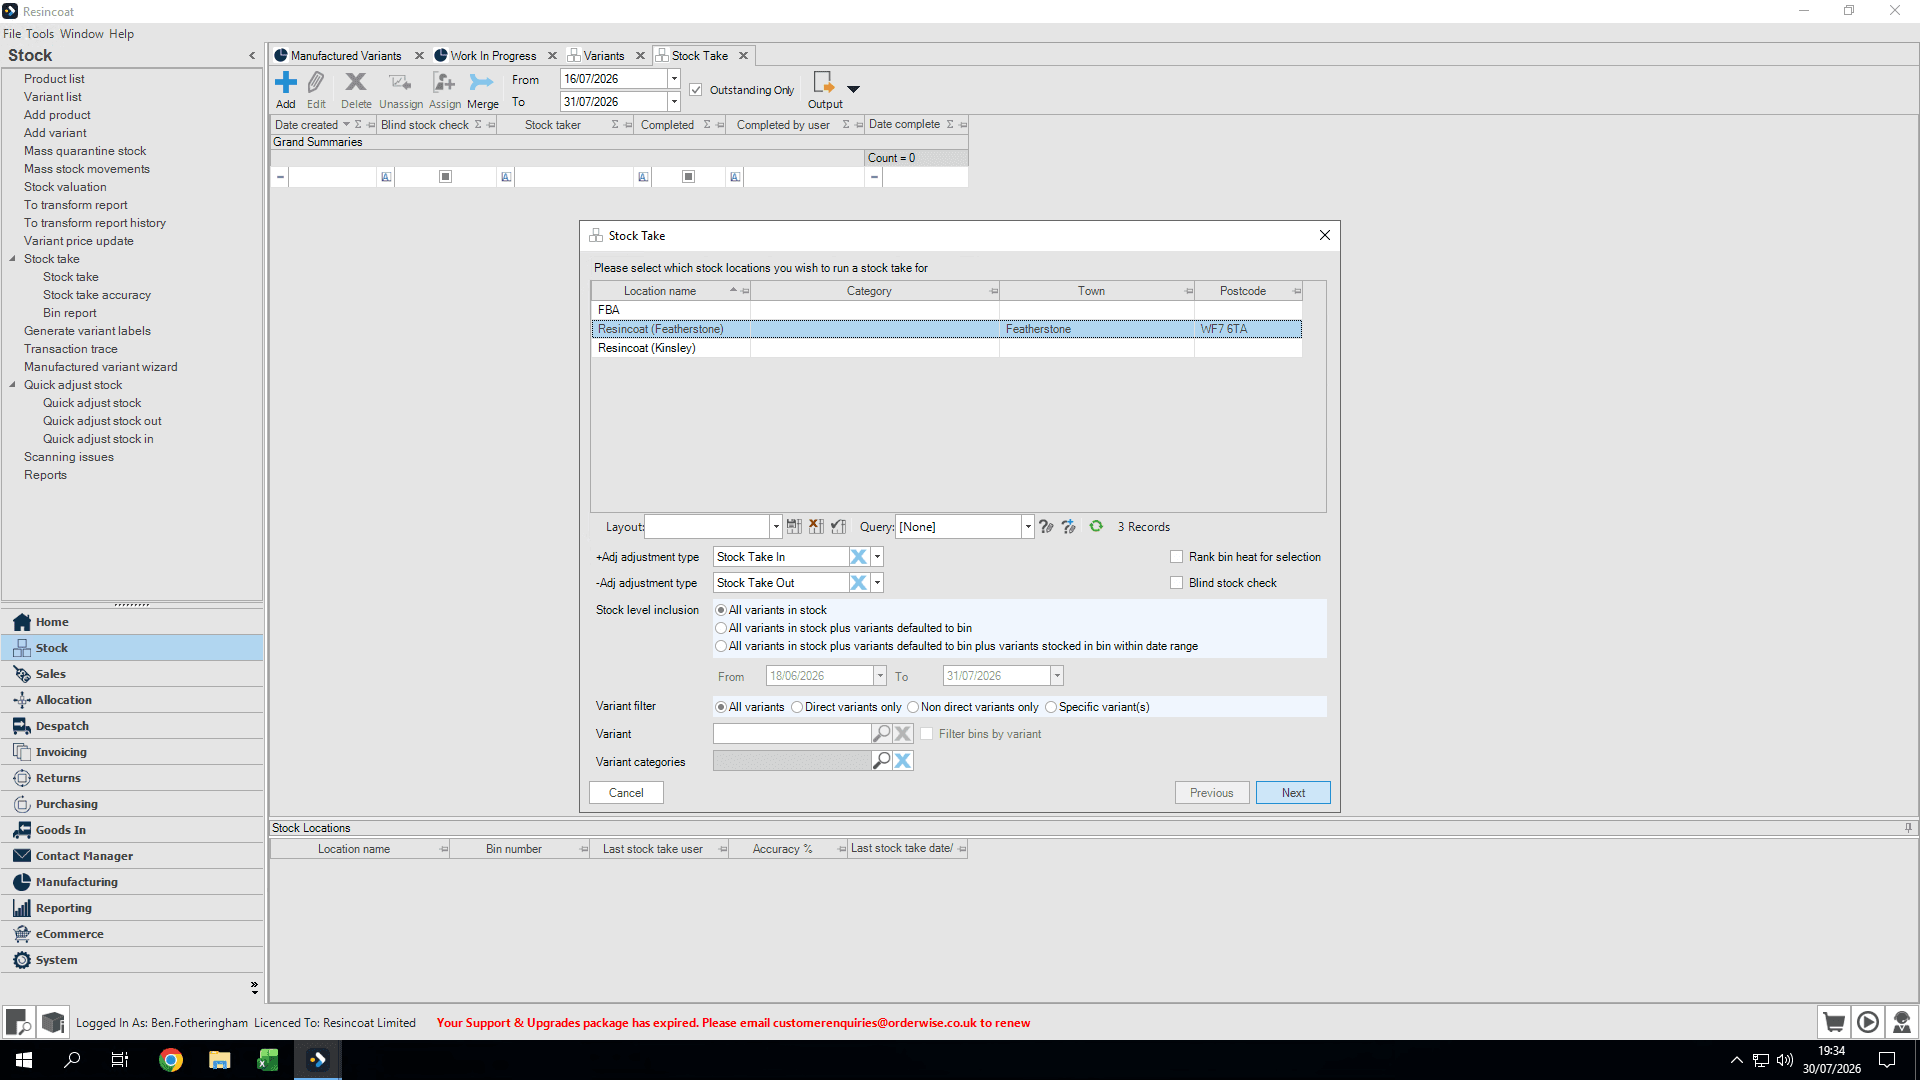
38
Select your location (e.g., Featherstone).
Step #38: Select your location (e.g., Featherstone).
39
Click Next.
Step #39: Click Next.
40
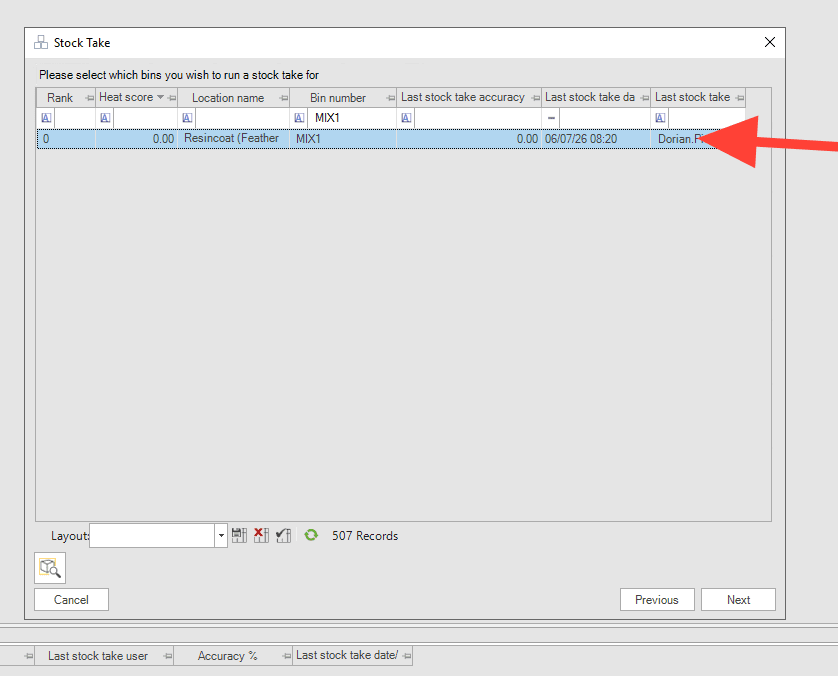
Search for the bin where the mix was held (e.g., "MIX1").
41
Select the bin and click Next.
Step #41: Select the bin and click Next.
42
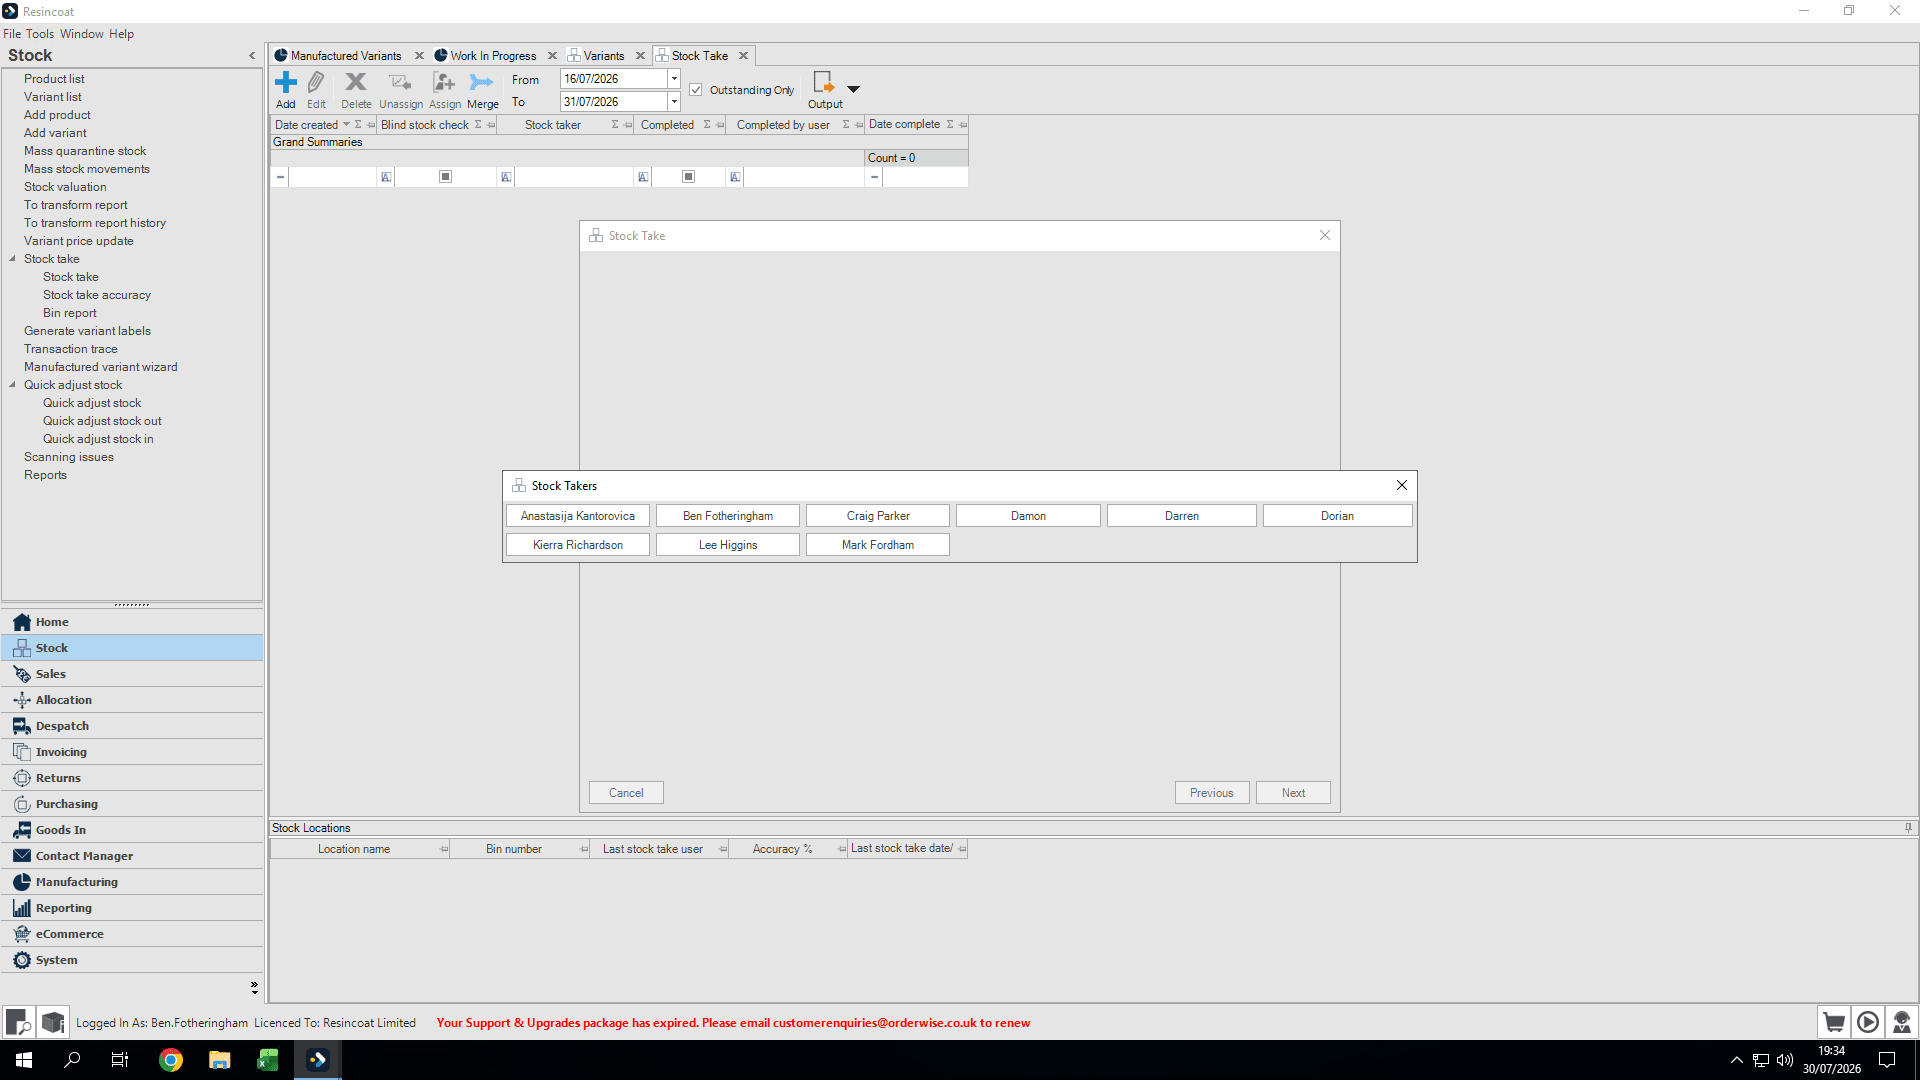
Assign the stock take to the relevant staff member.
Step #42: Assign the stock take to the relevant staff member.
43
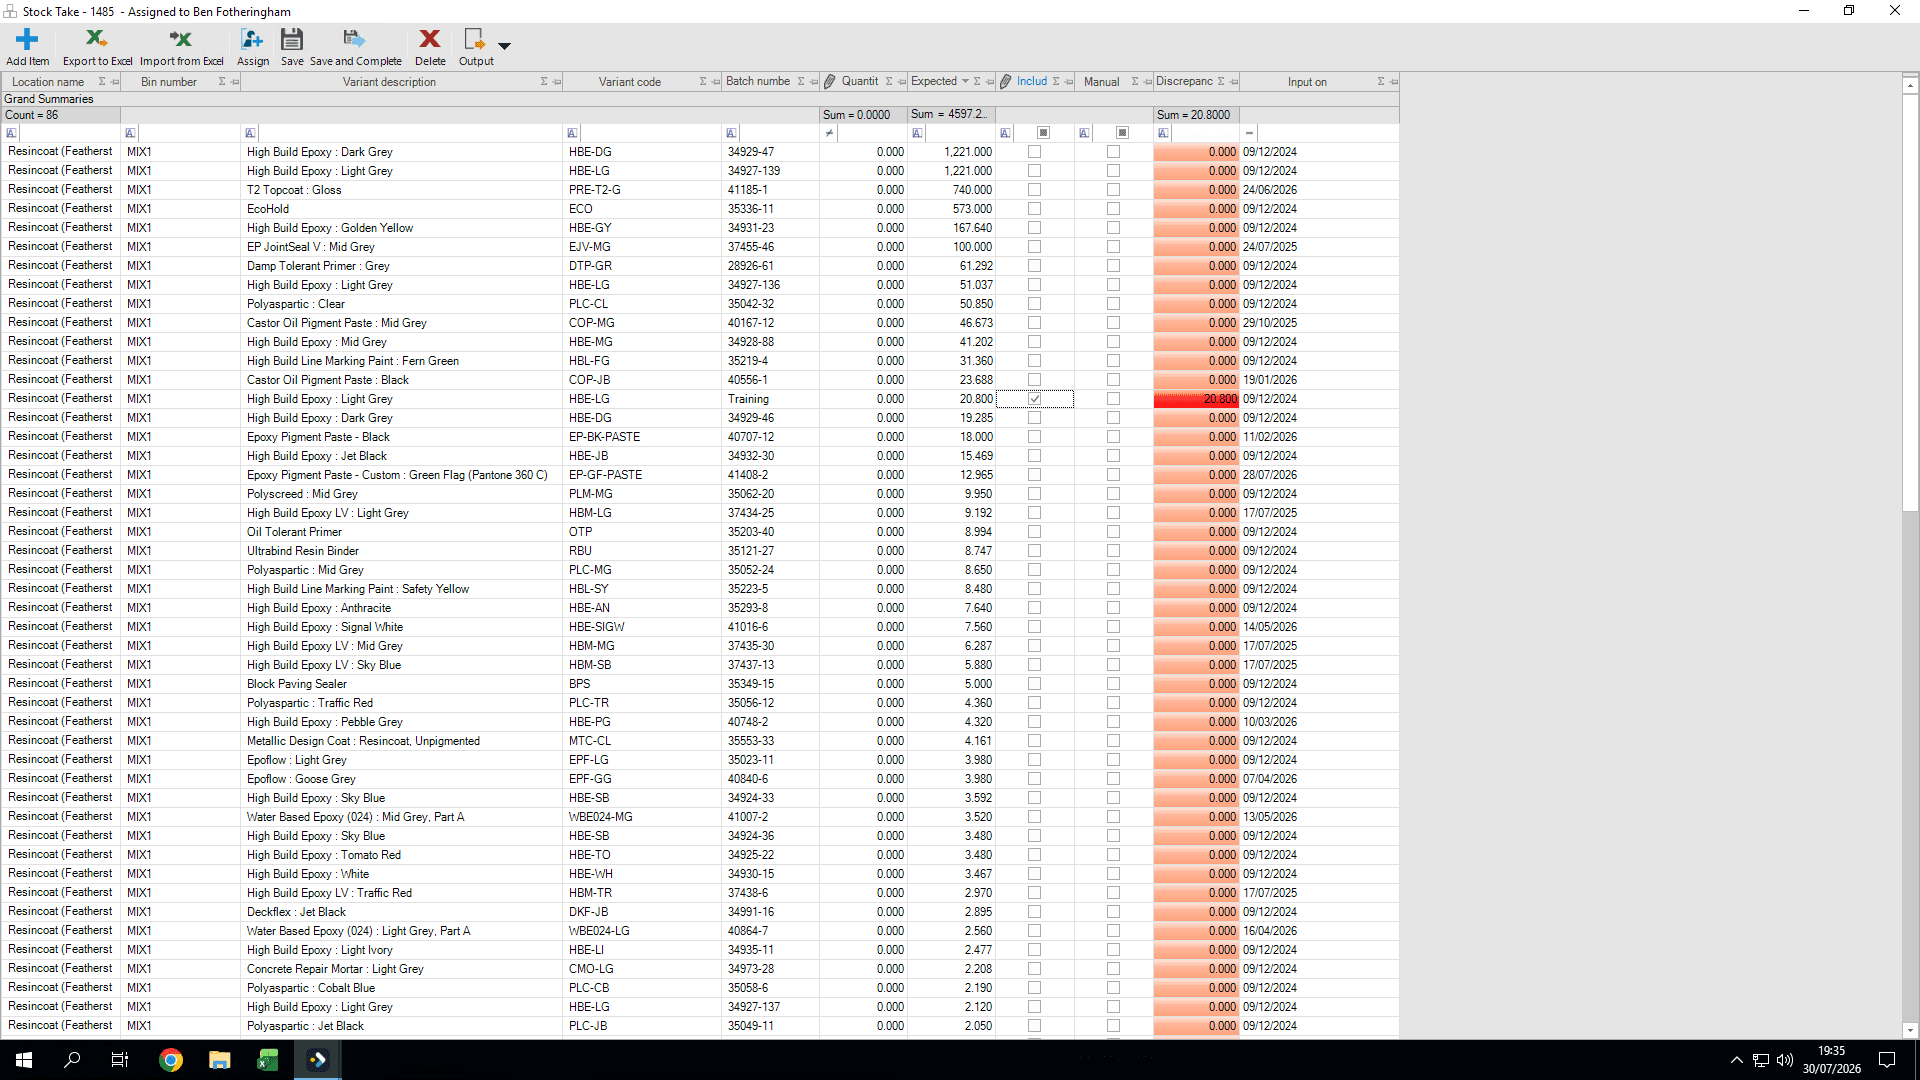
Highlight the specific batch you used (e.g., "Training") and click to include it in the count.
Step #43: Highlight the specific batch you used (e.g., "Training") and click to include it in the count.
44
Leave the counted quantity at 0.000. This logs the remaining amount as scrapped or lost material.
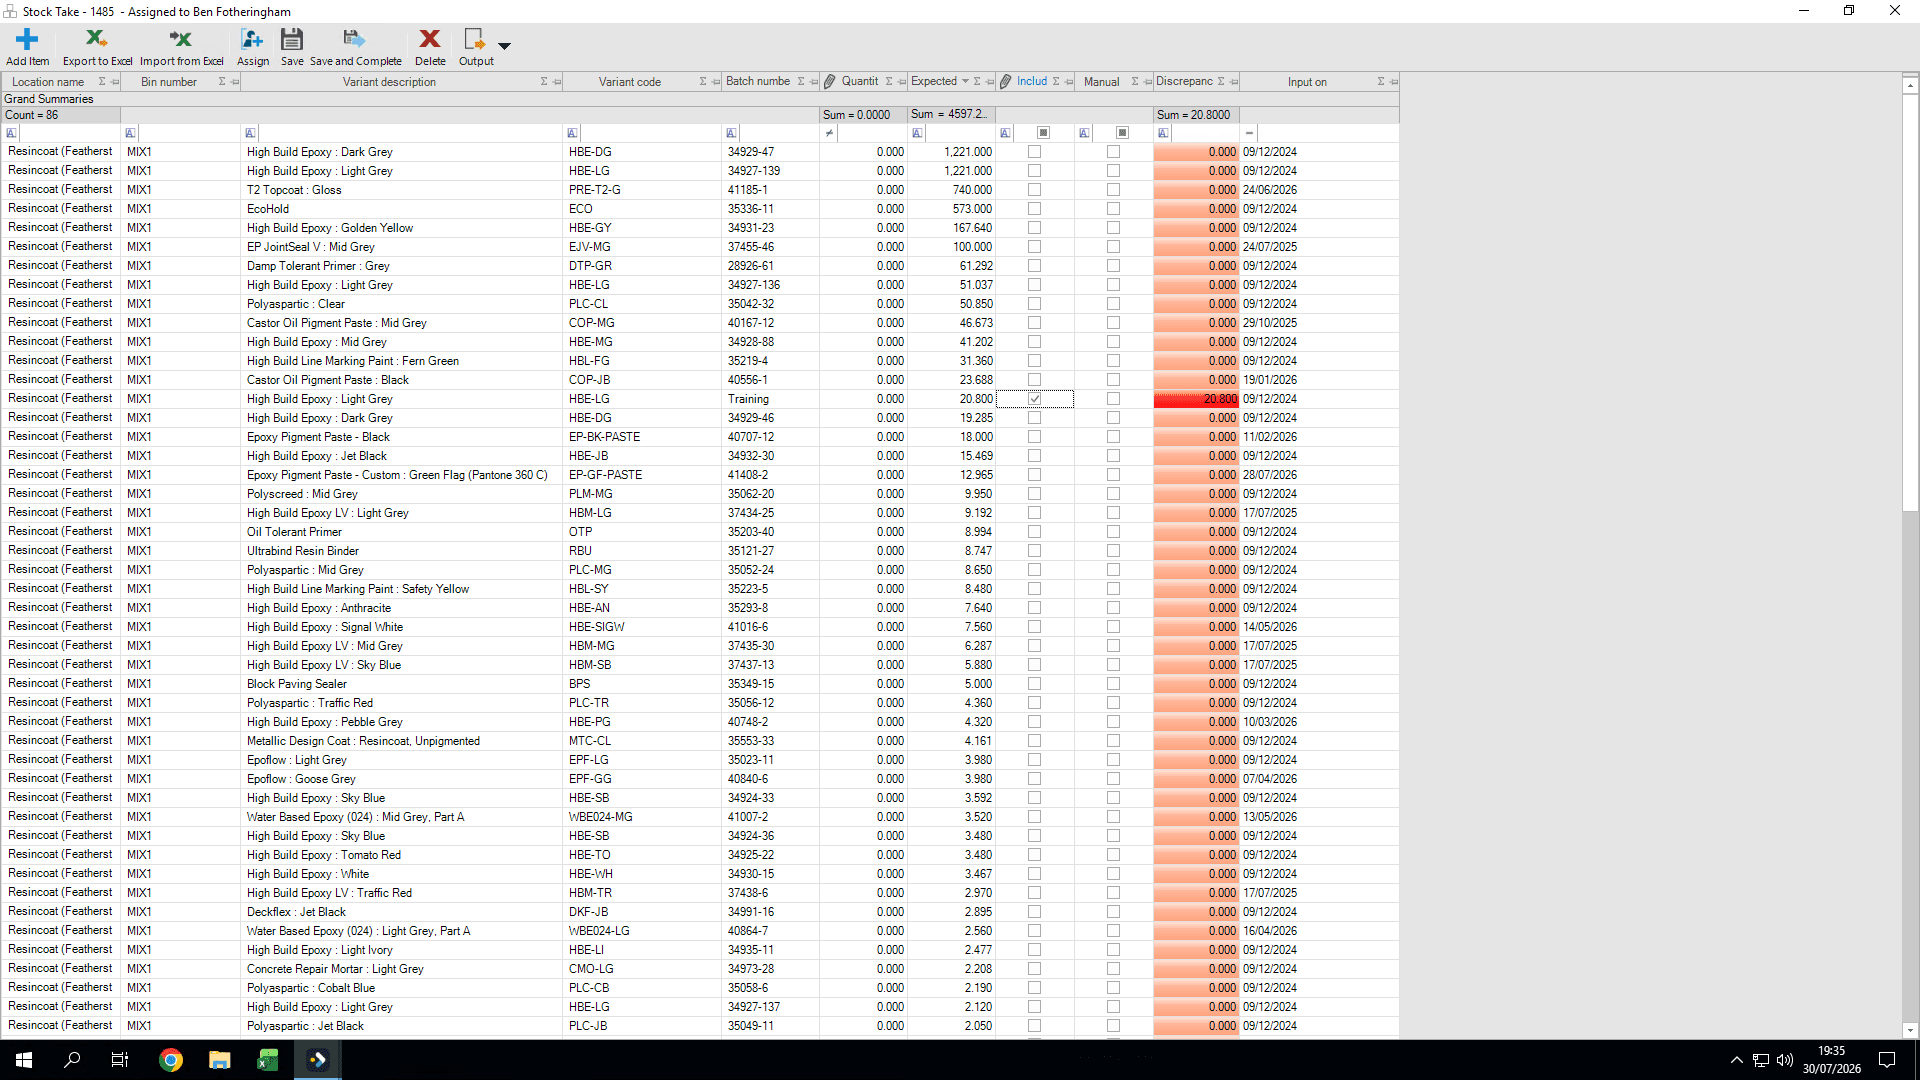
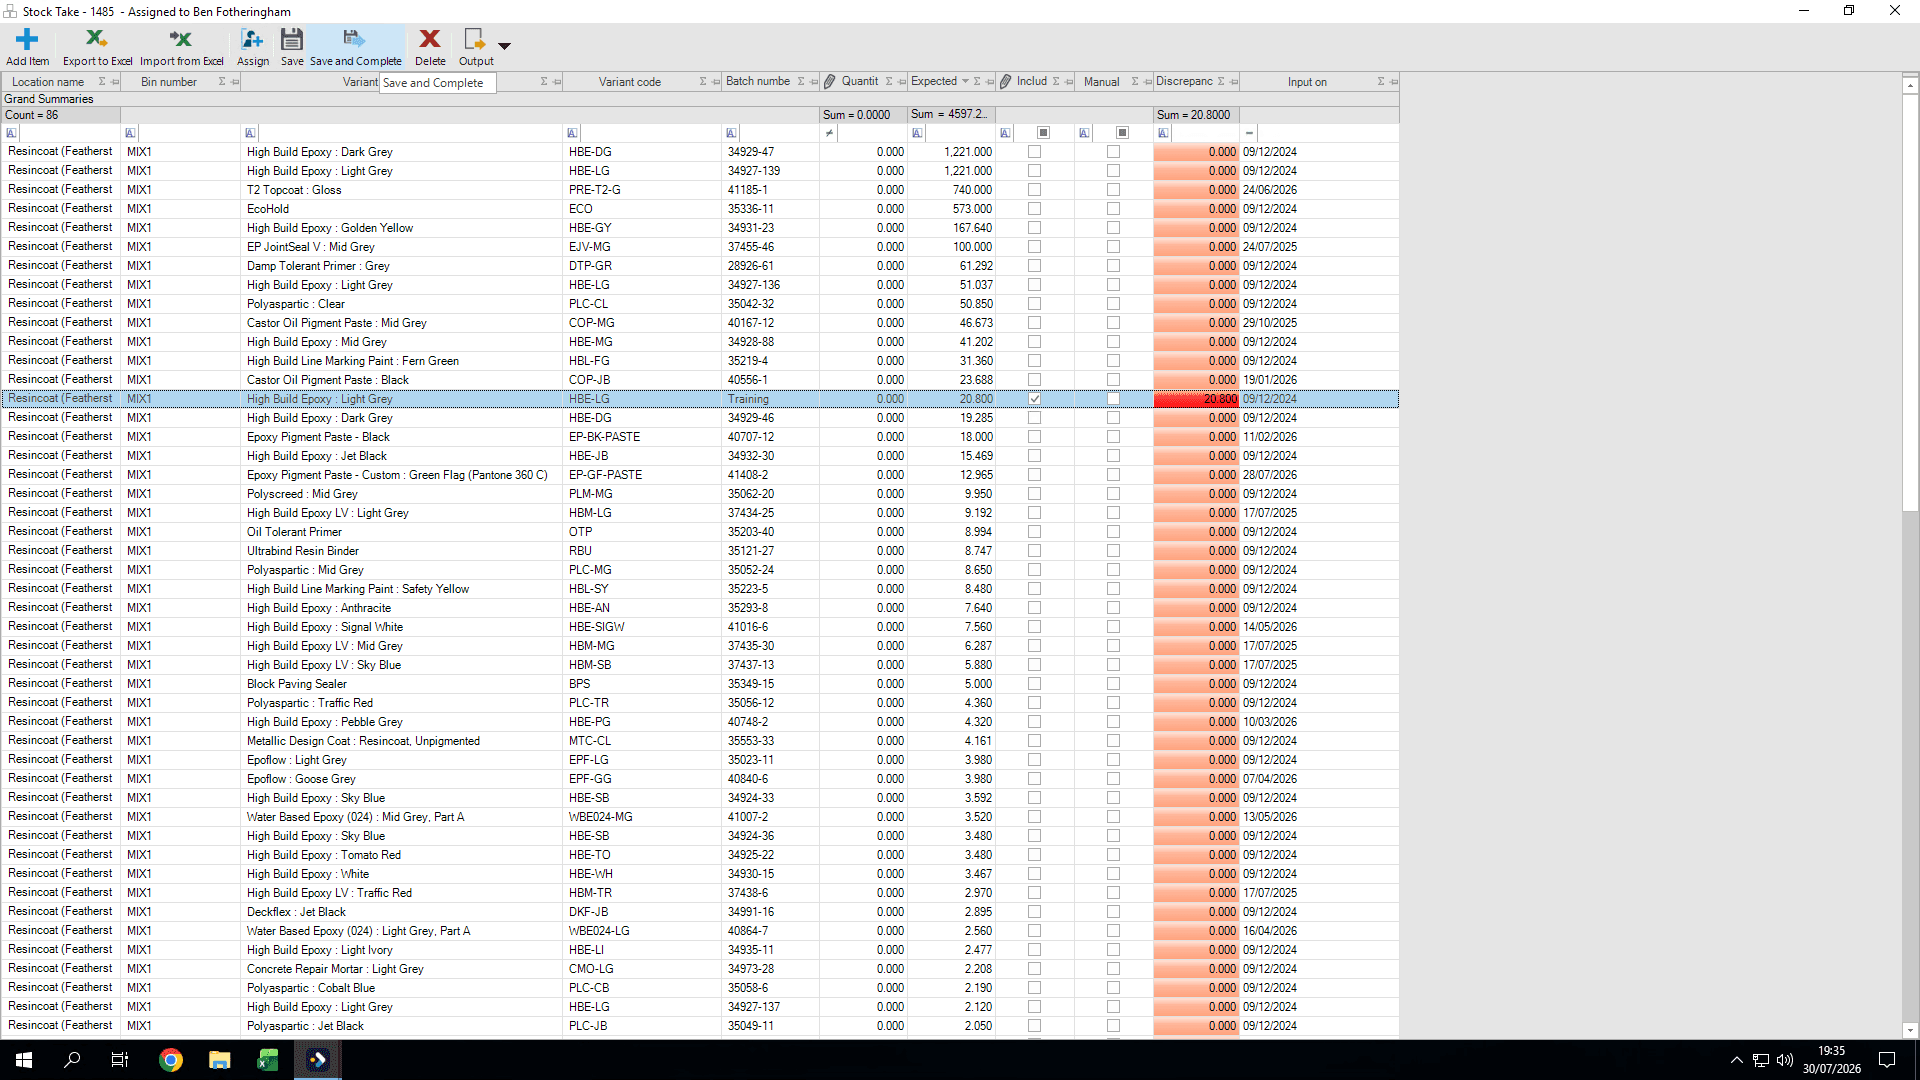
Step #44: Leave the counted quantity at 0.000. This logs the remaining amount as scrapped or lost material.
45
Click Save and Complete to clear the leftover mix from the system.
Step #45: Click Save and Complete to clear the leftover mix from the system.

Q: Why should I uncheck the "Include Sub Assemblies" box?

A: If your mix is already prepared and waiting, you don't need a subassembly works order. Unchecking this box tells the system you will use pre-existing mix rather than making more.

Q: Why is it important to manually allocate components instead of using auto-allocate?

A: Manually allocating components ensures you maintain strict control over which specific batches are assigned to the Part A units, preventing accidental use of incorrect or remnant batches.

Q: How do I handle a situation where my actual production yield is lower than expected?

A: Before finalizing the build, edit the works order and update the expected quantity to your actual yield (e.g., from 90 down to 85). The system will automatically de-allocate the over-allocated components to balance out your stock.

Q: Why do I leave the quantity at zero during the stock take for the mixing bin?

A: Leaving the stock take quantity at zero clears out any remaining material that was lost during production, such as product stuck to the mixing blade or vessel, ensuring your inventory records remain accurate.

Term

Definition

Works Order

A directive or document detailing the assembly, manufacturing, or processing of specific materials into a finished product.

Subassembly

A pre-assembled unit or mix that is incorporated into a larger final product, such as a bulk mix ready for individual packaging.

Auto-allocate

A system feature that automatically assigns available component stock to a works order, often disregarding specific batch selections.

Stock Take

The process of manually counting and verifying the actual physical inventory present in a specific bin or location.

Discrepancy

The difference between the expected inventory level and the physically counted stock, often representing scrapped or lost material.