Learn how to create a membership course, build quizzes, design completion certificates, customize themes, and configure welcome emails in your client portal.
By Mary-Jane Marcos
This guide walks you through creating a complete membership course in your client portal, from setting up lessons and quizzes to issuing certificates and sending customized welcome emails. Completing this ensures a seamless onboarding and structured learning experience for your clients.
This workflow is designed for course creators, administrators, or marketing managers responsible for onboarding clients. Use this process when launching a new policy training module or standardizing your organization's digital learning materials.
Creating the Course
1
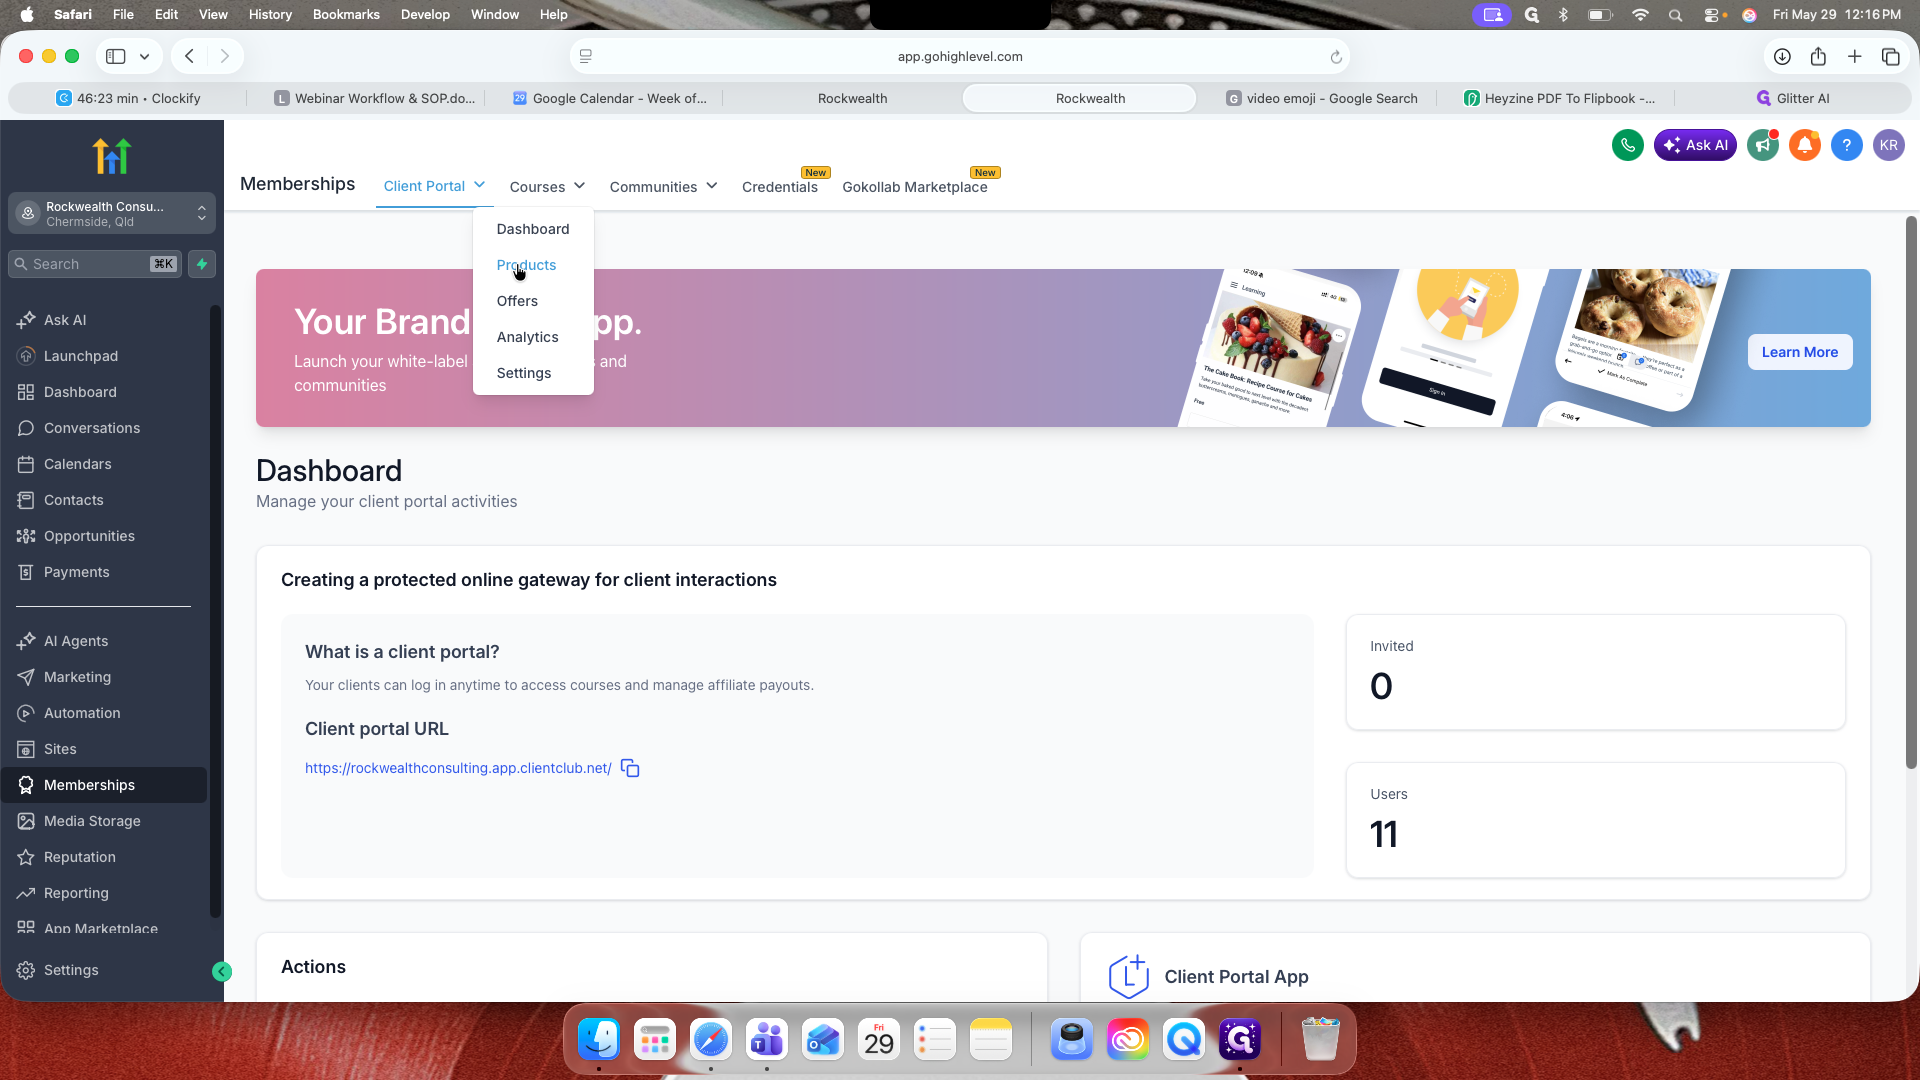
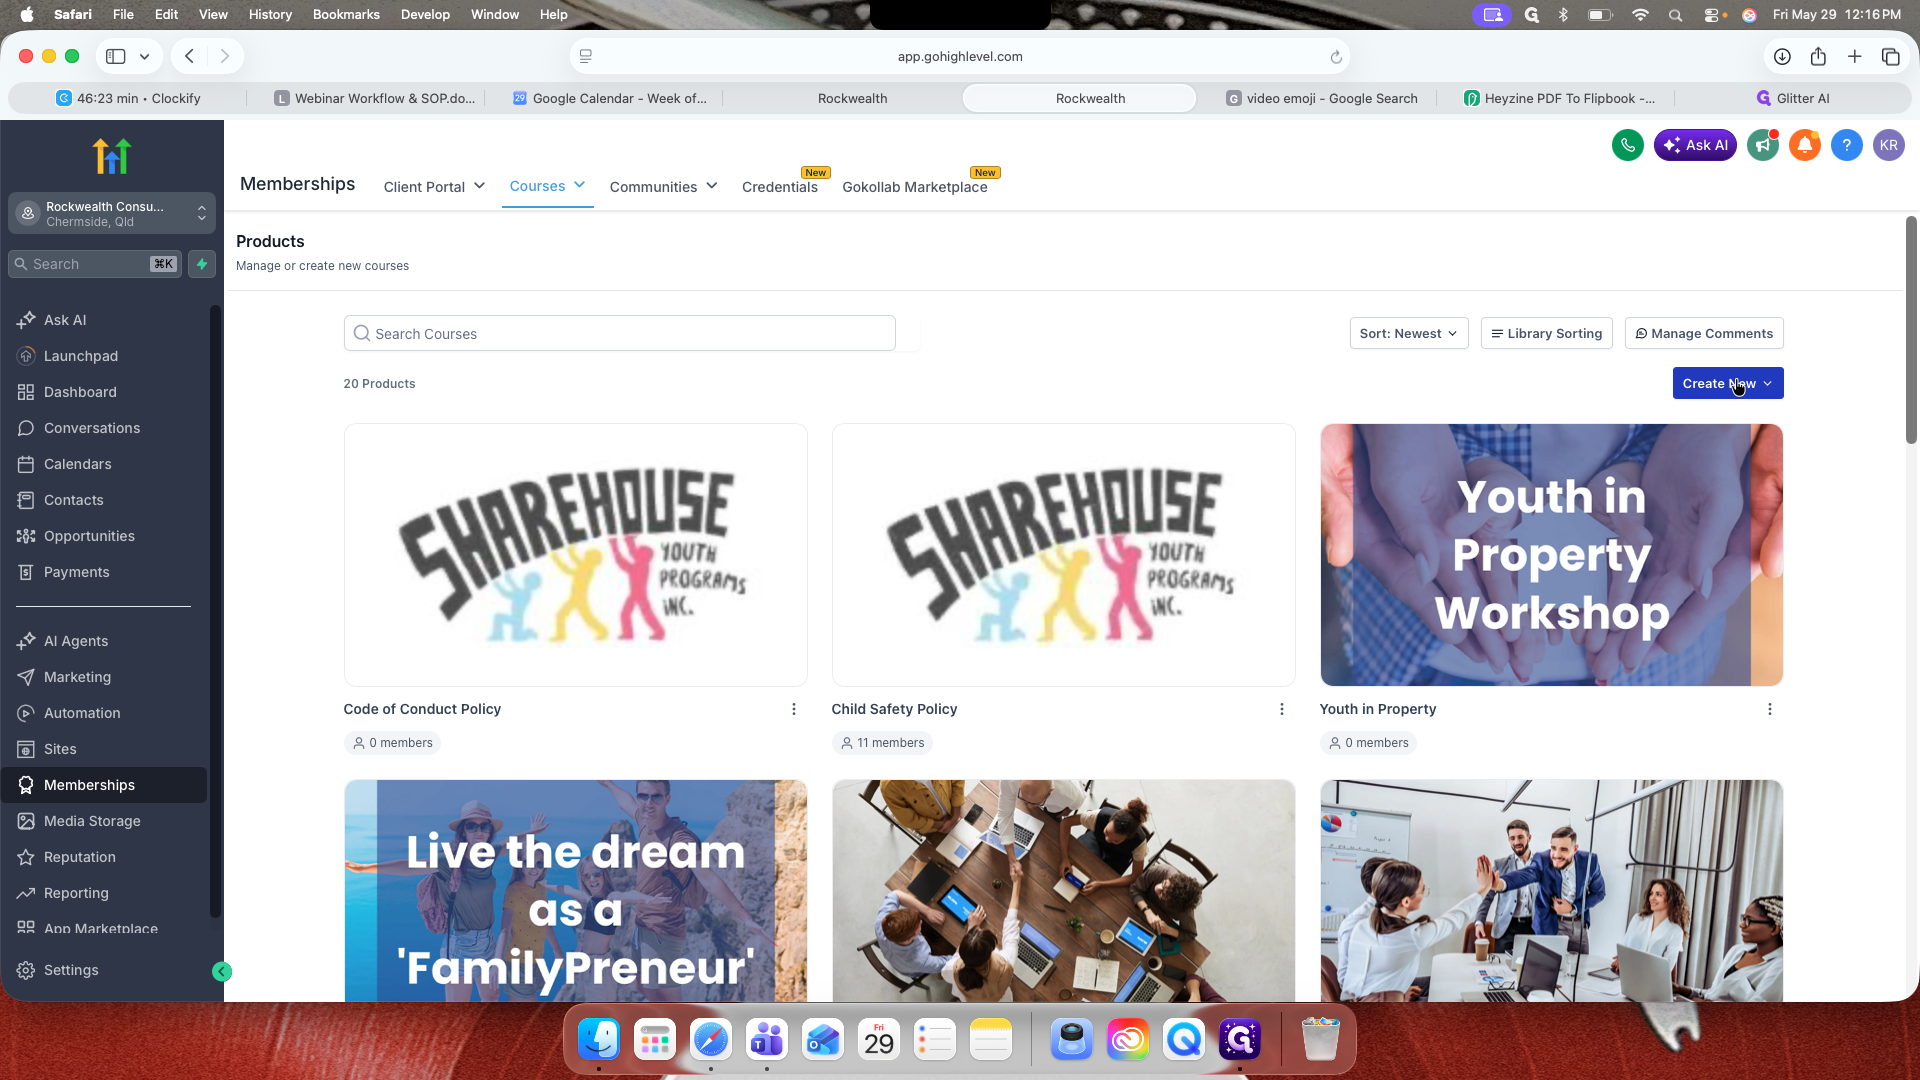
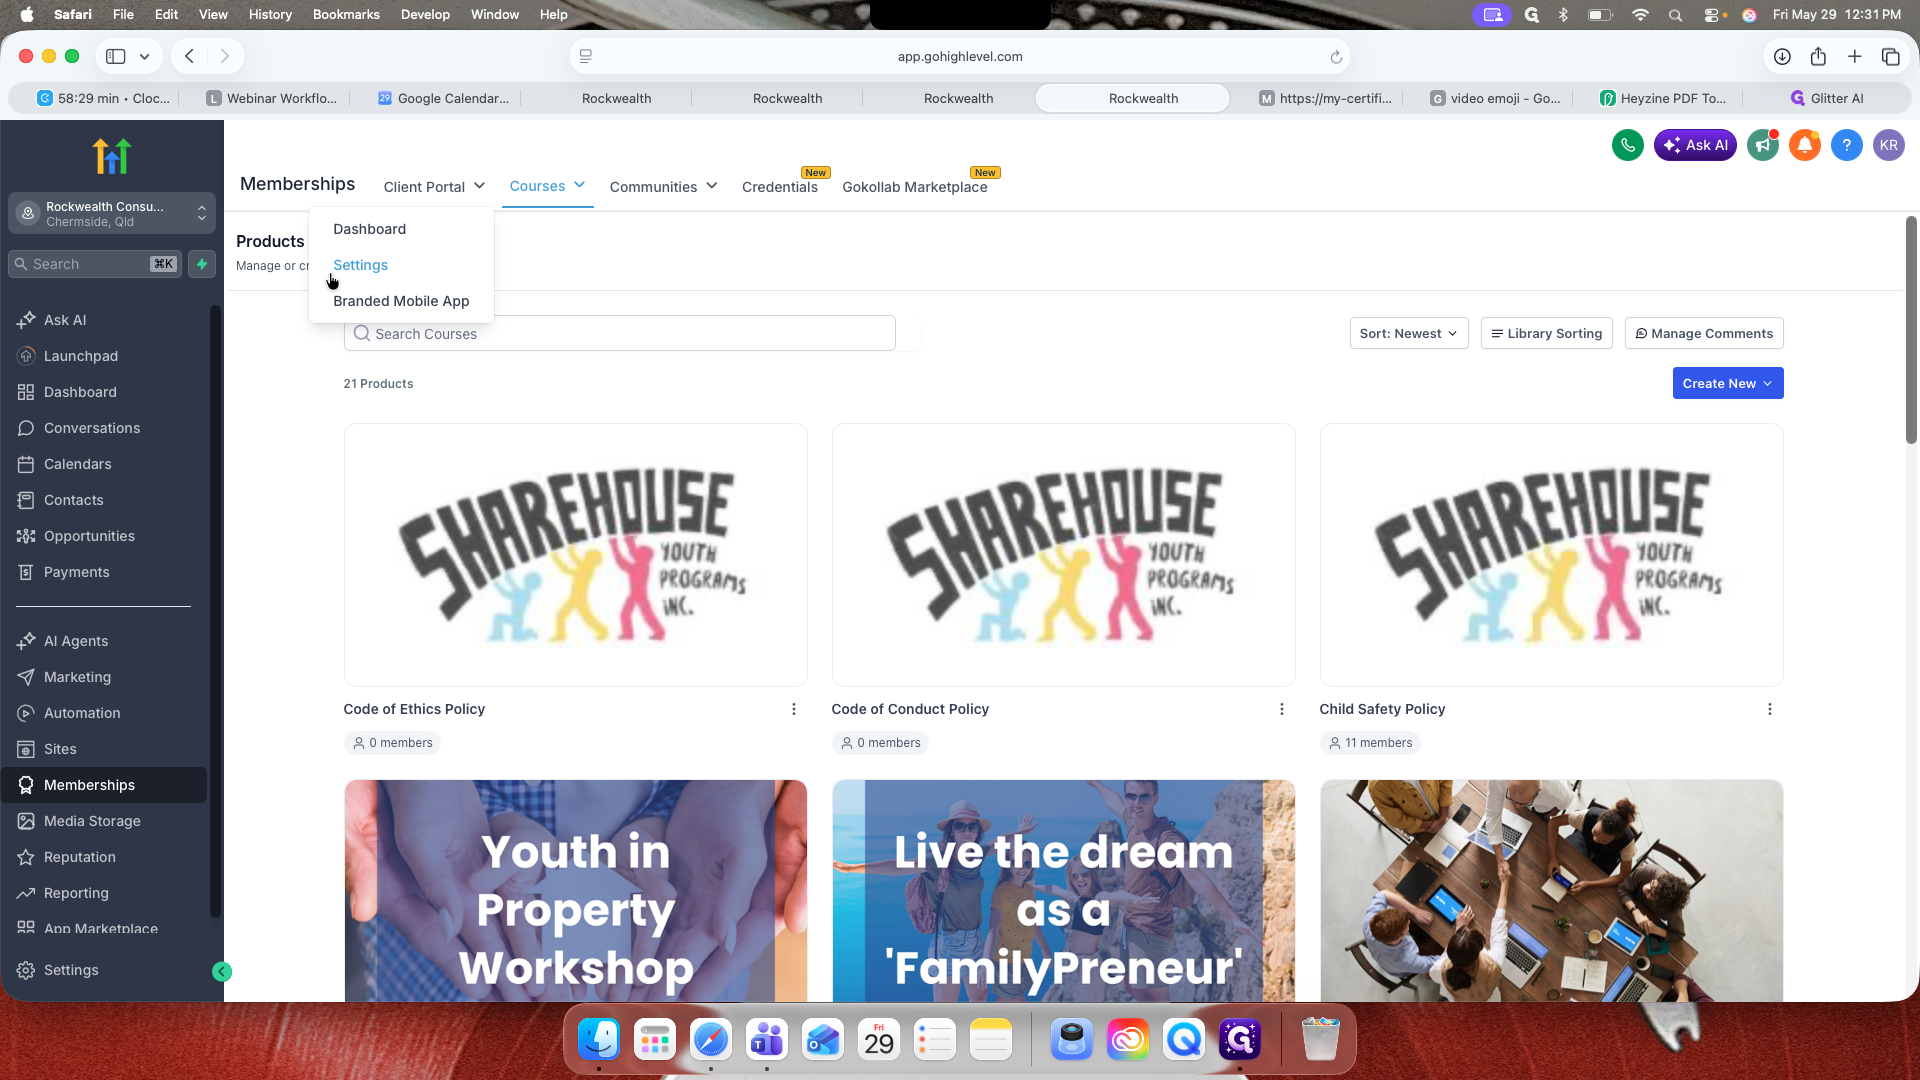
Navigate to Products.
2
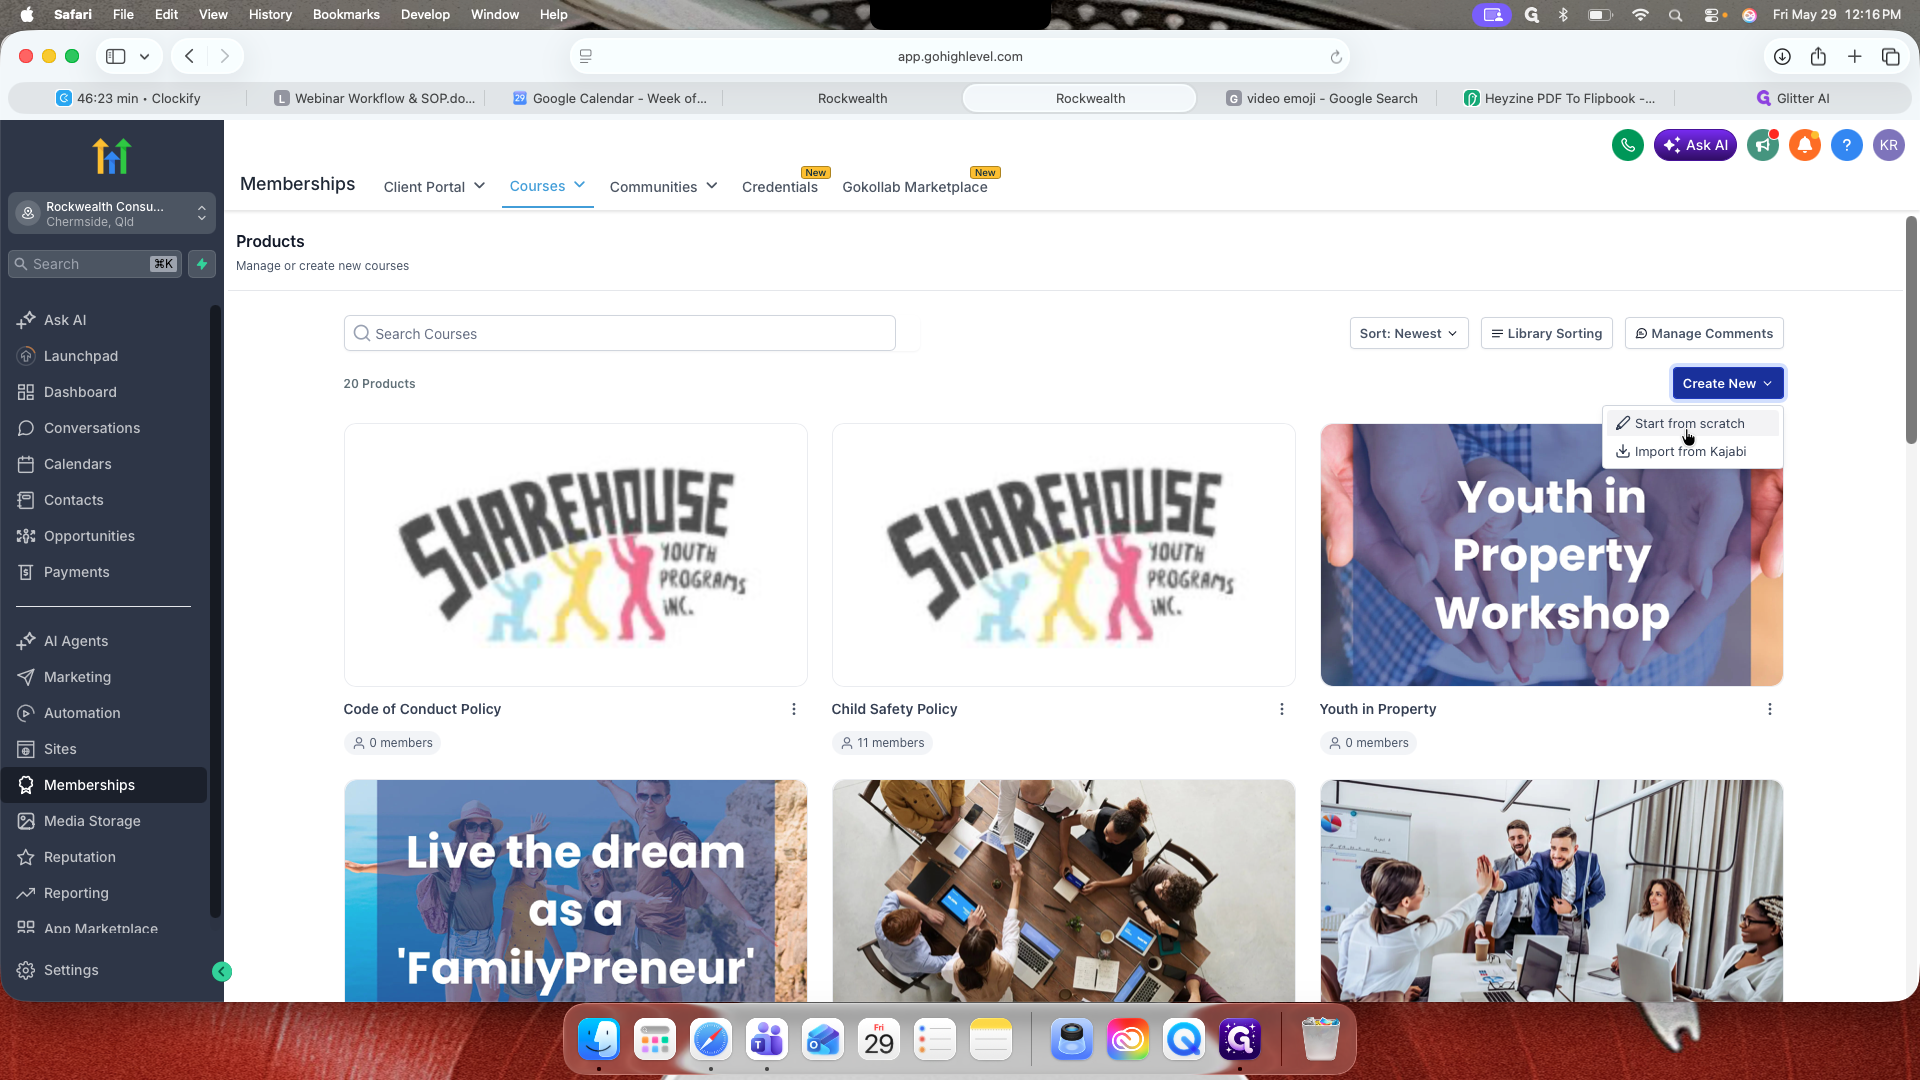
Click Create New.
3
Select Start from scratch.
4
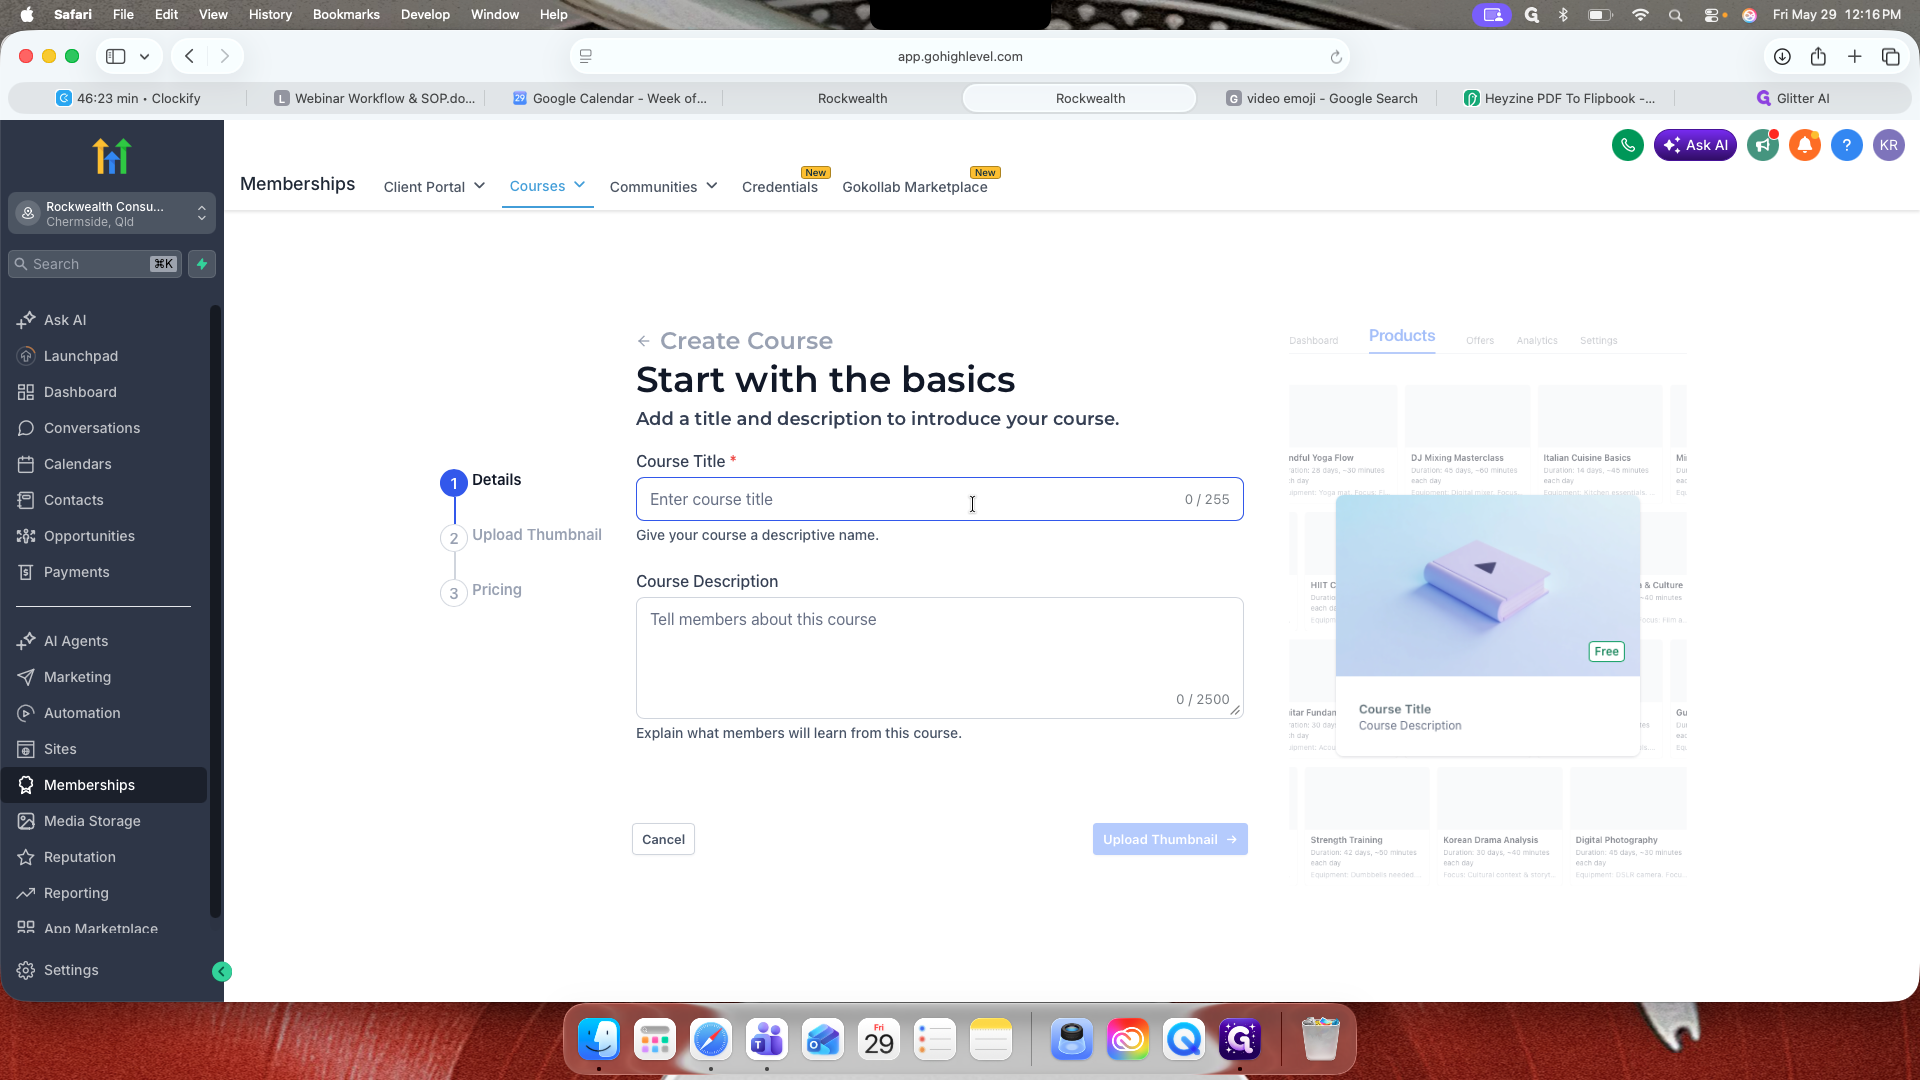
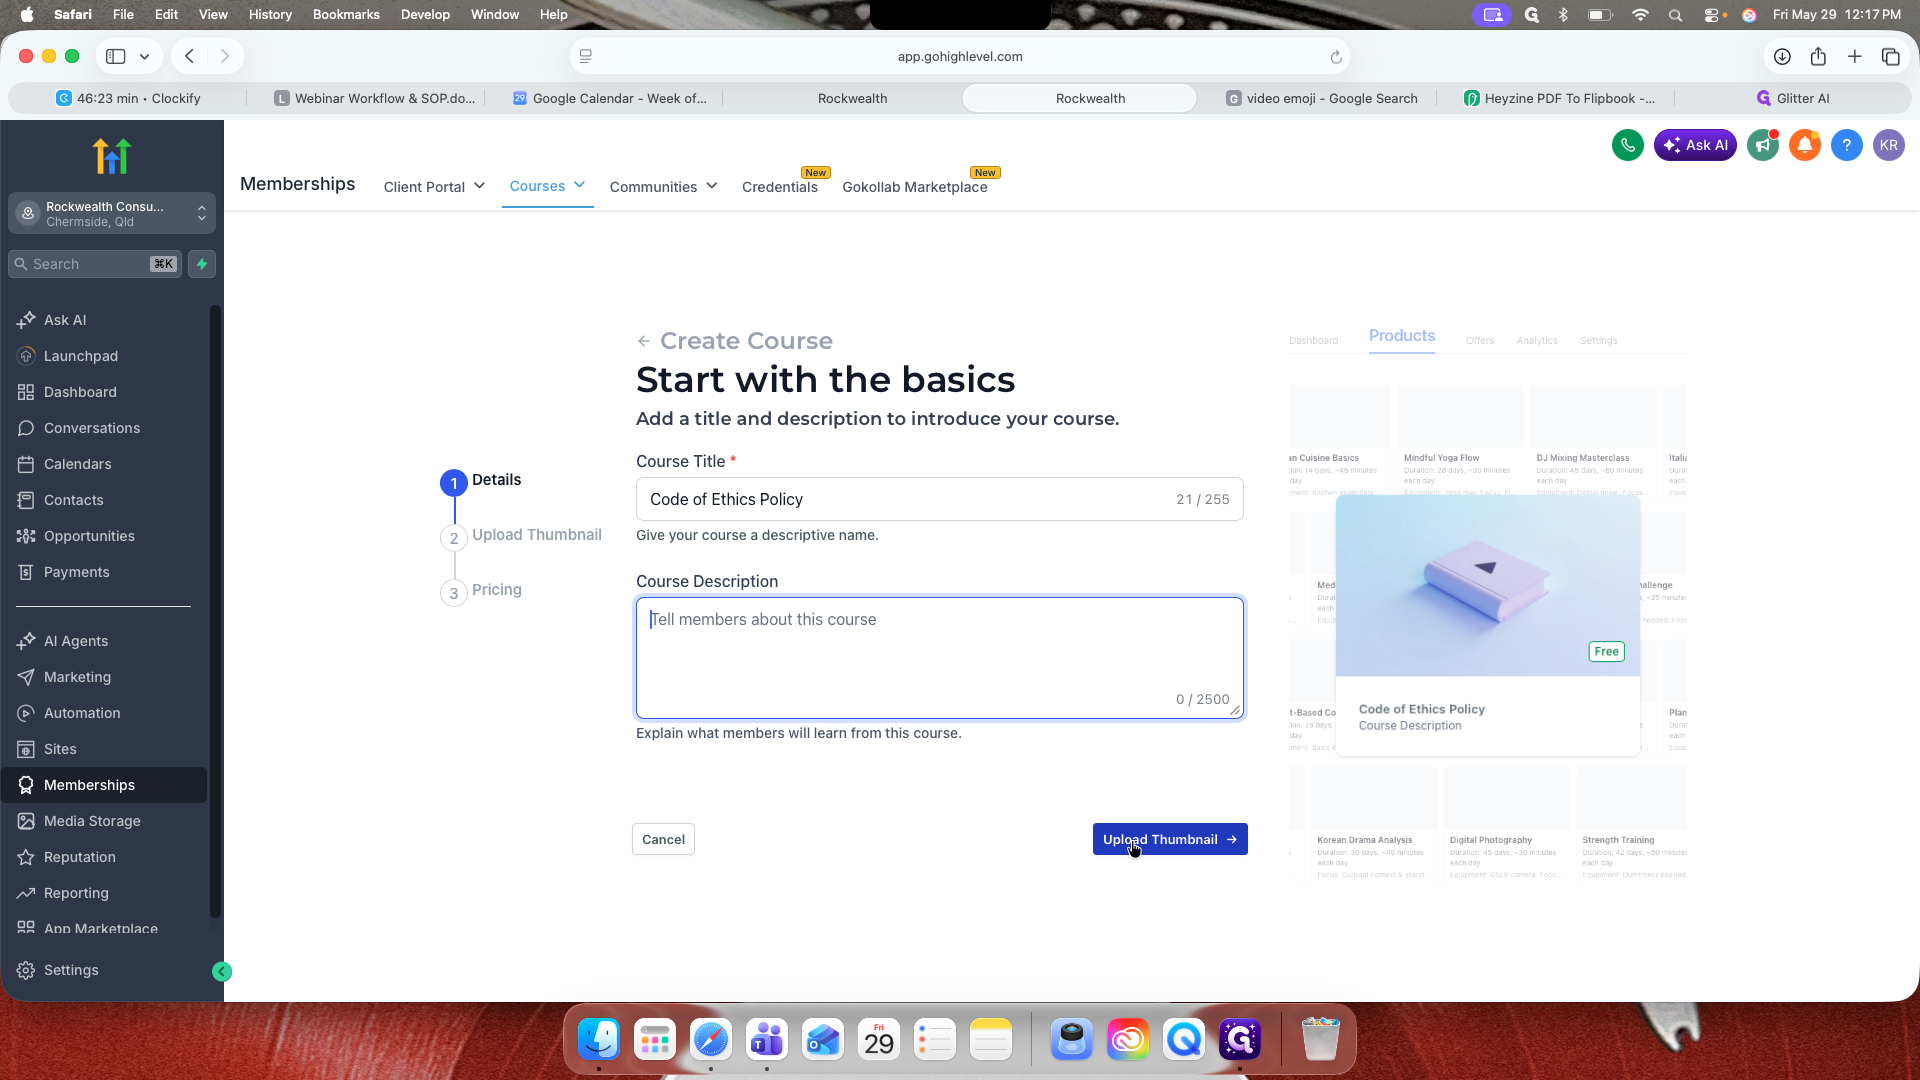
Enter your course title (e.g., "Code of Ethics Policy").
7
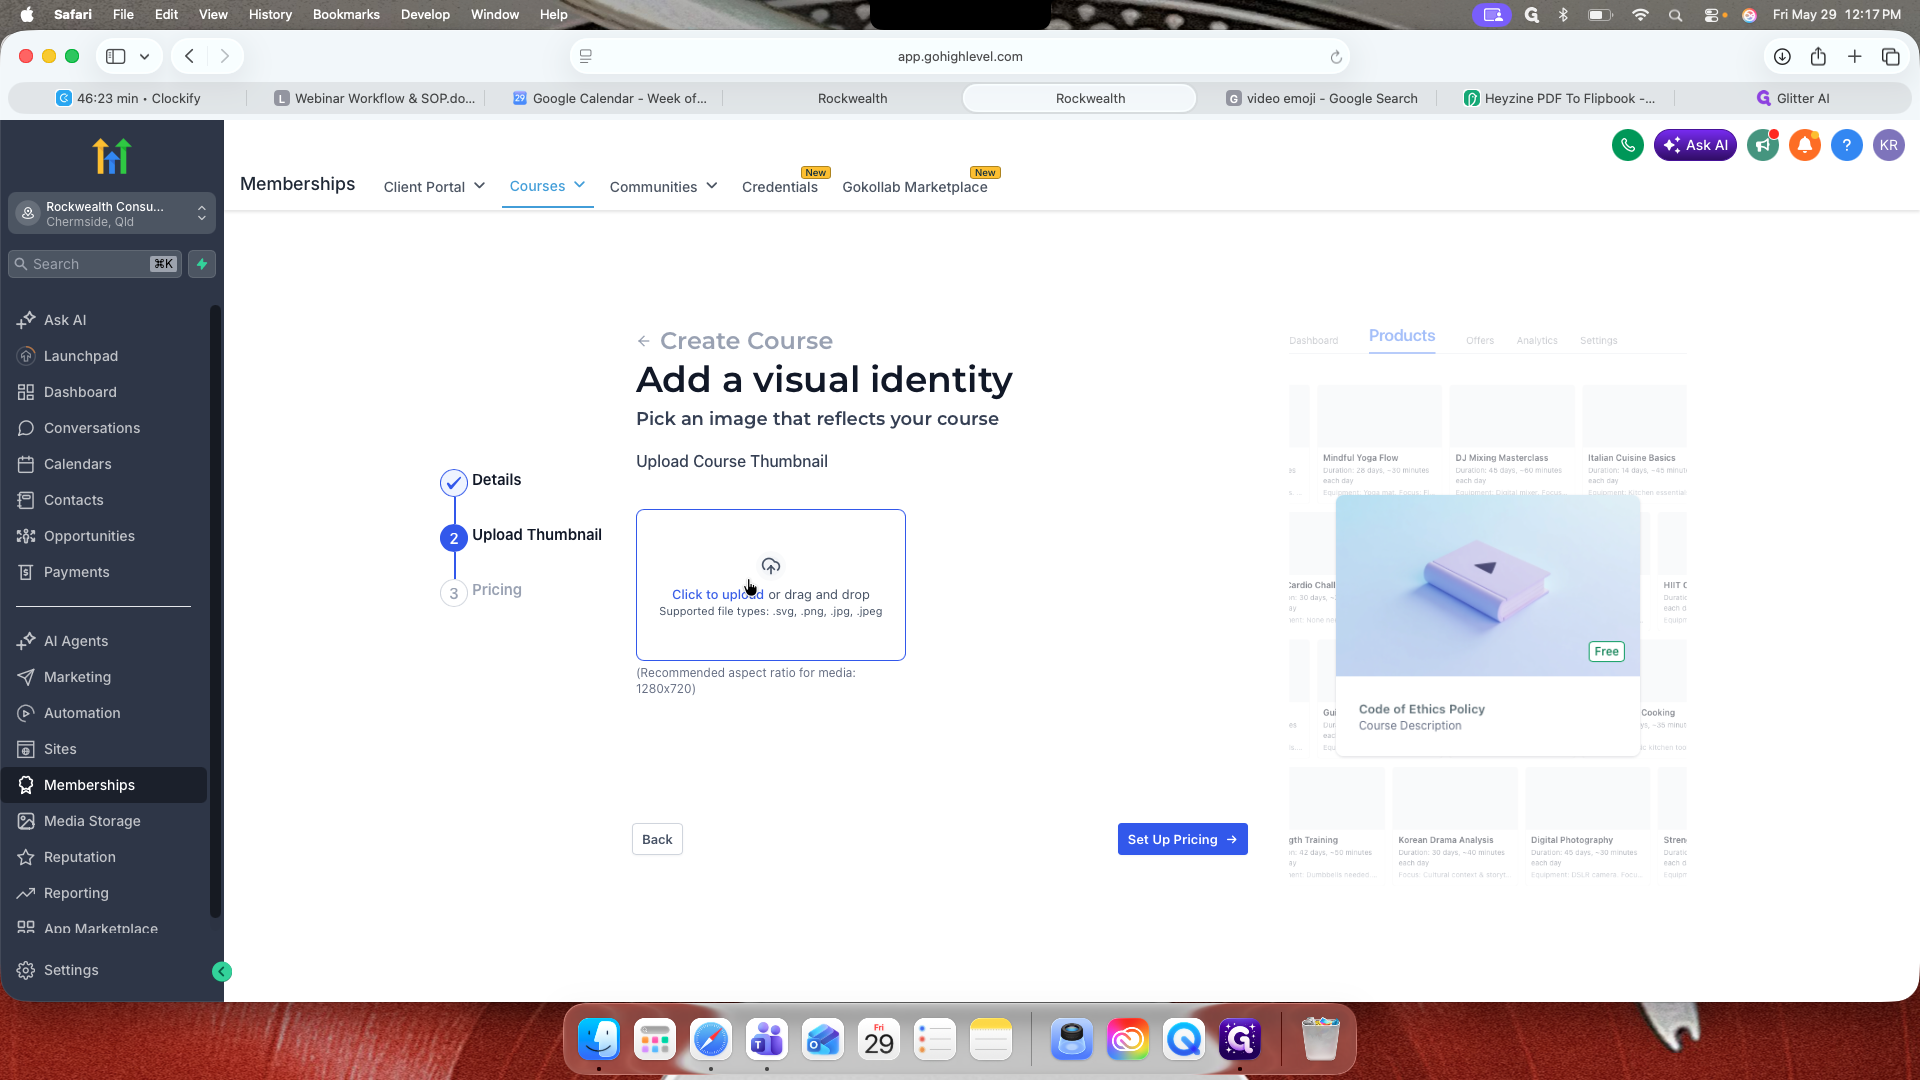
Click Upload Thumbnail to add a cover image for your course.
8
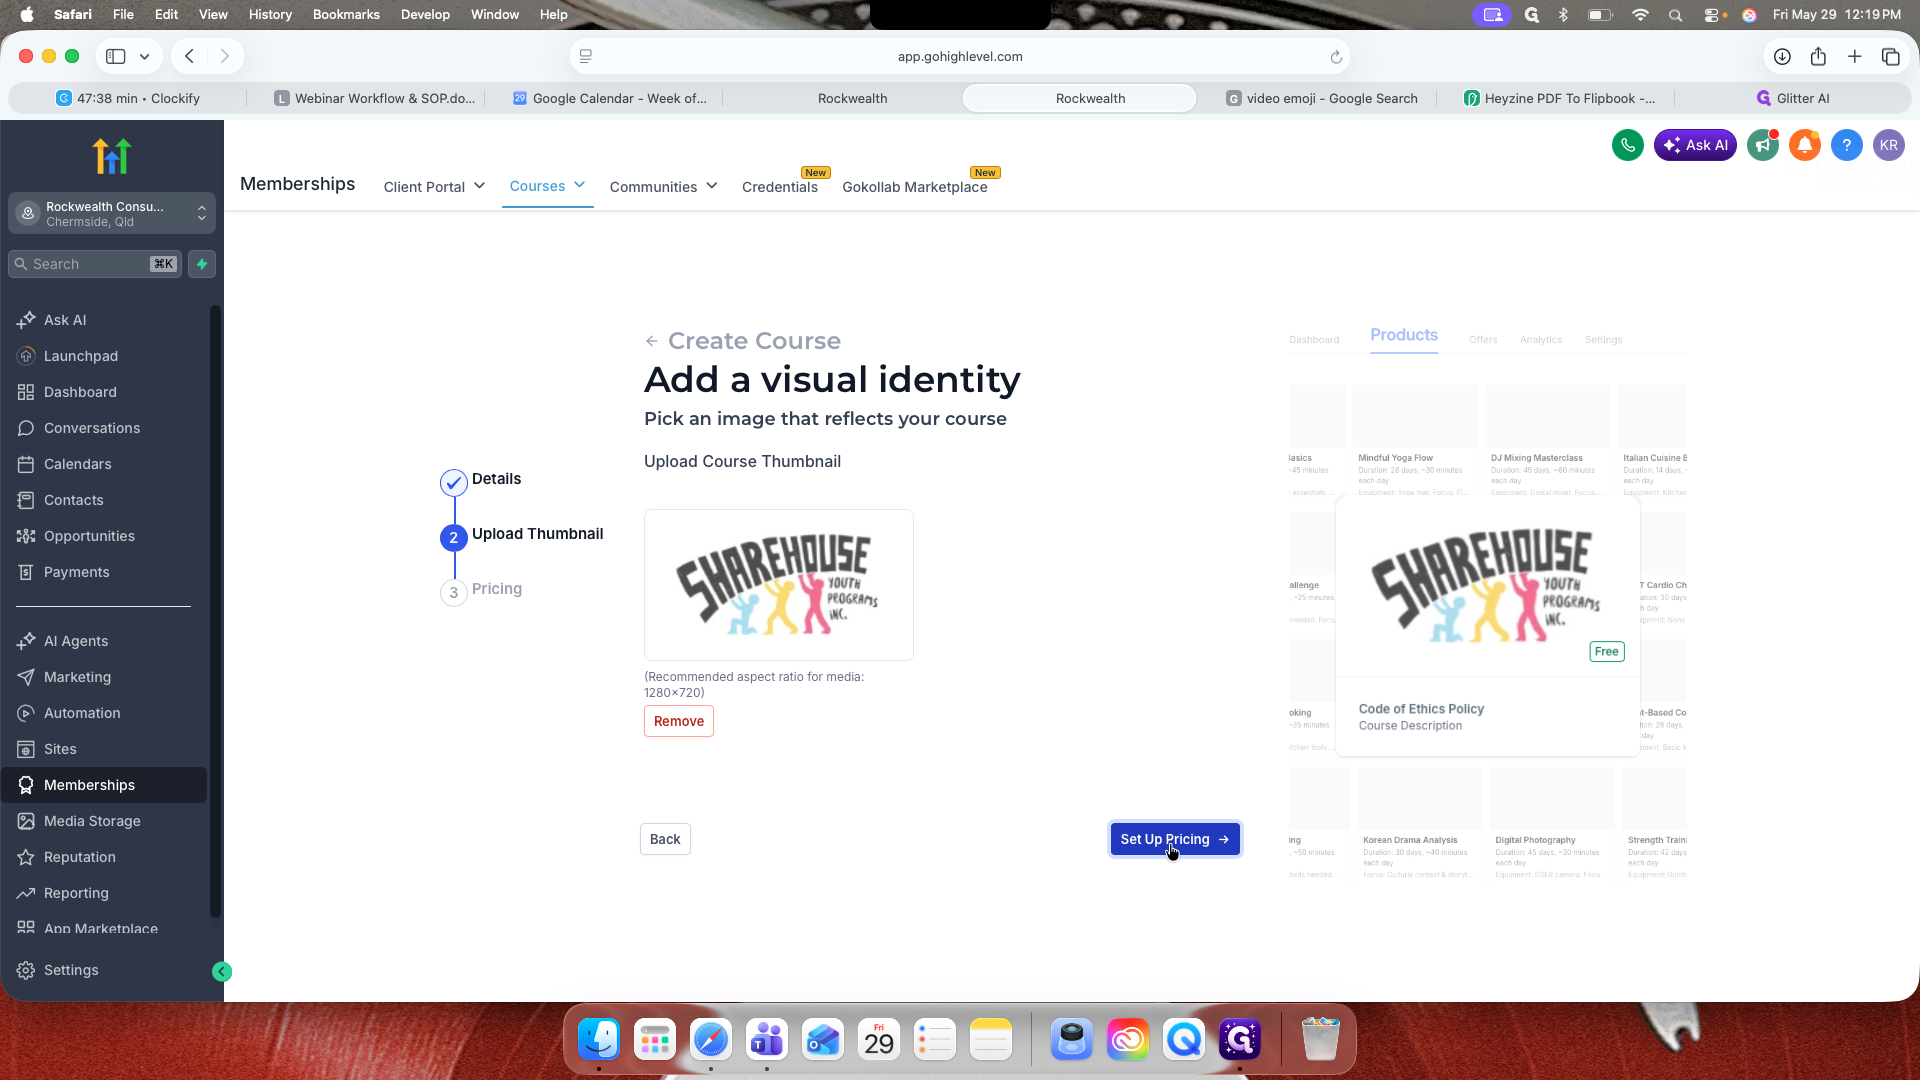
Click the upload area or drag and drop your thumbnail image into the box.
17
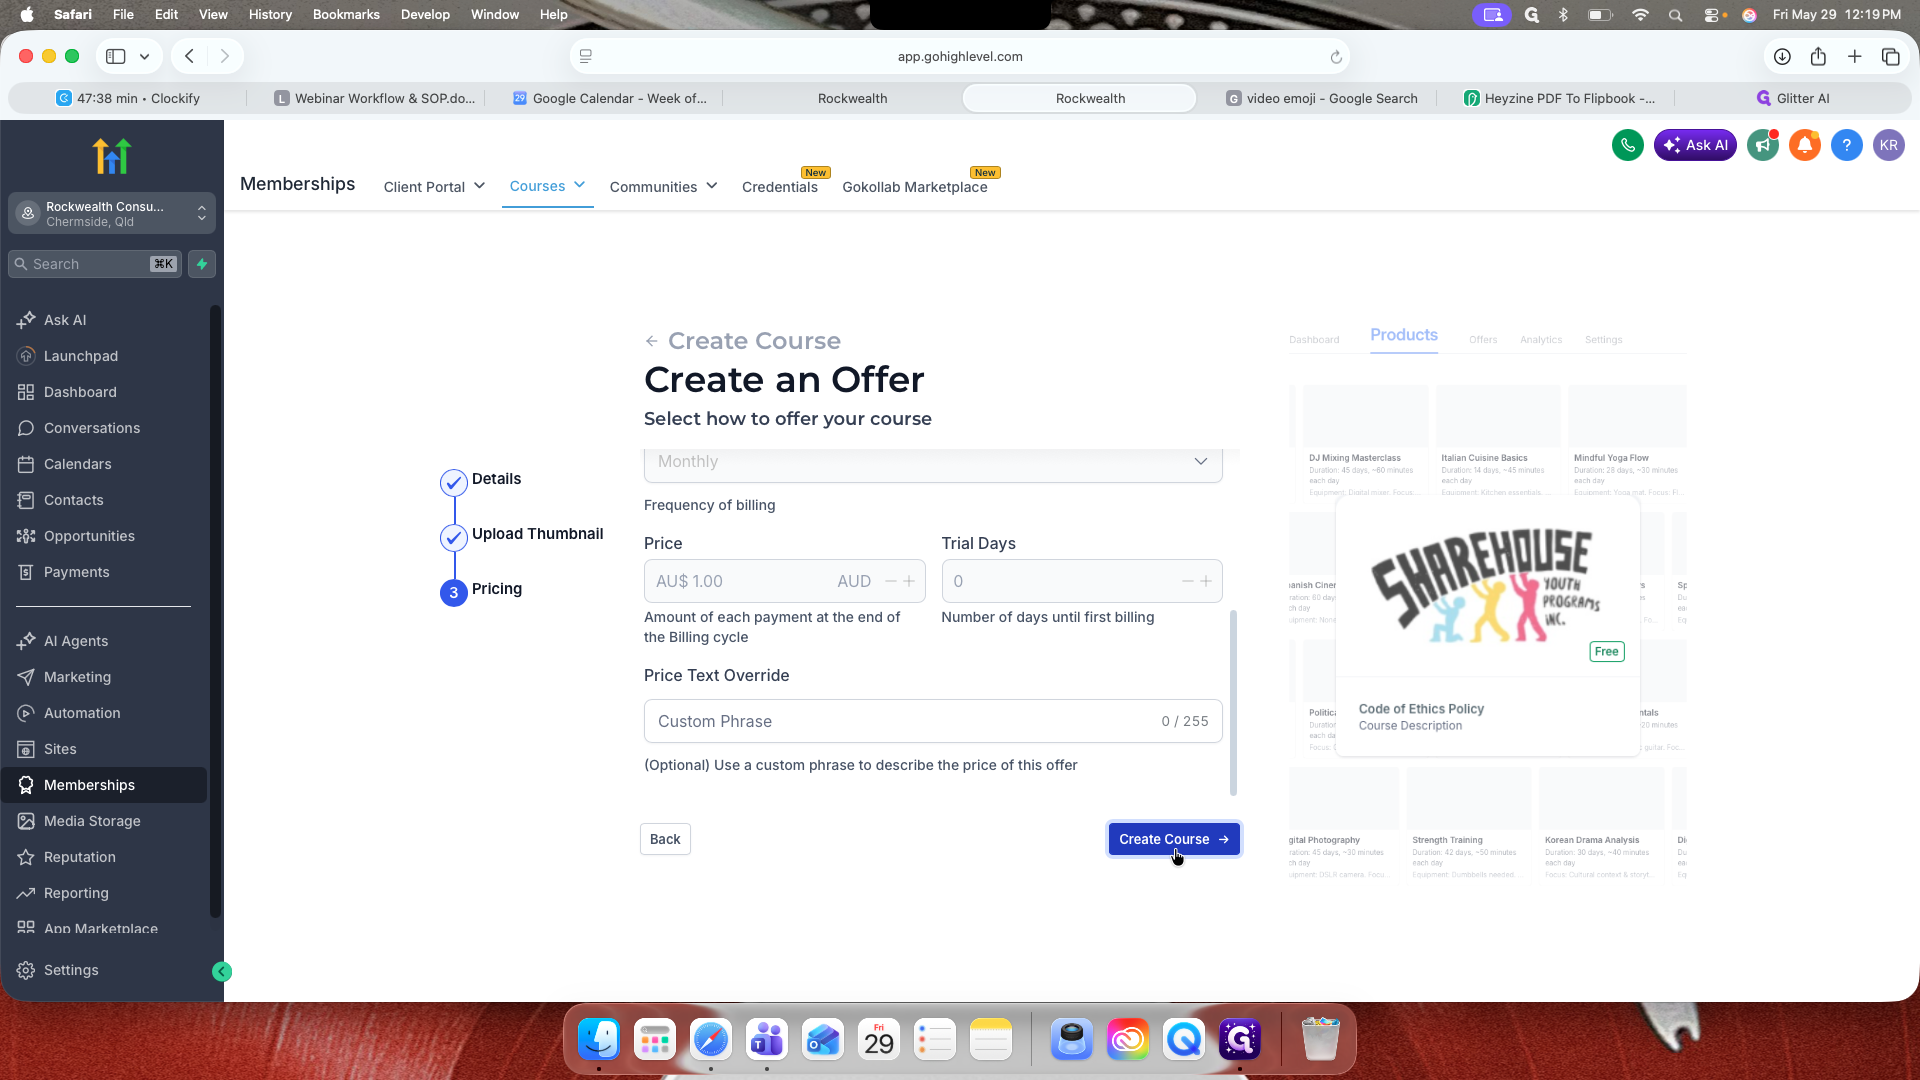
Click Set Up Pricing to configure the billing period and price text.
18
Click Create Course.
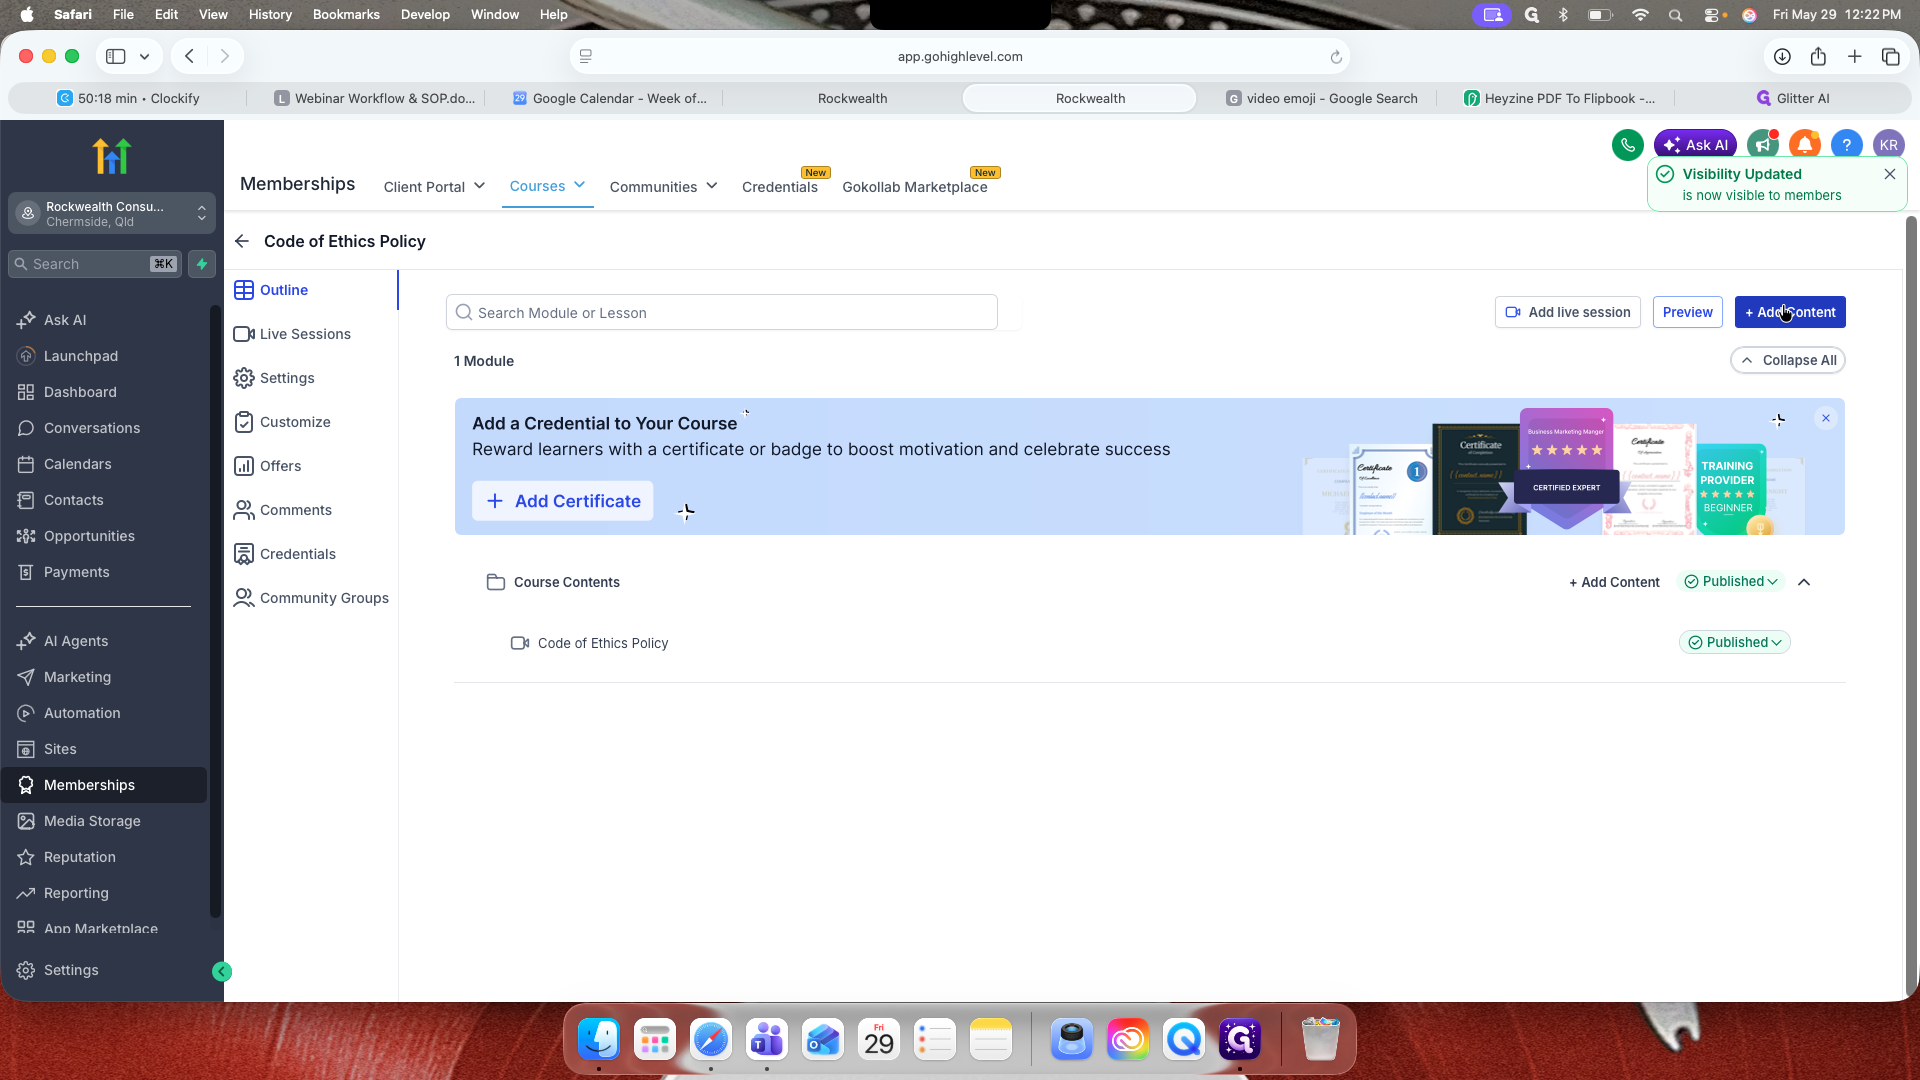
Adding Course Lessons
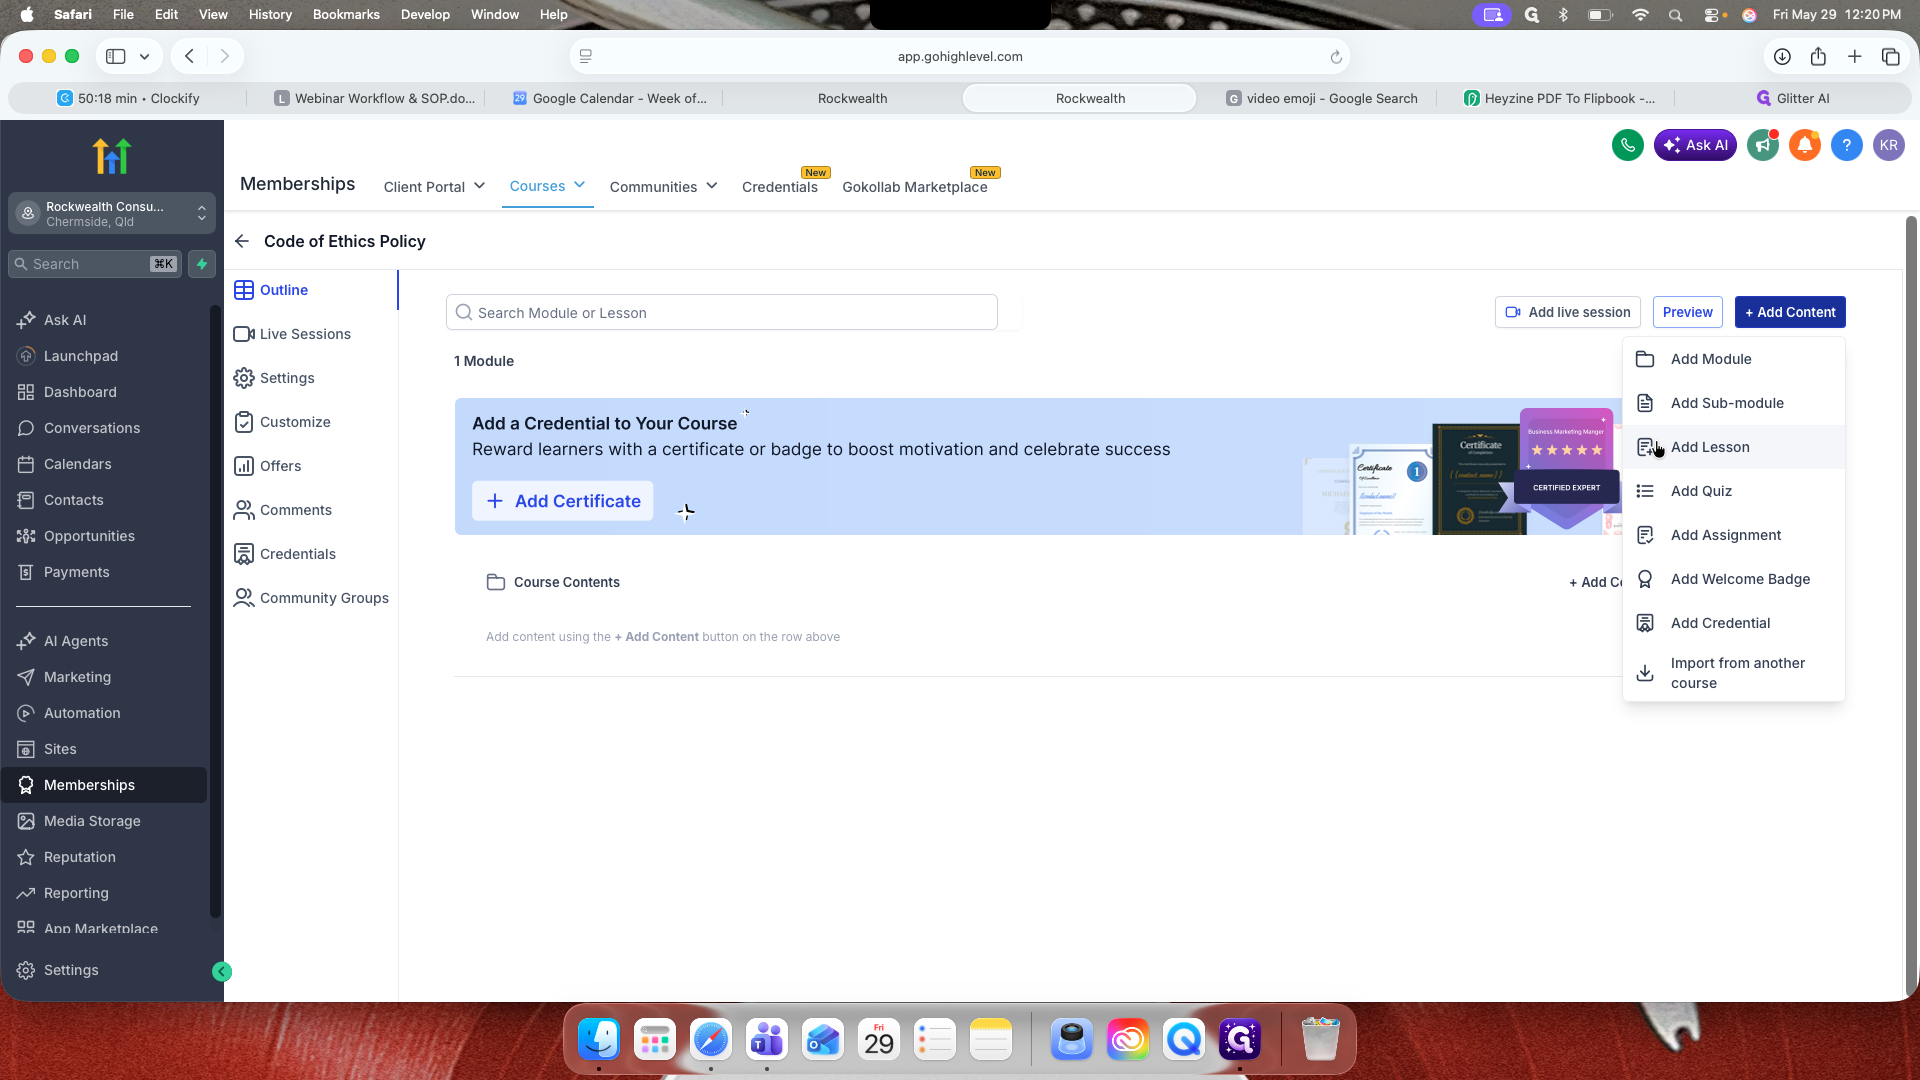
19
Click + Add Content in the course builder.
20
Select Add Lesson.
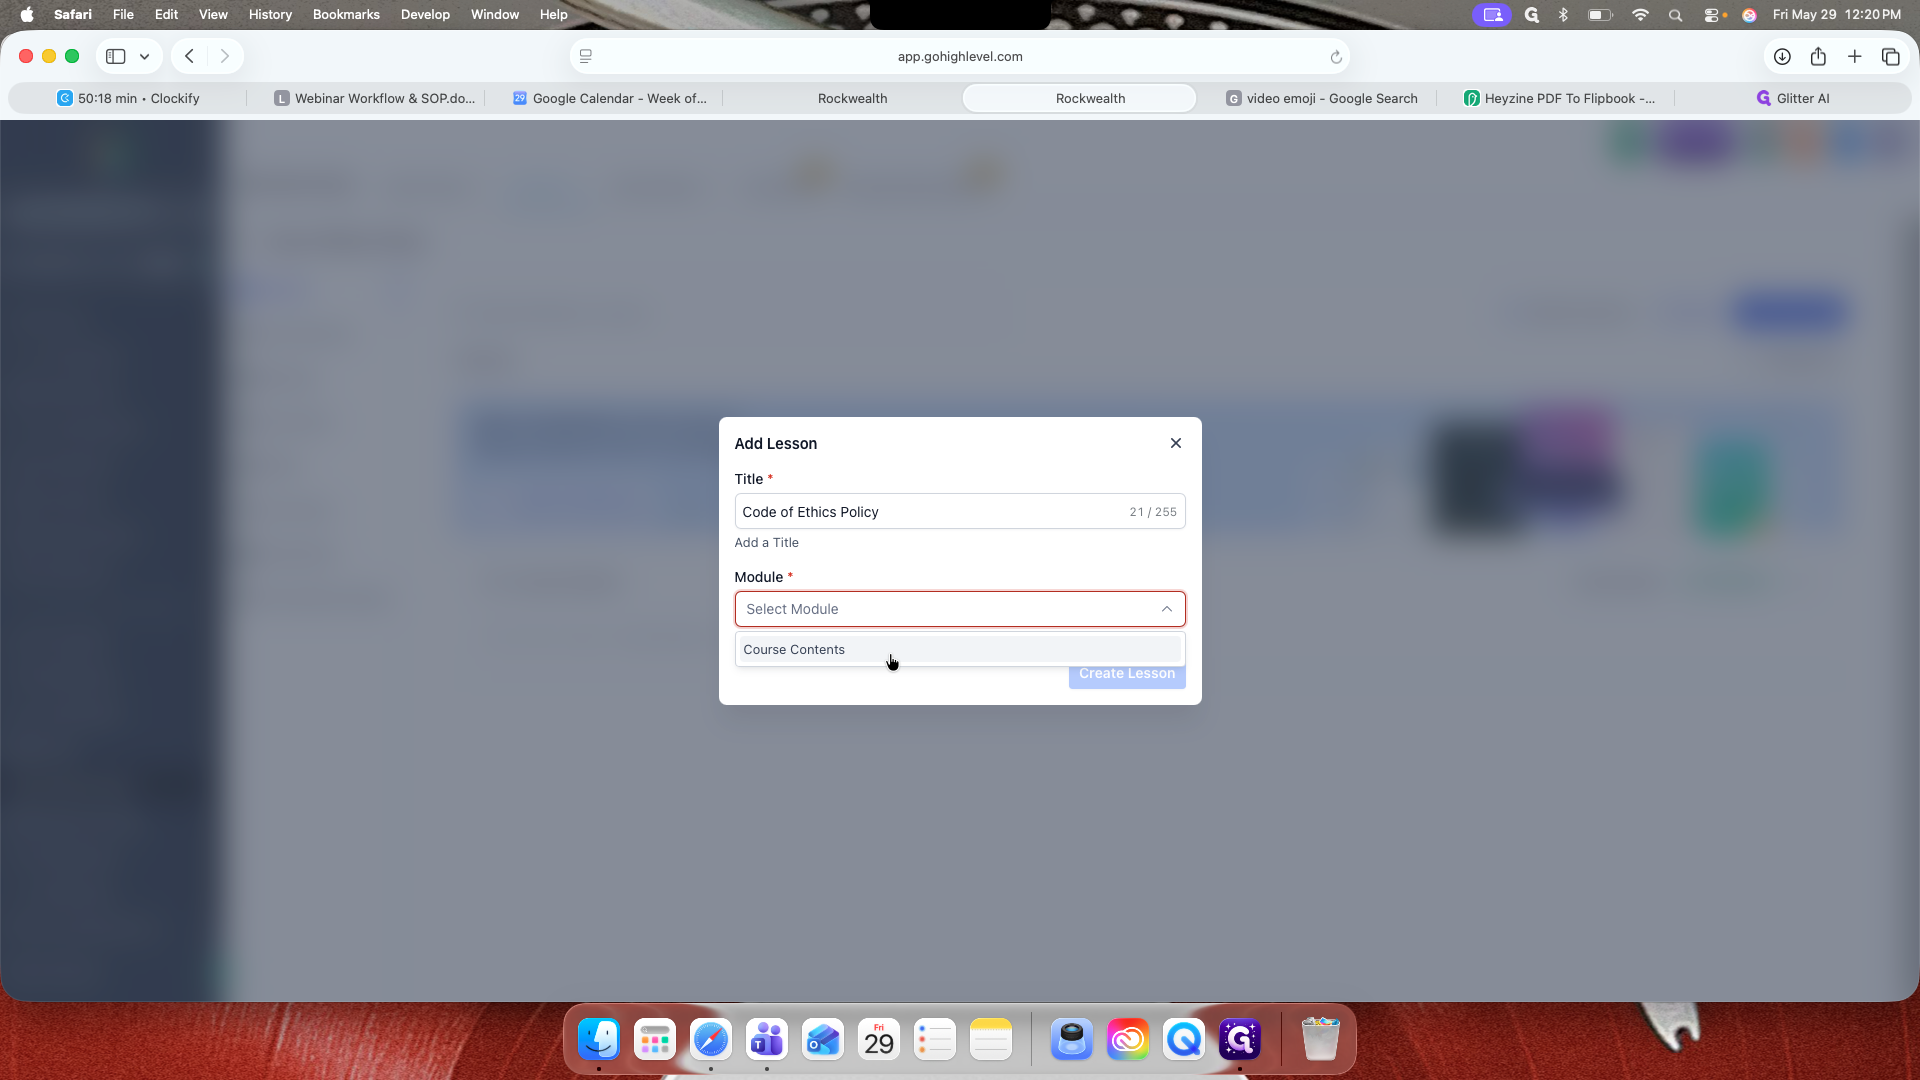
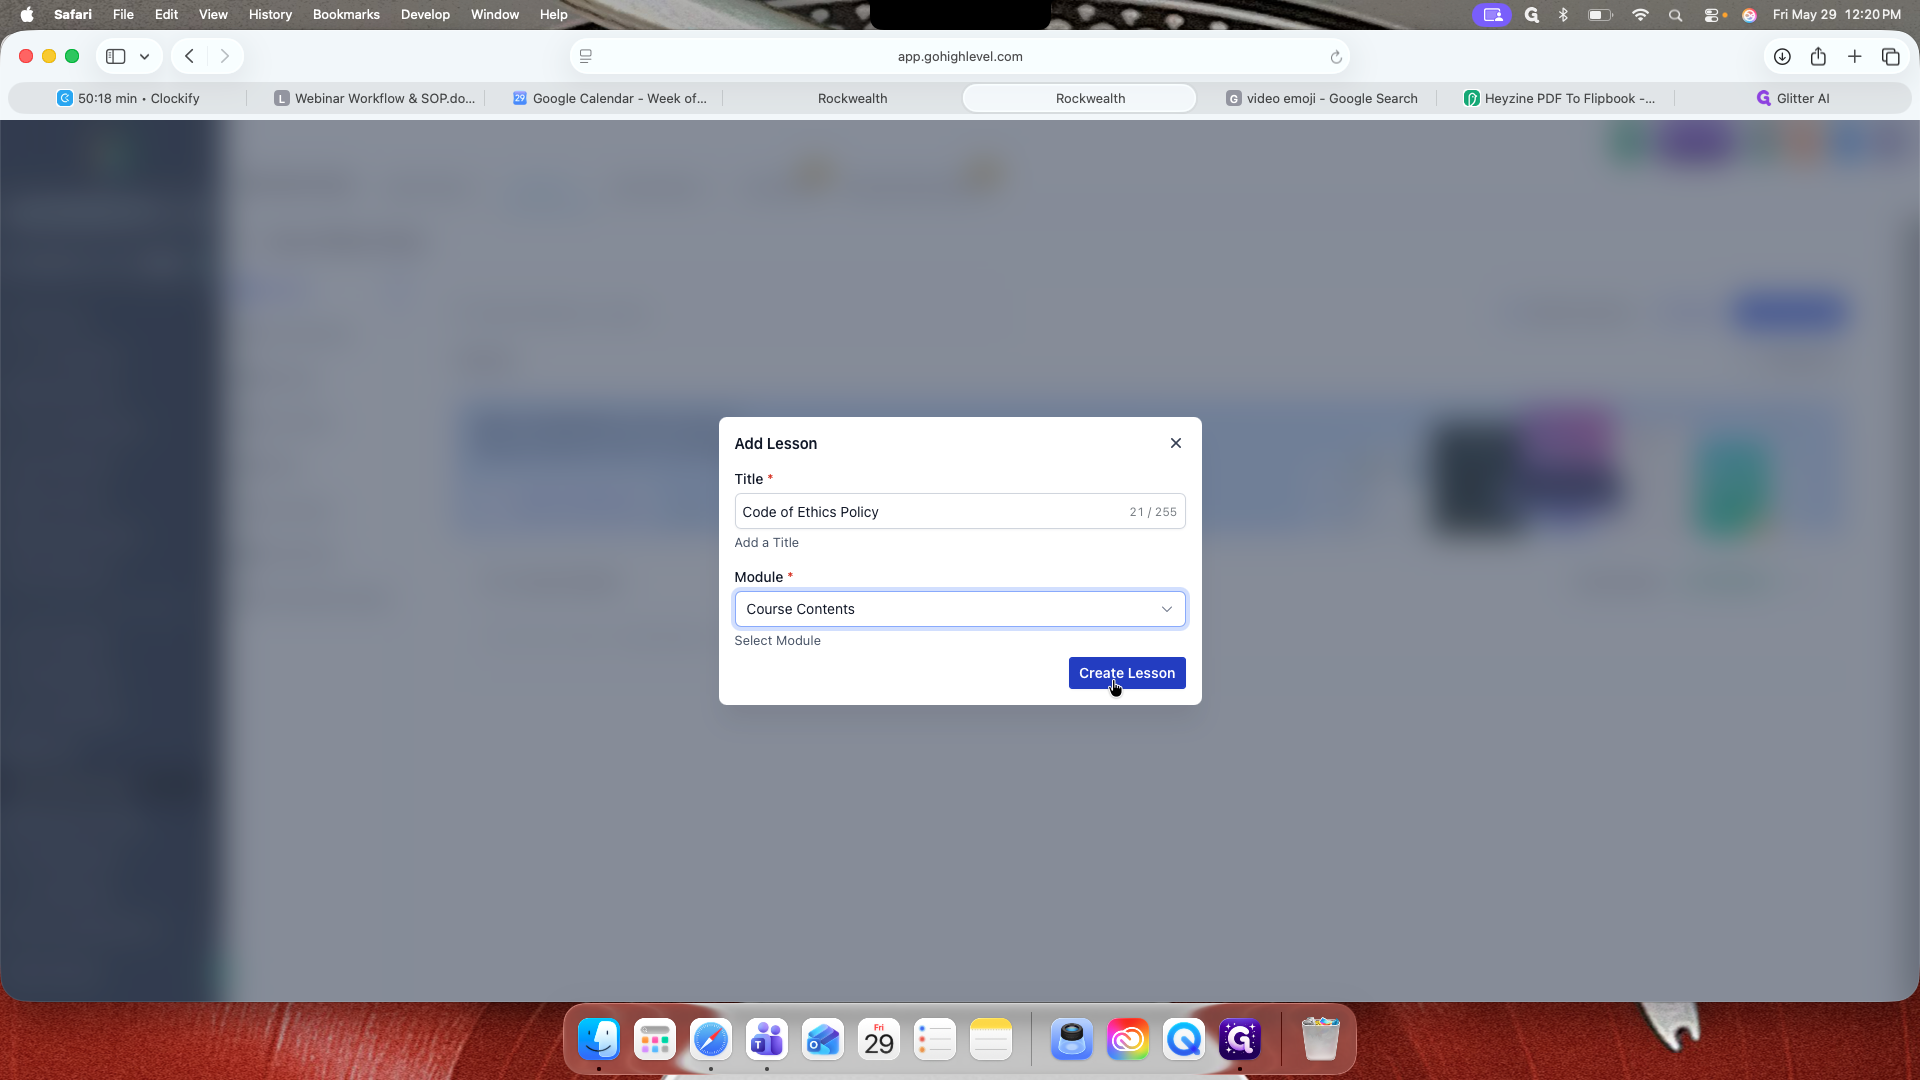
22
Enter the lesson title.
23
Select Course Contents from the module dropdown menu.
24
Click Create Lesson.
25
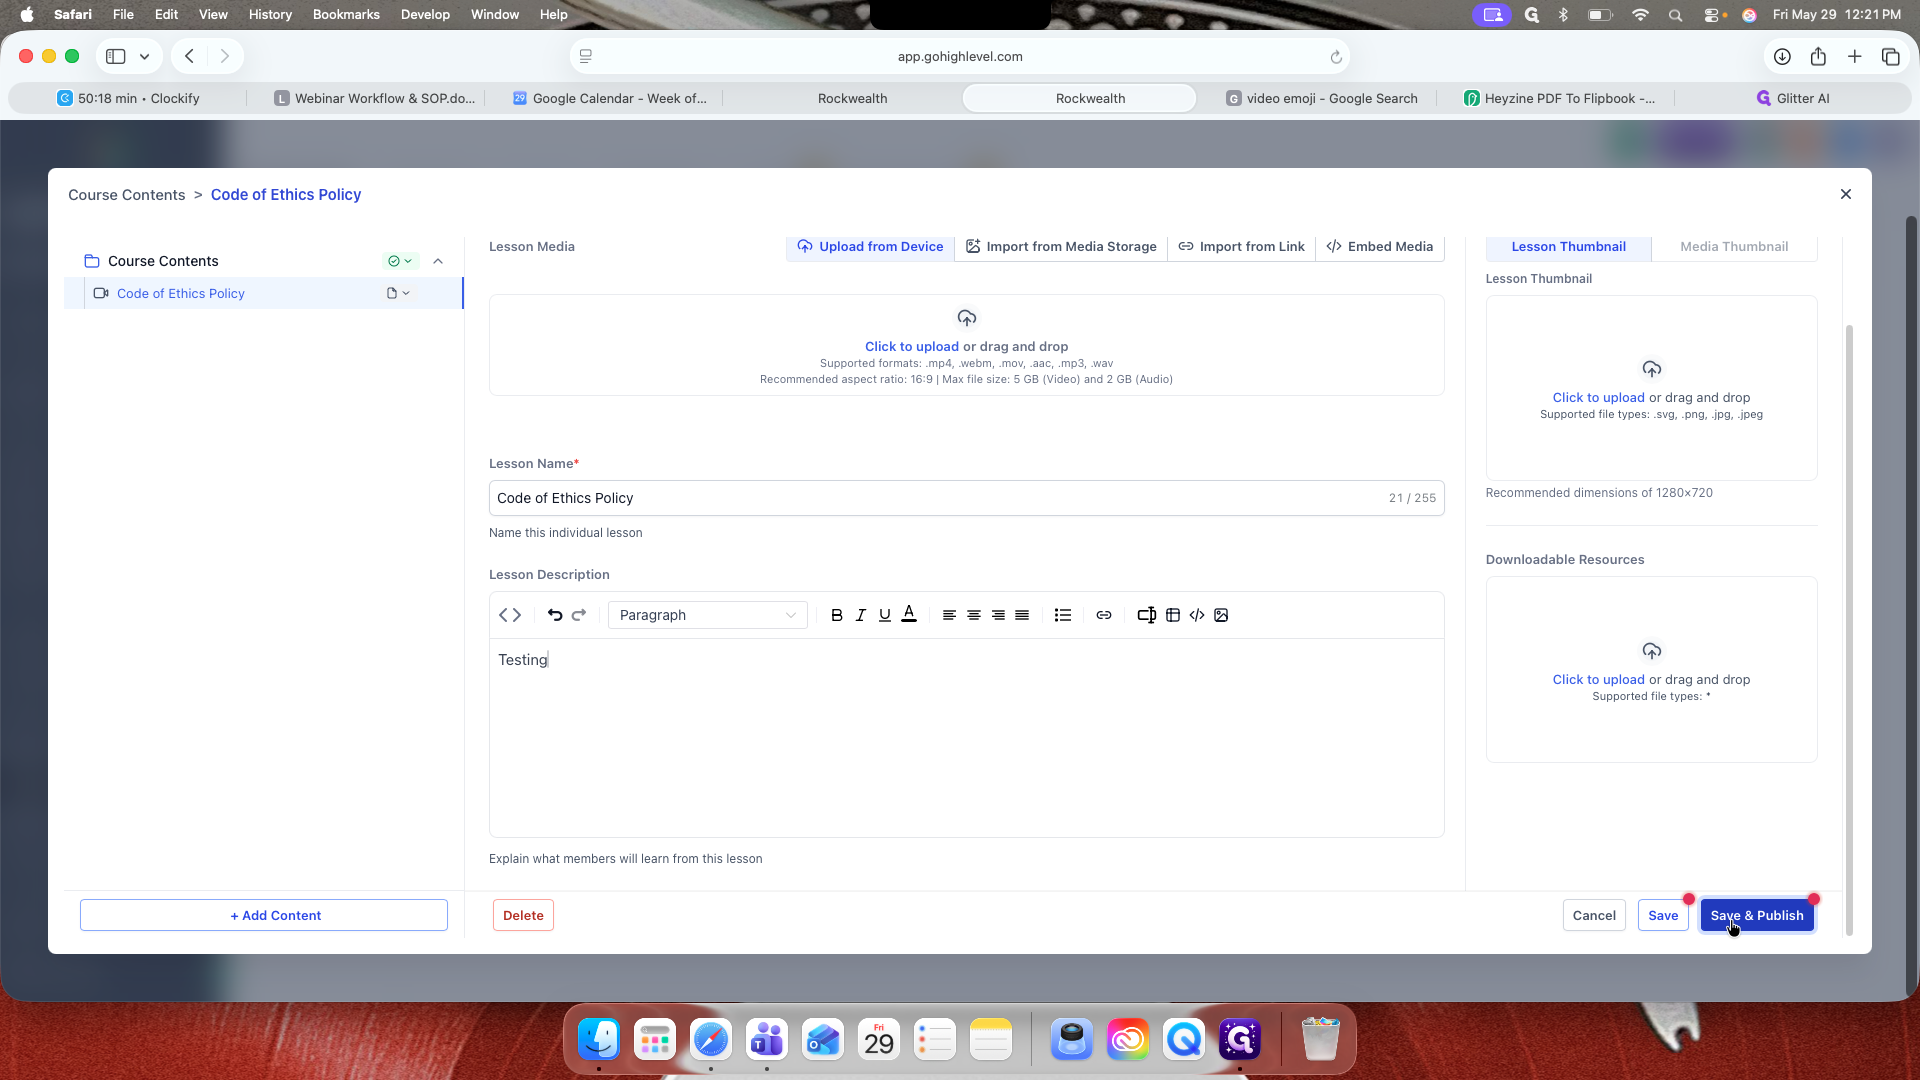
Click on the newly created lesson to open the editor.
Inside the lesson editor, you can upload videos (MP4, MOV, MPG, or WAV formats), attach downloadable resources like PDFs, and add a lesson thumbnail.
29
Click Save & Publish when your lesson is complete.
32
Verify that the lesson status in your outline is set to Published.
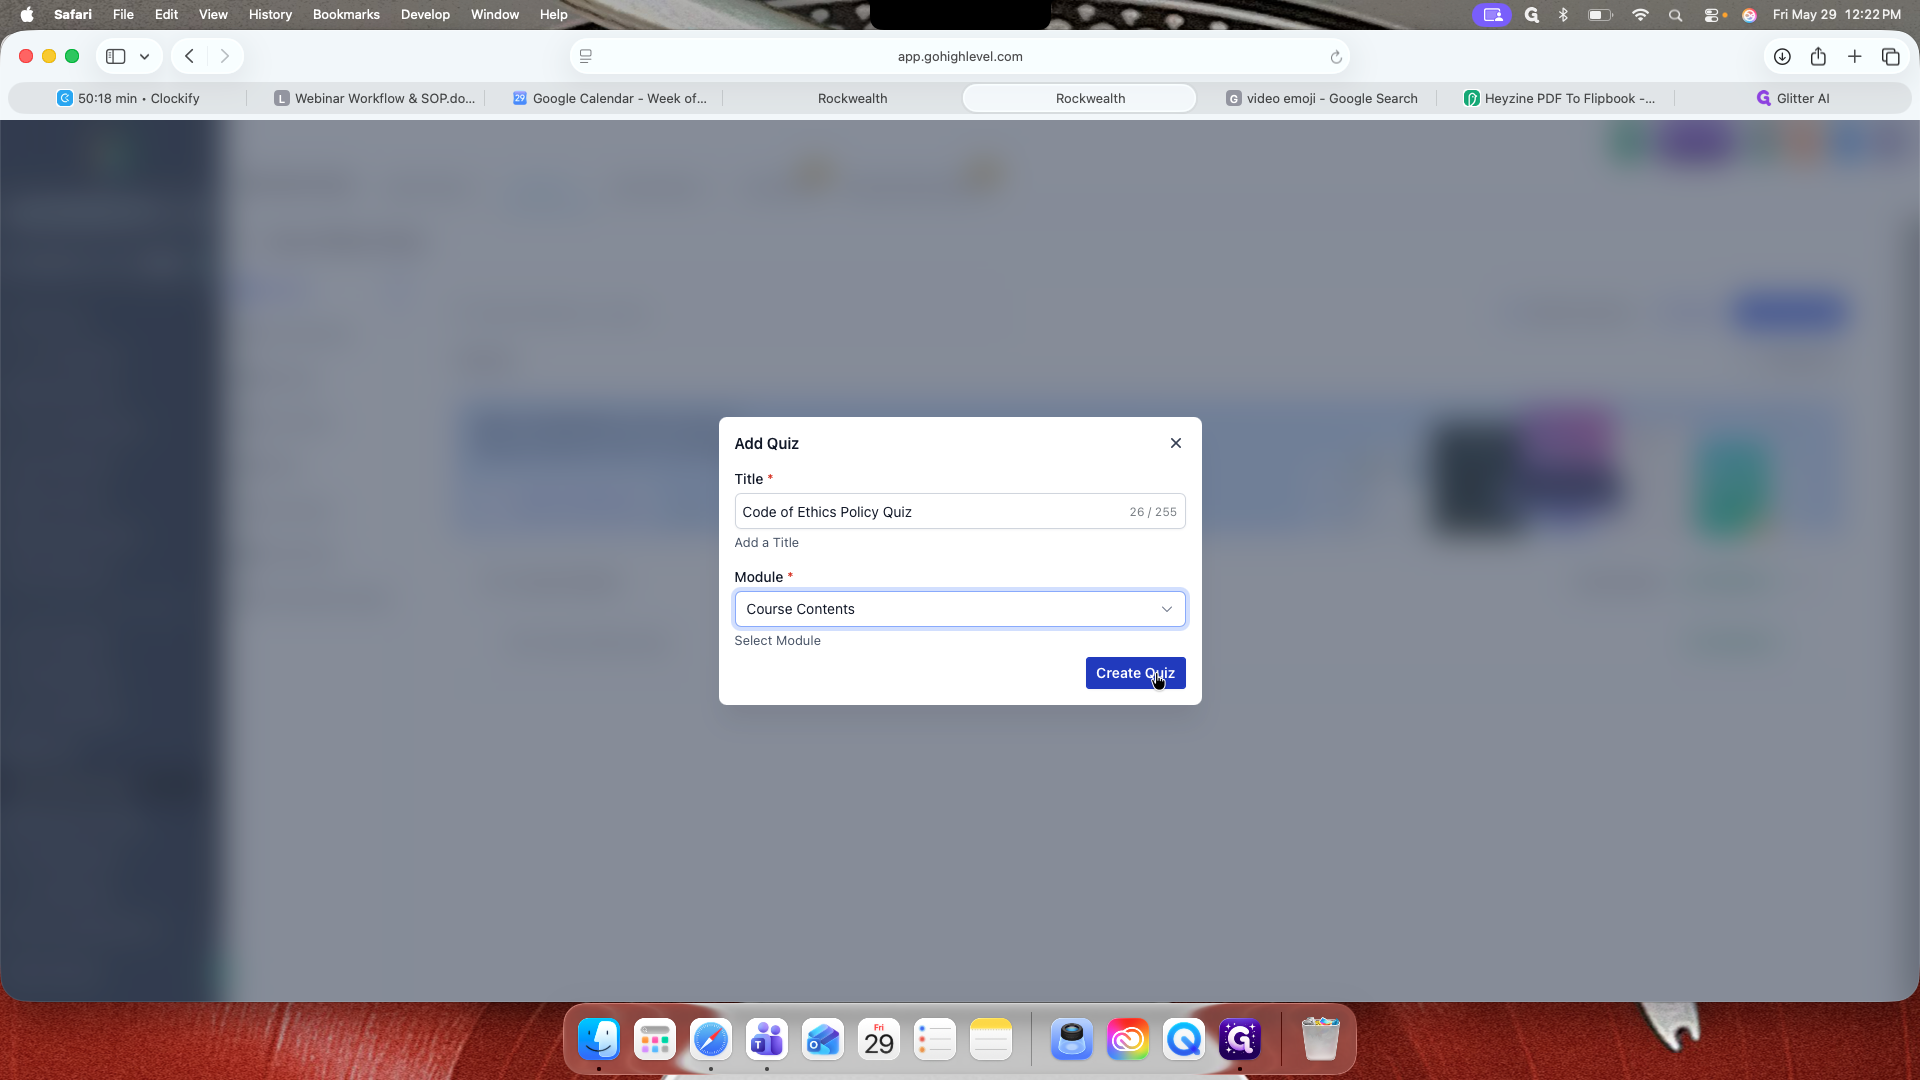
Creating a Quiz
39
Click + Add Content again.
40
Select Add Quiz.
43
Enter the quiz title and assign it to the Course Contents module.
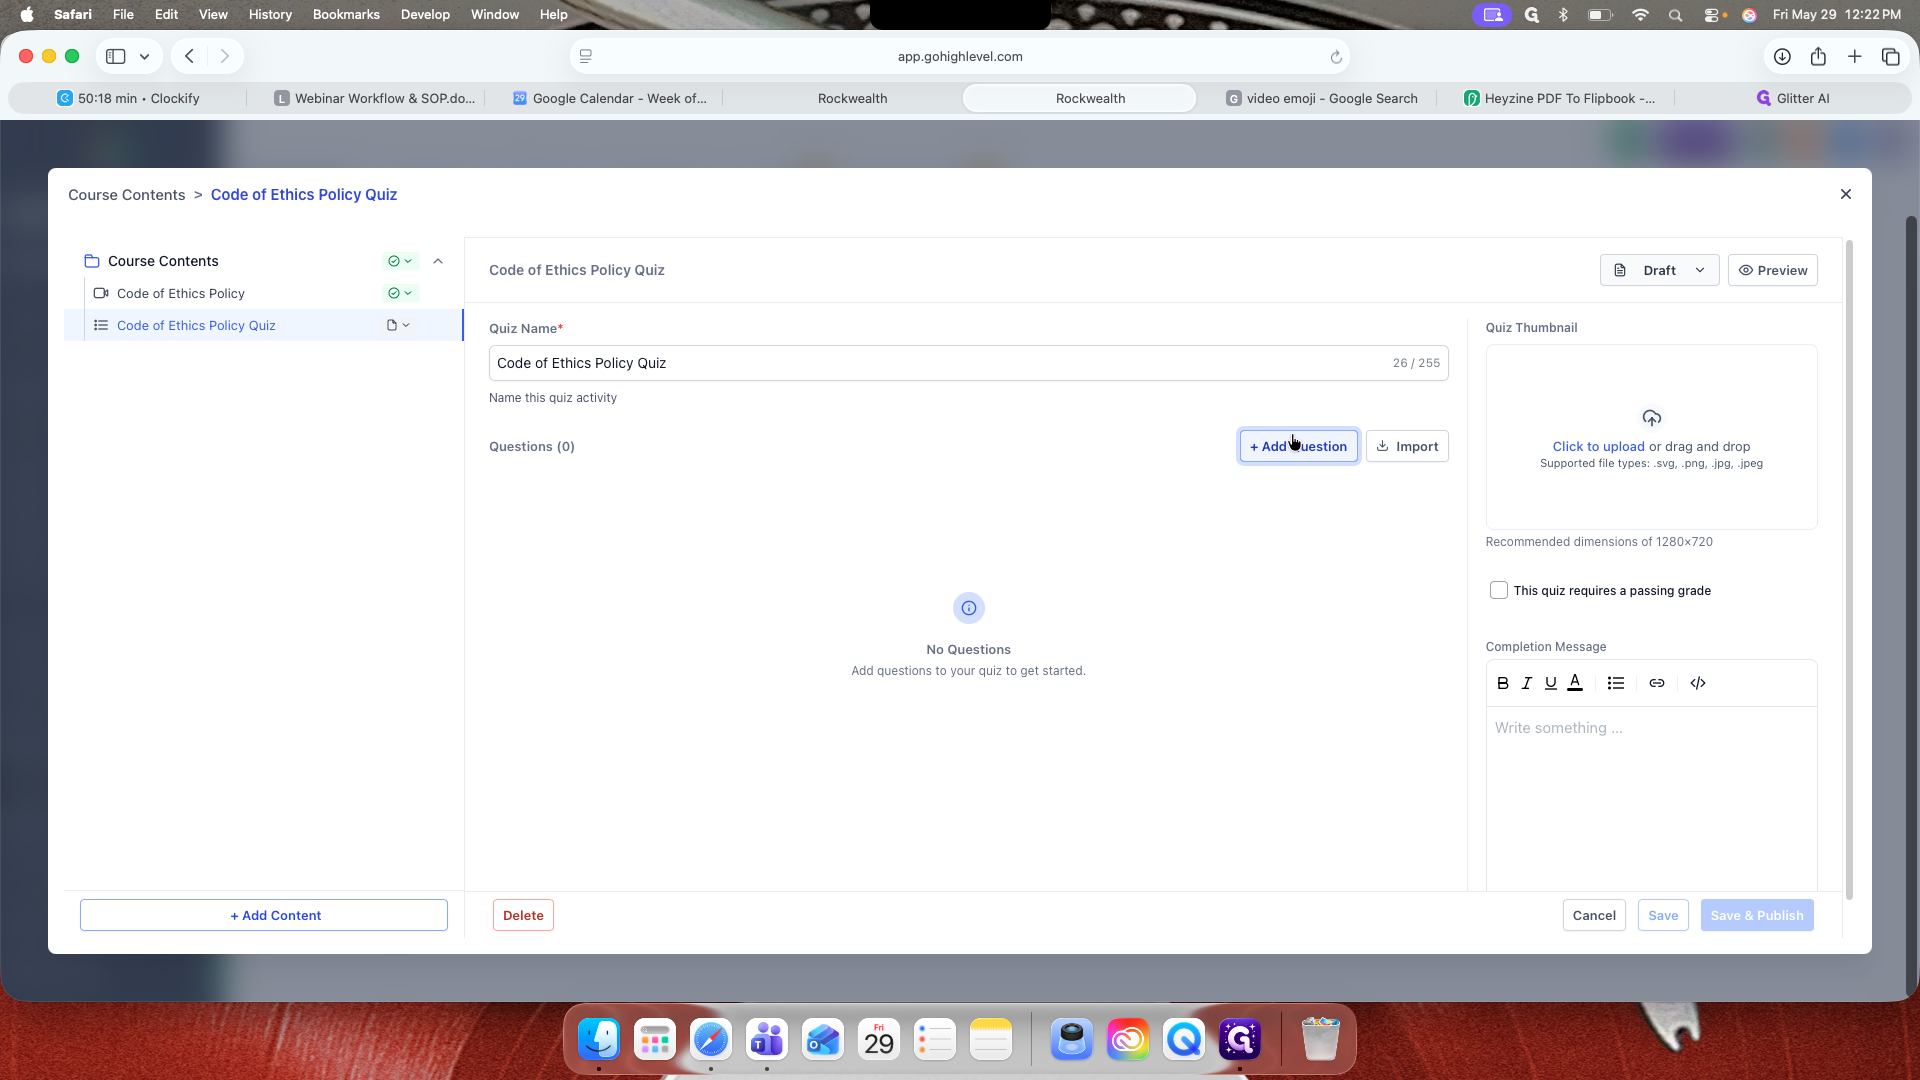
45
Click Create Quiz.
46
Click the edit icon next to the newly created quiz.
47
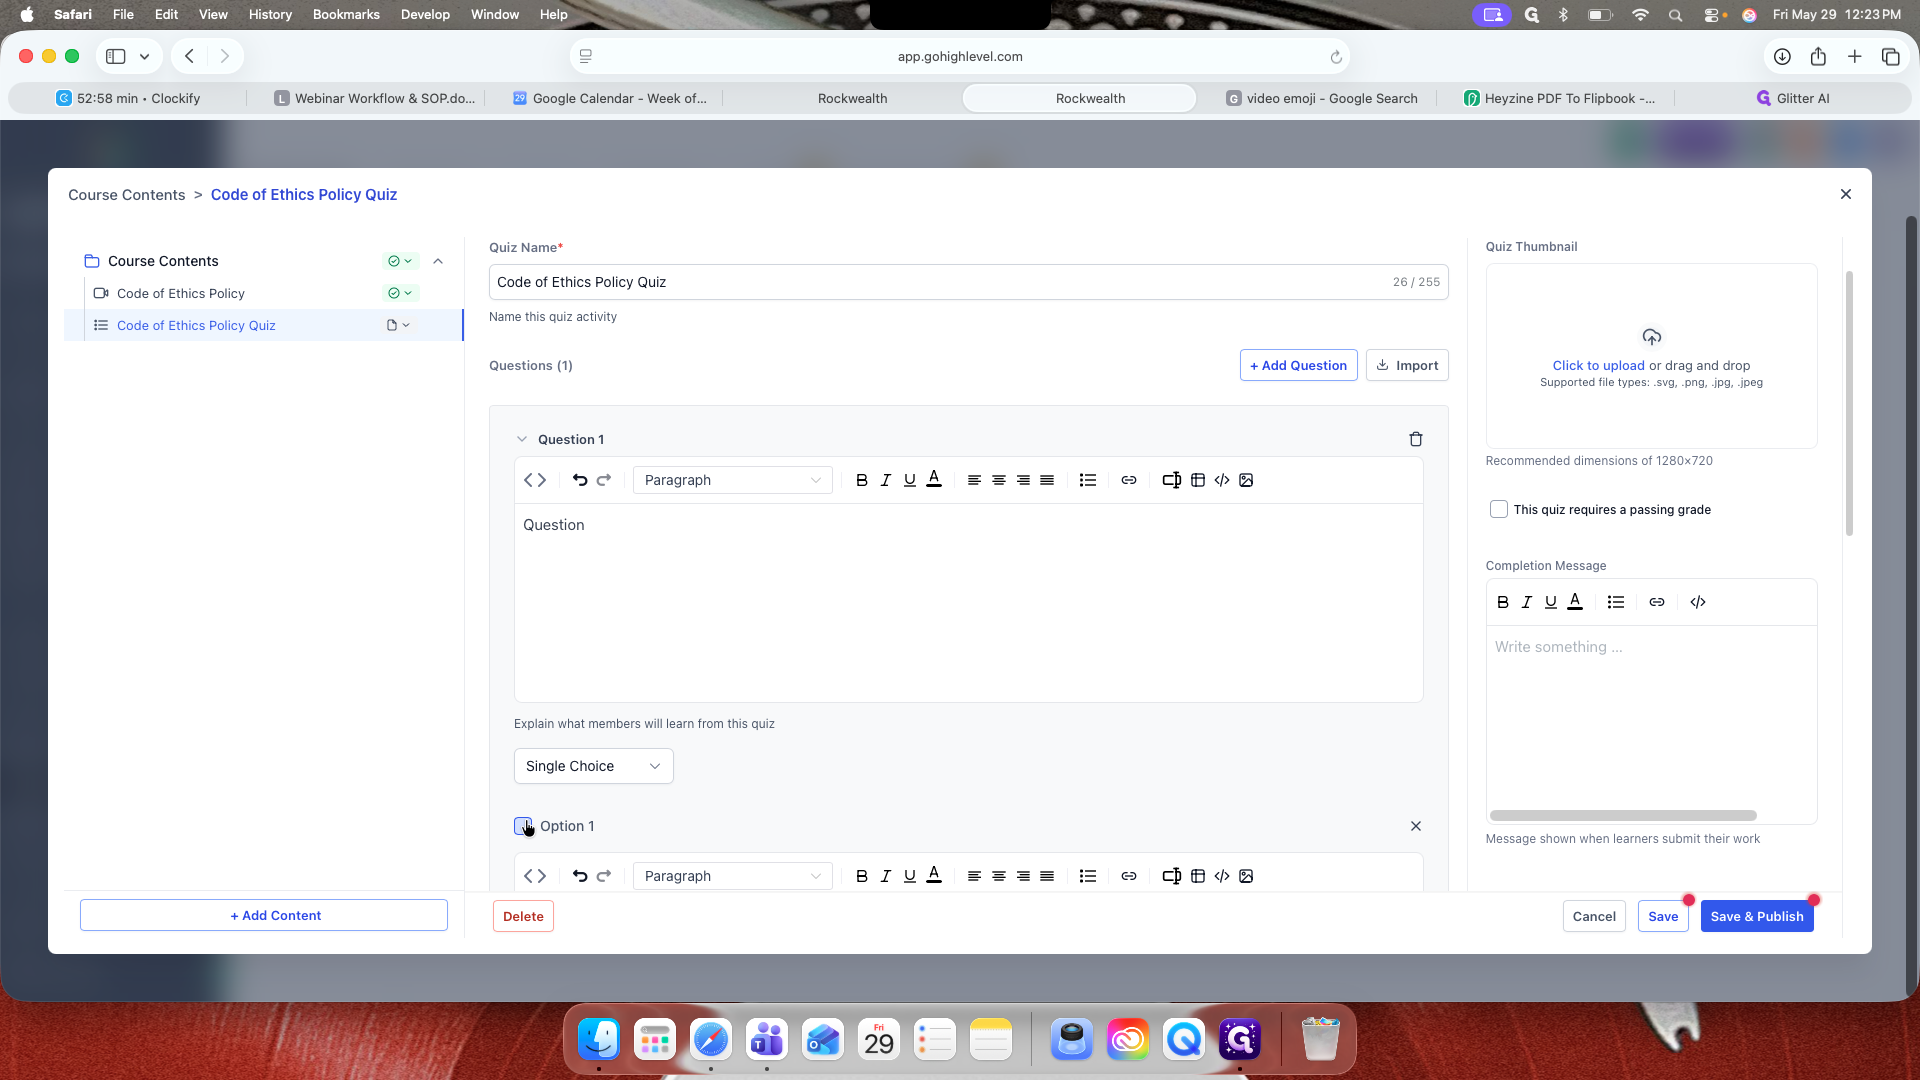
Click + Add Question to begin building the quiz.
53
Expand the question section to enter the prompt and add multiple-choice options.
57
Check the circle next to the correct answer to set the grading logic.
58
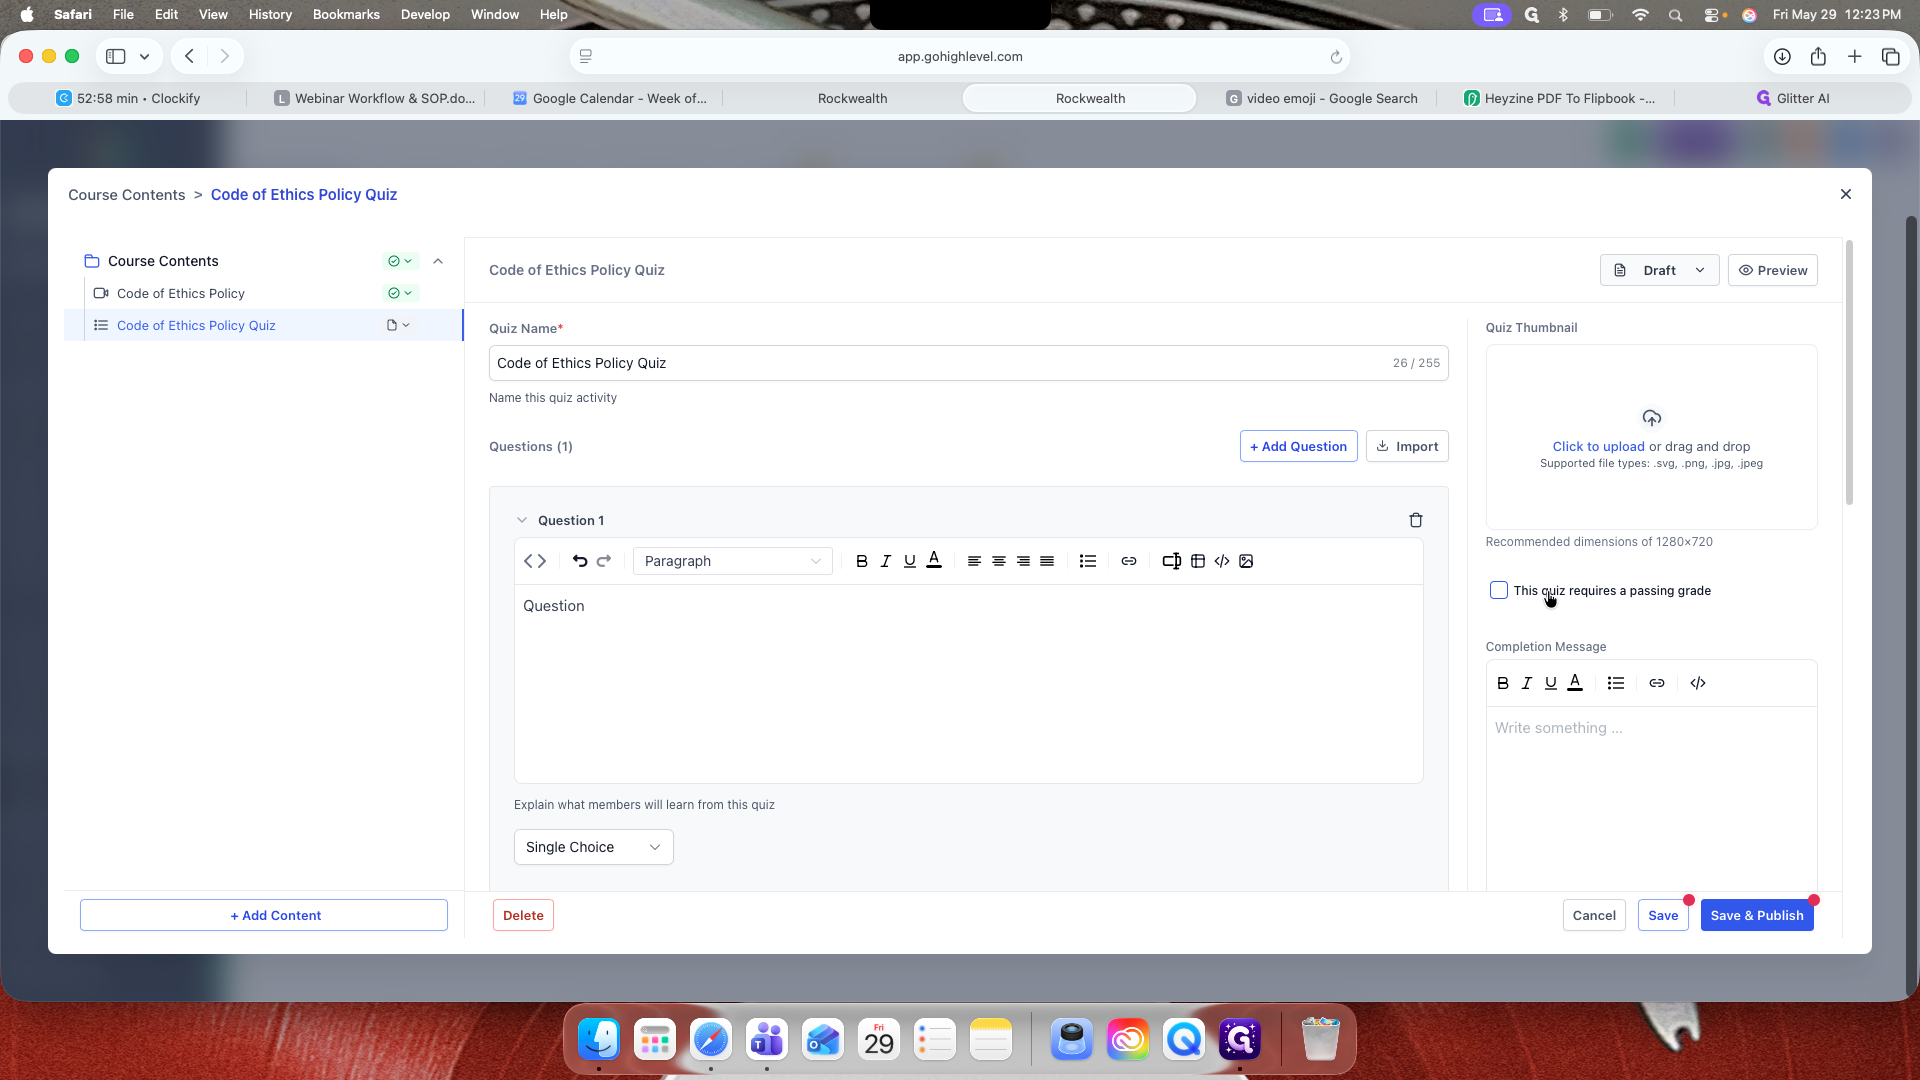
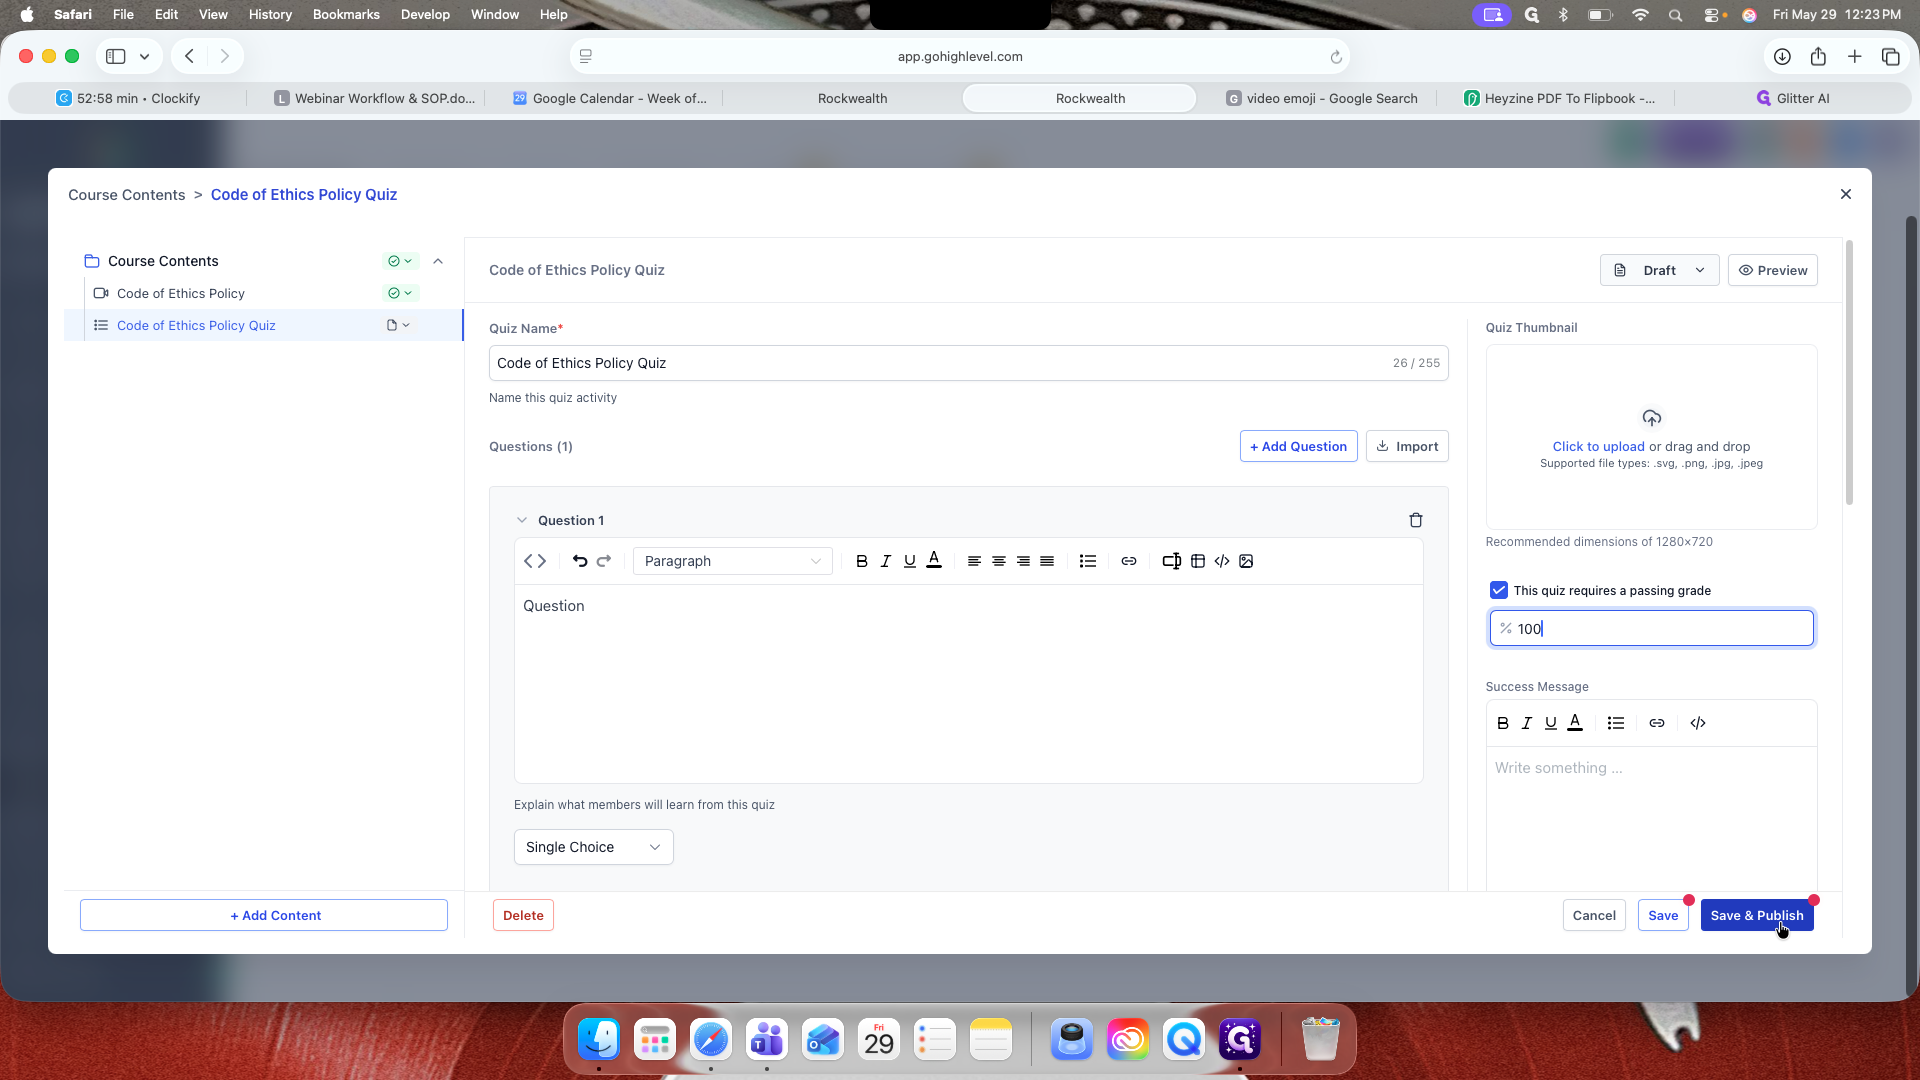
Configure the passing settings, such as checking "This quiz requires a passing grade" and defining the percentage.
If you do not want clients to easily deduce the correct answers when they fail, consider unchecking "This quiz requires a passing grade" or adjusting your re-test rules accordingly.
61
Click Save & Publish.
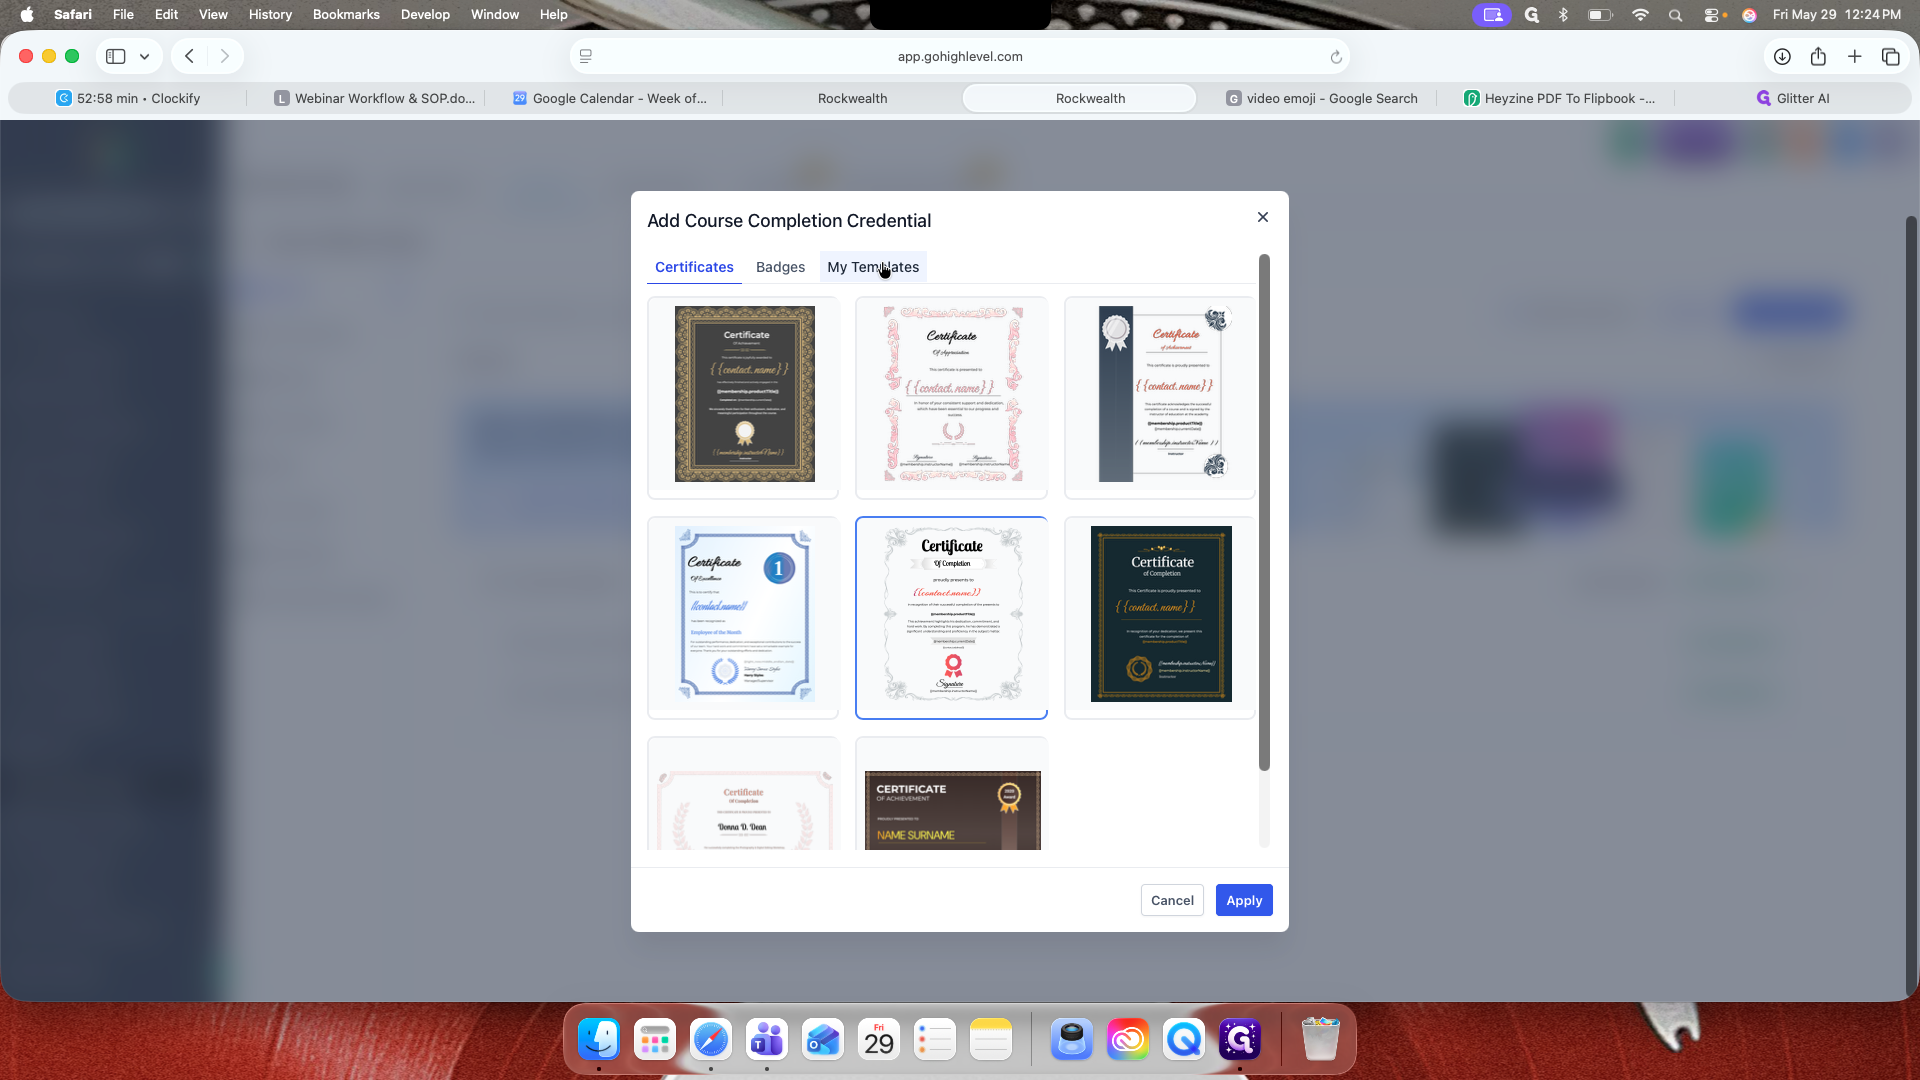
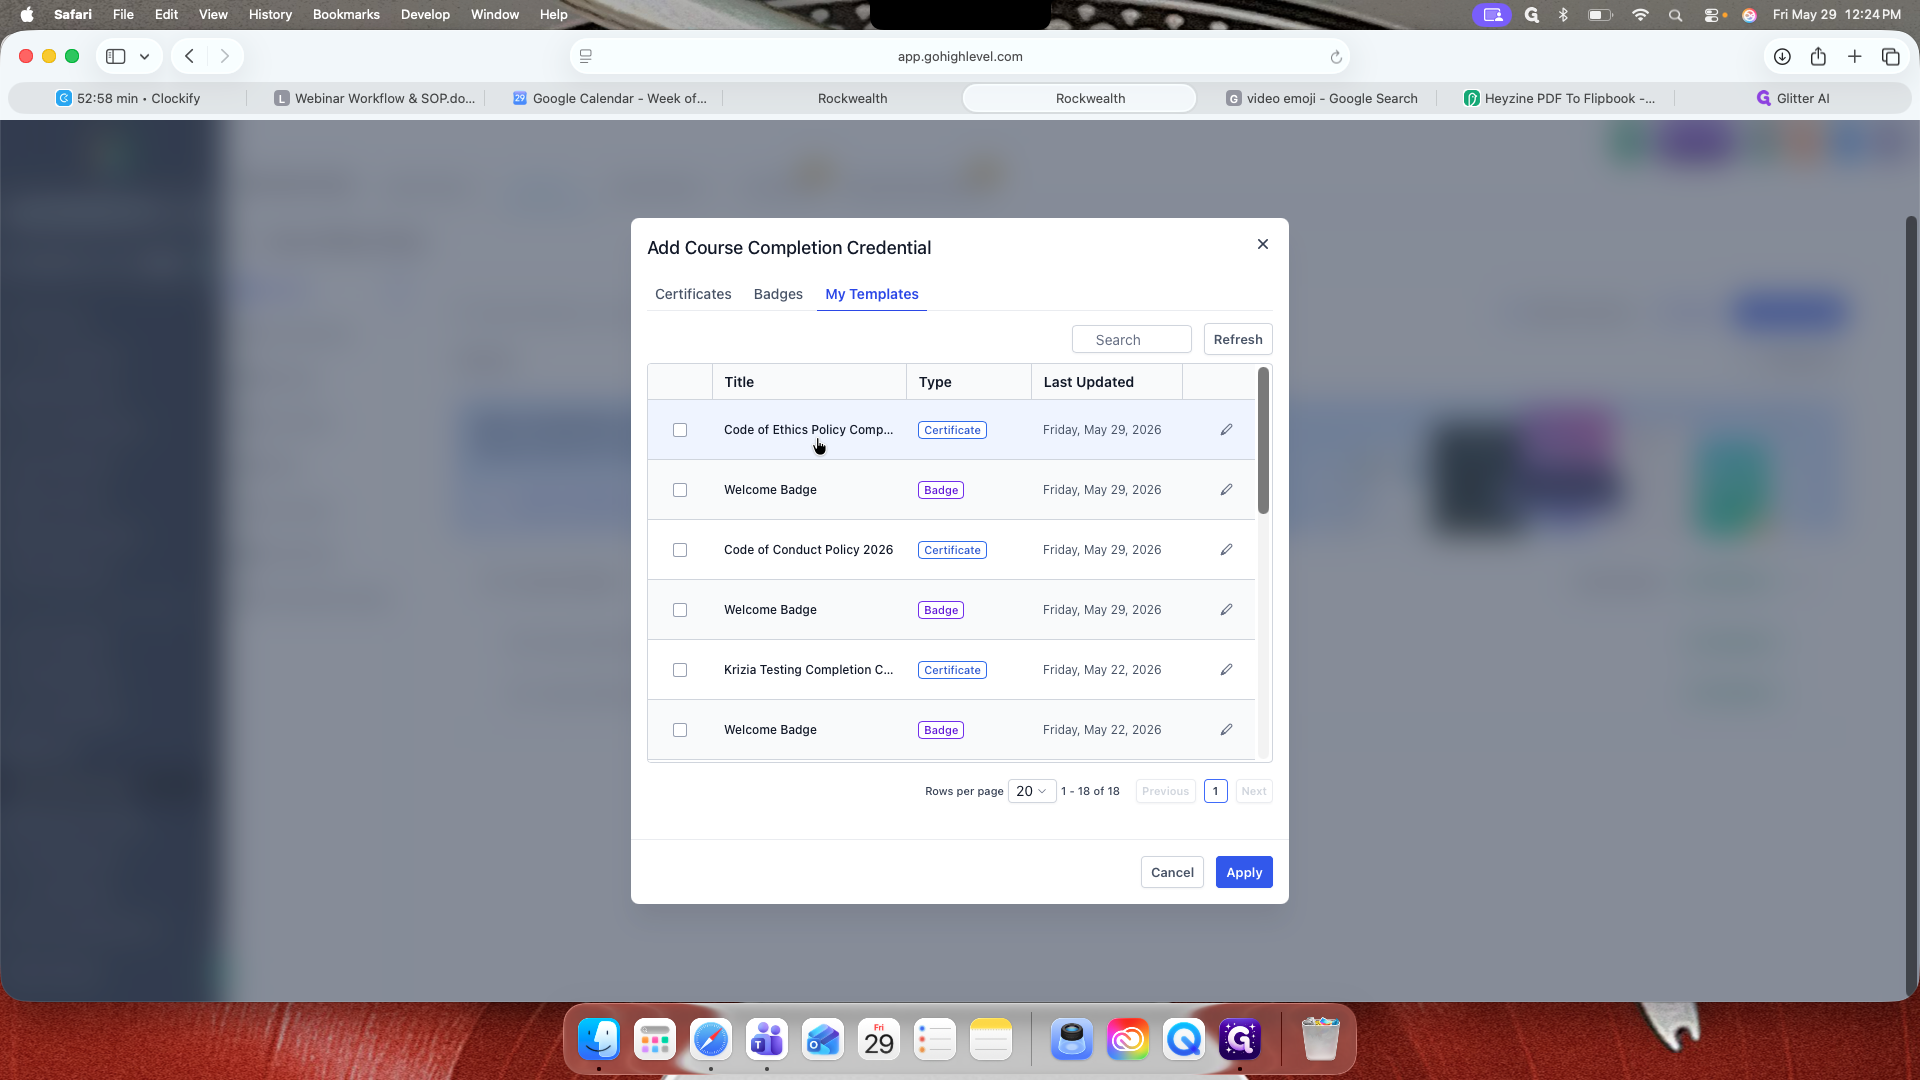
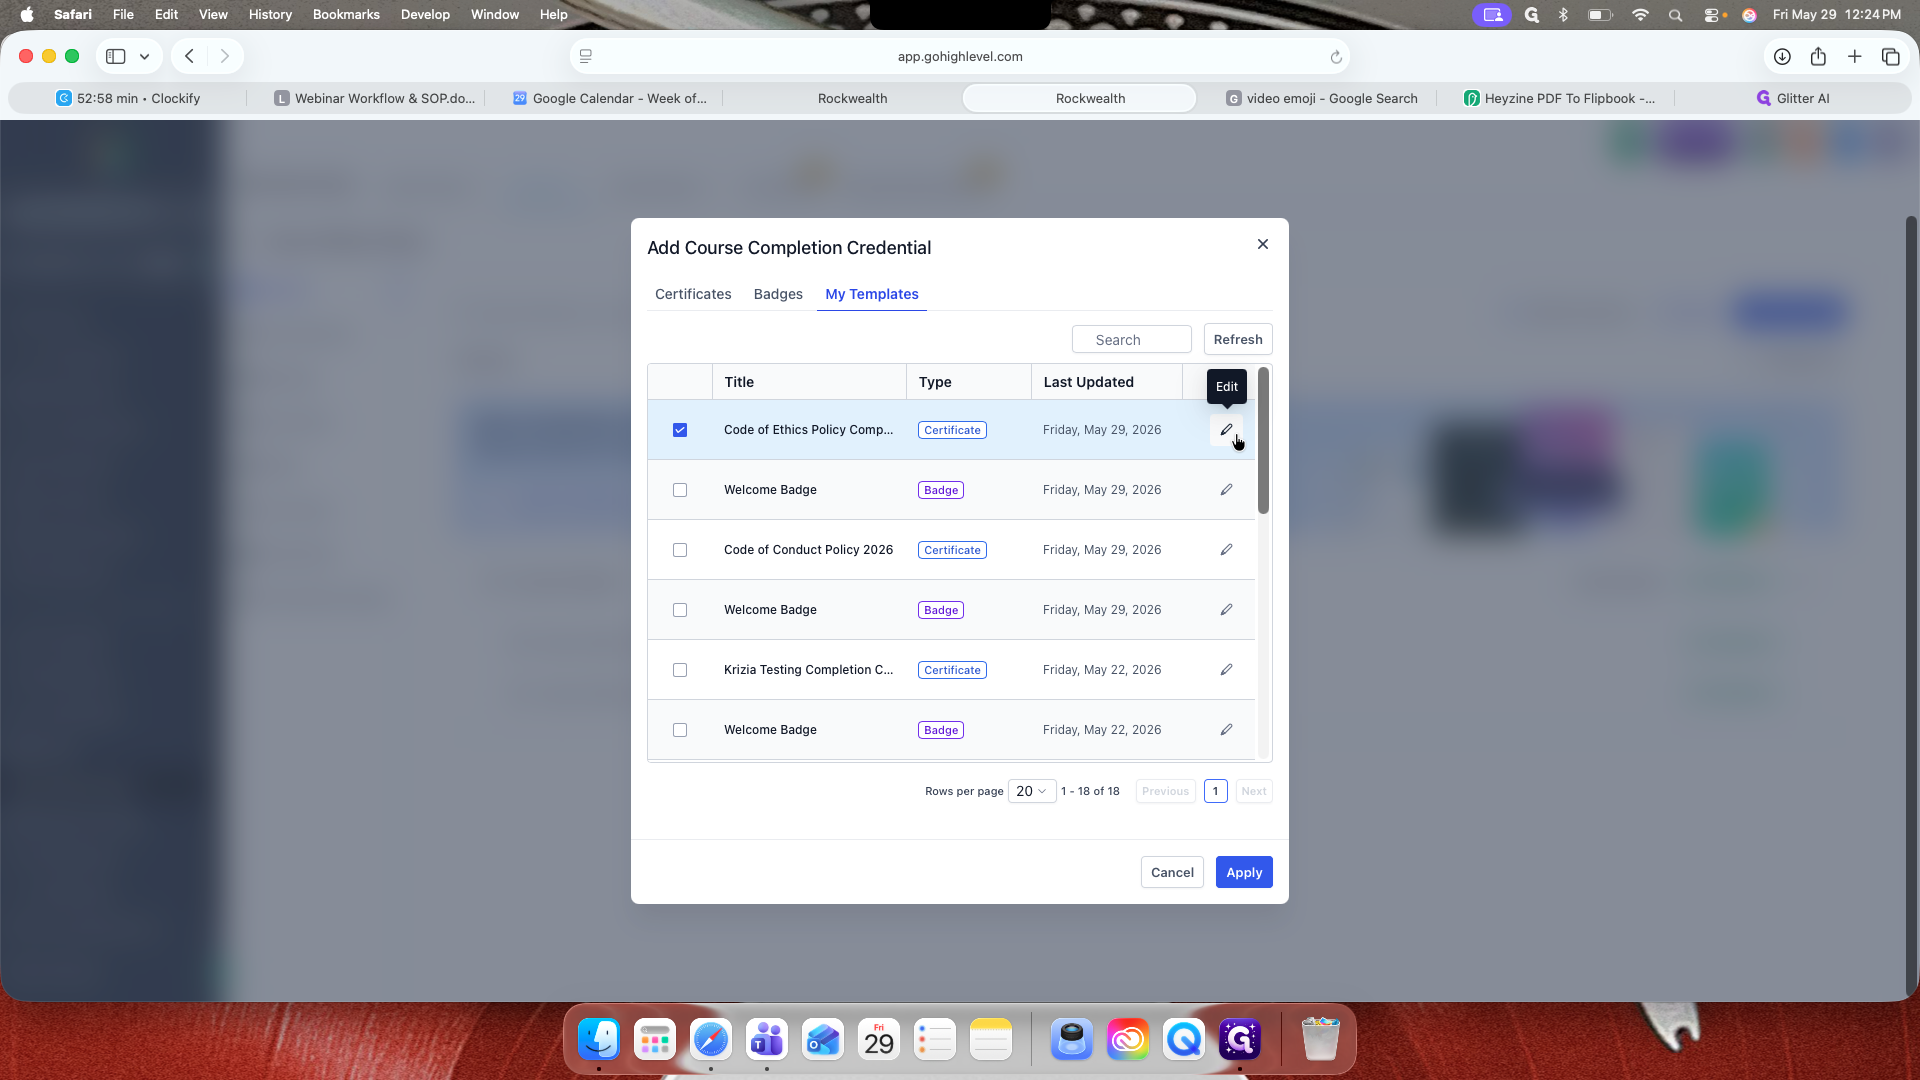
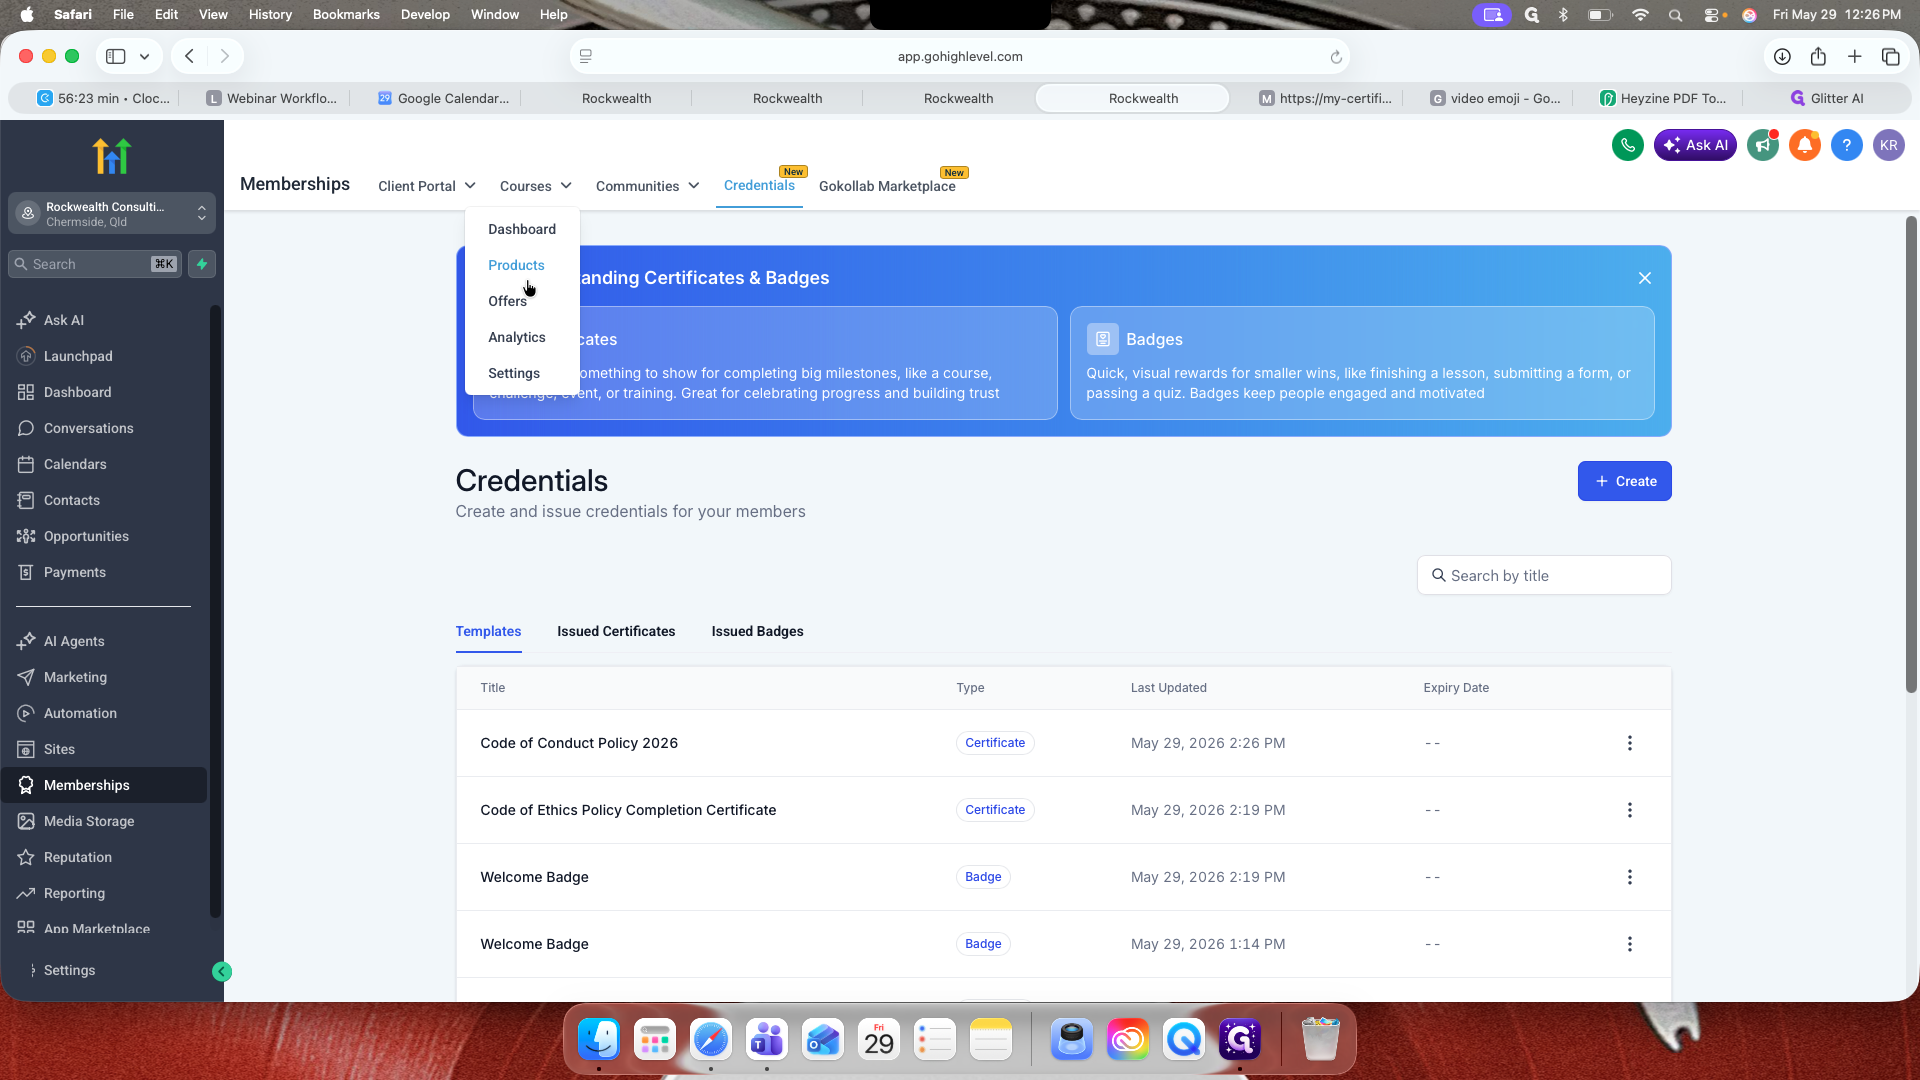
Issuing a Completion Certificate
64
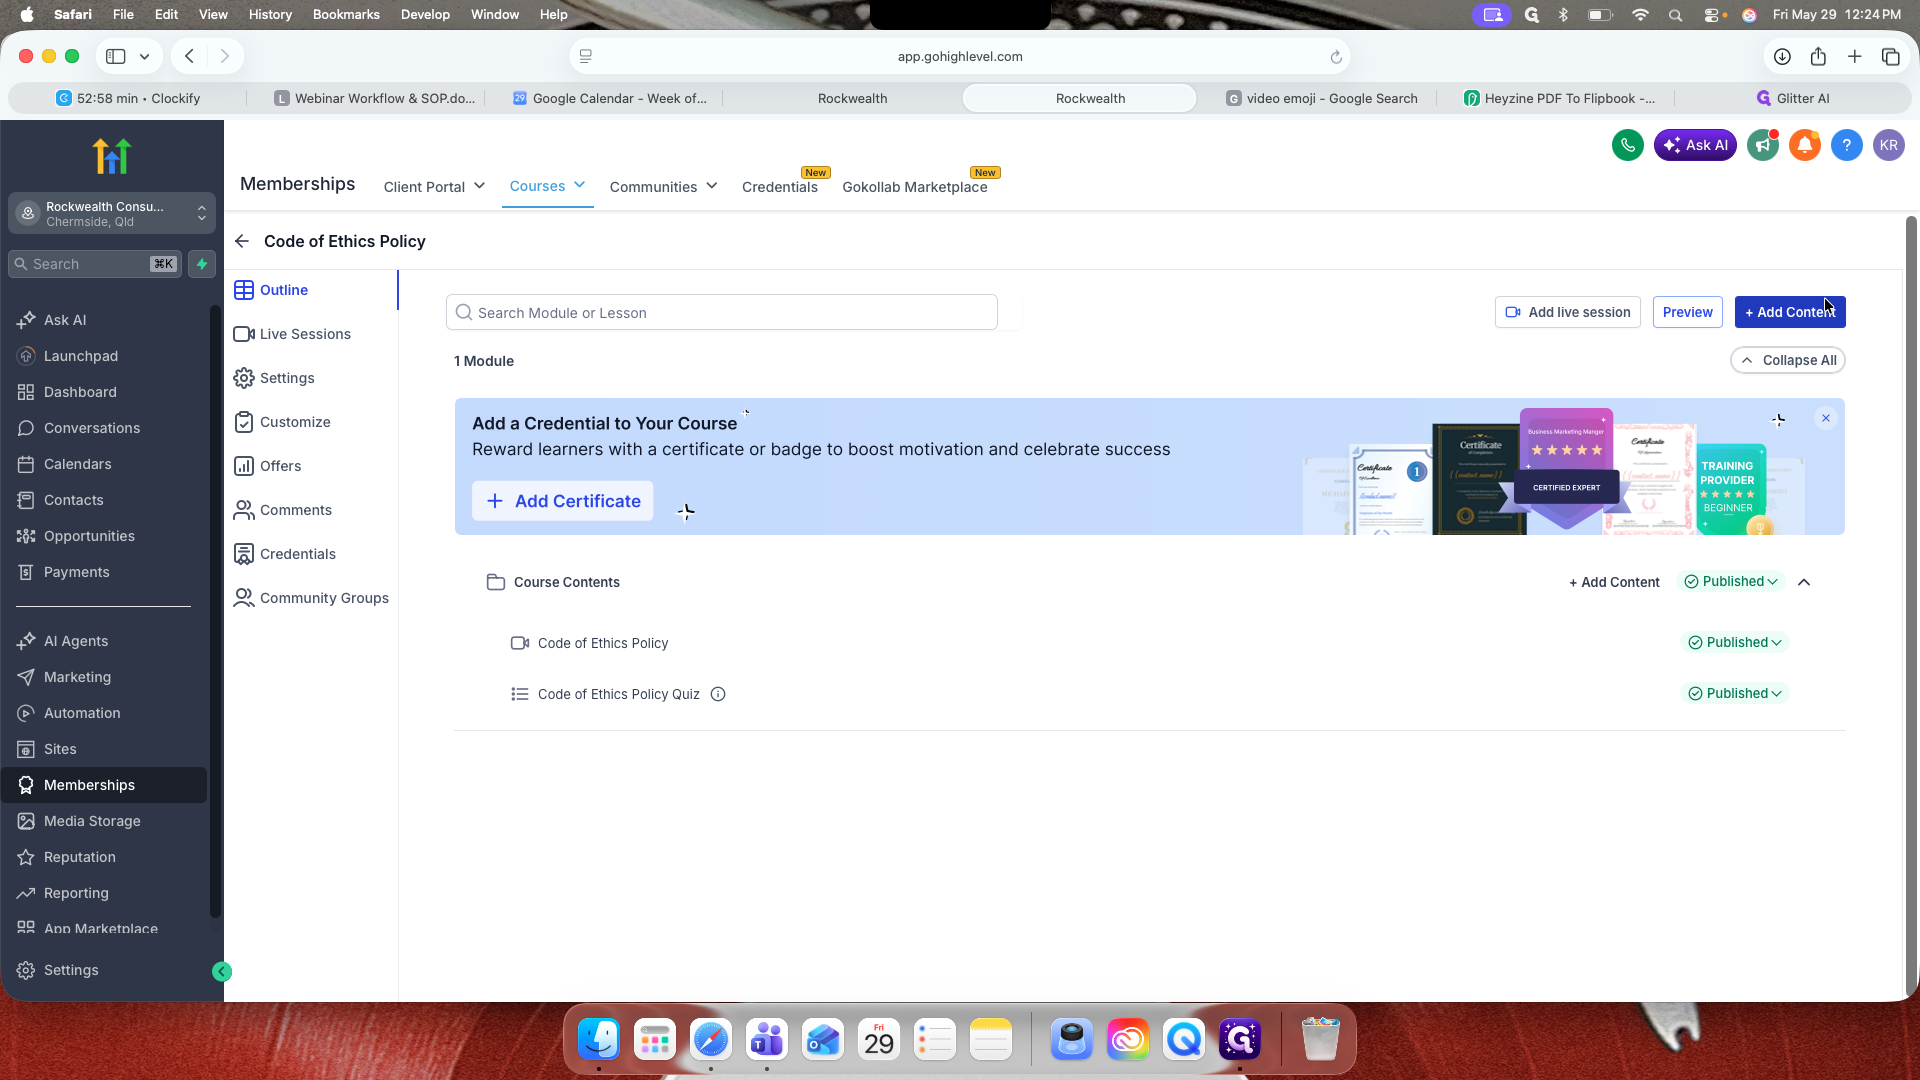
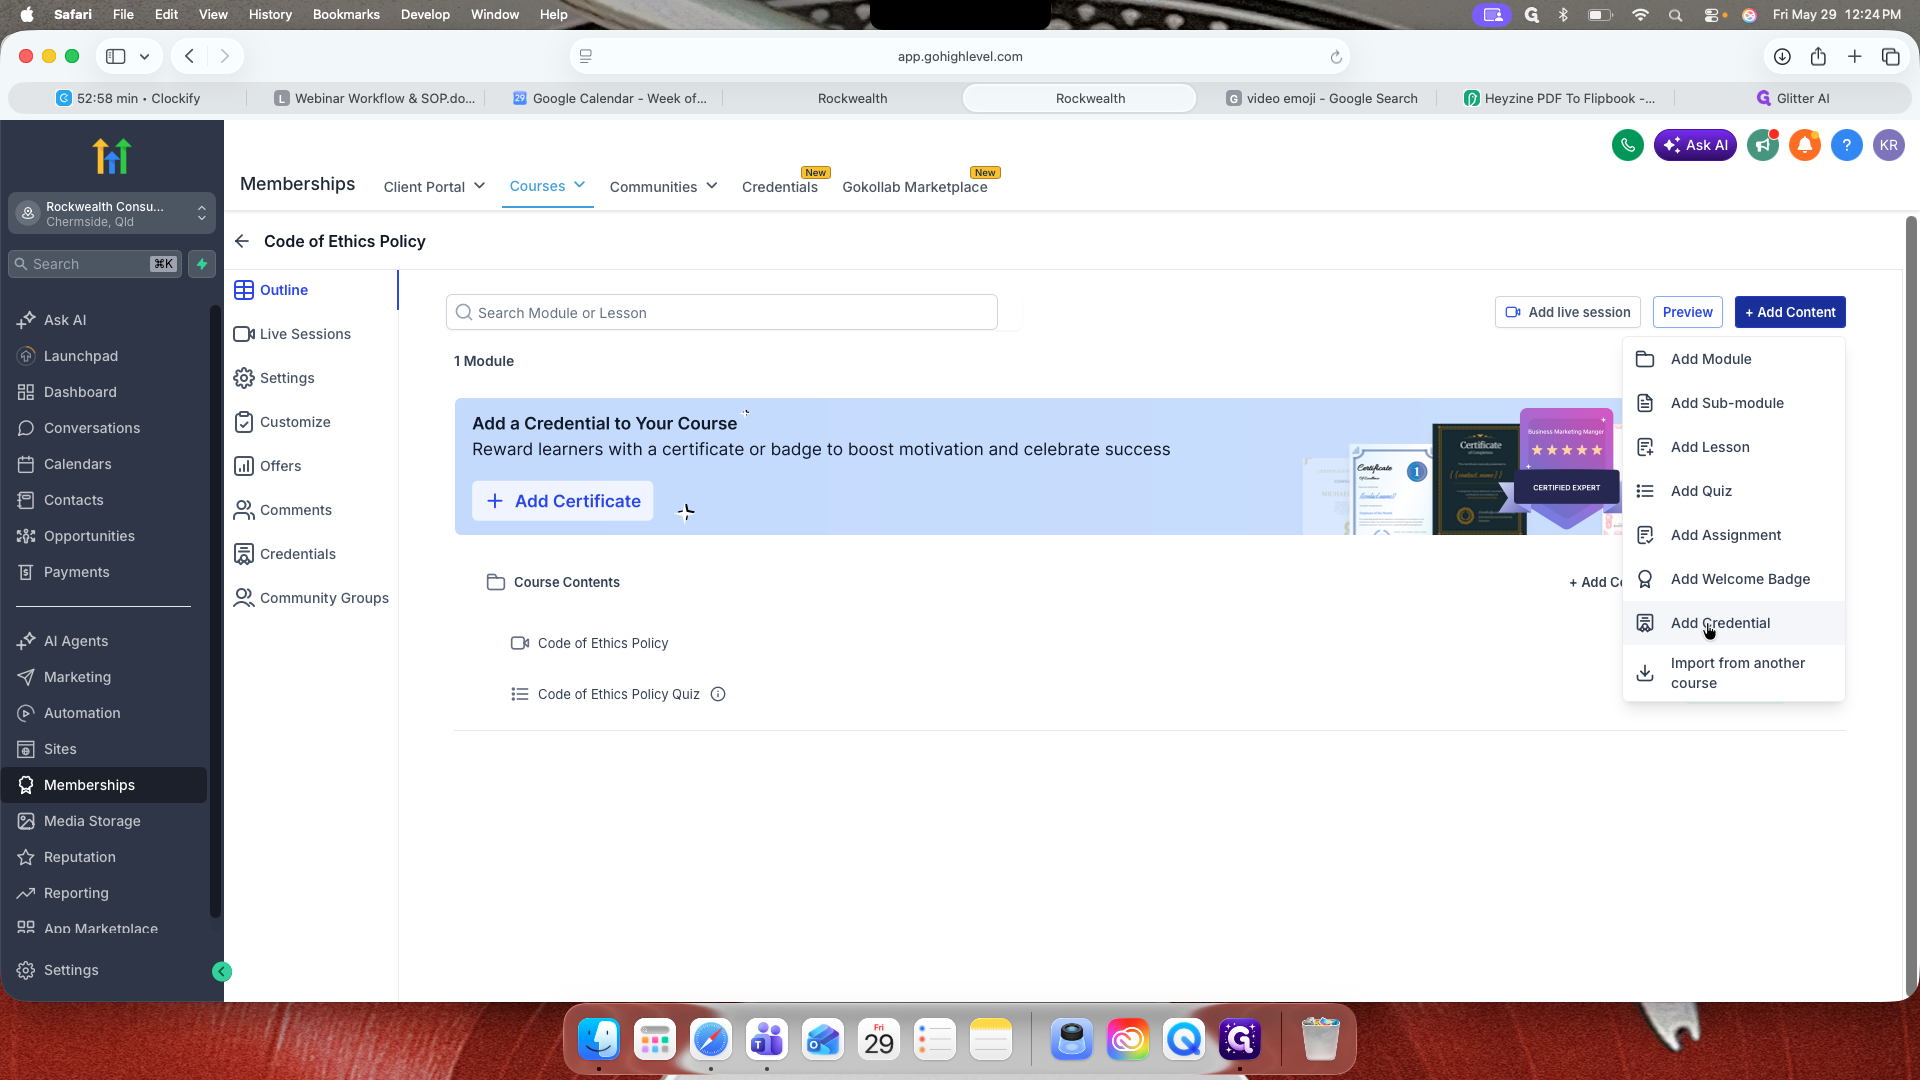
Click + Add Content.
65
Select Add Credential.
67
Navigate to the My Templates tab to use a pre-built layout.
68
Select your preferred certificate template and apply it.
69
Click the edit icon on the template to customize its design.
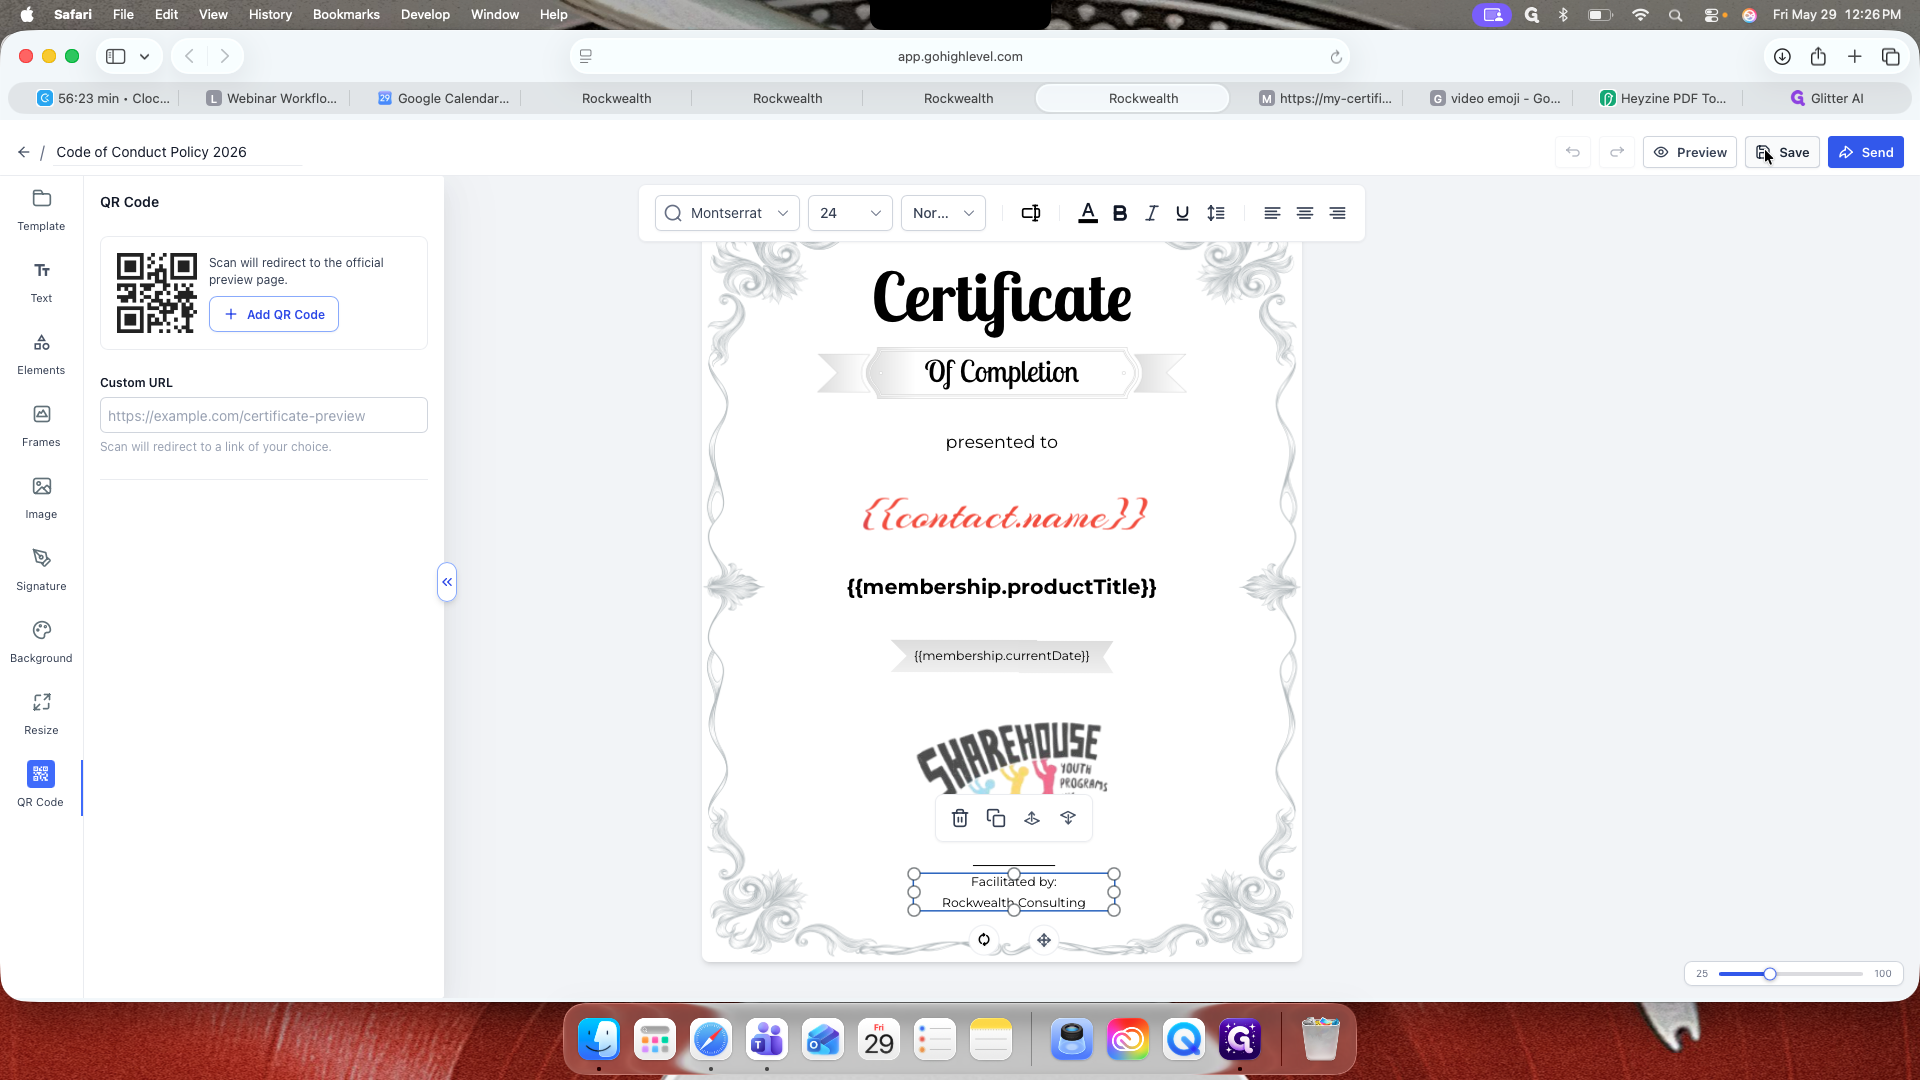
In the certificate editor, you can add dynamic variables like {{contact.name}}, upload your company logo, append signatures, and adjust backgrounds or fonts.
90
Click Save when finished customizing.
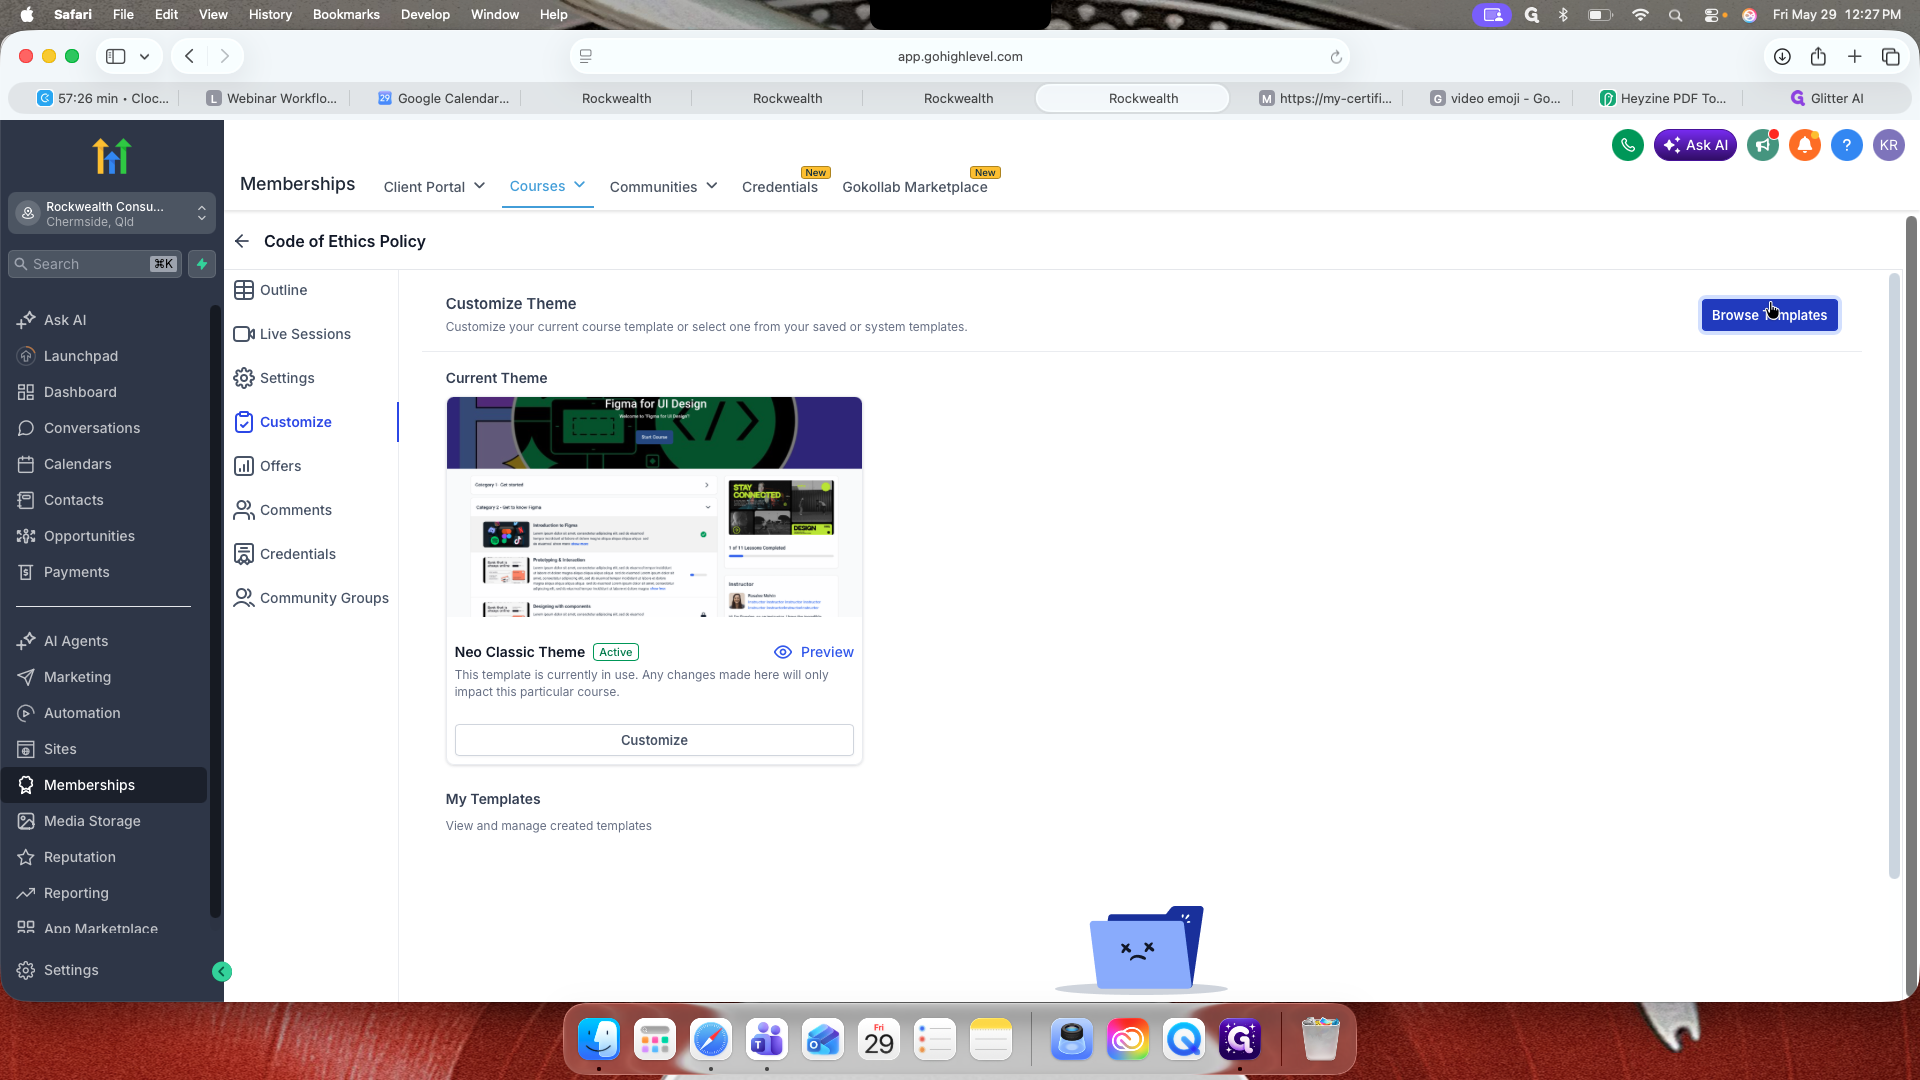
Customizing the Course Theme
92
Navigate back to the main Course view and click the Customize tab.
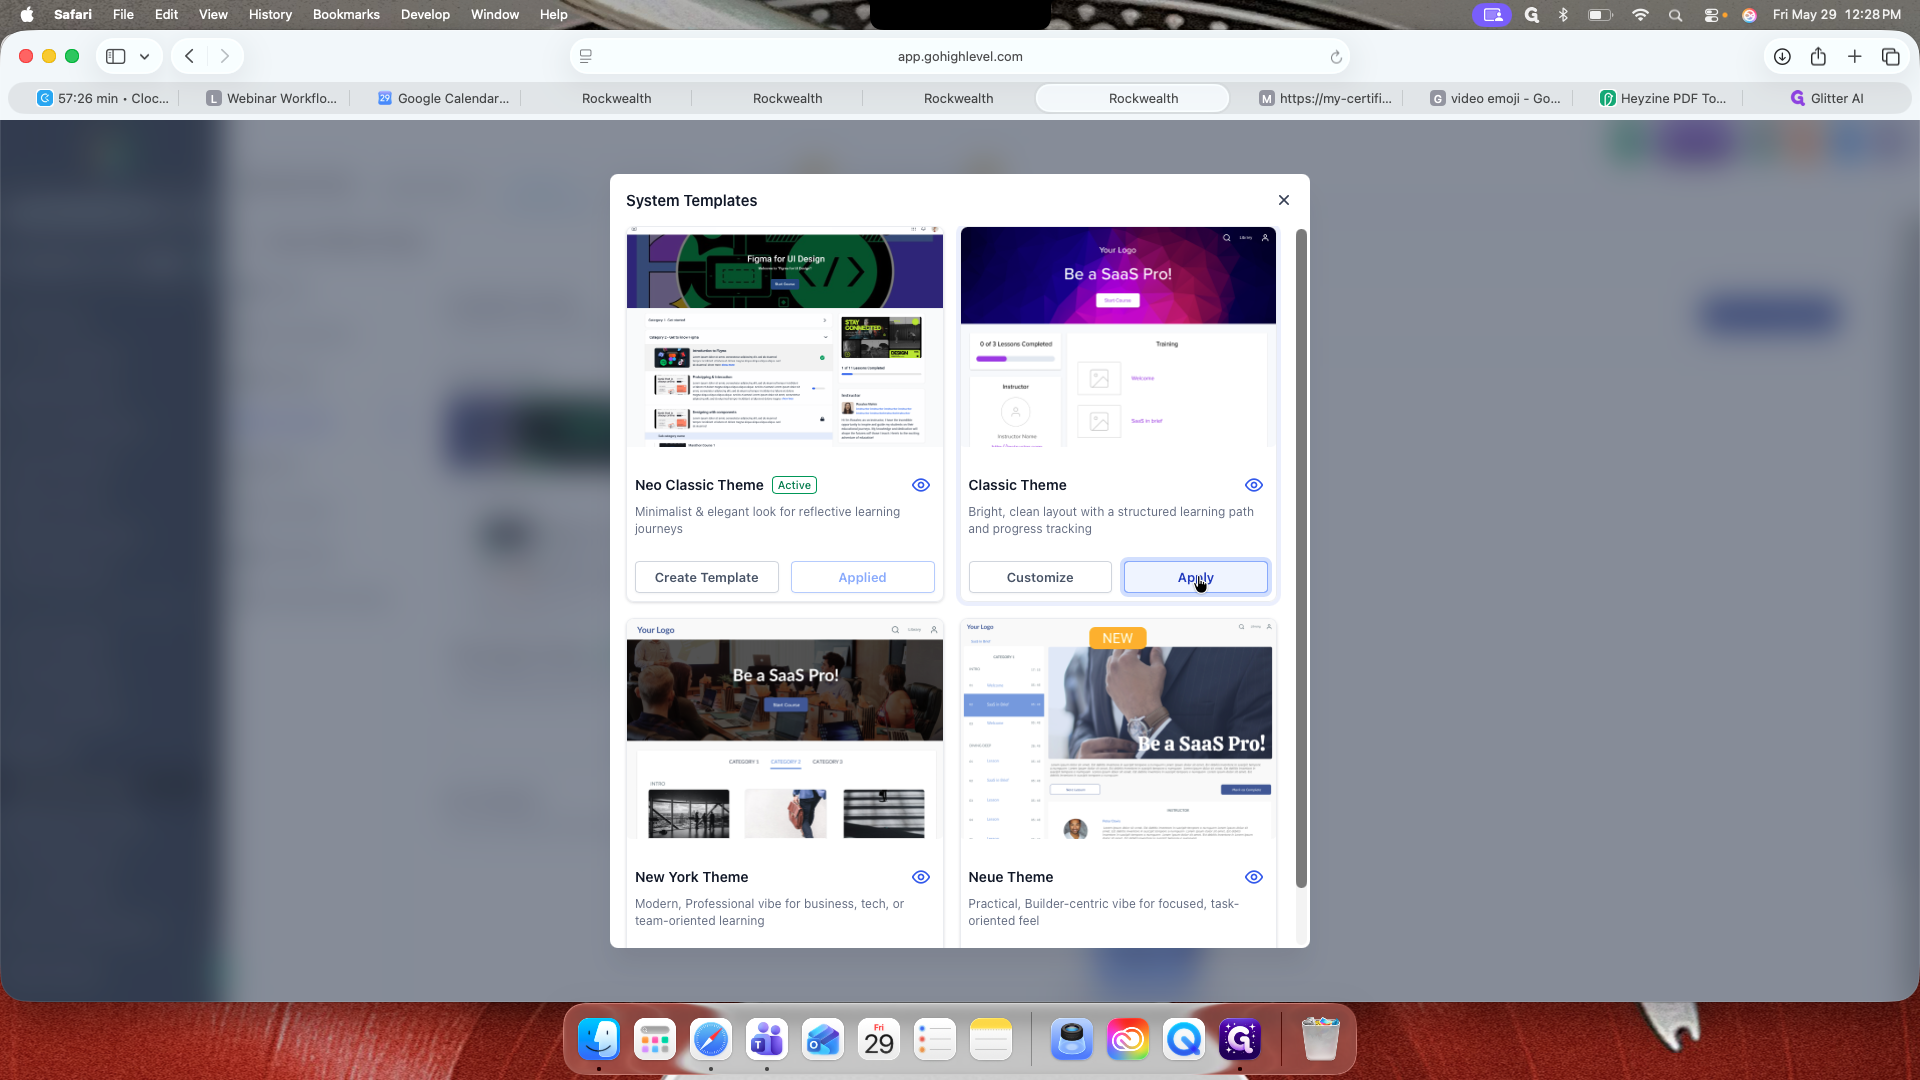
100
Click Browse Templates to change the default look.
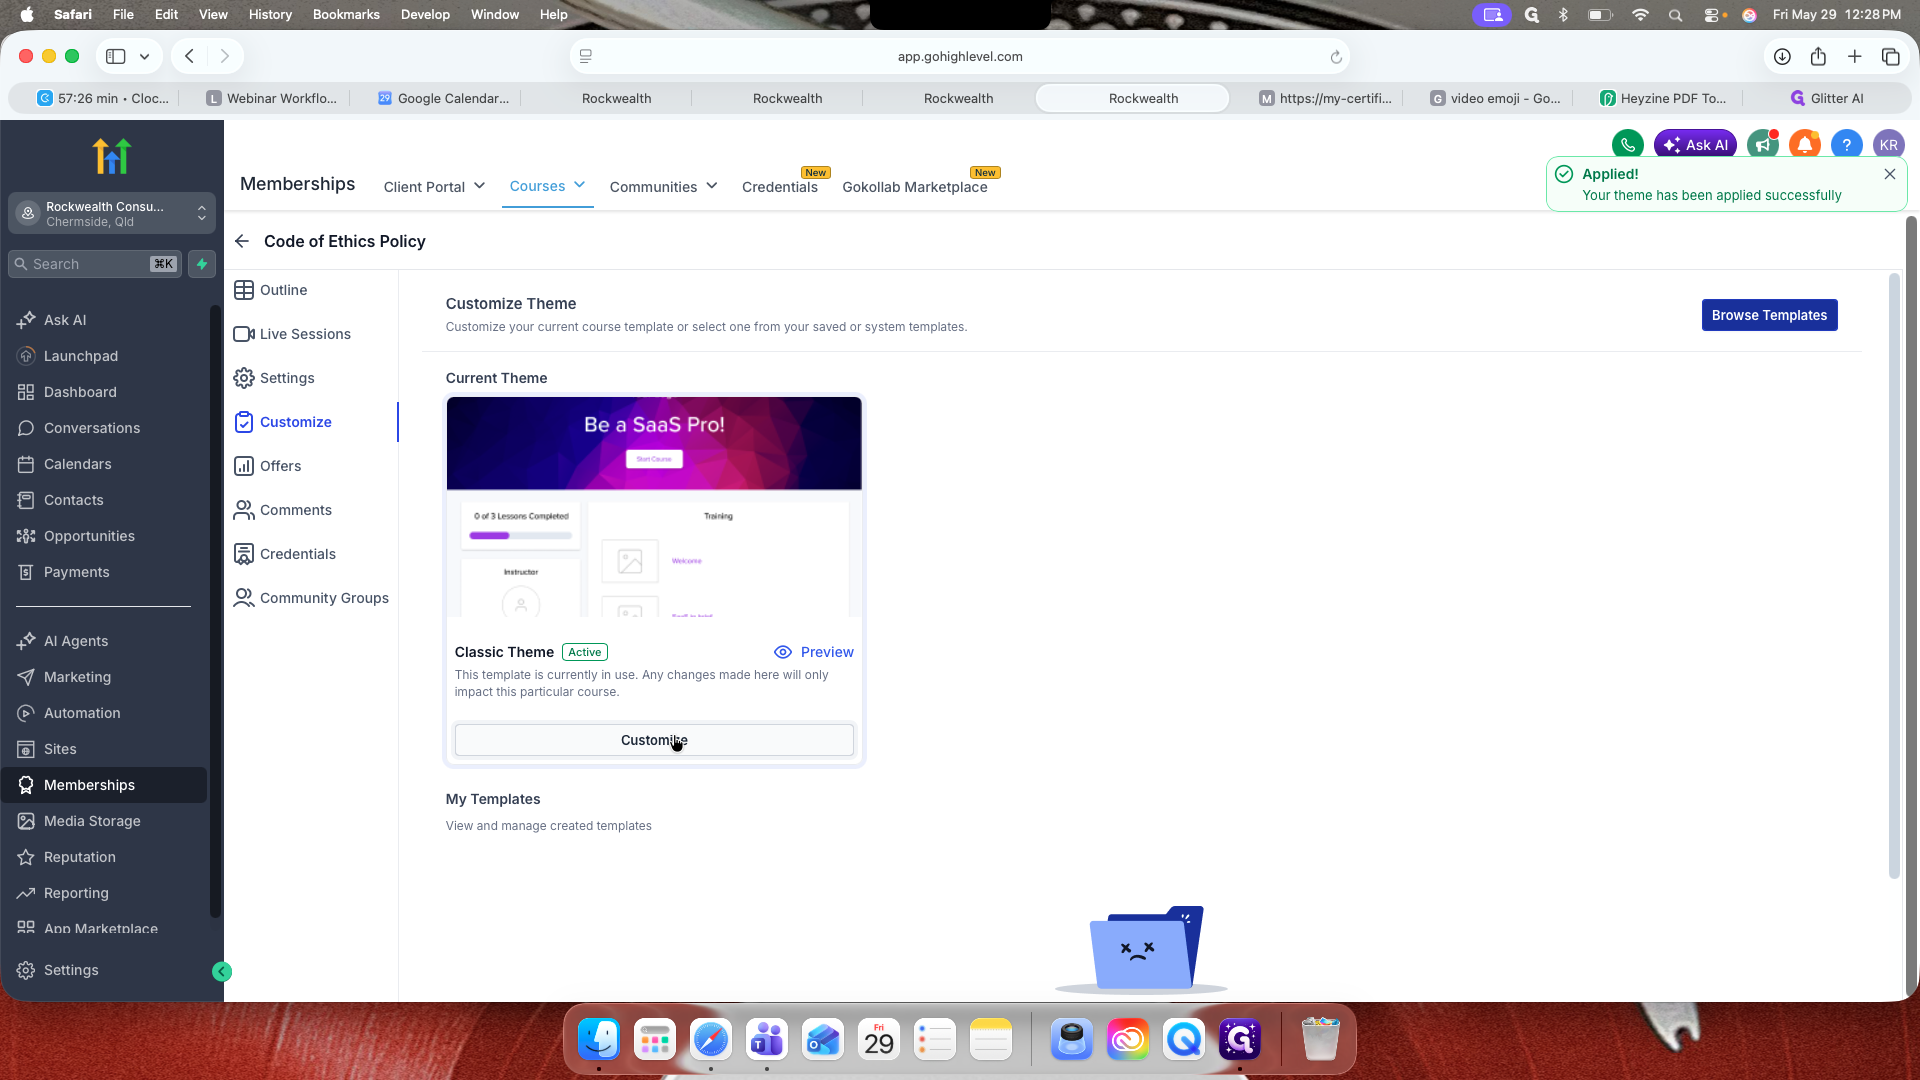
101
Select a new layout (e.g., the Classic Theme) and click Apply.
102
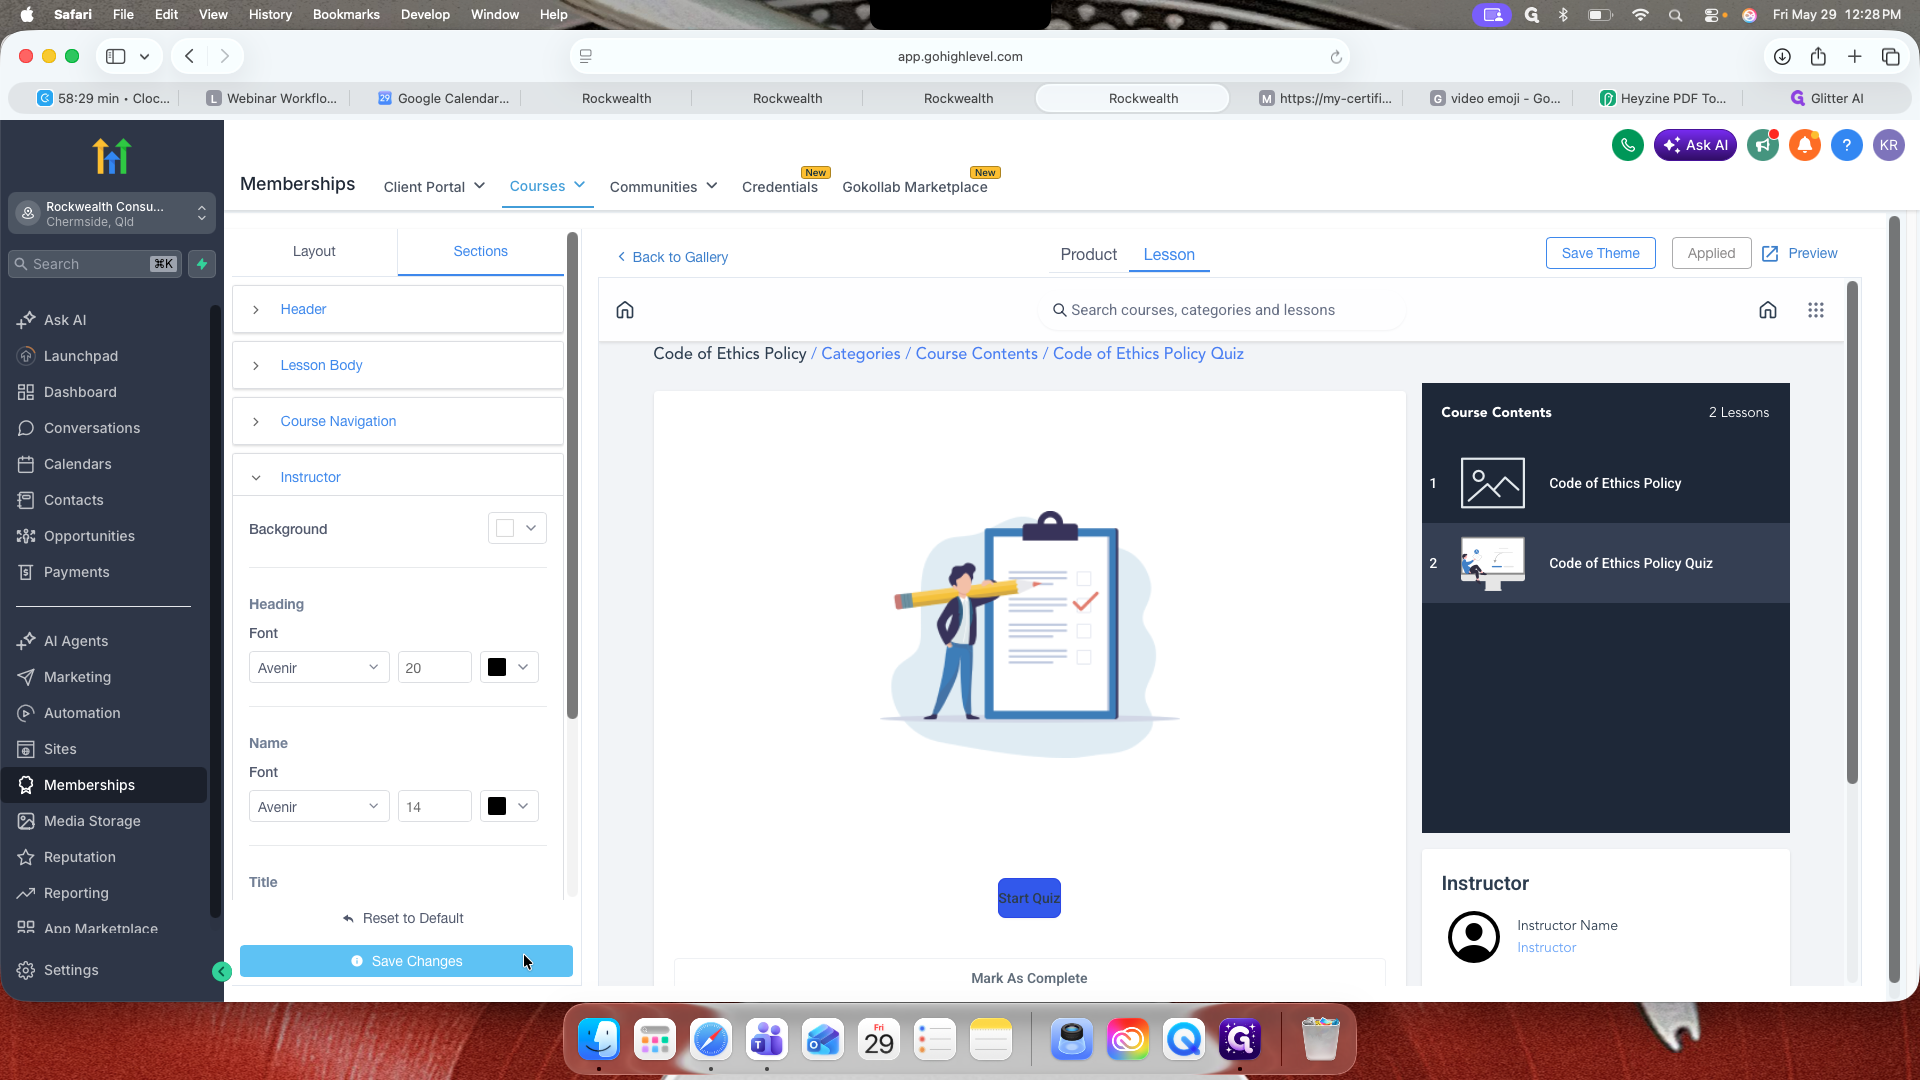
Click Customize on the active theme to refine typography, backgrounds, and lesson components.
107
Click Save Changes in the bottom-left panel when finished.
Configuring the Welcome Email
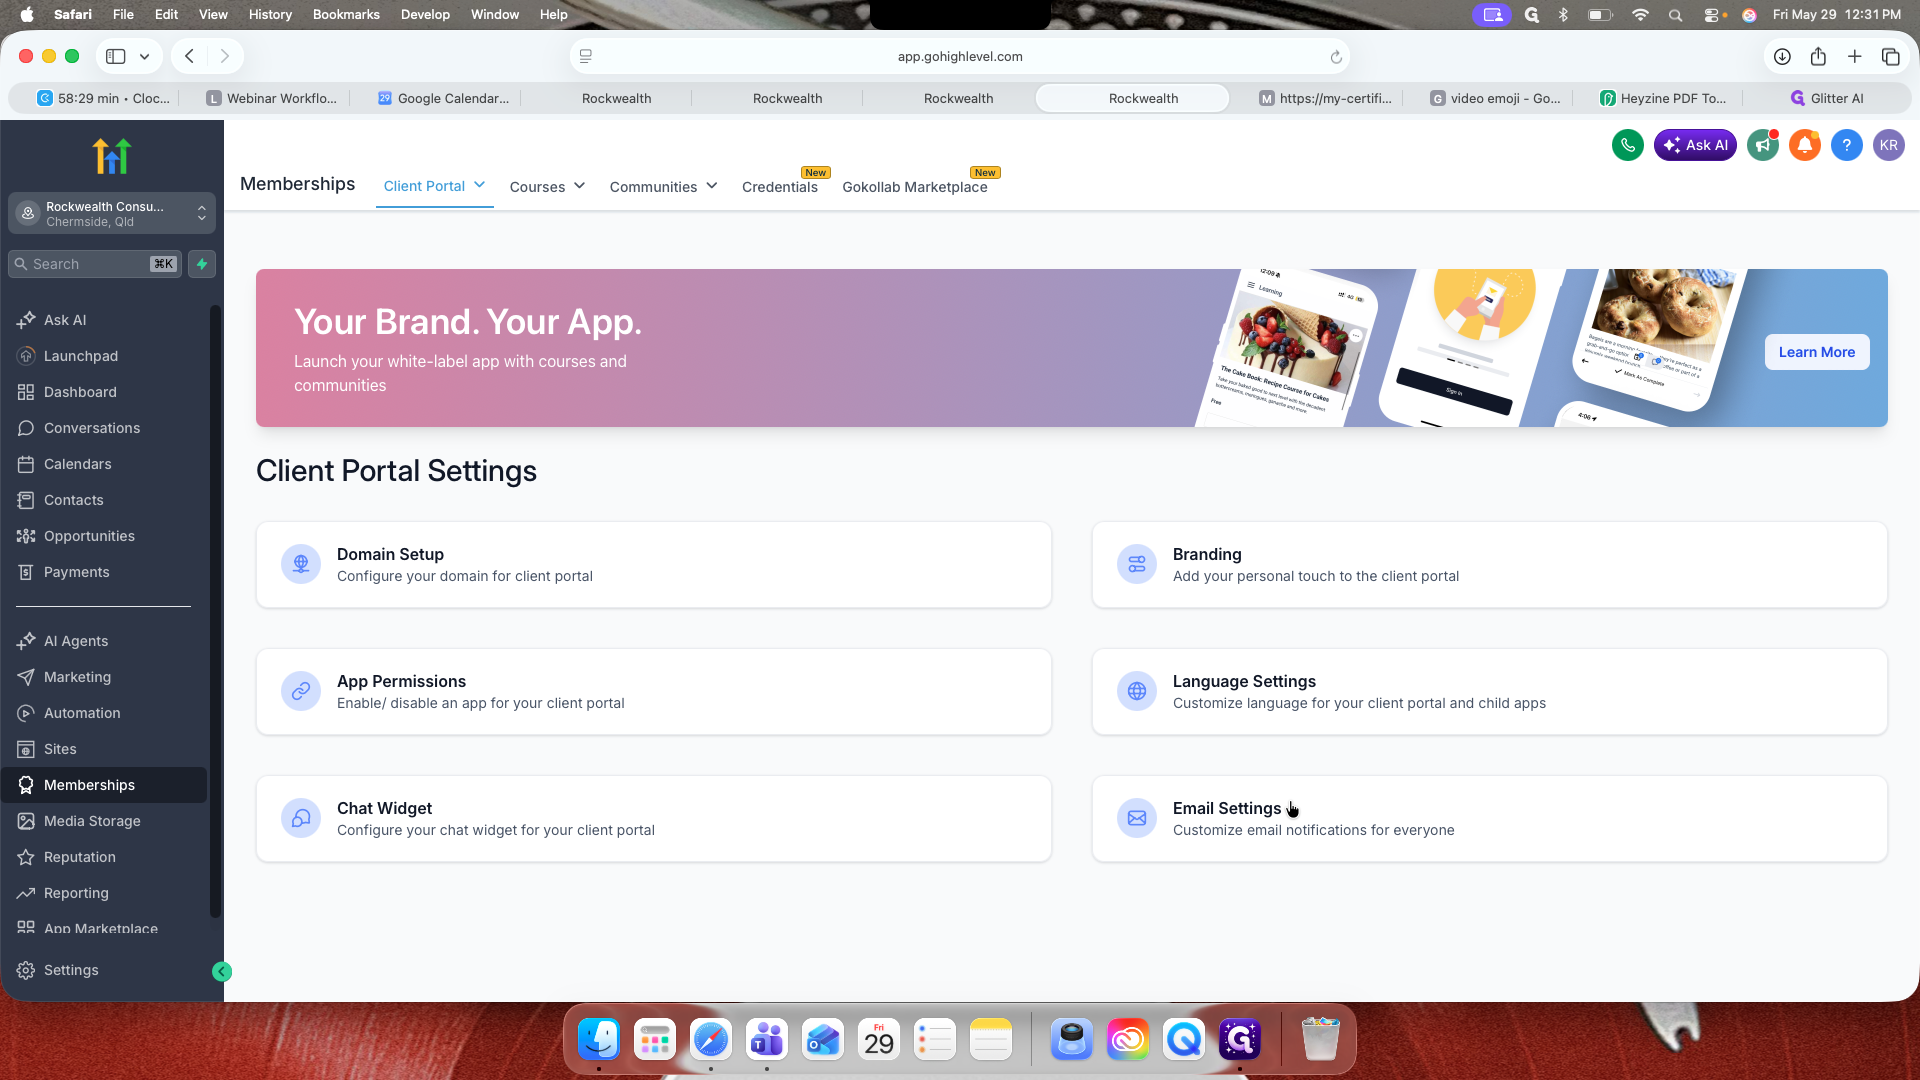
113
Click Client Portal in the main navigation, then select Settings.
114
Select Email Settings.
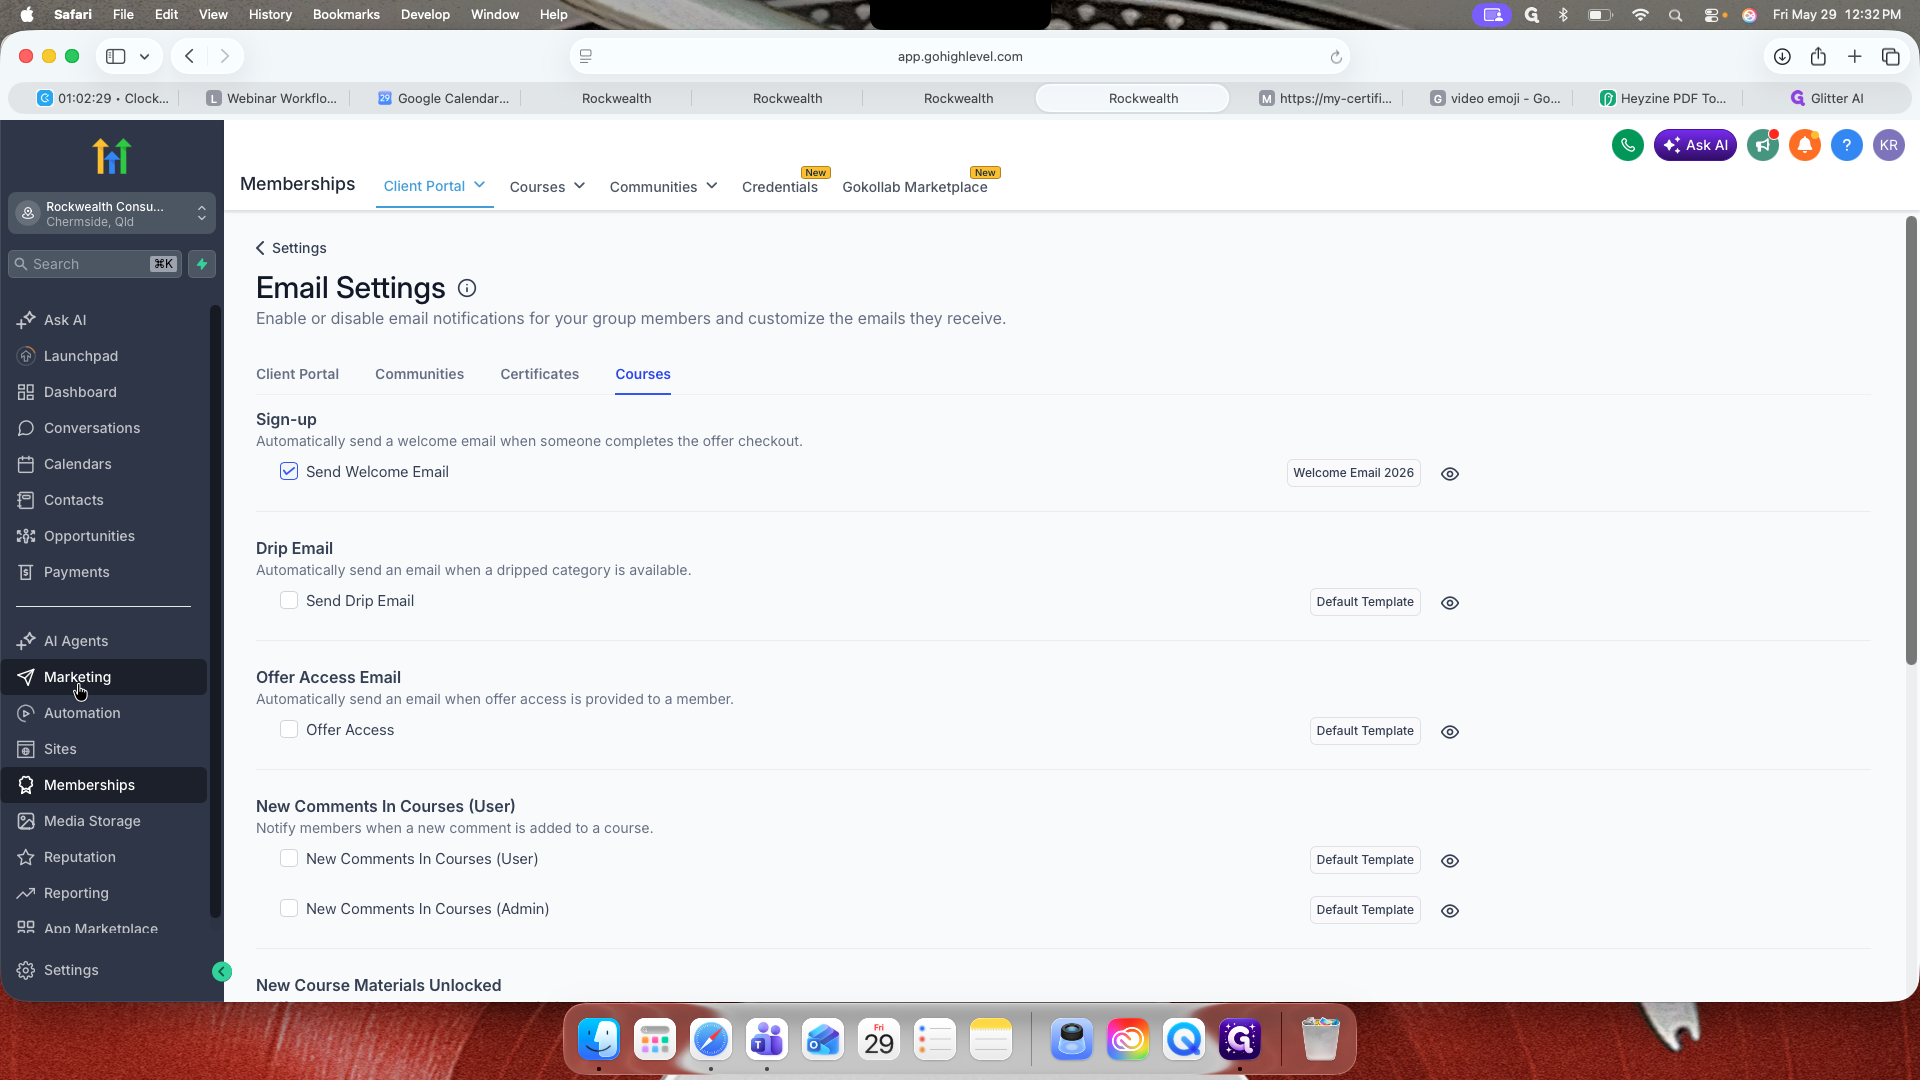
117
Navigate to the Courses tab.
120
Ensure that only the "Send Welcome Email" toggle is checked.
118
Click the preview icon next to the welcome template to preview what clients receive upon sign-up.
122
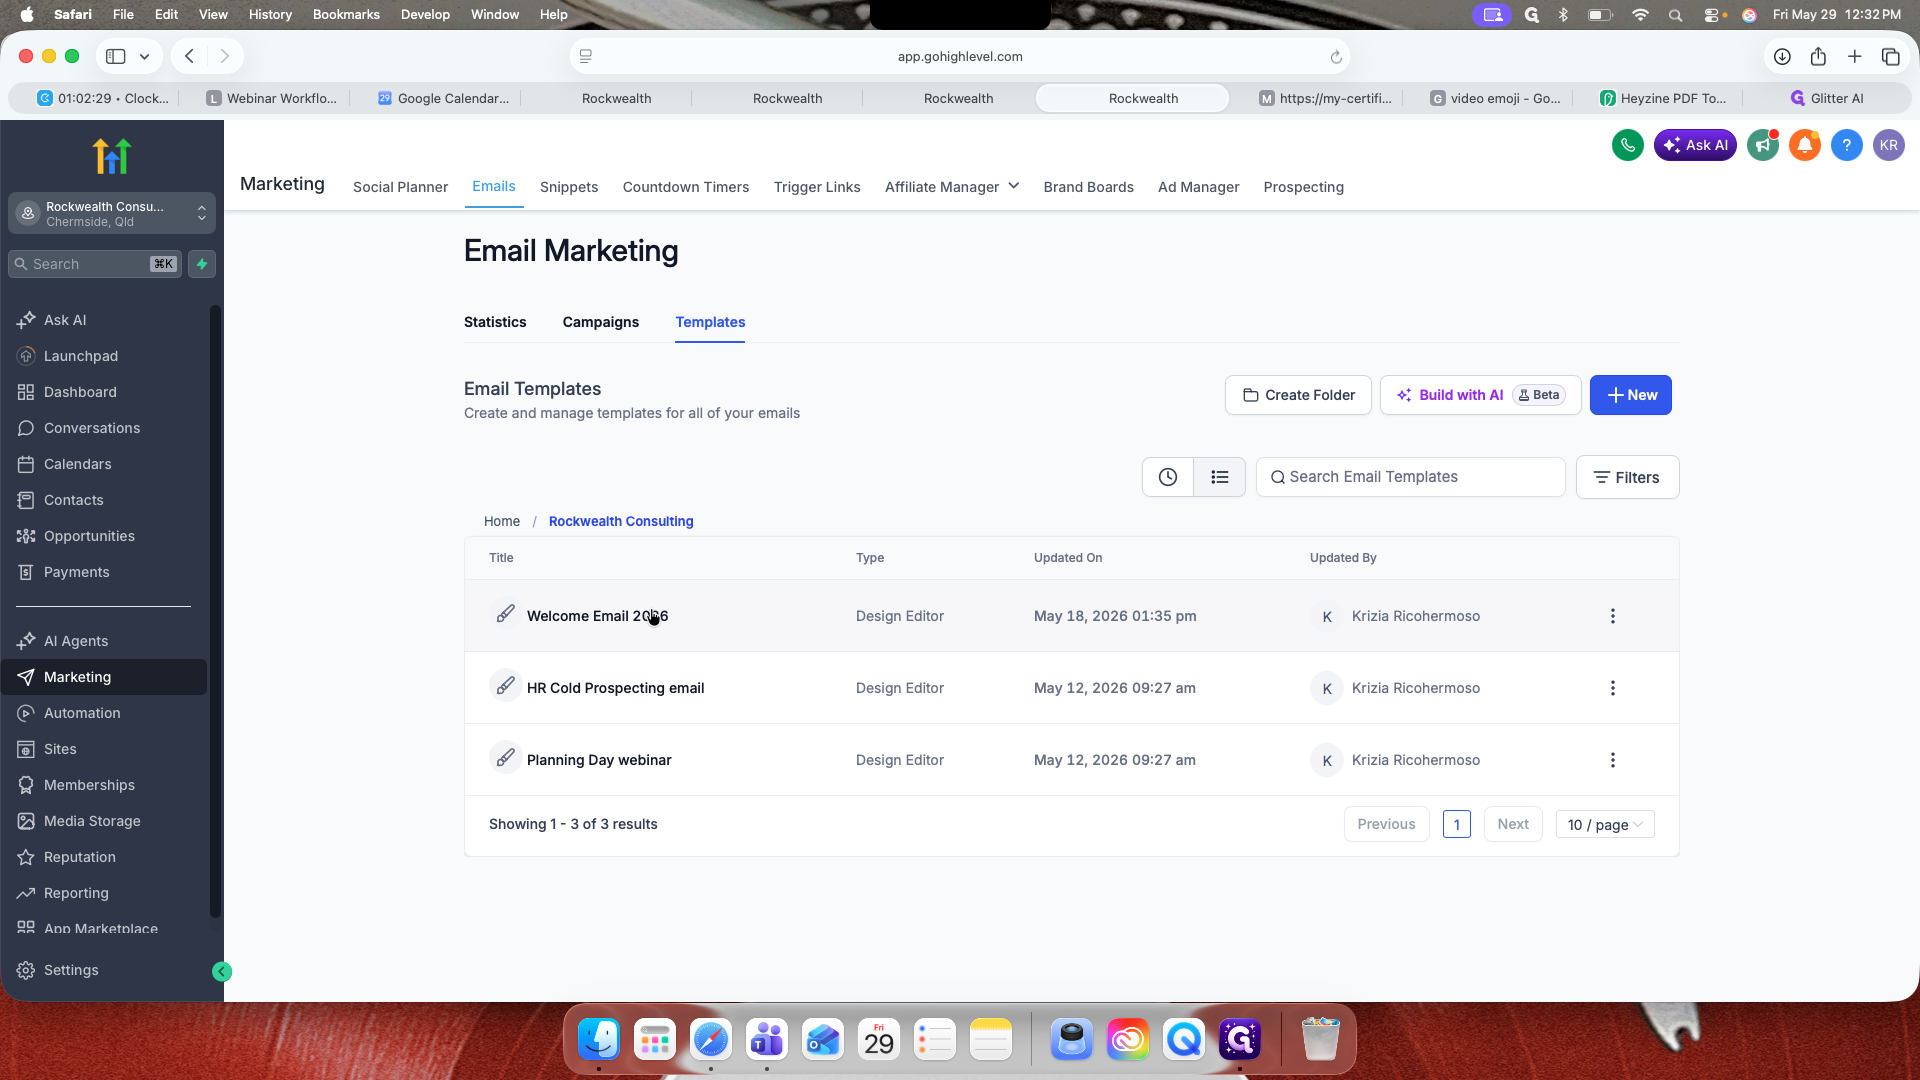
To edit this content, go to Marketing in the main navigation.
123
Click Emails and then Templates.
126
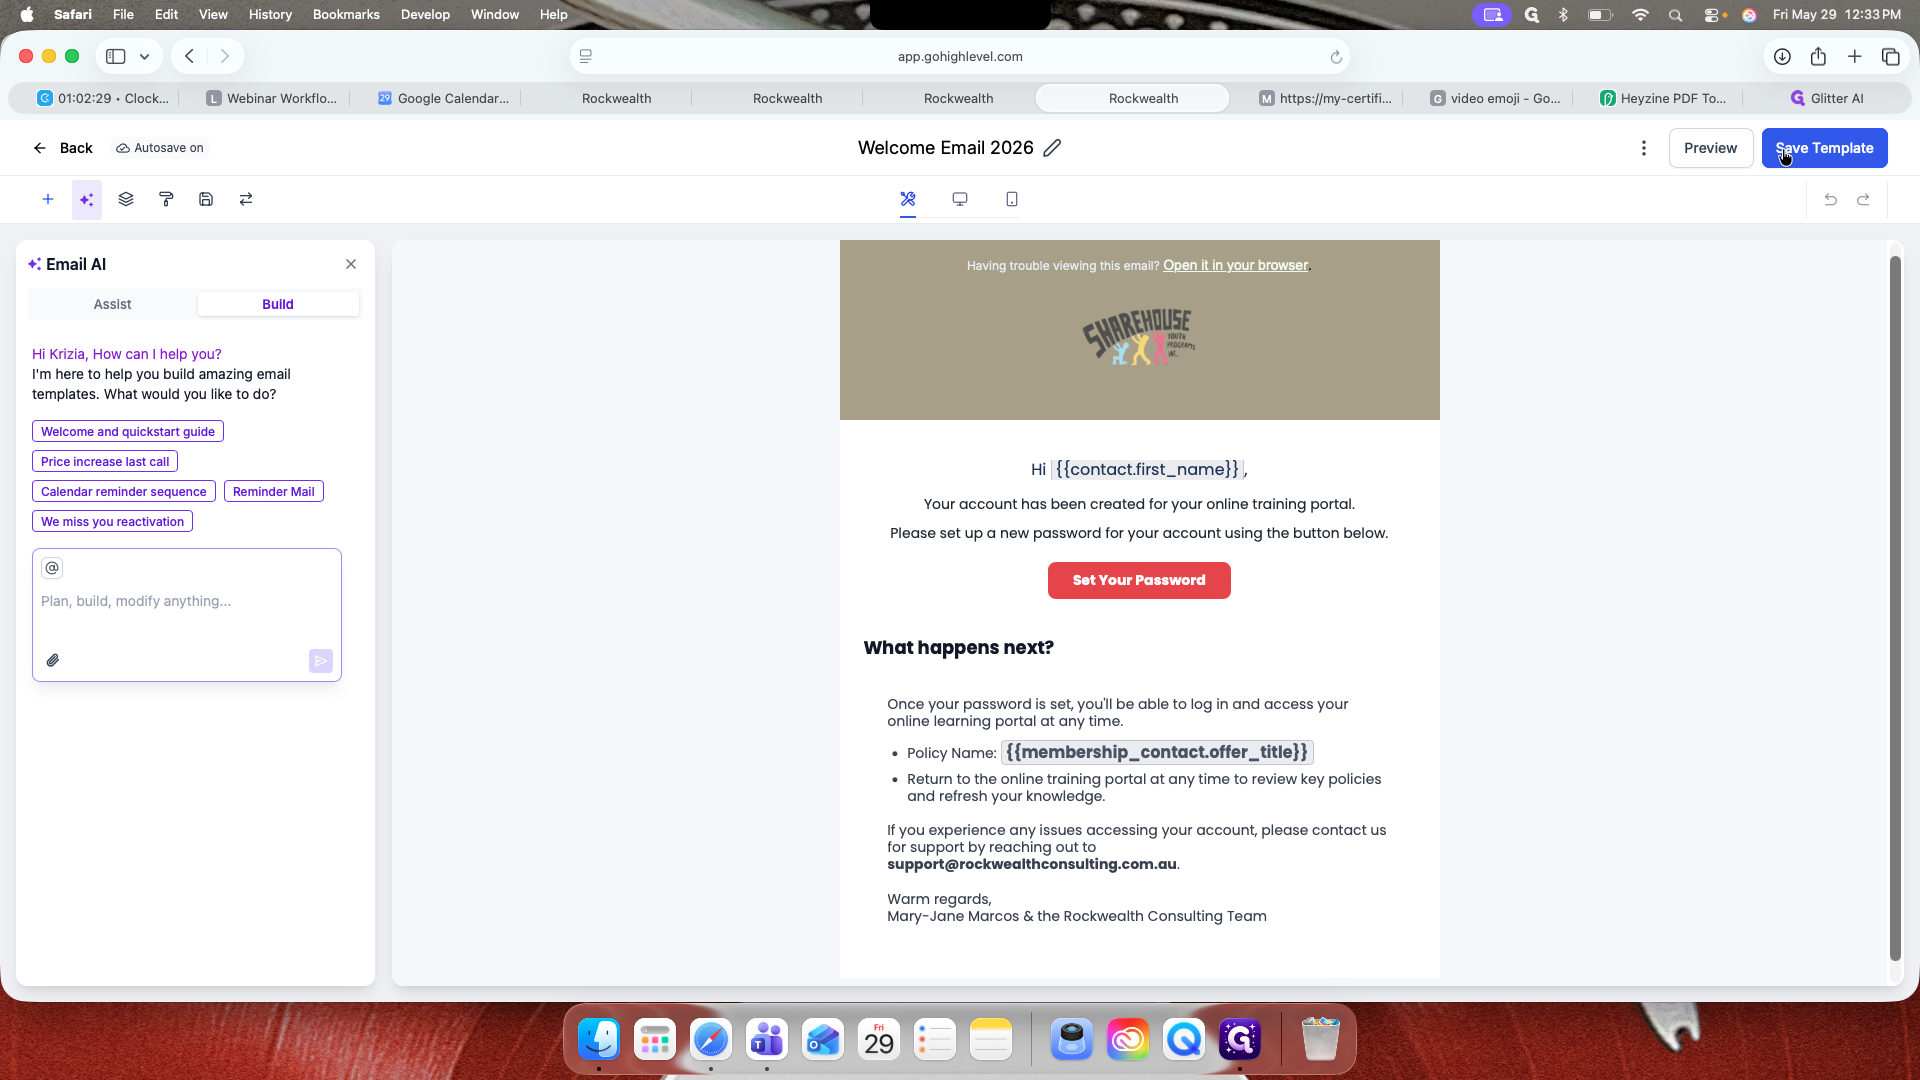
Locate and select your specific welcome email template.
127
Customize the email content as needed, then click Save Template.
Q: What video file formats are supported for lessons?
A: You can upload video files in MP4, MOV, MPG, or WAV formats.
Q: How do I prevent clients from seeing the correct answers if they fail a quiz?
A: In the quiz configuration settings, uncheck "This quiz requires a passing grade" or adjust your grading logic so the correct answers are hidden after a failed attempt.
Q: Can I automatically insert a client's name into their completion certificate?
A: Yes, you can use custom value tags like {{contact.name}} within the certificate editor to automatically populate the client's specific name.
Term
Definition
Client Portal
A secure dashboard where clients log in to access your organization's course materials and resources.
Custom Values
Dynamic placeholder tags (like {{contact.name}}) used in templates that automatically populate with specific user details.
Module
A structural container within a course used to organize related lessons, quizzes, and resources together.