
Microsoft Teams Walkthrough for NPDF Users
A quick guide for NPDF users on how to navigate and utilize Microsoft Teams effectively, including creating posts, attaching files, and collaborating in real-time.
In this guide, we'll learn how to create and manage posts in Microsoft Teams. This process is essential for sharing information and collaborating with team members. We'll cover how to create a post, attach files, and alert team members. Additionally, we'll explore how to edit posts and manage documents within Teams. This will help streamline communication and ensure everyone has access to the latest information.
Let's get started
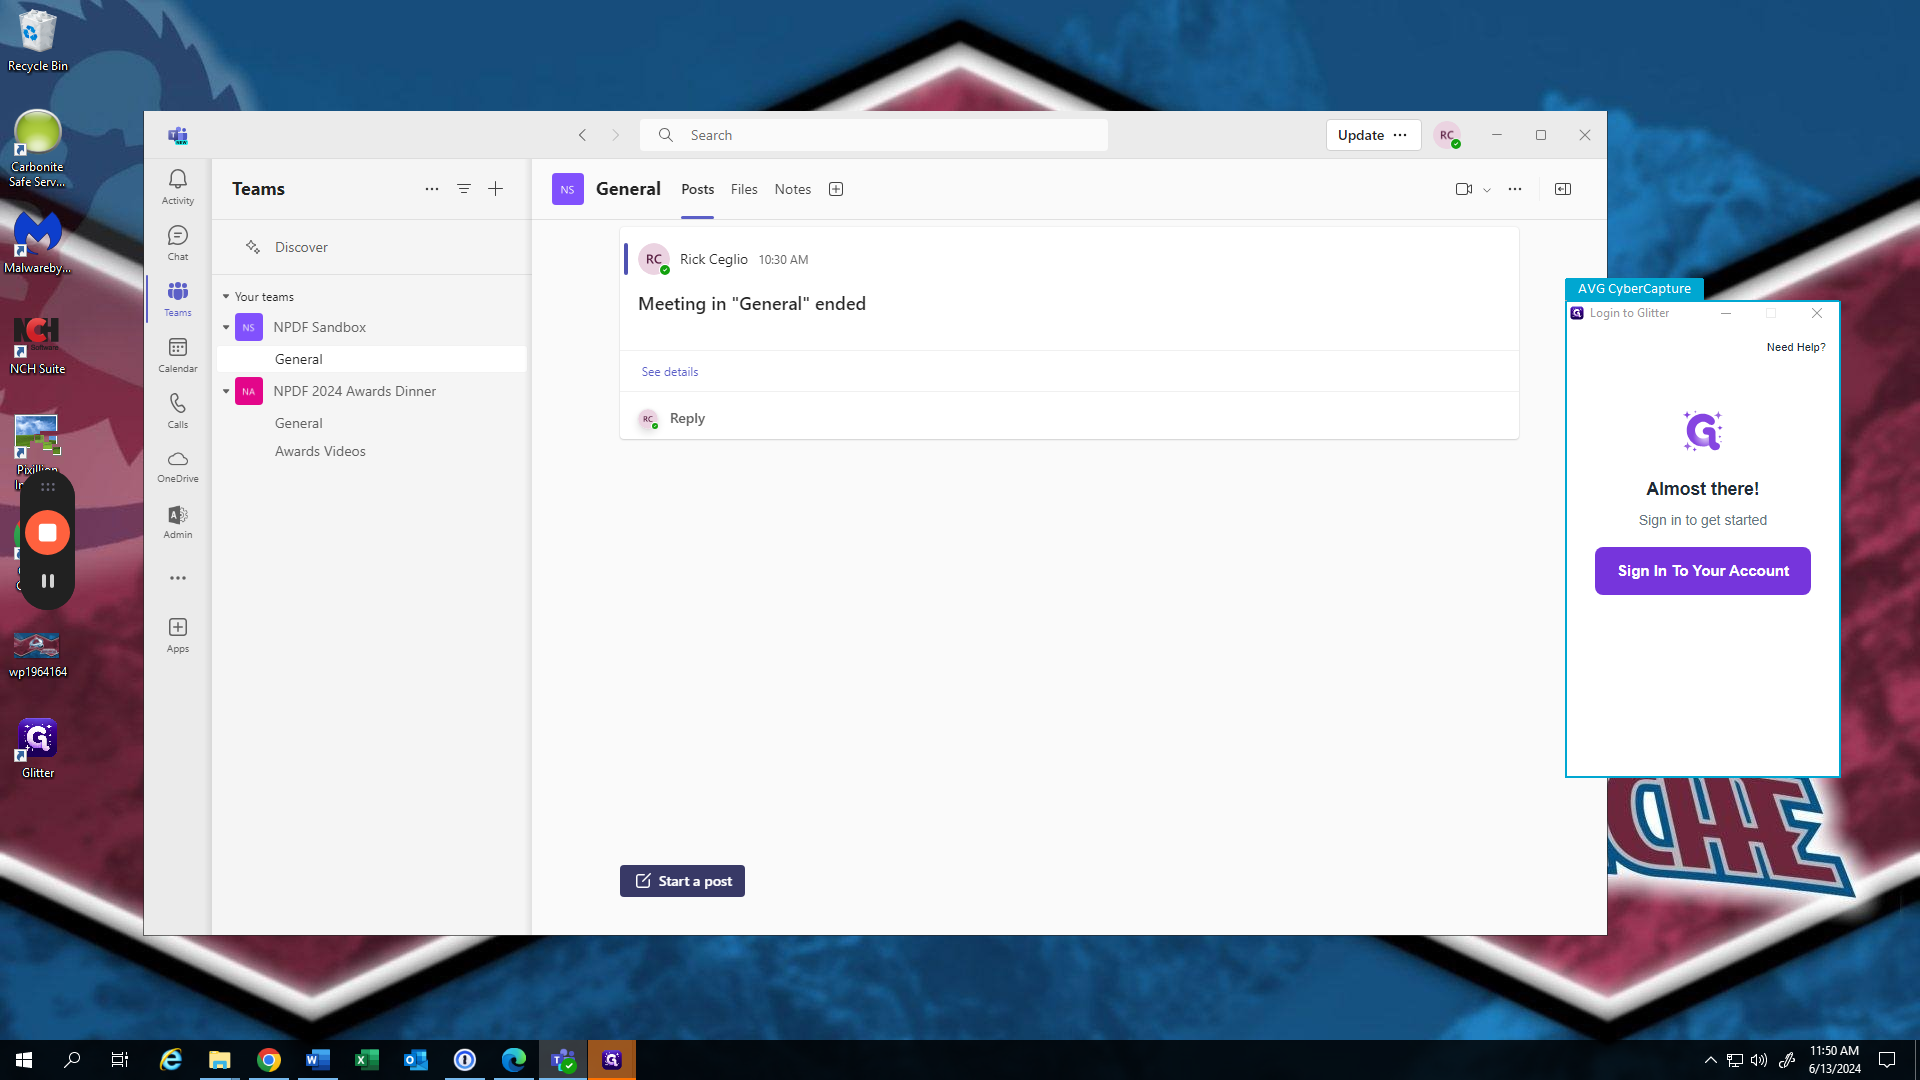
Welcome, NPDF users. We're going to go through a quick walkthrough of Microsoft Teams. On the left side, we have our action buttons: activity, chats, teams we can access, and our calendar. We can make calls and hold meetings here. OneDrive is our personal drive. We are in the Team NPDF Sandbox. Let's start by creating a post.
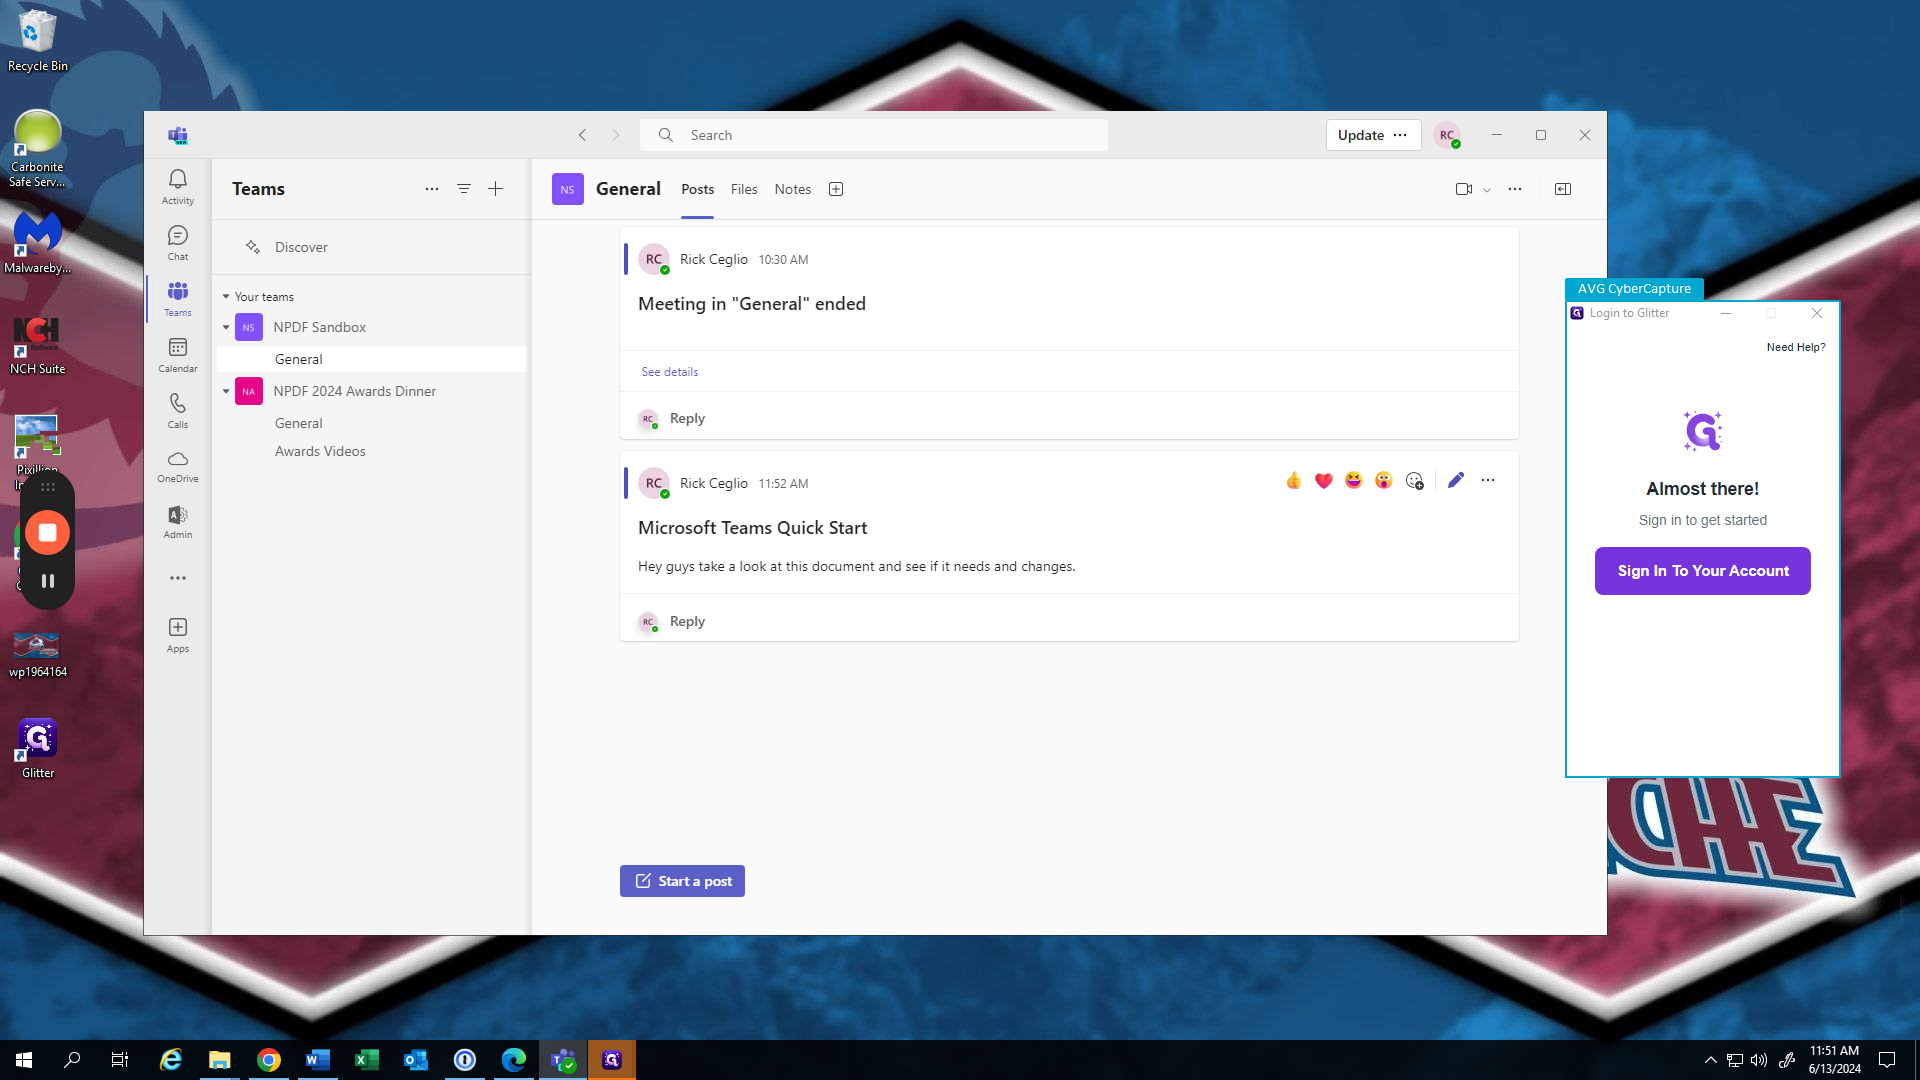
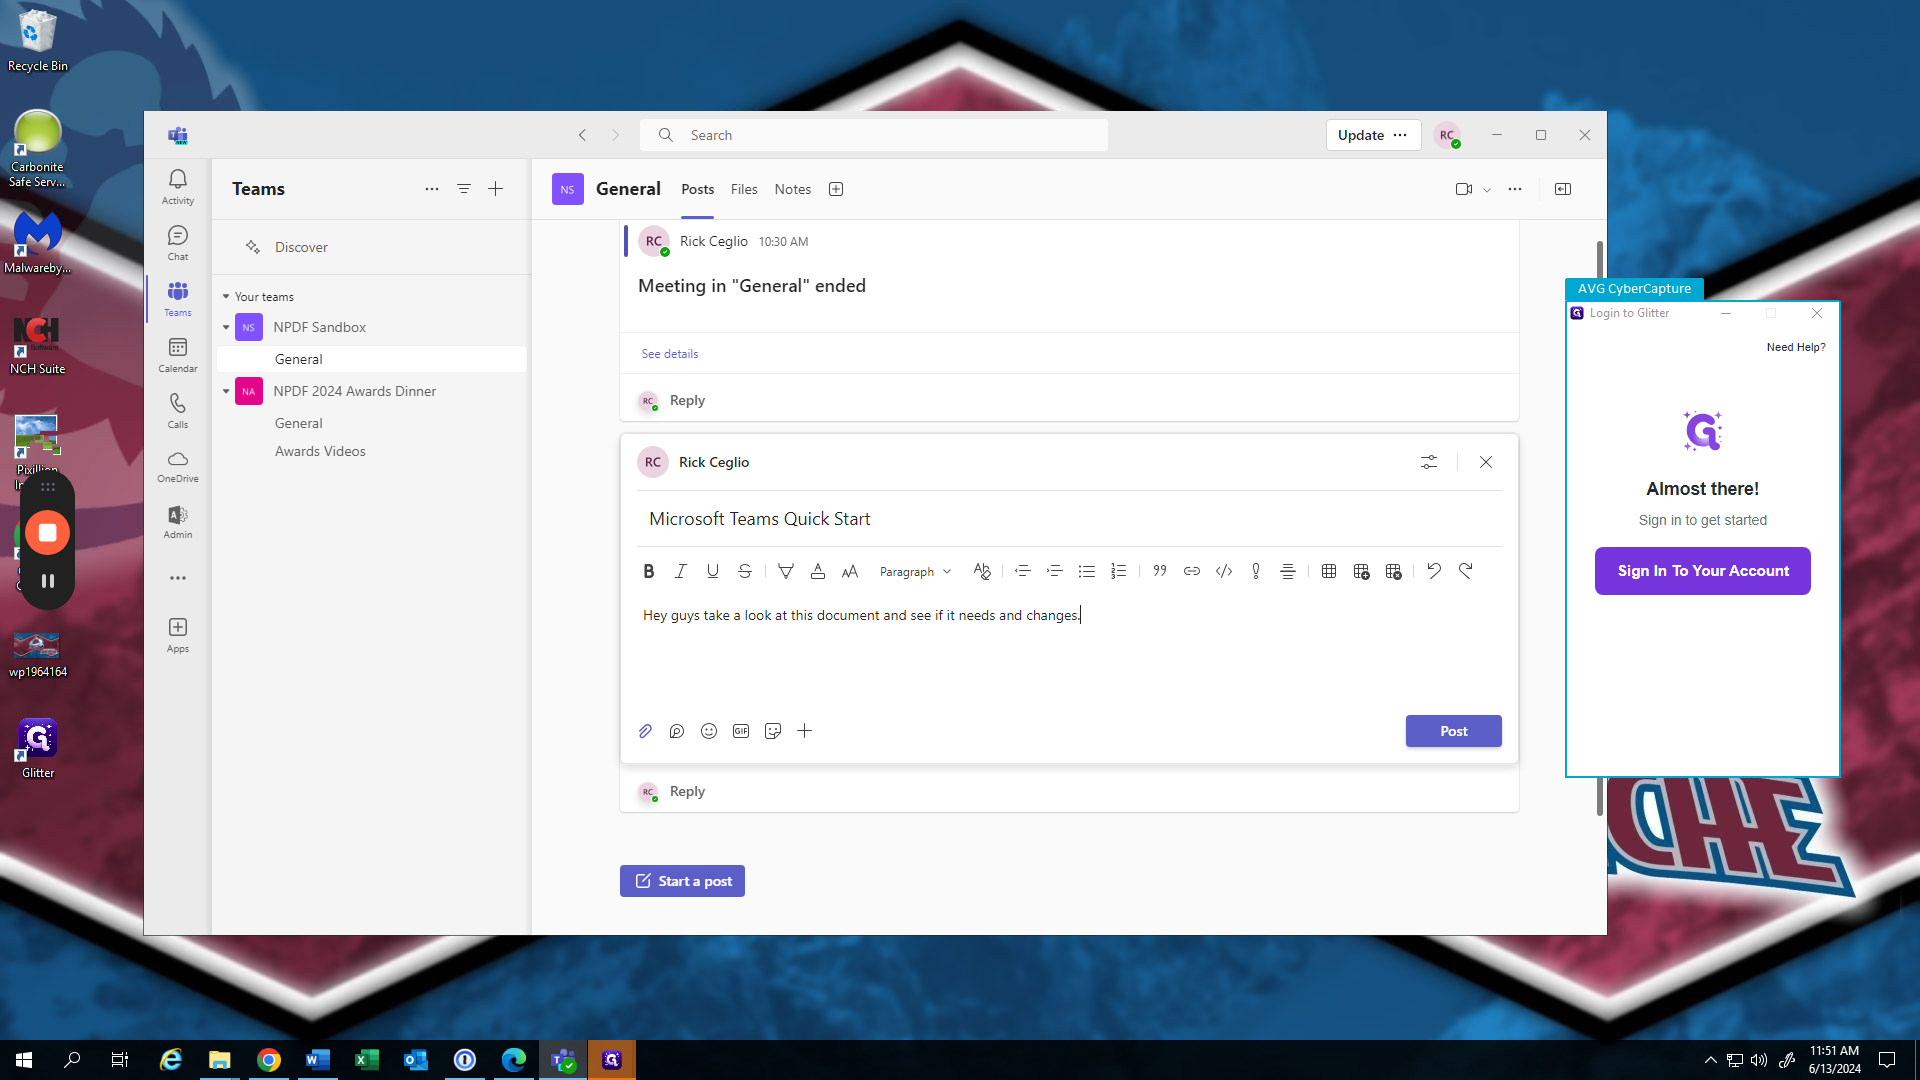
A post is similar to an email. We create a subject and add information. We can also attach files or links and alert team members to review it. For example, in Microsoft Teams, we might say, "Hey team, check out this document and see if it needs any changes." This post will be visible to everyone.
Next, we're going to add a person to alert. This is post is visible to all members of the team but by adding the @ and a person's name it will show up in their activity tab to alert them. . As you can see, it suggests people who are already in this team.
I'm going to add Mike. I'm going to say, "Mike Ceglio, please review," and then I'm going to post it.
First, we create it. Then, it will open. Here we are, ready to create the document.
Welcome, NPDF users. We're going to go through a quick walkthrough of Microsoft Teams. On the left side, we have our action buttons: activity, chats, teams we can access, and our calendar. We can make calls and hold meetings here. OneDrive is our personal drive. We are in the Team NPDF Sandbox. Let's start by creating a post.

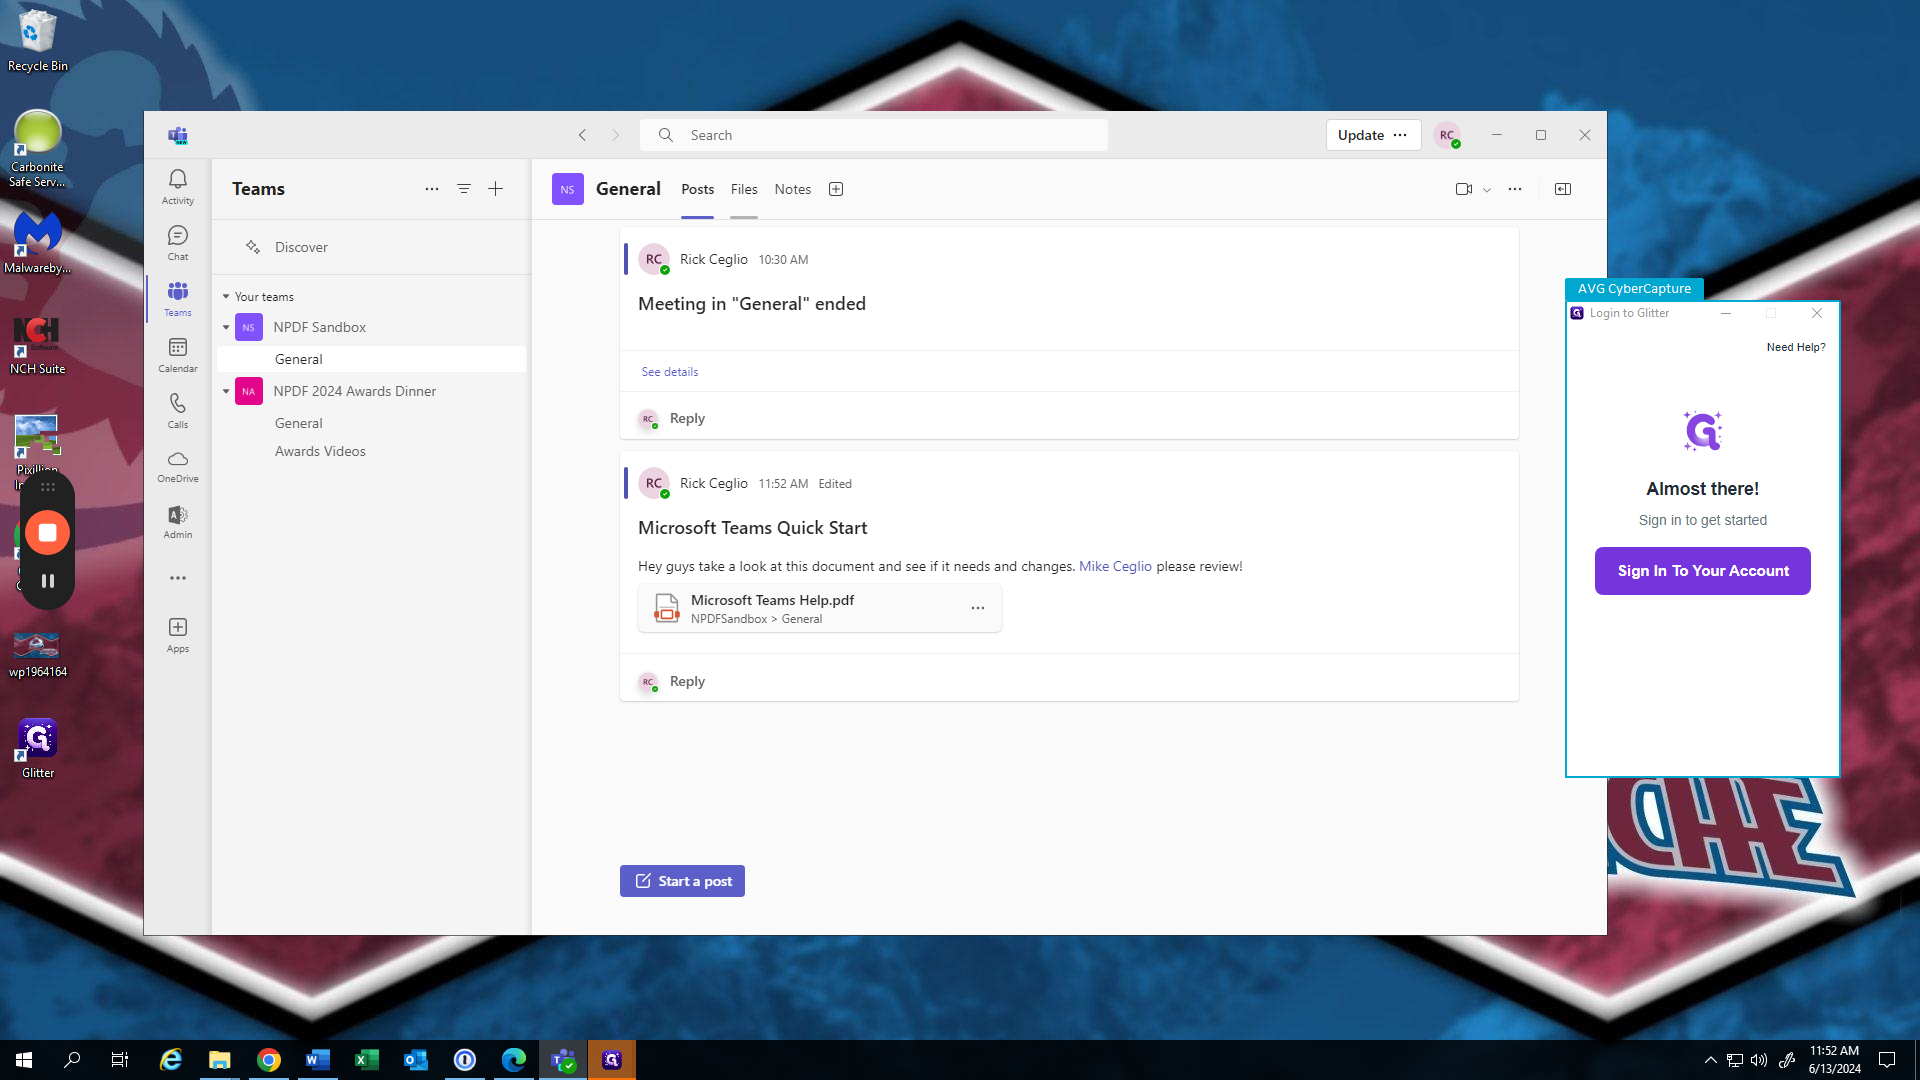
We posted it. Guess what? We forgot to include the document. No problem.
We will edit it. Then, we can go to the paperclip.
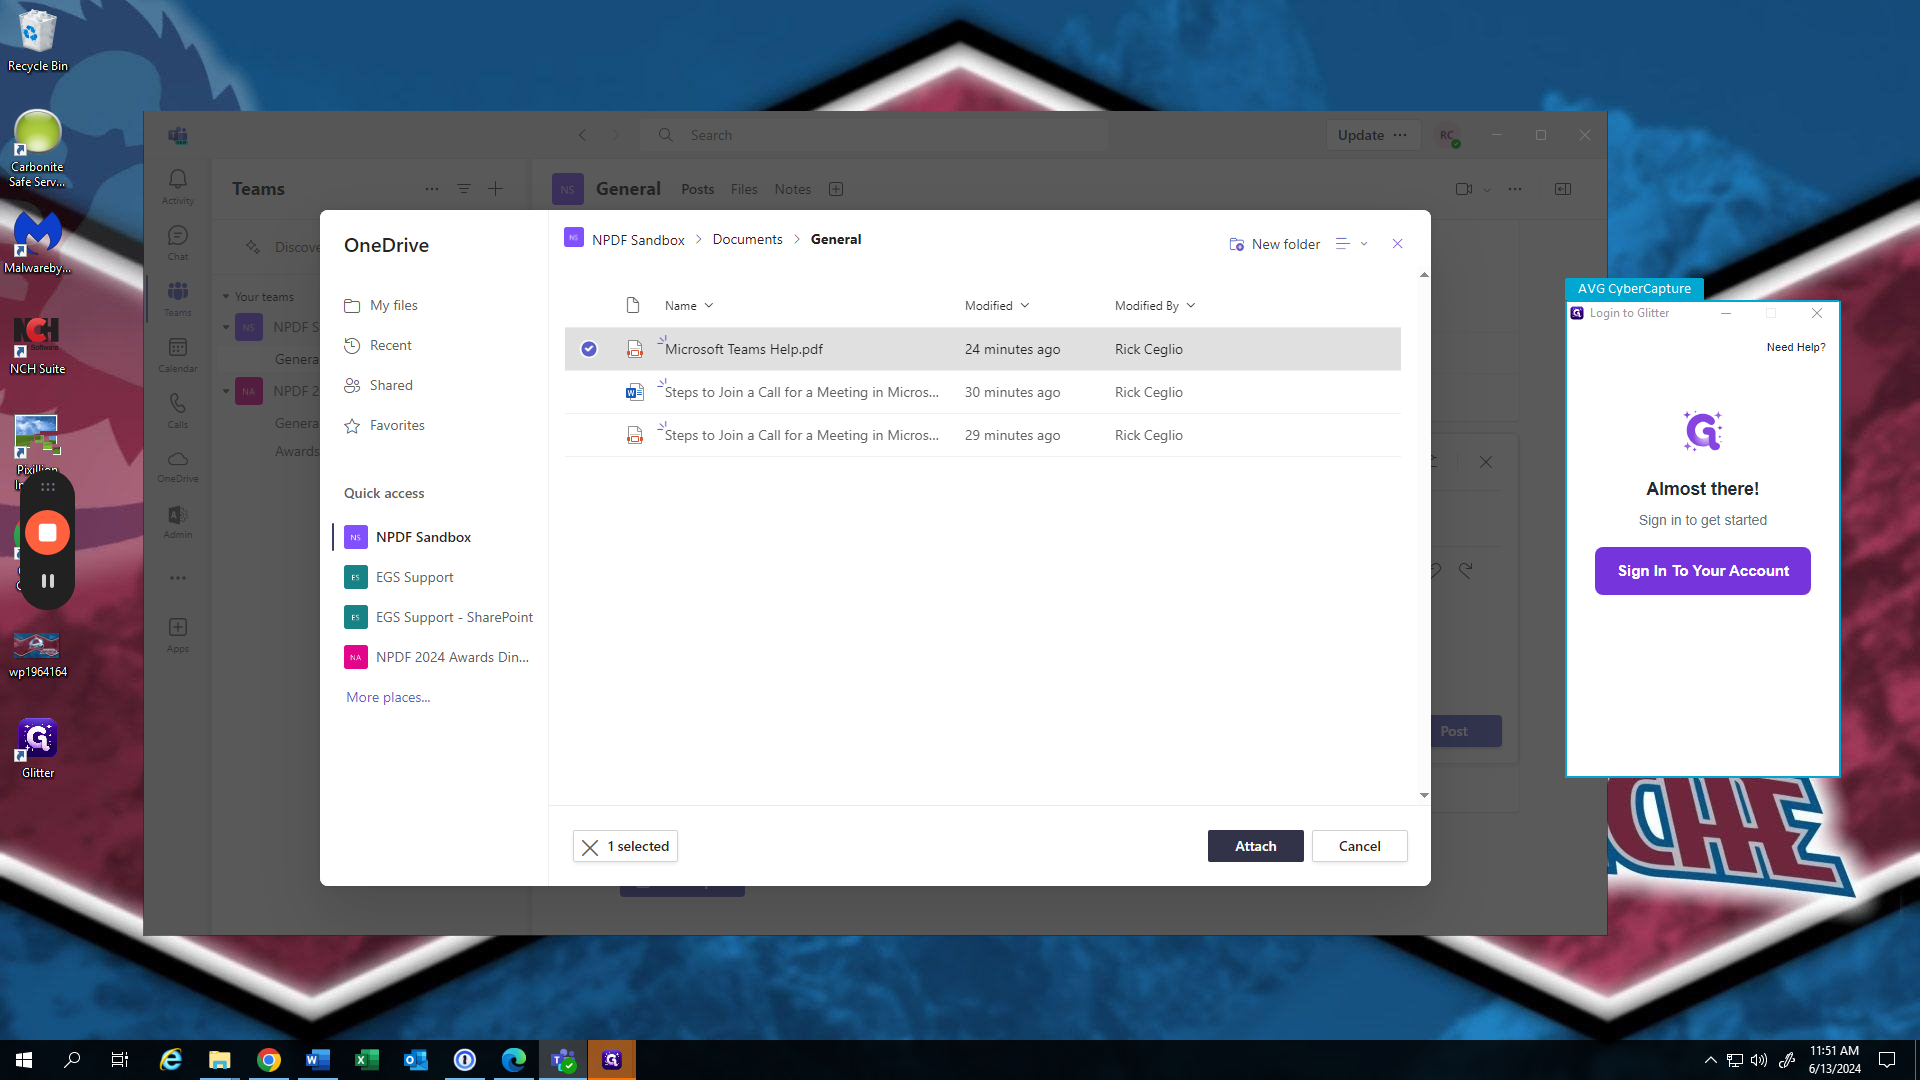
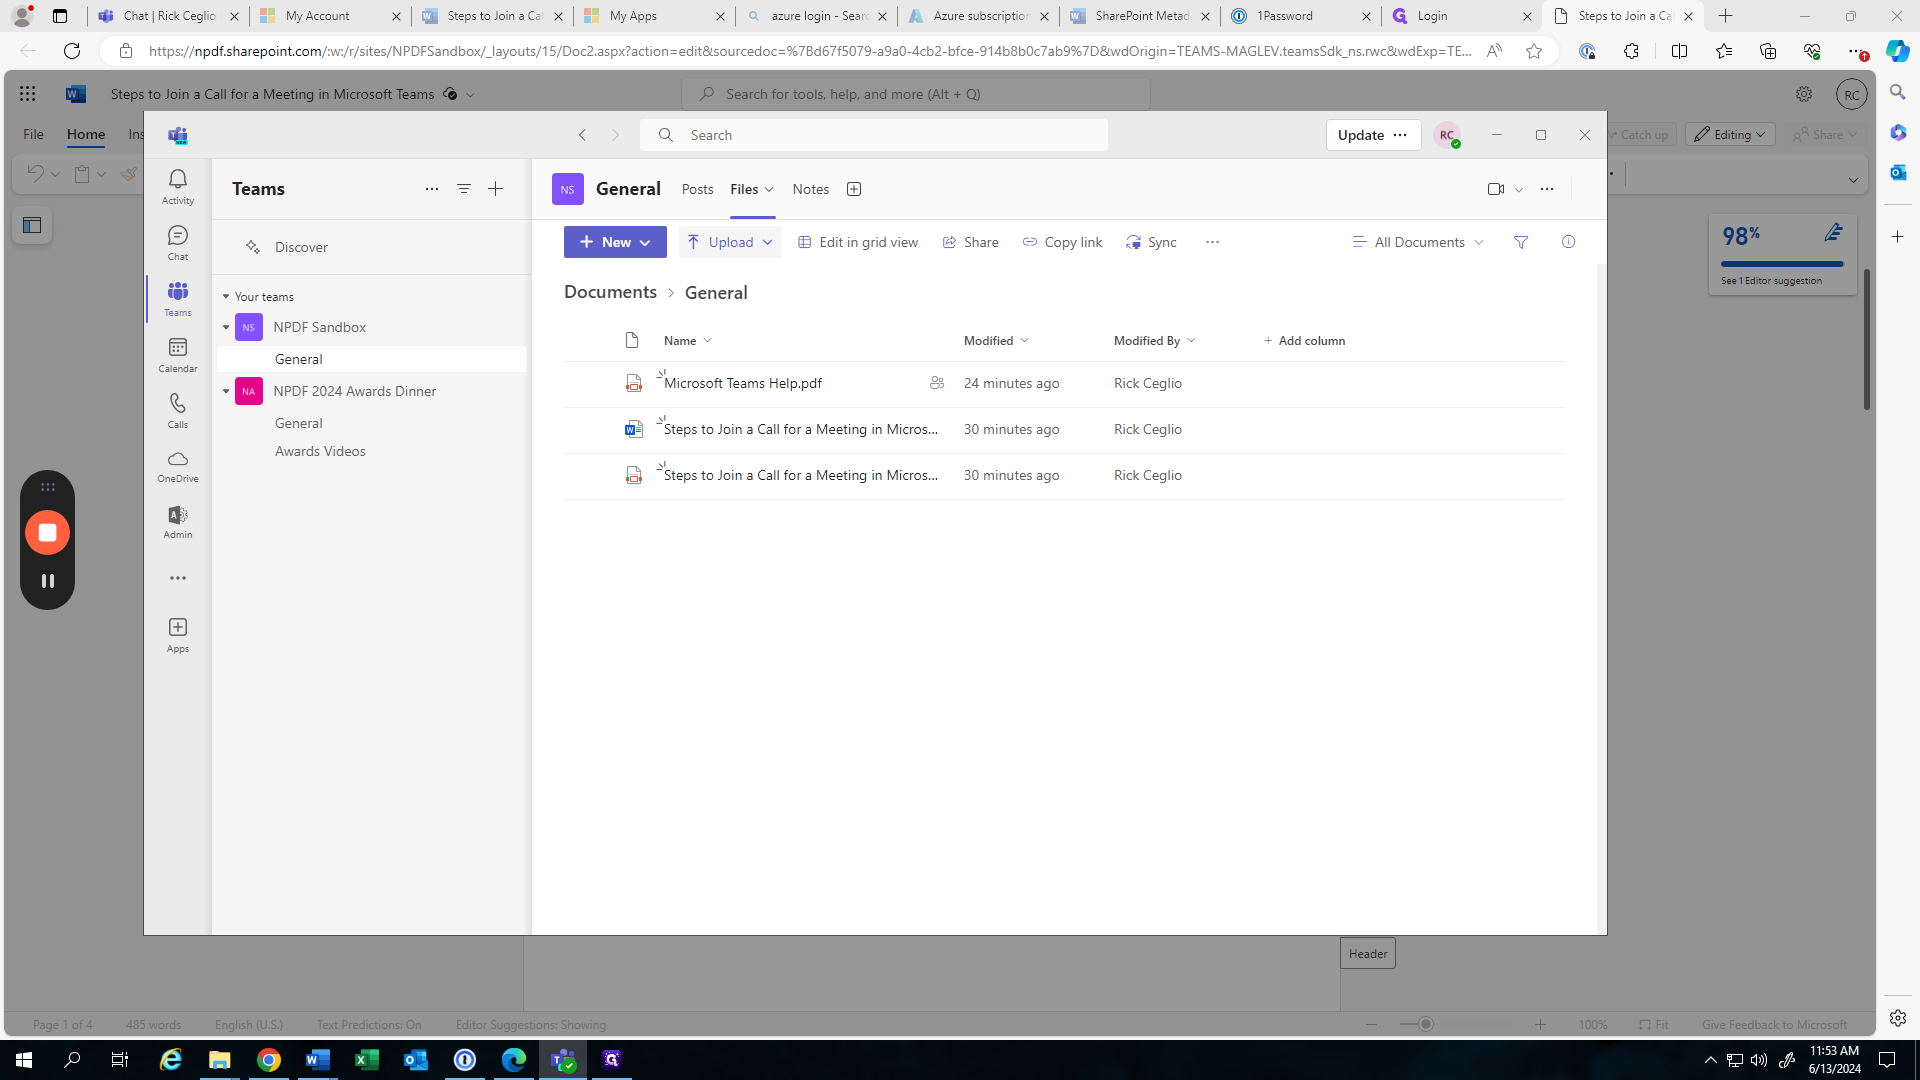
We're going to attach a file and browse Teams channels.
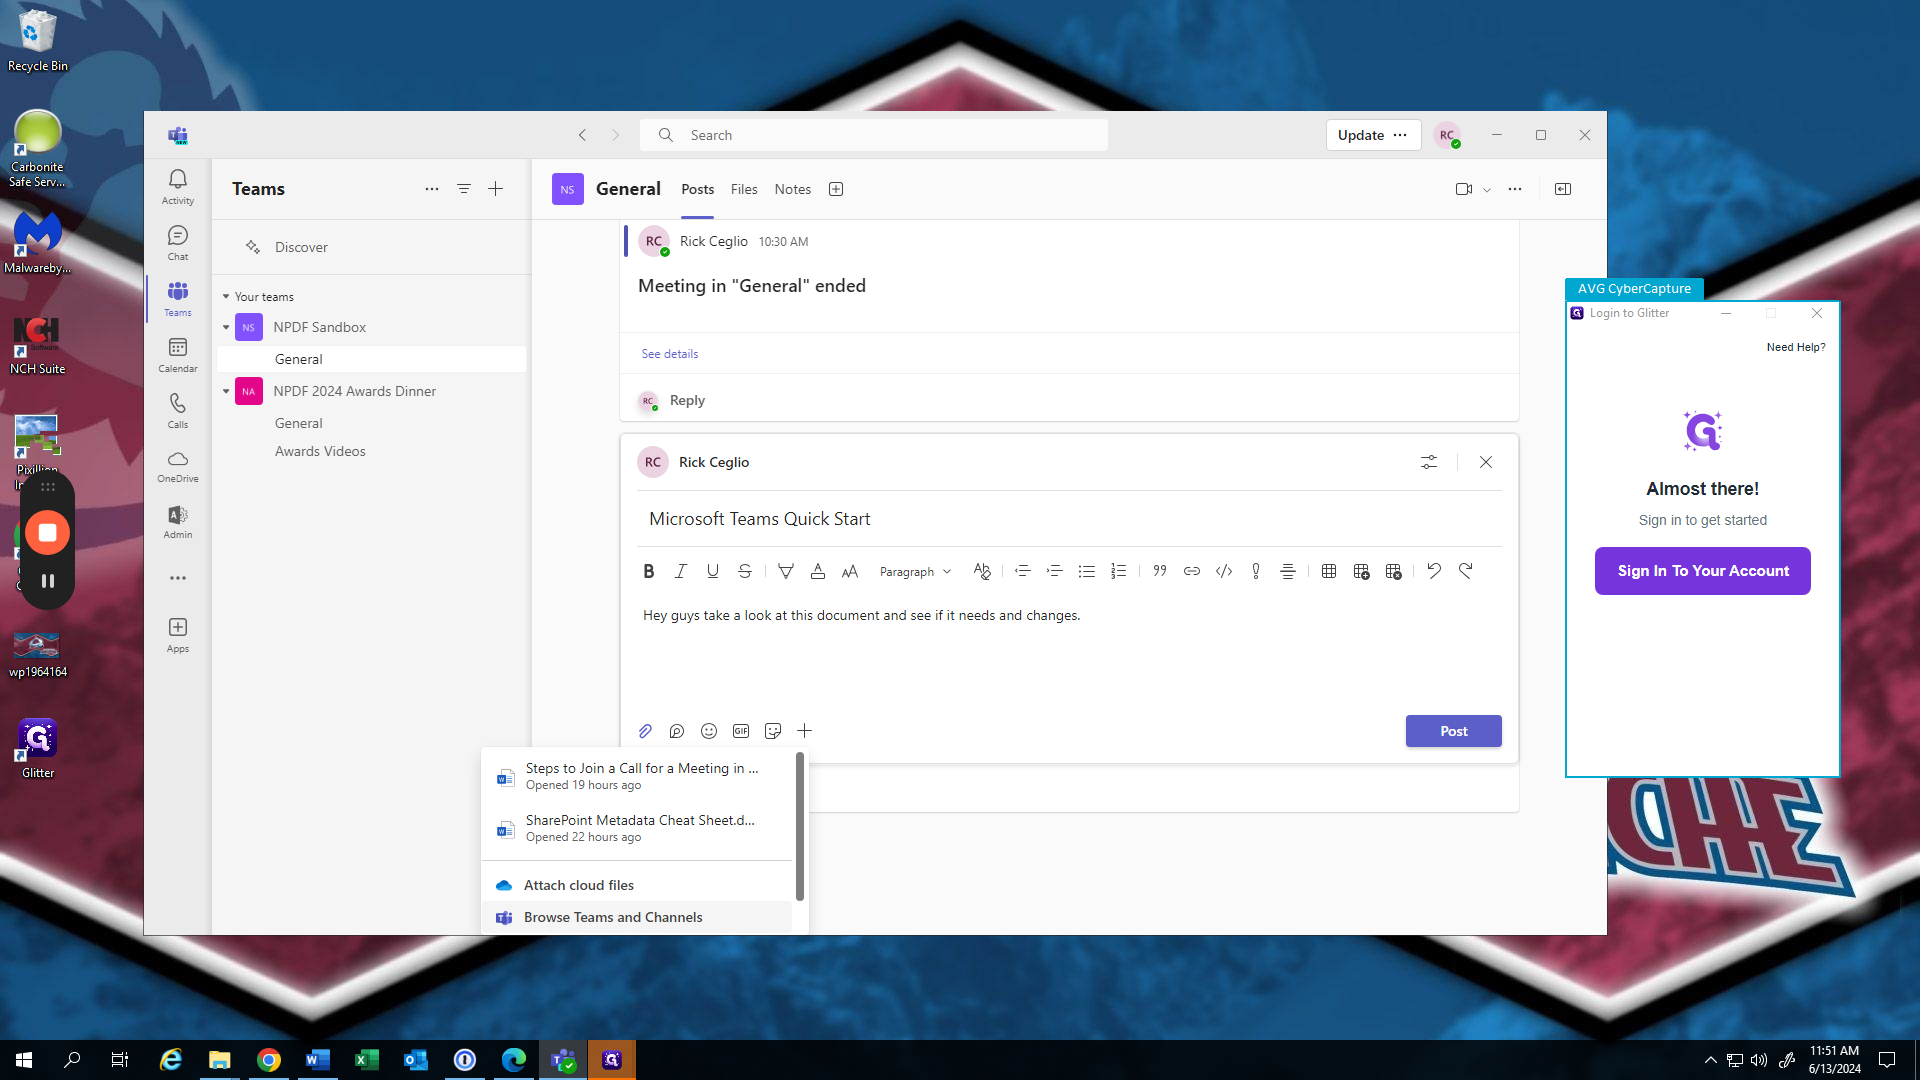
I will choose browse Teams and Channels to locate the file I want to attach. Here it is, Microsoft Teams help.
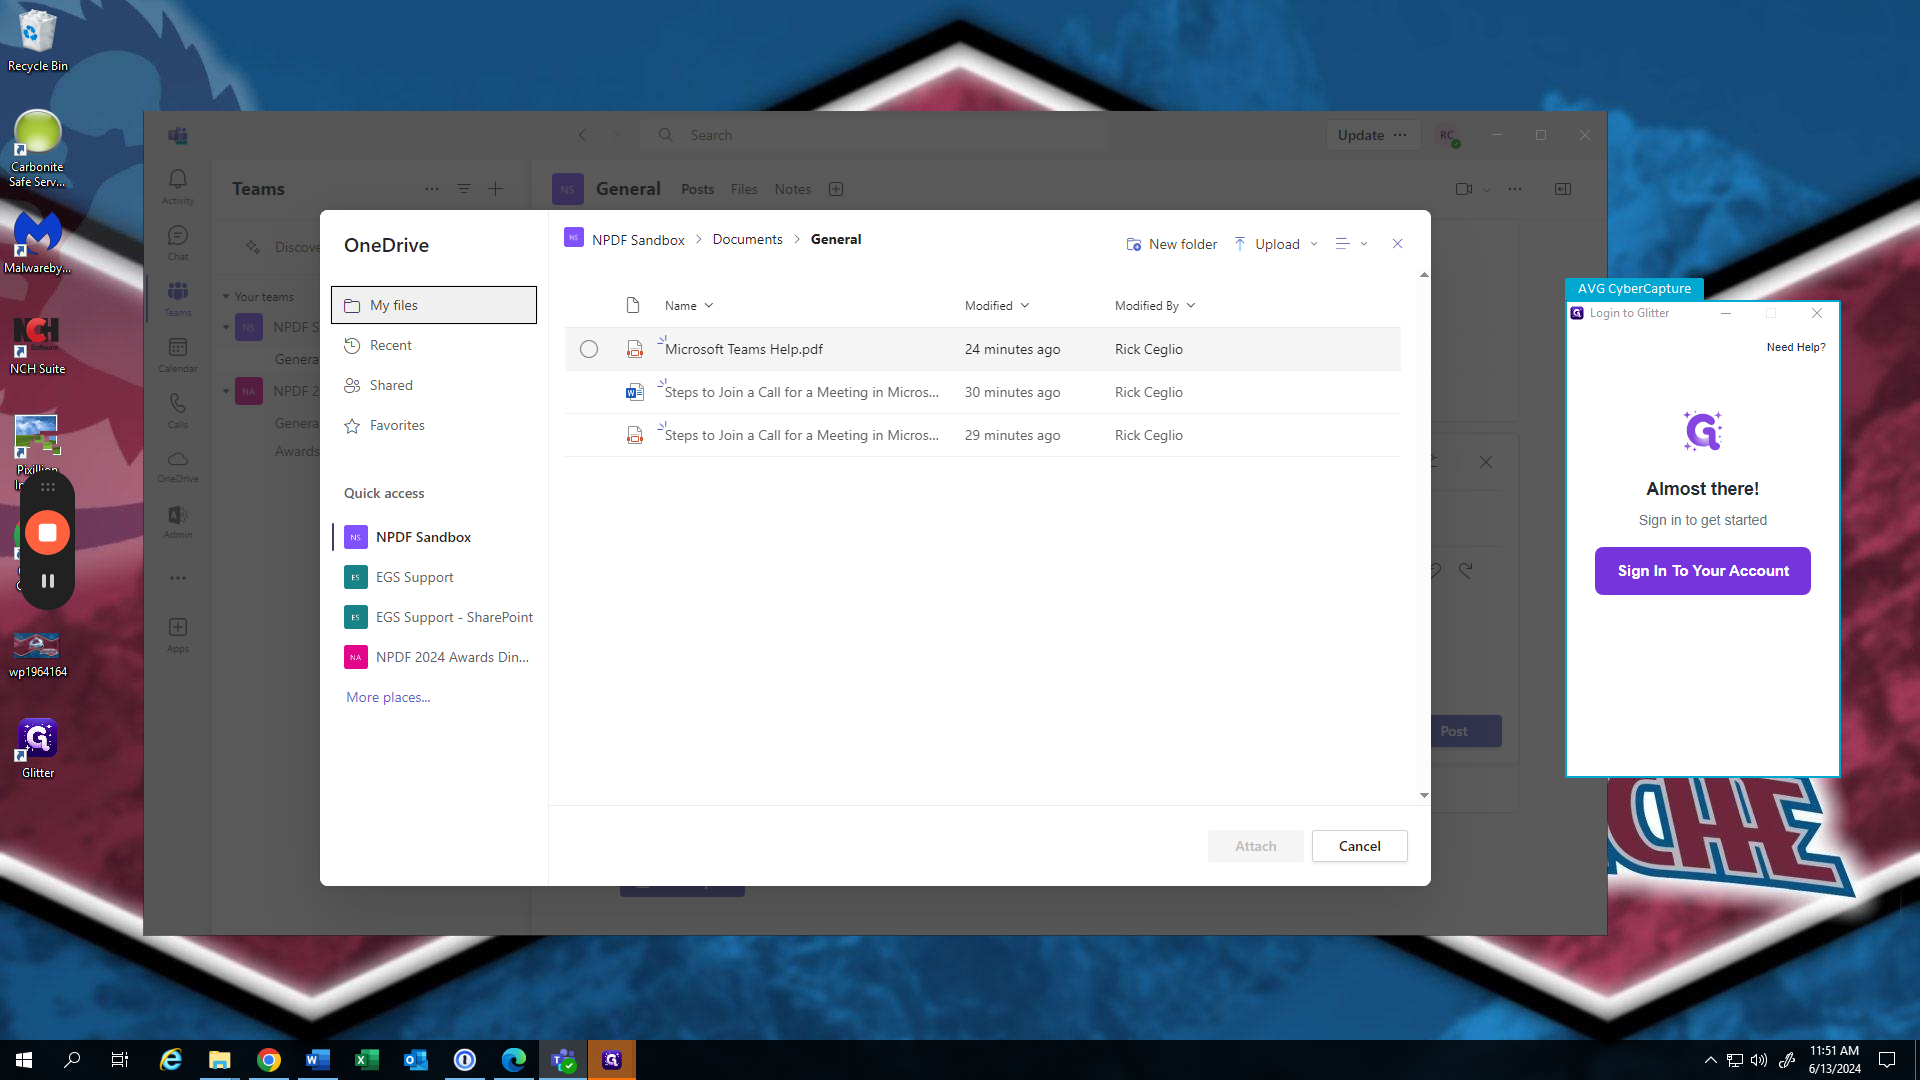
We will attach it.

Now it's here. We can reply. Everything will be part of this post contained in this one conversation. This is one of the first things we want to do in Teams for documents and sharing information. Now I can go to my files.
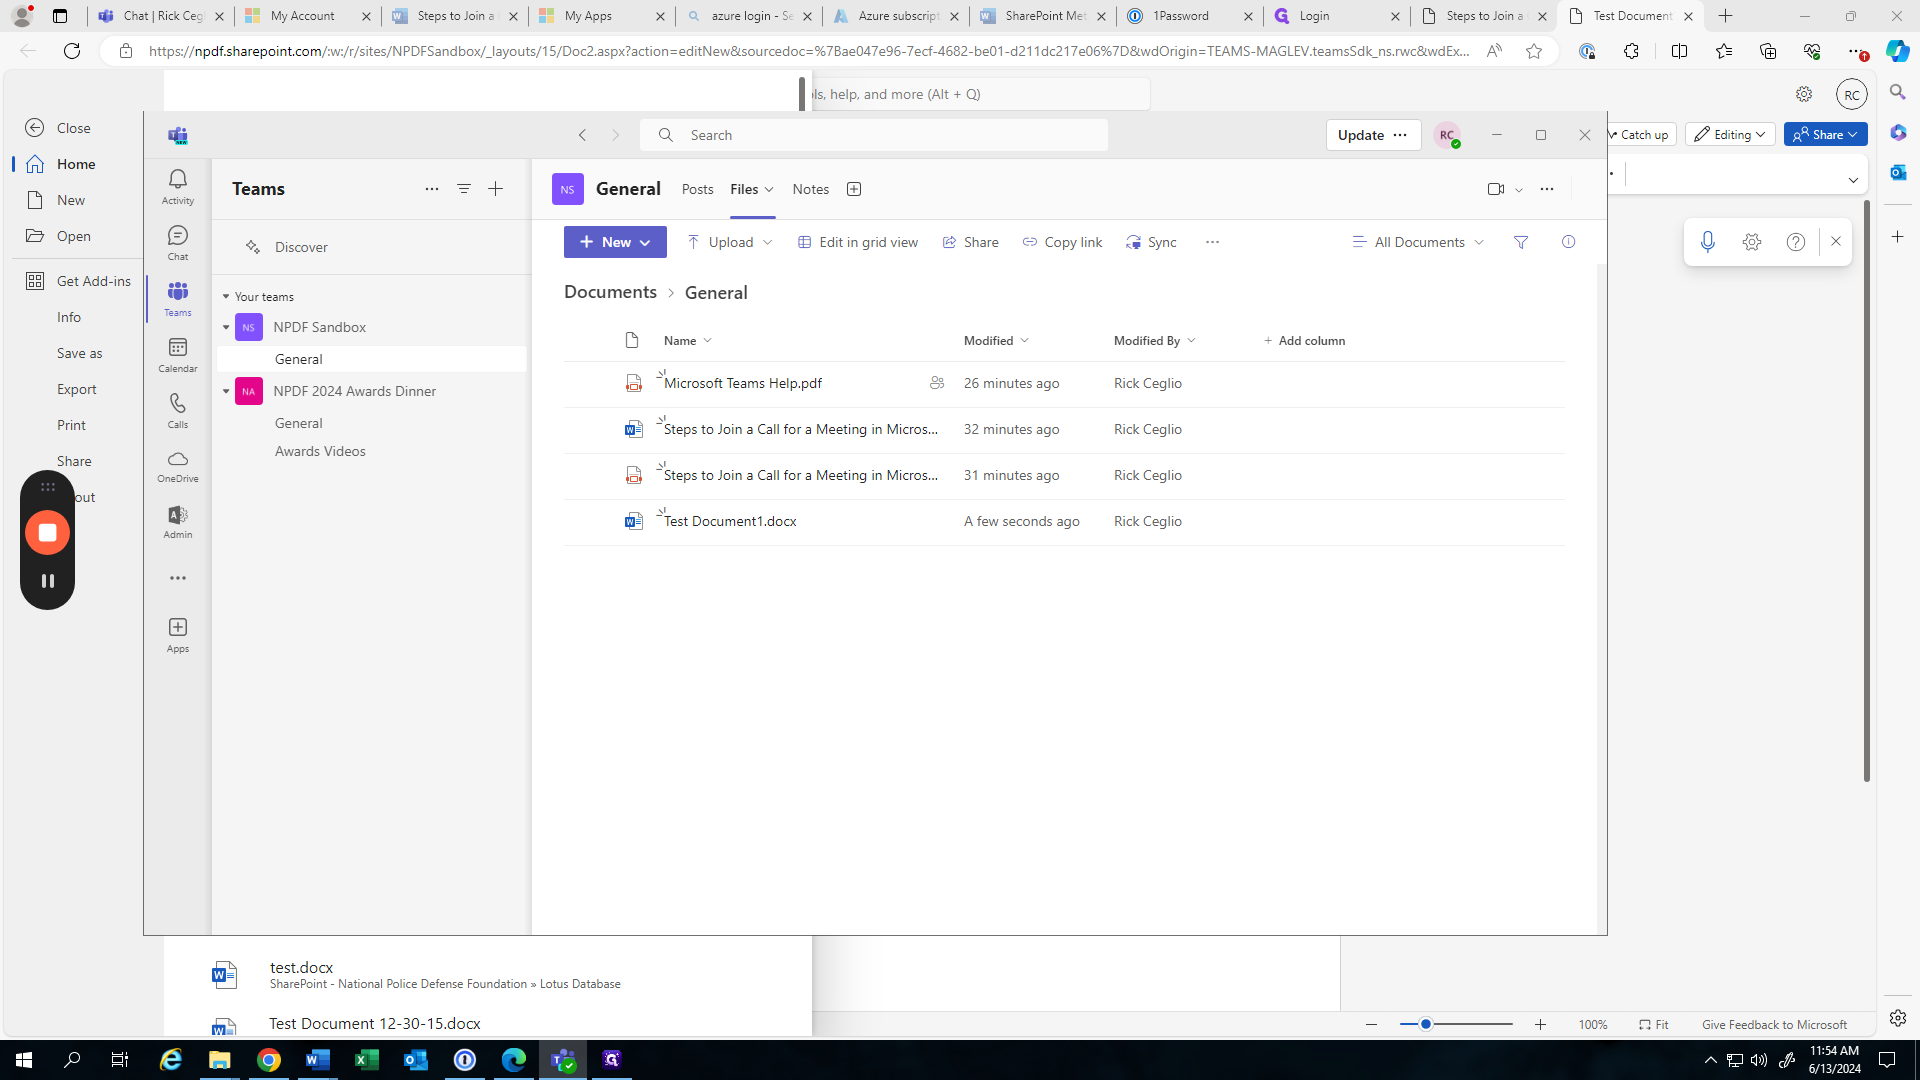
This shows the files I can view. We will click on one that has already been created.

It will open up here, allowing us to edit it. Anyone with access to this file can also make edits.
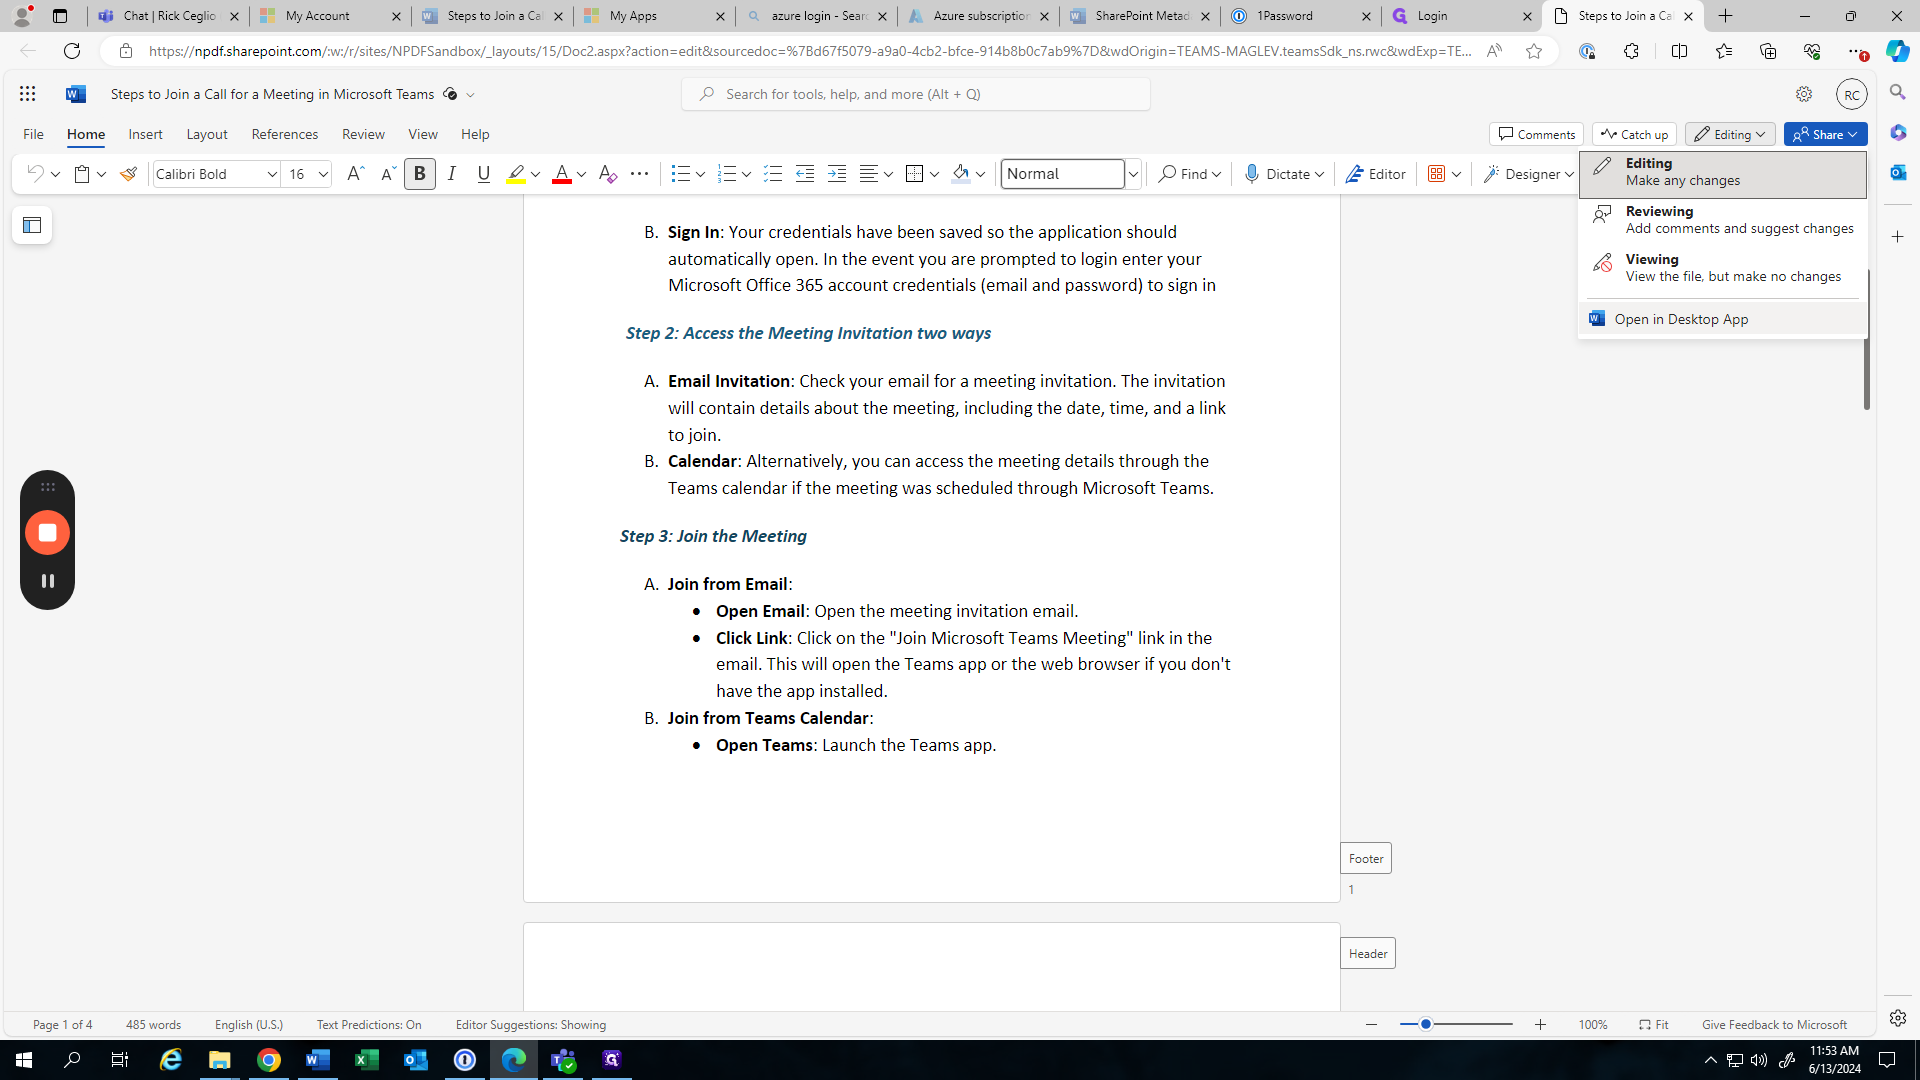
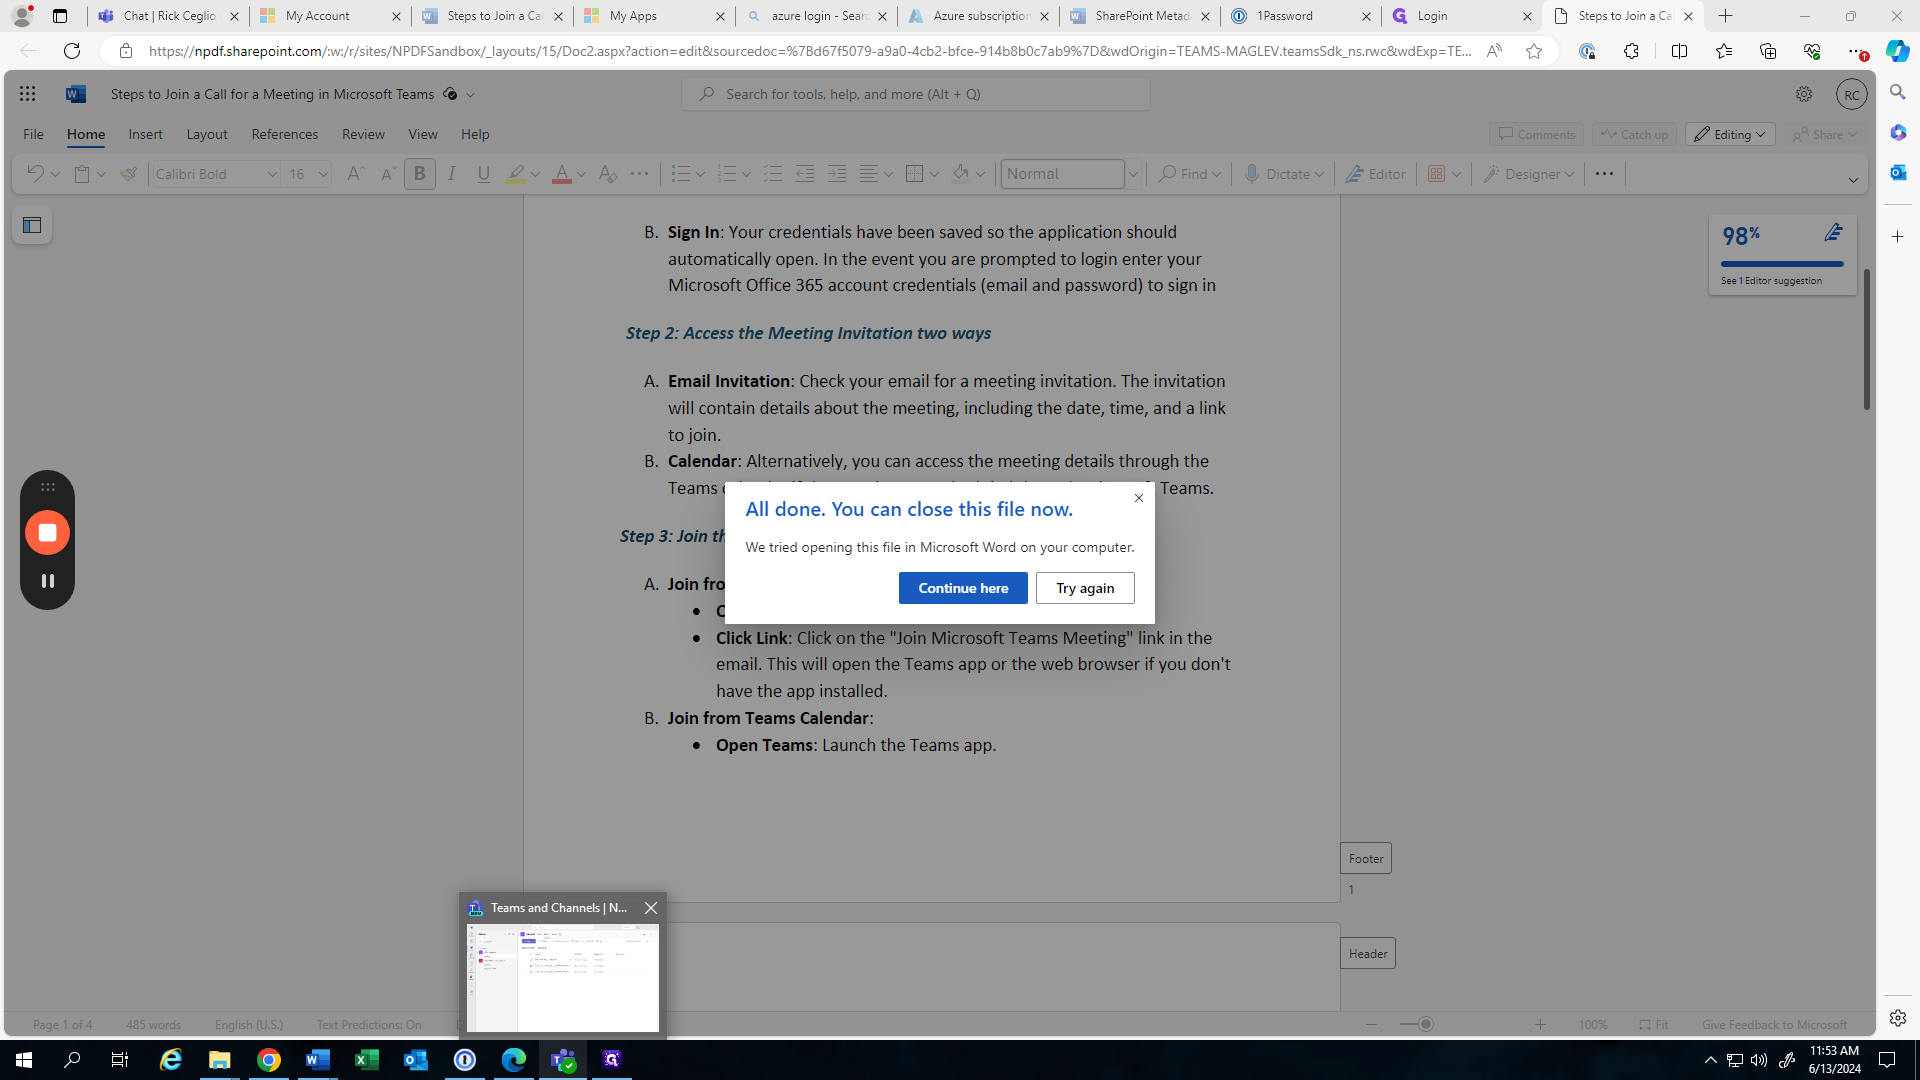
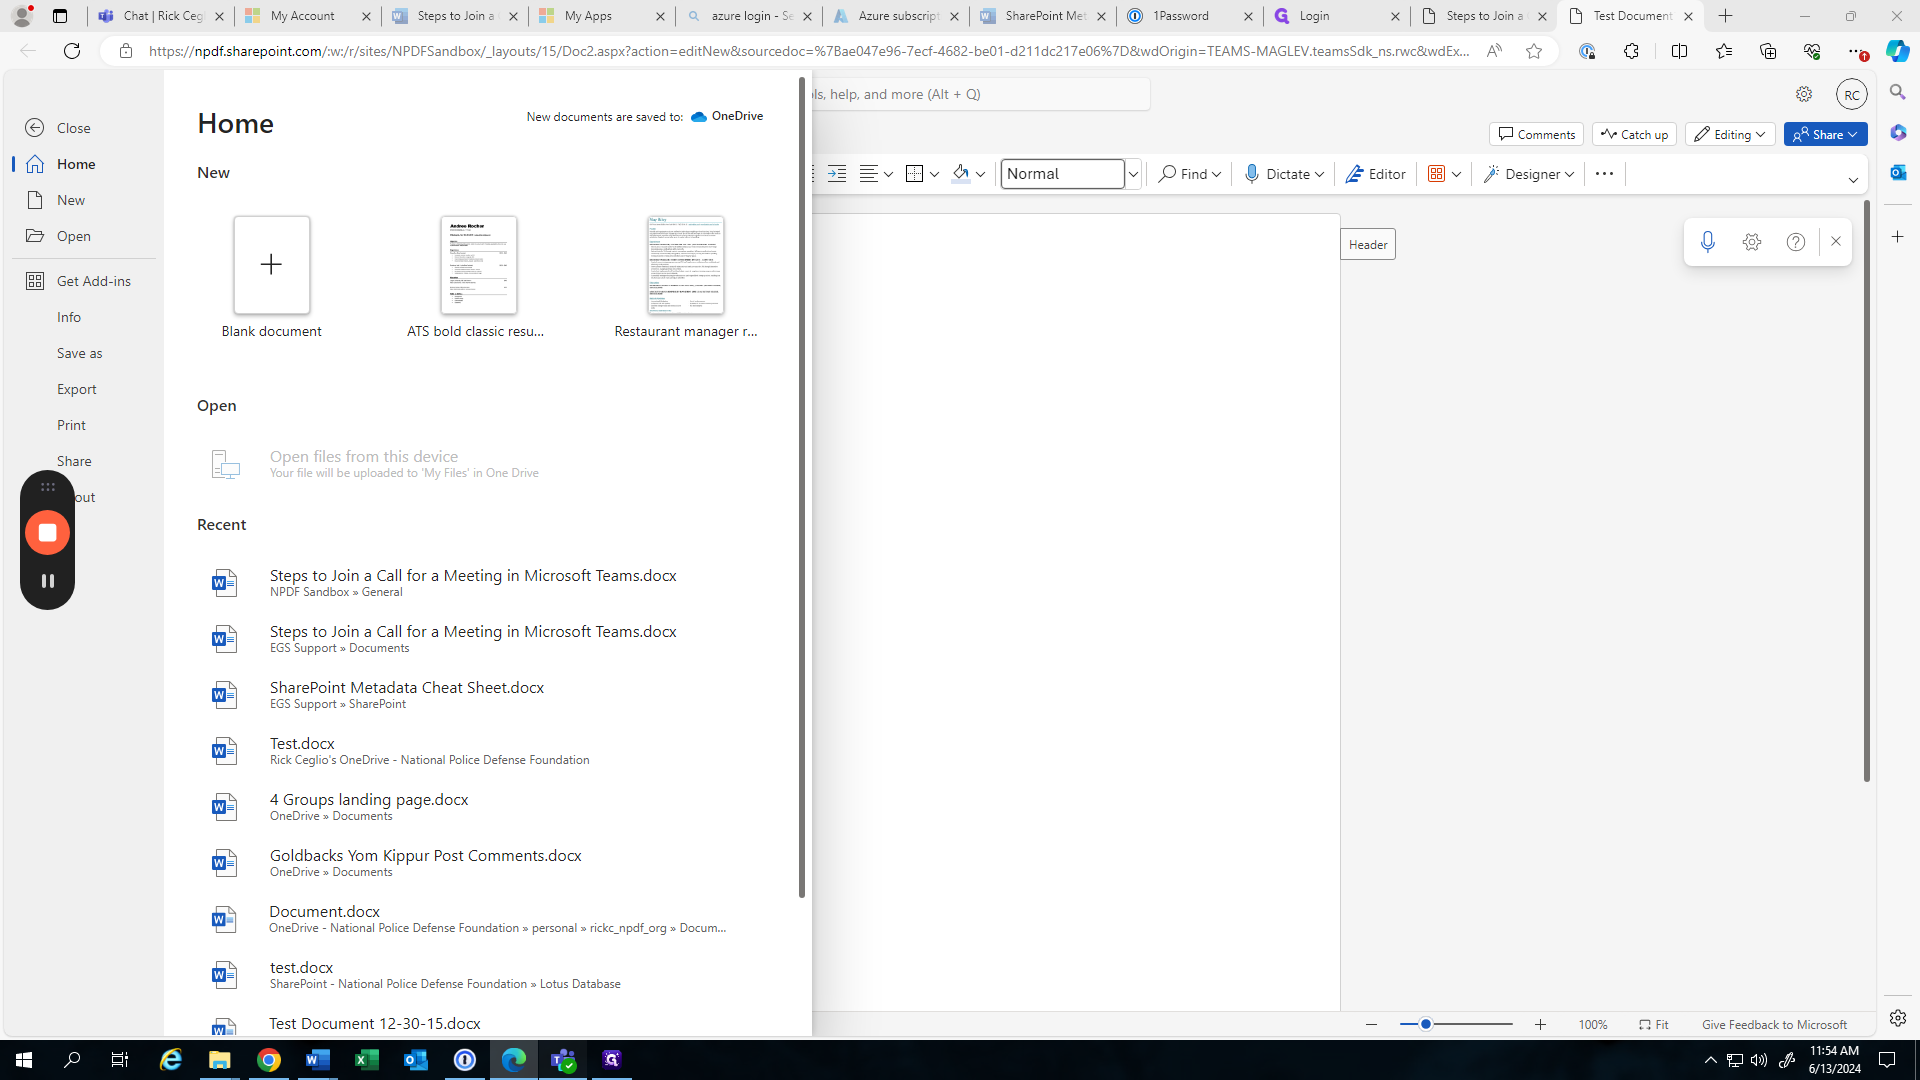
This is the web version of Word. We can go edit the file here, or we can go to editing and choose to open it in the desktop app. This will open it in my regular Word instead of the web version.
Anything we do is automatically saved. If we make any changes, they will be saved. We can also go back and look at revisions if needed.
Let's return to our Teams.
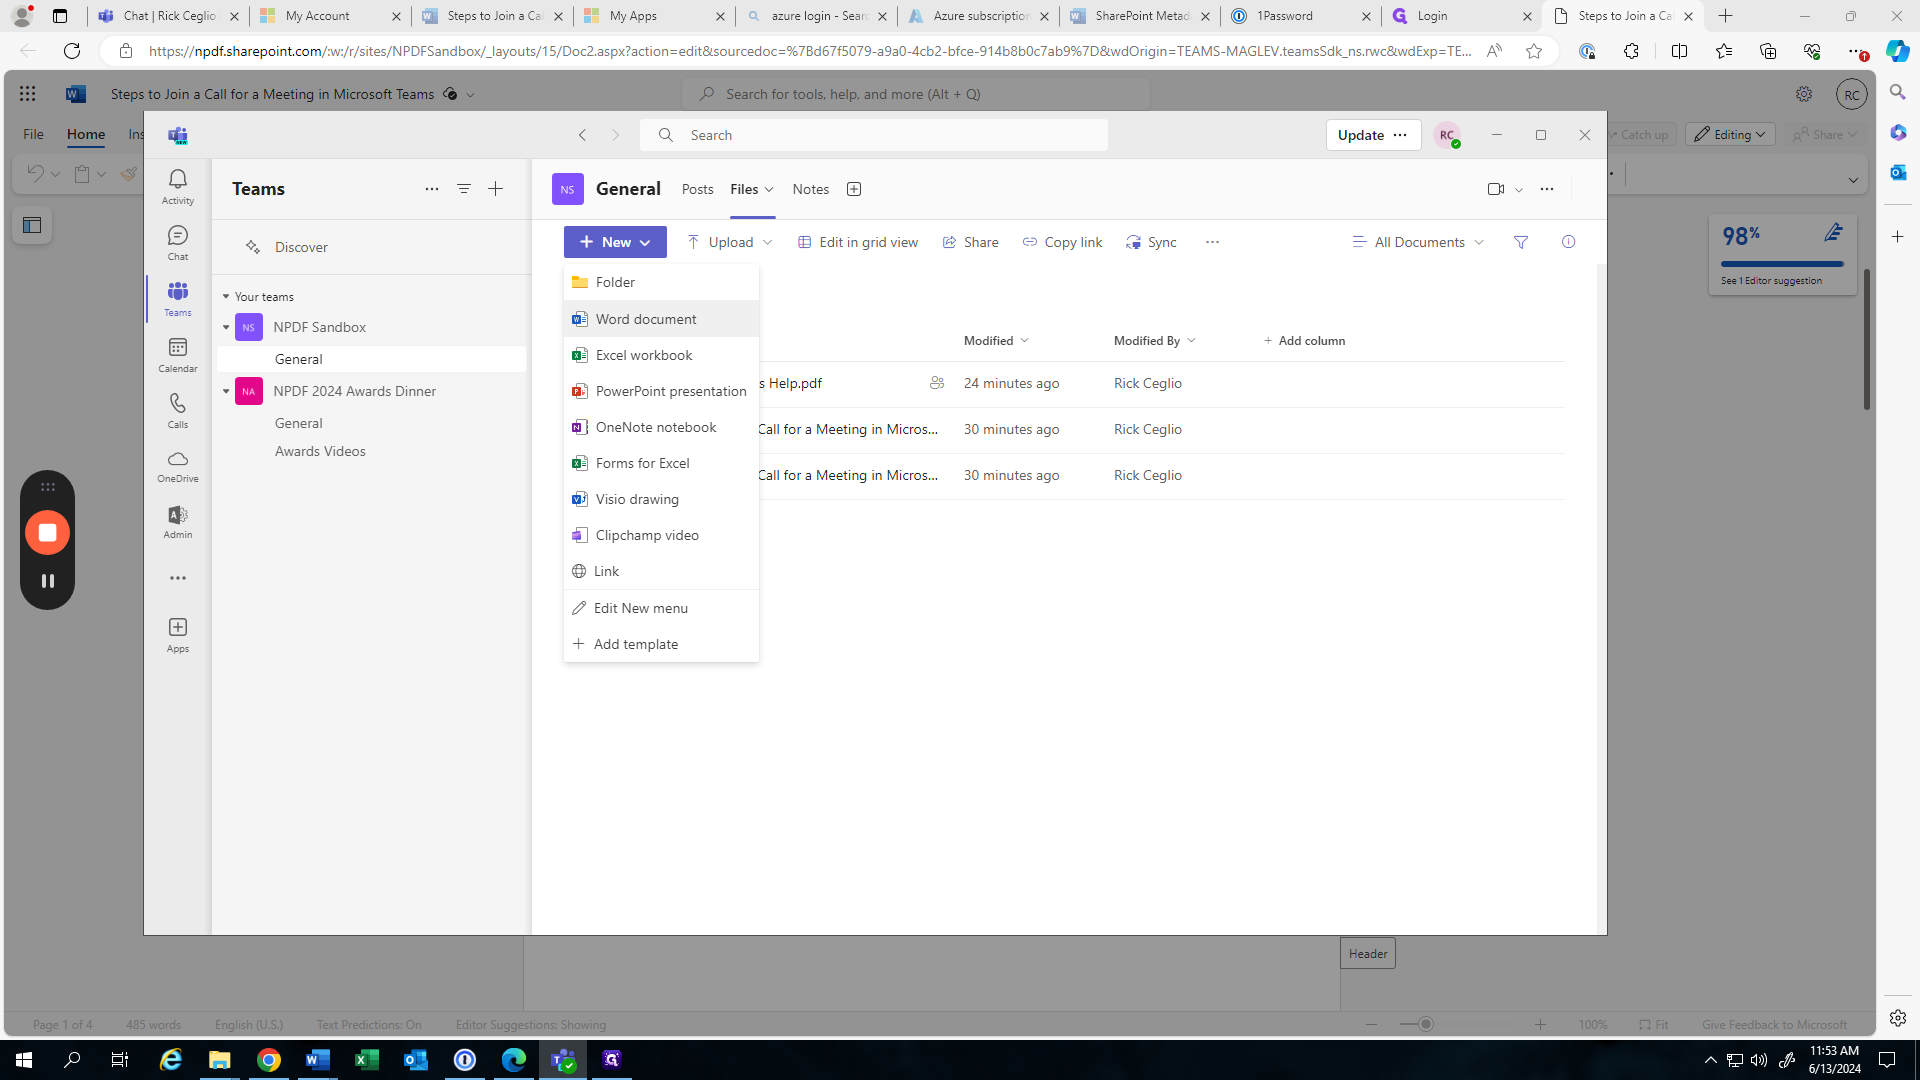
We can also upload and attach files here.
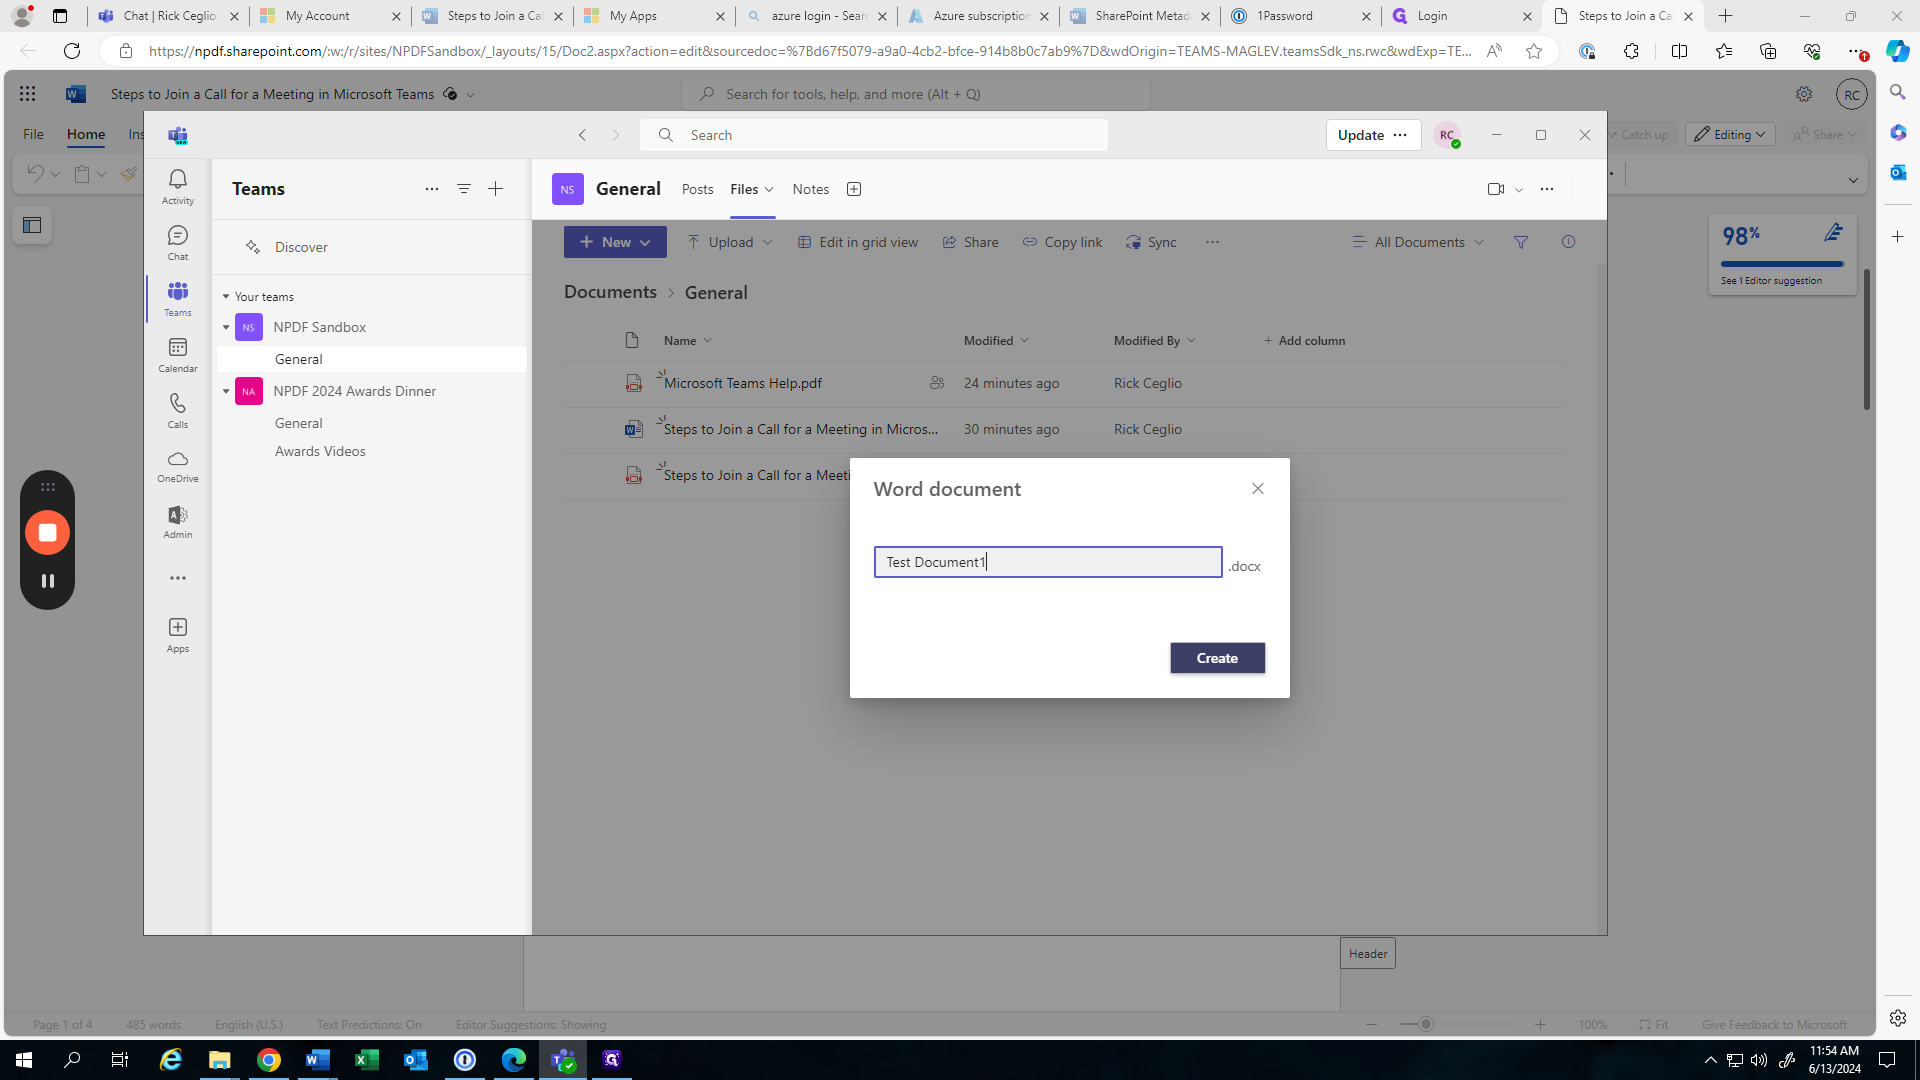
It will ask us to upload a file, a template, or create a new file.
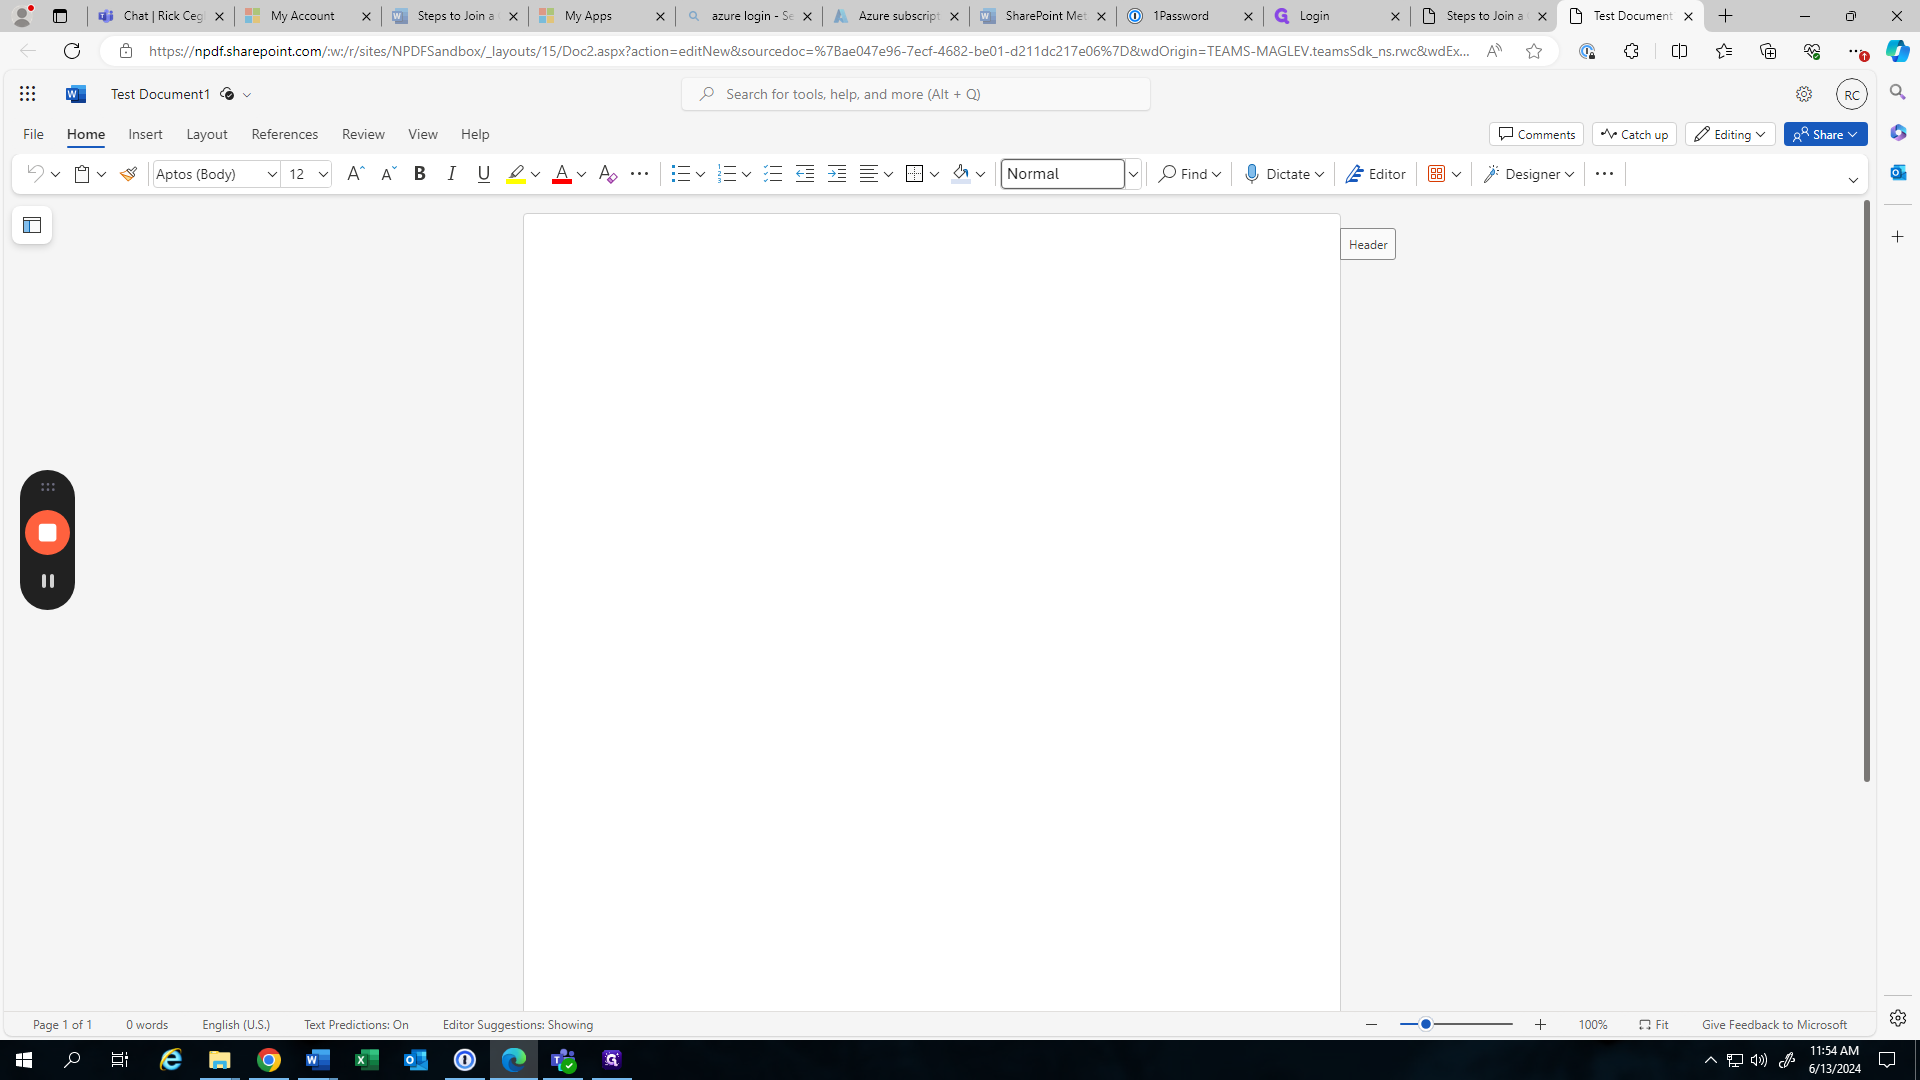
We will create a new Word document called "Test Document 1."
We can print, share, and do all of that right here in the document.
As soon as you see that the document was modified a few seconds ago, it will show the last time it was saved. This is great for document sharing. Not only can you be in the document, but someone else can make changes simultaneously. This allows for one document, preventing multiple copies from flying around the office.
That concludes this short tutorial.