
Navigating the Jumpstart July Thinkific Community: A Quick Overview
Learn how to navigate the Jumpstart July Thinkific community with this quick and comprehensive guide. From signing in to engaging with posts, we've got you covered.
In this guide, we'll learn how to navigate the Jumpstart July Thinkific community. We'll start from the homepage, sign in, and explore the student dashboard. You'll see how to access your courses, join the community, and engage with posts. We'll also cover how to manage your notifications to stay updated without overwhelming your inbox.
Let's get started
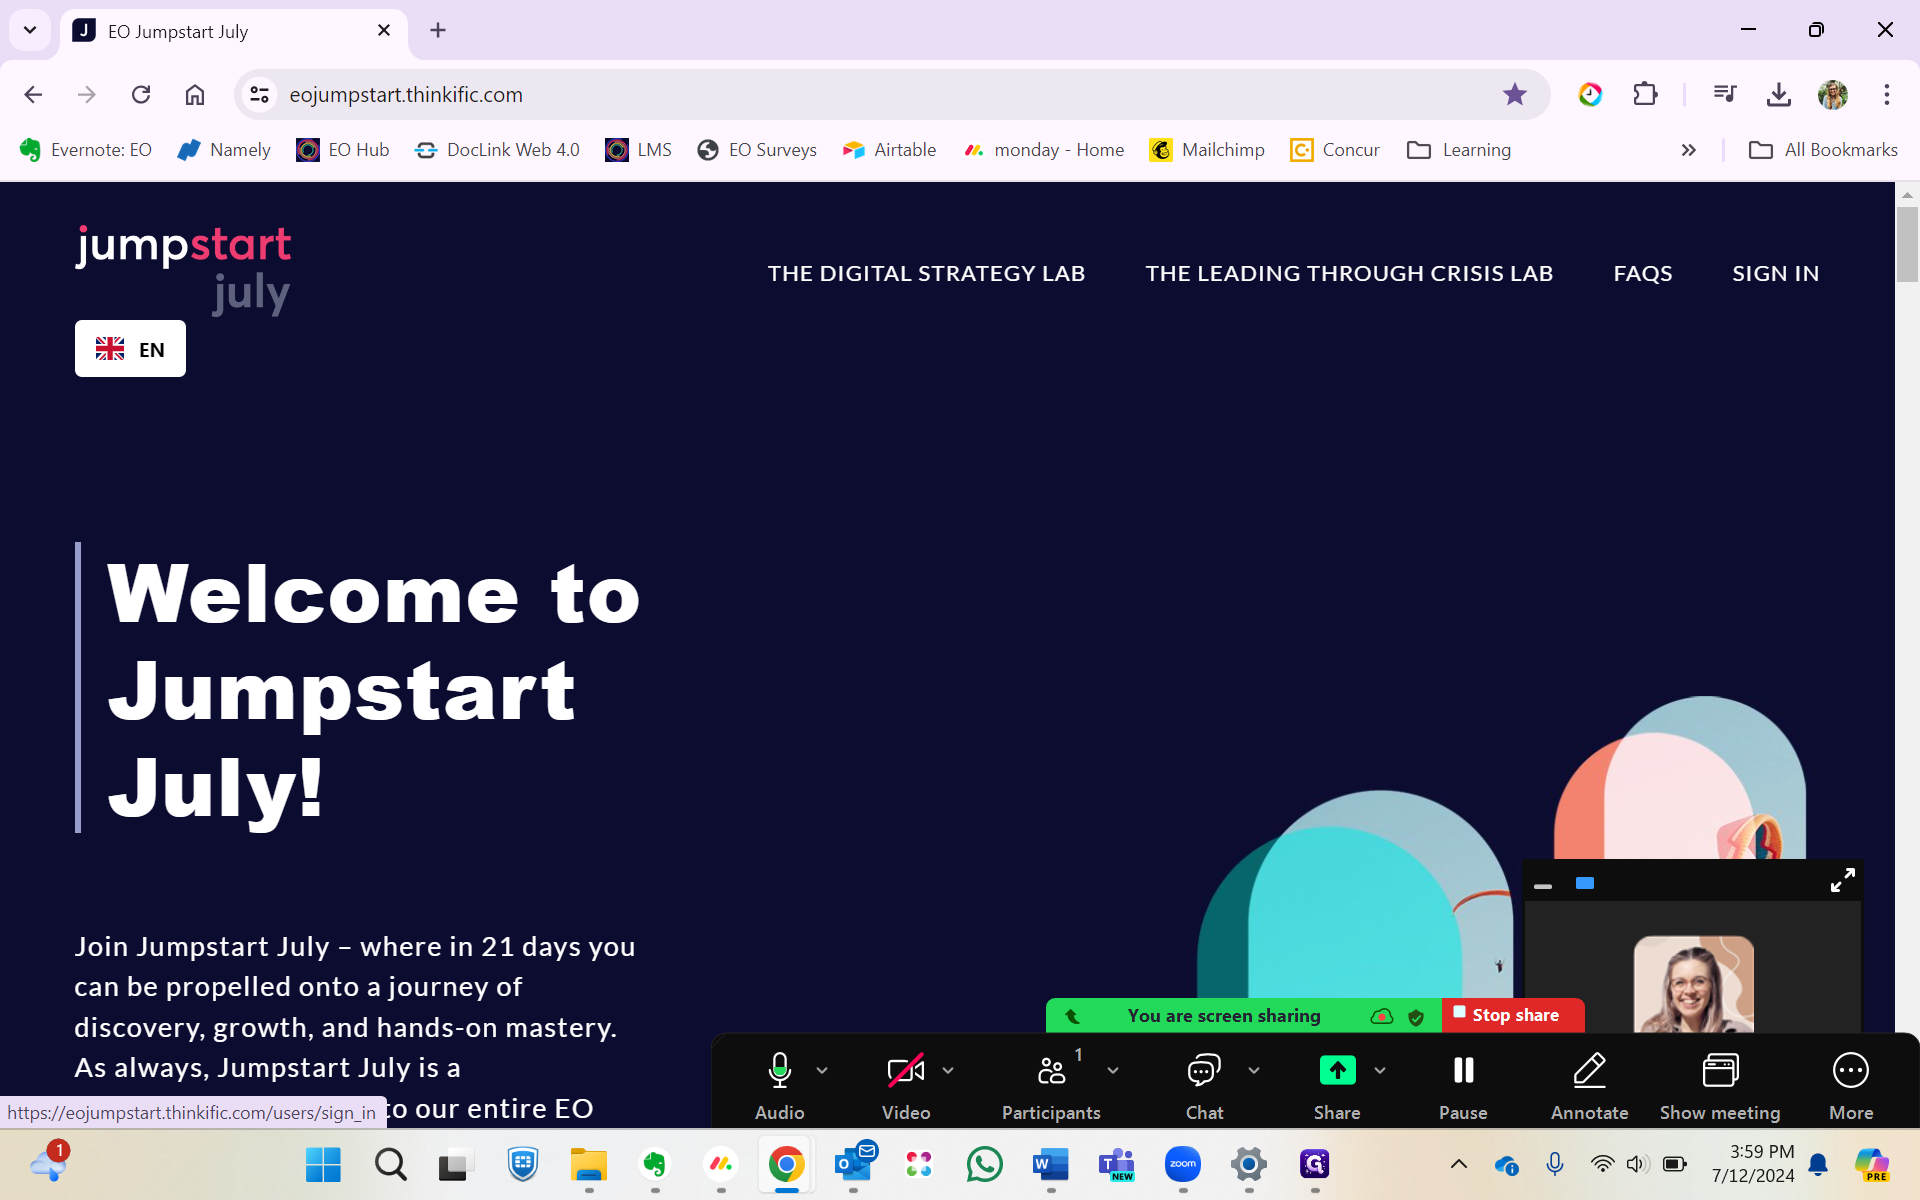
We'll start at the homepage, which is eojumpstart.thinkific.com.

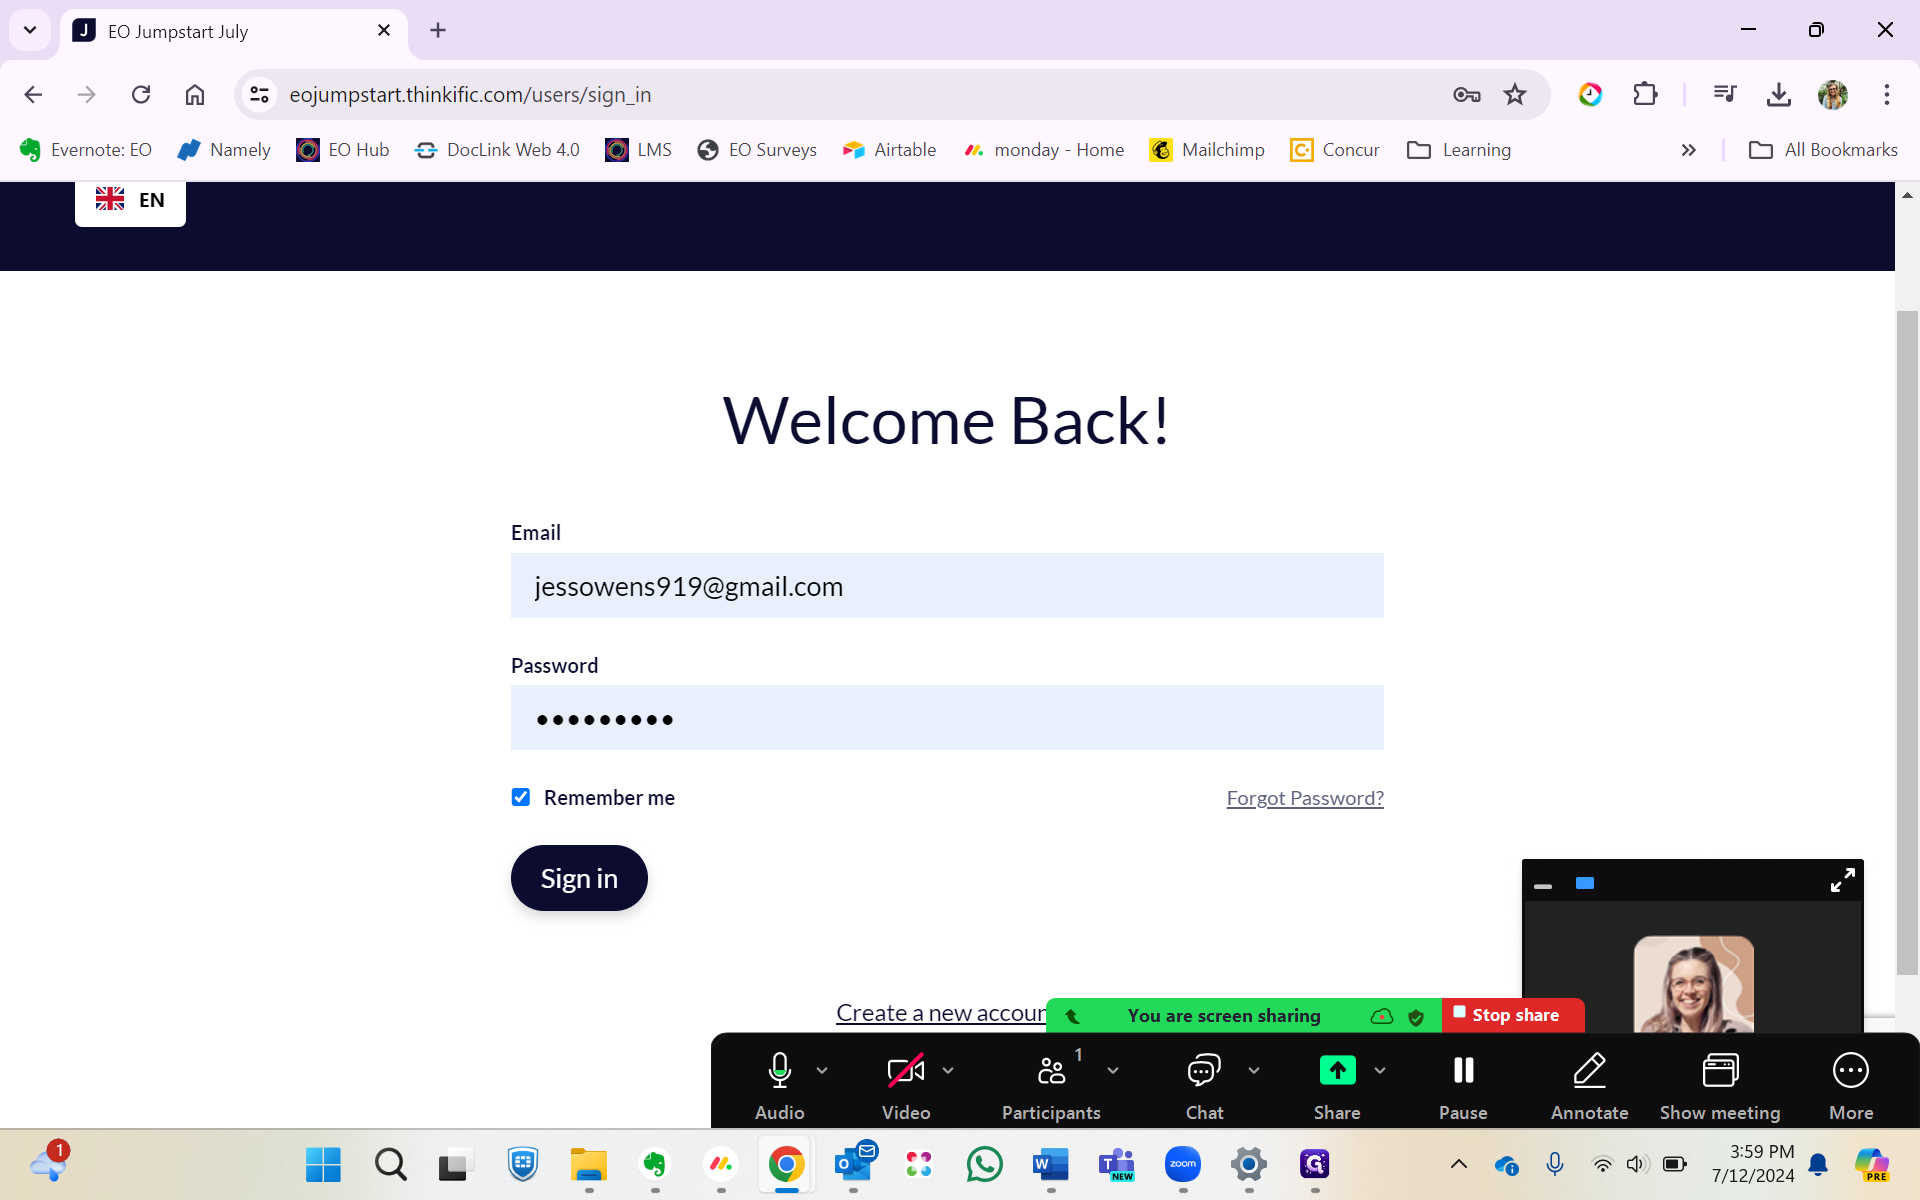
Once here, I'm going to select the sign-in button at the top right of the website.
I will then enter my login credentials.
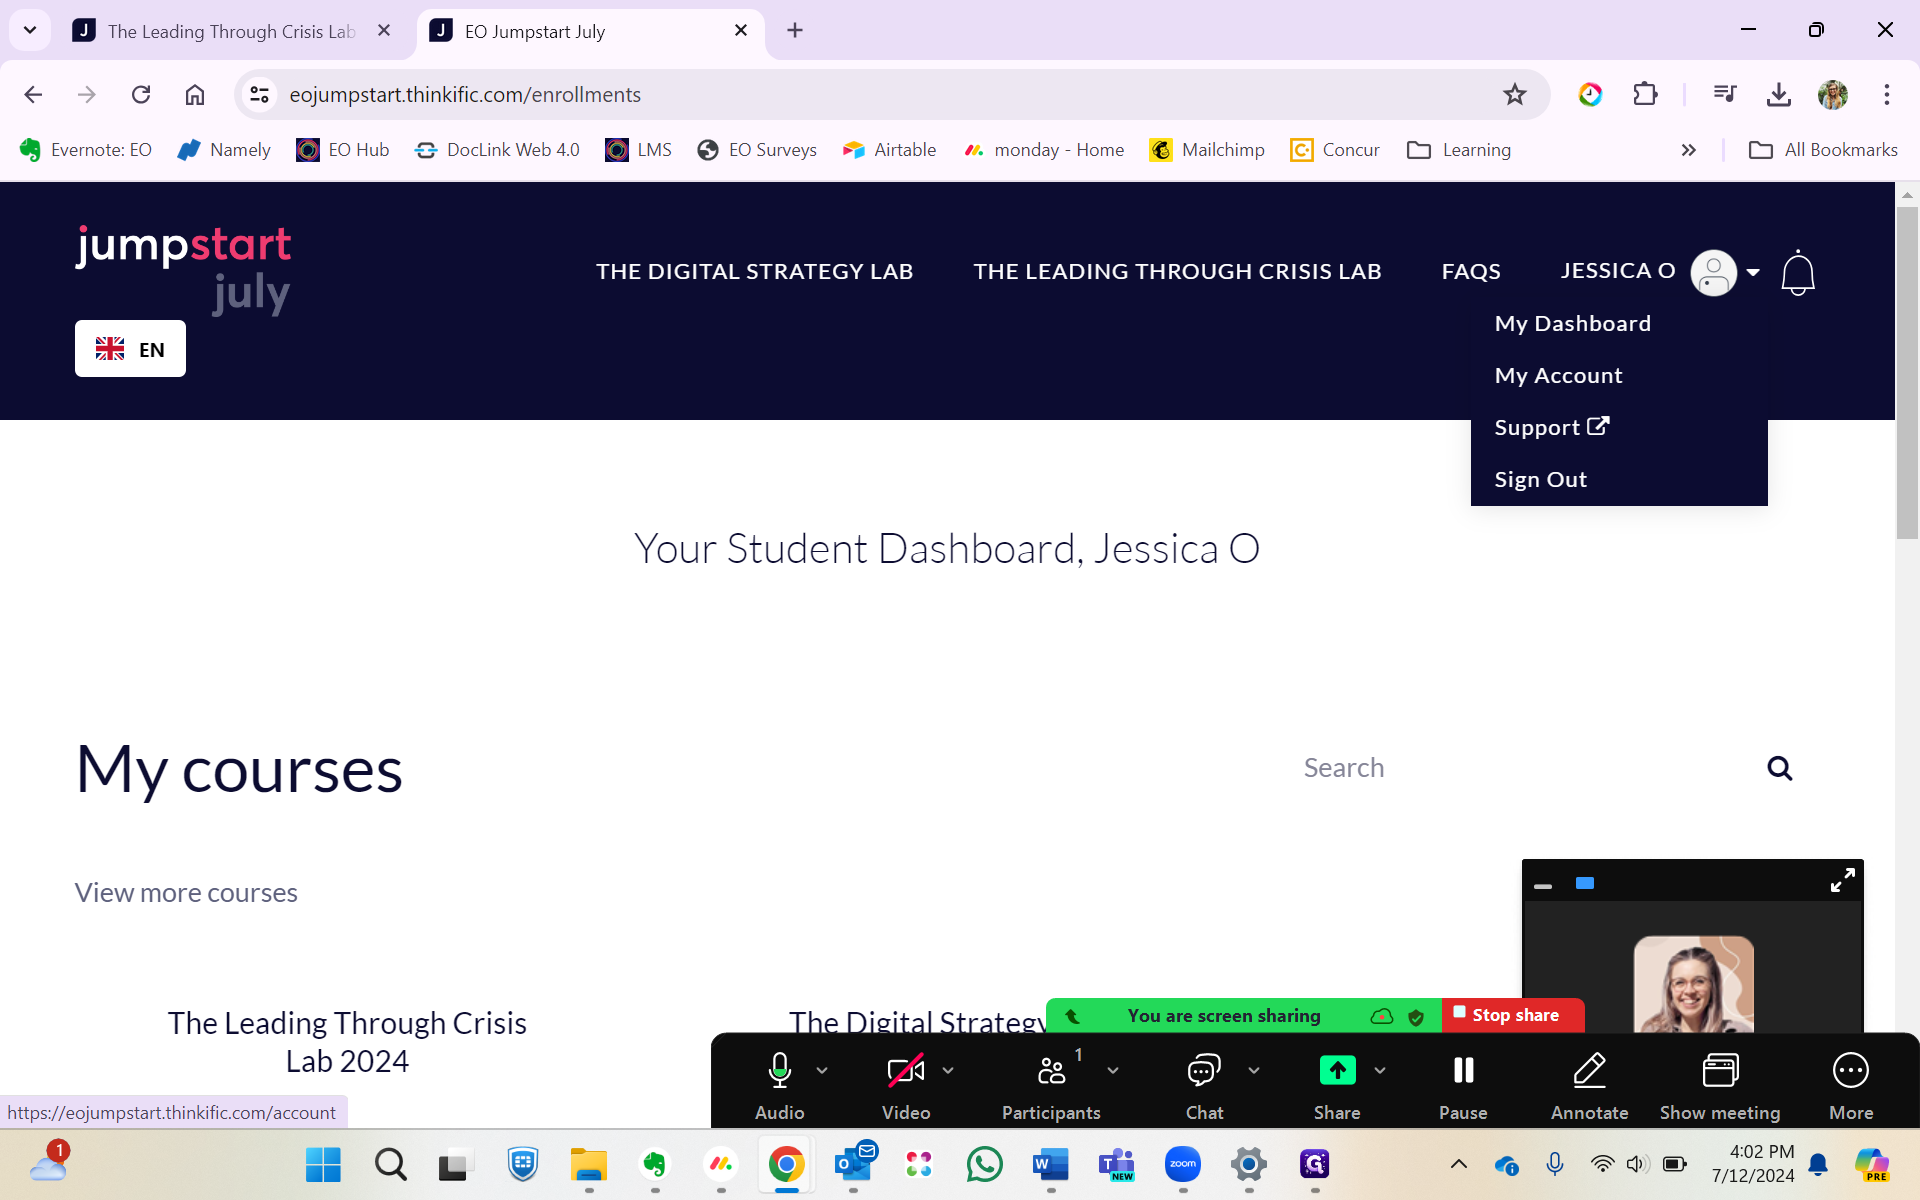
Because I have logged in before and selected "Remember Me," the fields are auto-populated. You may need to enter your own information. I'll then click "Sign In," which will take me to my Thinkific student dashboard.
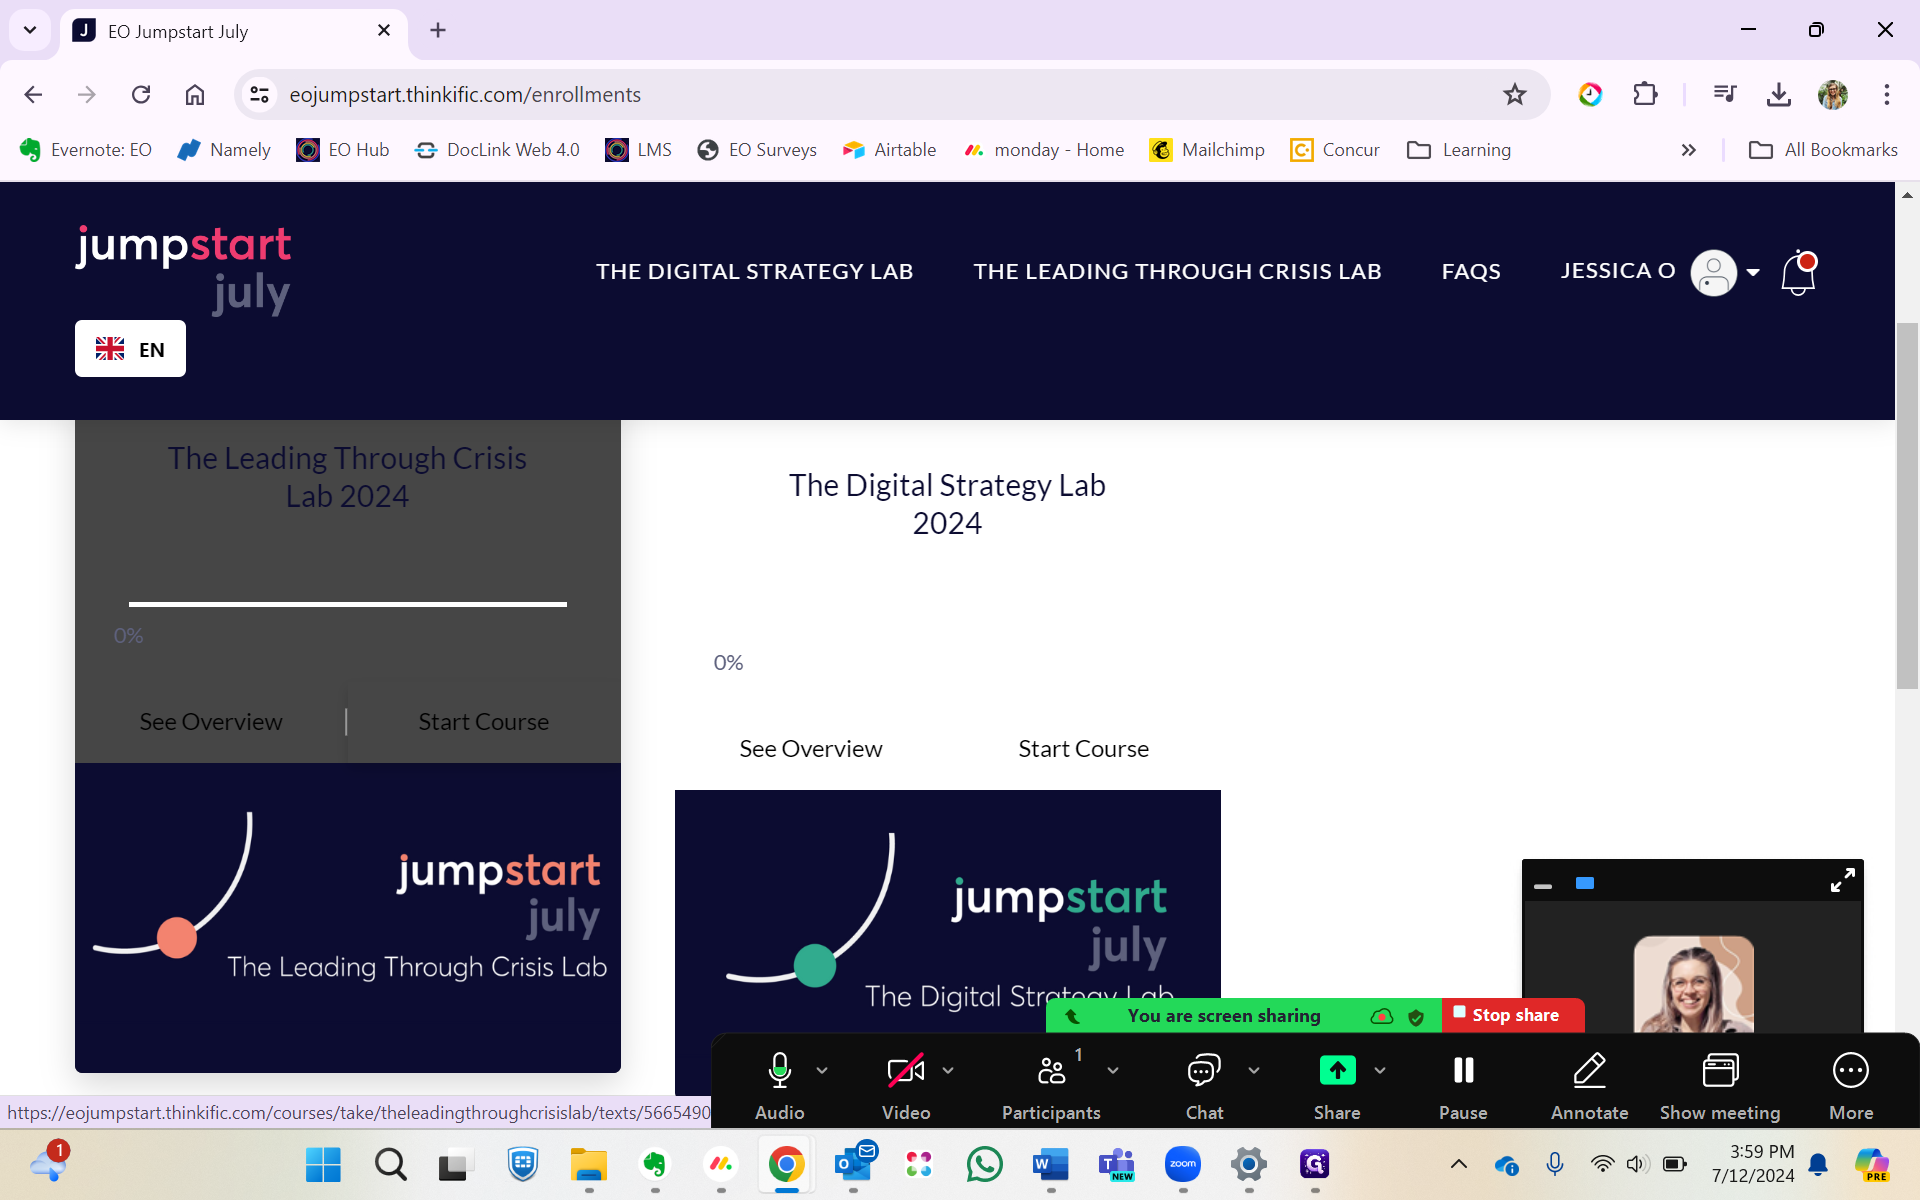
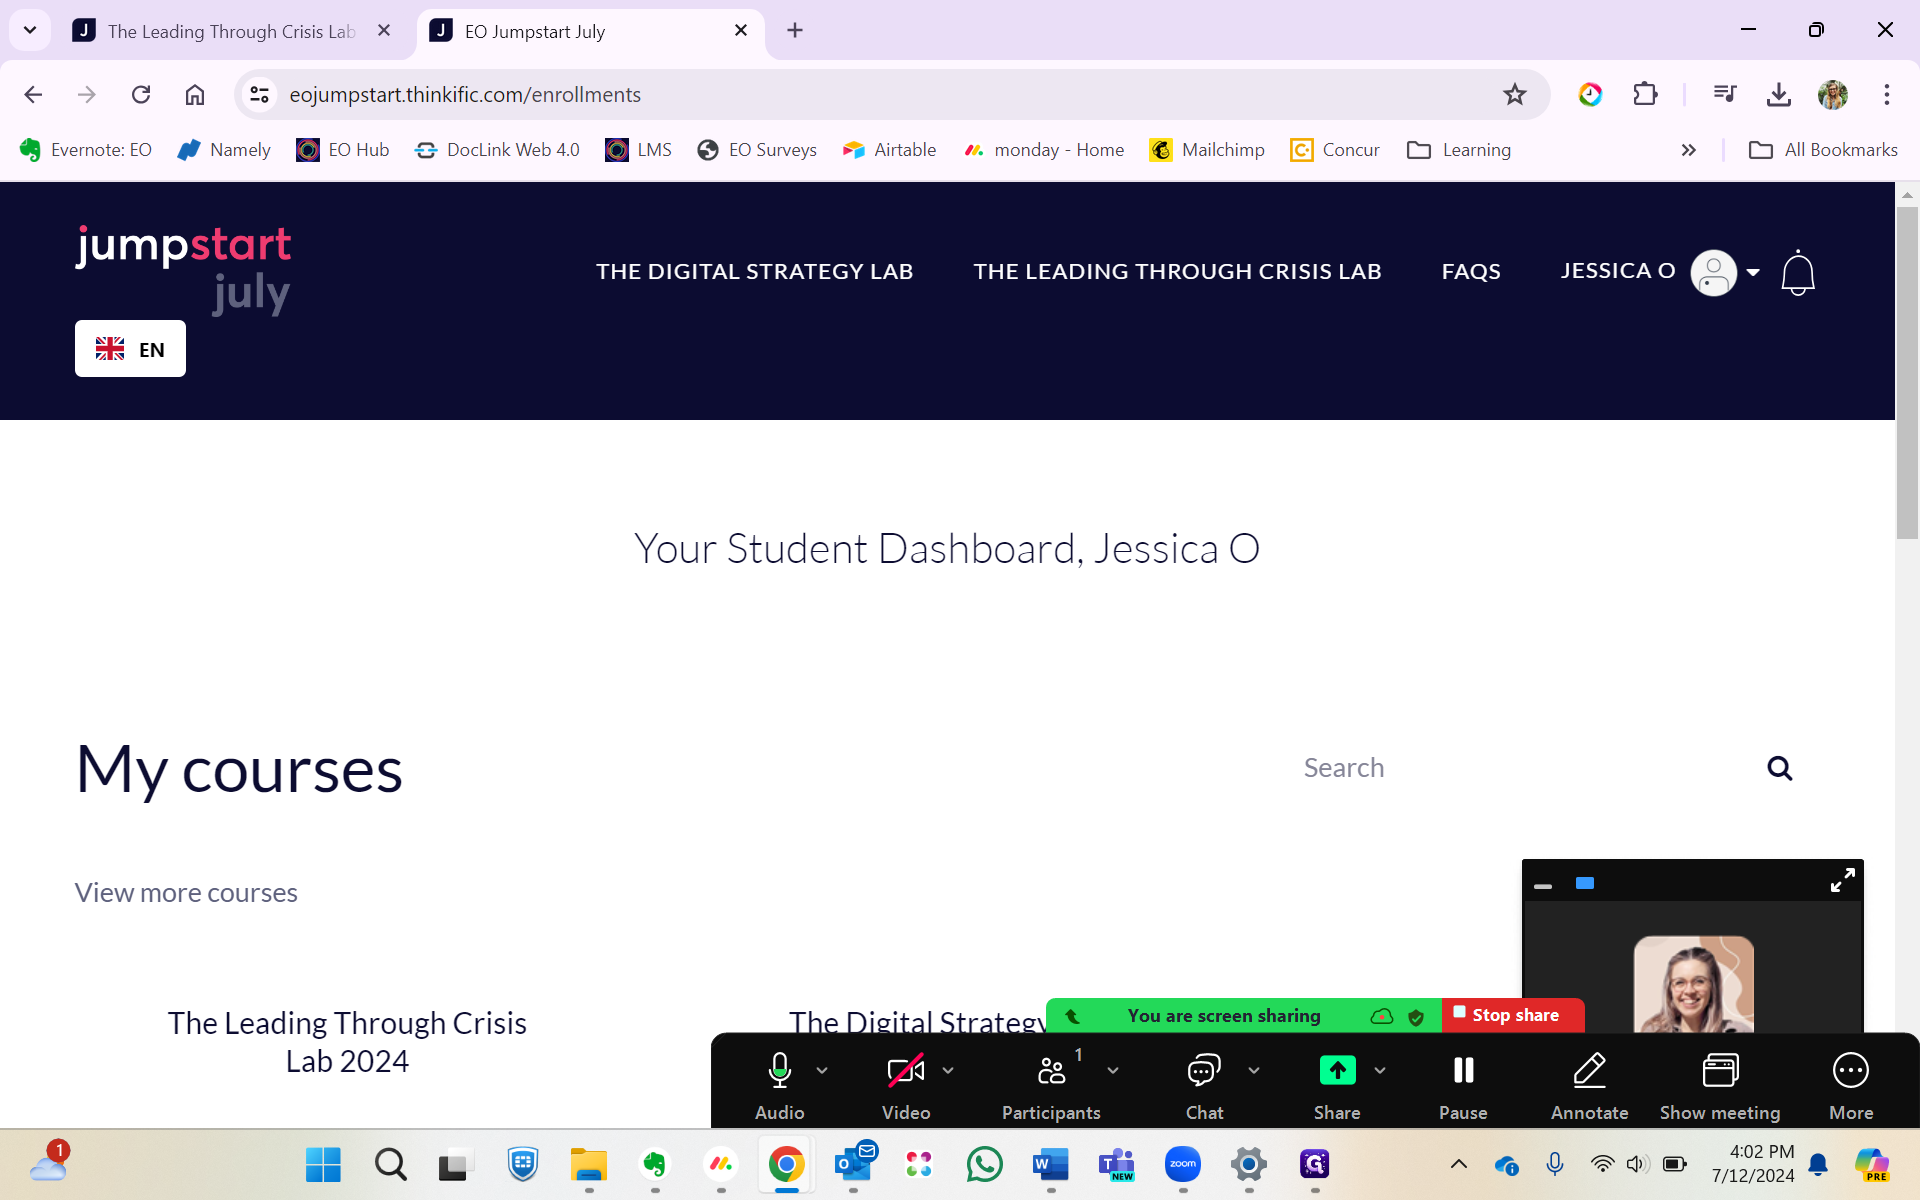
As you can see, I am enrolled in the Leading Through Crisis lab and the Digital Strategy lab. From here, I can view the course overview or start the course module.
Once I click "start course," Thinkific will launch that course module. As you'll see, there is a welcome section and instructions on how to use the platform. You can also see the content for week one, where you can meet your coach and see an overview of the sessions.
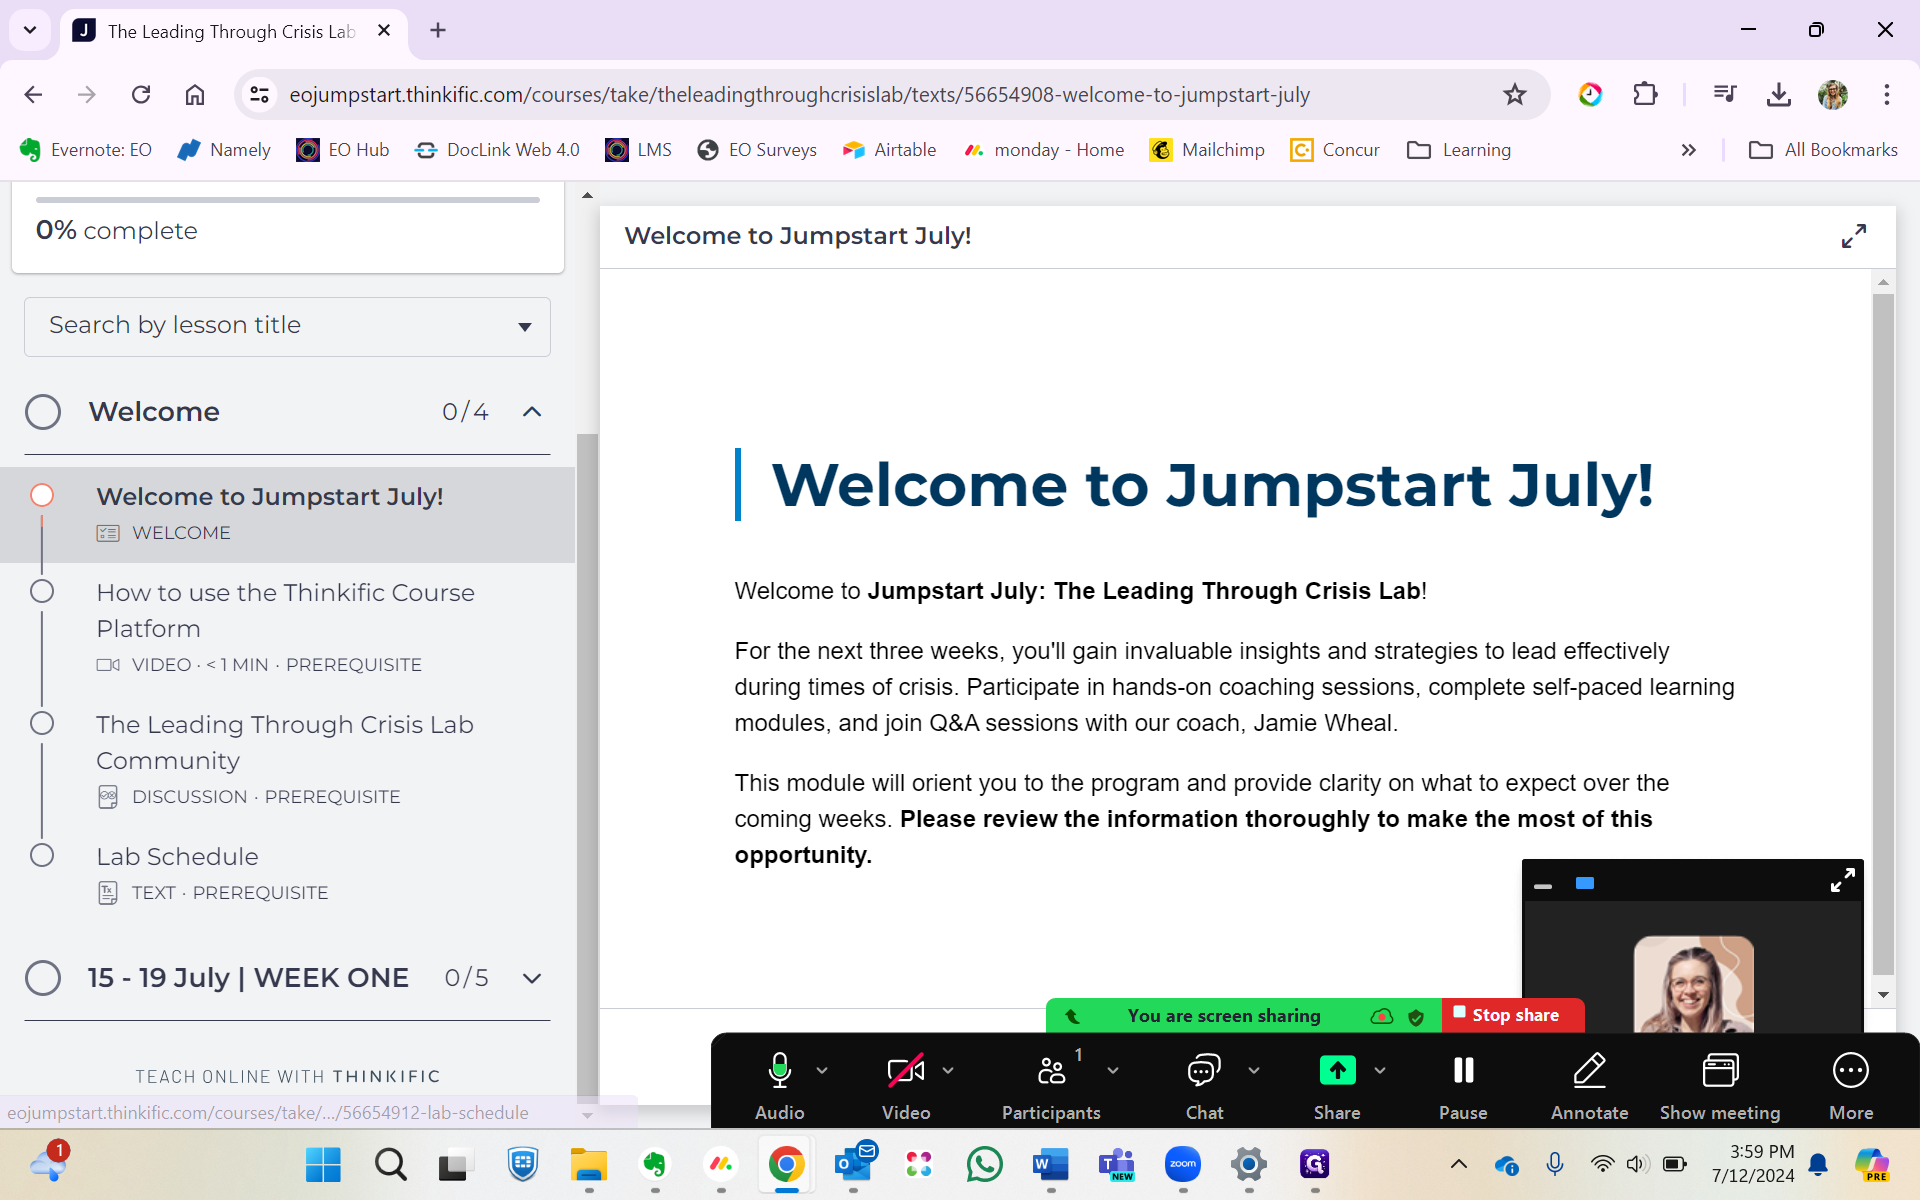
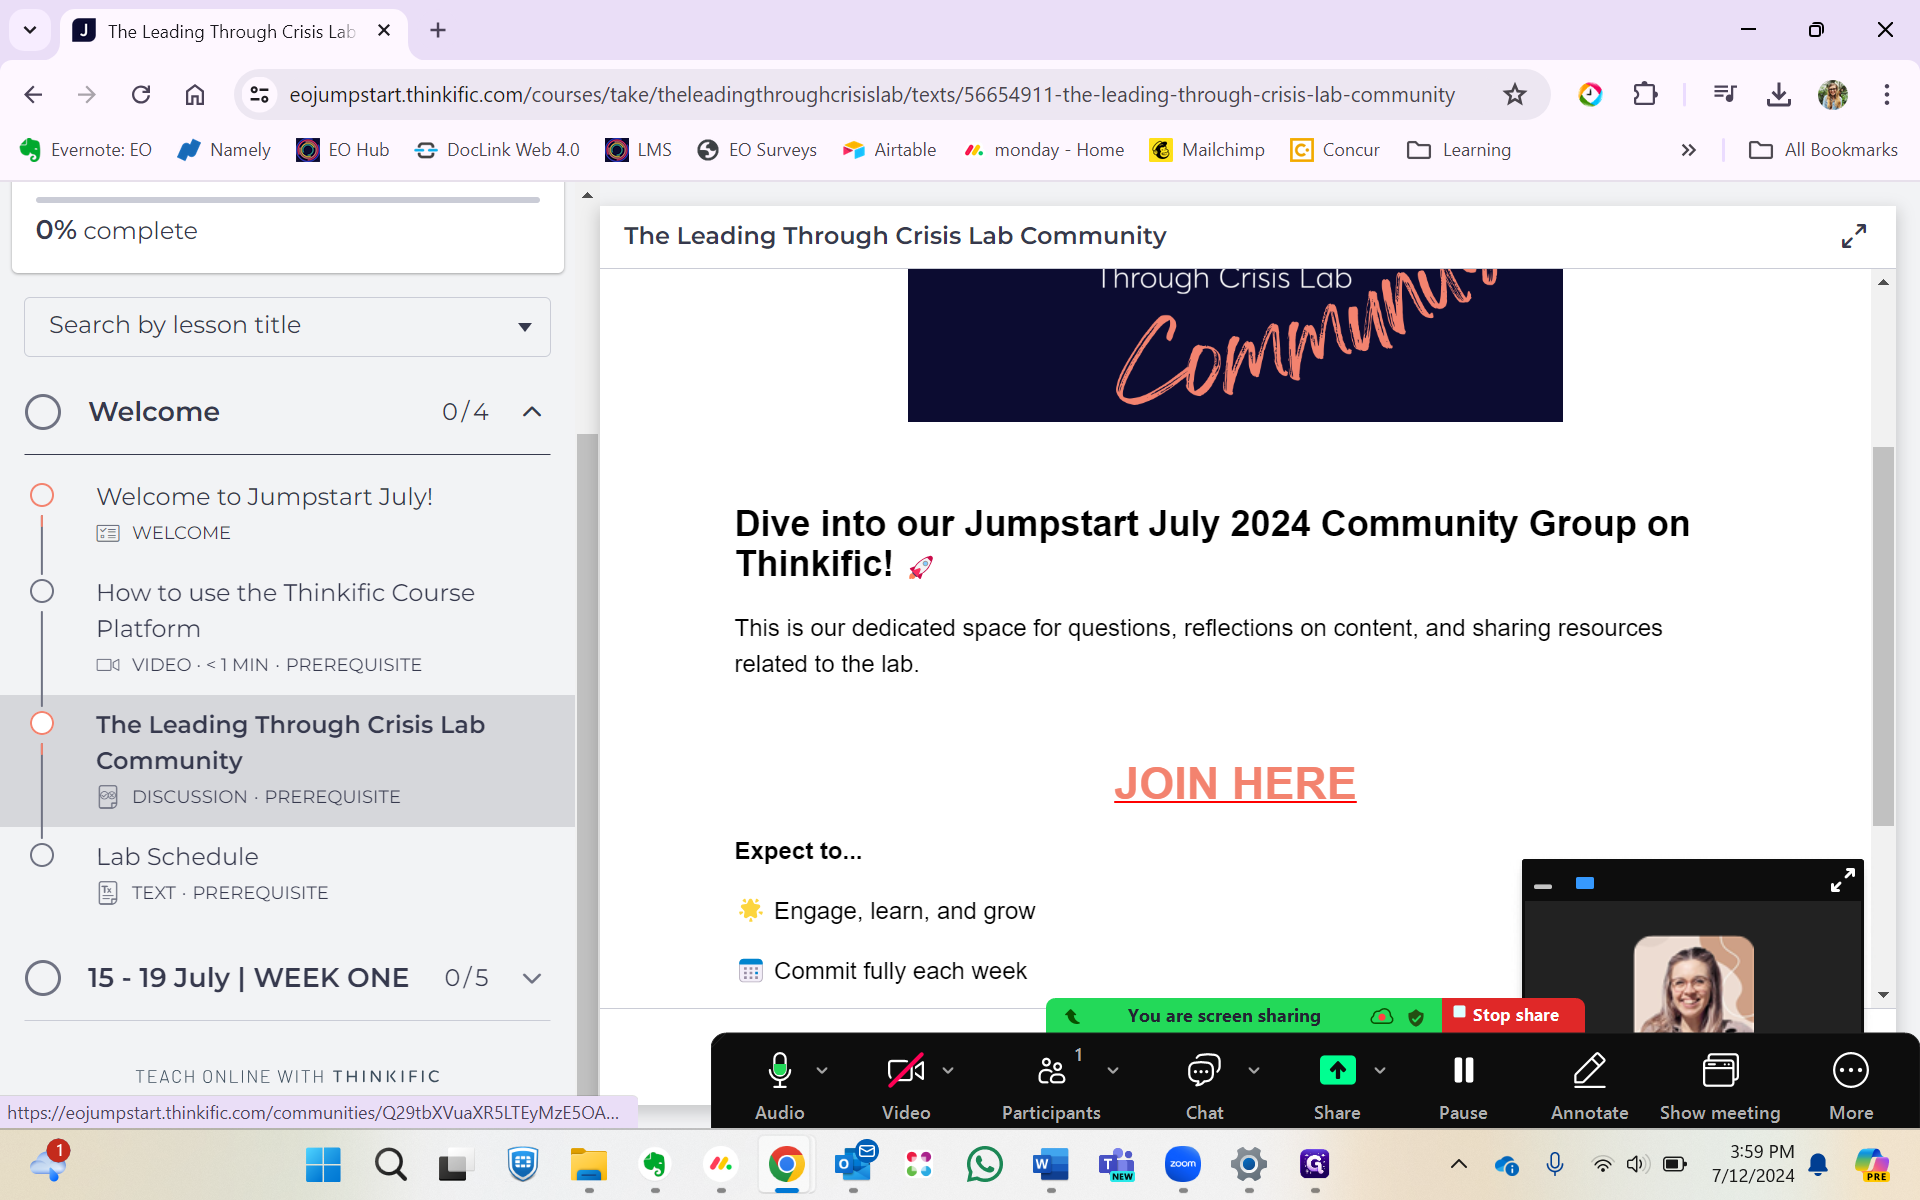
You'll notice there are a few prerequisites in the Welcome Session, requiring you to review them before you move on in the course.
One of these prerequisites is discussing our Jumpstart community. From here, you can click "Join here", which will take you directly to the community page.
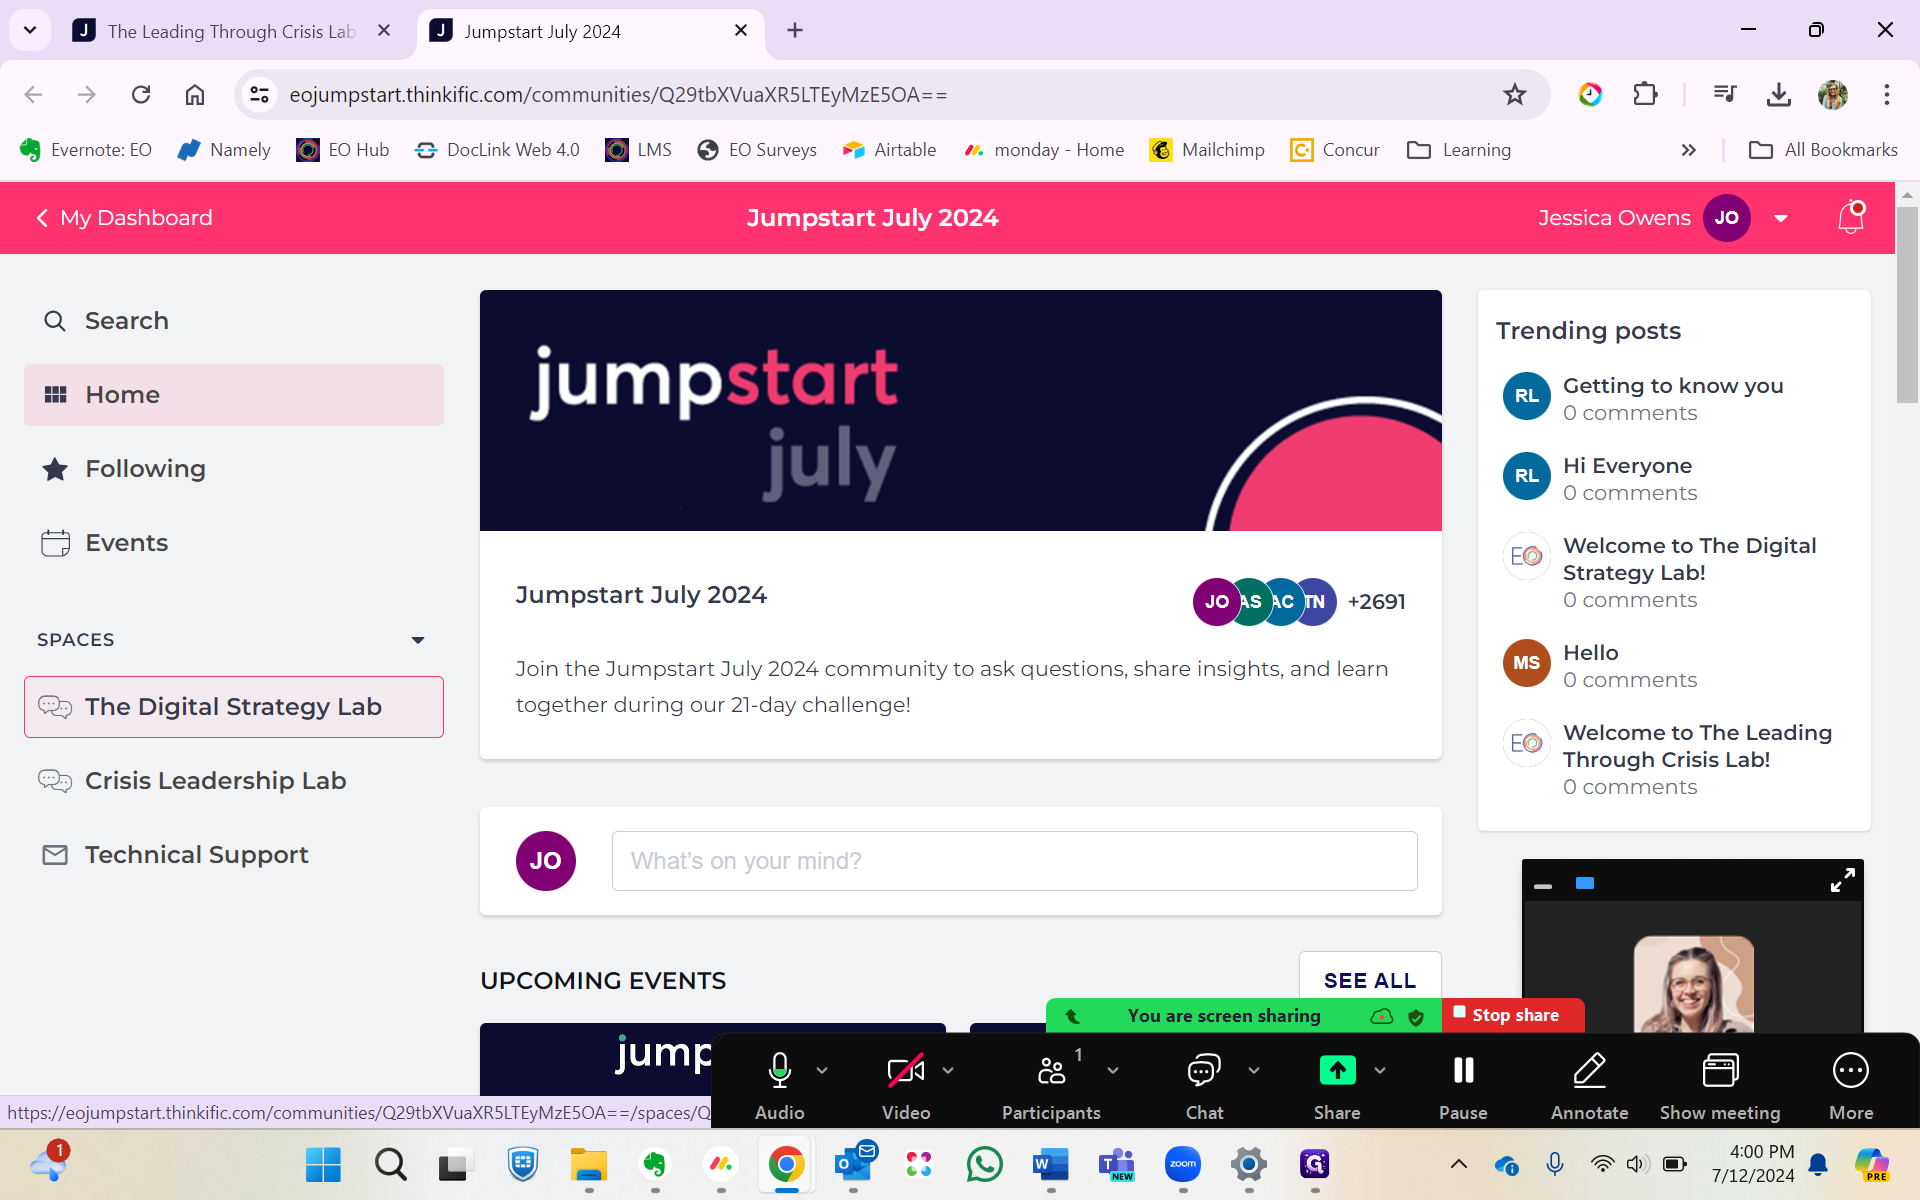
Once here, I can select either the Digital Strategy Lab space or the Leading Through Crisis Lab space. Due to the limited number of characters, it is renamed as Crisis Leadership Lab, but we understand what that means. I'll go ahead and select the Digital Strategy Lab.
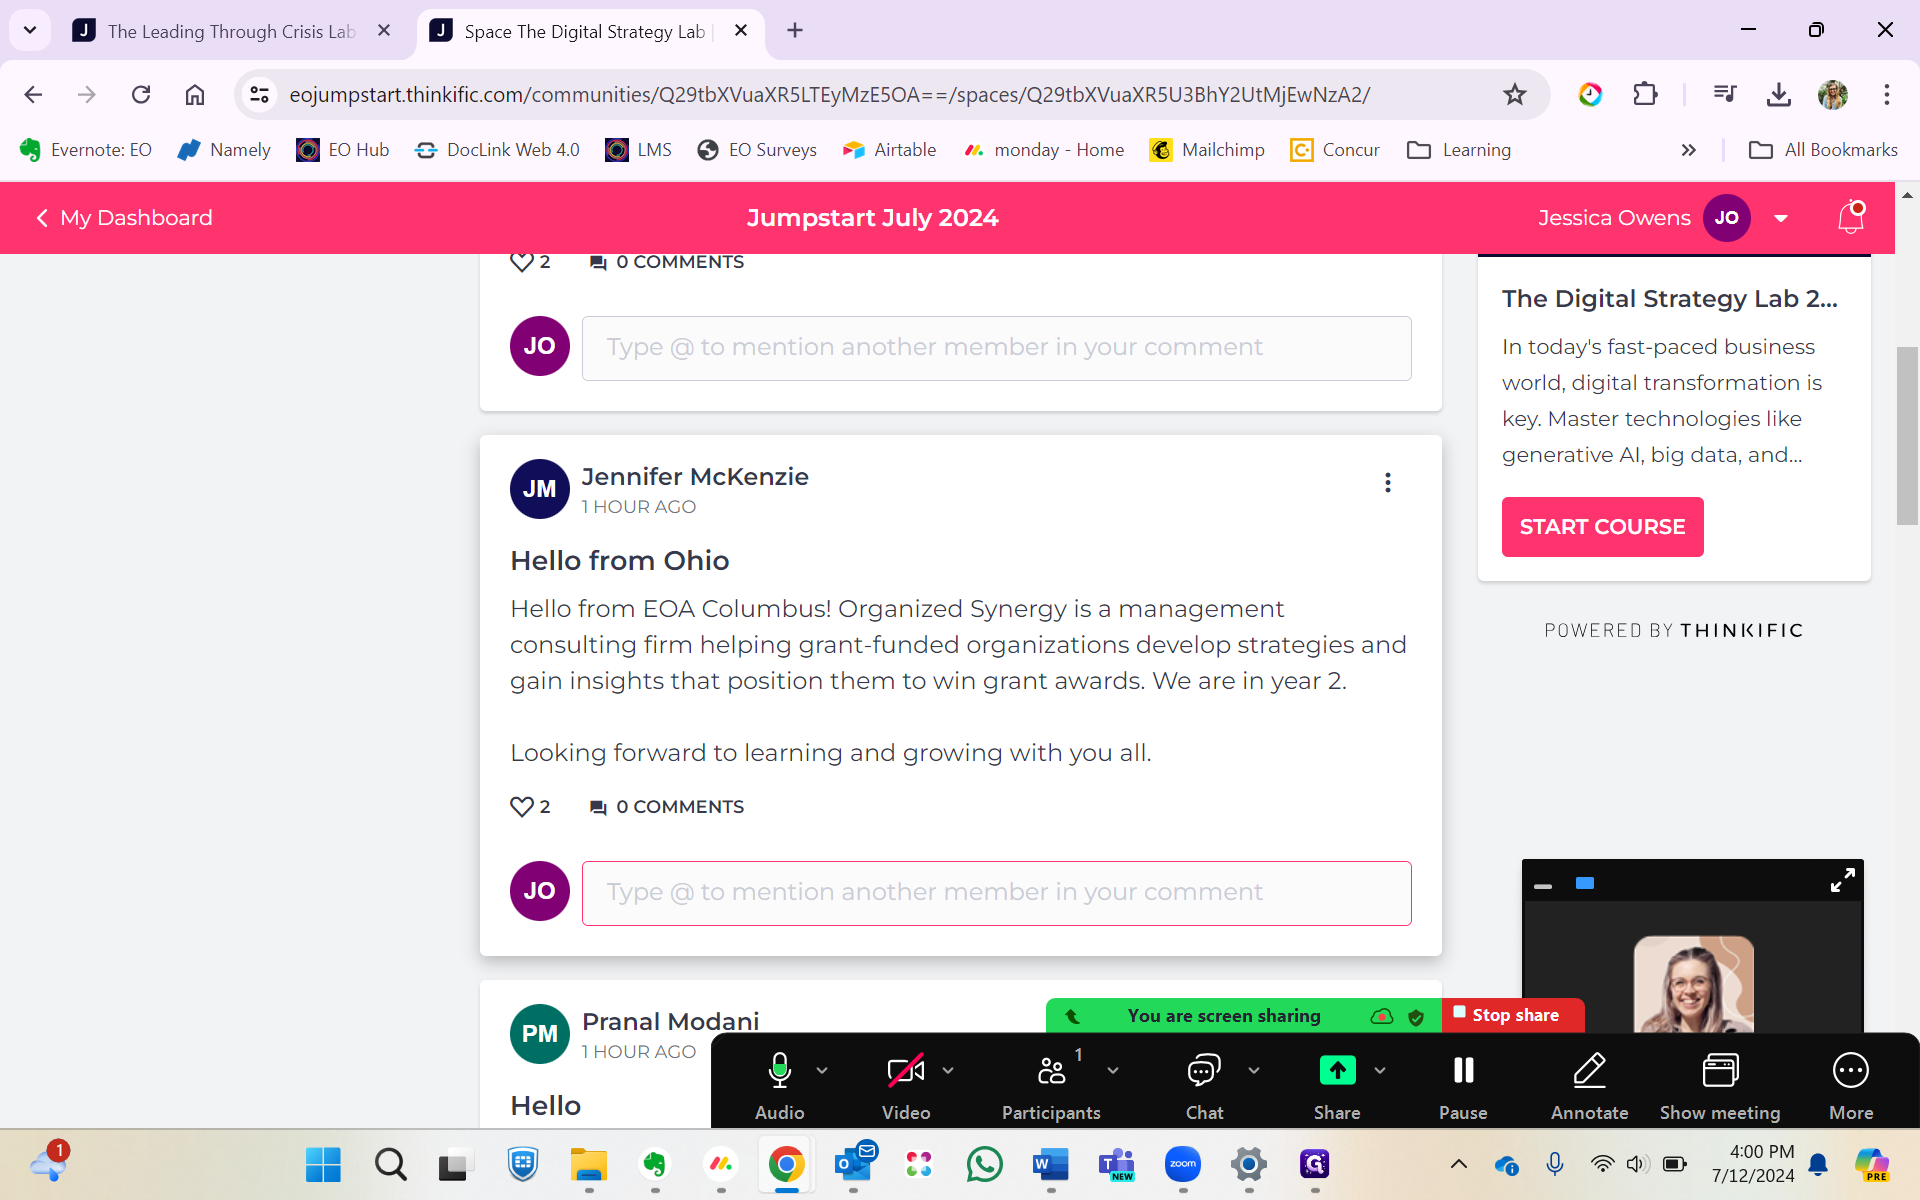
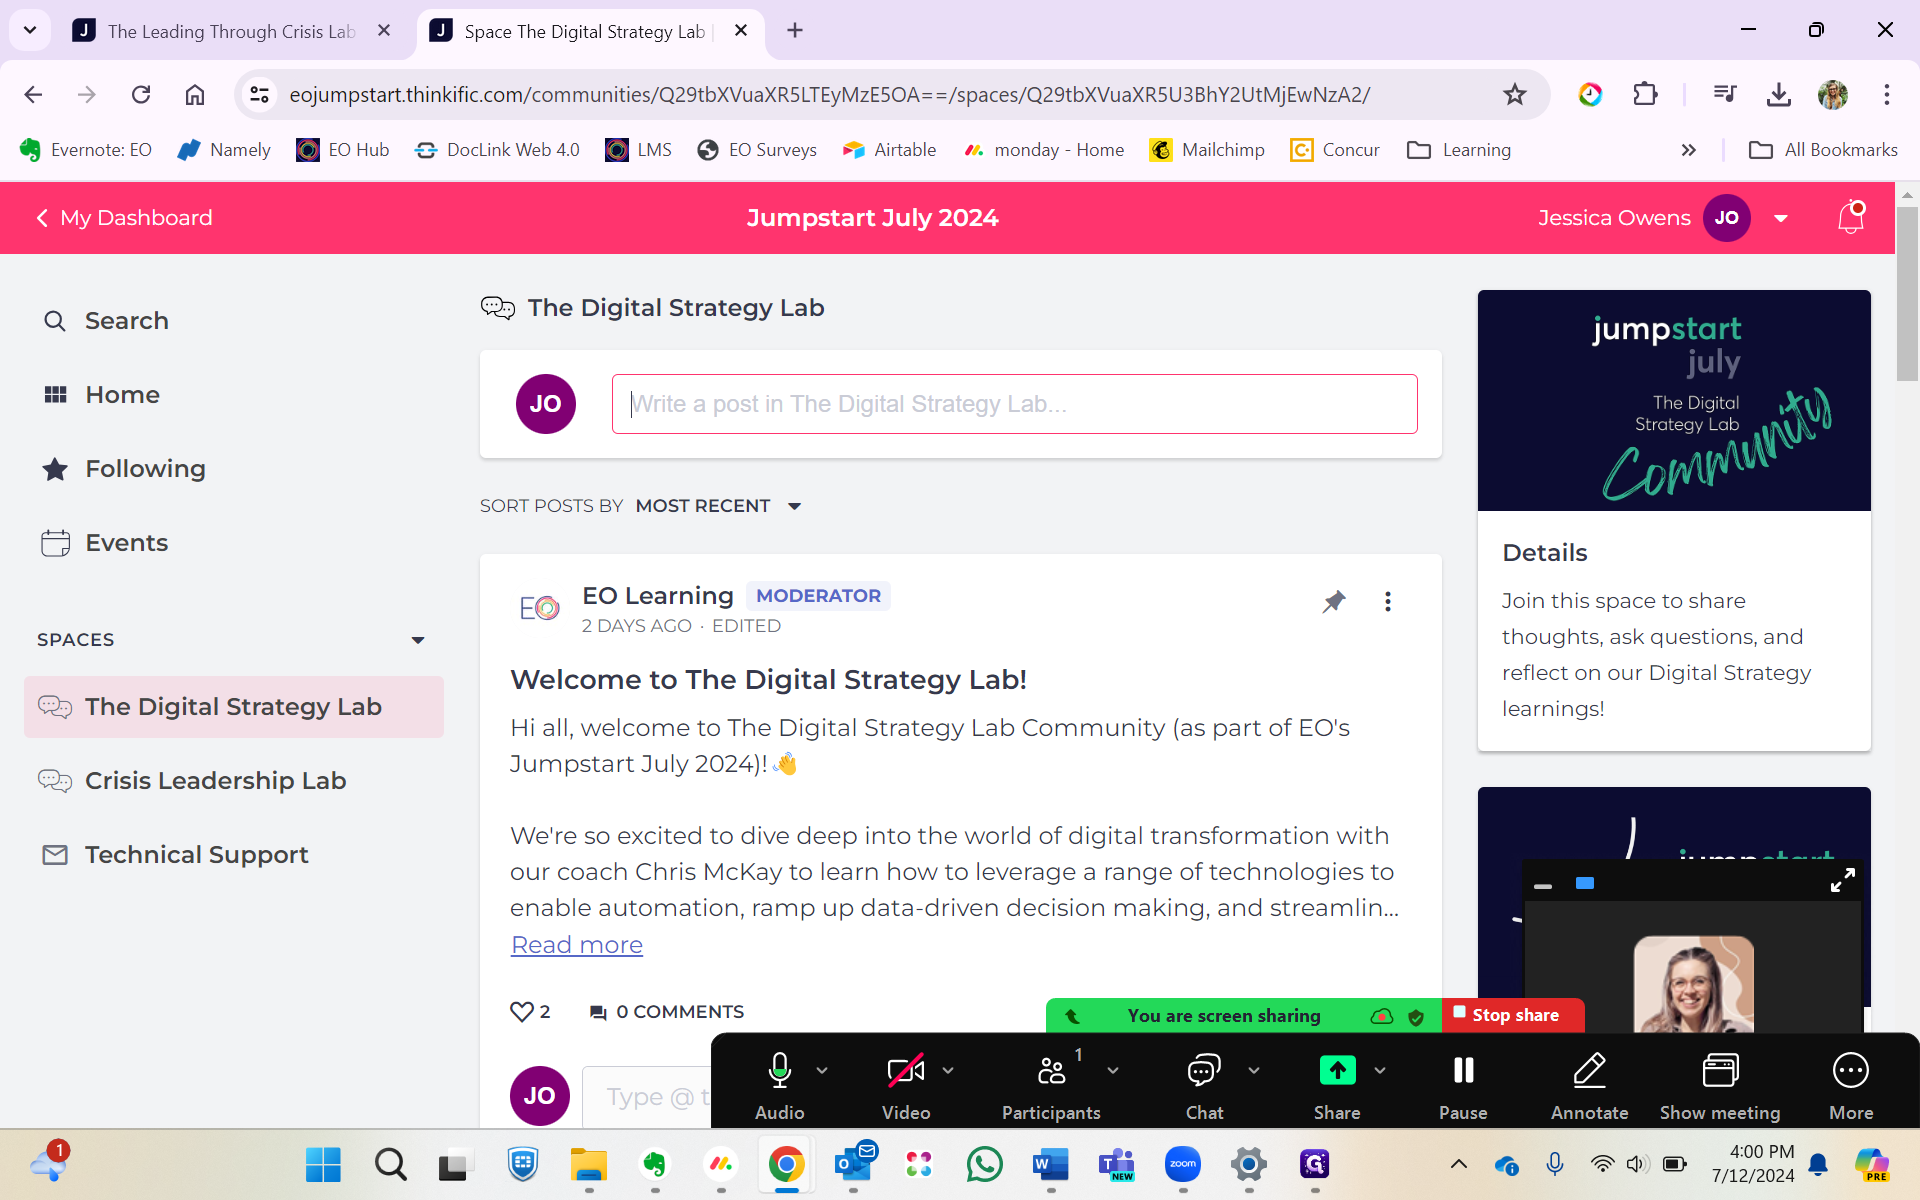
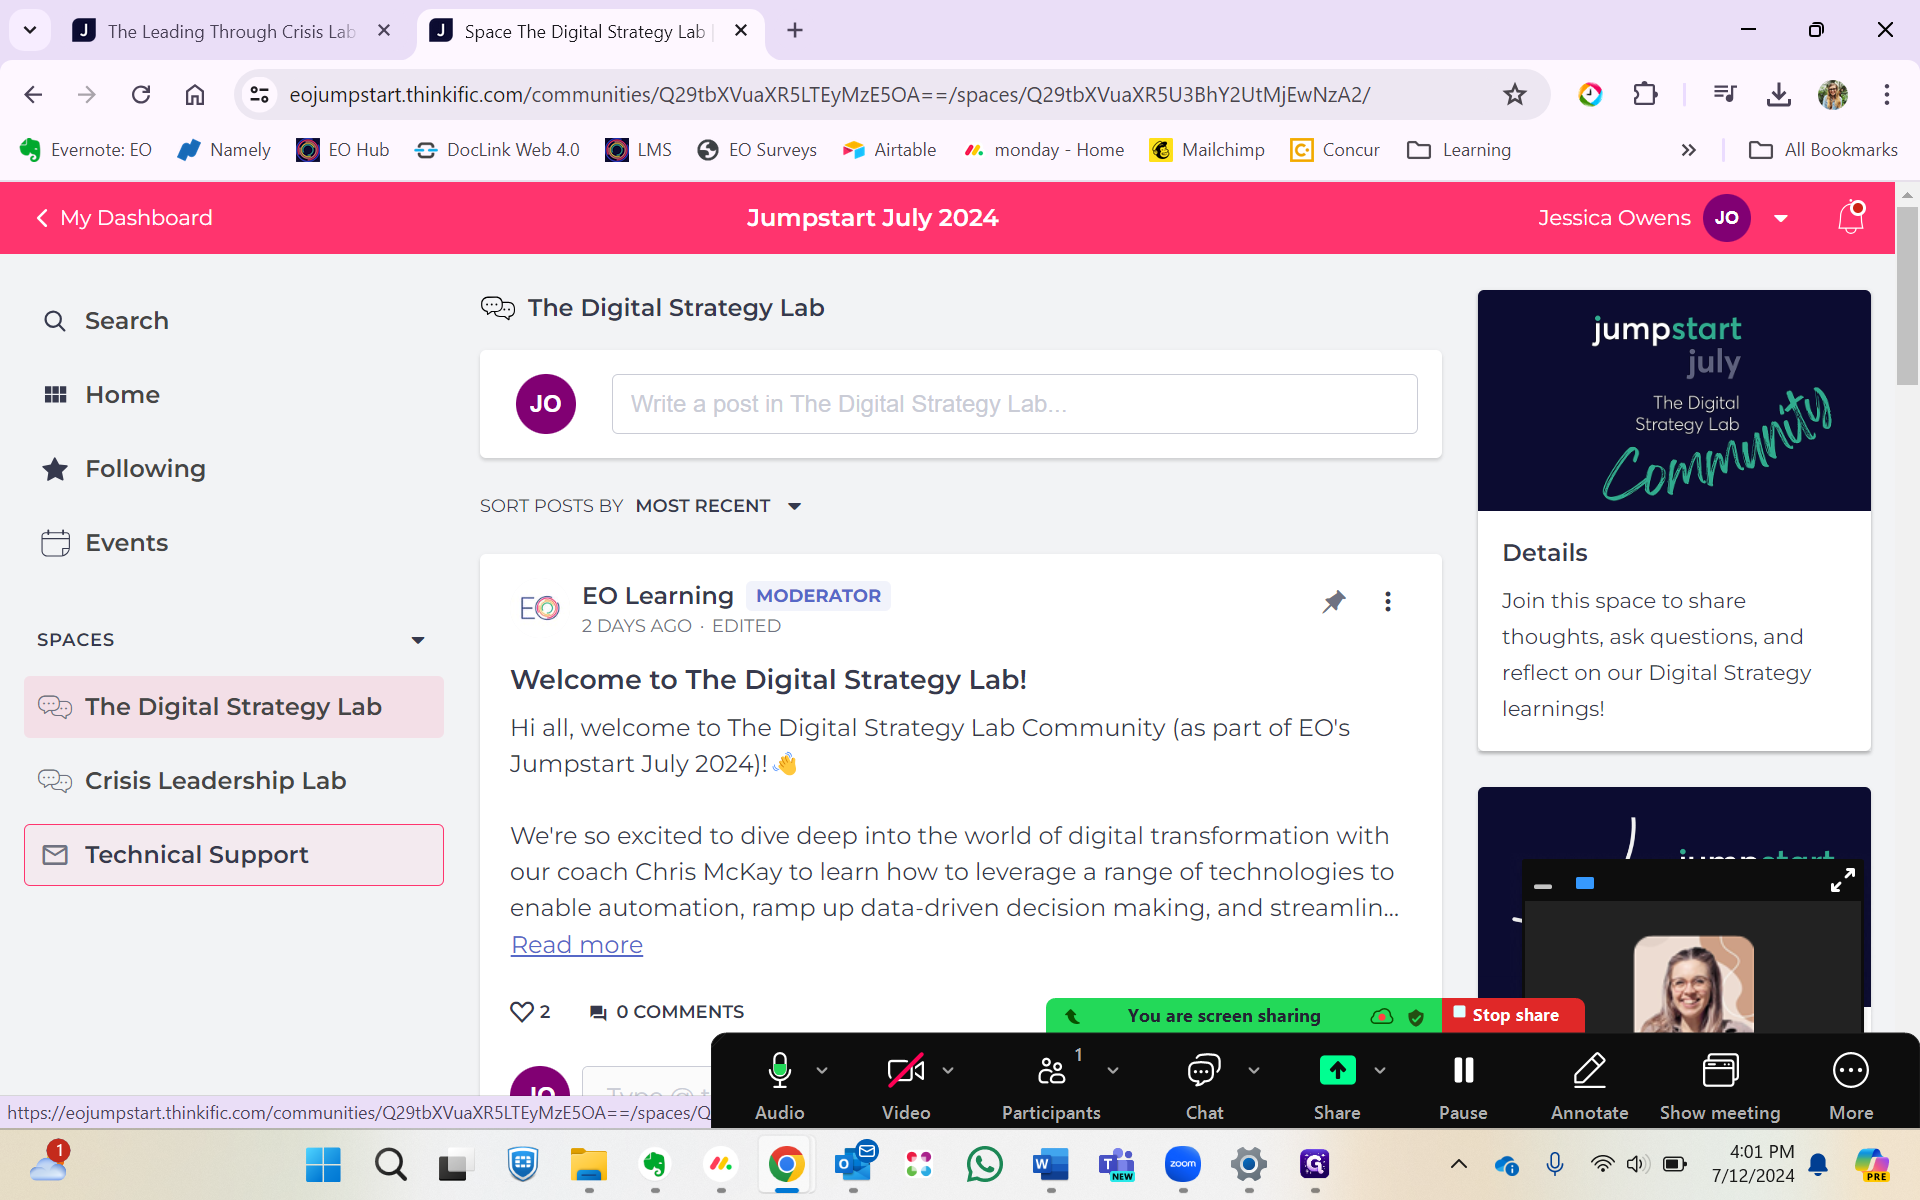
The welcome message from EO Learning is pinned at the top, and participants have already started to post, introducing themselves and connecting with others. We ask moderators and speakers to engage with the posts. You can do this by commenting directly.
You can also create a new post at the tope of the space.
When you're posting, it will ask you to provide a post title and additional text.
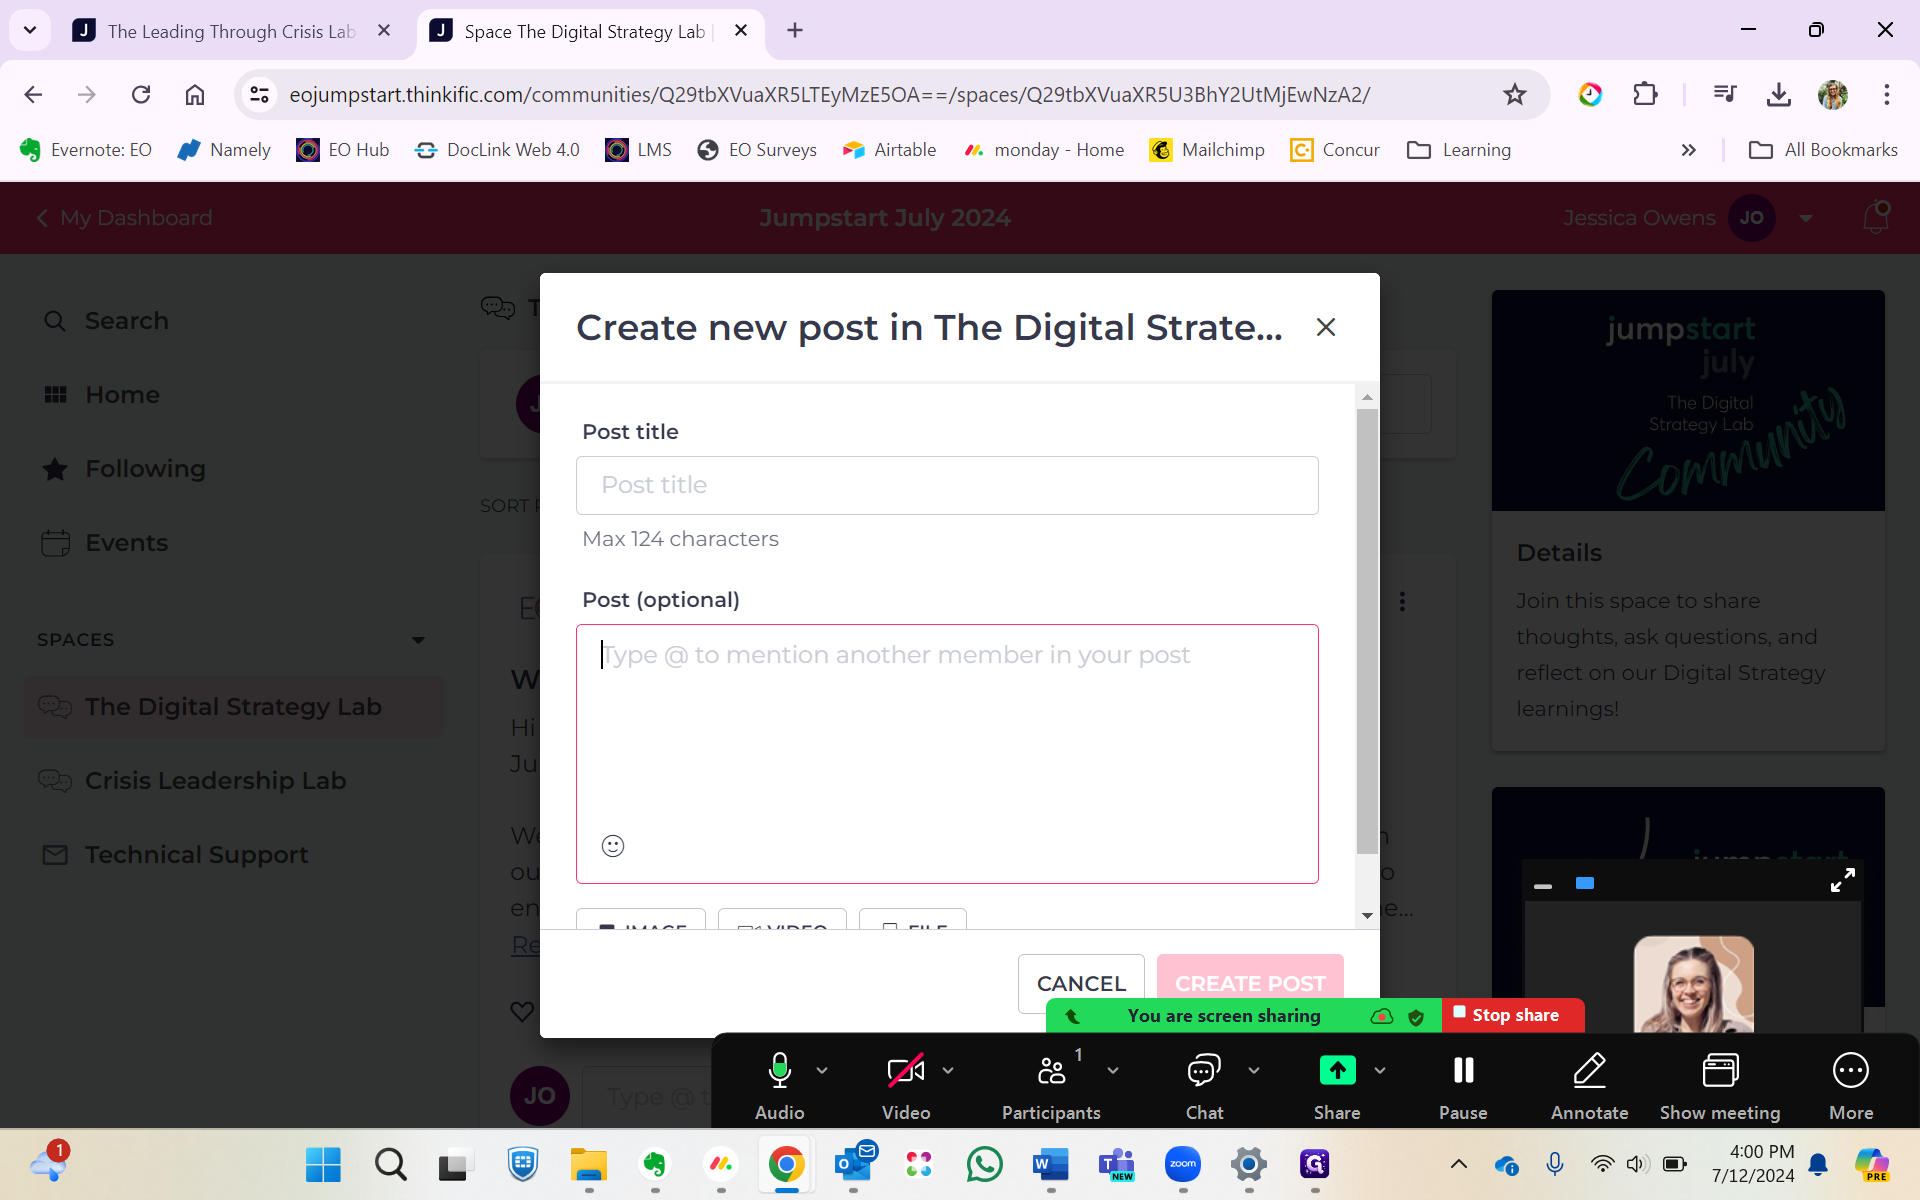
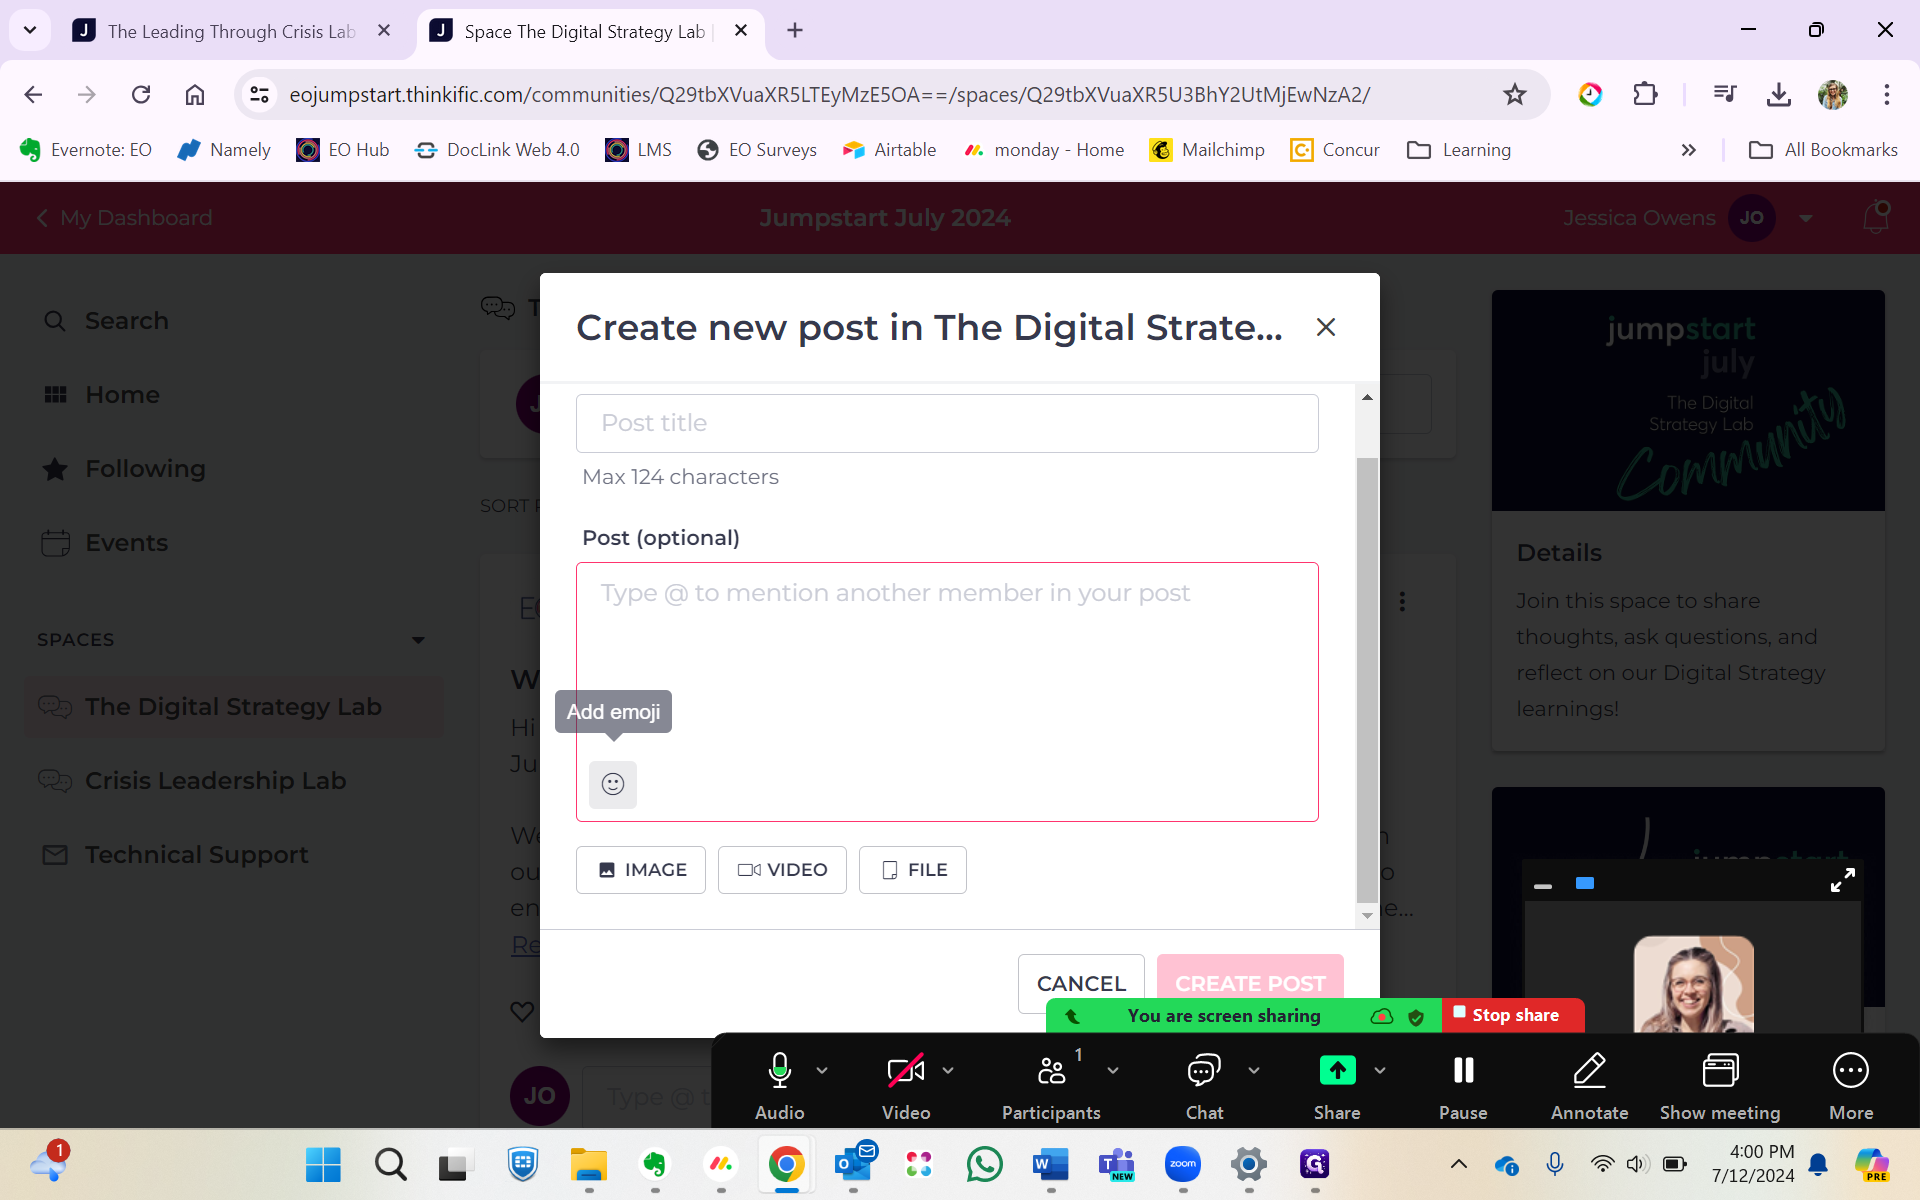
You can add an image, a video, a file, or of course, our beloved emojis.
One of my favorite features is that you can tag other members.
You can see I'm tagging a different account I have for my name in the response.
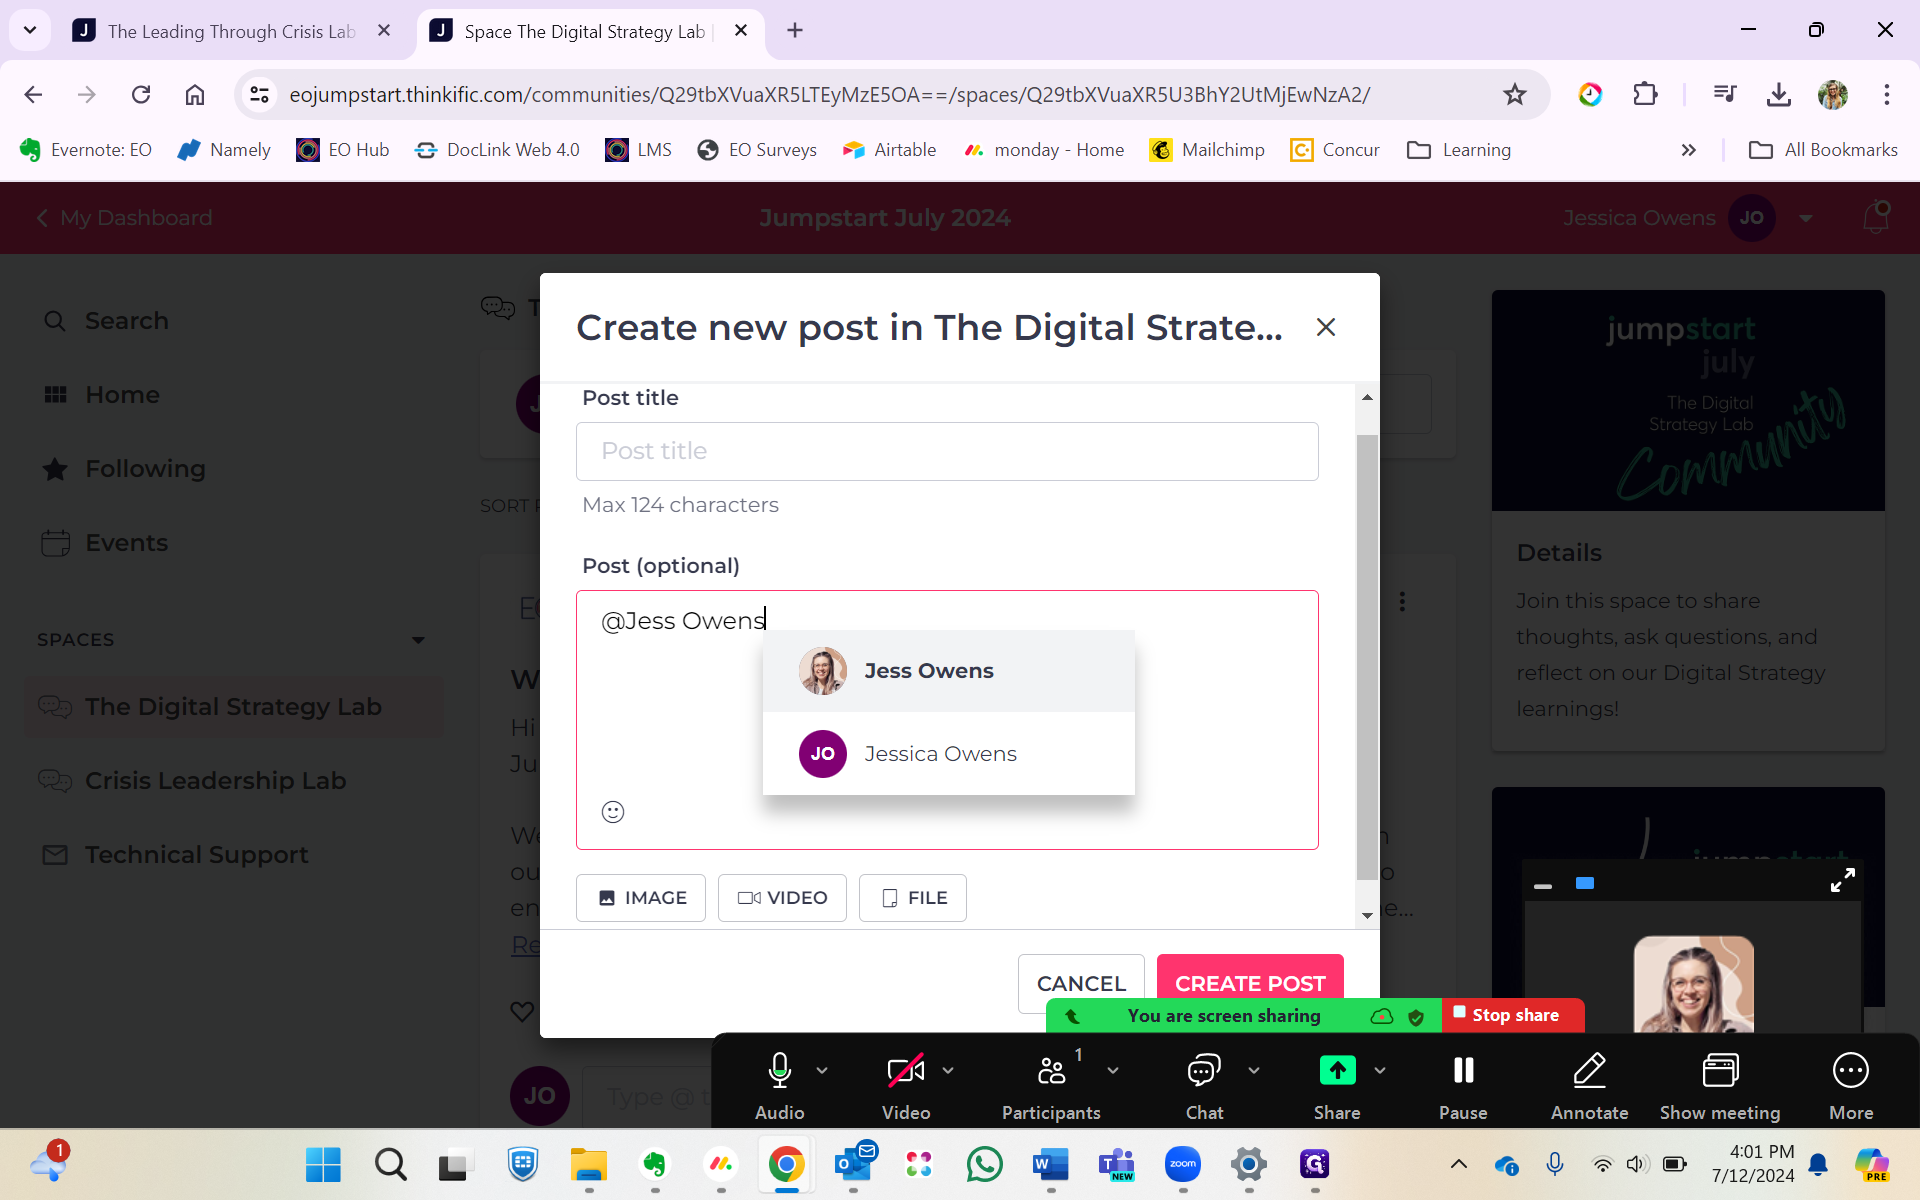
When you do that, similar to other platforms, the person you tag will receive a specific notification.
This is really helpful, especially when responding to direct questions, which is what our coaches will be doing on this platform.
Moderators, we'd love it if you could respond to posts by liking or hearting comments, and encourage participants to join our live sessions or engage with our on-demand content.
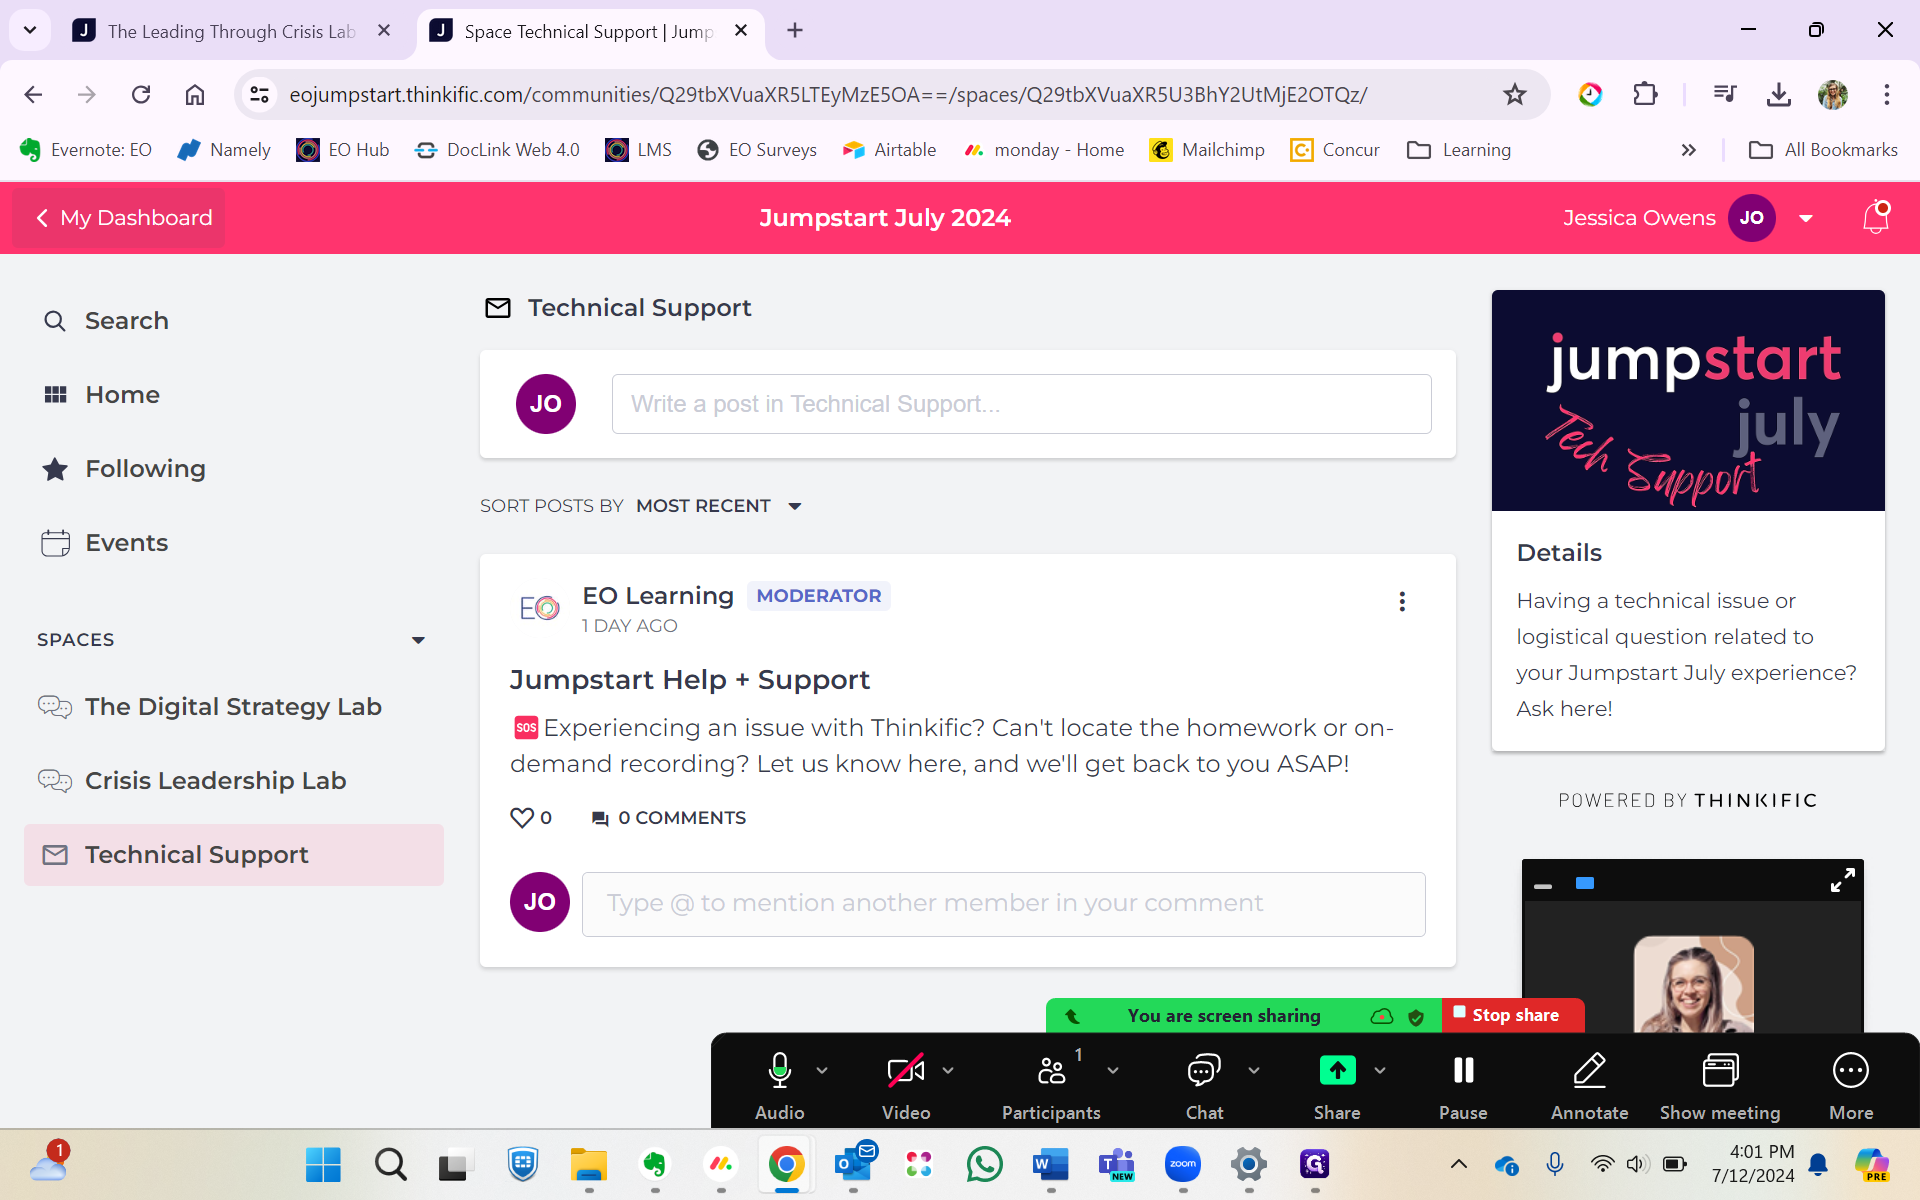
Also, for additional context, we also have a separate space for anyone having difficulties with Thinkific or accessing the live calls called "Technical Support." They can post about whatever issue in this space:
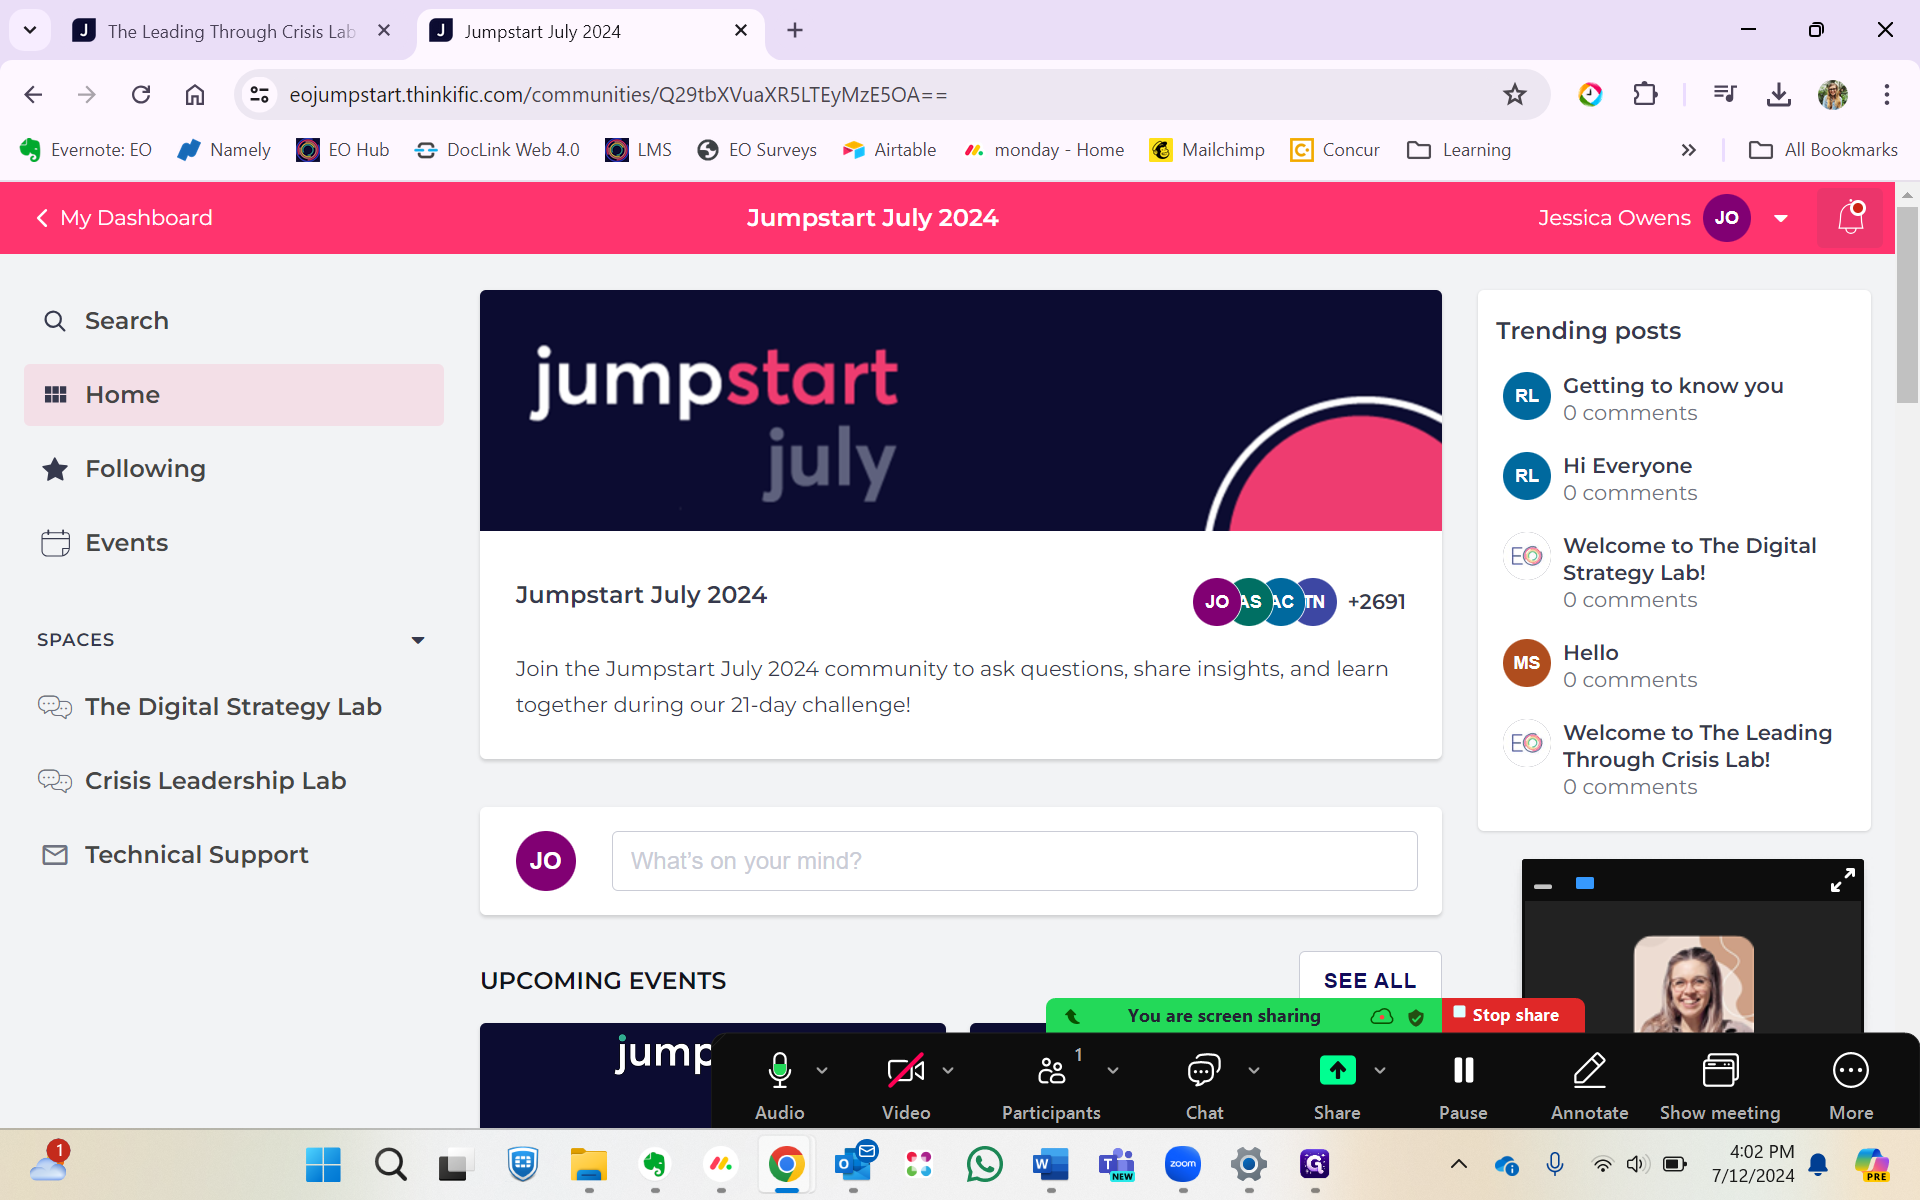
Lastly, I'll return to my student dashboard so you can see the second way to access the Jumpstart community.
Under "My Courses," you'll see a section for my communities. I'll click that, and it will take me directly to the community.

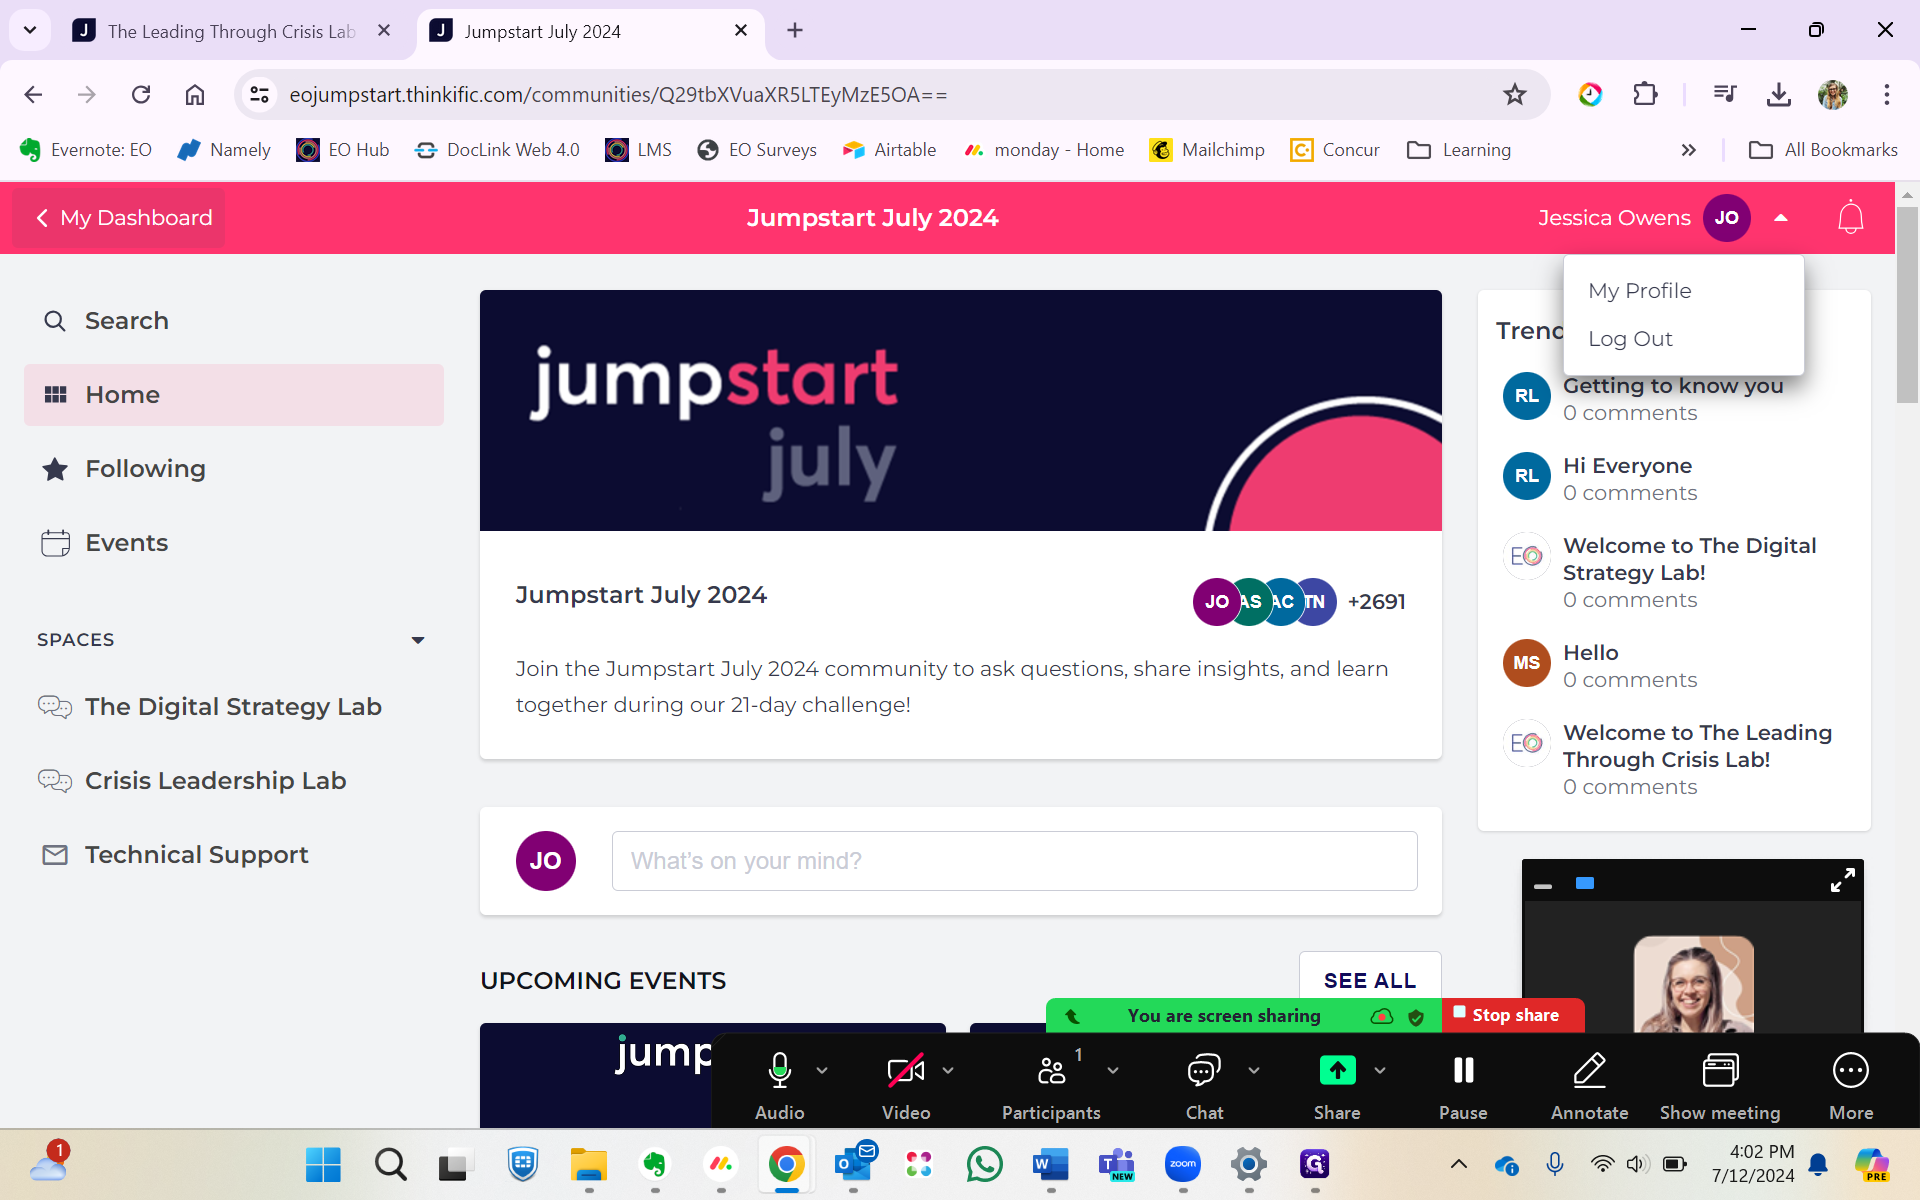
To see your notifications, look at the top right for the notification bell. It will inform you if you were added to something, if someone commented on your post, gave you a heart, replied to you, or tagged you.
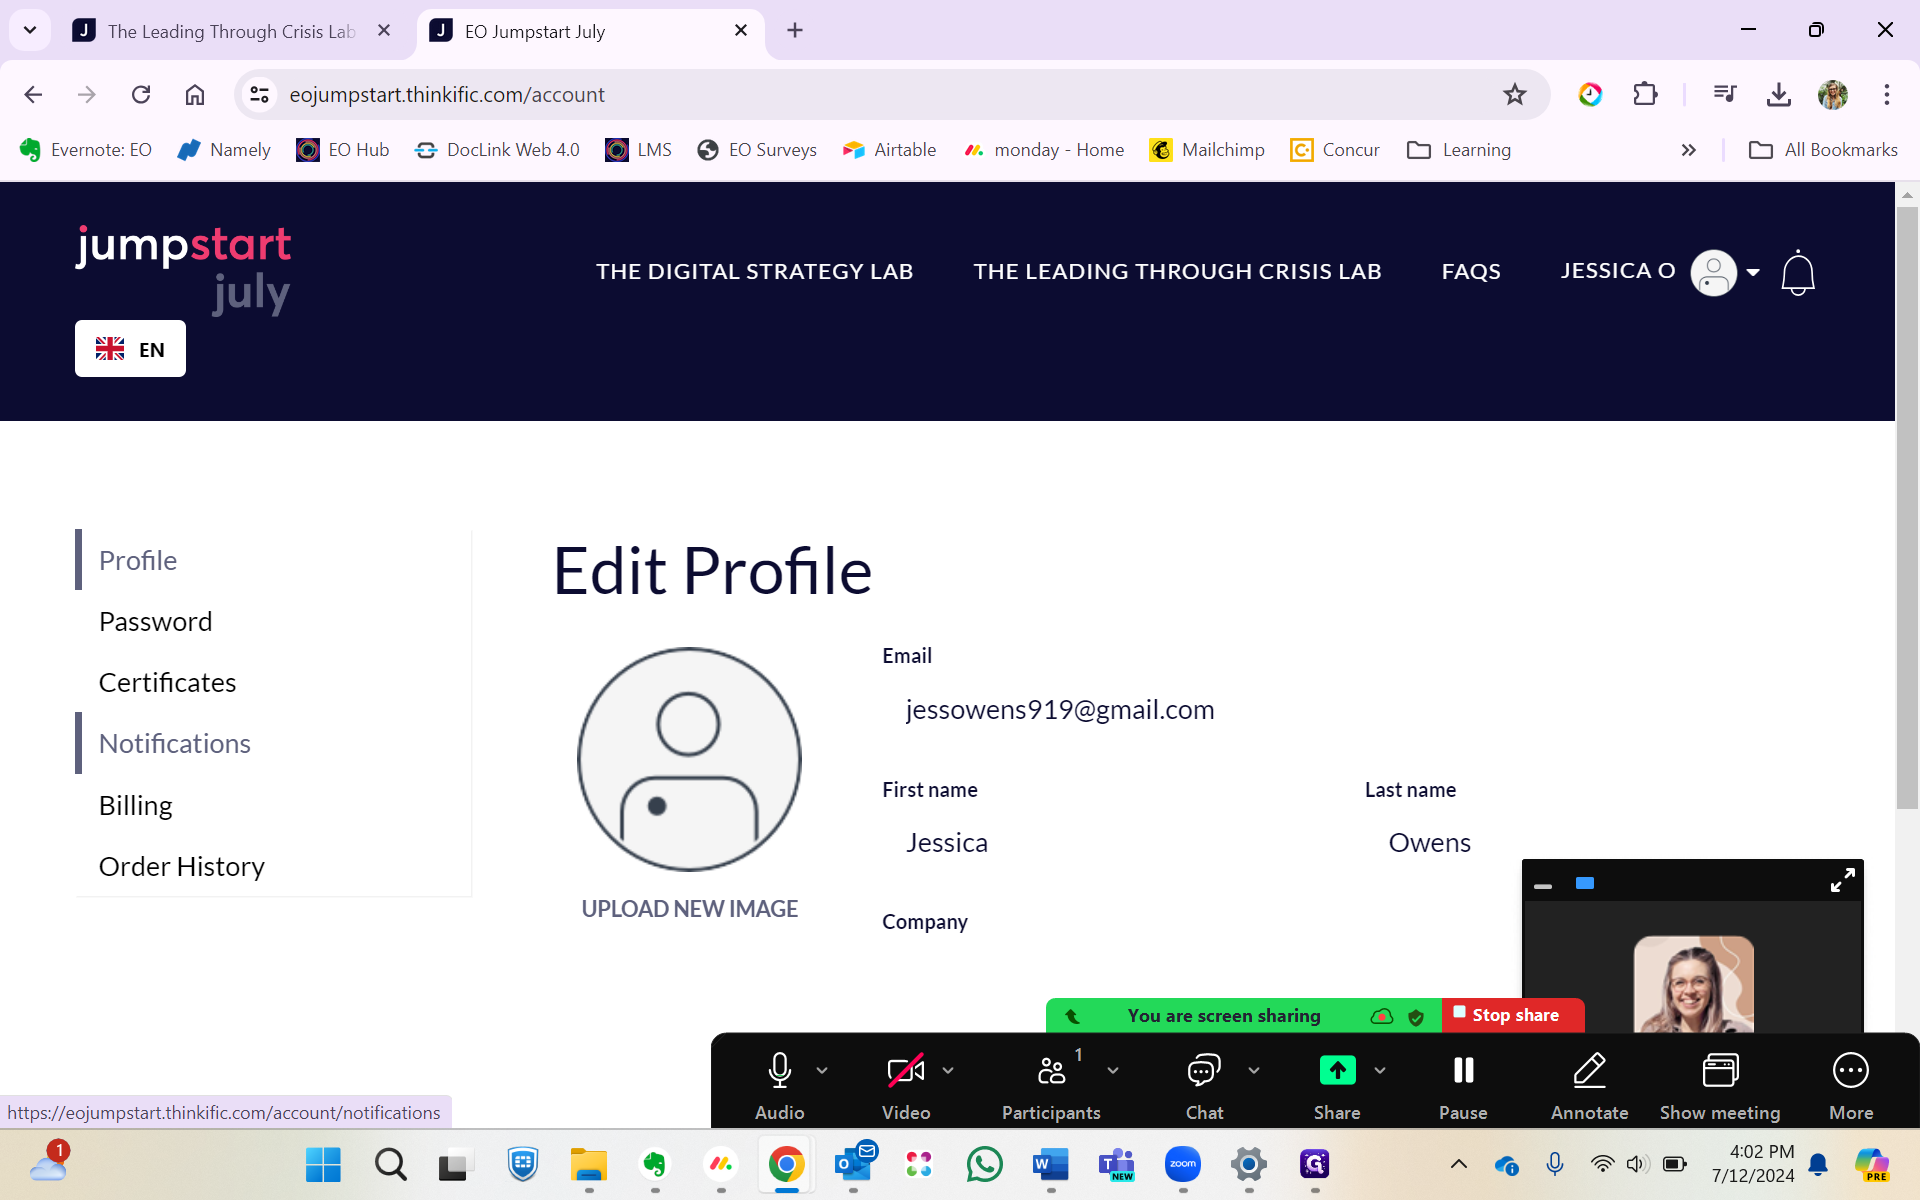
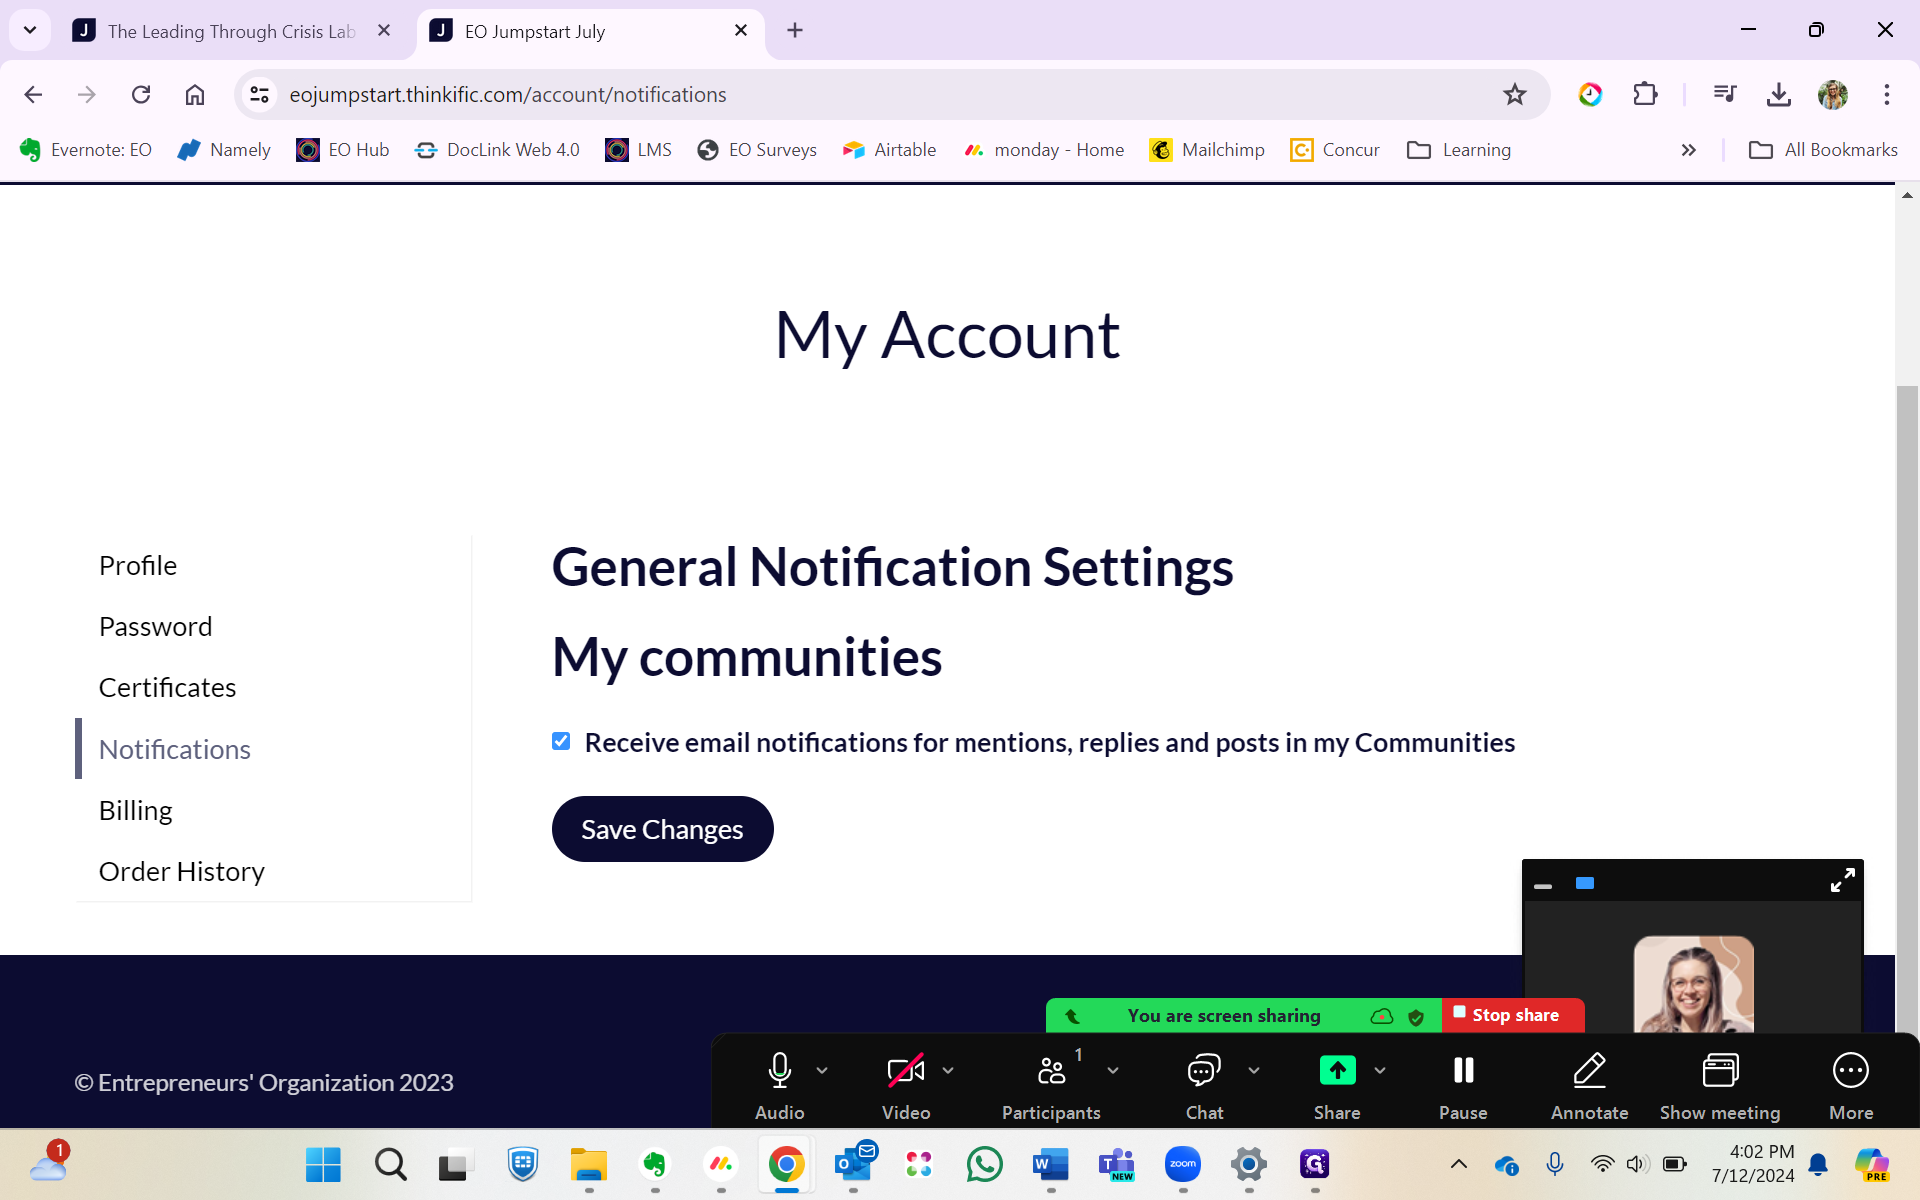
To change your notification settings, go to your dashboard. Click on your account in the top right, then select "My Account." Choose "Notifications" and uncheck "Receive email notifications for mentions, replies, and posts in my community." Finally, click "Save Changes."
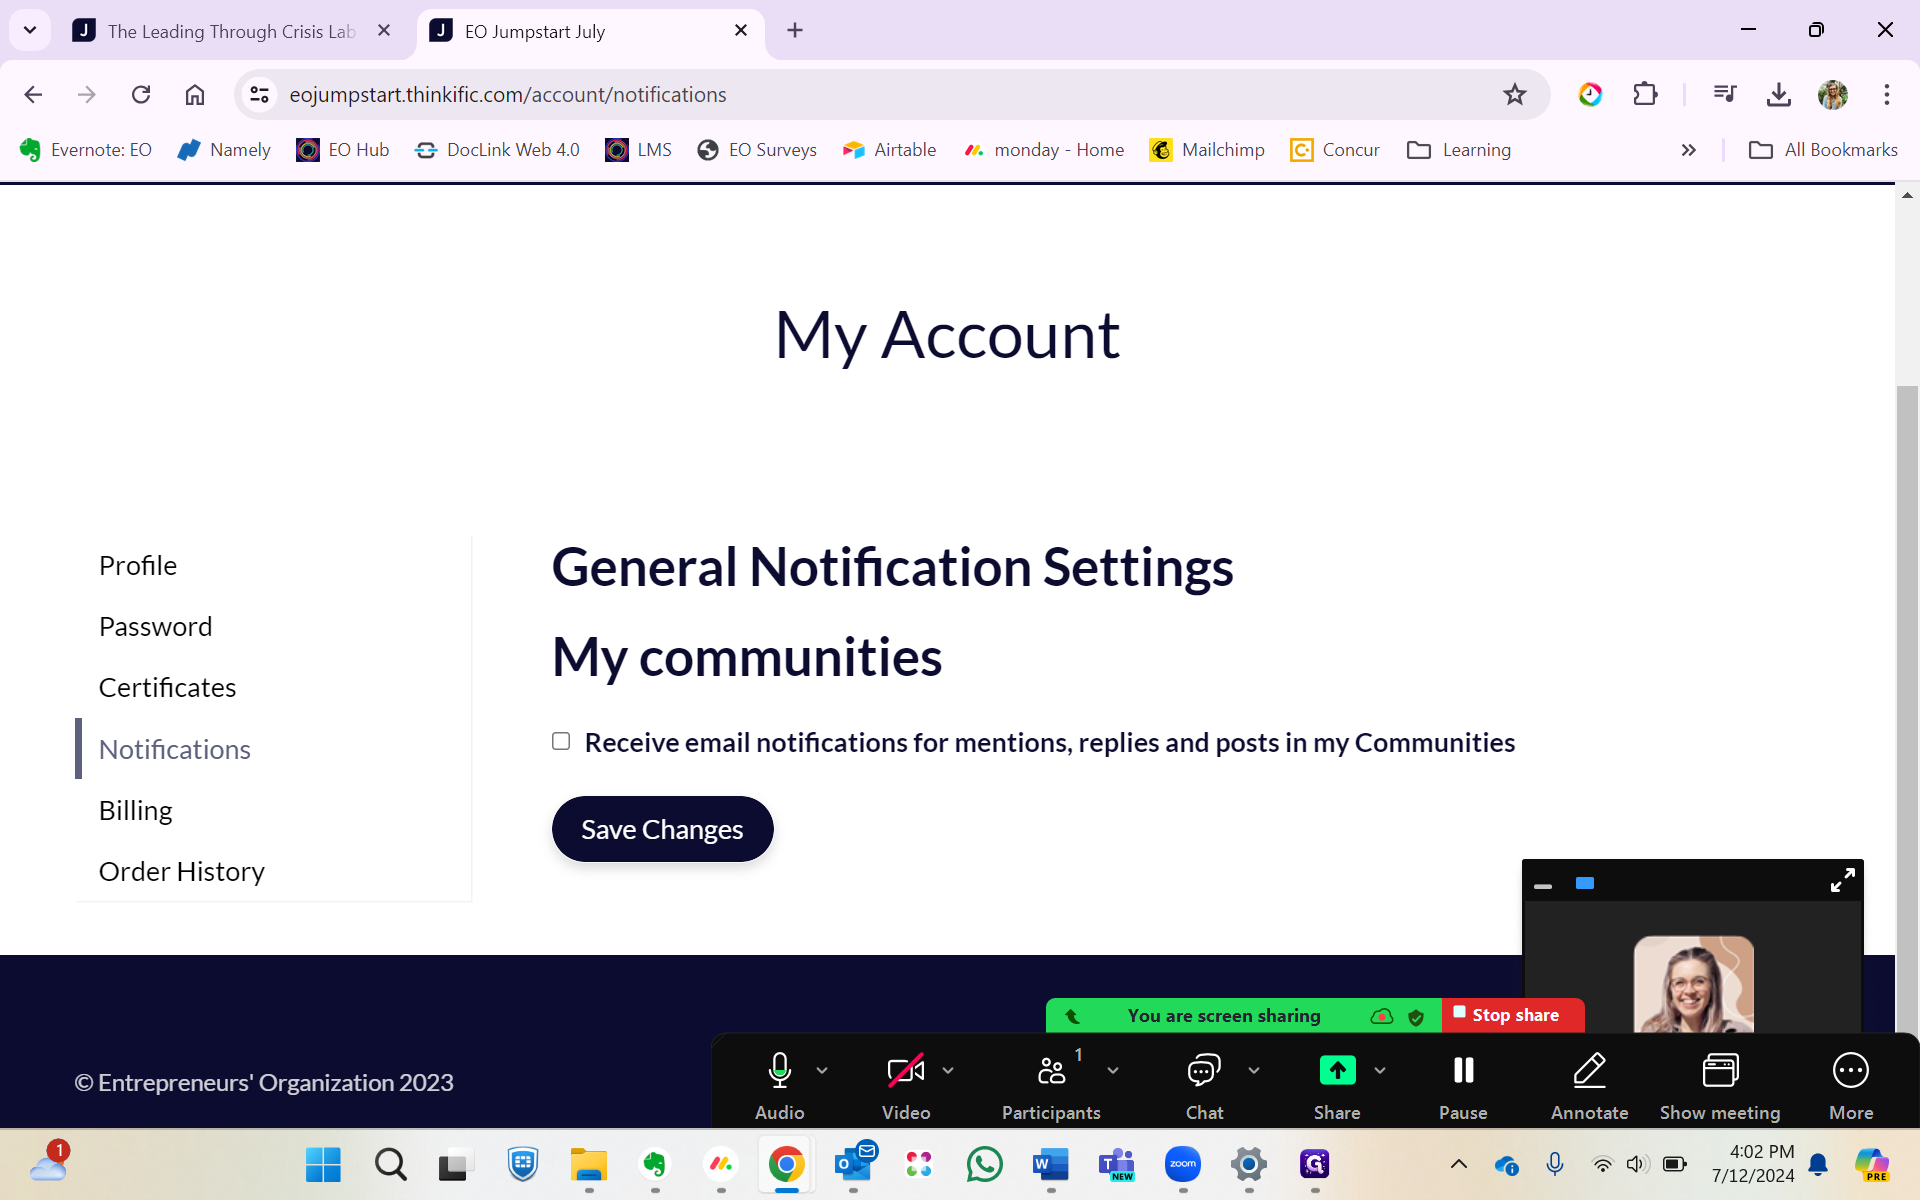
This way, you will only see notifications once you log into your community in the top right corner with the notification bell, instead of getting emails every time someone interacts with your posts. That's about it. Feel free to let me know if you have any questions, and thanks again for your support.