Icon

Onboarding HubSpot clients into Actionstep following automated transfer

Learn how to transfer client notes from HubSpot to Actionstep, configure next-of-kin relationships, update TFNs, and upload signed documents for tax searches.

By Easy Law

This guide demonstrates how to onboard a client from HubSpot into Actionstep when they require a tax search. The goal is to accurately transfer client notes, establish next-of-kin relationships, update legal file properties, and upload required documents to prepare for the tax report request.

This workflow applies to legal intake teams and case managers responsible for initiating TPD (Total and Permanent Disability) claims and tax search procedures.

Transfer Client Notes from HubSpot to Actionstep

Begin by locating the client's pre-existing information in the CRM so you can populate their new legal file.

1
Search for the client in HubSpot and open their contact record.
Step #1: Search for the client in HubSpot and open their contact record.
2
Click on the Notes tab to view their medical and personal history.
Step #2: Click on the Notes tab to view their medical and personal history.
3
Highlight the relevant medical and personal notes and press 
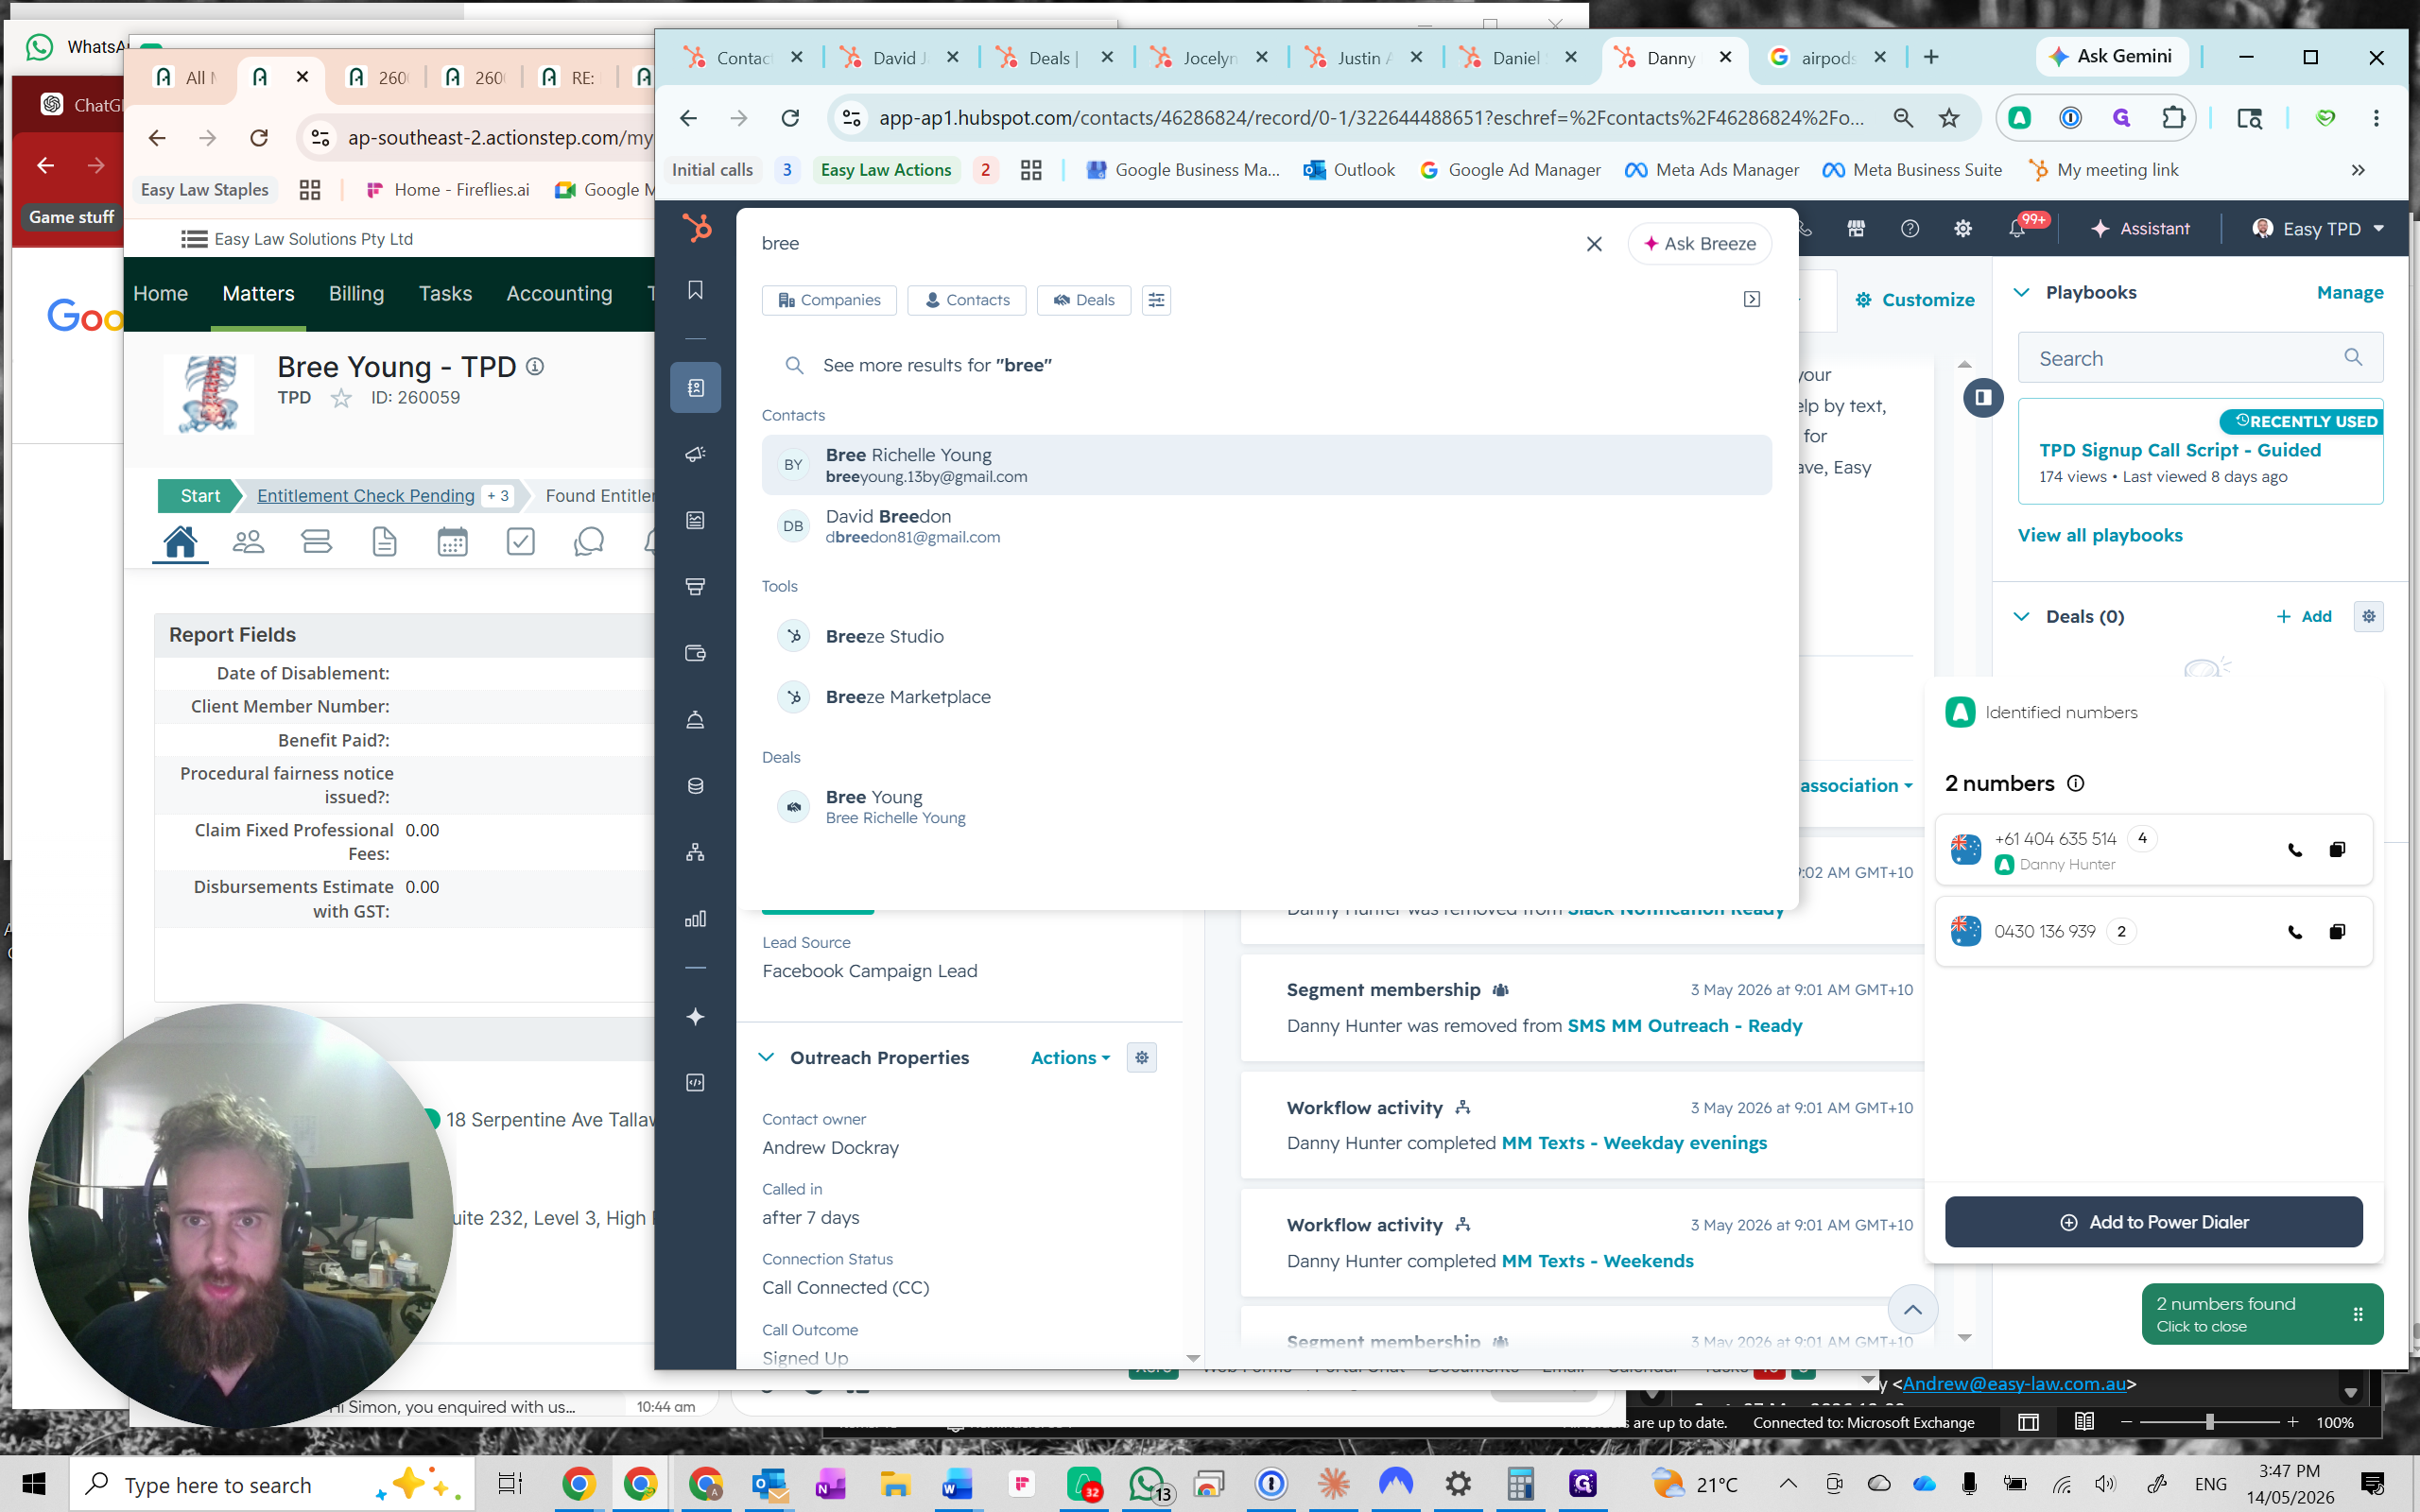
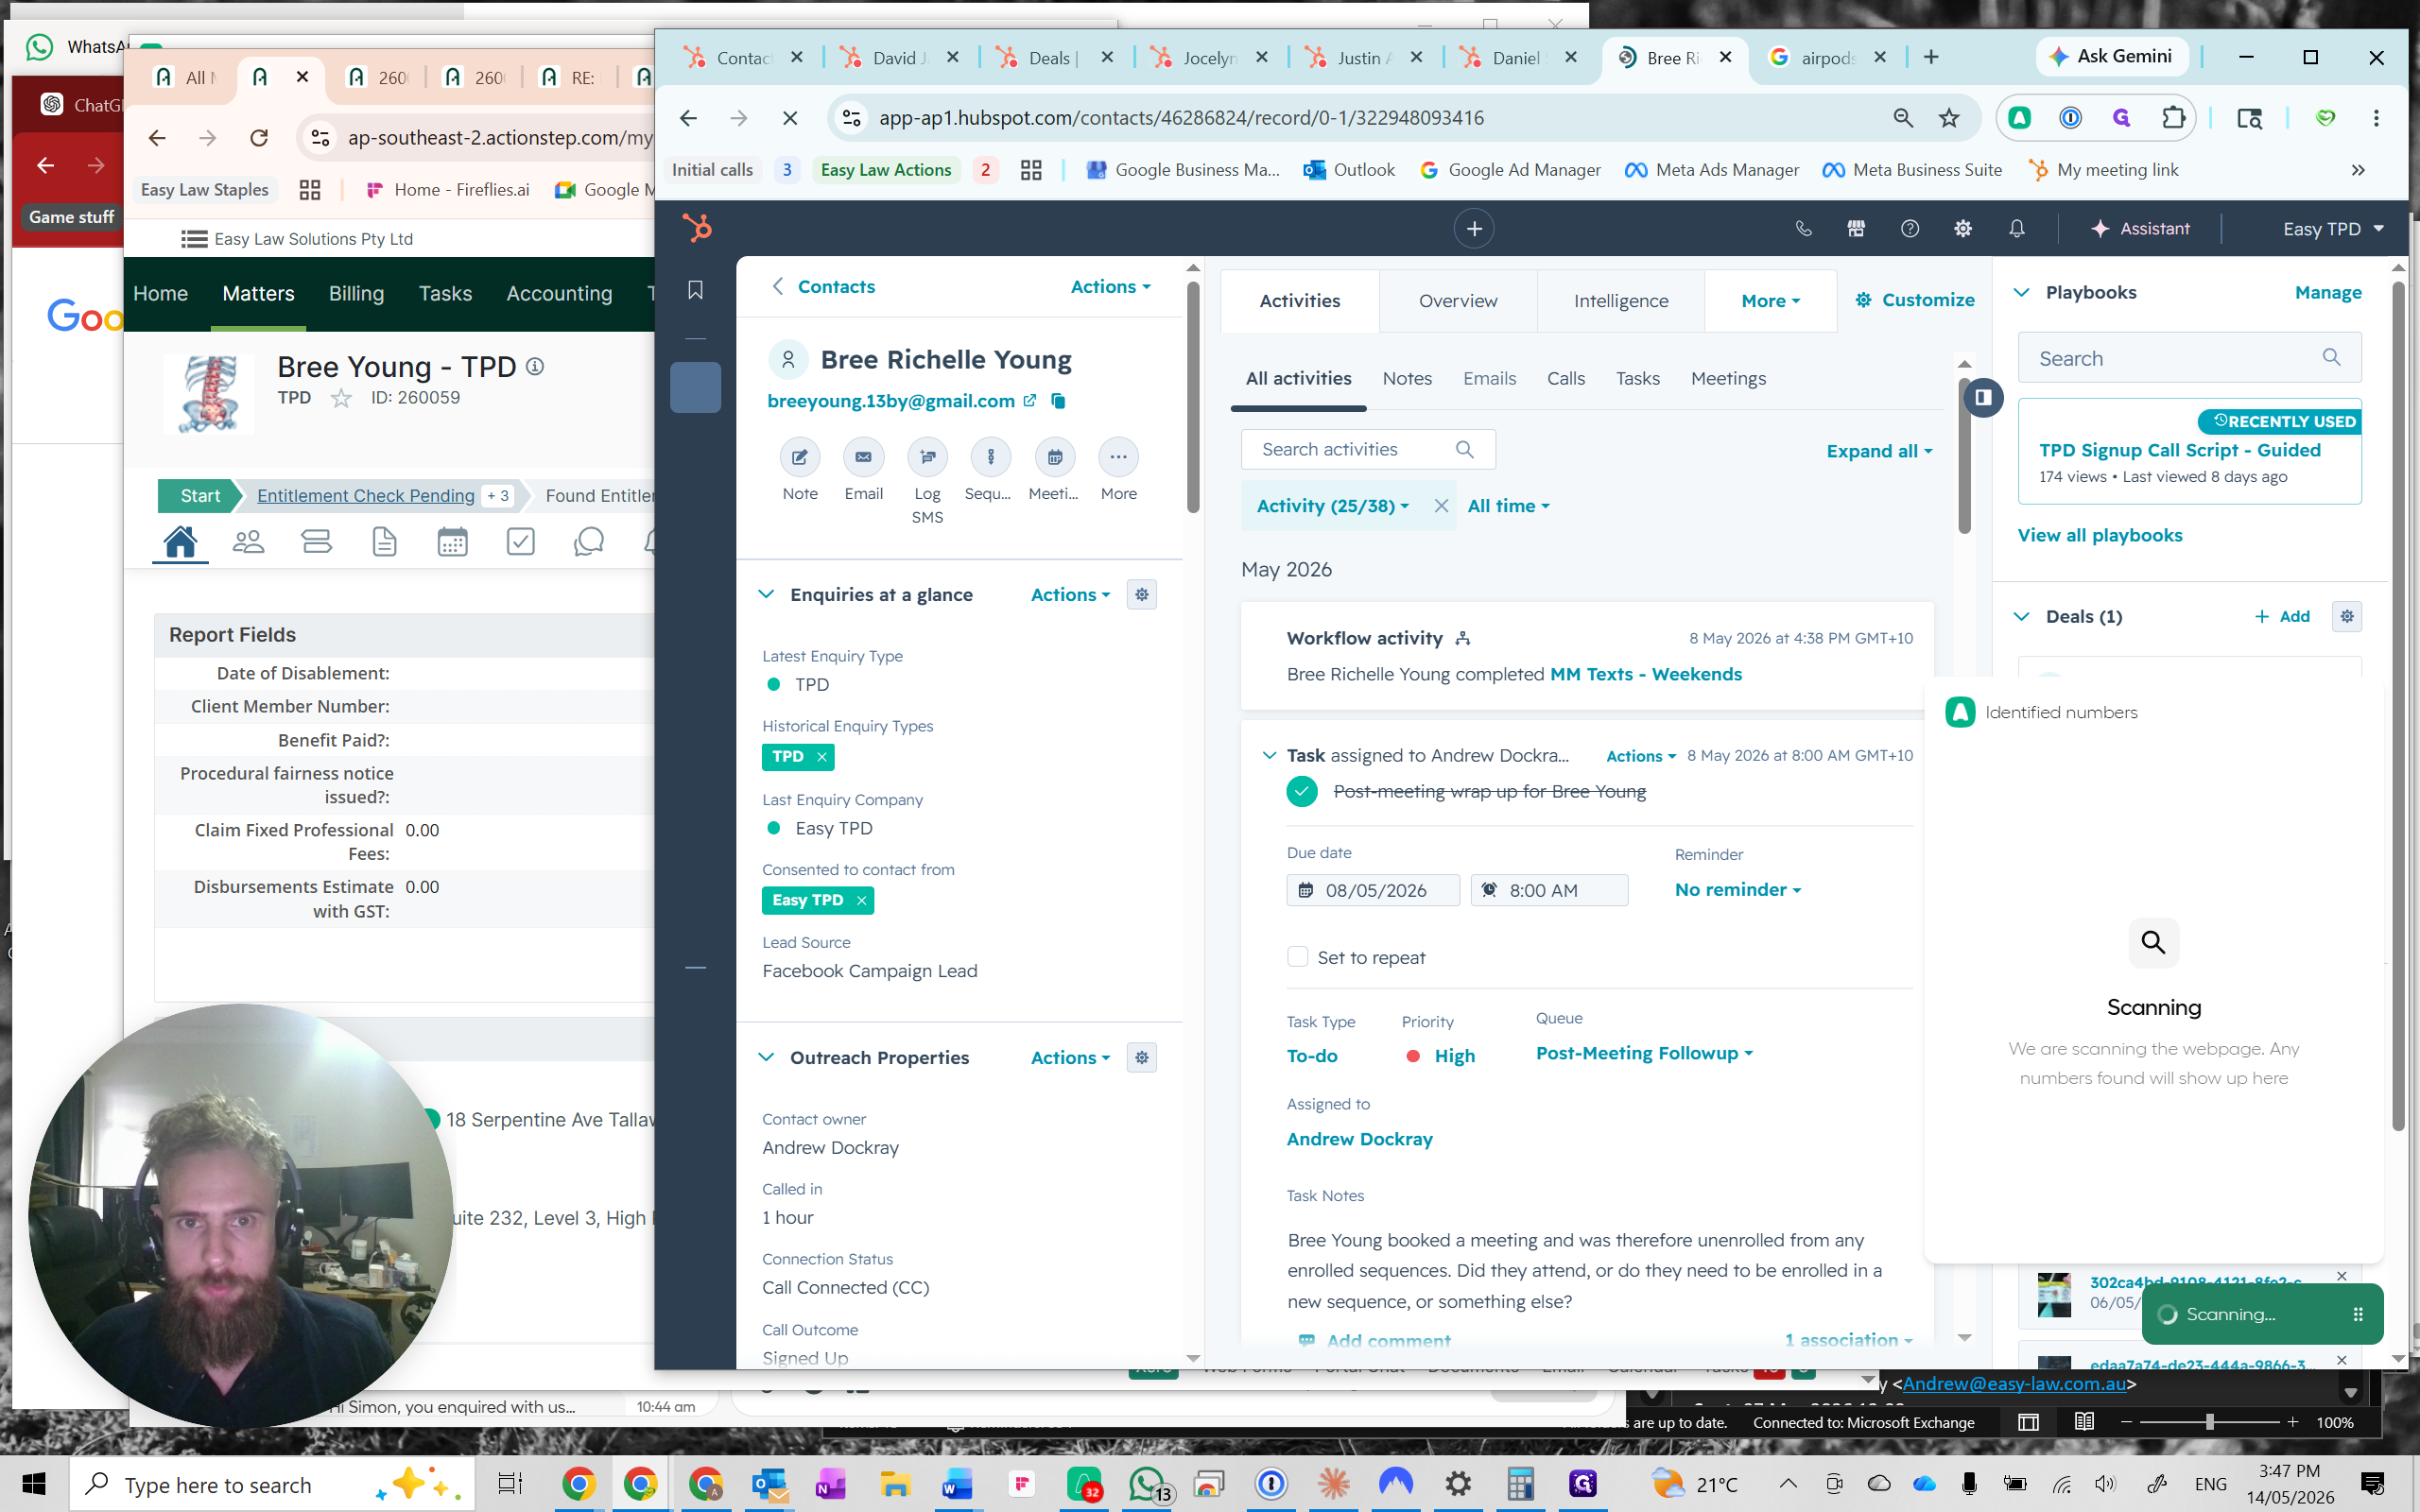
Ctrl + C to copy them.
4
Switch to Actionstep, open the client's matter, and click Create File Note.
Step #4: Switch to Actionstep, open the client's matter, and click Create File Note.
5
Paste the copied notes into the text field.
6
Click Create to save the note to the matter.
Step #6: Click Create to save the note to the matter.

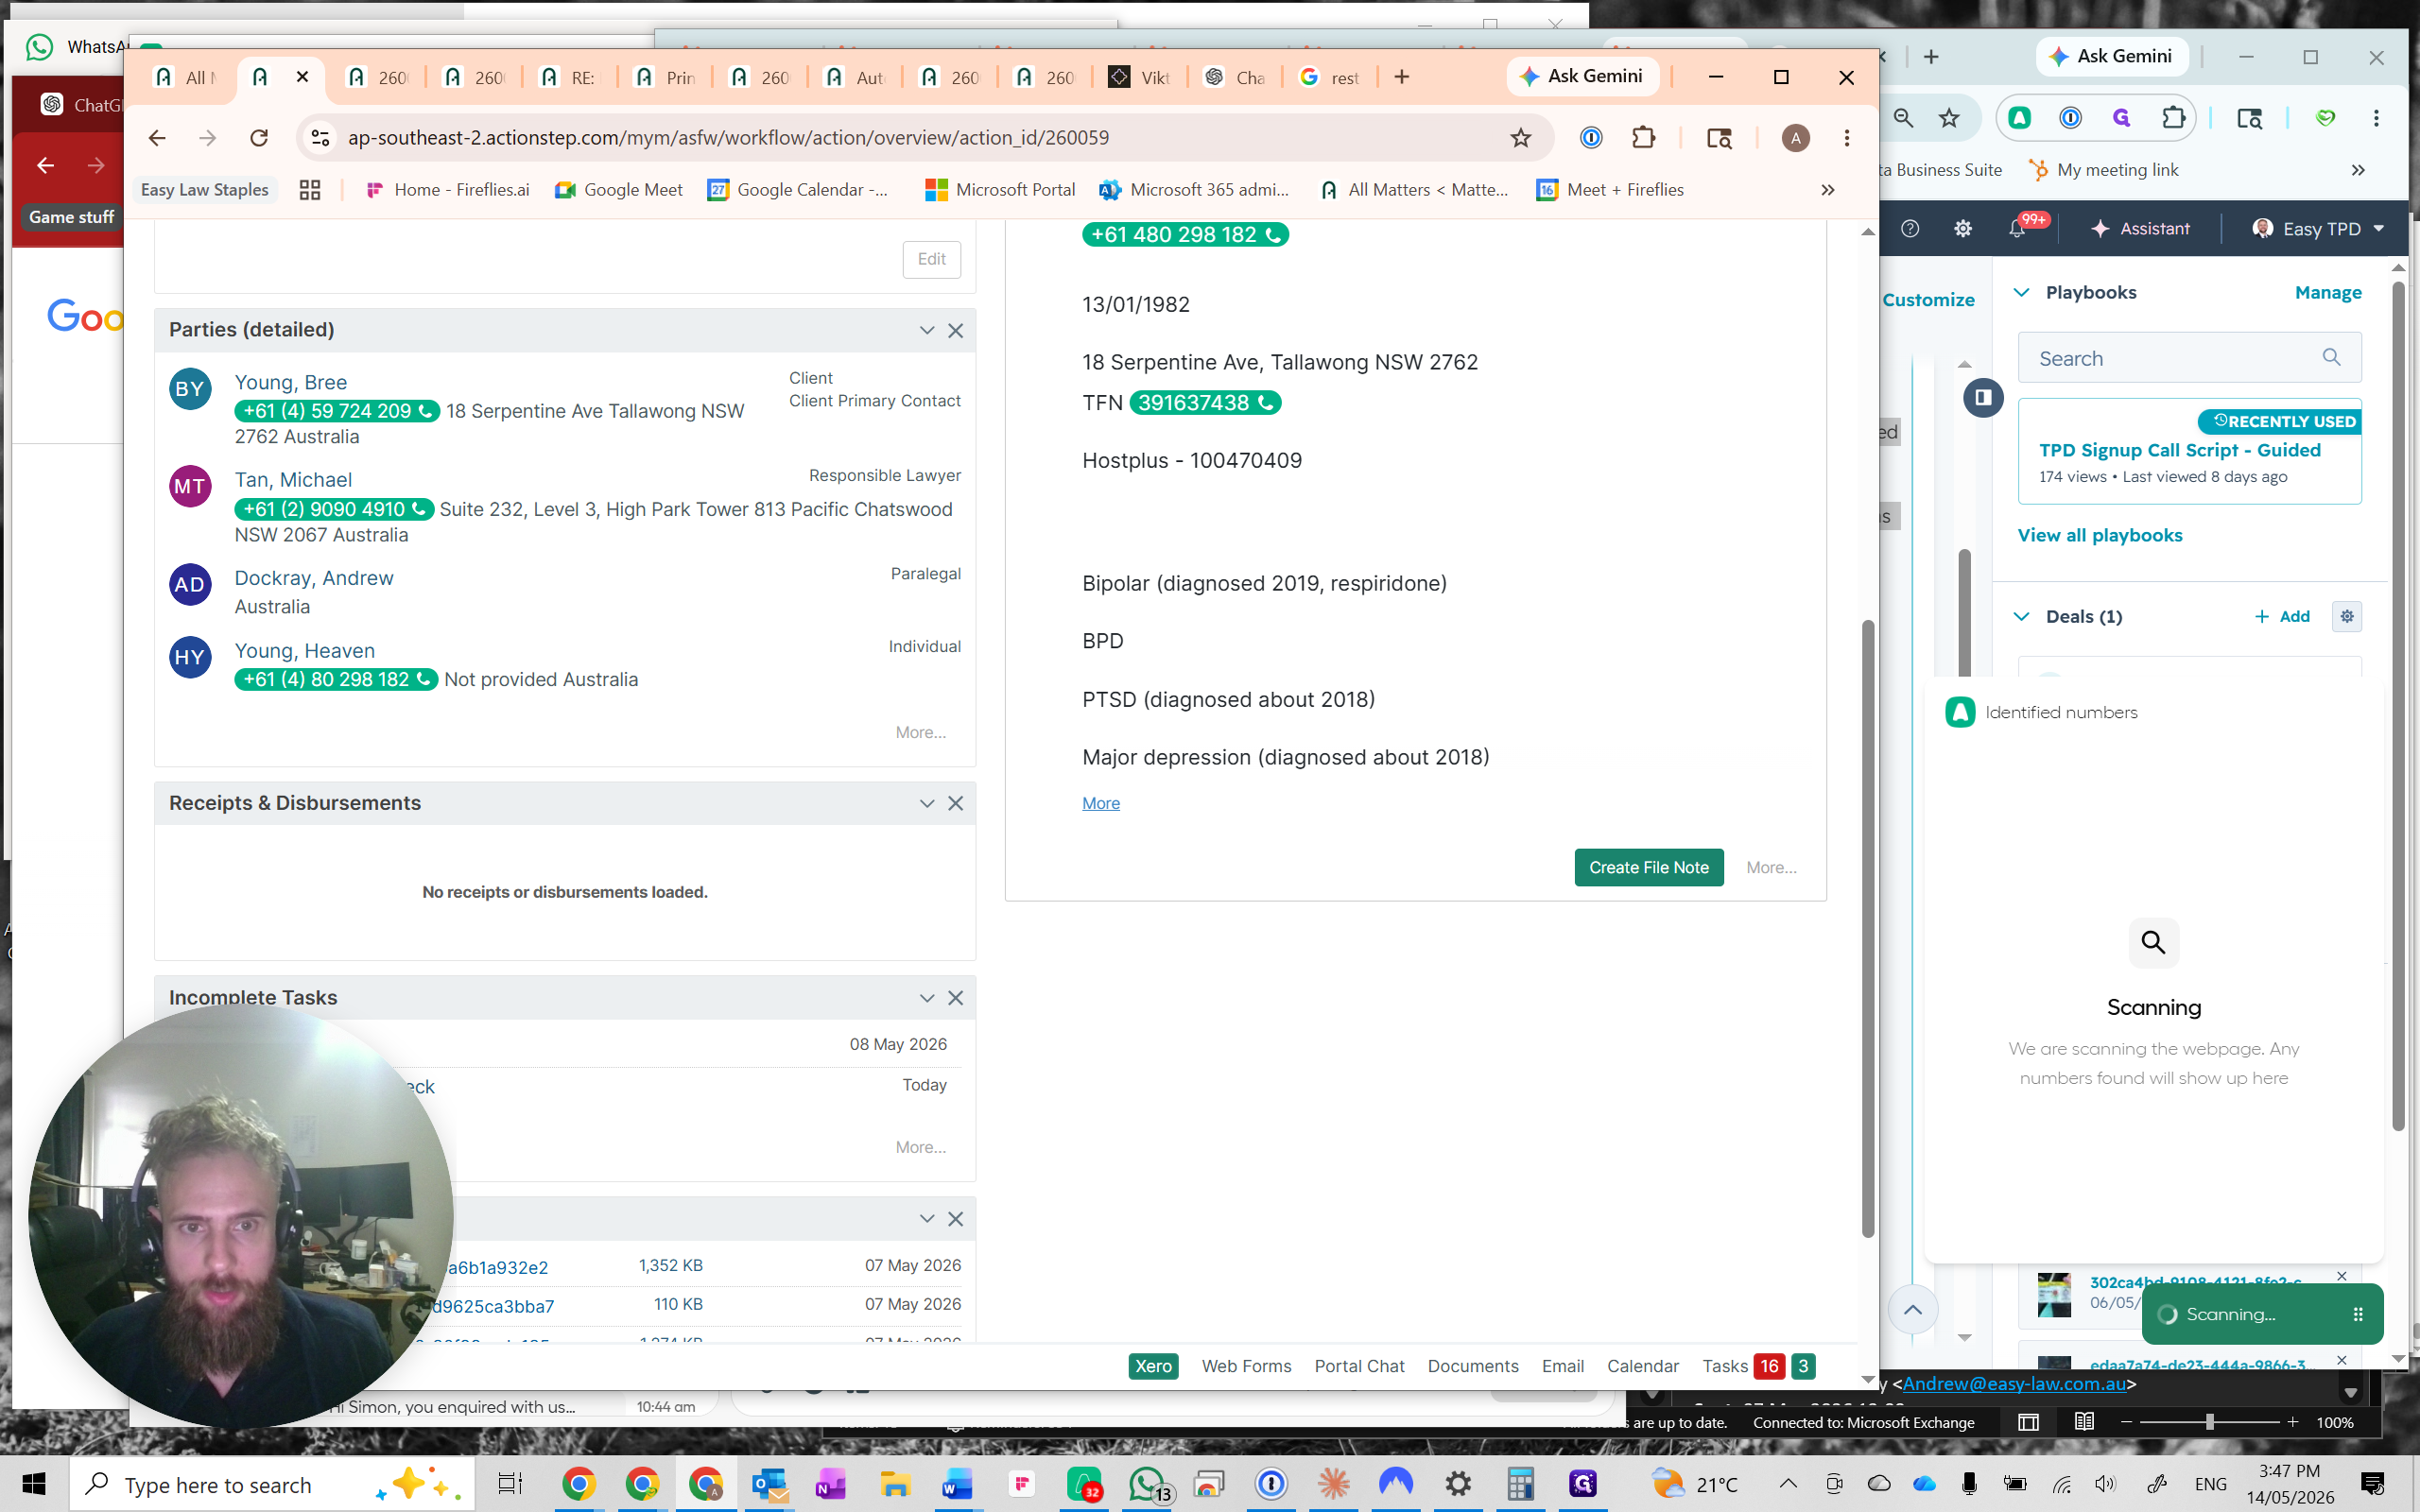
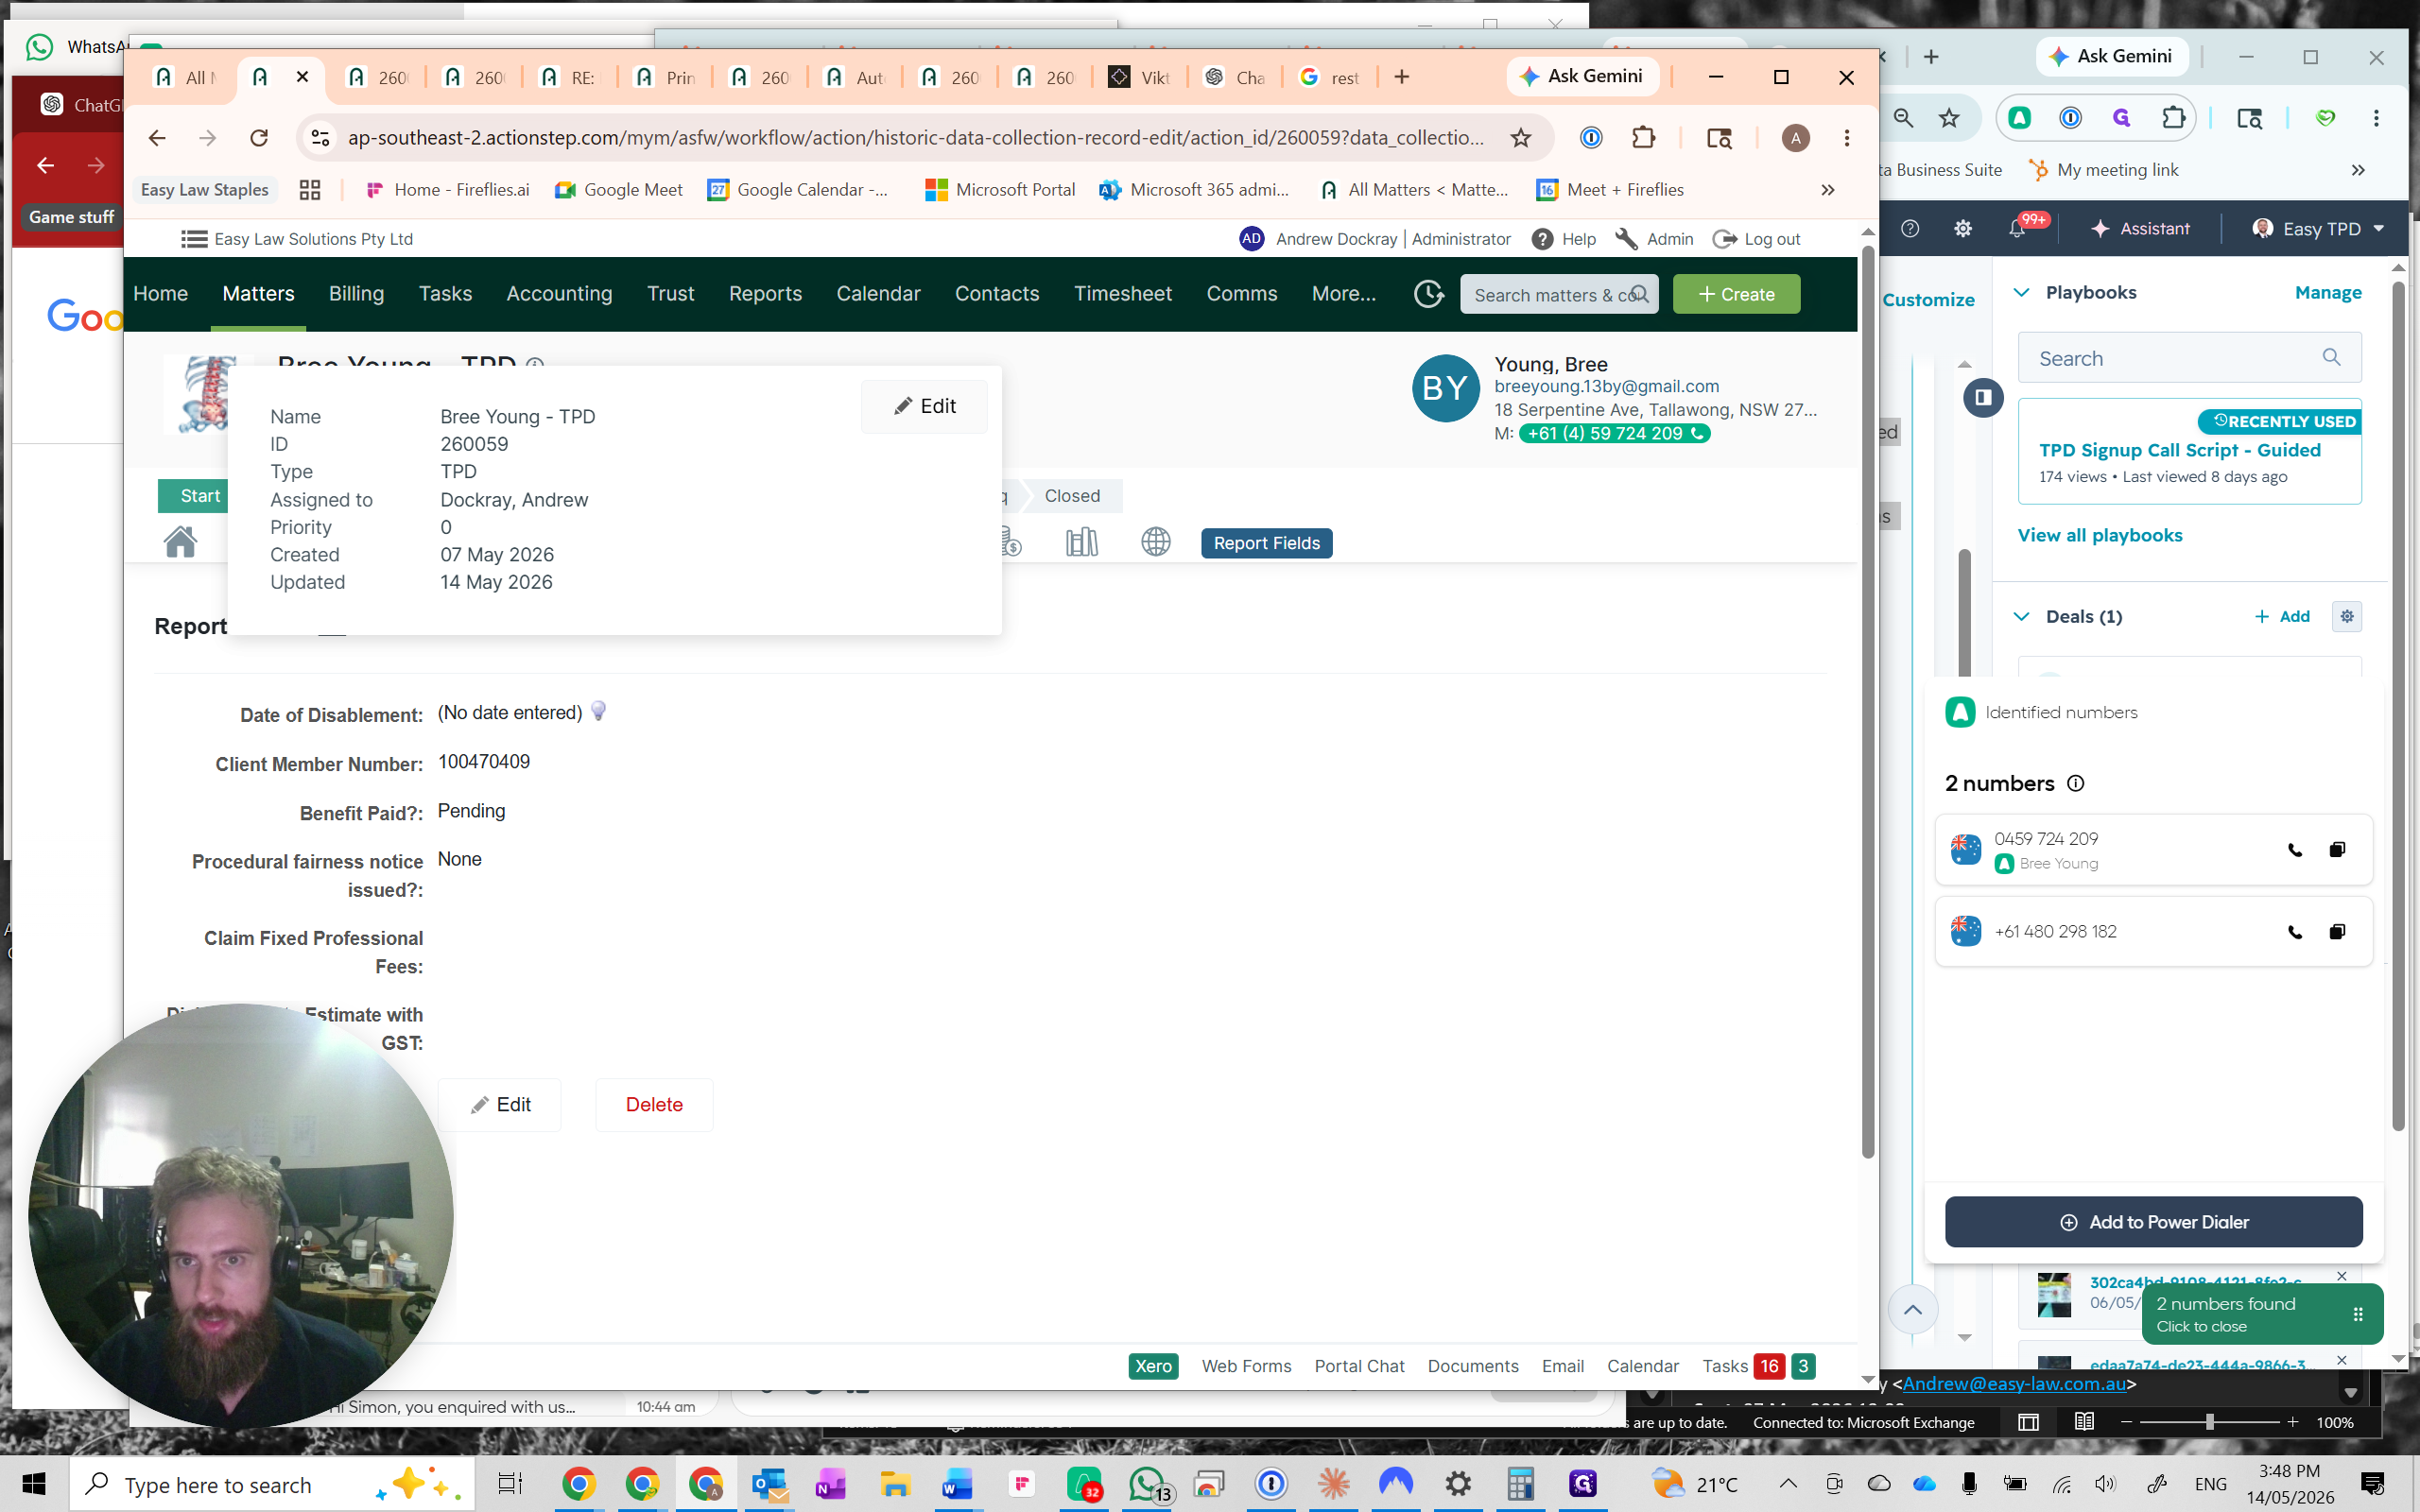
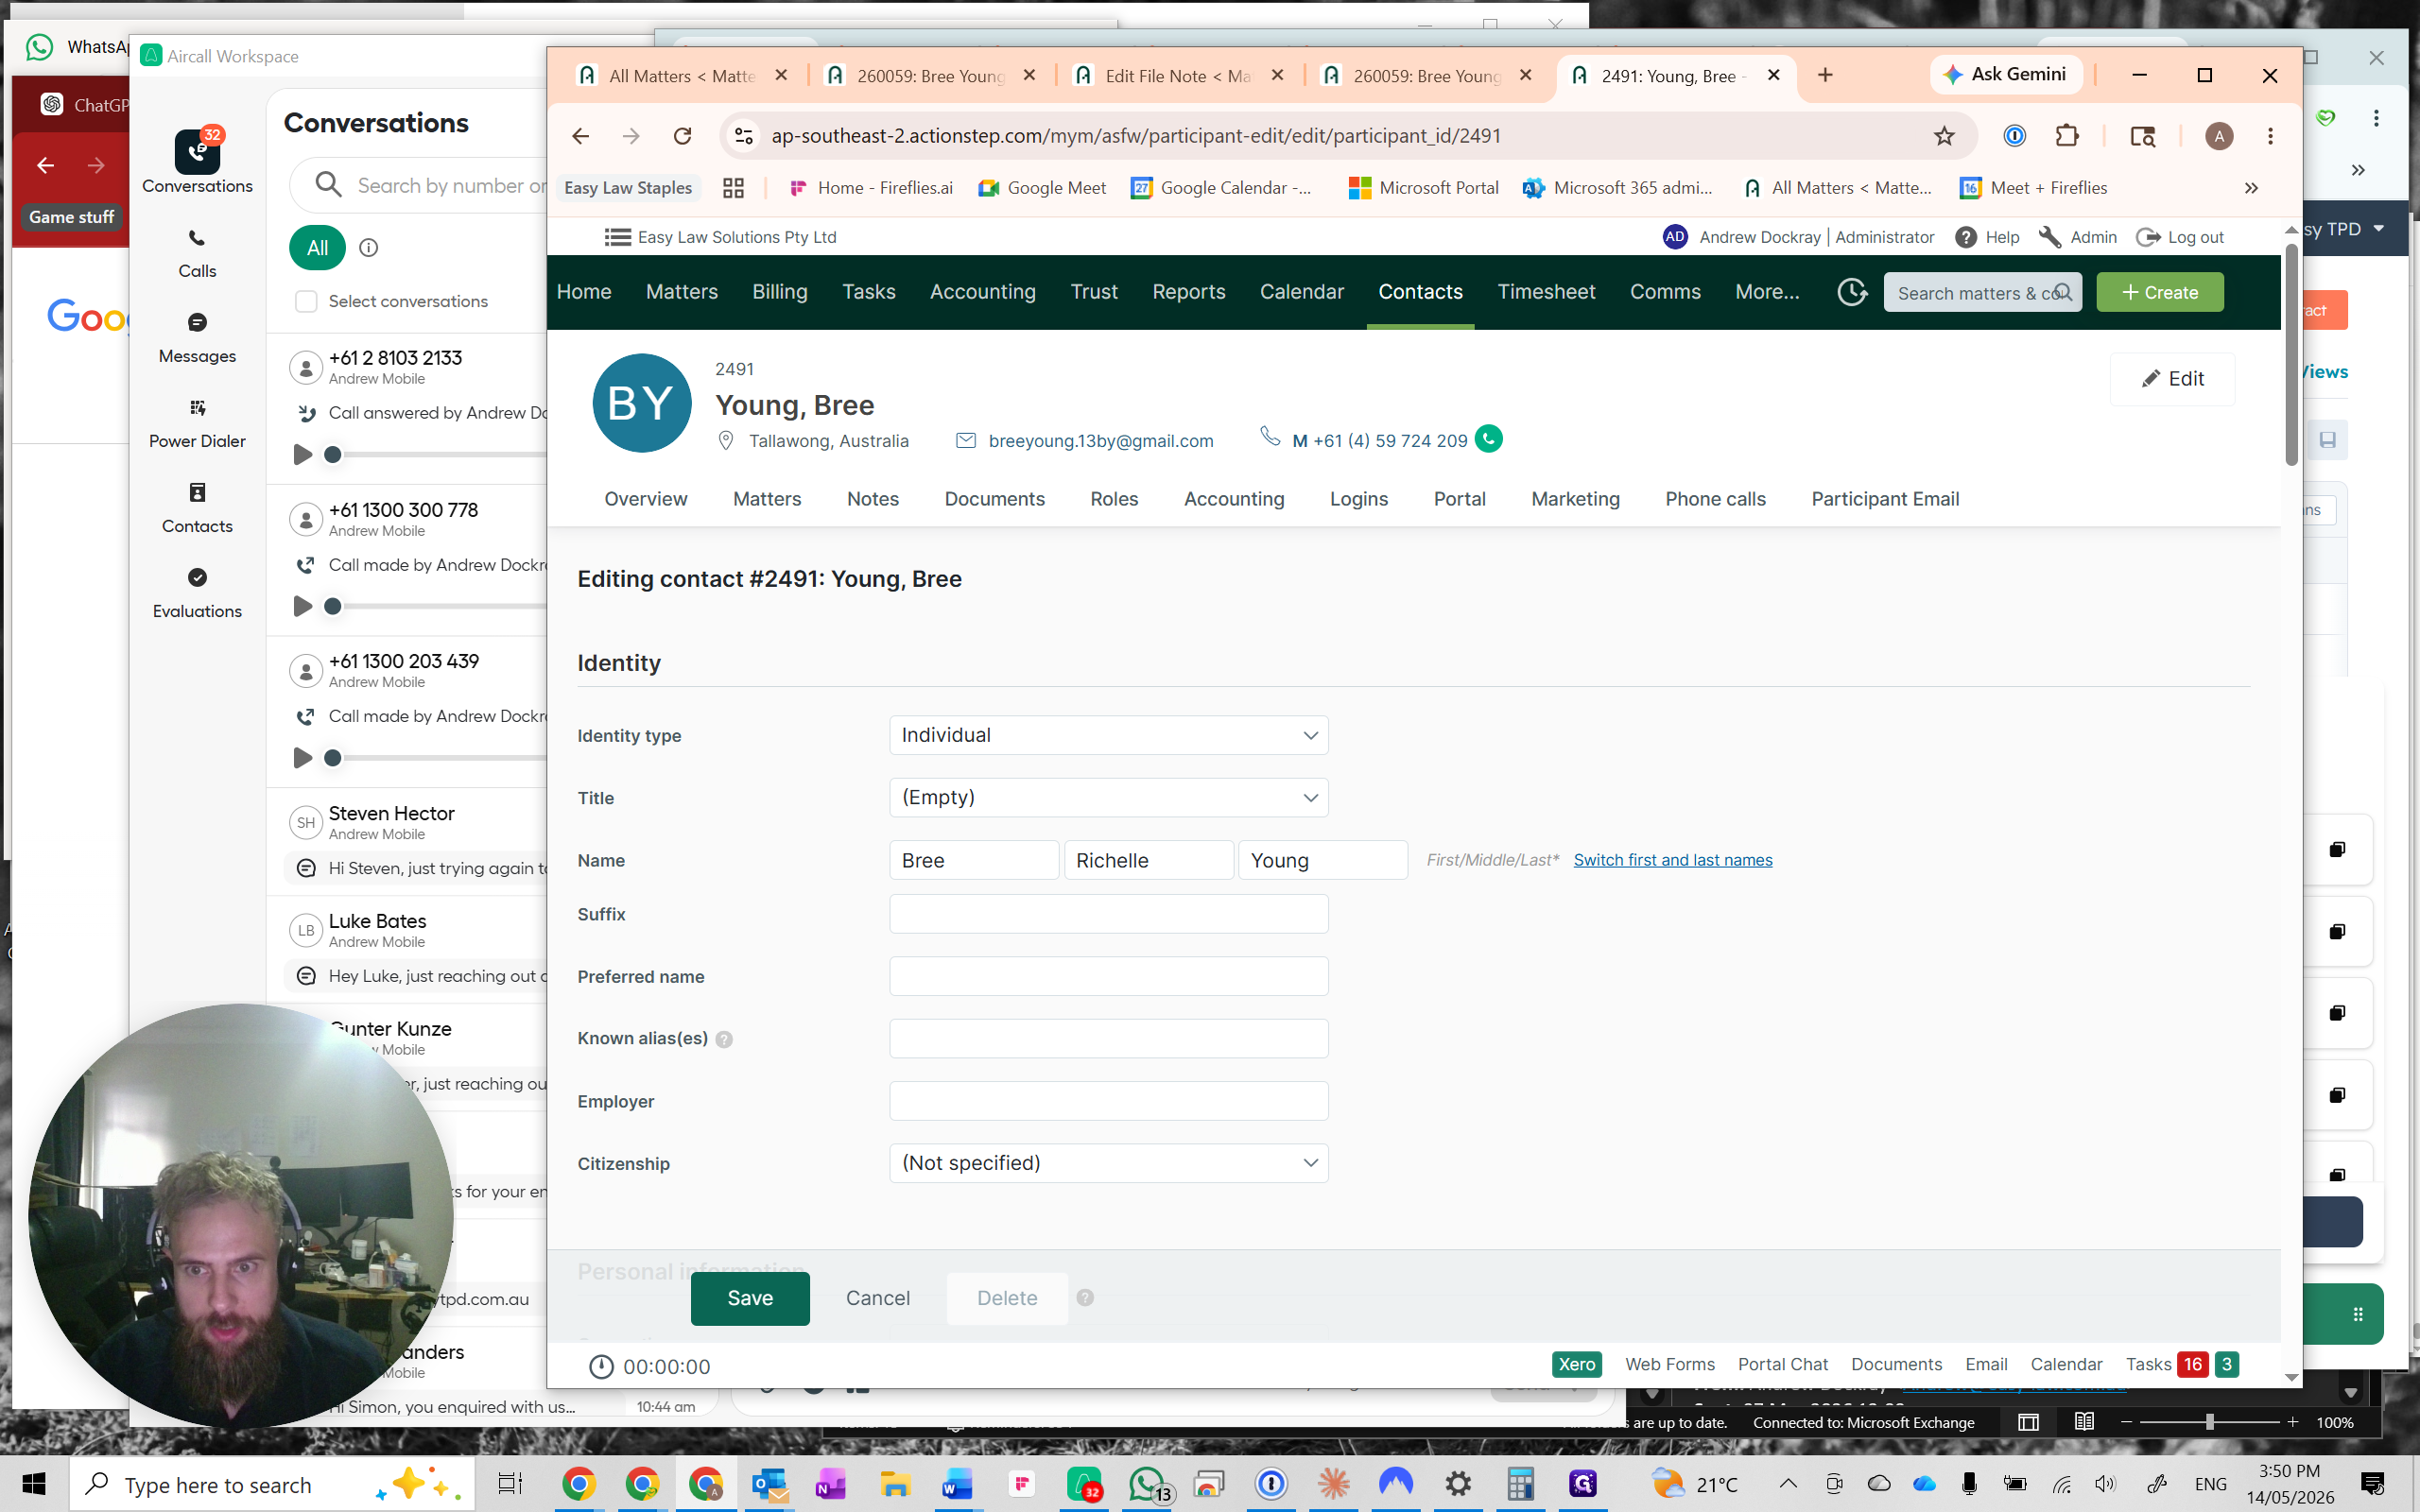
Update Matter Details
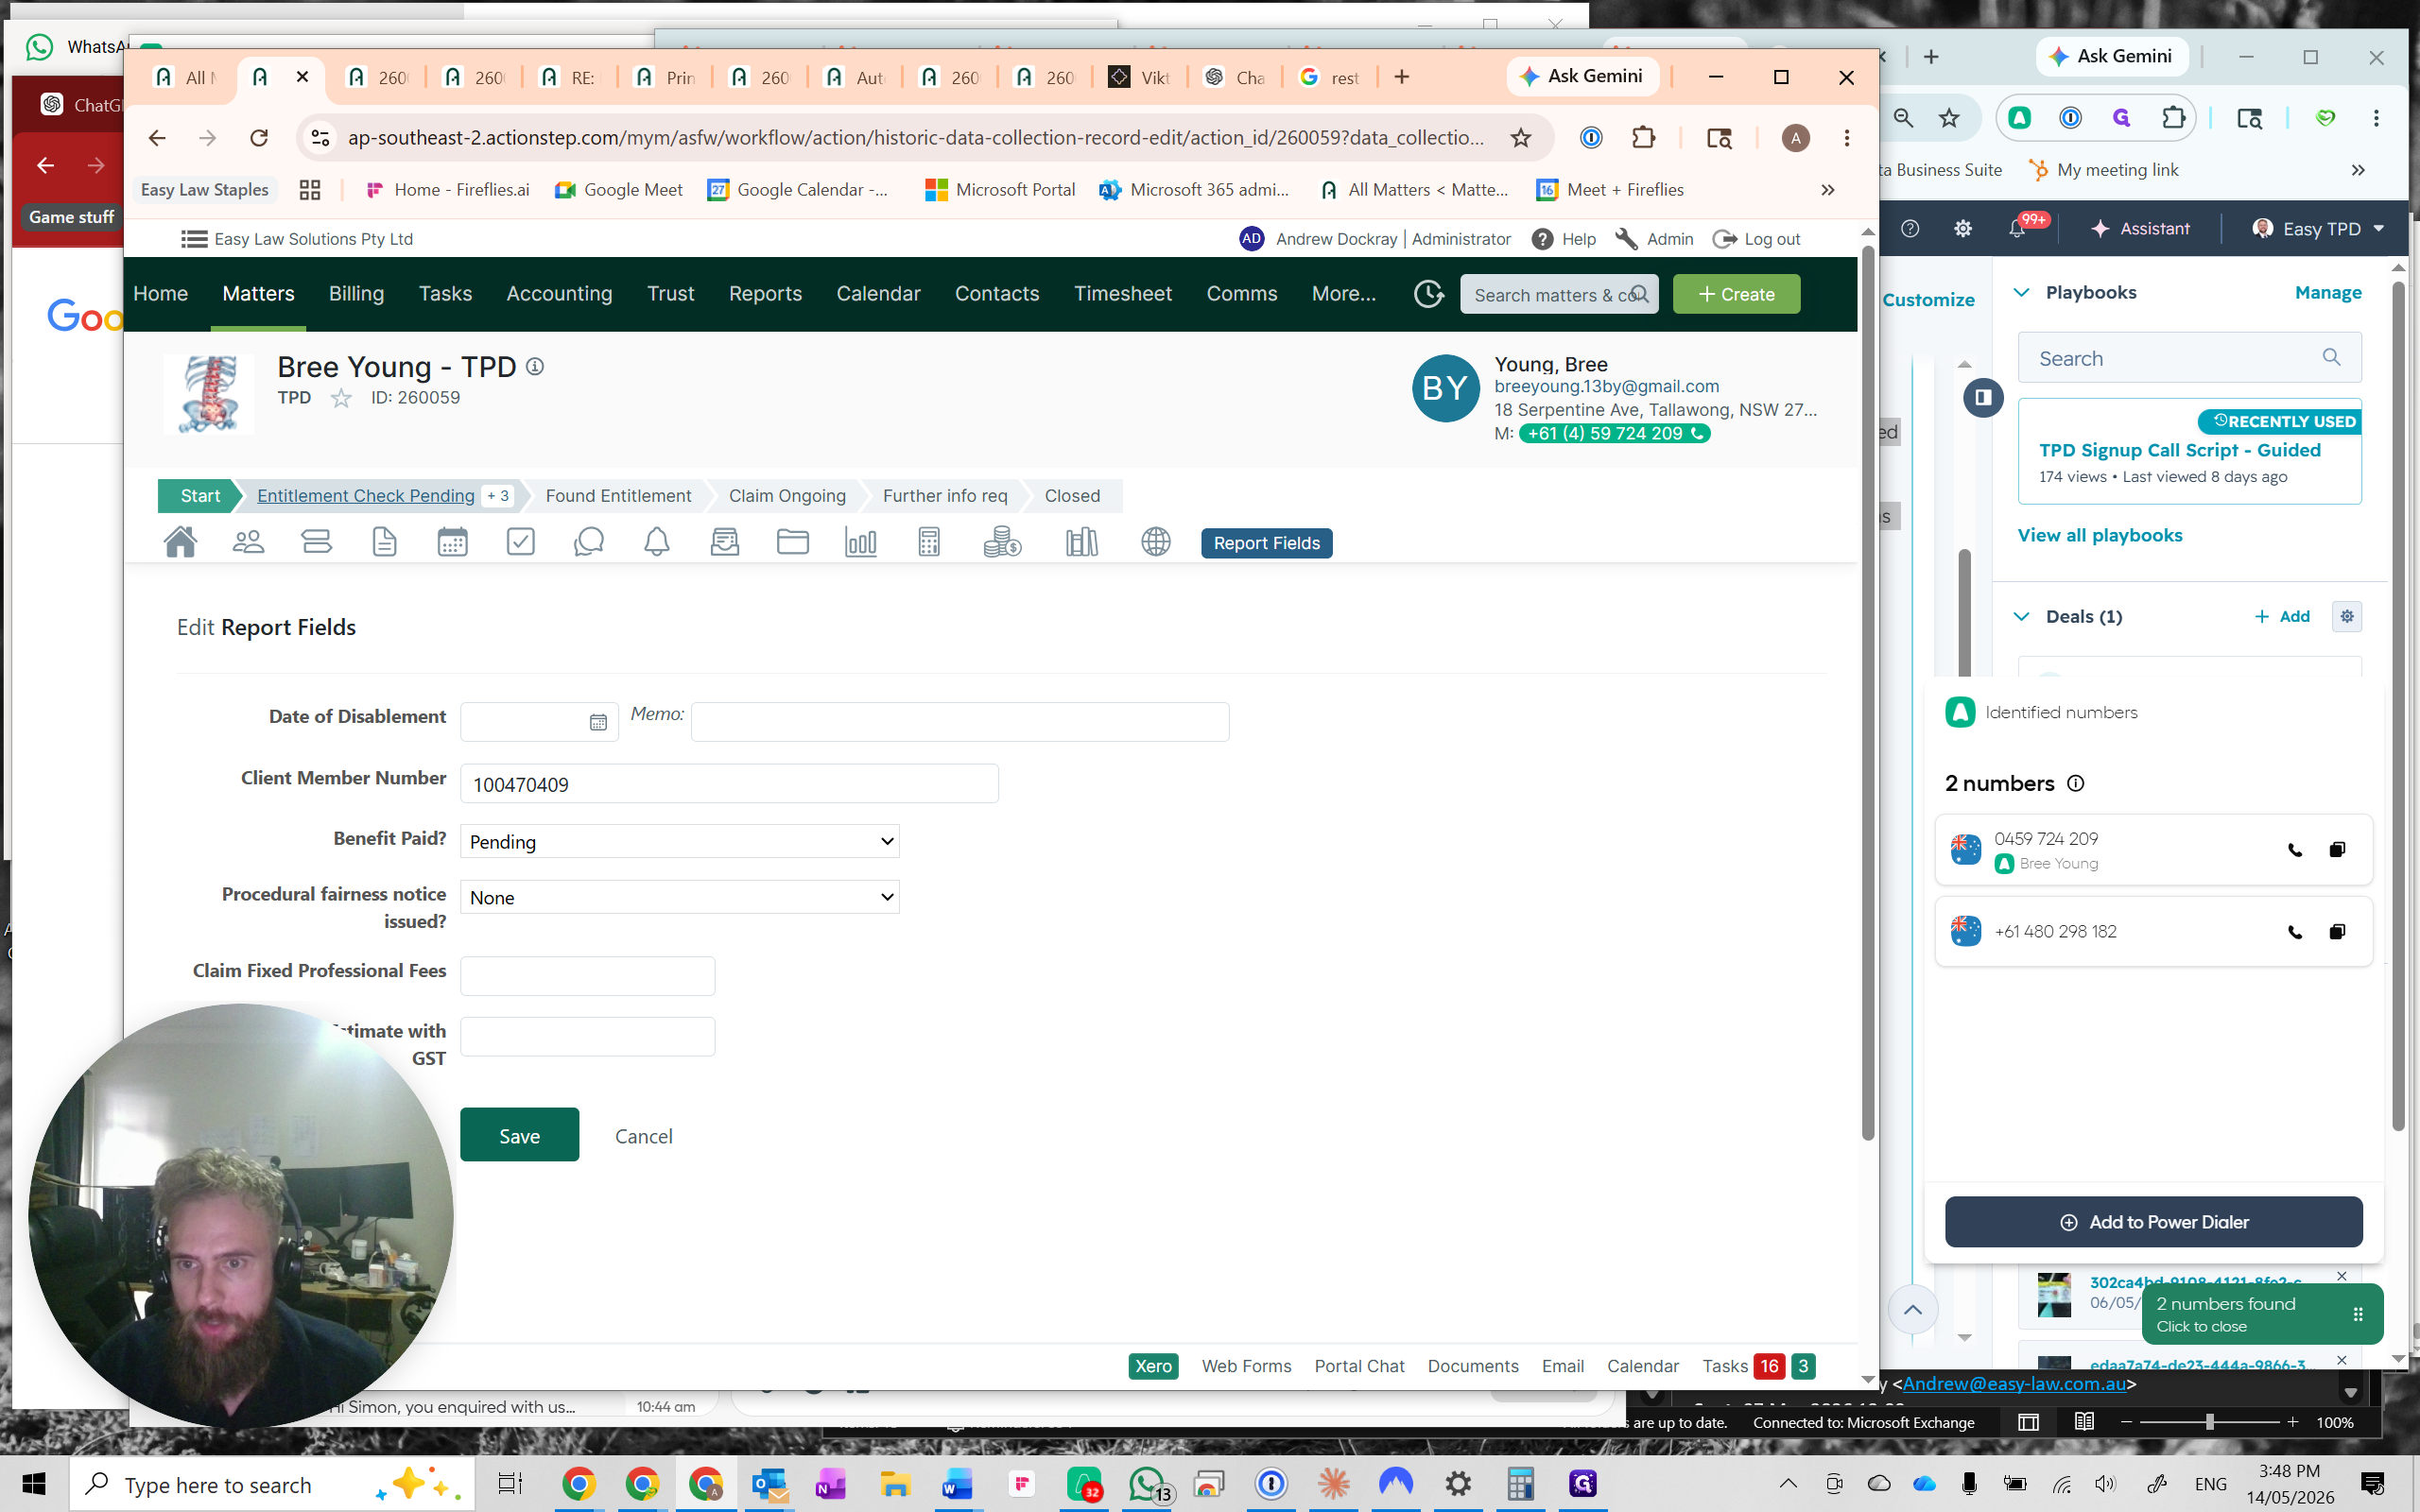
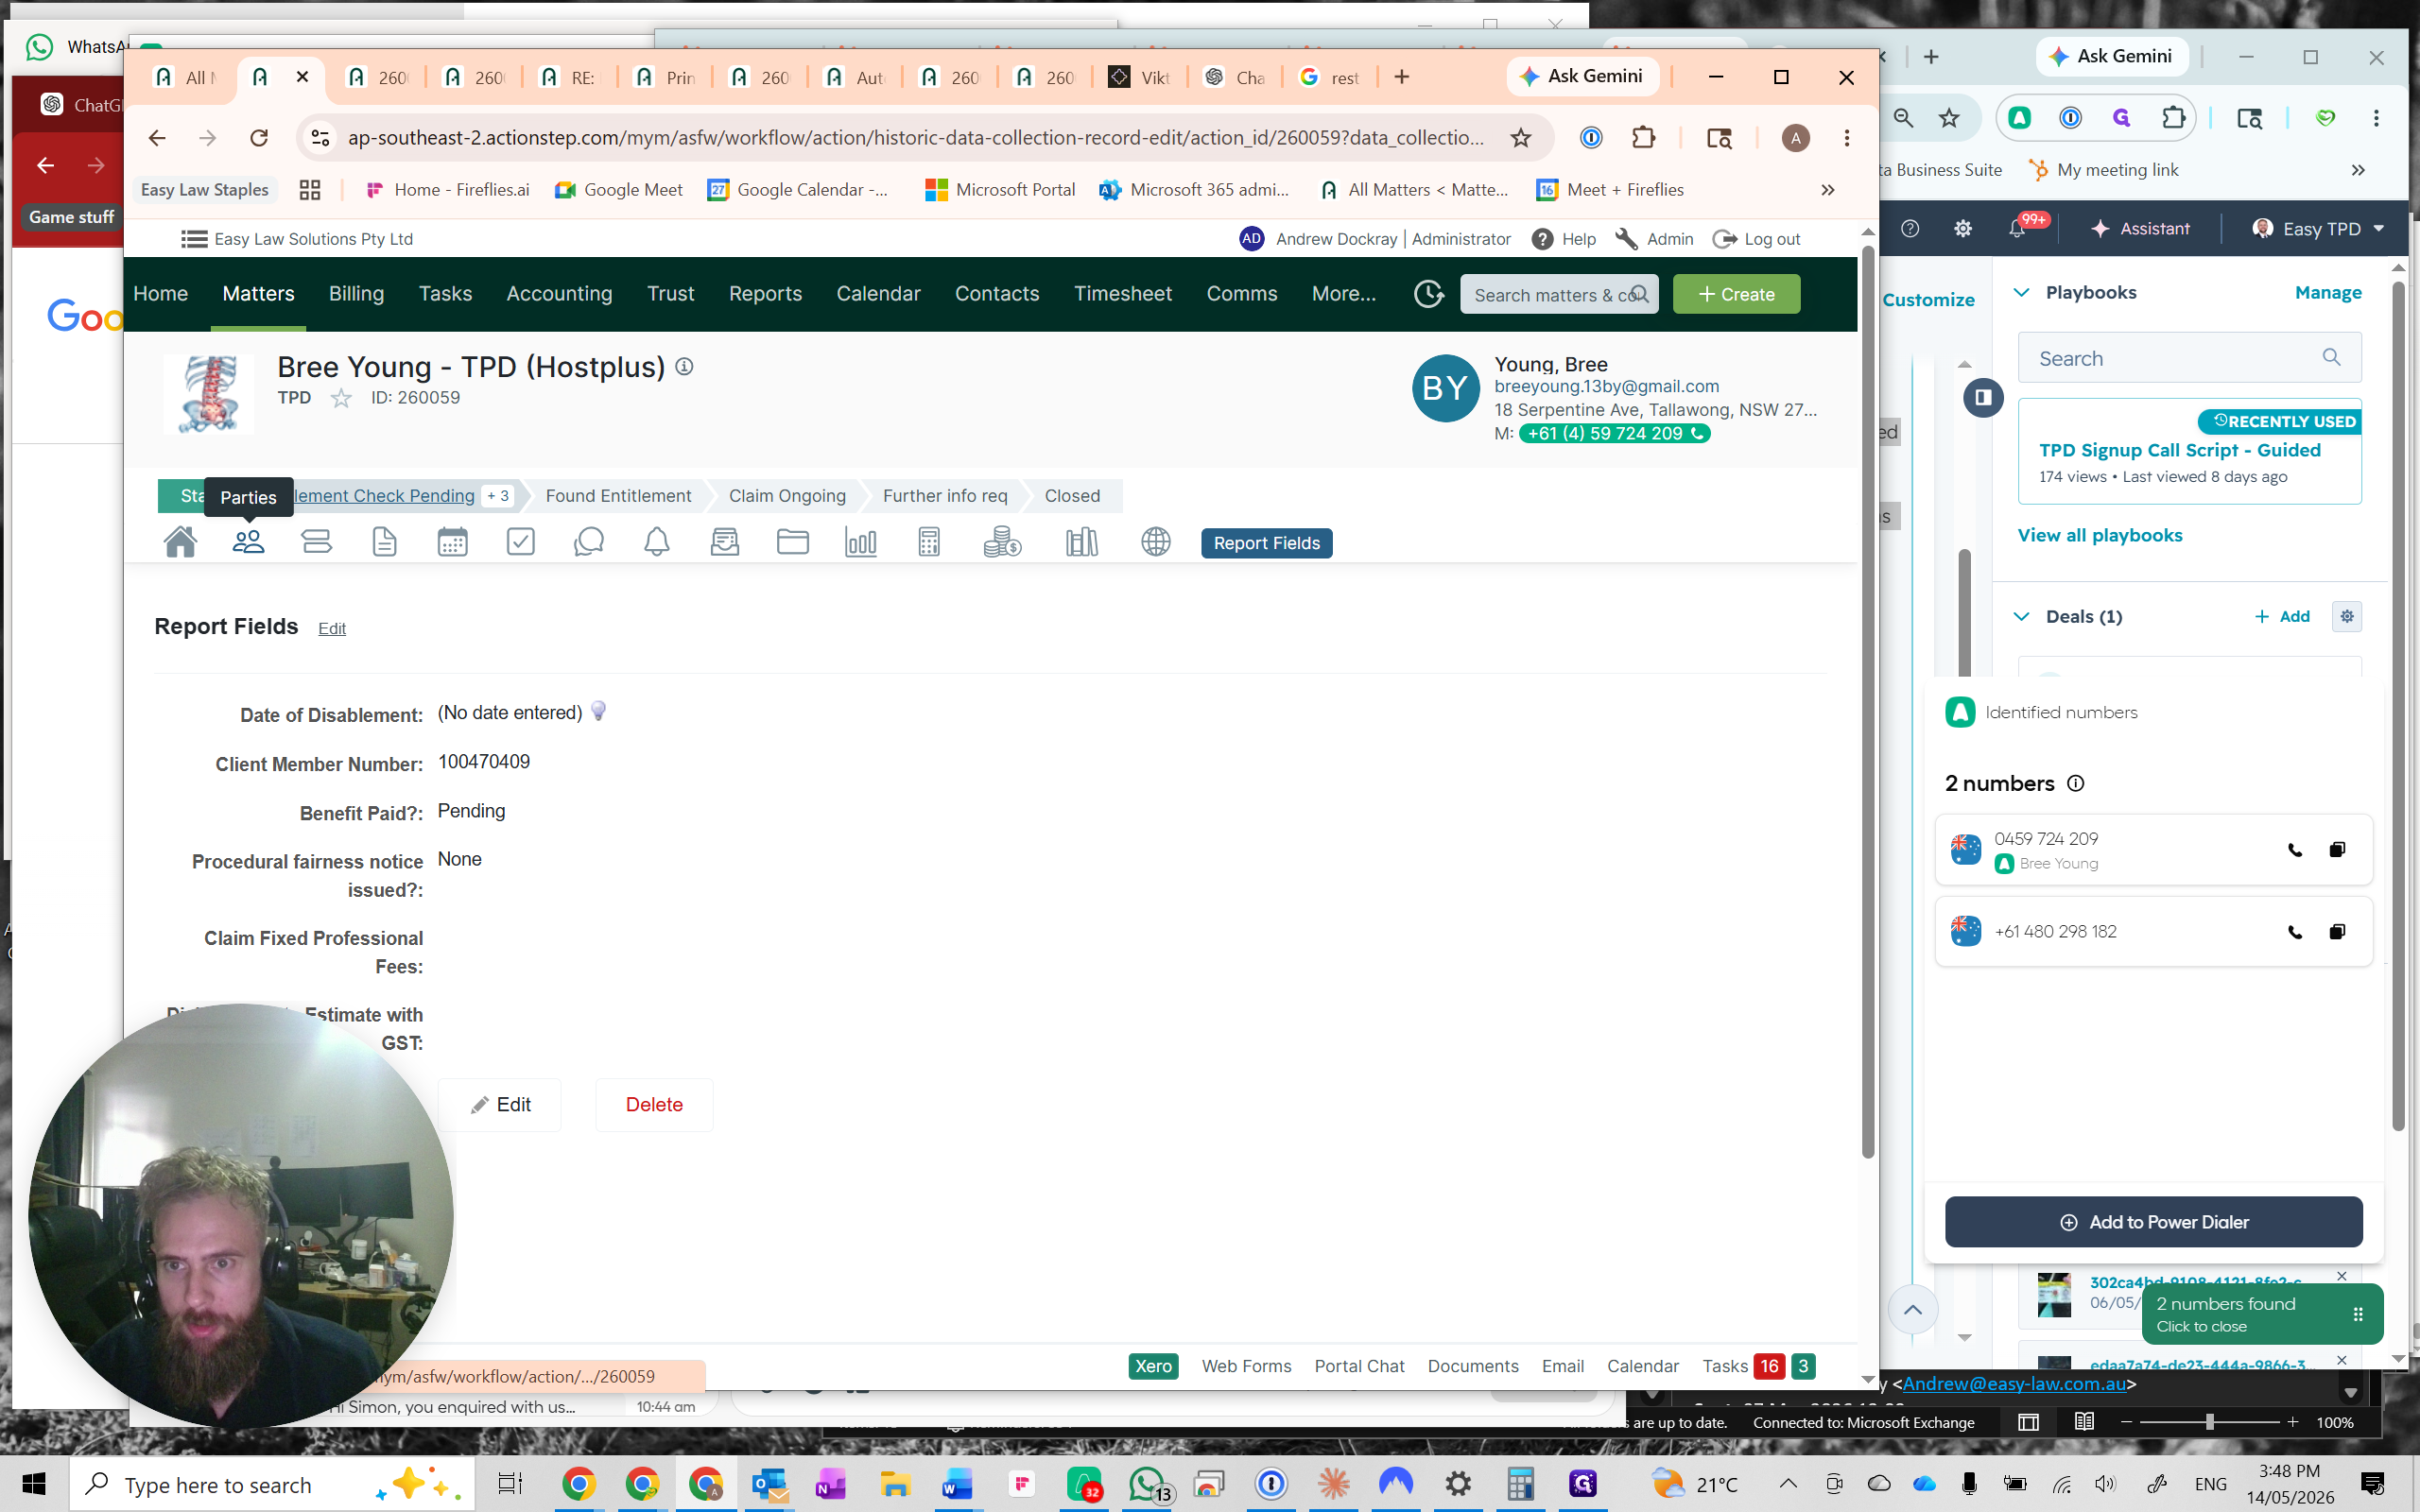
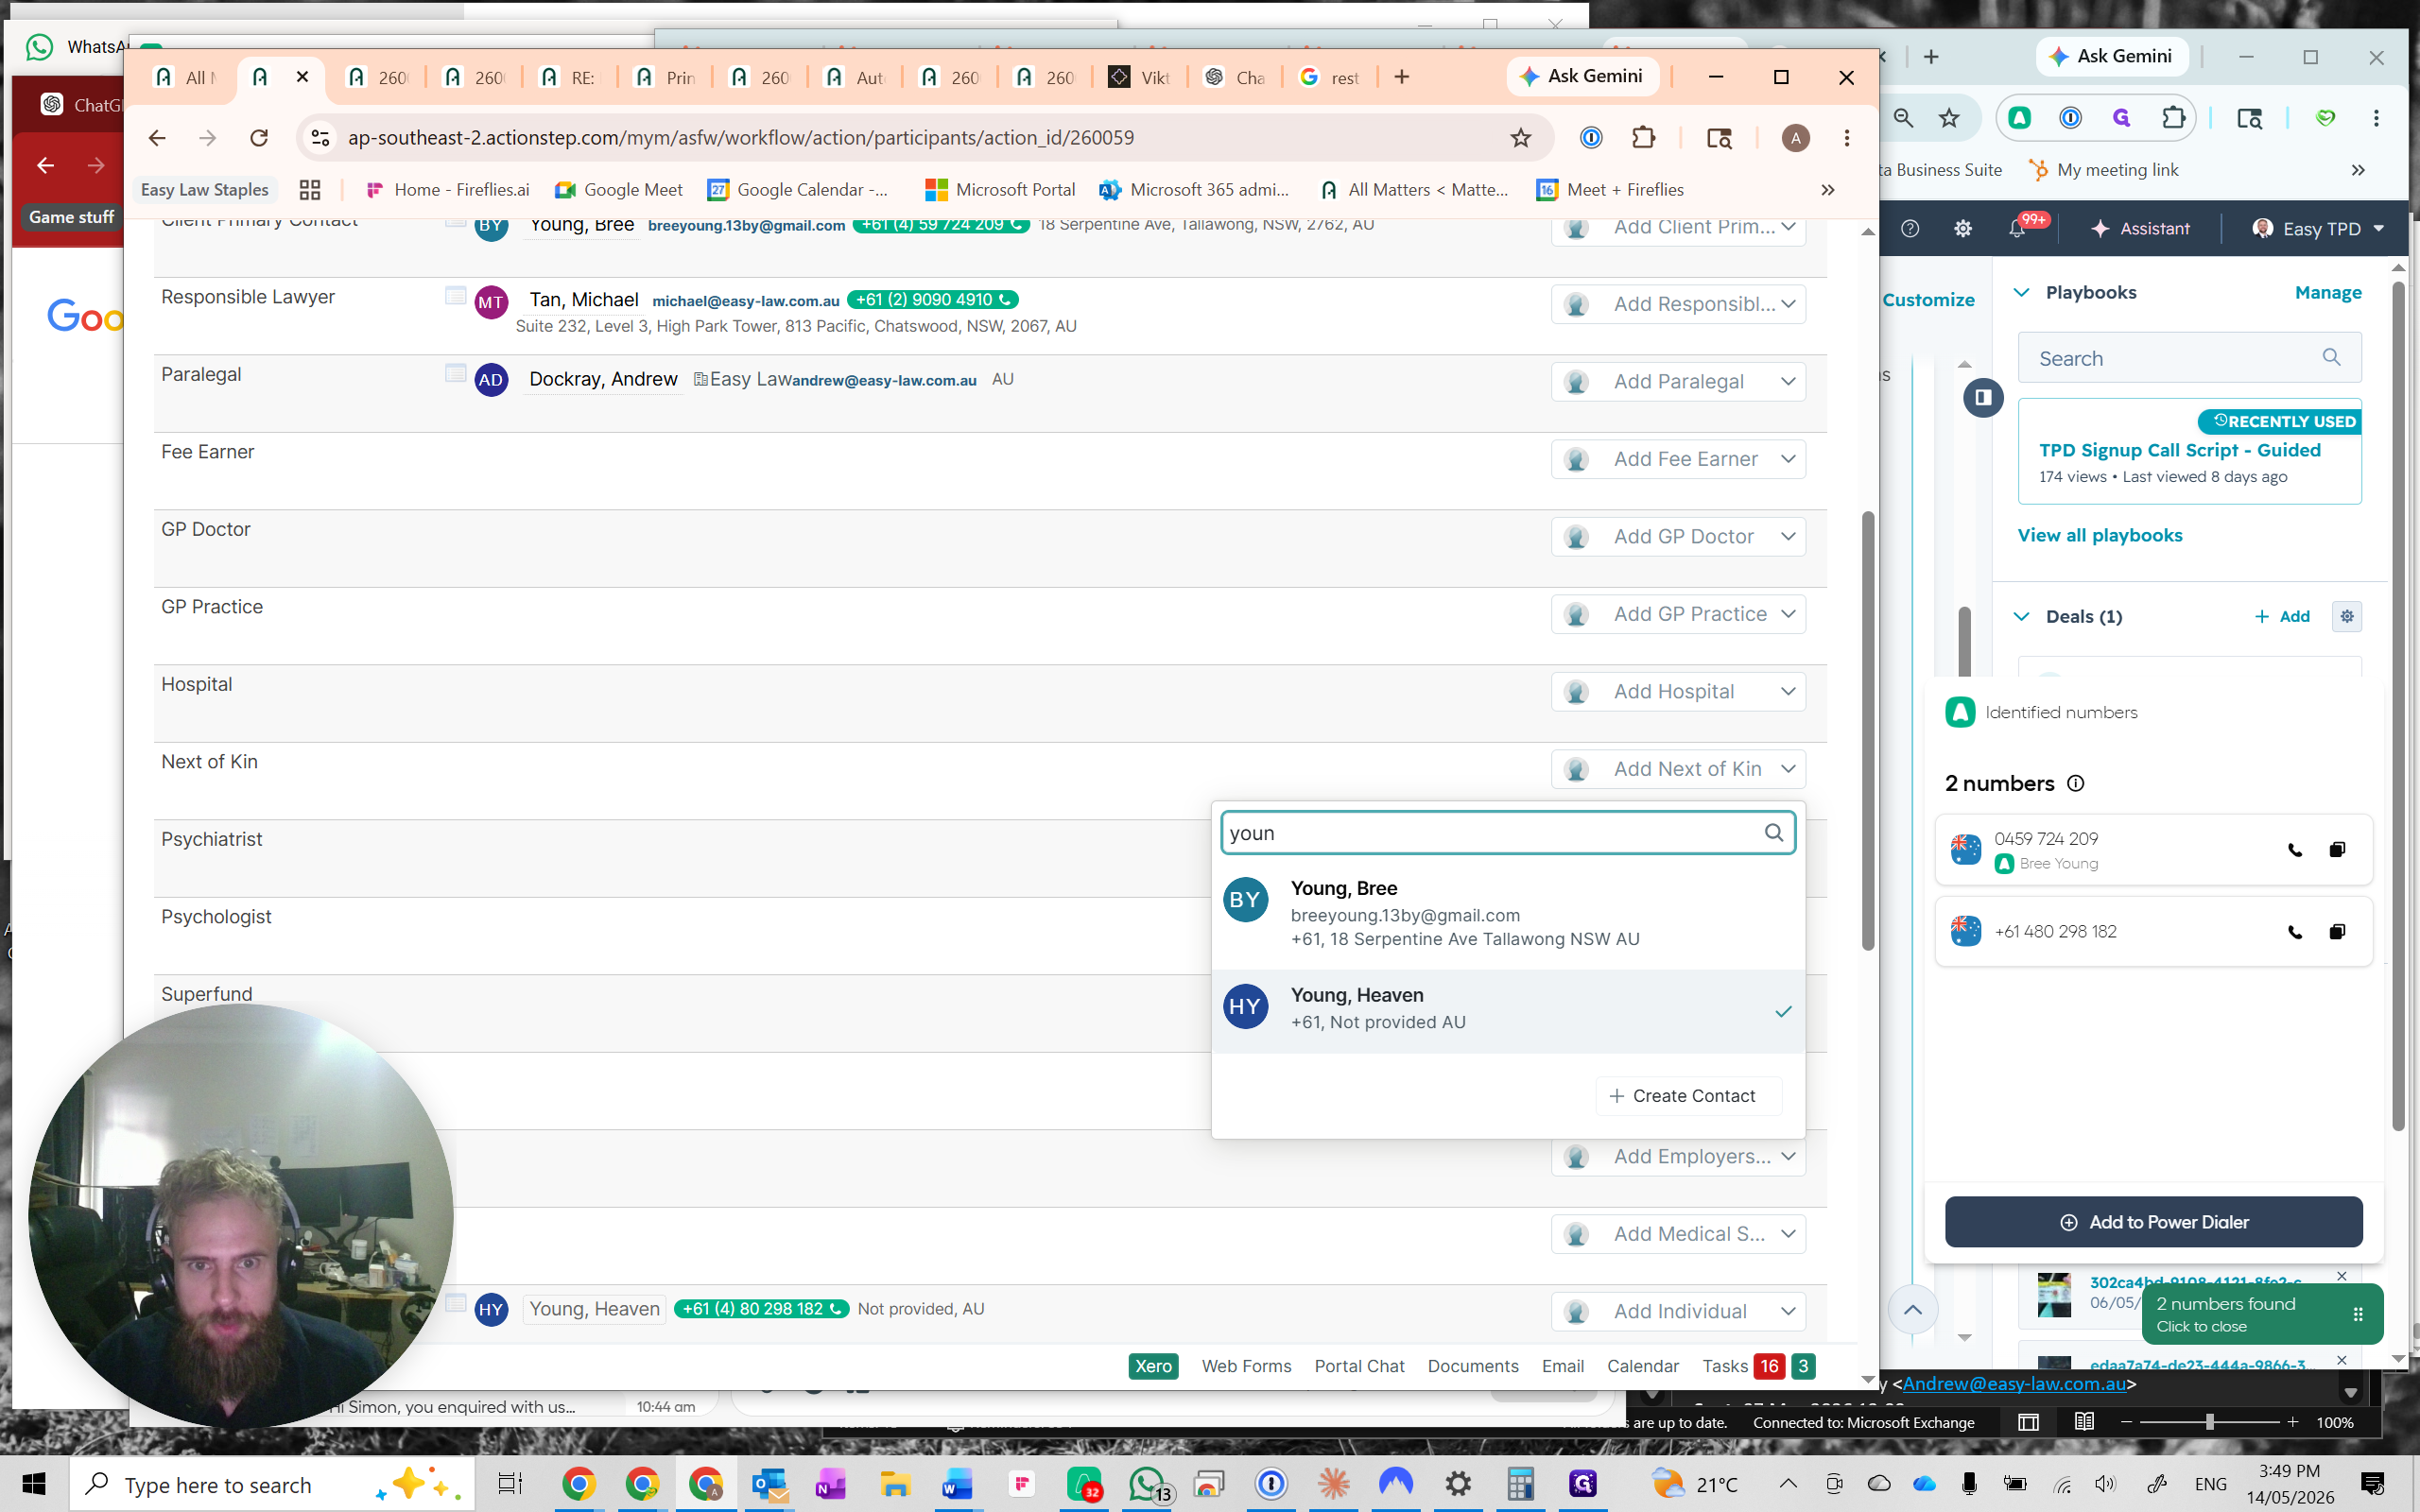
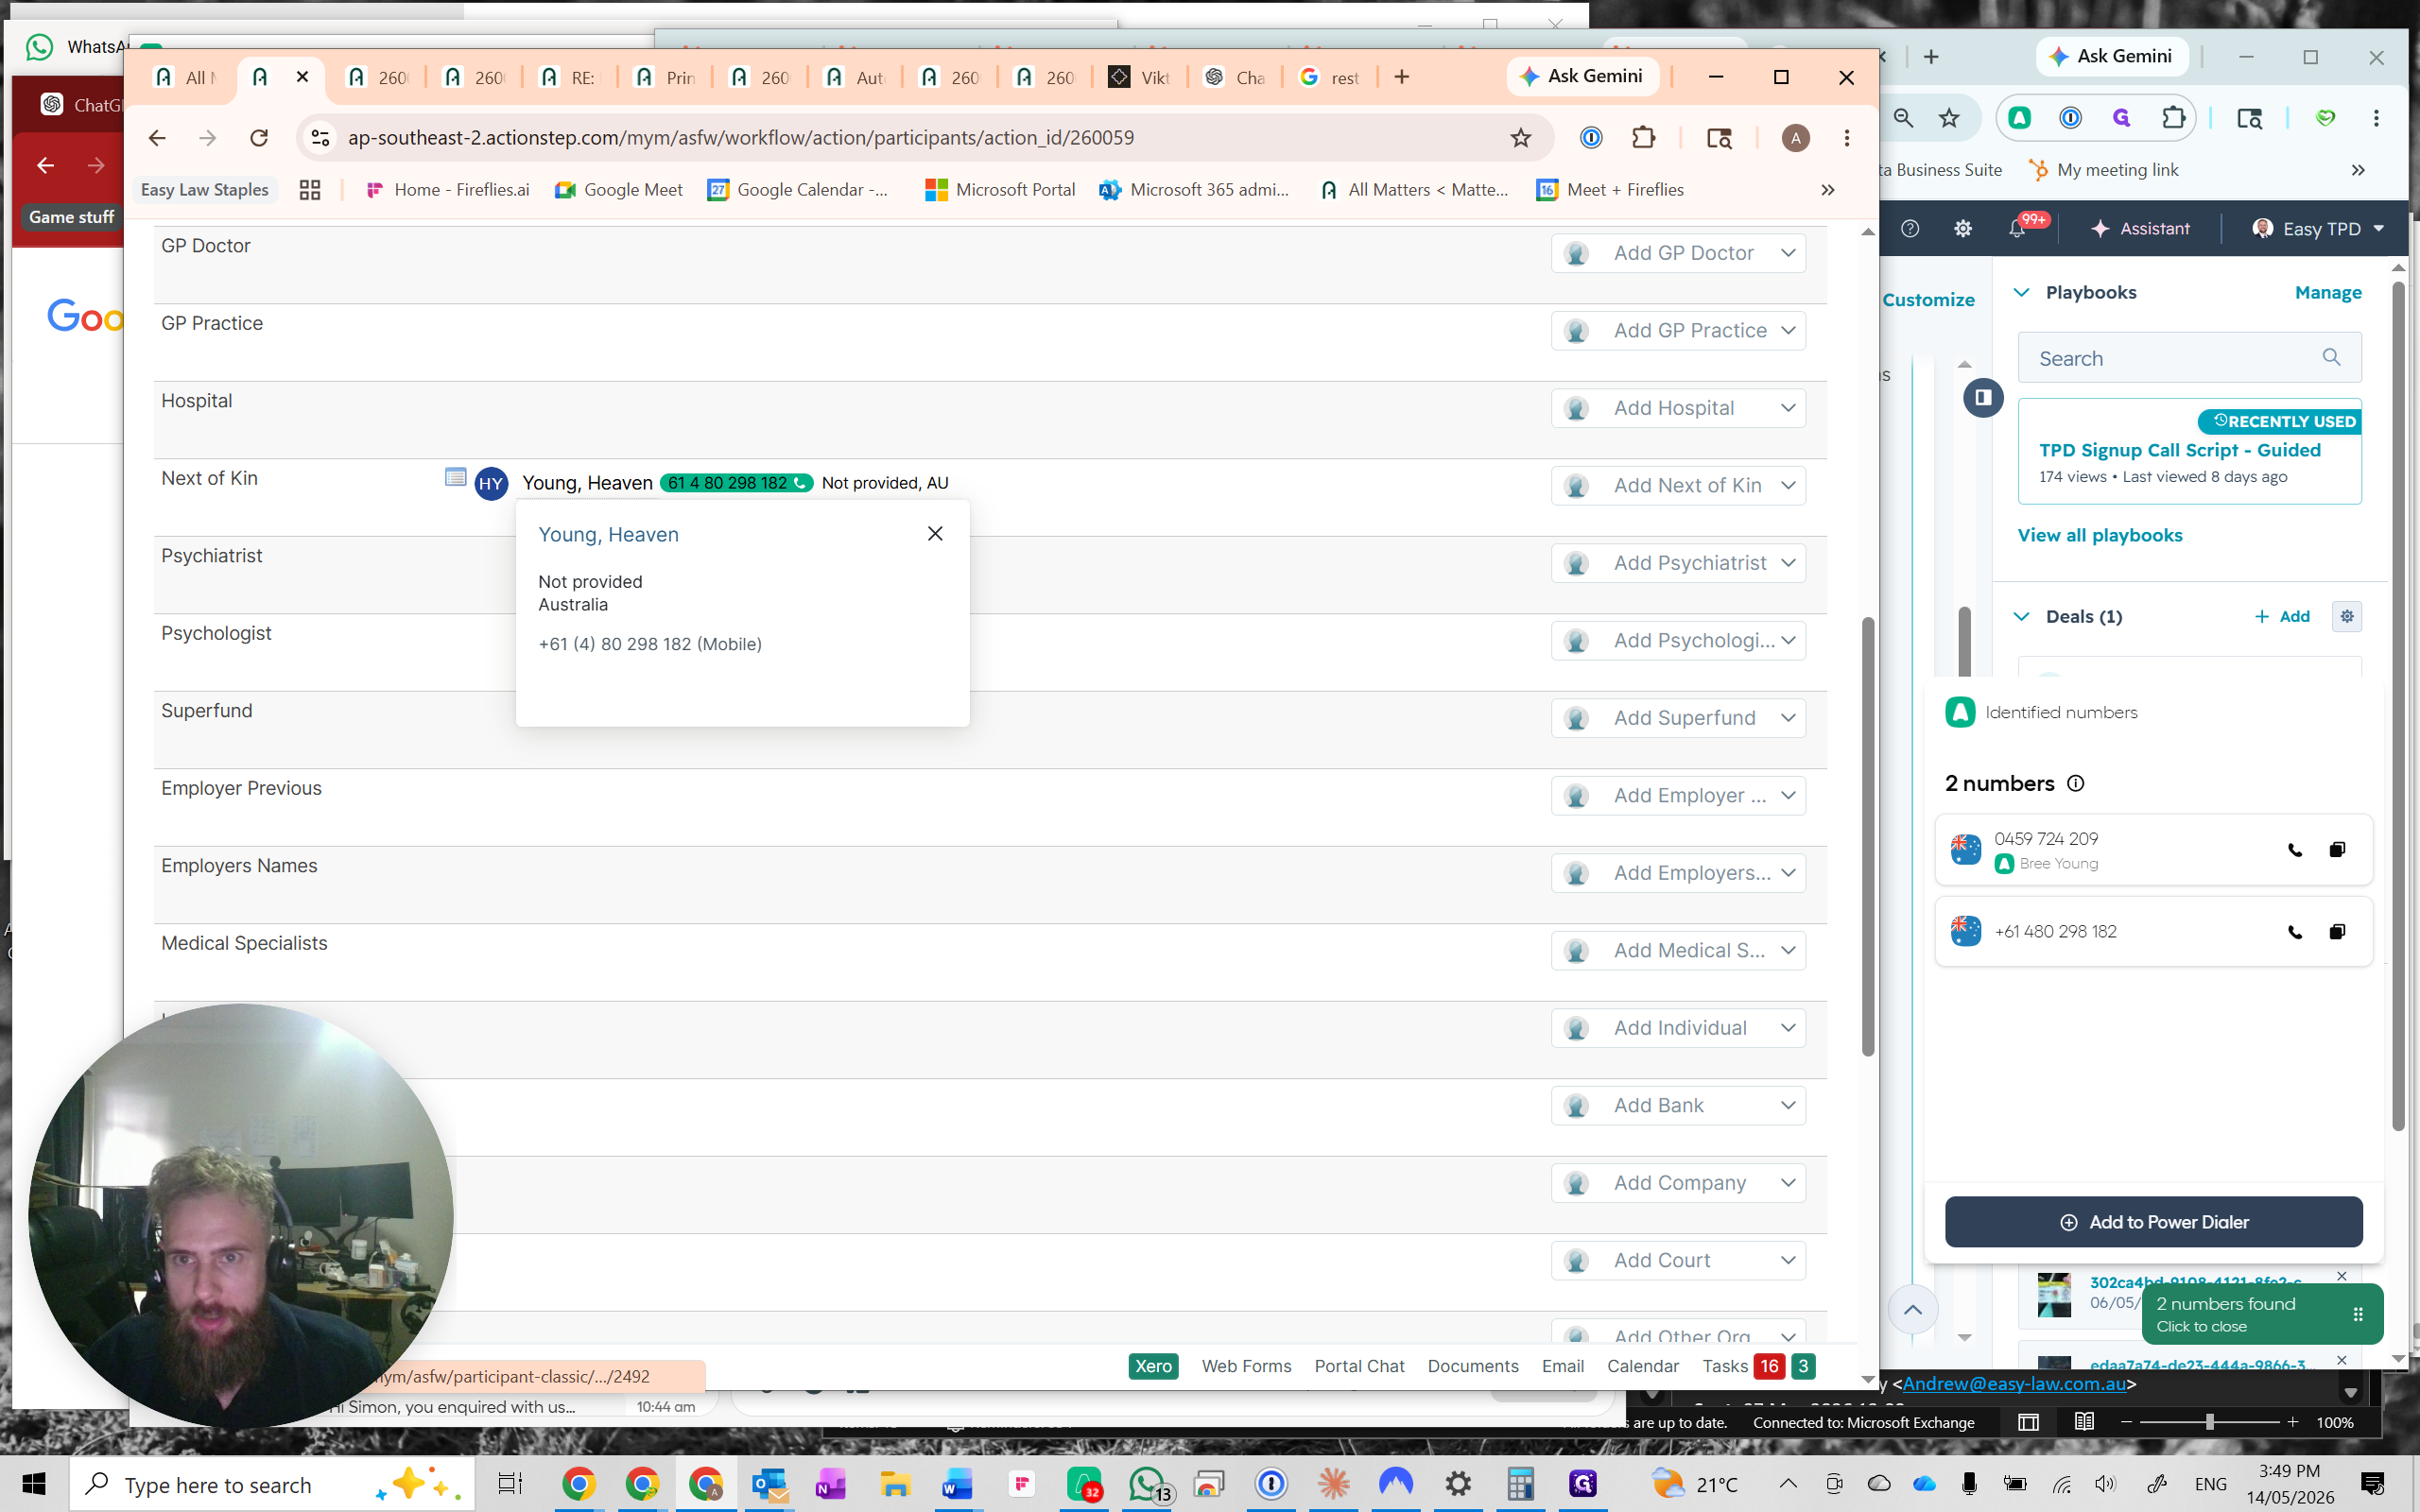
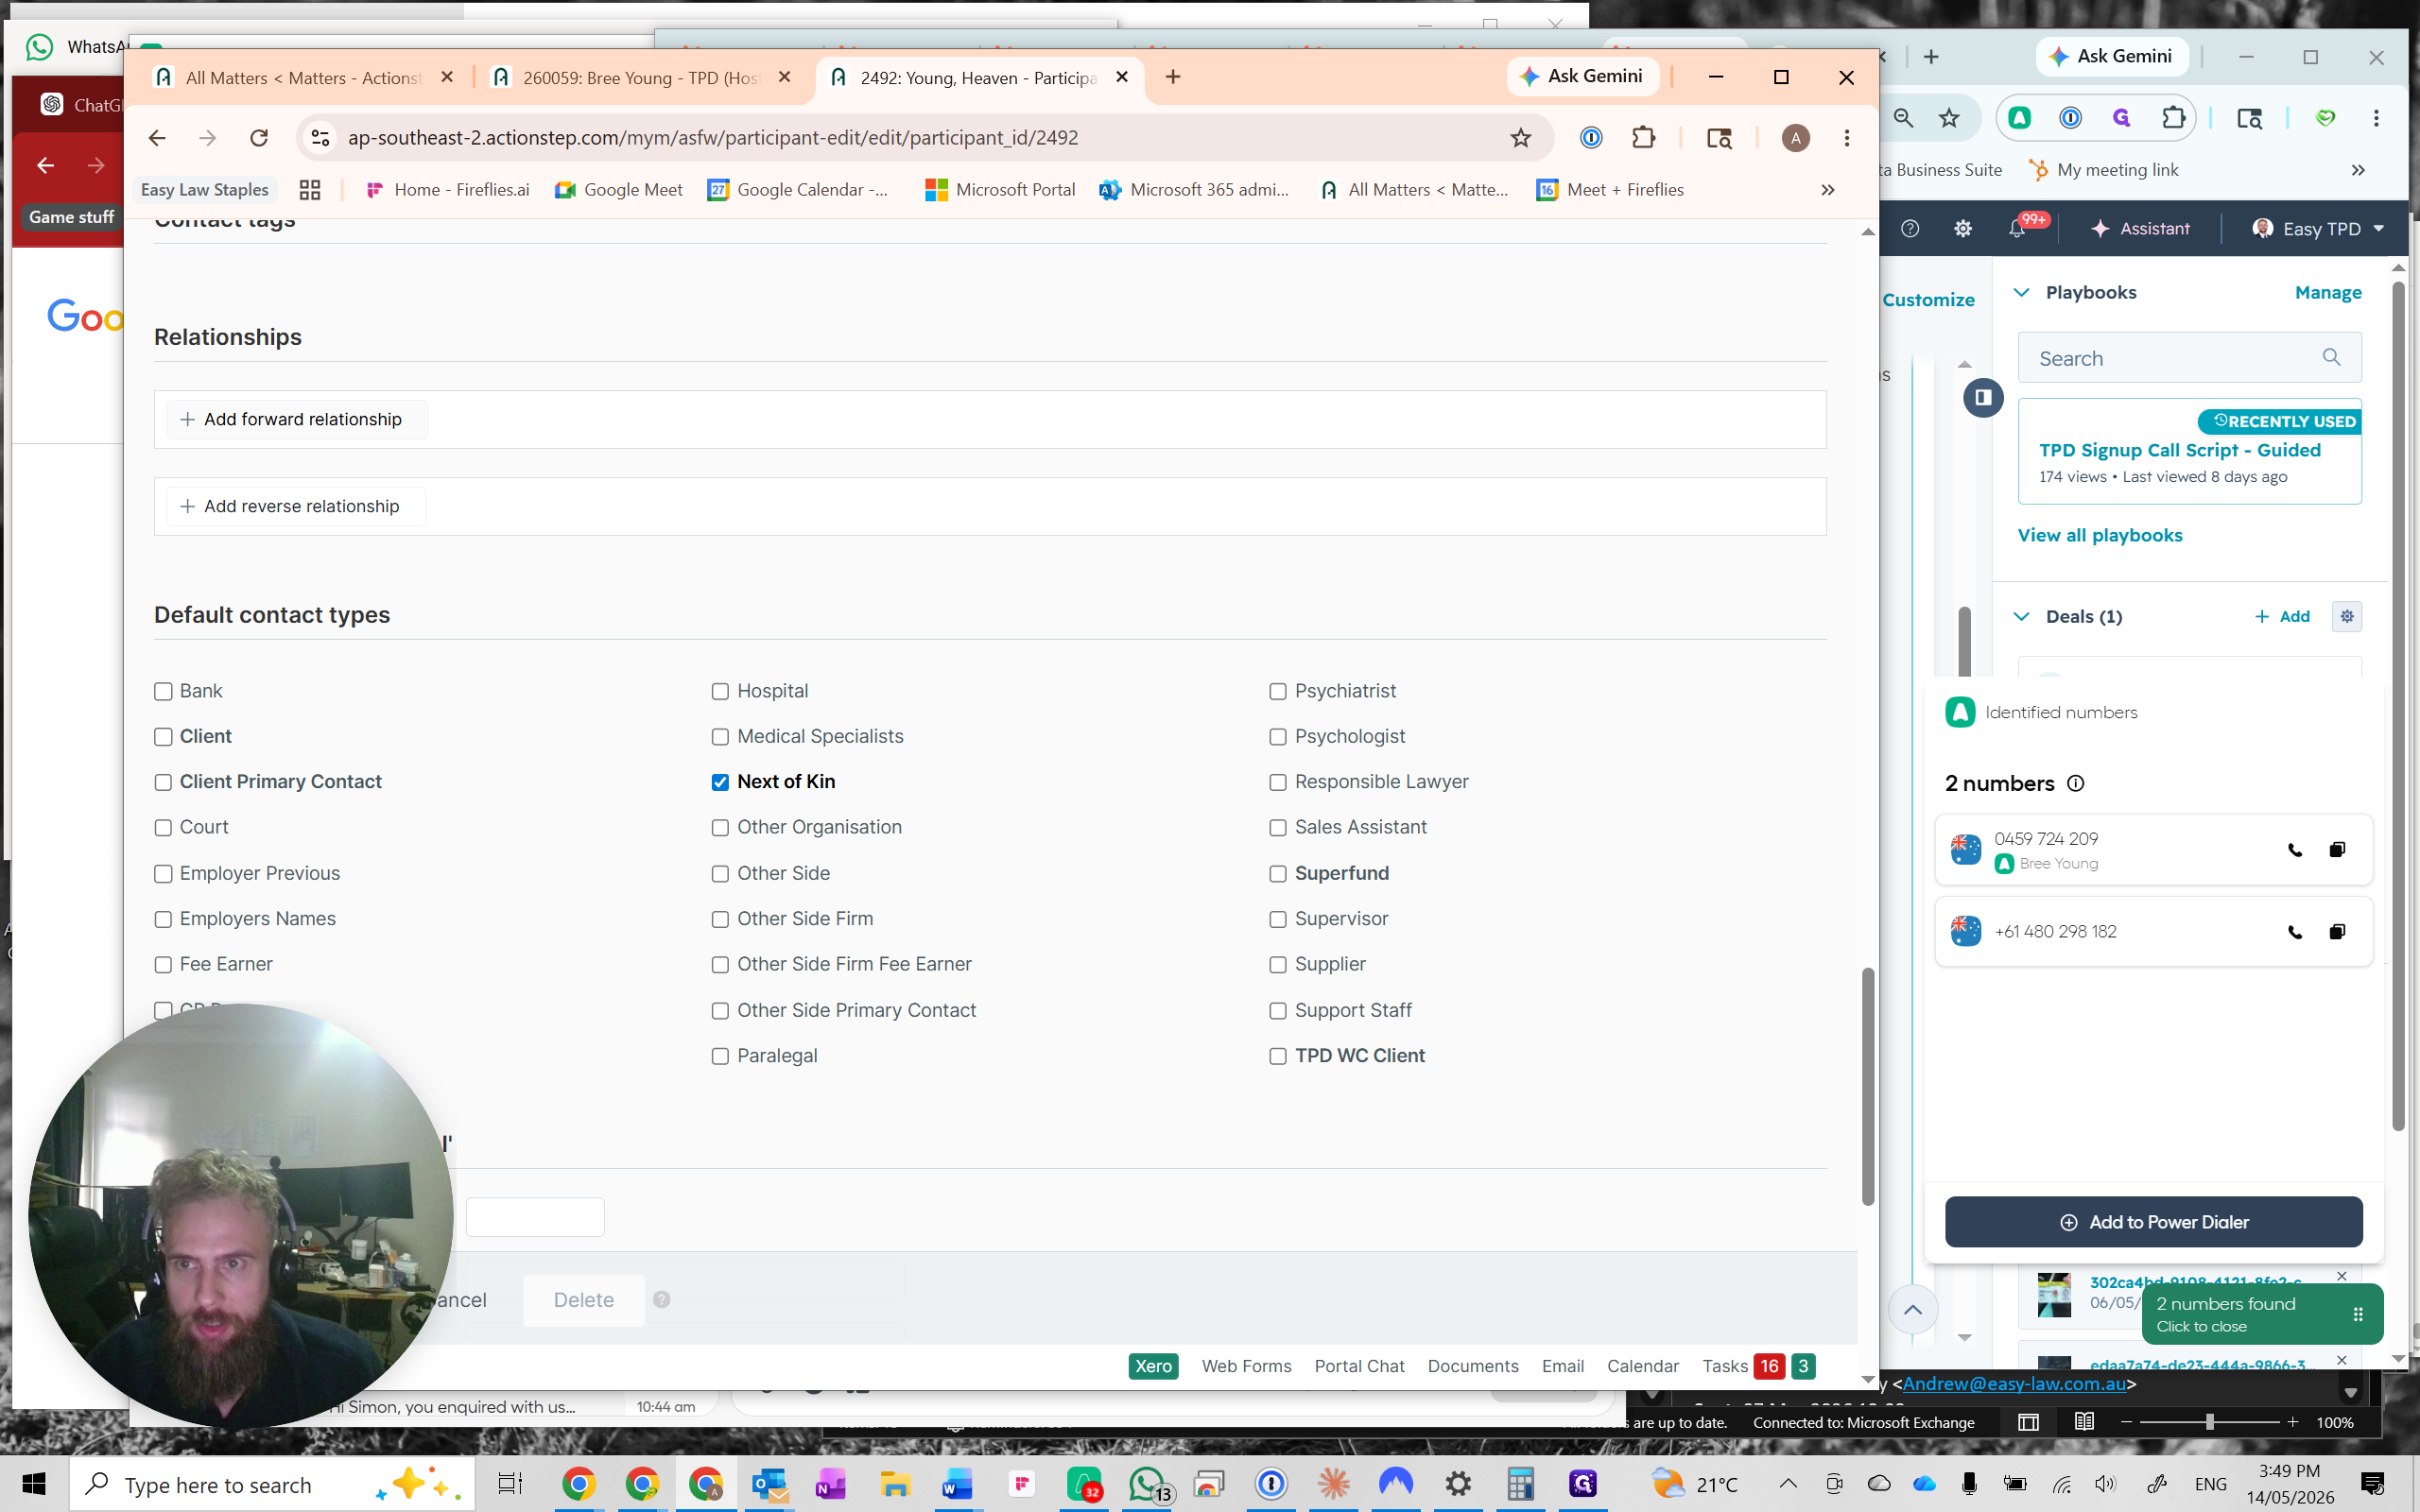
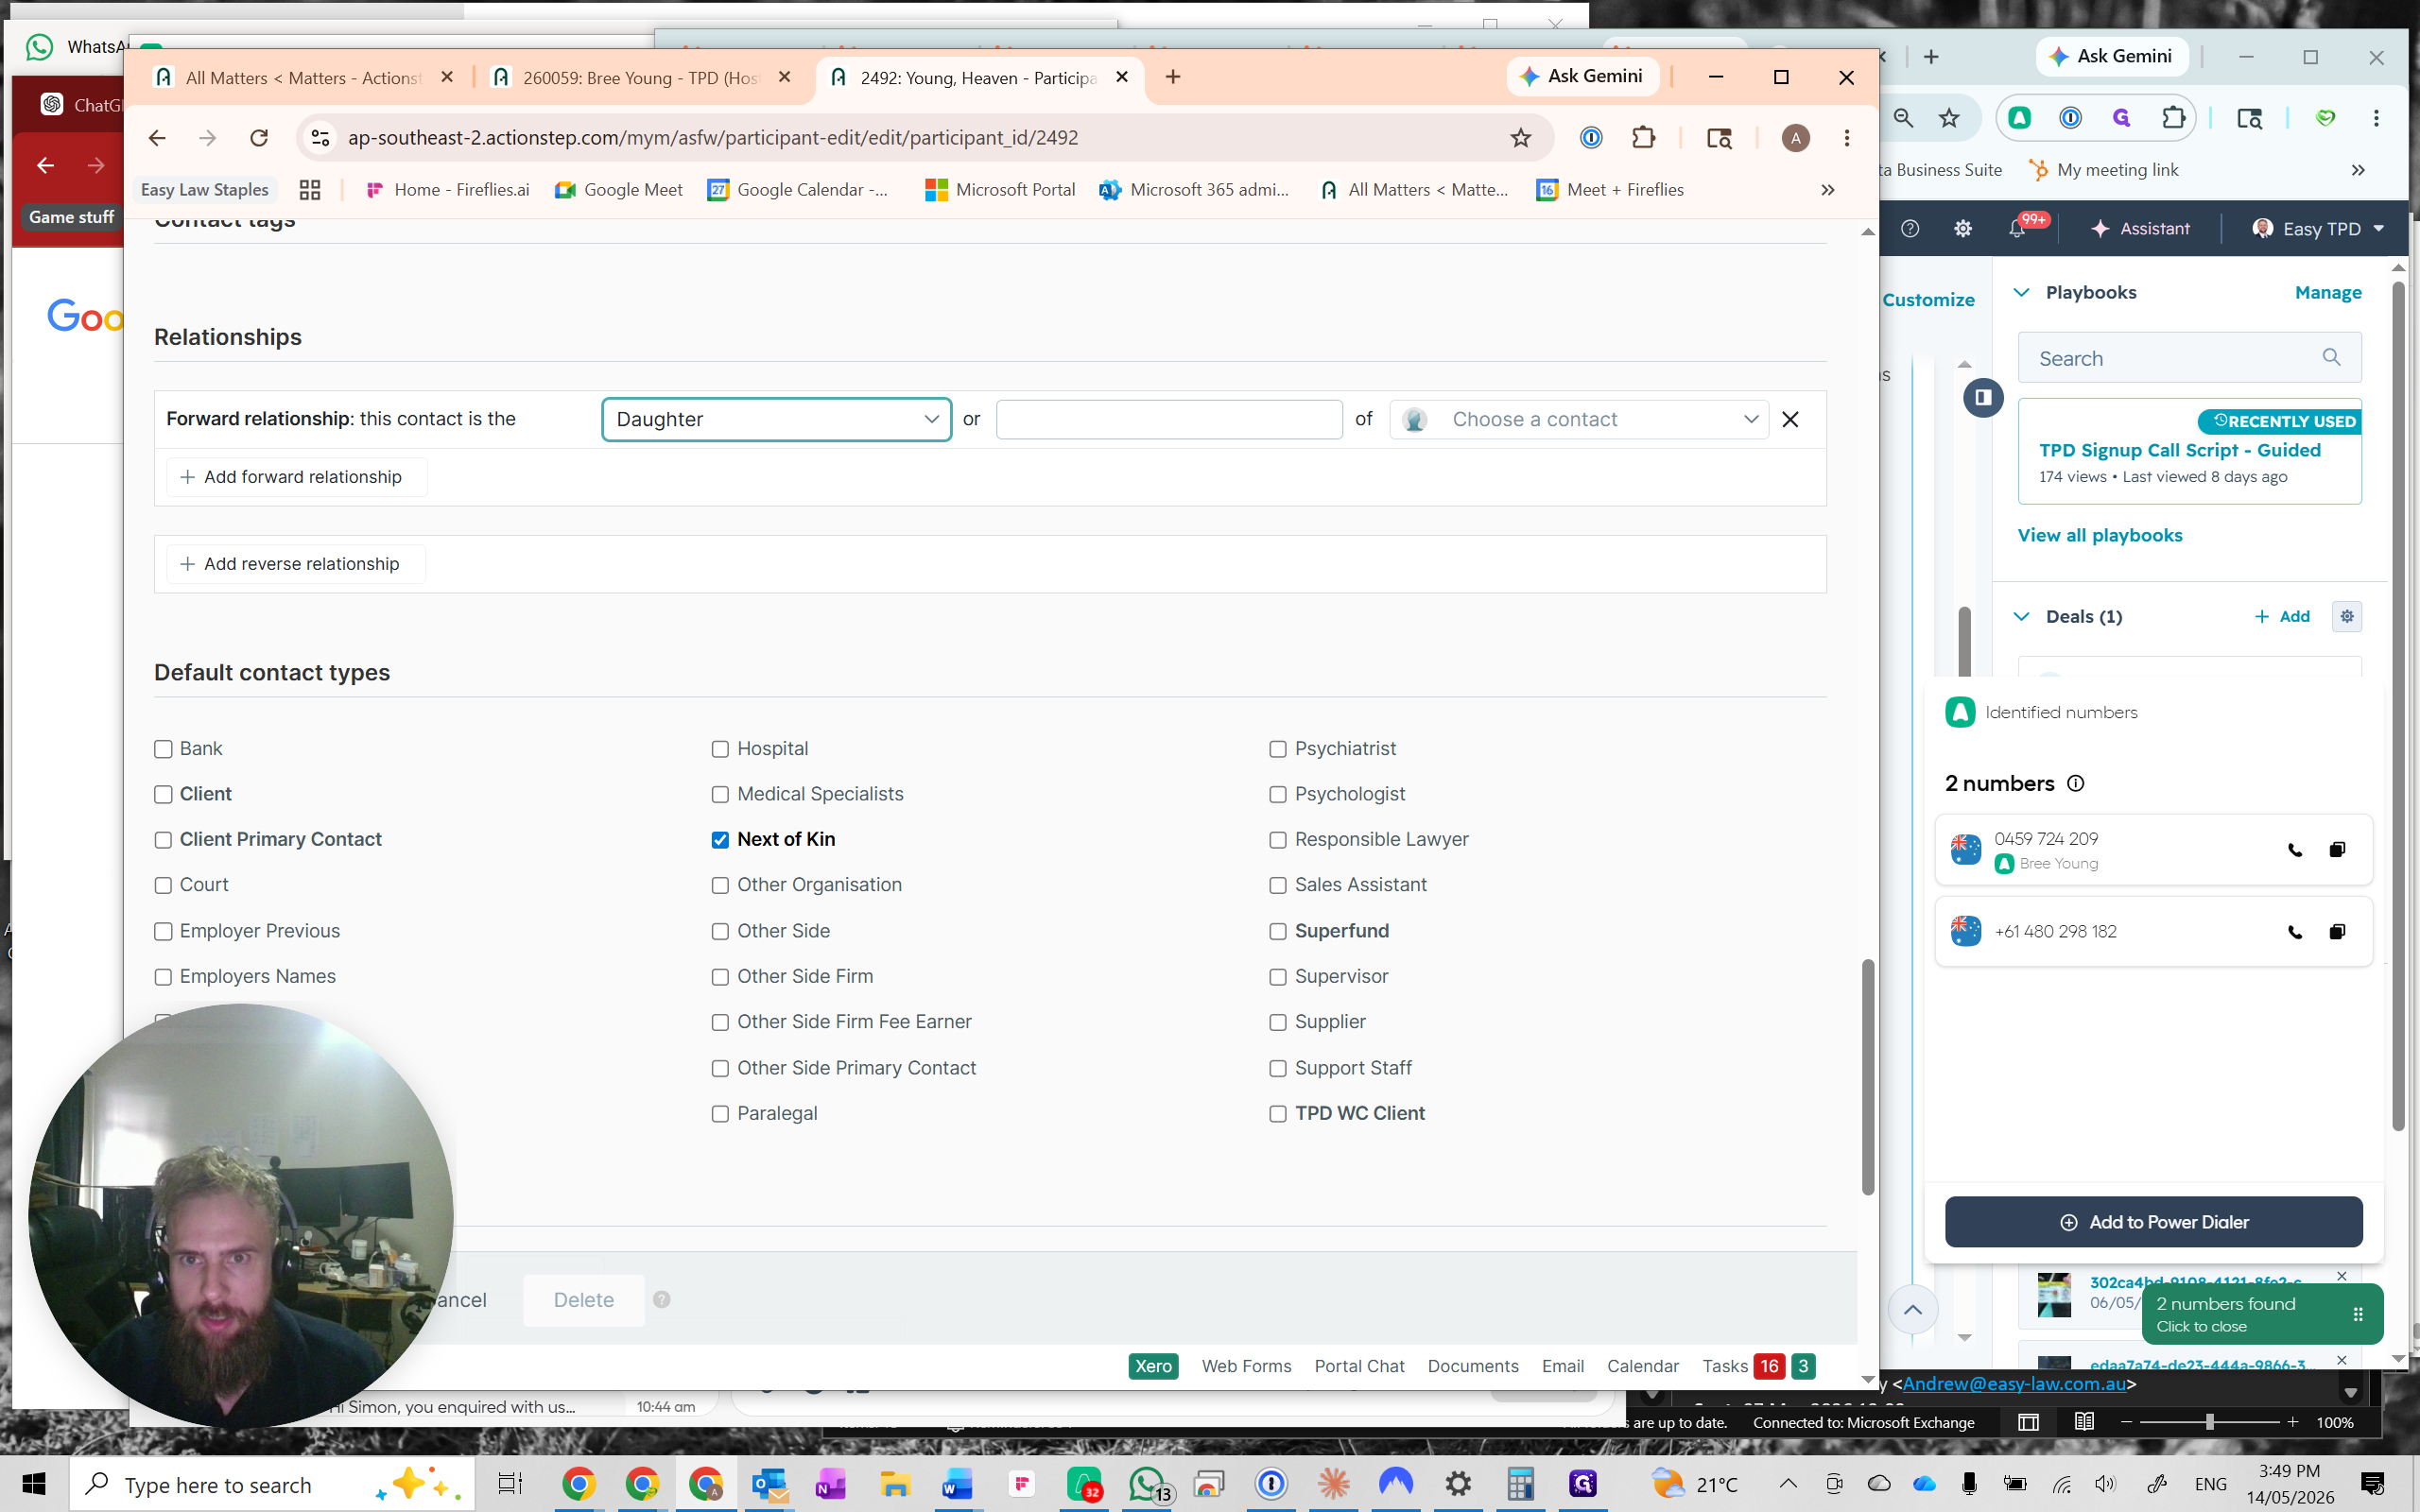
7
Locate the Client Member Number field in the report fields and paste the client's super fund member number.
Step #7: Locate the Client Member Number field in the report fields and paste the client's super fund member number.
8
Click Save.
Step #8: Click Save.
9
Click Edit on the matter properties to update the file name.
Step #9: Click Edit on the matter properties to update the file name.
10
Append the name of the super fund (e.g., "(Hostplus)") to the matter title and press Enter.

Configure Next of Kin Relationship

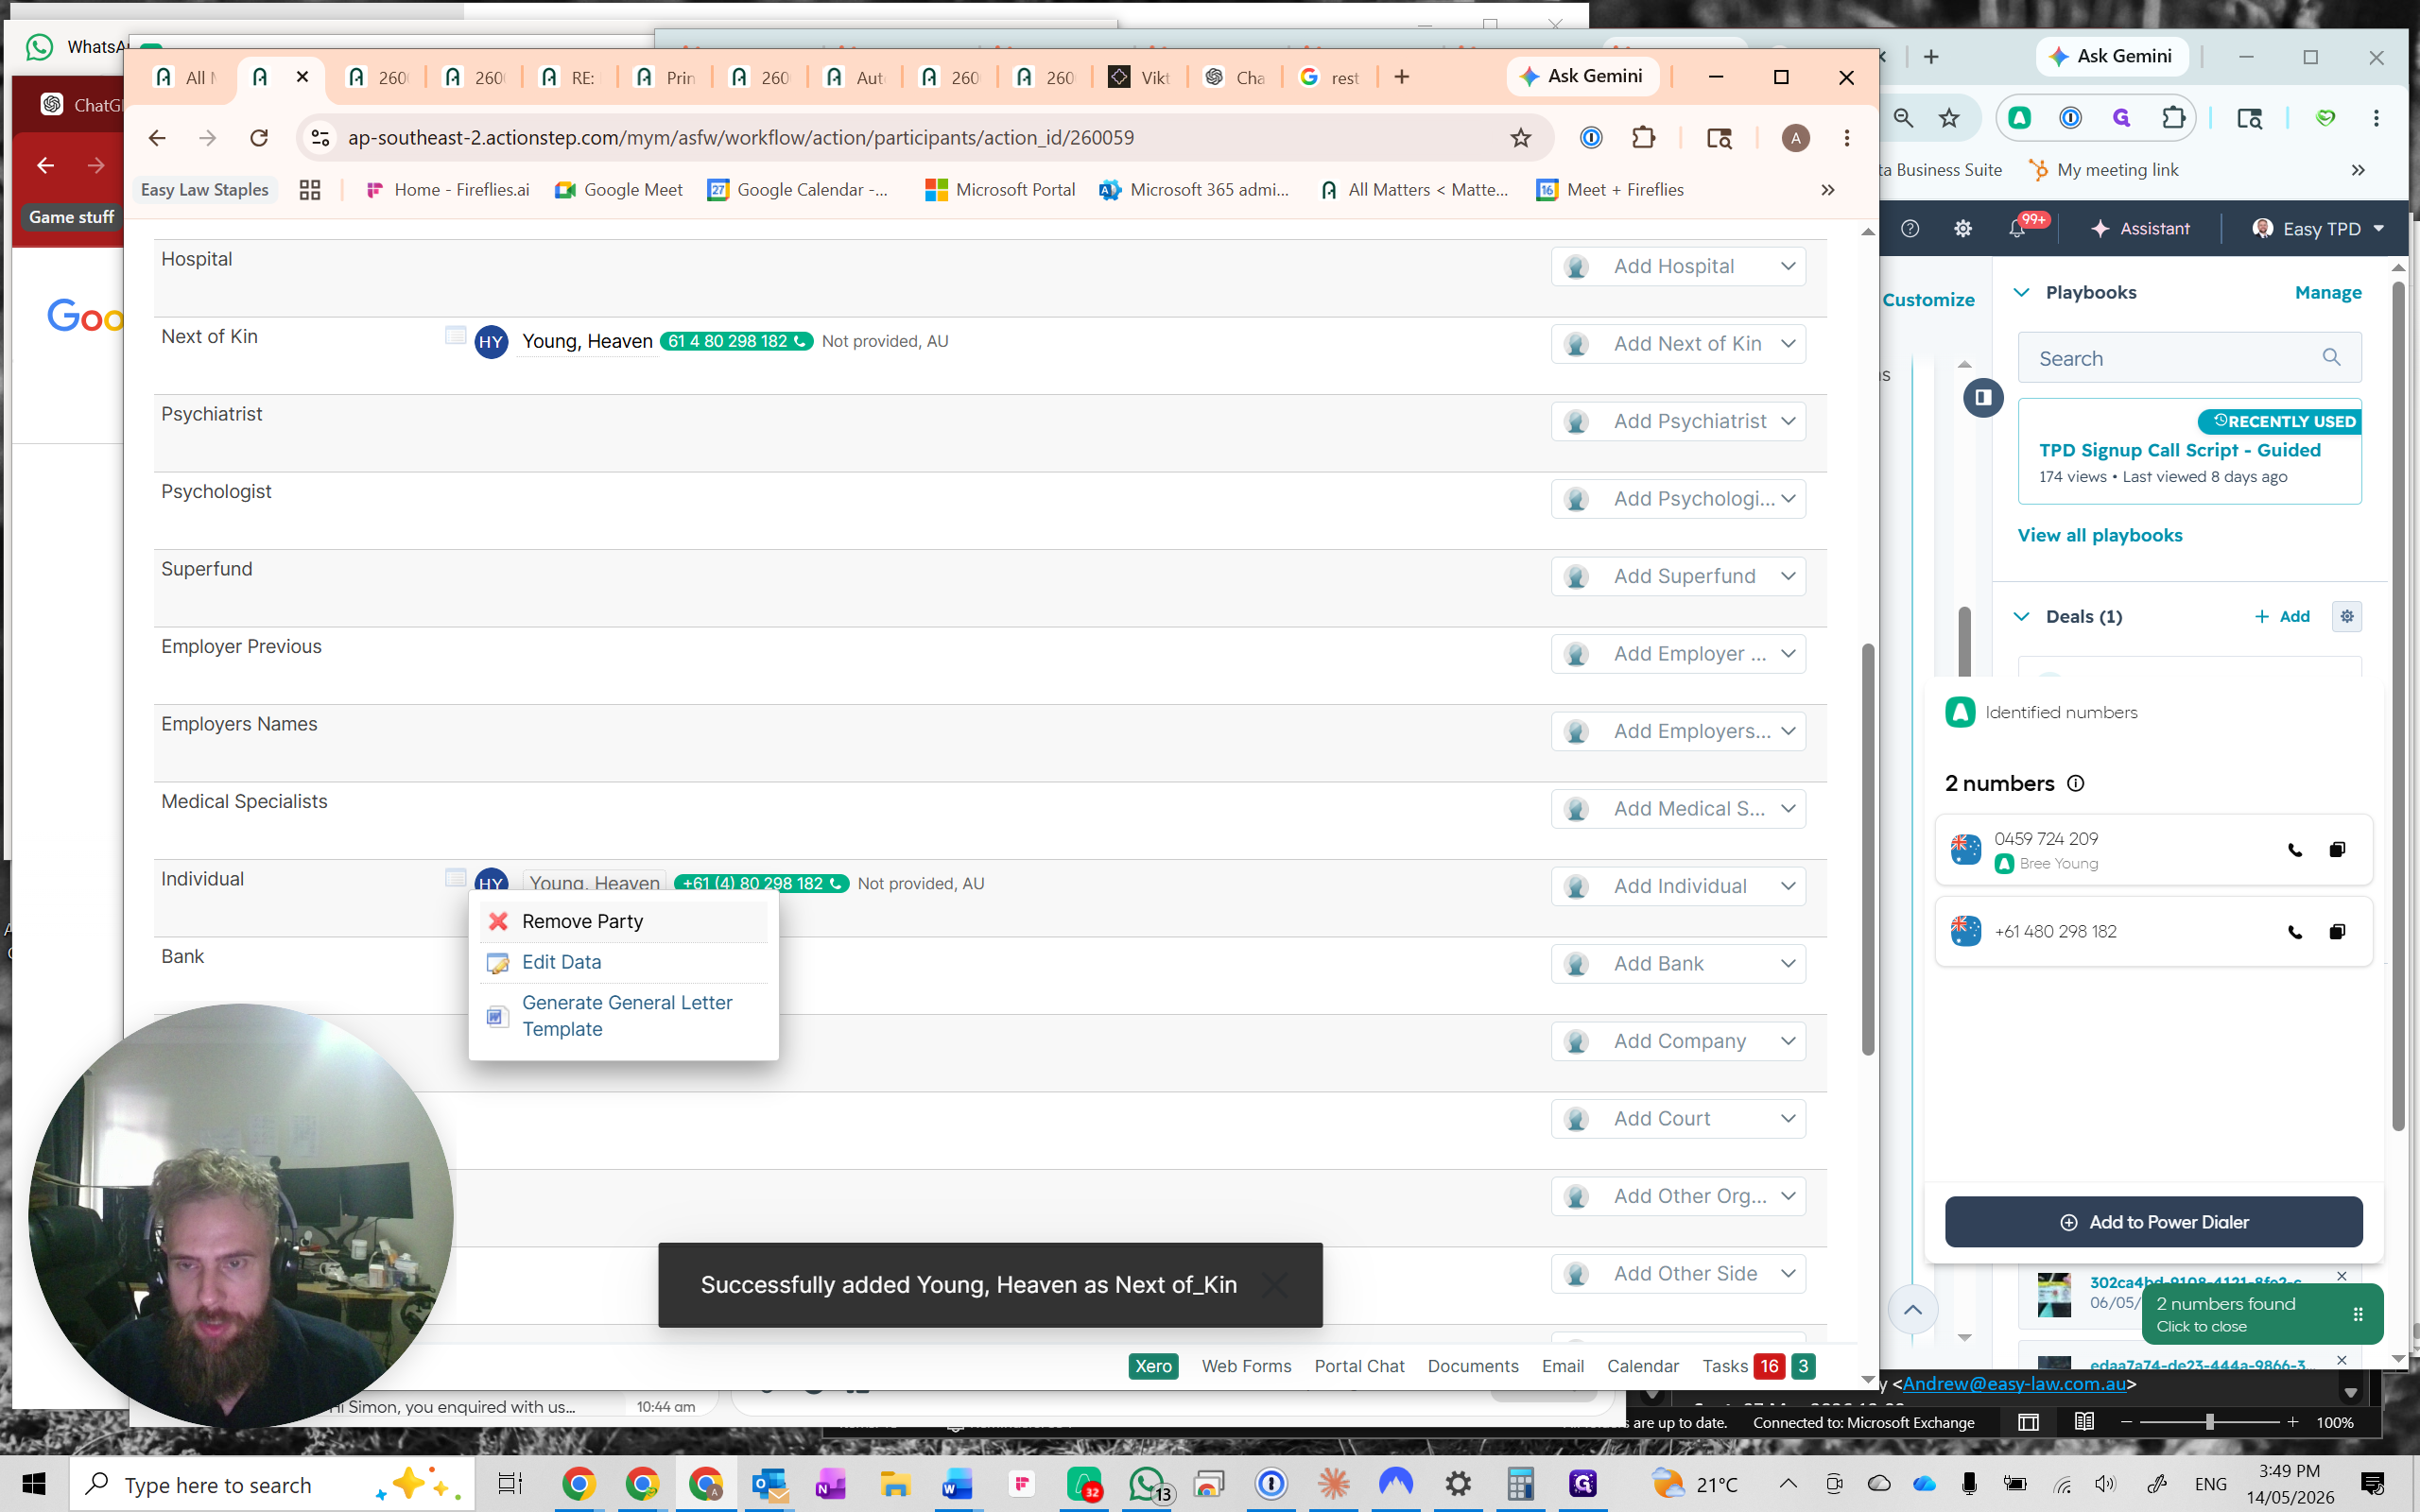
If a relative is mistakenly categorized as a general individual party, they must be converted into a formal forward relationship.

11
Navigate to the Parties tab.
Step #11: Navigate to the Parties tab.
12
Search for and select the relative's name to add them to the matter.
Step #12: Search for and select the relative's name to add them to the matter.
13
If the relative is listed incorrectly as a general individual, click Remove Party from the individual pane.
Step #13: If the relative is listed incorrectly as a general individual, click Remove Party from the individual pane.
14
Open the relative's contact profile.
Step #14: Open the relative's contact profile.
15
Click + Add forward relationship.
Step #15: Click + Add forward relationship.
16
Select Next of Kin and choose the primary client as the related contact.
Step #16: Select Next of Kin and choose the primary client as the related contact.
17
Click Save to establish the relationship.
Step #17: Click Save to establish the relationship.

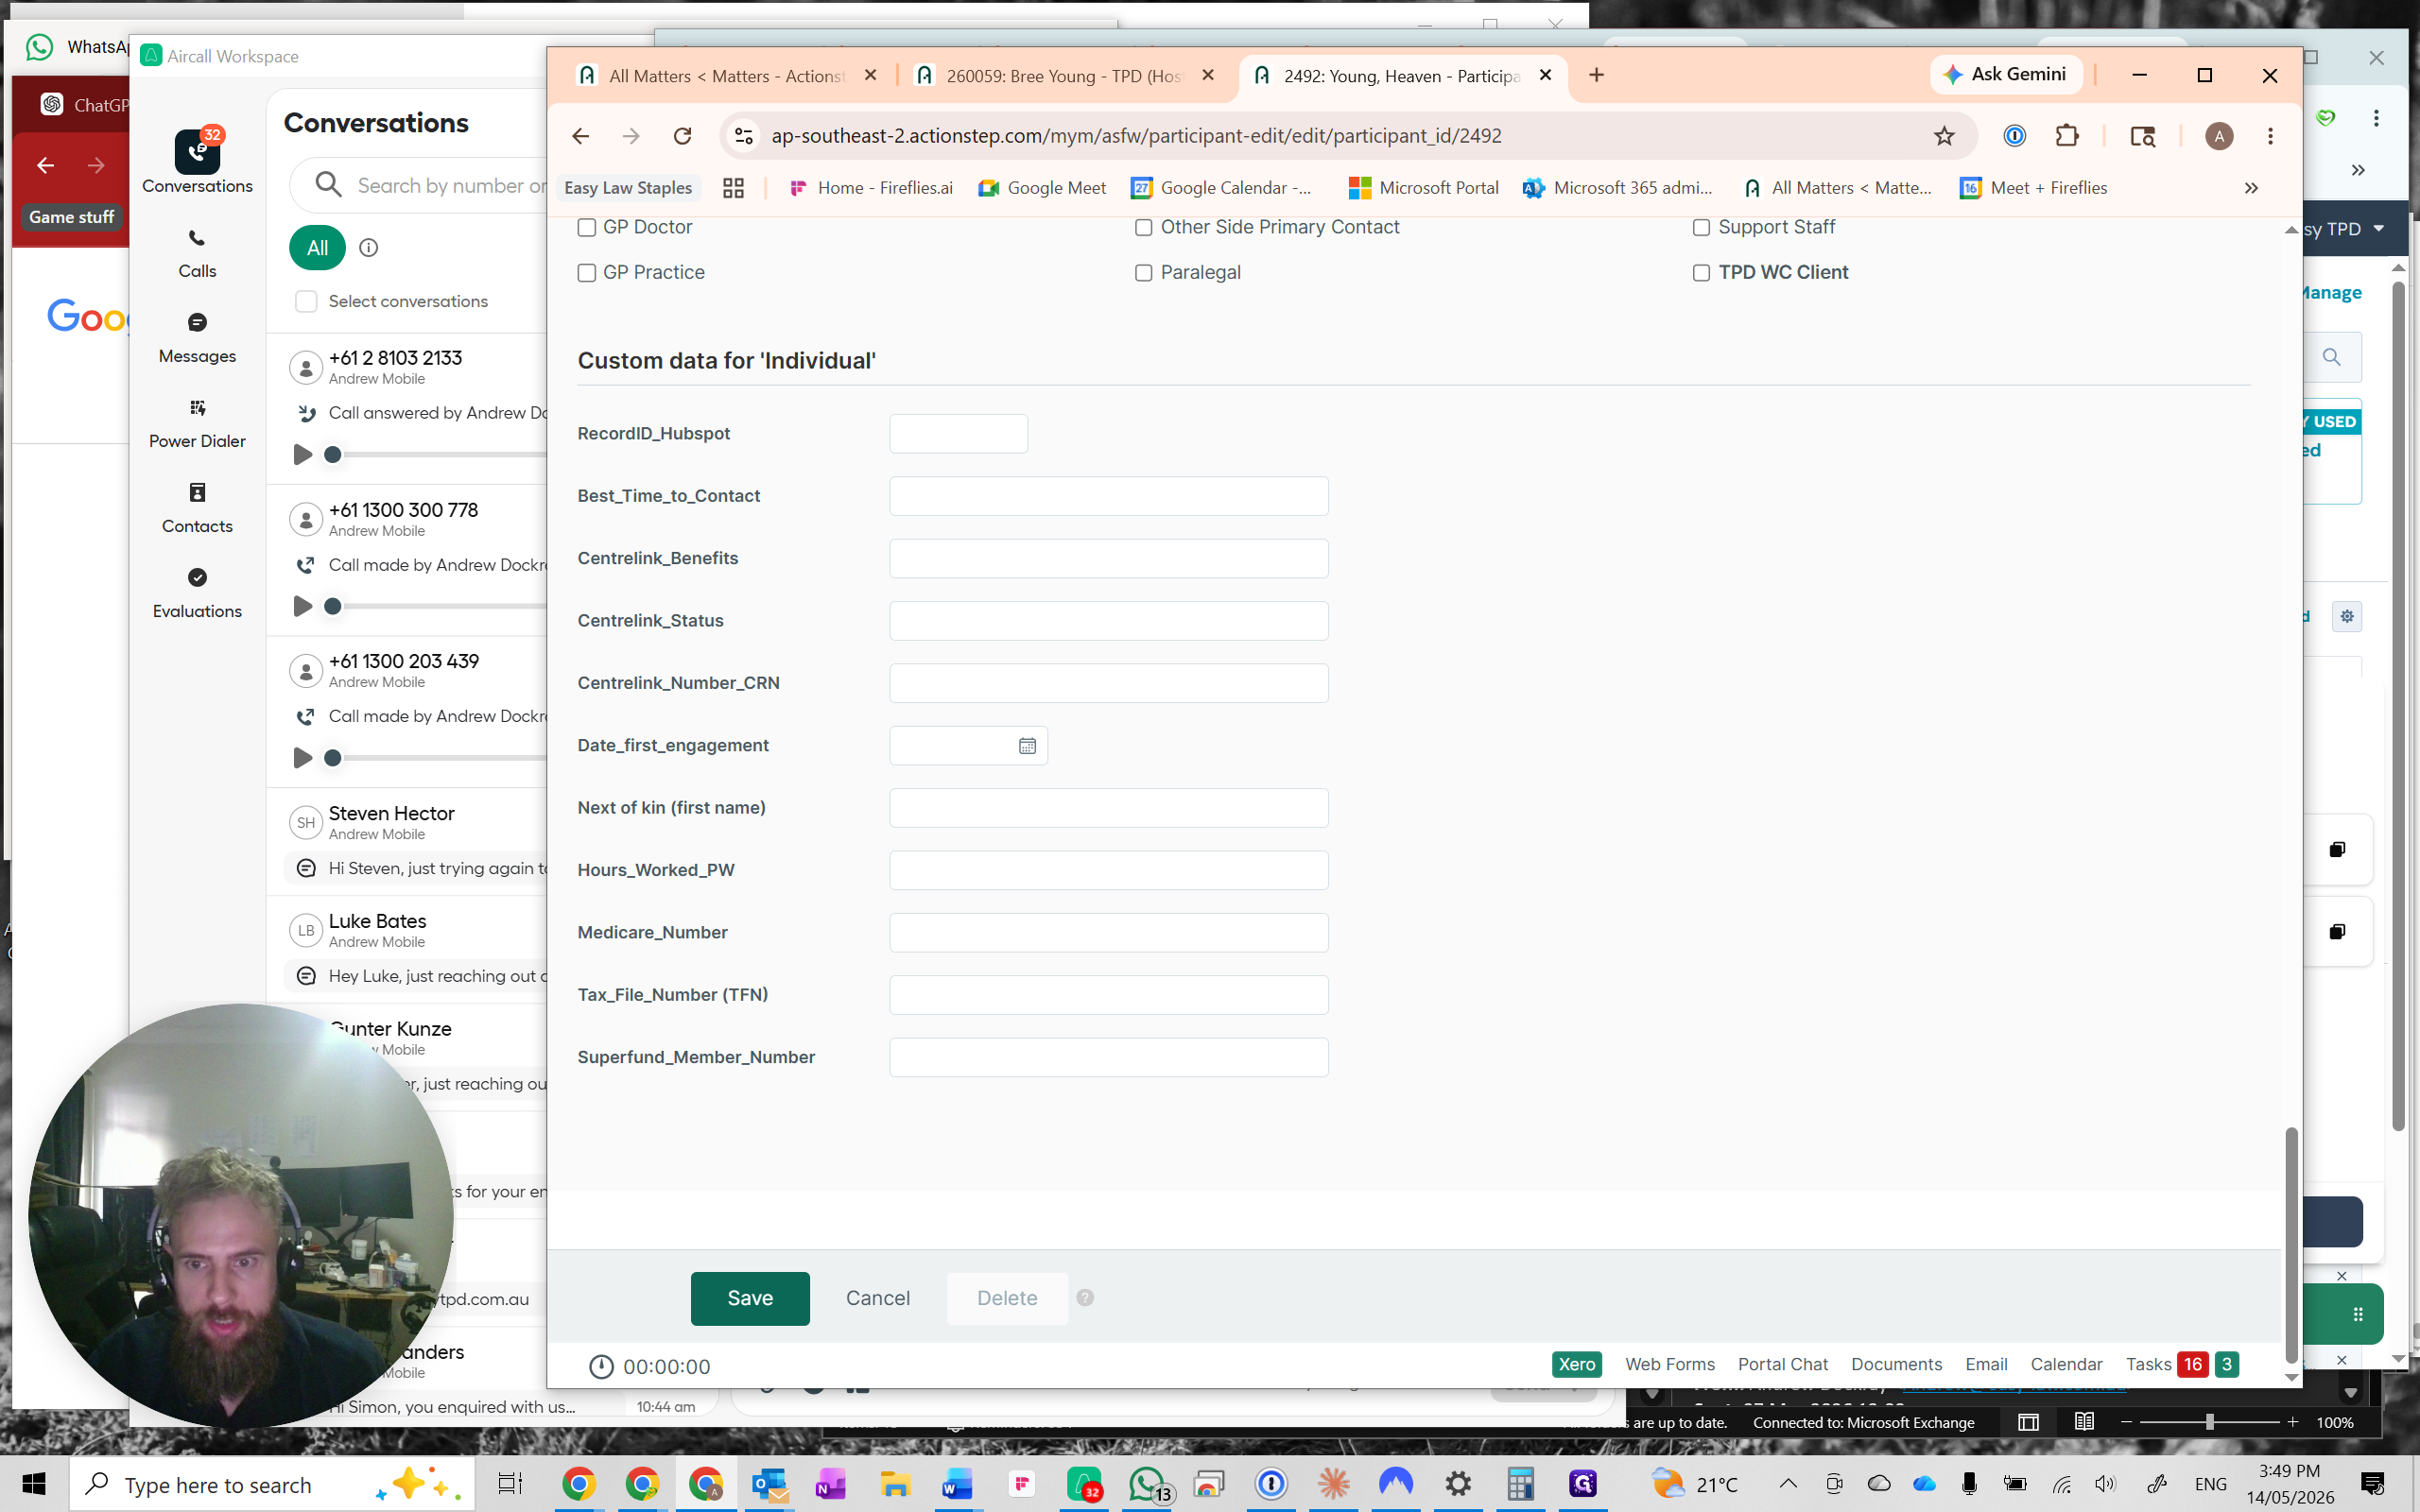
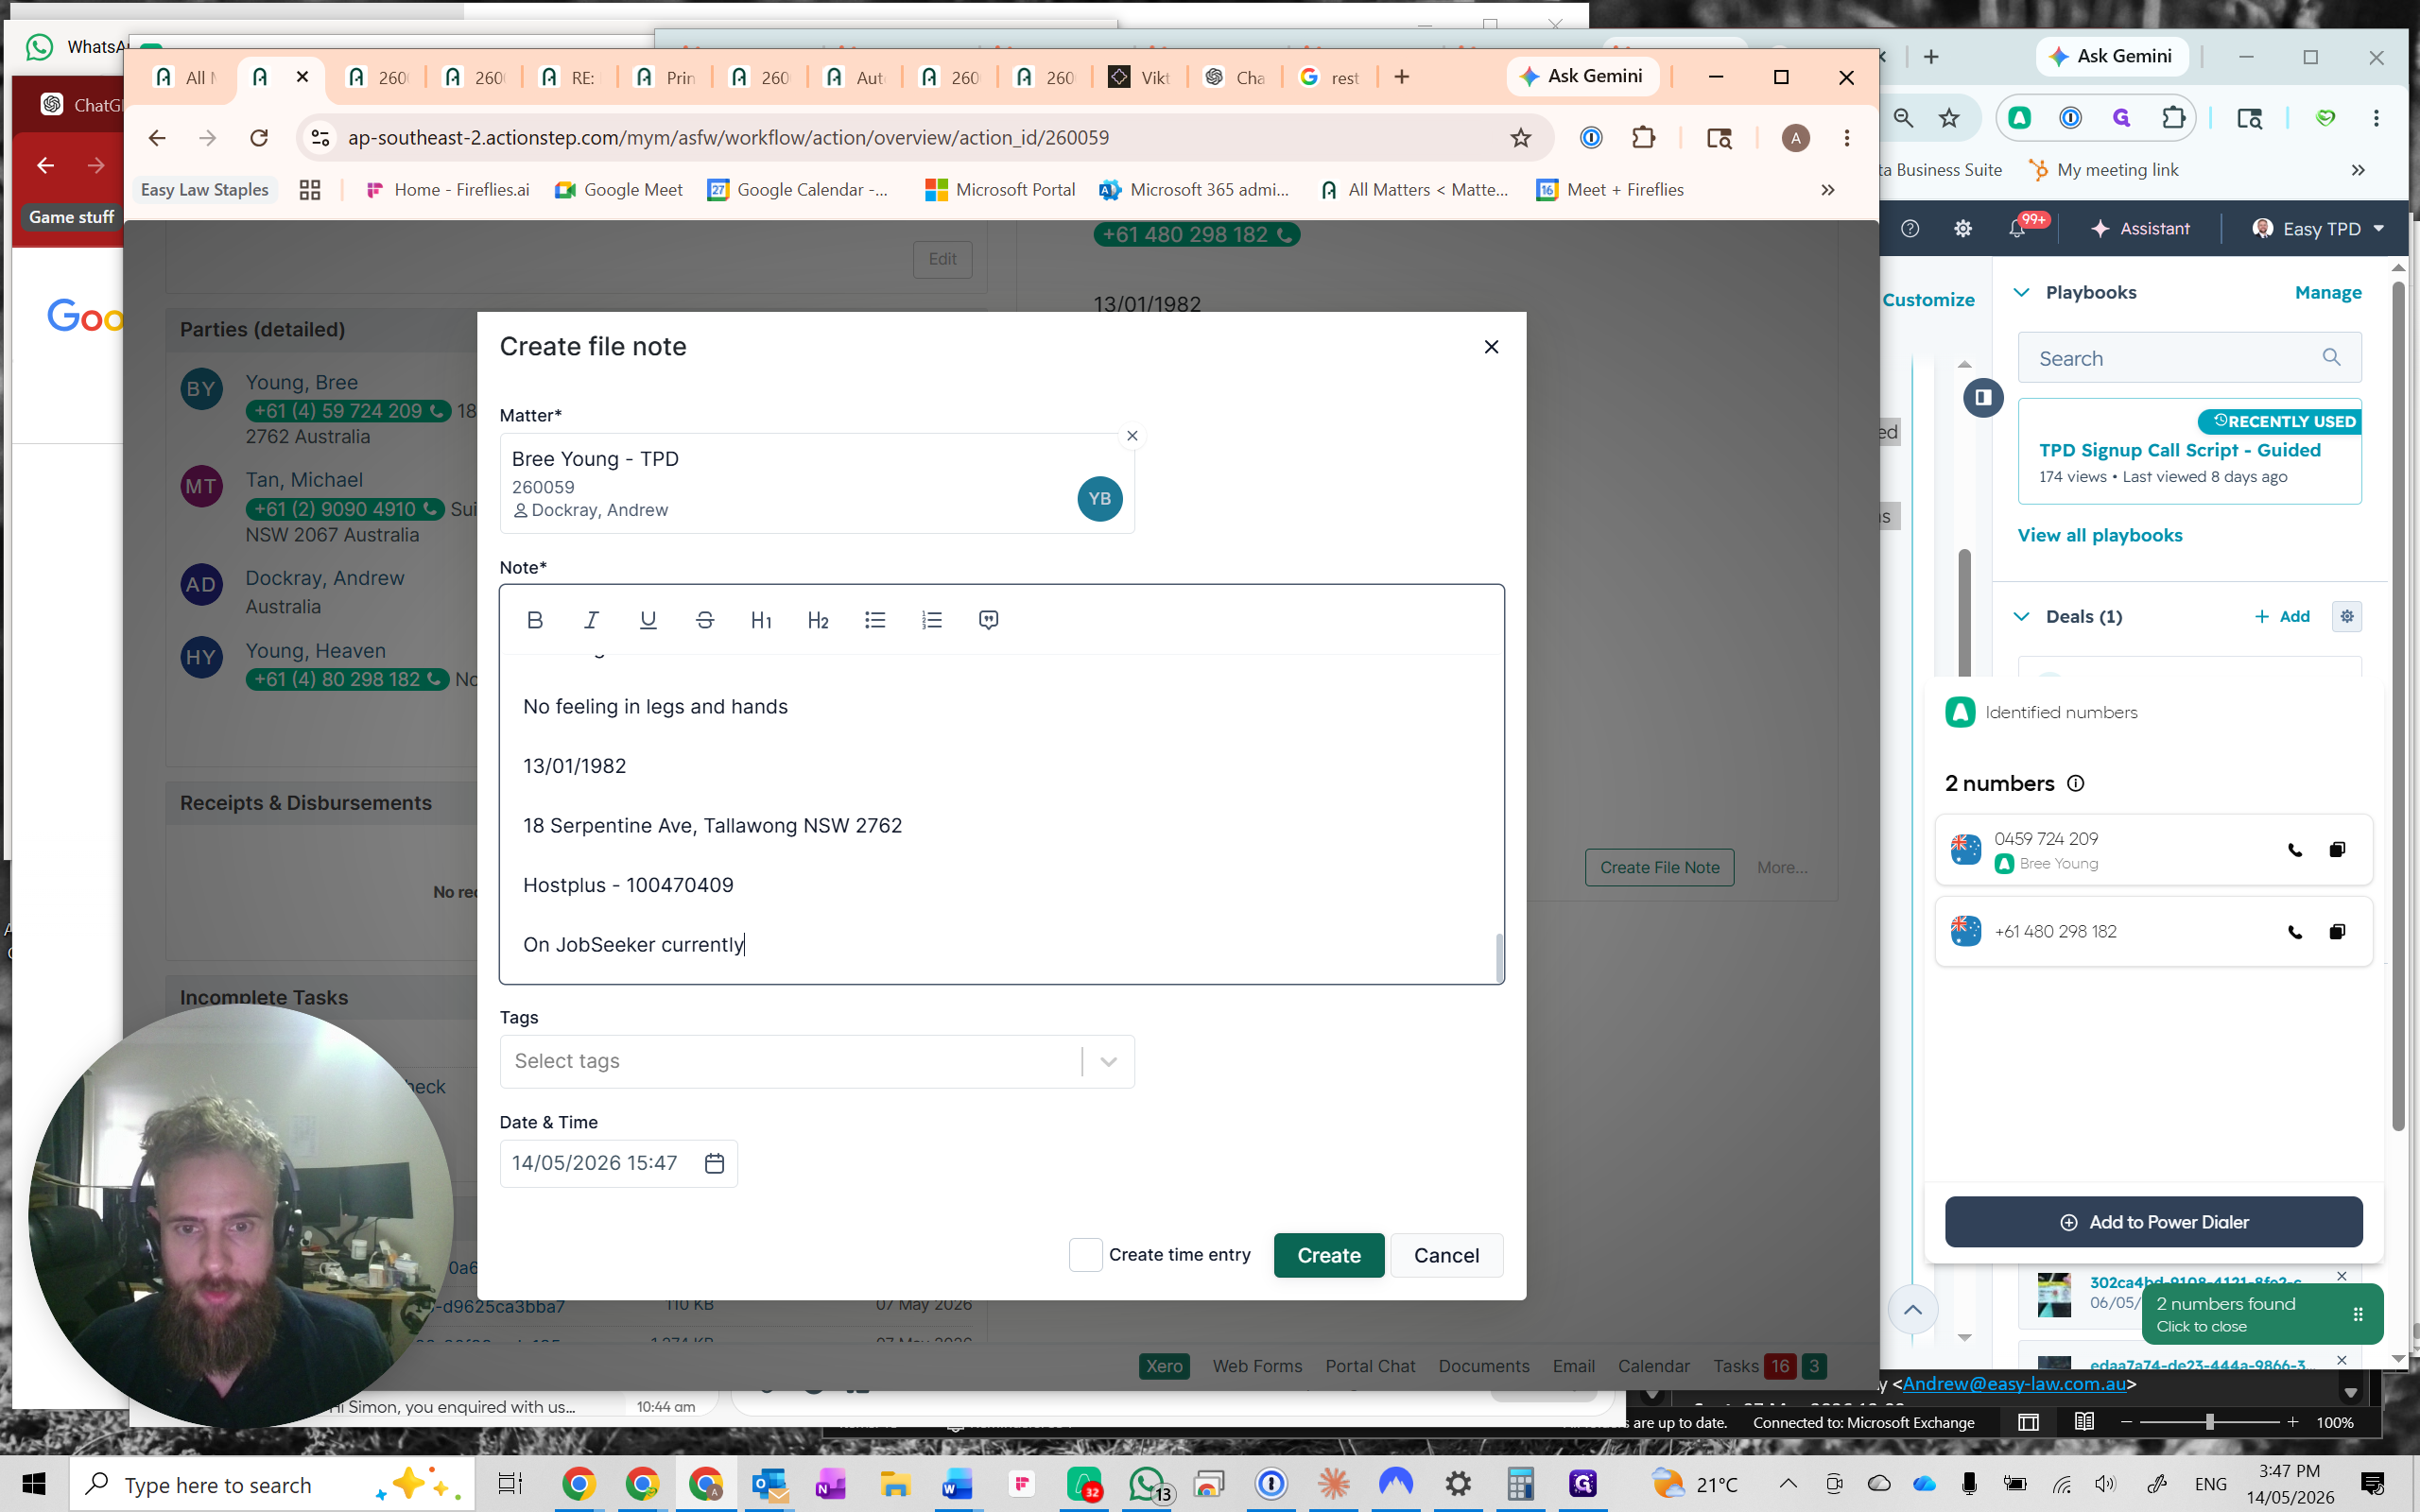
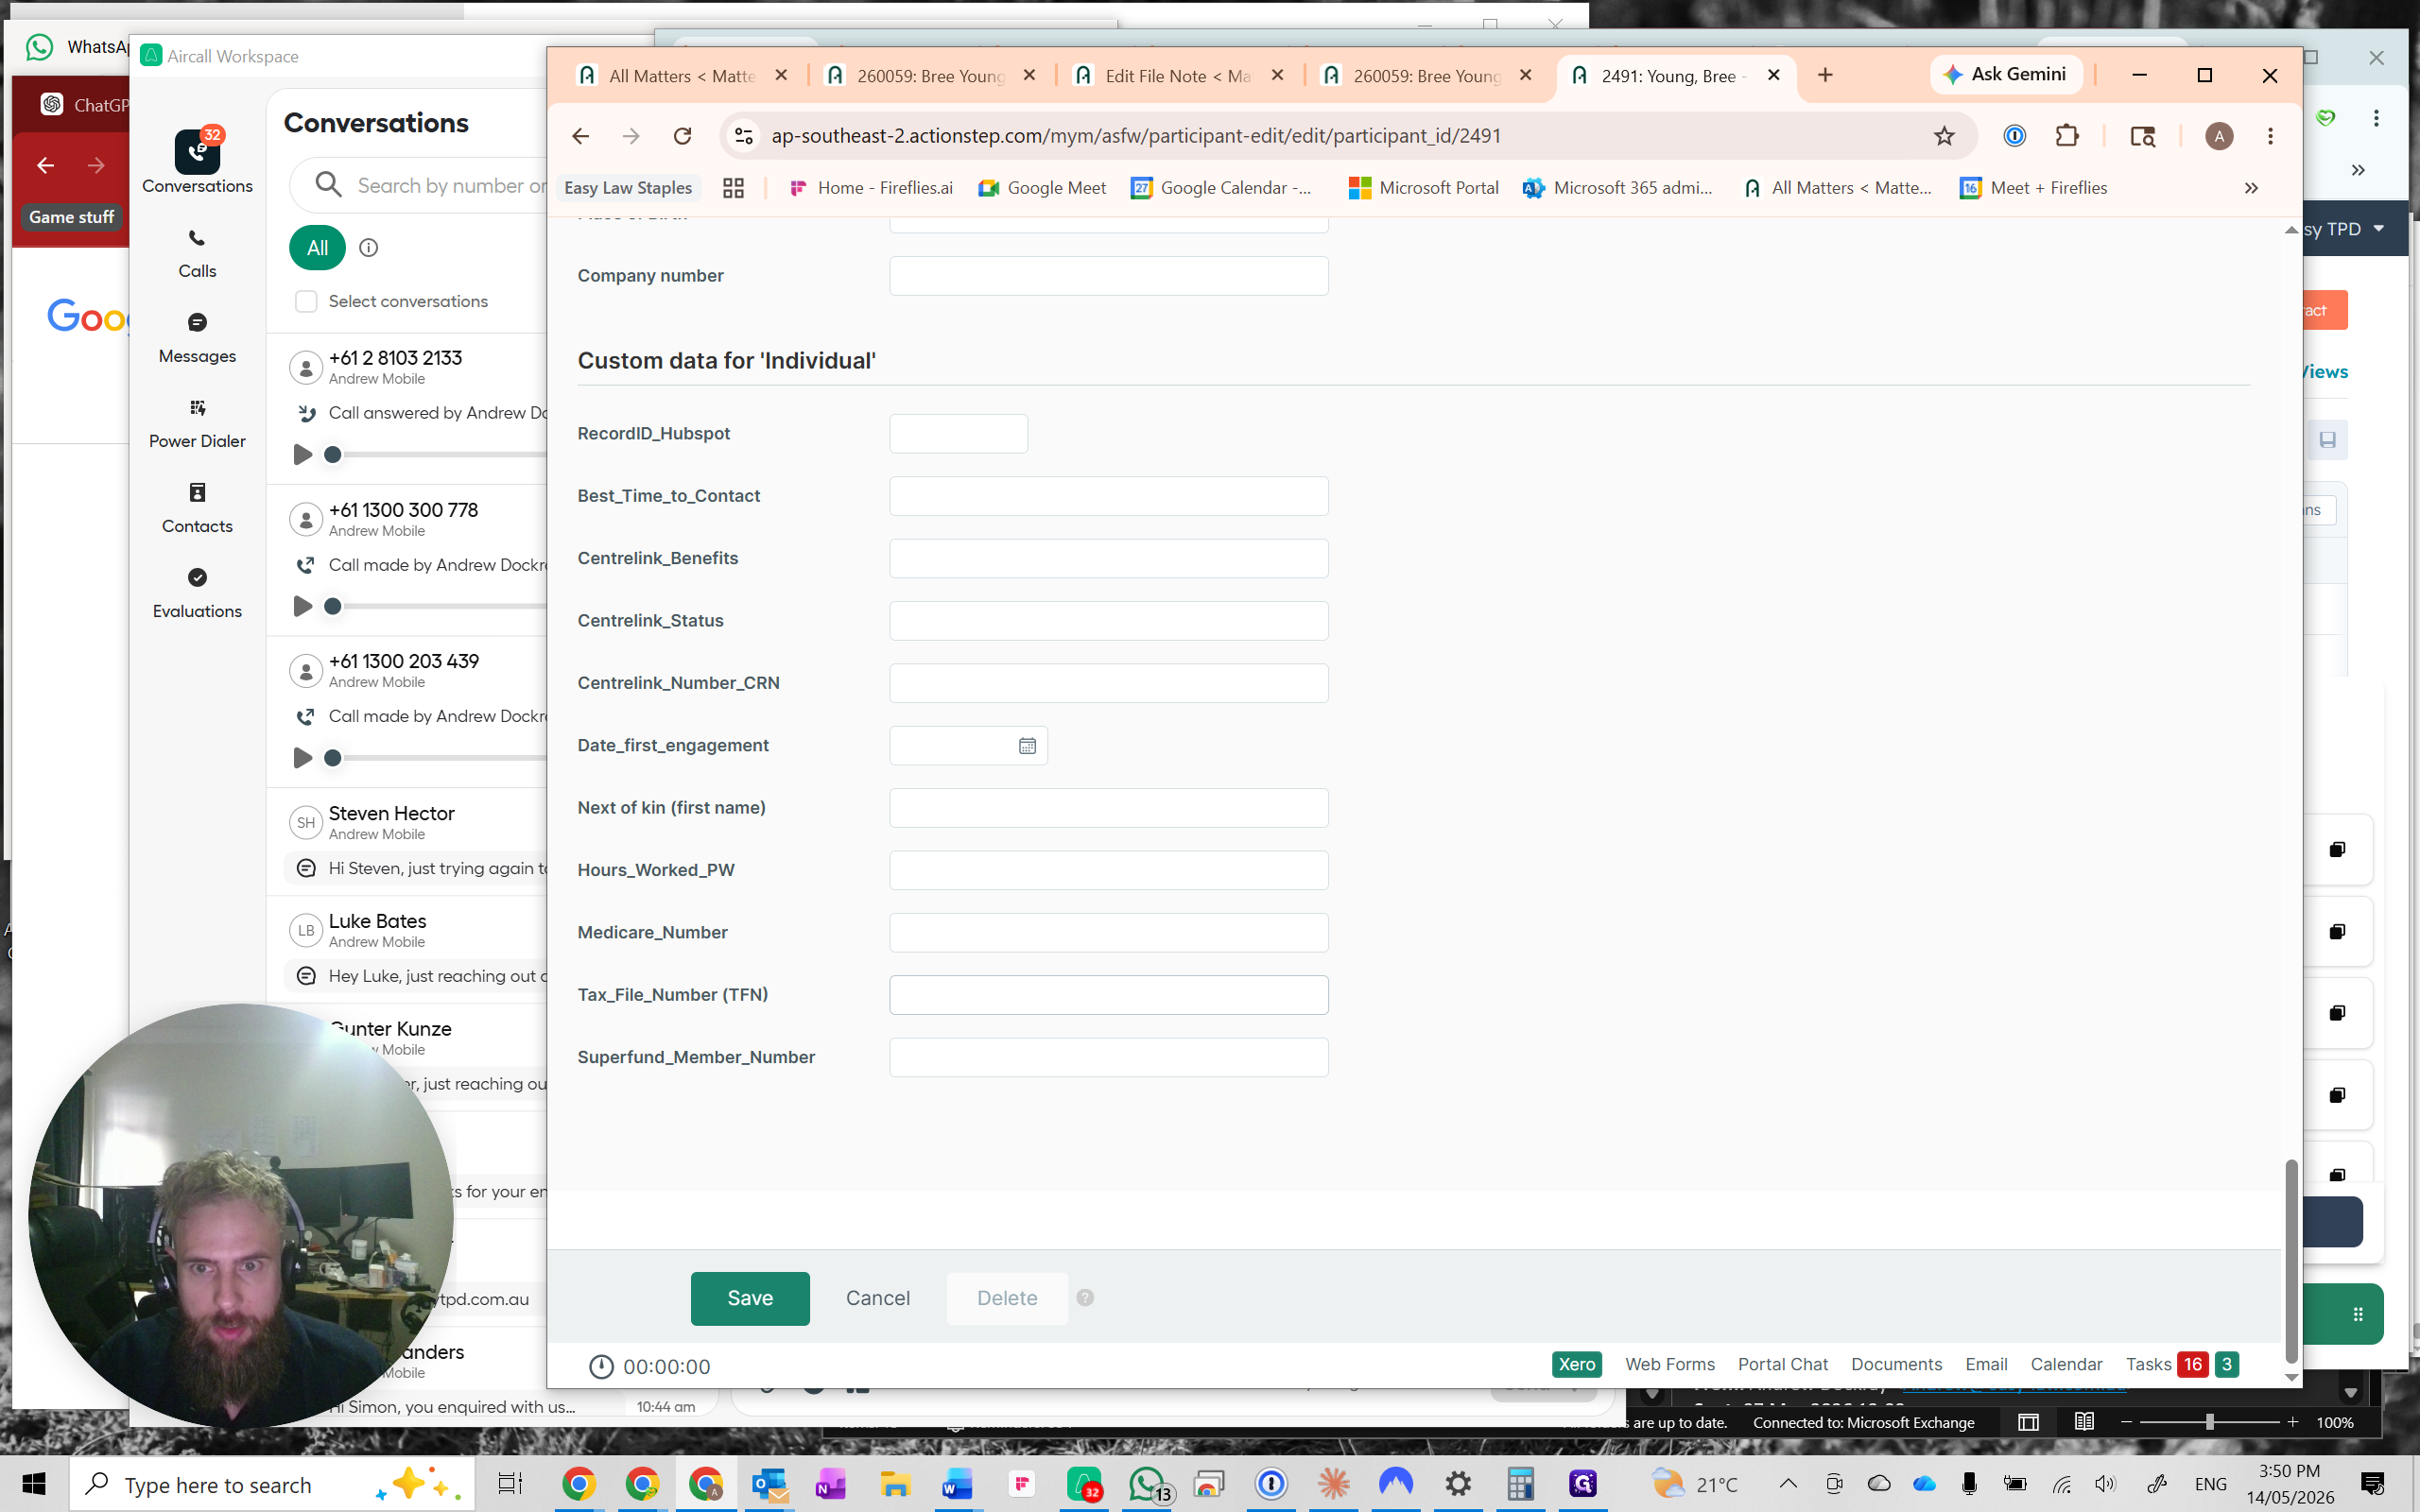
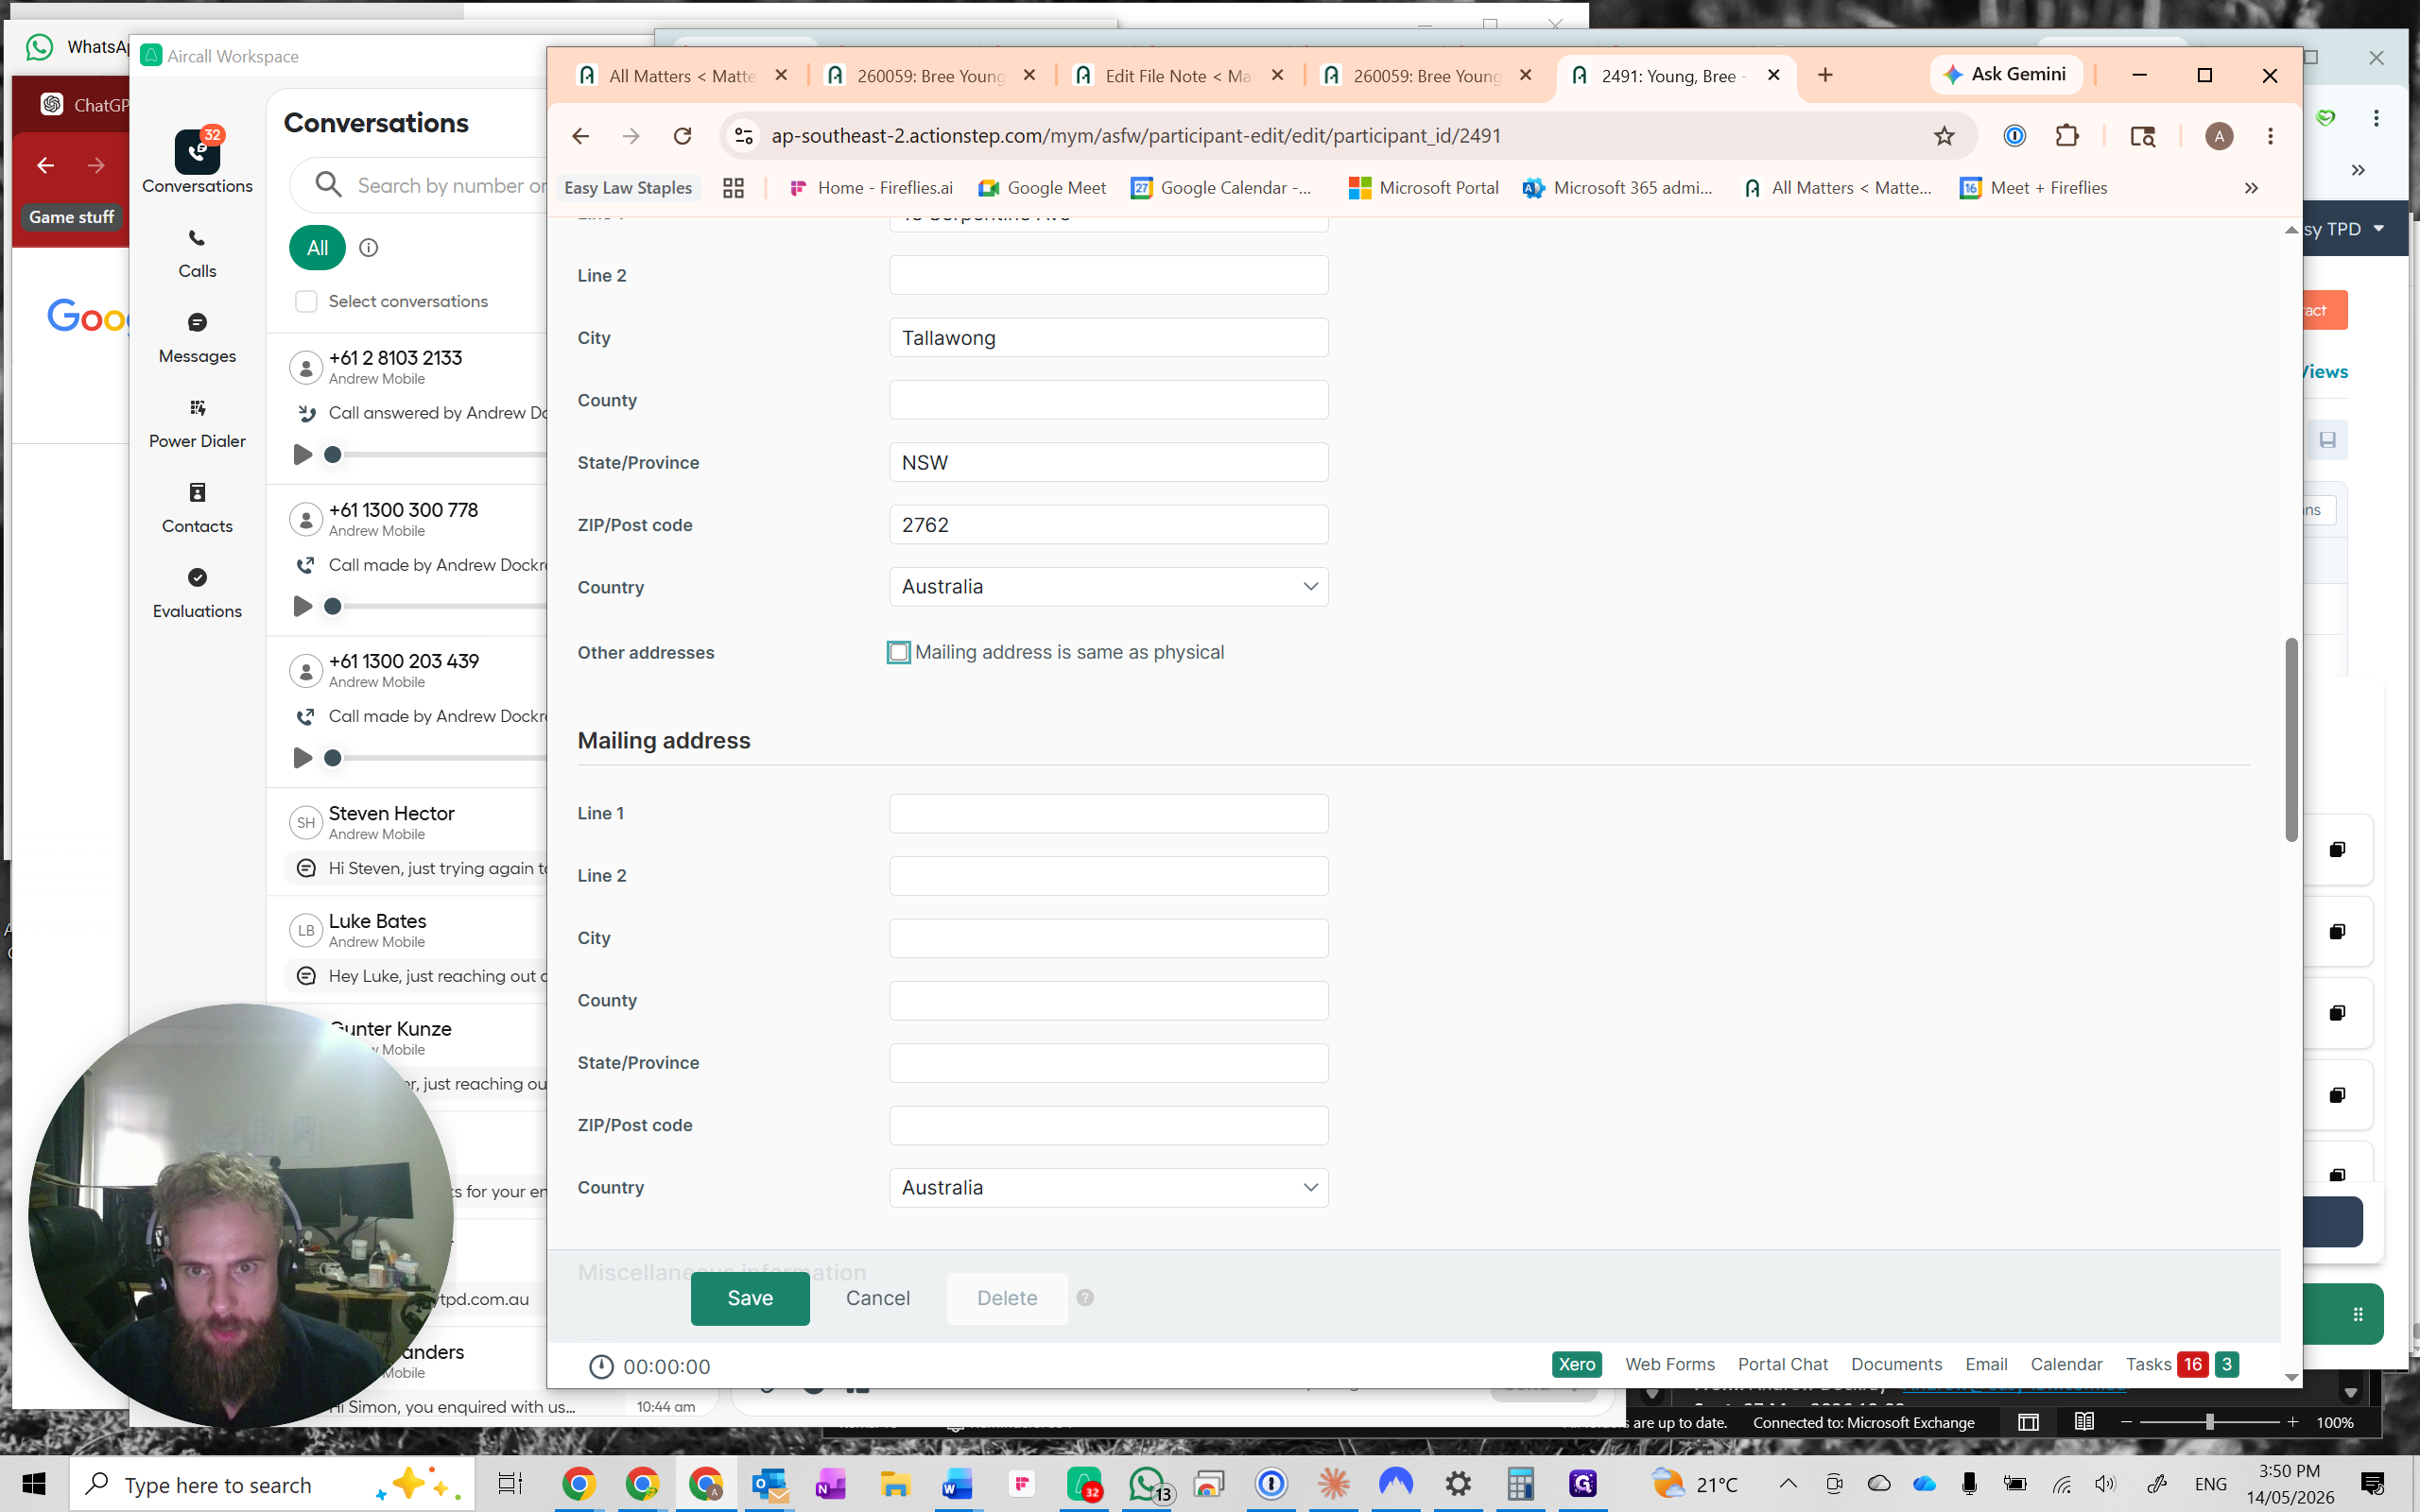
Update Tax File Number and Address
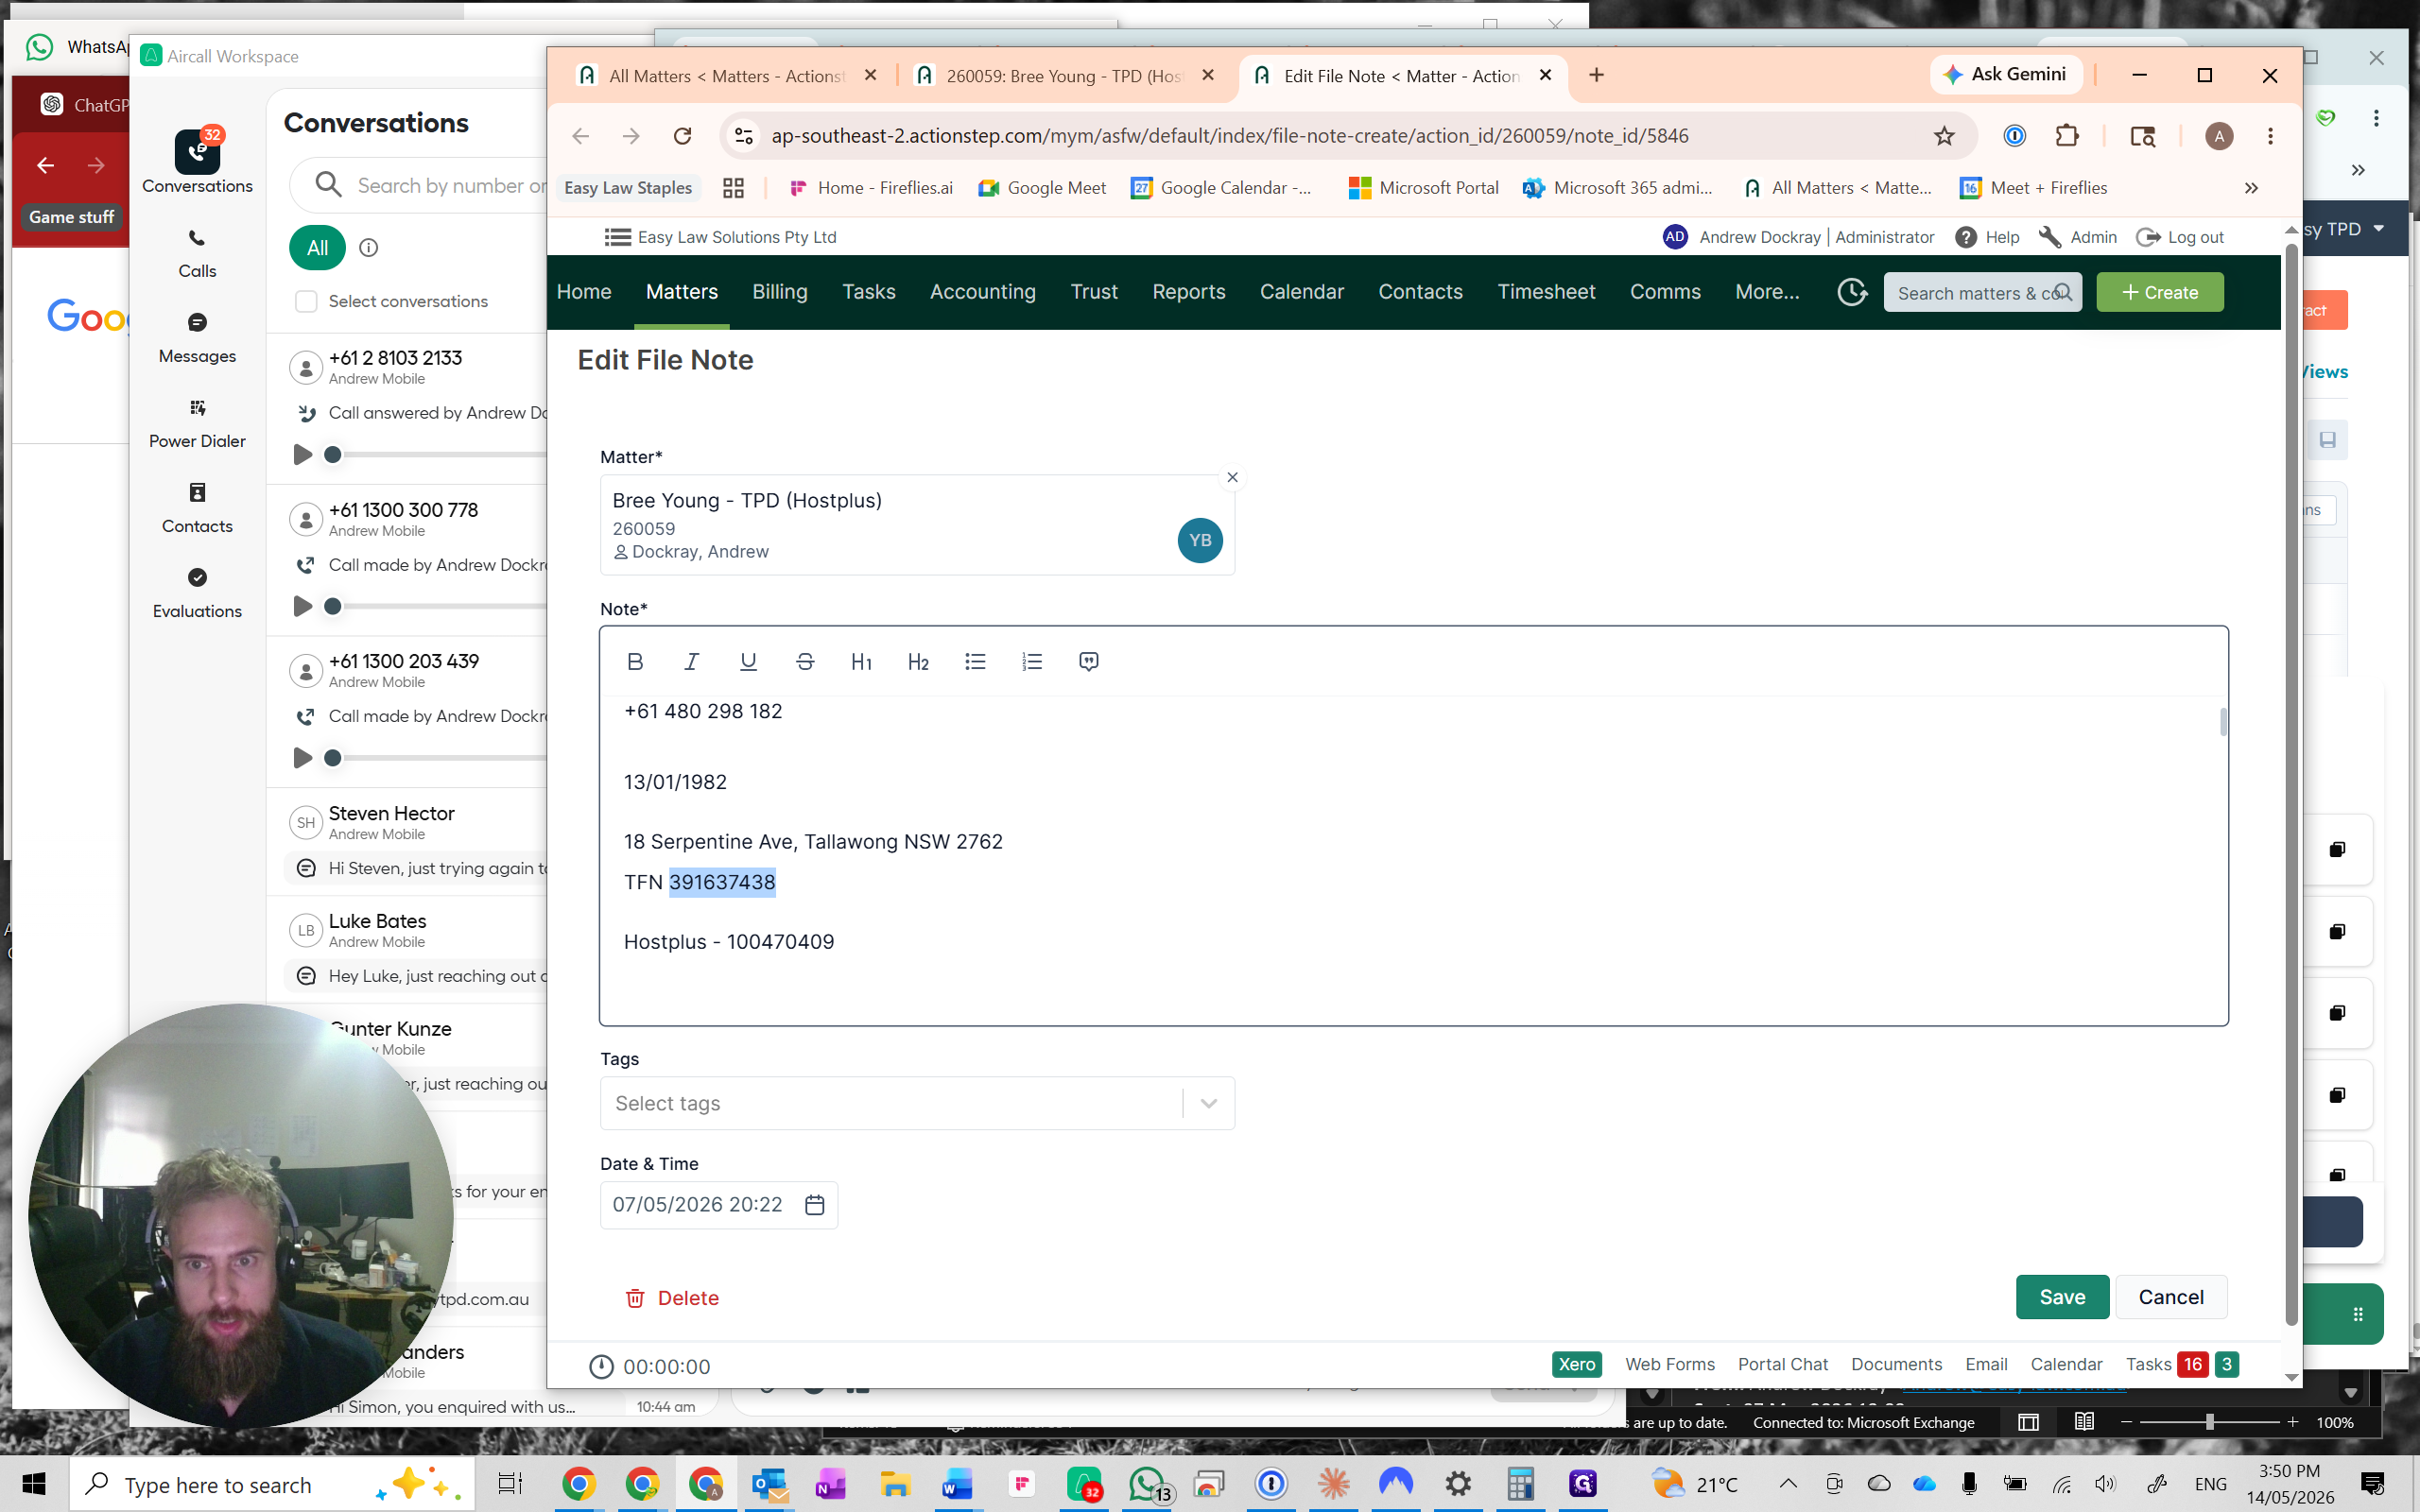
18
Copy the client's Tax File Number (TFN) from your file notes.
Step #18: Copy the client's Tax File Number (TFN) from your file notes.
19
Open the client's individual profile in edit mode.
Step #19: Open the client's individual profile in edit mode.
20
Paste the TFN into the appropriate field, ensuring there are spaces between the number blocks (e.g., 391 637 438).
Step #20: Paste the TFN into the appropriate field, ensuring there are spaces between the number blocks (e.g., 391 637 438).
21
Select the checkbox to make the mailing address the same as the physical address.
Step #21: Select the checkbox to make the mailing address the same as the physical address.
22
Click Save.
Step #22: Click Save.

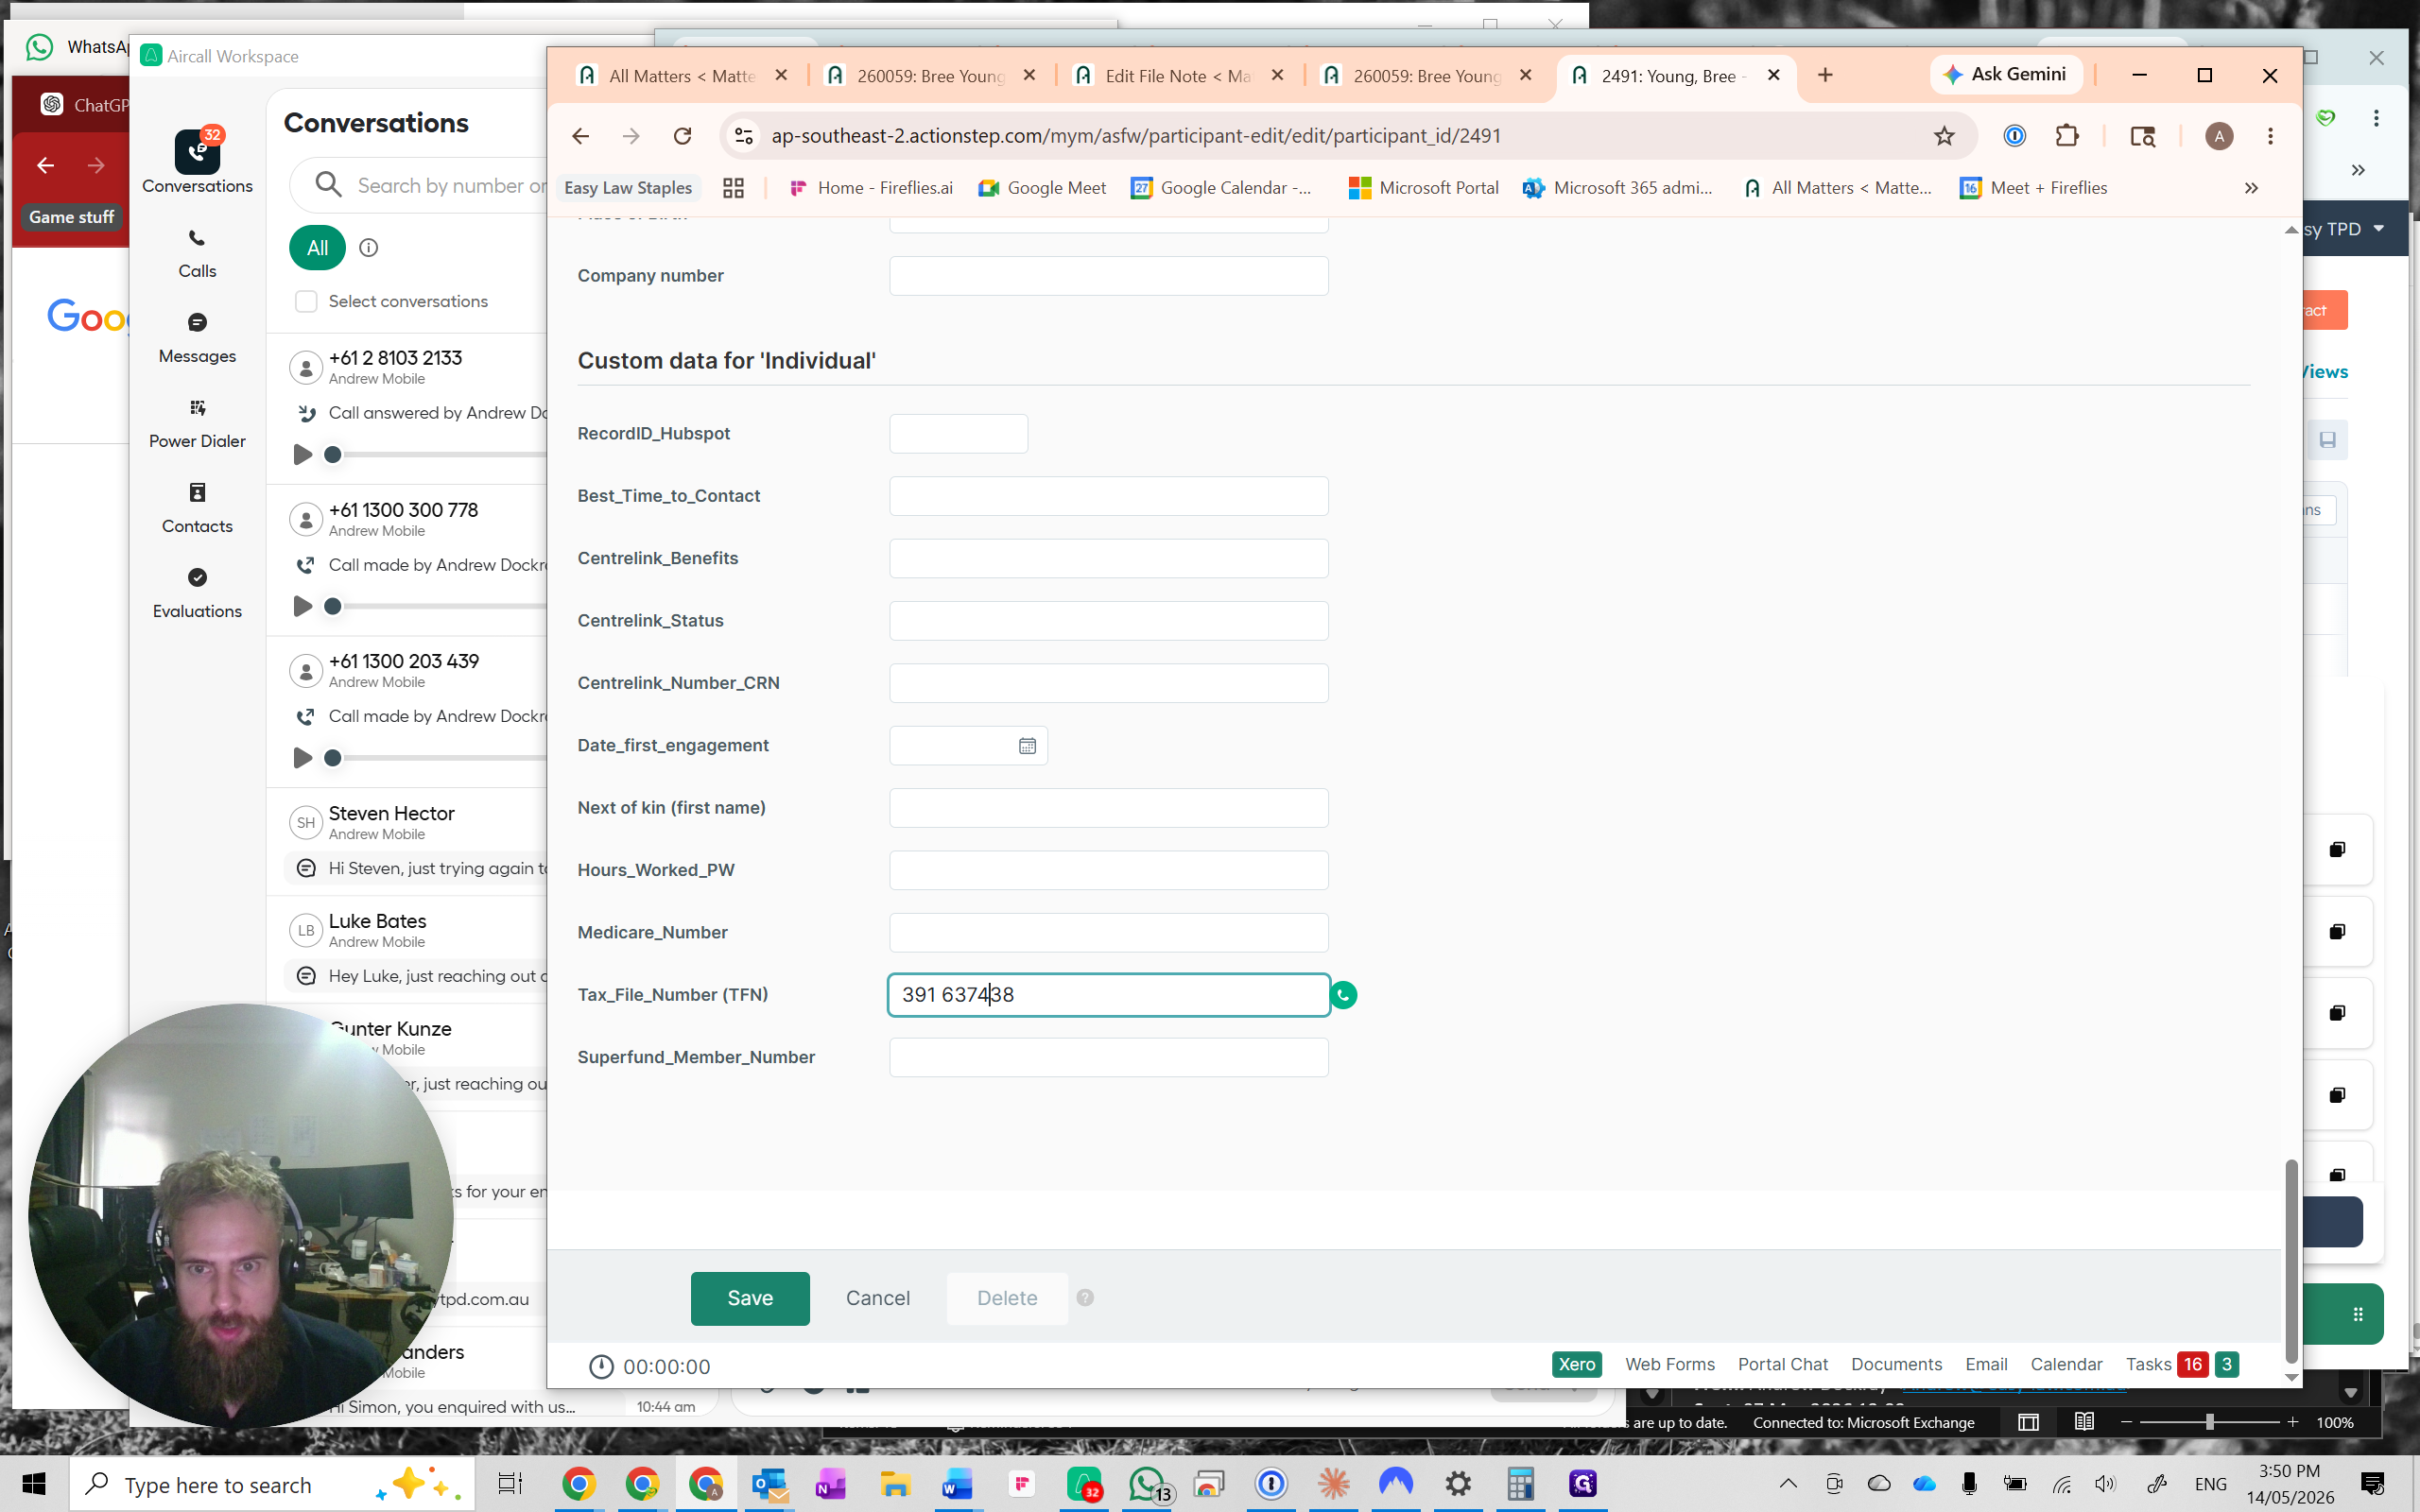
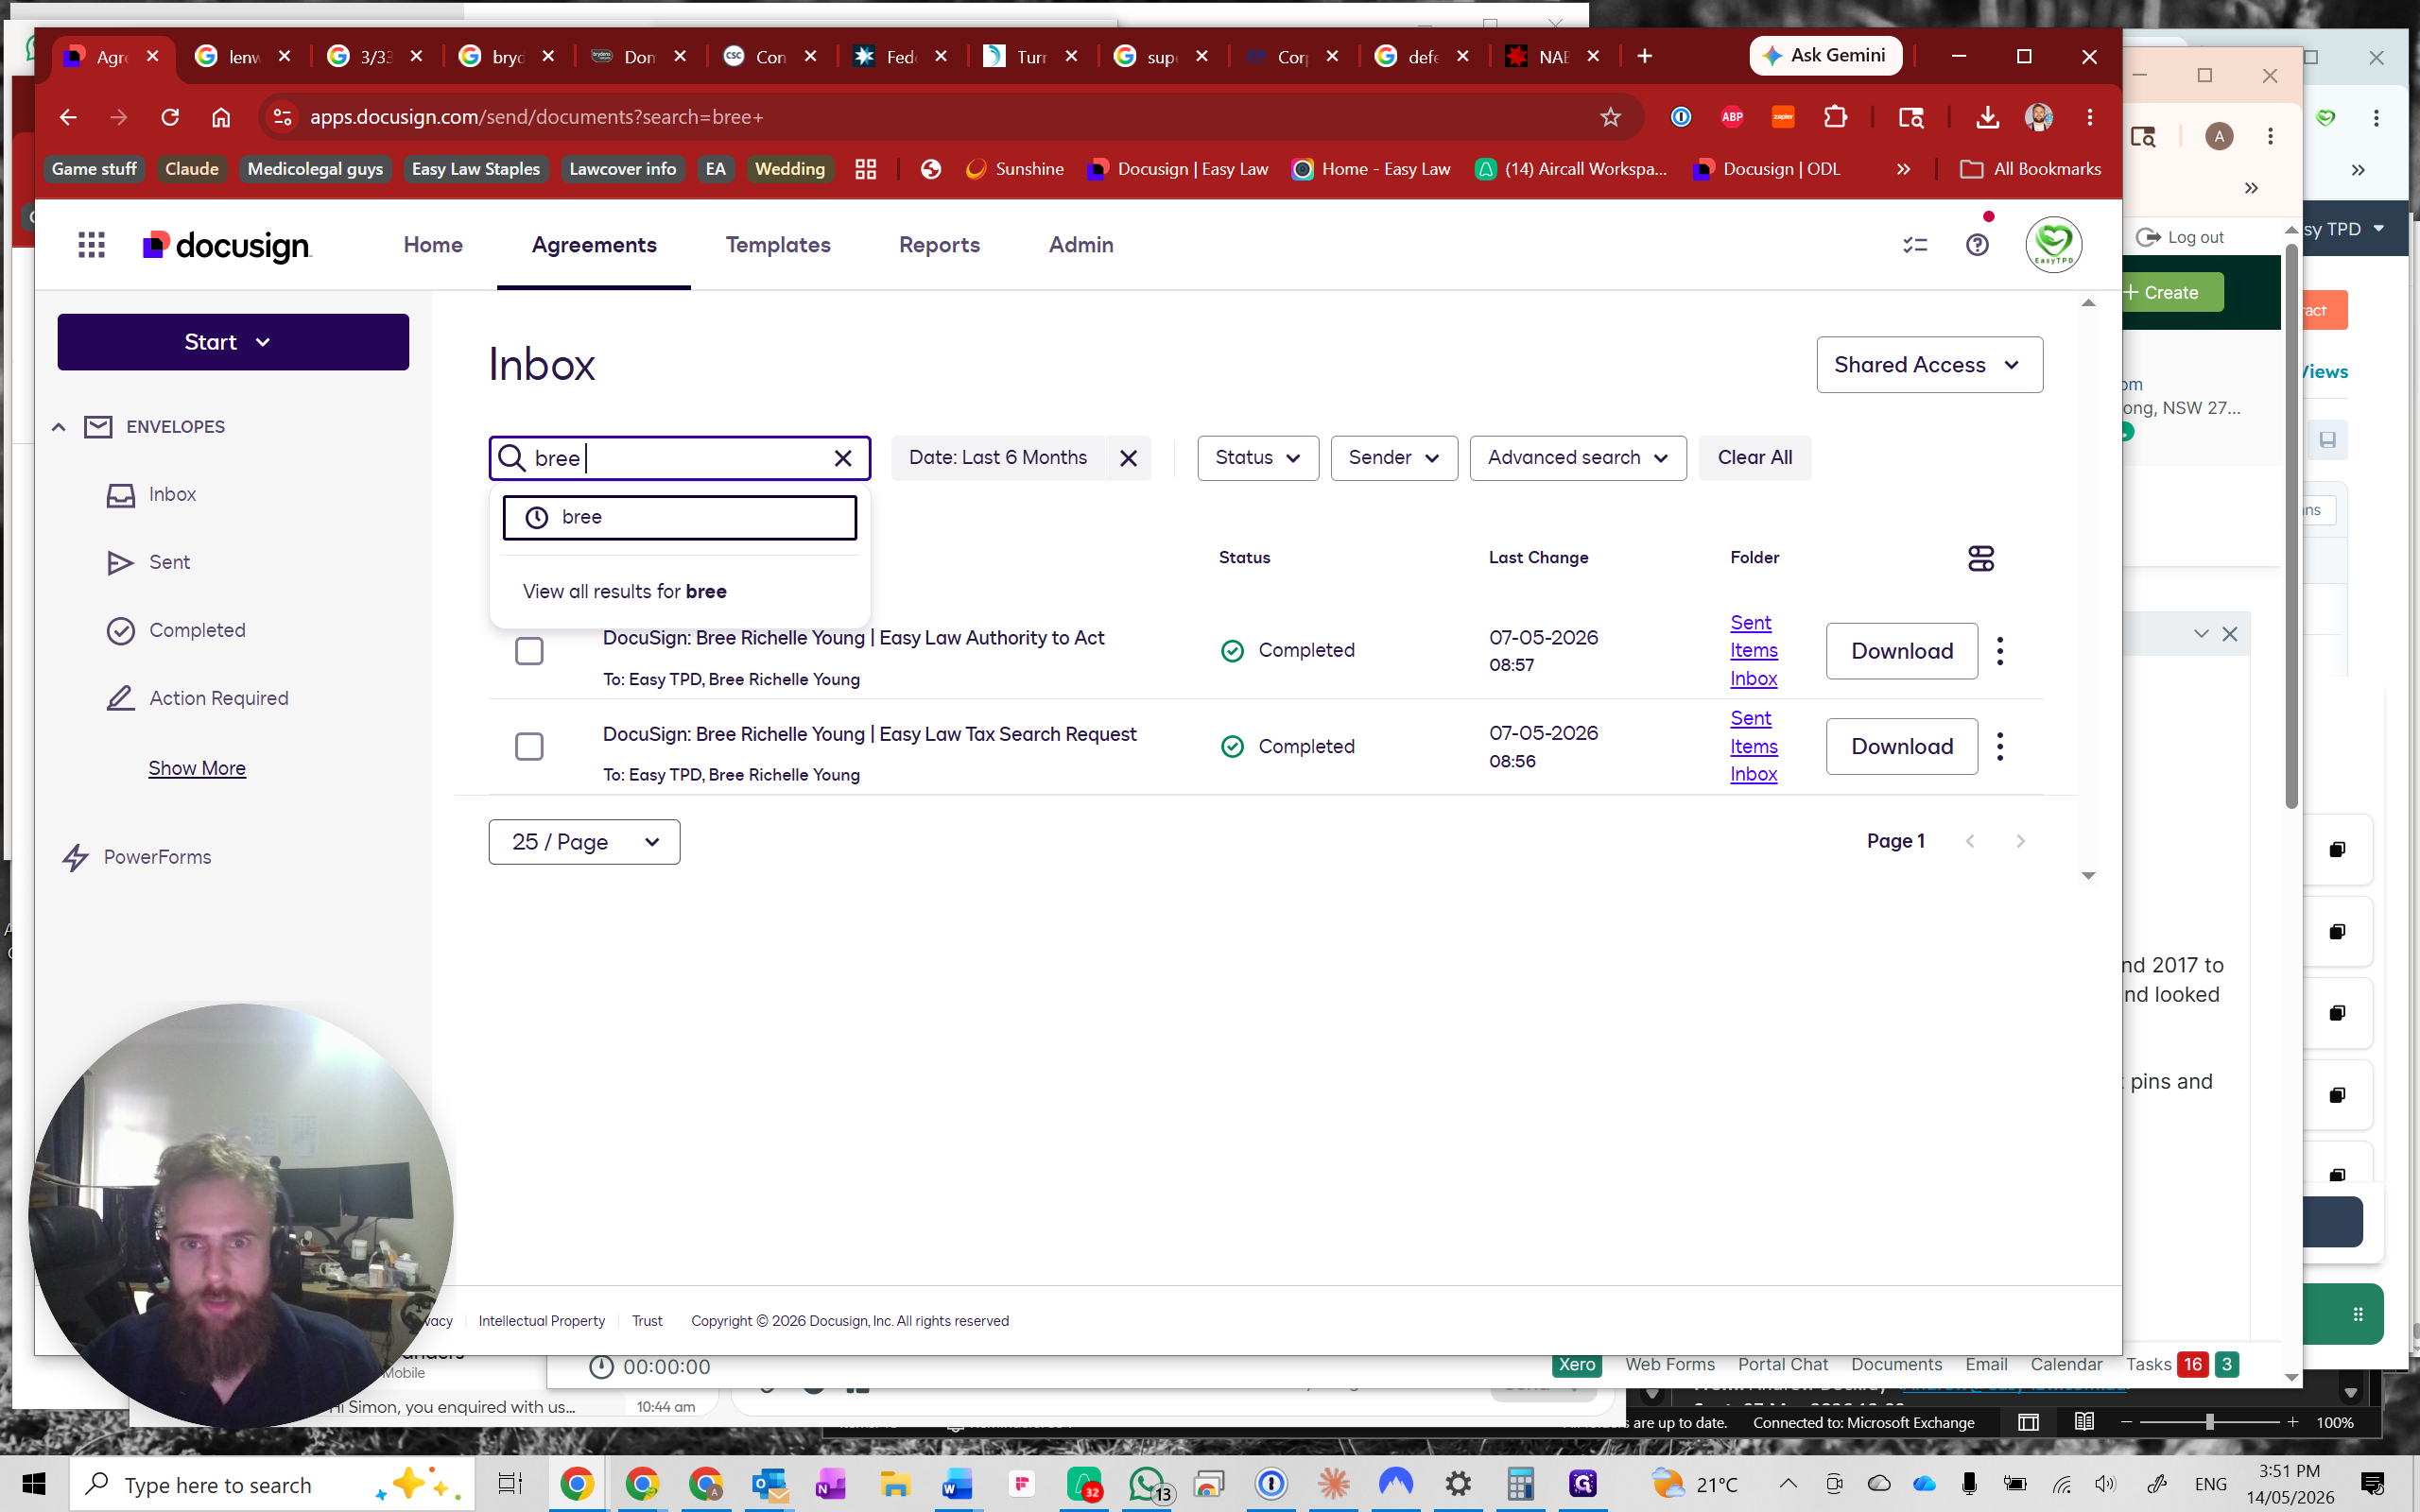
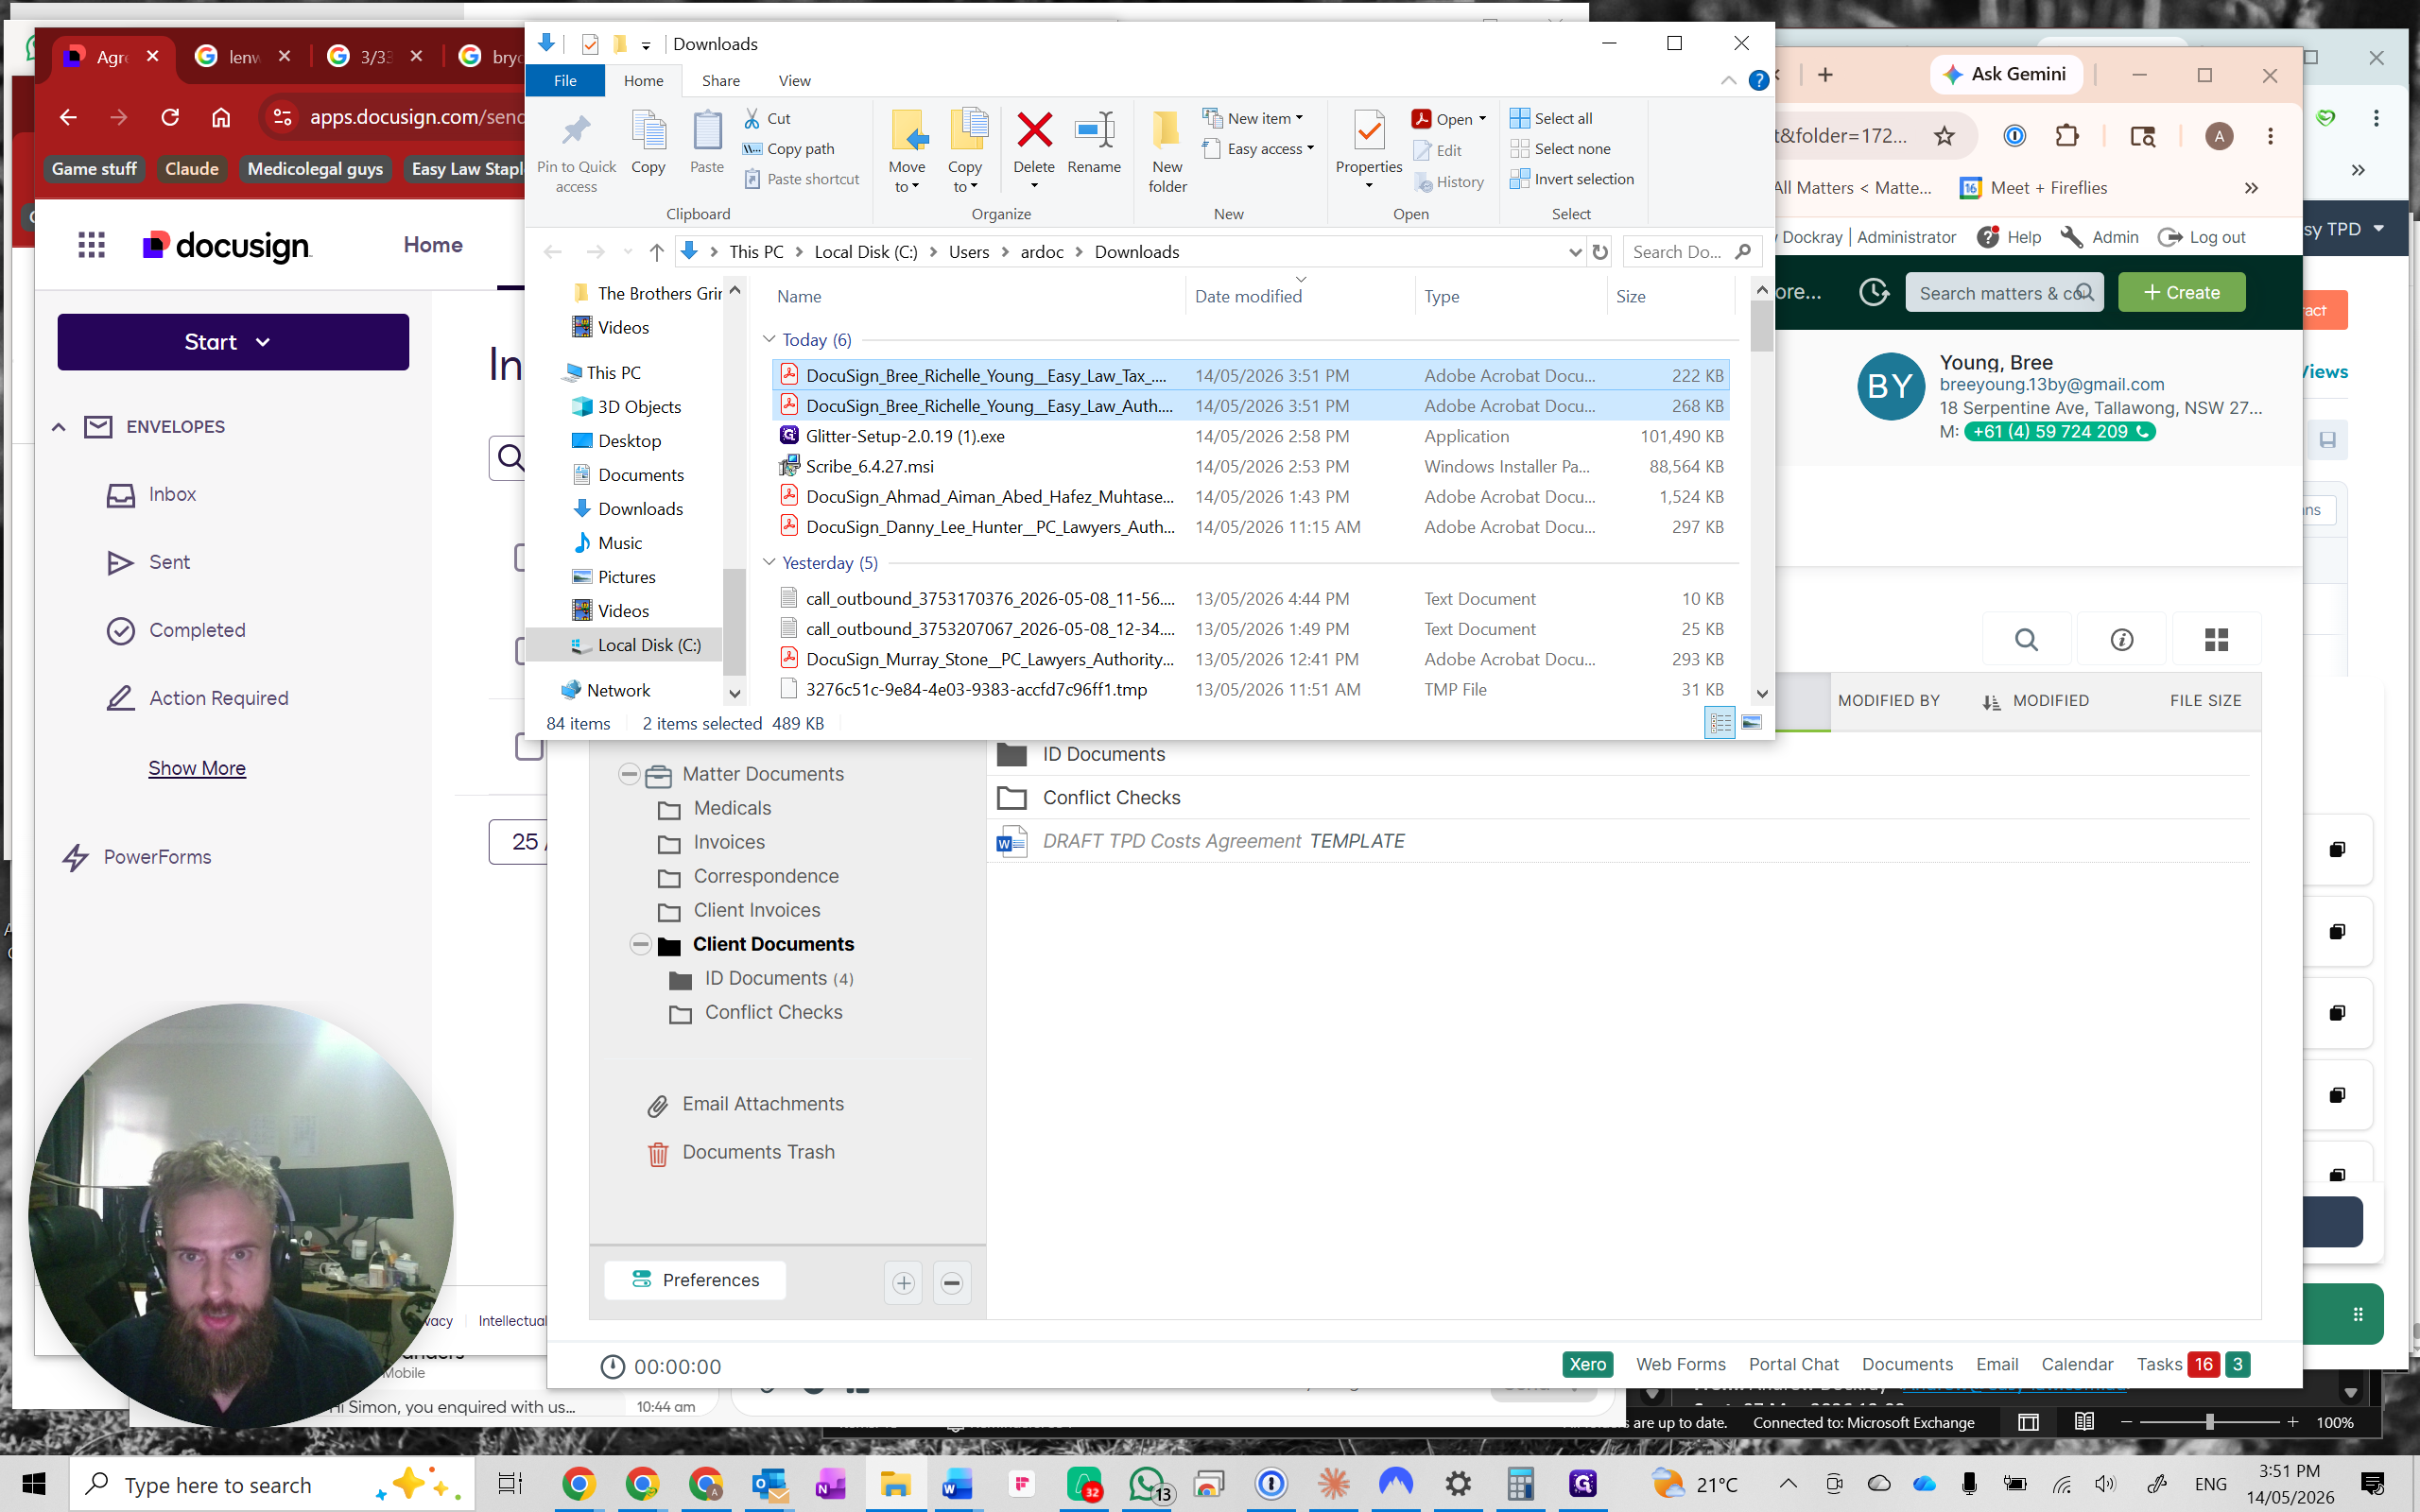
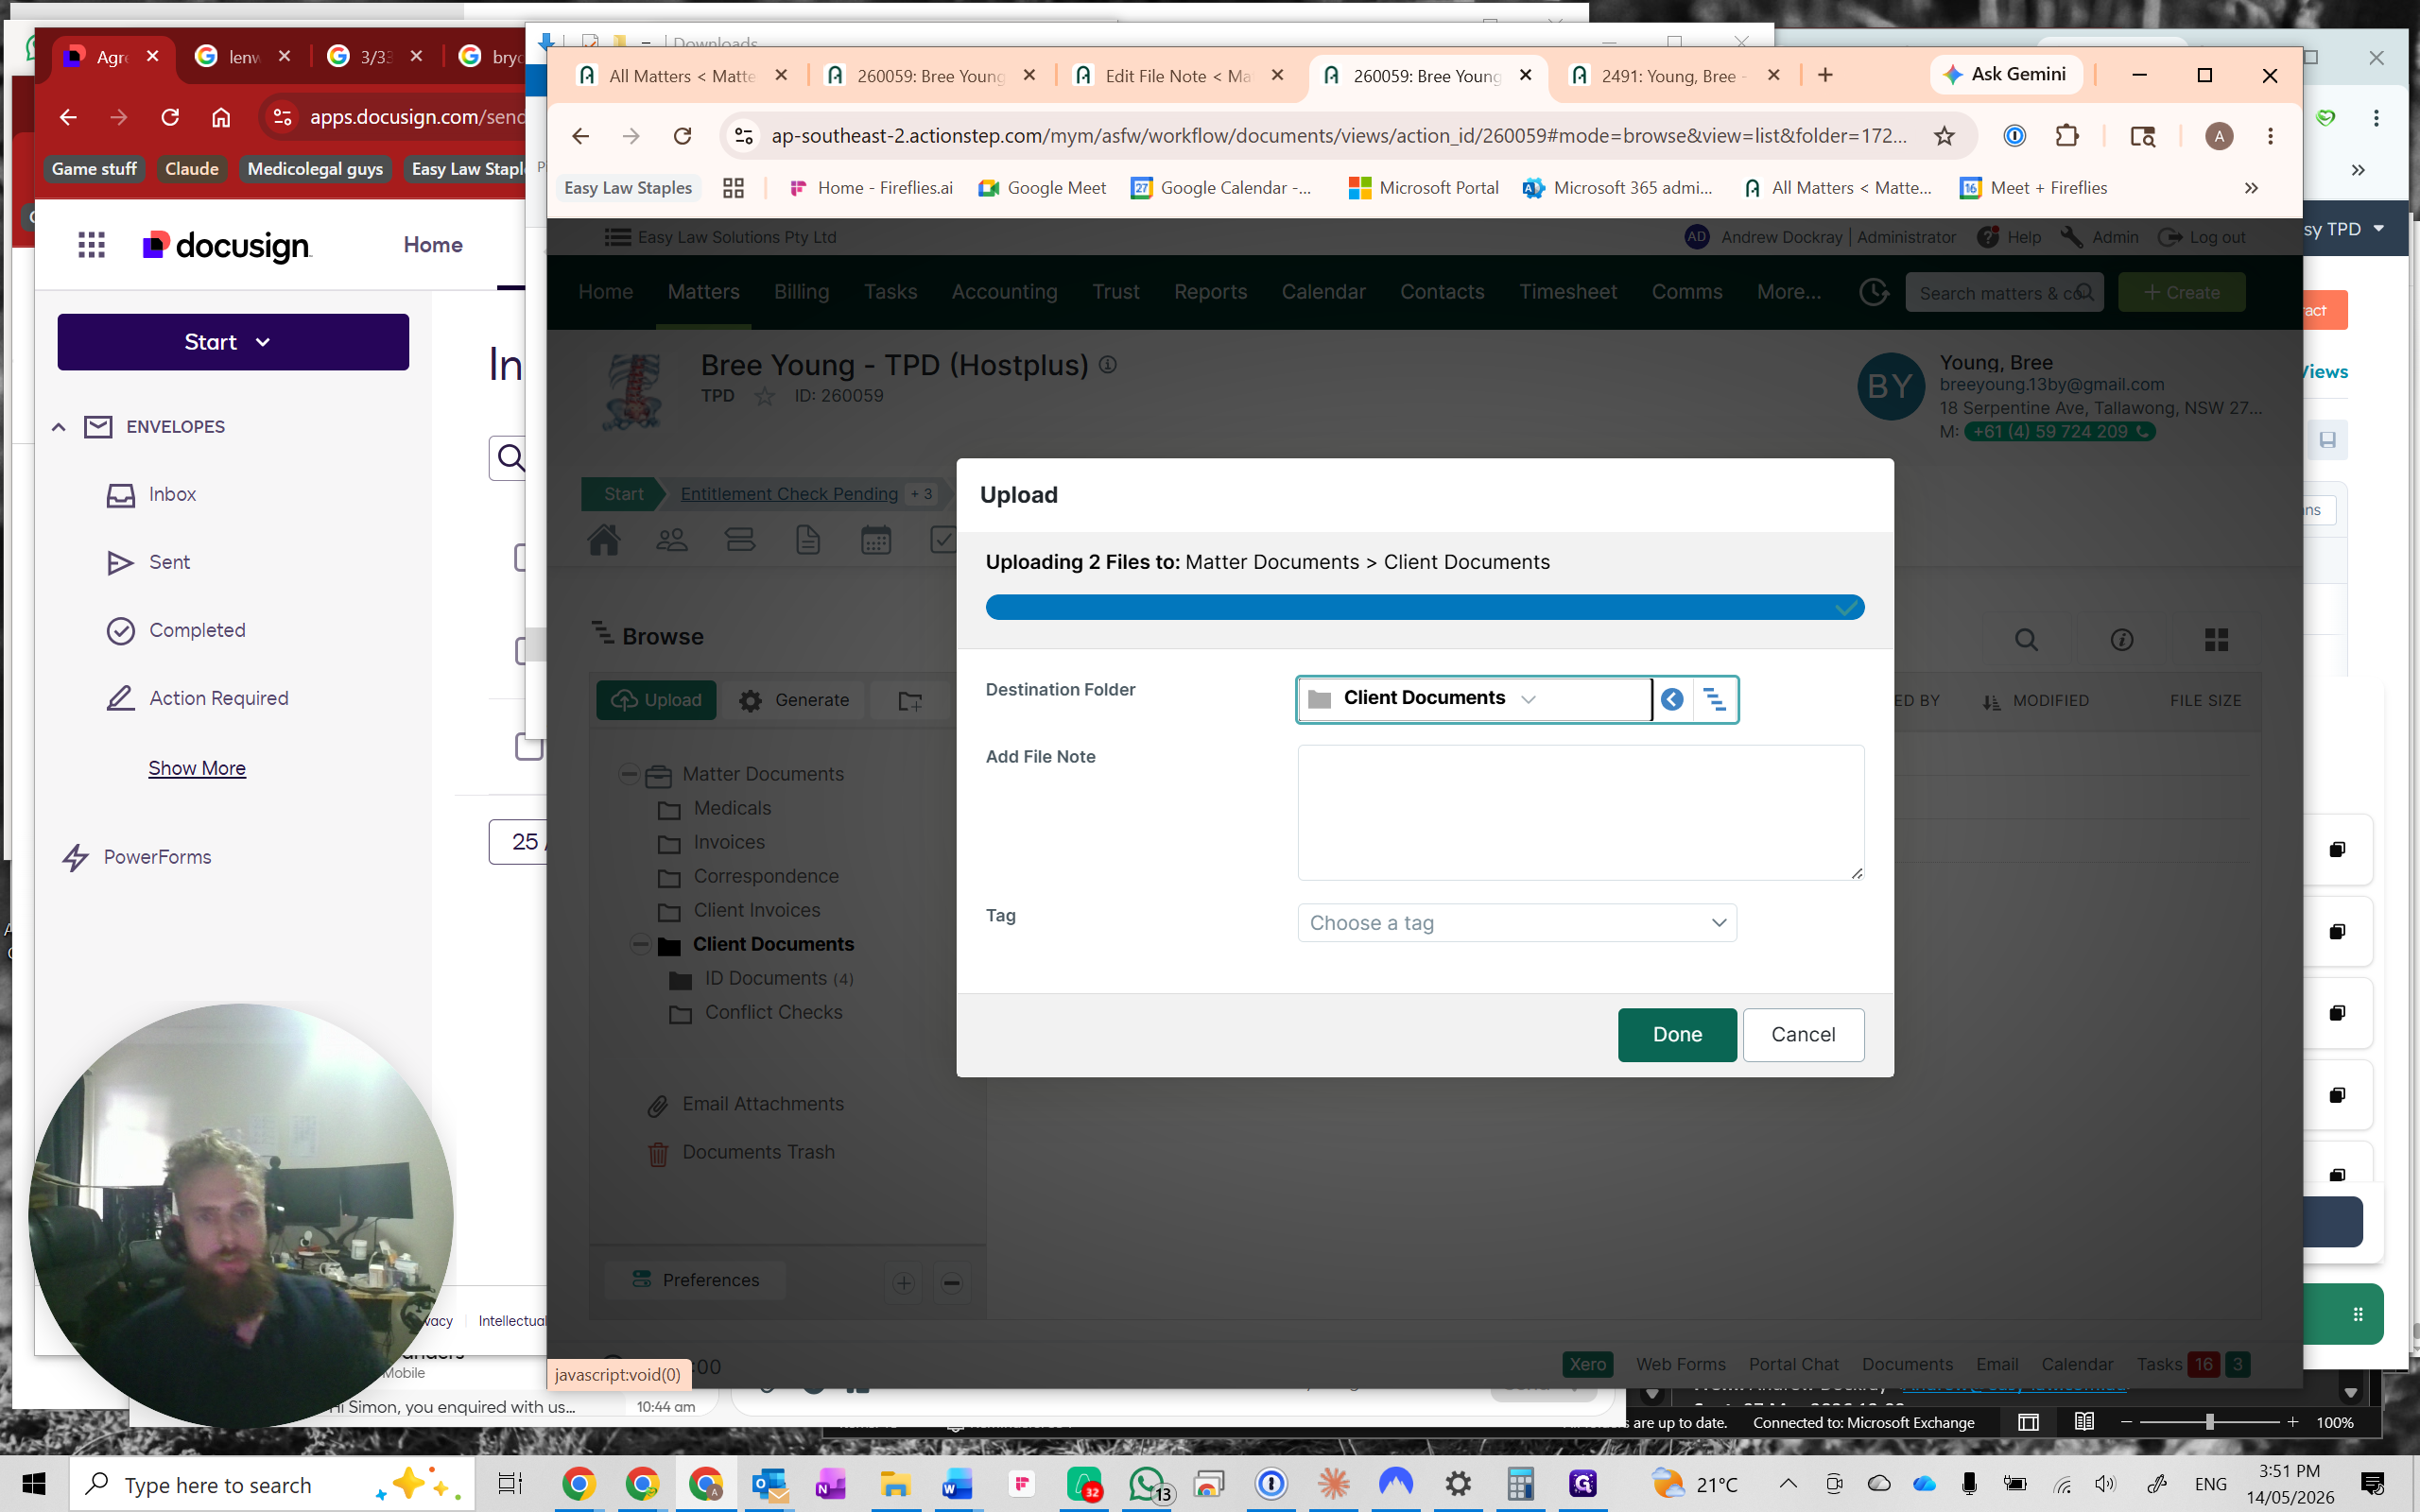
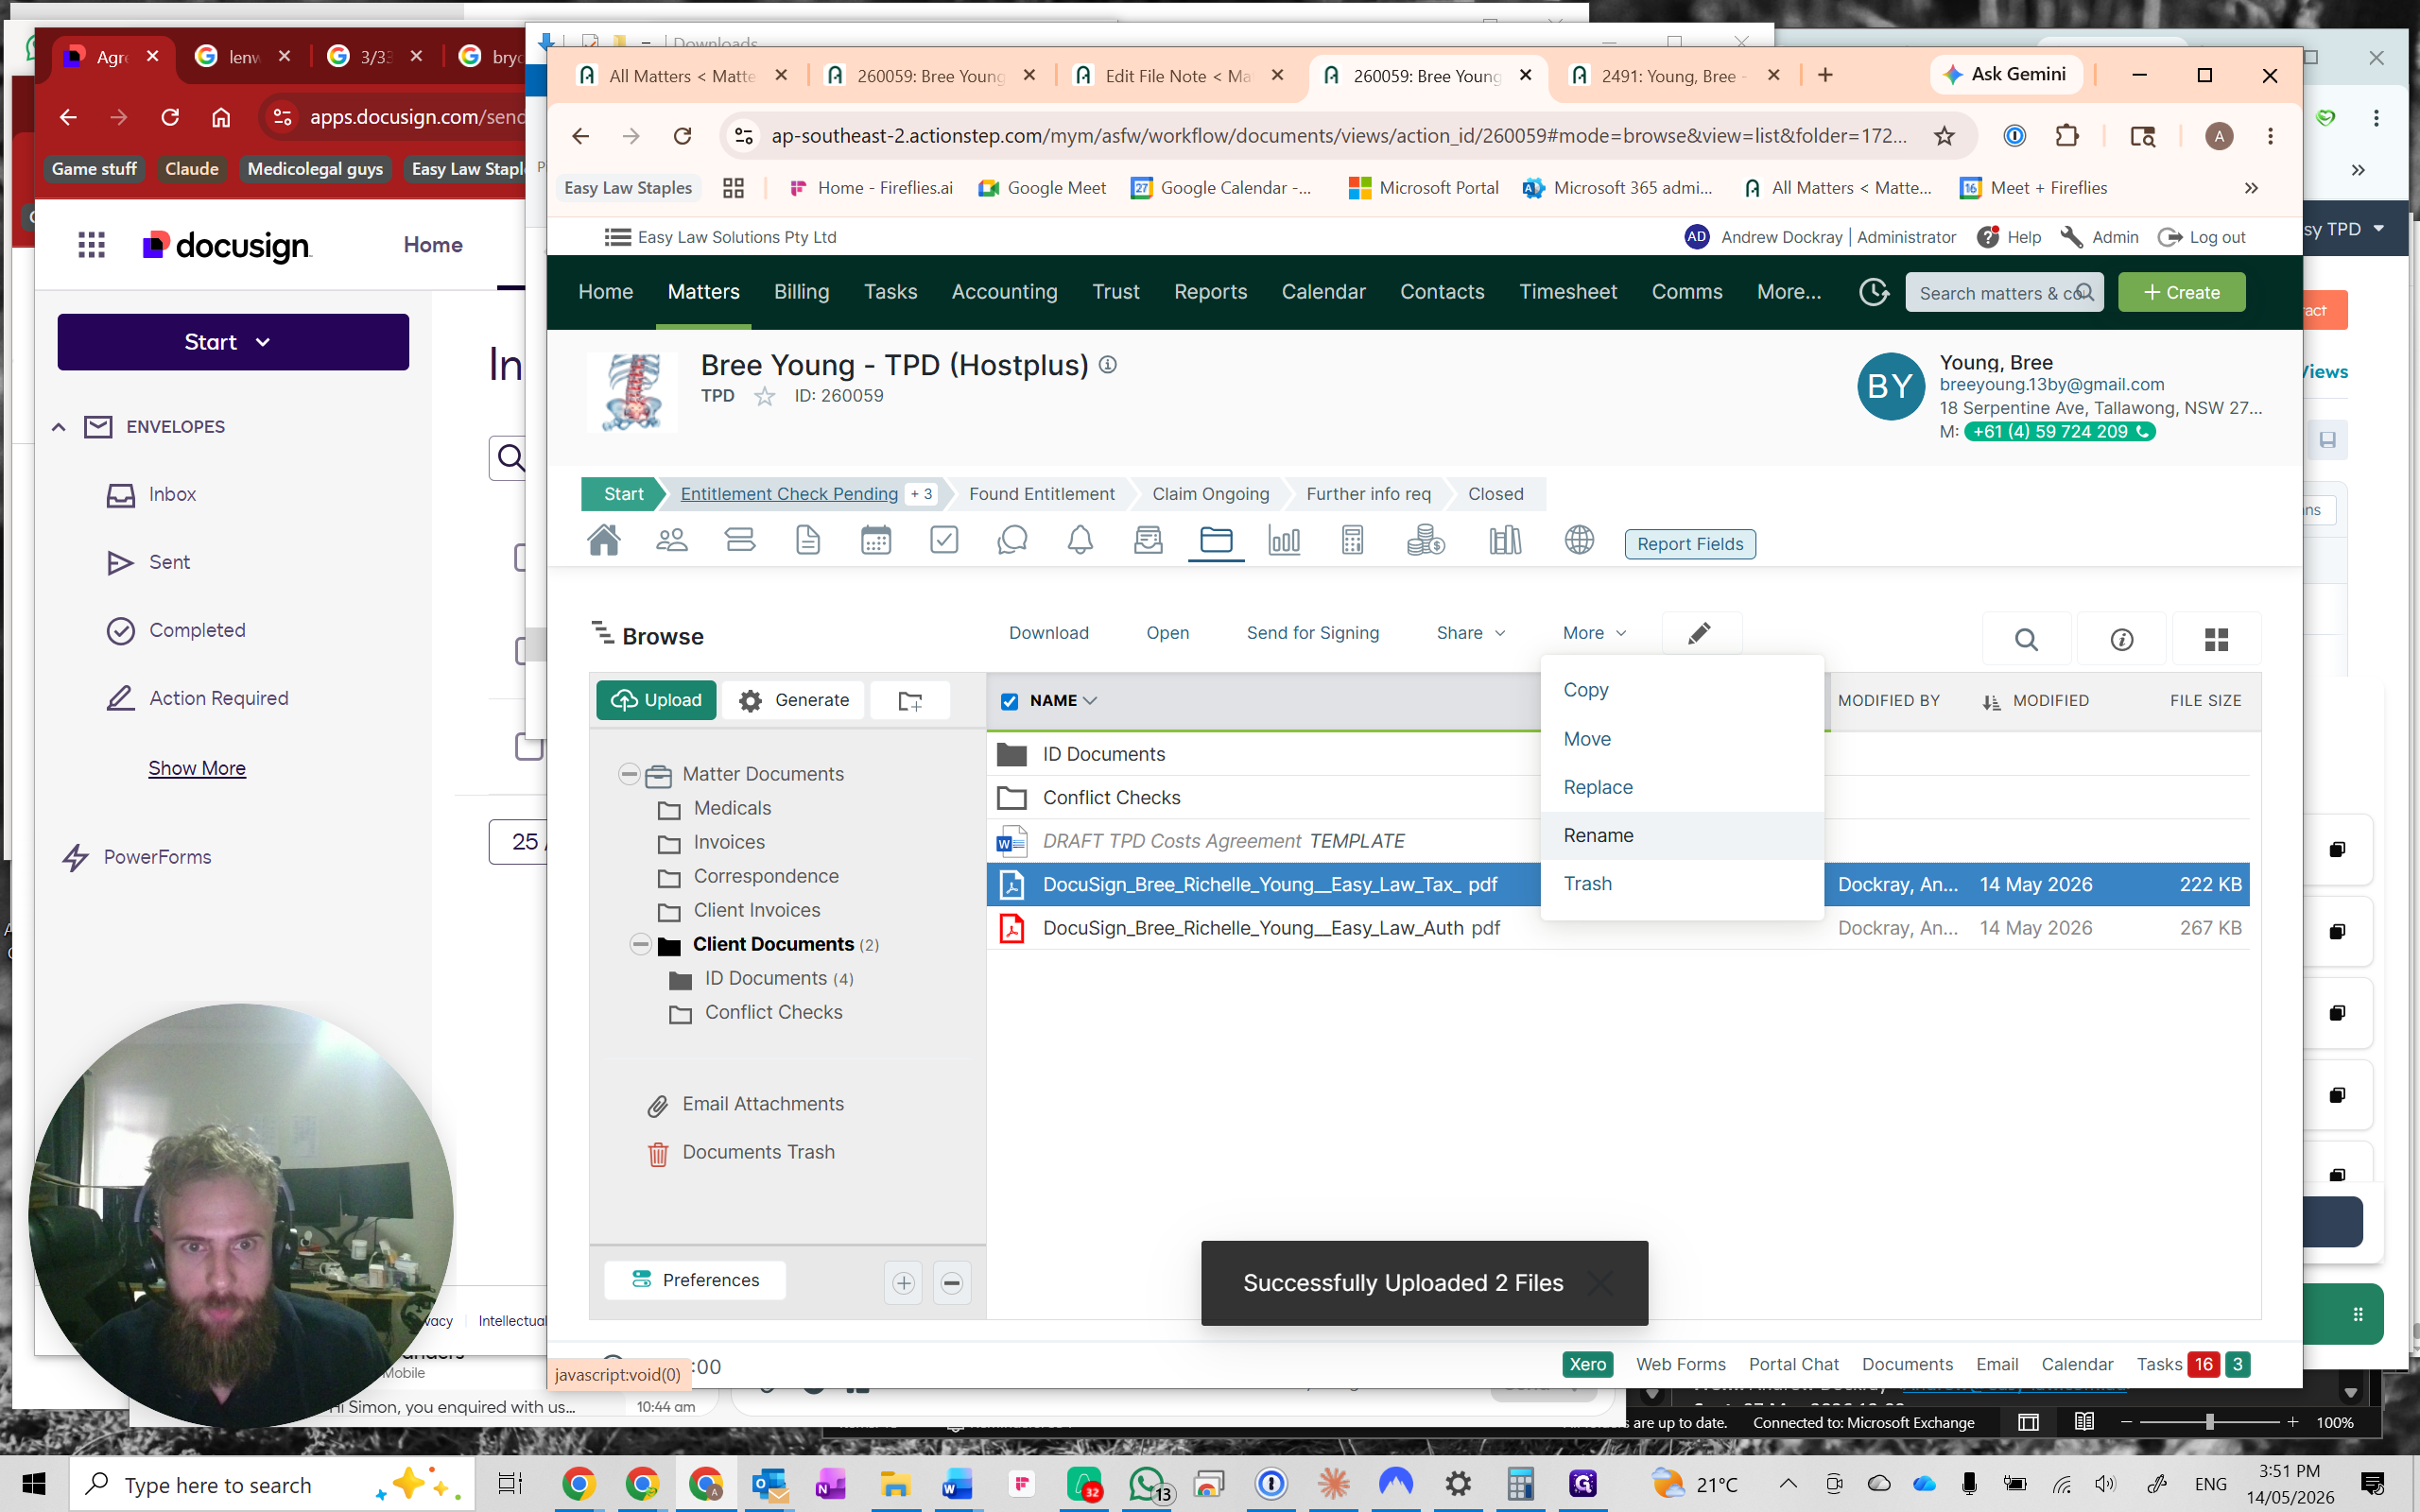
Upload and Rename Signed Documents

Retrieve the authorized documents from DocuSign so they can be filed directly in the client's matter.

23
Log in to DocuSign and navigate to the Agreements inbox.
Step #23: Log in to DocuSign and navigate to the Agreements inbox.
24
Search for the client and click Download to save their completed documents locally.
Step #24: Search for the client and click Download to save their completed documents locally.
25
Return to Actionstep and open the Client Documents folder within the client's matter.
Step #25: Return to Actionstep and open the Client Documents folder within the client's matter.
26
Drag and drop the downloaded PDF documents into the folder.
Step #26: Drag and drop the downloaded PDF documents into the folder.
27
Click Done to finish the upload.
Step #27: Click Done to finish the upload.
28
Select the tax search document and click Rename.
Step #28: Select the tax search document and click Rename.
29
Change the filename to Signed Tax Search Request and press Enter.

30
Select the authority document and click Rename.
Step #30: Select the authority document and click Rename.

31
Change the filename to Signed IAAR and press Enter.

Proceed to sending relevant documents

32
Proceed to either generate and send the tax report request to the accountant, or the entitlement check request for the super fund. Which one you choose depends on the needs of the client, please refer to the relevant guide.

FAQ

Q: Why do I need to add spaces to the Tax File Number?

A: You must ensure there are spaces in the Tax File Number (e.g., 391 637 438) so that it merges properly and is formatted correctly on official forms and correspondence.

Q: What should I name the downloaded DocuSign authority form?

A: The authority form should always be renamed to "Signed IAAR" once uploaded into the Client Documents folder.

Glossary

Term

Definition

IAAR

Irrevocable Authority to Act and Receive. A legal document granting the firm permission to act on behalf of the client.

TFN

Tax File Number. A unique identifier issued by the Australian Taxation Office.

TPD

Total and Permanent Disability. A type of insurance claim related to a person's inability to work due to illness or injury.

Onboarding HubSpot clients into Actionstep following automated transfer