Overview of the New Office Keyboard: Features and Benefits (Macros Gone Wild)
Discover the innovative features of the new office keyboard, including customizable Hall Effect switches, macro keys, and software integration for enhanced productivity.
In this guide, we'll learn how to optimize your workflow using a new Hall Effect keyboard in the office. This keyboard offers customizable features, including adjustable key actuation and dedicated macro keys, which can significantly enhance productivity. We'll explore how to set up and use the keyboard's software to manage macros and key mappings. Additionally, we'll cover how to utilize the keyboard's copy and paste functions to streamline tasks. Let's get started.
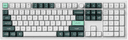
I'll provide a concise overview of the new Office keyboard. In the future, I'll likely create a more detailed version of this because we now have a really nice keyboard. For a while, I've been using my personal keyboard at work and taking it home on my days off. It has revolutionized my work, speeding up many tasks. So, I got a nicer version for the office. Here's what I wanted to show you. First, I understand this may not be everyone's preference.
The new keyboard has a slightly smaller footprint on the desk compared to the old black keyboard with macro keys. In the cupboard near the office light switch, there are other keyboards, including smaller ones, so feel free to use whichever you prefer. However, I recommend giving this one a solid try first, as some modifications I've made will significantly speed up your workflow. Let me show you the software.
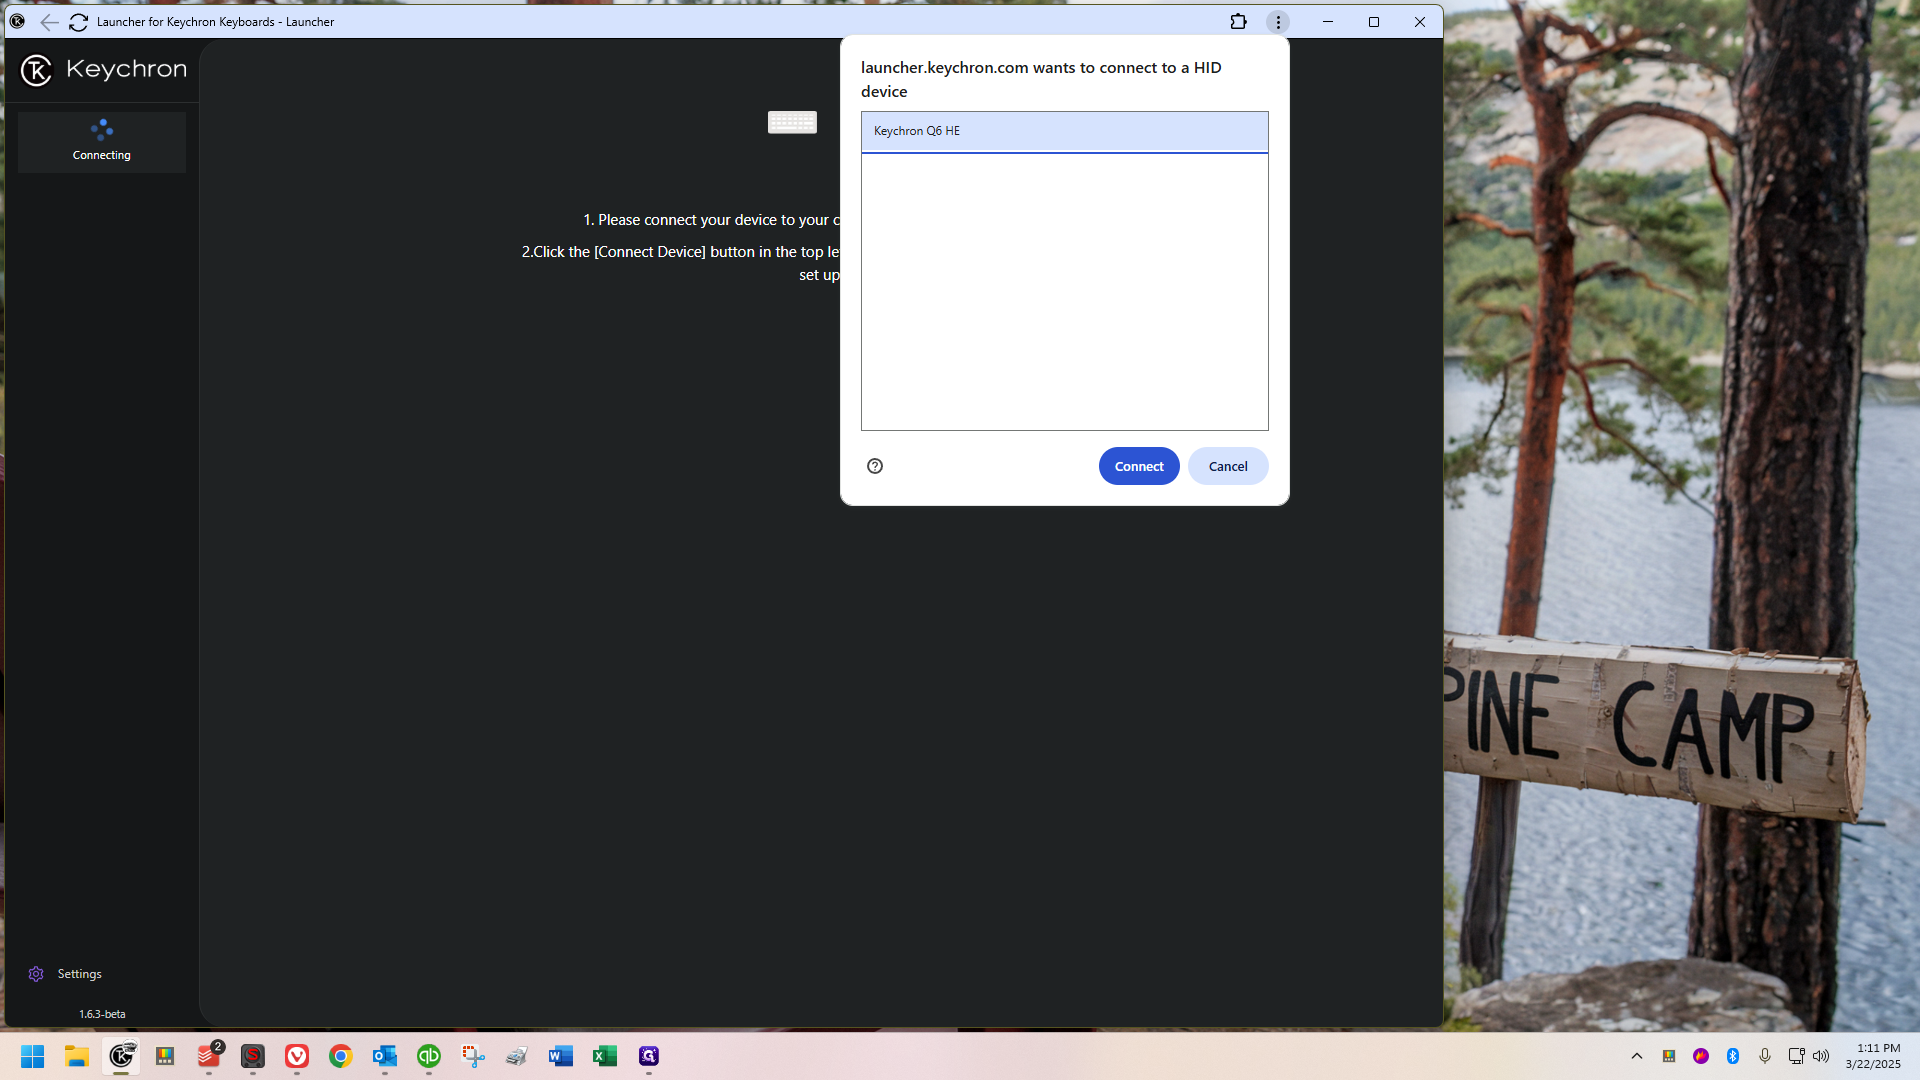
Click on the icon to launch the Keychron keyboard launcher.

As long as you are plugged in or using wireless mode, you can click this button.
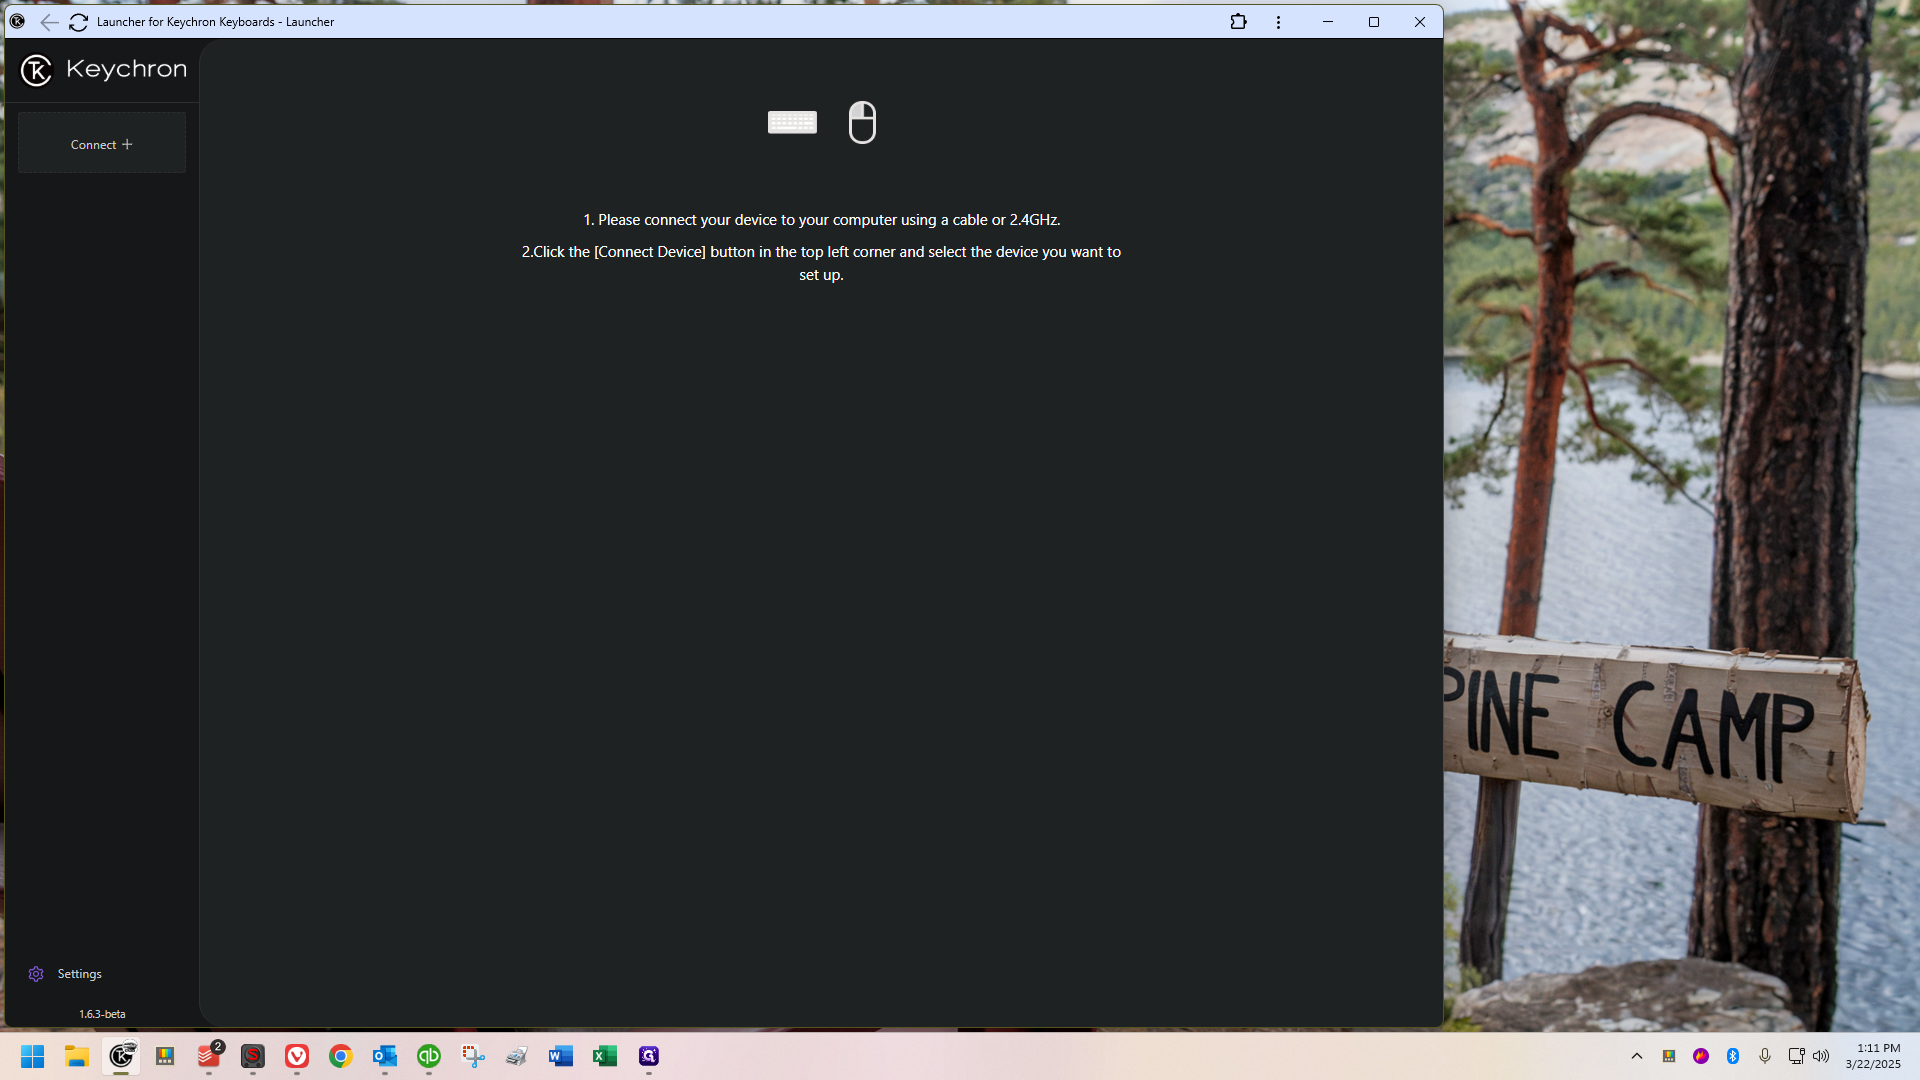
Select your keyboard from the pop-up and choose to connect.

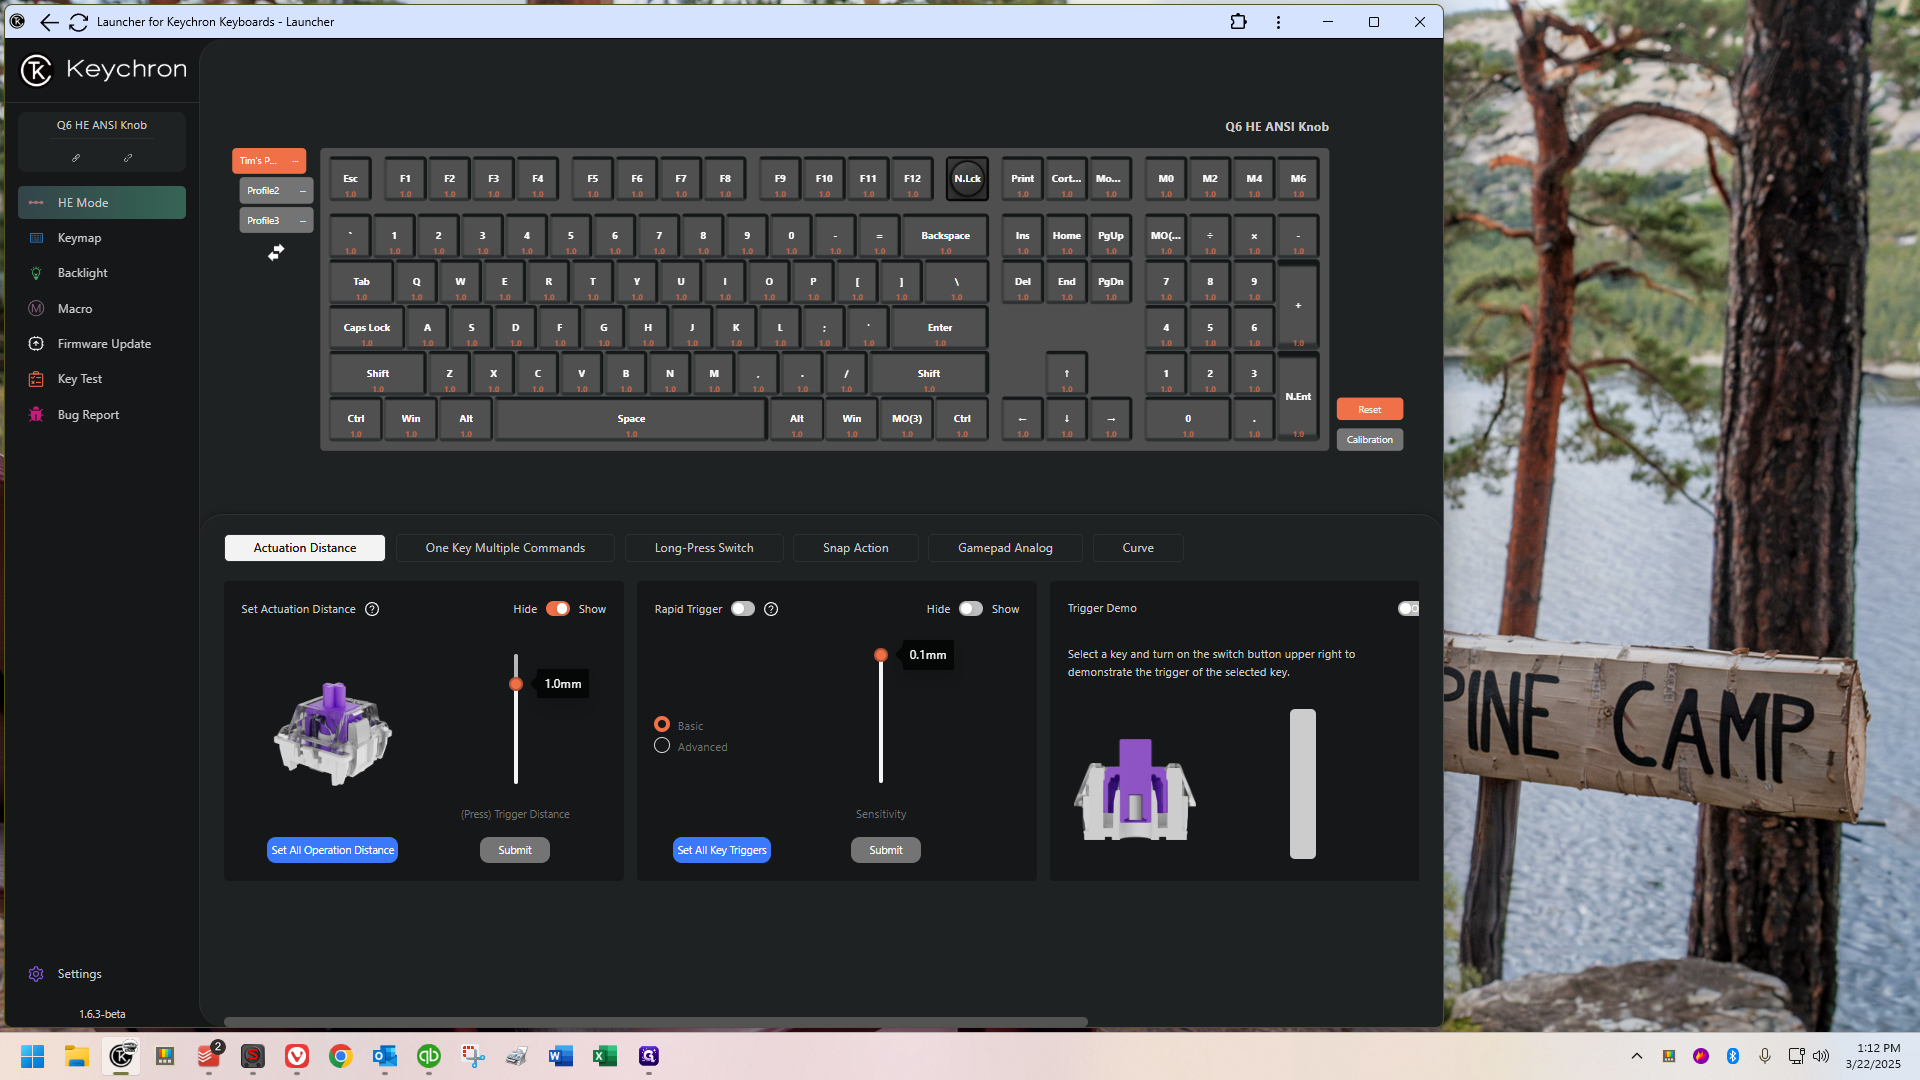
In the main part of this window, there's a diagram of the keyboard with several pages listed on the left.
Hall Effect Mode

This refers to the switch's depth, basically.


This slider determines how far you need to press a key before it registers. I've set it to one millimeter, so it doesn't take much—just a tap for it to register. If I wanted it to be harder to press, requiring a full press until it clicks, I would select all the keys, adjust the slider down, and click submit.
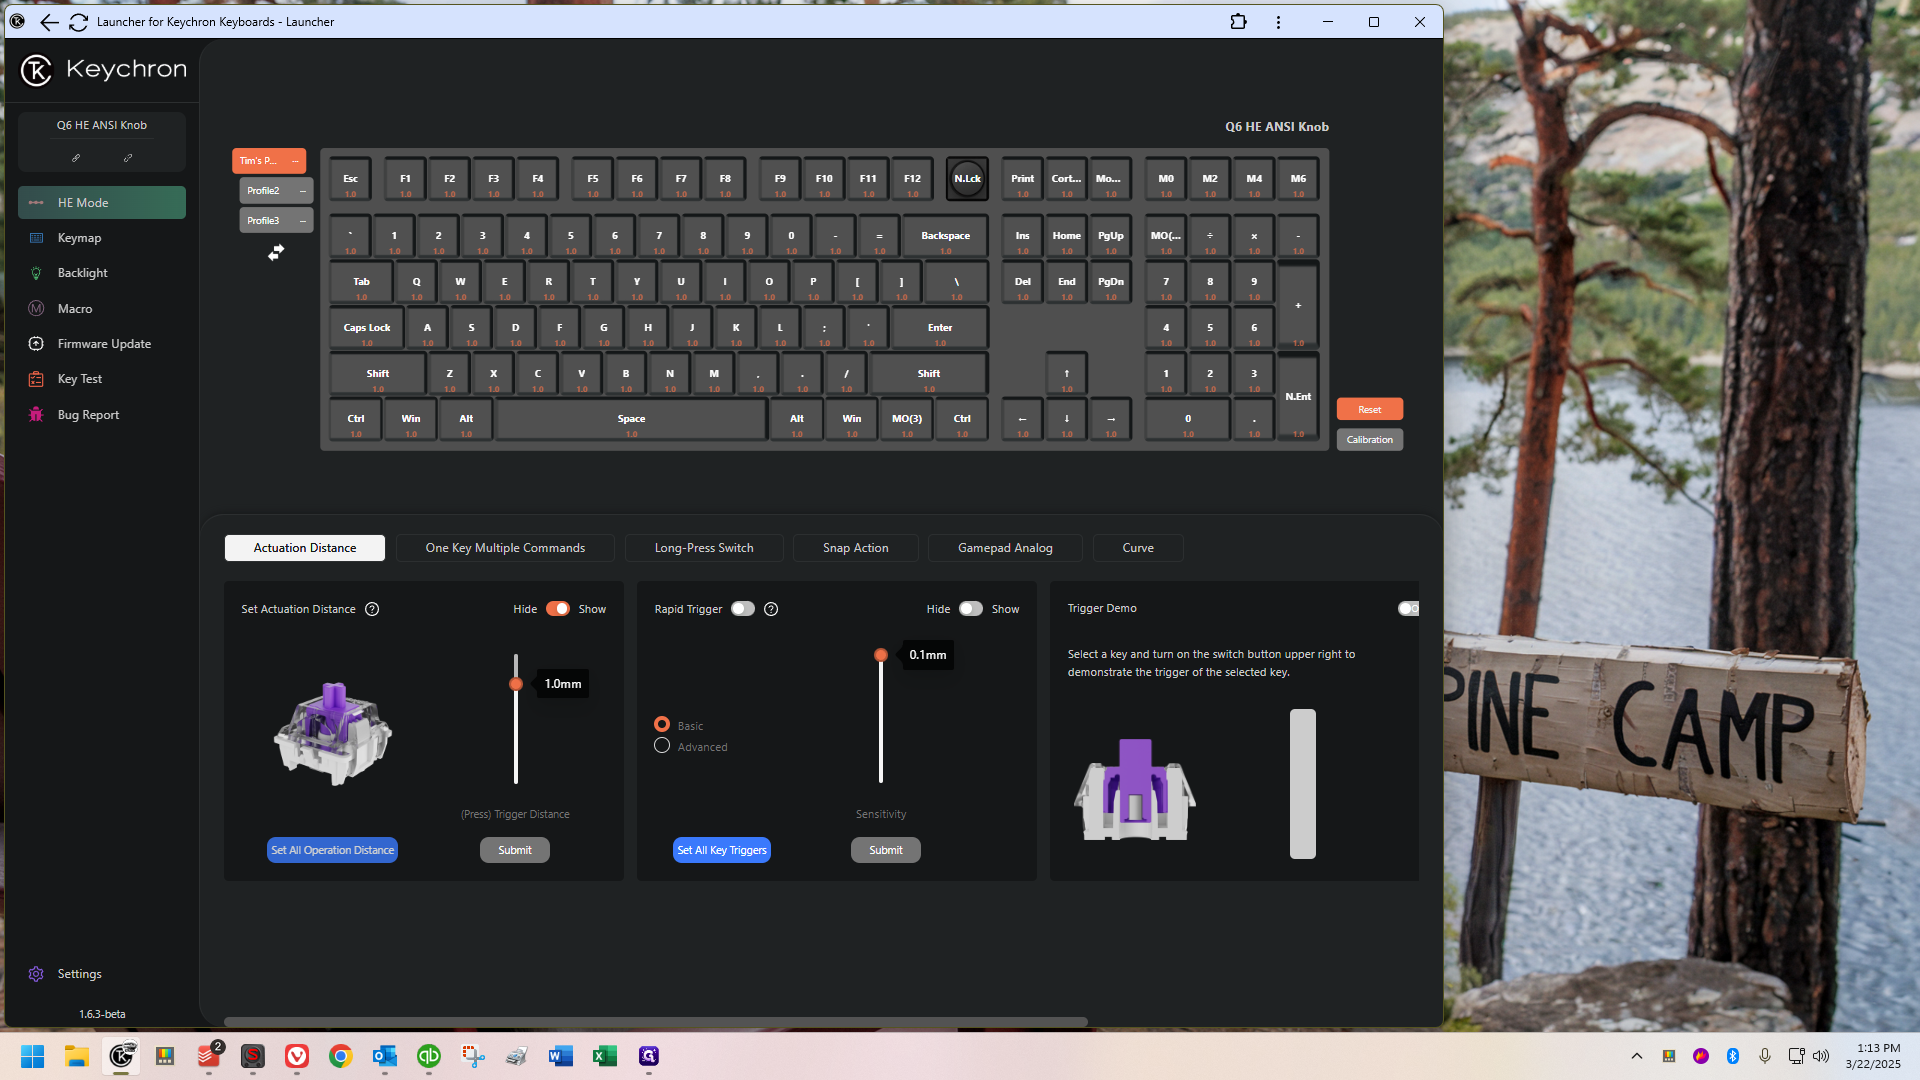
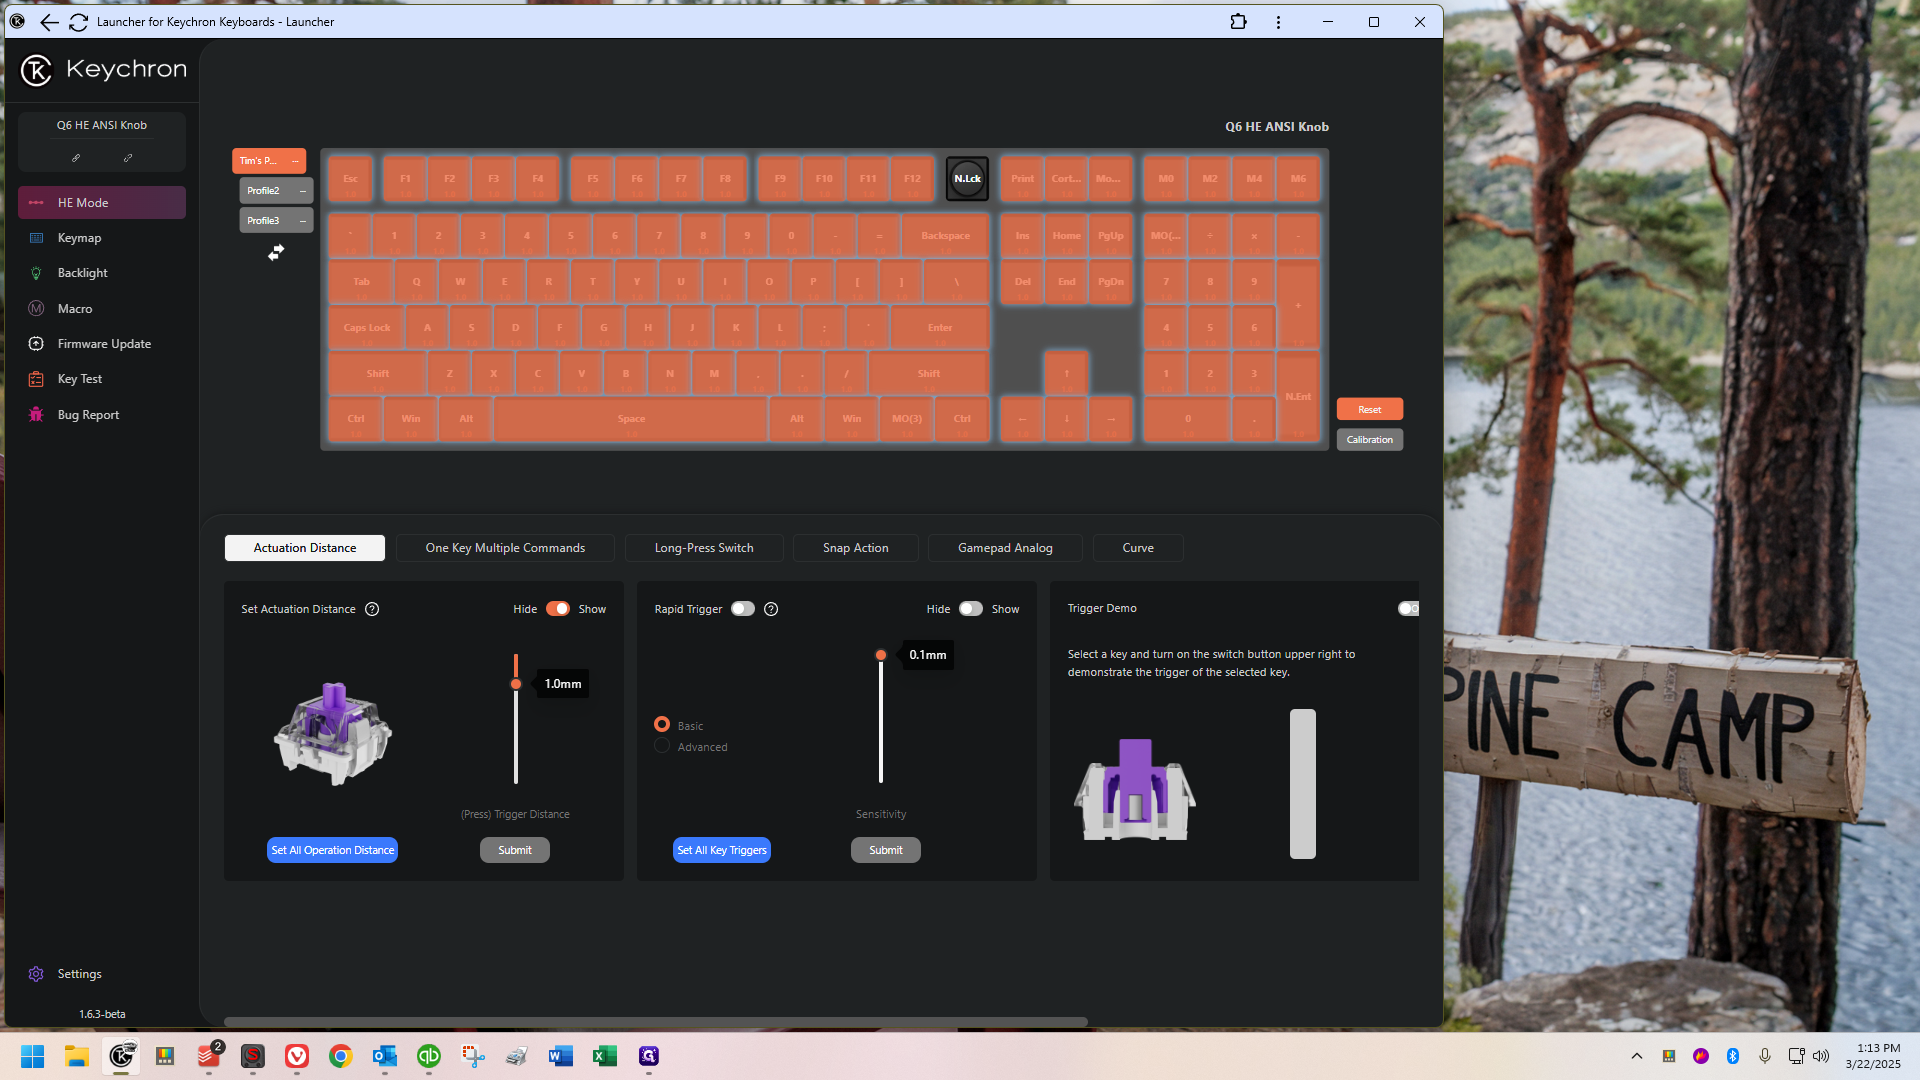

When you look up here and zoom in, you'll see that they all say 3.8, which I just set them to.

Now I'm going to change it back to 1mm like I had it before.


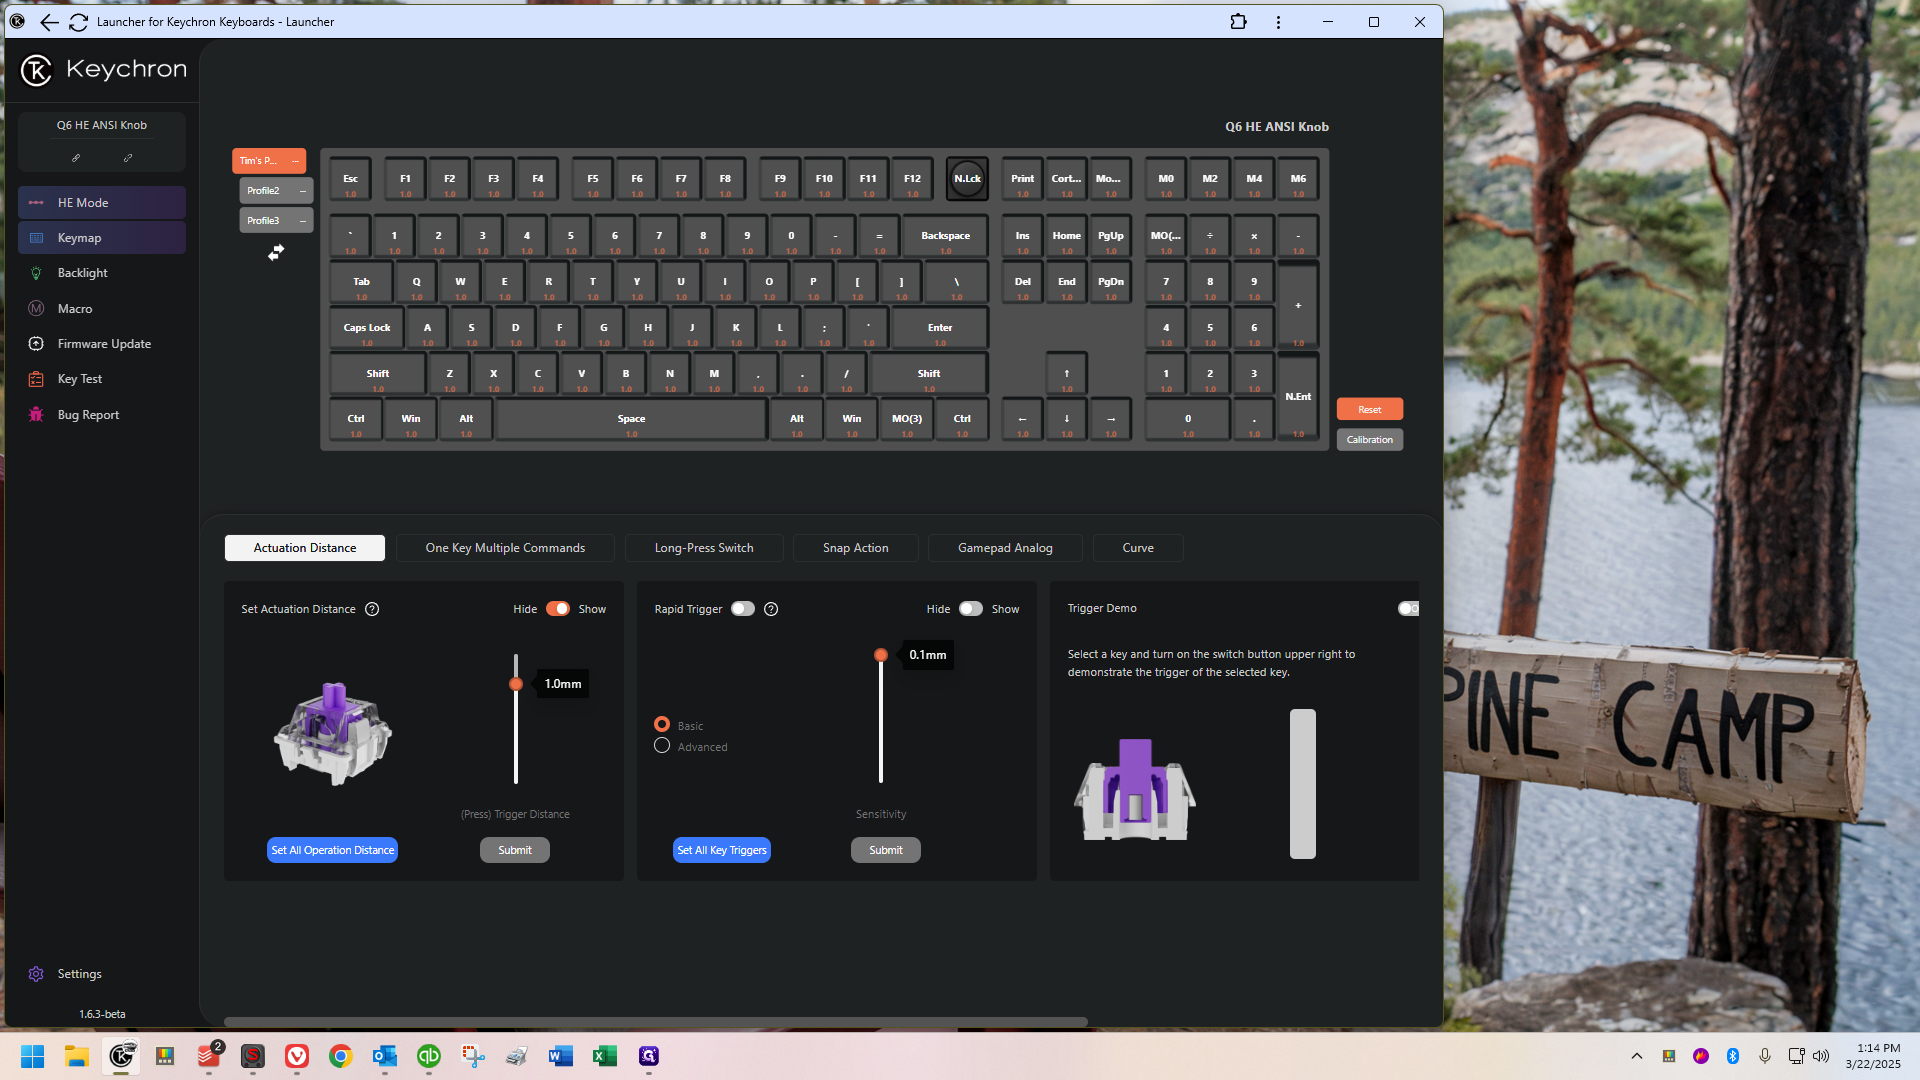
You can see that I have my own profile.

Feel free to experiment with this. You won't cause any harm. However, consider trying it on the second or third profile instead.
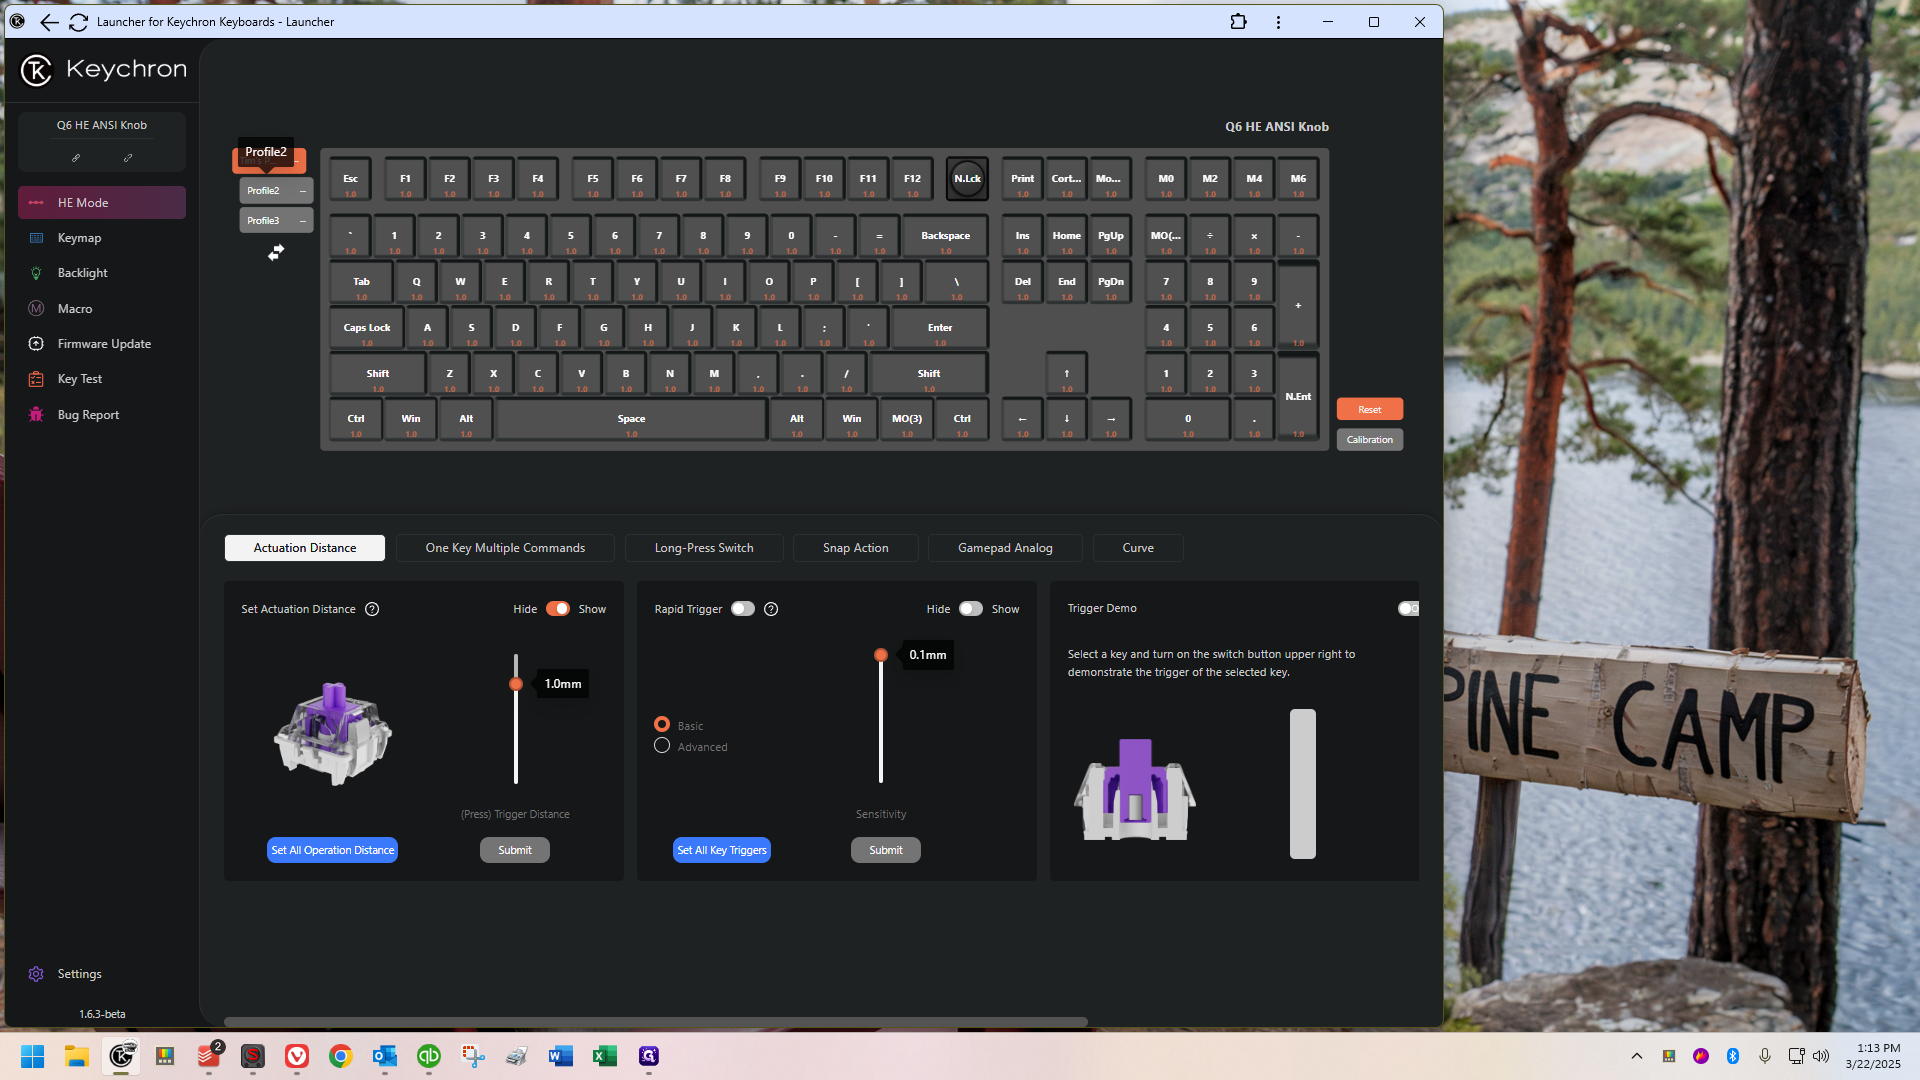
You can have your own settings separate from mine (only the hall effect settings, not macros, etc--at least, not this easily)
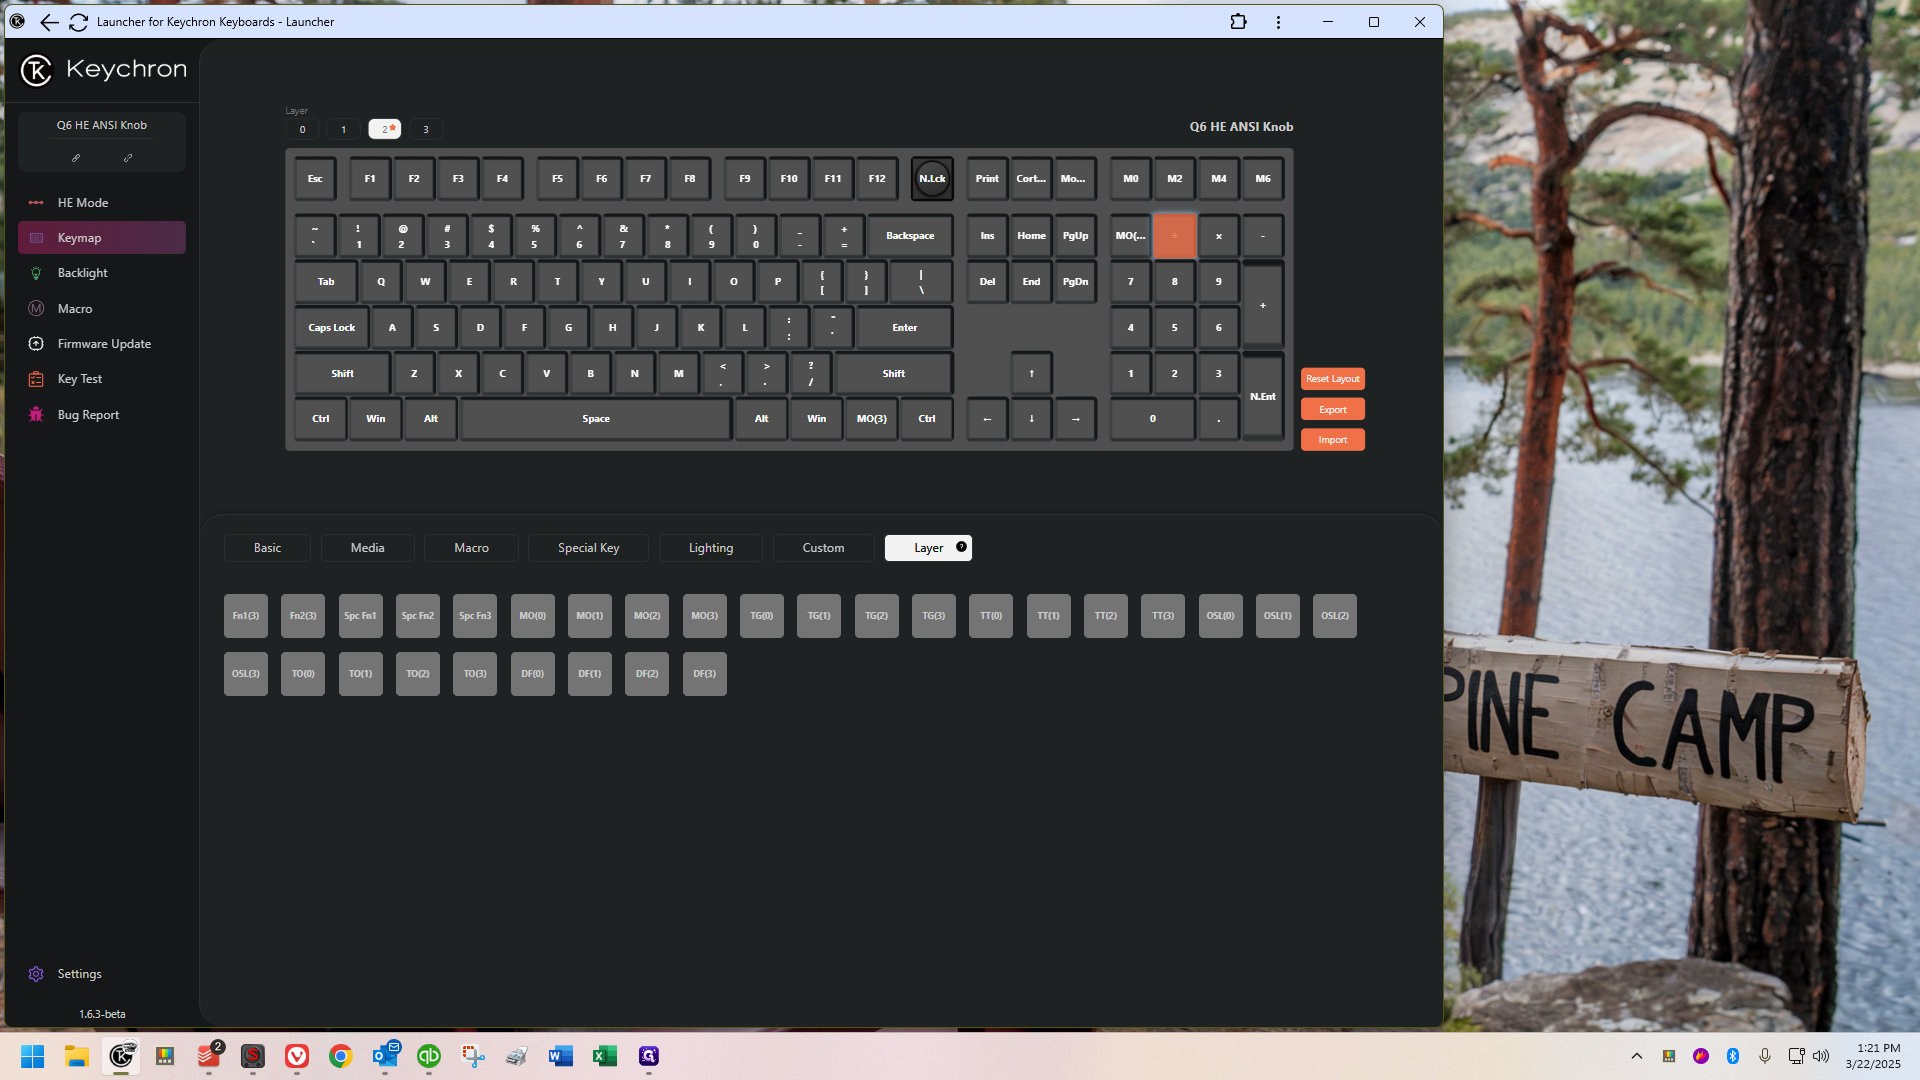
Keymap (the mapping of keys...macros and beyond...this is where wizardry takes place)
If you click on "Keymap," you'll see a diagram of your keyboard. You can change the mapping of keys there.
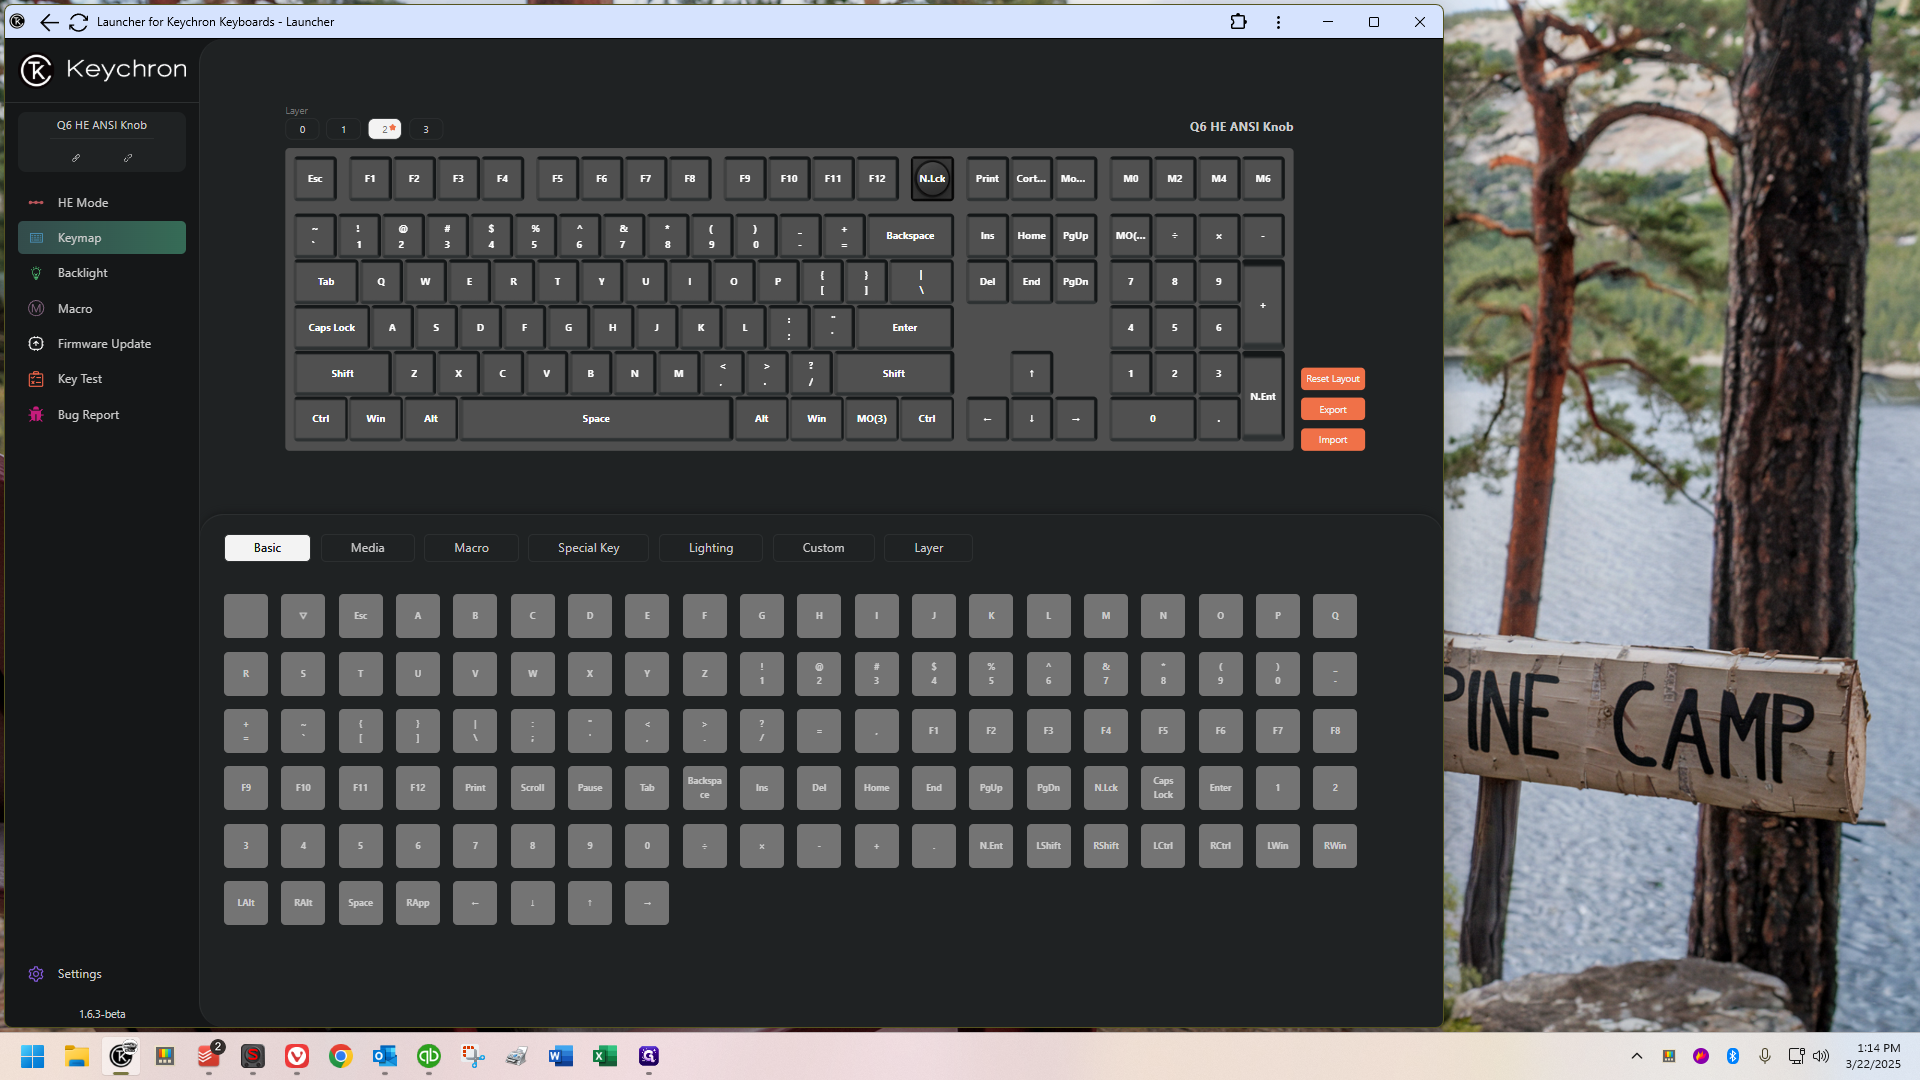
I won't delve into this right now. This topic requires a deeper dive into the software. However, feel free to experiment with it. If you make any changes, please note them and track what you've modified.

For example, you'll see this in a minute. If I click on macro, it shows me my various macros.

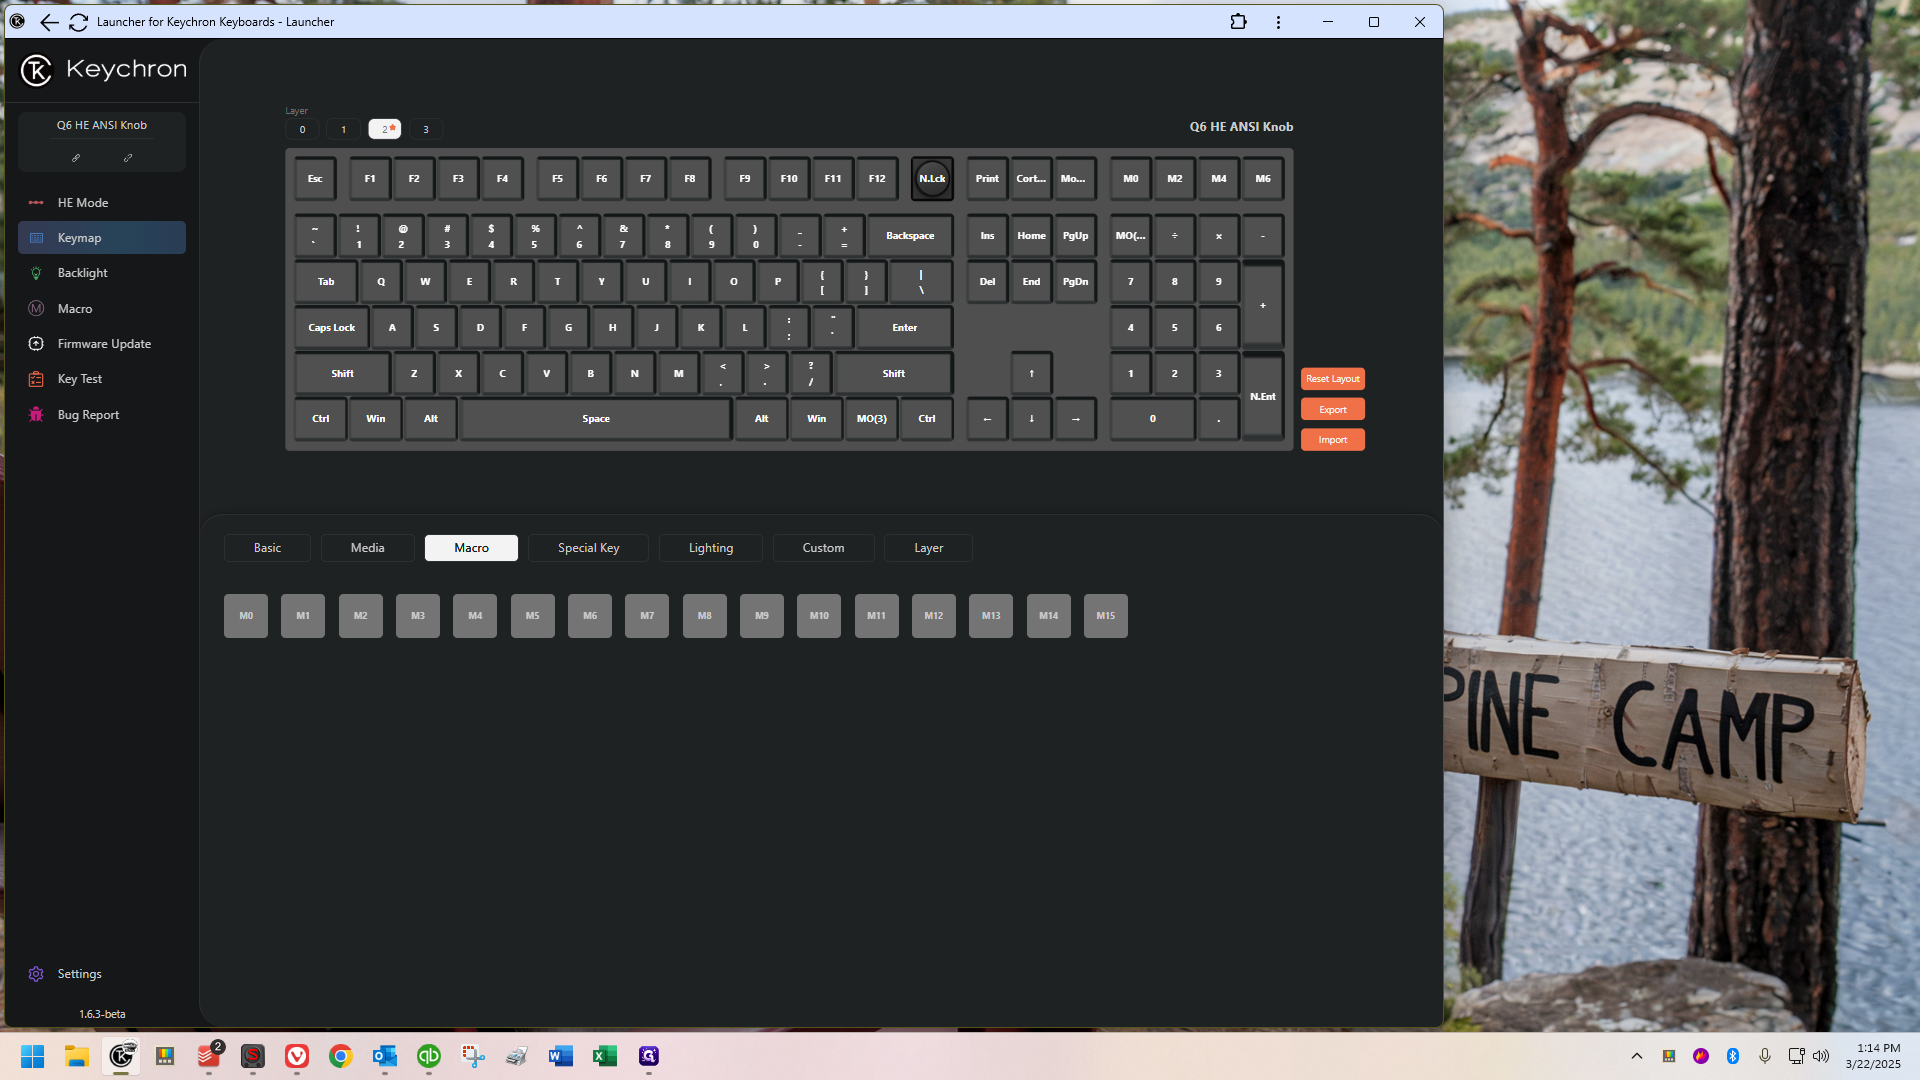
They are created in another section, but this is where I would assign them.
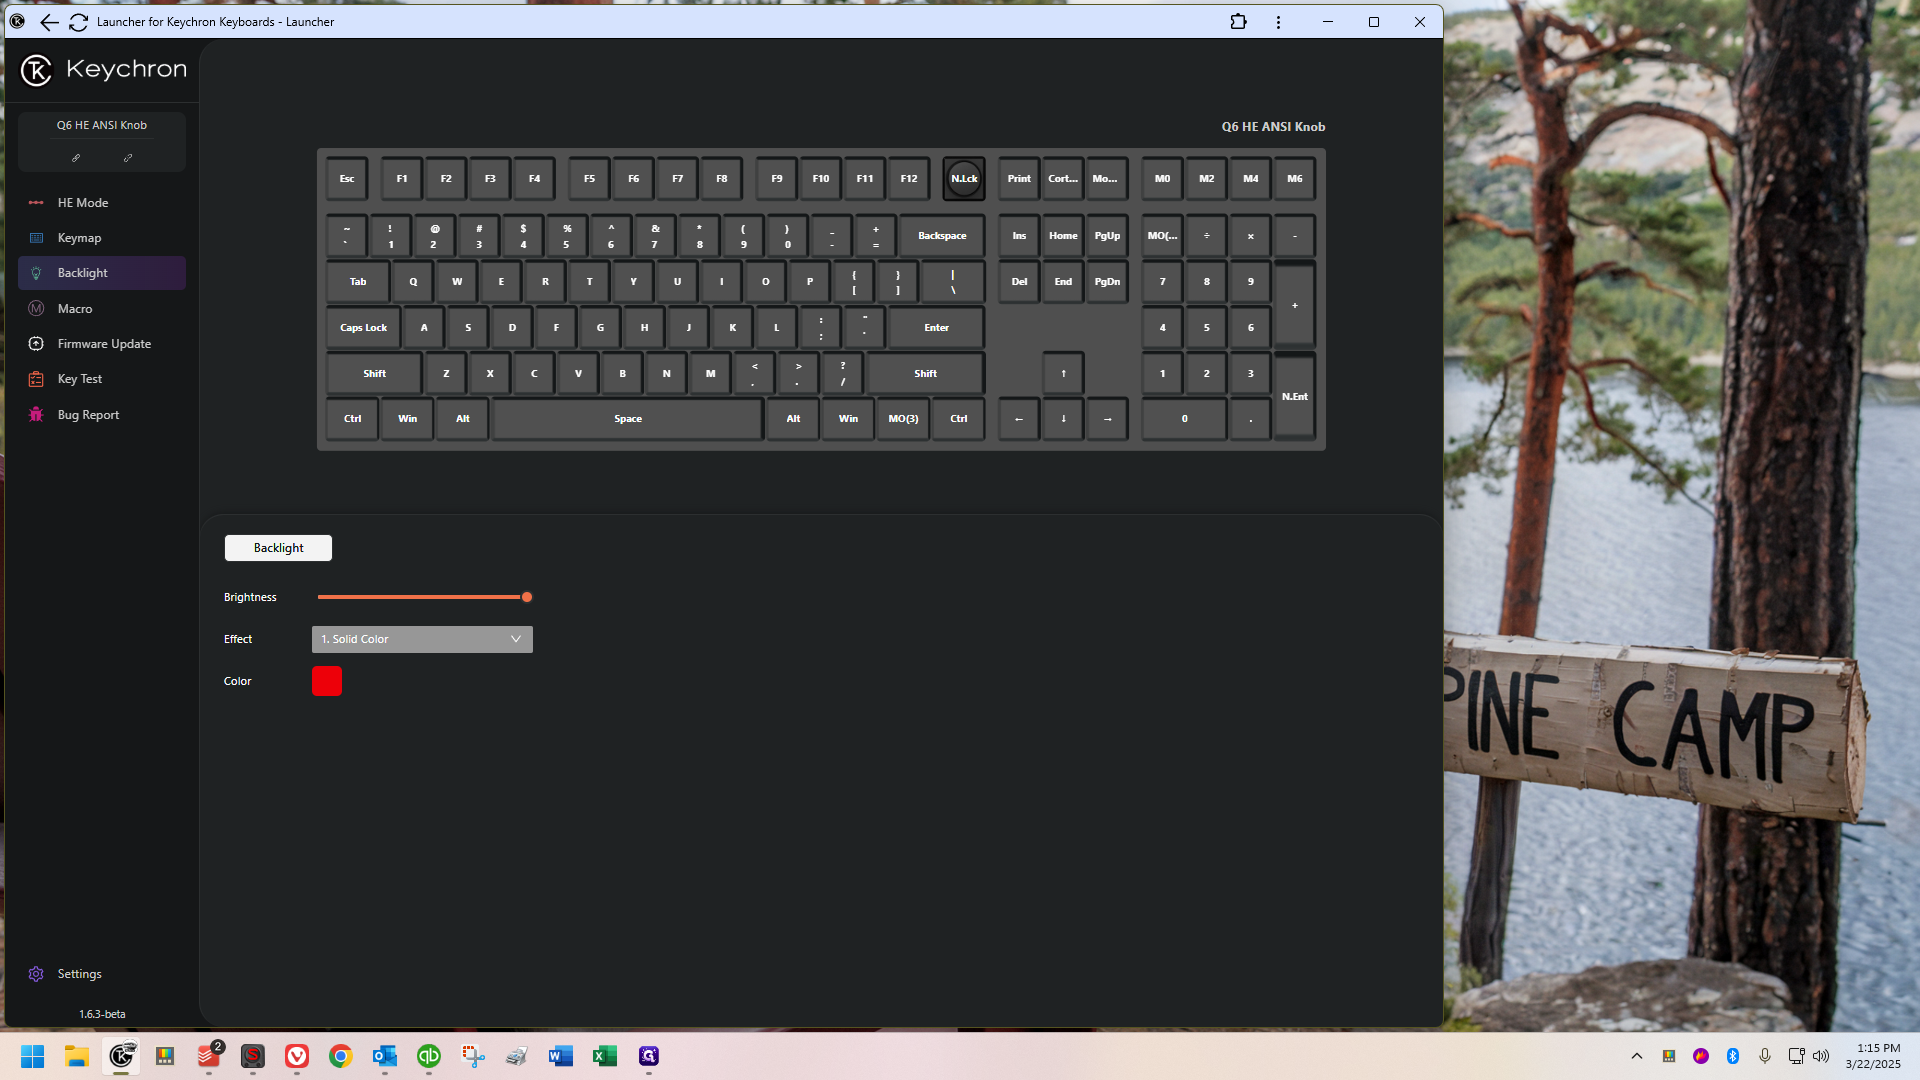
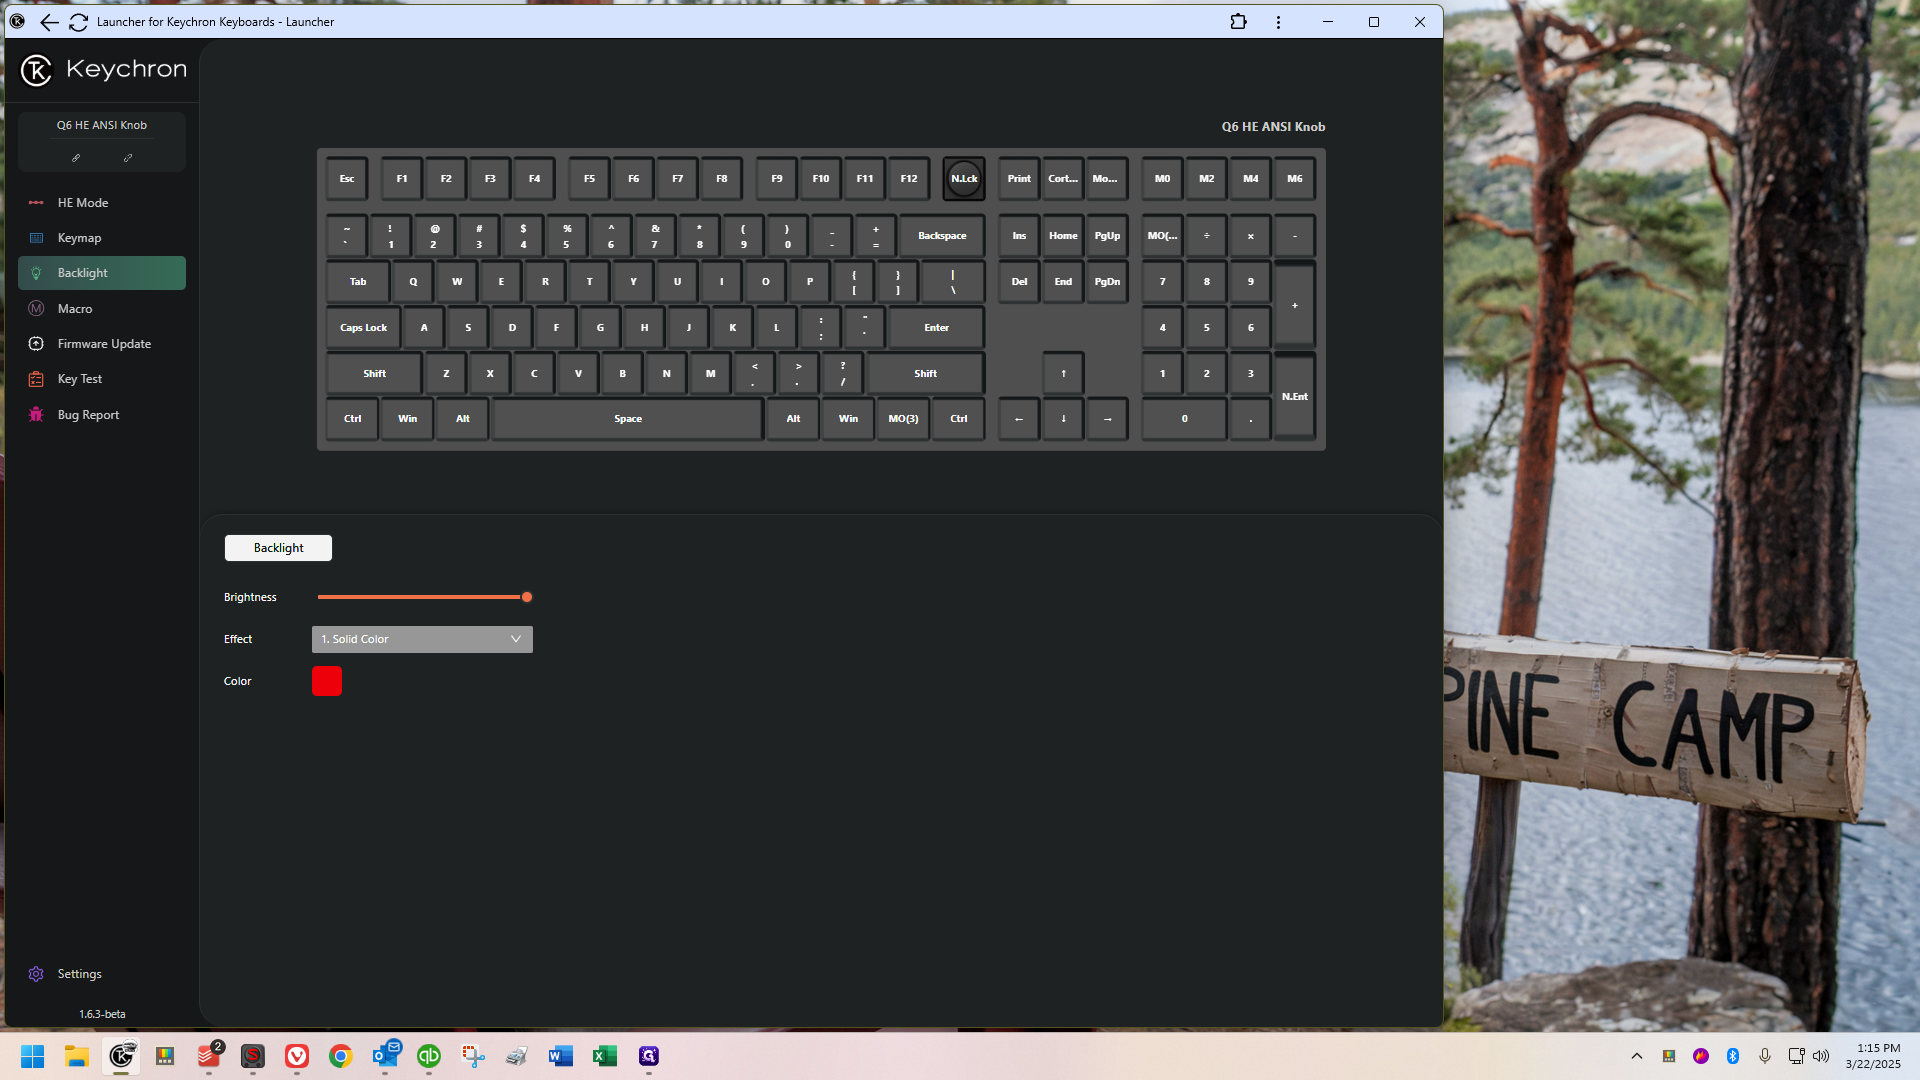
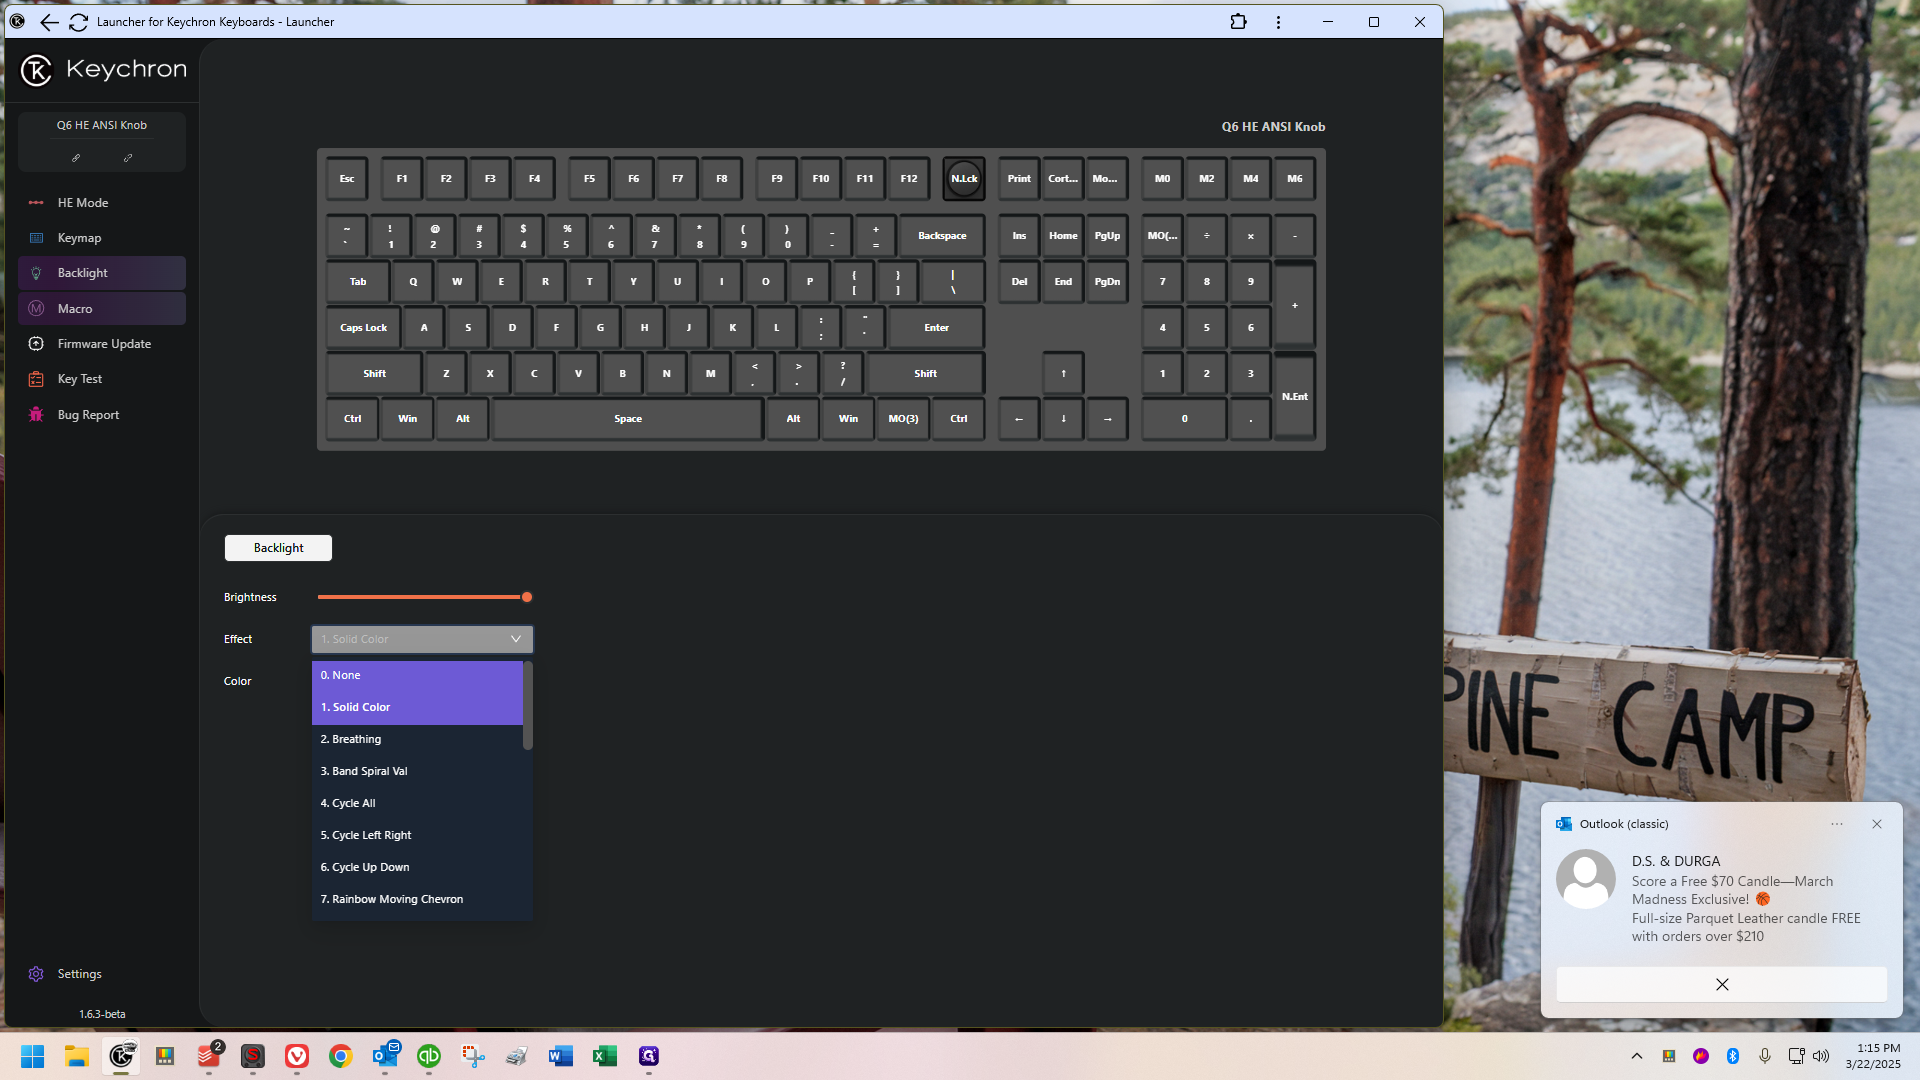
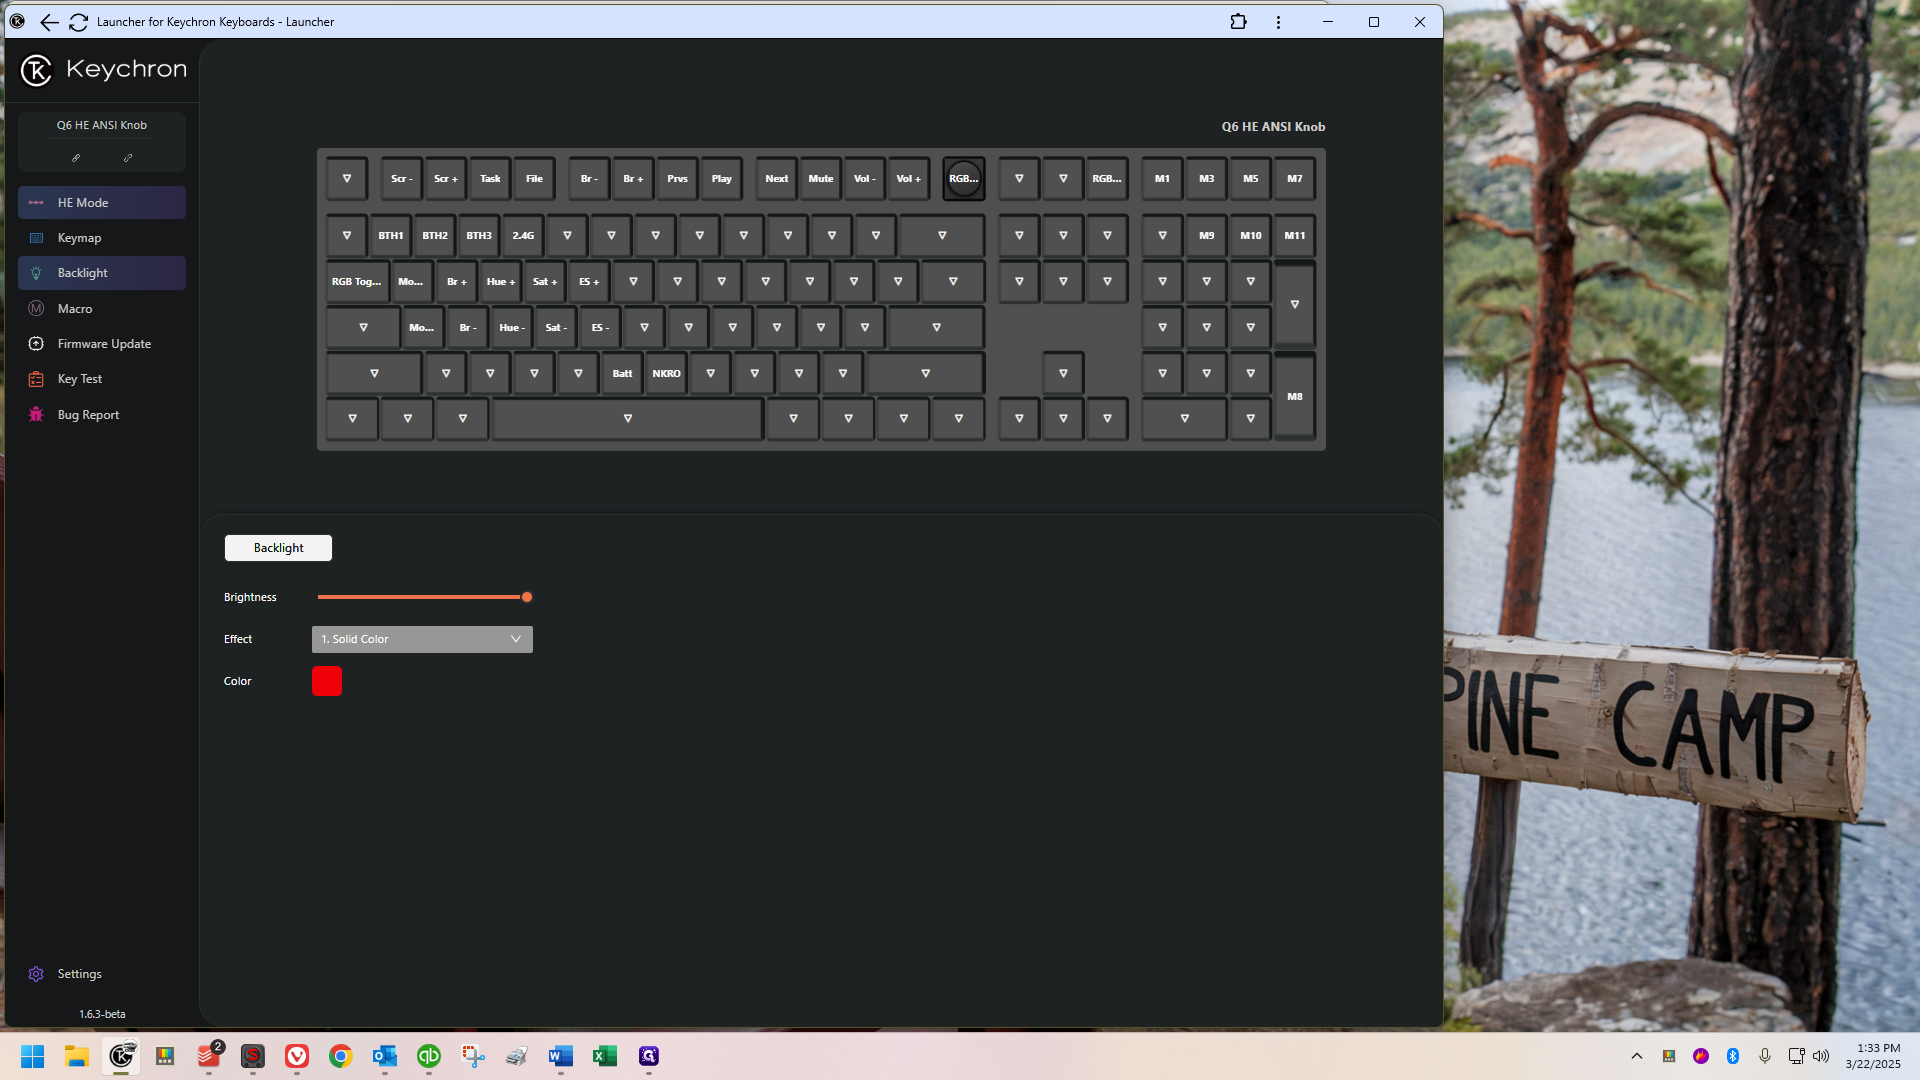
Backlight
I'll quickly show you the backlight options.
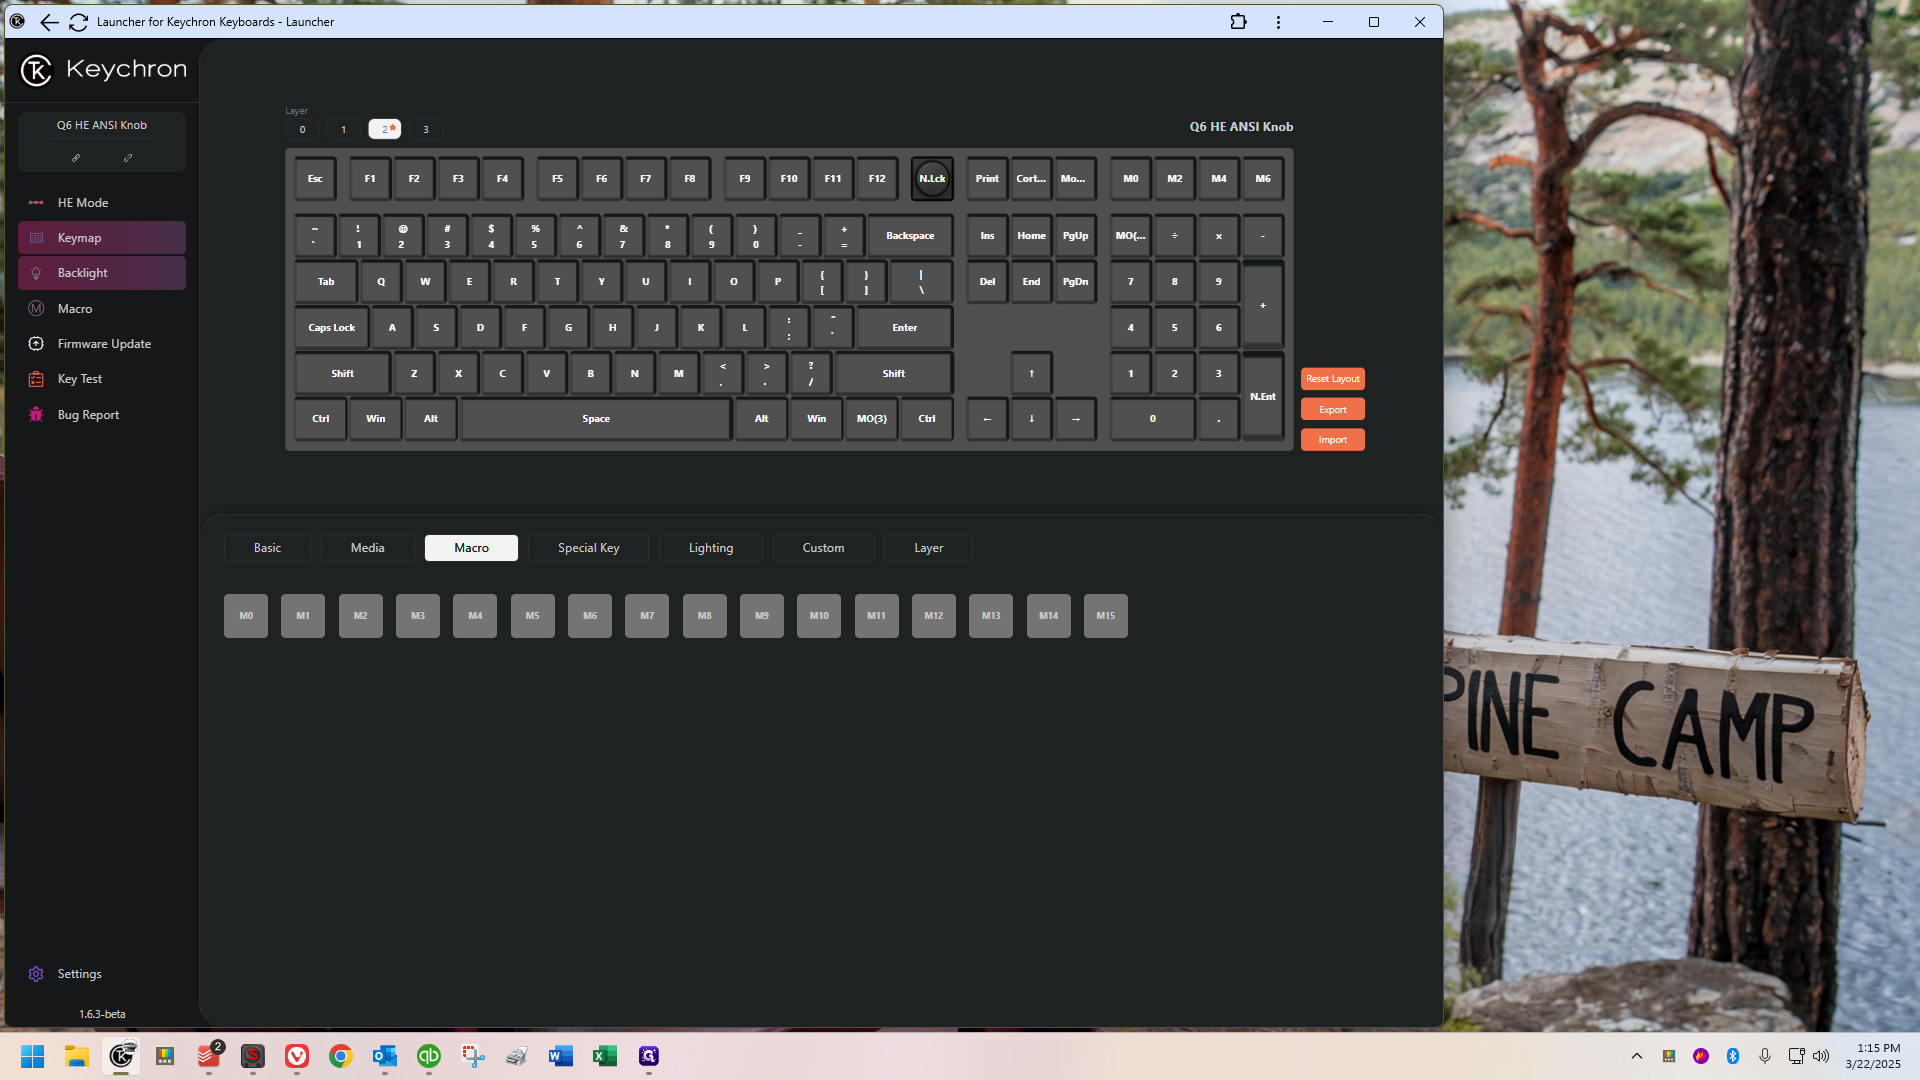
Macros Gone Wild
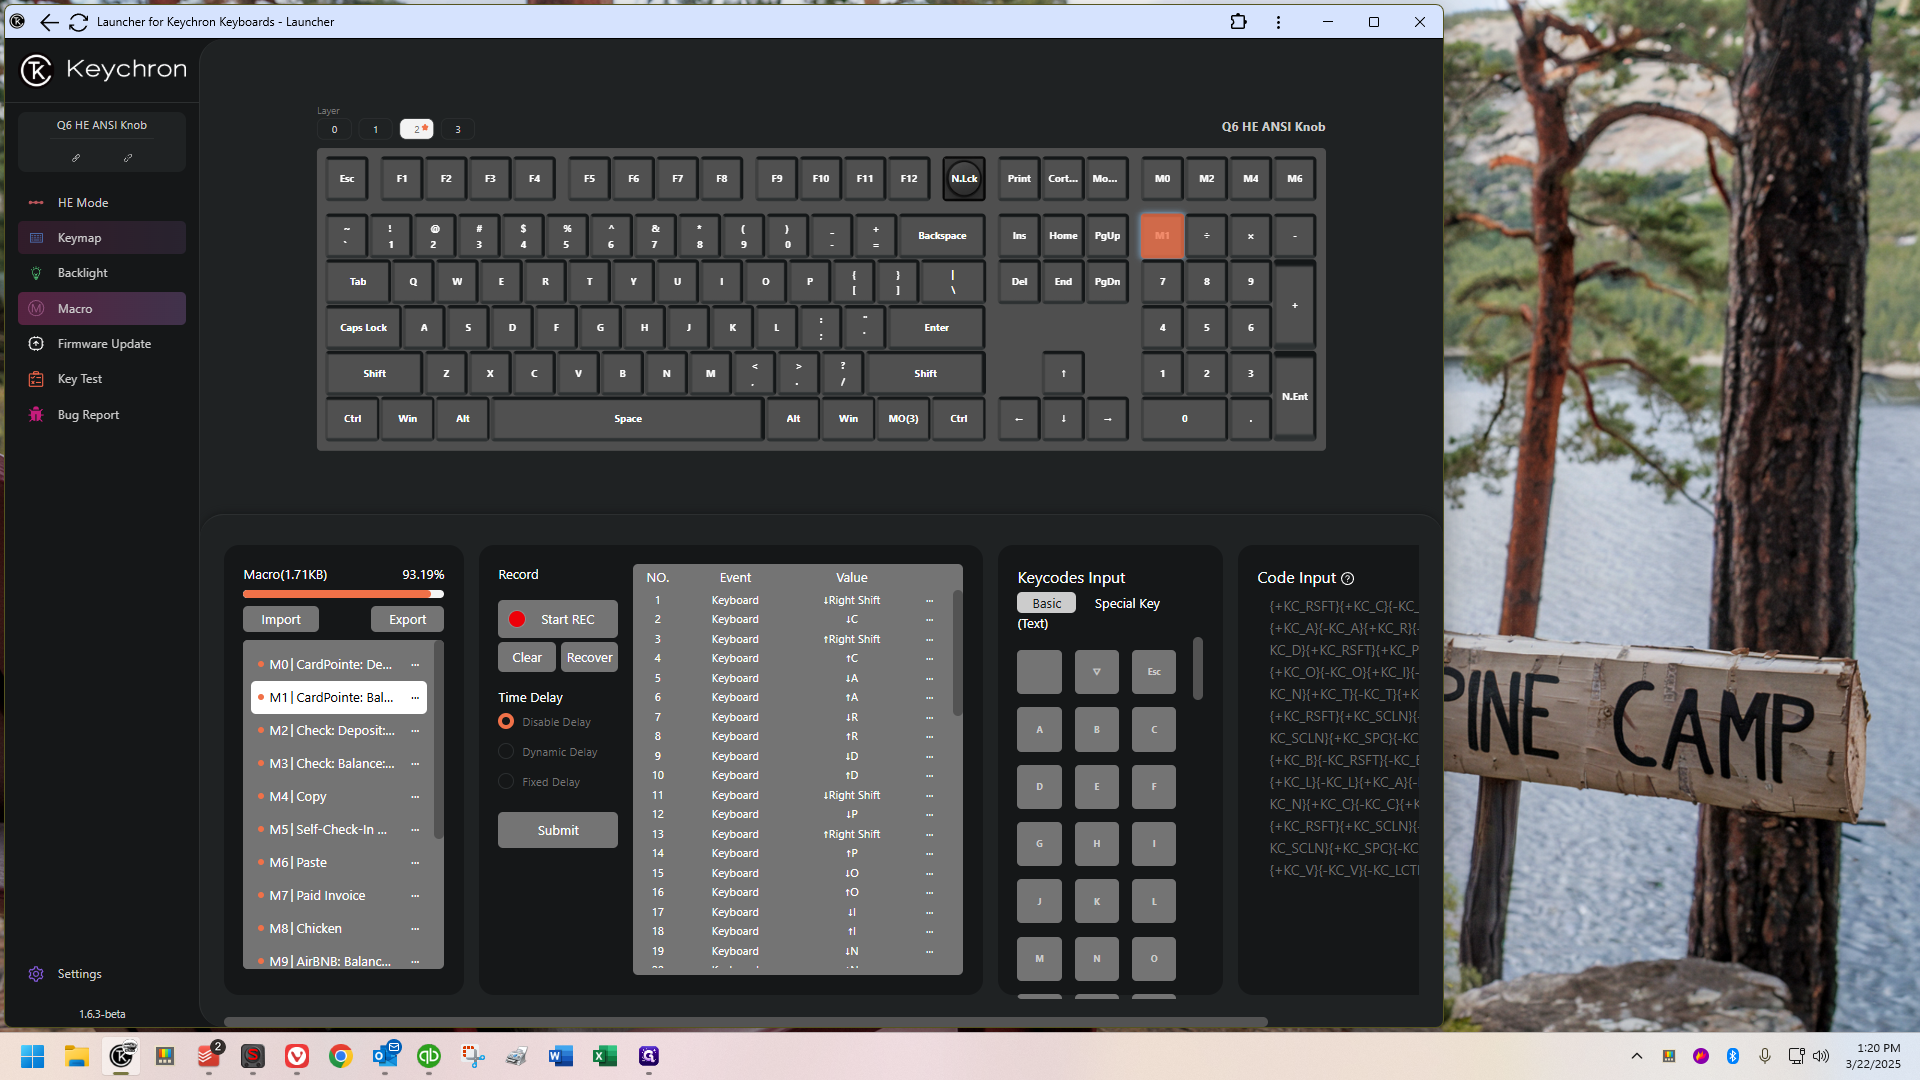
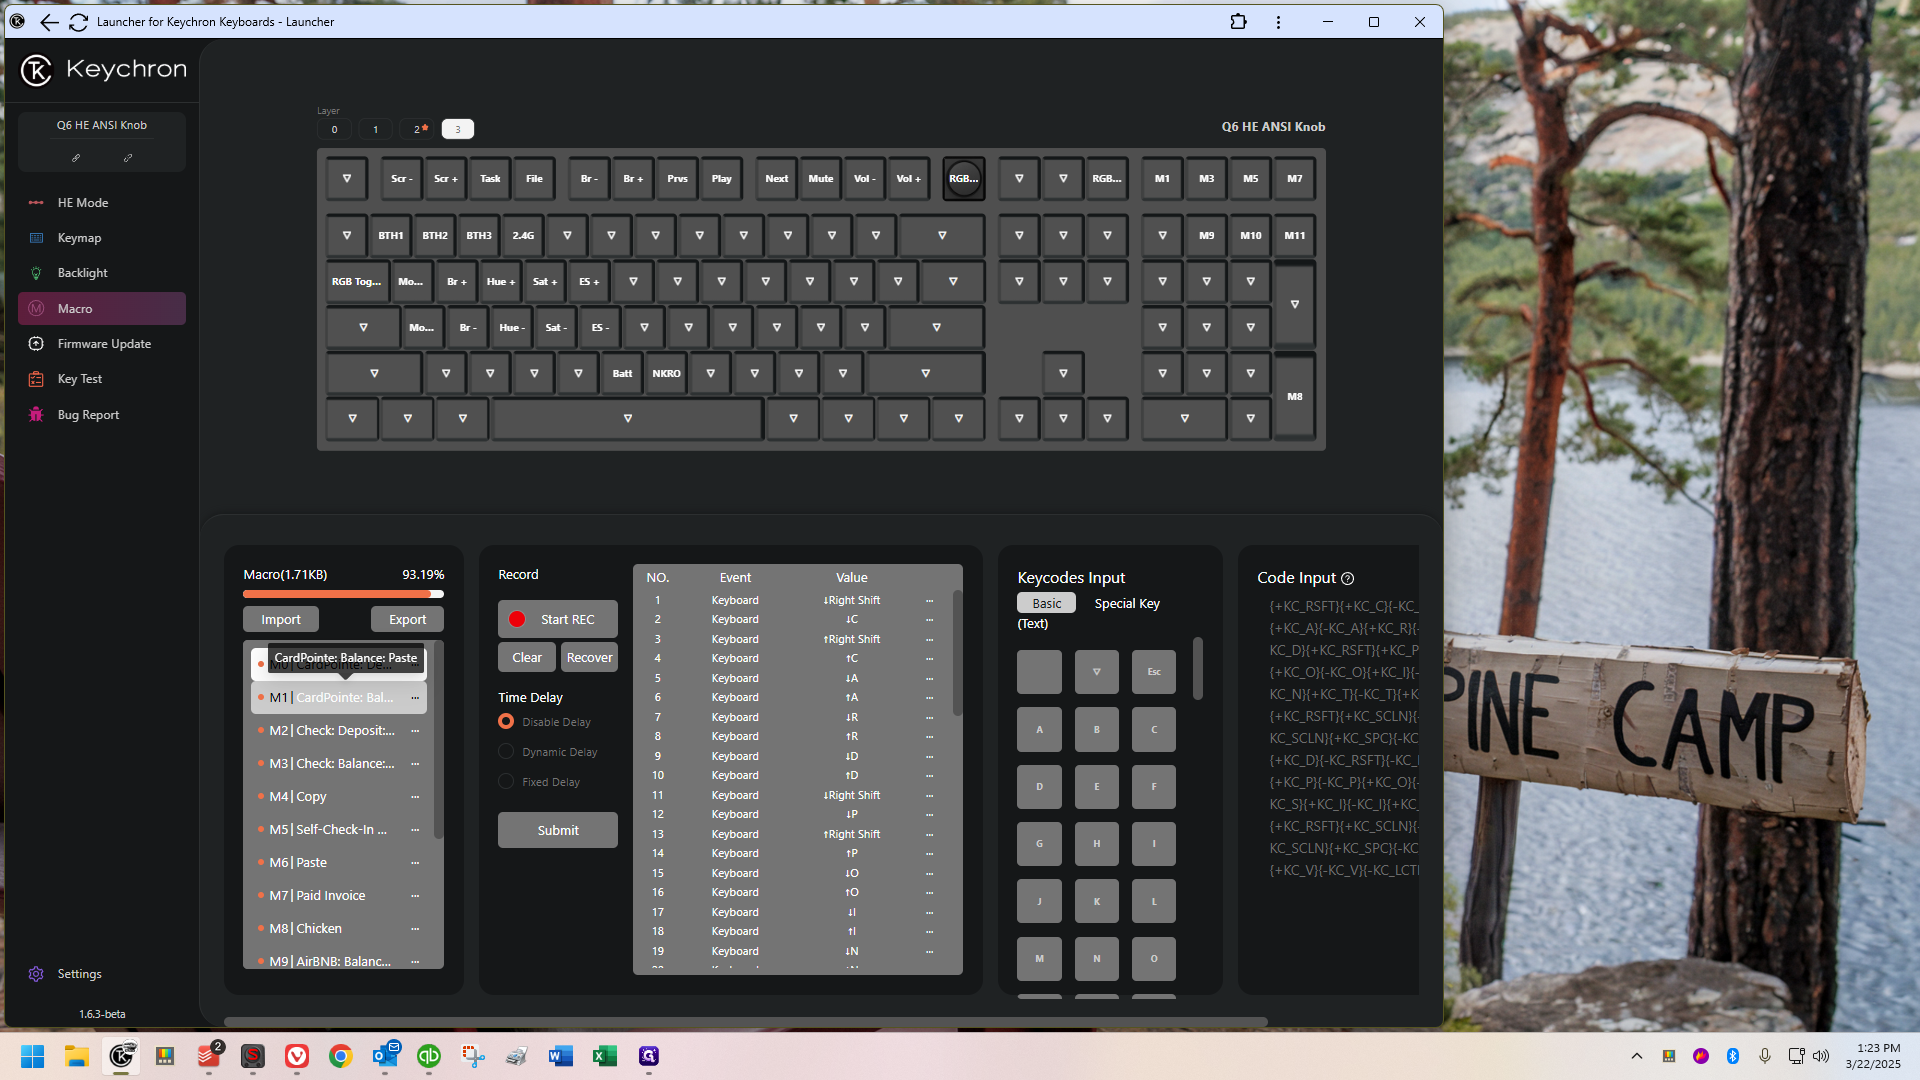
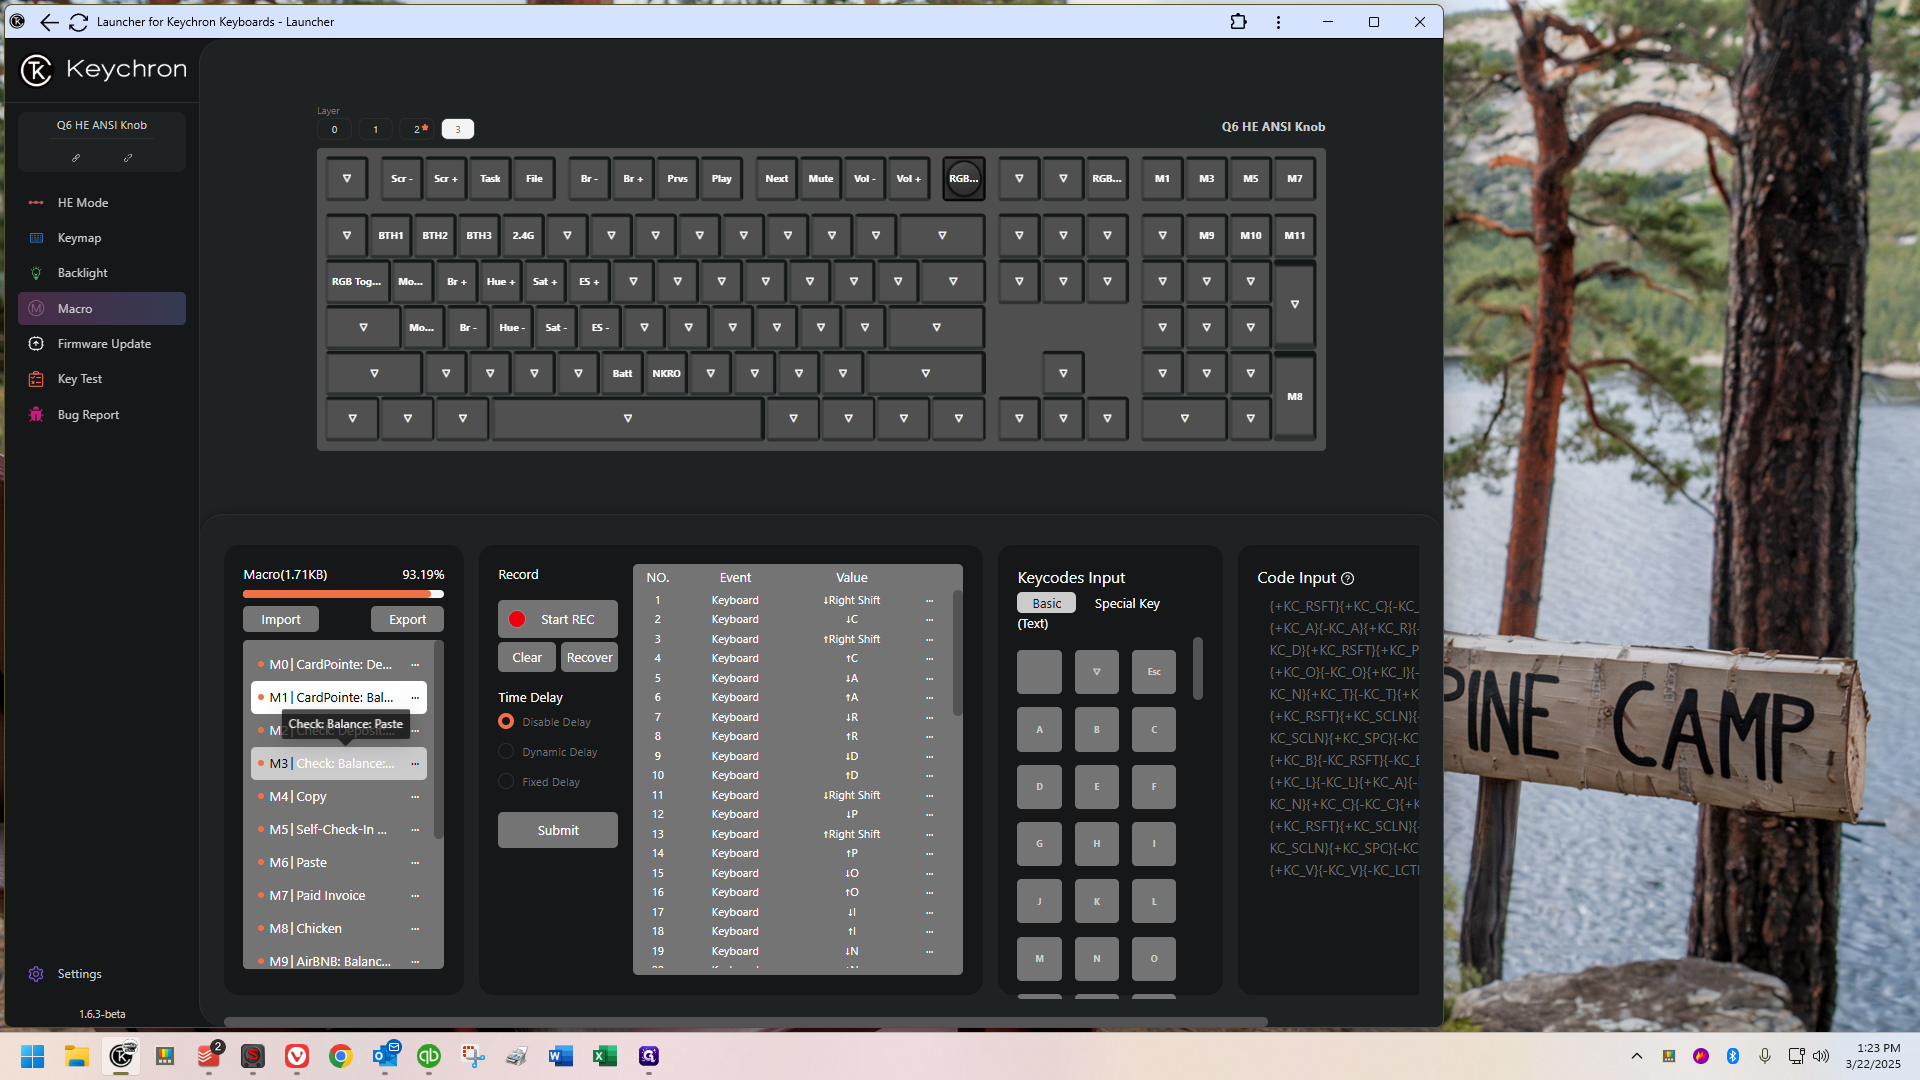
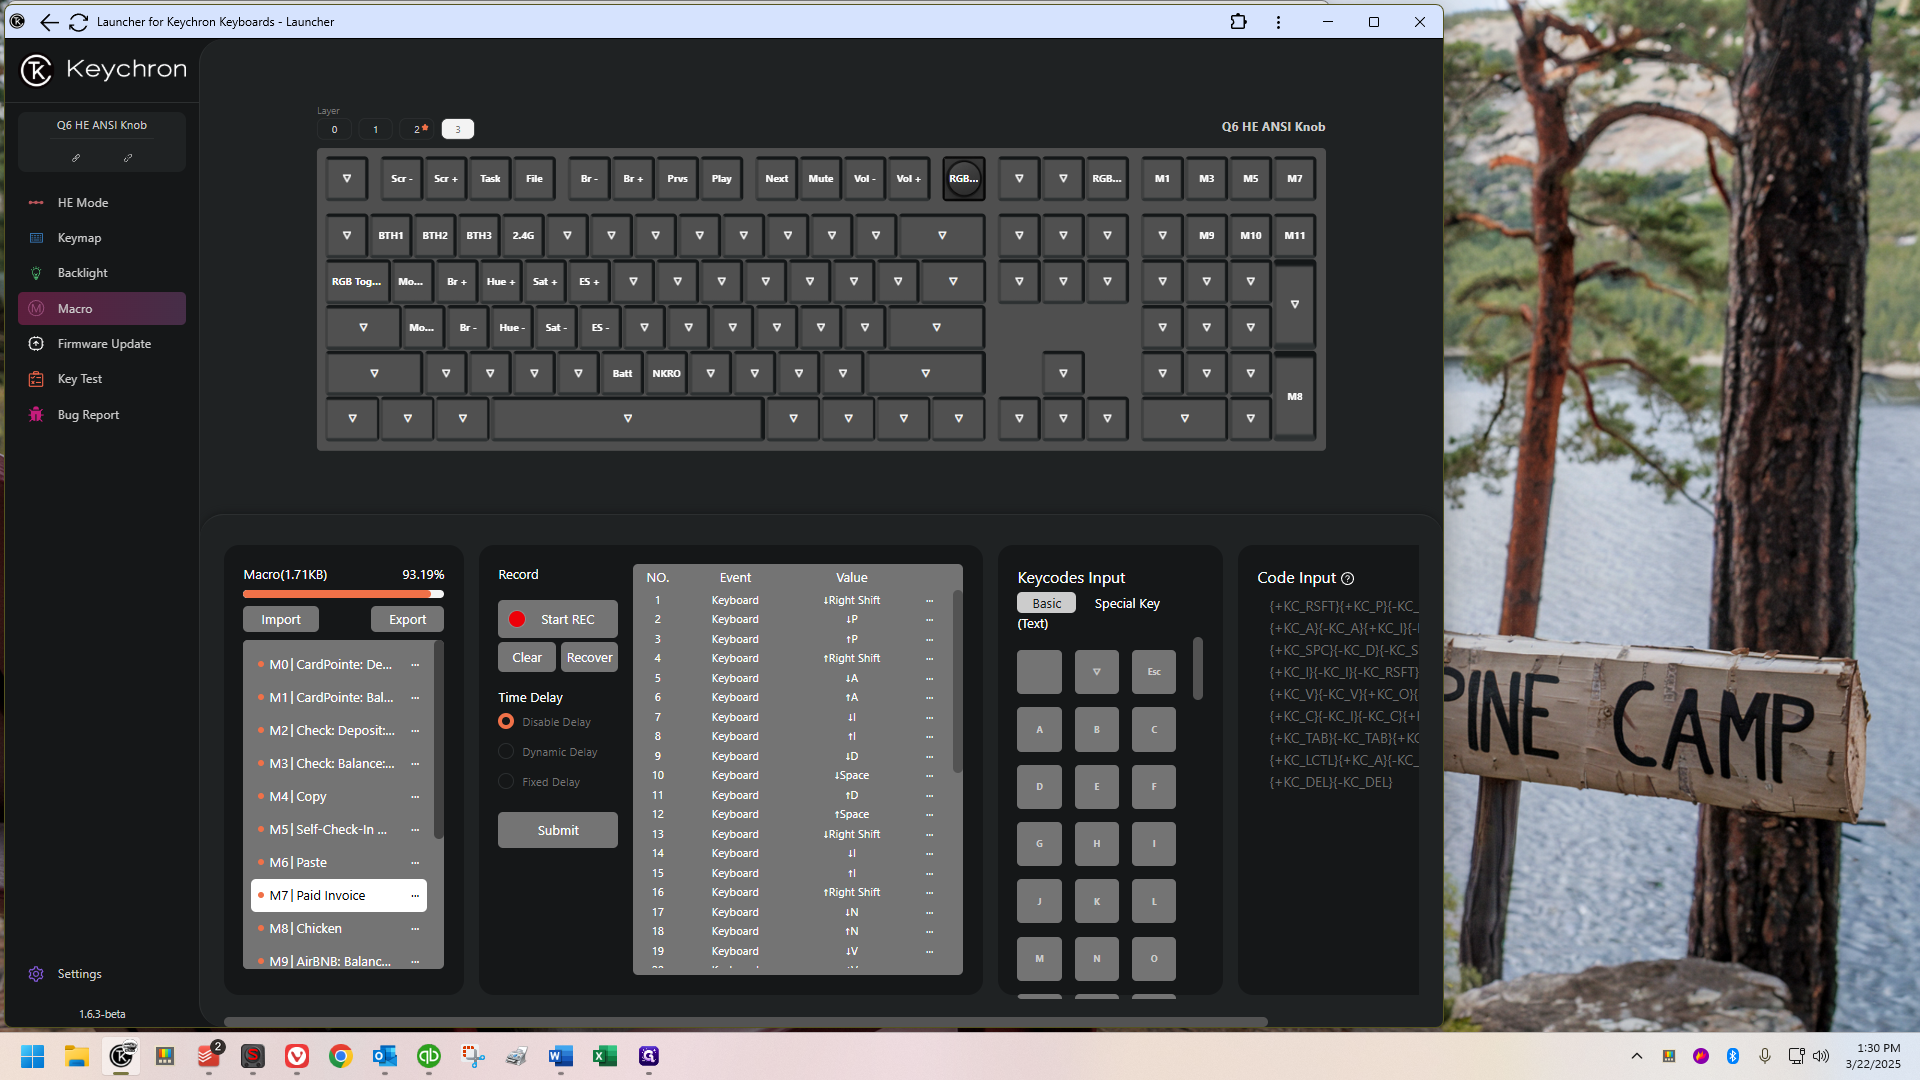
Let me show you the macro screen, as it's the main focus of this guide. These macros save us a lot of time.
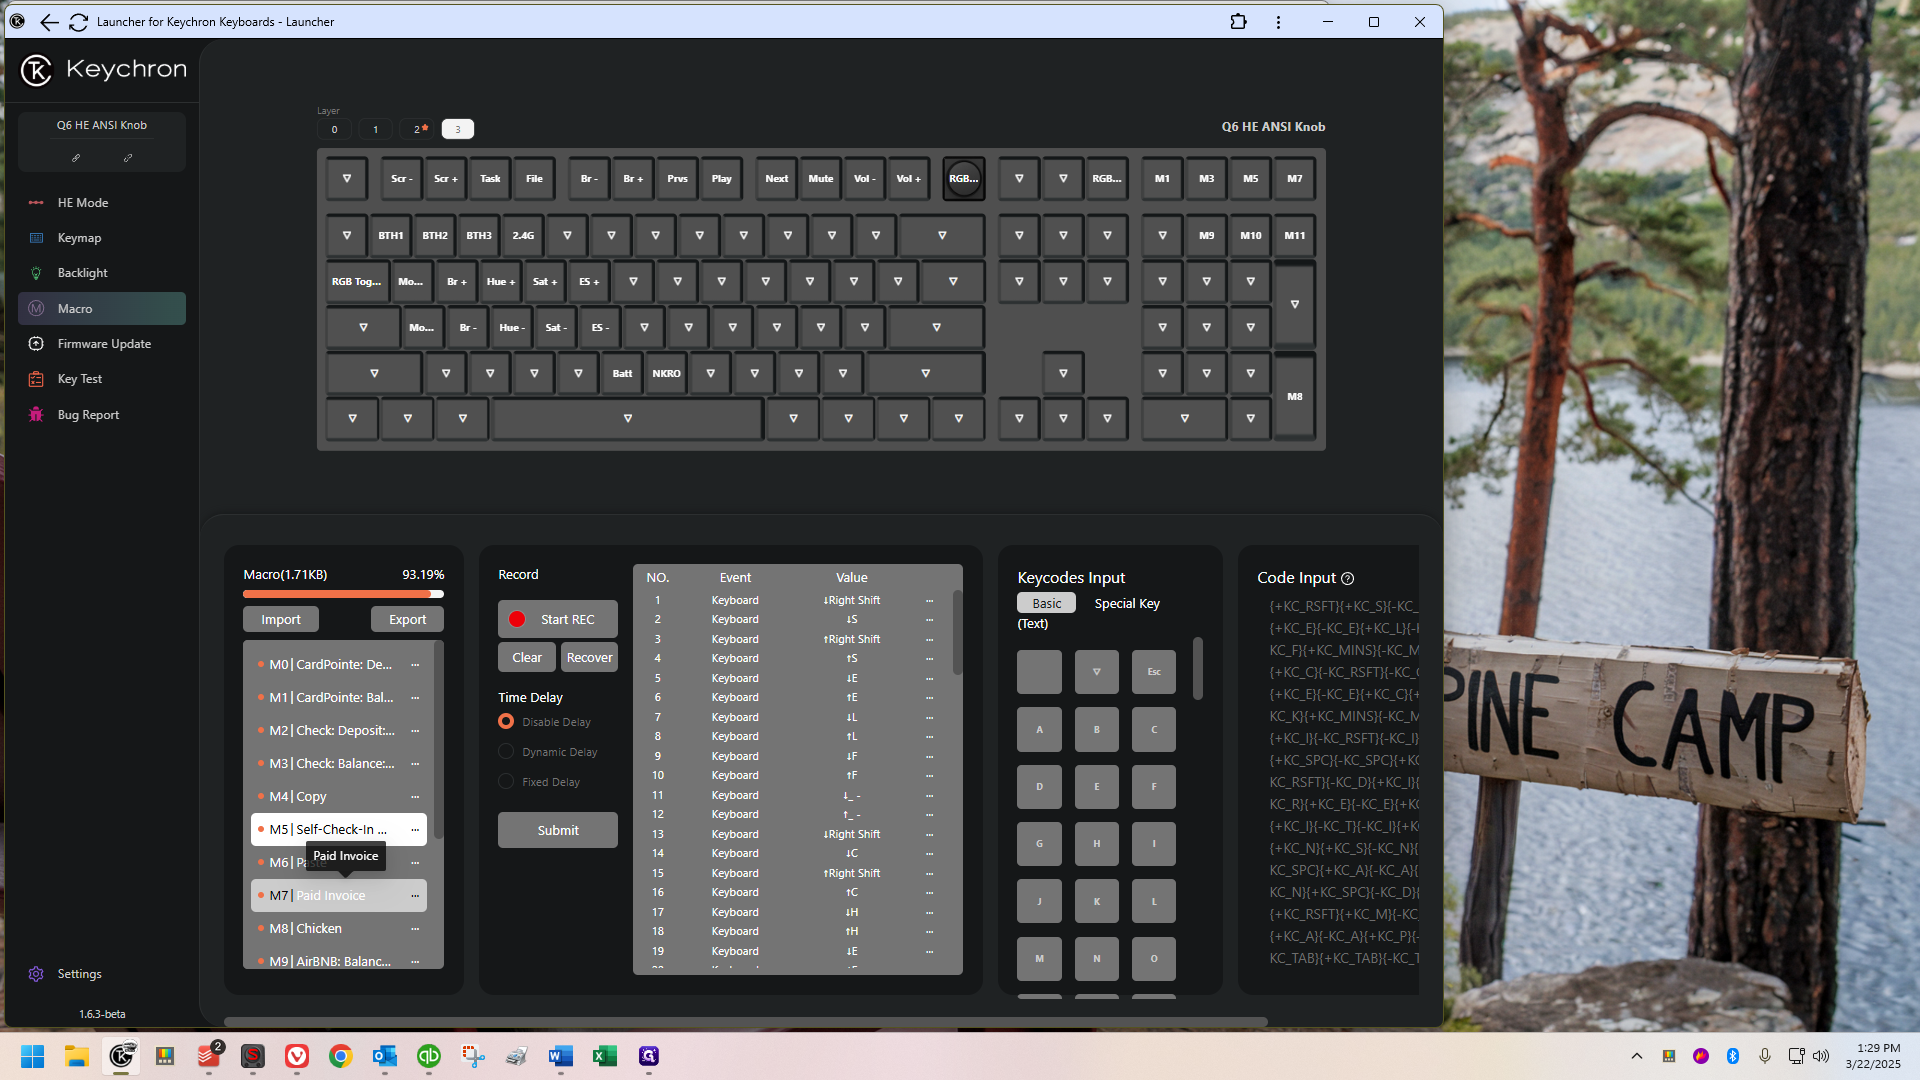
When you enter here, let me show you this. You see how it says 93%?
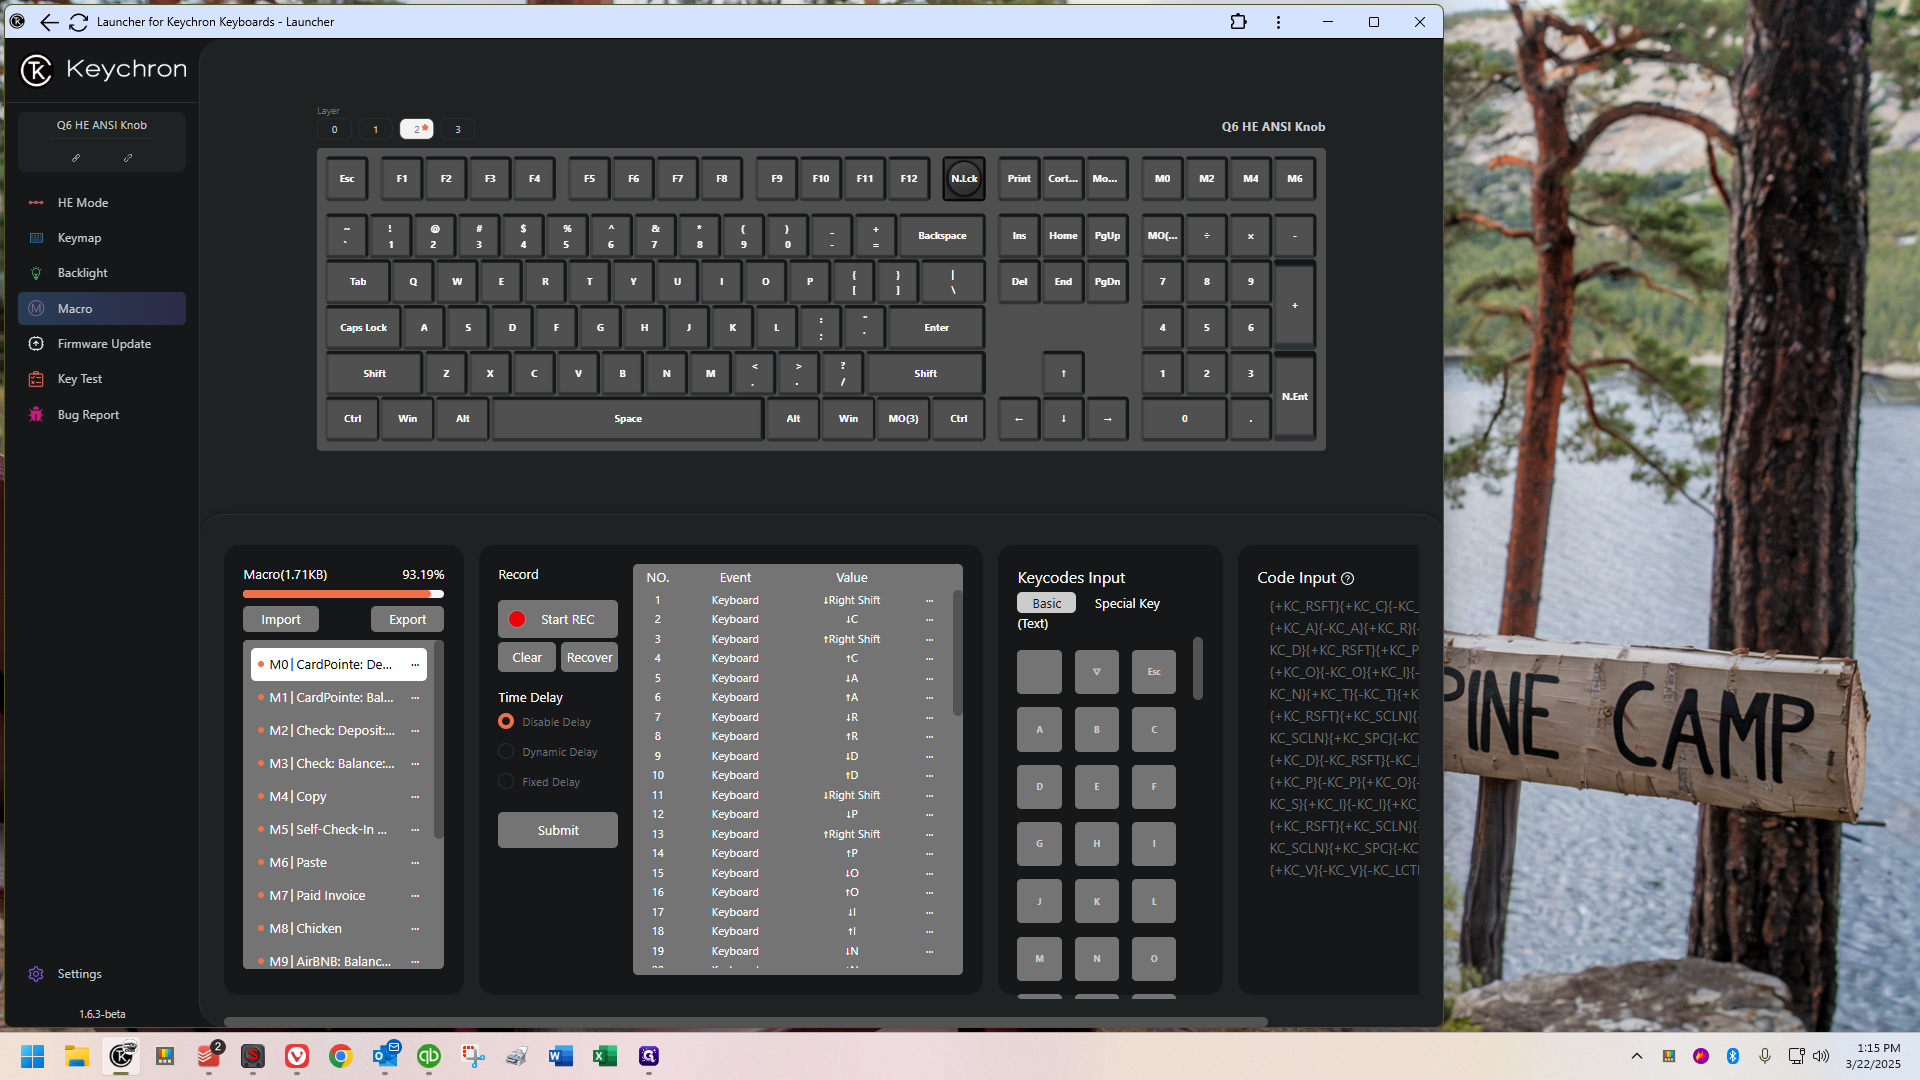
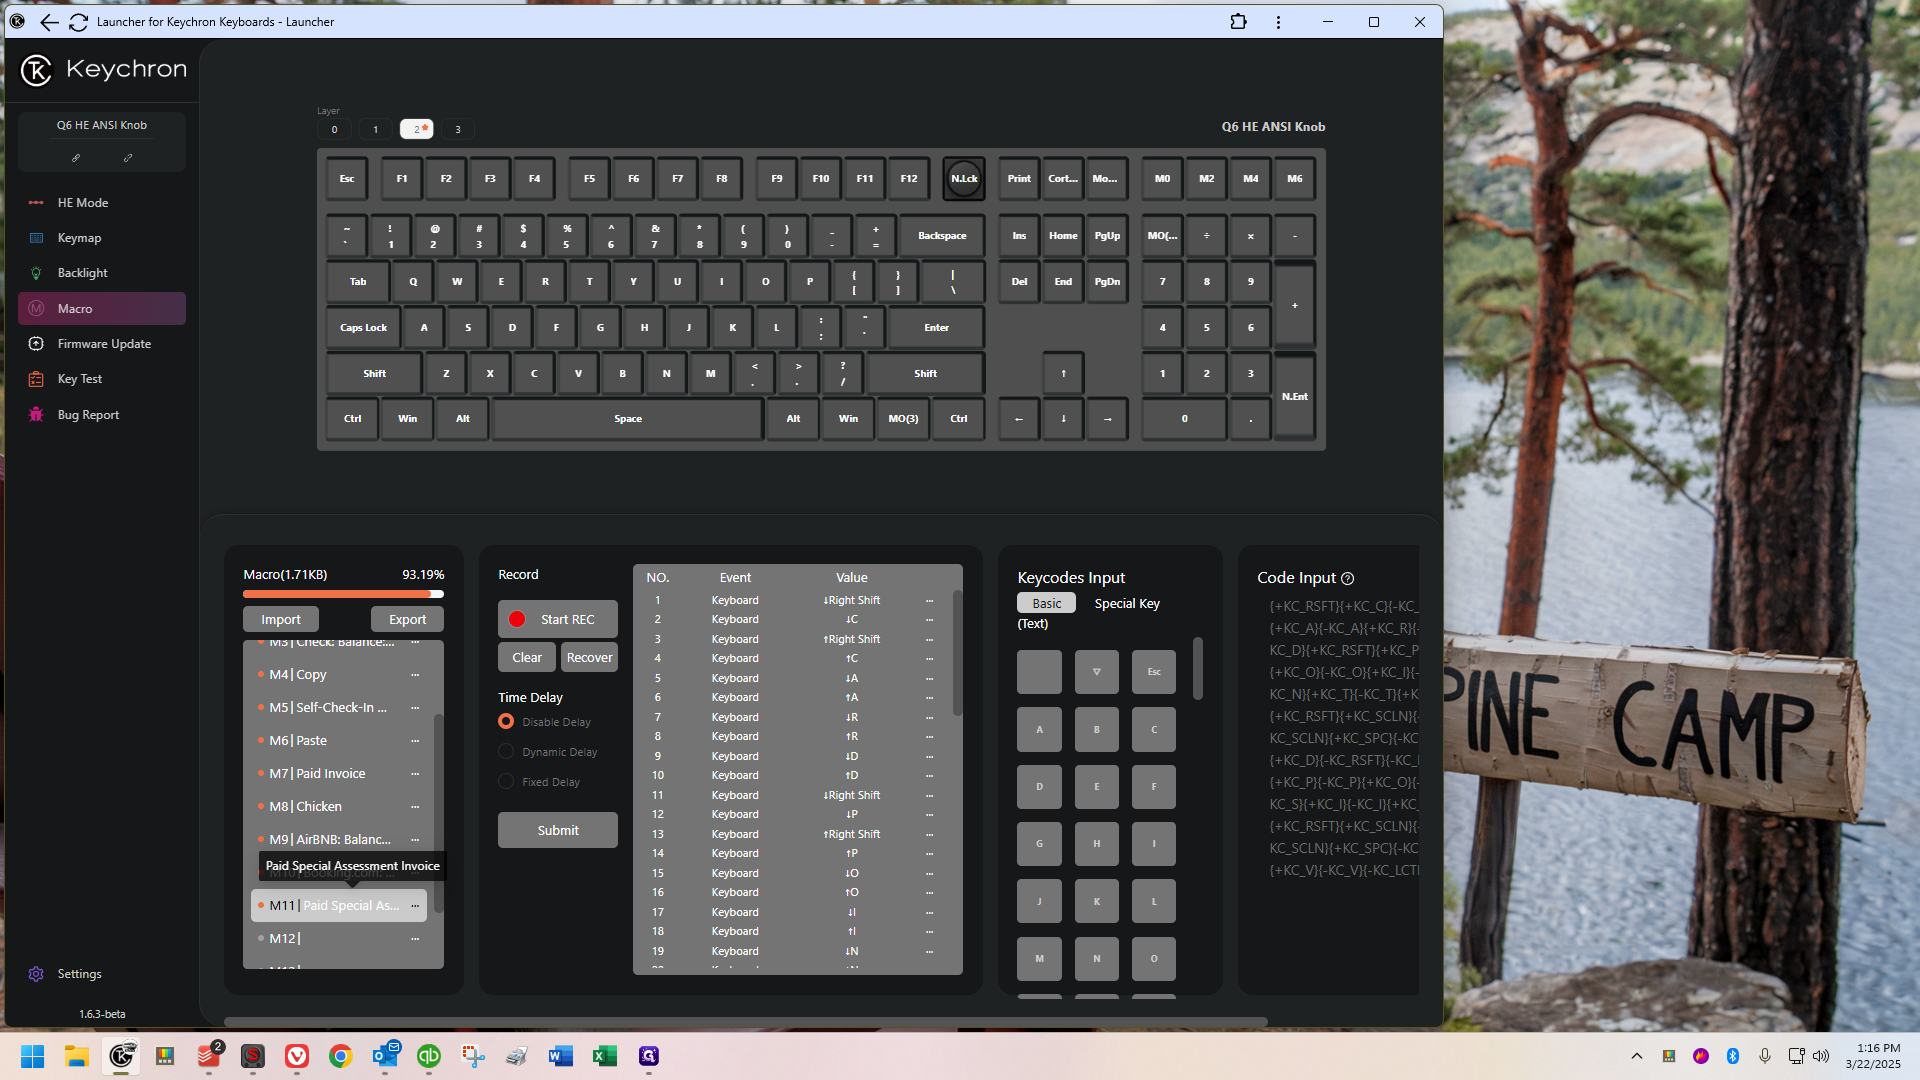
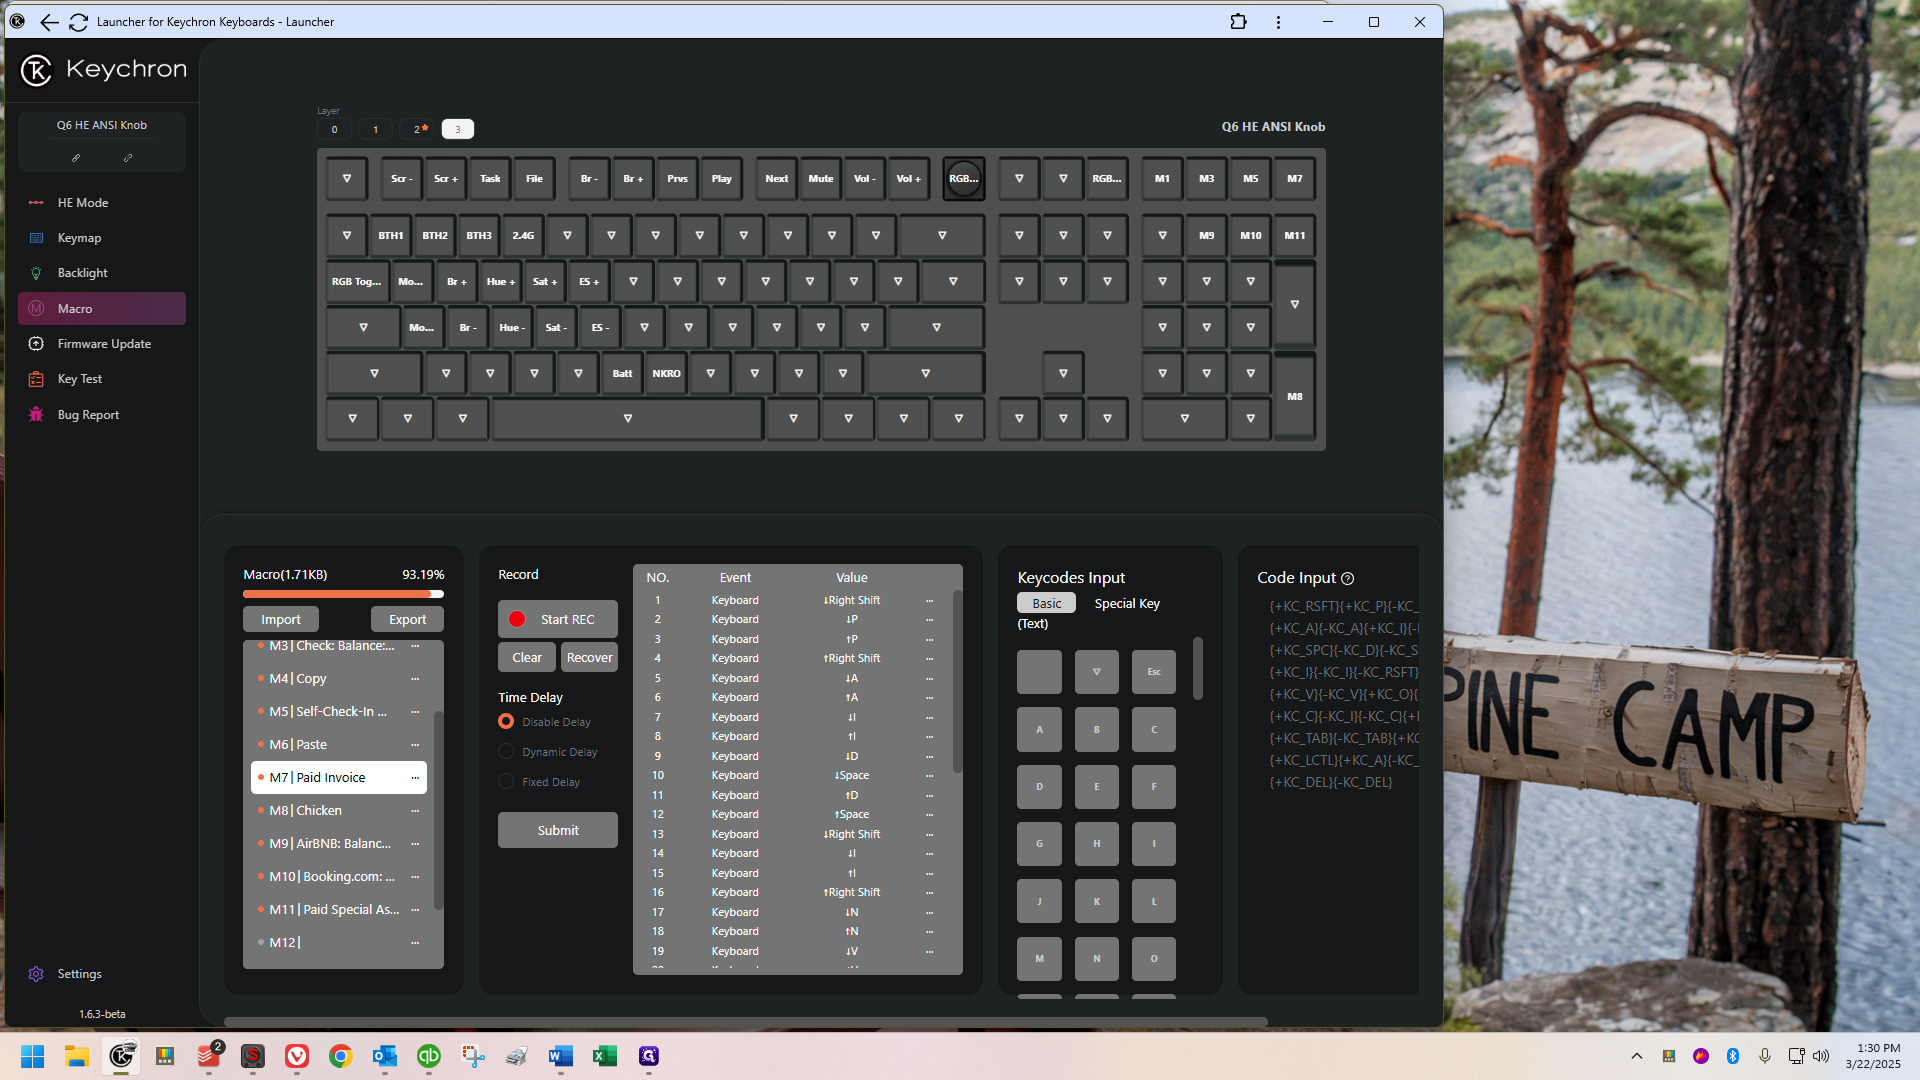
That means there's not much space left in the keyboard's memory. I've used almost all the available macro space, which depends on the text length in each macro. If you scroll down the list, at the time of recording, I have 12 macros, but it goes from M0 through M11.

These macros aren't permanent, though the first few are unlikely to change.
Moving forward, I will emphasize the importance of copy and paste. It's crucial, and to highlight this, I've given you a gift.

Let me click on the key map to show you what it looks like on the keyboard.


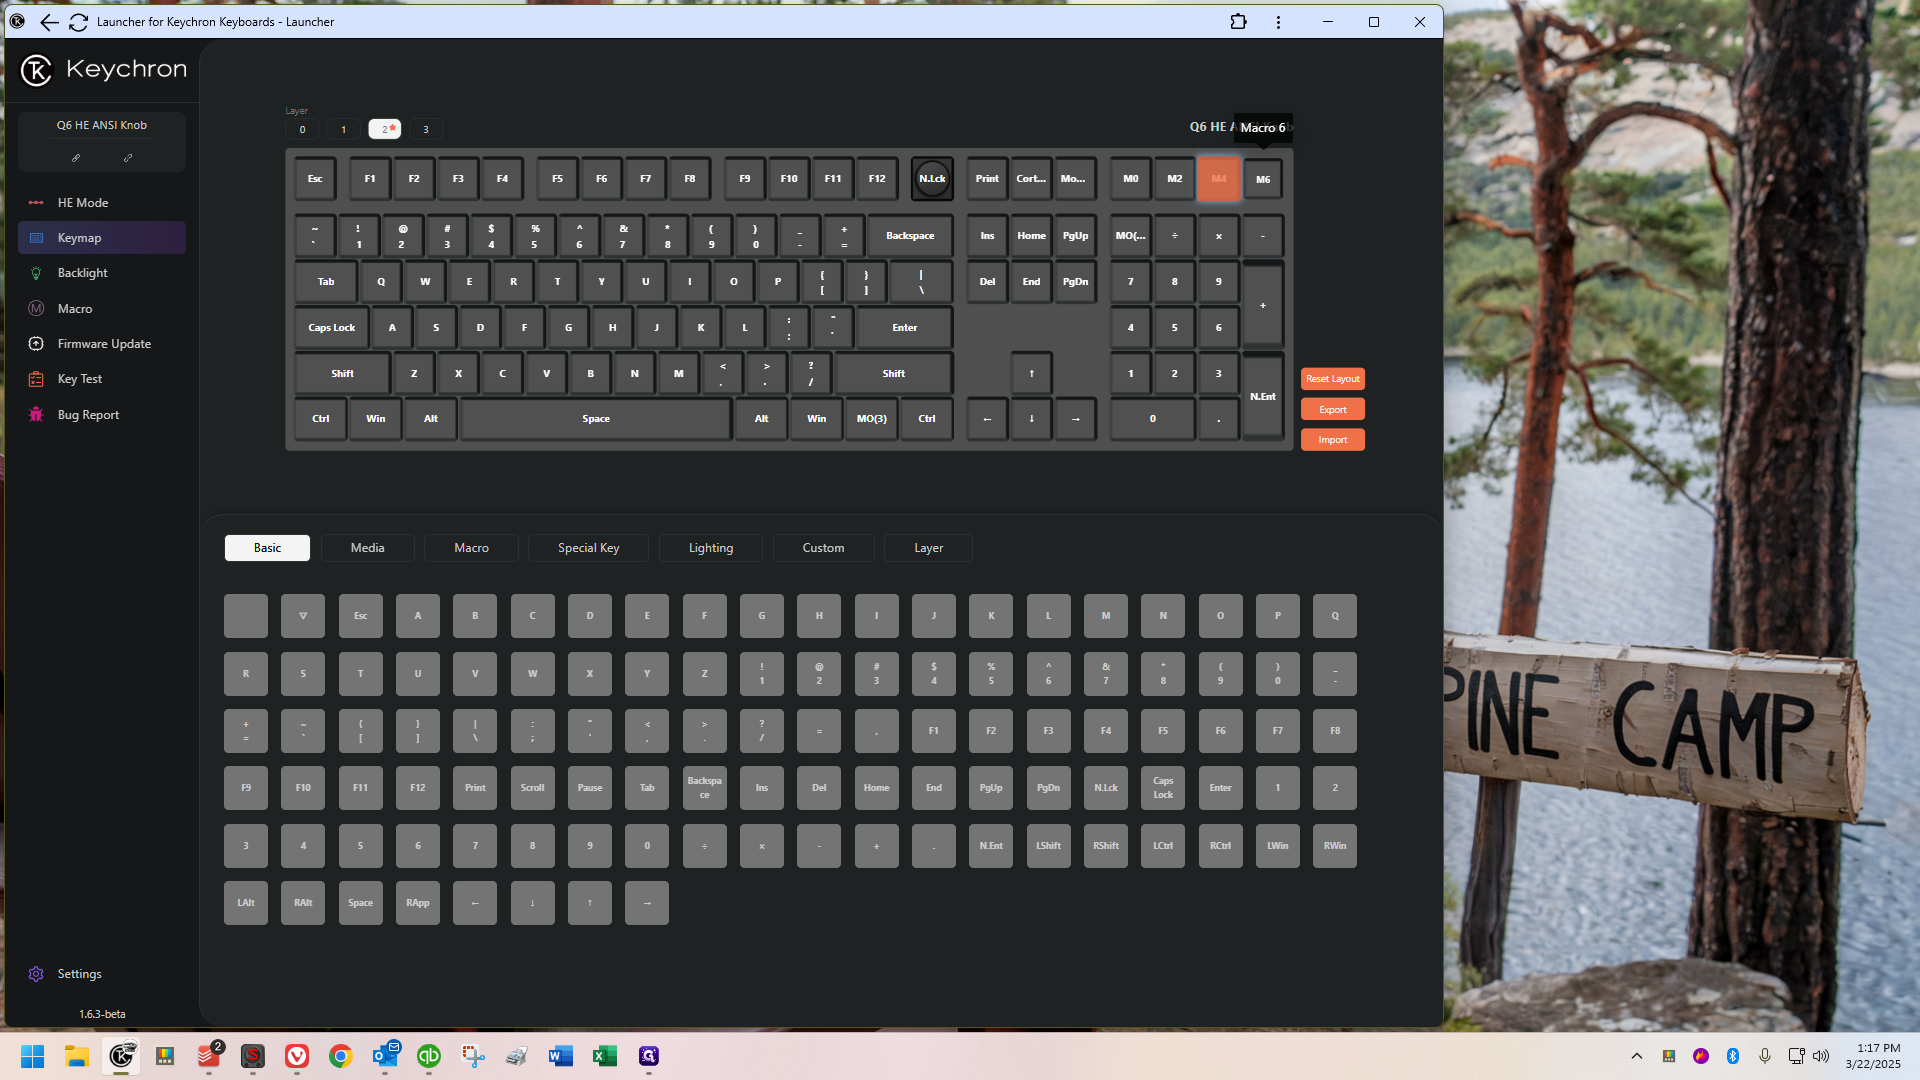
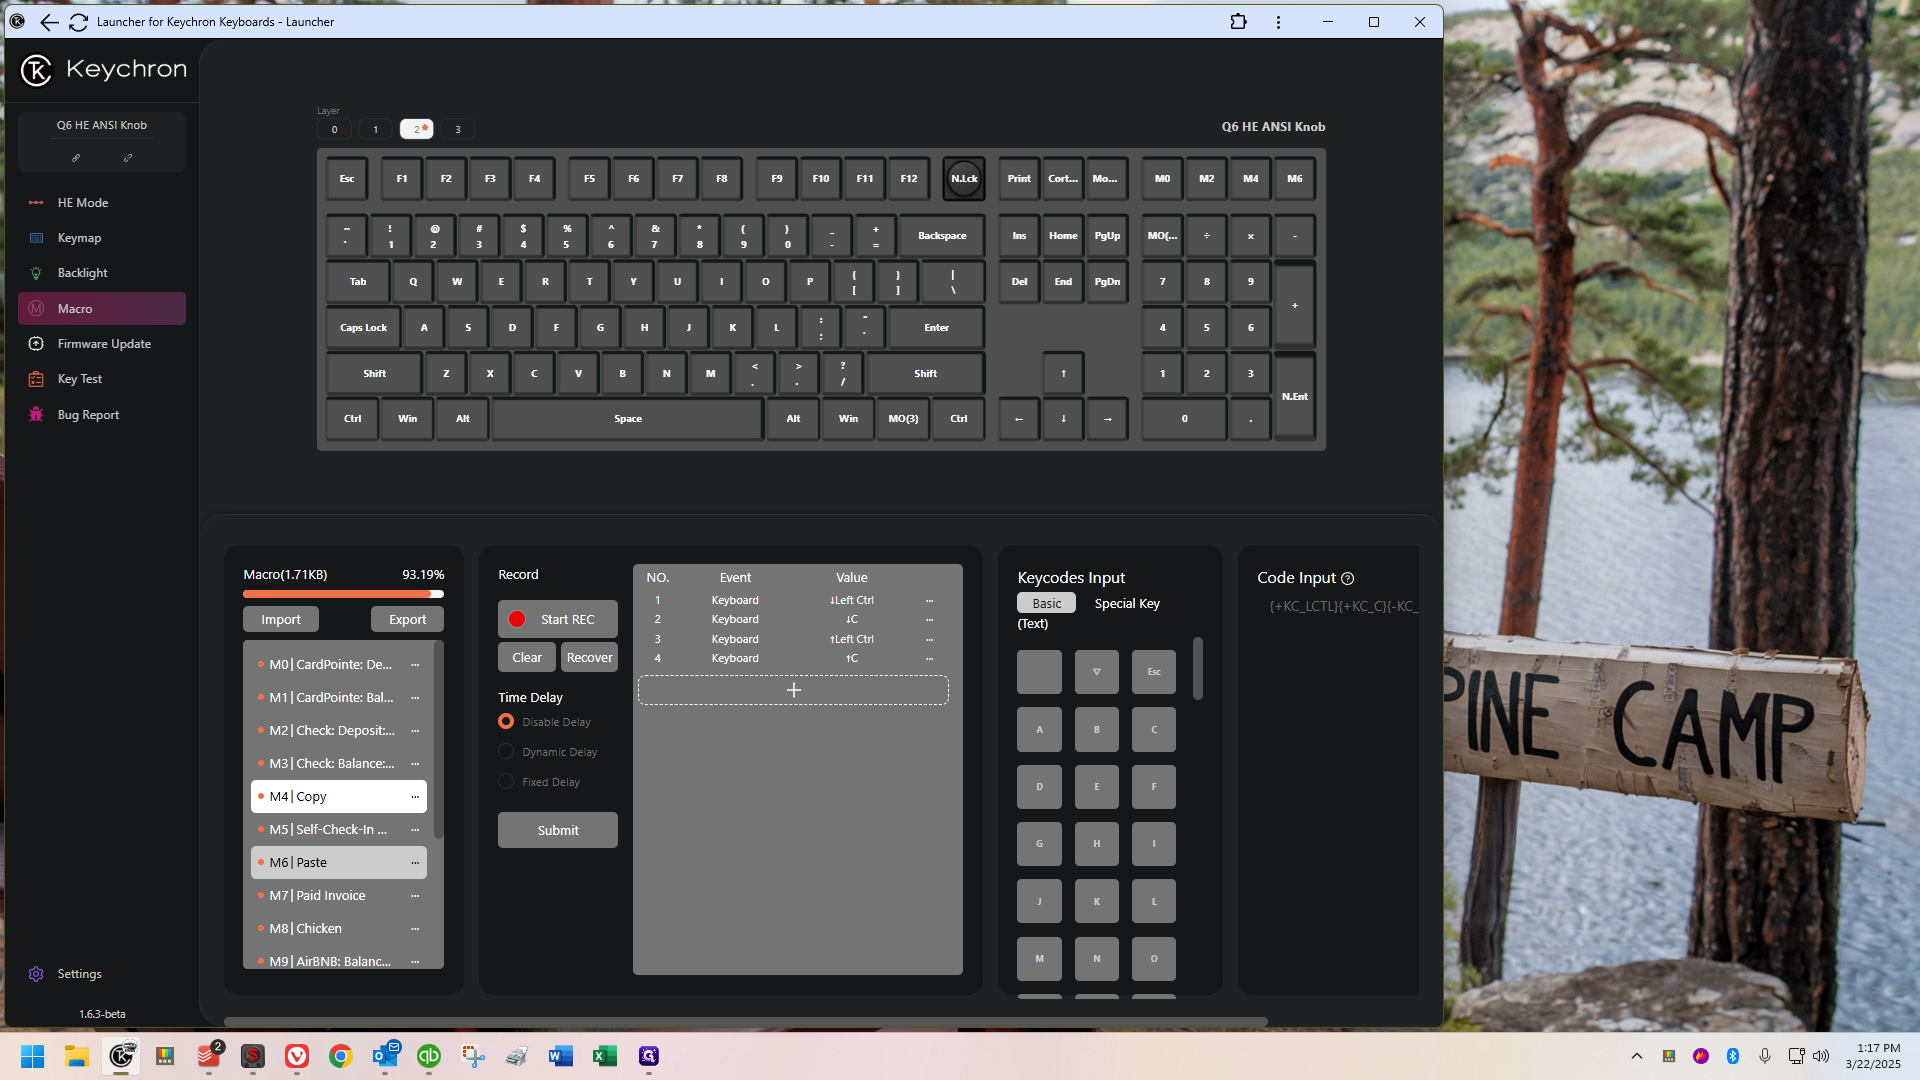
I don't know what everyone does for copy and paste. Personally, I use keyboard shortcuts exclusively, often mapped to a button or a combination of buttons on my mouse. But then I thought, why not make the top two buttons, farthest to the right of the keyboard, macros to copy and paste?
Those two buttons are simply for copying and pasting. Our simplest macros, but arguably, our most important ones, if they help someone to begin copy/pasting in general.
Layers (Wizardry Intensifies...)
Let's talk about layers for just a moment. and how a 2nd one is activated by holding down one of two different keys on the keyboard.
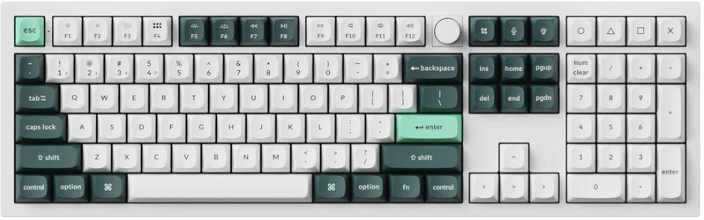
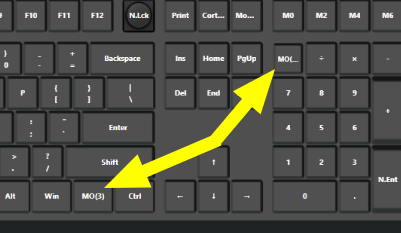
If you look at your keyboard, there is an actual button. labeled FN which stands for function. That key is two. No three keys to the right of the space bar. And what I did is I actually set the num clear button, which. originally would turn num lock on or off thus enabling or disabling the use of the number pad. to do the same thing as the function button. The reason that I did that is because it's very easy to. utilize the second layer of those dedicated macro keys on the top right of the keyboard with just one hand. Try it out and you'll see what I mean, but it's a lot harder to hold down with just one hand. The function key and then hit those keys in the upper right corner and it is much easier to use the num key as our modifier key.
And Justice to kind of set the record straight on what I mean by that term, if it's. helpful you can think about what happens when you hold down the shift key on your keyboard. shift is a modifier key itself. And what shift does is capitalizes whatever letter you press down while you're holding it, and that is. its mechanism of modification. Likewise. the function button. activates another layer. but instead of that second layer just being the capitalization of whatever letter you press, it can be any number of different functions. including macros.
Other modifier keys include control, alt, and the "super" or "meta" key, which is a Windows key in our case. These are typically used in conjunction with other keys for various things, like keyboard shortcuts, for example, and I'm just trying to be very clear about what that terminology means.
So - what I have done is I have remapped, using this software, the number pad key, turning it into a modifier key and it specifically is doing the same exact thing that the fn button.
Quick example of how to remap keys.
Oops. I deleted the series of images leading to this transgression, but I goofed up and. changed that key mapping for the number pad key. So what I'm going to do now is show you how to change it back into the modifier key discussed above.

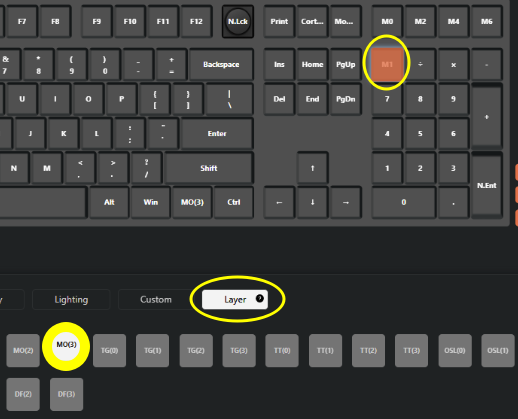
Now click on this button, which is the number pad key.
If you look at the keyboard itself, it says "num clear," not M 1. As mentioned, normally, it functions as your num lock, controlling whether you can use your number pad. Just to clarify, I switched that button entirely, so if you press the knob on your keyboard, that's your num lock.

The Num Lock key is going to be performing the same function as the fn key shown below.

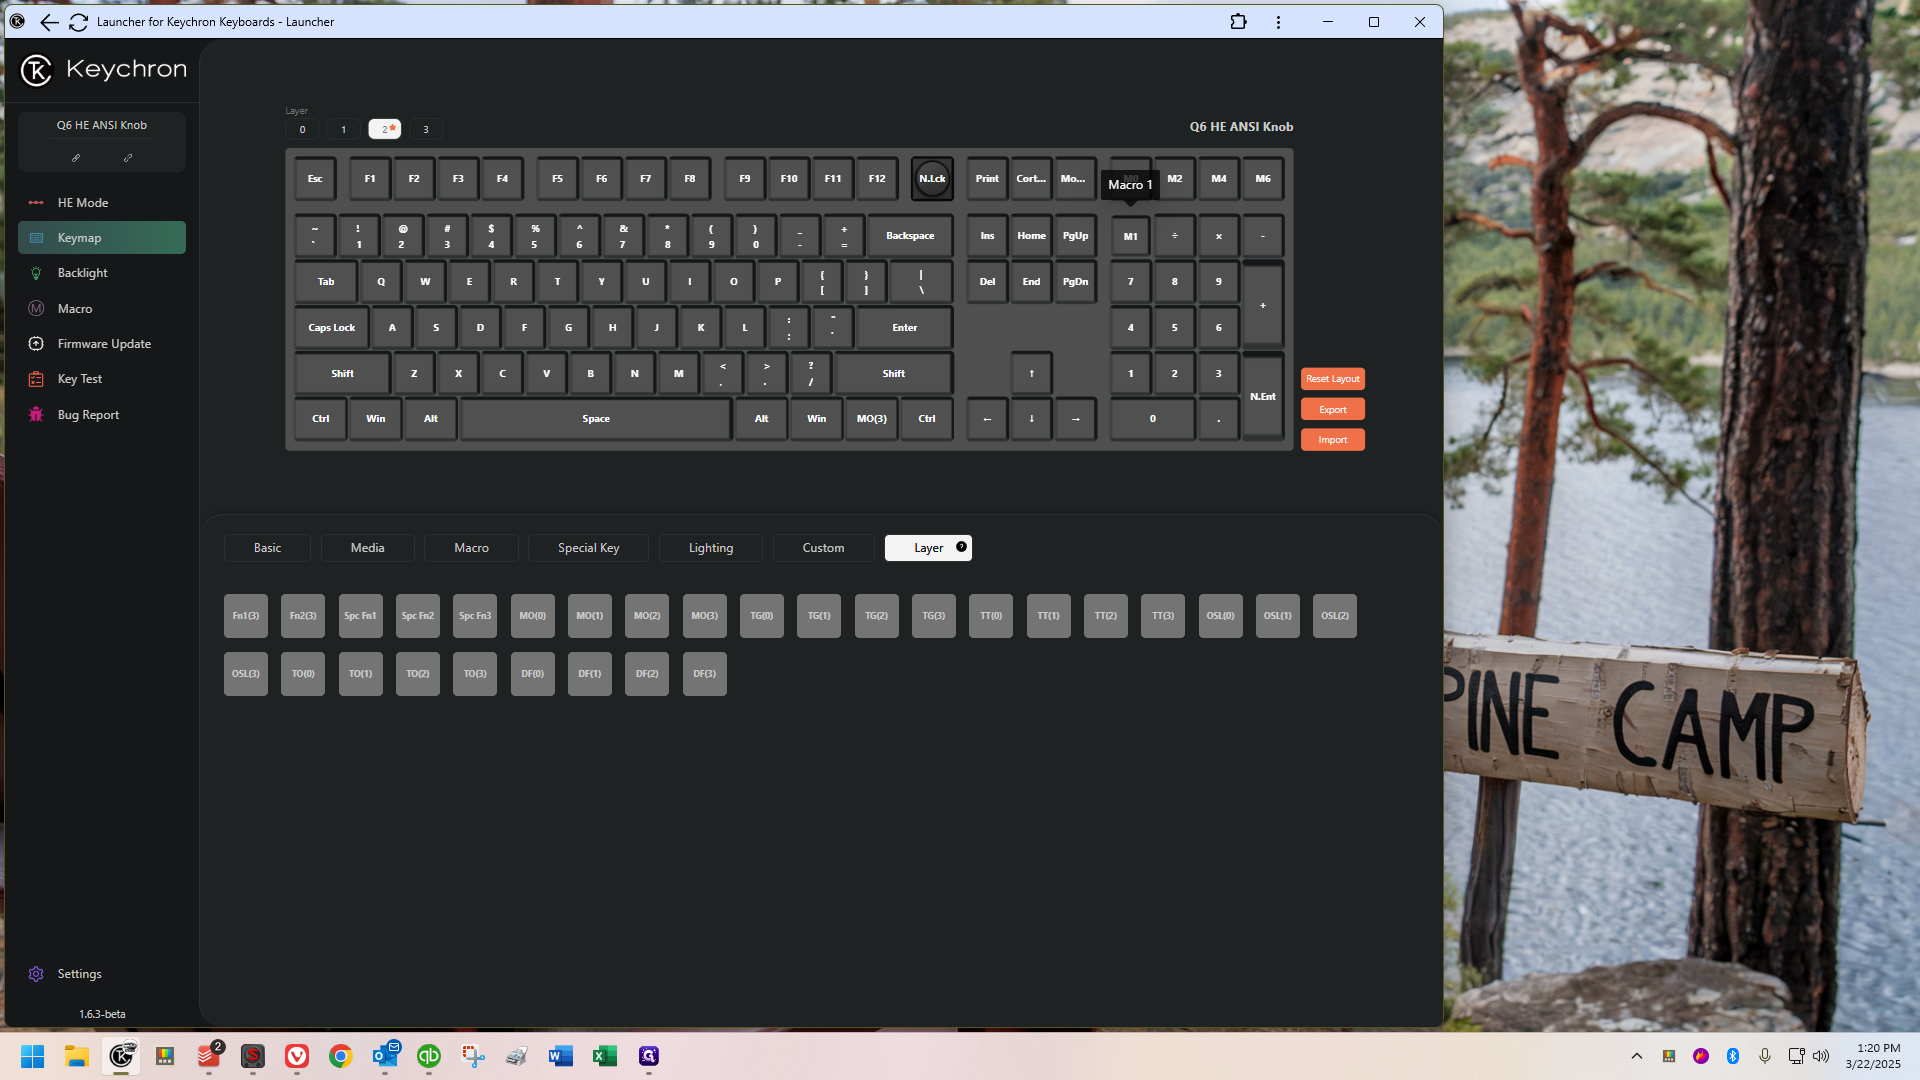
So, if I'm mapping the num lock key to perform the function key's role, I first need to select the num lock key by clicking it, then go to the layer section below and select M0(3).

But if you hold down the num pad key (or fn key), it activates a different layer, entirely.

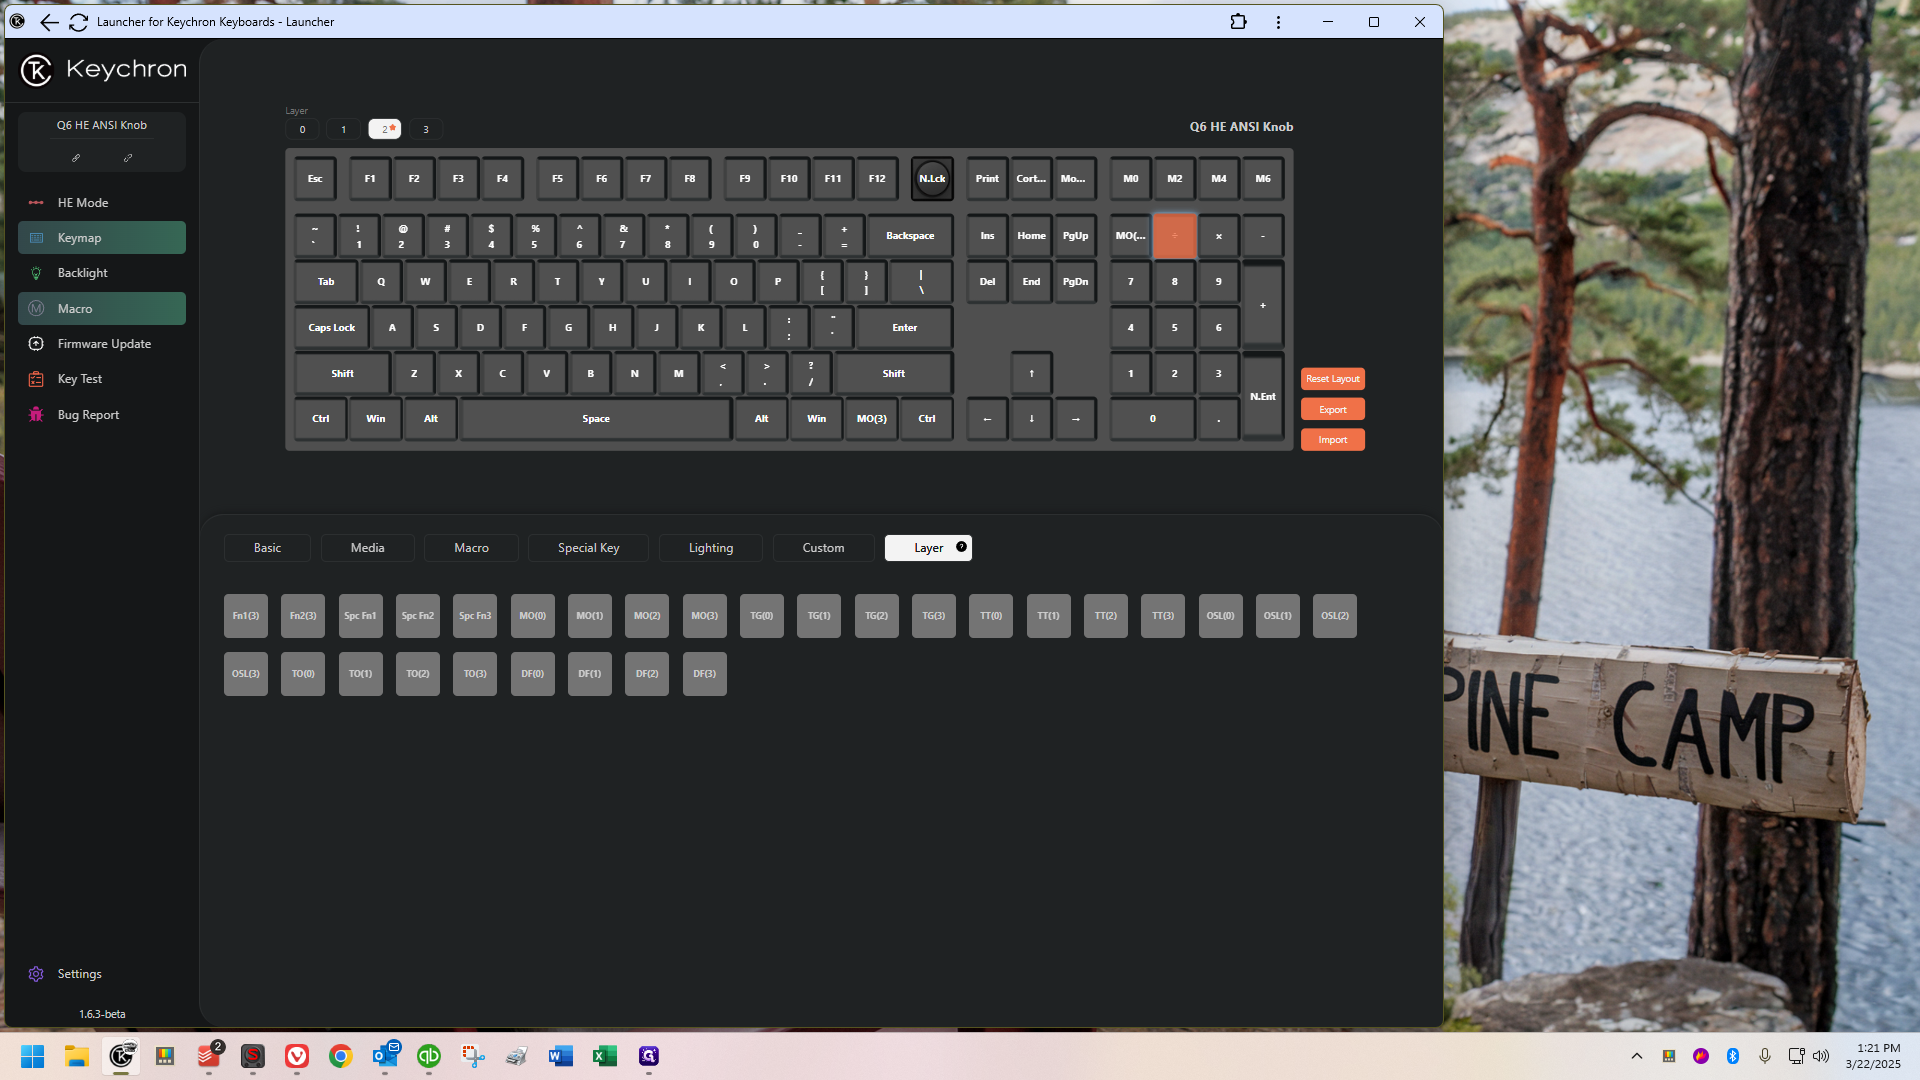
There are four layers. Don't worry about the first two; they're for Macintosh users. Since we're using Windows, we only need to focus on two layers, the ones labeled 2 and 3, which are specifically for Windows. So our "second layer," which is actually labeled the third on the screen above, is activated when you hold the function button or the num pad key.
So anyway, I activated the fourth layer now in the software, and let's briefly focus on the top four keys on the right side of the keyboard (the circle, triangle, square and X--our dedicated macro wizard keys)

I have set these to now utilize the following macros: M1, M3, M5, M7, indicating they will type out, for example,
If you hold down a key that activates another layer, like the num key, and press the square, it will activate the fifth macro. This macro will type out the SCI subject line, then it does something neat I'll show you later... 👀

But - let's summarize the main stuff and just say that for now, you should really just know that:
1) the top four keys on the right-hand side—the circle, triangle, square, and X—are our dedicated wizard keys.

2) Holding the "Num Clear" key activates a second layer of macro keys.

Thus, the top four right buttons alone provide eight macros. I hope that makes sense.


This is the only one that's esoteric, and I think you know what it is. It's equivalent to the G6 key on the old keyboard. So you need to hold down the number pad or fn key, then press the button shown above, which is labeled "Enter" on the keyboard, and it's the lowest-right button - practice and make sure you get this to work since this is a critical function everybody must know how to do.
Don't change the macros!
Do not change them. If you want your own, let me know. There are ways I could grant you your own, including an entirely separate profile.
I've set this up for my workflow, considering my co-workers too. I'm trying to make things easier for everyone. I know it seems odd if you're not used to it, but please give it a try. Consider it a work assignment to use these macros for two work stints. Focus on using them whenever you can. I guarantee you'll never go back.

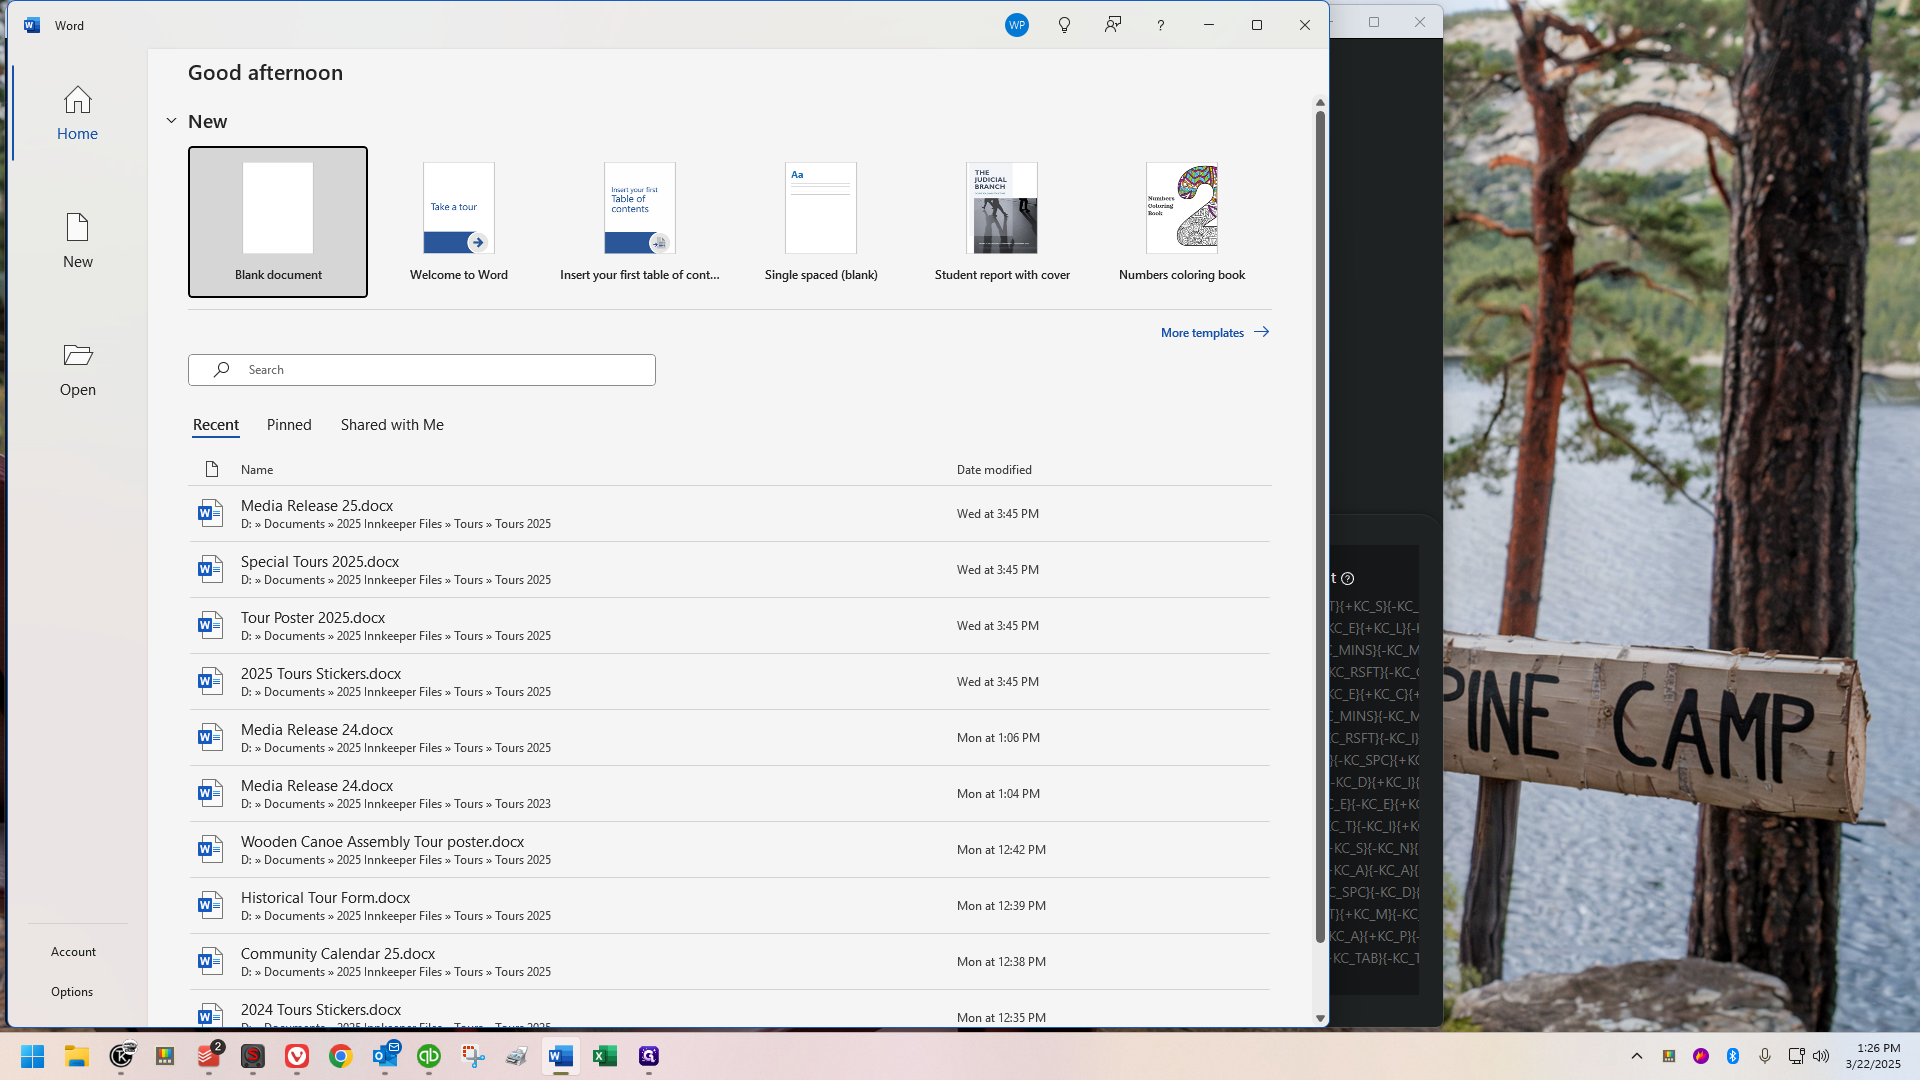
I recommend opening Microsoft Word, creating a blank document, and performing some tests.

For example, I will press the circle button.
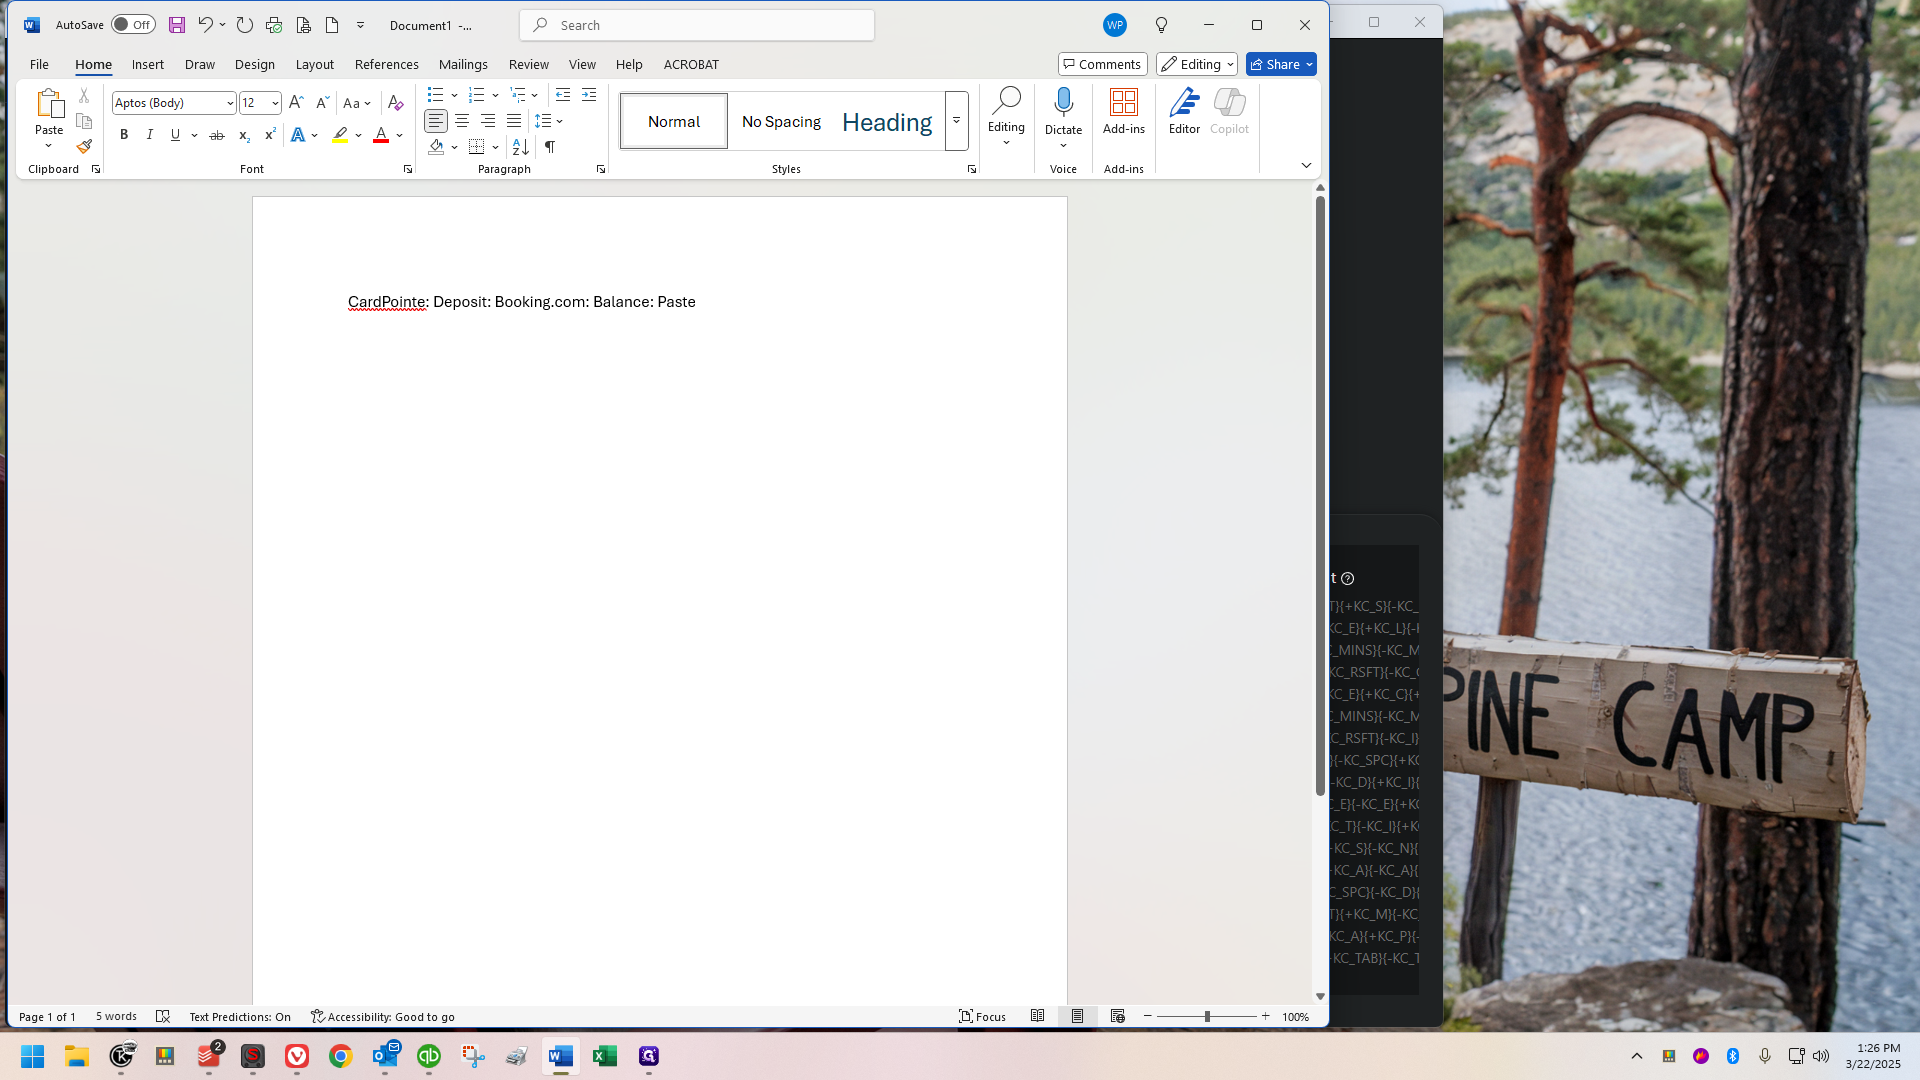

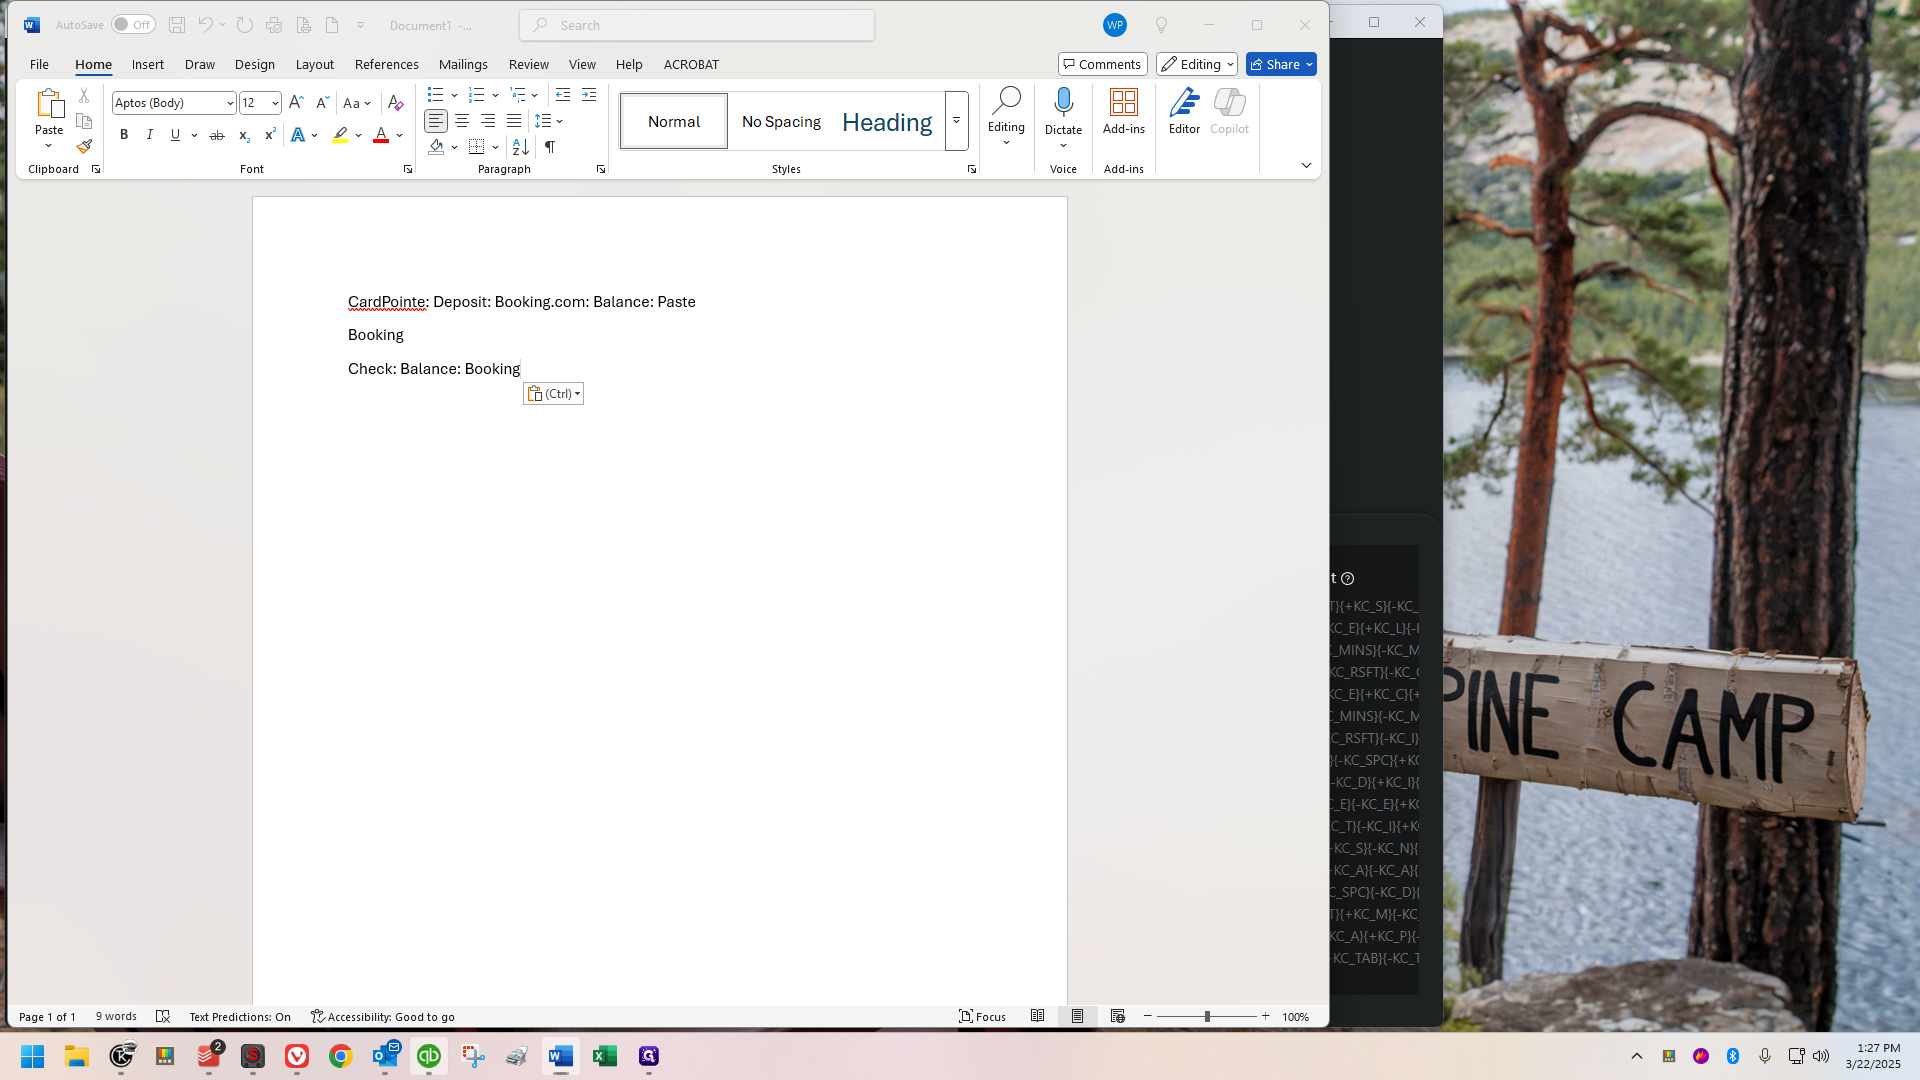
That copied it, right? Now, go down a line and press the X button.
That just pasted the word "booking." This illustrates how to use the copy and paste buttons. You can experiment with it.
Holding the "Num Clear" button and pressing the triangle types out "Check Balance Booking."
The reason it types "booking" there is because I had "booking" copied. Do you see how that works?
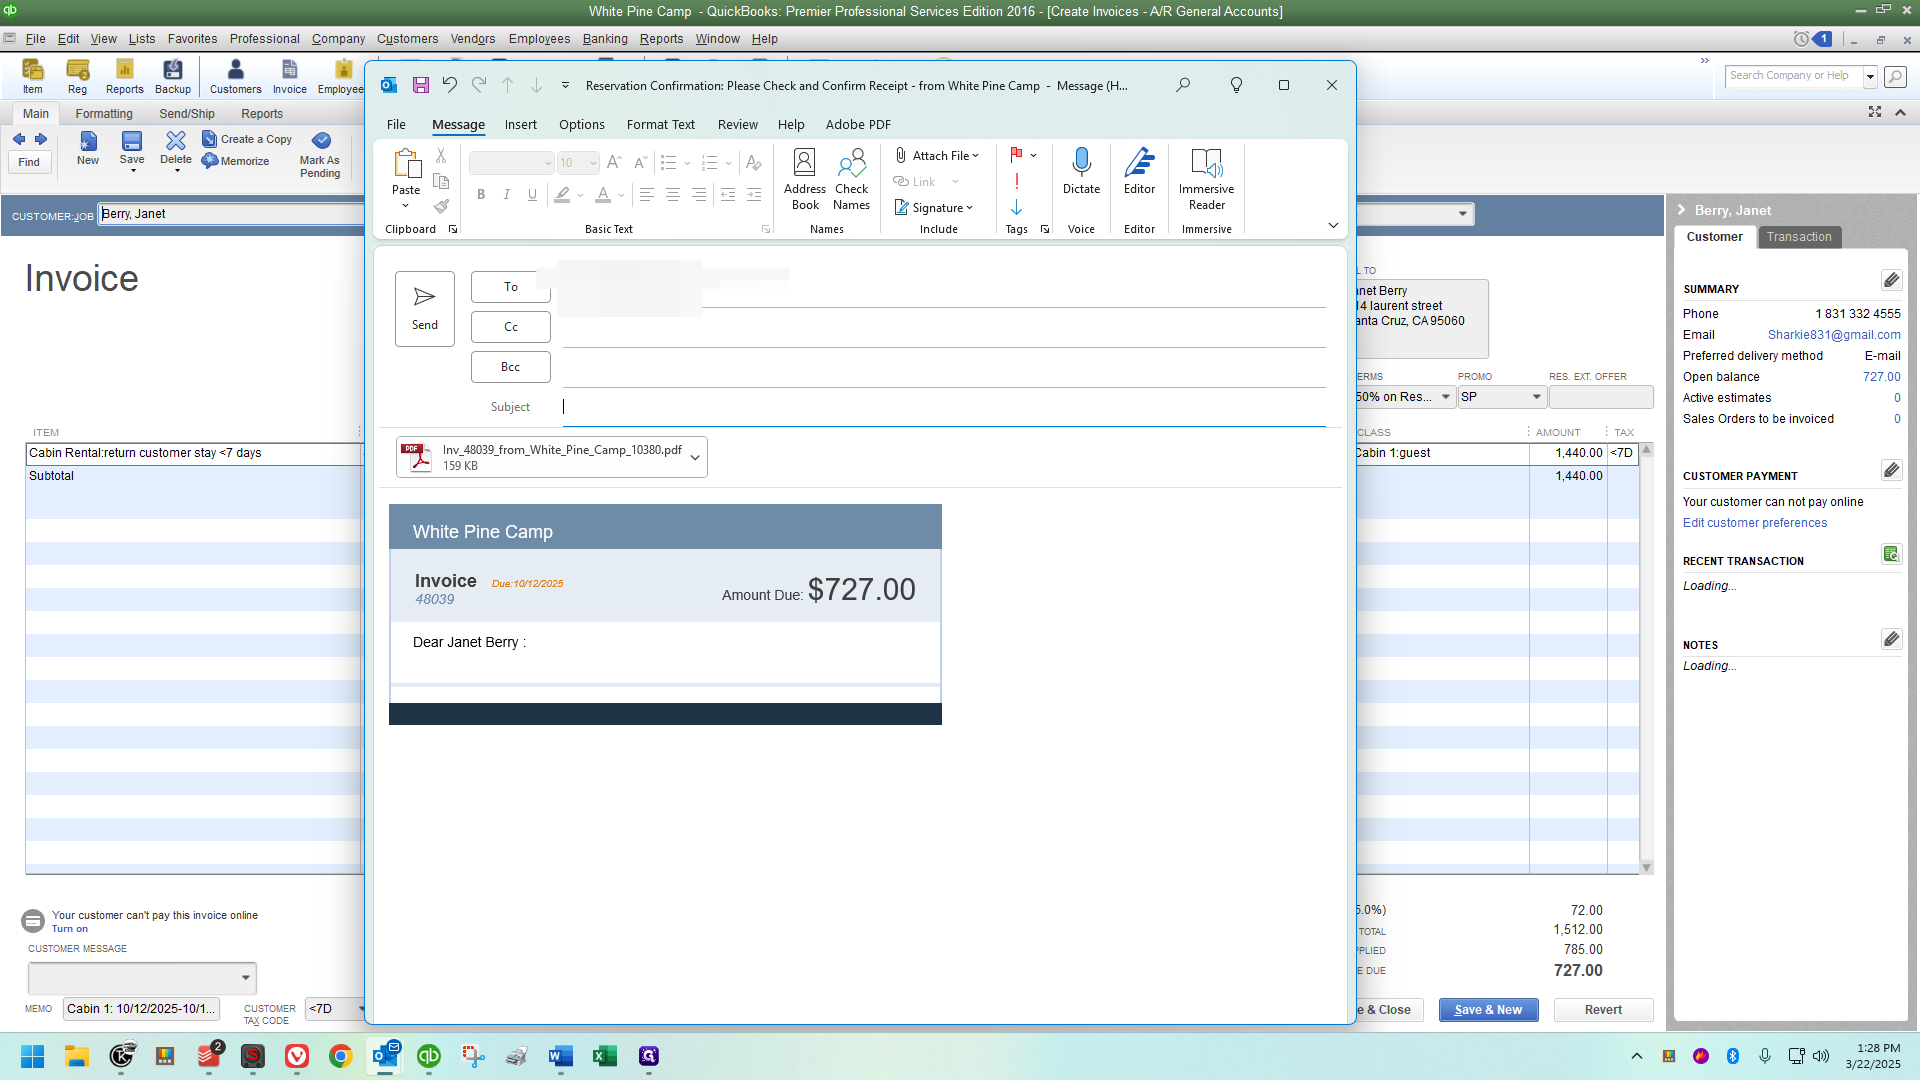
I'll pull up a random invoice and click on email.
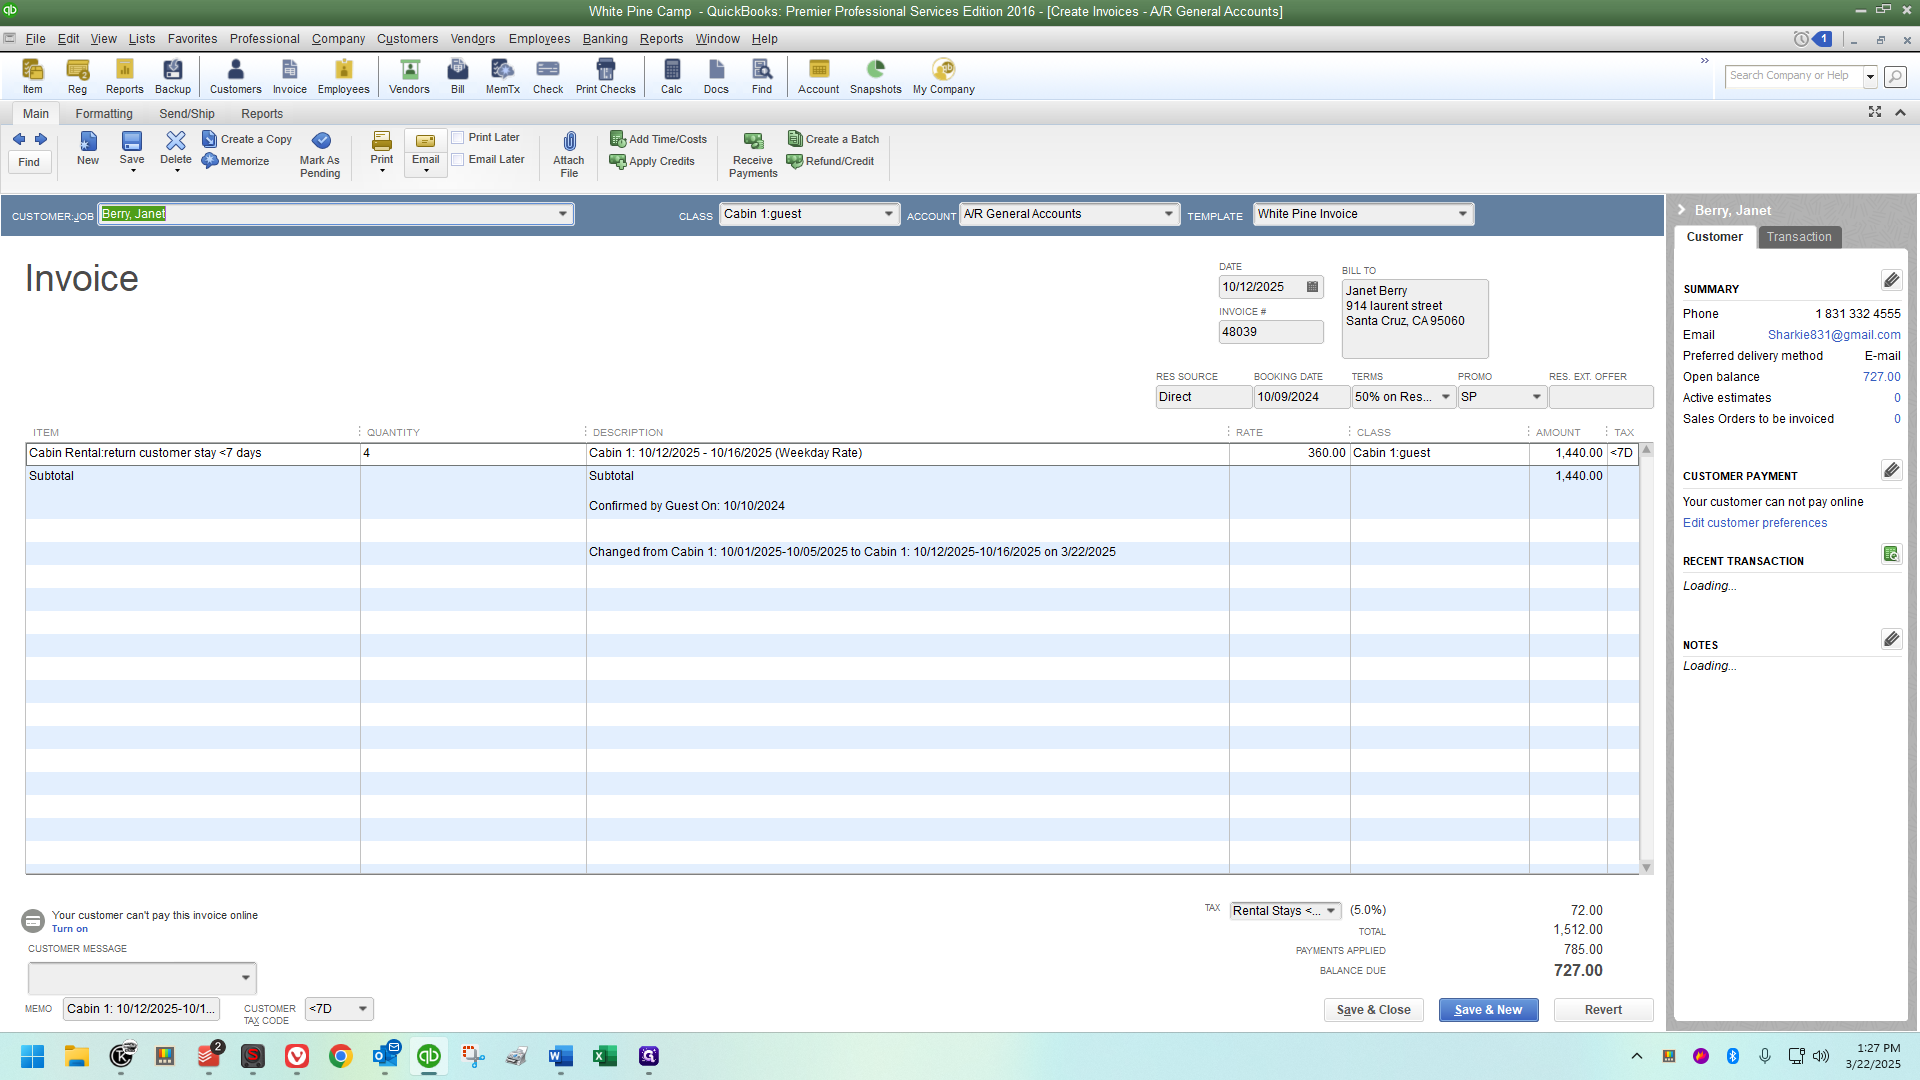
Let's say we're emailing the self-check-in details. You need to delete the table in the email body, change the subject line, and make other necessary changes before sending the SCI ordinarily, right?
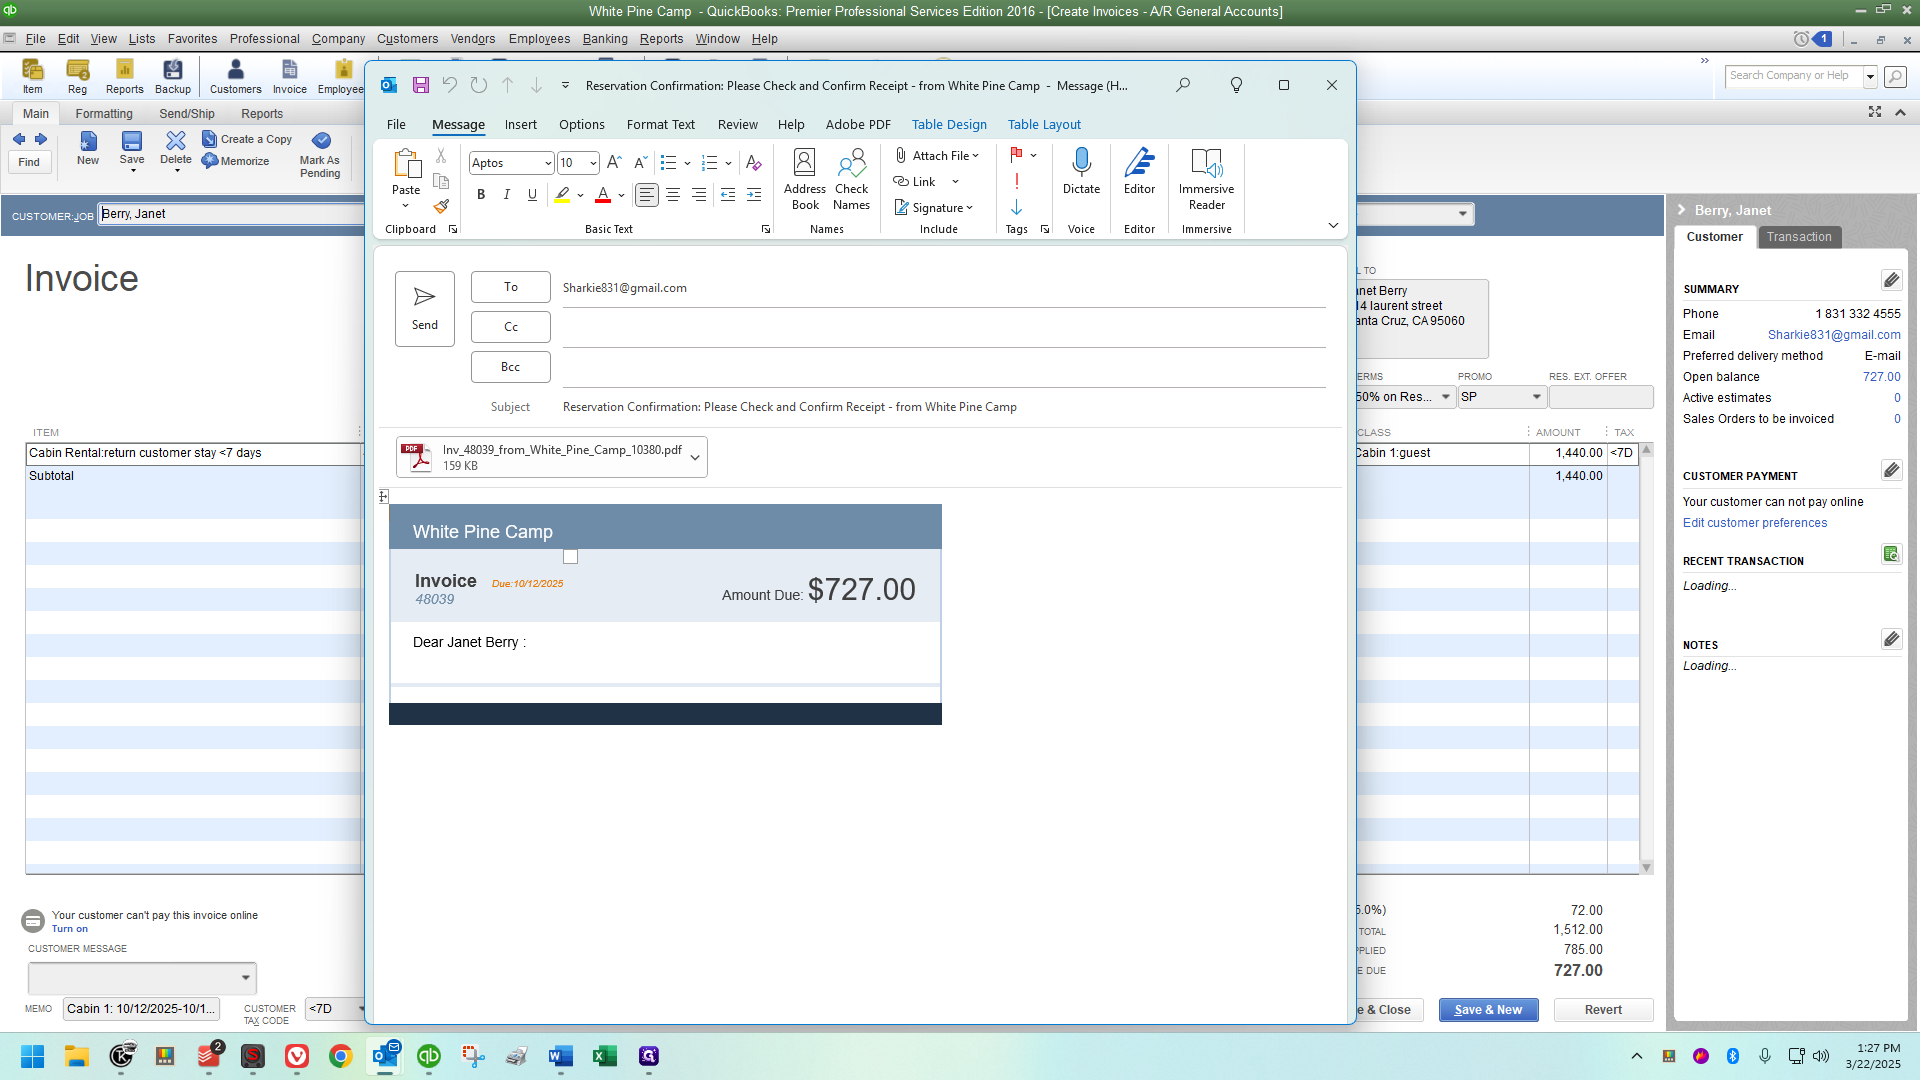
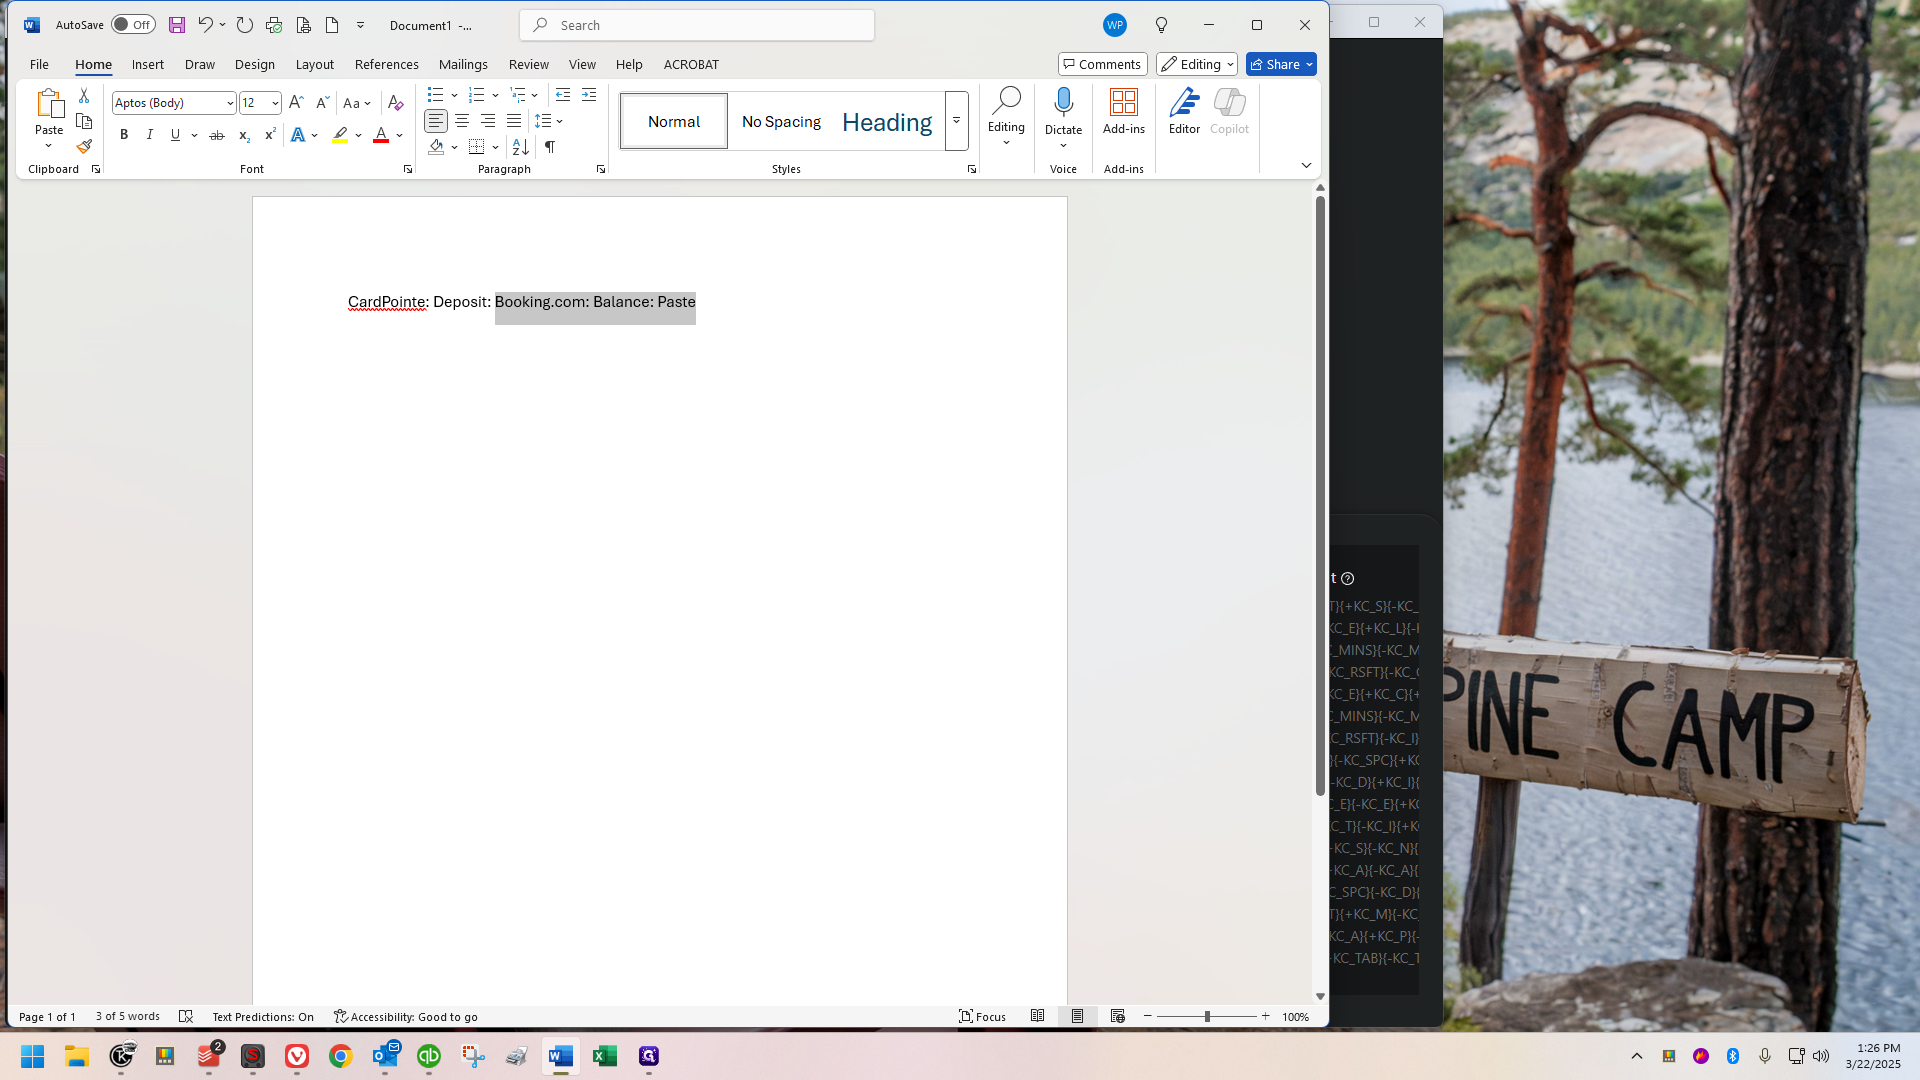
What you can do now, is to first highlight the entire subject line and either delete it or simply highlight it.
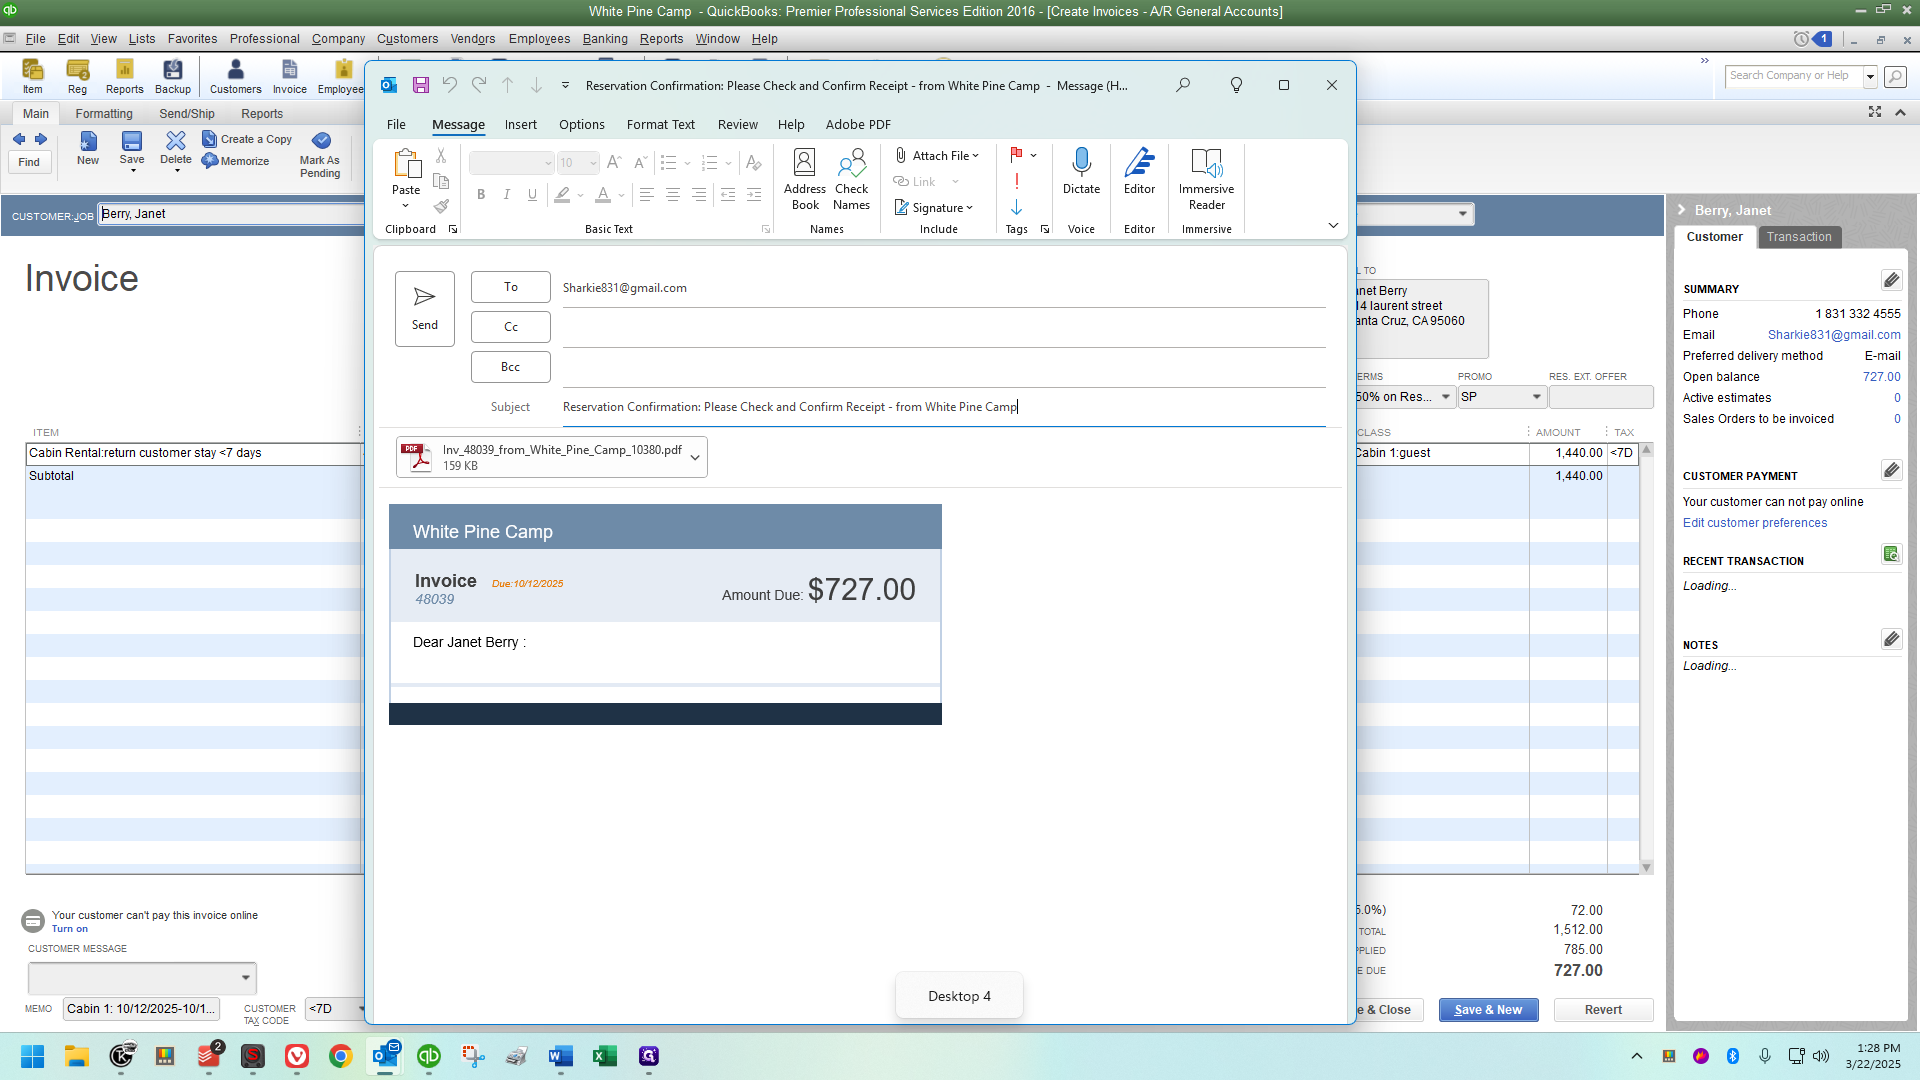
If it's highlighted and I start typing or doing anything, it will be replaced. To make this easy, I deleted the subject line. Now, my cursor is blinking on the subject line, ready for typing.
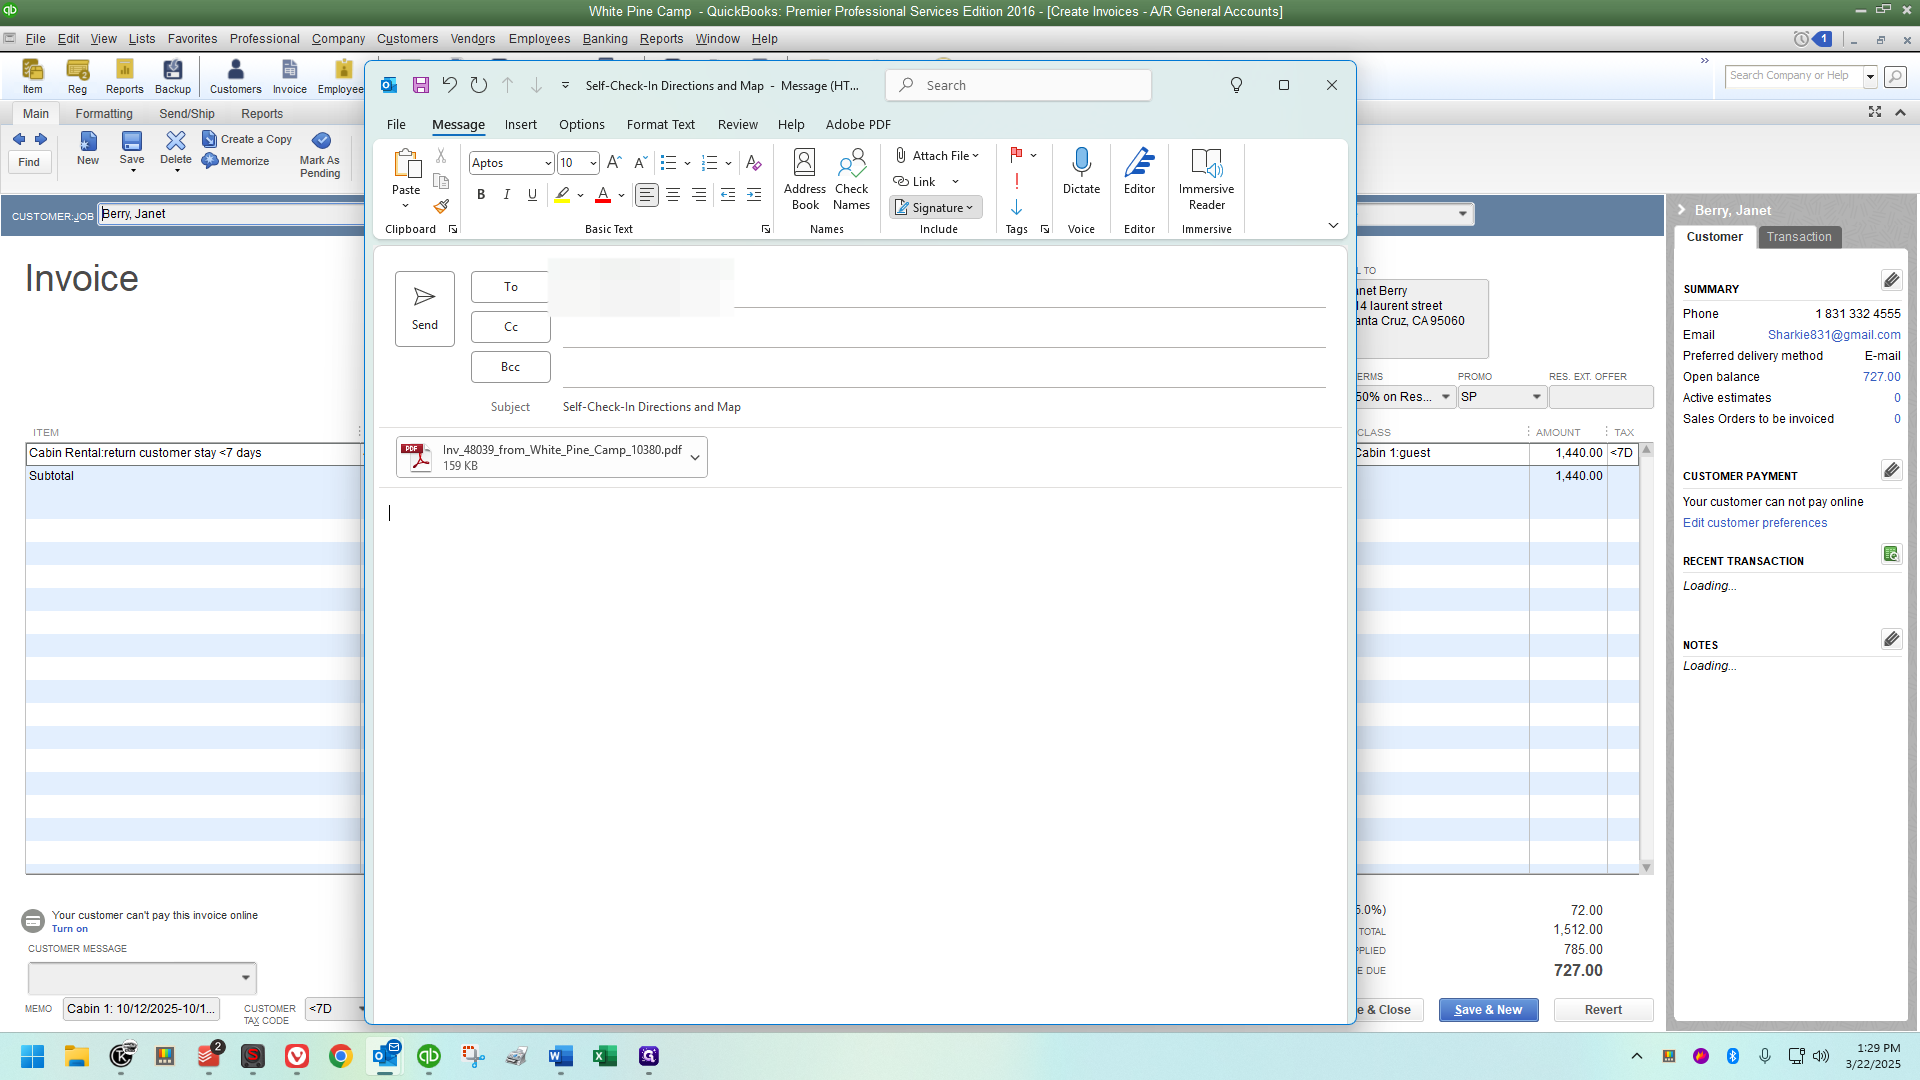
Hold down the "Num Clear" key to activate the second layer, then press the square button.

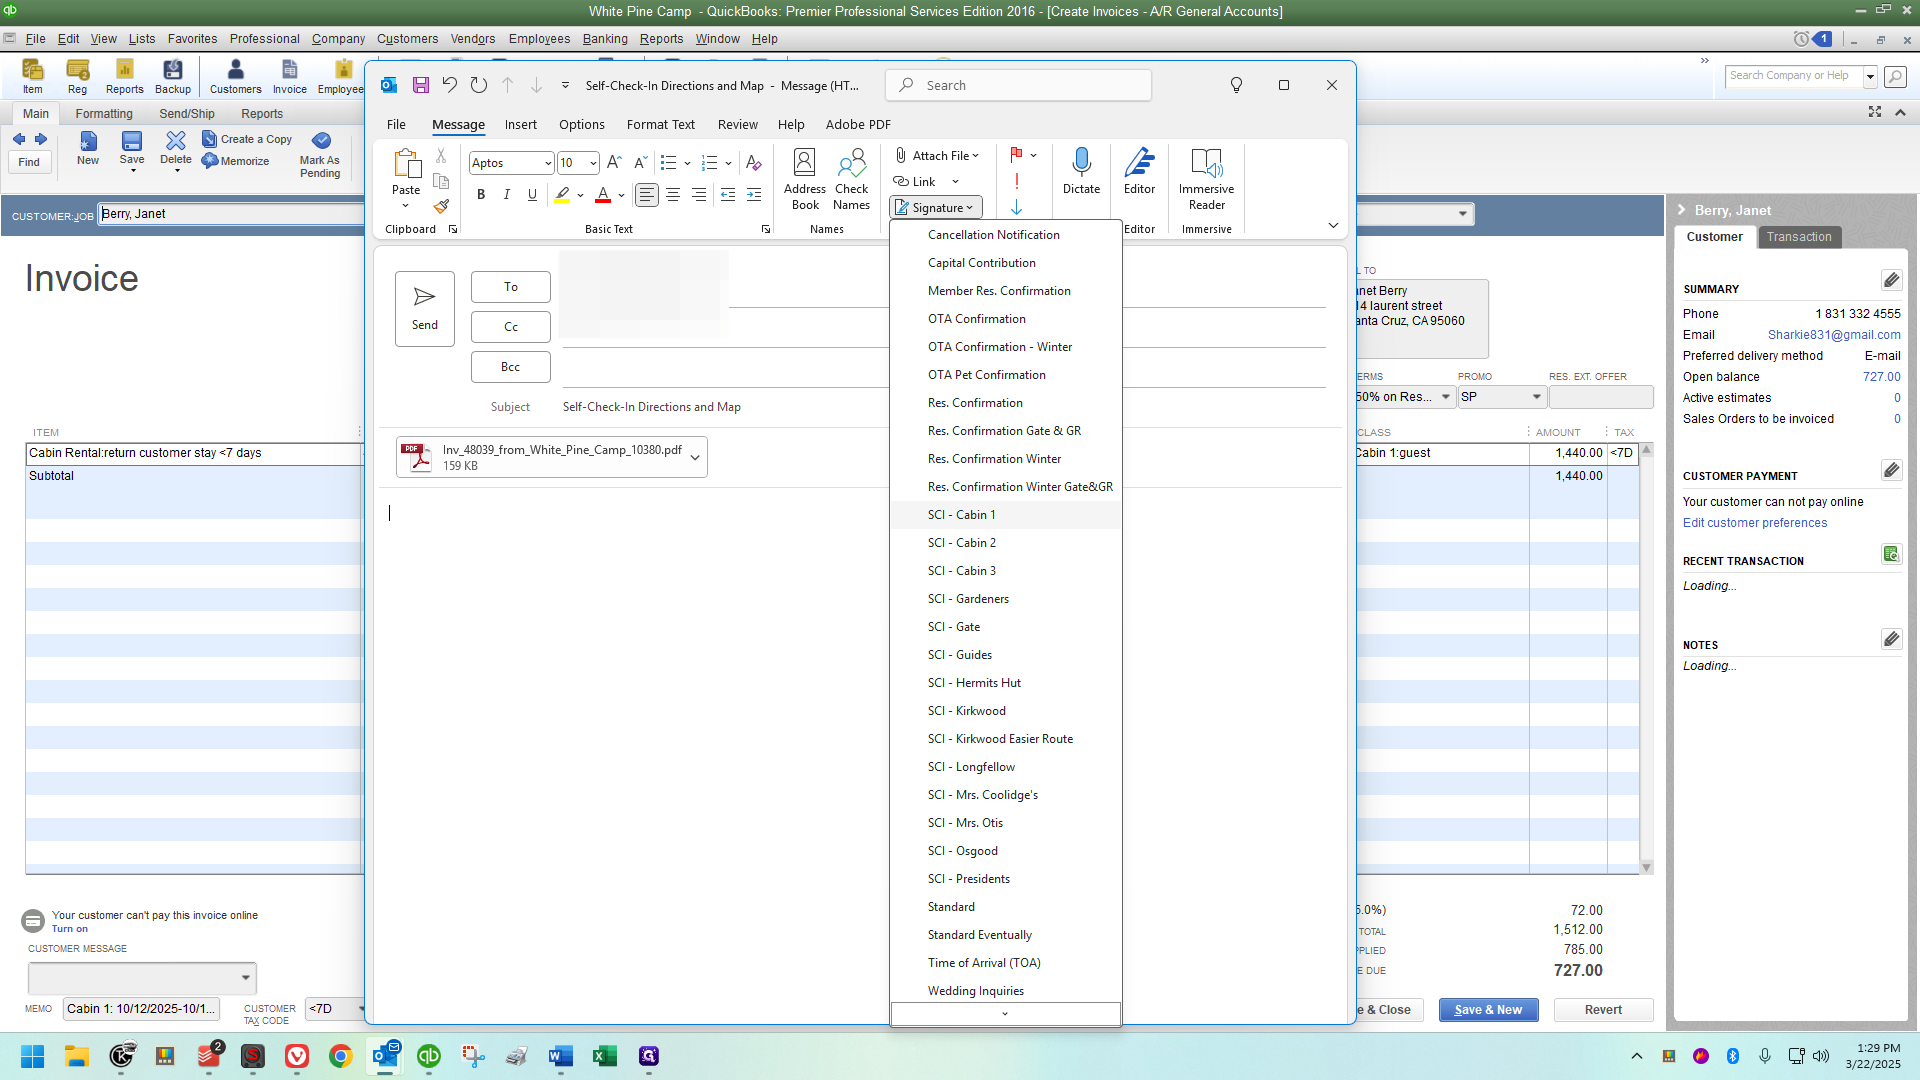
Did you see what just happened? It typed out self-check-in directions and a map, then used a keyboard shortcut to move to the email body and remove the default table when emailing an invoice. Now, you can click on the signature, choose the SCI you need, and proceed as usual.
I won't send this, but I wanted to show you.
The other macro I have here, which I believe does that same thing at the end and deletes the table, is "paid invoice." I would hold the "num" button and press "X" to use it.
It would type out the subject line as "Paid Invoice" and then move to the body of the email to erase the table. If you've already deleted the table, it won't cause any issues; it will just delete whatever is in the email. So make sure to use the macro before typing anything in the email. This setup involves typing the subject line and clearing the email body for your content.
Try using the check-in feature for practice.
I'll leave the instruction manual on the desk for everyone's first use. Later, I'll store it in the keyboard's box. You can watch the YouTube video I made, available on my website, to see where the box is located. It contains extras for the keyboard, including instructions and a diagram. There are also extra mice and a few other keyboards if you dislike this one. However, I'm confident everyone will love this keyboard.
It is amazing. The reason I'm in love with it is that it works on Linux - this software is universal, which makes me very happy. We'll do a deeper dive at another time, but this gives you enough information to handle any issues that might arise.
If you want to explore and see what each feature does, you can open it and look around to understand the functions of the different buttons.
Final Word
Thank you for entertaining me and my madness. Please use copy and paste. I strongly urge all office staff to use it. Consistency is crucial.
It reduces the chance of errors. I've made it easier by providing two dedicated keys on the keyboard. Most importantly, I encourage everyone to explore another profile in the HE mode area and experiment with the actuation.


This won't cause any issues, especially if you're using another profile. Please note that these profiles only save actuation and Hall effect settings. They are not meant for different macros. If you alter the macros, I will be very upset. 👀🐔