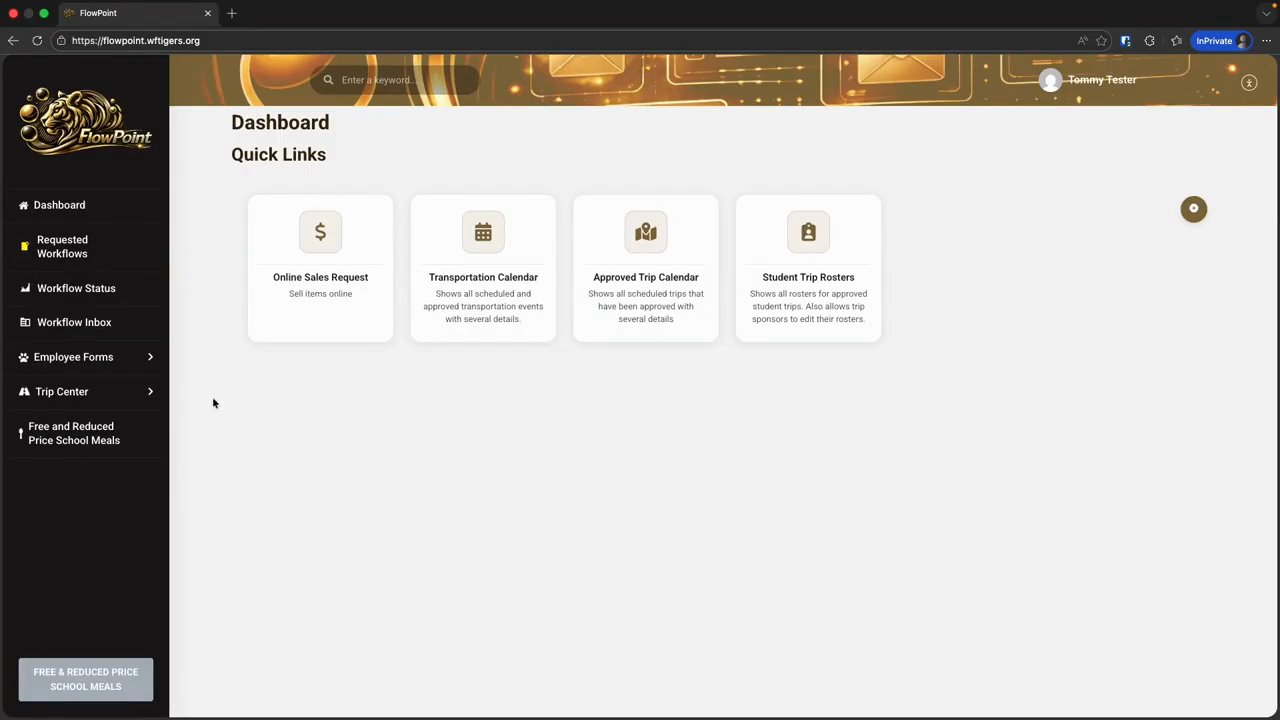
Overview of Trip Center Tools in FlowPoint: Approved Trip Calendar, Transportation Calendar, and Trip Map
Learn about the Trip Center tools in FlowPoint, including the approved trip calendar, transportation calendar, and trip map. Discover how these tools help staff track approved trips, view transportation details, and monitor vehicle locations in real time.
In this guide, we'll learn how to use the main tools available in the Trip Center from the menu bar. We will focus on the approved trip calendar, the transportation calendar, and the trip map, which are accessible to all staff members. These tools help you view approved trips, check transportation details, and see the real-time location of trip vehicles.
Let's get started
The Trip Center is a set of tools located in the menu bar. Depending on your FlowPoint permissions, you will see different tools here.
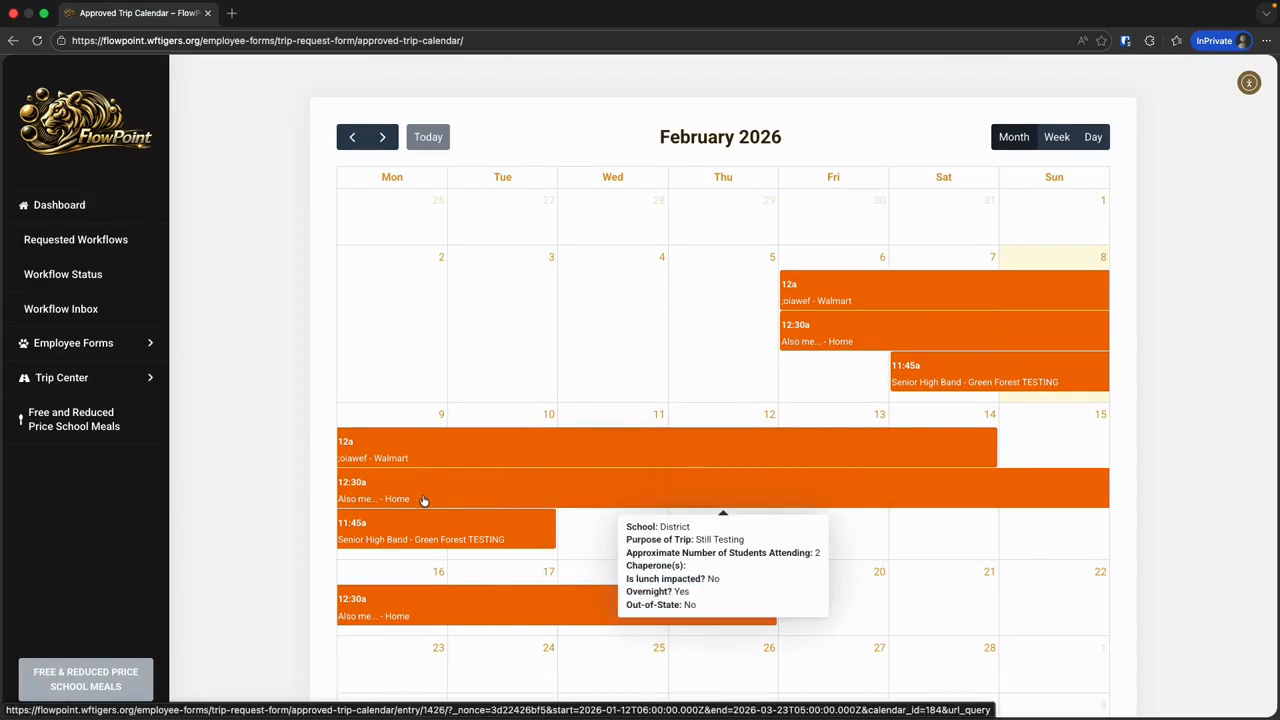
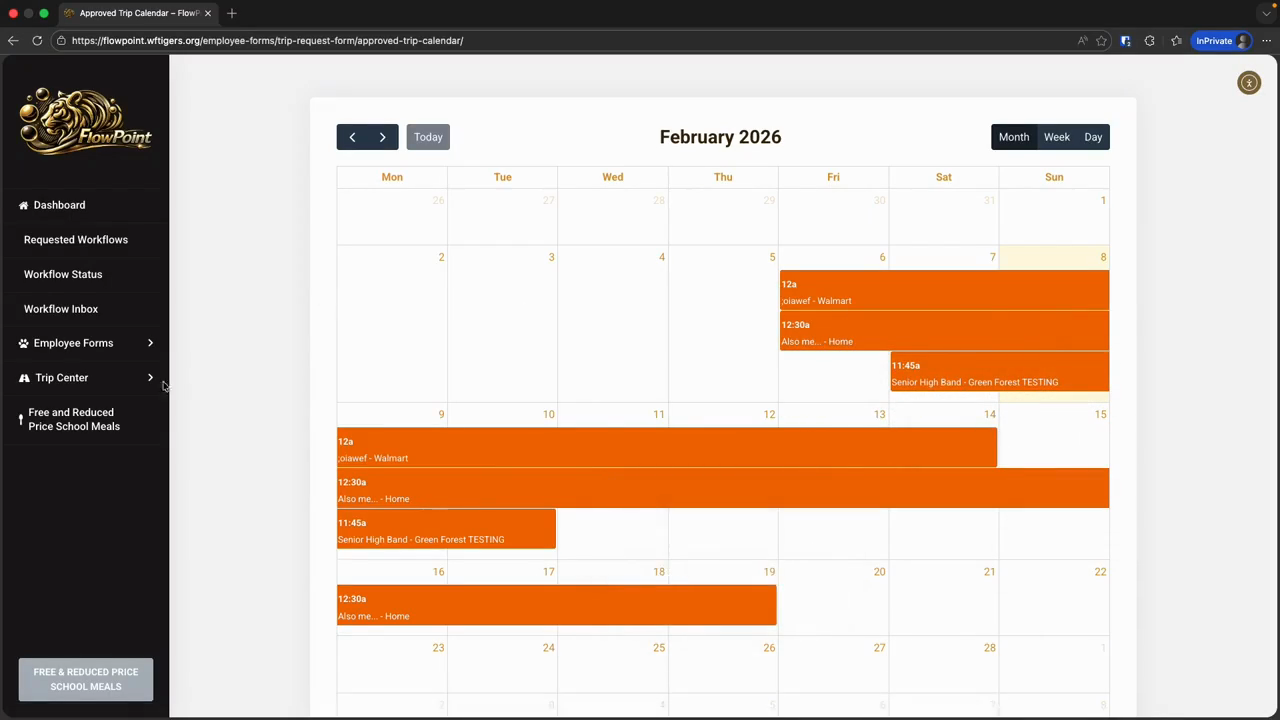
For this training, we will only cover the tools visible to all staff. We will skip the student trip rosters until the next section. First, we have the approved trip calendar tool. This tool provides a clear view of all trips that have been approved. Approved trips have completed the entire workflow and received all necessary permissions.

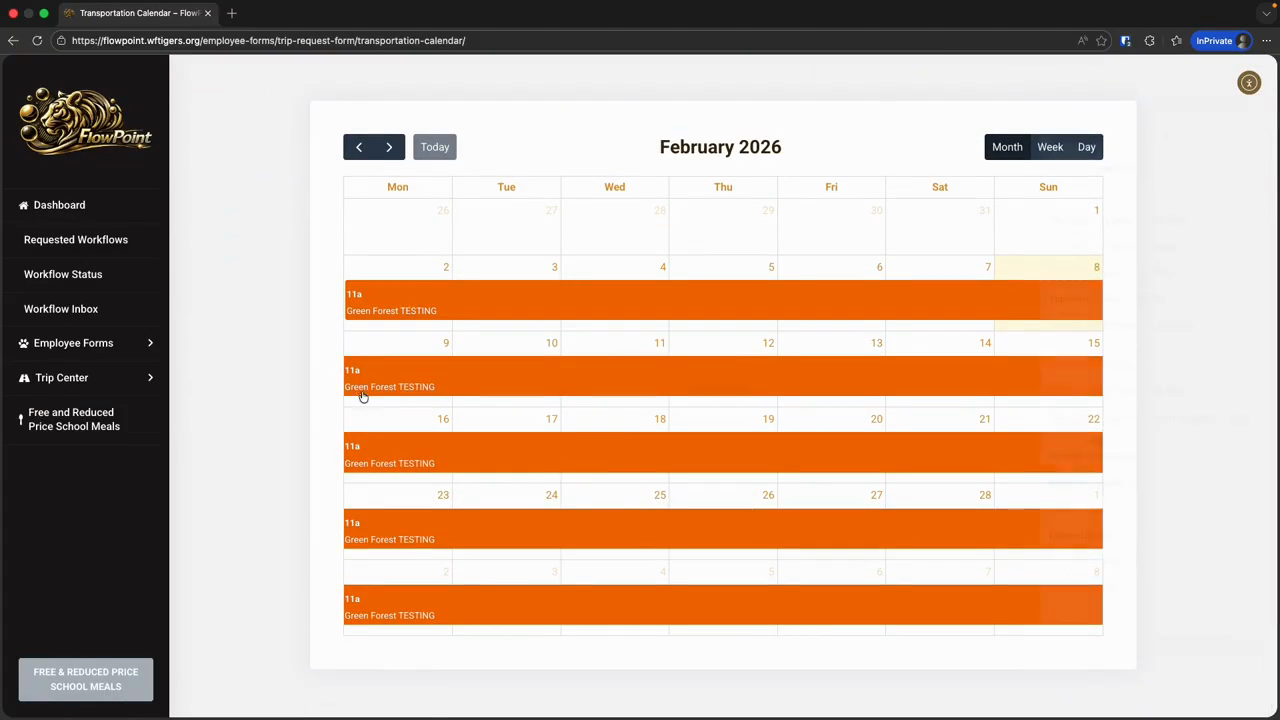
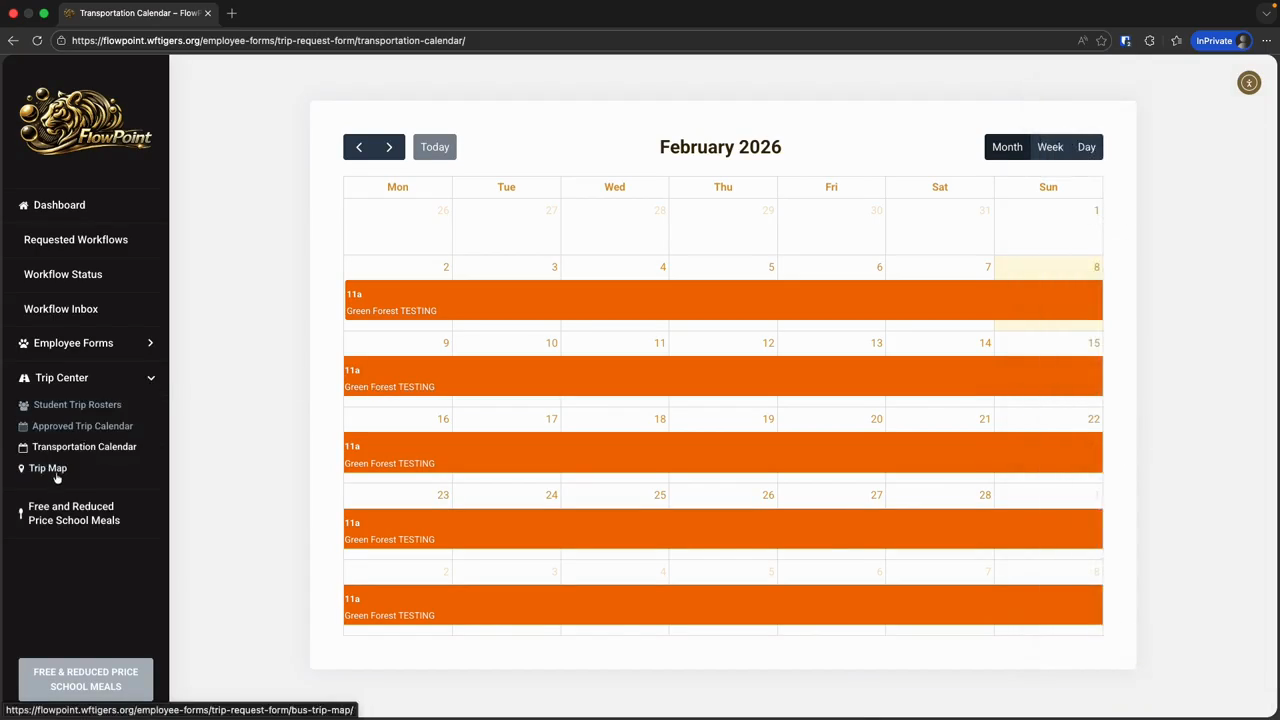
Next, we have the transportation calendar.

This view probably won't be useful for most of you. However, it looks the same as the previous calendar. It simply shows different information when you hover over an event.
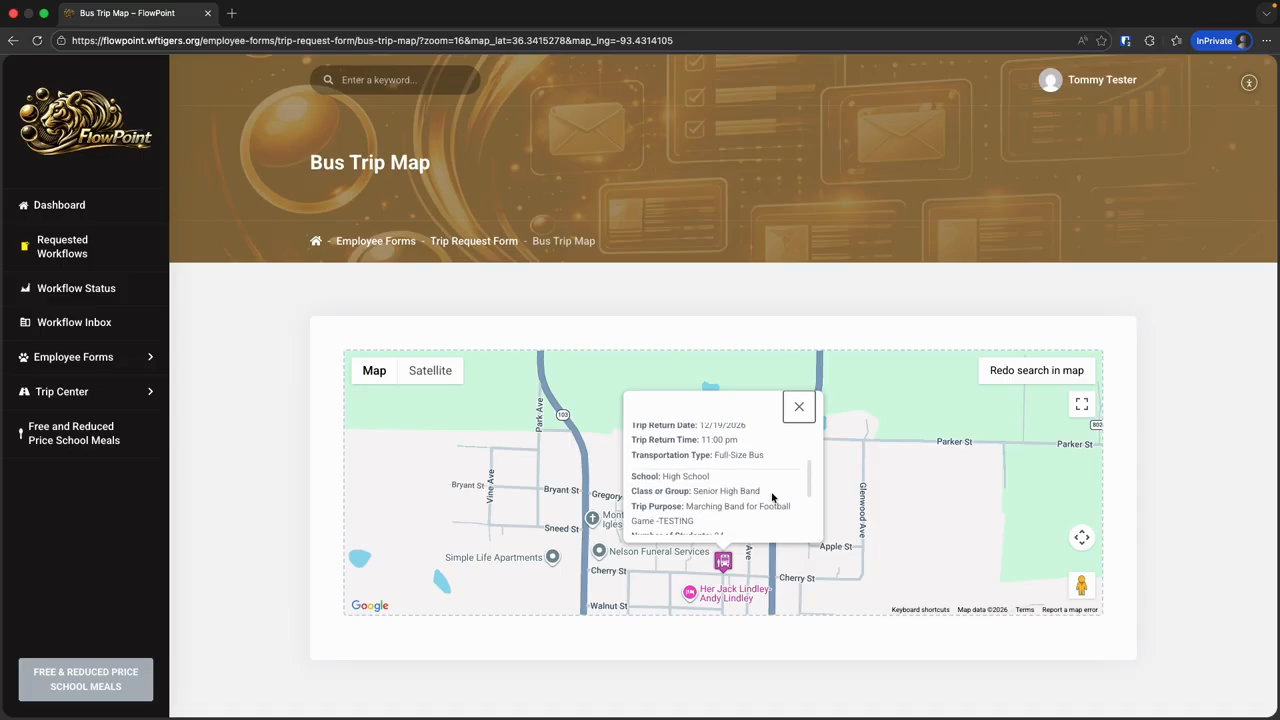
Finally, for most people, the last tool is the trip map.
This view displays the location of all trip vehicles at any time.

This is real-time based on the information provided. On some days, there may not be any visible items. On other days, you will see buses and cars scattered throughout the state. This is useful for a quick visual. Clicking on the school vehicle map markers displays several pieces of information.
That concludes the overview of the trip center tools for general users.