Learn the complete photo production workflow, from initial file handling and Lightroom catalog setup to Imagen AI processing and ShootProof client delivery.
By Johannes
This guide outlines the standard end-to-end workflow for photo production, starting with raw file ingestion and ending with client delivery and archiving.
Phase 1: Local Setup and Lightroom Prep
Begin by moving the raw project files from the incoming upload drive to your local working drive.
1
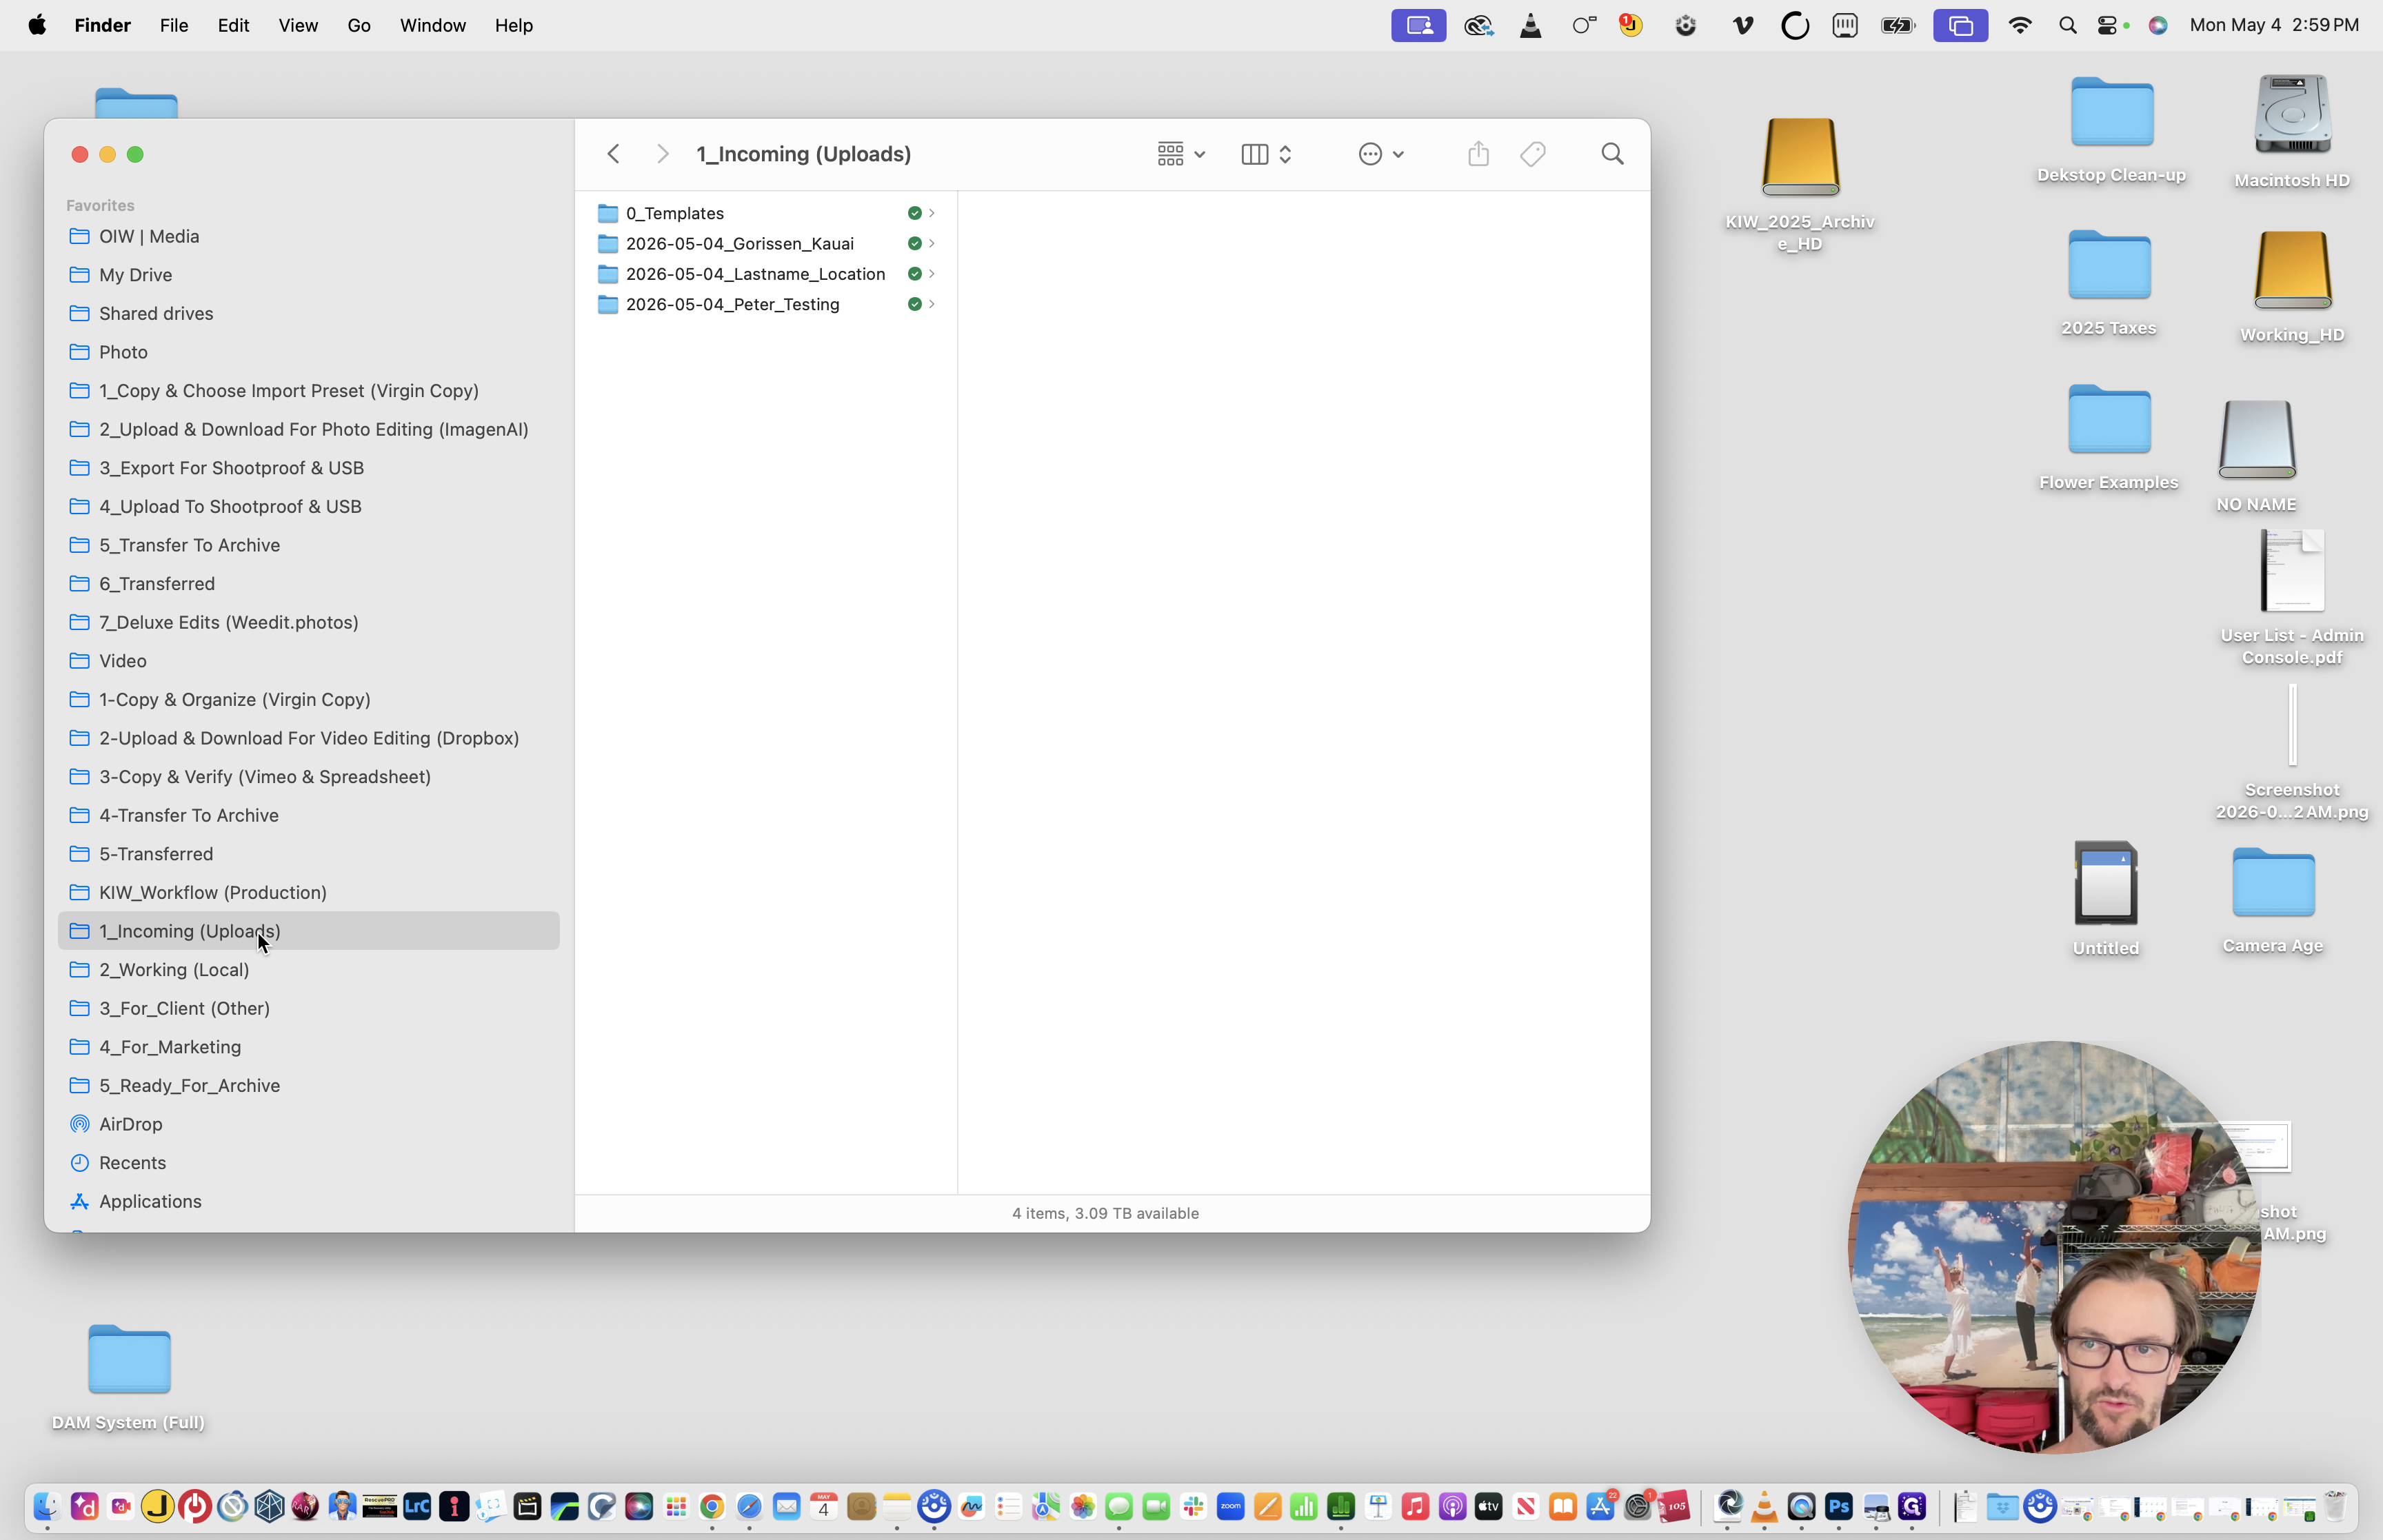
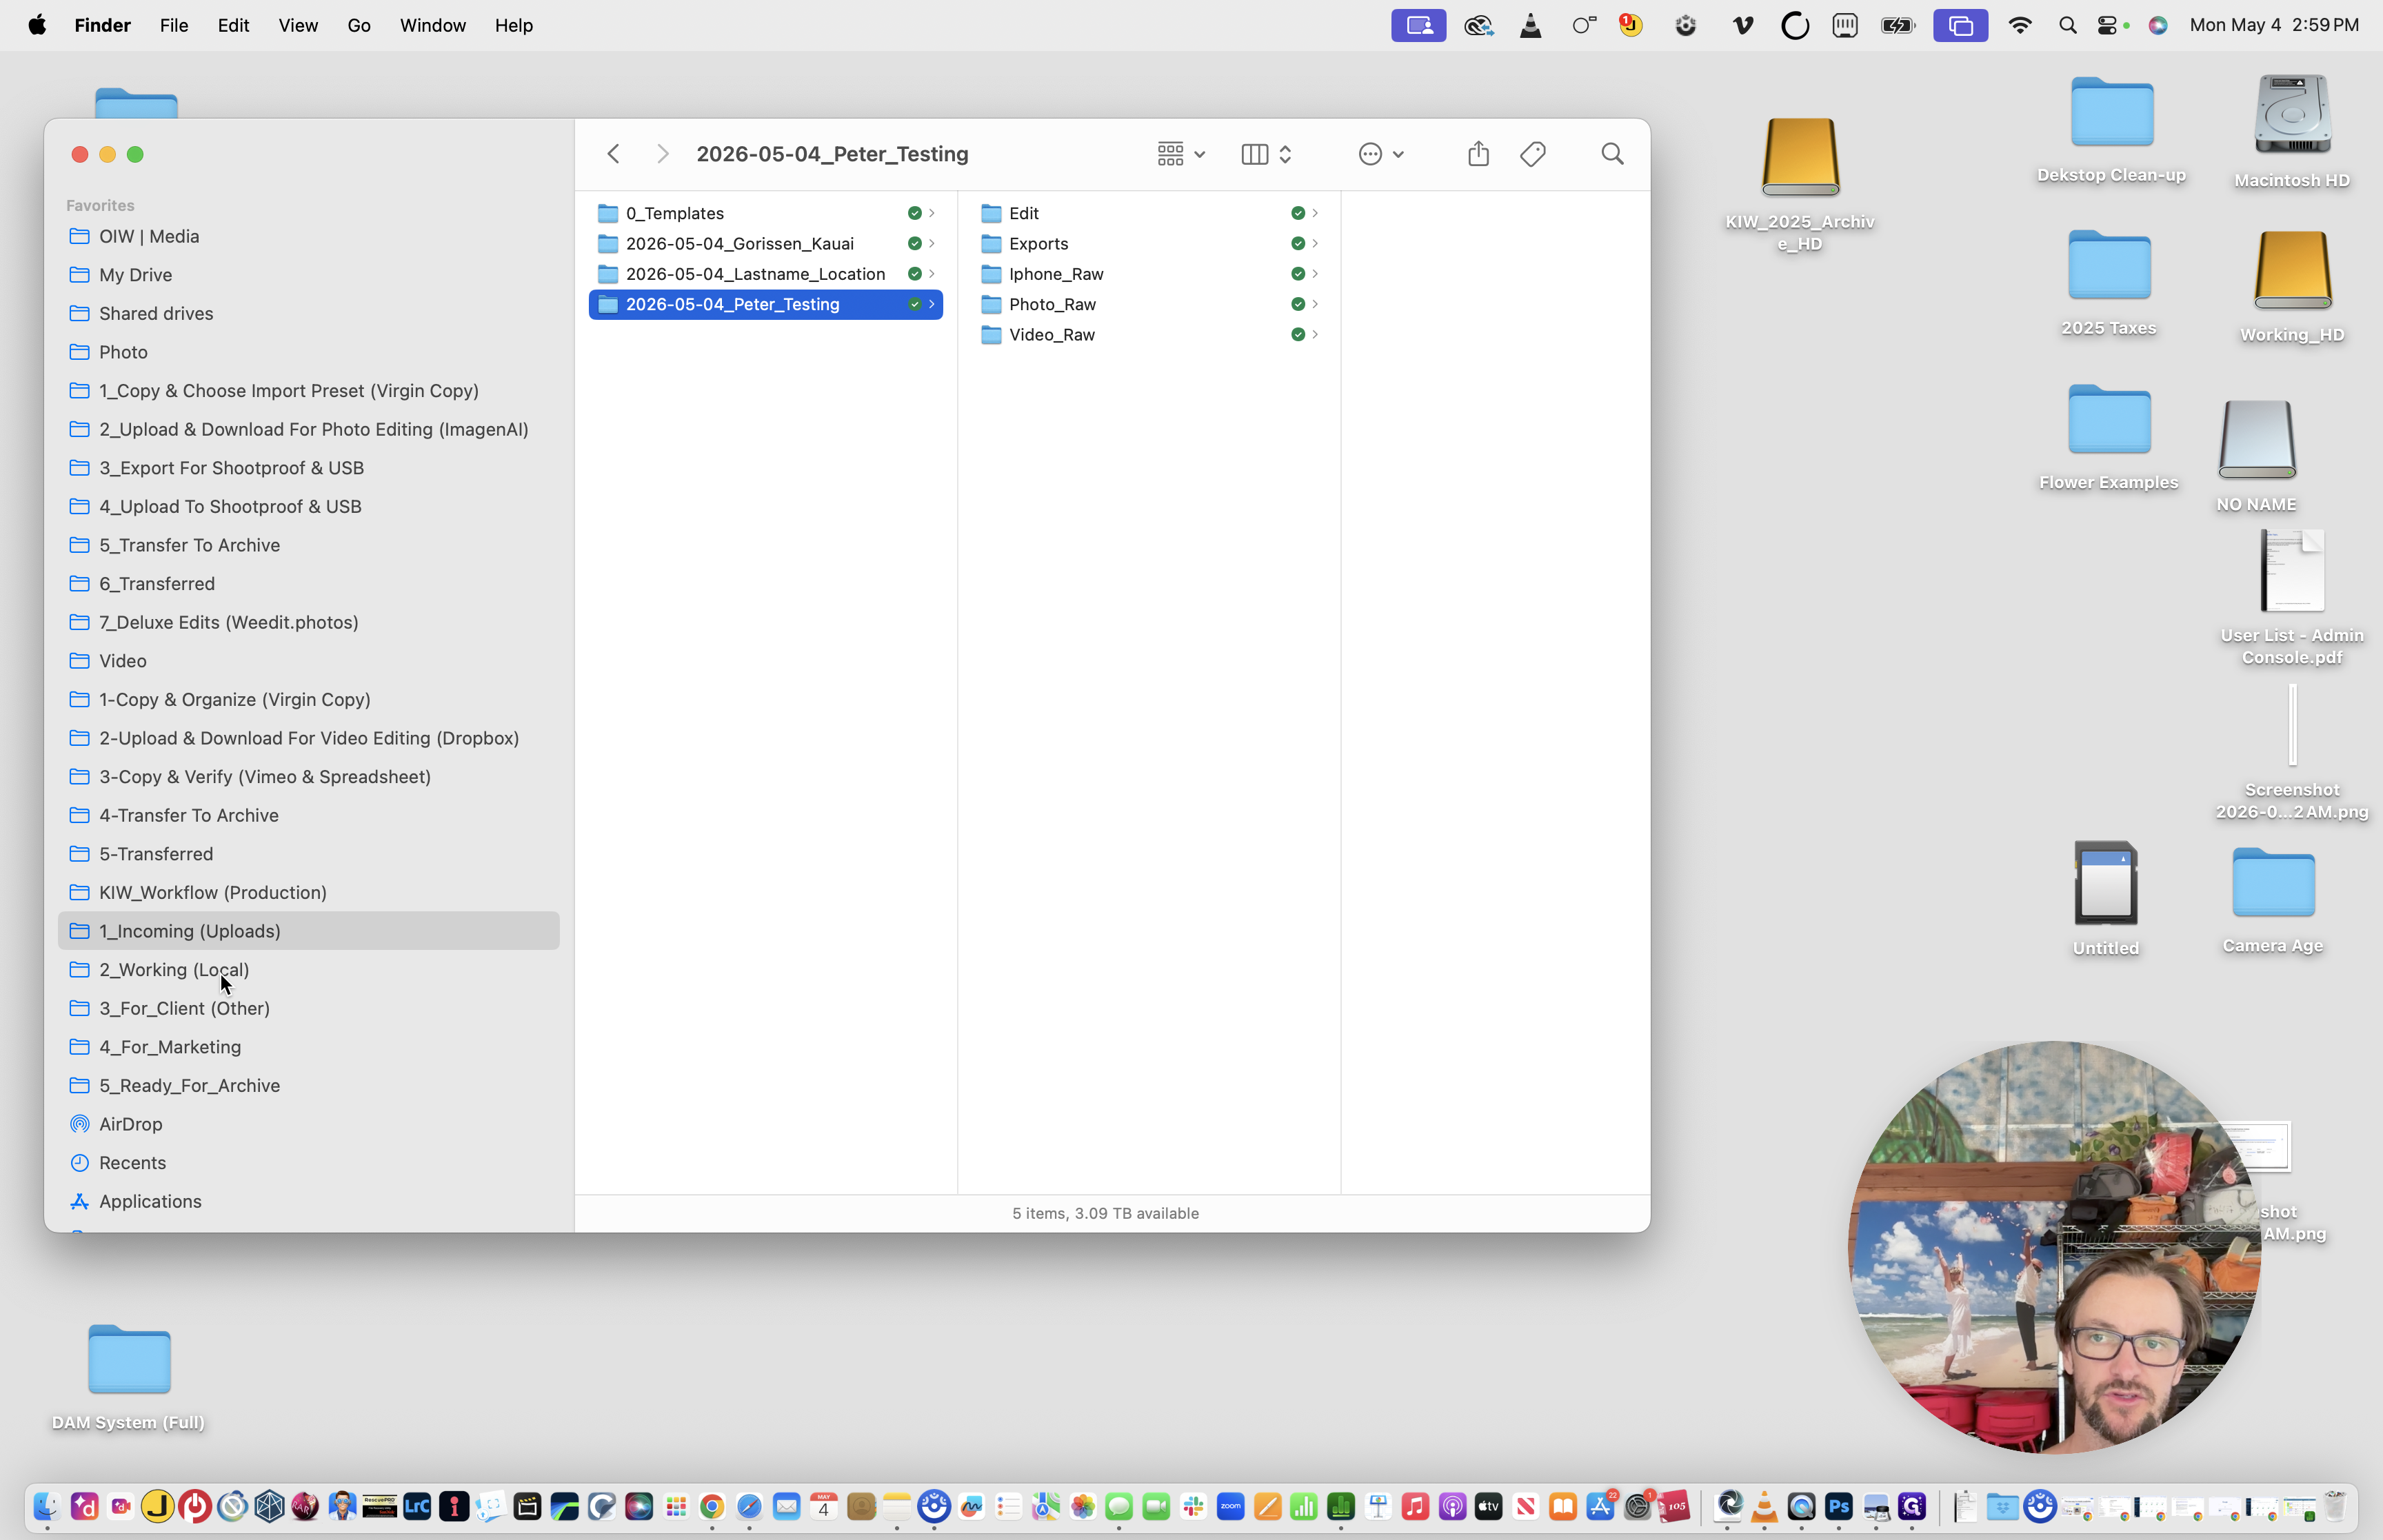
Navigate to the 1_Incoming (Uploads) folder.
2
Select the new project folder.
3
Type Cmd + C to copy the project.
4
Navigate to your 2_Working (Local) drive.
5
Type Cmd + V to paste the project folder into the local drive.
6
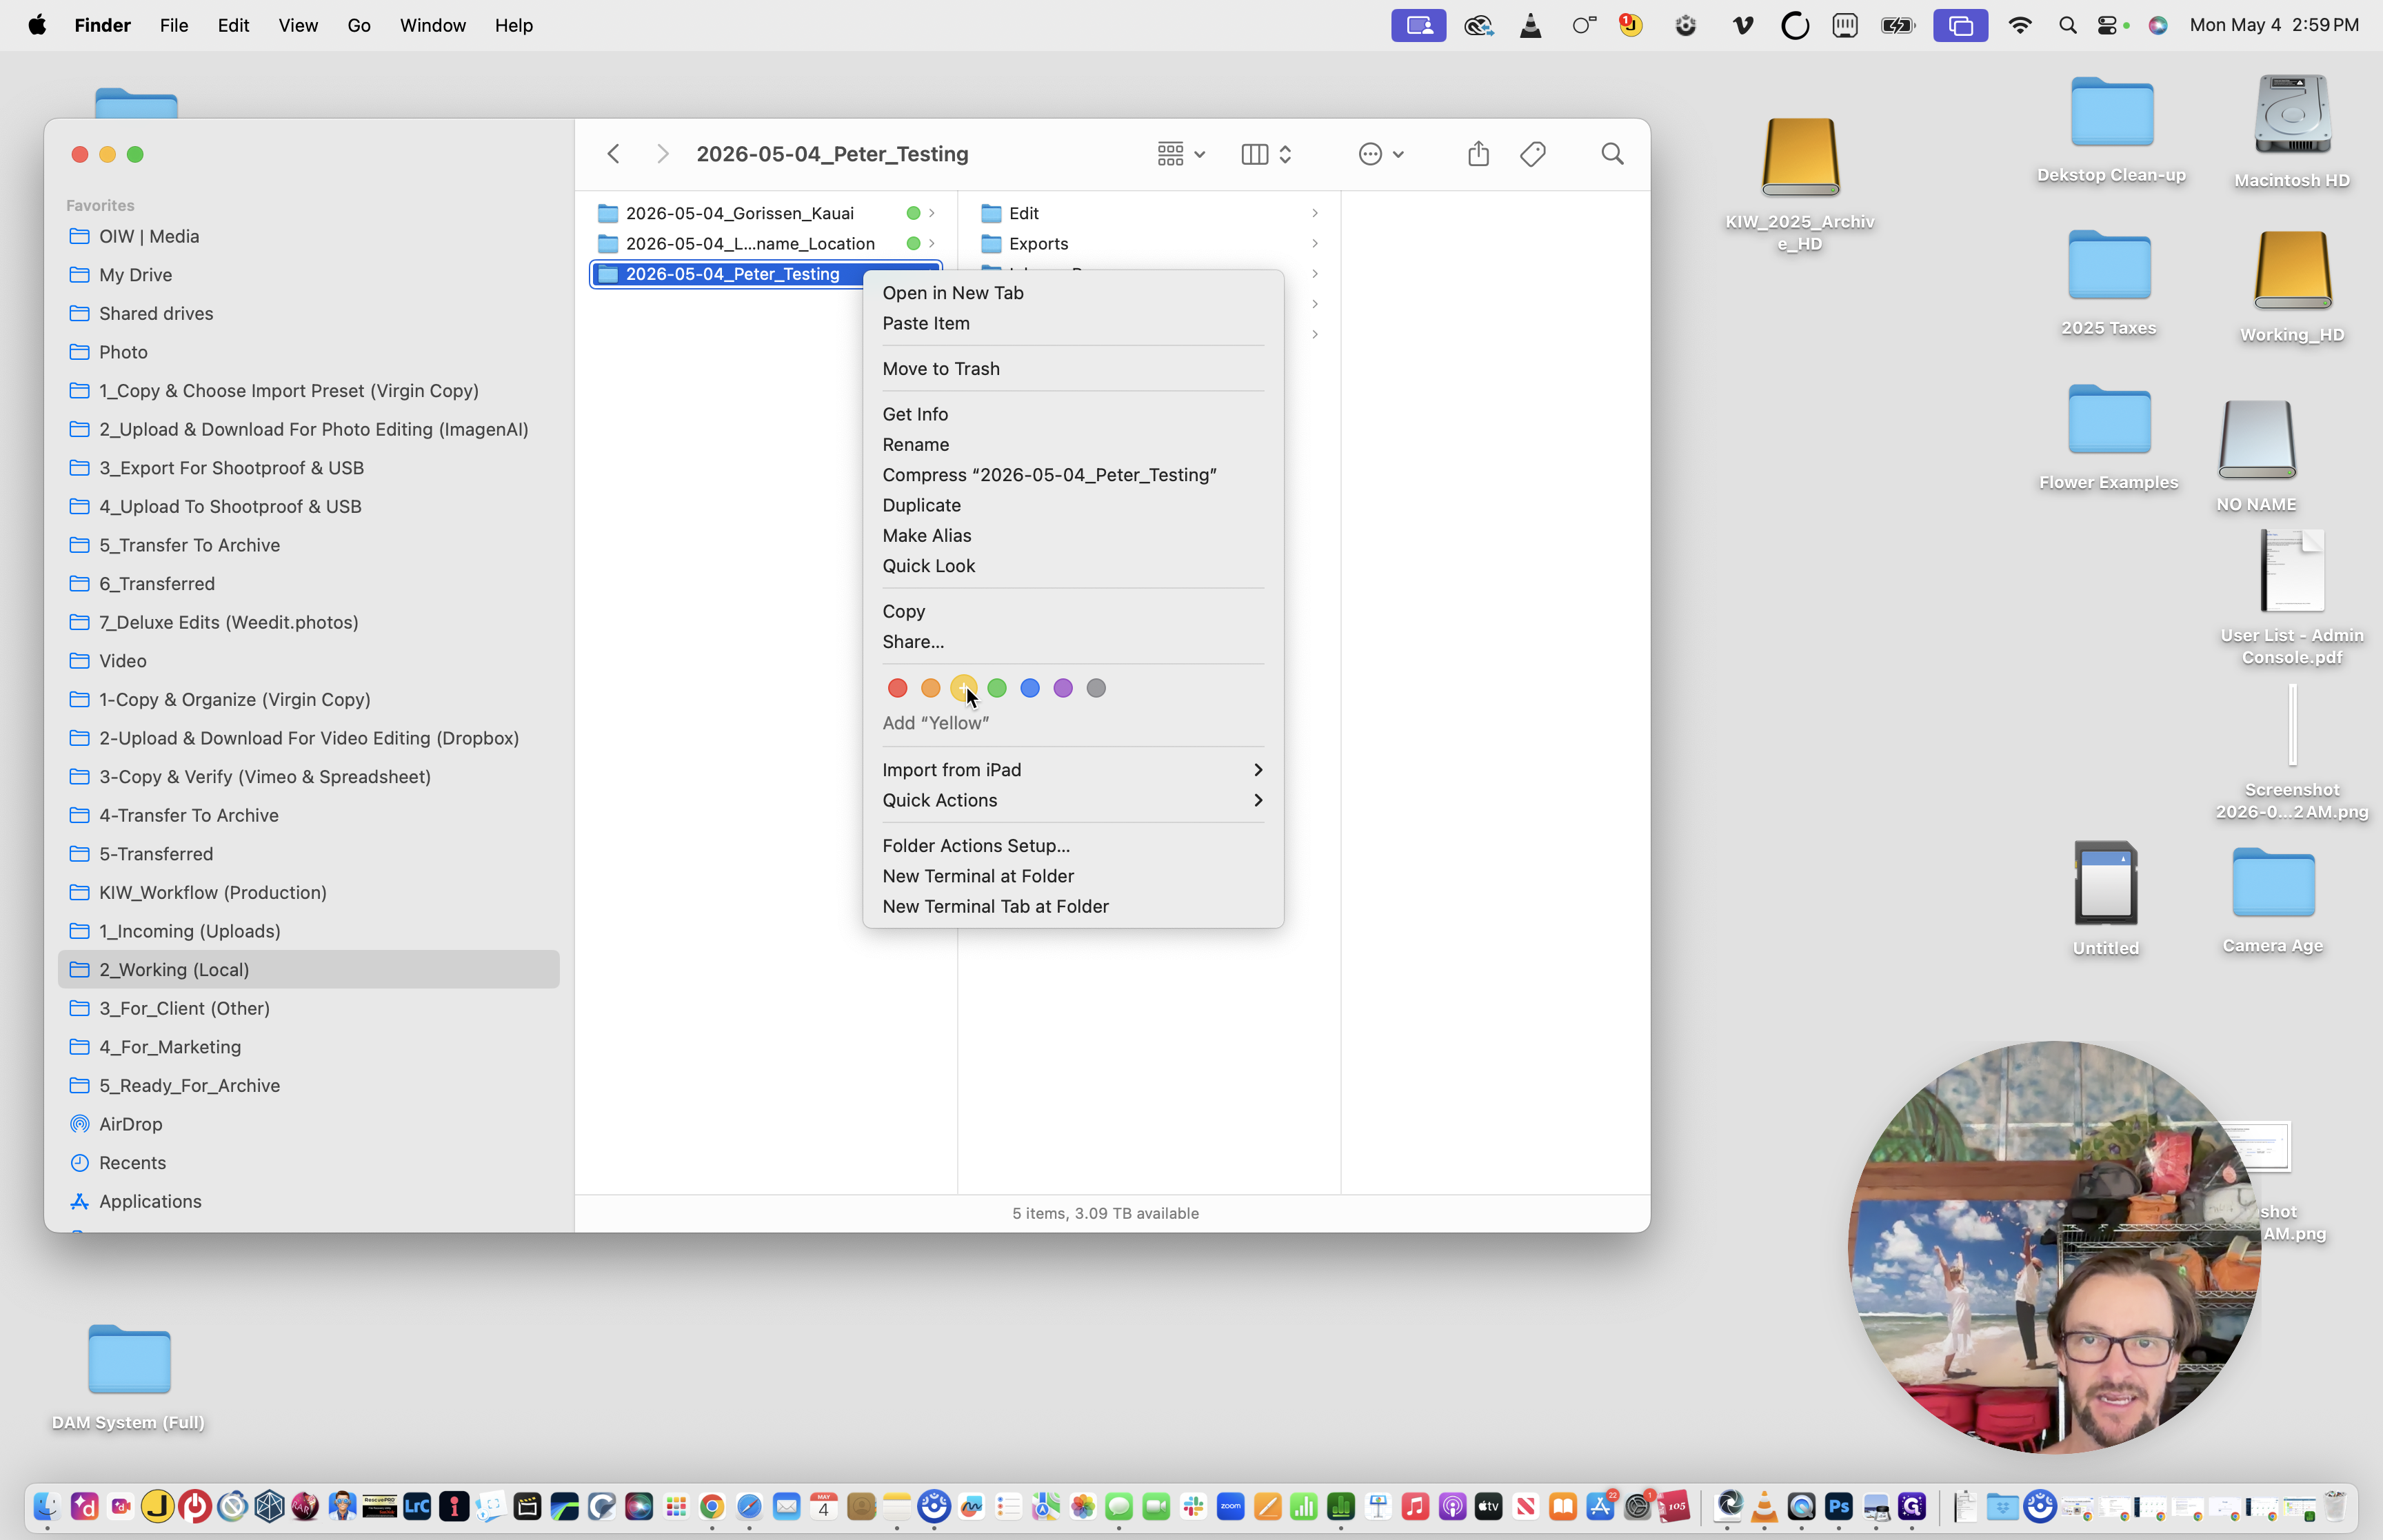
Right-click the folder and apply the color tag to indicate the project is currently in the Editing status.
Update to Yellow Label (editing)
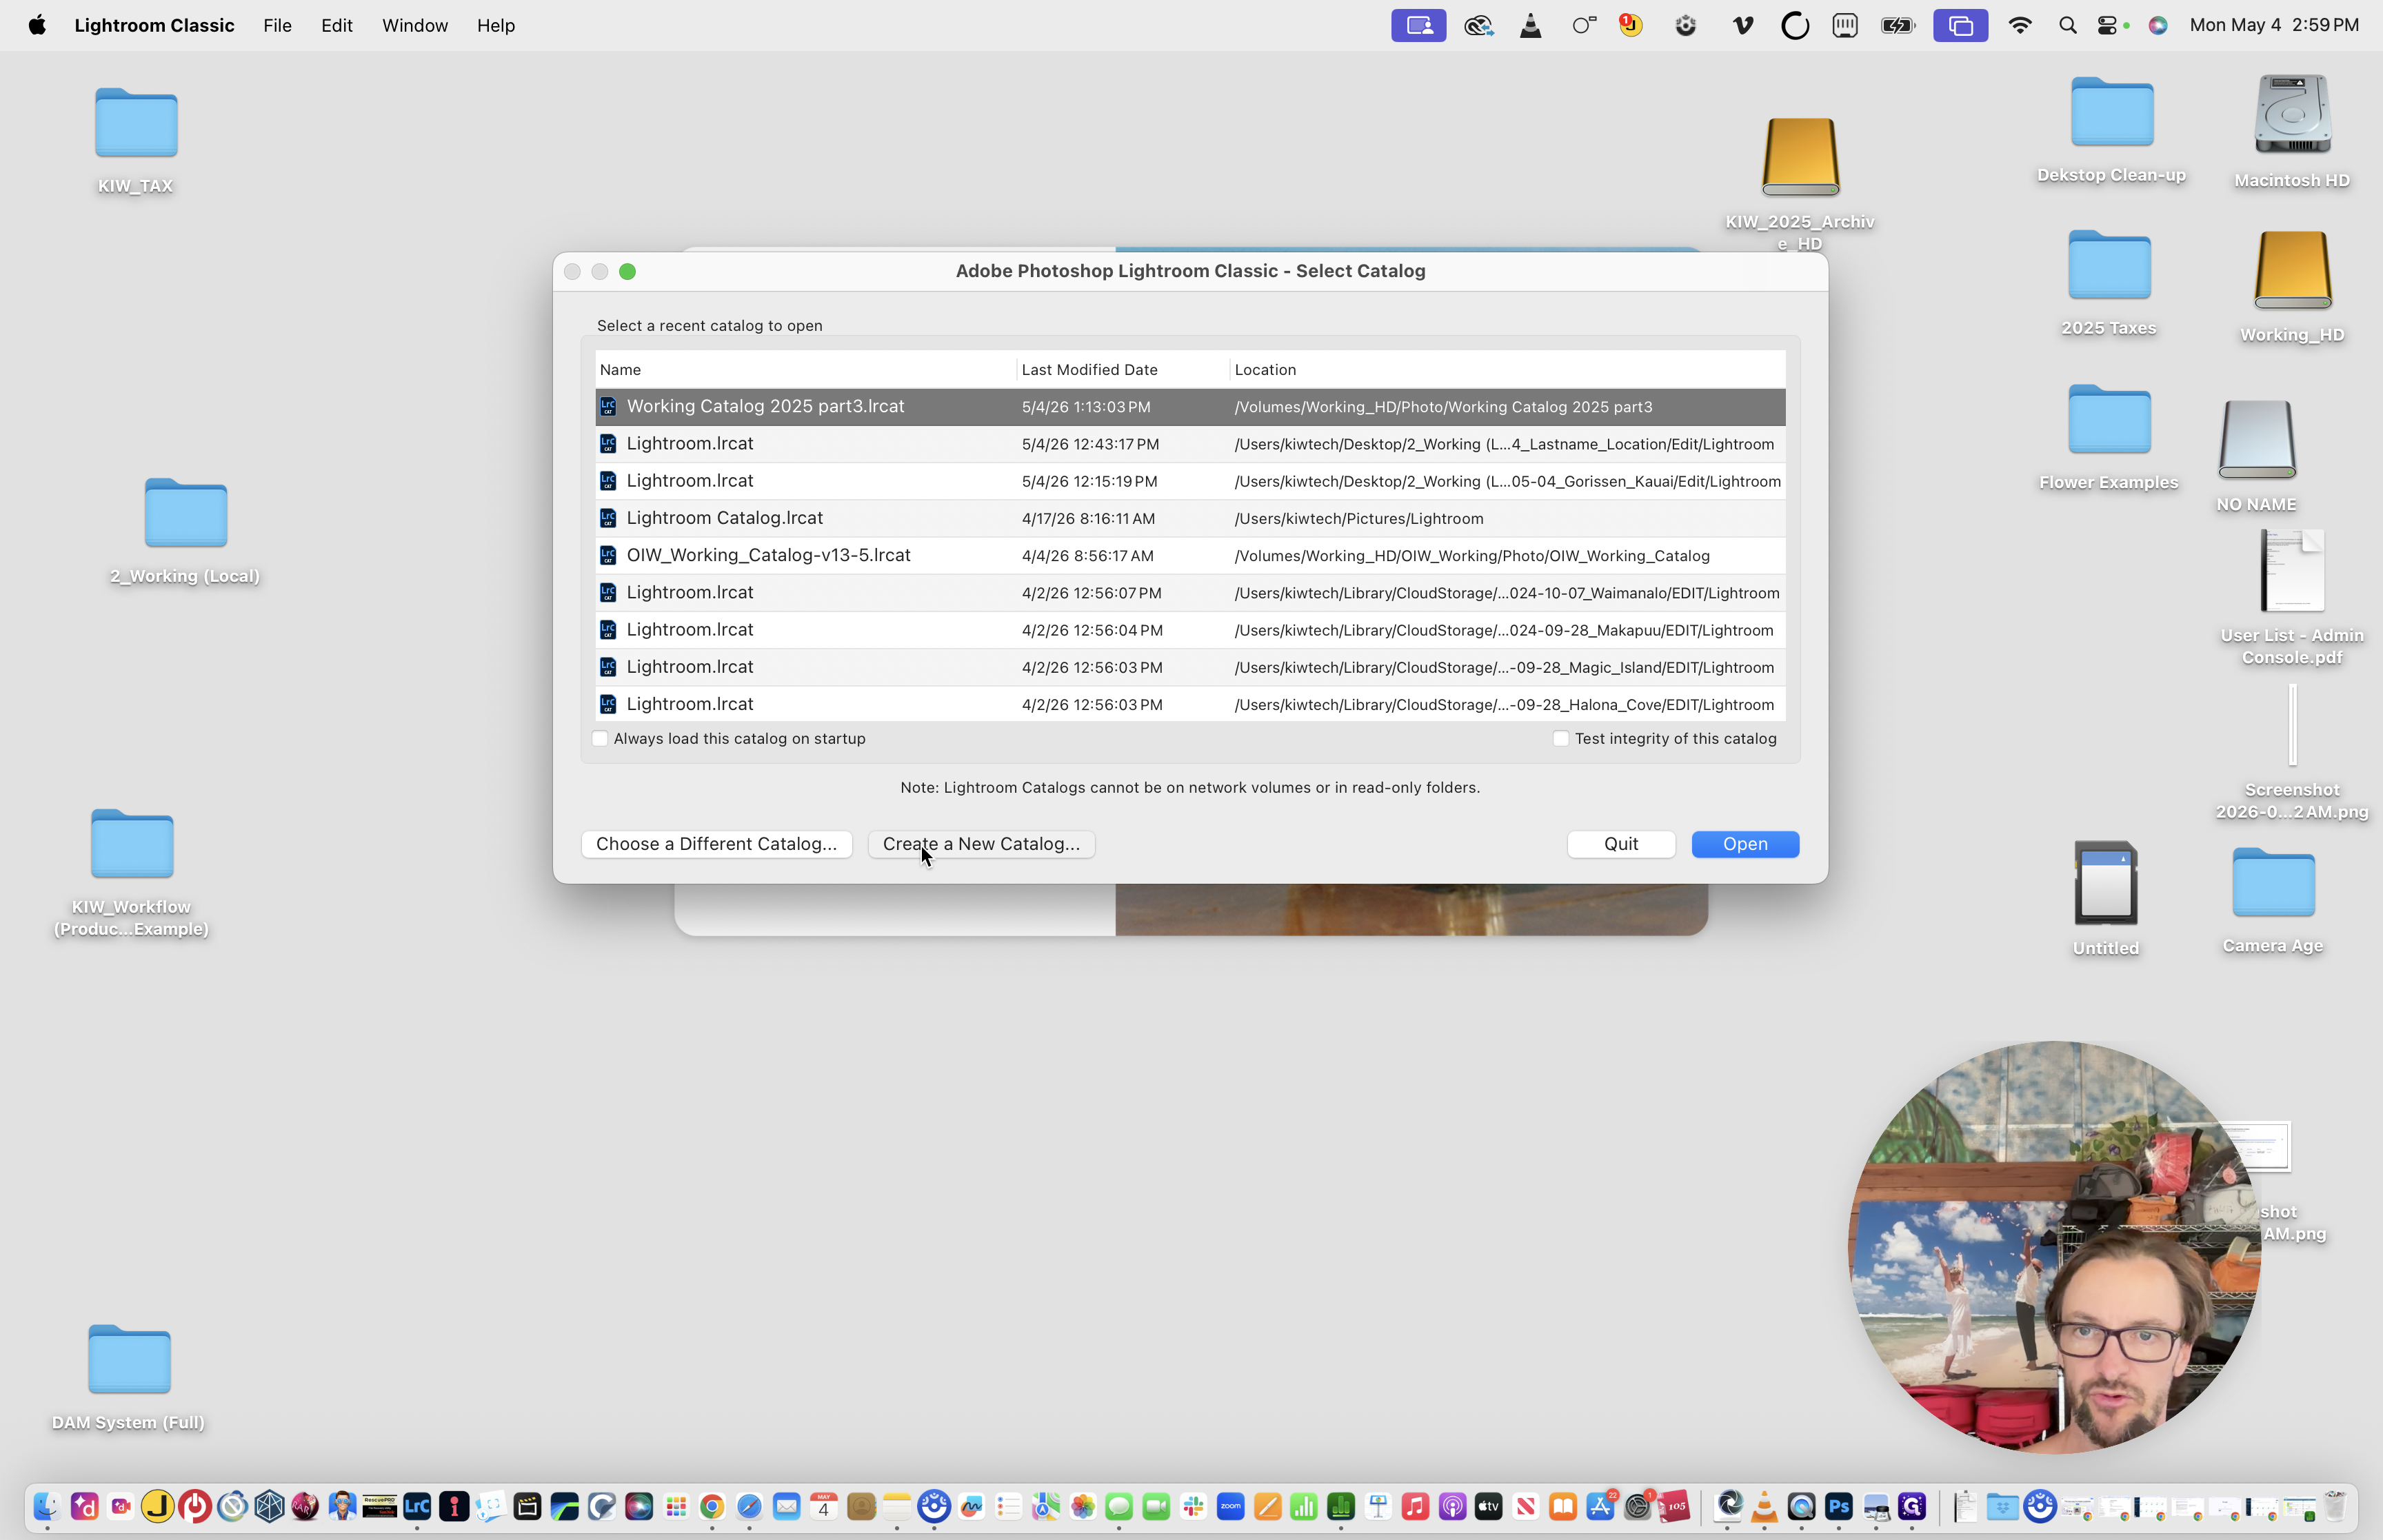
Next, create a dedicated Lightroom catalog for the project.
7
Hold the Option key while launching Lightroom Classic, and click Create a New Catalog...
8
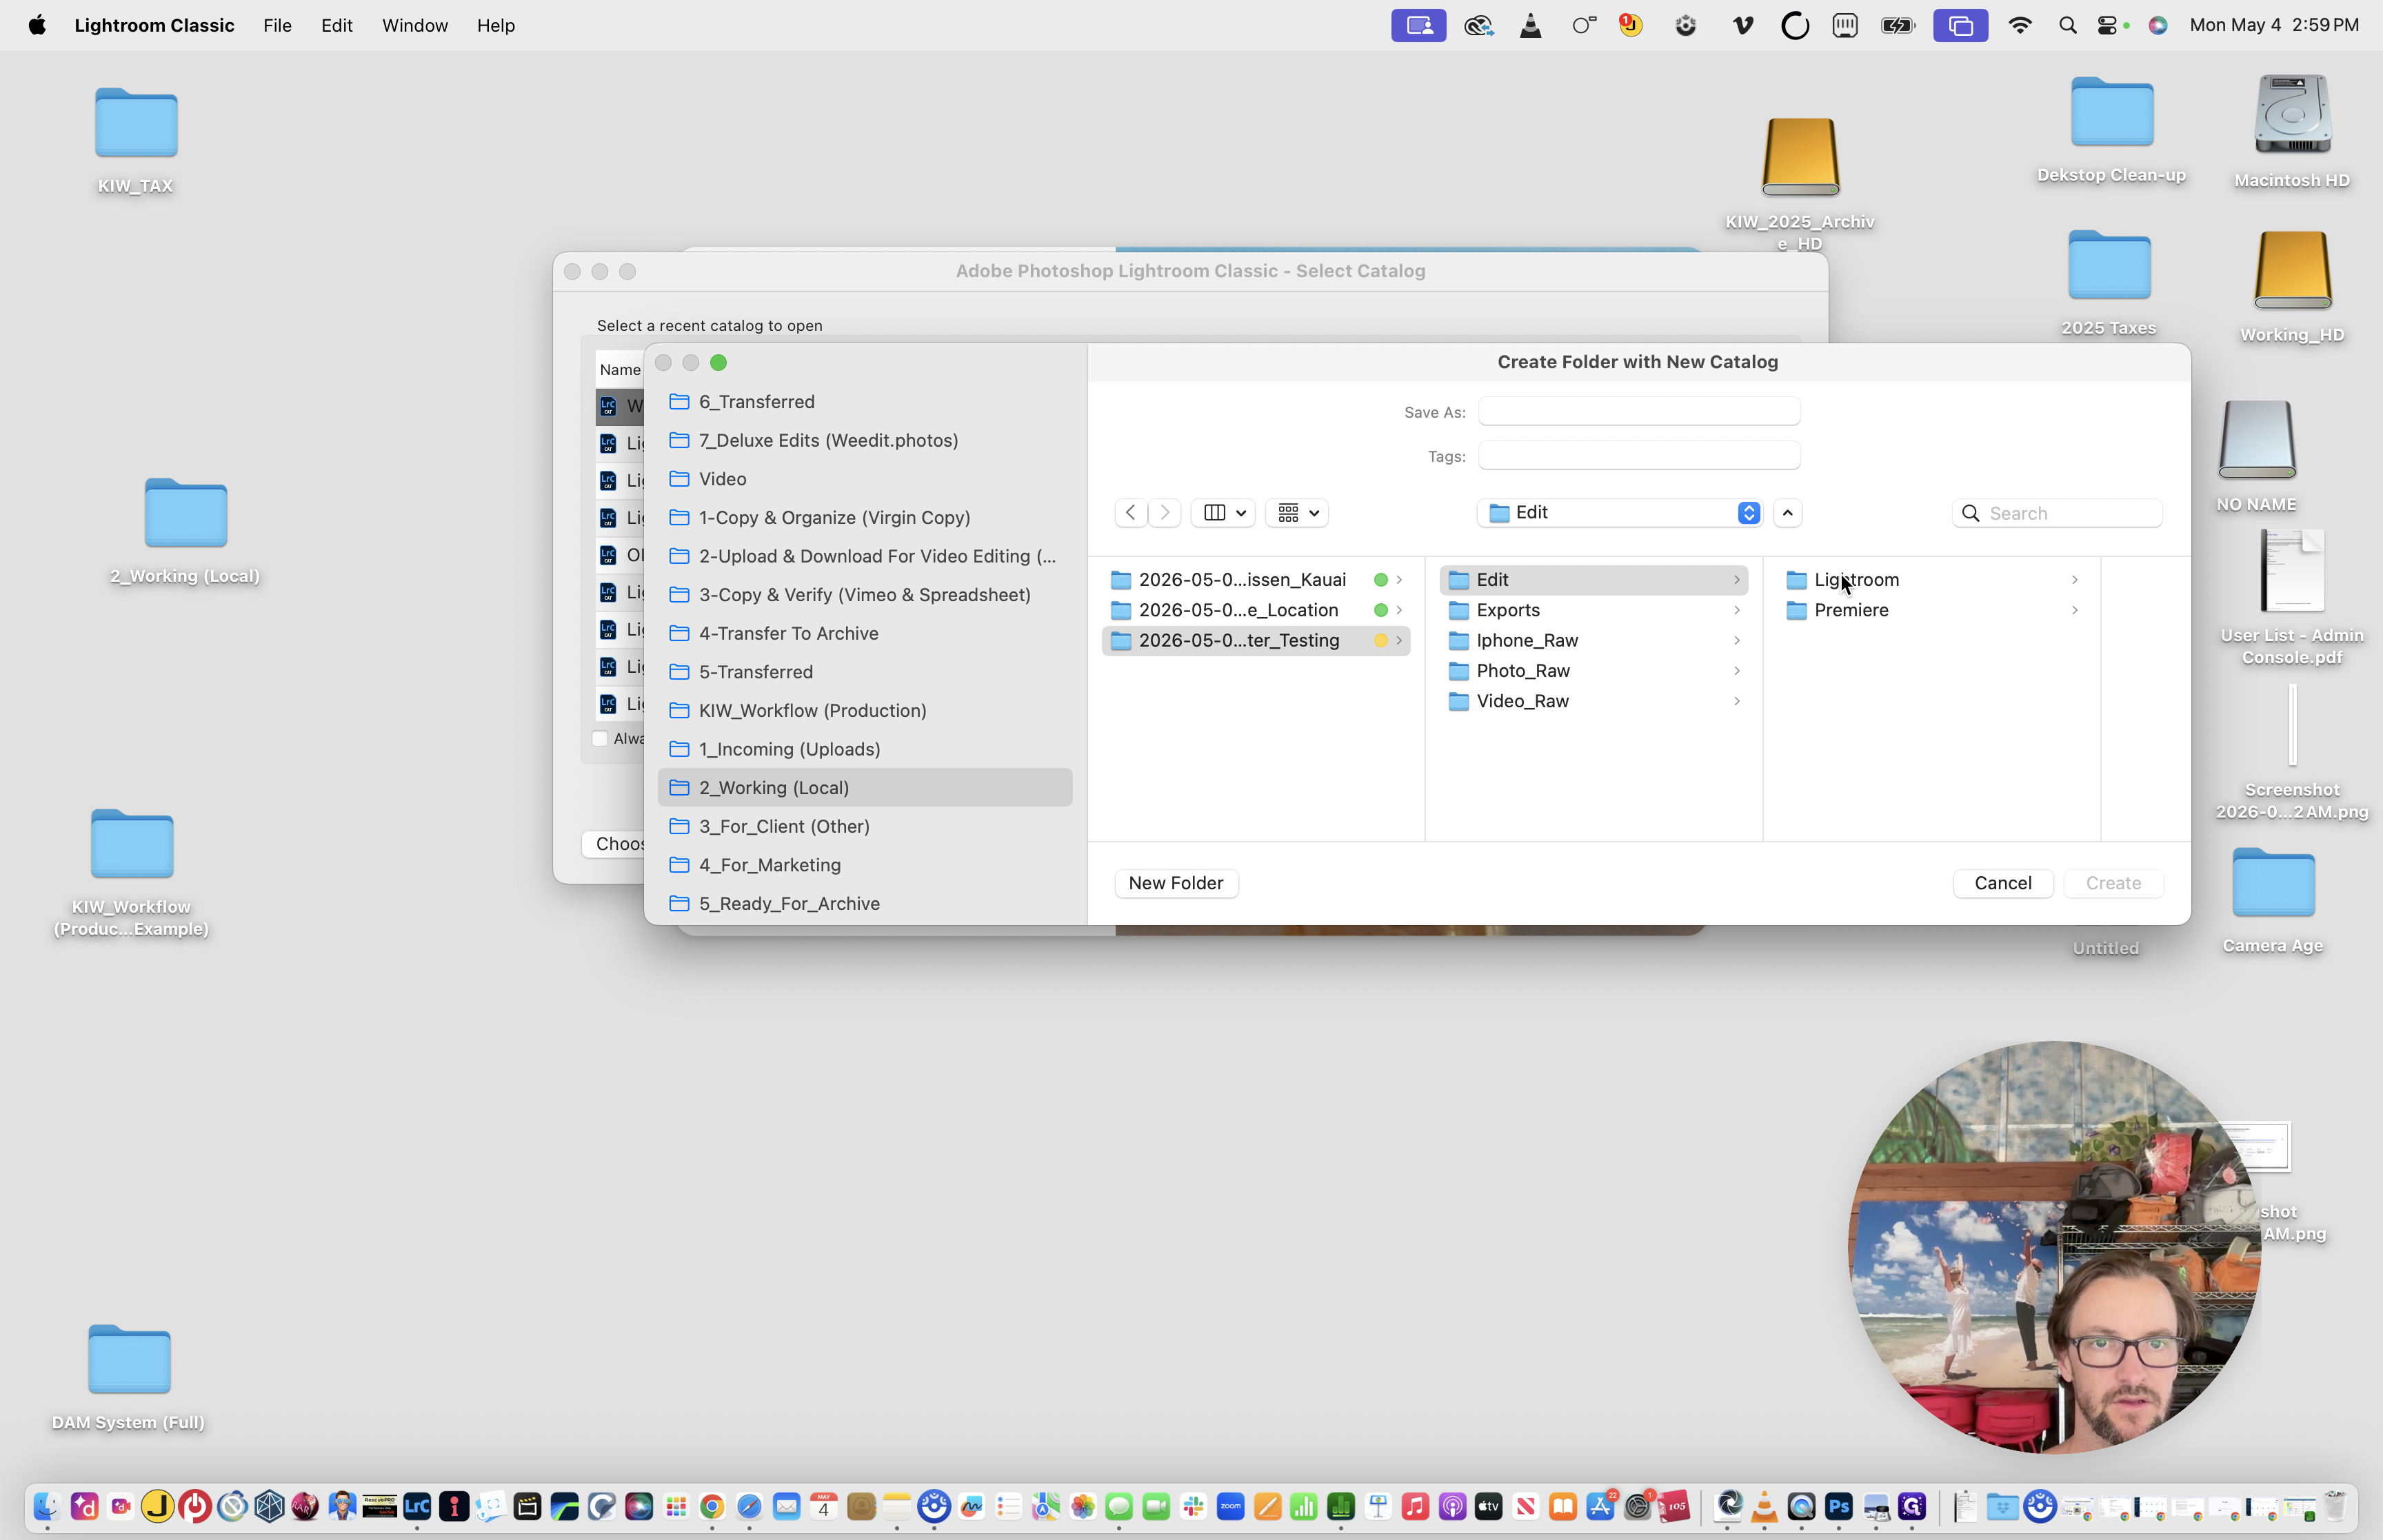
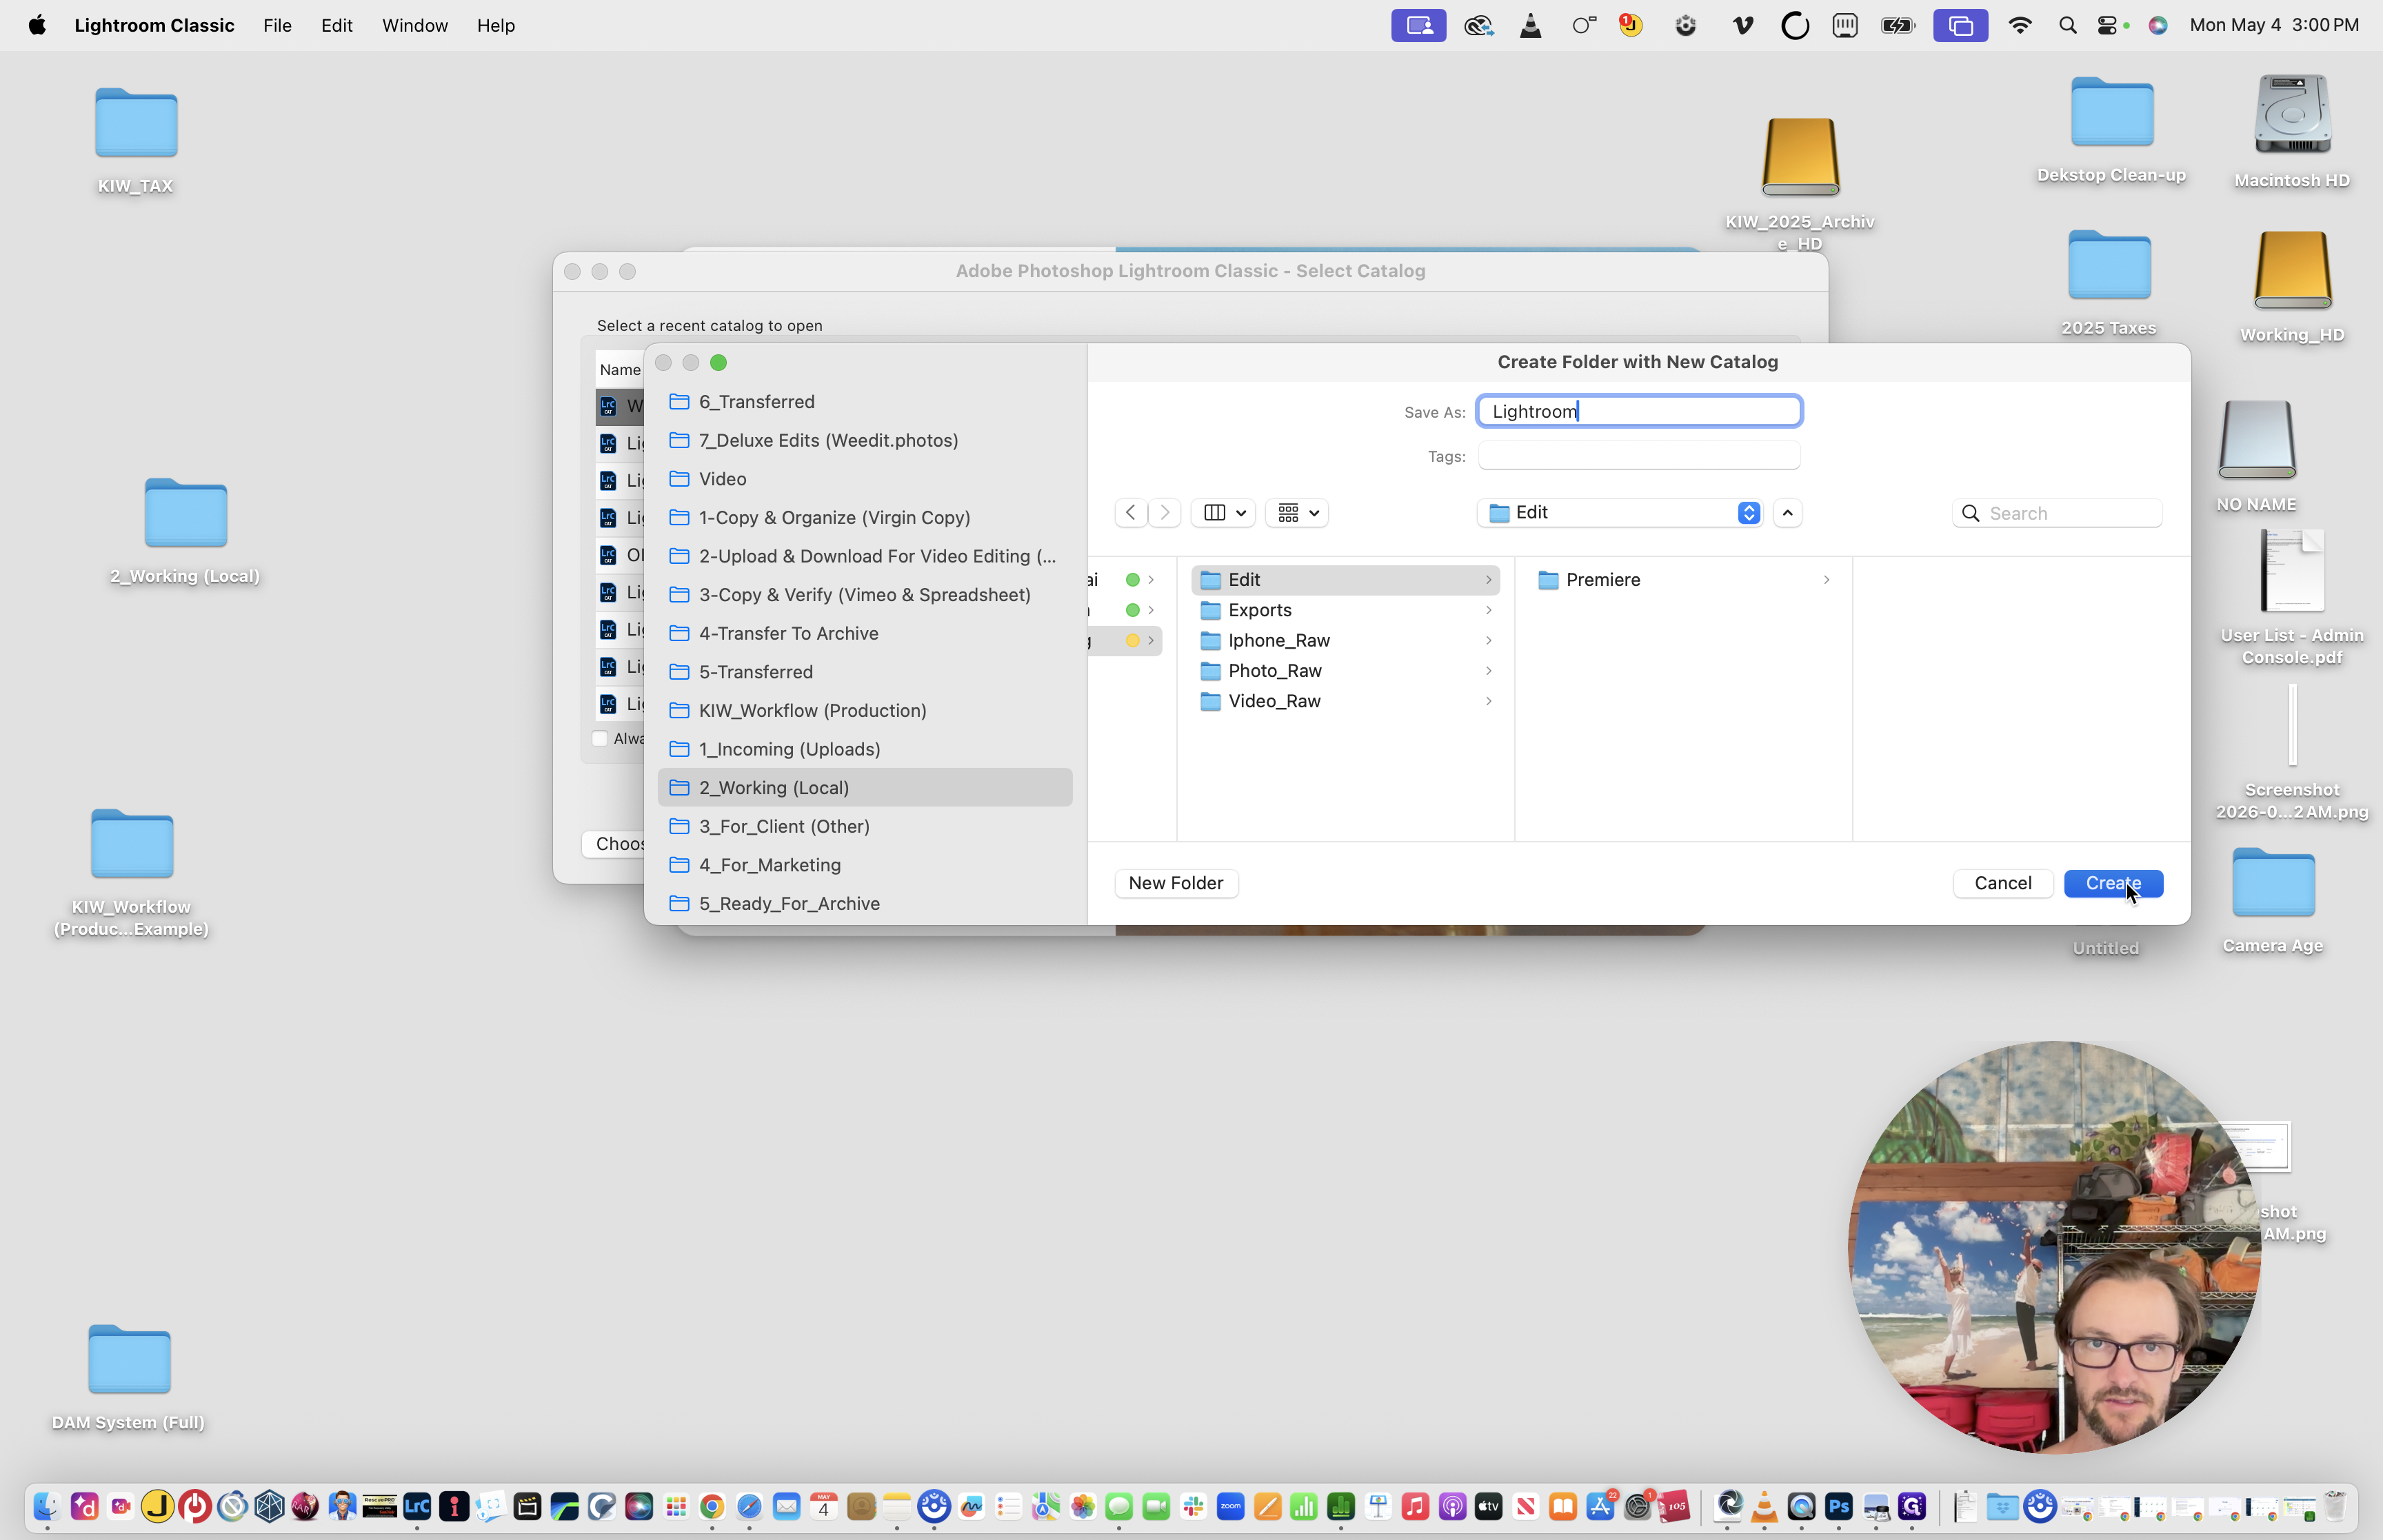
Navigate to the new project folder you just copied to your local drive.
9
Name the catalog folder Lightroom and click Create. (Delete the "Lightroom" folder template before you do this)
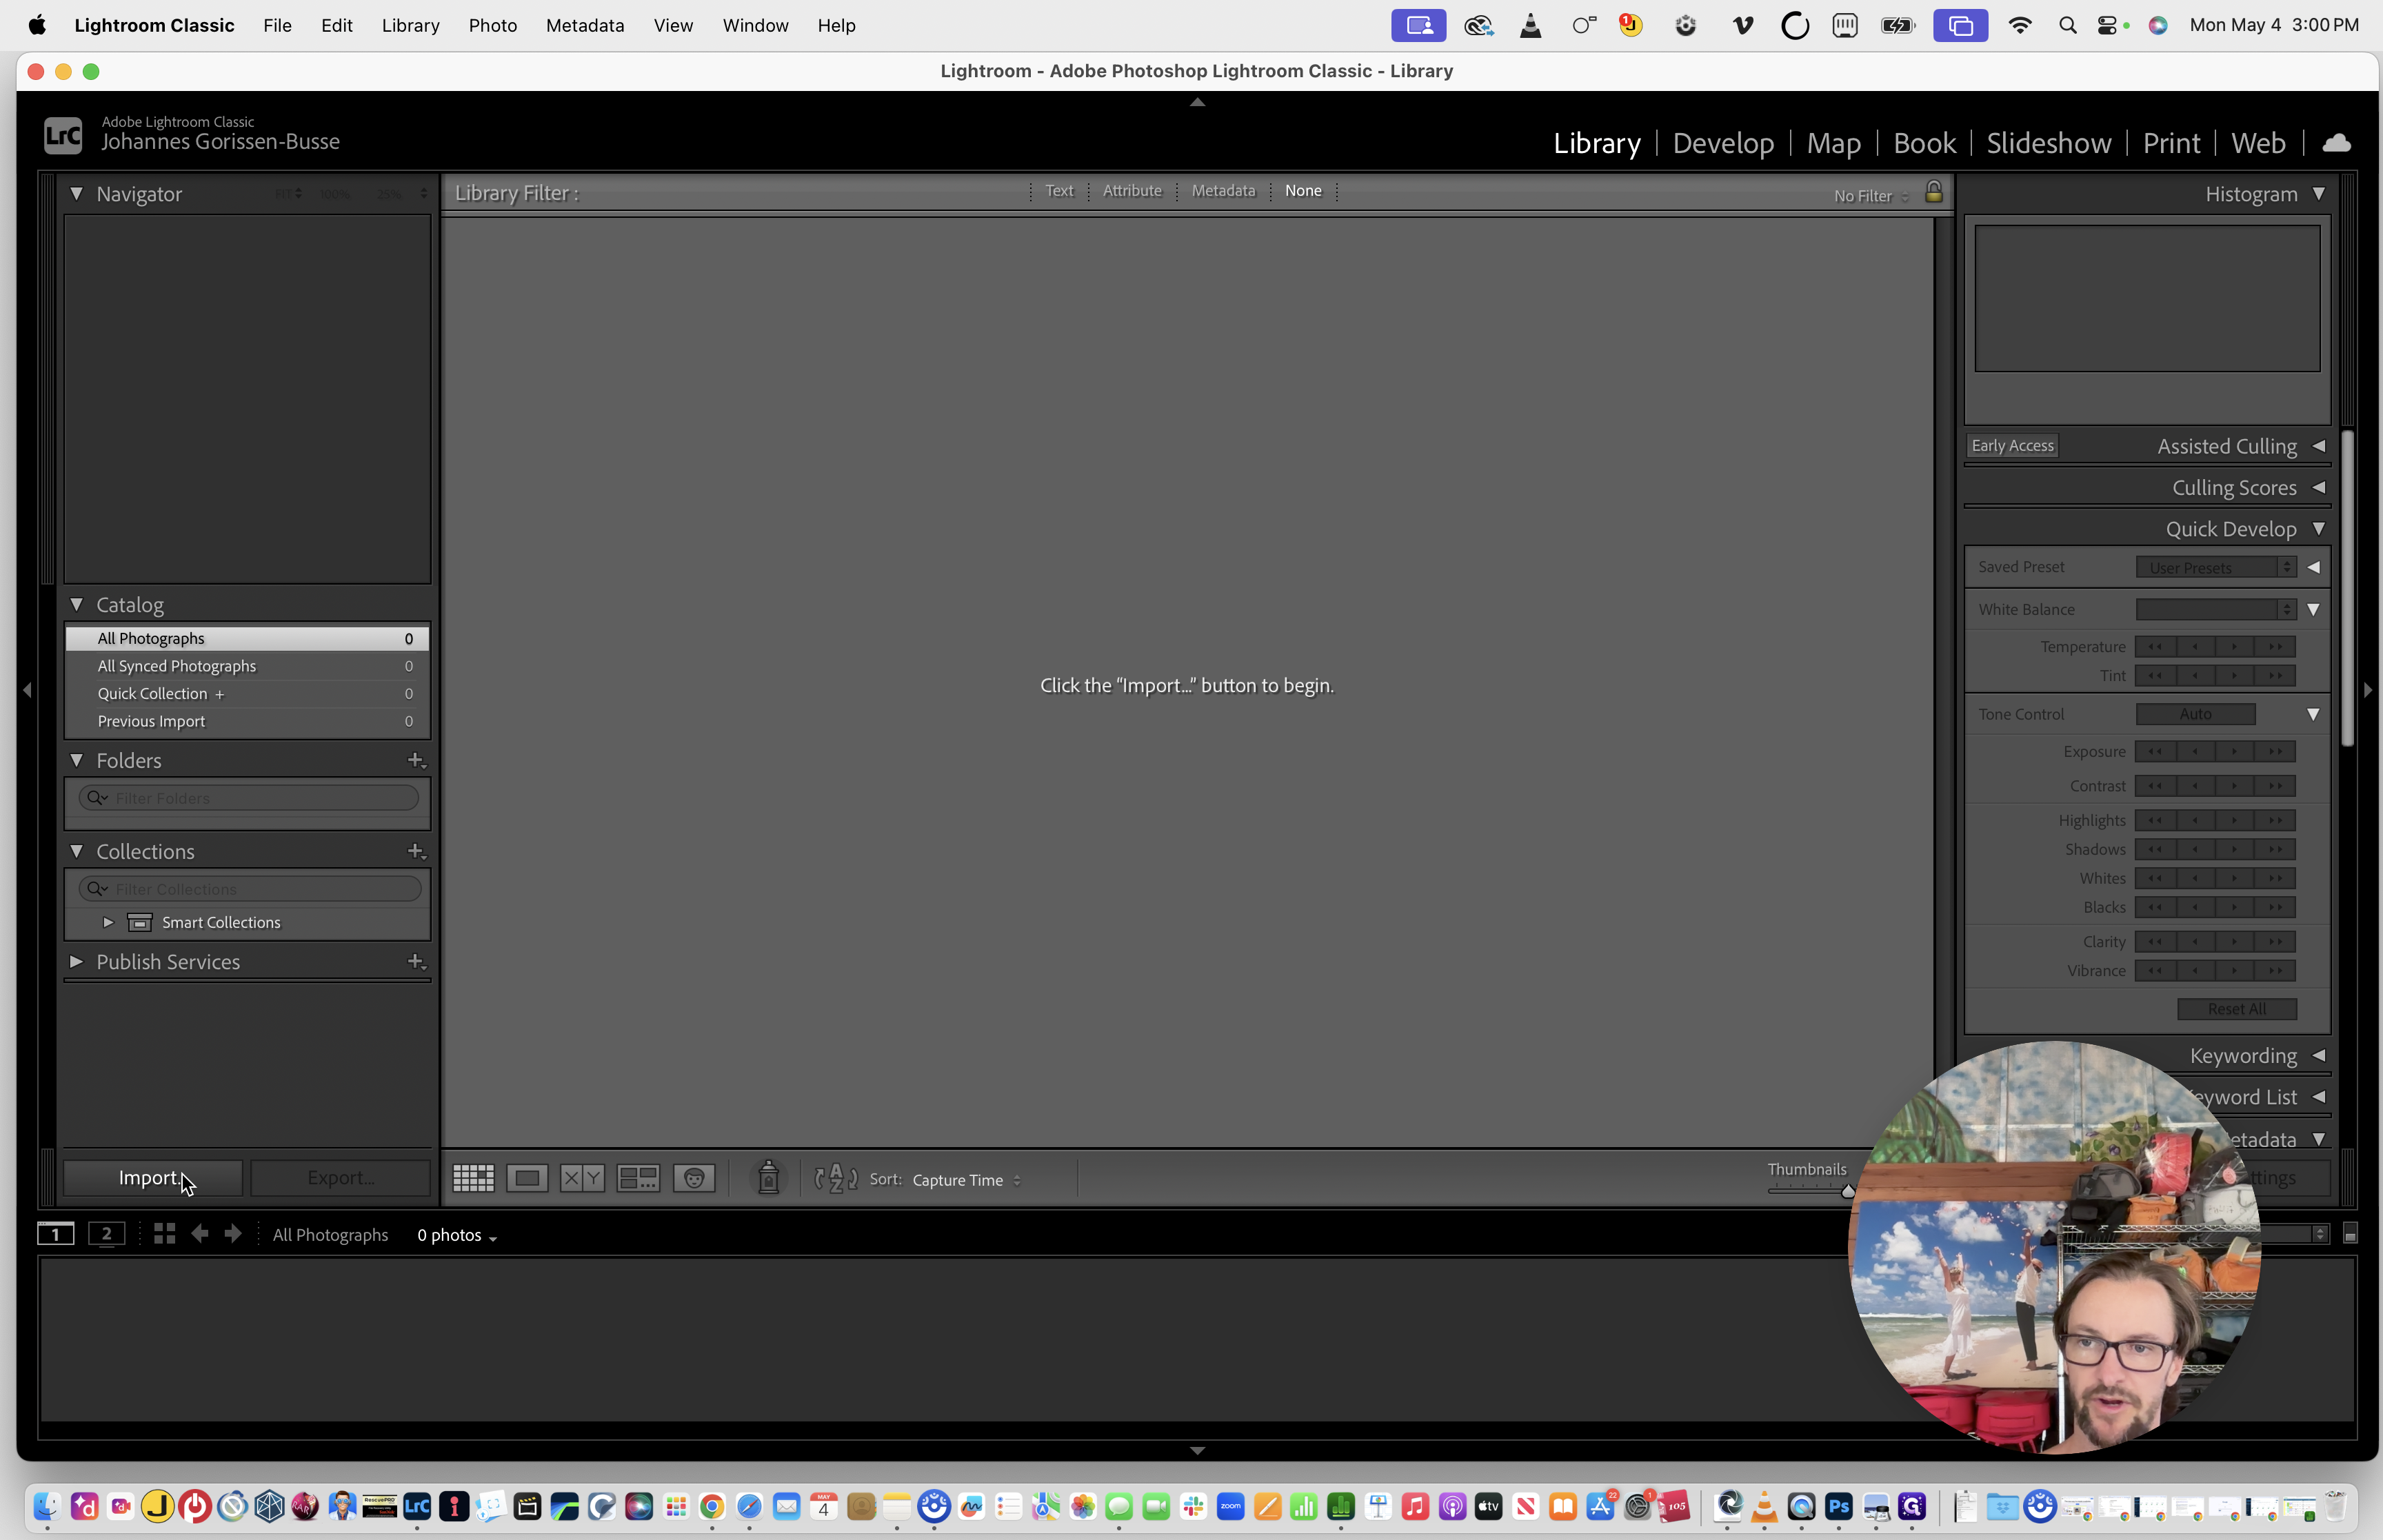
With the catalog created, you need to import the raw photos.
10
Click Import in the bottom-left corner of Lightroom.
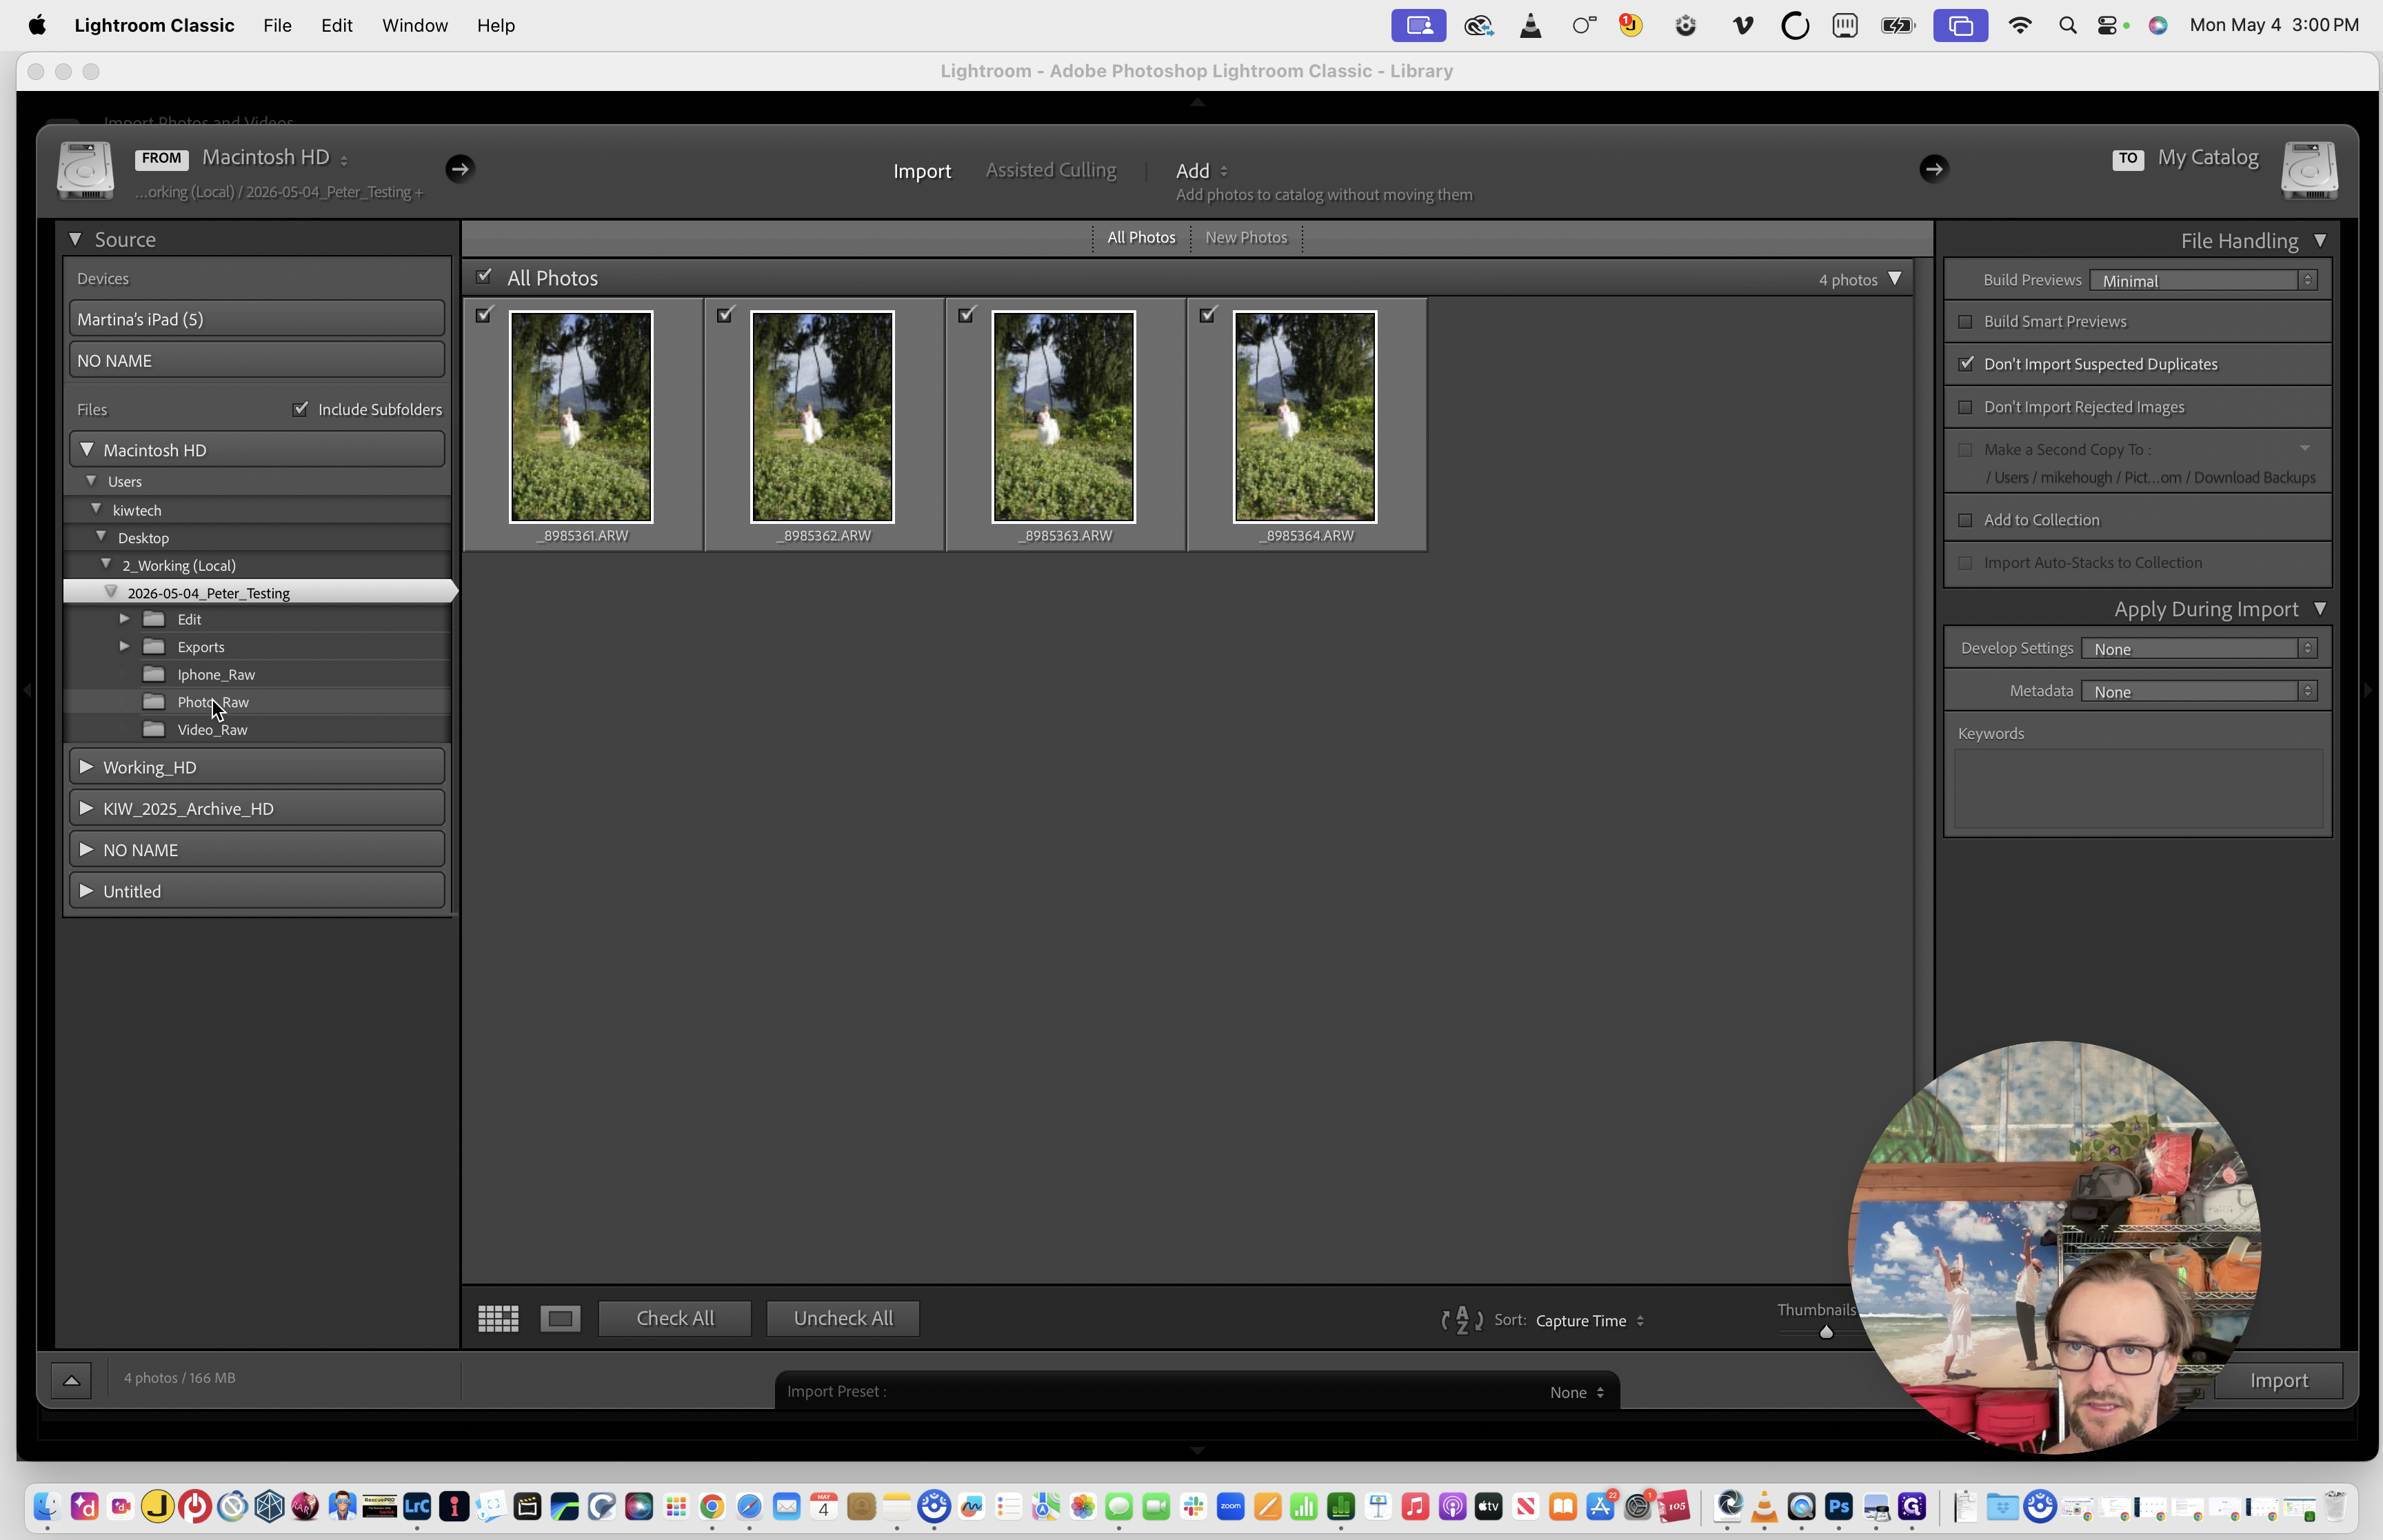
11
Locate and select the Photo_Raw folder within your project directory.
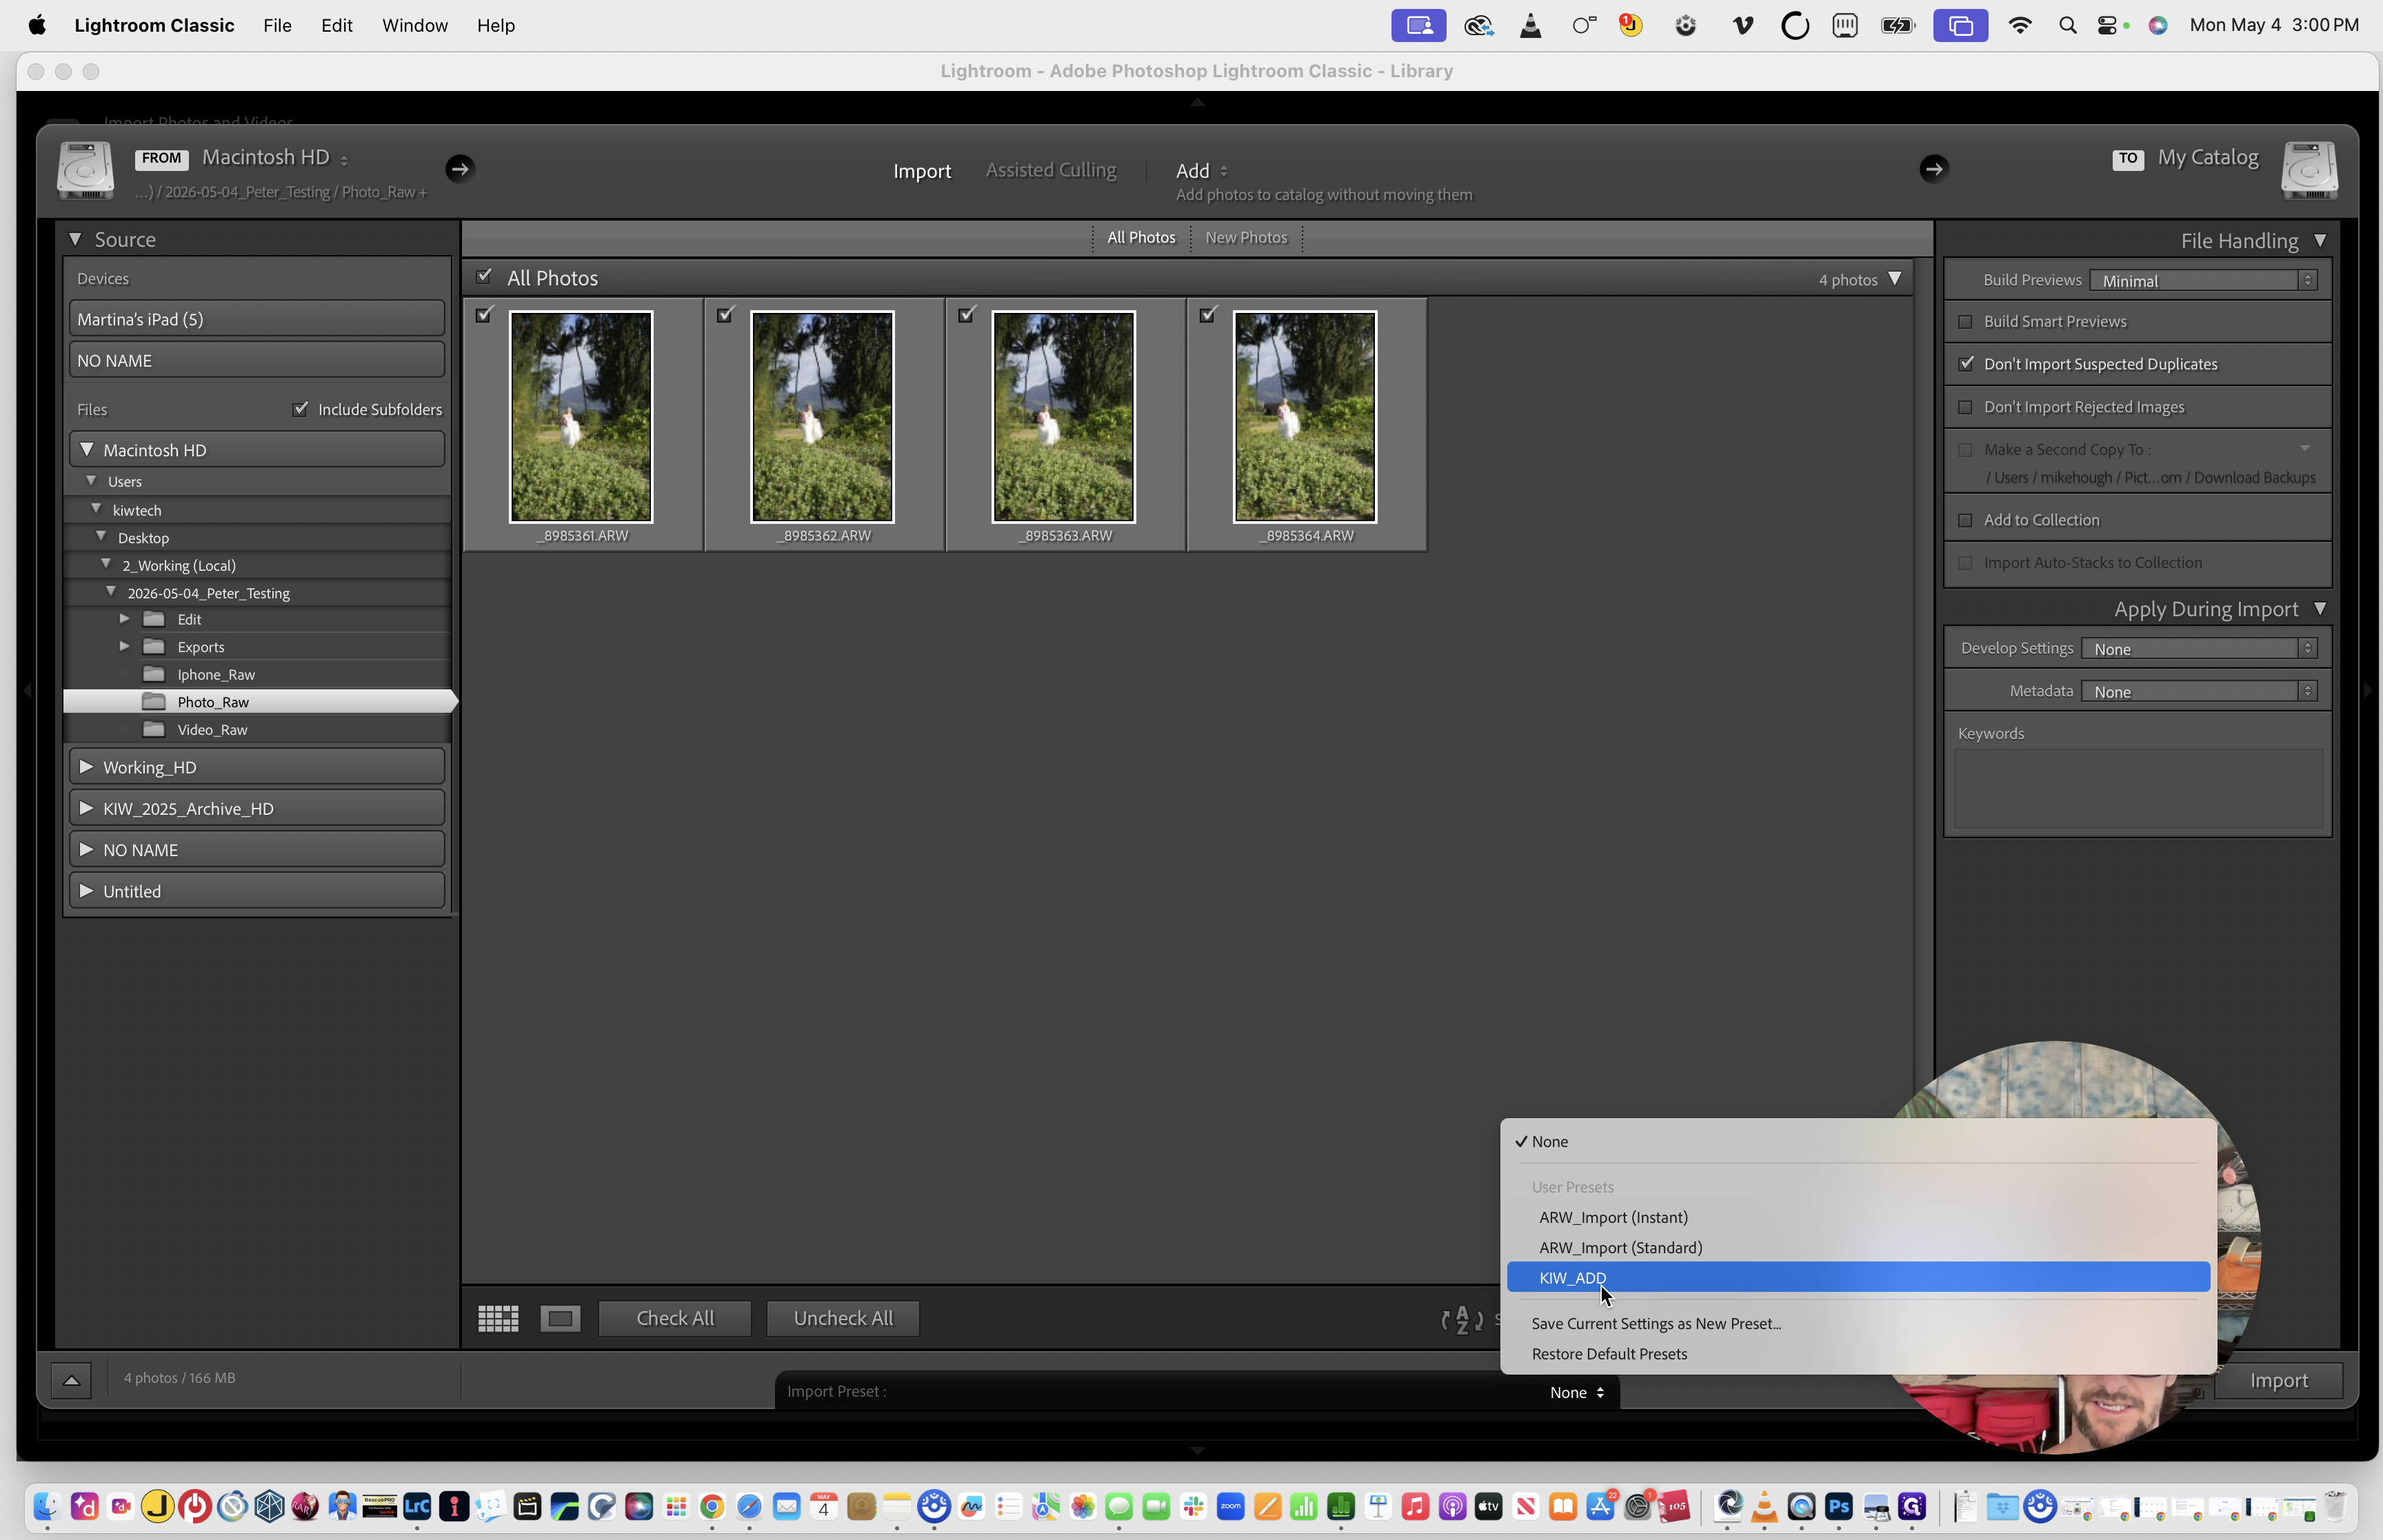
12
Select the KIW_ADD user preset from the import settings dropdown.
13
Click Import to bring the photos into the catalog.
14
Once the import and smart previews finish processing, type Cmd + Q to close Lightroom completely.
Lightroom must be fully closed before you can process the catalog in Imagen AI.
Phase 2: Processing with Imagen AI
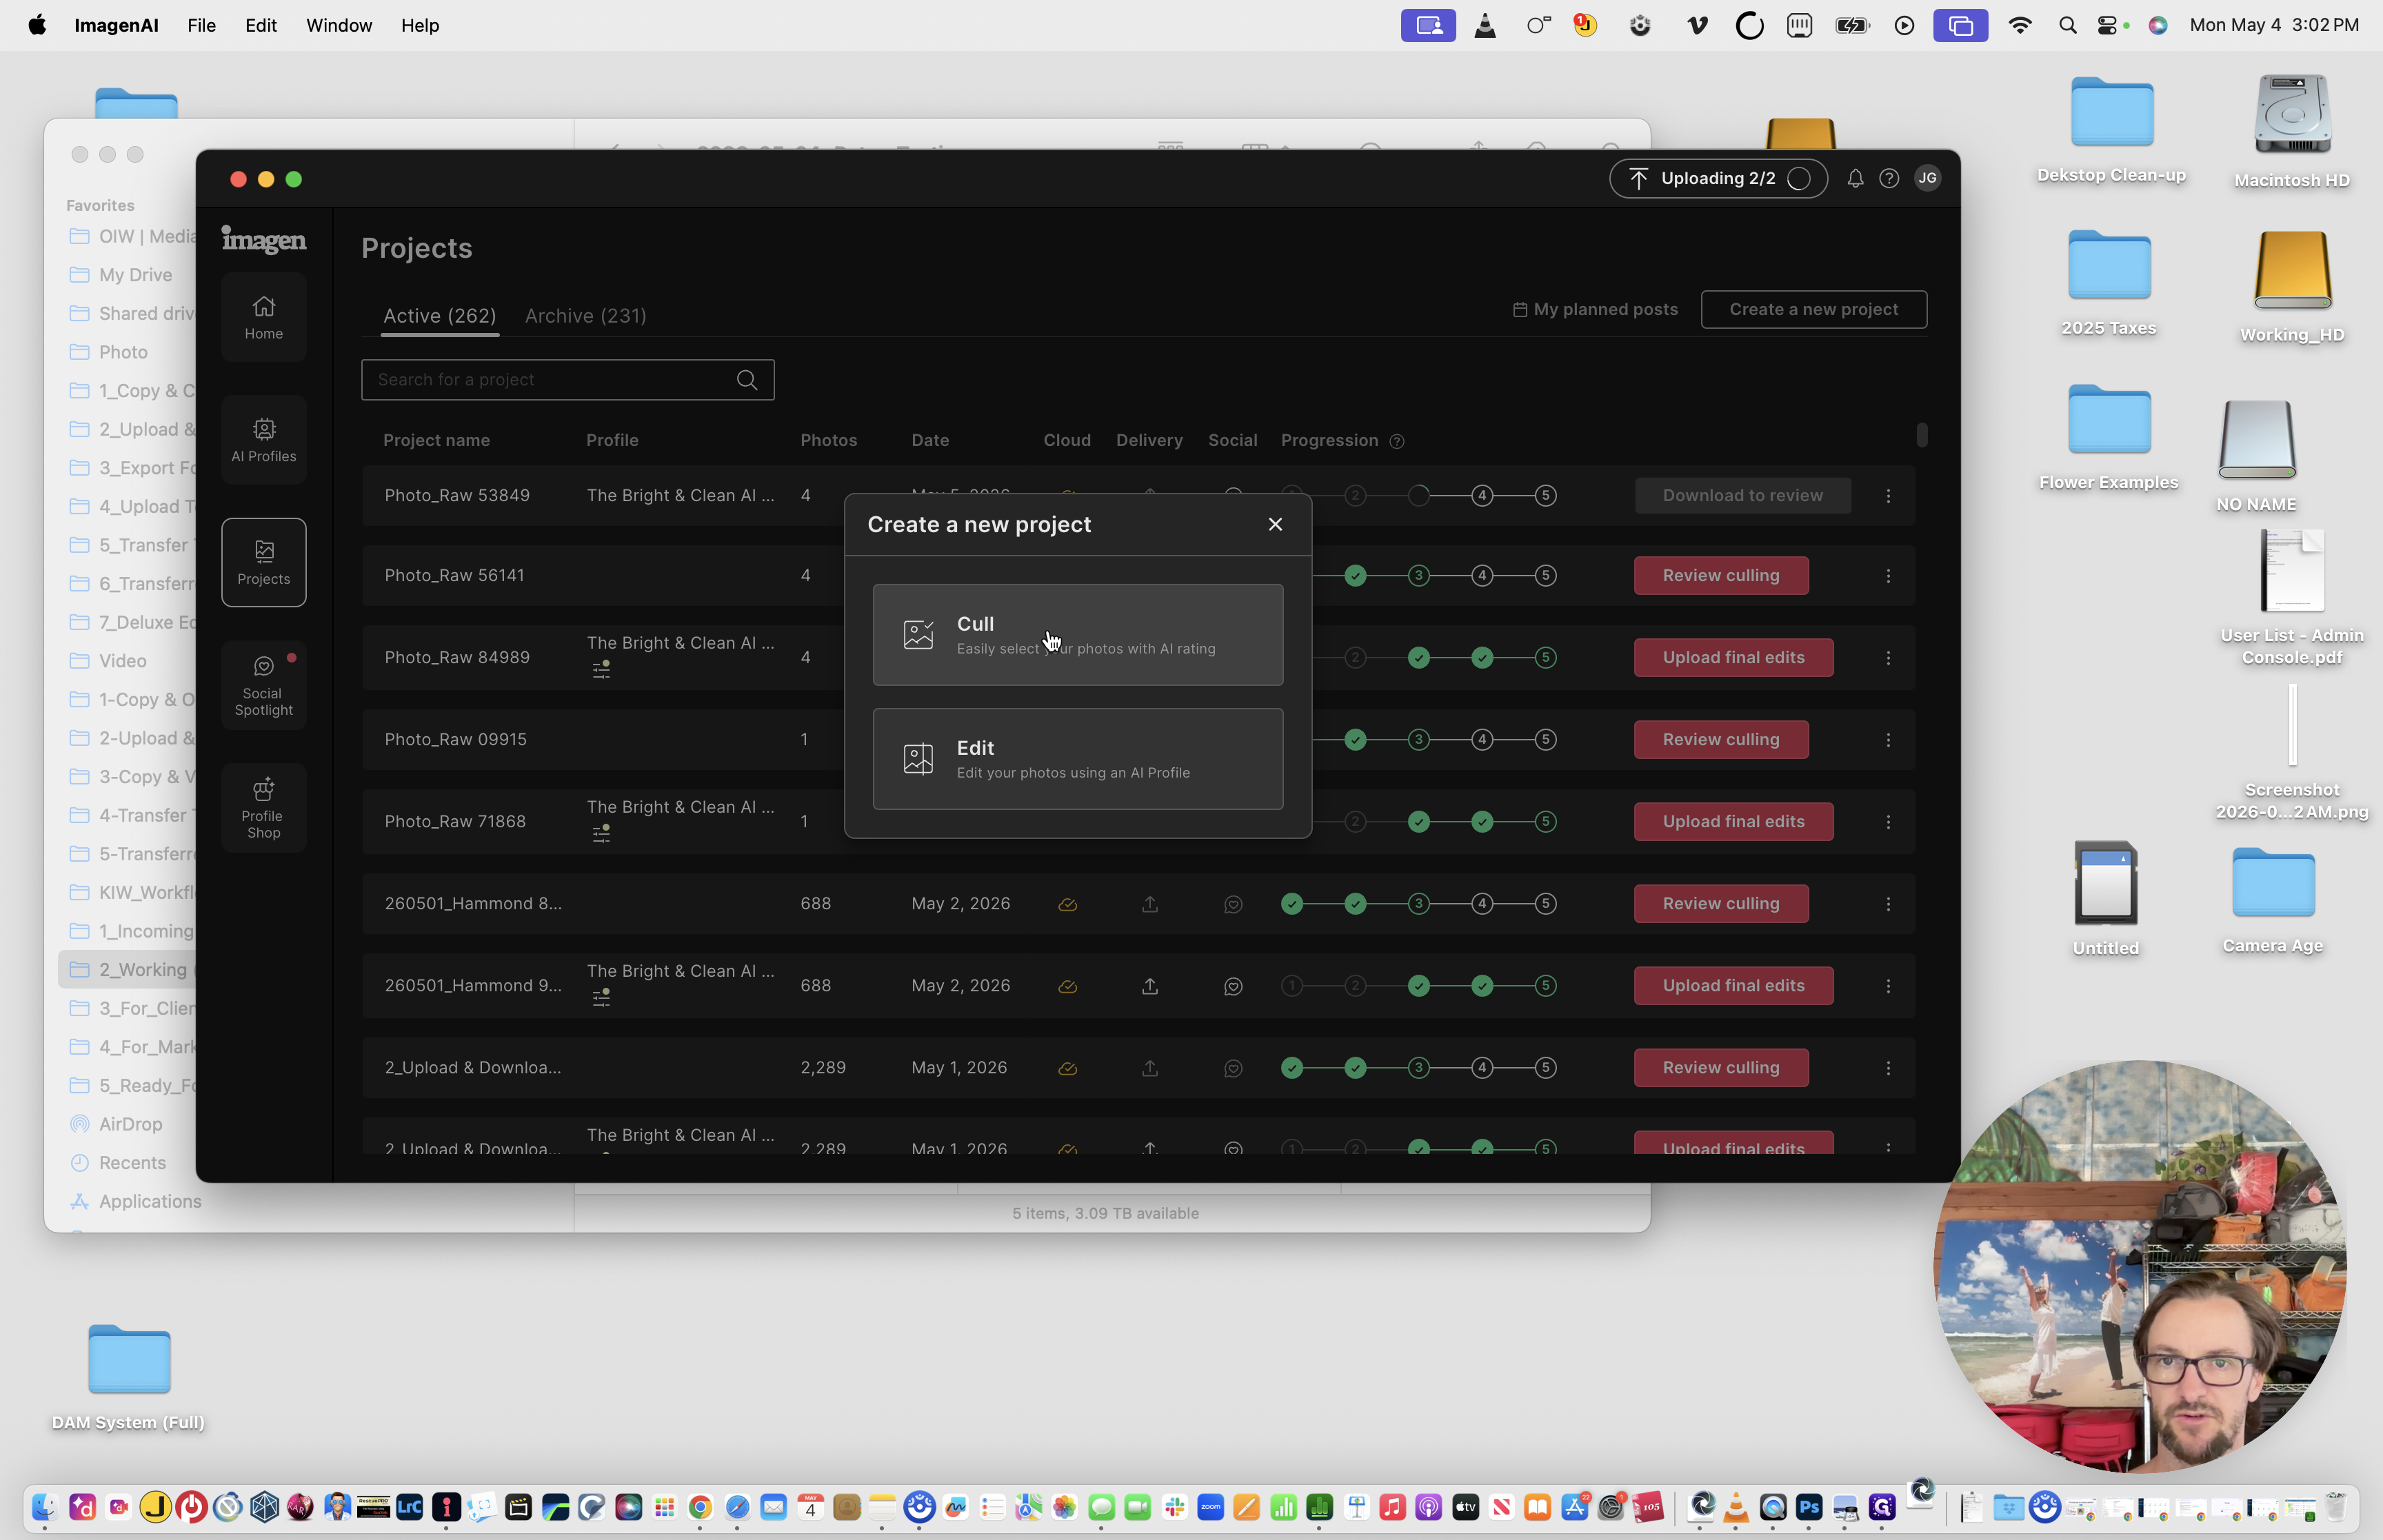
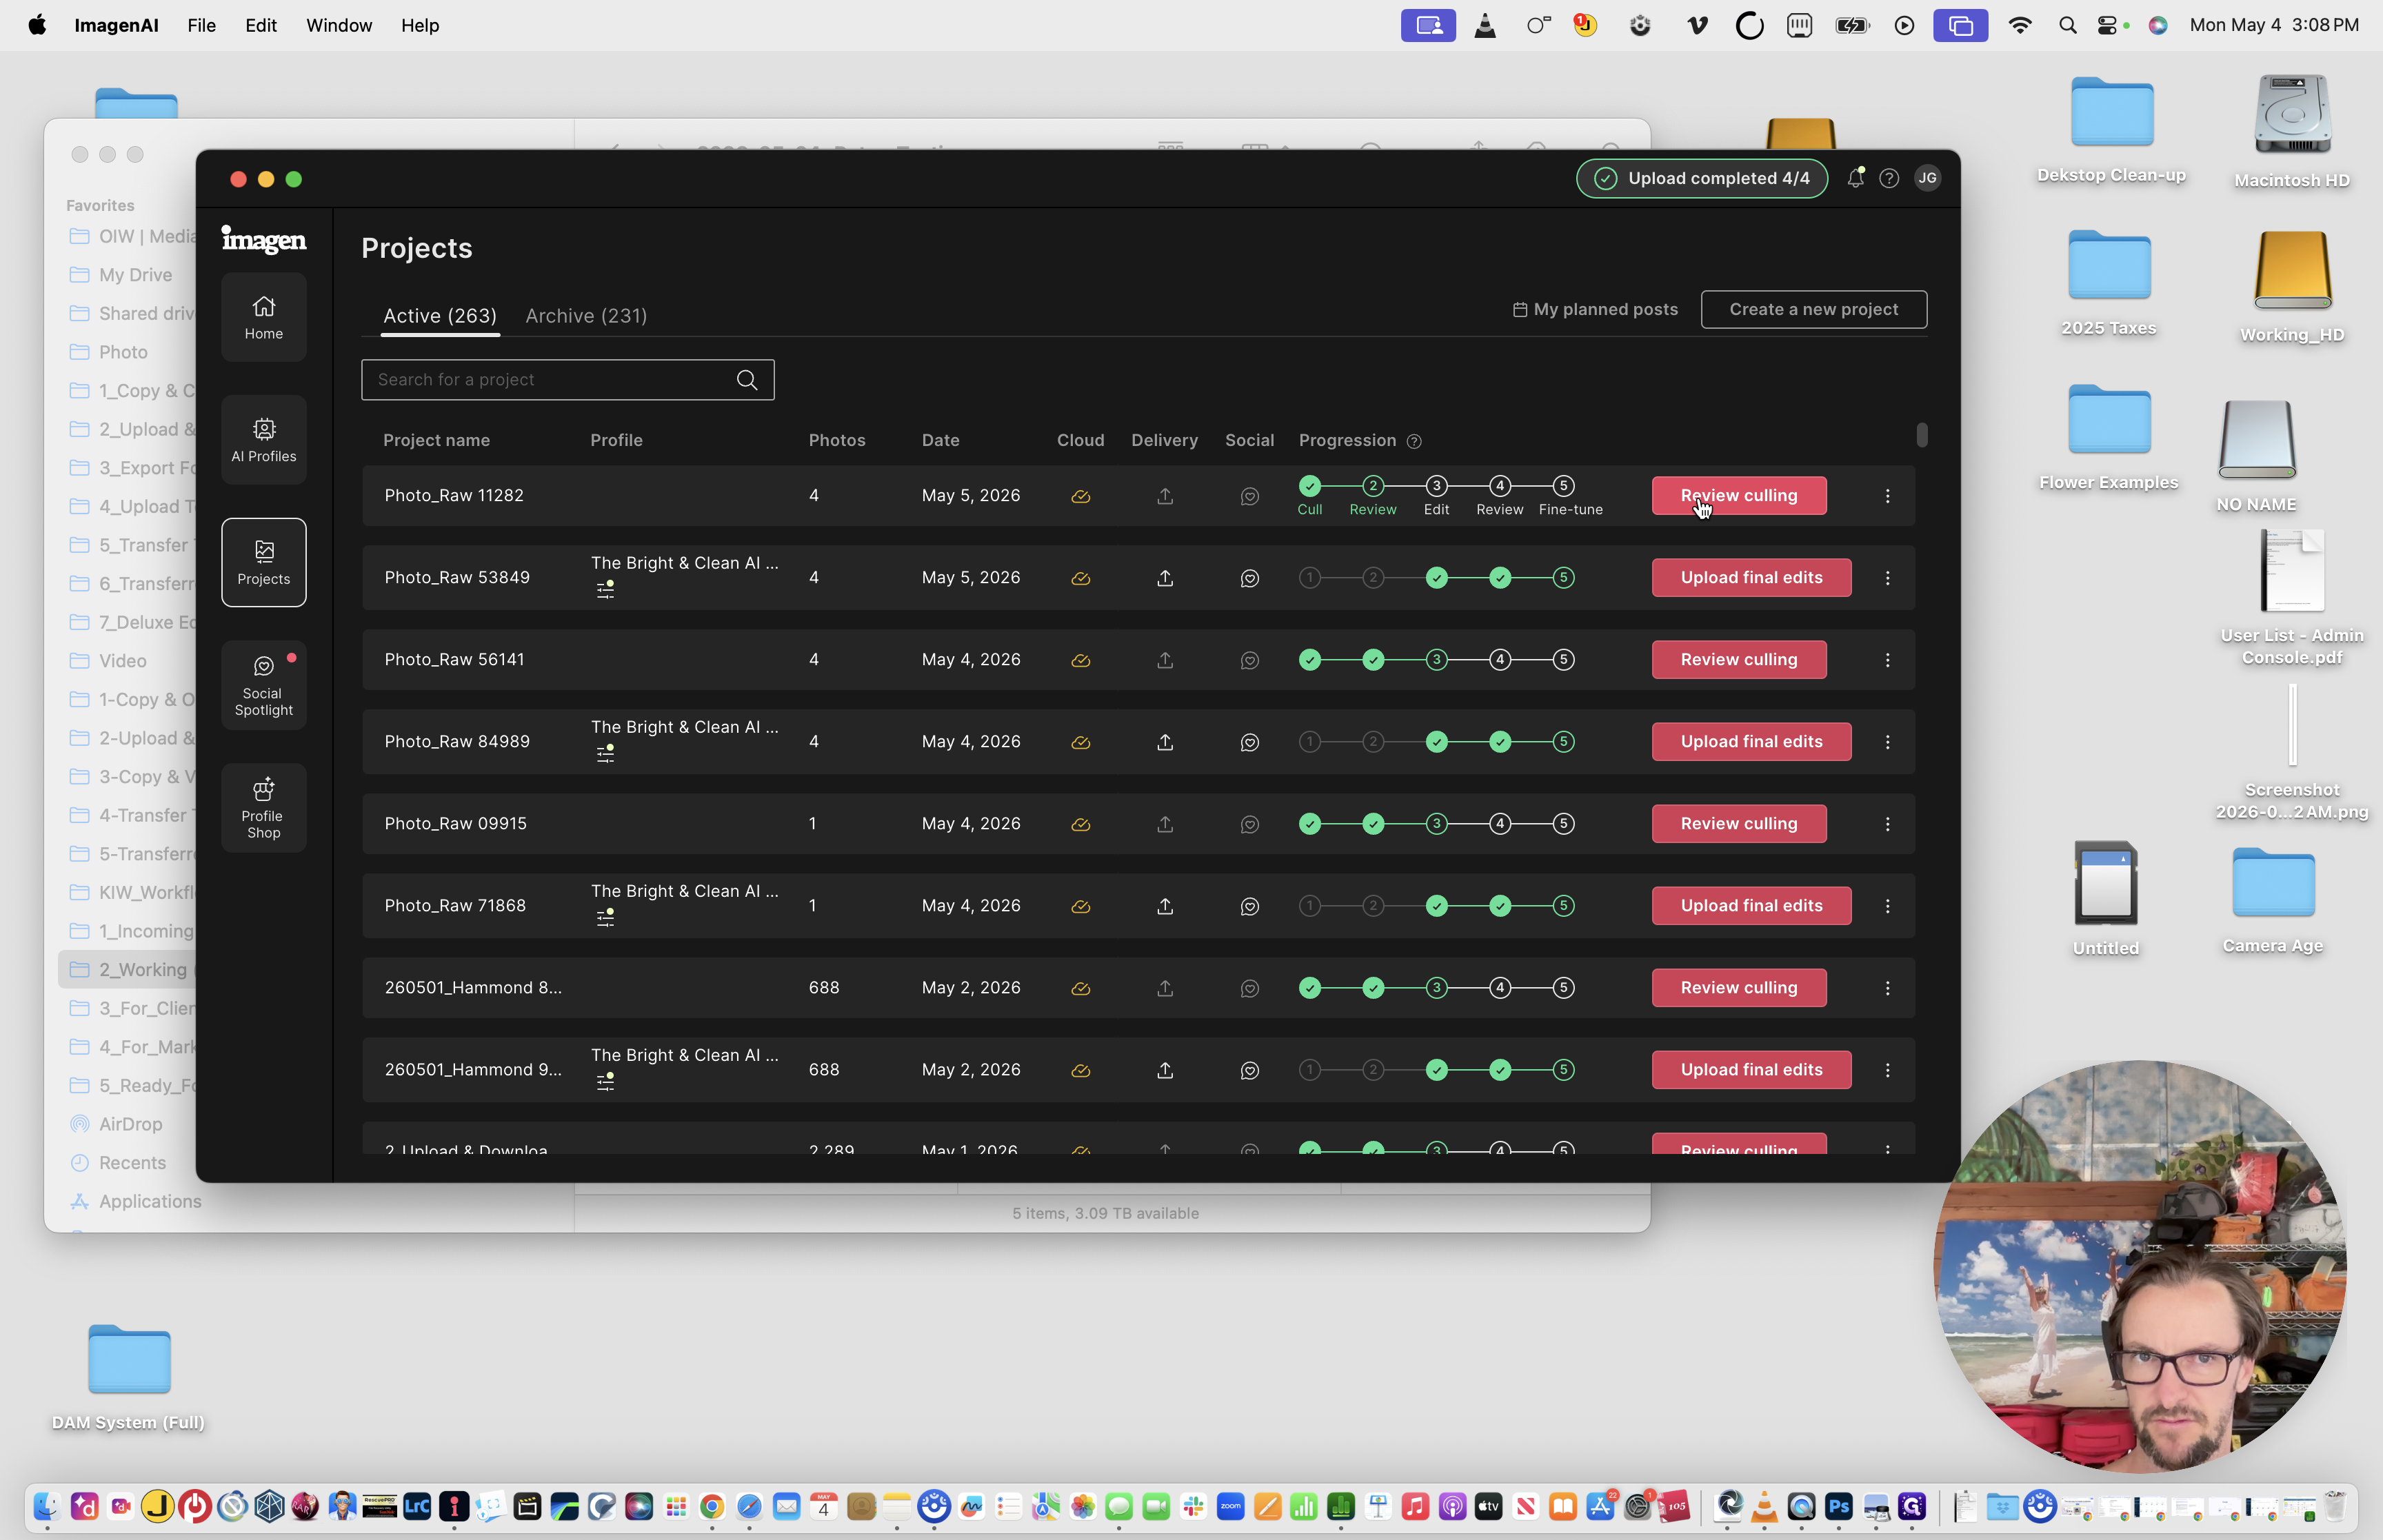
You will use Imagen AI twice for each catalog: once for editing, and once for culling.
15
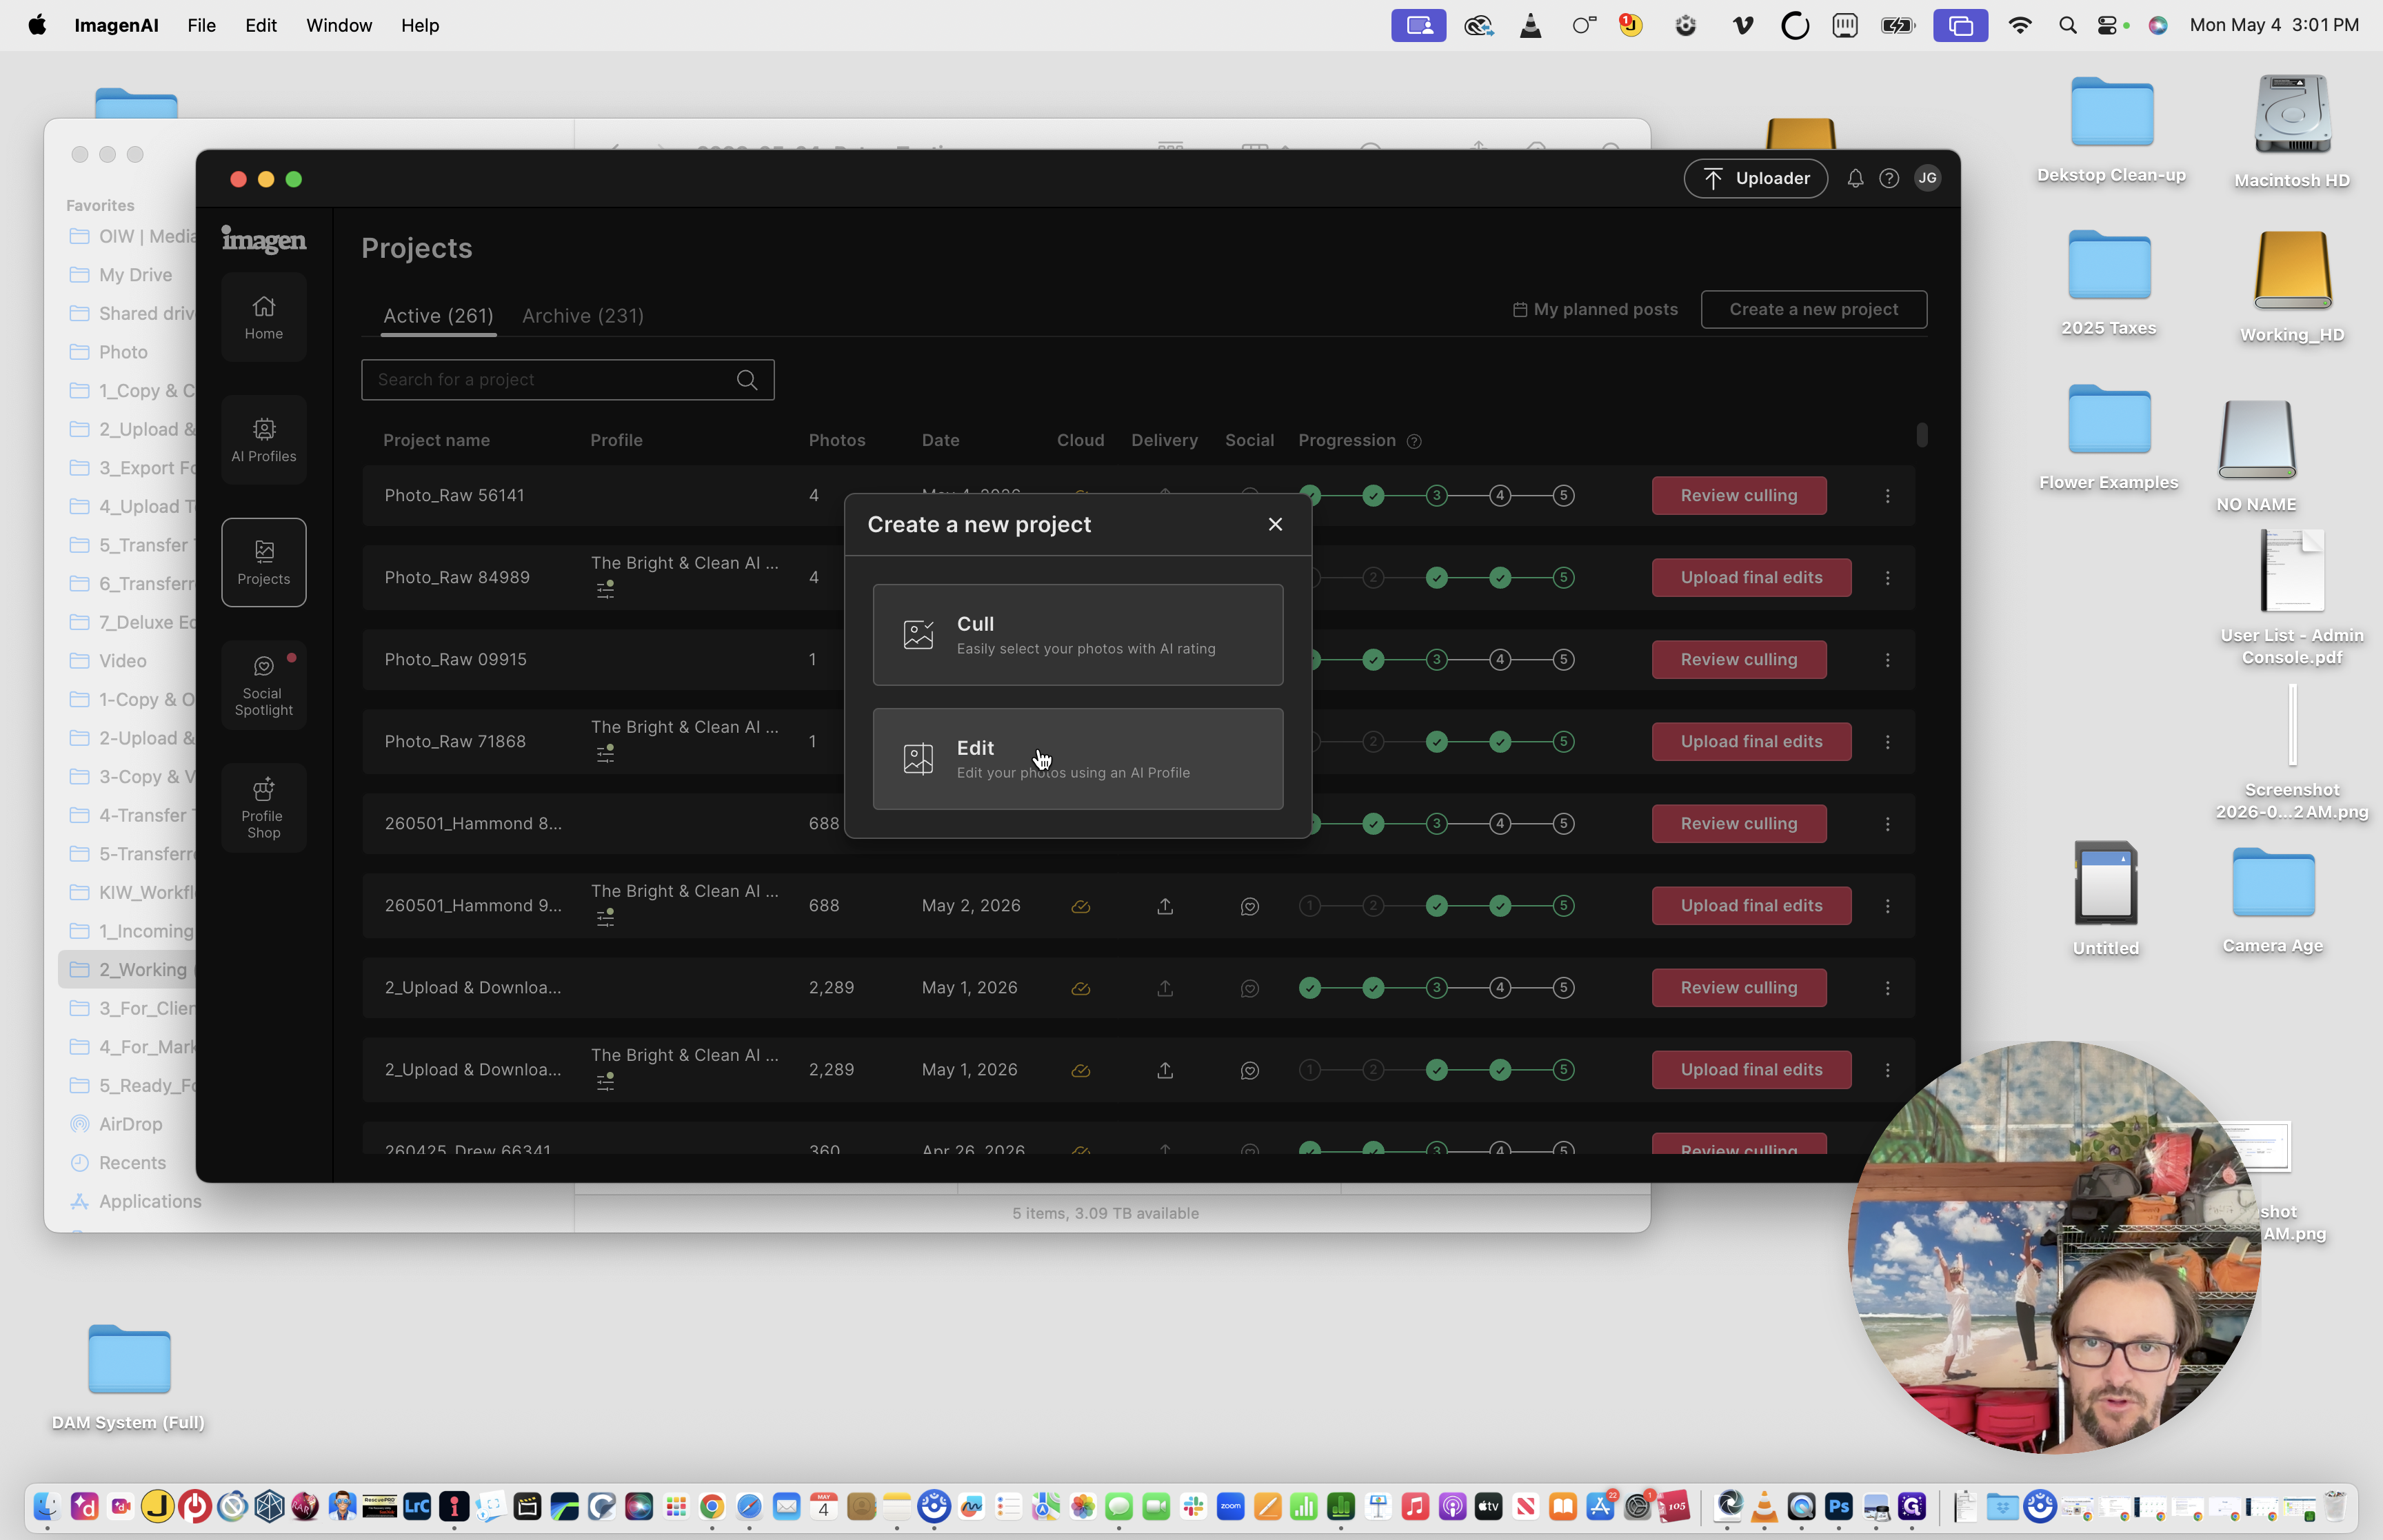
Open Imagen AI and click Create a new project, then select Edit.
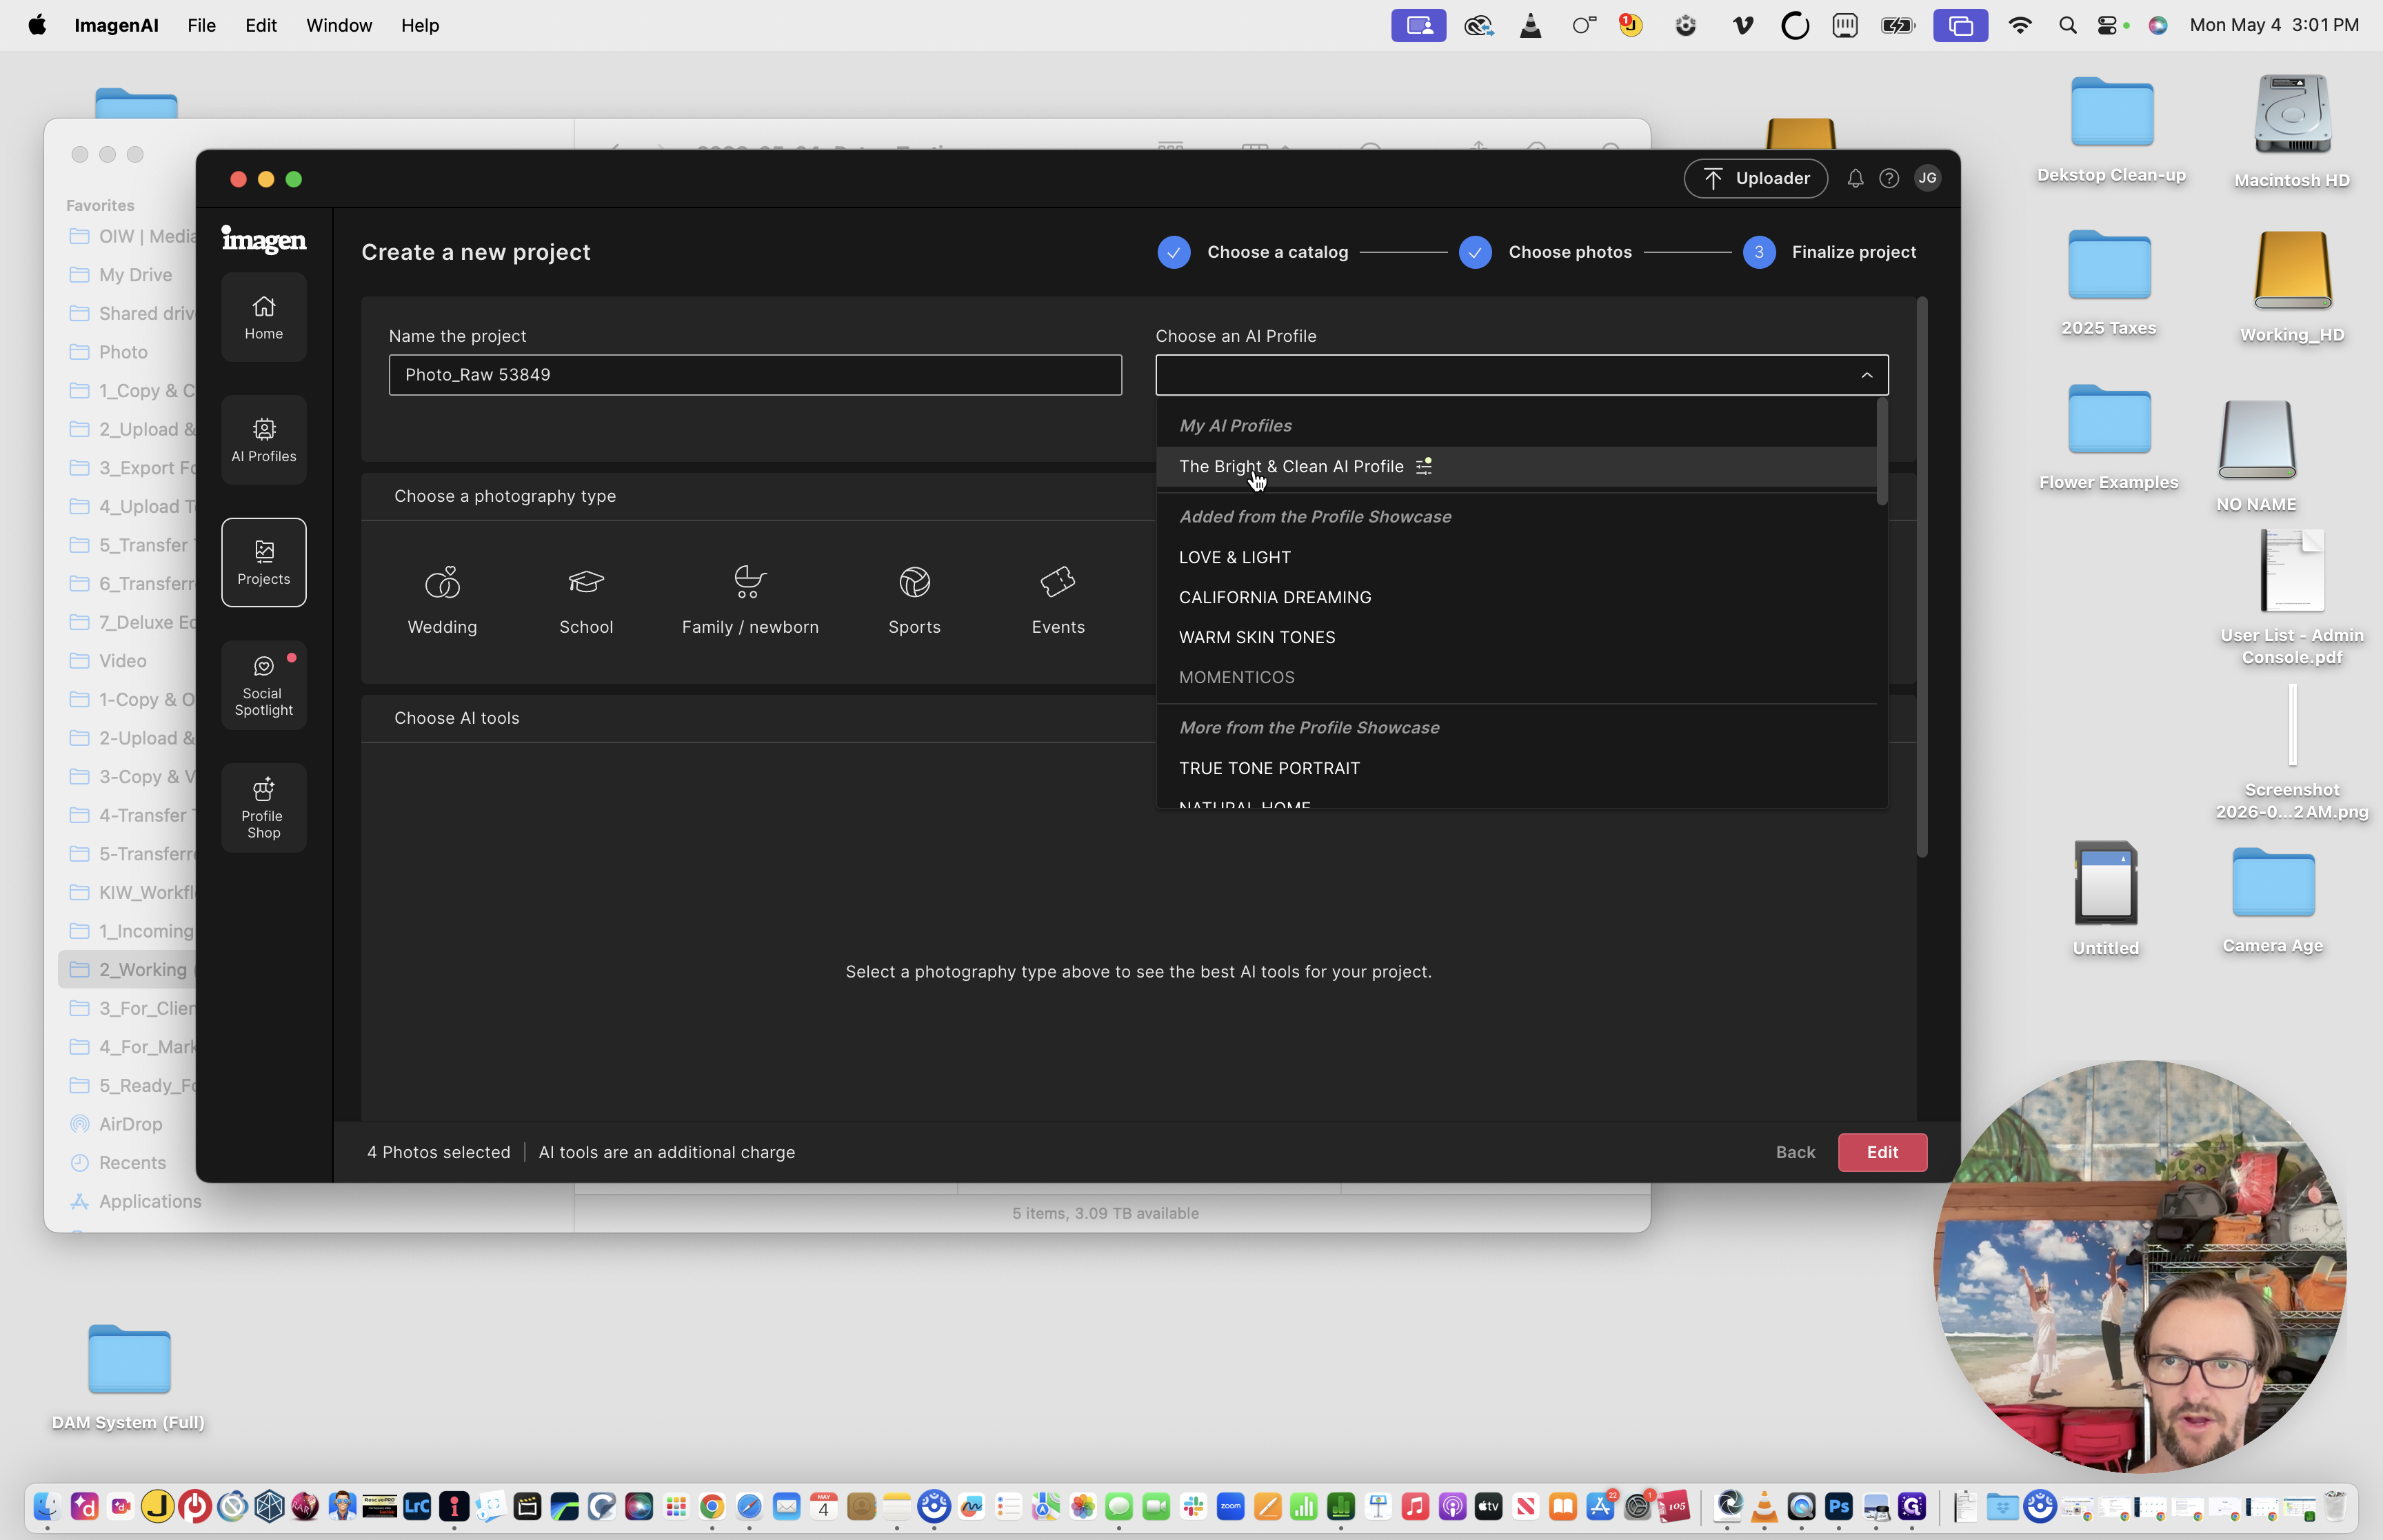
16
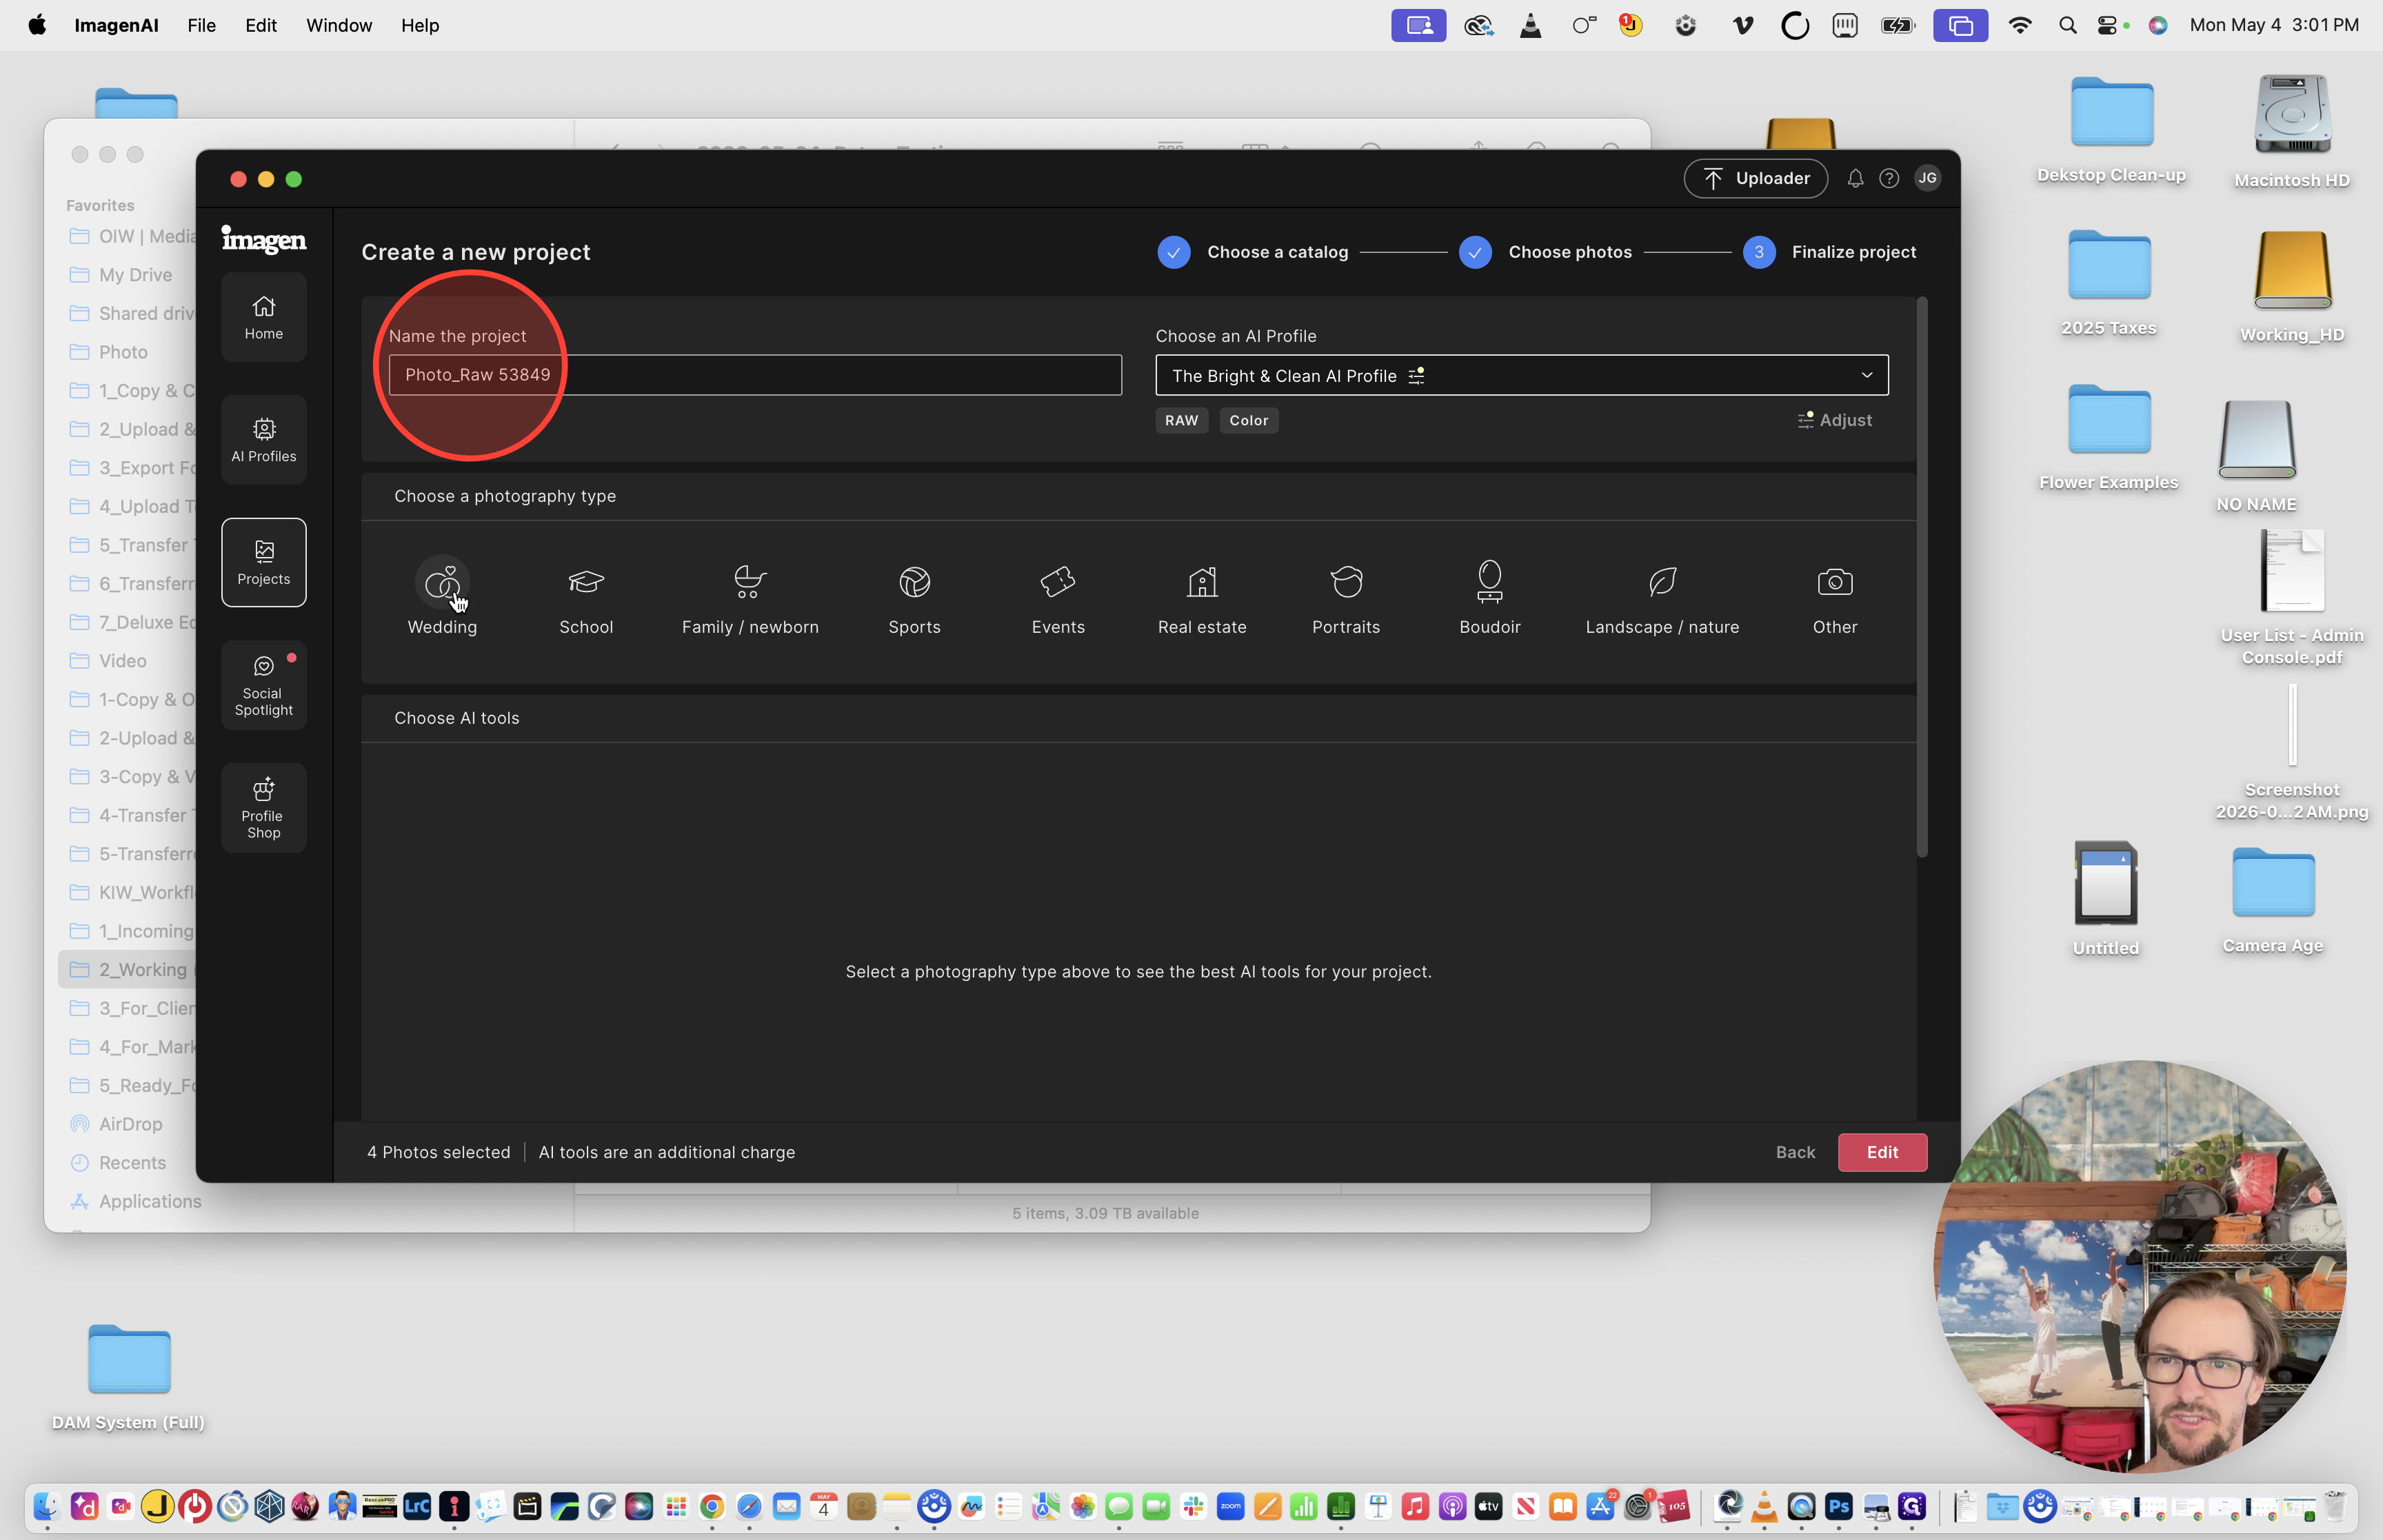
Choose your target Lightroom catalog, select The Bright & Clean AI Profile, and ensure Subject Mask, Smooth Skin, and Whiten Teeth are all checked.
17
Set the photography type to Wedding and name the project the same as the project folder YYYY-MM-DD_LastName_Location.
18
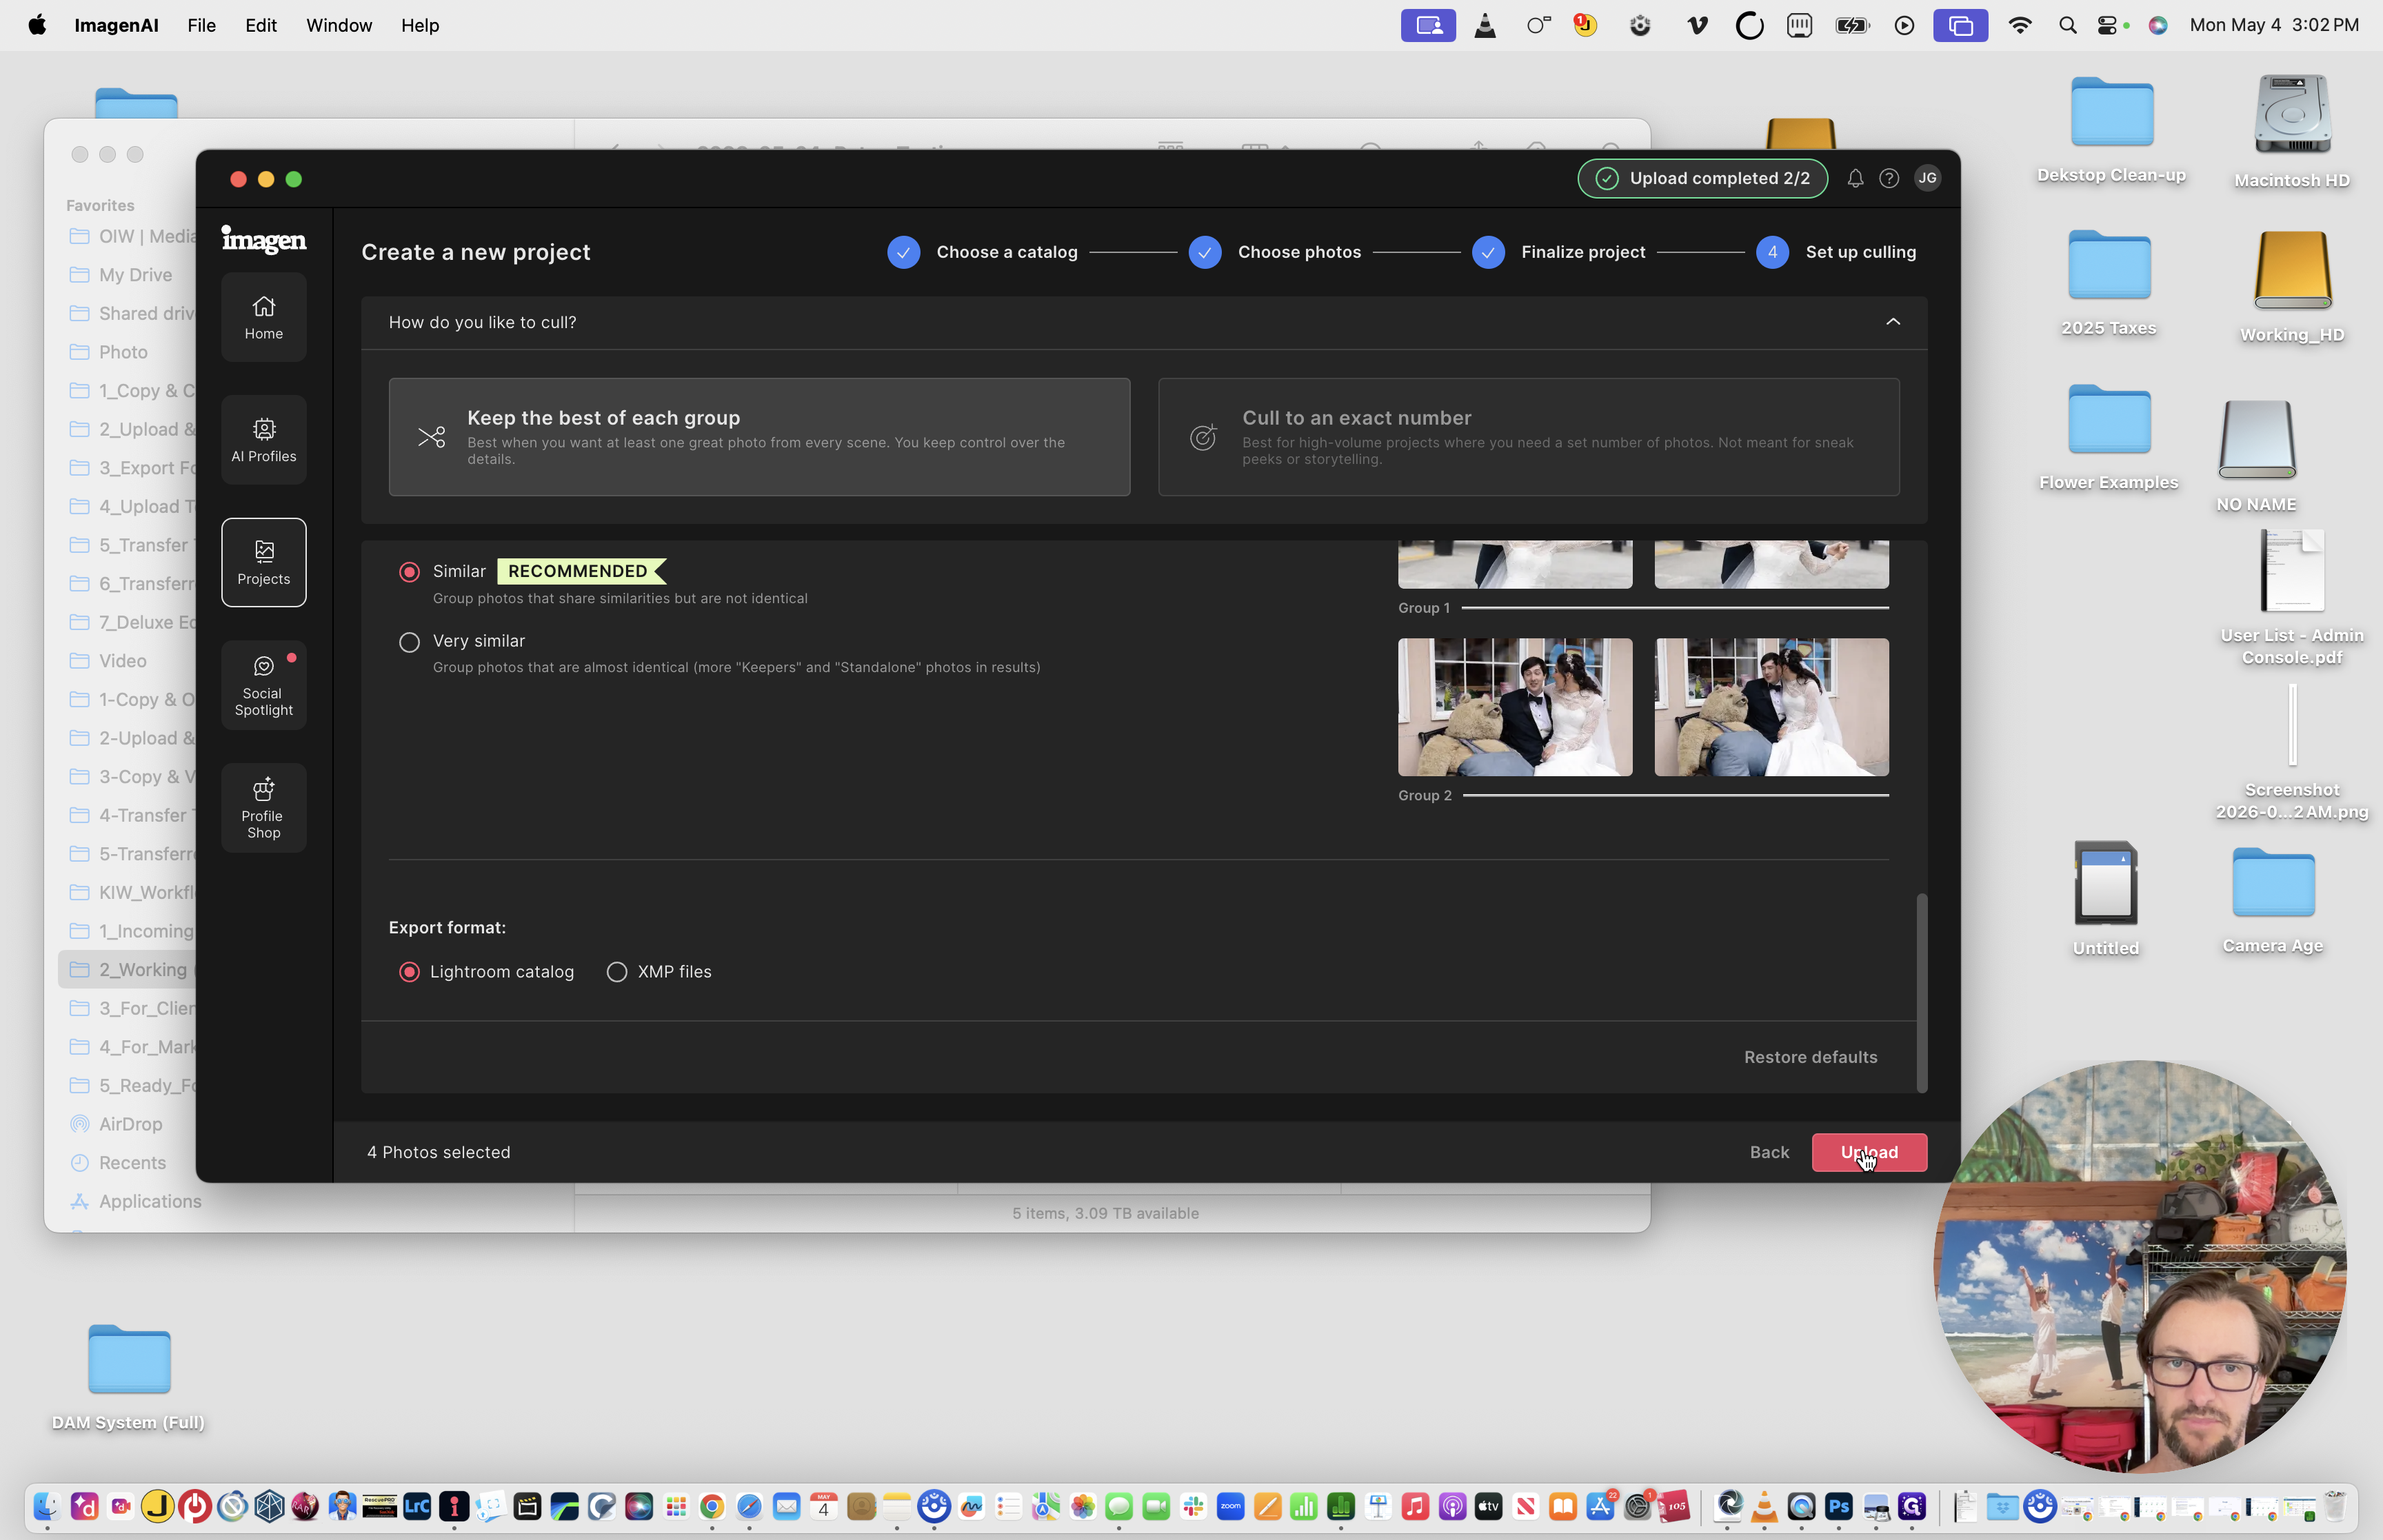
Start a second new project for the same catalog, but this time select Cull.
19
Keep the standard culling settings and click Upload.
Wait a few minutes while Imagen AI processes the edits and culling on the cloud.
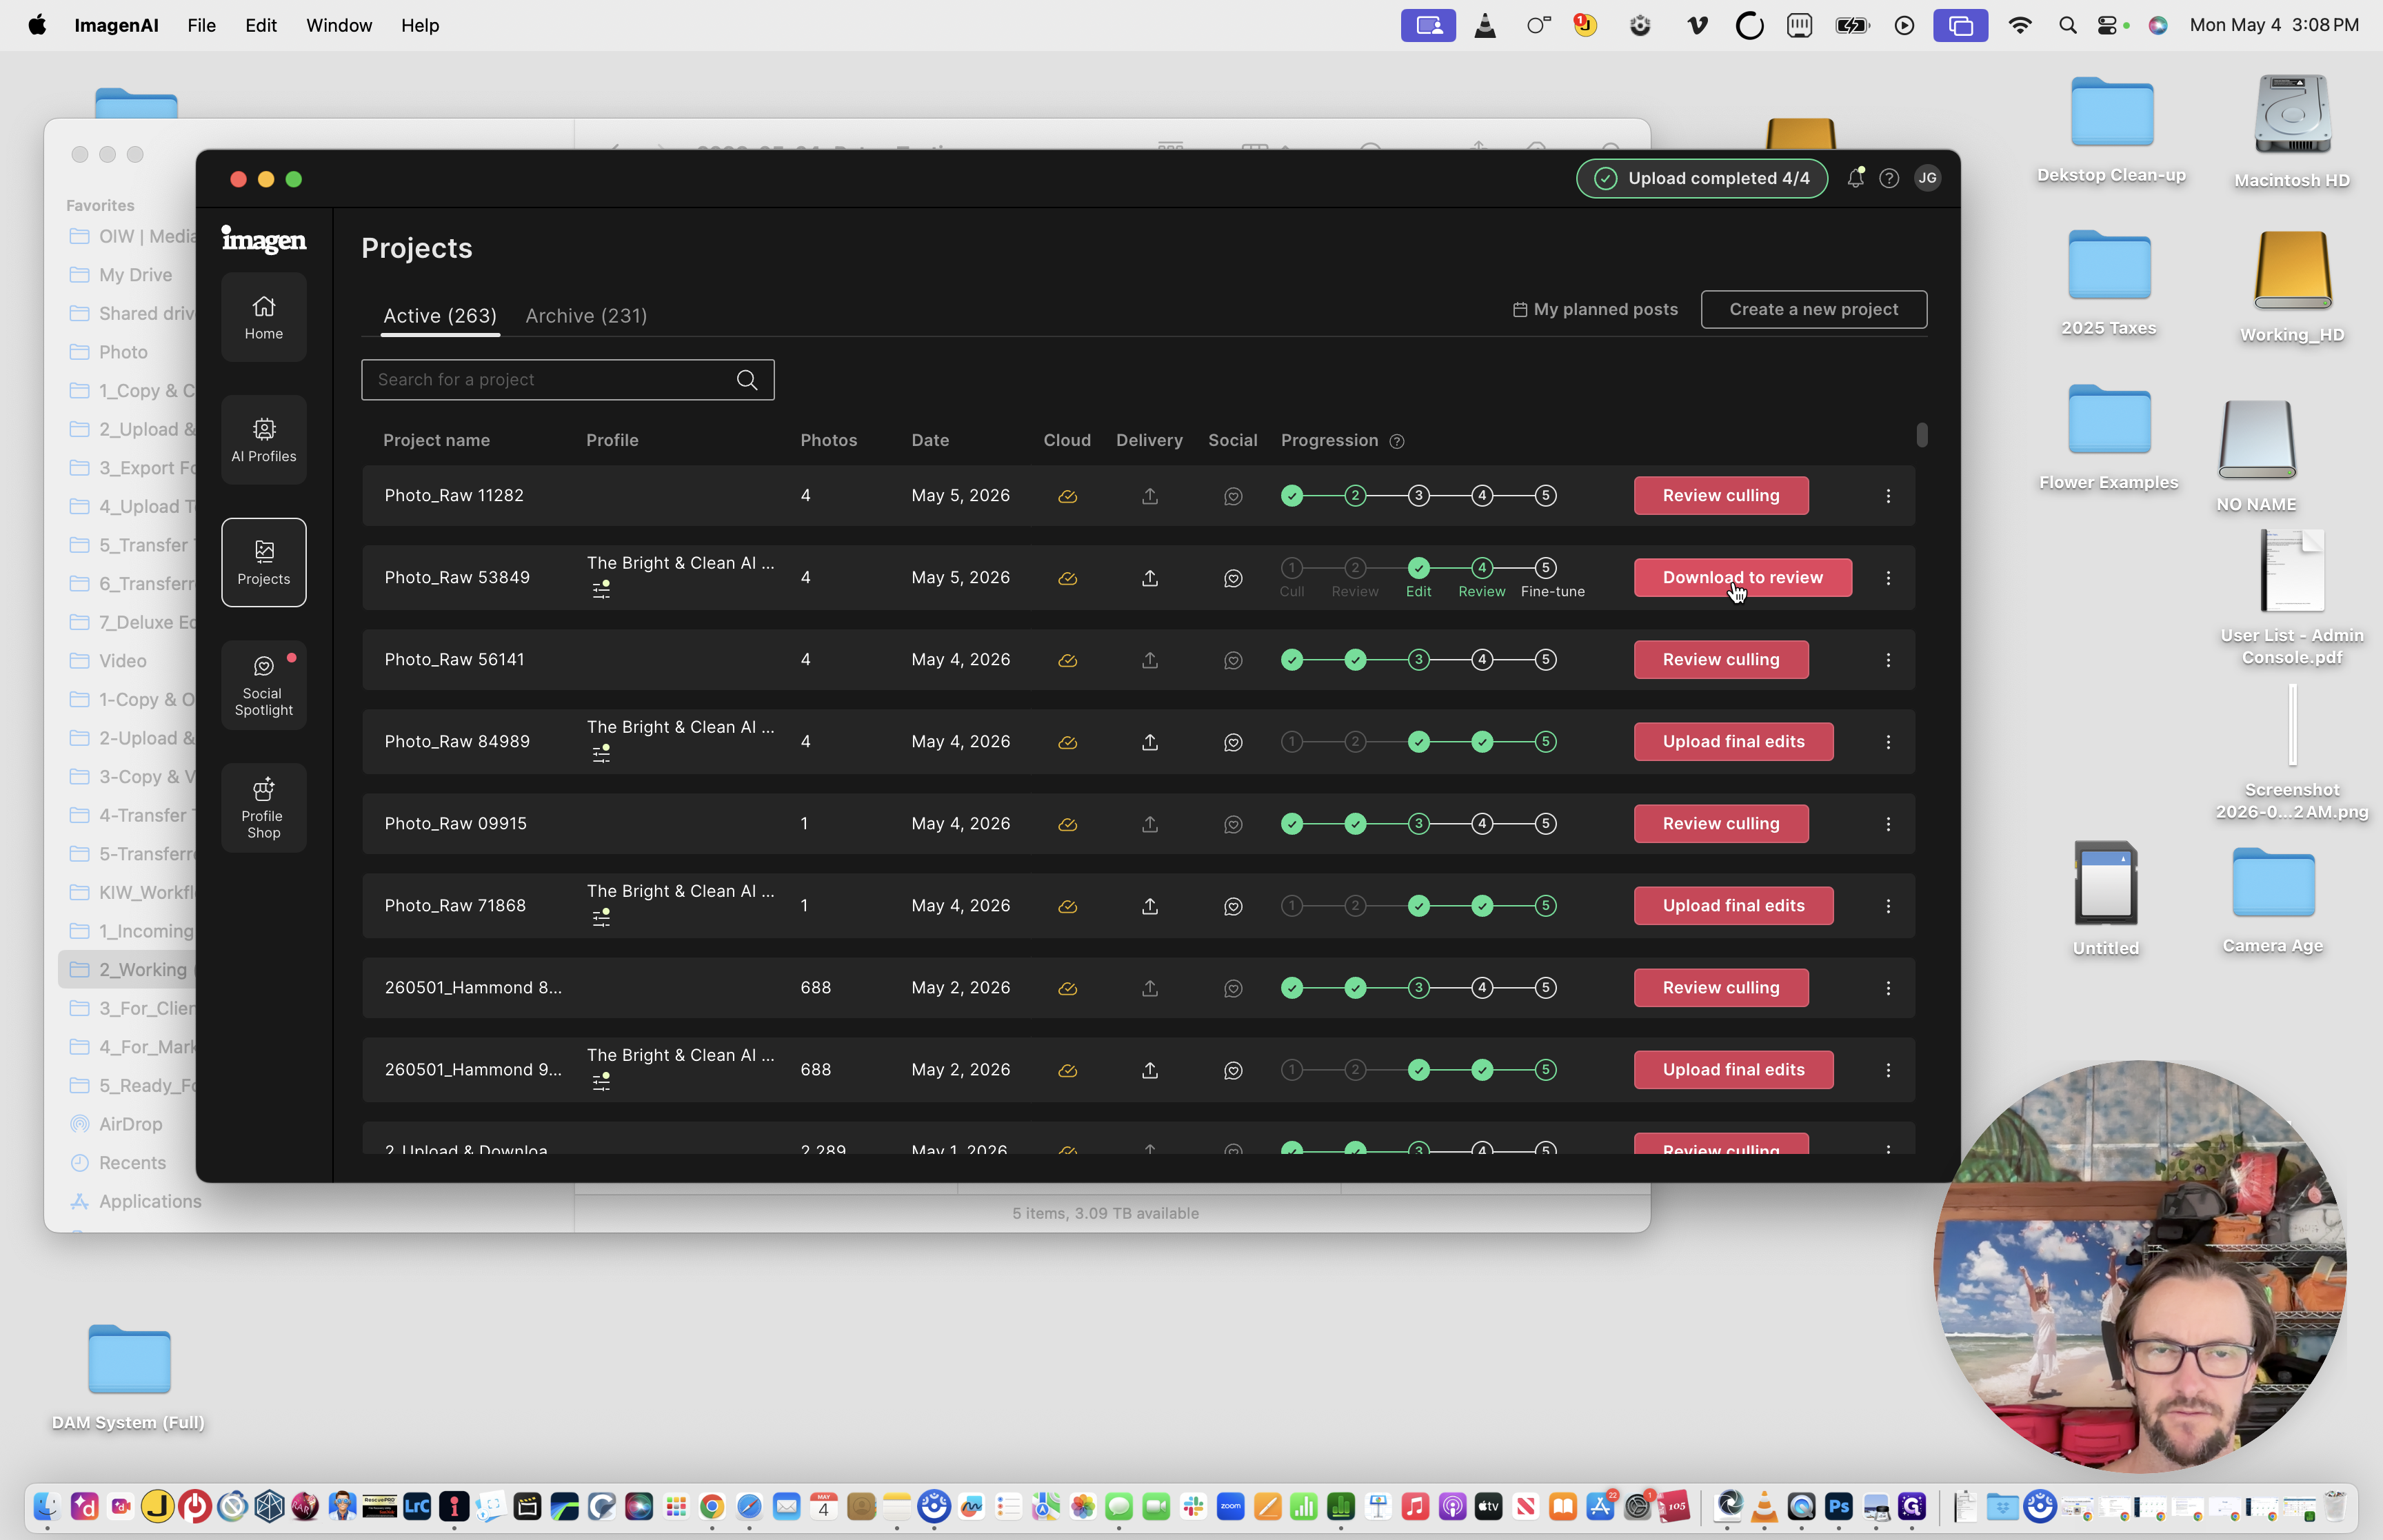
When the processing is complete, download the results back into your catalog.
20
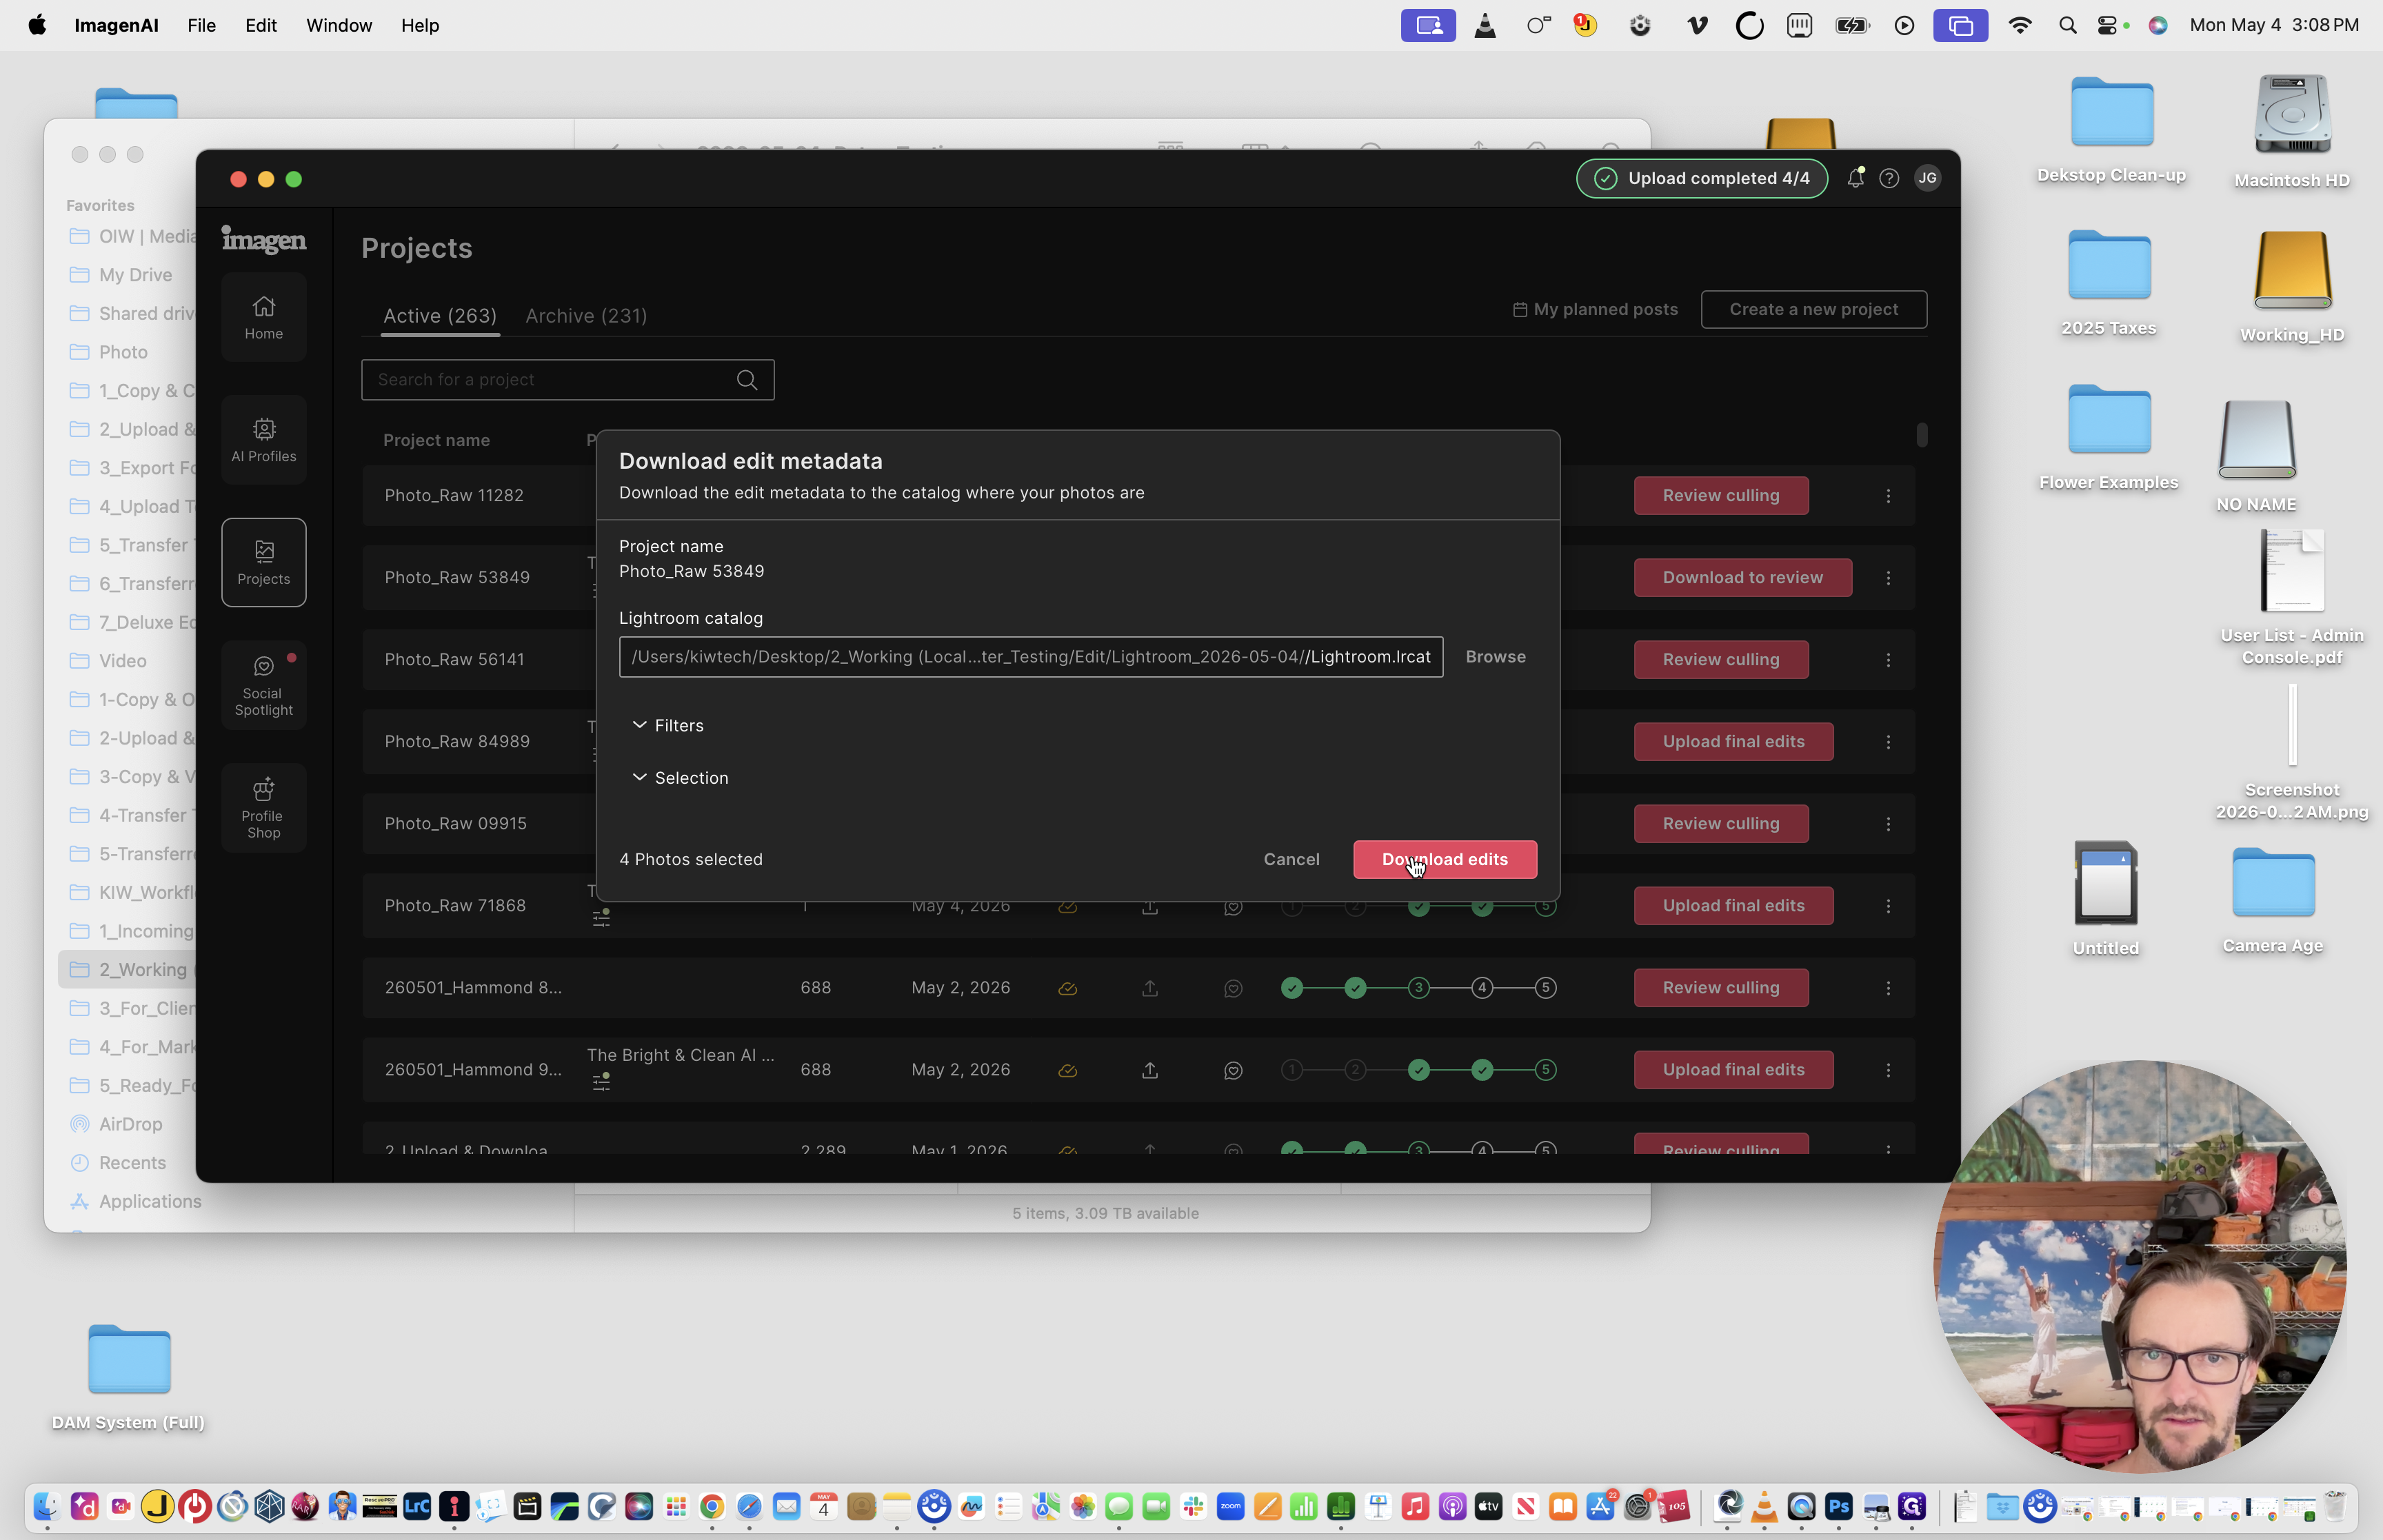
Click Download to review for the editing project.
21
Click Download edits.
22
Next, click Review culling for the culling project.
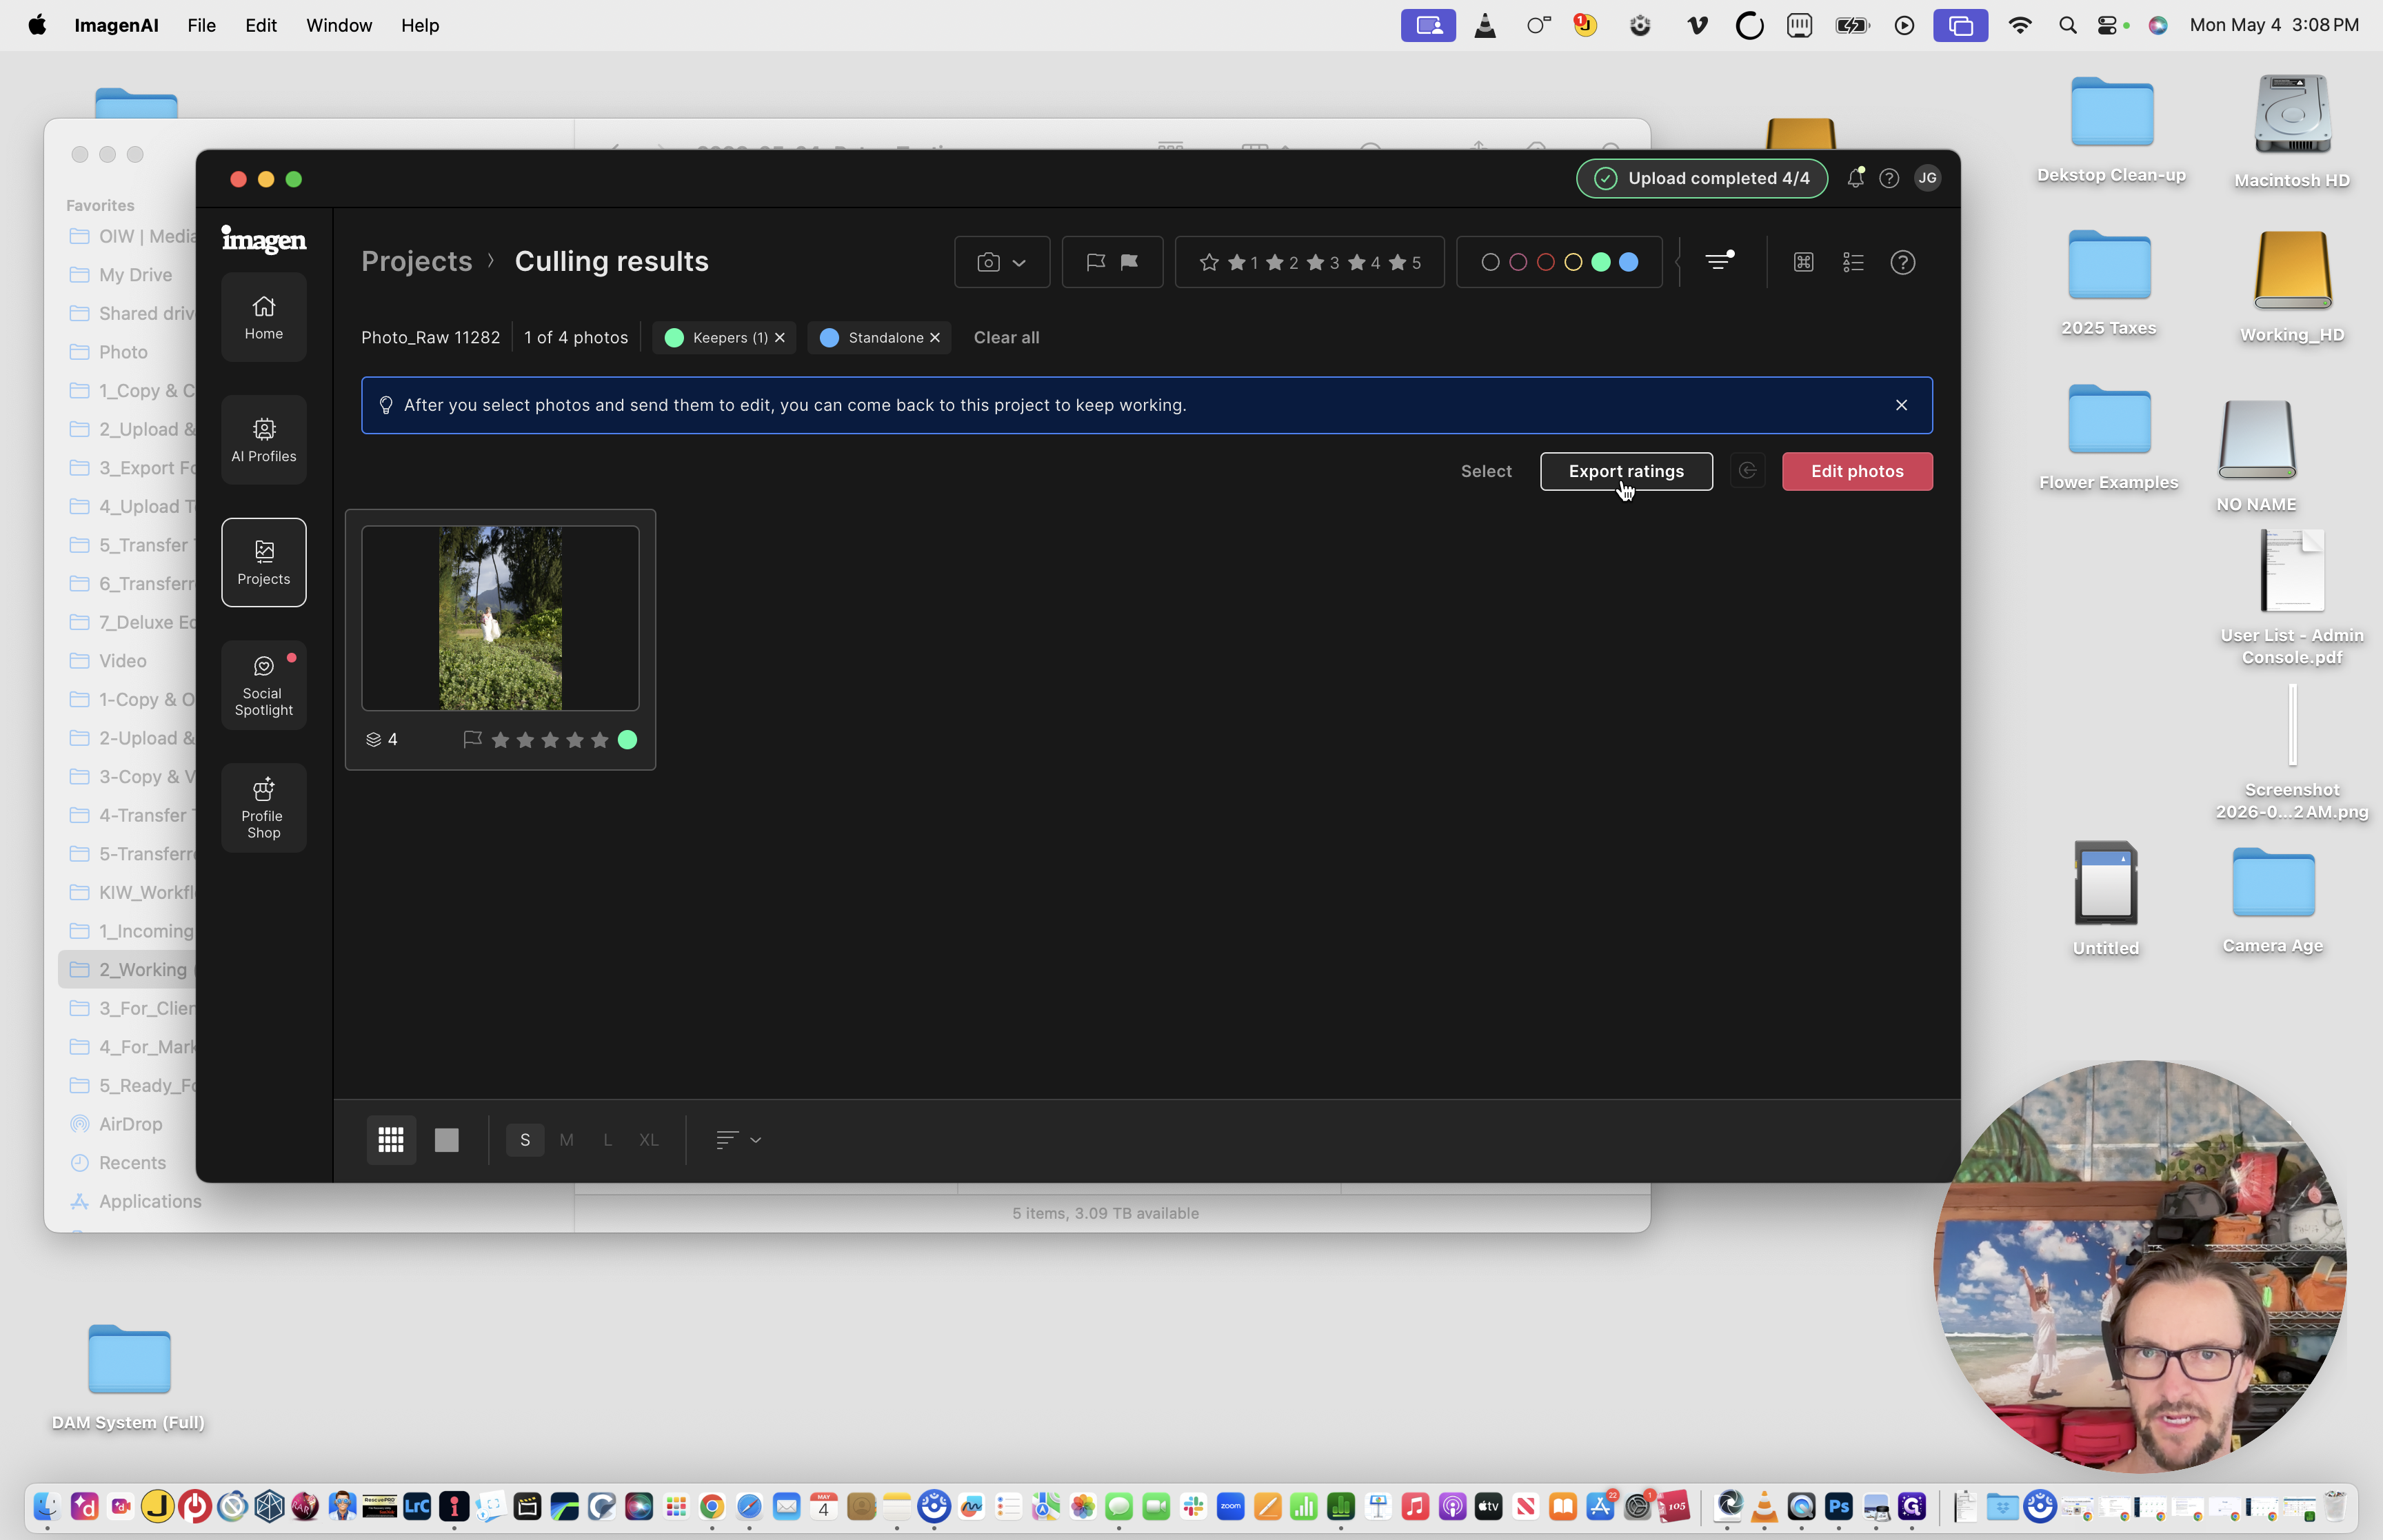
23
Click Export ratings.
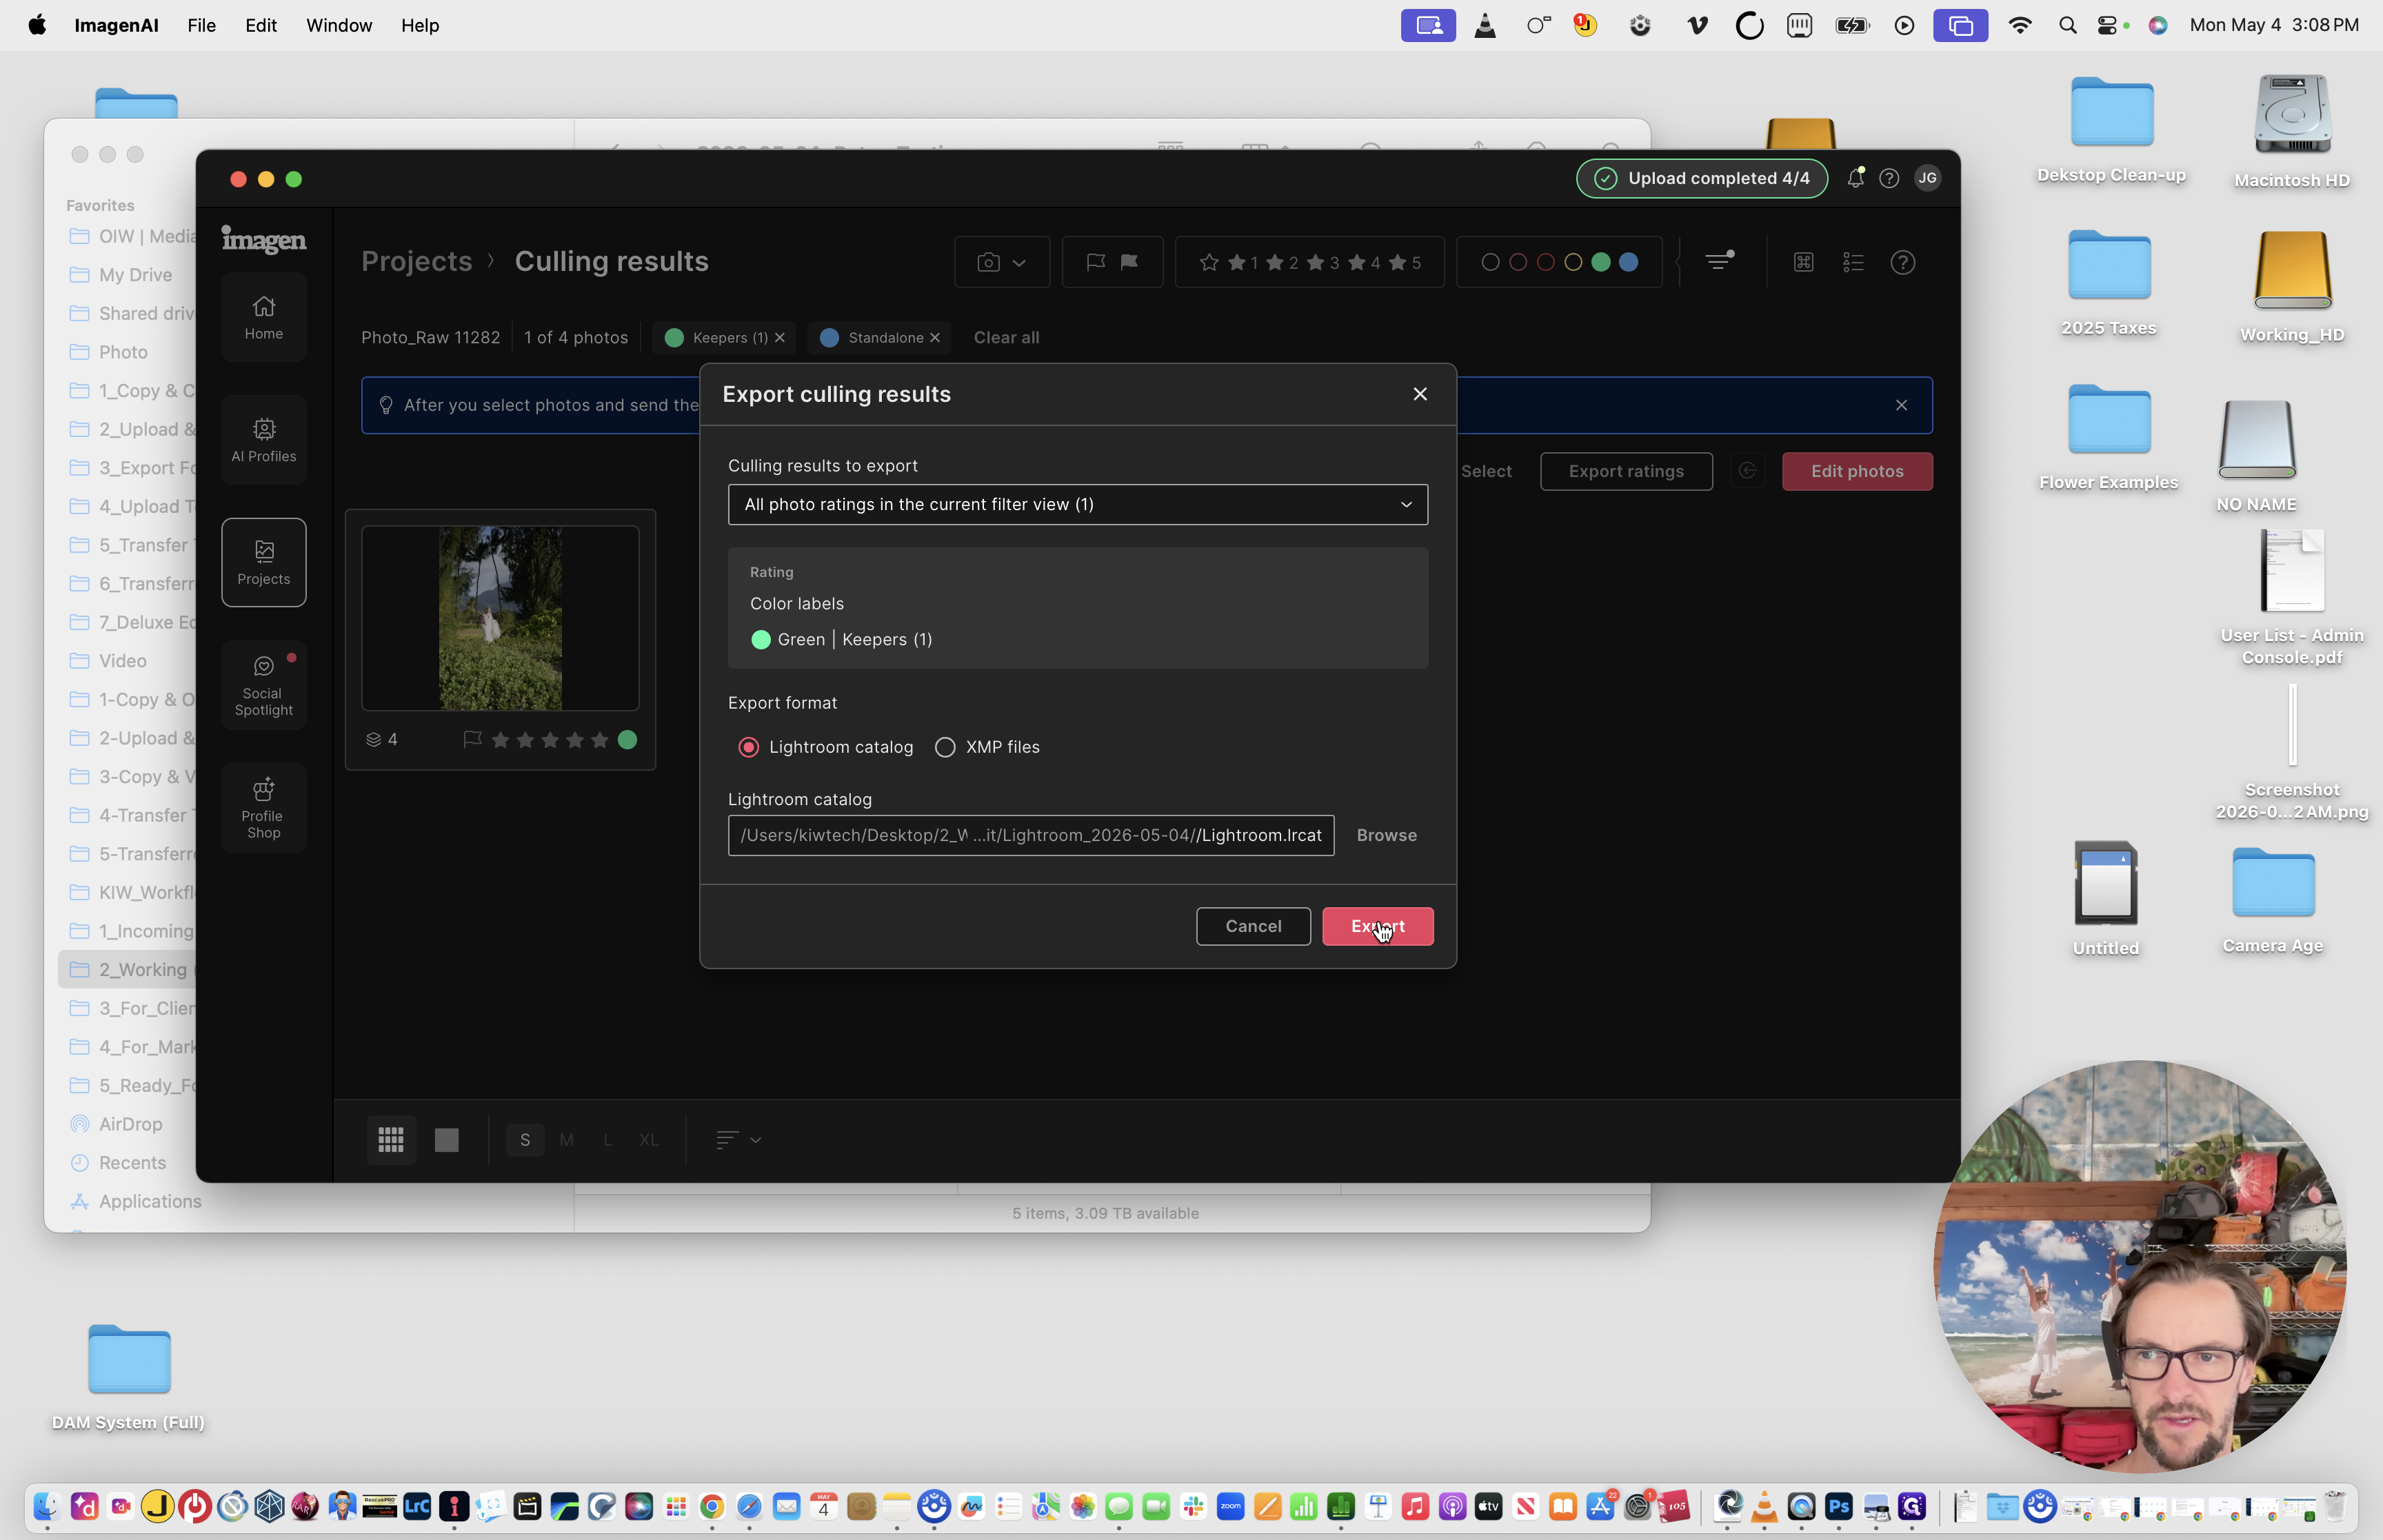
24
Click Export to inject the AI culling metadata into your Lightroom catalog.
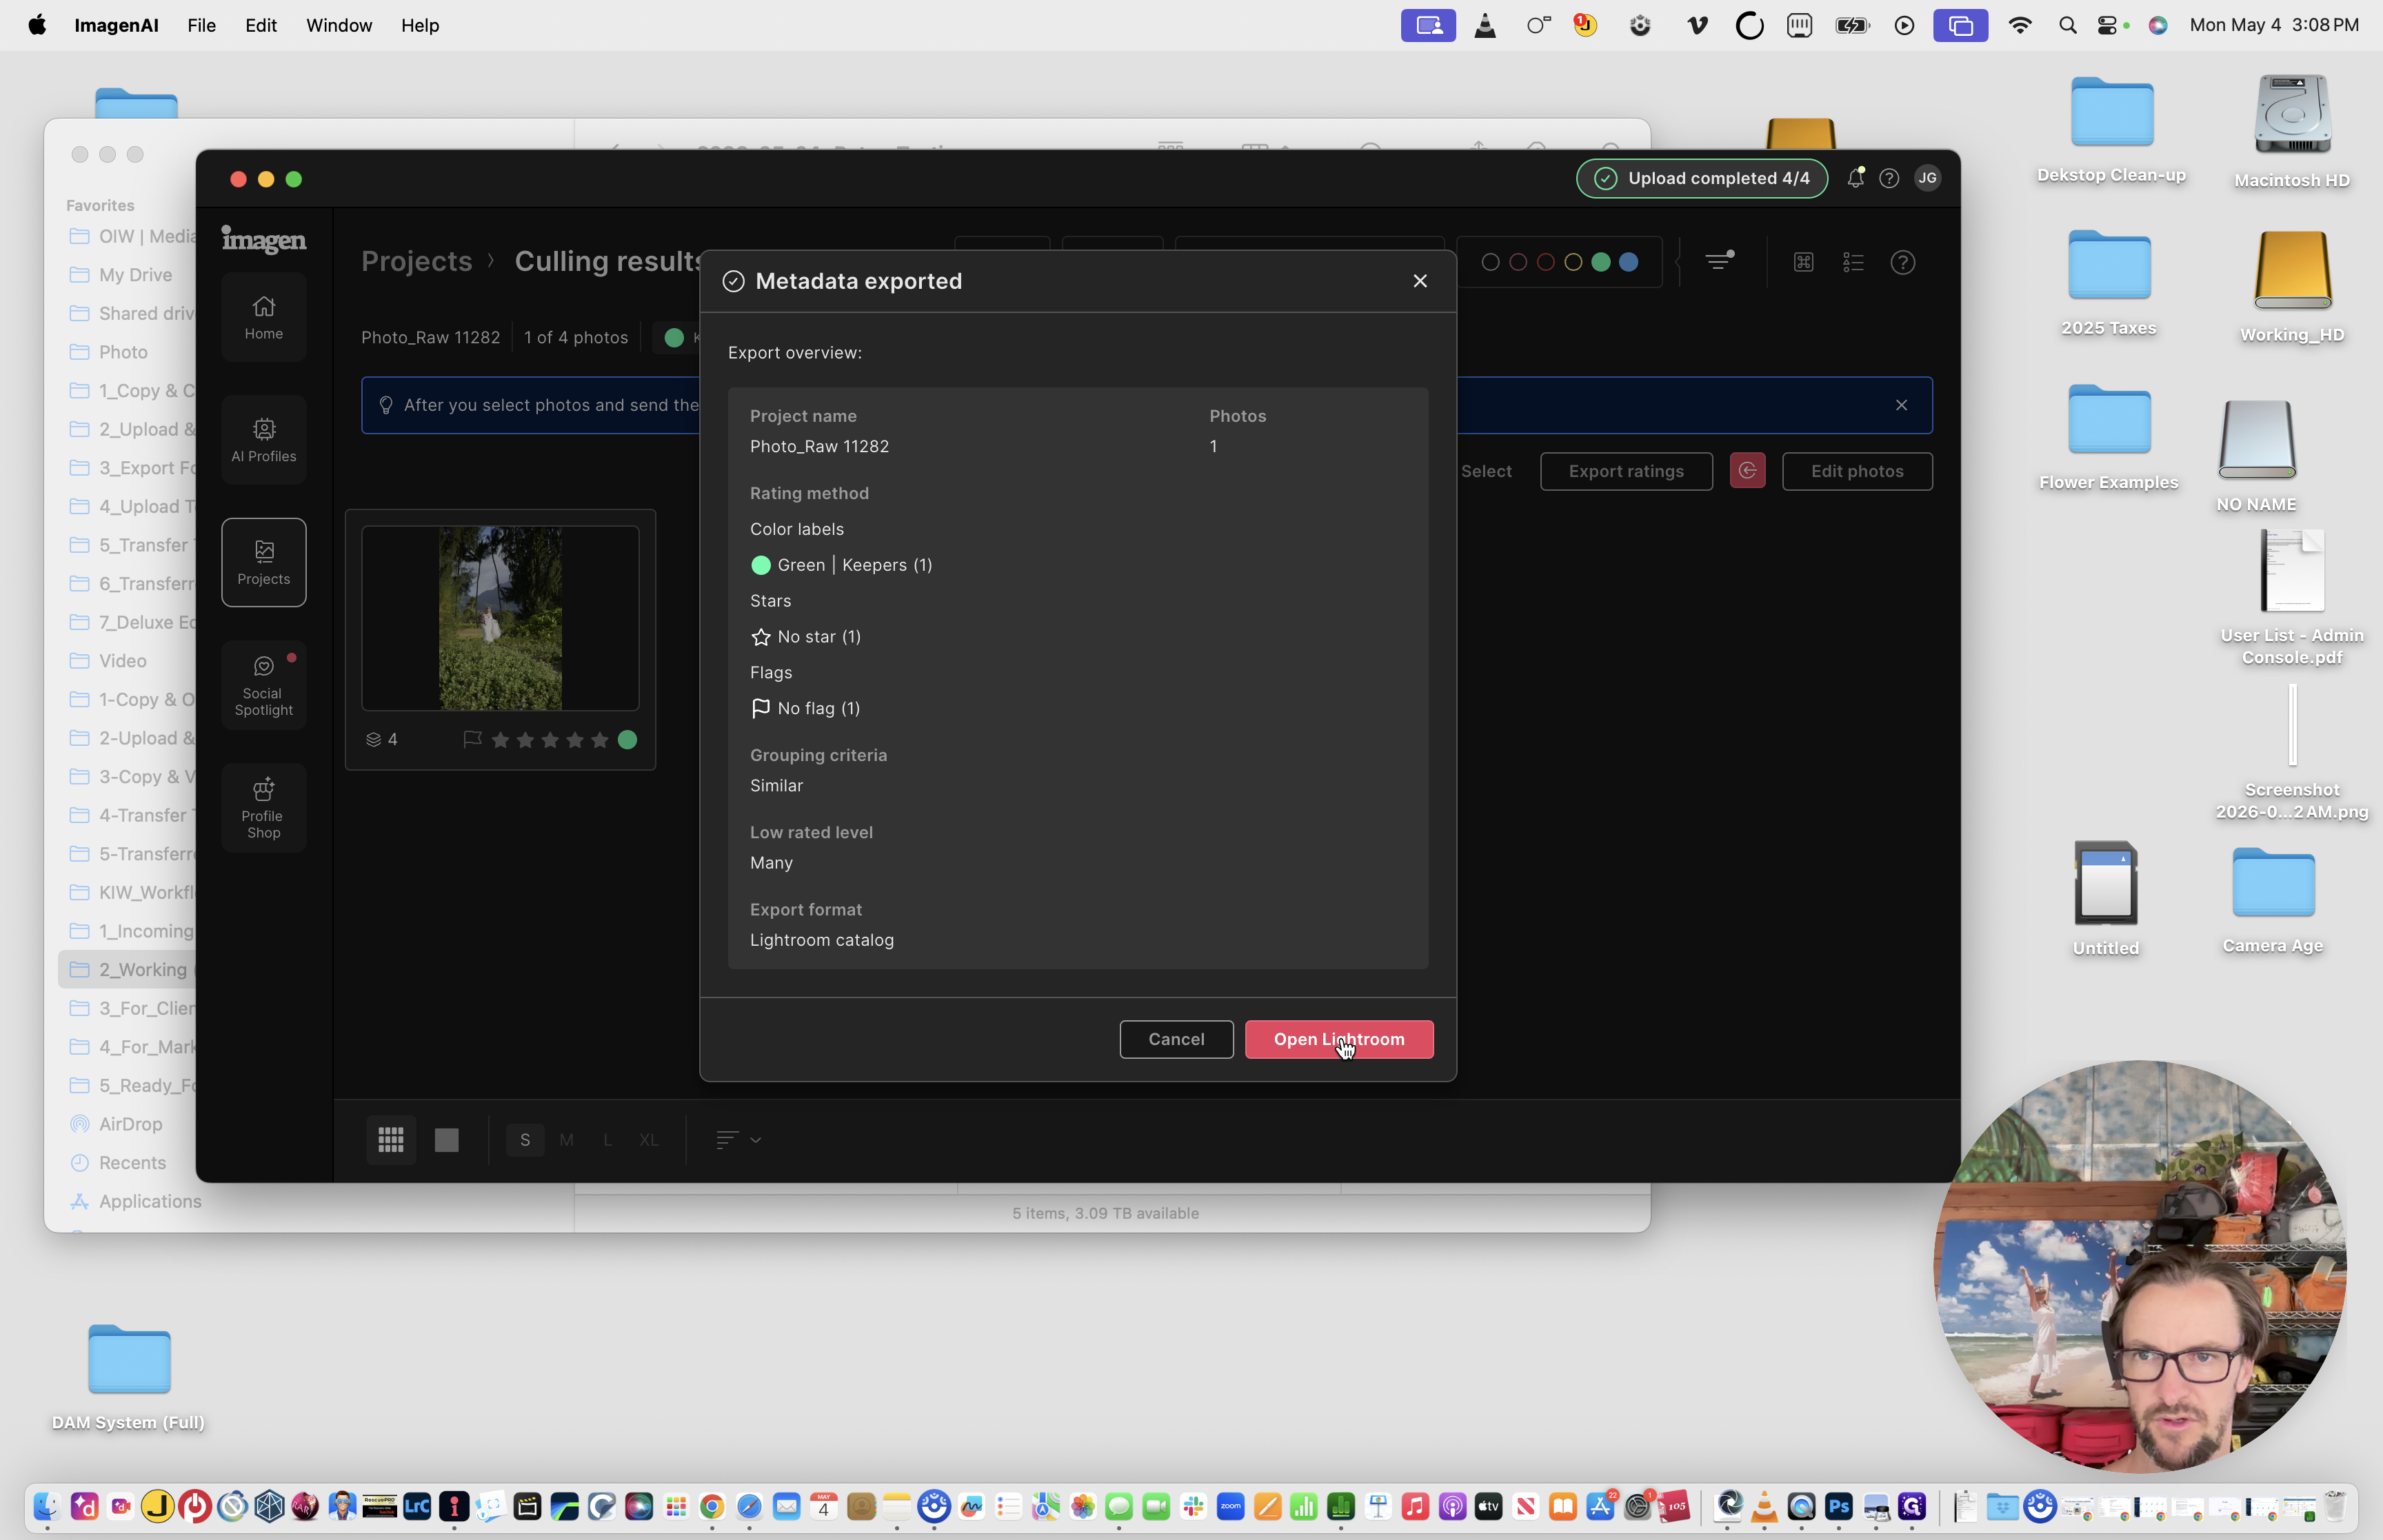
25
Click Open Lightroom directly from the success prompt to review the final catalog.
Phase 3: Review and Export
After reviewing the automated culling and edits, you're ready to export the final files. Update the Finder folder color tag to blue to indicate the project is now ready for delivery.
Update to Blue Label (ready for delivery)
26
In Lightroom, type Cmd + A to select all photos in the catalog.
27
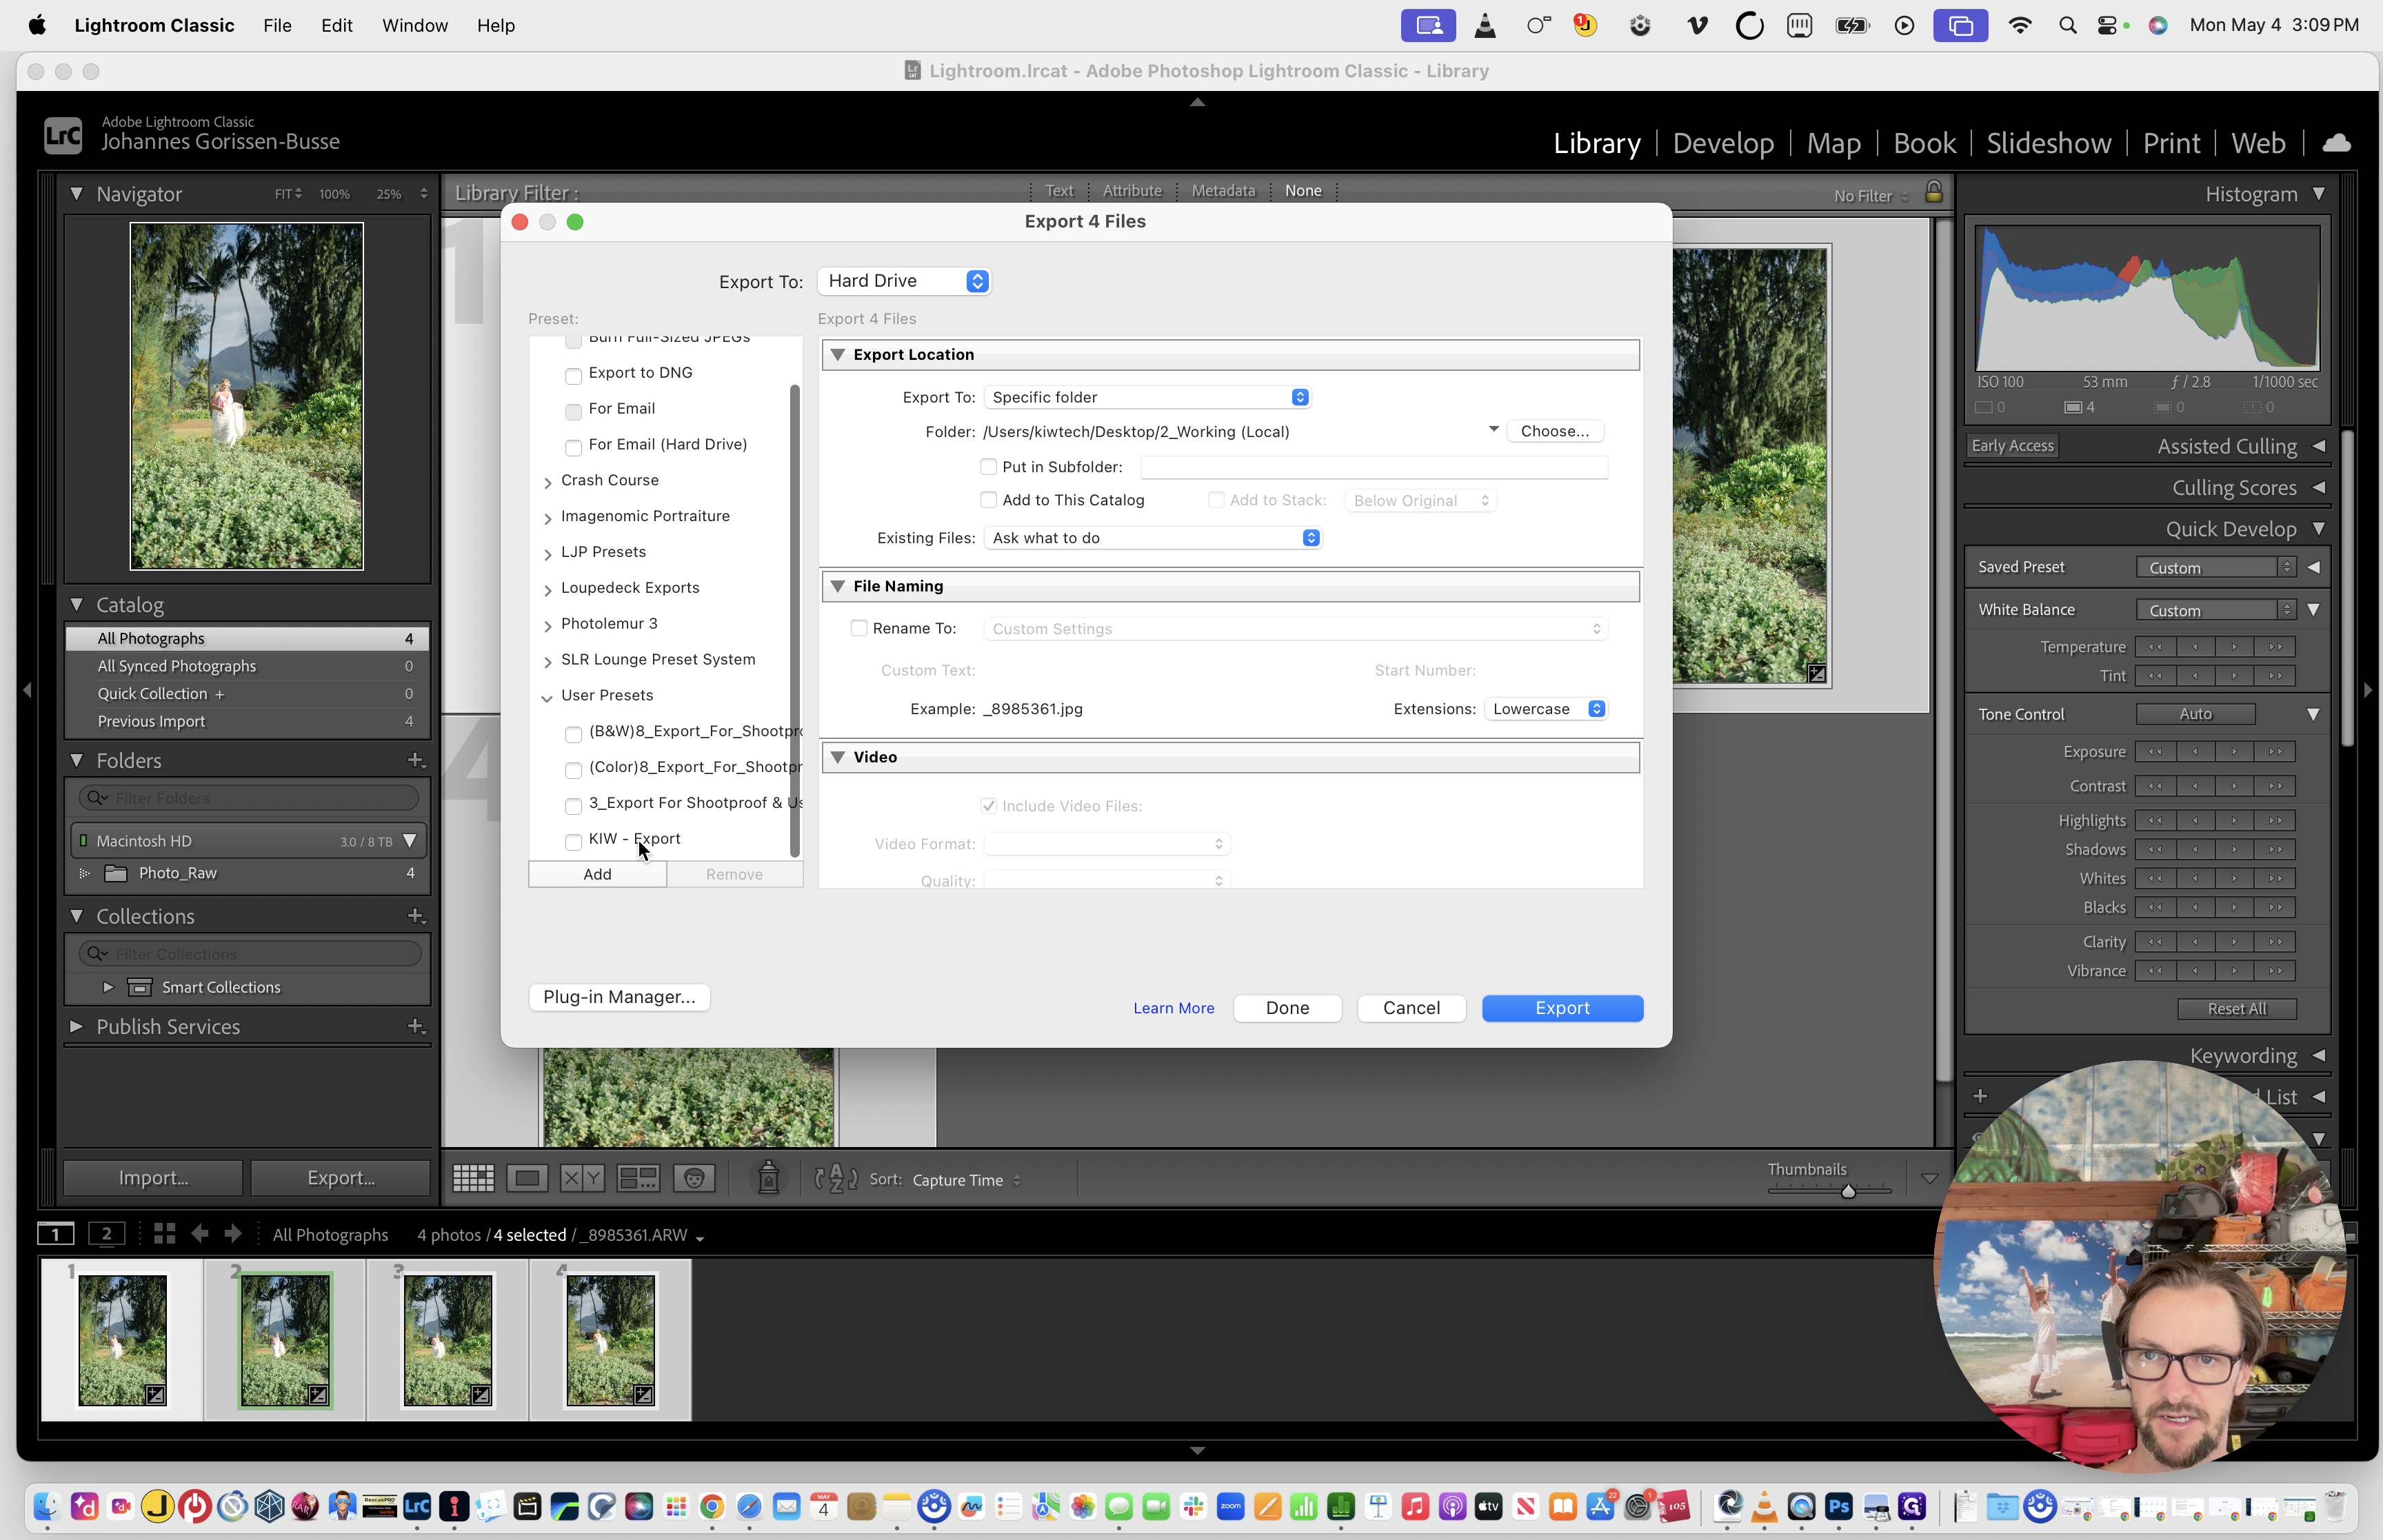
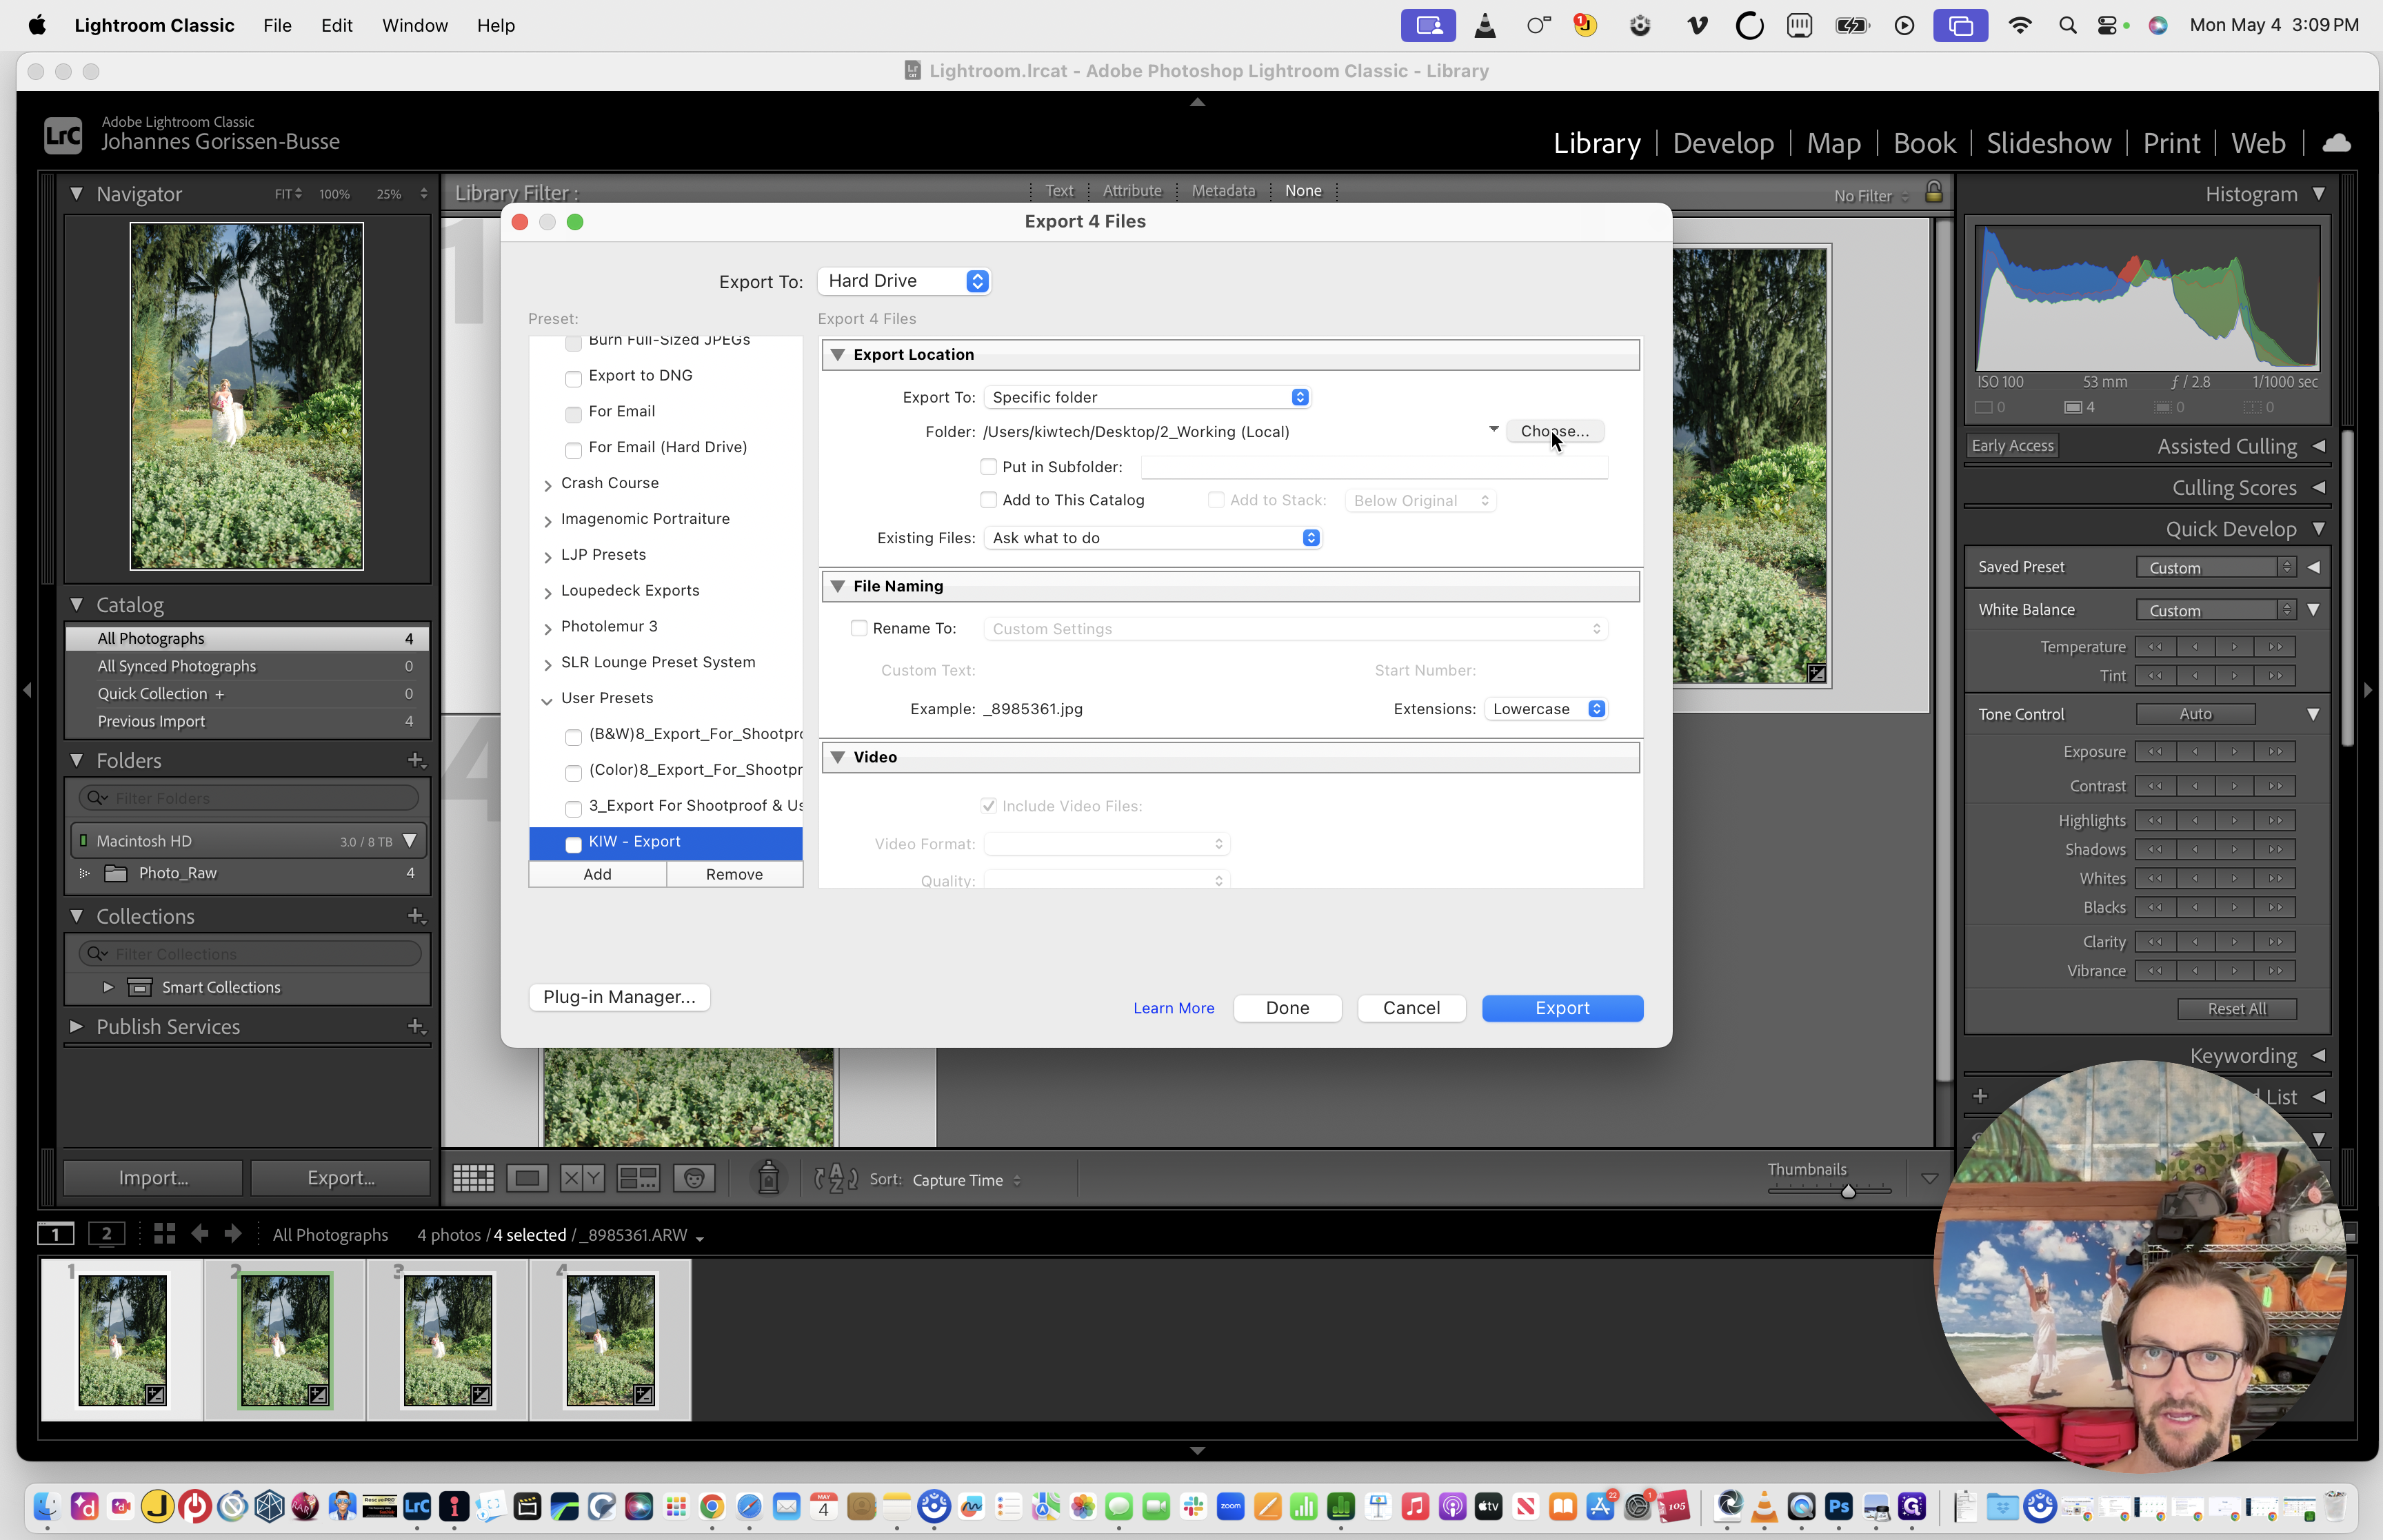
Go to File > Export.
28
Select the KIW - Export user preset.
29
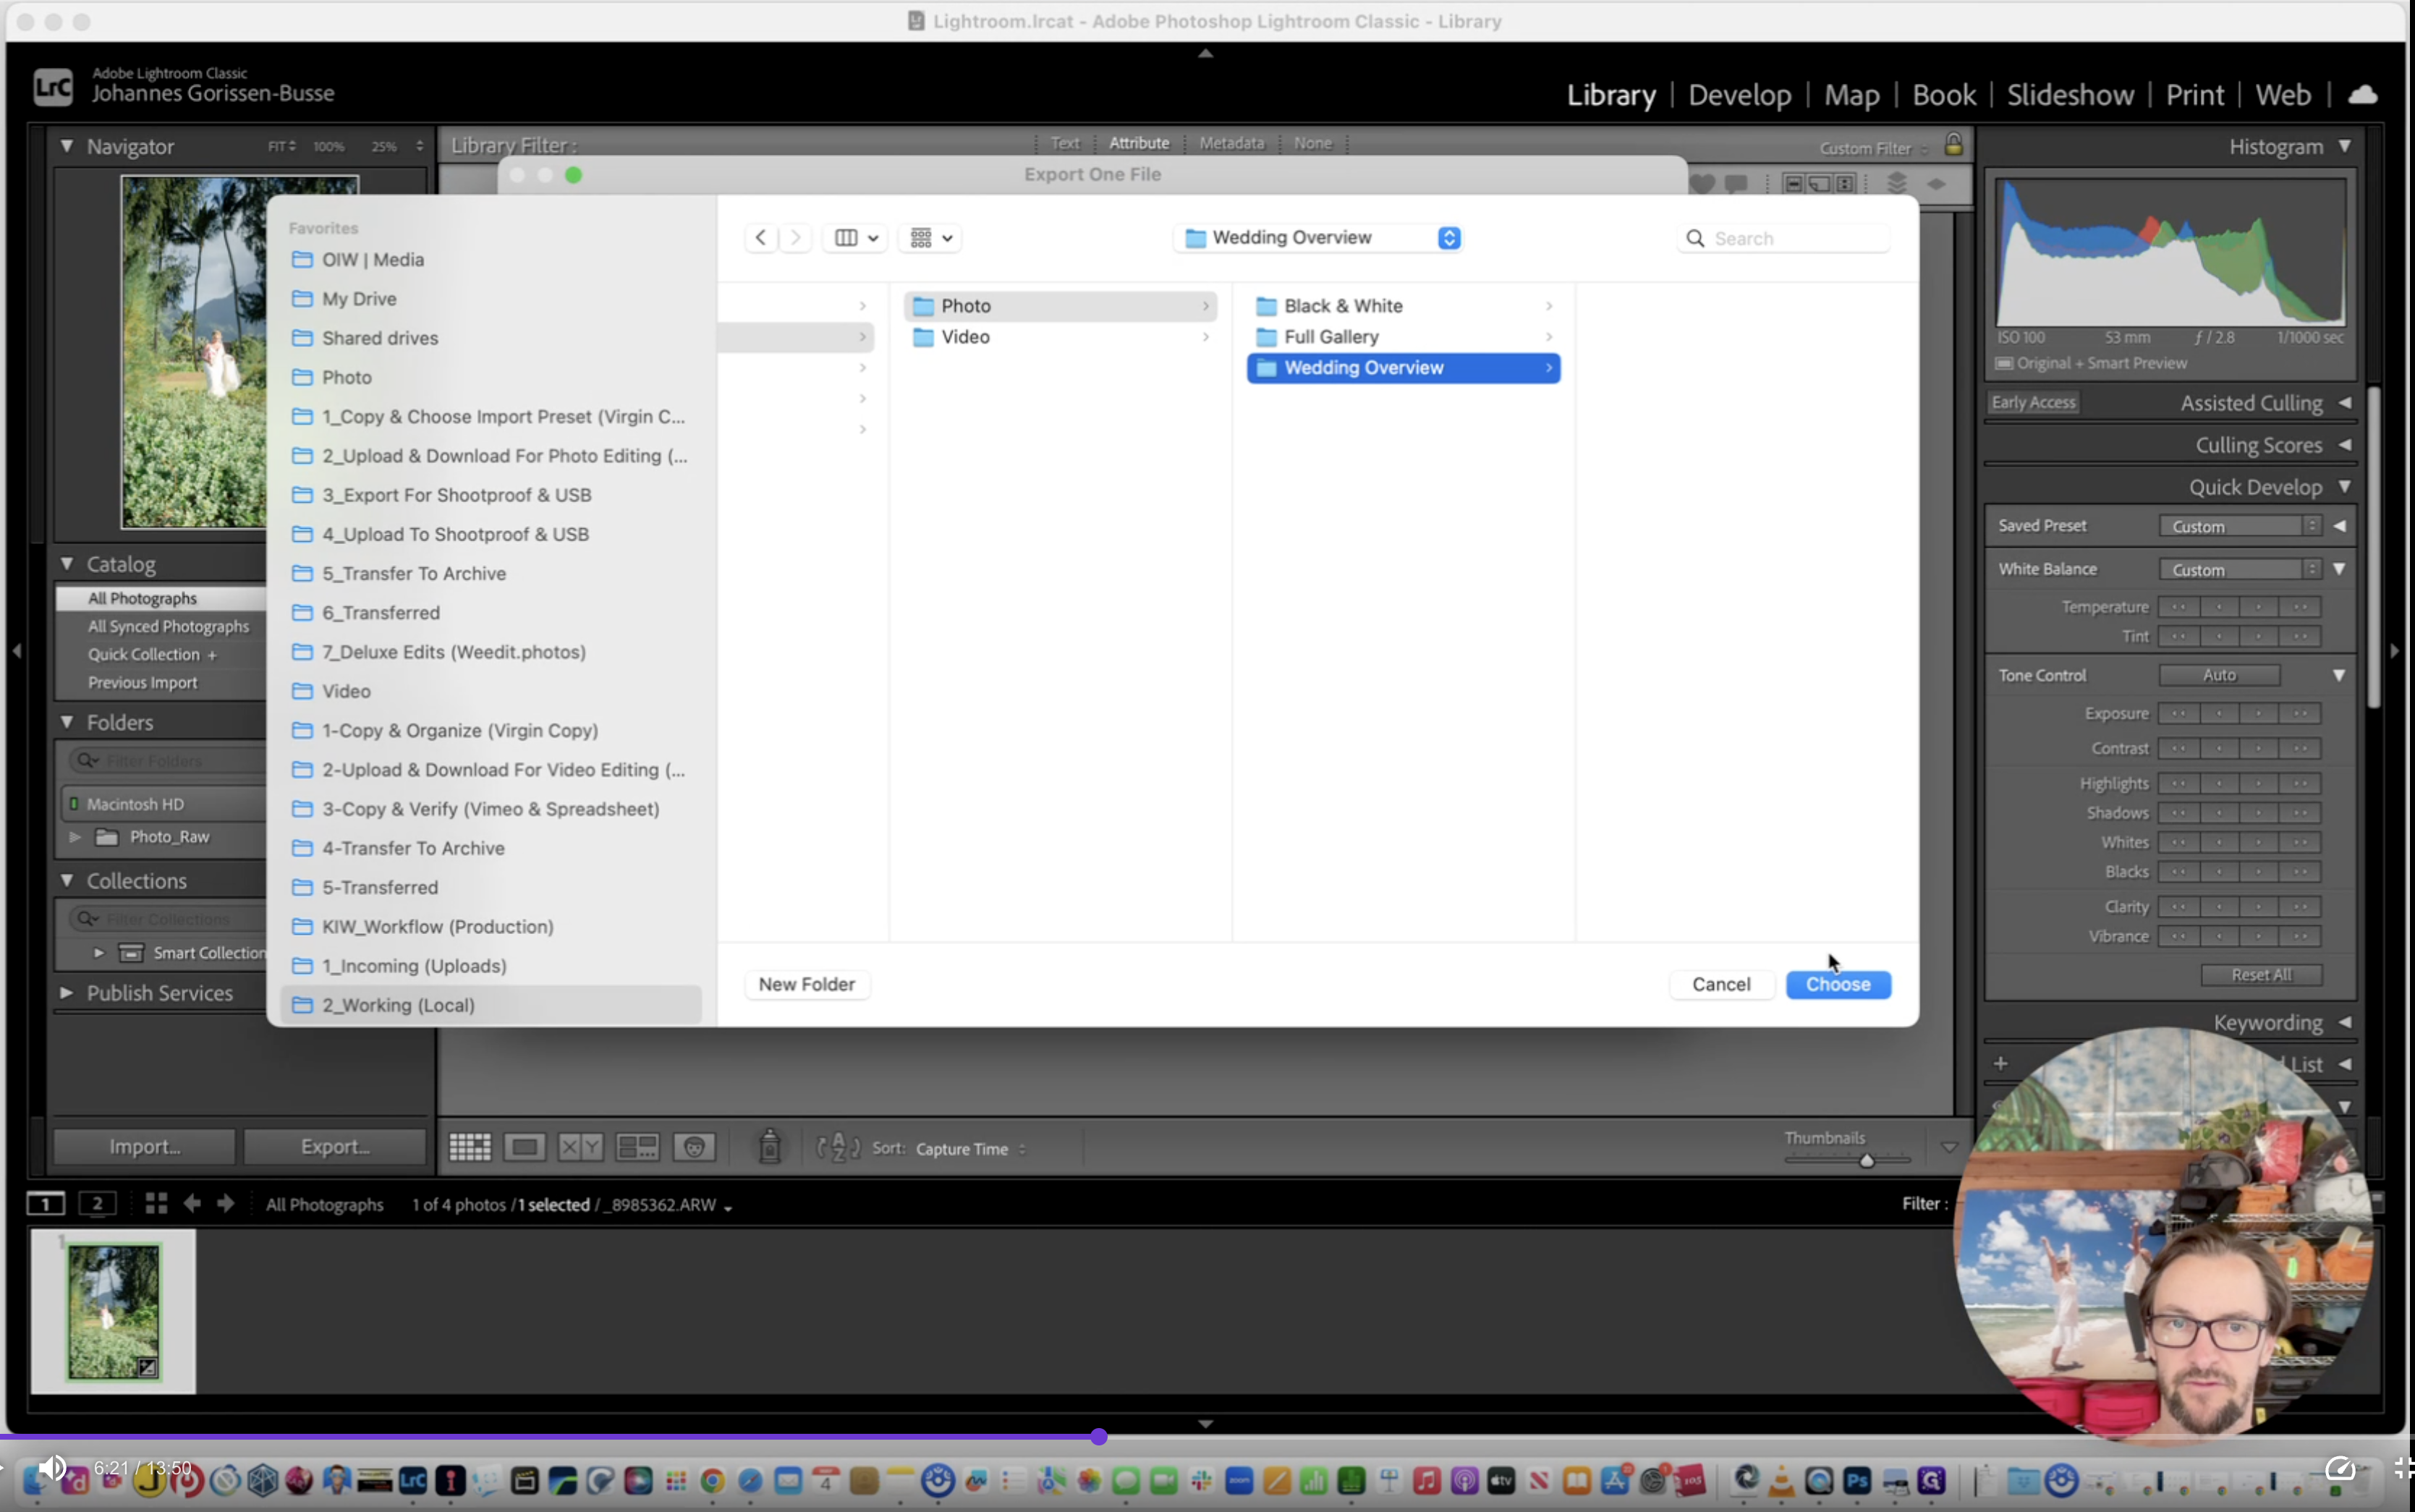
Set the export destination to your project's Exports > Photo > Full Gallery folder and run the export.
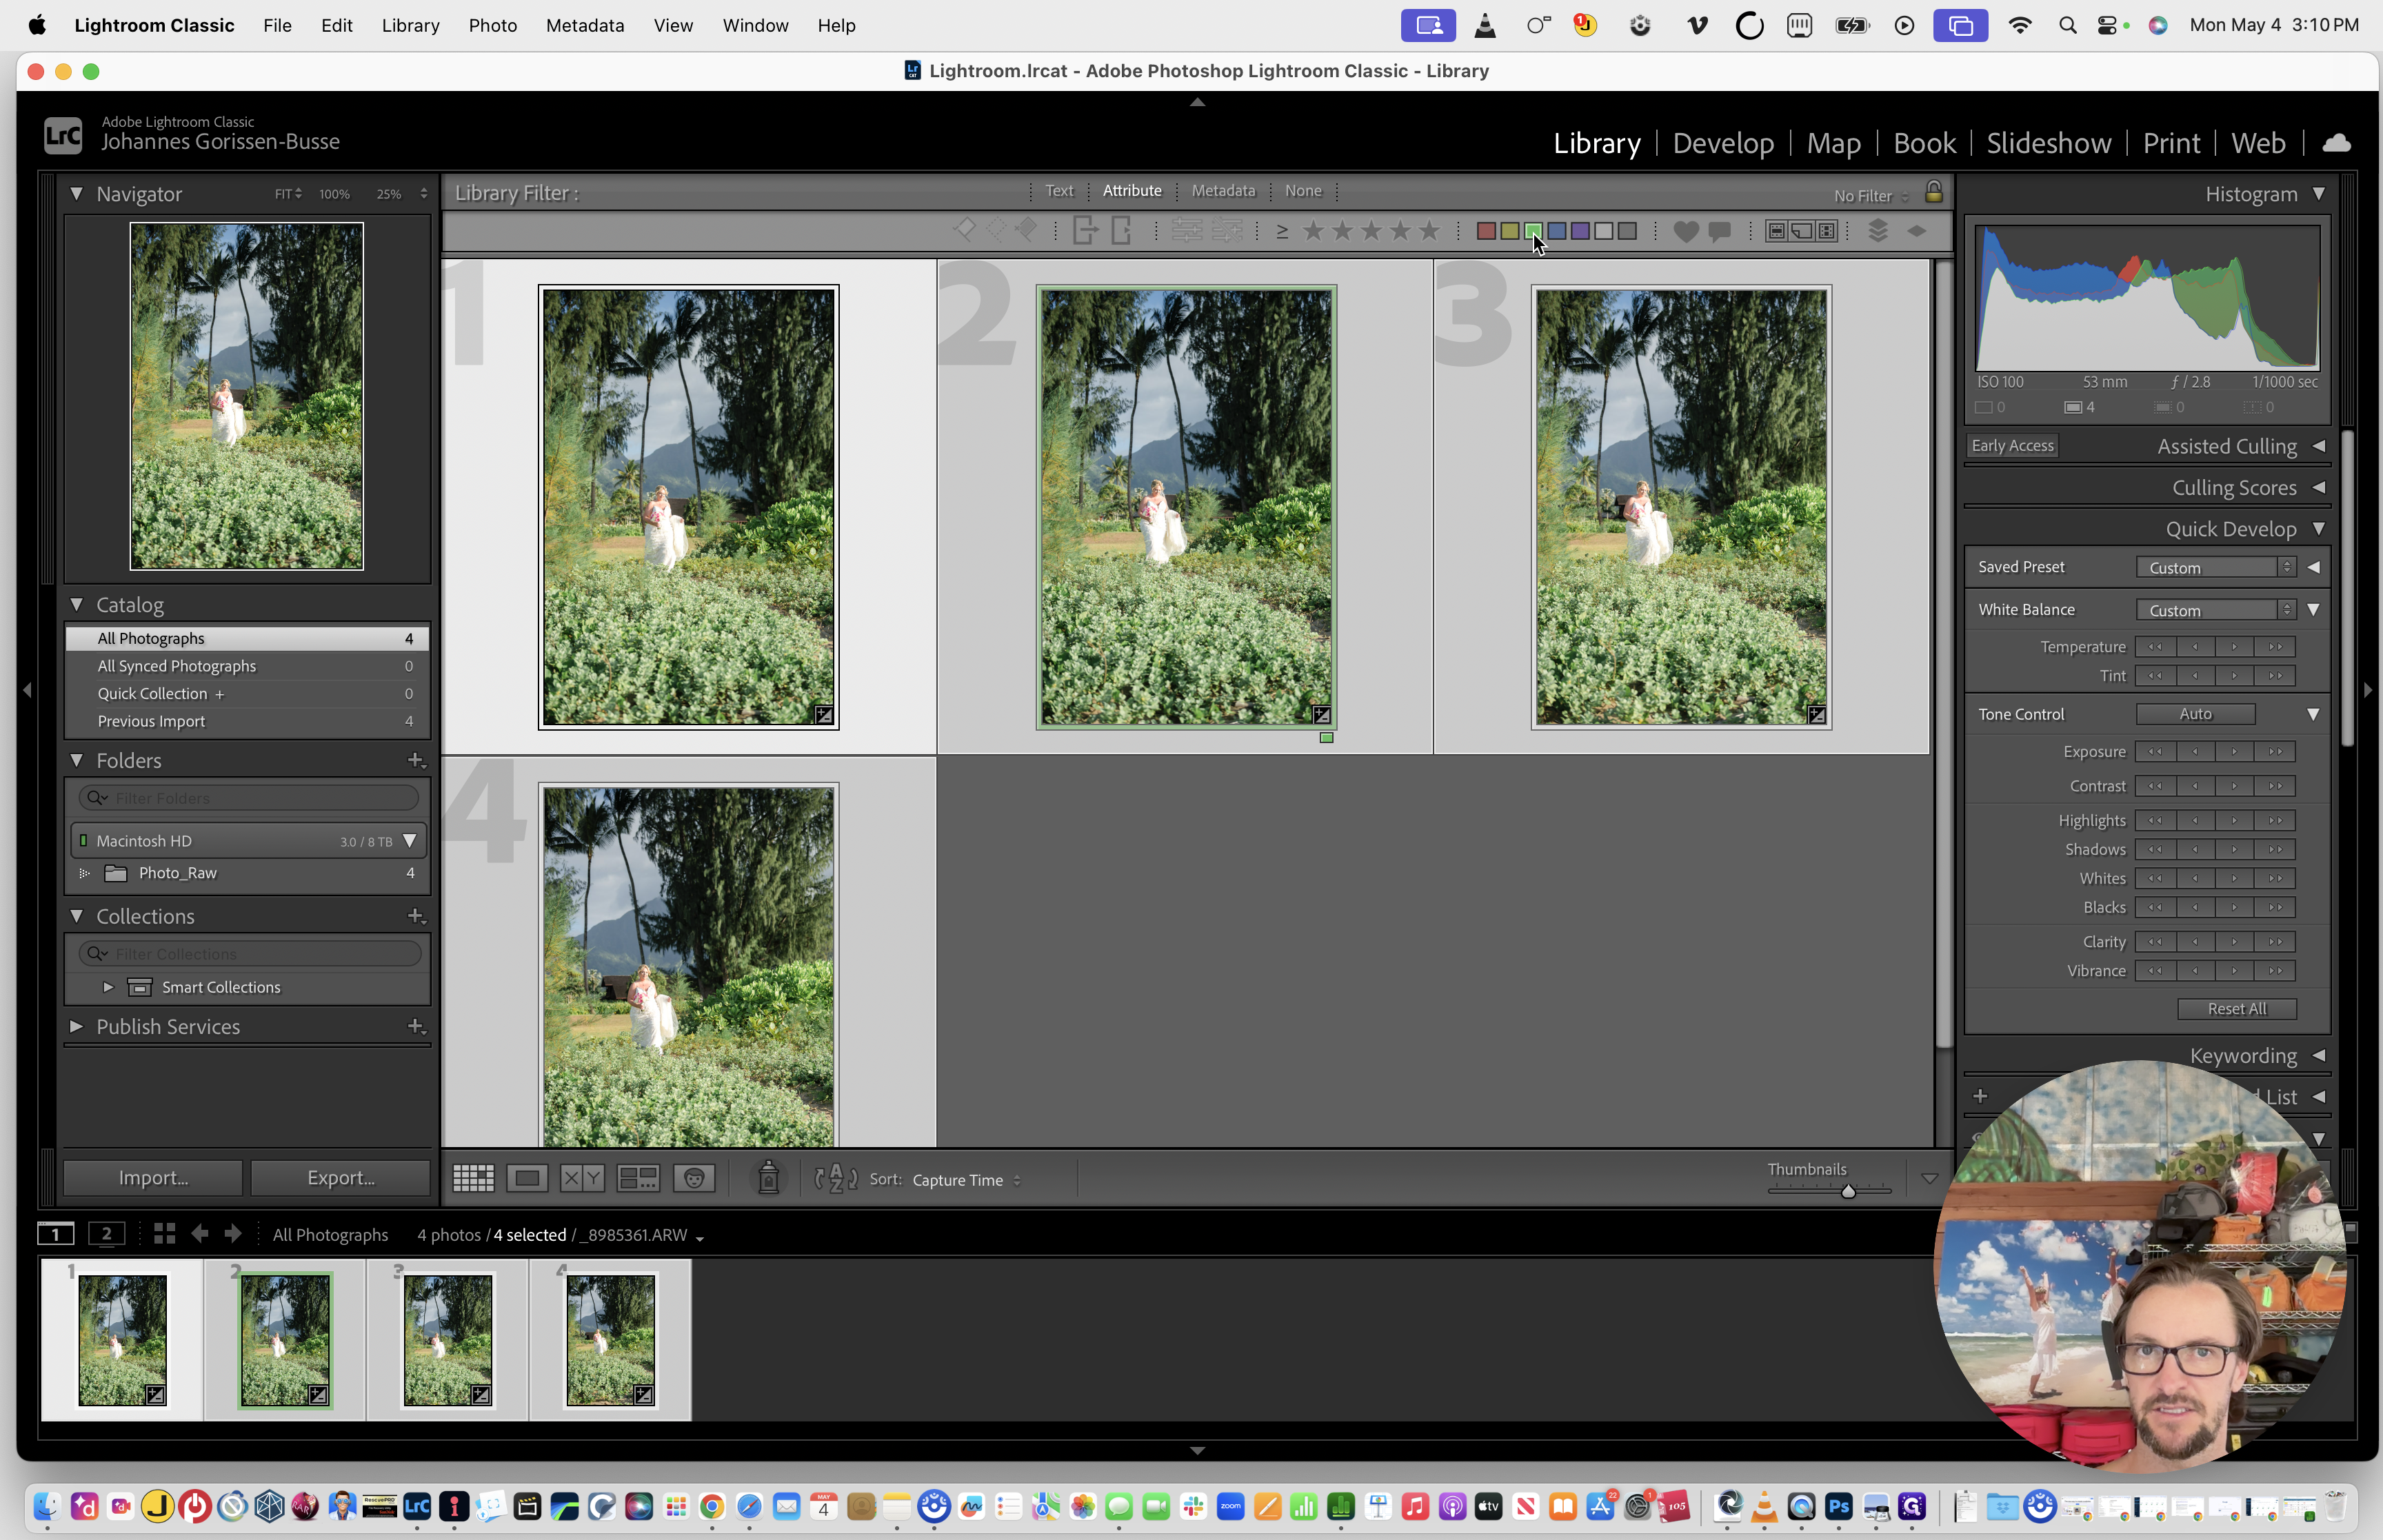
Next, export a smaller selection of highlights for the Wedding Overview.
30
Use the Attribute filter bar at the top of the grid to show only photos labeled with the Green & Blue color tag (Imagen's approved picks).
31
Type Cmd + A to select these highlighted images.
32
Go to File > Export and target the Wedding Overview folder instead.
33
Once all exports are complete, type Cmd + Q to close Lightroom.
Phase 4: Gallery Upload via ShootProof
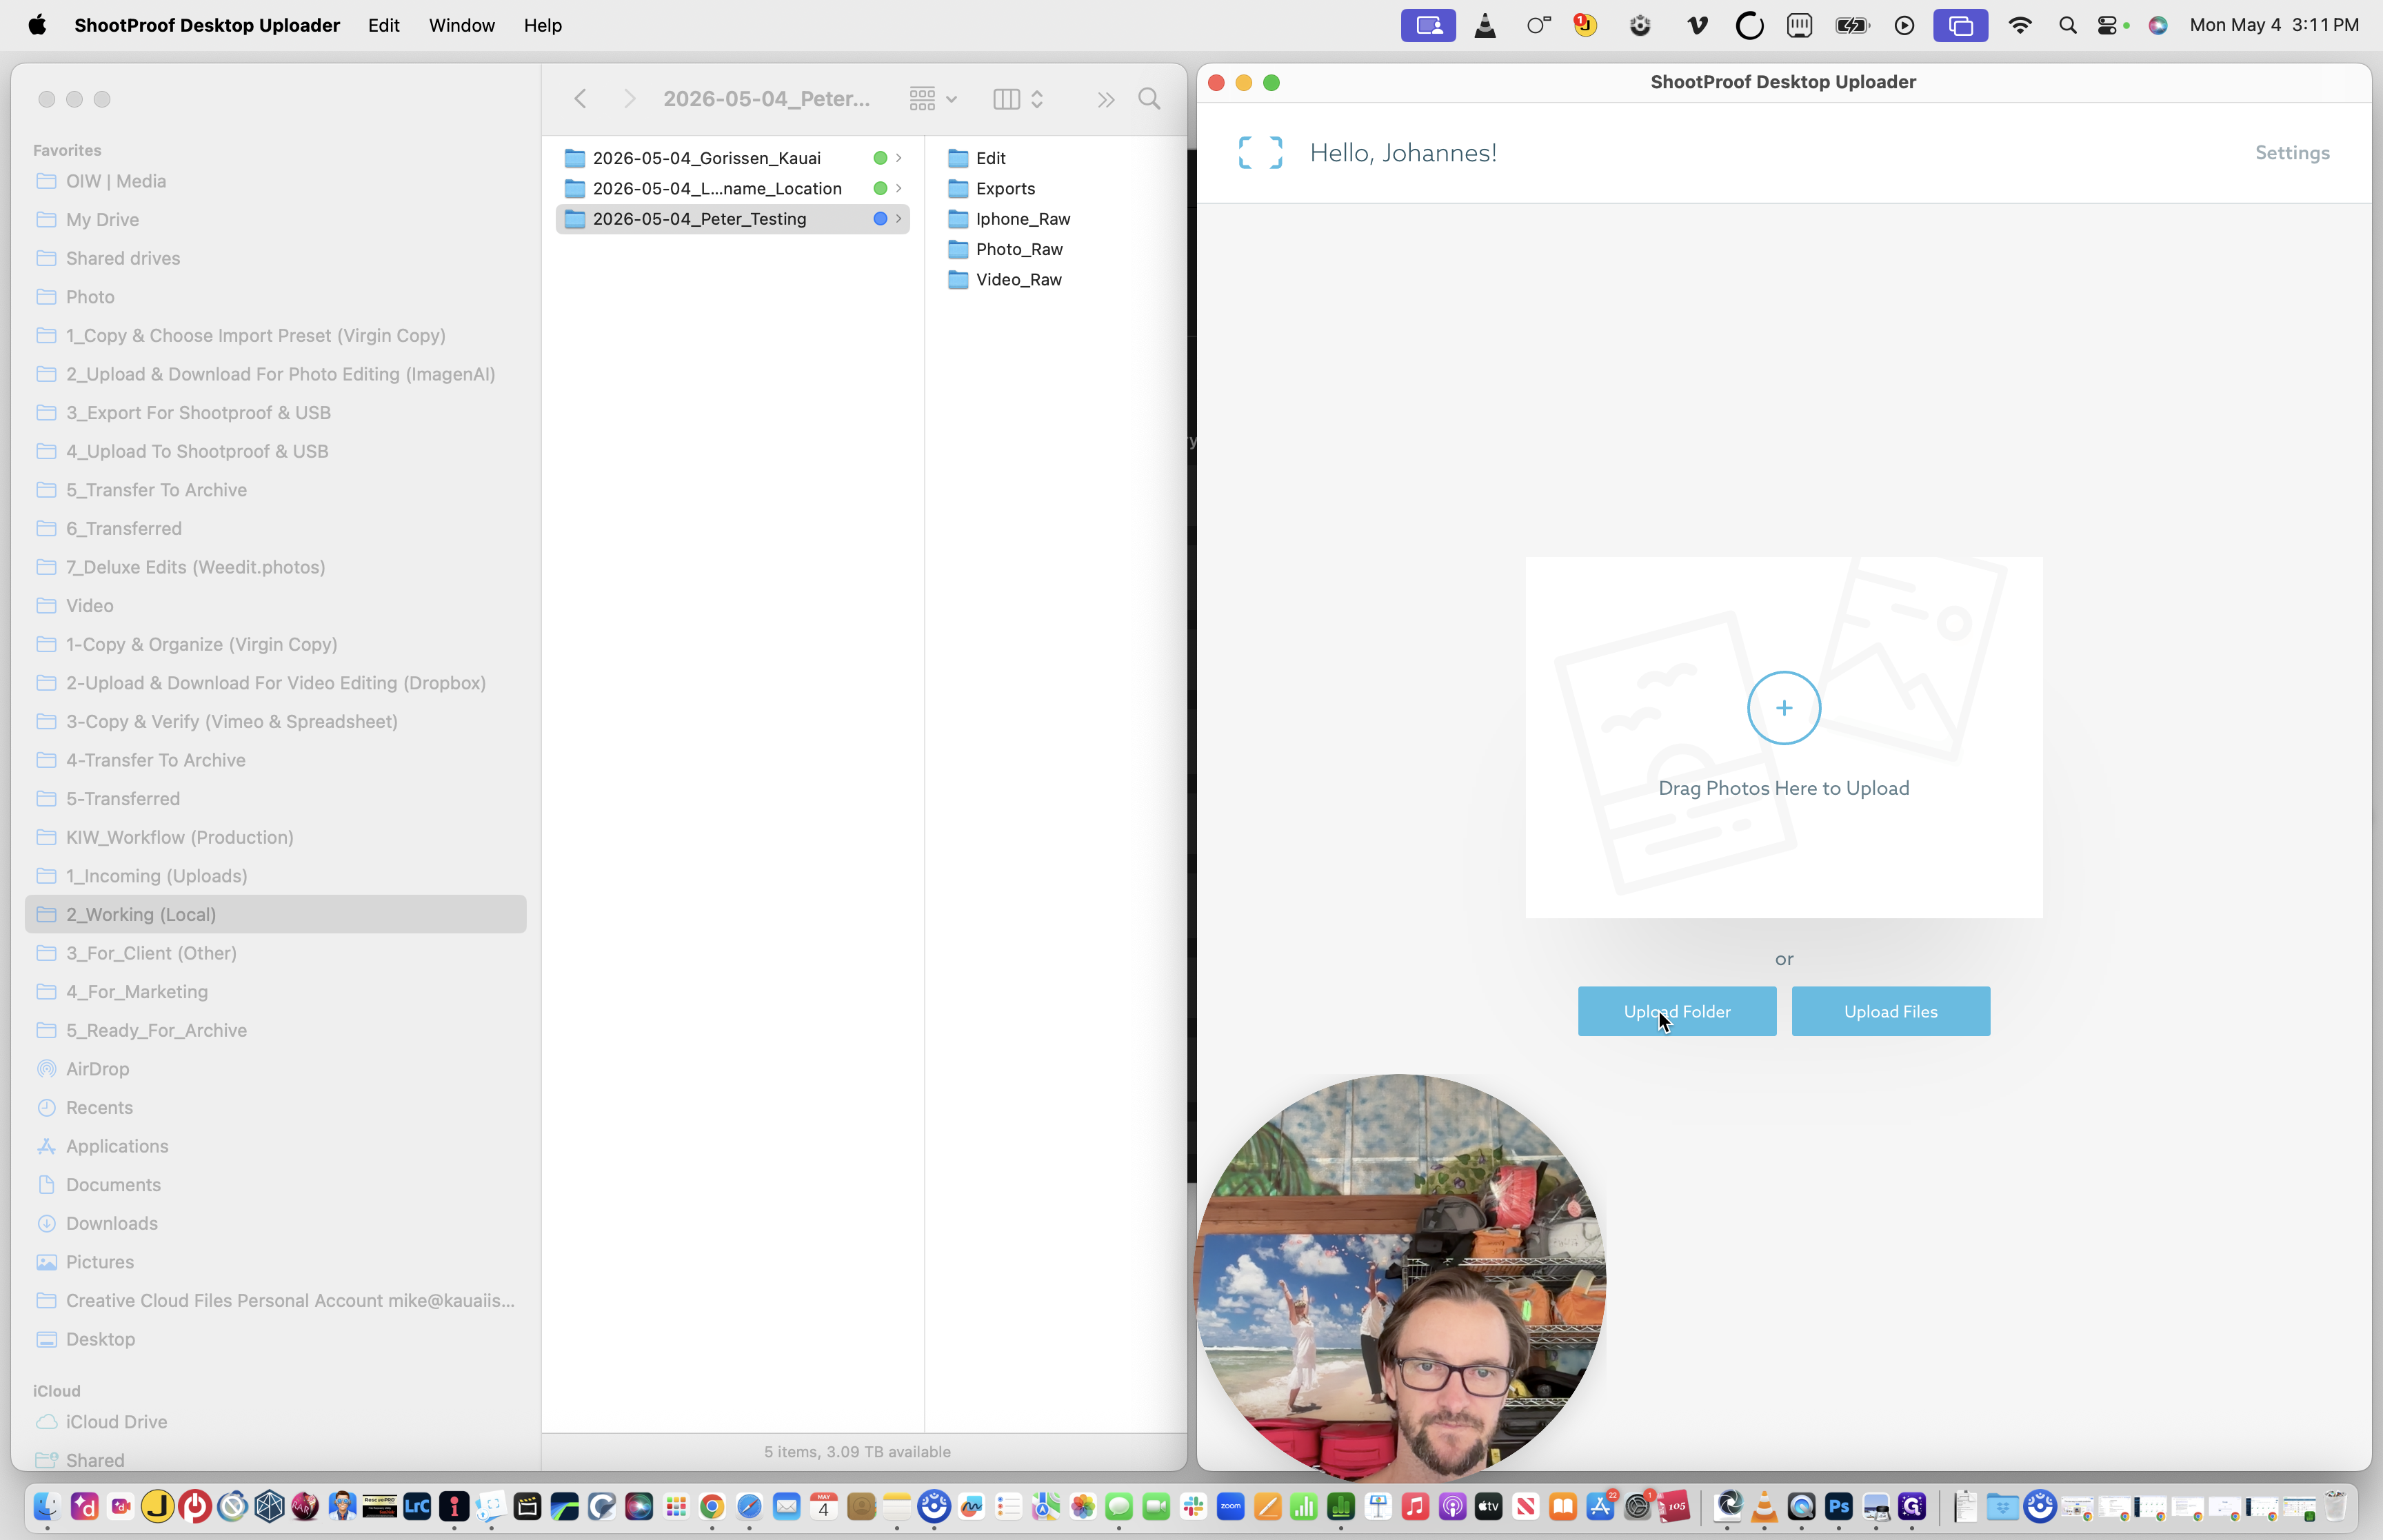
Upload the finalized JPEGs using the ShootProof Desktop Uploader.
34
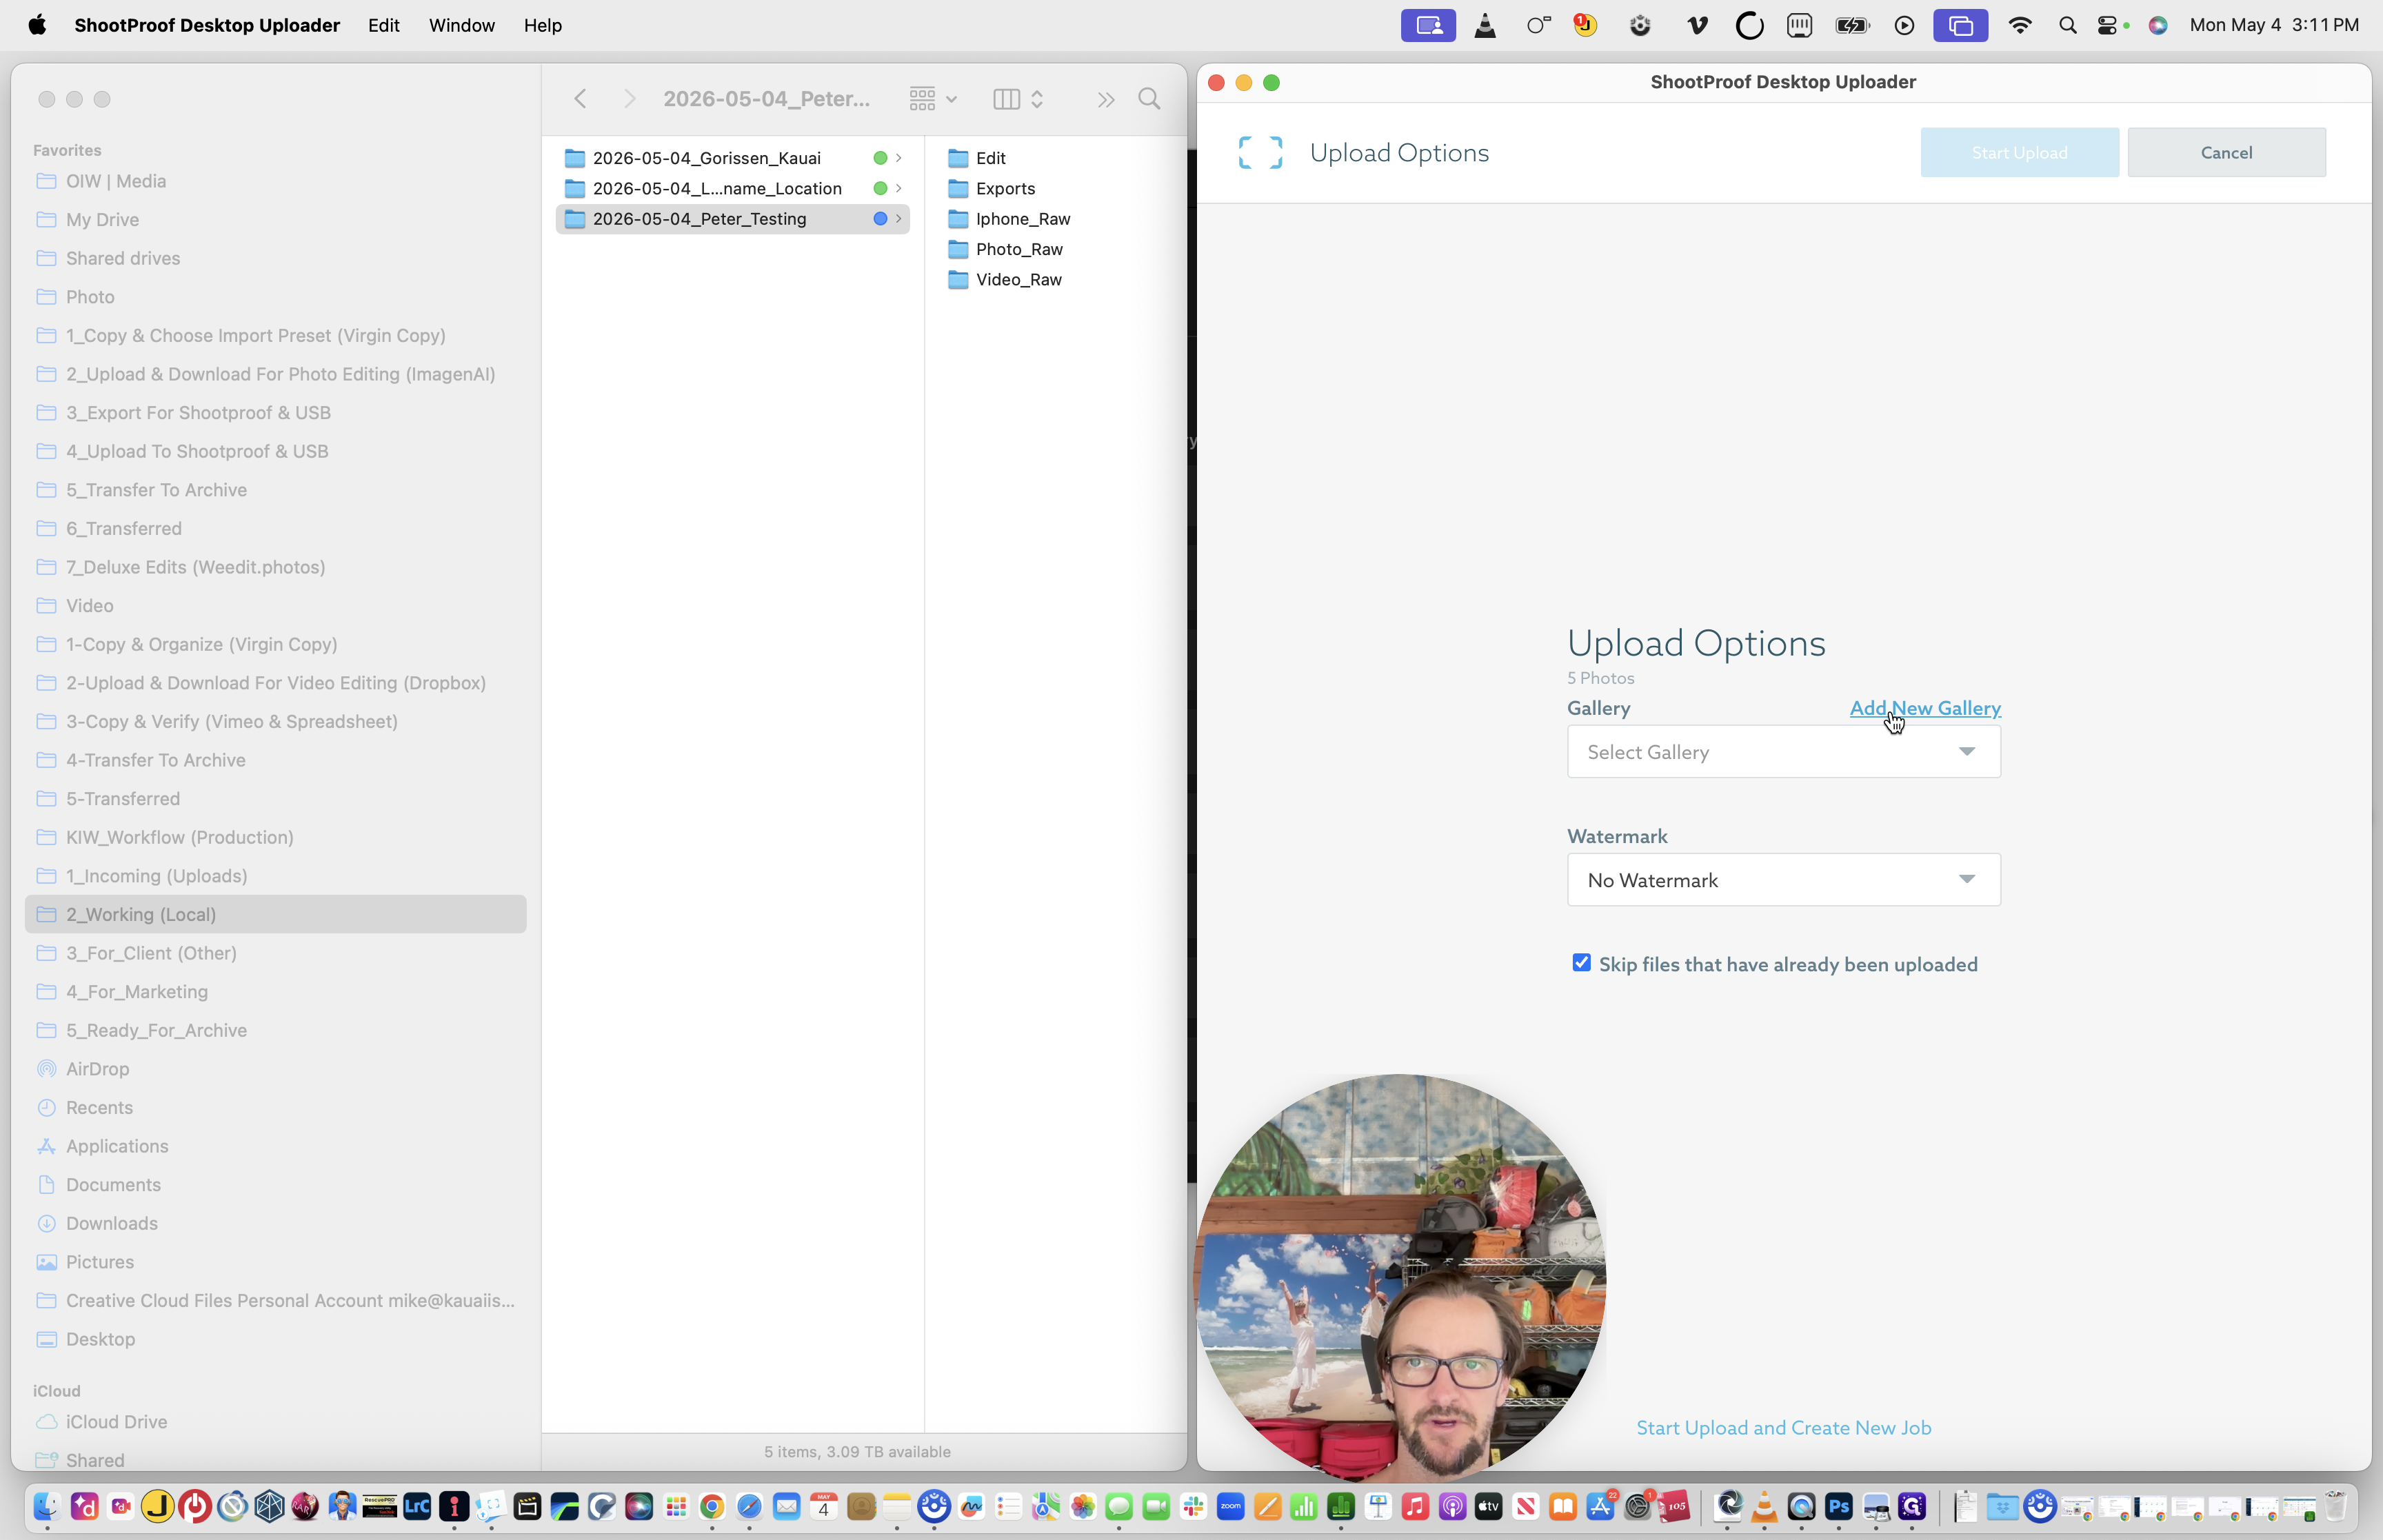
Open the ShootProof Desktop Uploader and click Upload Folder.
35
Select your Exports > Photo folder and click Add New Gallery.
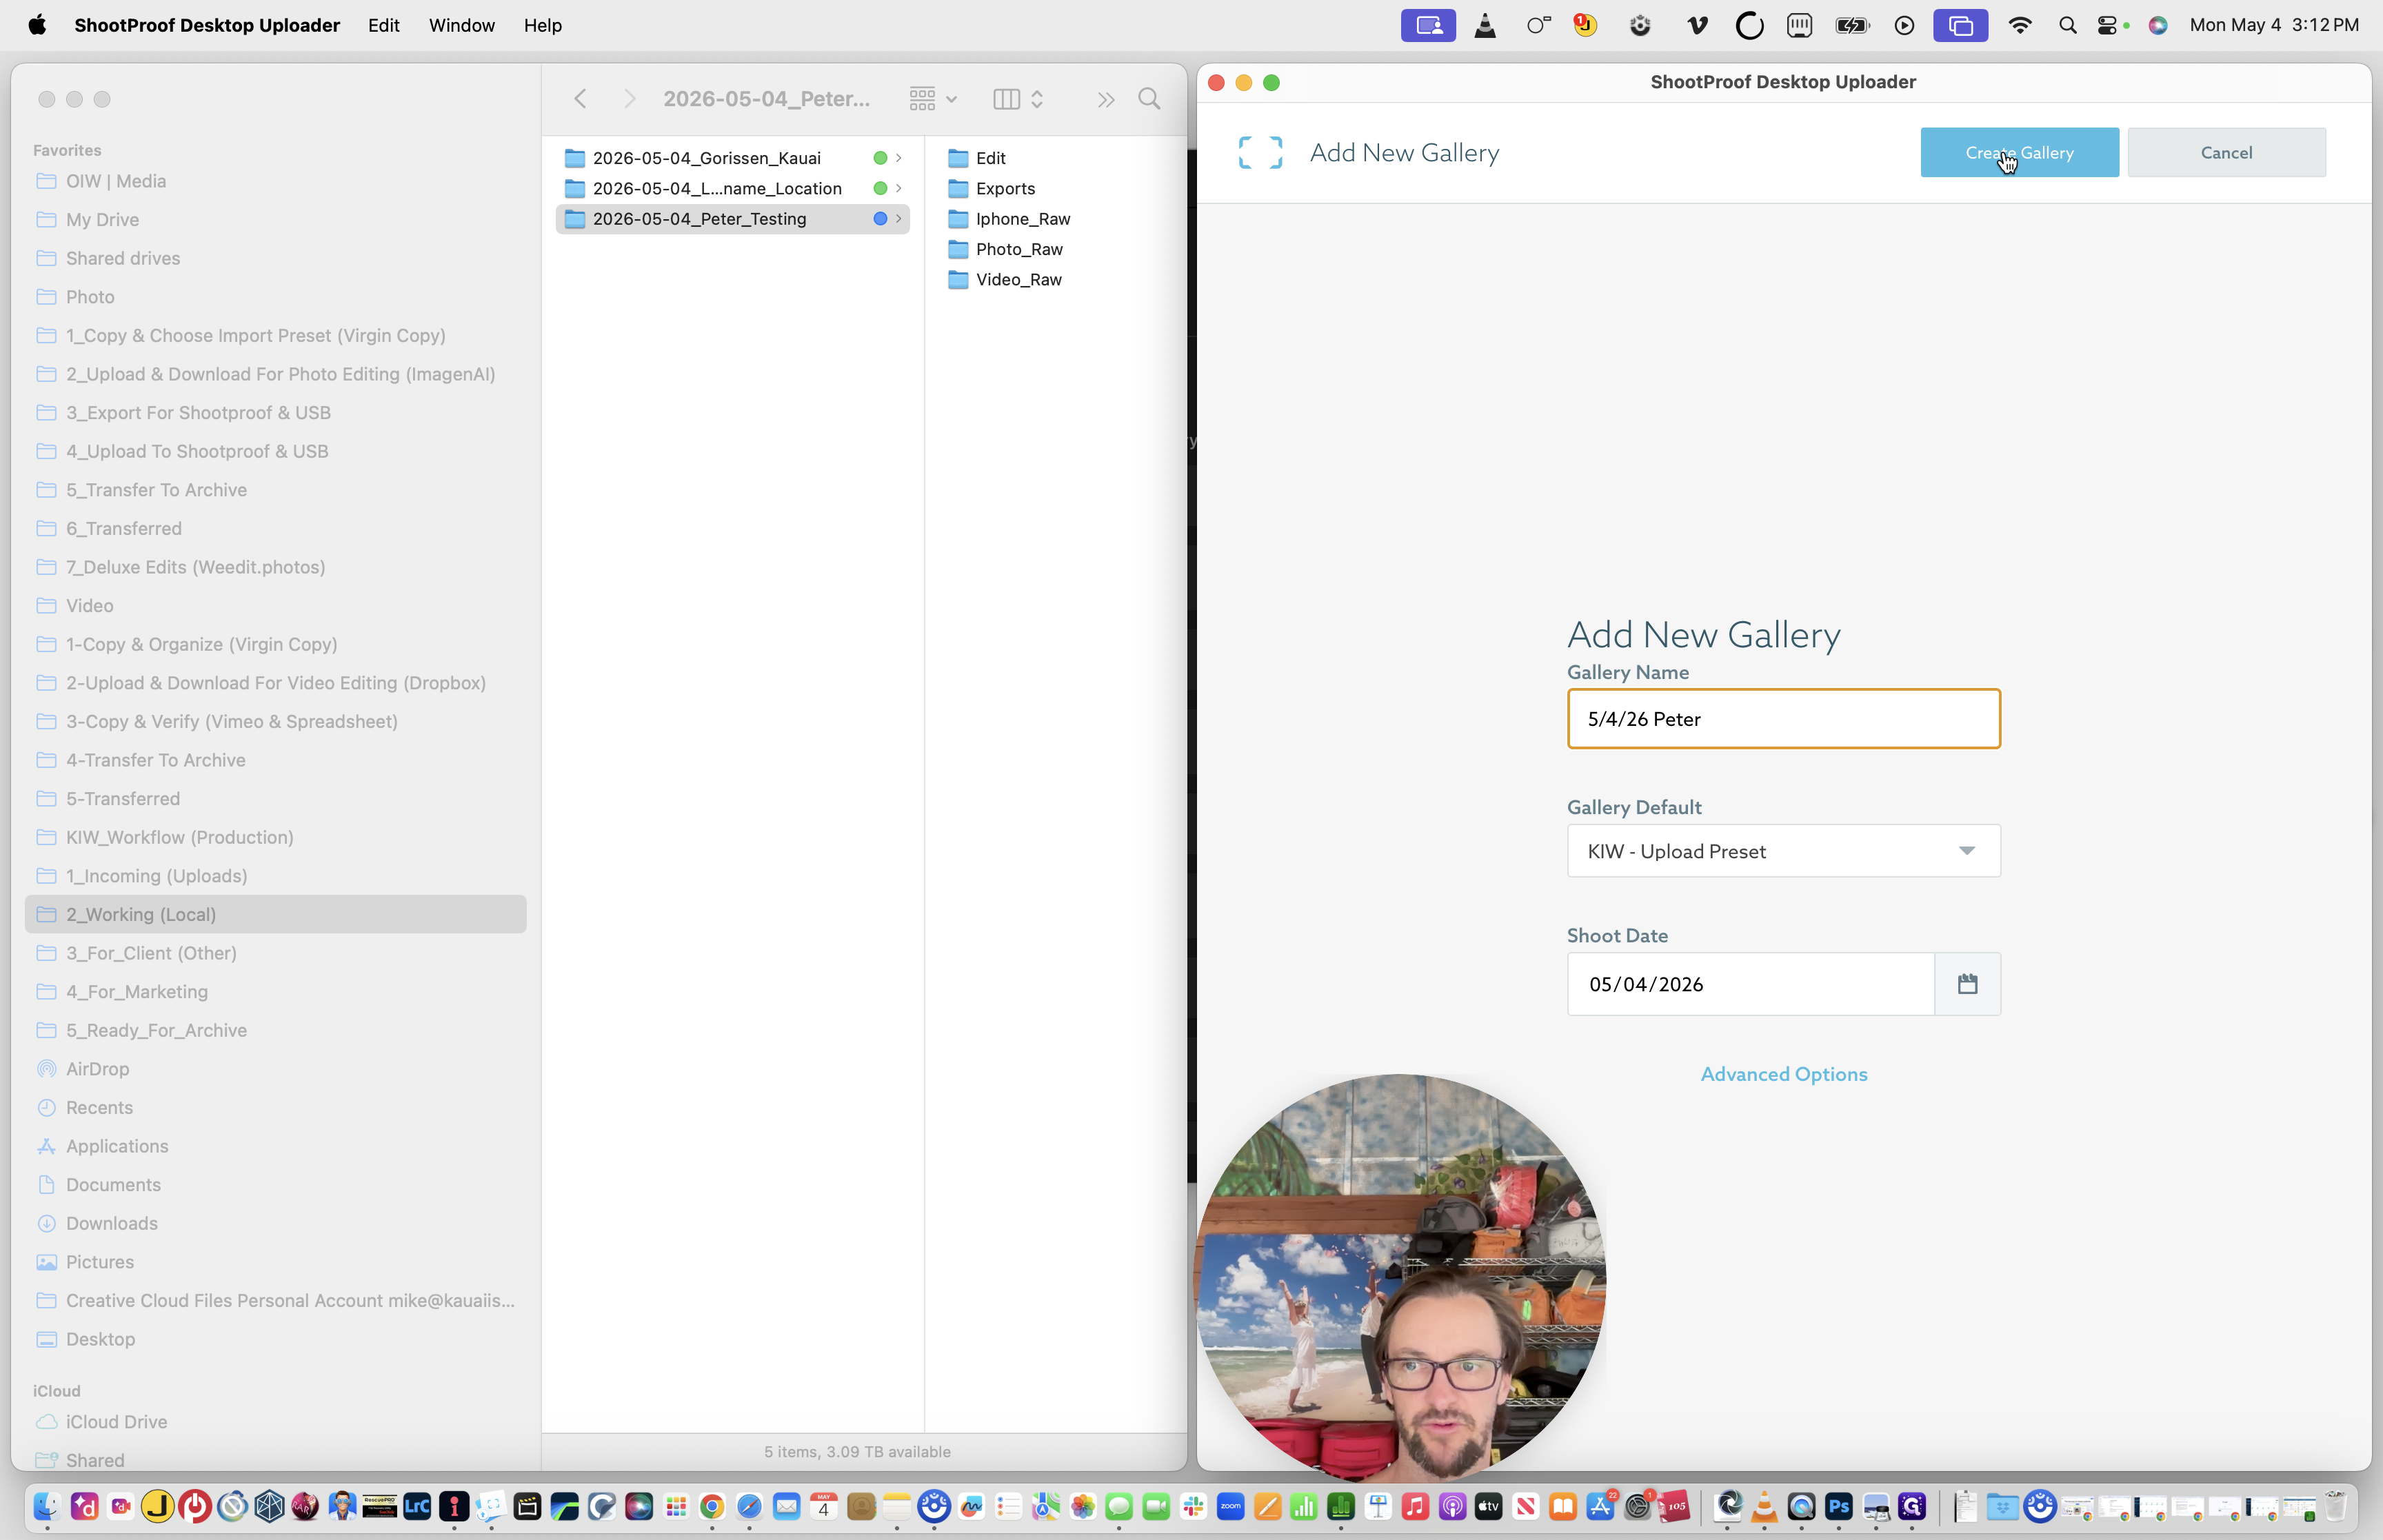
36
Name the gallery using the MM-DD-YY Lastname format (e.g., "5-4-26 Lastname").
37
Ensure the "KIW - Upload Preset" is selected and click Create Gallery.
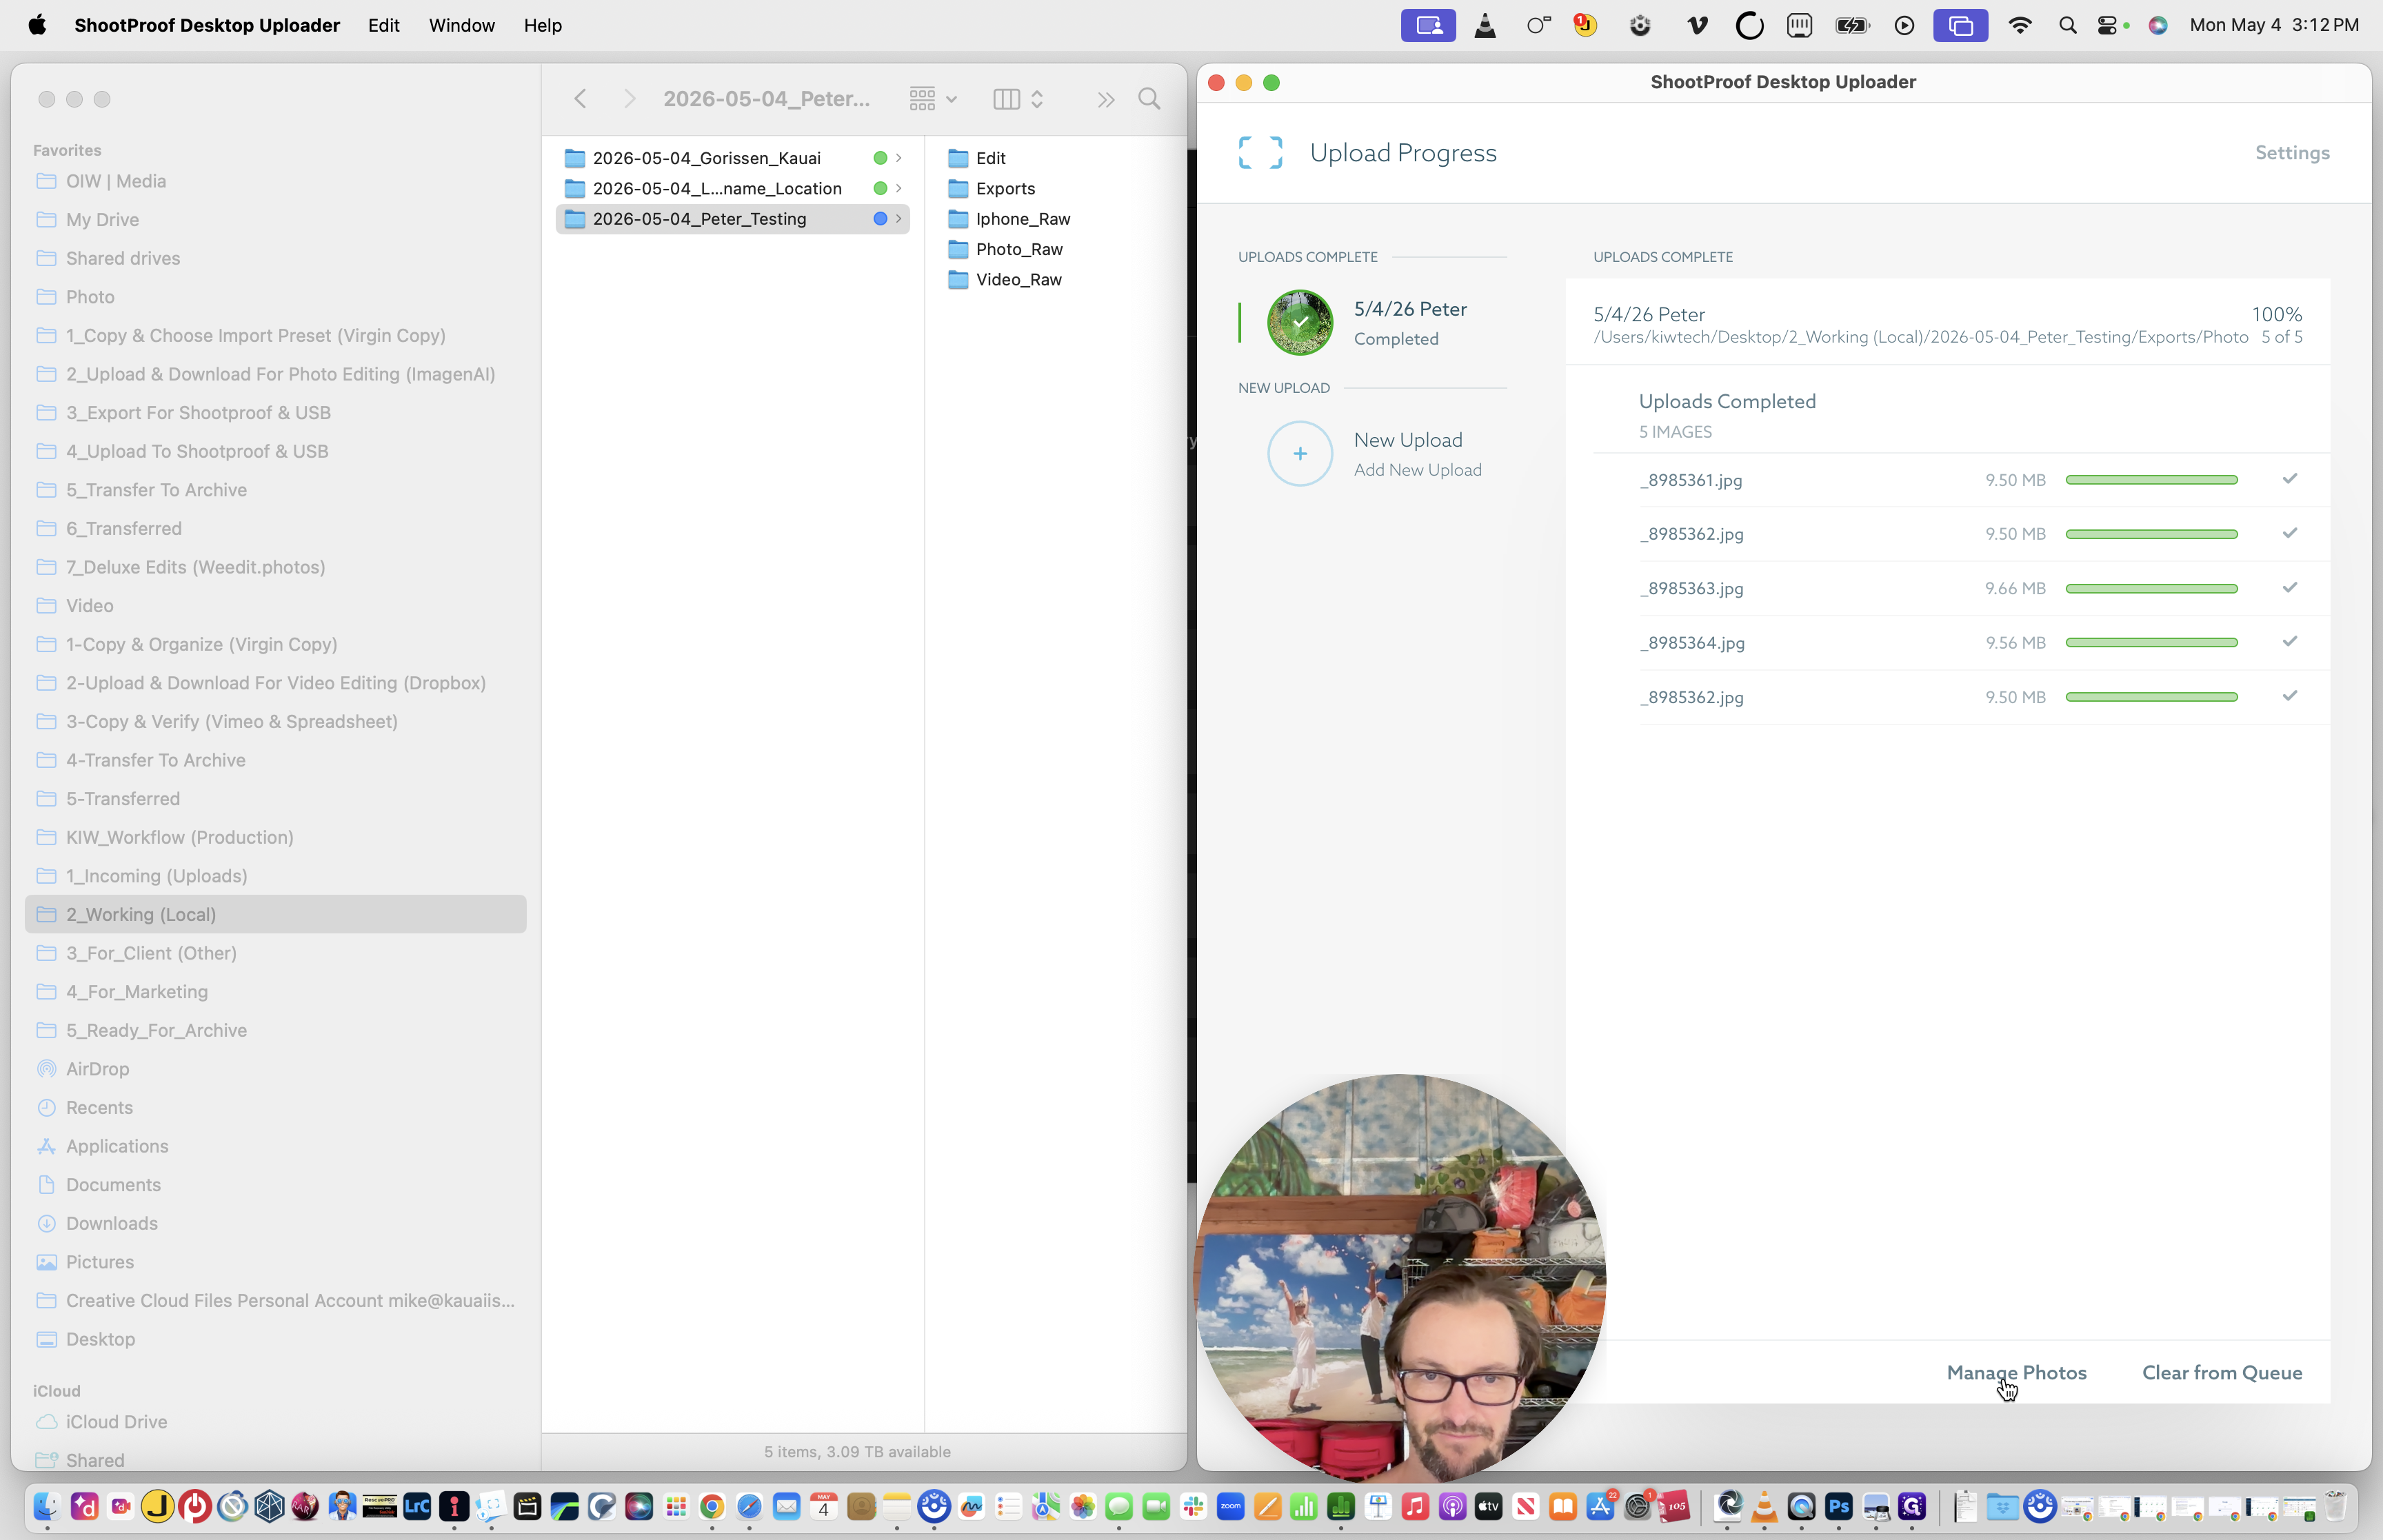
38
Verify that "No Watermark" is selected, then click Start Upload.
When the upload completes, finalize the gallery presentation on the web.
39
Click Manage Photos to open the gallery in your web browser.
40
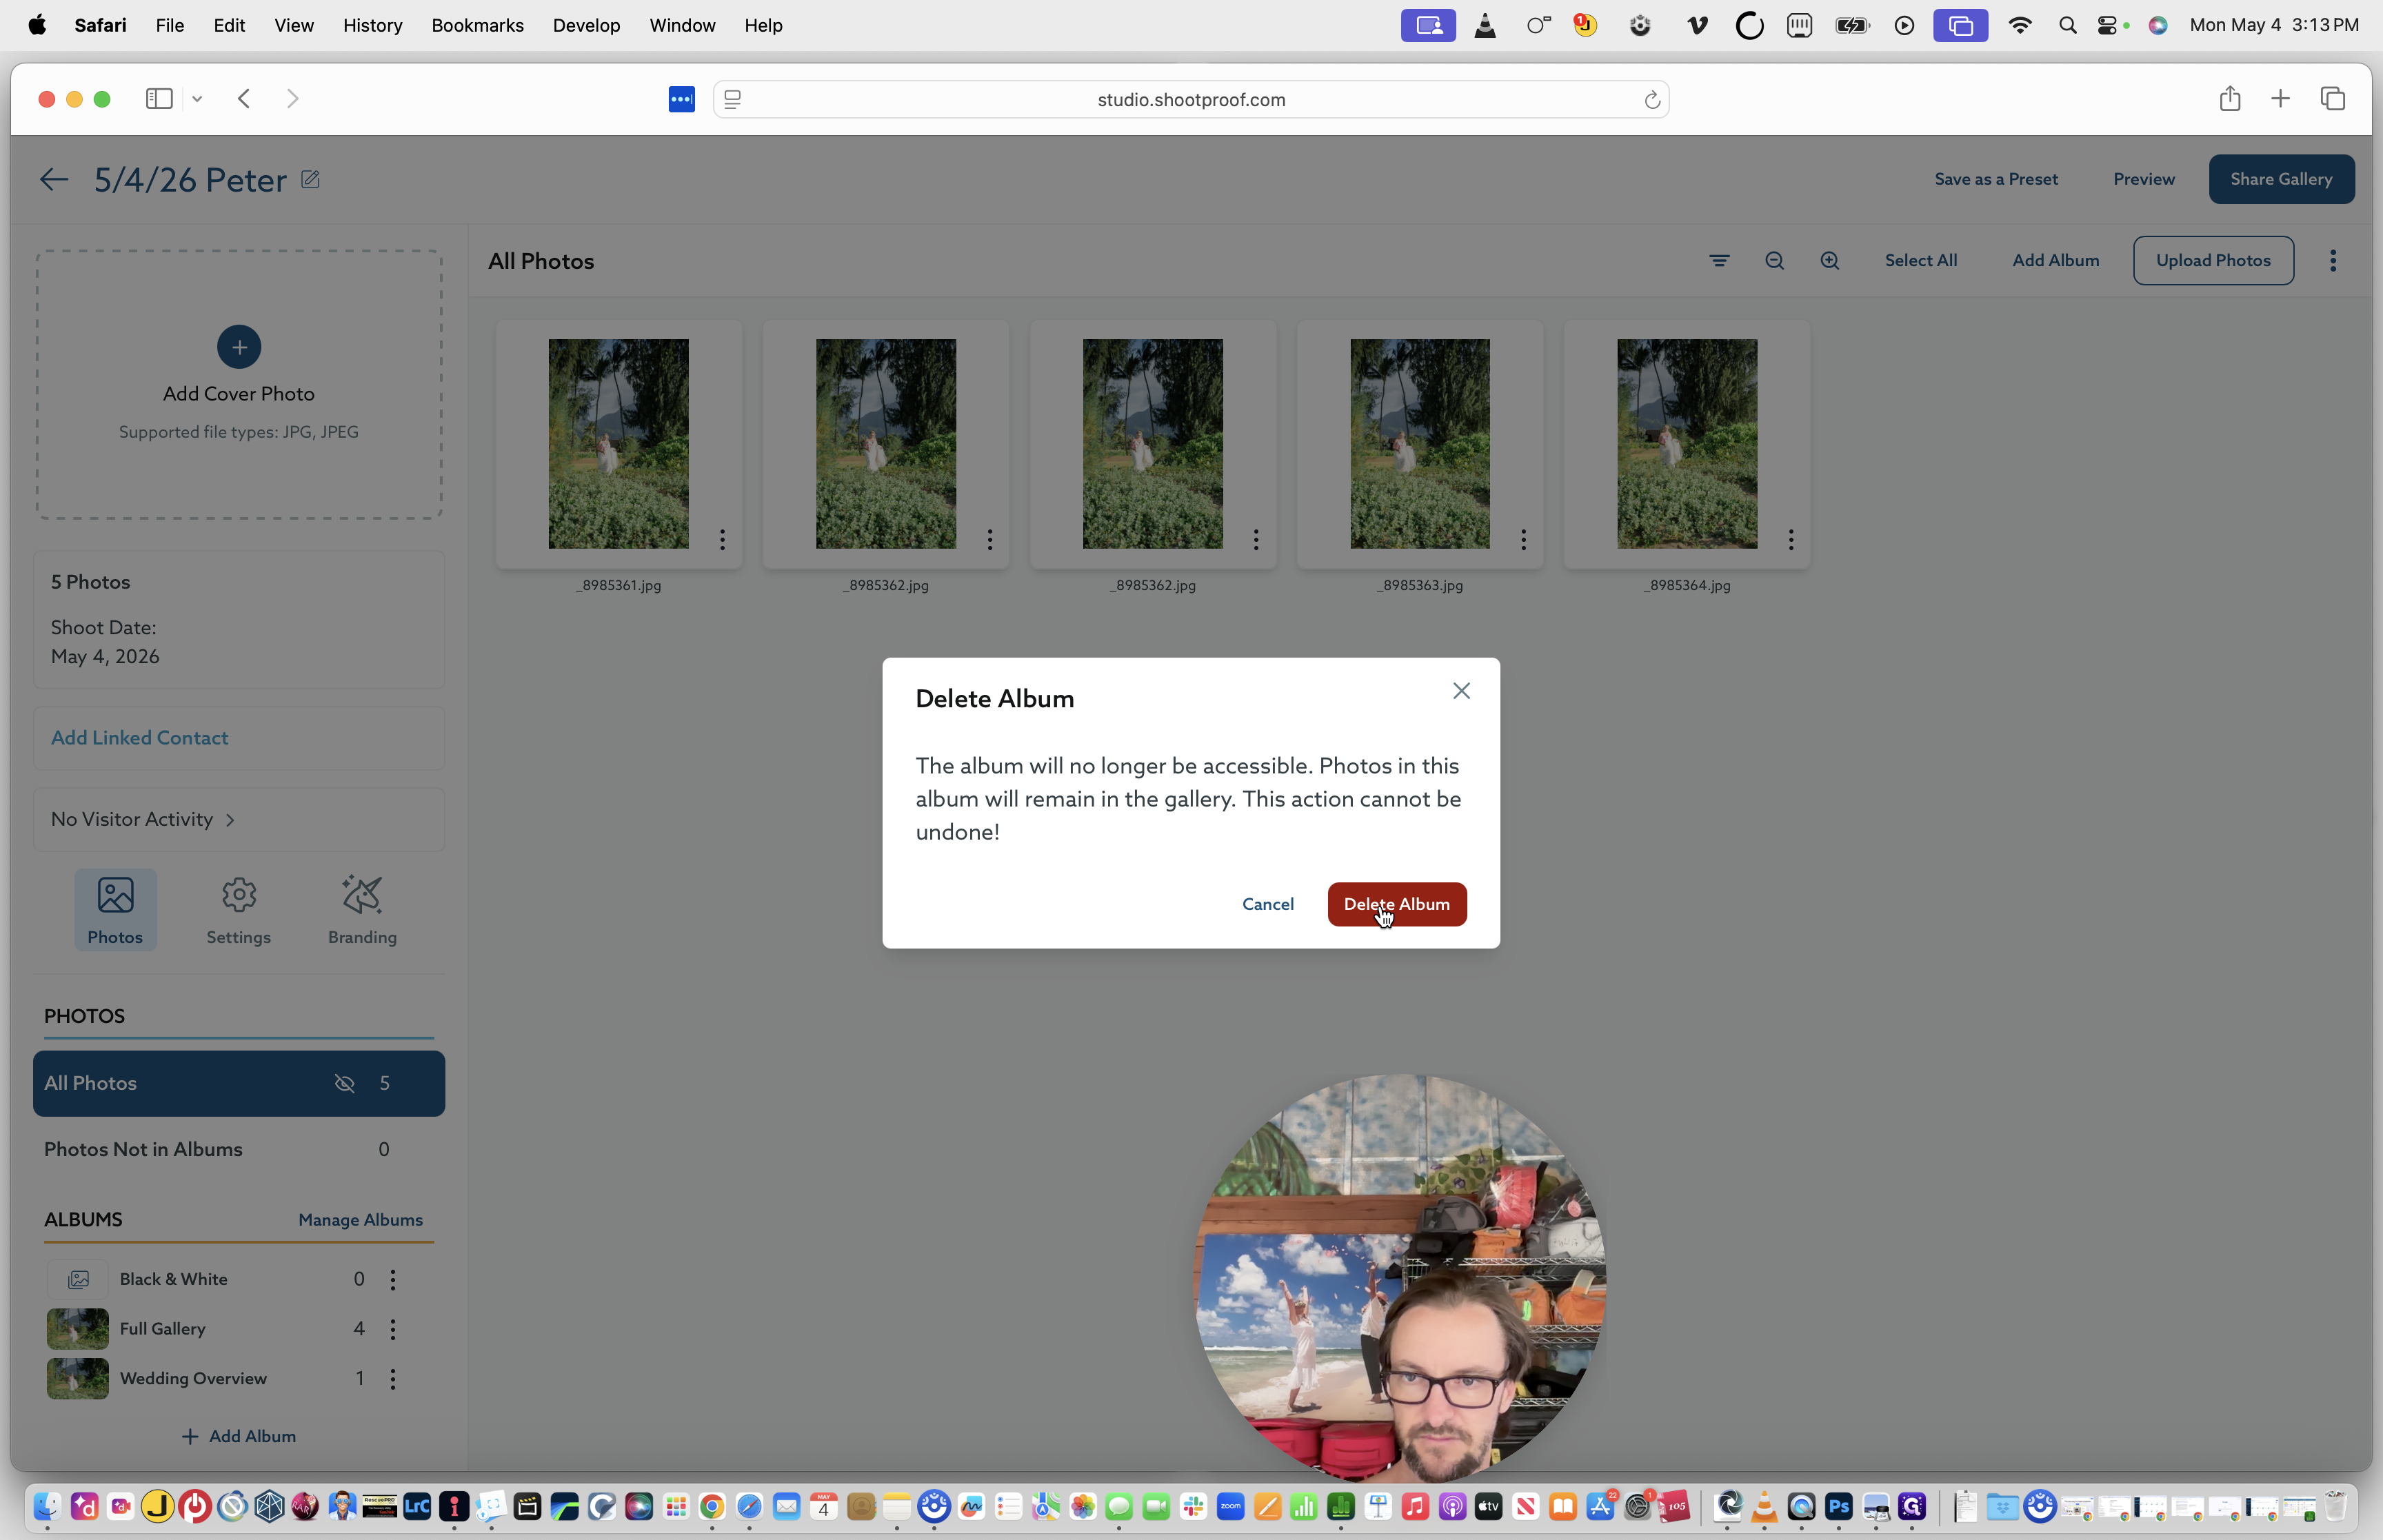
Unless the client ordered a deluxe package, click the three dots next to the "Black & White" album and click Delete Album.
41
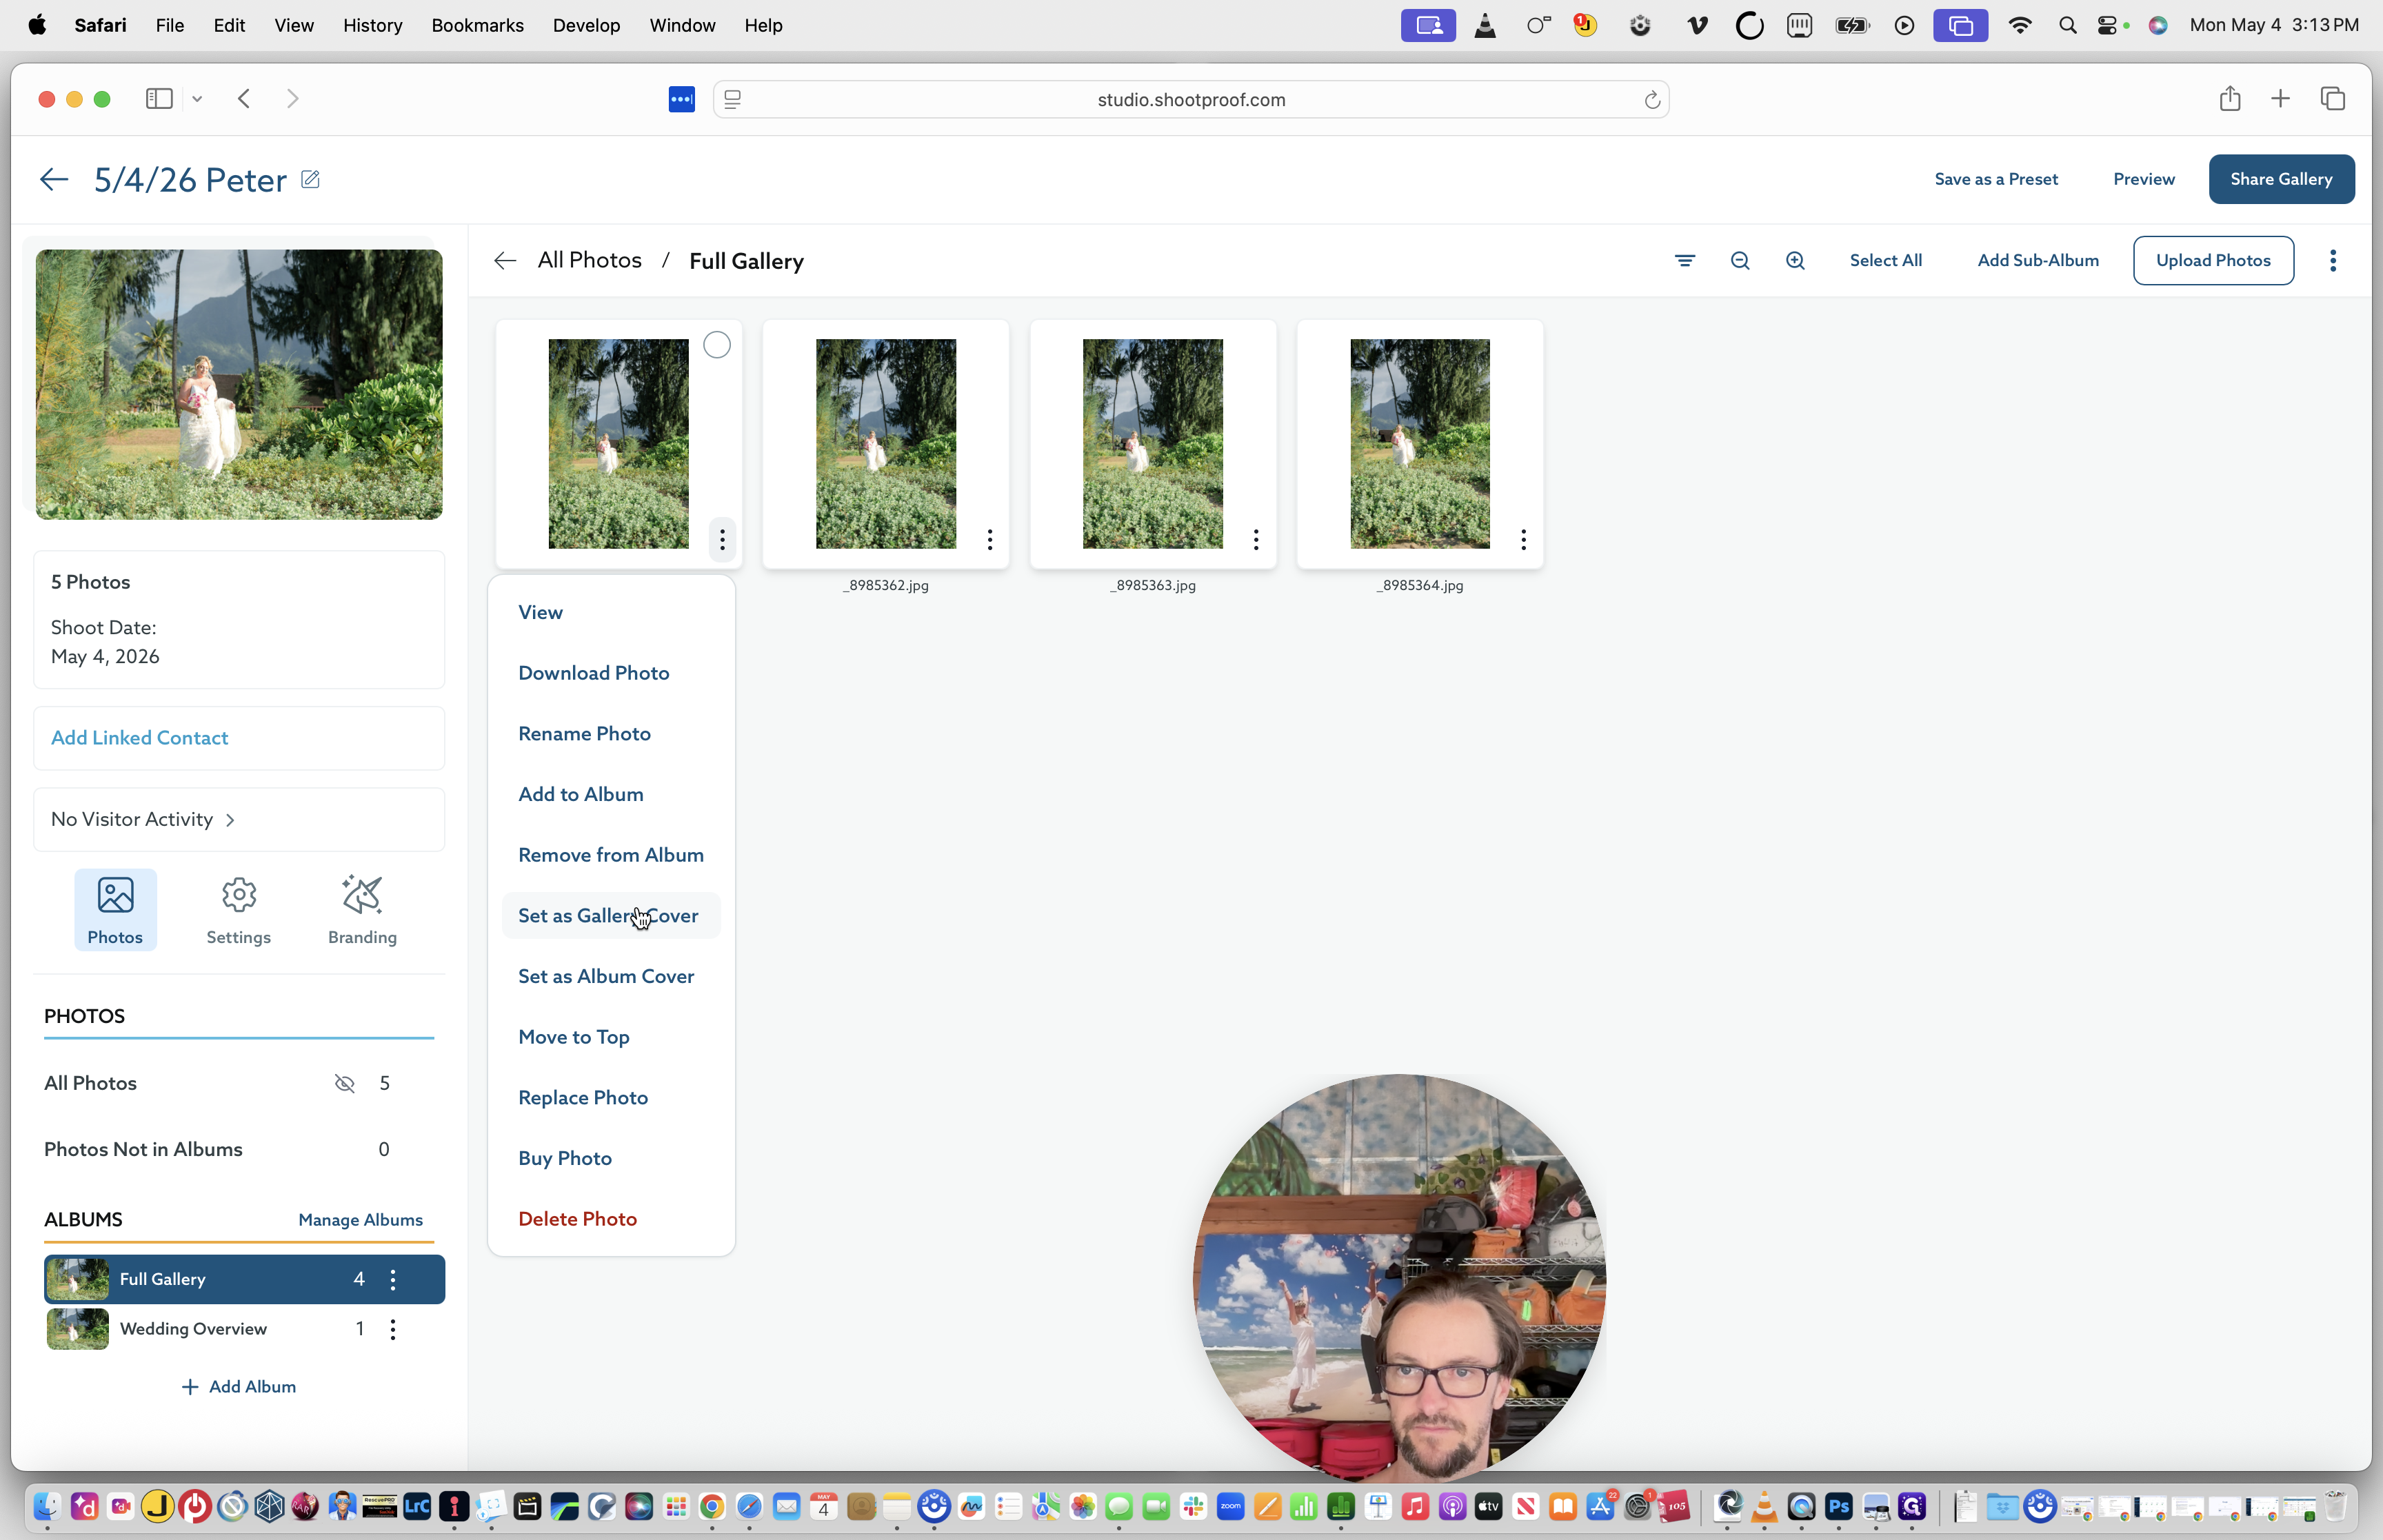
Open the Full Gallery, click the menu on your desired cover photo, and choose Set as Gallery Cover.
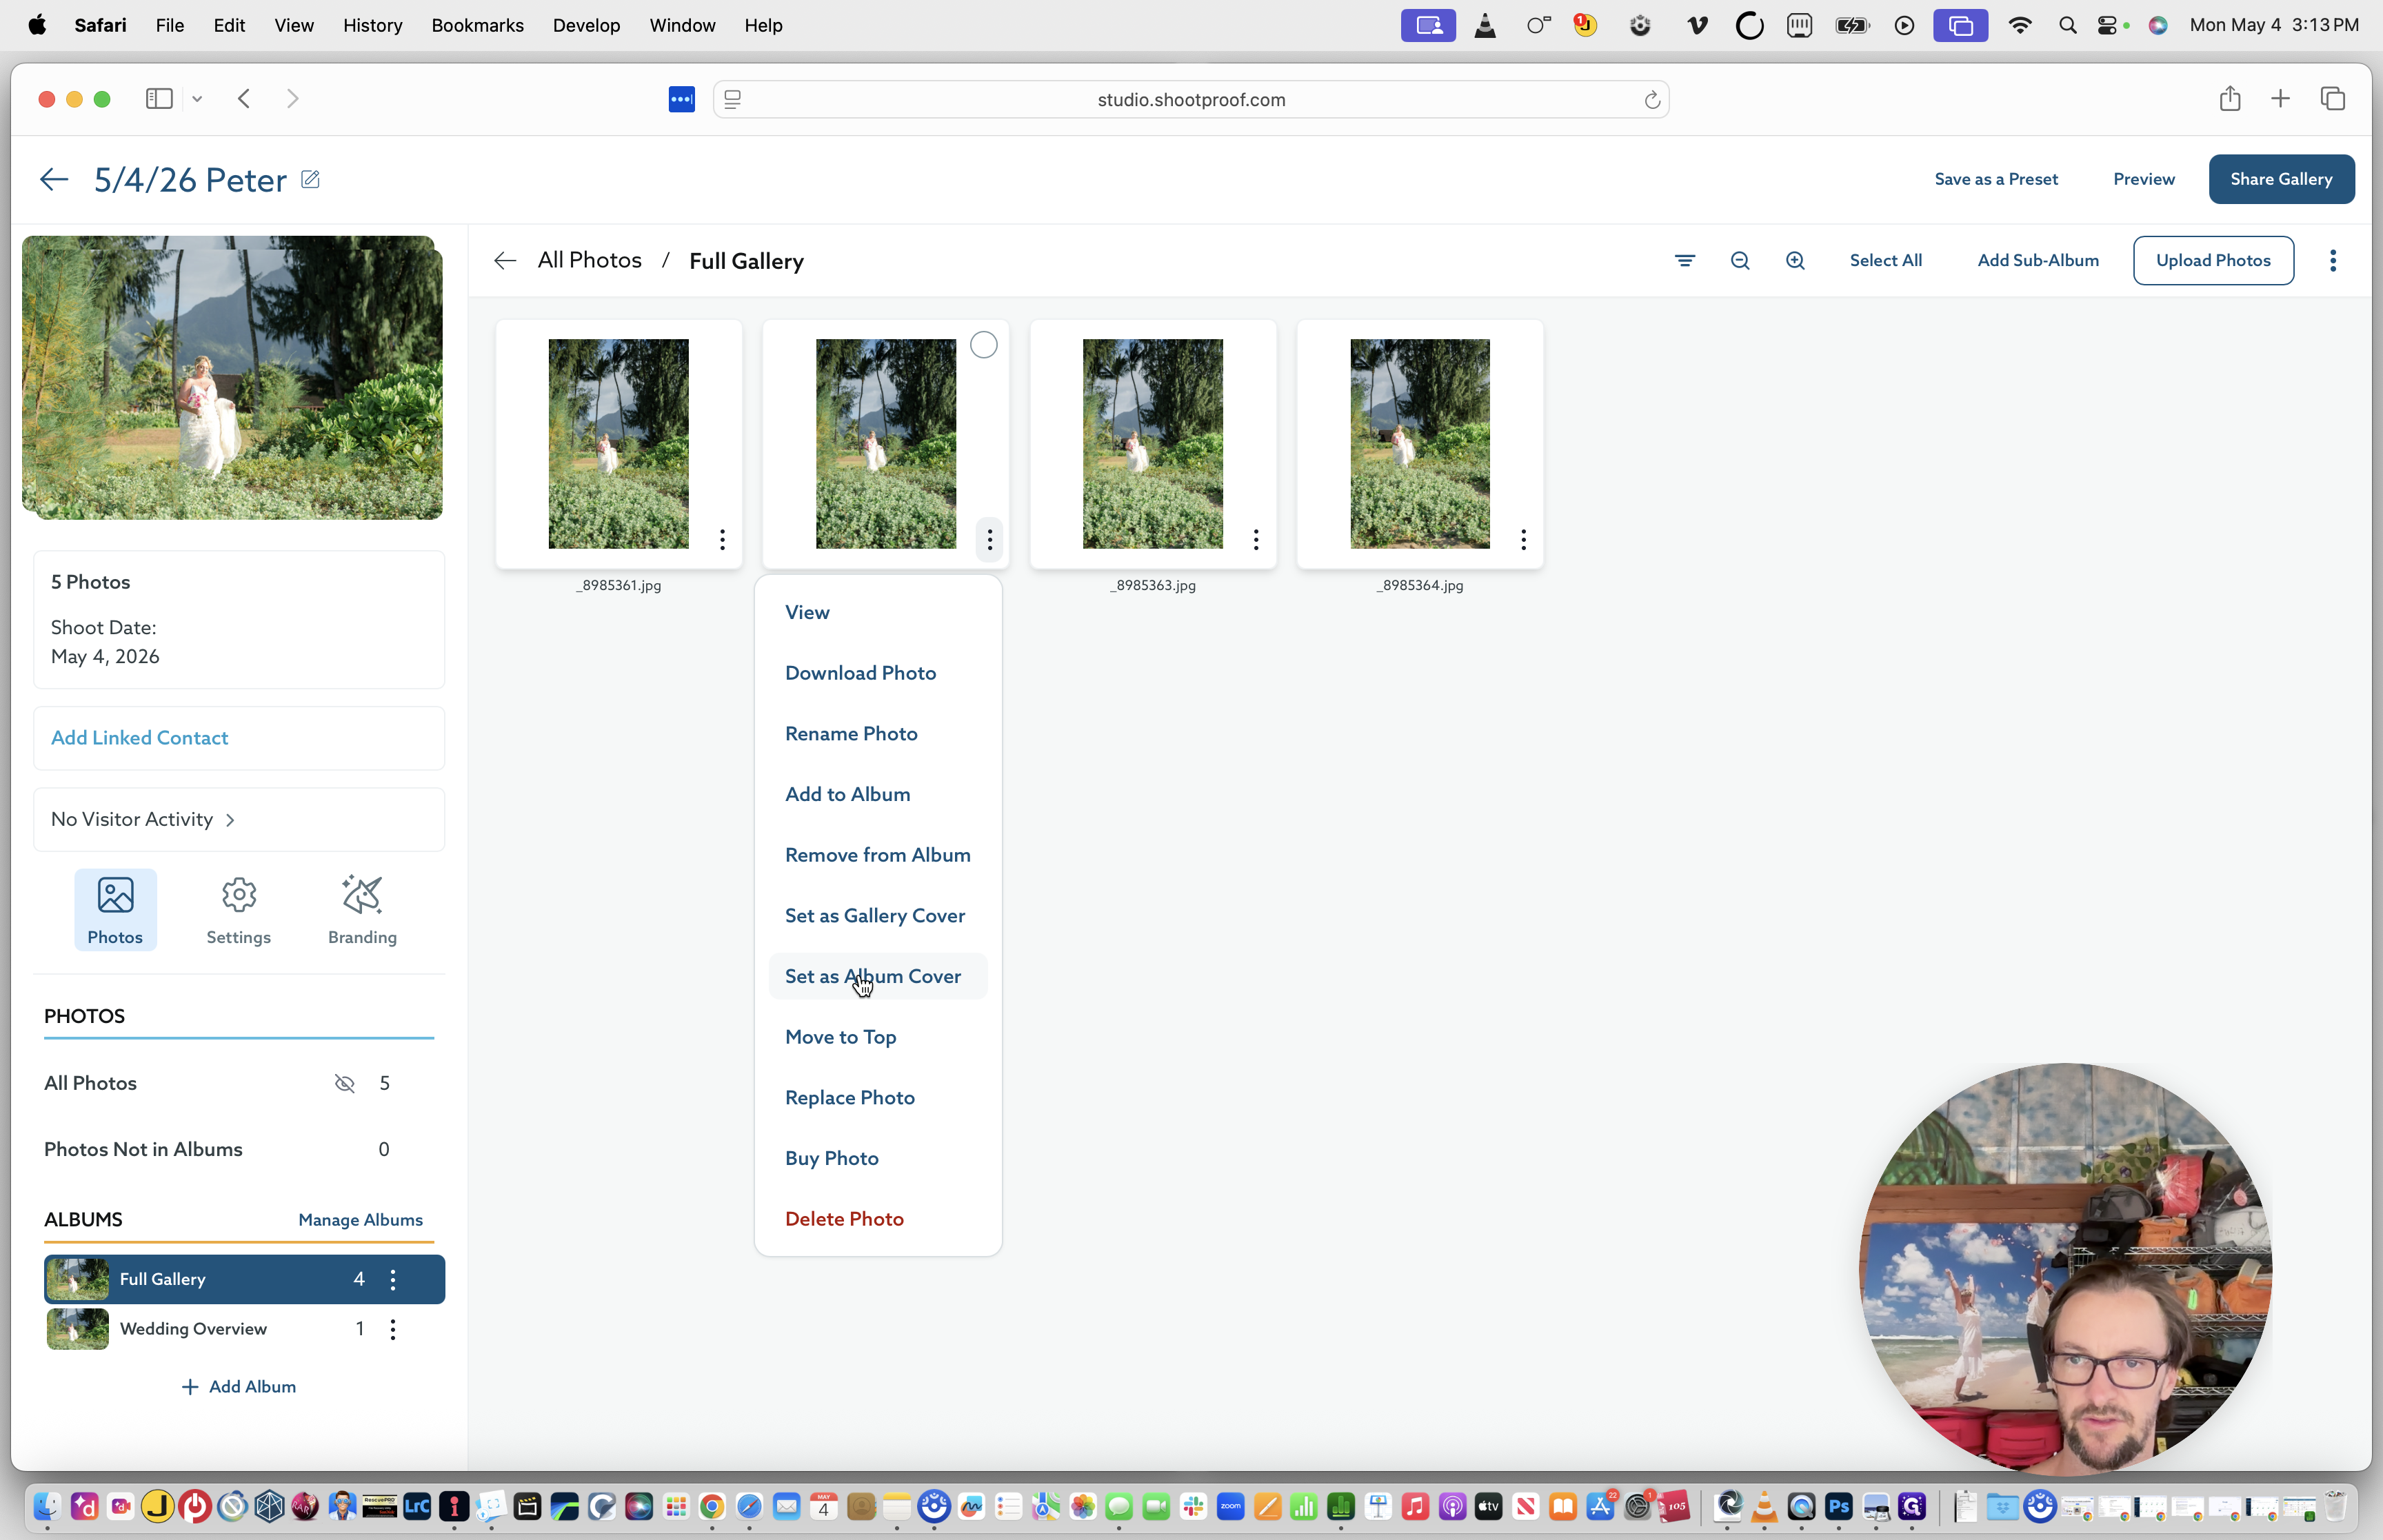
42
Set an Album Cover for the Full Gallery album as well.
43
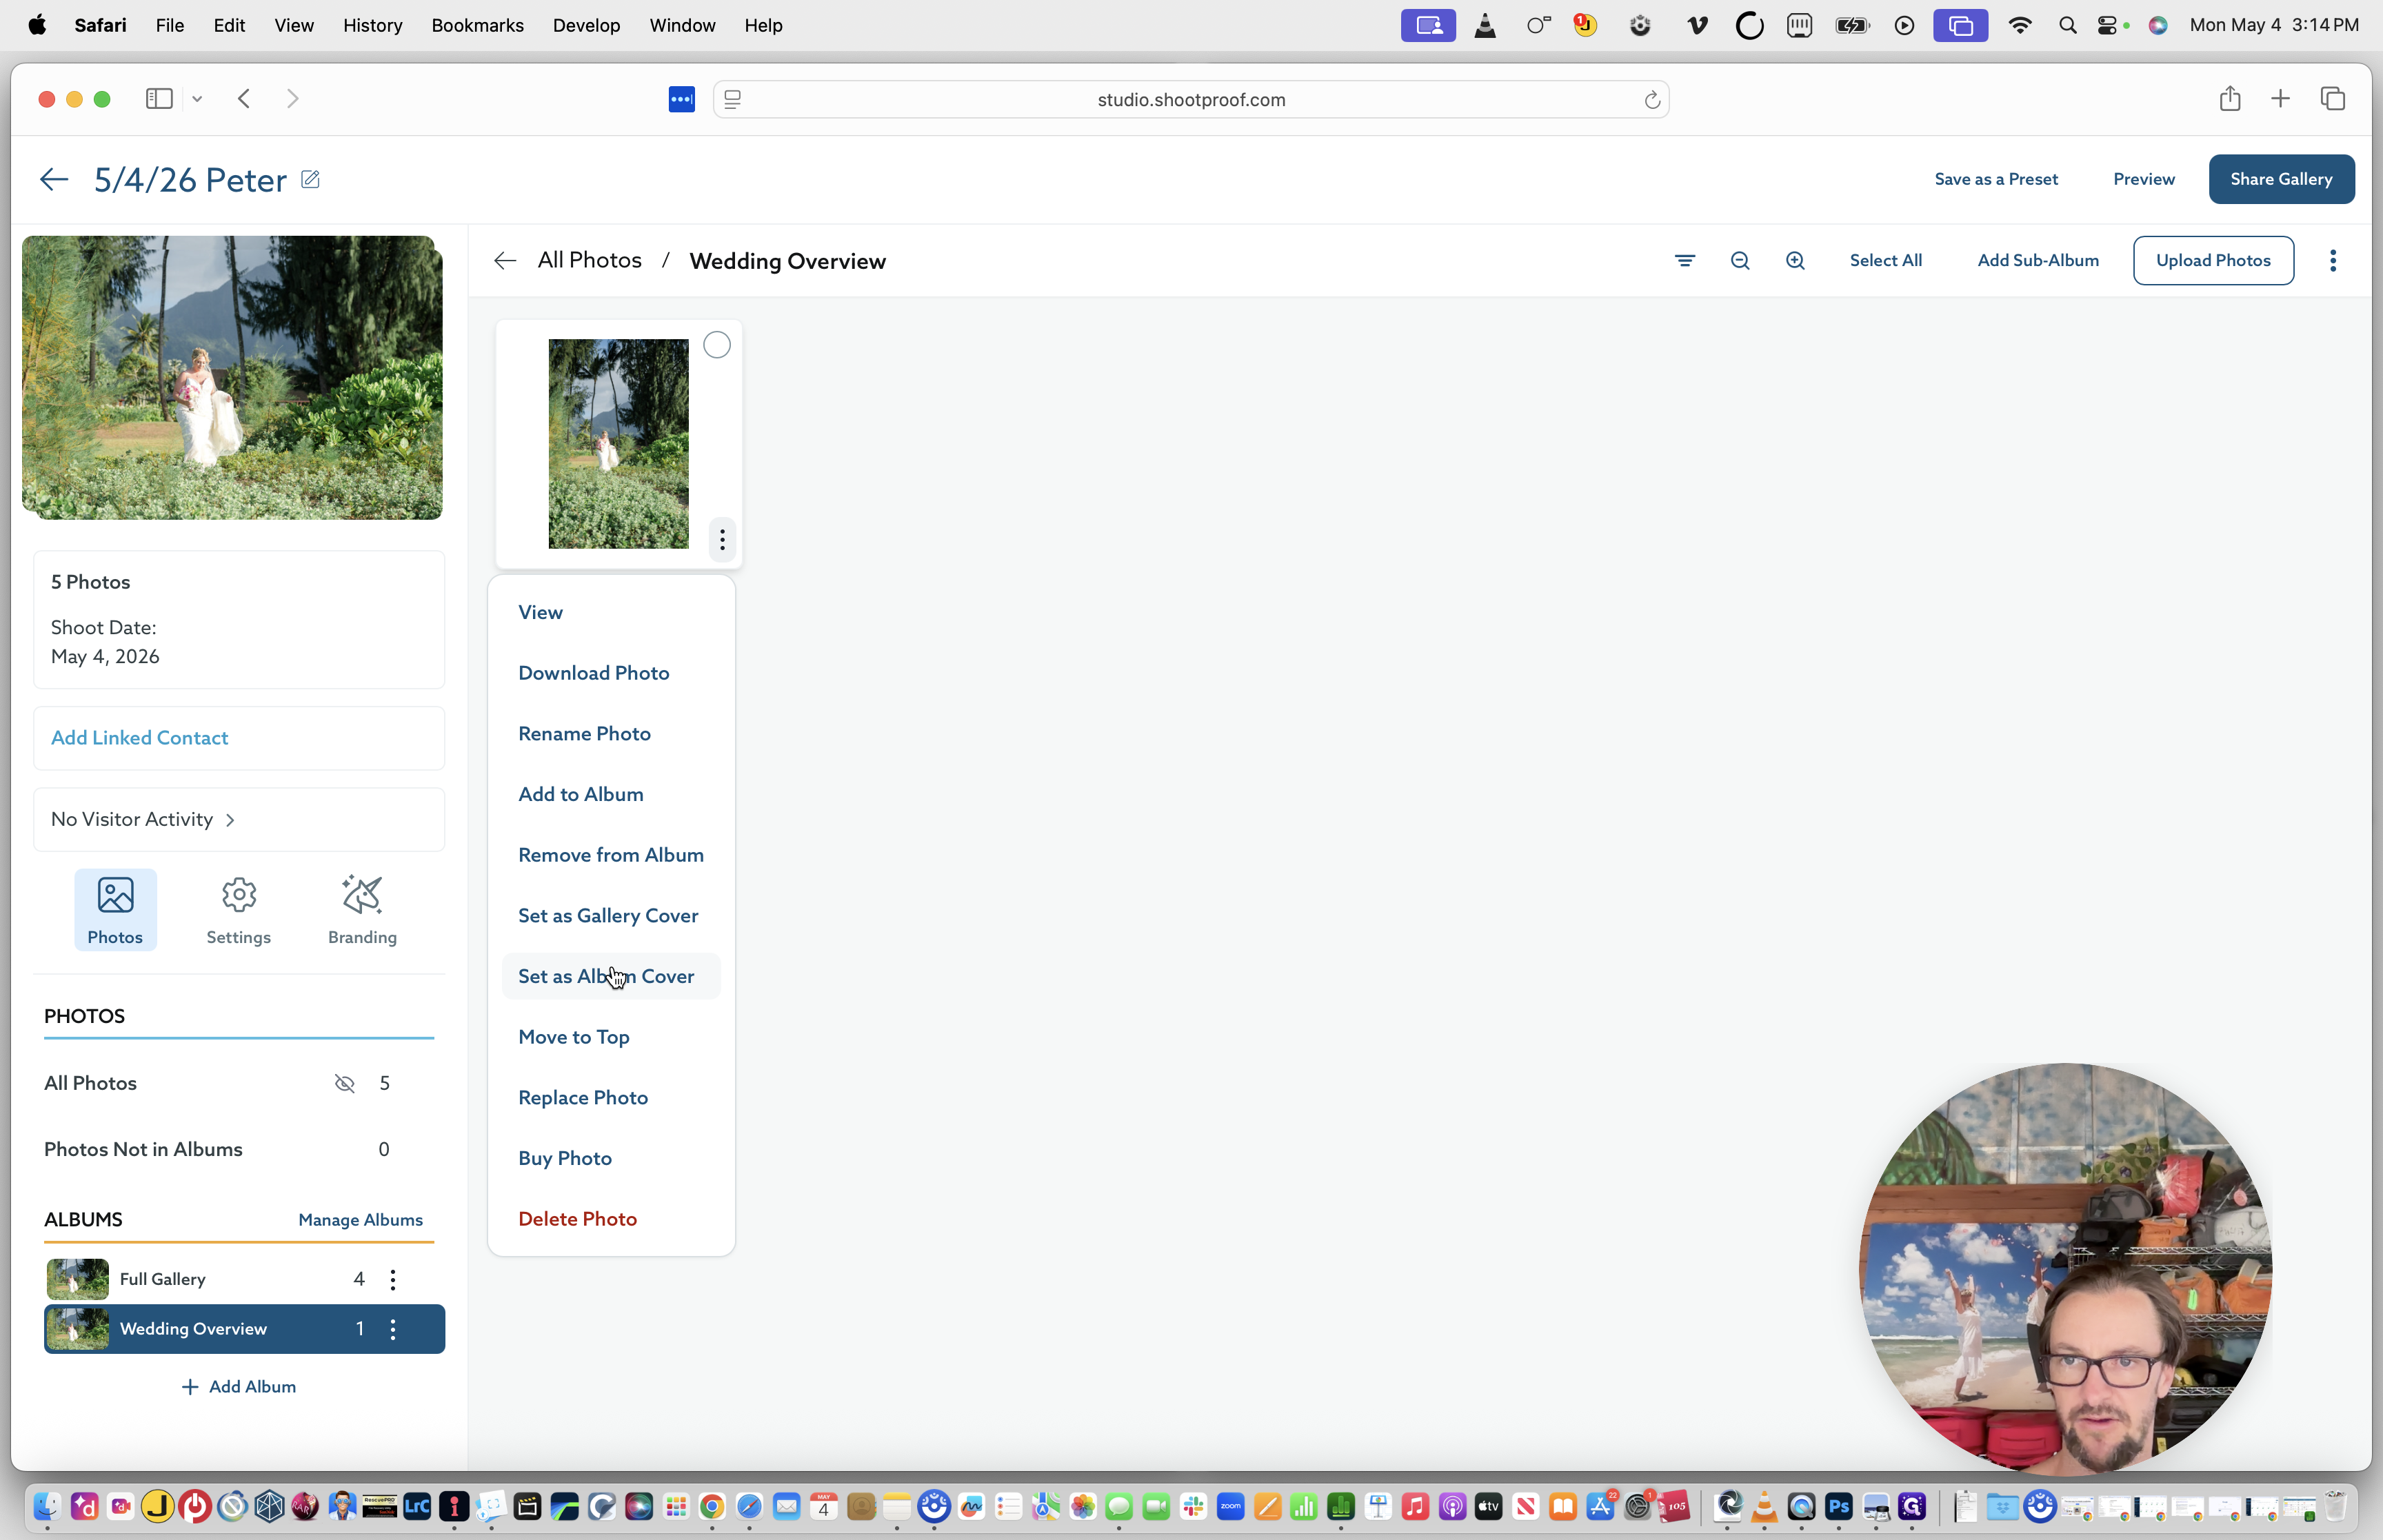
Navigate to the Wedding Overview album and set its Album Cover.
44
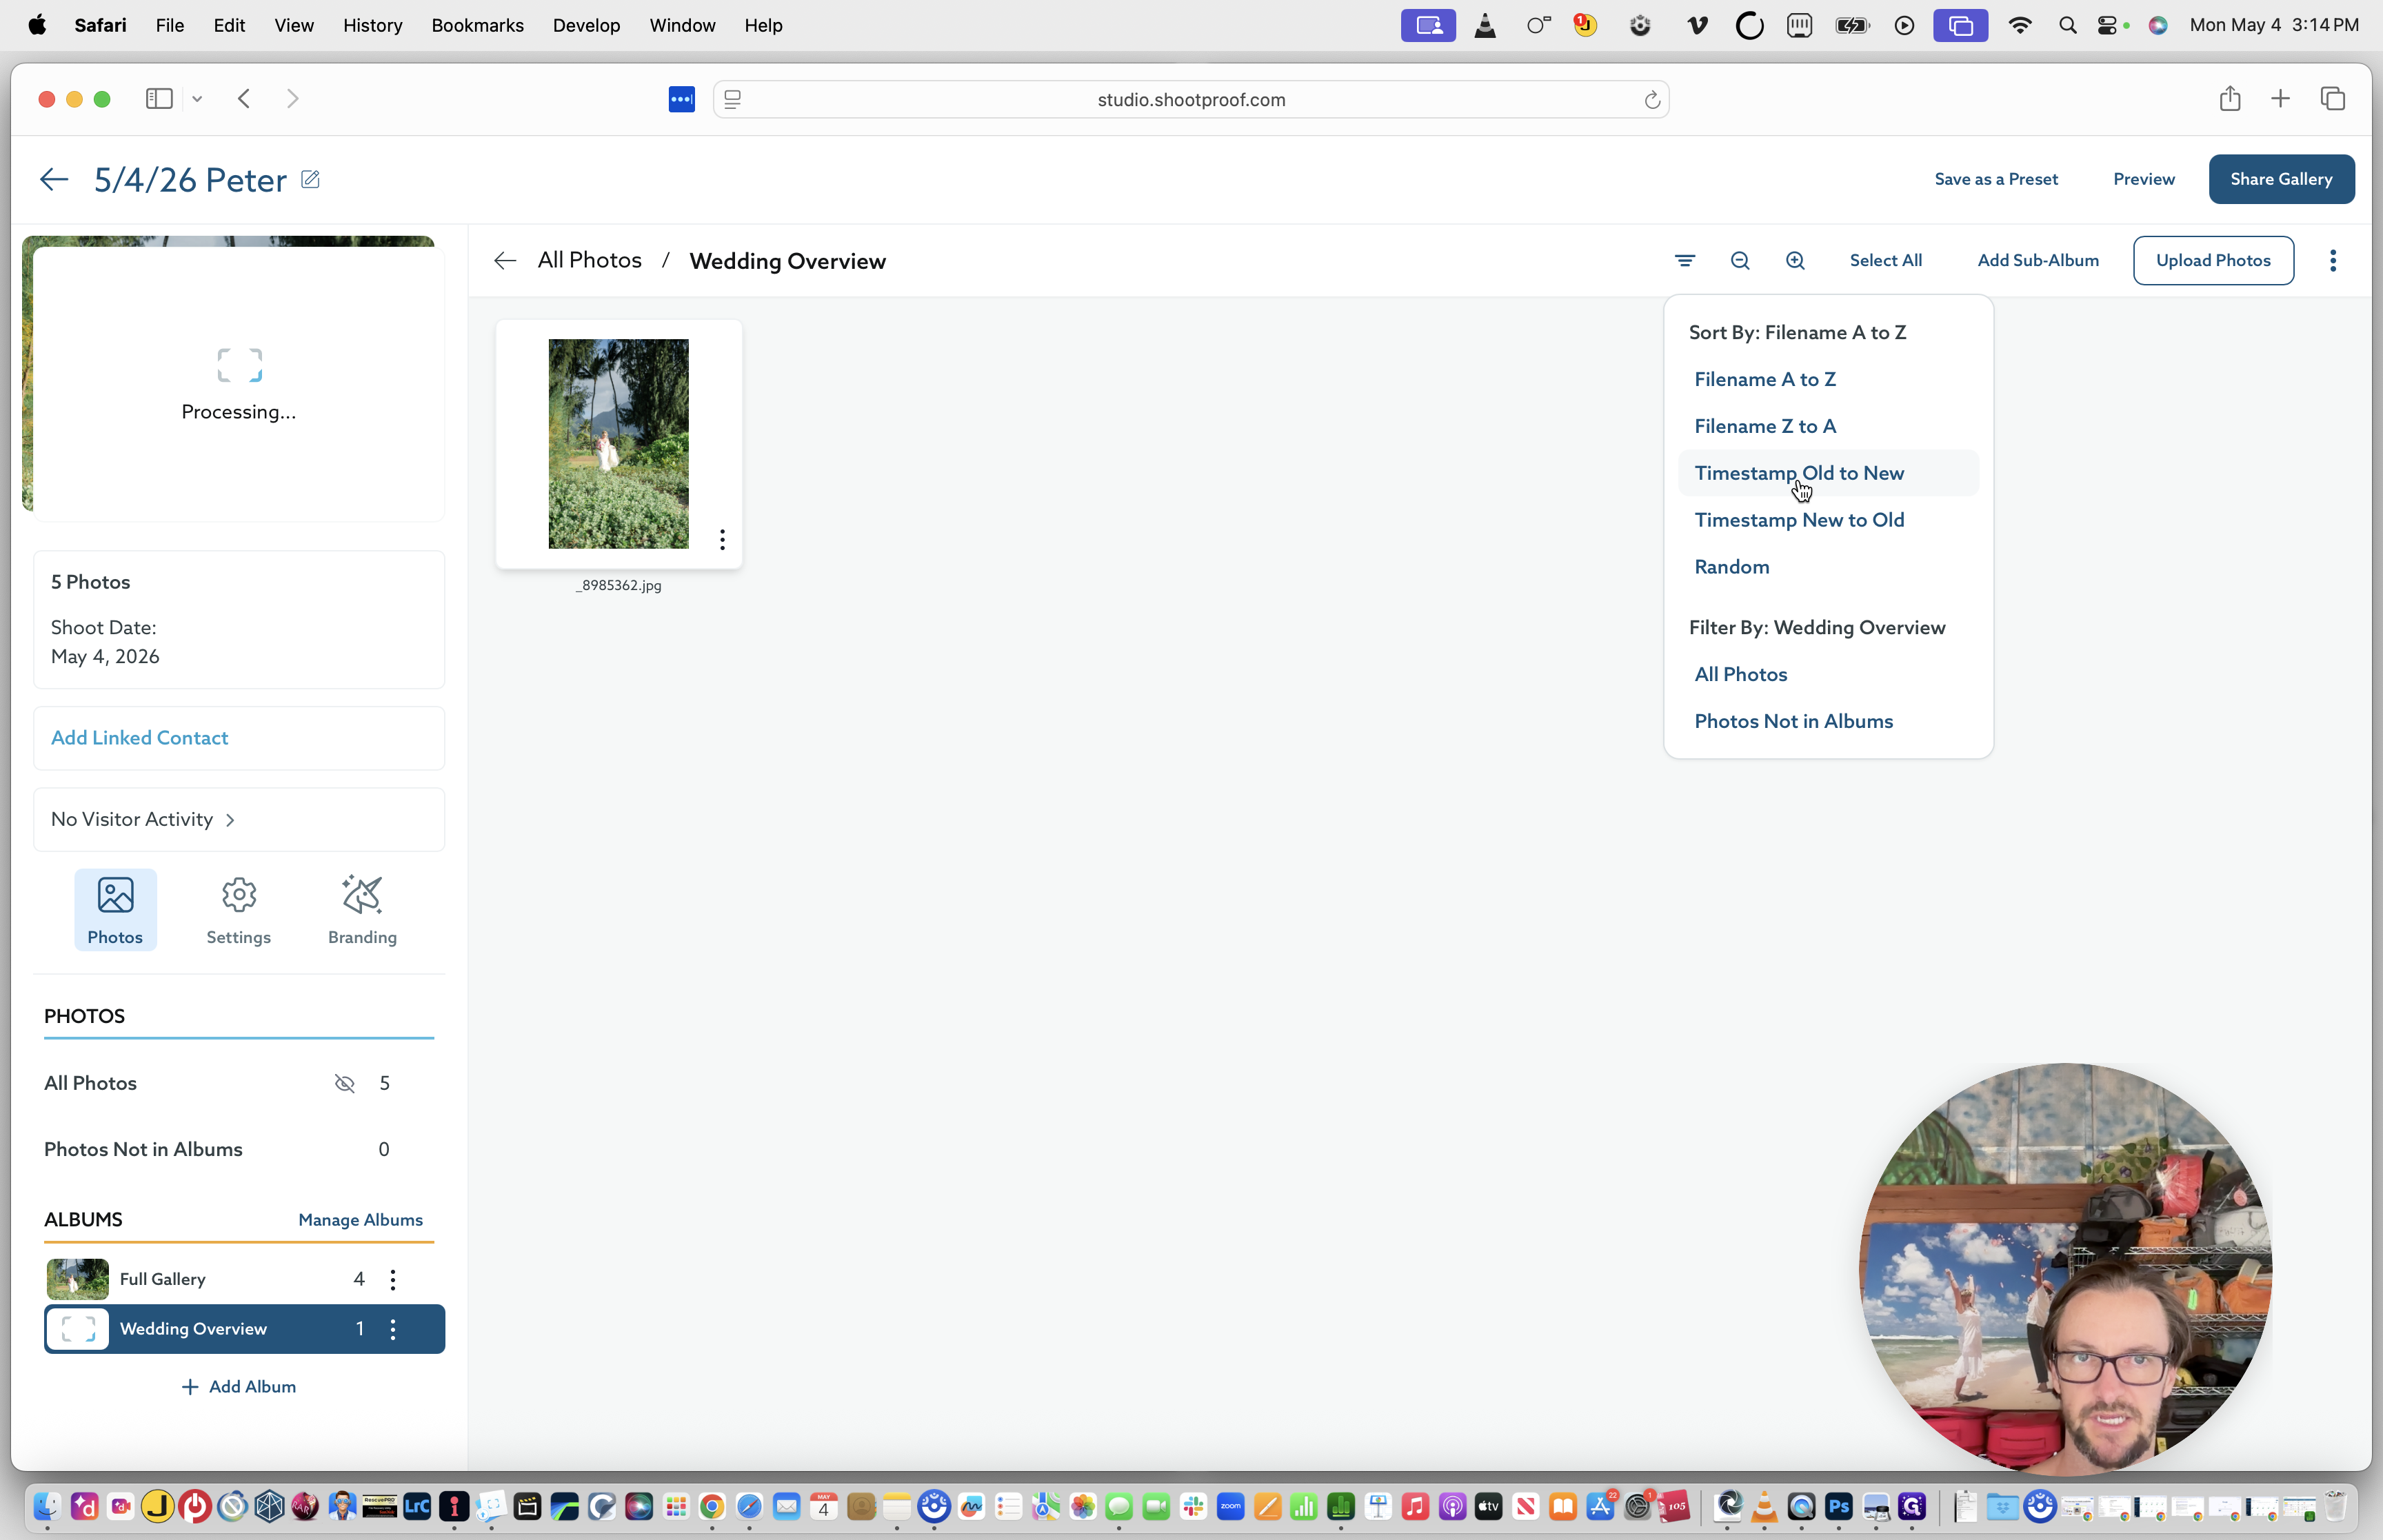
For all albums, click the Sort icon and set the sort order to Timestamp Old to New.
With the gallery styled, share it with the client.
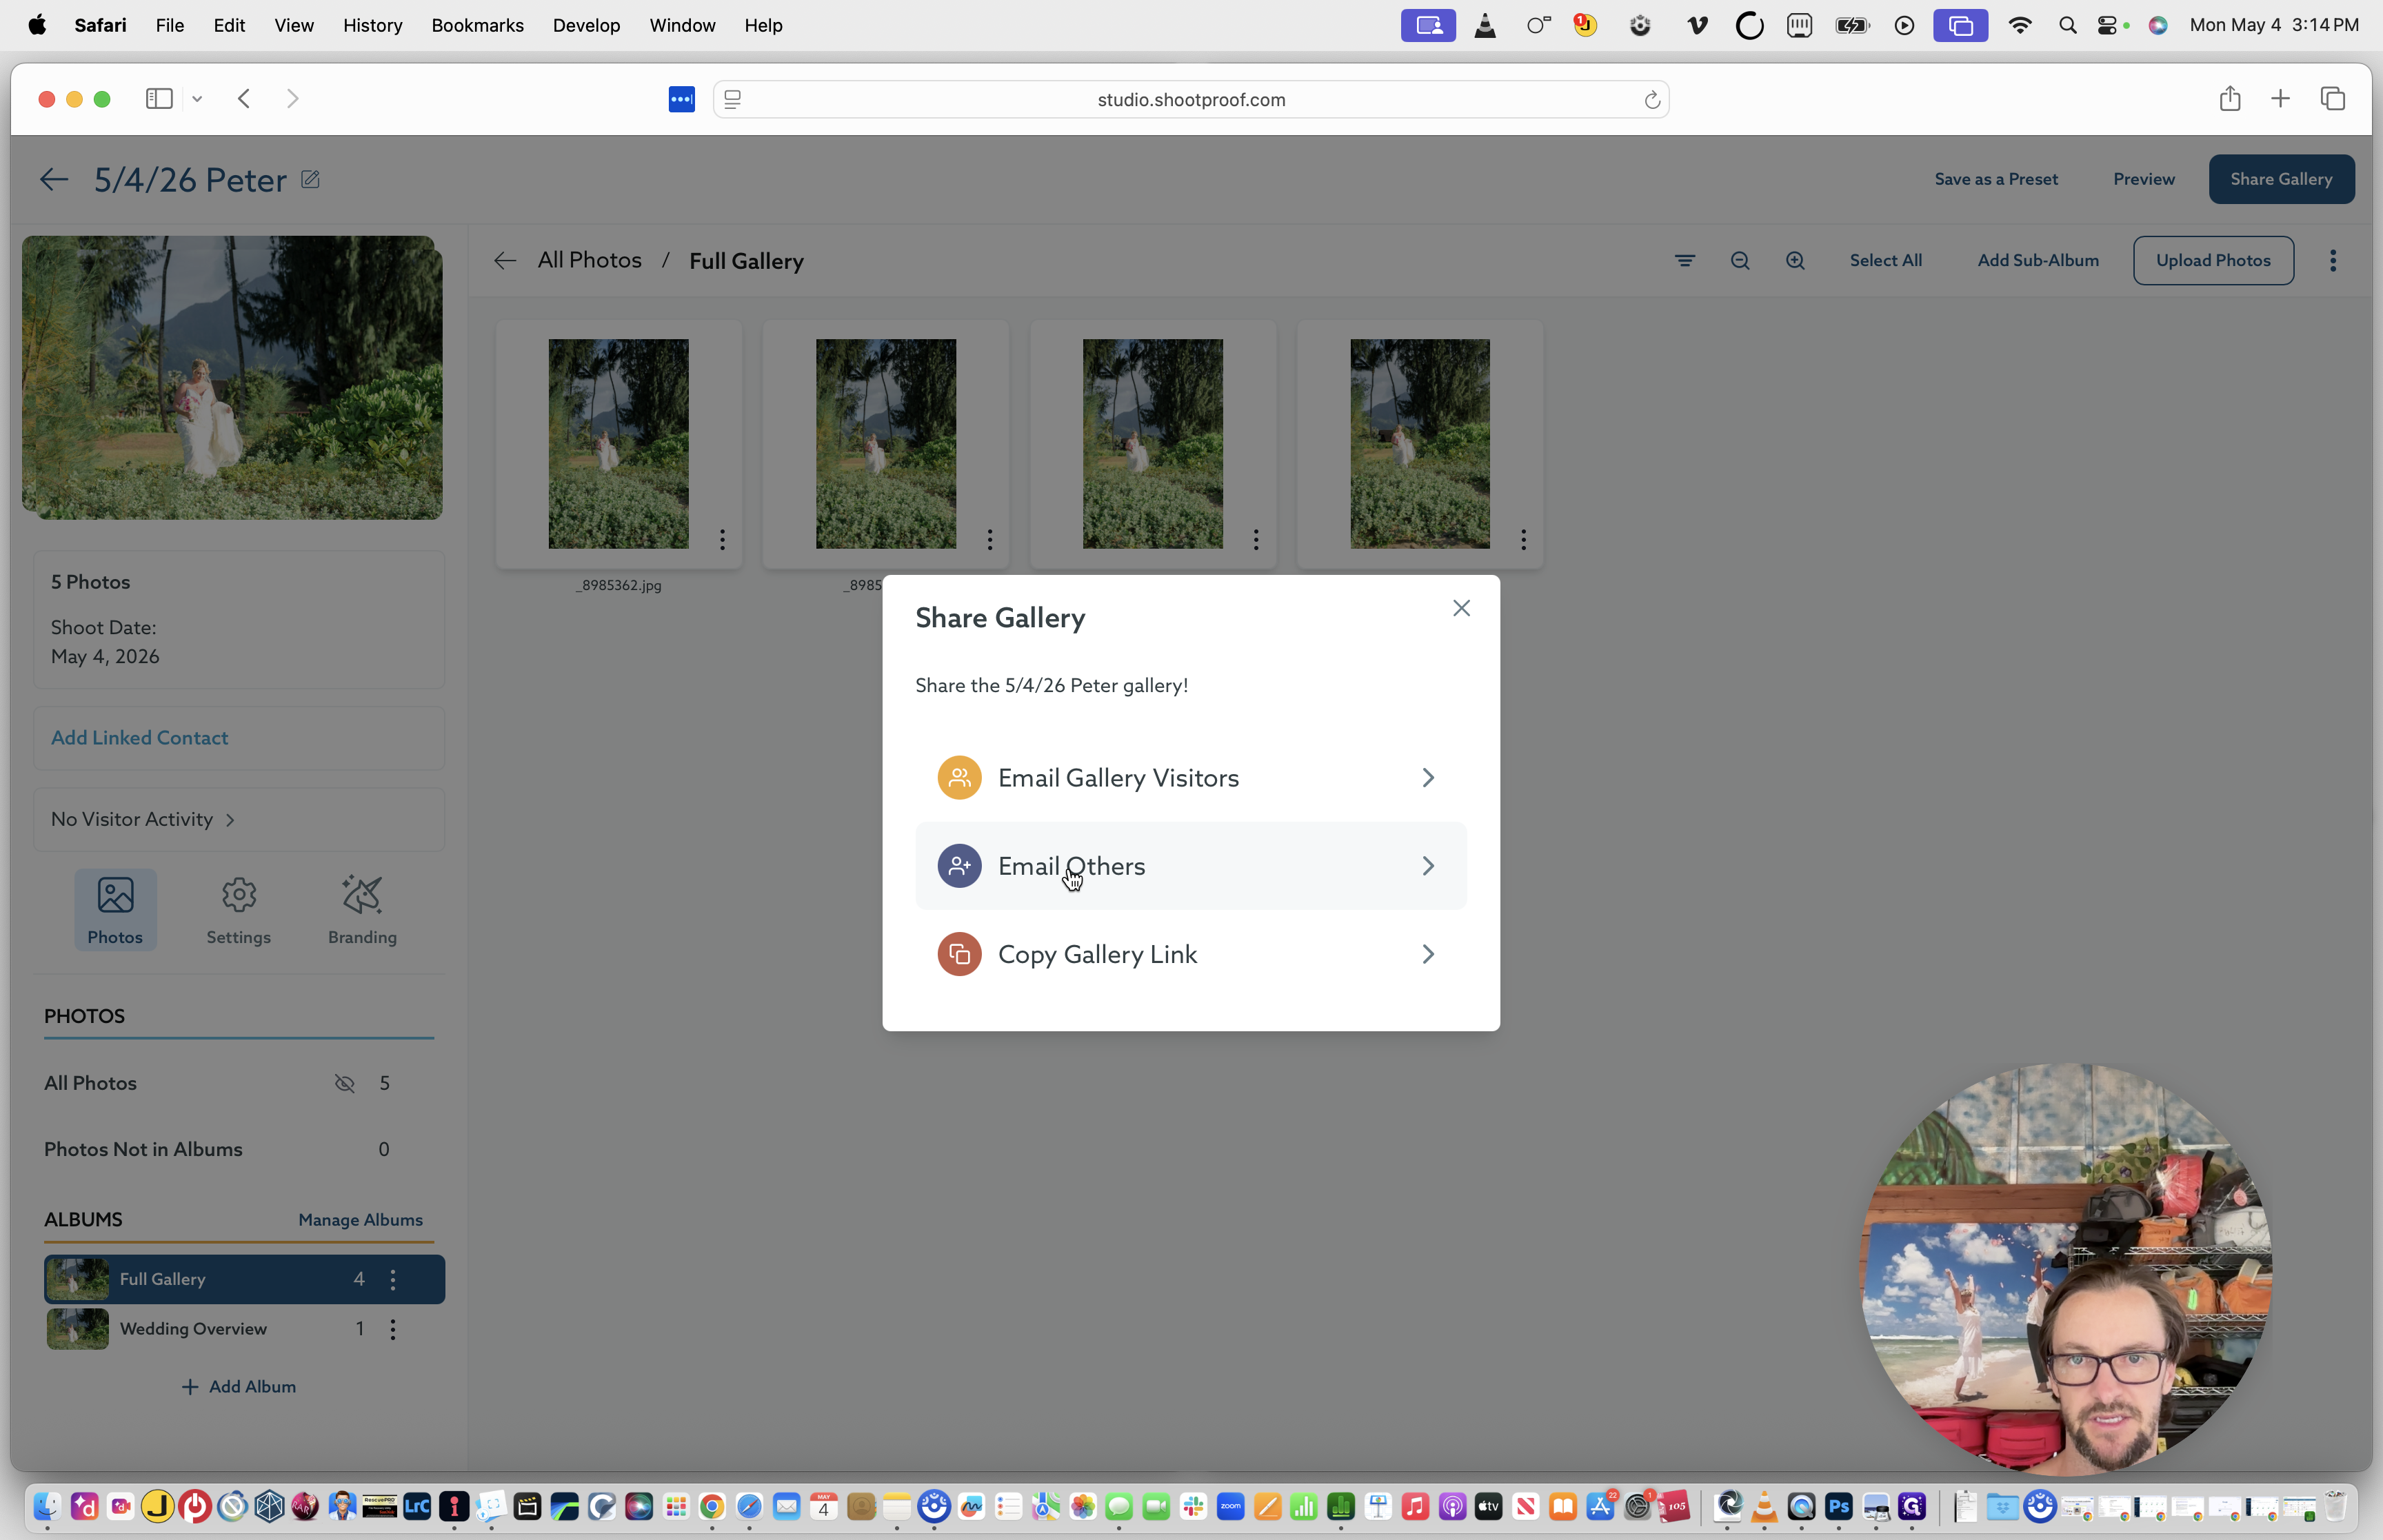
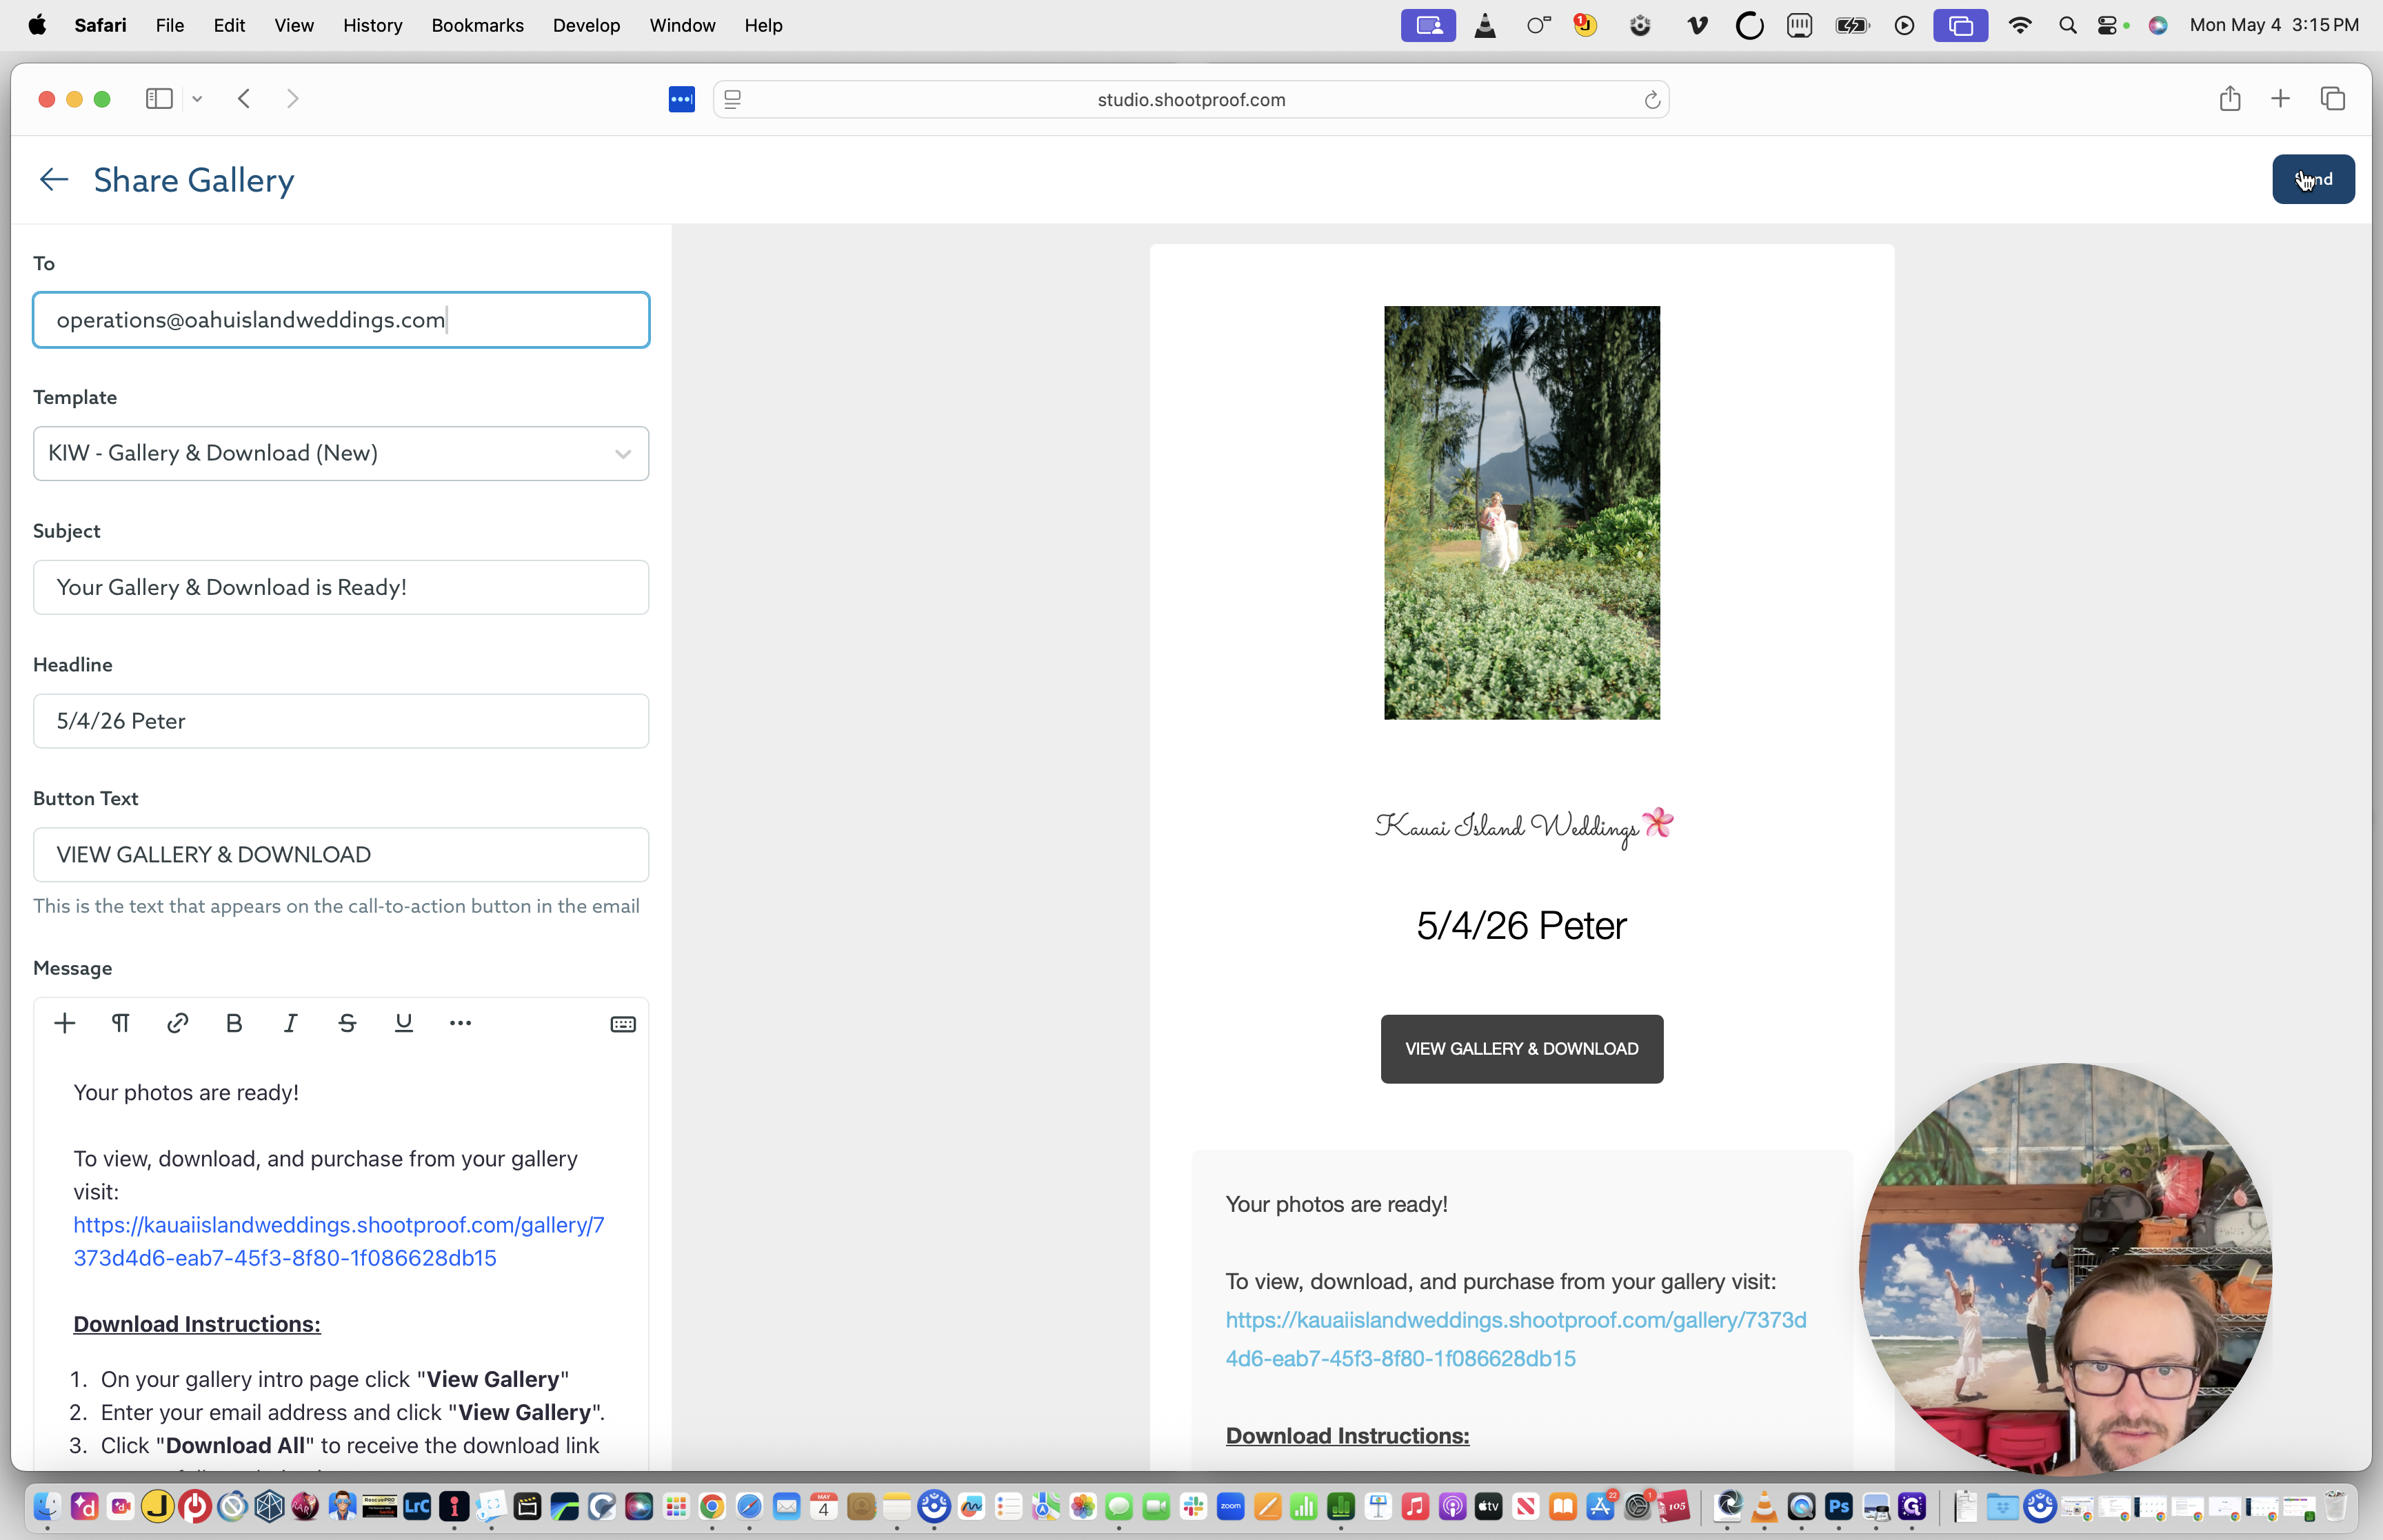
45
Click the Share Gallery button in the top right corner.
46
Select Email Others.
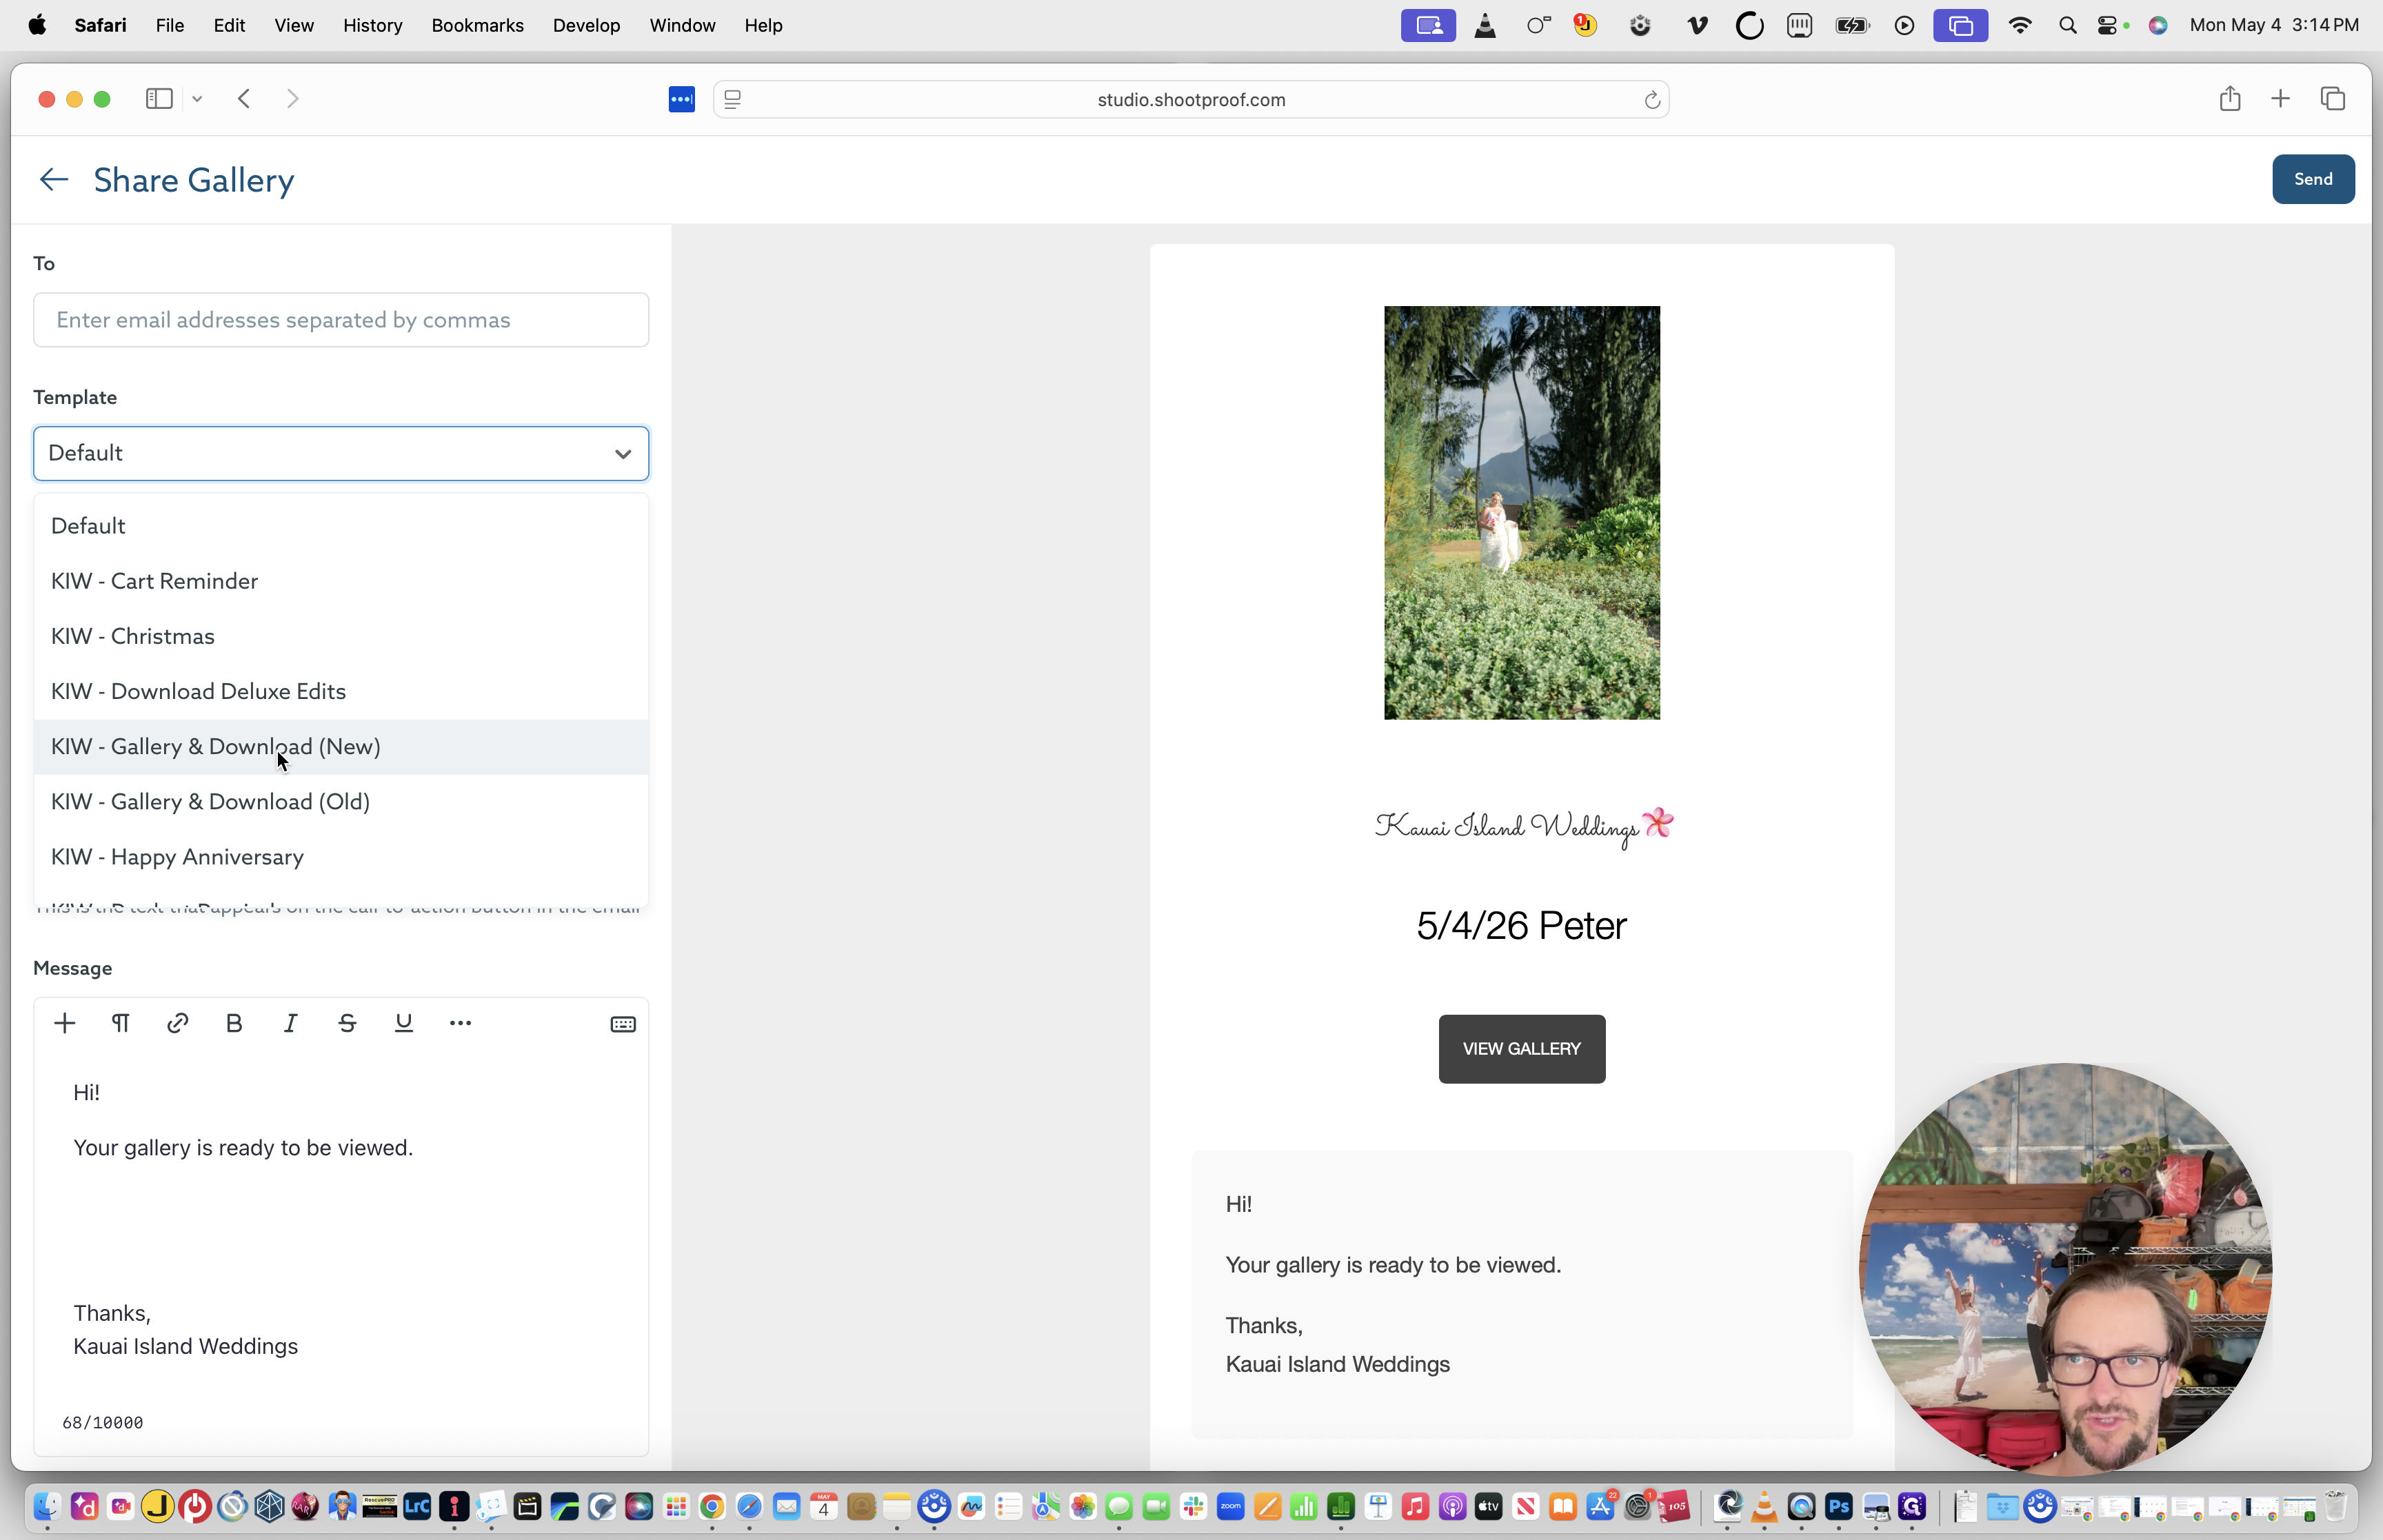
47
Choose the KIW - Gallery & Download (New) email template.
48
Retrieve the Bride's email address from the operations spreadsheet and paste it into the recipient field.
49
Click Send.
Phase 5: Marketing Assets & Project Archiving
Wrap up the project by distributing marketing assets and moving files off your local working drive.
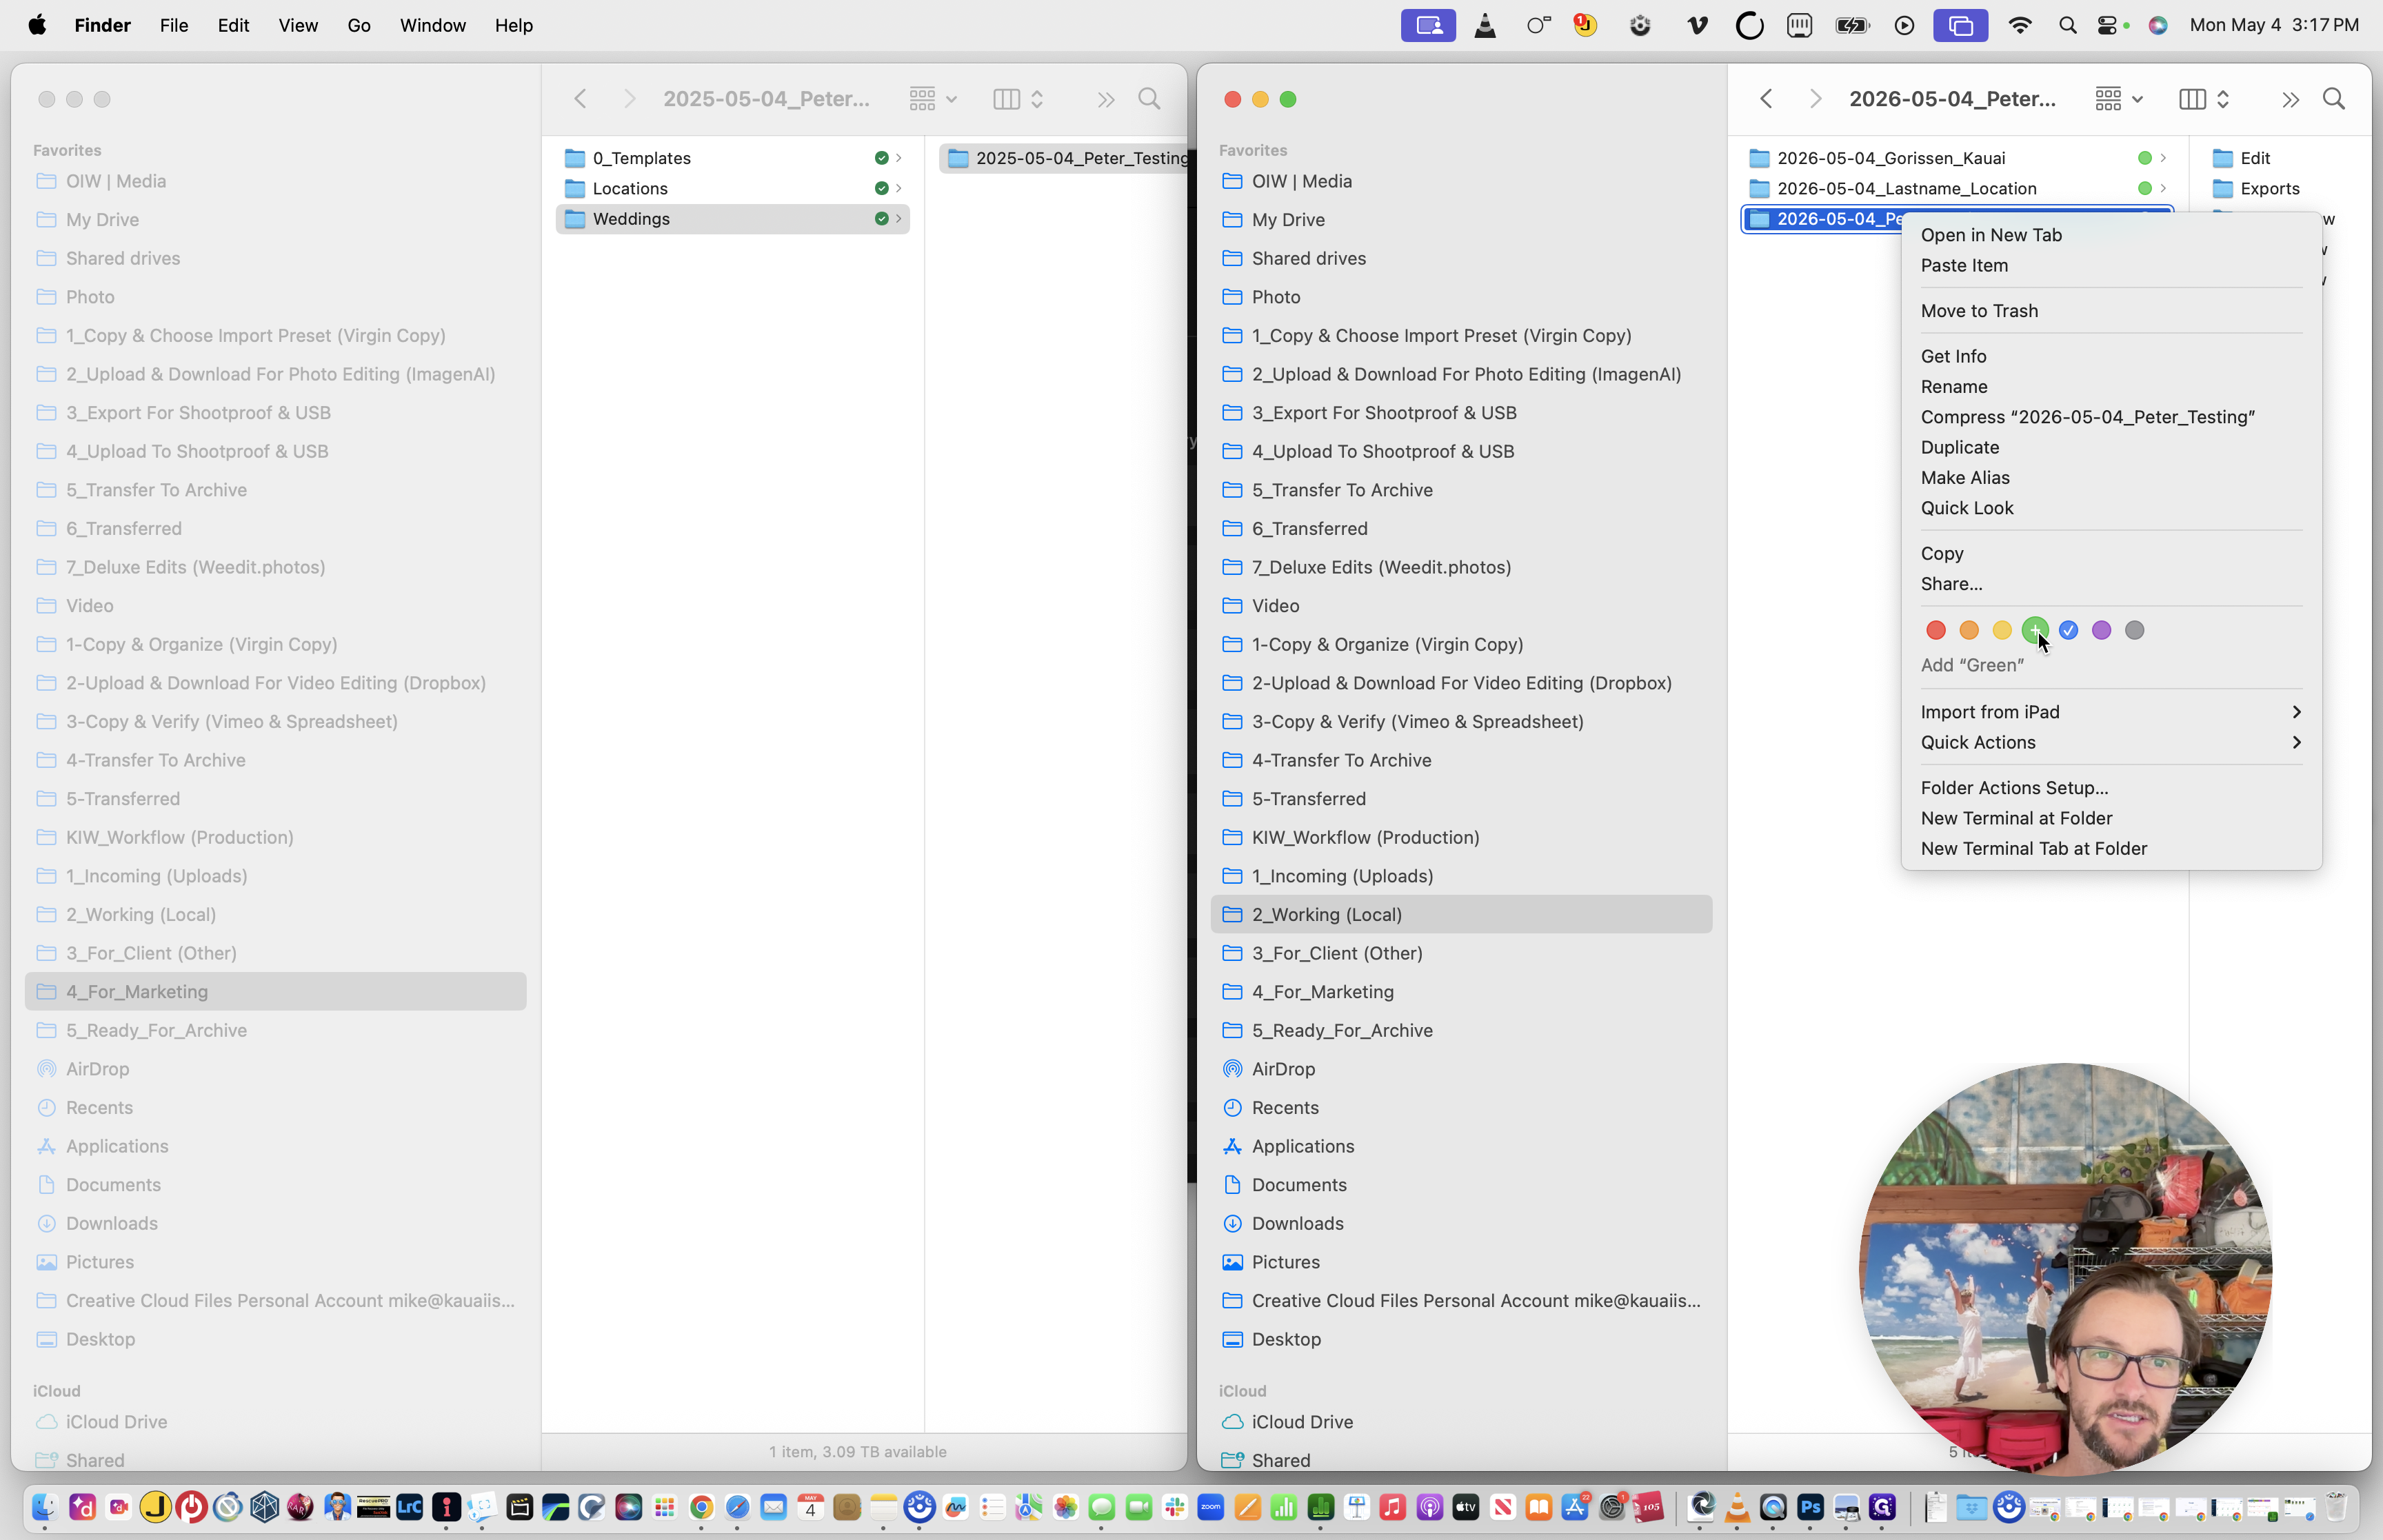
50
Navigate to 4_For_Marketing folder on the cloud and create a new folder named exactly the same as the project.
51
Copy the Wedding Overview folder from your working project and paste it into this new marketing folder.
Update to Green Label (complete)
52
Change the primary project folder's Finder tag to Green to signify that delivery and marketing handoffs are completely done.
53
Open the project folder and delete the Exports folder (this saves significant space, as exports exist in ShootProof and can easily be regenerated from the Lightroom catalog if needed).
54
Finally, move the entire completed project folder from the 2_Working (Local) drive to the 5_Ready_For_Archive directory.