Learn how to manage orders requiring picking, assign tasks to warehouse staff, handle part shipments, and print pick slips in OrderWise.
By Lee Higgins
This guide demonstrates how to manage warehouse dispatch and assign picking tasks within OrderWise. Completing this workflow ensures customer orders are accurately allocated to warehouse staff and properly prepared for fulfillment.
This process is designed for warehouse managers and dispatch coordinators. It is typically used during daily operations to prioritize pending orders, handle shipment warnings, print pick slips, and manage active picking workflows.
1. Accessing Orders for Picking & Prioritising the picks
1
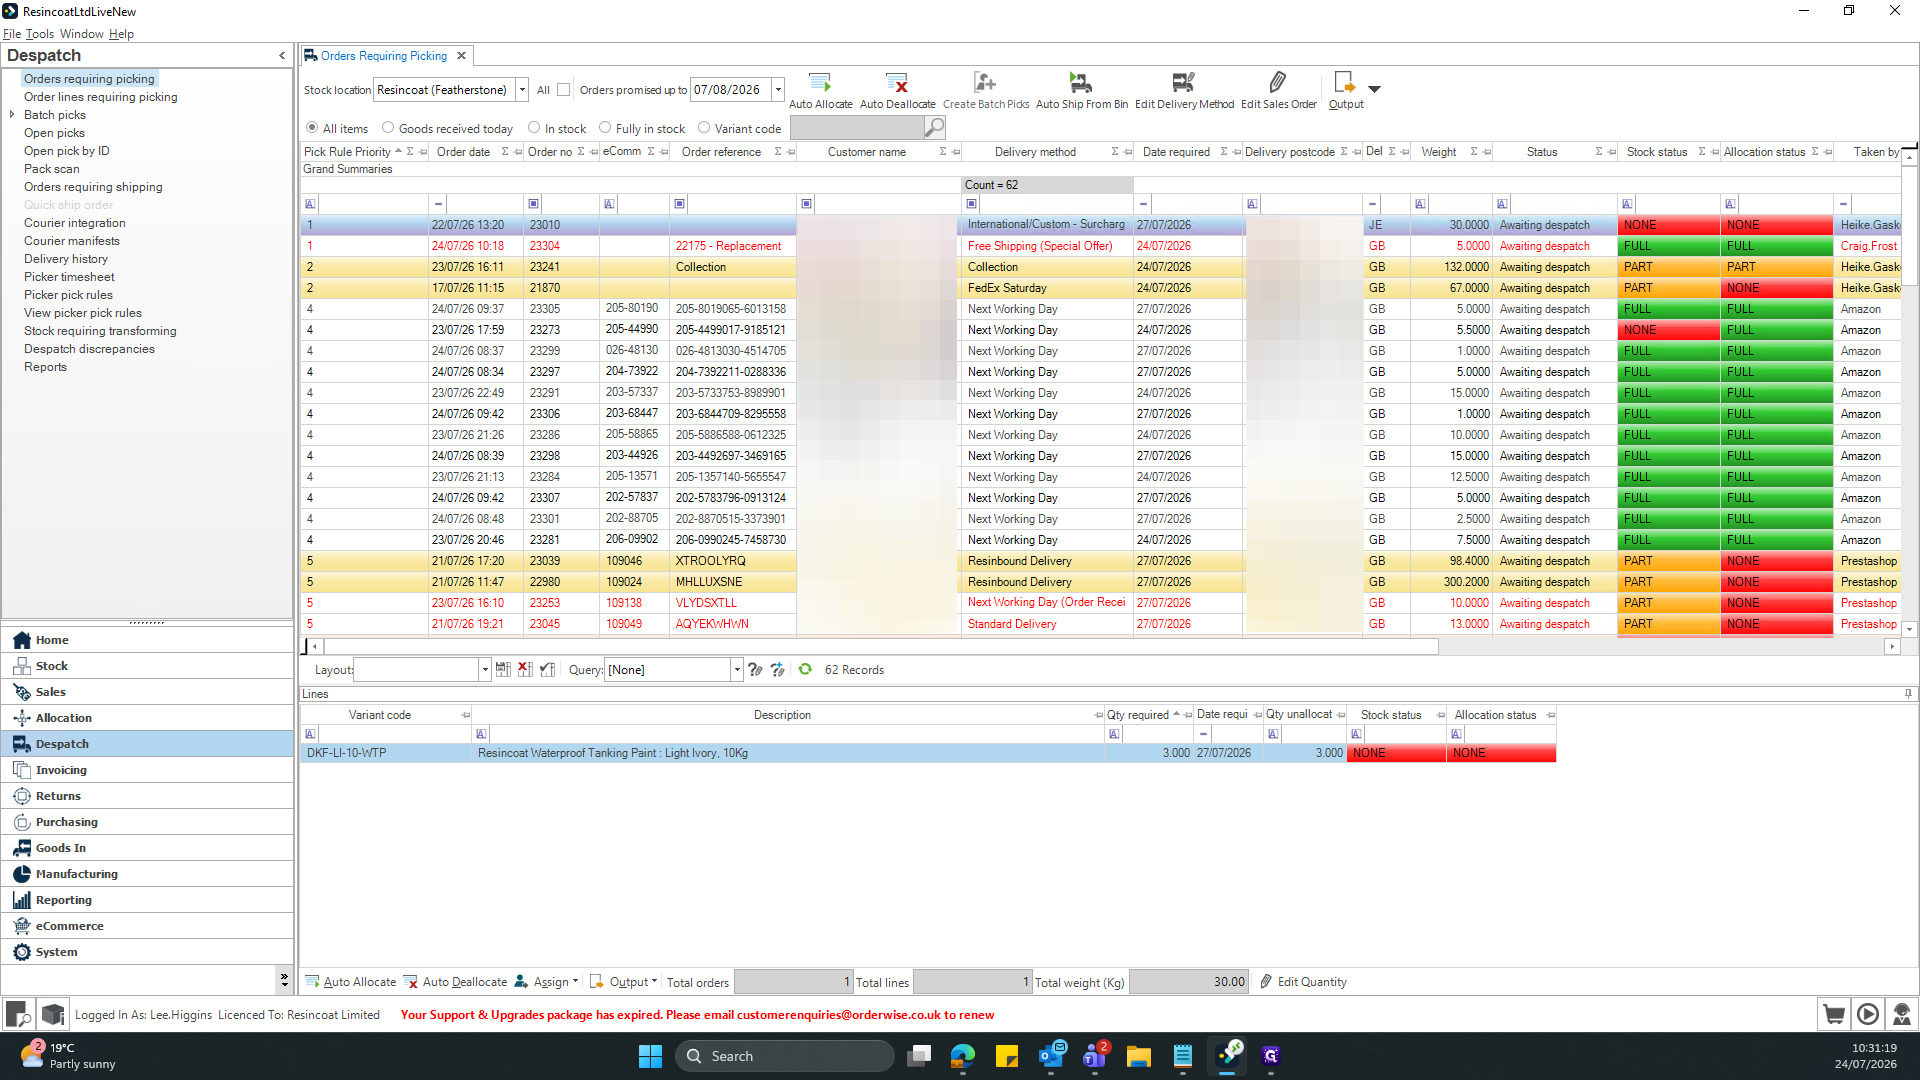
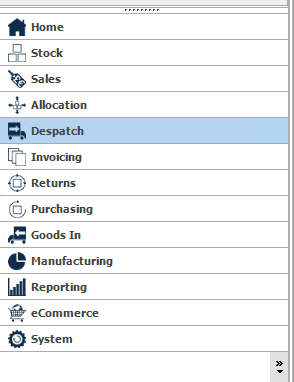
Click Despatch in the left-hand navigation menu to open the module.
2
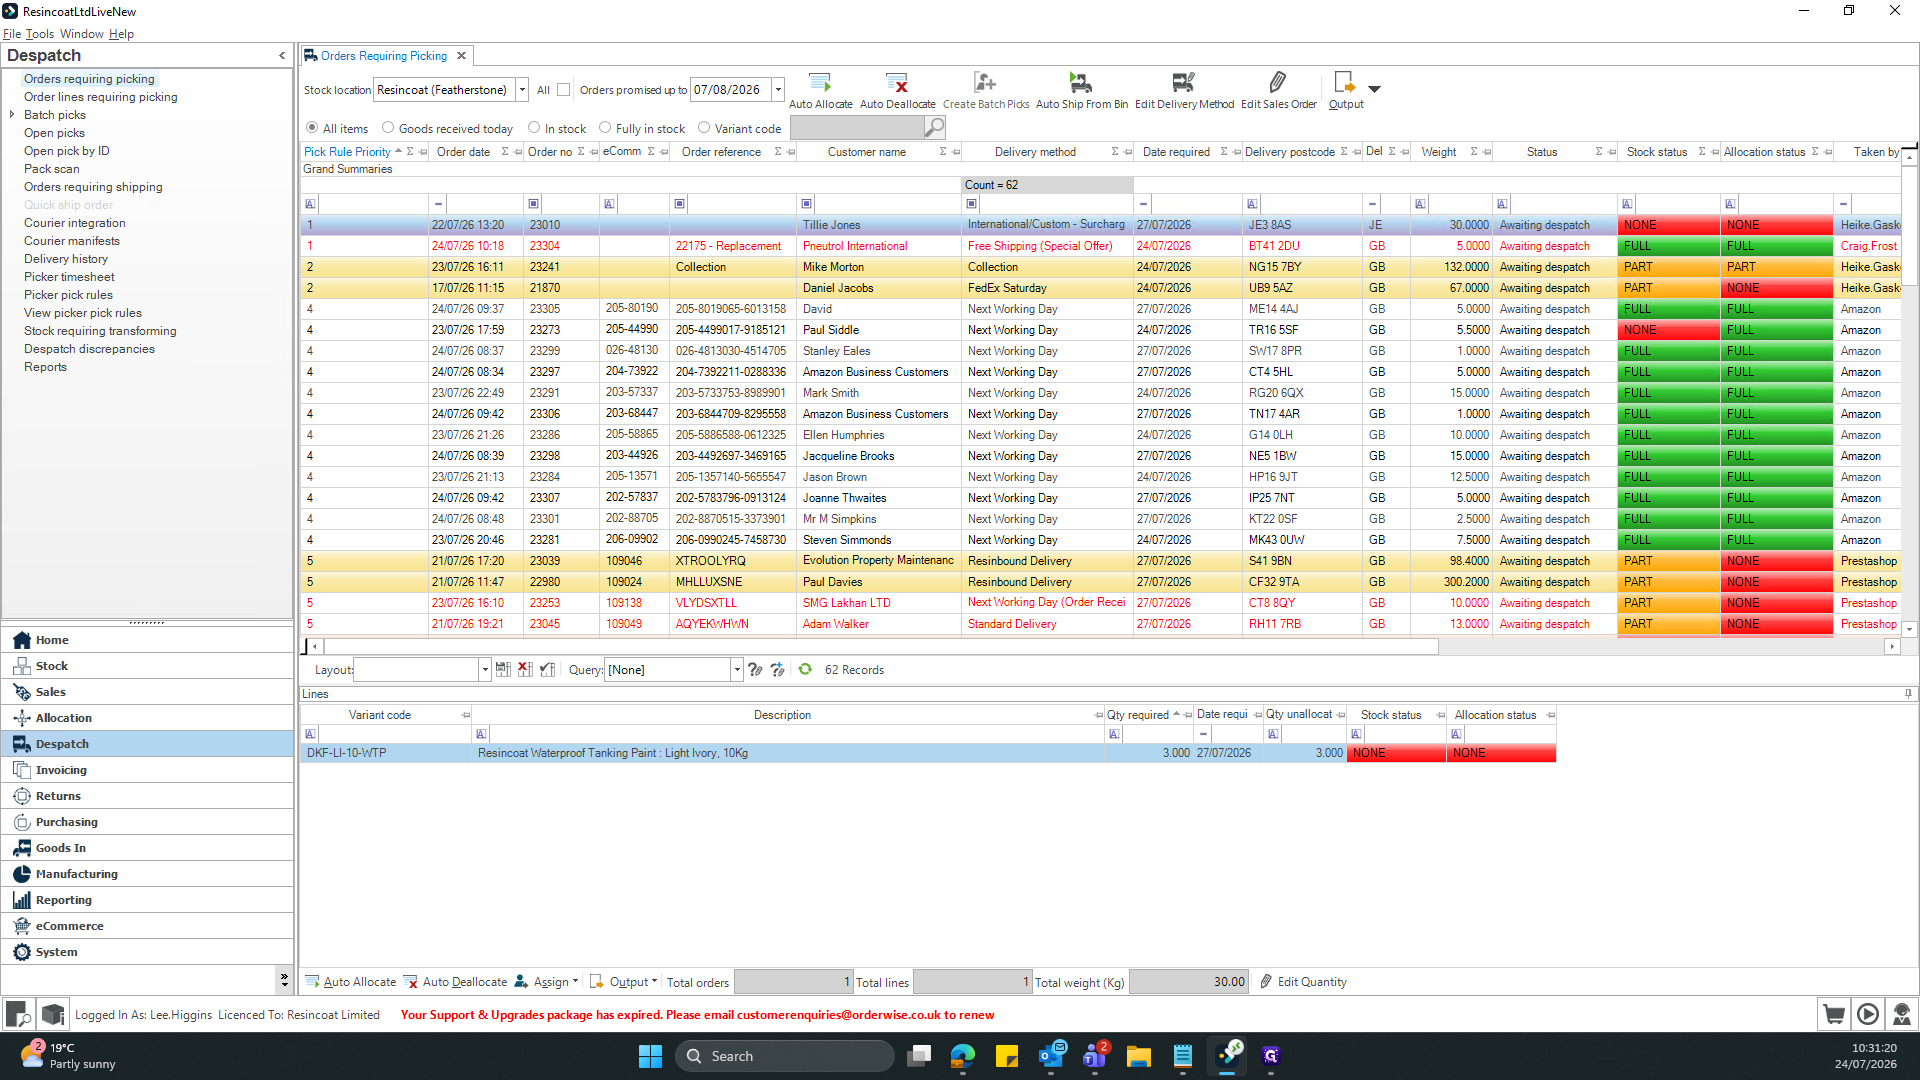
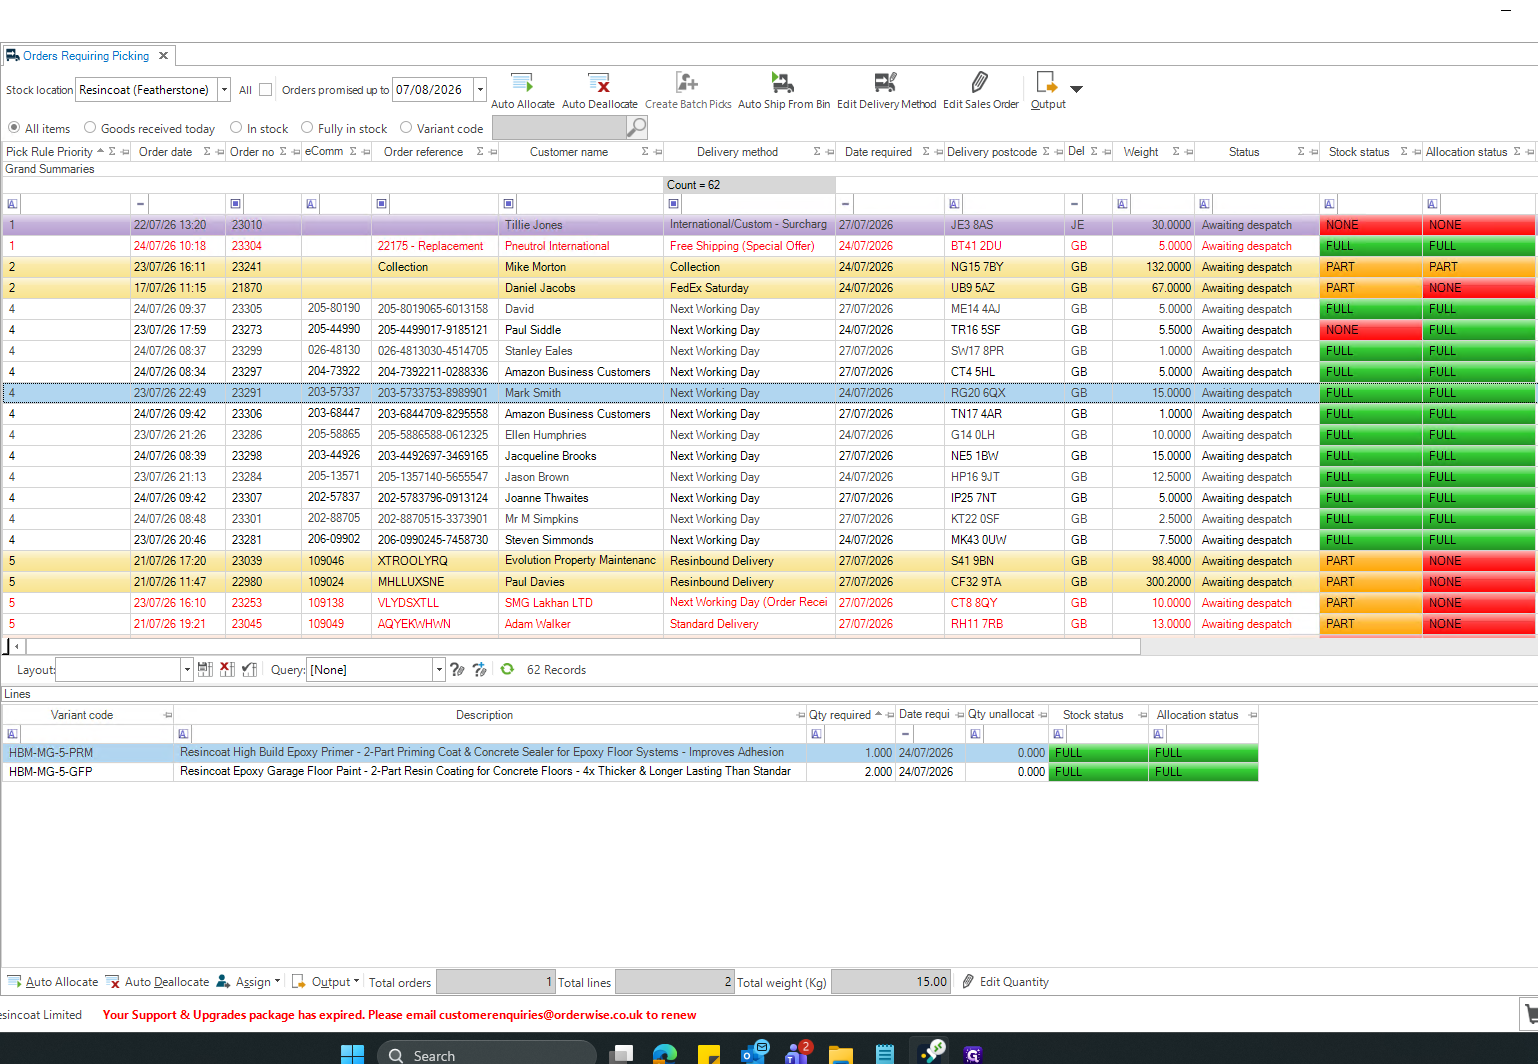
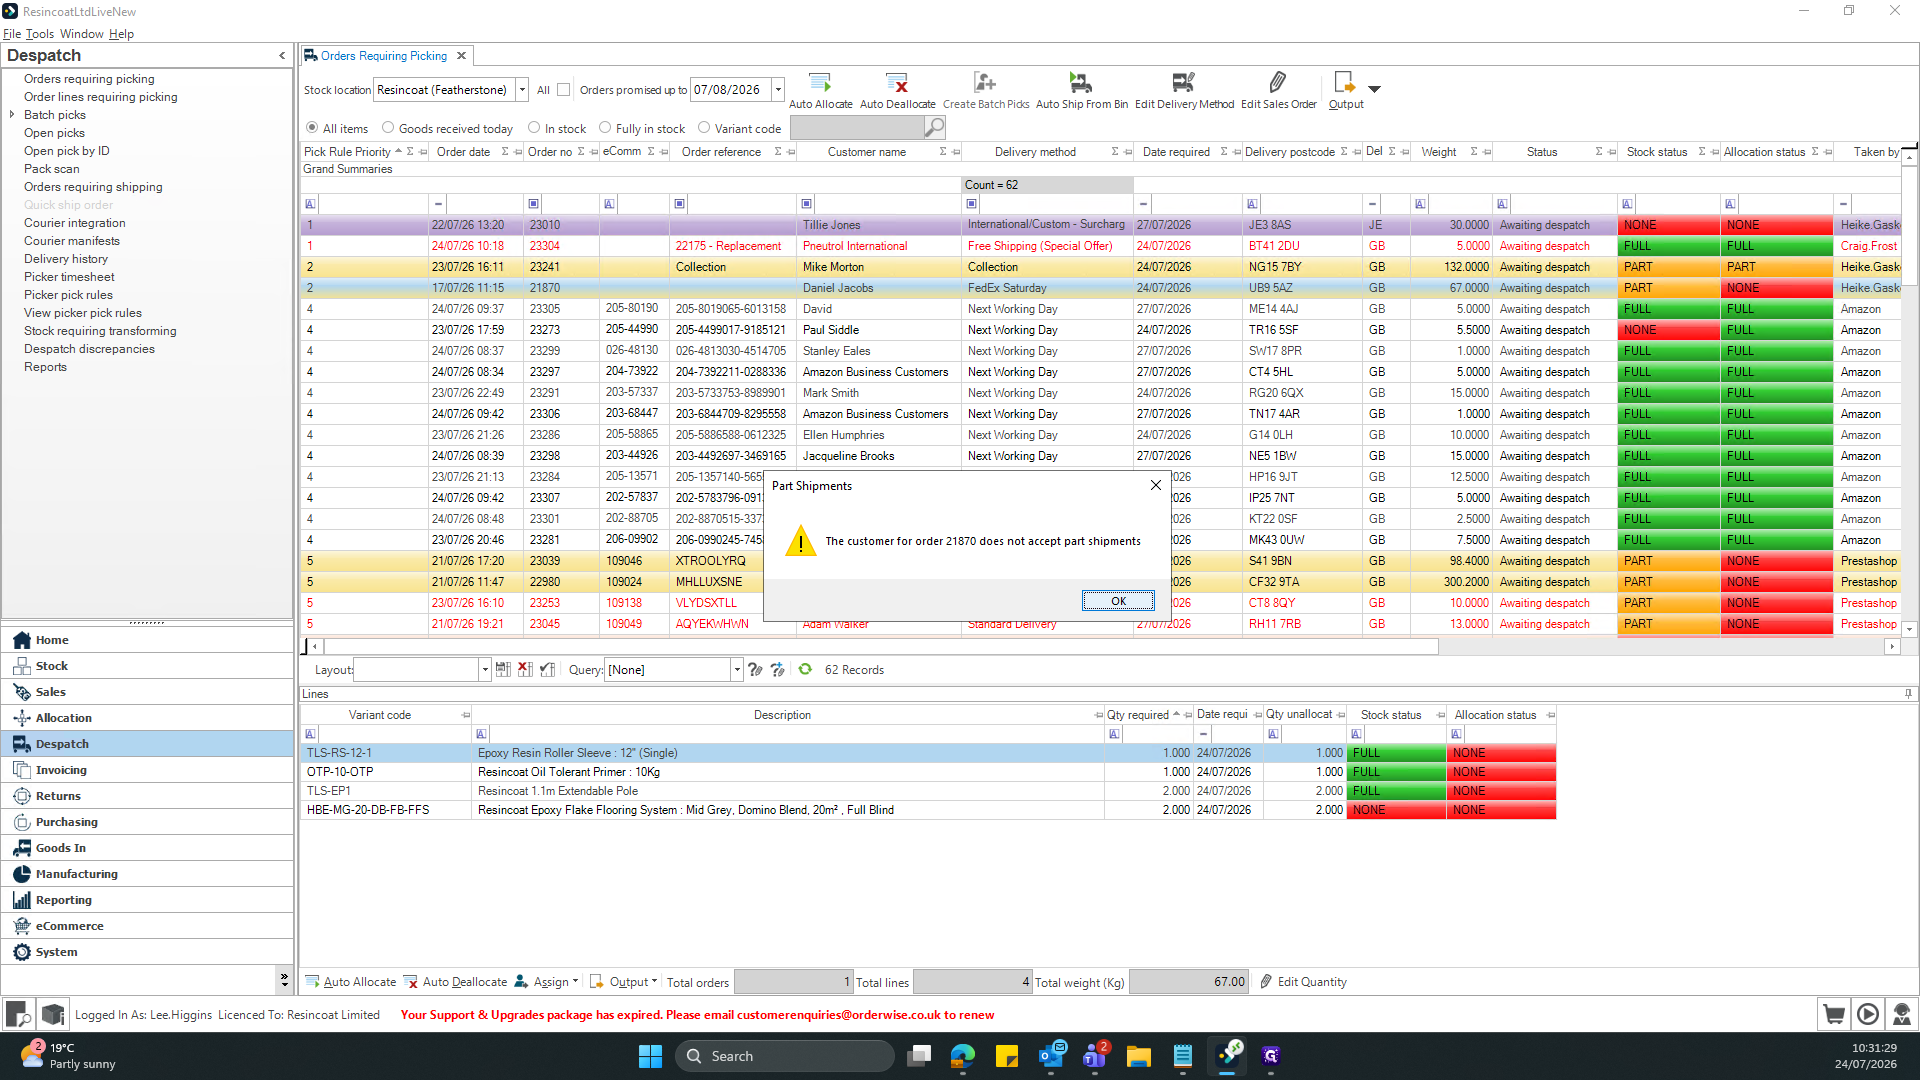
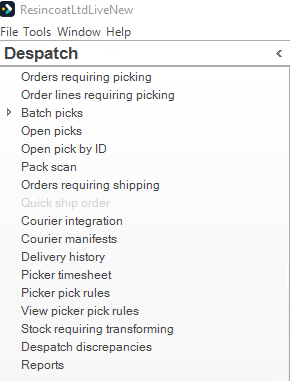
Click Orders requiring picking to view the Orders Requiring Picking dashboard.
3
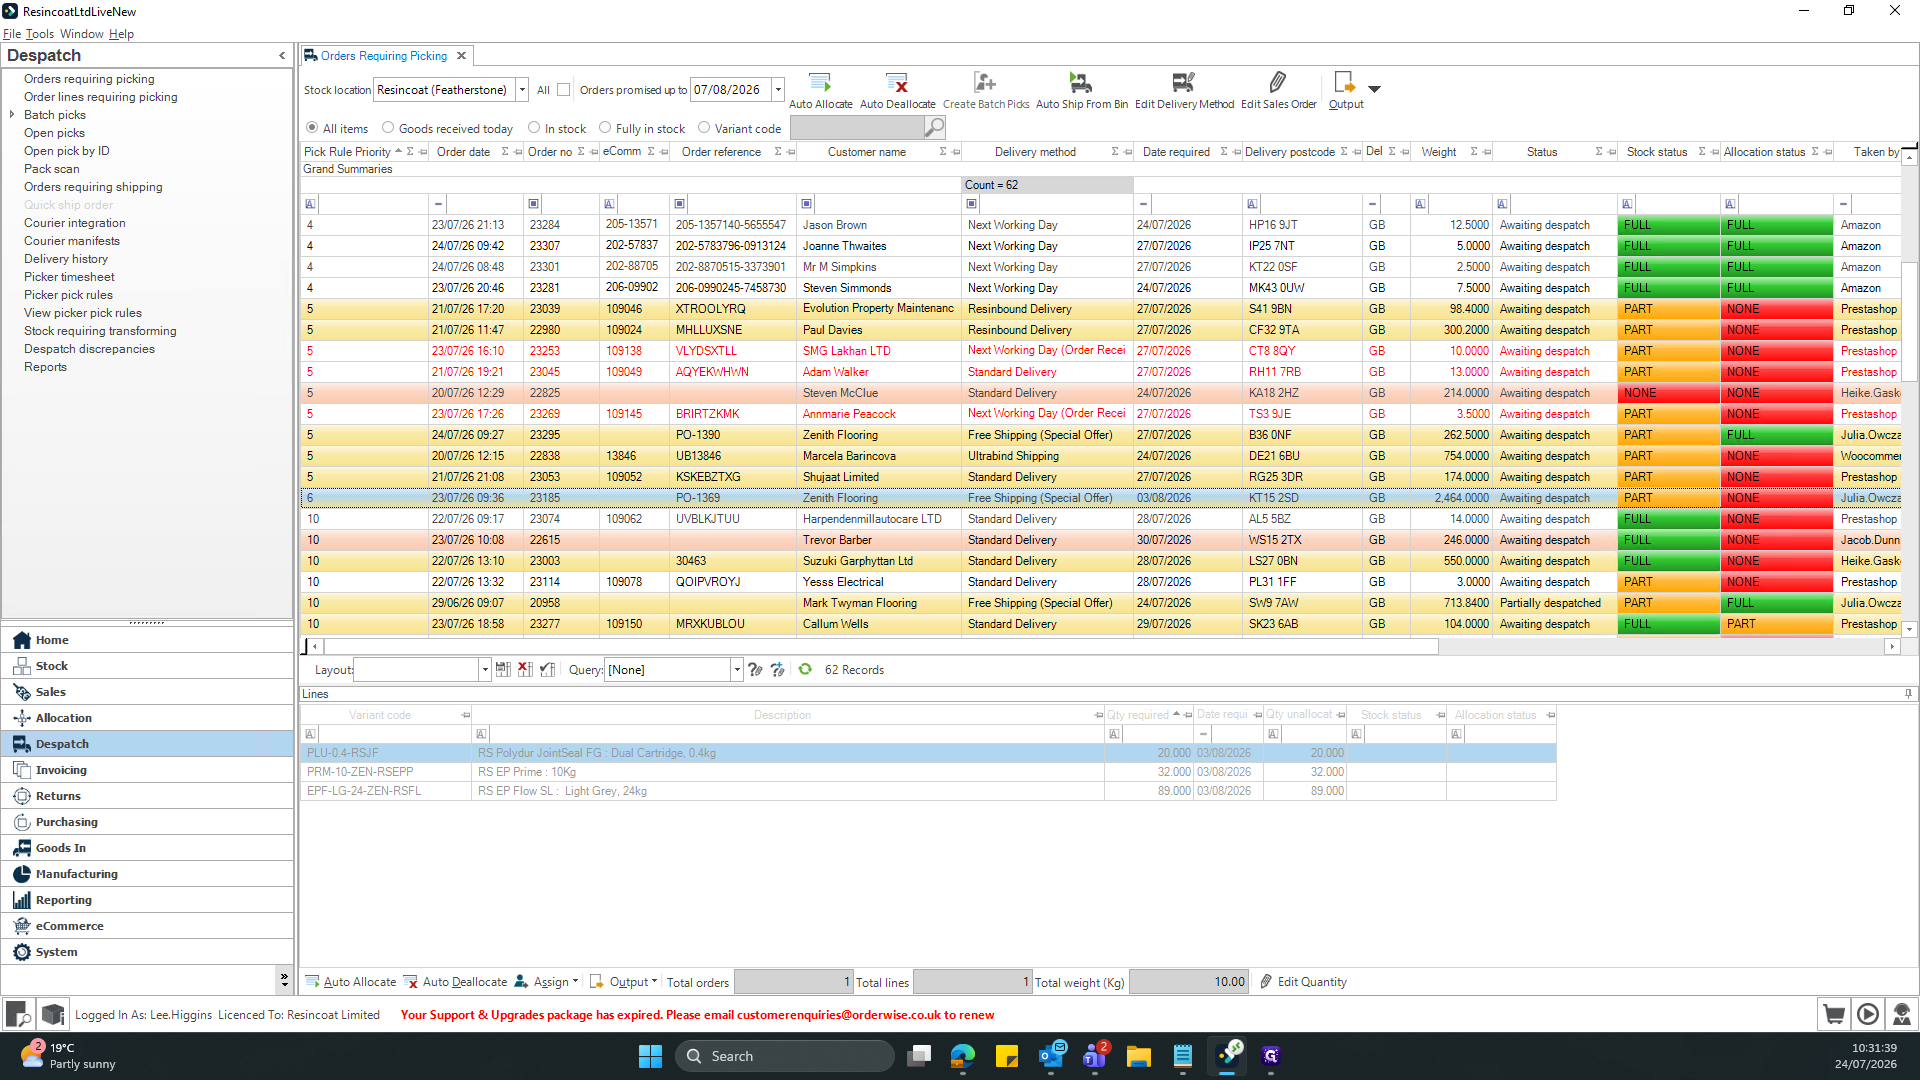
Click Pick Rule Priority to sort the picks by highest priority order (0 being the highest priority 99 being the lowest)
2. Assigning Orders to Pickers
4
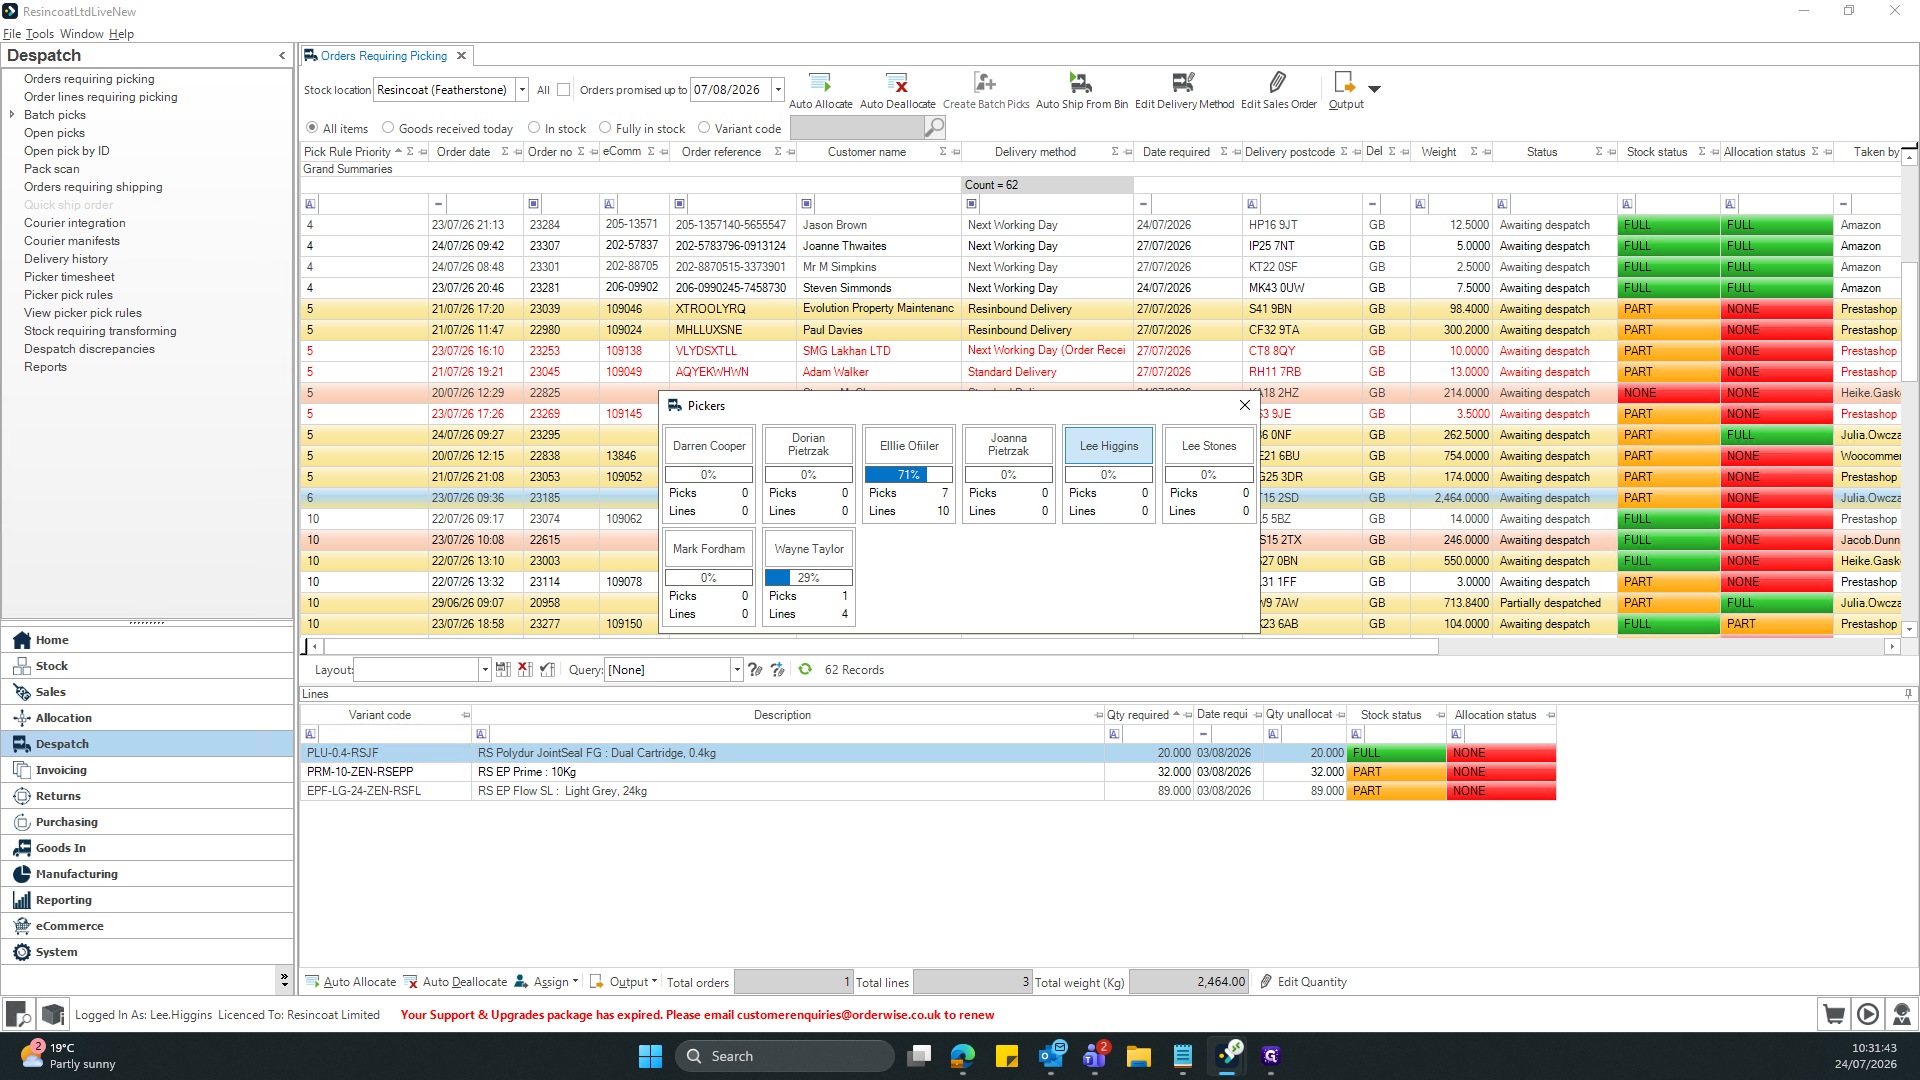
Double-click the selected order to assign yourself/someone the order.
5
Select a staff member's name to assign it.
6
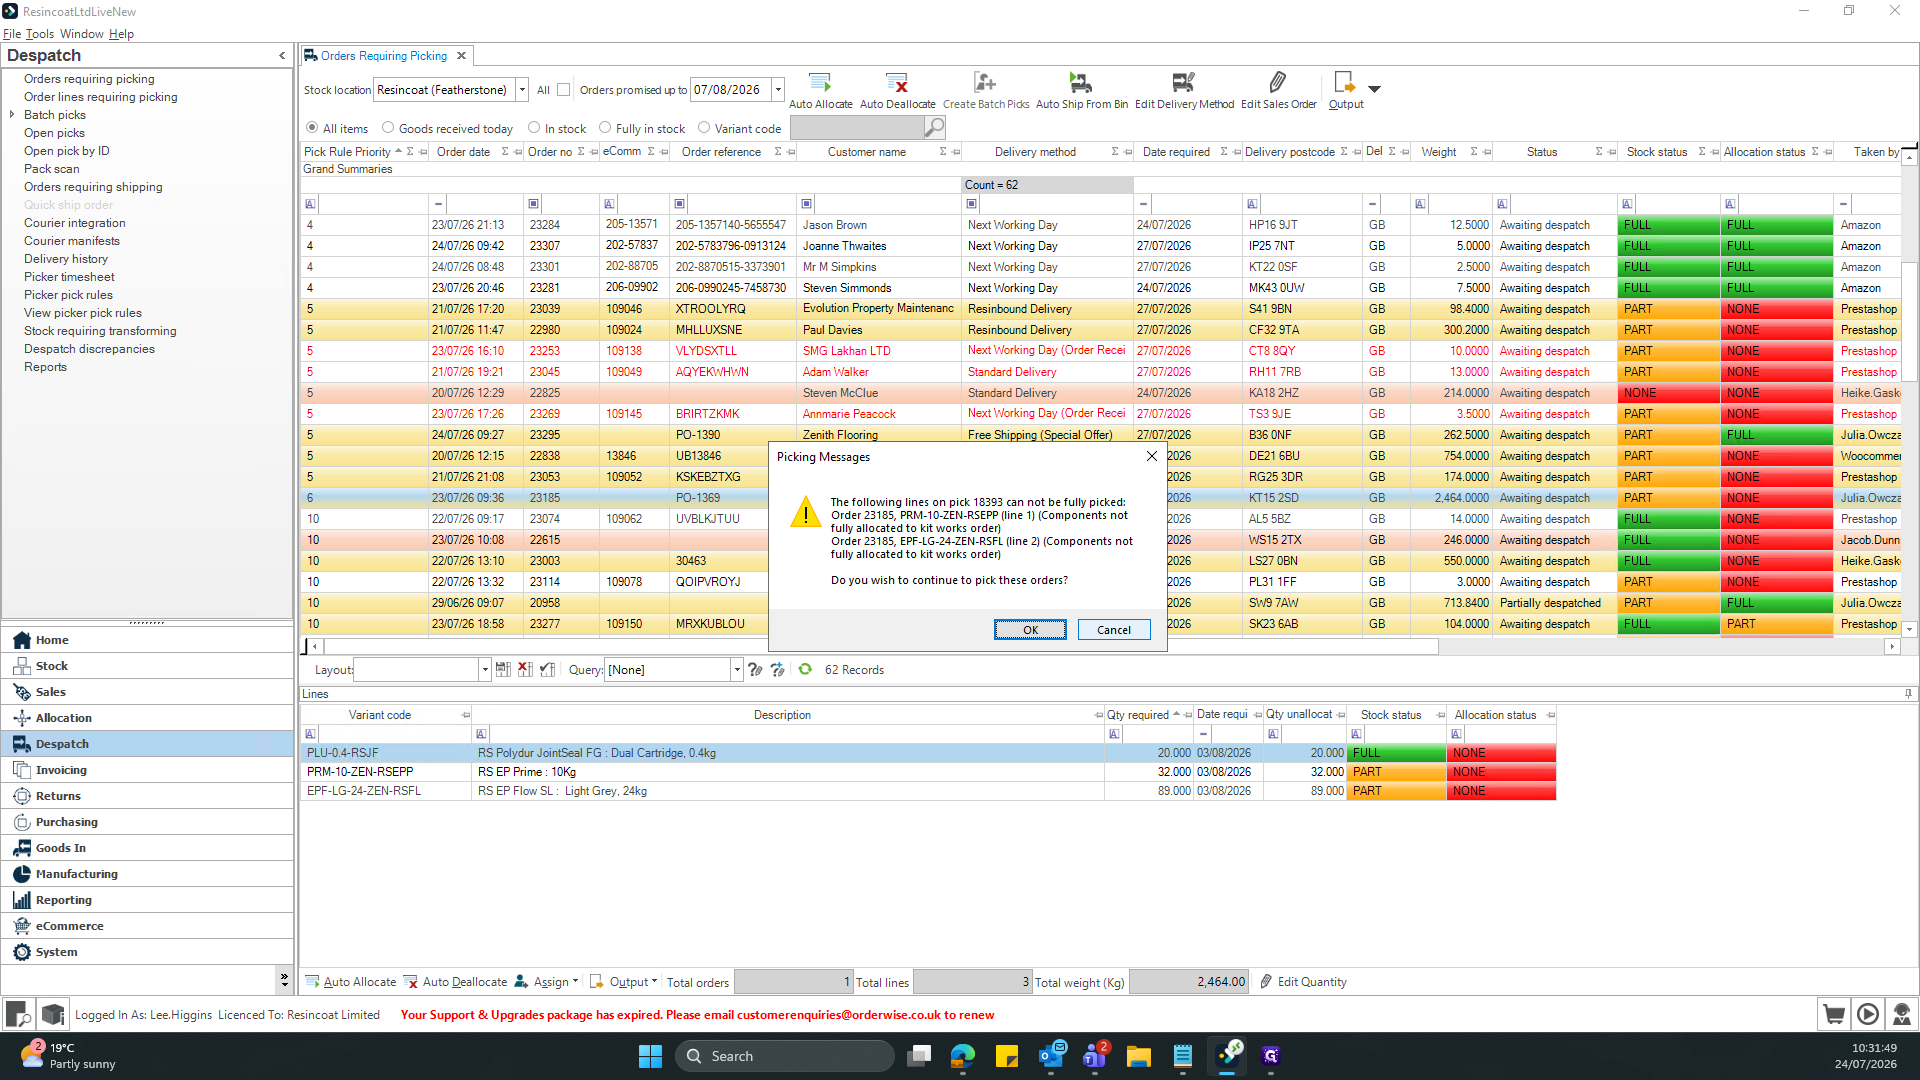
If a dialog box informs you that the lines cannot be fully picked, click Cancel to abort assigning this specific order. This is when Stock Status field is part (Amber) or none (Red).
7
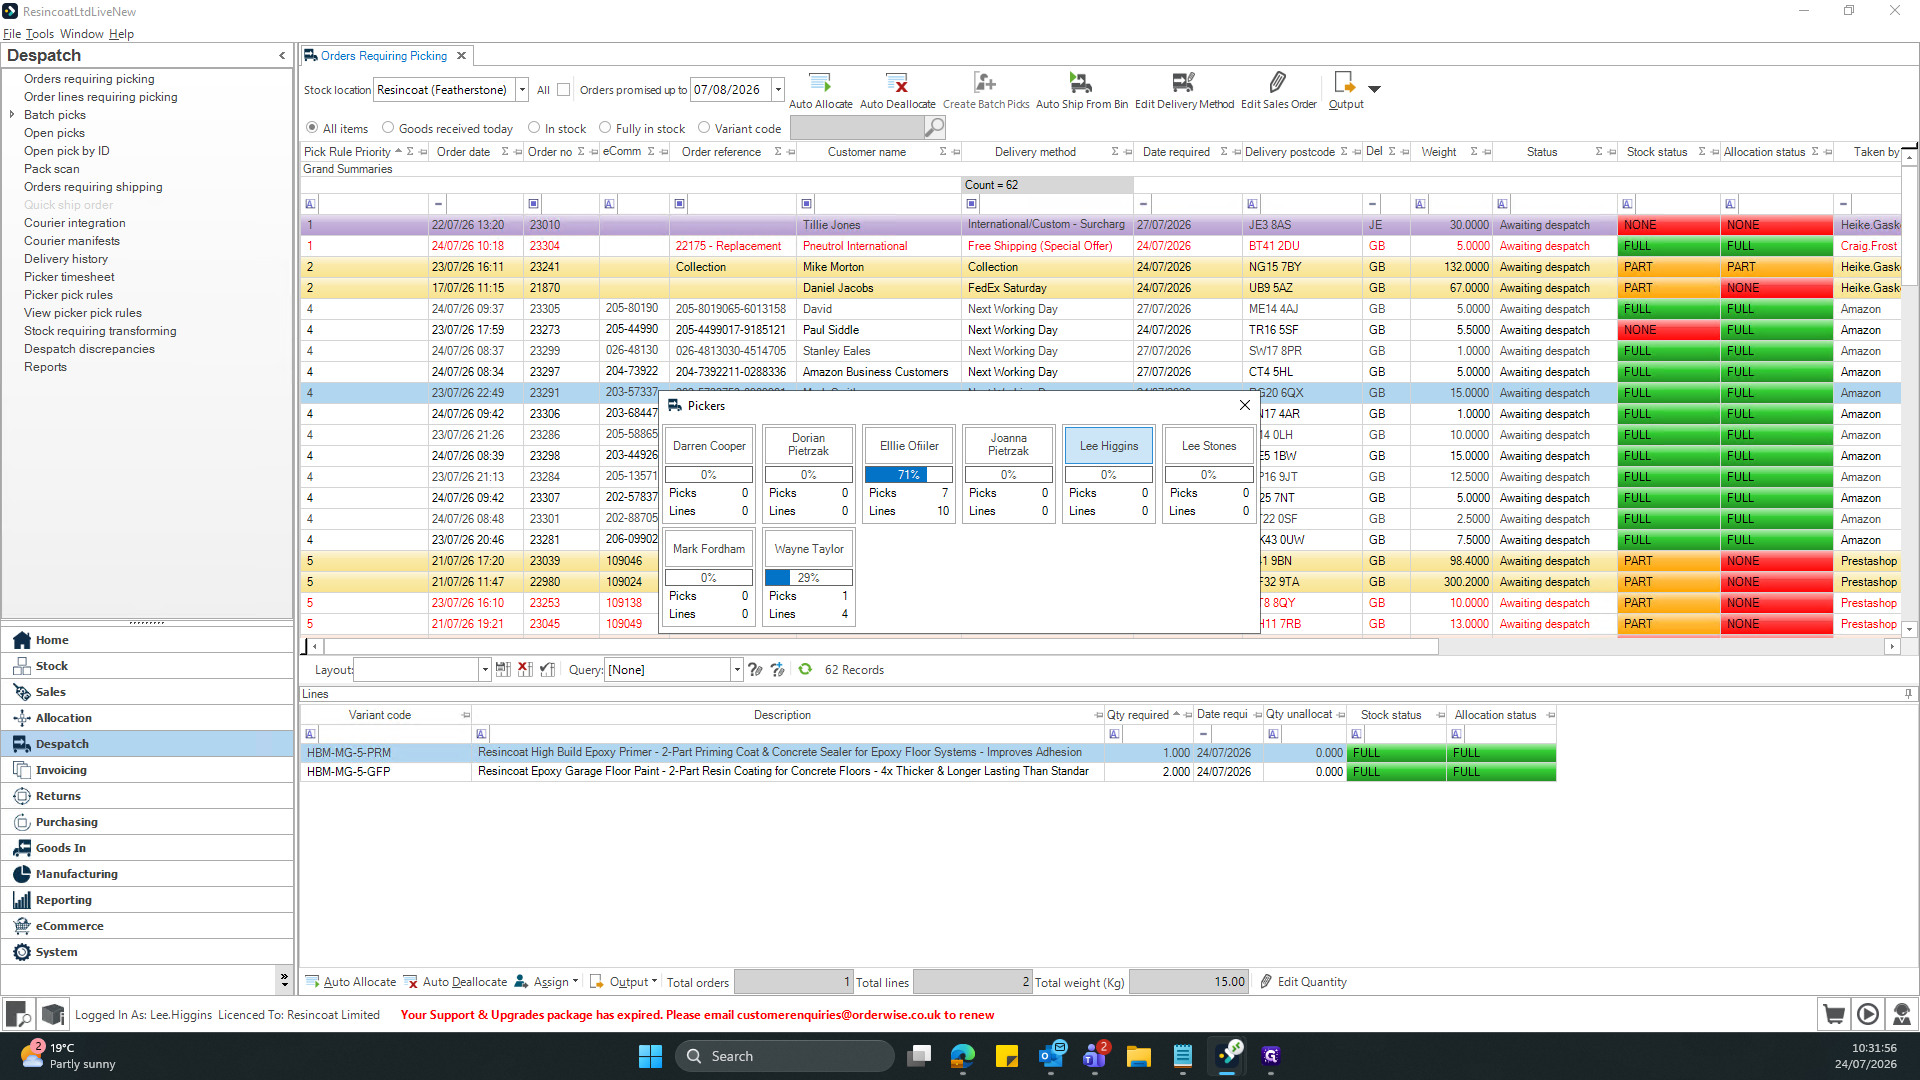
Double-click a valid order (Green stock status) to assign a fulfillable task.
8
Click on the designated picker's name to finalize the assignment.
Handling Part Shipment Alerts - When selecting orders, you may encounter alerts for customers with specific shipping constraints
9
If a pop-up appears warning that the customer does not accept part shipments, click OK to acknowledge it and let Lee/Dorian/Ben know to enable part shipments for this customer before proceeding.
Part shipment alerts ensure you do not partially fulfill orders for customers who require their entire order to be shipped at once. Pay close attention to these prompts before assigning tasks, this may also be due to orders being returned to the pick queue.
3. Printing Pick Slips
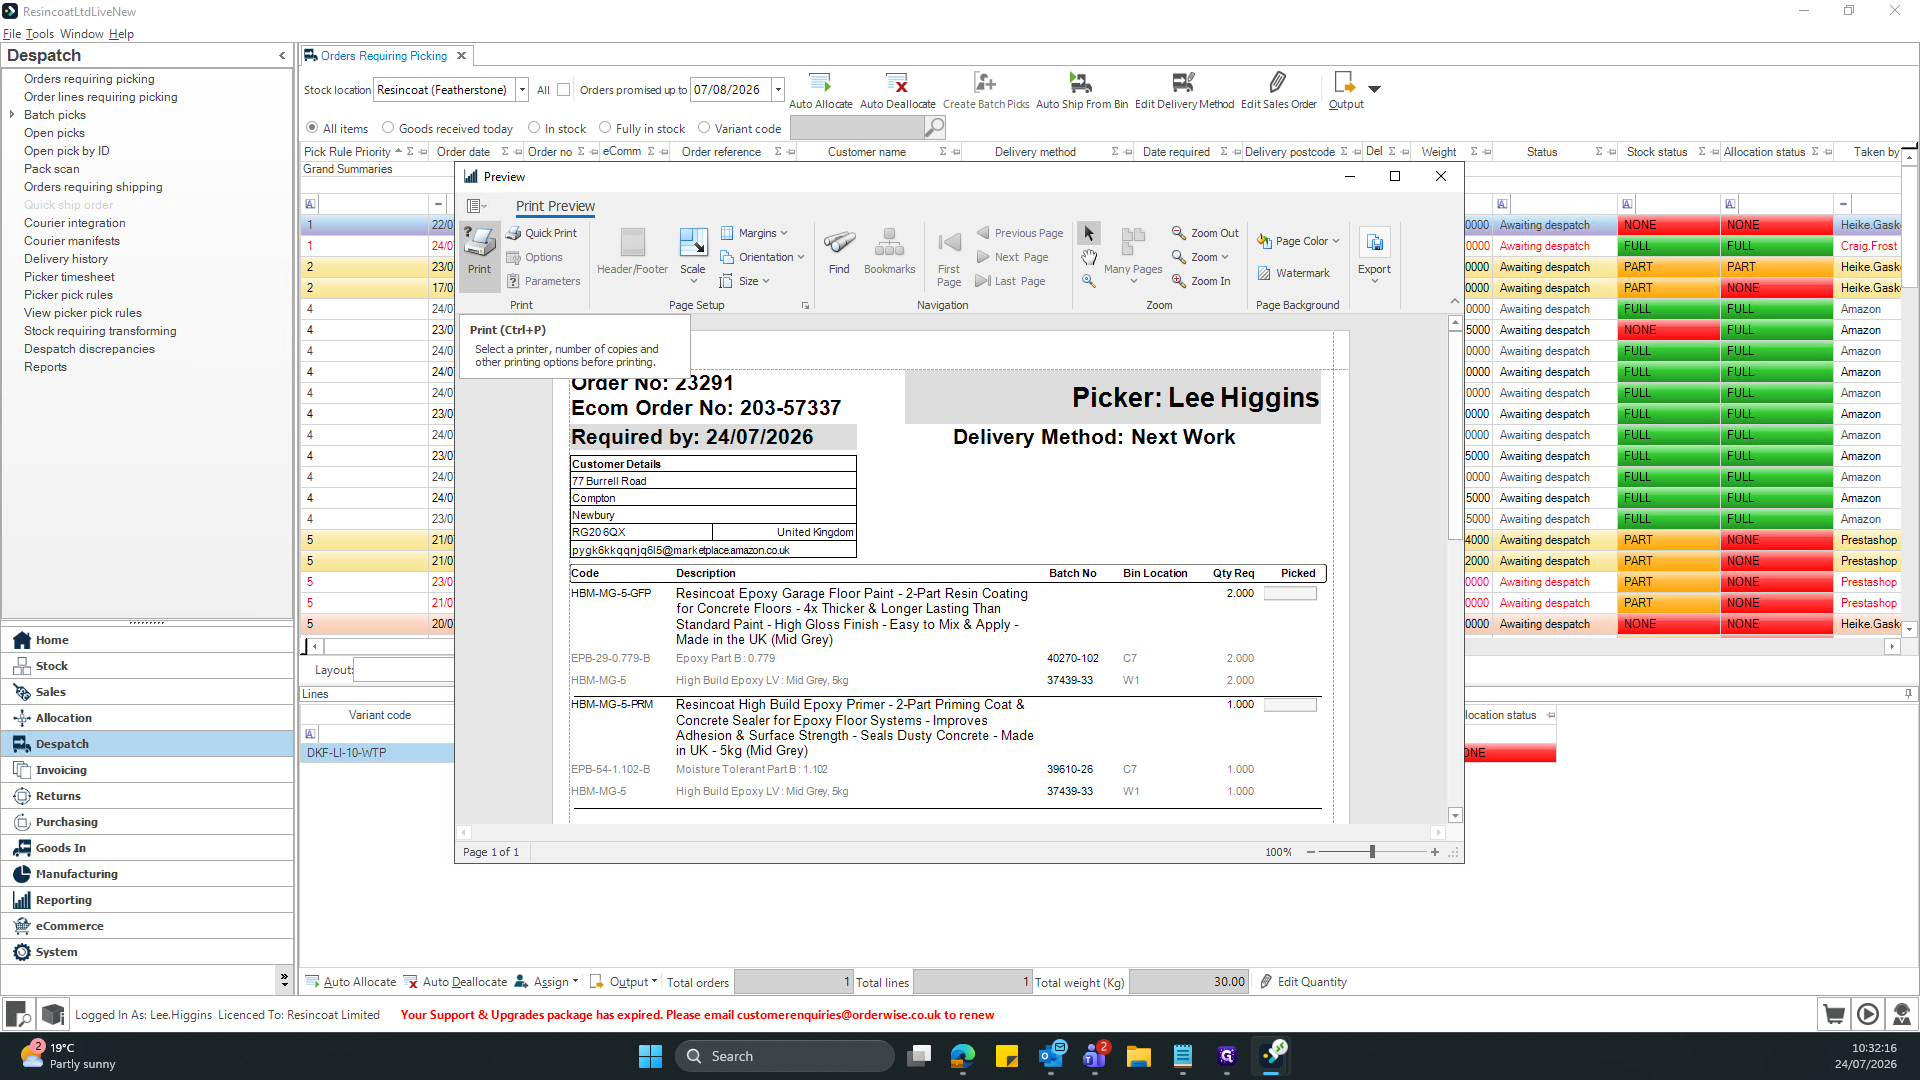
A printout should automatically print out once the order is assigned, you can manually print these however should you need another.
10
Click the Print button within the top ribbon of the Print Preview window.
11
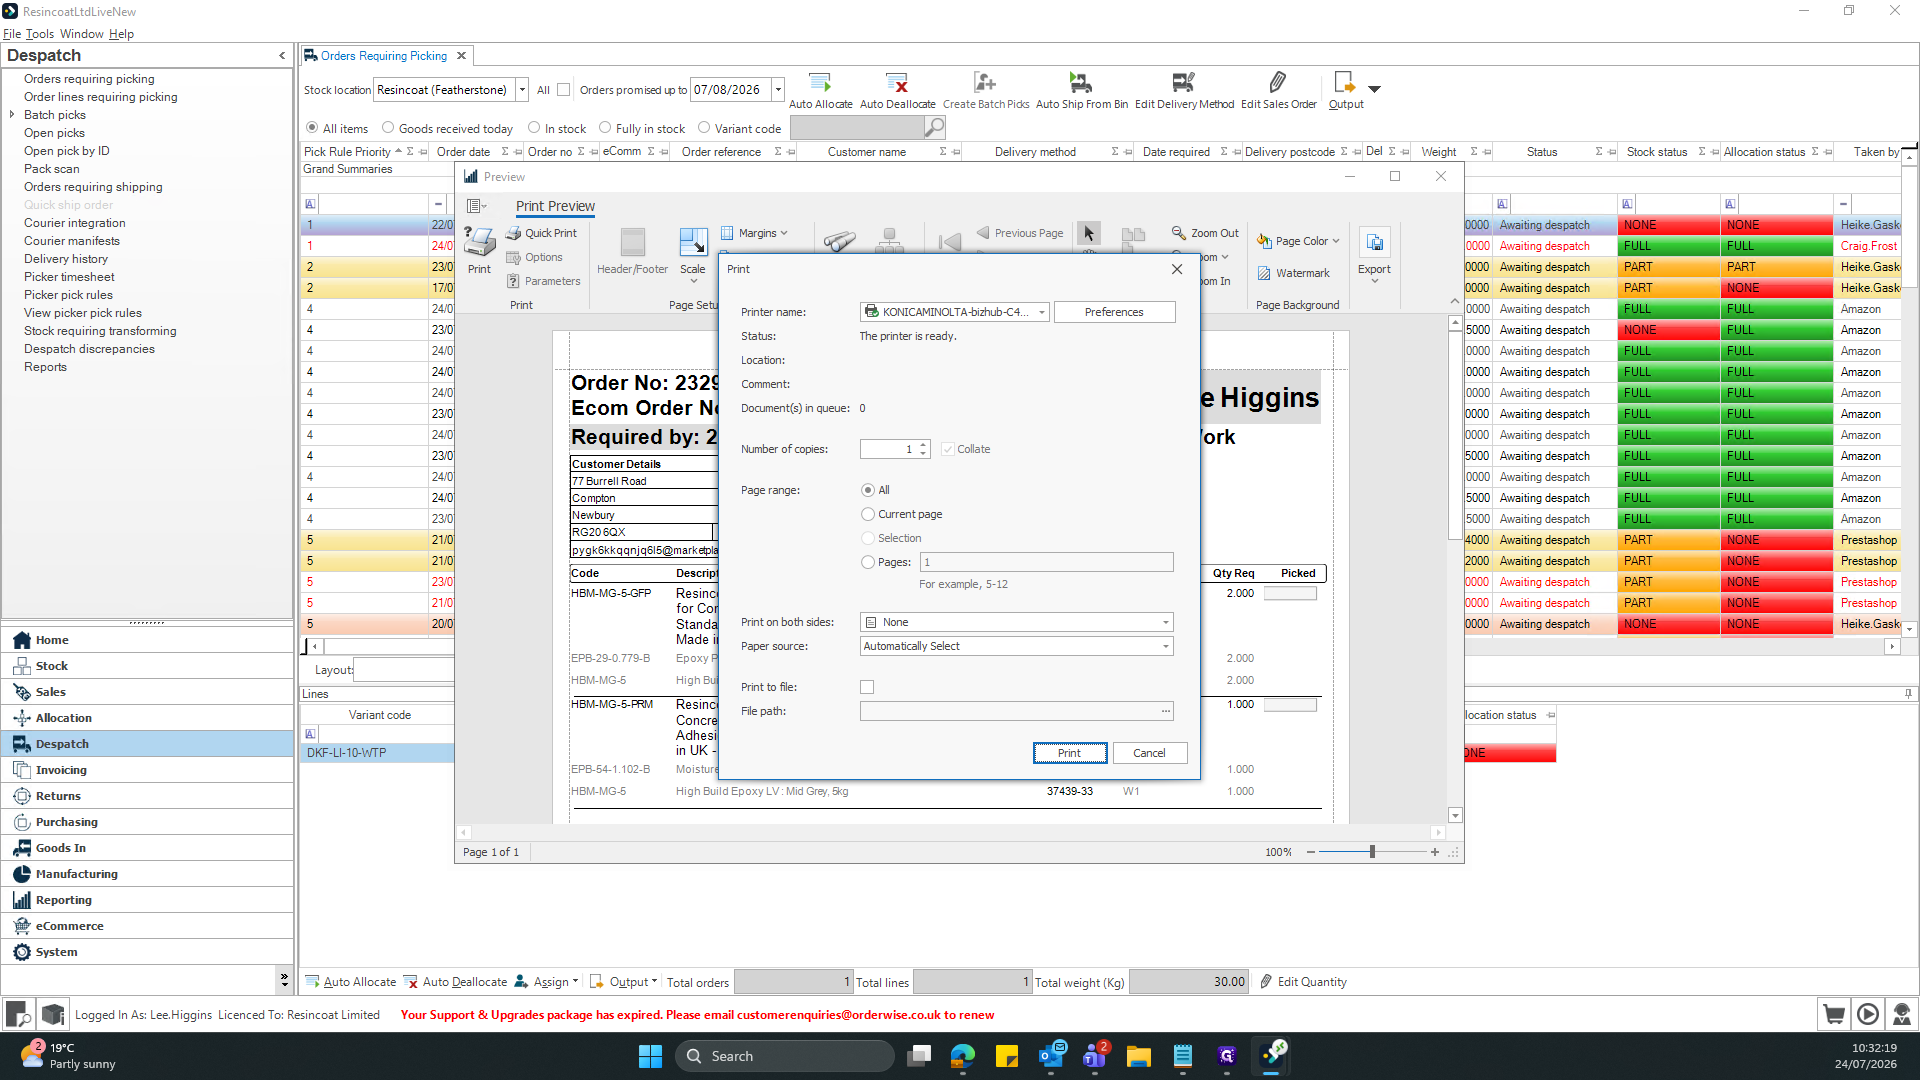
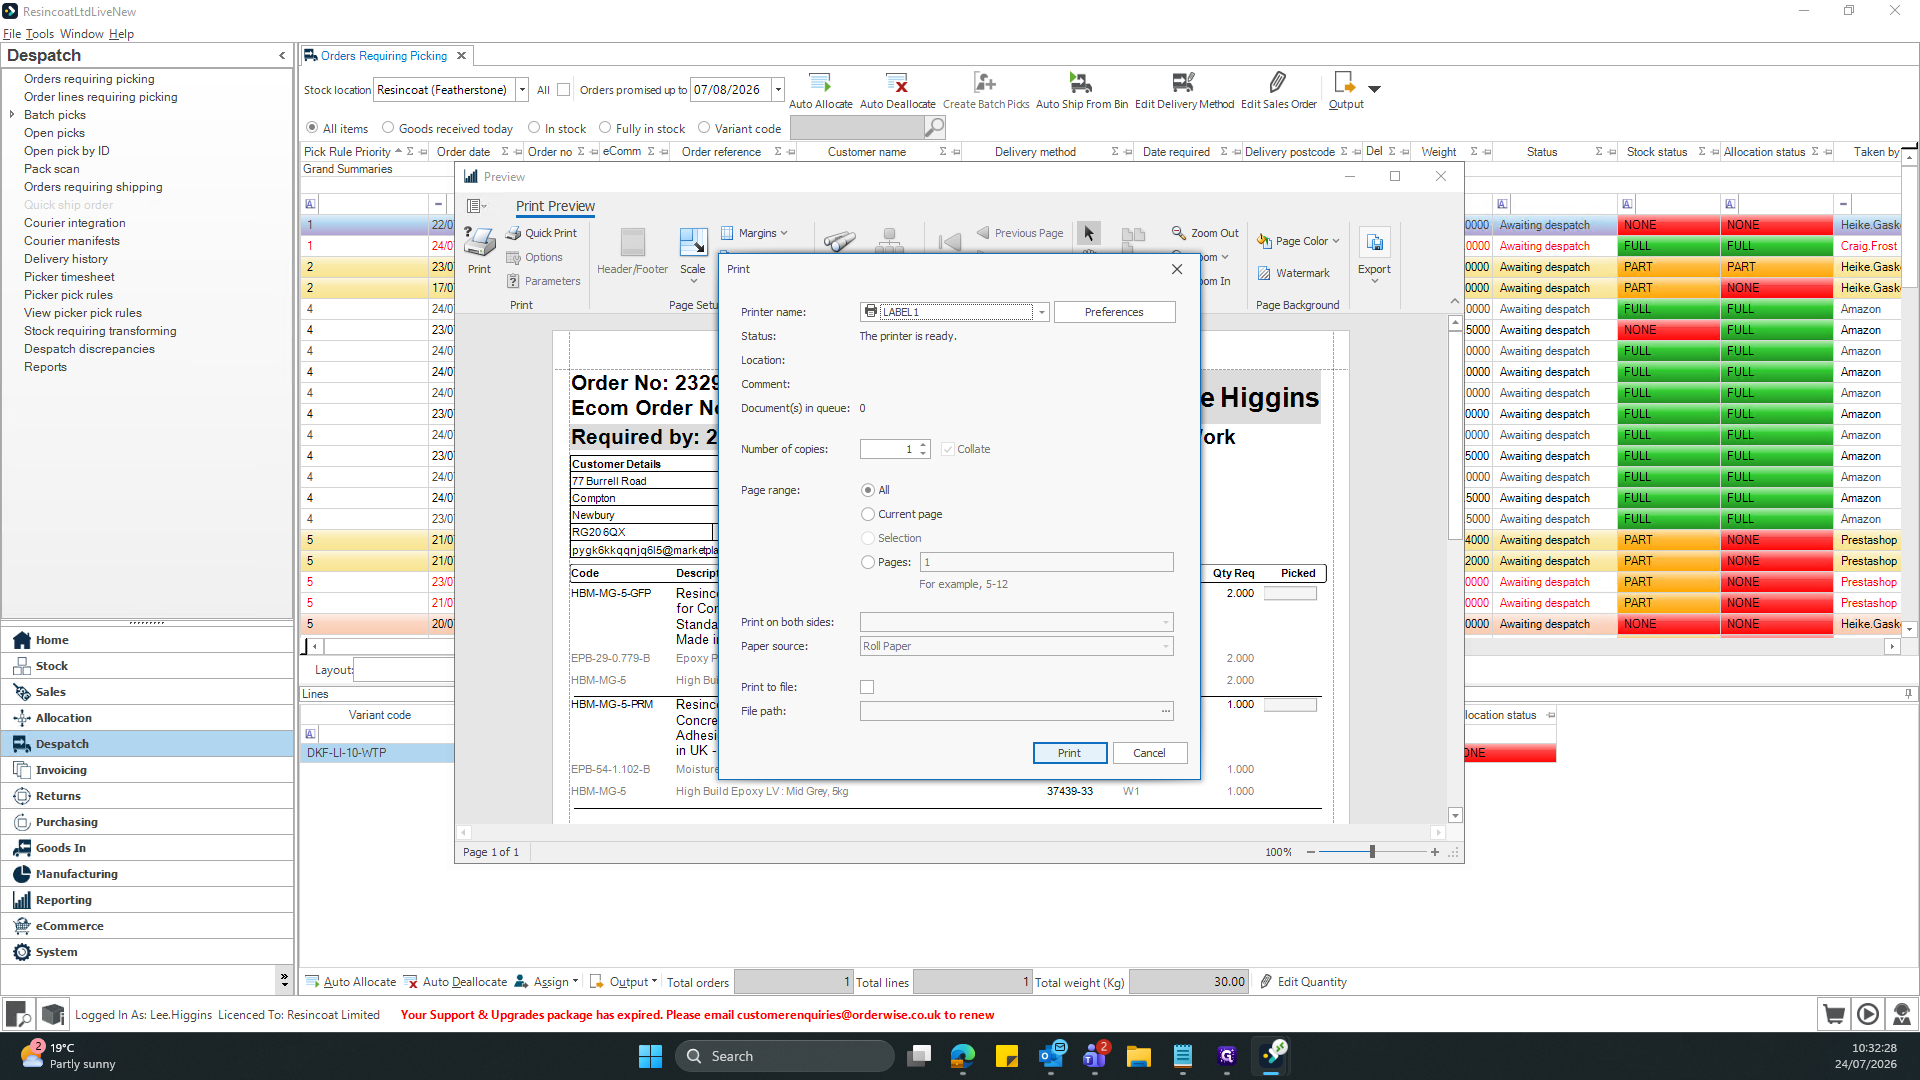
Select the appropriate warehouse printer from the dropdown menu.
12
Click Print to send the document to the printer.
4. Starting the pick on the mobile device.
13
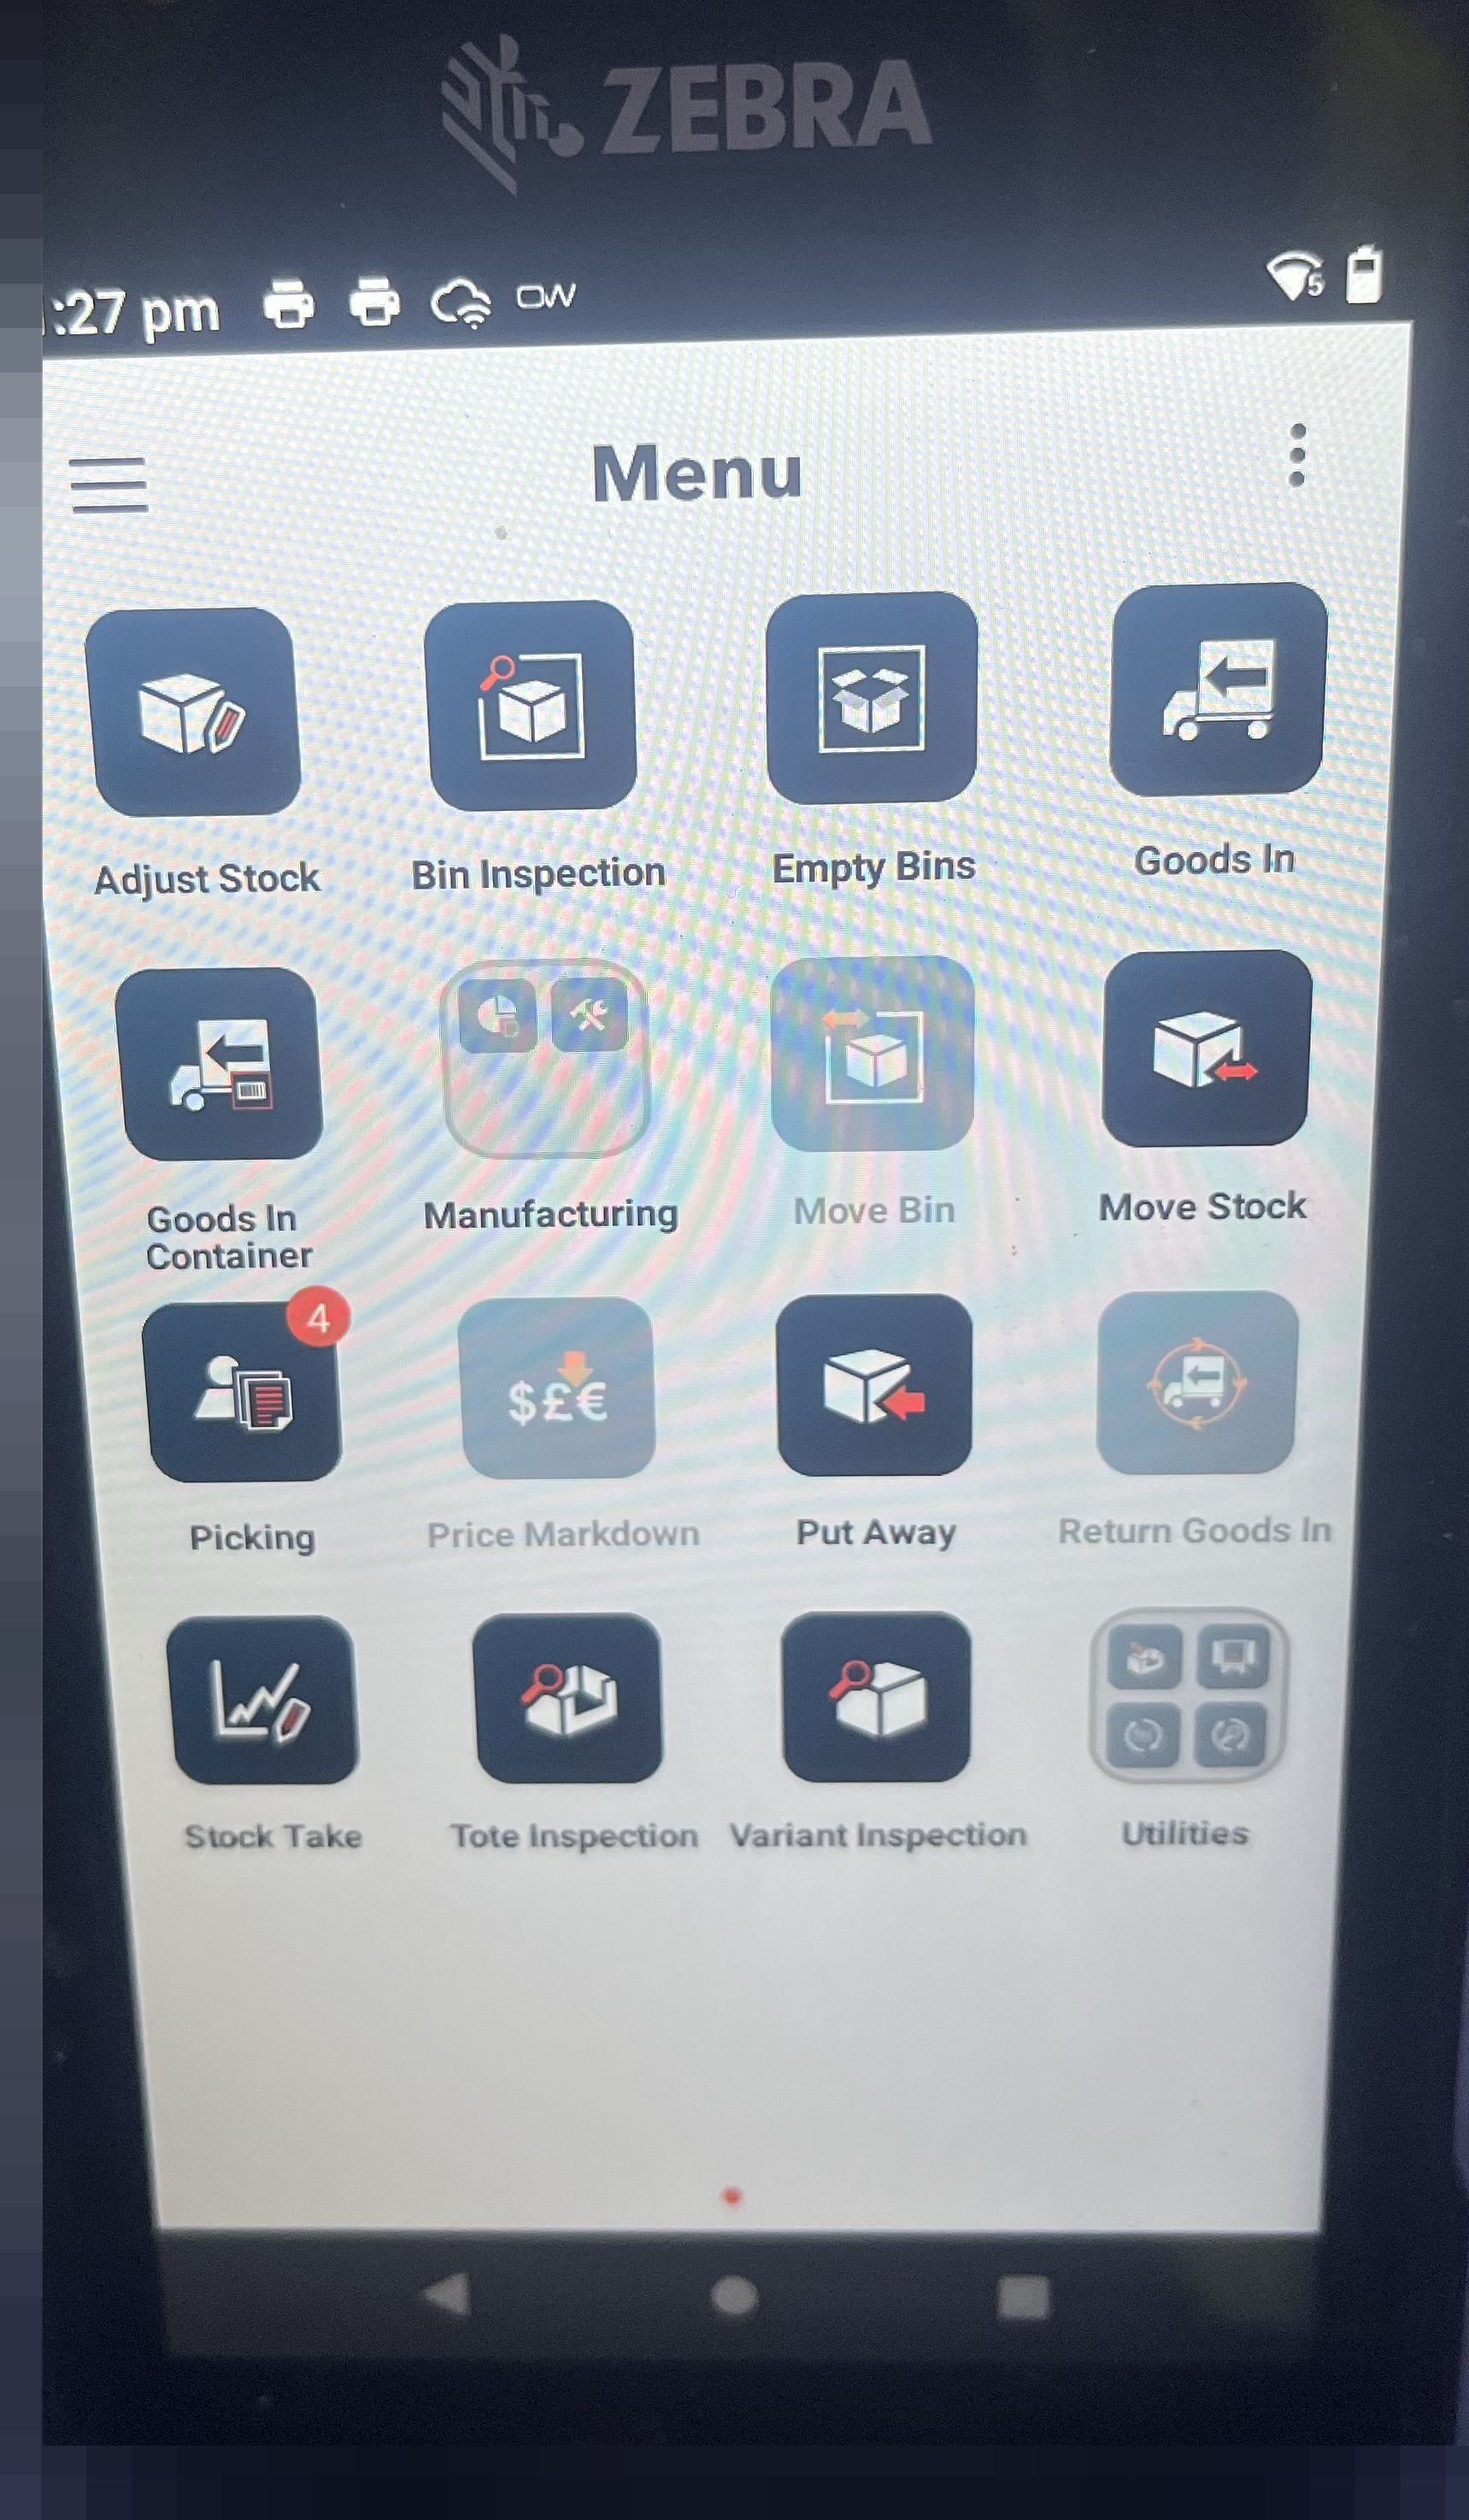
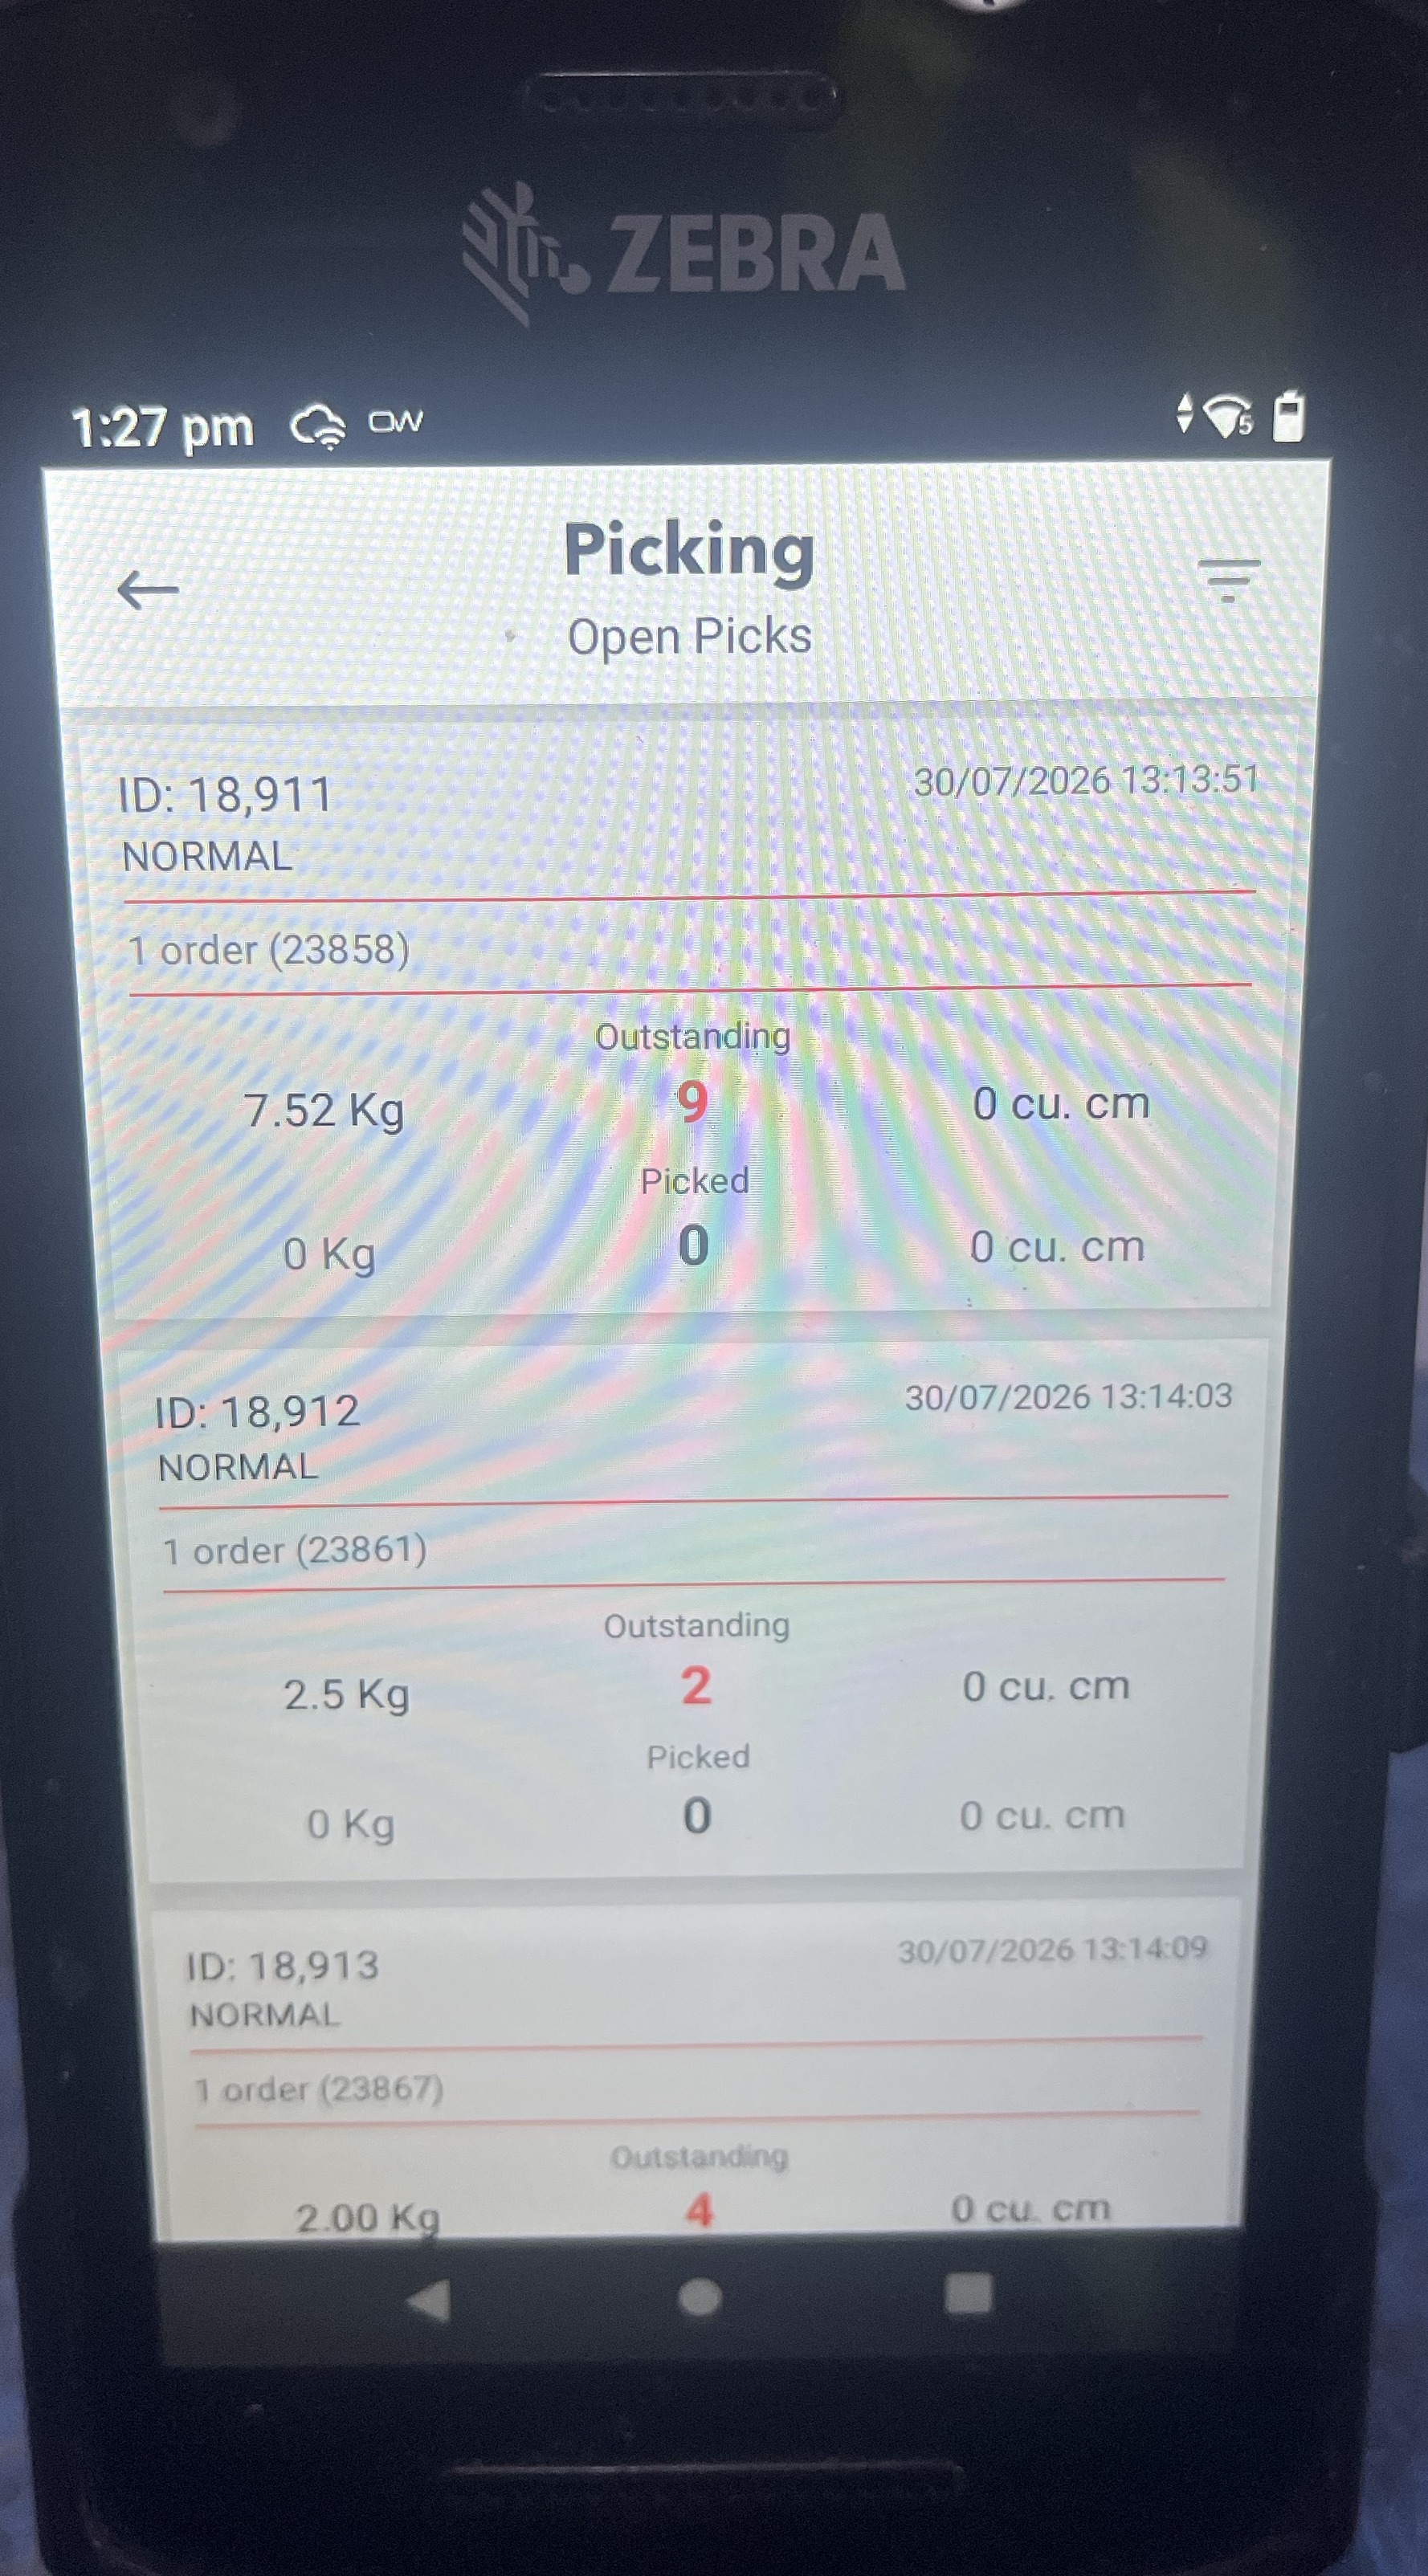
Open the Picking module on the mobile device.
14
Select the pick you wish to progress with if you have multiple picks on the mobile device.
15
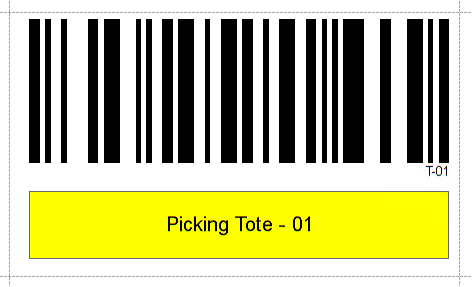
Scan a tote barcode to start the pick off.
If you receive a message to start a multi-tote pick, the tote is still in use in the system and should not be used. Pick another tote to continue and flag the other tote in the teams chats.
16
Scan the bin number for the item it's requesting, this is located on the racking or cage dependant upon what you're picking.
17
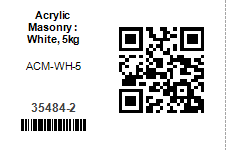
Scan the single scan QR code, which will automatically scan the variant label and the batch label.
NOTE: If this is an old label, you will need to manually scan the variant and the batch separately.
18
Next, scan each tin related to that variant code.
Once the quantity picked is equivalent to the quantity to pick, the scanner will move onto the next variant automatically.
19
You will need to repeat this for each variant until the pick shows as completed. This is when you see the green bubble showing "Picking completed"
TIP: You can view the pick queue at any point by accessing the 3 dots in the top right corner and selecting "Pick Queue" this lets you see the upcoming items on your pick.
TIP: You can view the product labels E.G "High Build Epoxy Garage Floor Paint Bundle" to see what front labels you need by pressing the 3 dots in the top right corner and selecting "Pick Detail"
5. Packing the order
20
Click the "Despatch" module from the navigation bar on the left.
21
Click "Pack Scan" tab in the top left navigation bar.
22
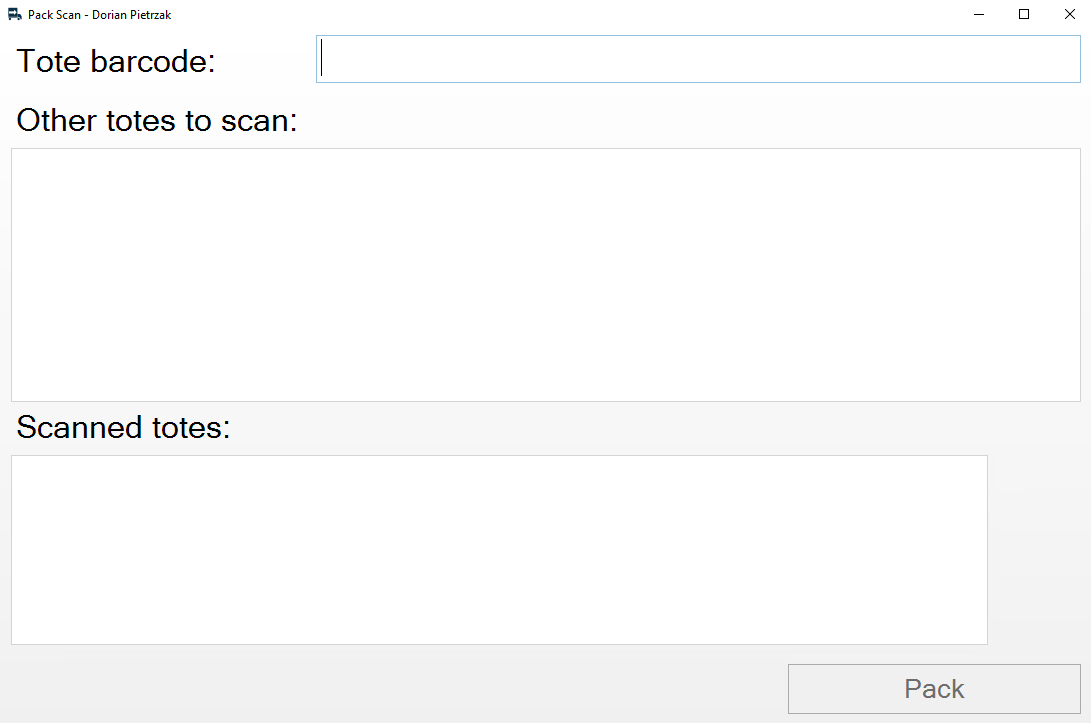
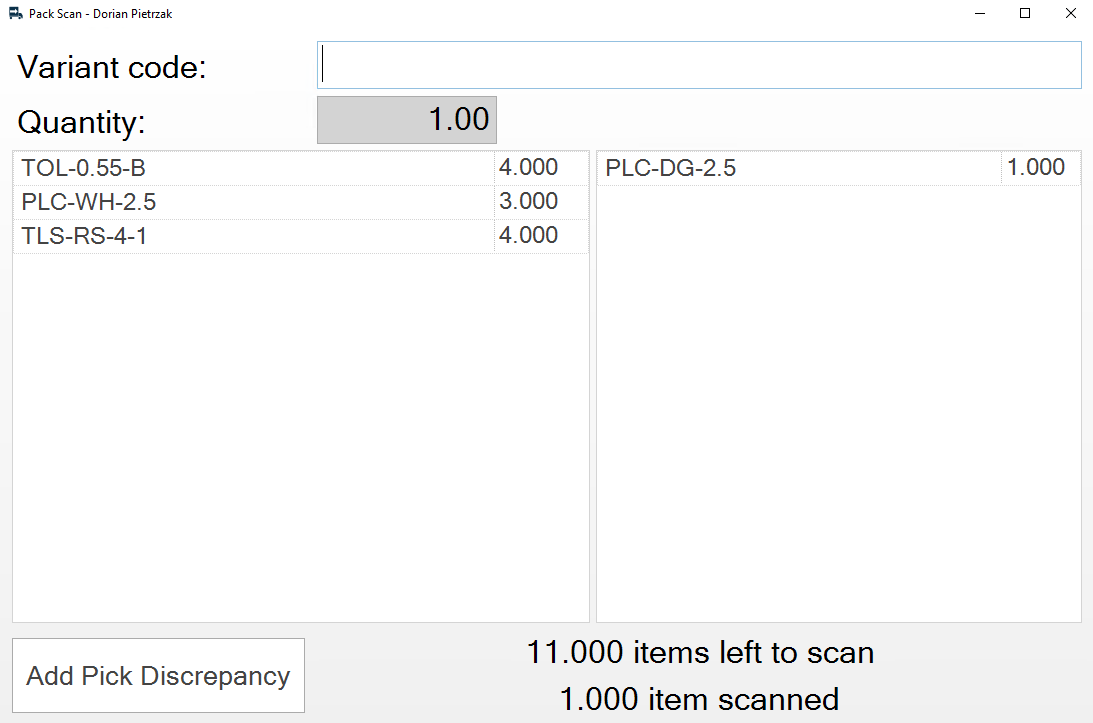
A pop out window will now appear as shown below. Start by scanning a tote barcode from the side of the tote you are packing the items from.
If the tote scanned successfully, a list of products to scan will load on screen.
If there are any errors - Please report to Lee/Dorian/Ben to investigate.
23
Once you have scanned the tote, you now need to scan the single scan QR code (Batch label) on each item in the tote. Each successful scan moves the item from the left column to the right column.
24
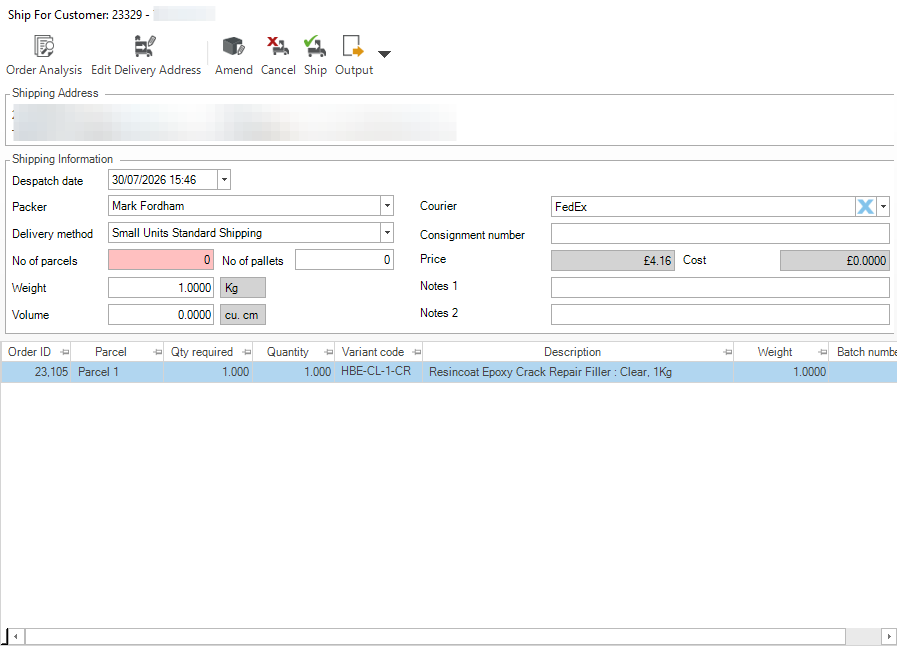
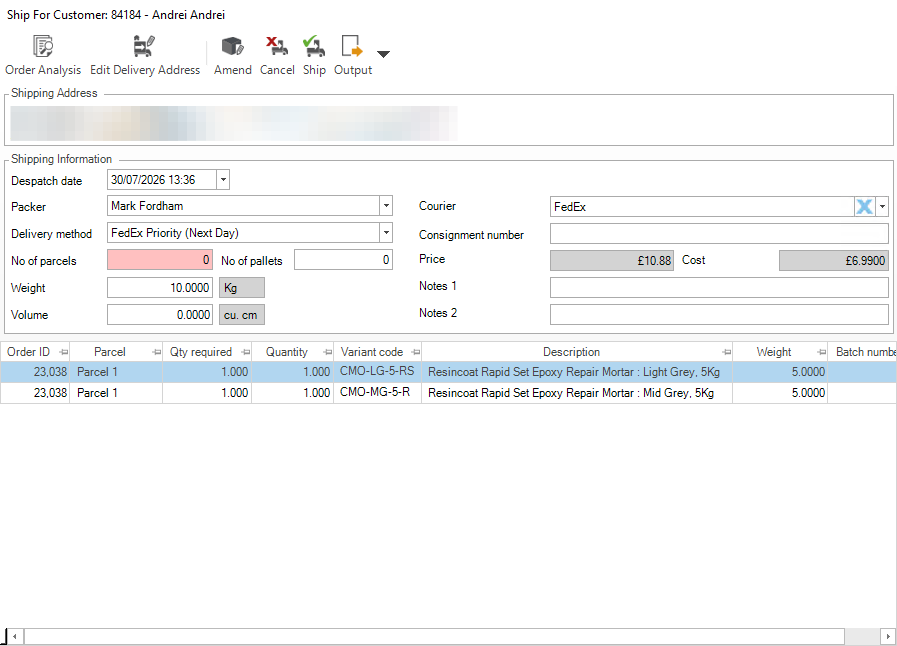
When you scan the last item from the tote, a pop out window for the shipping screen will appear.
6. Shipping Orders
25
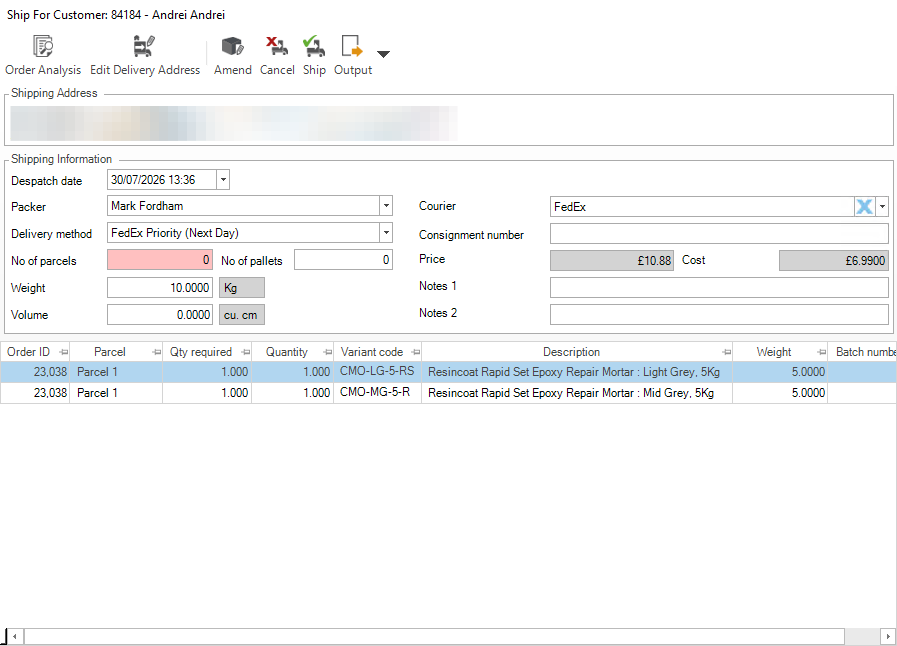
First, ensure the courier & delivery method is correct for your shipment, the system will pre-designate a method which you may wish to change dependant upon the circumstances.
26
Next, enter the number of parcels you have packed for this consignment.
27
Lastly, ensure the weight is correct of the consignment, if the weight is incorrect, it may not export to the courier if it exceeds weight thresholds.
If the weight of an item is incorrect, please report this in the Warehouse Support chat for the admin team to assist.
28
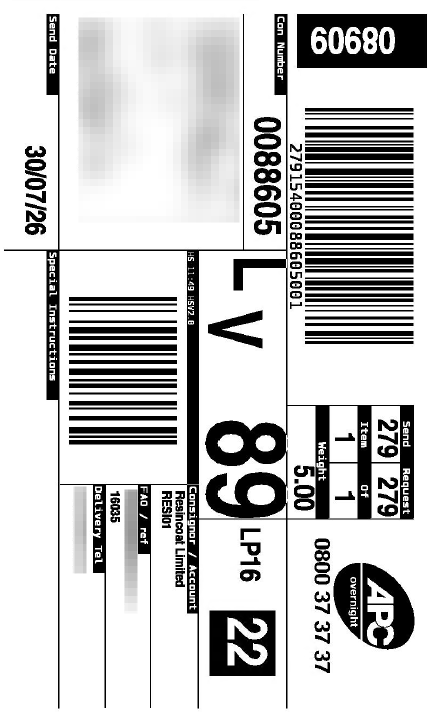
Your order will now be sent to the courier and a label will automatically be printed from the packing printer to be placed on the box/boxes. Once the boxes are labelled, these need to be placed in the relevant courier section on the floor.
If there are any system errors - Please report to Lee/Ben/Dorian.
If there's any consignment errors - E.G "service not available for this shipment" which forces the order to produce no label / be booked on the courier platform, this will be caught by the Customer Service team who will manually produce a label. These orders can be found in the "Courier integration" screen.
Q: What happens if a customer does not accept part shipments?
A: The system will display a warning pop-up alert when you attempt to process the order. You must acknowledge the alert and verify that the full order can be fulfilled before assigning it to a picker.
Q: How do I evaluate picker workloads before assigning a task?
A: When you assign an order, the Pickers modal window automatically displays the current picking progress percentages and workloads for each team member.
Q: Can I cancel a picking task after it has been assigned?
A: Yes, you can navigate to the Open picks tab, select the active task, and click the Cancel Pick button to revoke the assignment.
Term
Definition
Despatch
The system module dedicated to managing outbound shipping and order fulfillment operations.
Pick Rule
A configured set of criteria that determines the order or priority in which items should be picked from warehouse locations.
Part Shipment
The process of fulfilling only a portion of an order's items because the remainder is currently out of stock.
Pick Slip
A printed document that guides warehouse staff on which items to gather and their locations for a specific order.