
Portal Customization Guide: How to Change Themes, Colors, and Branding
Learn how to customize your portal with theme selection, color changes, and branding options like uploading your logo and favicon. Step-by-step instructions included.
In this guide, you will learn how to comprehensively customize your portal's appearance and branding. You will explore how to select and apply themes, configure custom color schemes for various interface elements, and modify branding components to align with your organization's visual identity. Additionally, you will learn how to upload and manage your portal logo and favicon for complete brand consistency, as well as update your account password for security management. This functionality provides complete control over your portal's visual presentation and basic account settings.
Let's get started
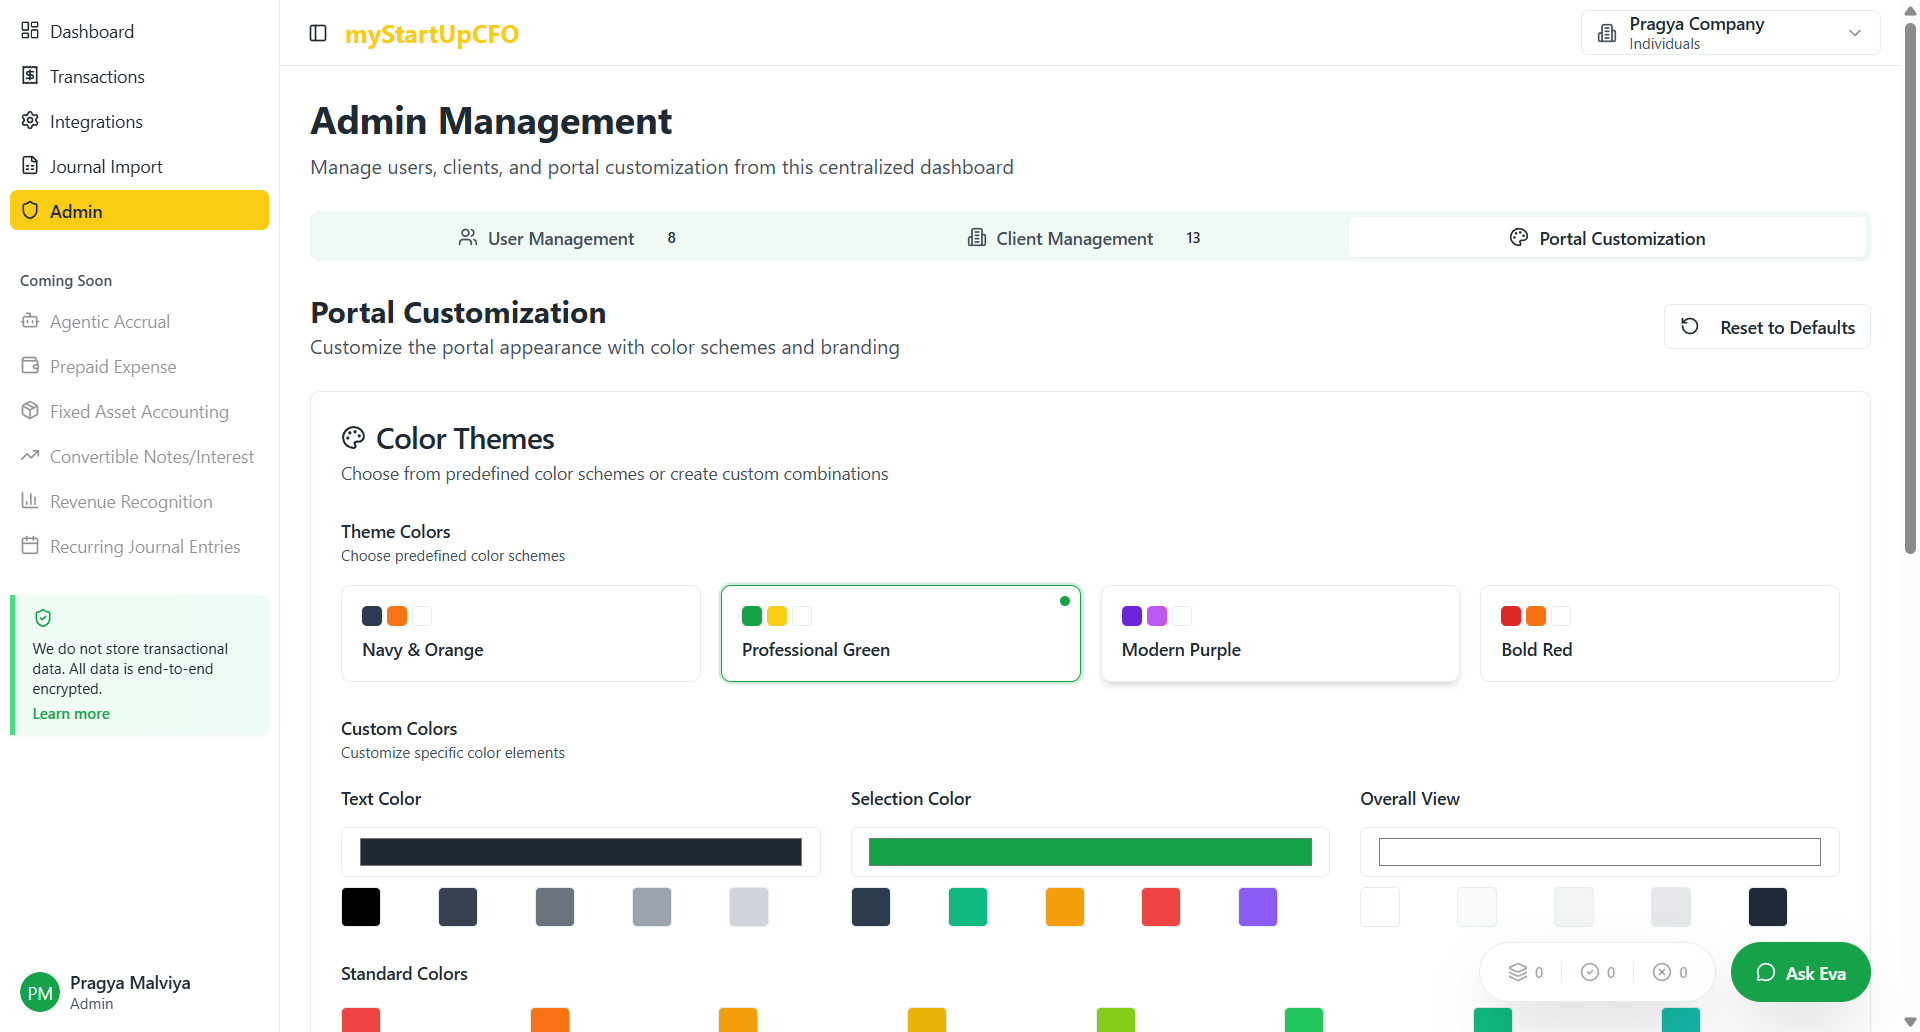
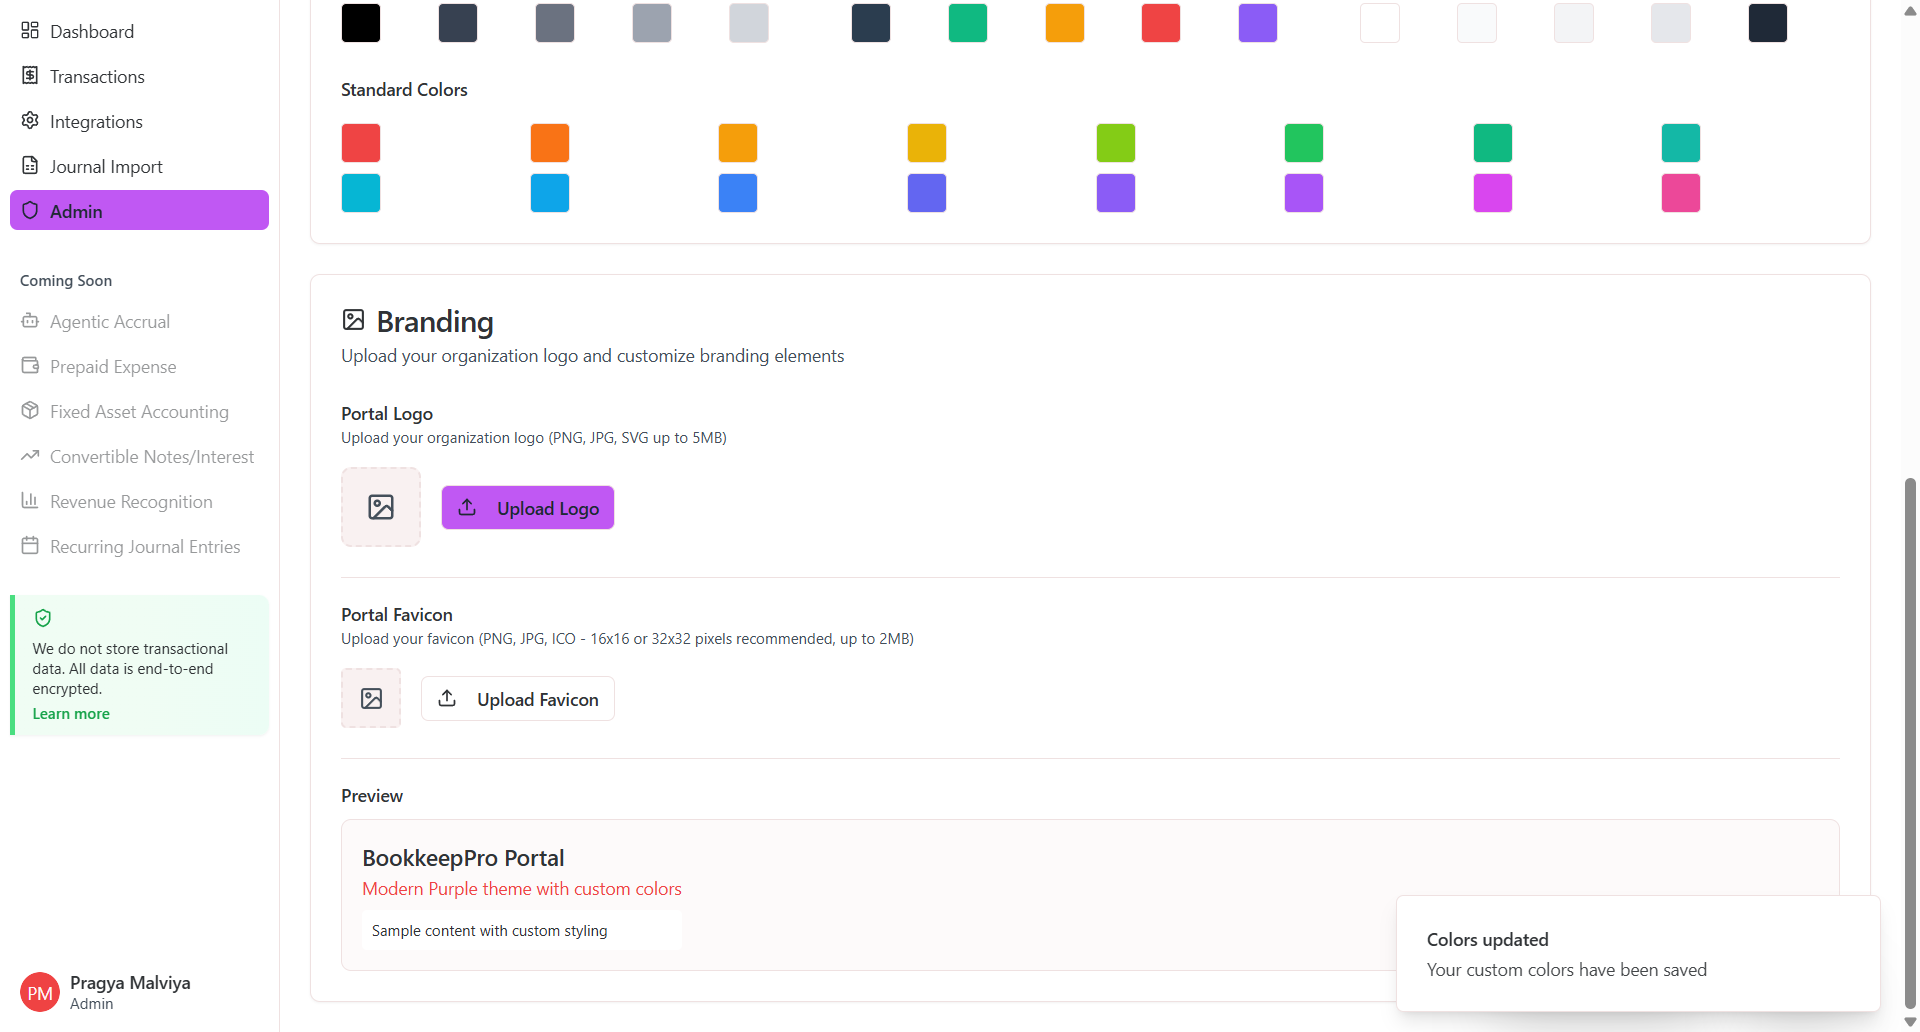
The selected theme color is applied consistently across all portal interface elements, including headers, buttons, navigation items, and interactive components. To personalize your portal's appearance, click the color selector to access the custom color picker. This allows you to choose a specific color that aligns with your brand guidelines, replacing the default theme color throughout the entire portal.
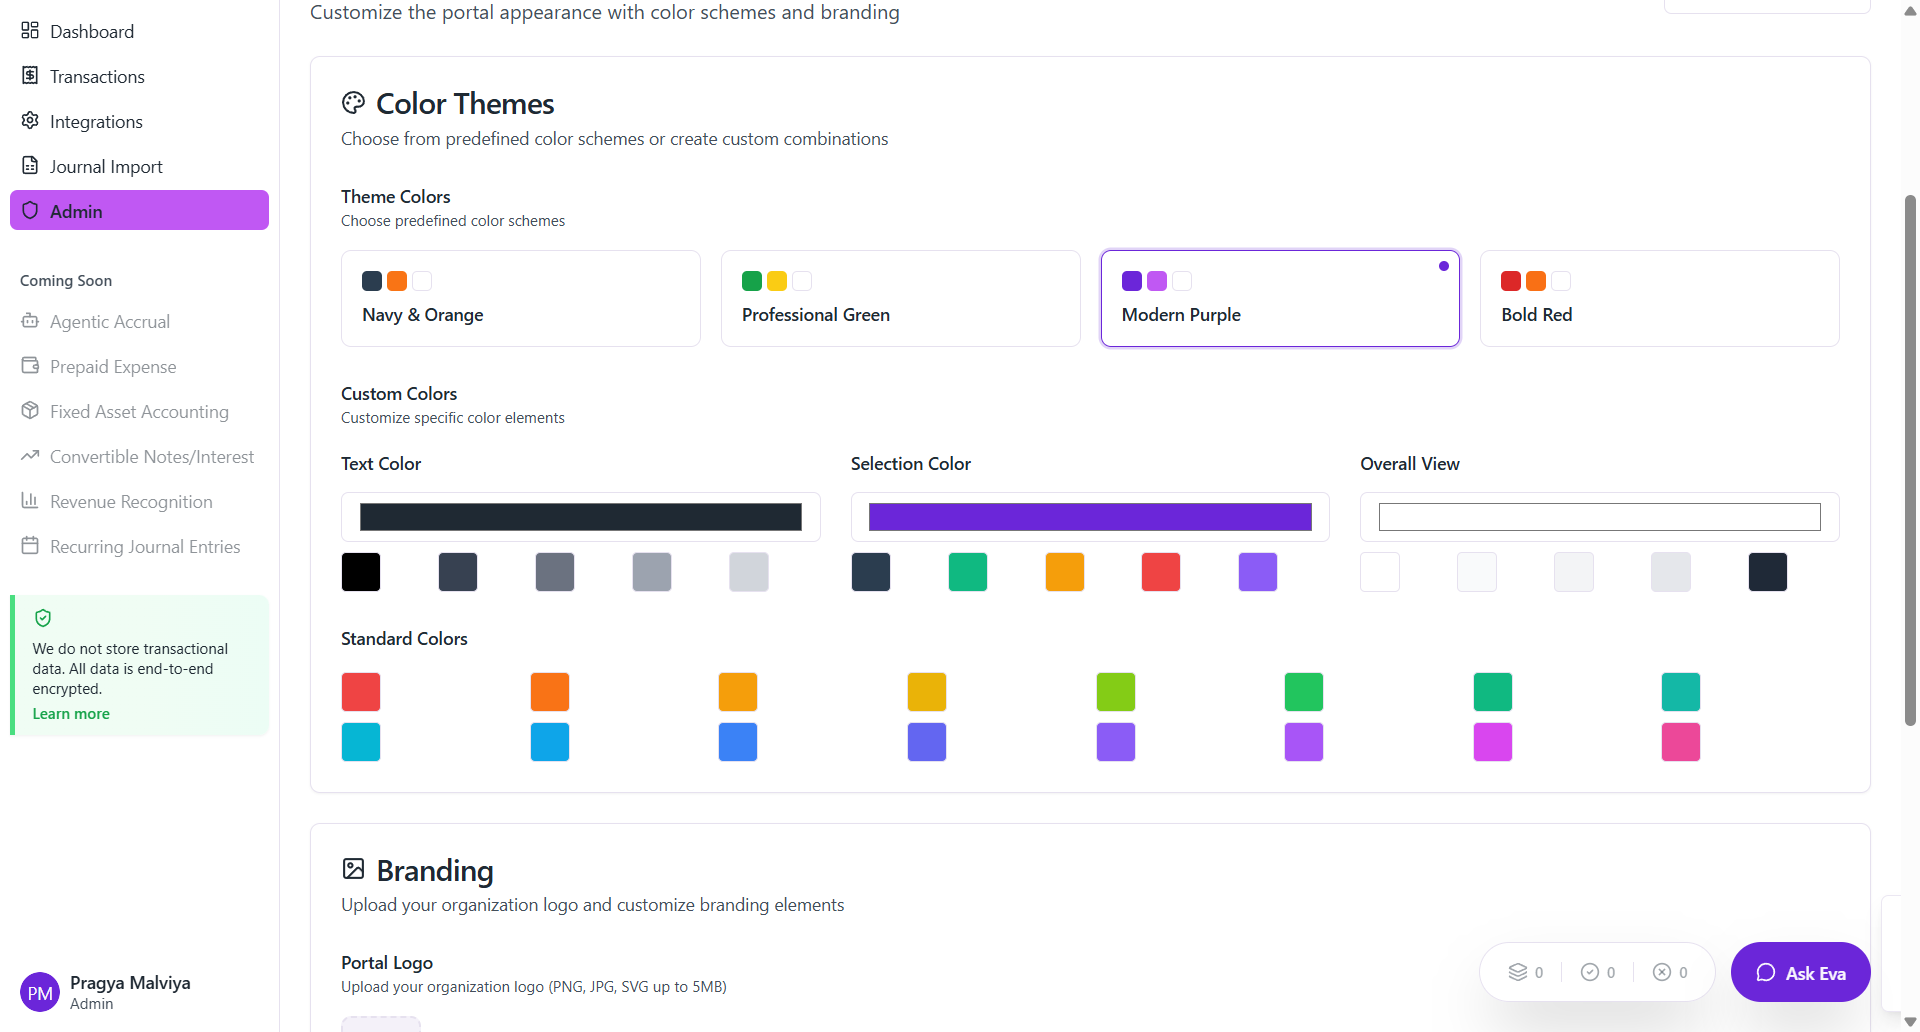
From here, we can select the overall view.

The text preview updates to show your selected color in real-time. Use the color picker to choose a selection color that will be applied to text elements throughout the portal.
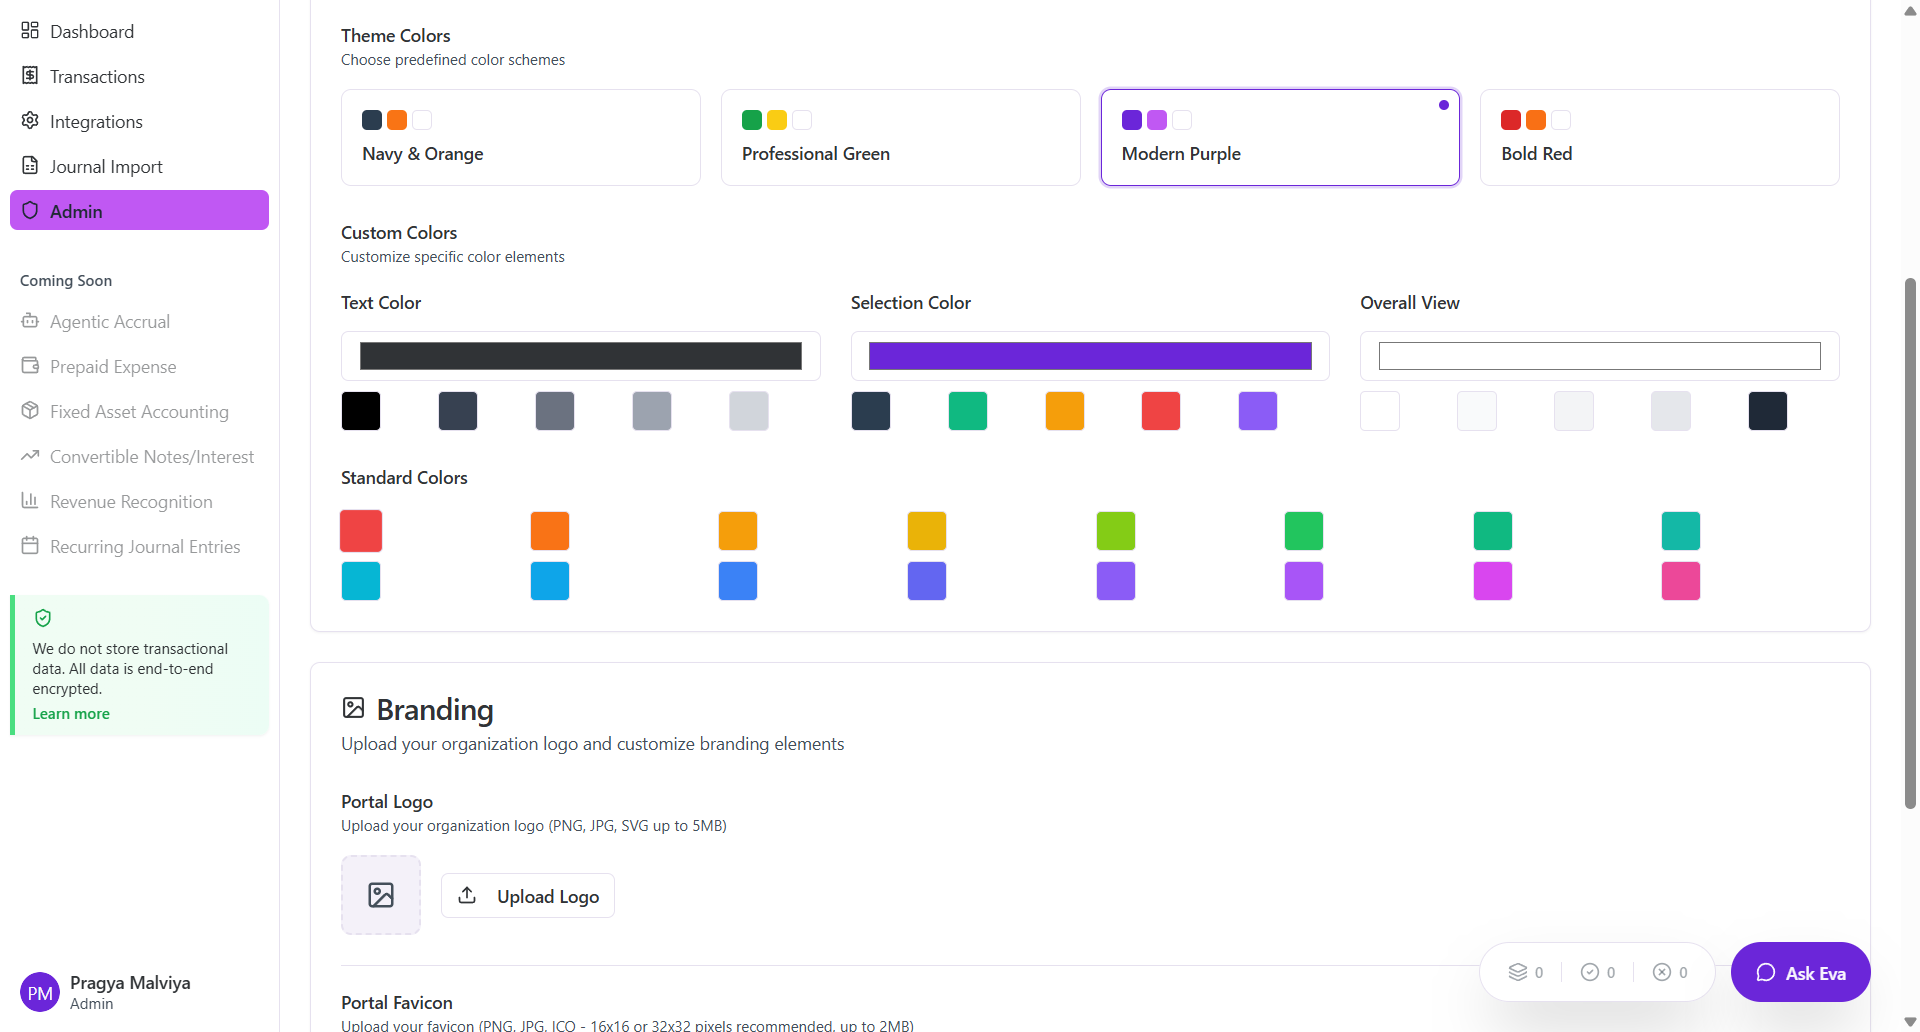
The branding section allows you to customize your portal's visual identity. Upload your company logo using the logo upload field, which will appear in the portal header and throughout the interface. Additionally, upload your favicon using the favicon upload field to display your branded icon in browser tabs and bookmarks.
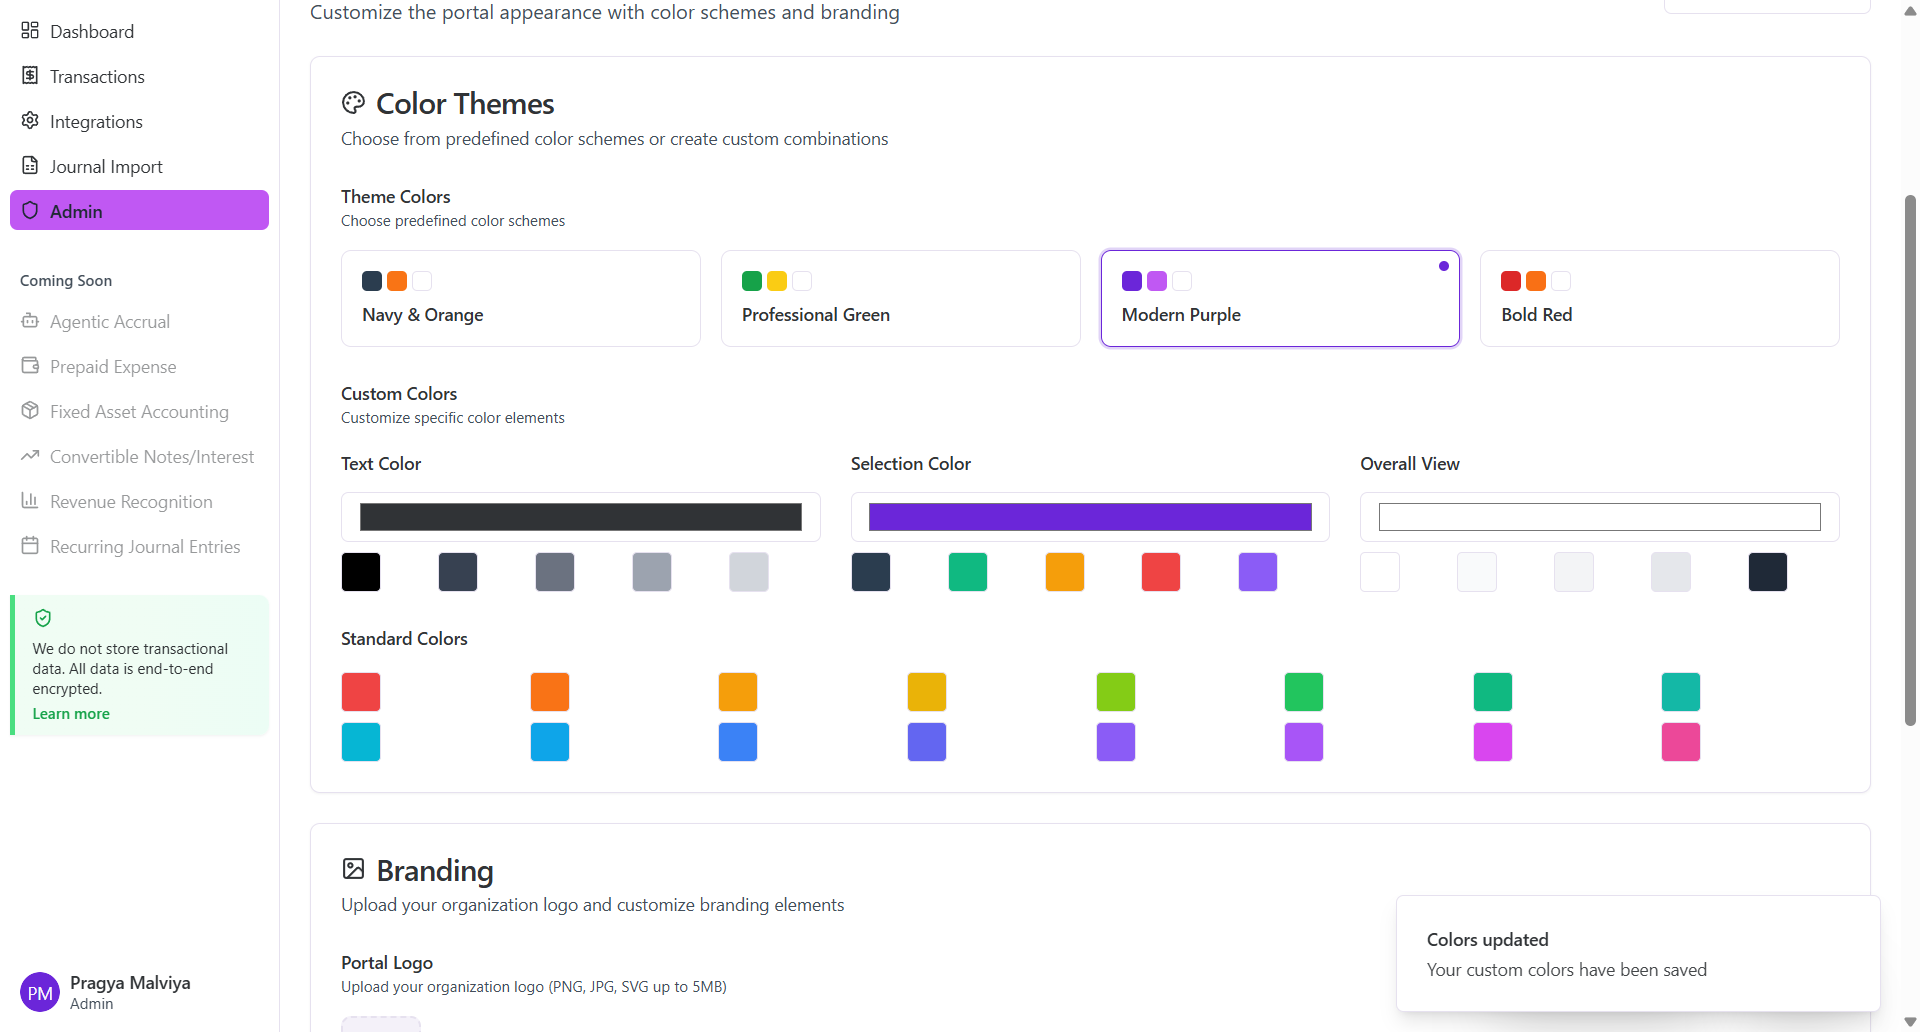
This completes the portal customization process. Your branding elements and color preferences are now applied across the entire portal, creating a cohesive branded experience for all users.