
Post-Diligence Update with TPR Data
Learn how to update post-diligence tapes with TPR data prior to settlement using Morgan Stanley supplemental tapes and Eddy Tools comparison macros.
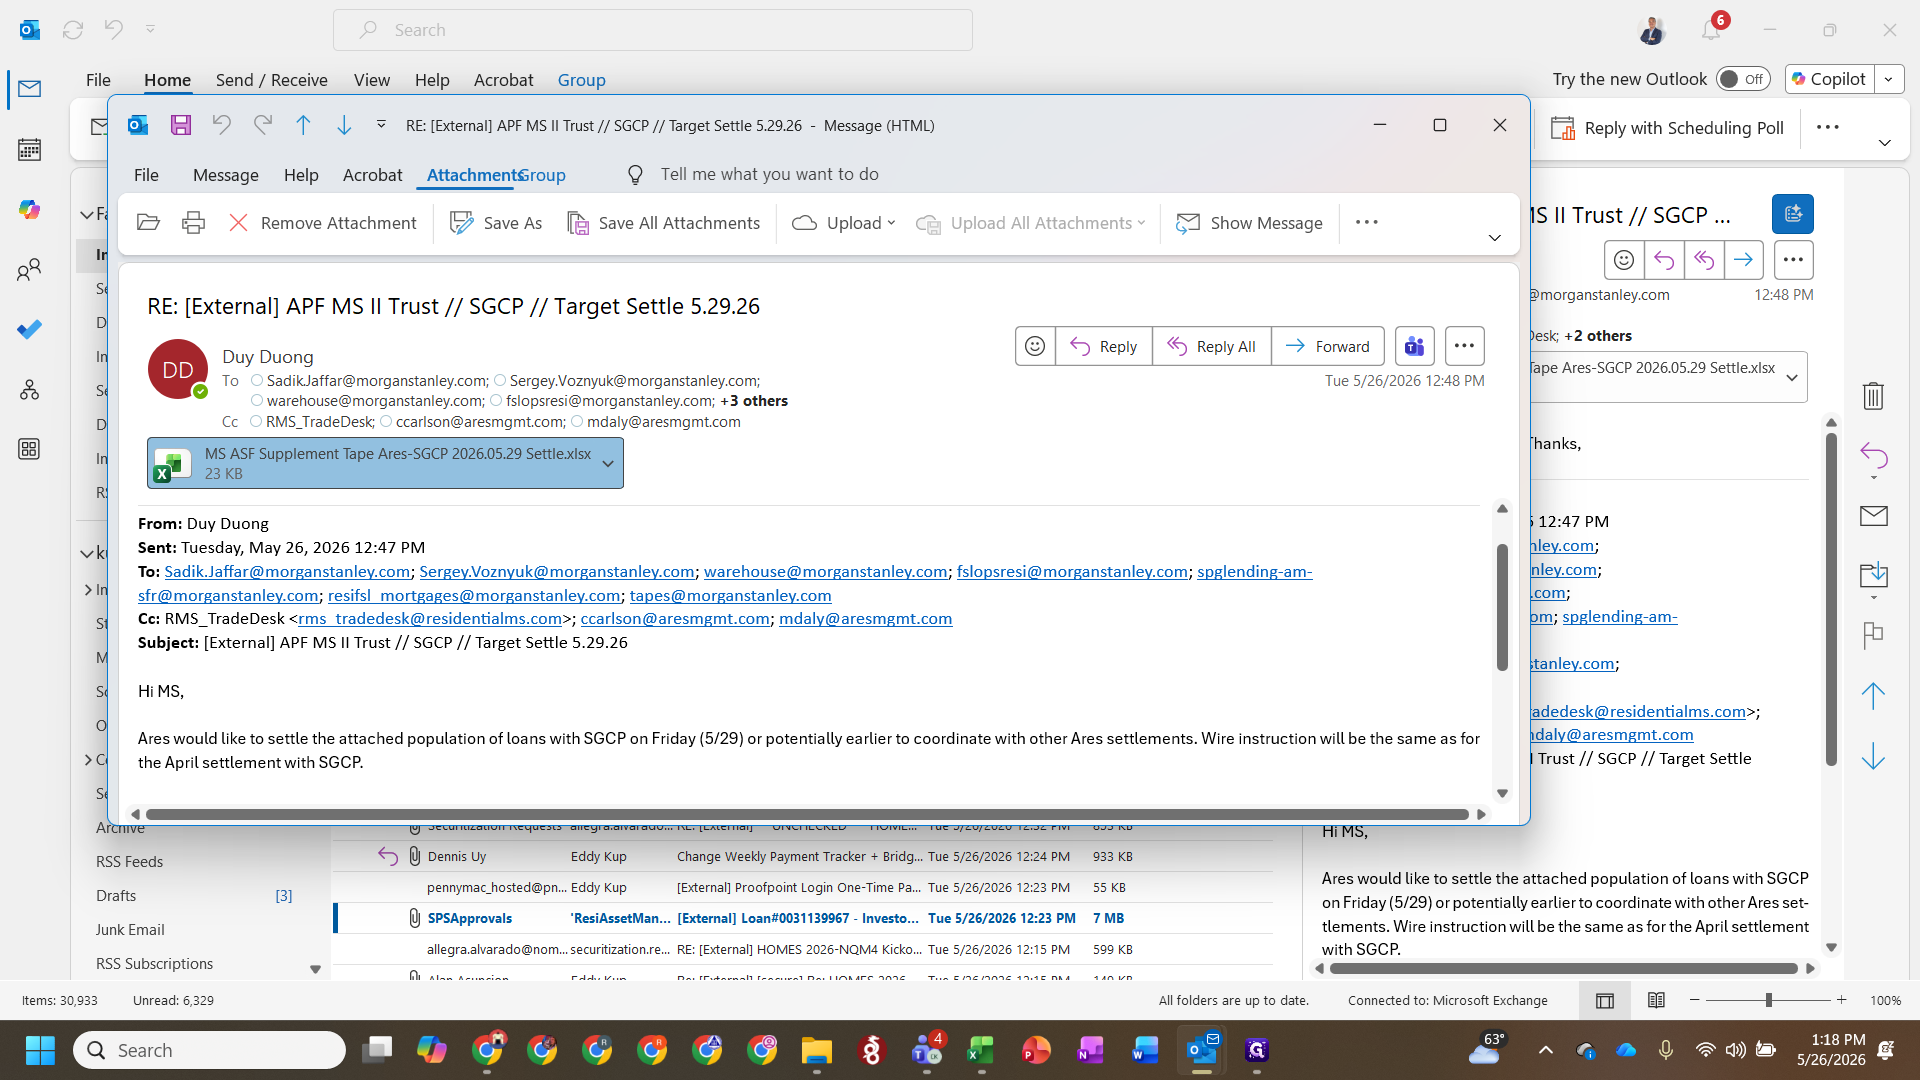
This guide explains how to update post-diligence tapes with Third-Party Review (TPR) data prior to settlement. Following these steps ensures your internal master databases are accurately synced with the supplemental tapes provided for funding.
This workflow is intended for operations and post-closing analysts who manage data reconciliation prior to loan settlement.
1. Cross-Reference the Target Population
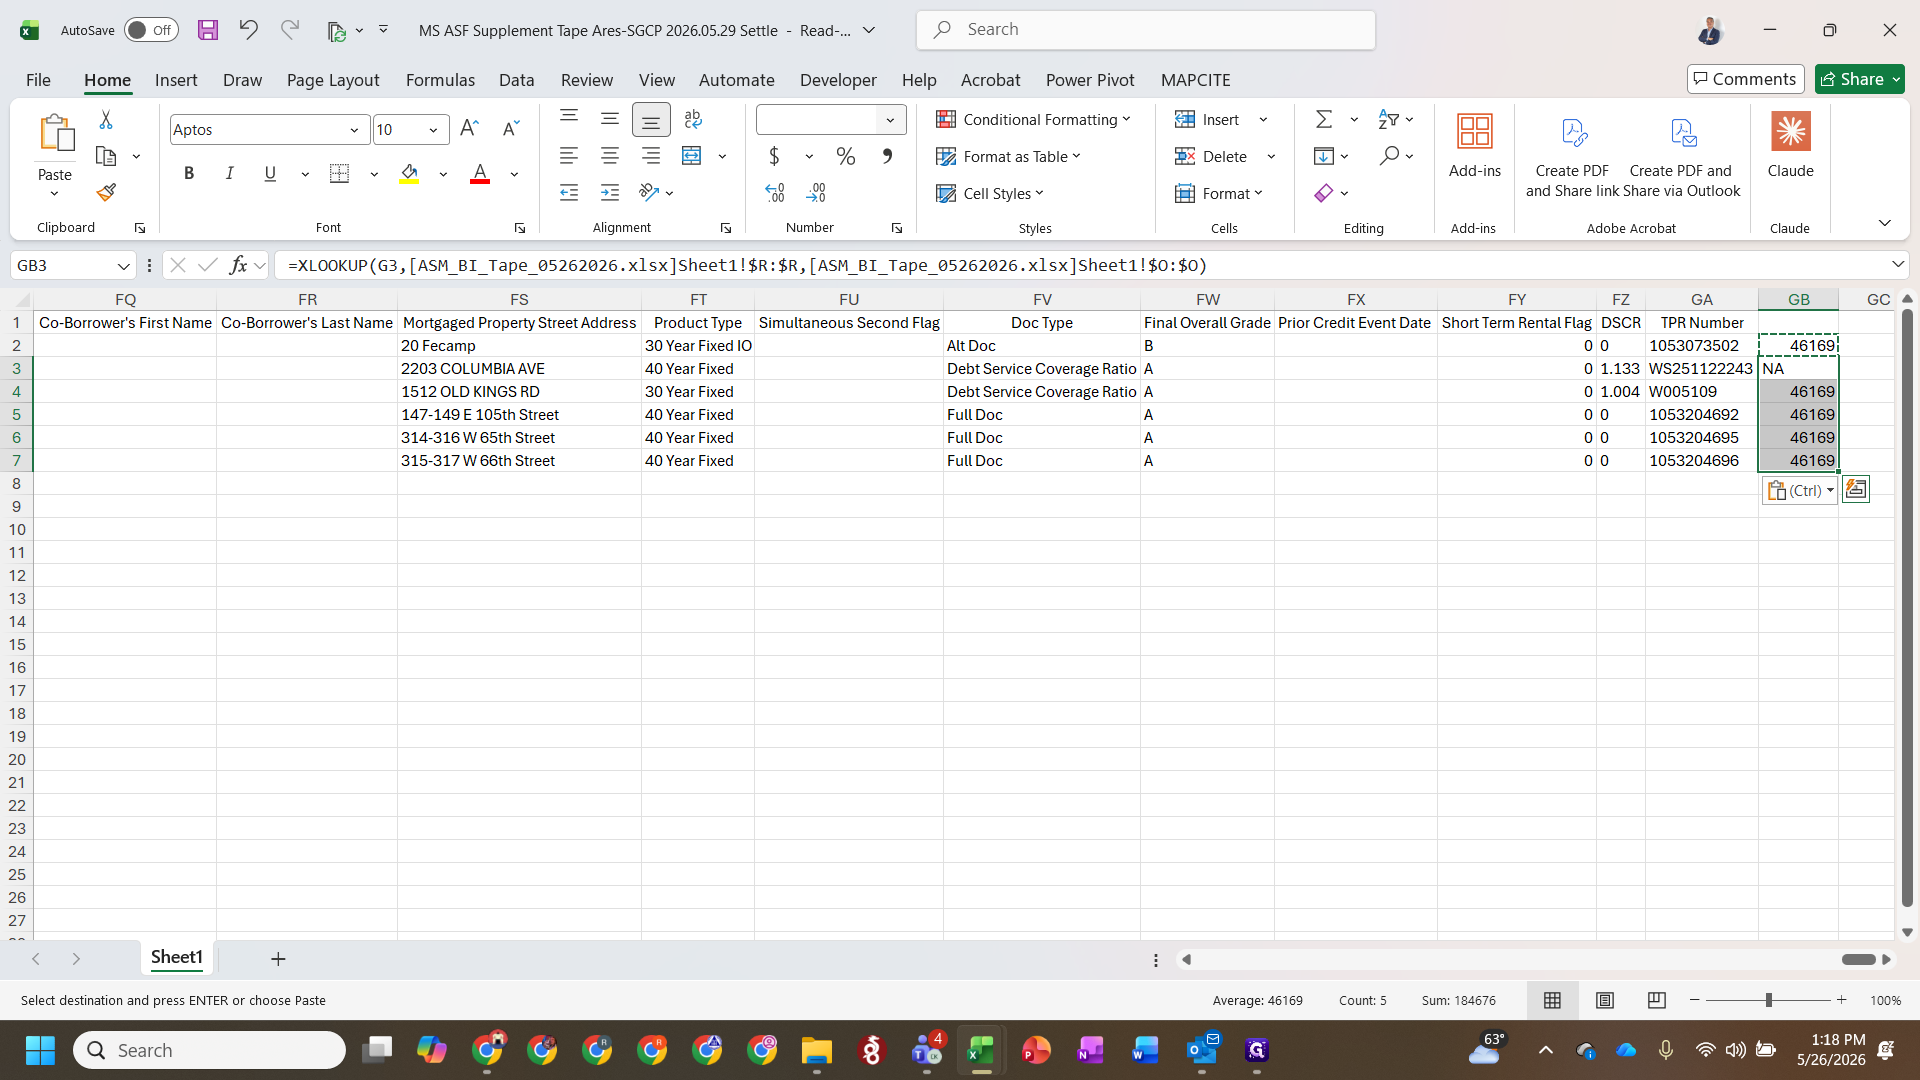
XLOOKUP formula to cross-reference the seller loans from the supplemental tape.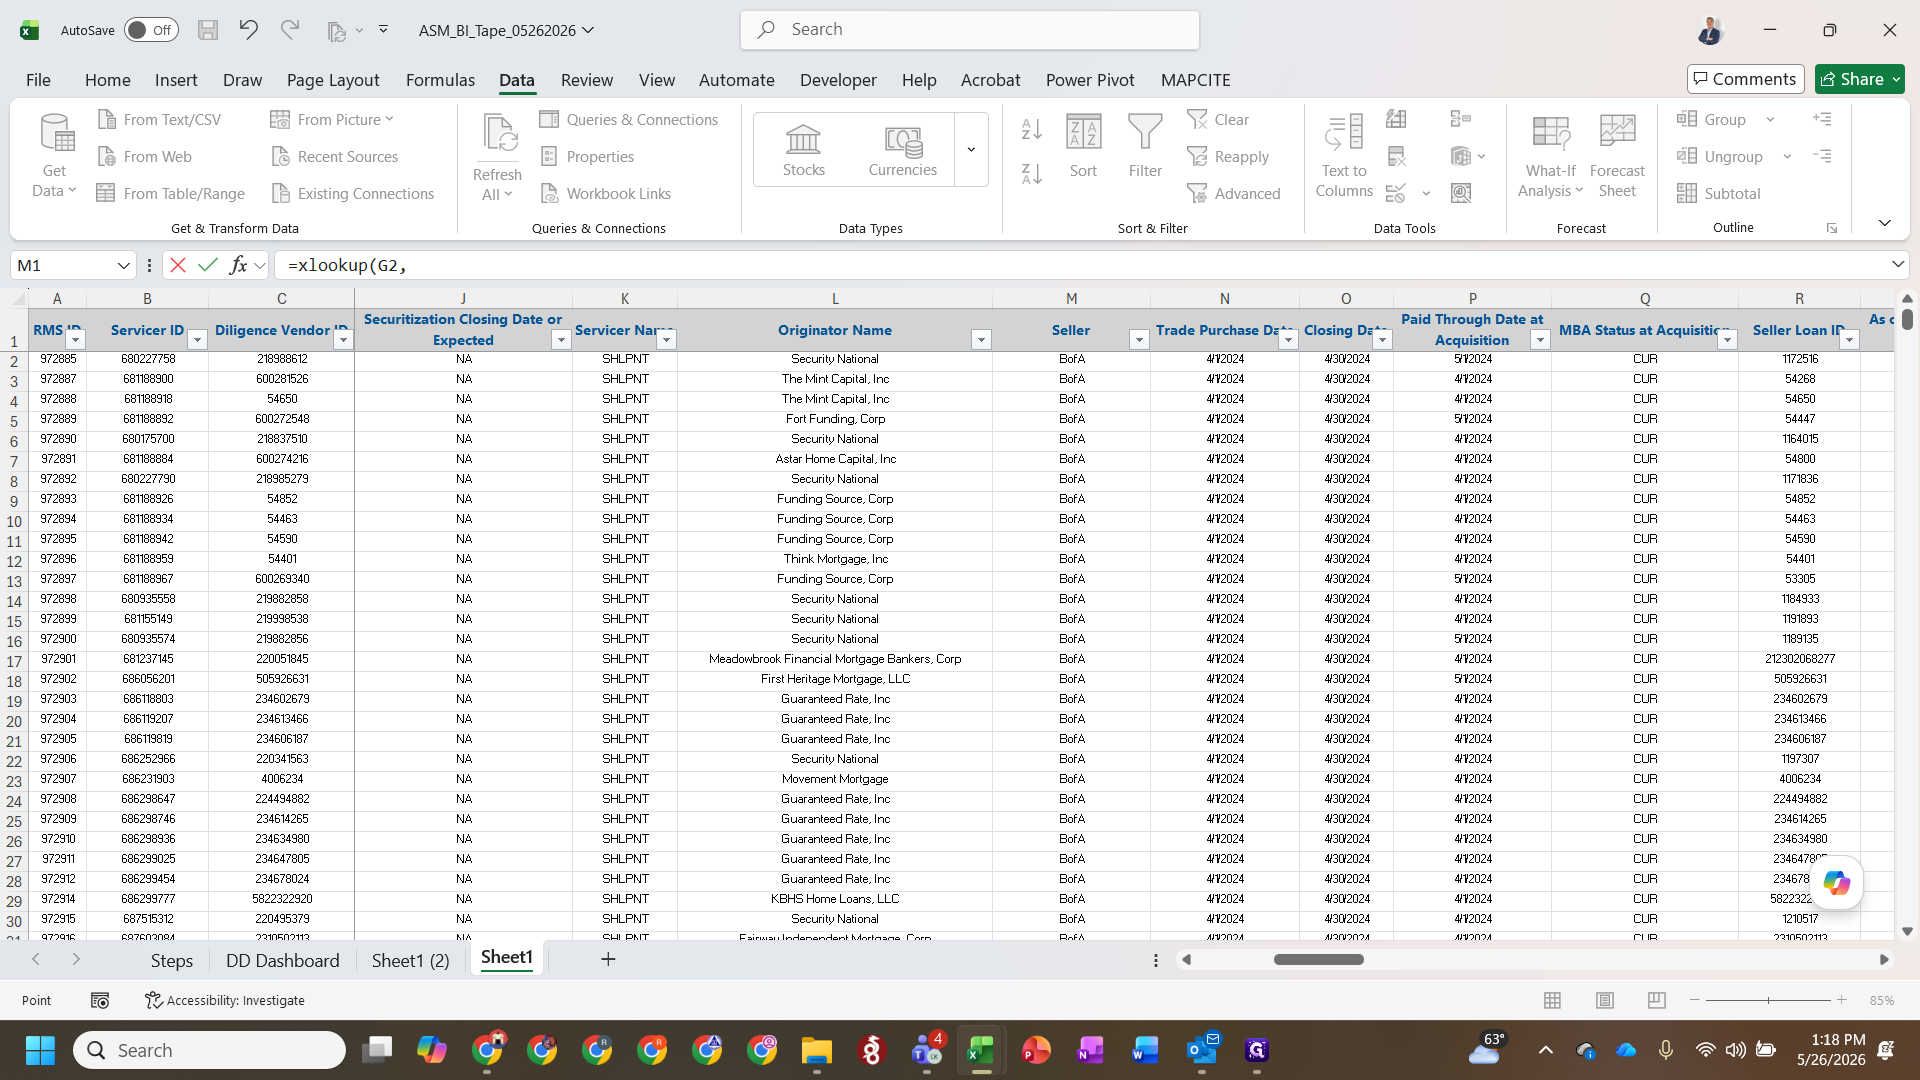
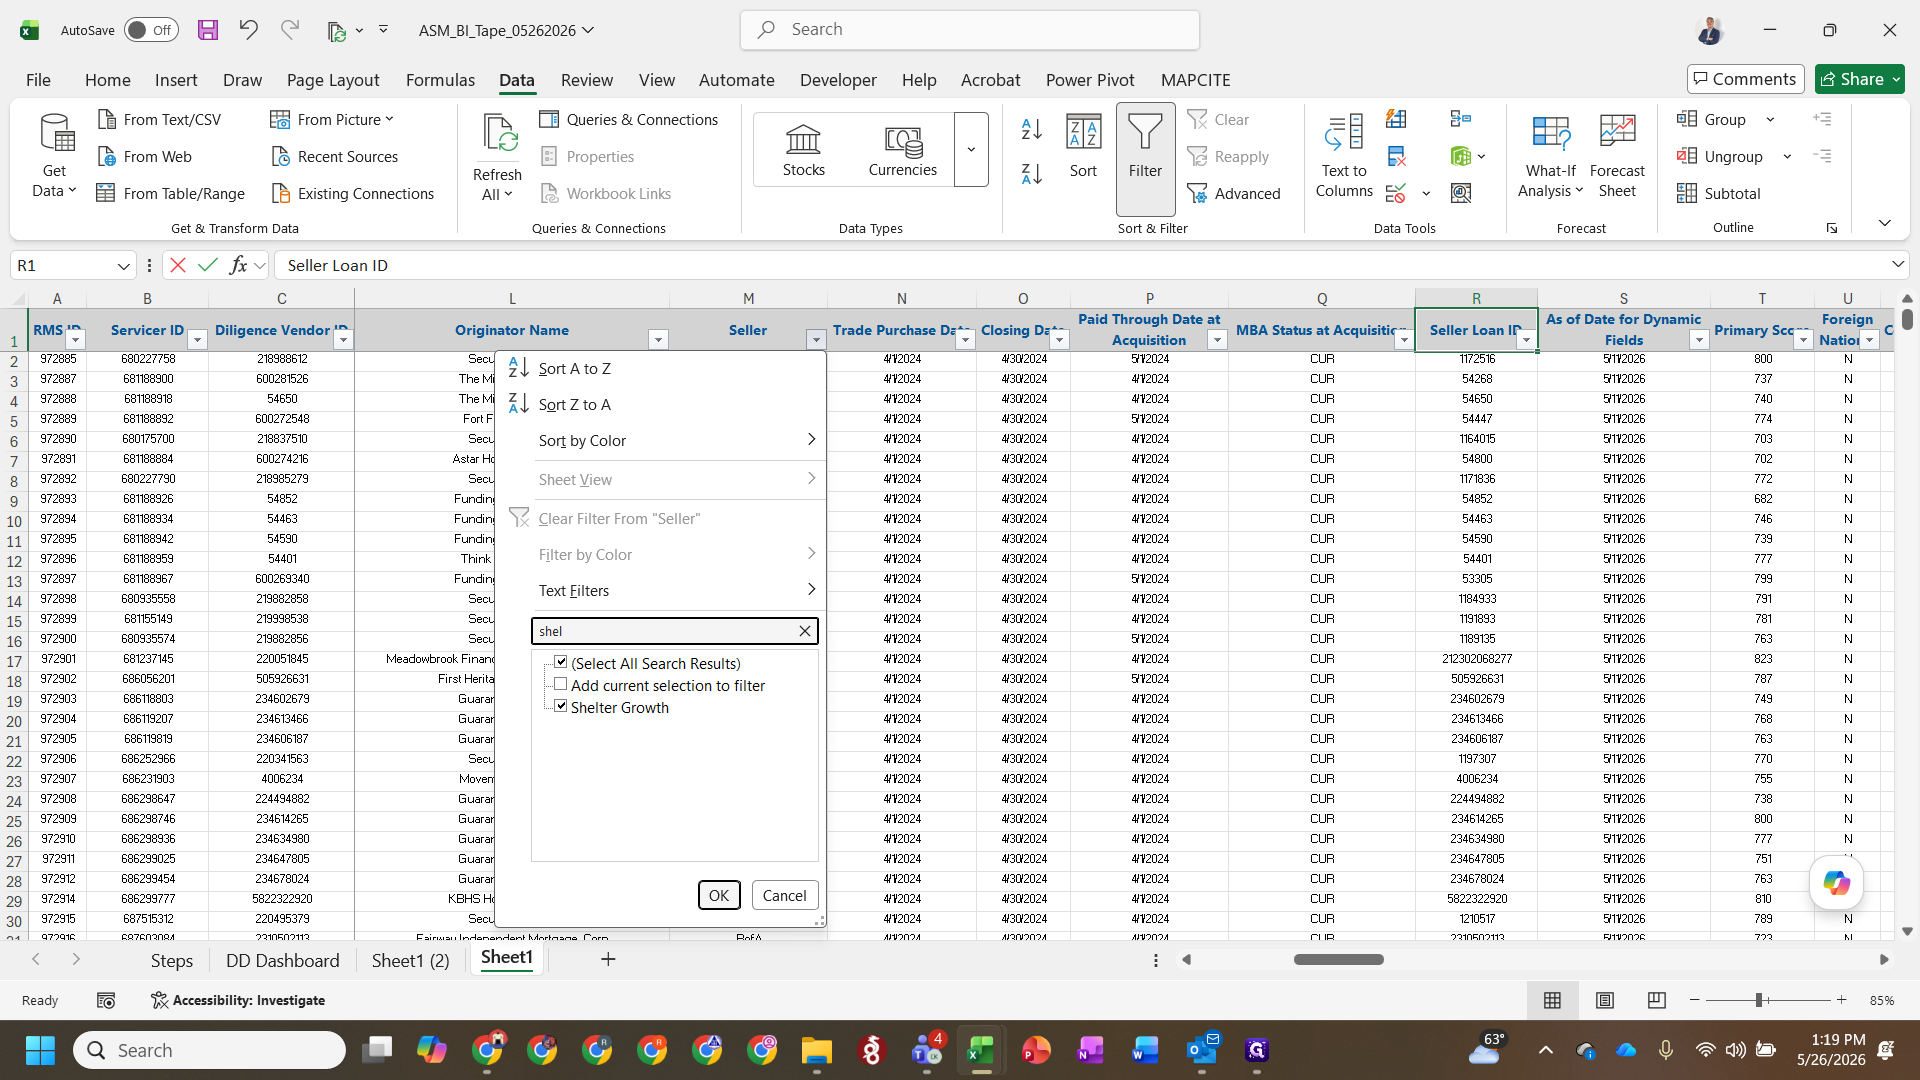
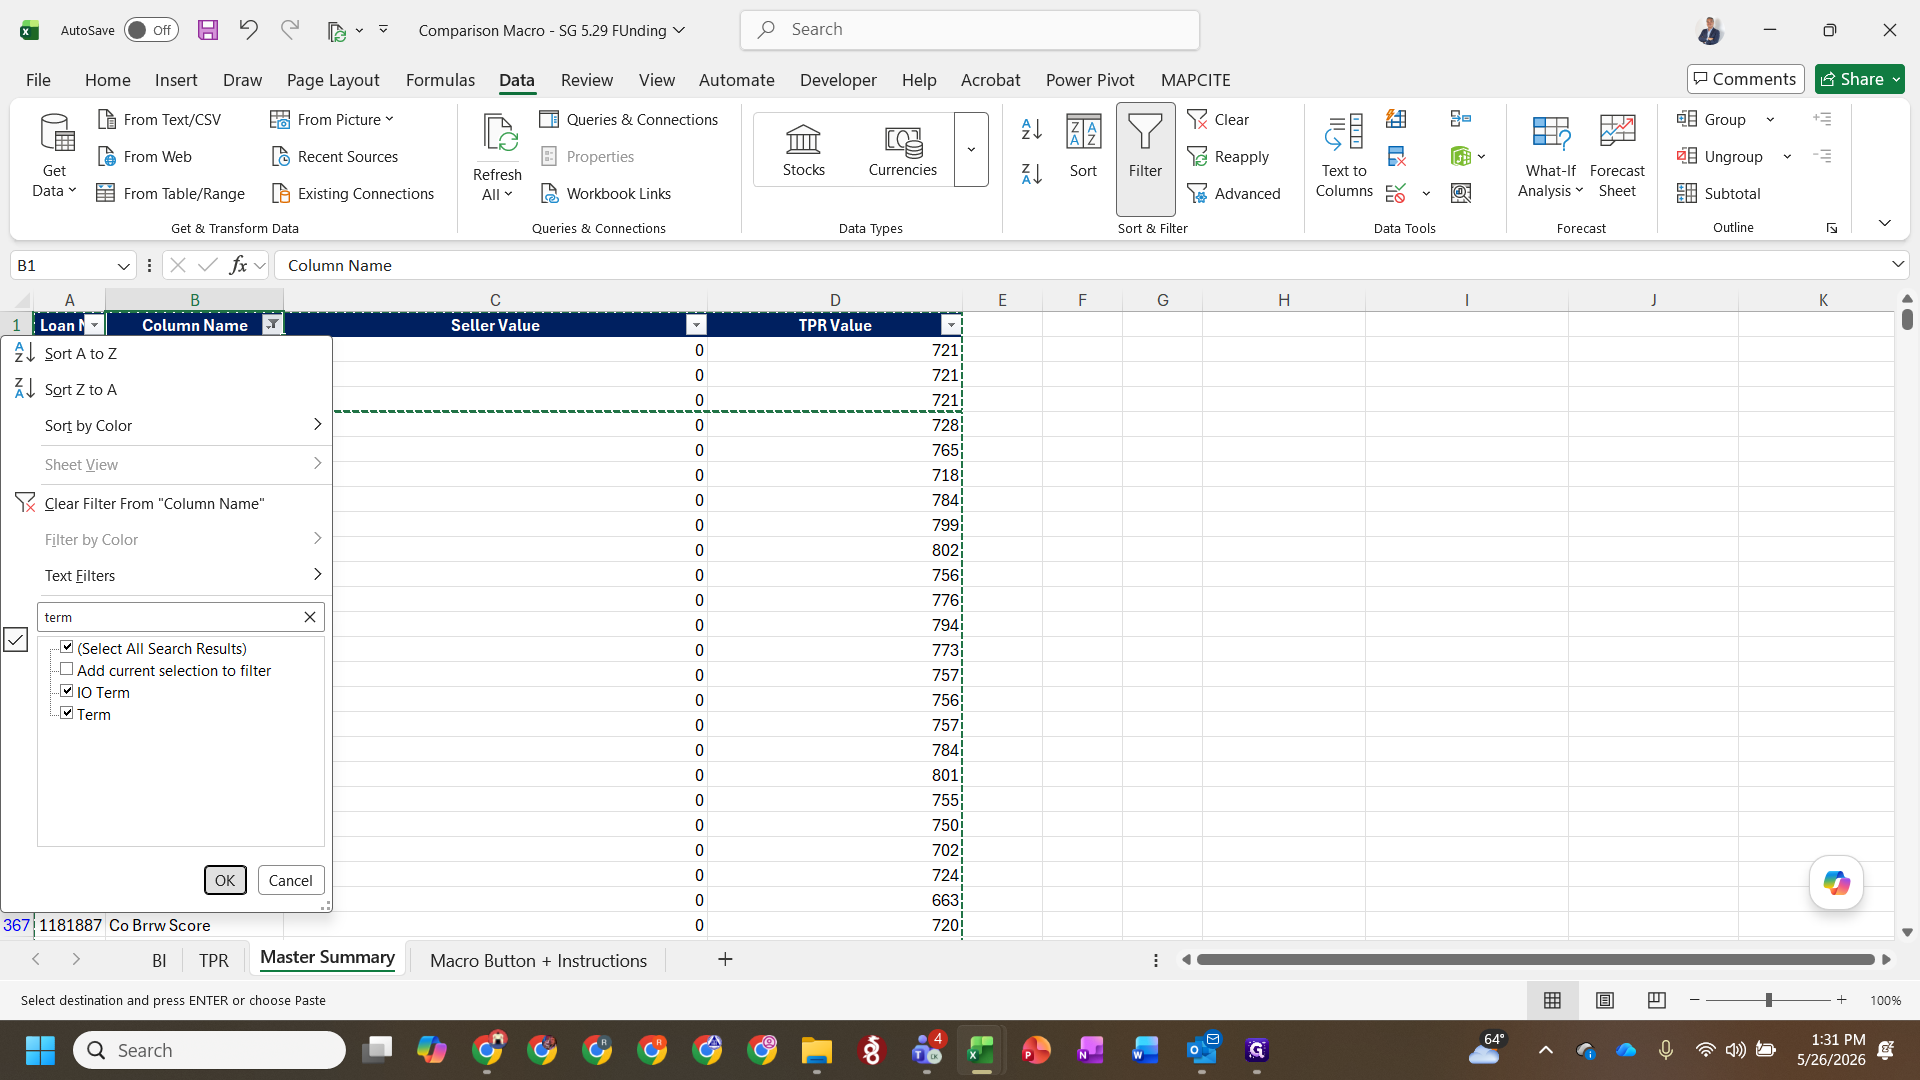
2. Isolate the Target Funding Population
Column | Filter Value | Purpose |
|---|---|---|
Seller | Target seller (e.g., "Shelter Growth") | Narrows the tape down to the specific client. |
Paid Through Date at Acquisition |
| Identifies loans that do not currently have a closing date. |
Closing Date | Target funding date (e.g., | Isolates loans specifically submitted for the target settlement. |
MBA Status at Acquisition |
| Filters out inactive loans to only show active target records. |
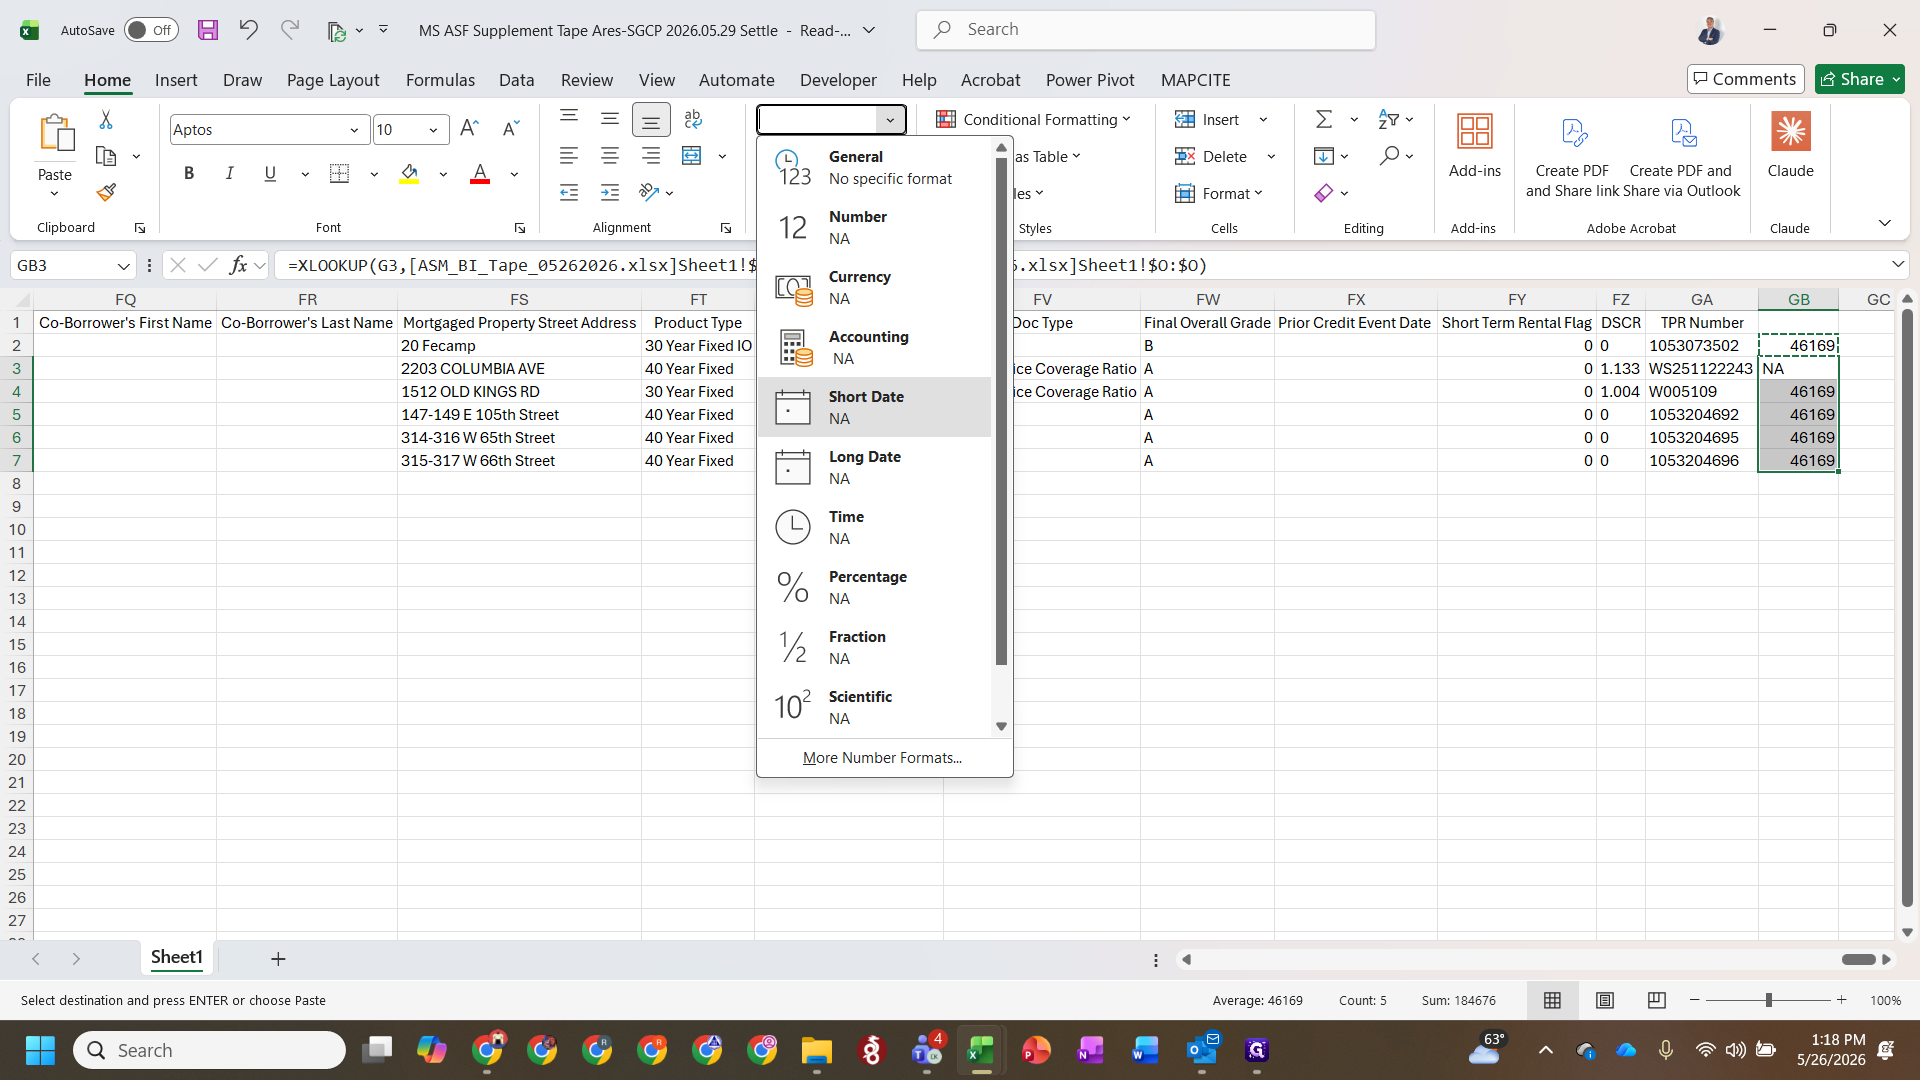
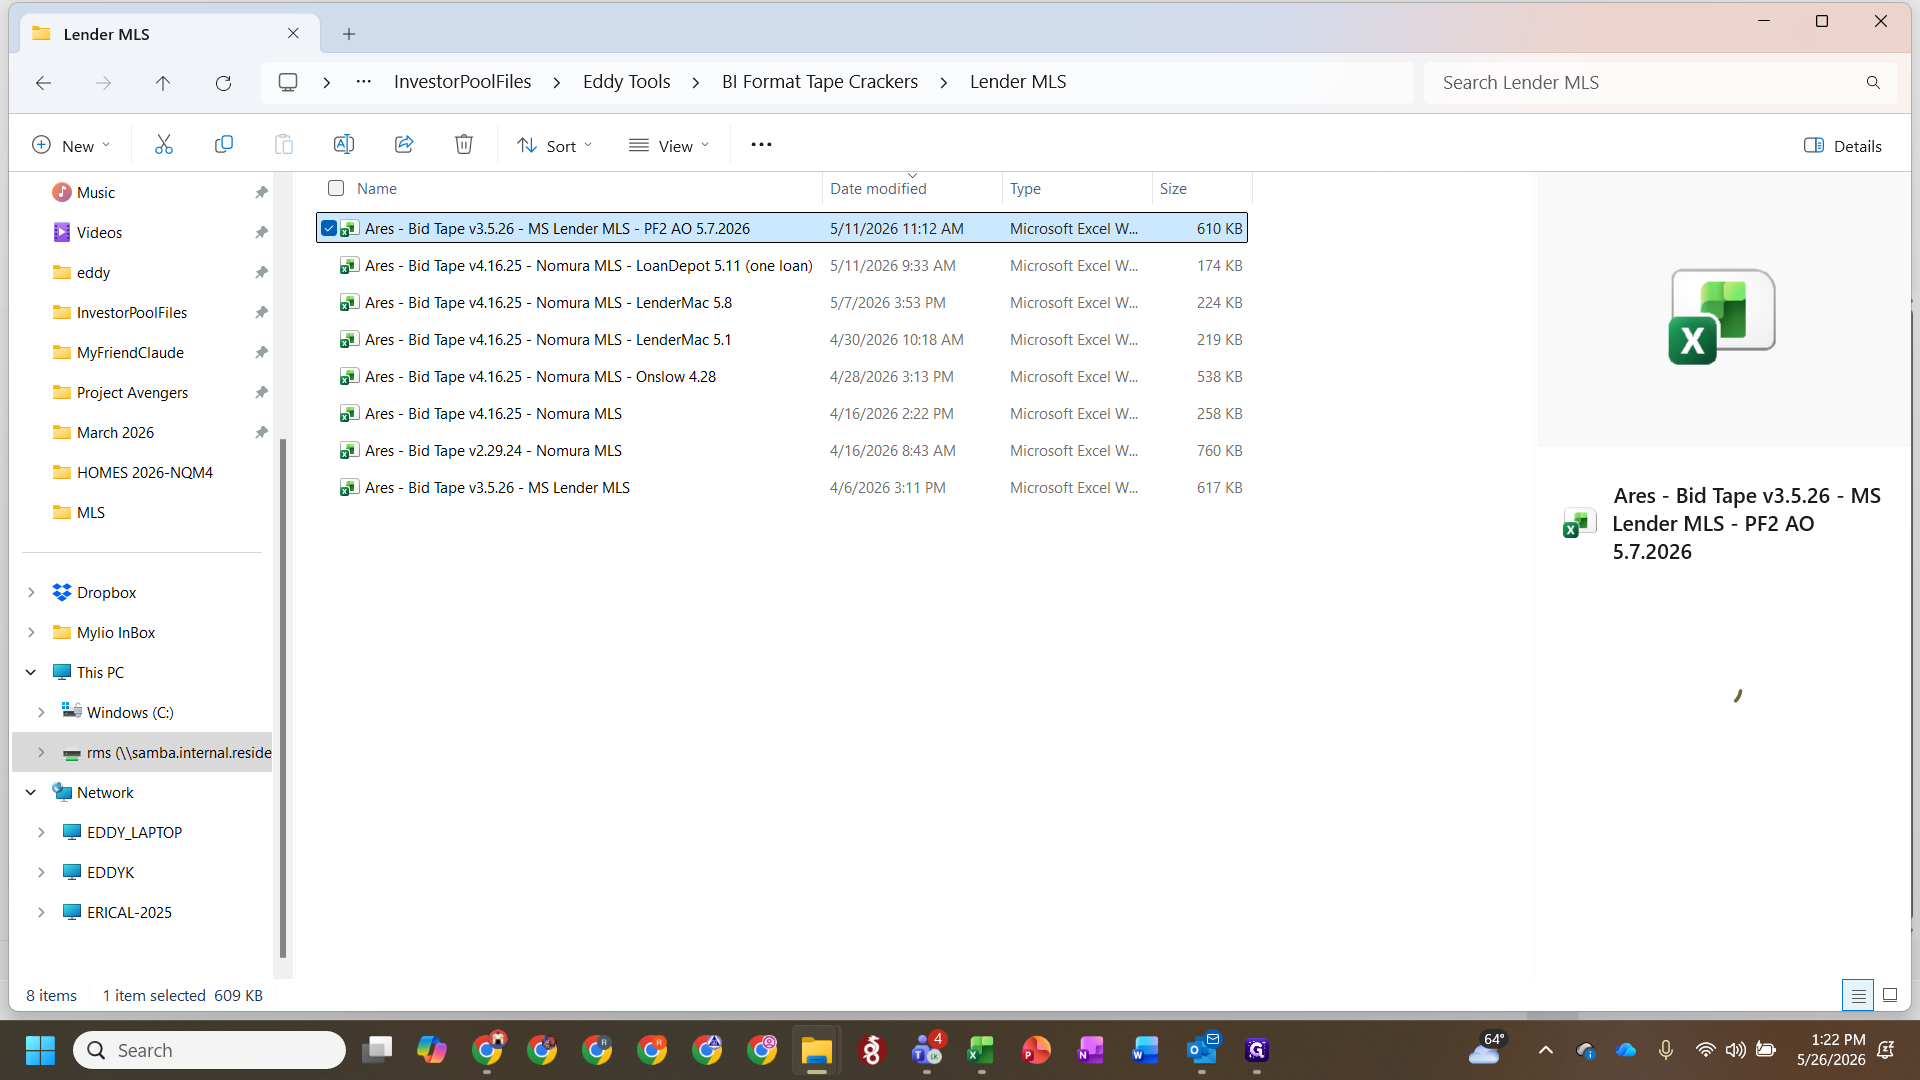
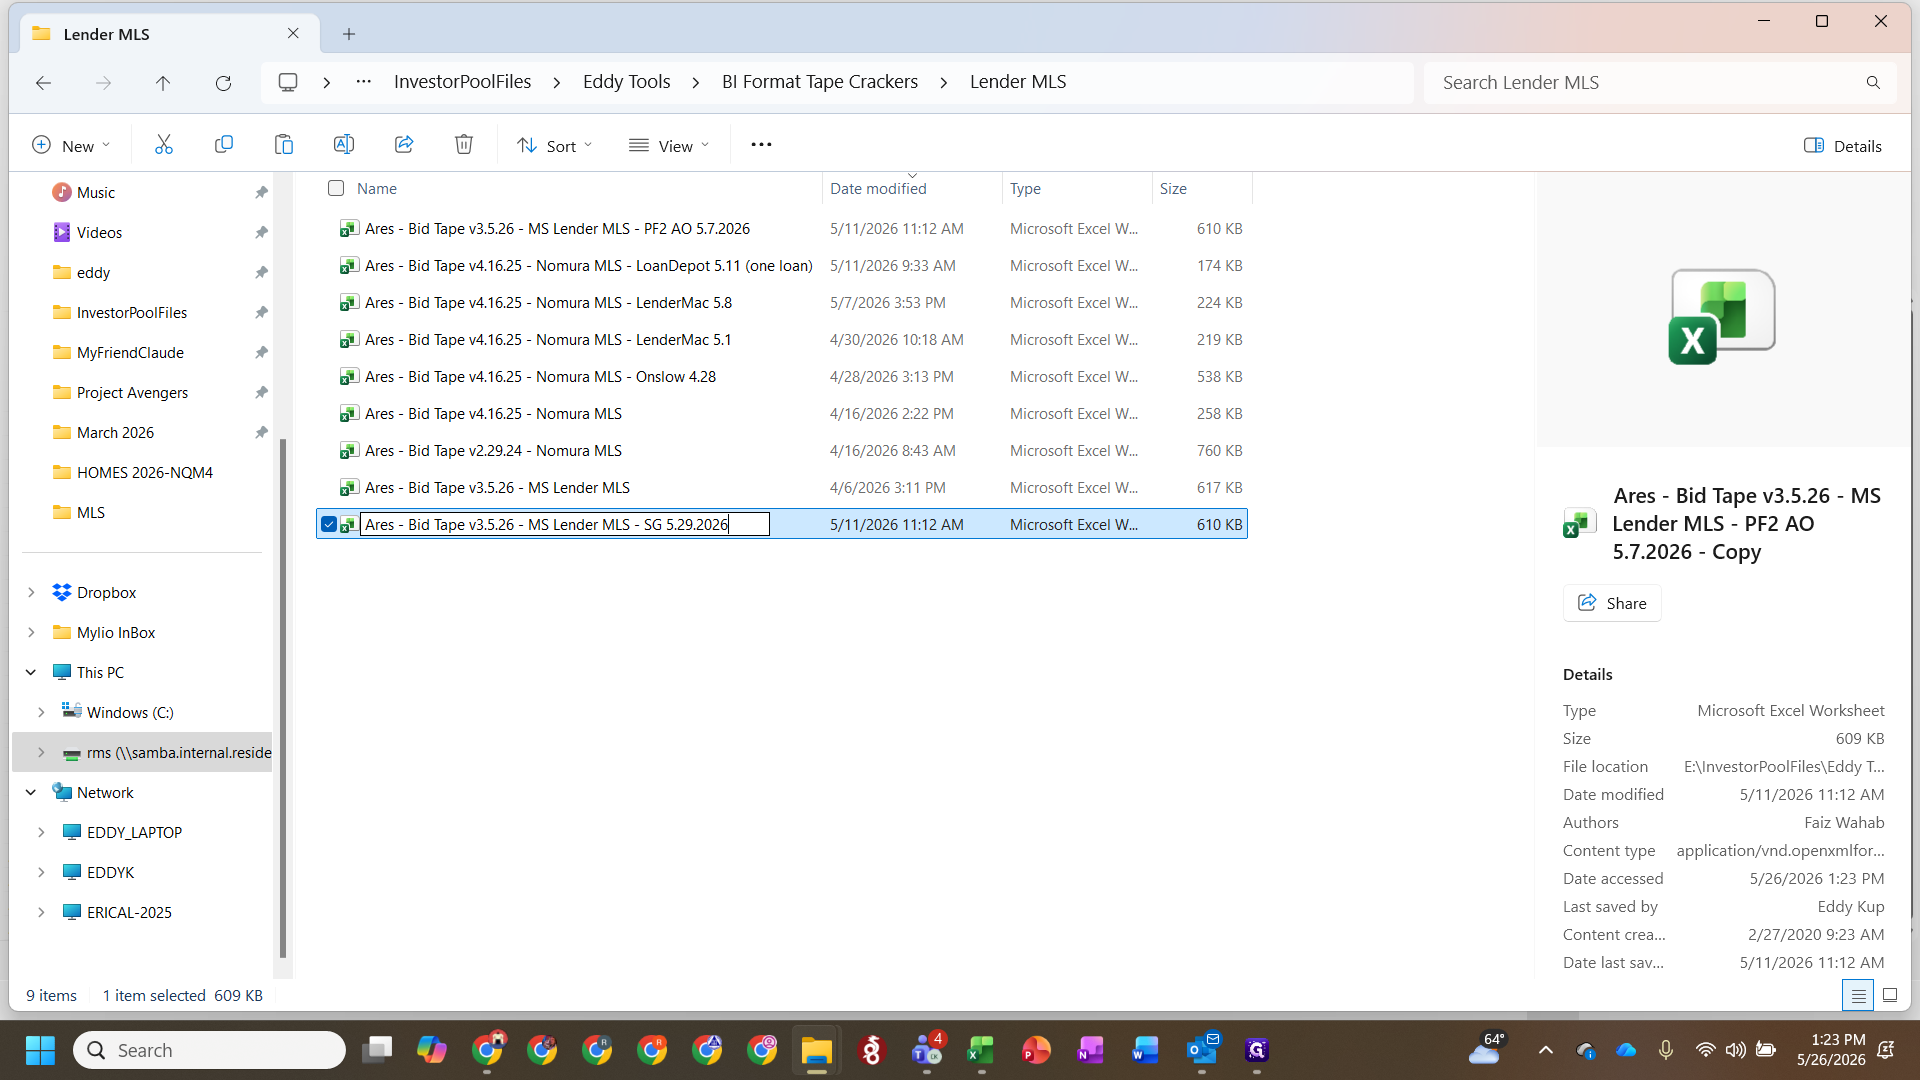
3. Prepare the Bid Tape Template
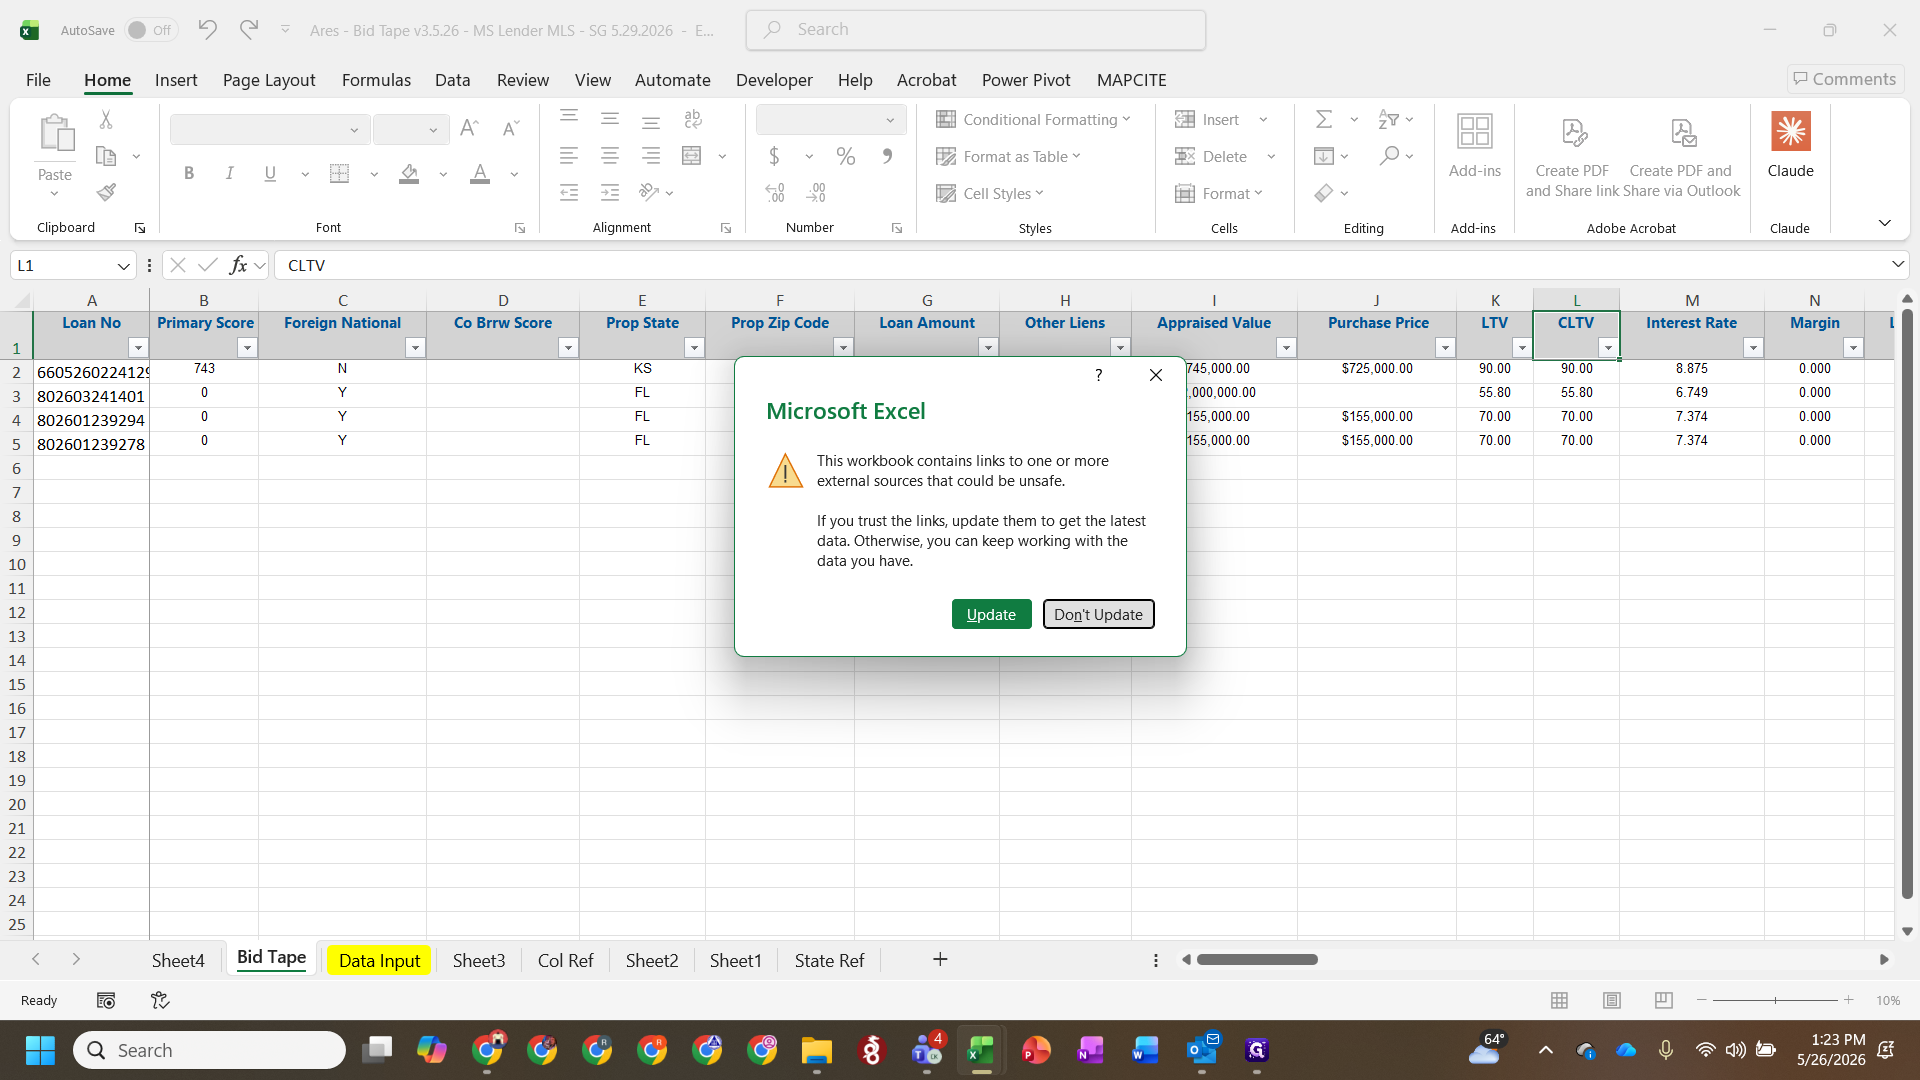
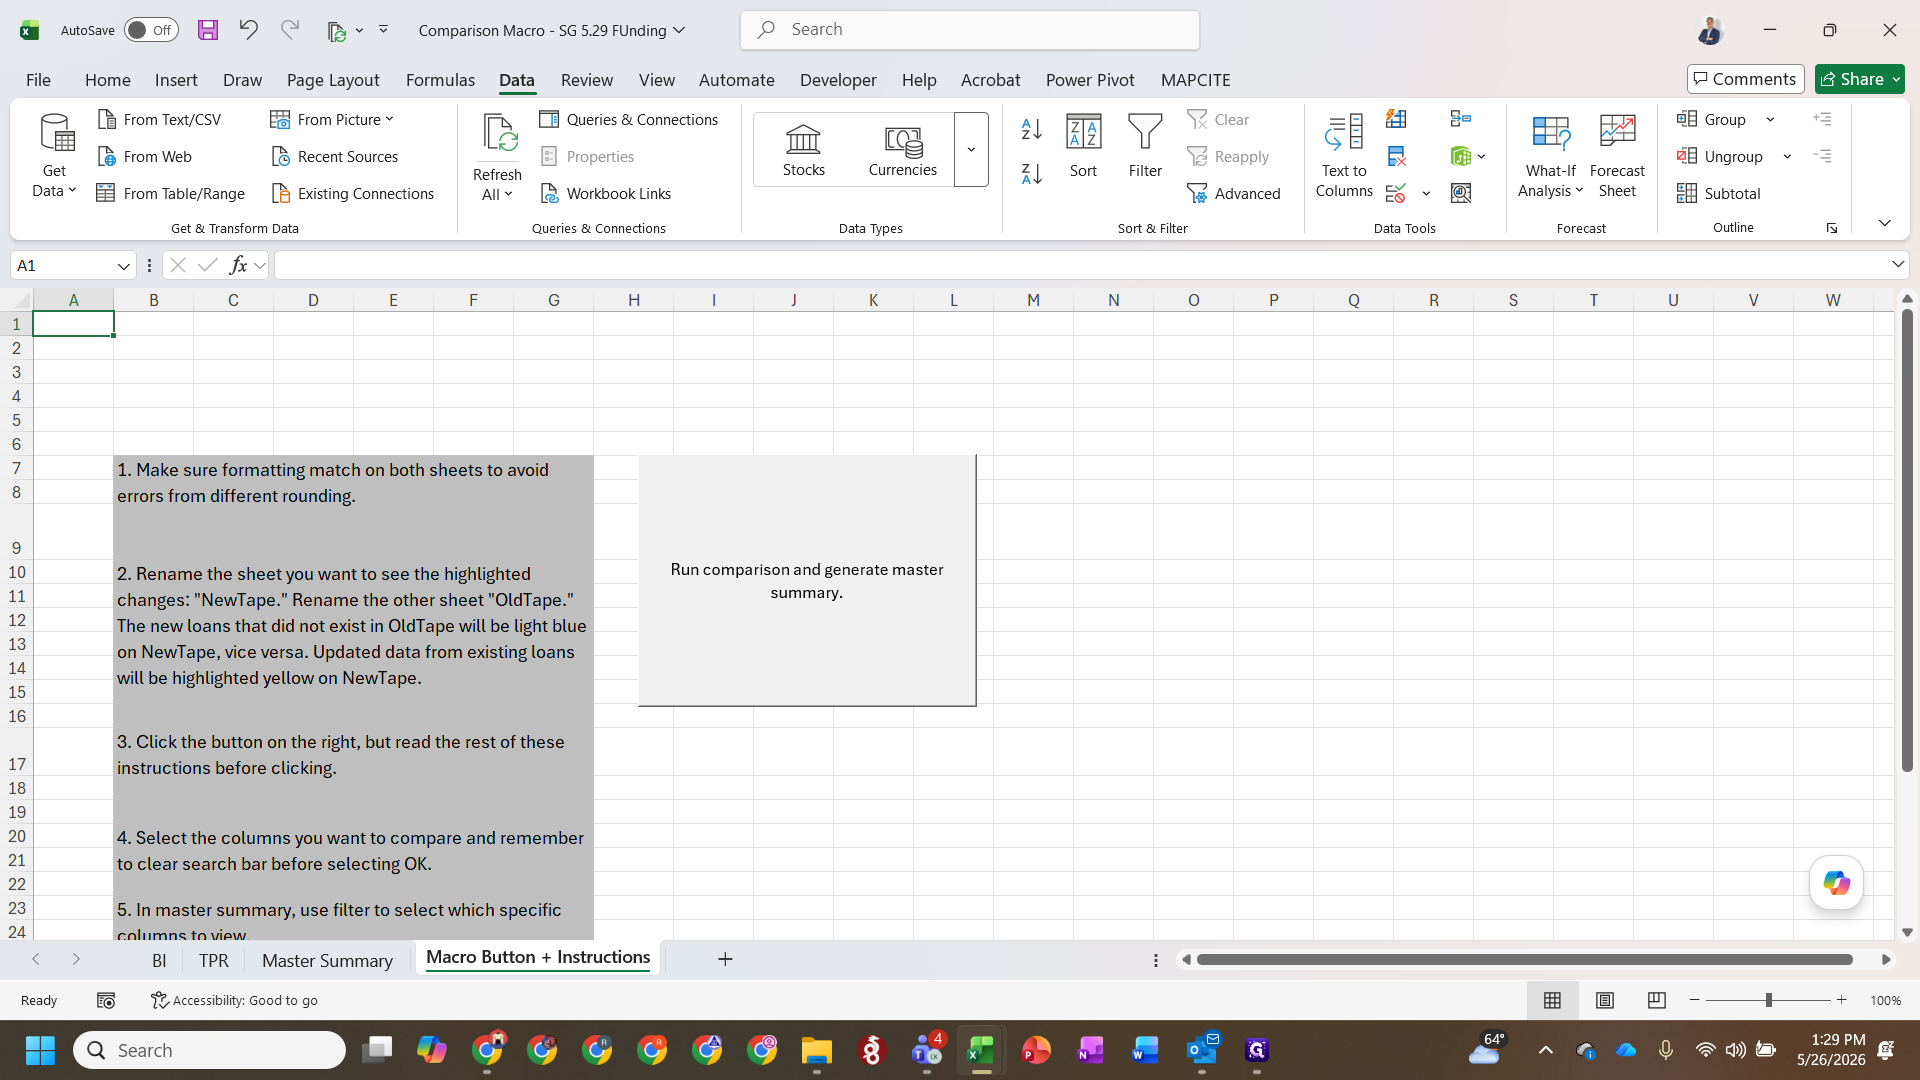
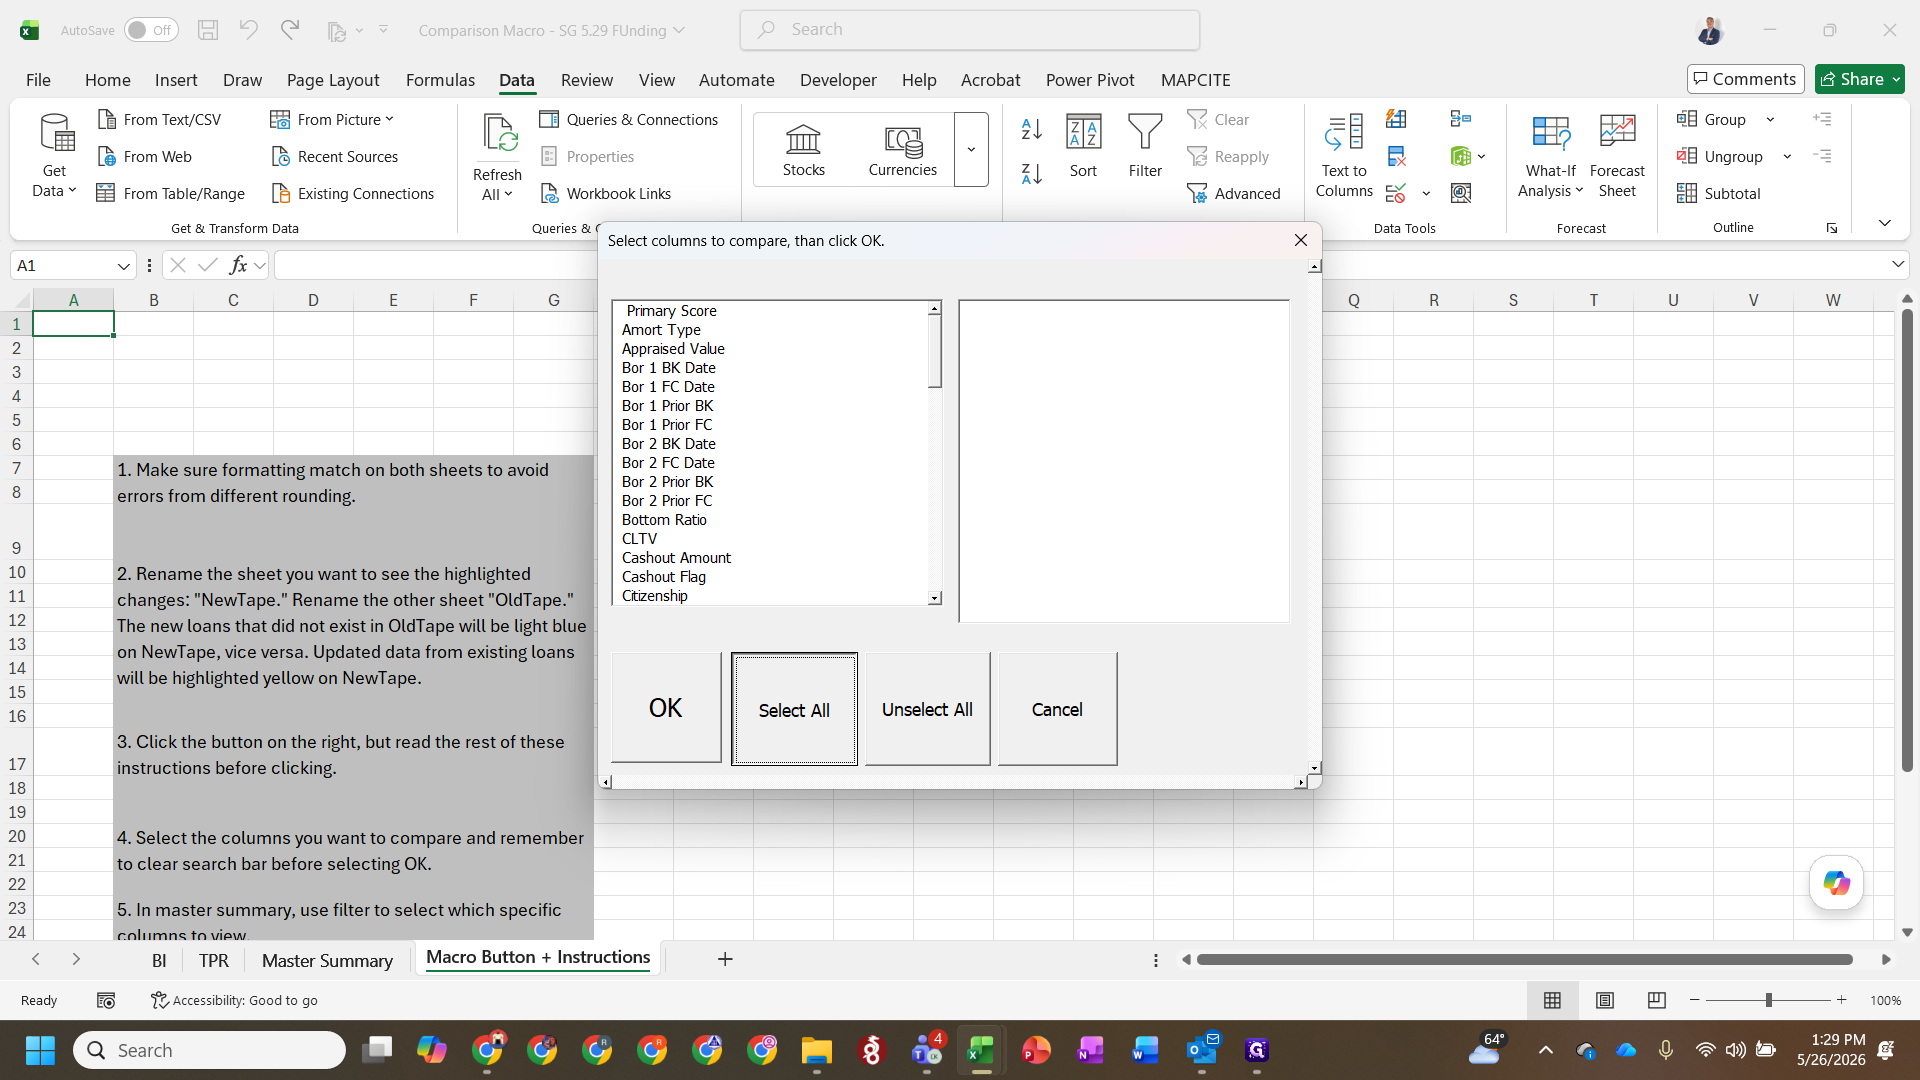
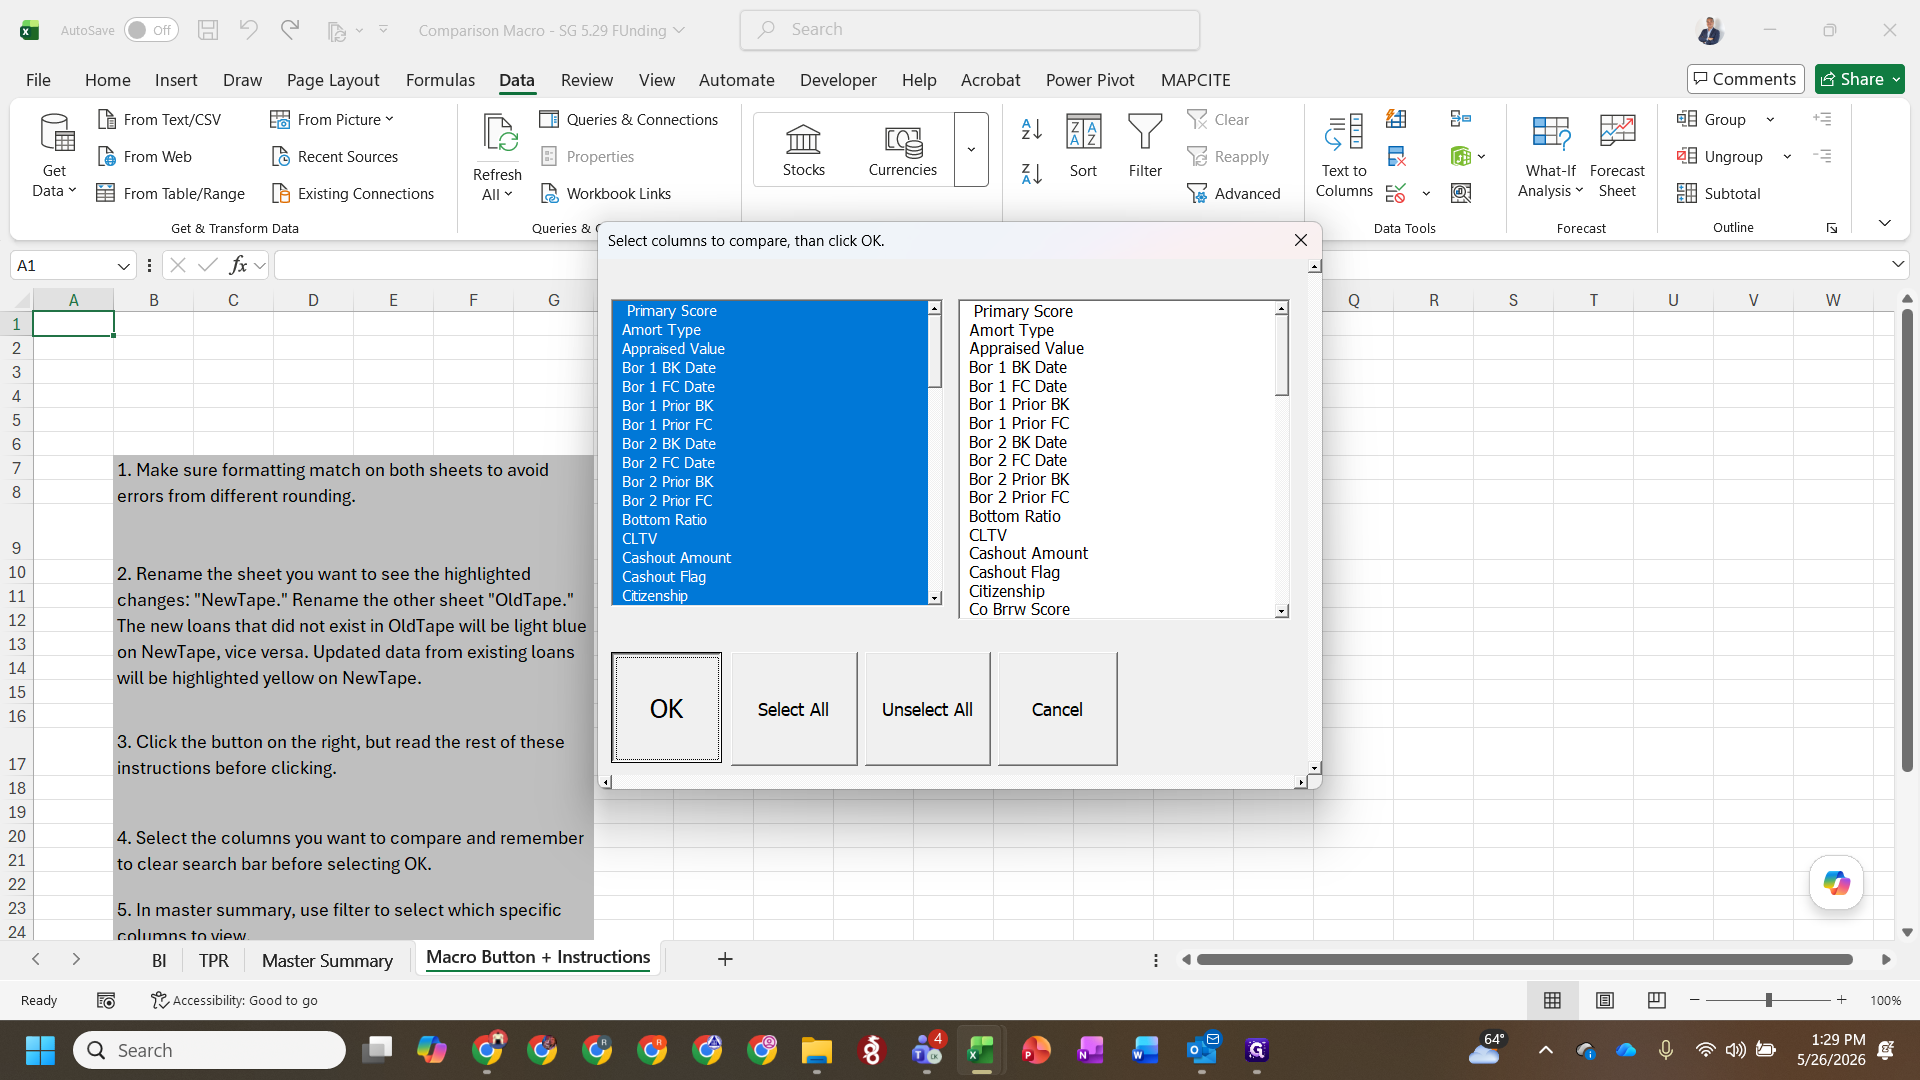
4. Map Values and Run Comparison Macro
IF statement (e.g., =IF(A9=A1,0,1)) to ensure the column headers in the template align with the supplemental tape.
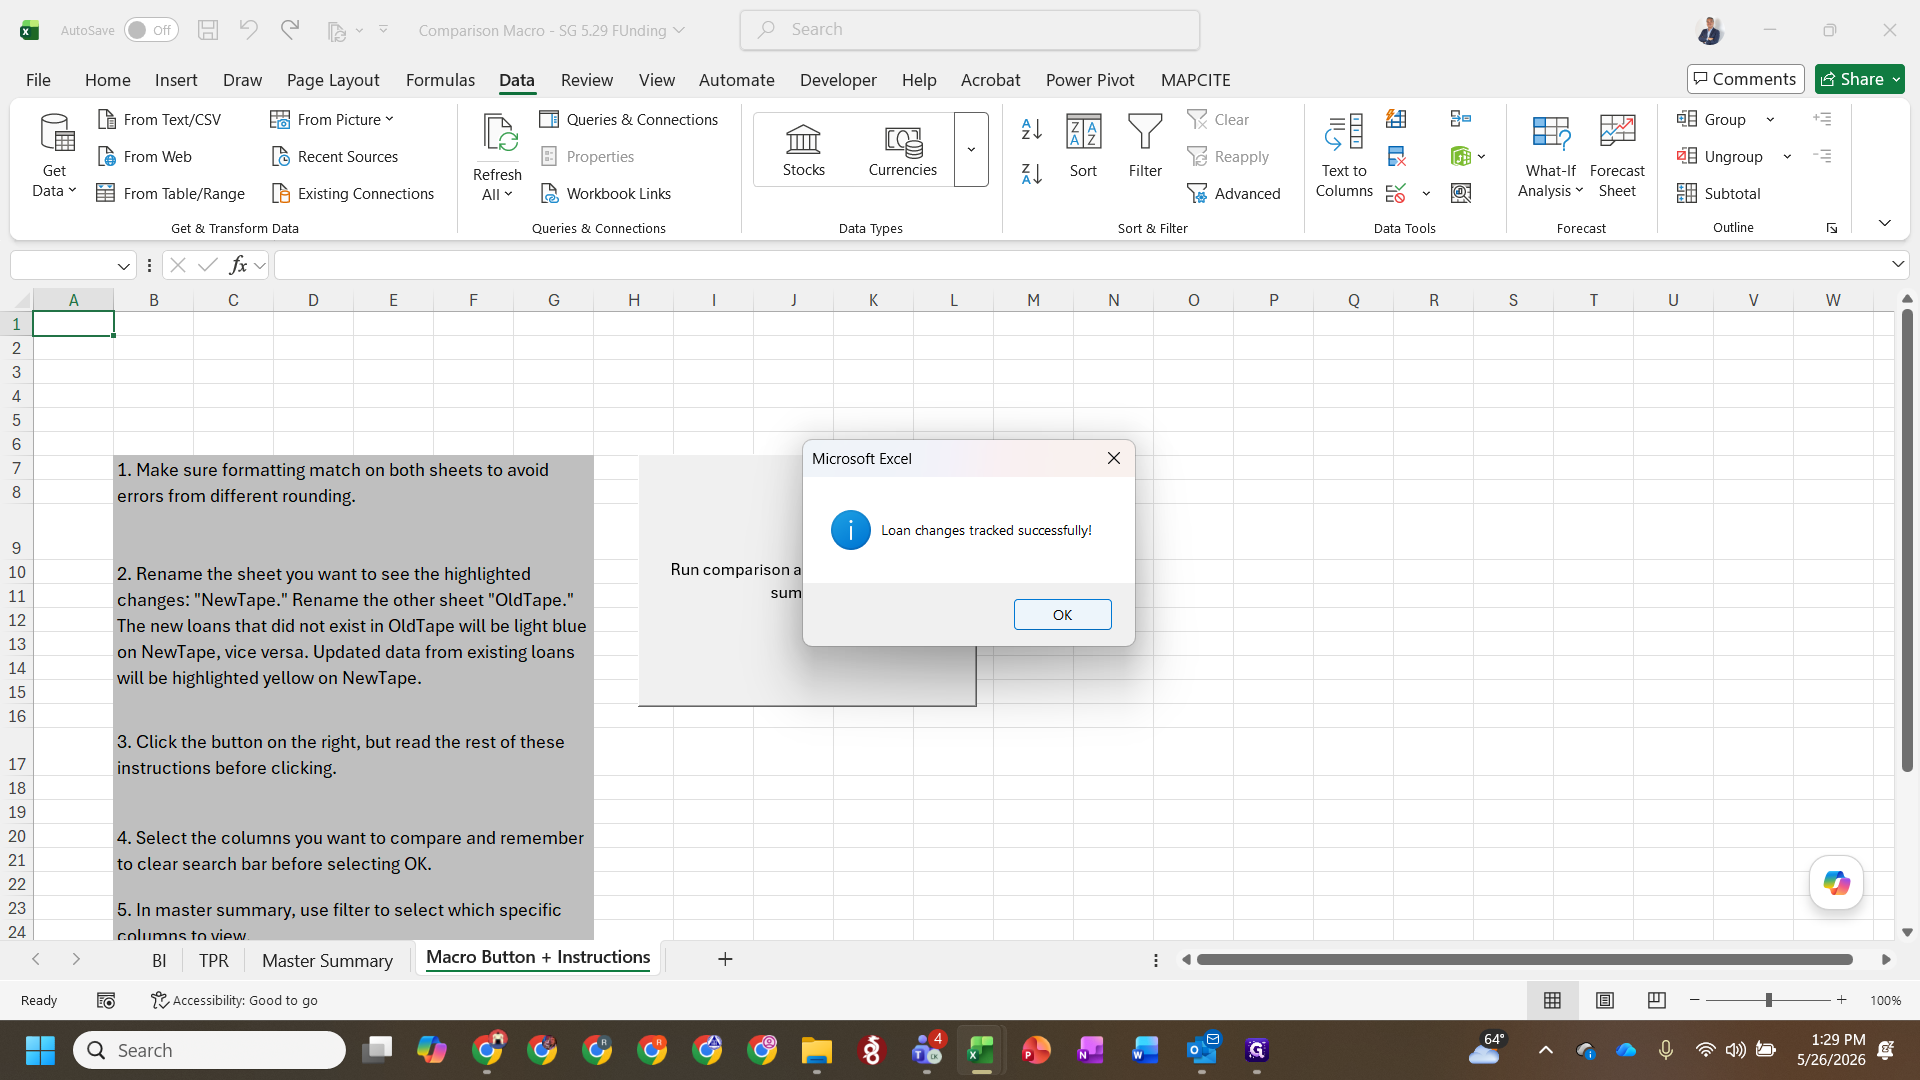
5. Review Exceptions and Notify Operations
Q: What does an "NA" closing date signify?
A: An "NA" closing date usually signifies a loan that was previously dropped and not slated for a closing date. You will need to go back and manually input the target closing date if it is now scheduled for funding.
Q: Do the files in the comparison macro need to have the exact same column order?
A: No, the comparison template will automatically detect and highlight the entire row if loans are missing or ordered differently.
Q: Why might the loan amount change in the comparison macro?
A: Loan amount changes are typically not a major issue, as they are mostly updated automatically from the original bid tape.
Term | Definition |
|---|---|
TPR | Third-Party Review, an independent evaluation of loan data and documentation prior to settlement. |
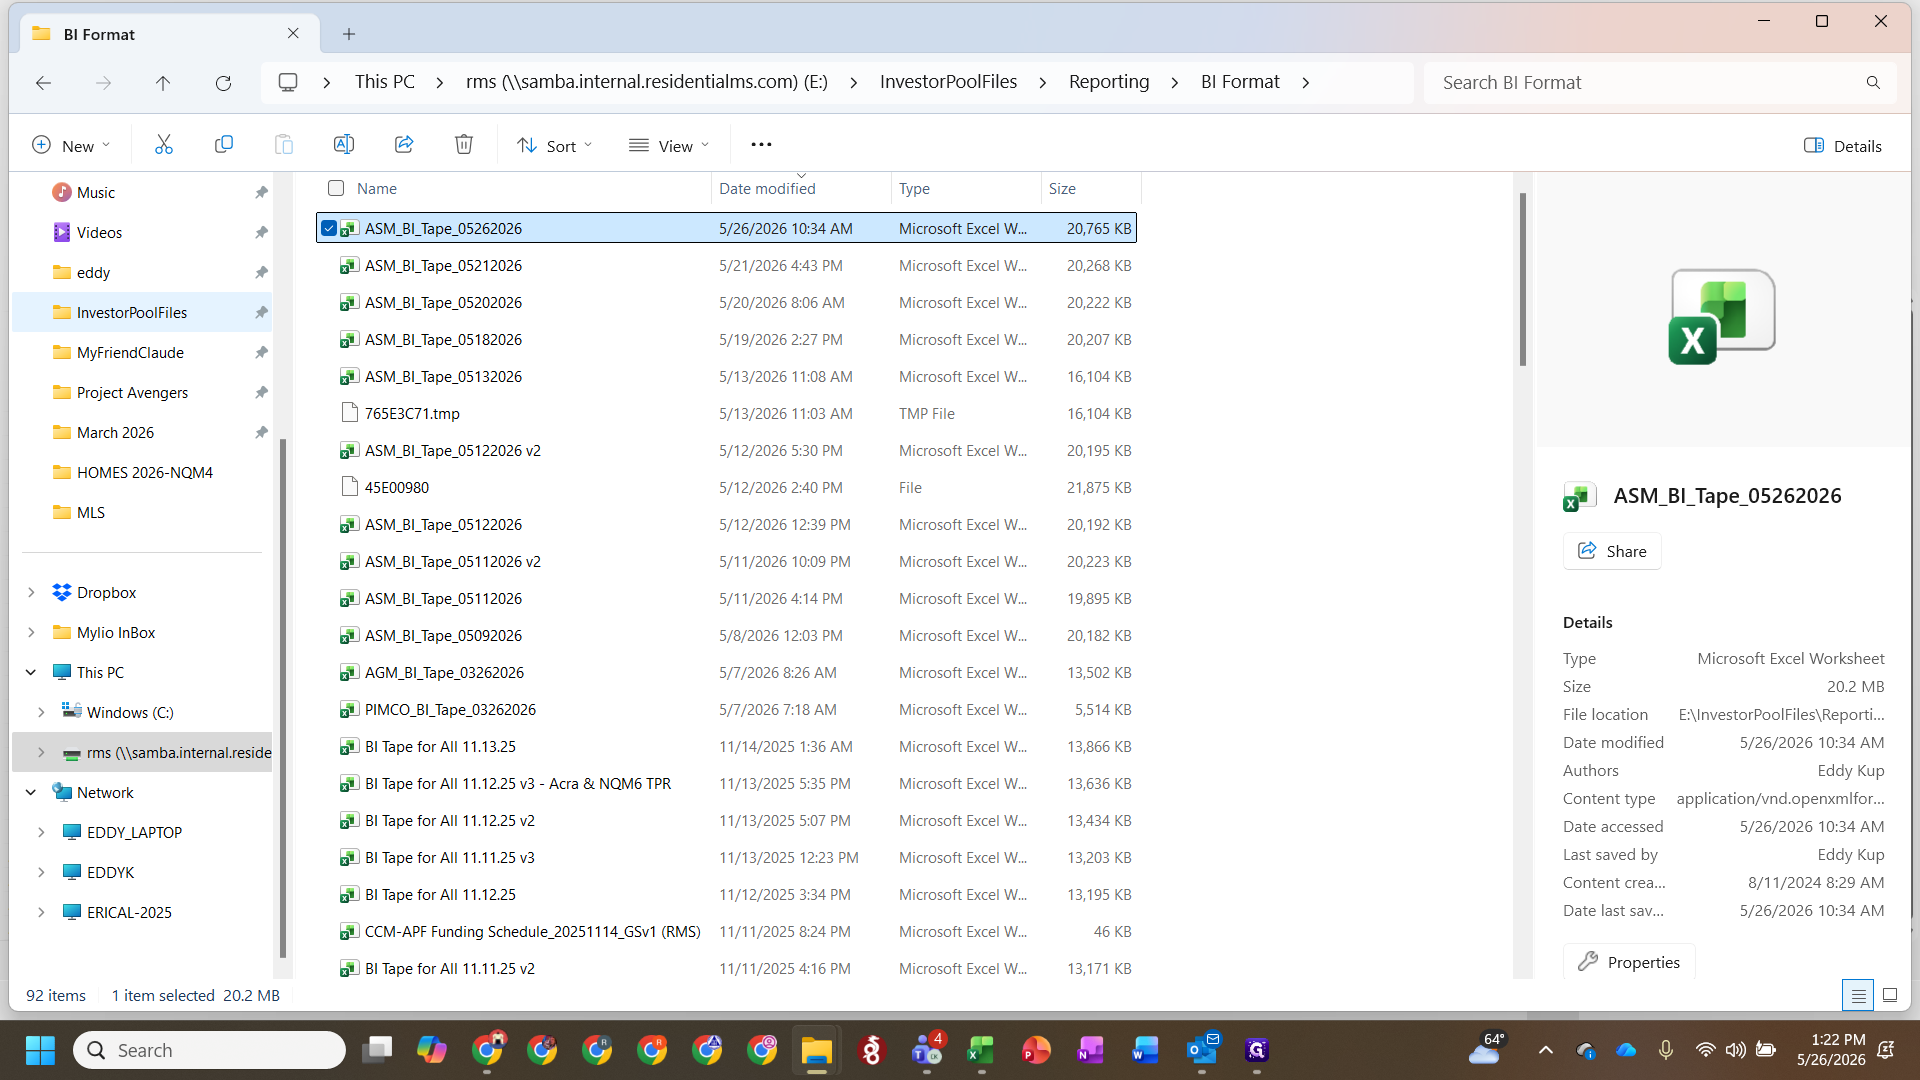
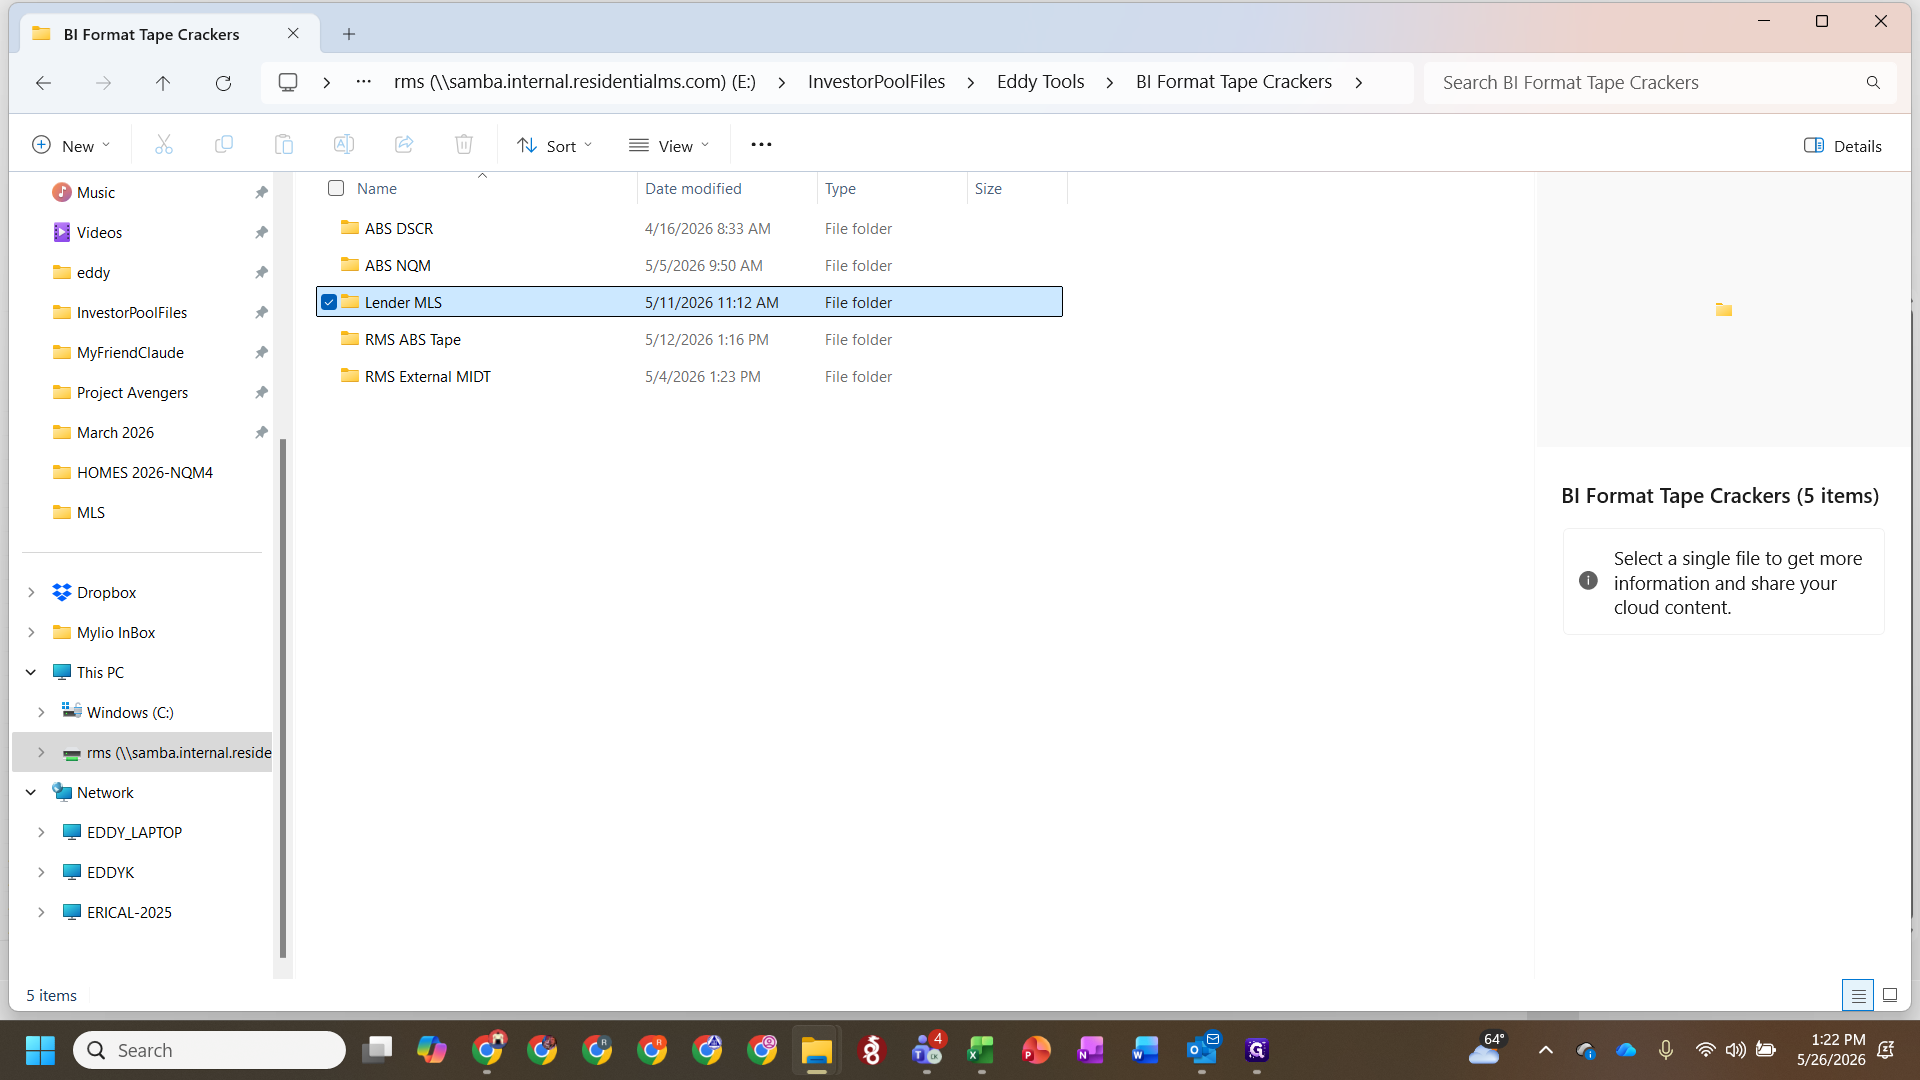
BI Tape | The centralized bid format database or "crack tape" that records target population loans and their details. |
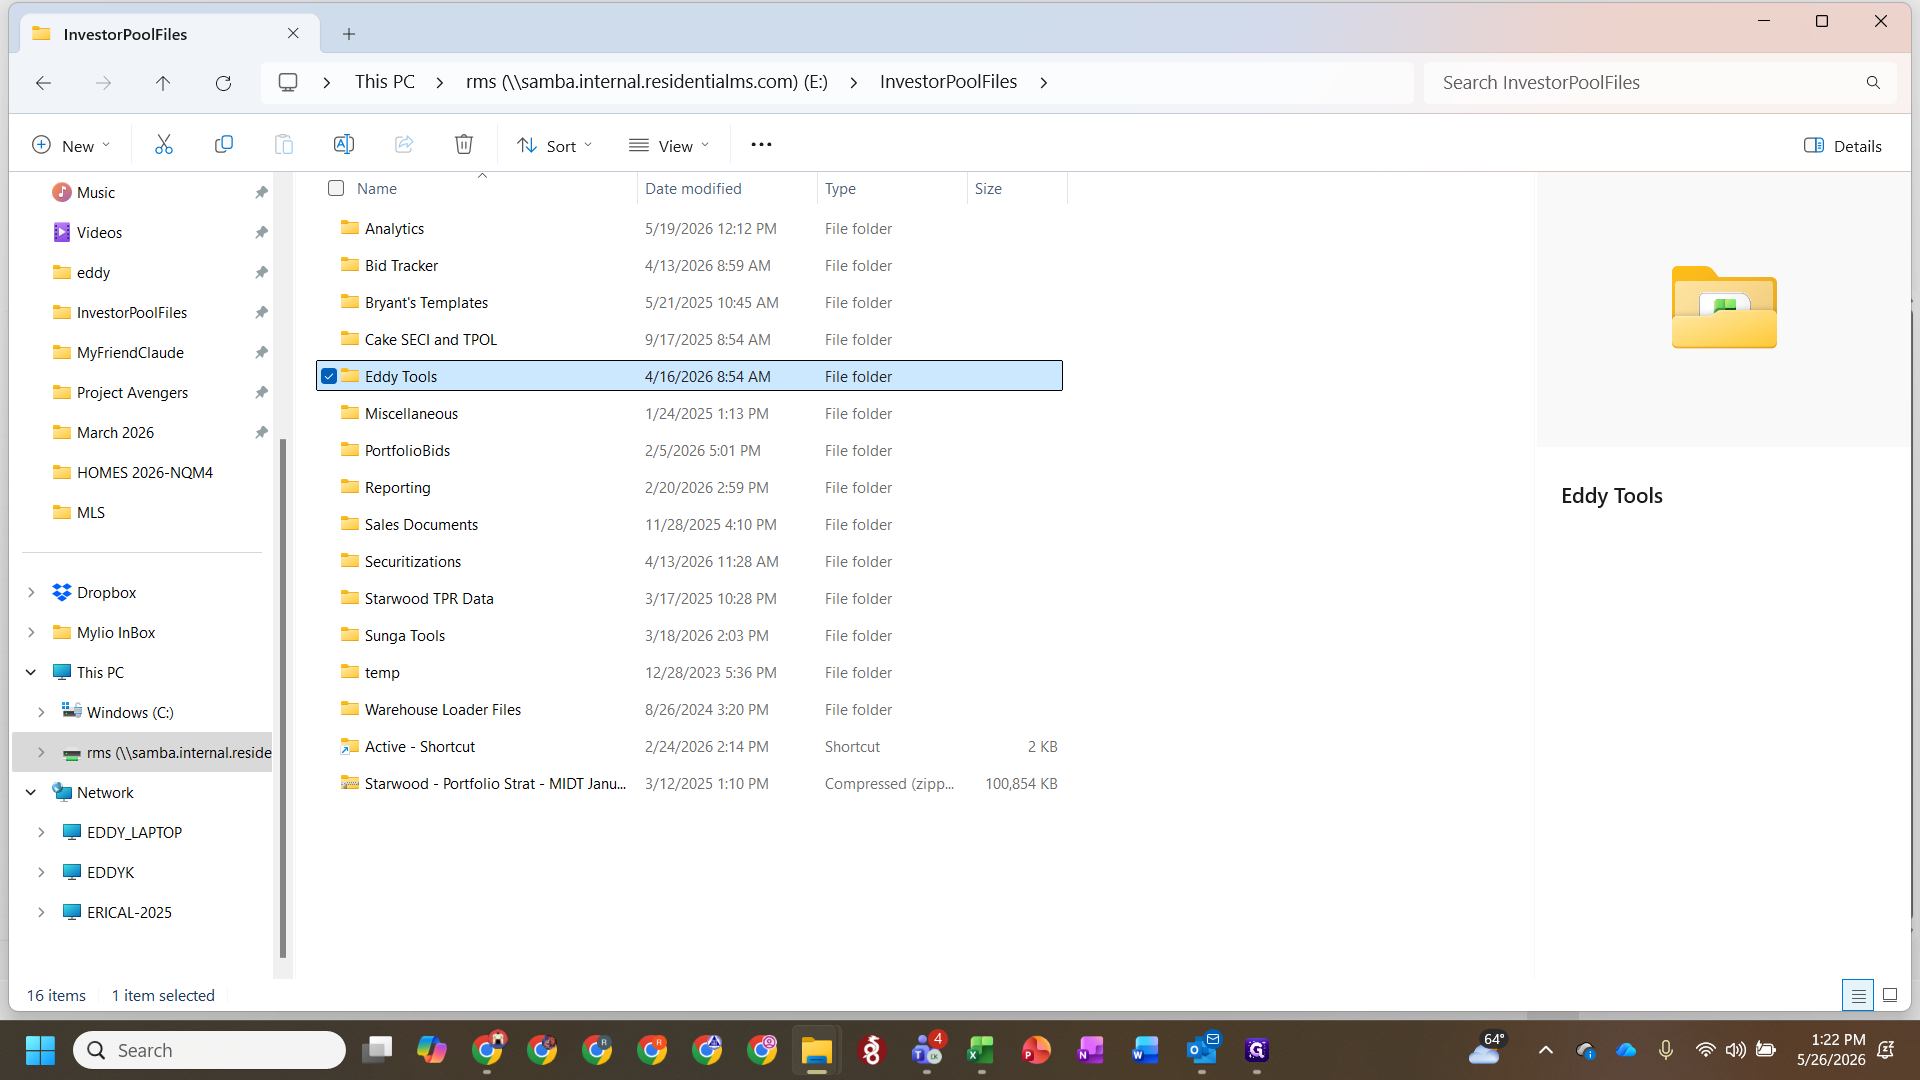
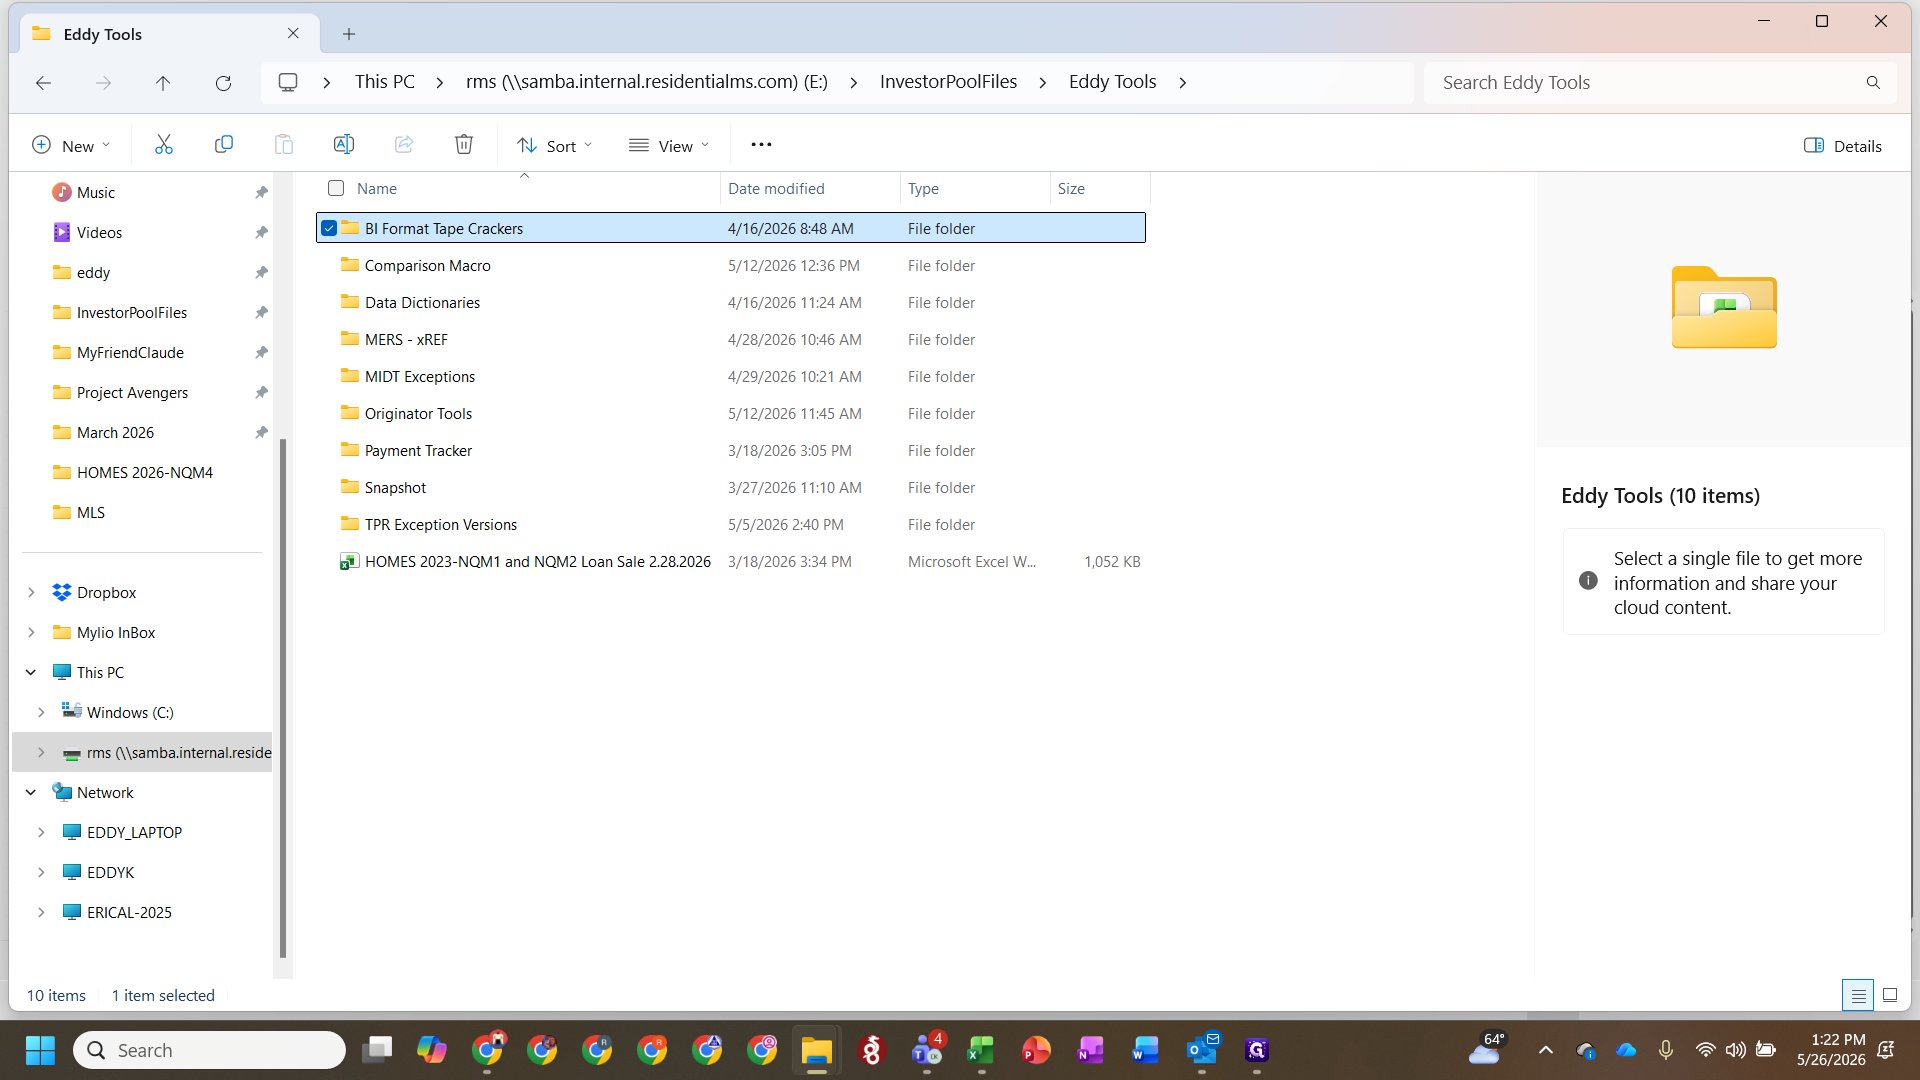
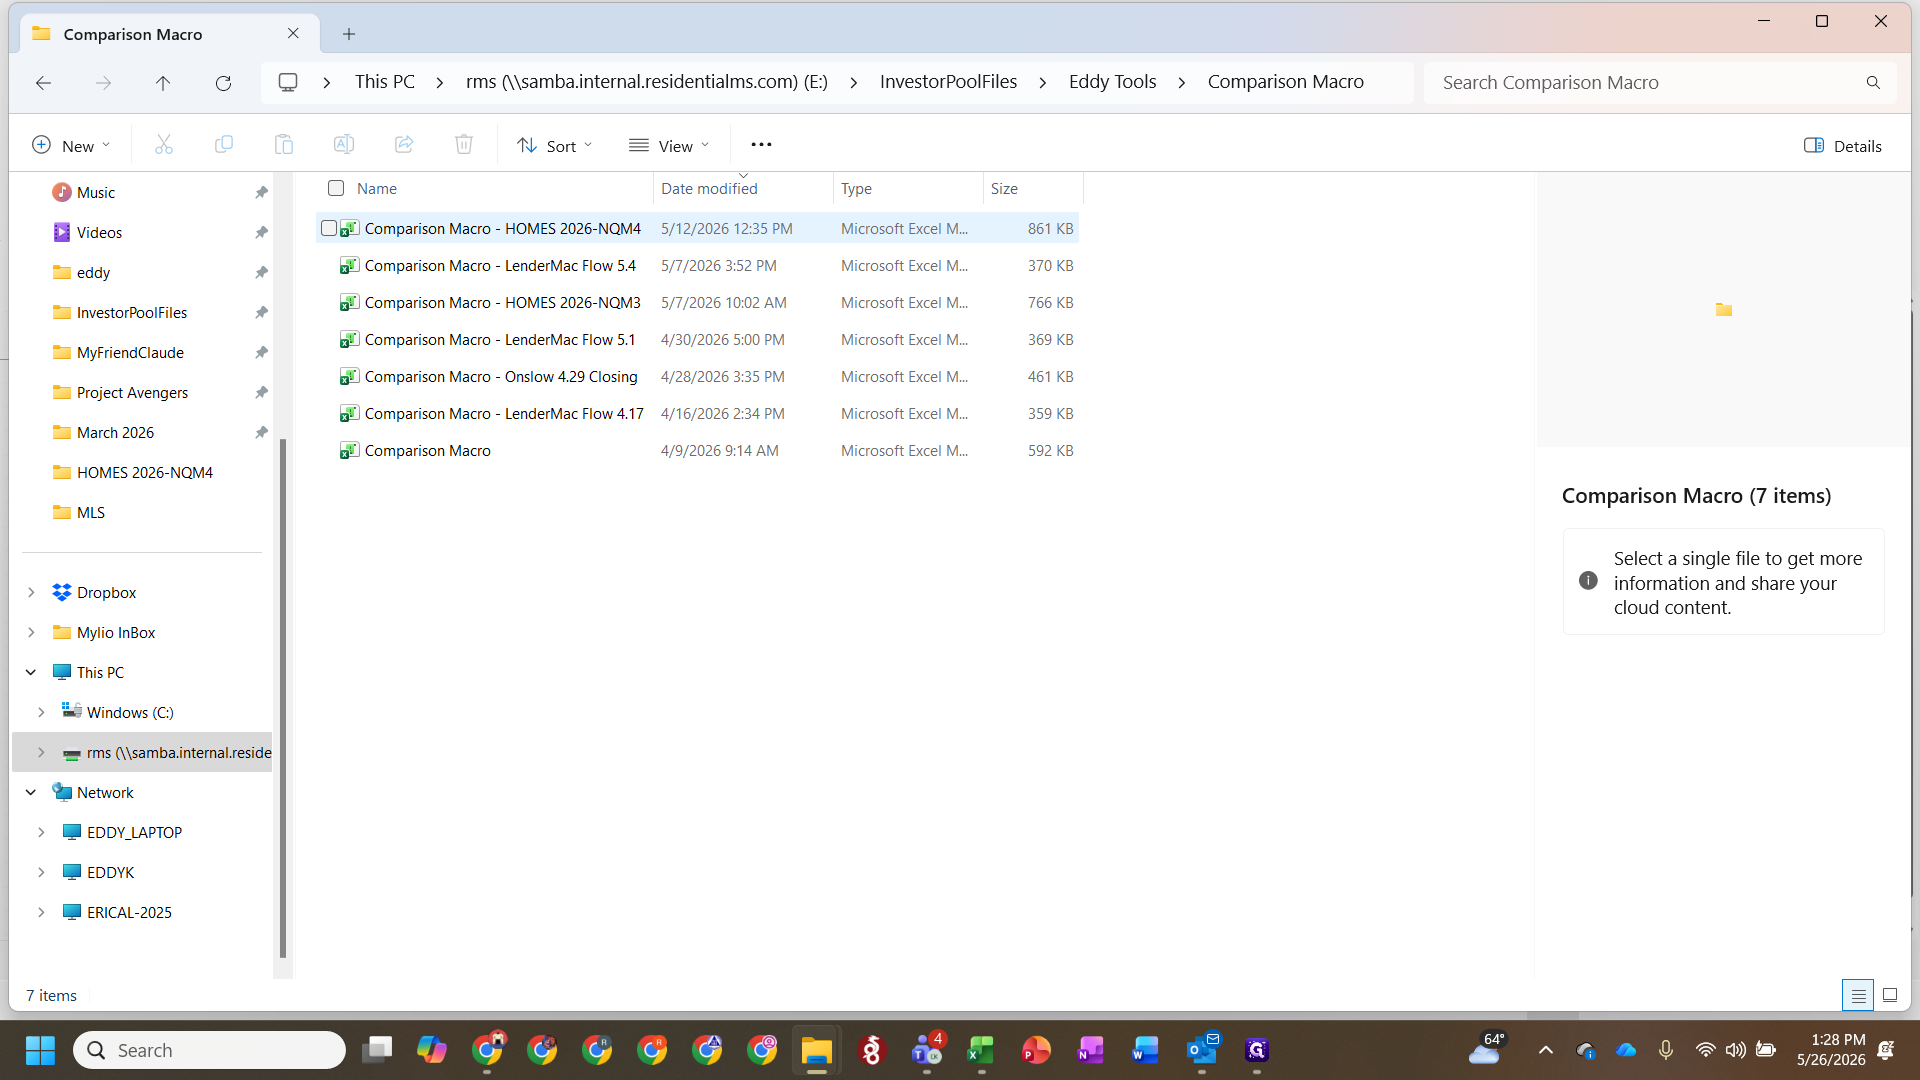
Eddy Tools | A shared network directory containing proprietary macros and tape cracker templates used for formatting and comparing loan data. |
Master Summary | A report generated by the comparison macro that highlights specific discrepancies between TPR data and seller data. |
DSCR | Debt Service Coverage Ratio, a financial metric used to evaluate a property's ability to cover its debt obligations. |