How to Post a Recurring Journal Entry
Learn how to successfully post a recurring journal entry for the current period using the myStartUpCFO platform.
This guide explains how to post a recurring journal entry for a specific period in myStartUpCFO. Completing this ensures that your scheduled financial entries are accurately recorded and finalized for the current accounting period.
This process applies to accountants and financial controllers managing period-end close procedures. Use this workflow when you are ready to execute and confirm your pre-configured recurring financial entries.
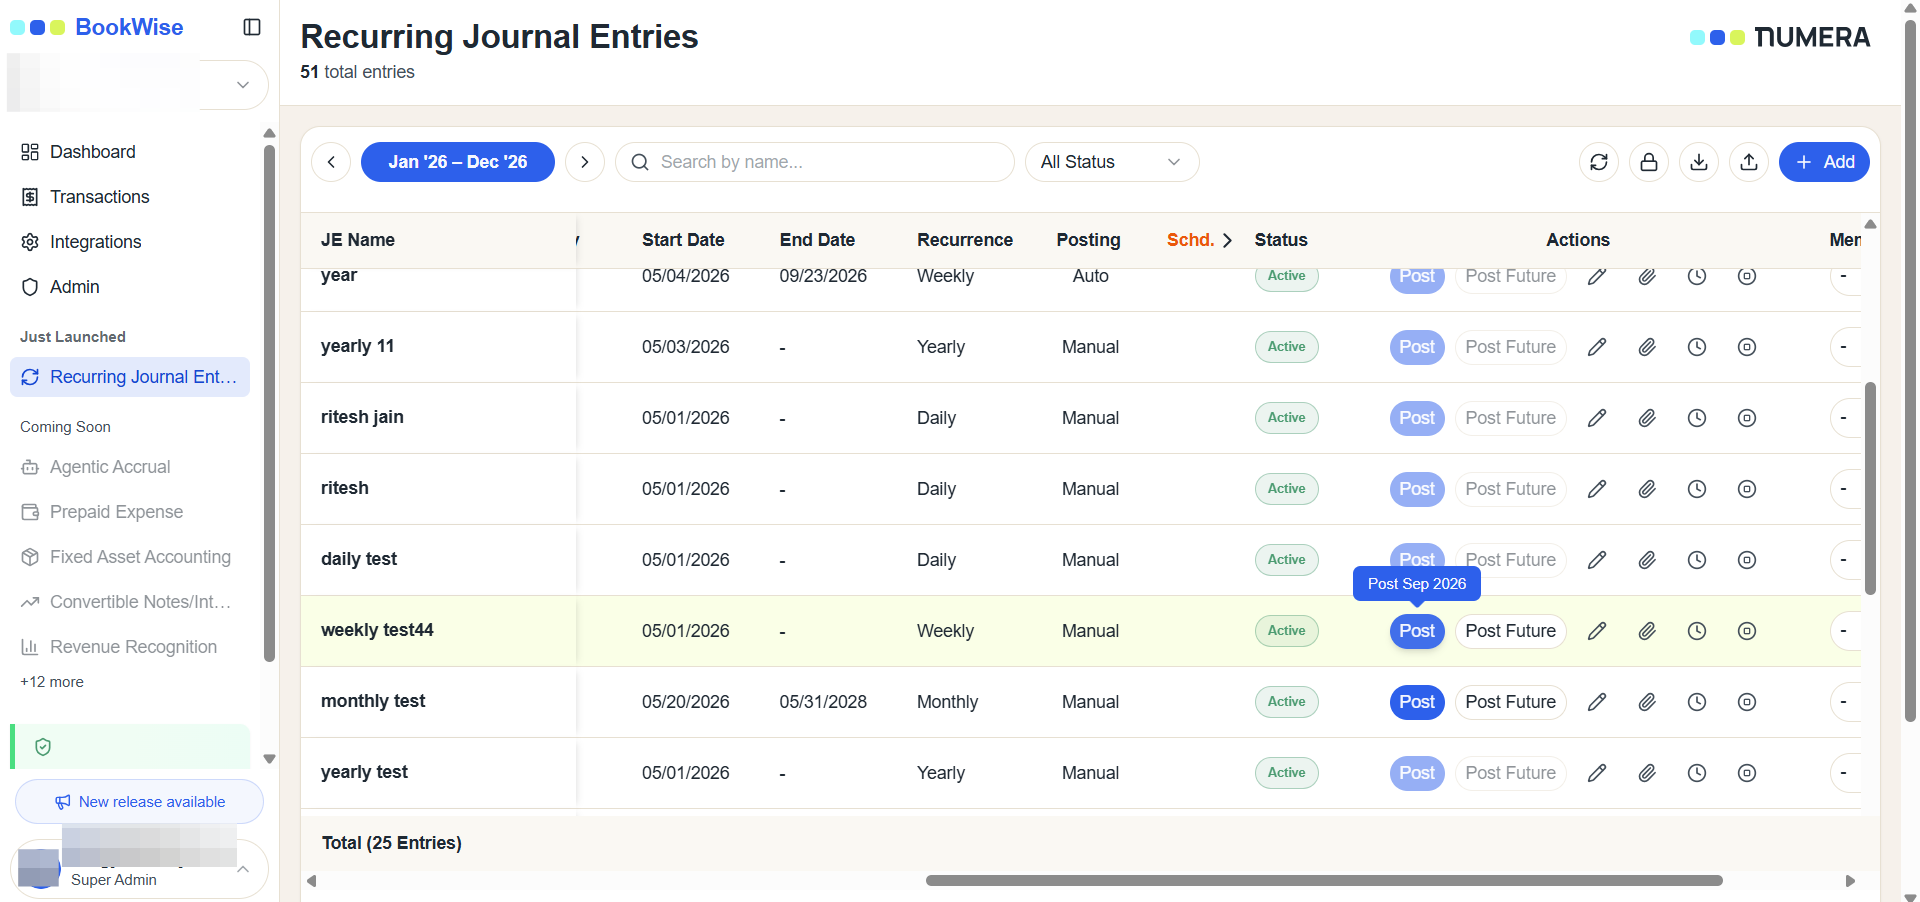
If you hover over the Post button, a tooltip will appear indicating the specific period (e.g., "Post Jul 2026") that will be recorded.
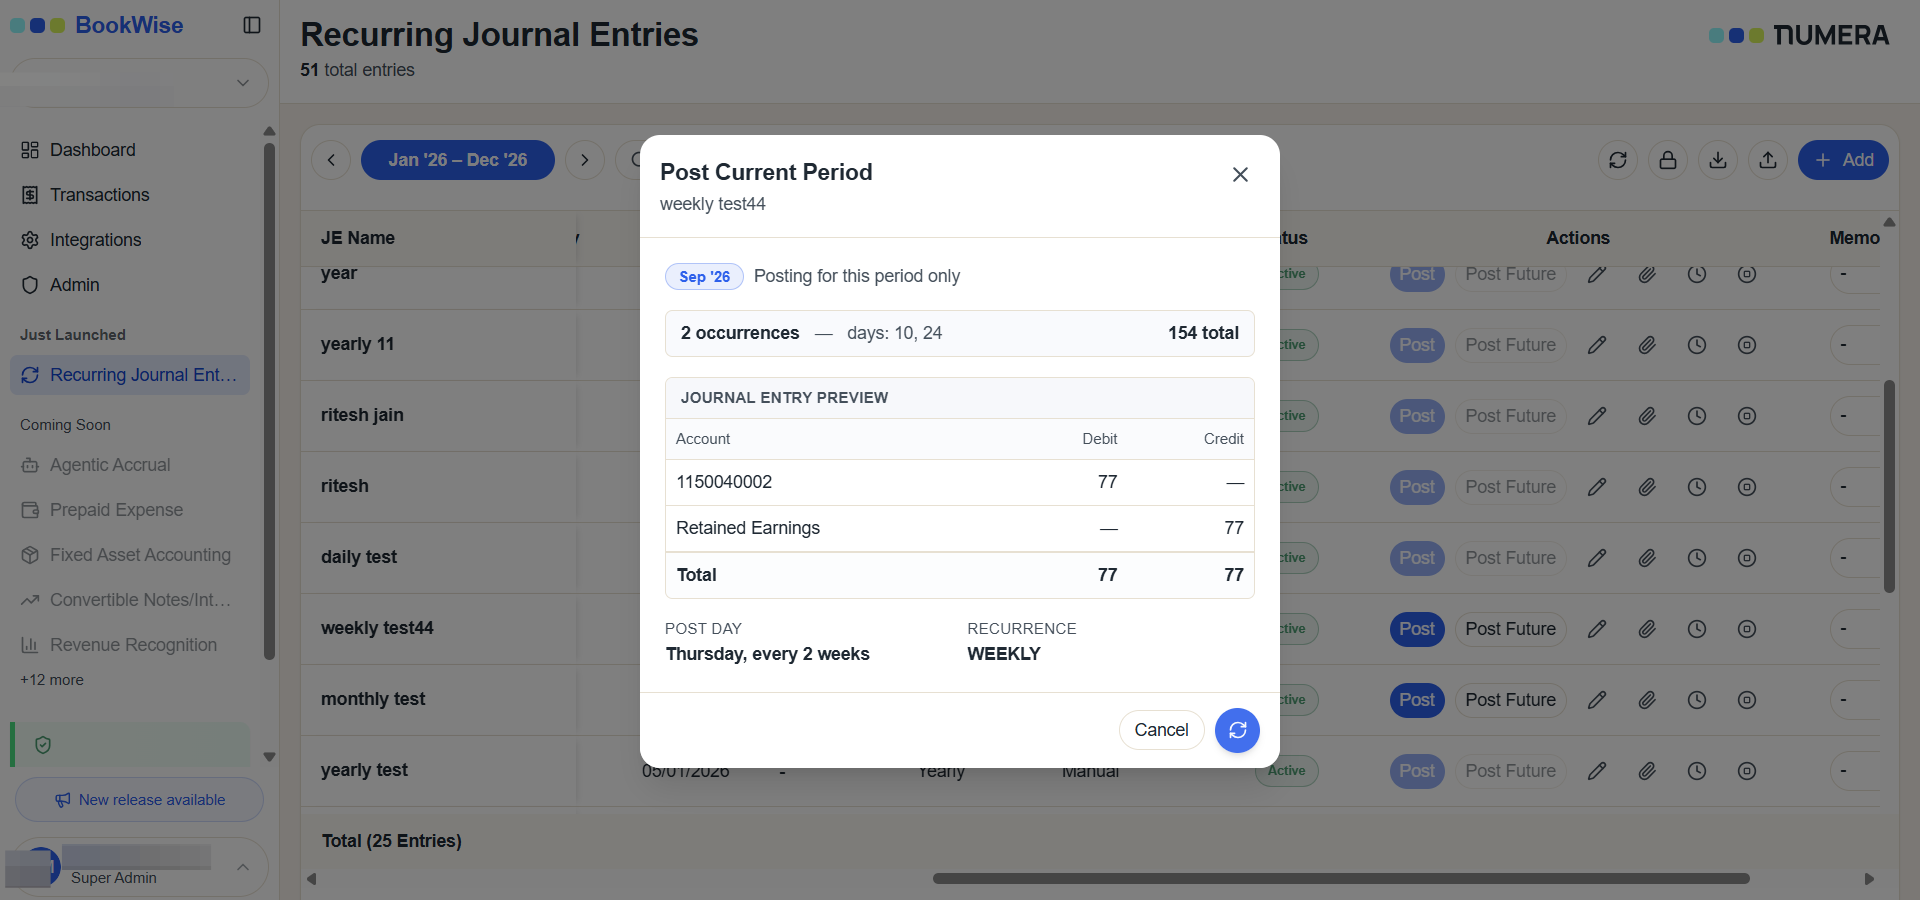
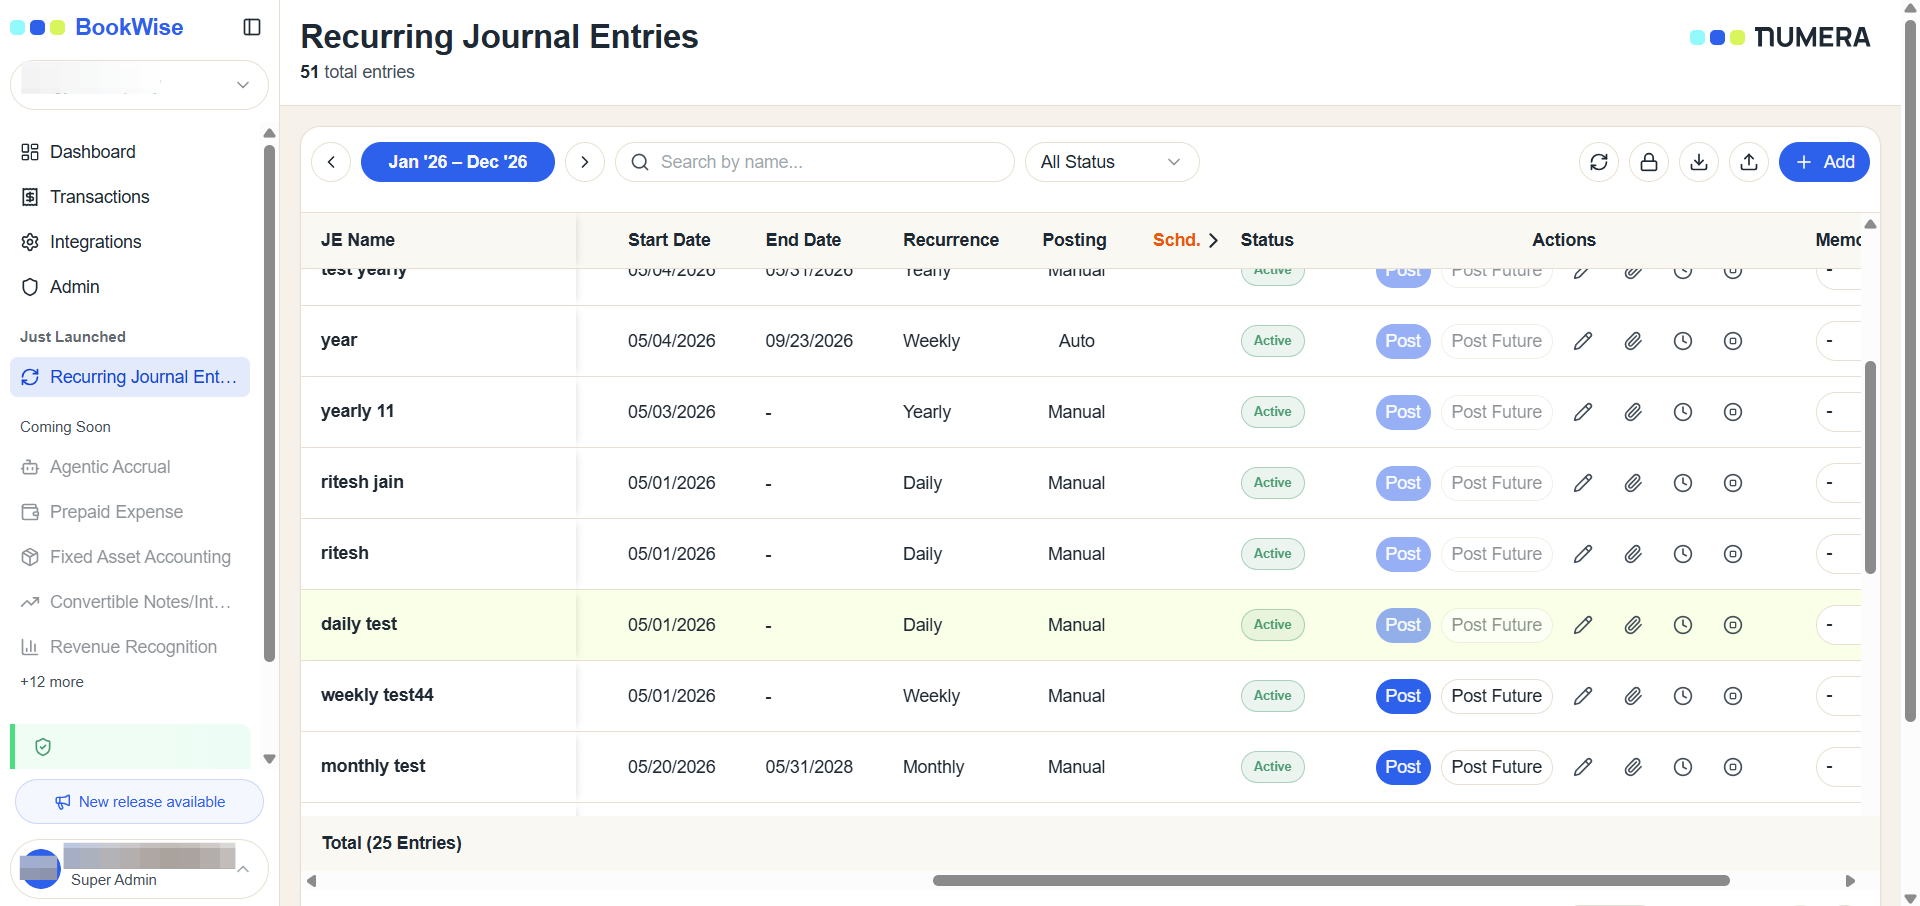
The posted Recurring Journal Entry is now available in the connected QuickBooks account.
The Post feature allows users to send Recurring Journal Entries to QuickBooks while maintaining accurate status tracking and transaction records within the application.