Post-Service Microphone and Battery Handling Procedures
Learn the step-by-step process for collecting microphones and mic packs after a service, removing batteries, and properly charging and storing equipment for the next use.
By Chris Copeland
In this guide, we'll learn how to collect microphones and mic packs from singers after a service, remove and store the batteries, and return all equipment to their proper places. This process helps ensure that everything is ready and charged for the next use.
We'll also cover how to safely store mic stands and use the charging station for batteries.
Let's get started
After the service, all singers will meet you at the front of the platform. They will return their packs and microphones so the batteries can be removed. Often, they do that part for you. Bring the stands out front. Place the microphones here after removing their batteries.
1
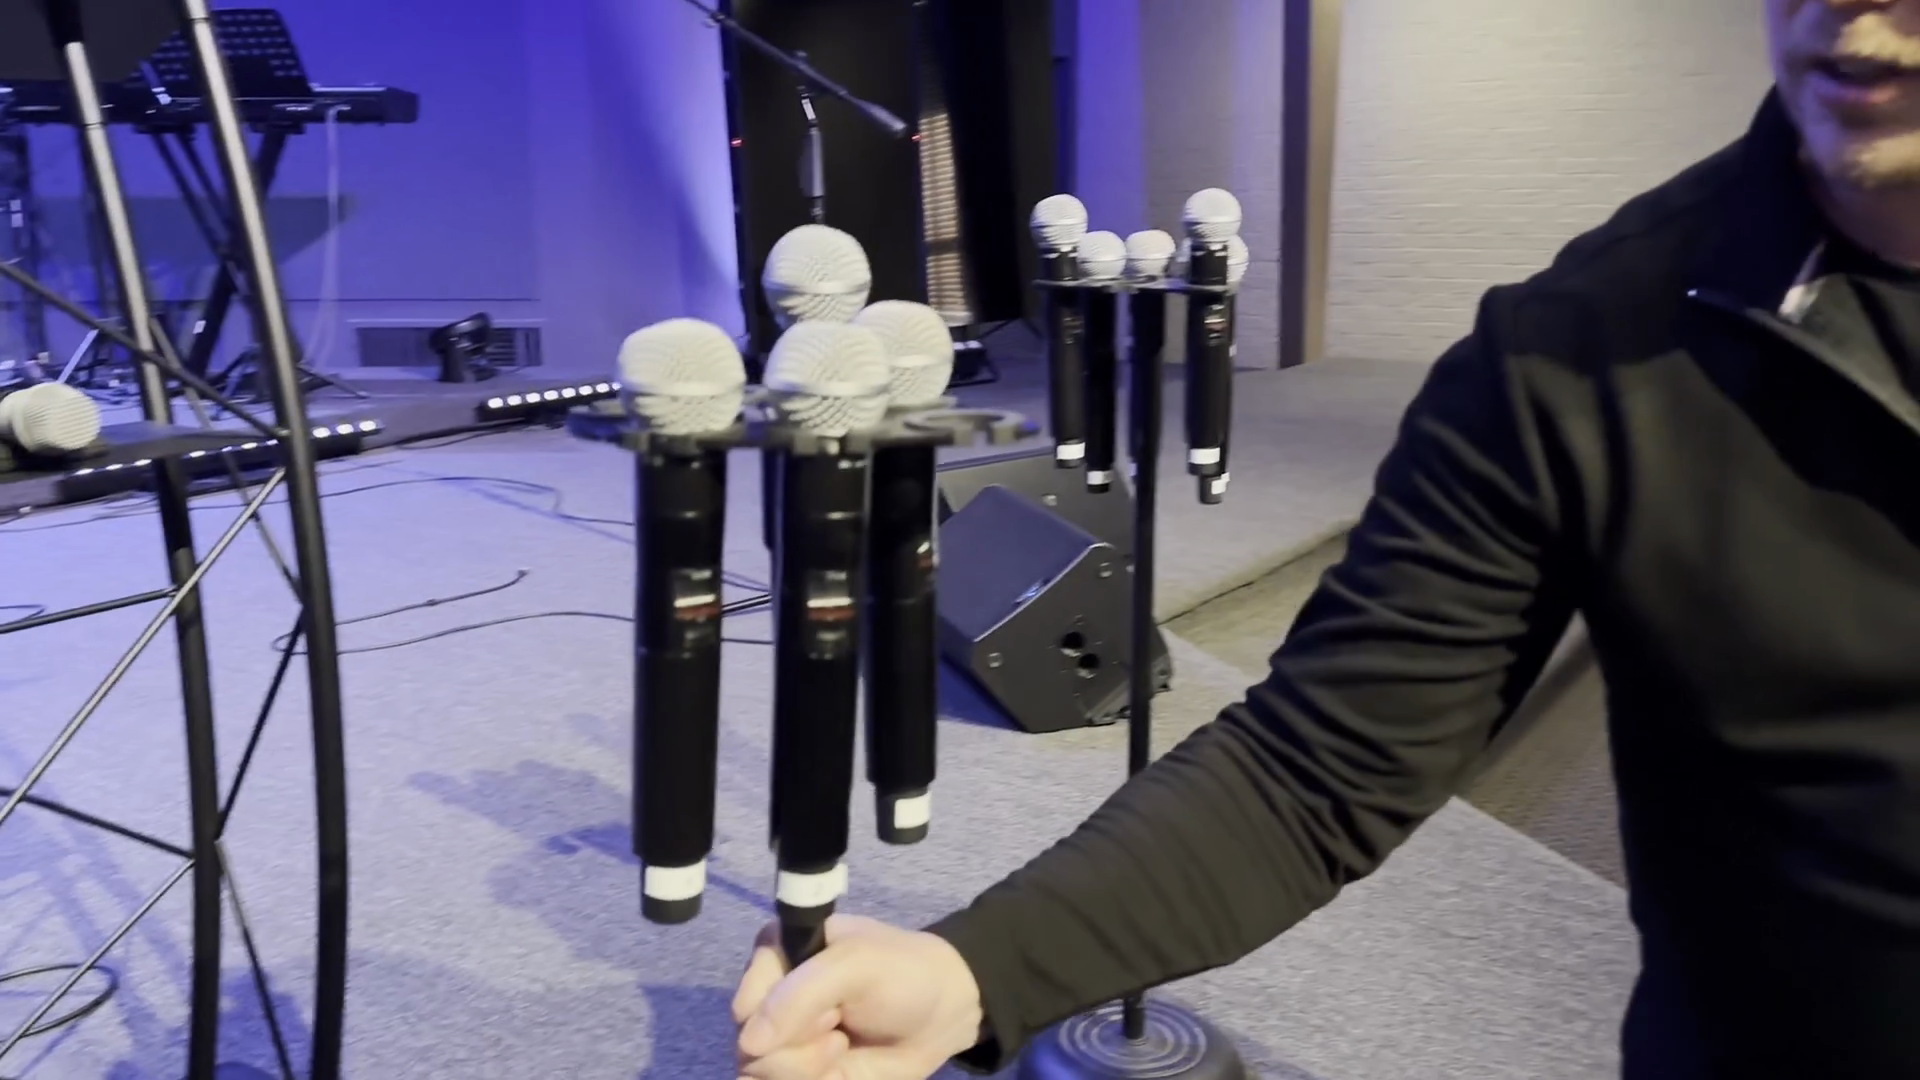
Bring the microphone stands to the front of the platform.
2
Place the microphones on the stands after the batteries have been removed.
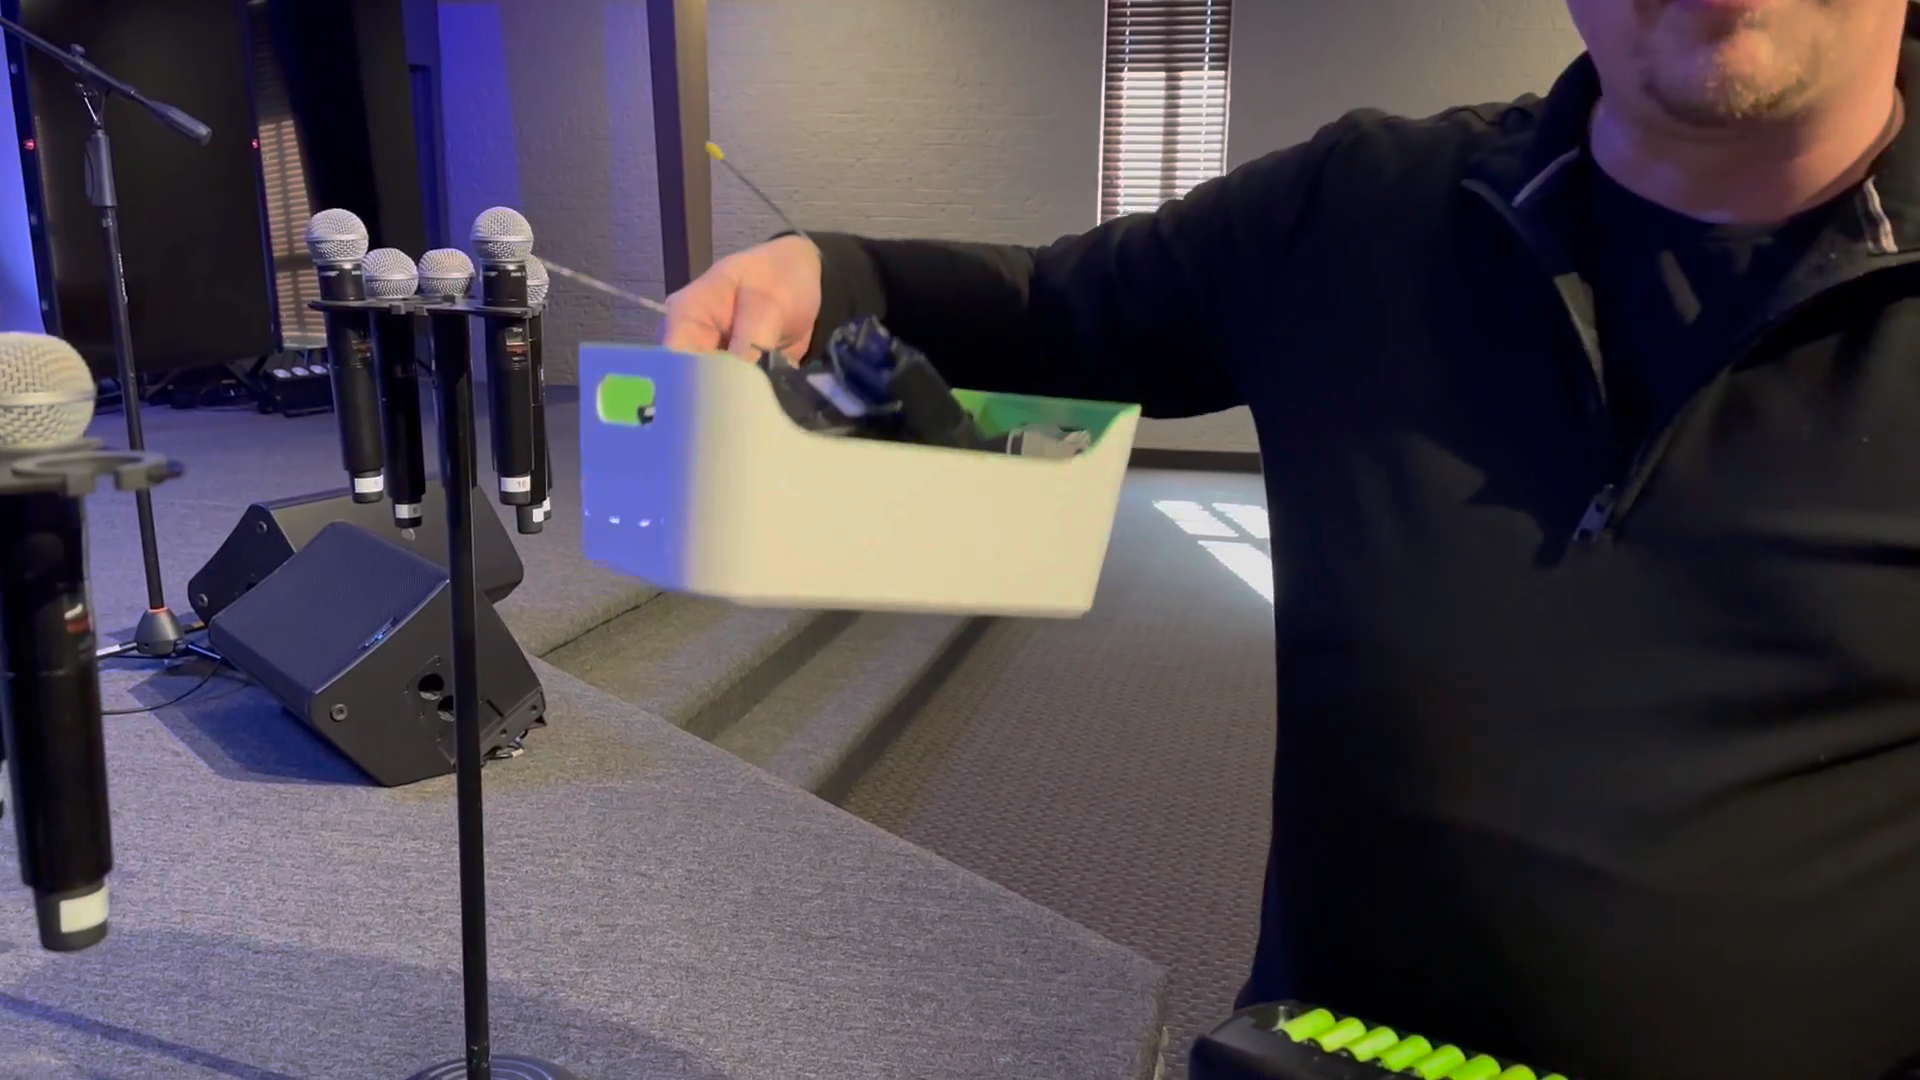
3
Place the mic packs back into the designated bucket.
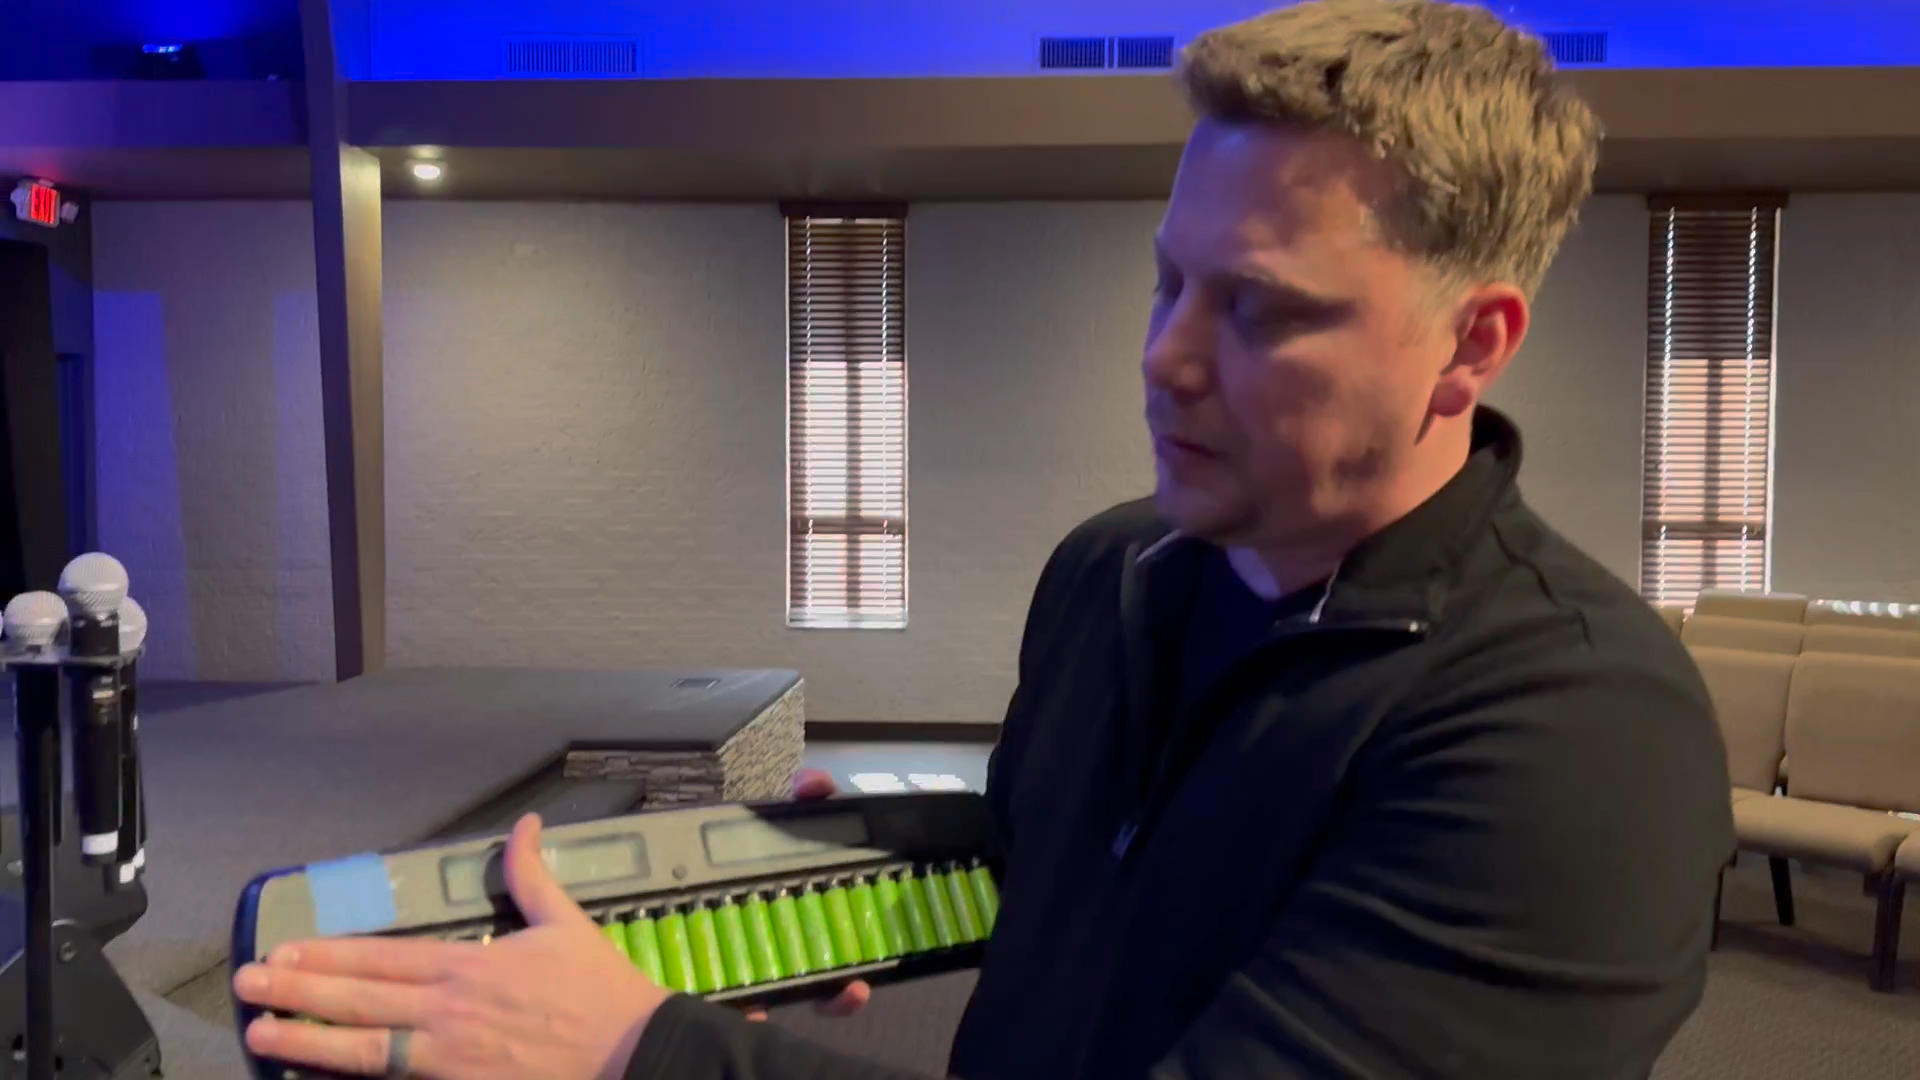
4
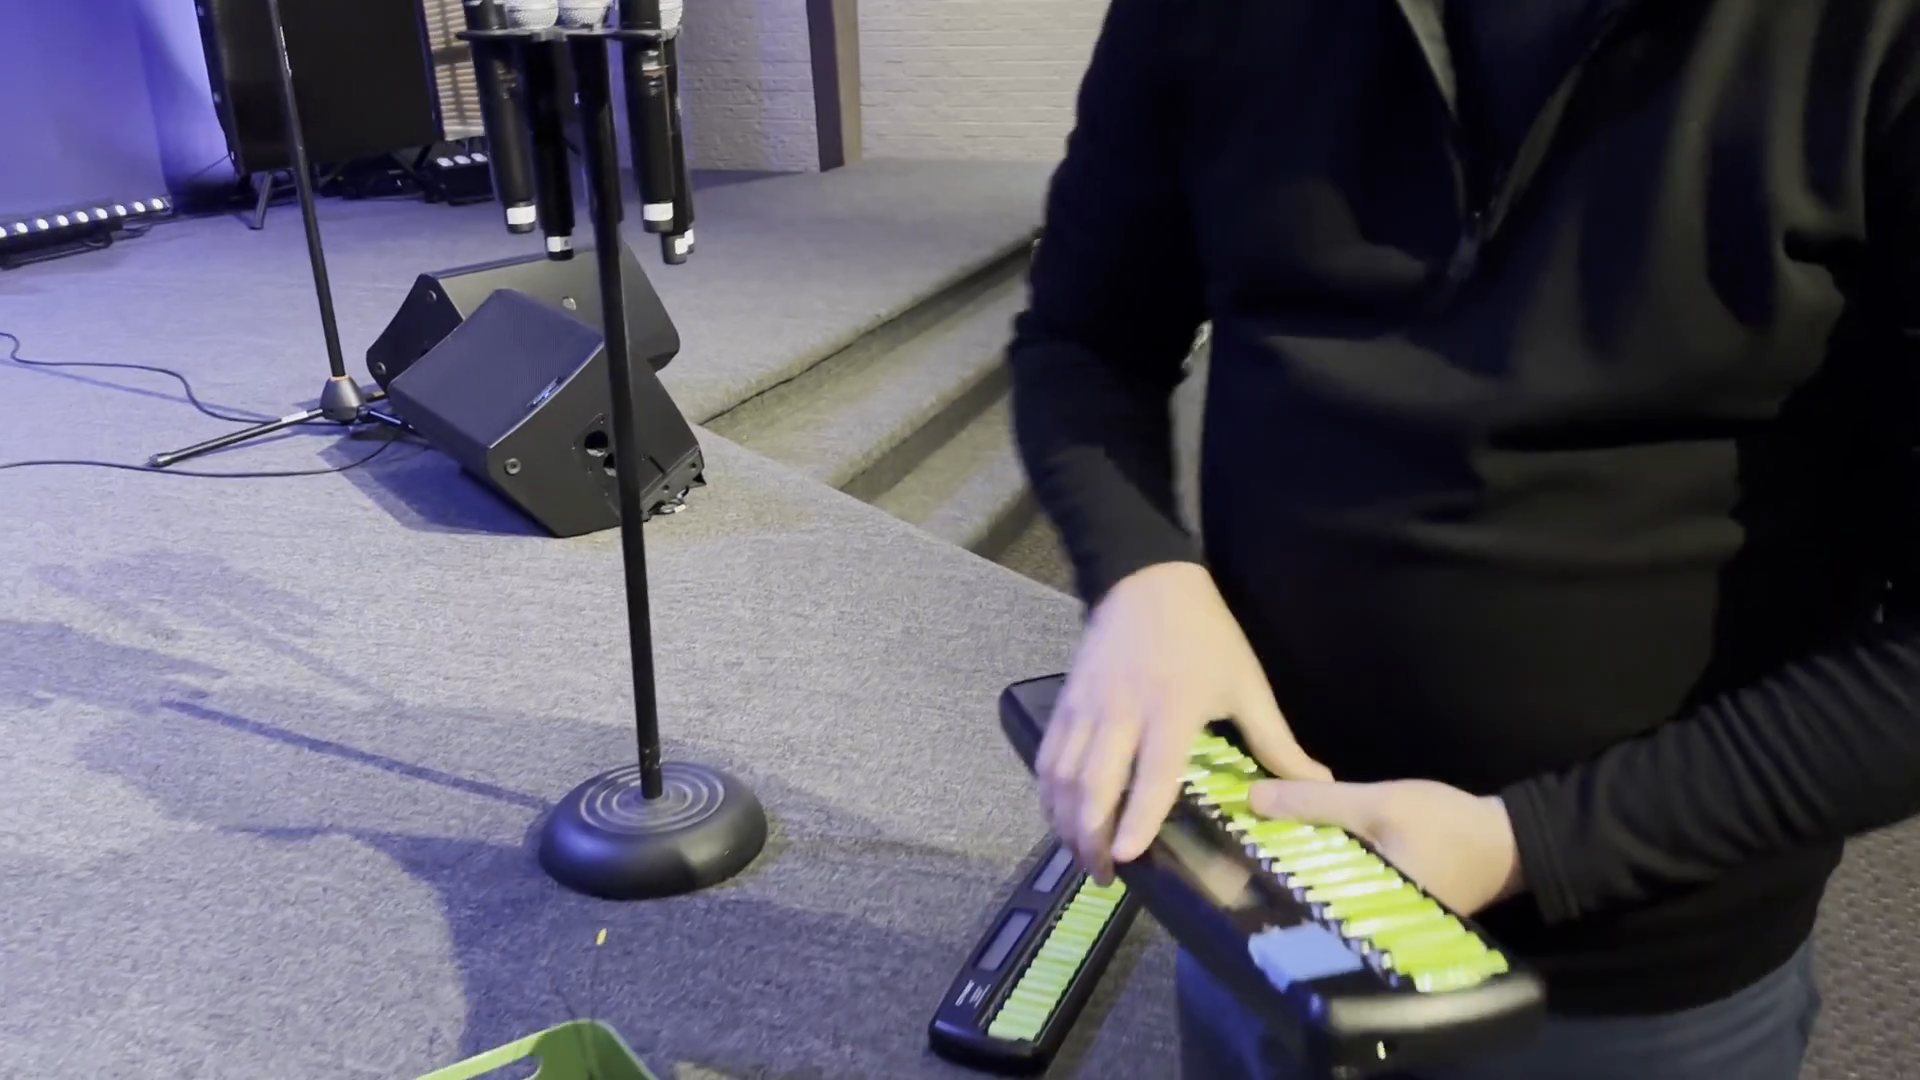
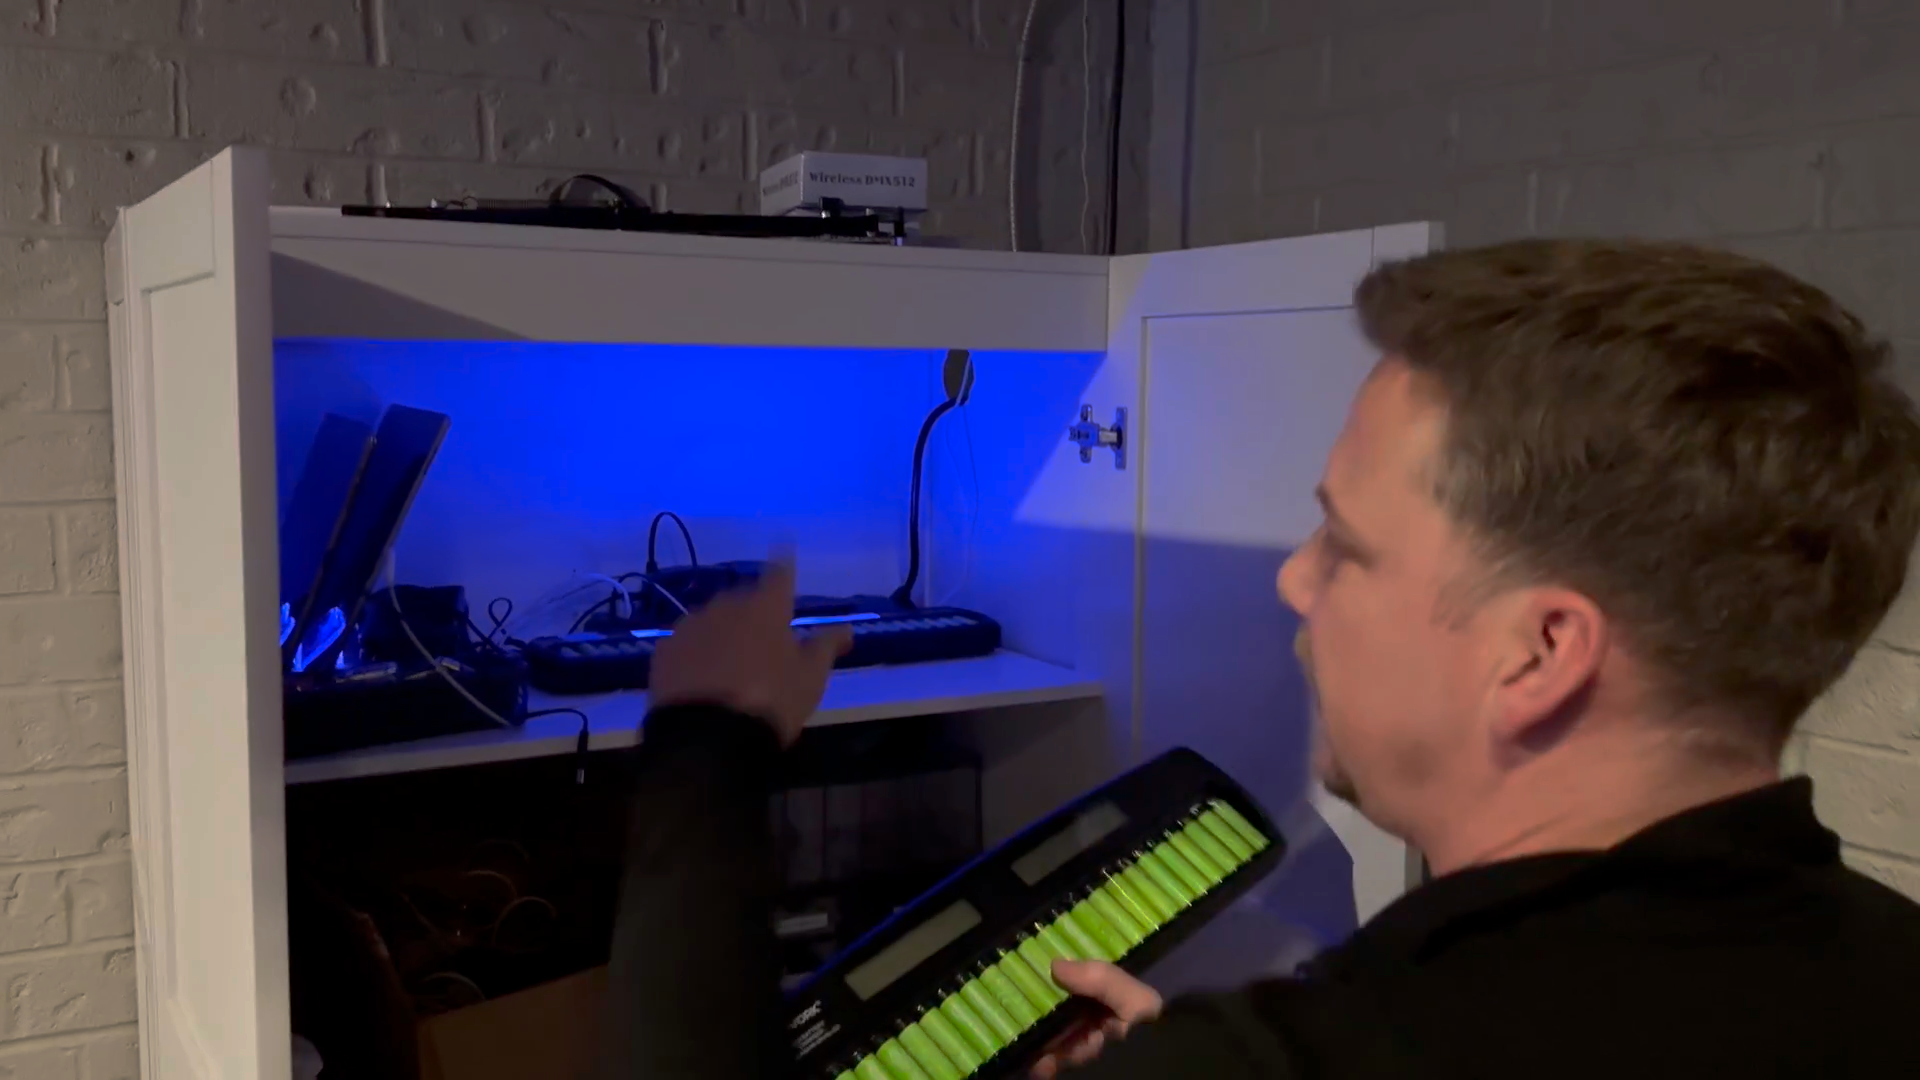
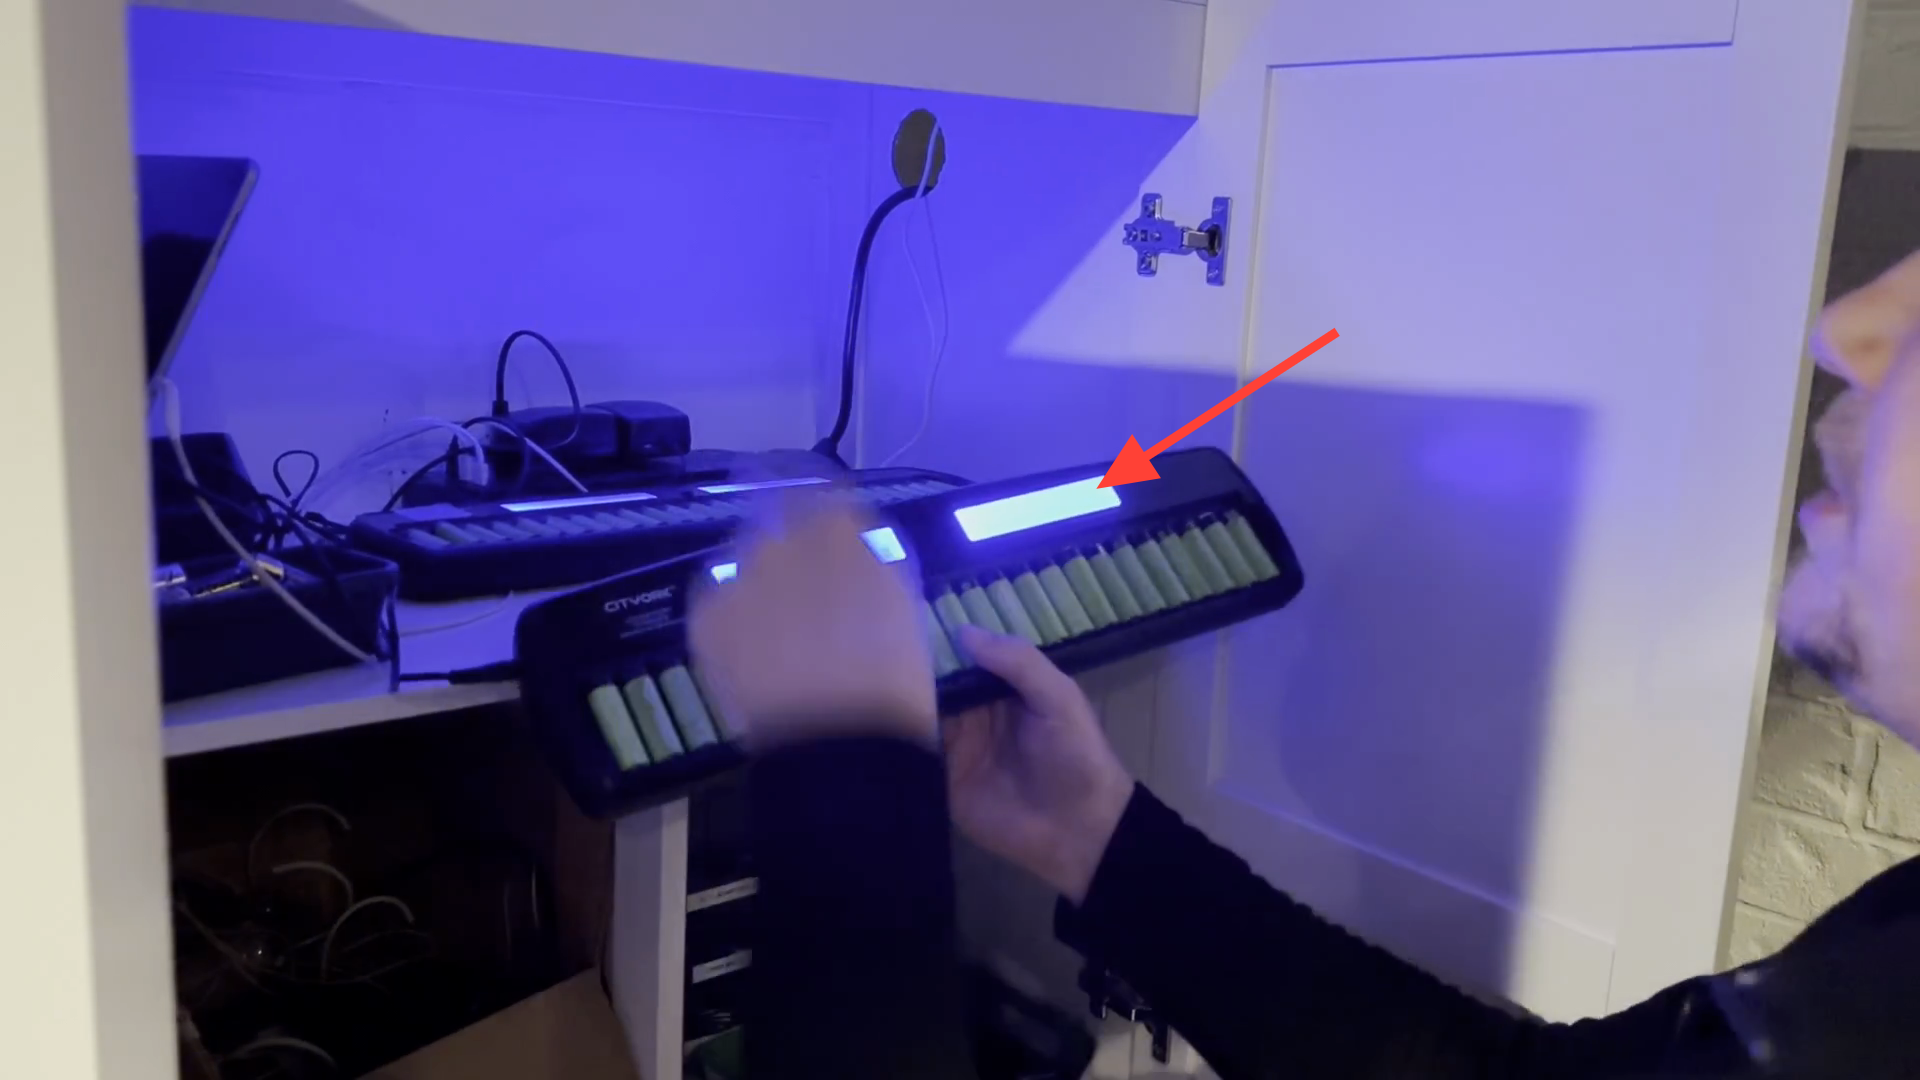
Place the batteries back into the charging station, pressing them in all the way.
5
Place the microphone stands safely out of the way against the wall.

6
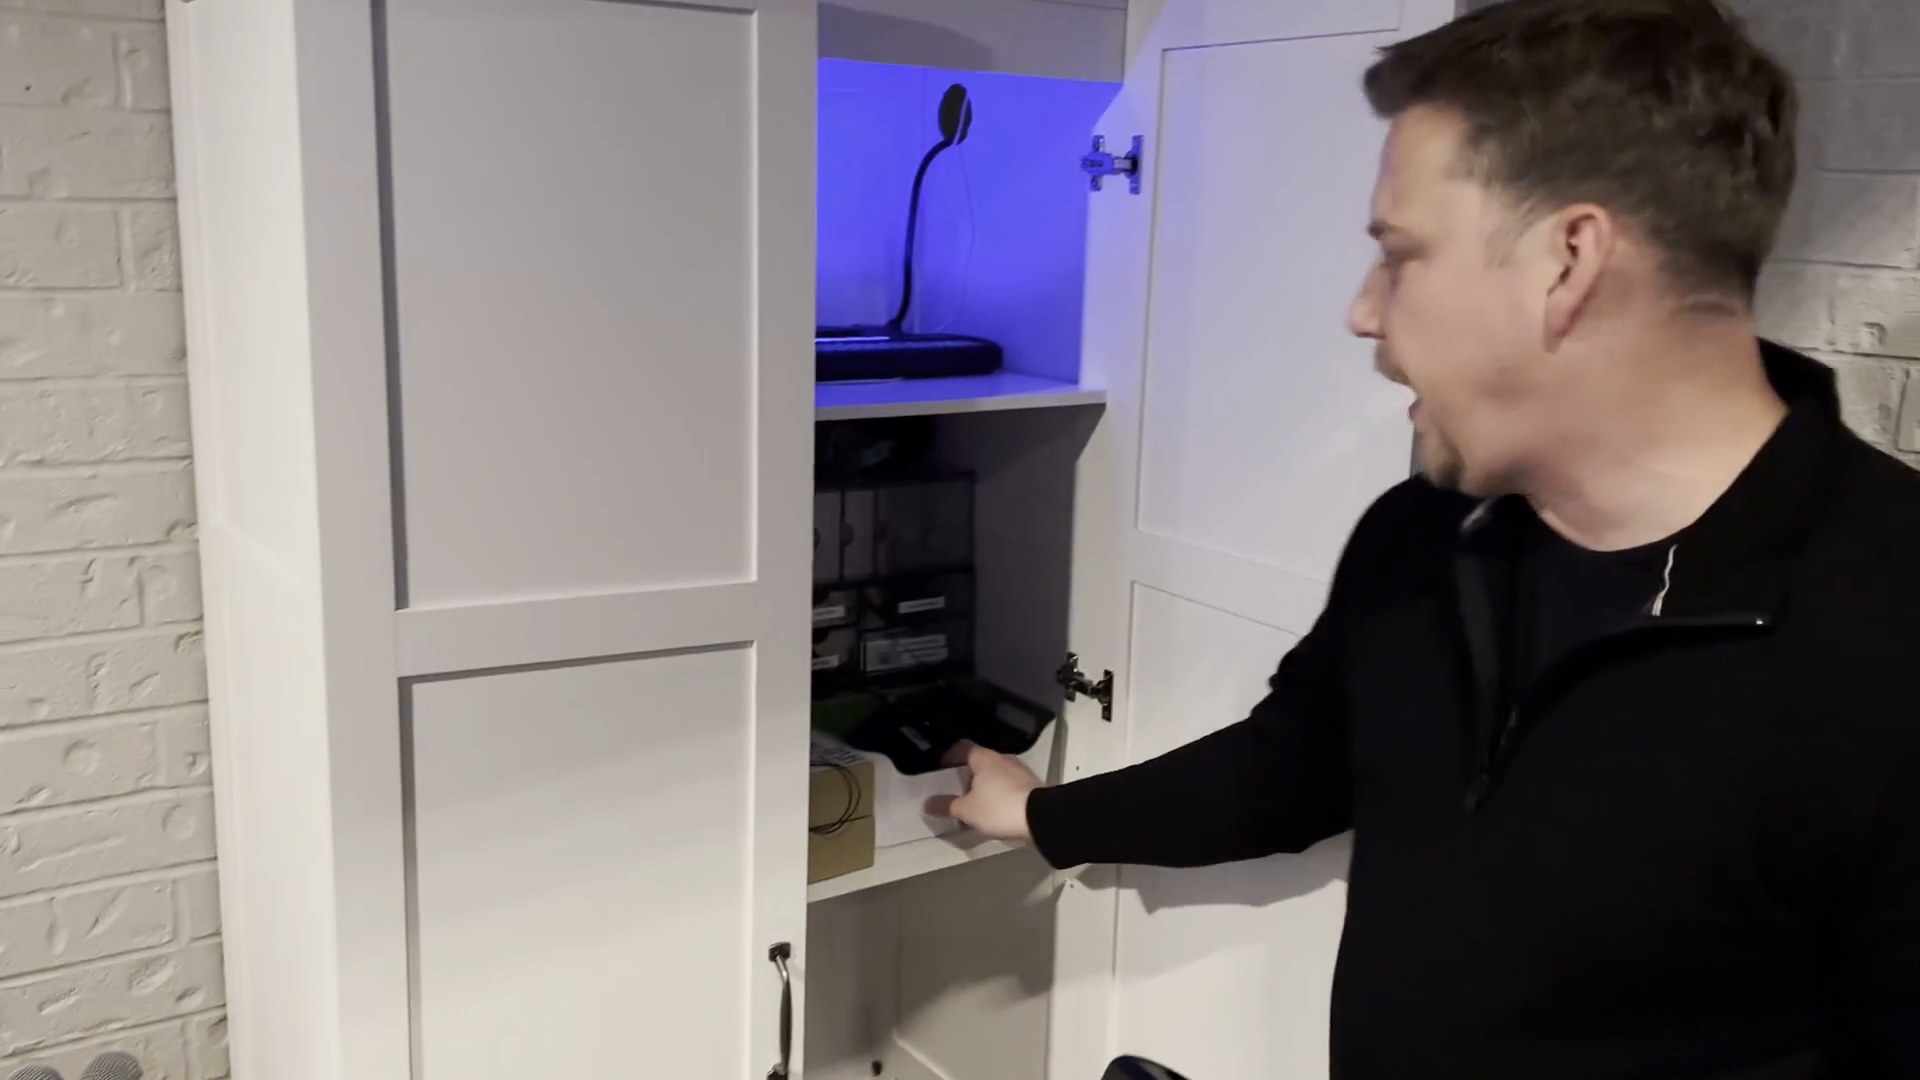
Place the mic pack basket on the shelf inside the cabinet.
7
Plug in the battery charging station to charge for the next service.
8
Plug the cord into the top left of the charging station.
Place the charging station on the shelf.
You'll notice the blue lights.
Place the charging station on the shelf.
You'll notice the blue lights.
9
Close the cabinet door.
That's it!
That's it!
