
Process Advance Claims and Manually Record Installations
Learn how to manage project claims in advance and manually record completed works when installers cannot use the mobile app.
This guide explains how to process financial claims in advance and manually record completed works when installers are unable to use the mobile app. By following these steps, you can ensure accurate project tracking and maintain up-to-date accounting records.
This guide is intended for project managers and administrators who need to update project statuses manually. It is particularly useful during billing cycles or when on-site connectivity issues prevent standard app usage.
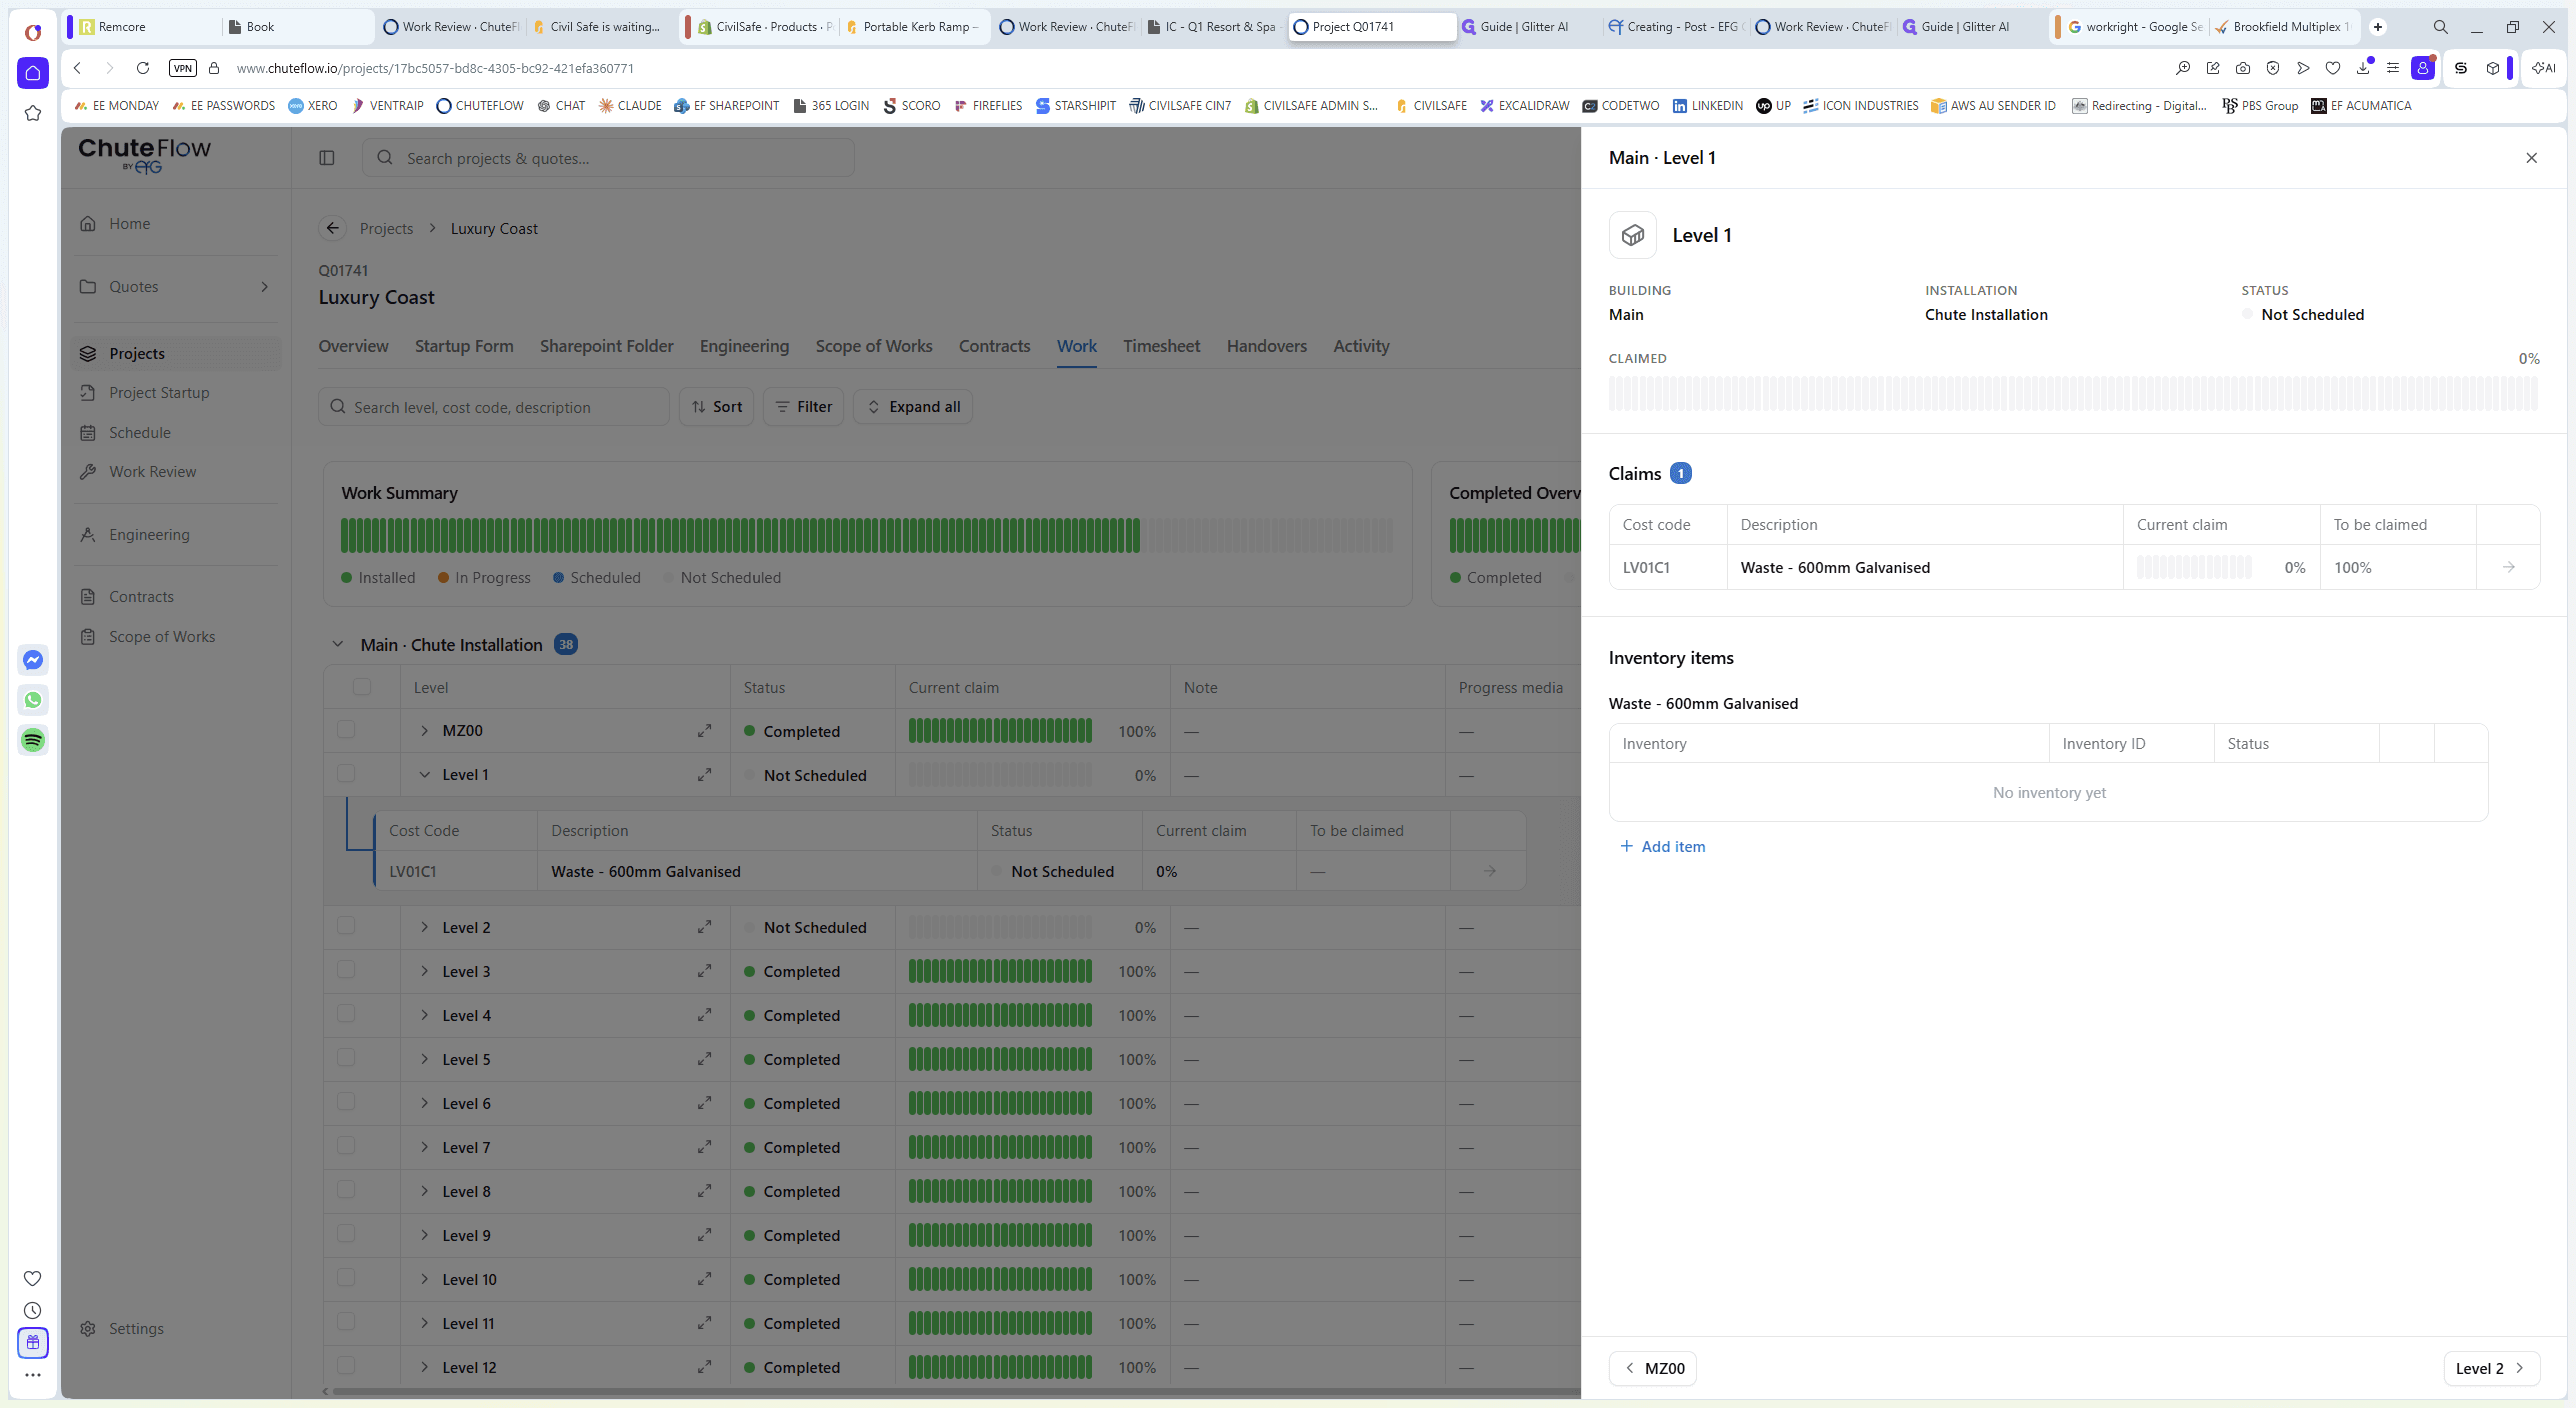
Navigate to the project's work section to manage your claims and track installation progress.
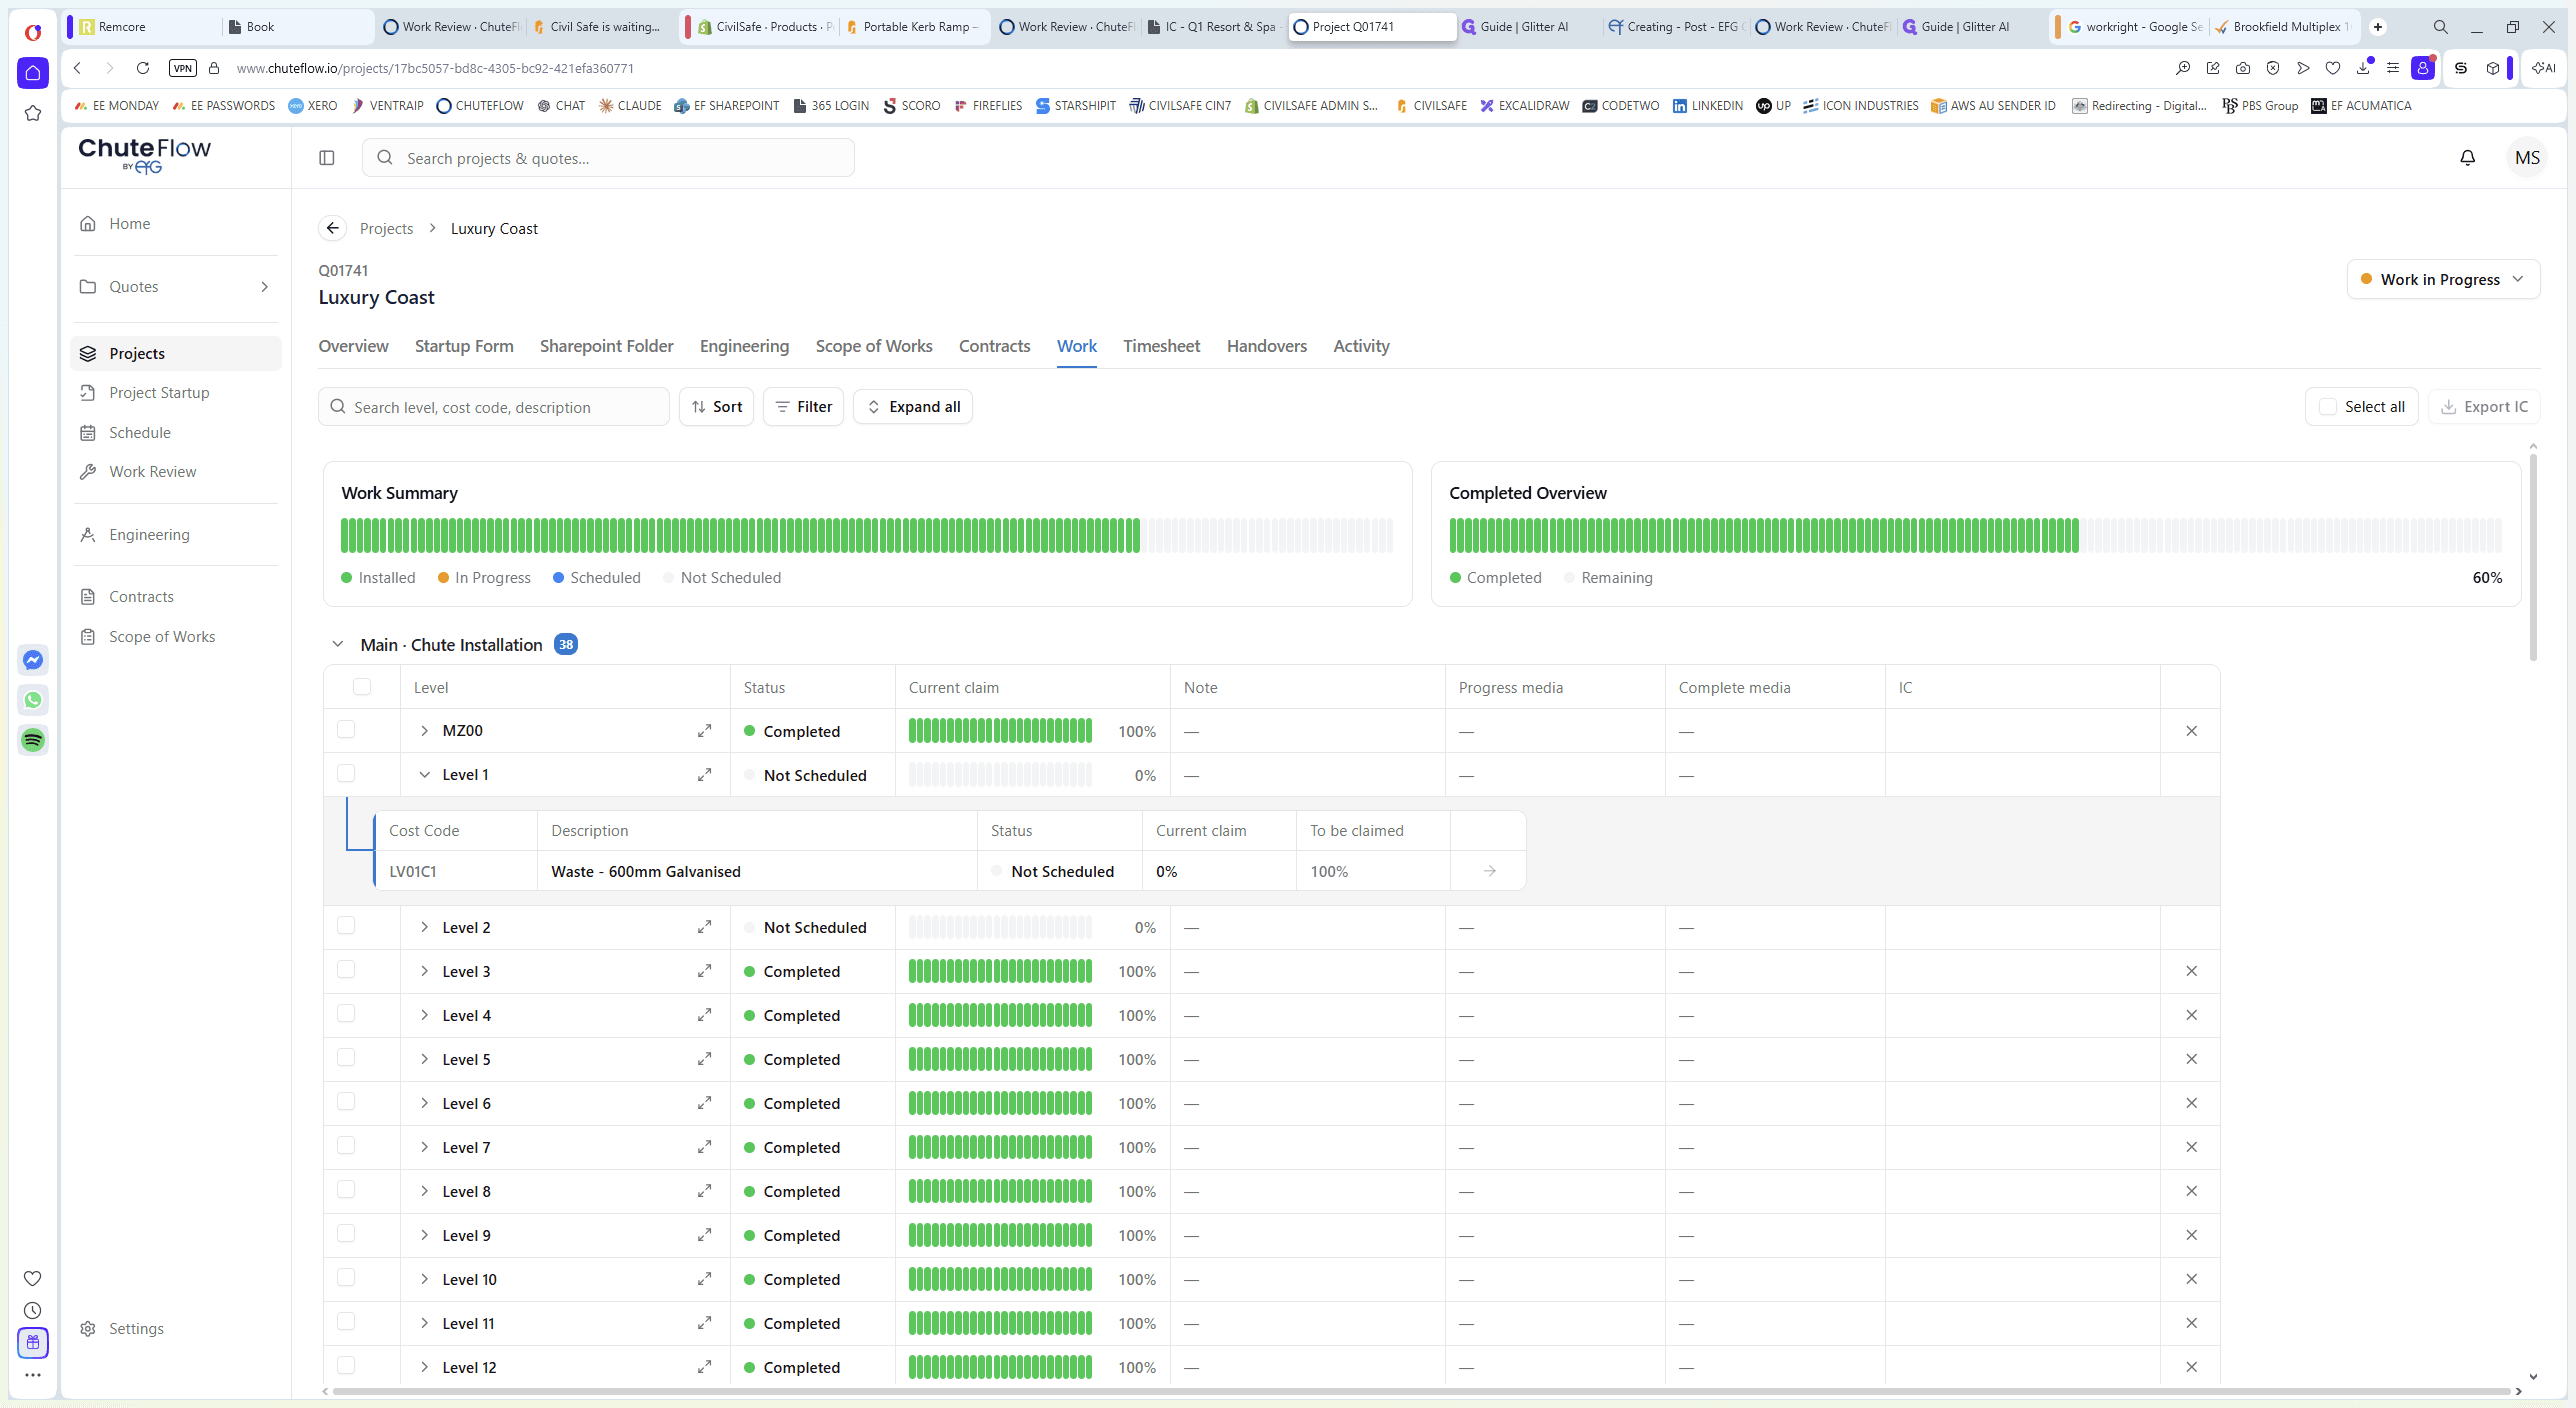
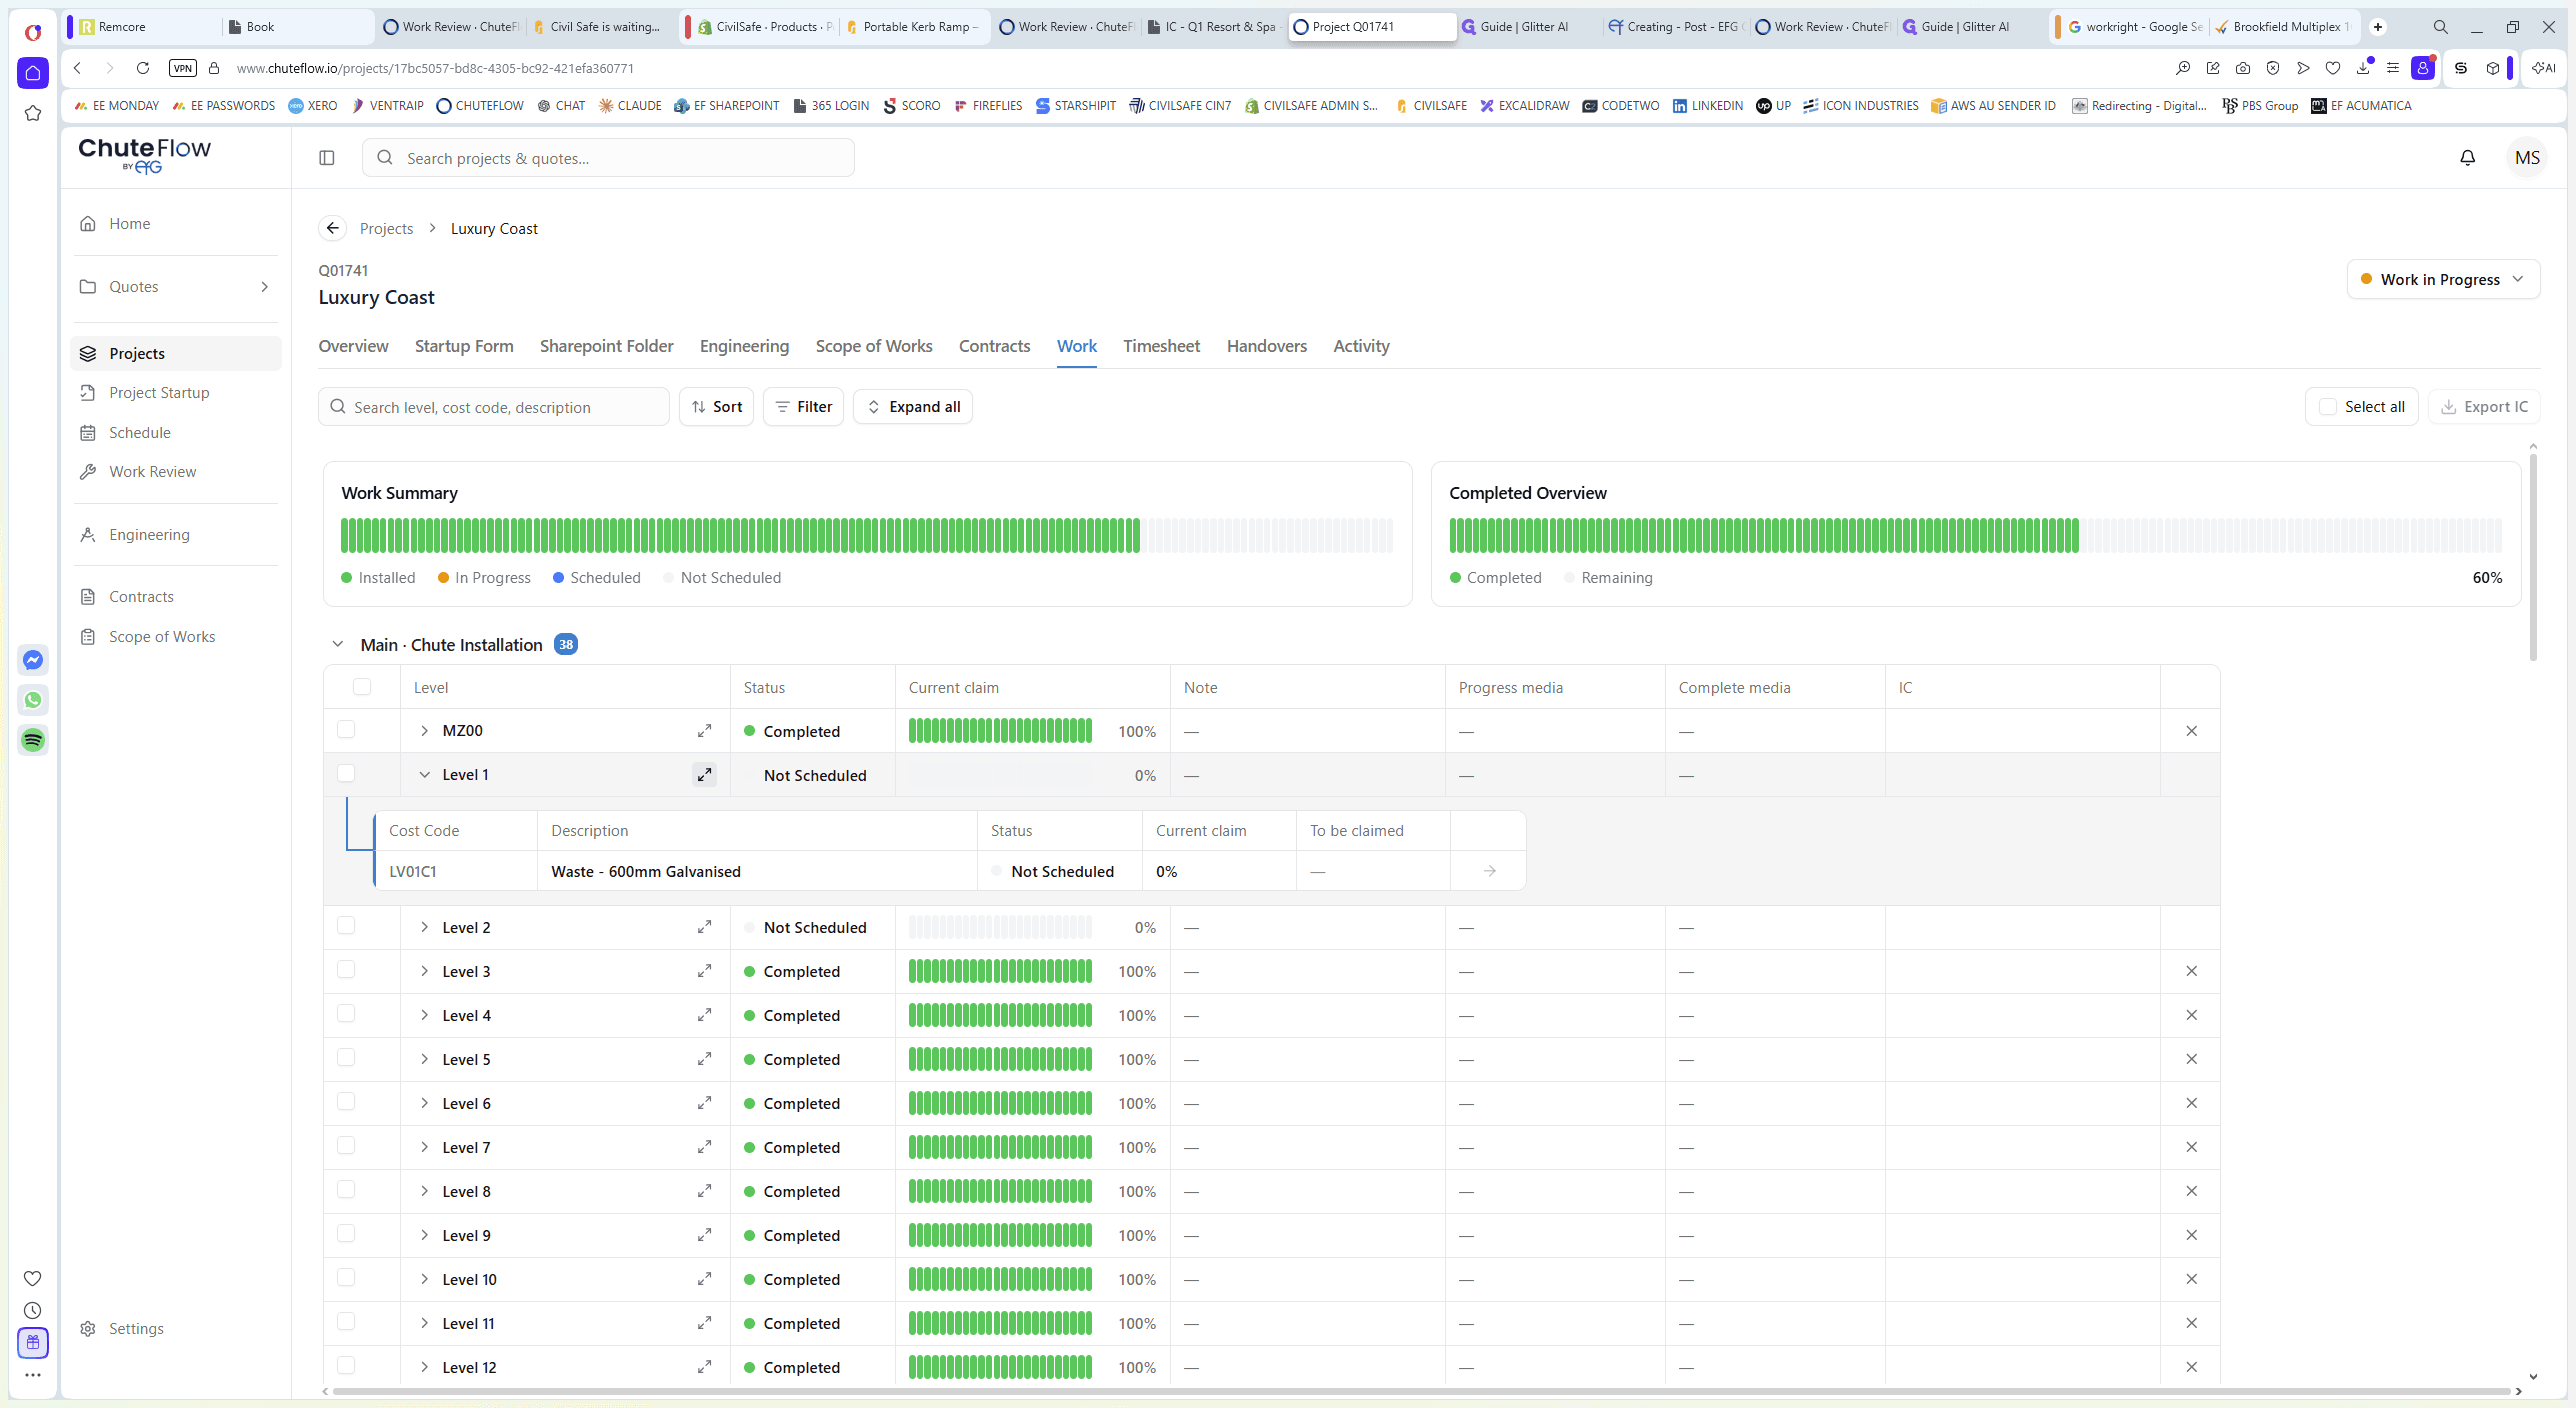
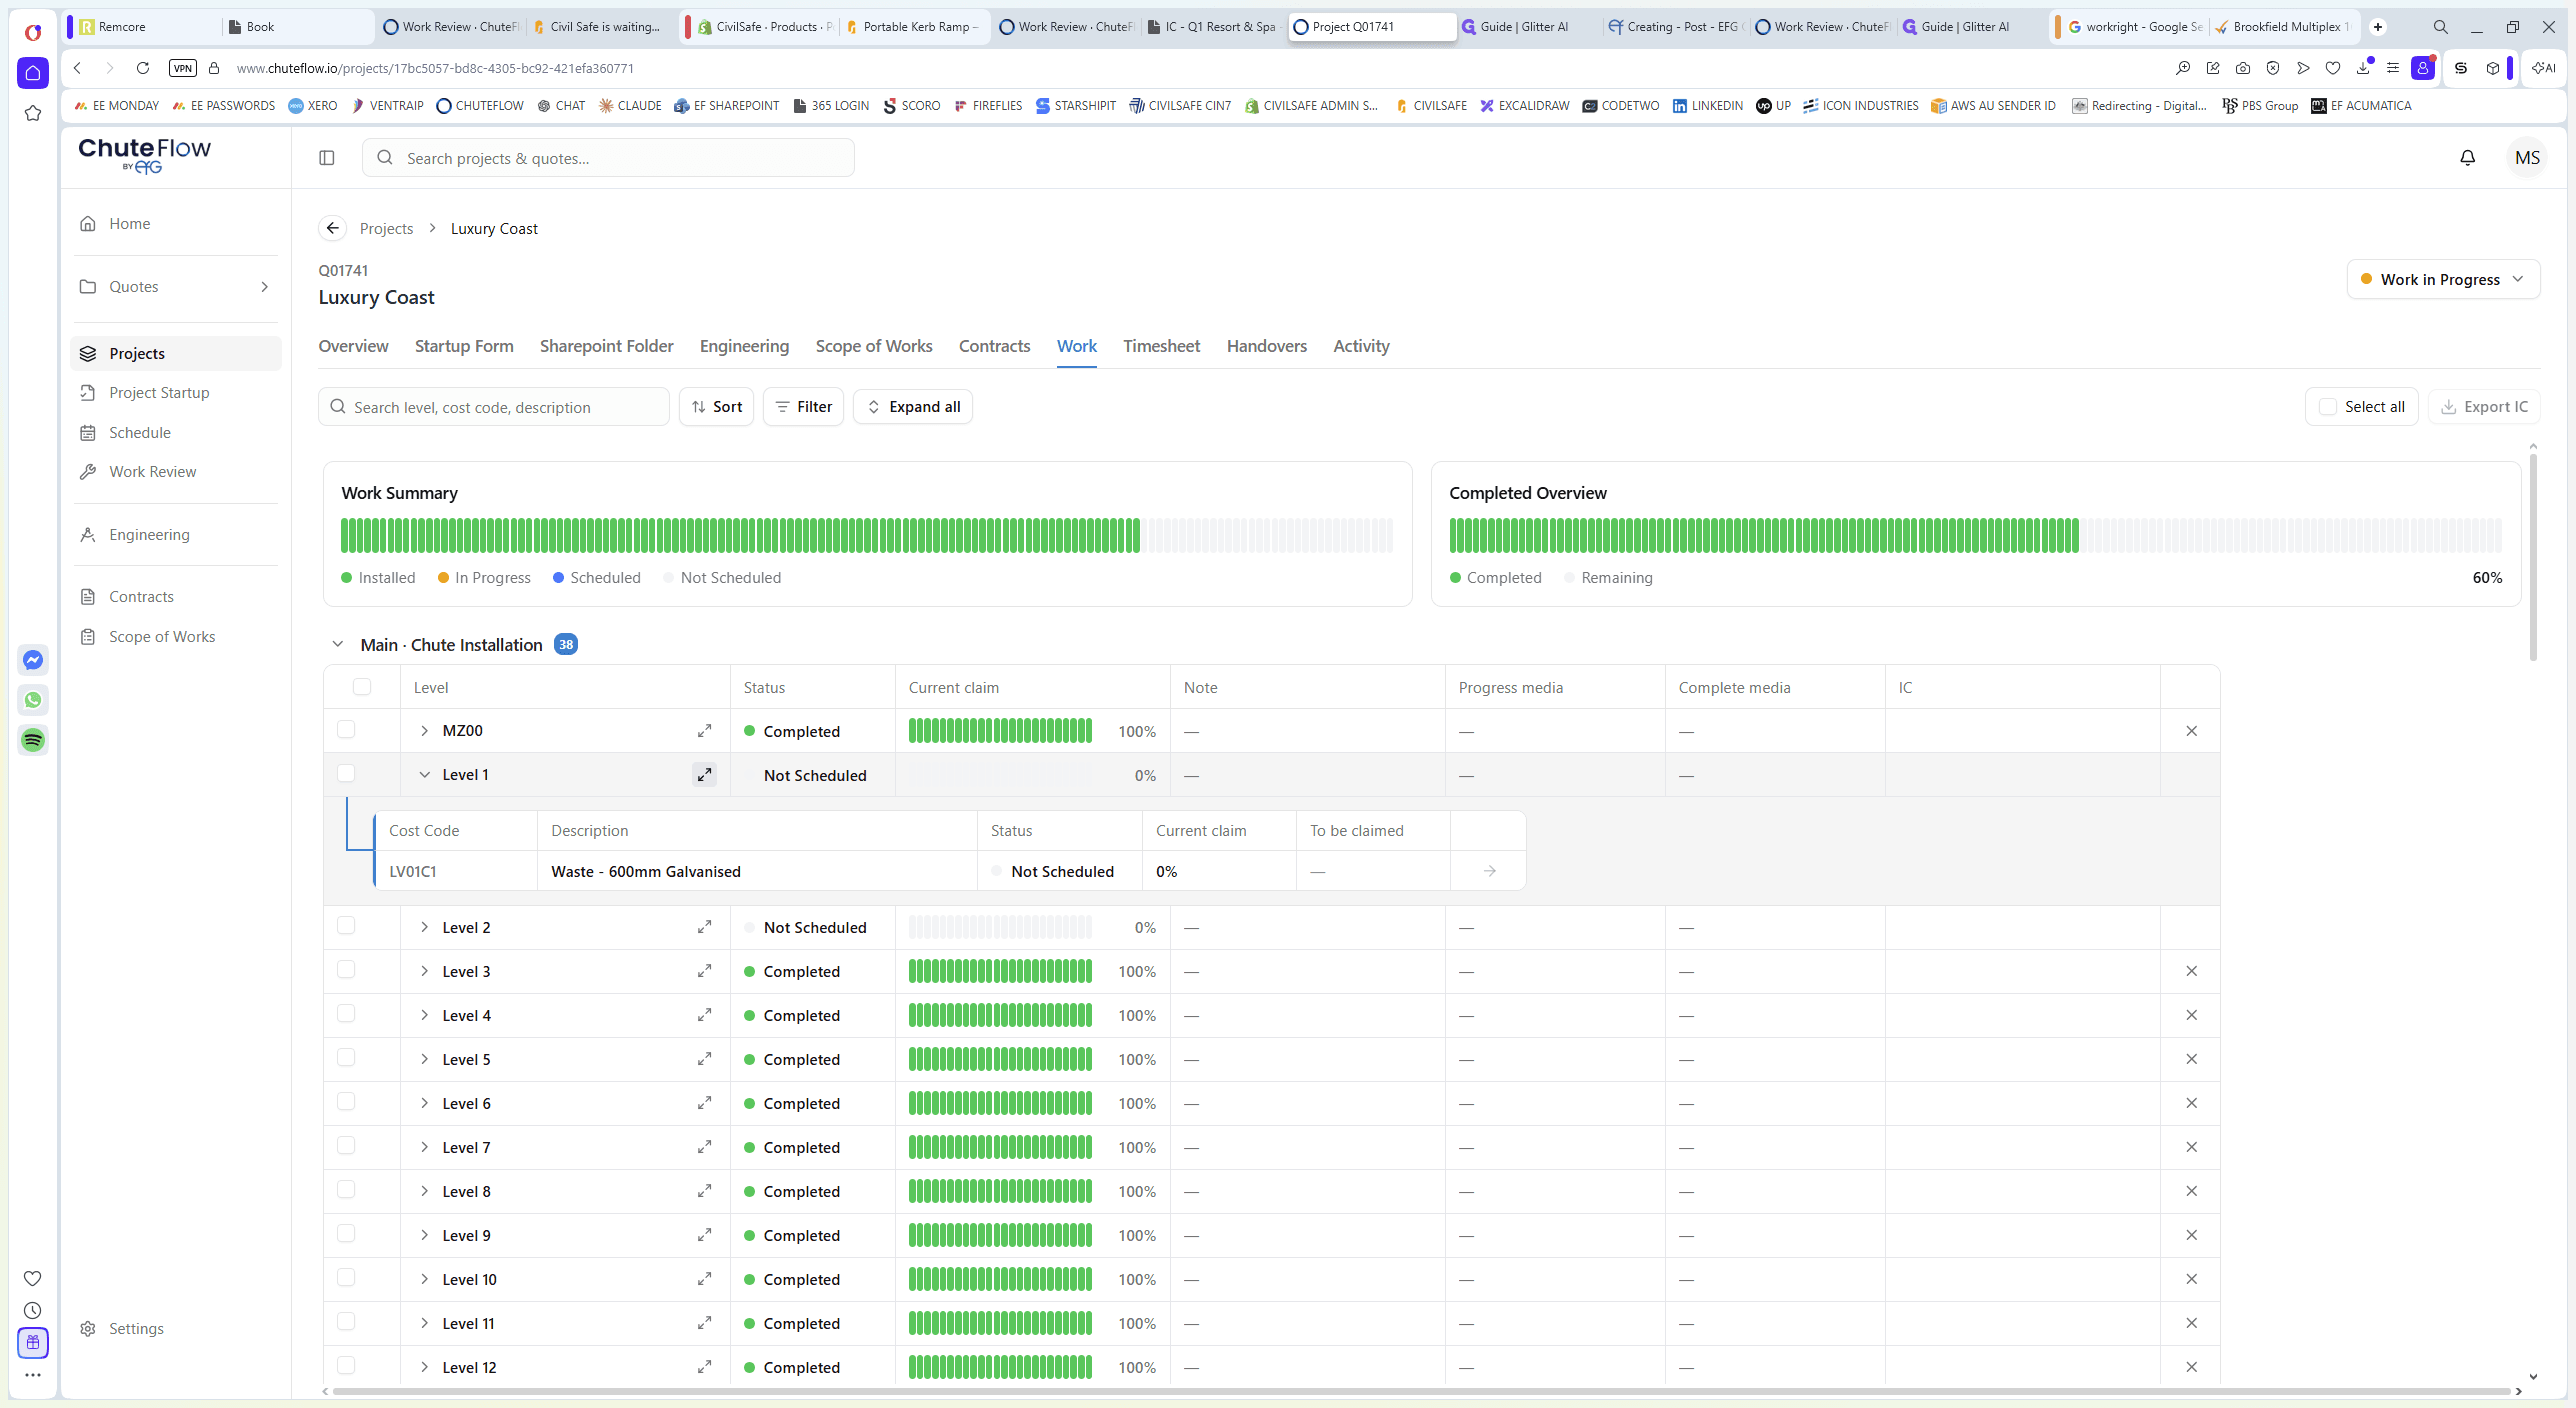
Claiming Works in Advance
If you need to claim for works before they are fully completed, you can manually adjust the claim percentage.
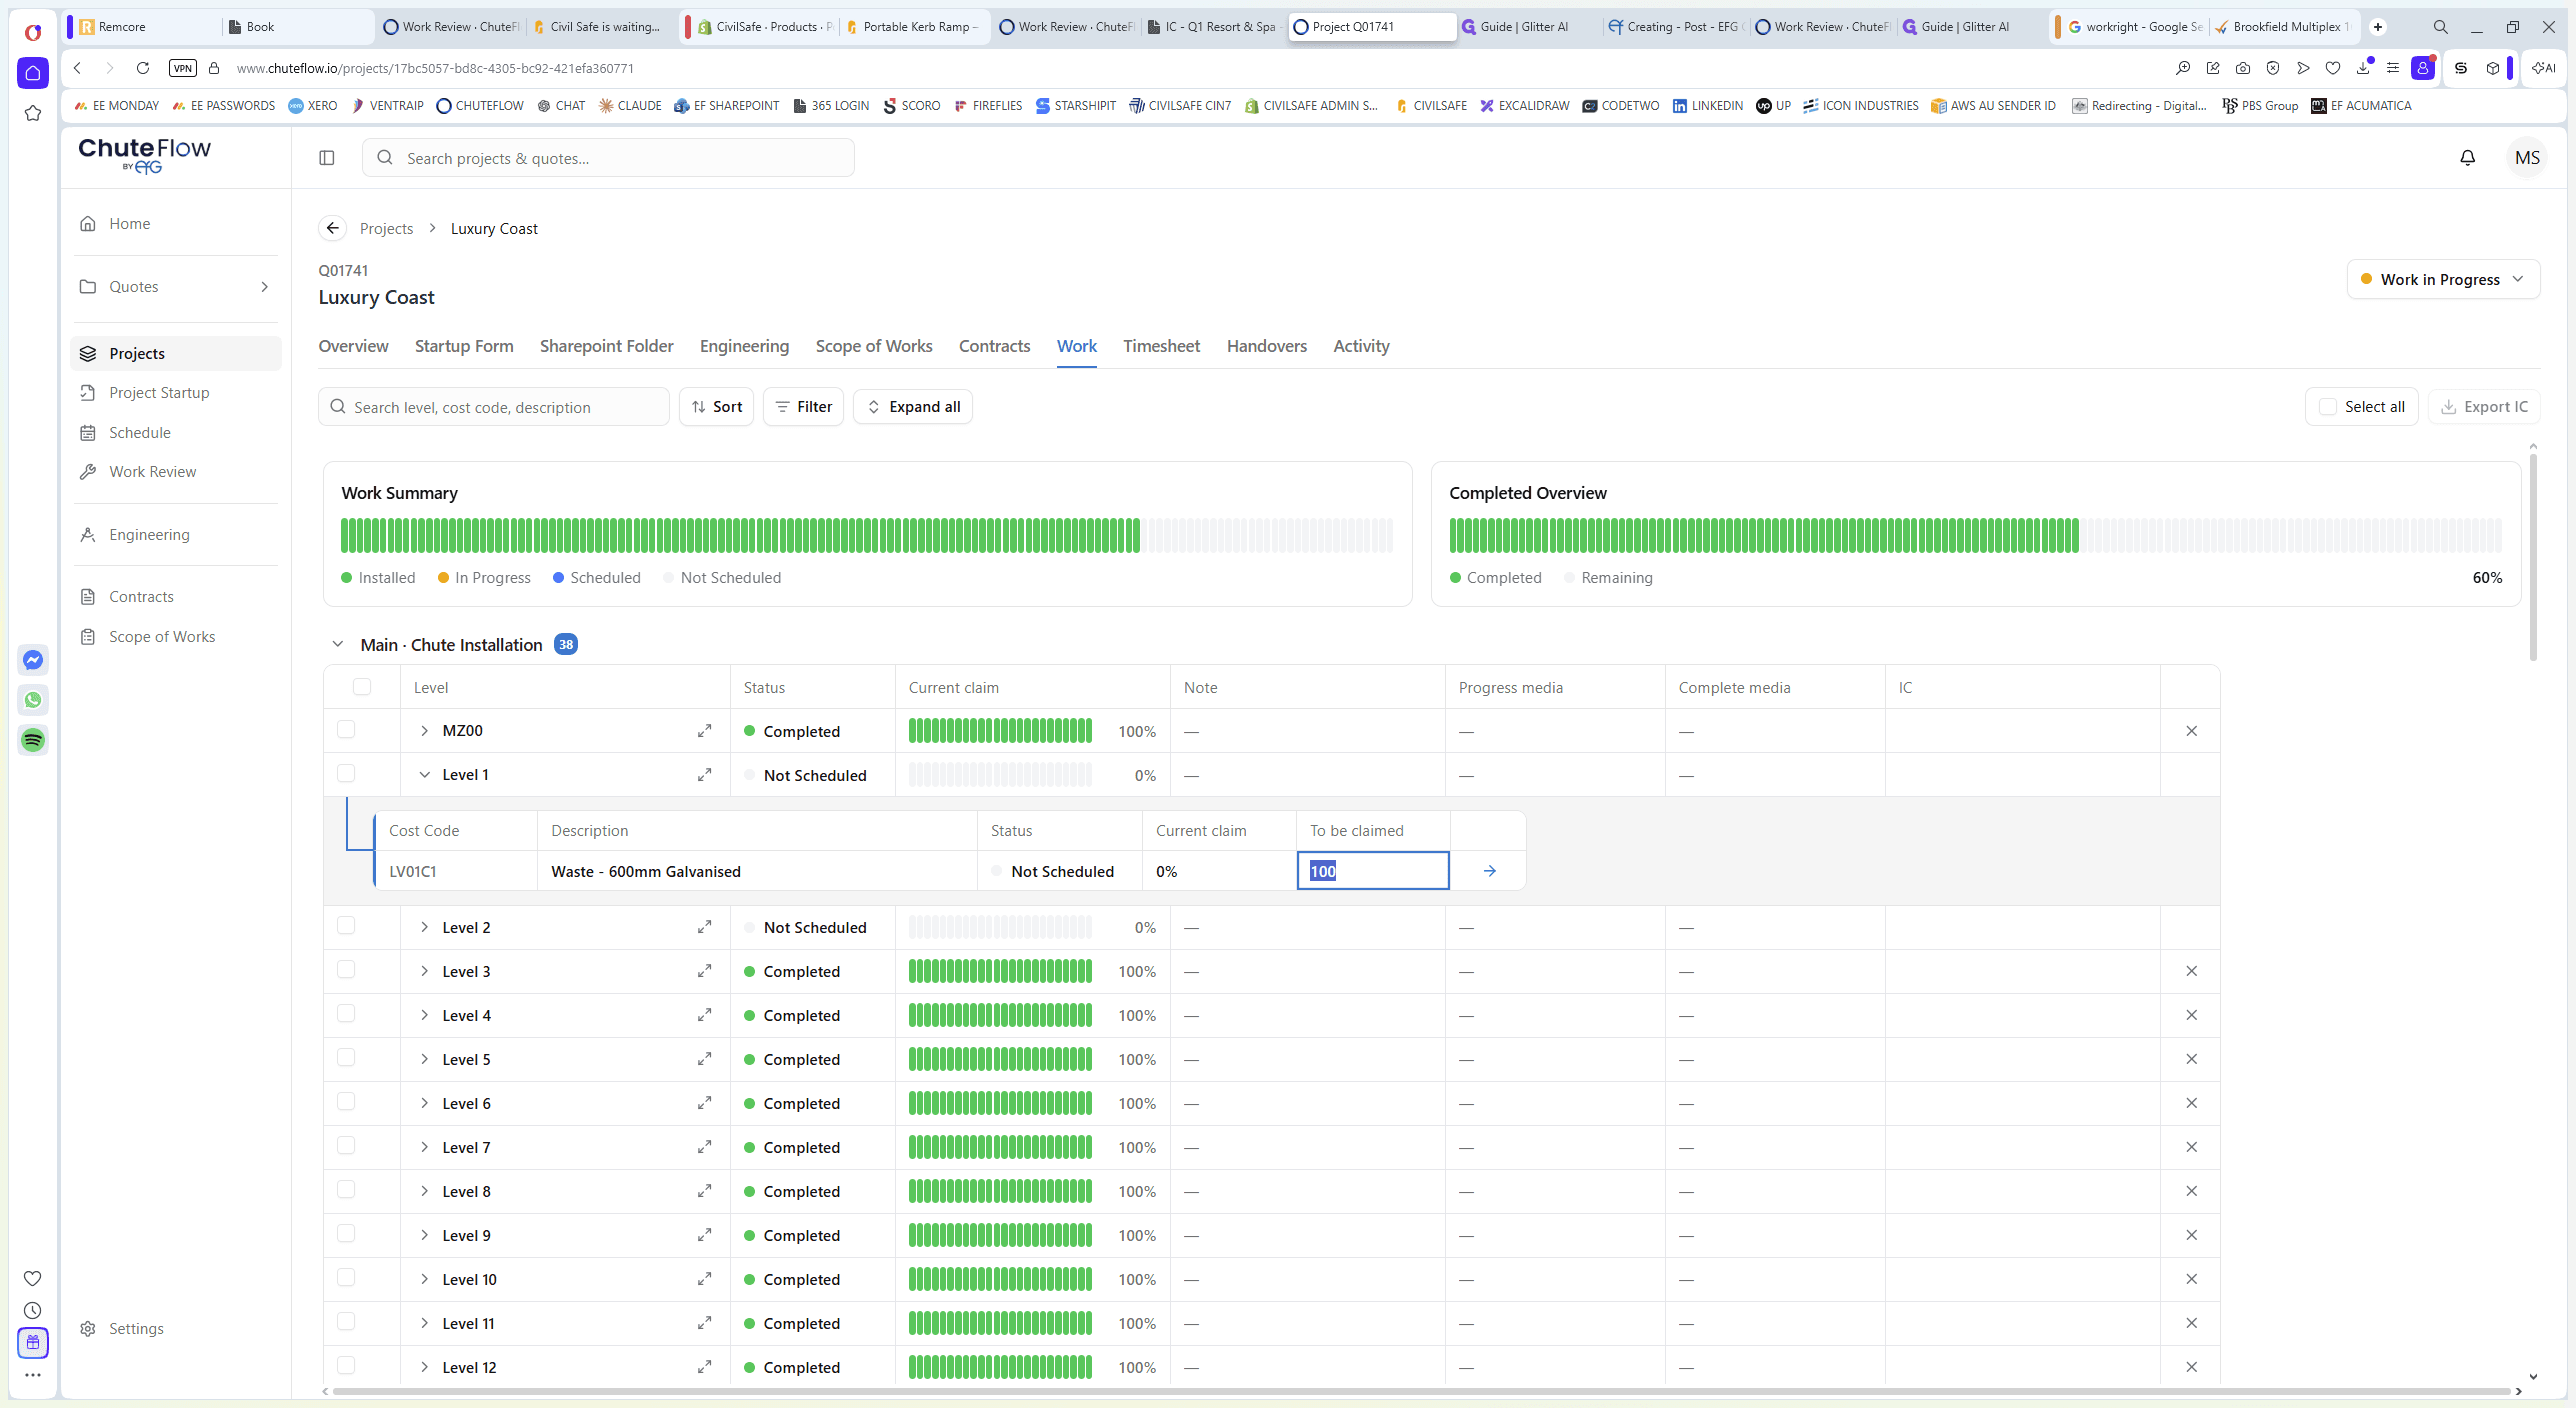
Manually Recording Completed Works
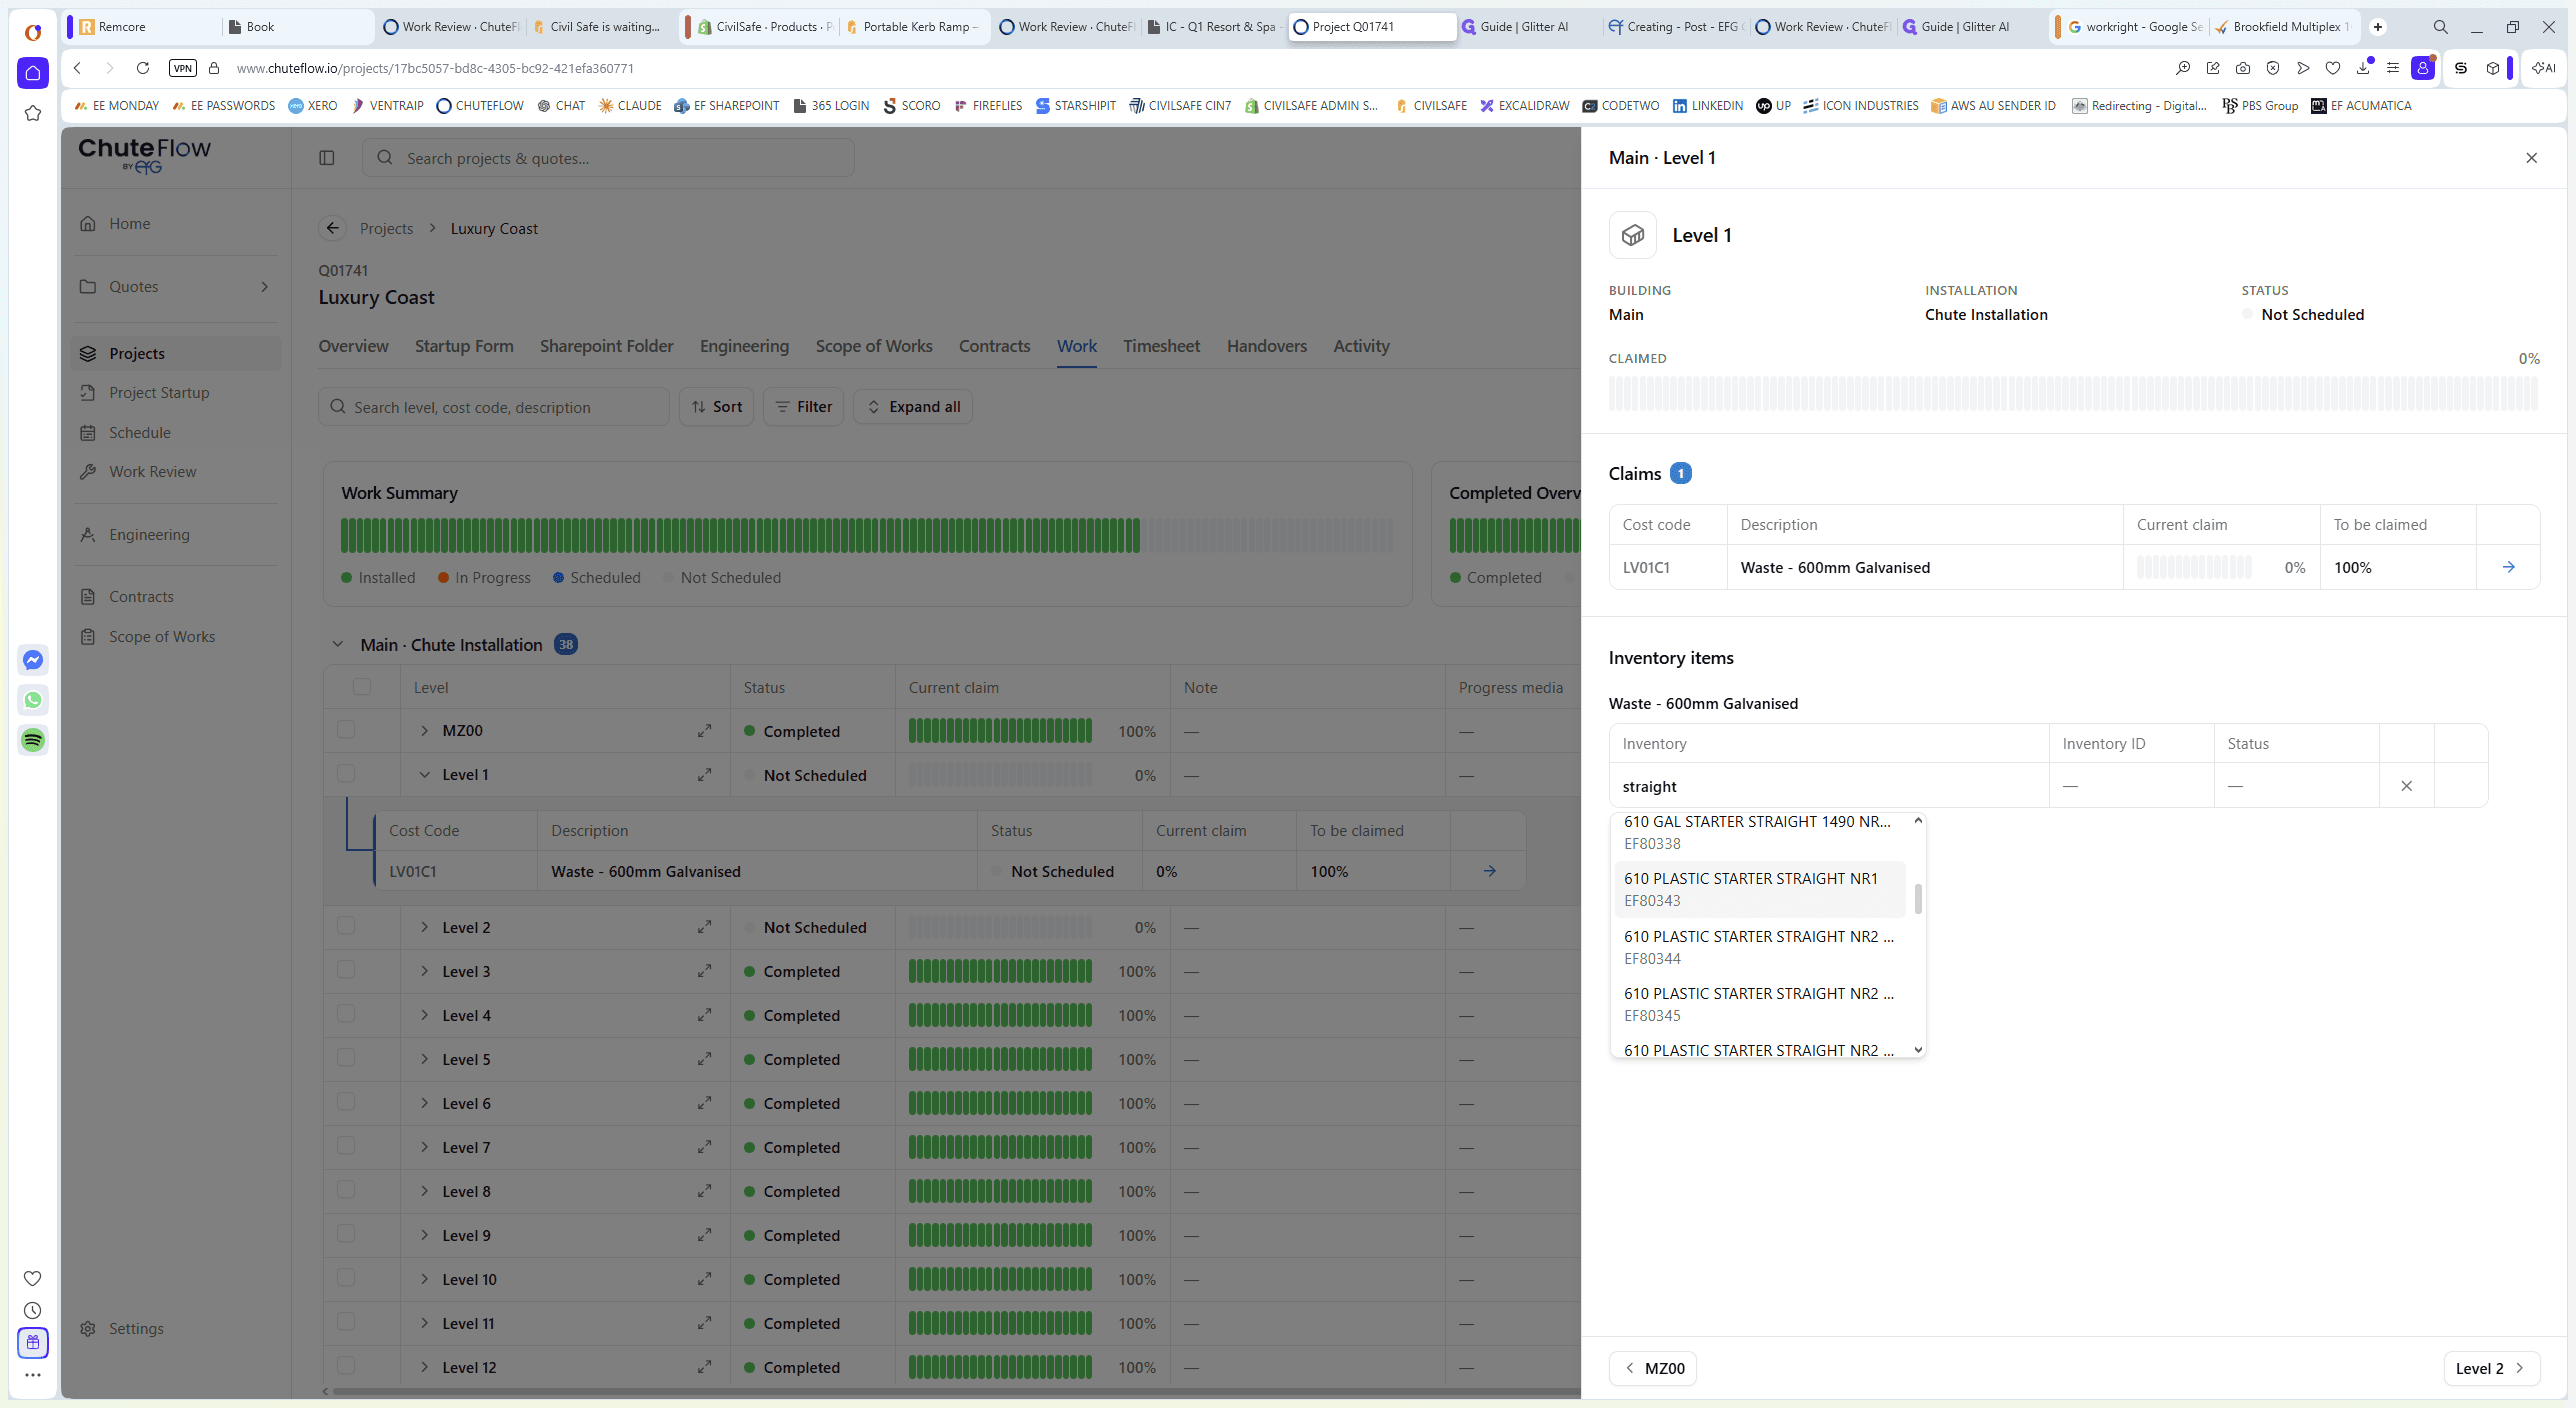
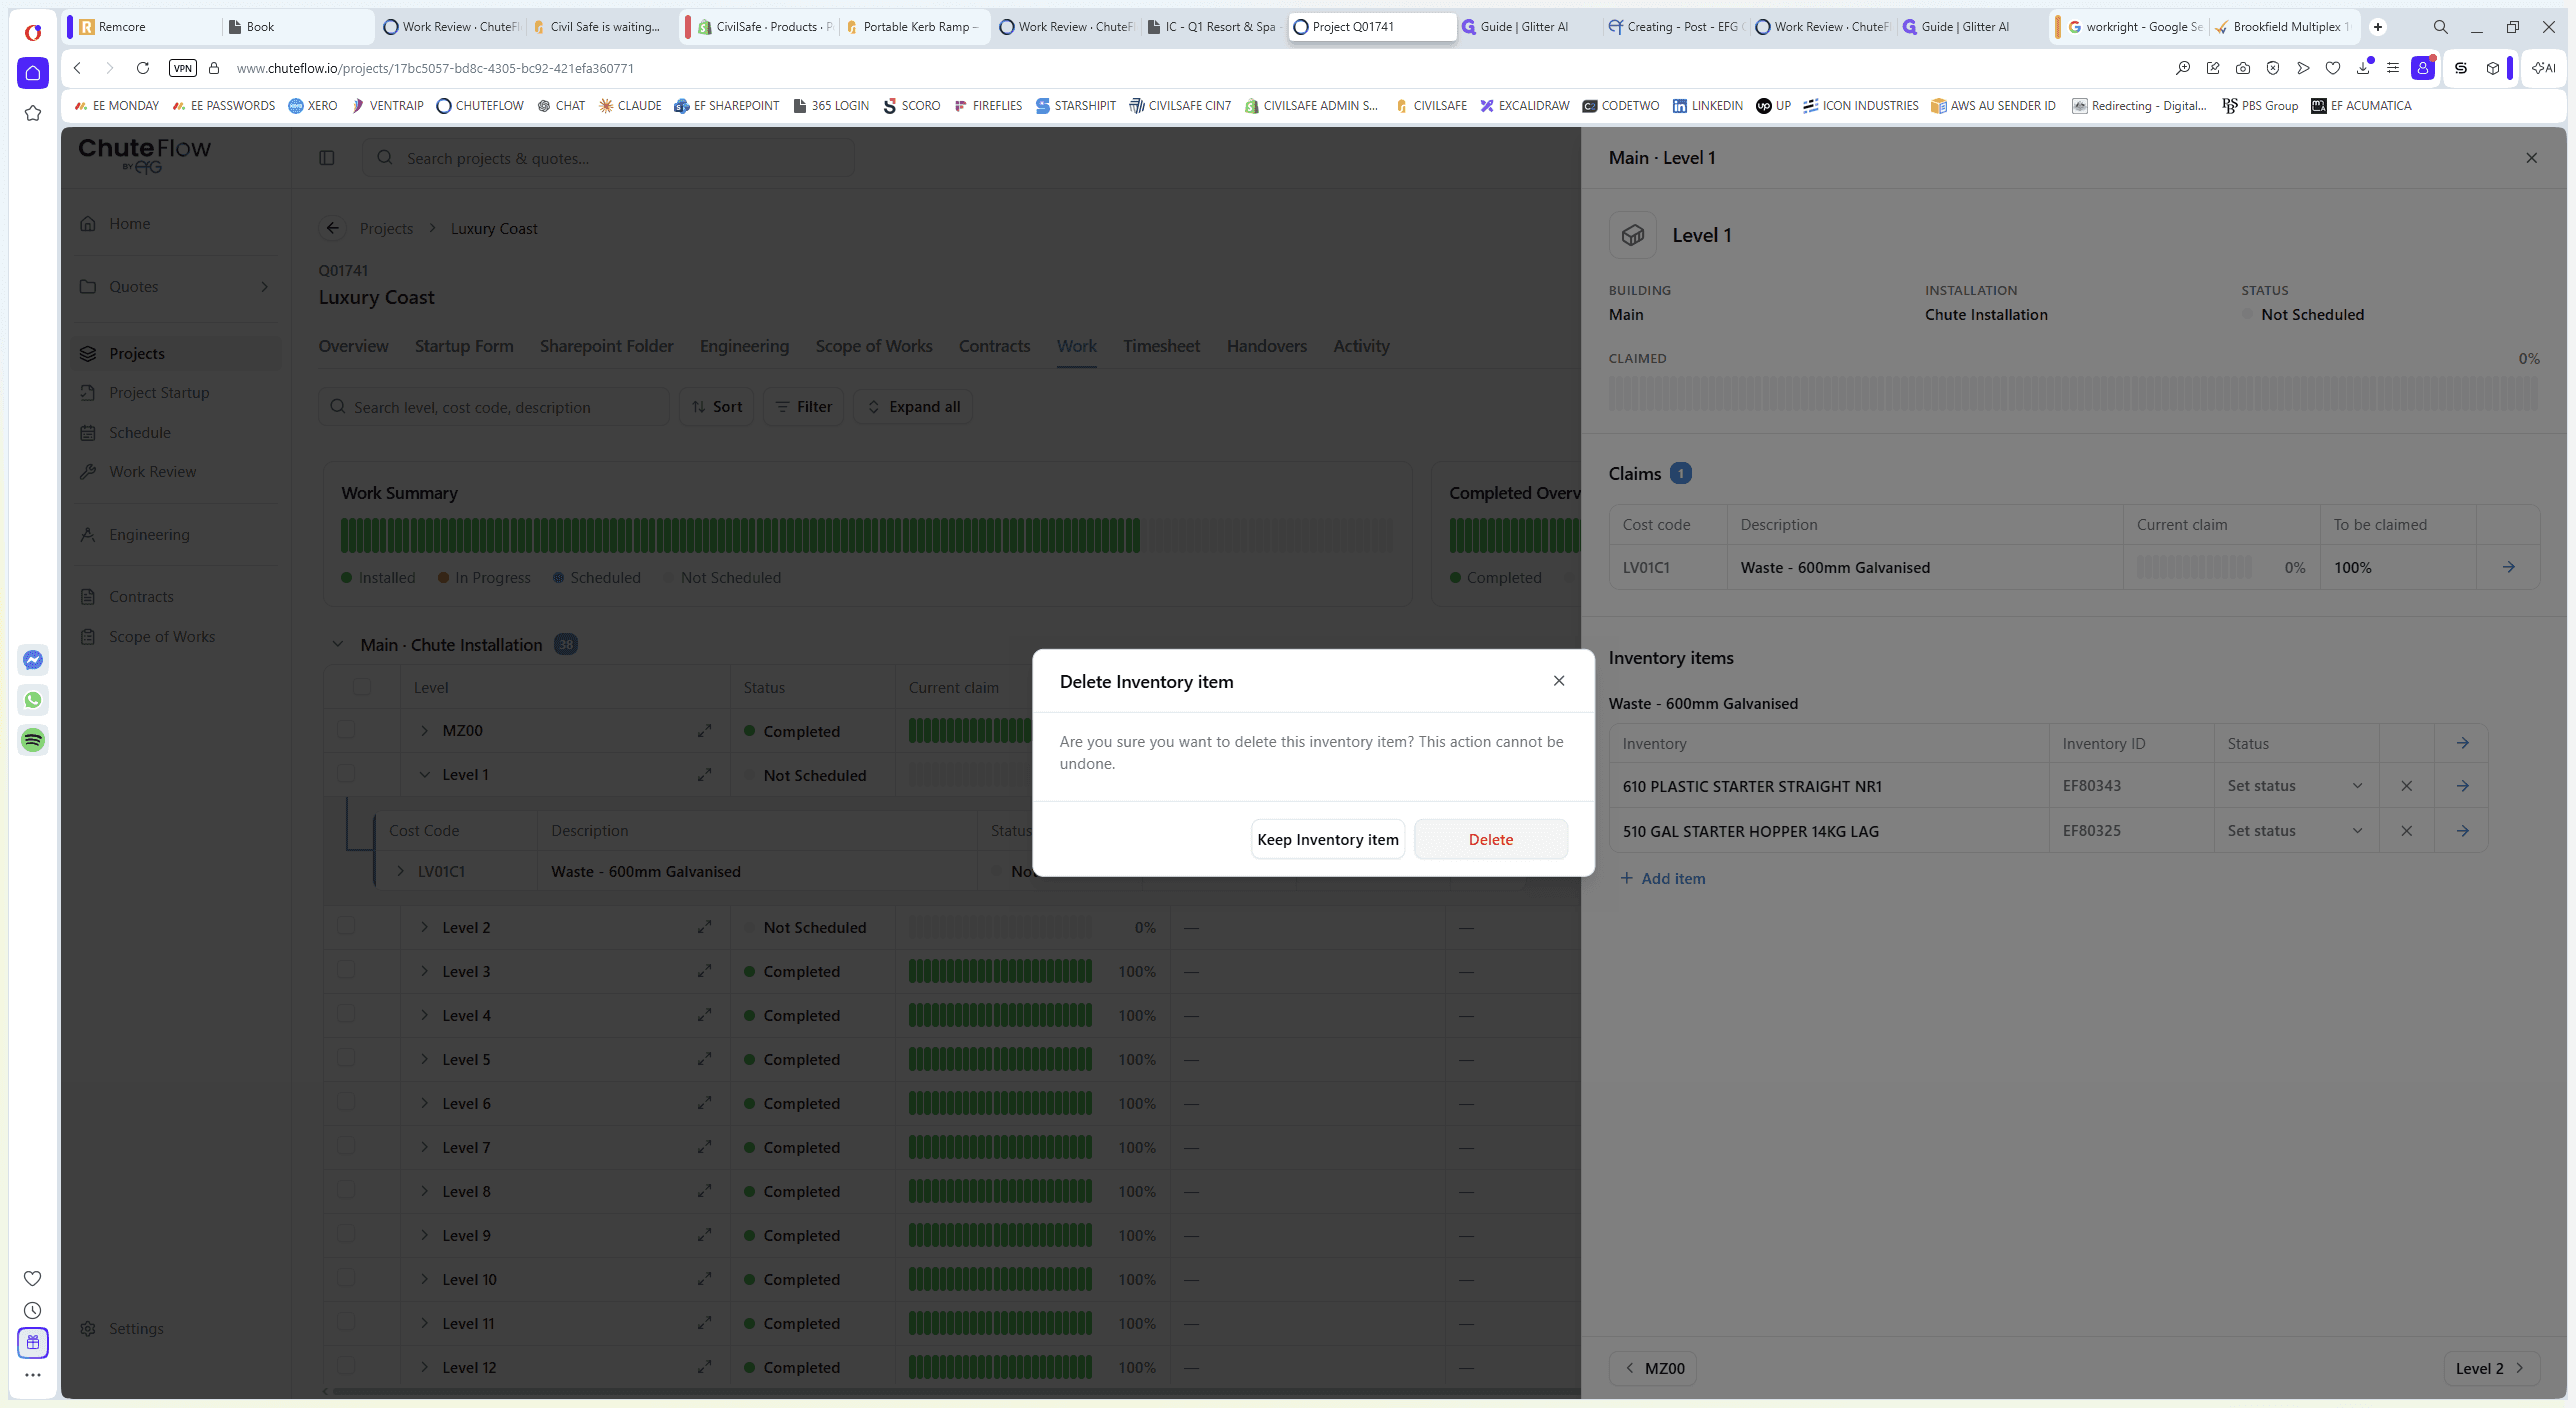
In situations where works were completed but the installer did not use the mobile app, you can manually add inventory items and update their statuses to keep the project accurate.
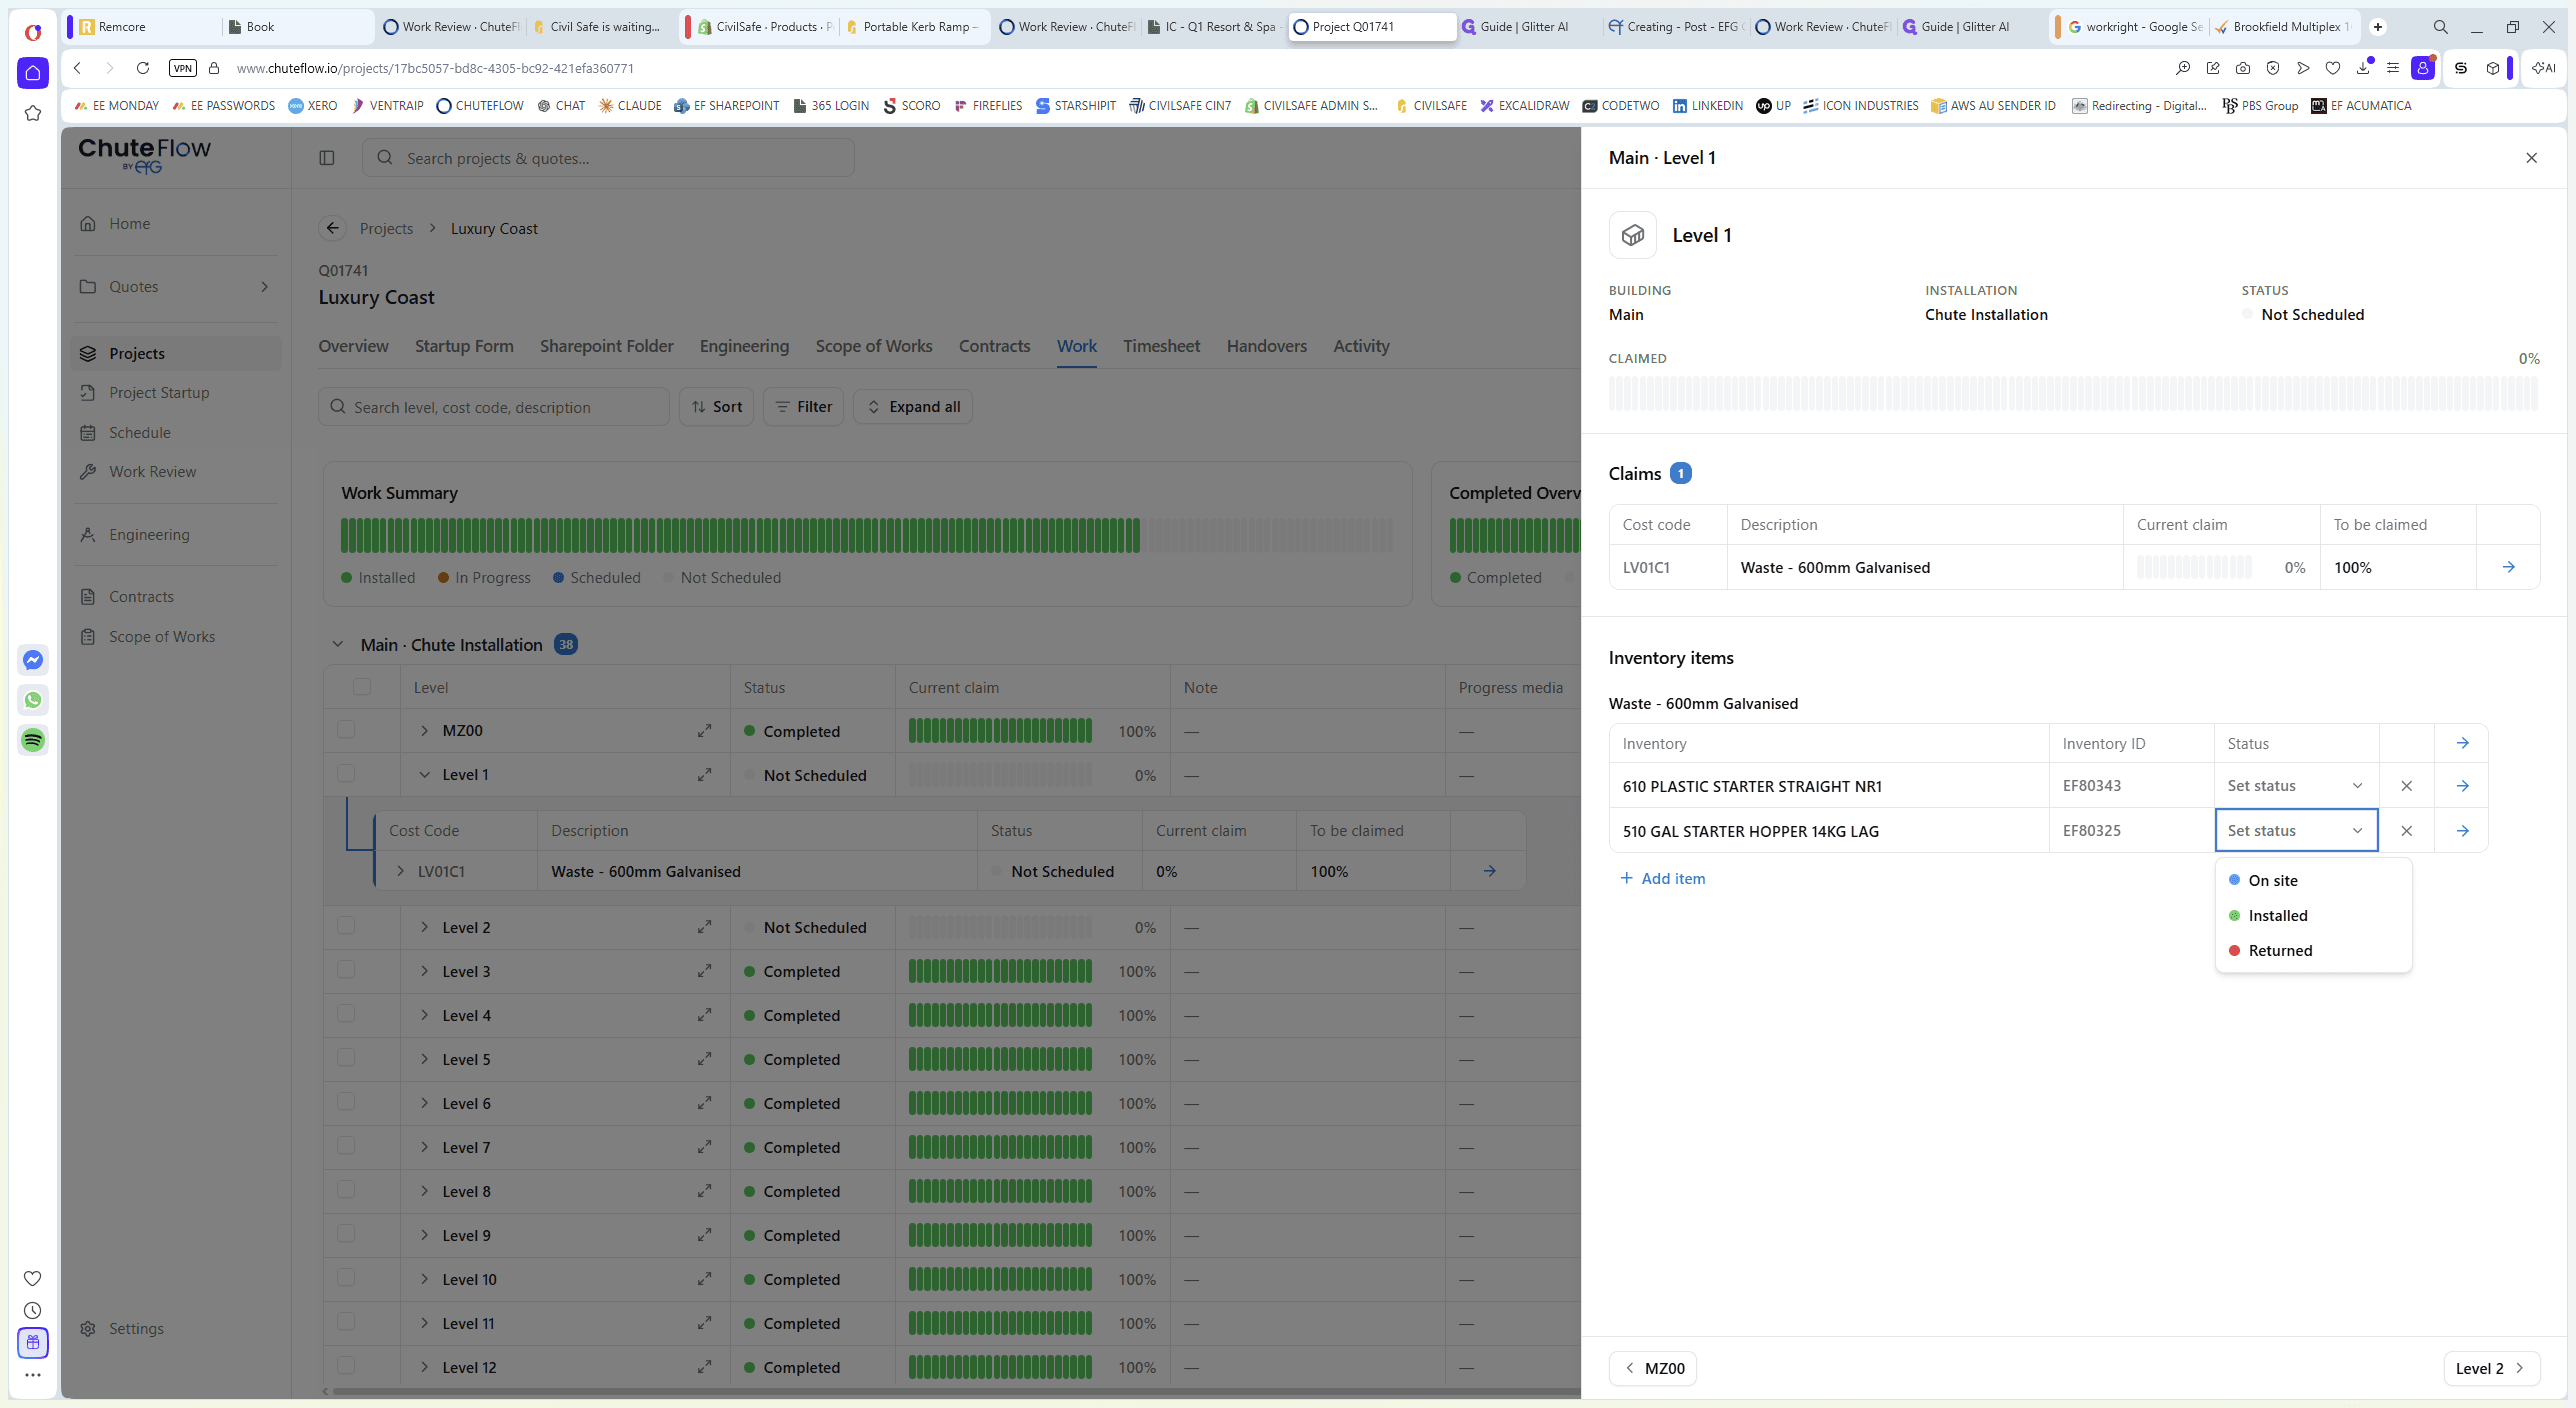
When setting the status for an inventory item, choose the option that best reflects its current physical location and state:
Status | Definition |
|---|---|
Installed | The item has been successfully fitted and completed on site. |
On site | The item has been delivered to the project location but is not yet installed. |
Returned | The item was sent back from the site and is no longer part of the active installation. |
Q: How do I record works if the installer was unable to use the mobile app?
A: You can manually record completed works by opening the relevant project level, adding the specific inventory items to the side panel, and updating their status to "Installed" or "On site."
Q: Can I submit a claim before the installation works are complete?
A: Yes, you can claim in advance by opening the level details and entering a percentage value directly into the "To be claimed" field for the appropriate cost code.
Term | Definition |
|---|---|
Cost code | A specific accounting line item used to track and process financial claims for a project. |
Hopper | A chute component used to direct waste or materials into the main chute system. |
MYOB | An accounting software platform that synchronizes with the project management system to process claims. |