Learn how to process a linked customer return in Orderwise, from booking items back into stock to logging inspection details and applying refund actions.
By Lee Higgins
This guide walks through processing a customer linked return in Orderwise. Completing this workflow ensures returned items are correctly added back to inventory, evaluated for damage, and resolved with the appropriate customer action (like a refund or replacement).
This process is designed for Customer Service and Warehouse Returns teams handling incoming customer shipments. You will use this workflow whenever a customer ships products back that need to be evaluated and credited.
Section 1: Customer Services - Initiate a Linked Return
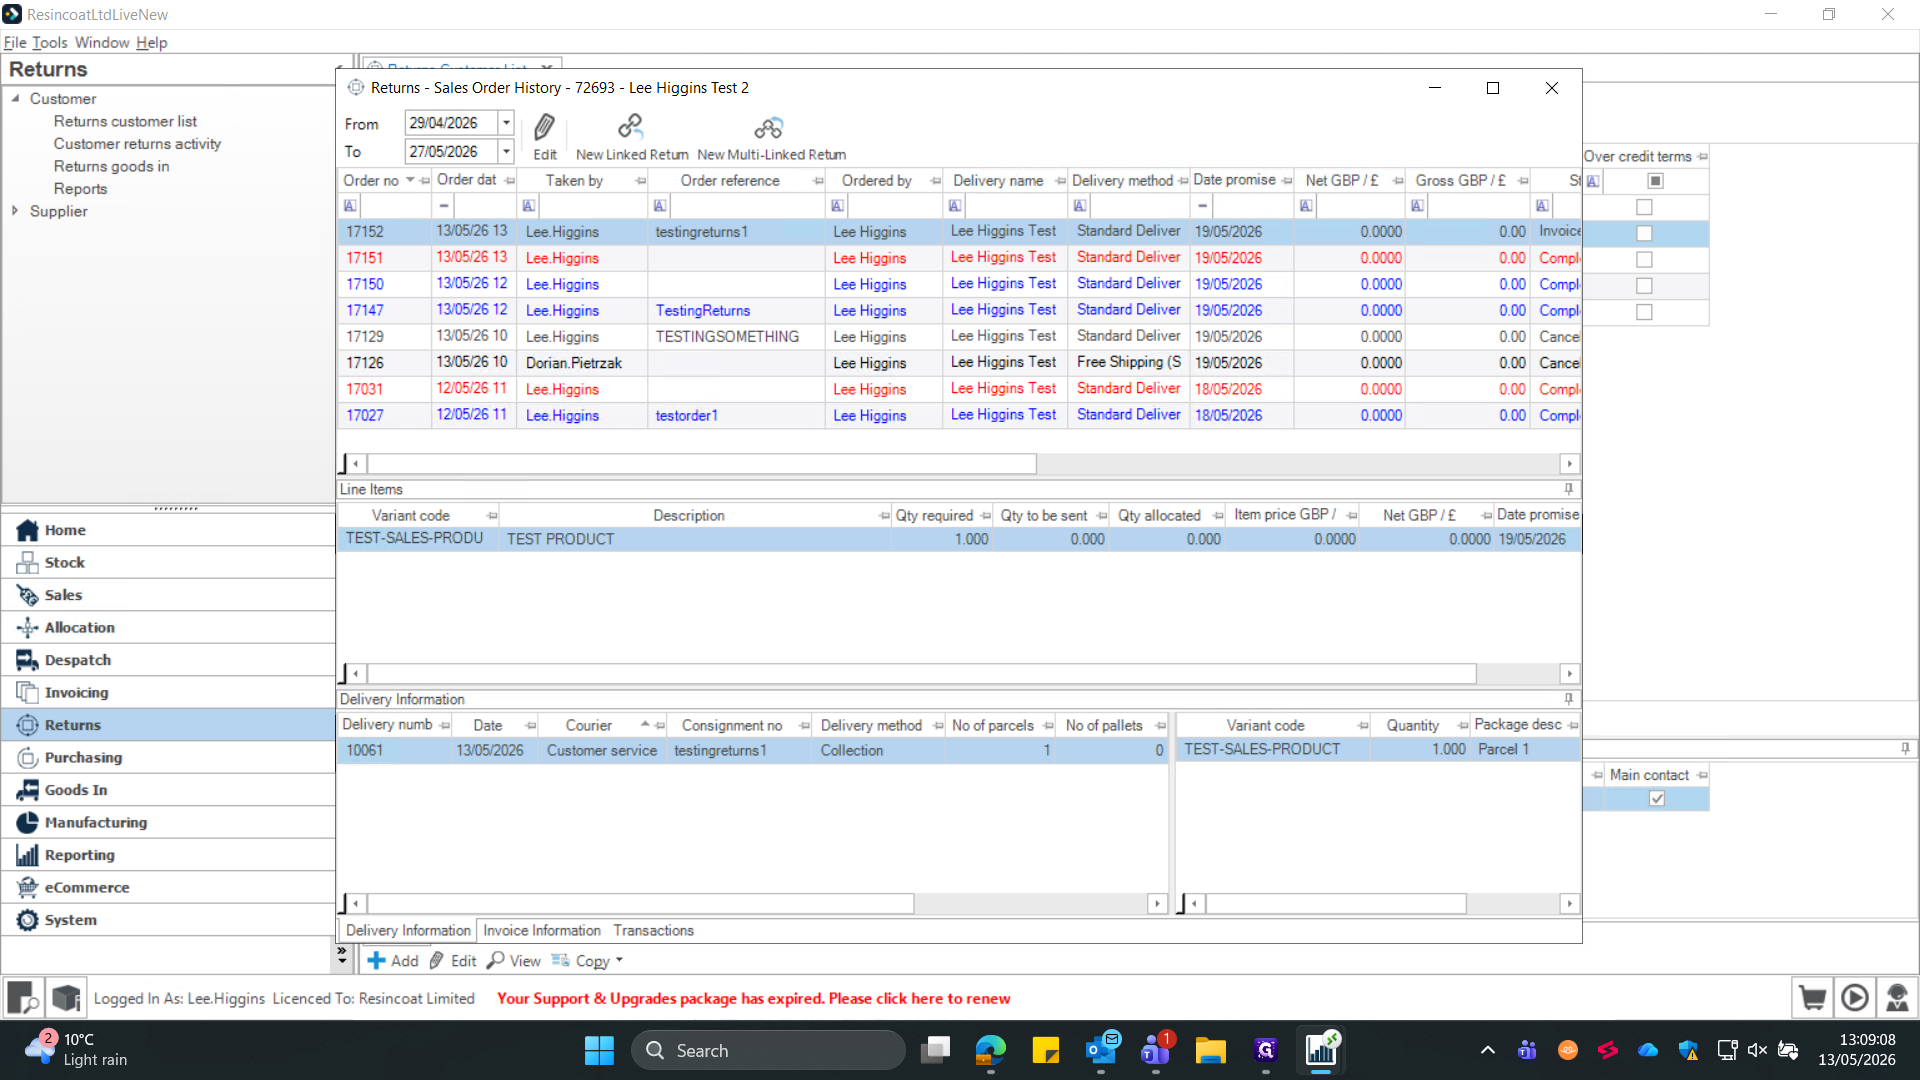
1
Click Returns in the main navigation sidebar.
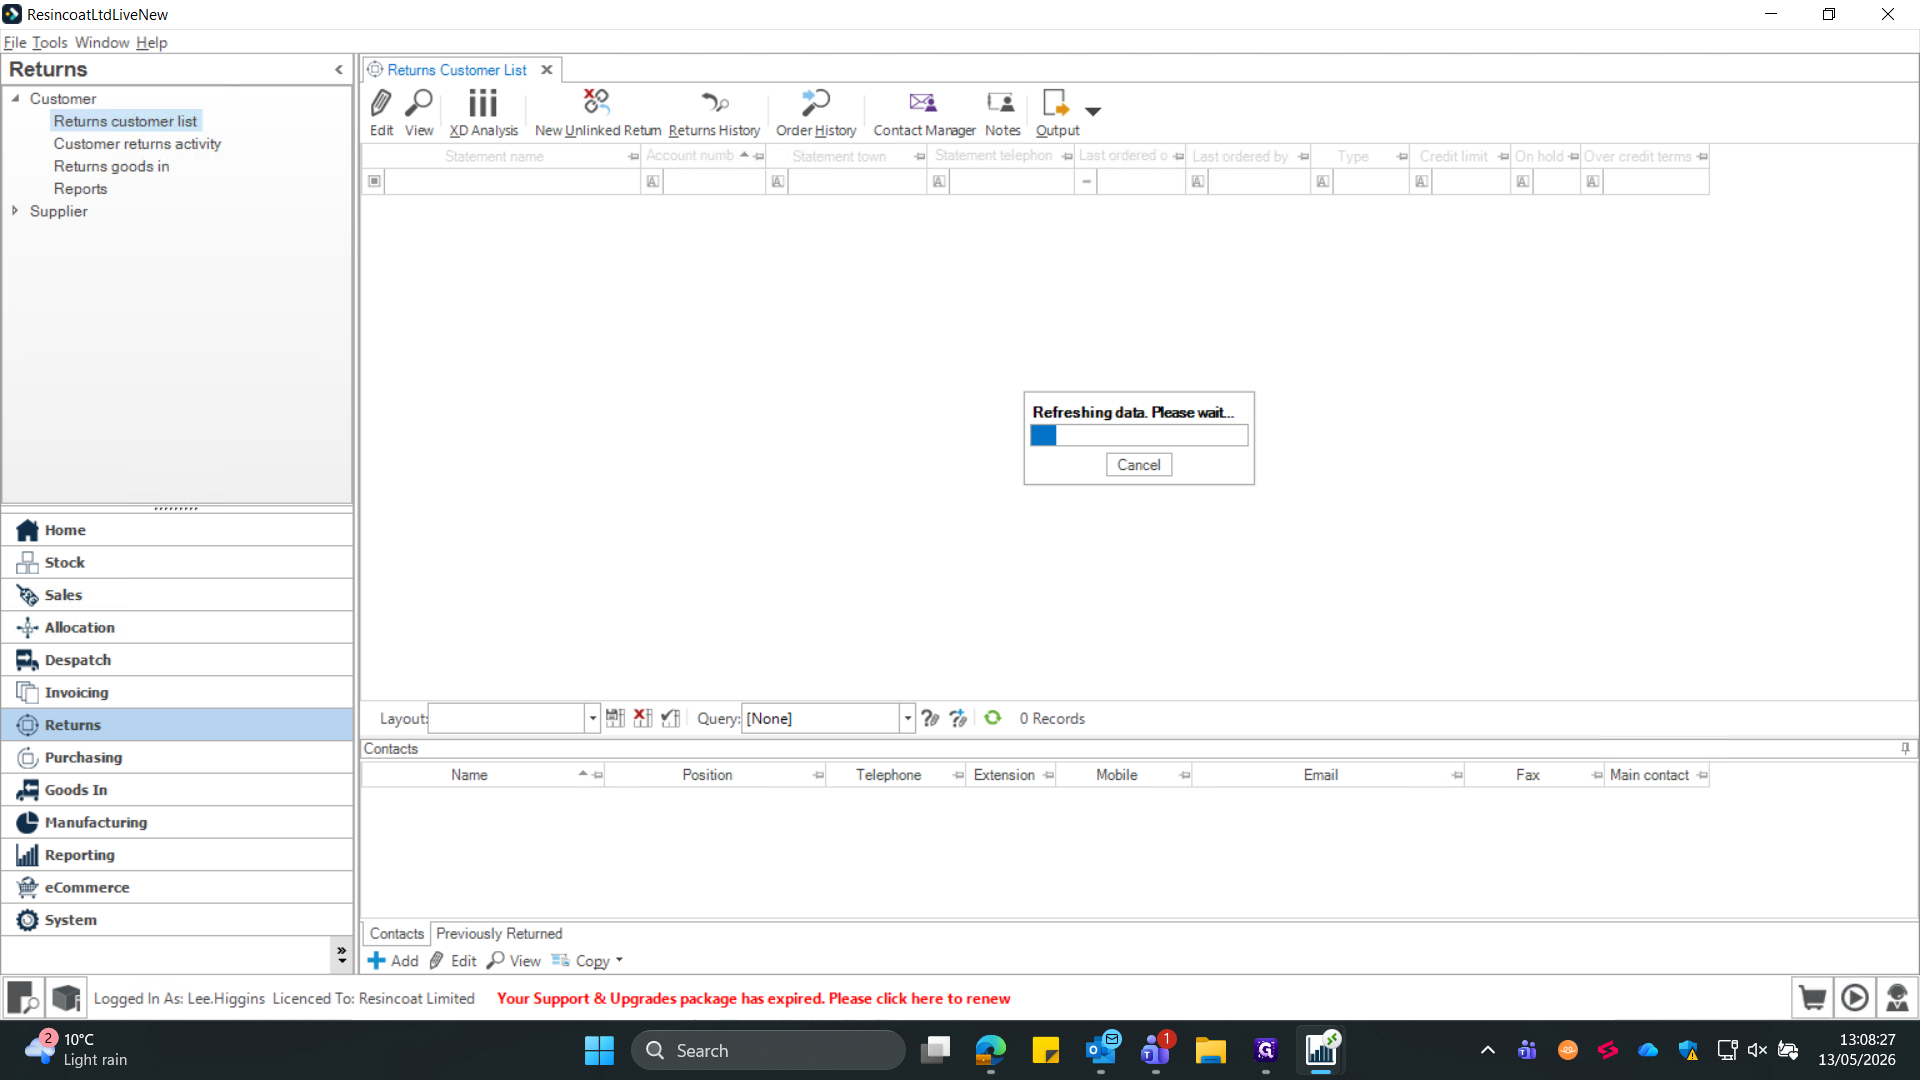
2
Select the Returns customer list.
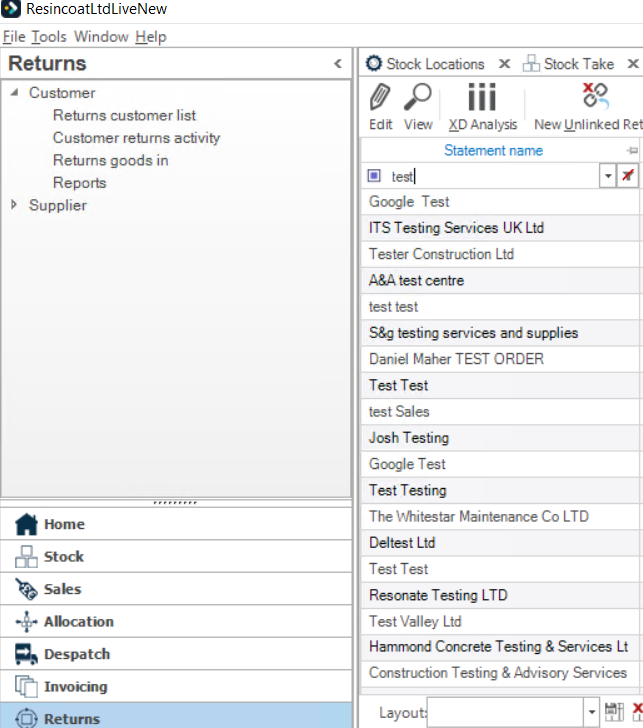
3
Type the customer's name into the search filter to locate their account.
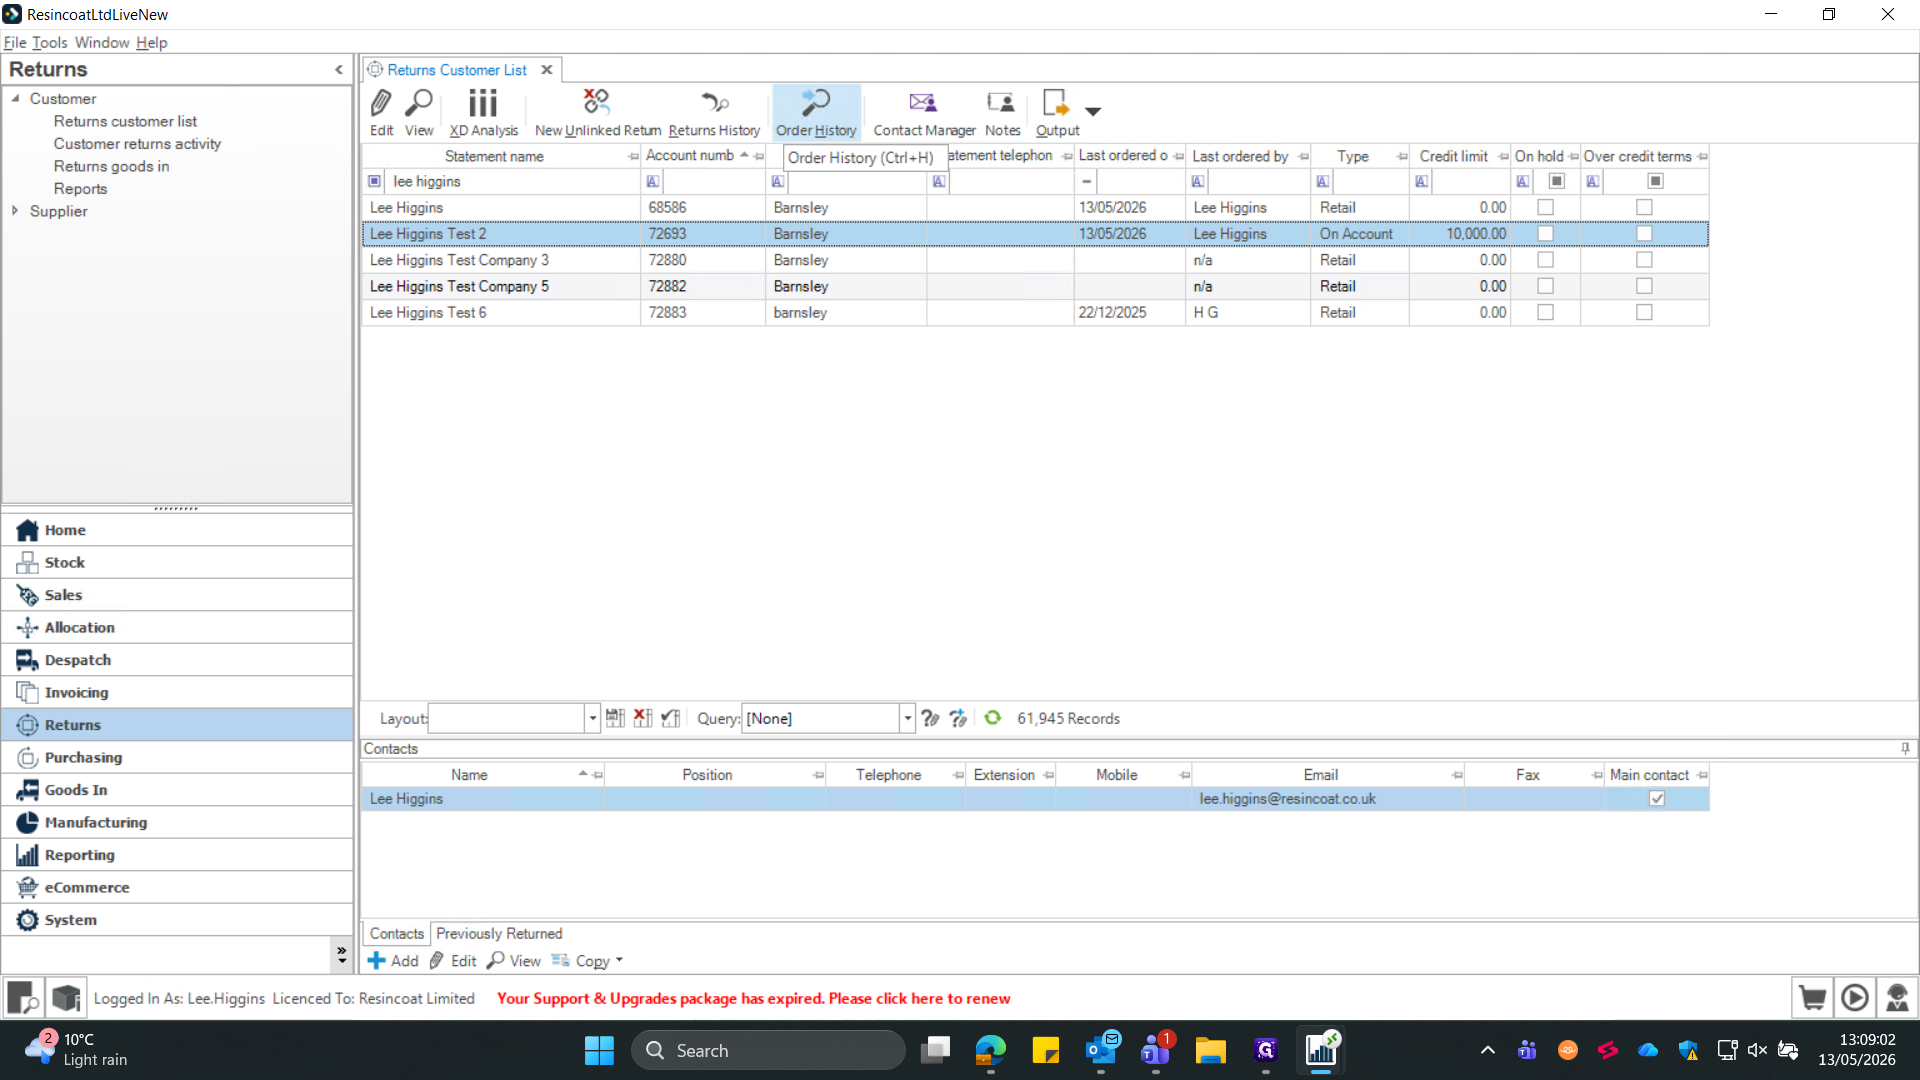
4
Click Order History in the top toolbar to view their previous orders.
5
Select the specific sales order containing the items the customer wants to return.
6
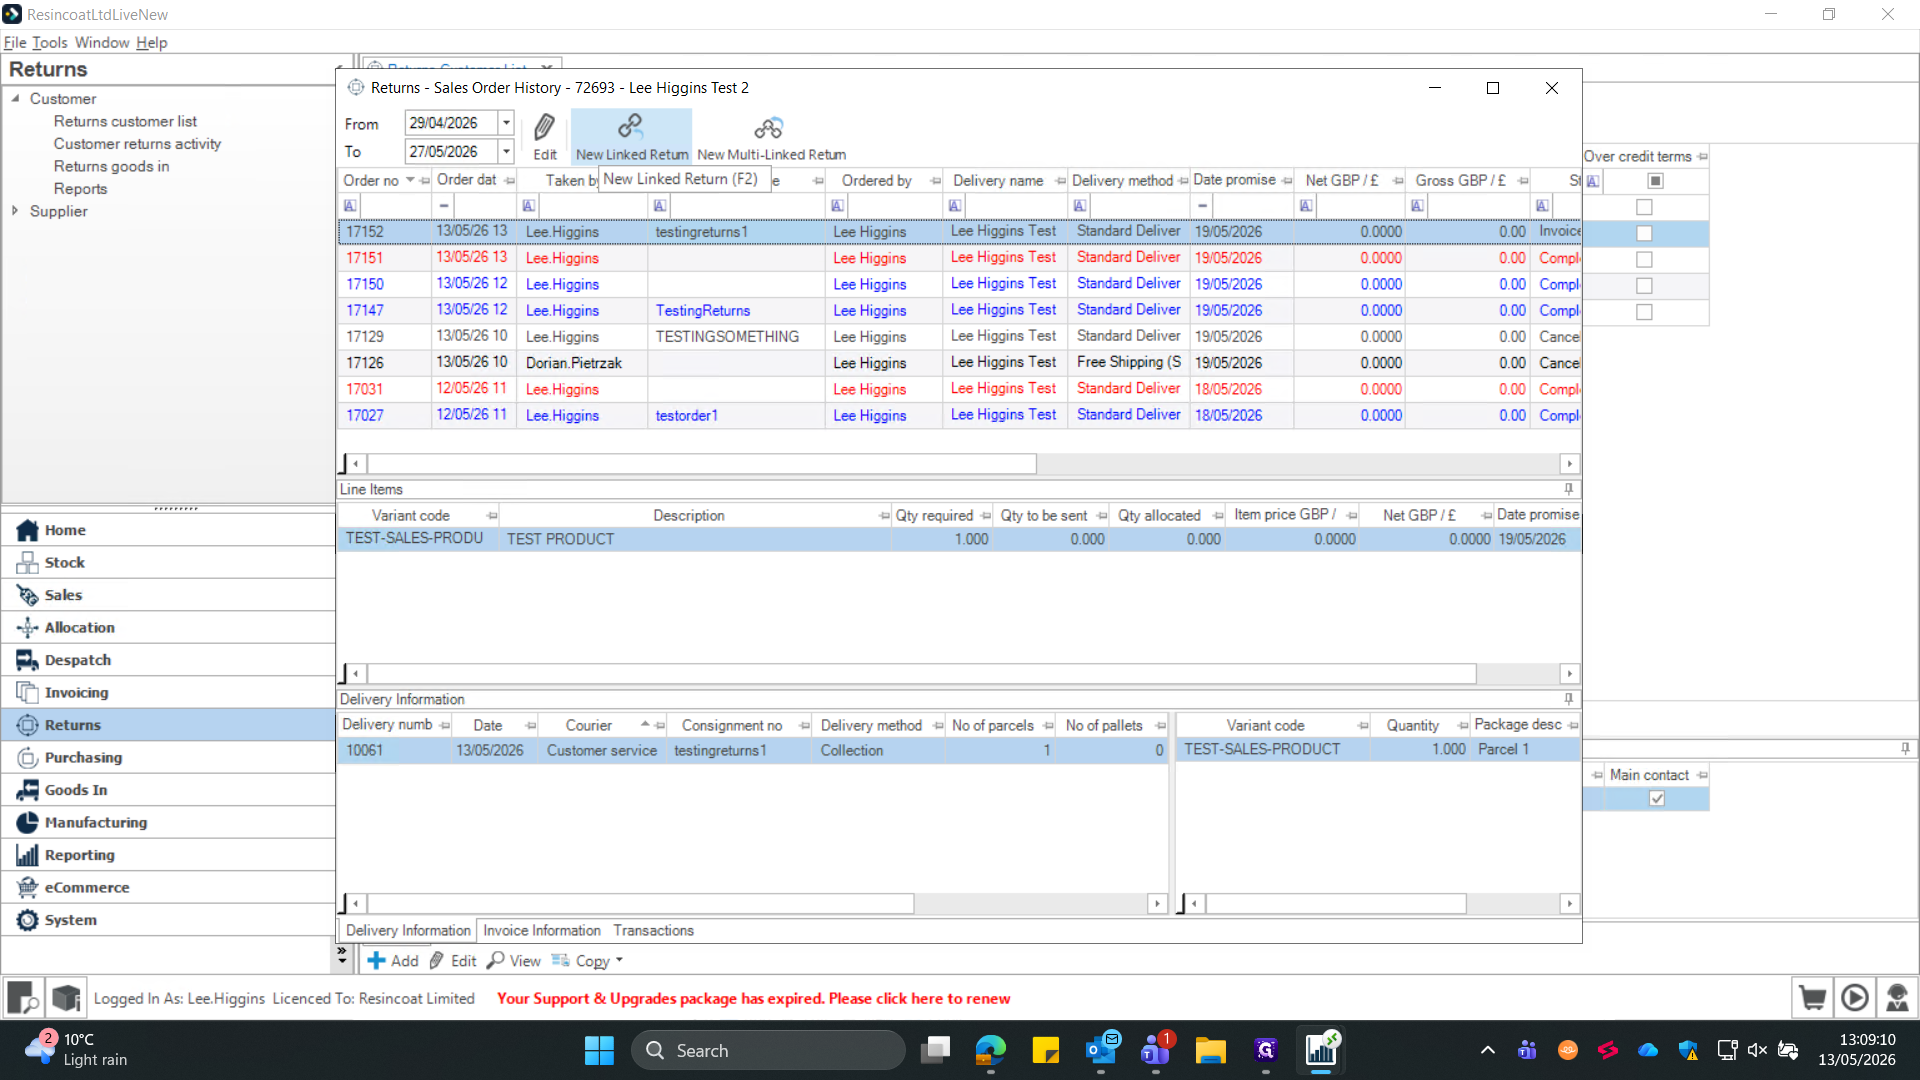
Click the New Linked Return icon to begin drafting the return.
A "Linked Return" connects the inbound stock directly back to the original sales order, simplifying refunds and tracking.
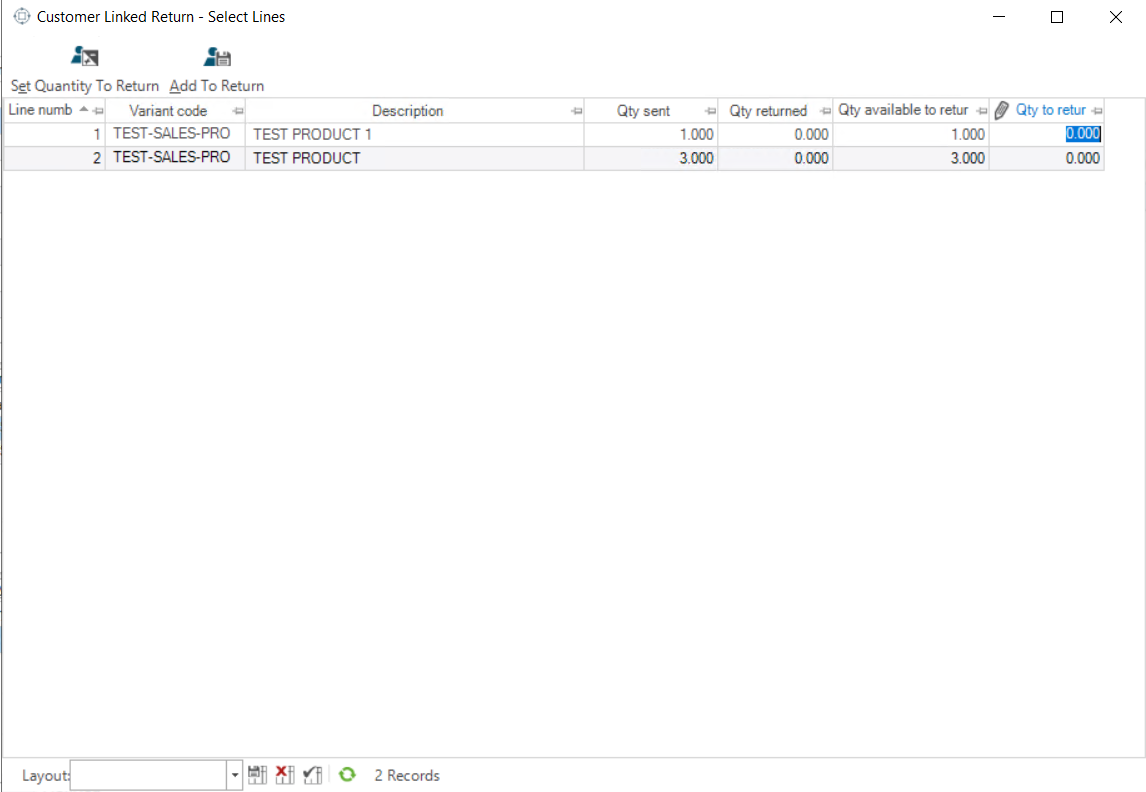
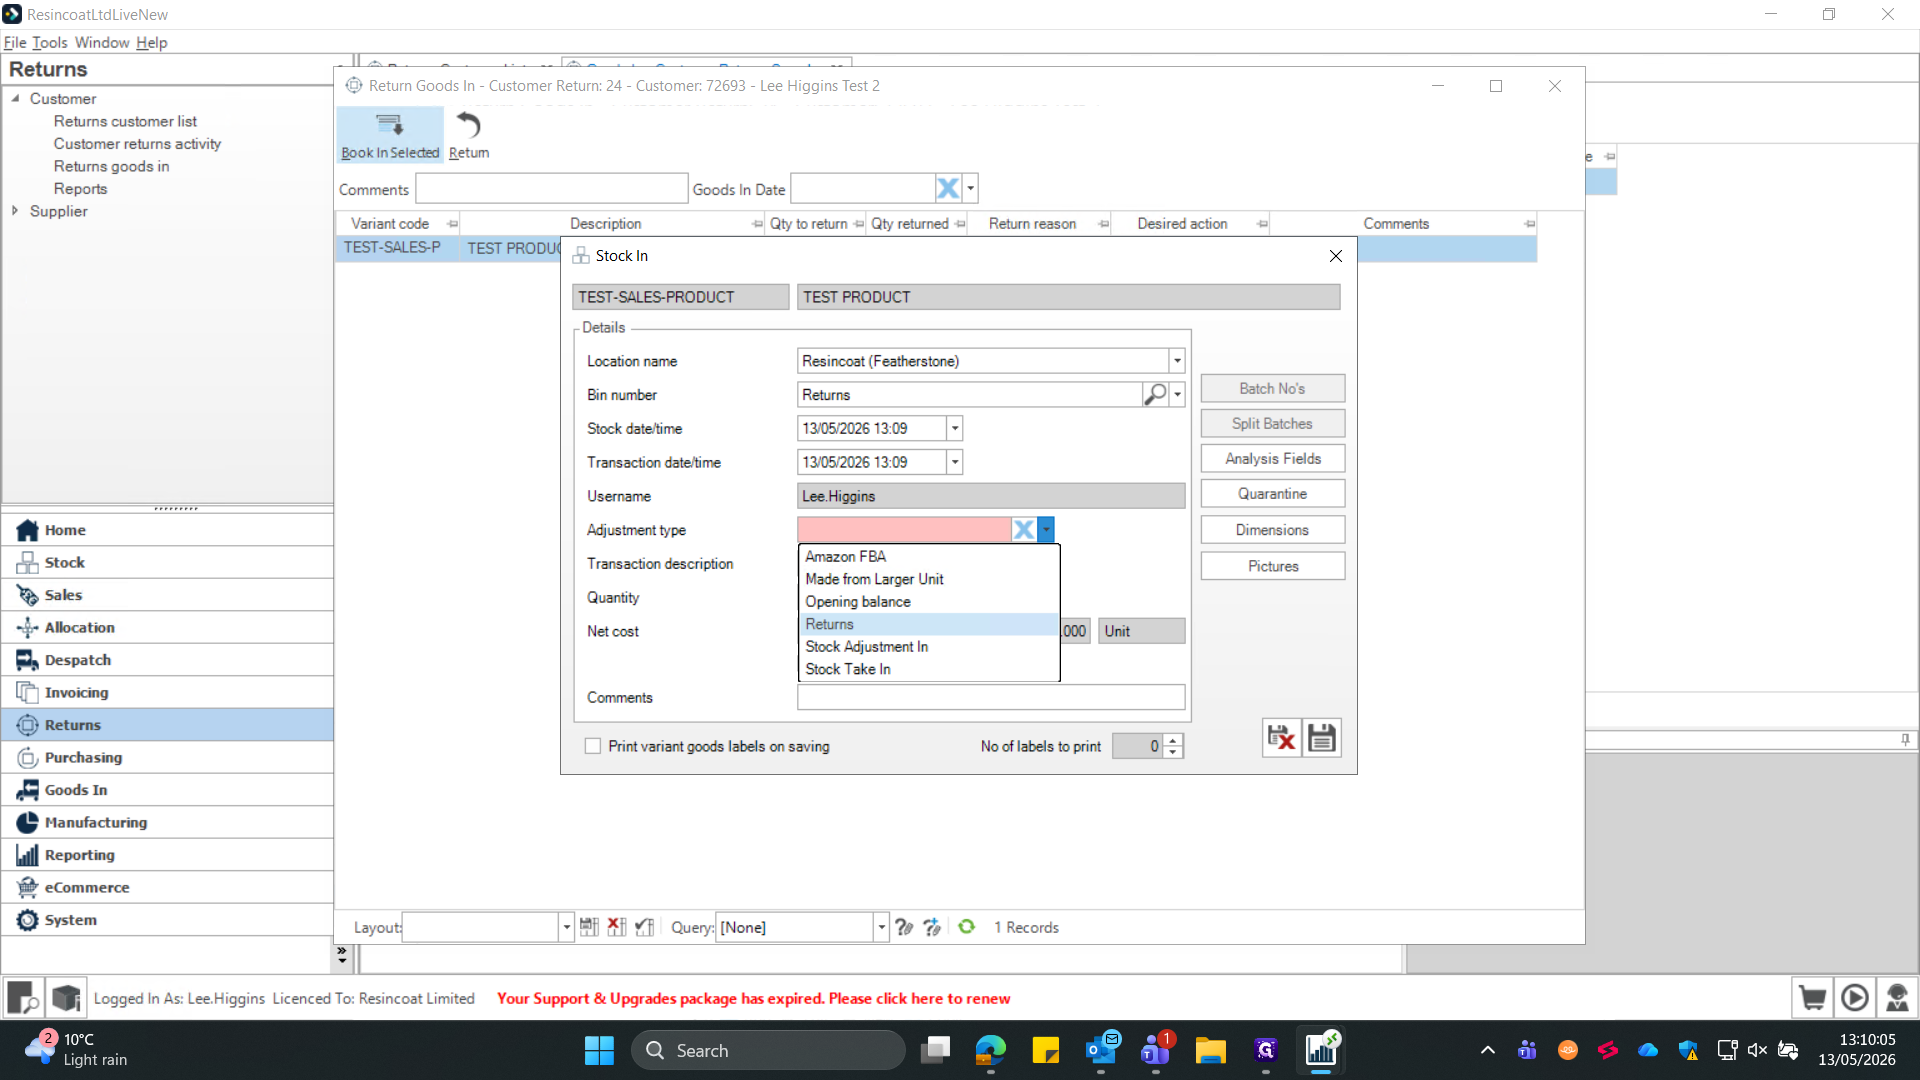
7
Select the product being returned and type the return quantity, the maximum return quantity of each item is listed to the left "Qty available to return" for cases where the full order is being returned.
8
Click Add To Return to move the items into the active return window.
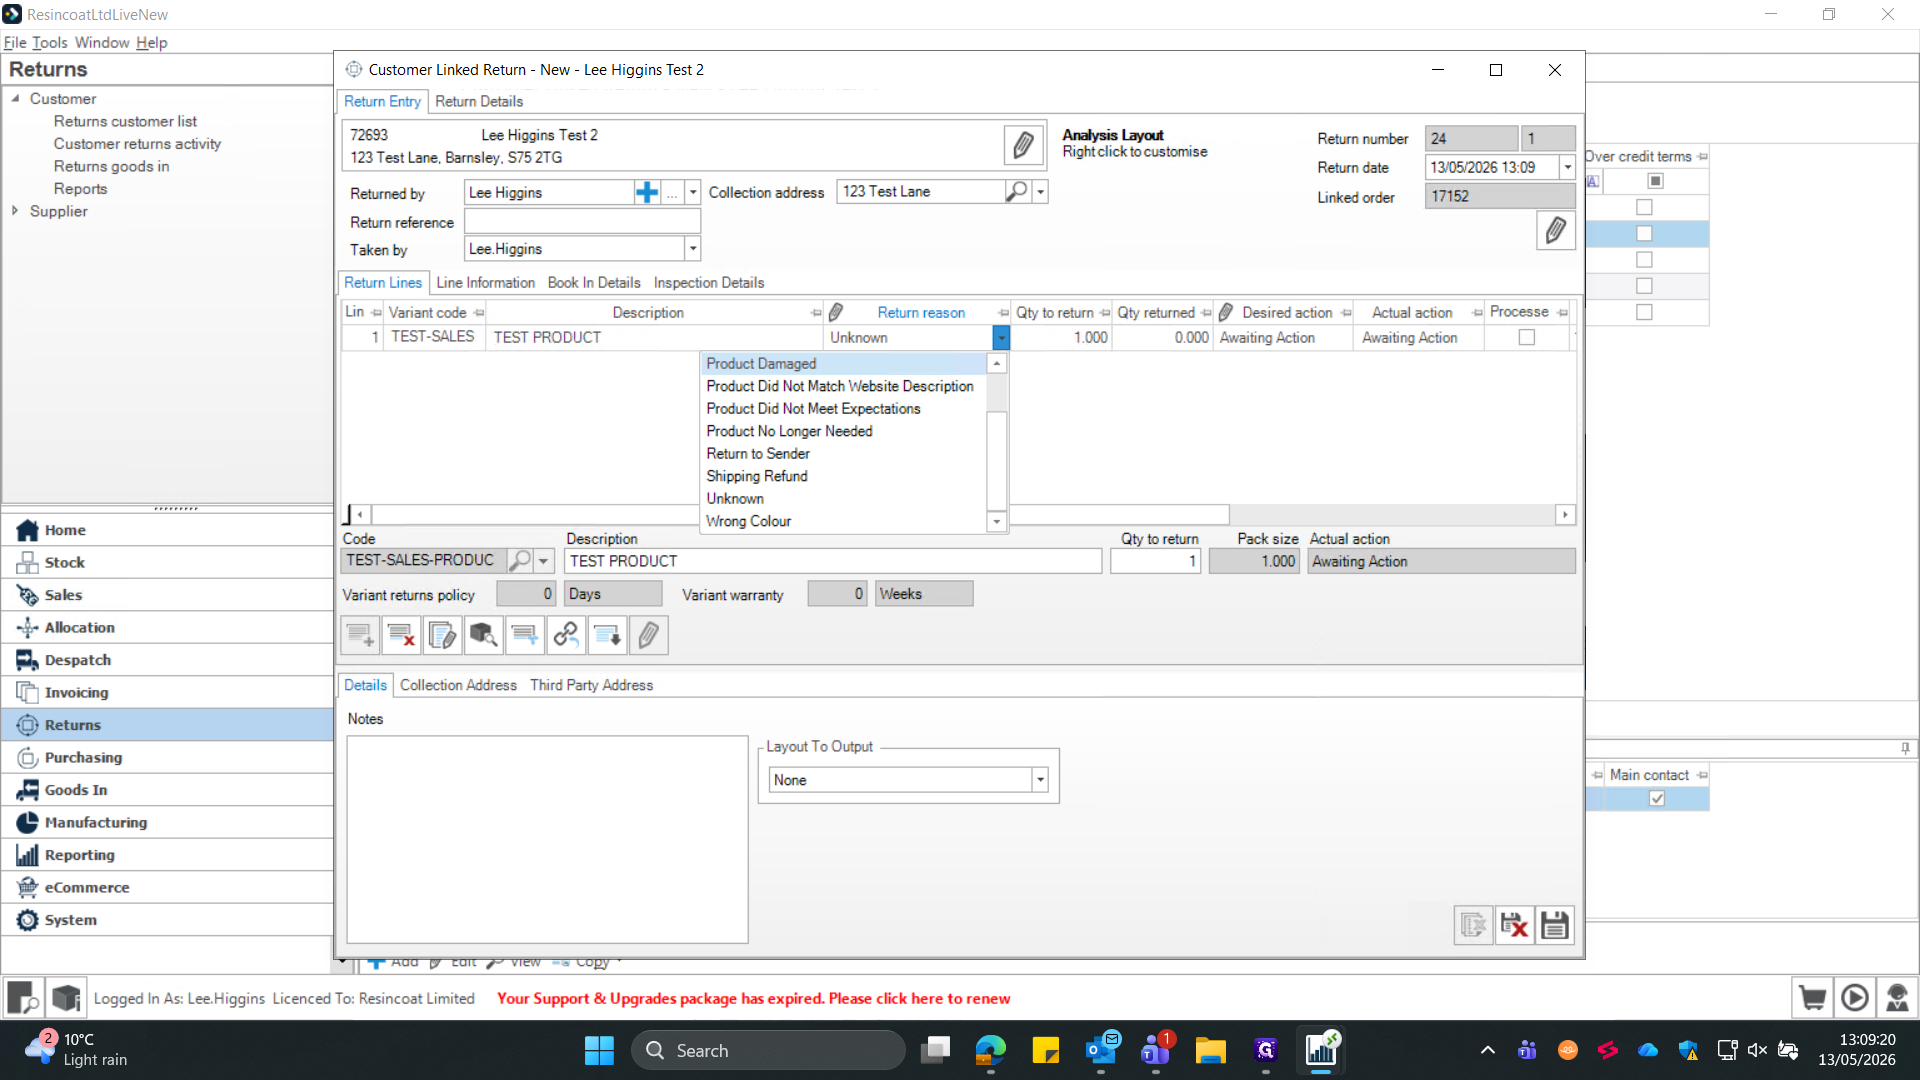
Section 2: Customer Services - Log Return Details
9
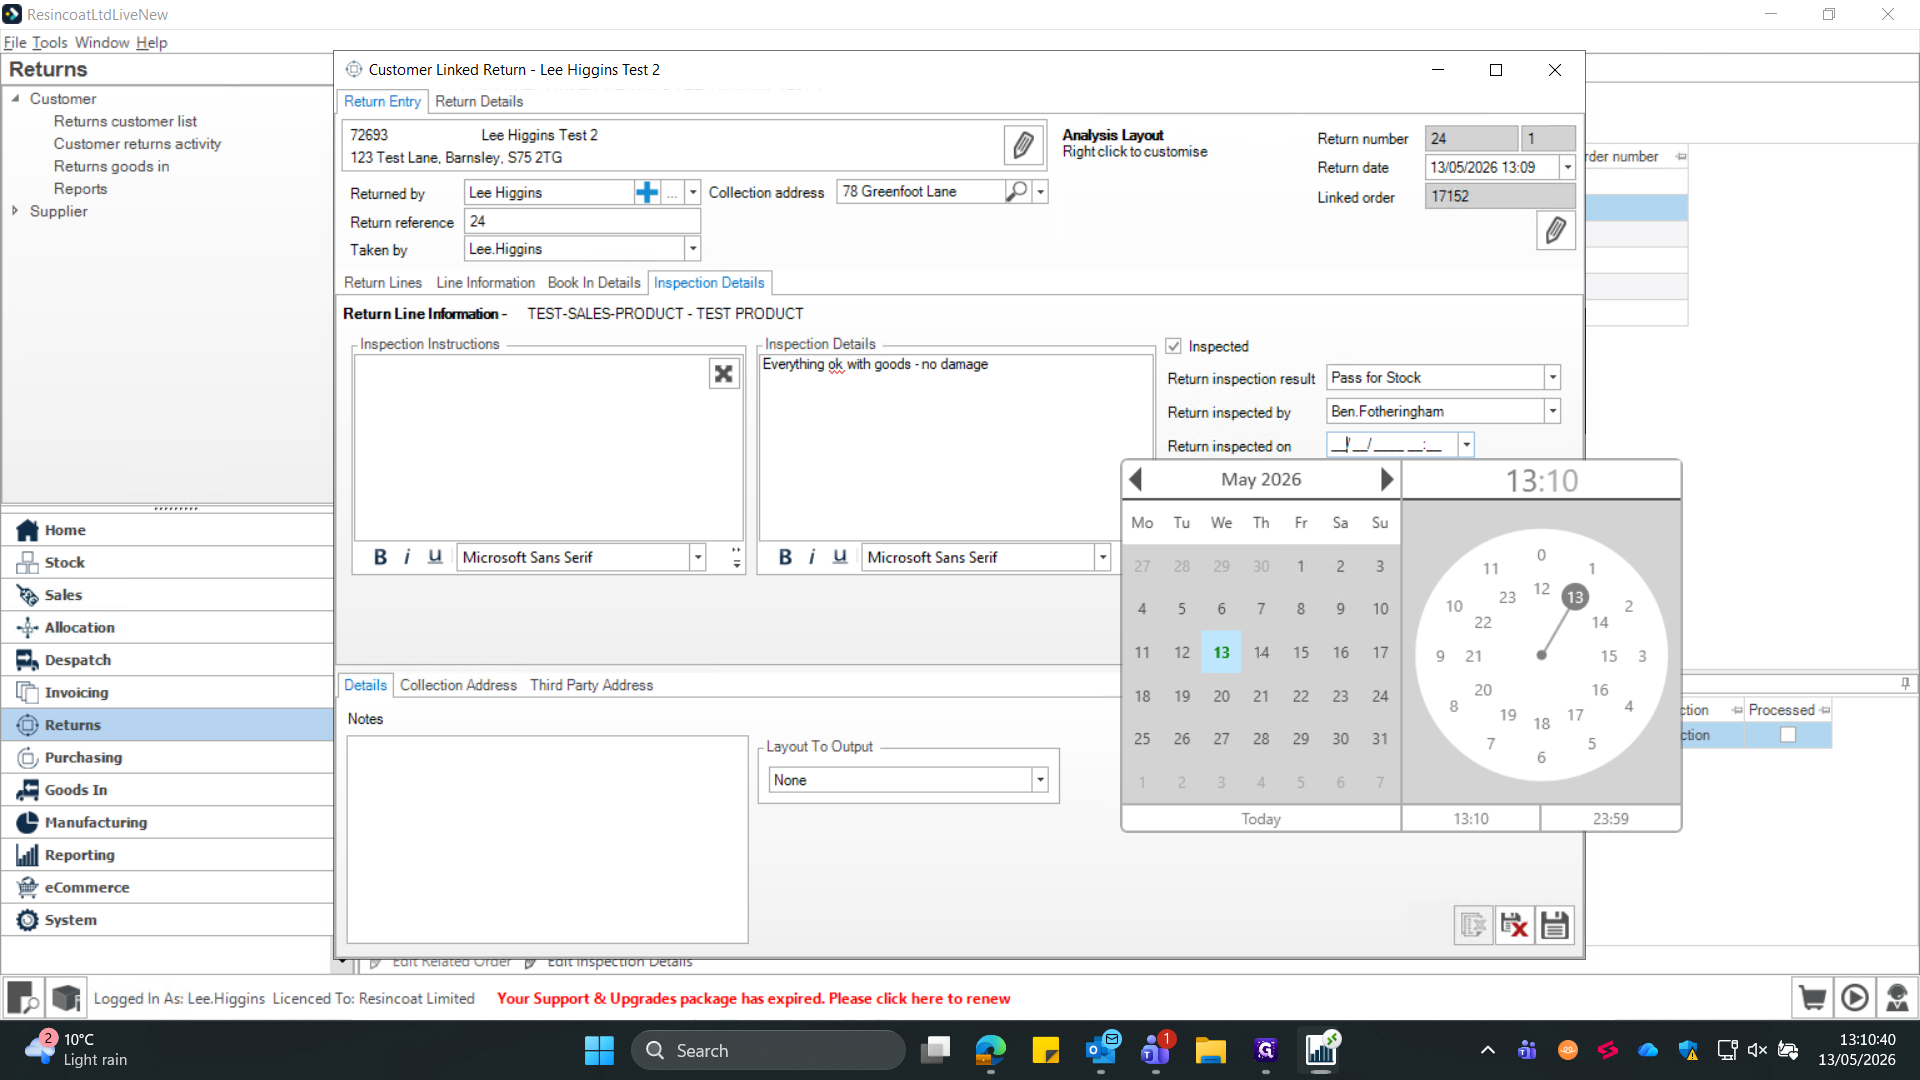
Select the appropriate Return reason from the dropdown menu (e.g., "Product Did Not Match Website Description") - This is per item.
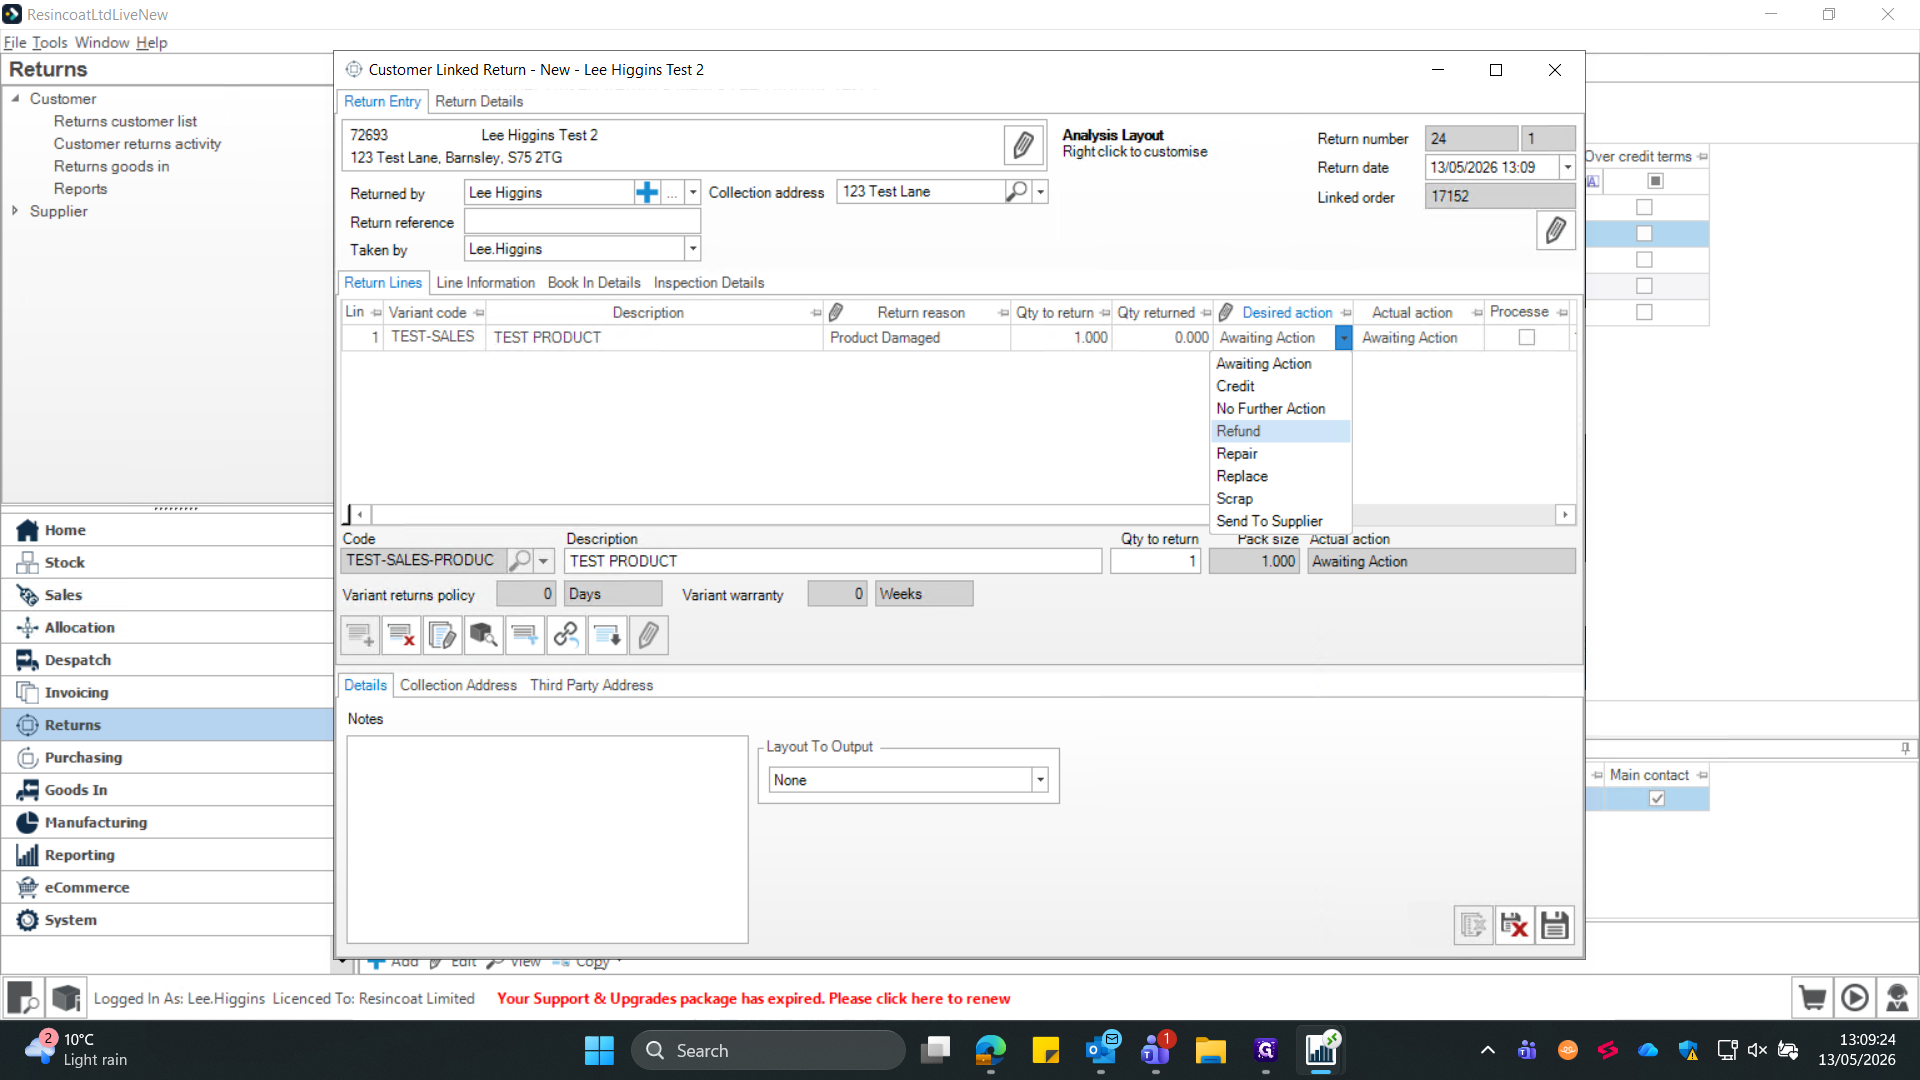
10
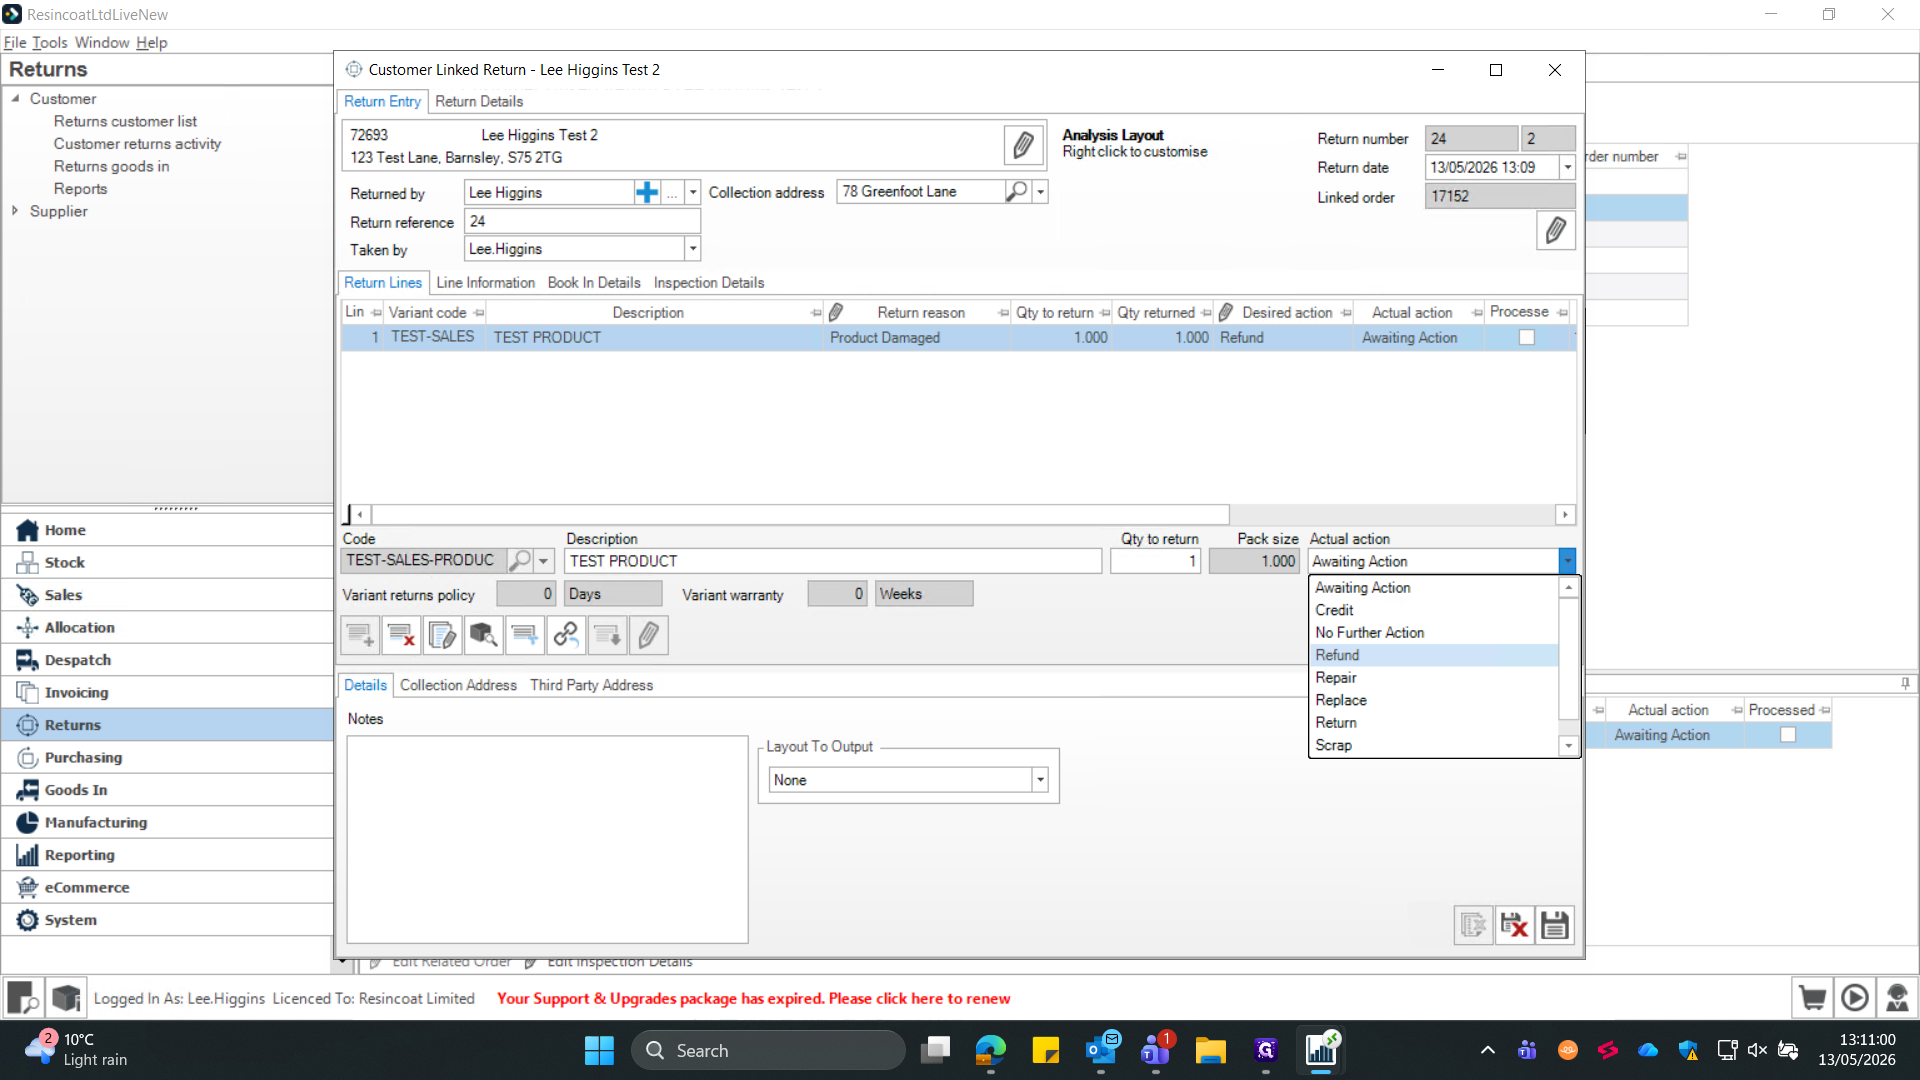
Set the Desired action for each item (e.g., "Refund") so the team knows the expected outcome.
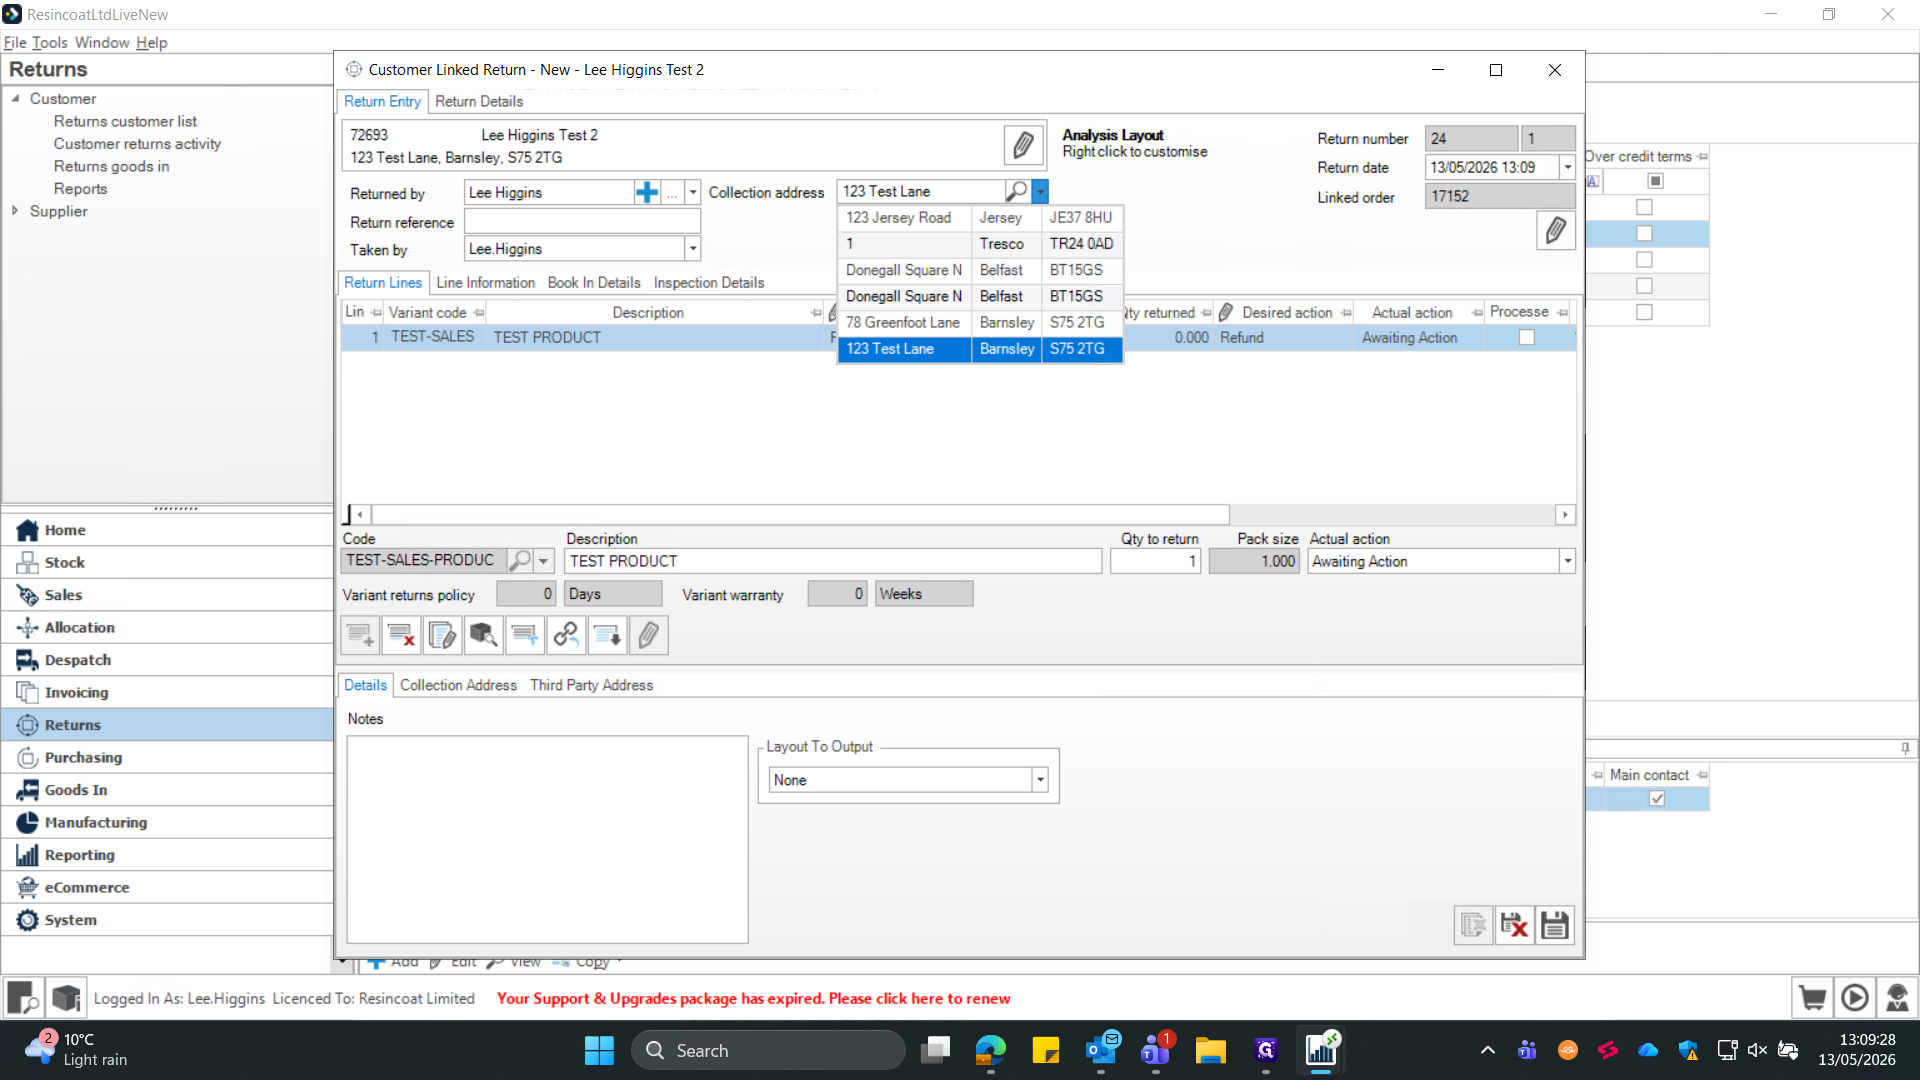
11
Verify or update the Collection address using the provided dropdown options.
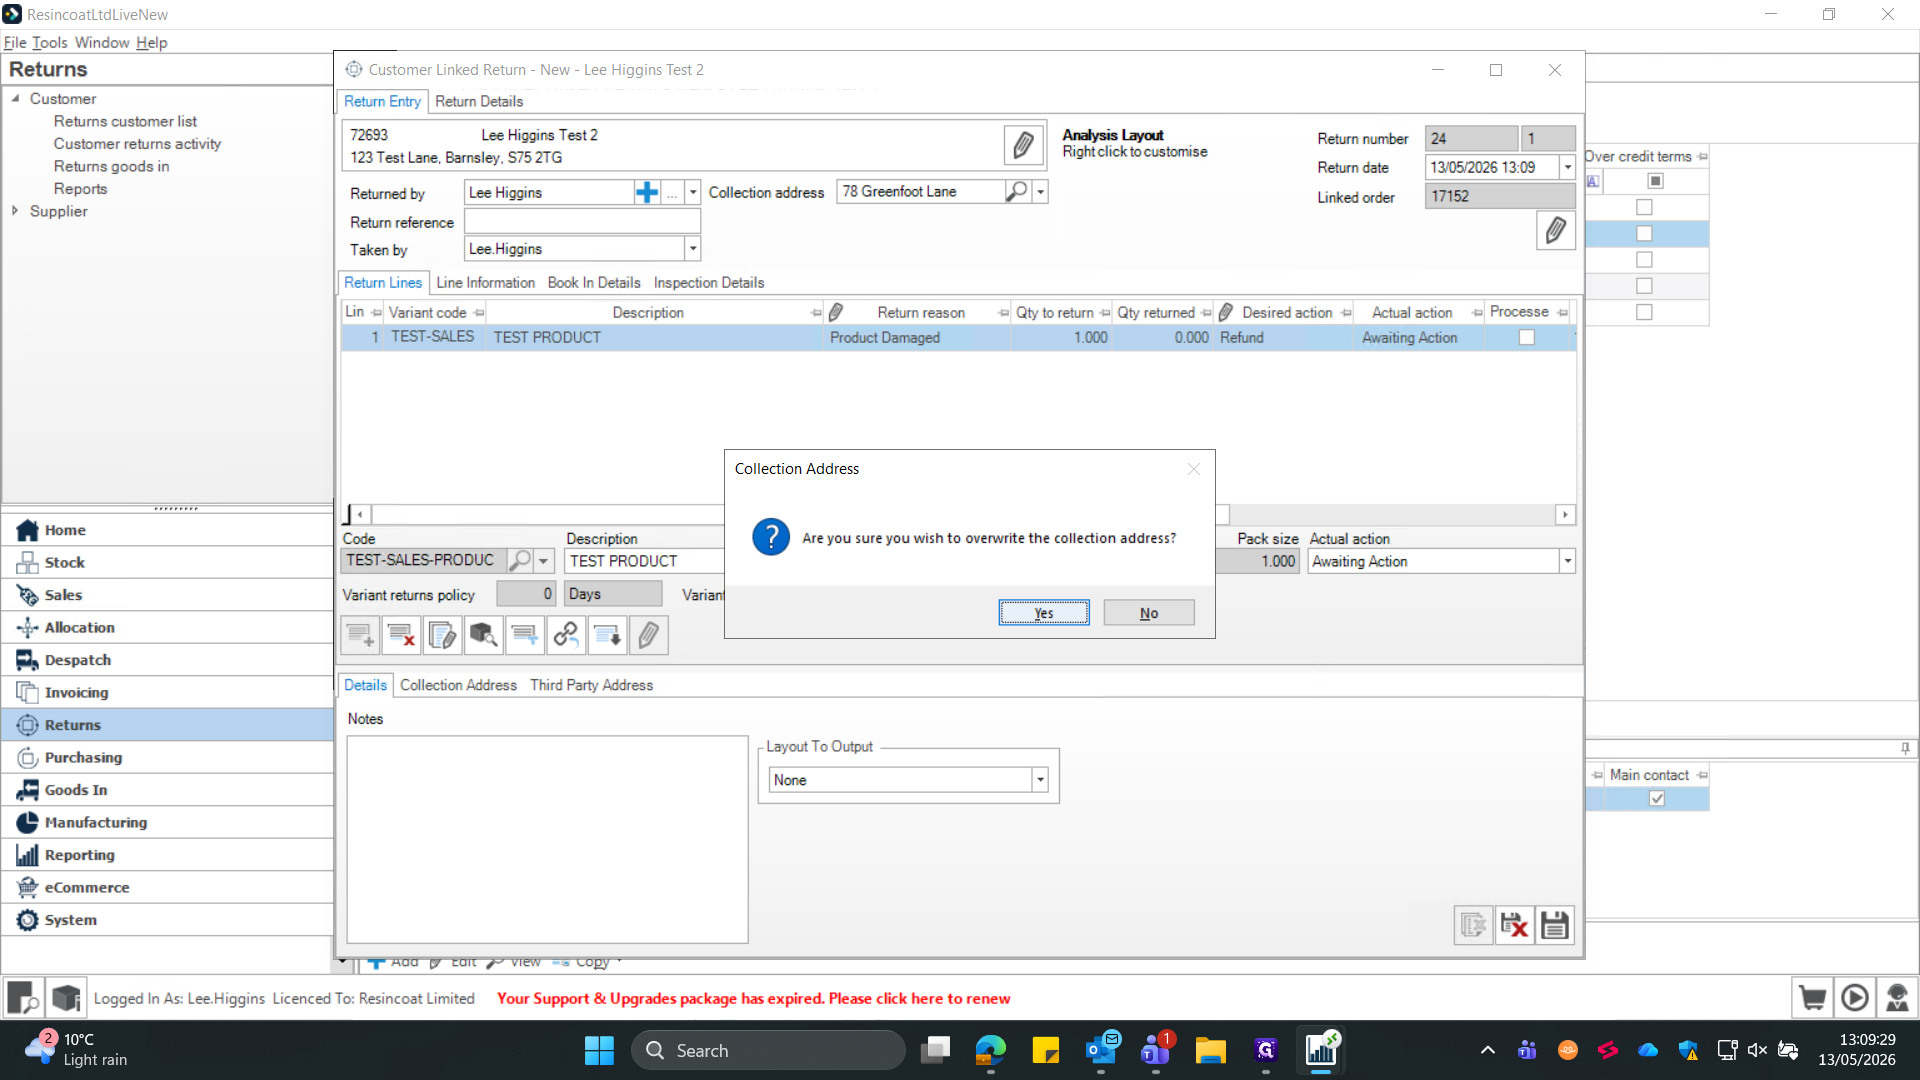
12
If prompted, confirm the dialogue box to overwrite the collection address.
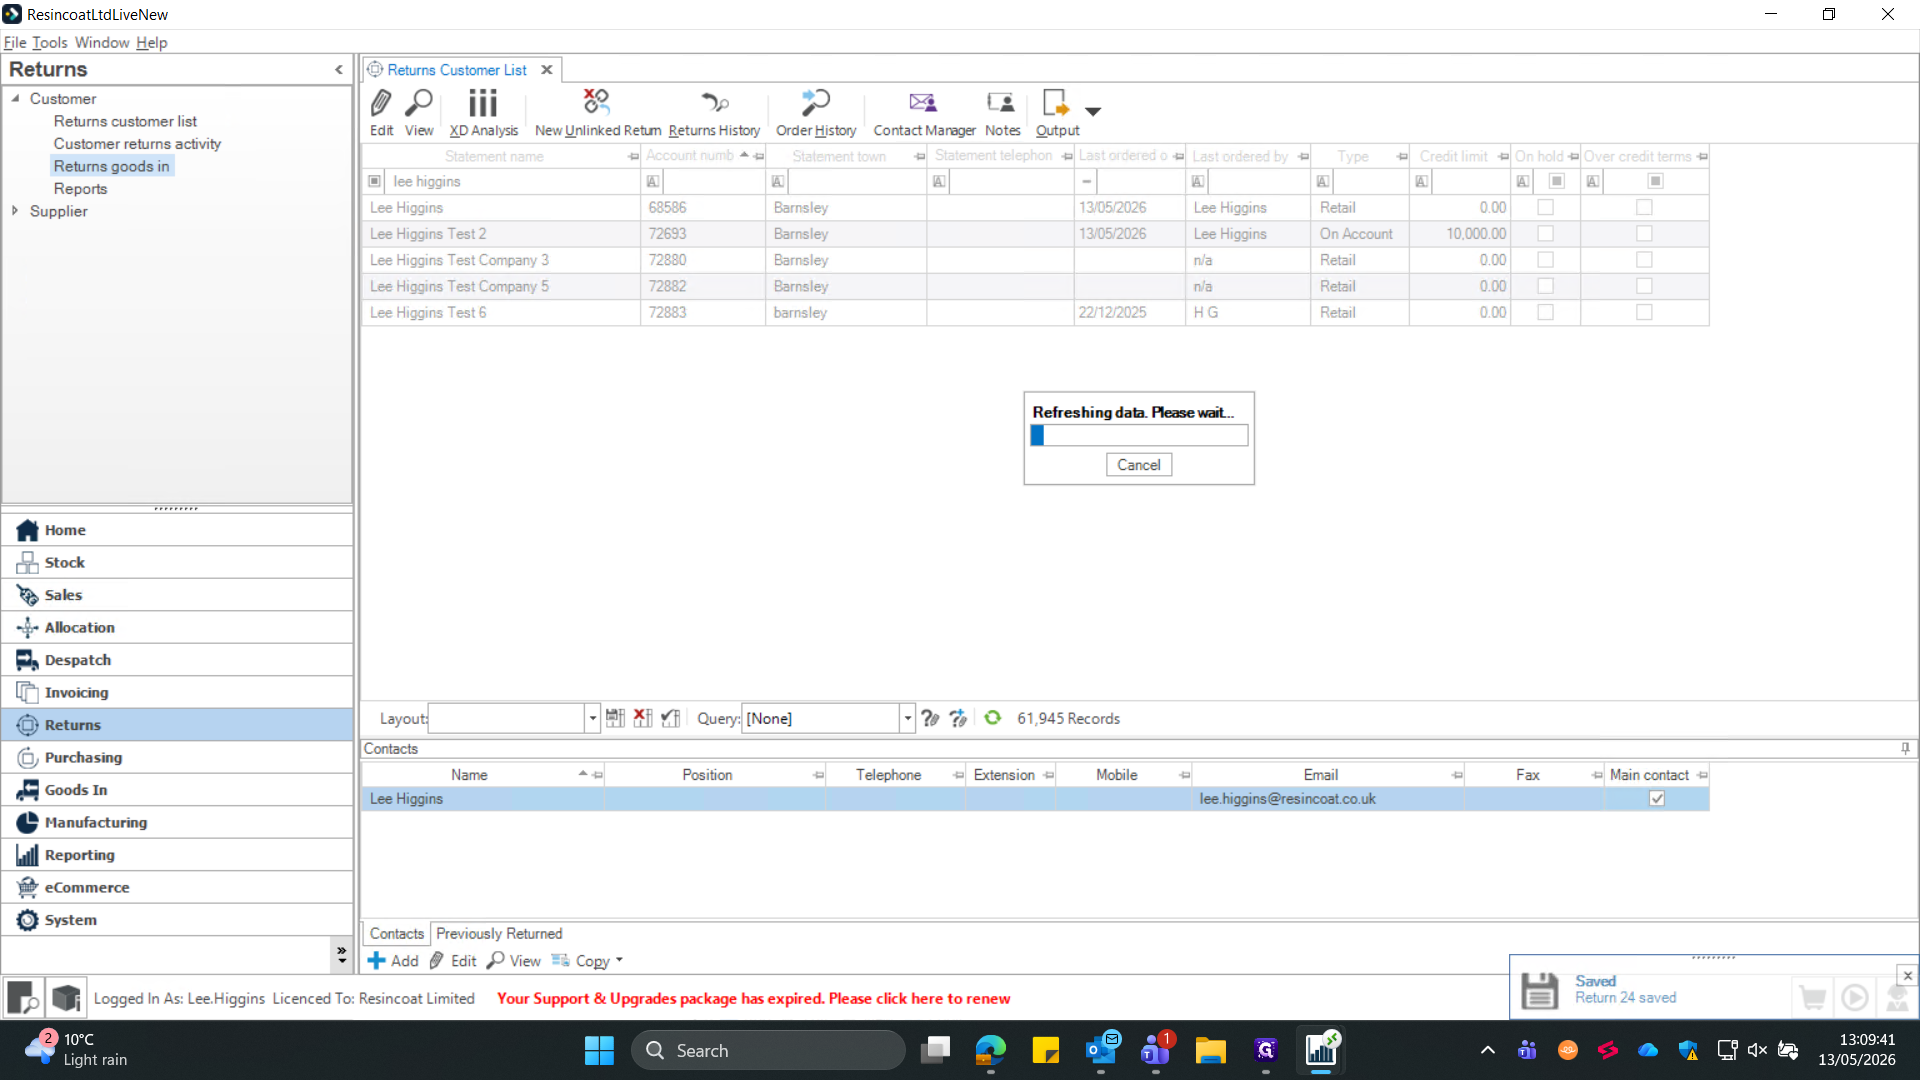
13
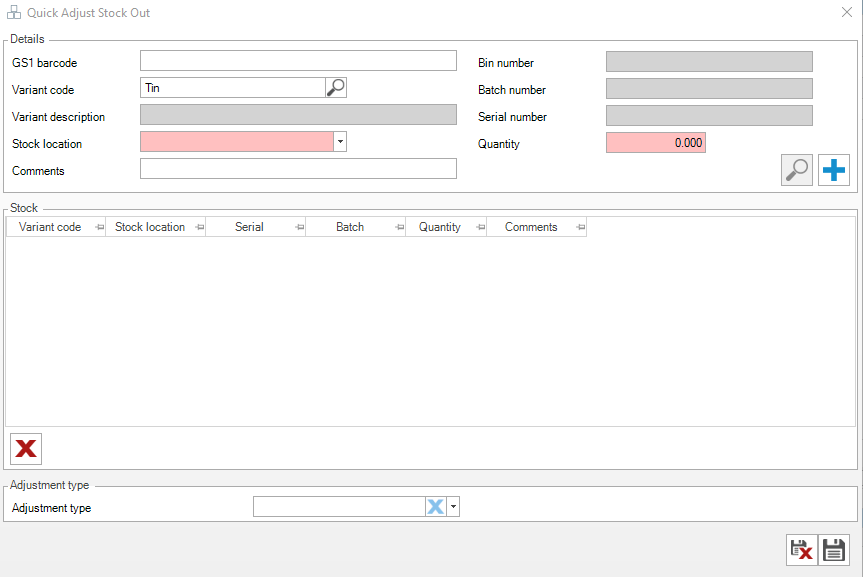
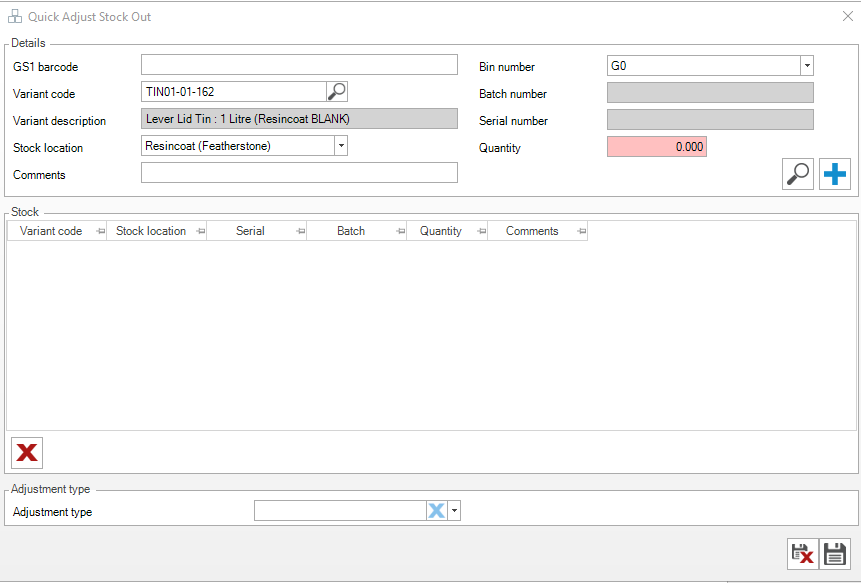
Click the Save button (often represented by a disk or "H" icon) to generate the return record.
Section 3: Warehouse - Book the Goods In
Before the items can be inspected, they must be physically received into a holding or returns inventory bin.
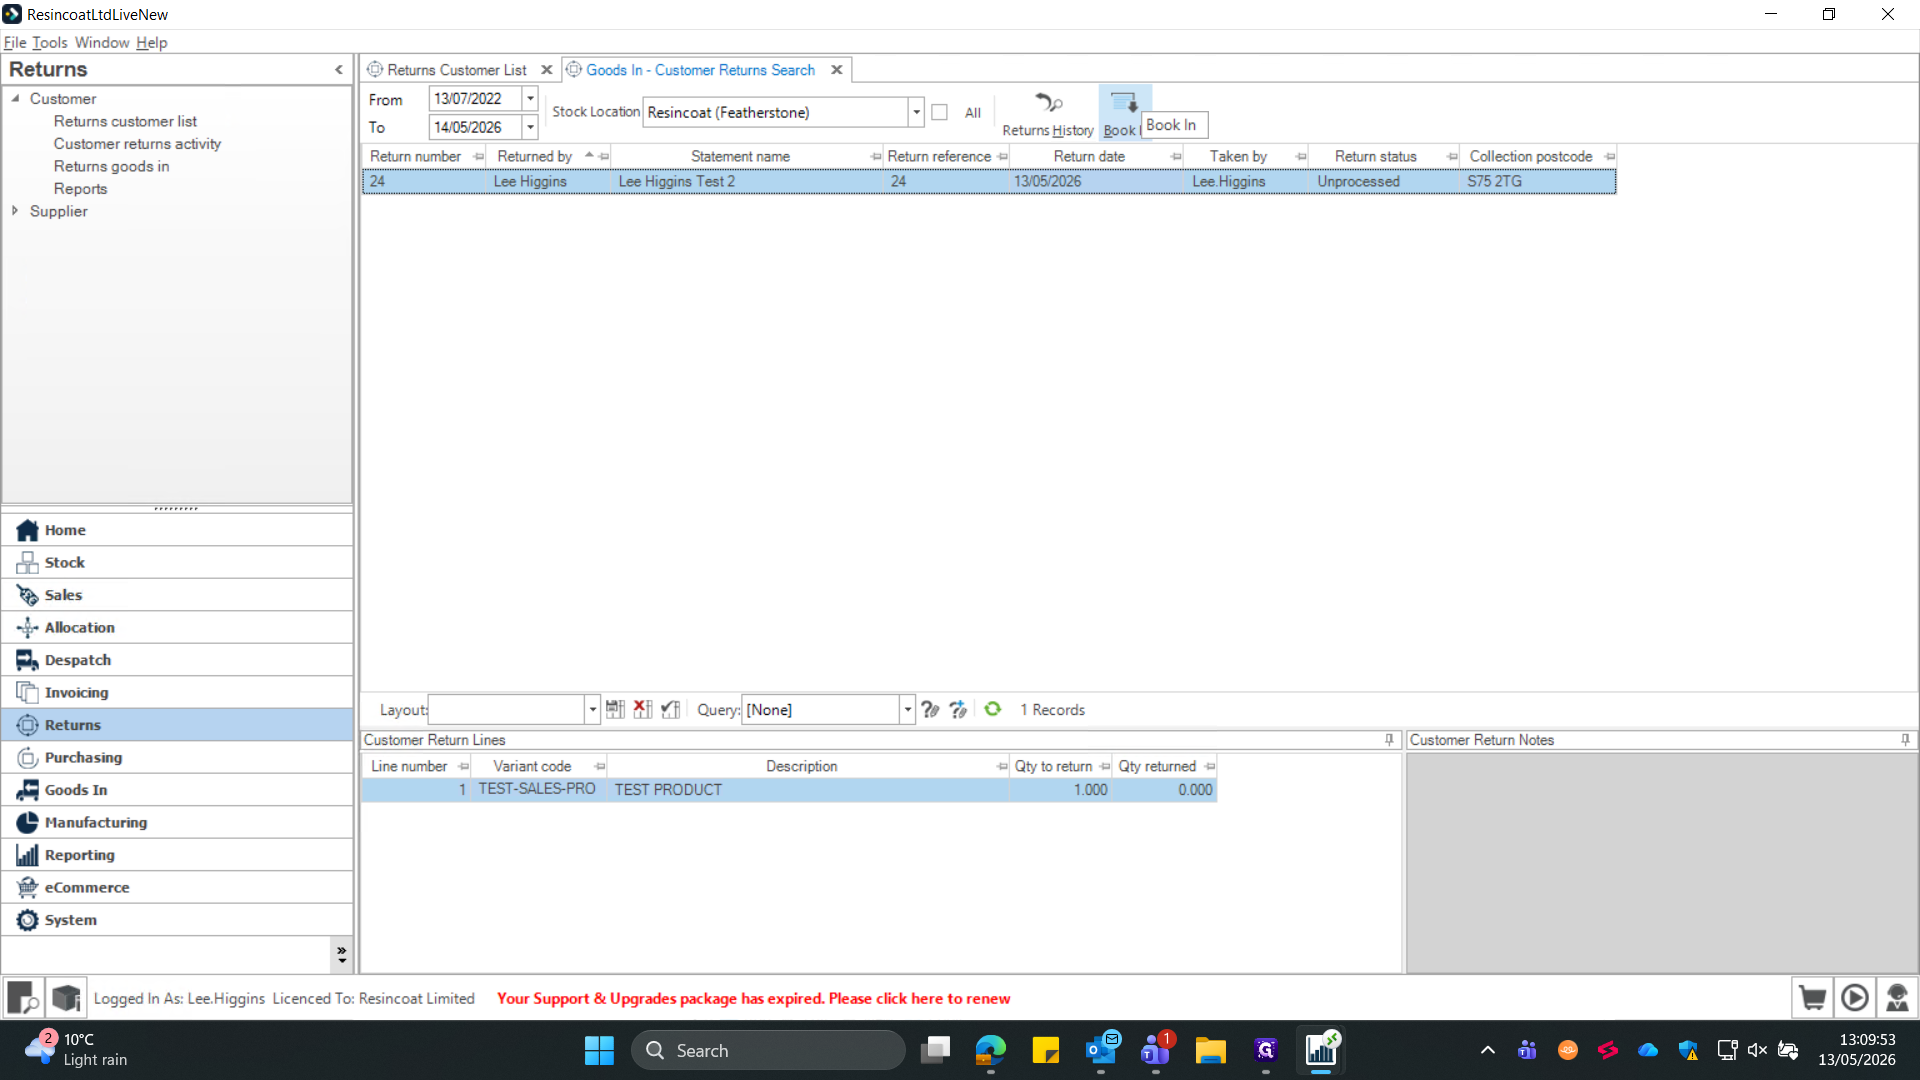
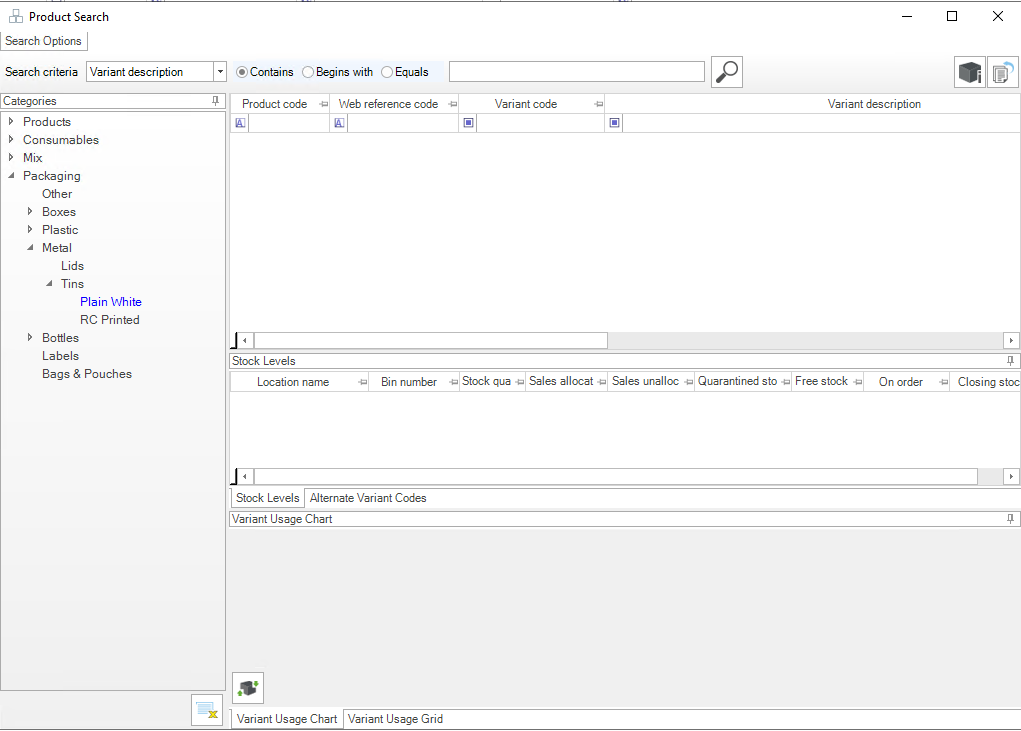
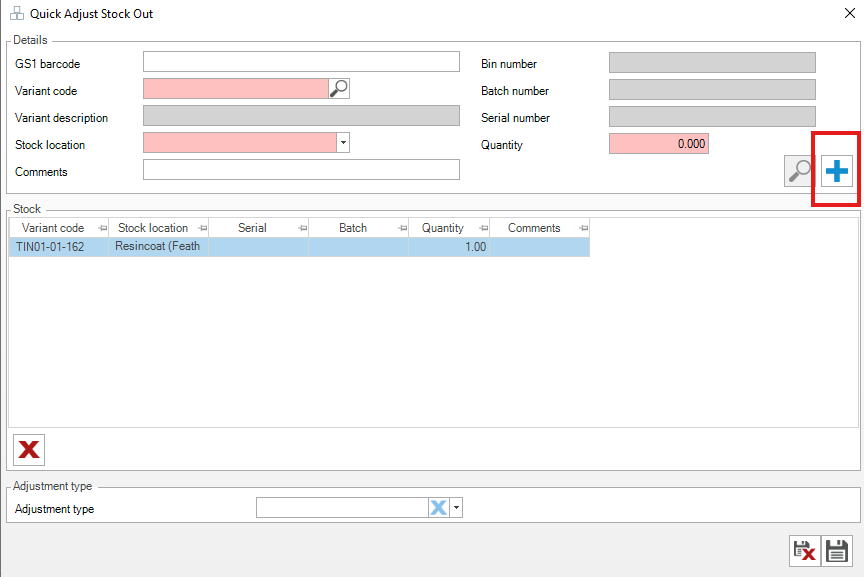
14
Navigate to Returns goods in within the system dashboard.
15
Locate the return you have in front of you on the system and click Book In.
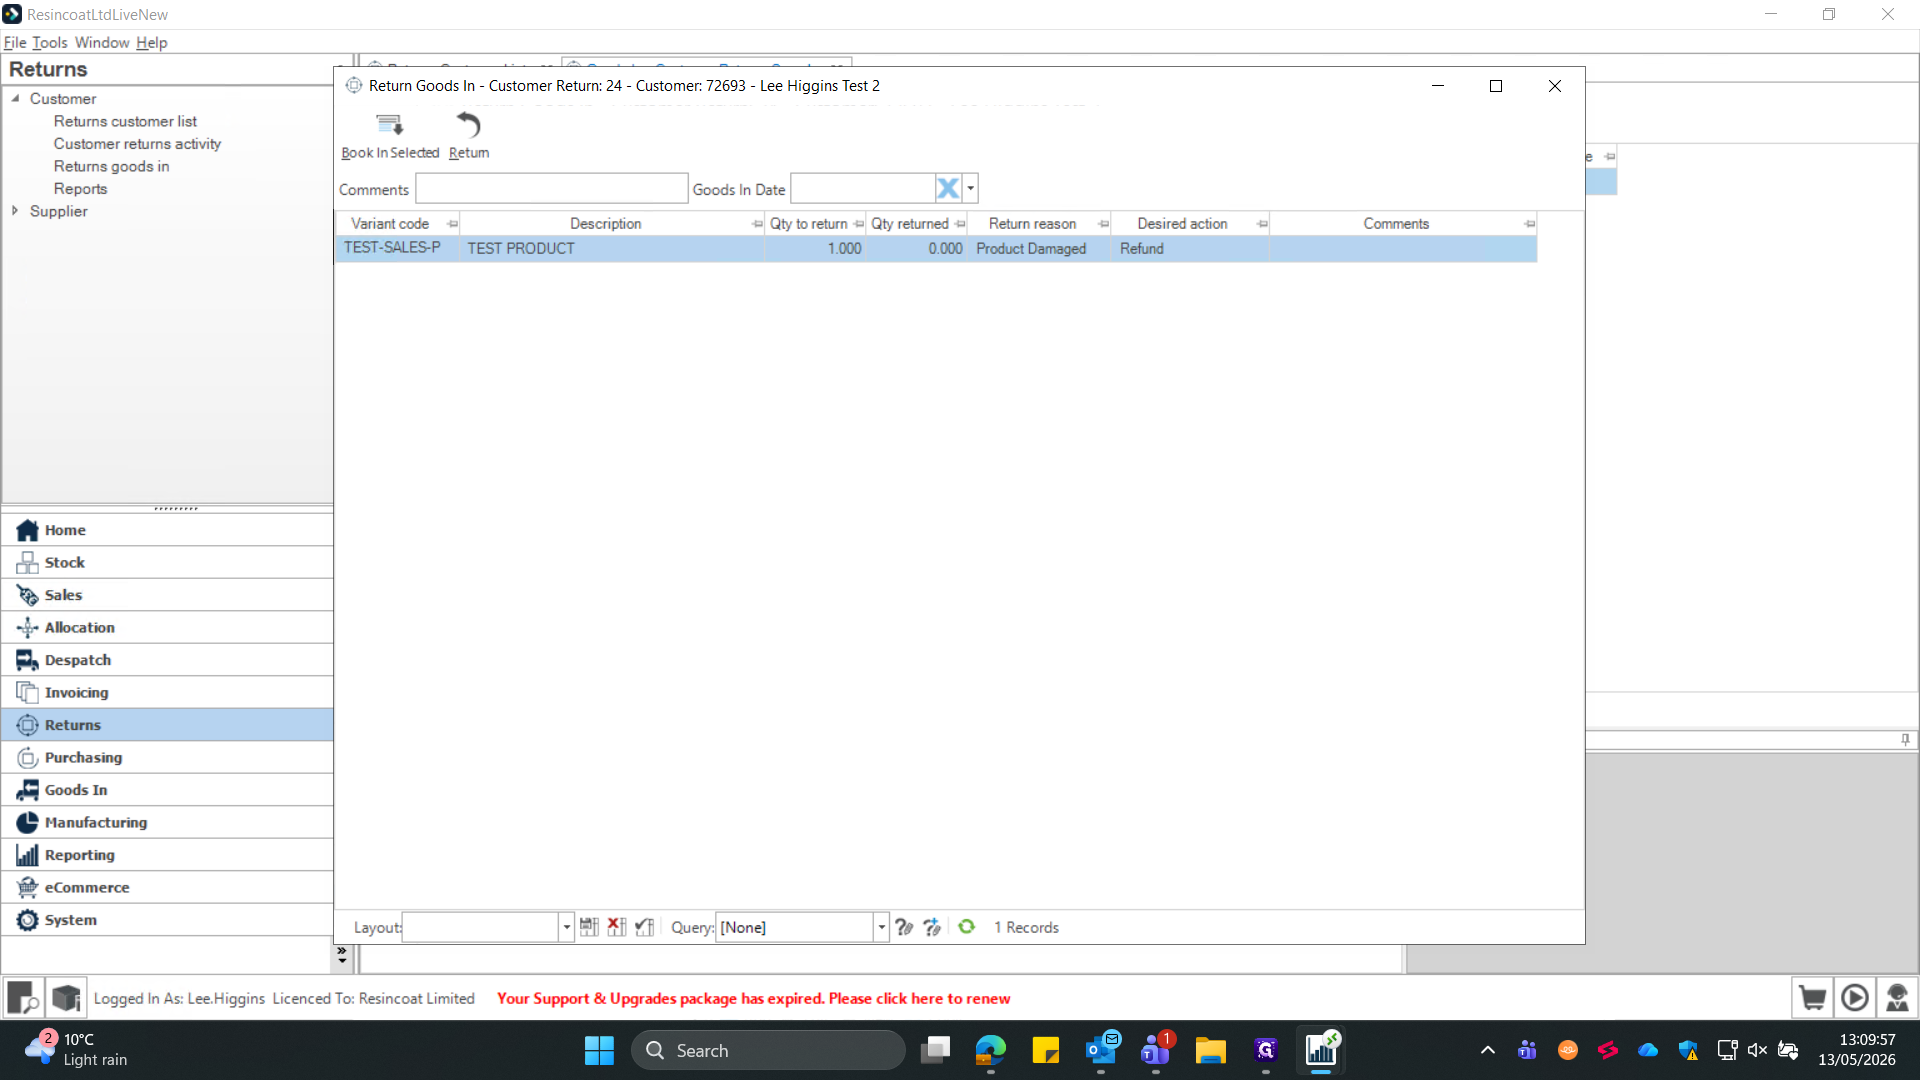
16
Select the specific product line that has arrived at the warehouse.
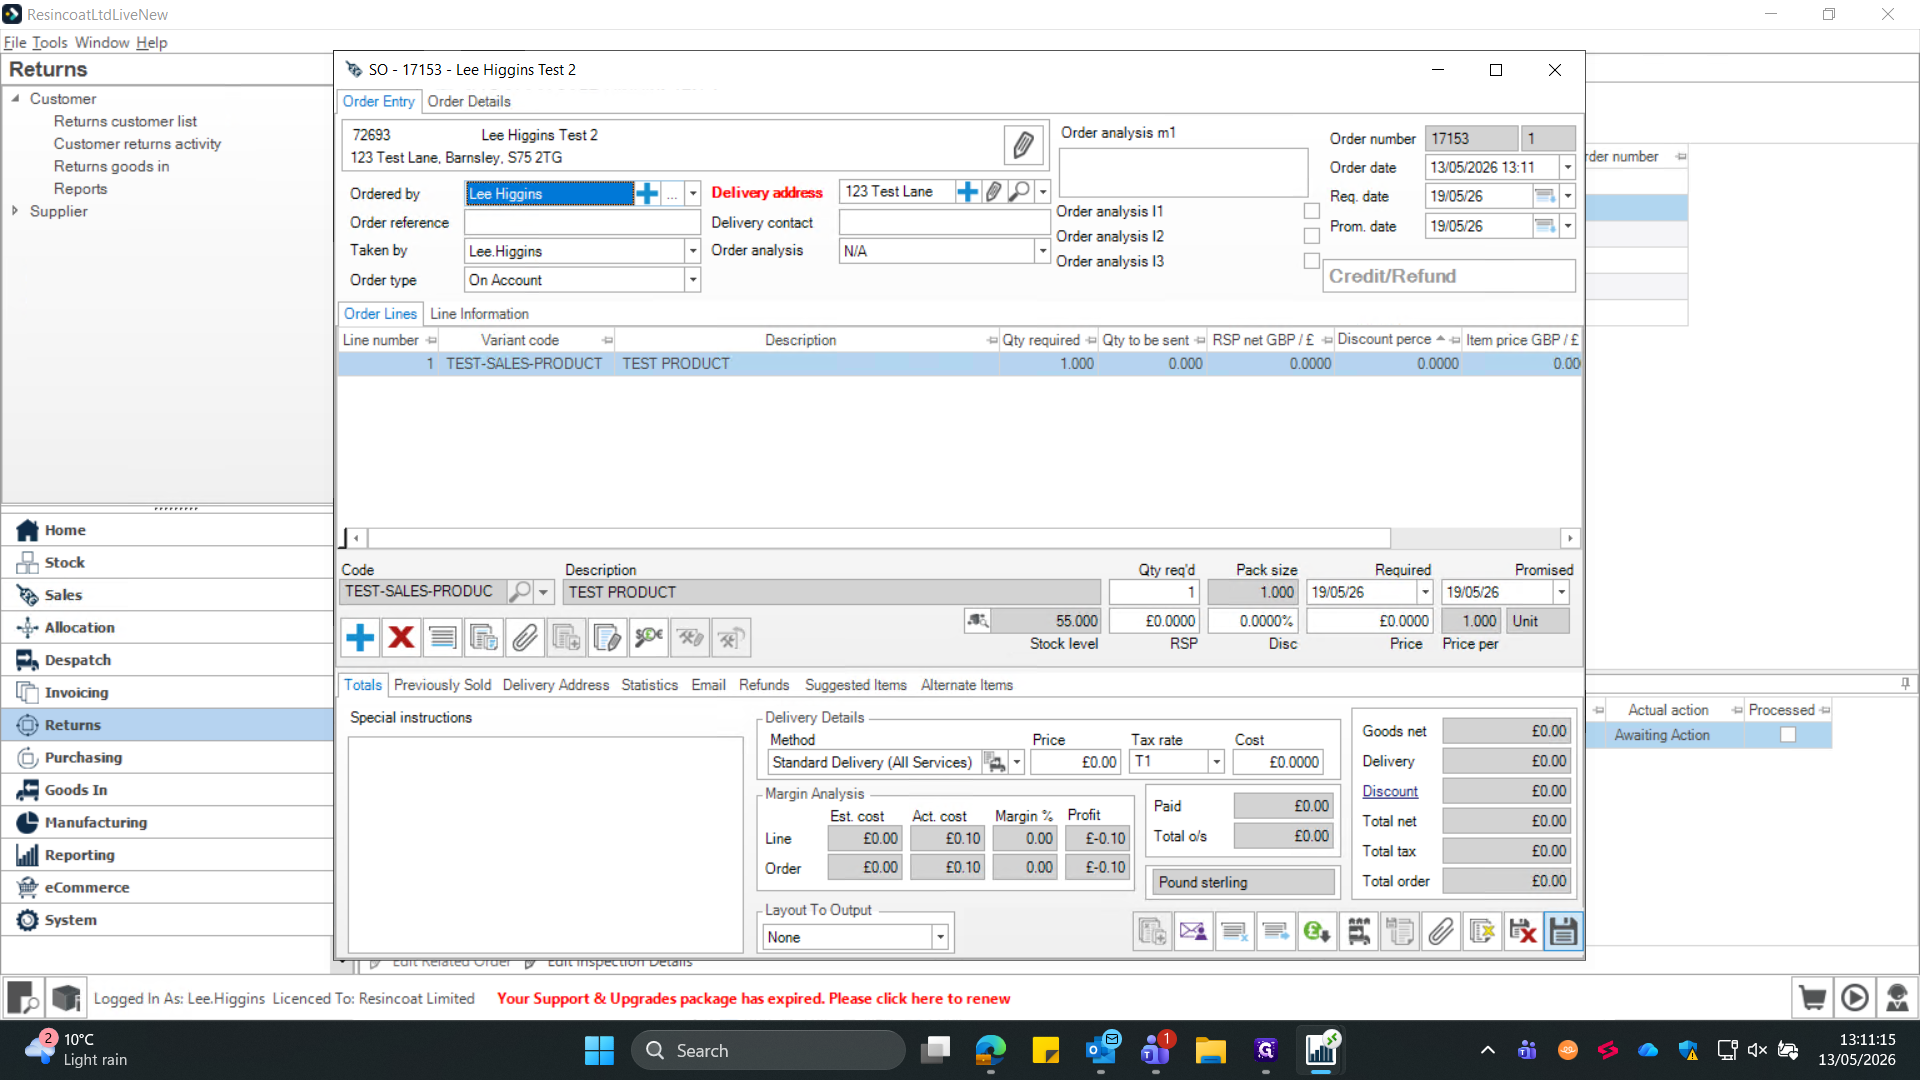
17
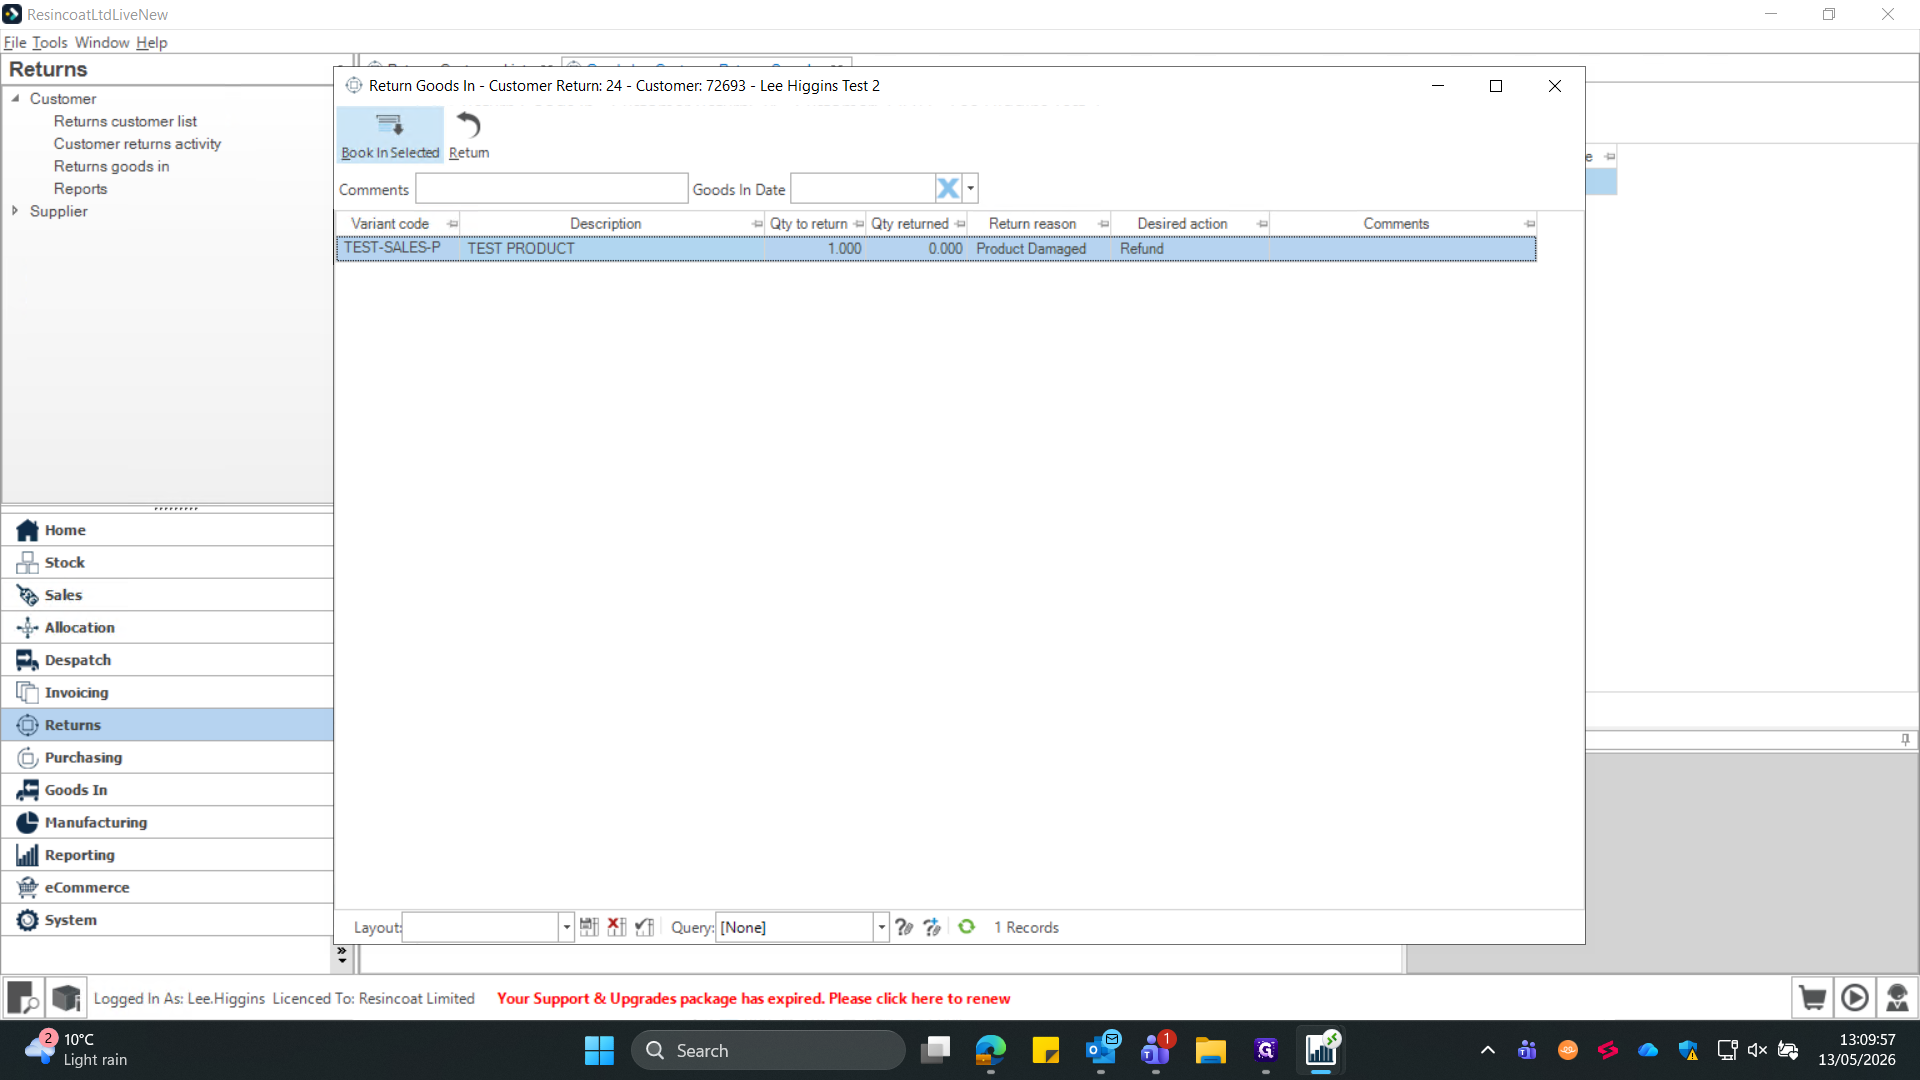
Click Book In Selected Return.
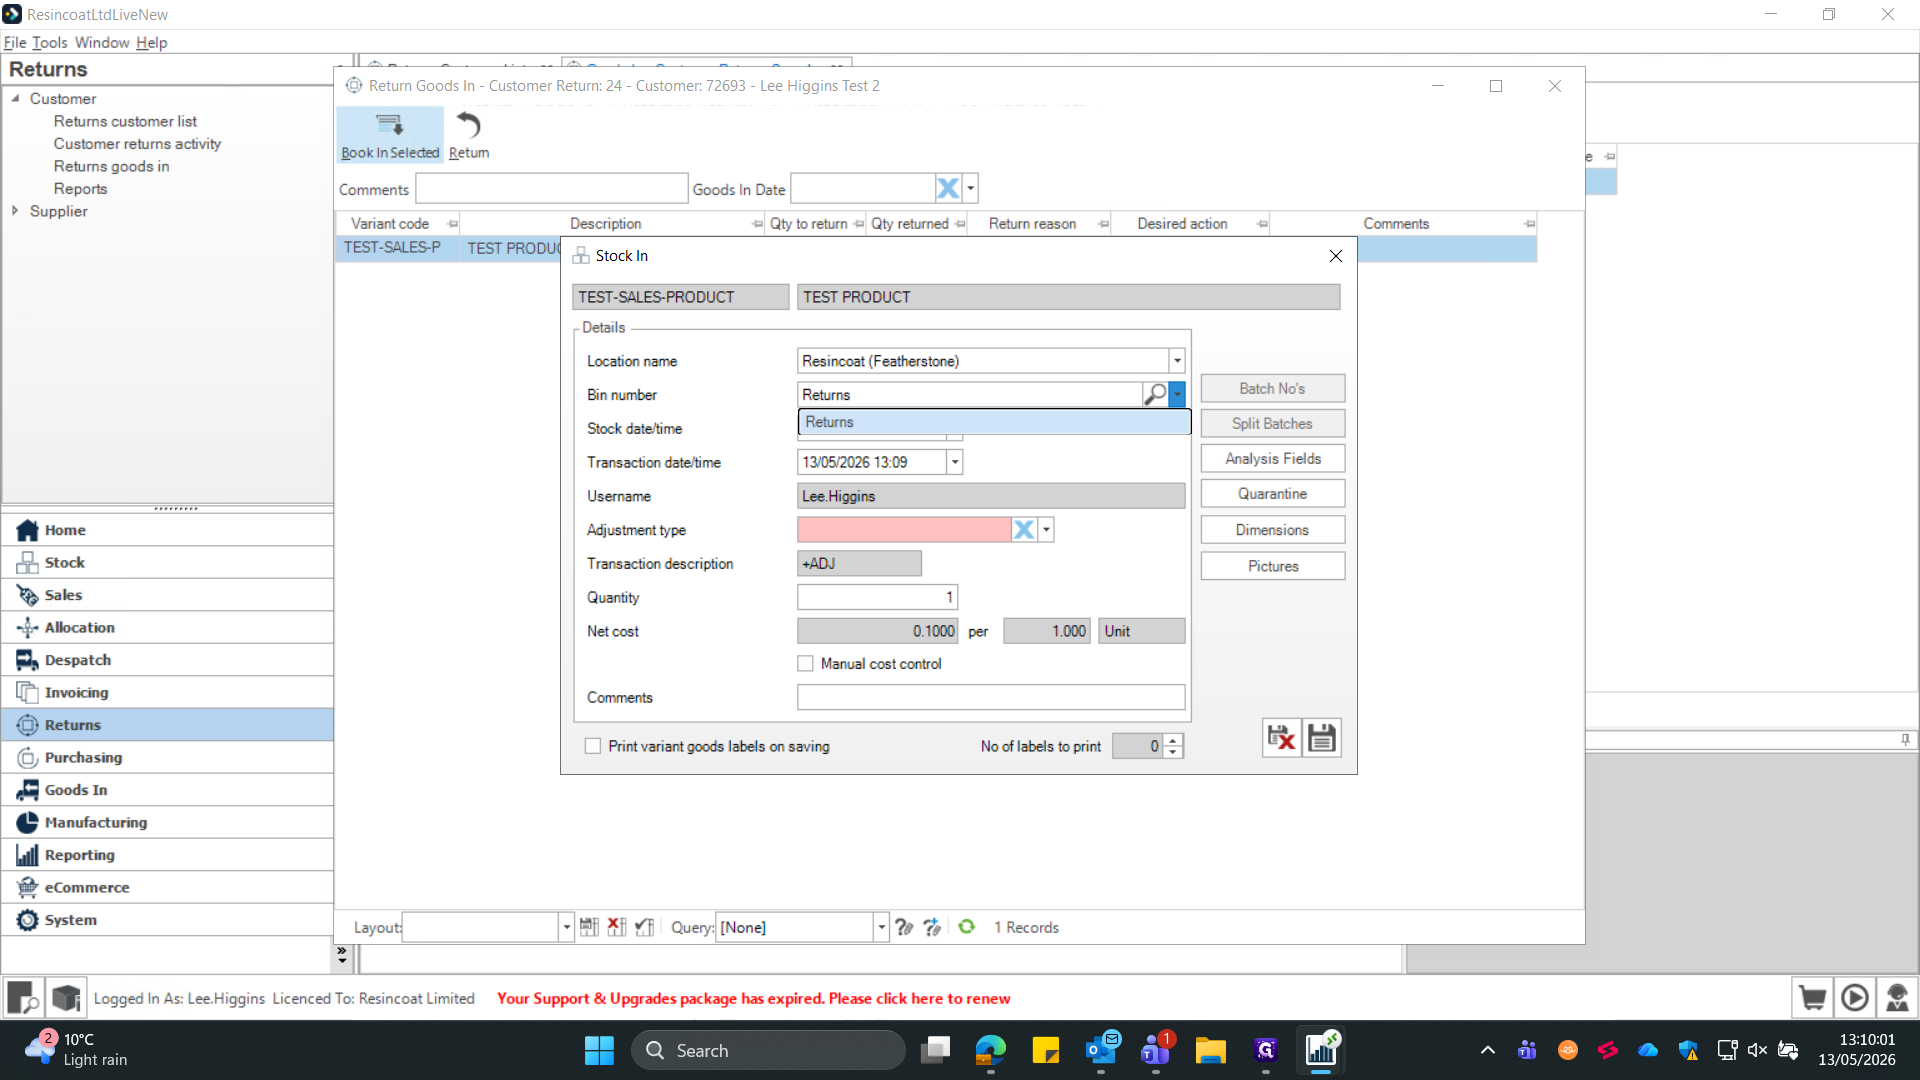
18
In the Stock In dialog window, confirm the quantity and set the Bin number to "Returns".
19
Set the Adjustment type to "Returns".
20
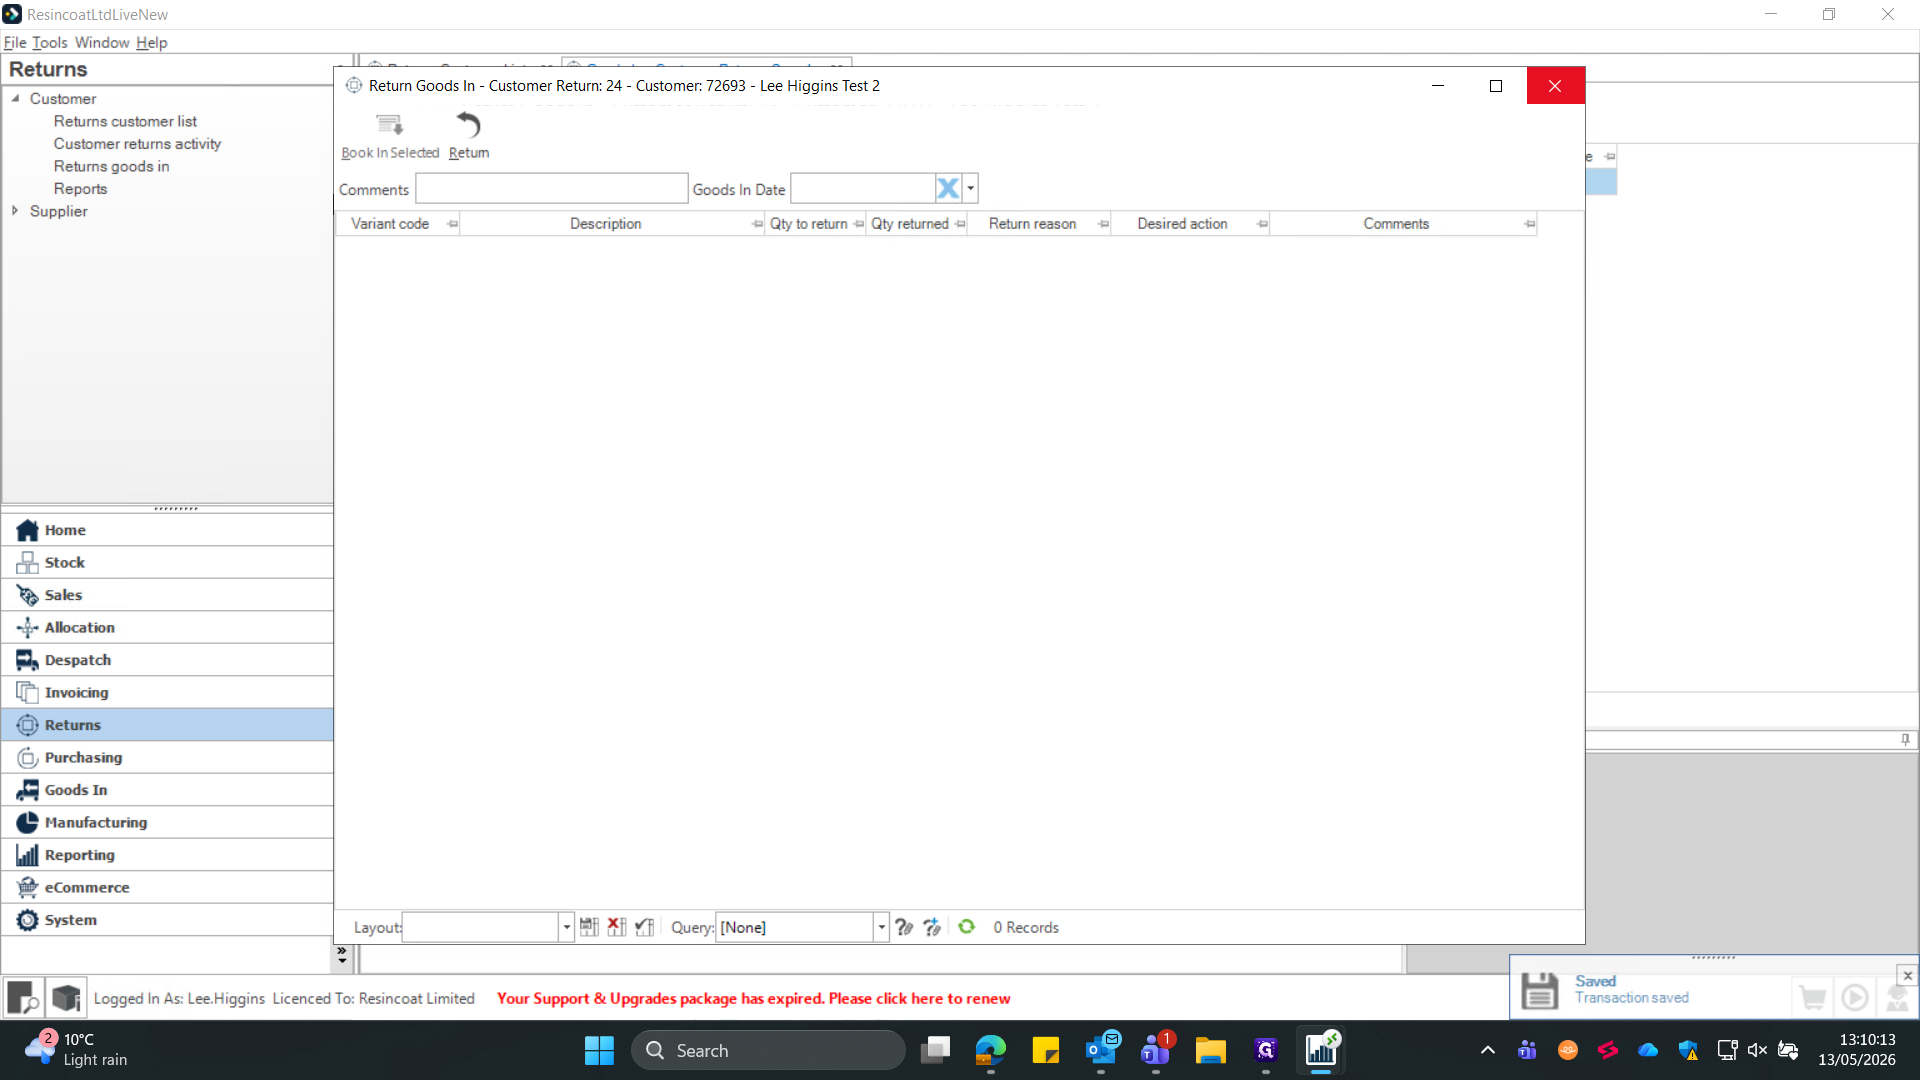
X out of the previous page that remained loaded behind the pop up window.
Section 3 - Warehouse - Complete Inspection.
Once the items are booked in, the inspection team can evaluate their condition and determine the final resolution.
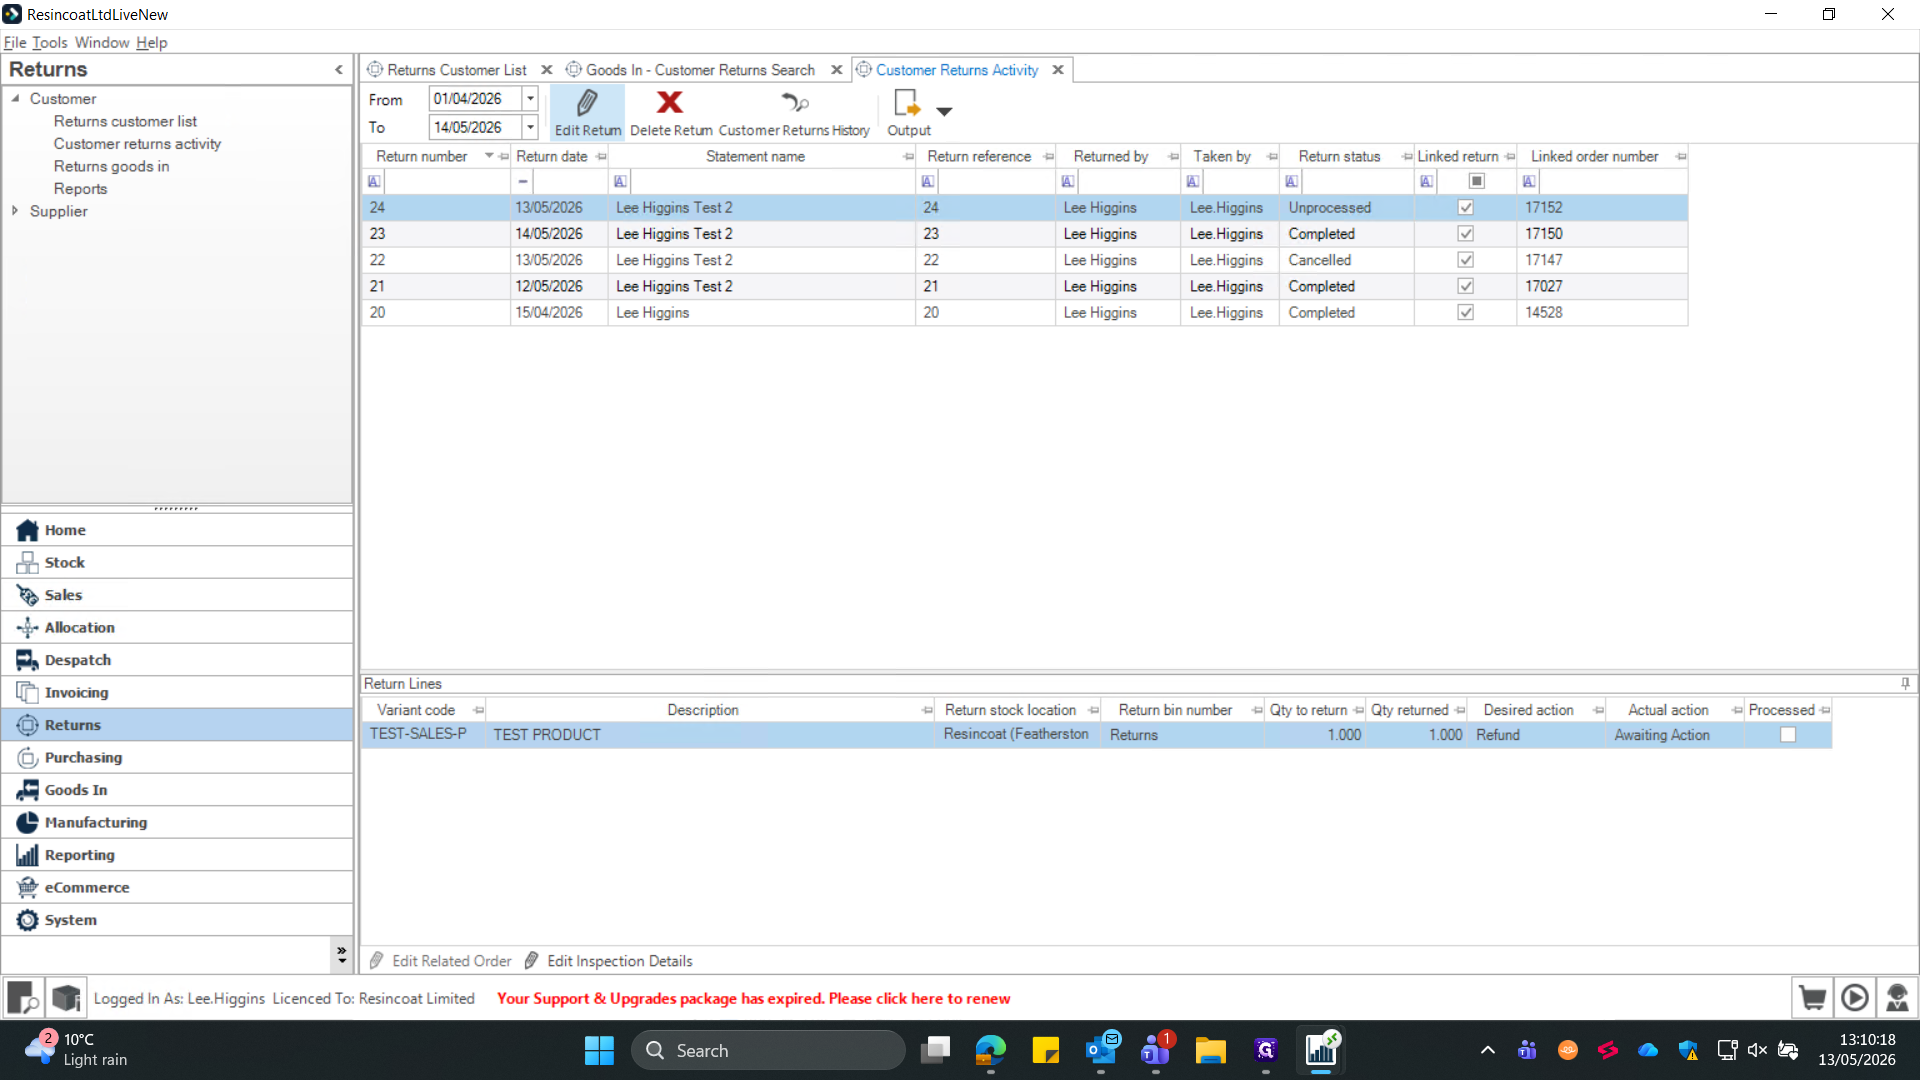
21
Navigate to the Customer returns activity screen from the left sidebar.
22
Select your return record from the grid and click Edit Return in the top toolbar.
23
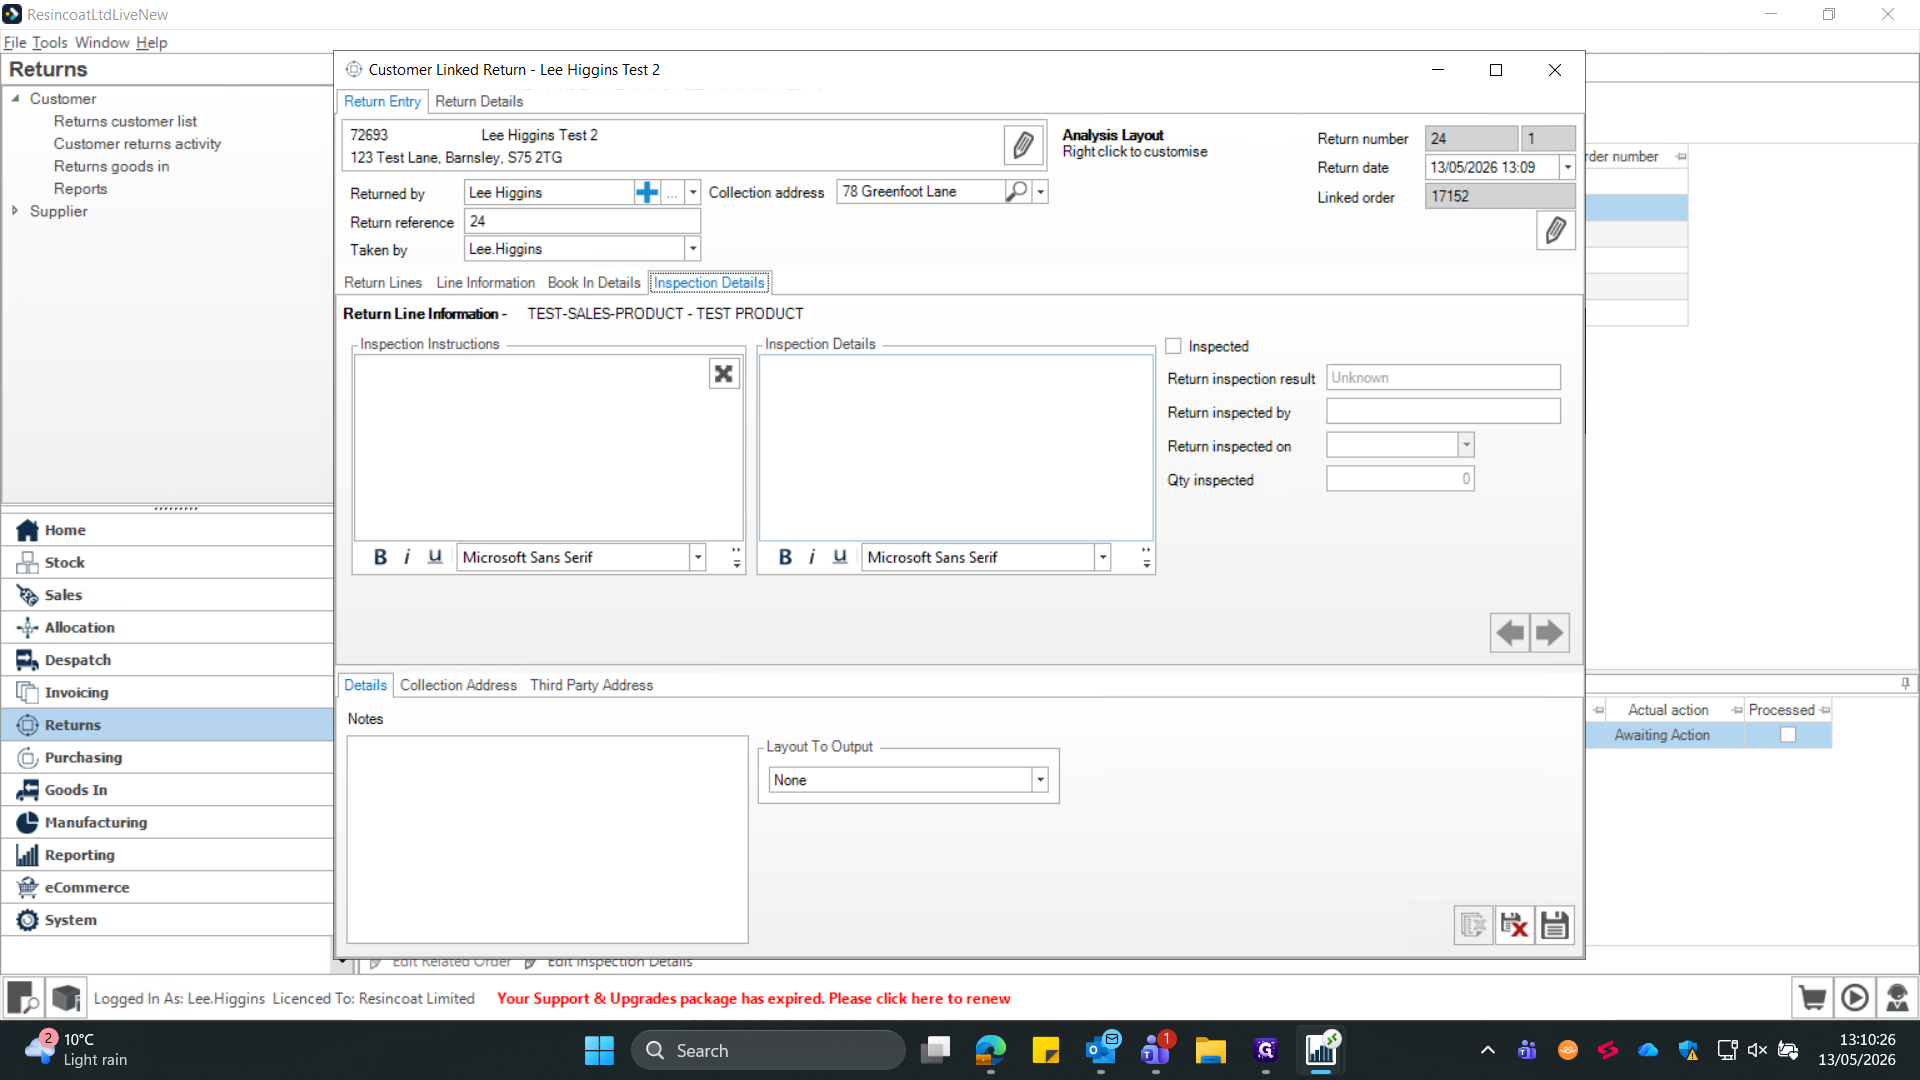
Click the Inspection Details tab.
24
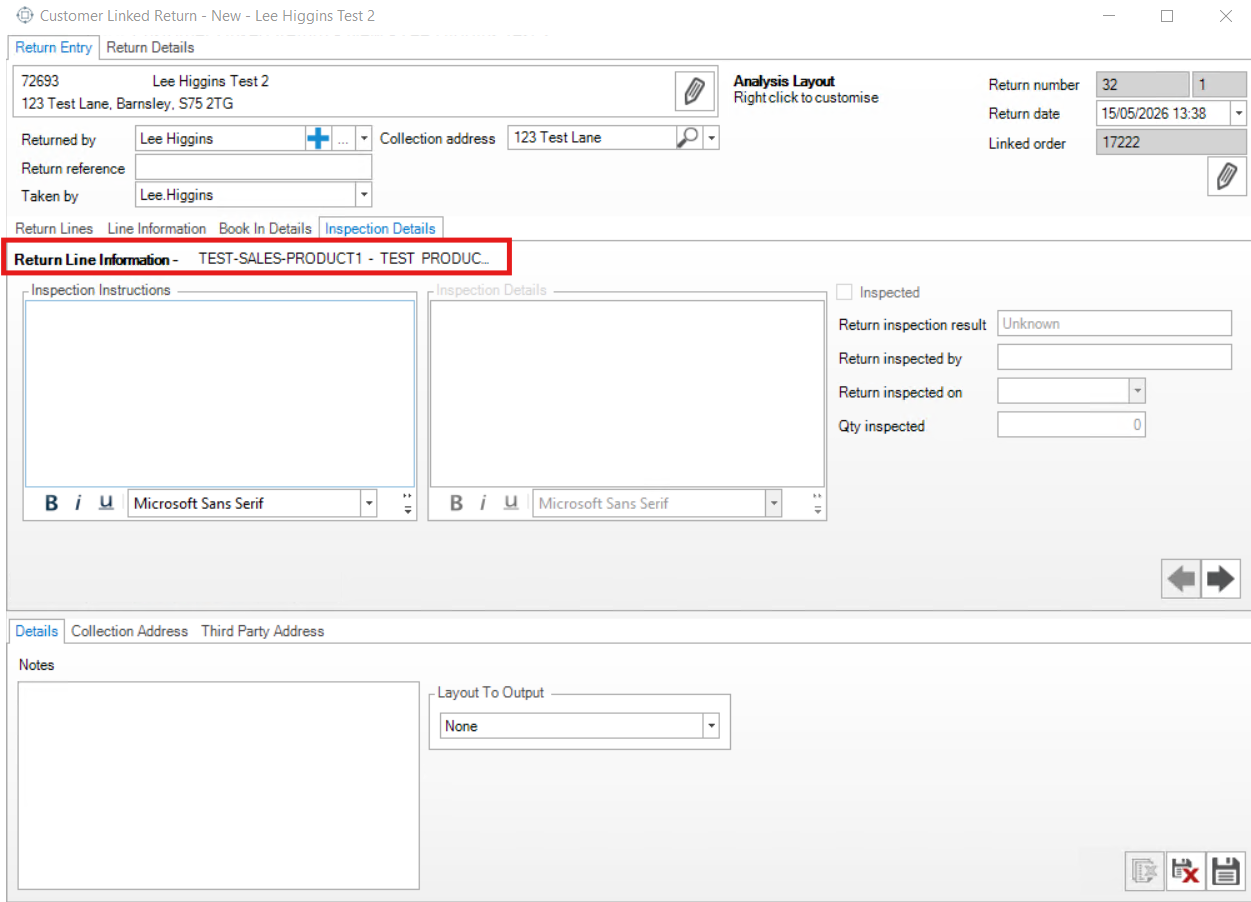
Type your findings into the inspection notes field for EACH item. The next item can be found by pressing the black arrow icons. The item you are currently inspecting can be seen by the red highlight in the below image.
25
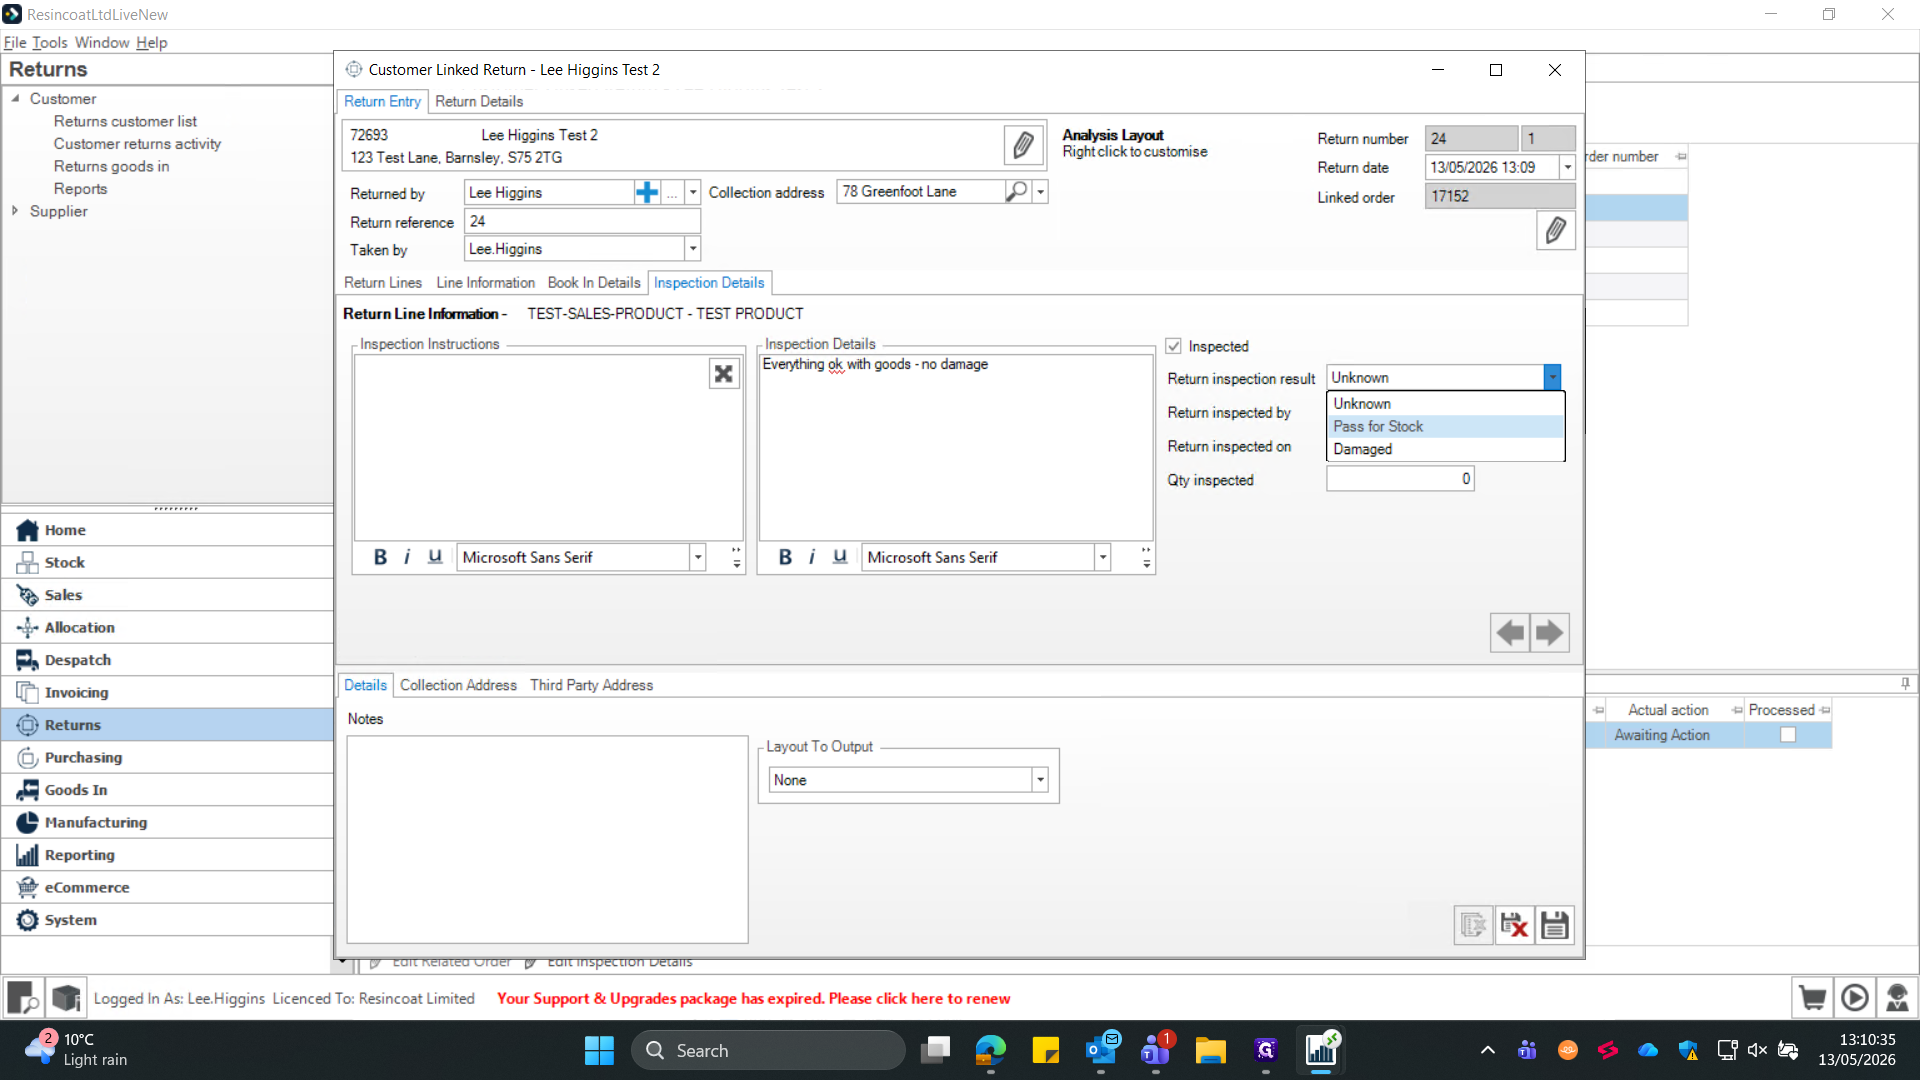
Check the Inspected box to flag that the evaluation is complete for that item, and repeat for all further items on the return.
26
Select the appropriate Return inspection result.
When selecting an inspection result, choose the status that reflects the physical state of the returned item:
Inspection Result
When to use
How it impacts stock
Pass for Stock
The item is in perfect, resalable condition.
Returns the item to general available inventory.
Damaged
The item is defective, broken, or unsellable.
Keeps the item out of active sales circulation (often moving it to quarantine or scrap).
Unknown
The condition cannot be determined immediately.
Leaves the item in a pending holding state awaiting further review.
27
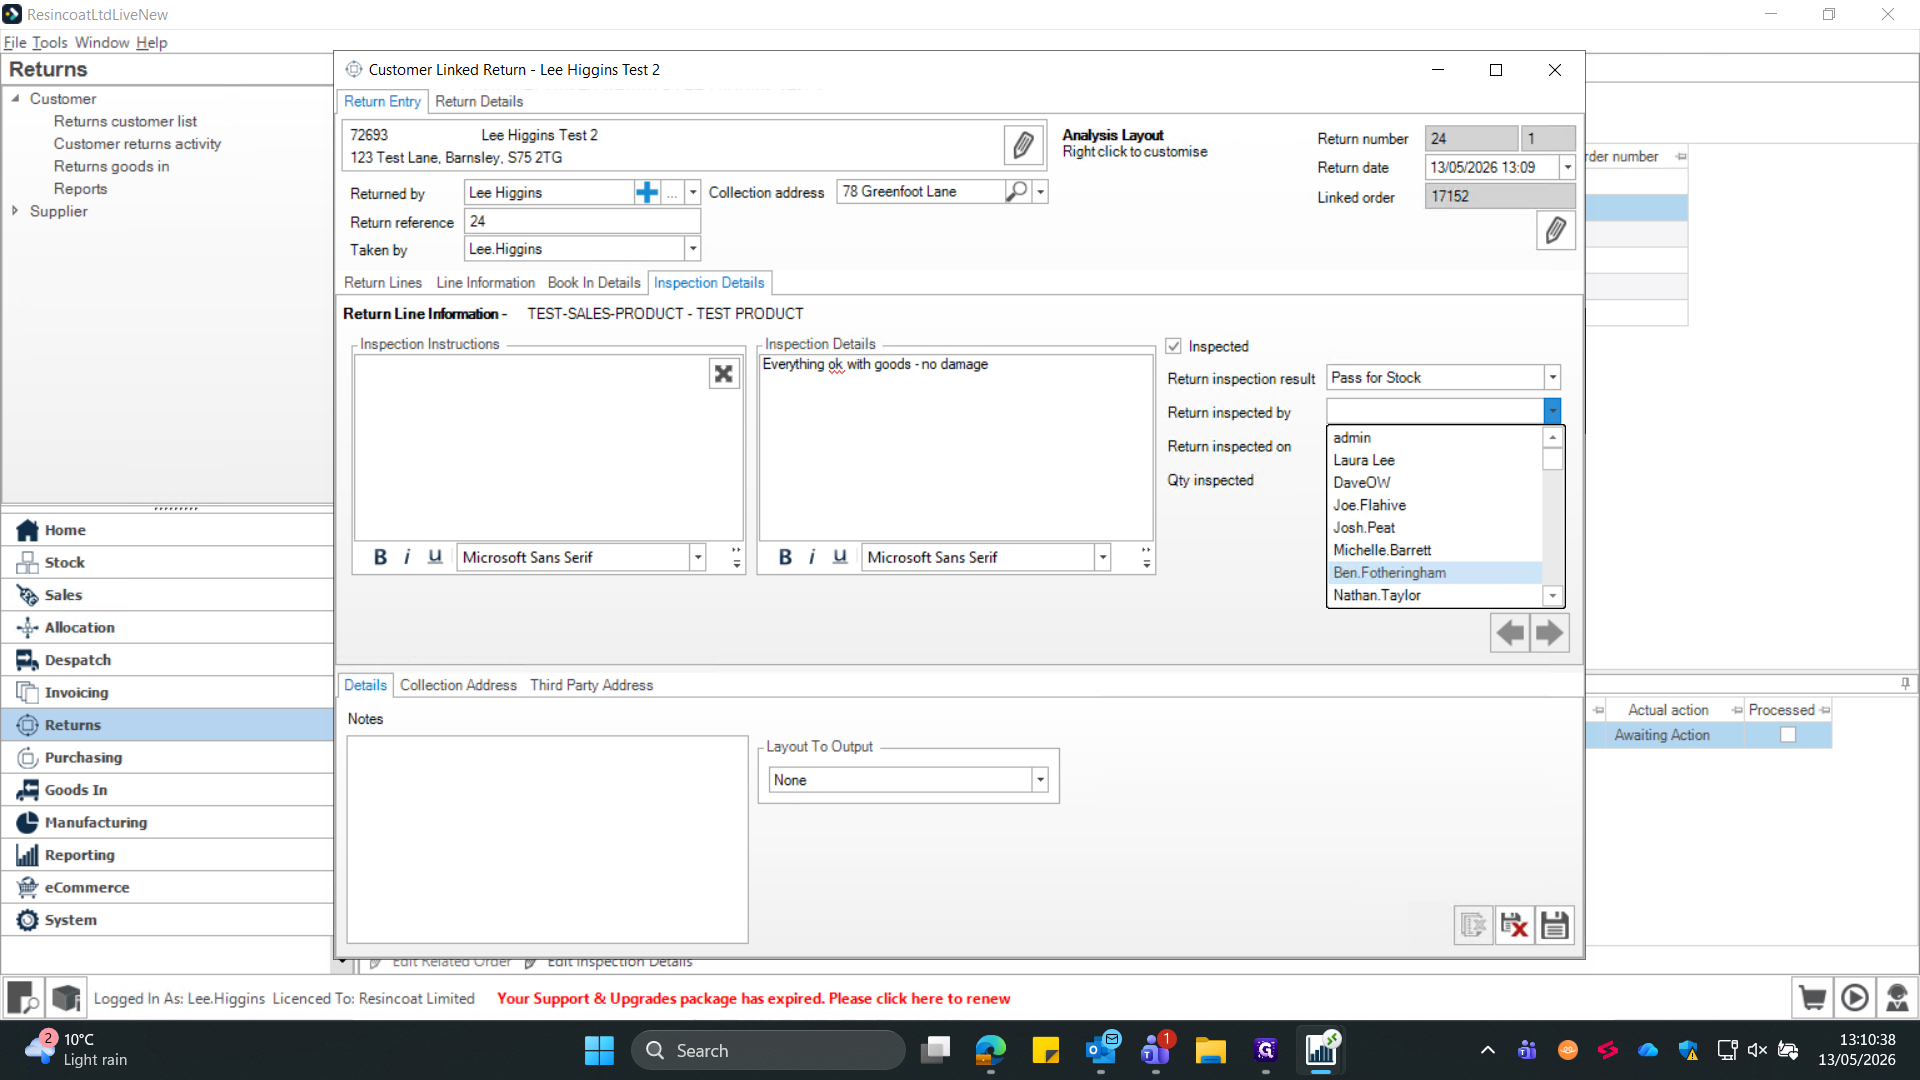
Select the inspector's name from the Return inspected by dropdown.
28
Enter the inspection date and time.
29
Type the inspected quantity.
Make sure the inspected quantity matches the total amount you are clearing for stock, otherwise the return line will remain partially open.
30
Save the inspection and this will close the return order.
31
If a product has been decanted to replace any damaged tin, you must ensure a stock adjustment is made to remove a tin from stock.
The following warehouse steps are only relevant if materials have been decanted.
32
Open the "Stock" module.
33
Select "Quick adjust stock out" and this will open a pop out window.
34
Search "Tin" in the variant code box and press enter, equally, if you know the variant code of the tin you're taking out (E.G Tulip - Plain) you can enter this here instead.
35
Select the category on the left "Packaging" and then what type of container was scrapped, E.G Metal for tins / Plastic for conical etc. Once you have found your tin, double click it in the top grid to add it to the quick adjust out screen.
36
Select the bin number you took your replacement tin from.
37
Now enter the quantity of tins being removed, and then press blue + icon below. If successful, the tin will move below.
38
Now select an adjustment type "Decanted - Returns" and press the save icon to remove the tin from stock.
The warehouse steps are now complete - The goods in process will follow to move the stock to a shelf location from the returns bin.
Section 4 - Customer Service (Finalising the return)
39
Open the return within "Customer Returns Activity" - To know if a return has been inspected, refer to the "Return Status" field to see where the warehouse are up to with it.
40
Update the Actual action to reflect the final decision (e.g., "No Further Action", "Refund", or "Credit"), a pop up box may open once saved depending on the action. (Step 34)
41
Click the Save icon at the bottom right to finalize and close the customer return, depending on the decision. I.E If refund or credit, a sales order will open to process the credit or refund amount against that customers account.
42
If the action was refund or credit, a second window will pop up - You just need to save this screen (Sales Order) for the refund or credit to be applied to the customers account, please check over the amounts, ensure everything is as expected first.
If the desired action was refund - Proceed to stripe and refund as normal now all Orderwise actions have been completed.
FAQ
Q: Do I need to book the items into stock before inspecting them?
A: Yes. Items must first be received into a holding or "Returns" bin via the Goods In screen. You cannot complete the inspection workflow on inventory that the system doesn't physically recognize as returned yet.
Q: What happens if the return collection address differs from the original sales order?
A: You can manually overwrite the collection address directly on the Linked Return screen. A dialogue box will prompt you to confirm the change before the system generates the return documentation.
Q: Why isn't my return line closing out after I save?
A: Ensure that the "inspected quantity" matches the total quantity returned, and that you have updated the "Actual action" dropdown from "Awaiting Action" to a finalized resolution (like Refund or No Further Action).
Glossary
Term
Definition
Linked Return
A product return process that ties the incoming item directly back to the original sales order it was purchased on.
Return Goods In
The system module used to log the physical arrival of returned inventory at the warehouse.
Pass for Stock
An inspection status indicating the returned product is undamaged and can be placed back into active, sellable inventory.