
Process Invoices and Change Orders in Sage 300 CRE
Learn how to create quick bill invoices, process contract-based invoices, and manage change requests and change orders in Sage 300 Construction and Real Estate.
This guide demonstrates how to process various types of invoices and manage contract modifications in Sage 300 Construction and Real Estate. By following these steps, you will be able to accurately generate quick bills, update contract-based invoices, and seamlessly convert change requests into approved change orders for billing.
This process applies to project managers, billing clerks, and accounting staff working in the construction industry. It should be used during the regular billing cycle or whenever project scope changes necessitate formal contract modifications.
Generate Quick Bill Invoices
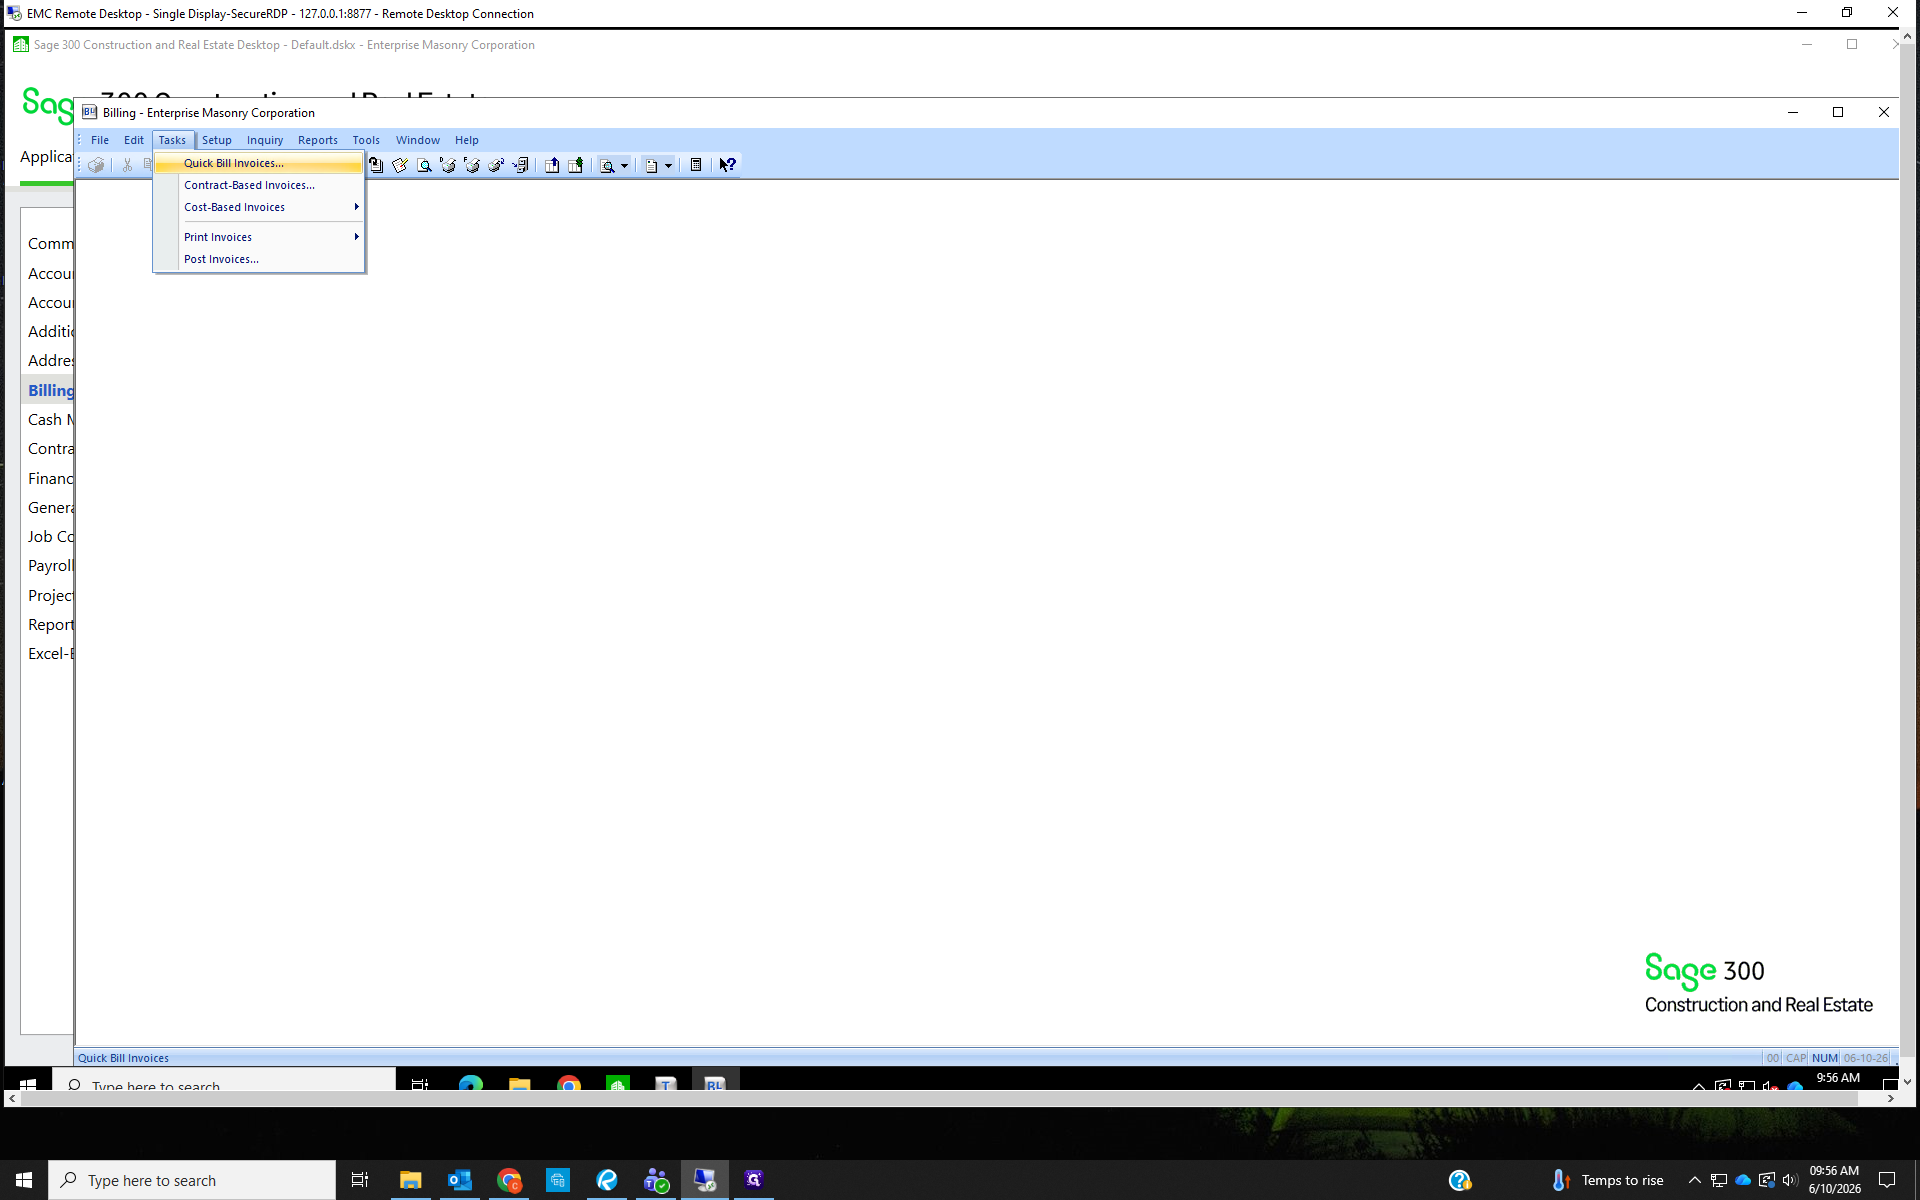
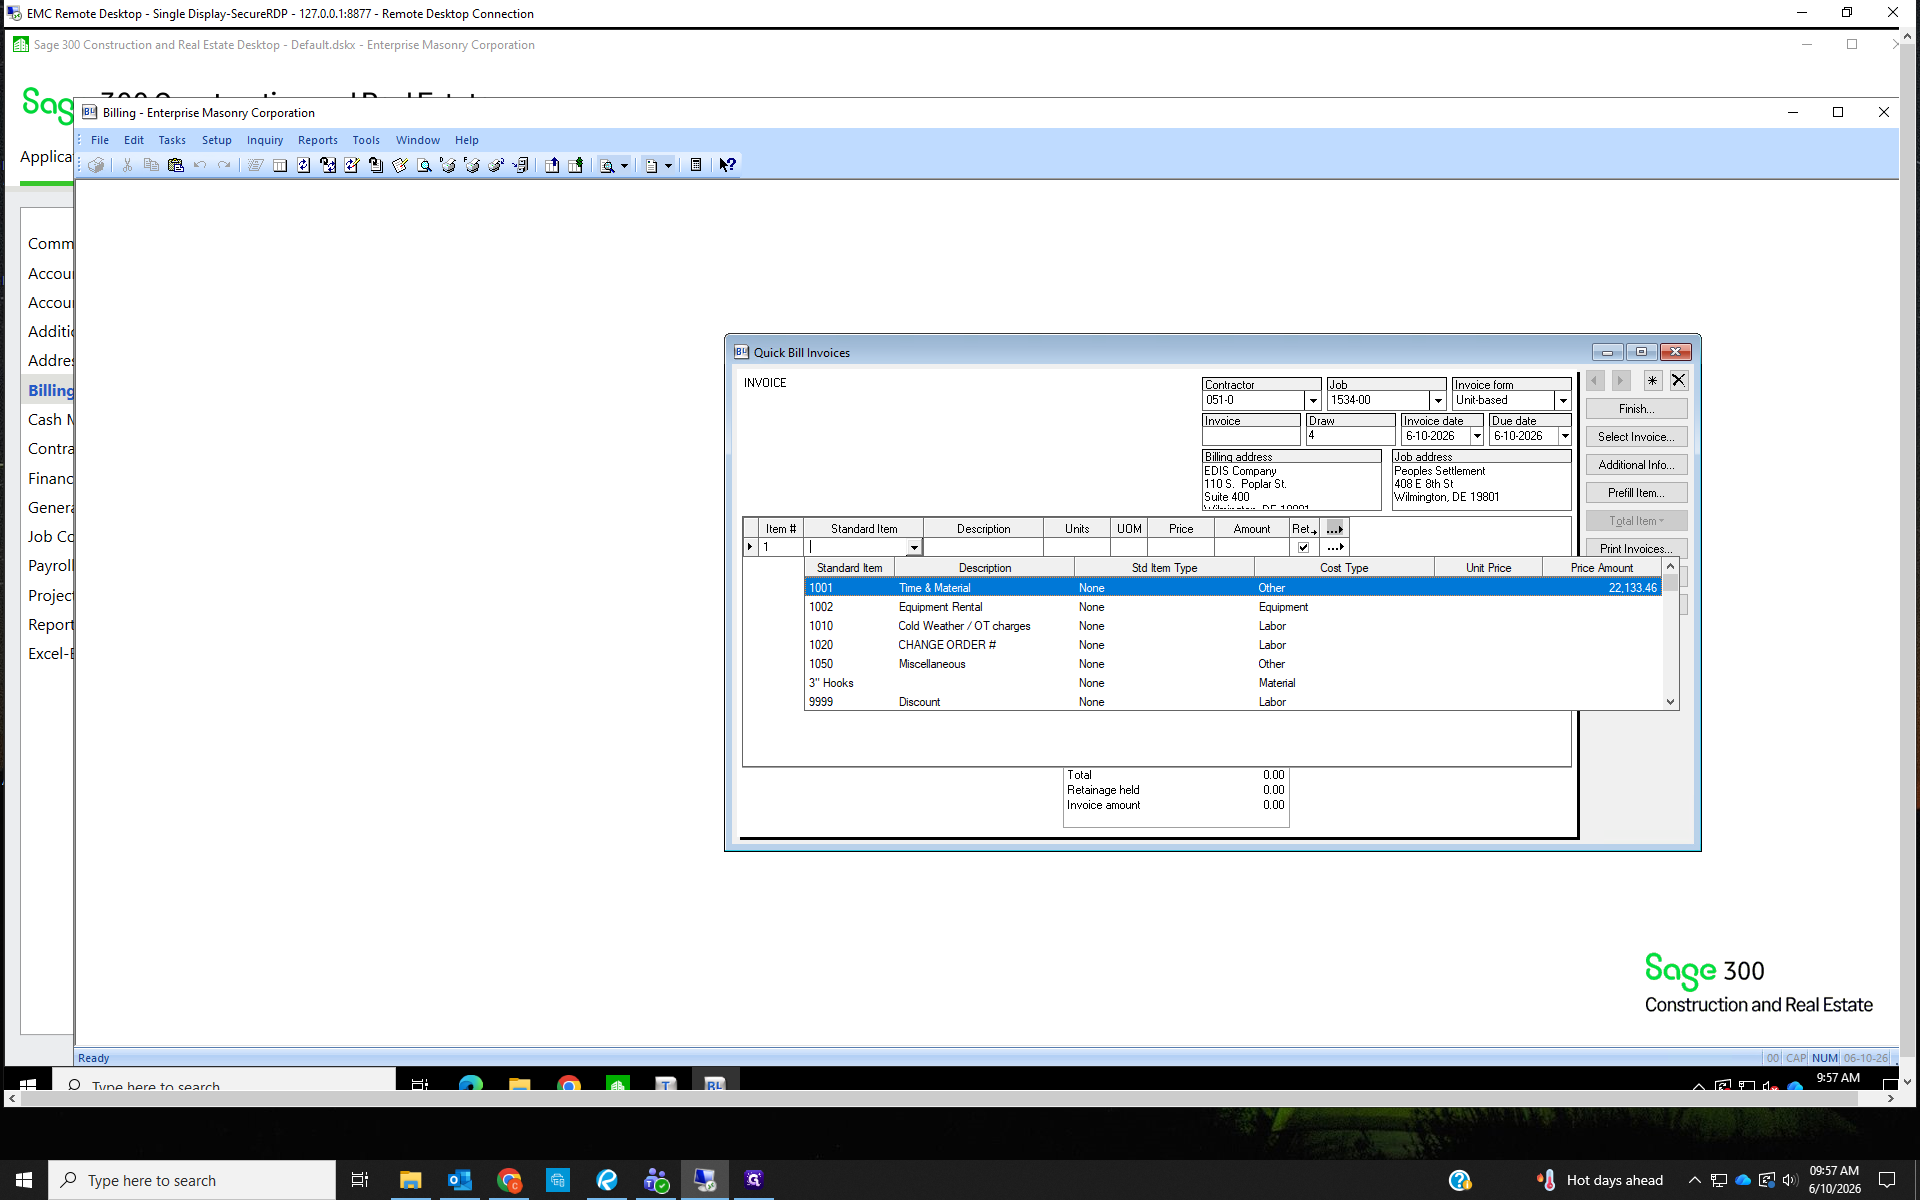
Process Quick Bill Invoices
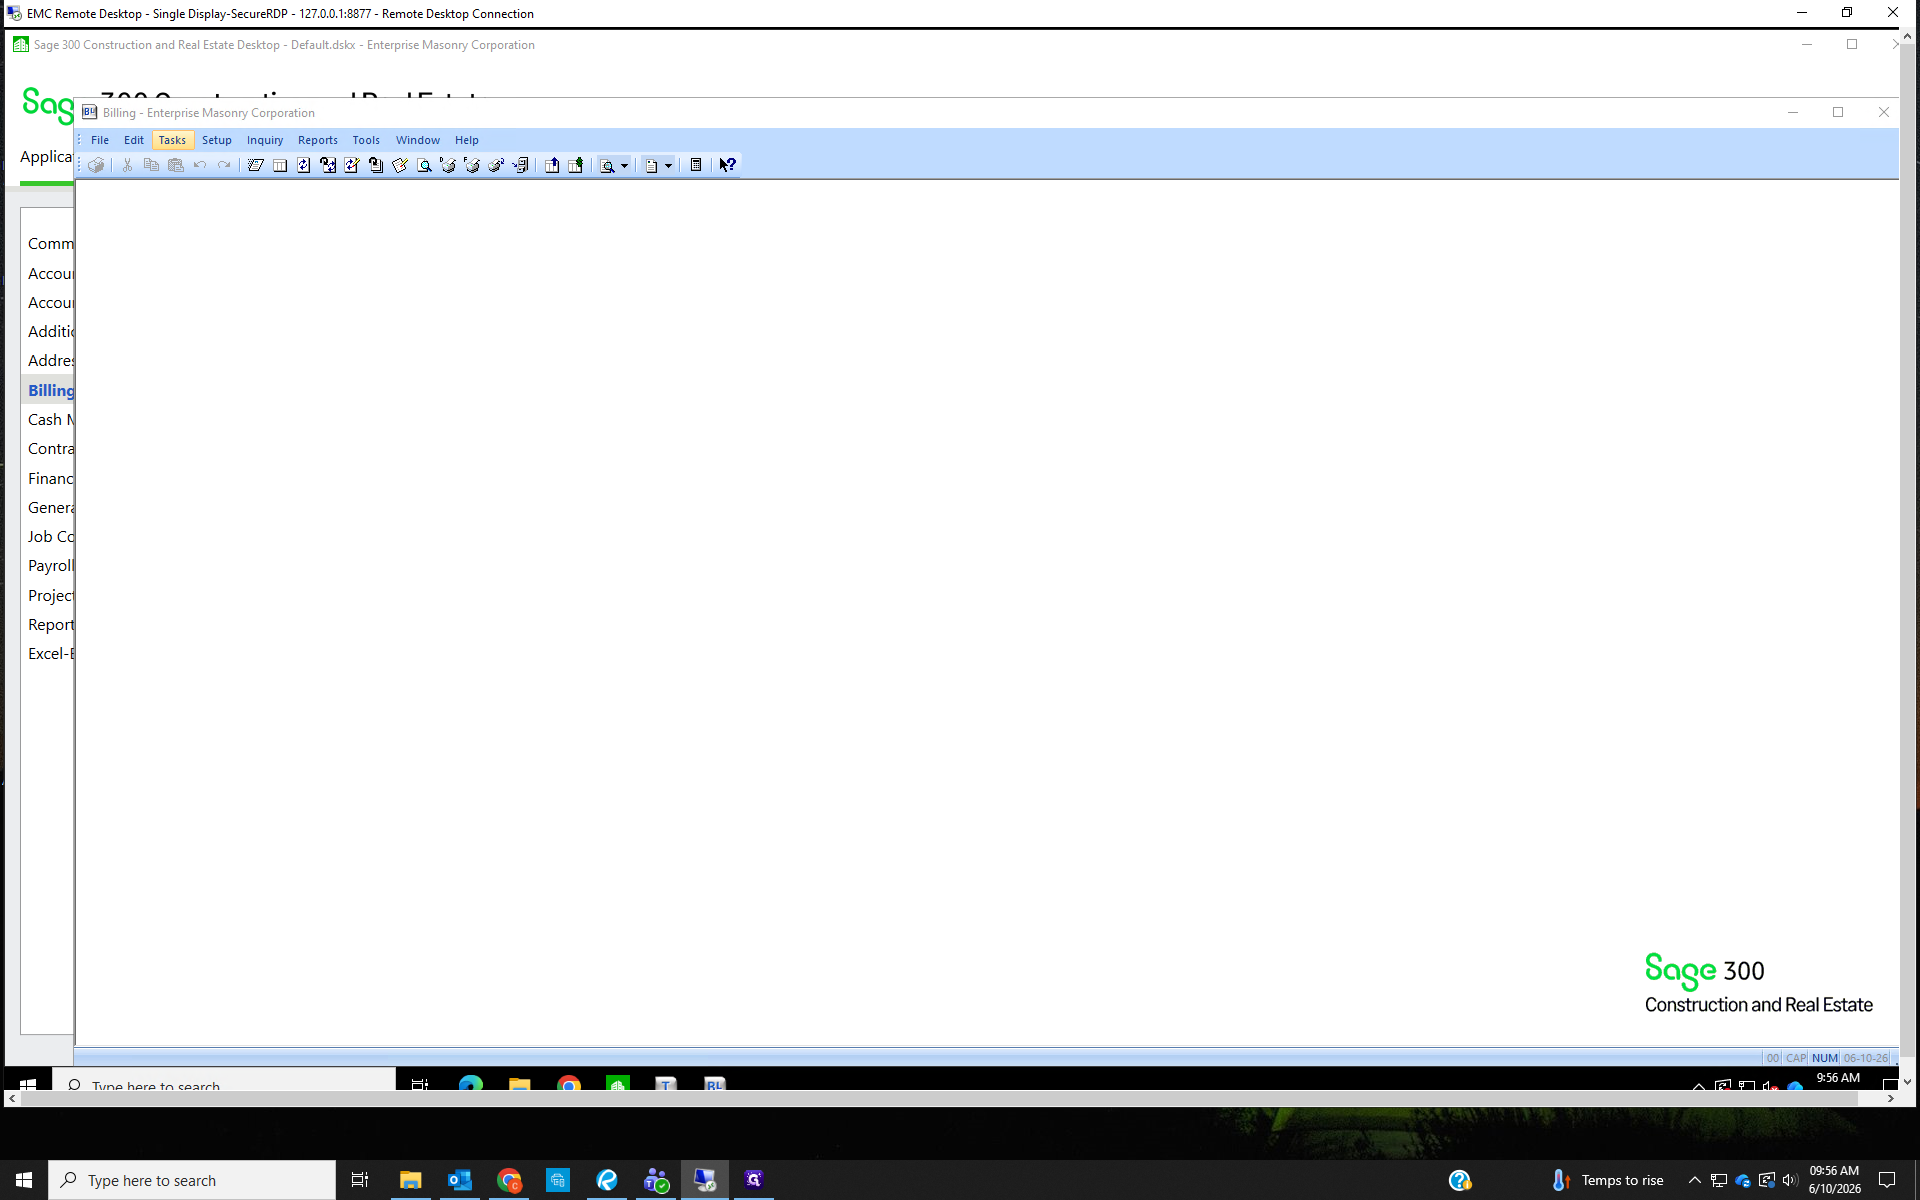
When jobs are first set up in Sage, we assign the invoicing method as a quick bill or a contract-based invoice. To check how the job is set up, go to Job Cost> Setup> Jobs>enter the job number and navigate to the Billing tab.
Select the General Contractor we are billing from the dropdown Contractor list.
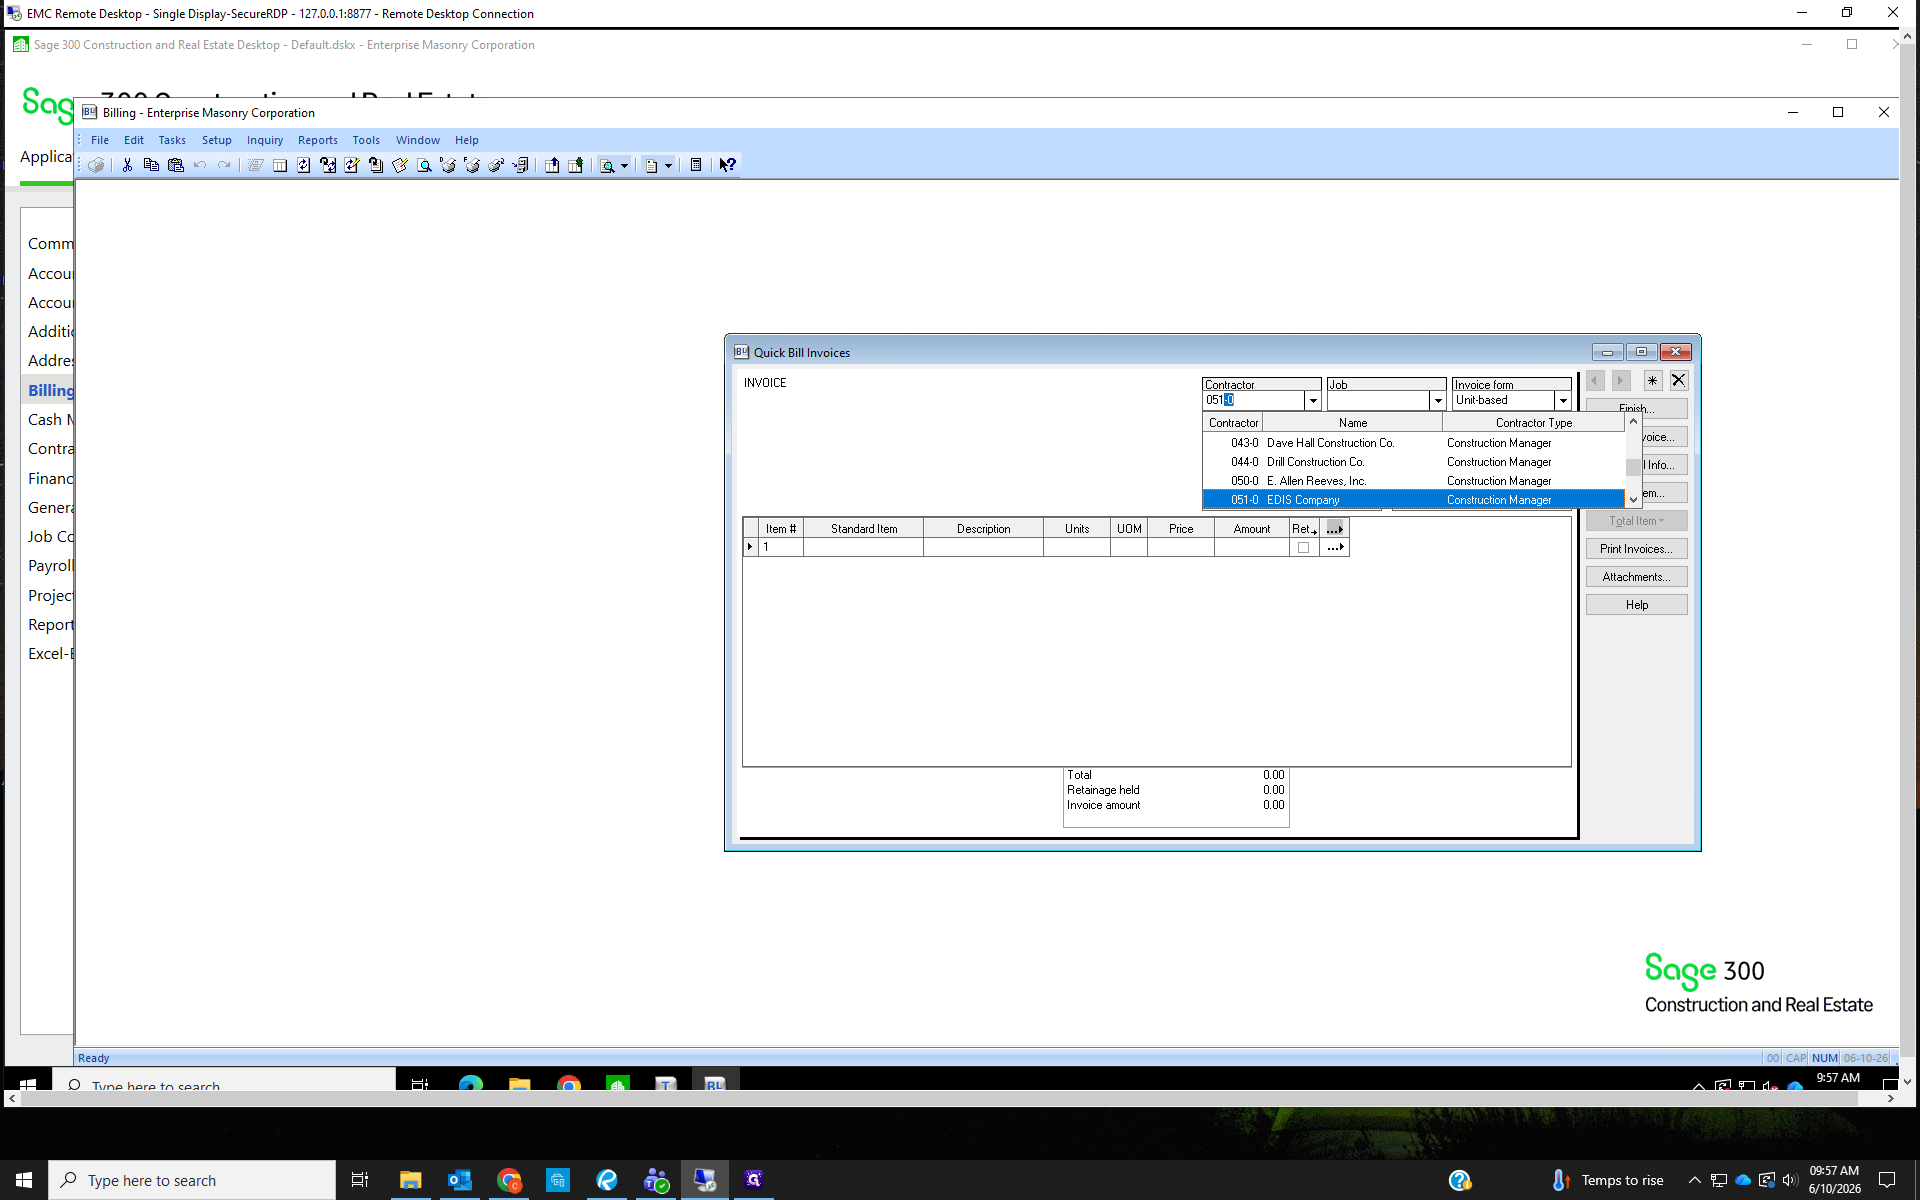
Enter the job number. Generally the invoice form is Unite-based, unless you are billing retainage from previous invoices.
The invoice form, Invoice number, Draw number, Invoice date, Due date, Billing address, and Job address will autofill based on the Contractor and job number.
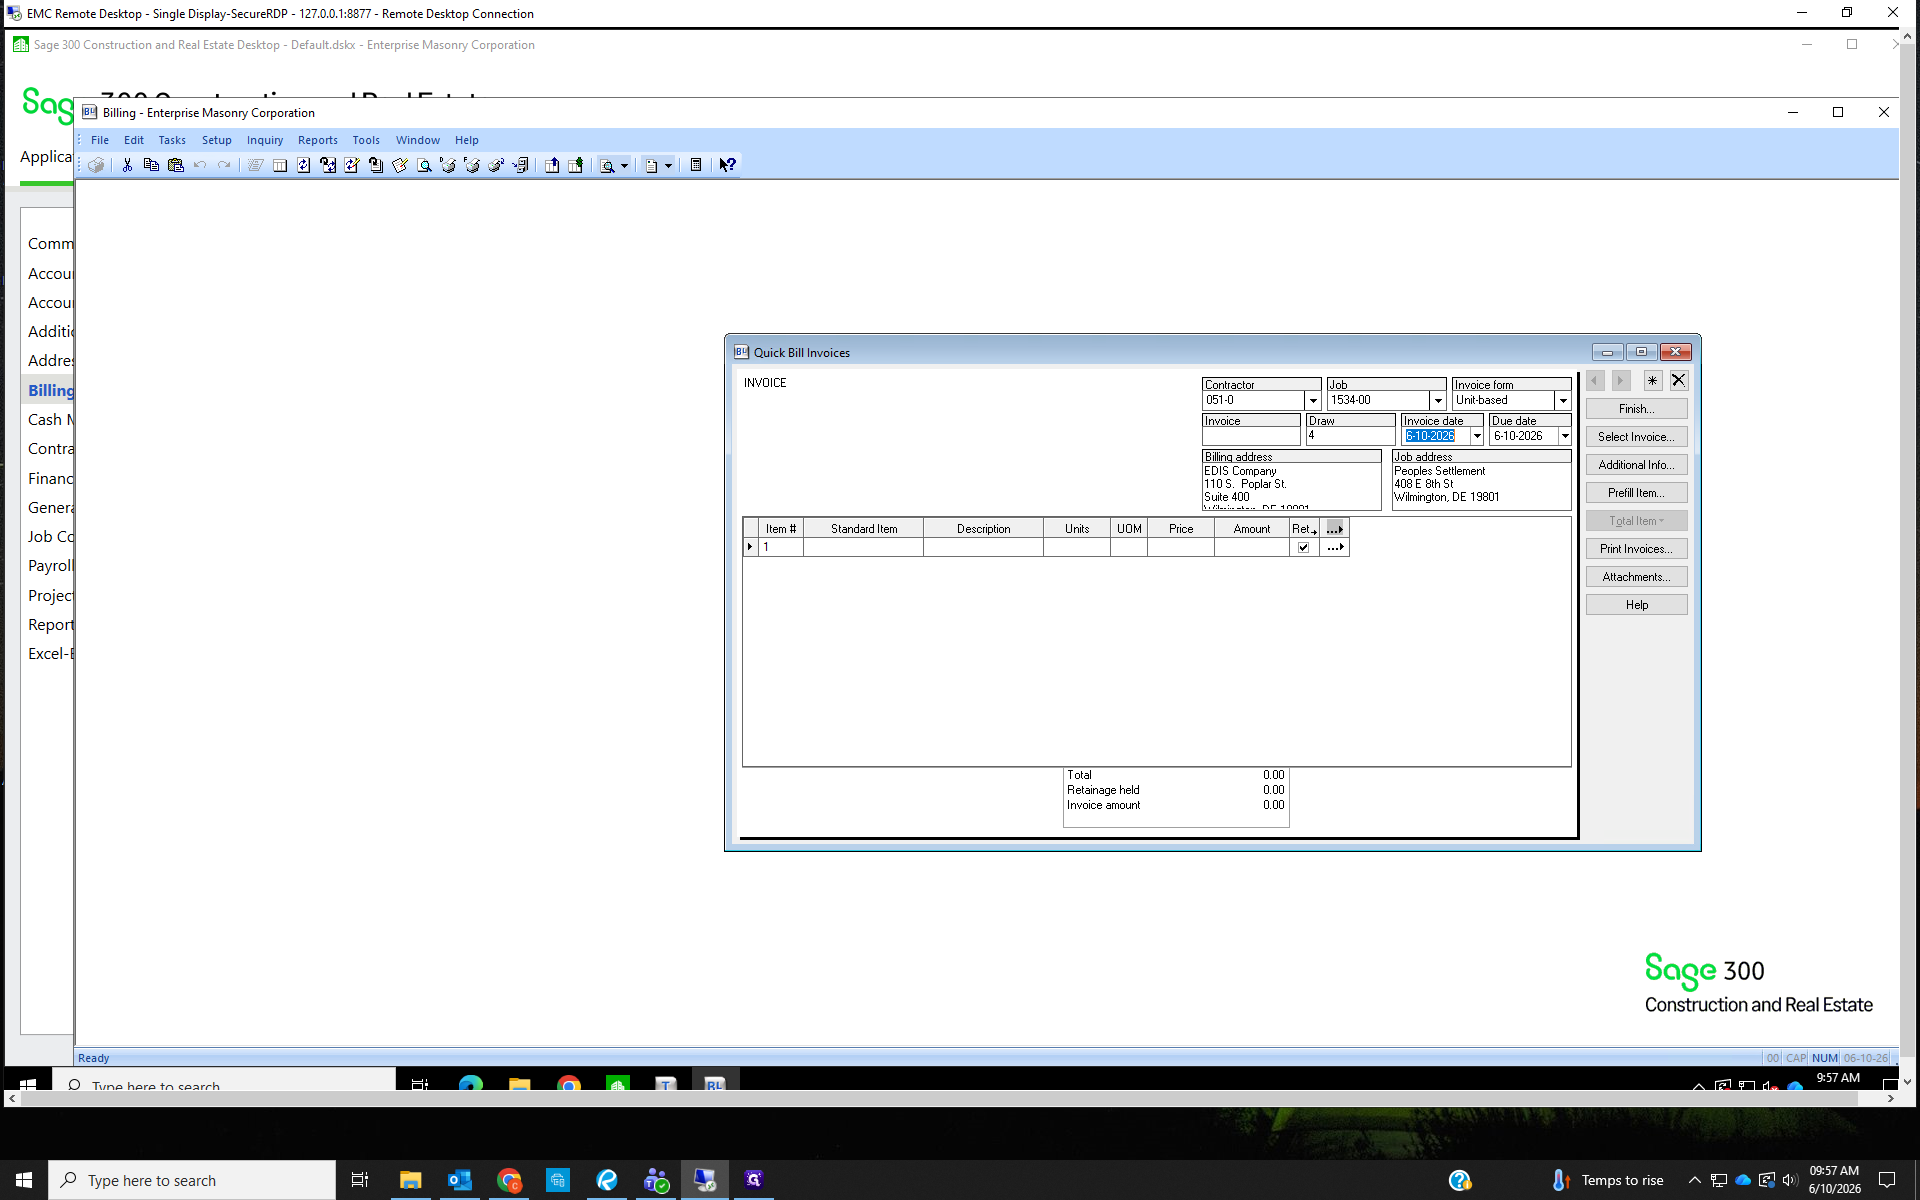

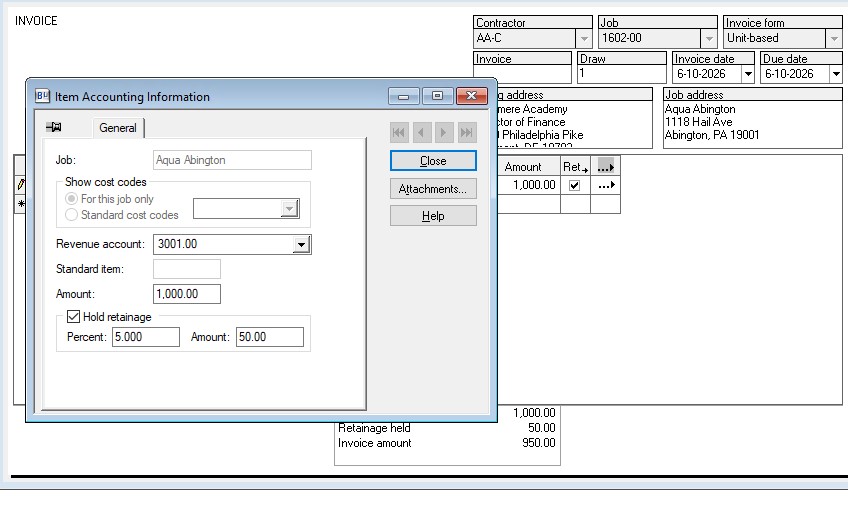
If there is NO retainage (most common), uncheck the Hold Retainage box.
If there is retainage you can enter the percent being retained, or the amount.
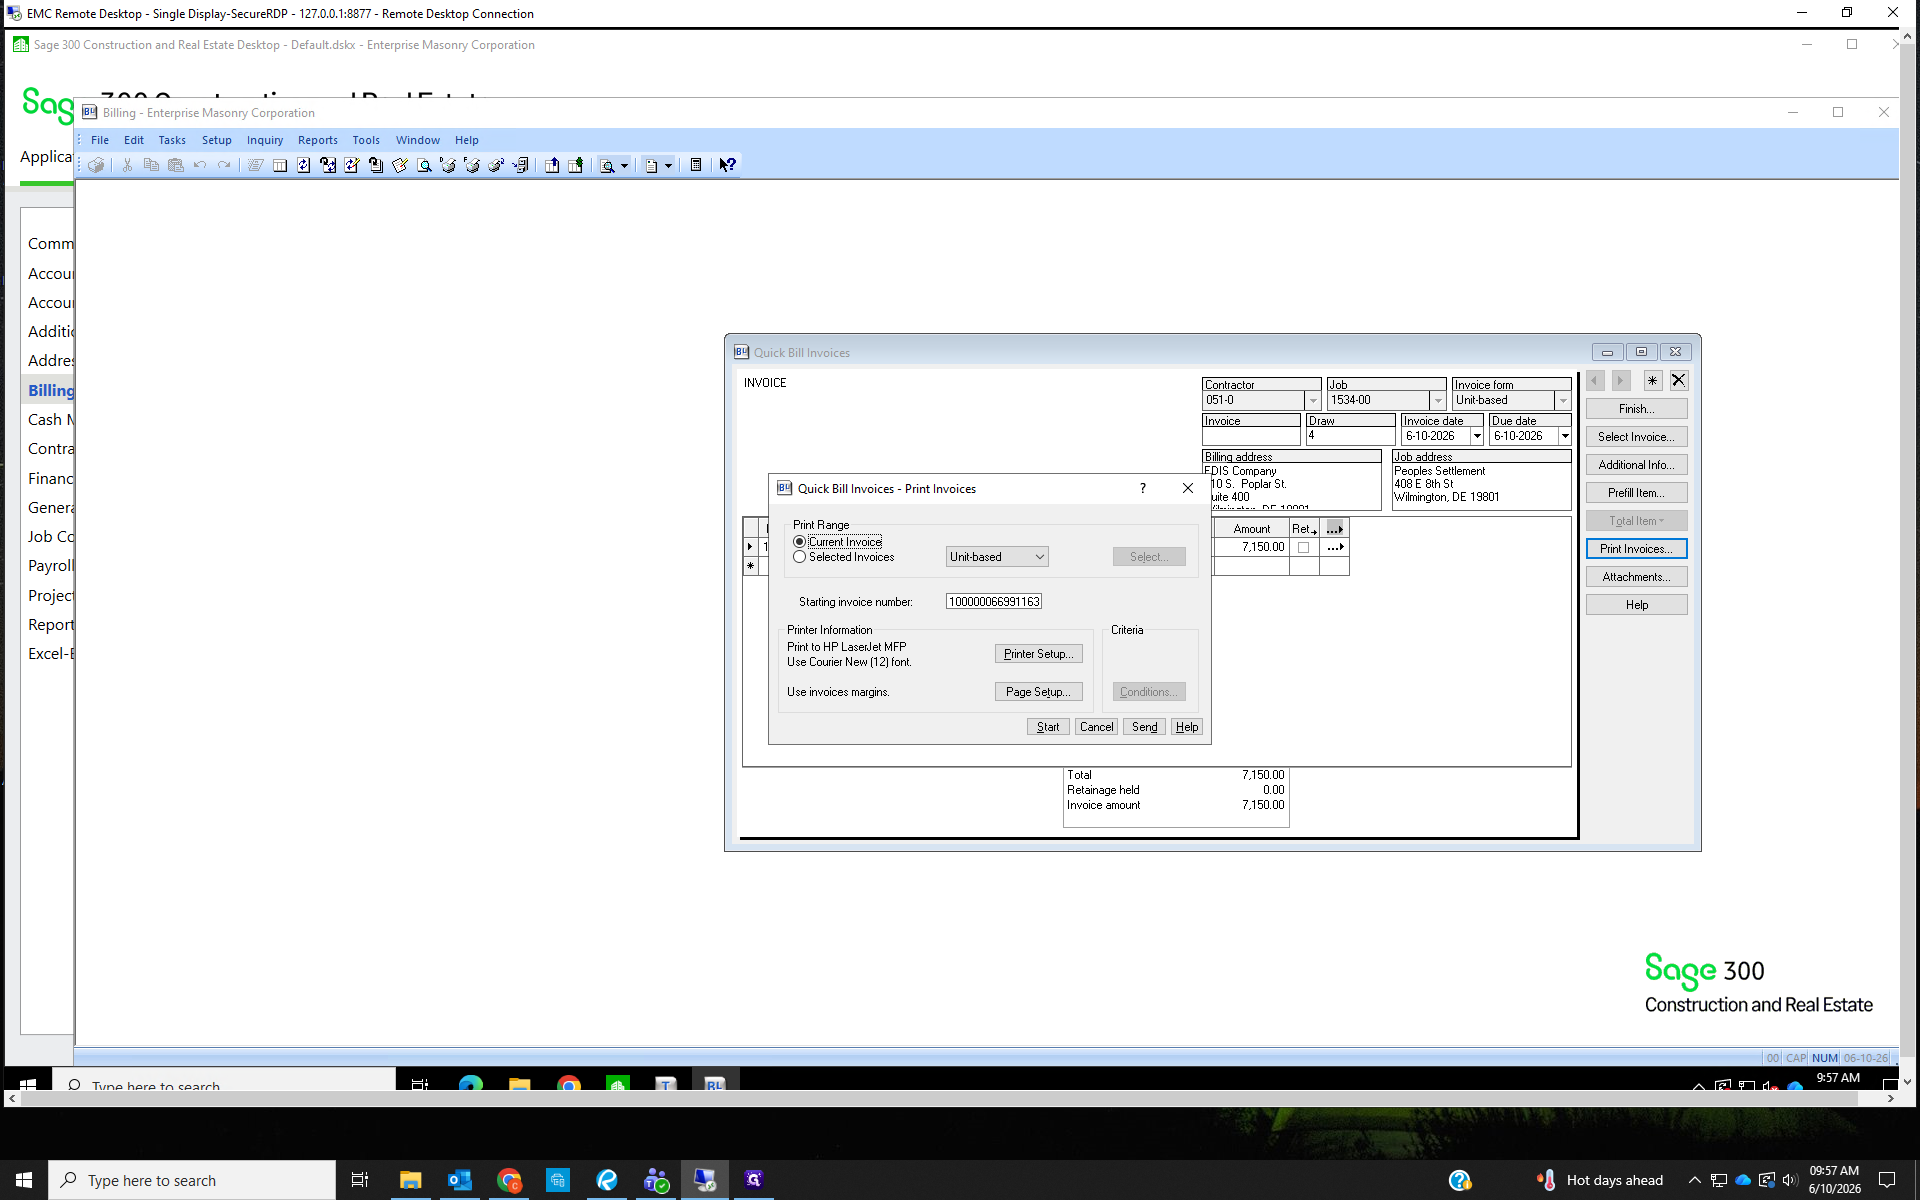
Click Start to print the invoice.
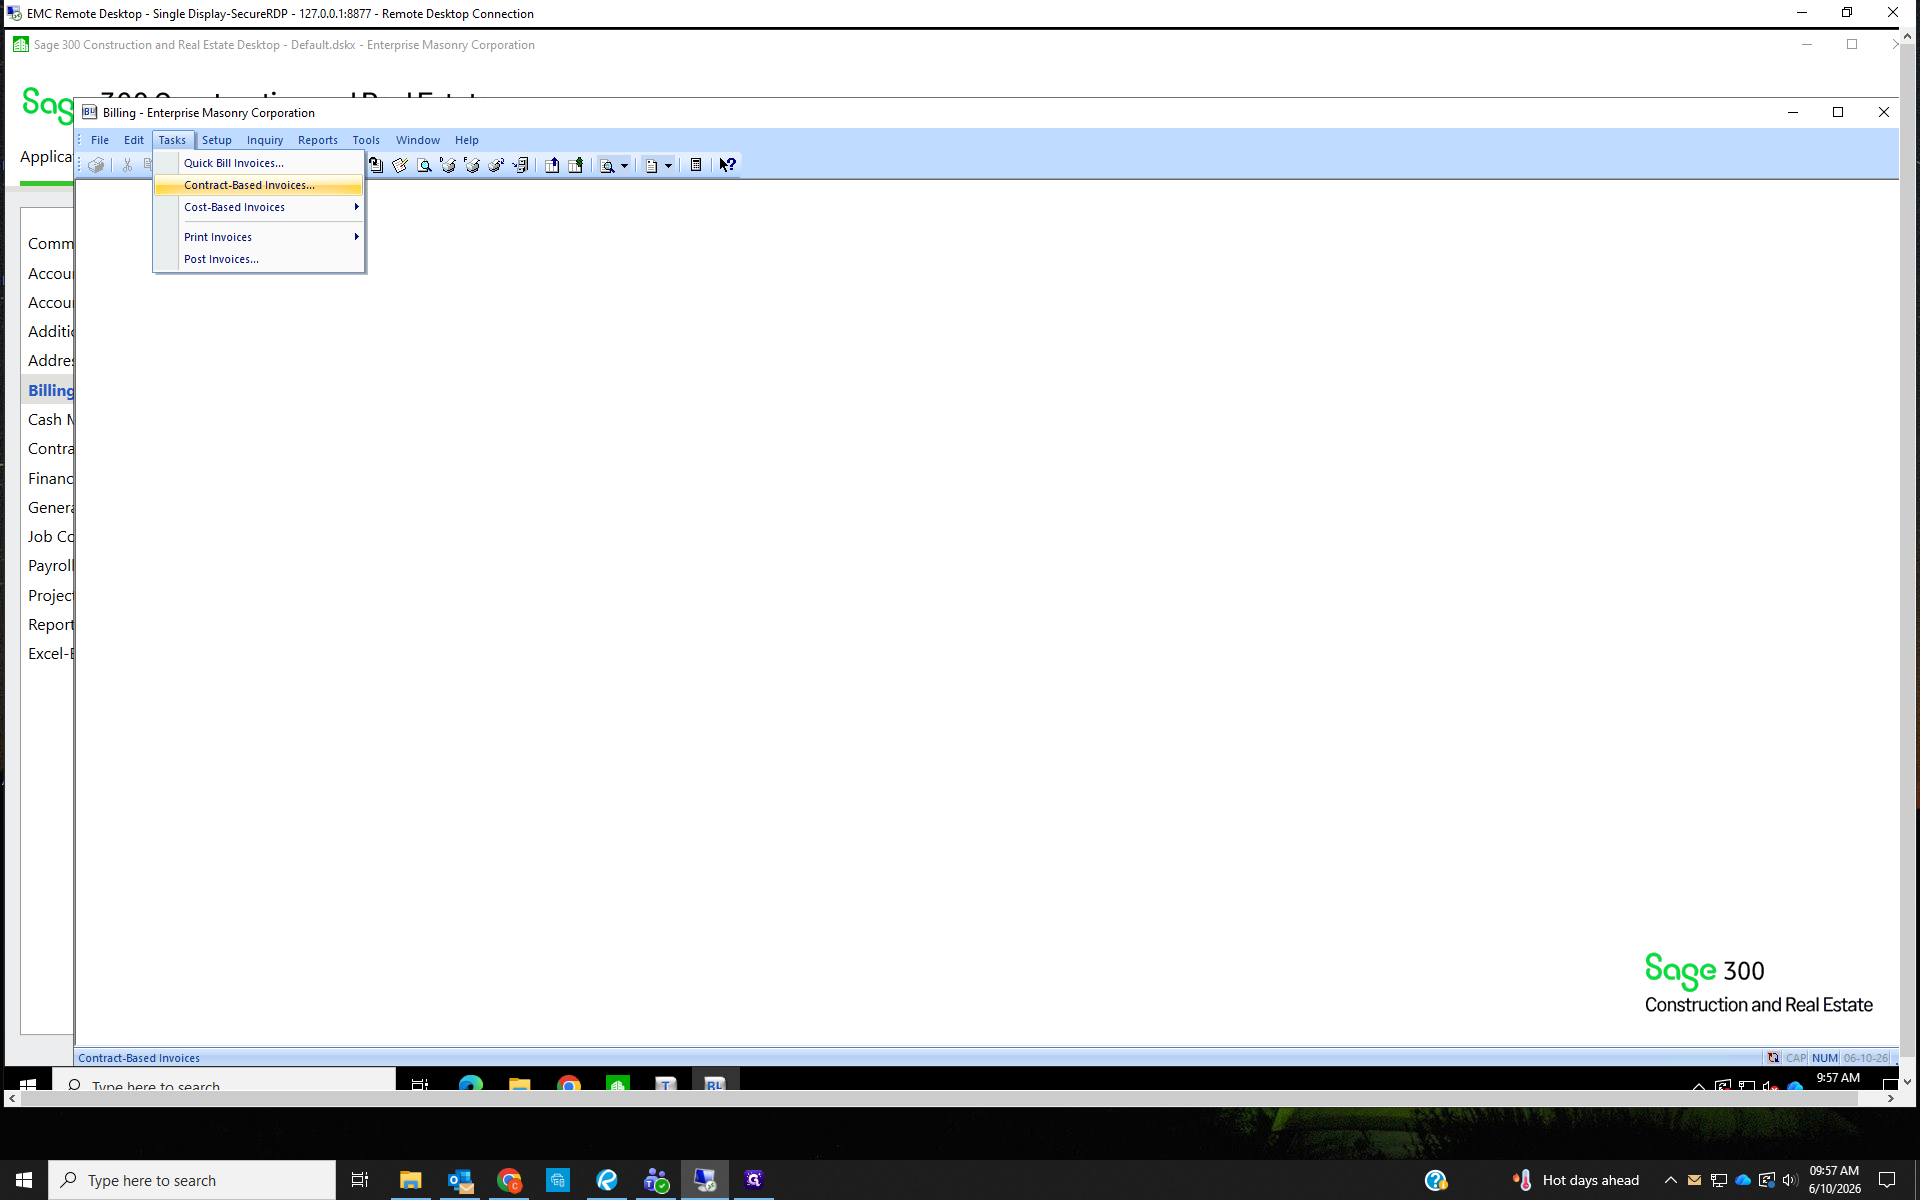
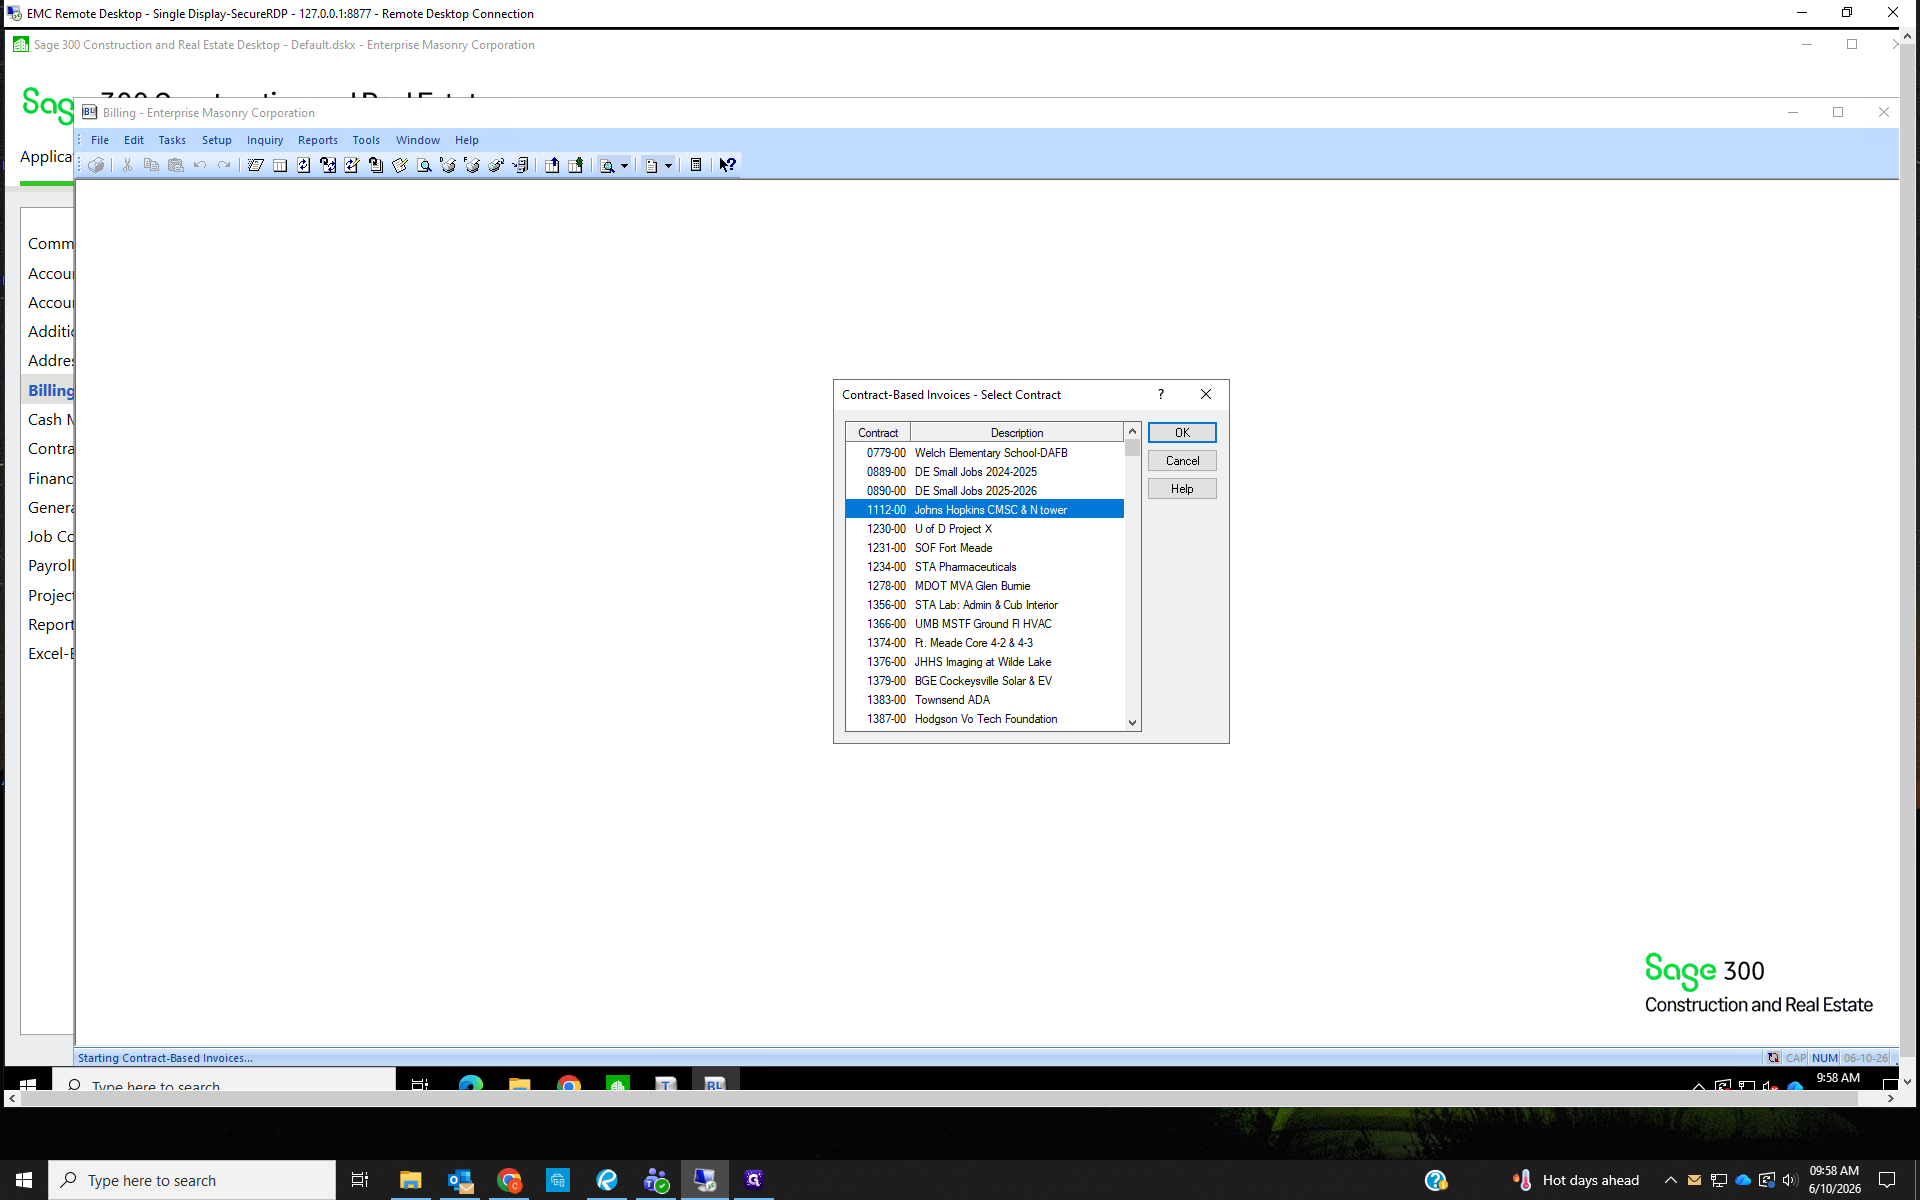
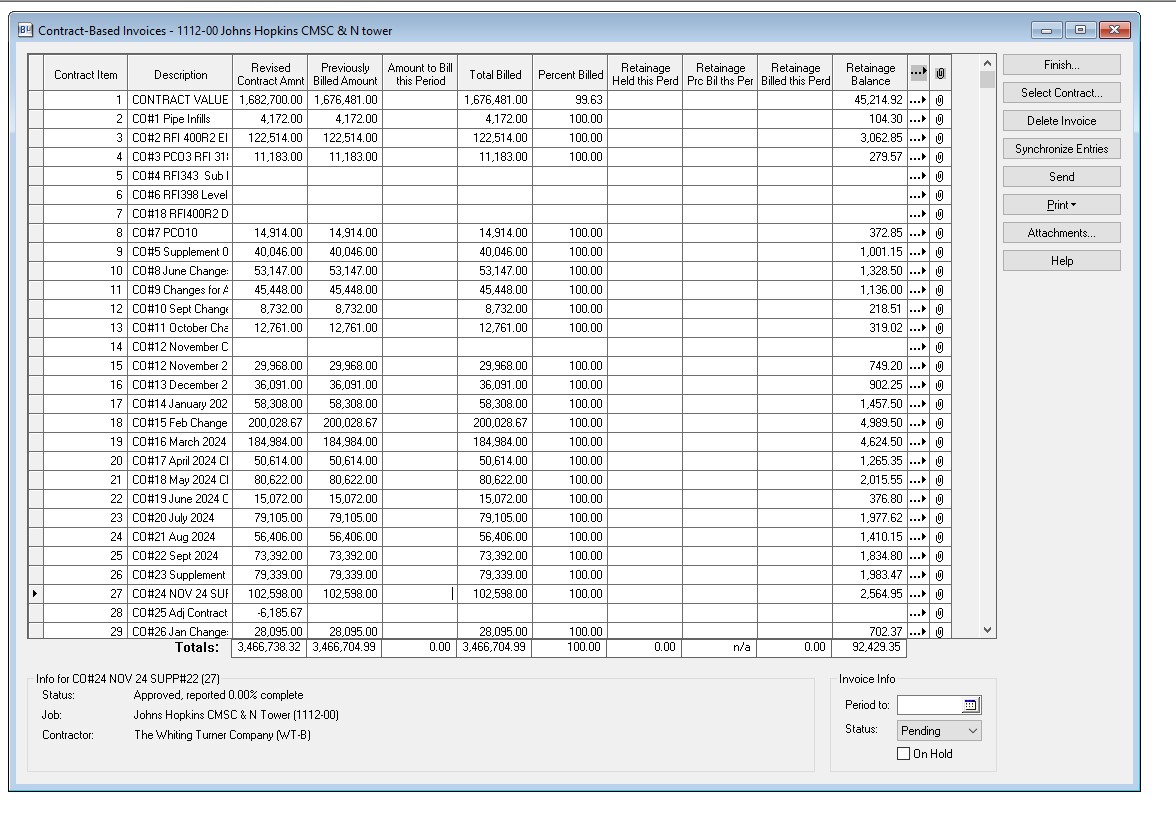
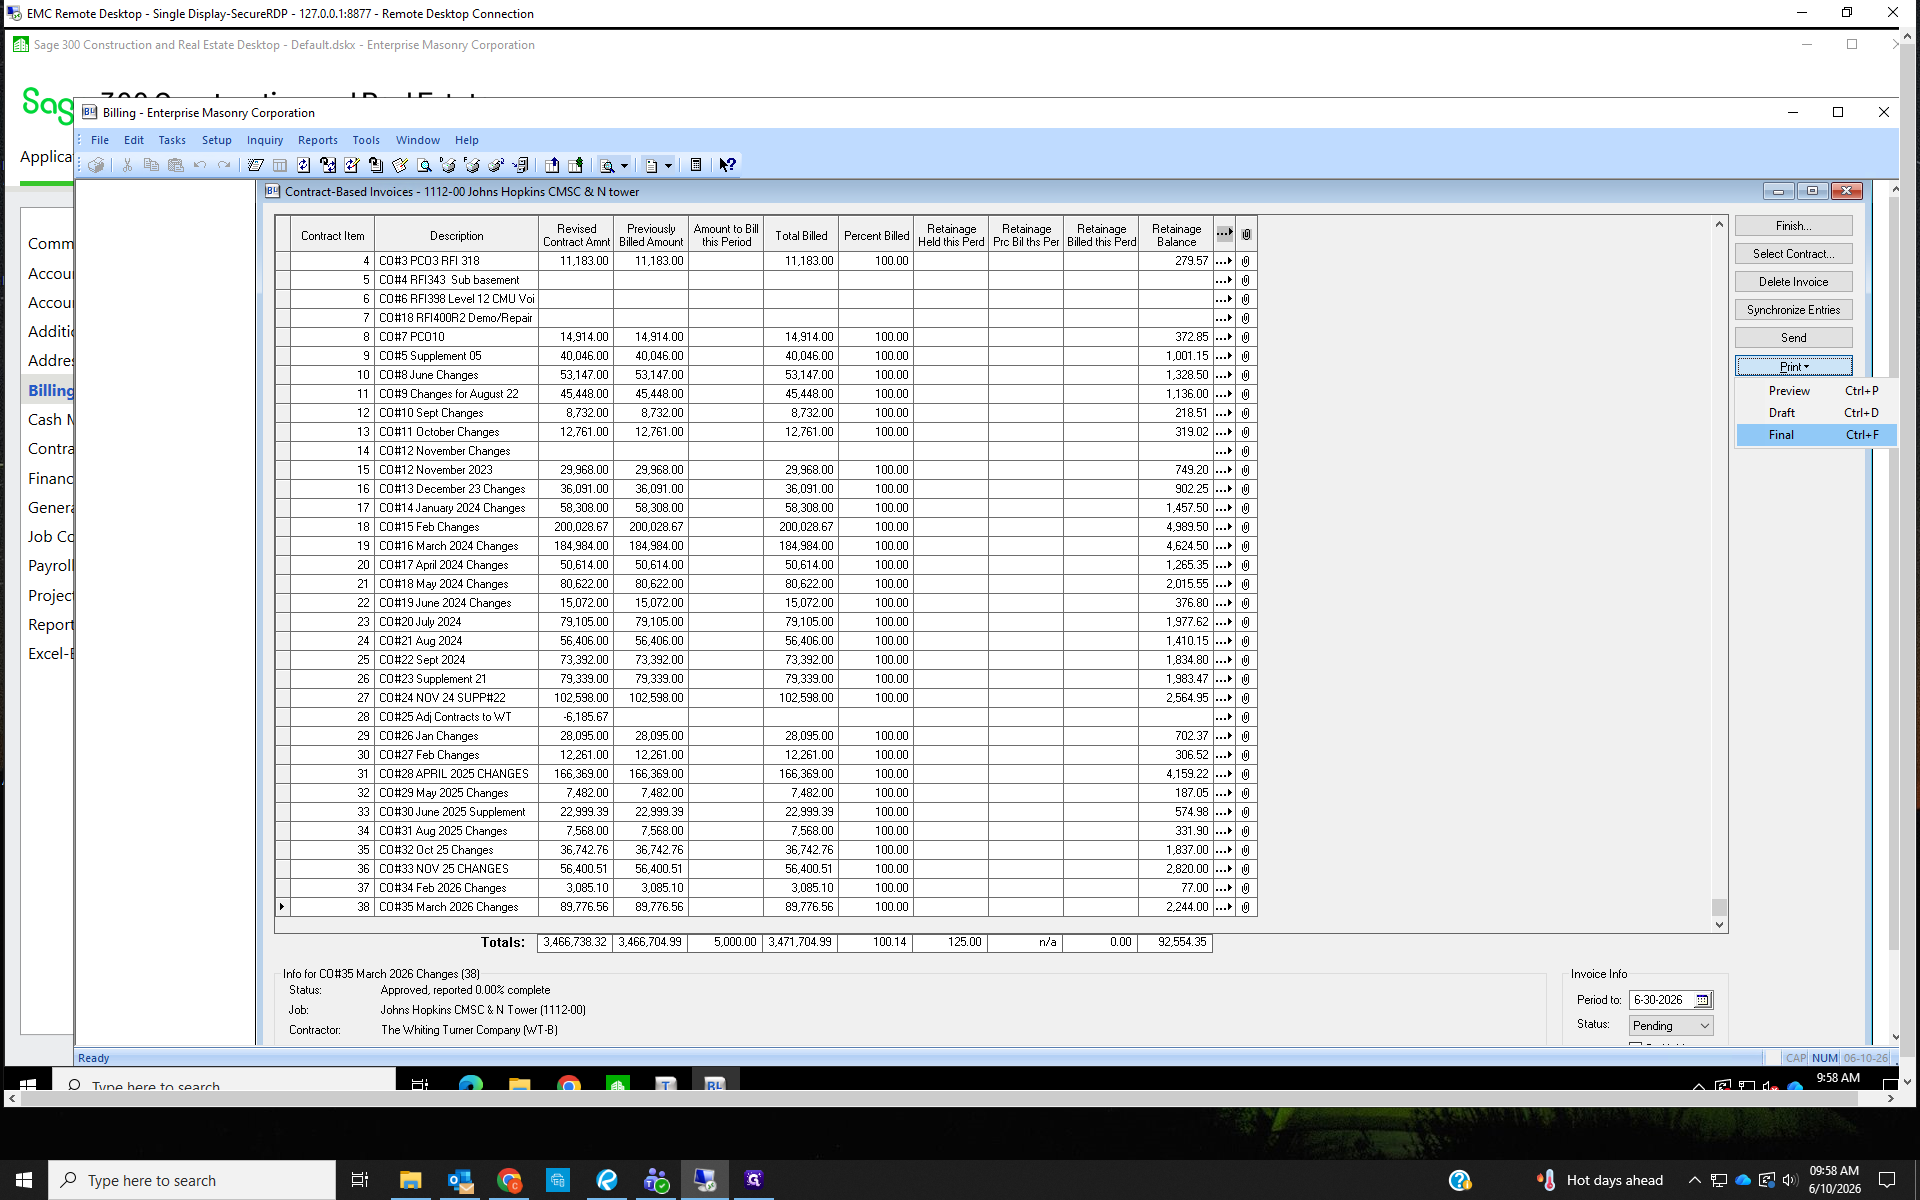
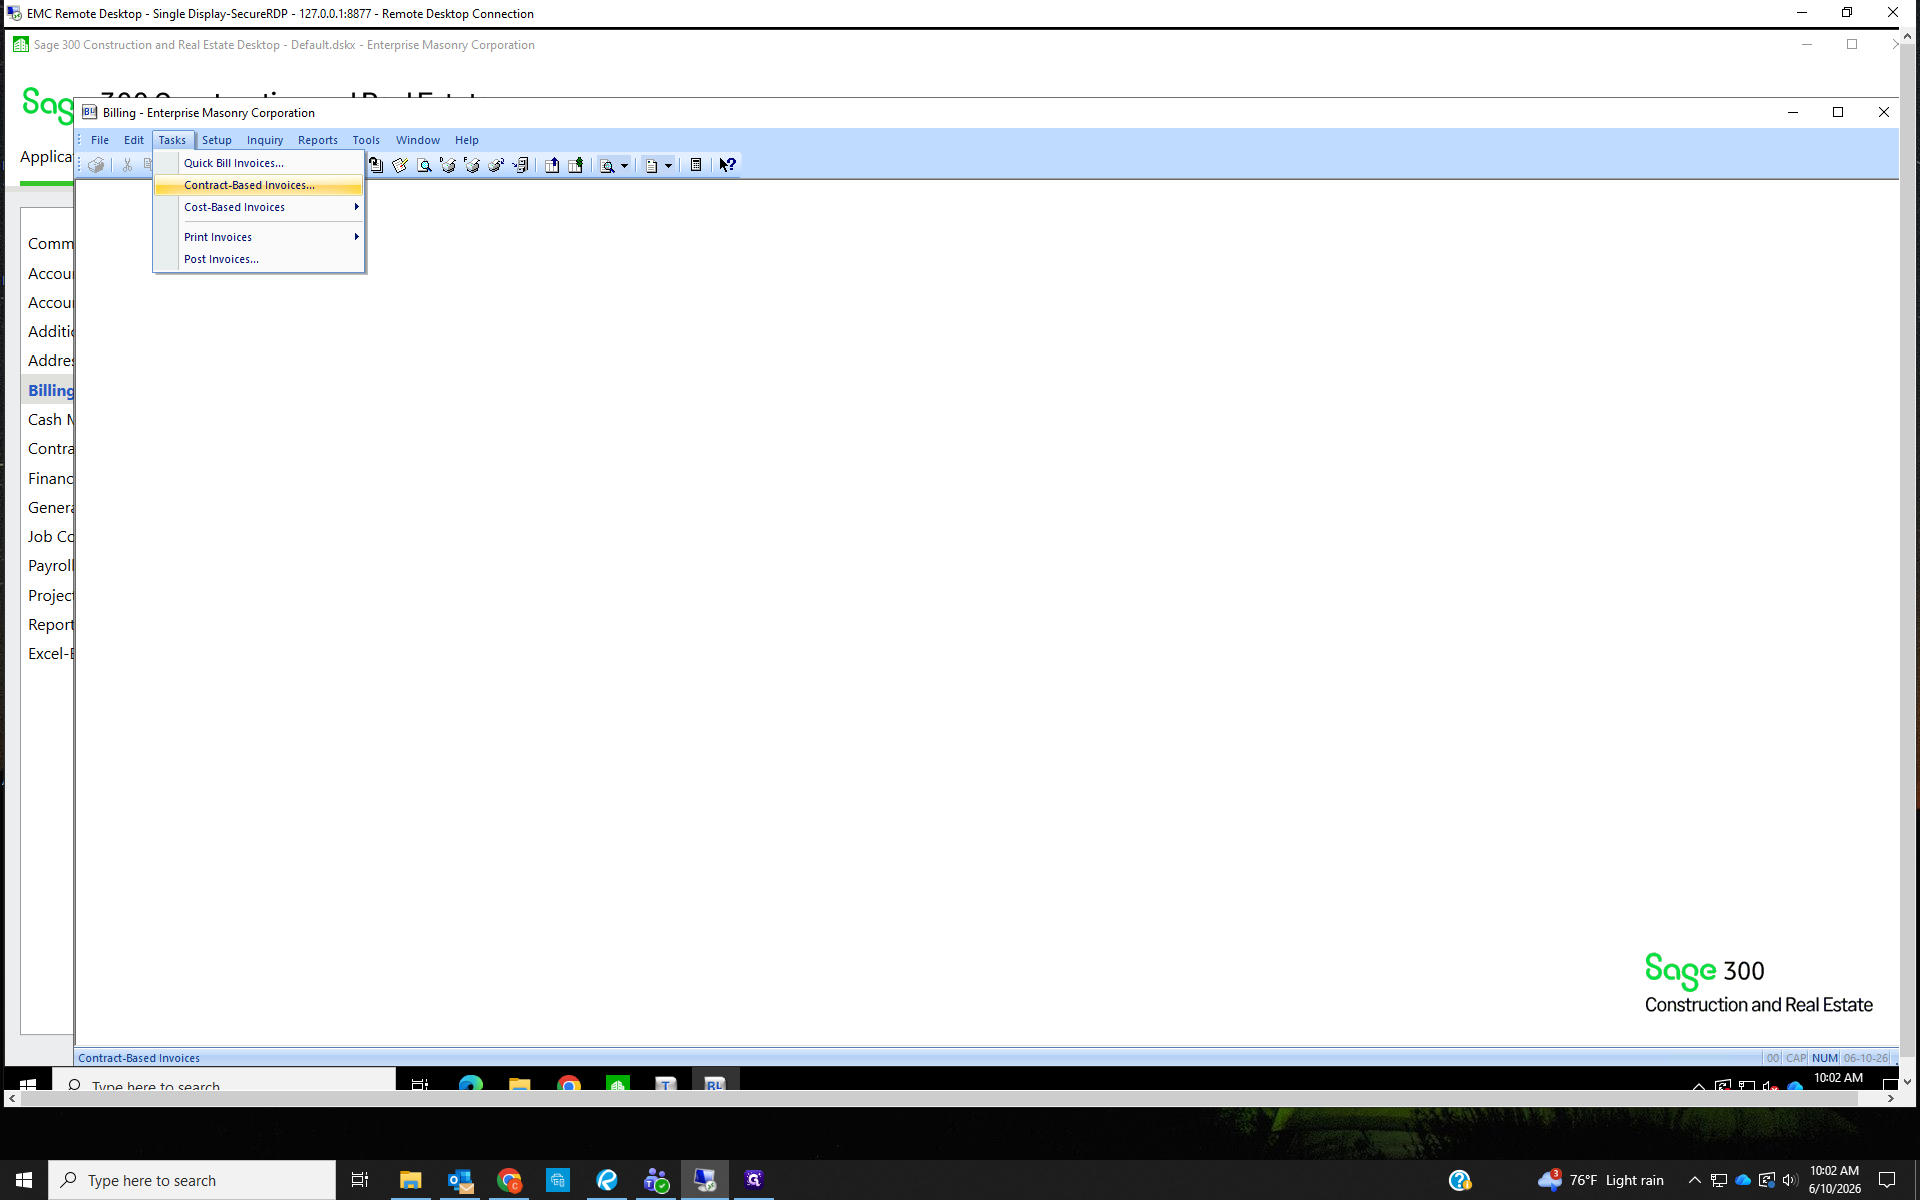
Process Contract-Based Invoices
The status will update automatically once the invoice is printed.
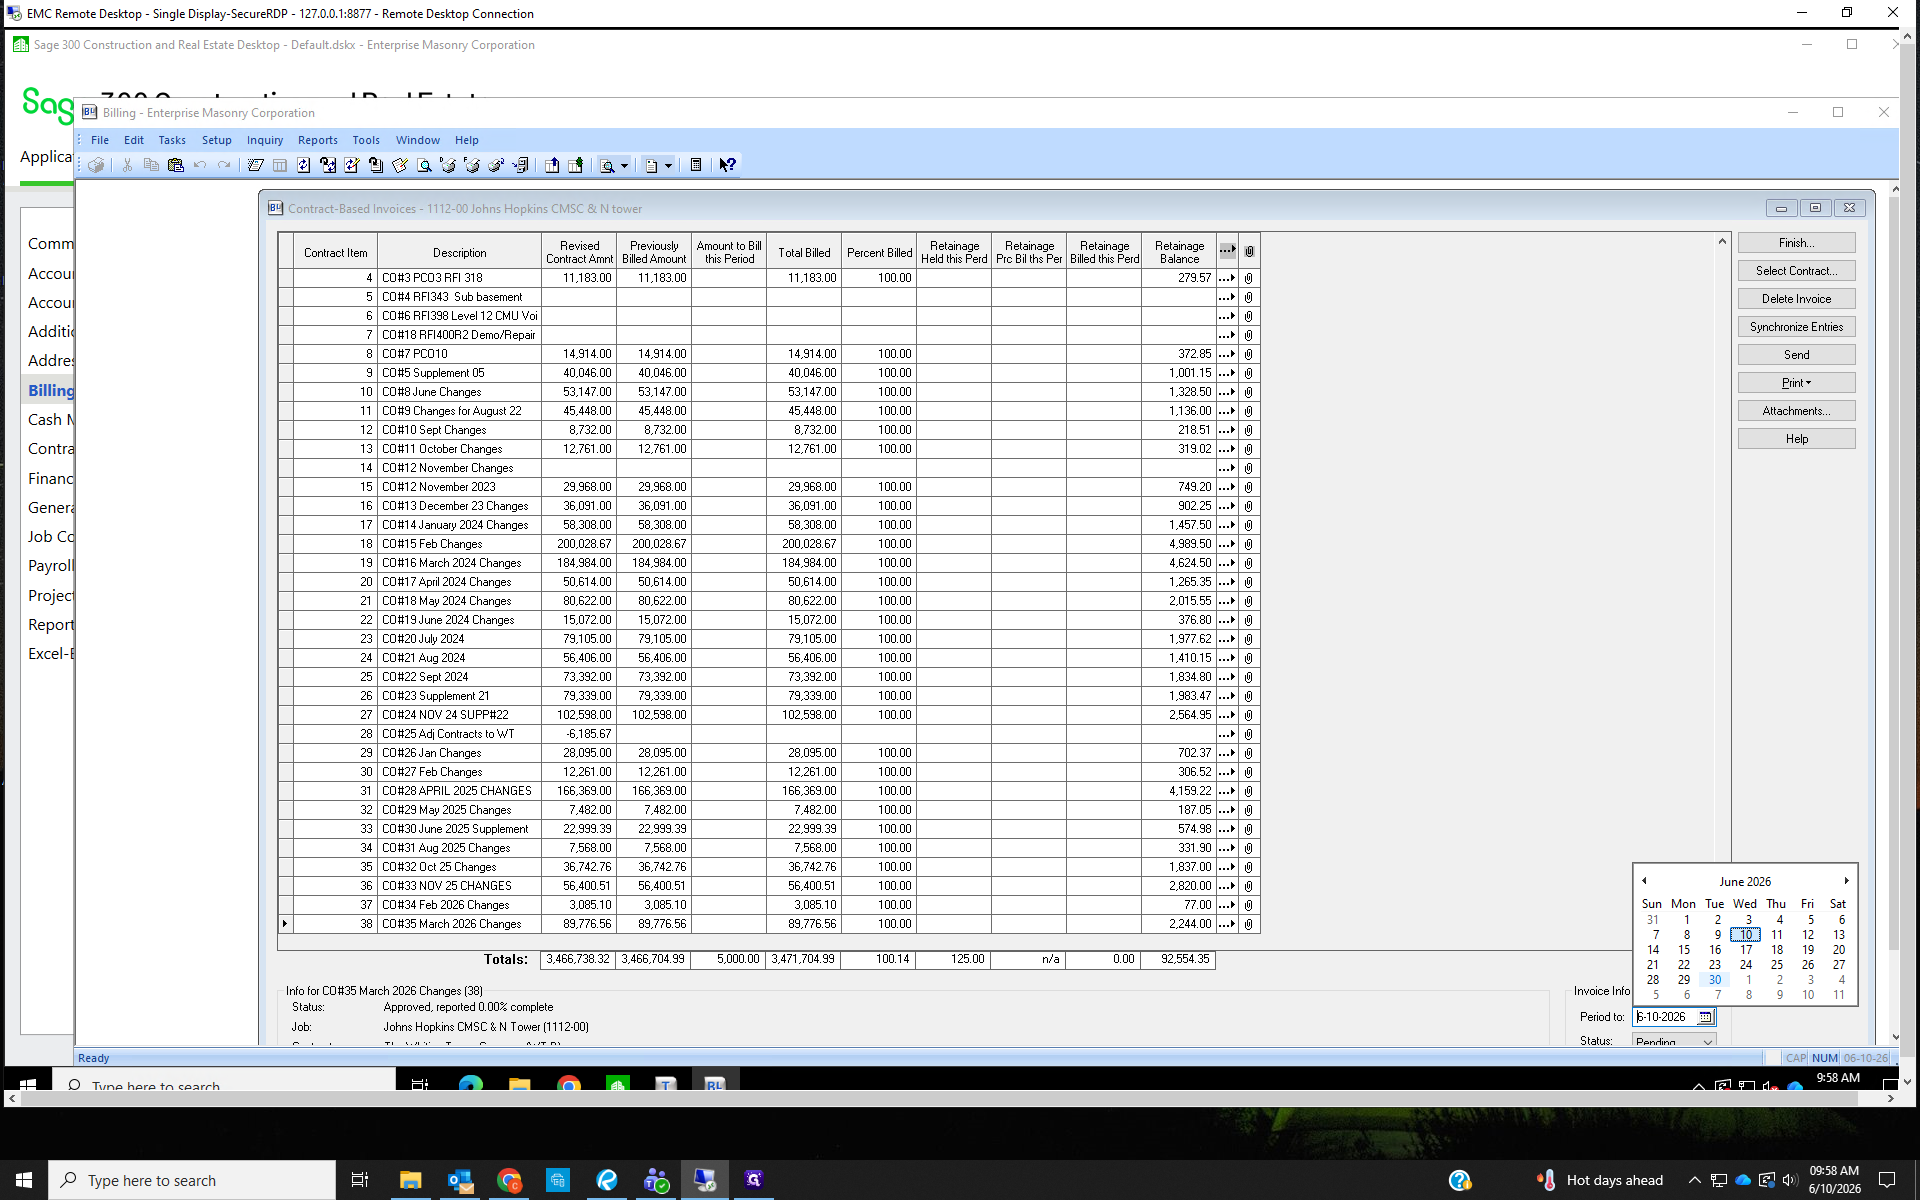
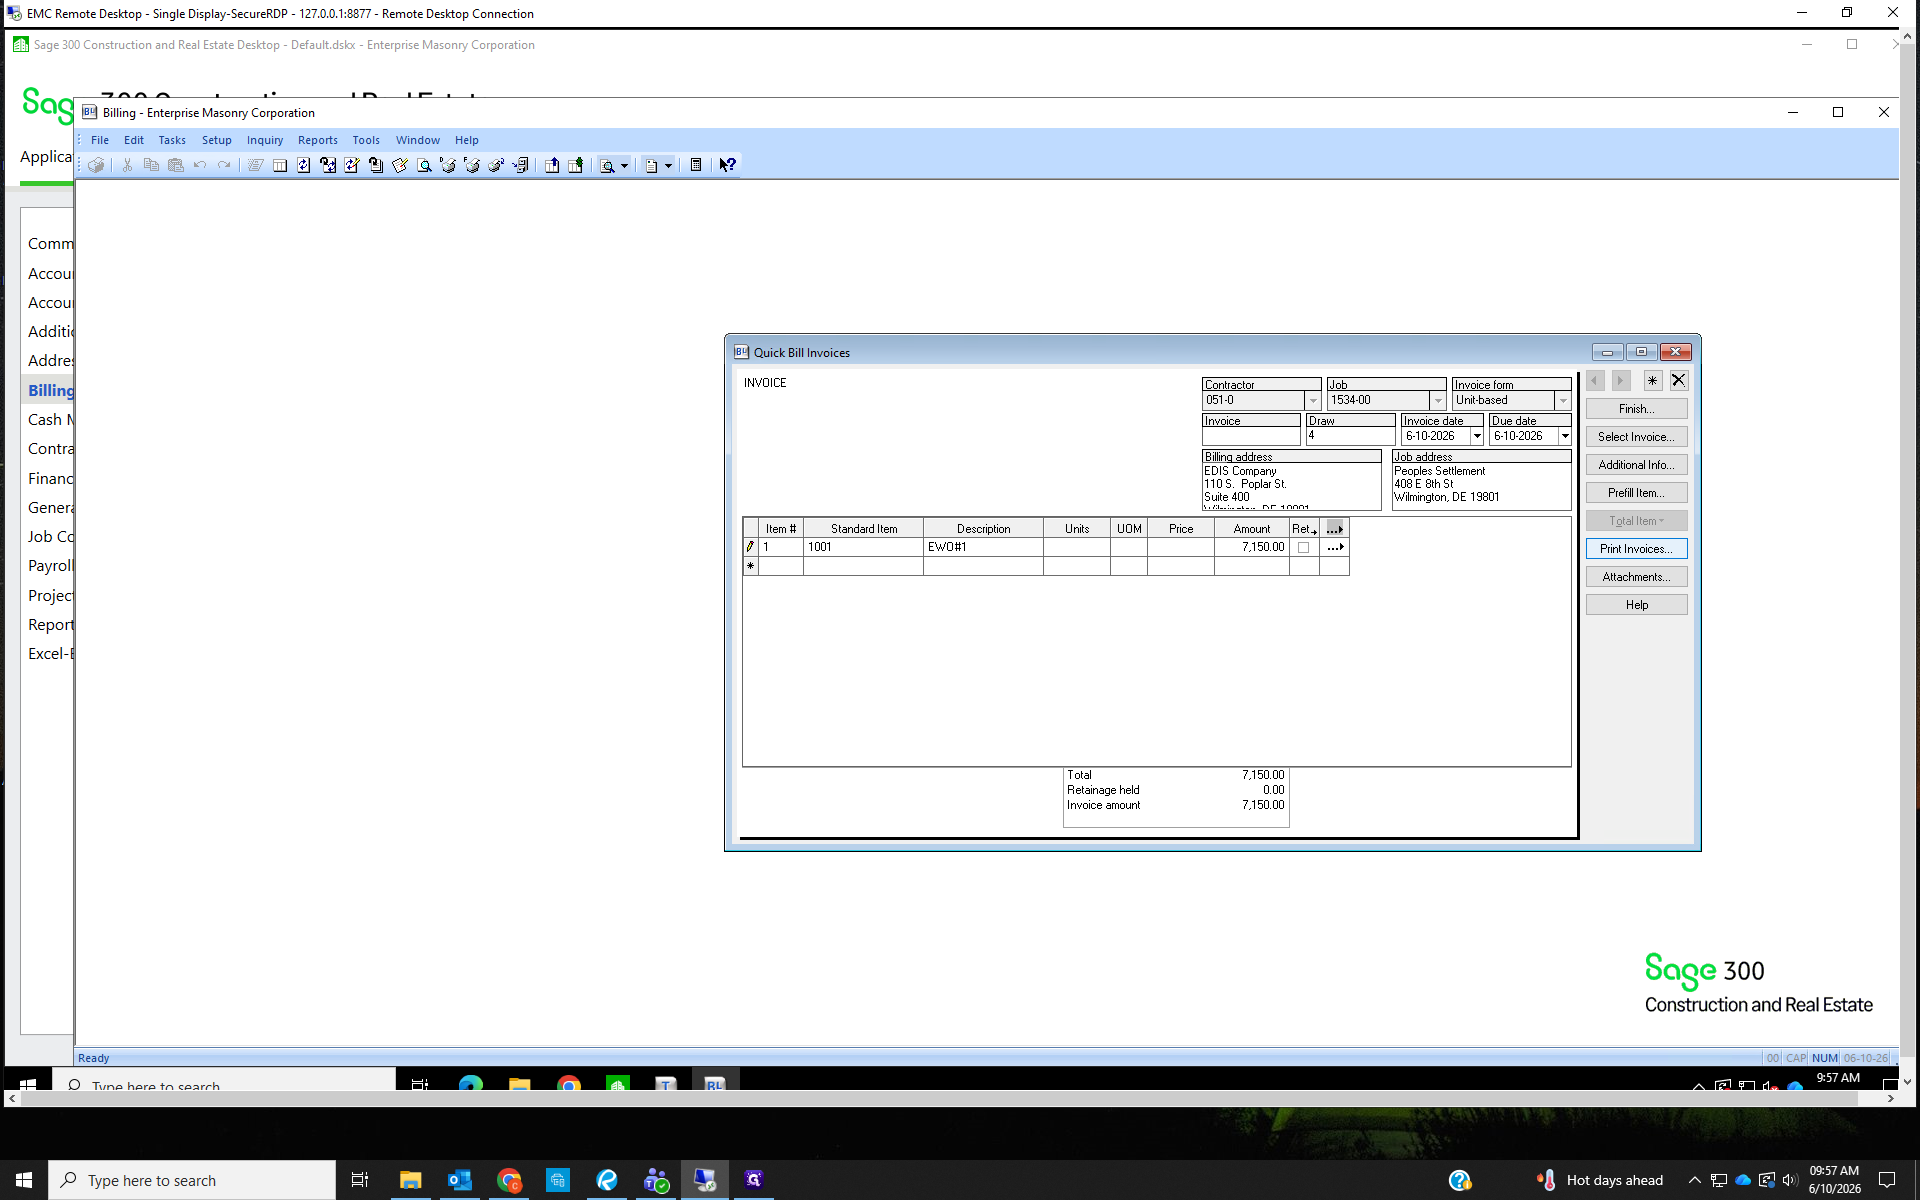
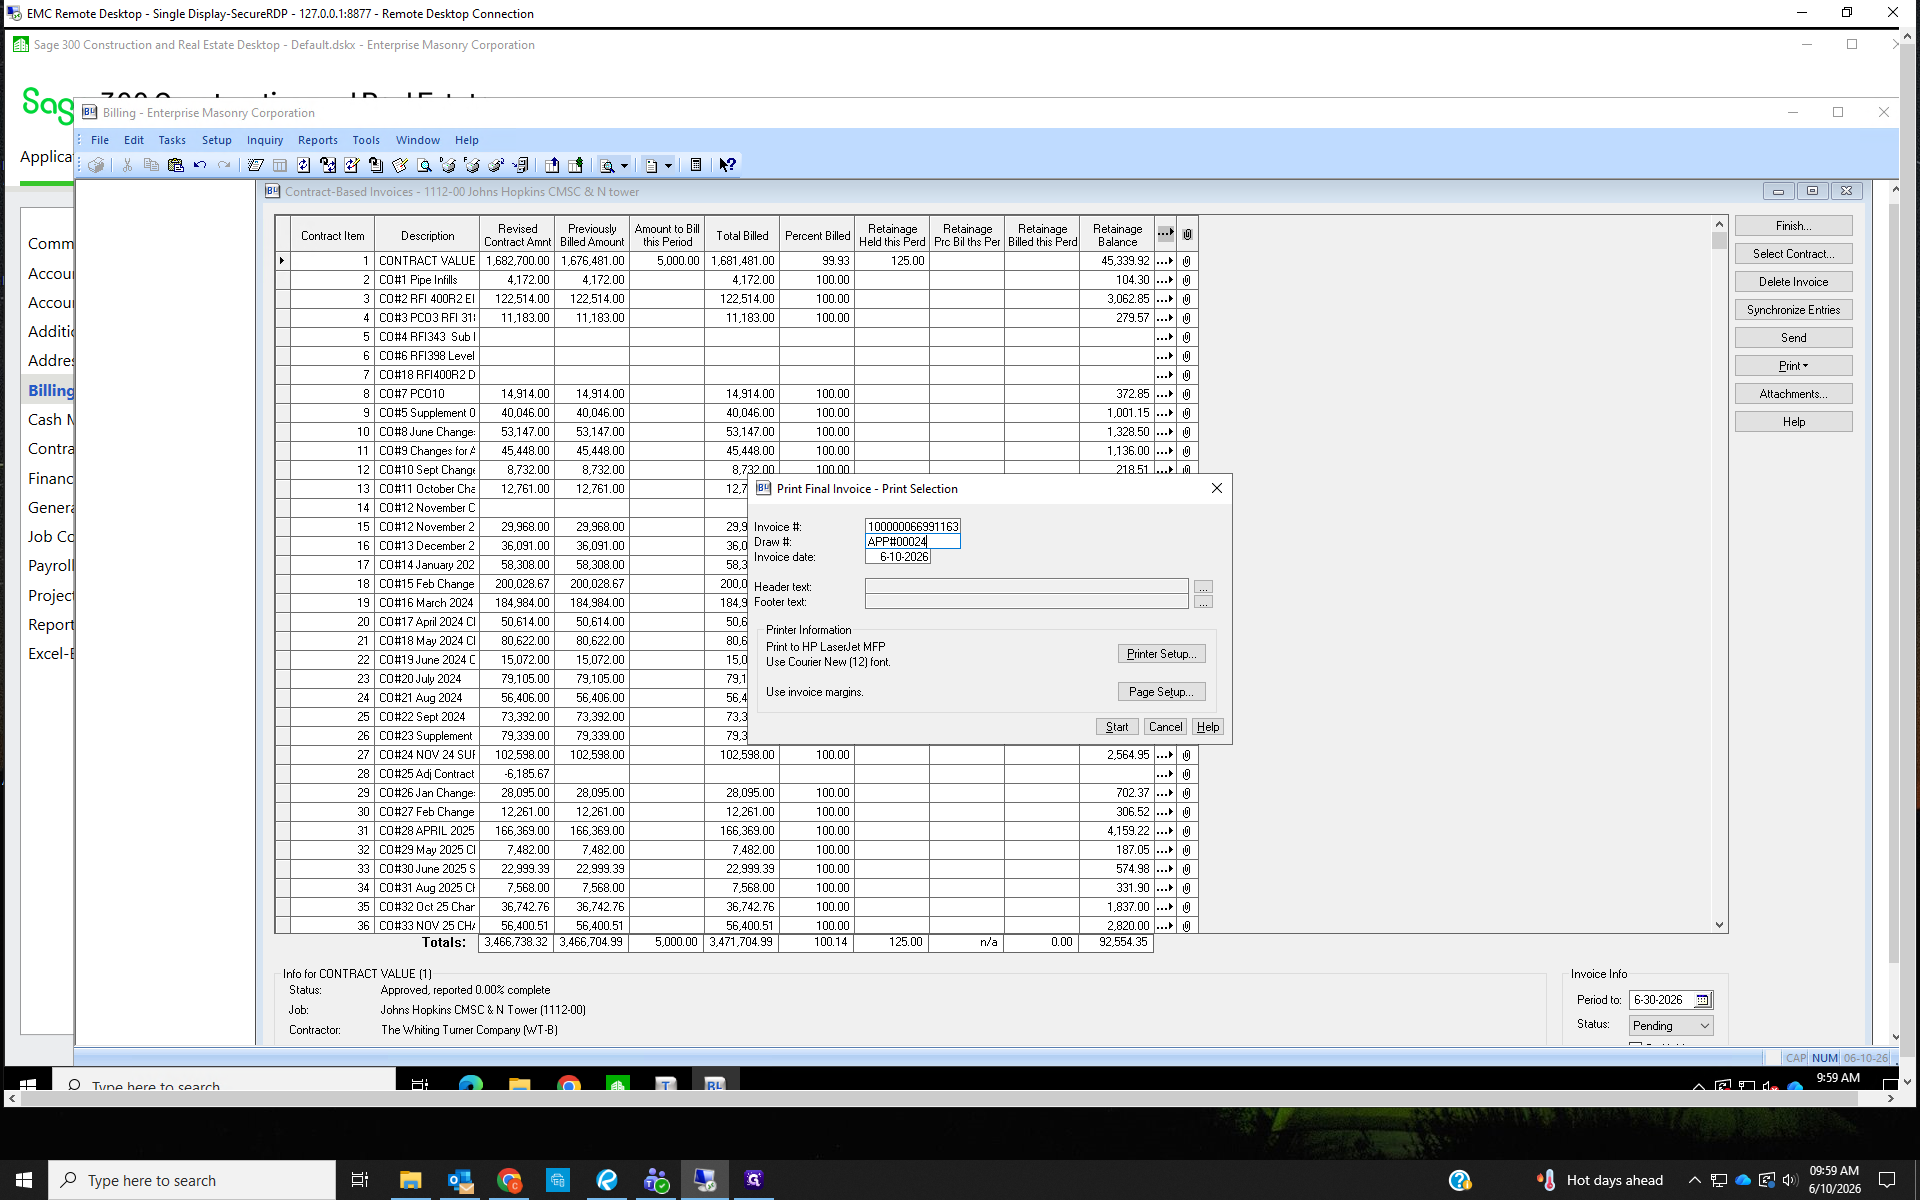
Change the Draw # to the correct application number. E.X. if the last bill was App#00013, change the current bill's draw number to App#00014.
Click Start to print the invoice.
Shared Drive> Open Jobs> Select the Job's folder> BILLING folder> Apps for Payment> Save
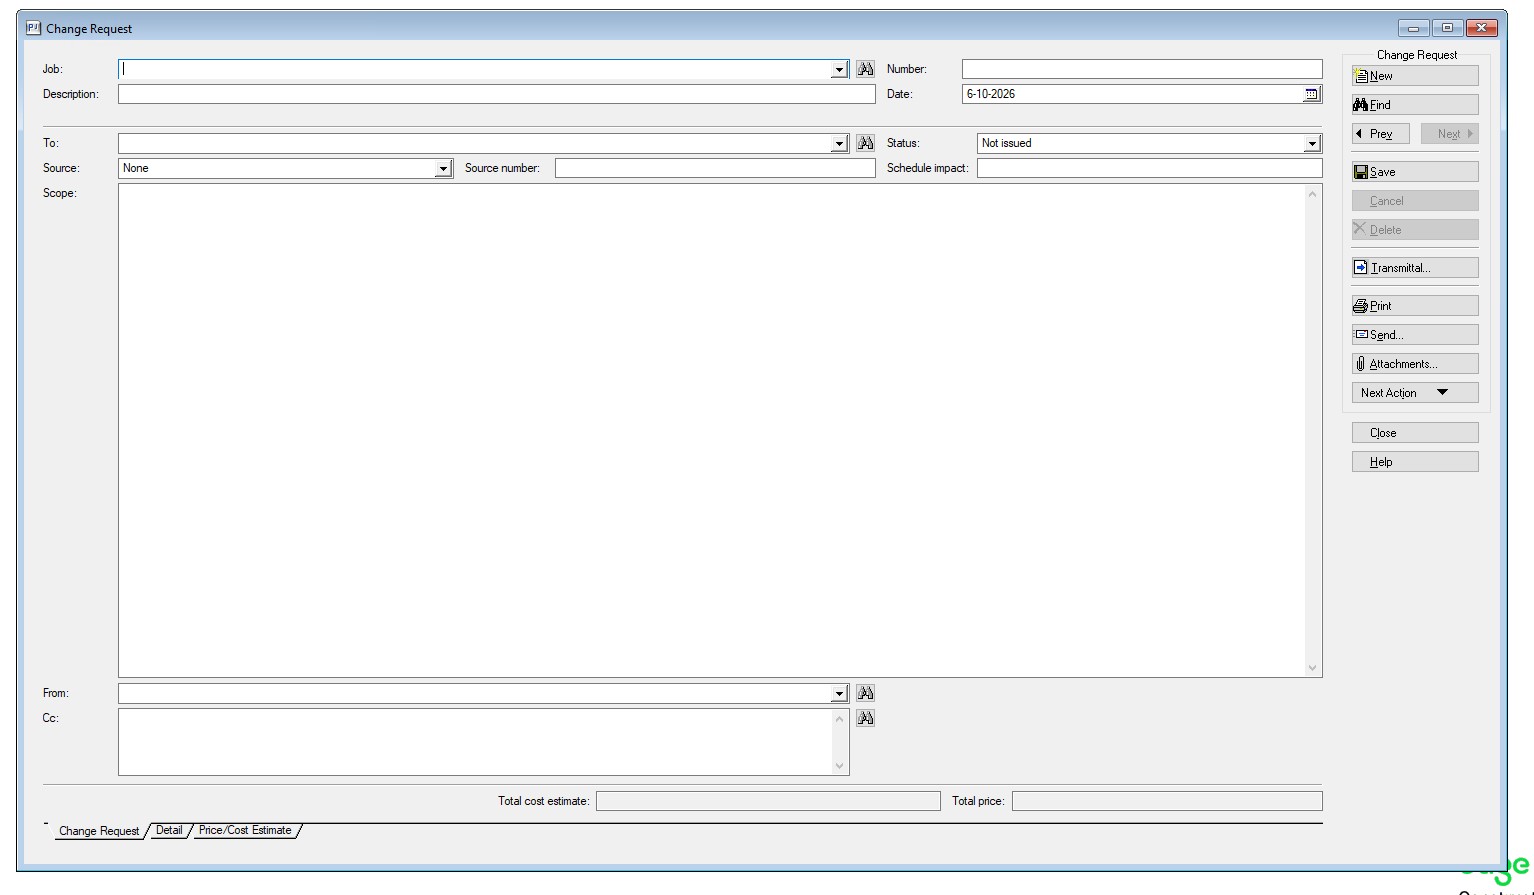
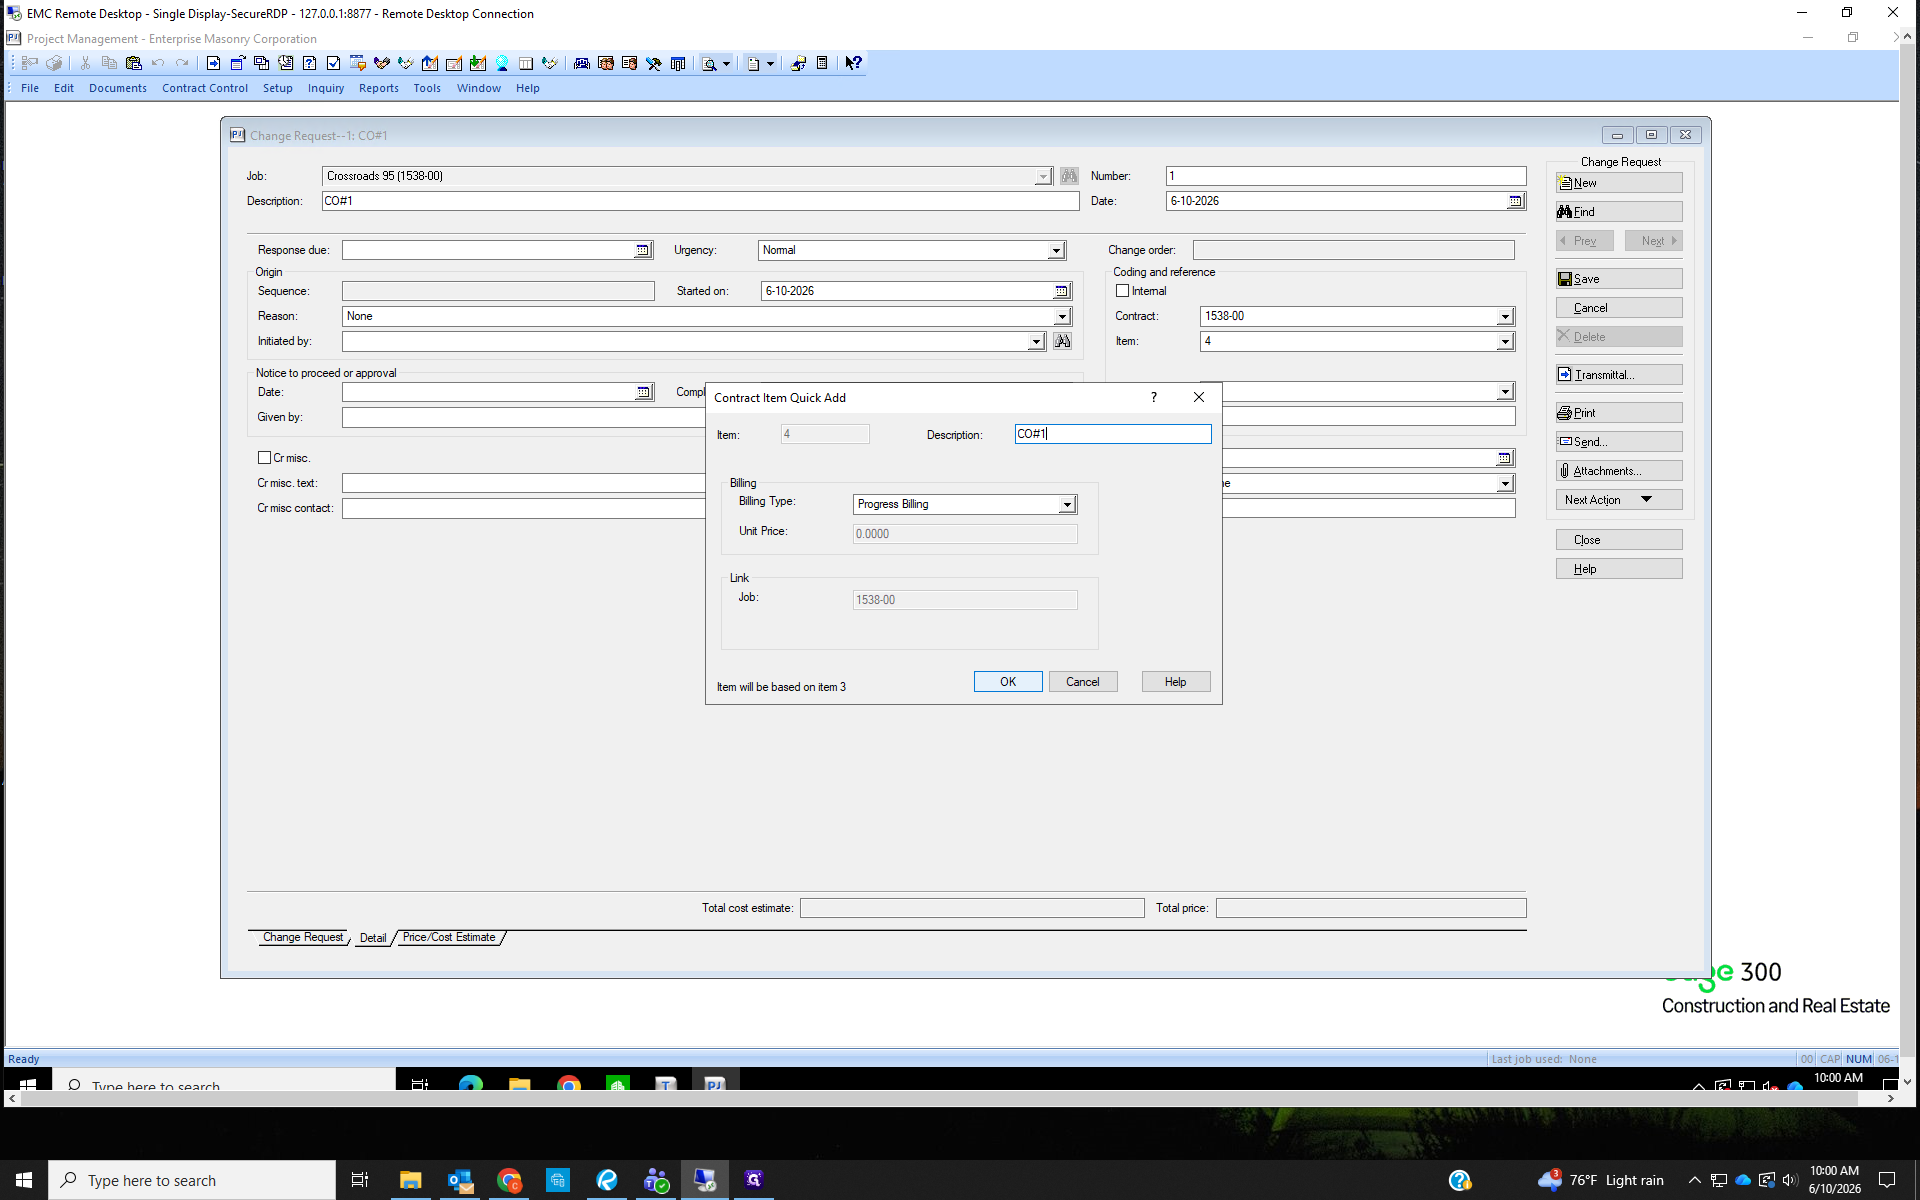
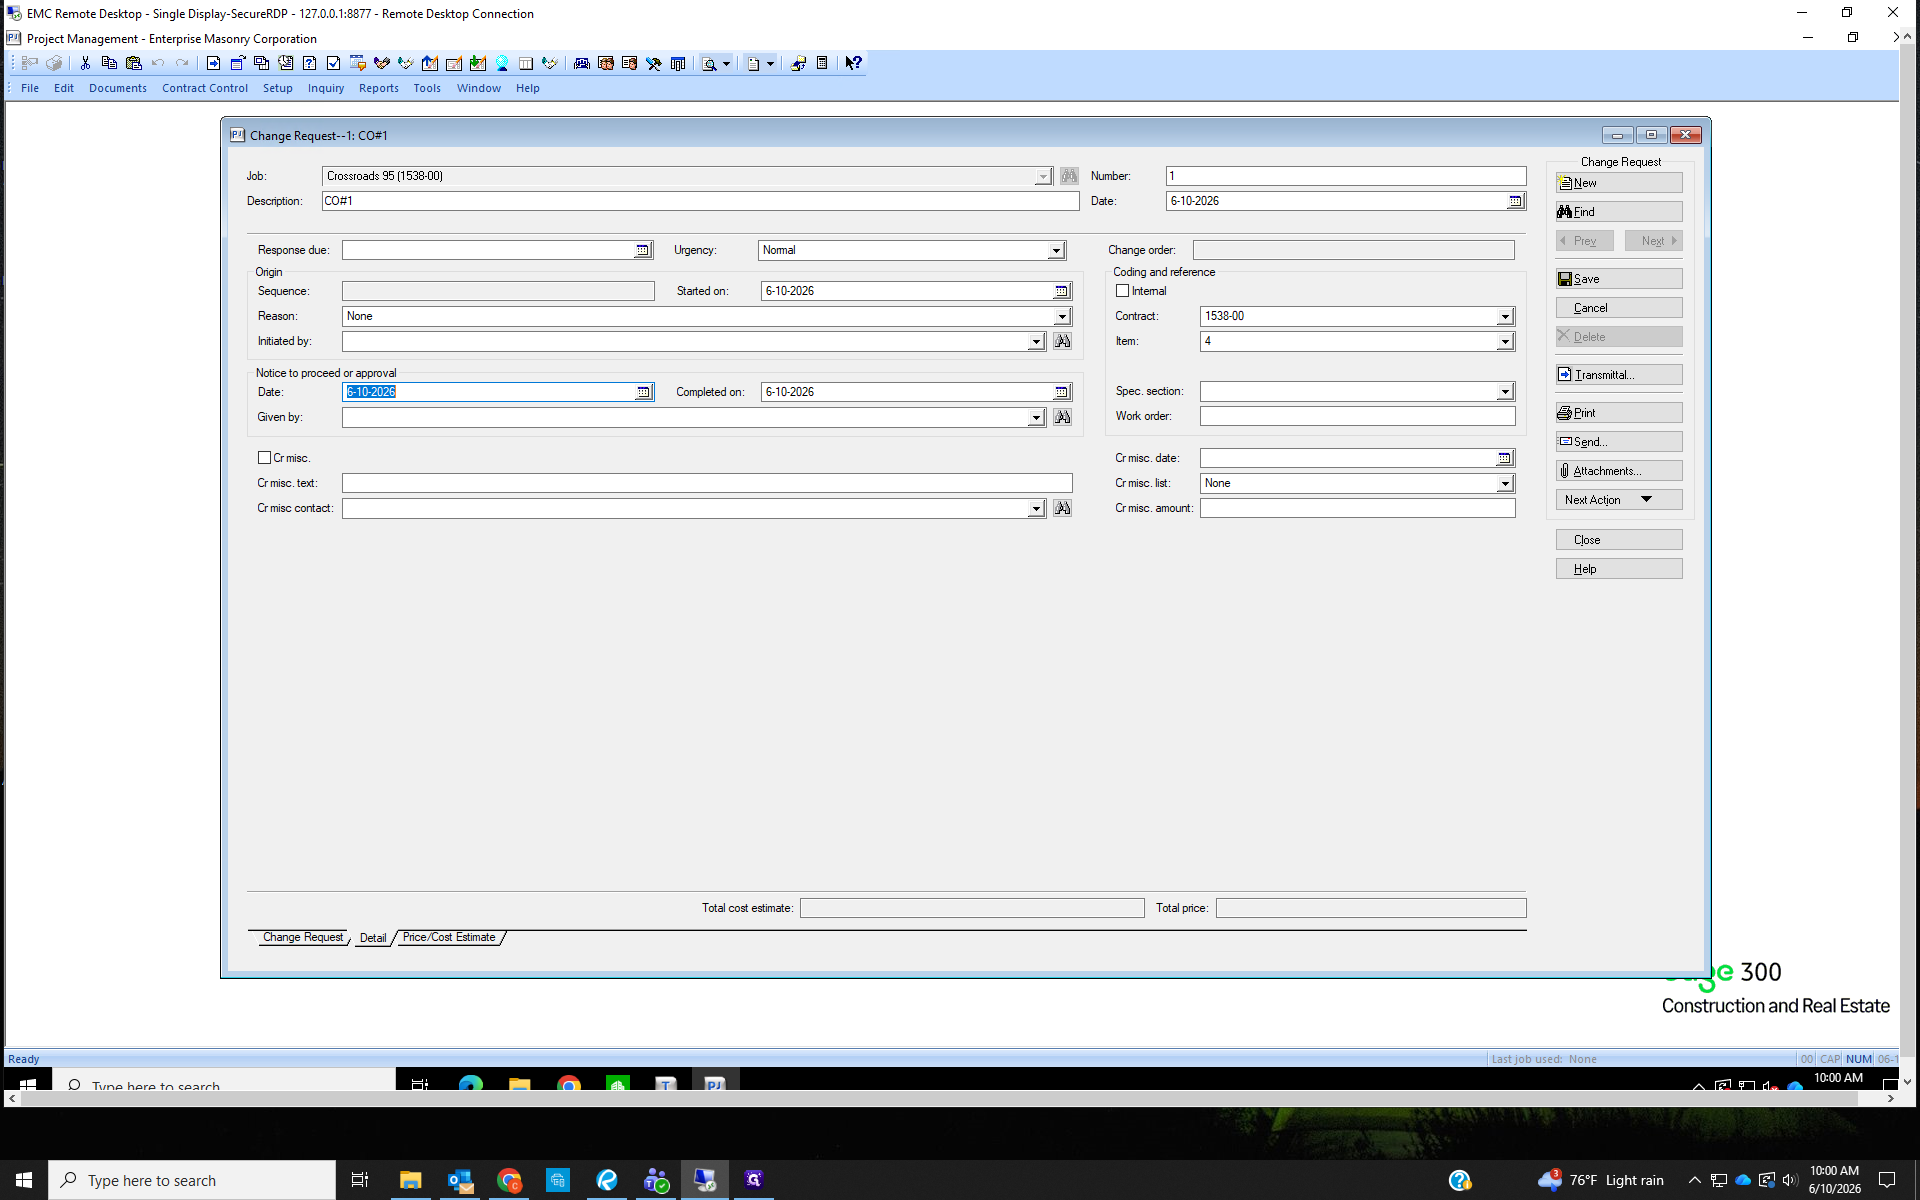
Create a Change Request

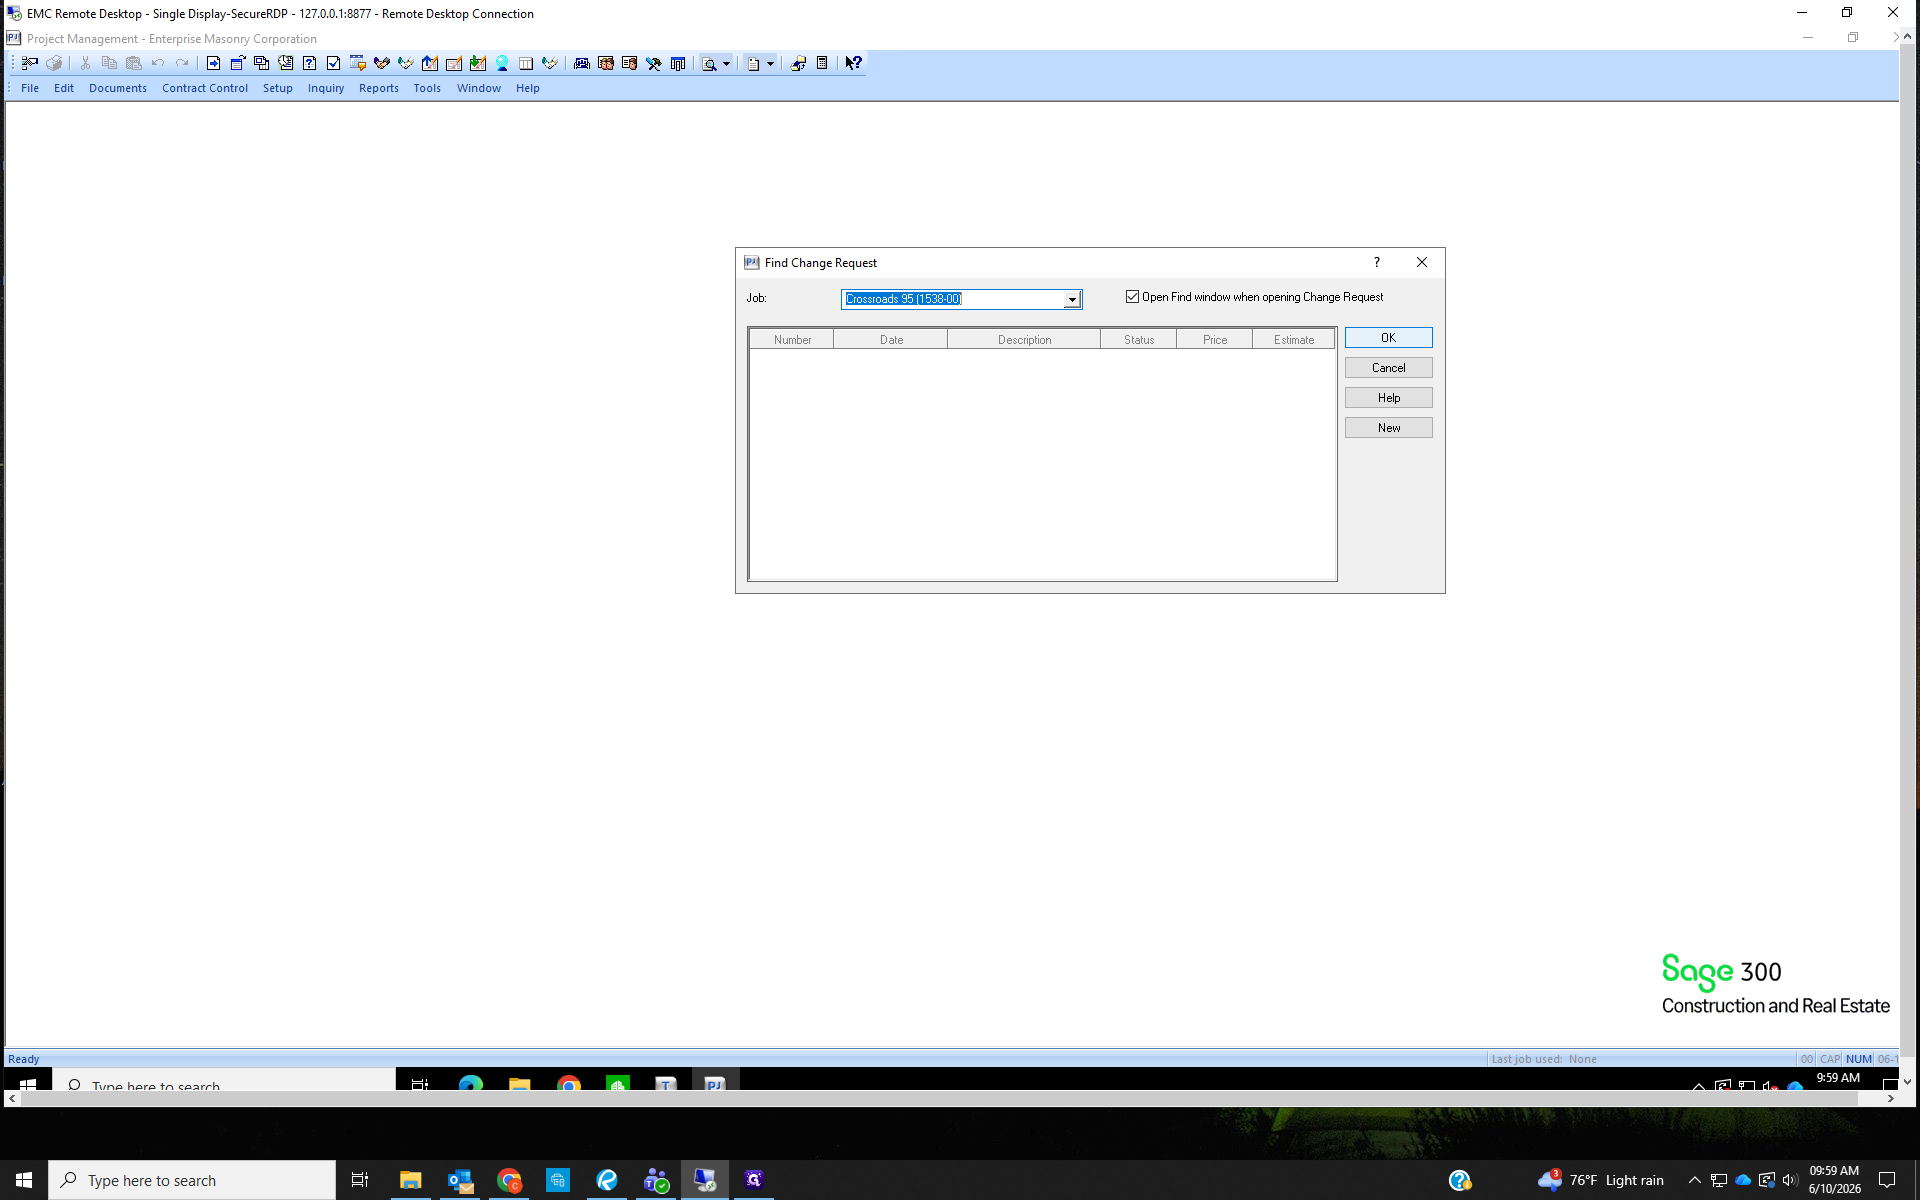
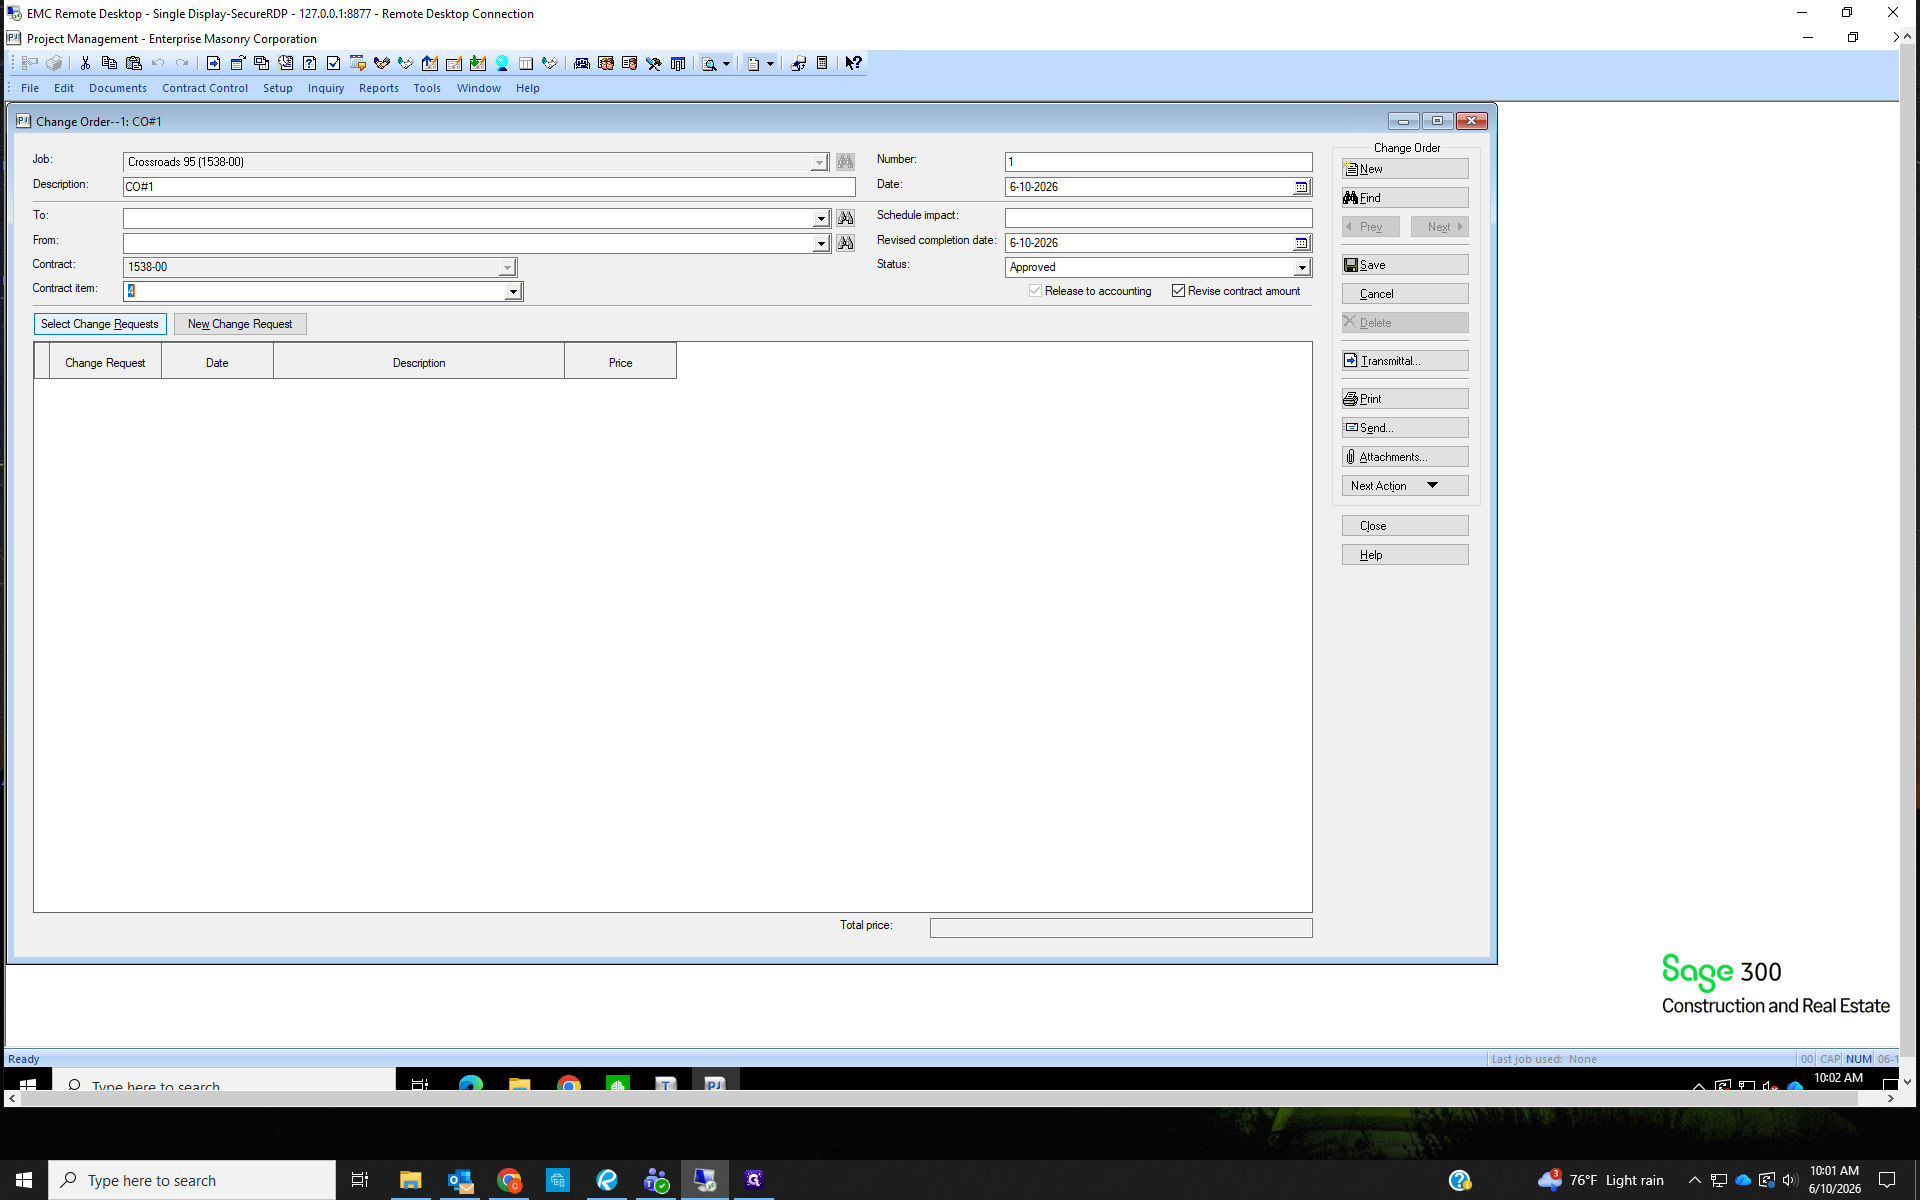
Job Number
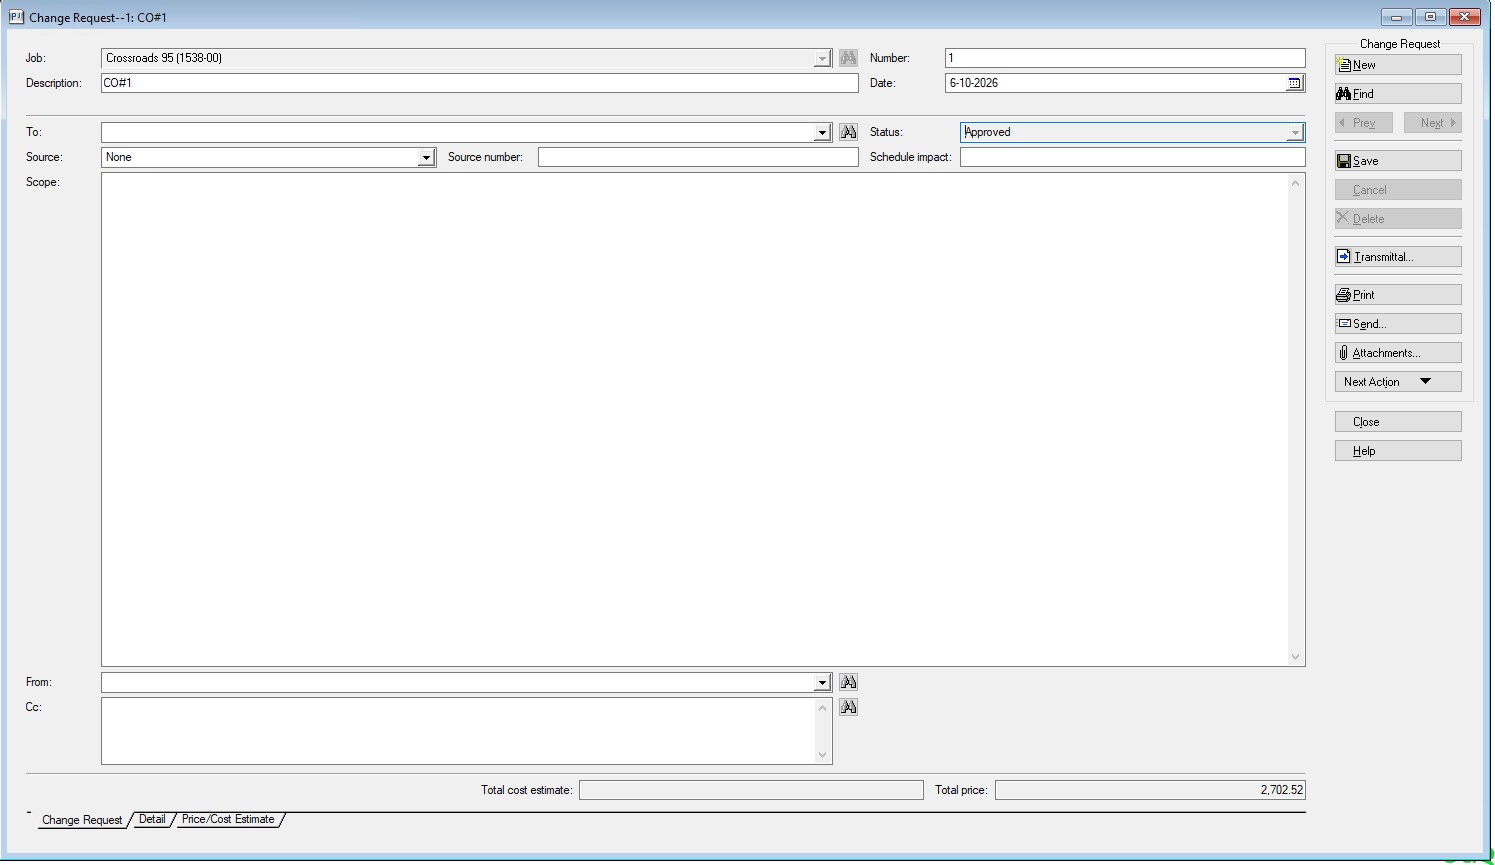
Description- What you want the line item to appear as on the bill
Date- Use the current date or the date the CO was issued
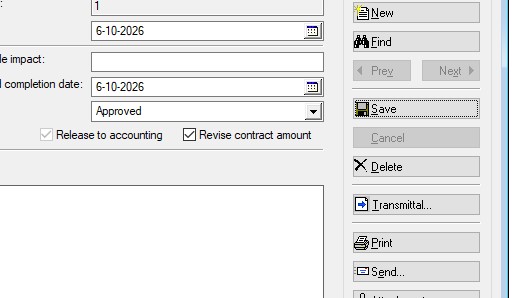
Status- Change to submitted
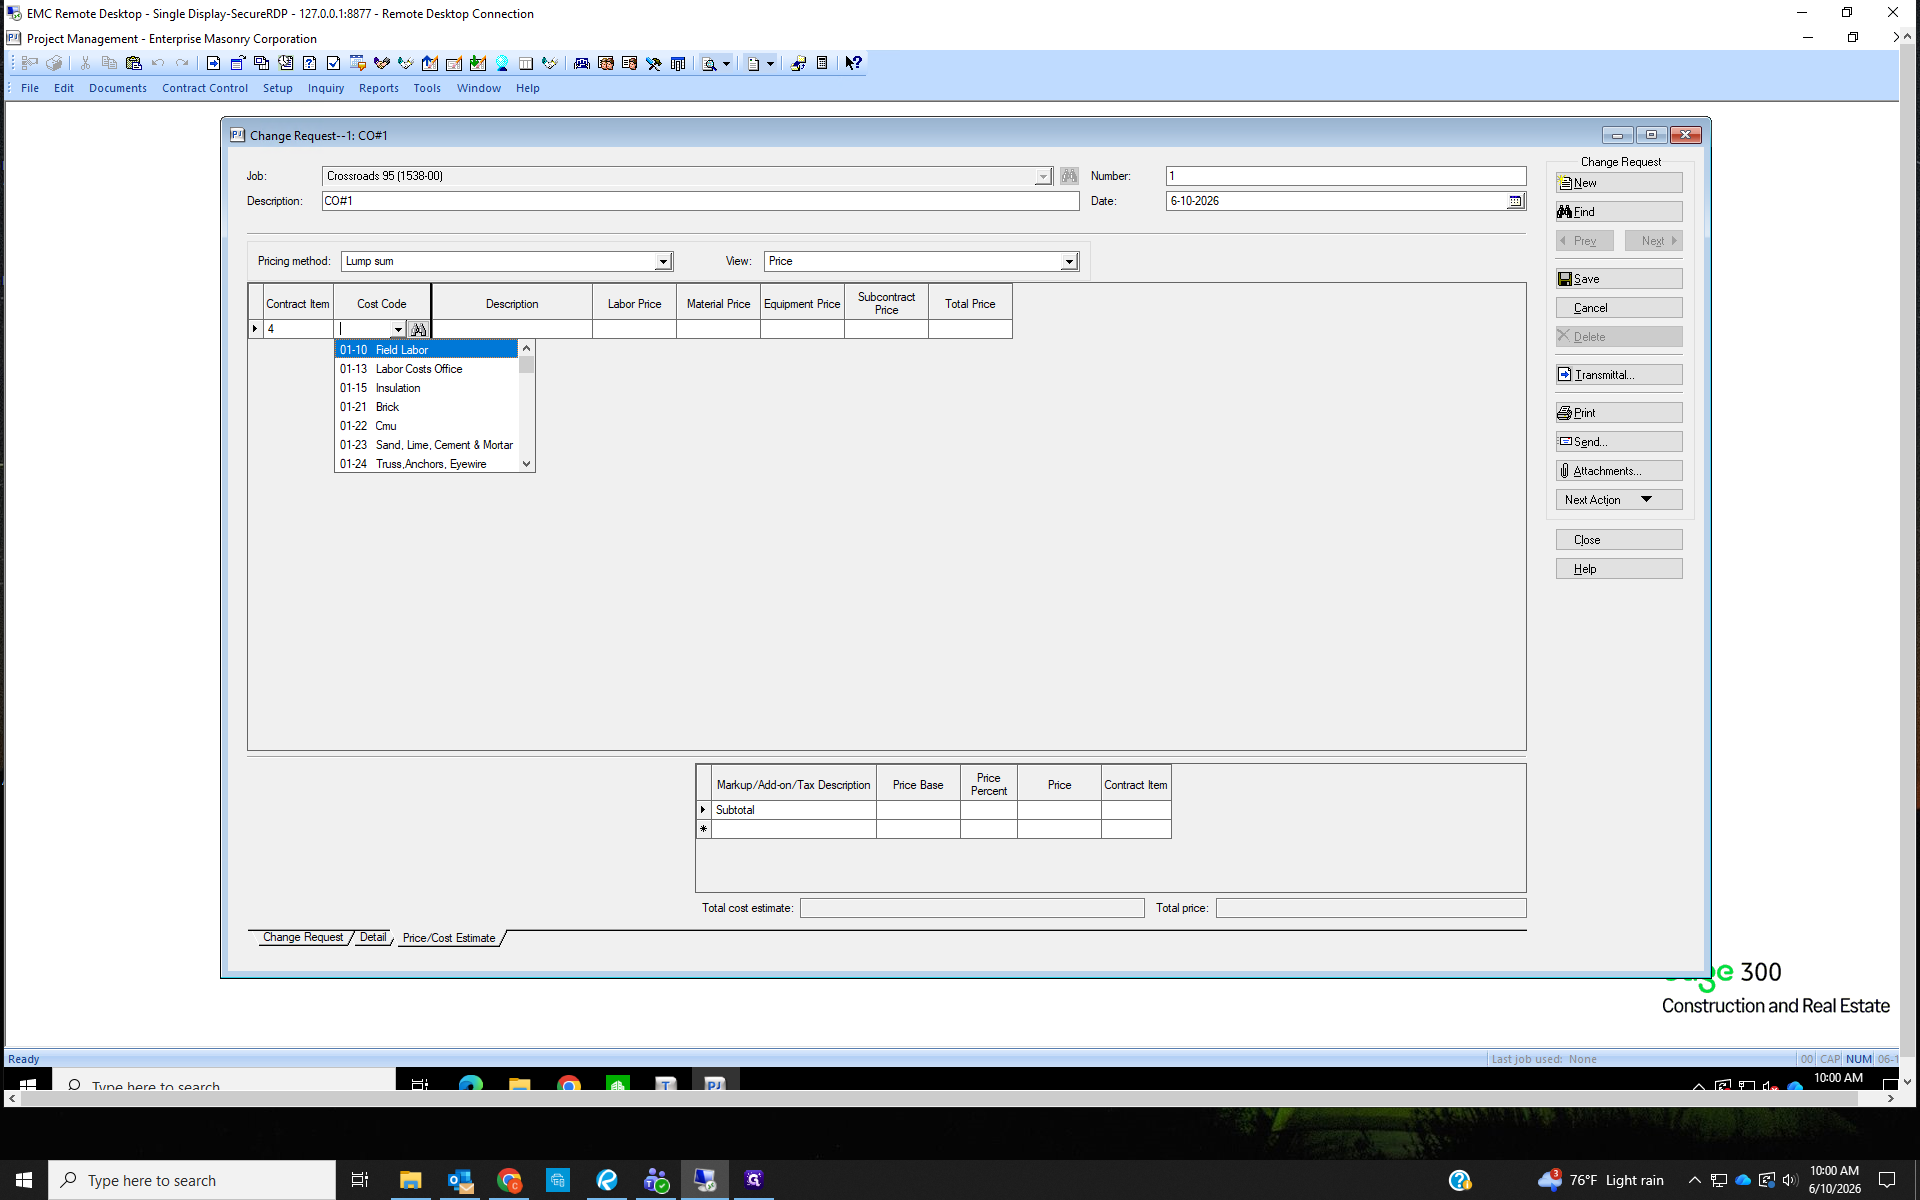
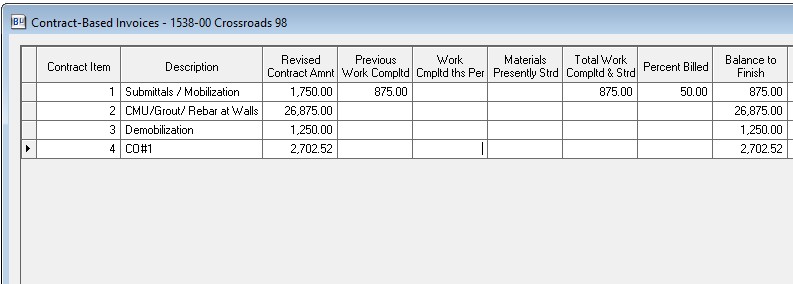
This change order must be added to the schedule of values, so we must create a new item. Click the Item drop-down to view the current items. The Item number for the current change order request will be the next consecutive number in the item list.
E.X. In the item list below, the last existing item is #3 Demobilization, so the change order currently being added would be item number 4.
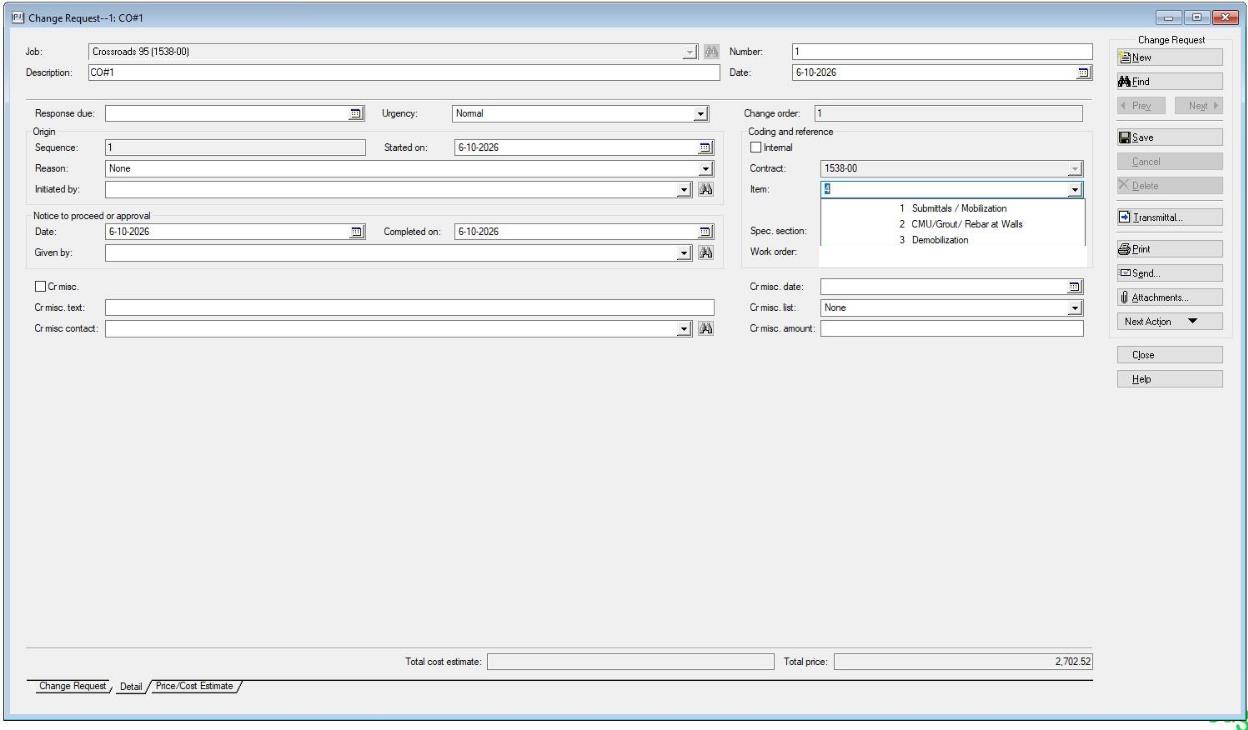
Enter the amount of the change order in the Labor Price field.
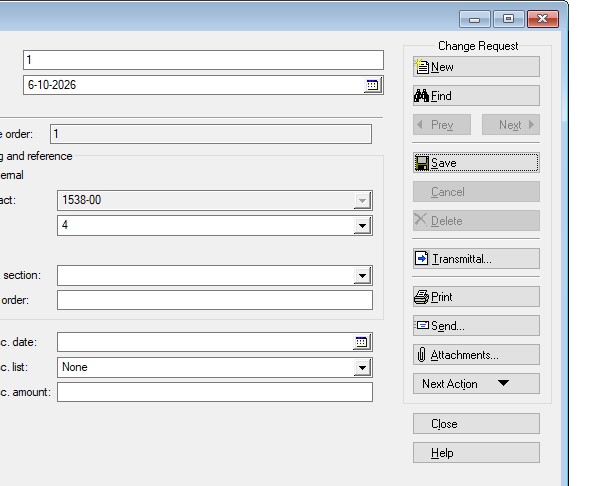
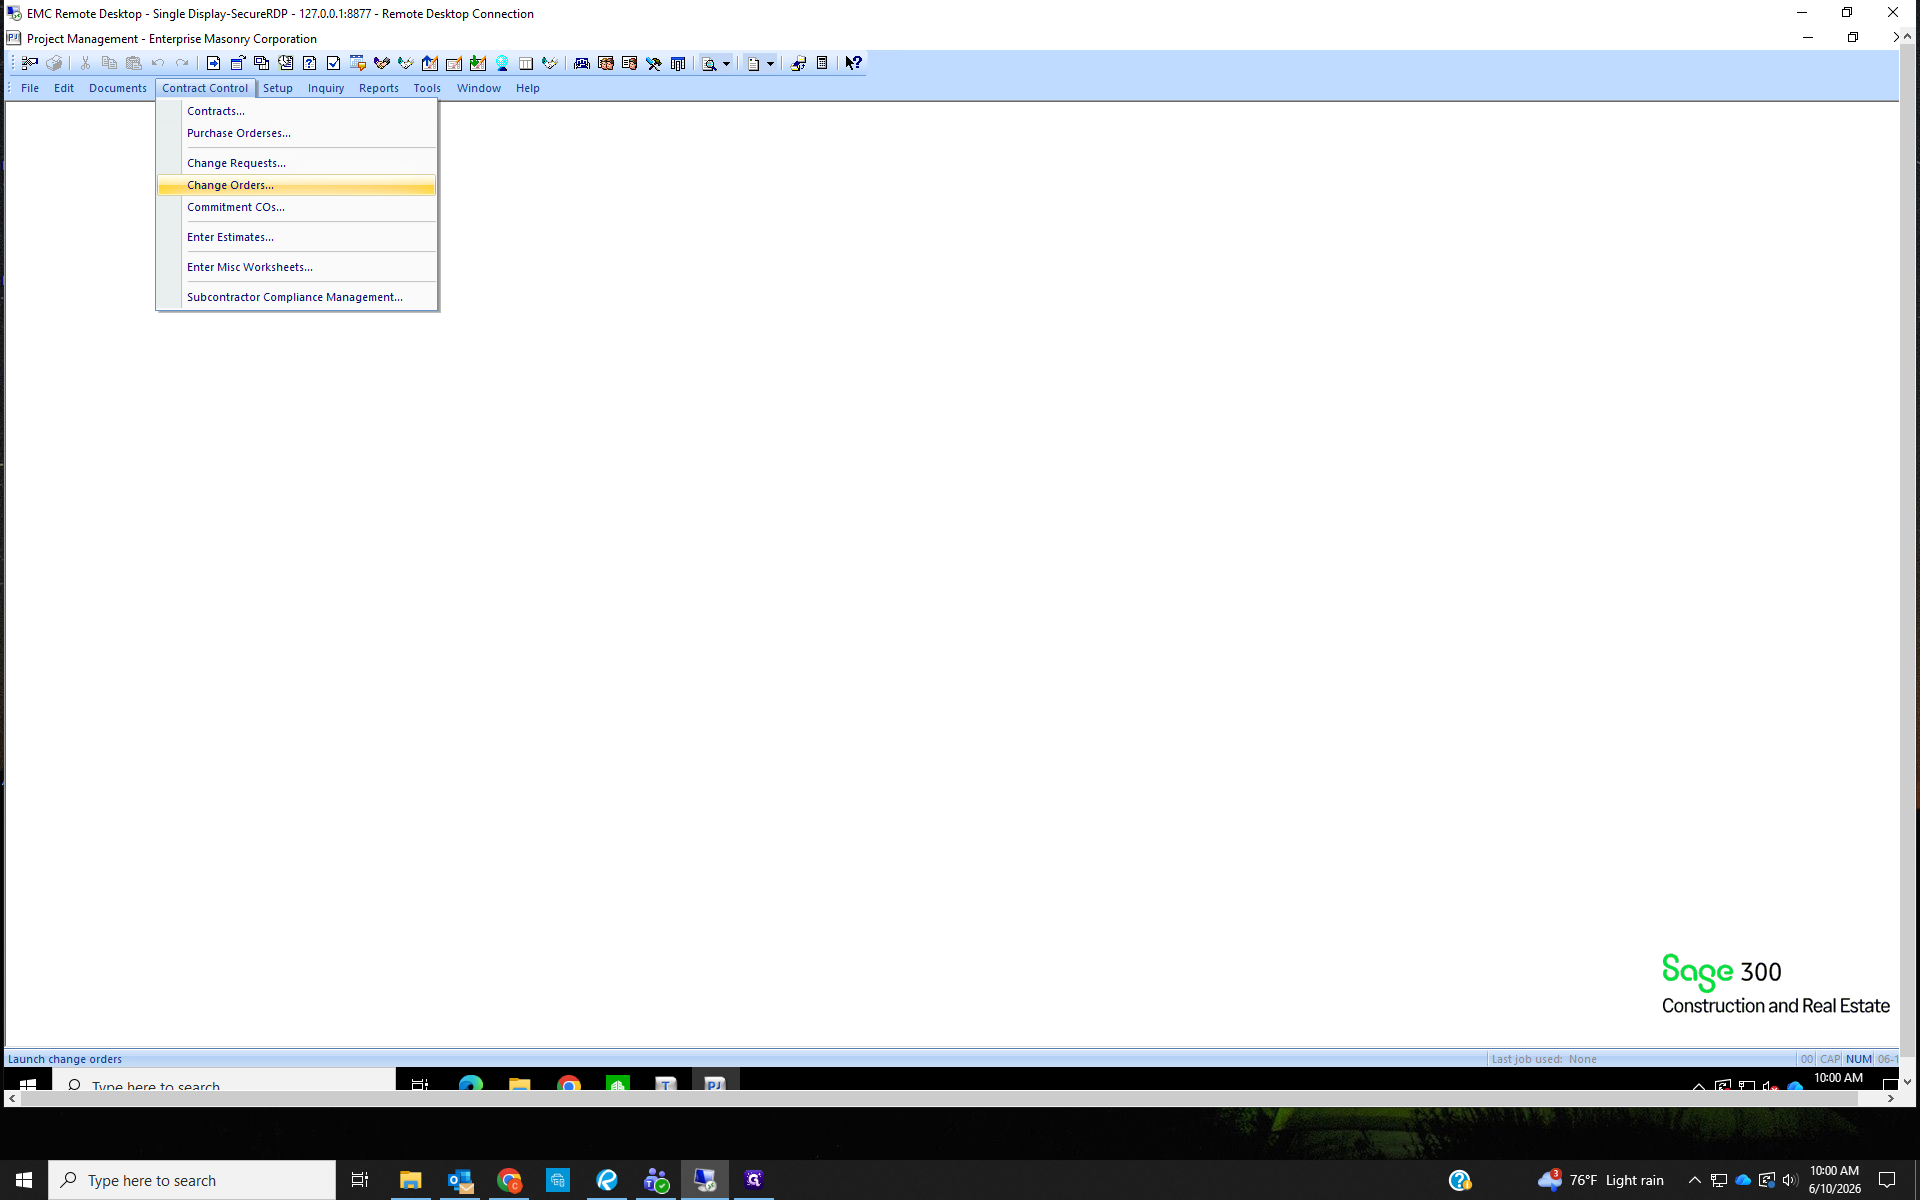
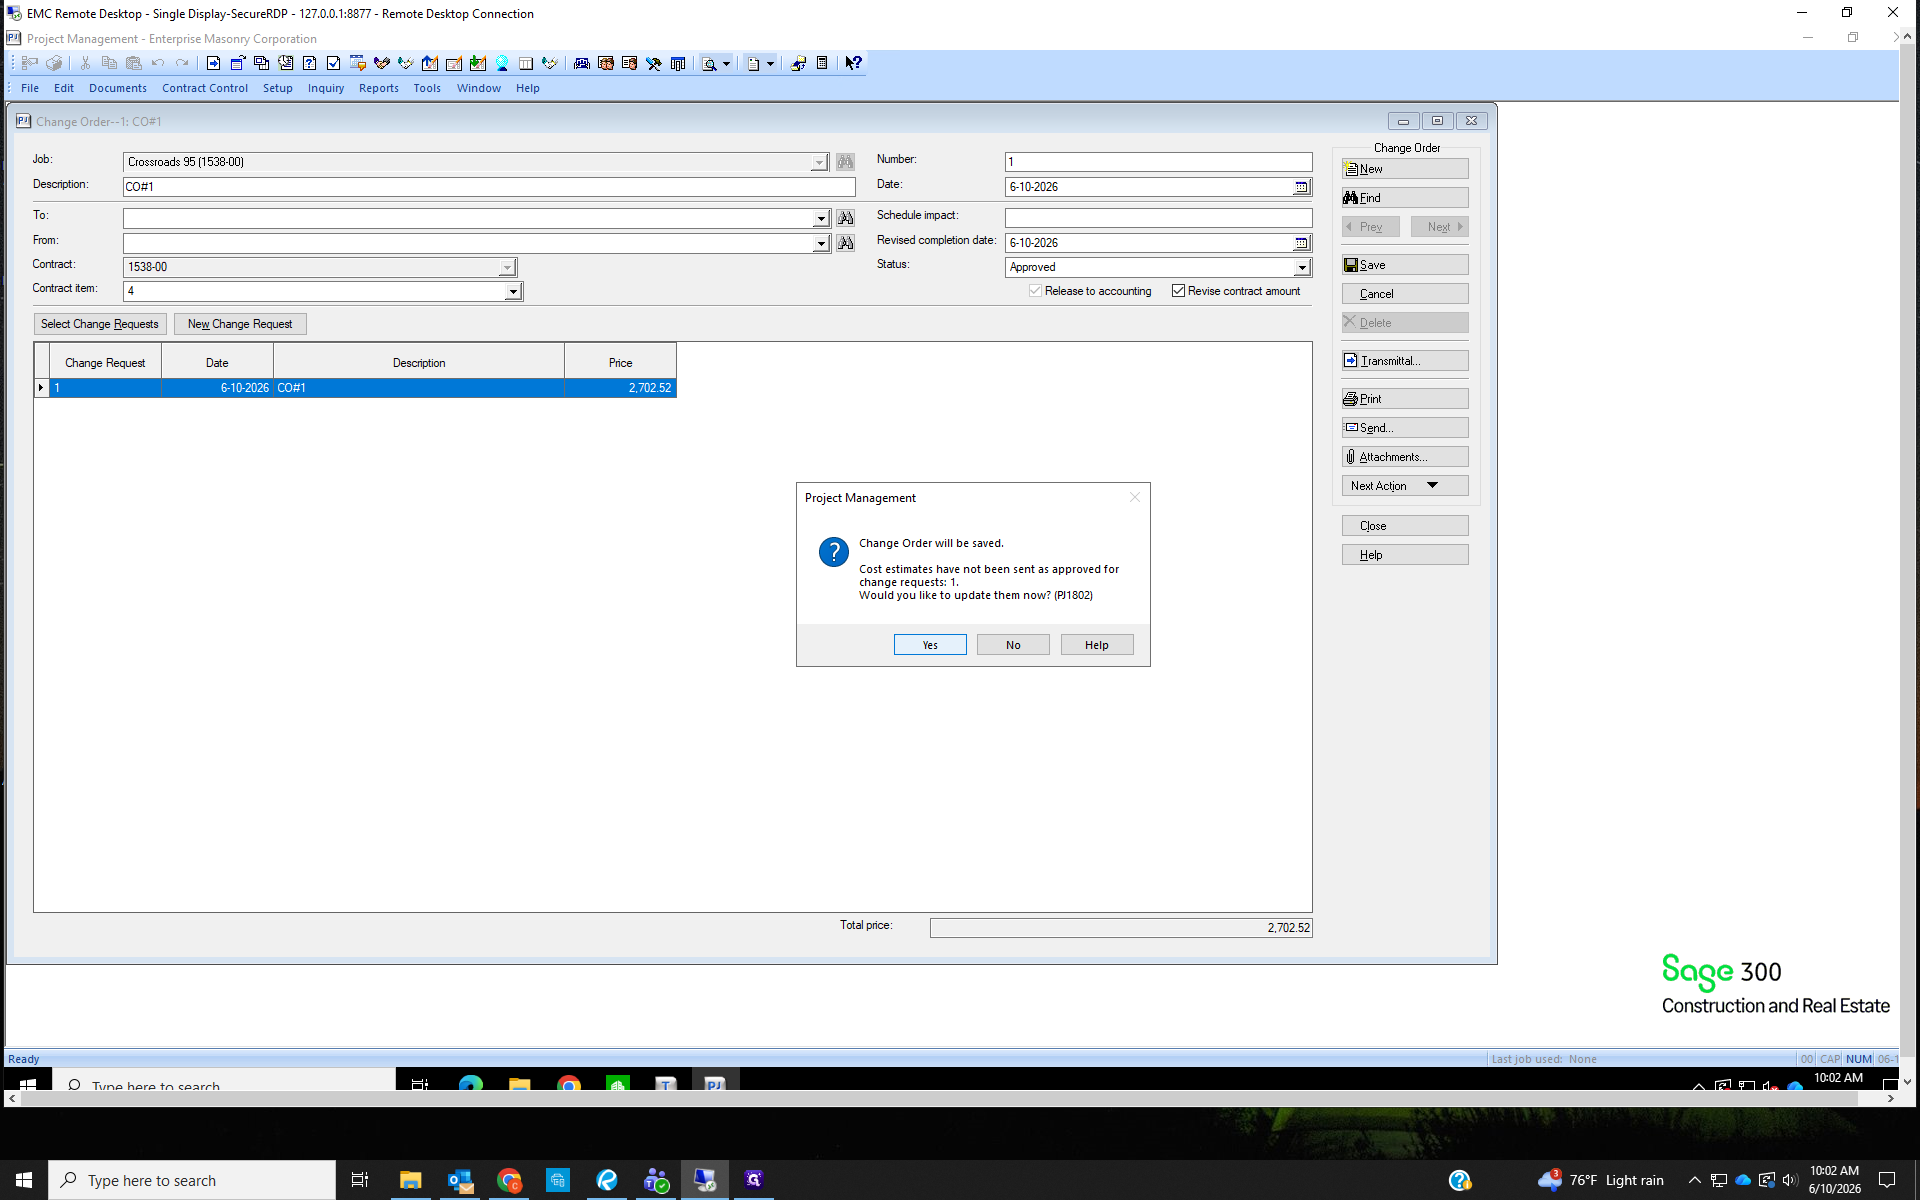
We did not create the change order yet, we created the change request and are now going to approve the request and create the new change order.

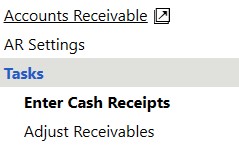
VOIDING A BILL IN SAGE (Accounts Receivable)
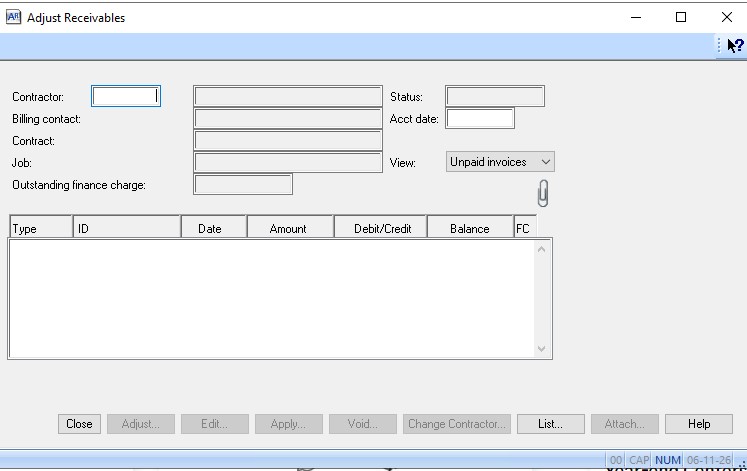
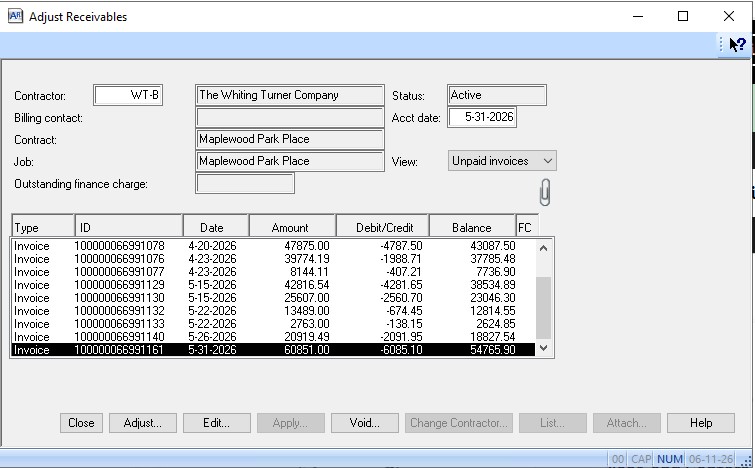
Once you find the invoice you want to void, click on it so it's highlighted. Then enter the accounting date in the top right box. Use the same date as the Invoice Date.
If you are voiding a paid invoice, you must highlight the Cash Receipt and unapply it before voiding the invoice.
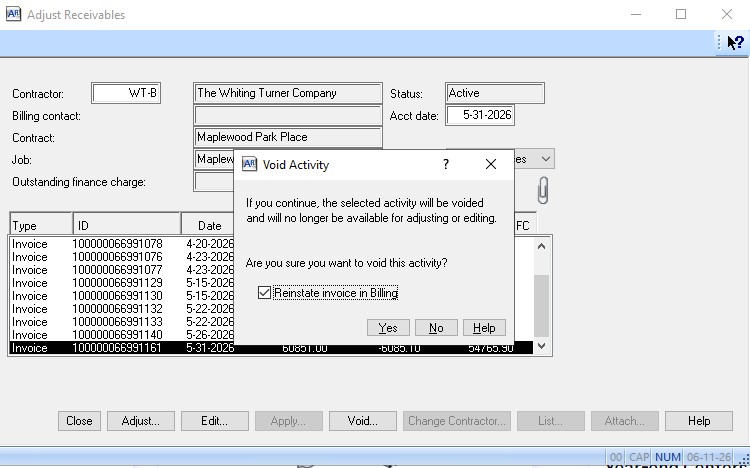
Sage gives the option to reinstate the invoice in the Billing module. If you're voiding the bill to revise it, reinstating is helpful.
Click Yes to confirm the void, then Post in AR.
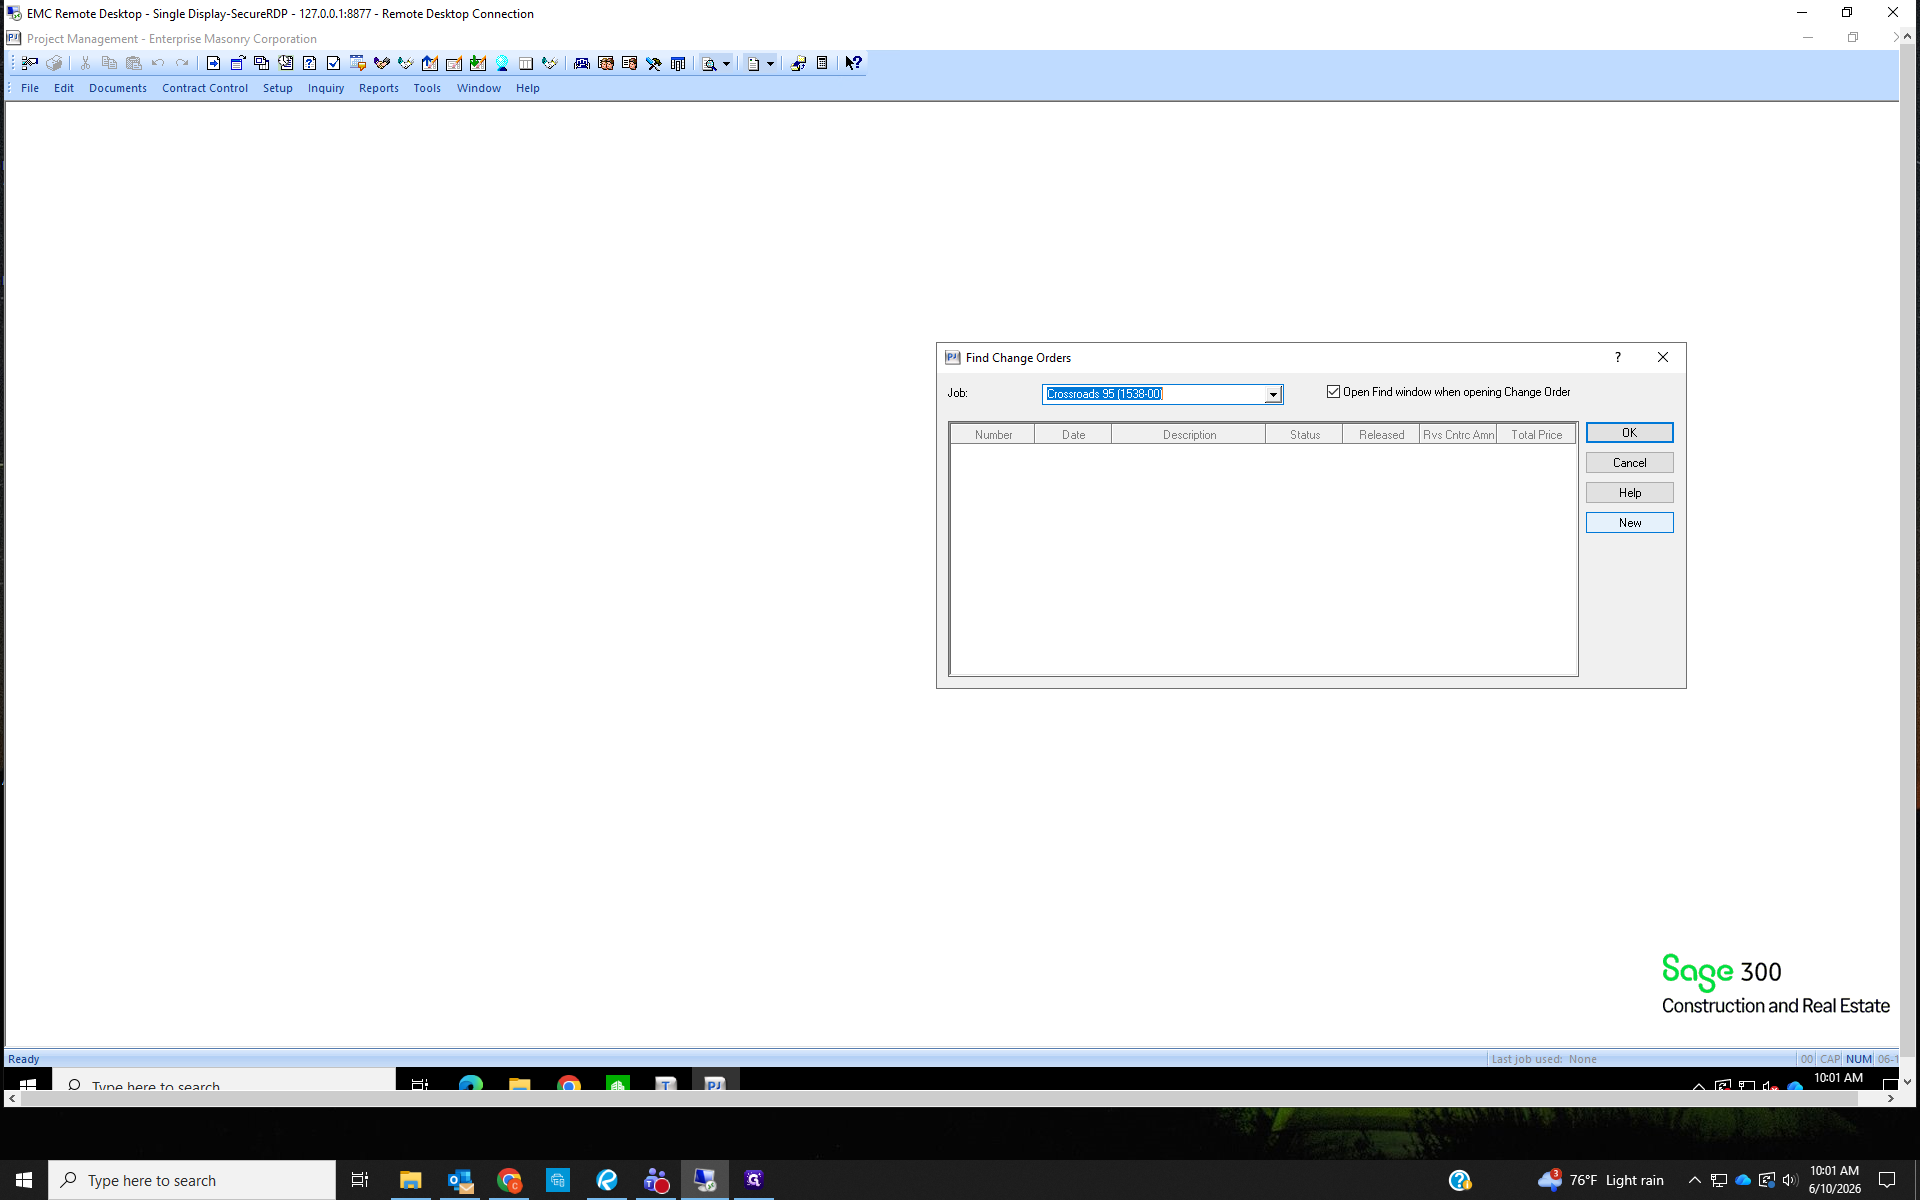
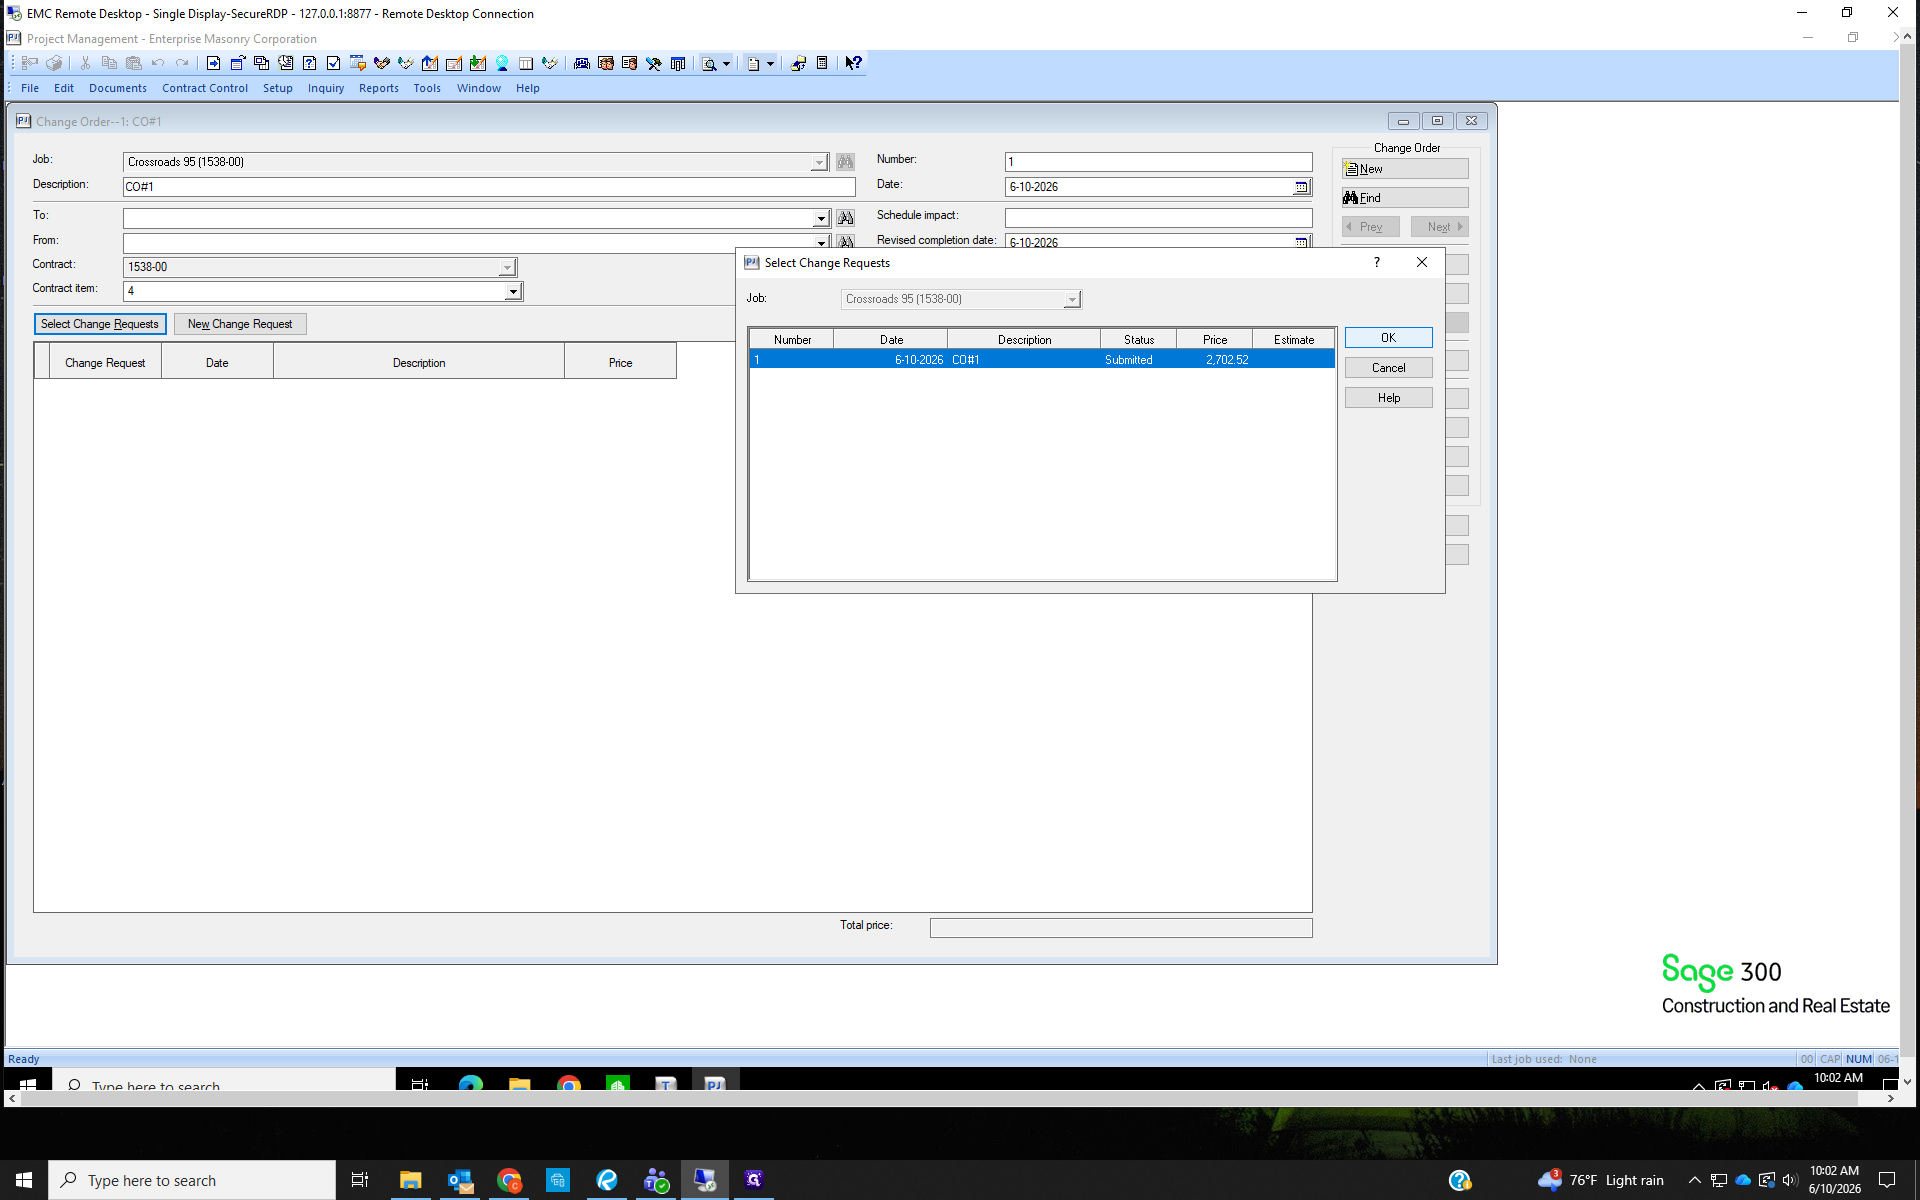
Q: How do I link a Change Request to a Change Order?
A: Open a new Change Order and click the Select Change Requests button. This opens a dialog box where you can select and attach submitted change requests.
Term | Definition |
|---|---|
Retainage | A portion of the agreed-upon contract price deliberately withheld until the work is substantially complete. |
Change Order | A formal modification to the original project contract that alters the scope of work, price, or timeline. |
Change Request | A documented proposal to modify the project's scope, timeline, or cost before it is formally approved. |
Quick Bill | A simplified, immediate invoicing method used for straightforward time, material, or miscellaneous charges. |