
Quick Guide: How to Install Glitter on Mac or Windows
This article provides a quick guide on how to install the Glitter application on your Mac or Windows computer, from download to launch.
In this guide, we'll learn how to install Glitter on your Mac or Windows computer.
To begin, you'll choose the appropriate download button based on your system.
After the download completes, you'll proceed to open the installer. It works a little differently on Mac vs. Windows.
On Windows, the installer will launch automatically, initiating the installation process. Just give it a moment to complete.
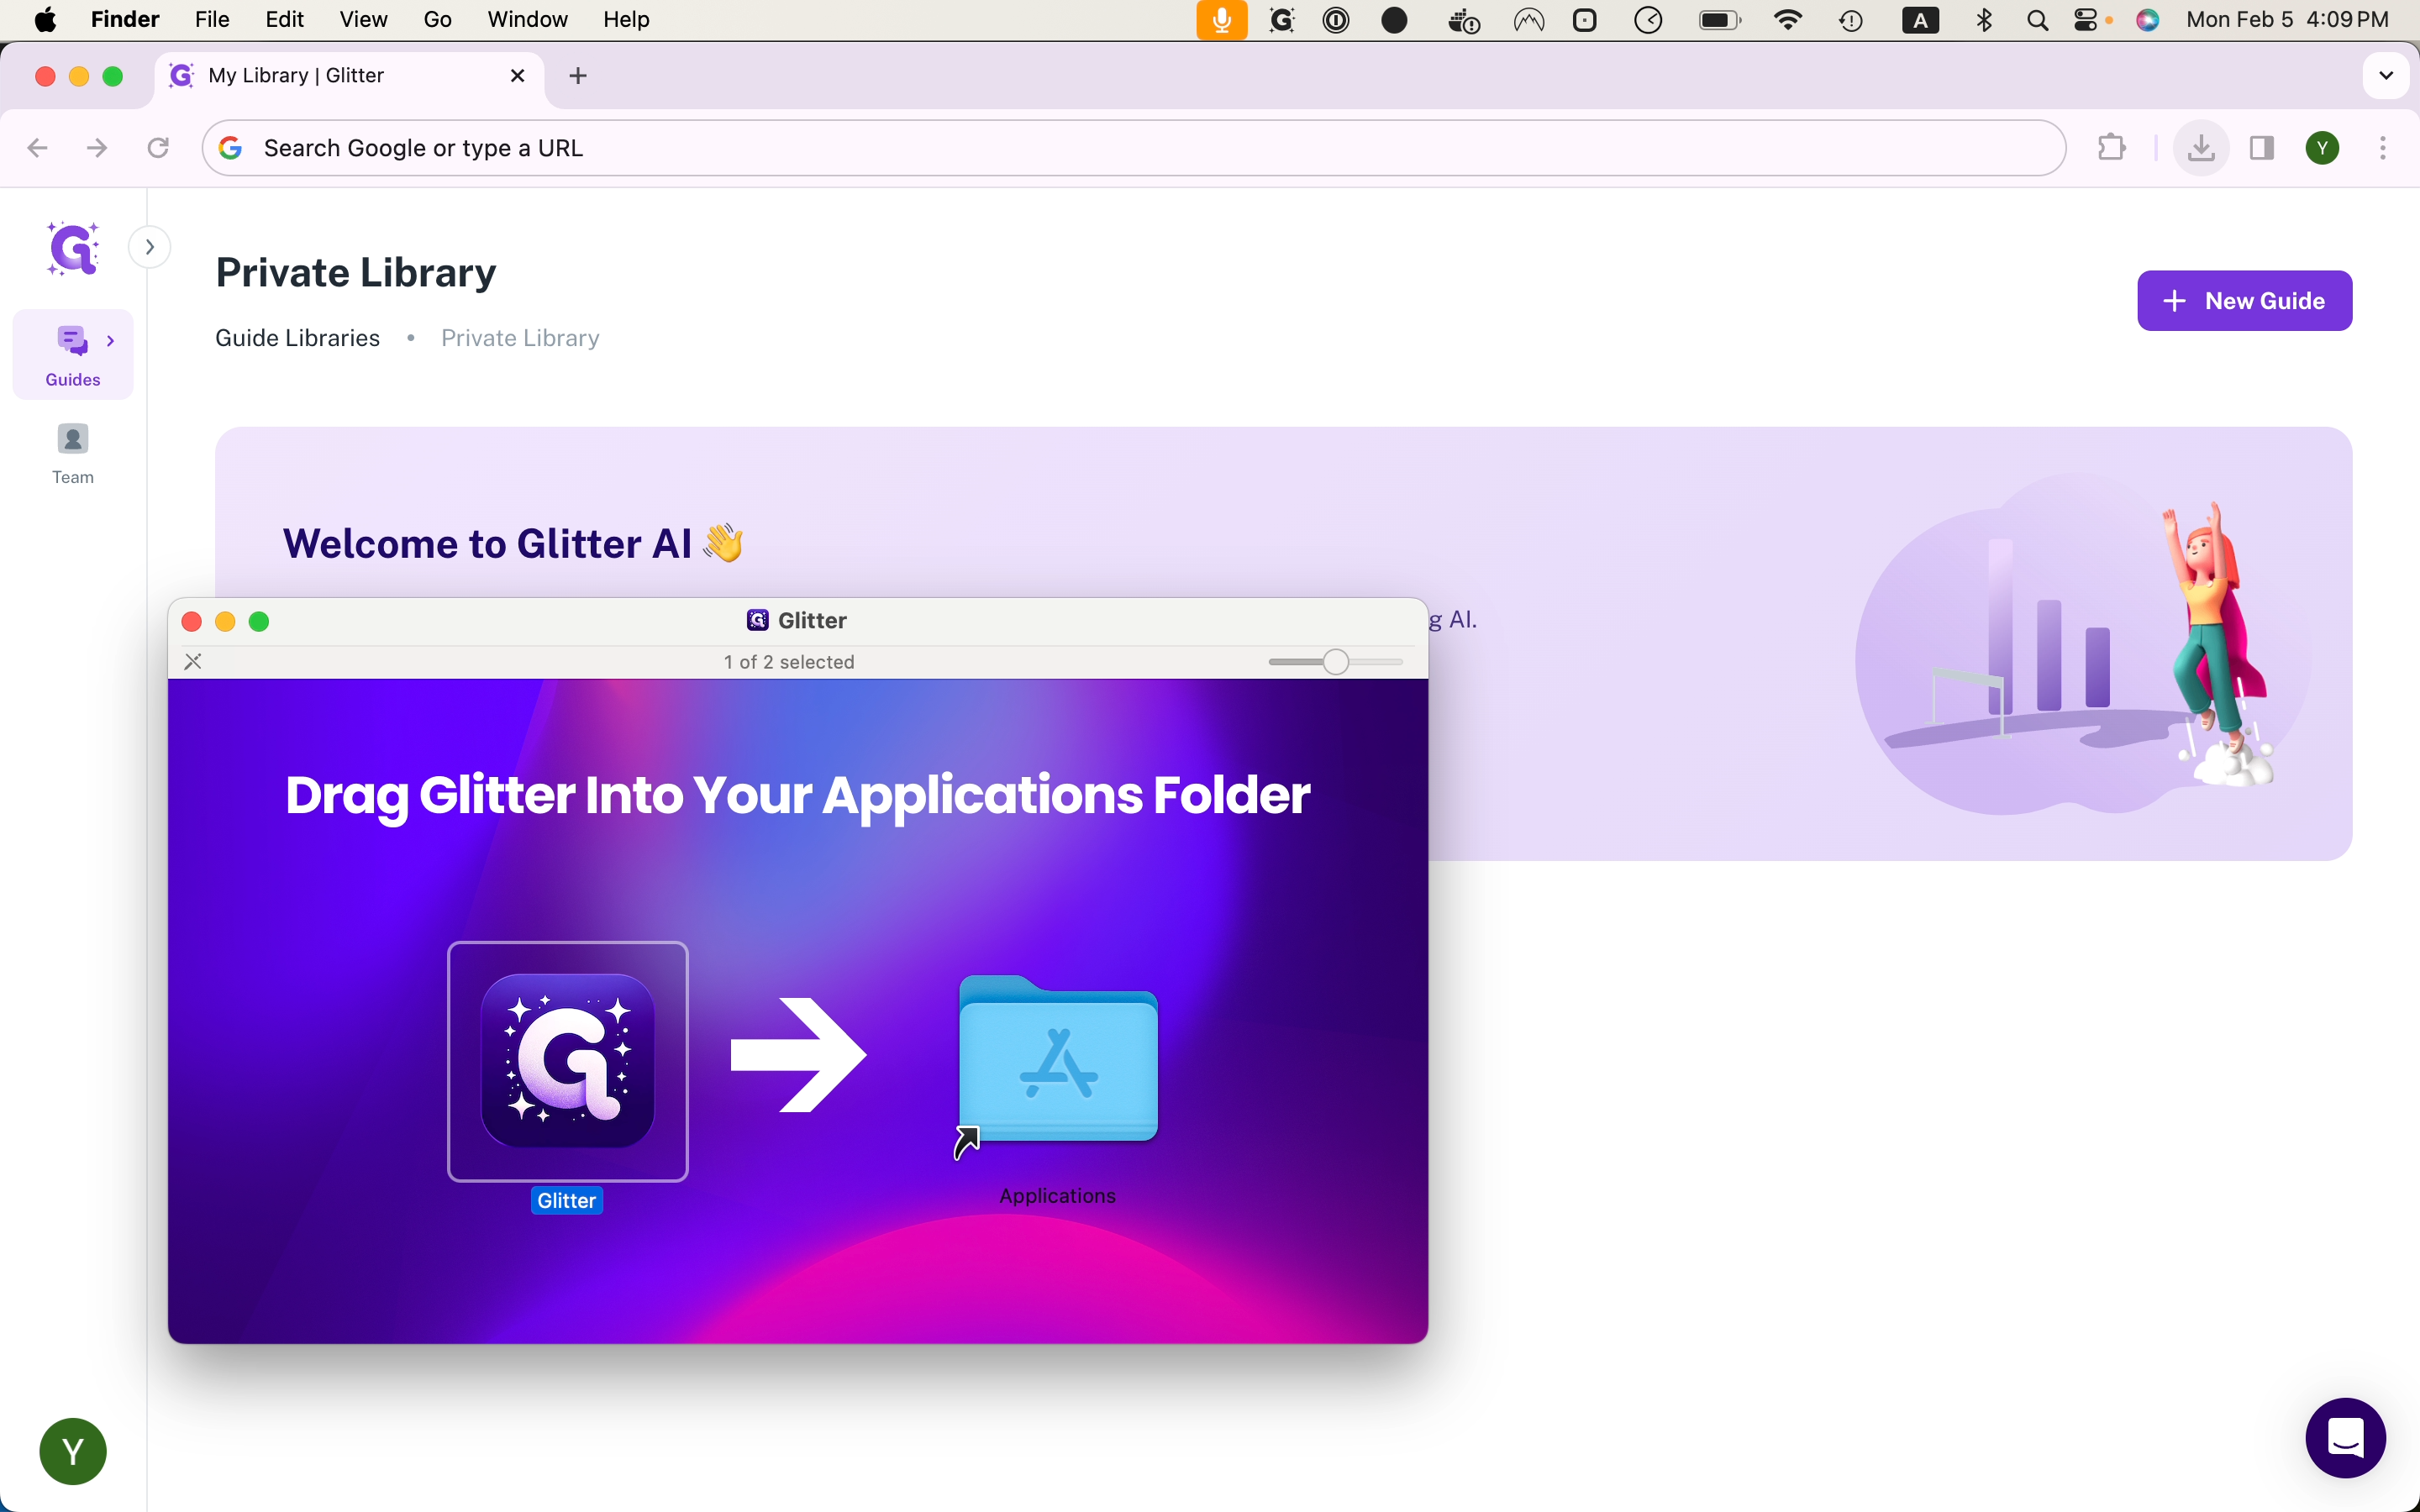
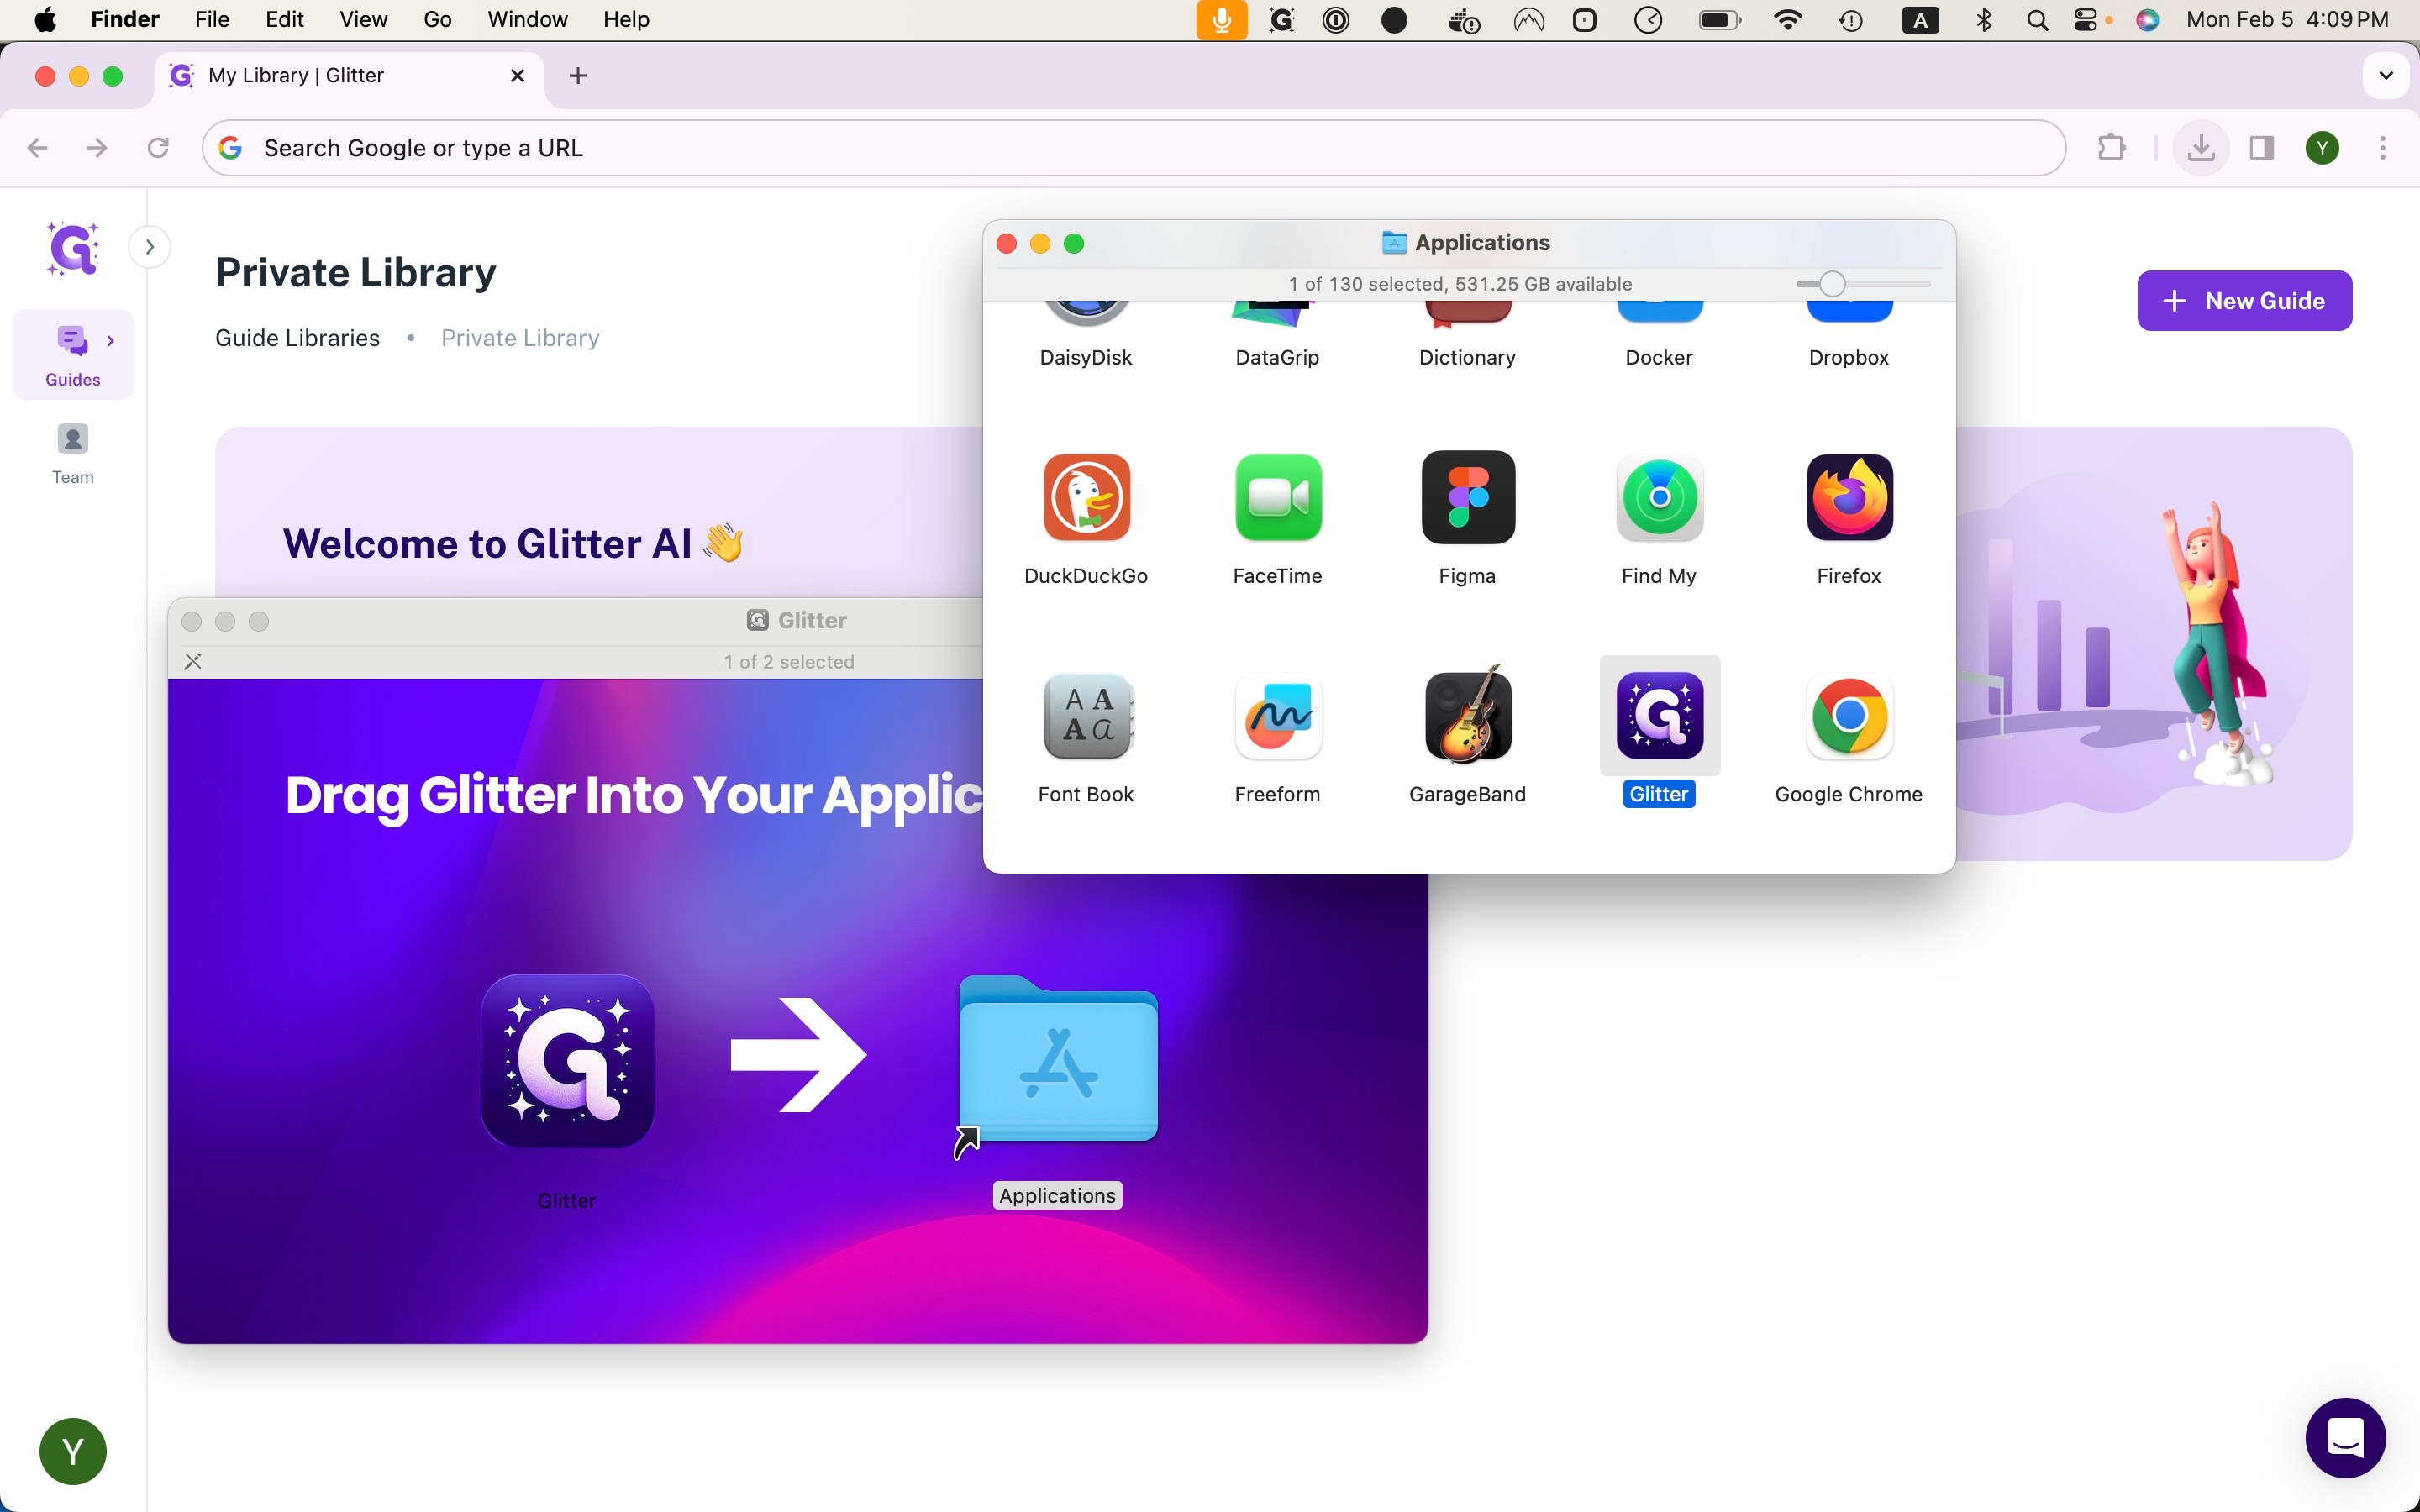
For Mac users, a window will prompt you to drag Glitter into your applications folder. Afterwards, you'll open the Applications folder and double click on the Glitter app to open it.
Let's get started.
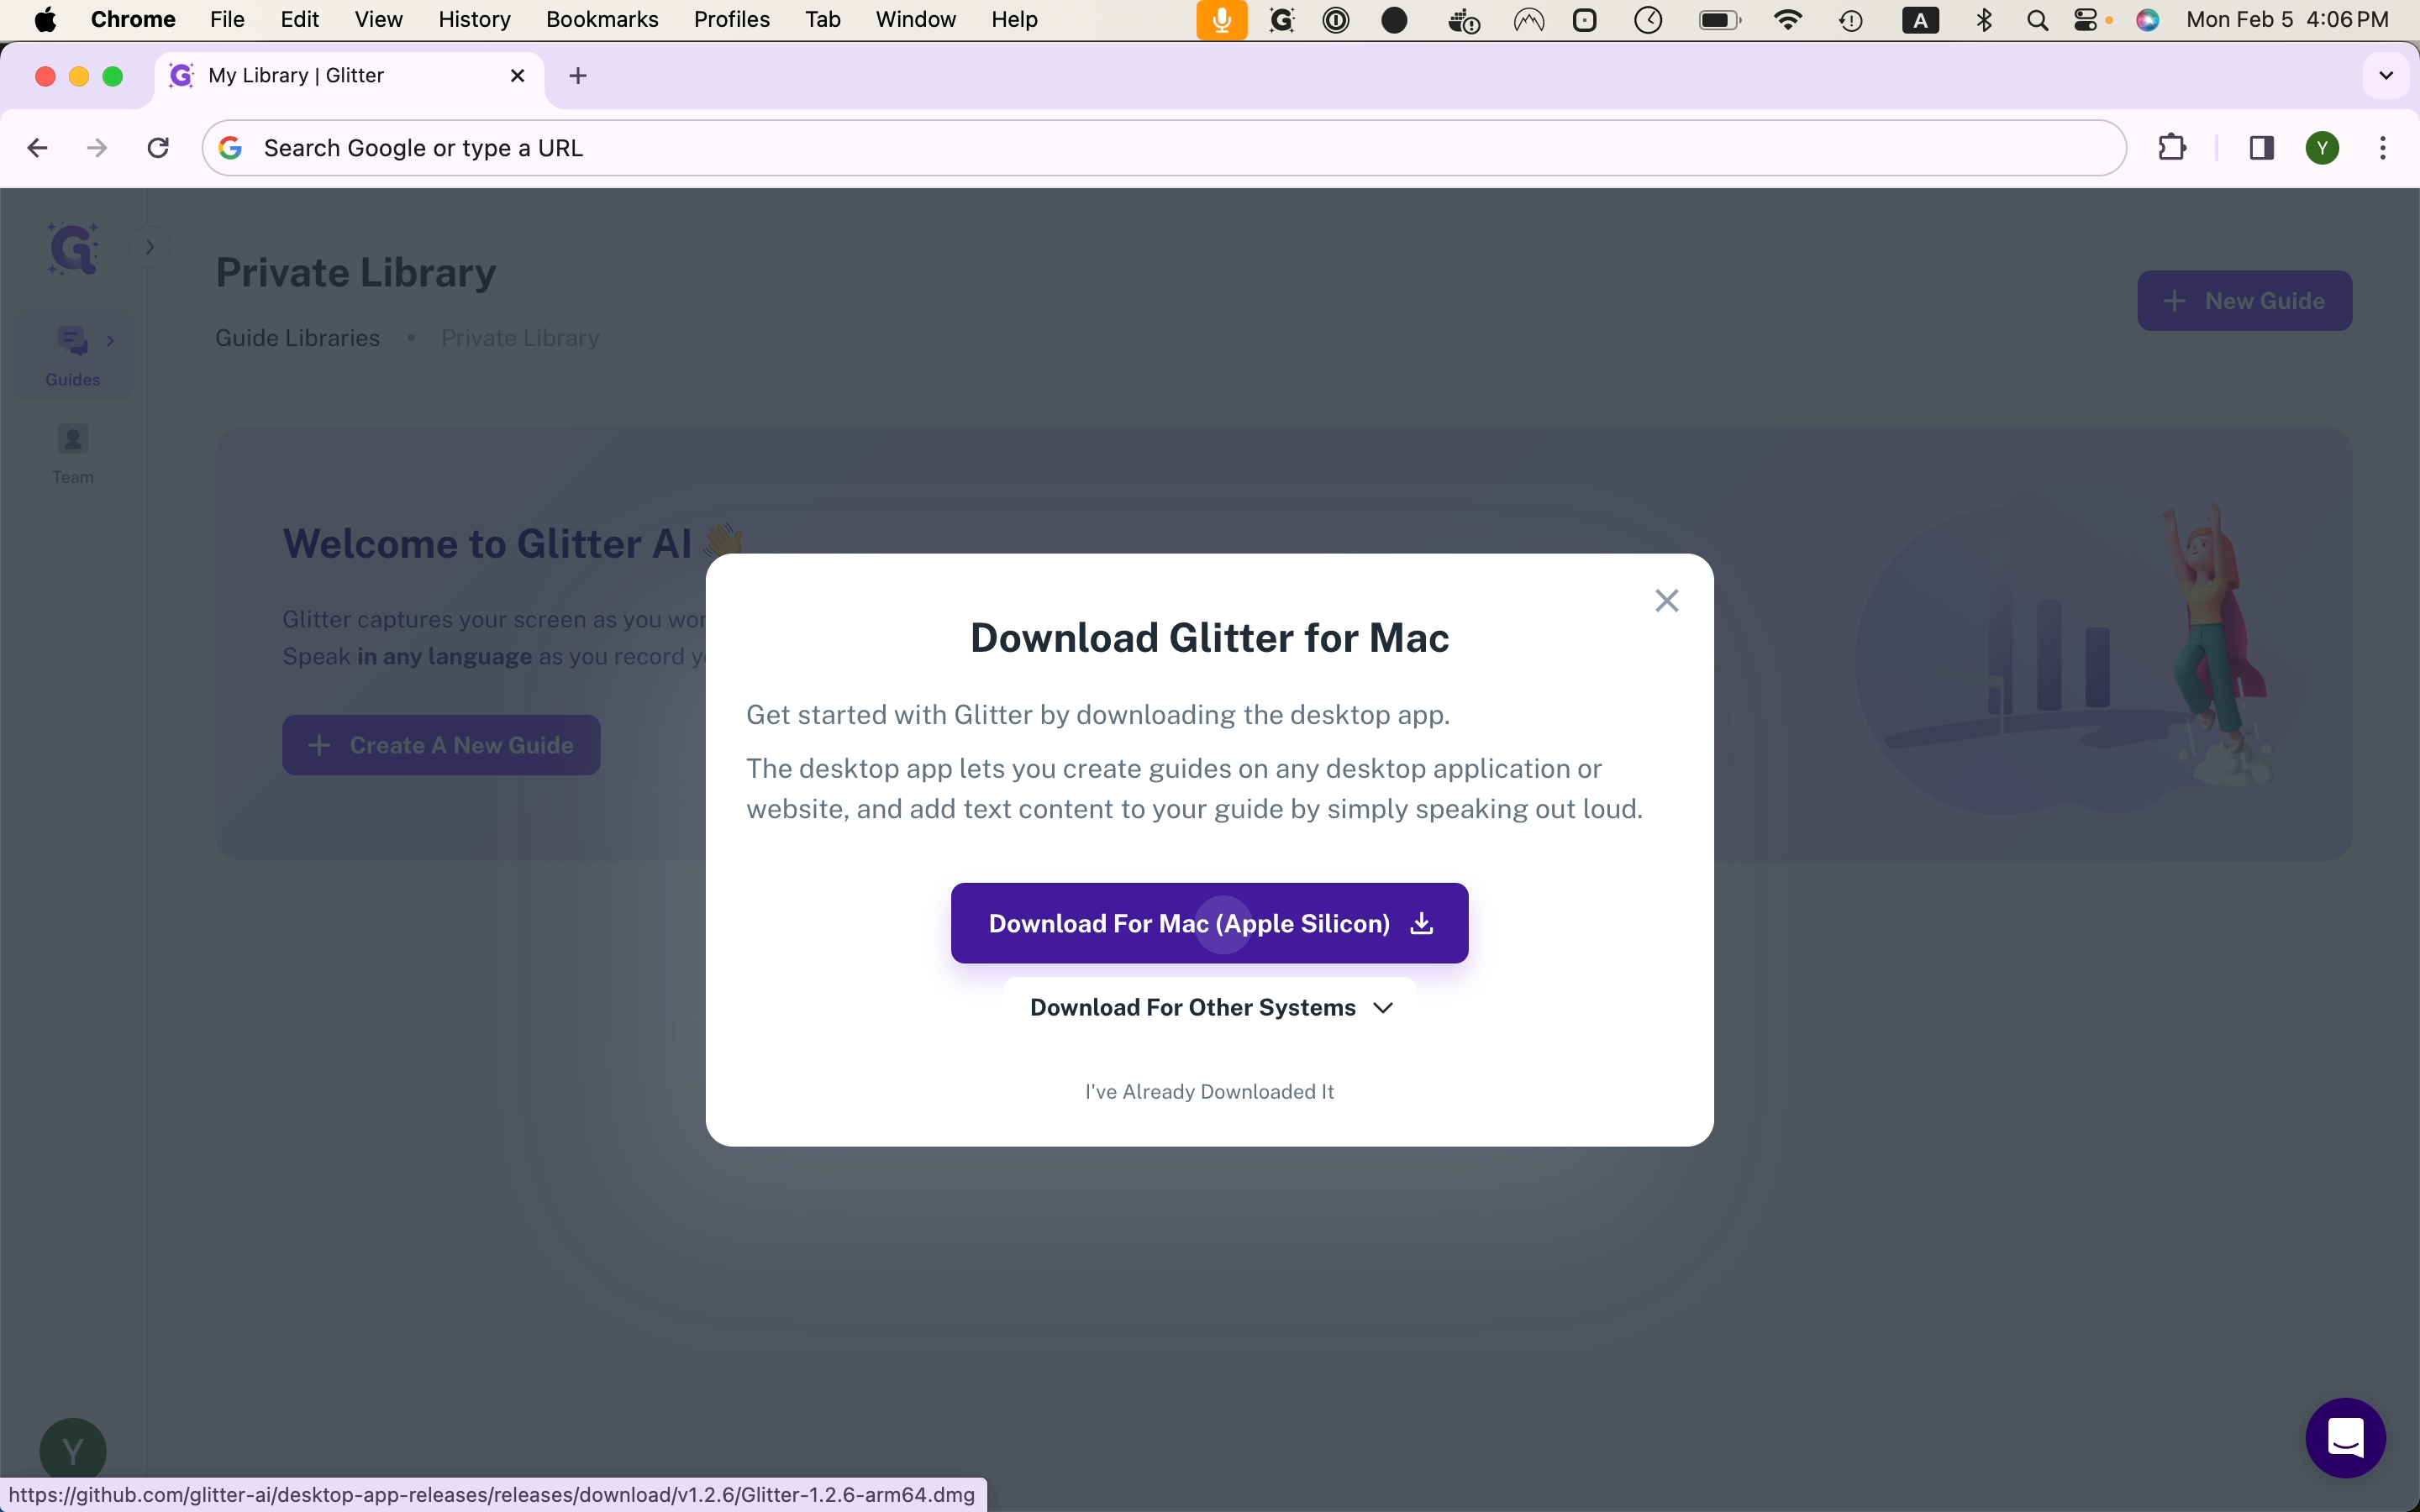
First, follow this link to download Glitter (if you haven't already done so).
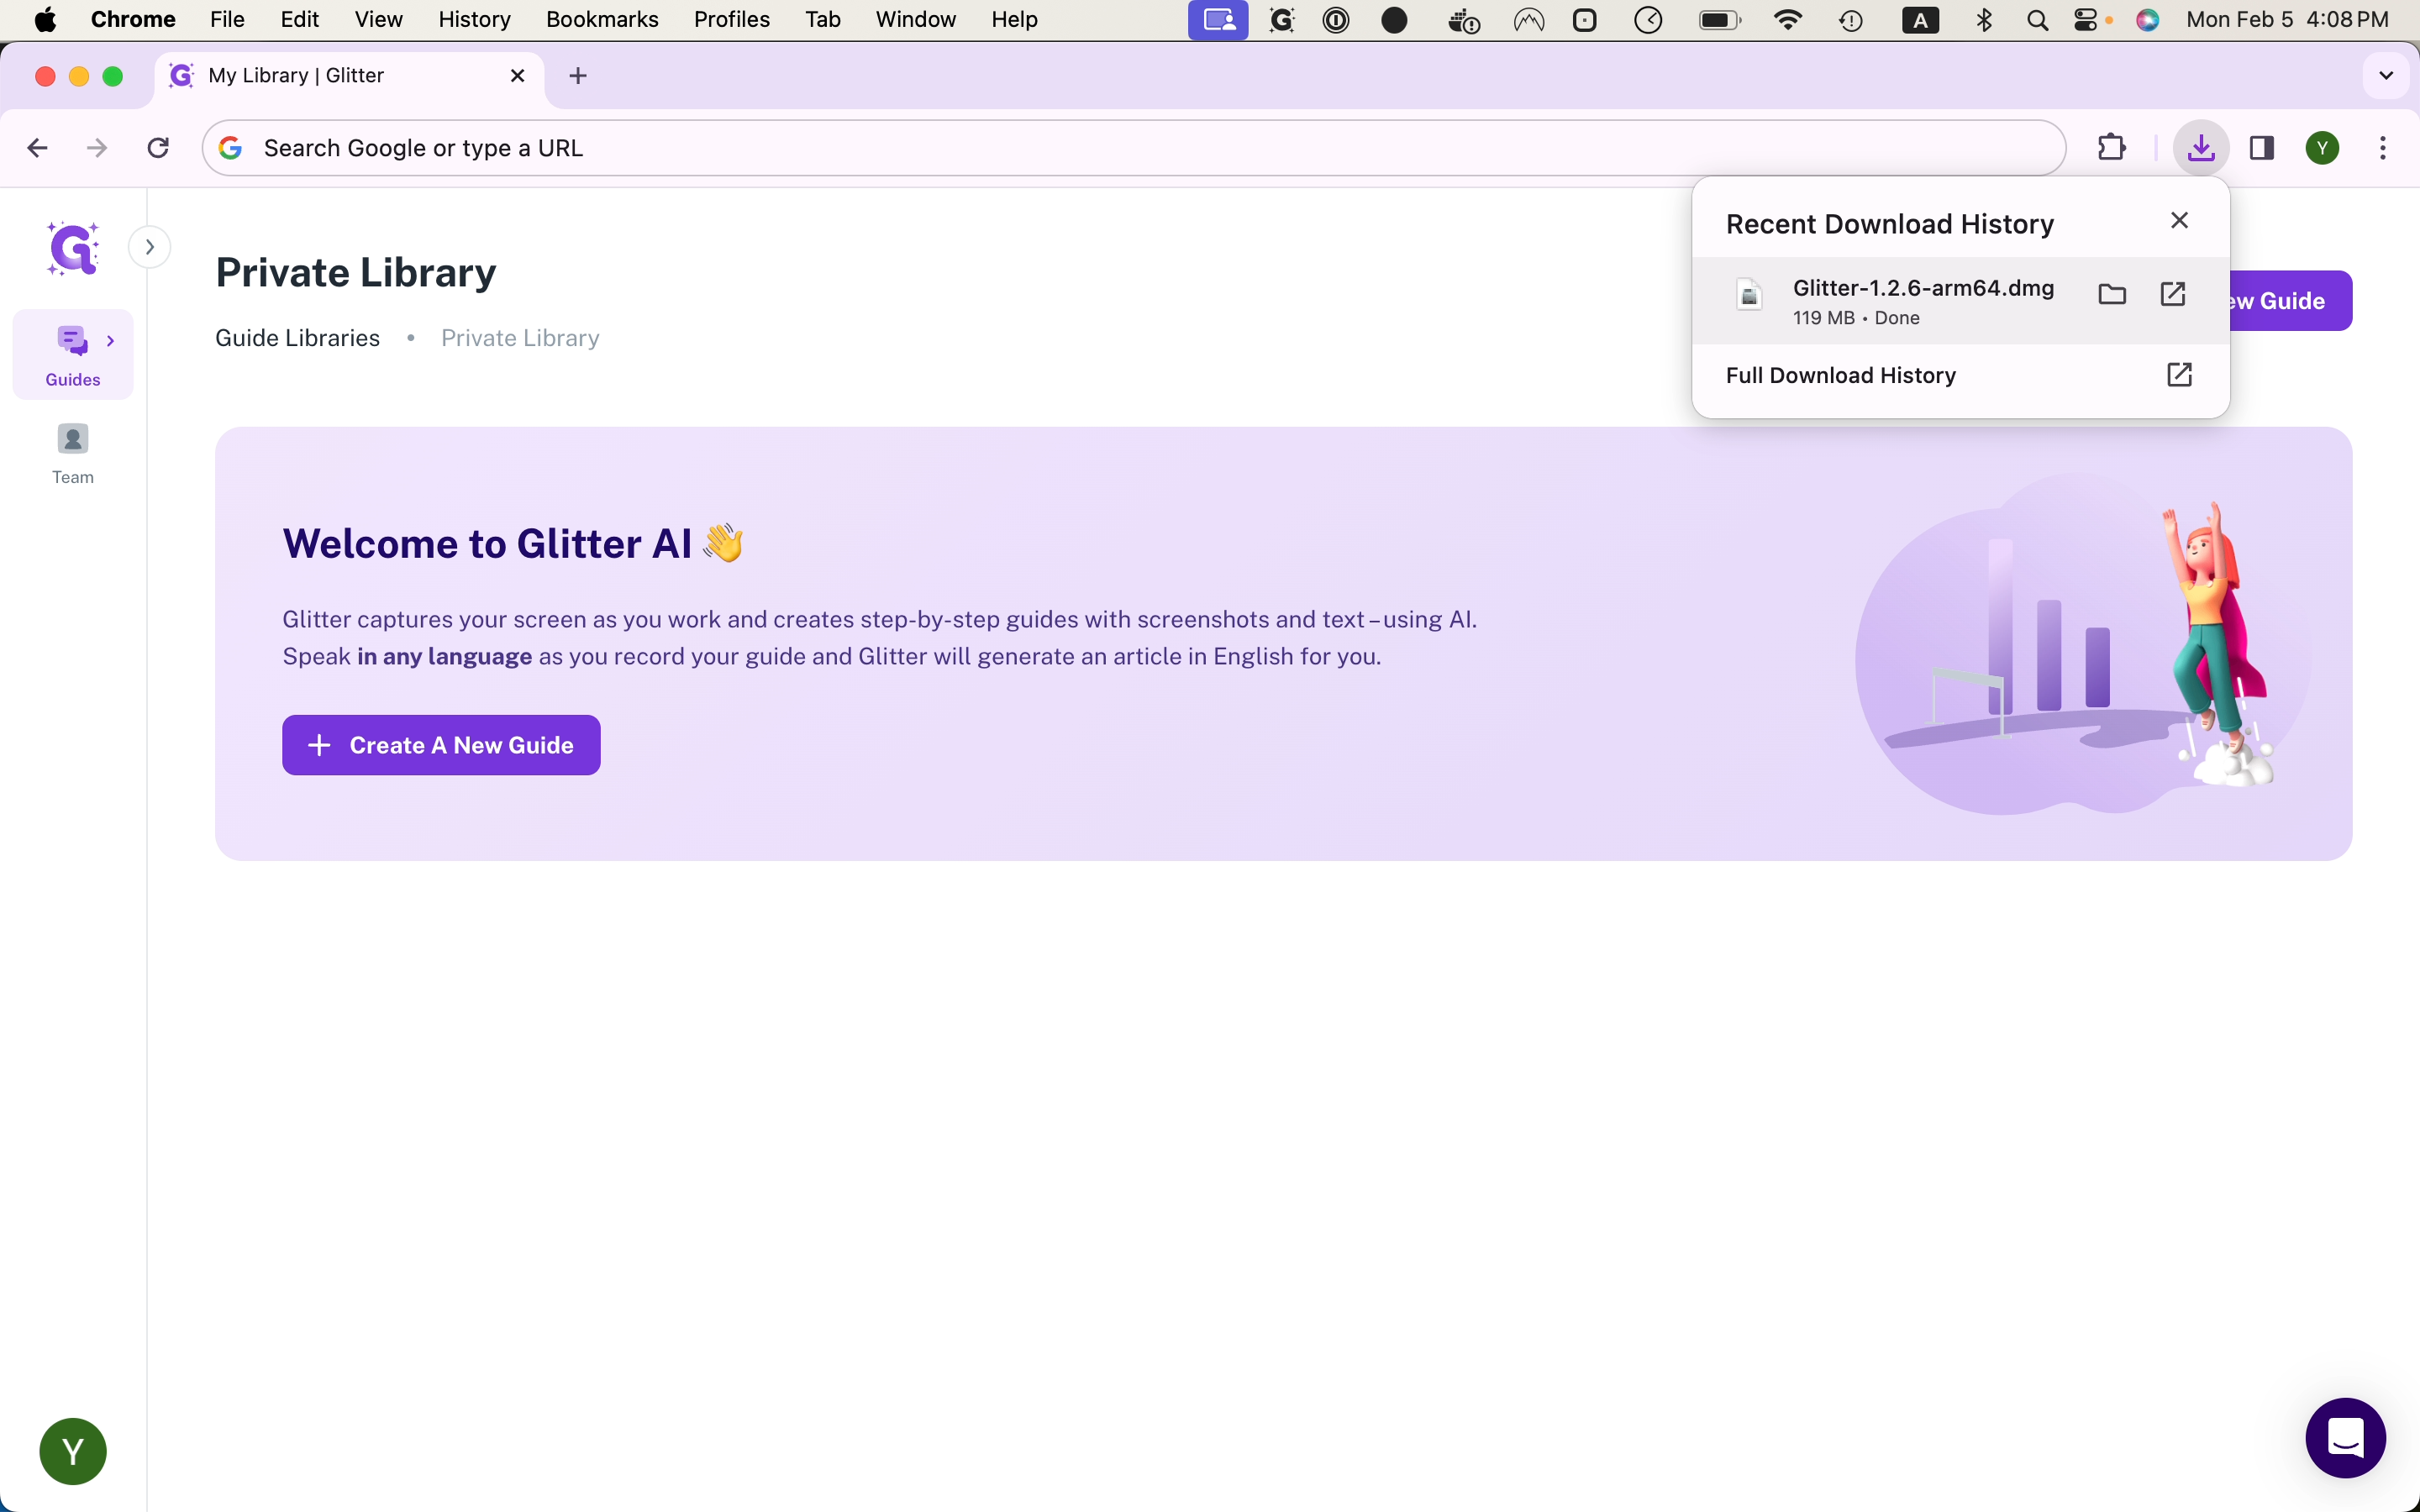
Depending on your operating system, you'll either click on the 'Download for Mac' or 'Download for Windows' button. The download process is automatic, and you can monitor its progress in your recent download history.

Once the download is complete, proceed by clicking or double-clicking on it.
On Windows, the installer will open and start installing Glitter. Wait a few seconds until you see progress, then Glitter will install and open automatically. On a Mac, a window will prompt you to drag Glitter into your applications folder. Click and drag Glitter into the applications folder.
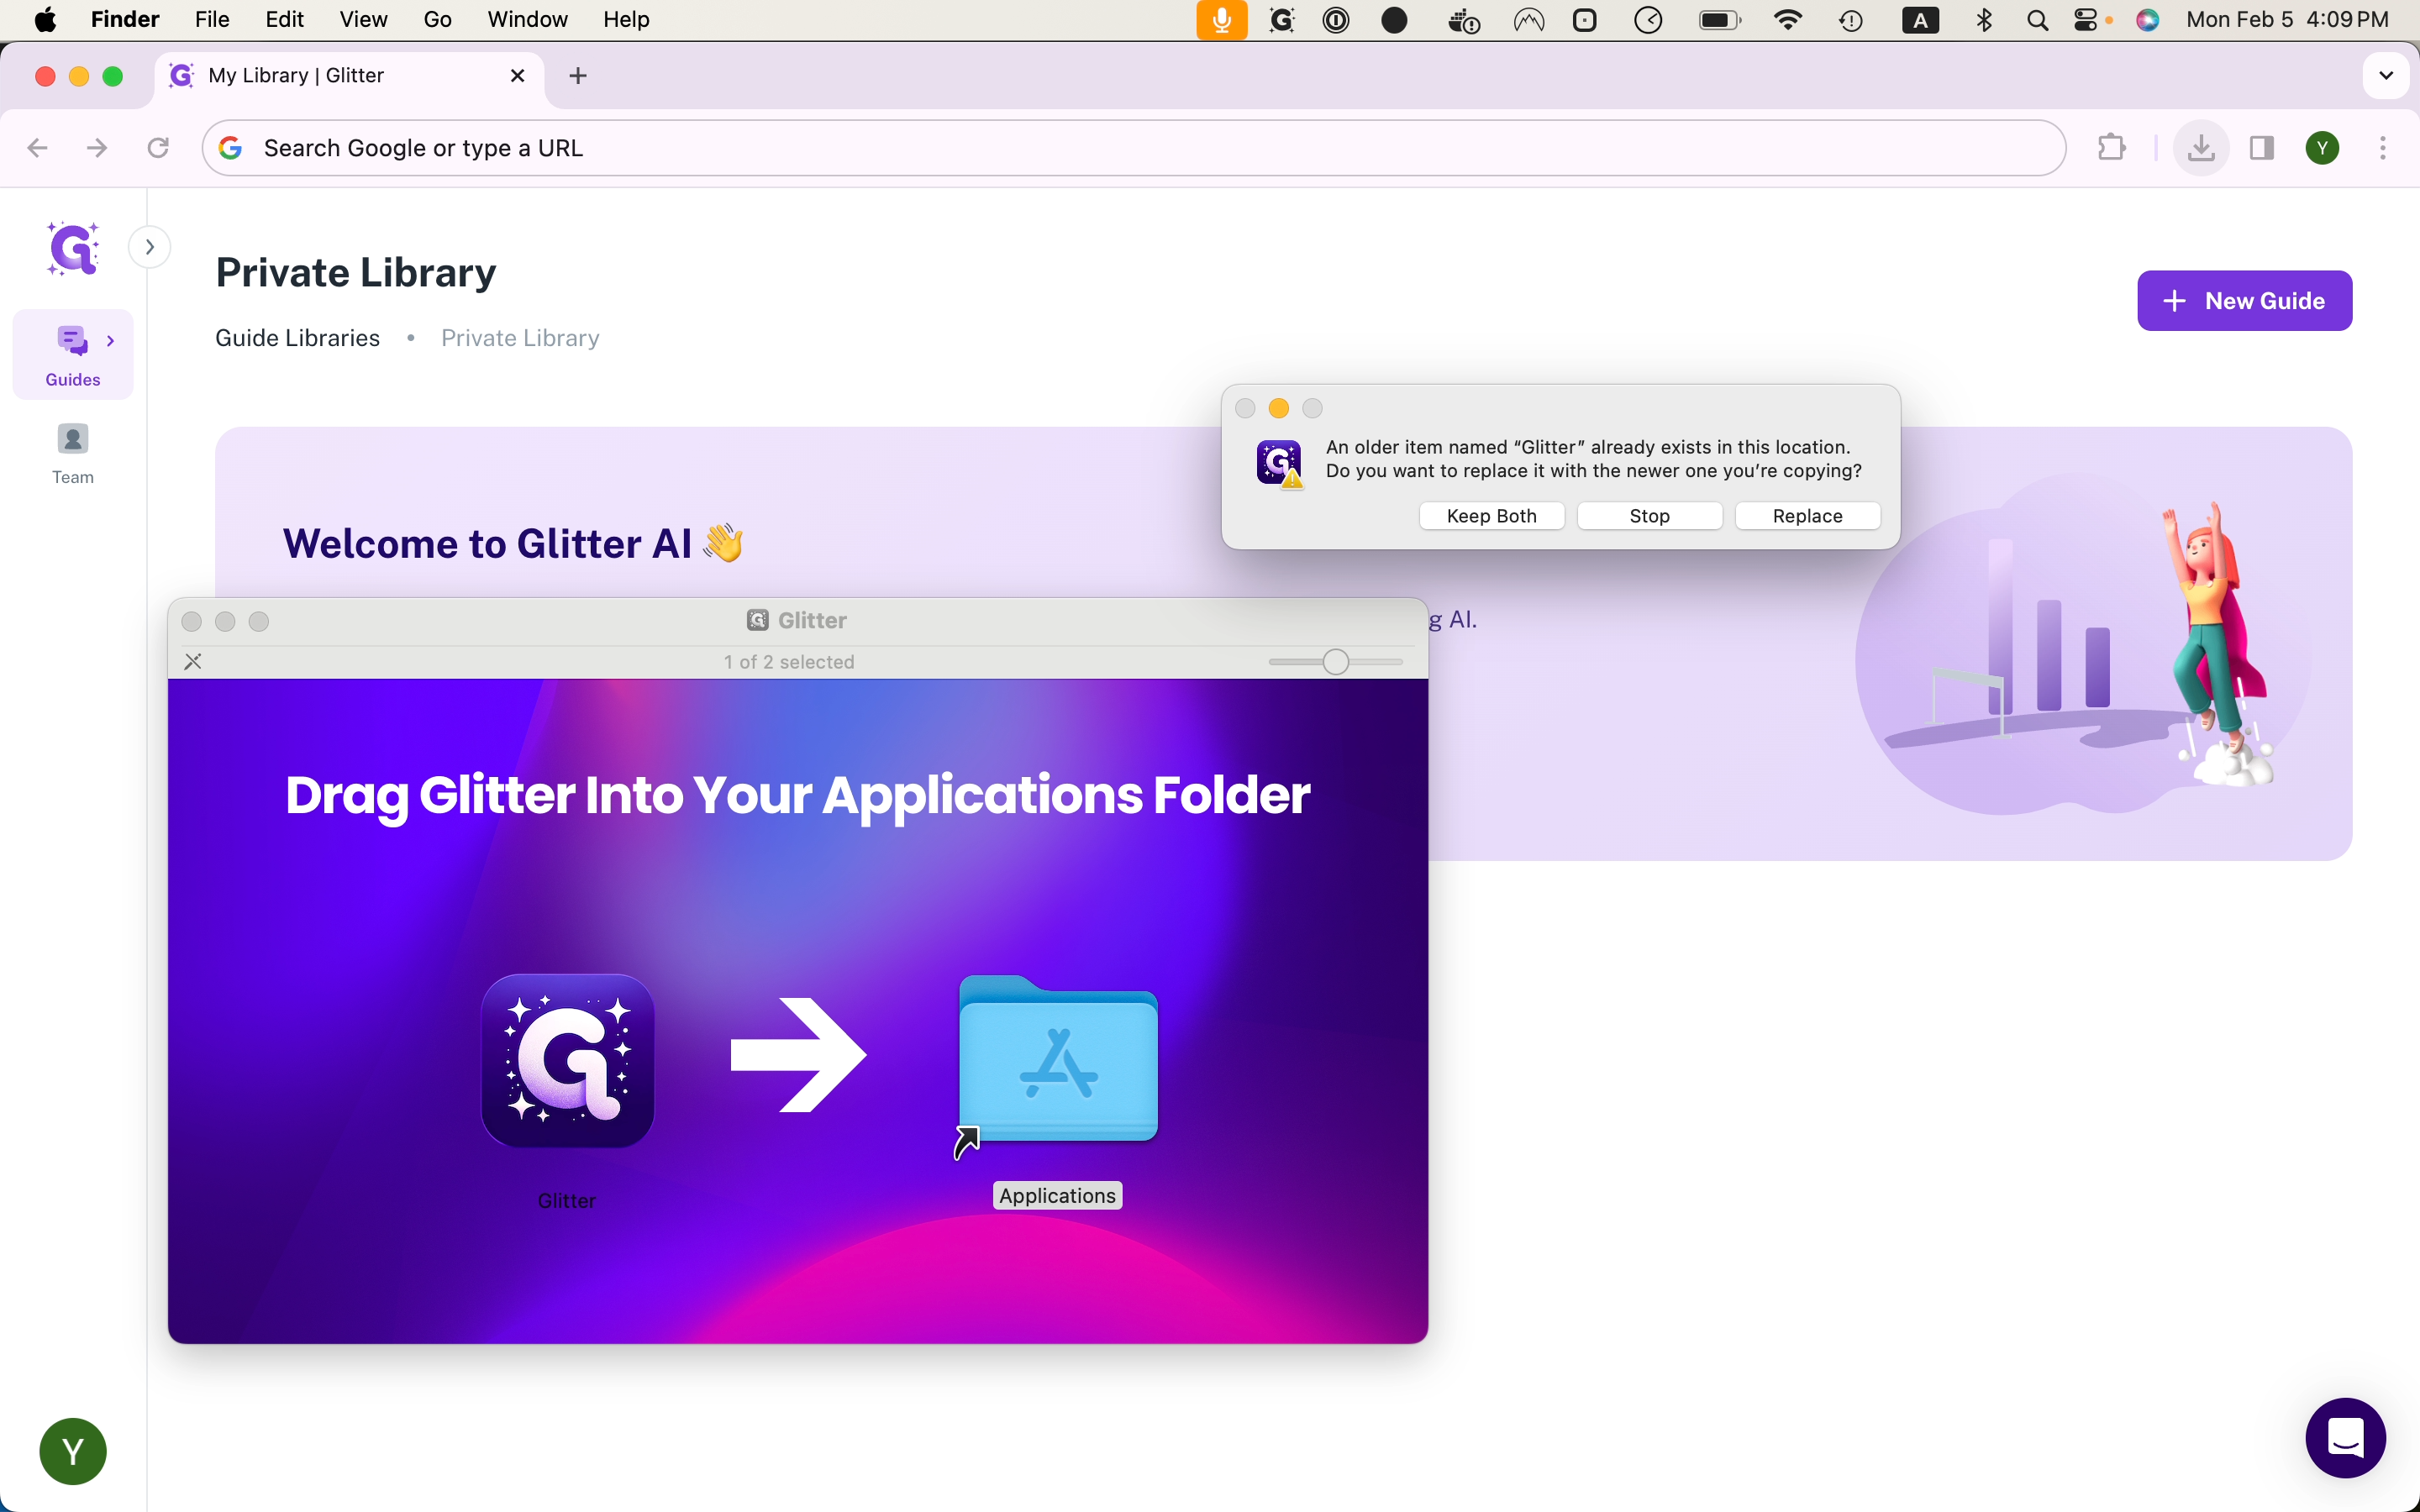
Next, open the Applications folder and locate Glitter. Double-click on the Glitter icon to launch the application.
Then, continue following the instructions that appear in the Glitter app.