
Quick Navigational Tips for eBuilder in Washoe County
Learn essential navigational tips for efficiently using eBuilder in Washoe County, including accessing projects, modules, and functionalities.
In this guide, we'll learn how to navigate eBuilder effectively to access various modules and functionalities within the platform. Understanding the layout and navigation of eBuilder is crucial for managing tasks such as invoice approvals, RFIs, and contract approvals. We'll explore how to use the home page as a task list, access projects, and utilize the Project Menu for module navigation. This guide will help you efficiently execute functions within your project space, ensuring you are always aware of your current location in the system.
Let's get started
Good day, Washoe County. This is Martin Astazarian from OnIndus. Today, we'll learn quick navigational tips in eBuilder to help you easily navigate the system and access different modules and functionalities. When you first log into eBuilder, you'll land on your home page. You'll see your name in the upper left corner, just as mine appears here. The home page is designed to give you visibility into all the tasks and processes assigned to you. Essentially, this page serves as your task list.
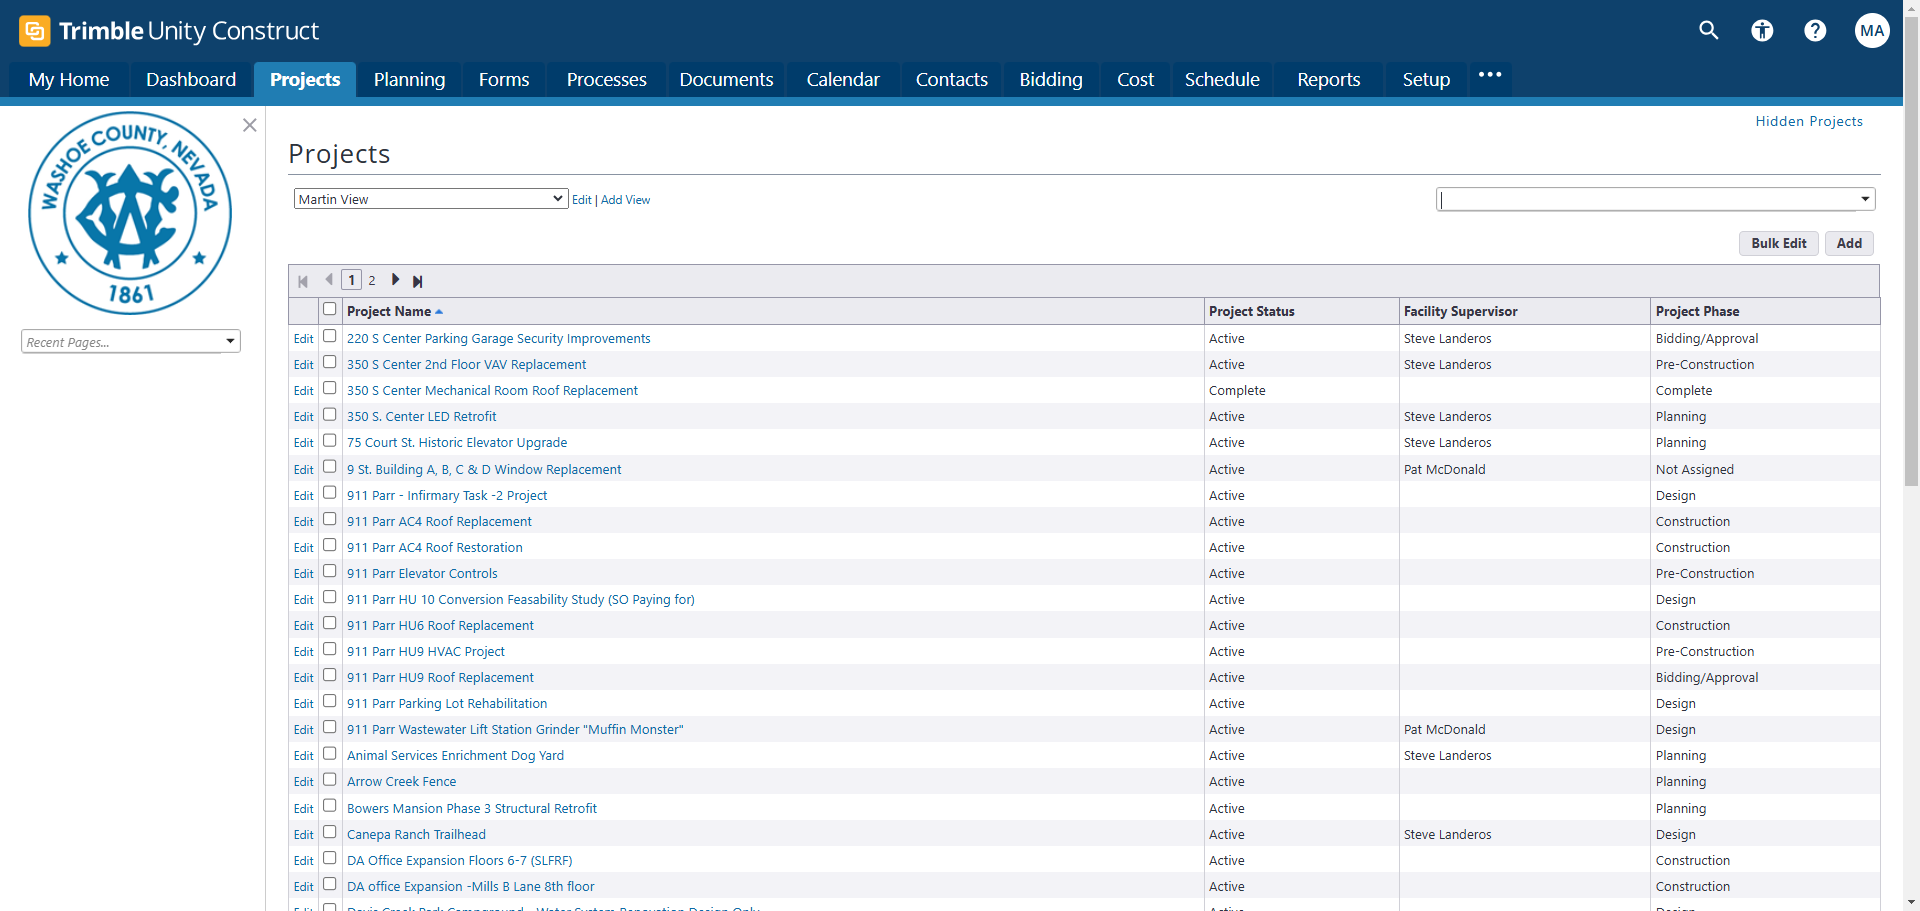
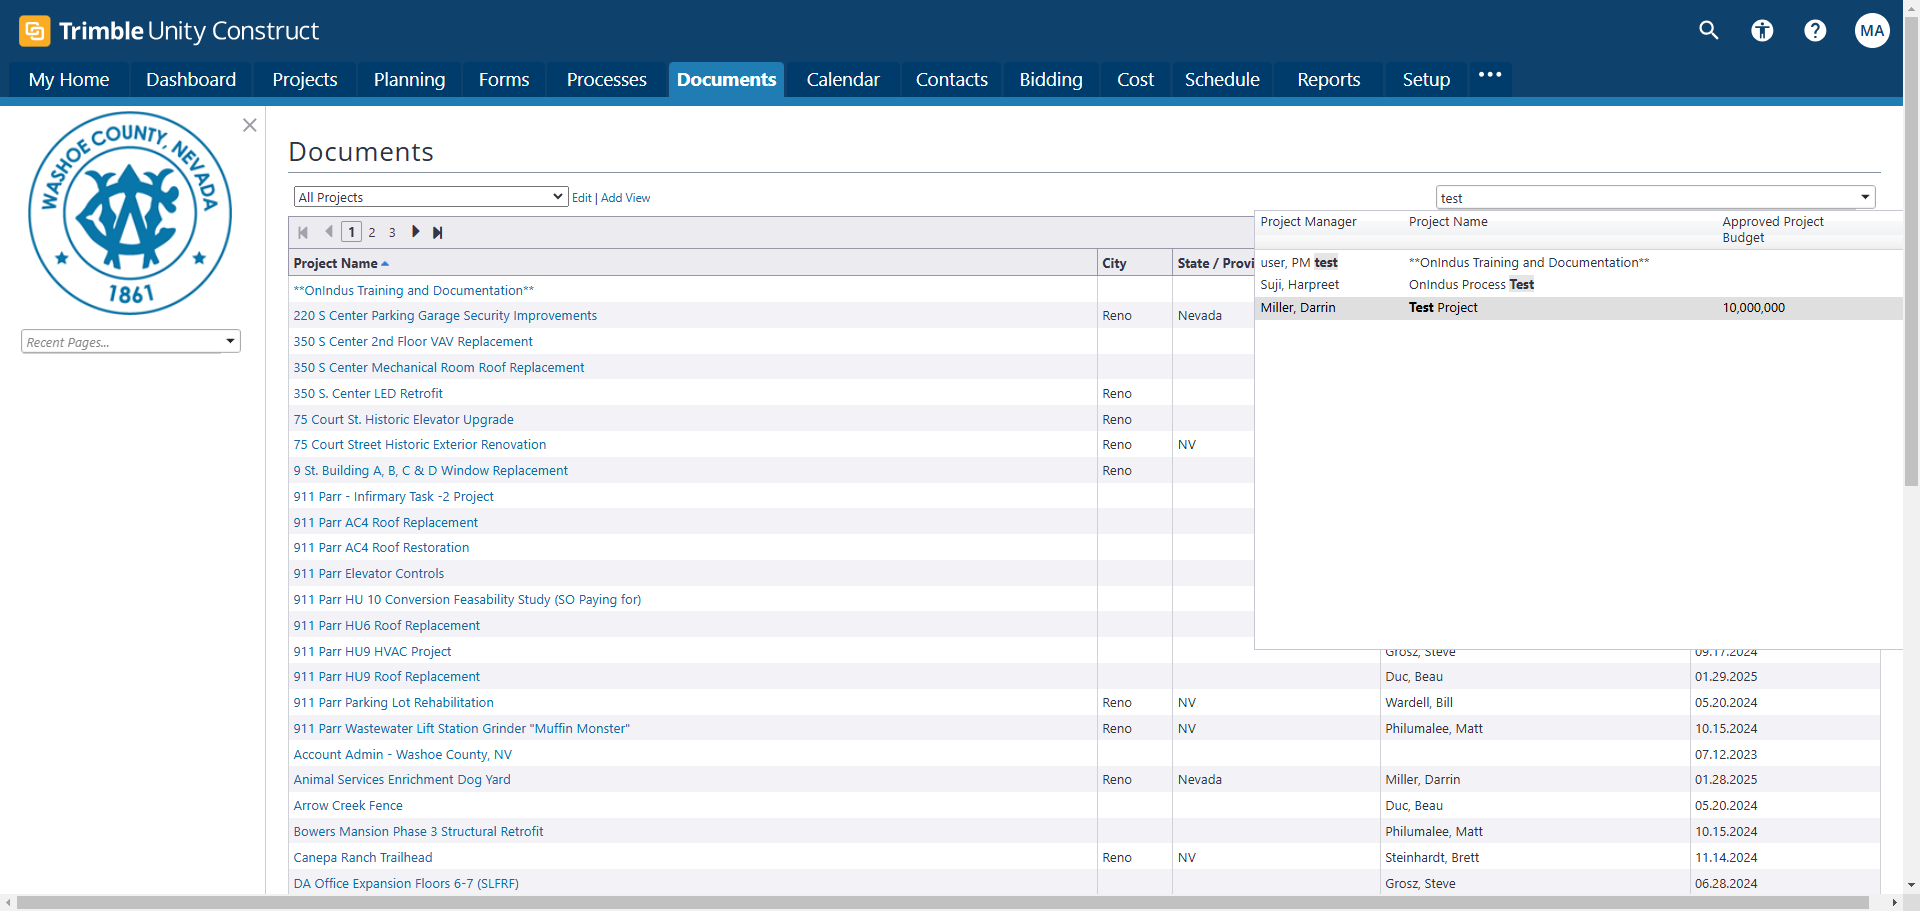
For most of you, nearly all transactions will be in the section called My Processes. Here, you'll handle tasks like invoice approvals, RFIs, commitment approvals, or contract approvals. Currently, I have nothing pending because no processes are assigned to me. To navigate eBuilder, you need to understand its structure. eBuilder is a project-based system, meaning you must access a project to use most functionalities. The best way to do this is by clicking on the Projects tab at the top of the page, which will lead you to a list of projects.

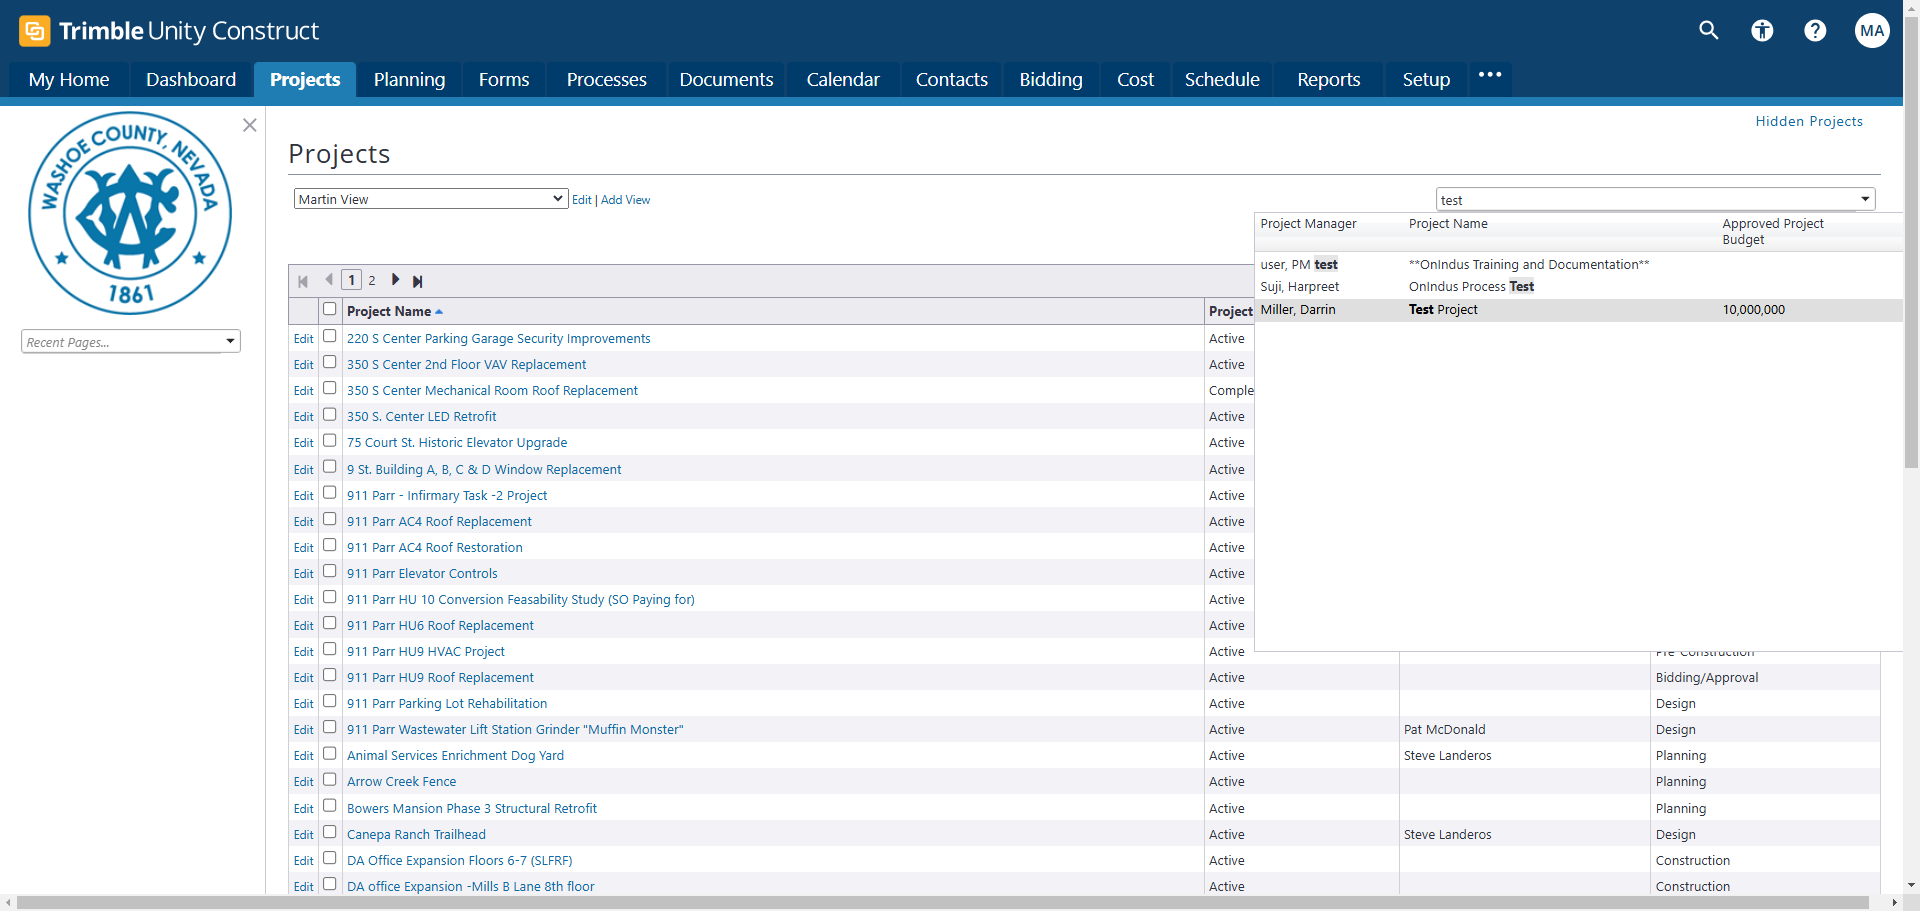
As an administrator, I have visibility into all the projects within the eBuilder account for Washoe County. Some of you may only have access to projects you are assigned to, which is how eBuilder is designed to function. To quickly find a project in a list, use the quick lookup feature by entering keywords. This will help narrow down the list to what you're looking for.
We will access the test project.
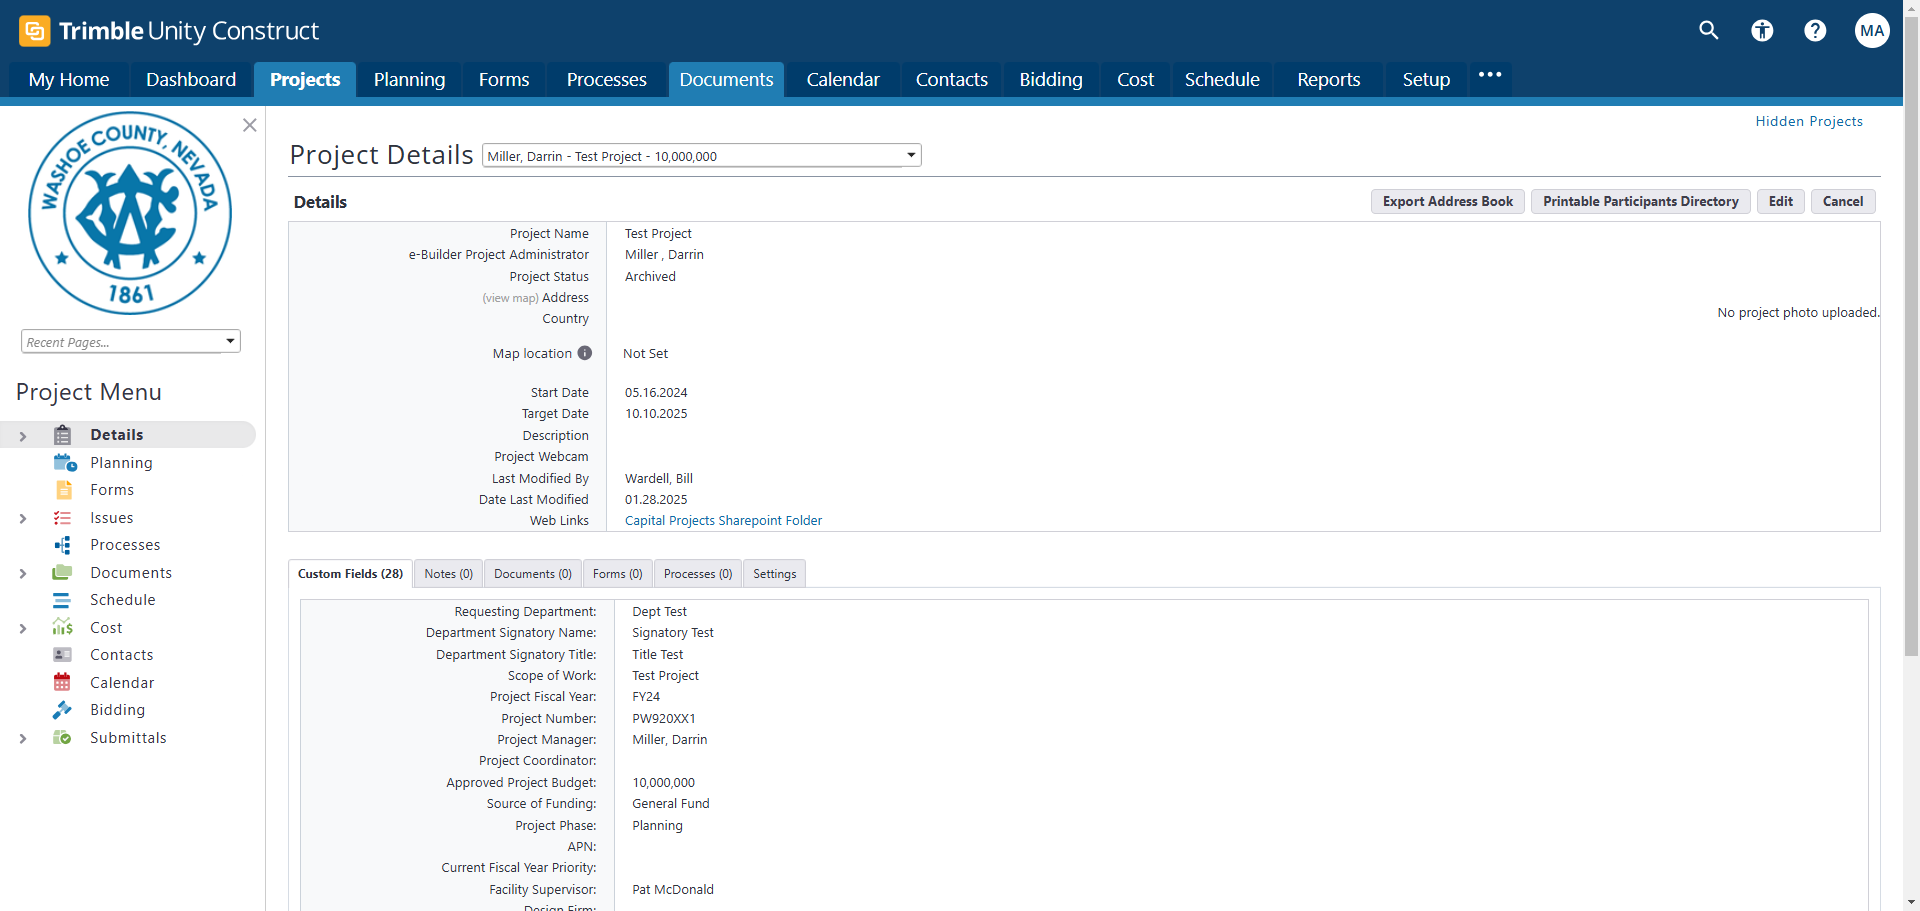
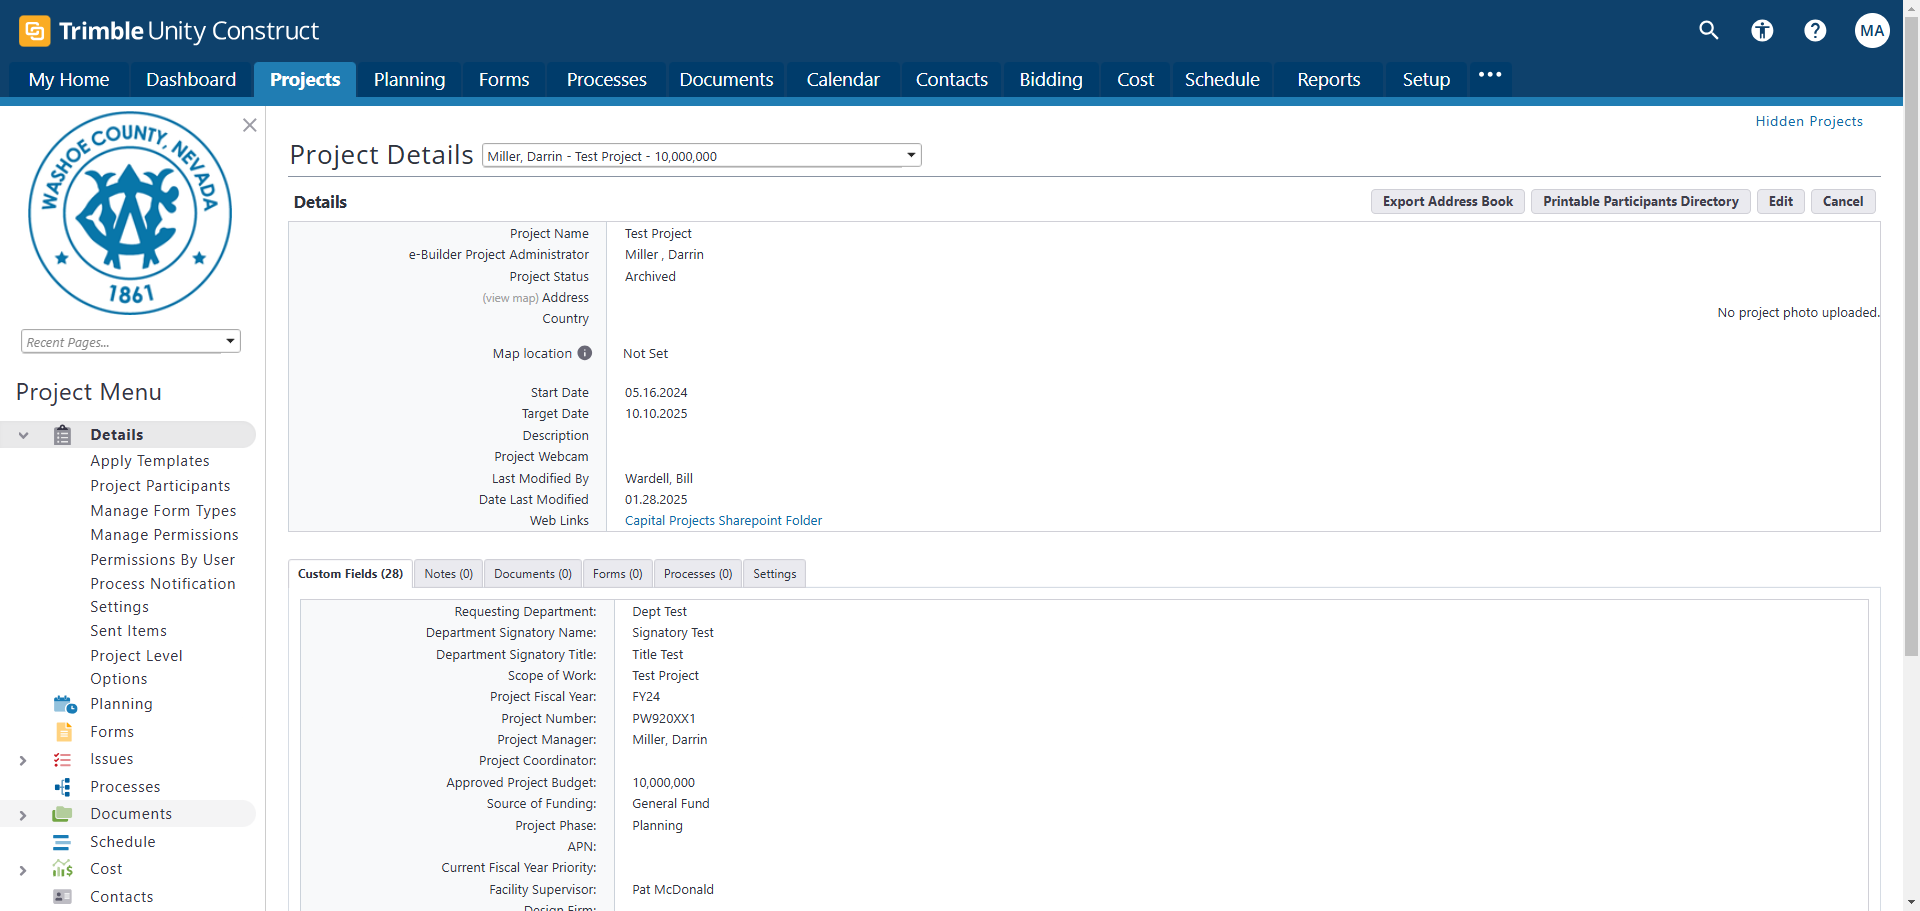
When you access the test project, you'll see high-level information like the project's name, status, start date, and target date. This information is usually entered when the project is created. At the bottom, you'll find the project attributes, including the requesting department, scope of work, fiscal year, project manager, and more. These attributes are also typically added when the project is created in eBuilder.
This page serves as a reference, like the cover page of your project. It always contains the latest information about the project's attributes. Any changes at the attribute level will be updated here. Since this is a general navigation video and training document, ensure you approach eBuilder as a project-based system. To execute most functions in eBuilder, you must first be within your project space.
Now that we are in the project called Test Project, you'll notice it says Project Details 4. Please pay attention to the left-hand side of your screen.

You will see a section called the Project Menu. The Project Menu offers choices similar to those at the top. For example, you will see Documents and Cost in both places. The difference is that once you are within your project, you use the tabs on the left to navigate to what eBuilder calls the Modules within your project.
Modules refer to various functionalities such as Document Management, Schedule Management, Cost Management, and Submittals. When you use the Project Menu, you navigate through these functions within your selected project. Alternatively, if you select a tab like Documents, it will require you to specify the project for which you want to view documents.
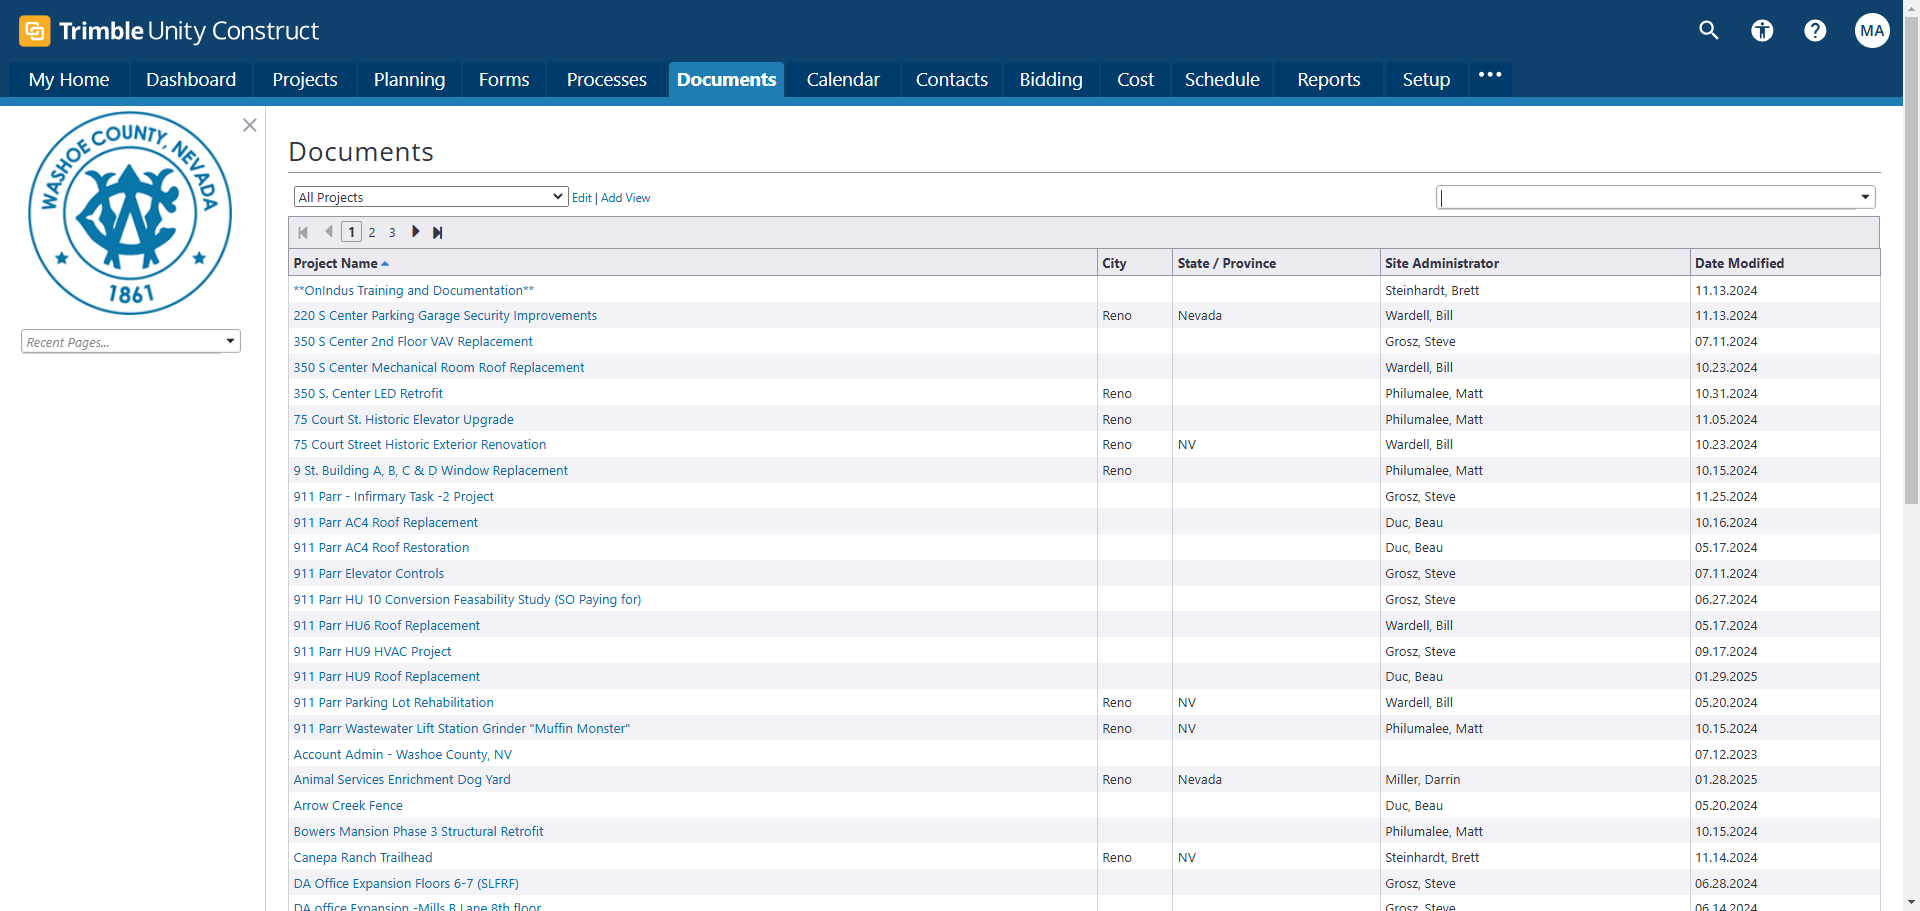
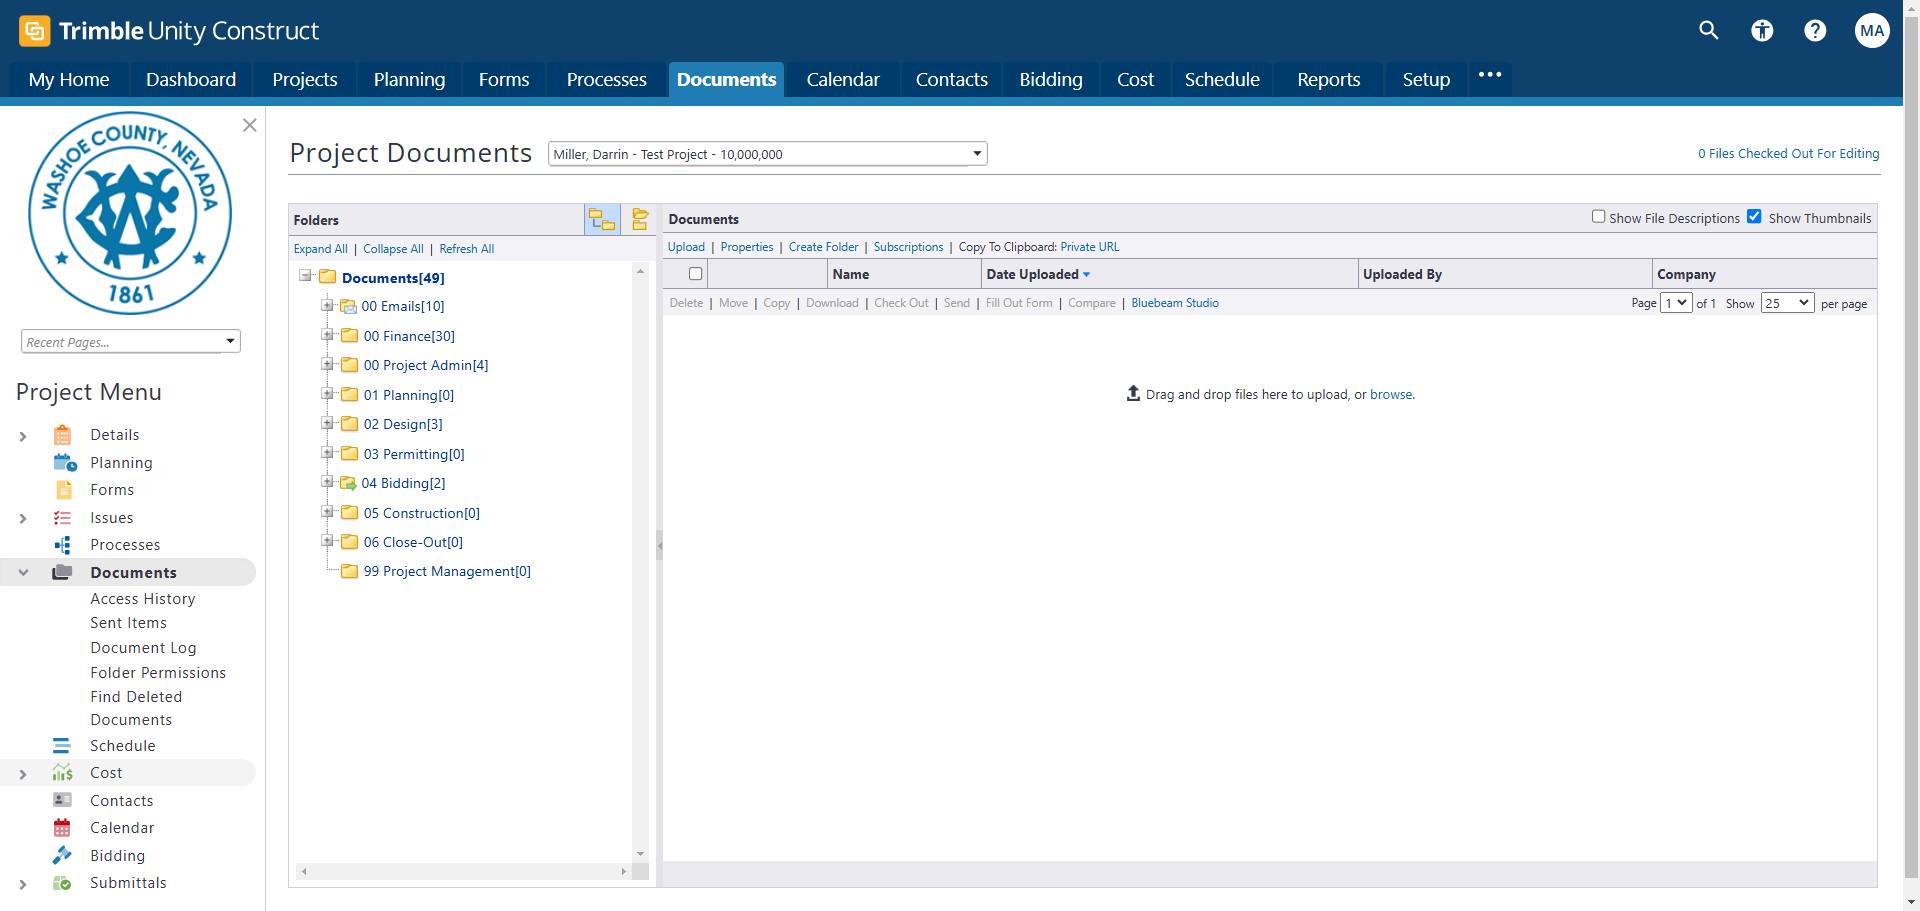
As you saw, I entered the test project, which brought me to the Documents module. When navigating through eBuilder, ensure you select the correct project before executing any functions. Use the tabs on the left to navigate within the project and access various functionalities. We are now in the Documents module for our project. Clicking Details again would return us to the starting page.
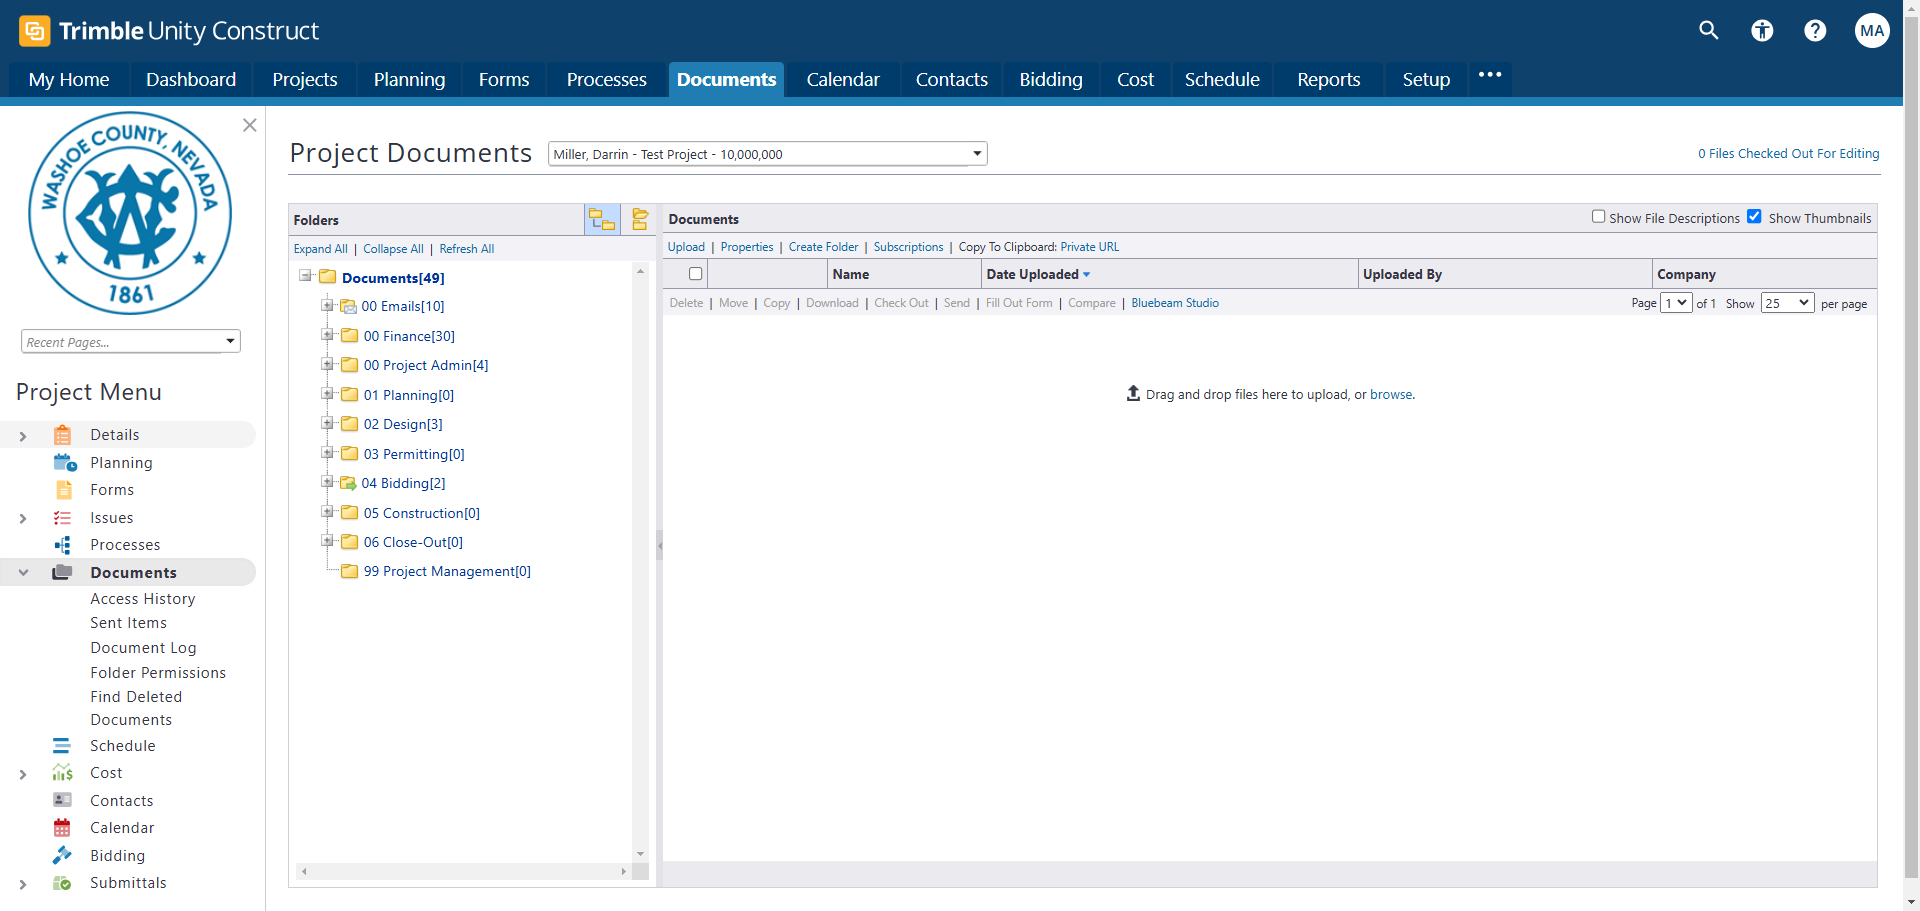
Notice that it keeps me within the project. Another indicator of being within a project is to pay attention to what it says at the top of the page. If I go back to Documents, you'll see it says Documents for the test project.
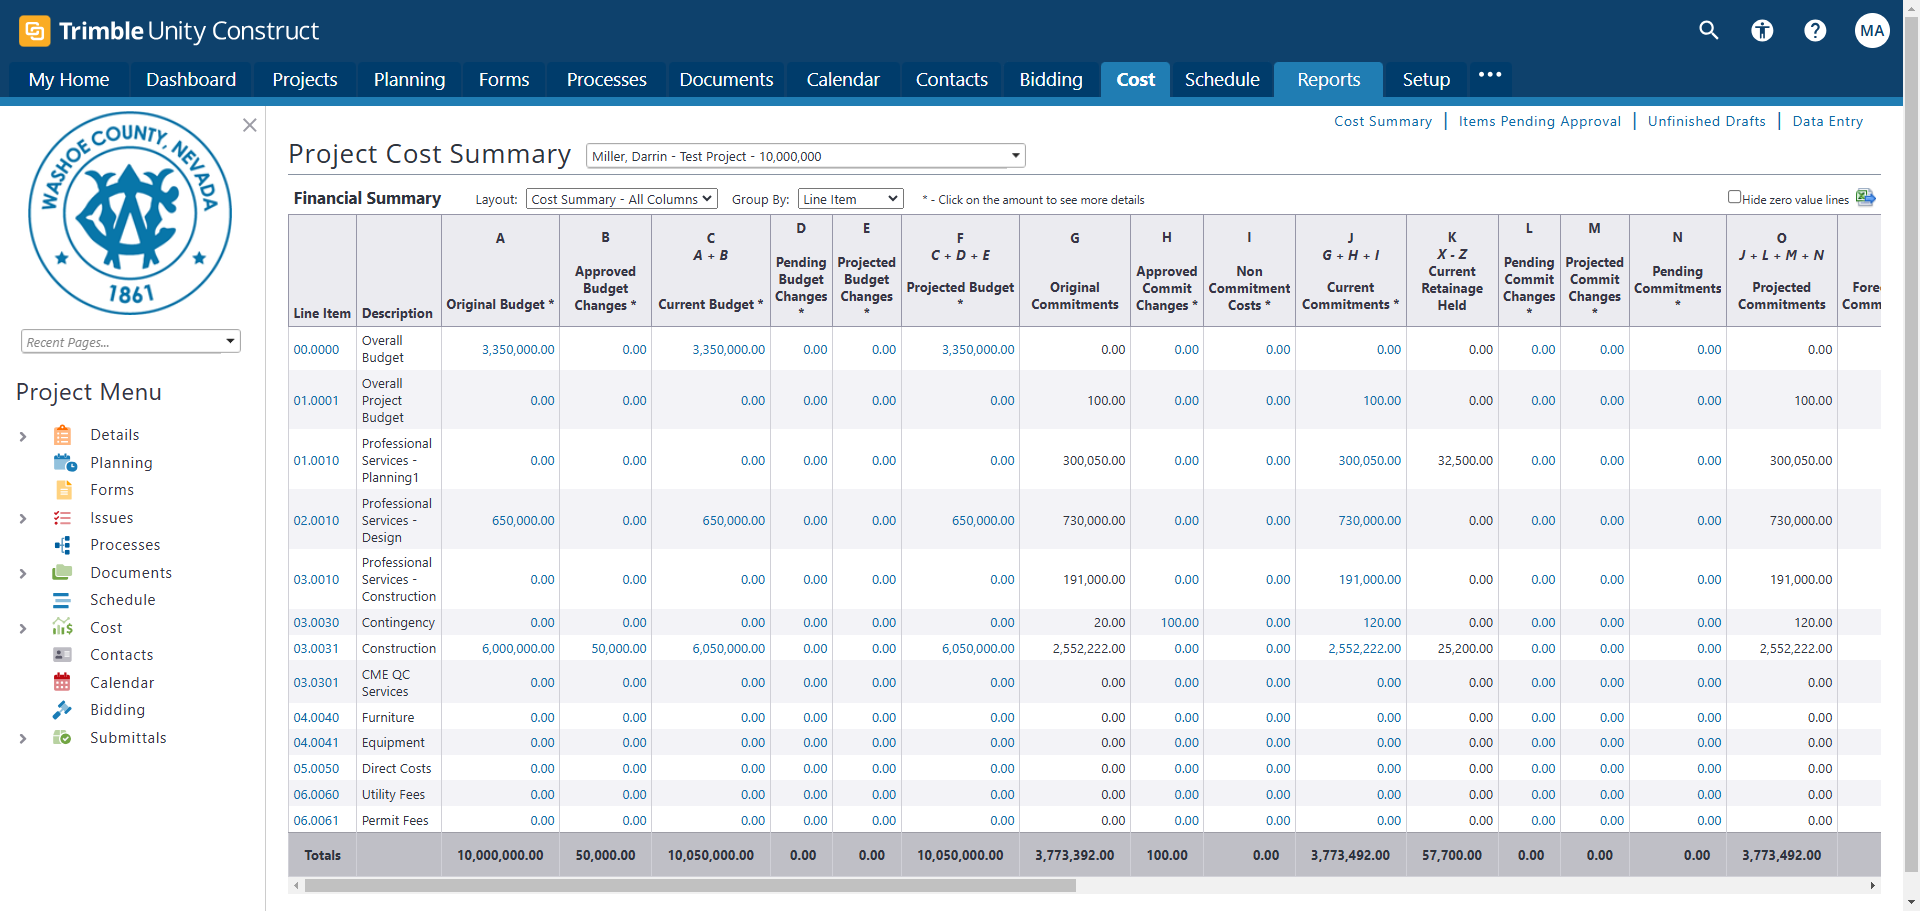
If I go to Cost, it will display the Cost Summary for the test project.
The key is to always know your location when navigating through eBuilder. Understand the project you are about to execute, regardless of the function you intend to perform.

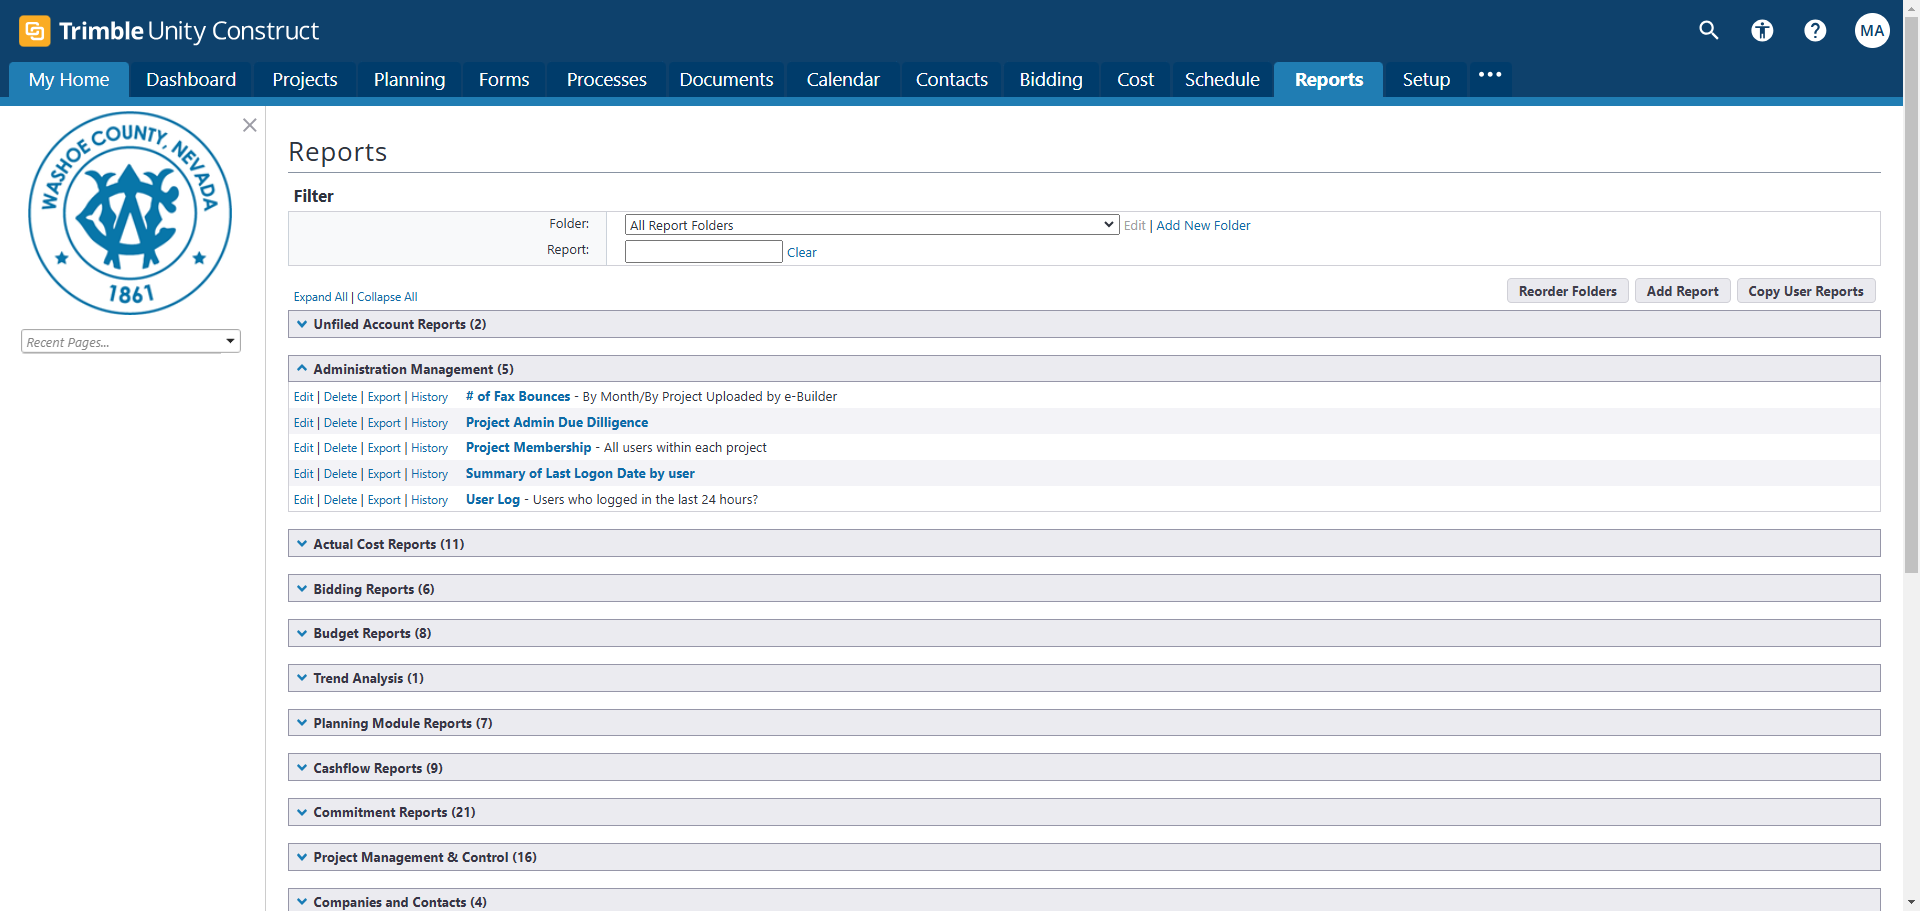
One exception to the rules within a project is the reporting tool. There will be a comprehensive video on reports. However, I want to highlight that, from a navigation perspective, reports are the exception to the rule.
You don't need to choose a project to access the reports. However, you must access a project to execute most tasks. Returning to Home is where we start.
To review, I'll click on the Projects tab.

I will look up the project where I intend to execute a function. Then, I will click on the Documents module as a general navigation guide.


Thank you for watching this video. Please contact your administrators if you have any additional questions about general navigation. Have a great day.