How to Re-Address Fees After a Plan Top-Up
Learn how to correctly update and re-address fees after putting a plan top-up in force, including setting provider payments and updating fee statuses.
By Elliott Potter
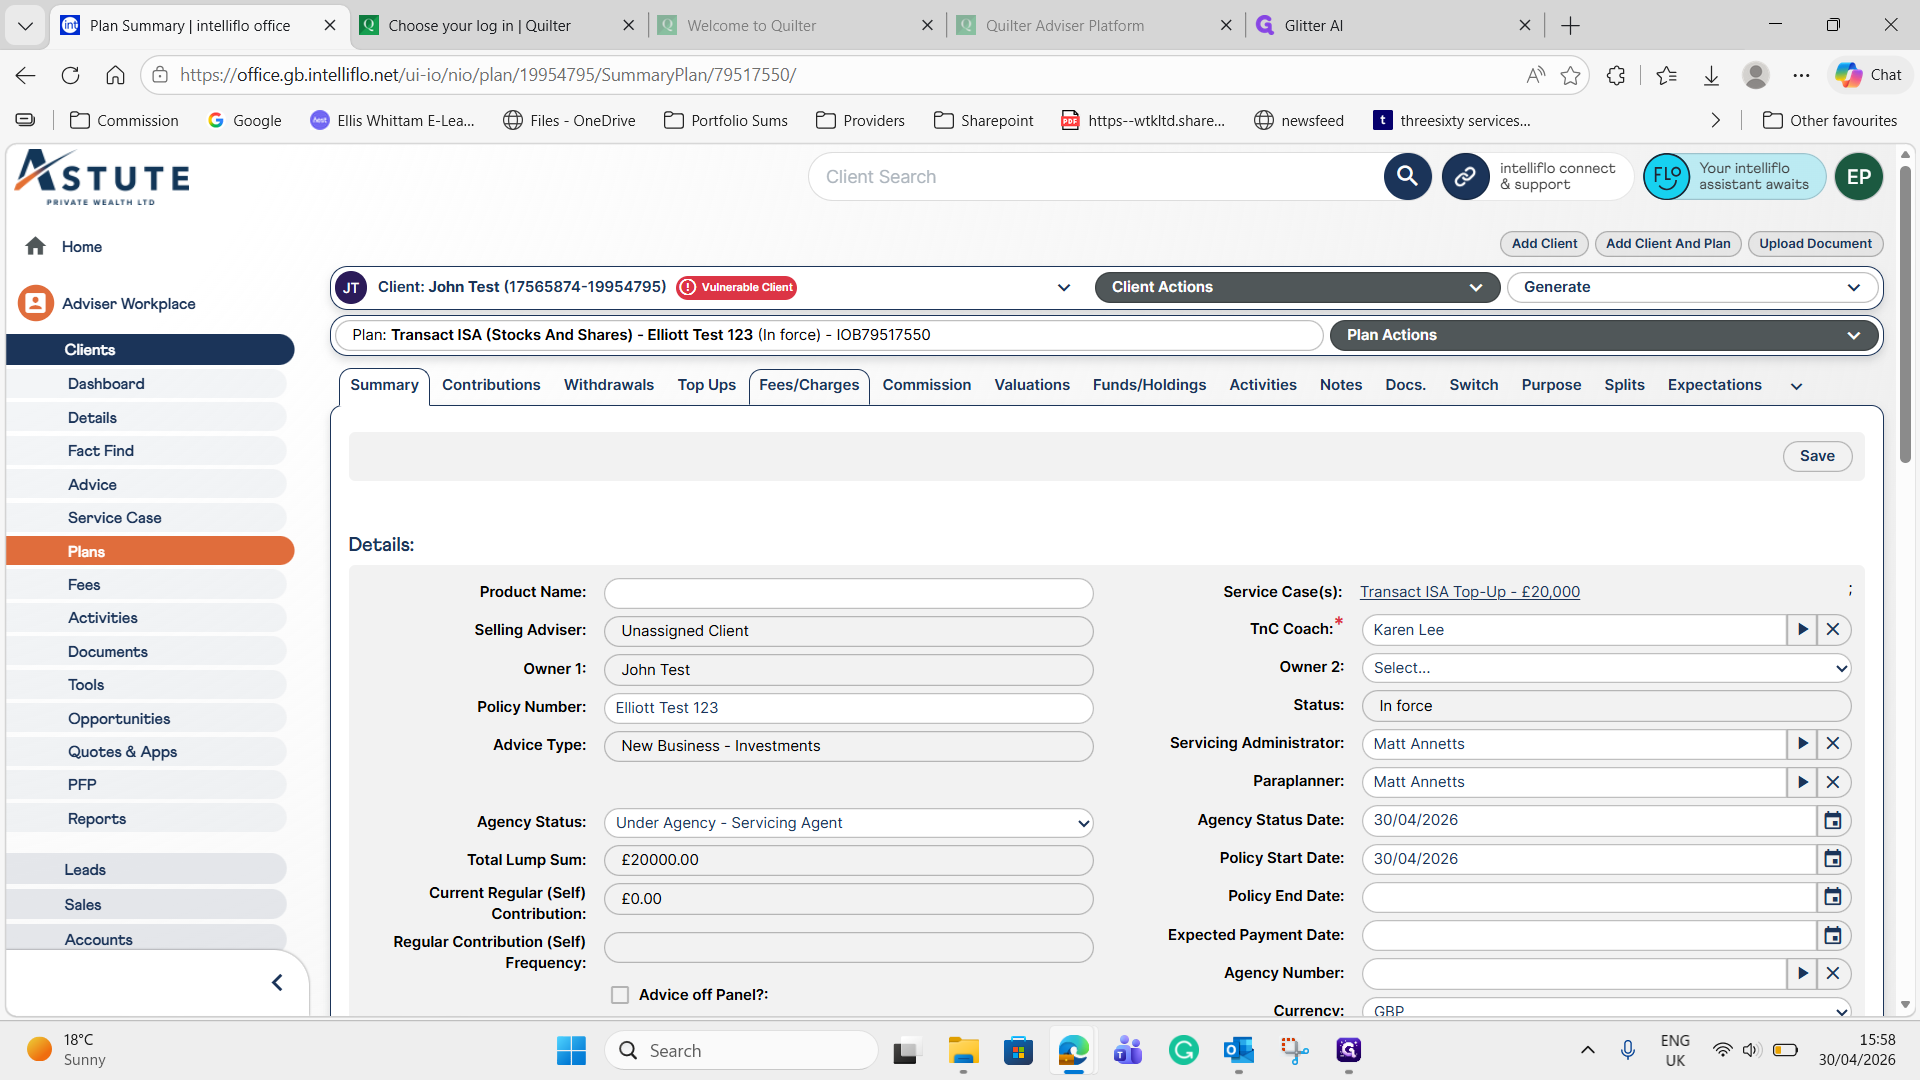
Once a plan top-up has been put in force, you need to re-address the associated fees to ensure they are properly allocated and marked as due for the income team.
Access the Draft Fee
First, locate the draft initial fee associated with your recent top-up.
1
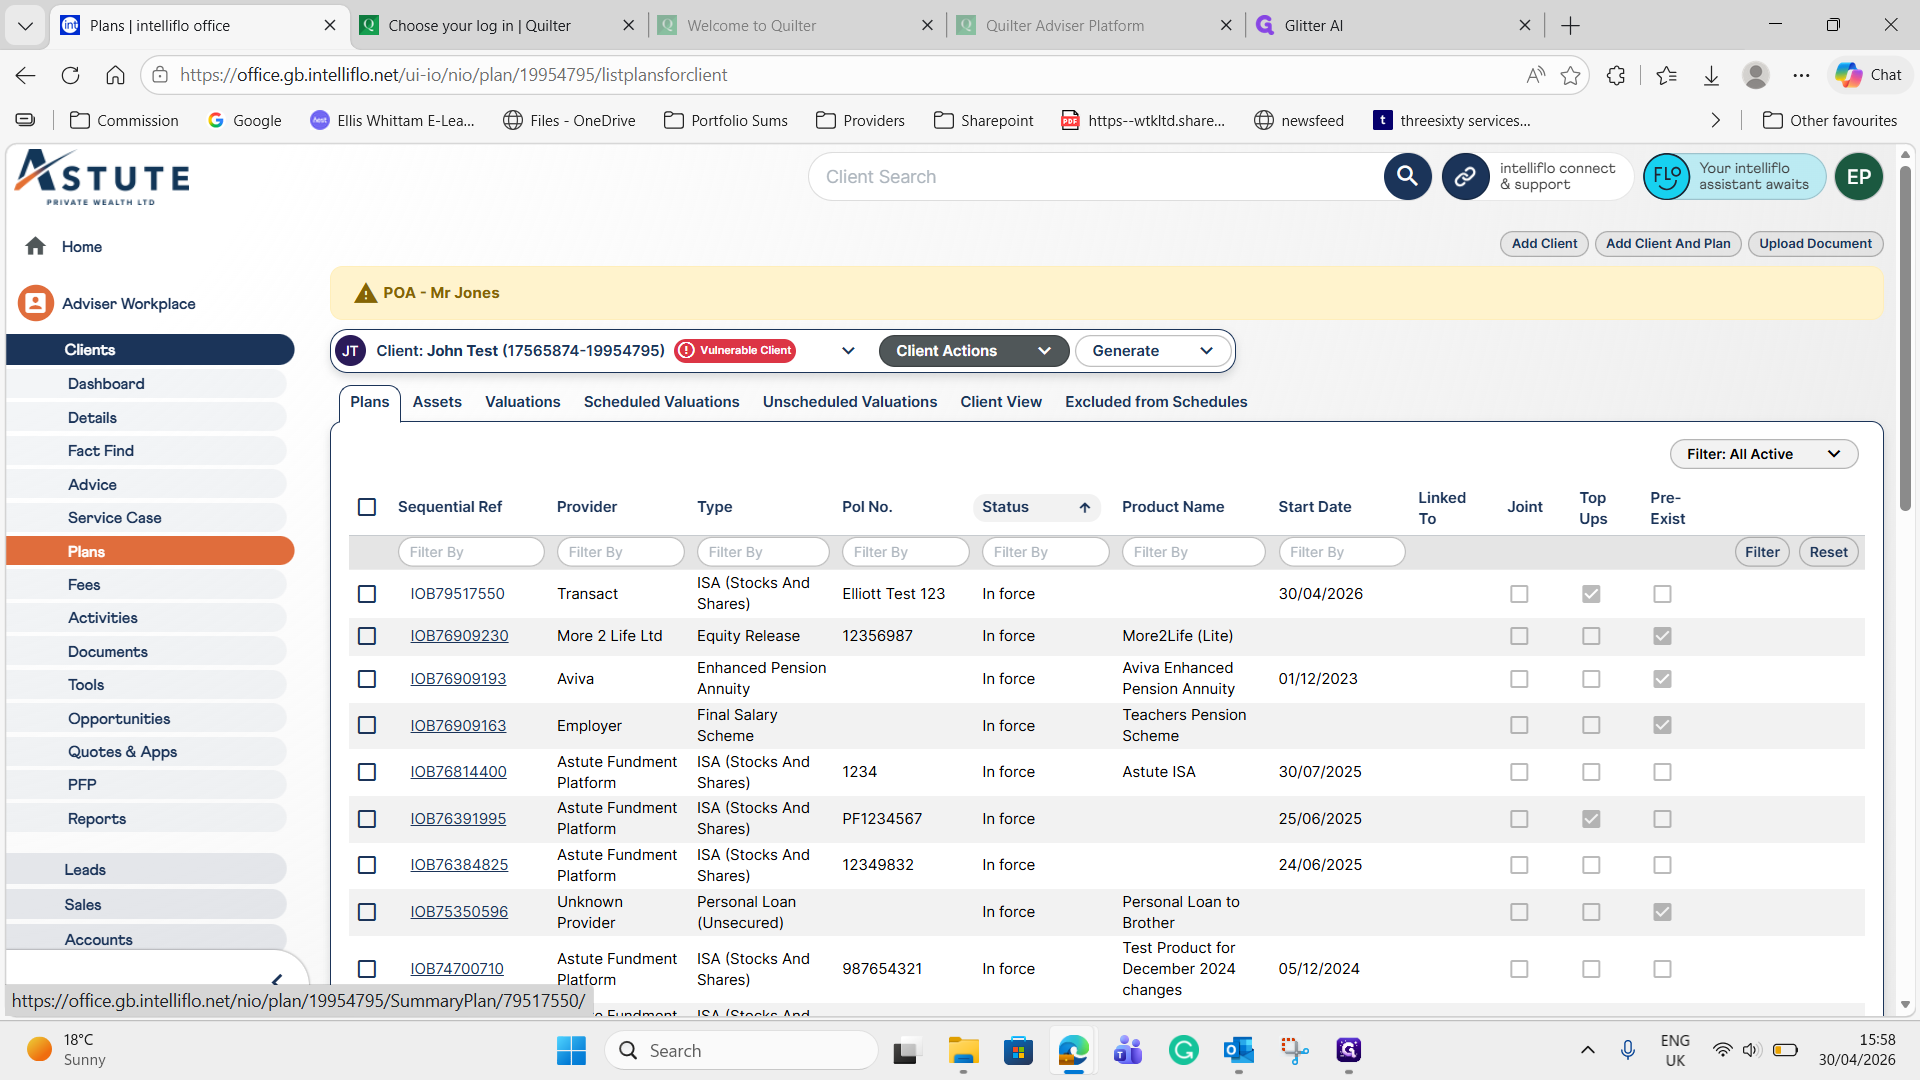
Click the plan reference link (e.g., IOB79517550) from the dashboard.
2
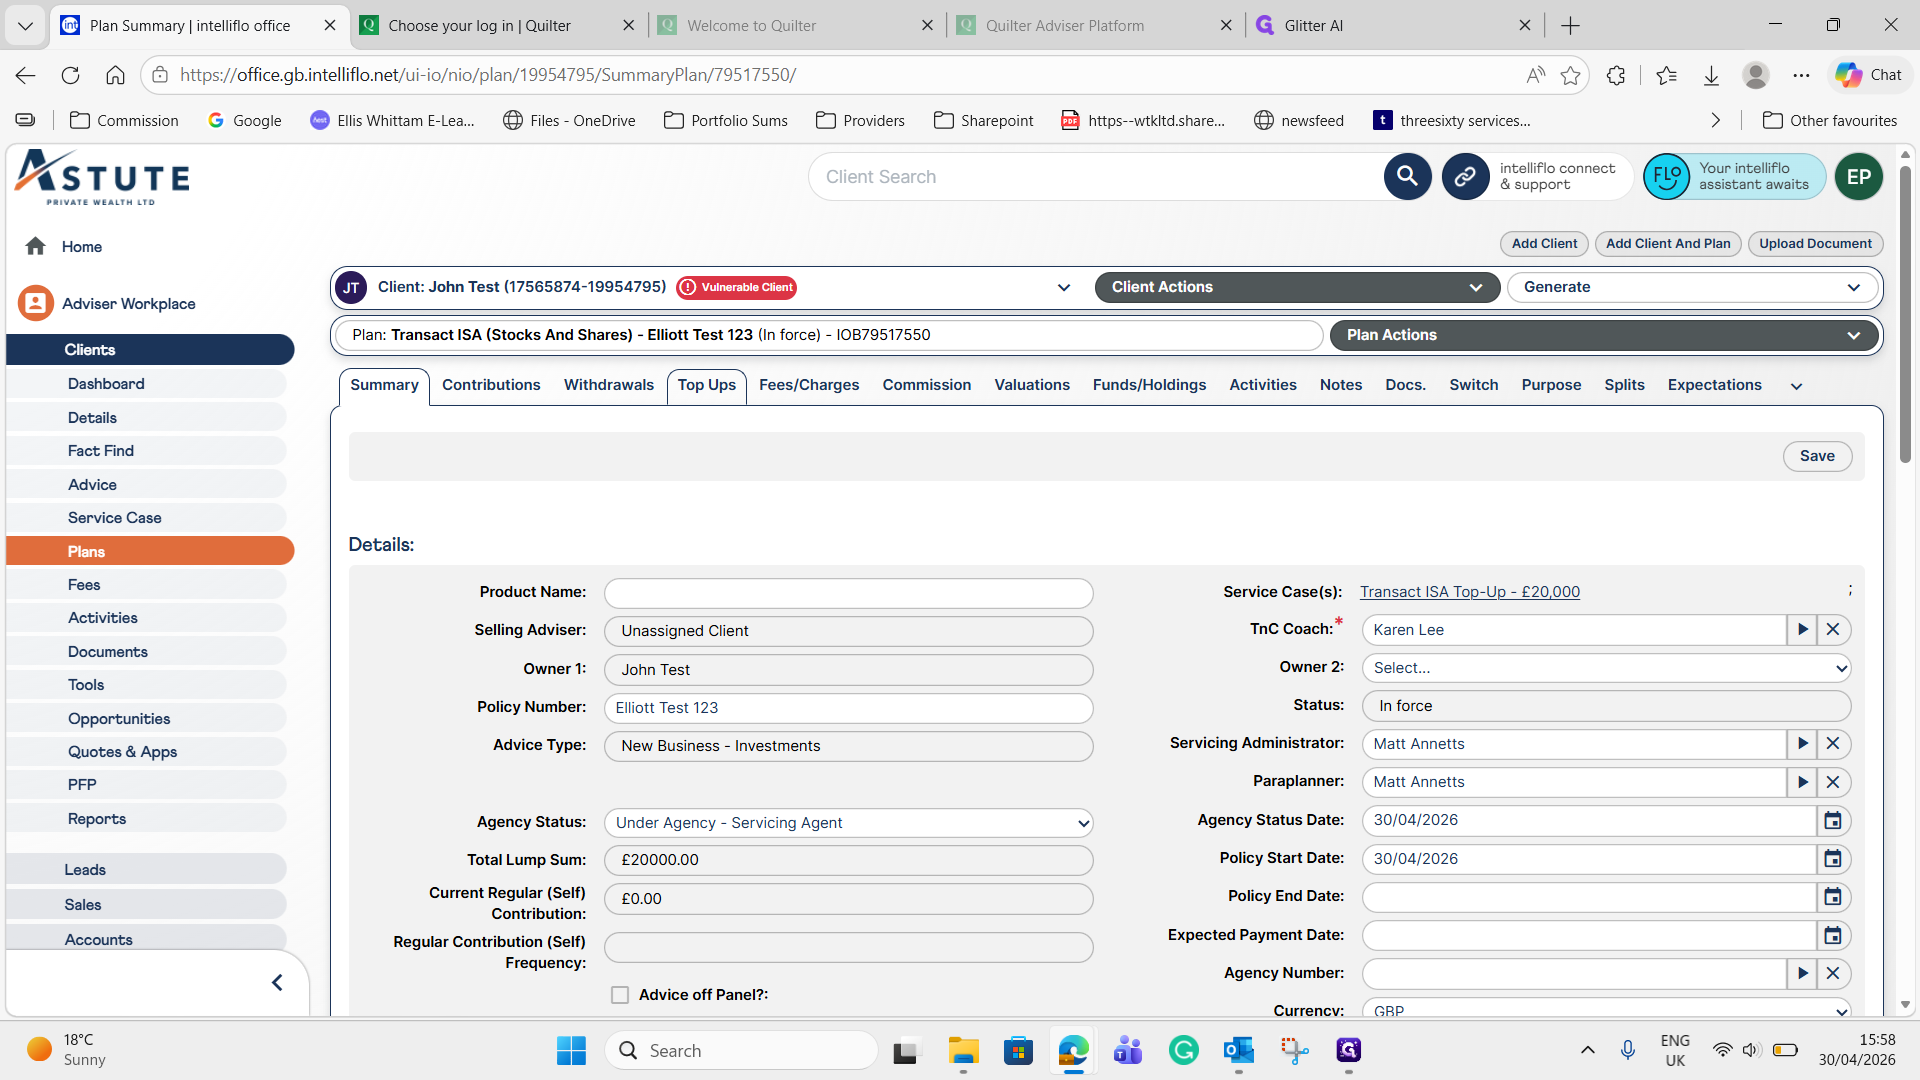
Navigate to the Top Ups tab.
3
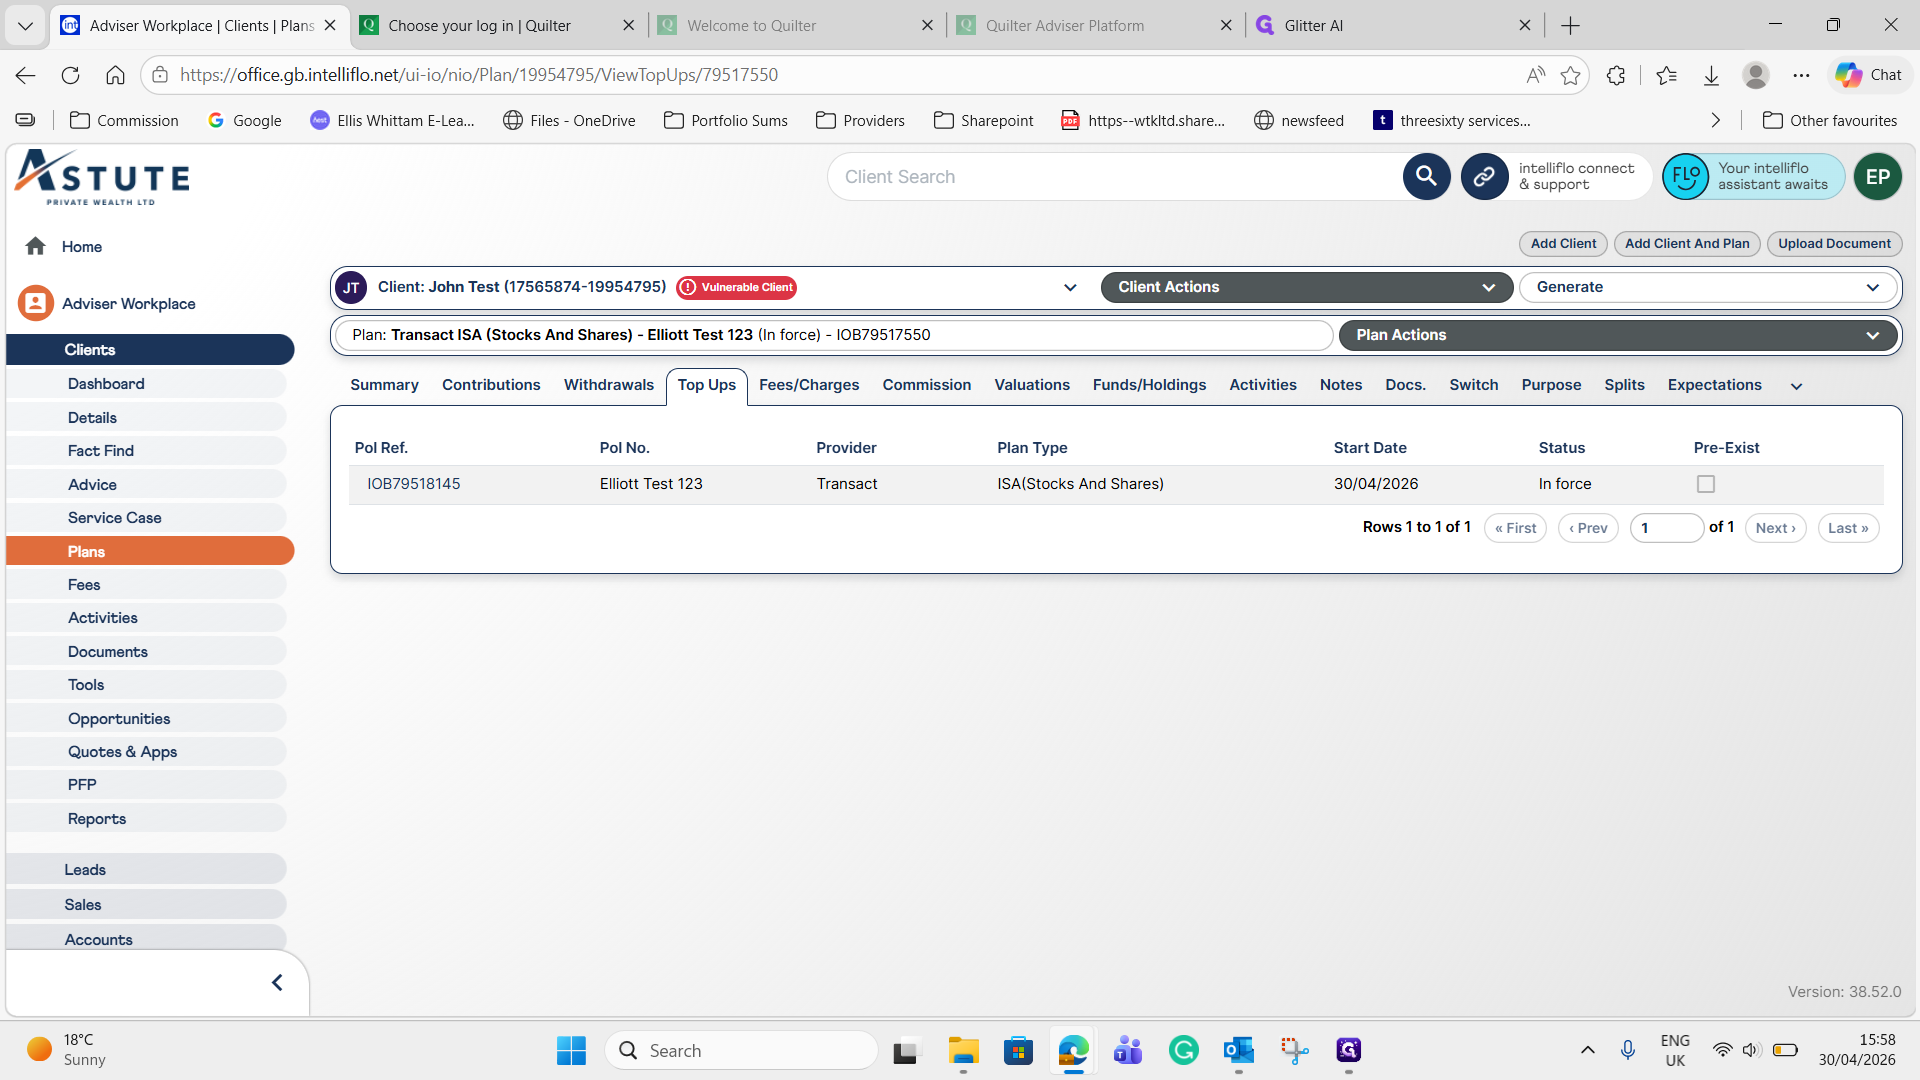
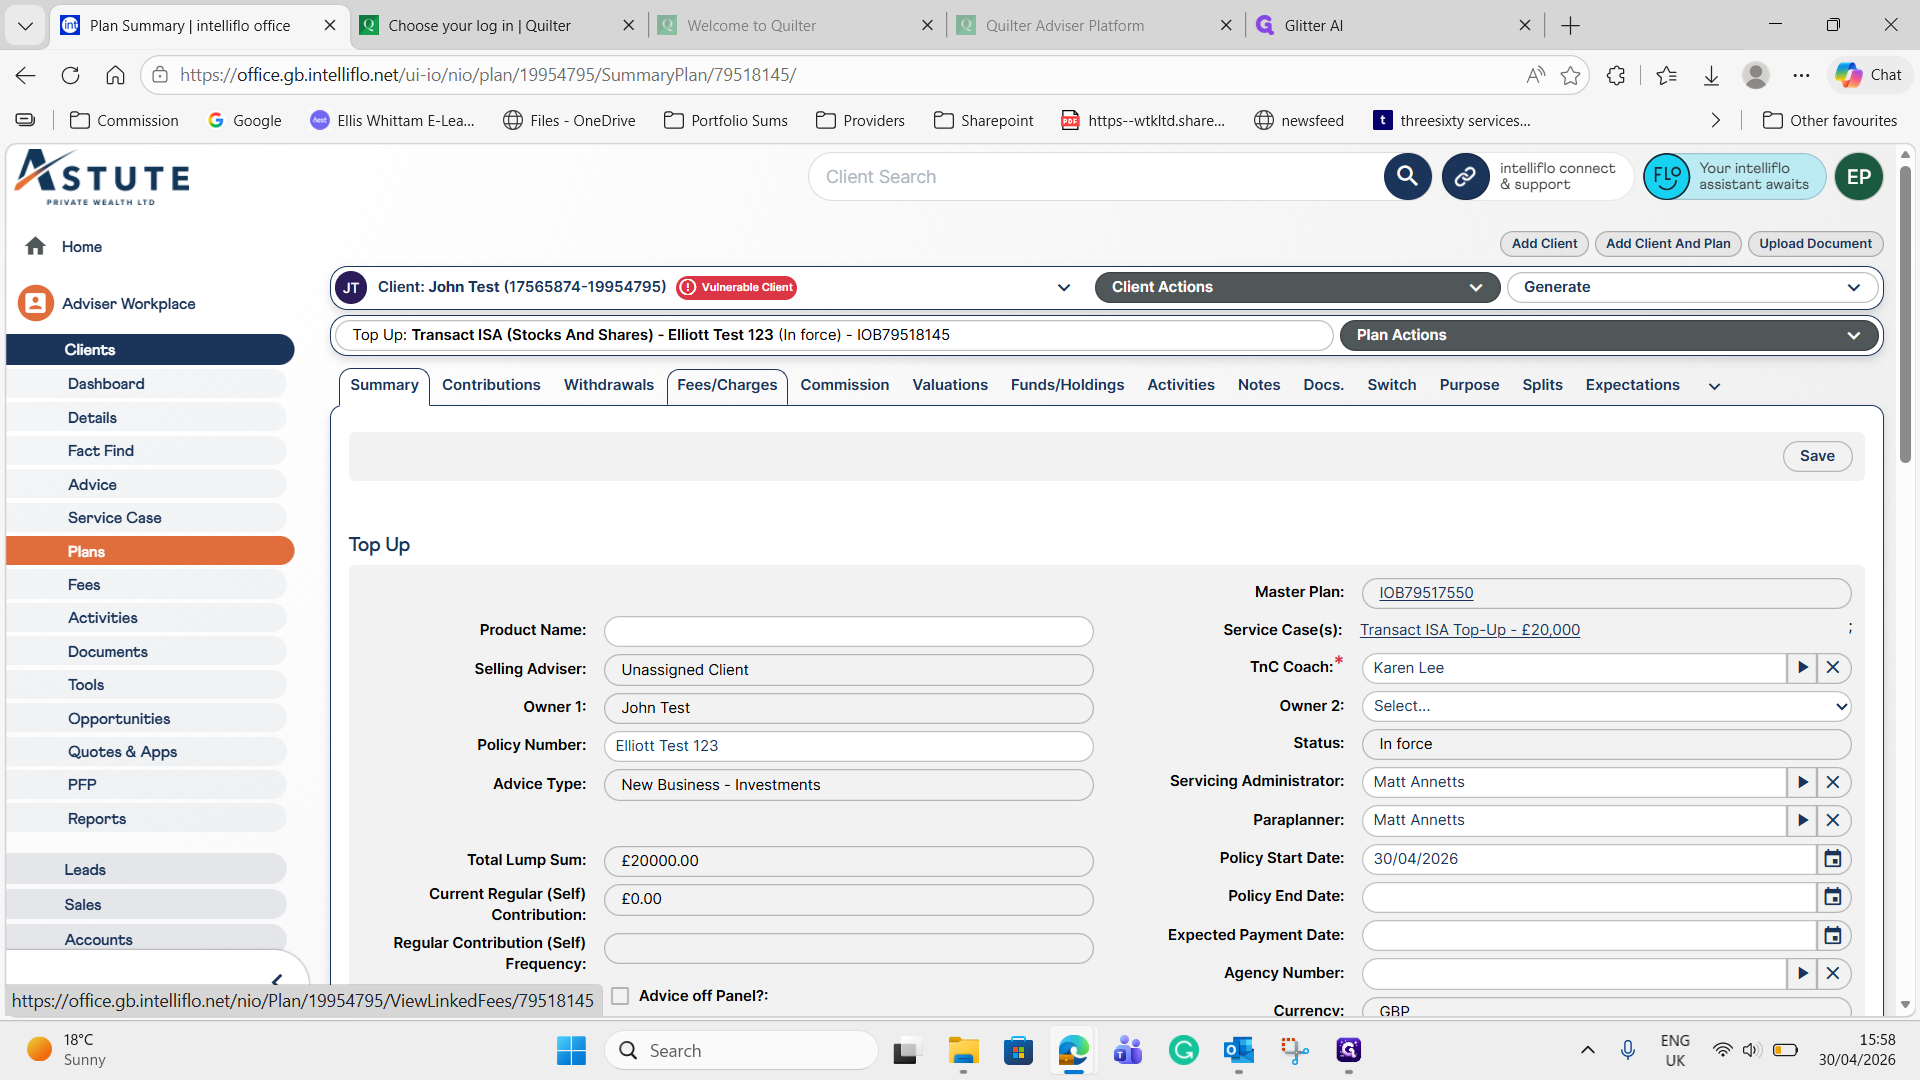
Click the relevant top-up reference link (e.g., IOB79518145).
4
Click the Fees / Charges tab.
Update Fee Details
Next, update the fee details to specify the payment provider and verify the amounts.
5
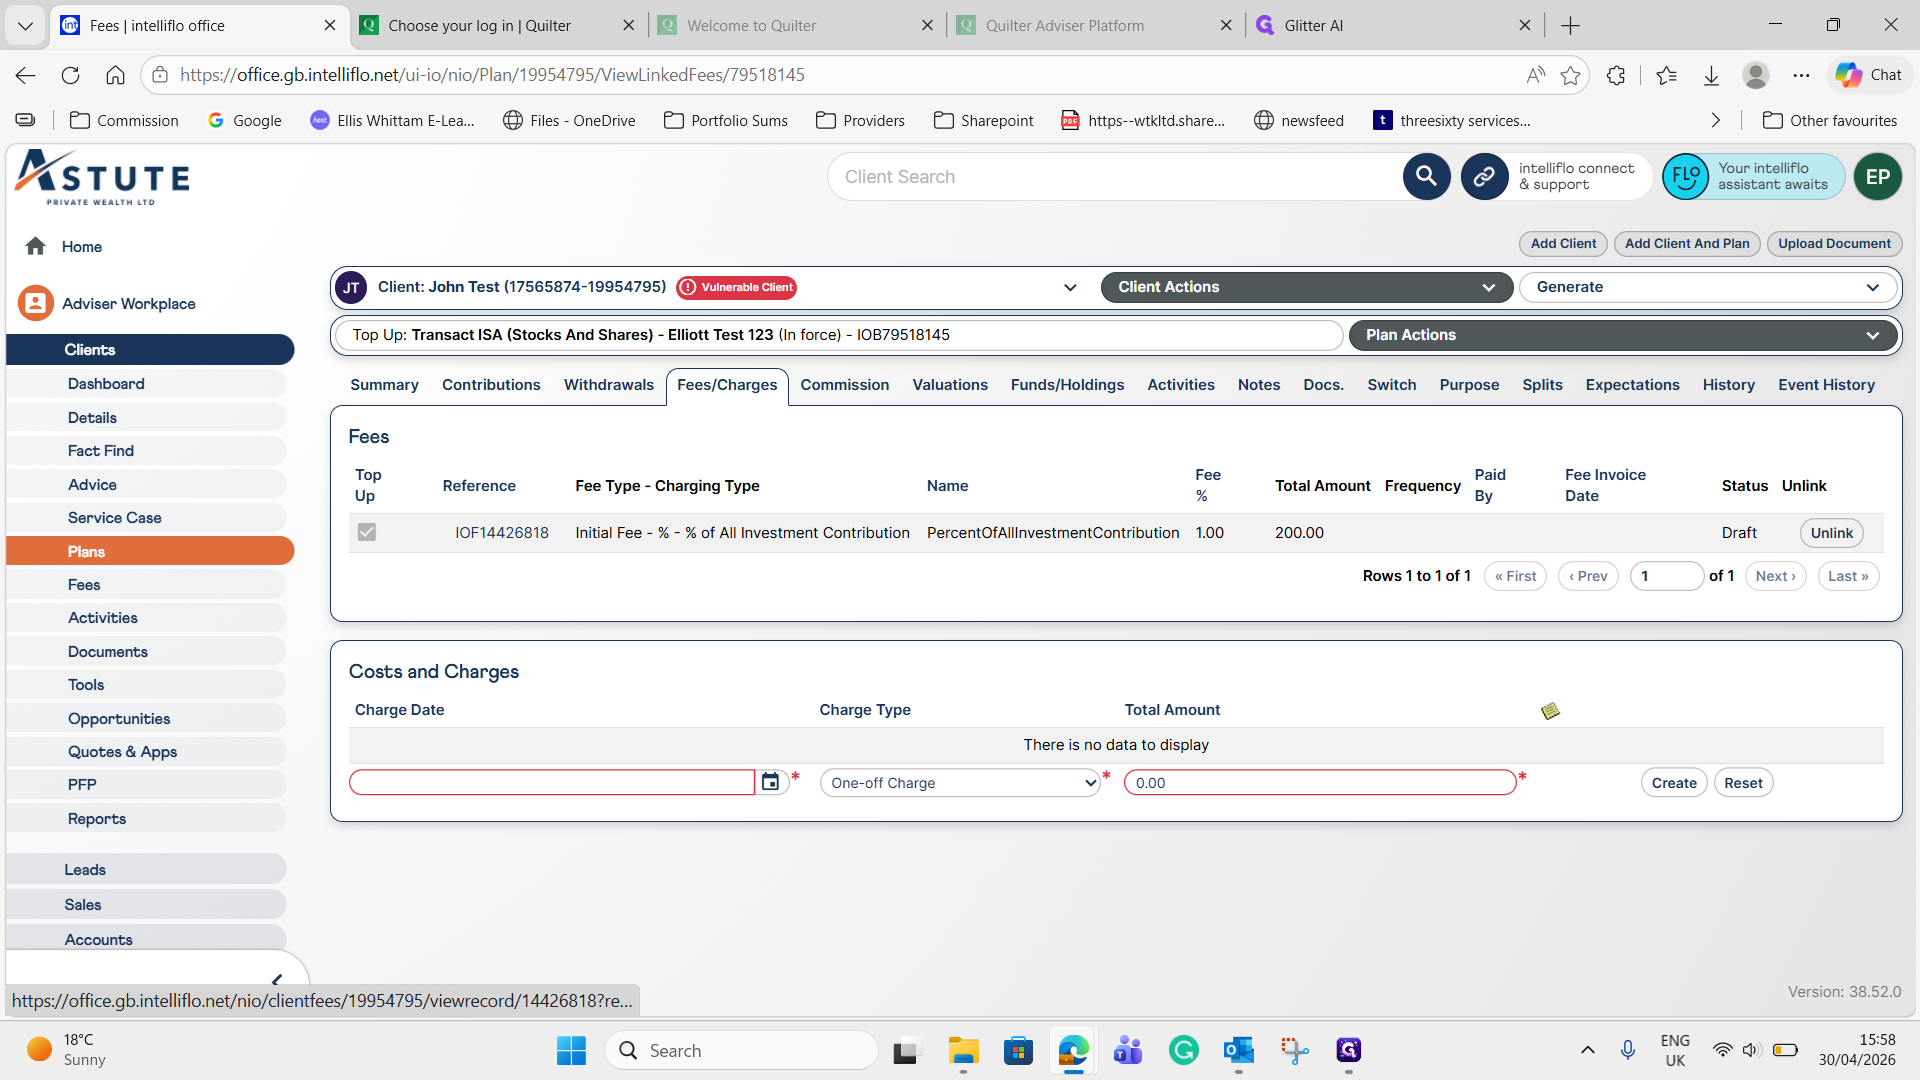
Click the draft fee reference (e.g., IOF14426818) to open its details.
6
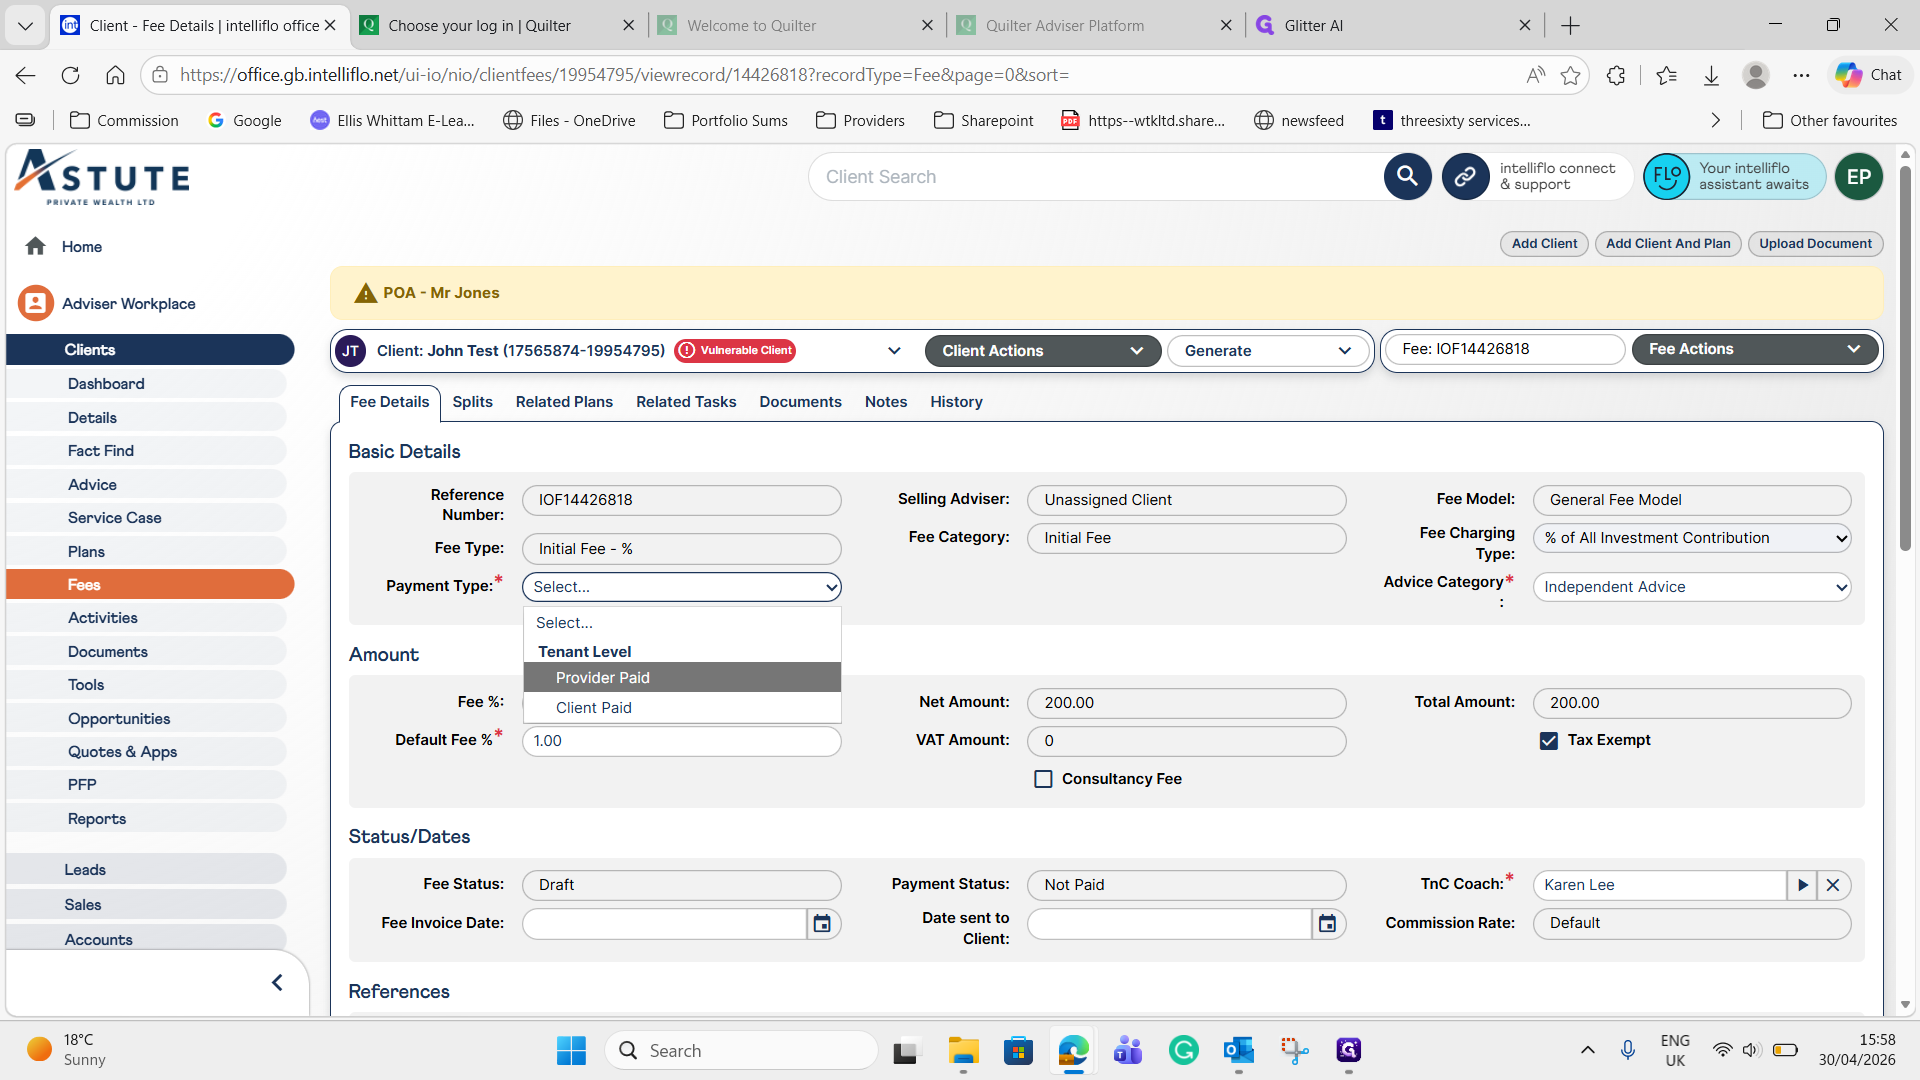
Select Provider Paid from the payment type dropdown.
7
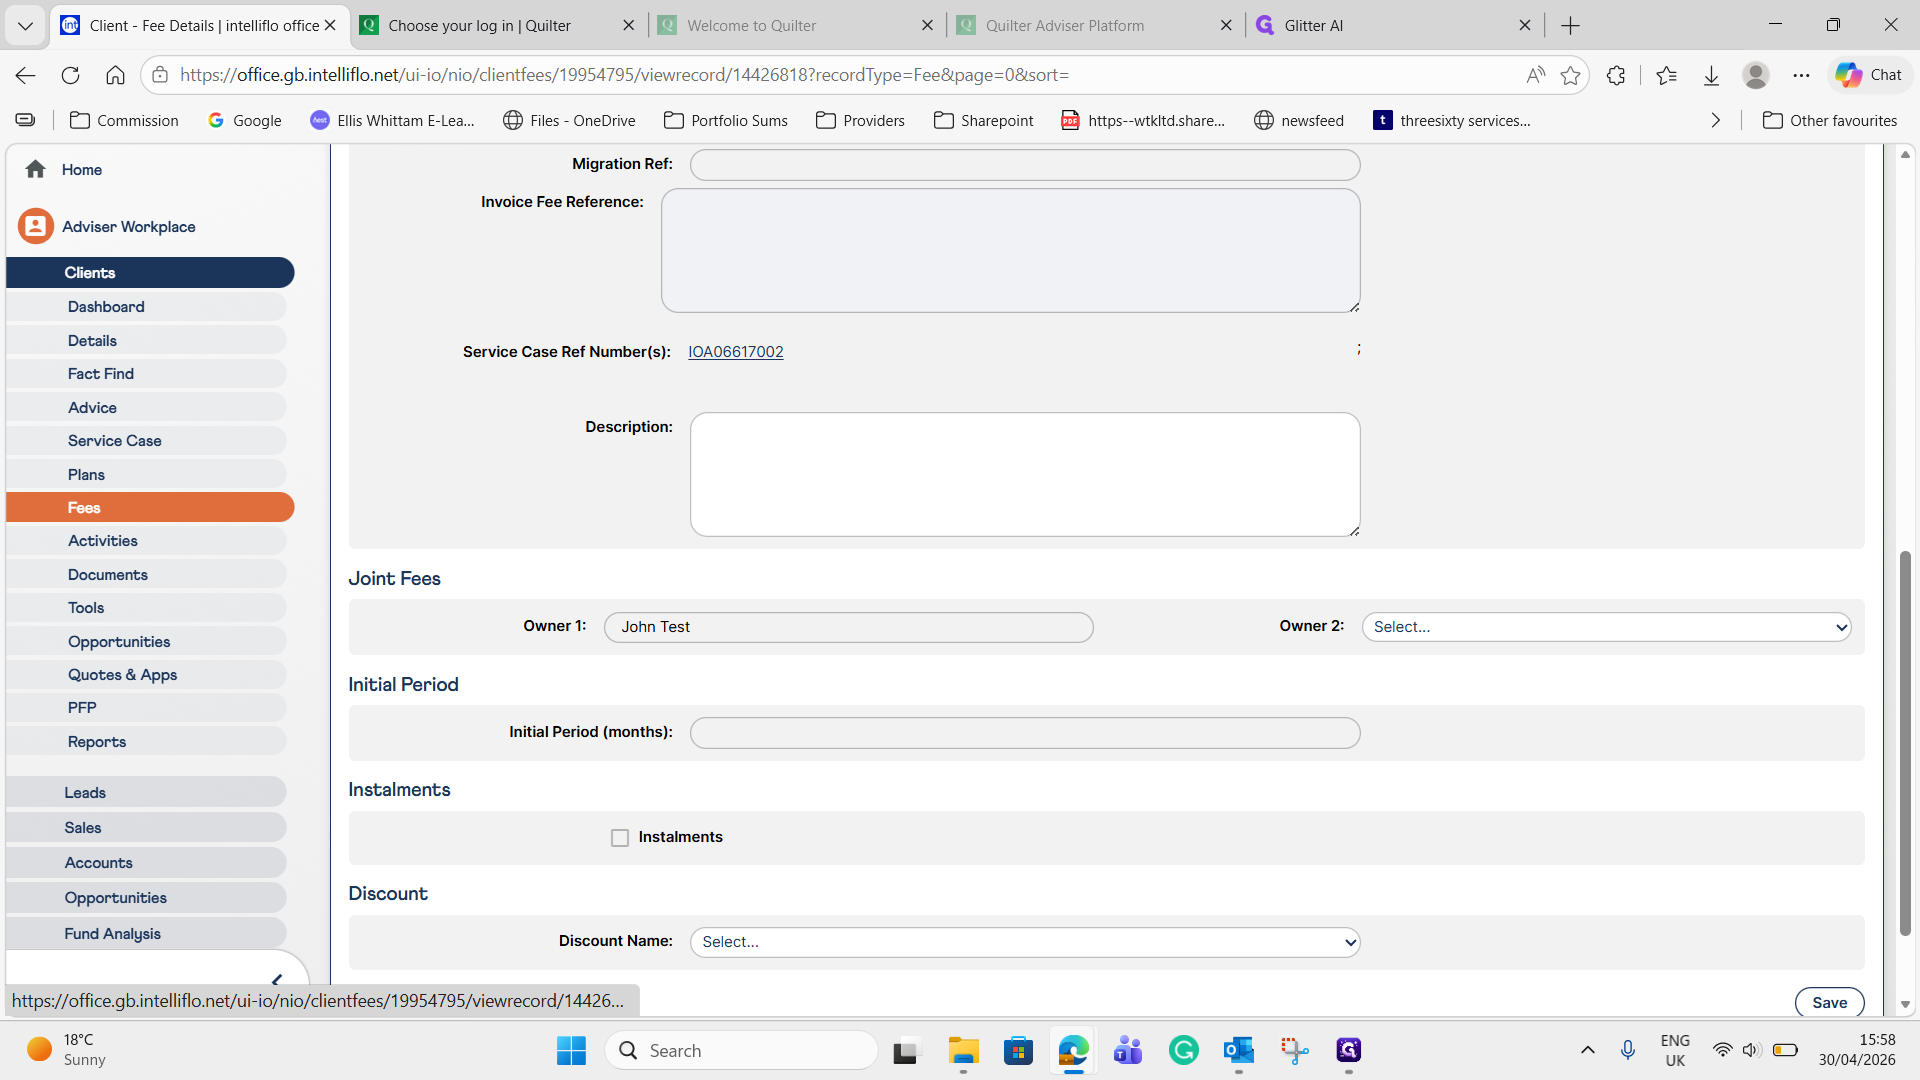
Click Save.
Change the Fee Status
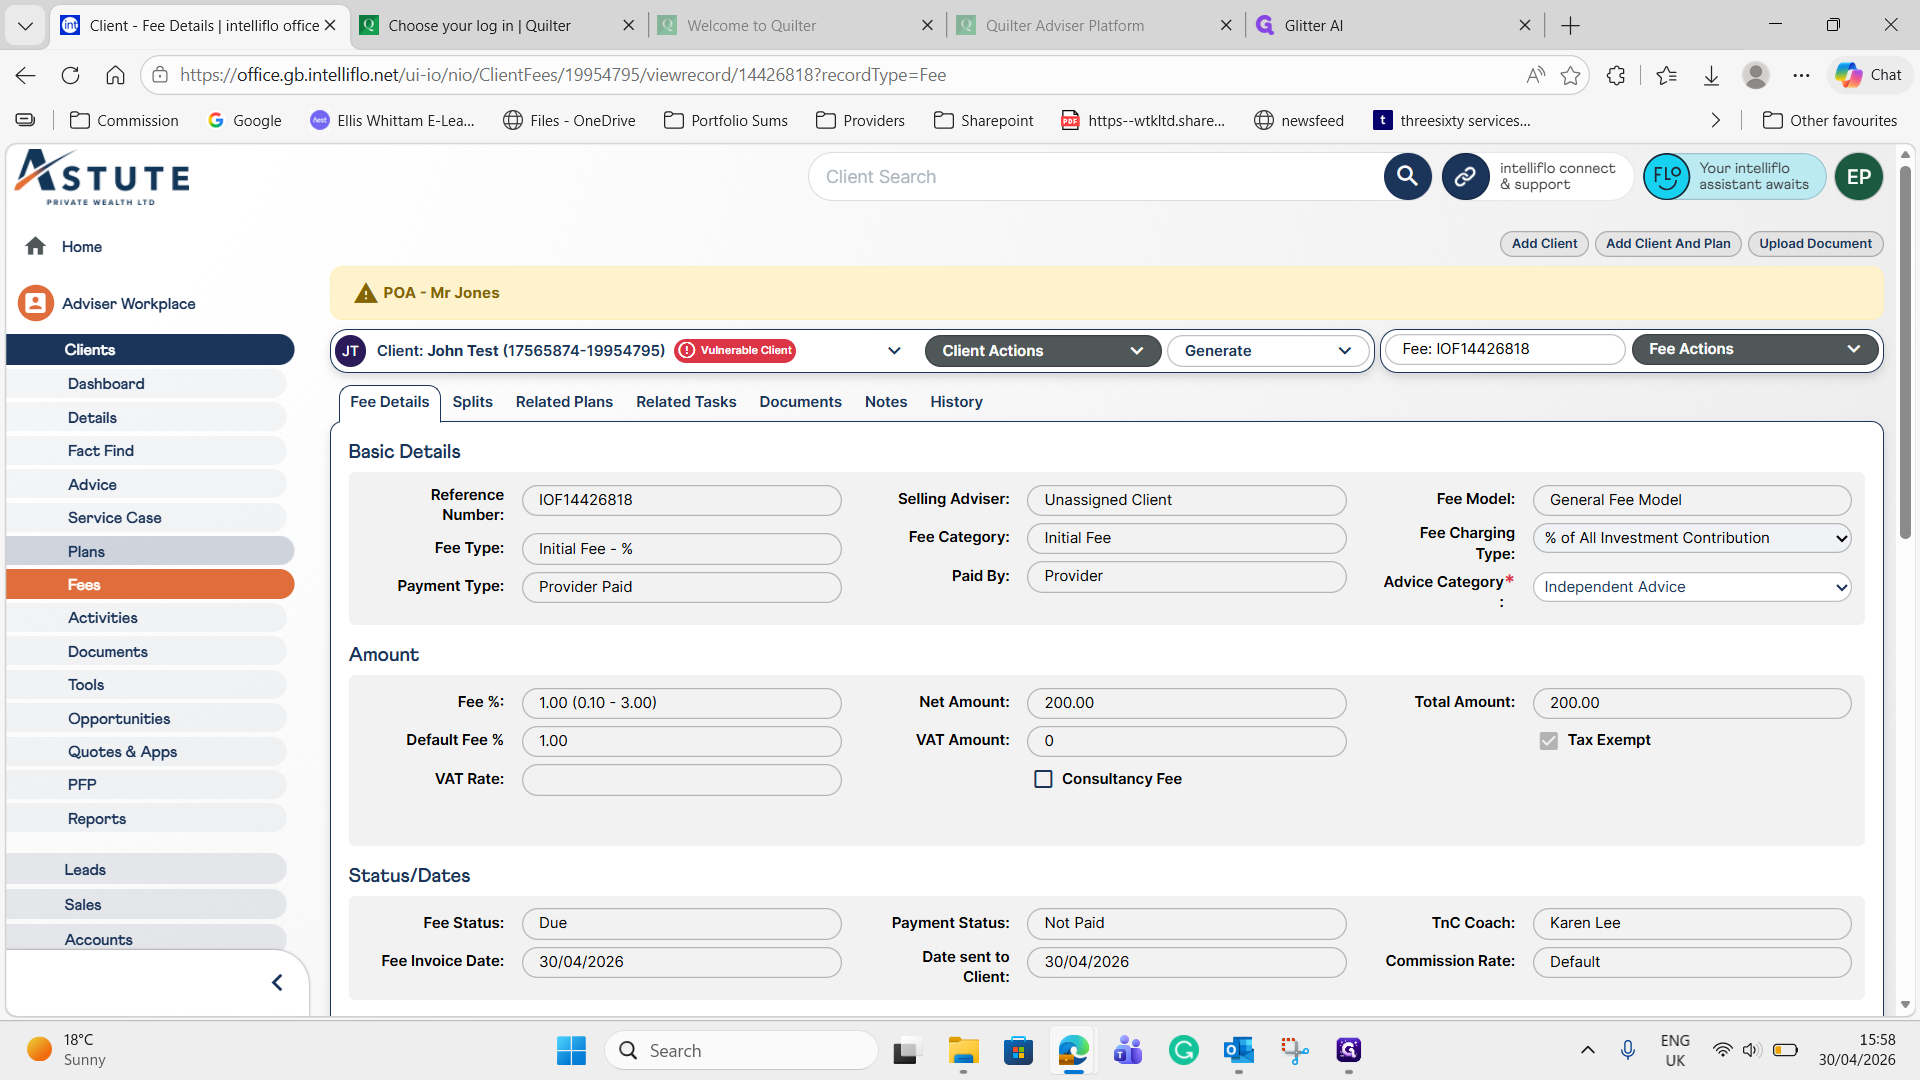
Once the provider details are saved, push the fee status forward so it is marked as due.
8
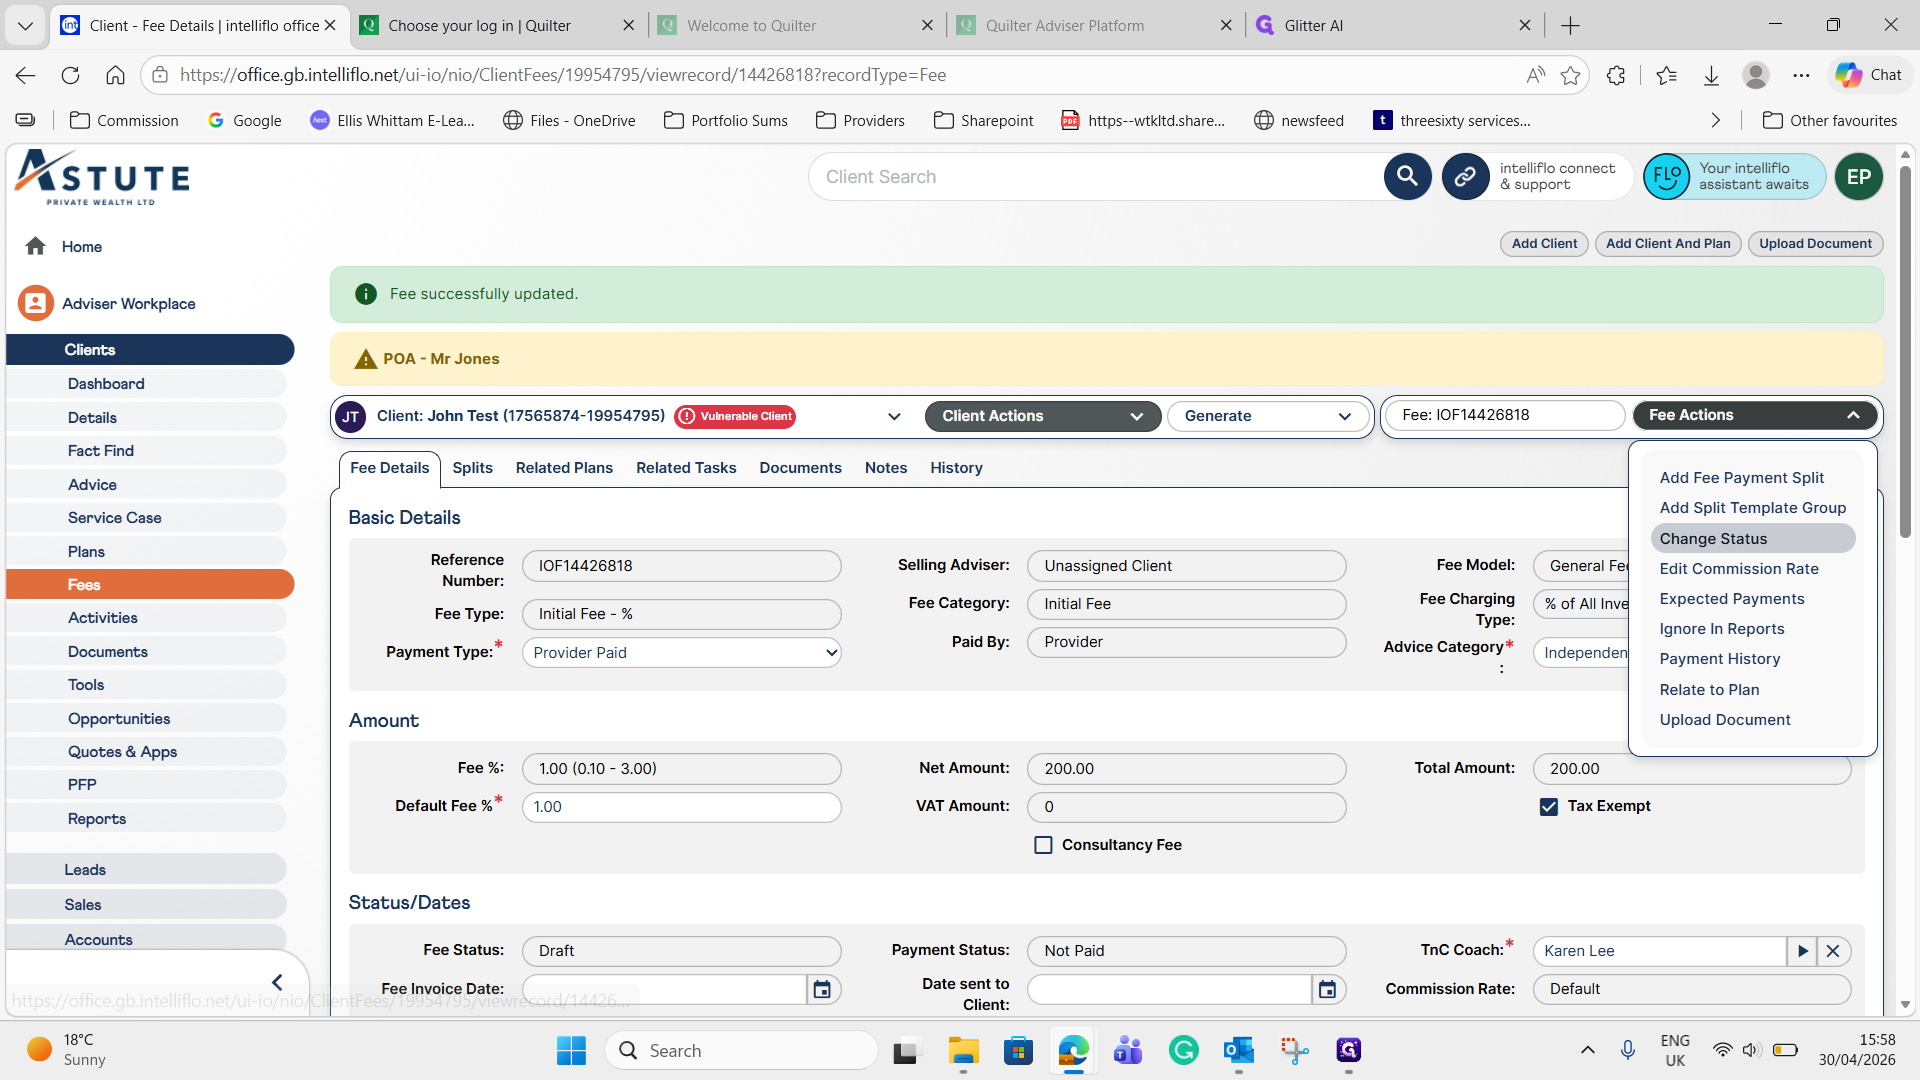
Open the Fee Actions dropdown menu and select Change Status.
9
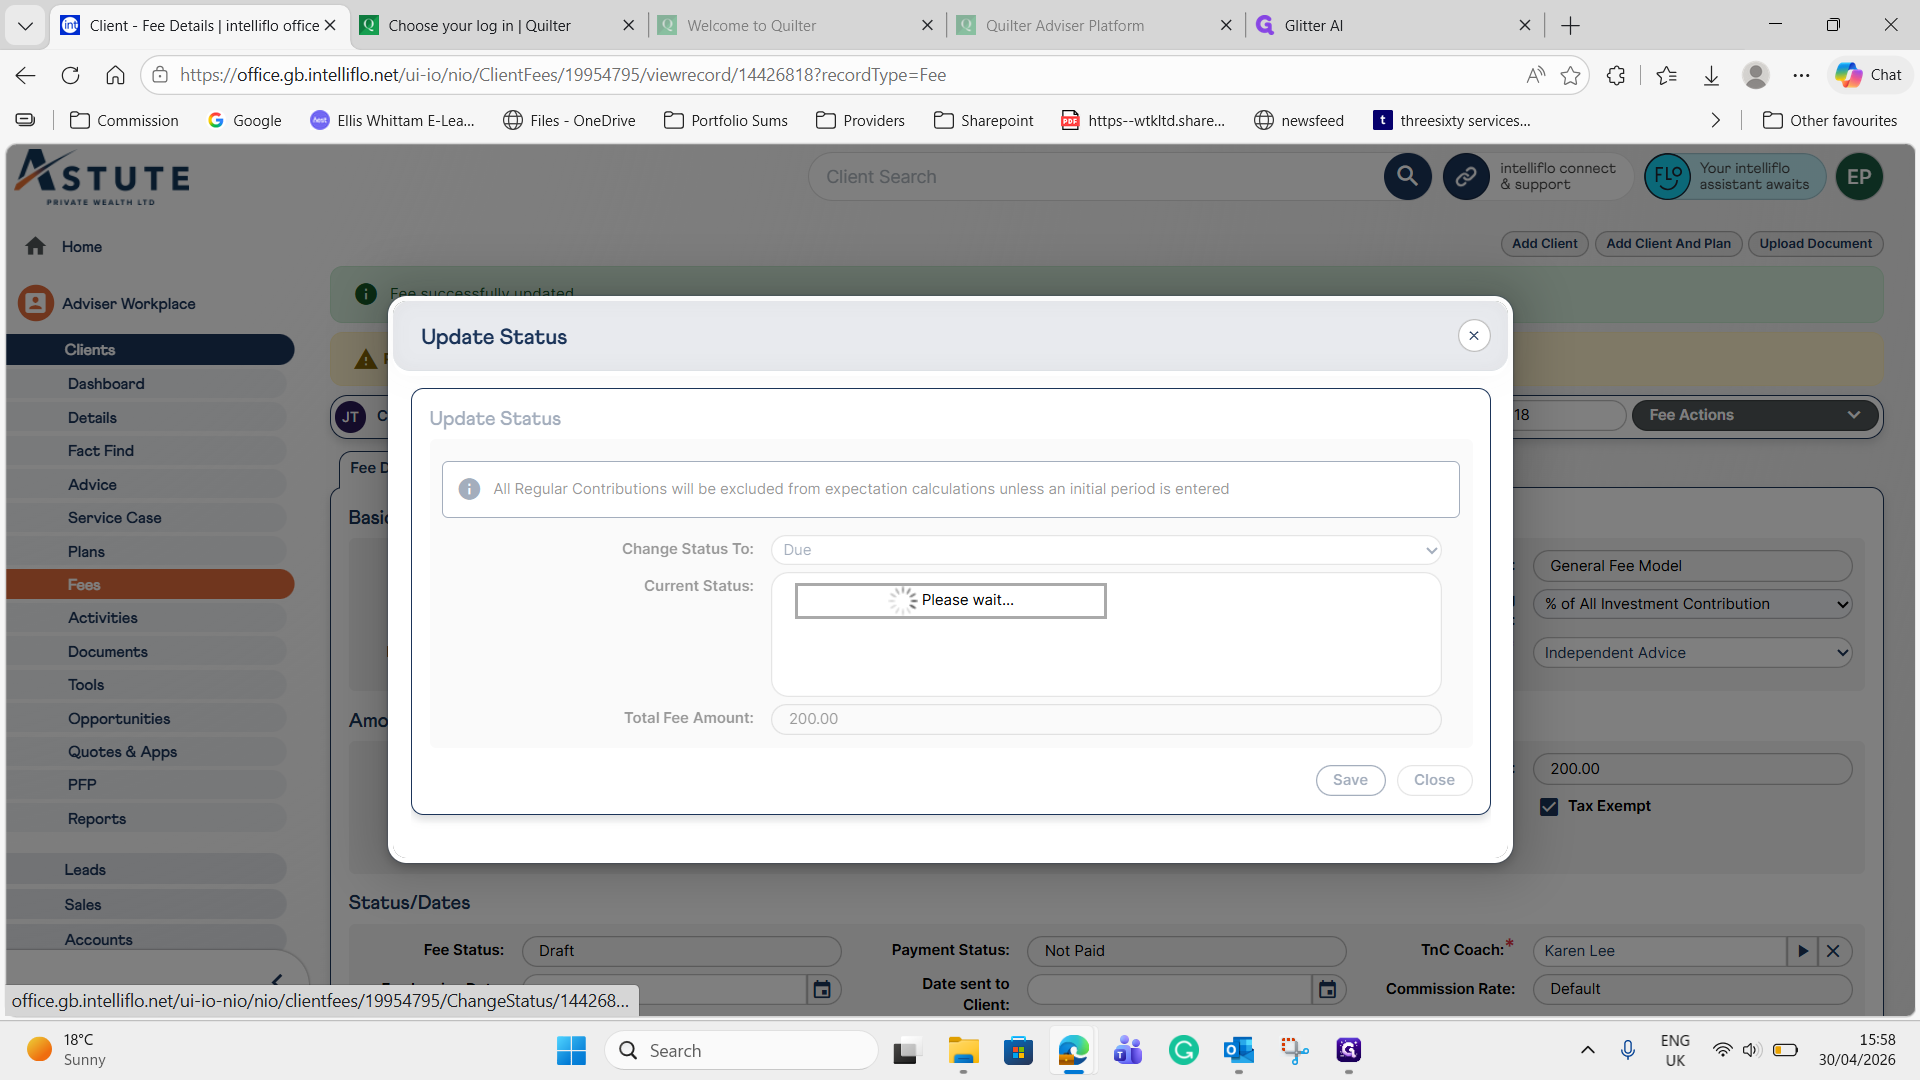
Click Save in the status update modal to finalize the change.
Verify the Plan Fees
Finally, review the plan to confirm that all fees are properly applied.
10
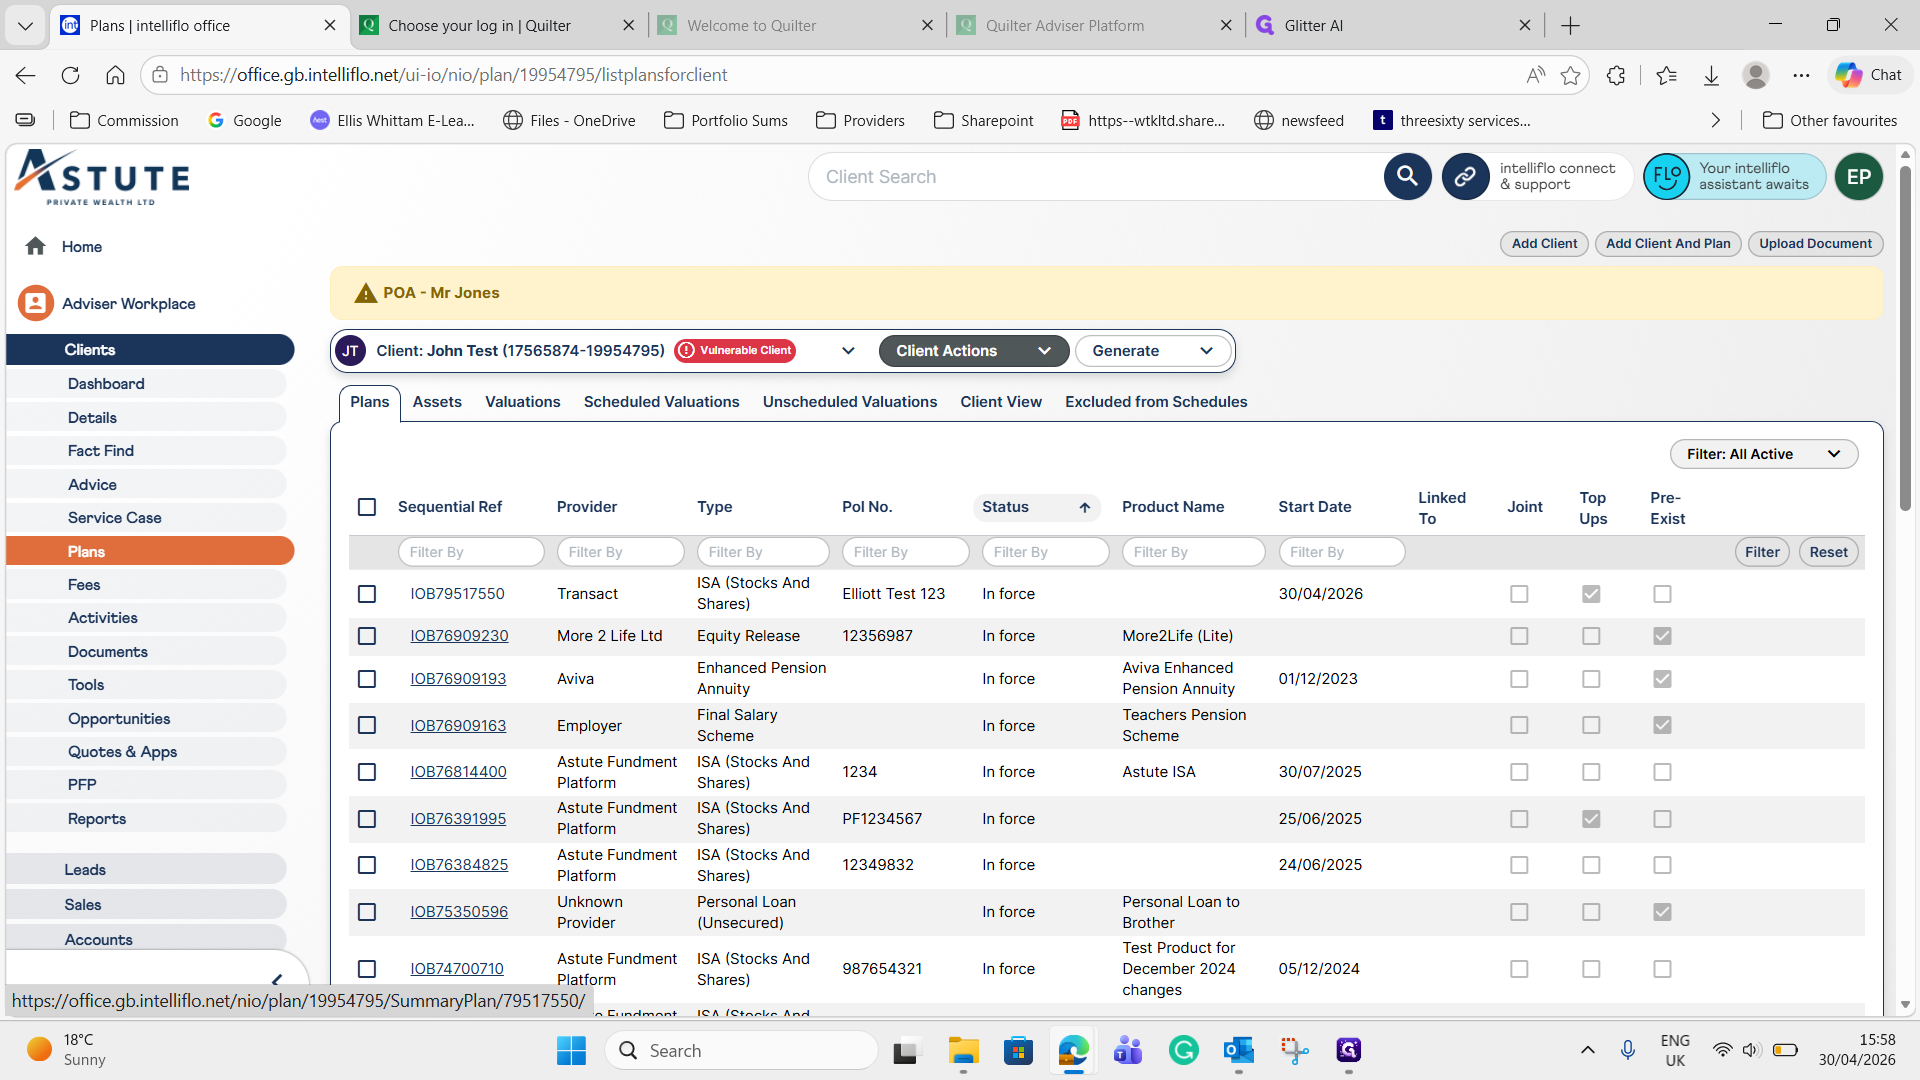
Click Plans in the top navigation to return to the overall list.
11
Click the main plan reference link (e.g., IOB79517550).
12
Click the Fees / Charges tab.