
How to Reconcile Business Checking Accounts in Excel
Learn how to perform a monthly business bank reconciliation by matching Citizens Bank transactions with your Excel payment trackers and invoice logs.
By Helen Hill
This guide walks you through the process of reconciling a business checking account. You will log into your bank portal, verify cleared transactions against your payment tracker, update account balances, and log individual cleared invoices to ensure your summary rolls up correctly.
1. Access Your Bank Account
1
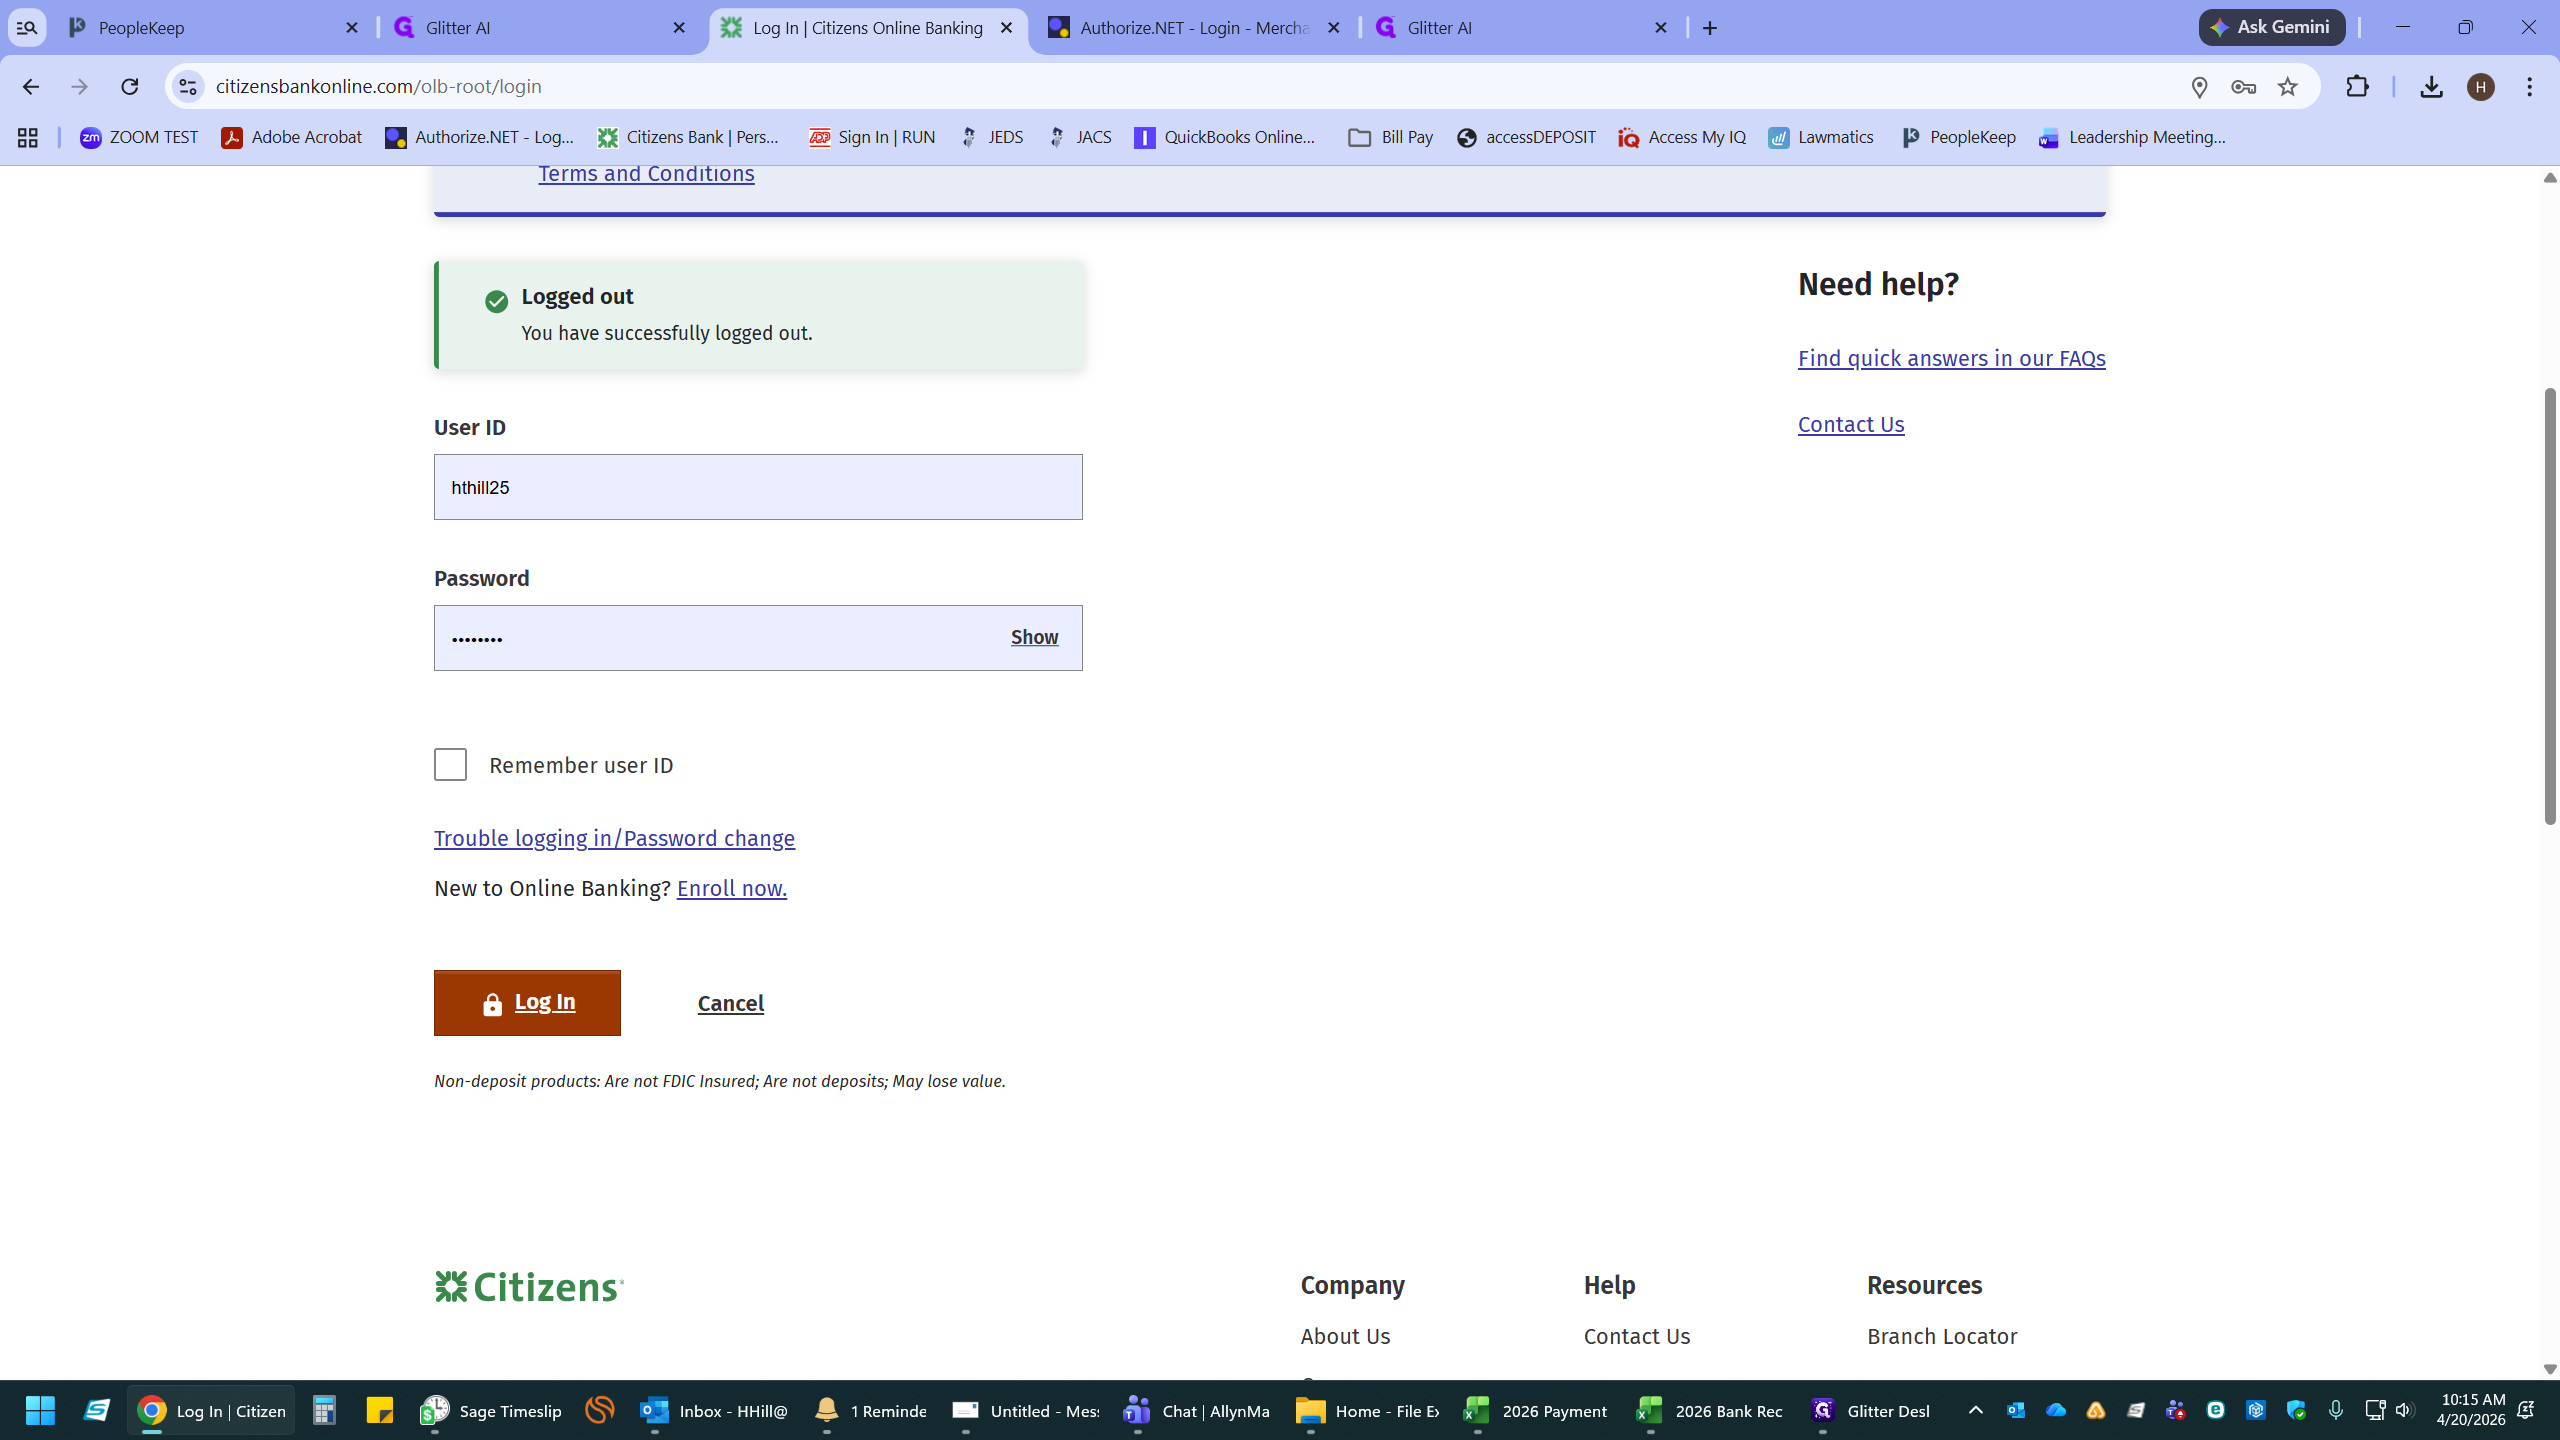
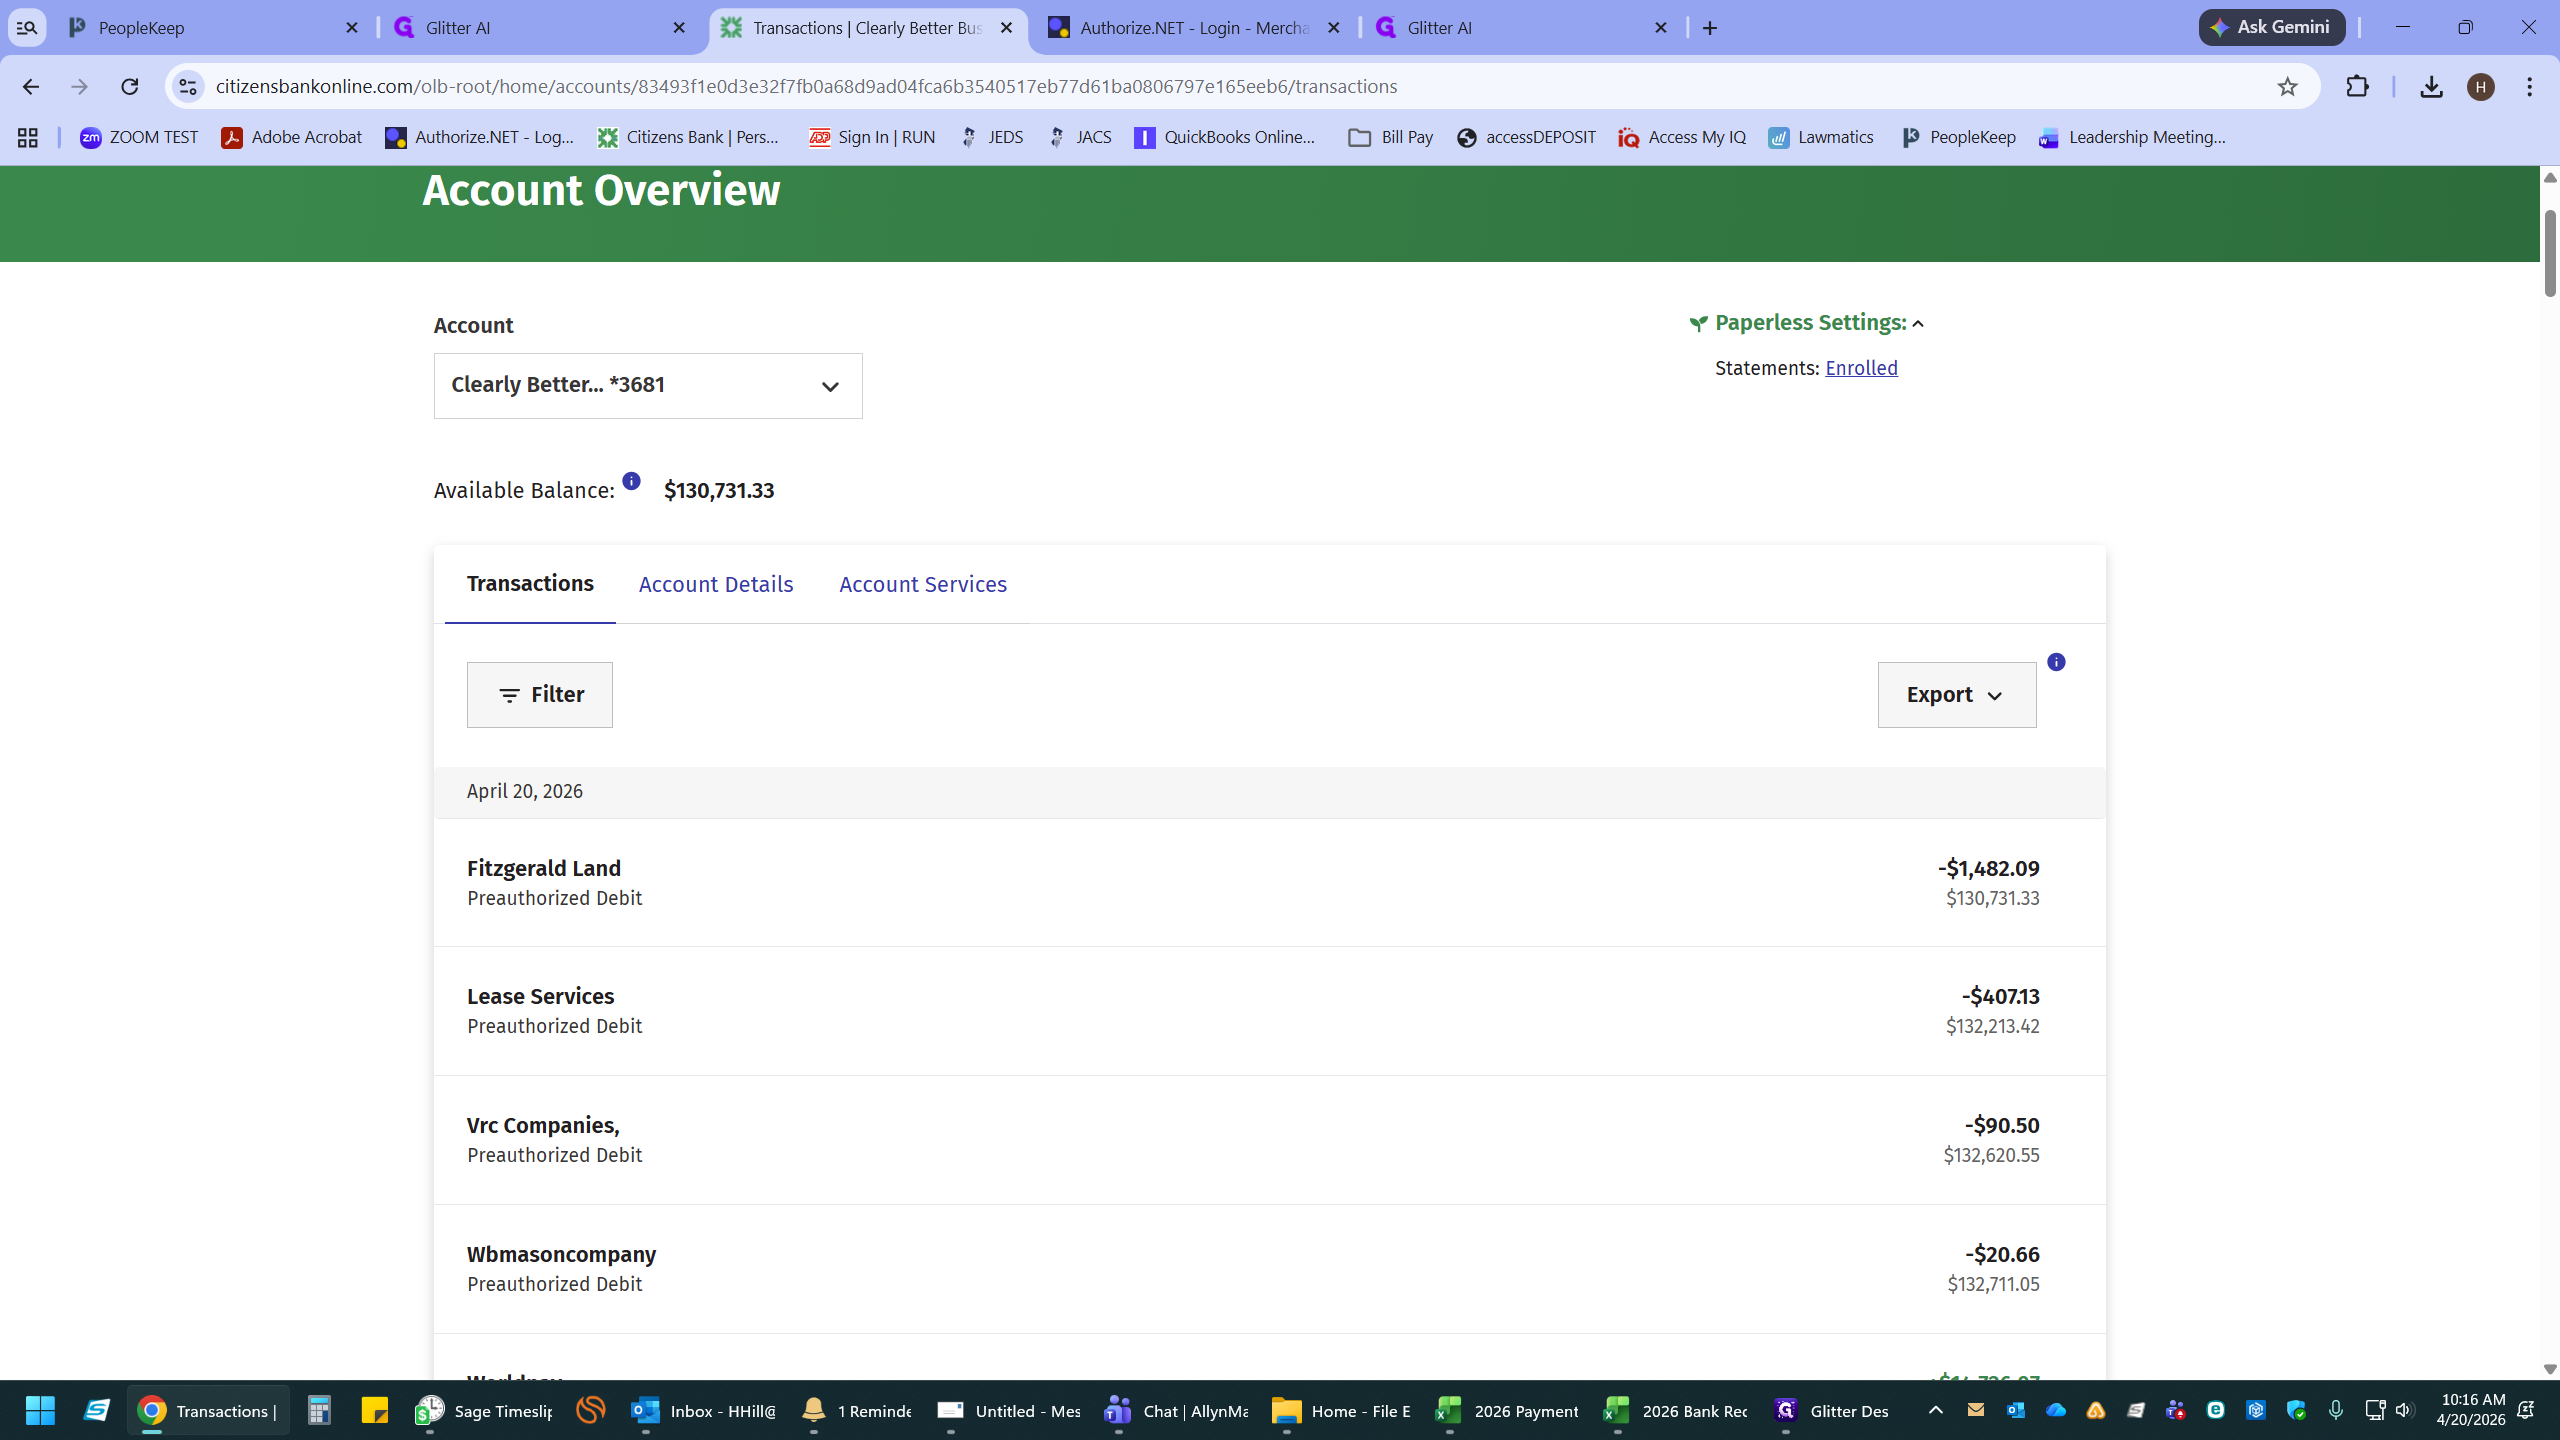
Log in to your Citizens Bank online portal.
2
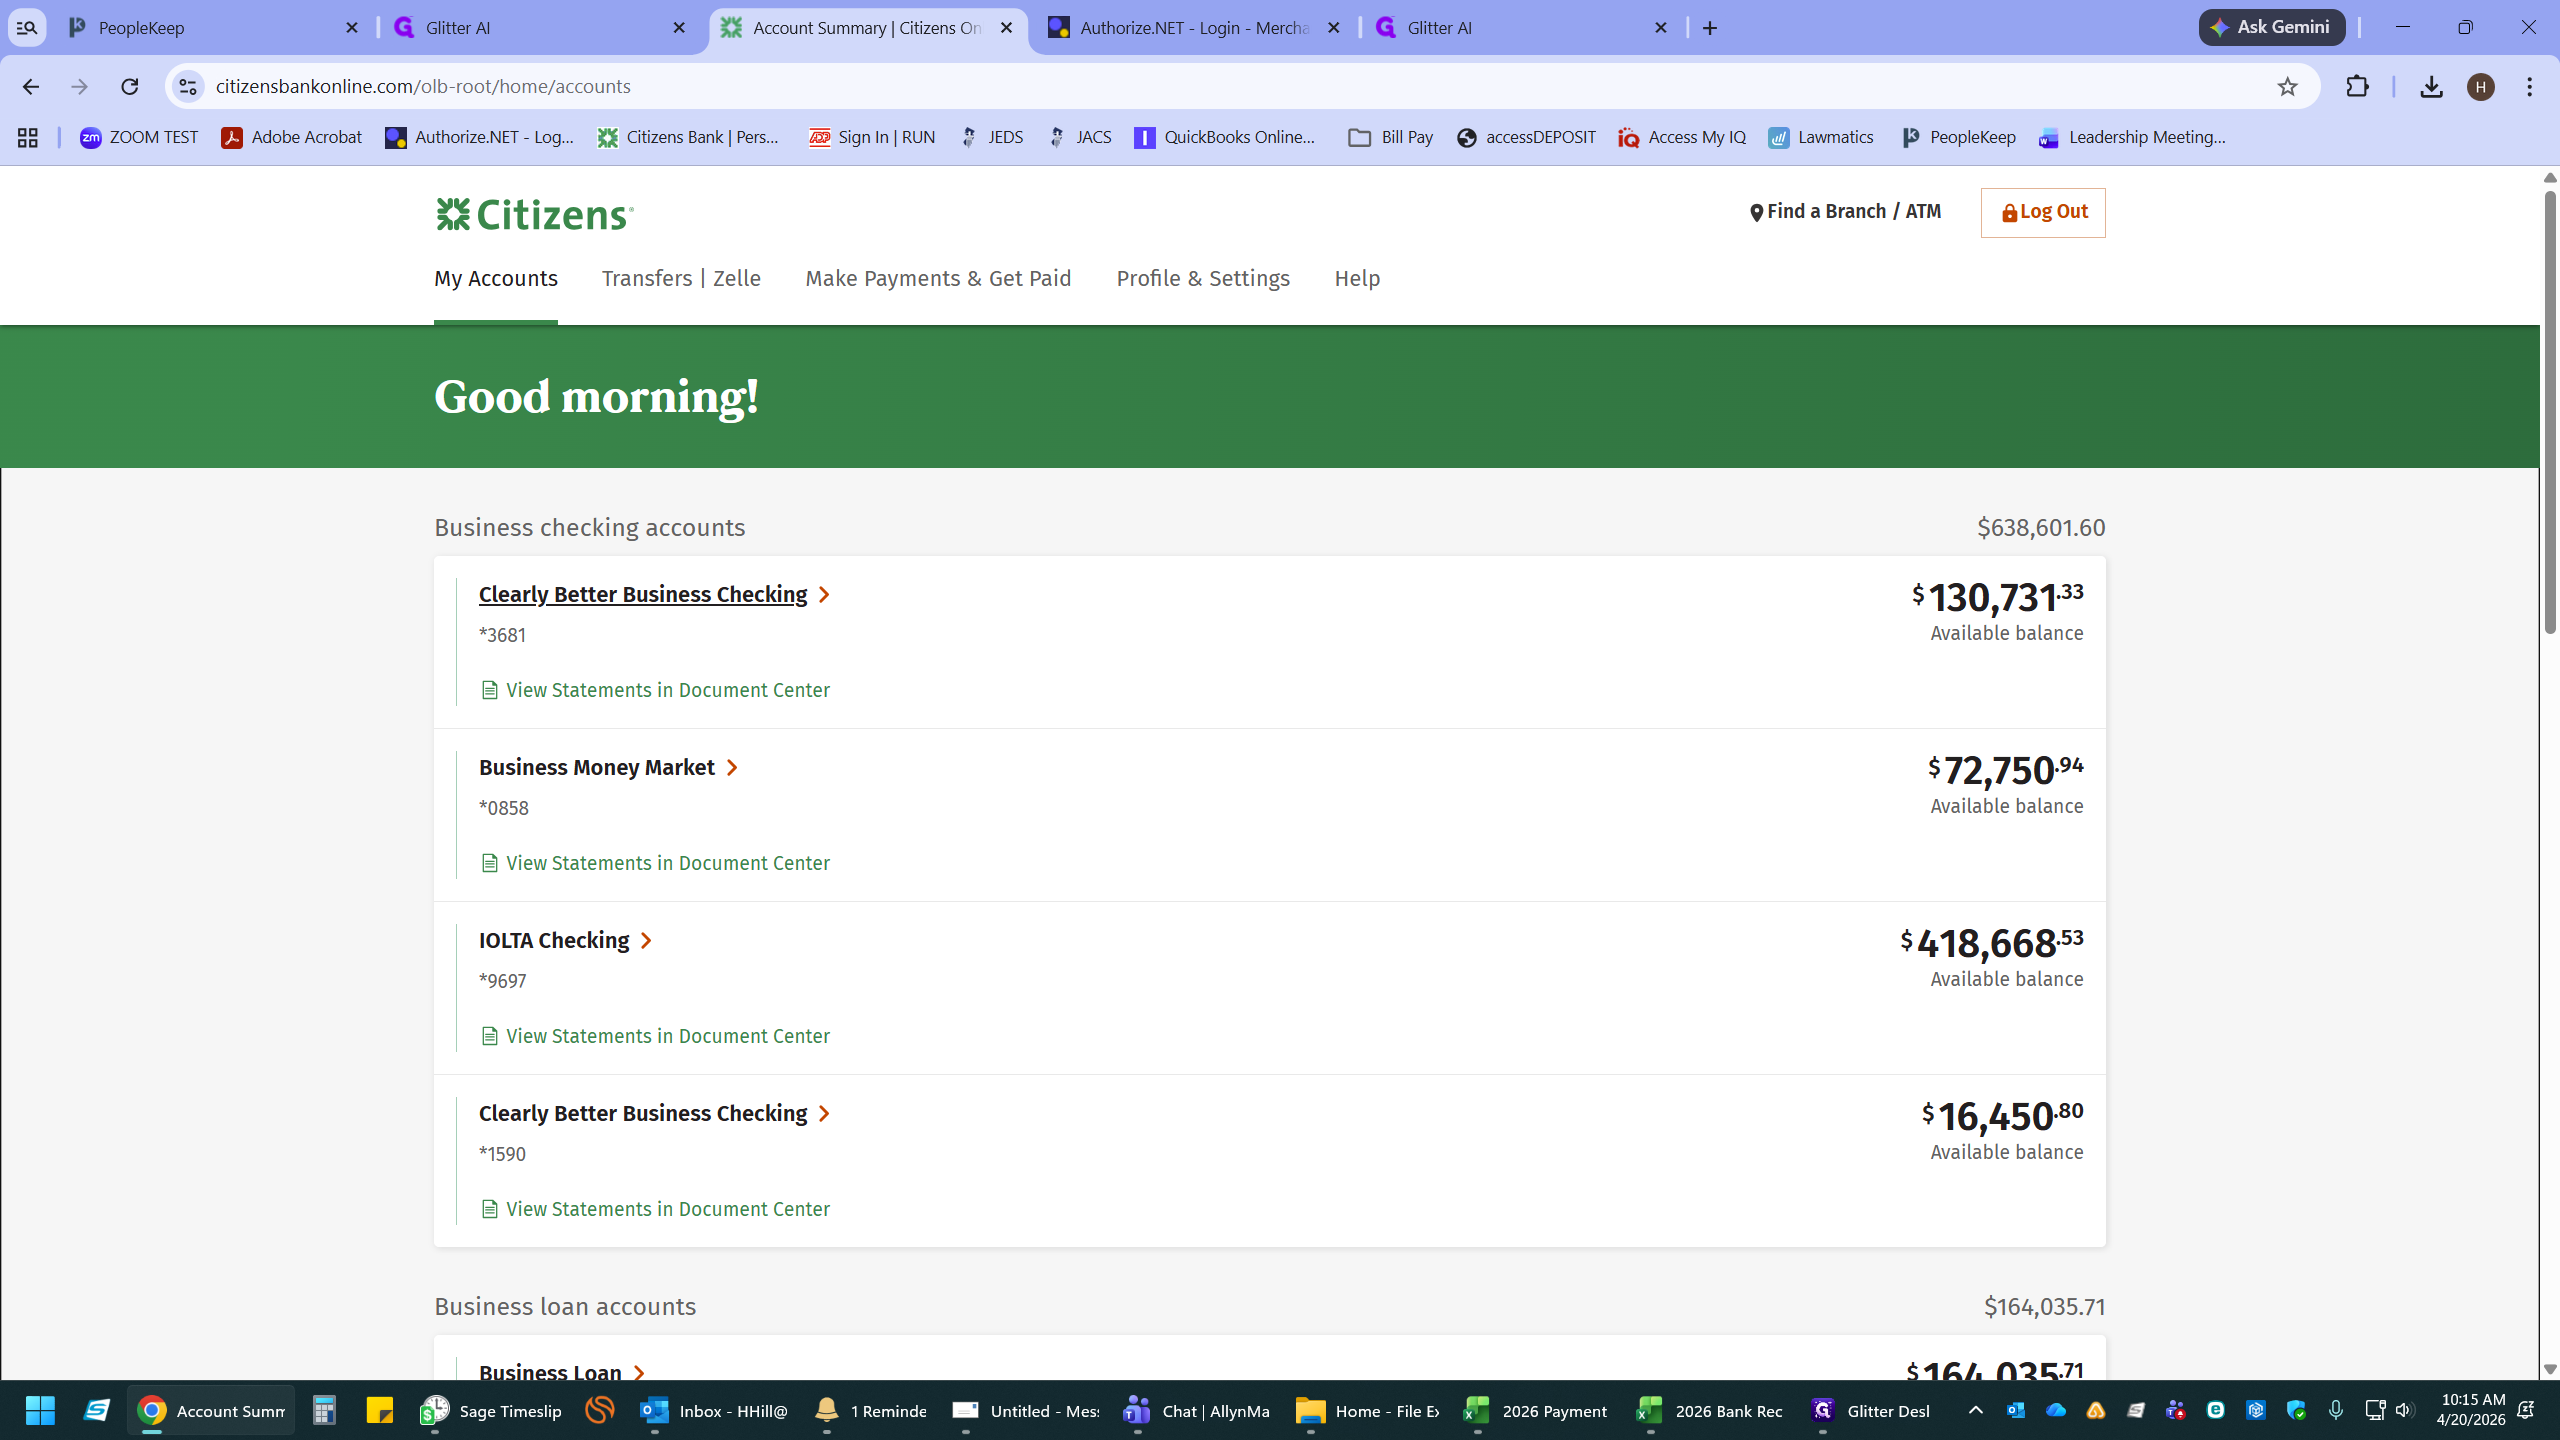
Select your Clearly Better Business Checking account to view the account summary.
2. Verify Transfers Completed by Bookkeeper
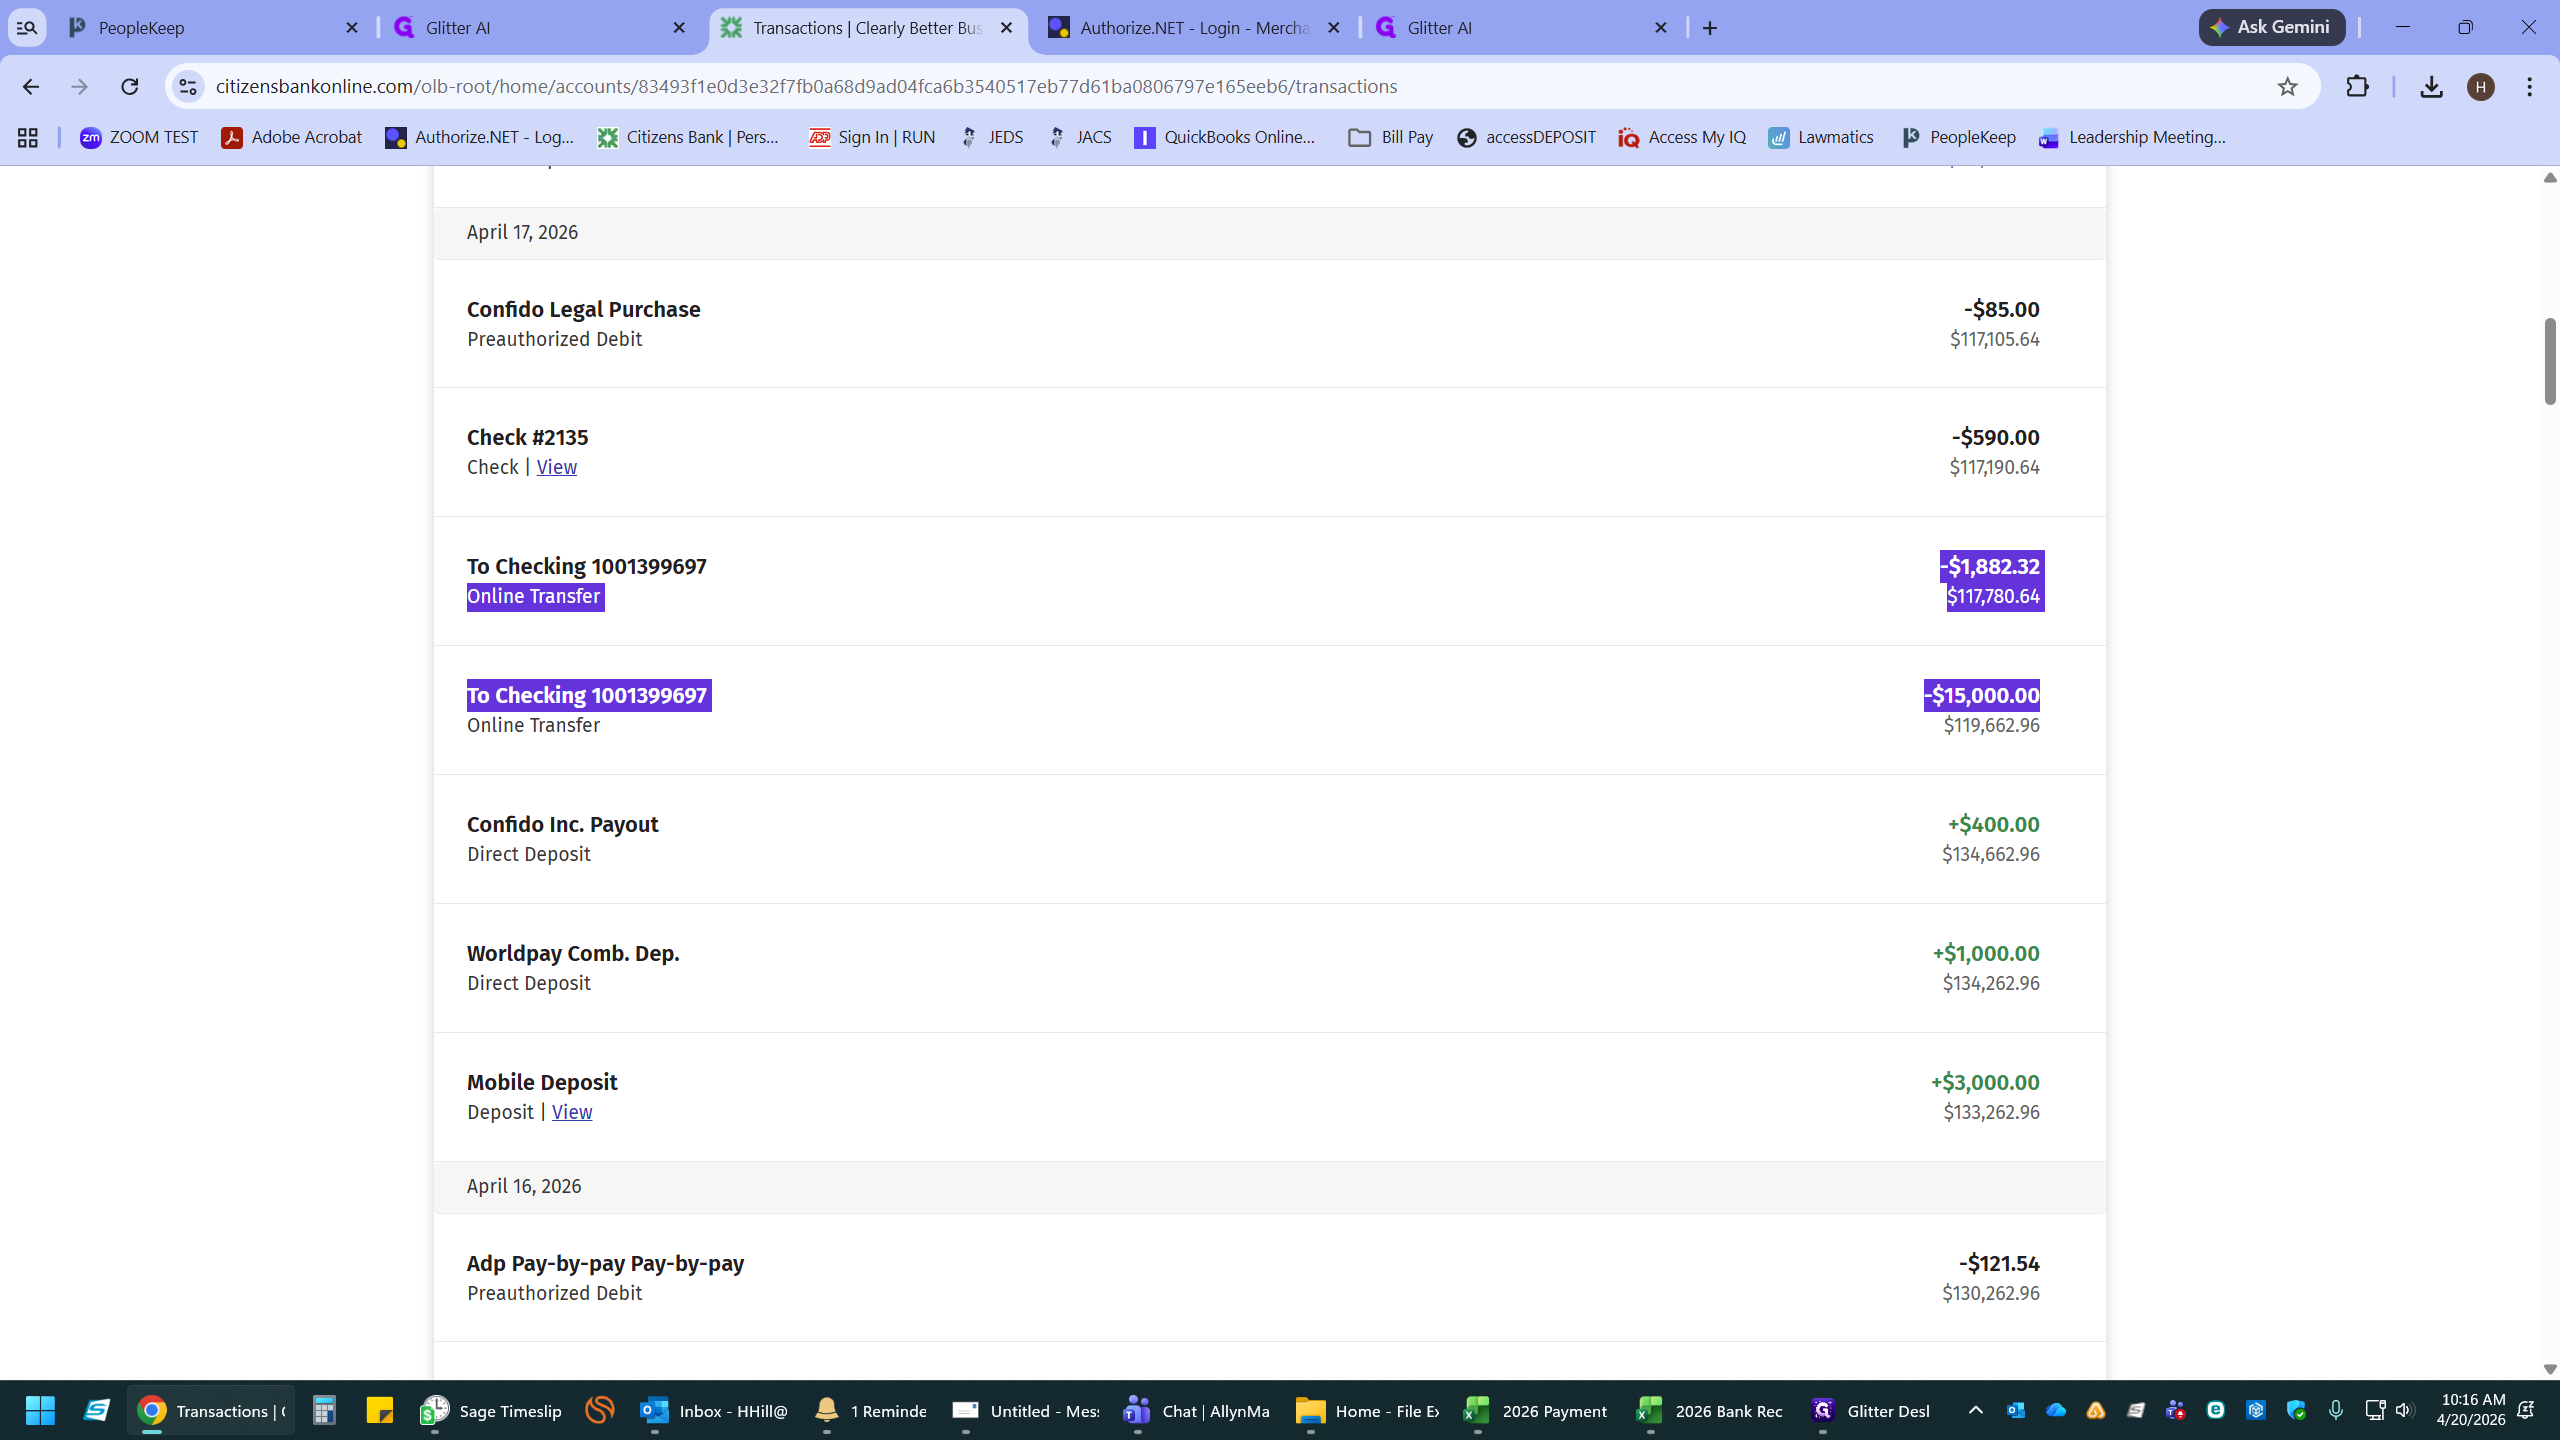
Review your recent transactions to identify checks and payments that have successfully cleared.
3
Verify the amounts of the transfer transaction with your Payment Tracker.
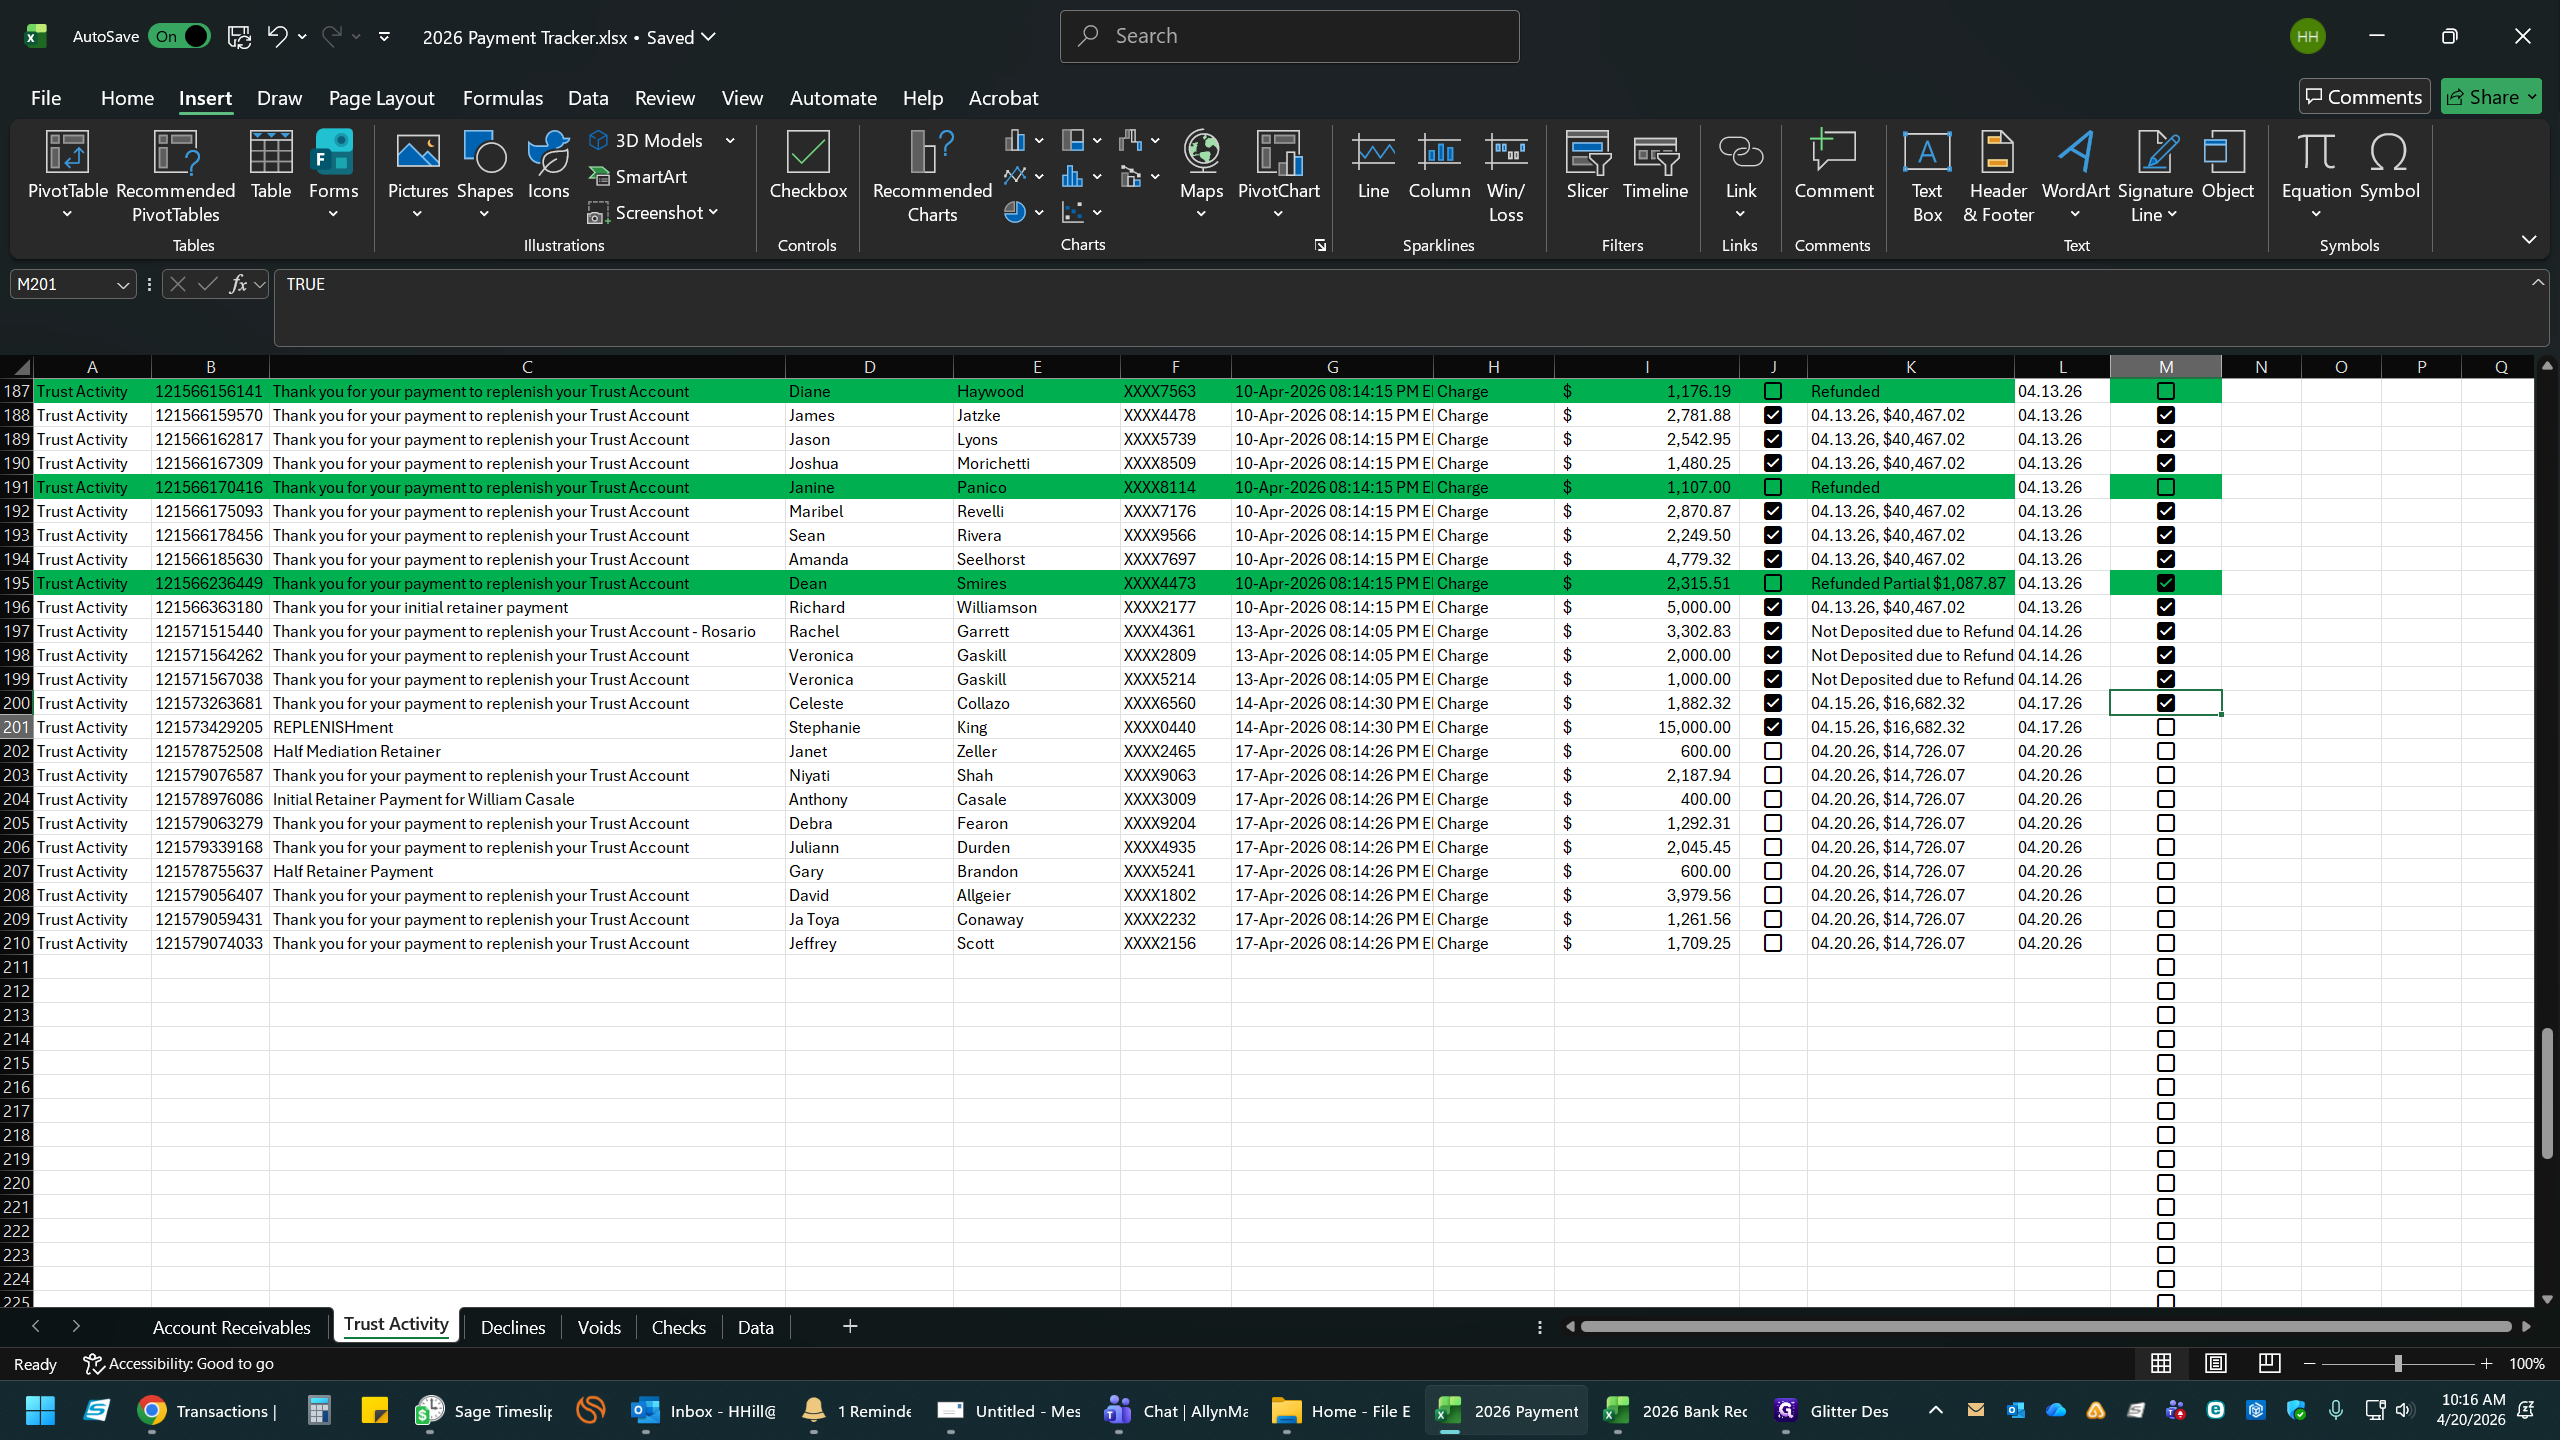
4
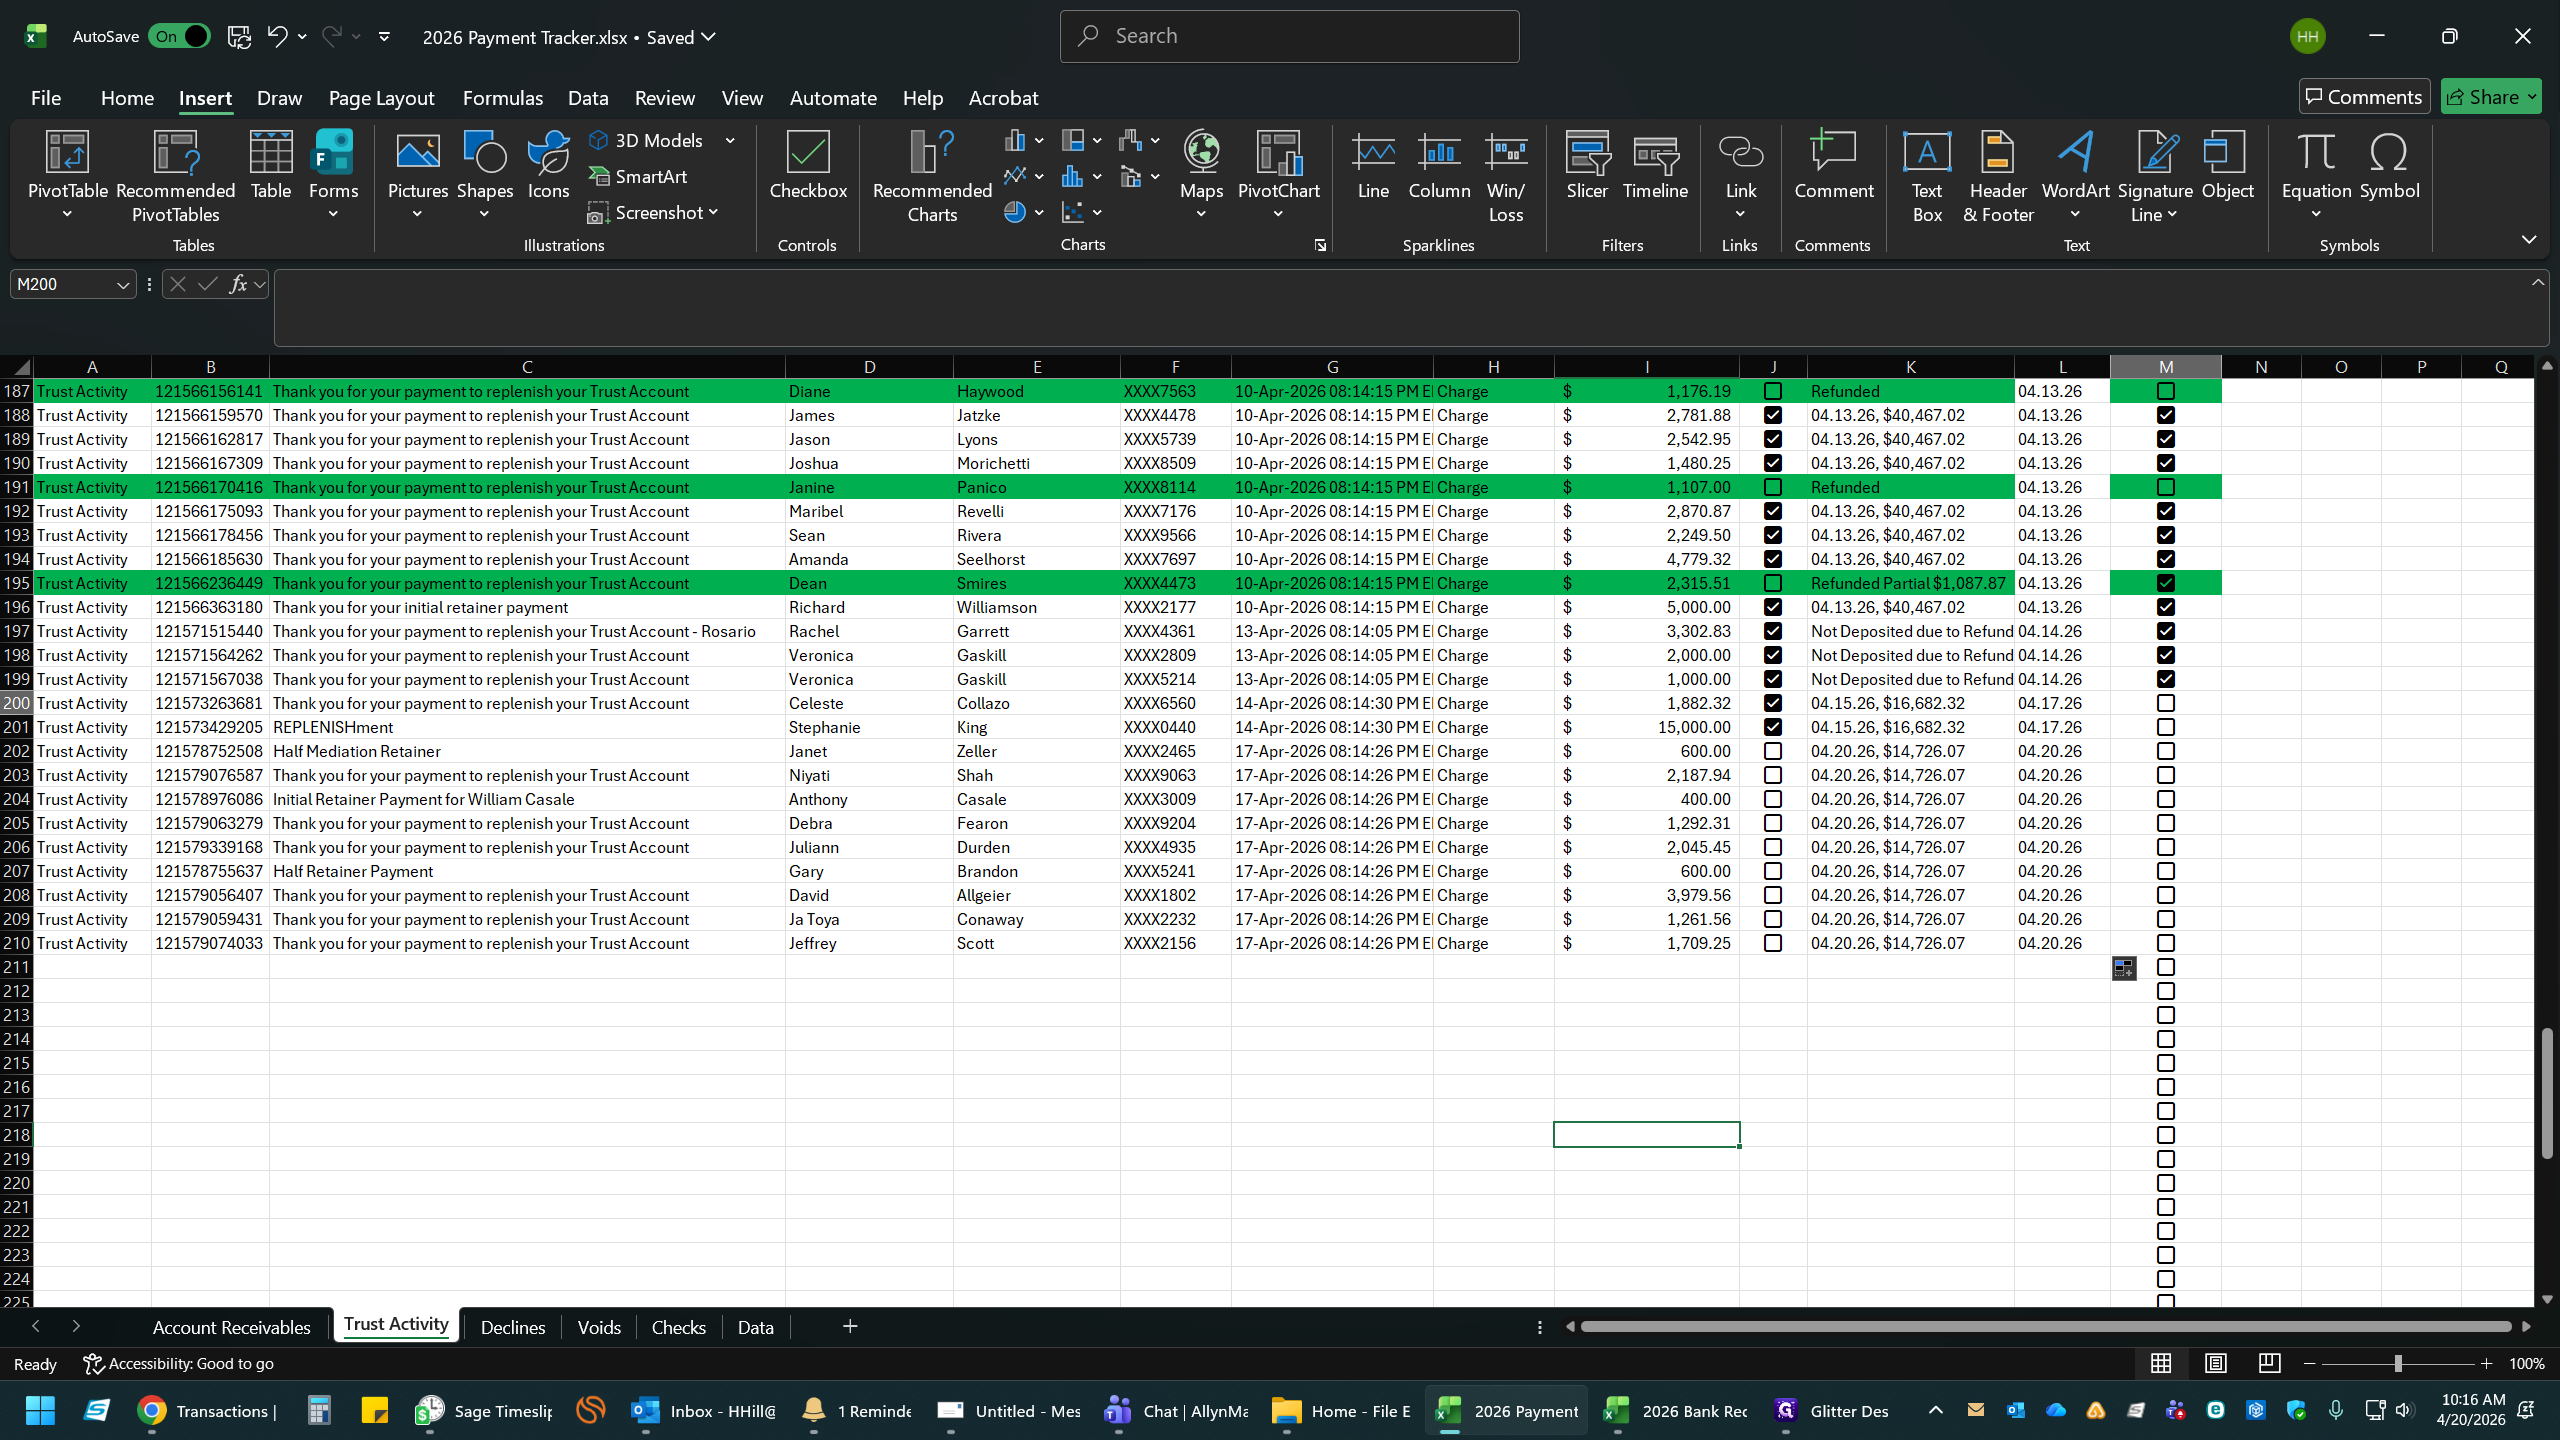
Open your 2026 Payment Tracker spreadsheet and navigate to the transaction.
5
Check the box to mark the transaction as cleared in your tracker.
3. Update the Reconciled Bank Balance
6
Return to your Citizens Bank portal and highlight your current Available Balance.
7
Press
Ctrl + C to copy the balance.8
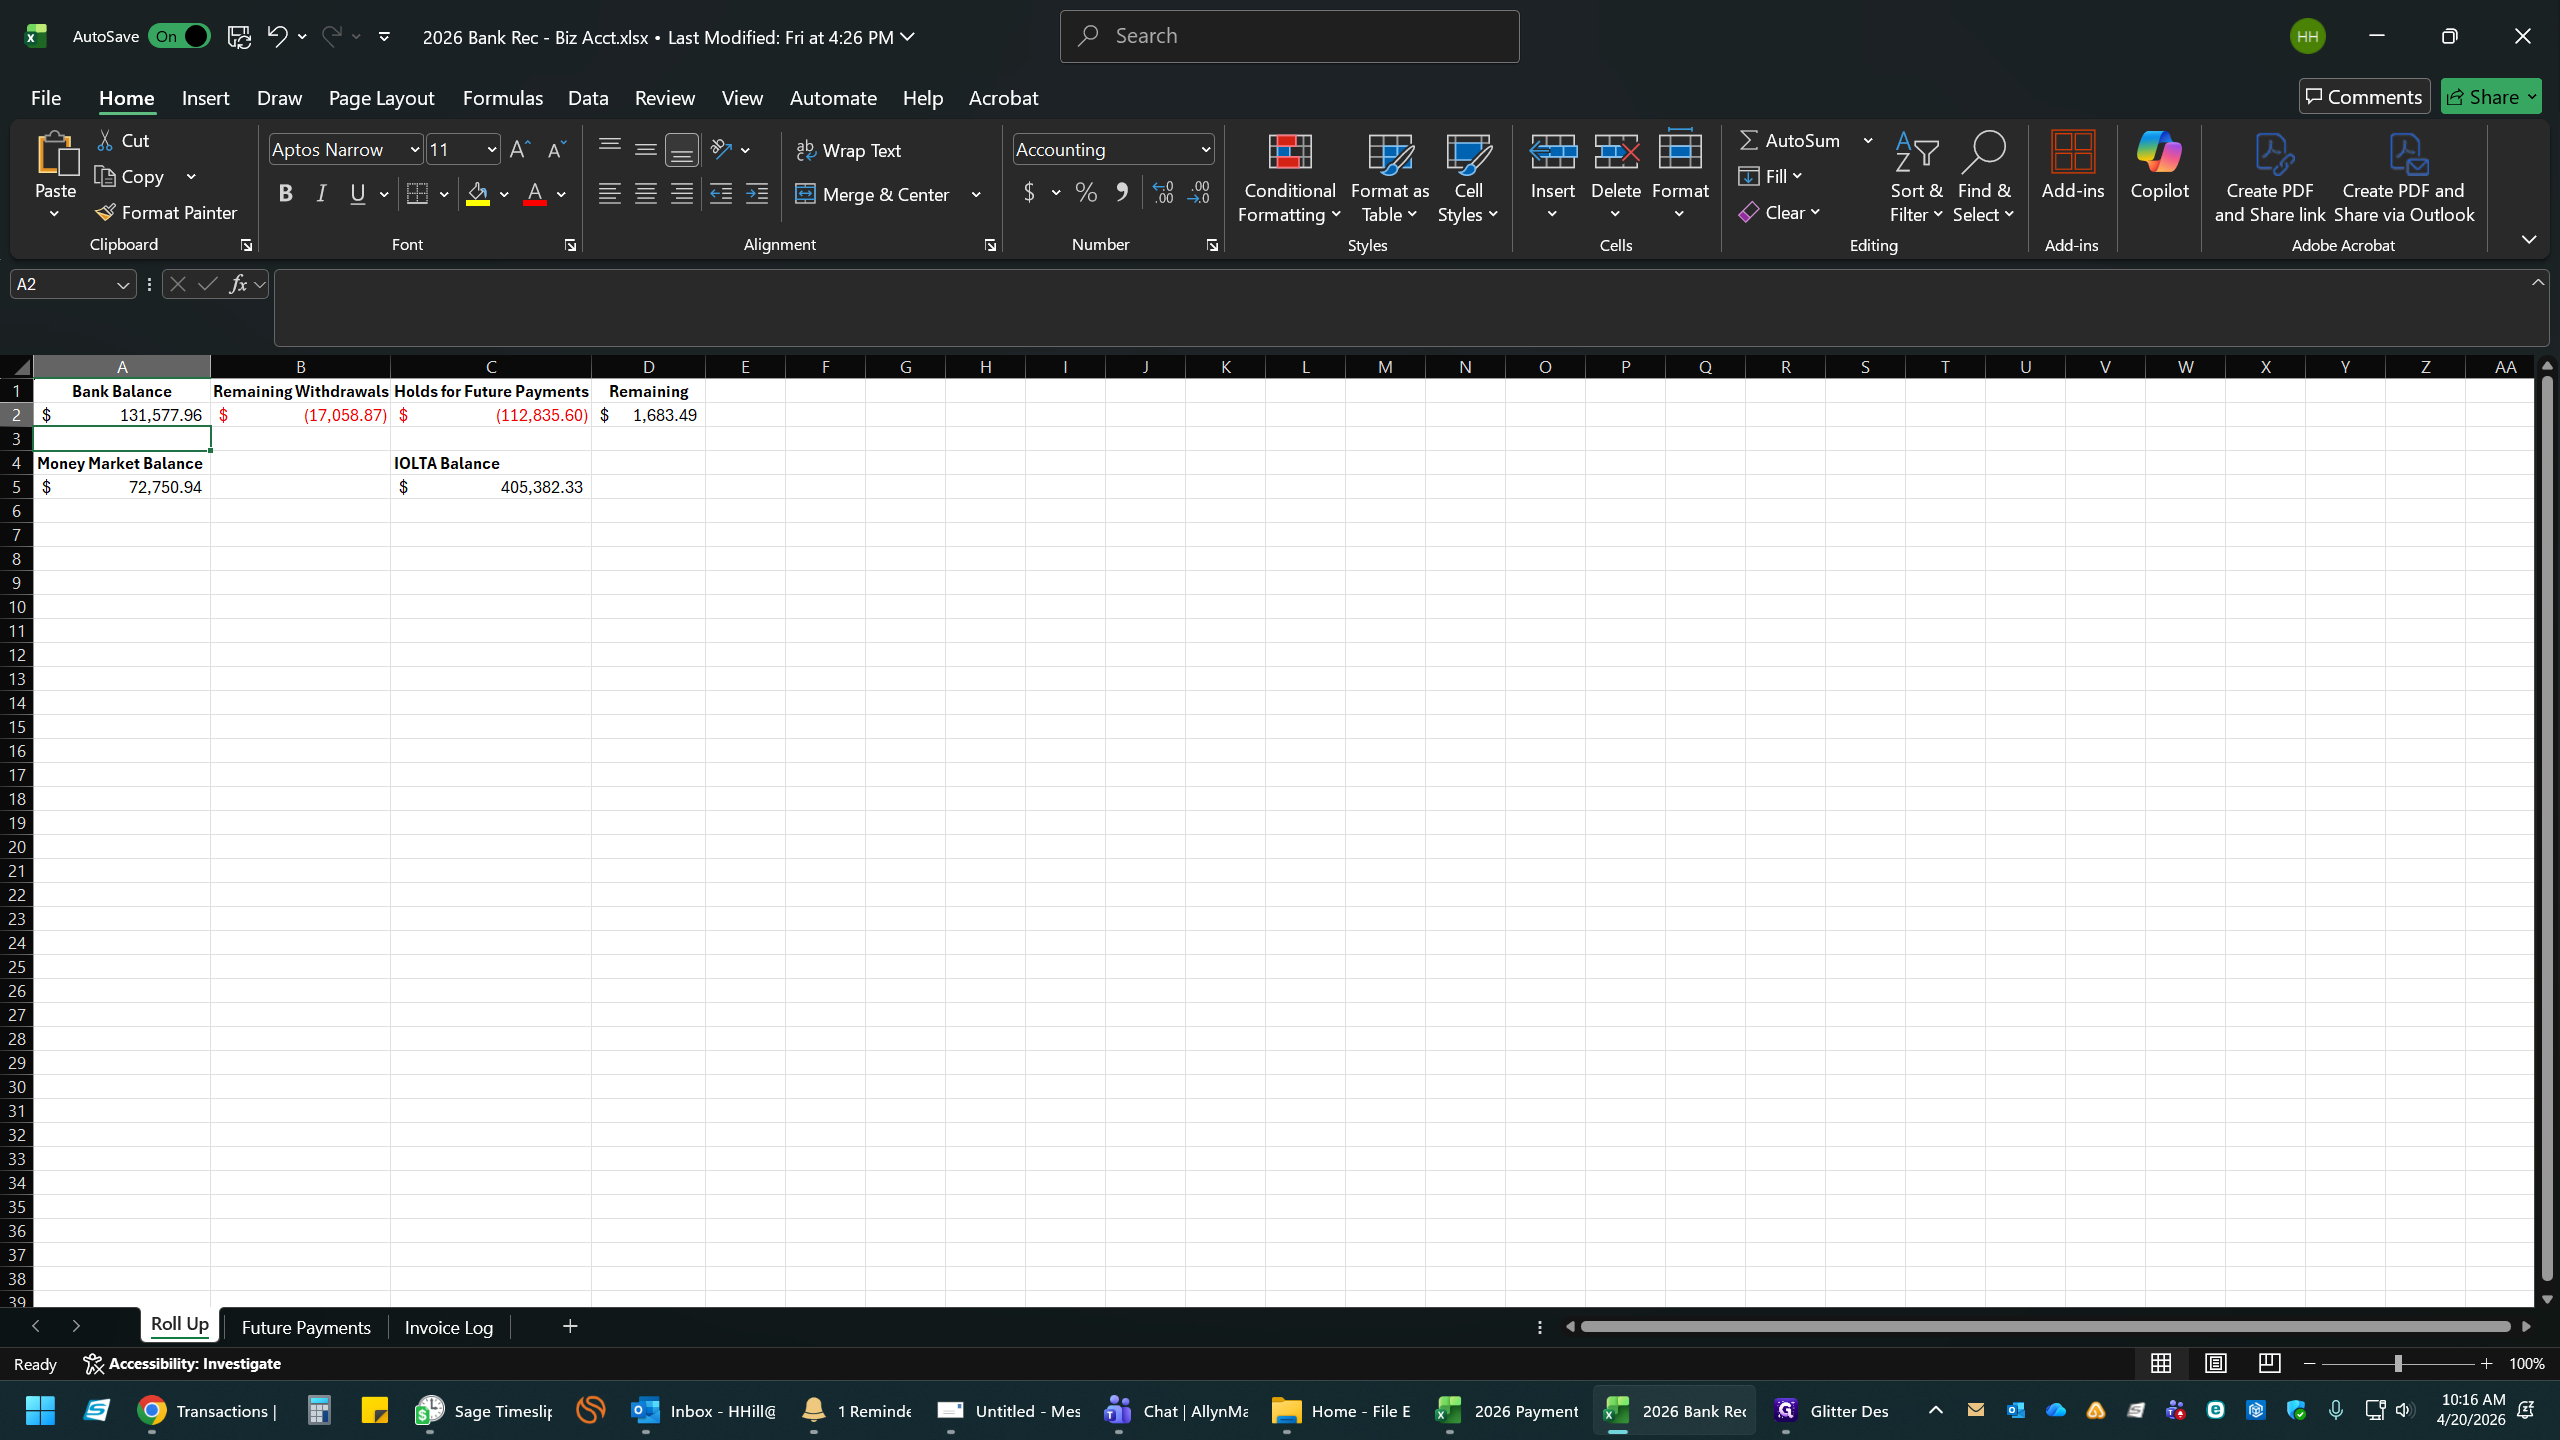
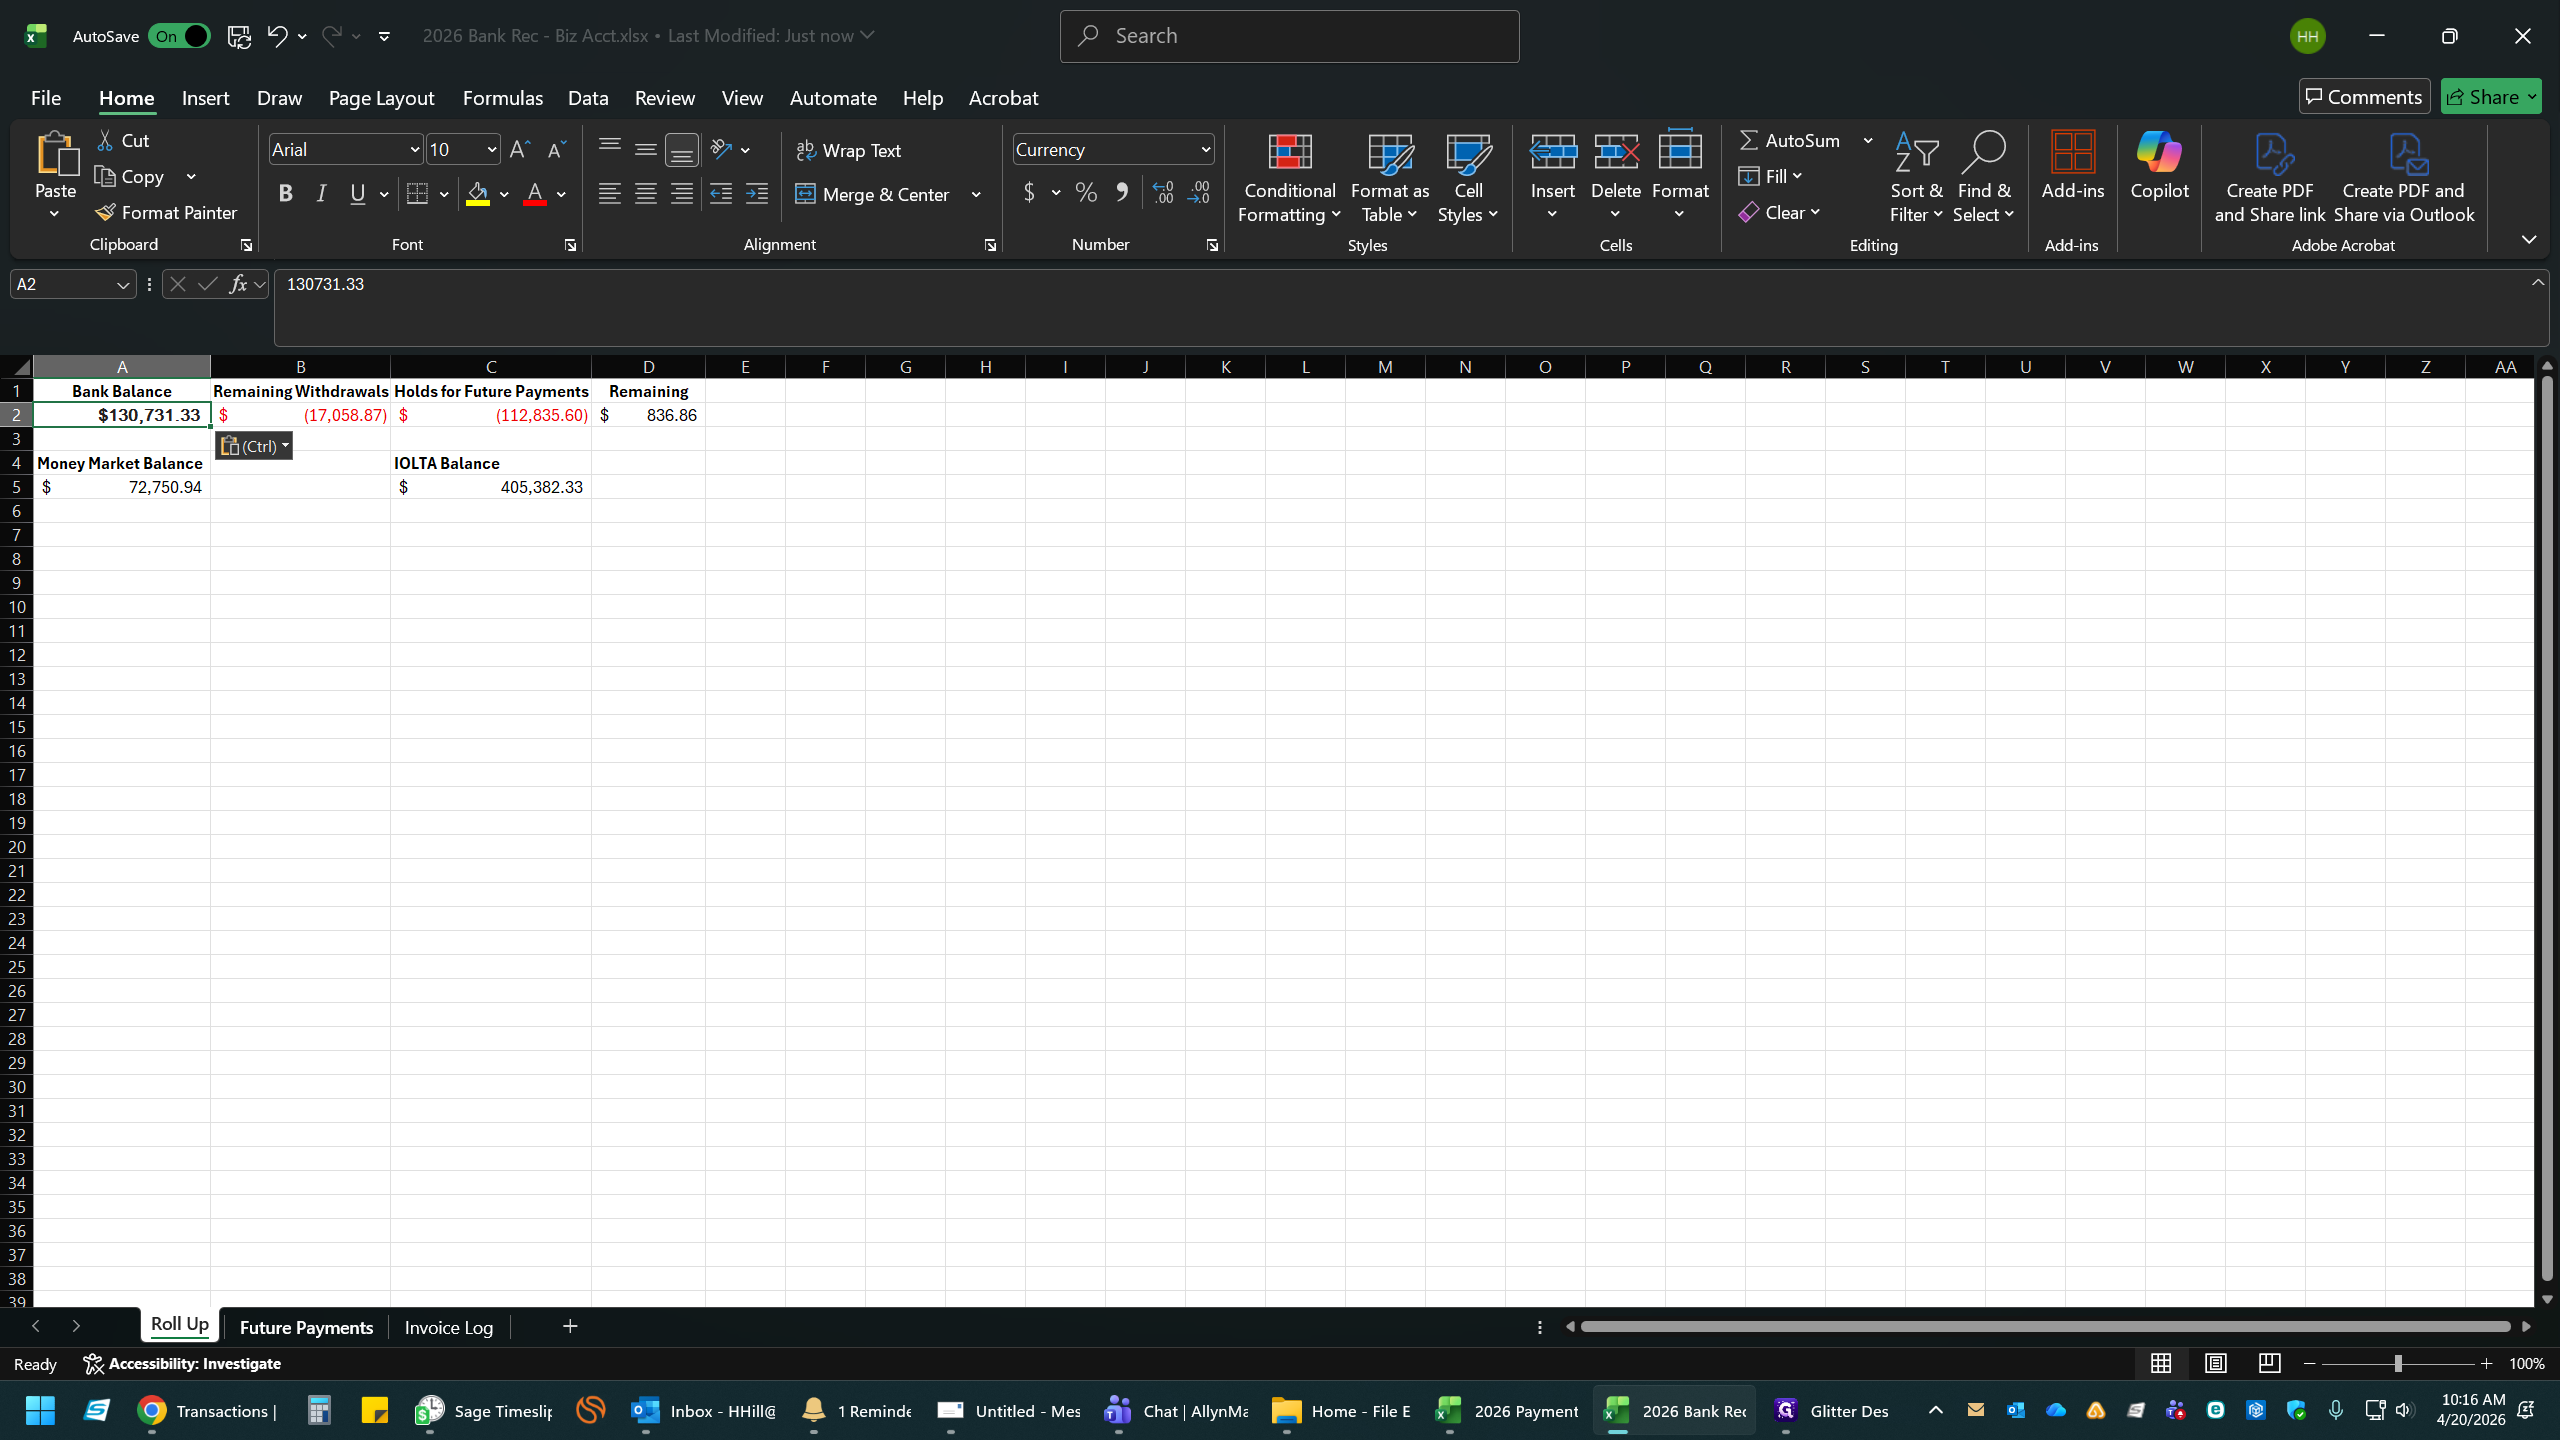
Open your 2026 Bank Rec - Biz Acct spreadsheet and select cell A2 (or your designated balance cell).
9
Press
Ctrl + V to paste the updated balance.4. Adjust Future Payments and Holds
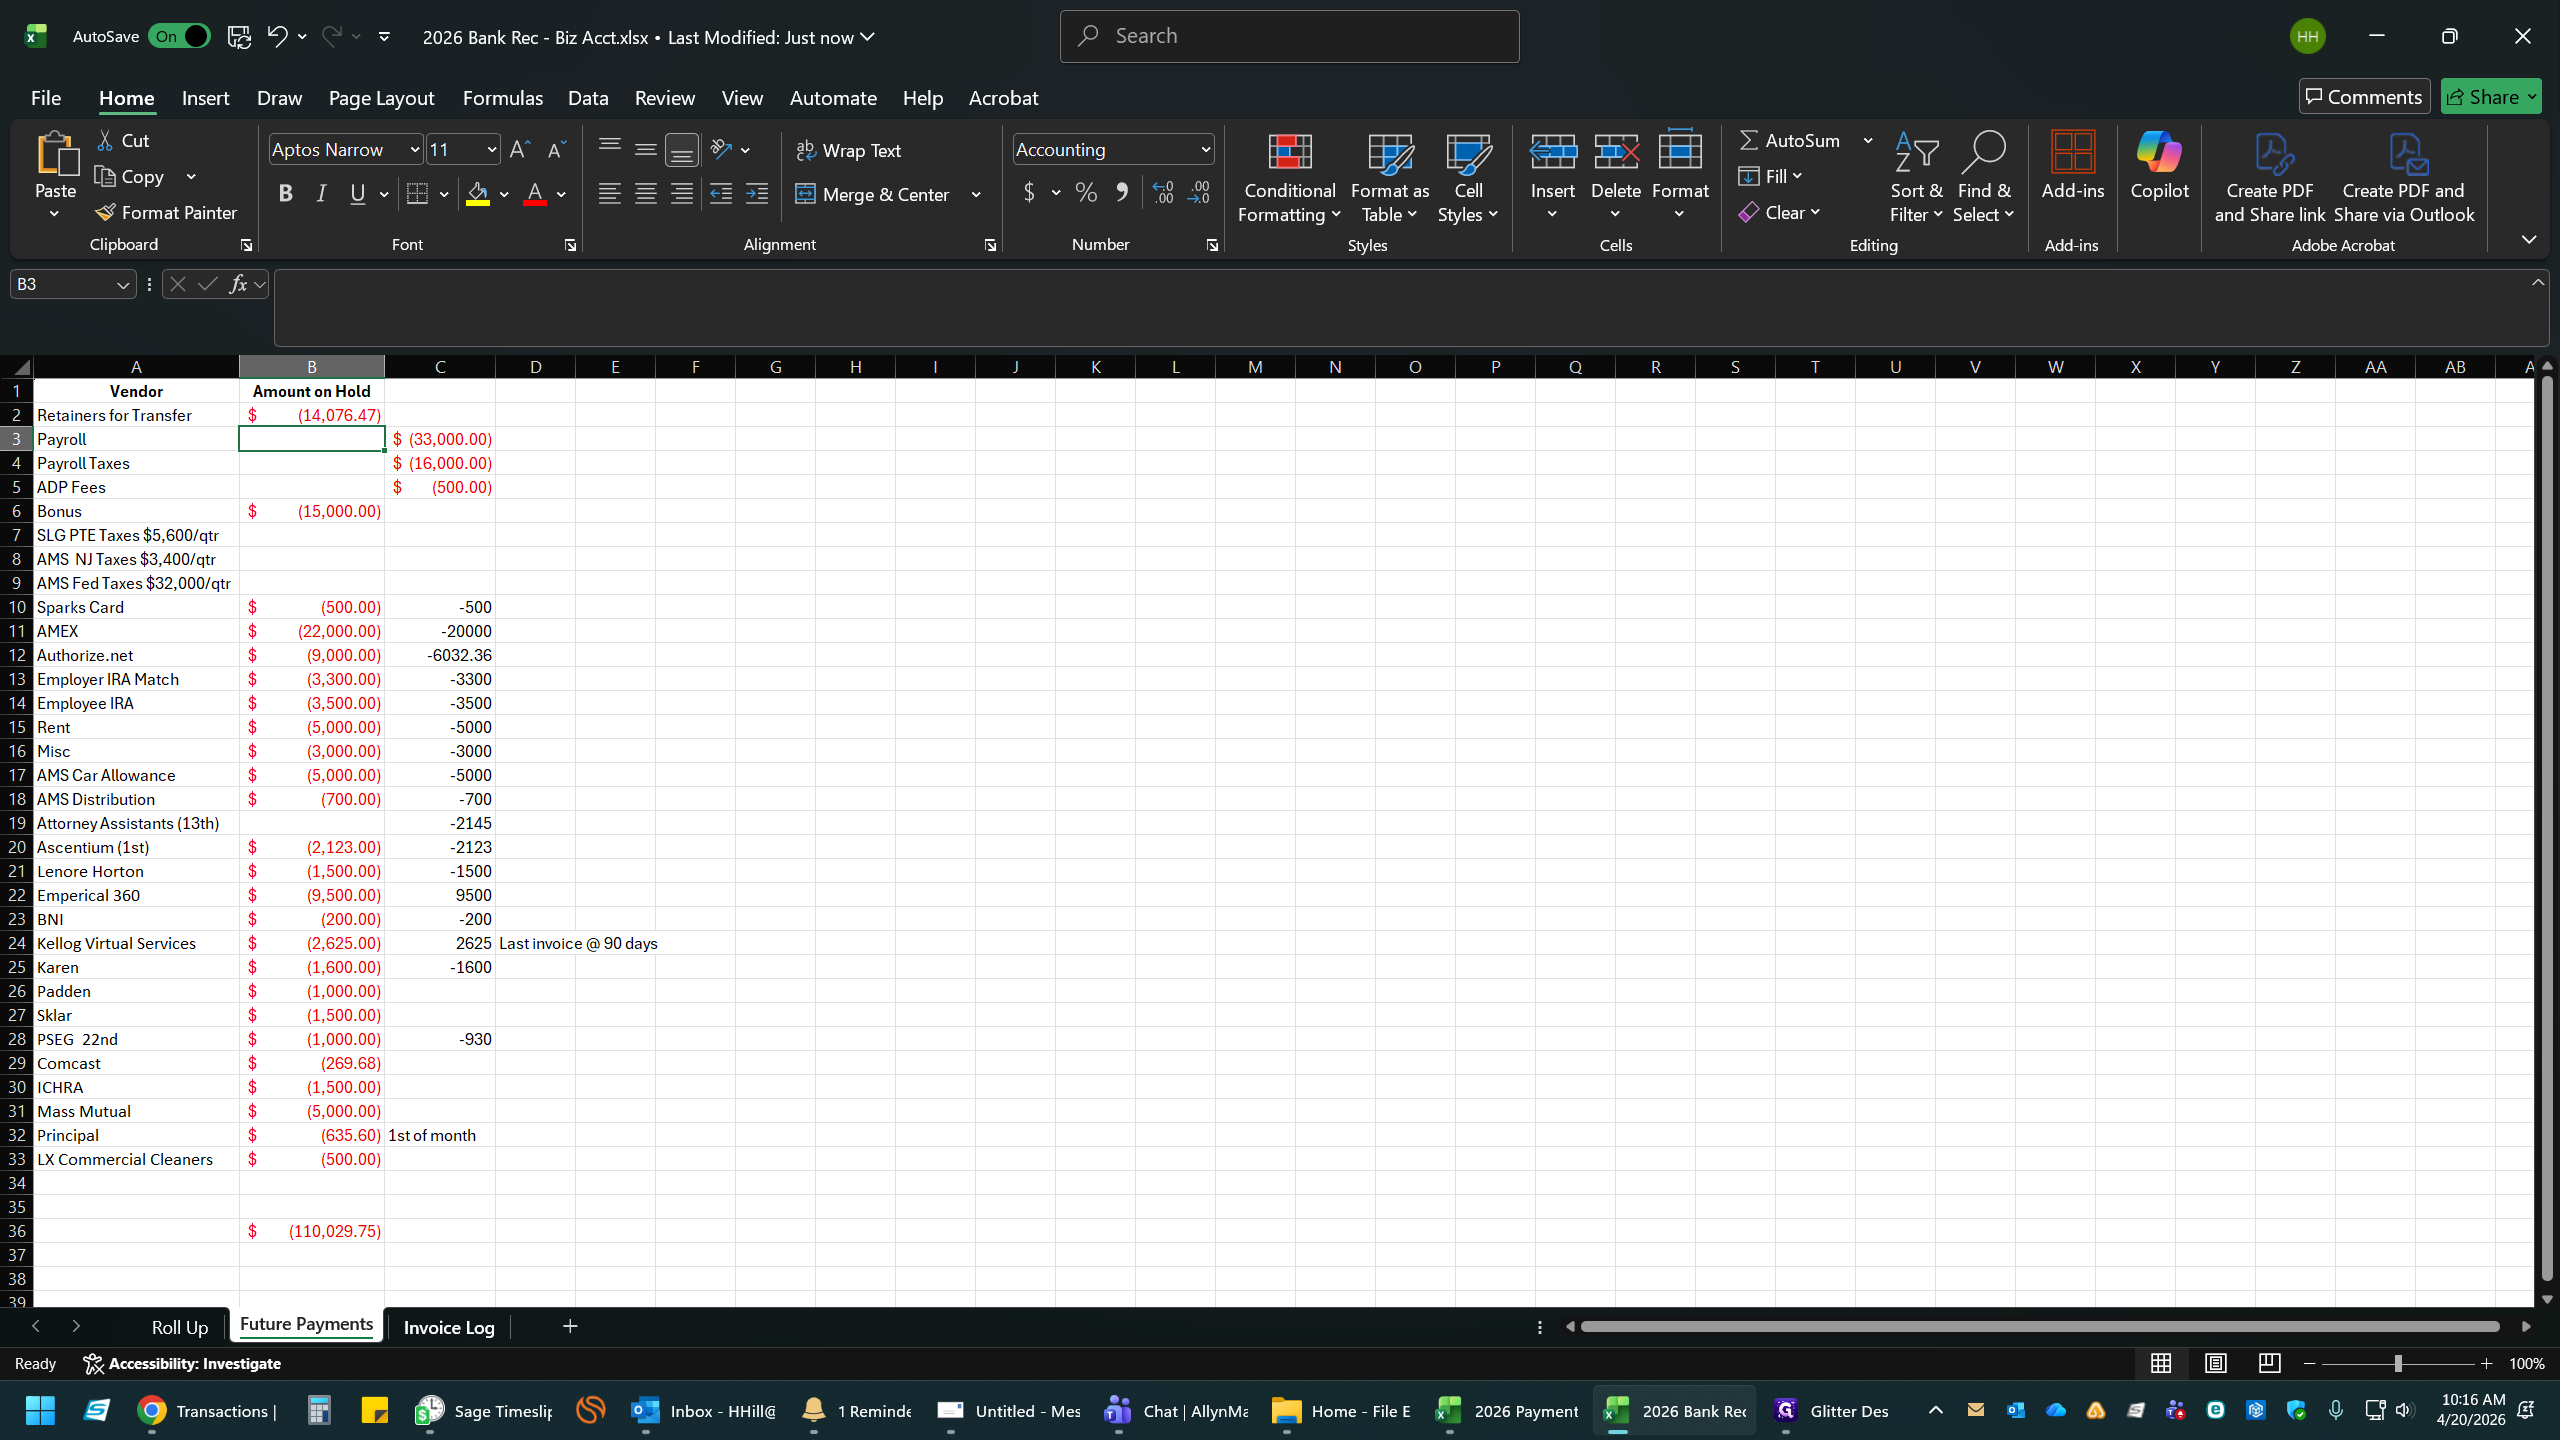
10
Navigate to the Future Payments tab.
11
Select the relevant cell in the Amount on Hold column.
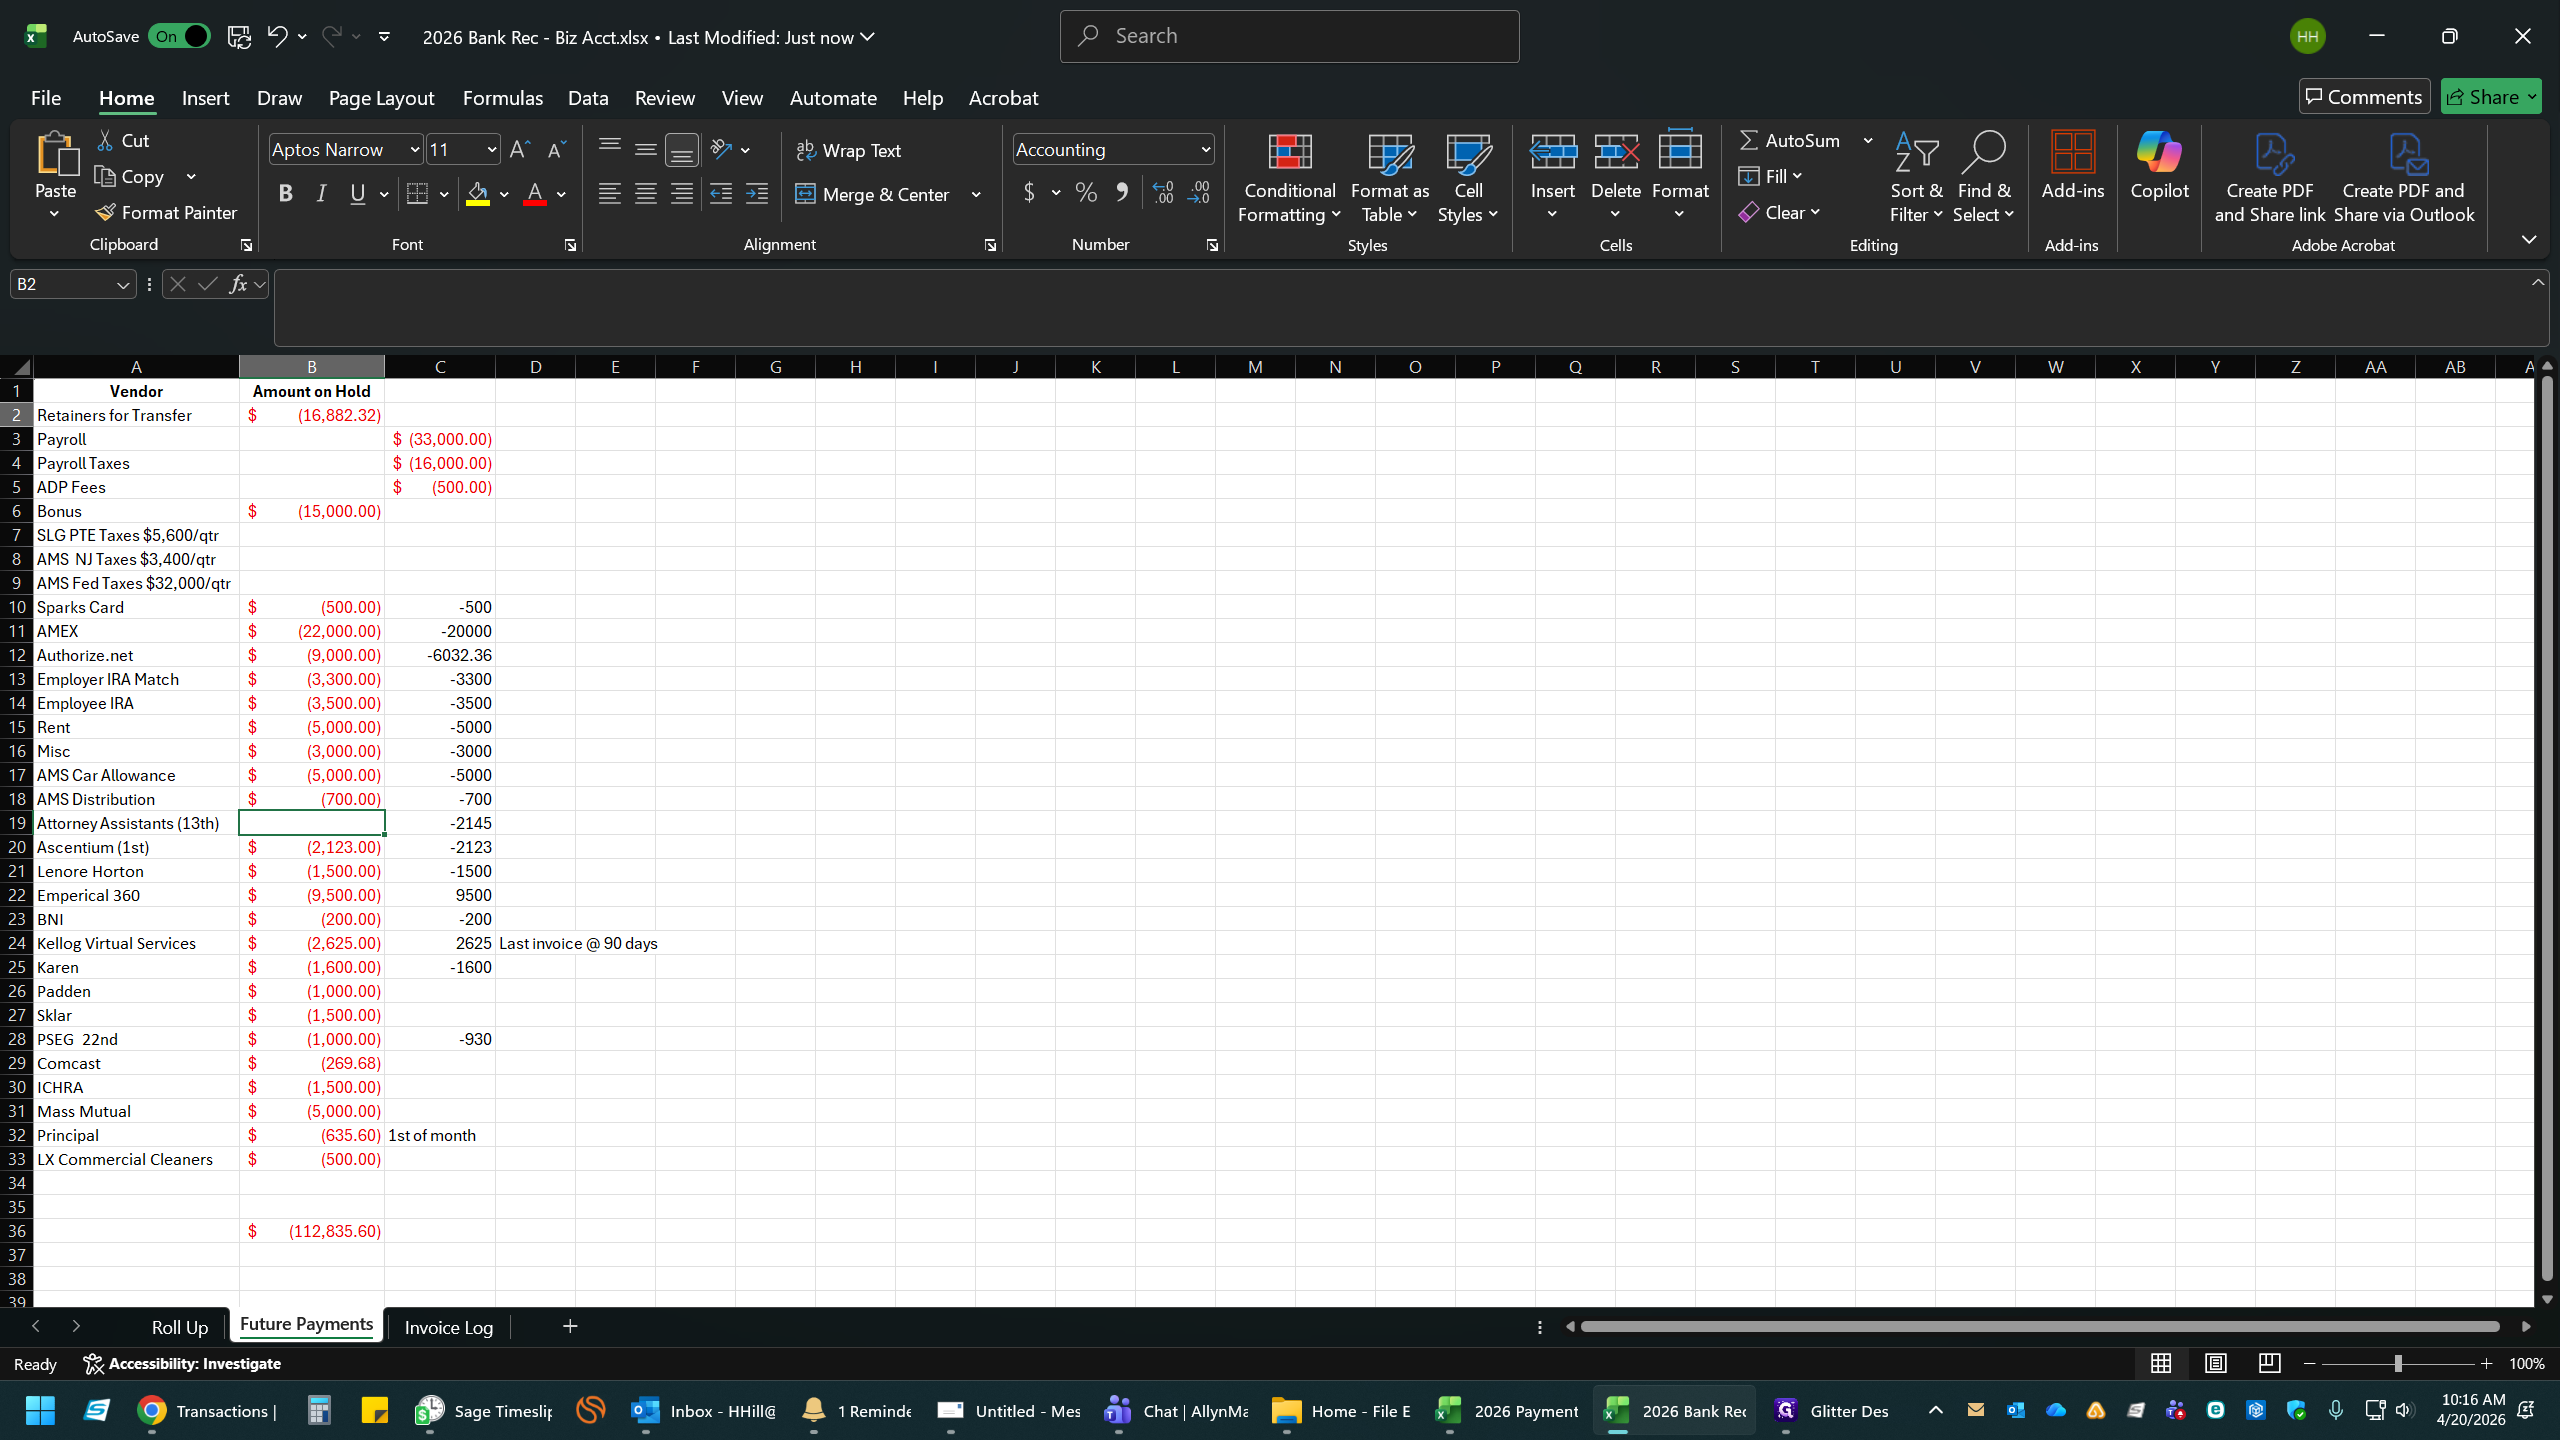
12
Type the updated hold amount for the transactions that need to be transferred by the Bookkeeper and press
Enter (e.g., -14076.47).5. Log Cleared Invoices
13
Navigate to the Invoice Log tab.
14
Locate the first cleared transaction and add the negative value in Column G.
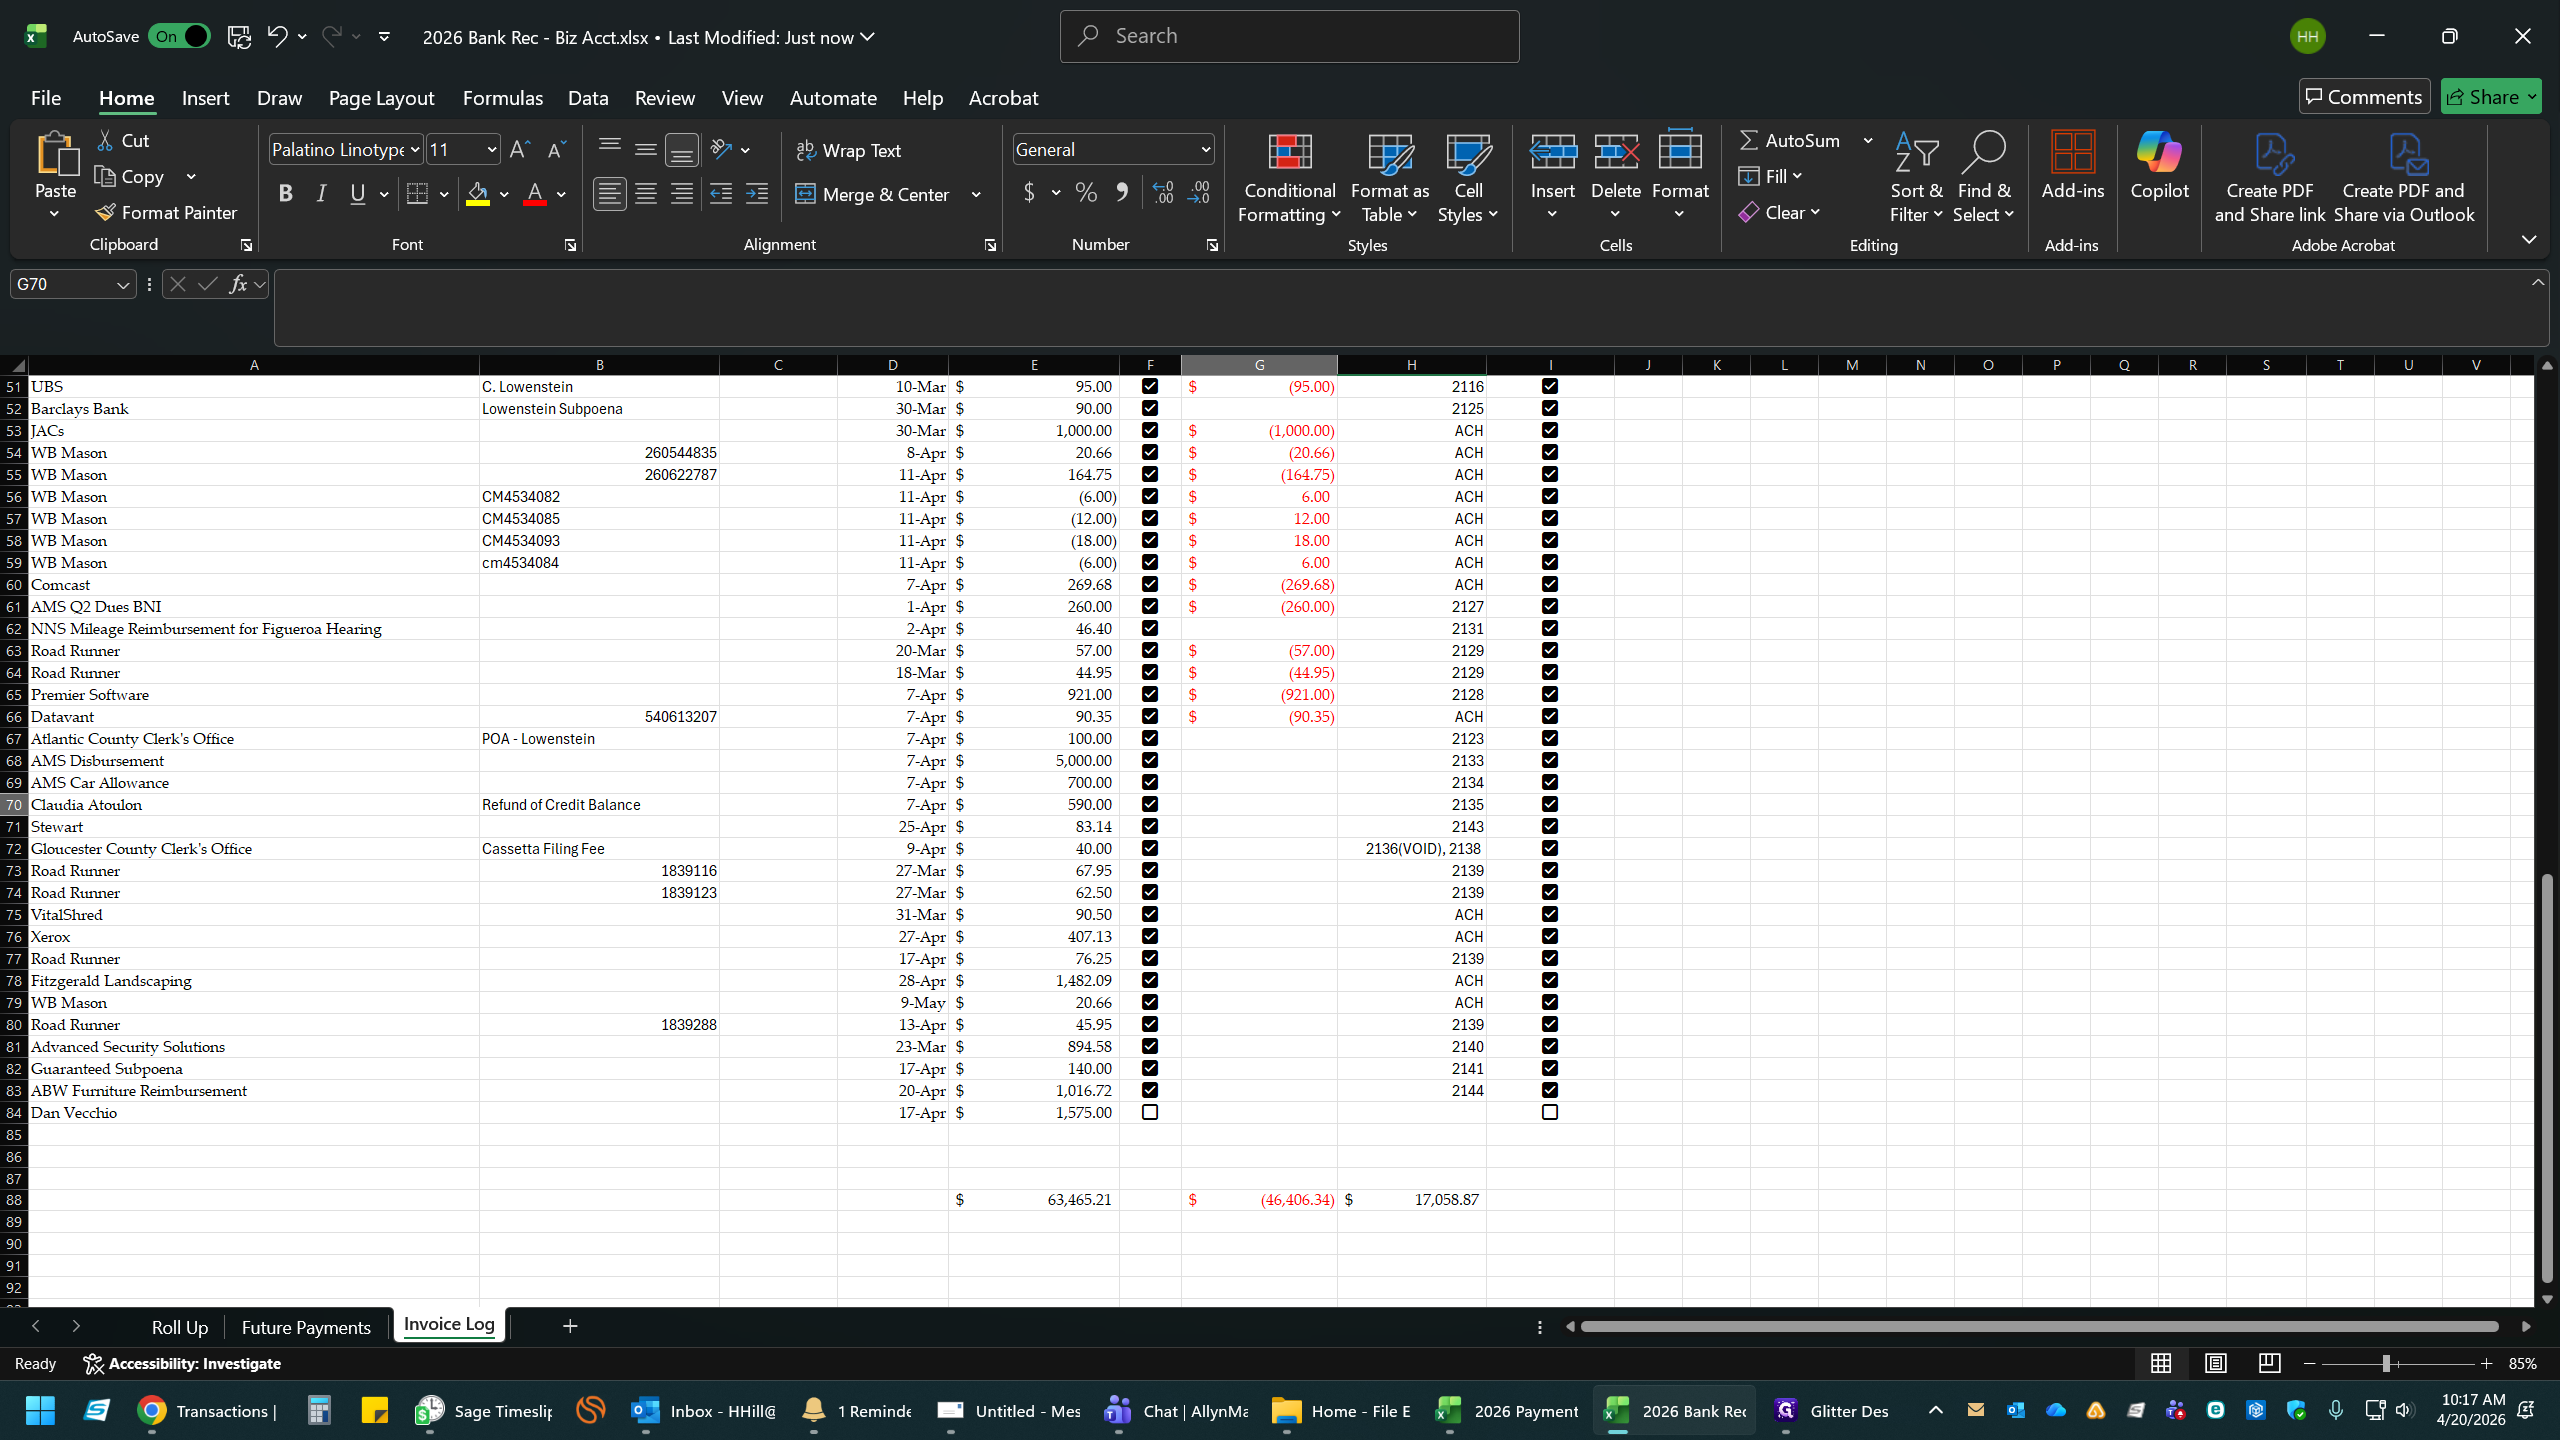
15
Enter the cleared amount (e.g.,
-590) and press Enter.16
Select the next empty cell in the transaction column.

17
Type the next amount (e.g.,
-90.50) and press Enter.18
Select the next cell.

19
Type
-20.66 and press Enter.20
Select the next cell.
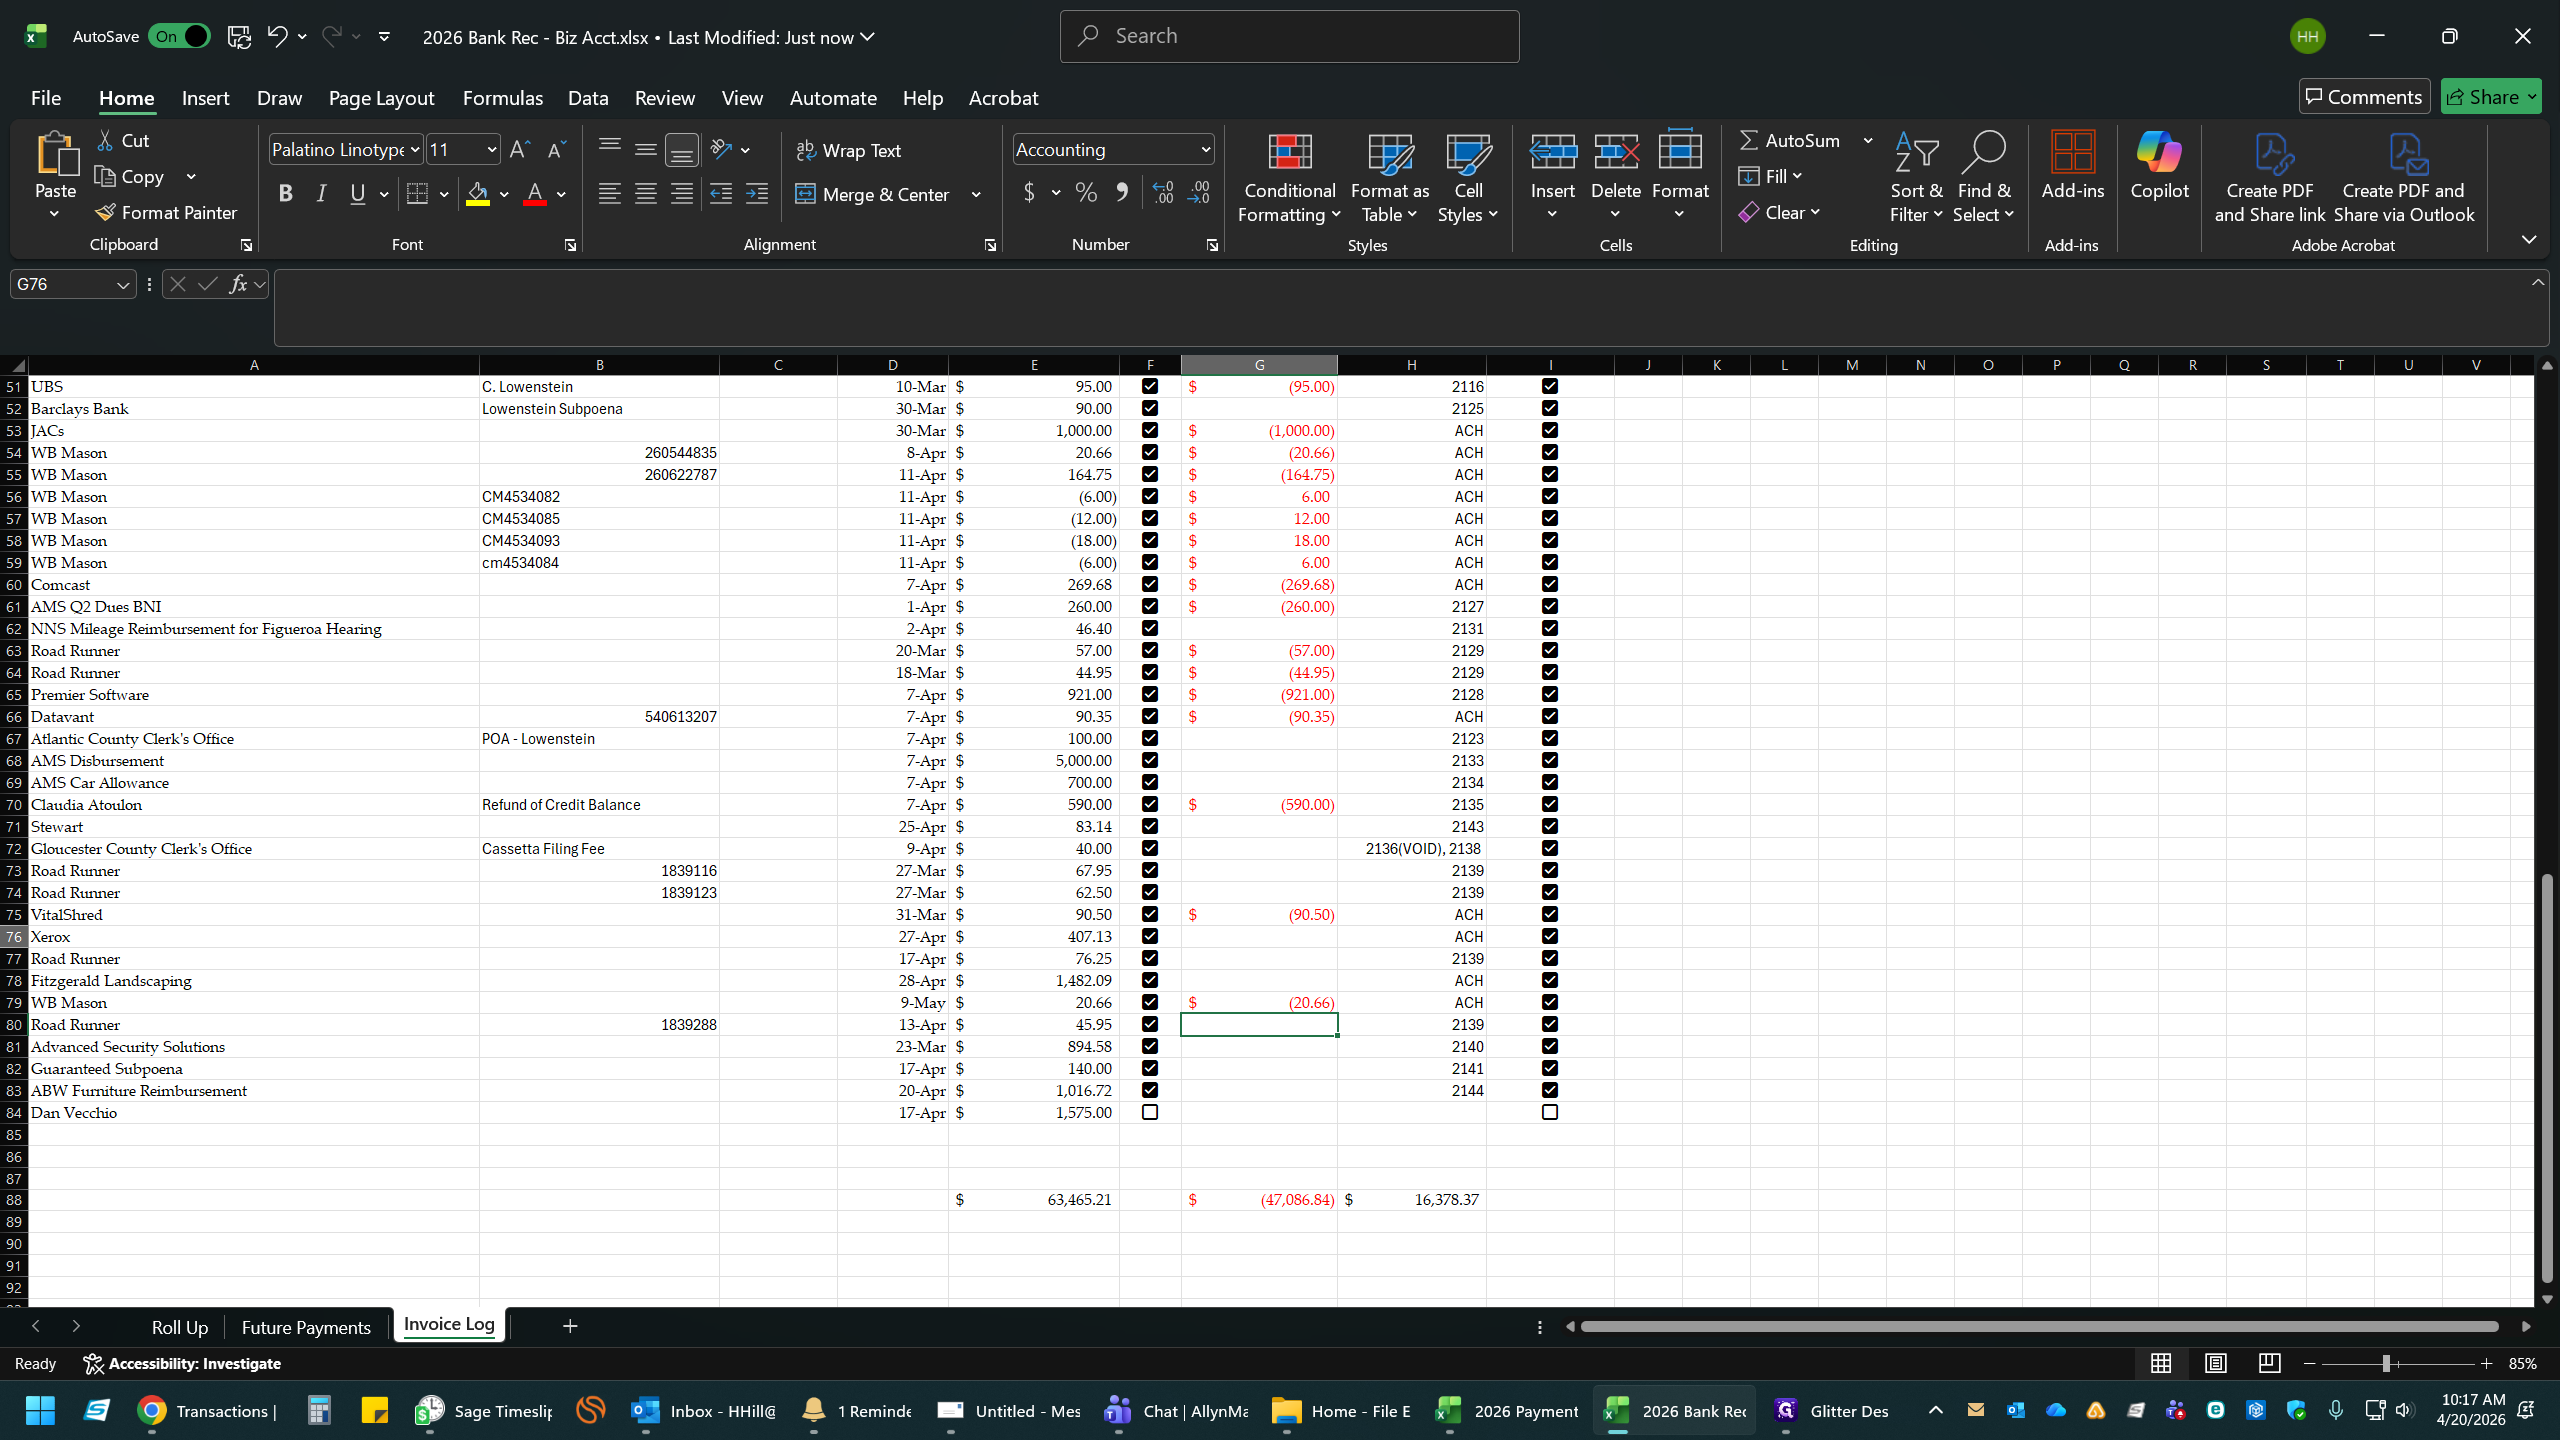
21
Type
-407.13 and press Enter.22
Select the next cell.

23
Type
-1482.09 and press Enter.6. Update Formula Ranges
After adding new rows to your Invoice Log, you must ensure the sum totals at the bottom include the new data.
24
Scroll to the bottom of the transactions column and double-click the total sum cell to edit the formula.
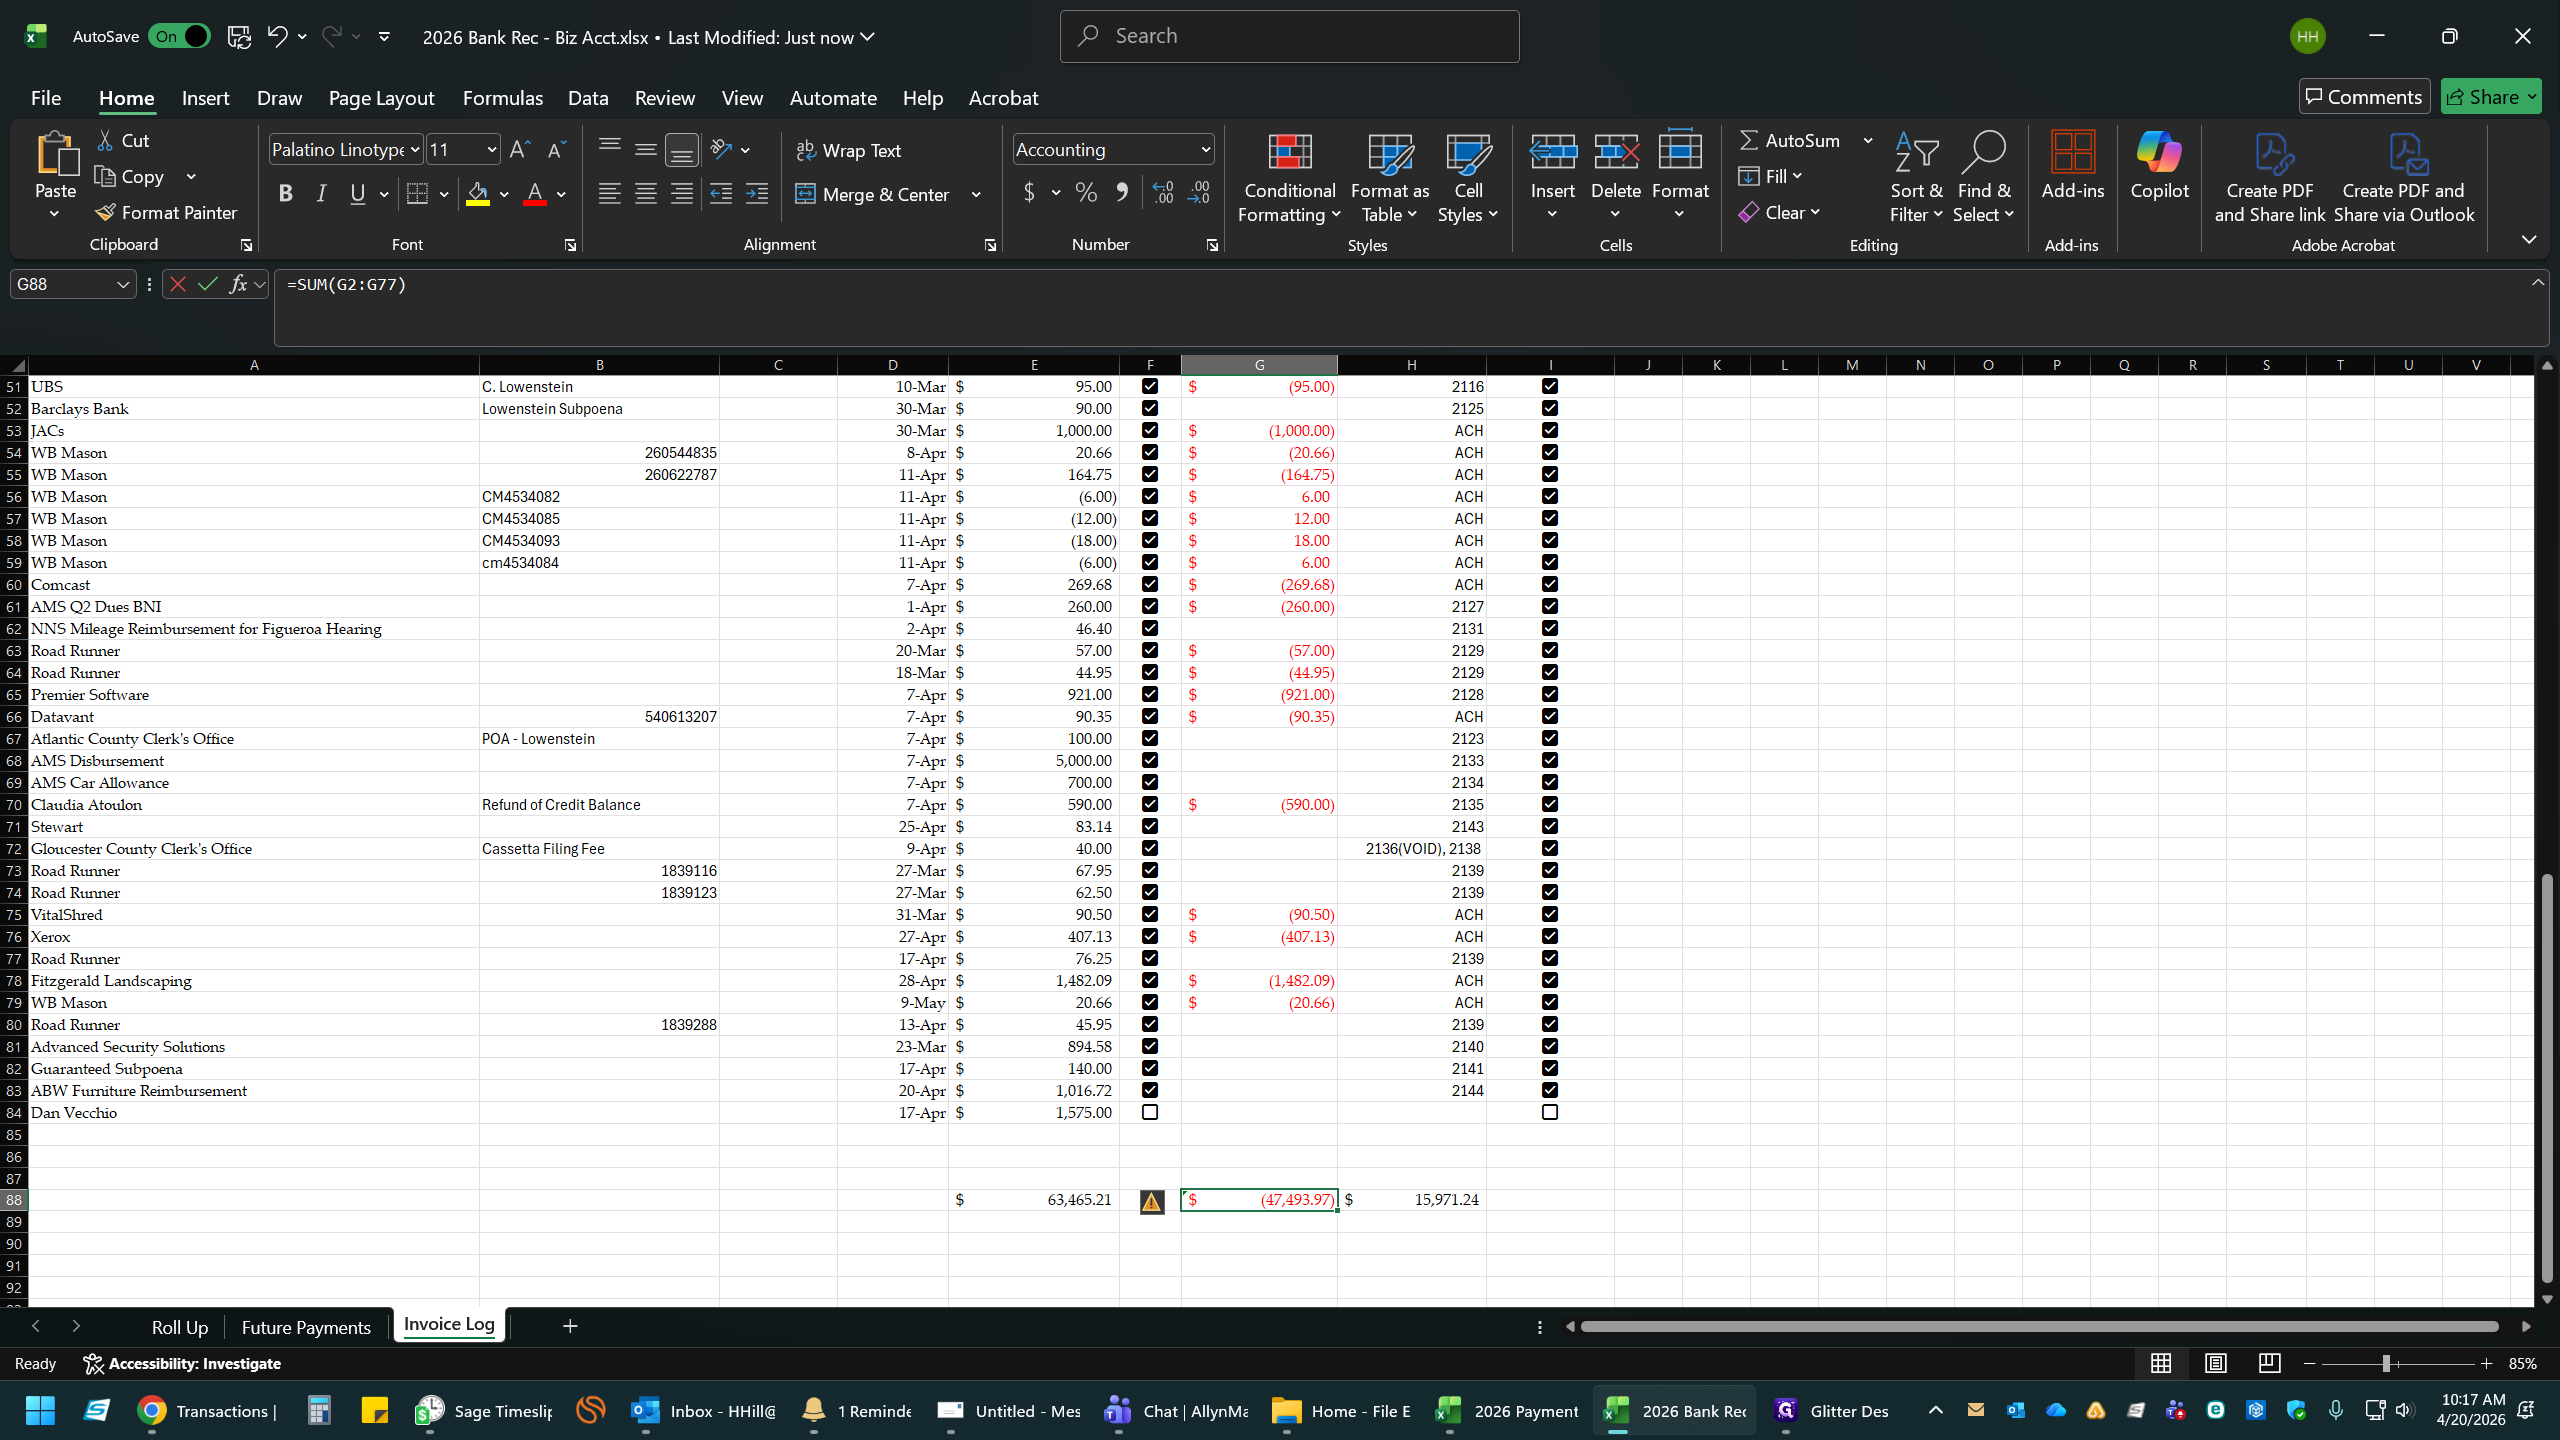
25
Adjust the formula range so that it encompasses all newly added rows.
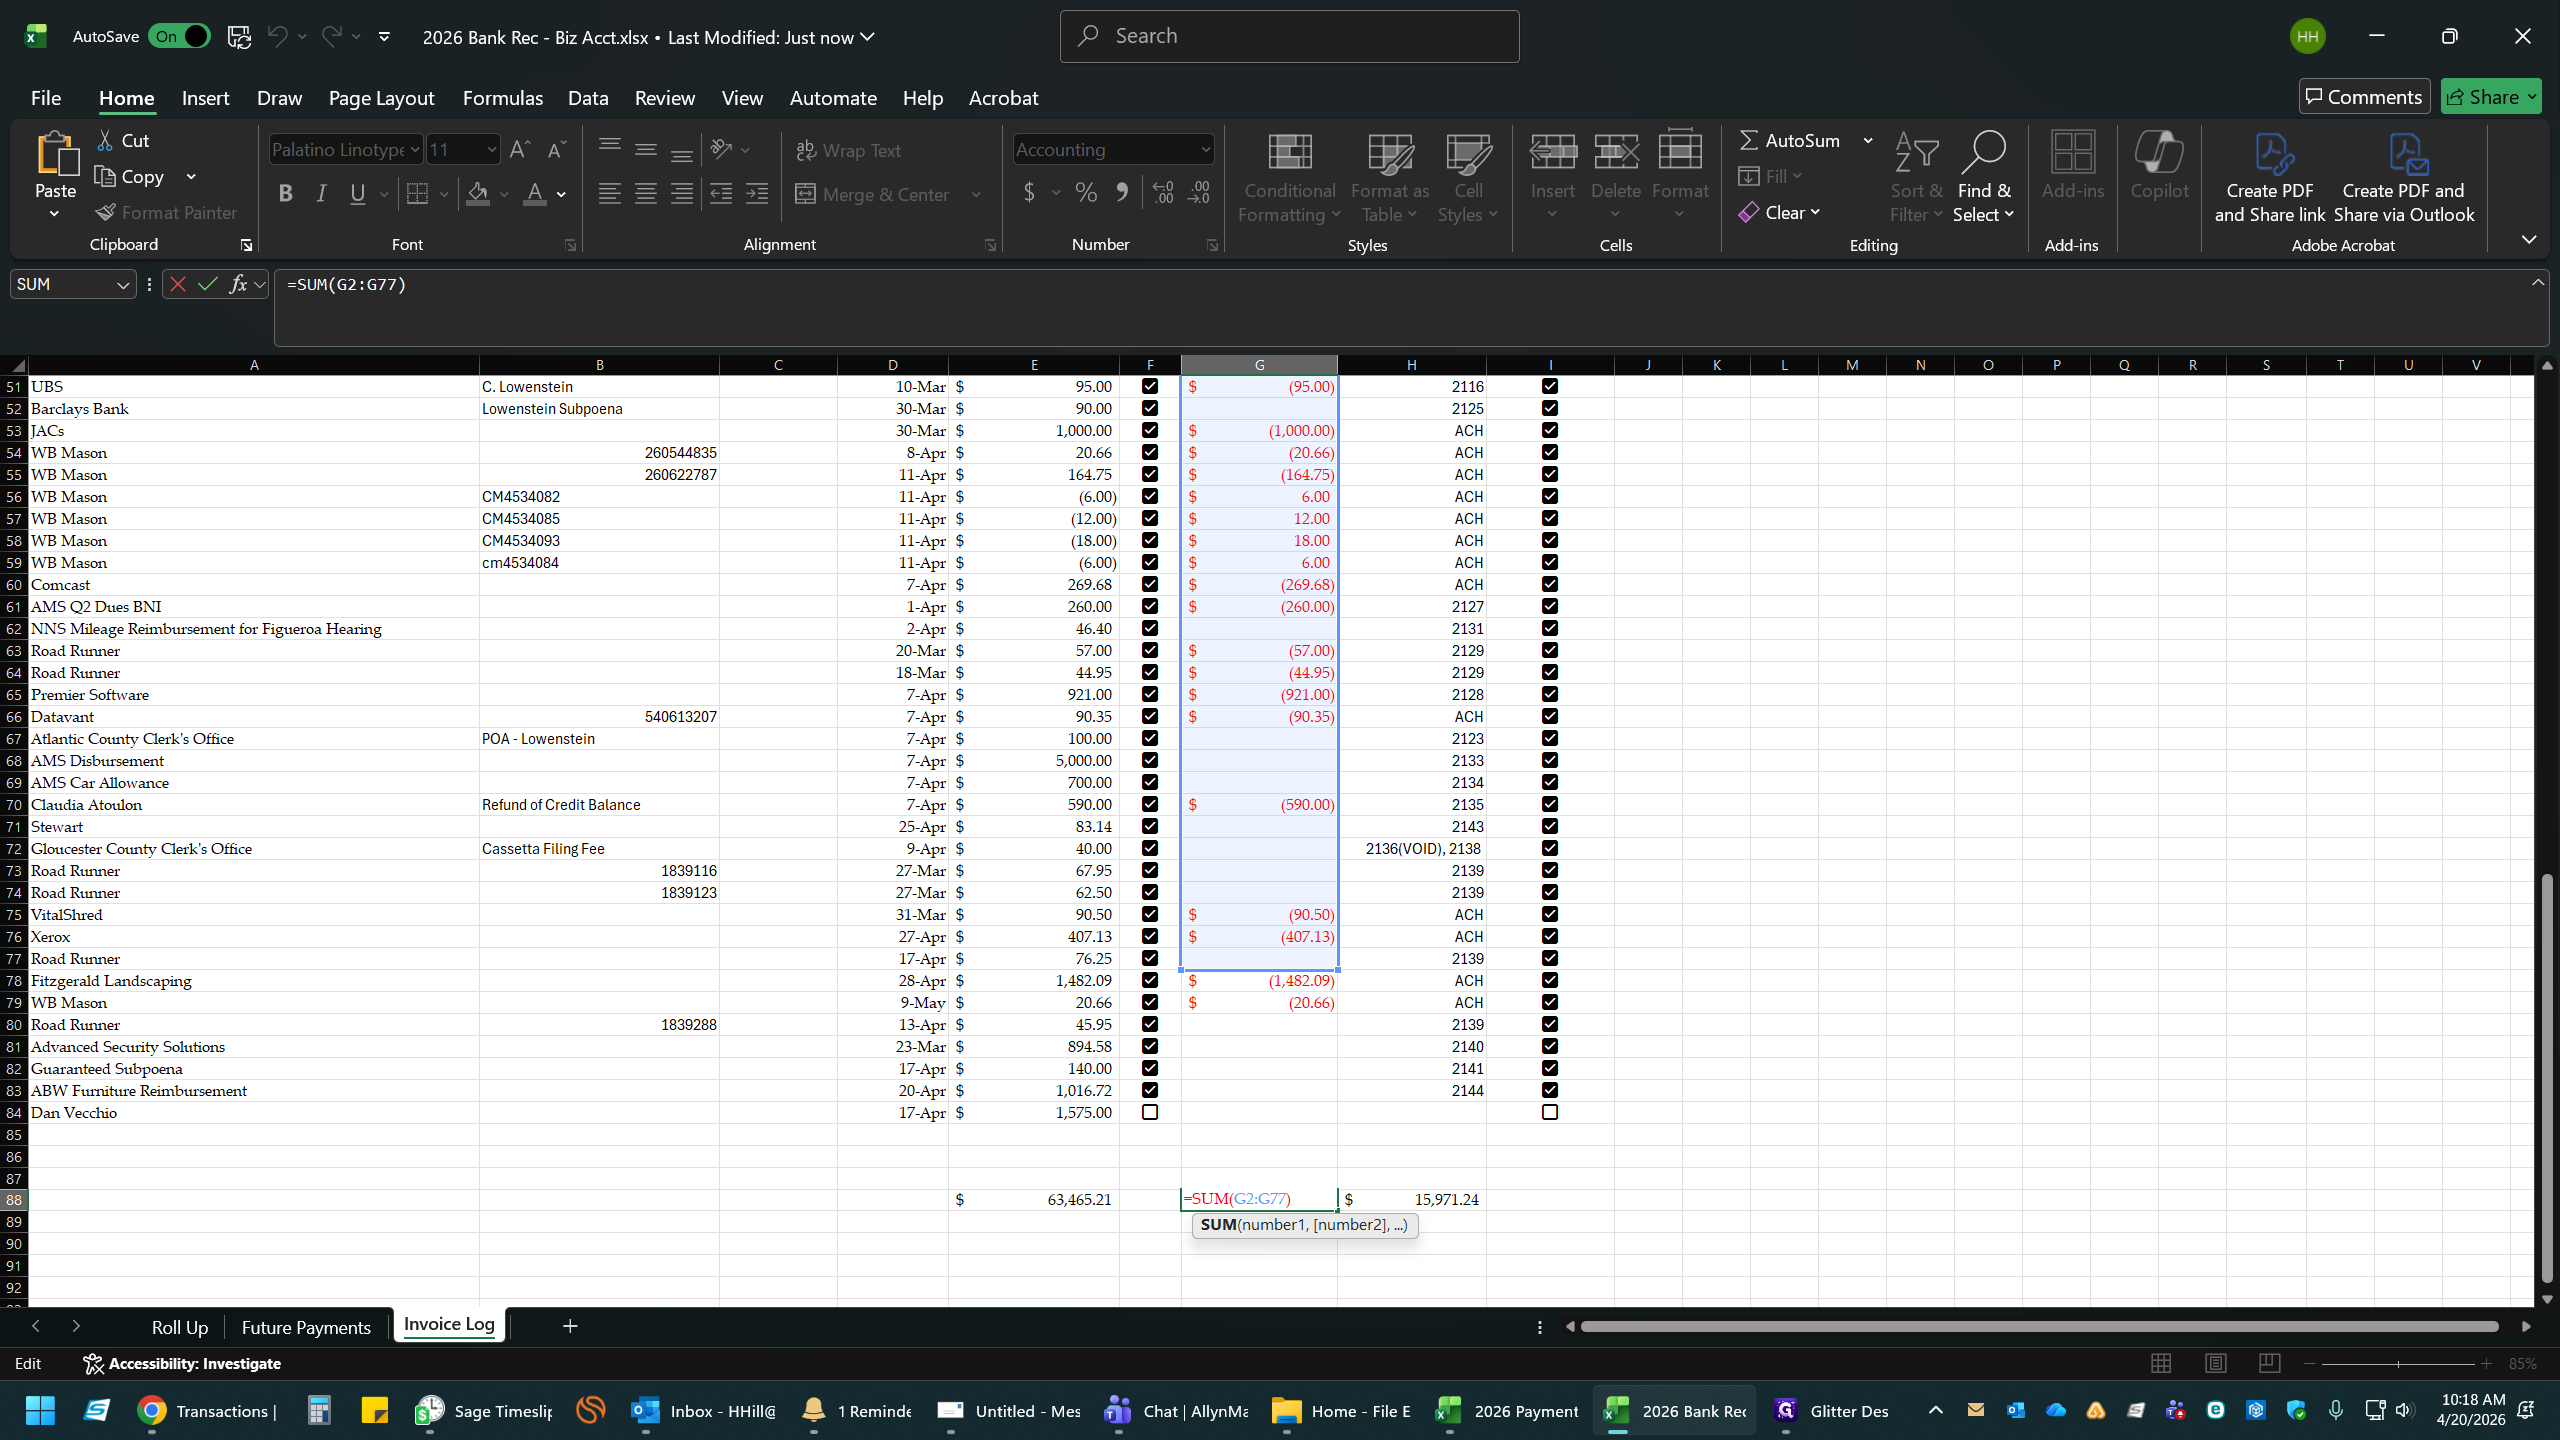
26
Press
Enter to save the updated formula.27
Double-click the adjacent sum cell to verify its range.
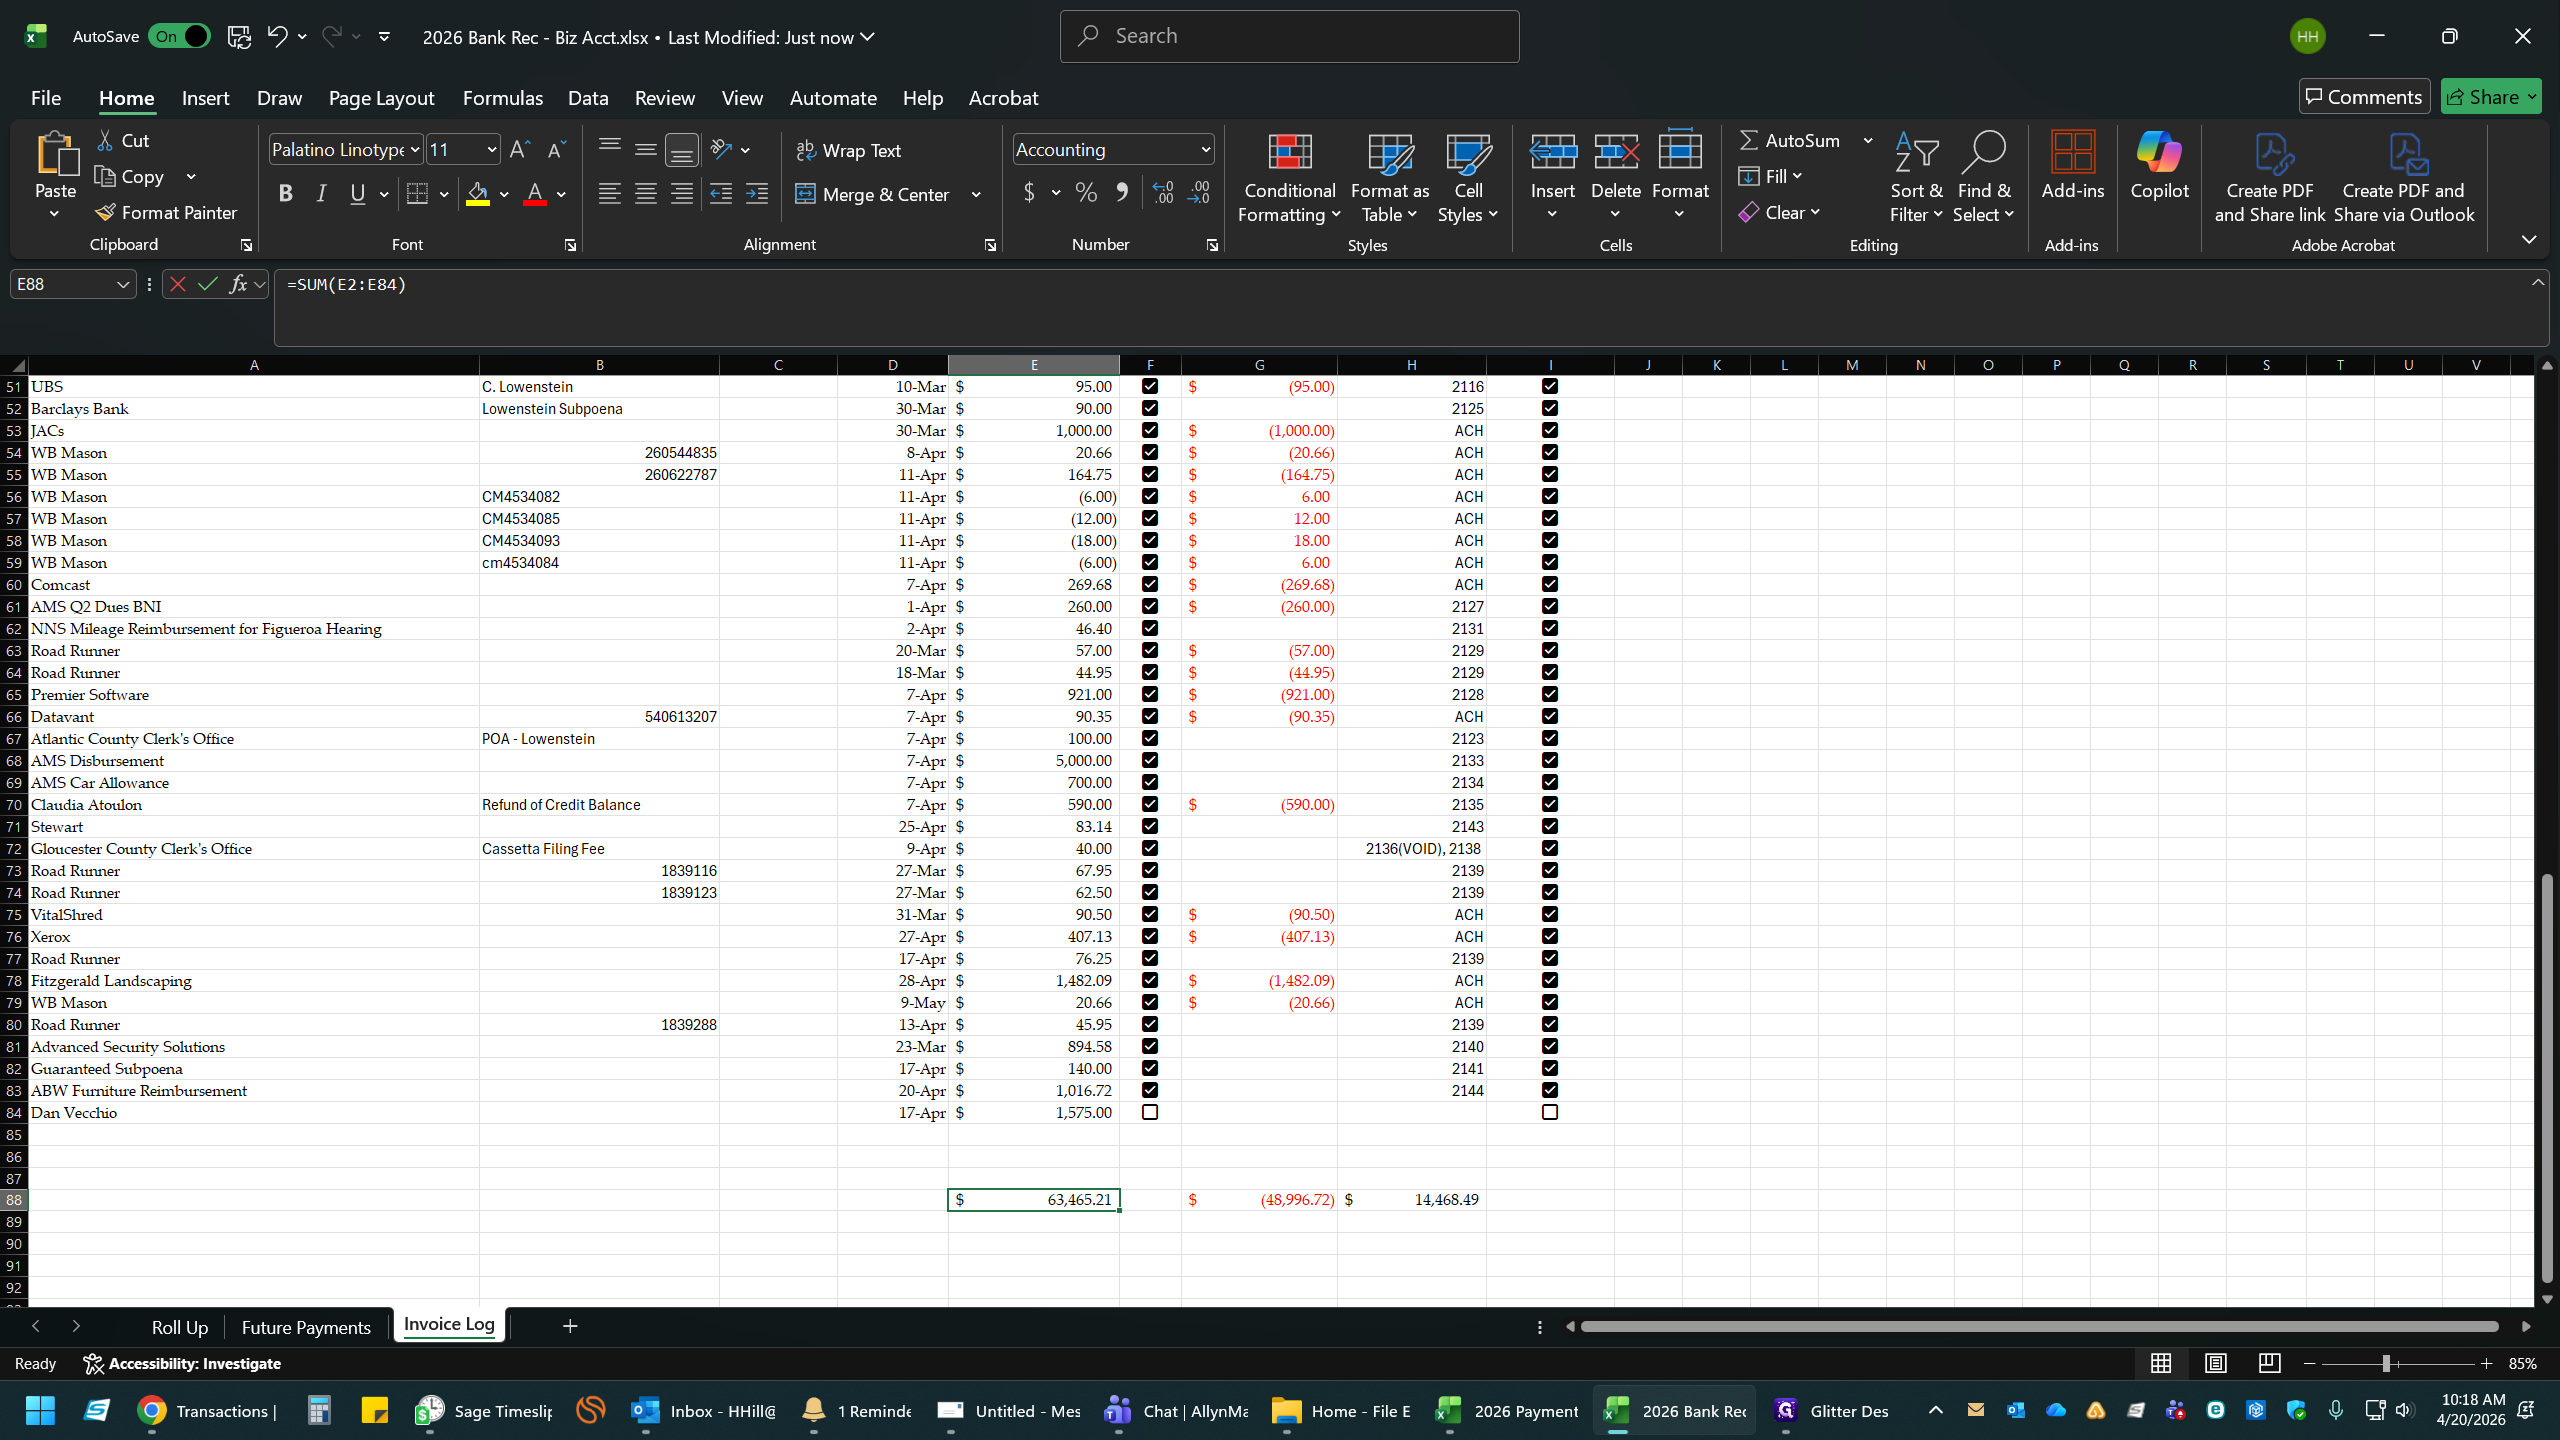
28
Press
Enter.7. Review the Roll Up
29
Click on the Roll Up tab to return to the summary view.
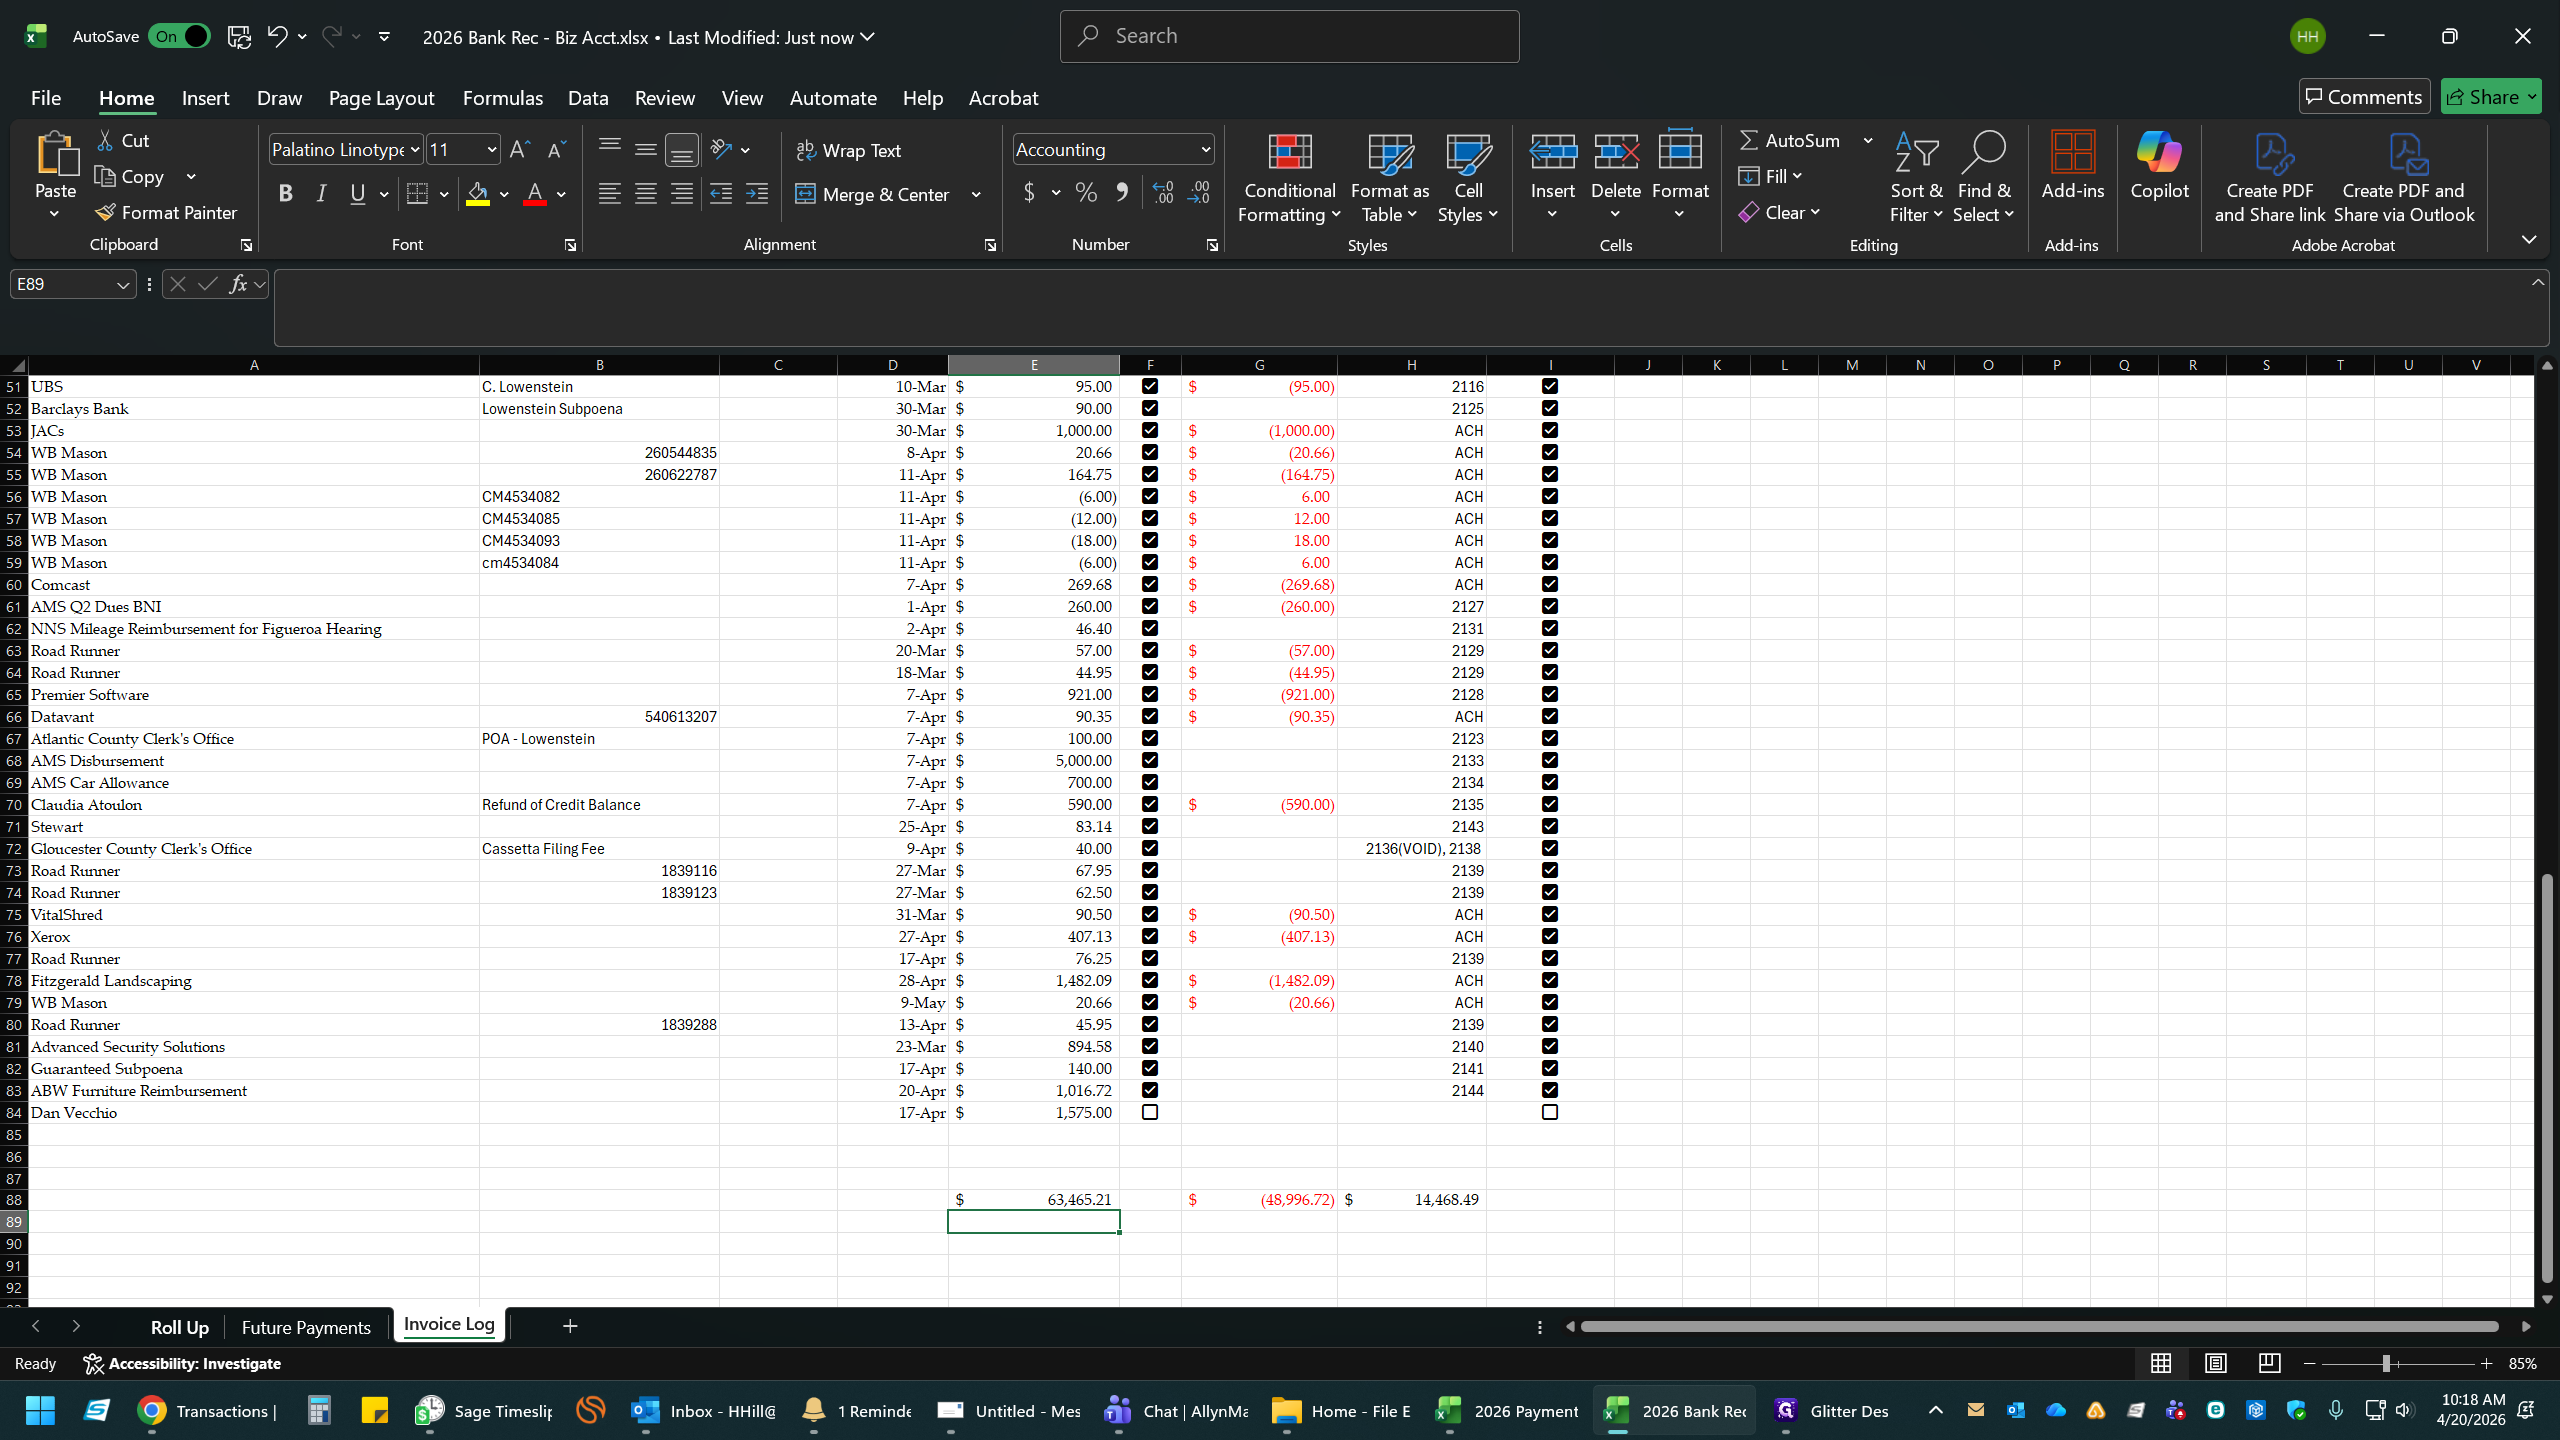
30
Click any empty cell to clear your selection.
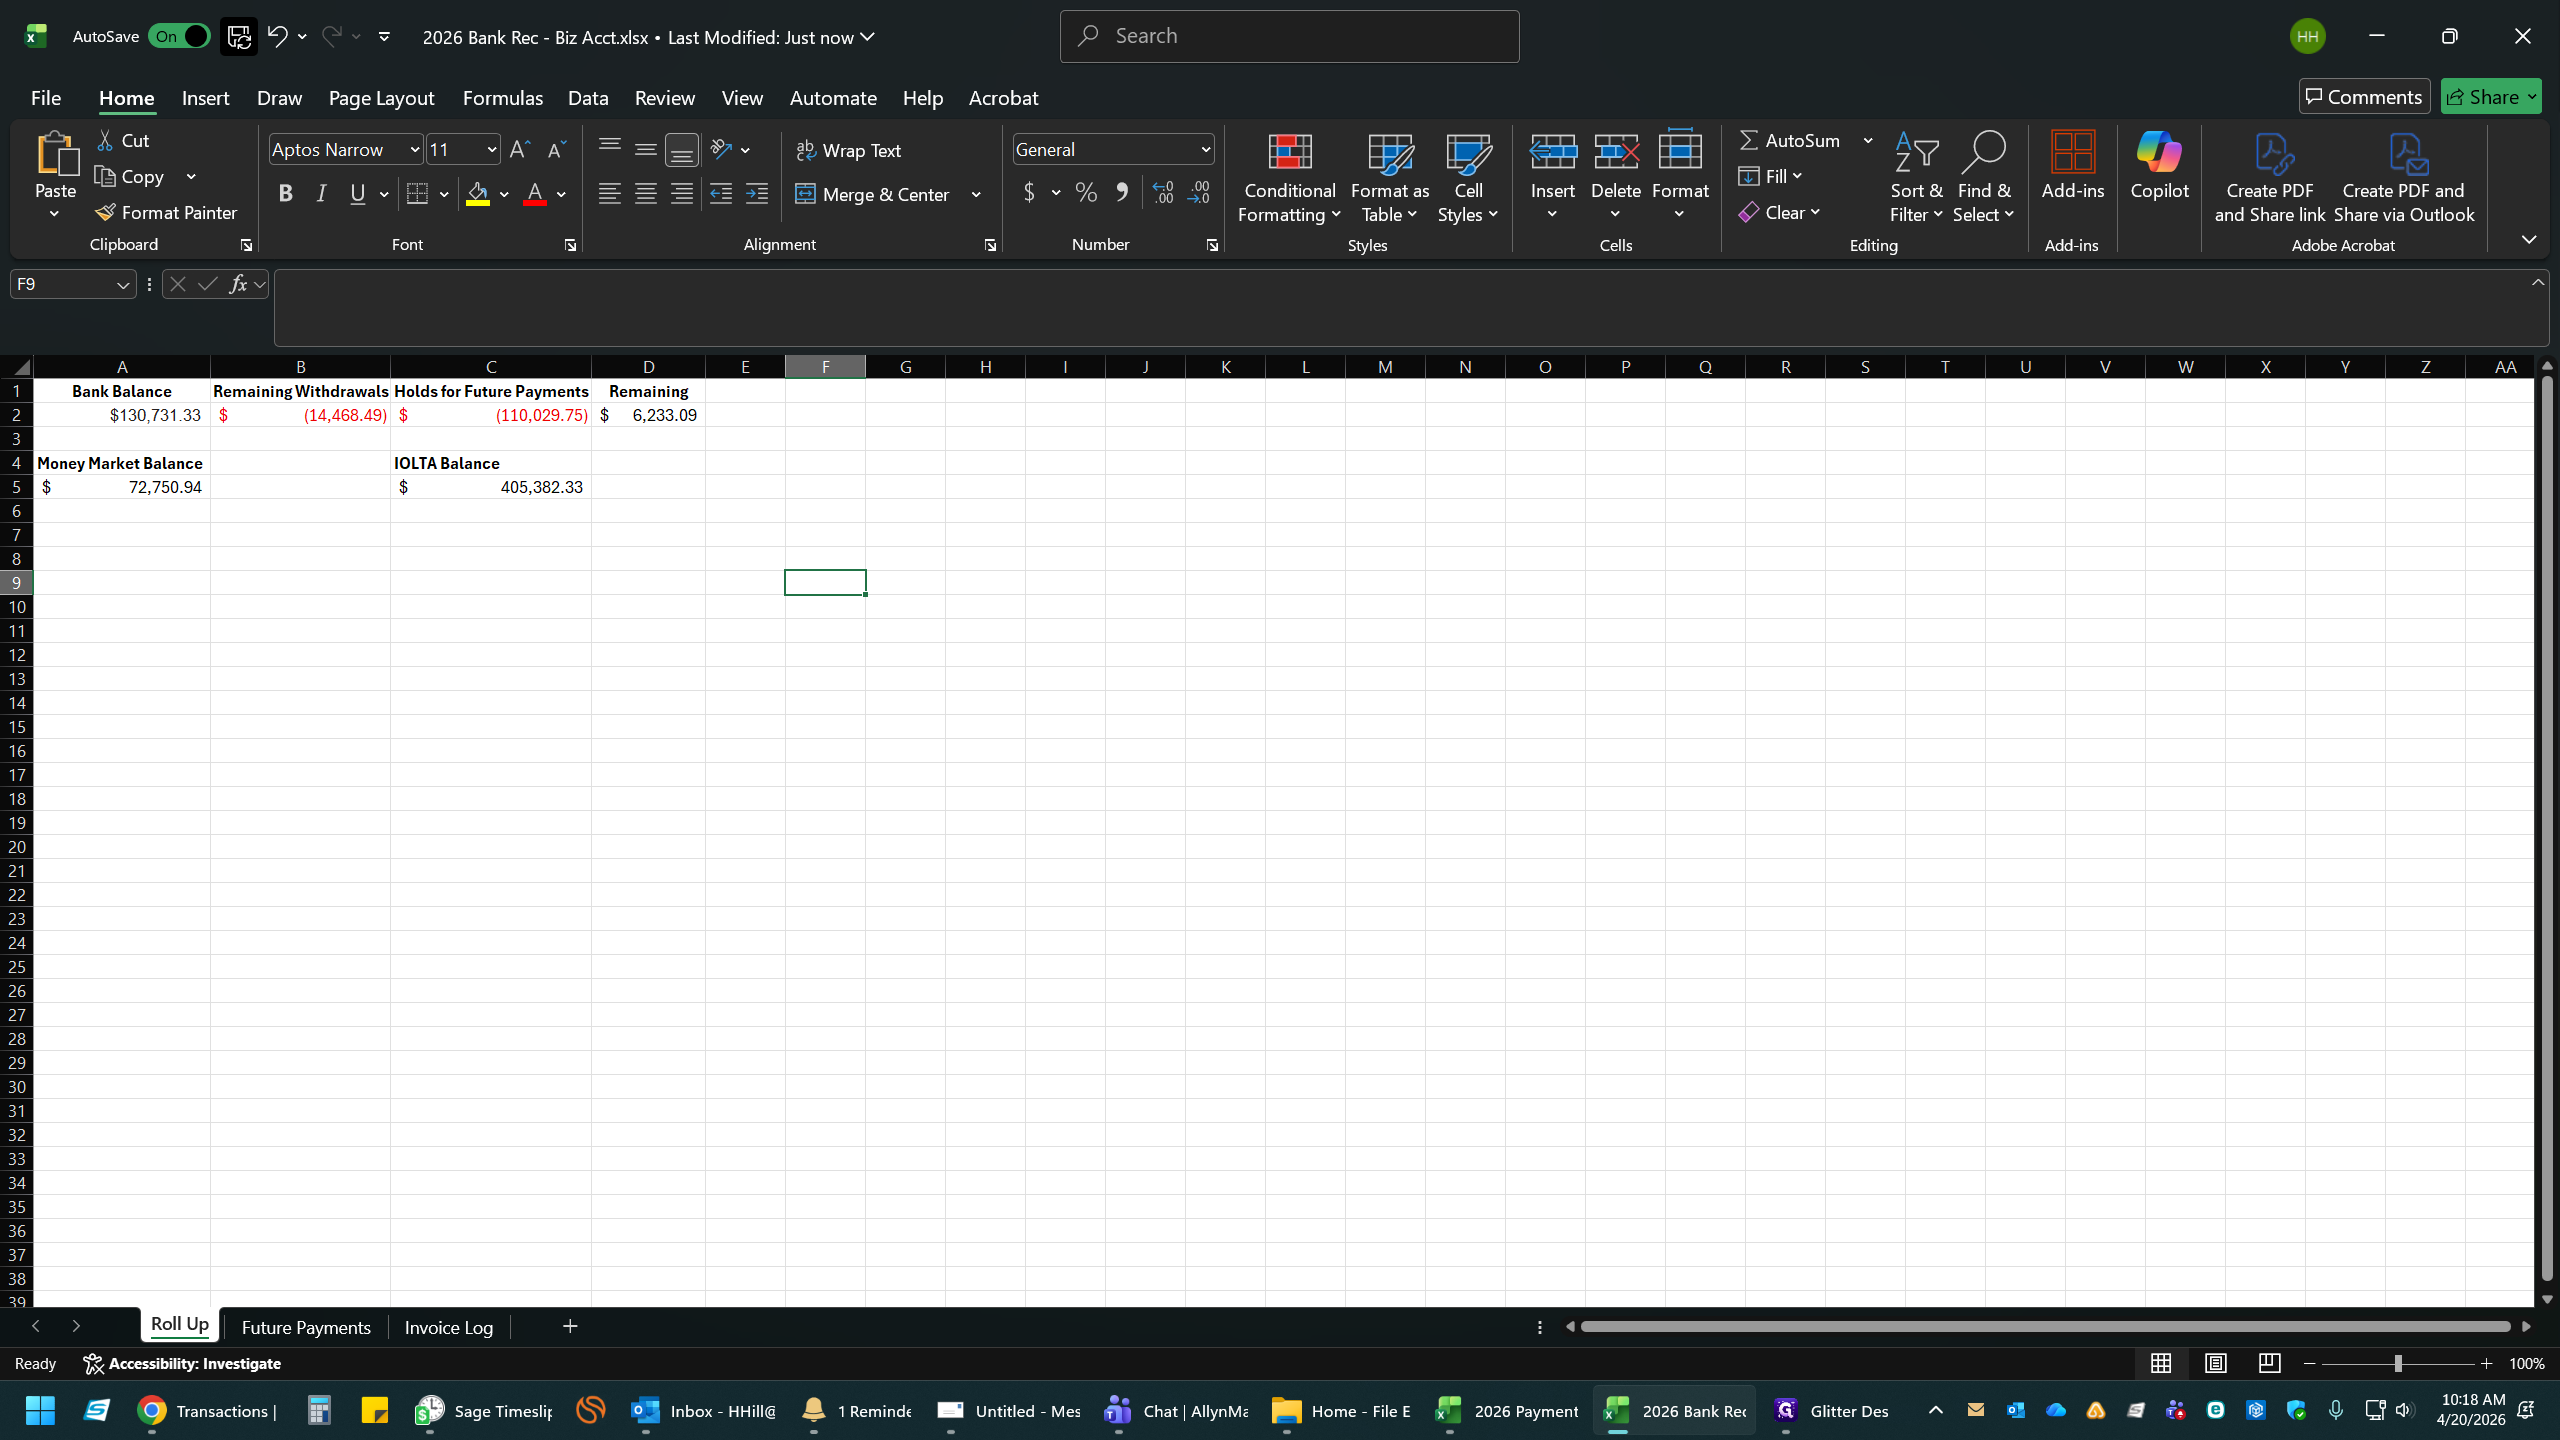
Verify that all totals match and the account is fully reconciled.