How to Register Other Expenses in VR Master
A step-by-step guide on how to register and categorize other expenses (Outras Despesas) and schedule payments in the VR Master ERP software.
By Vicentini
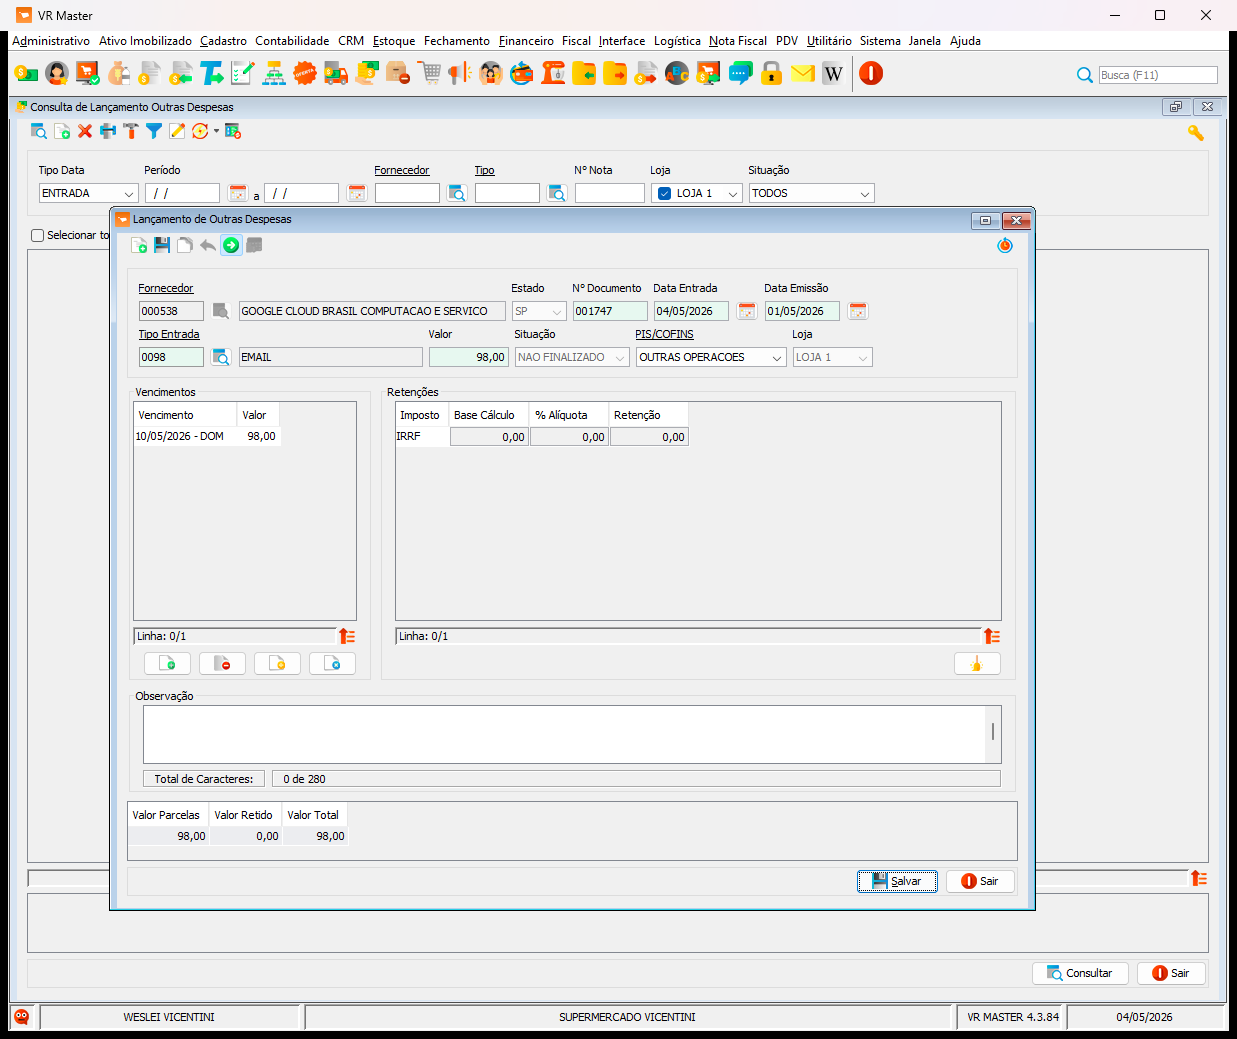
Registering miscellaneous or operational expenses accurately is crucial for maintaining up-to-date financial records. This guide walks you through the process of adding an "Other Expenses" (Outras Despesas) entry in the VR Master software.
1. Initiate a New Expense
1
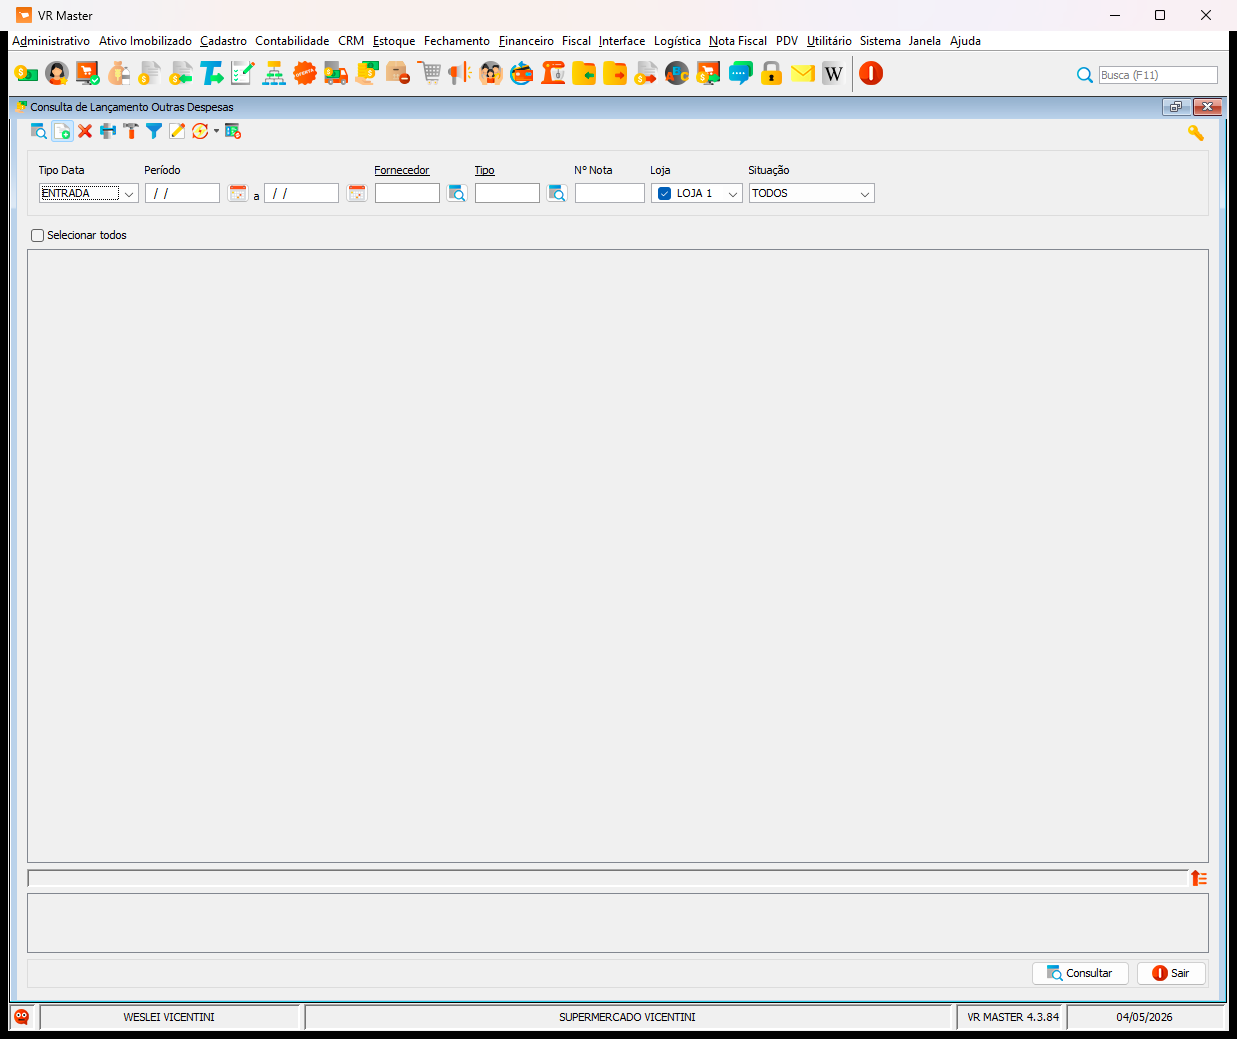
Click the Outras Despesas icon in the main toolbar to access the expenses module.

2
Select the appropriate store, such as Loja 1, to assign the expense correctly.
2. Enter Document Details
3
Fill in the provider's details, the Nº Documento (Document Number), and the Data Entrada (Entry Date).
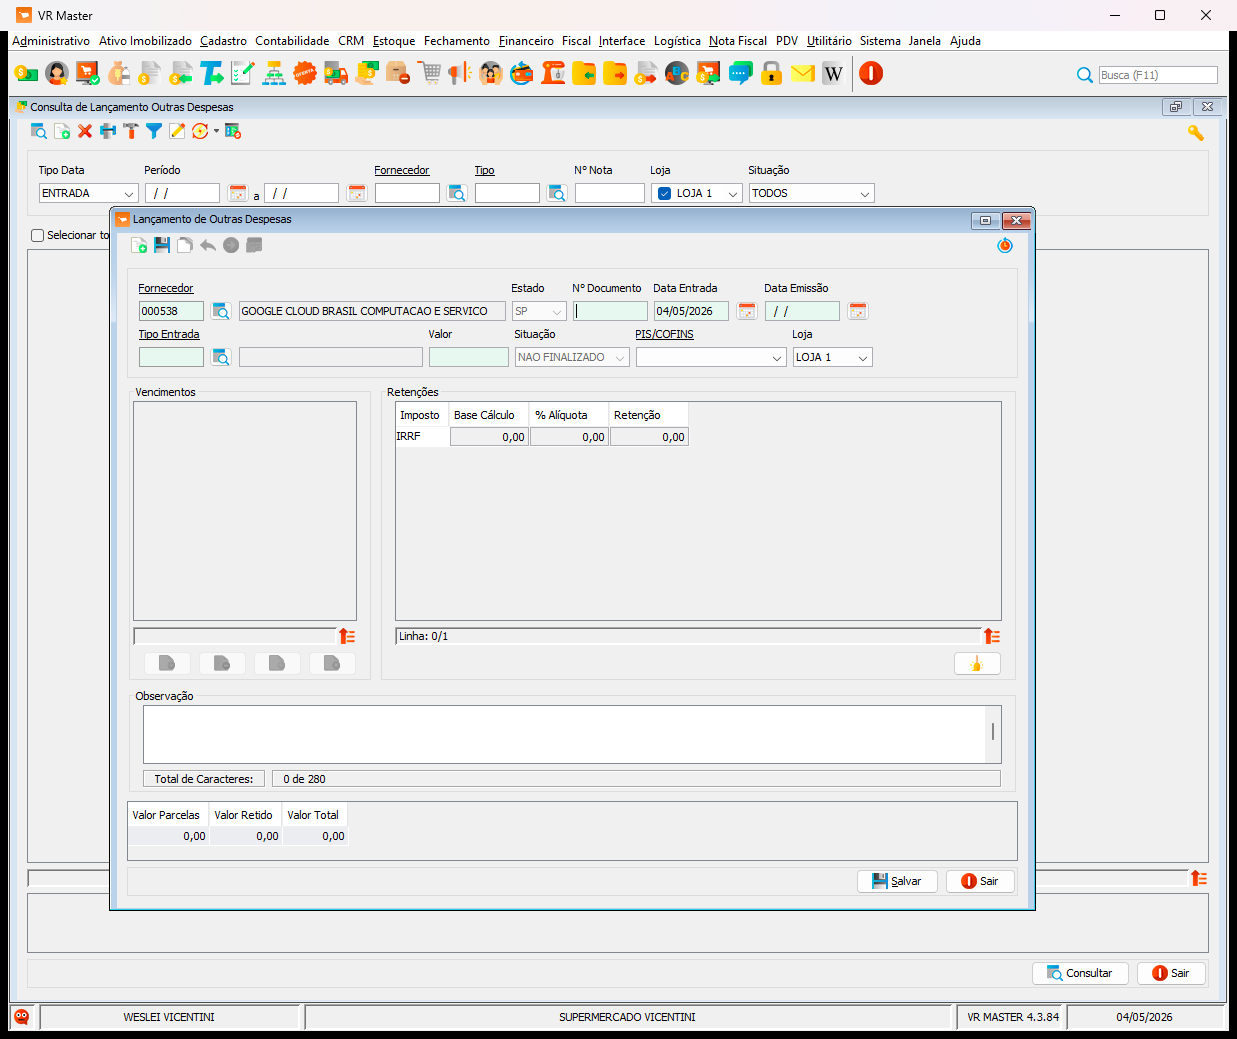
4
Fill in the provider's details, the Nº Documento (Document Number), and the Data Entrada (Entry Date).

5
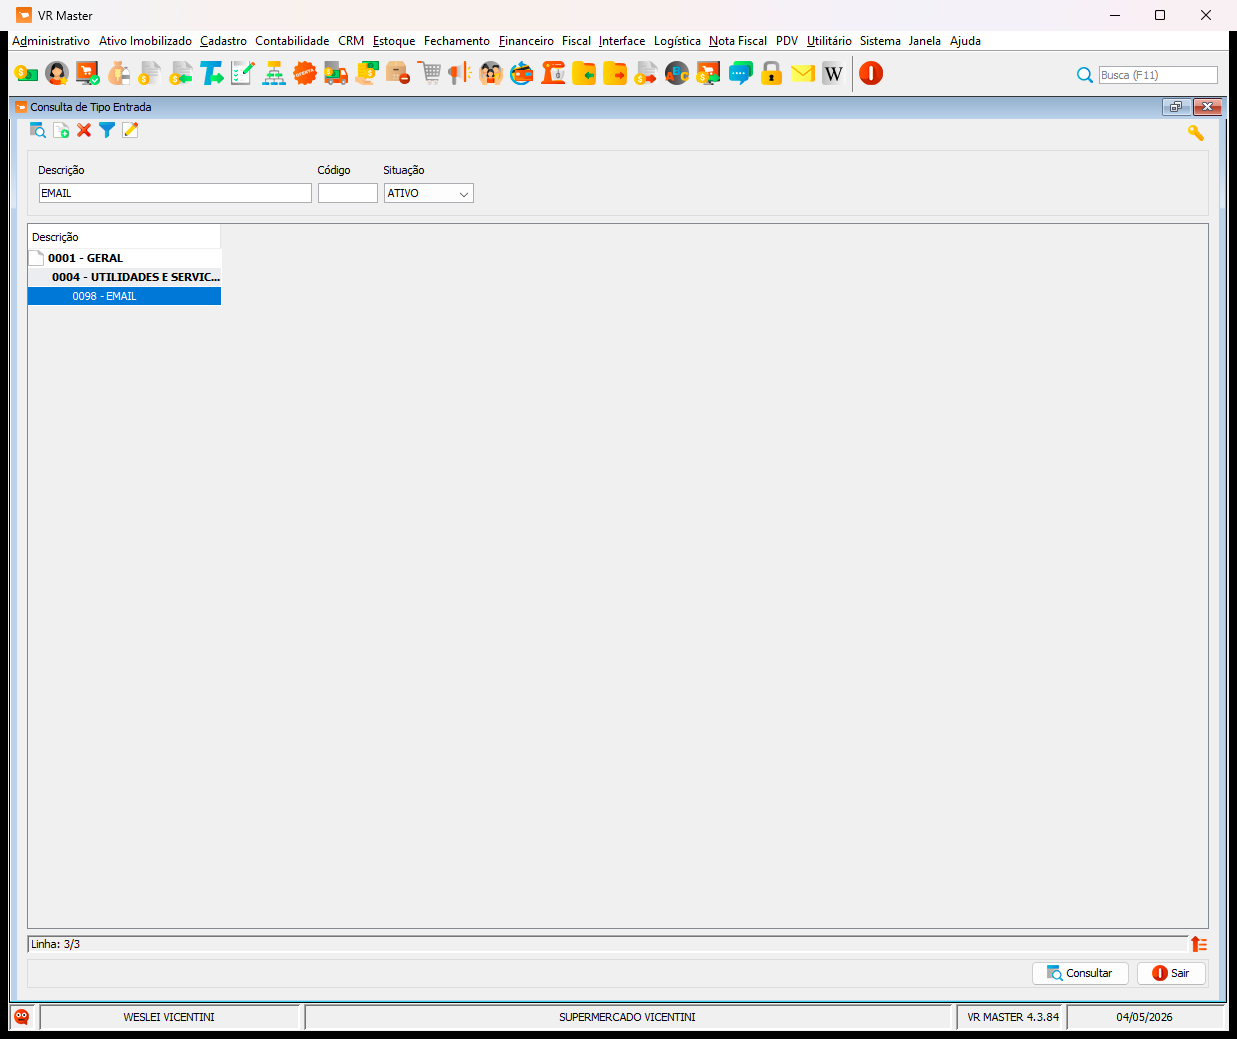
In the Consulta de Tipo Entrada window, search for and select the correct expense category, such as 0004 - UTILIDADES E SERVIC.
6
Click the Valor field and enter the total monetary amount of the expense.

3. Schedule the Payment
7
In the Vencimento de Pagamento Outras Despesas dialog box, enter the payment due date and the corresponding installment amount.
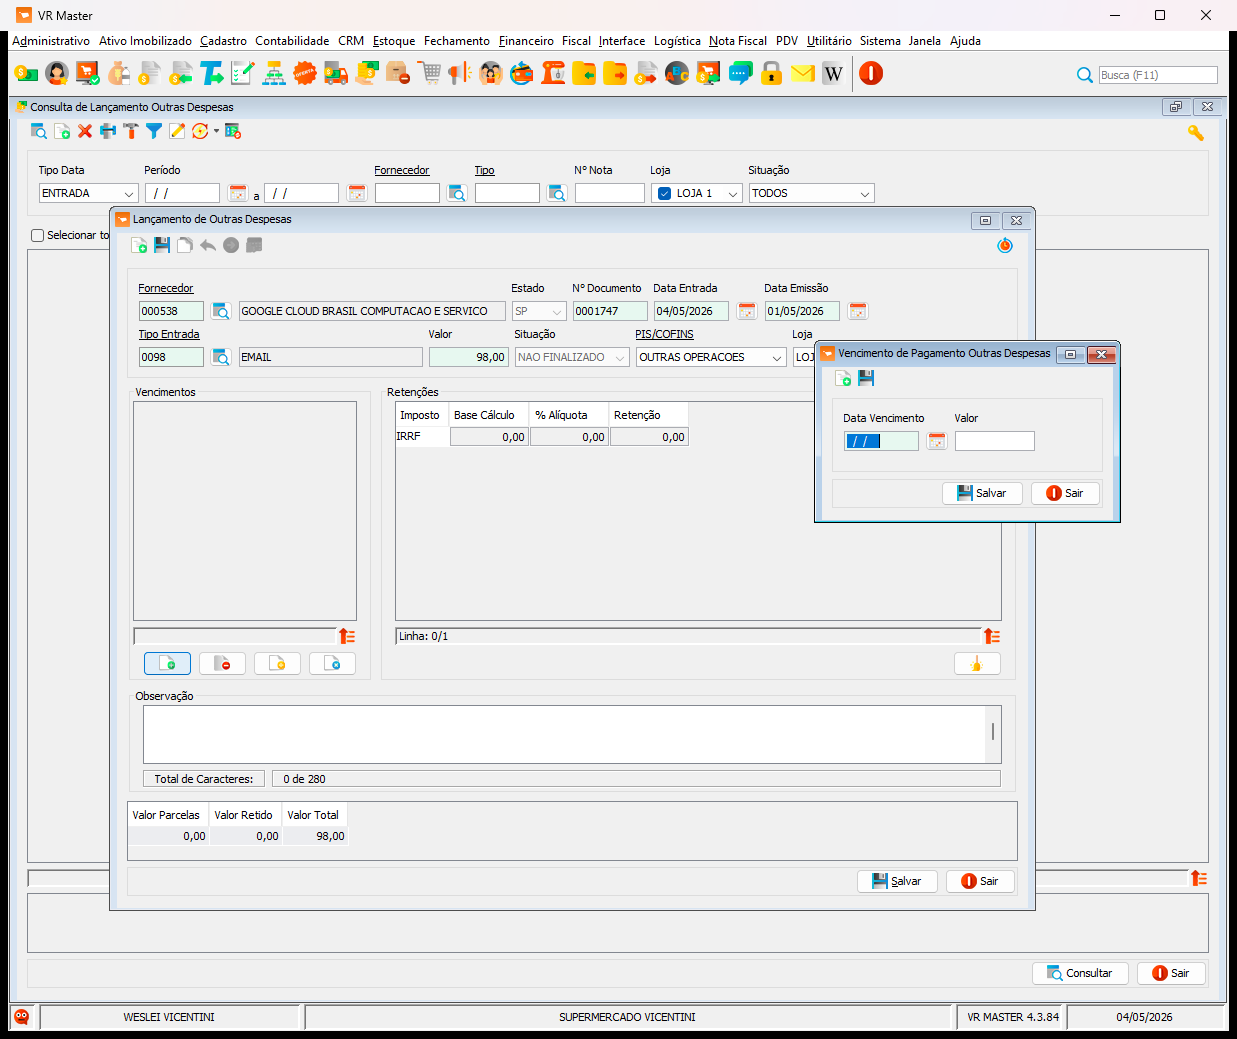
8
Click Salvar to confirm the payment schedule.

4. Save the Record
9
Review the complete form and click Salvar at the bottom right of the main window to register the expense into the system.