How to Scan and Submit Invoices in xtraCHEF

Learn how to log in, scan invoices or receipts, add multiple pages, and process credits using the xtraCHEF mobile app.

By Jacob Wiedmann

This guide explains how to use the xtraCHEF mobile app to capture and upload invoices and receipts. Completing this task ensures your location's purchase data is accurately digitized for inventory and accounting purposes.

This workflow is designed for restaurant managers, chefs, and back-of-house staff who handle receiving and invoice processing. Use this guide whenever you receive a new delivery or purchase items that need to be logged into your accounting system.

Log in to xtraCHEF
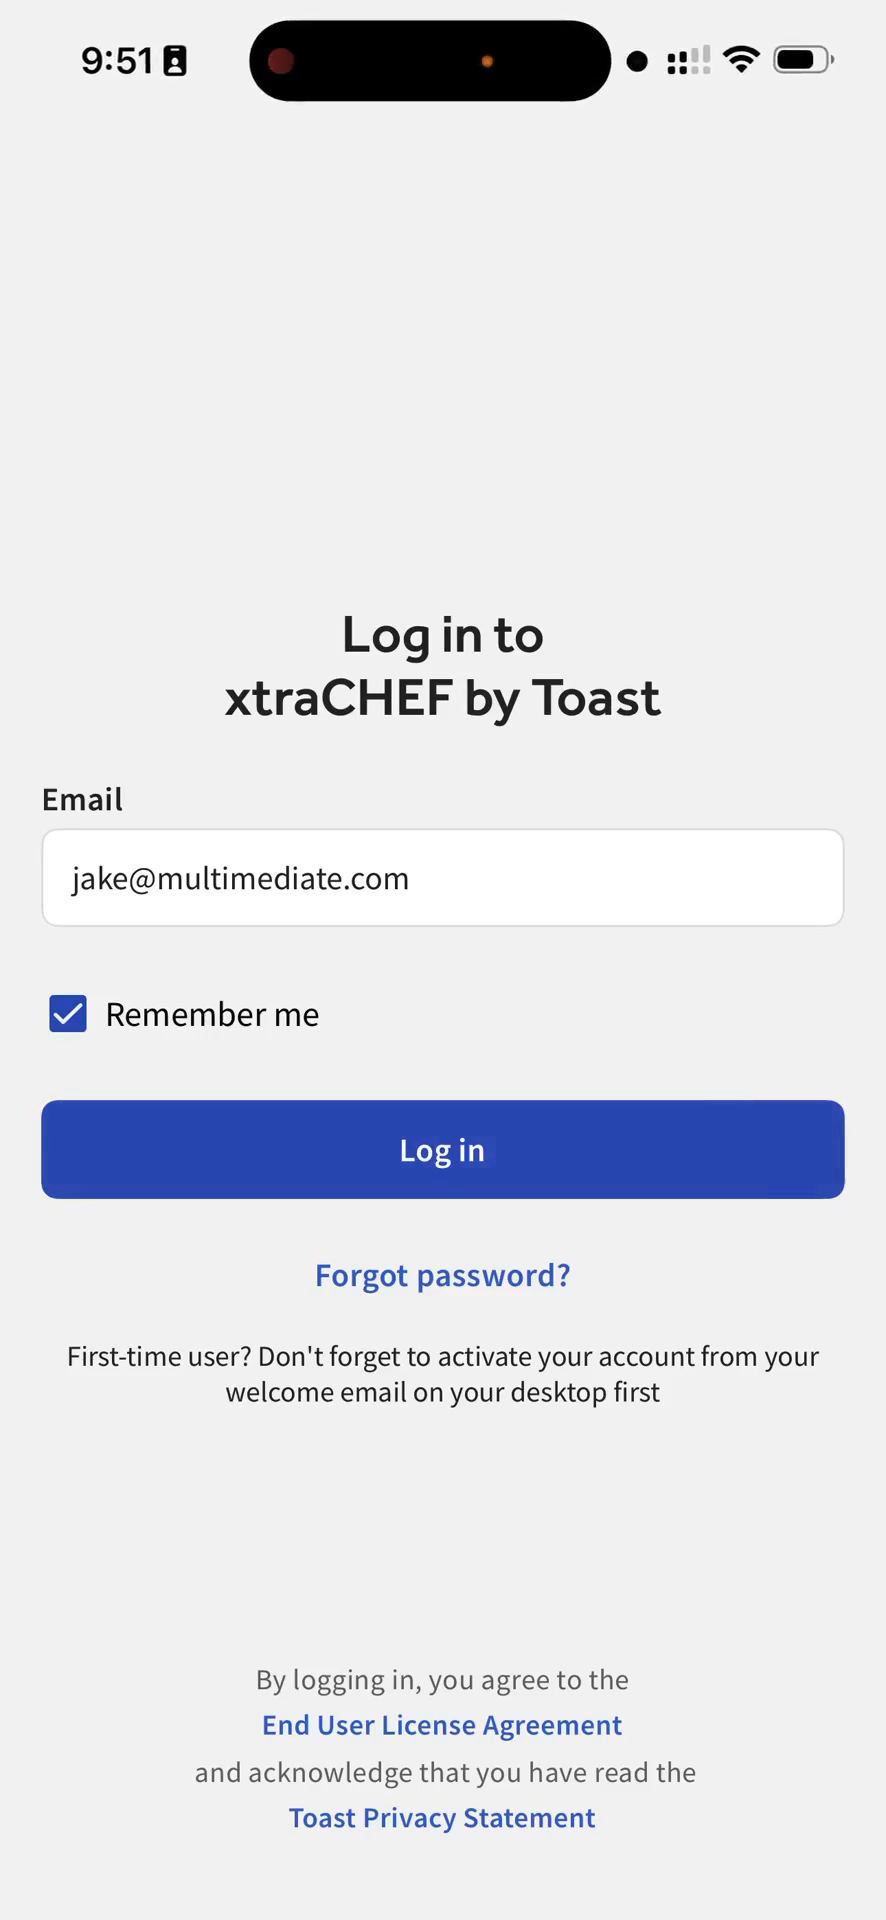
1
Enter your email address.
2
Tap Log in.
Step #2: Tap Log in.
3
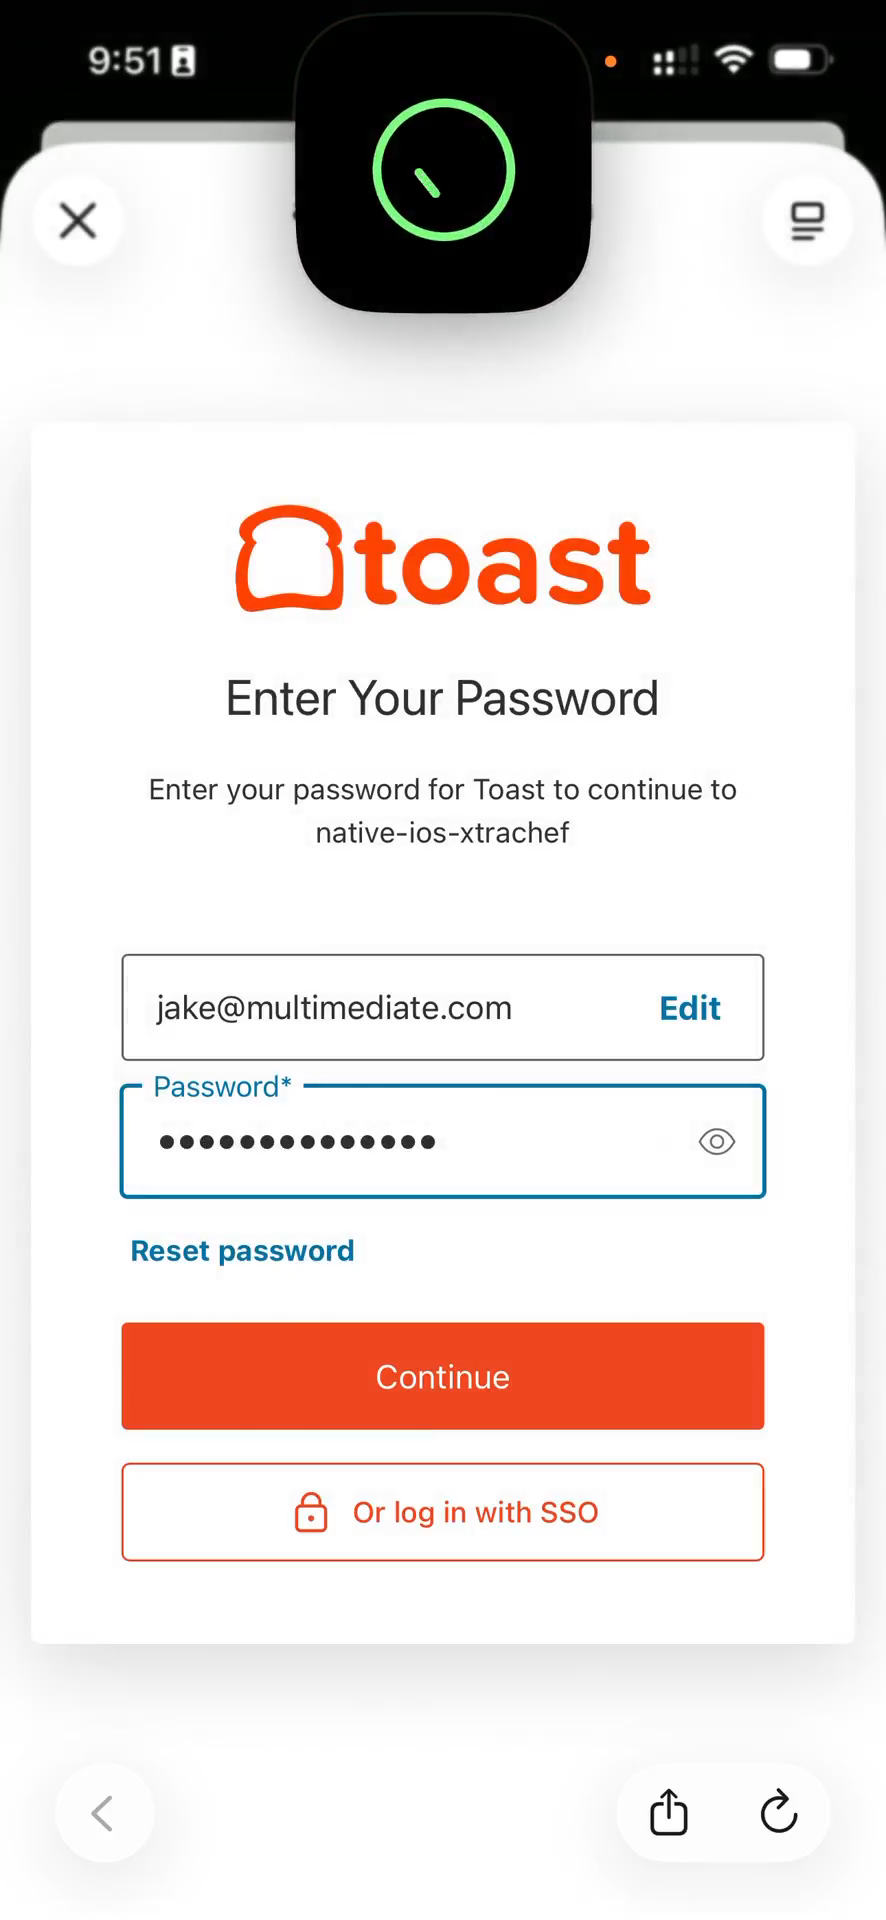
Enter your Toast password.
4
Tap Continue to authenticate.
Step #4: Tap Continue to authenticate.
5
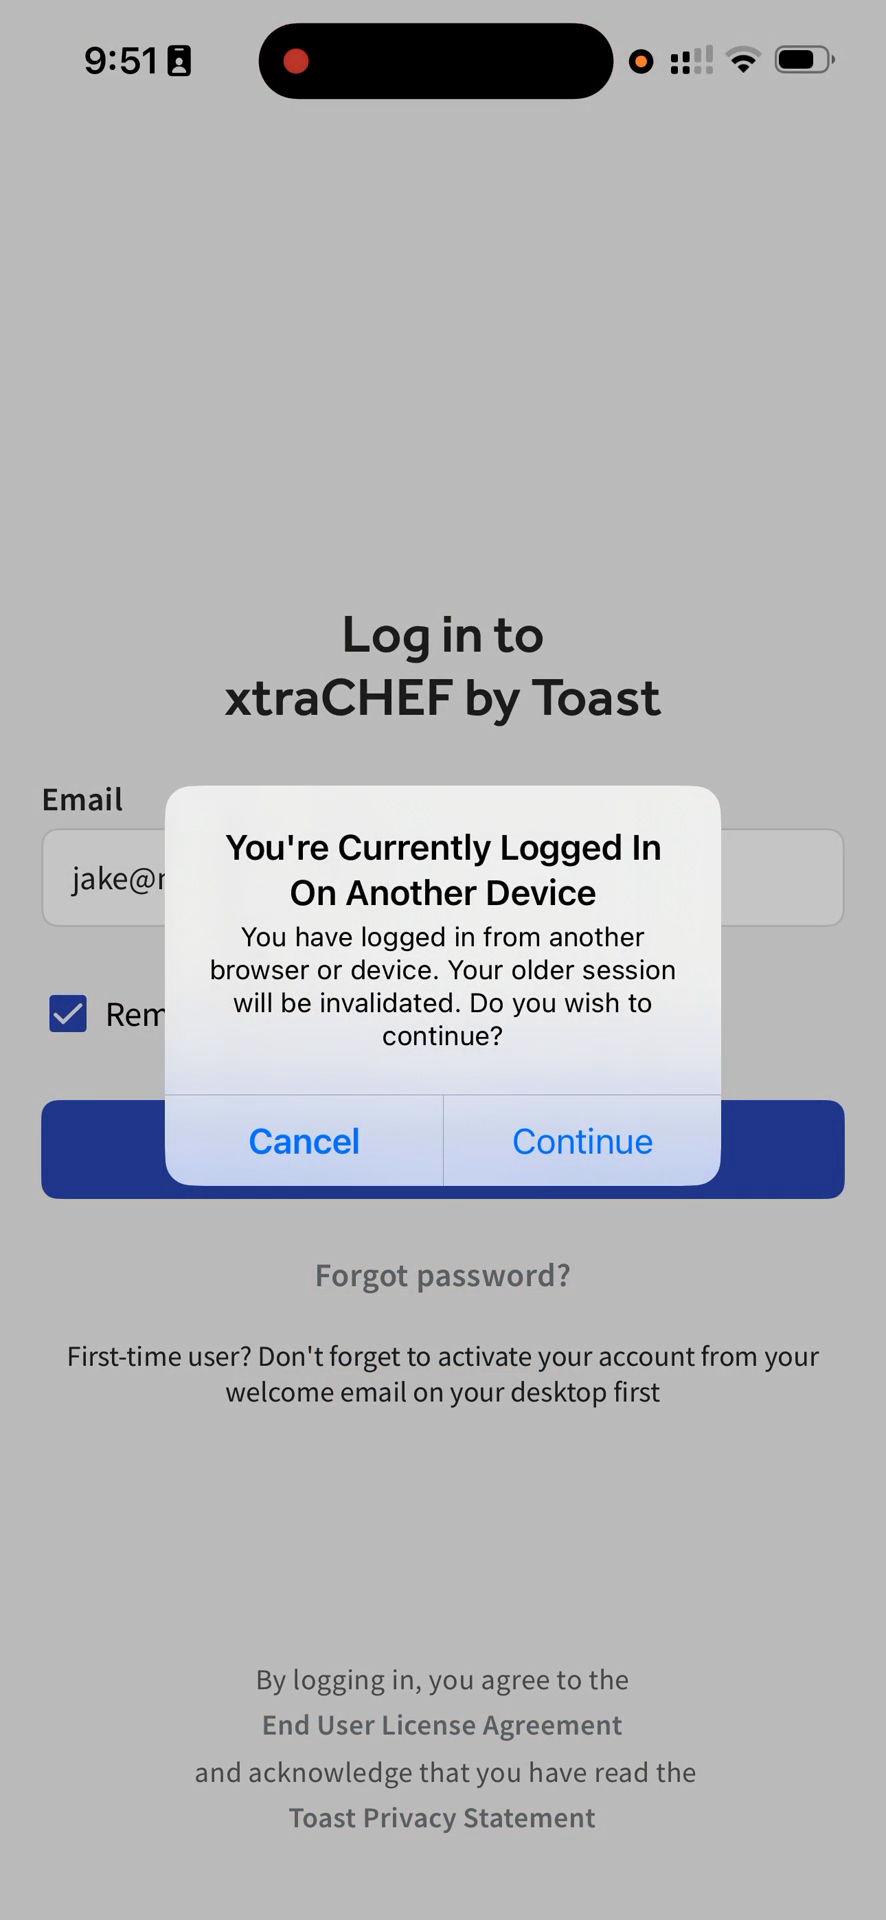
Tap Continue to invalidate the previous session.
Step #5: Tap Continue to invalidate the previous session.
6
Select your location or tenant (e.g., Easy Tiger) from the list.
Step #6: Select your location or tenant (e.g., Easy Tiger) from the list.

Scan your documents

7
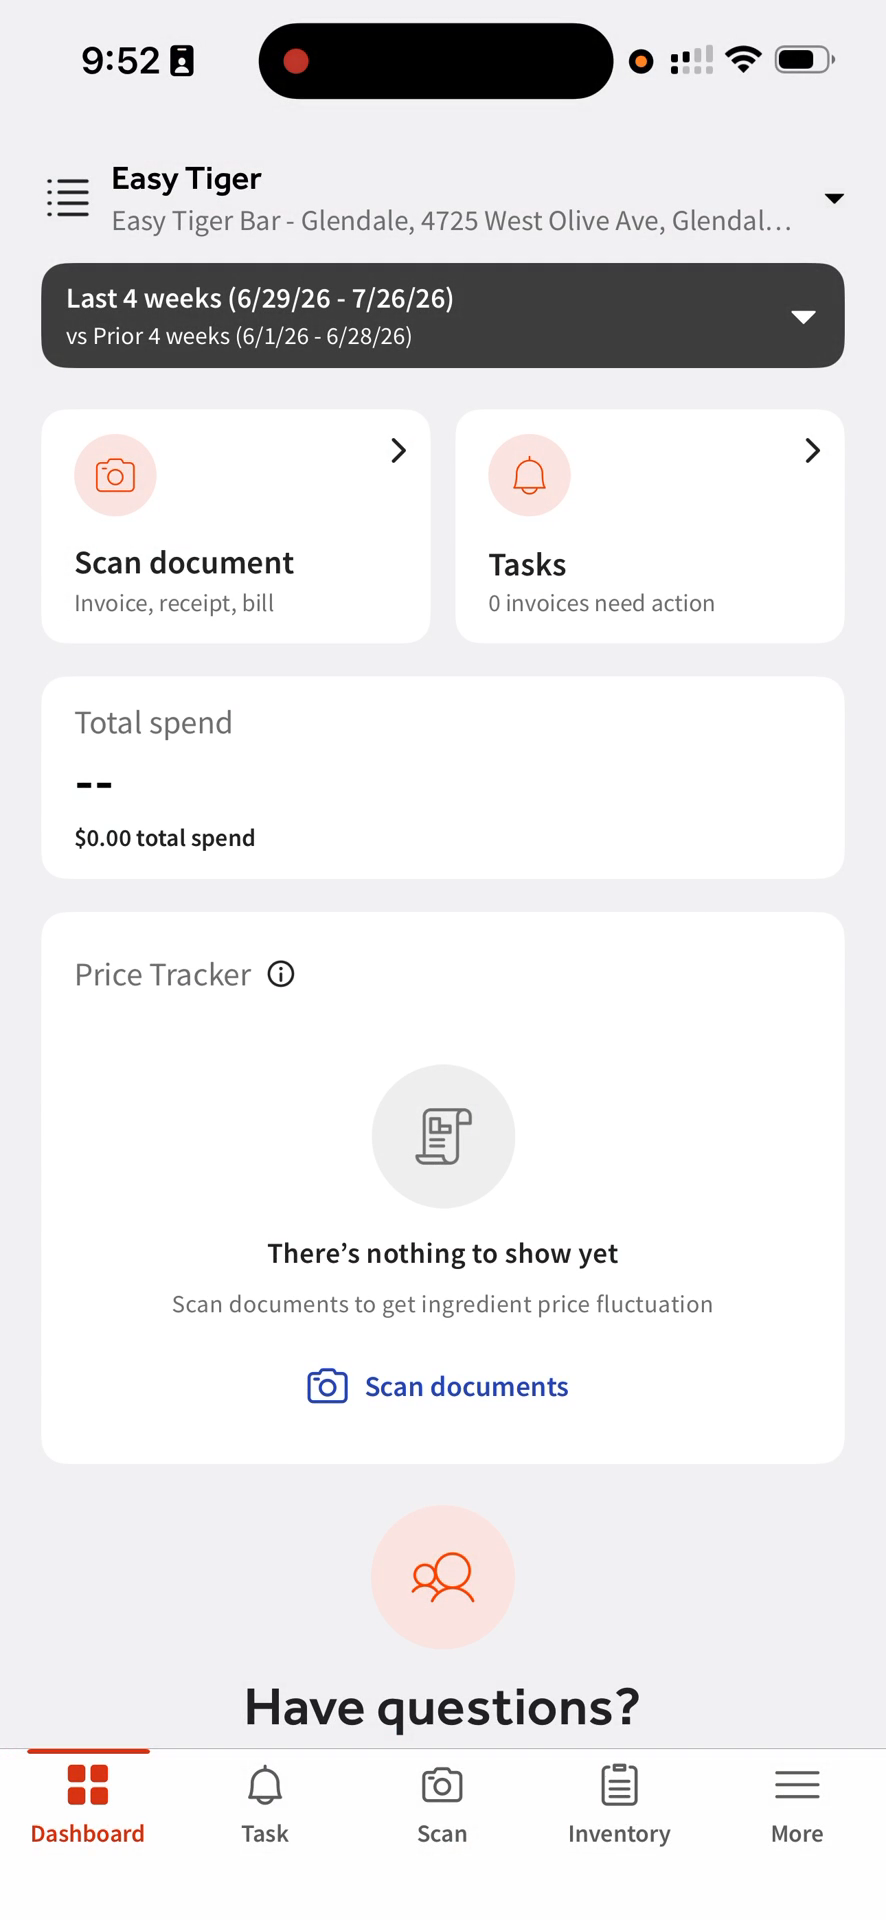
Tap the Scan document card on the main dashboard.
Step #7: Tap the Scan document card on the main dashboard.
8
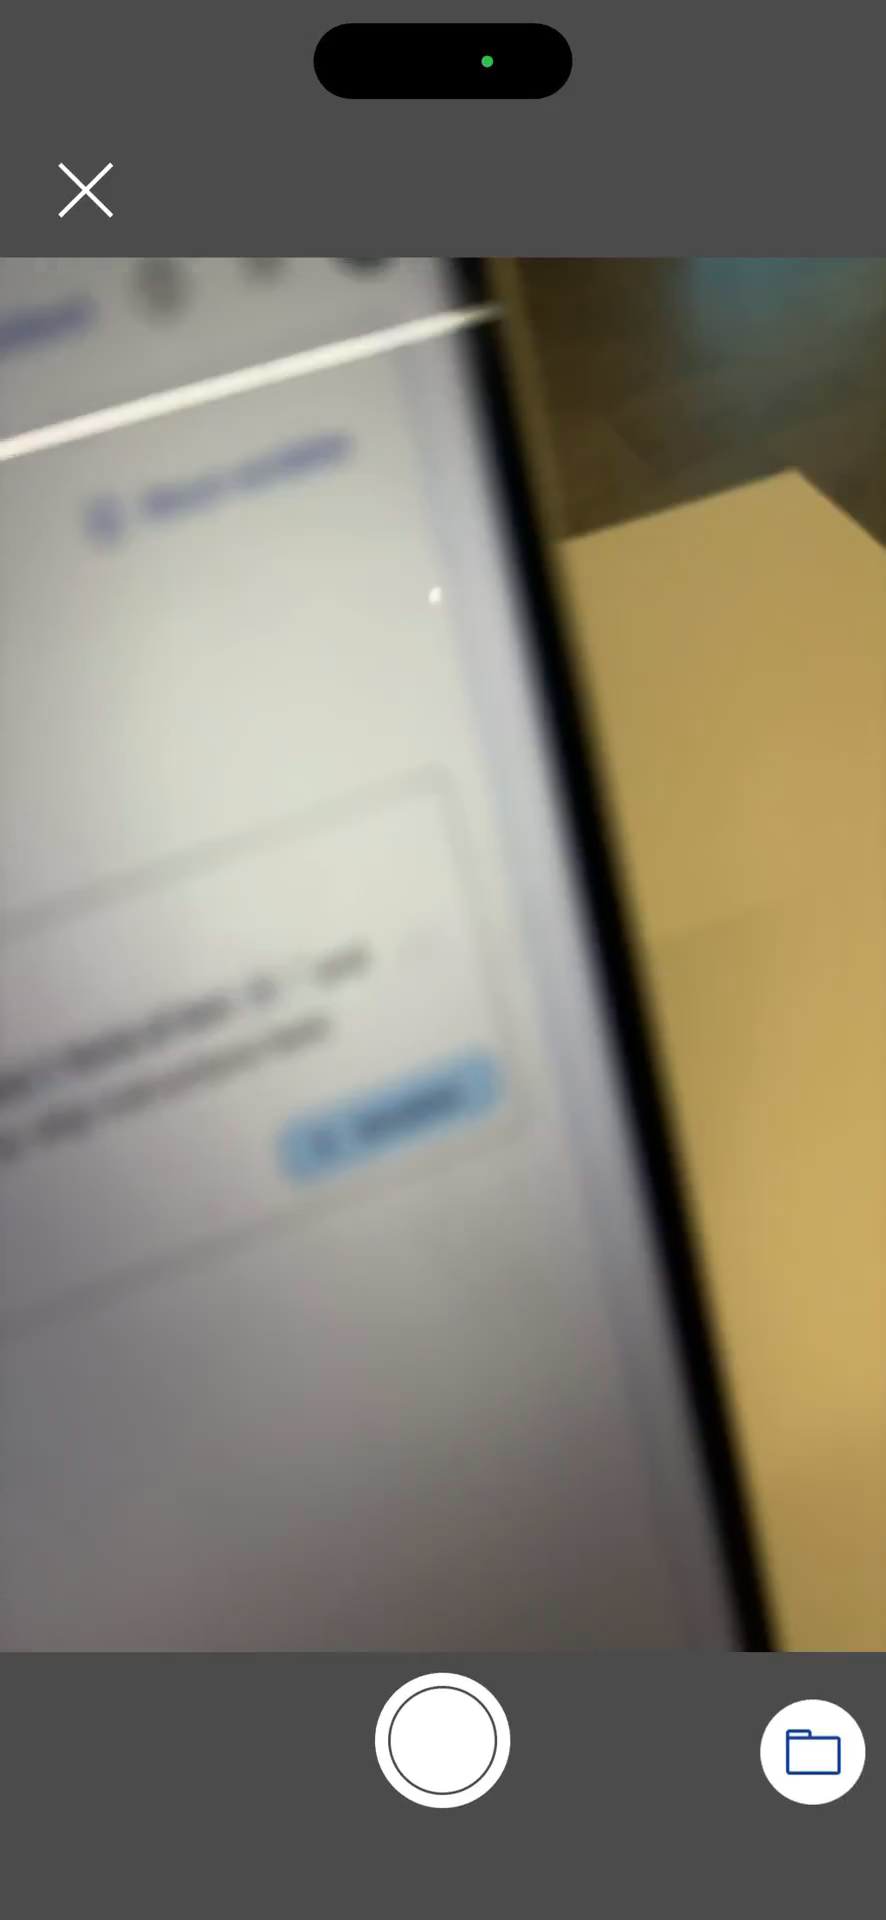
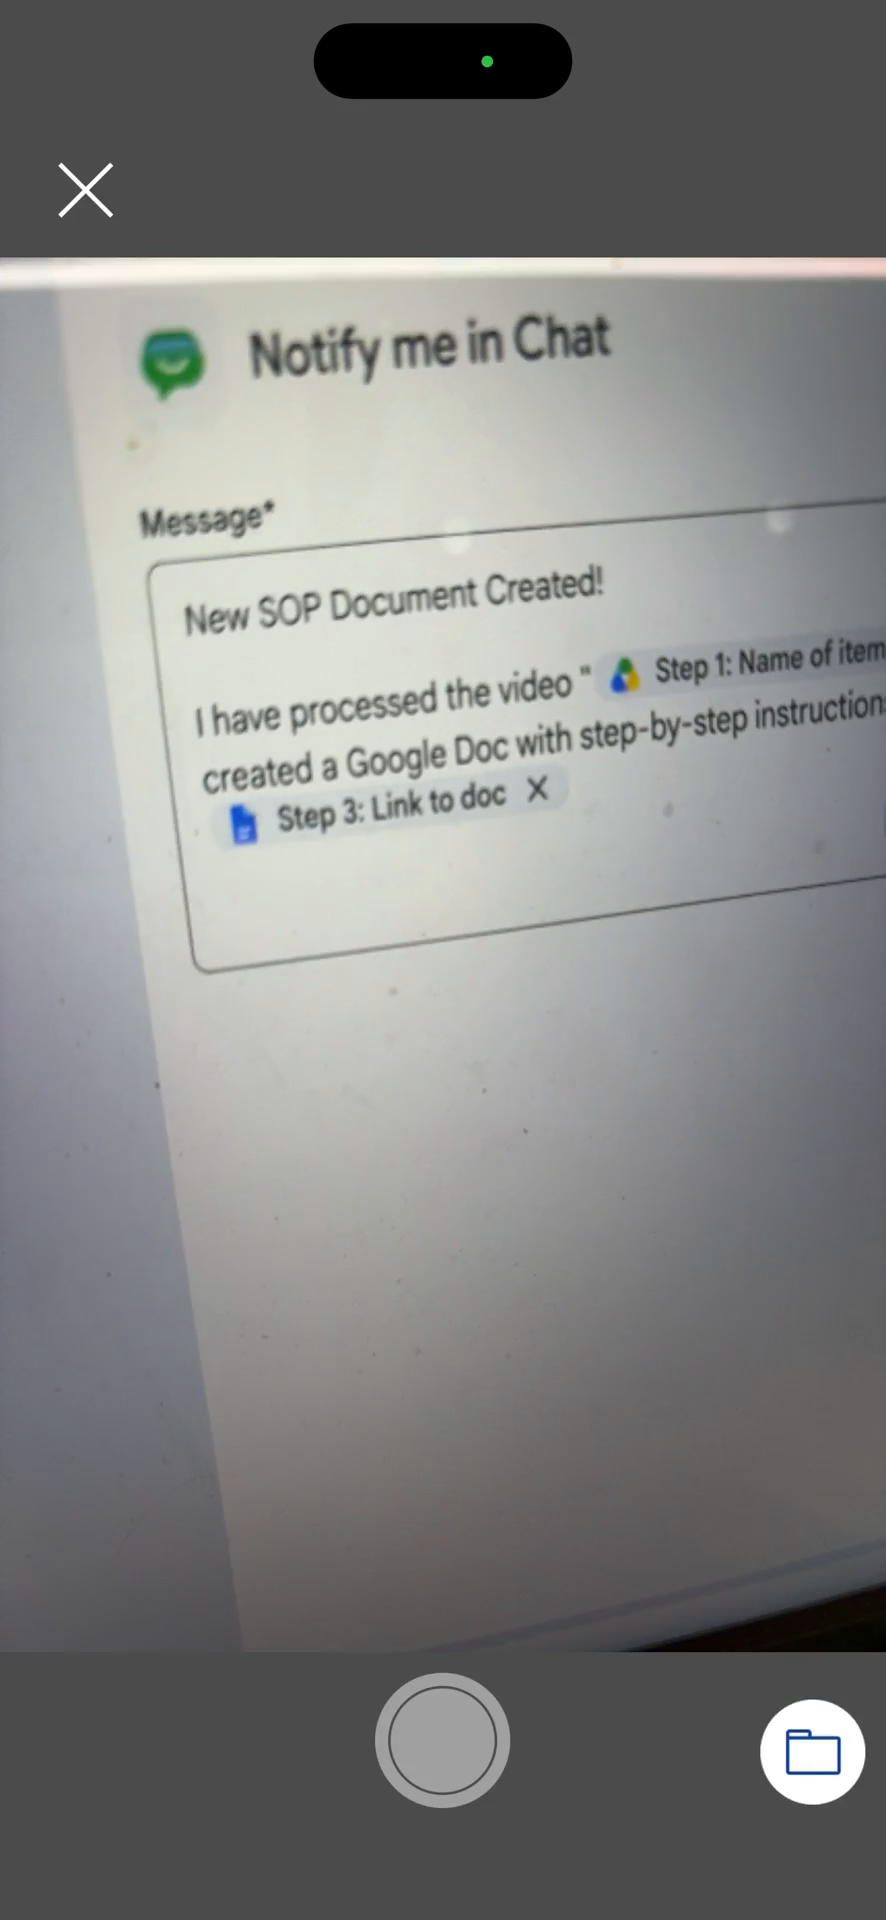
Position the document in the camera view and tap the circular shutter button at the bottom of the screen.
Step #8: Position the document in the camera view and tap the circular shutter button at the bottom of the screen.

Choose the document type

9
Tap the Type label at the top left of the screen.
Step #9: Tap the Type label at the top left of the screen.
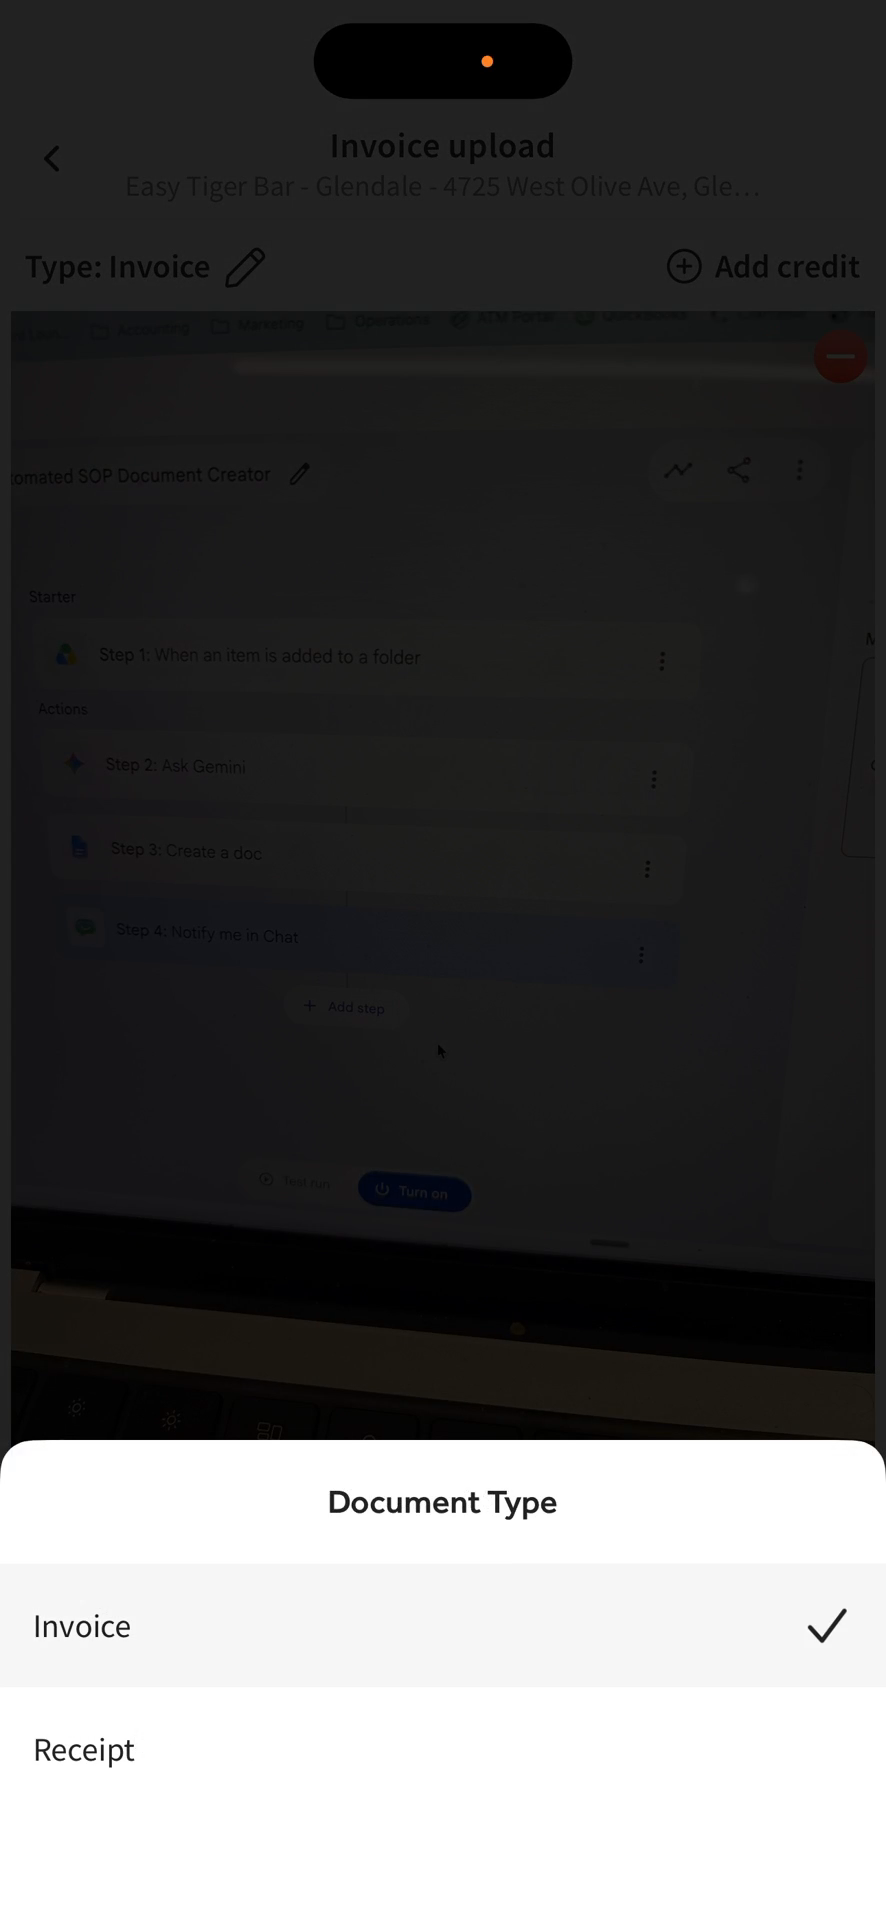
10
Select either Invoice or Receipt.
Step #10: Select either Invoice or Receipt.

Add additional pages (Optional)

11
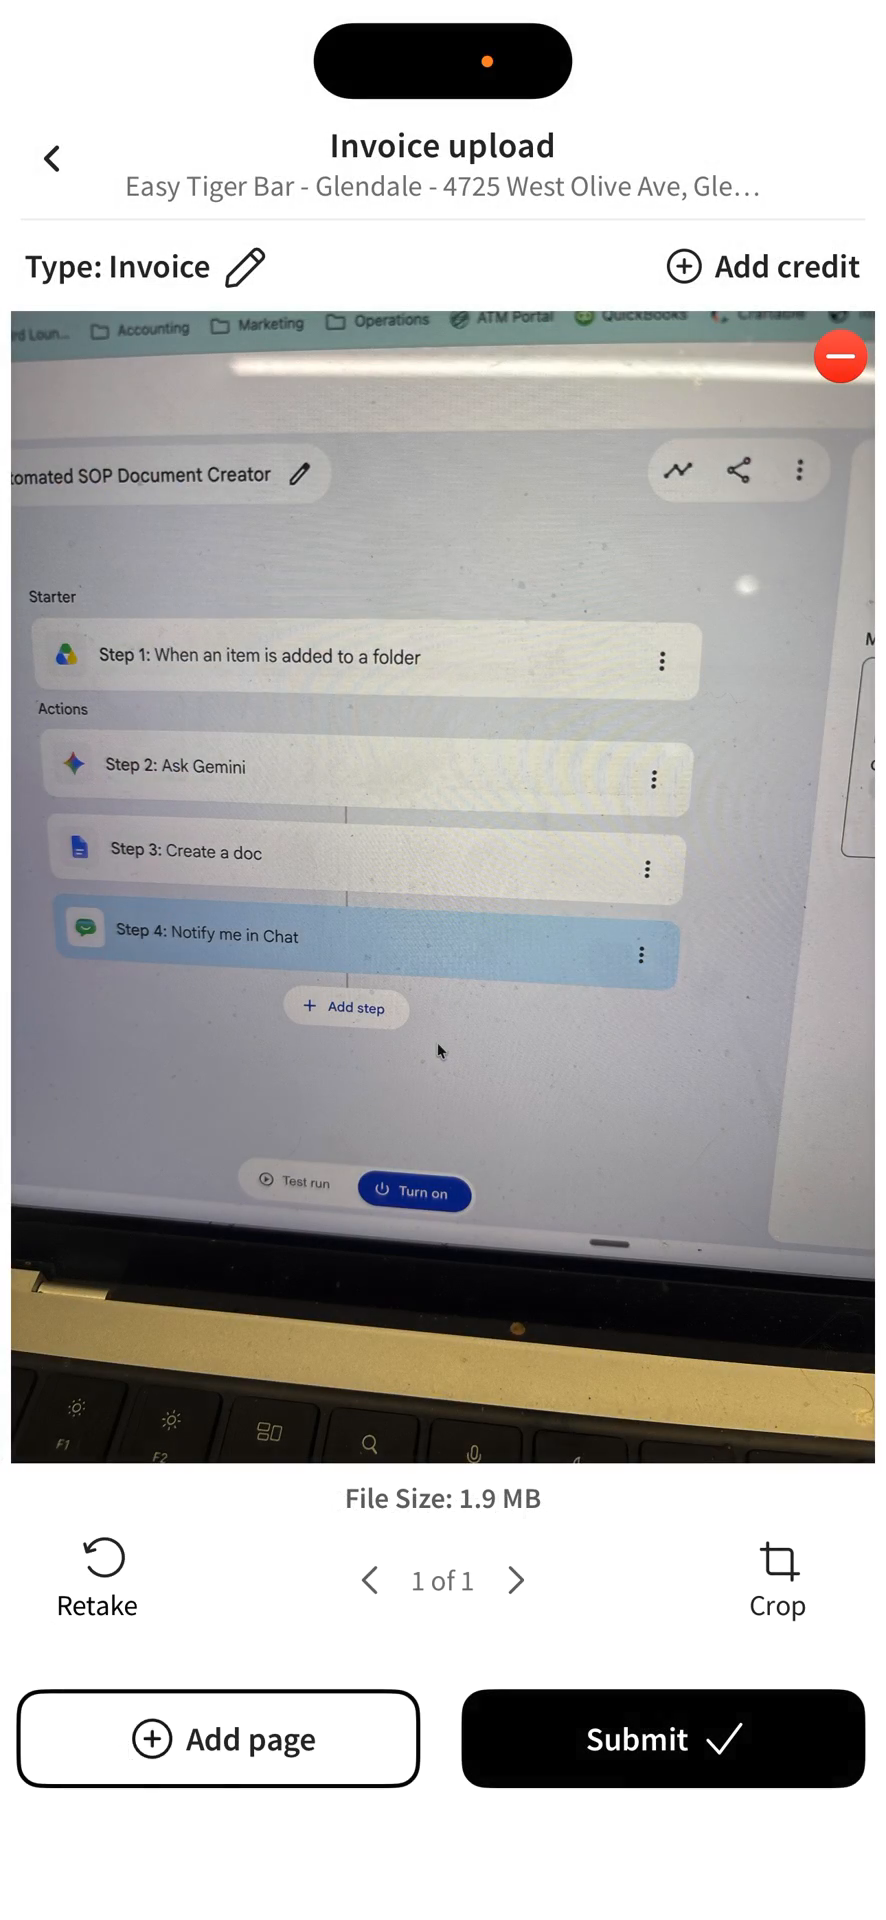
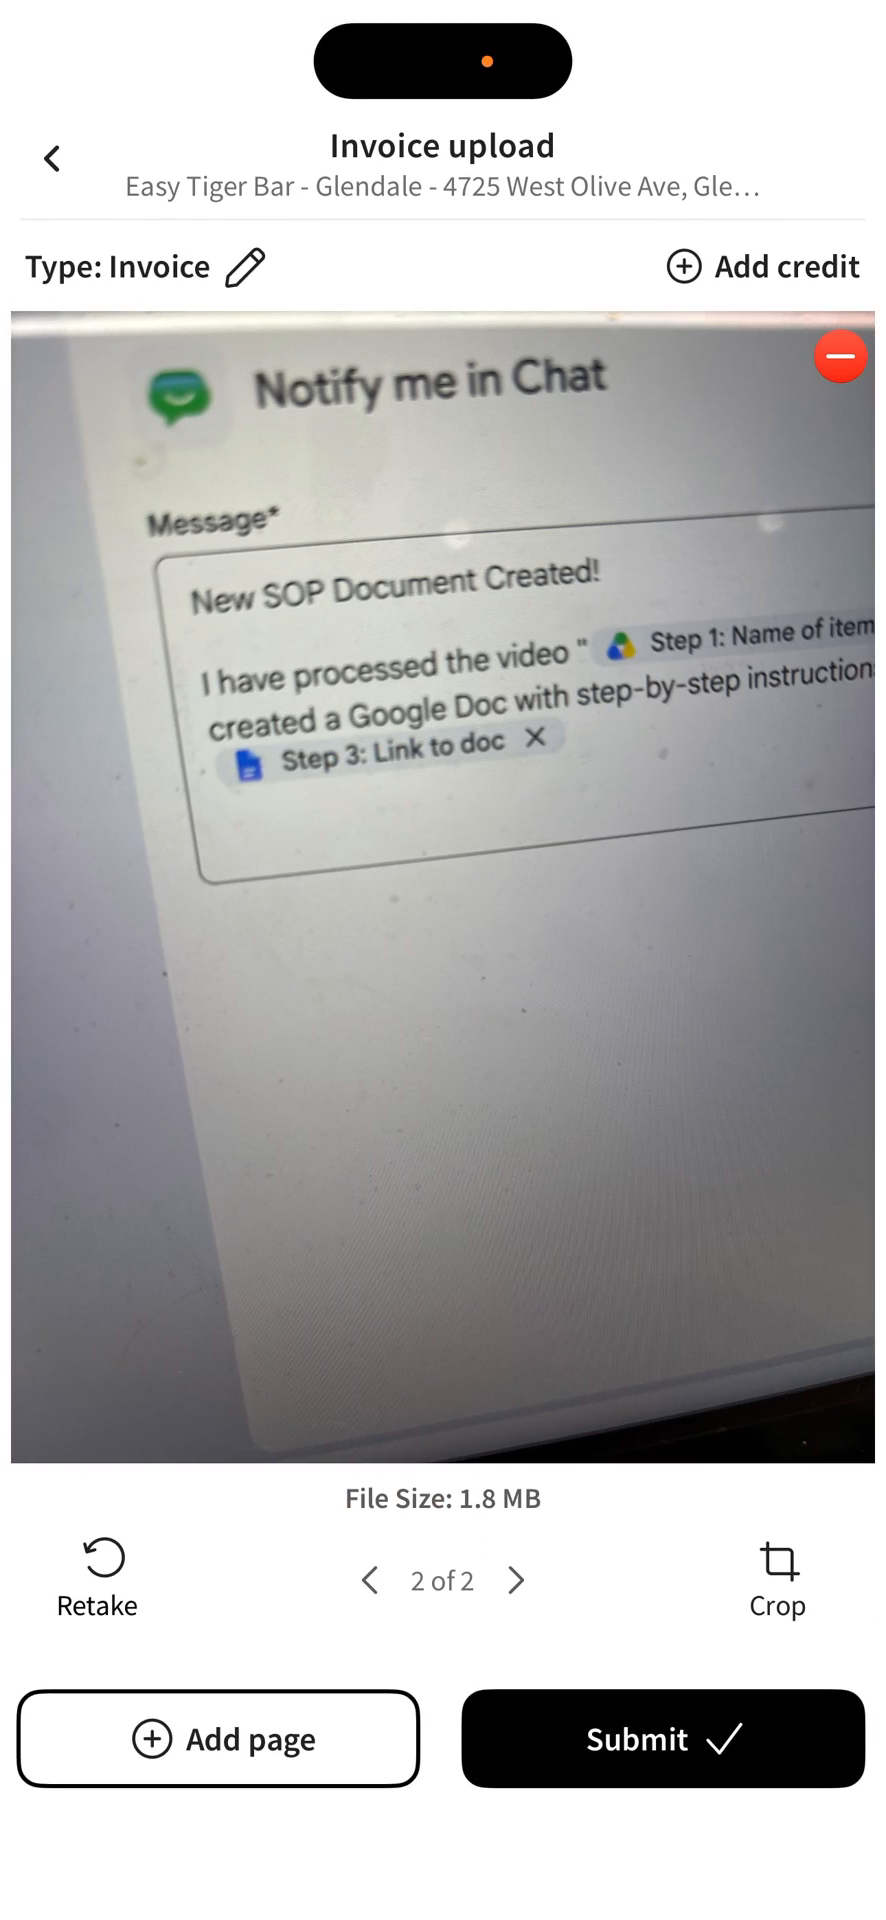
If the invoice has multiple pages, tap Add page in the bottom-left corner.
Step #11: If the invoice has multiple pages, tap Add page in the bottom-left corner.
12
Tap the shutter button to take a picture of the next page.
Step #12: Tap the shutter button to take a picture of the next page.

Add a credit (Optional)

13
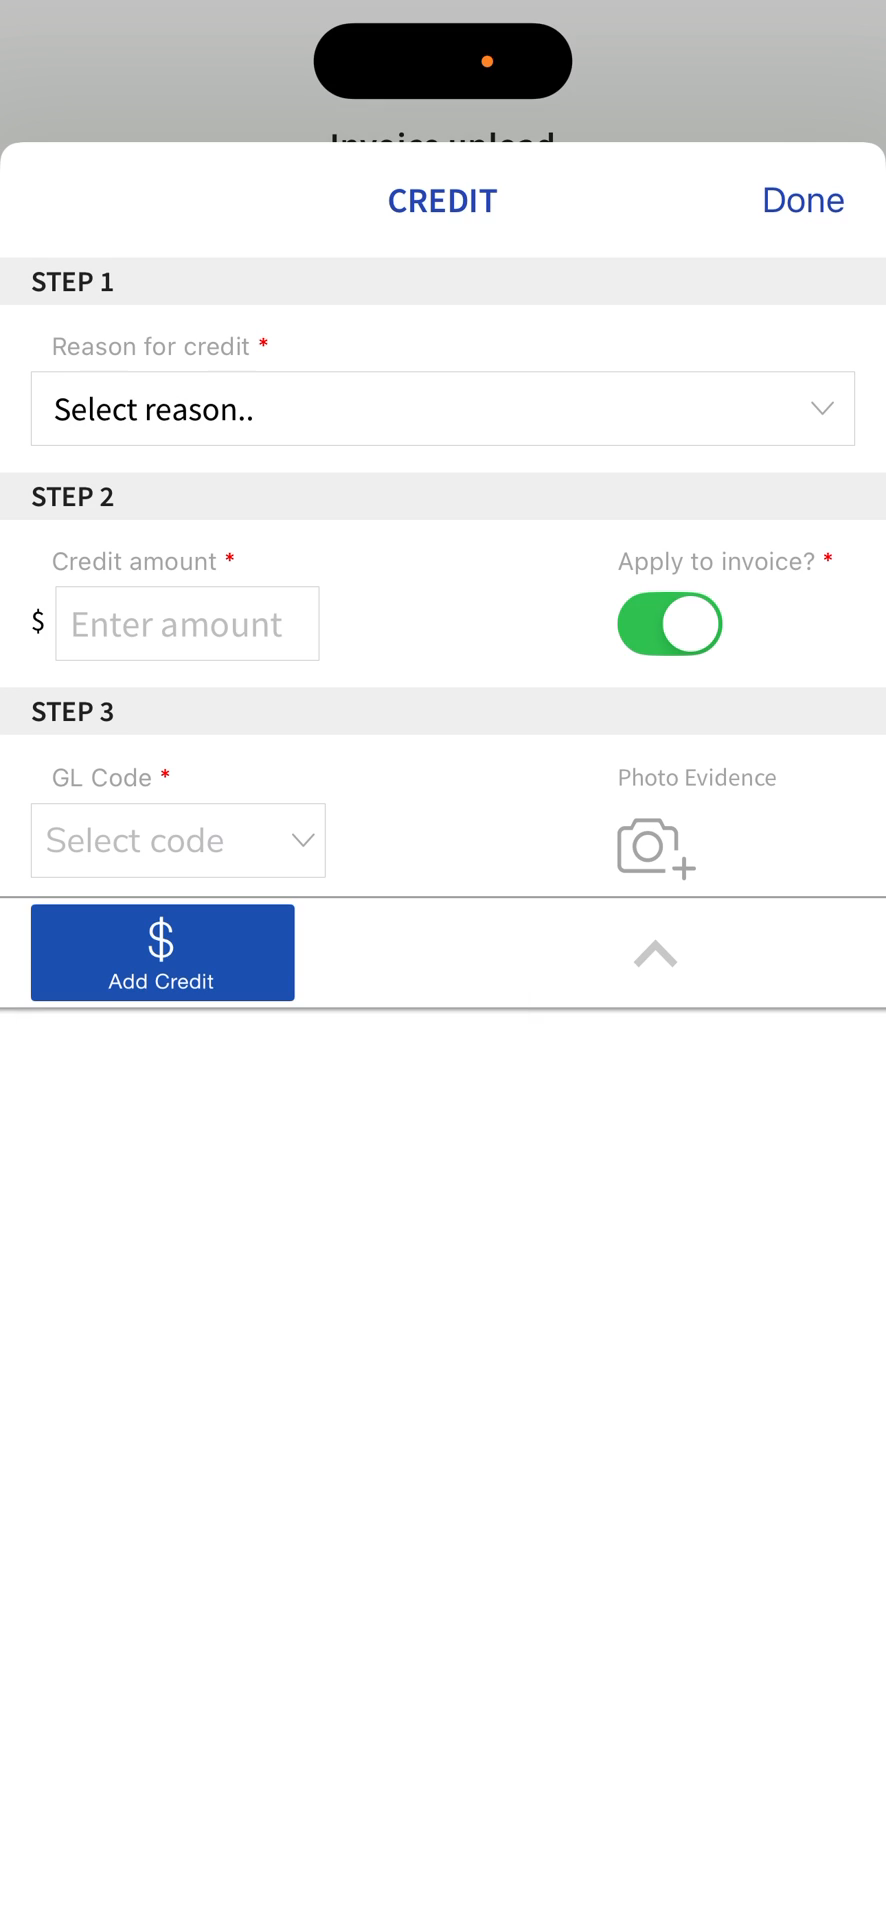
Tap Add credit at the top right of the screen.
Step #13: Tap Add credit at the top right of the screen.
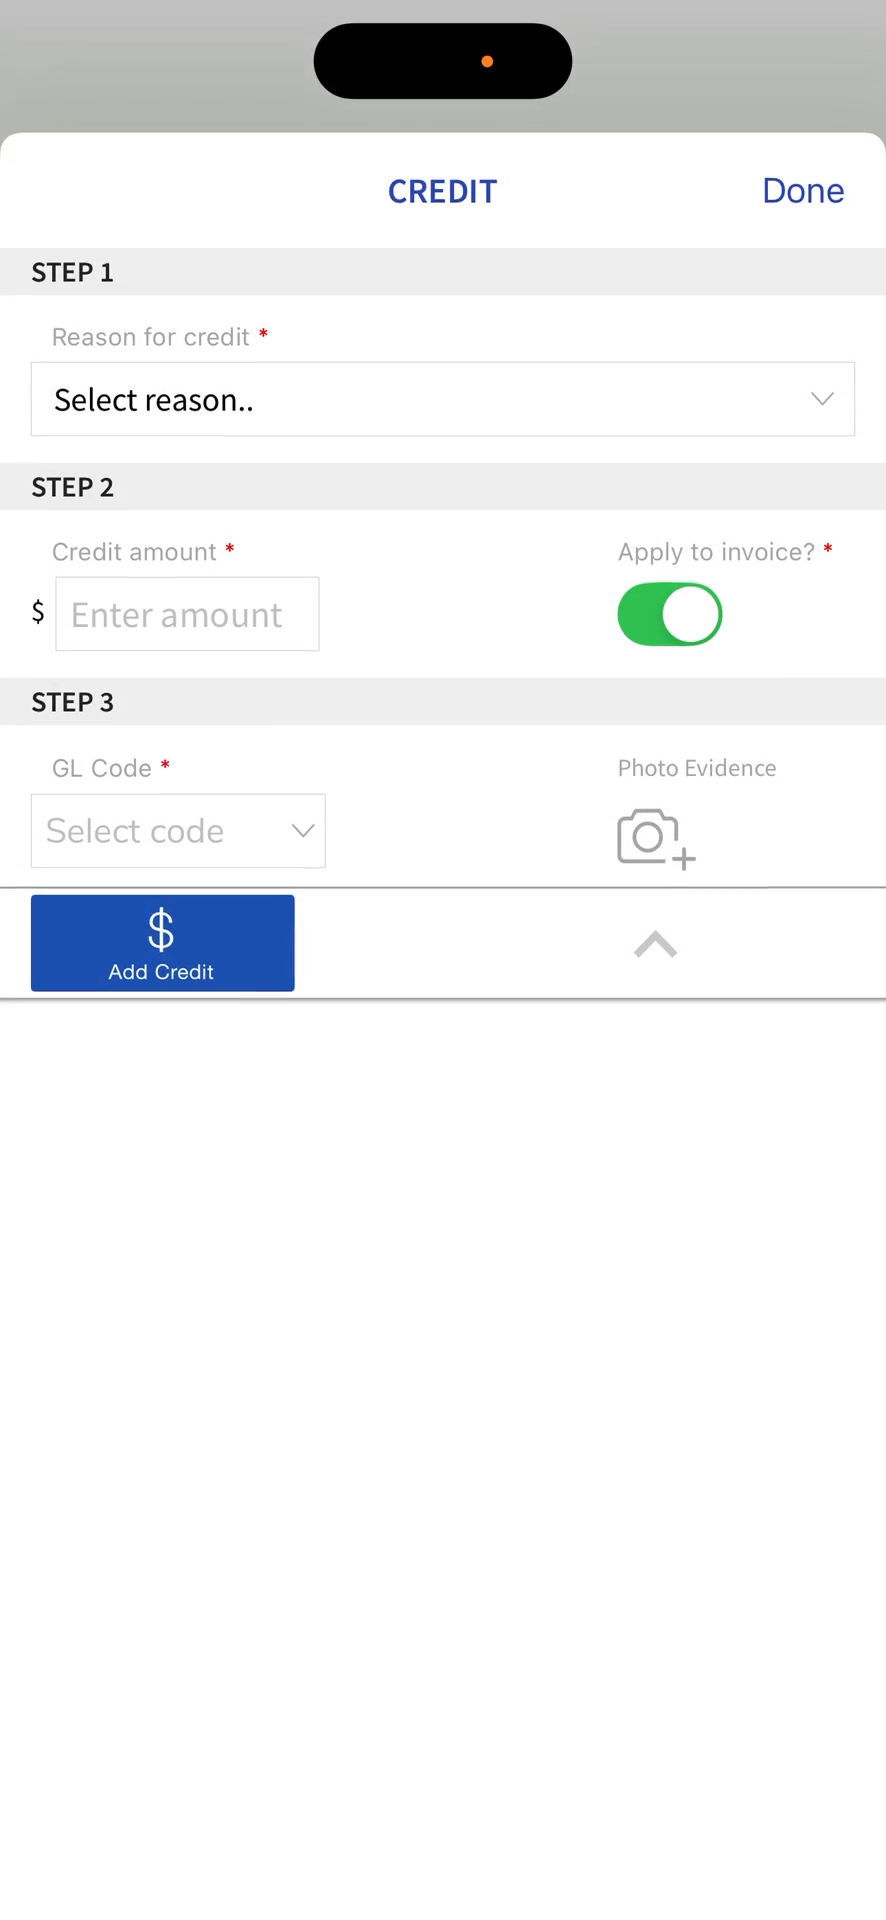
14
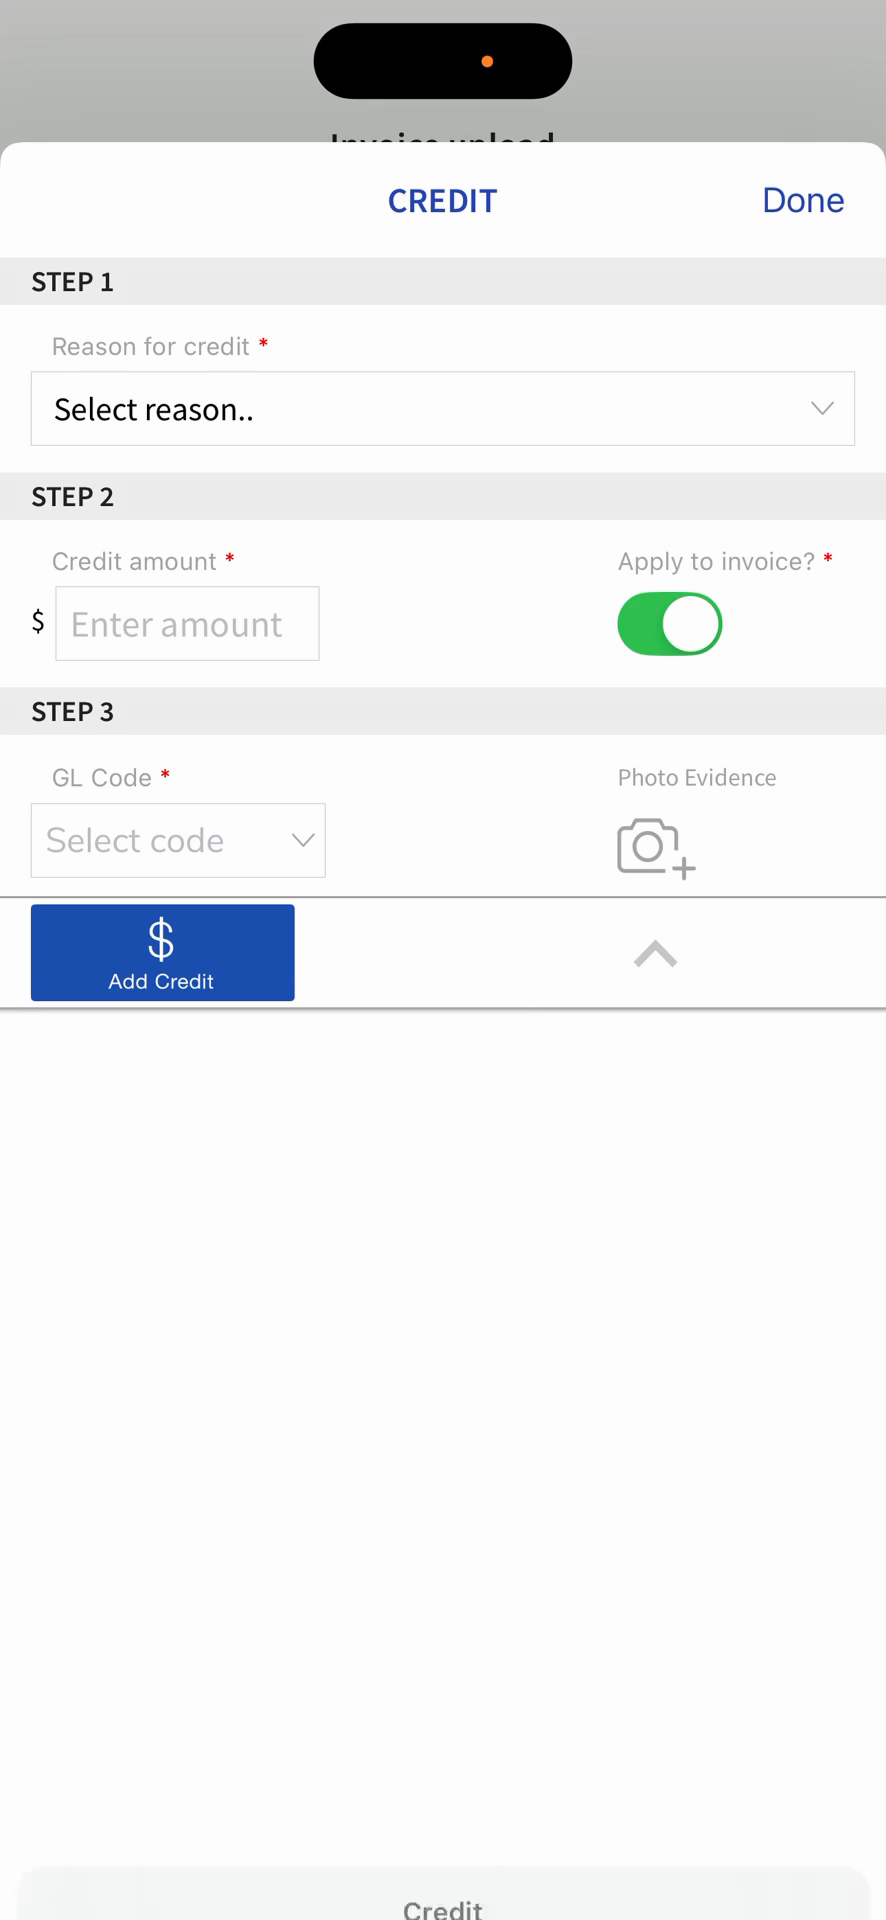
Tap Select reason... to choose why you are requesting a credit.
Step #14: Tap Select reason... to choose why you are requesting a credit.
15
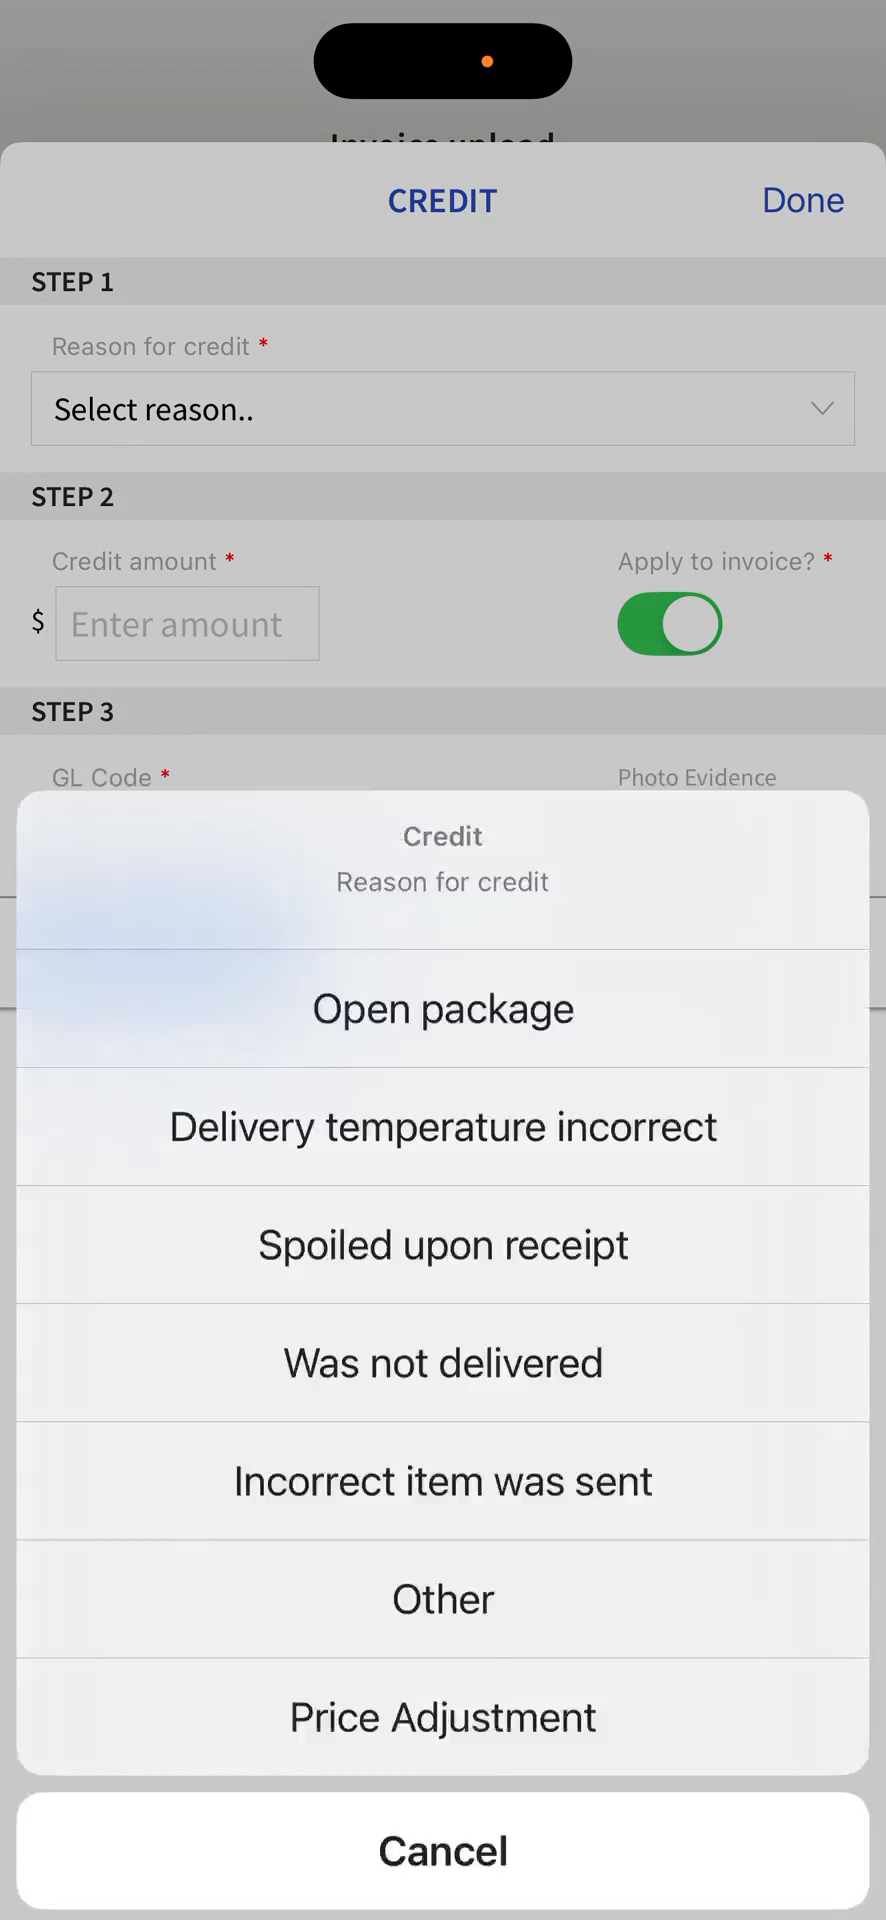
Choose the appropriate reason from the dropdown list.
Step #15: Choose the appropriate reason from the dropdown list.
16
Tap Enter amount and input the total credit value.
Step #16: Tap Enter amount and input the total credit value.
17
Toggle Apply to invoice? if you want the credit to immediately impact this document.
Step #17: Toggle Apply to invoice? if you want the credit to immediately impact this document.
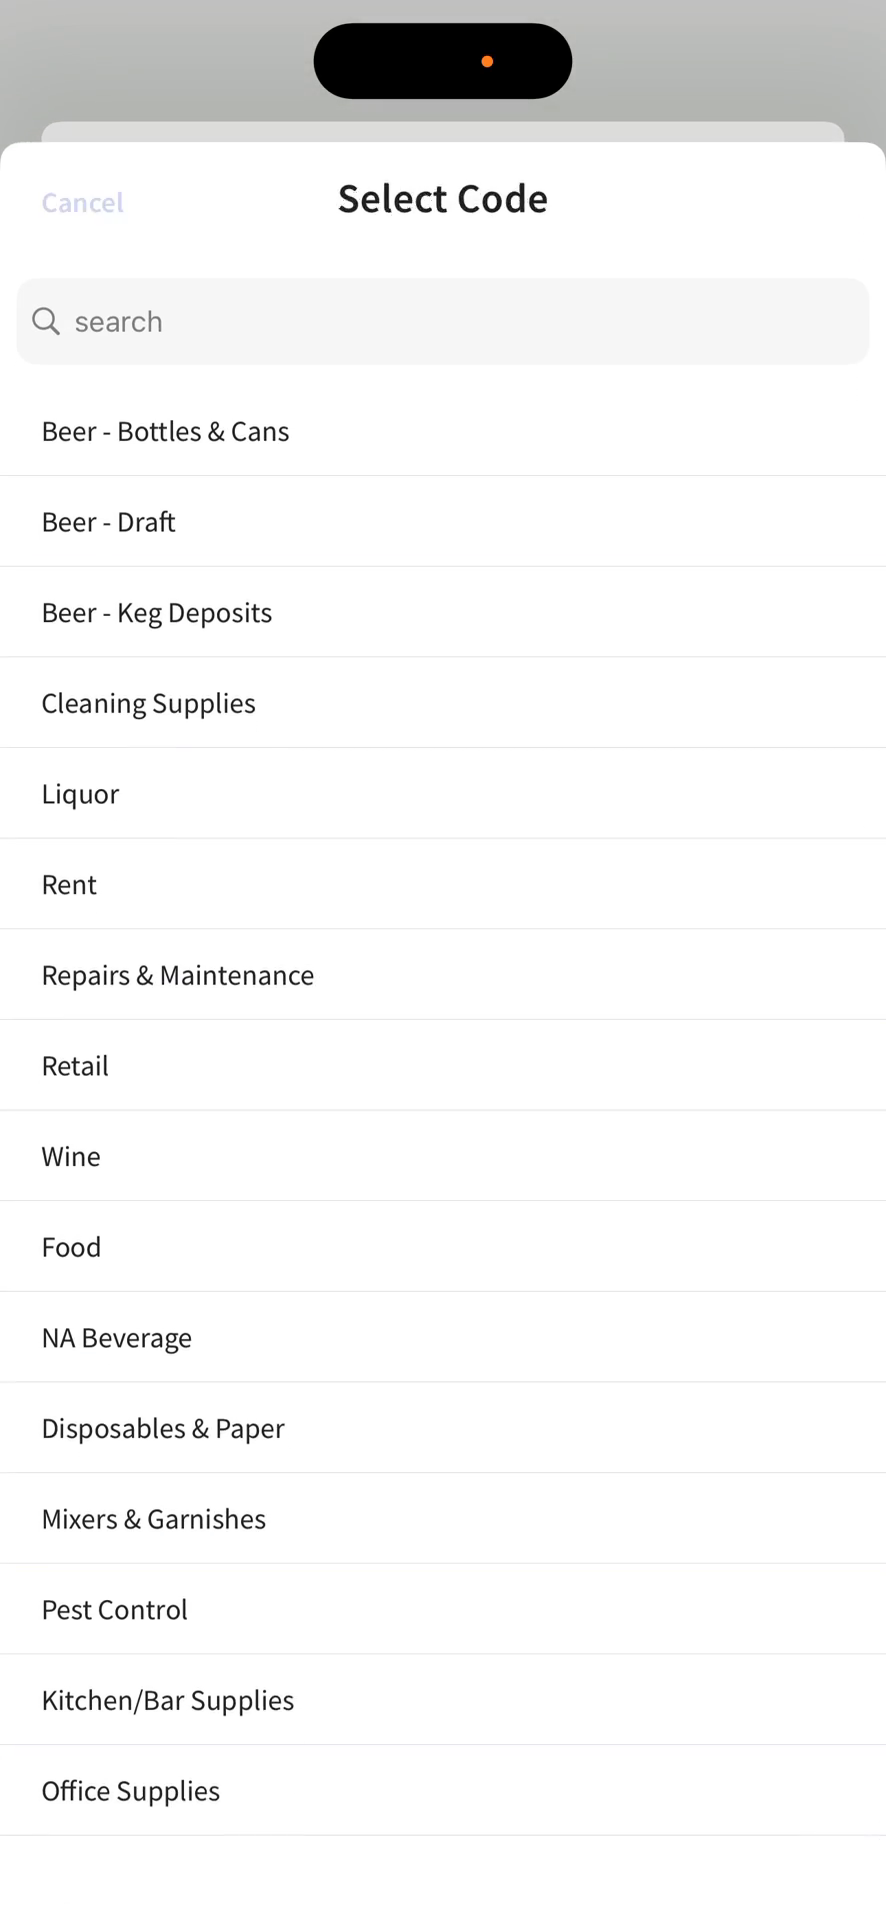
18
Tap Select code and choose the appropriate GL code for the credited item.
Step #18: Tap Select code and choose the appropriate GL code for the credited item.
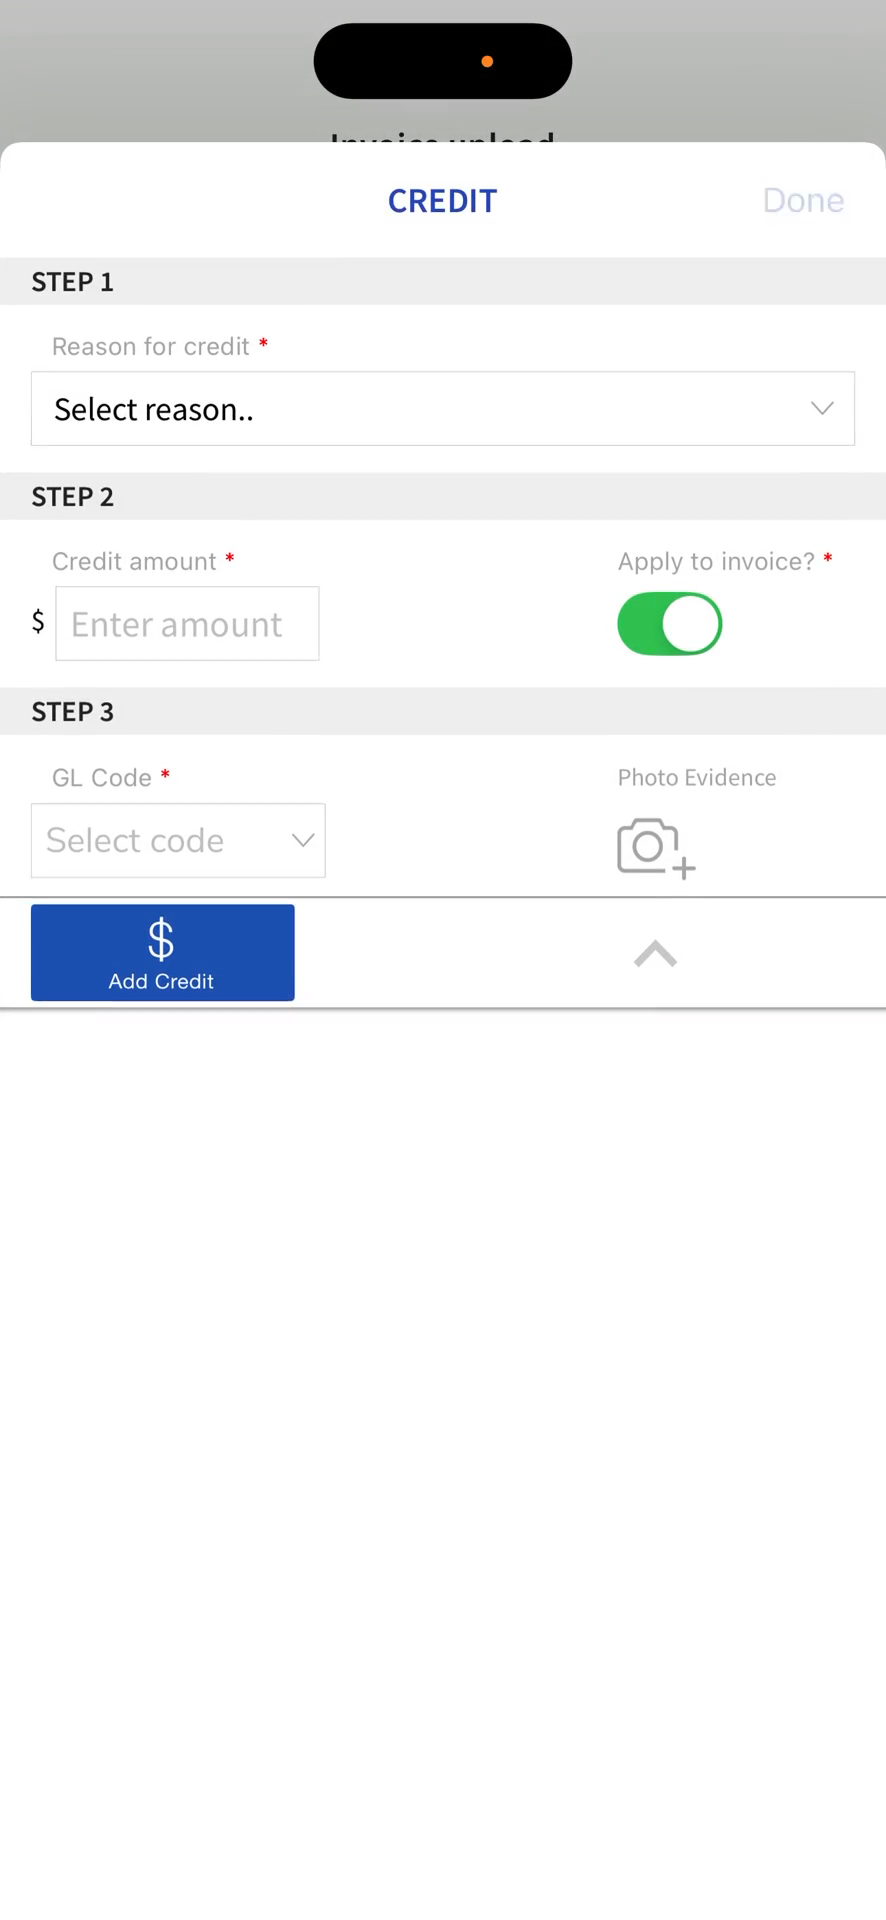
19
Take a picture using the Photo Evidence button, then tap Add Credit.
Step #19: Take a picture using the Photo Evidence button, then tap Add Credit.

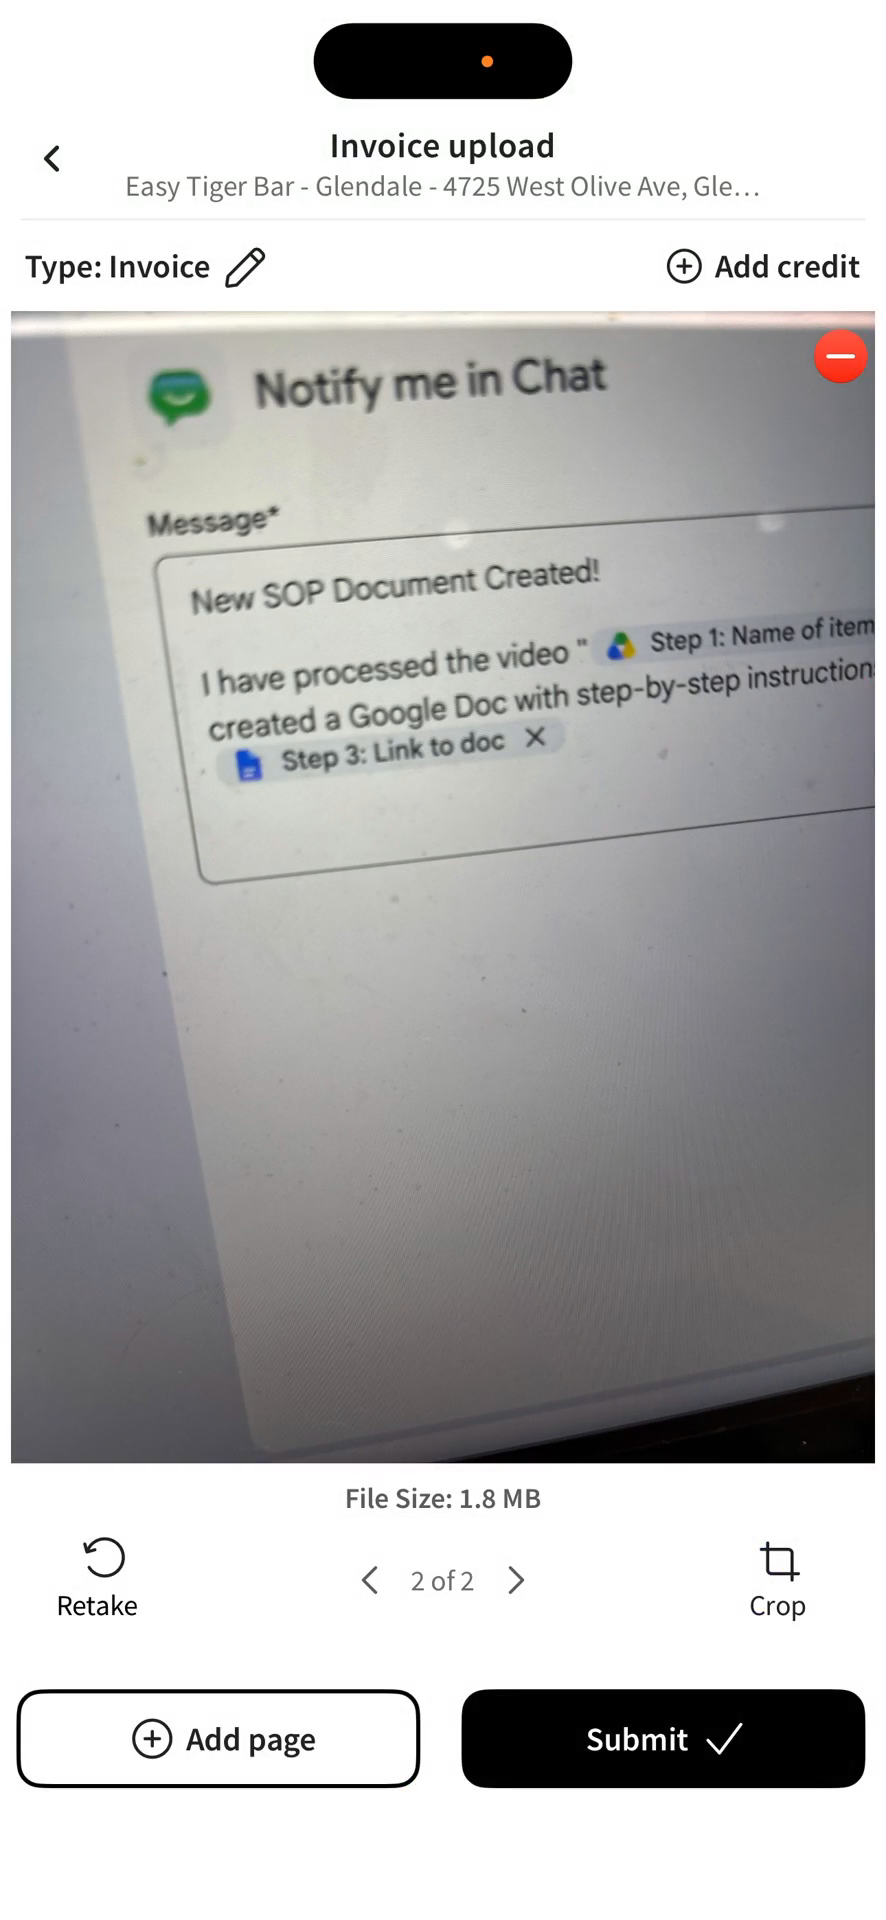
Submit the document

20
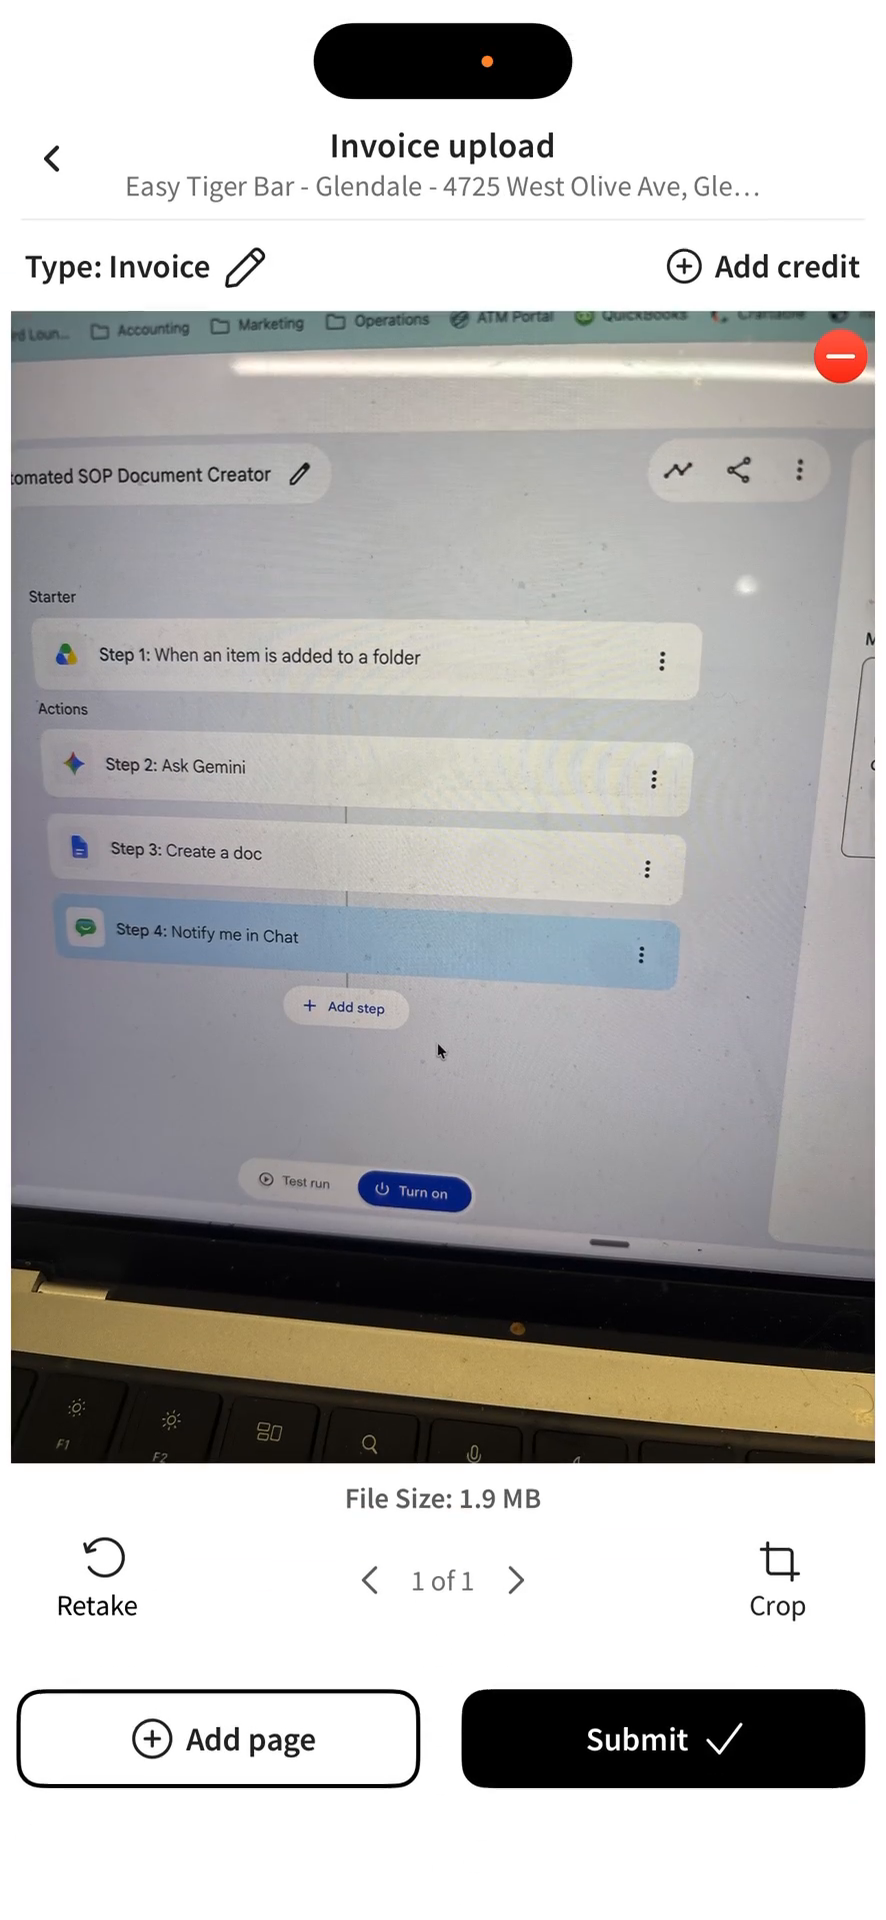
Review your uploaded images and details, then tap Submit to finish.
Step #20: Review your uploaded images and details, then tap Submit to finish.

Q: Should I upload my document as an Invoice or a Receipt?

A: Use "Invoice" for items that haven't been paid yet. Use "Receipt" if you have already paid for the items, such as with a corporate credit card.

Q: What should I do if my invoice has multiple pages?

A: Tap the "Add page" button at the bottom of the screen to take pictures of any additional pages. Once captured, you can scroll back and forth between the images to review them.

Q: How do I handle missing or damaged items on an invoice?

A: You can log this by tapping "Add credit" on the upload screen. You will need to select a reason, enter the amount, assign a GL code, and take a photo for evidence.

Term

Definition

Tenant

The specific business location or account you log into within the application.

GL Code

A General Ledger code used to categorize expenses, purchases, and credits for accounting purposes.

Invoice

A document recording items received that have not yet been paid for.

Receipt

A document recording items received that have already been paid for.