Icon

Scientific Research #3

Learn how to draft a scientific research approval letter using a generic template, populate it with RMS and application data, and save it to Objective ECM.

By Kim

This guide demonstrates how to draft an approval letter for a scientific access request once the mandatory waiting period is complete. It covers opening the generic template, populating it with application data from RMS, adjusting conditional clauses, and saving the finalized document into Objective ECM.

This workflow applies to administrative and operations staff responsible for processing scientific research requests and finalizing park bookings.
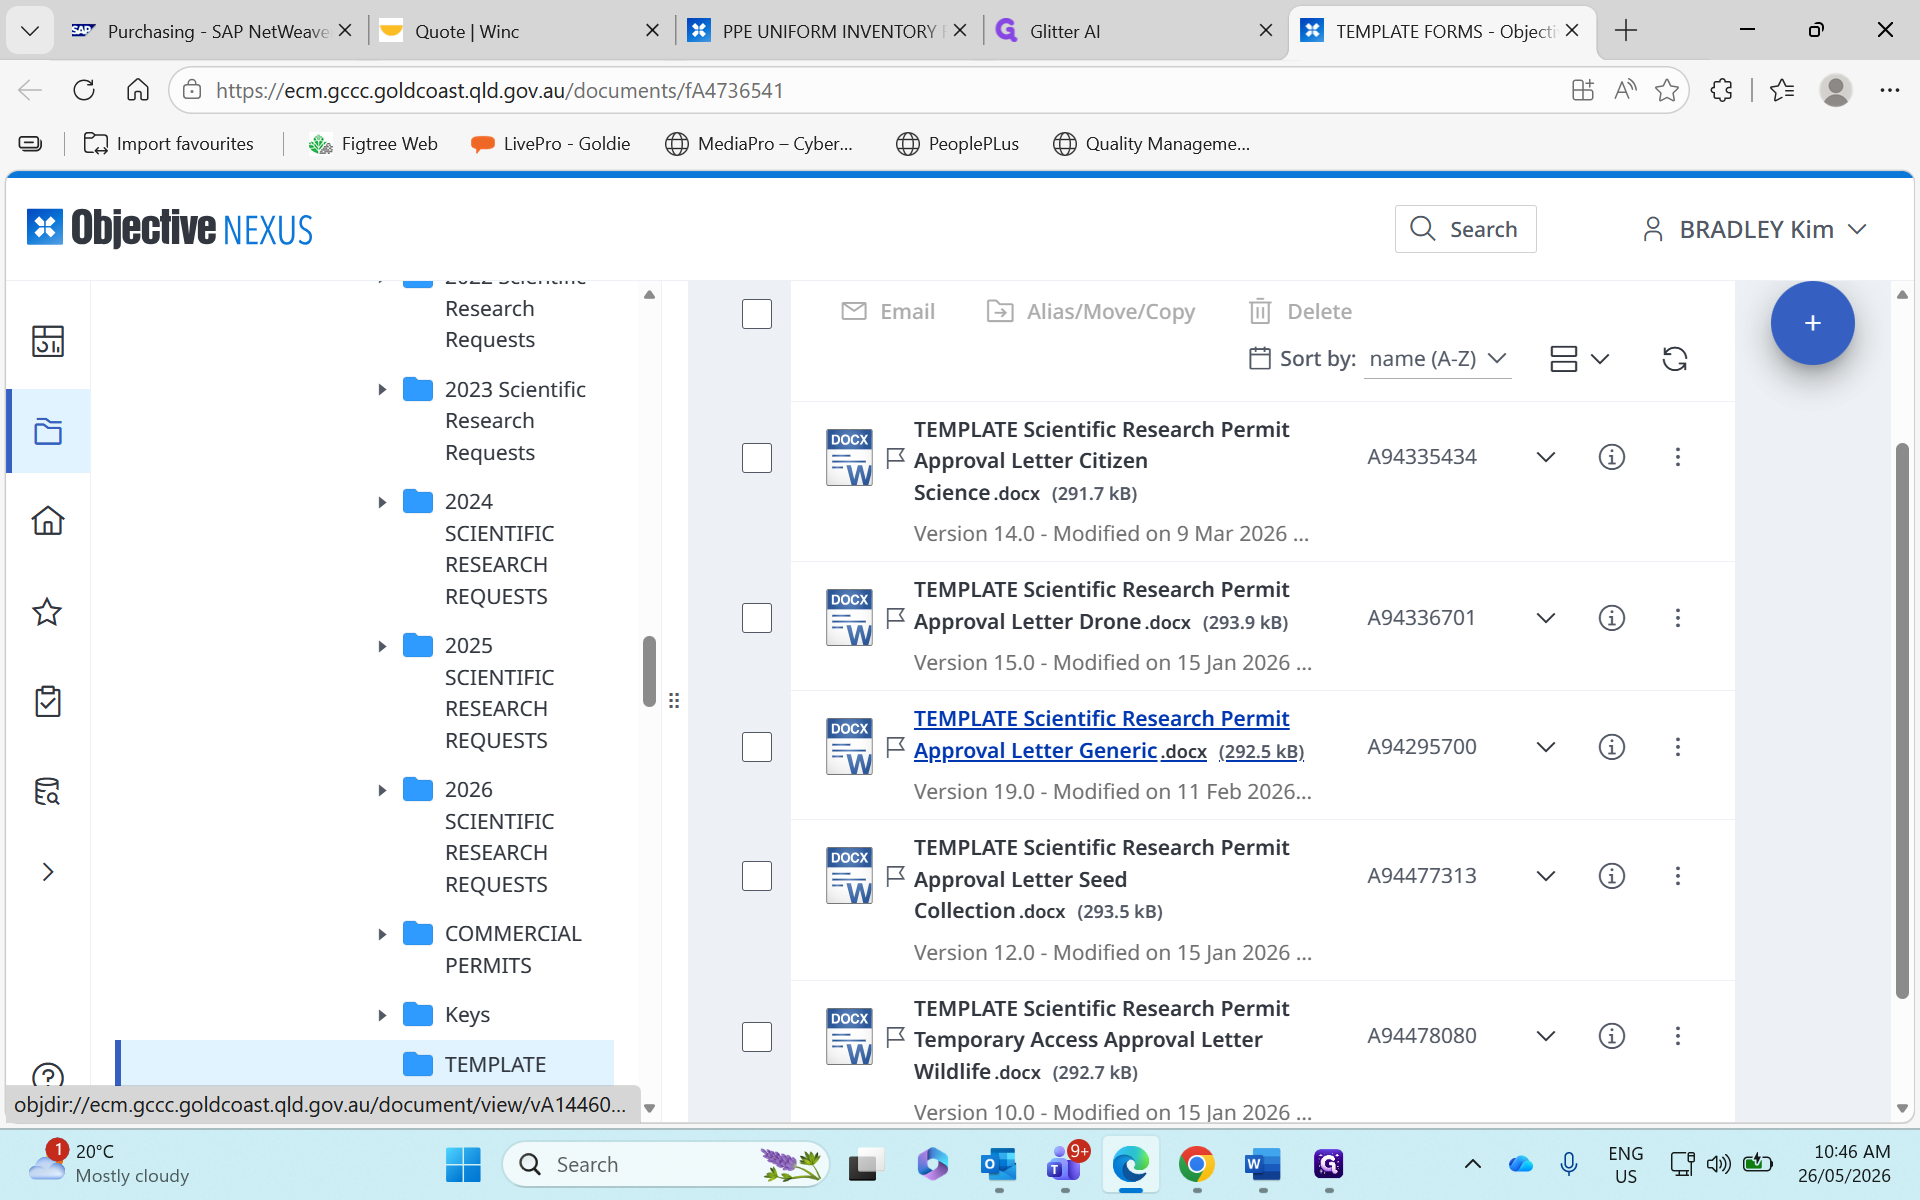
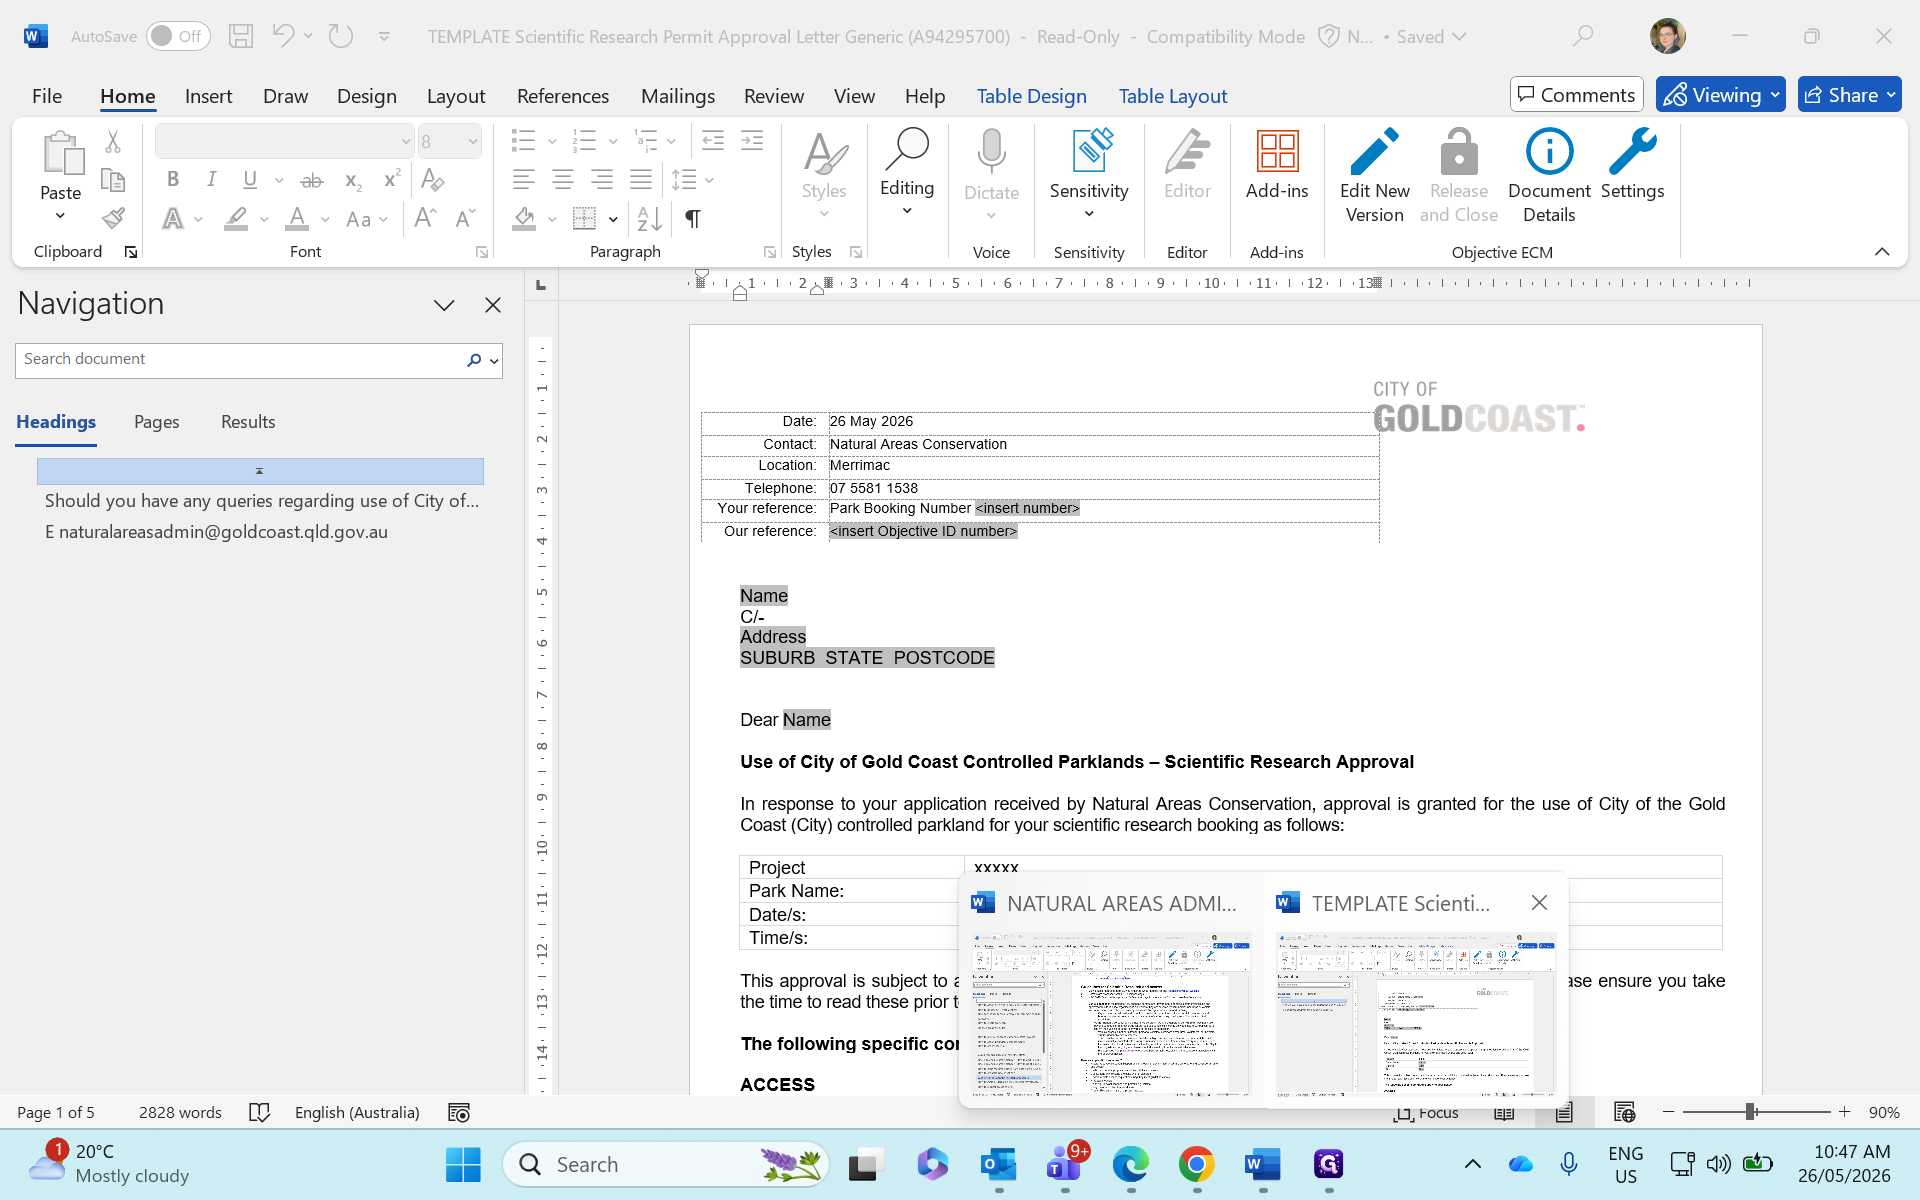
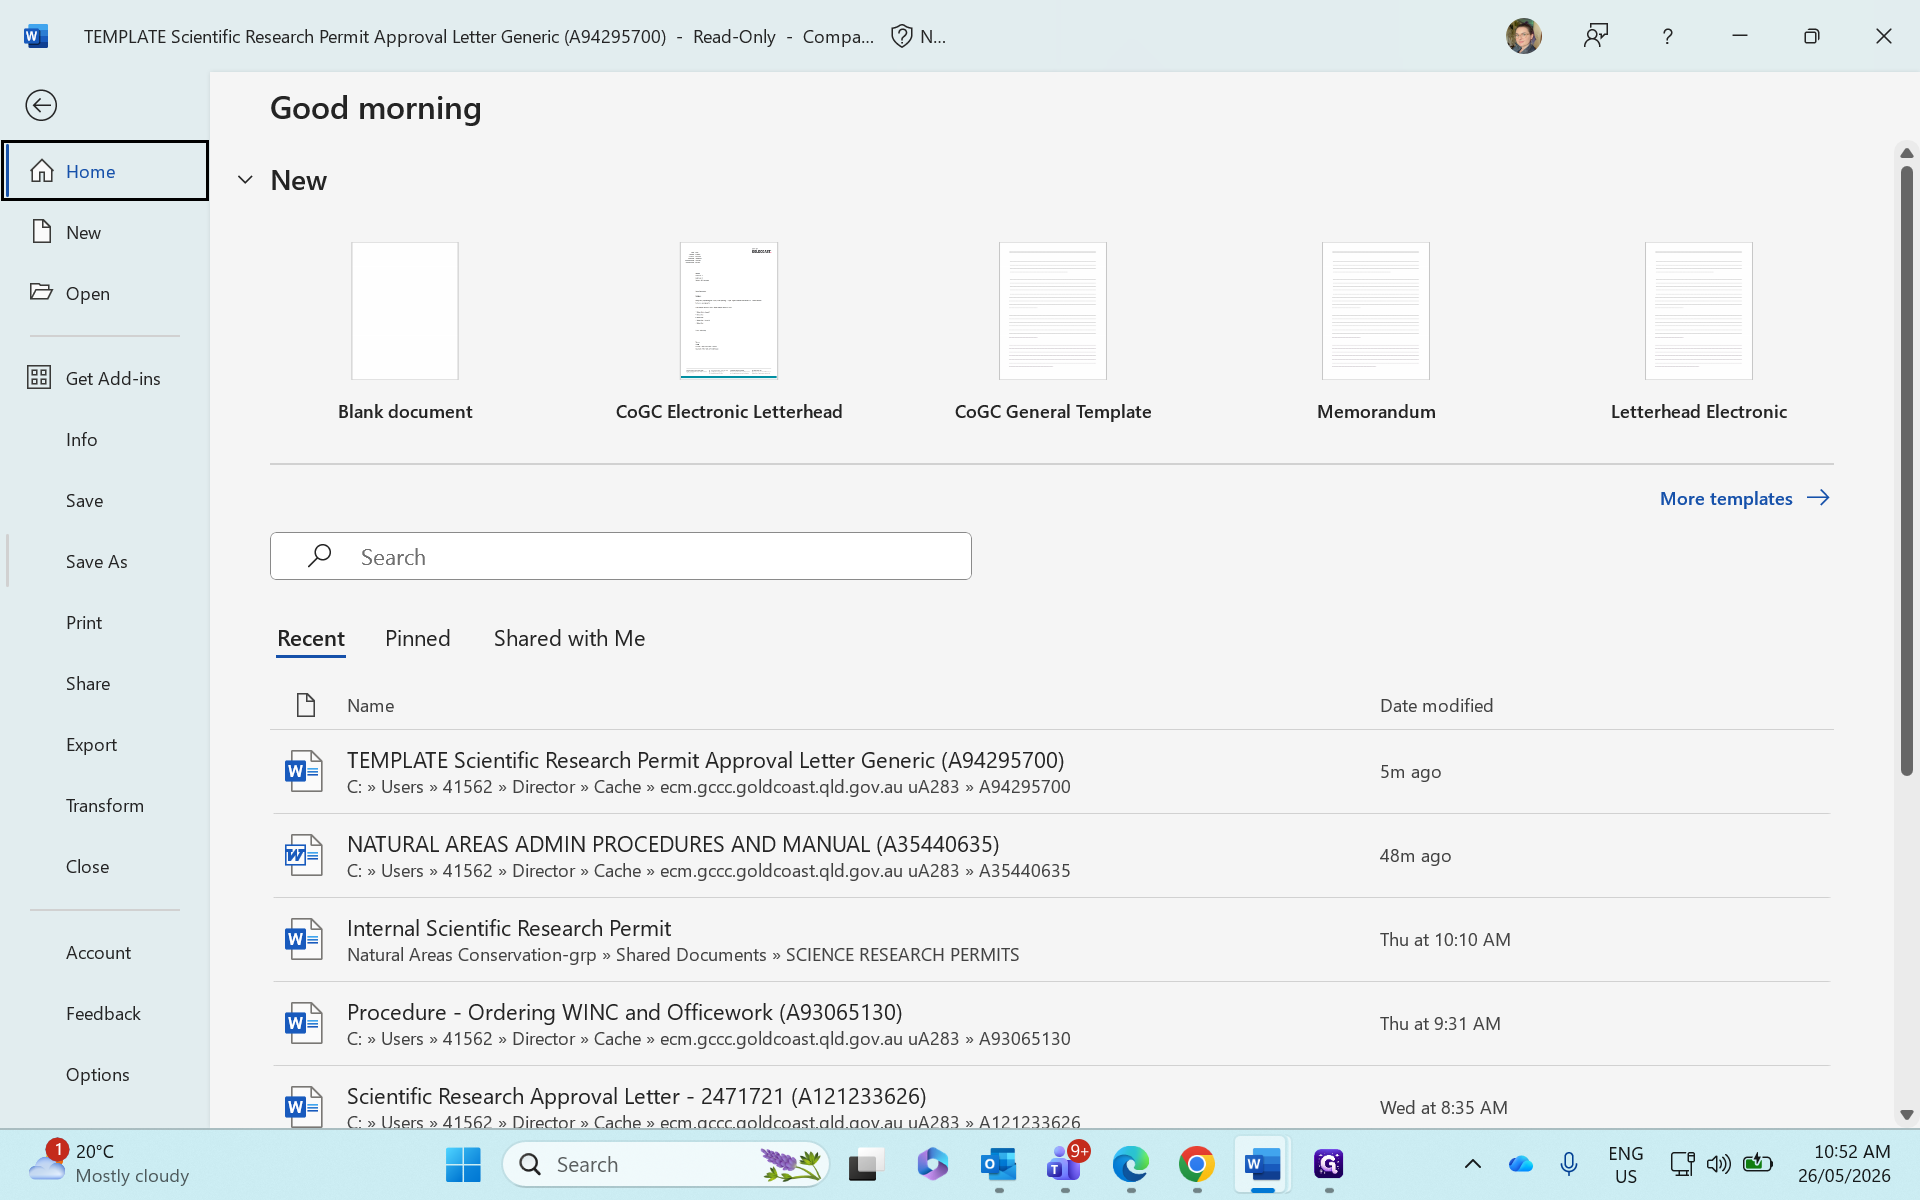
Open the template

1
Navigate to your template library and open the Approval Letter Generic.docx file.
Step #1: Navigate to your template library and open the Approval Letter Generic.docx file.
2
If Microsoft Word opens the file in protected view, click Edit Anyway to begin drafting.
Step #2: If Microsoft Word opens the file in protected view, click Edit Anyway to begin drafting.

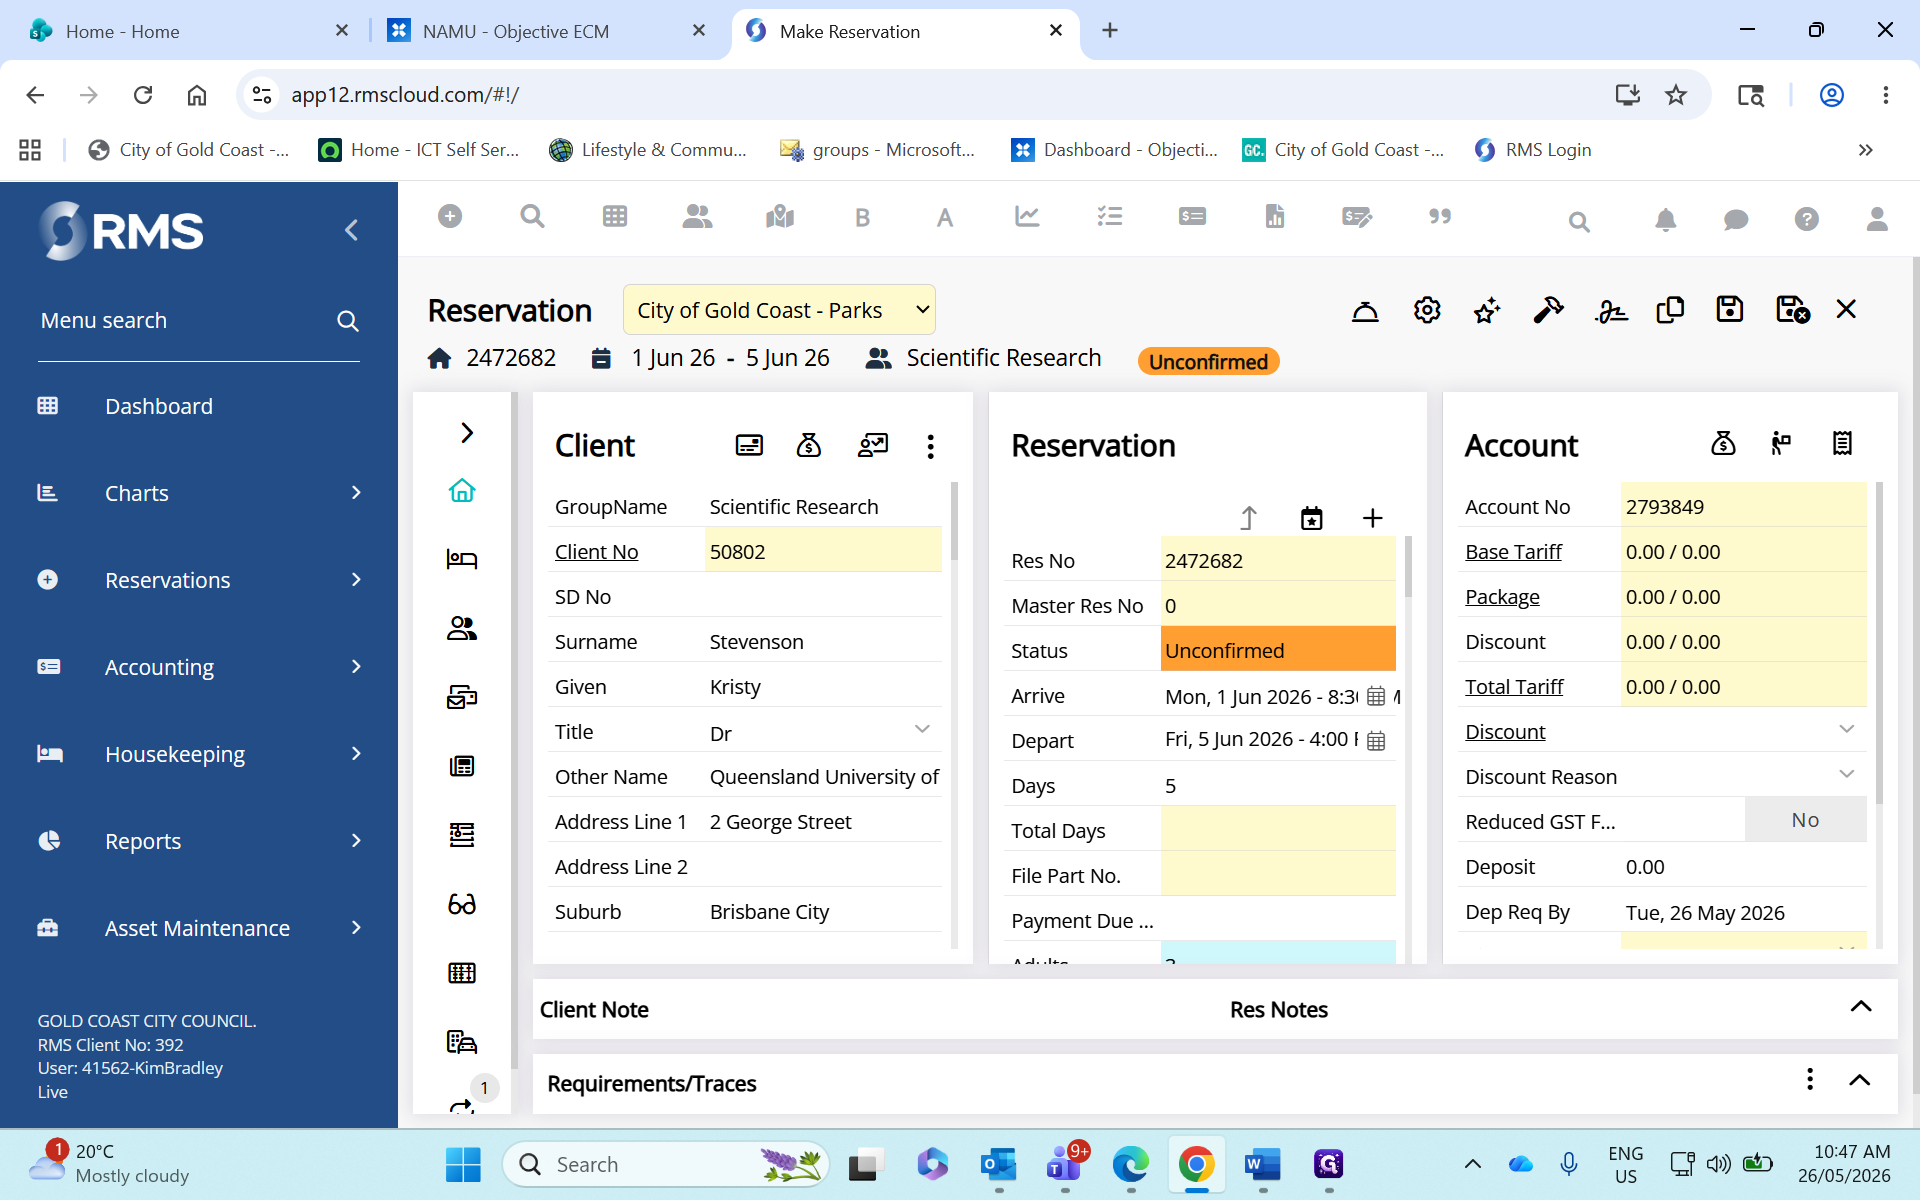
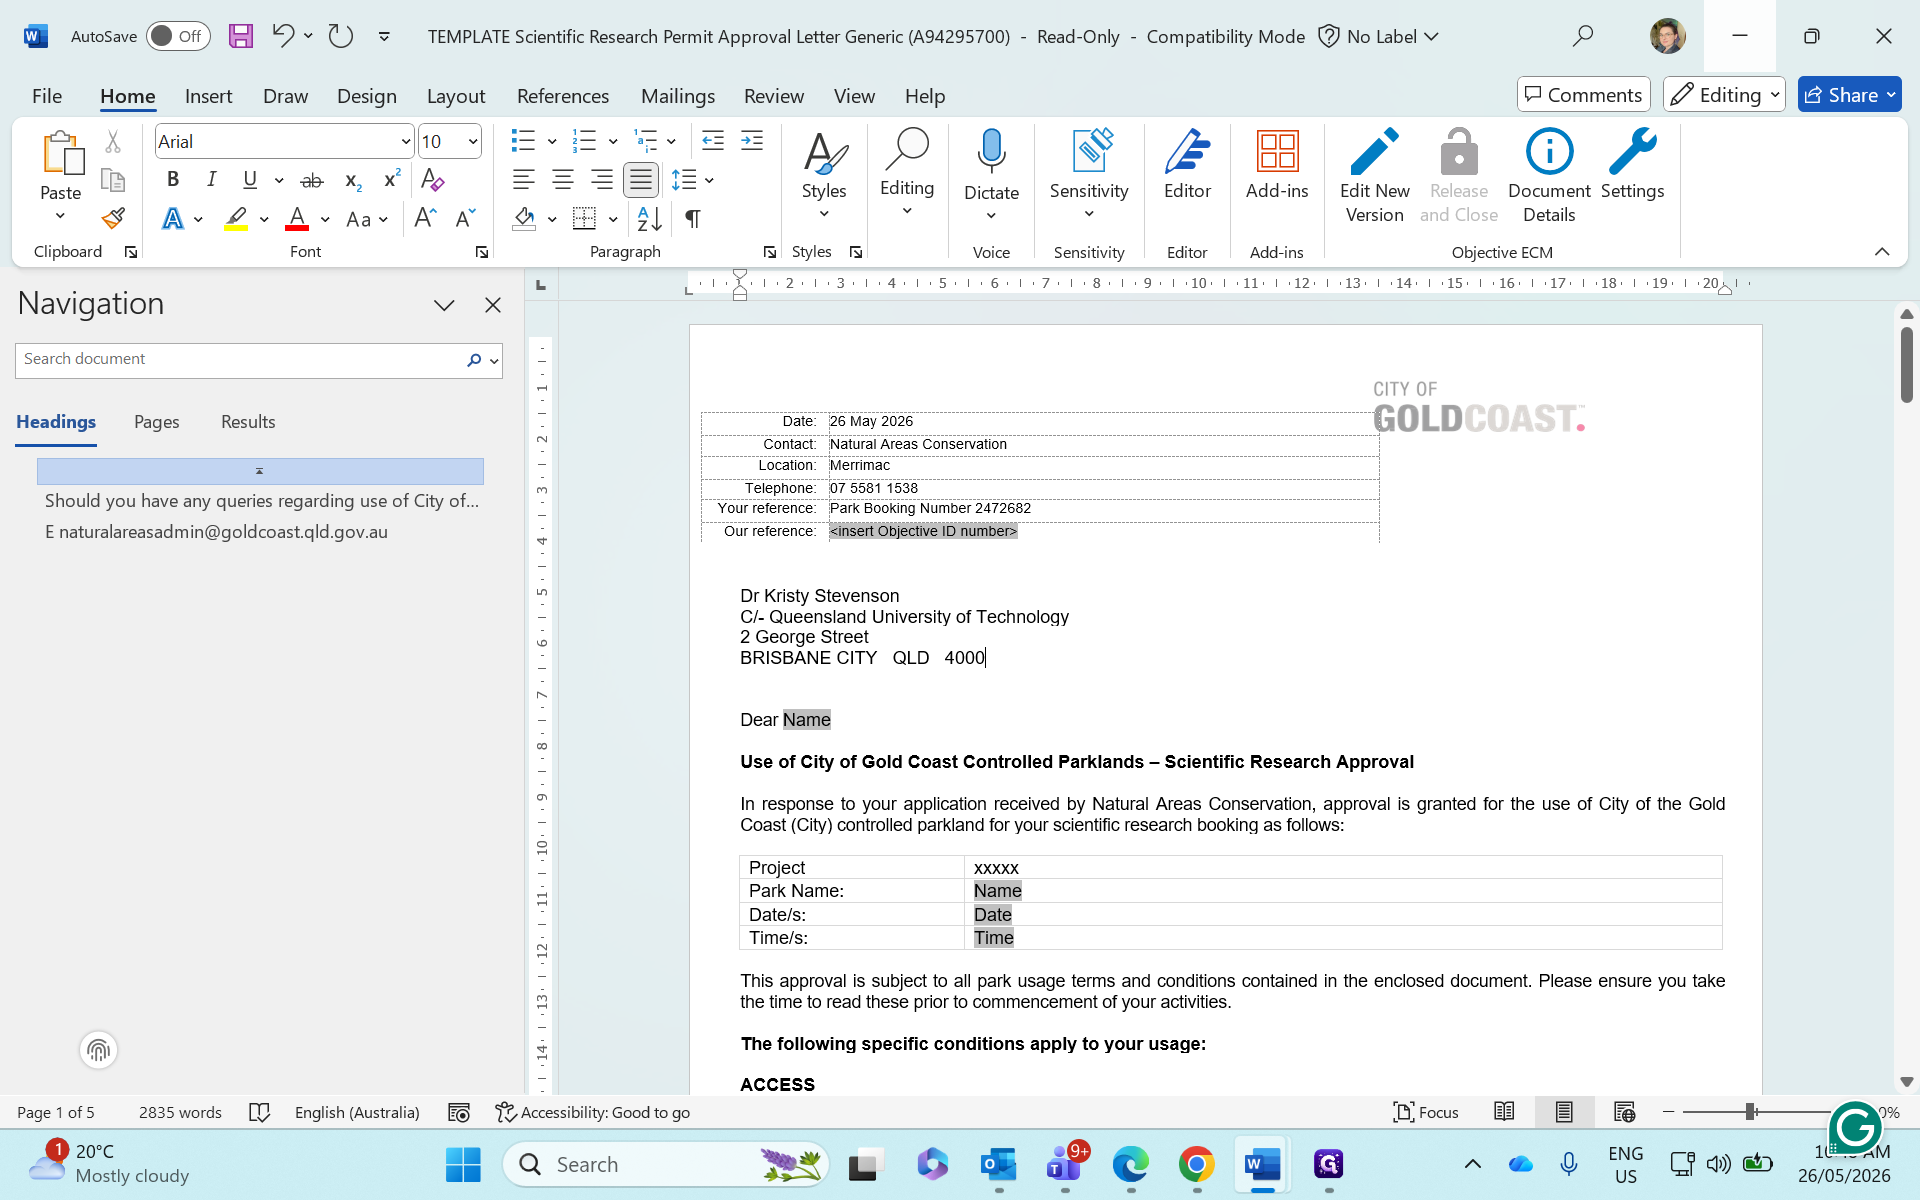
Import data from RMS and the application

Start by bringing over the core tracking numbers from your systems.

3
In RMS, double-click the Park Booking Number to select it.
Step #3: In RMS, double-click the Park Booking Number to select it.
4
Press Ctrl + C to copy the number.
5
Return to Microsoft Word and highlight the booking number placeholder text.
Step #5: Return to Microsoft Word and highlight the booking number placeholder text.
6
Press 
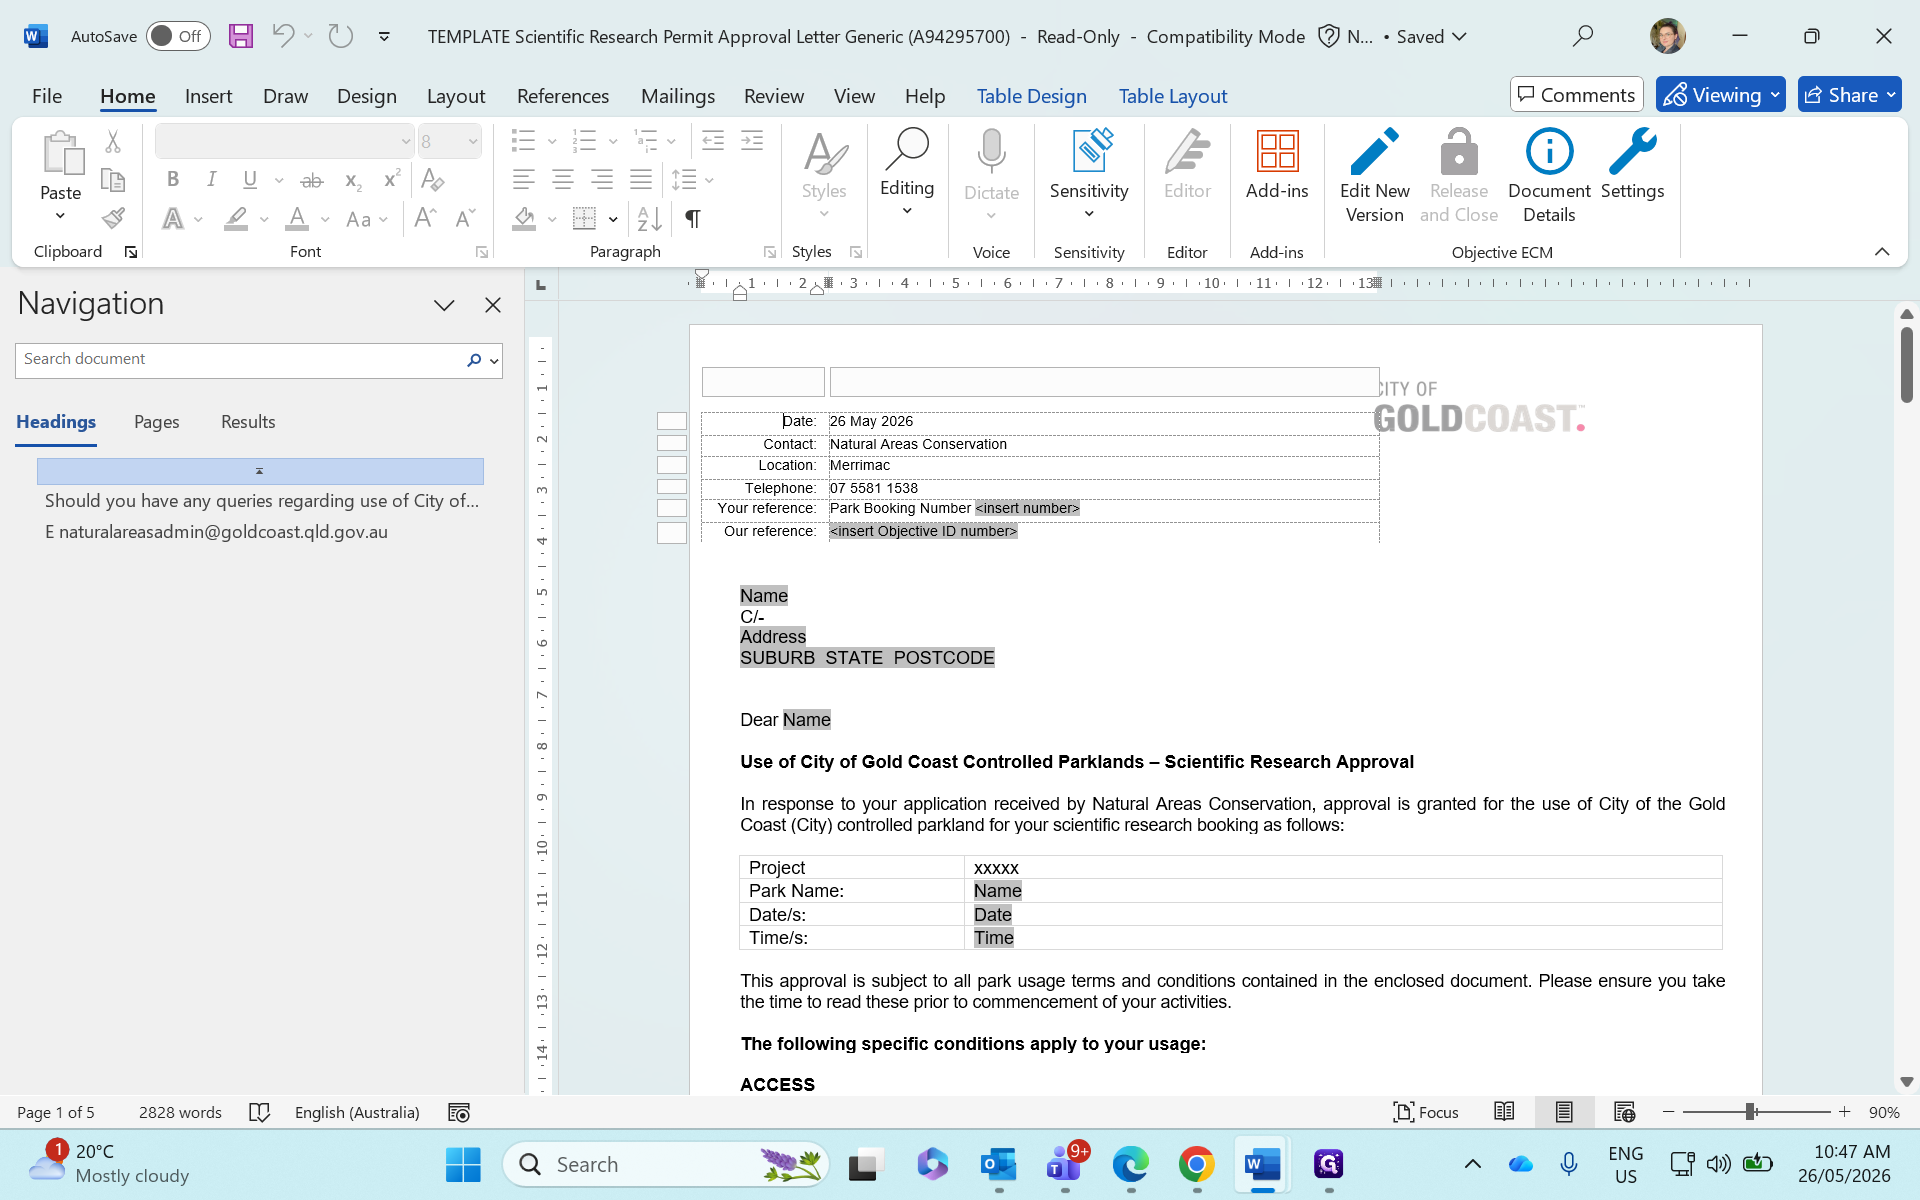
Ctrl + V to paste the booking number.
7
Select the < insert Objective ID number > placeholder and type or paste the application's Objective ID.
Step #7: Select the < insert Objective ID number > placeholder and type or paste the application's Objective ID.

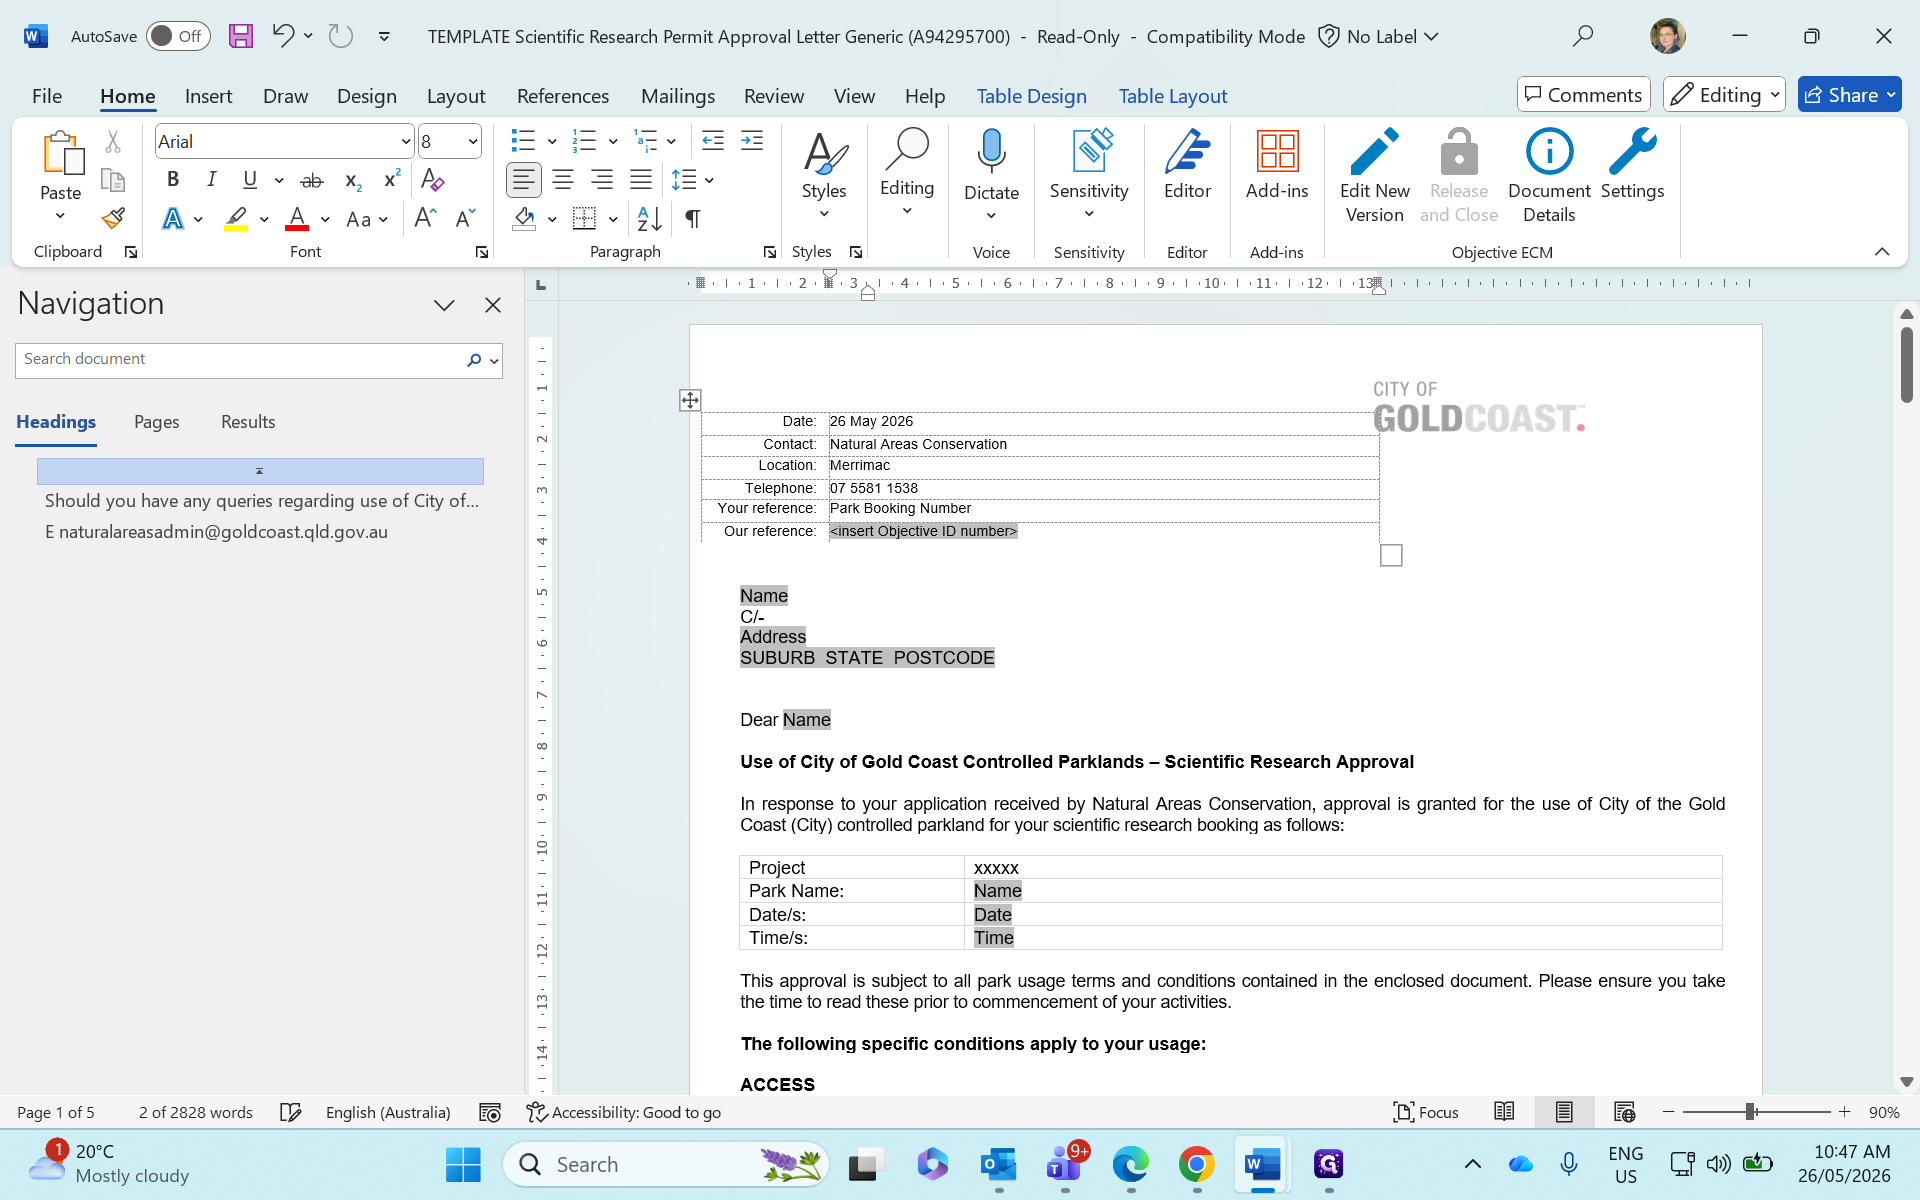
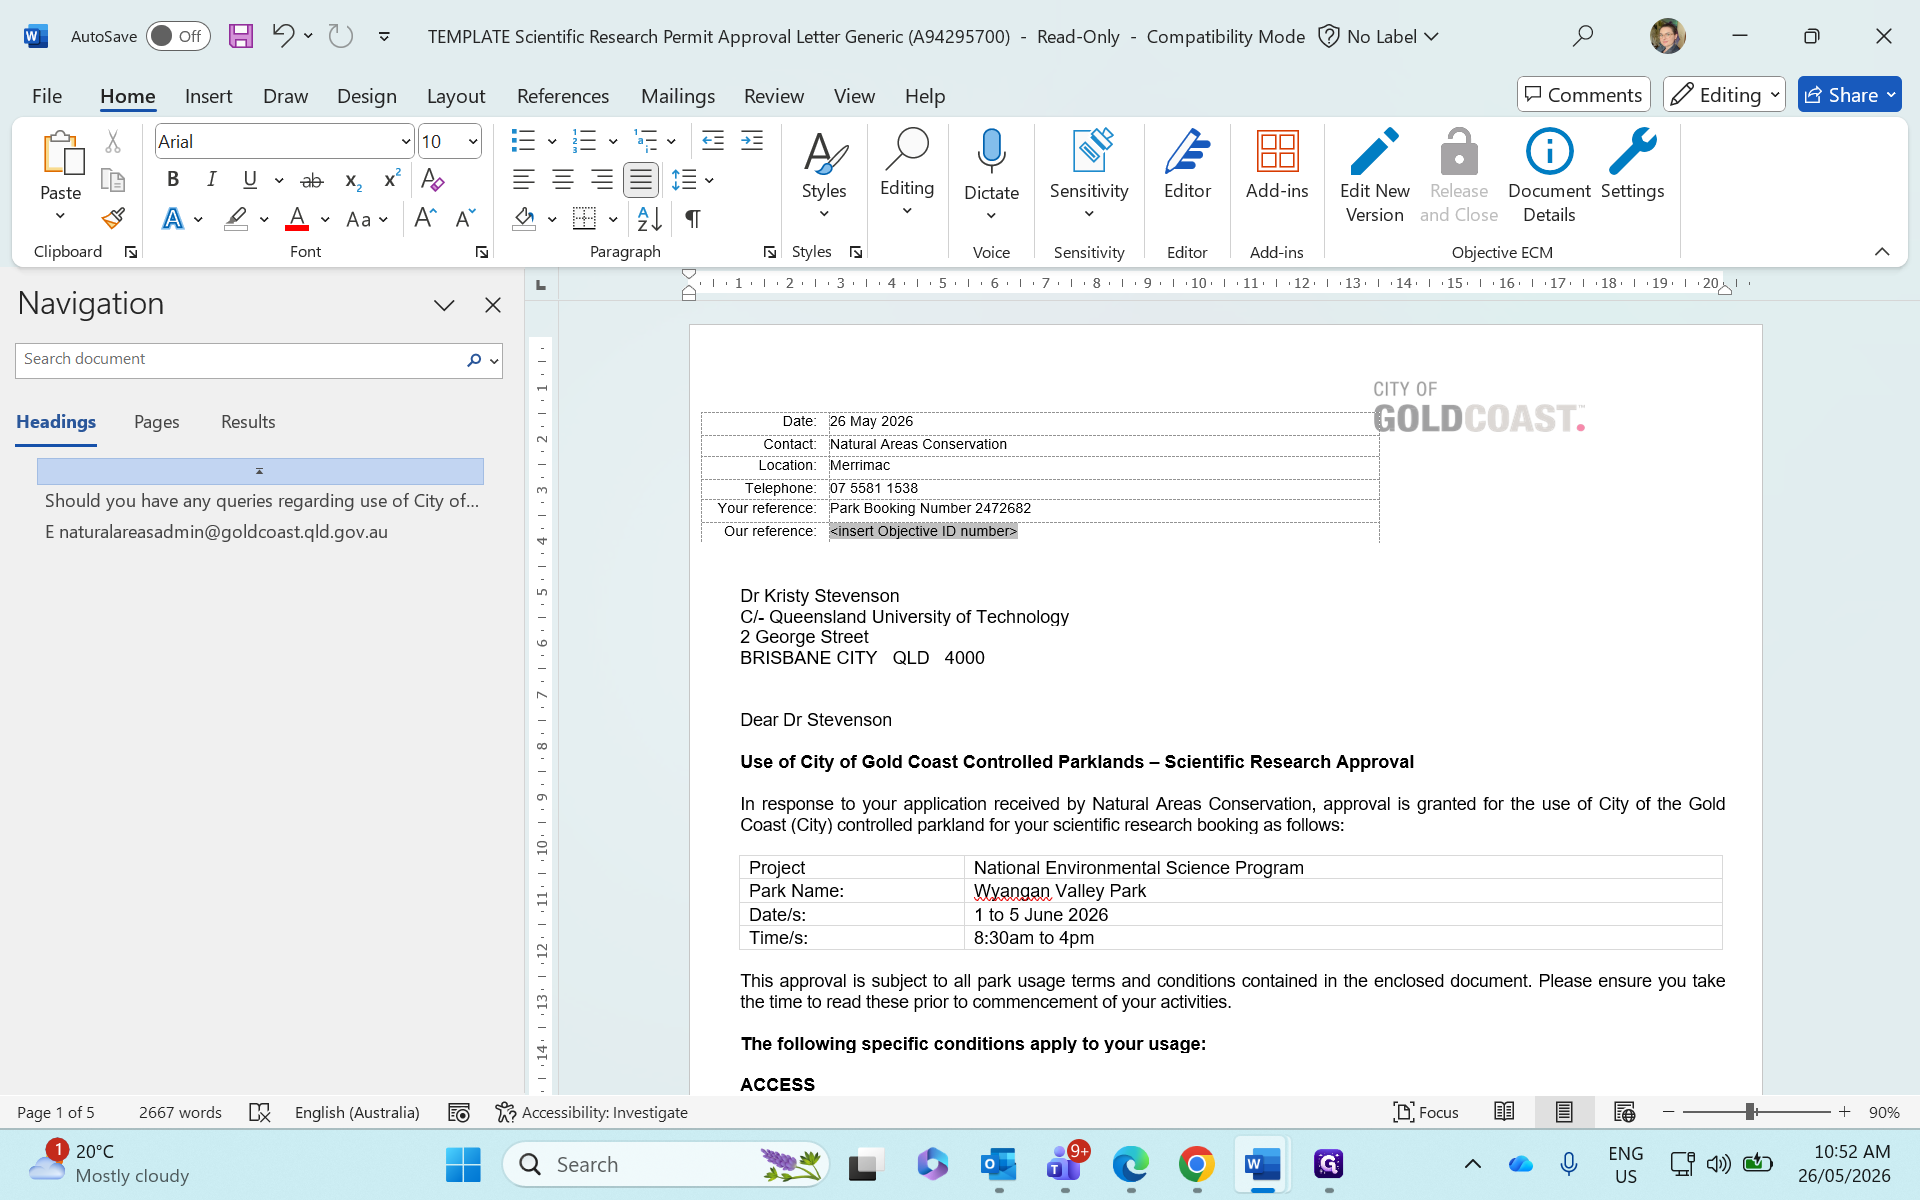
Fill out applicant and project details

Next, transfer the manual details from the researcher's application summary into the letter's placeholders.

8
Type the applicant's name and their affiliated institution.
9
Enter the applicant's full mailing address, including the postcode.
10
Update the salutation greeting to address the applicant by name.
Step #10: Update the salutation greeting to address the applicant by name.
11
Enter the project name and the specific park they are approved to access.
12
Specify the approved access dates.
13
Enter the start and end times for the permitted access window.

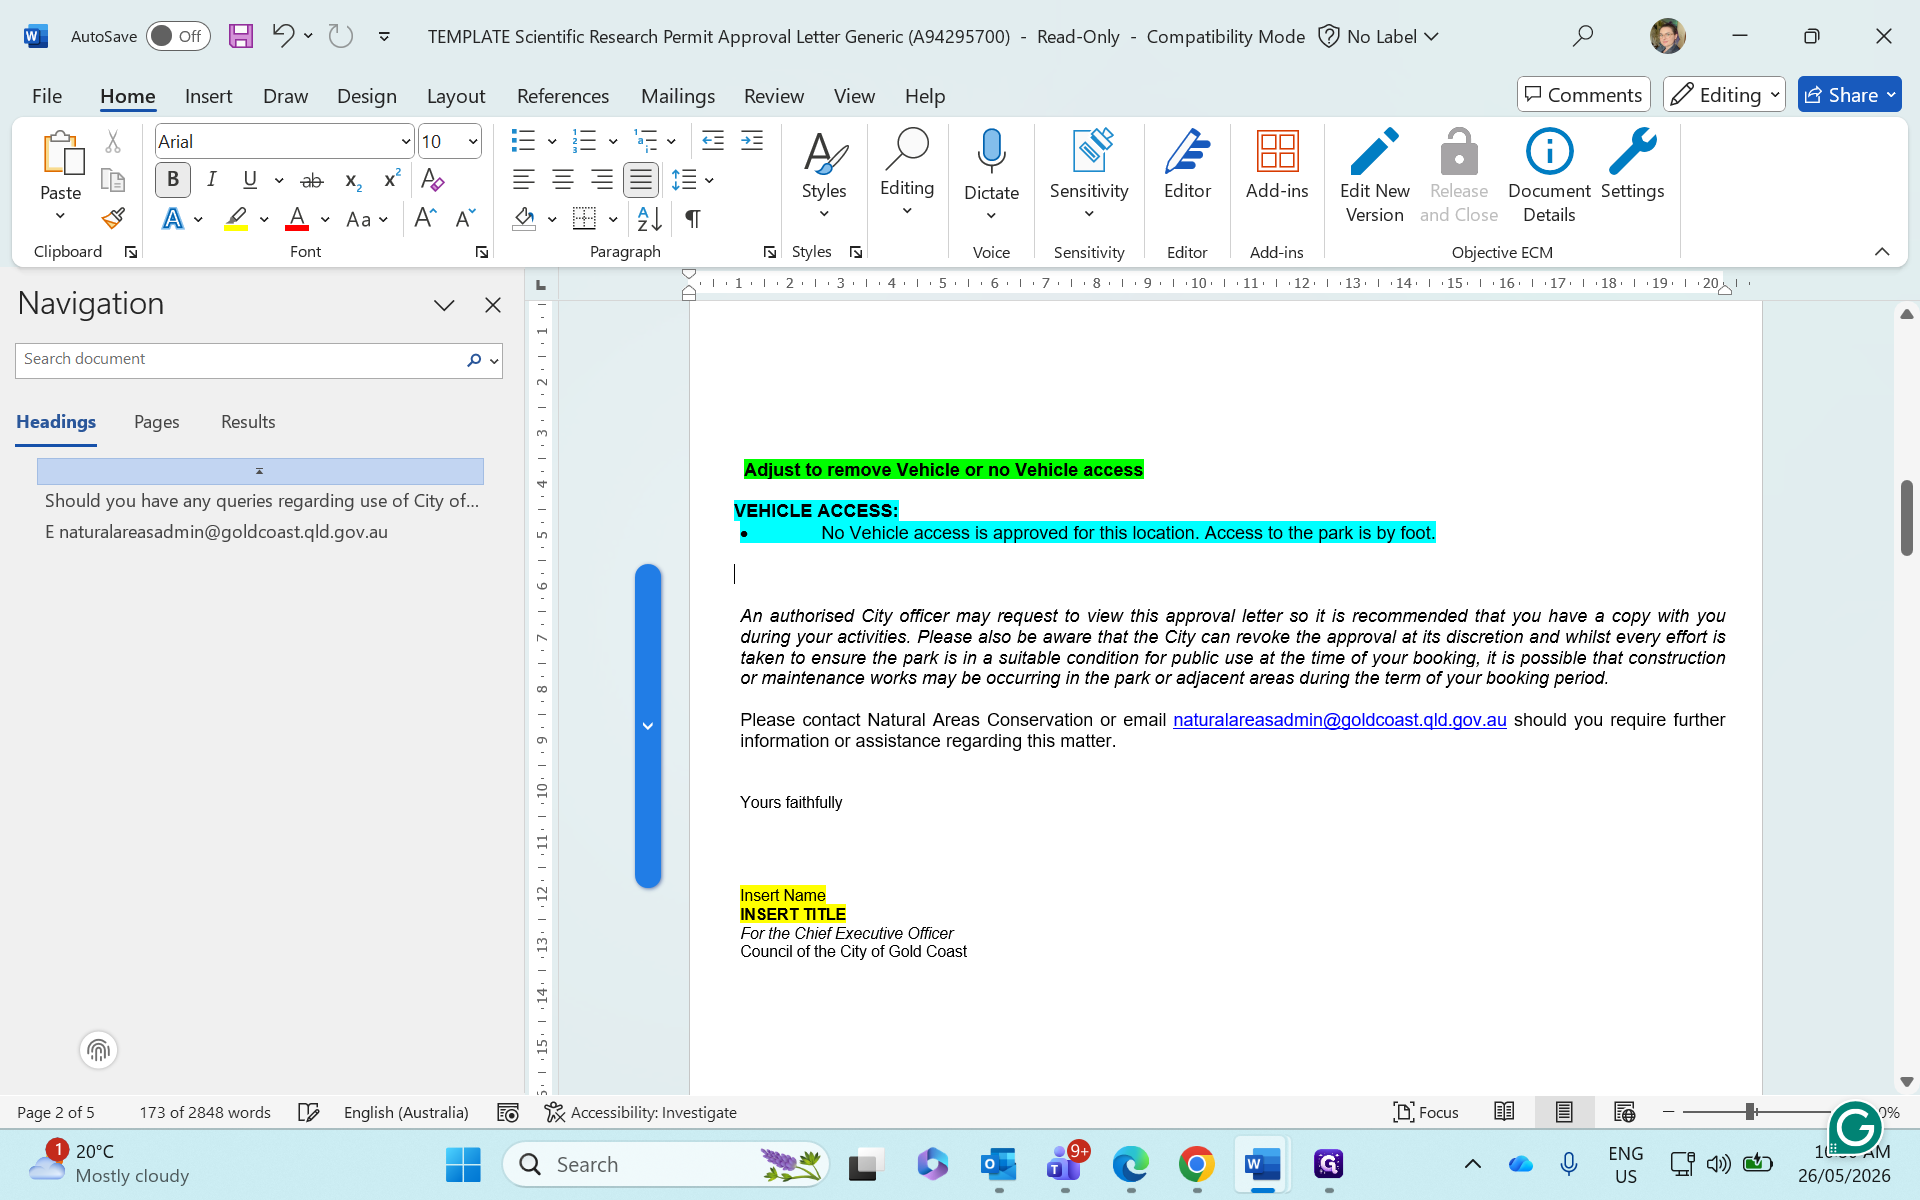
Adjust access conditions

Templates include optional clauses (like 4WD access requirements) that you must tailor to the specific application.

14
Highlight and delete any vehicle access conditions that do not apply to this request.
Step #14: Highlight and delete any vehicle access conditions that do not apply to this request.
15
Select the adjusted text and click No Color in the Word ribbon to remove any remaining yellow placeholder highlights.
Step #15: Select the adjusted text and click No Color in the Word ribbon to remove any remaining yellow placeholder highlights.

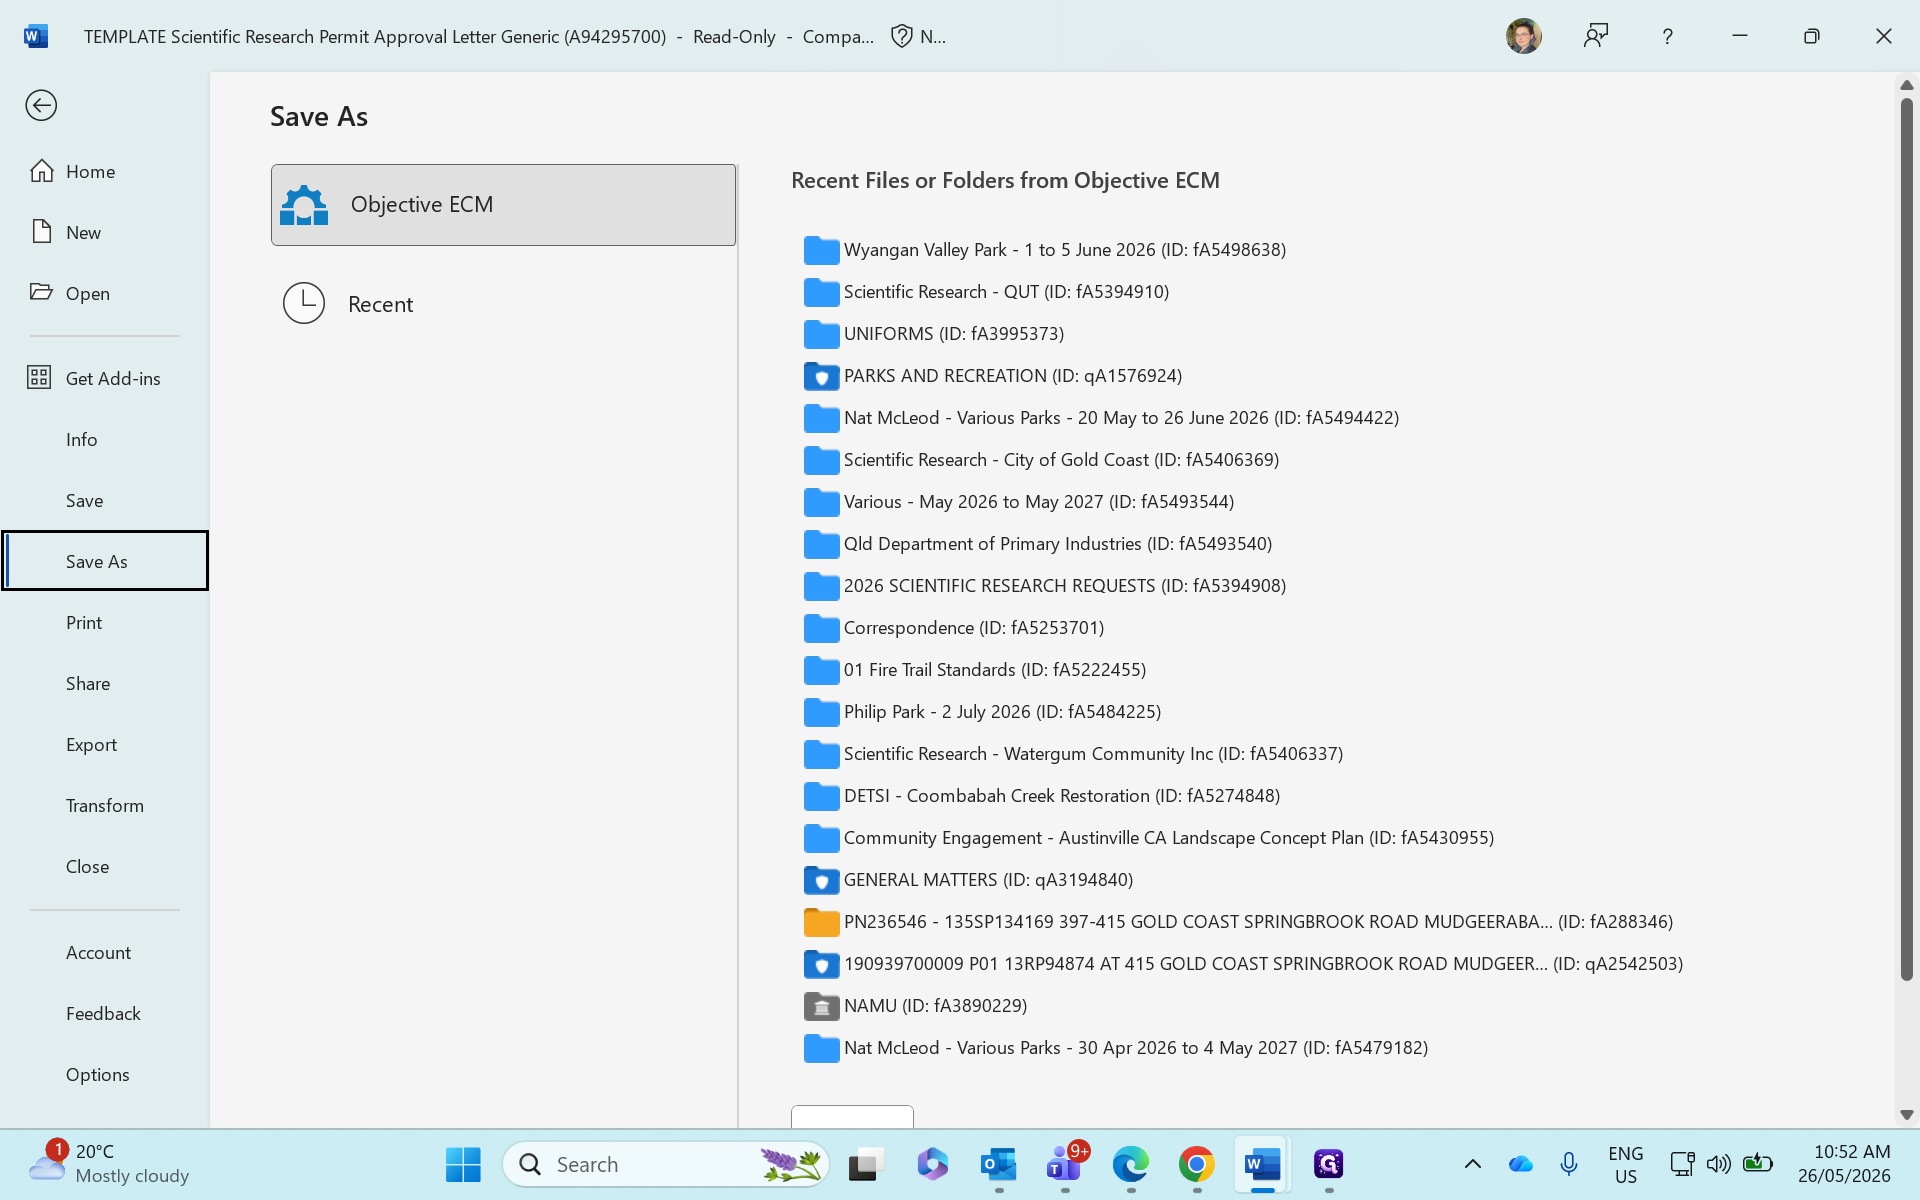
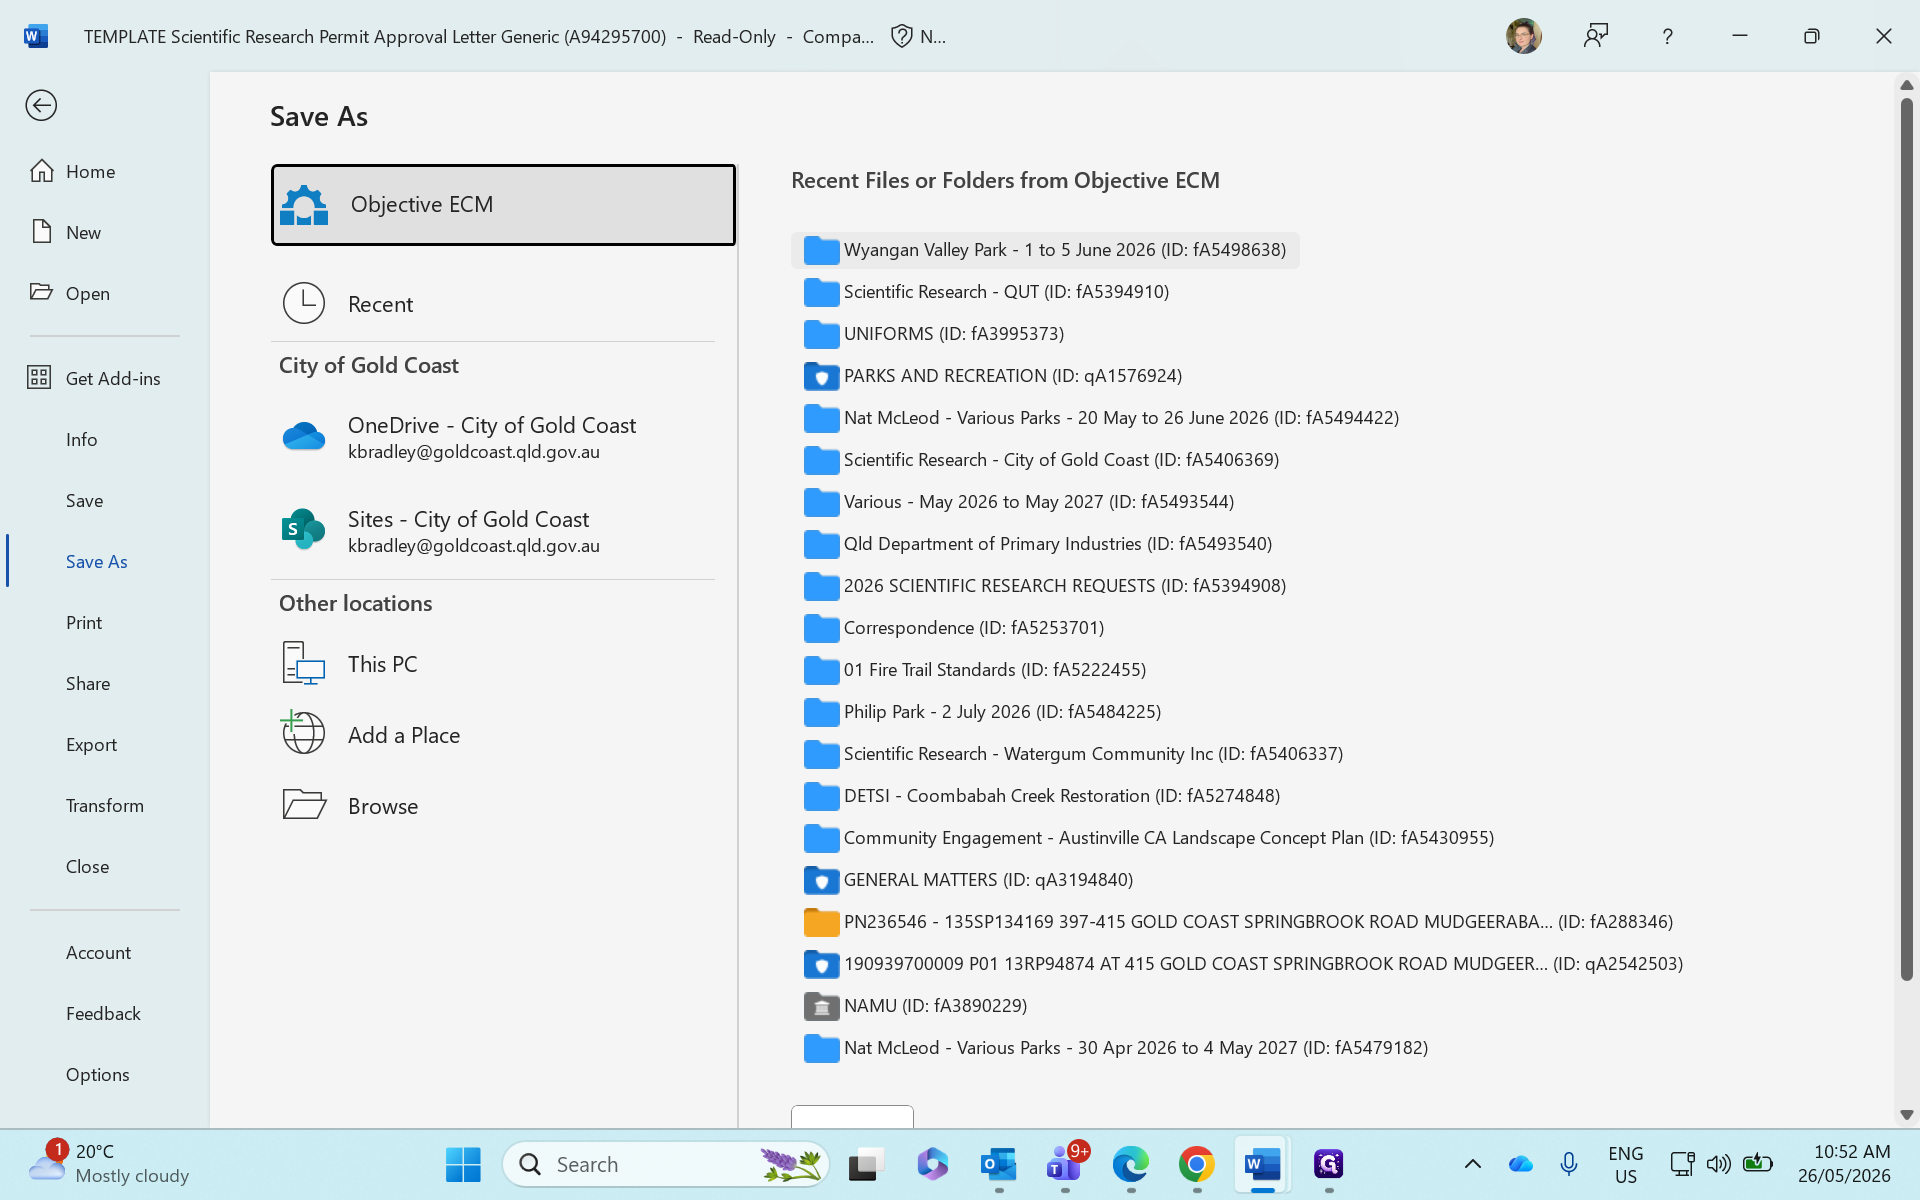
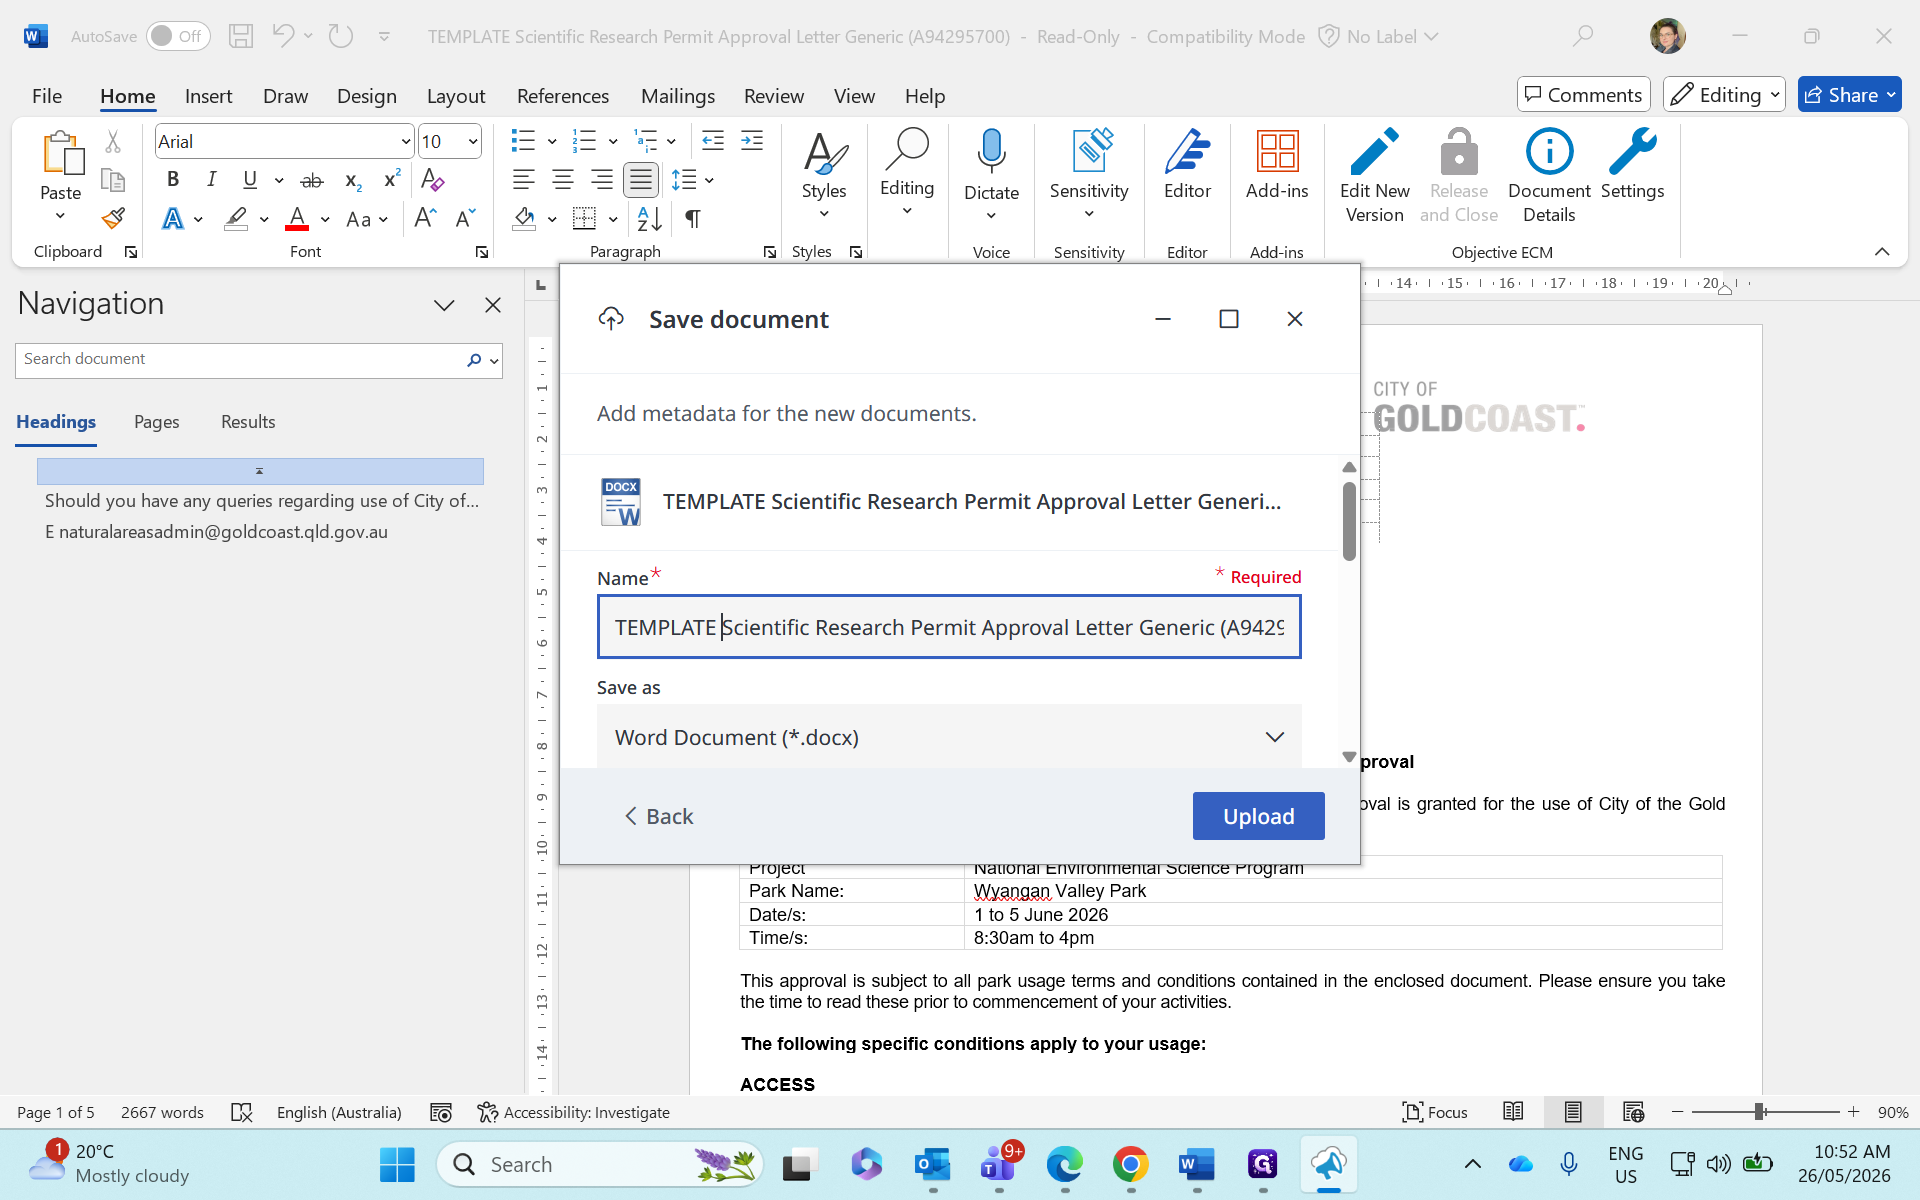
Save the letter to Objective ECM

To keep applicant records organized, create a dedicated subfolder for the finalized letter.

16
In Objective ECM, navigate to the applicant's parent folder for the current year. Create a new folder named using the format [Park Name] - [Dates].
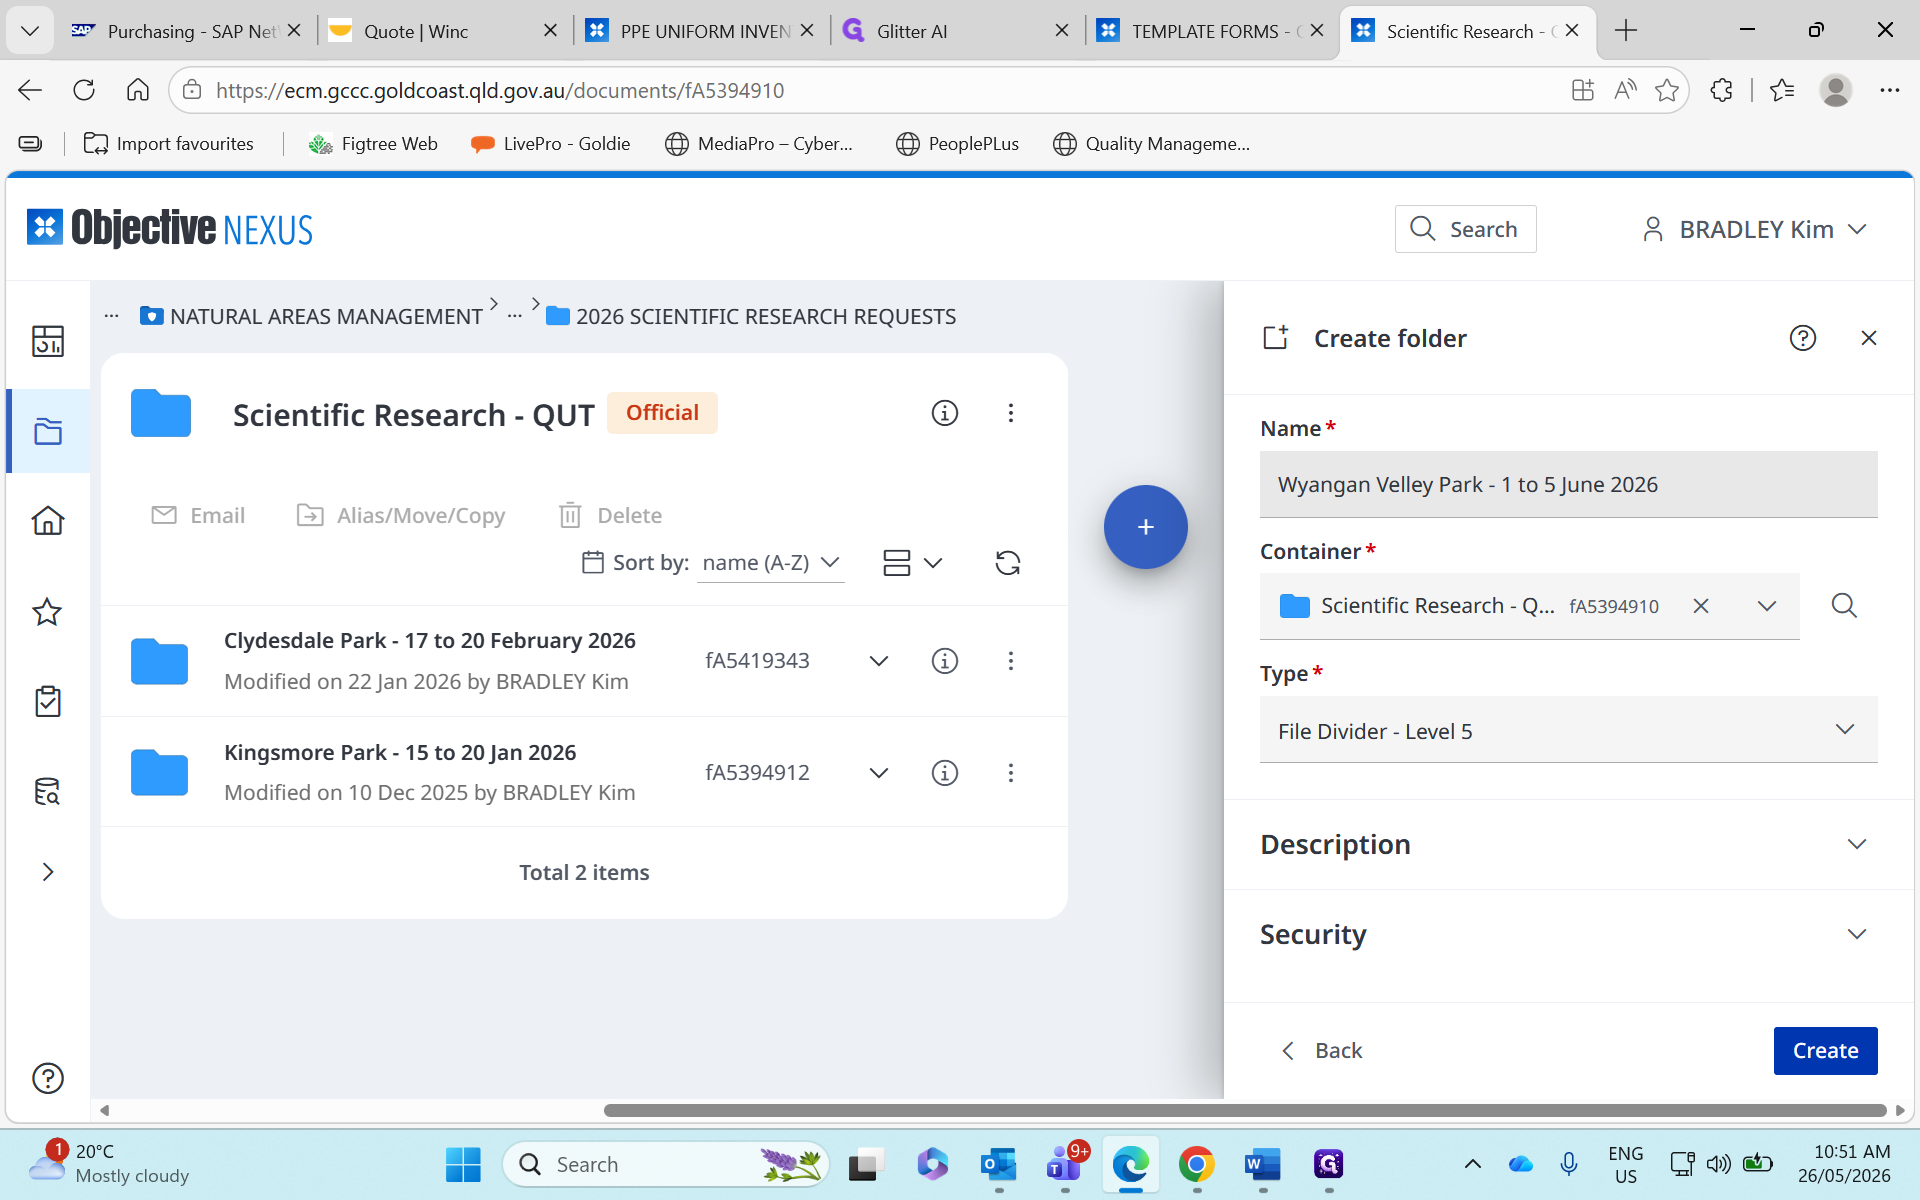
17
Click Create to finalize the folder.
Step #17: Click Create to finalize the folder.
18
Return to Word and click File.
Step #18: Return to Word and click File.
19
Click Save As.
Step #19: Click Save As.
20
Select Objective ECM as your save destination.
Step #20: Select Objective ECM as your save destination.
21
Select the newly created folder.
Step #21: Select the newly created folder.
22
Edit the filename to remove the word "TEMPLATE" and add specific applicant details, then save the document.
Step #22: Edit the filename to remove the word "TEMPLATE" and add specific applicant details, then save the document.

FAQ

Q: Do I edit the template file directly?

A: No. While you open the template document to start working, you must use Save As to save your work as a new, distinct file in Objective ECM. This preserves the blank template for the next user.

Q: What if the applicant doesn't require vehicle access?

A: Manually highlight and delete the vehicle access conditions from the letter. Be sure to select the area and use the "No Color" highlighting tool to remove any leftover yellow formatting from the placeholders.