
Scientific Research #4
Learn how to send a scientific research approval letter for signature, return it to the applicant as a PDF, and archive the communications in Objective.
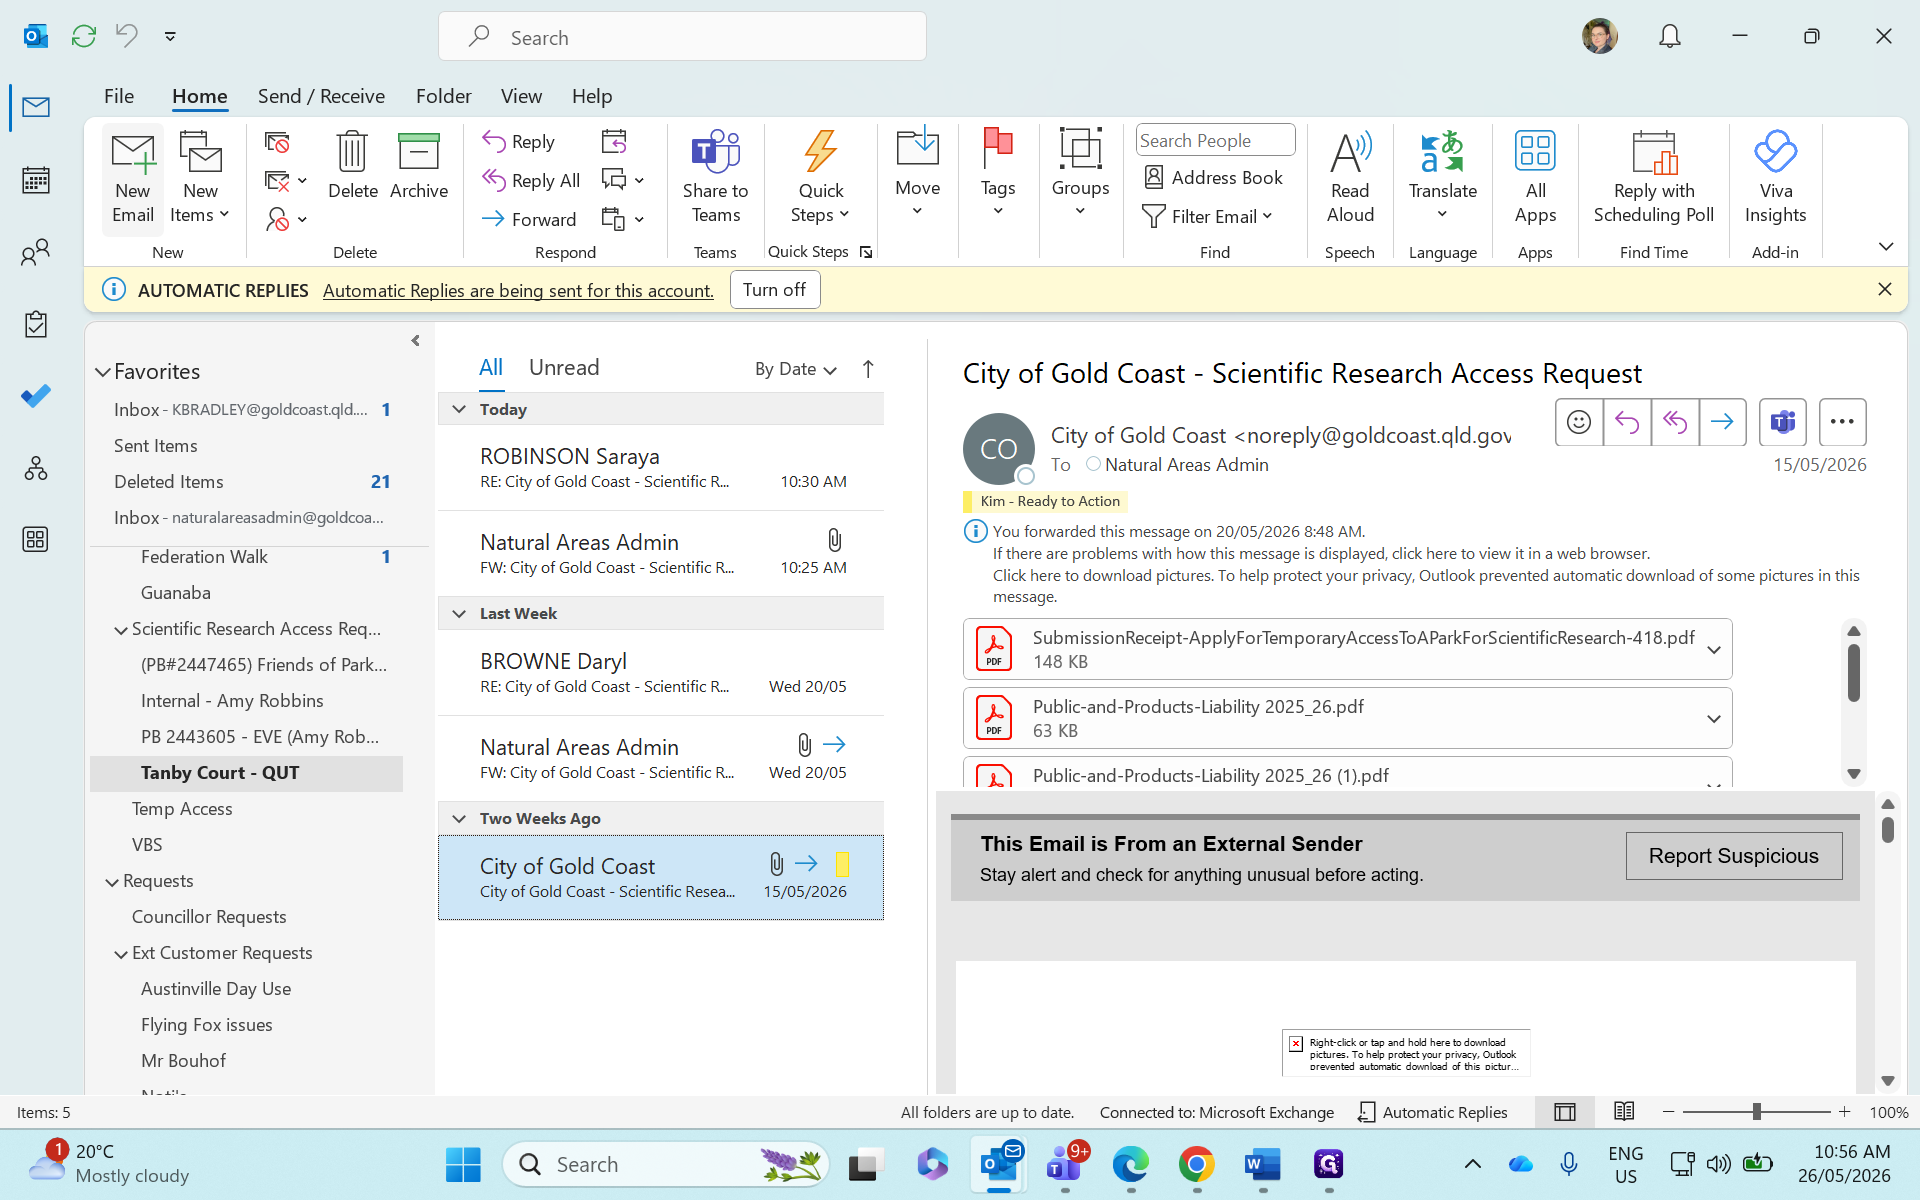
This guide explains how to send a scientific research approval letter to the City Laws team for signature, return it to the applicant as a PDF, and archive the corresponding communications.
This workflow is intended for Natural Areas administration team members processing external research requests and maintaining official records in Objective.
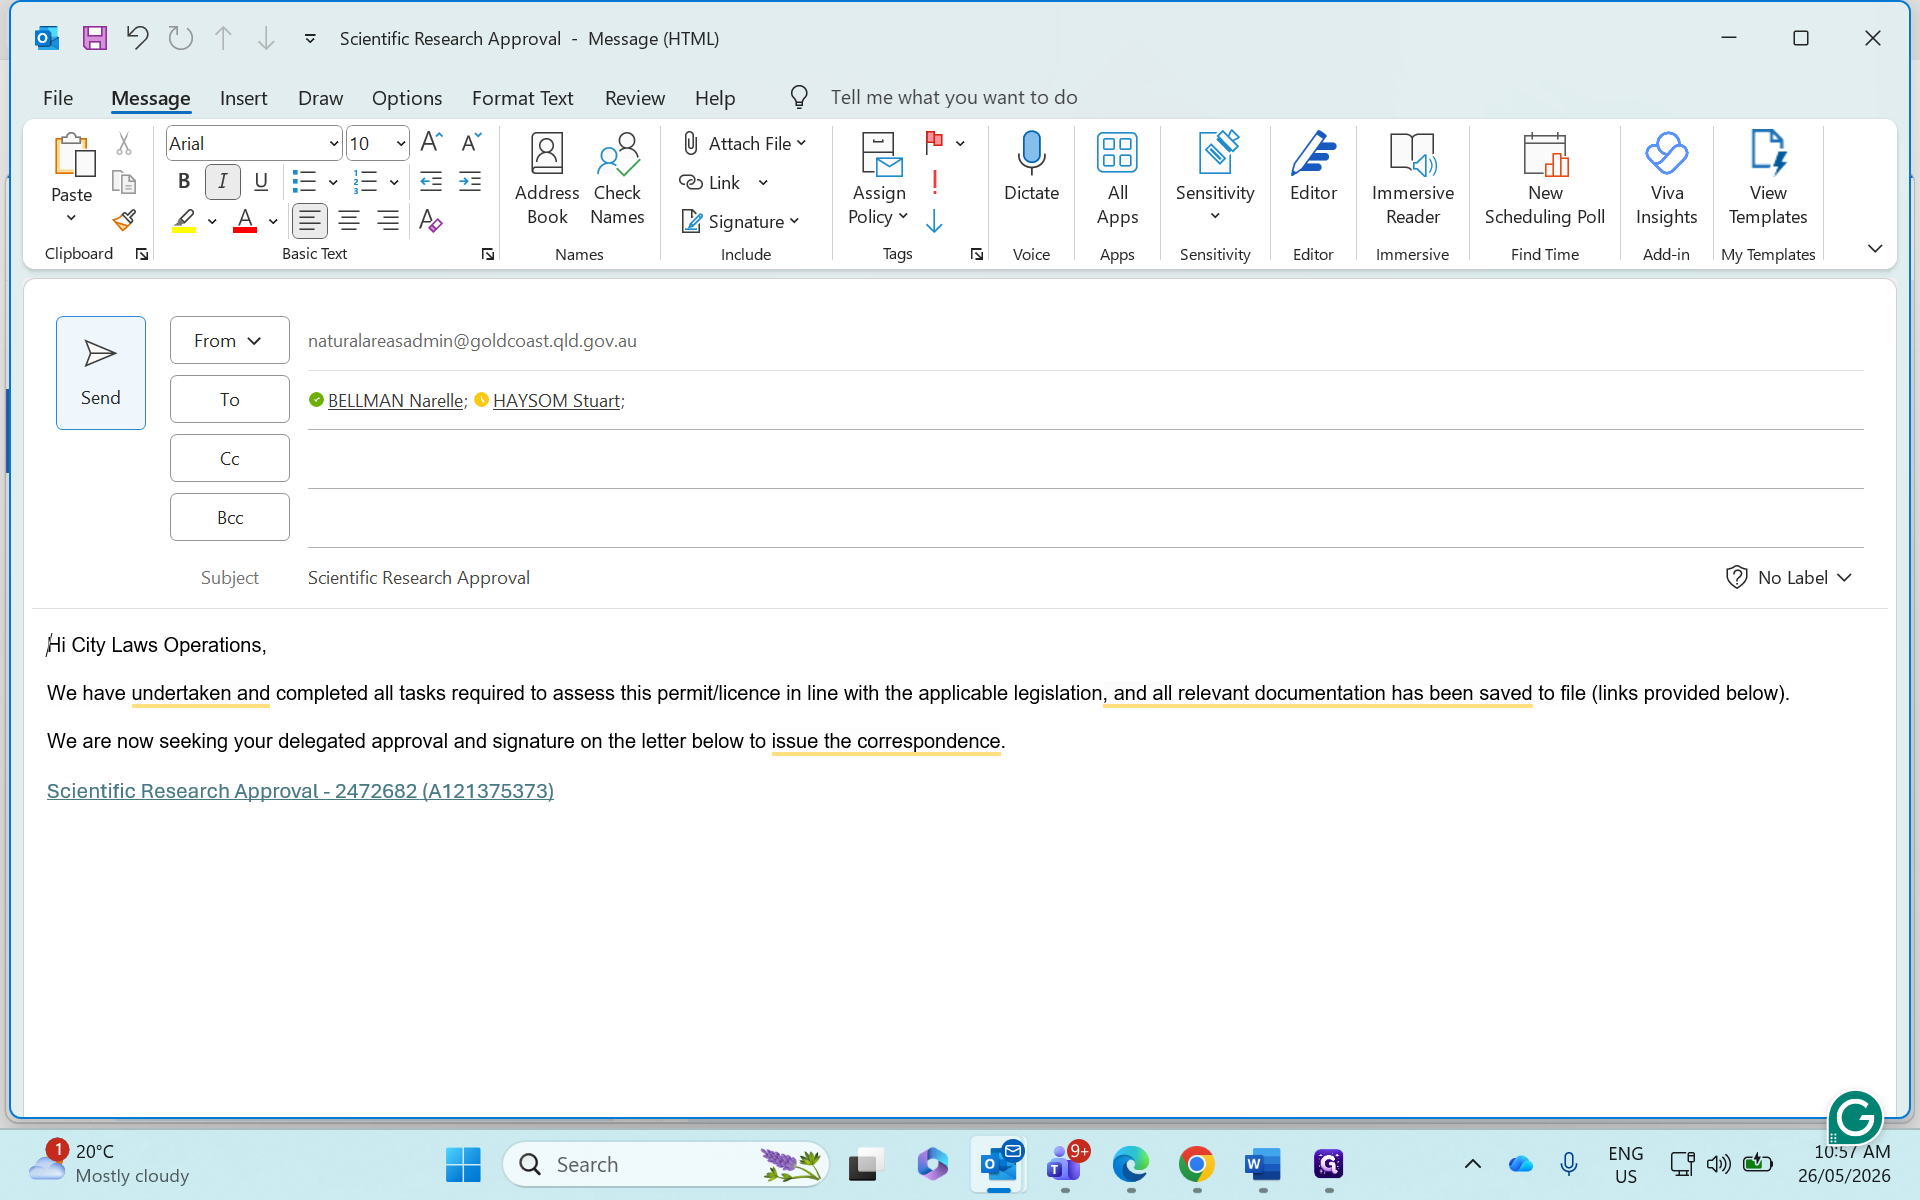
Request Signature from City Laws
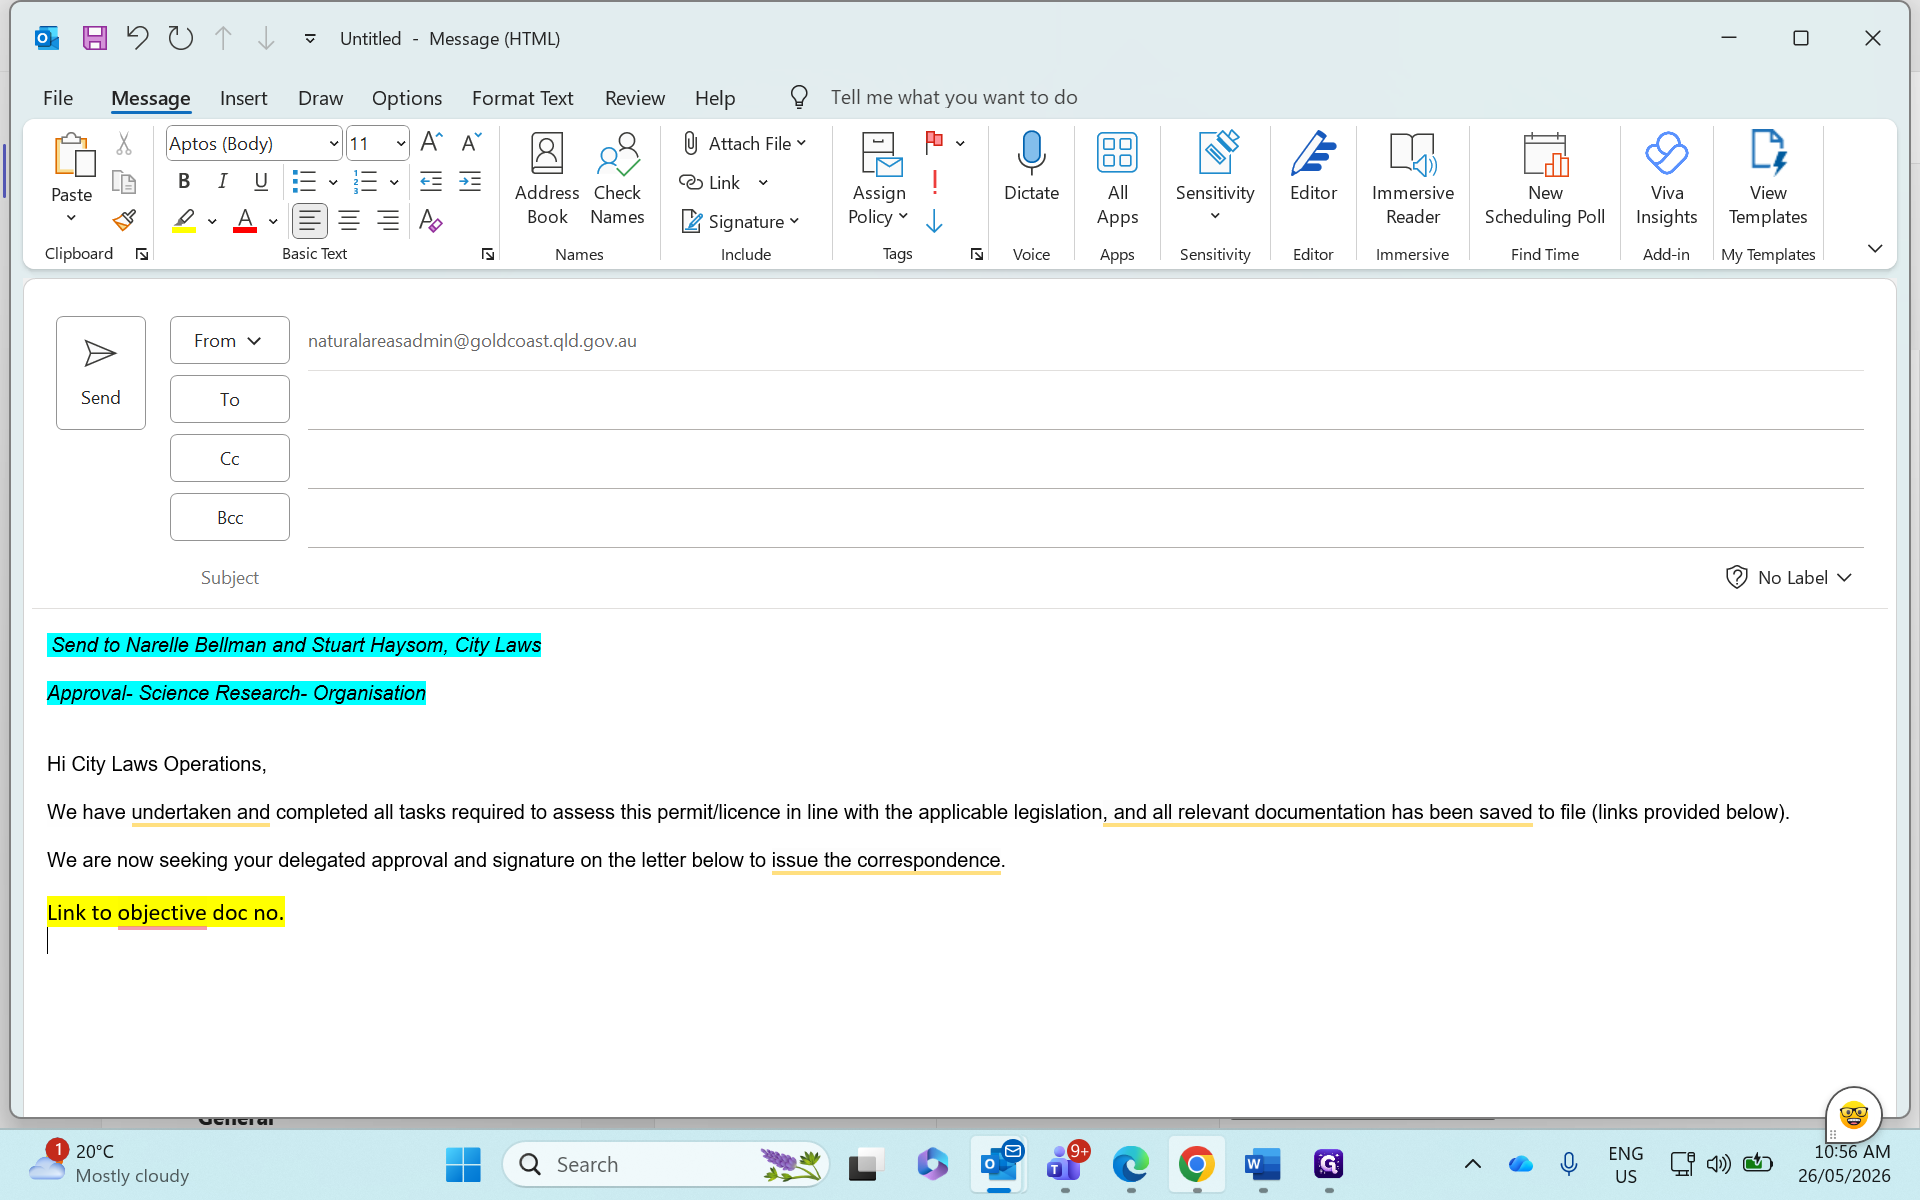
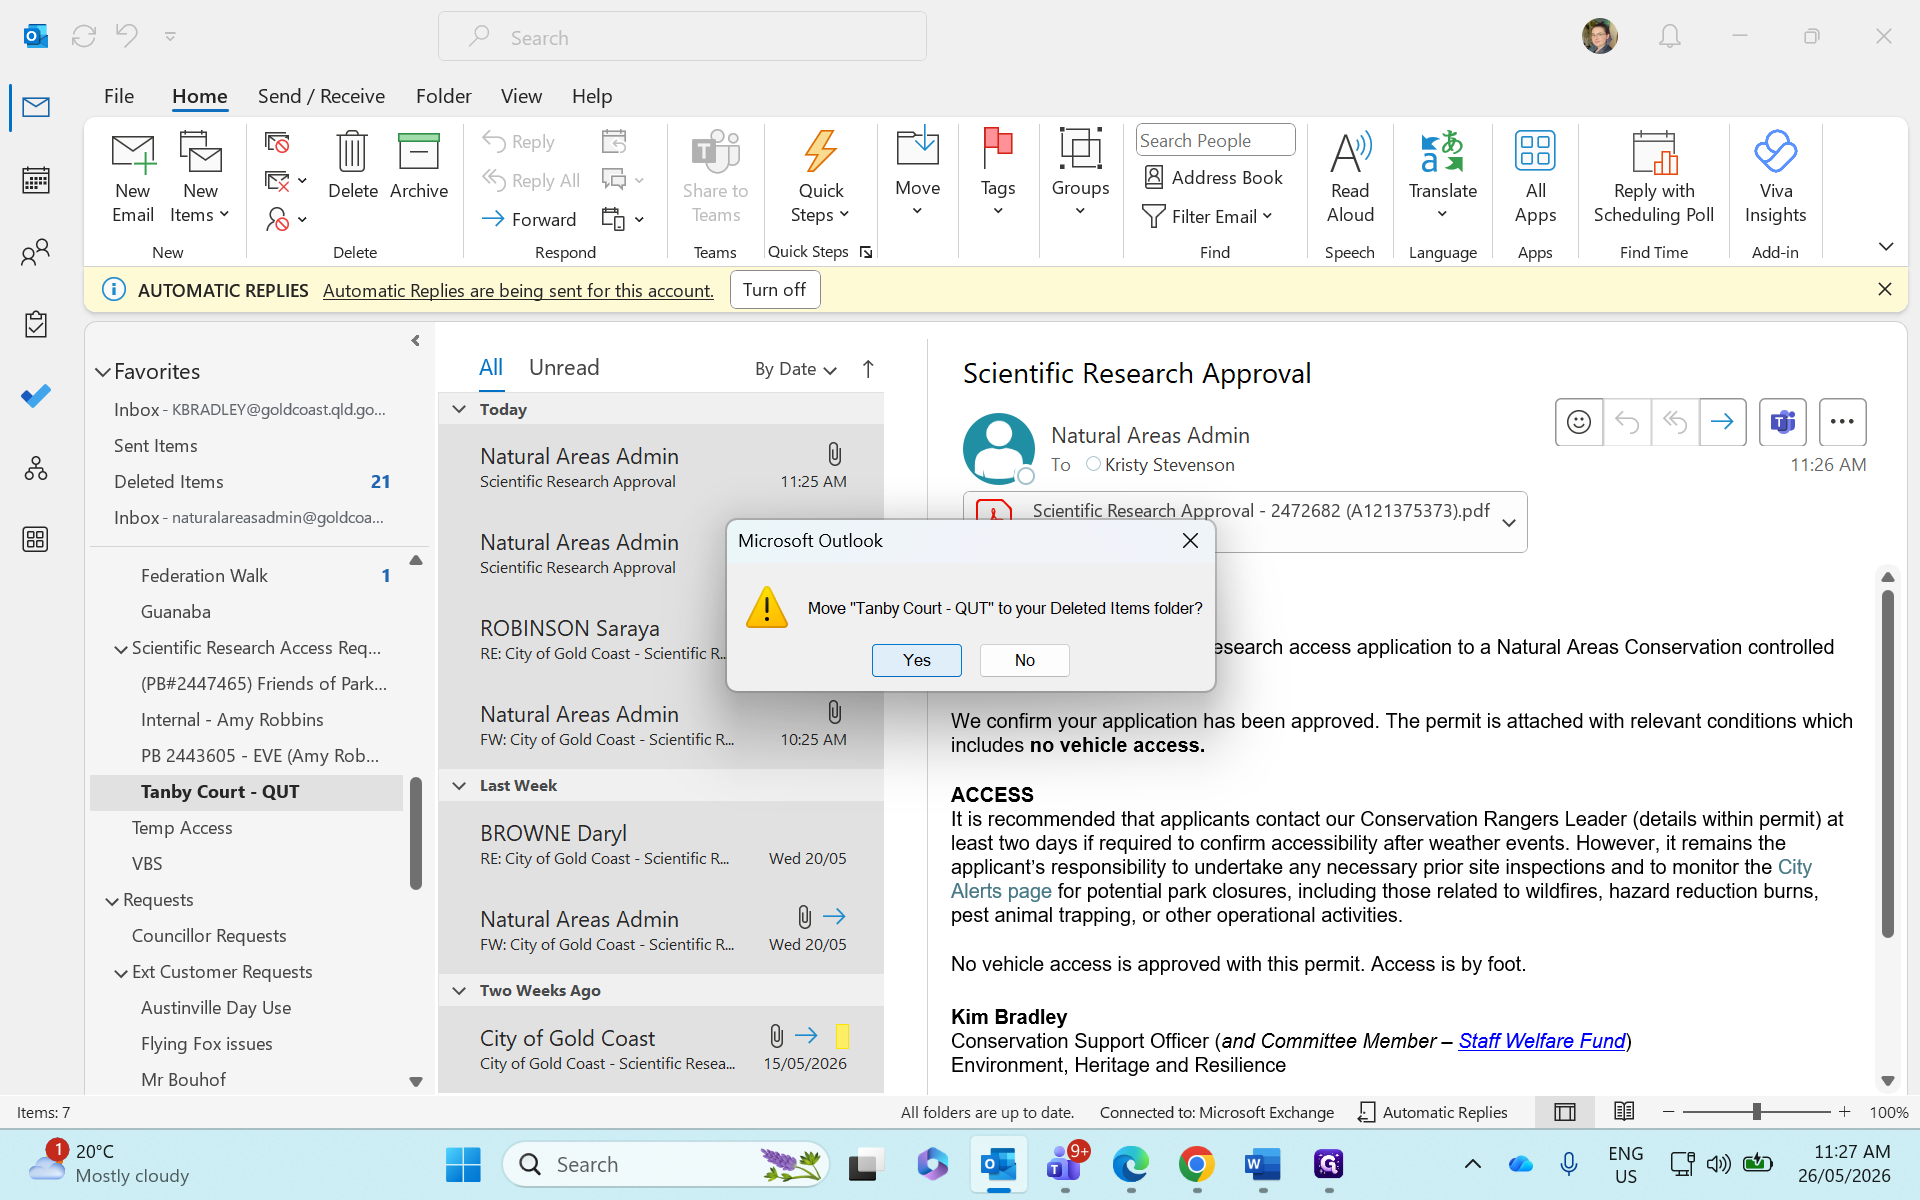
Link to objective doc no and delete it to tidy up the message.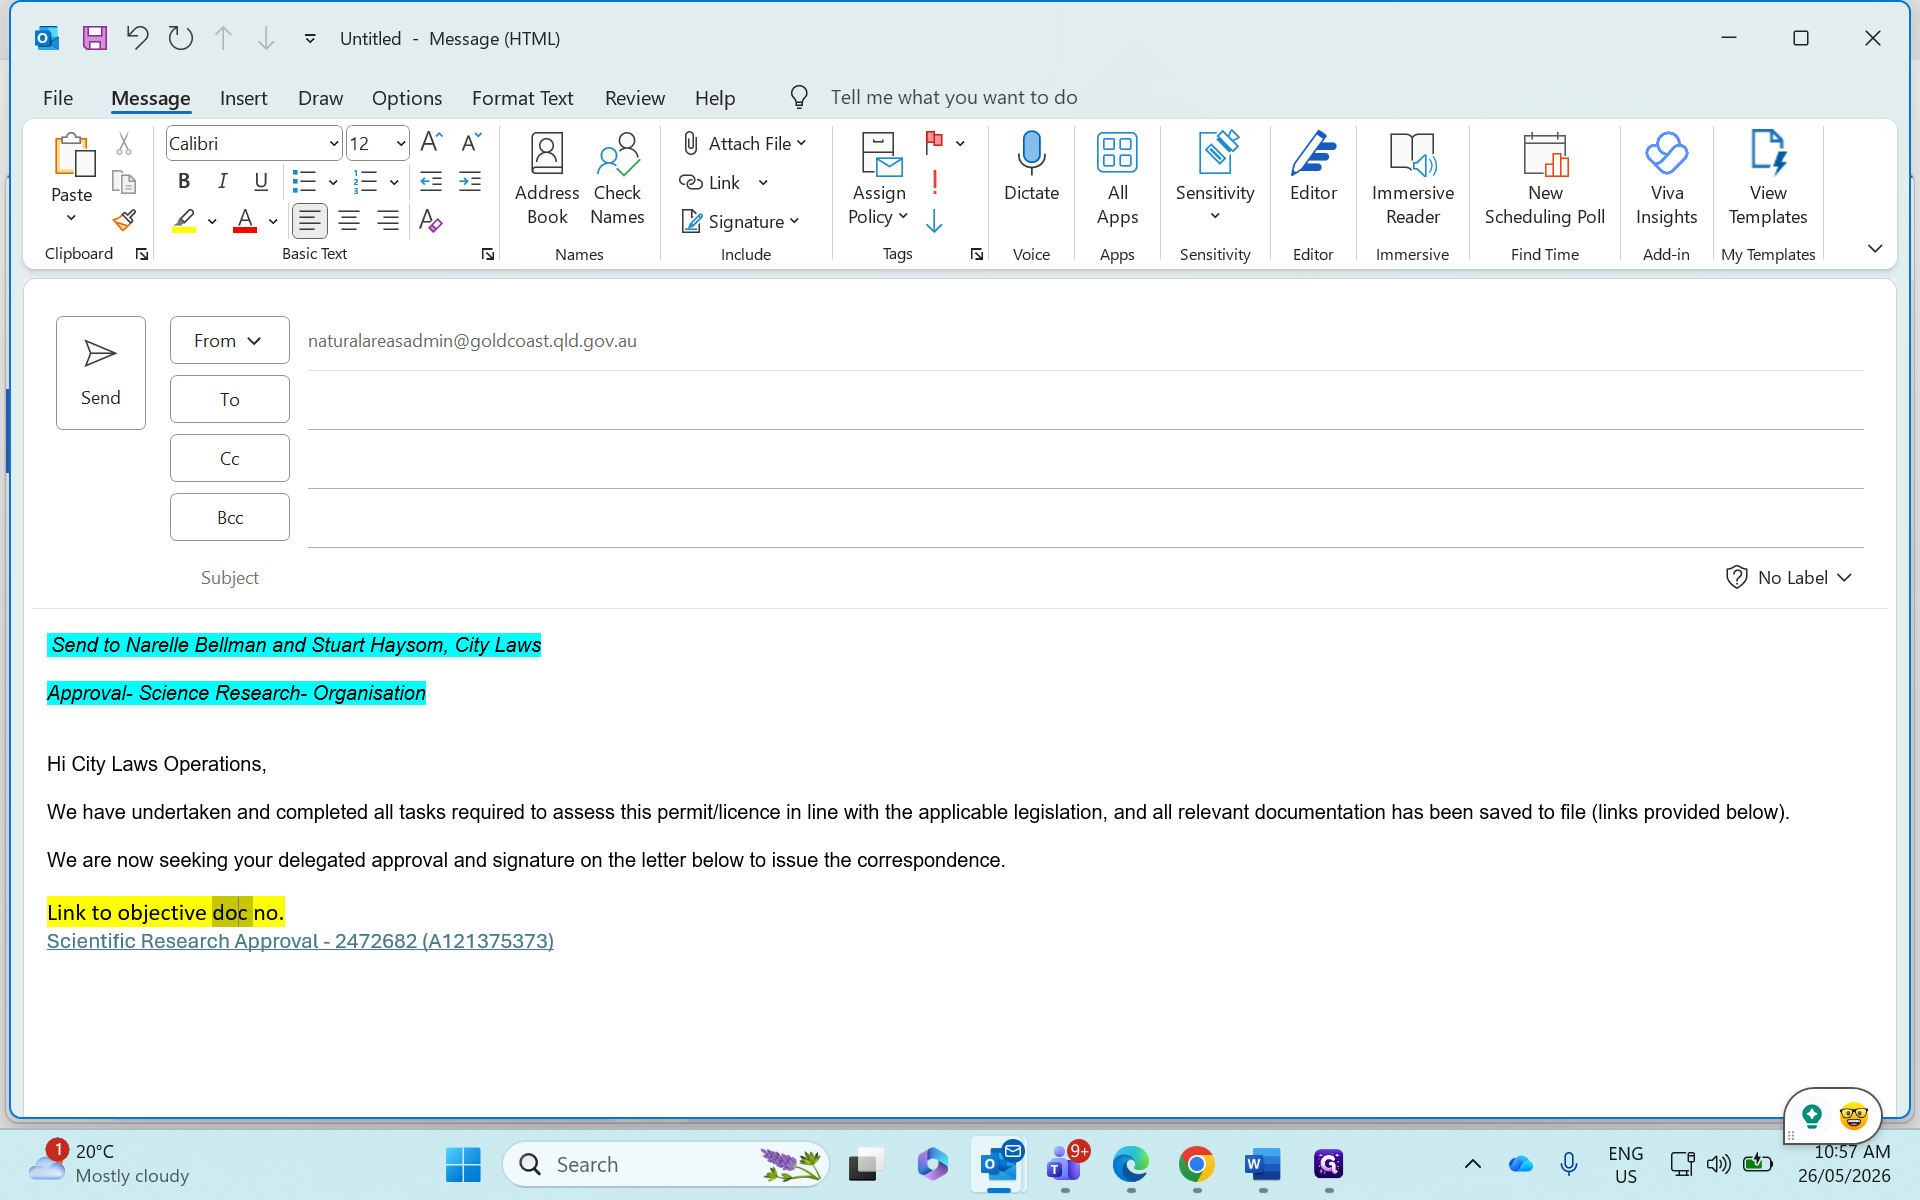
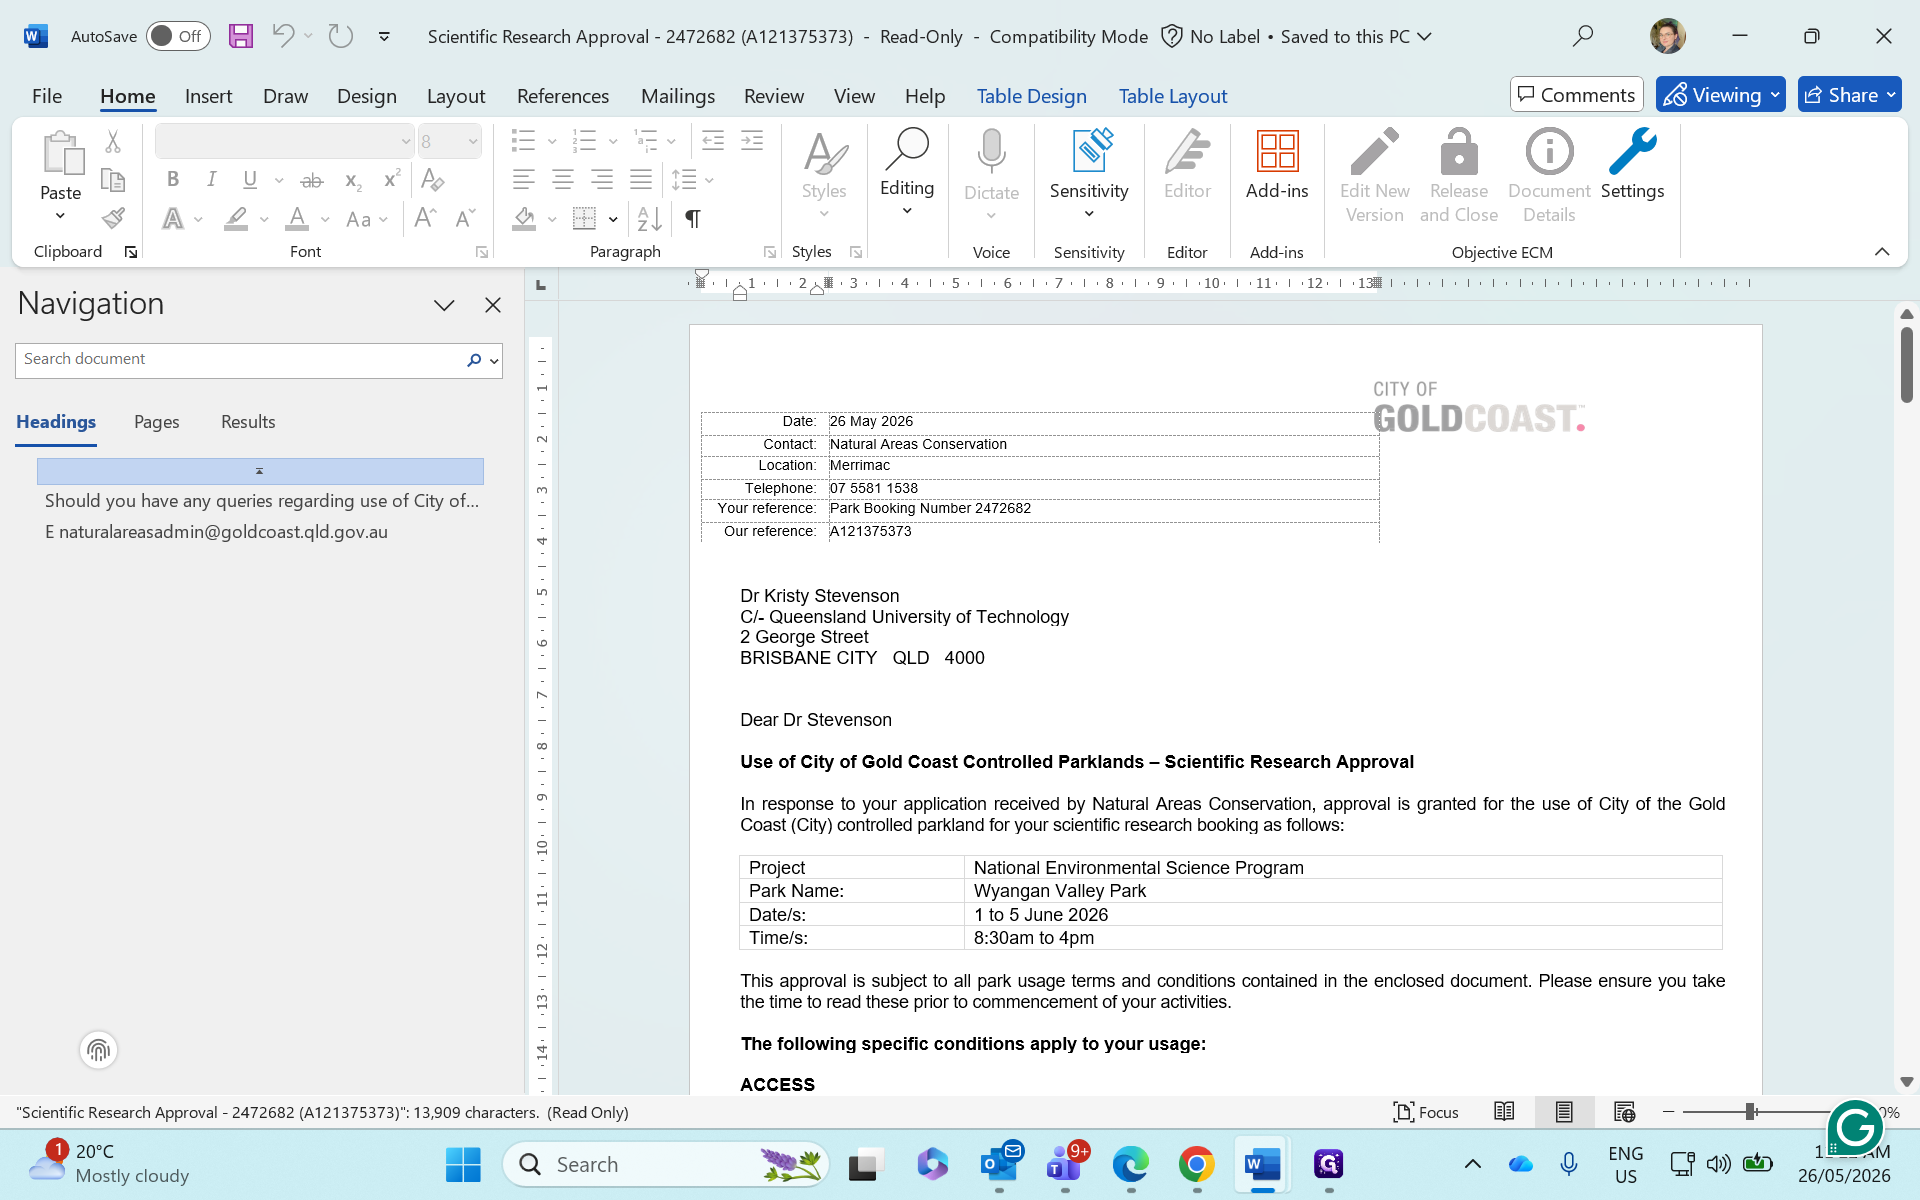
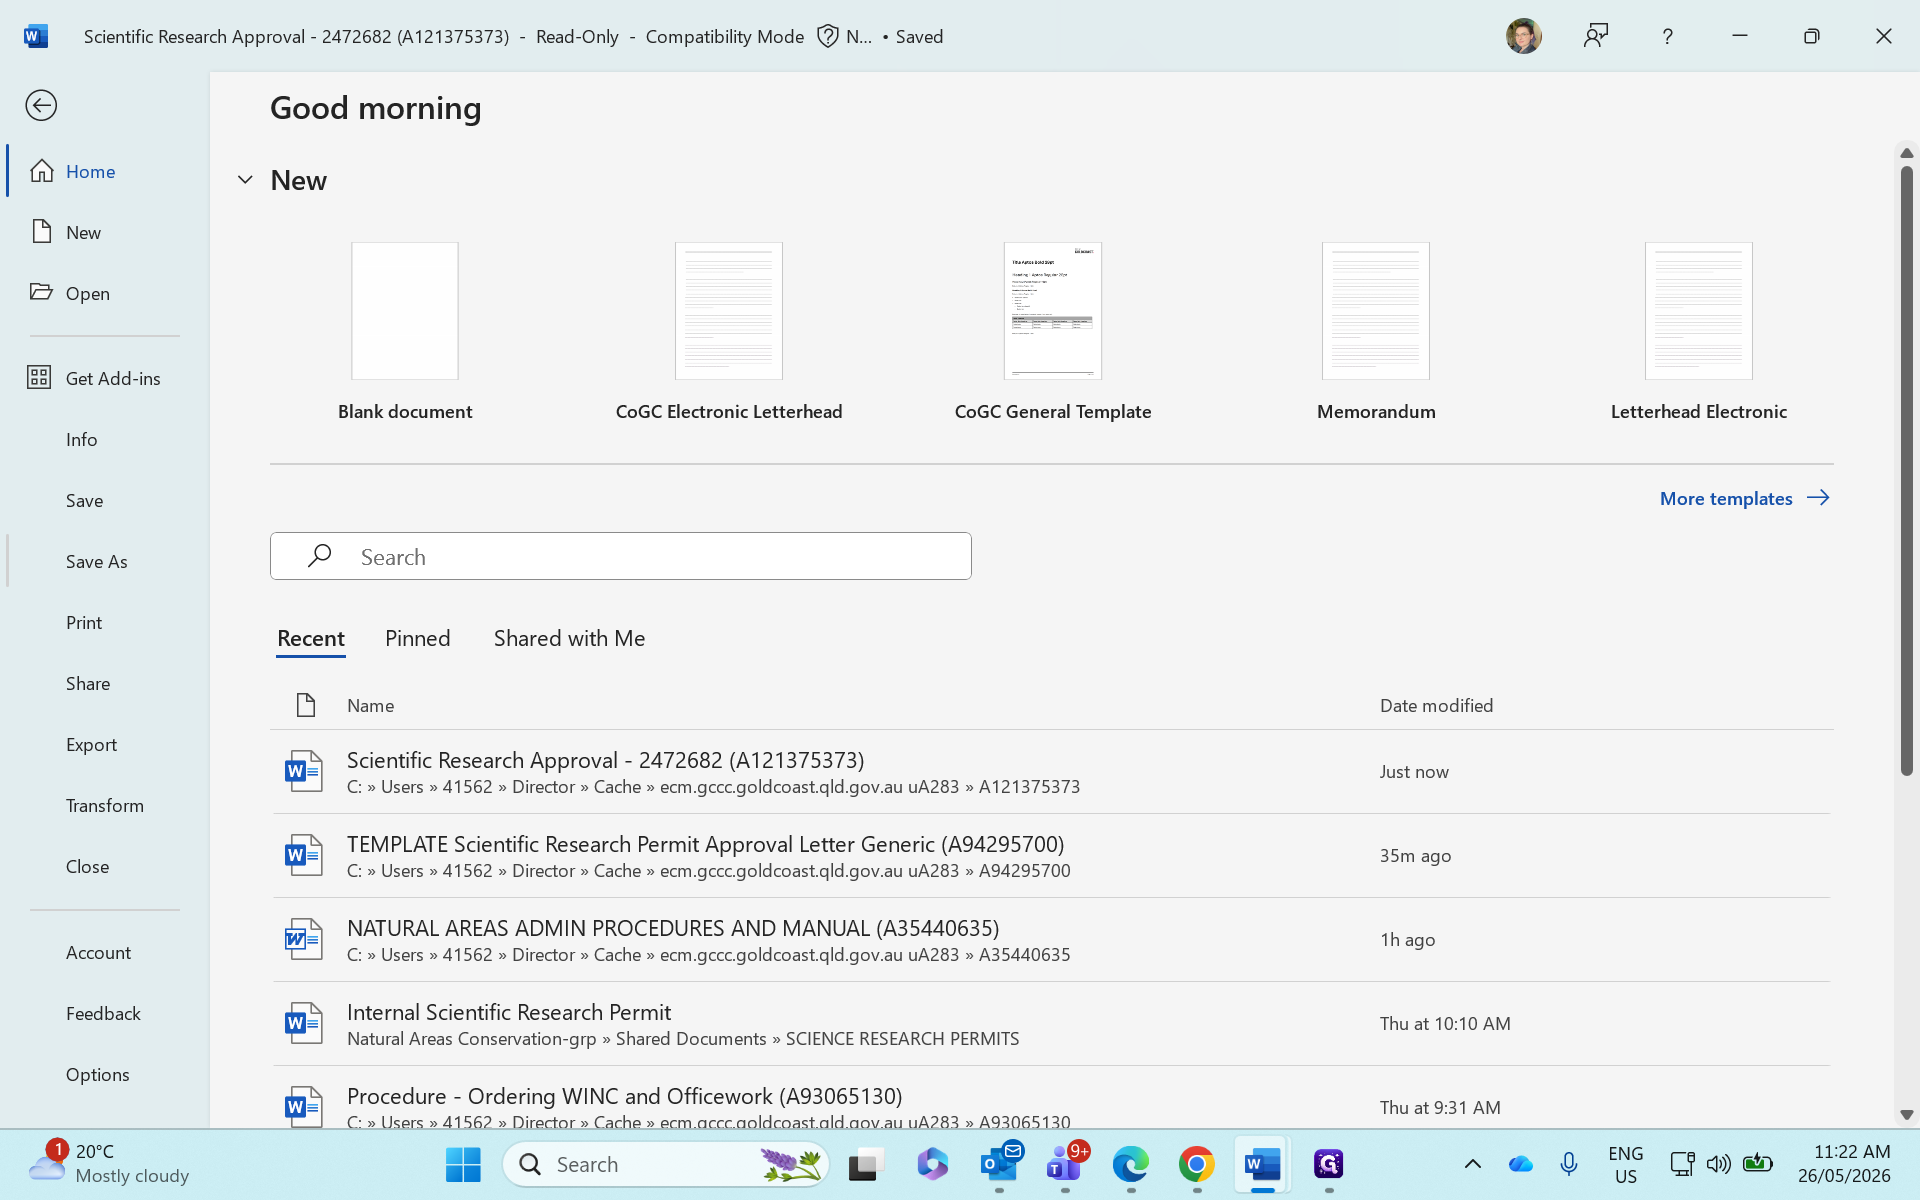
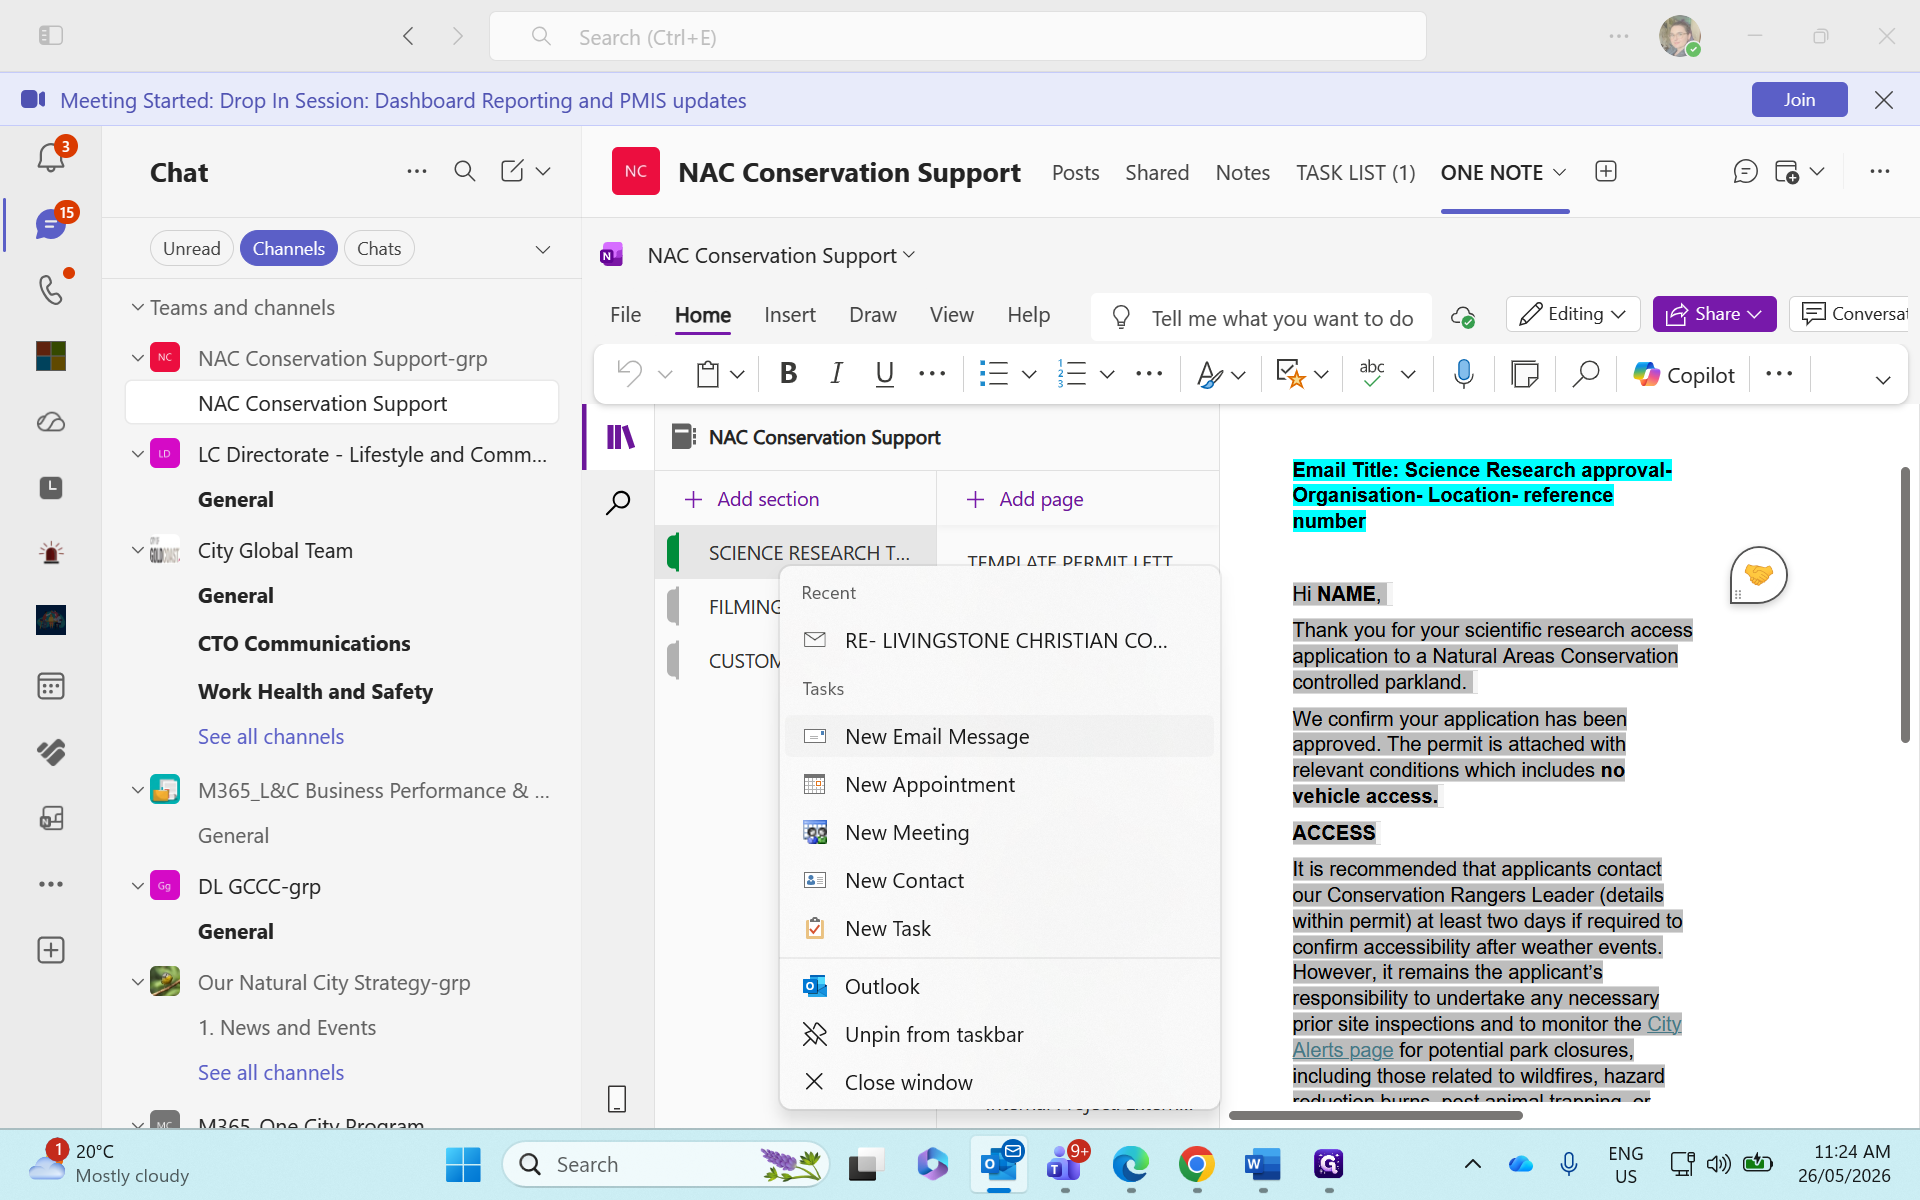
Convert the Signed Letter to PDF
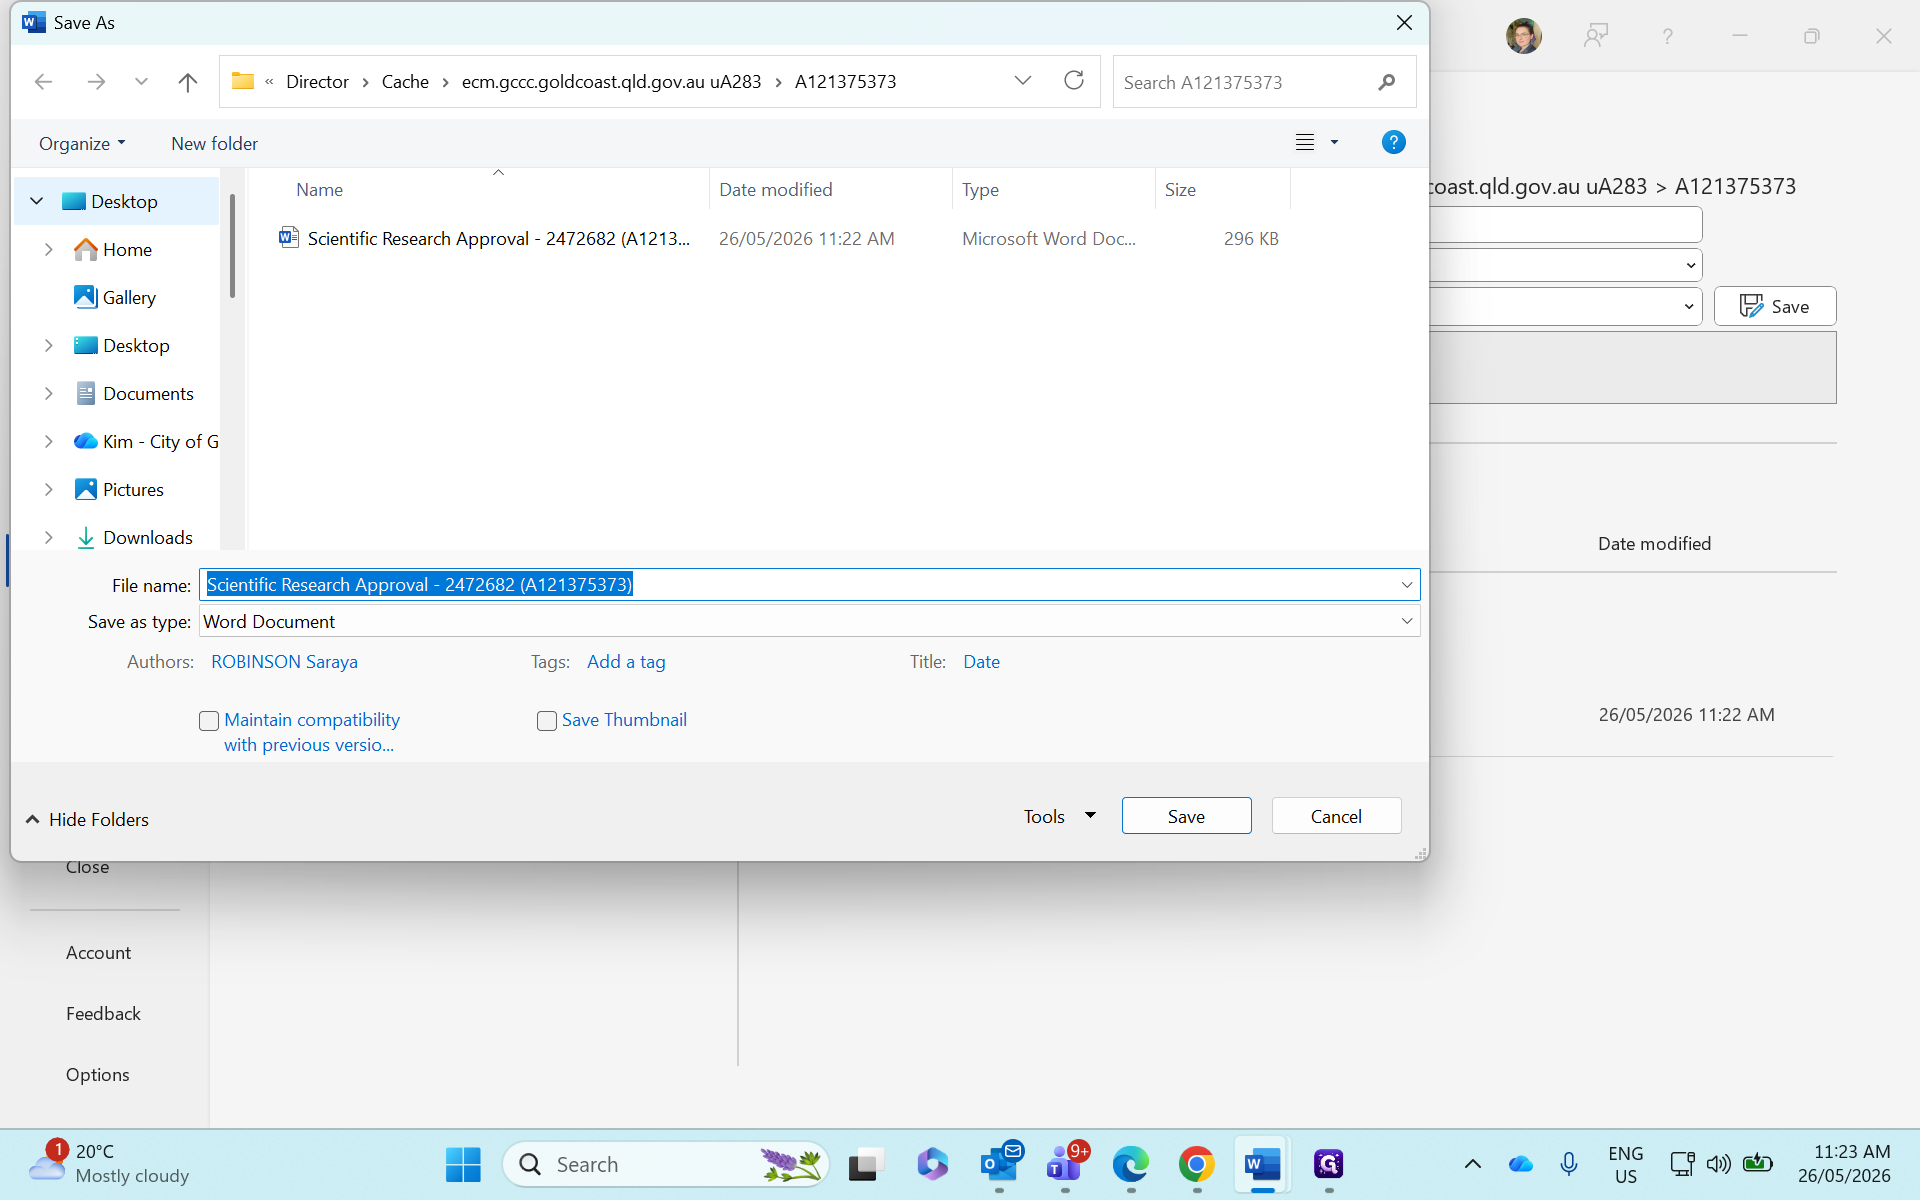
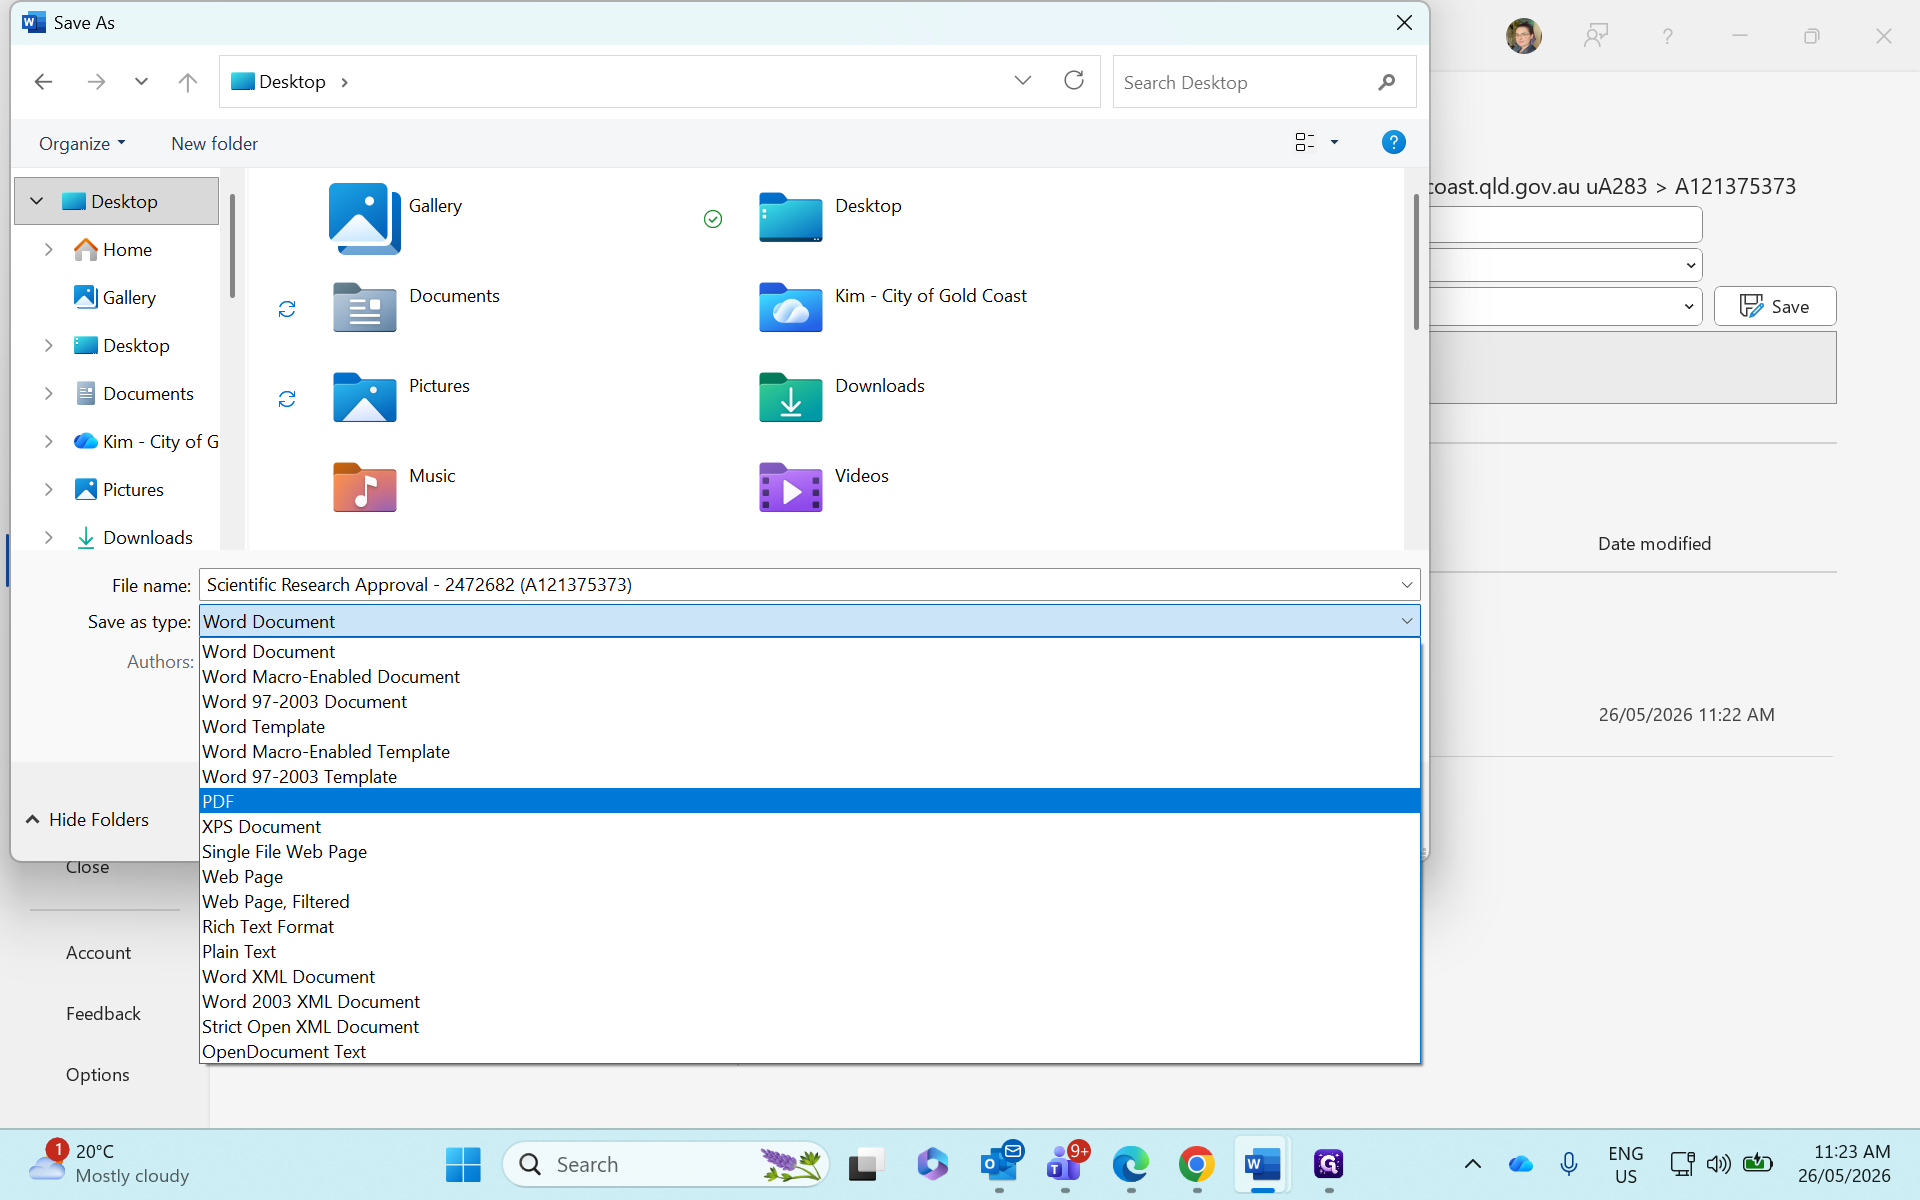
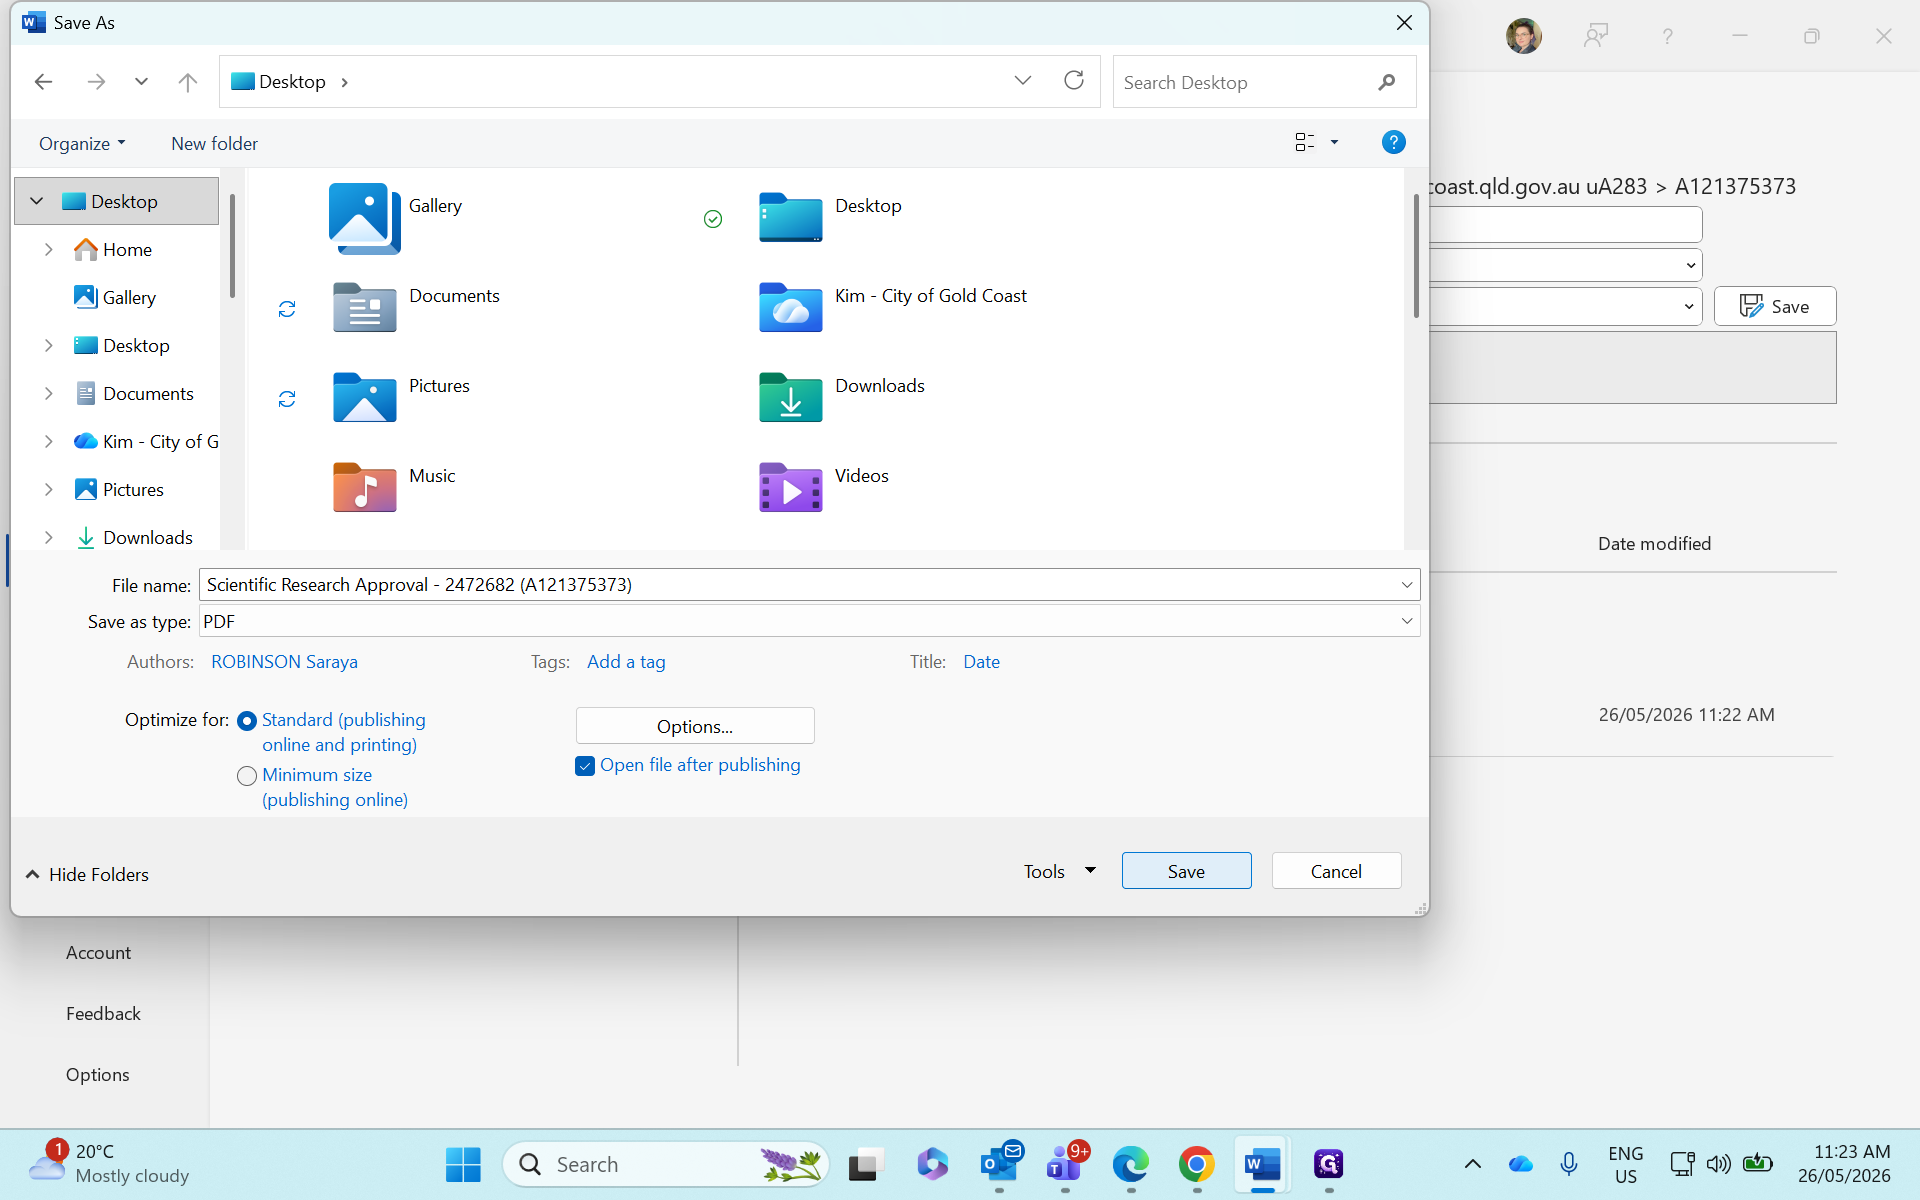
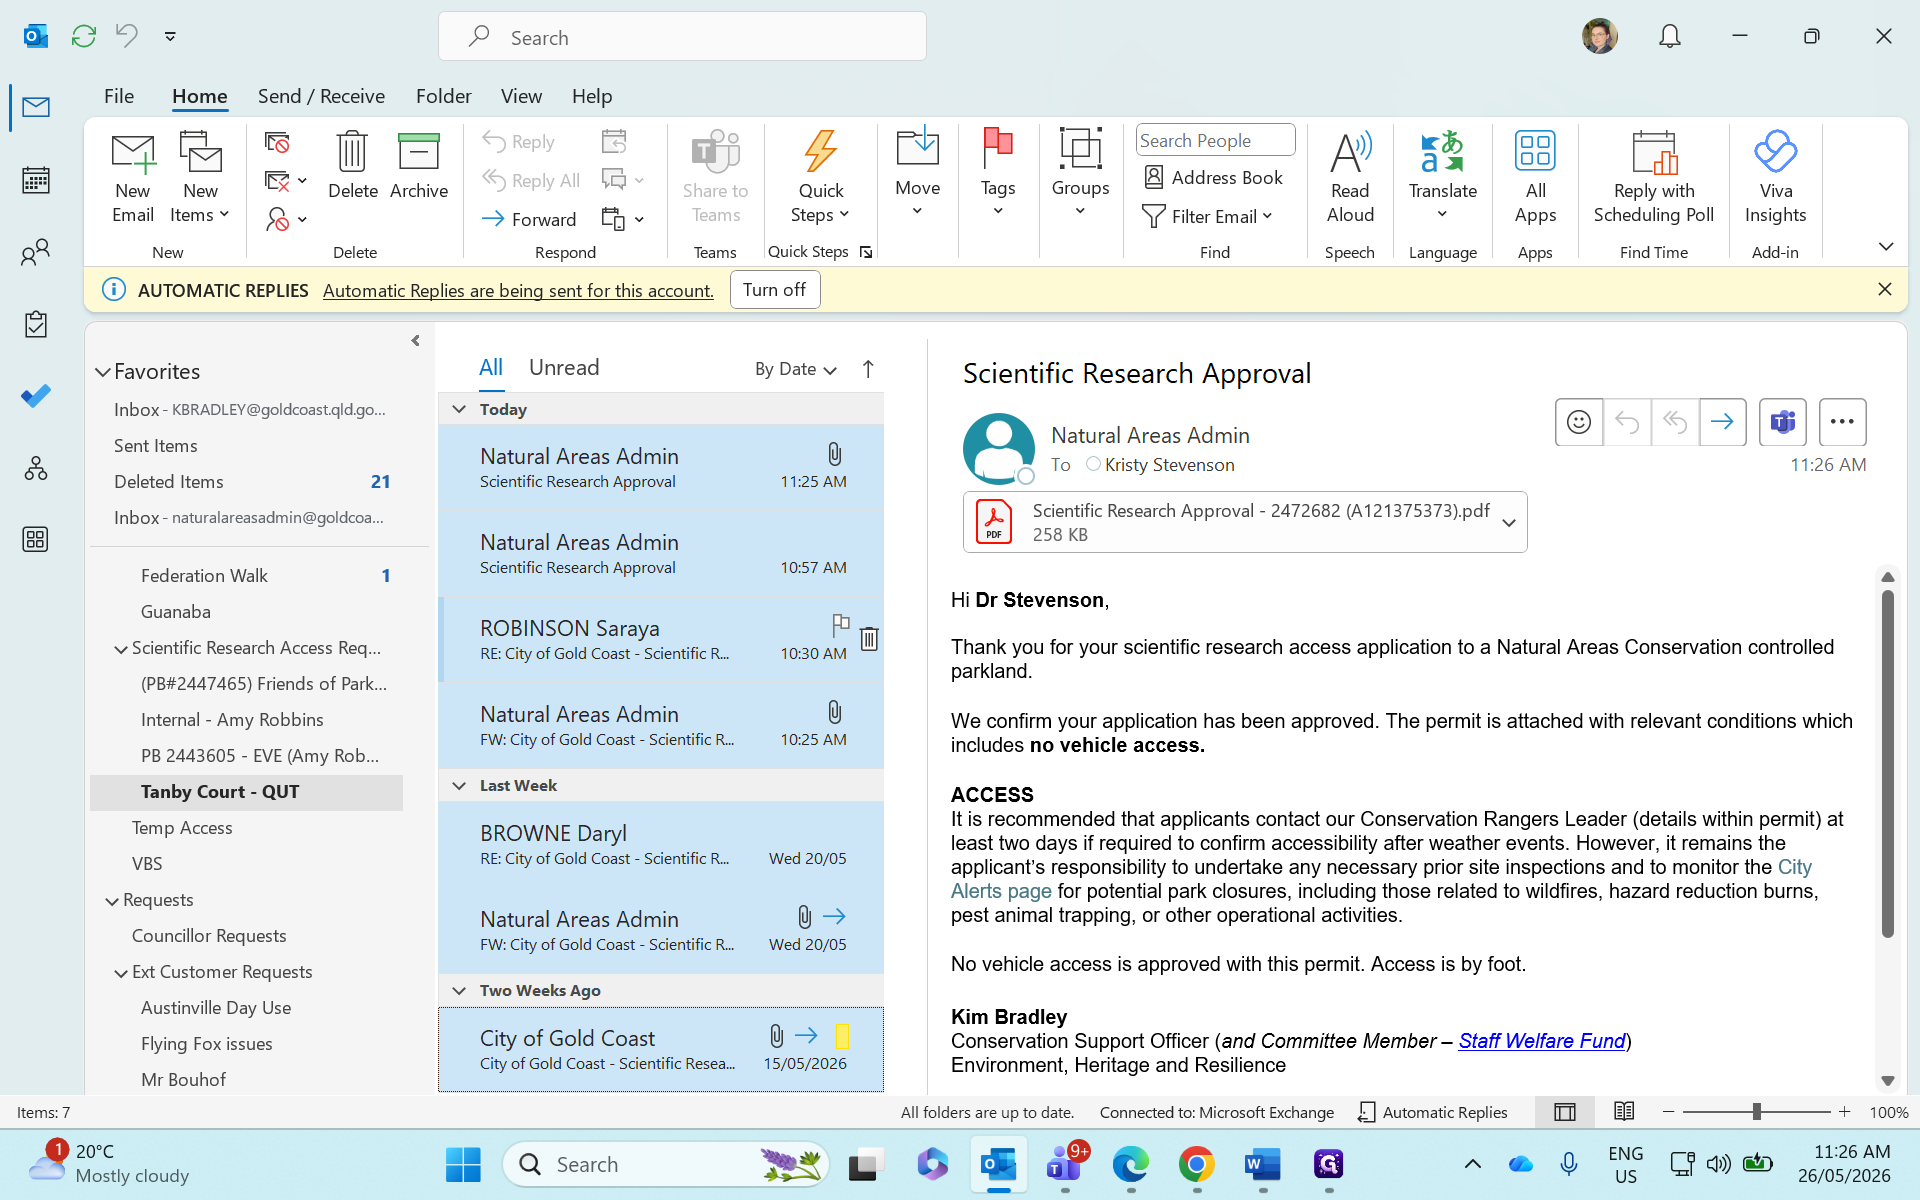
Once the signed approval letter is returned by City Laws, convert it to a PDF before sending it to the applicant.
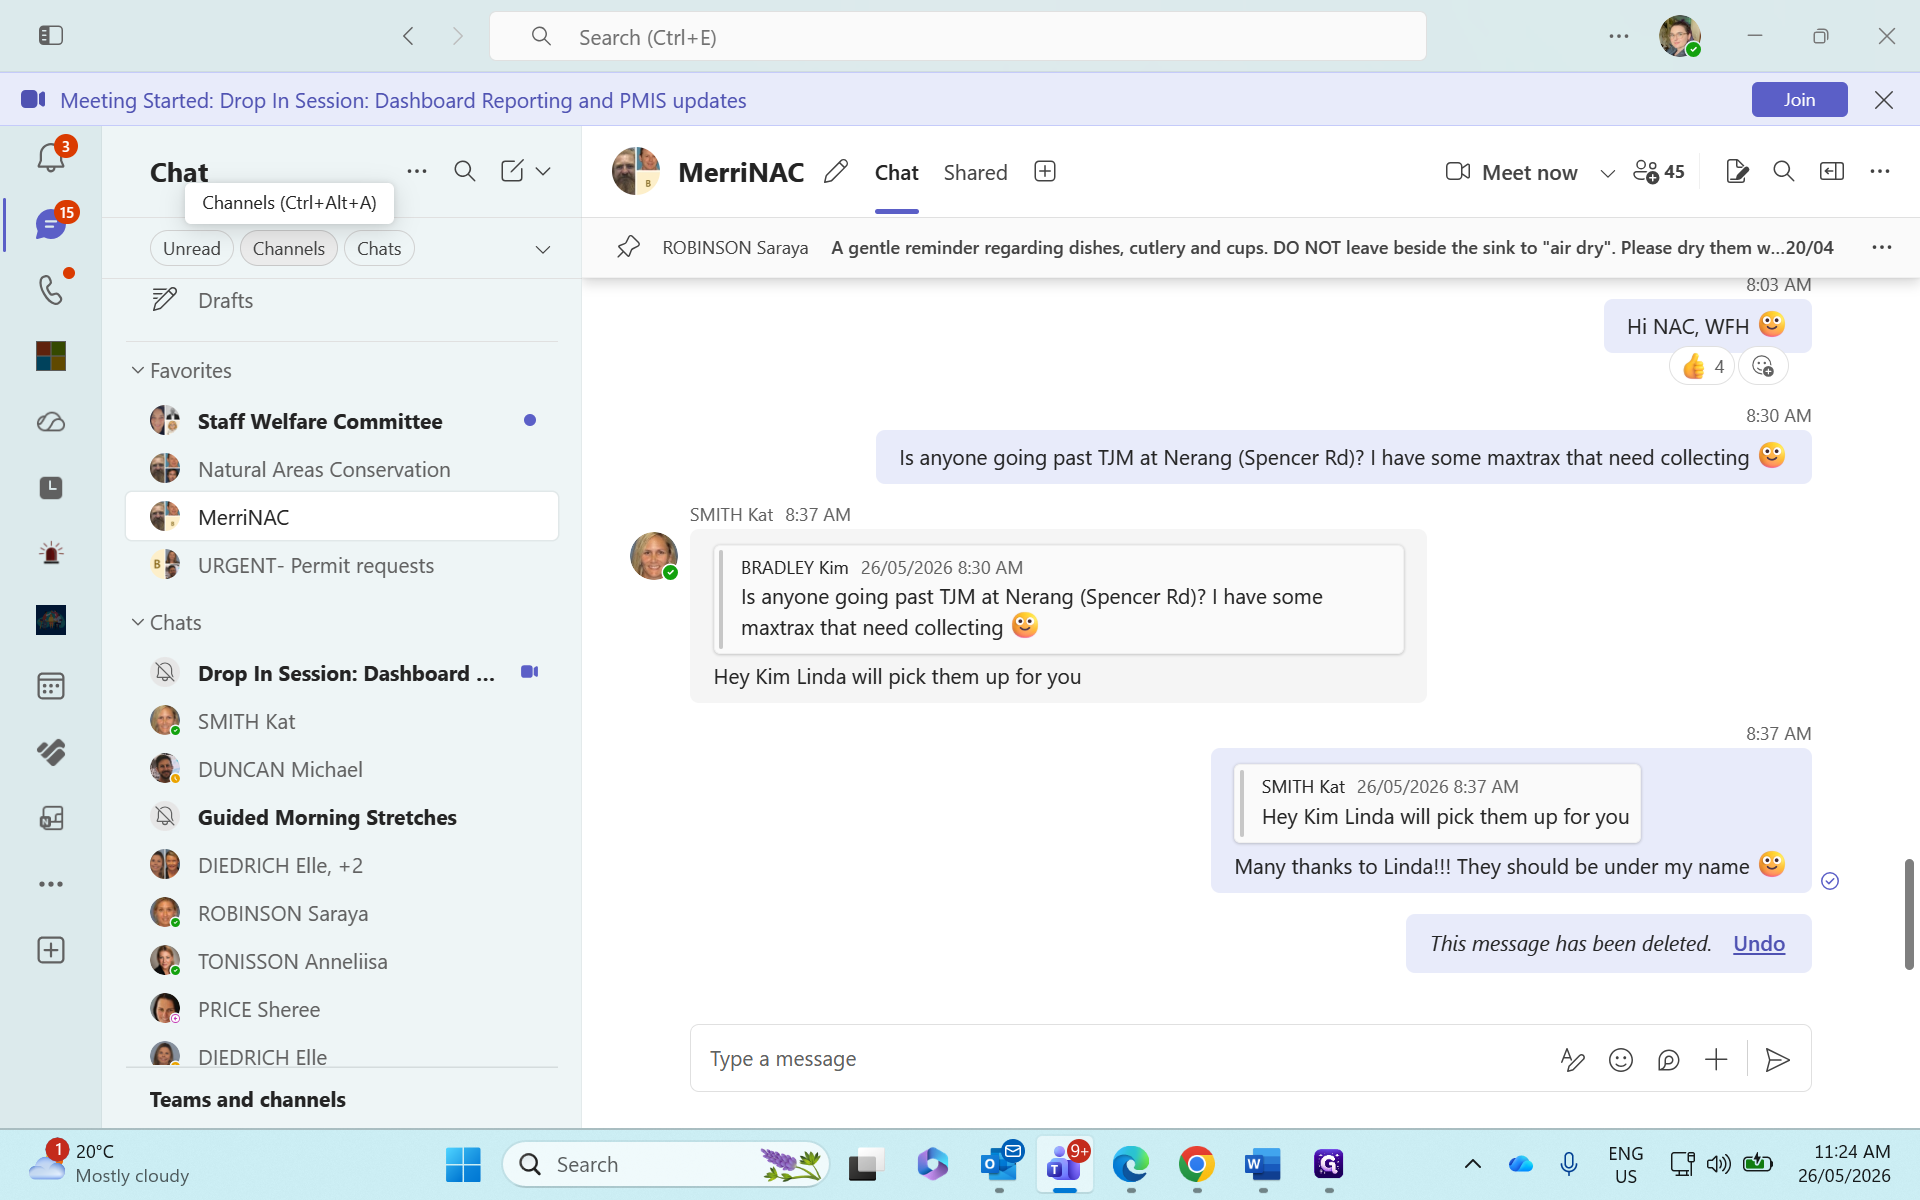
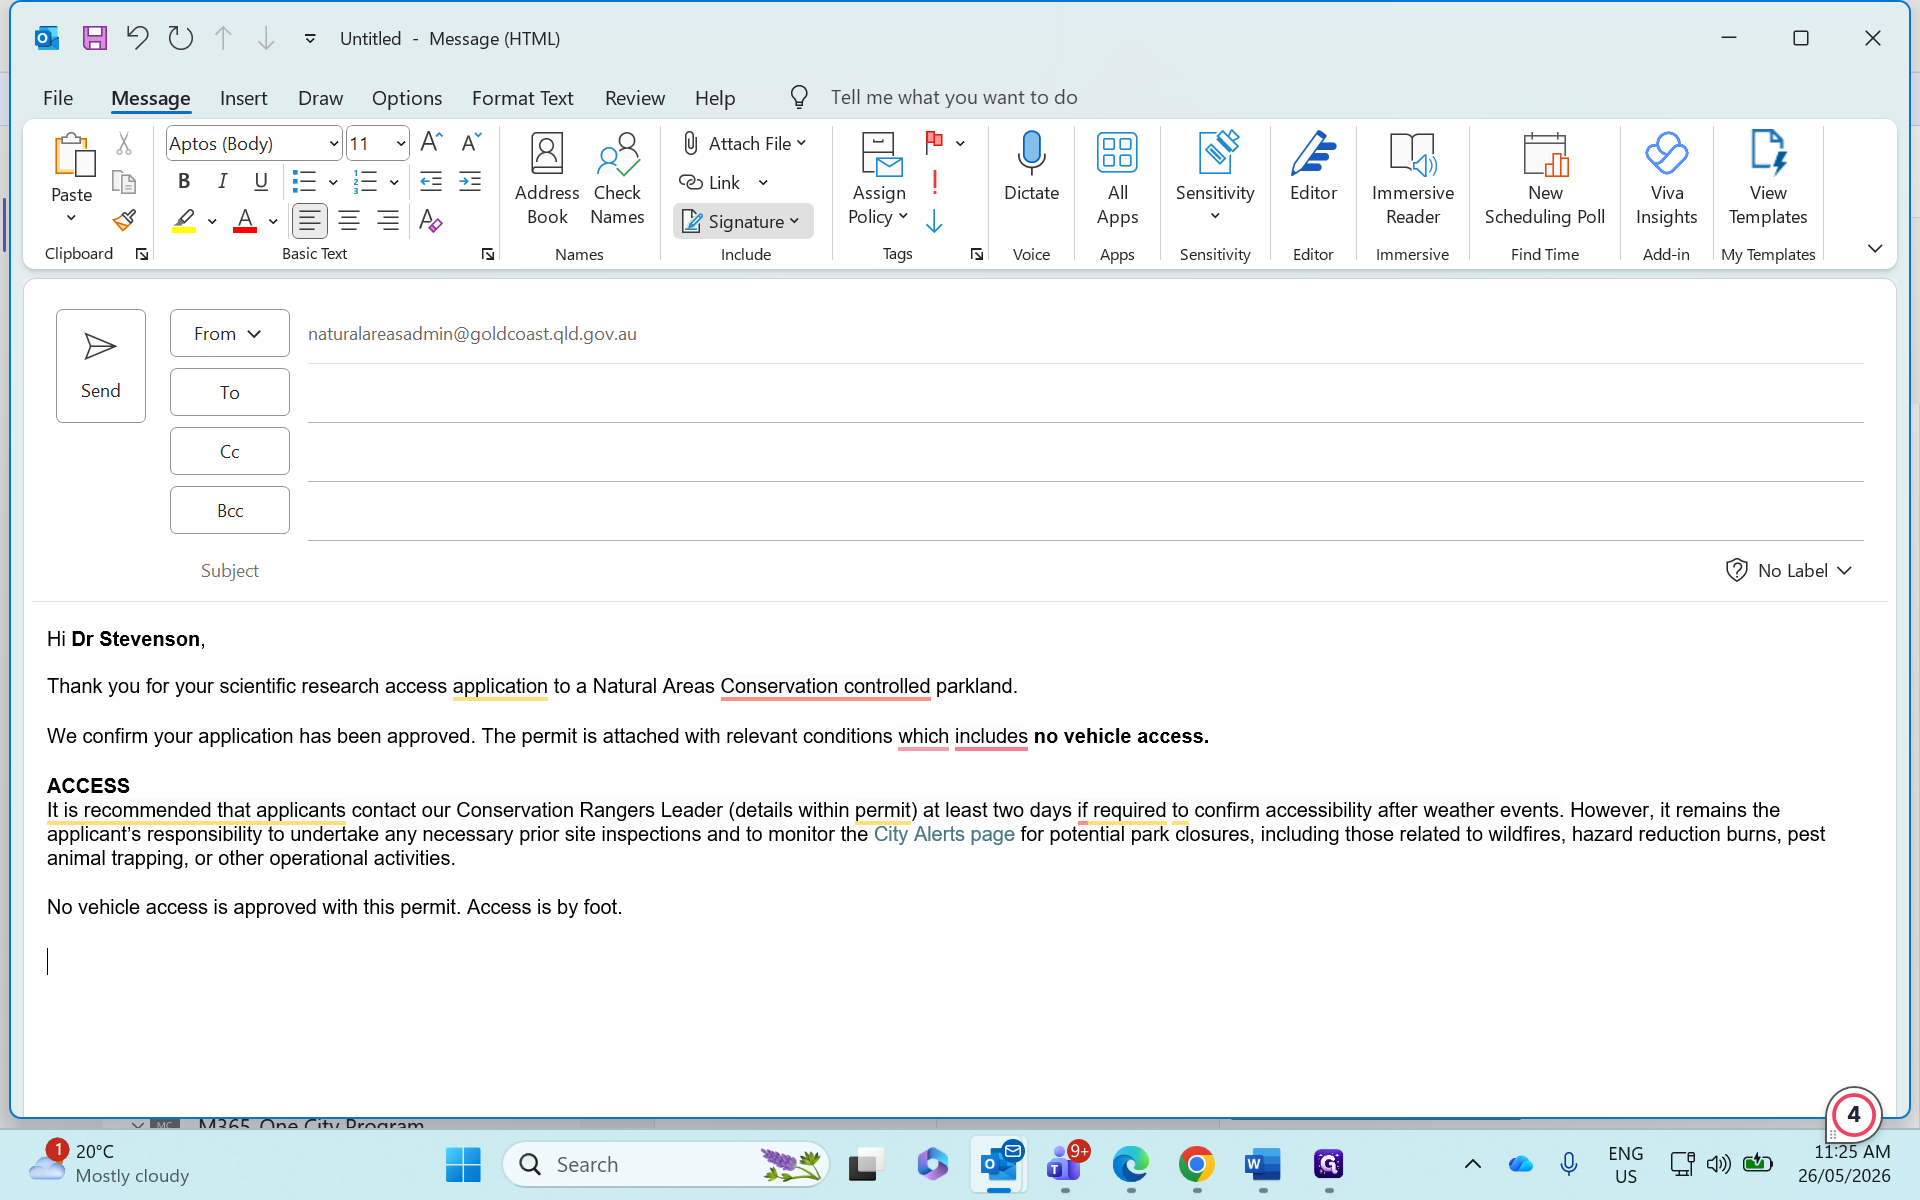
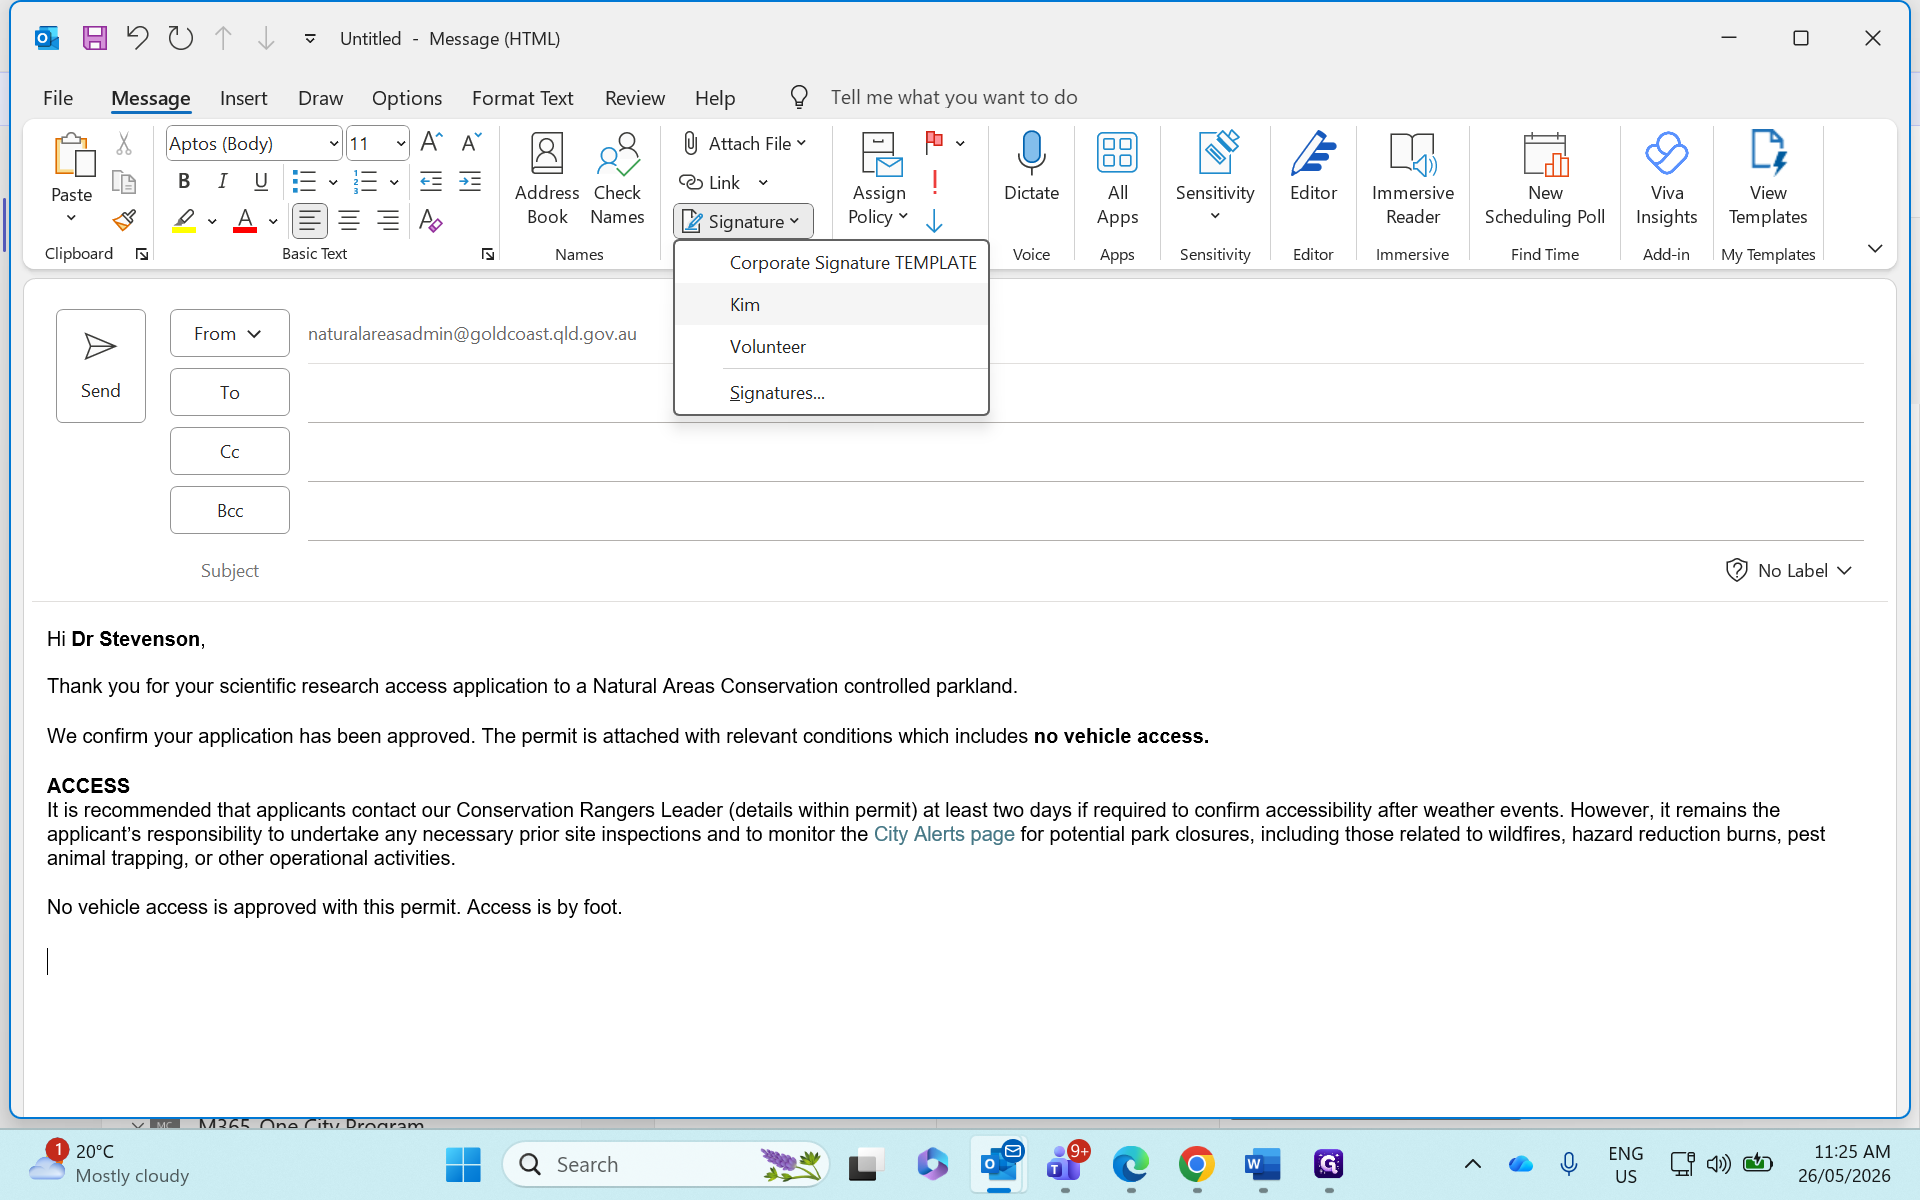
Send the Approval Letter to the Applicant


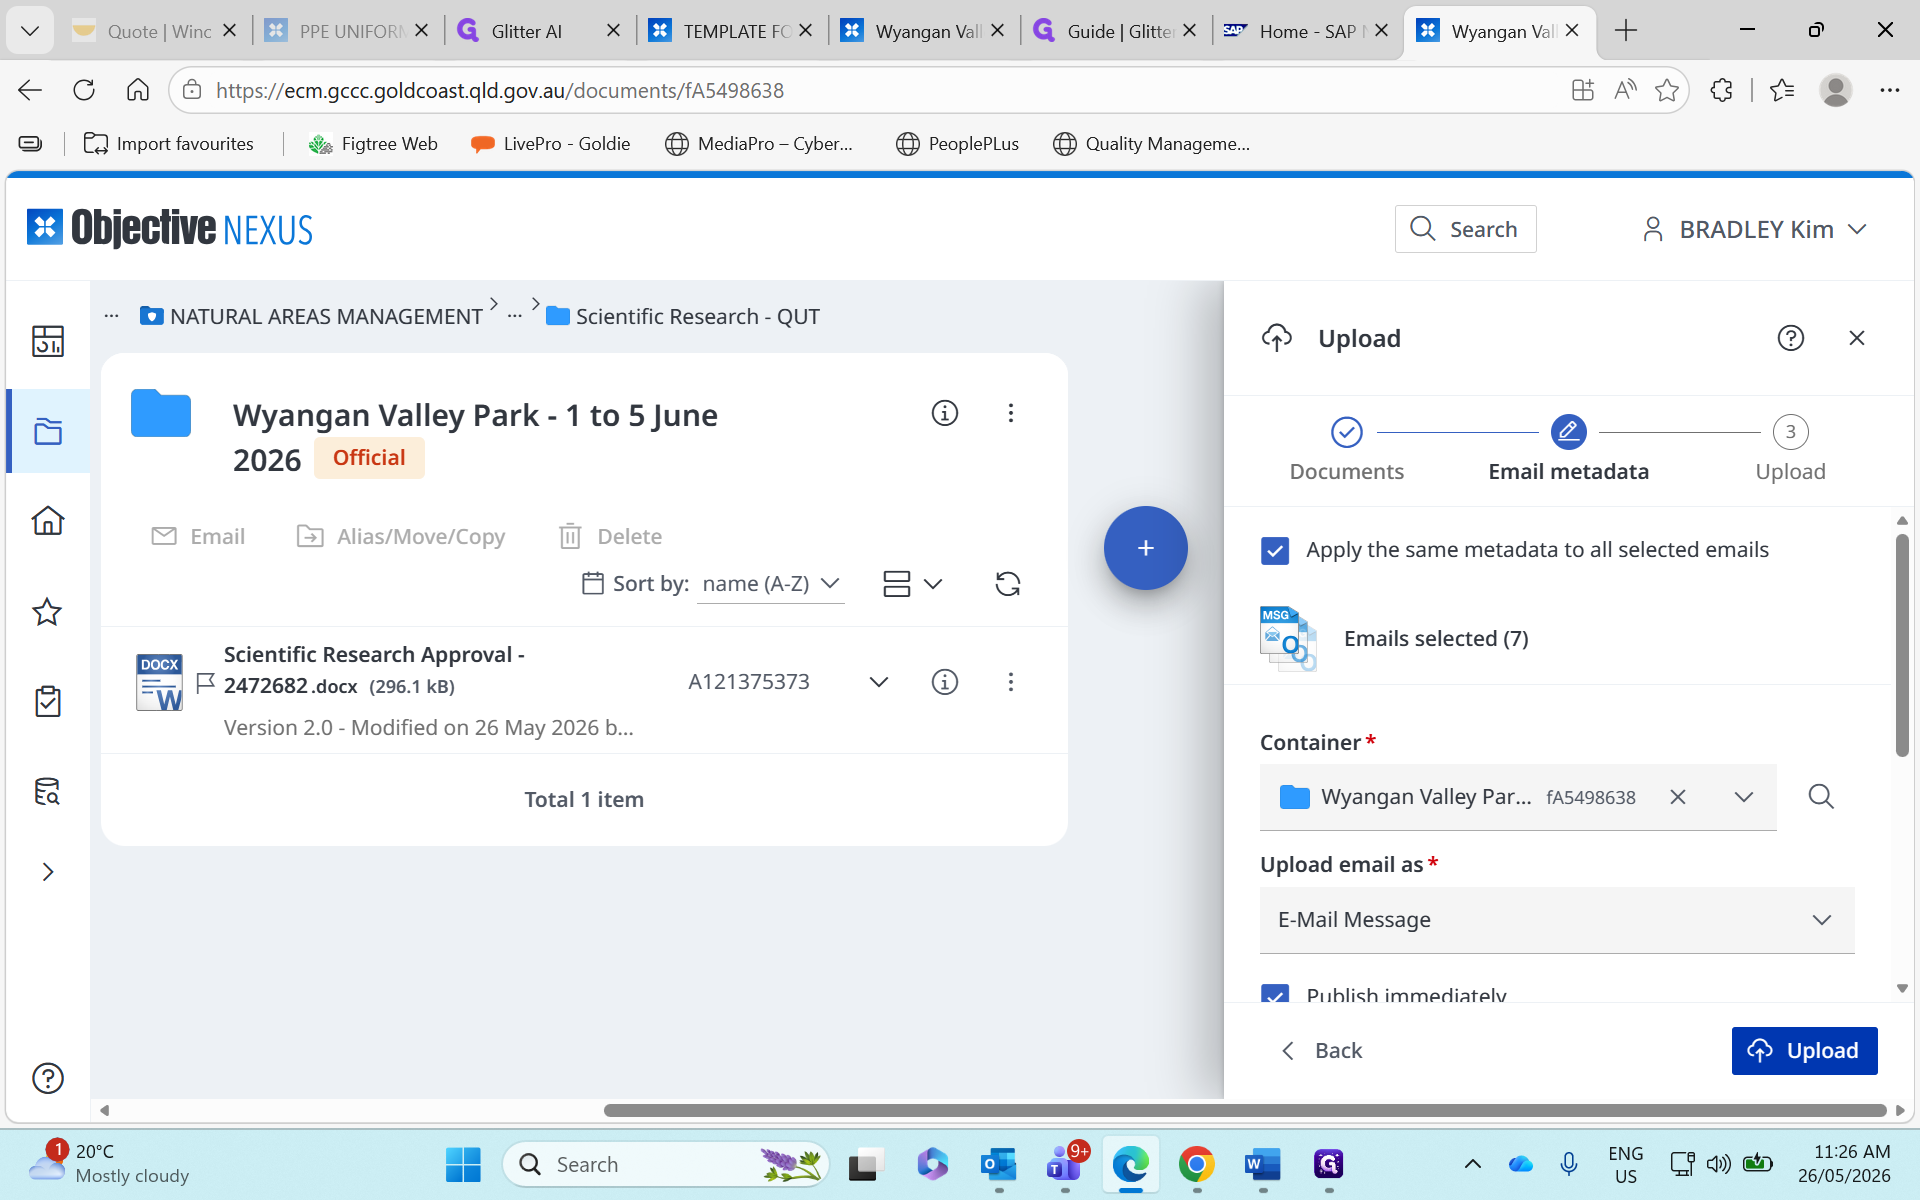
Save Records to Objective
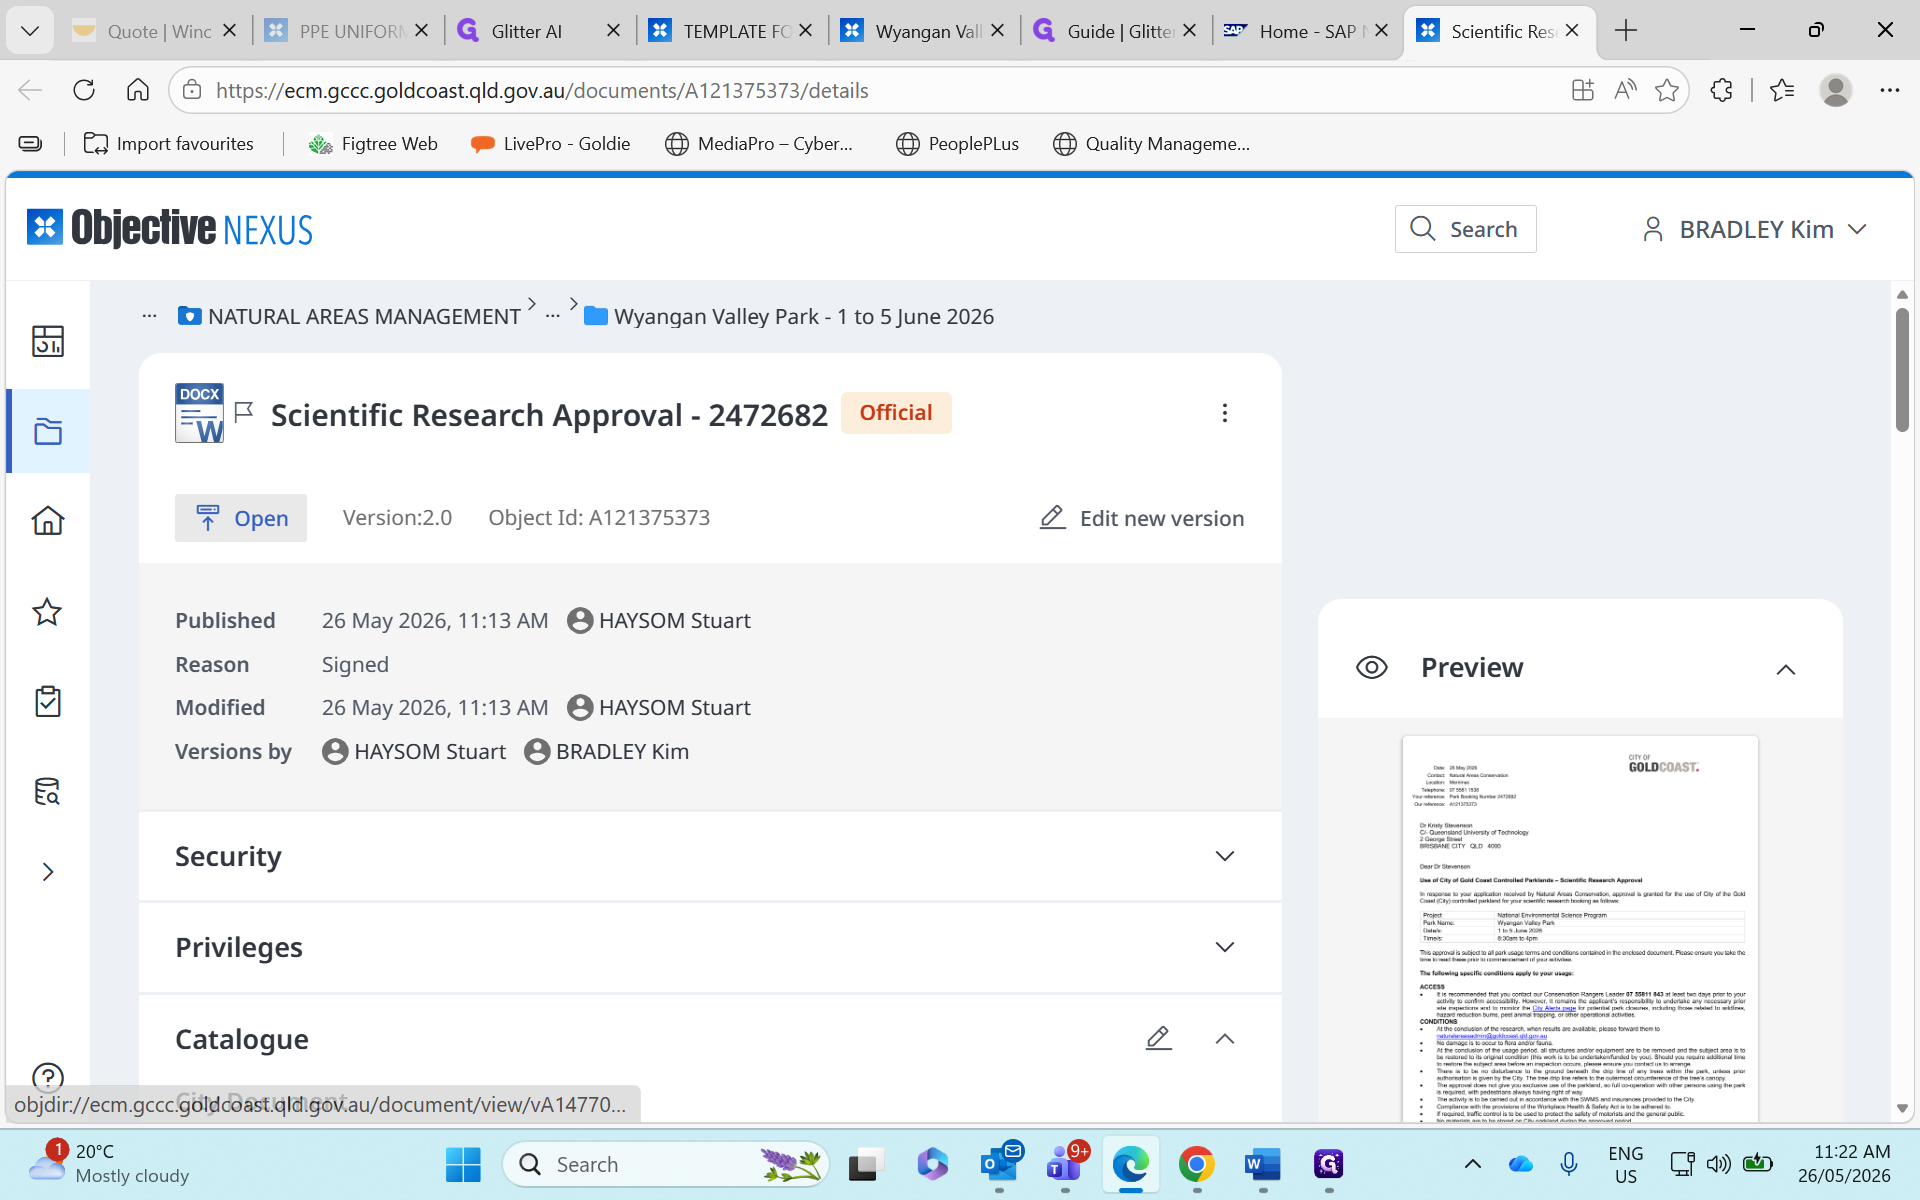
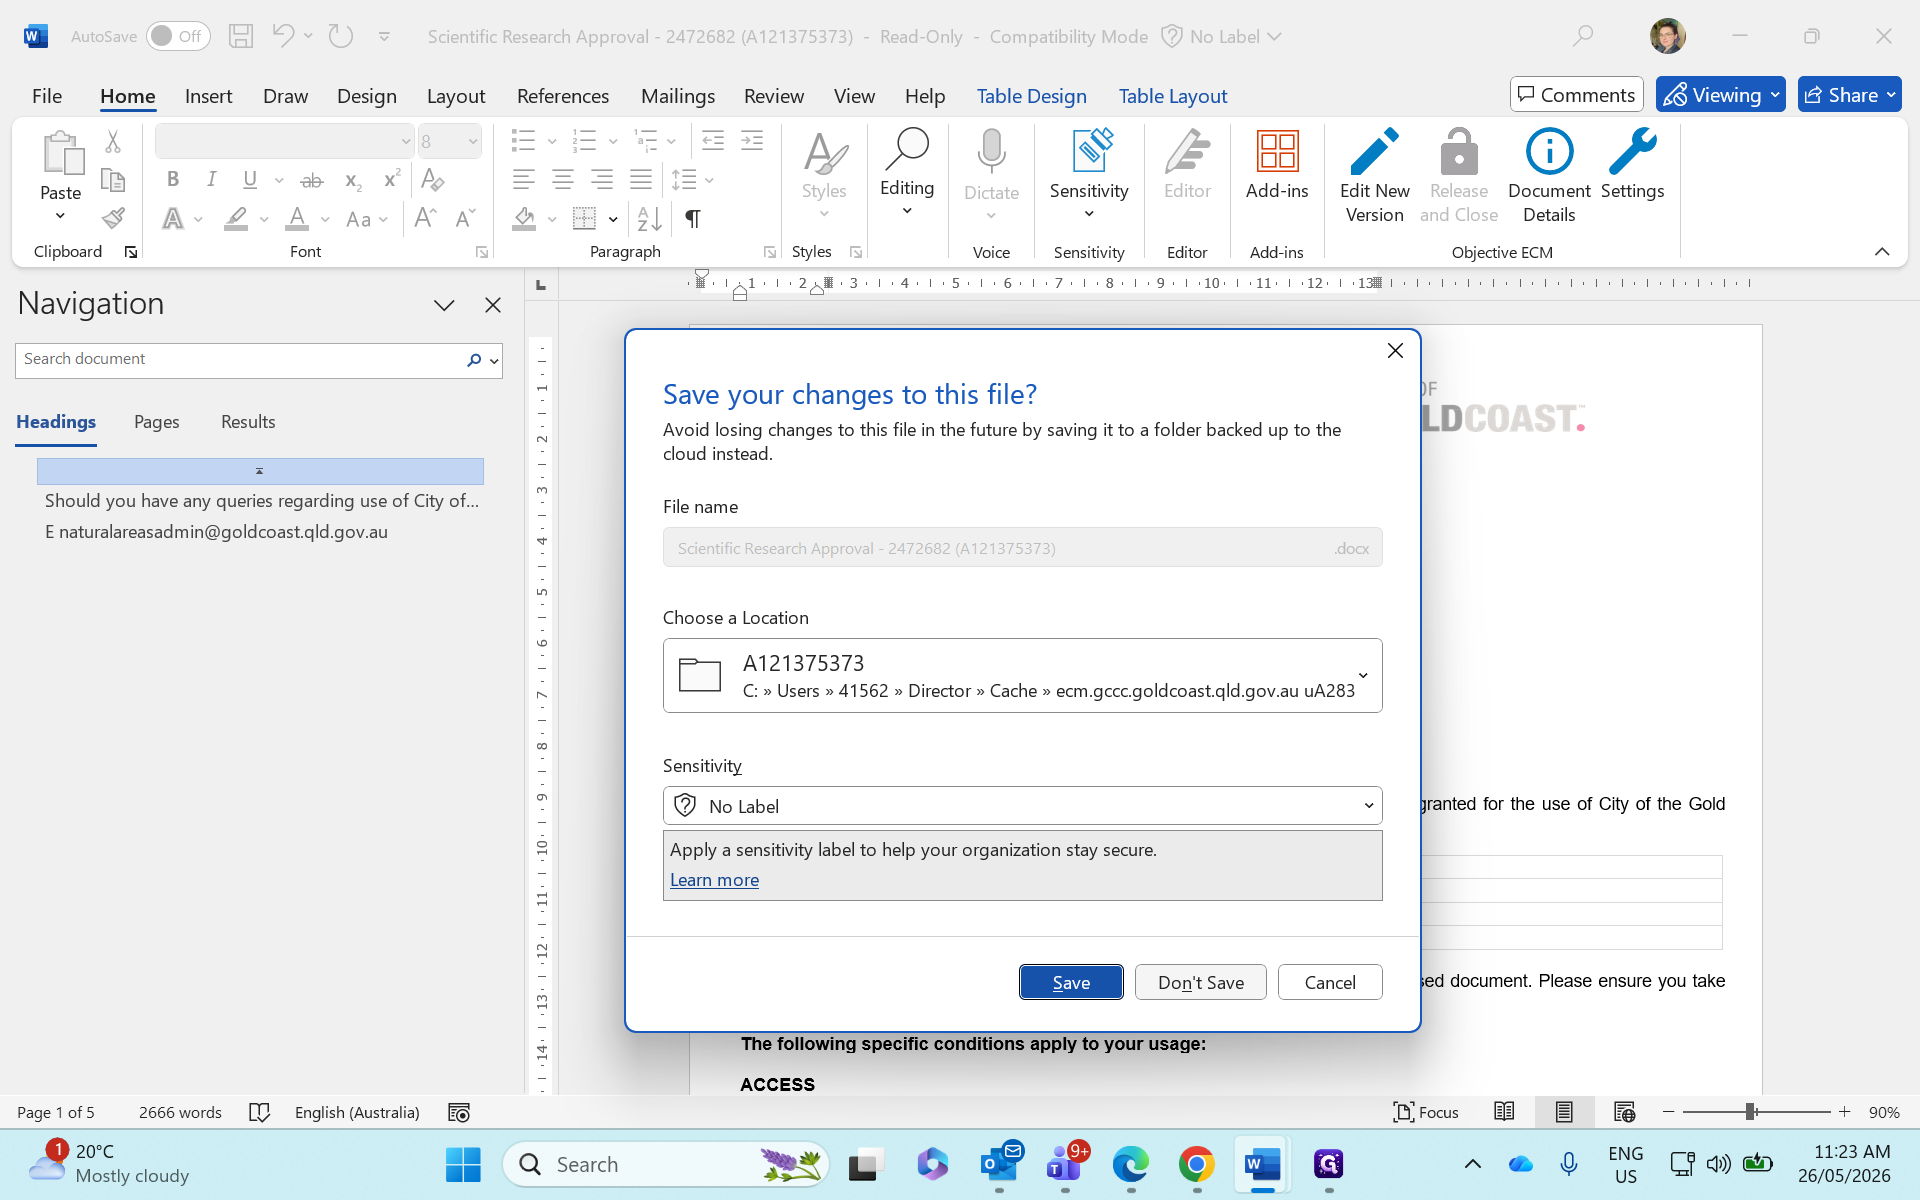
After completing the process, archive all related communications to maintain compliance.


Glossary
Term | Definition |
|---|---|
Objective | The enterprise document management system used to store and link official records securely. |
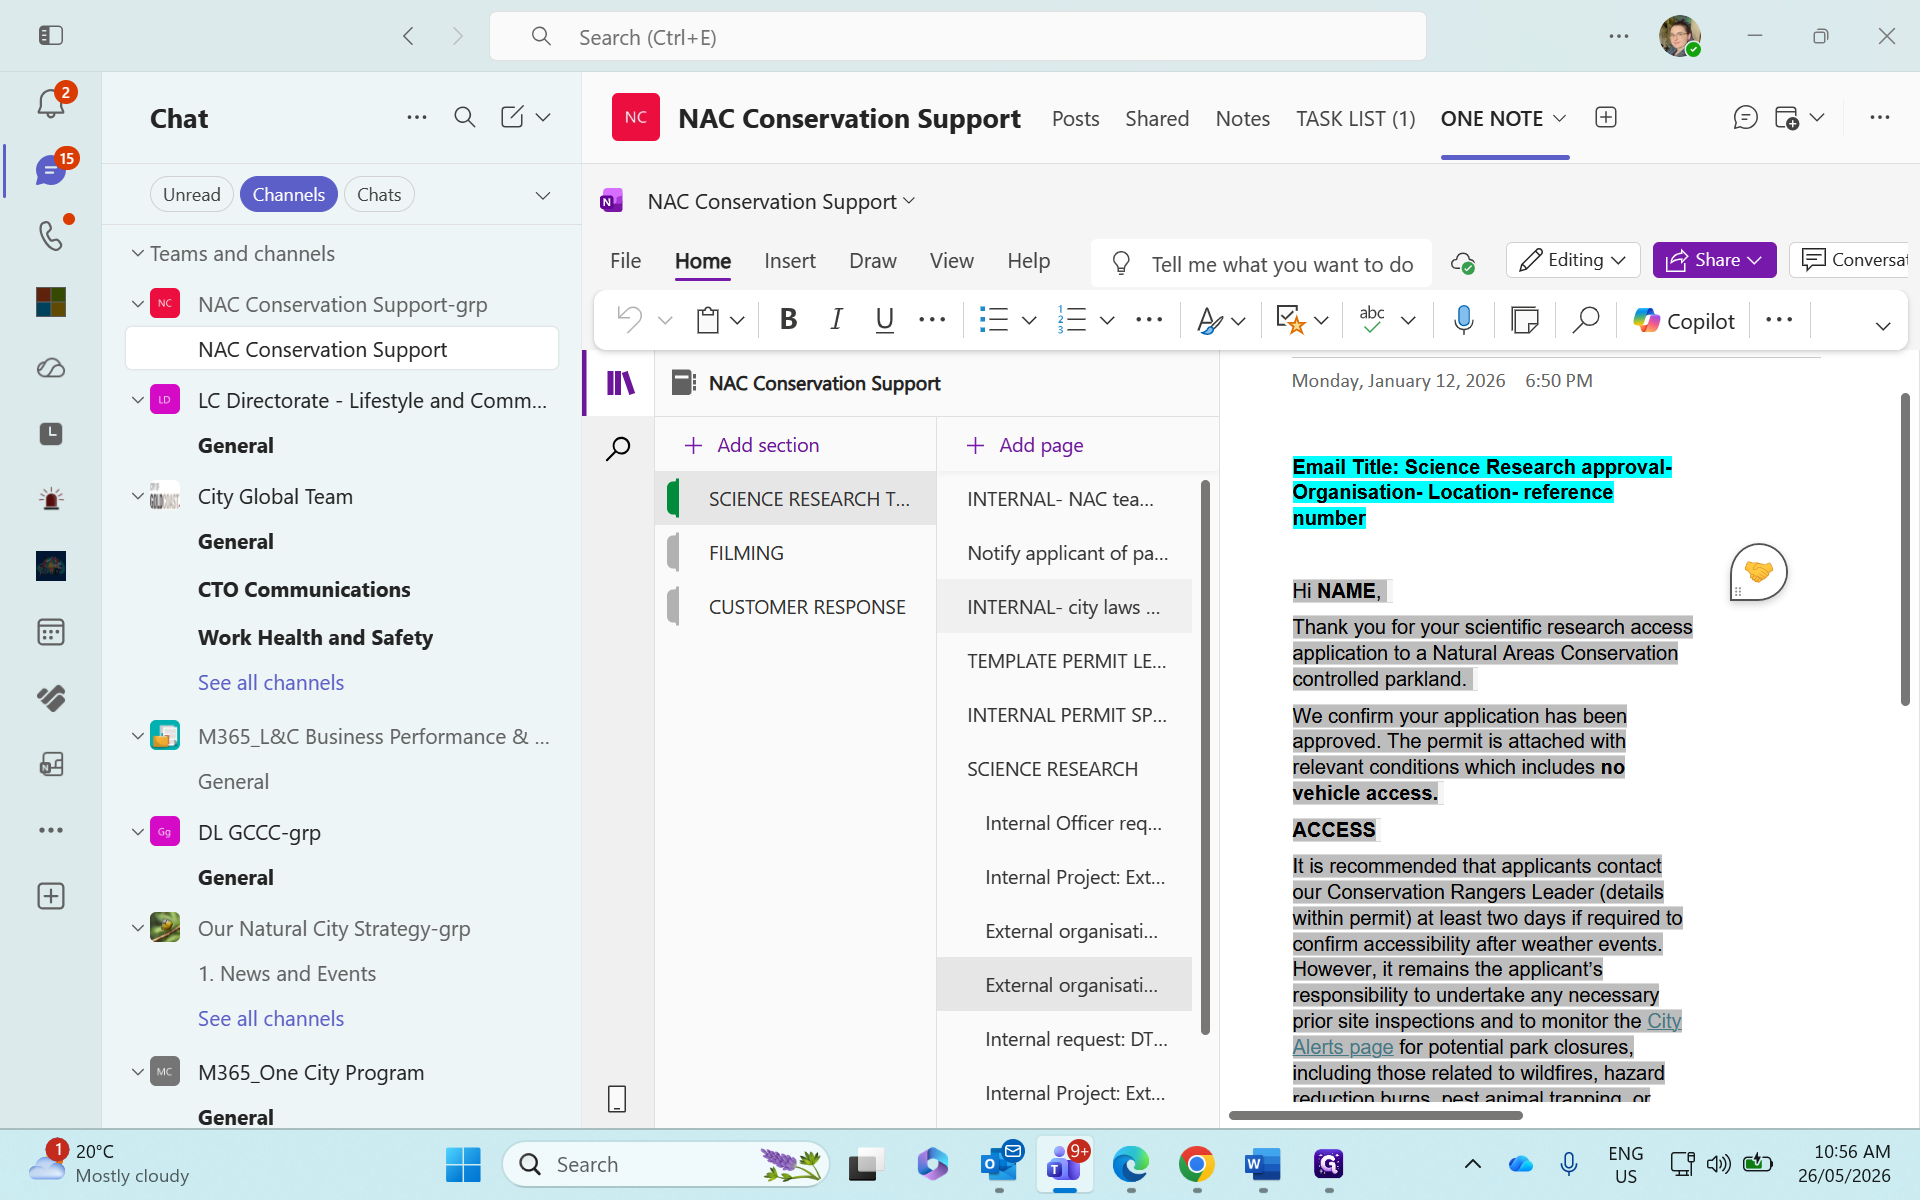
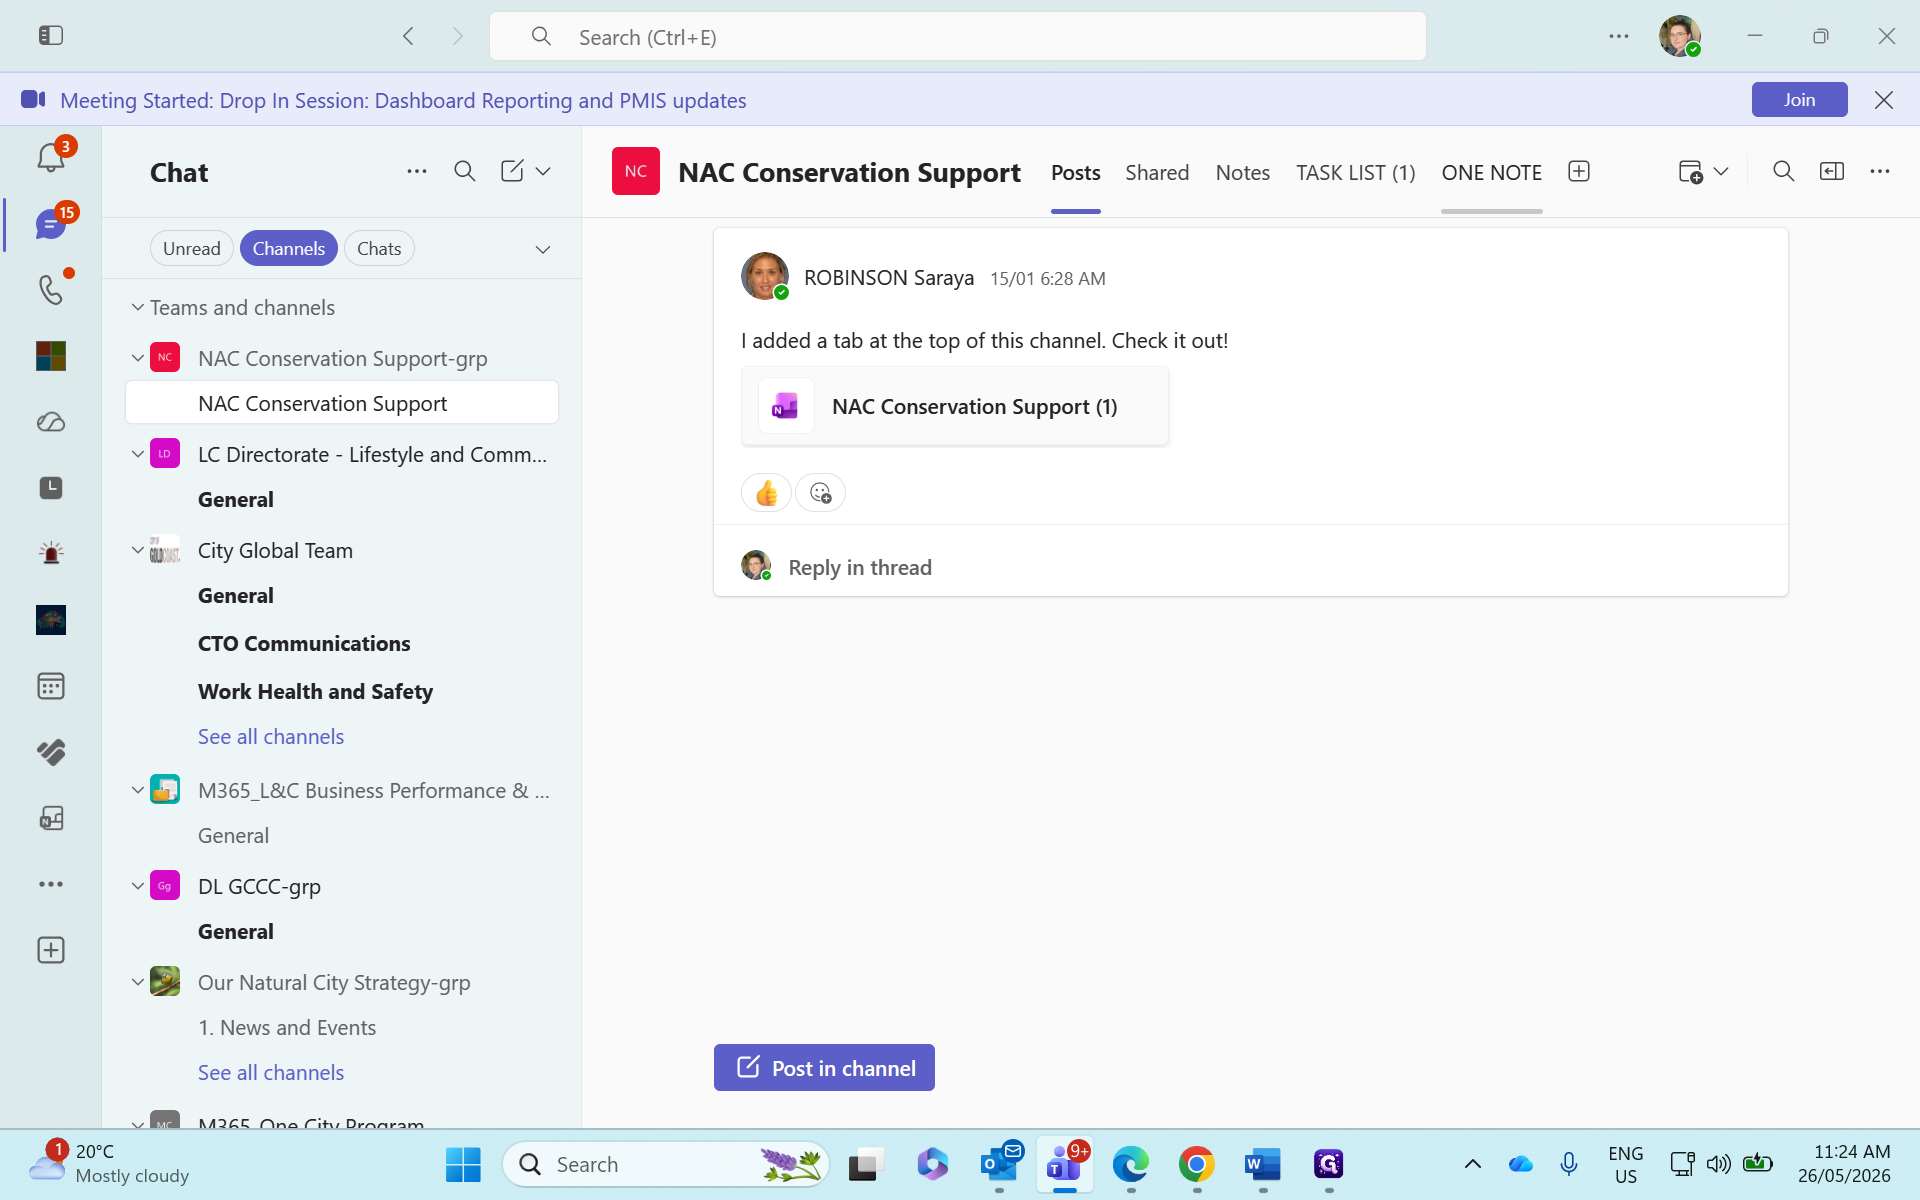
OneNote | A digital notebook application used by the team to store standard email templates and resources. |