
Scientific Research Guide #1
Learn how to review a scientific research access request, verify insurance details, and forward the application to team leaders for final approval.
Processing scientific research access requests involves reviewing the applicant's submitted details, verifying their insurance, and coordinating with subject matter experts to ensure there are no concerns before approval.
Review the Access Request
When an applicant submits an access request, you will receive an email with their application and attached documents.
Carefully review the following information in the application:
Dates and Times: Note when the research will take place.
Purpose: Understand what the scientific research entails (e.g., seed collection).
Number of Attendees:
Applicant Details: Review the email and contact numbers.
Vehicle Access: Check if vehicle access is required, as this may necessitate additional conditions on the request.
Verify Insurance Details
Applicants are required to provide proof of insurance to protect everyone involved.
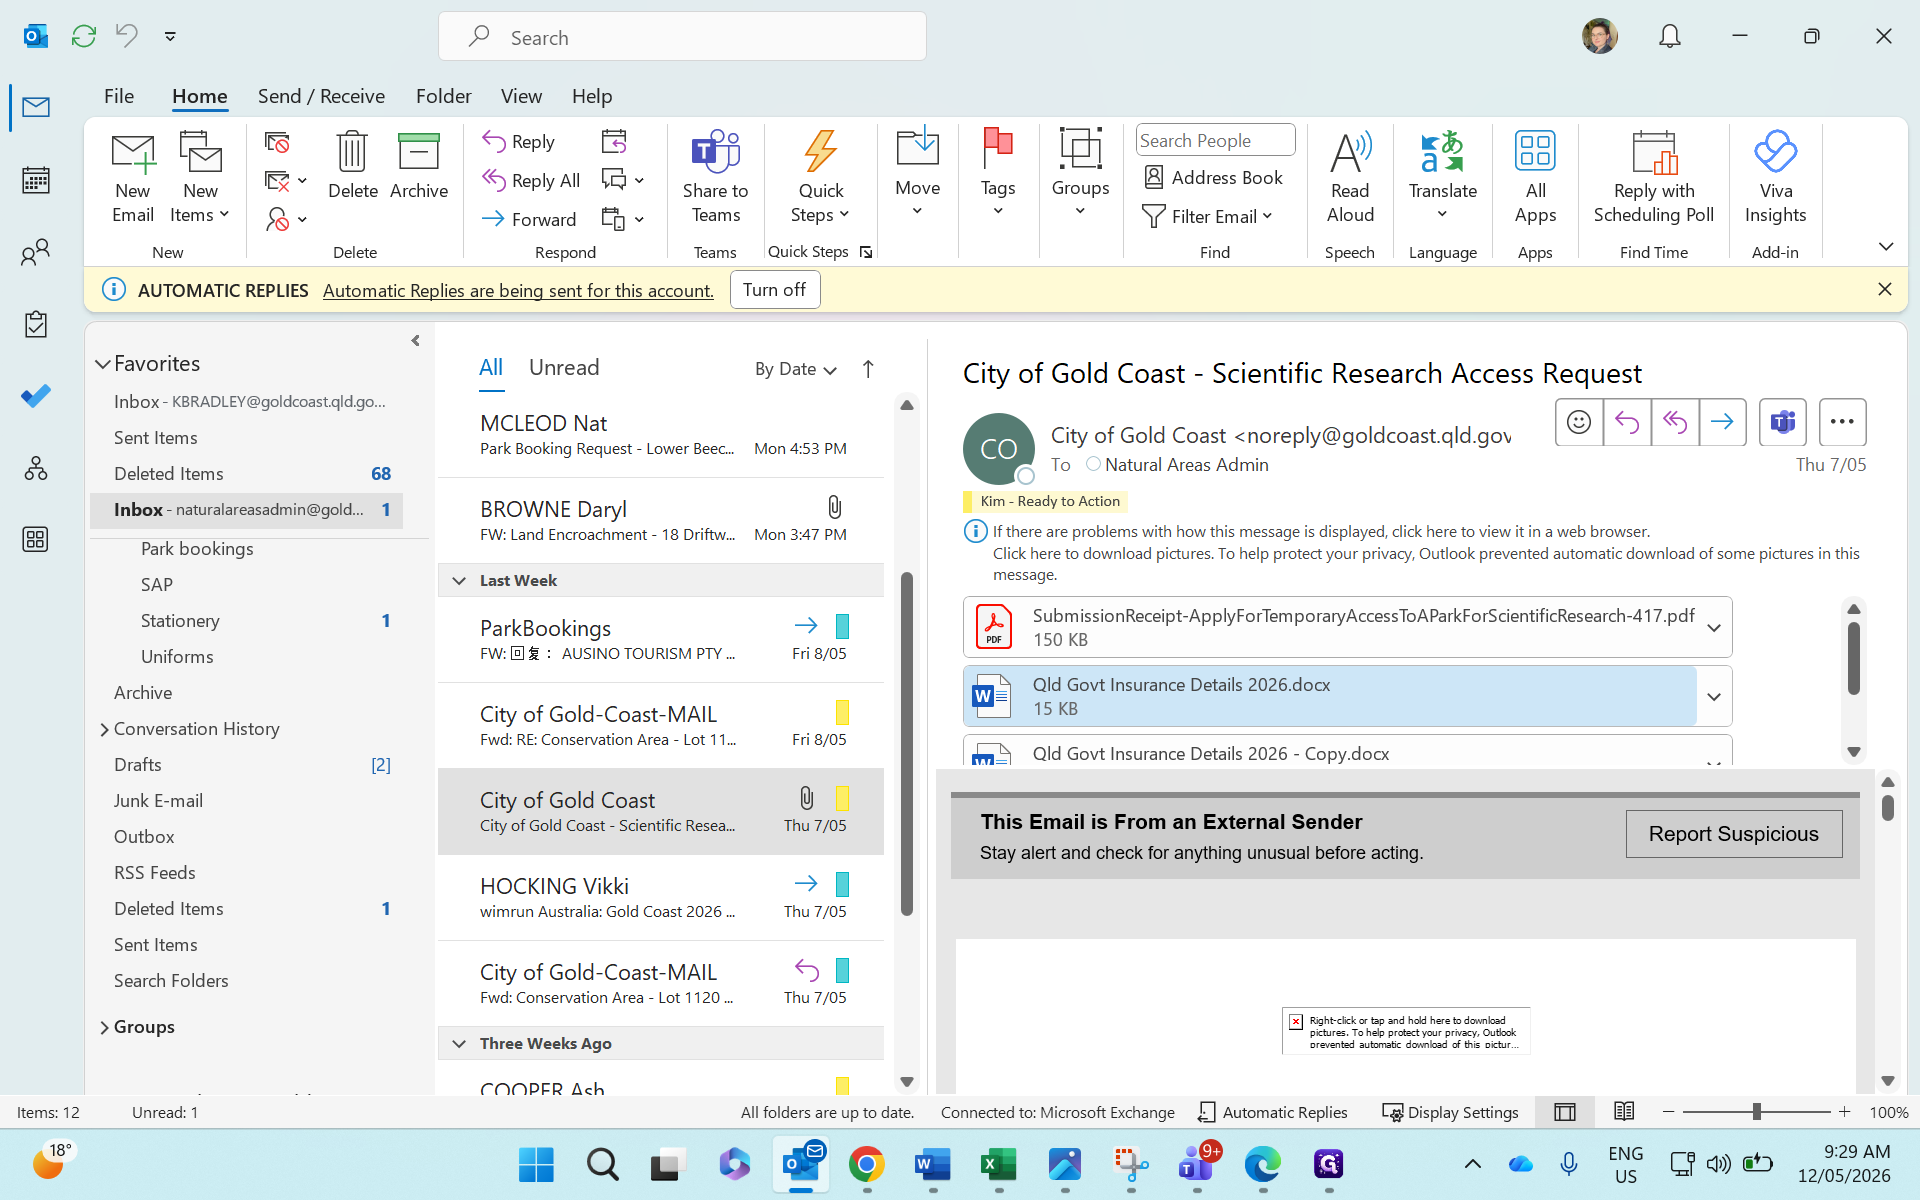
Review the document to ensure the insurance is current and in-date. For private companies, verify their ABN and specifically check that the coverage dates are valid for the requested access period.
Forward for Team Leader Approval
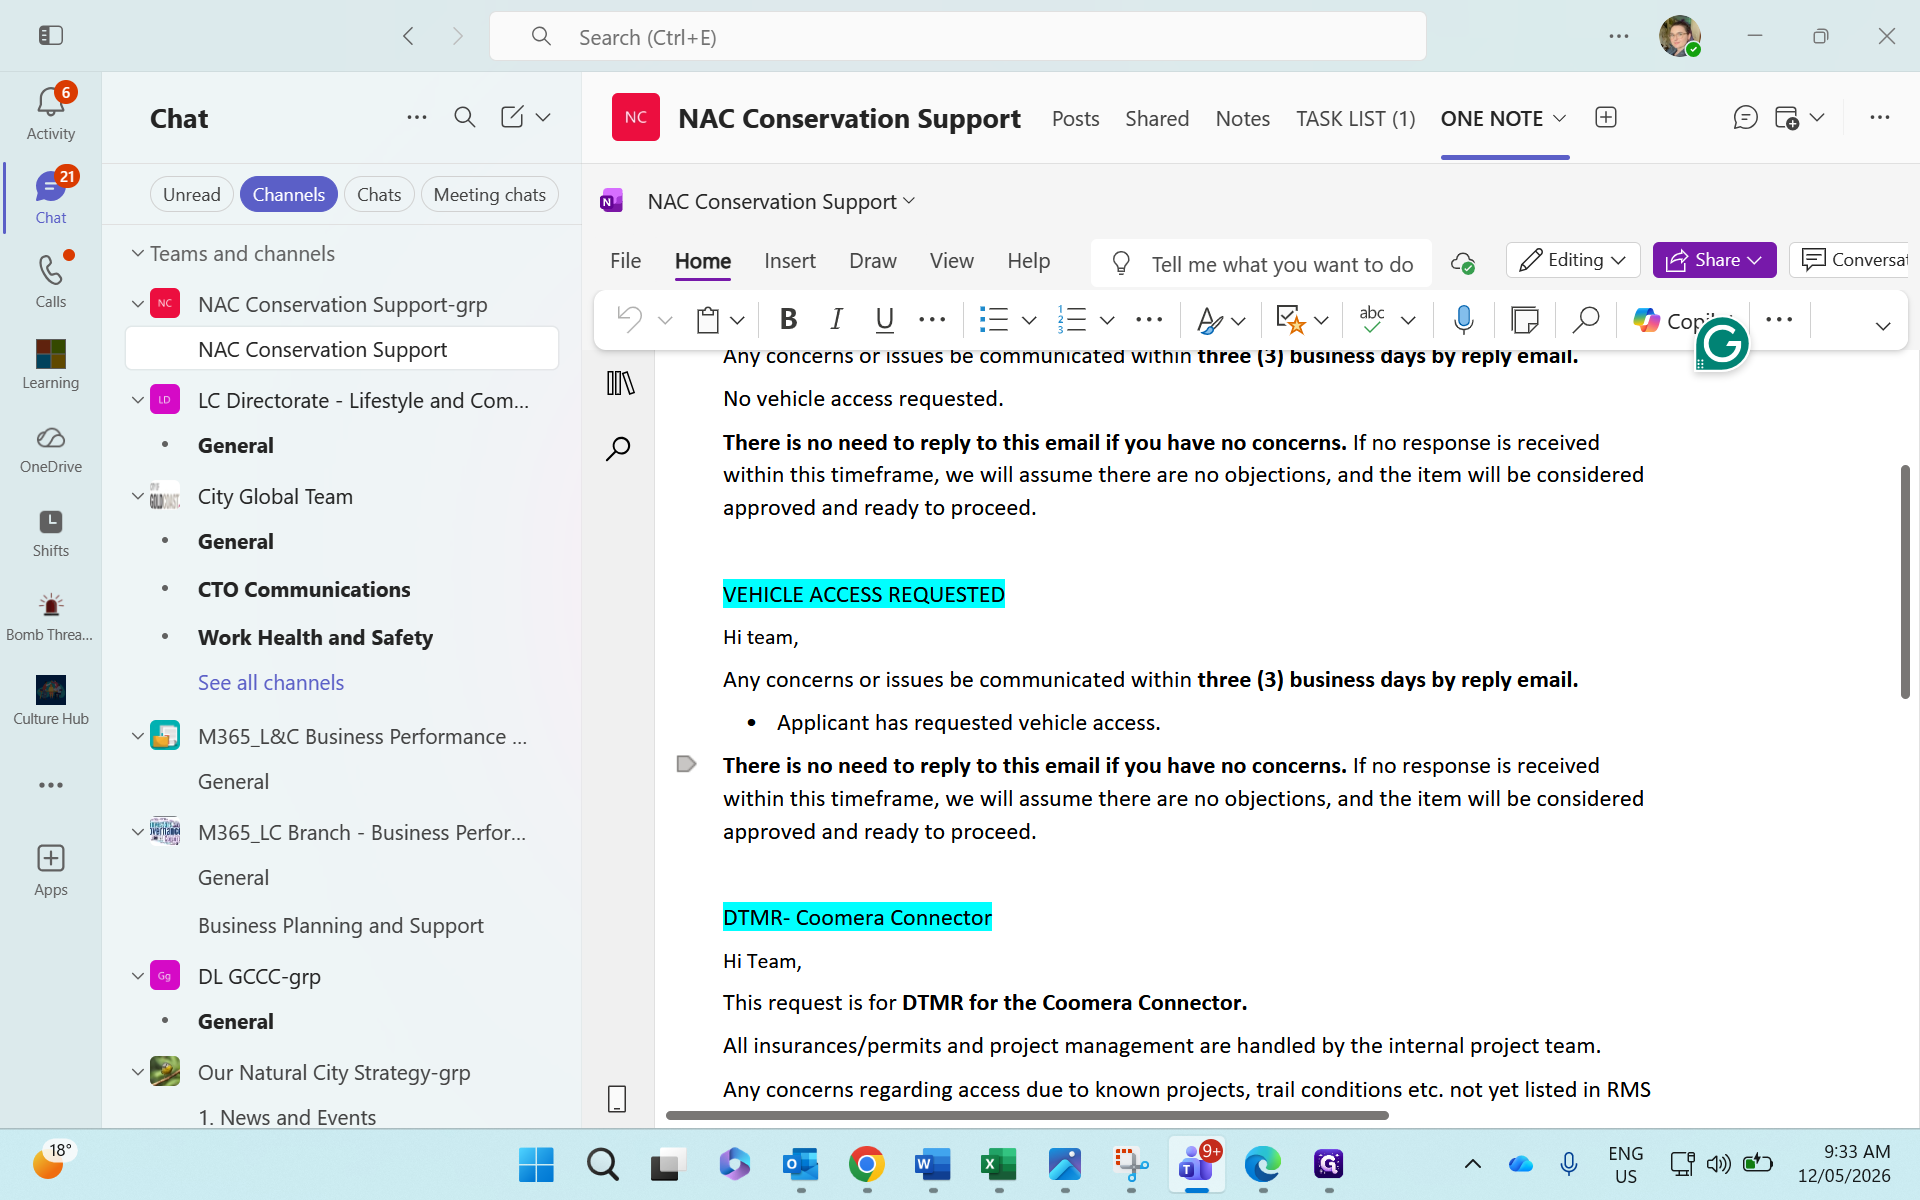
Once the application and insurance details look correct, forward the request to your team leaders (rangers, restorations, activations, planners, and naturally GC leaders) so they can review it for any operational concerns.

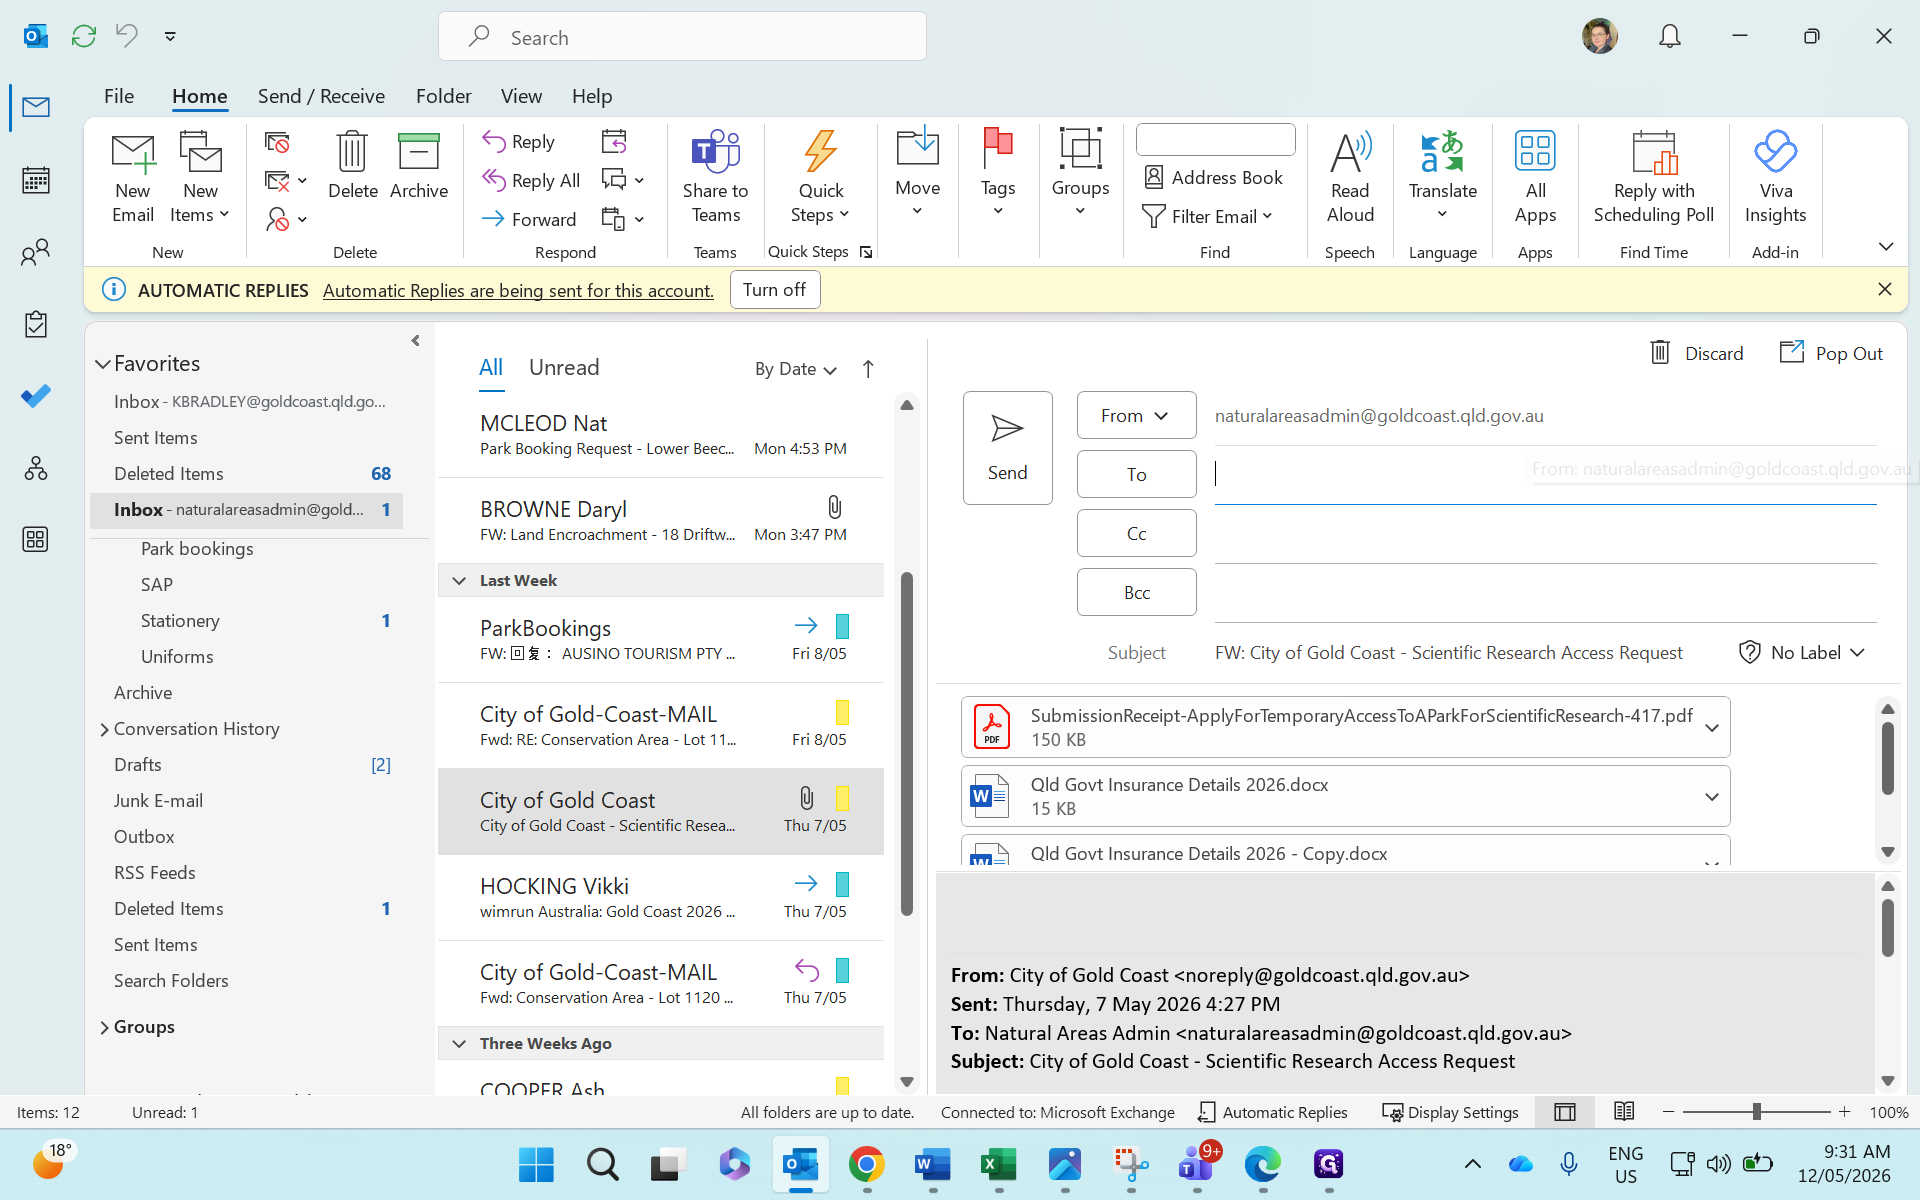
Ensure you add all required team leaders to the To field before sending.
Add the Approval Template
Instead of writing the email from scratch, use the pre-written templates available in Microsoft Teams.
Ctrl + C to copy the template text.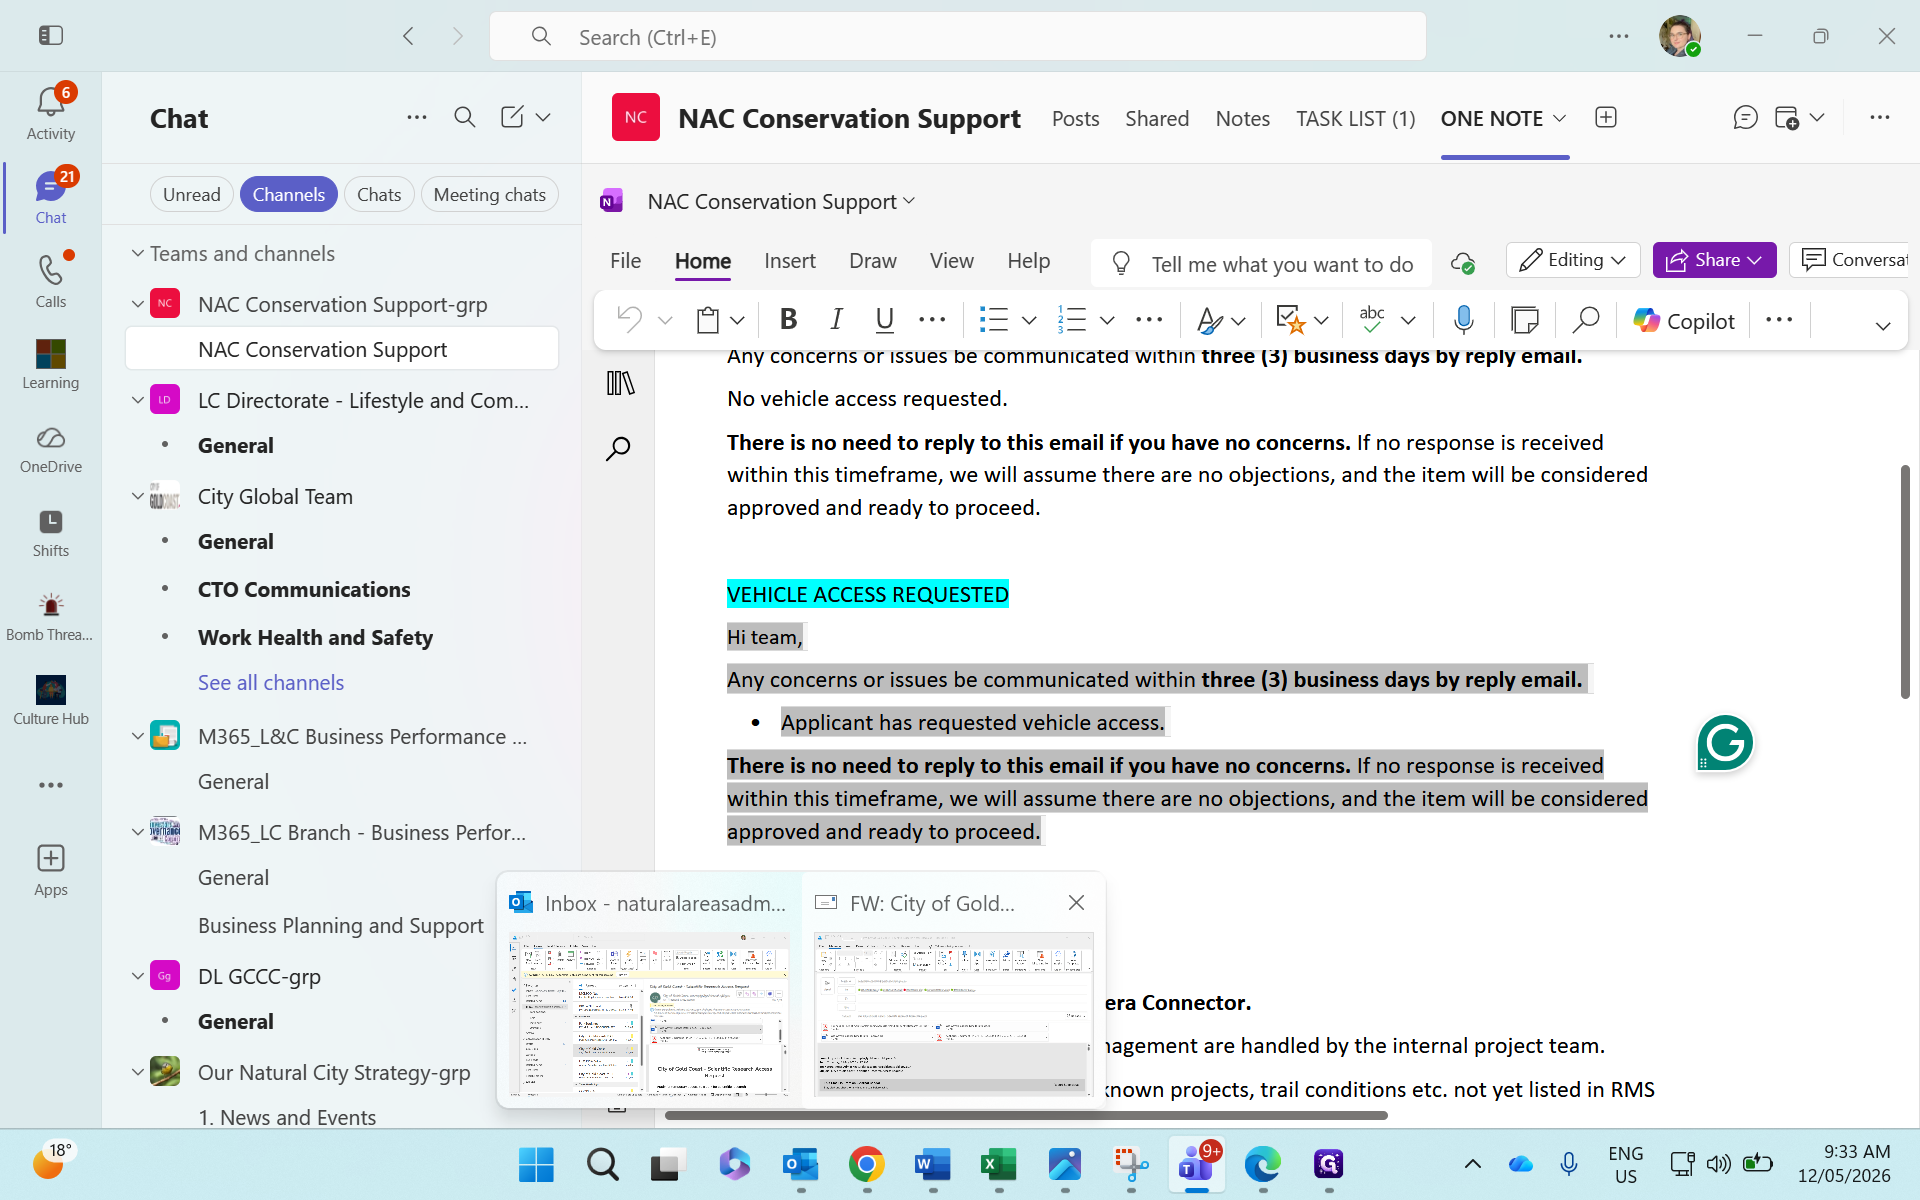
Ctrl + V to paste the template into the body of the email.Once the template is pasted, make any necessary adjustments and send the email to the team leaders.