Learn how to create and configure a new Project Central workbook, connect it to Foundation data, set labor rates, and prepare initial project billings.
By Corina Linville
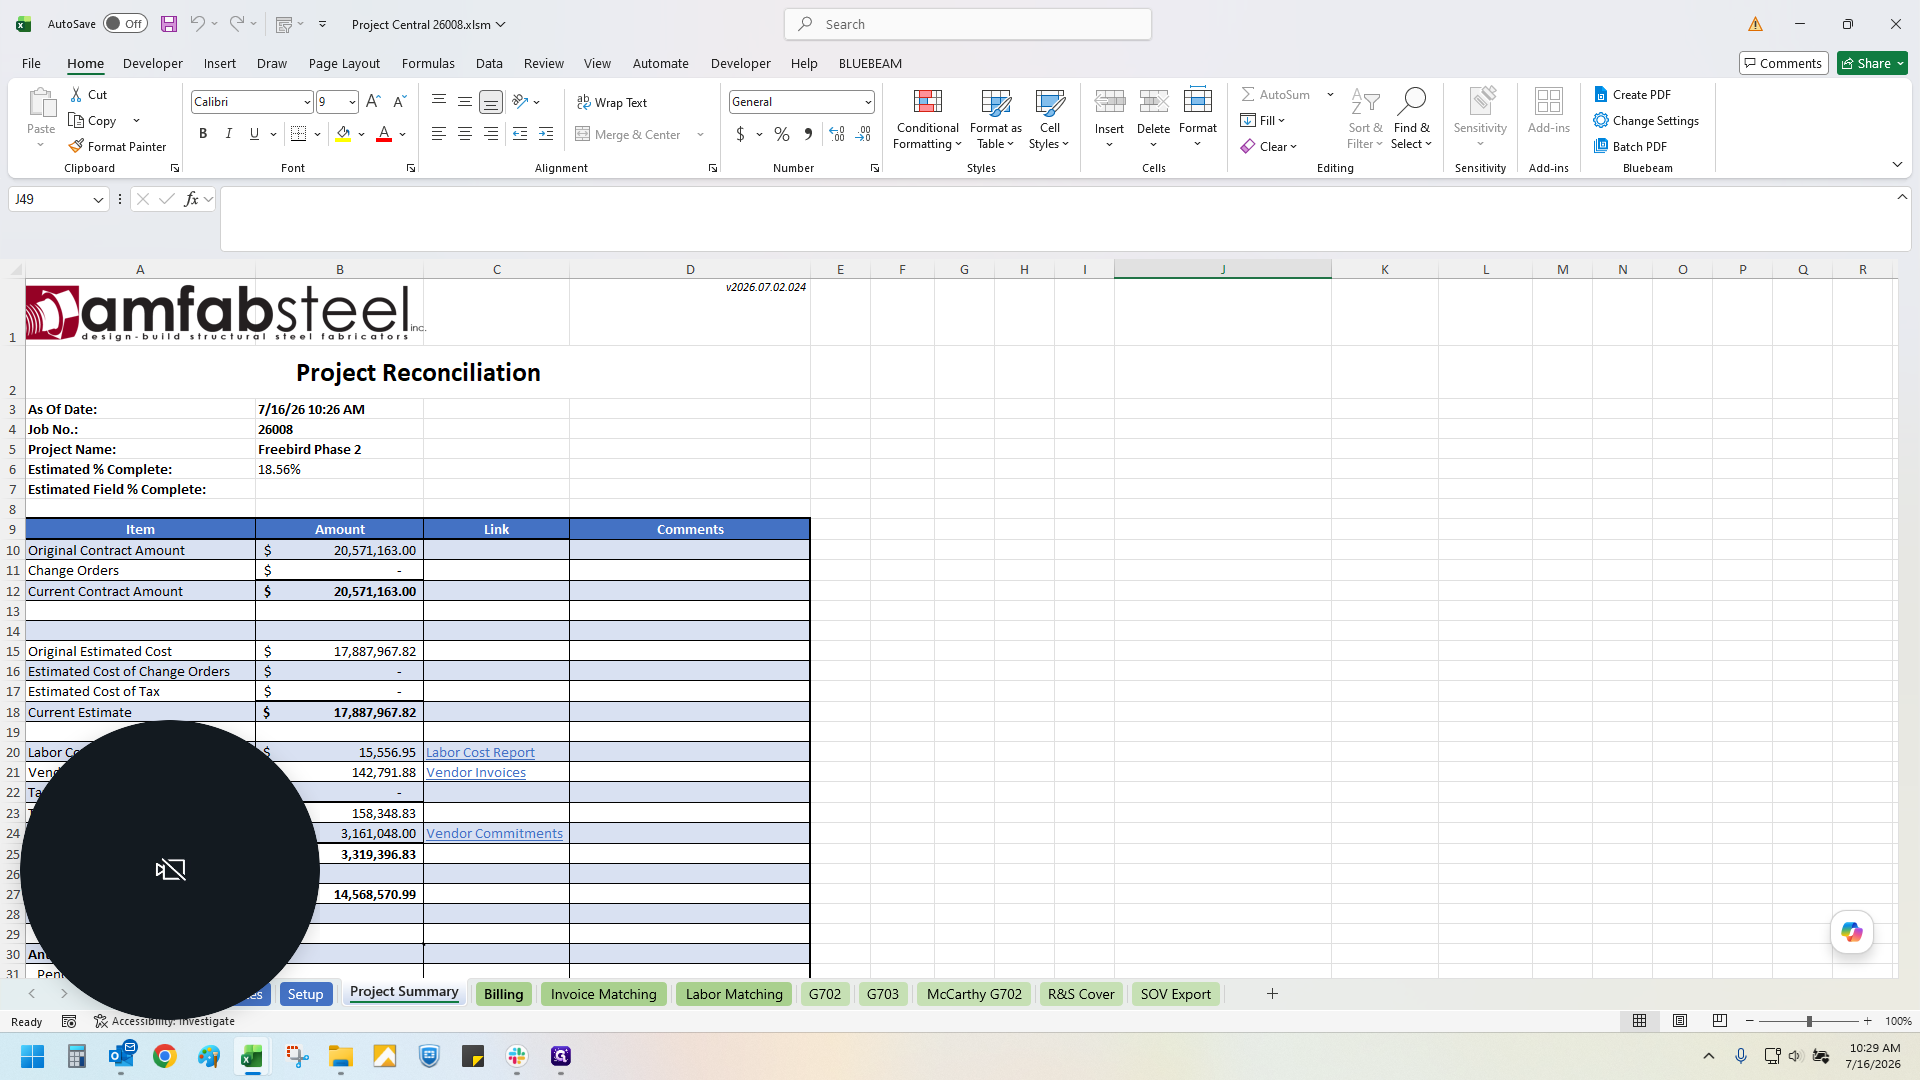
This guide explains how to set up a new Project Central (PC) workbook in Excel and connect it to your Foundation data. Completing this process allows you to accurately track project rates, allocate costs, and prepare monthly billings.
This workflow is intended for accounting teams and project managers. You will use it when initiating a new project file and when preparing monthly billing cycles.
Open and Connect Project Central
1
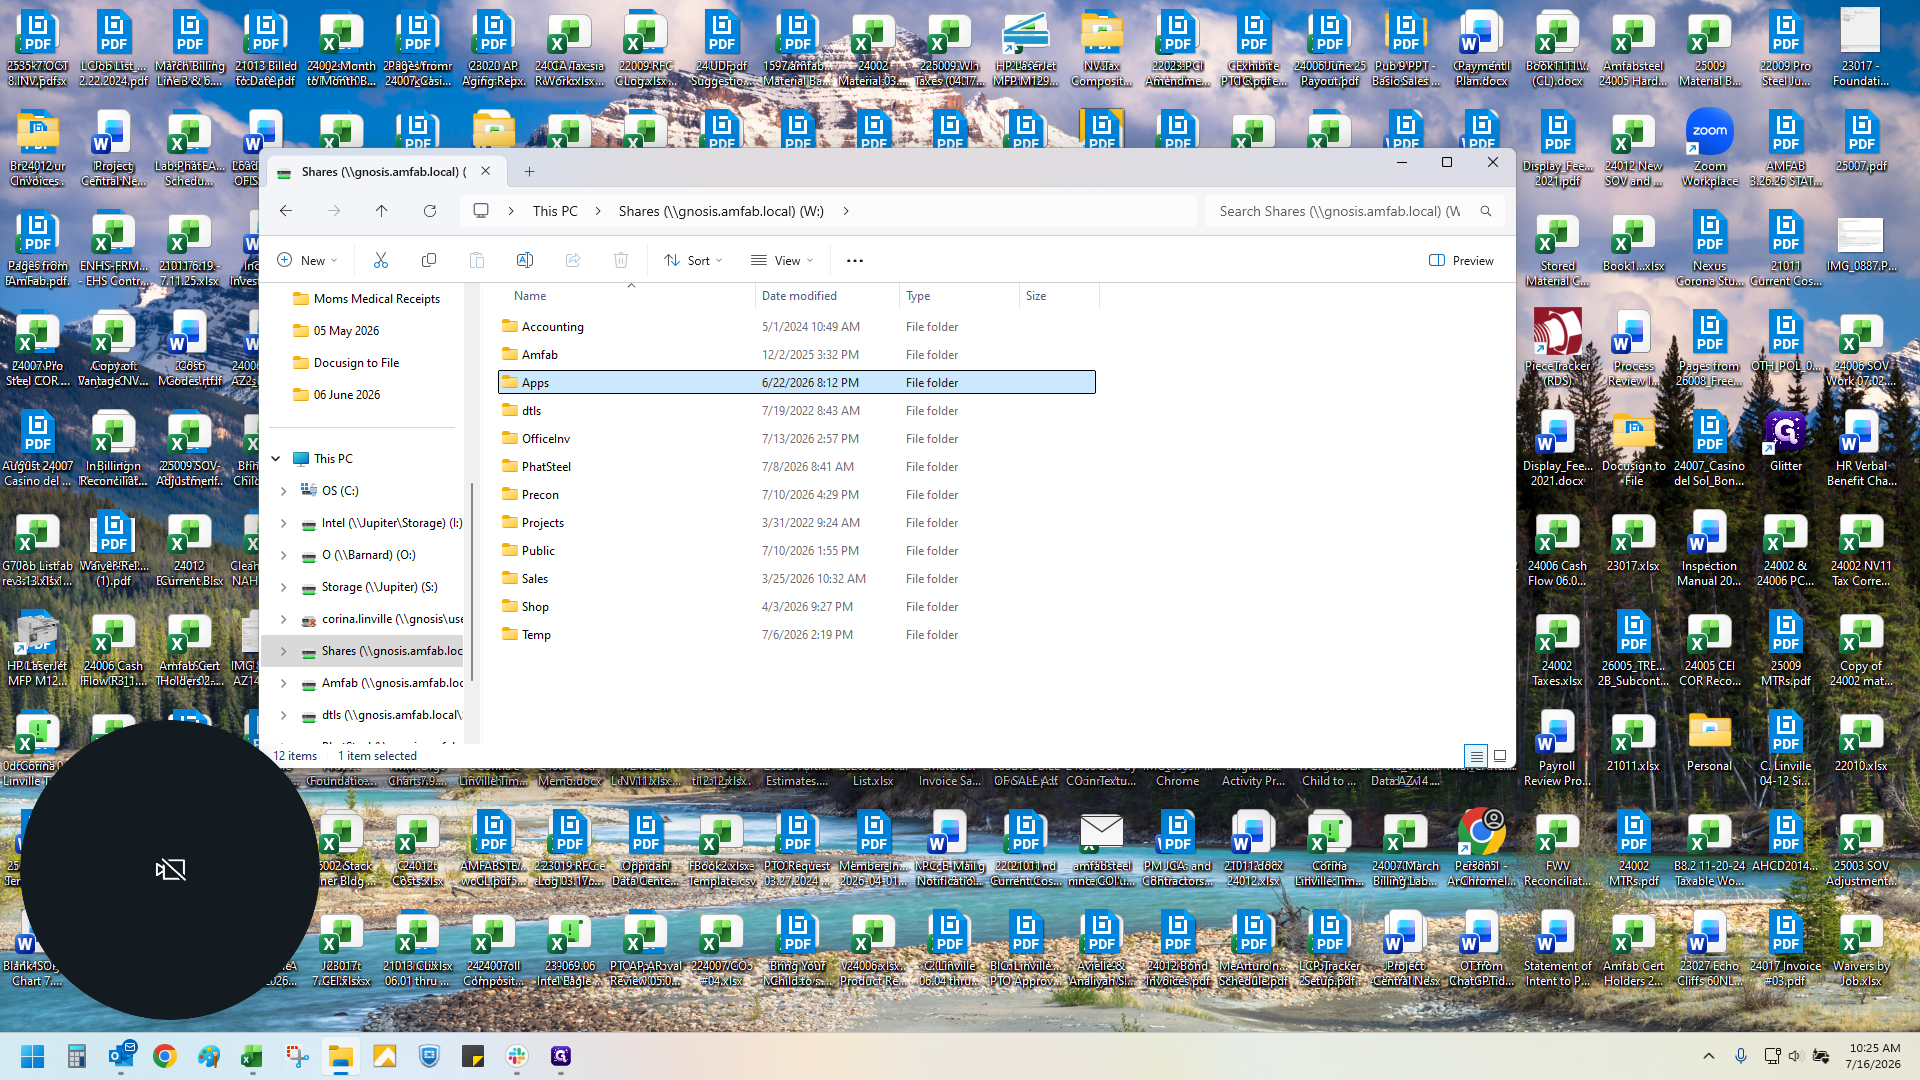
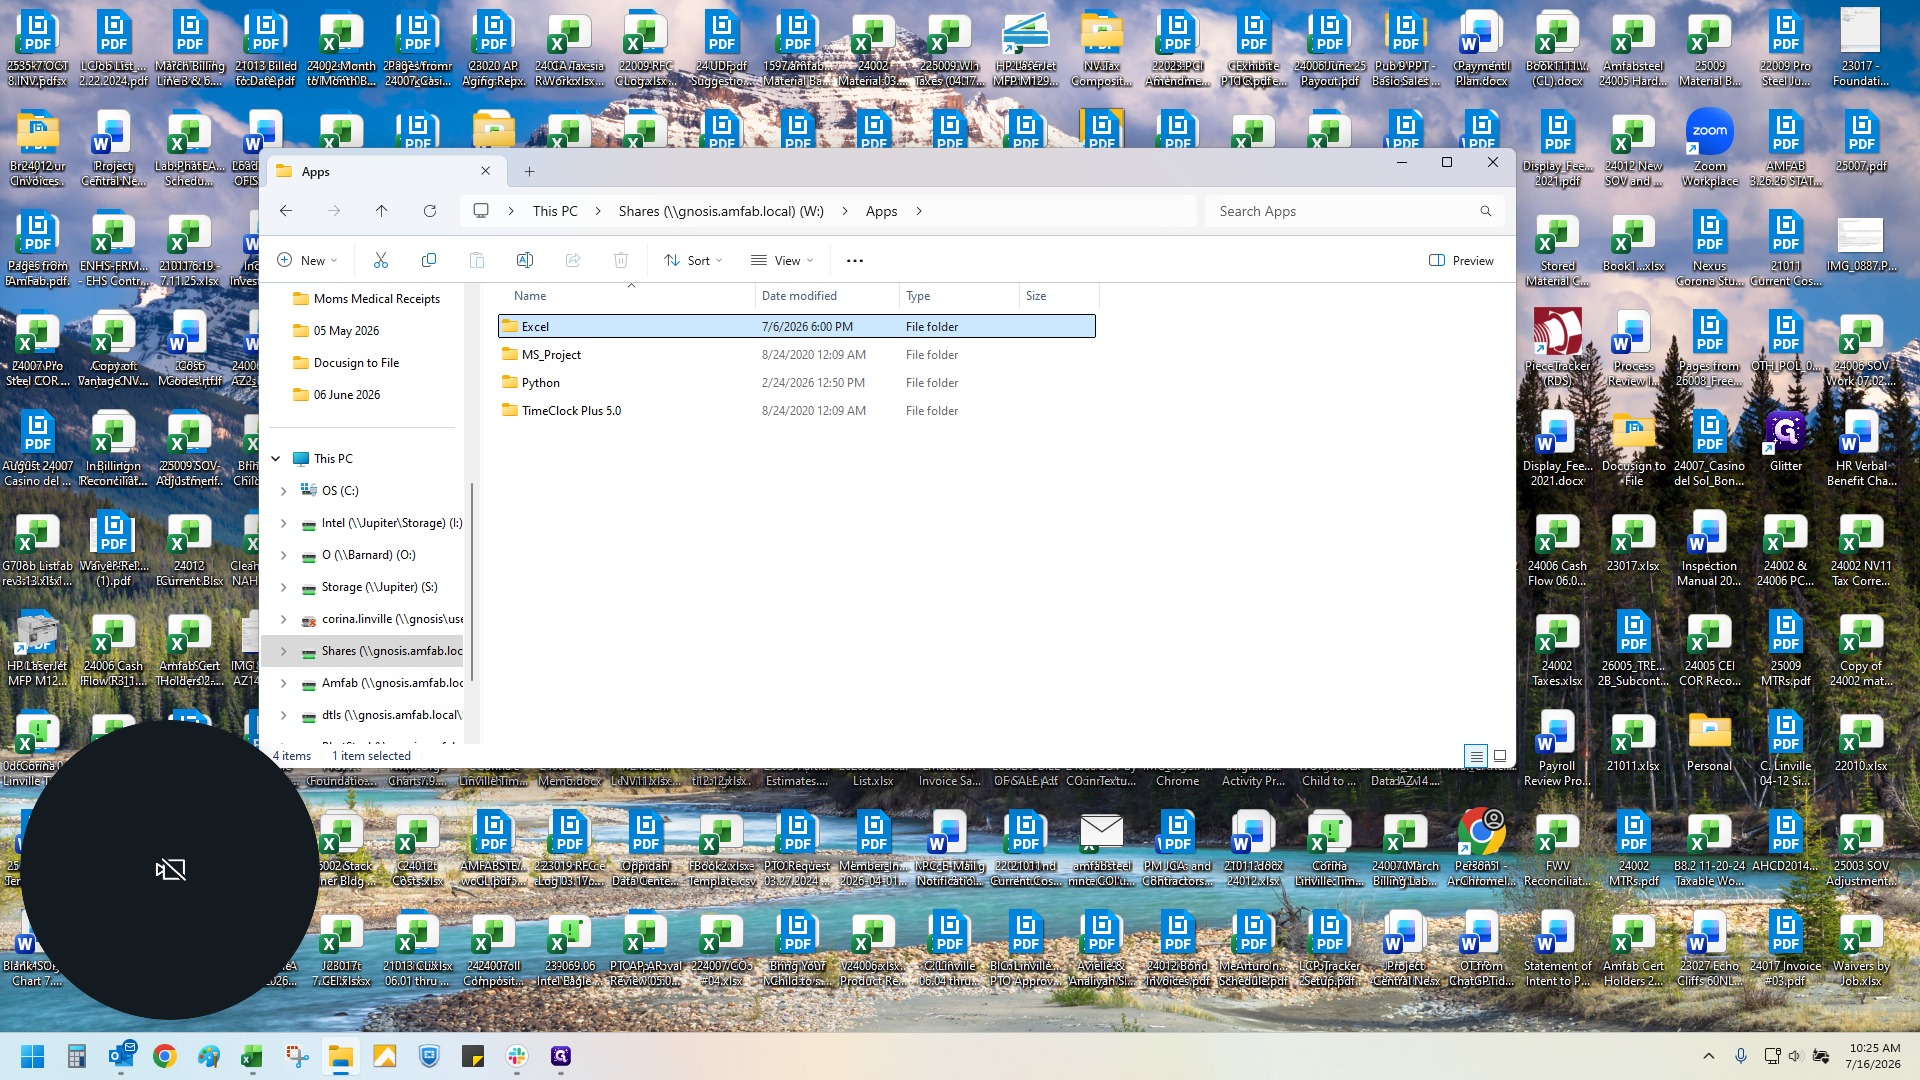
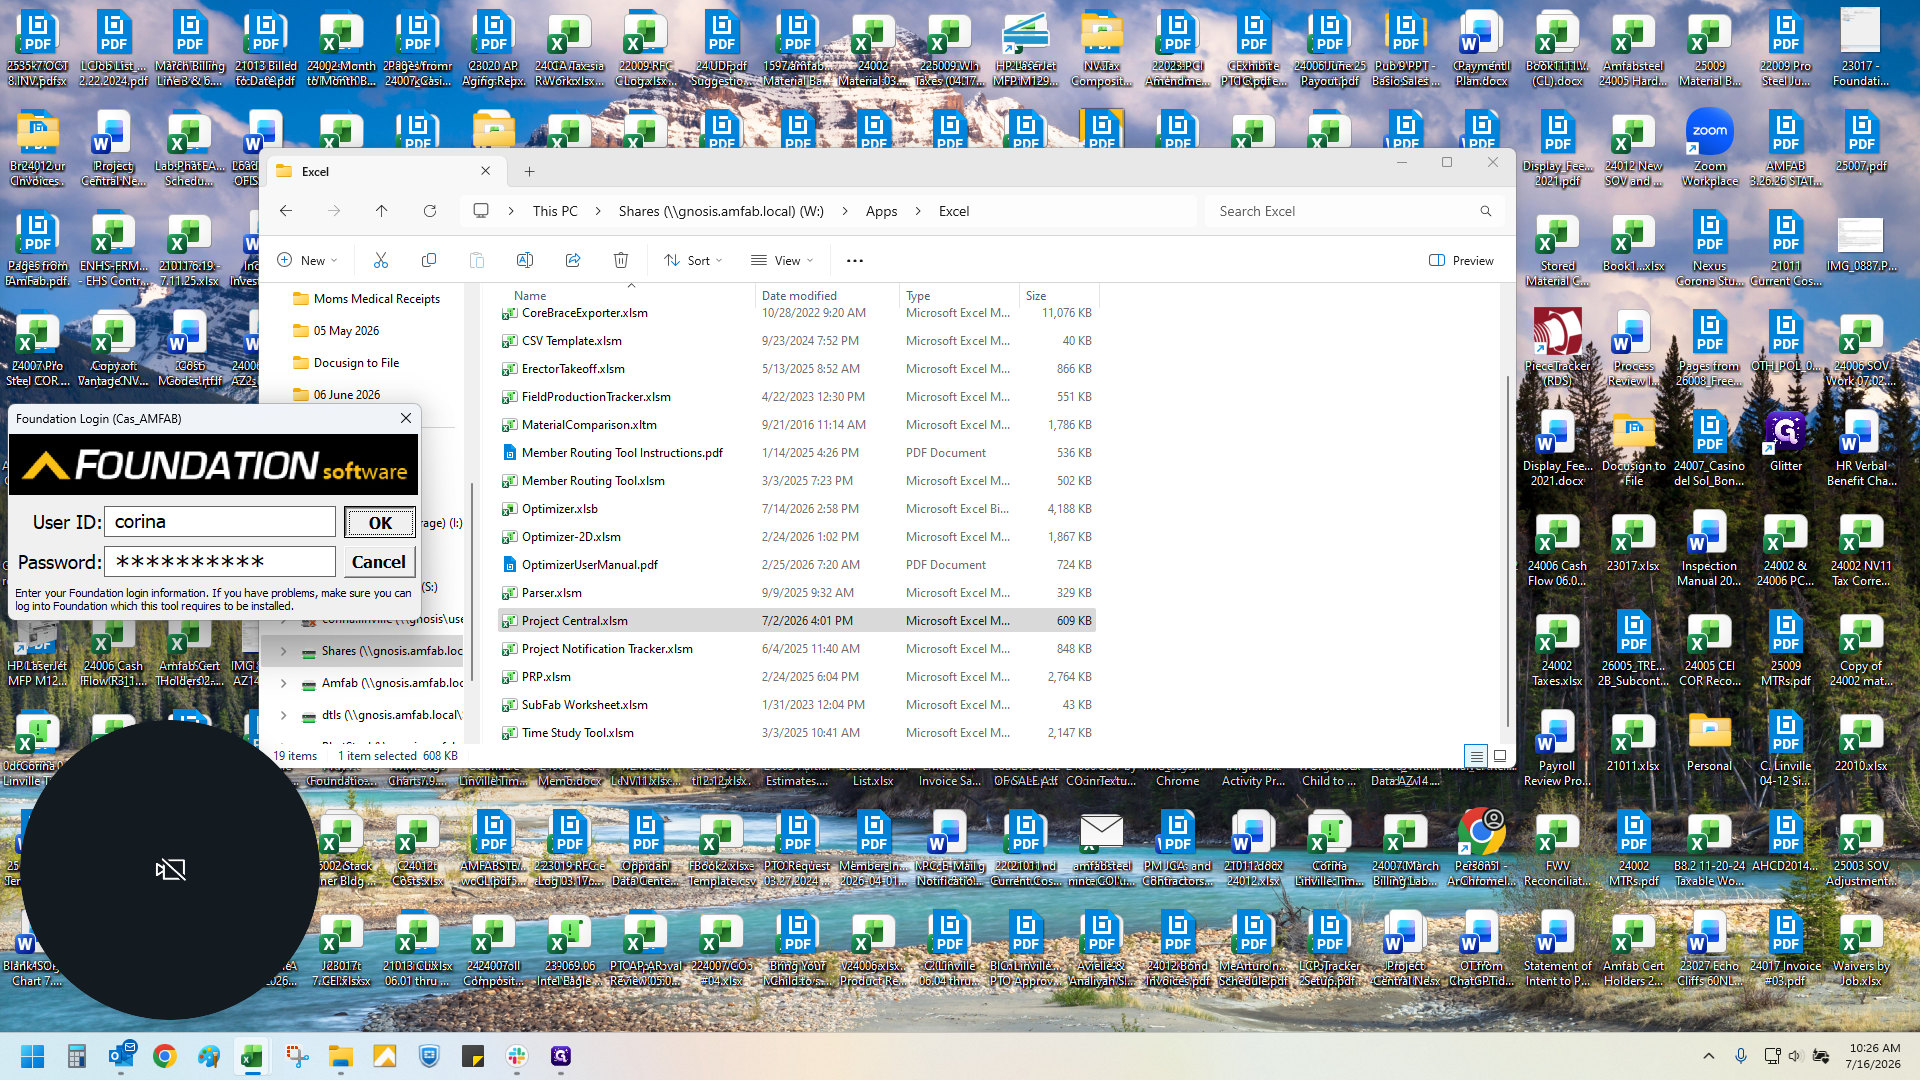
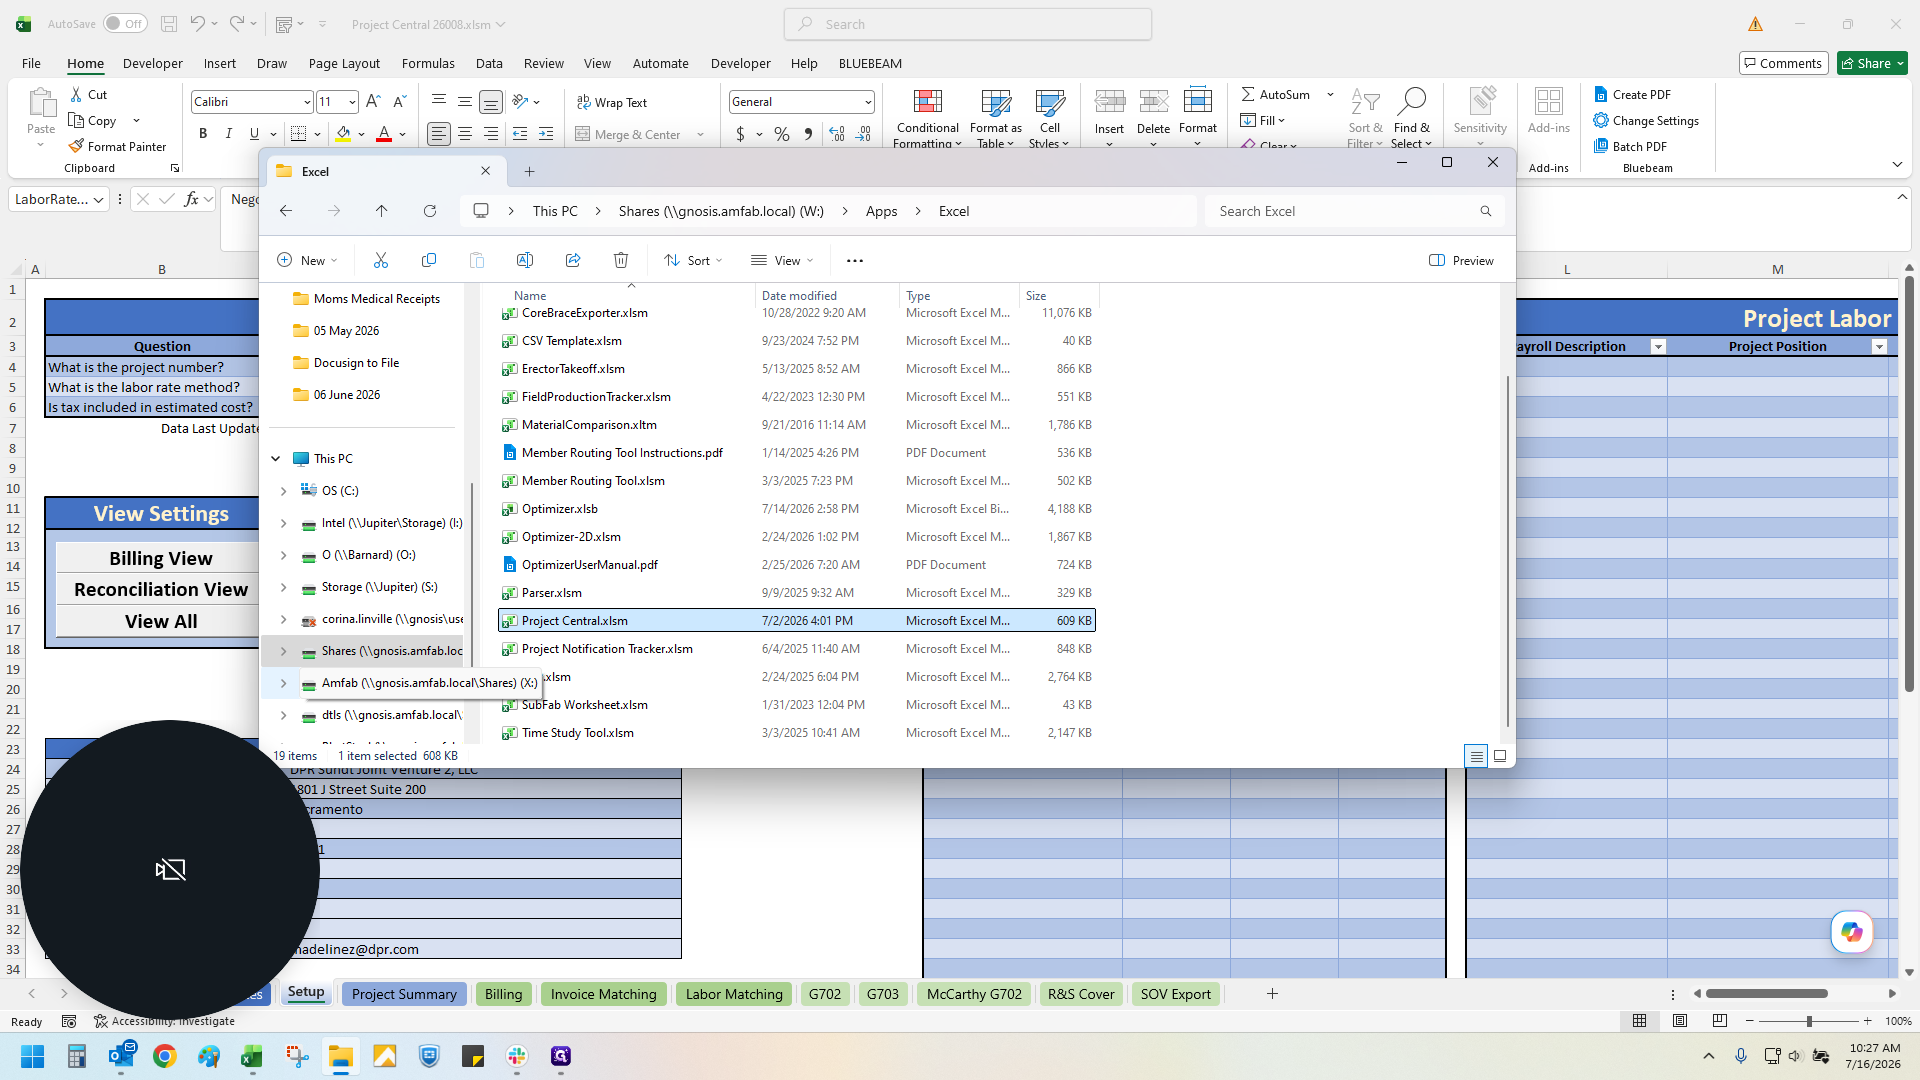
Navigate to your network drive and double-click the Apps folder.
2
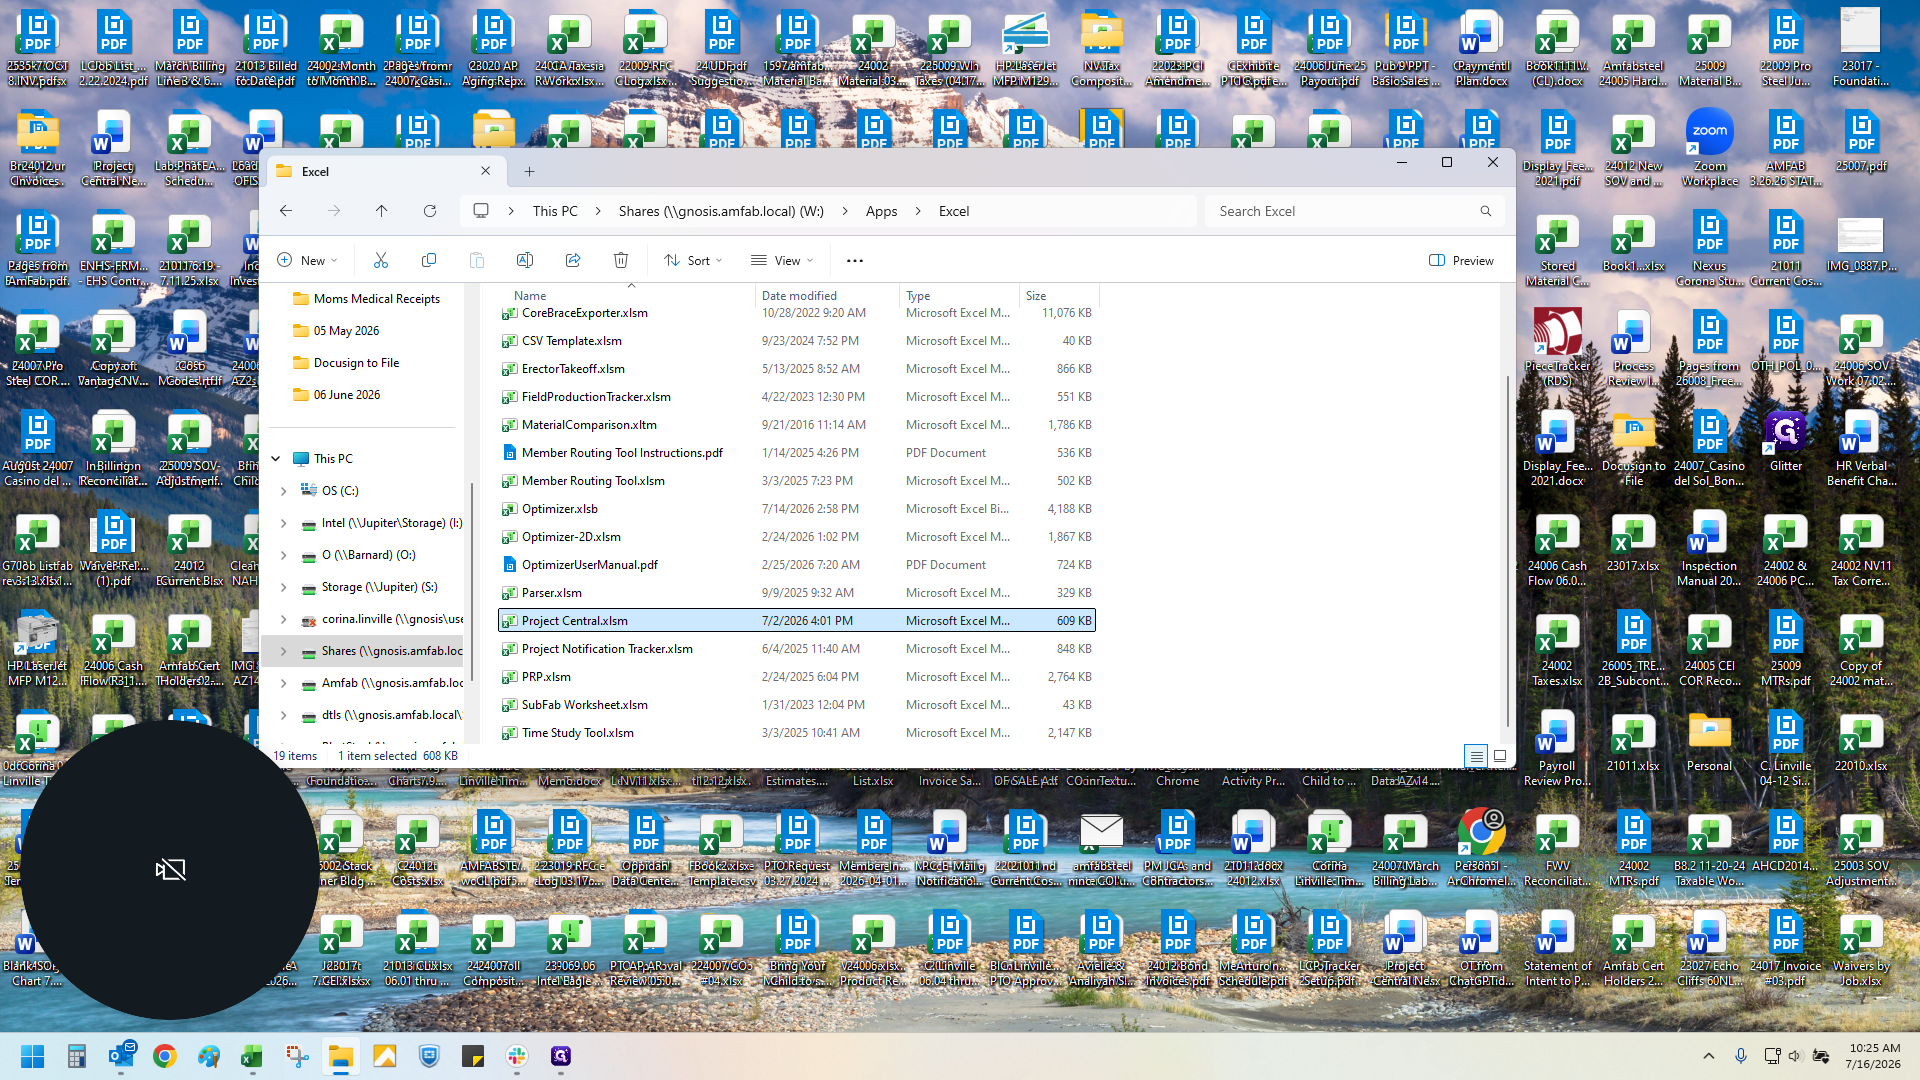
Double-click the Excel folder.
3
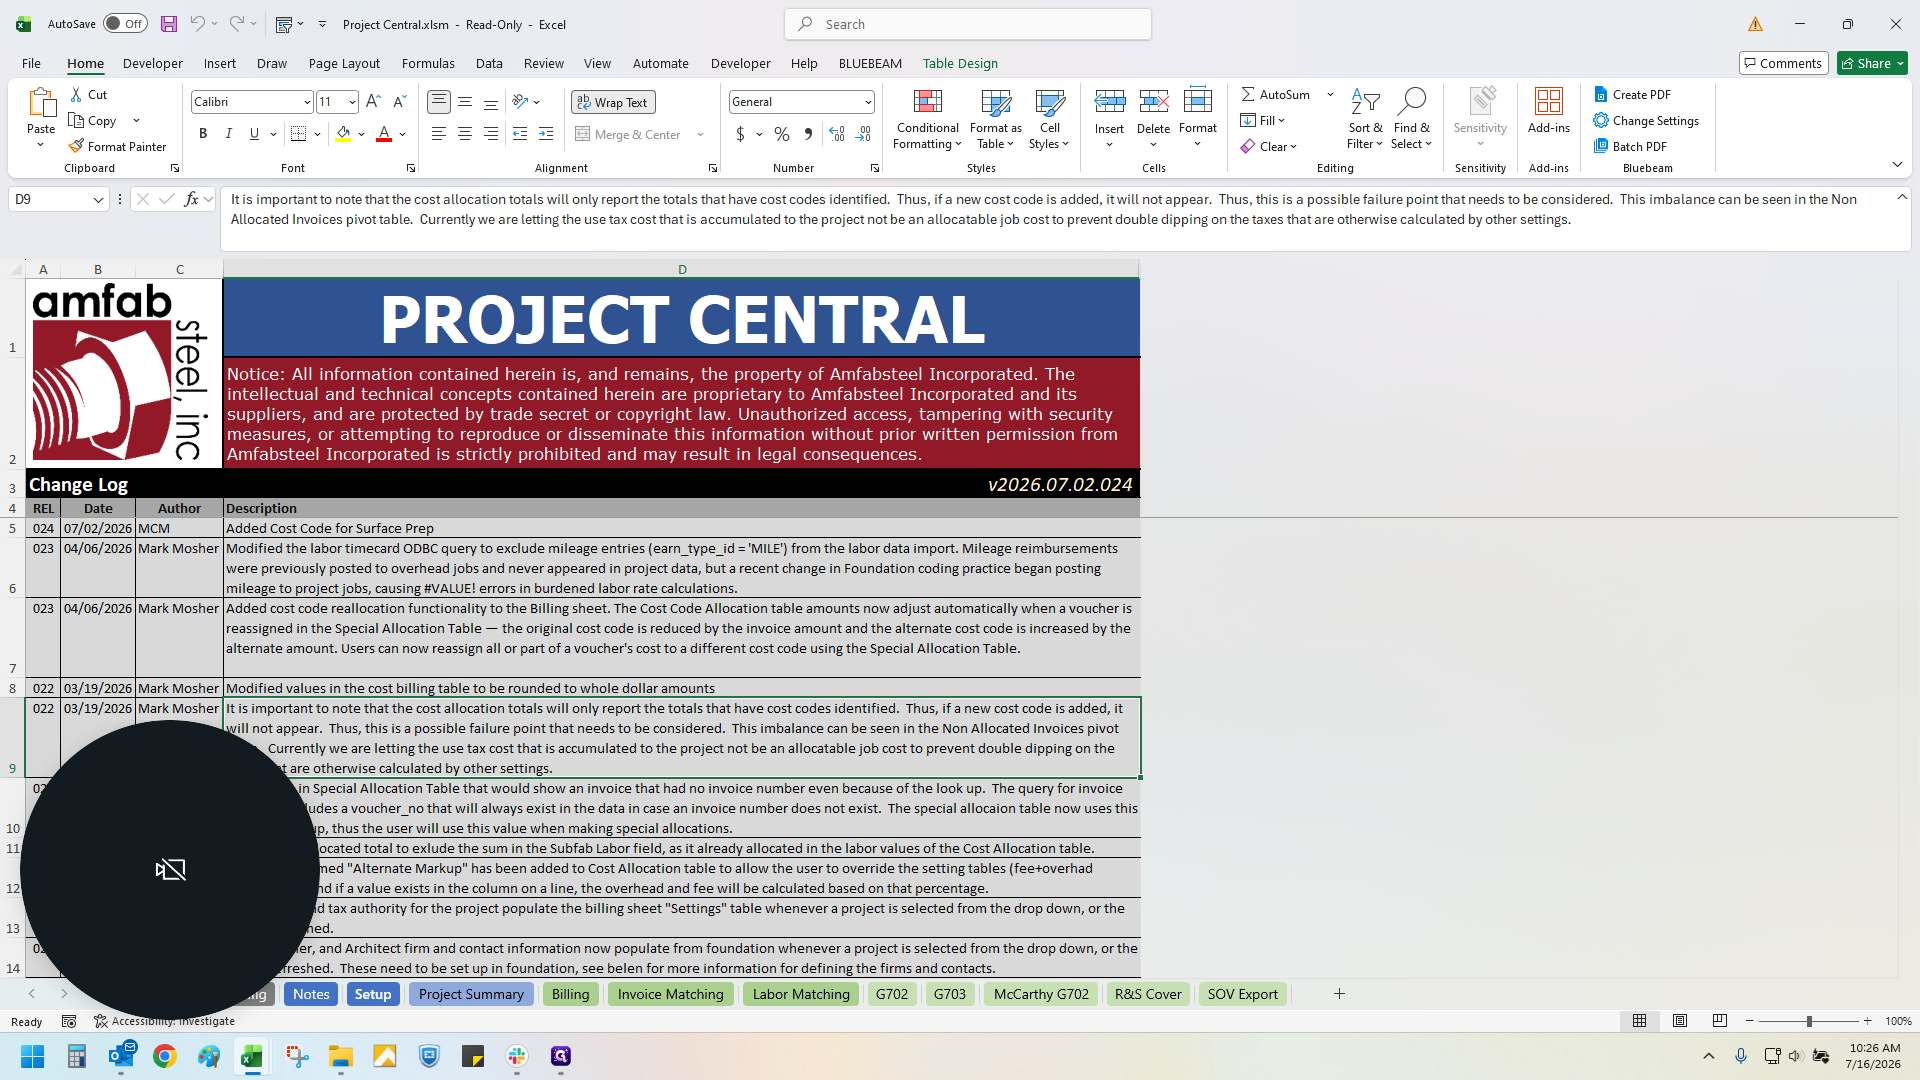
Double-click the Project Central.xlsm file to open a fresh workbook.
4
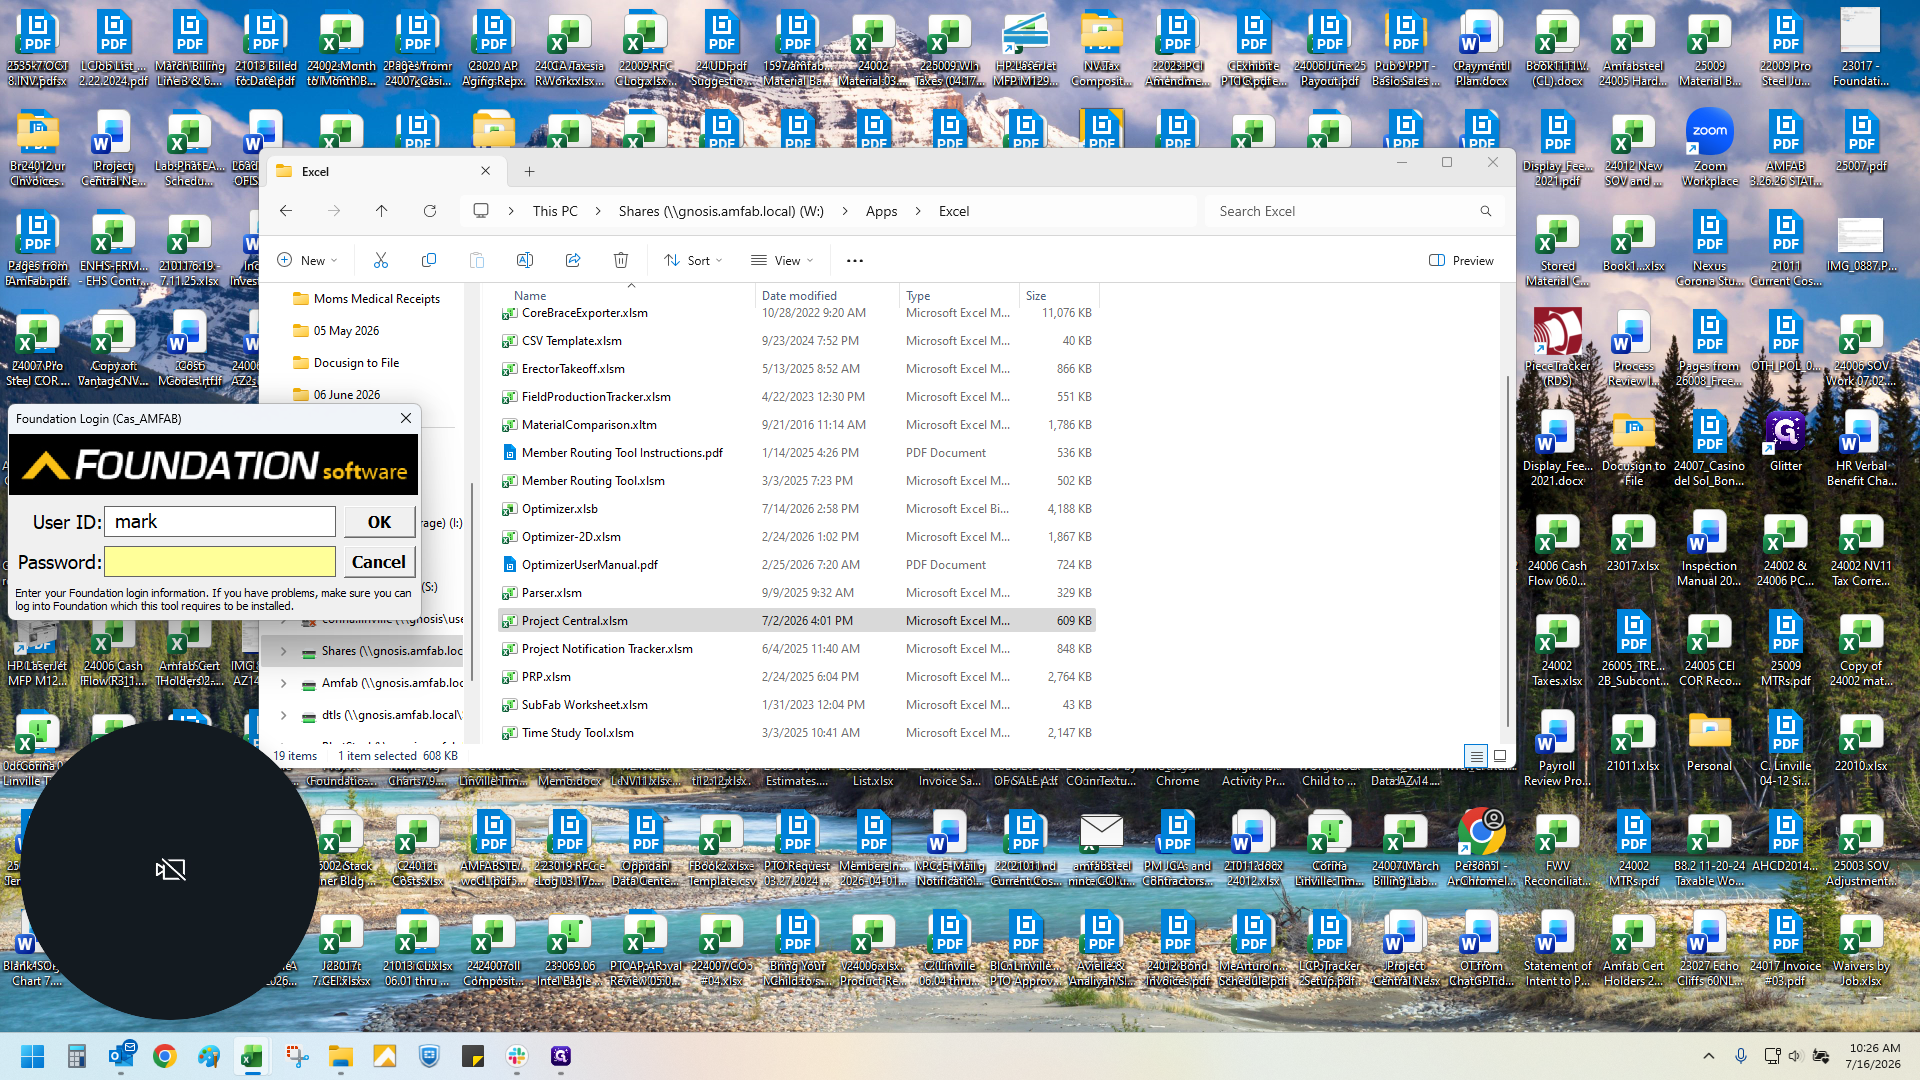
Click on the Foundation Software login dialog to connect Project Central to your data.
5
Enter your Foundation ID and password.
6
Click OK to log in.
Set Up Project Rates
7
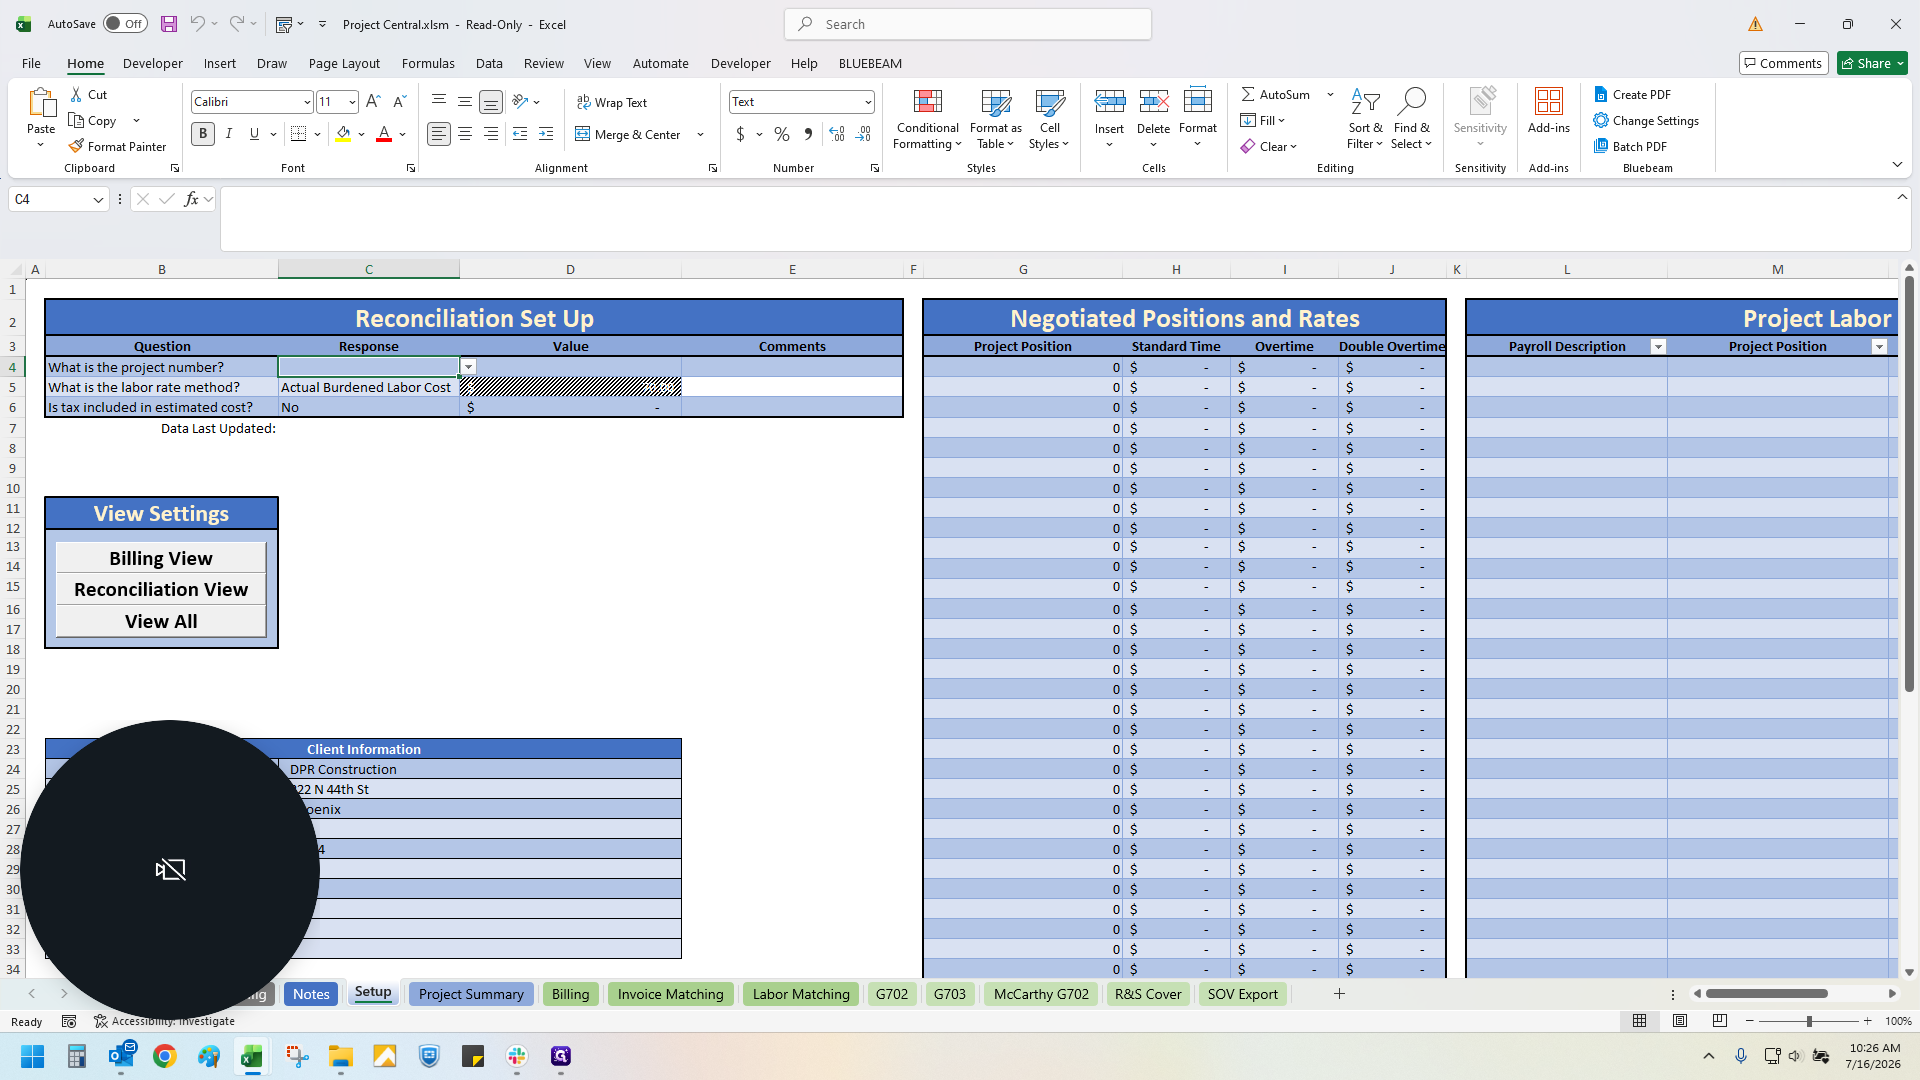
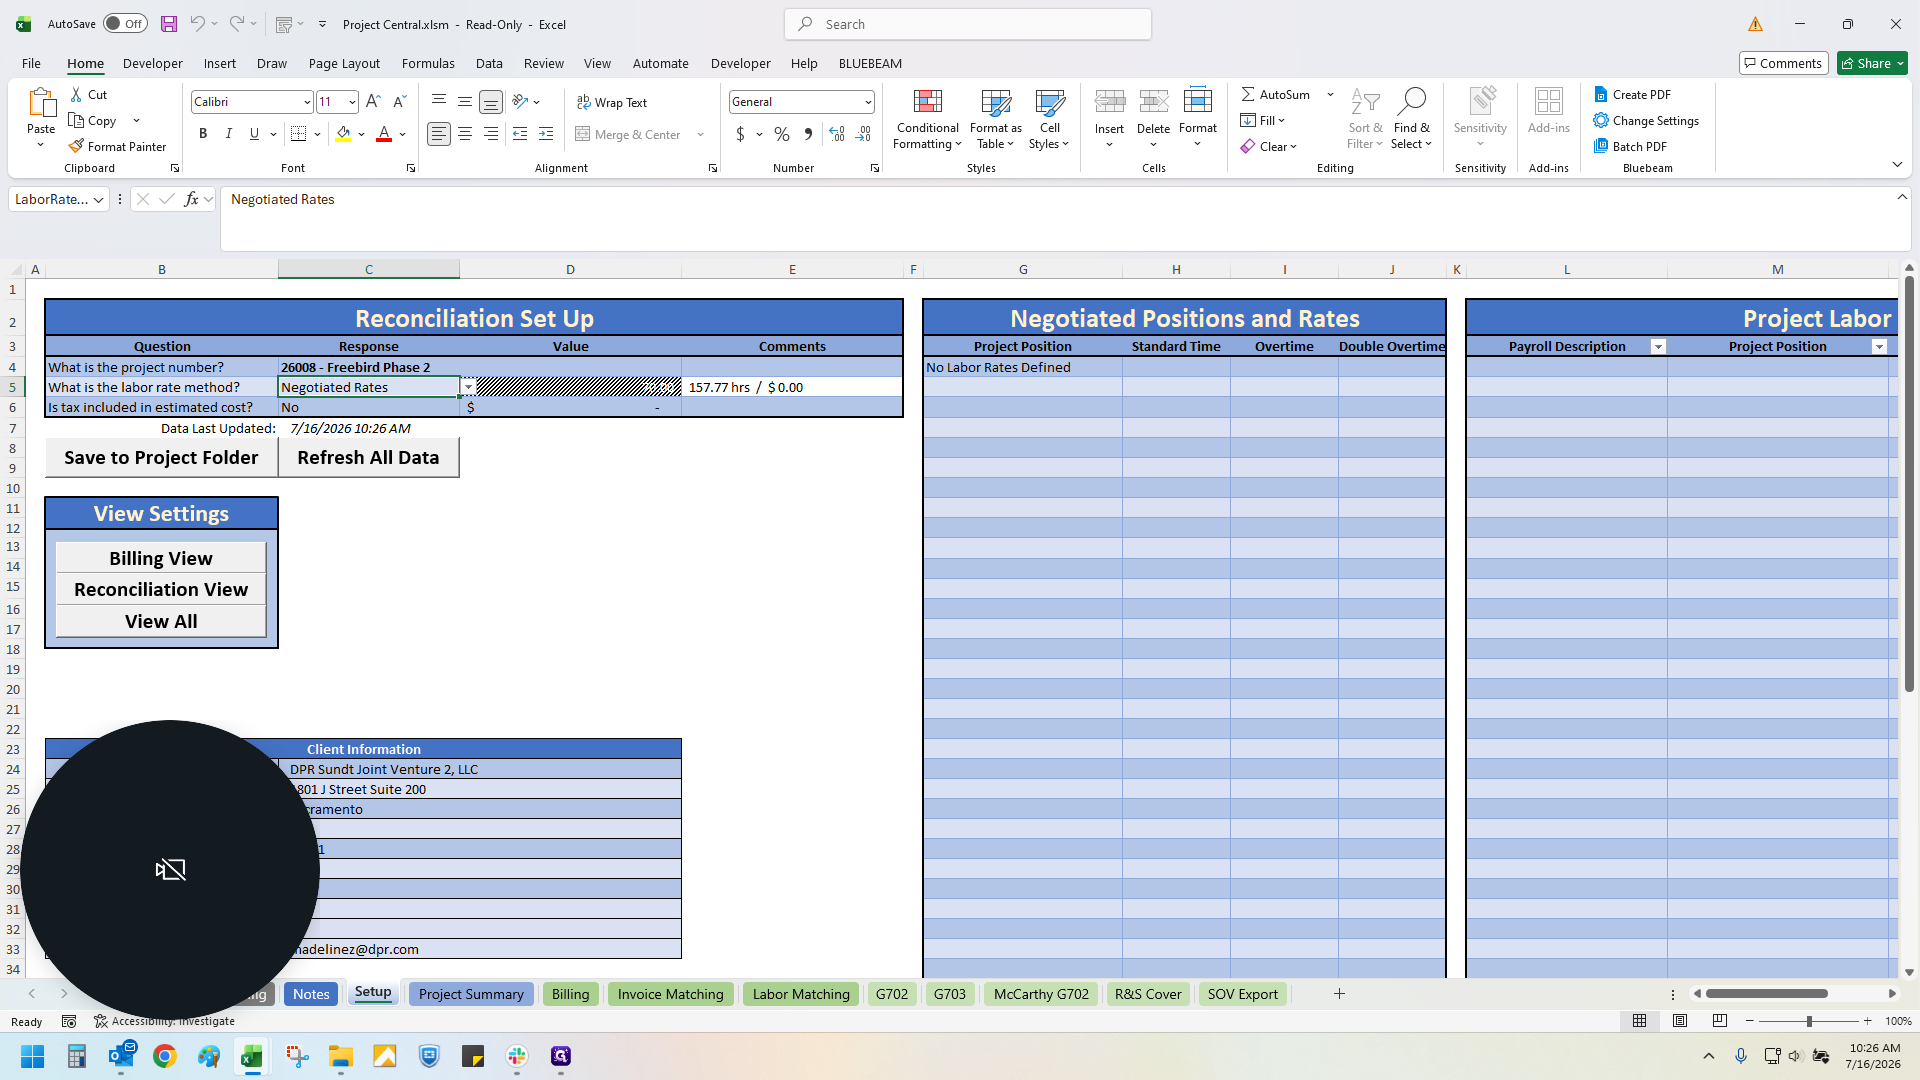
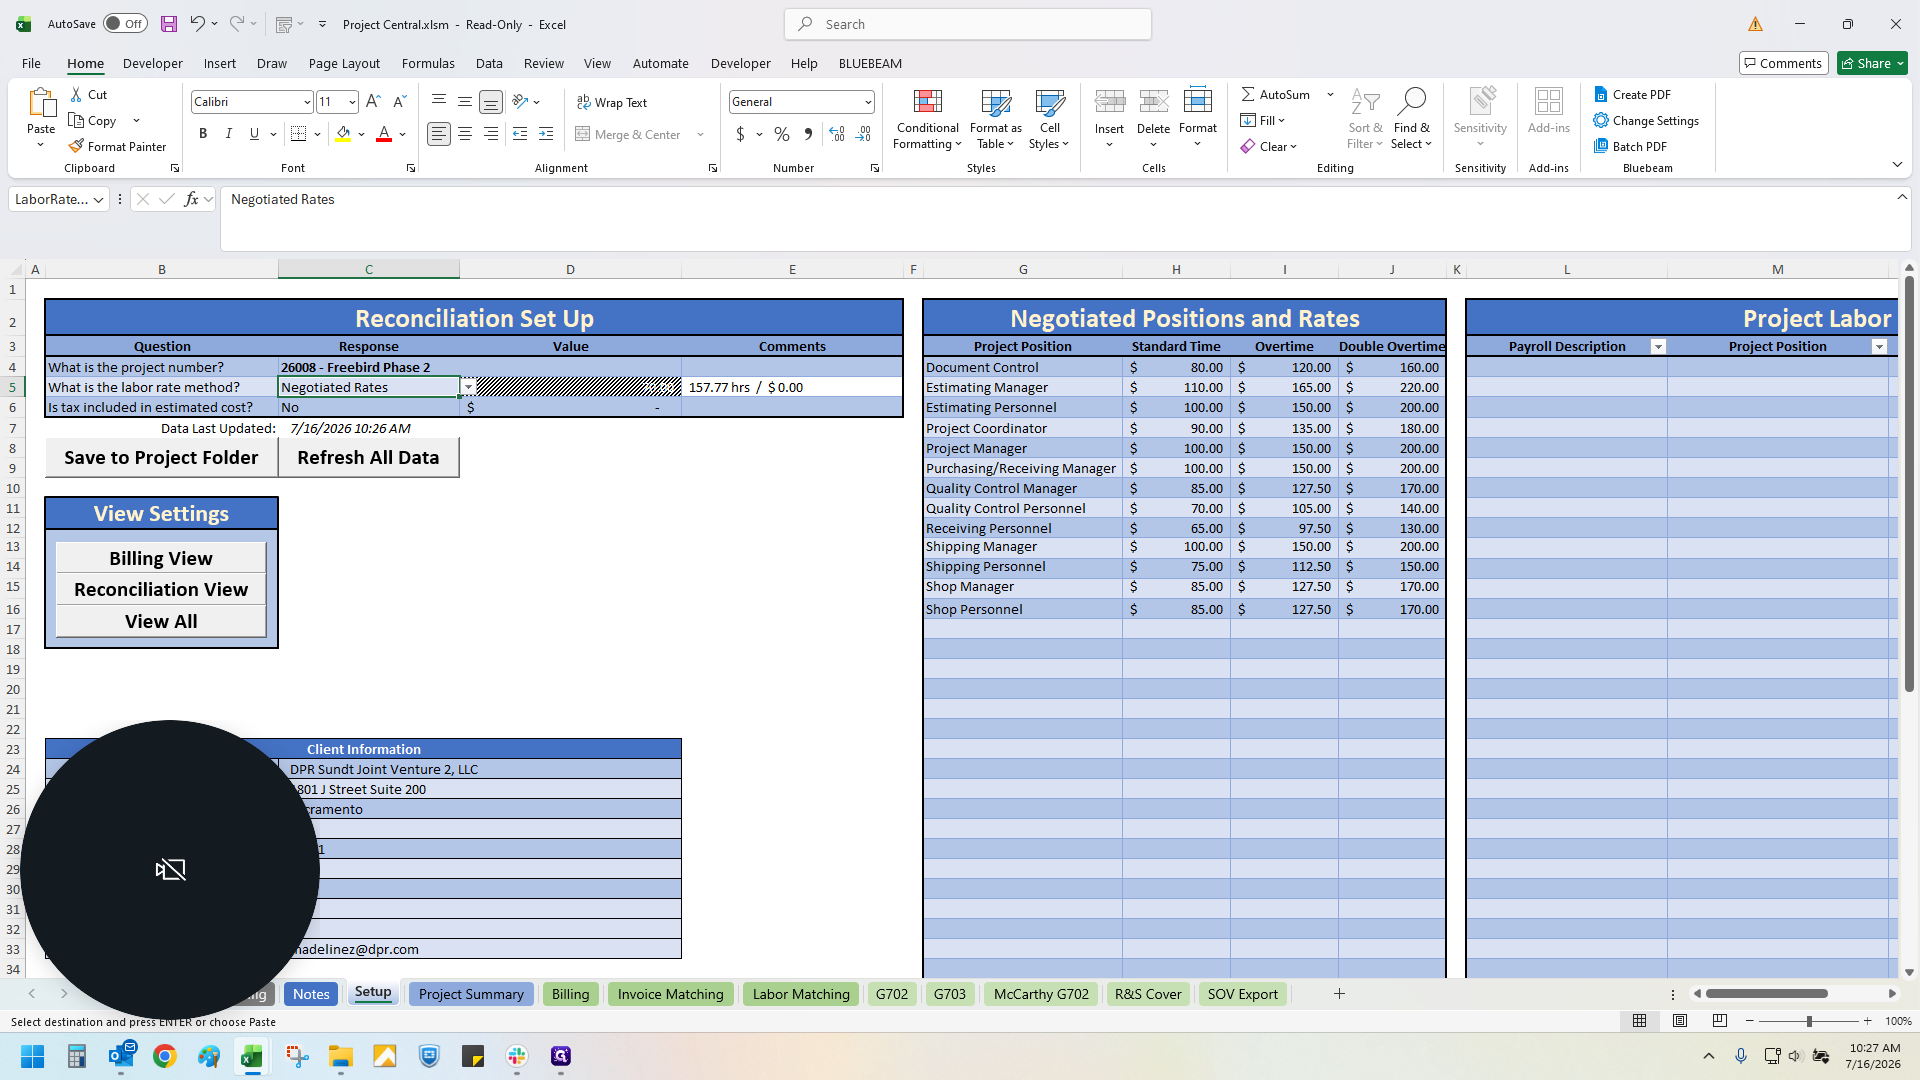
Navigate to the Setup tab within the workbook.
8
Click the project number field.
9
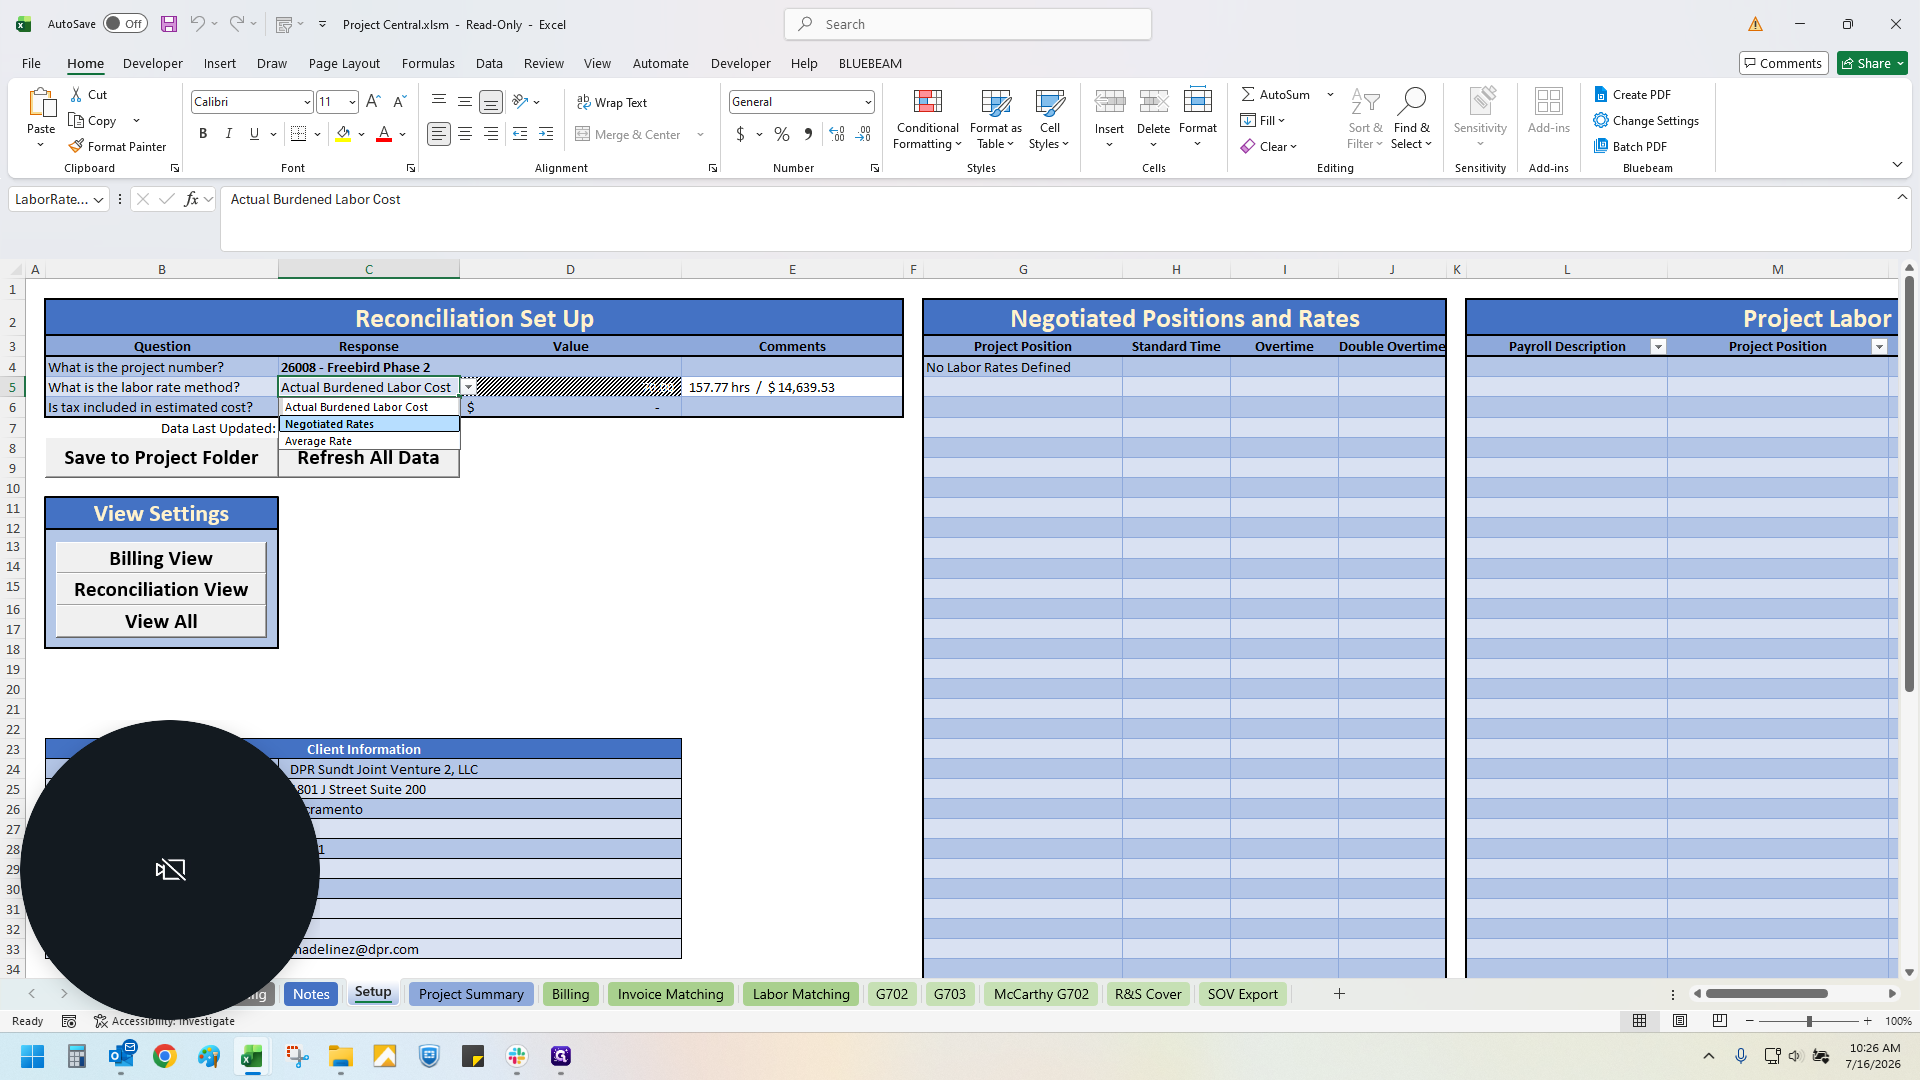
Type your new project number and press Enter.
10
Review your contract for negotiated labor rates, then use the dropdown to select the labor rate method.
To add your labor rates, you must unhide the Labor Rate Library:
11
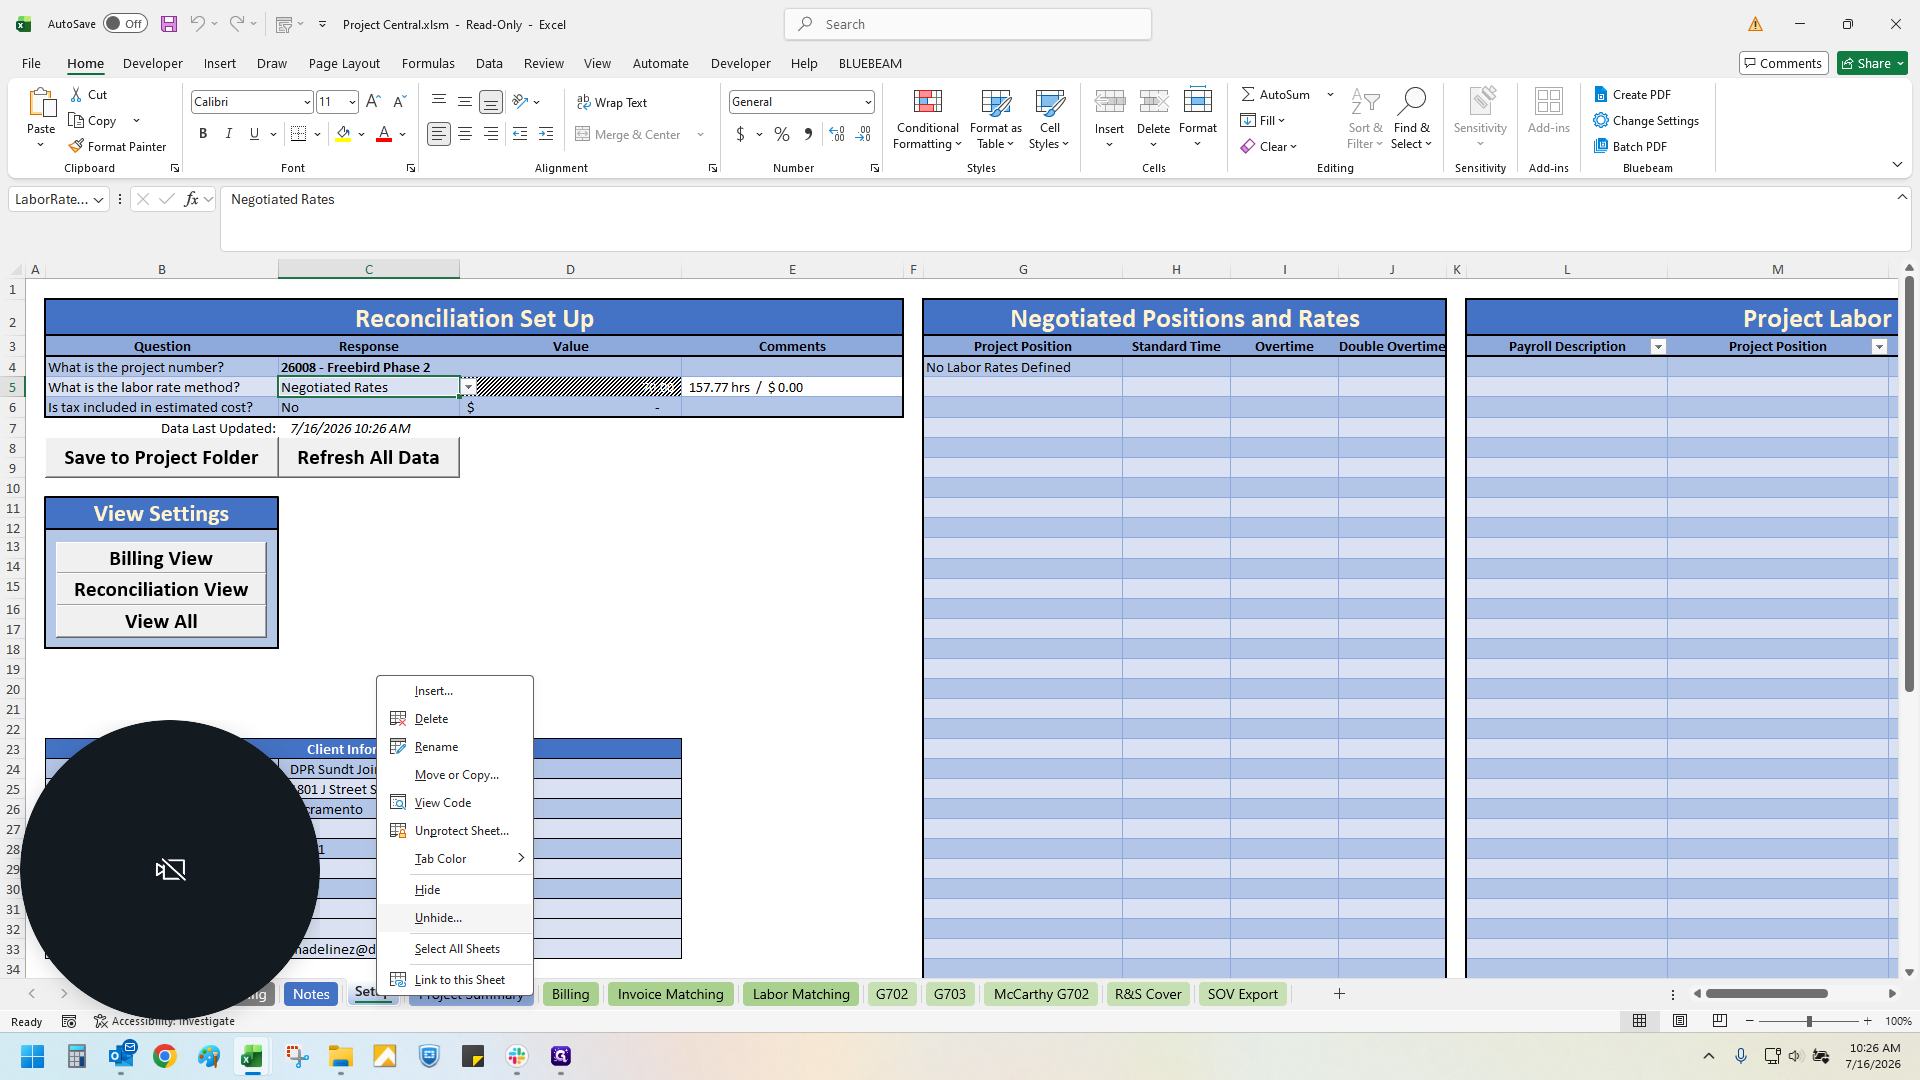
Right-click the Setup tab at the bottom of the window.
12
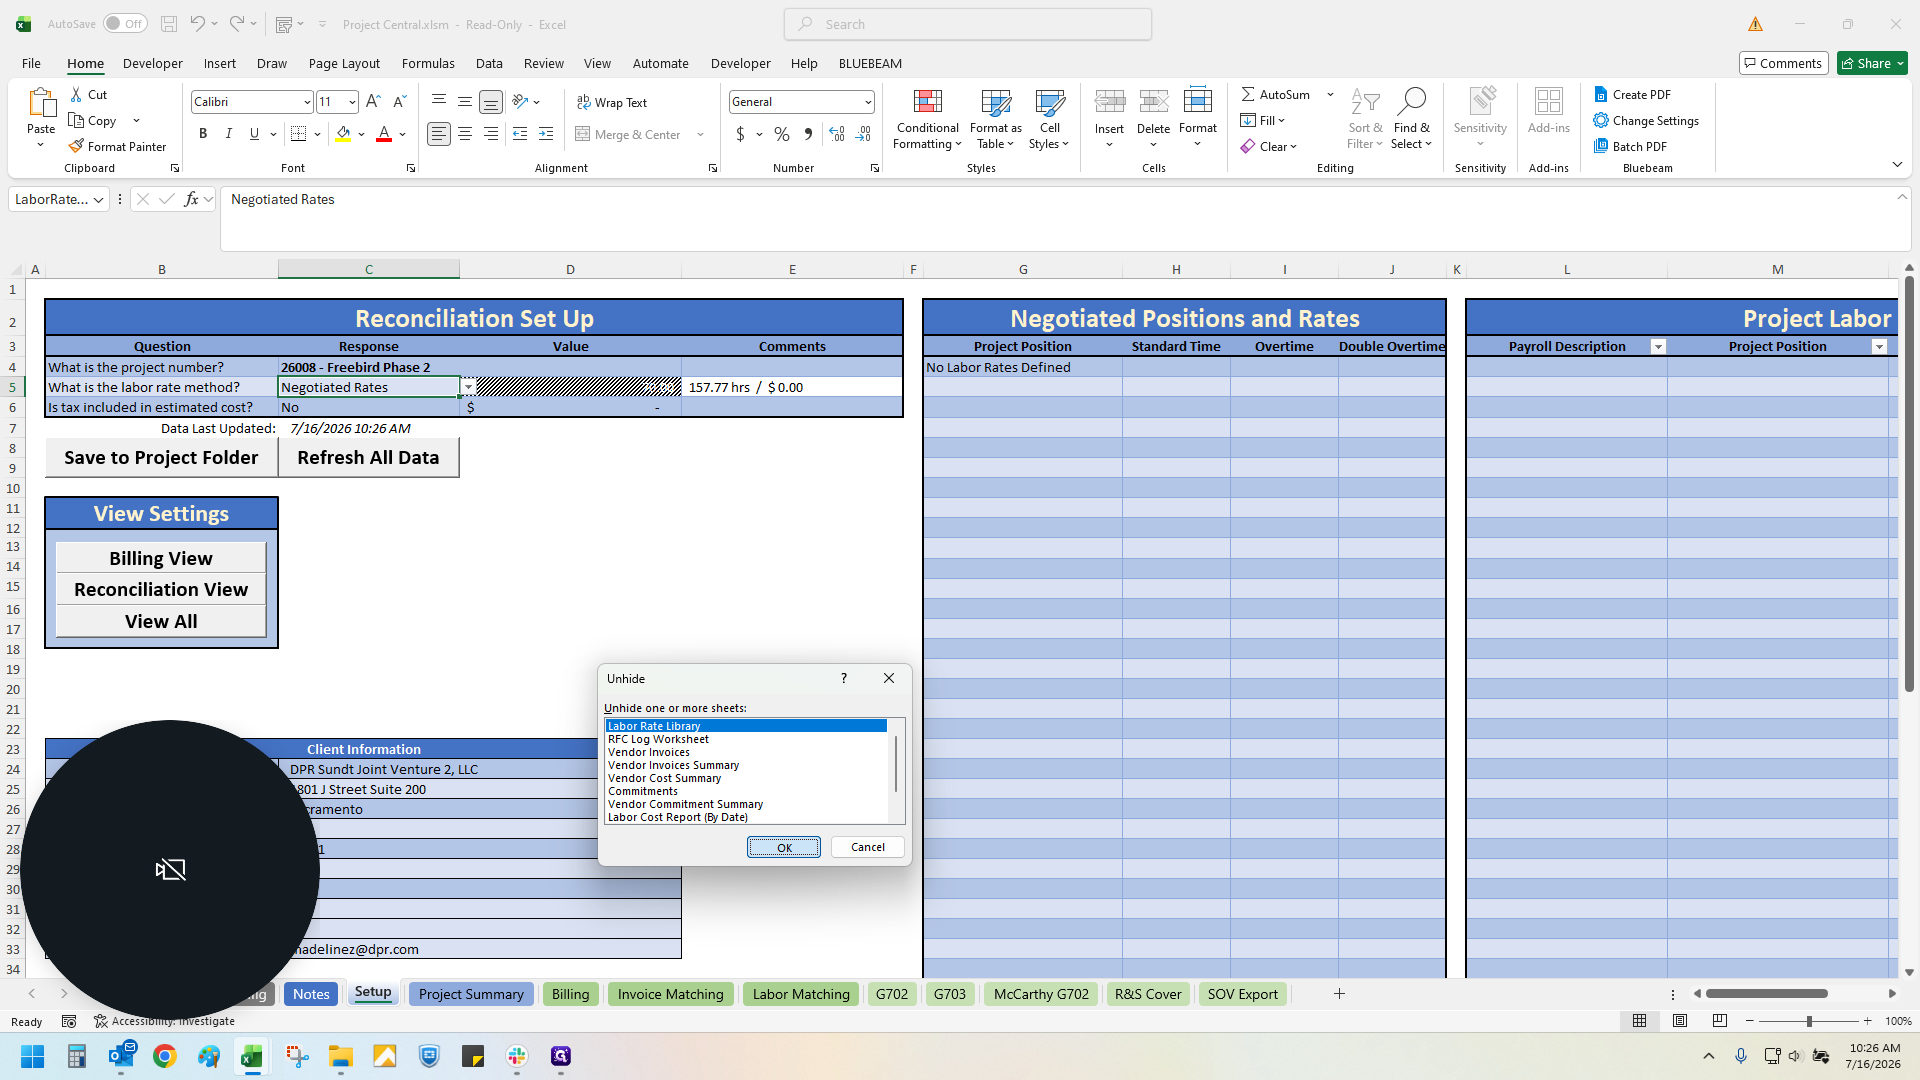
Click Unhide.
13
Select the Labor Rate Library worksheet and click OK.
14
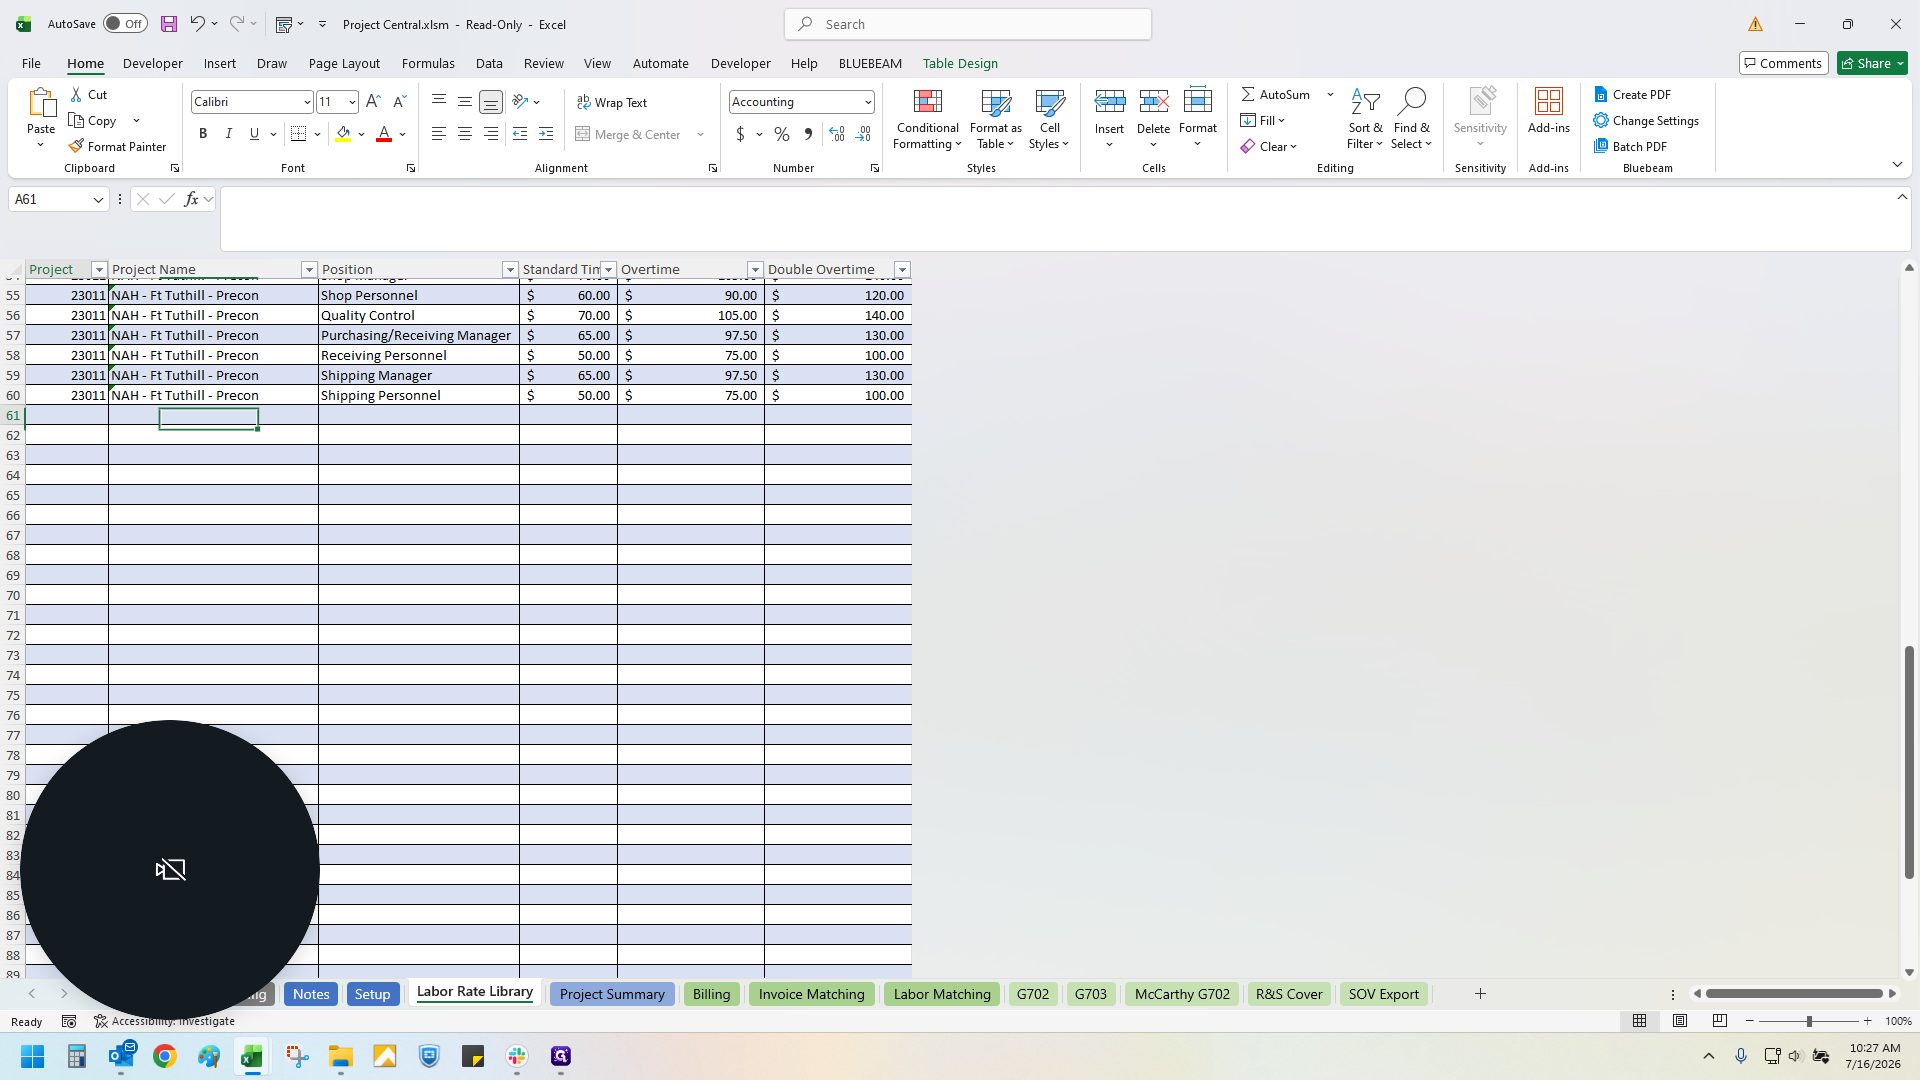
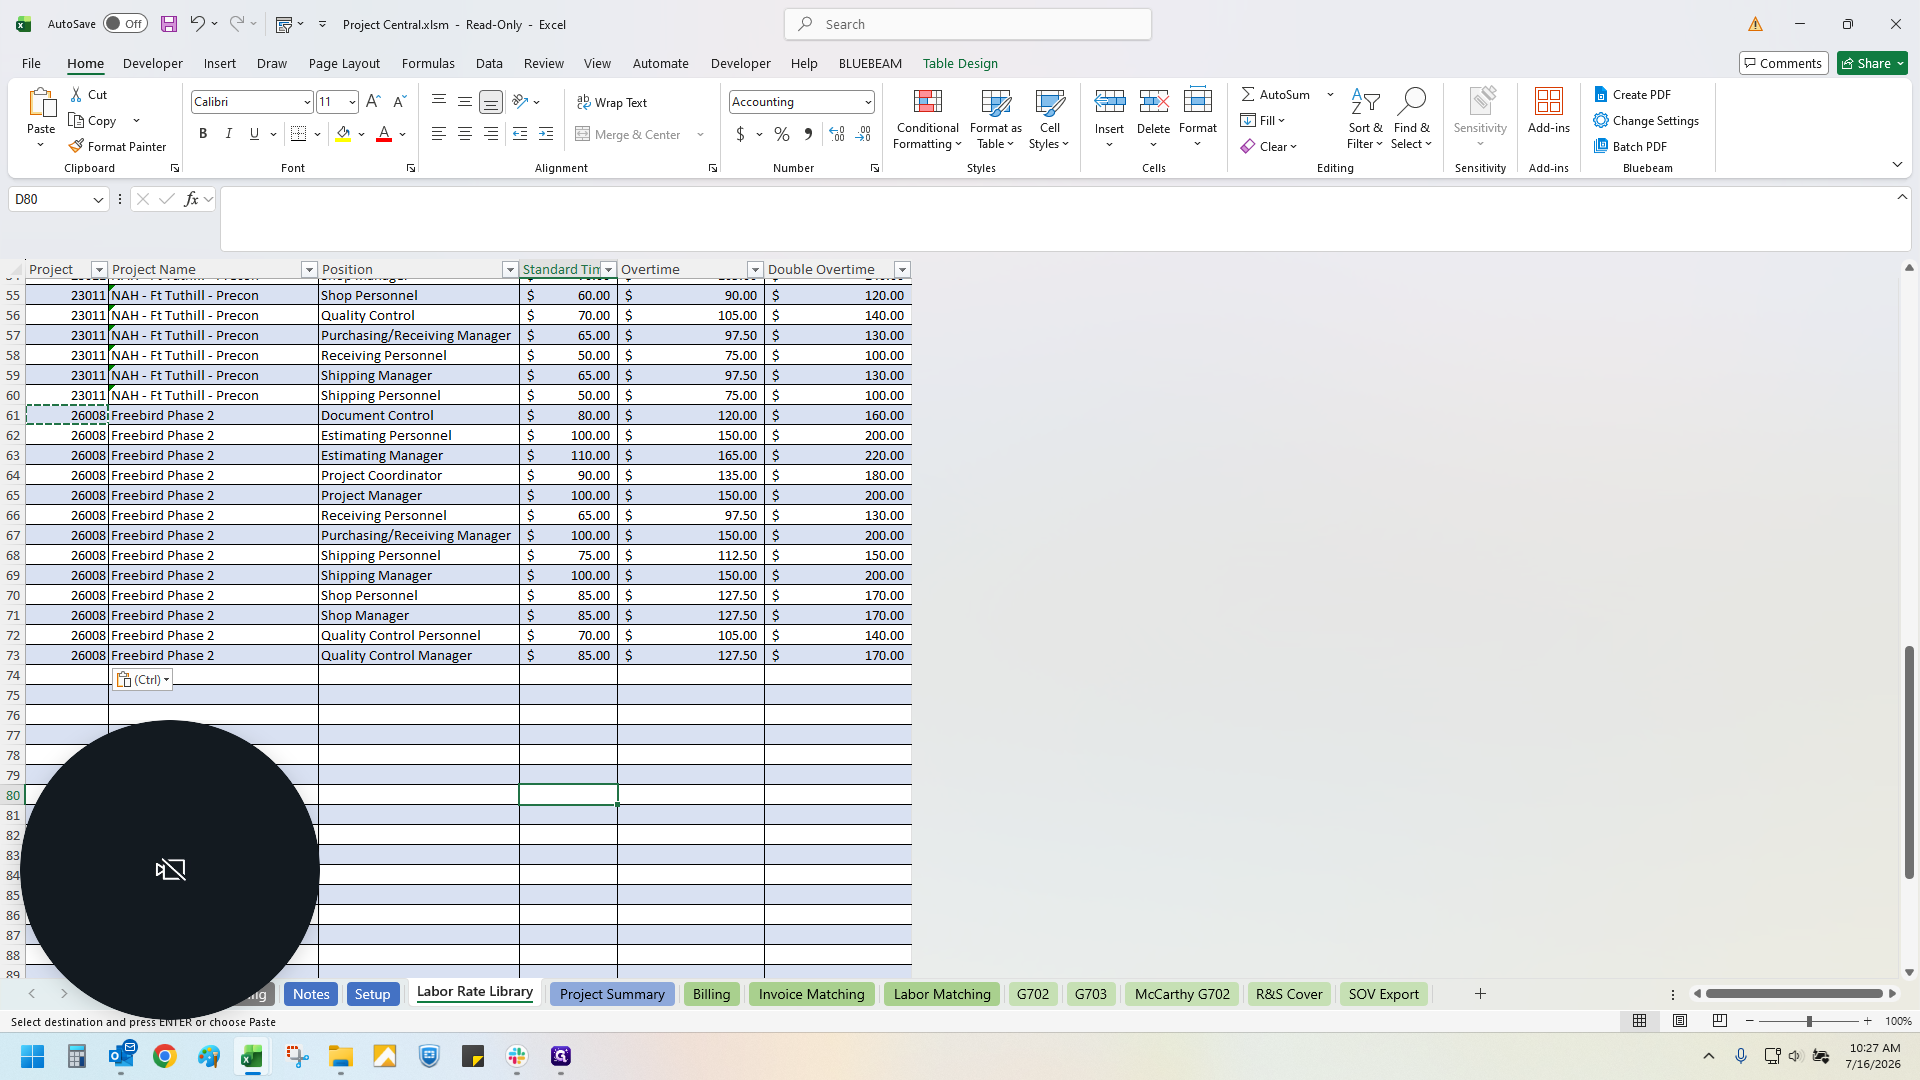
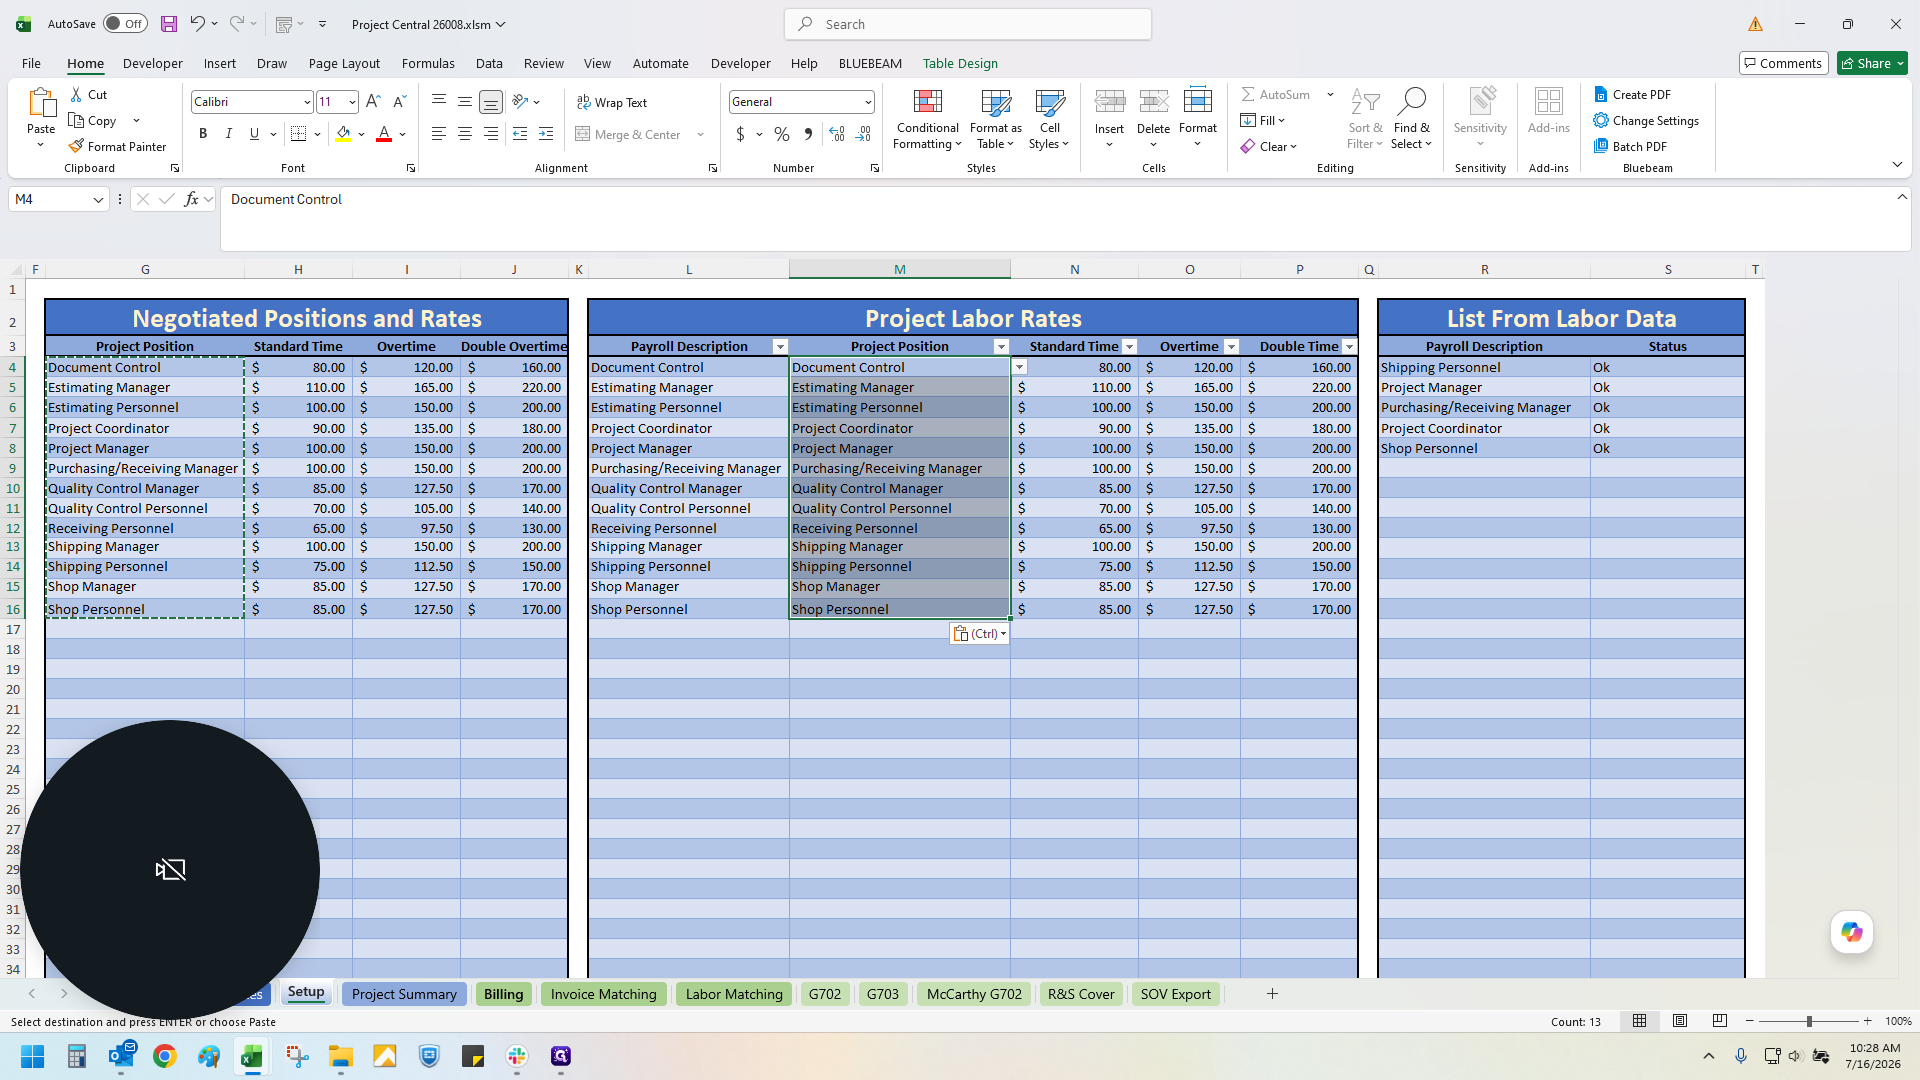
Scroll down to an empty row in the table.
15
Enter your project number for each line to connect it to Foundation.
16
Copy and paste your negotiated positions, rates, and titles into the library.
17
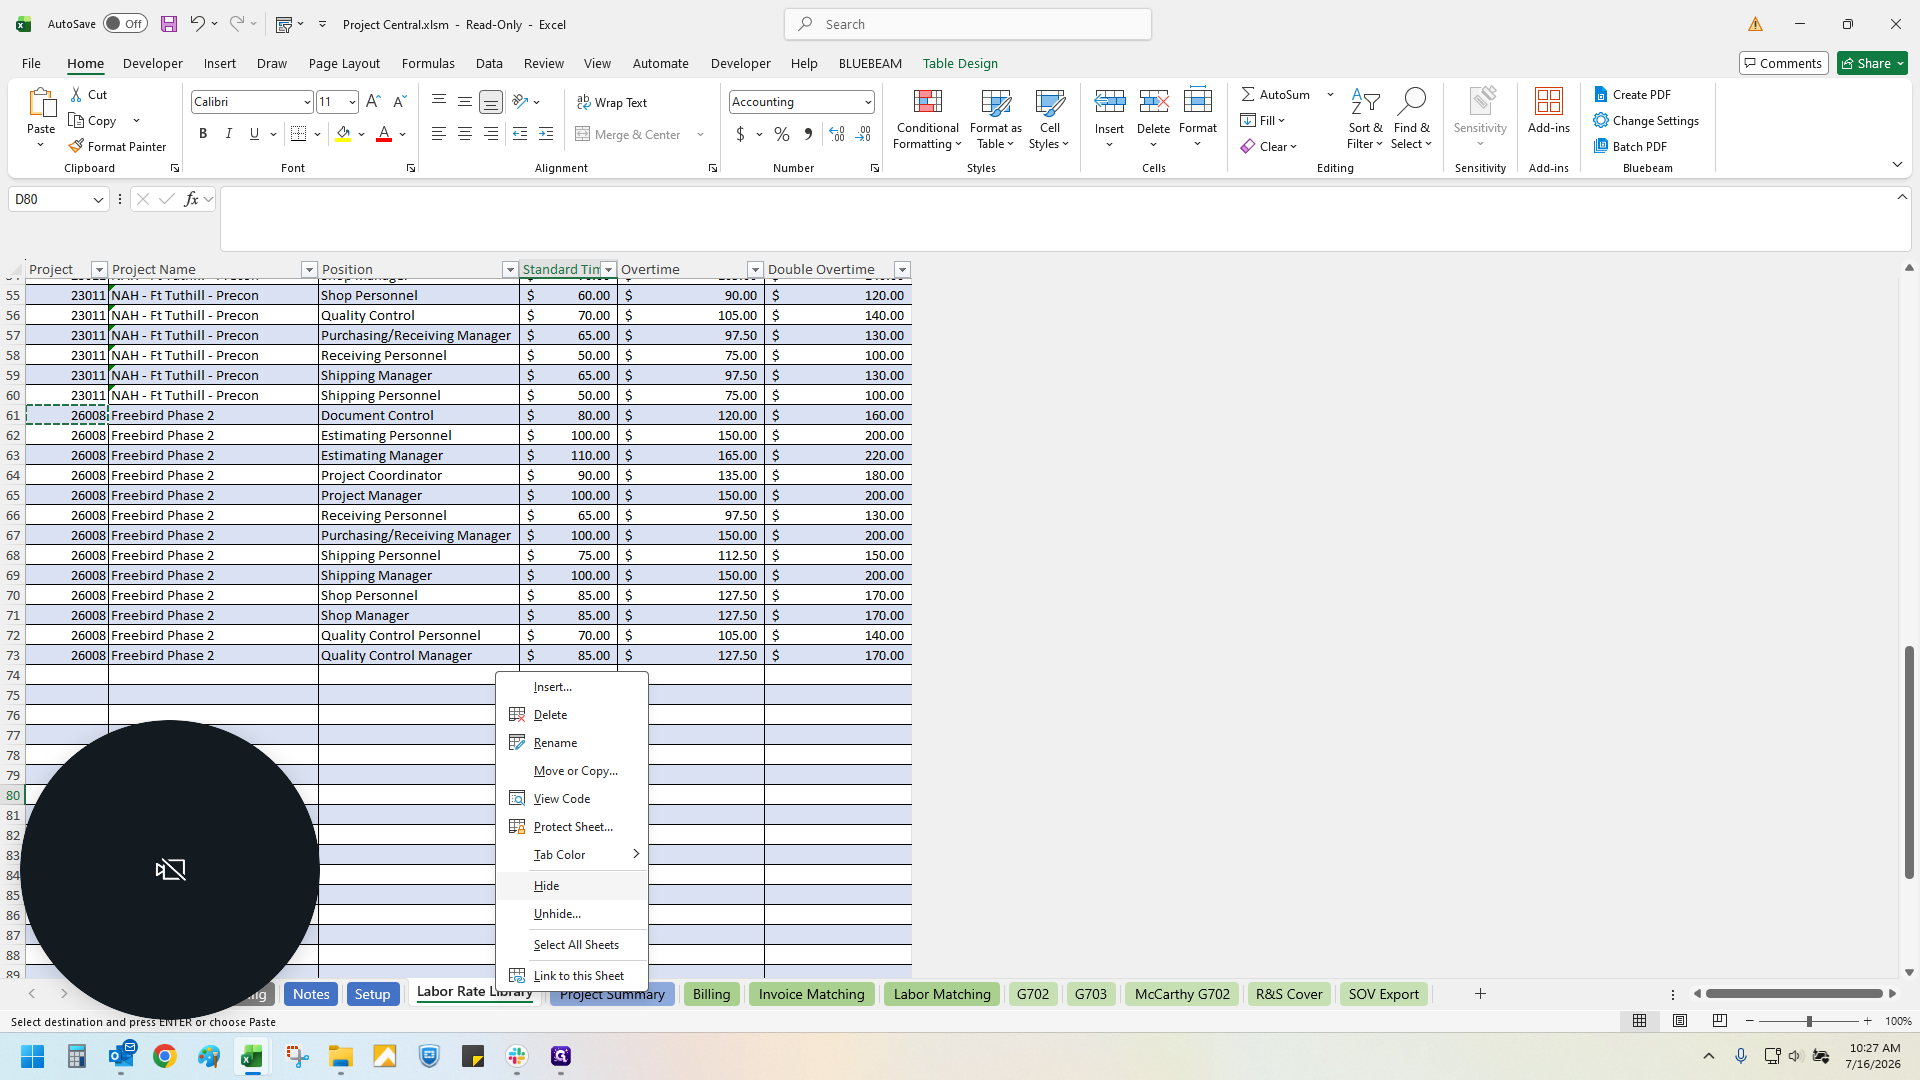
Right-click the Labor Rate Library tab.
18
Click Hide to remove the tab from view.
19
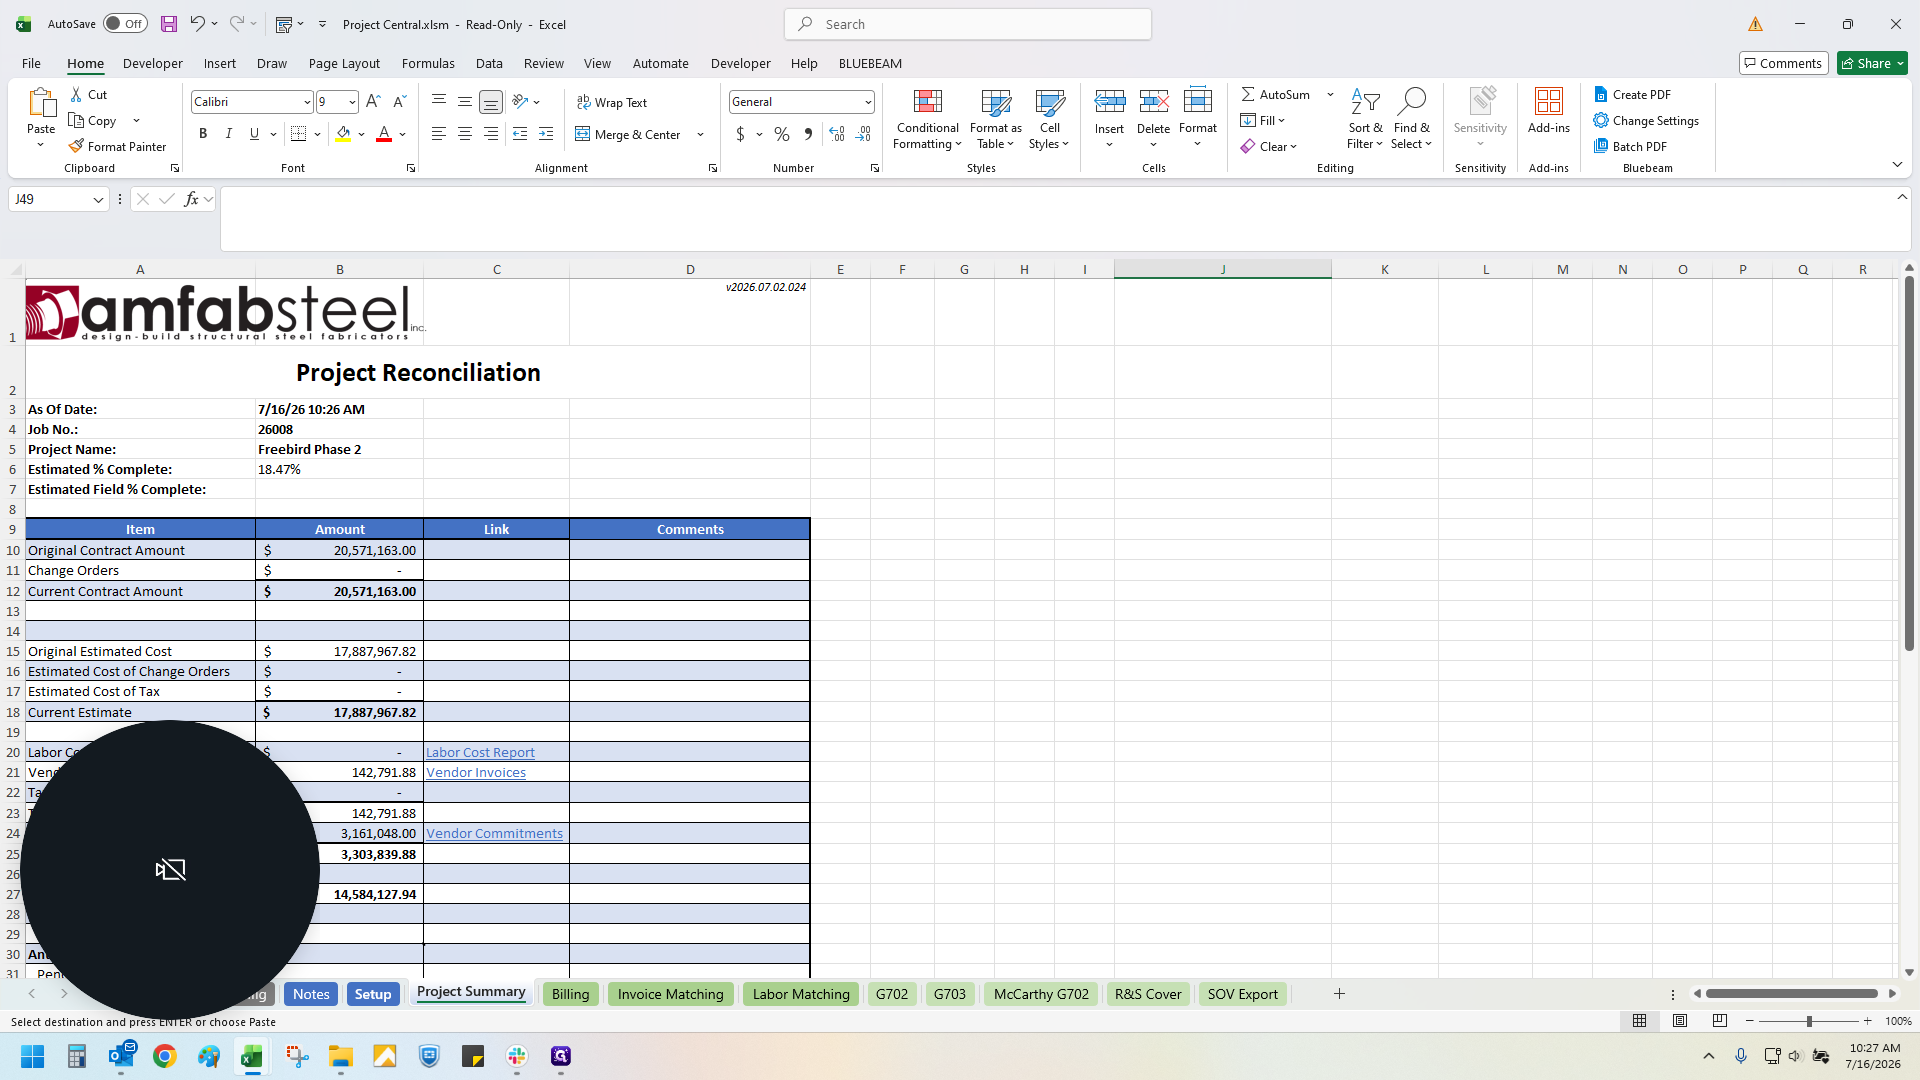
Return to the Setup tab.
Save to the Project Folder
20
Click Save to Project Folder to continuously save your data.
21
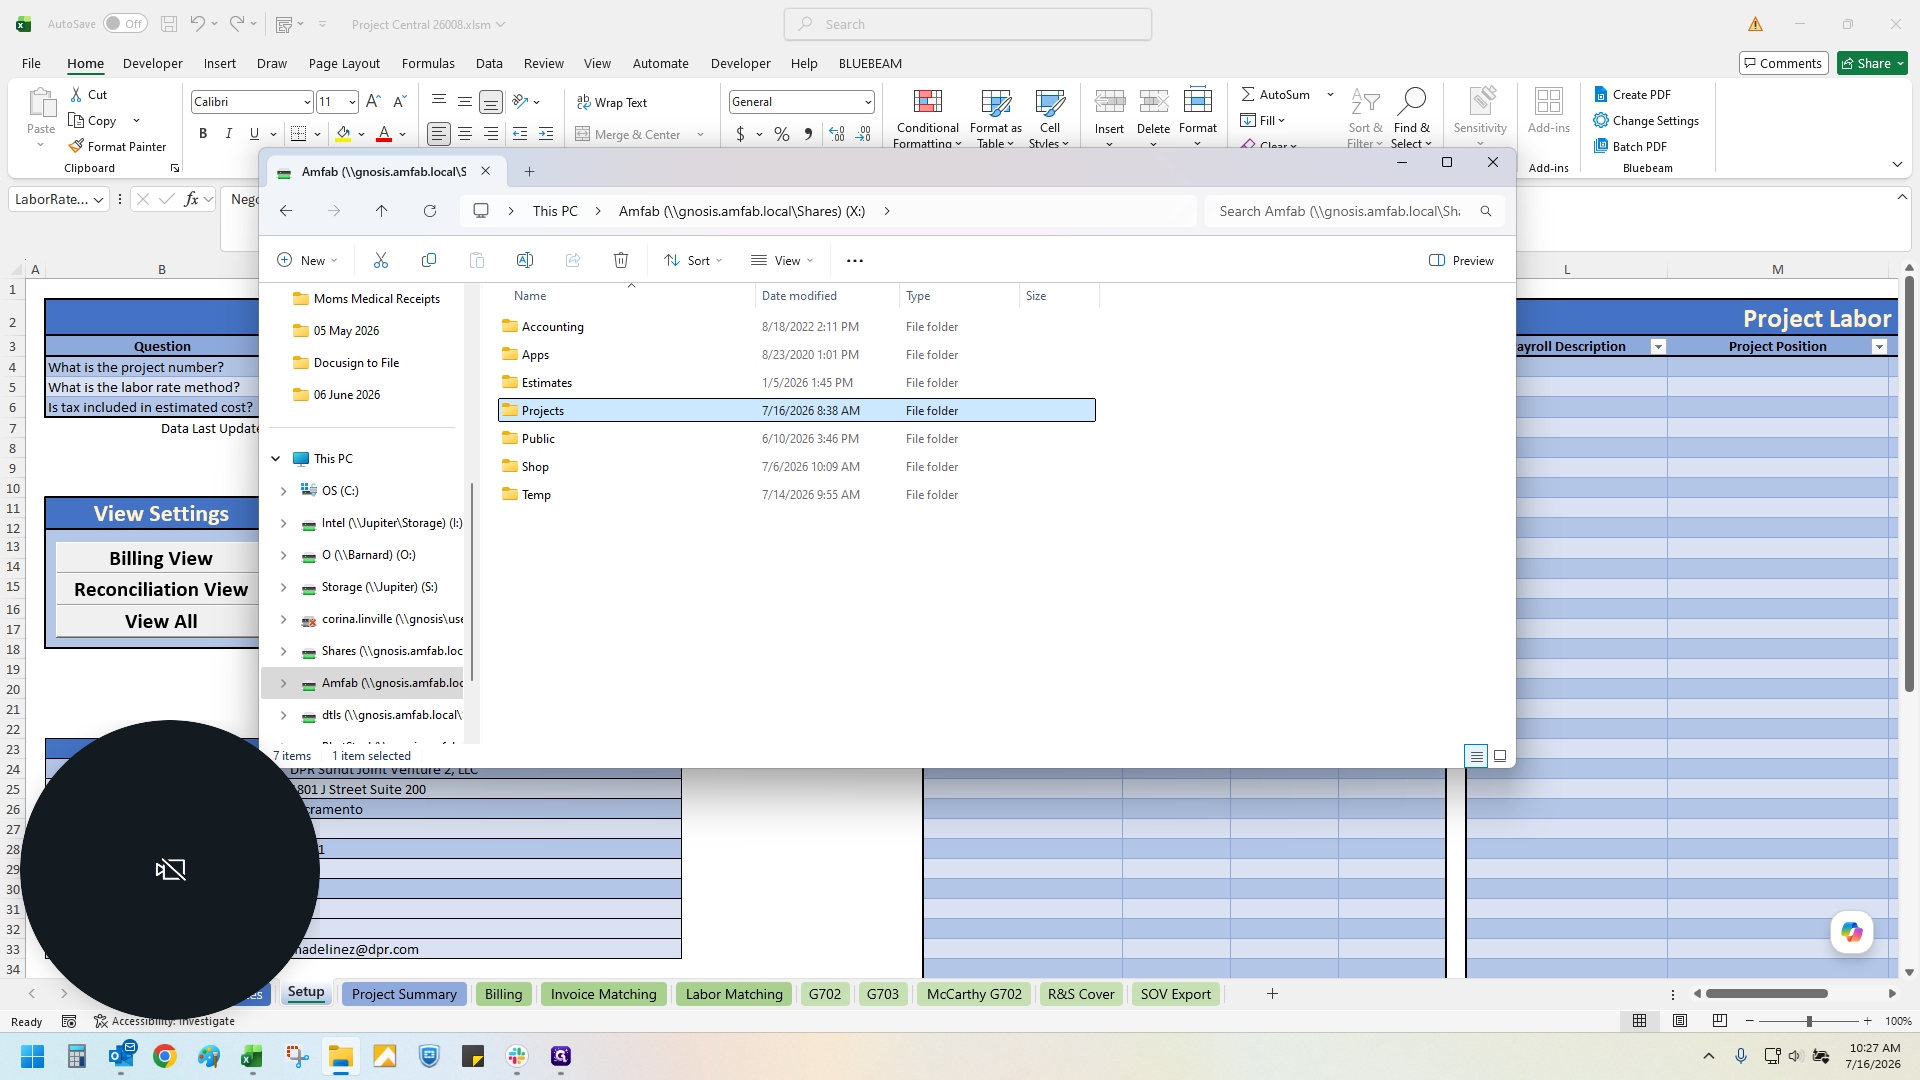
Navigate to your network shares to verify the save location.
22
Double-click the Projects folder.
23
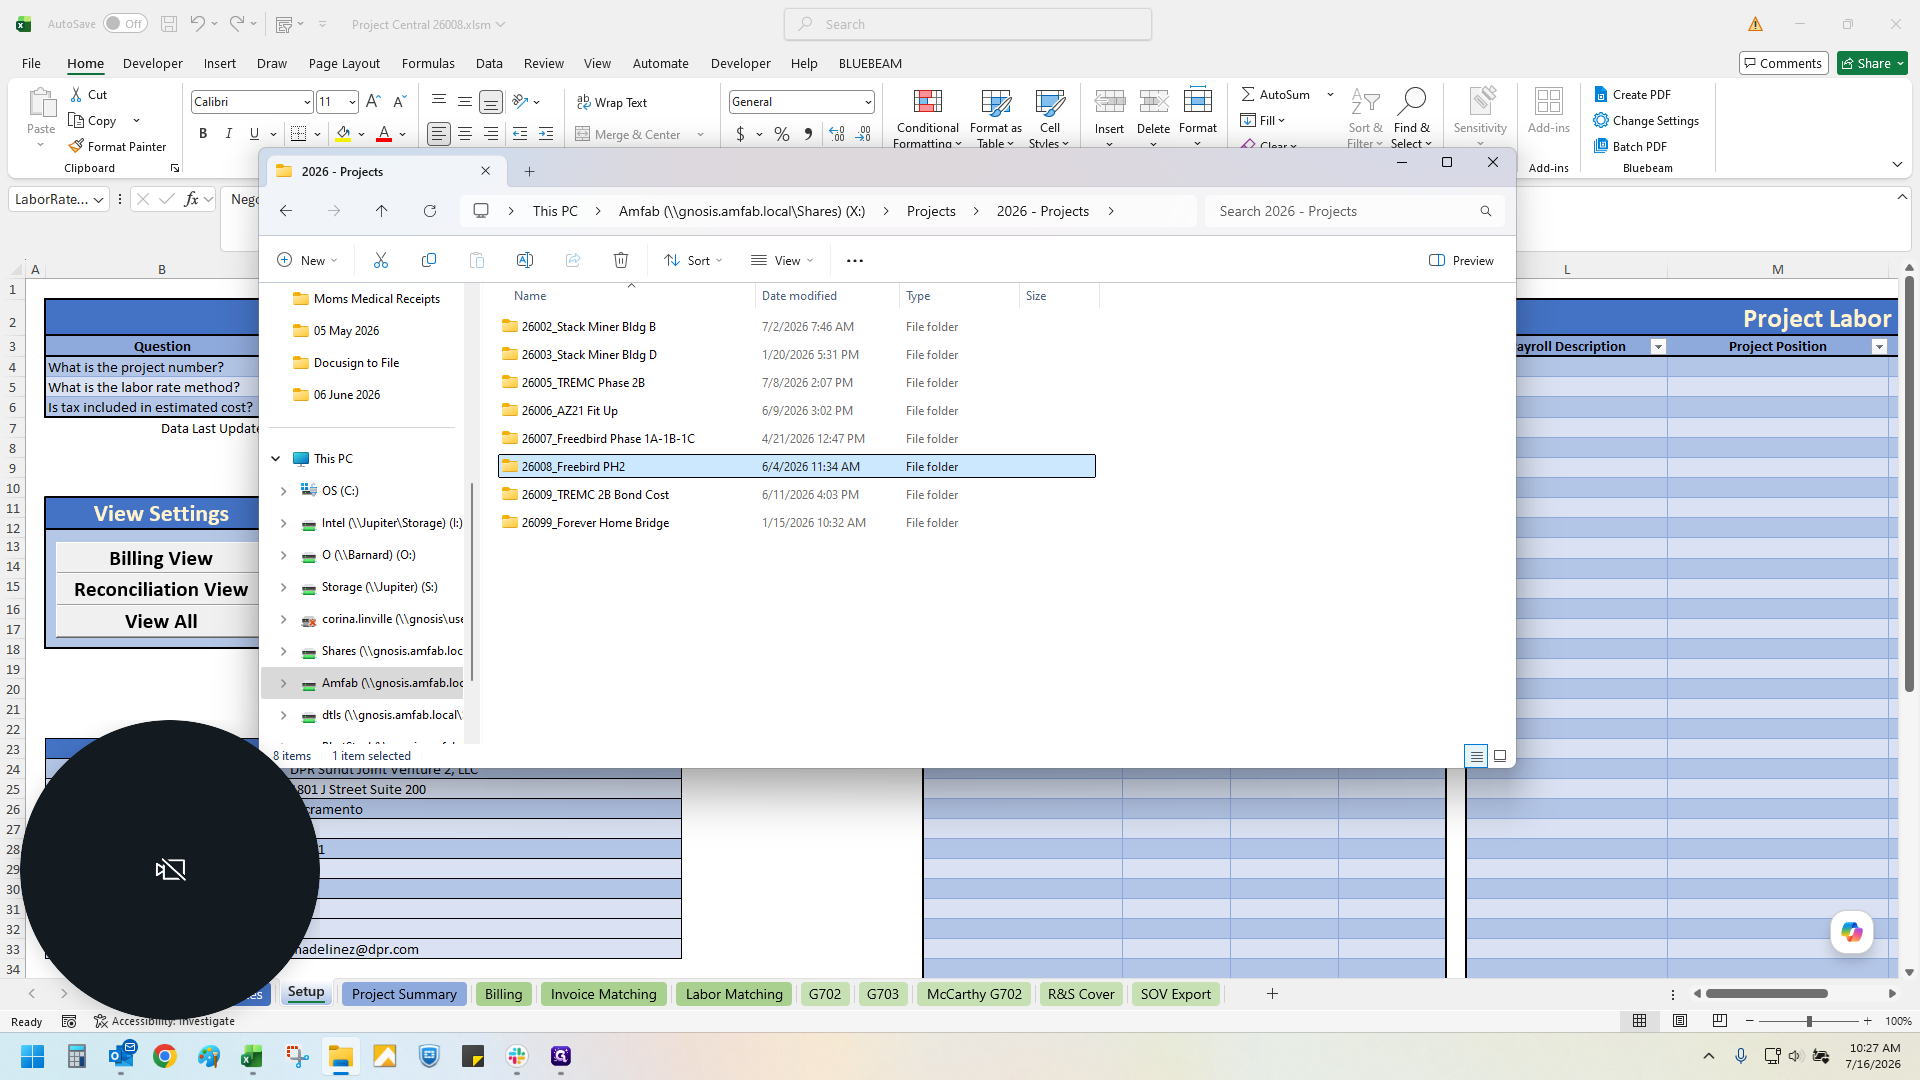
Open your designated project folder.
24
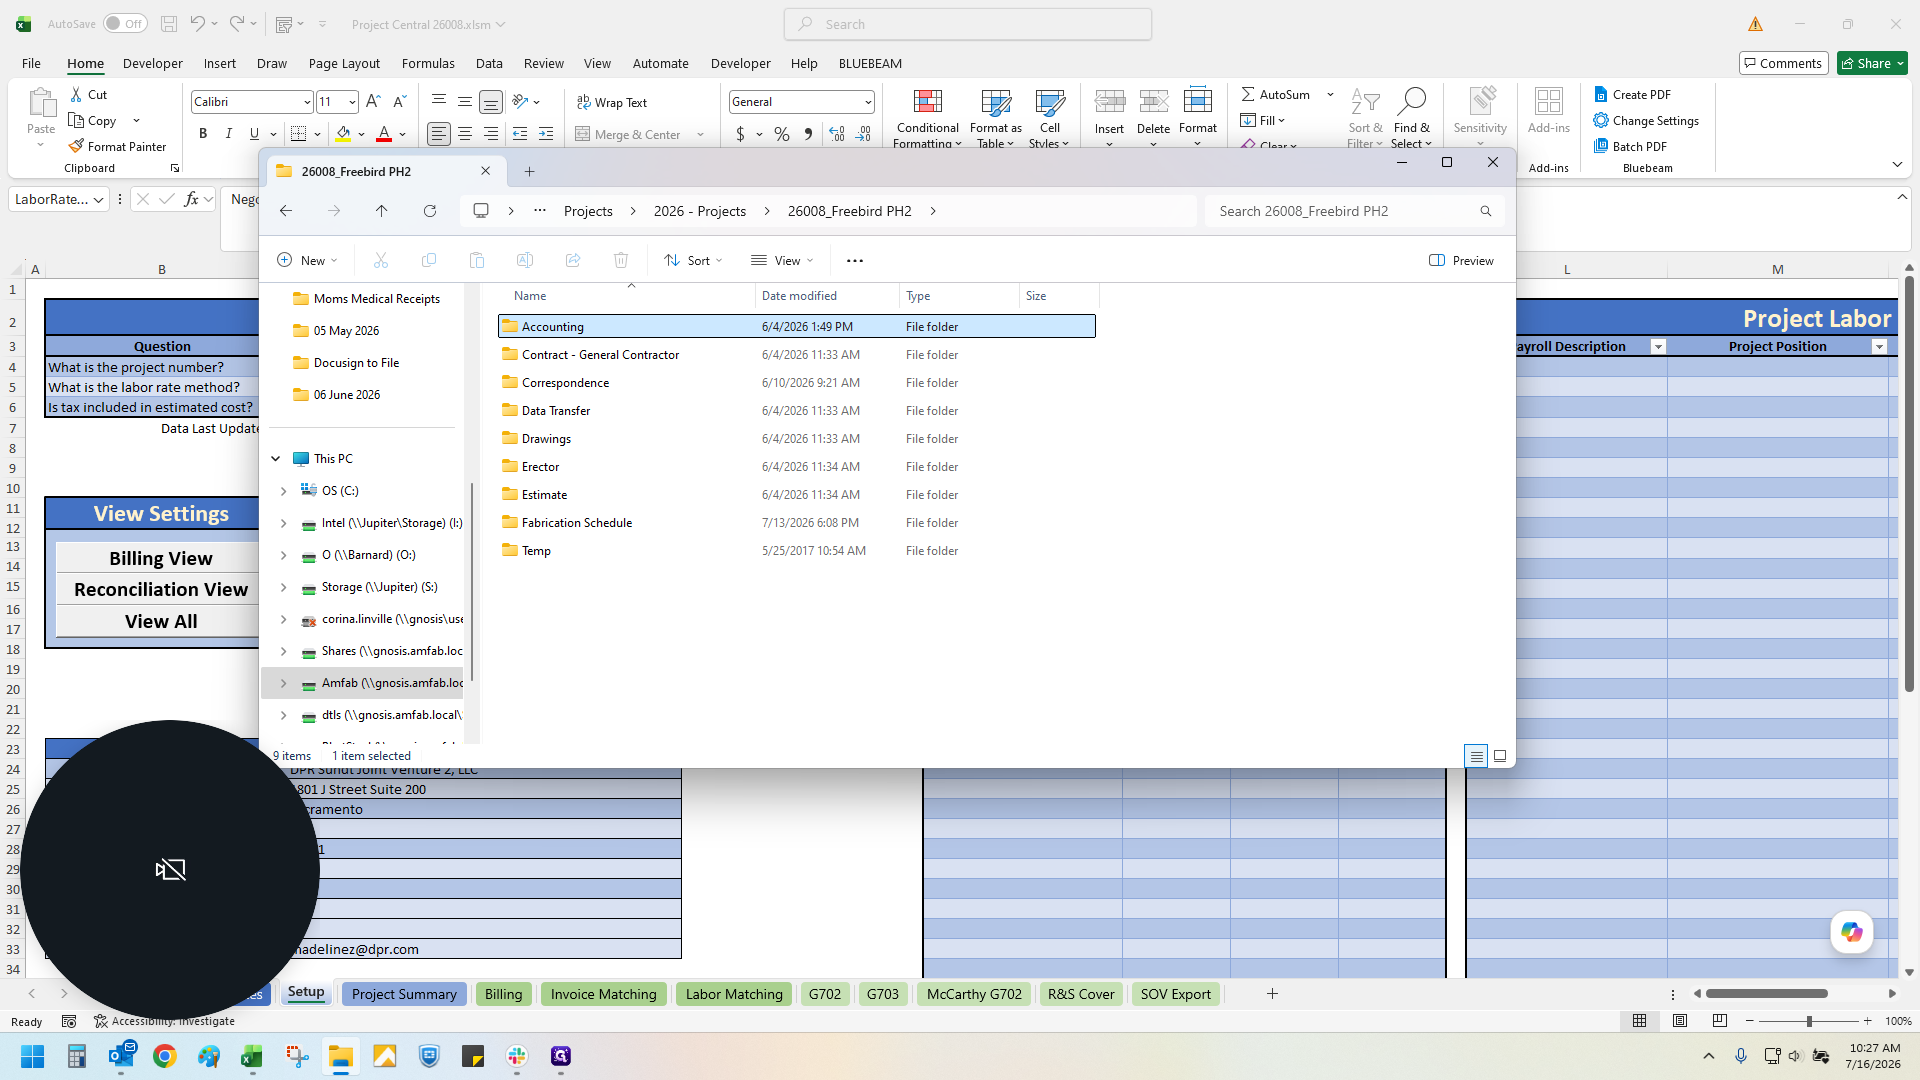
Double-click Accounting, then Project Central to confirm your new PC workbook is saved.
Configure Project Billing
25
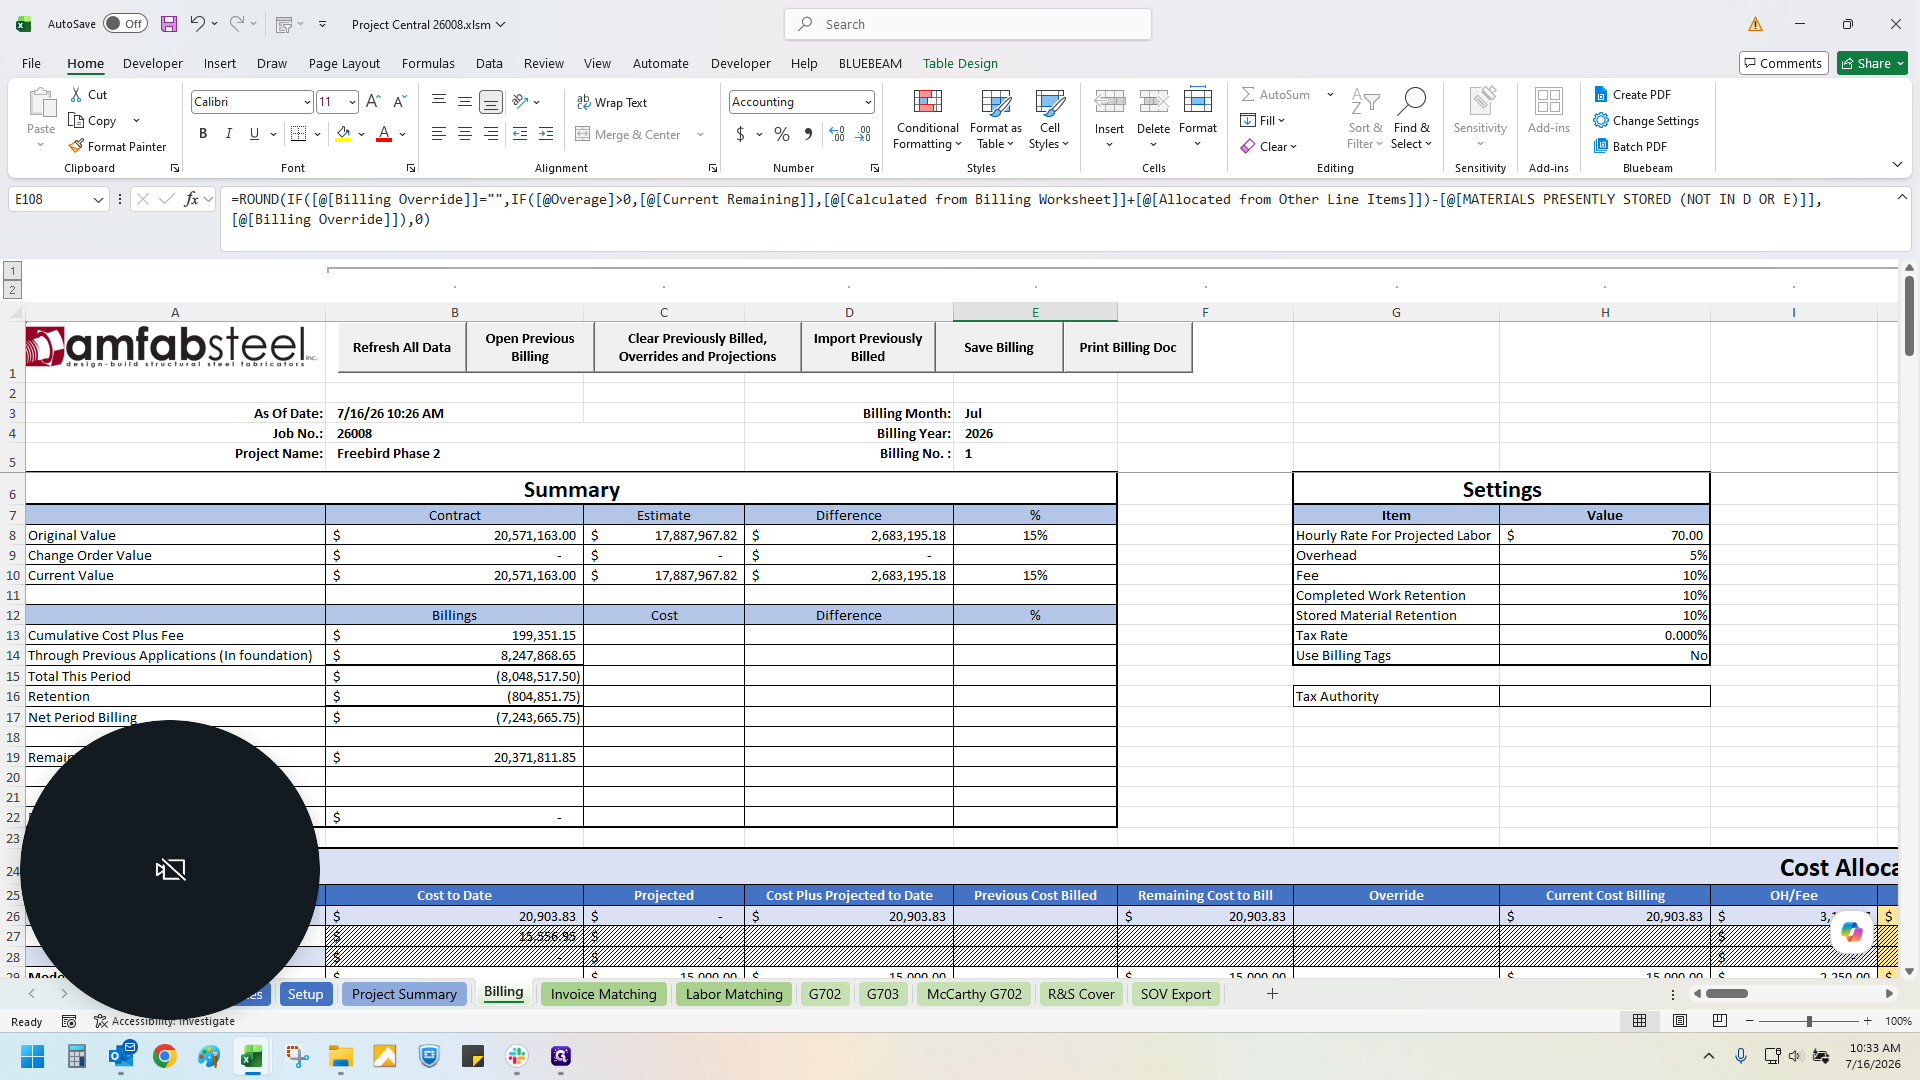
Navigate to the Billing tab.
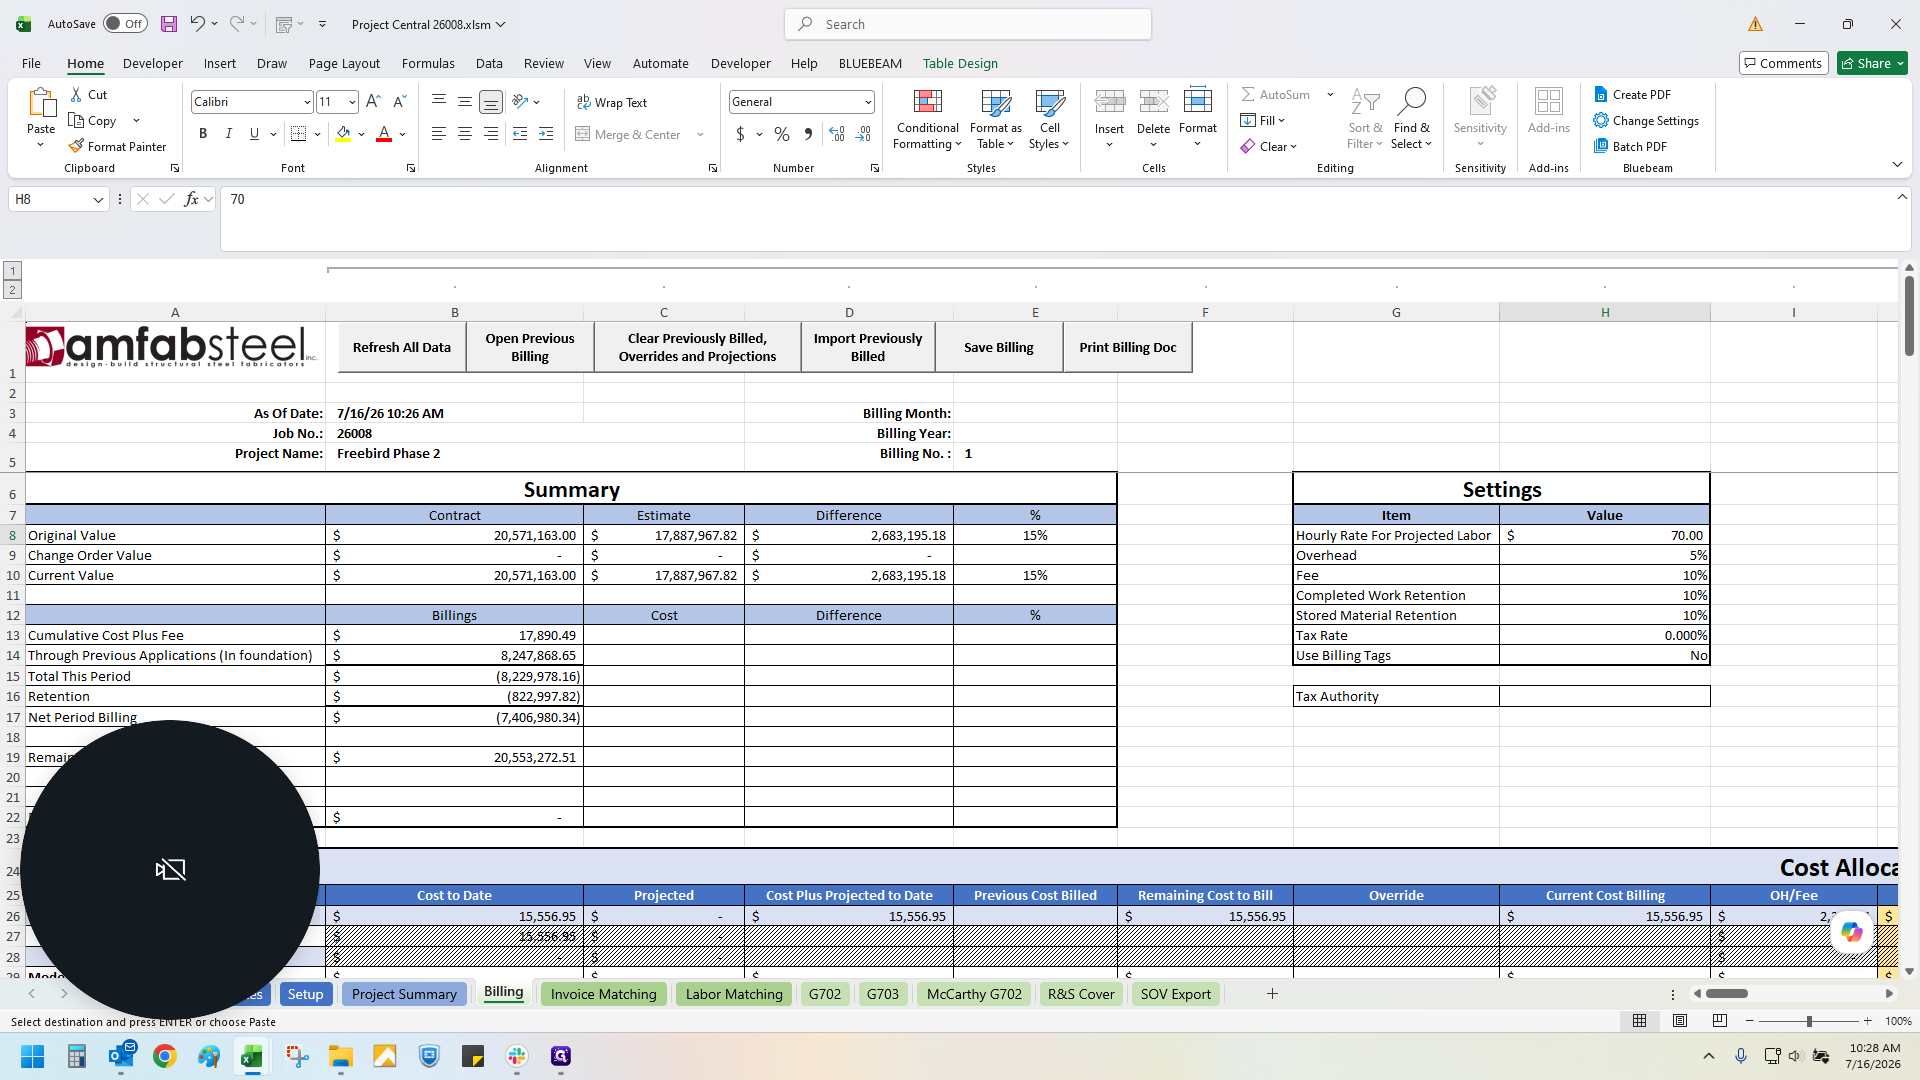
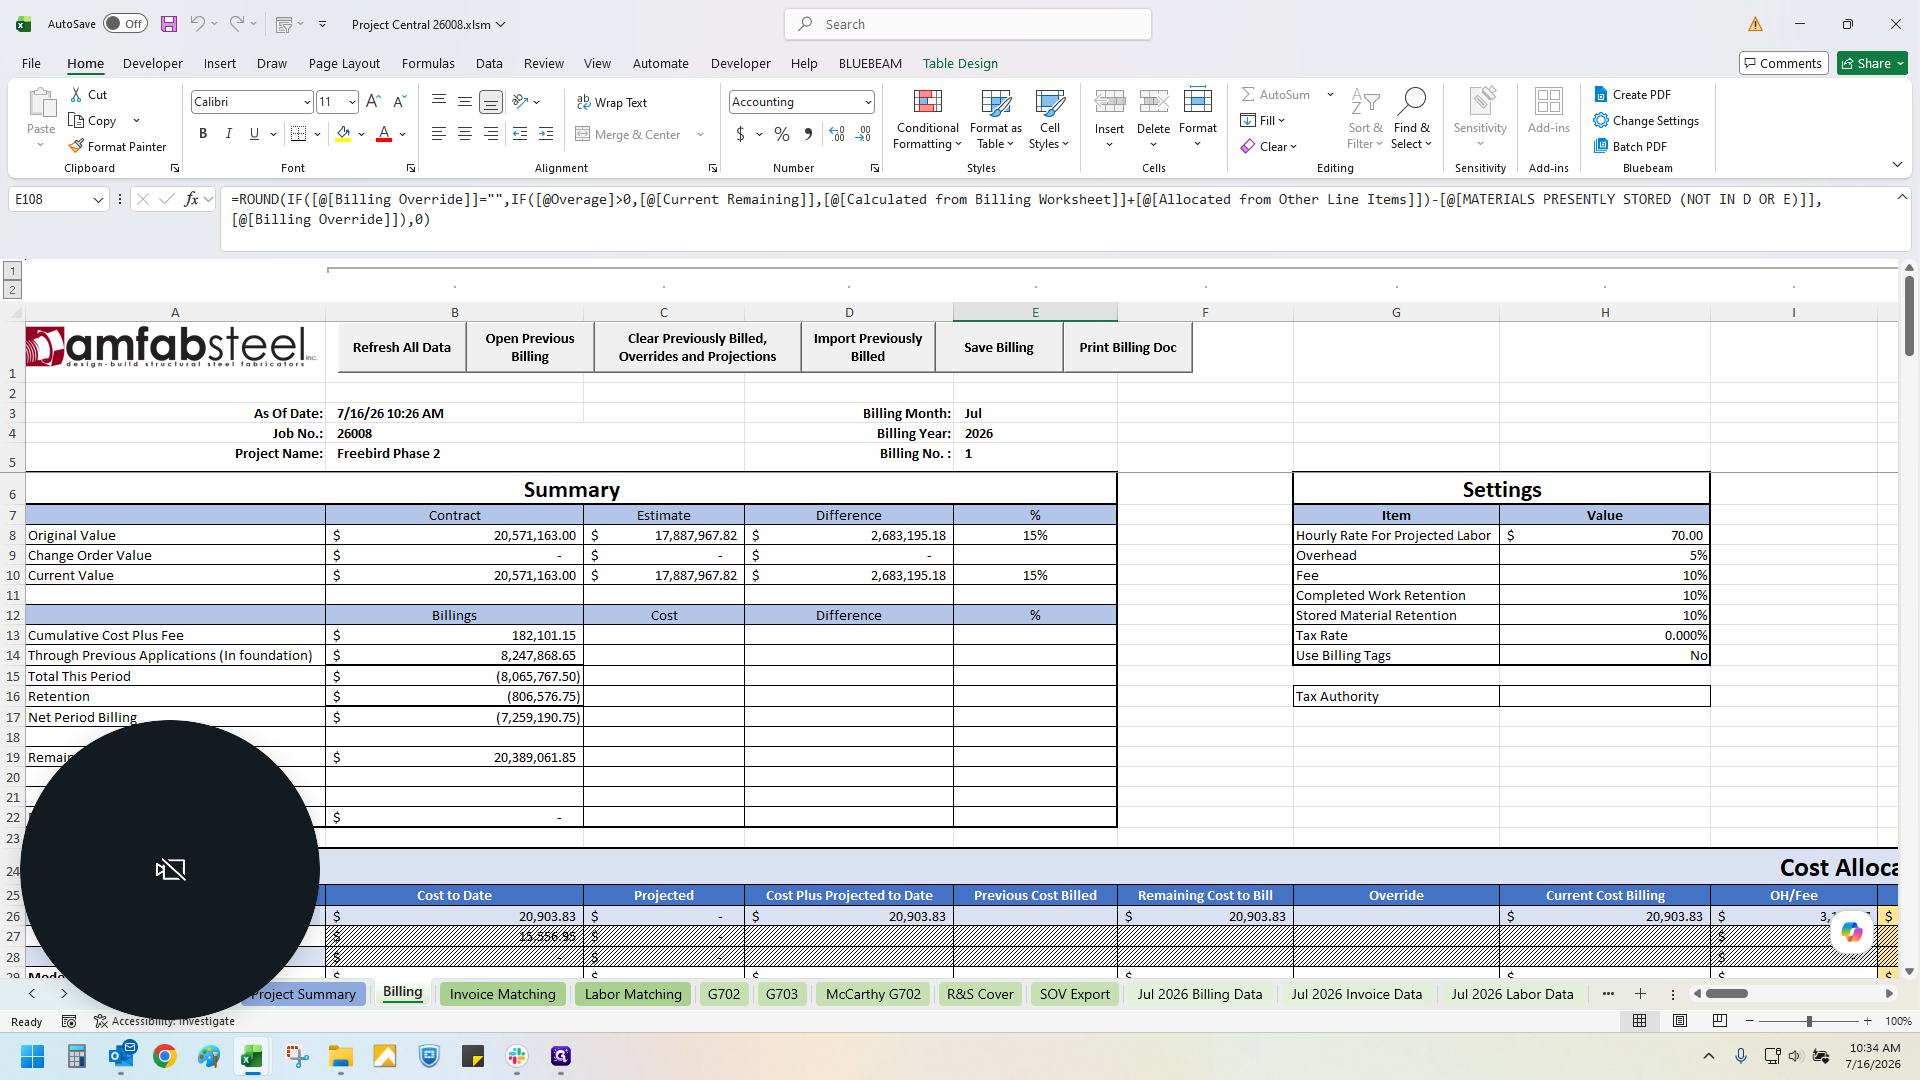
Review your contract estimate to confirm financial variables like projected labor rate, profit and overhead fees, and retention percentages.
26
Update the contract values in the settings panel to match your estimate.
27
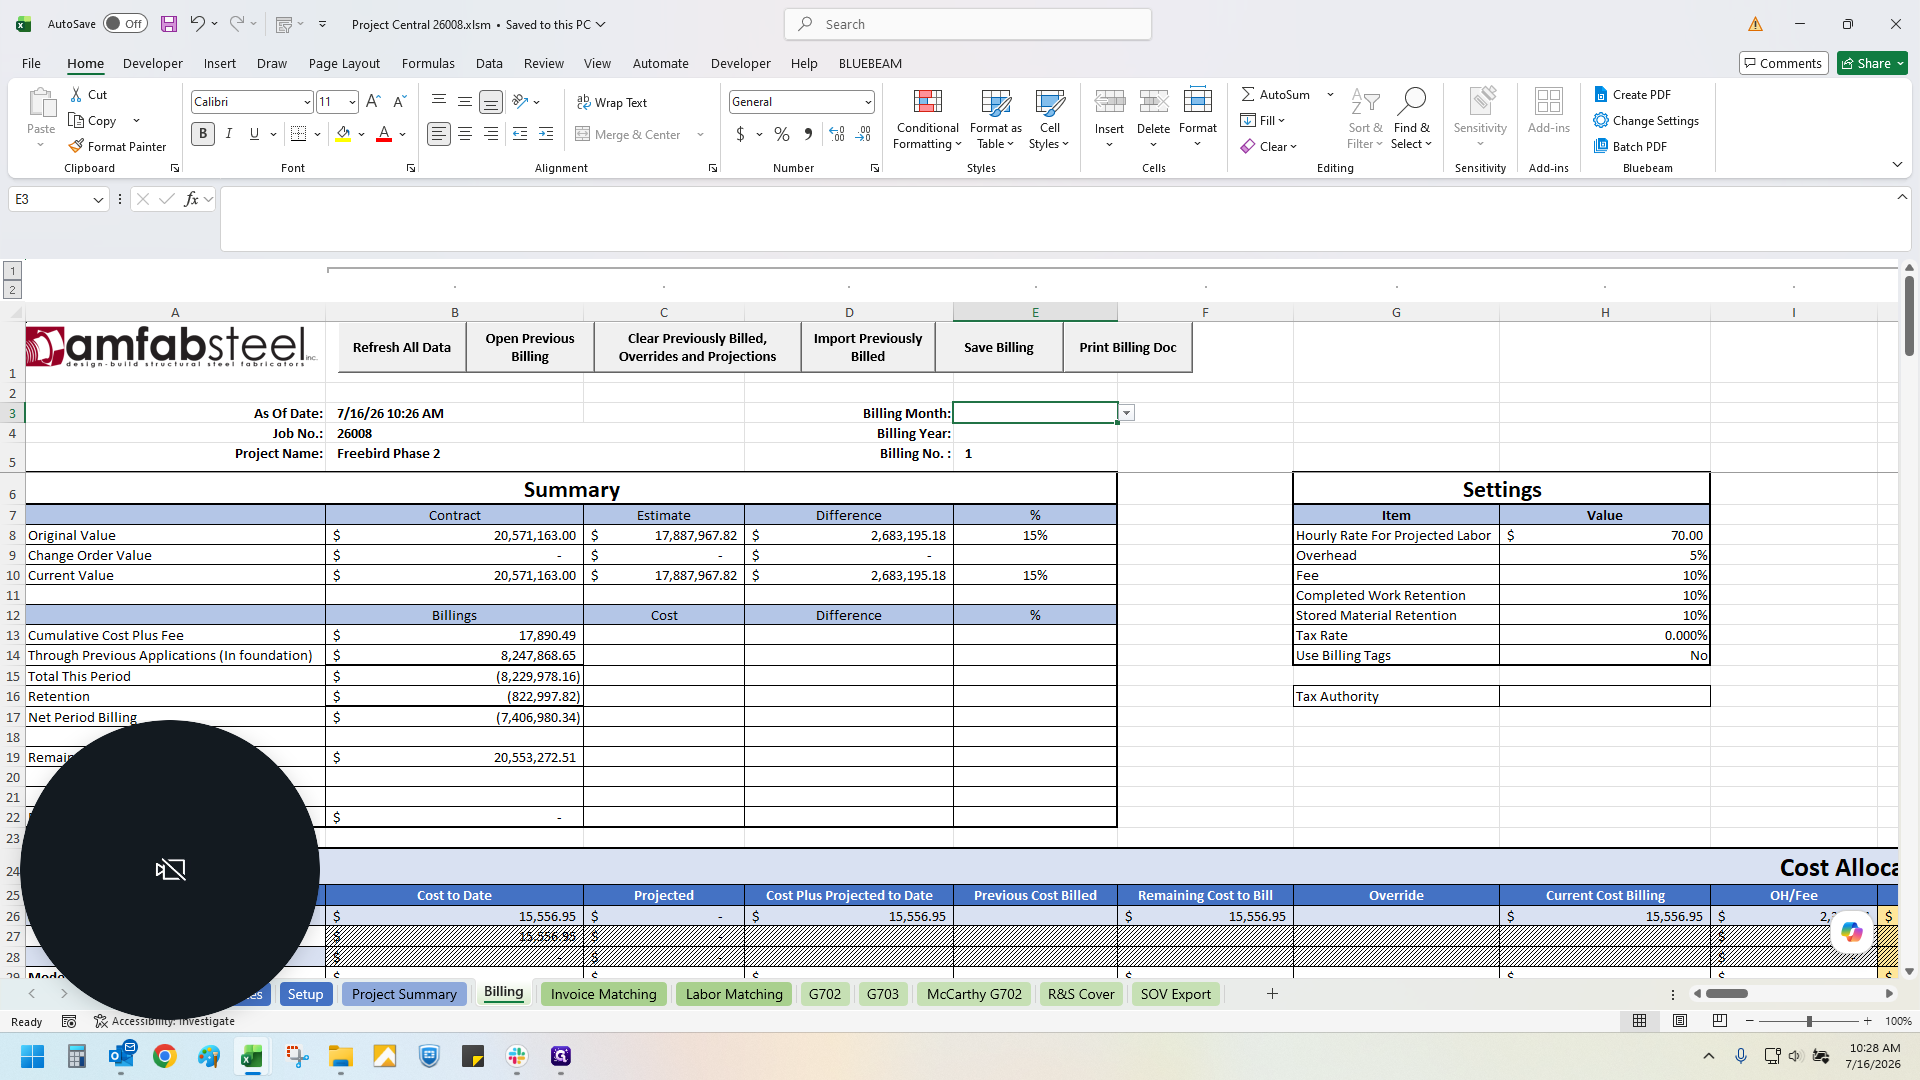
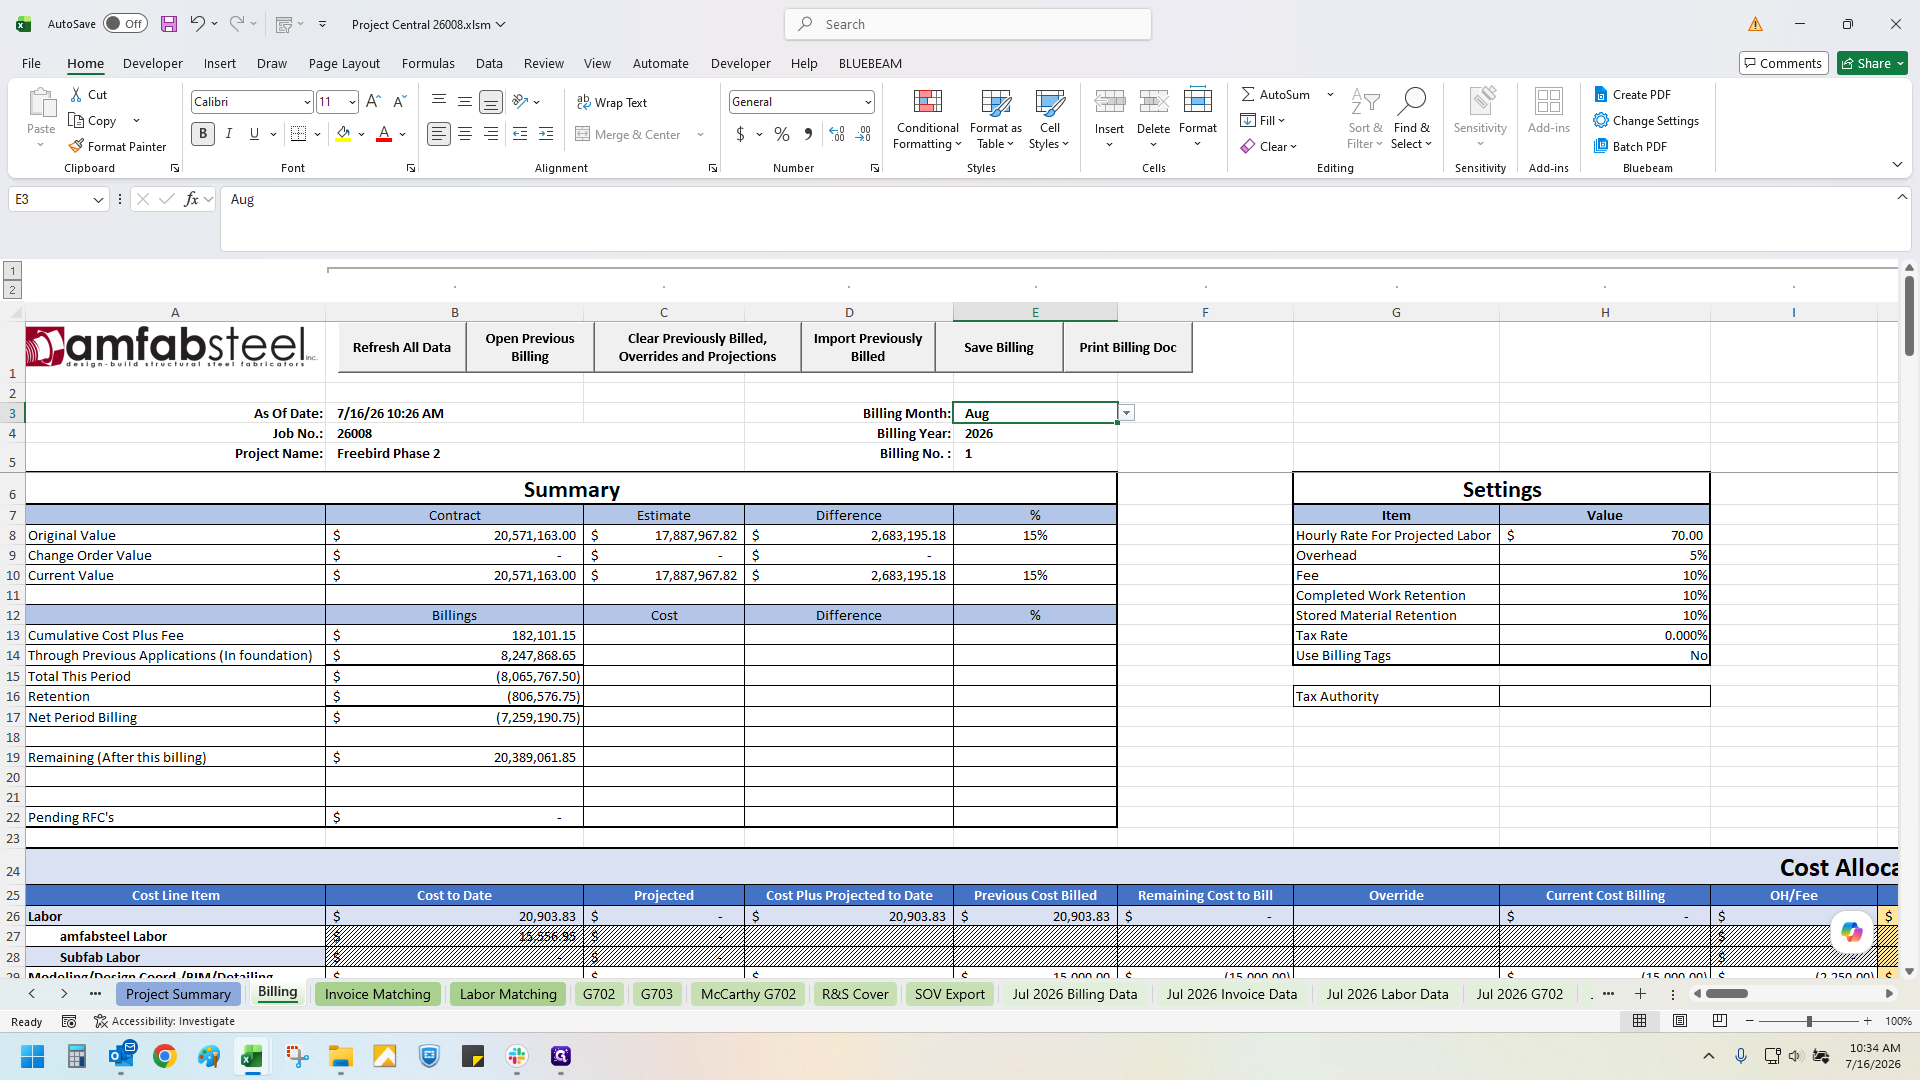
Click the billing month dropdown.
28
Select the appropriate month and enter the year for your first billing application.
29
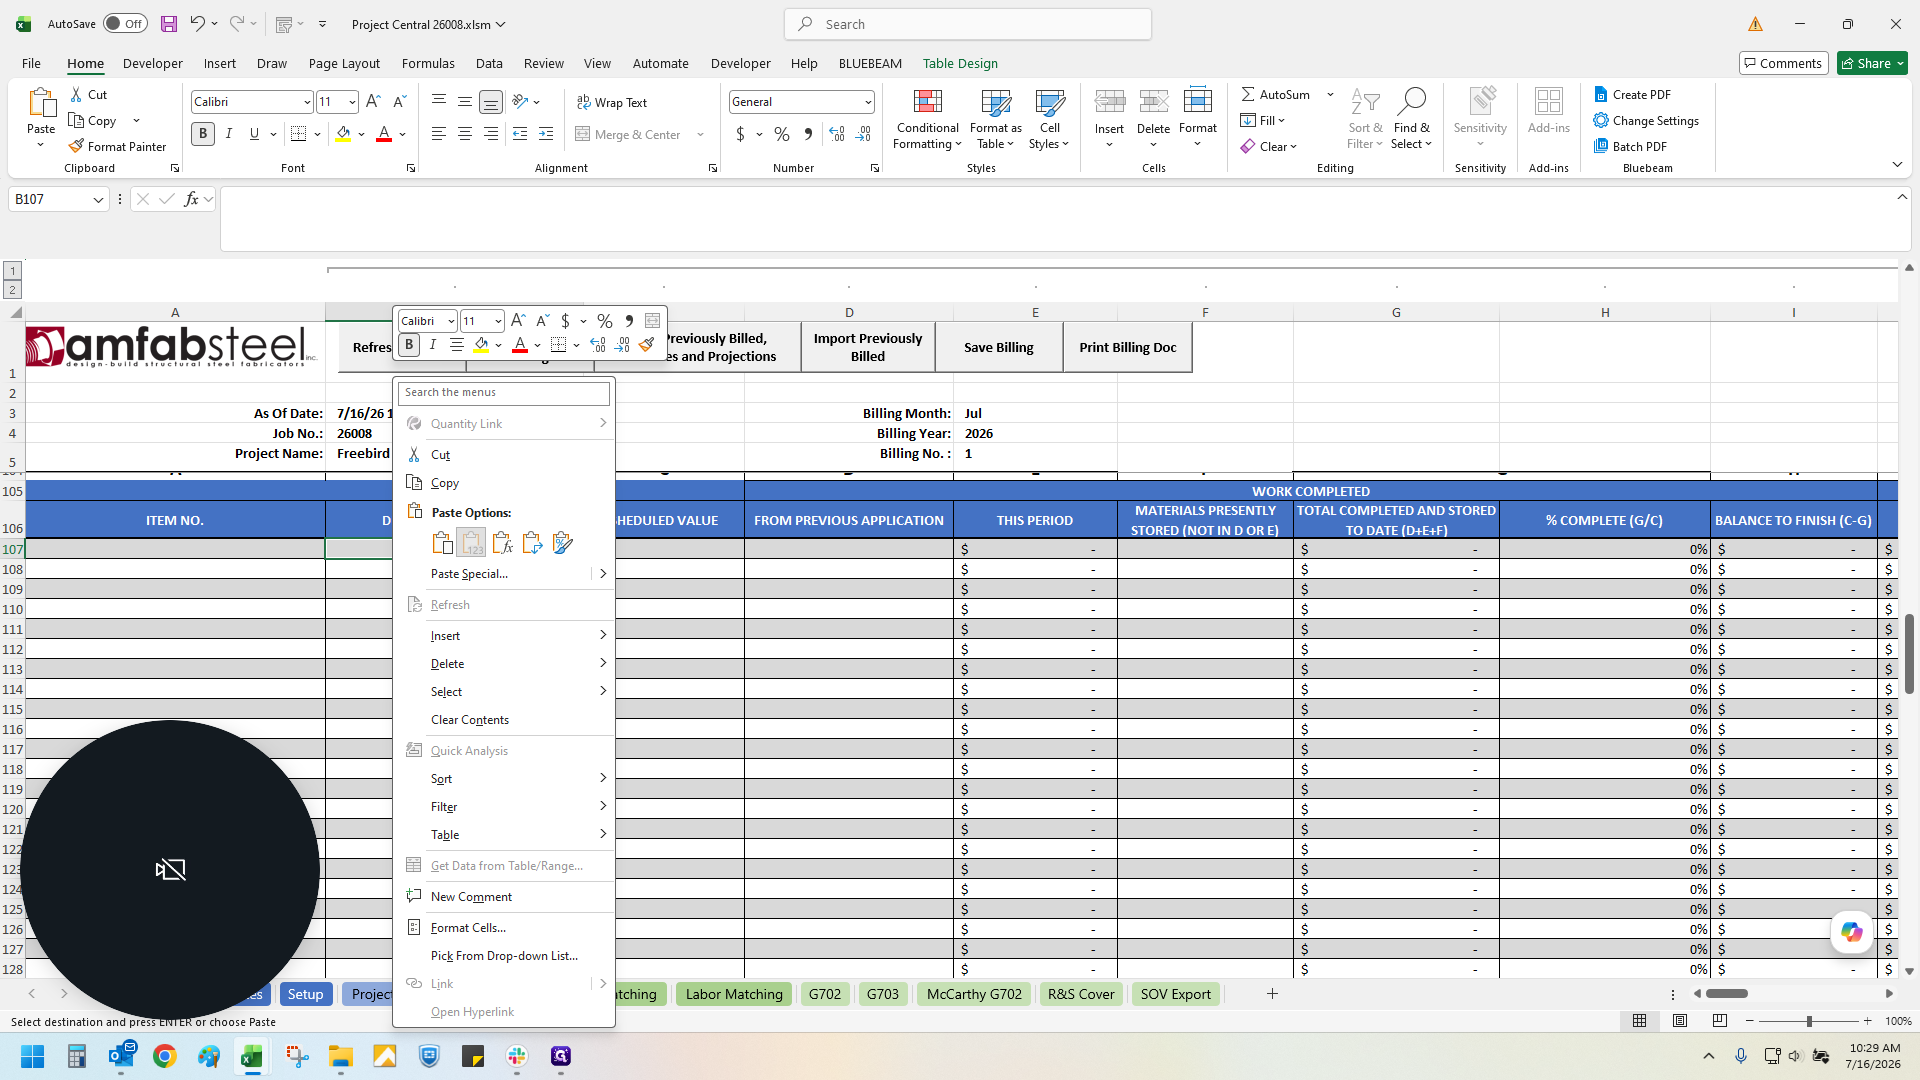
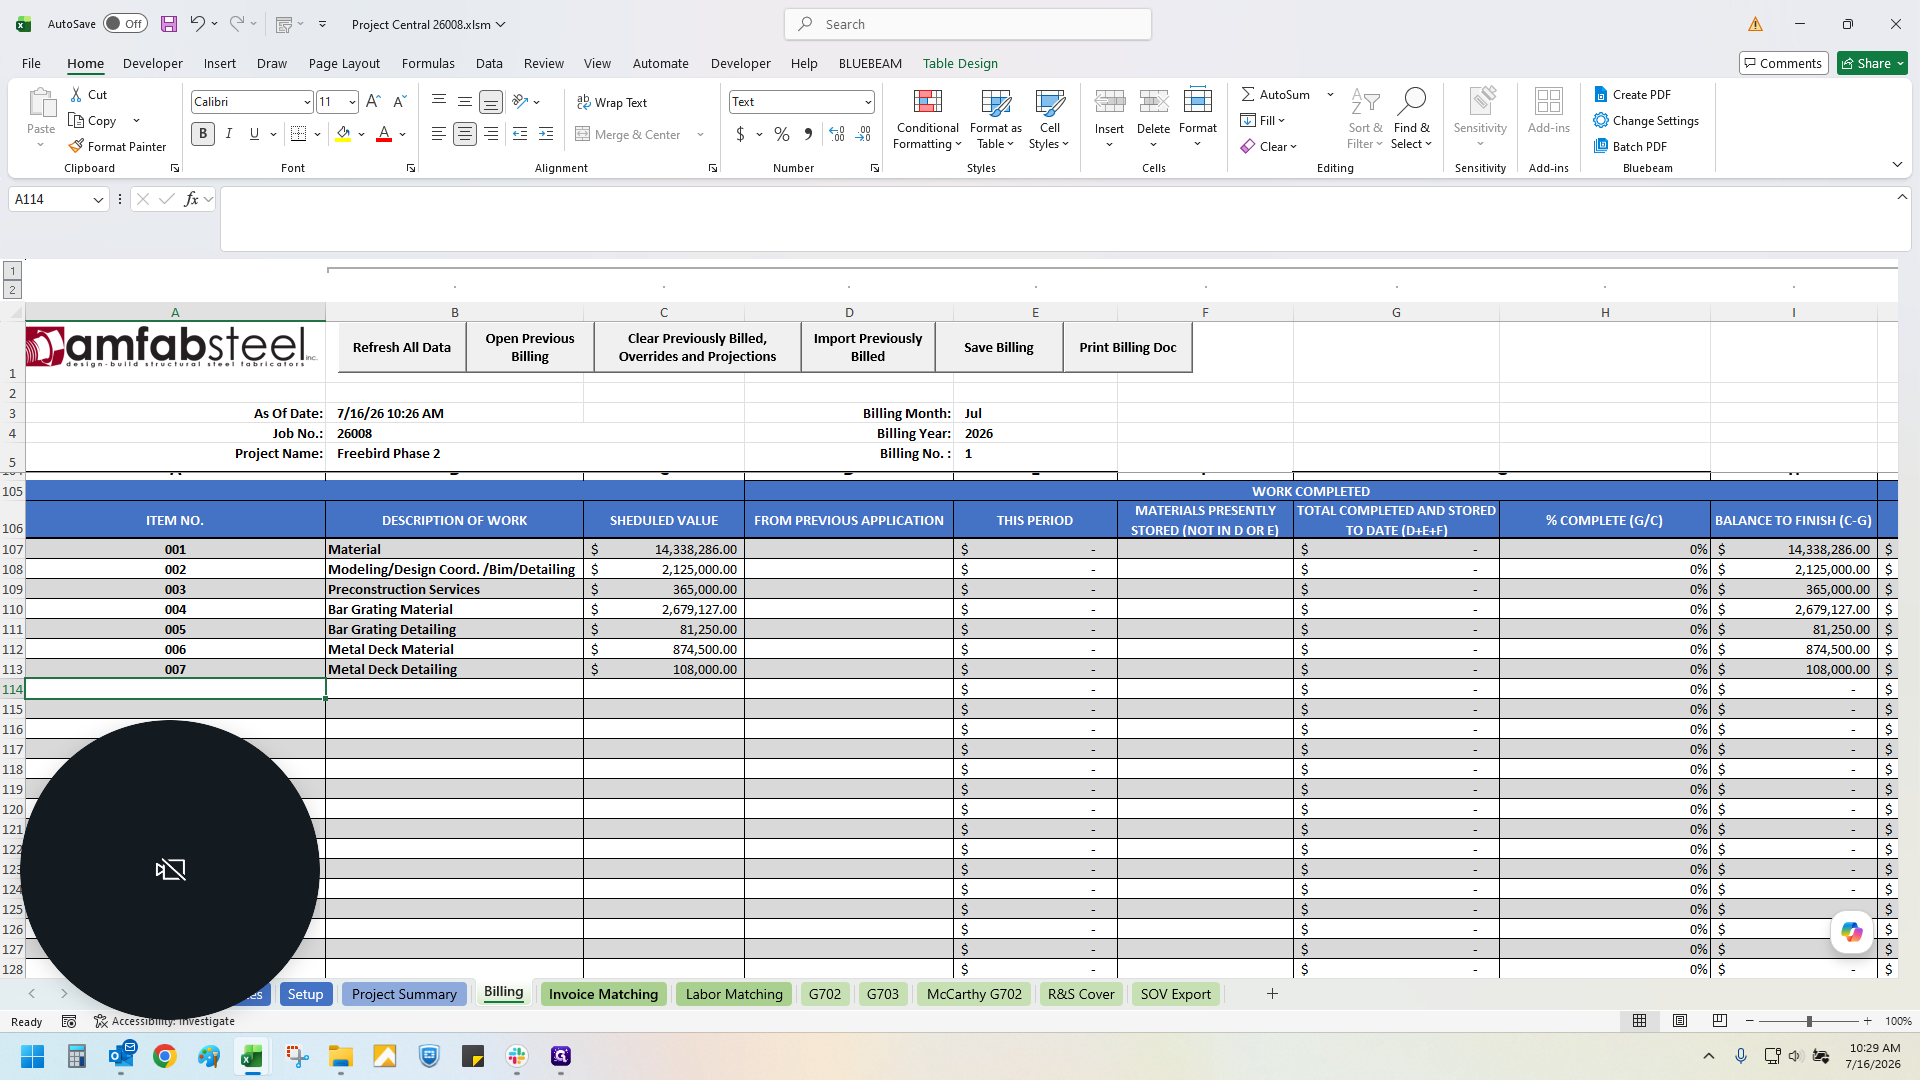
Paste your Schedule of Values (SOV) line items from your contract estimate.
30
Enter the corresponding line item numbers sequentially for easy referencing.
Import Invoices and Labor Data
31
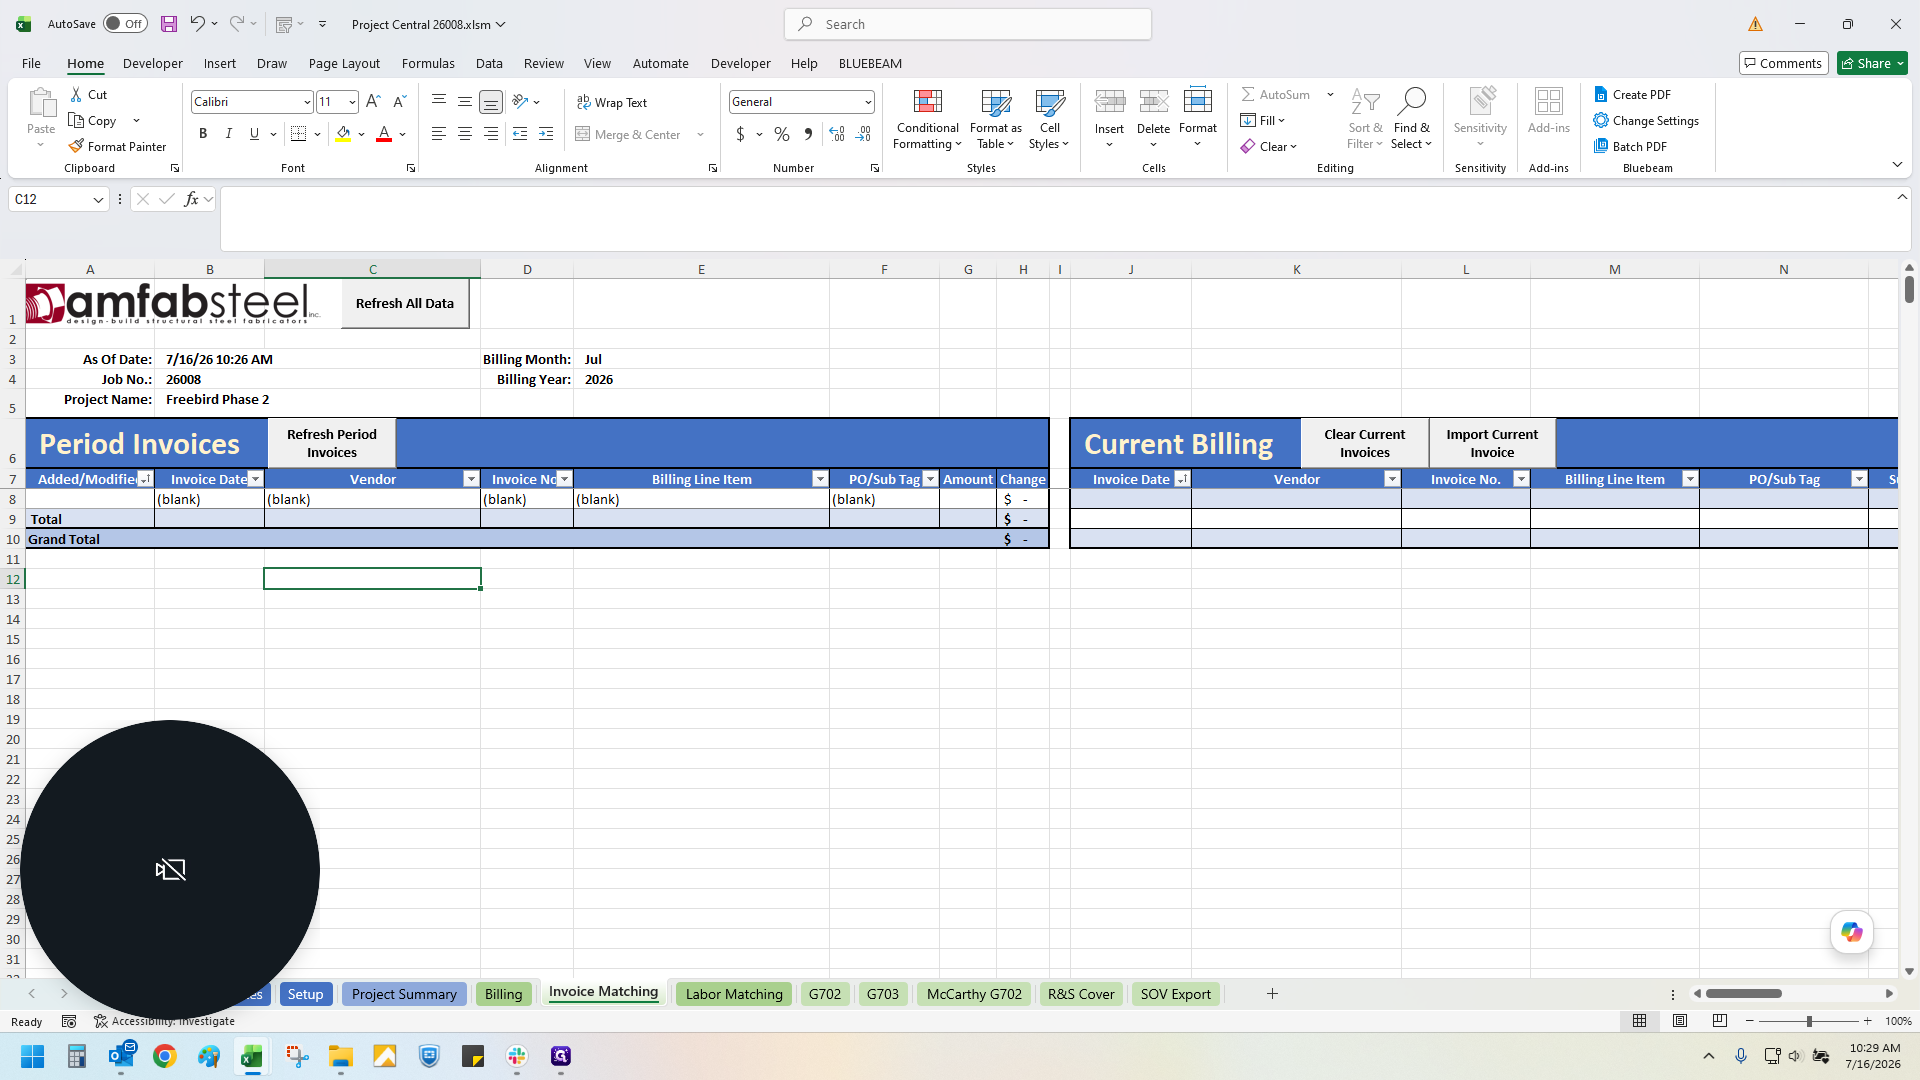
Navigate to the Invoice Matching tab.
32
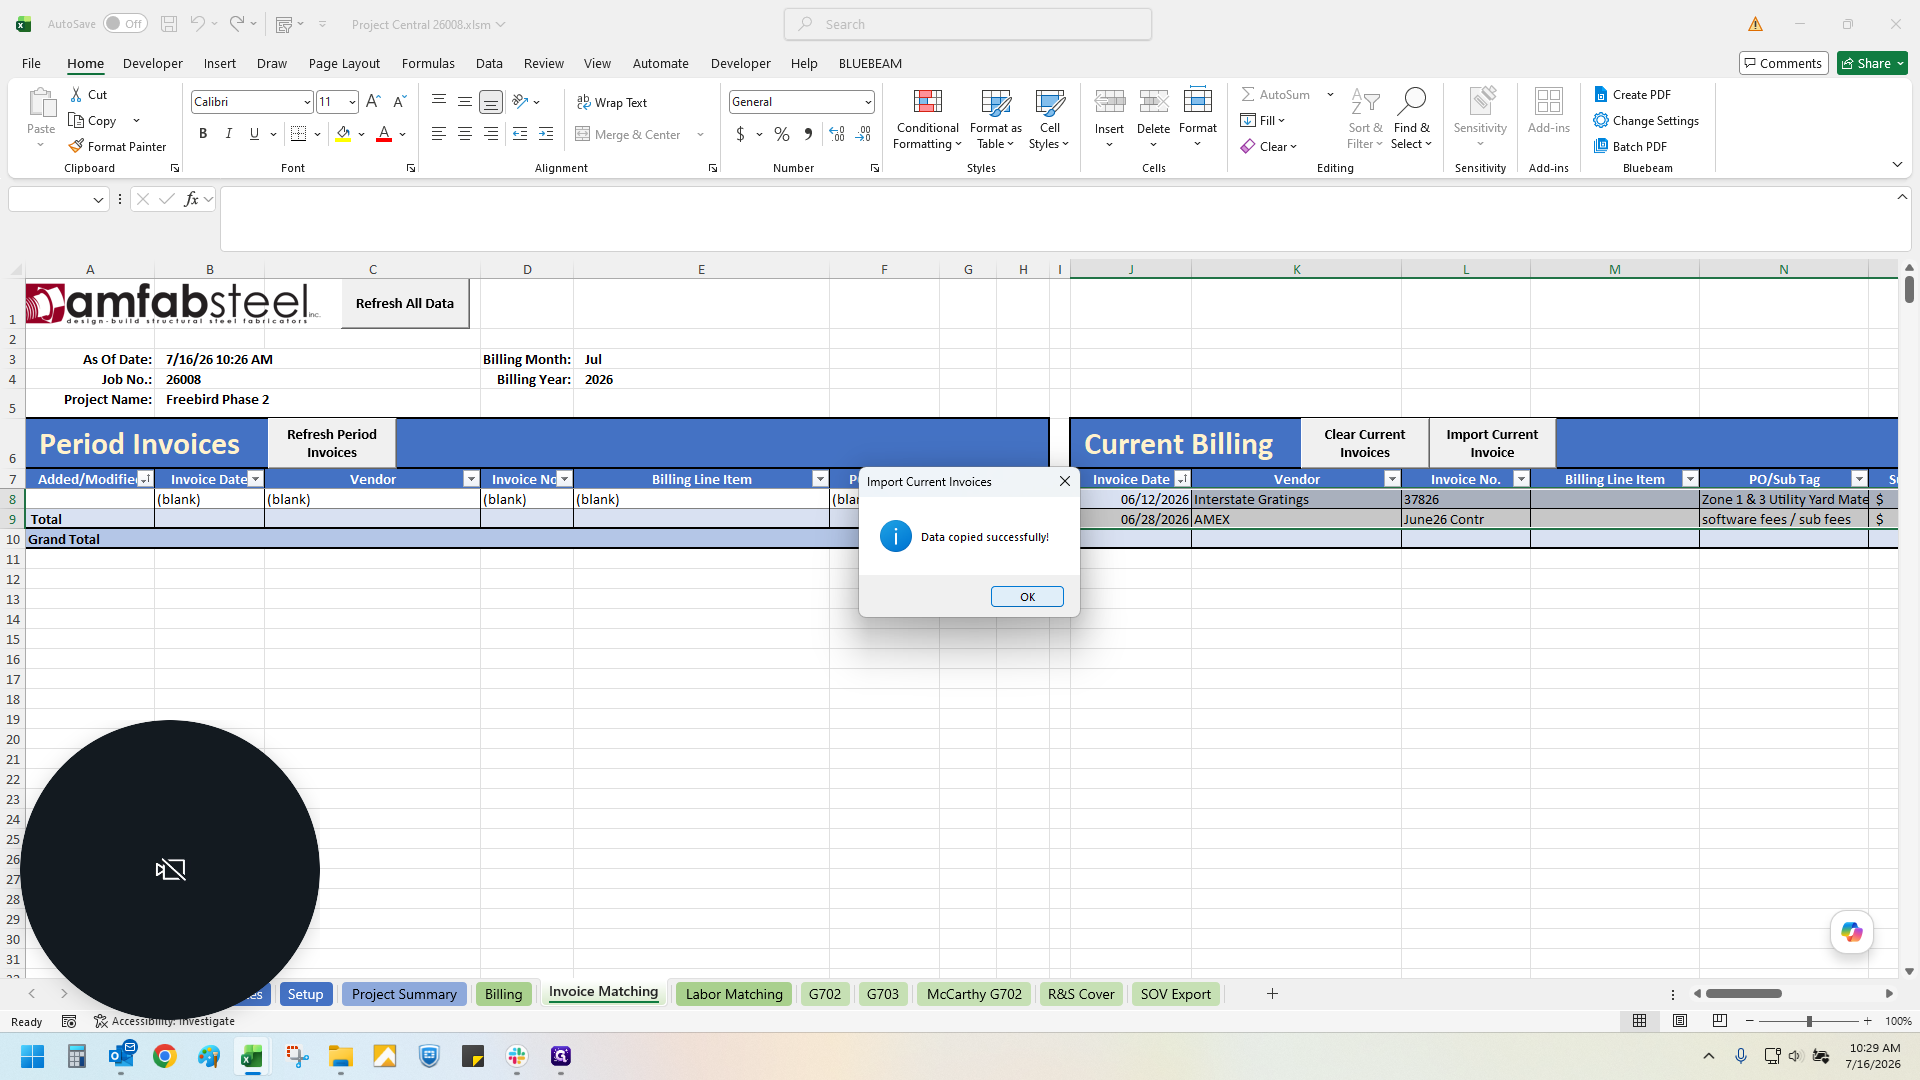
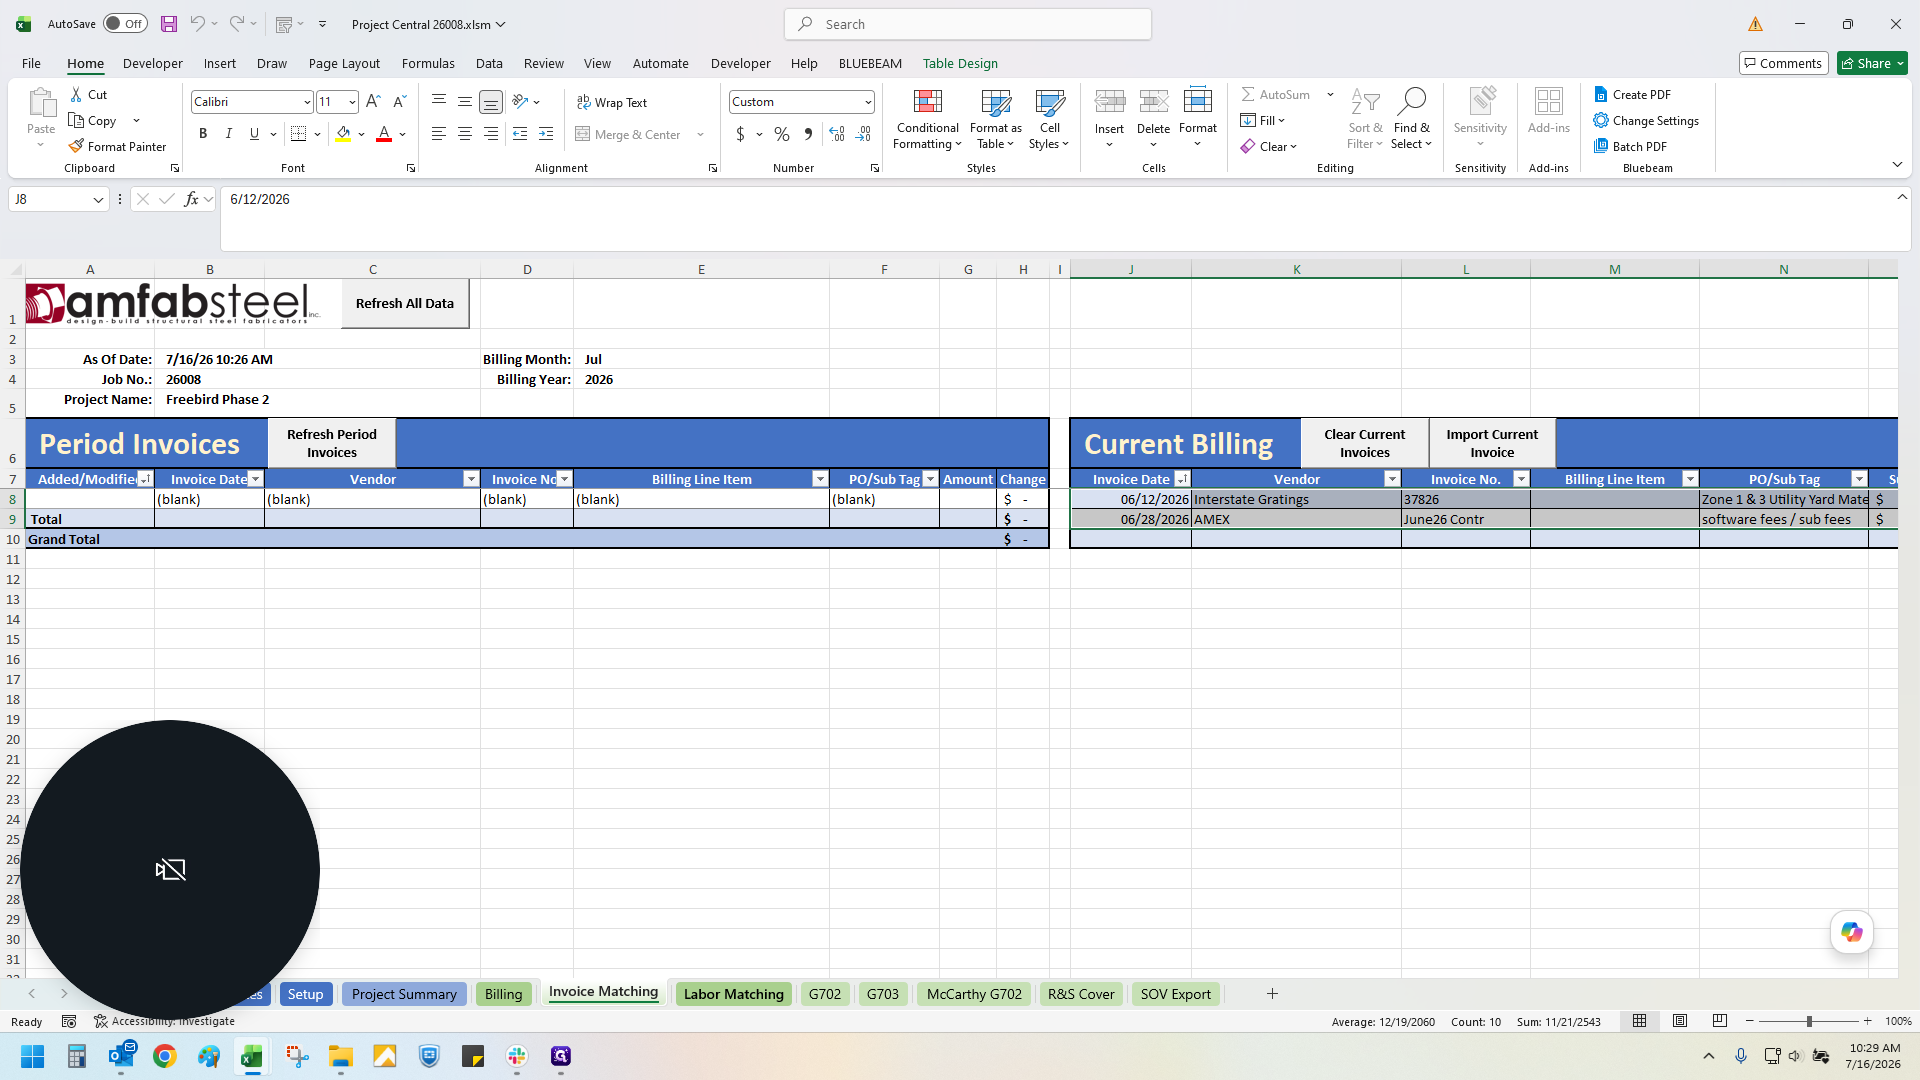
Click Import Current Invoice to pull in vendor invoices.
33
Click OK on the success dialog.
34
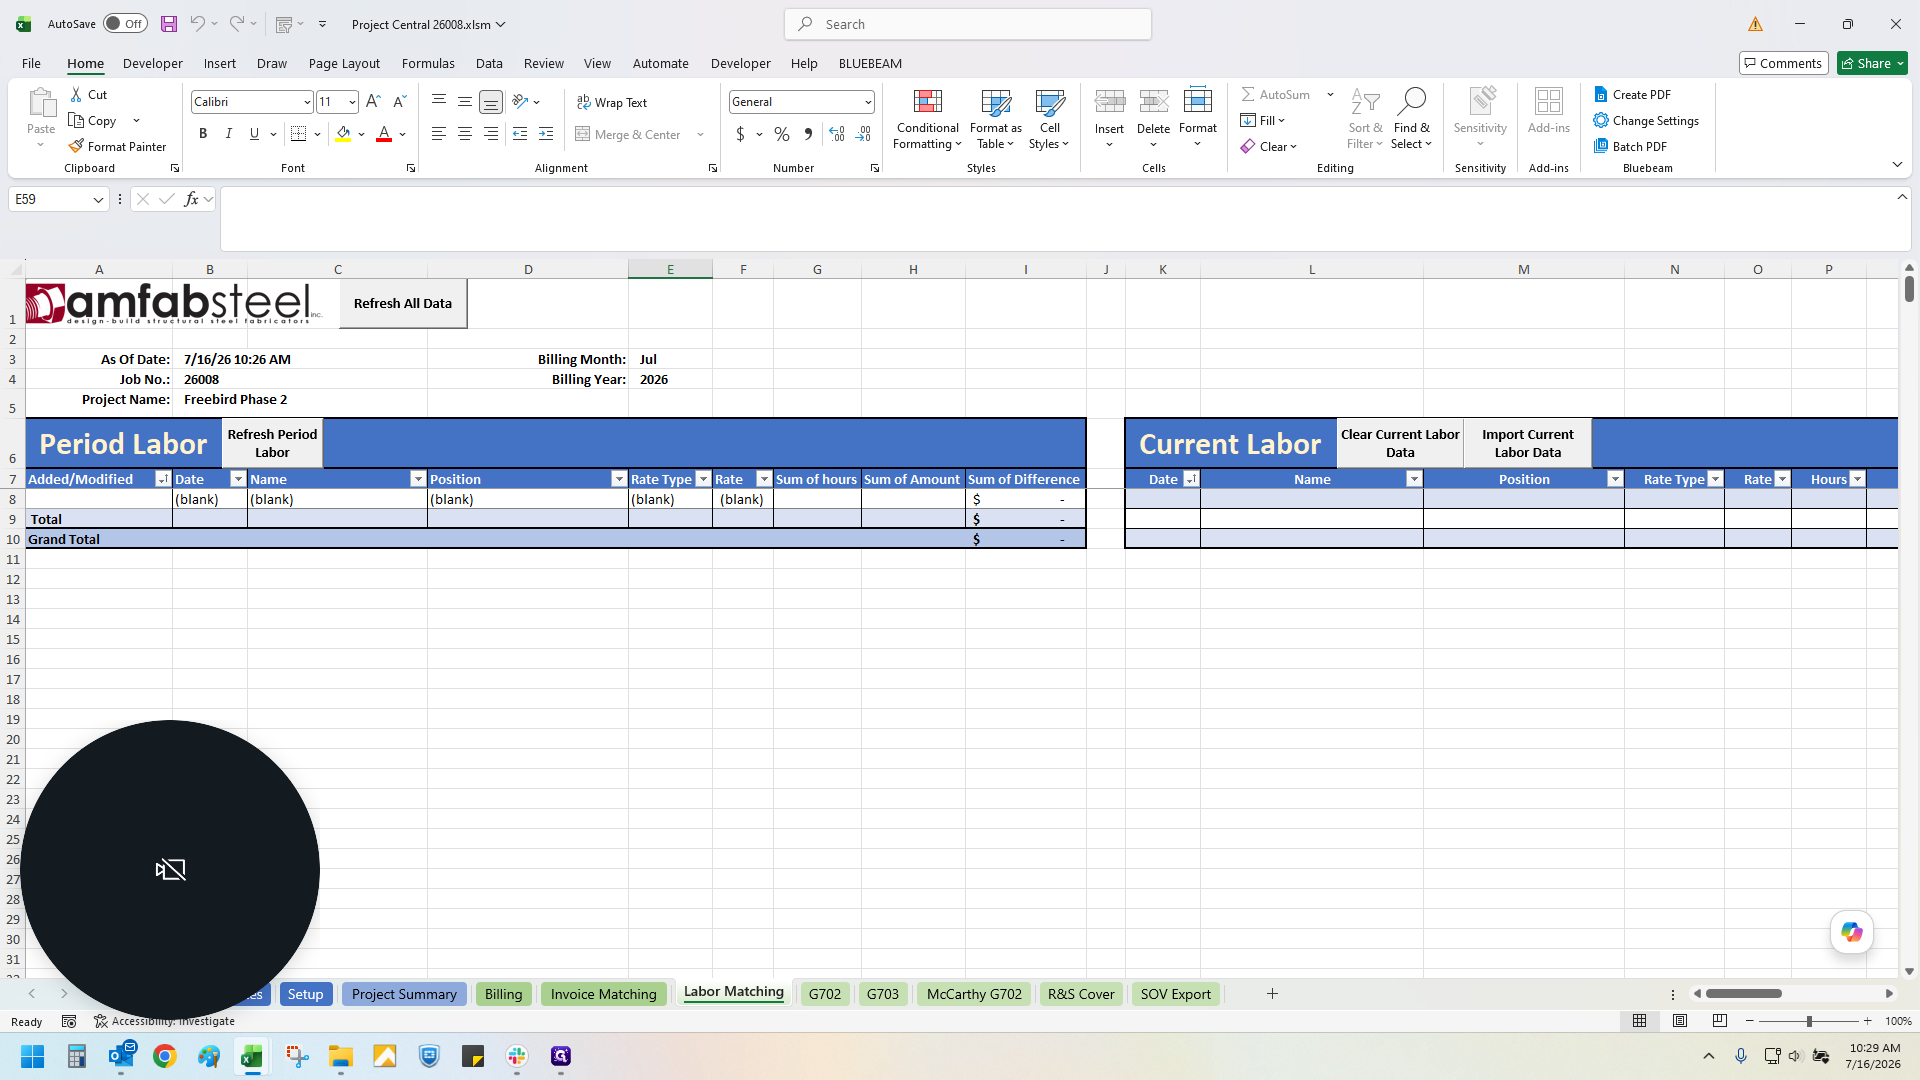
Navigate to the Labor Matching tab.
35
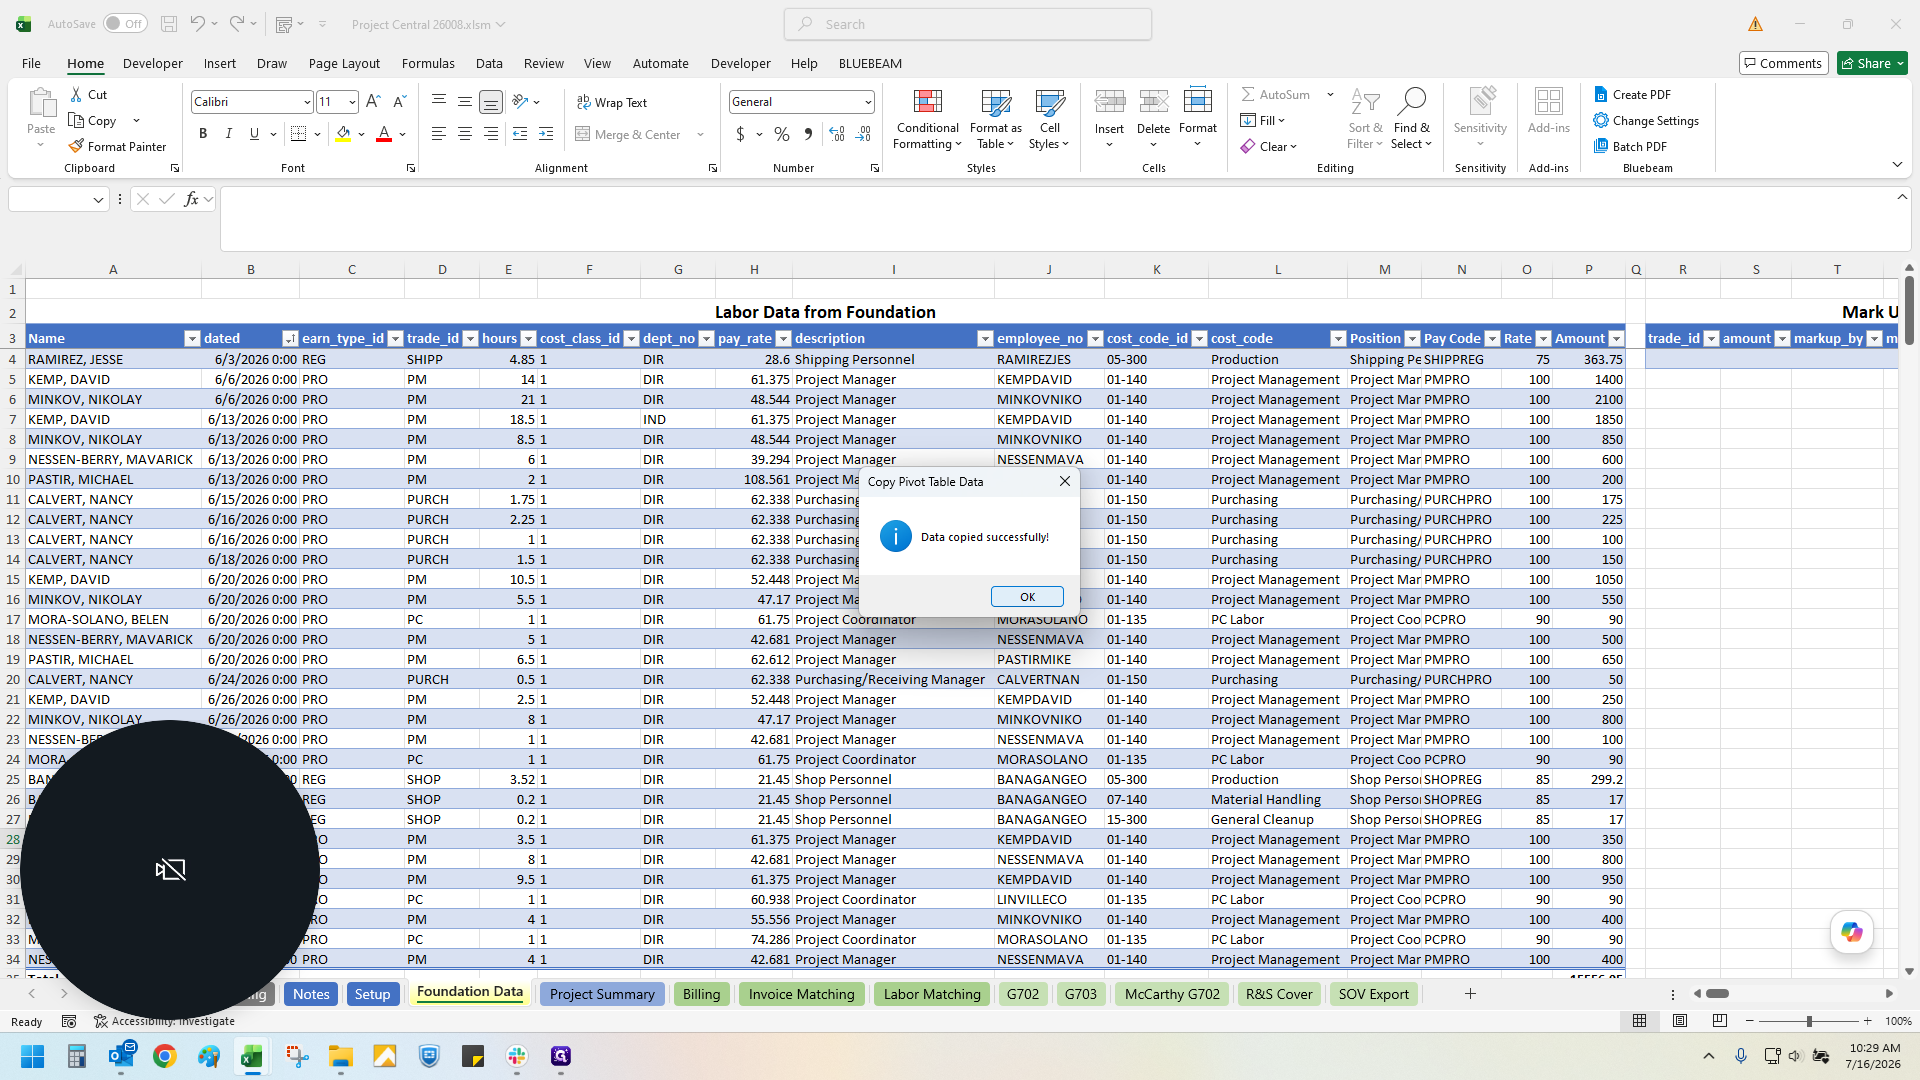
Click Import Current Labor Data to pull in all employee labor for the project.
36
Click OK on the success dialog.
Allocate Costs
37
Return to the Billing tab.
38
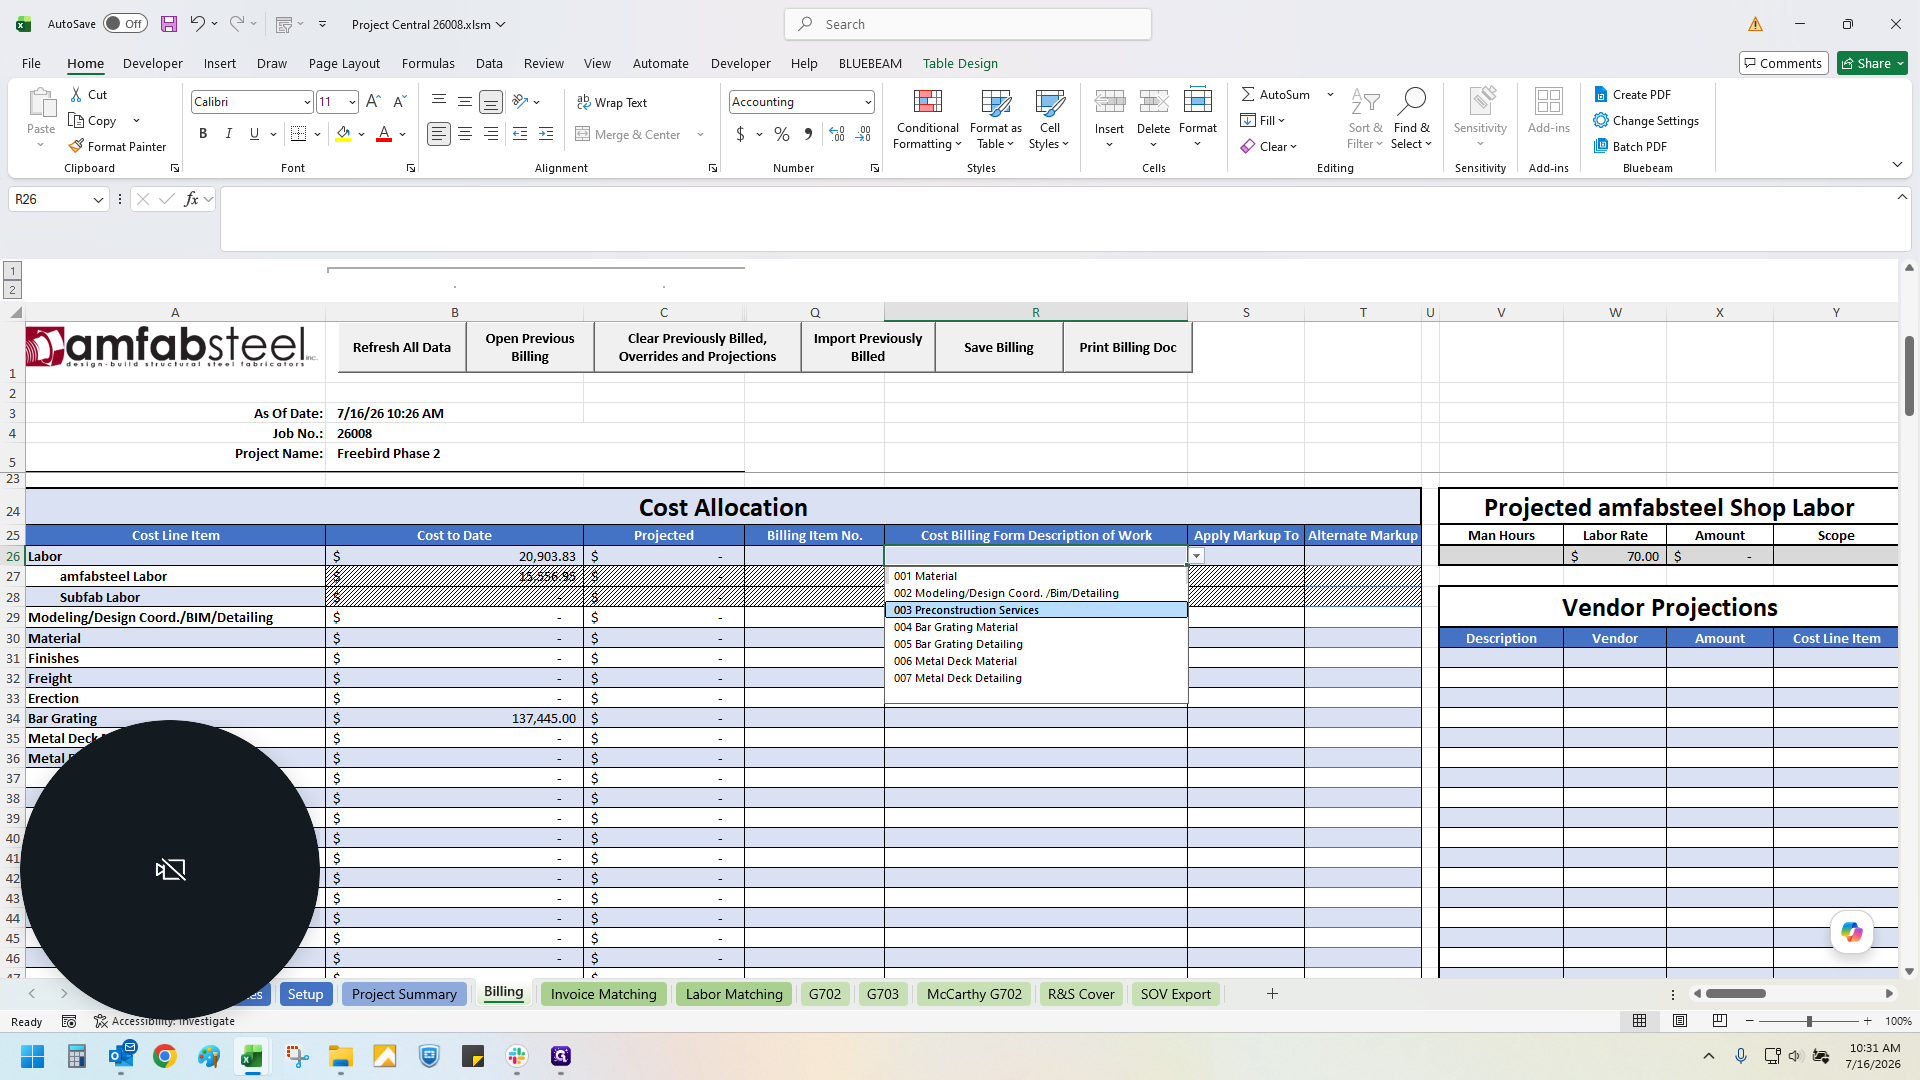
Update cost allocation buckets to match your contract estimate.
39
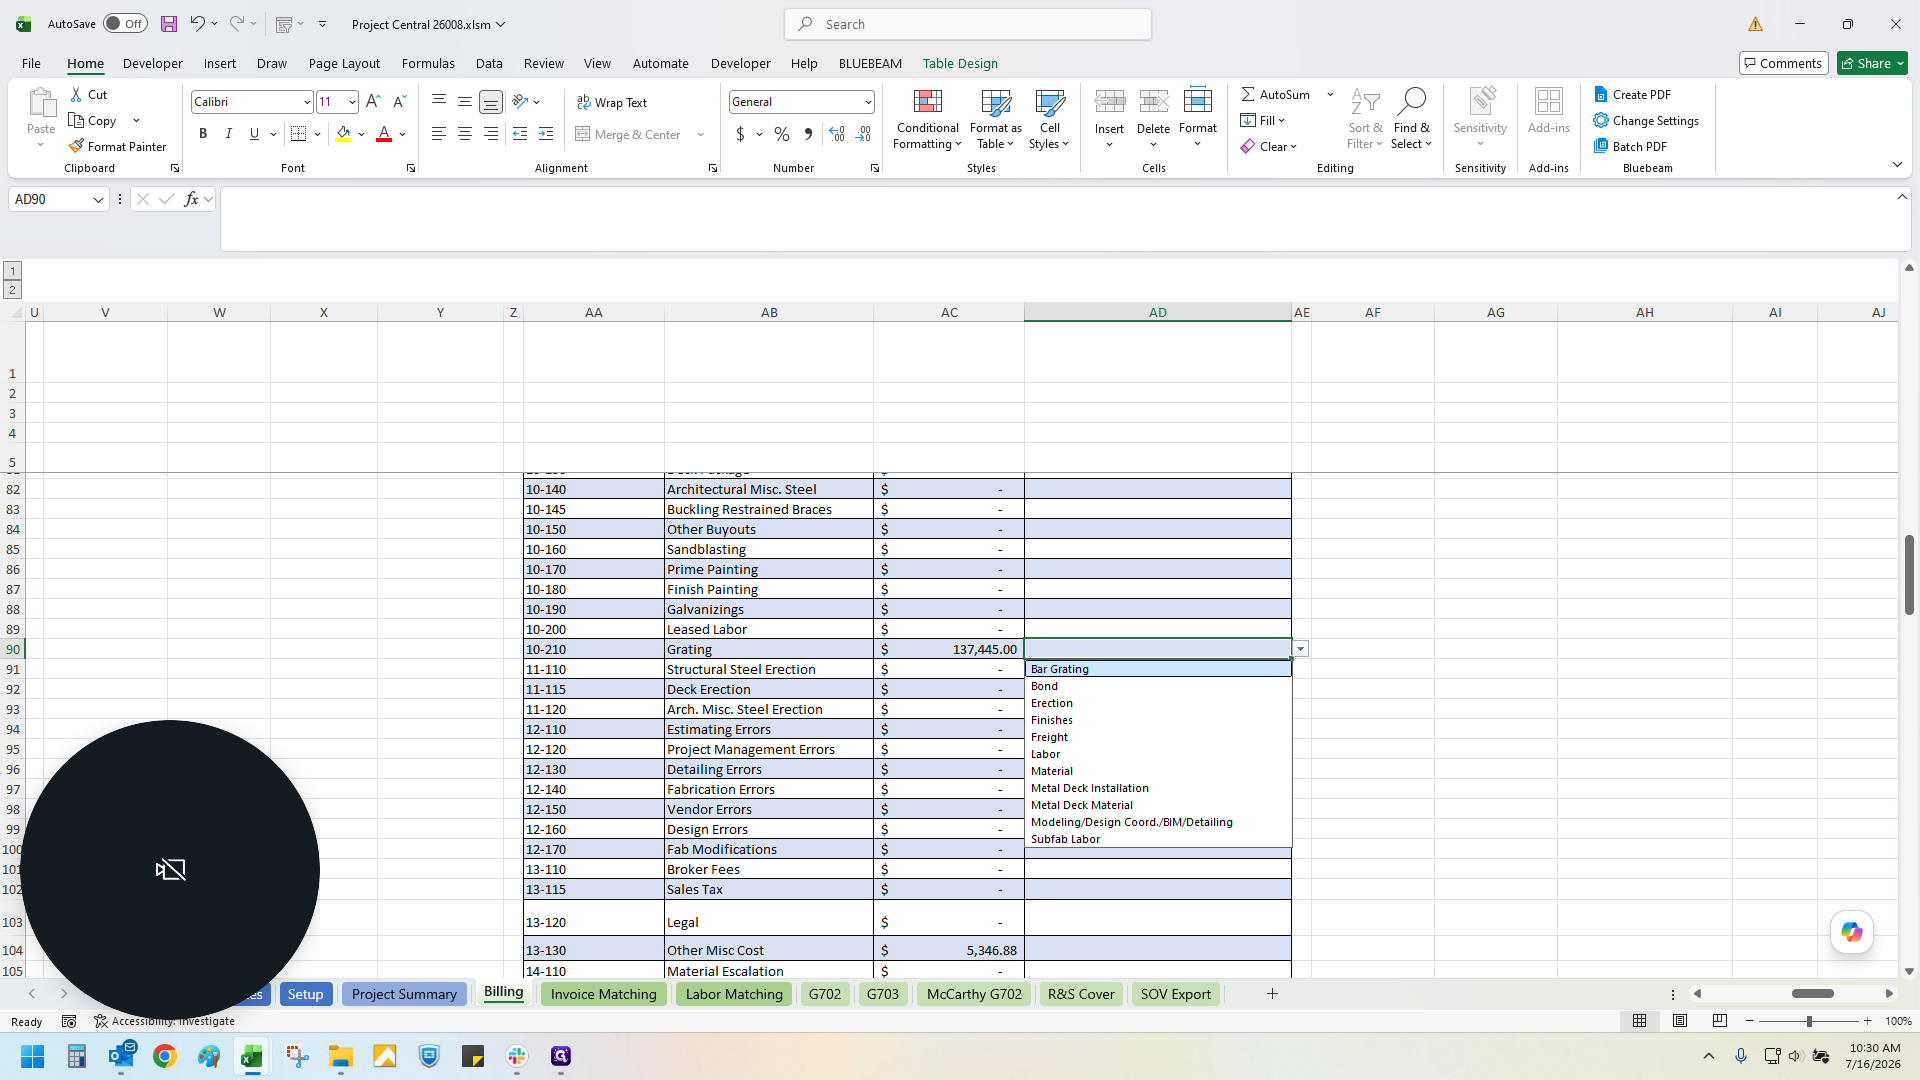
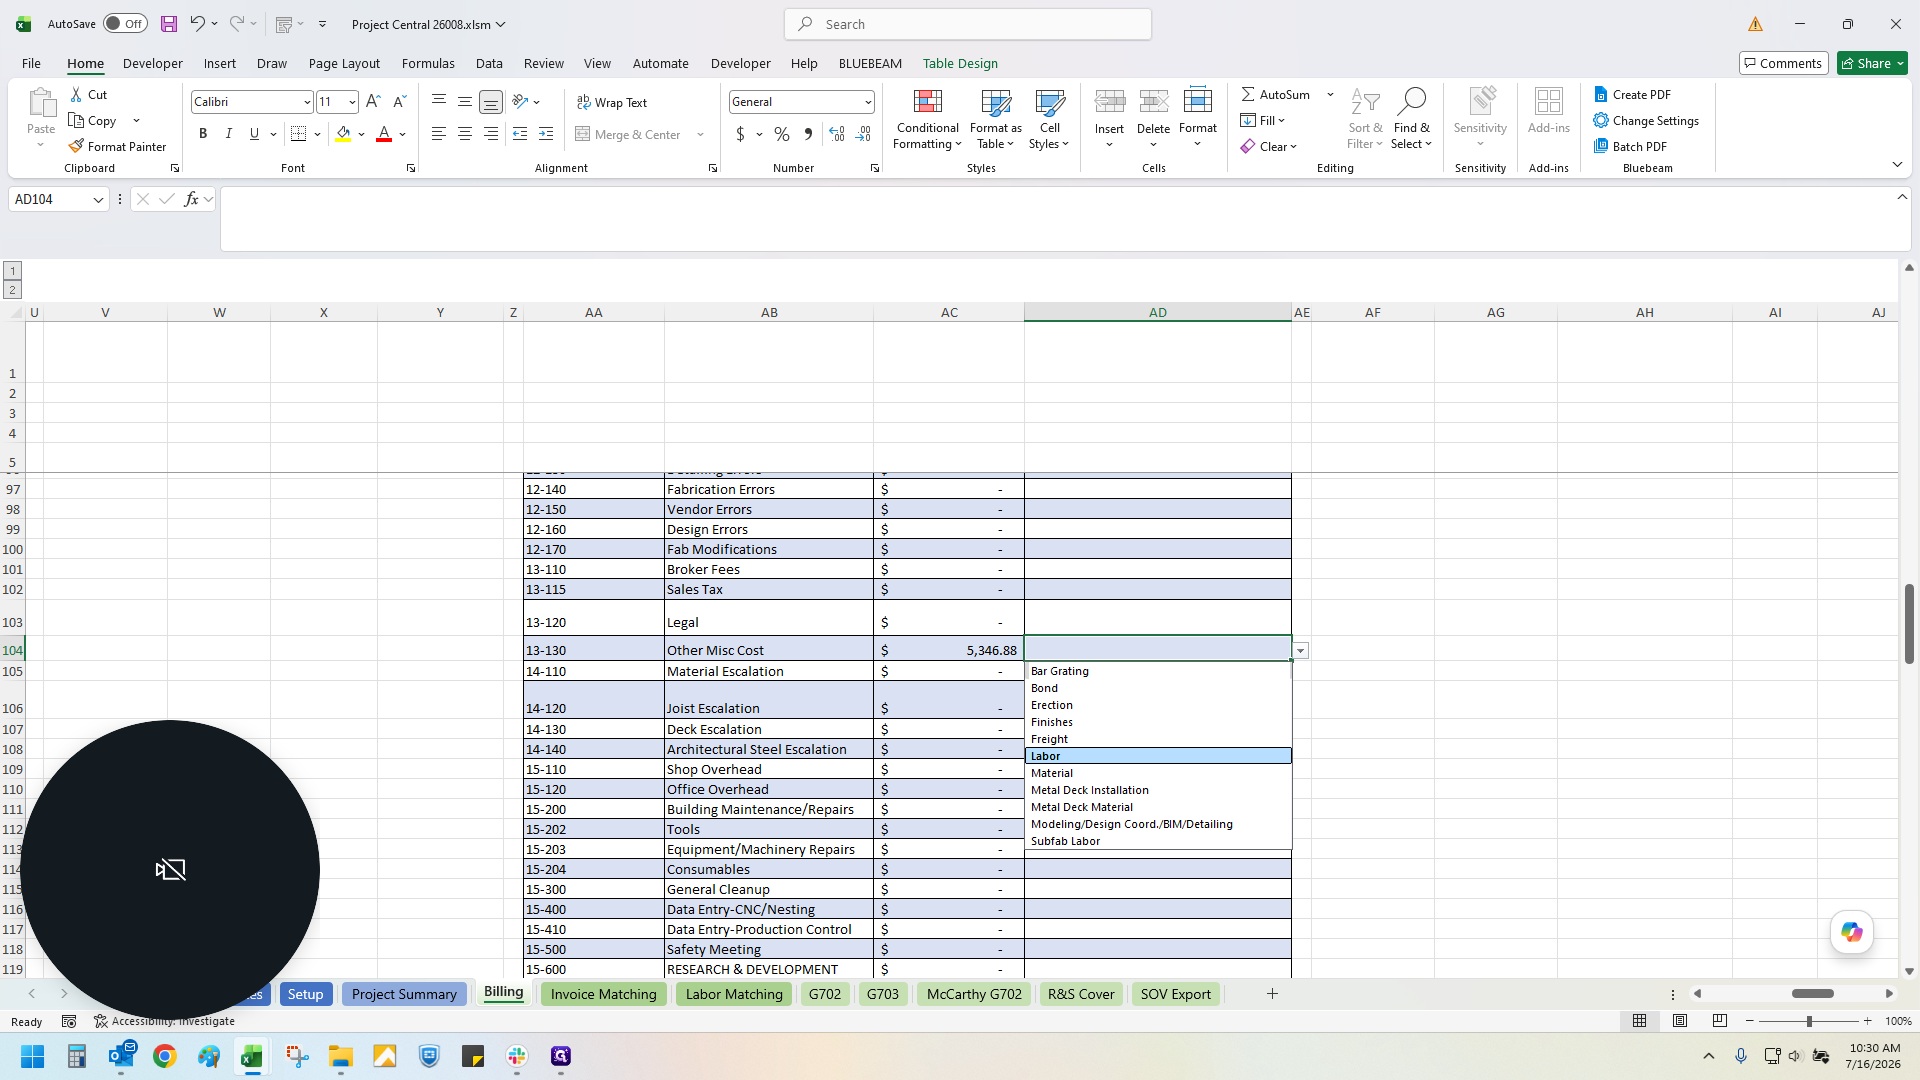
Use the dropdown menu in the project cost table to assign specific cost codes to the appropriate bucket.
40
Categorize miscellaneous costs, commonly marked as labor, using the dropdown menus.
Prepare the Cost Billing Form
The Cost Billing Form is presented to Project Managers for billing approval and must match the SOV provided to the client.
41
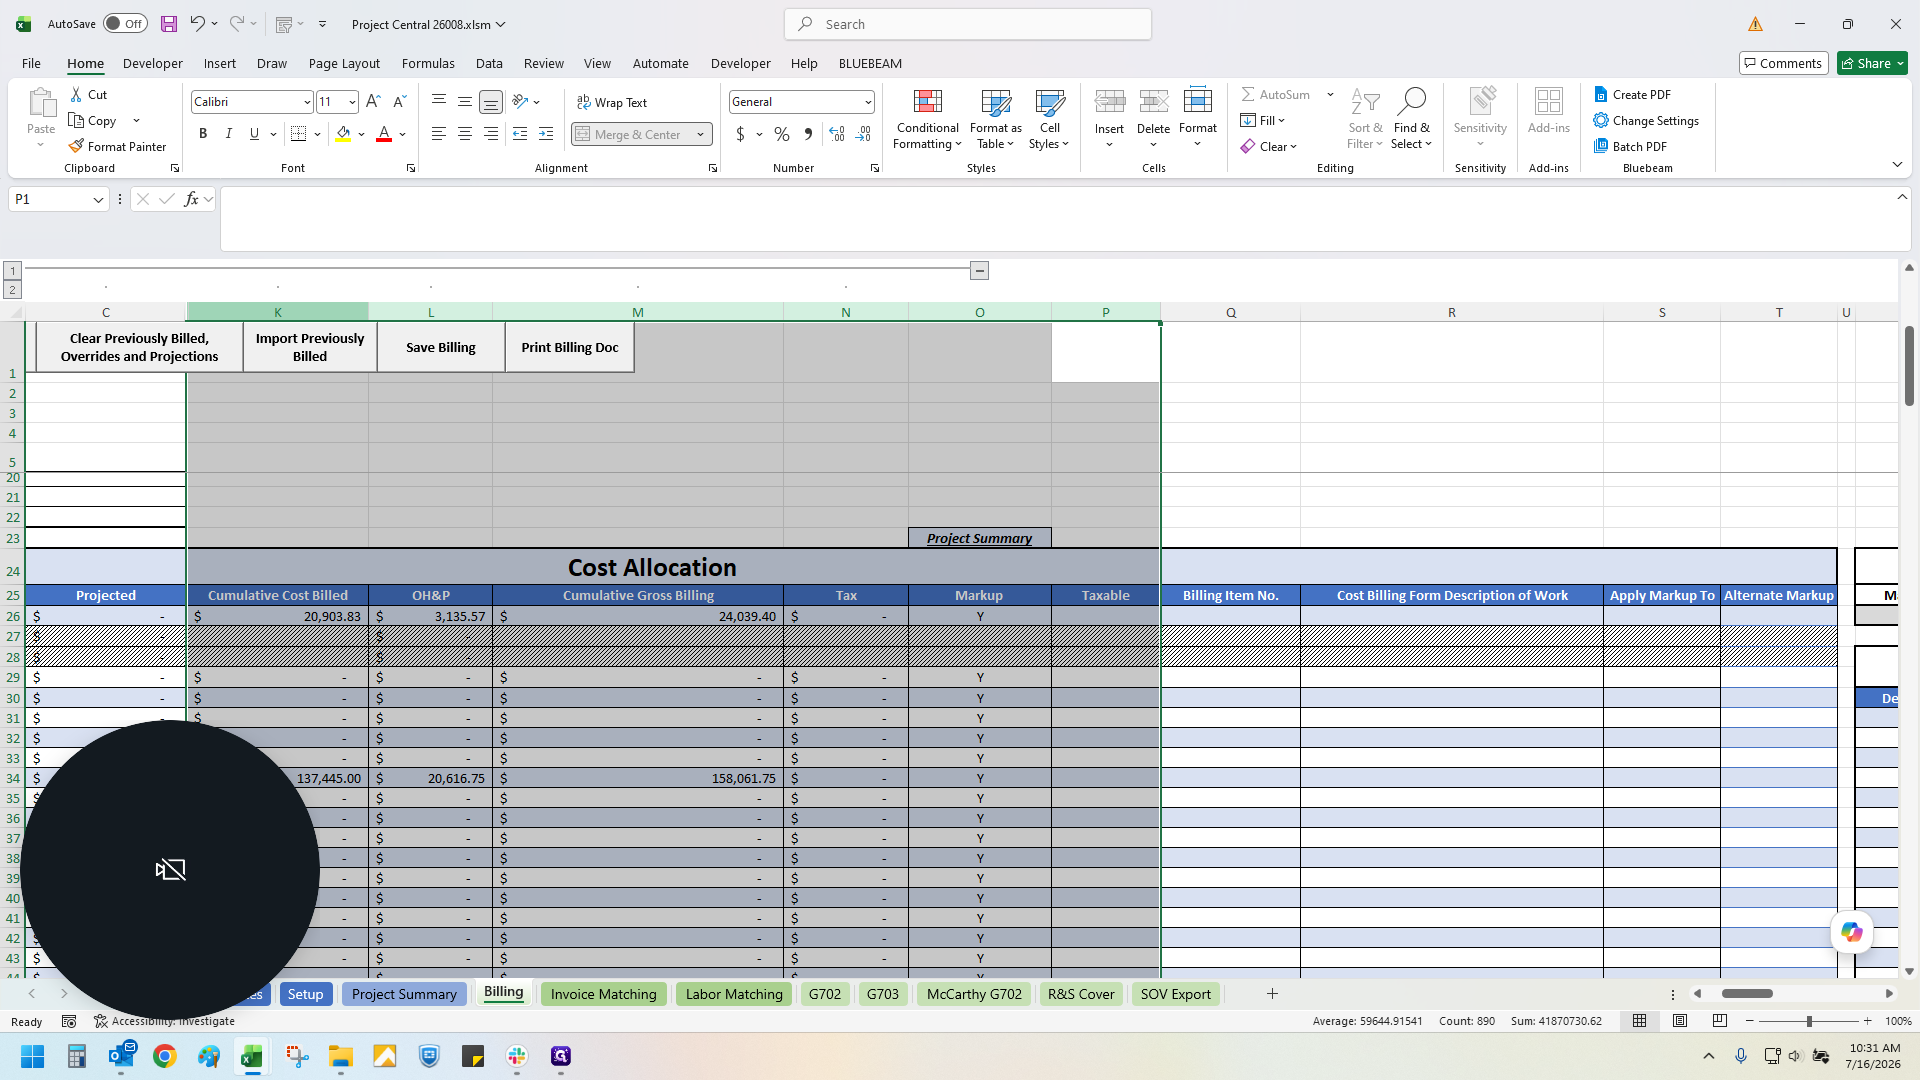
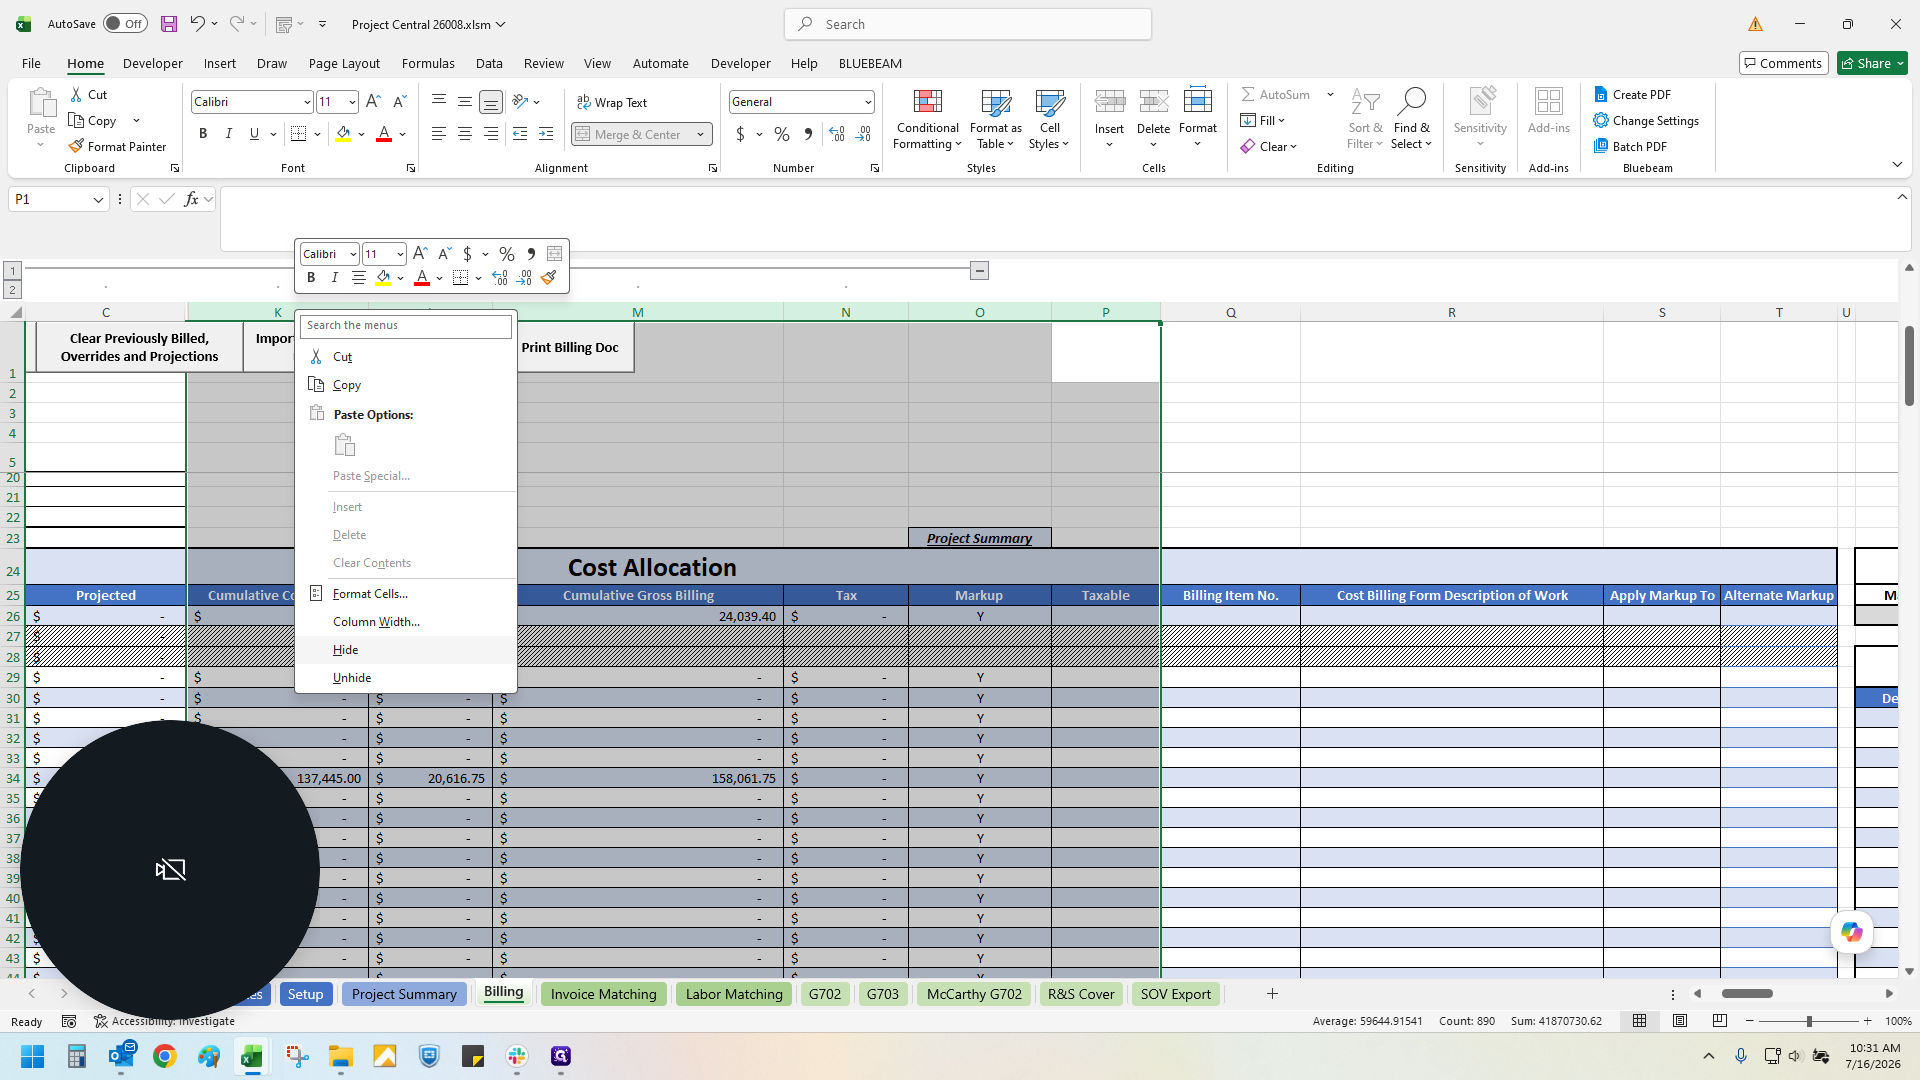
Right-click the columns you do not need to view during this step.
42
Select Hide to make the form easier to read.
43
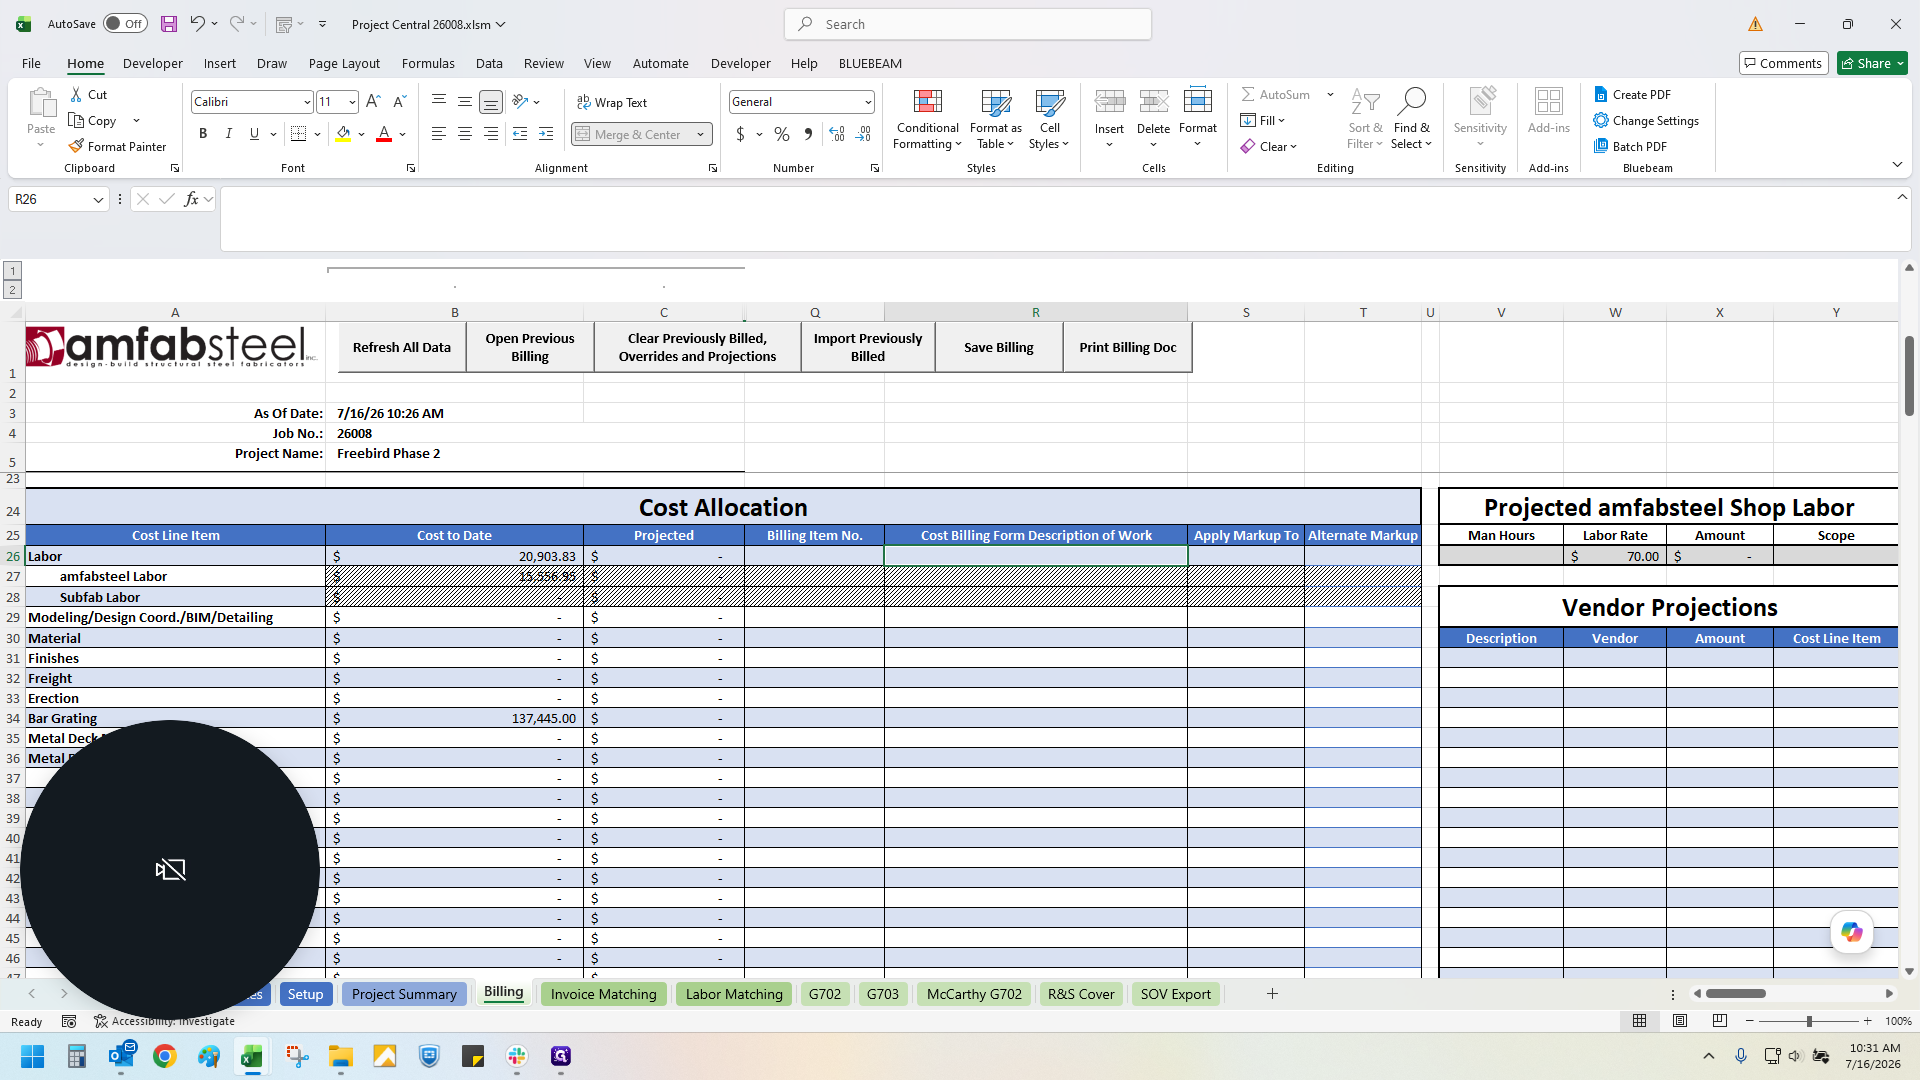
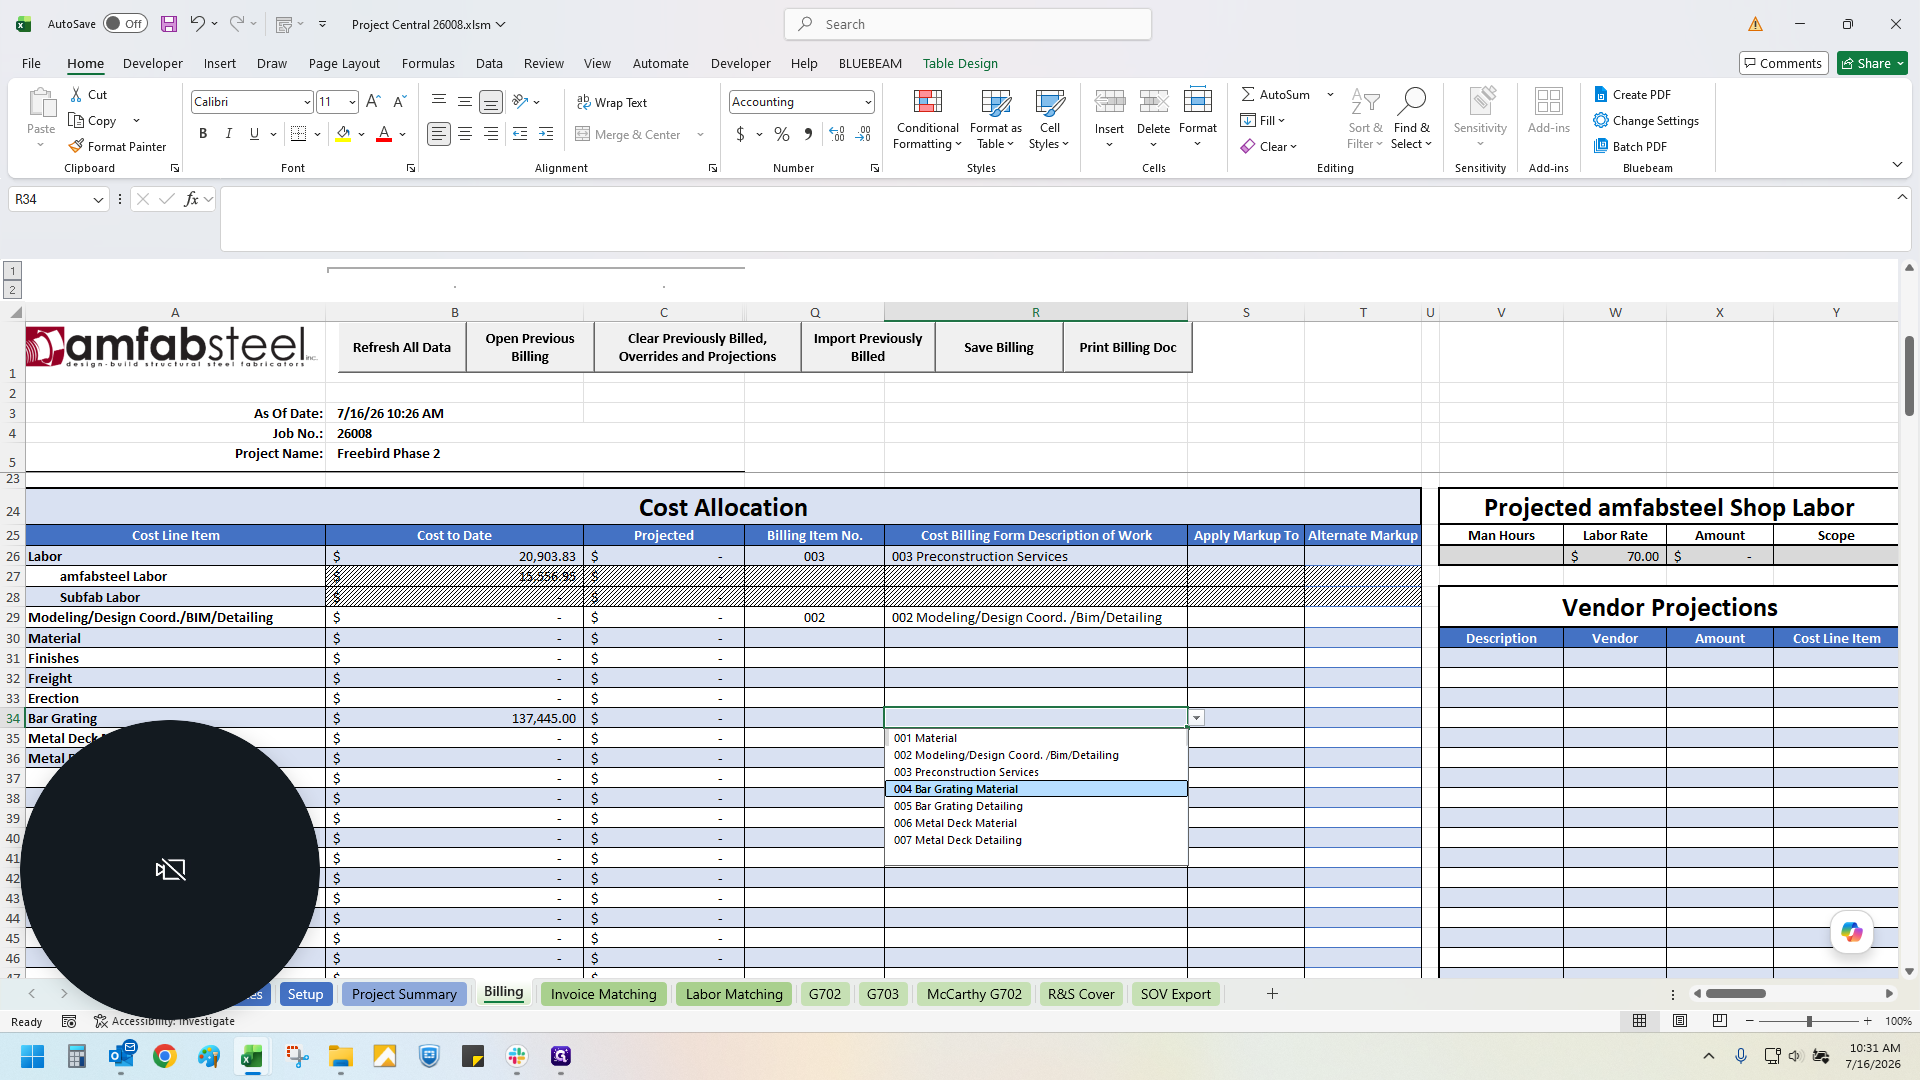
Click the dropdown in the Cost Billing Form Description of Work column.
44
Select the corresponding description.
45
Continue allocating descriptions for all active line items.
Add Projections
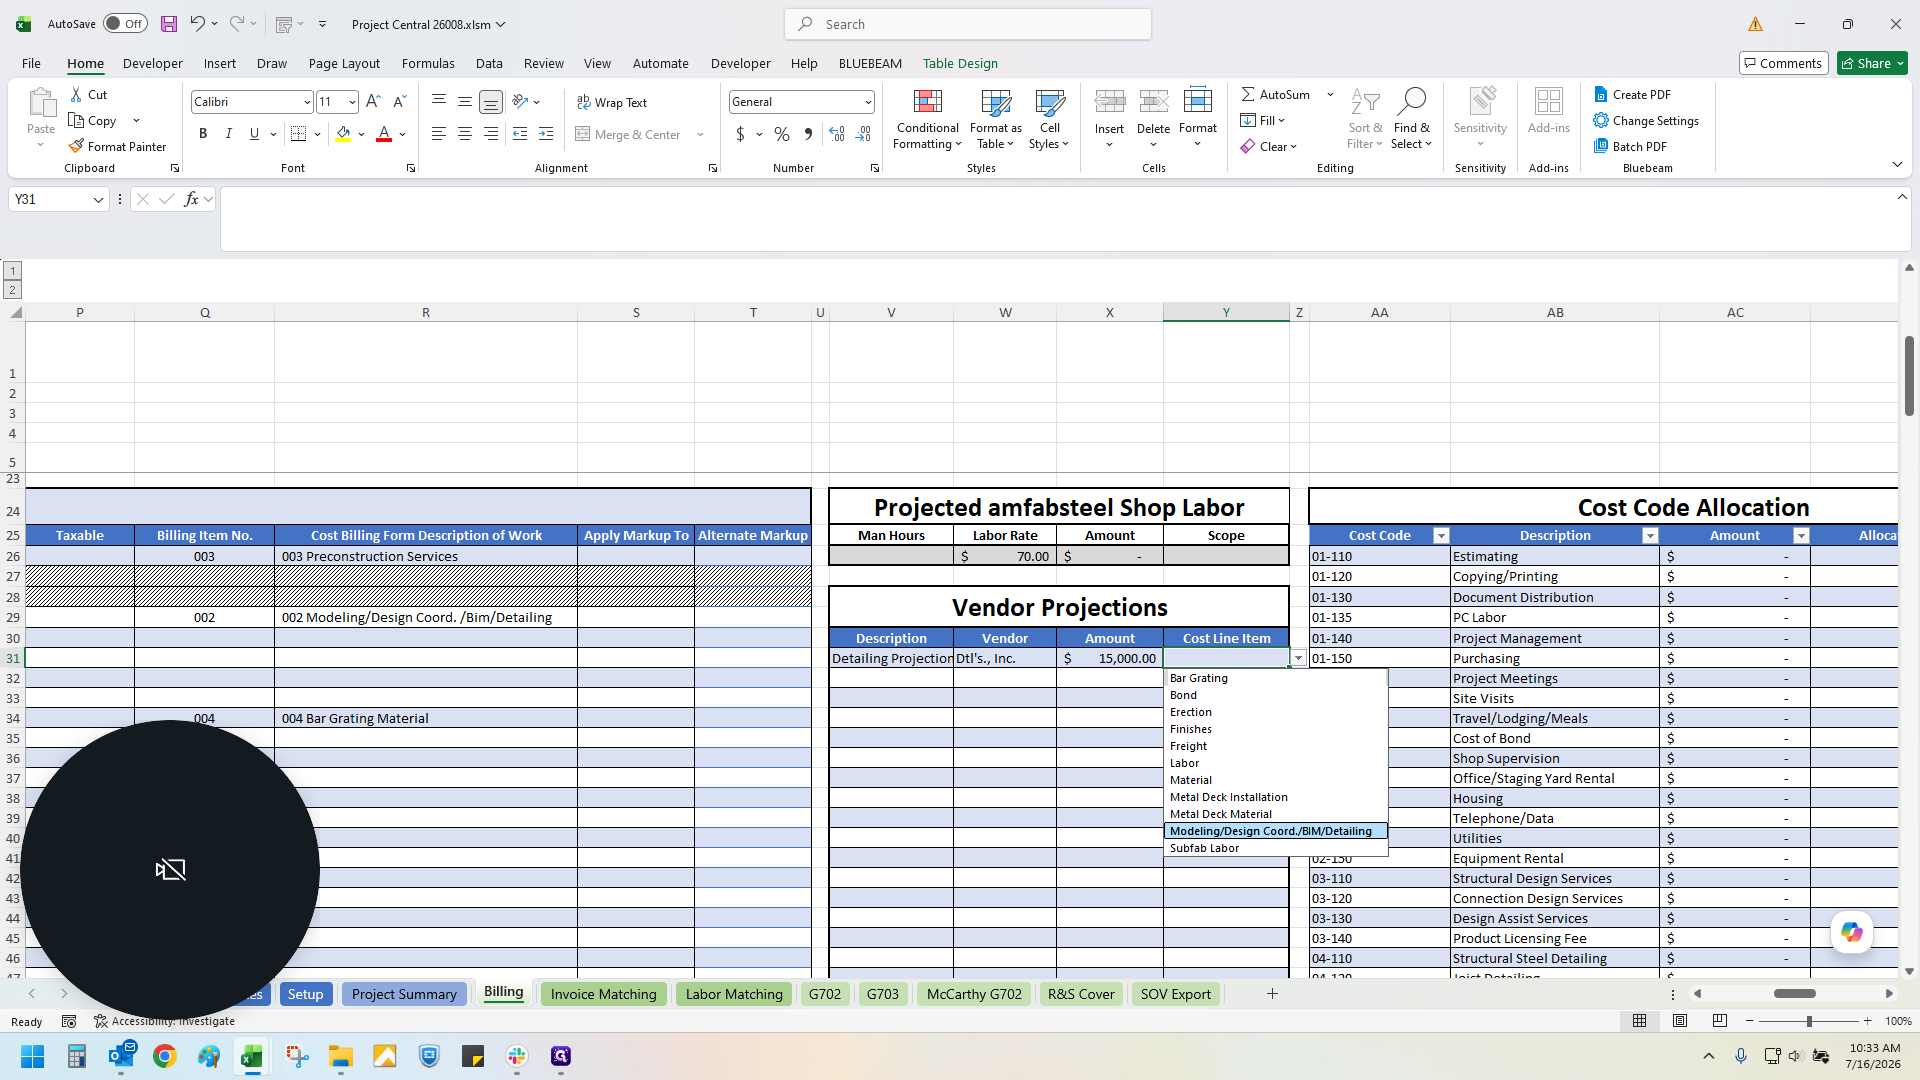
If you expect invoices that haven't arrived yet, add vendor projections to correctly reflect completion.
46
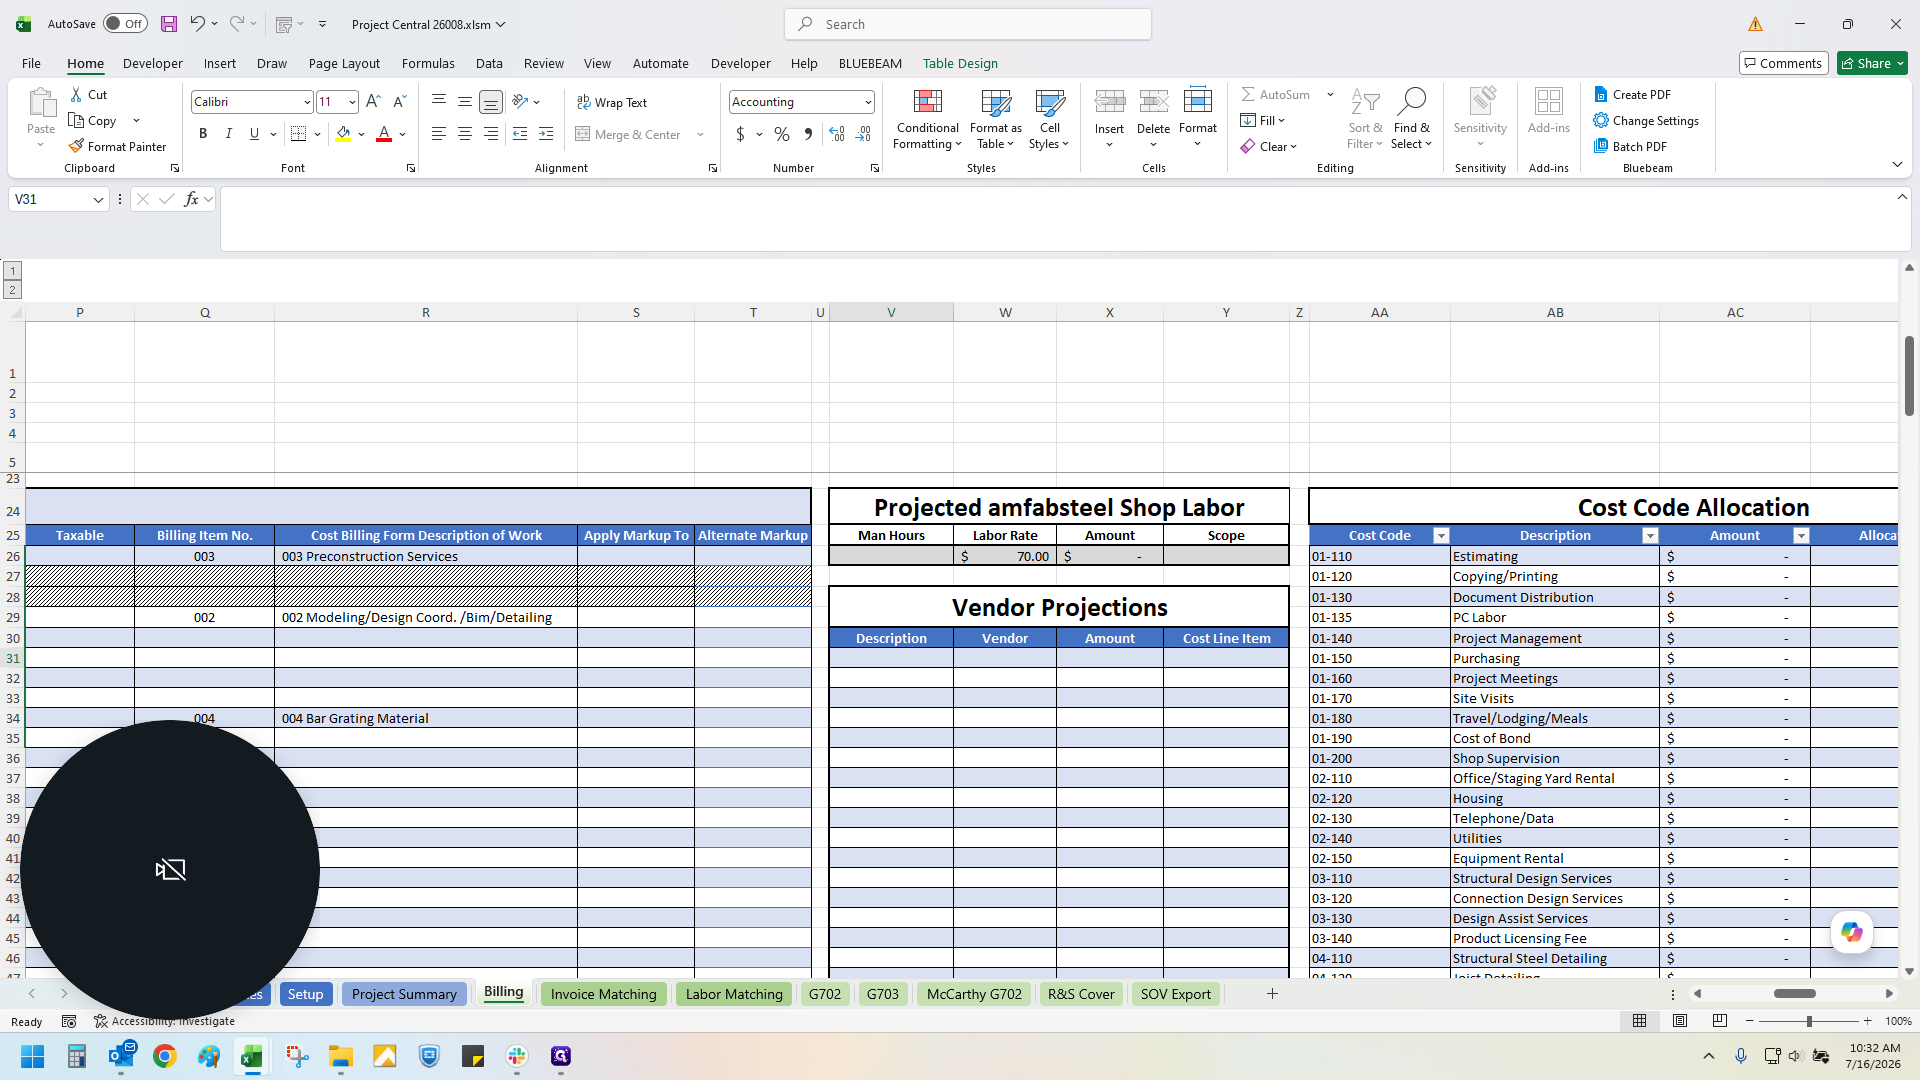
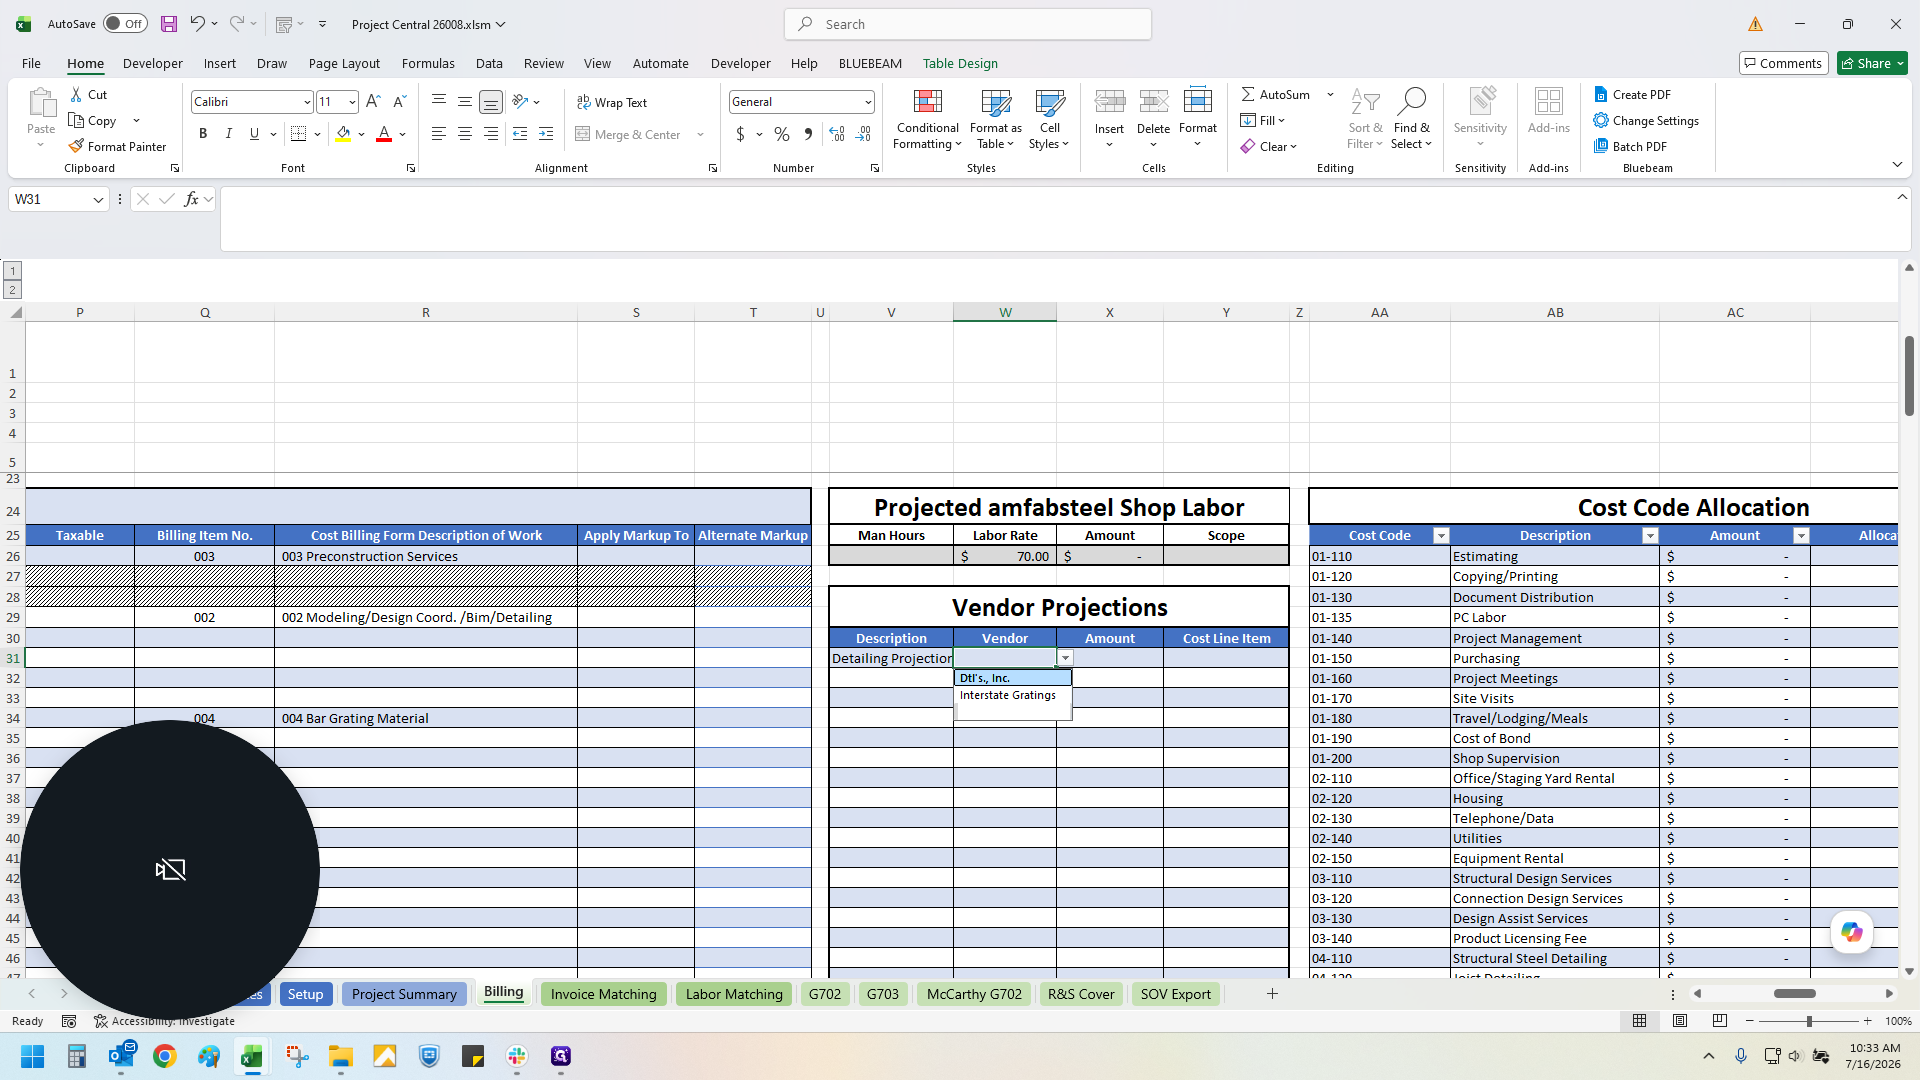
Scroll to the Vendor Projections columns.
47
Enter a description for the projected cost.
48
Select the vendor from the dropdown menu.
49
Enter the projected amount.
50
Select the relevant cost line item allocation to link the projection to the billing form.
The form will automatically calculate and add overhead and fees, adjusting your total gross monthly billing amount.
Save and Prep Subsequent Billings
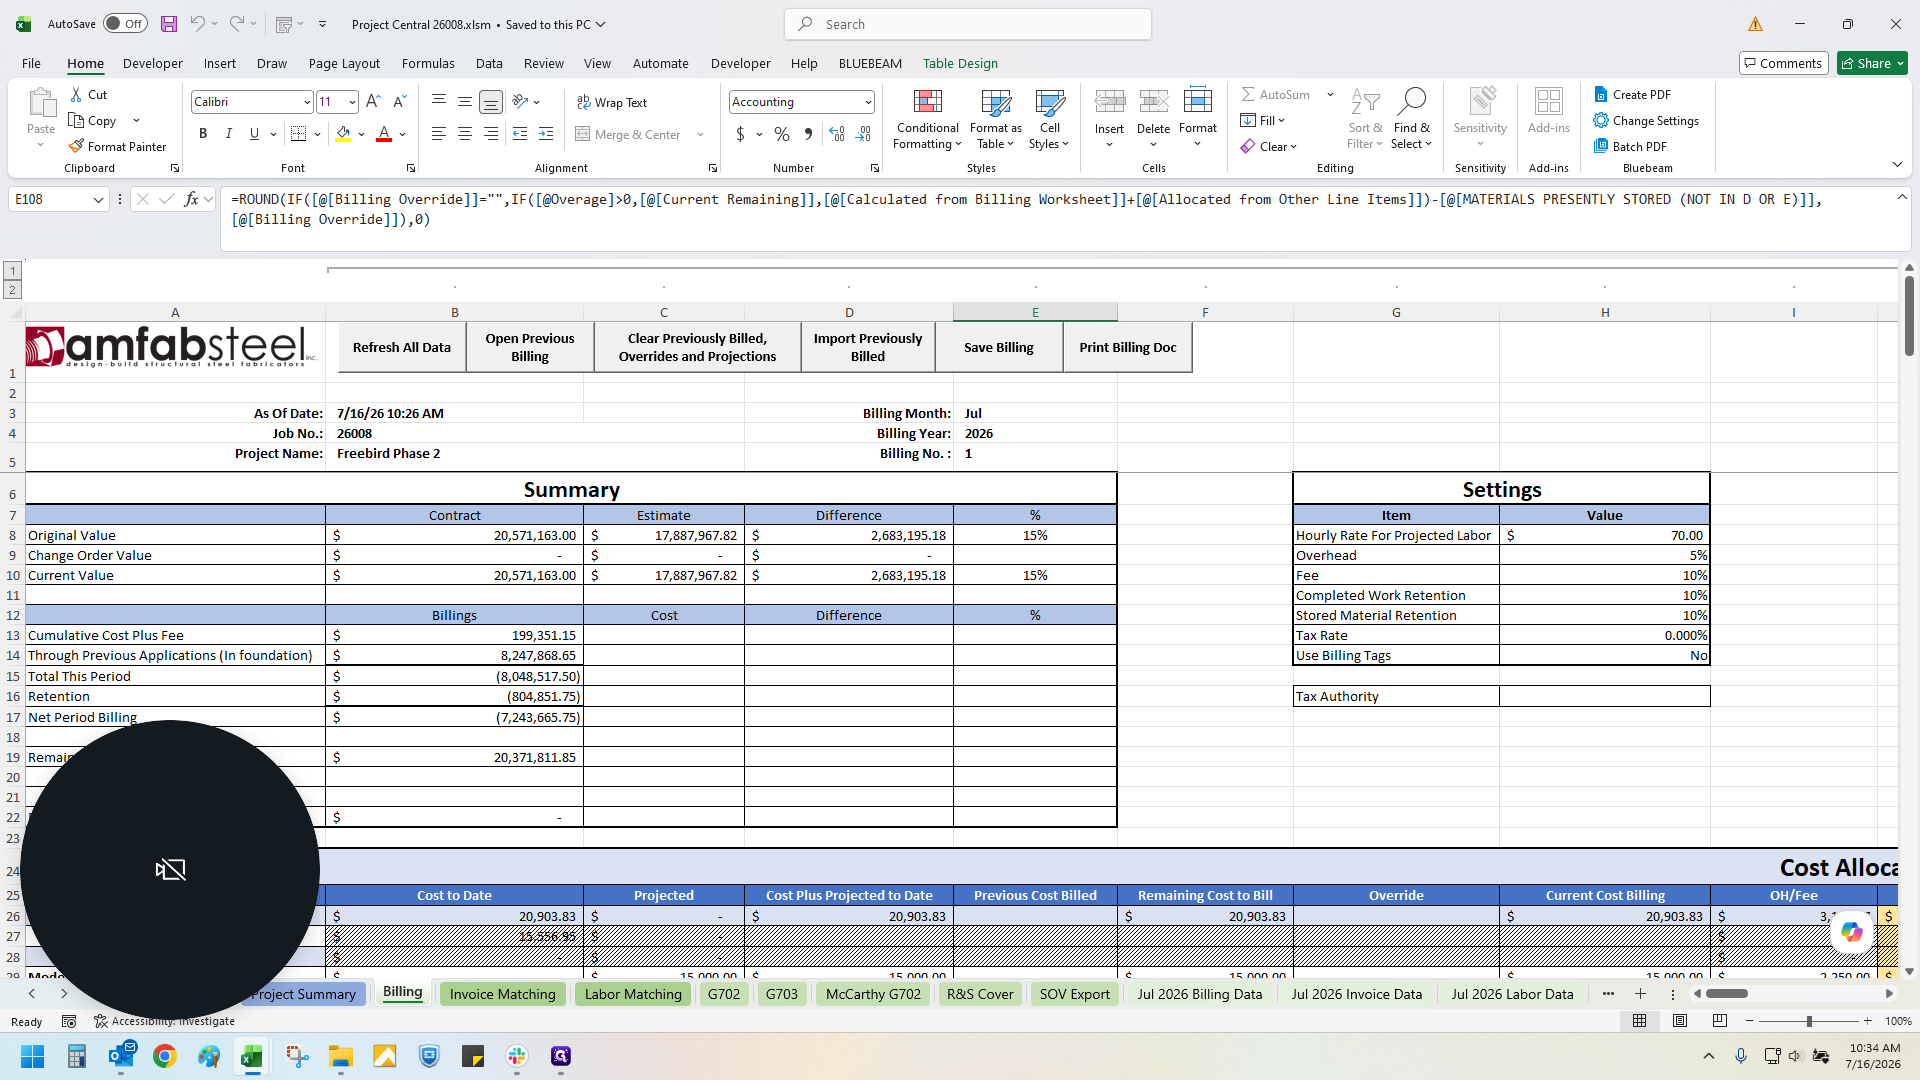
Once your billing is approved by the PM, you must save it to accurately track the bill-to-date.
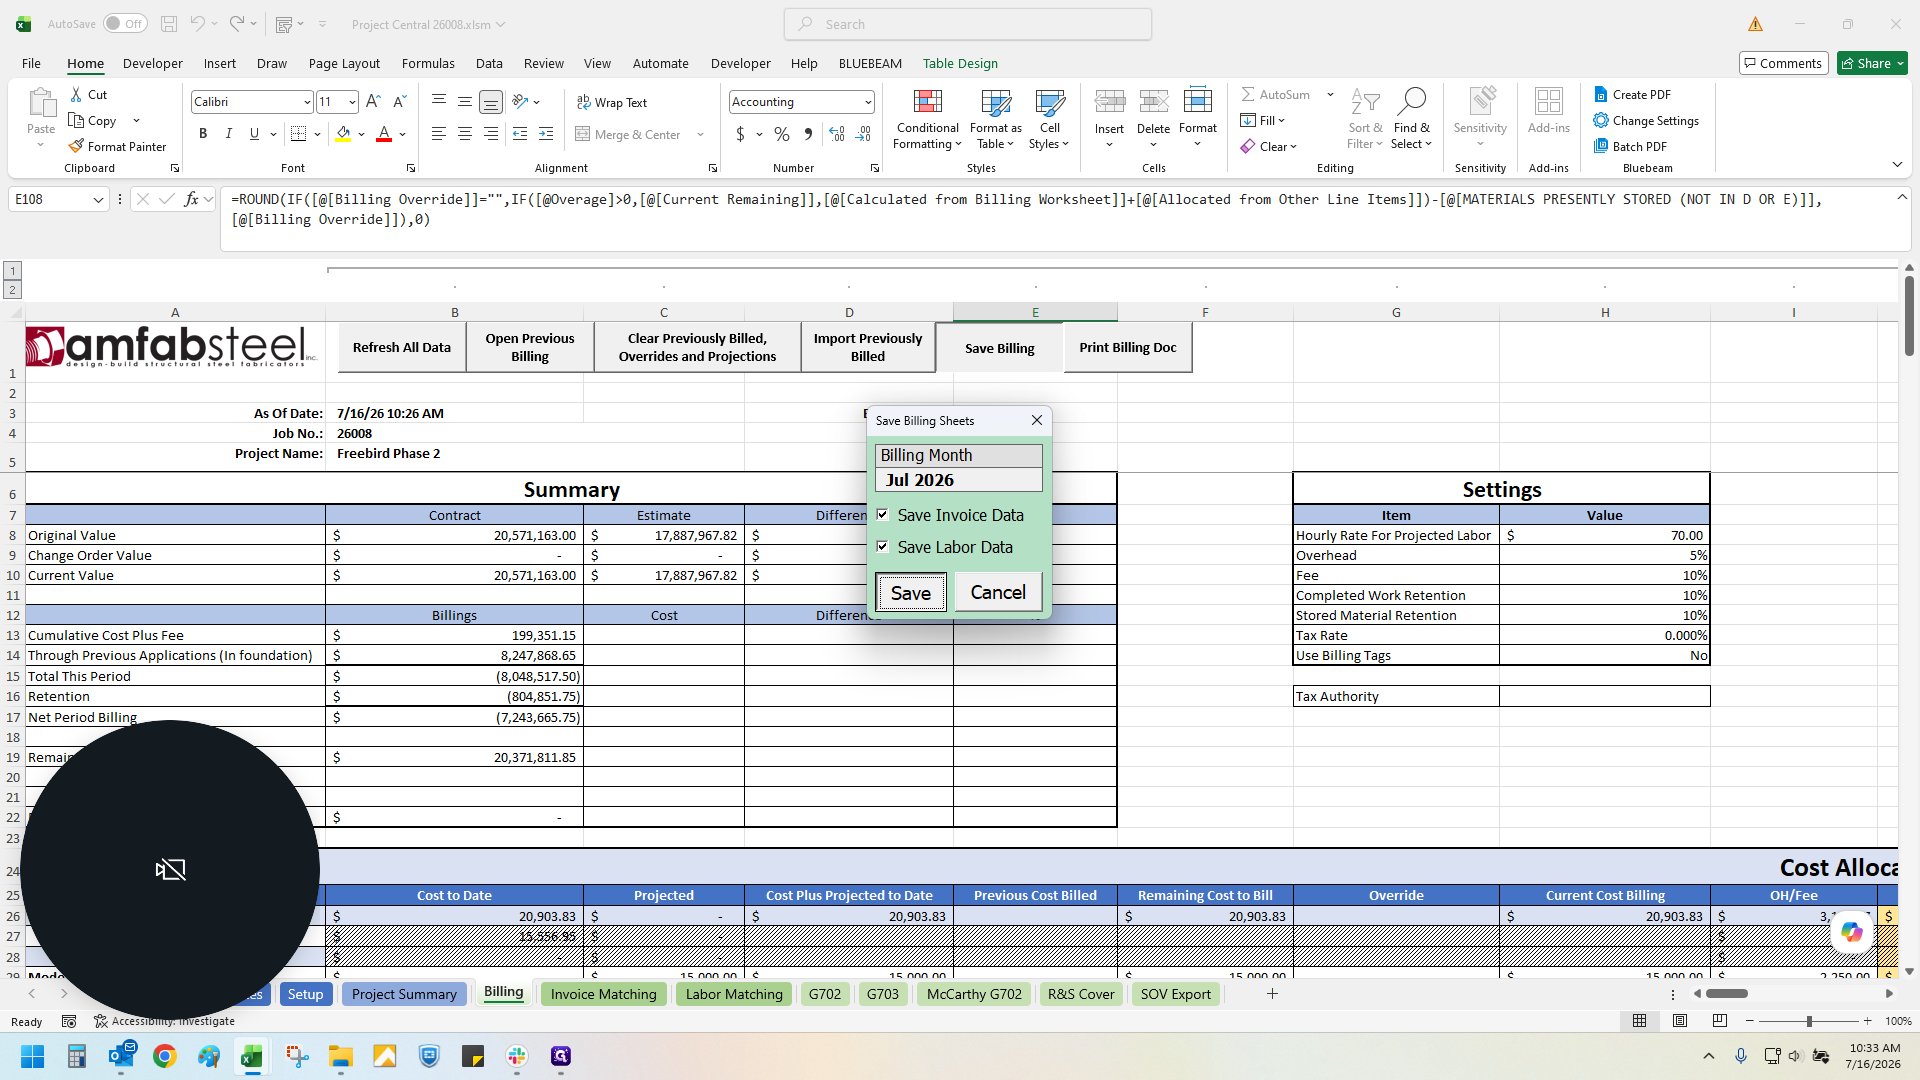
51
Click Save Billing.
52
Click Save in the modal dialog.
When preparing for the next billing cycle:
53
Click Clear Previously Billed to remove previous overrides and projections.
54
Click Import to bring in the previously billed data.
55
Select the new billing month from the dropdown menu.
56
Enter the new billing number.
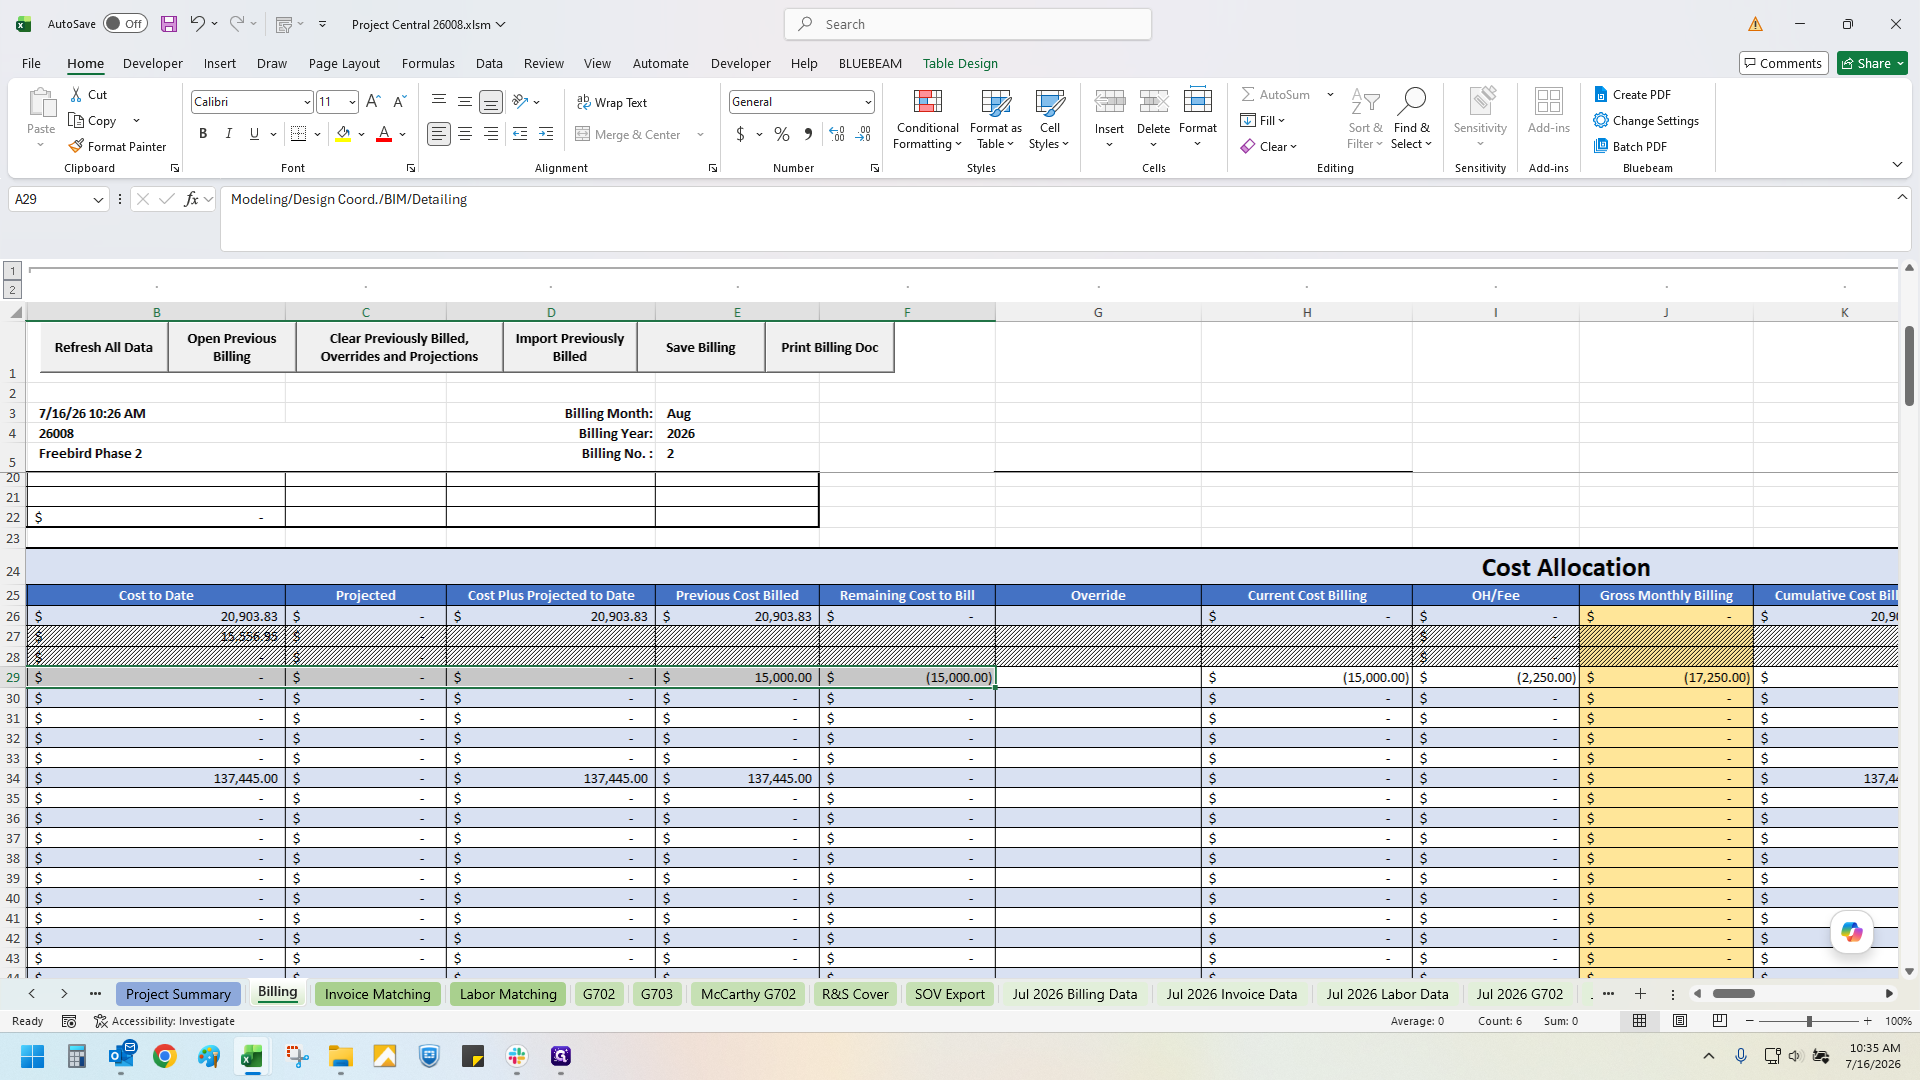
If a previous projection shows as over-billed because the invoice hasn't arrived but the work is complete, override the remaining cost to bill:
57
Select the over-billed projection cell.
58
Type 0 and press Enter to prevent negative billing.
Term
Definition
Project Central (PC)
A customized Excel workbook tool used for reconciling labor, cost allocations, and preparing project billing.
Foundation Software
The primary accounting and data management system that connects to Project Central to track labor rates and project values.
Schedule of Values (SOV)
A detailed list of work items and their associated costs from the contract estimate, used as the basis for billing clients.
Cost Allocation
The process of categorizing project expenses into predefined buckets for accurate billing against the original estimate.