
Setting Up Your Bright Marketing Pixel
Step-by-step guide on how to set up your Bright Marketing Pixel. Learn how to name it and proceed with the setup process.
By Sean Brightman
In this guide, we'll learn how to efficiently navigate through the steps of setting up a marketing pixel. Understanding the process of naming your pixel and leaving certain fields blank can streamline your workflow and ensure accurate tracking. Let's delve into the specifics below.
Naming Your Pixel
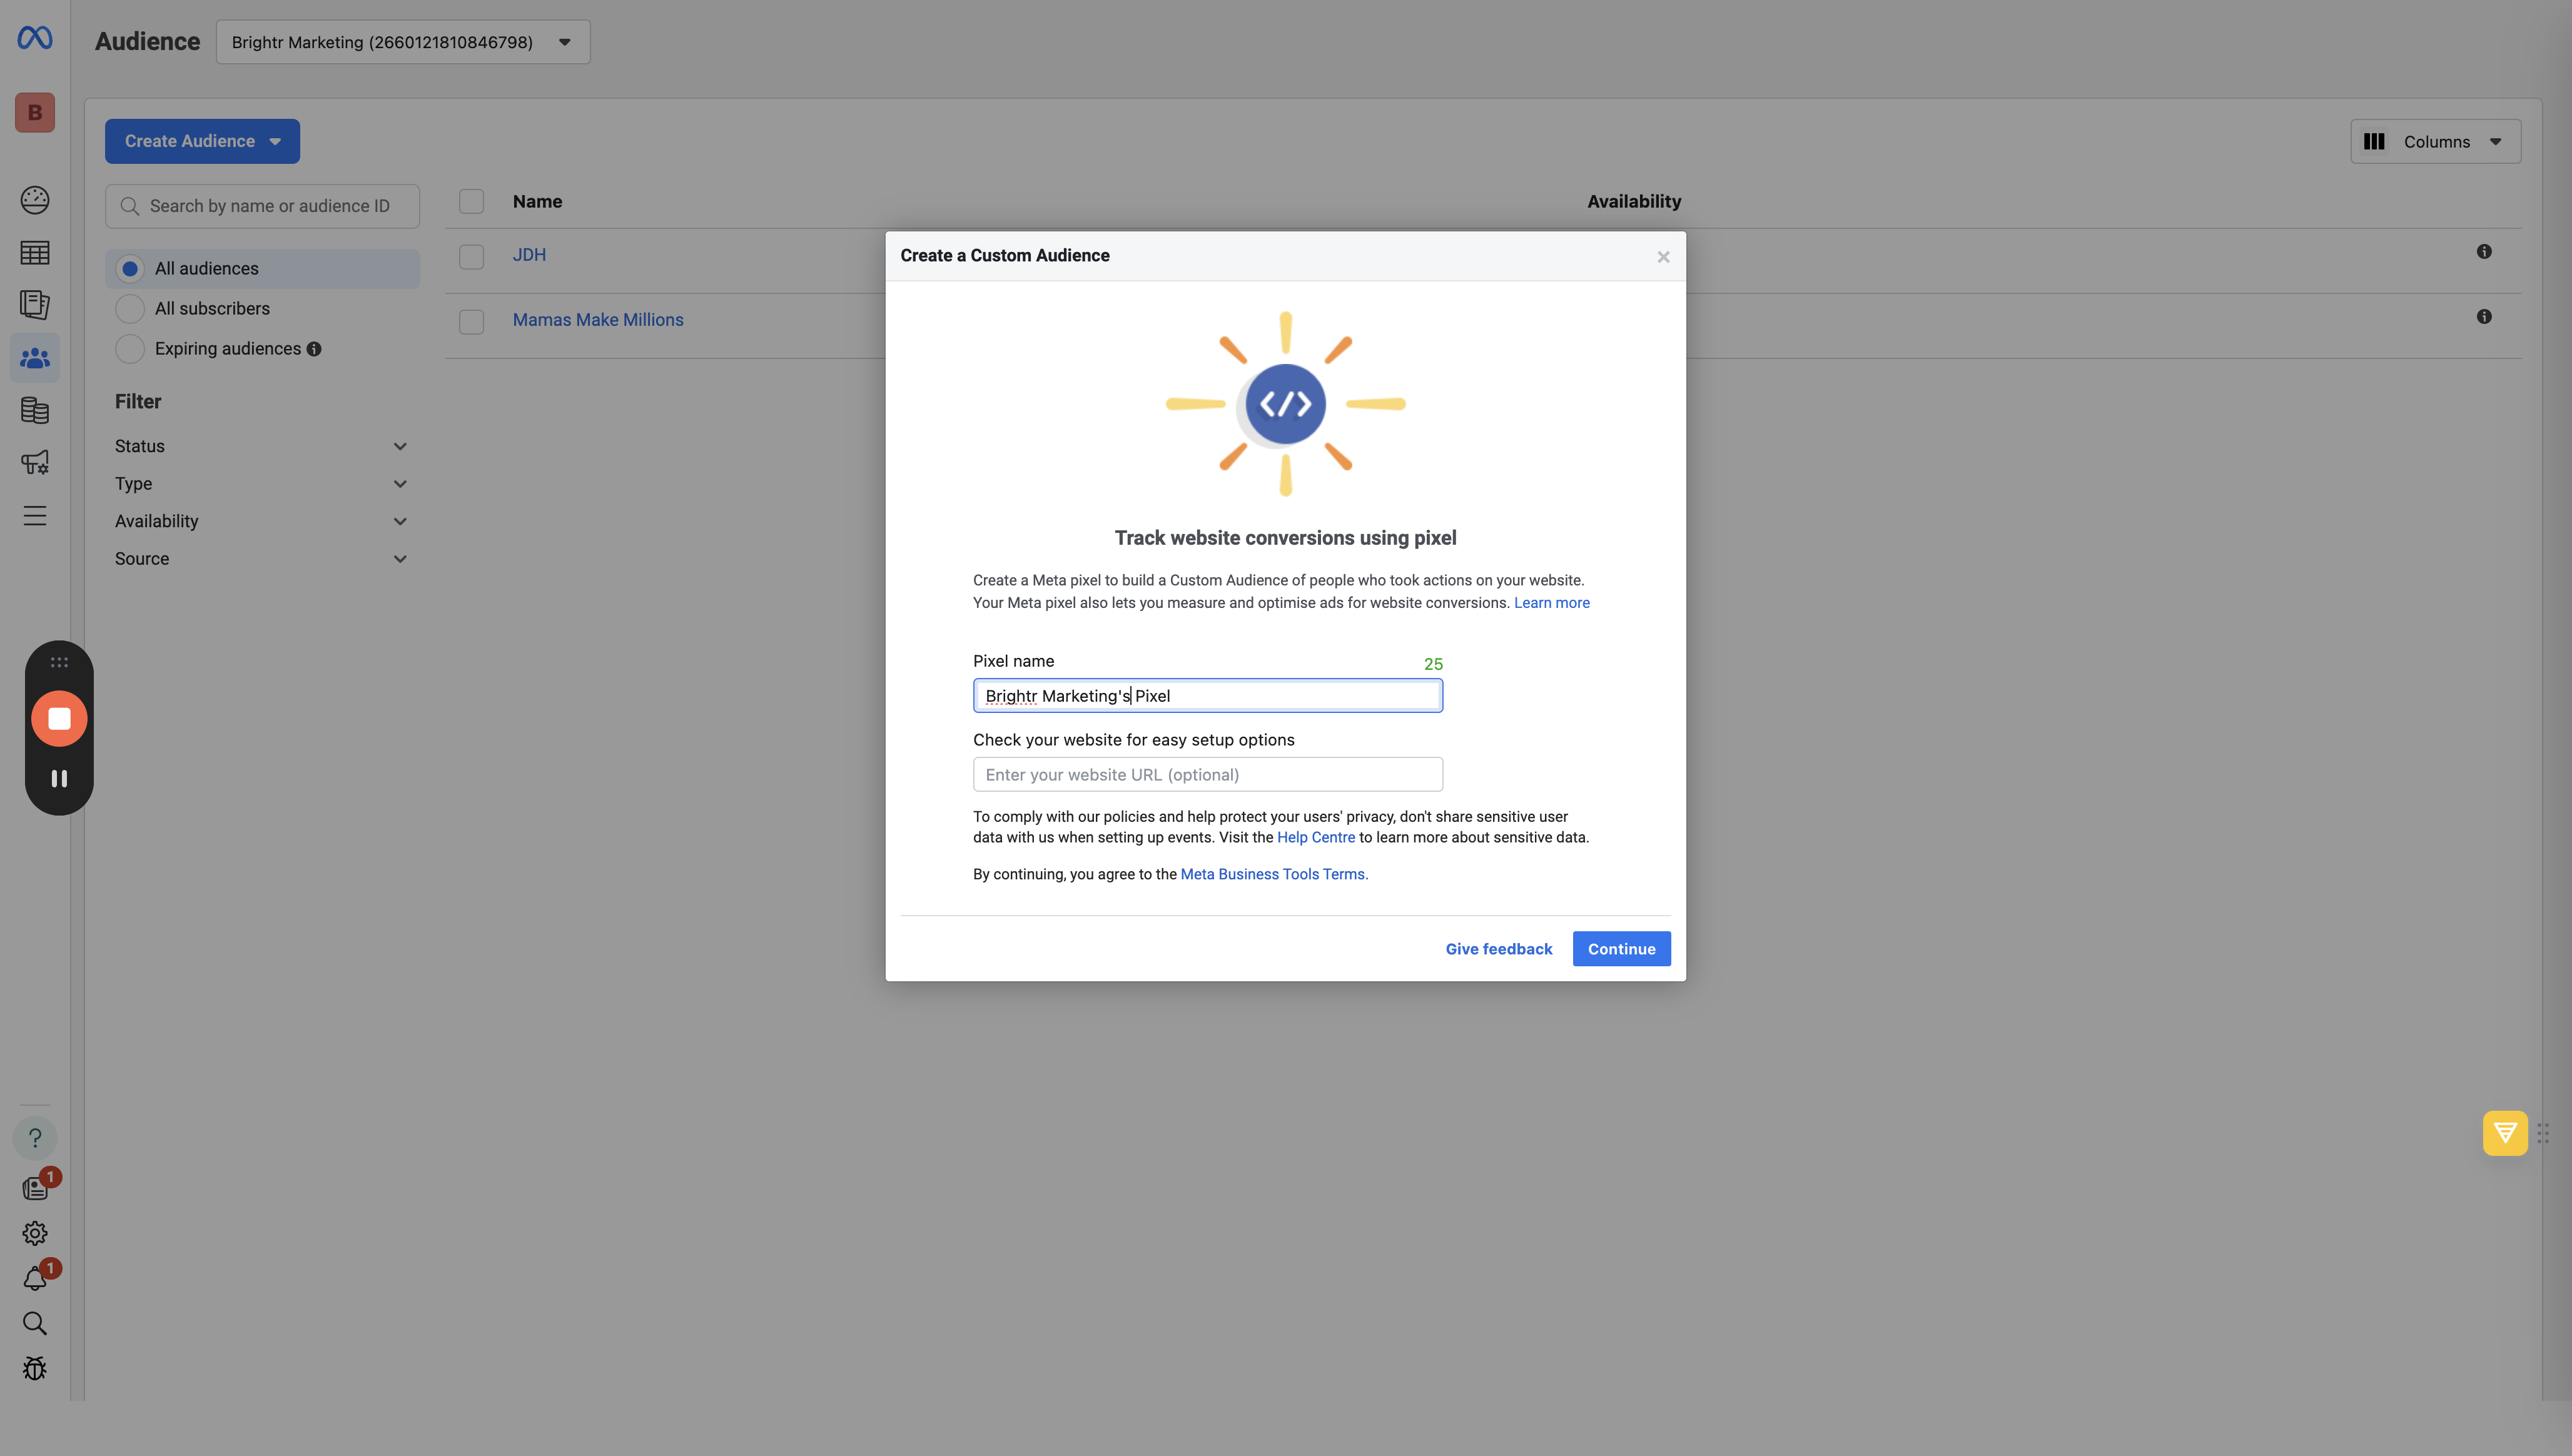
When prompted to name your pixel, such as "Bright Marketing Pixel," it's crucial to choose a clear and descriptive title that aligns with your tracking objectives.
Leaving Website Field Blank
Opting to leave the website field blank during setup can be a strategic decision, especially if you plan to associate the pixel with multiple websites or if the tracking is not site-specific.
Let's get started.
1
Go to Meta Business Suite
2
Go to Meta Business Suite
3
Click "Create Audience"
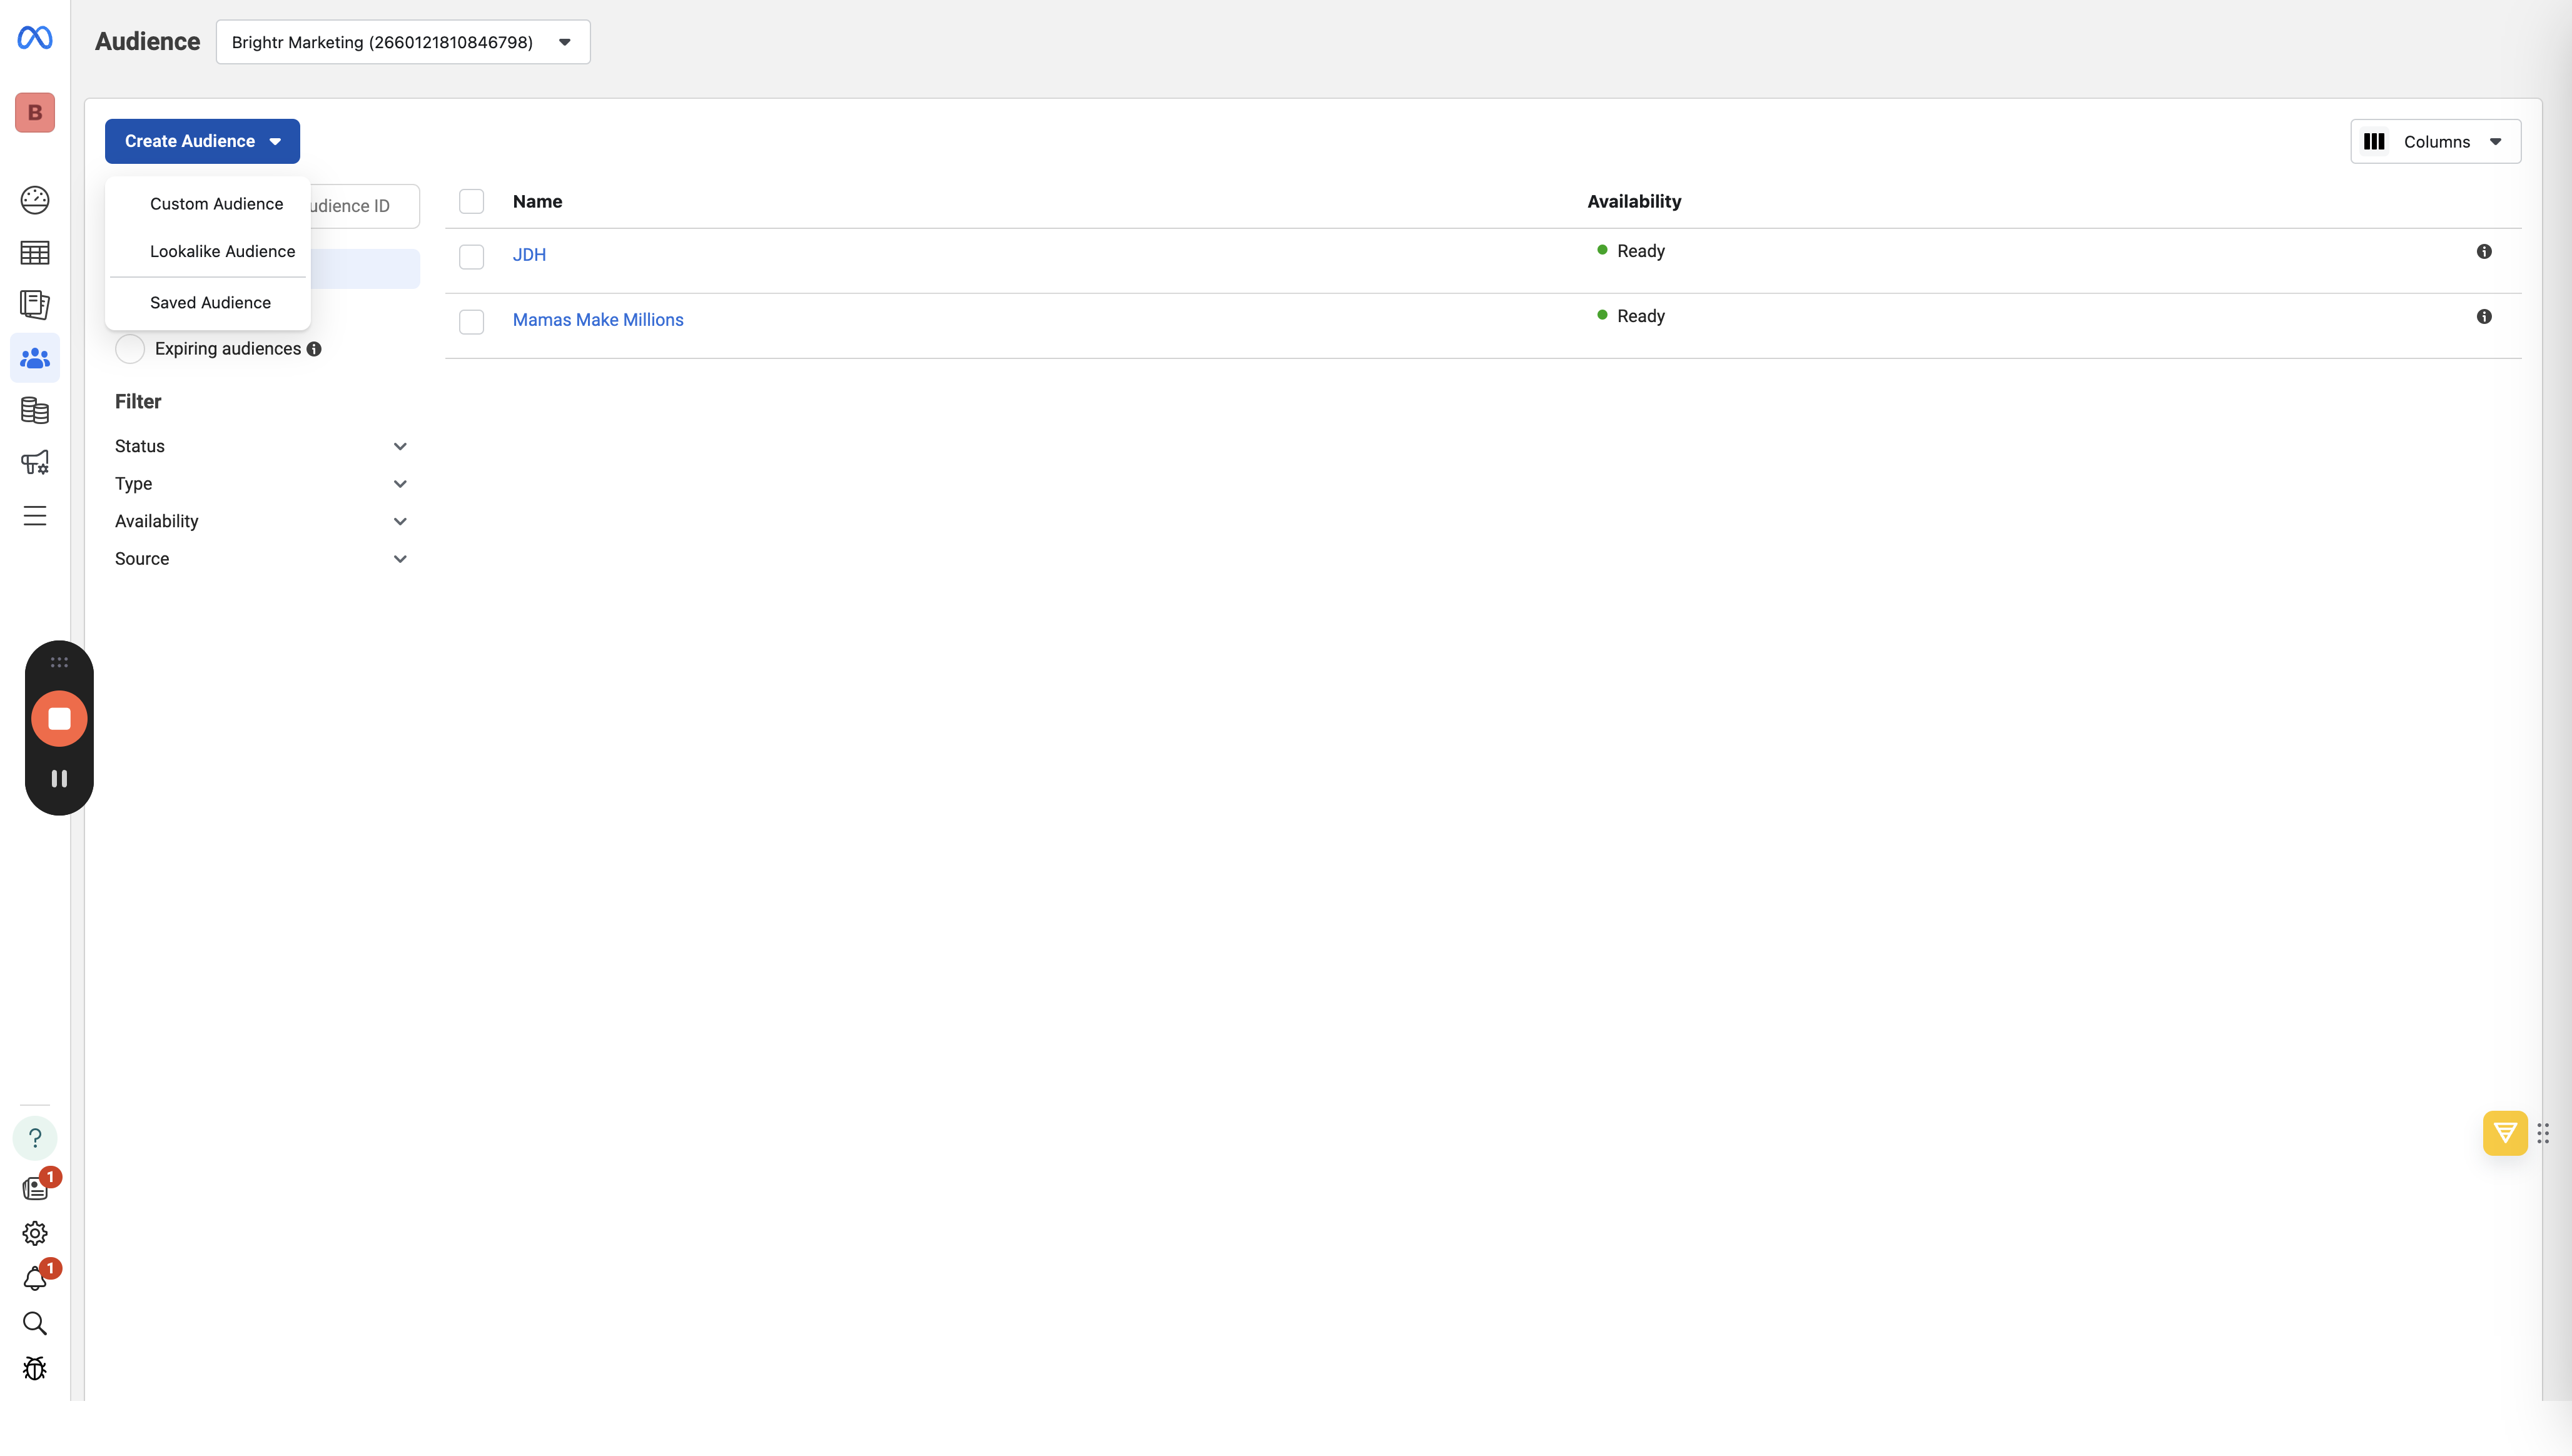
4
Click "08 Custom Audience"
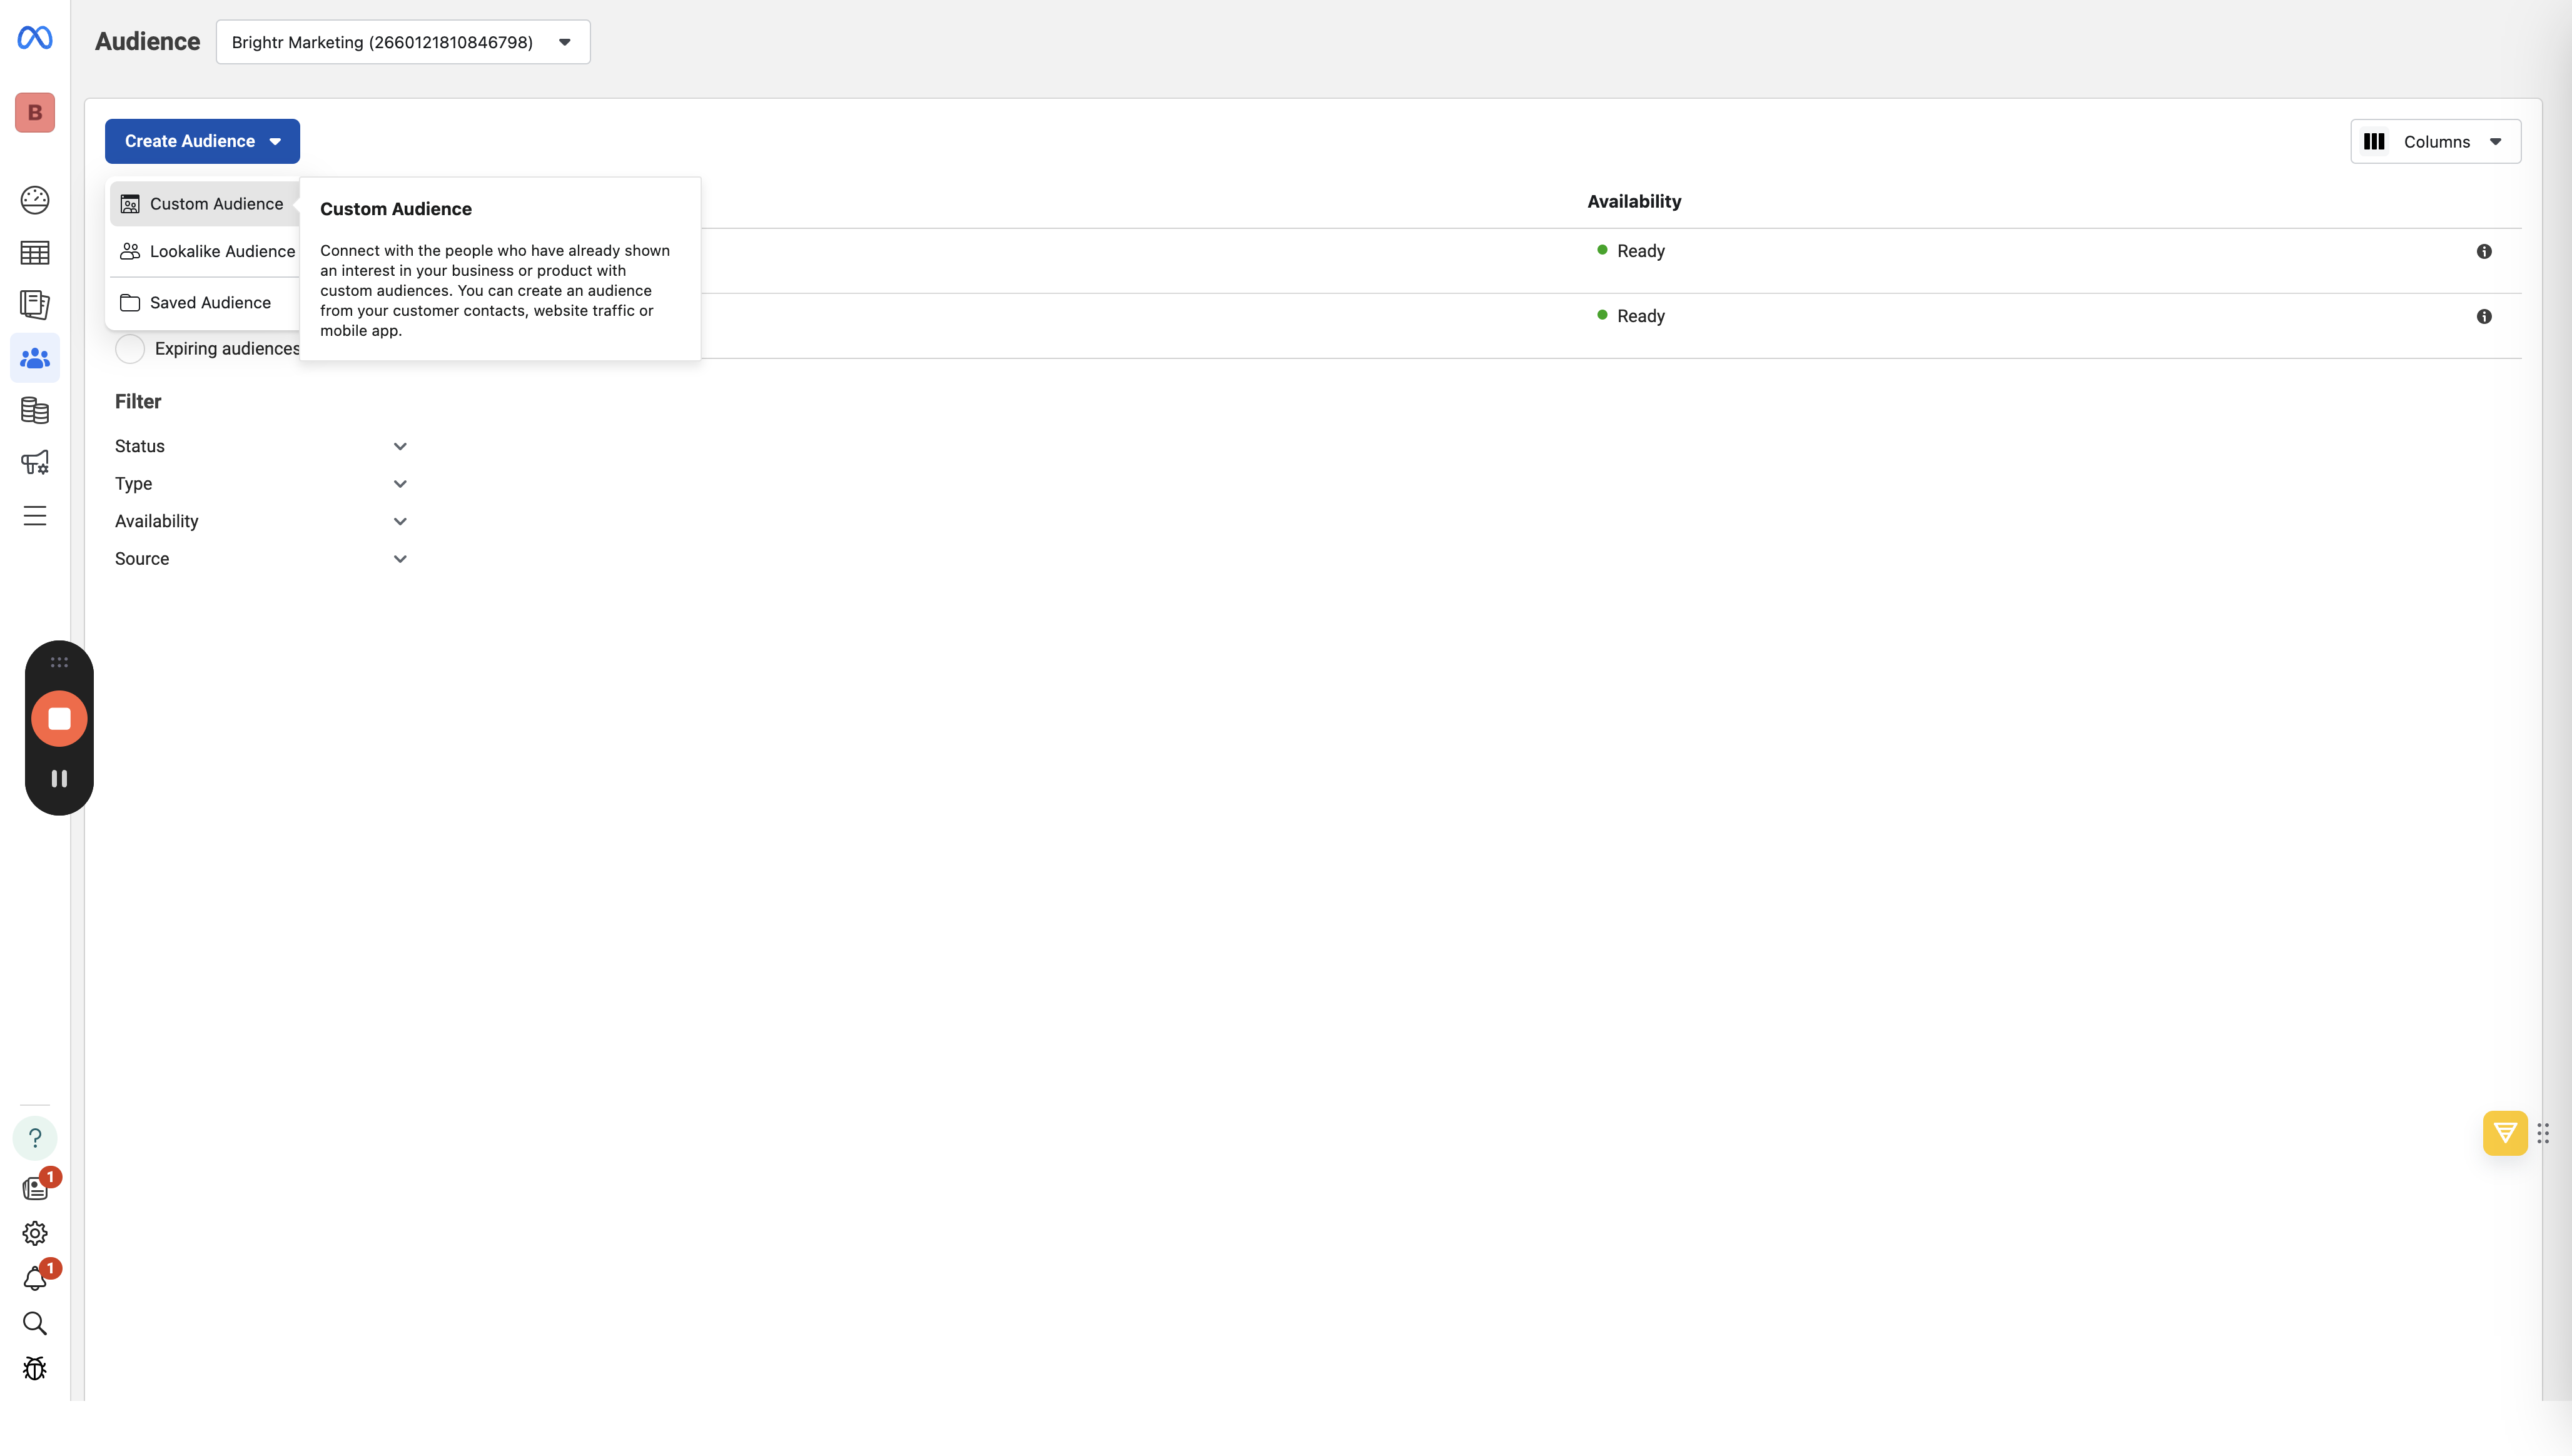
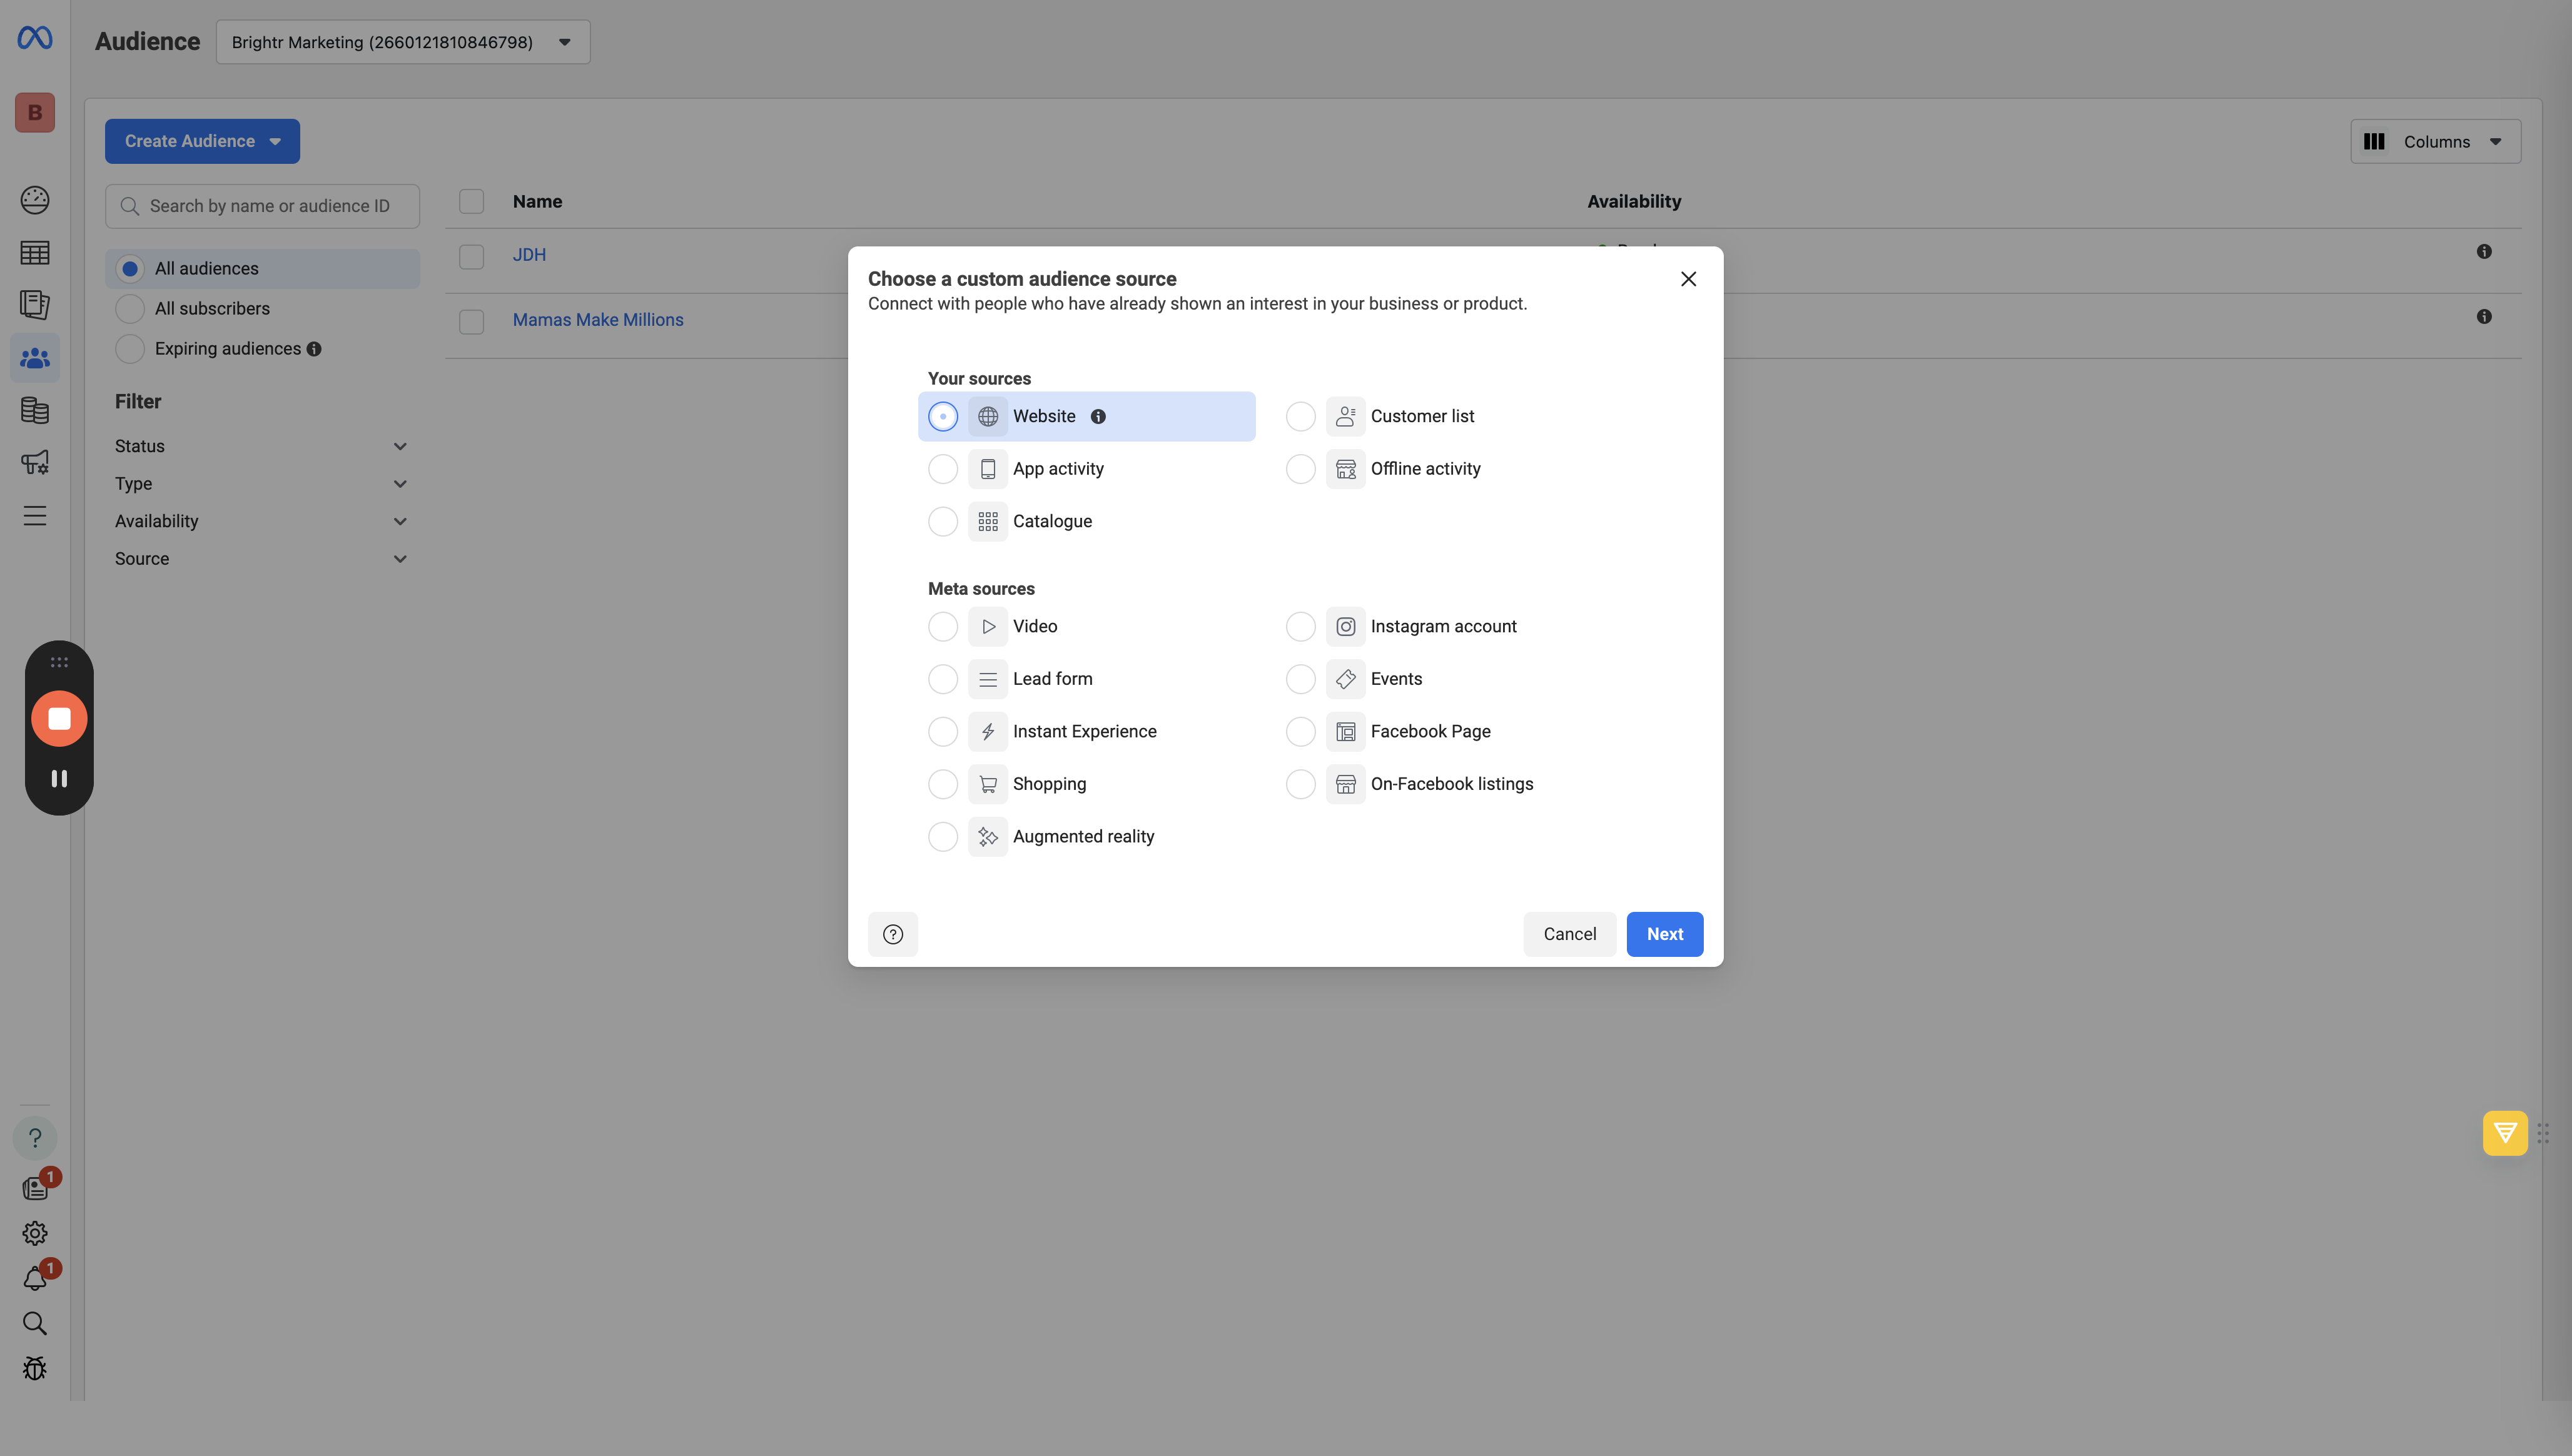
Click "Next." Name it "Bright Marketing Pixel." Leave the website blank for now. Click "Continue."
5
Click here
6
Give it a name
7
Click "Continue"
8
Give your audience a name and Description
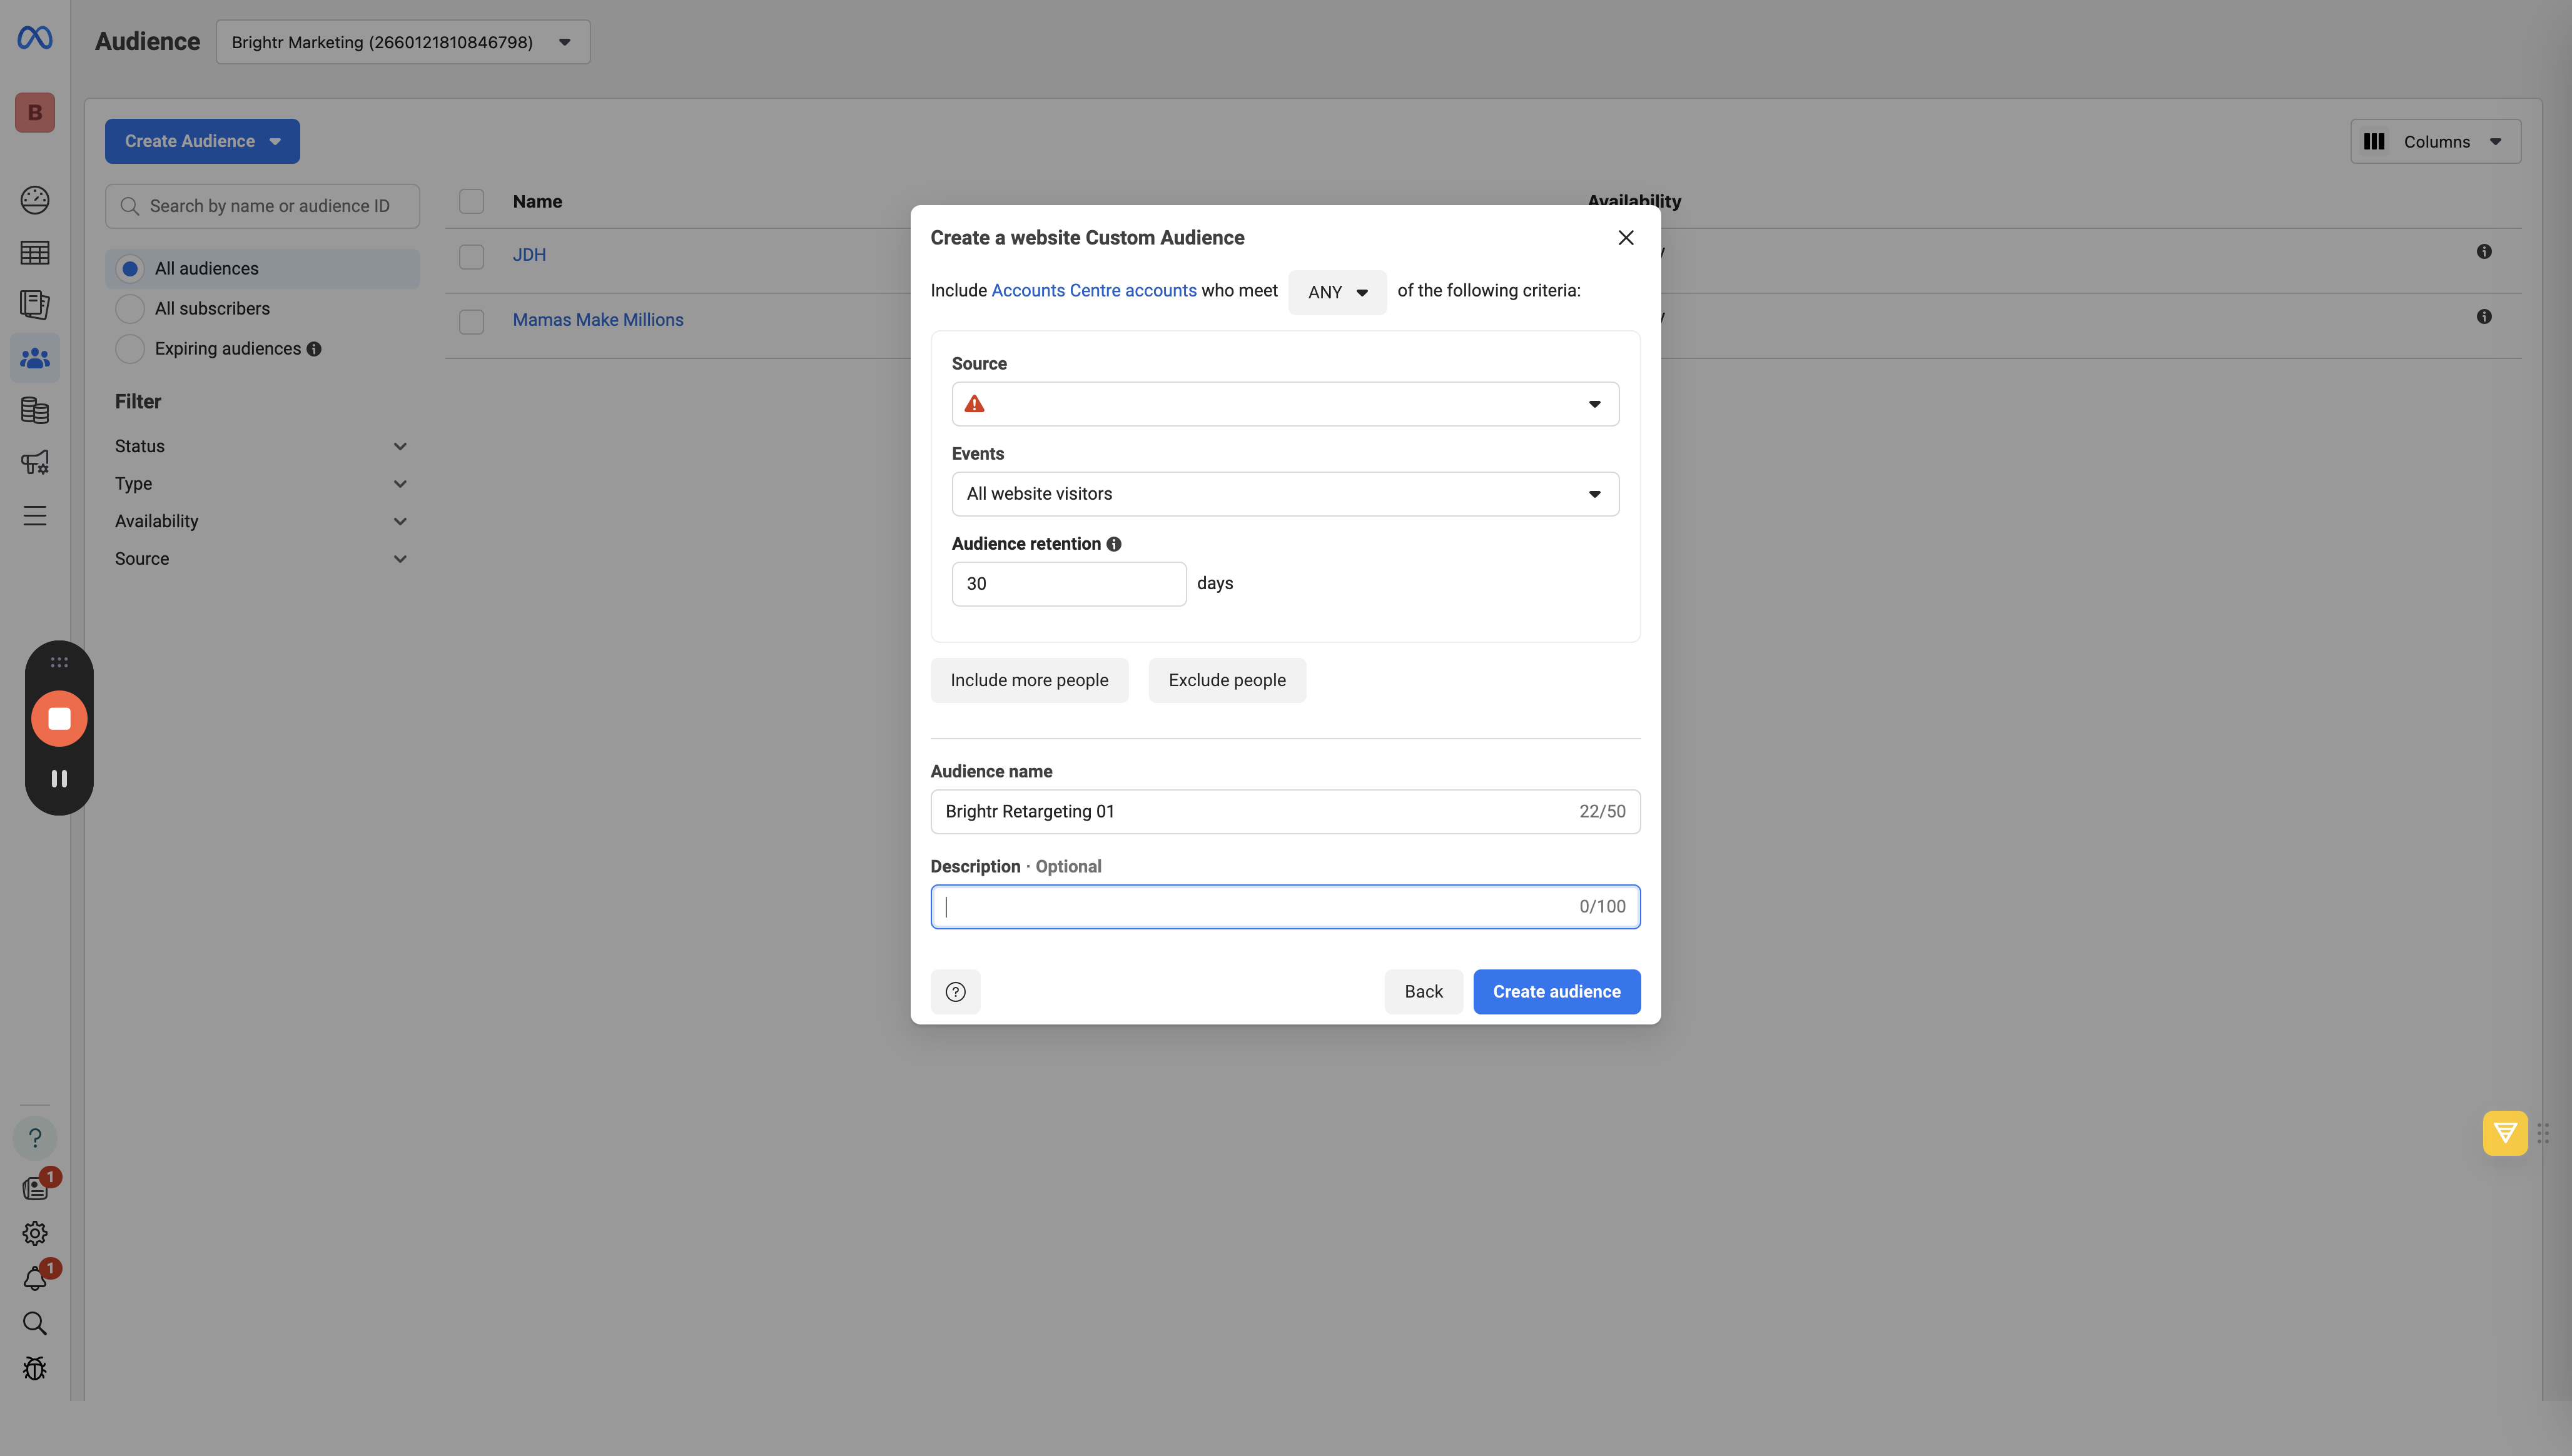
9
Click the Blue Button to create your audience
