Setting Up a New CAREonsite Counseling Location

Learn how to onboard a new CAREonsite location, manage clinical staff credentials, and configure scheduling hubs and intake forms.

By Chris

This guide explains how to onboard a new CAREonsite clinical location, complete administrative checklists, and configure customized patient intake forms and scheduling hubs.

This guide is intended for operations and administrative staff managing the rollout of new CAREonsite counseling contracts. Use this workflow whenever a new Statement of Work (SOW) is signed to ensure smooth clinical operations and correct patient booking.

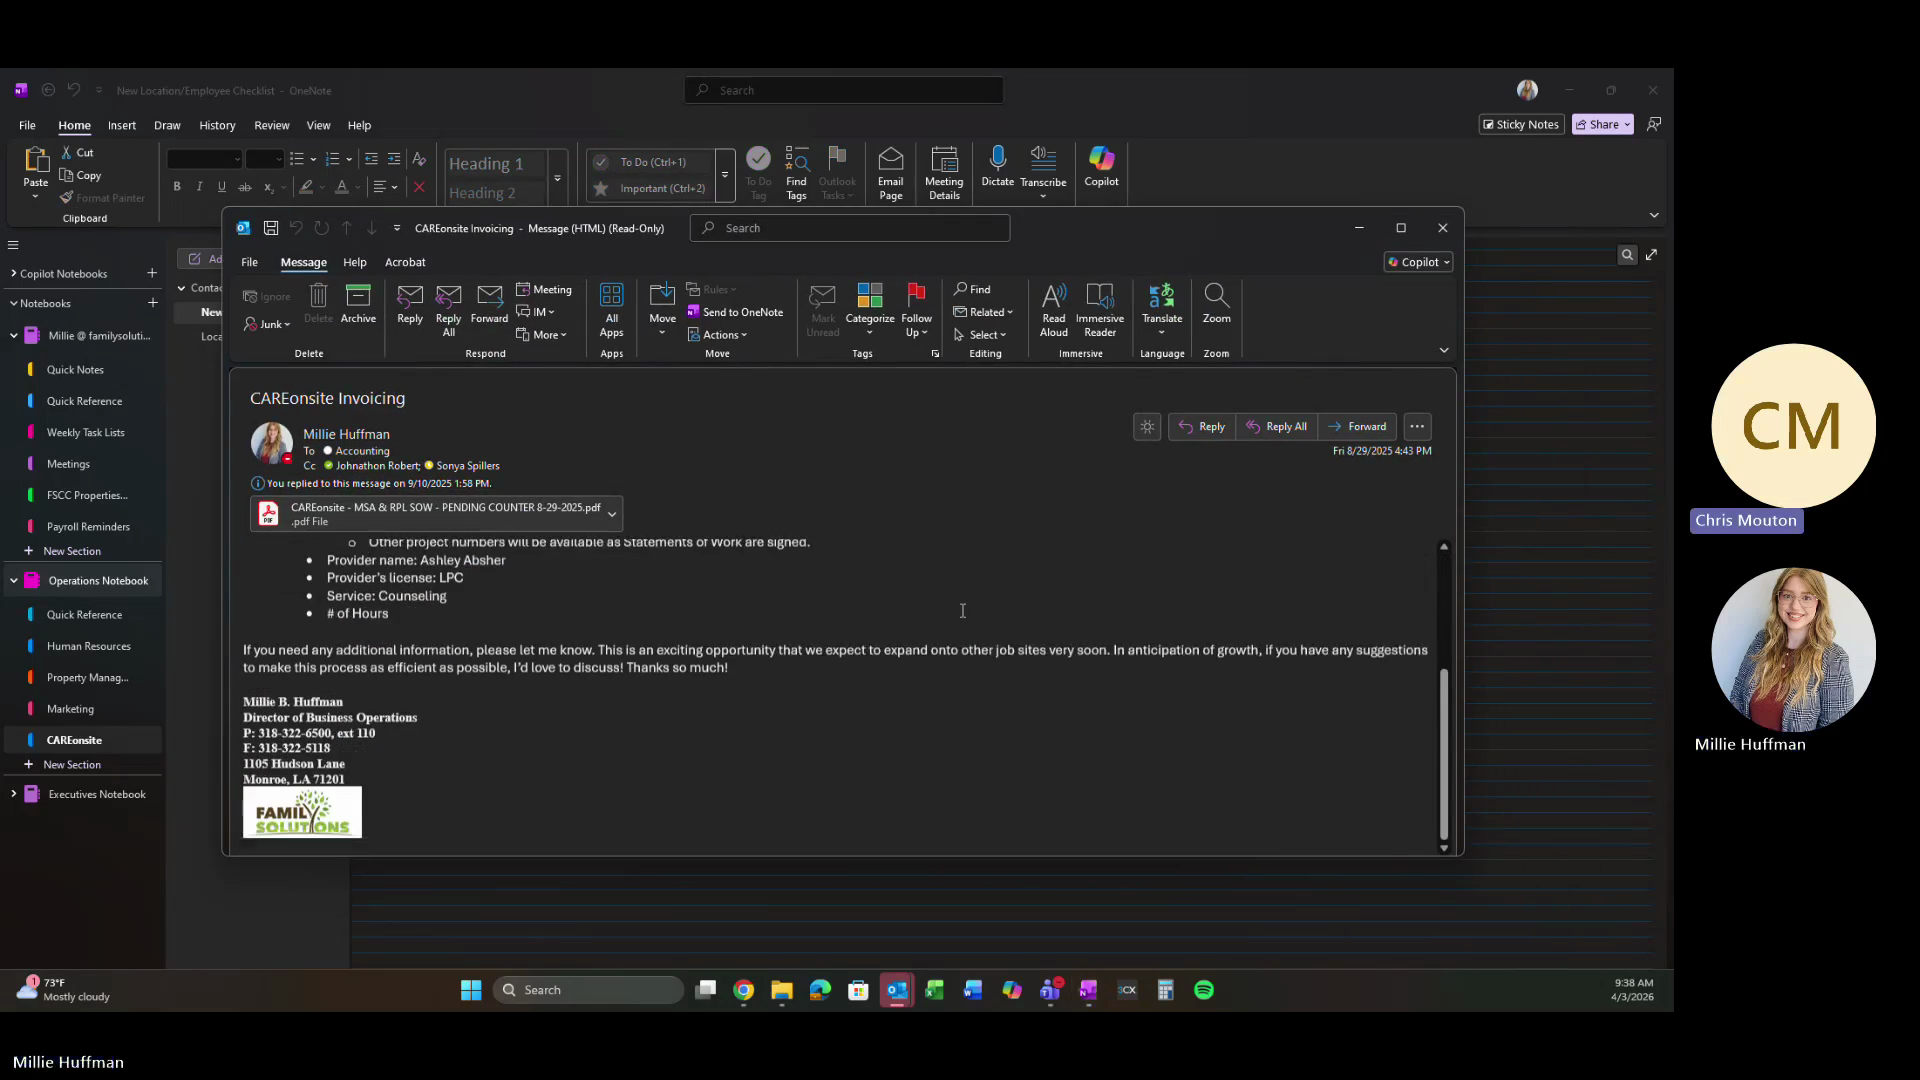
Accessing Contracts and Documentation

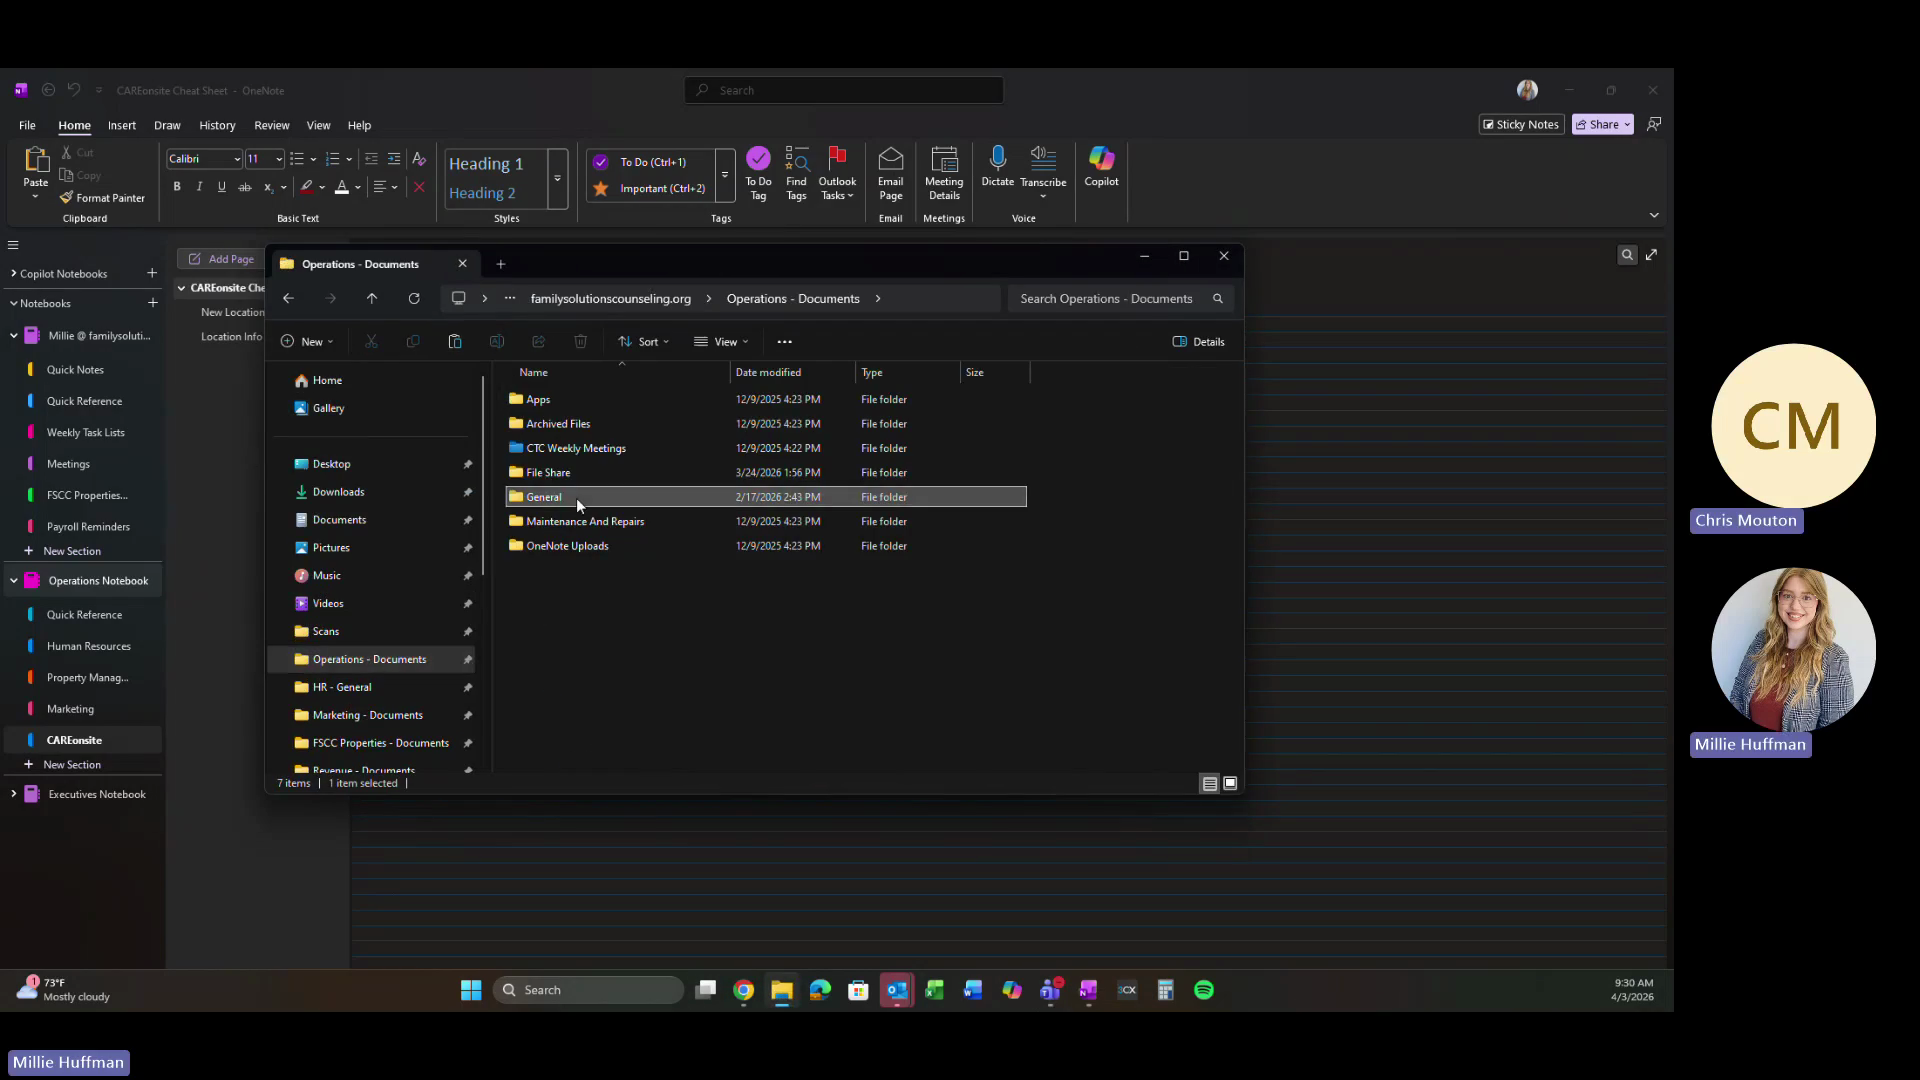
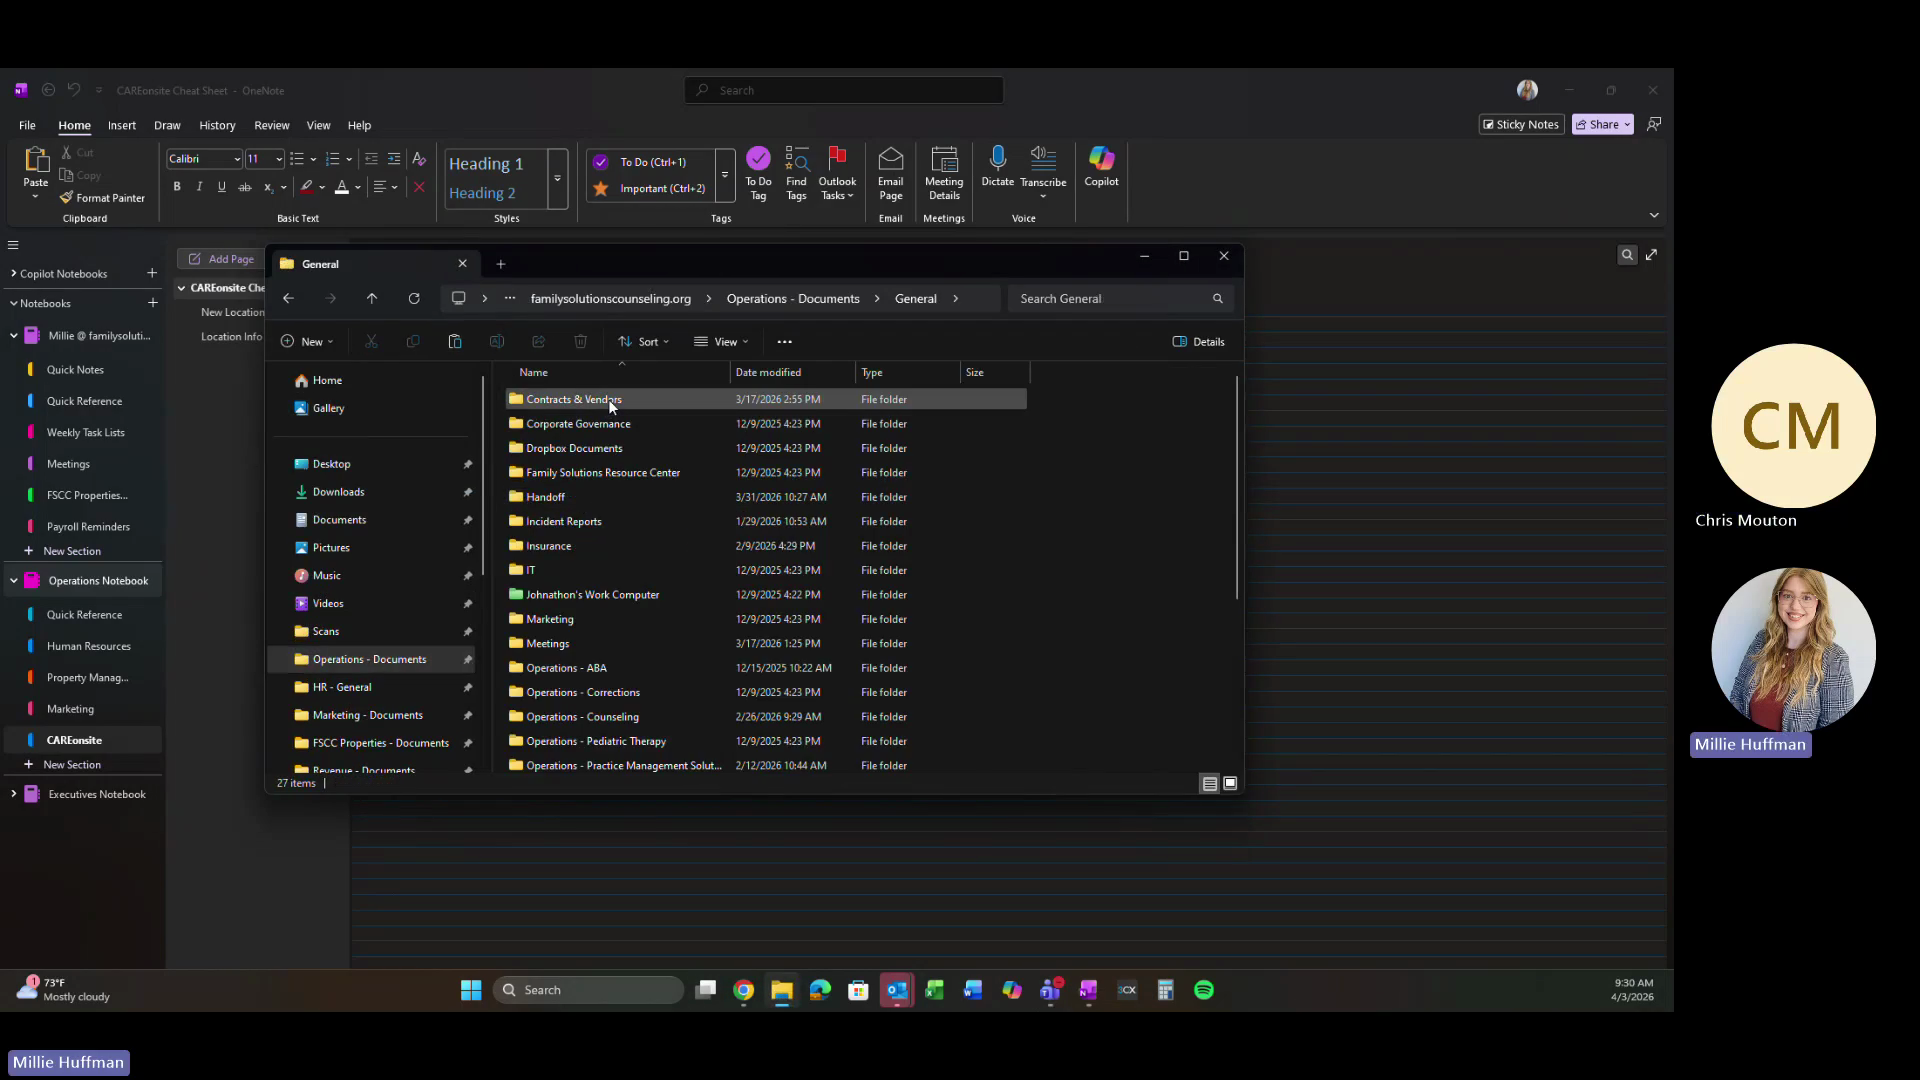
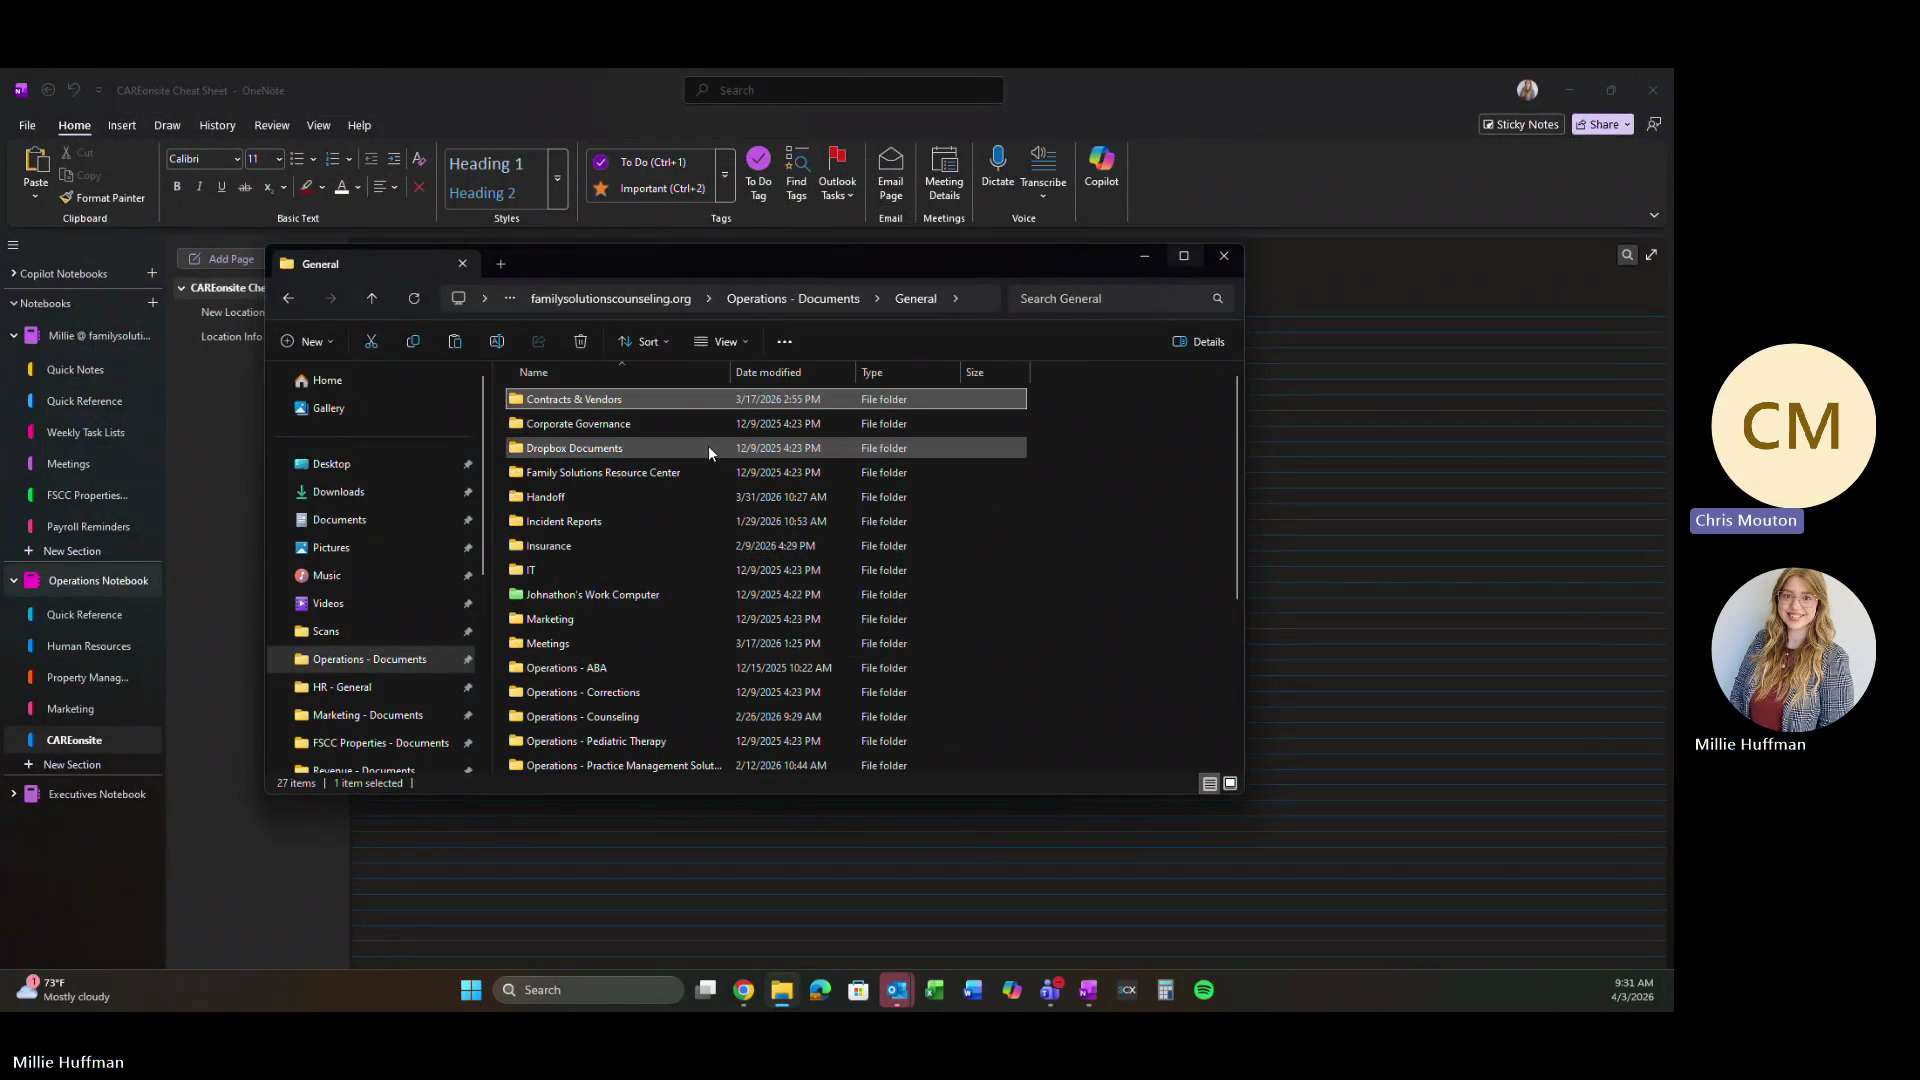
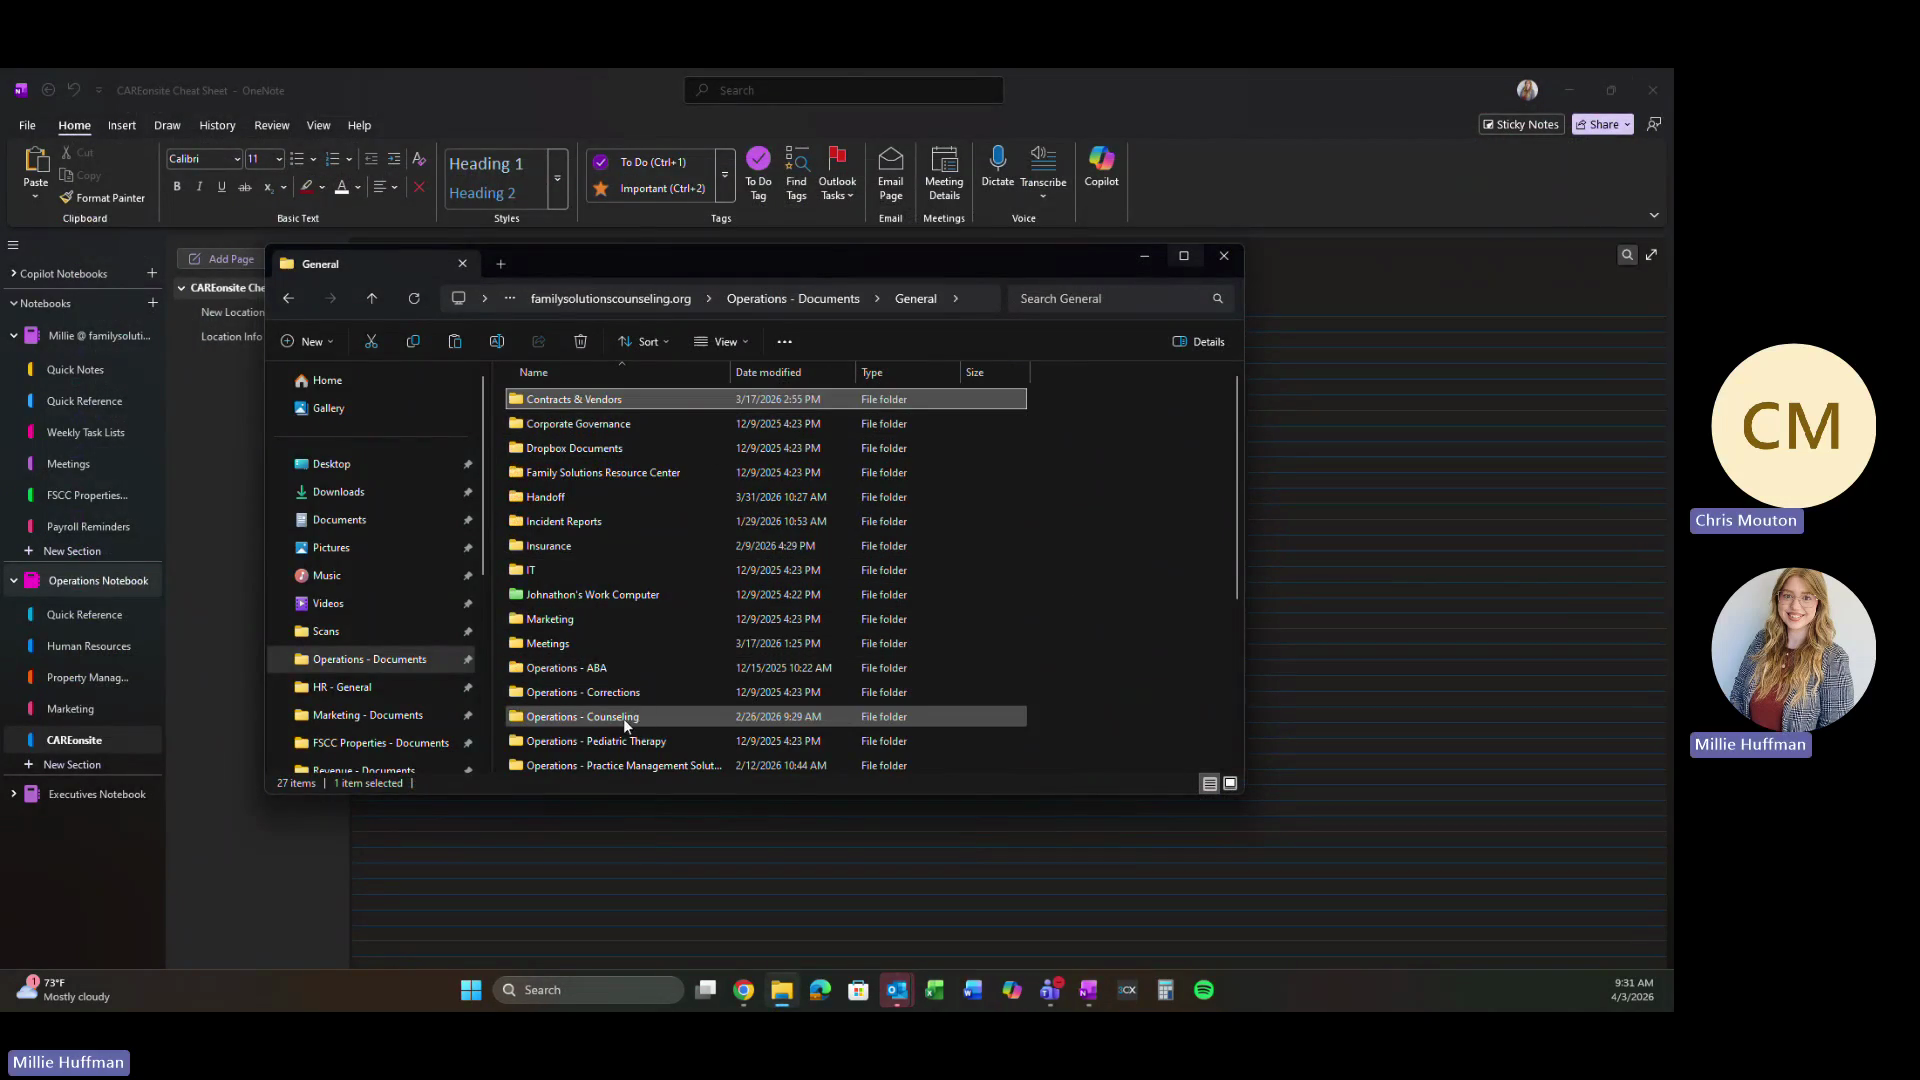
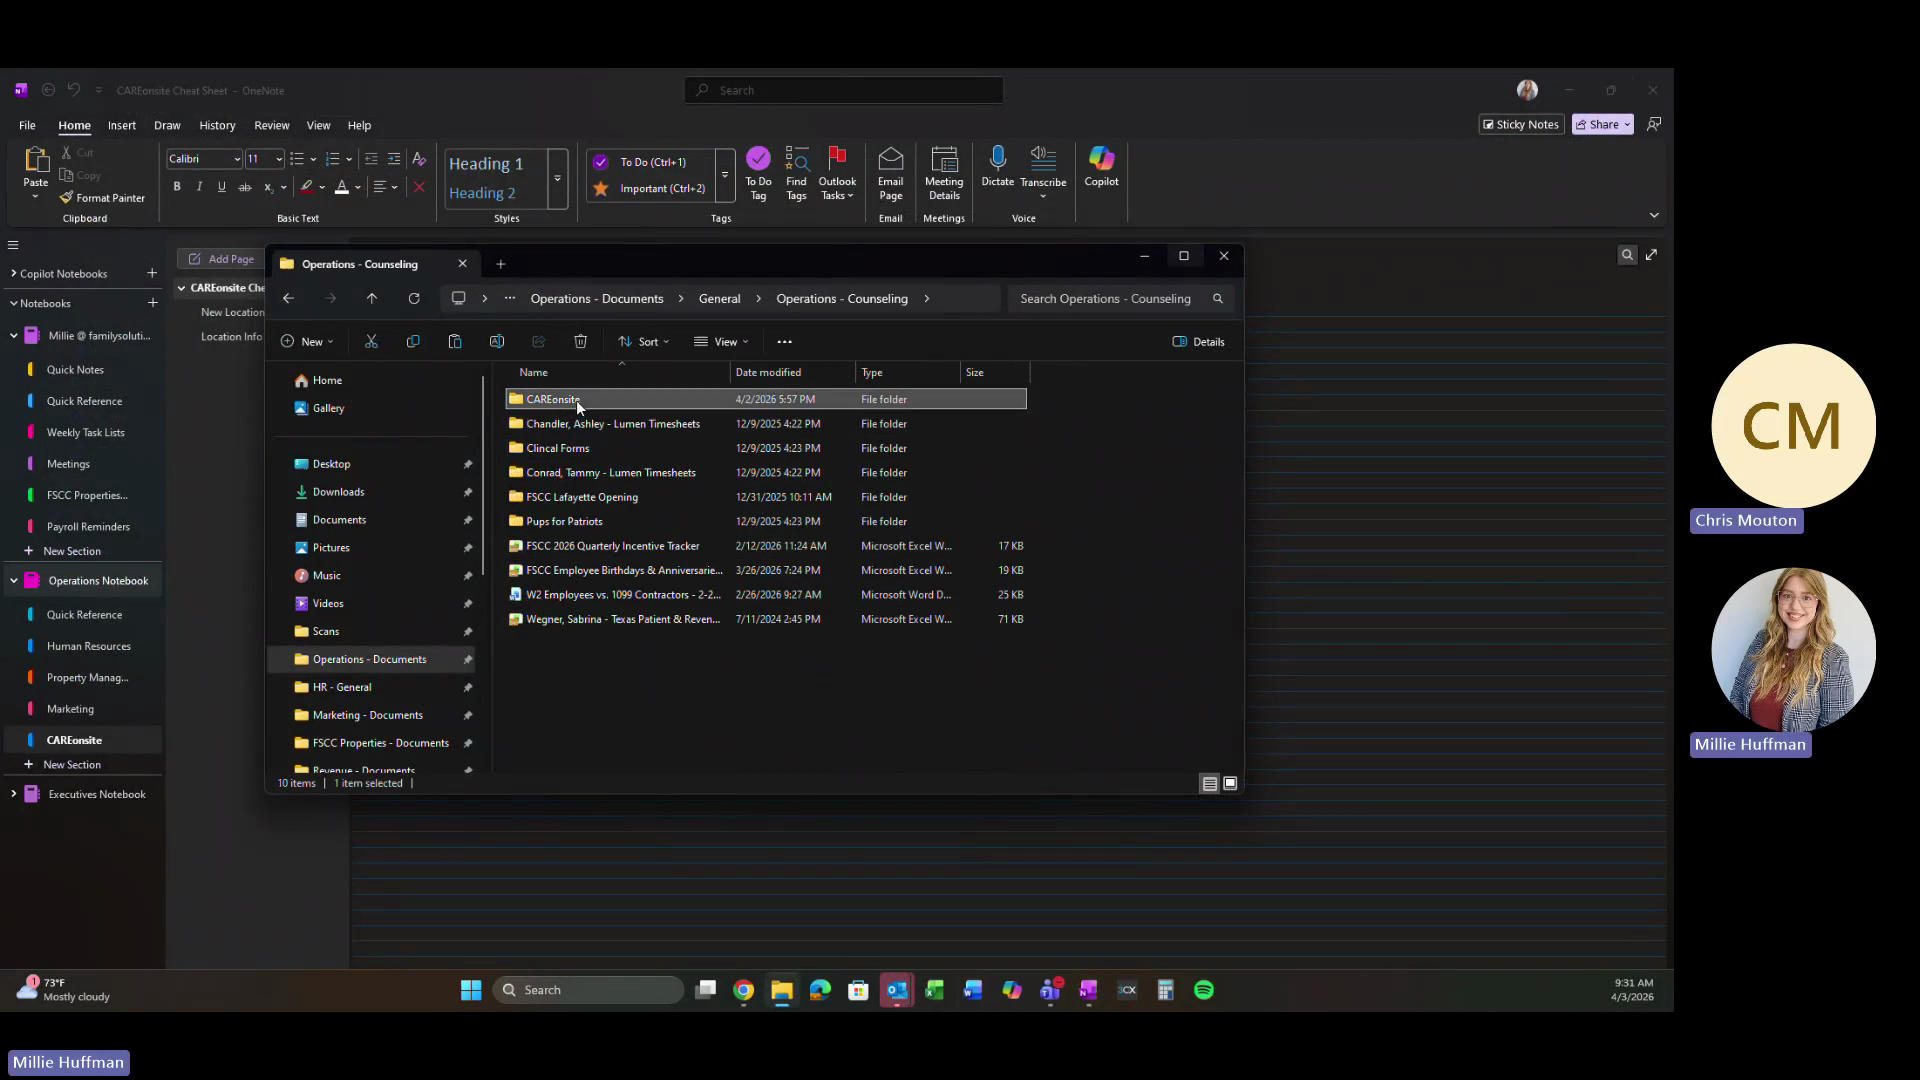
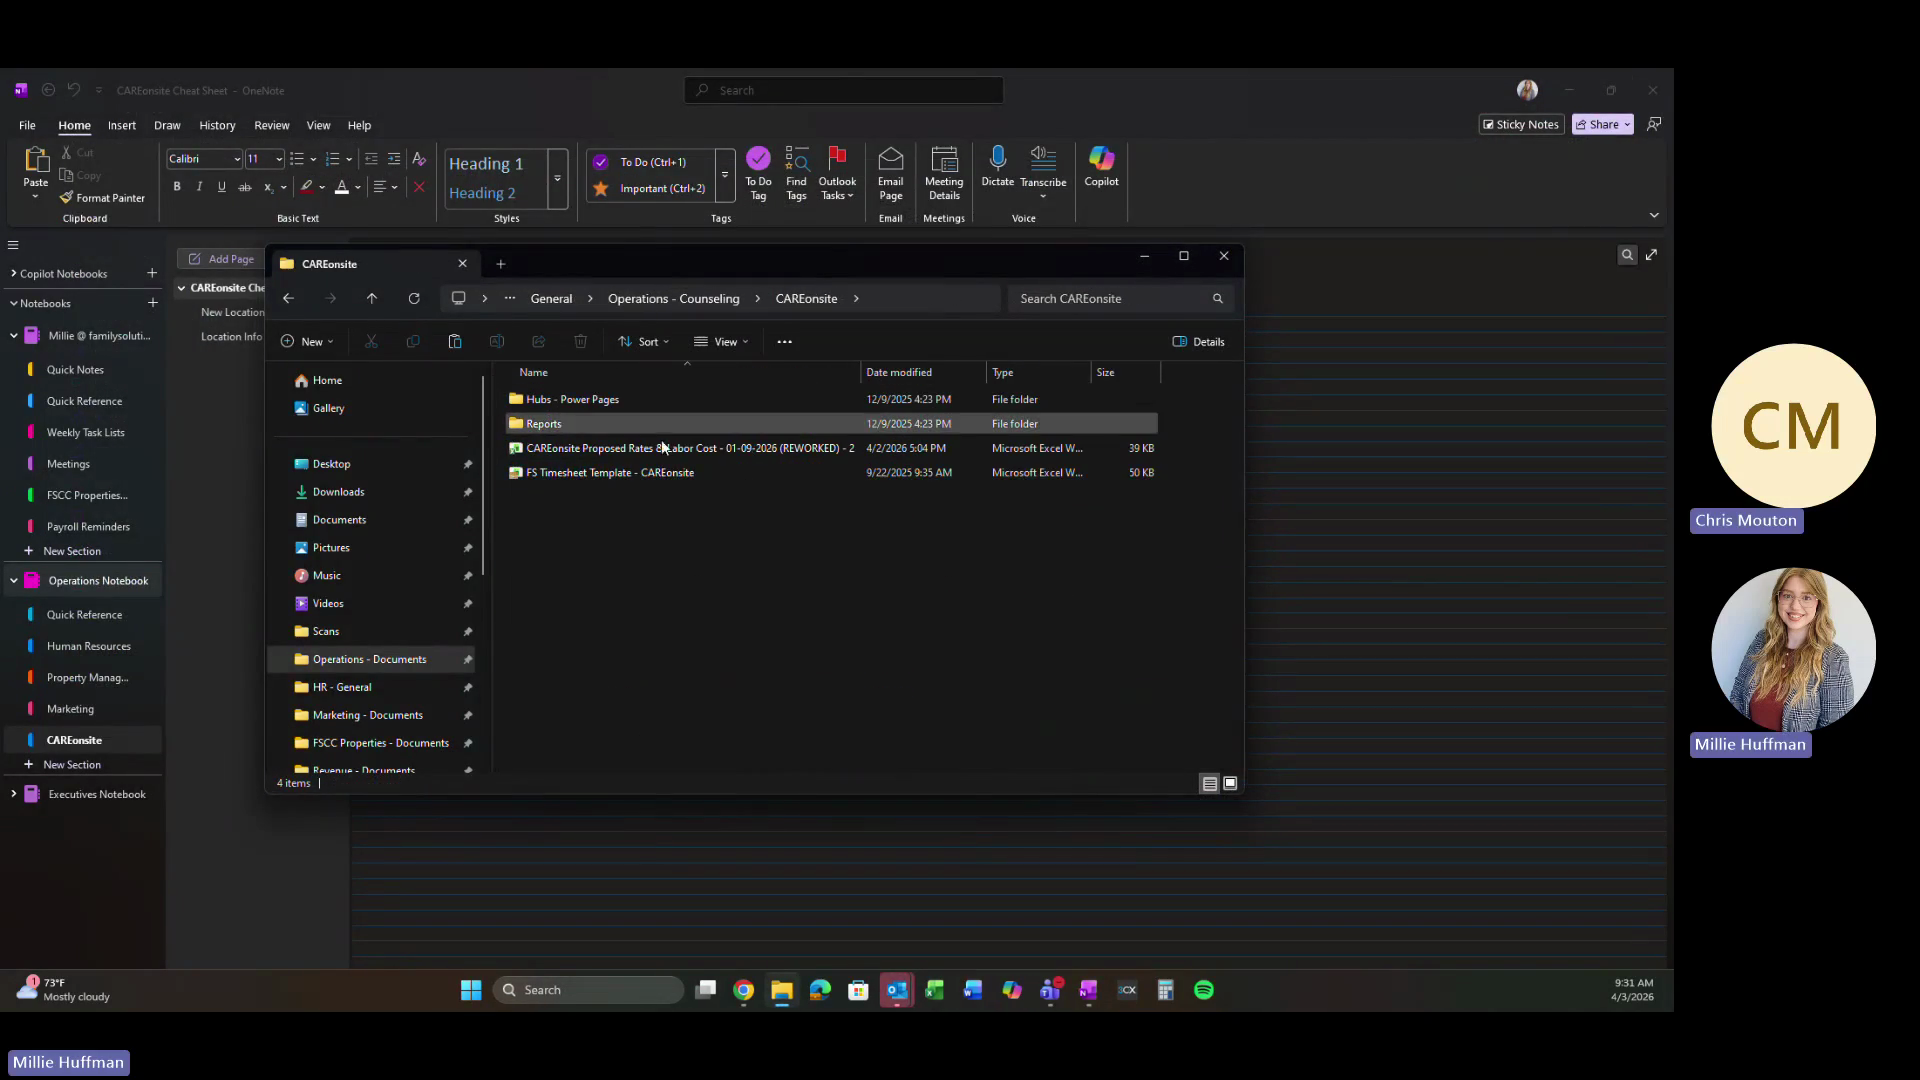
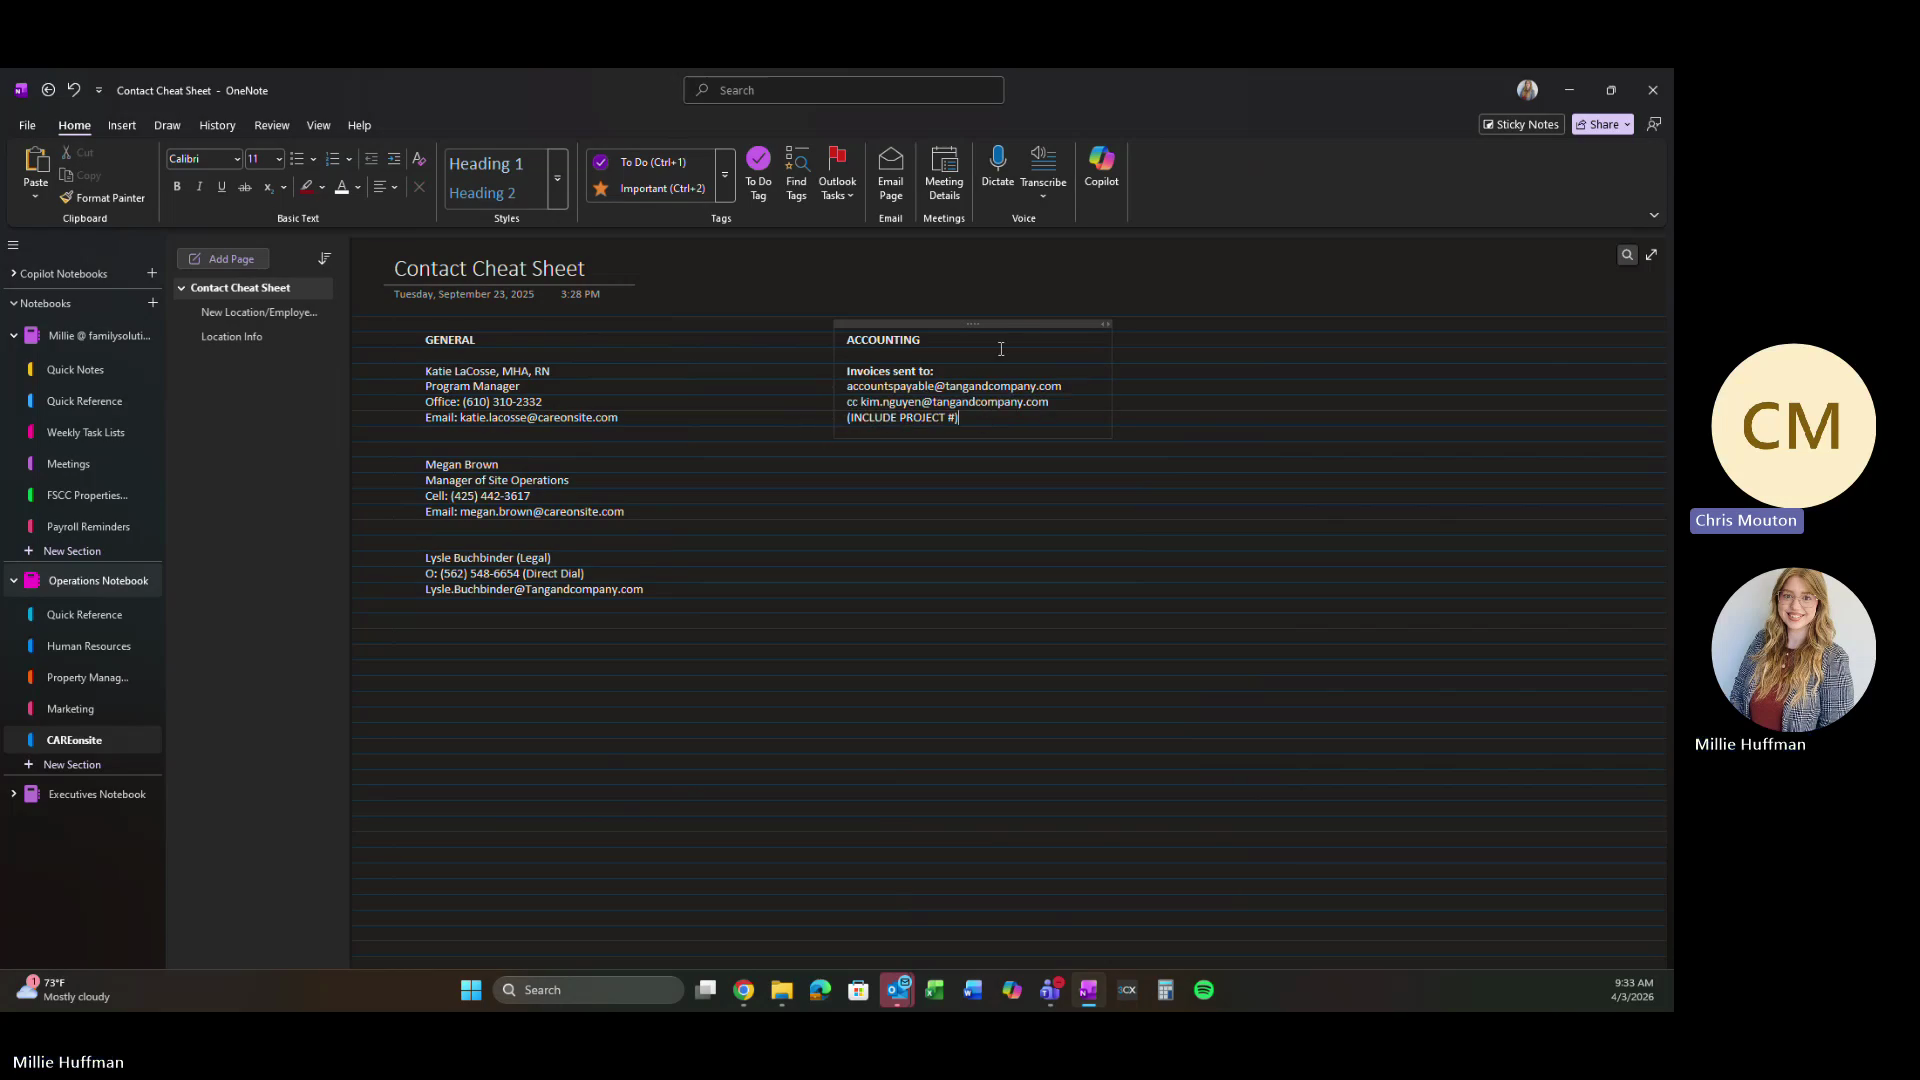
Start by reviewing the signed paperwork to identify the site's unique requirements, staff assignments, and billing policies.

1
Open File Explorer.
Step #1: Open File Explorer.
1
Double-click the Operations folder.
Step #1: Double-click the Operations folder.
2
Double-click the Contracts & Vendors folder.
Step #2: Double-click the Contracts & Vendors folder.
3
Double-click the CARe-onsite folder to view master service agreements and active contracts.
Step #3: Double-click the CARe-onsite folder to view master service agreements and active contracts.
4
Double-click the specific site's SOW (e.g., "CAReOnsite - RPL - SOW SIGNED") to view contracted providers and terms.
Step #4: Double-click the specific site's SOW (e.g., "CAReOnsite - RPL - SOW SIGNED") to view contracted providers and terms.

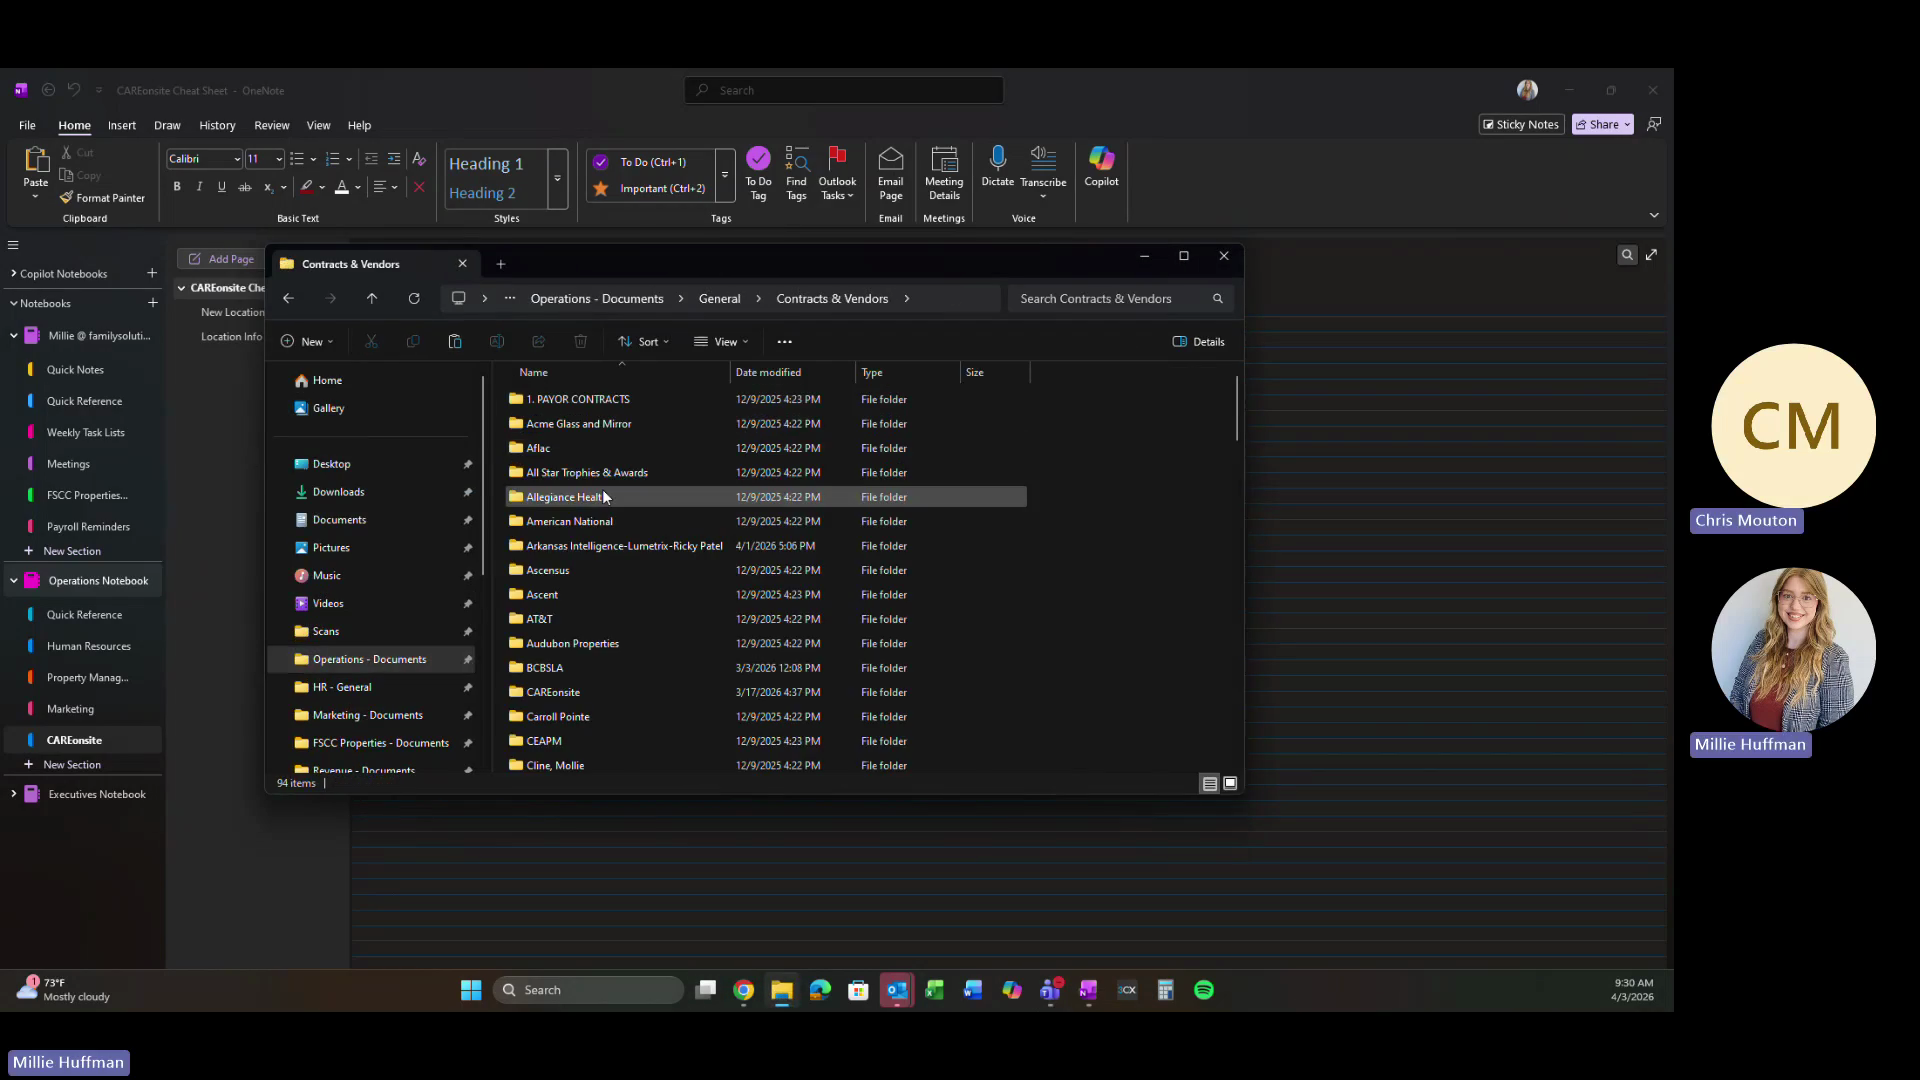
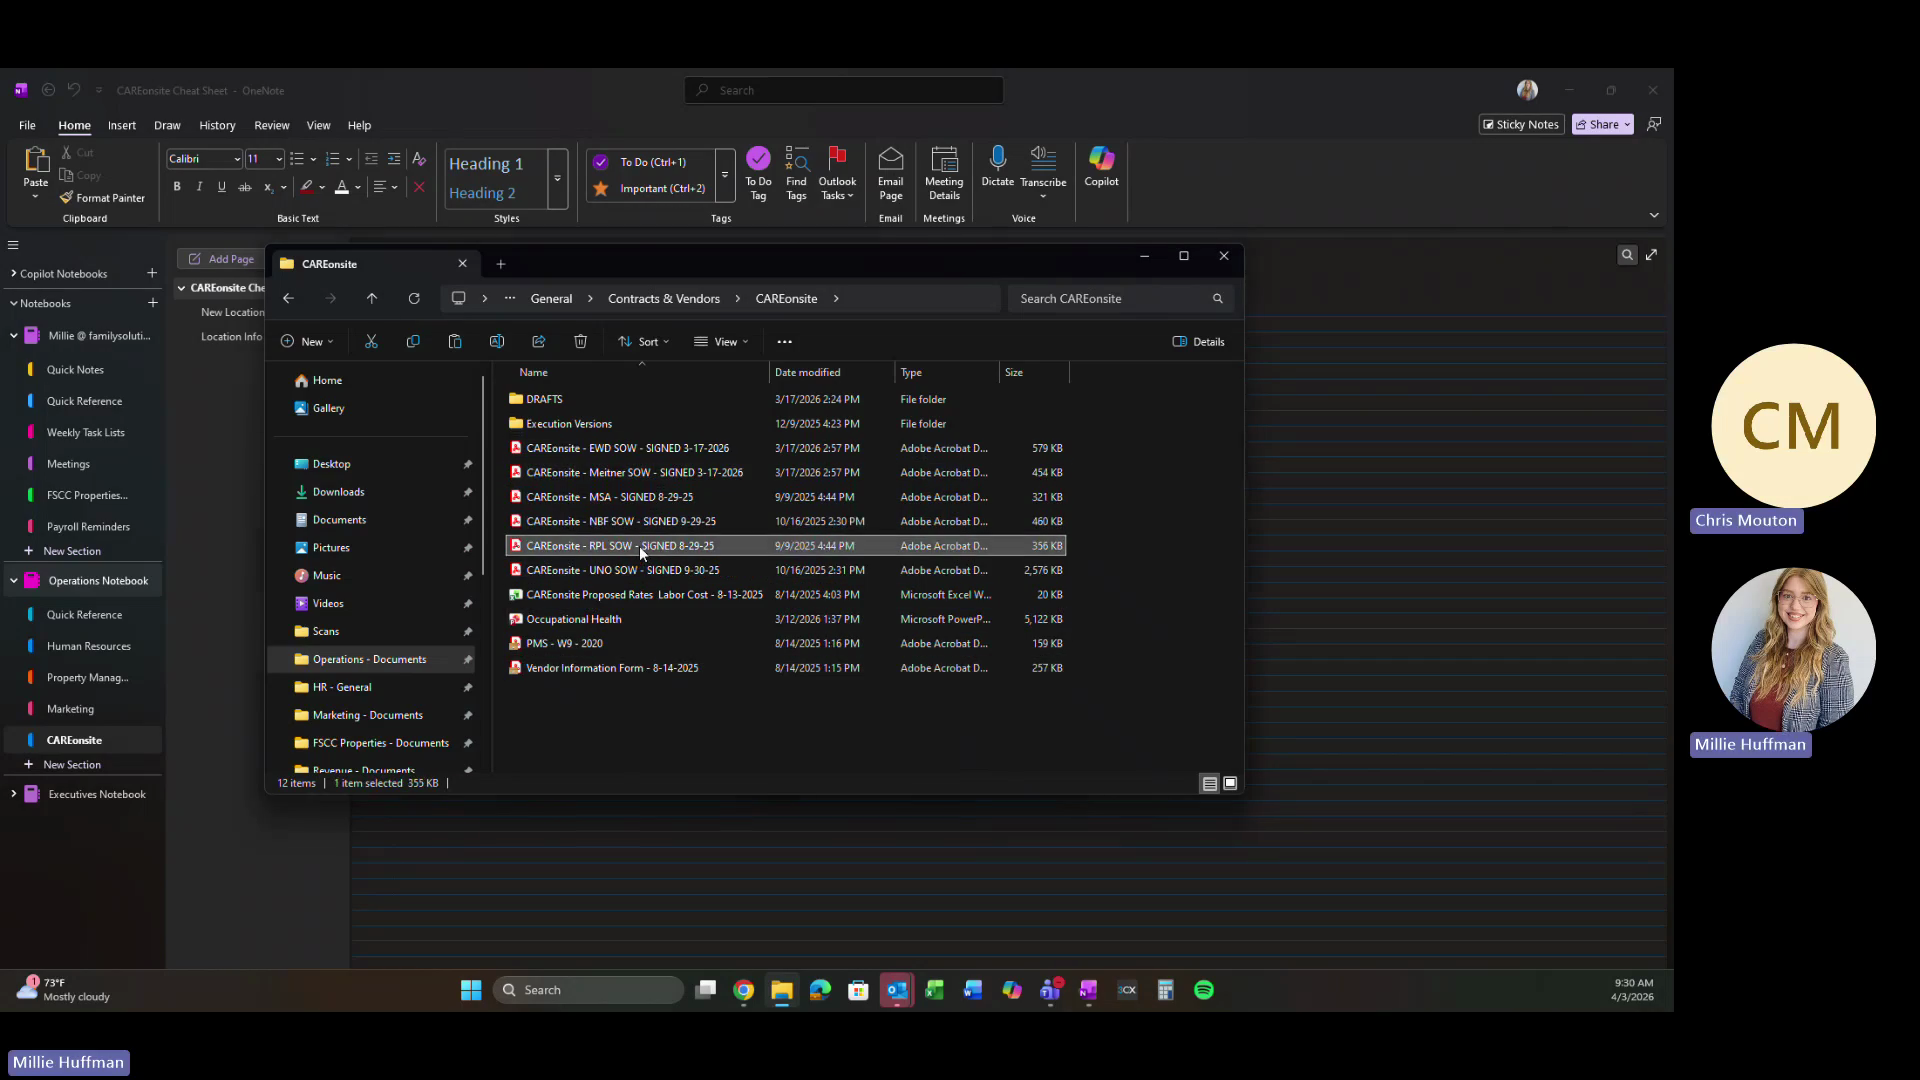
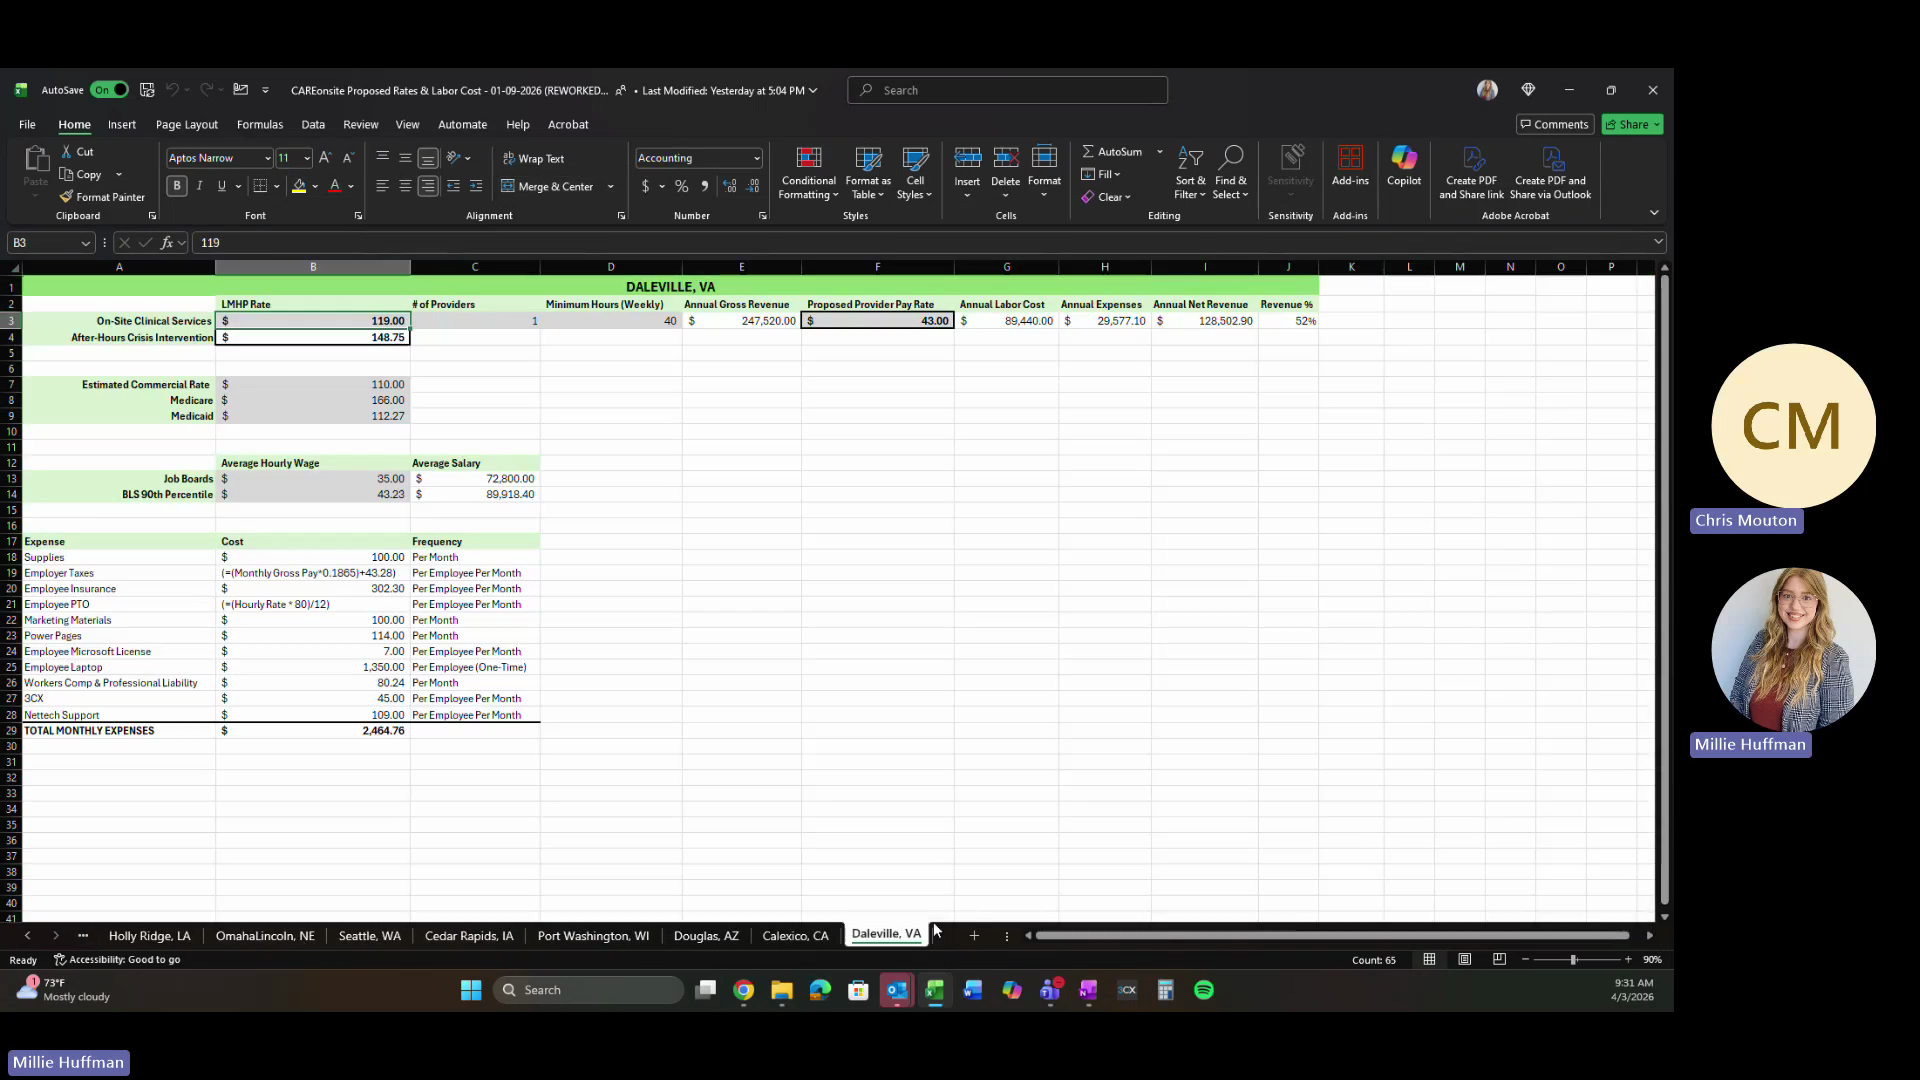
To view rate calculations and pool rates:

1
Navigate back to the Operations - Documents folder.
Step #1: Navigate back to the Operations - Documents folder.
2
Open the Counseling folder.
Step #2: Open the Counseling folder.
3
Open the CAREonsite folder.
Step #3: Open the CAREonsite folder.
4
Open the CAREonsite Proposed Rates spreadsheet.
Step #4: Open the CAREonsite Proposed Rates spreadsheet.
1
Select an existing location sheet for reference, or copy the template to a new sheet to calculate labor costs for the incoming site.
Step #1: Select an existing location sheet for reference, or copy the template to a new sheet to calculate labor costs for the incoming site.

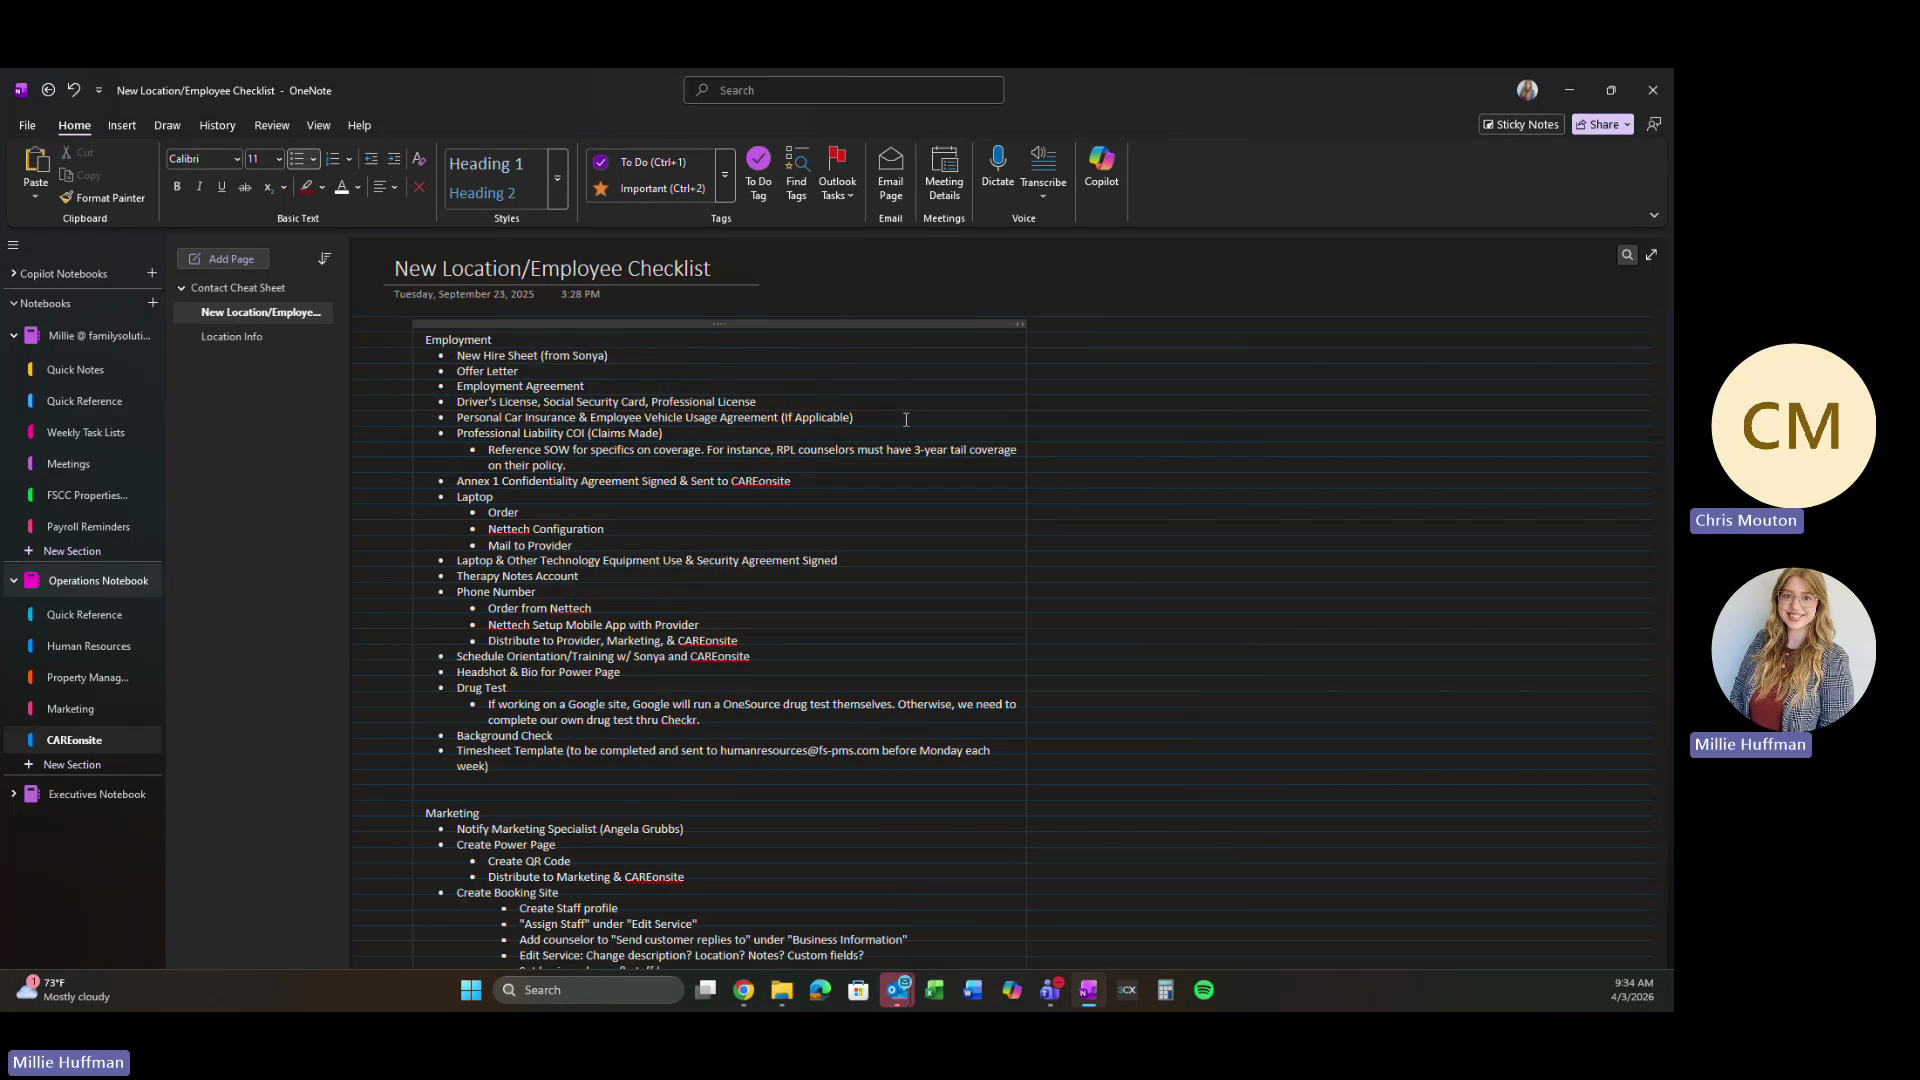
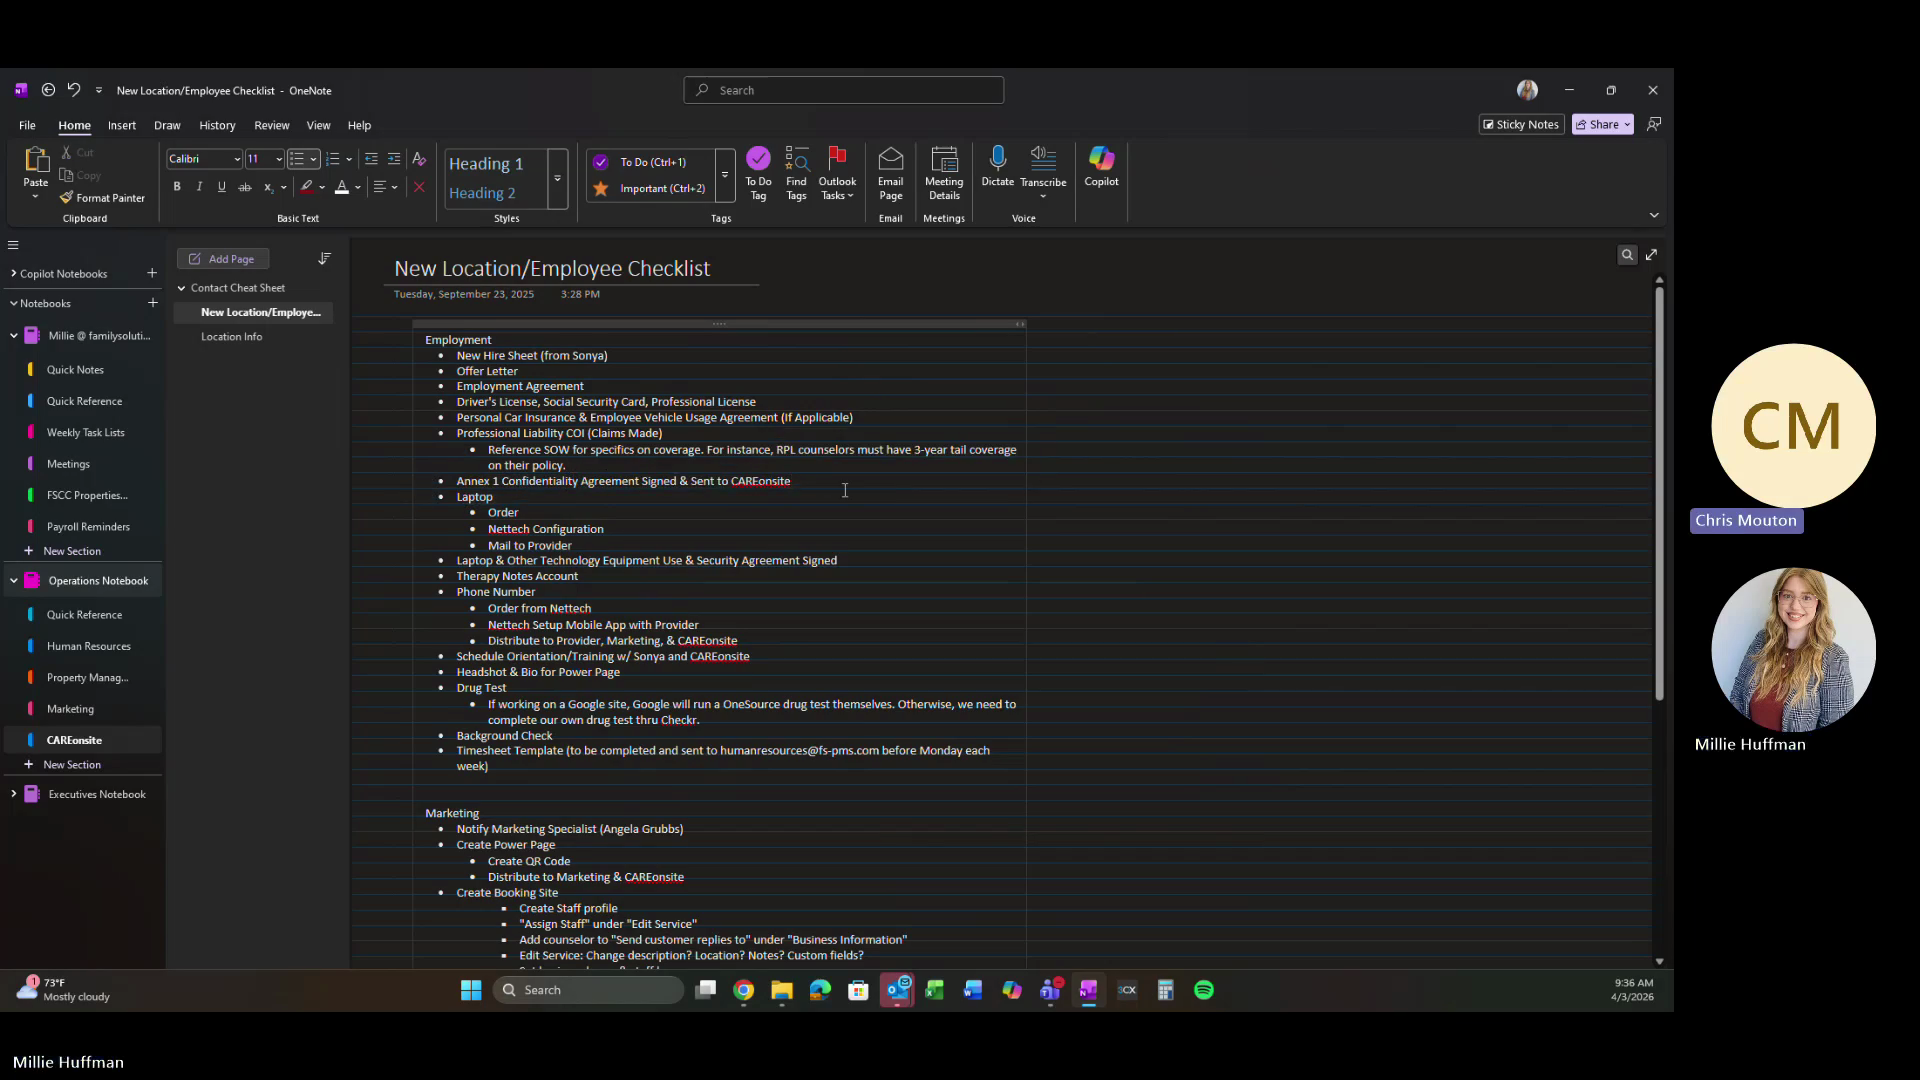
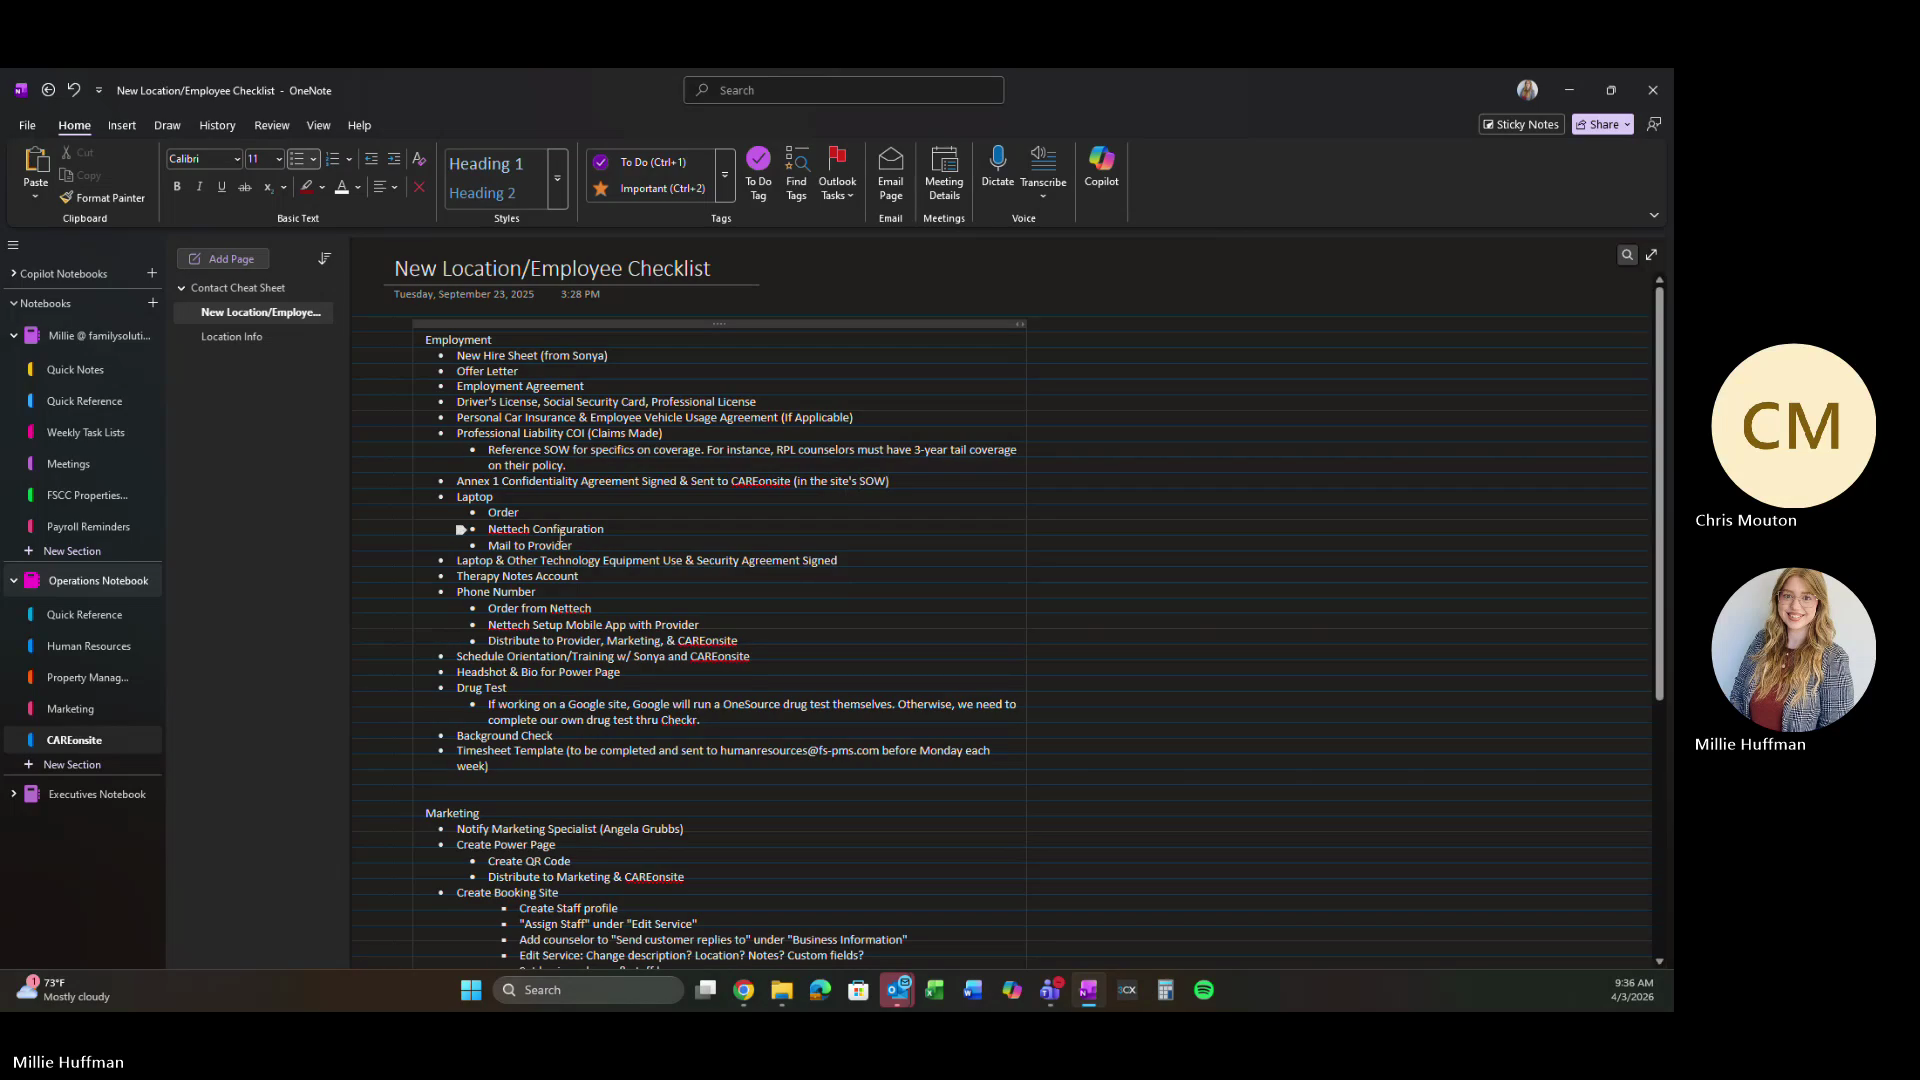
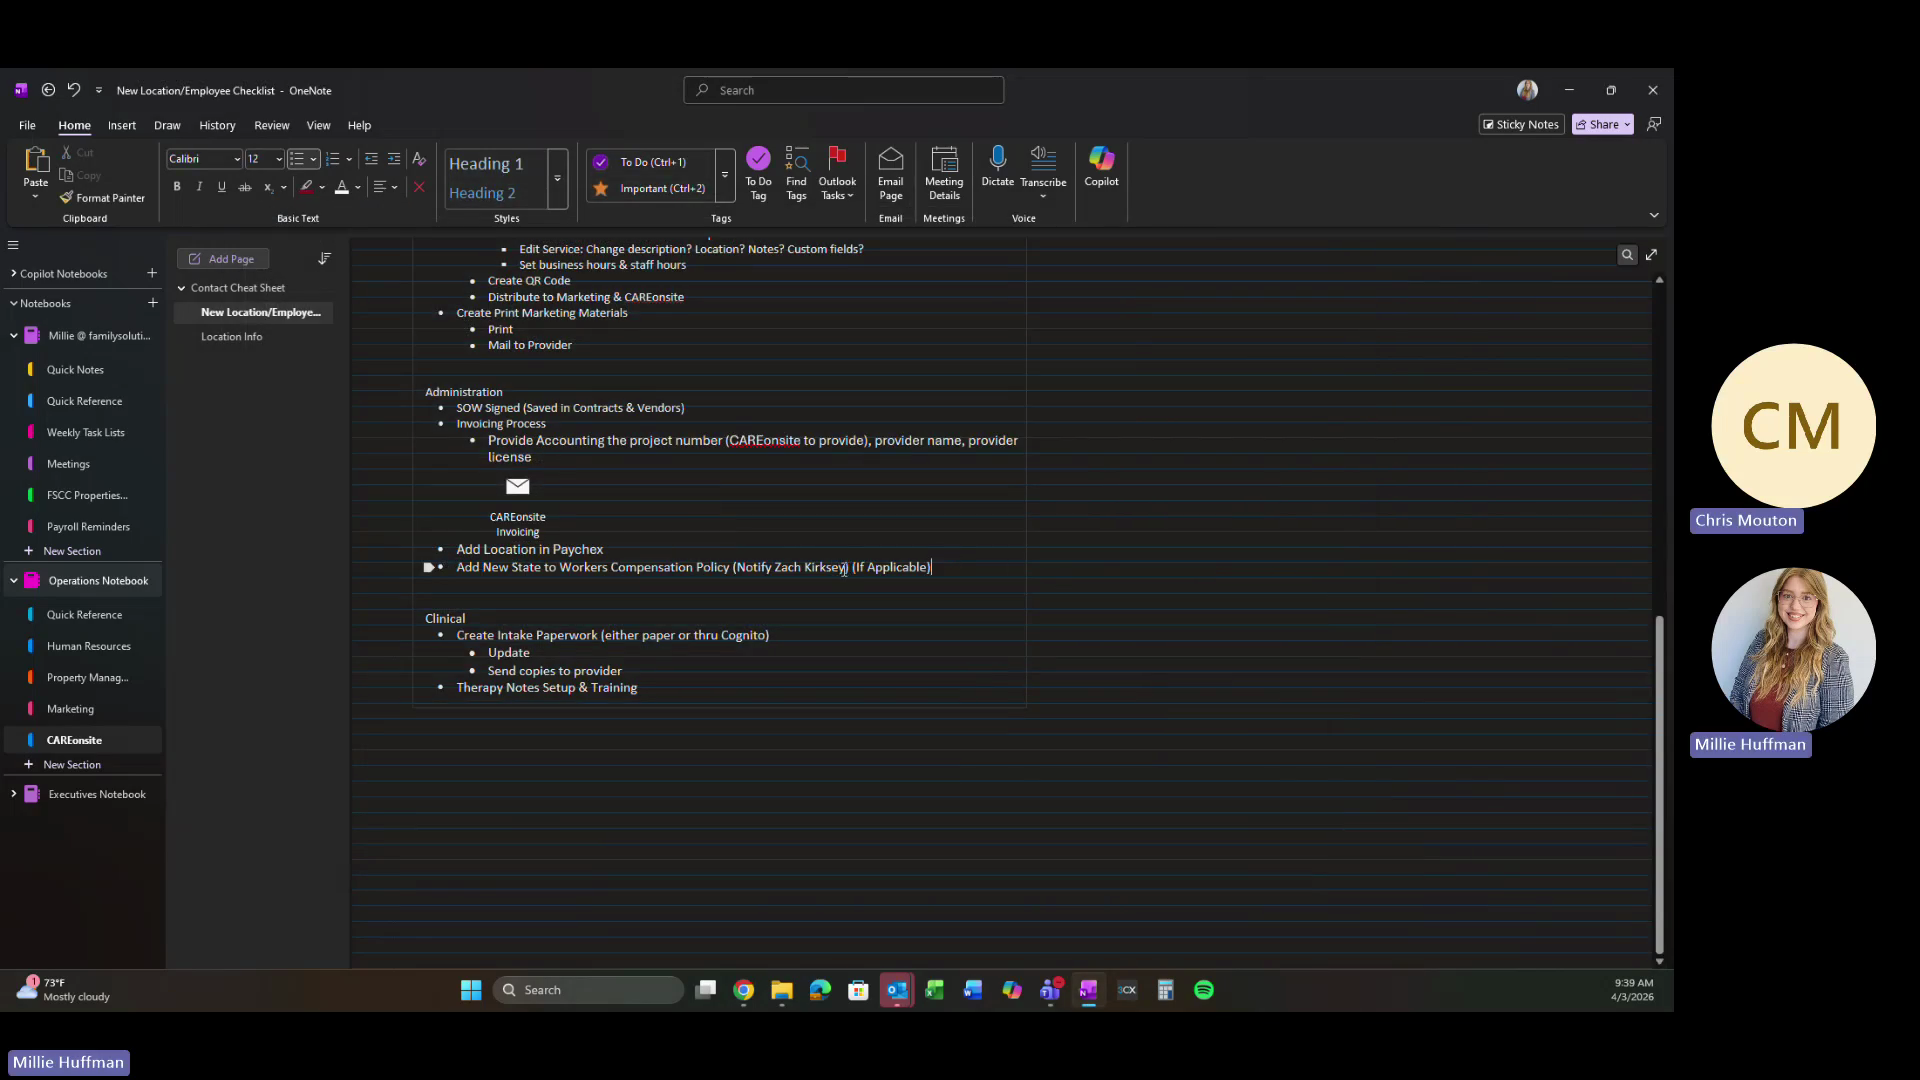
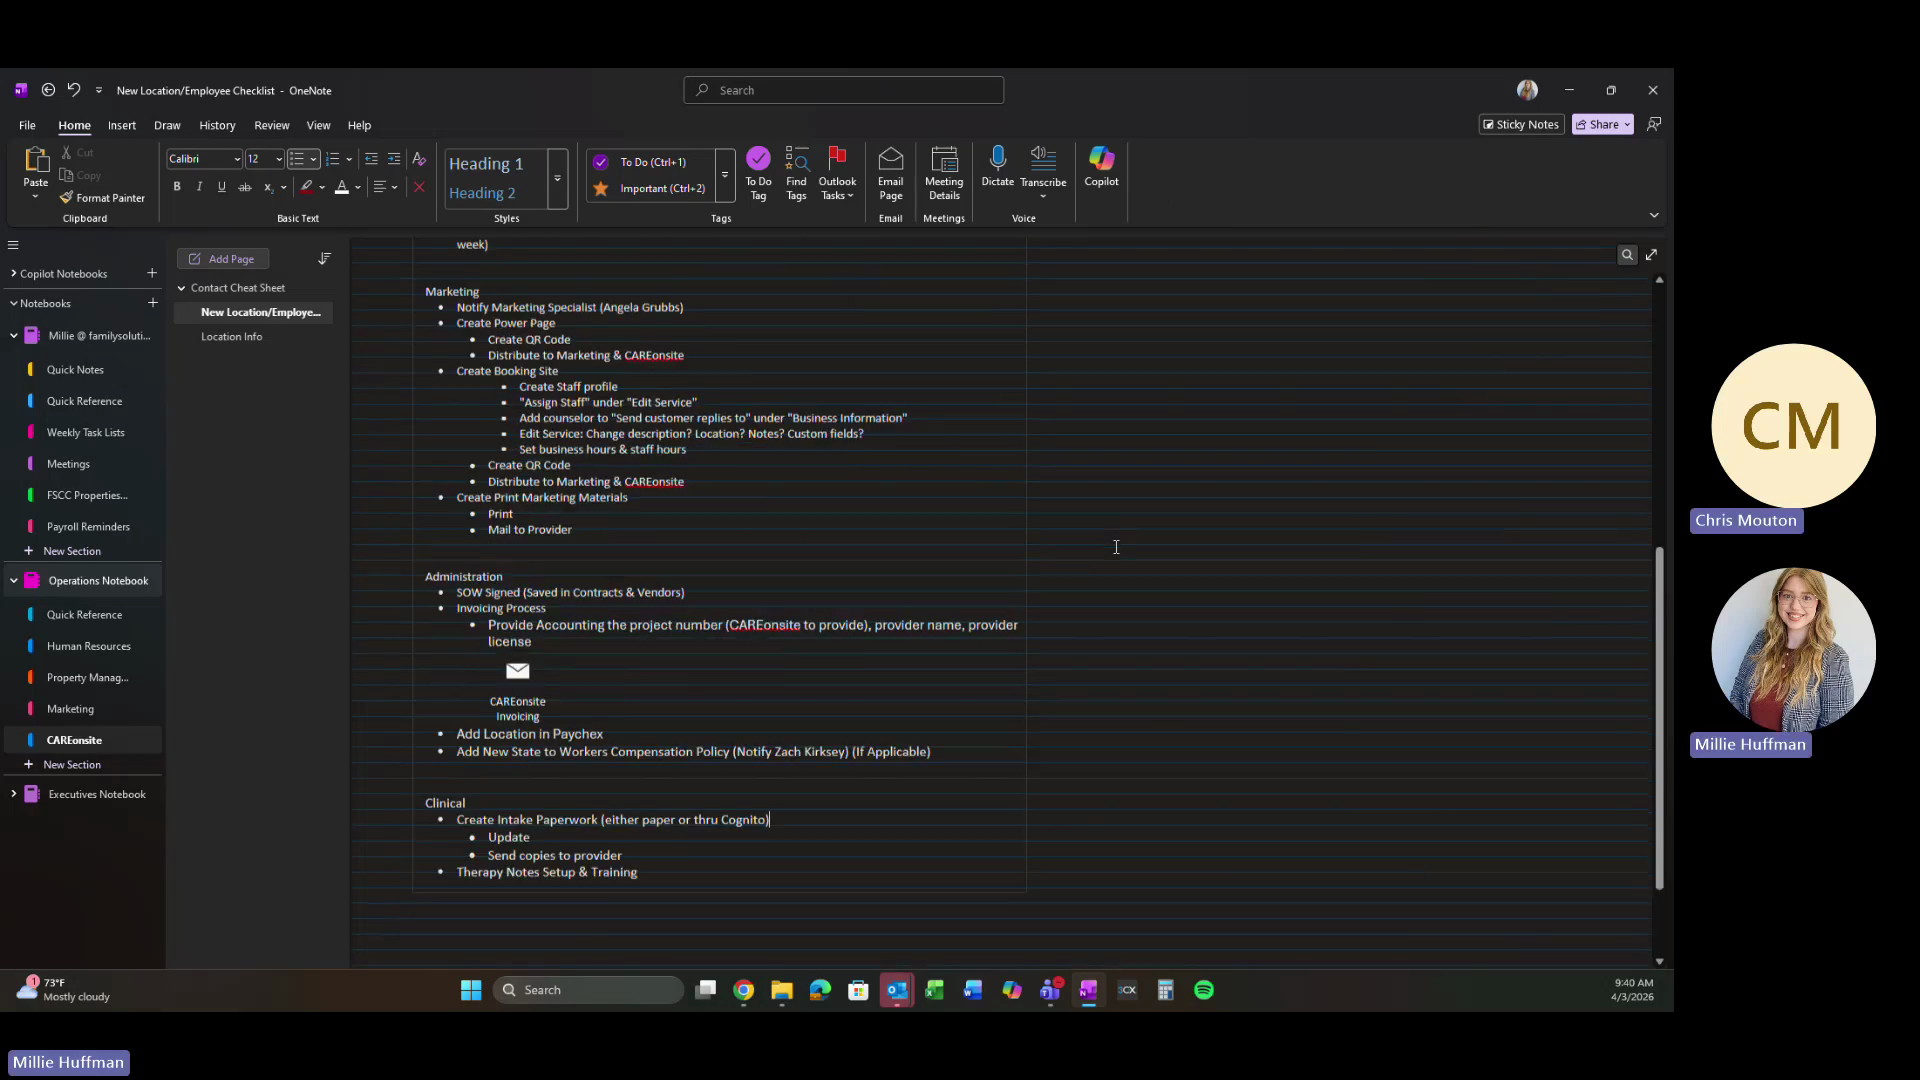
Completing the New Location/Employee Checklist

Clinical staff require extensive credentialing and setup before they can treat patients on-site.

1
Go to the Operations OneNote notebook.
1
Click the New Location/Employee Checklist page in the sidebar.
Step #1: Click the New Location/Employee Checklist page in the sidebar.
3
Verify the employee has active Professional Liability insurance.
Step #3: Verify the employee has active Professional Liability insurance.
1
Ensure the Non-Disclosure Agreement (NDA) specified in the SOW is signed.
Step #1: Ensure the Non-Disclosure Agreement (NDA) specified in the SOW is signed.
3
Order a laptop and coordinate with NetTech for security configurations.
Step #3: Order a laptop and coordinate with NetTech for security configurations.
2
Create an account in TherapyNotes for the employee.
4
Set up the employee's phone number using 3CX.
1
Initiate a background check and drug test through Checkr (unless it is a Google site requiring independent testing).
Step #1: Initiate a background check and drug test through Checkr (unless it is a Google site requiring independent testing).
1
Email the Accounting team with the required SOW information to begin the invoicing process.
Step #1: Email the Accounting team with the required SOW information to begin the invoicing process.
3
Notify the insurance broker to add the new state to the Workers Compensation policy and provide them with the signed SOW.
Step #3: Notify the insurance broker to add the new state to the Workers Compensation policy and provide them with the signed SOW.
1
Click the Location Info tab in OneNote to track counselor schedules, crisis rates, and start dates for administrative tracking.
Step #1: Click the Location Info tab in OneNote to track counselor schedules, crisis rates, and start dates for administrative tracking.

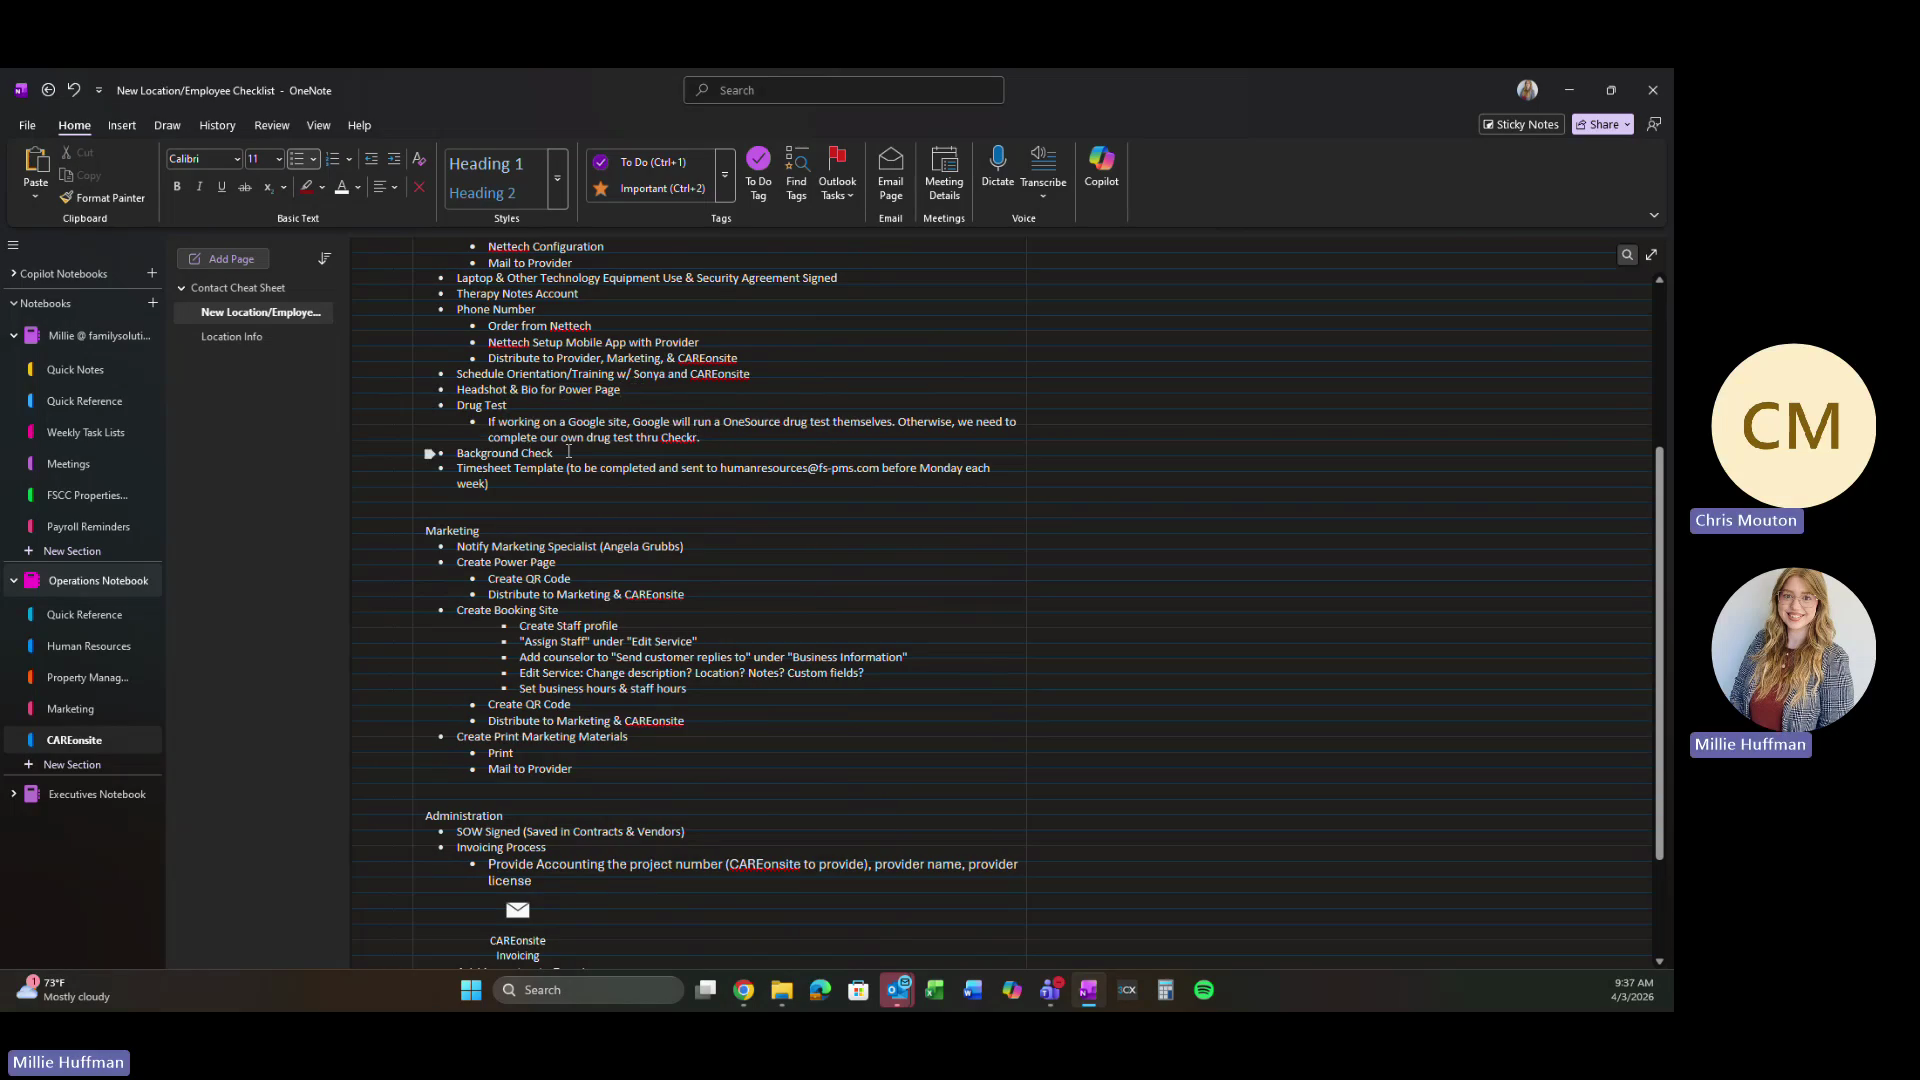
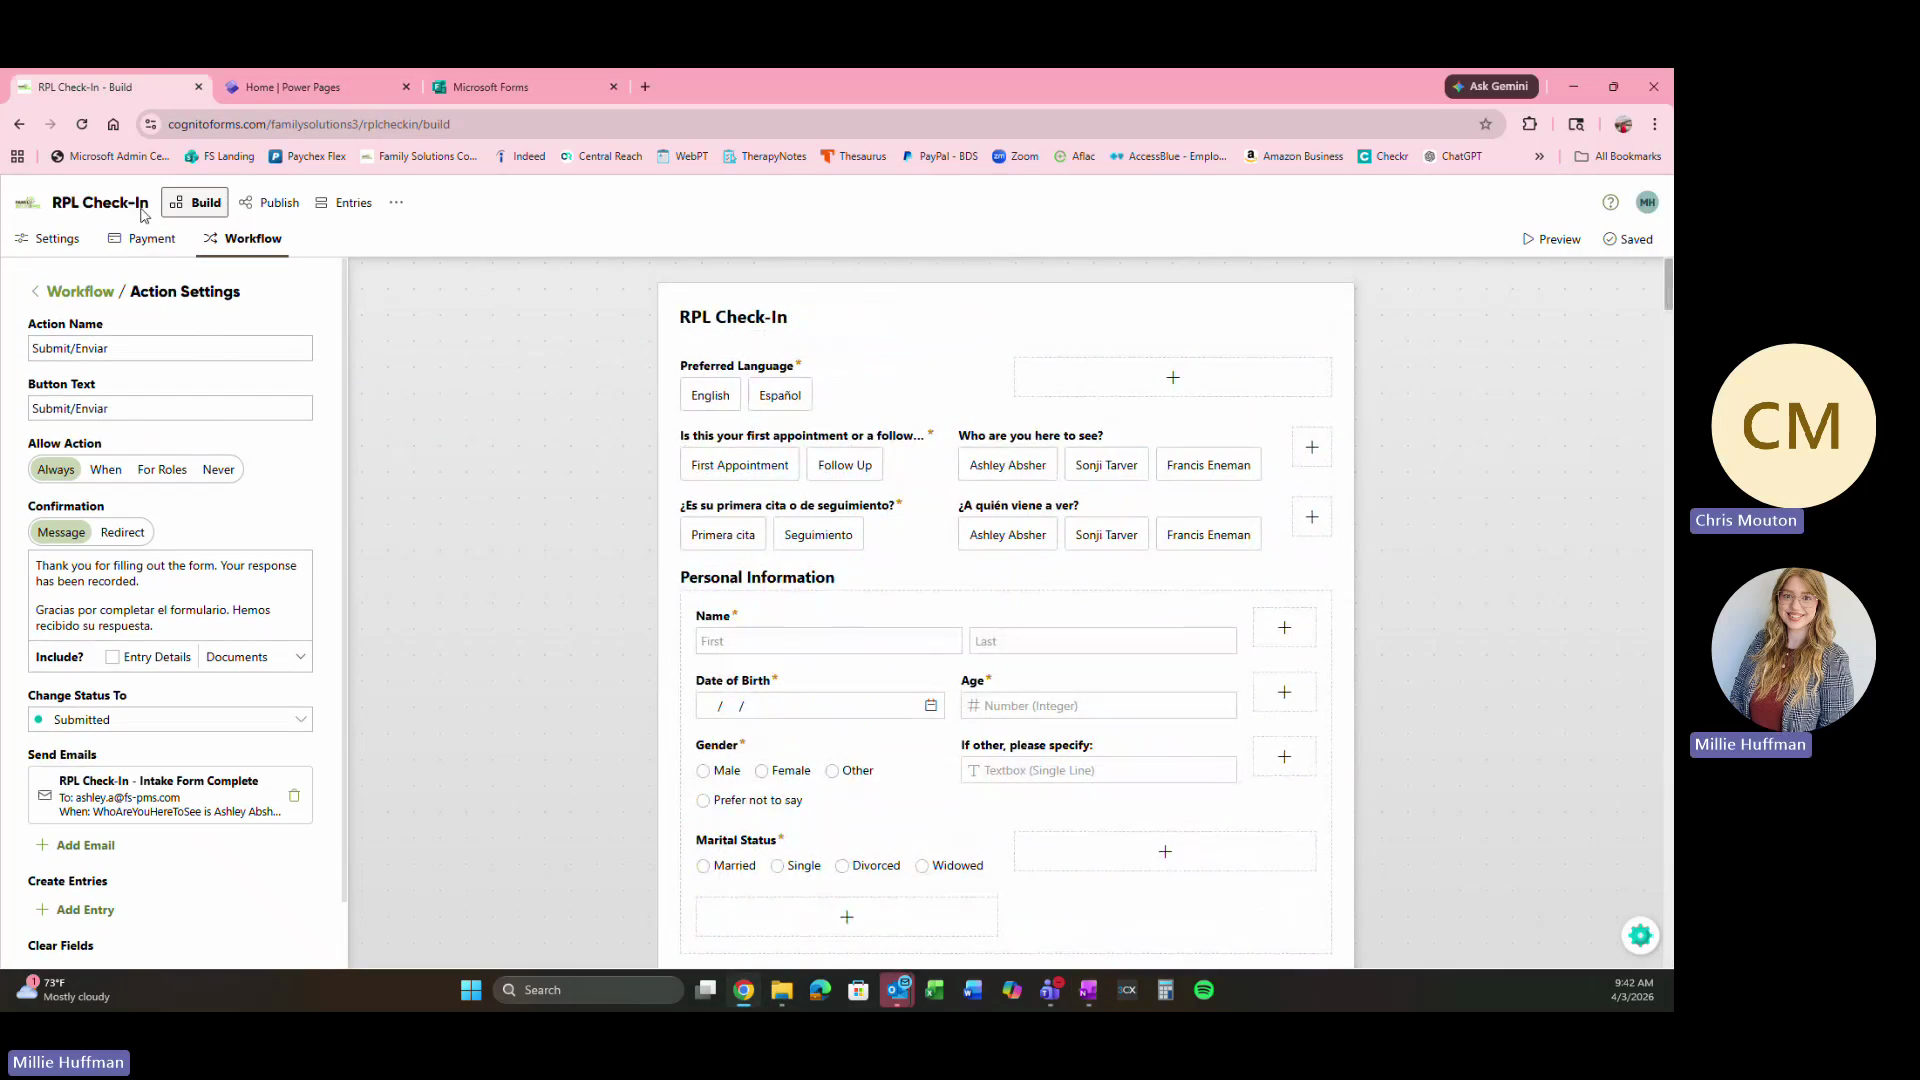
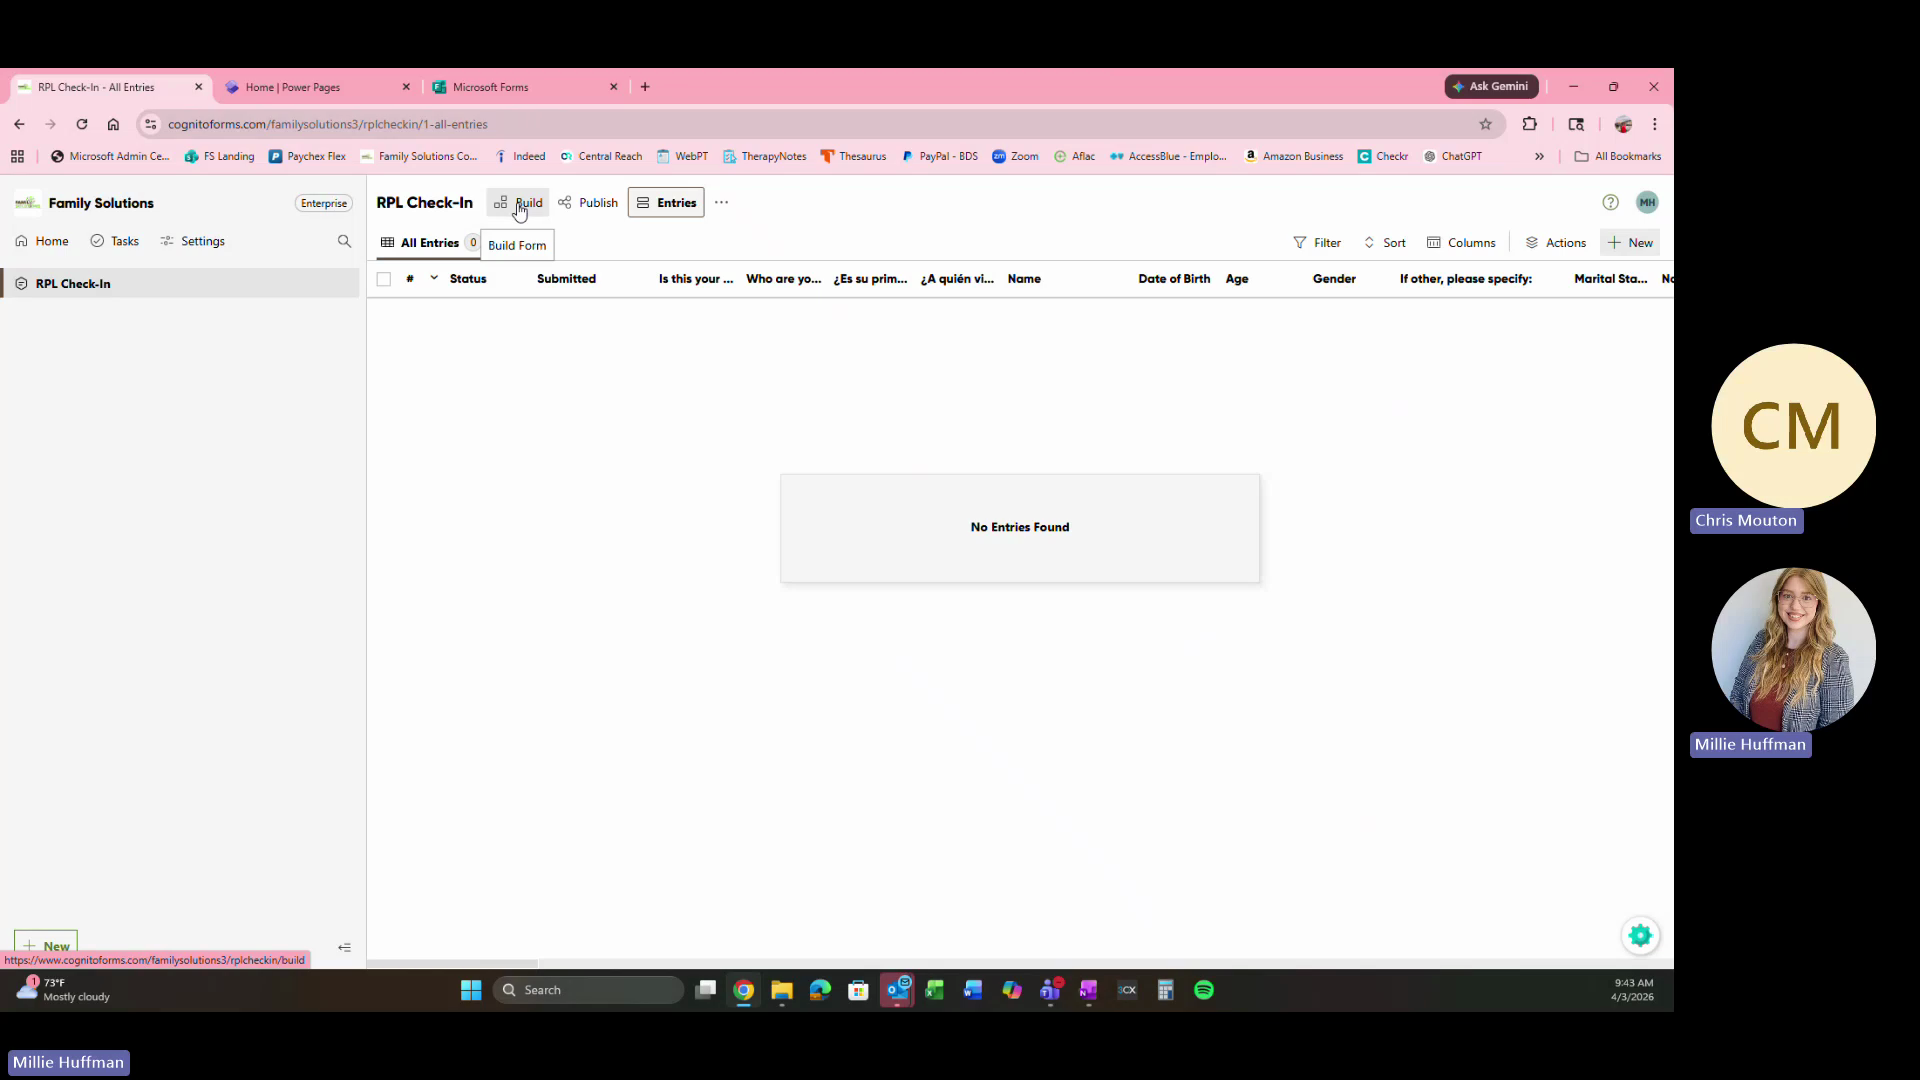
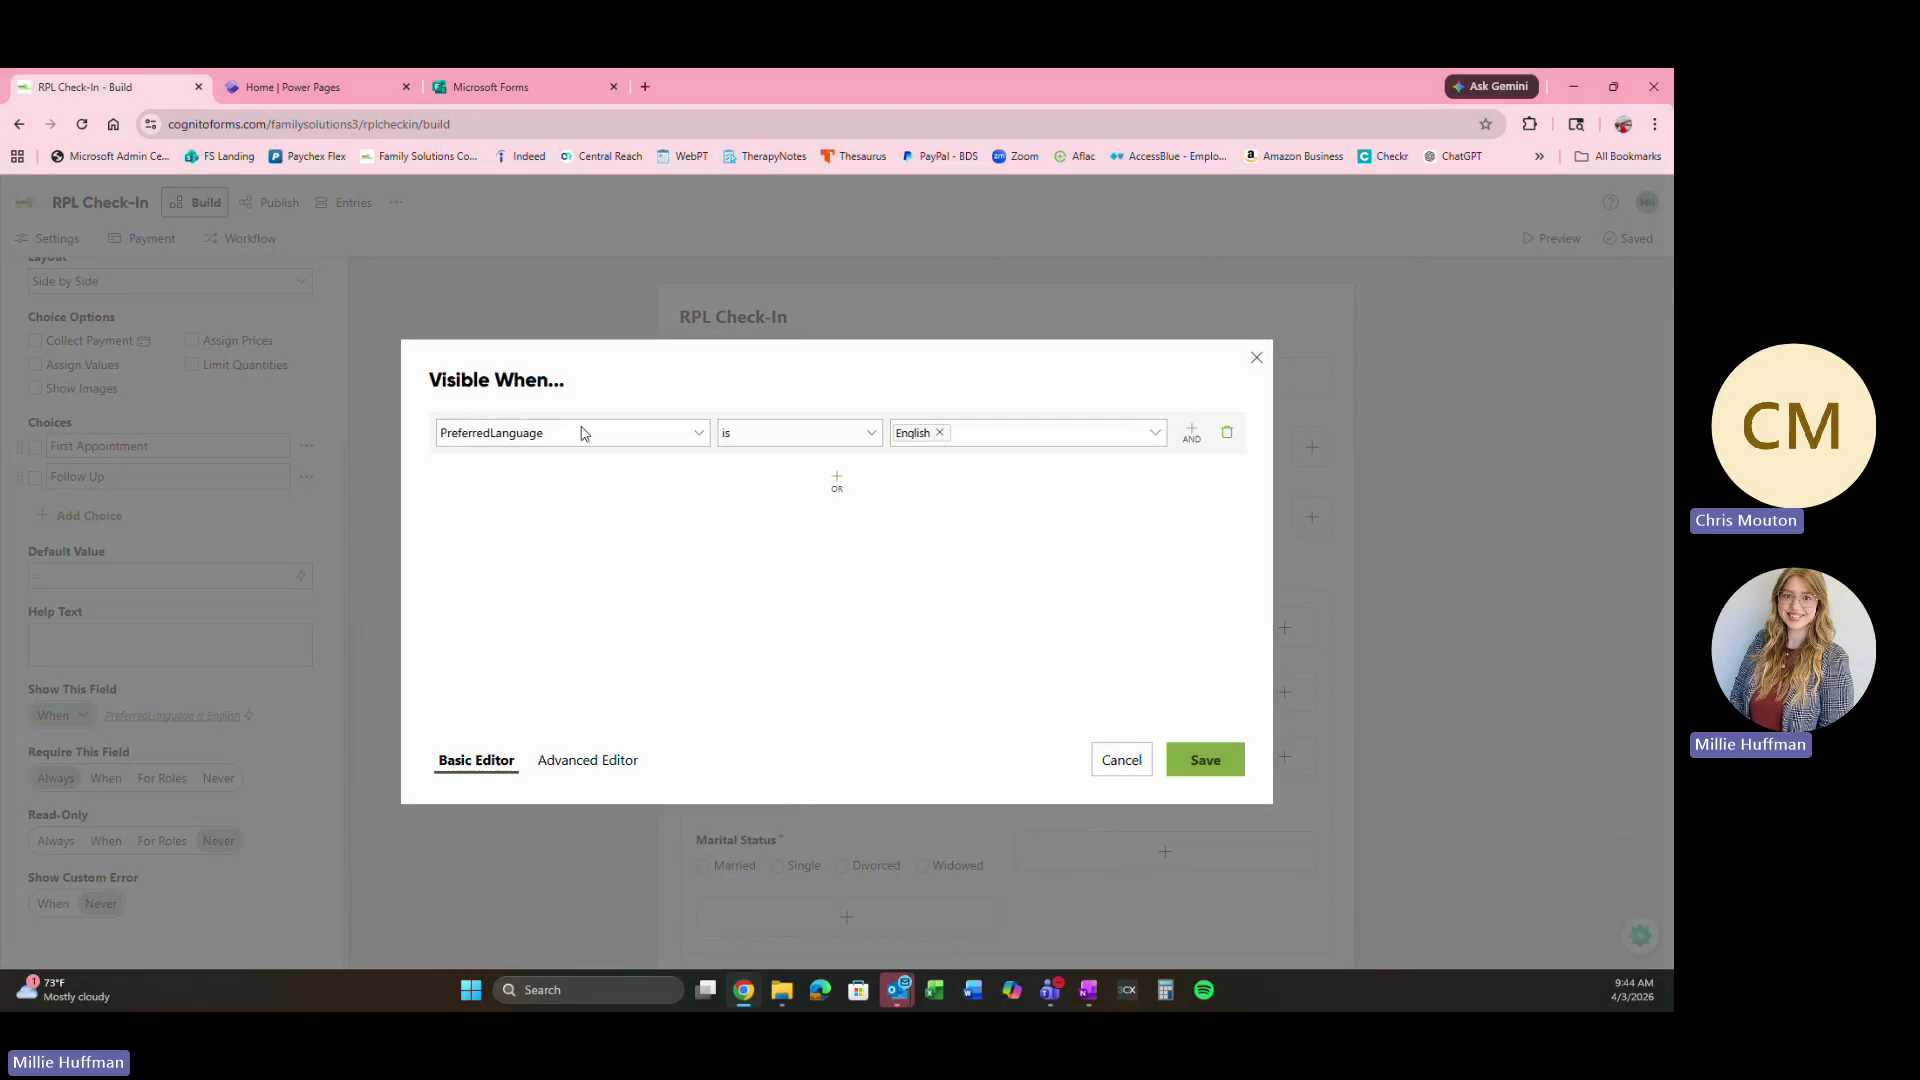
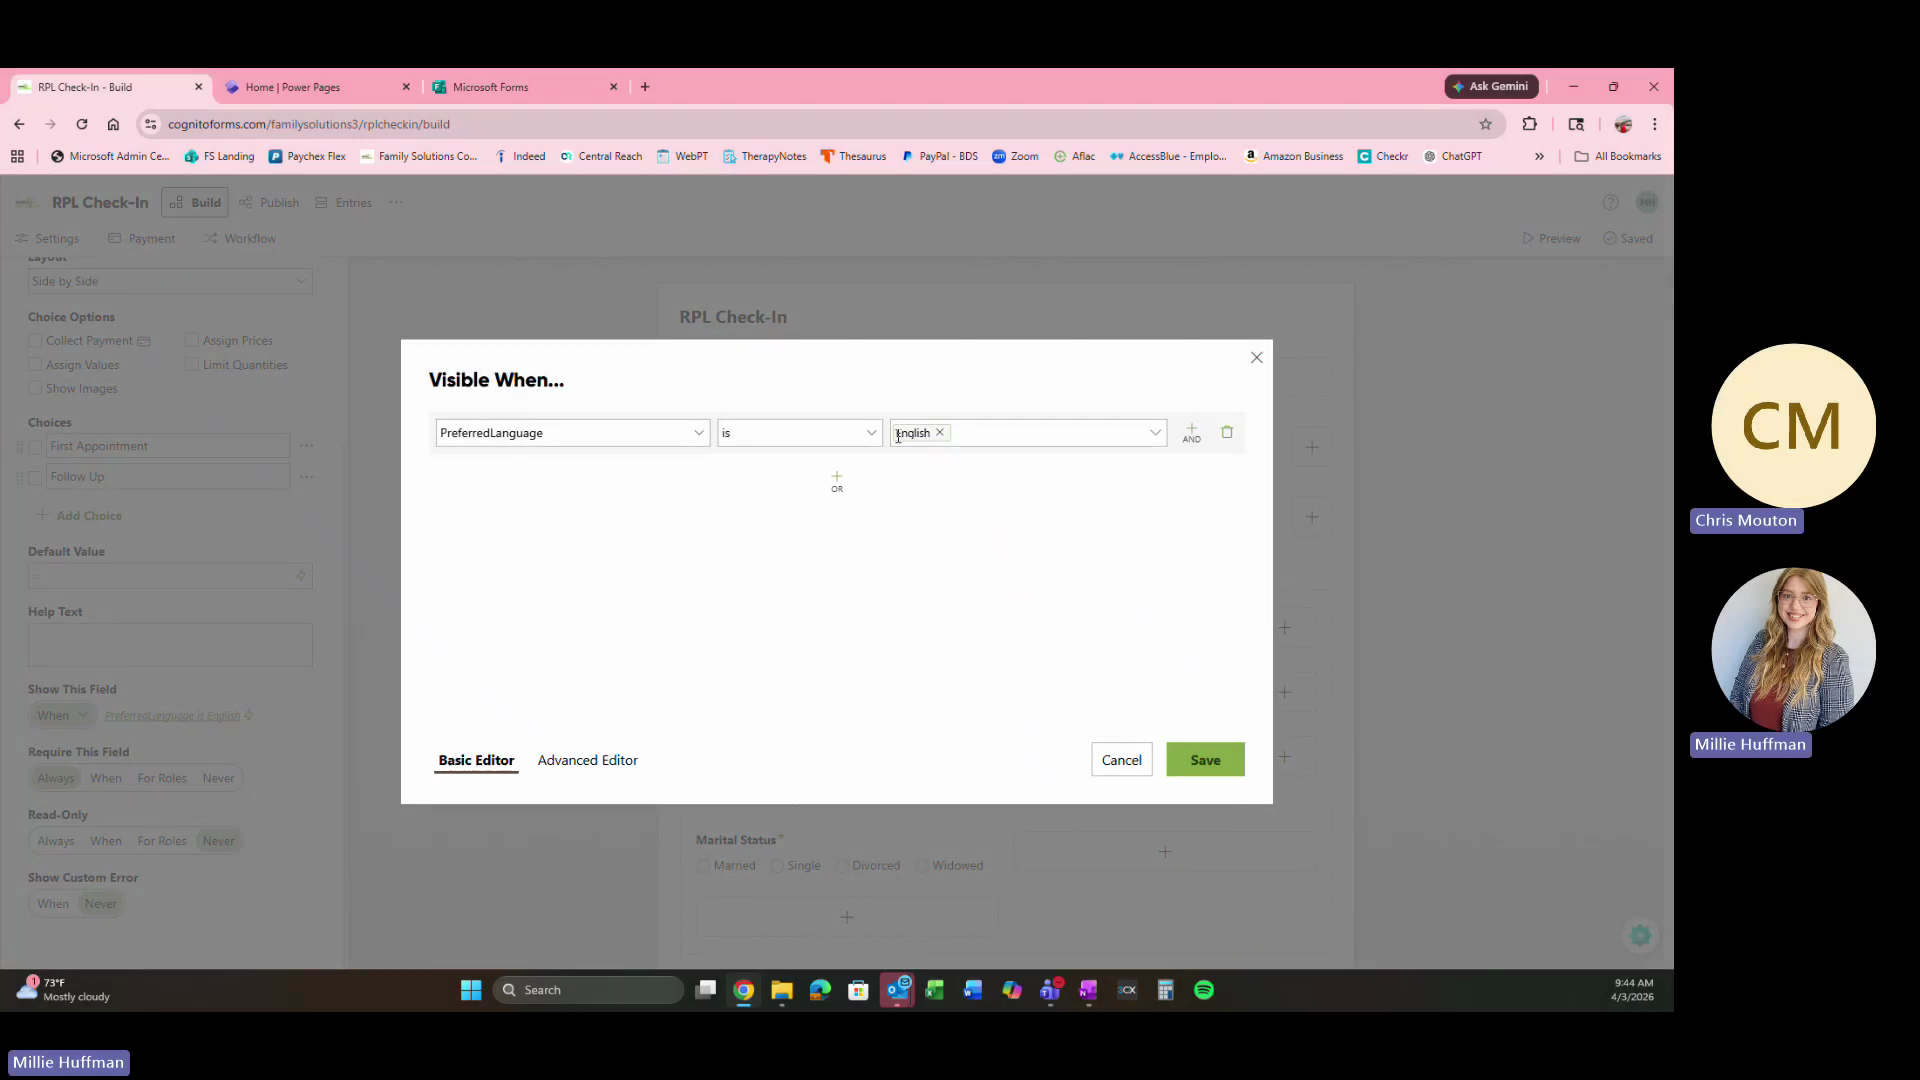
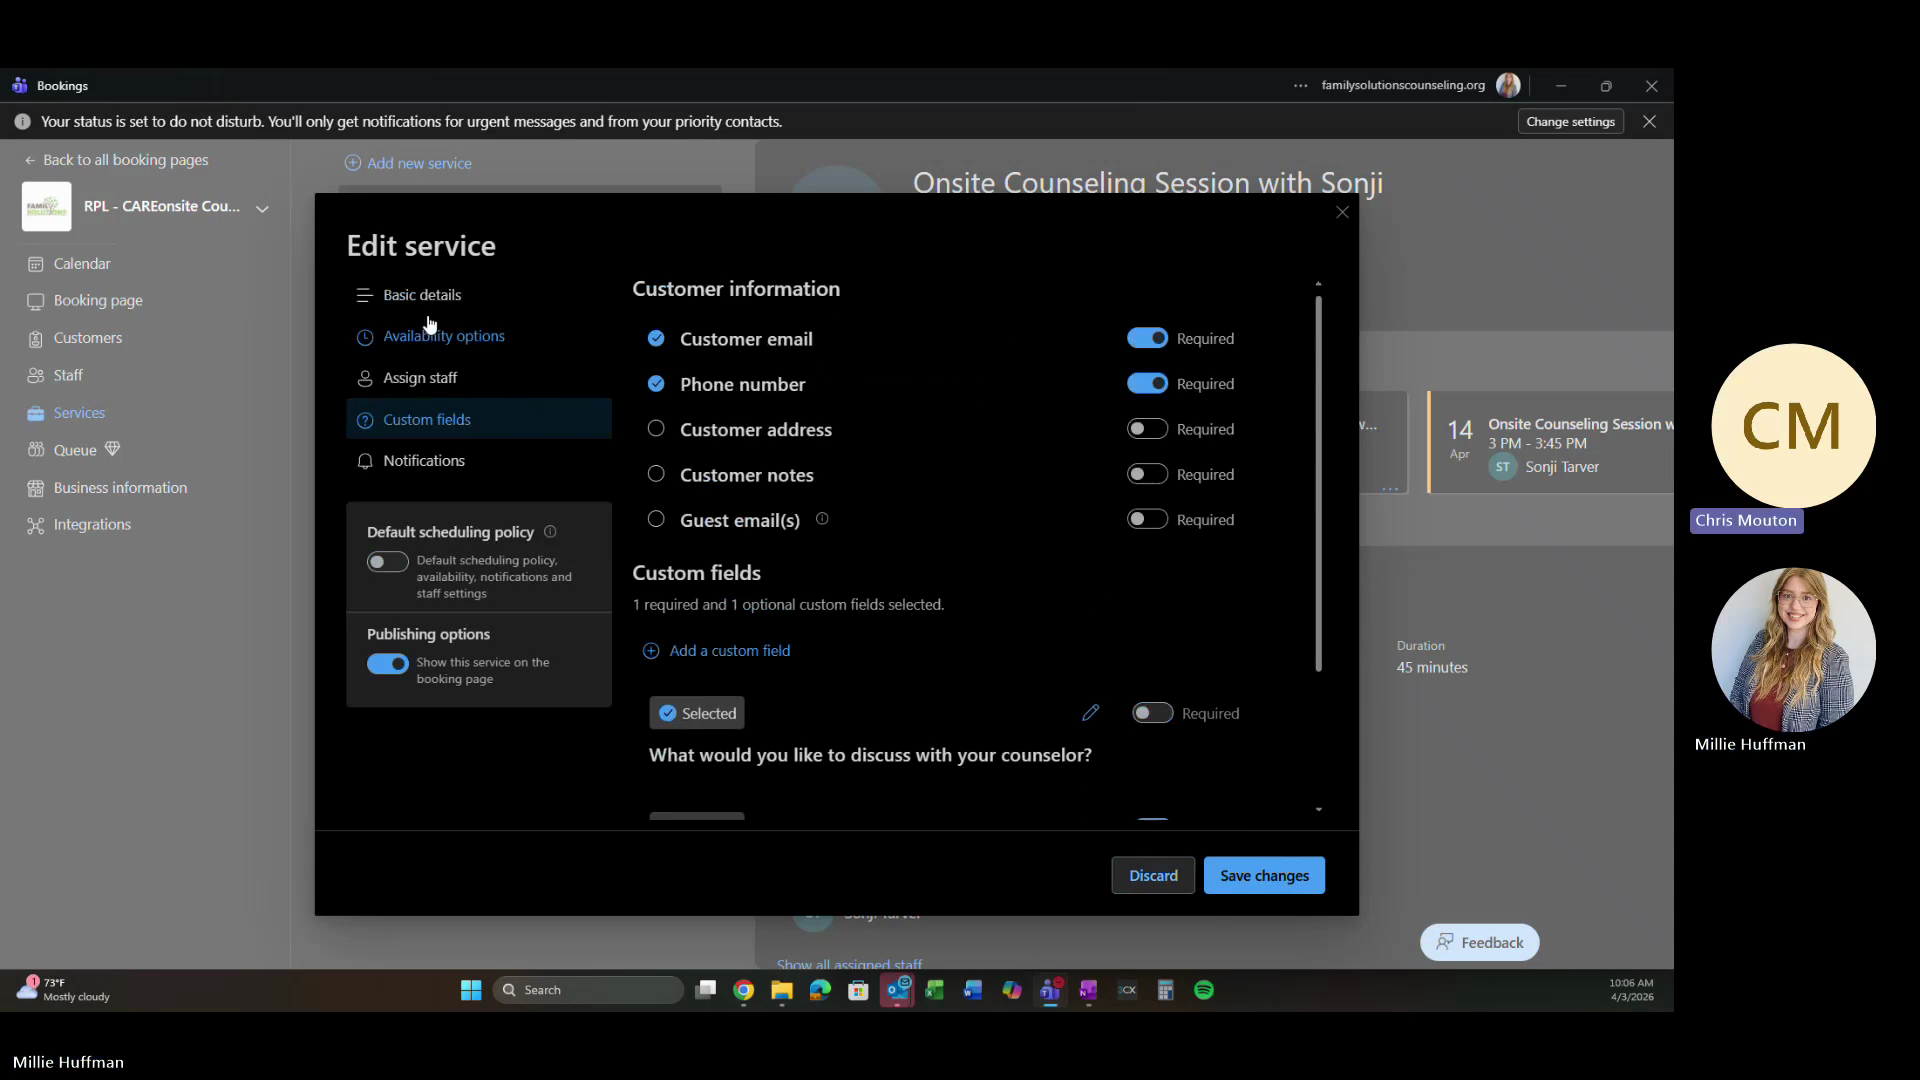
Building the Intake Form in Cognito Forms

Intake forms allow patients to fill out required paperwork digitally before their appointment.

2
Log into Cognito Forms and click Build in the top navigation bar.
Step #2: Log into Cognito Forms and click Build in the top navigation bar.
1
Open an existing form, such as the RPL Check-In form, to use as a structural template.
Step #1: Open an existing form, such as the RPL Check-In form, to use as a structural template.
1
Configure conditional logic by setting the field visibility (e.g., displaying English questions only when English is selected as the preferred language).
Step #1: Configure conditional logic by setting the field visibility (e.g., displaying English questions only when English is selected as the preferred language).
2
Click Save after applying form logic.
Step #2: Click Save after applying form logic.

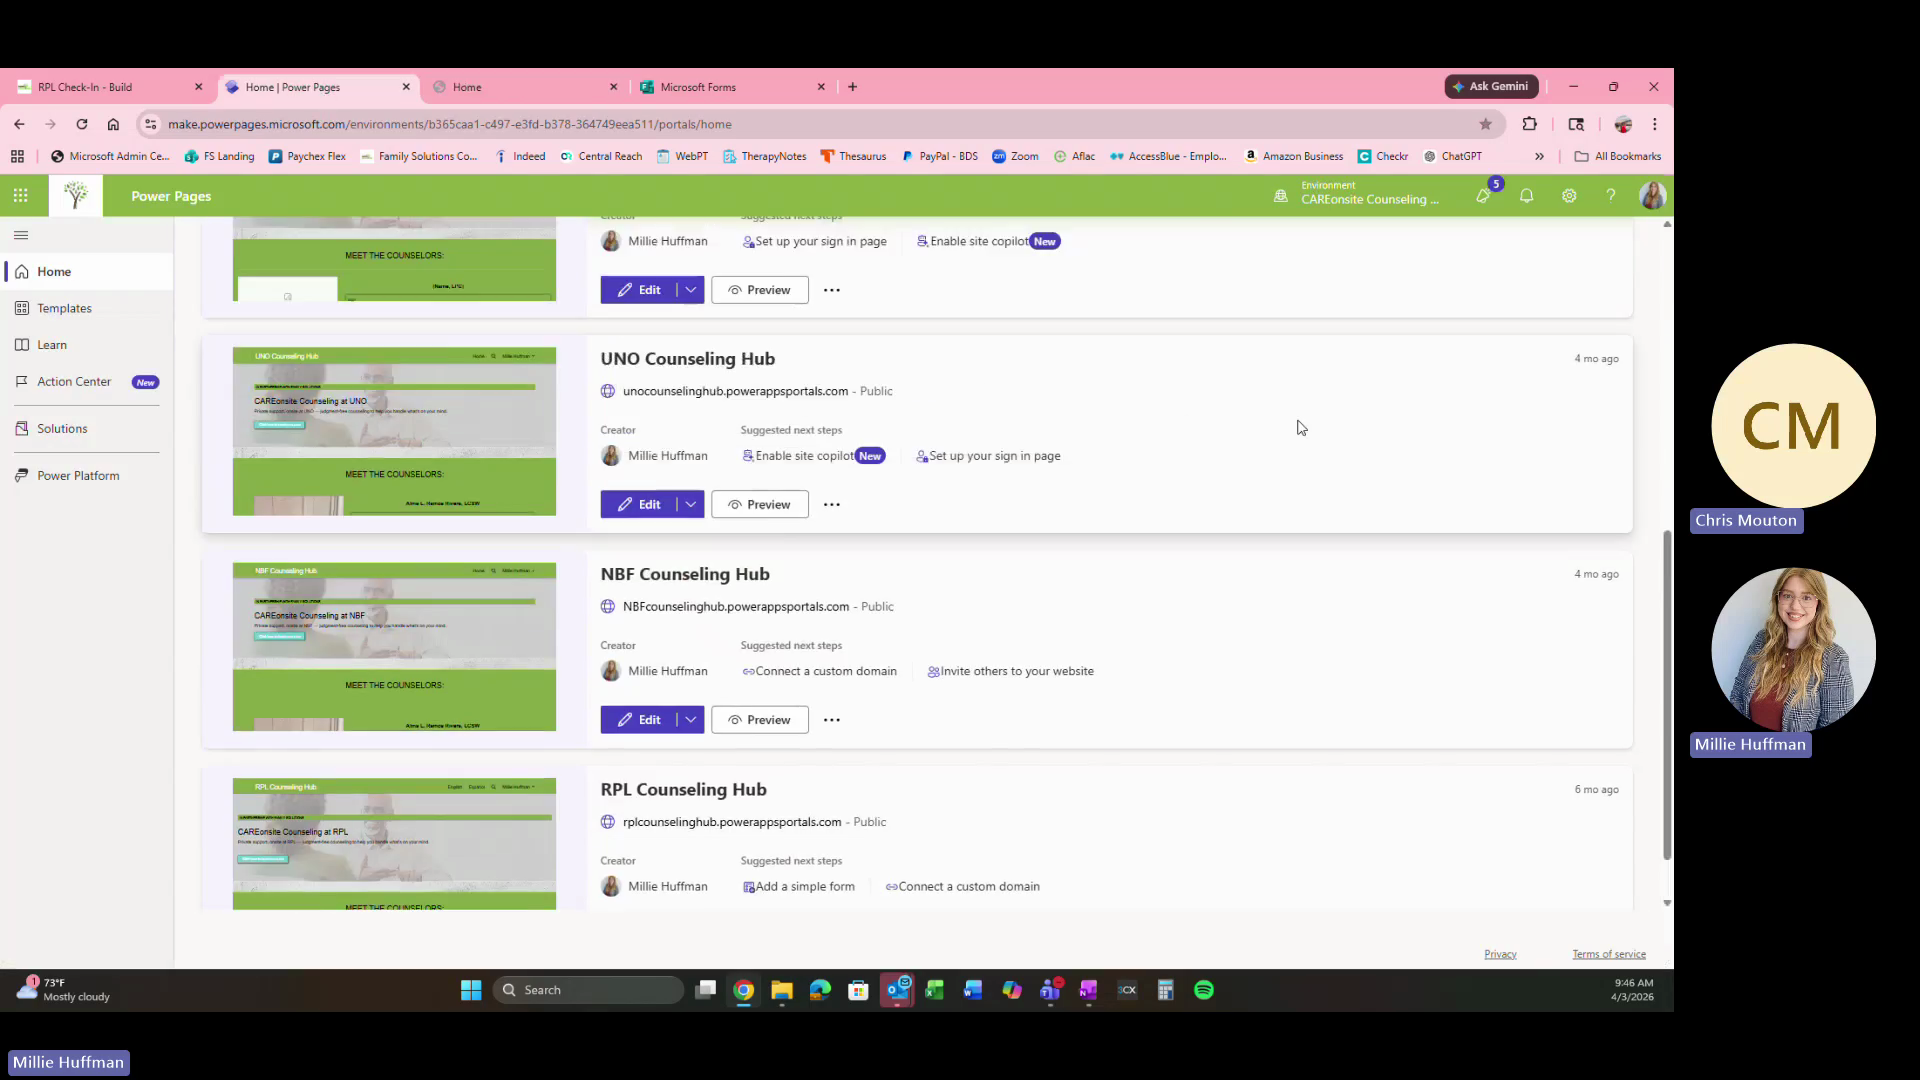
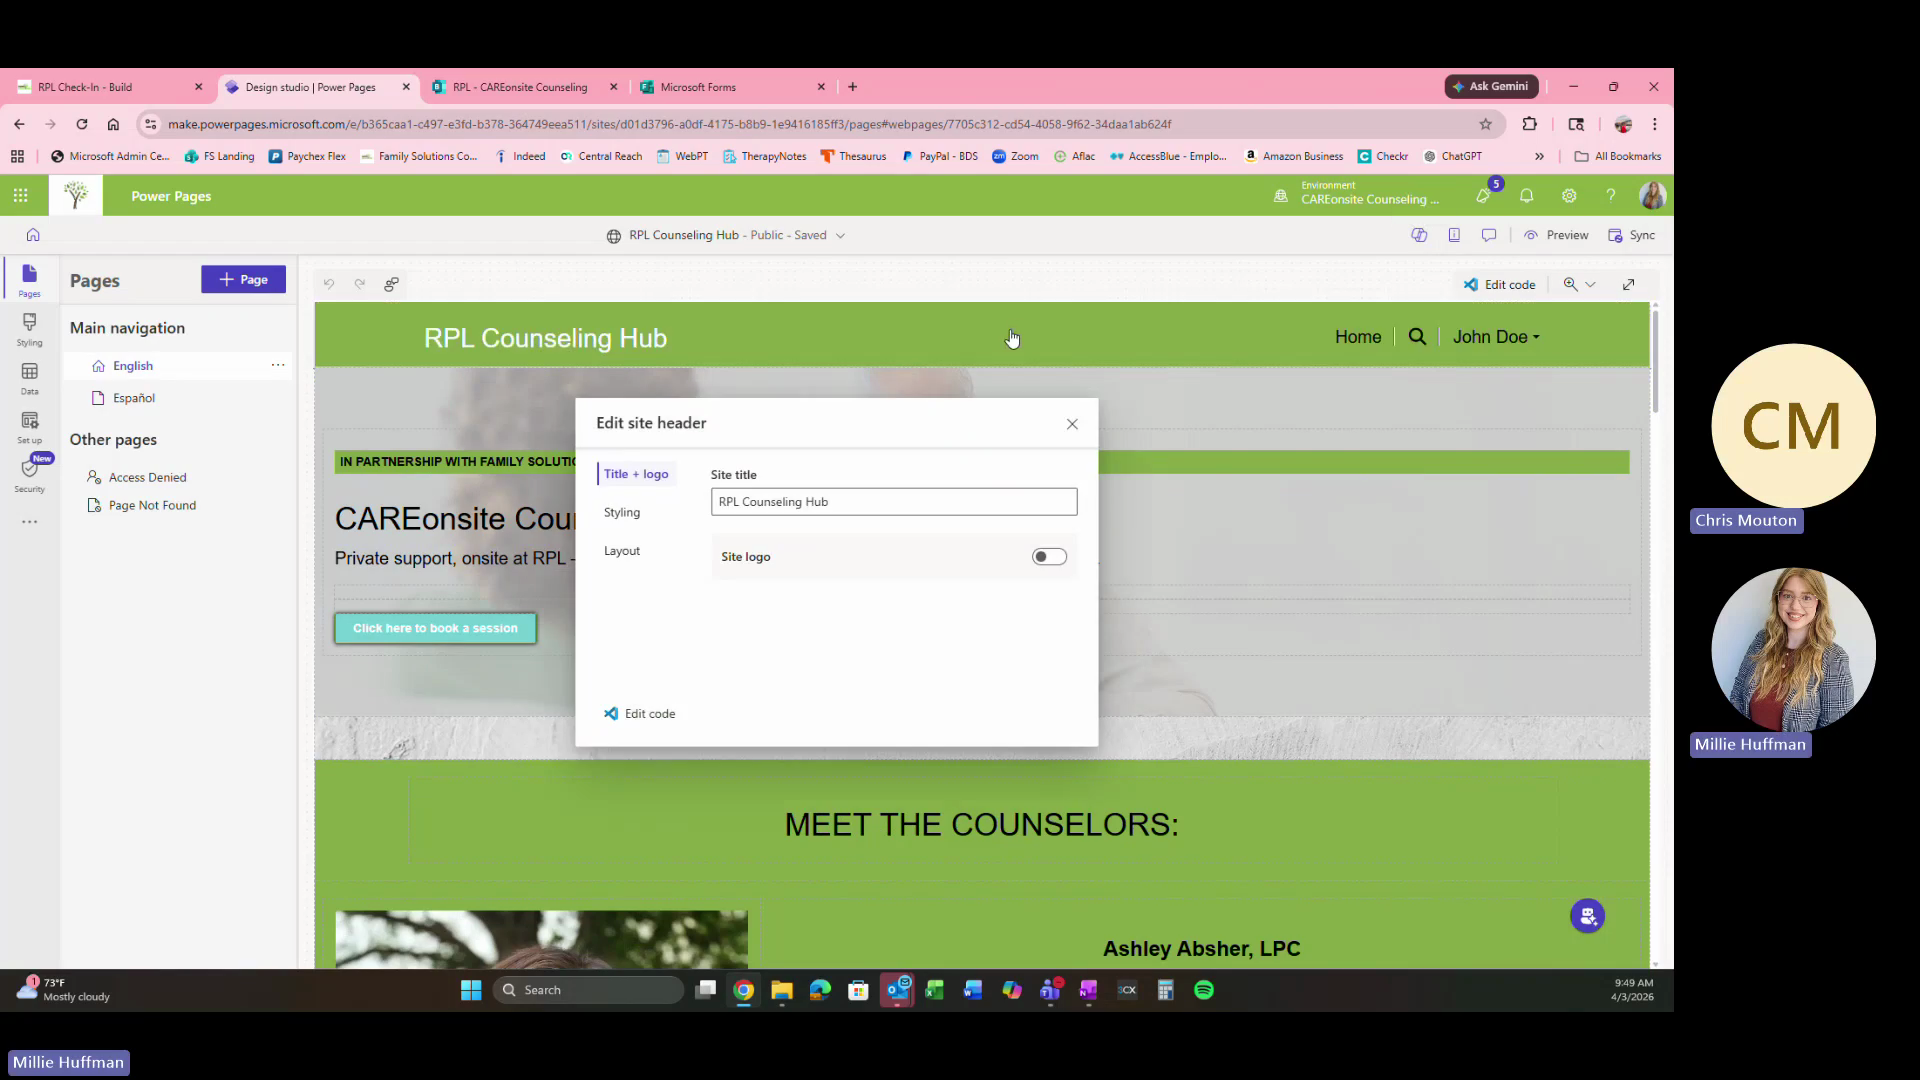
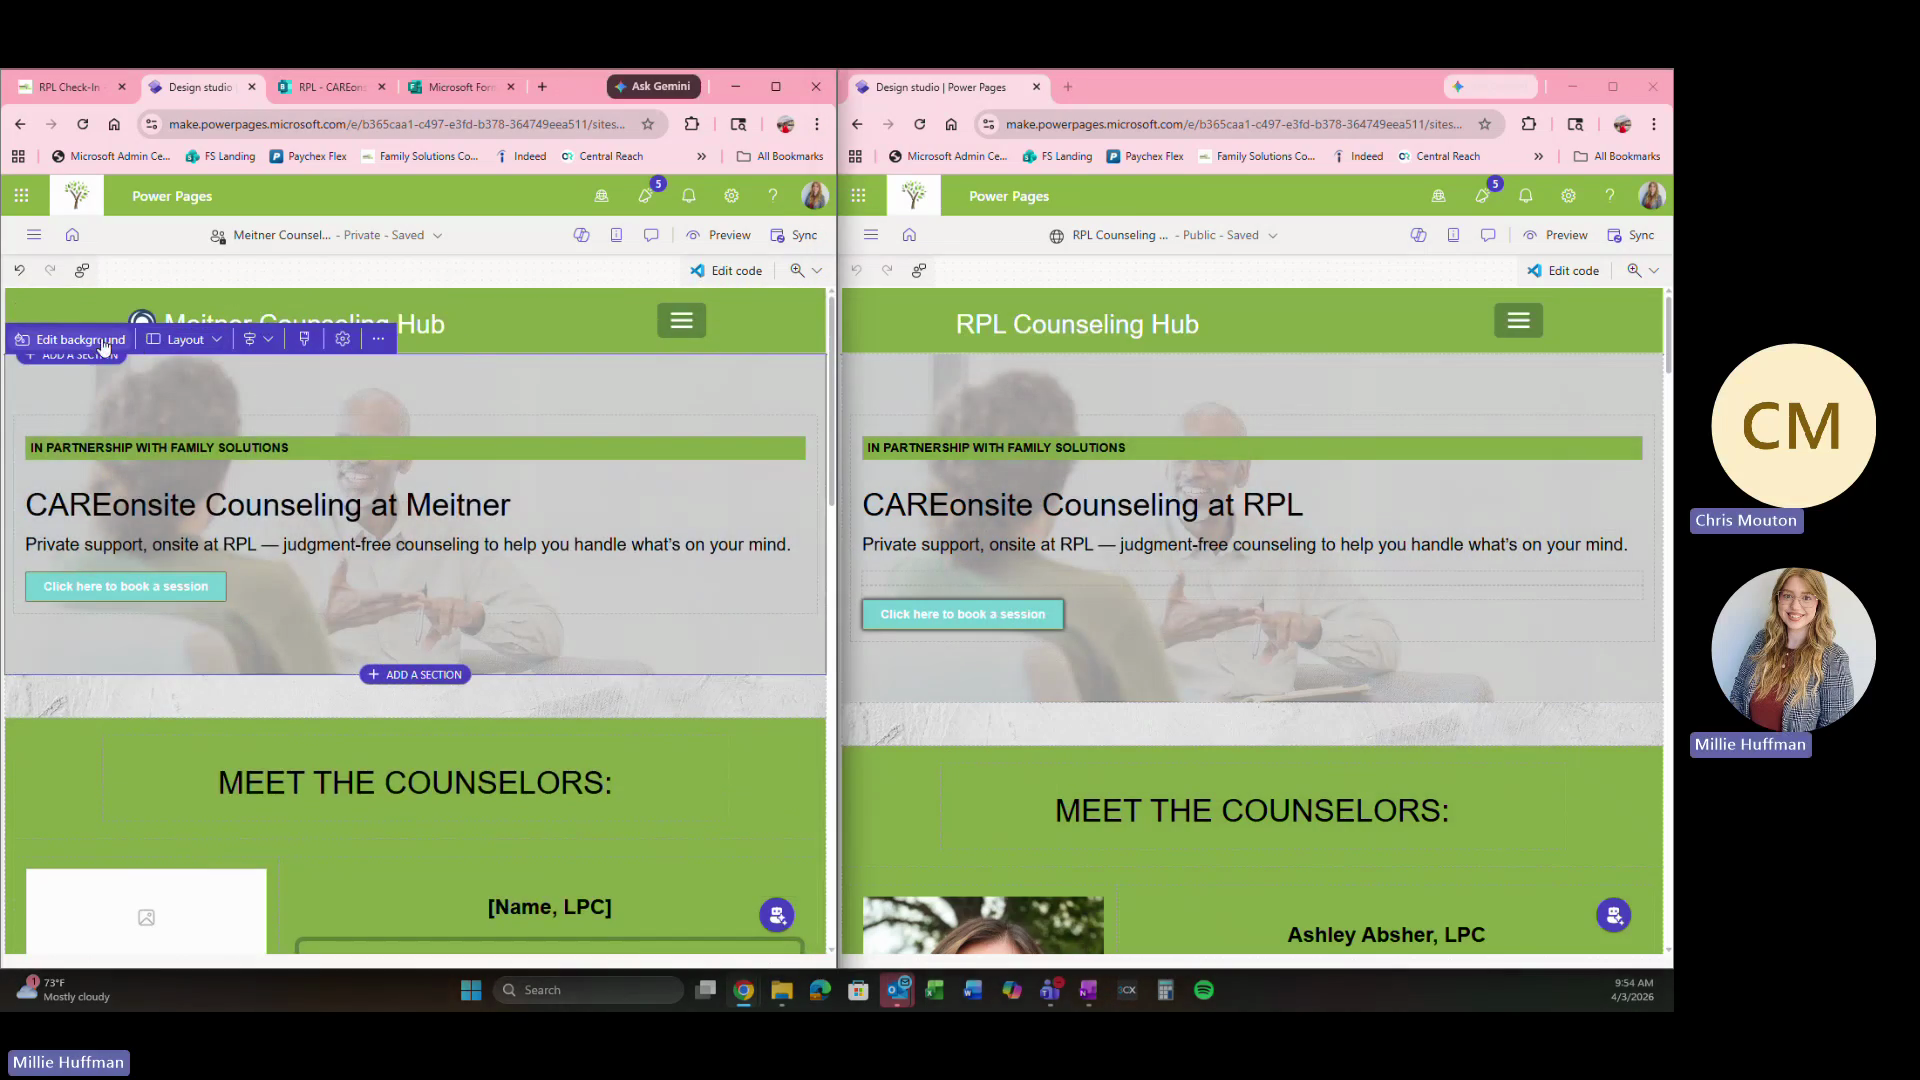
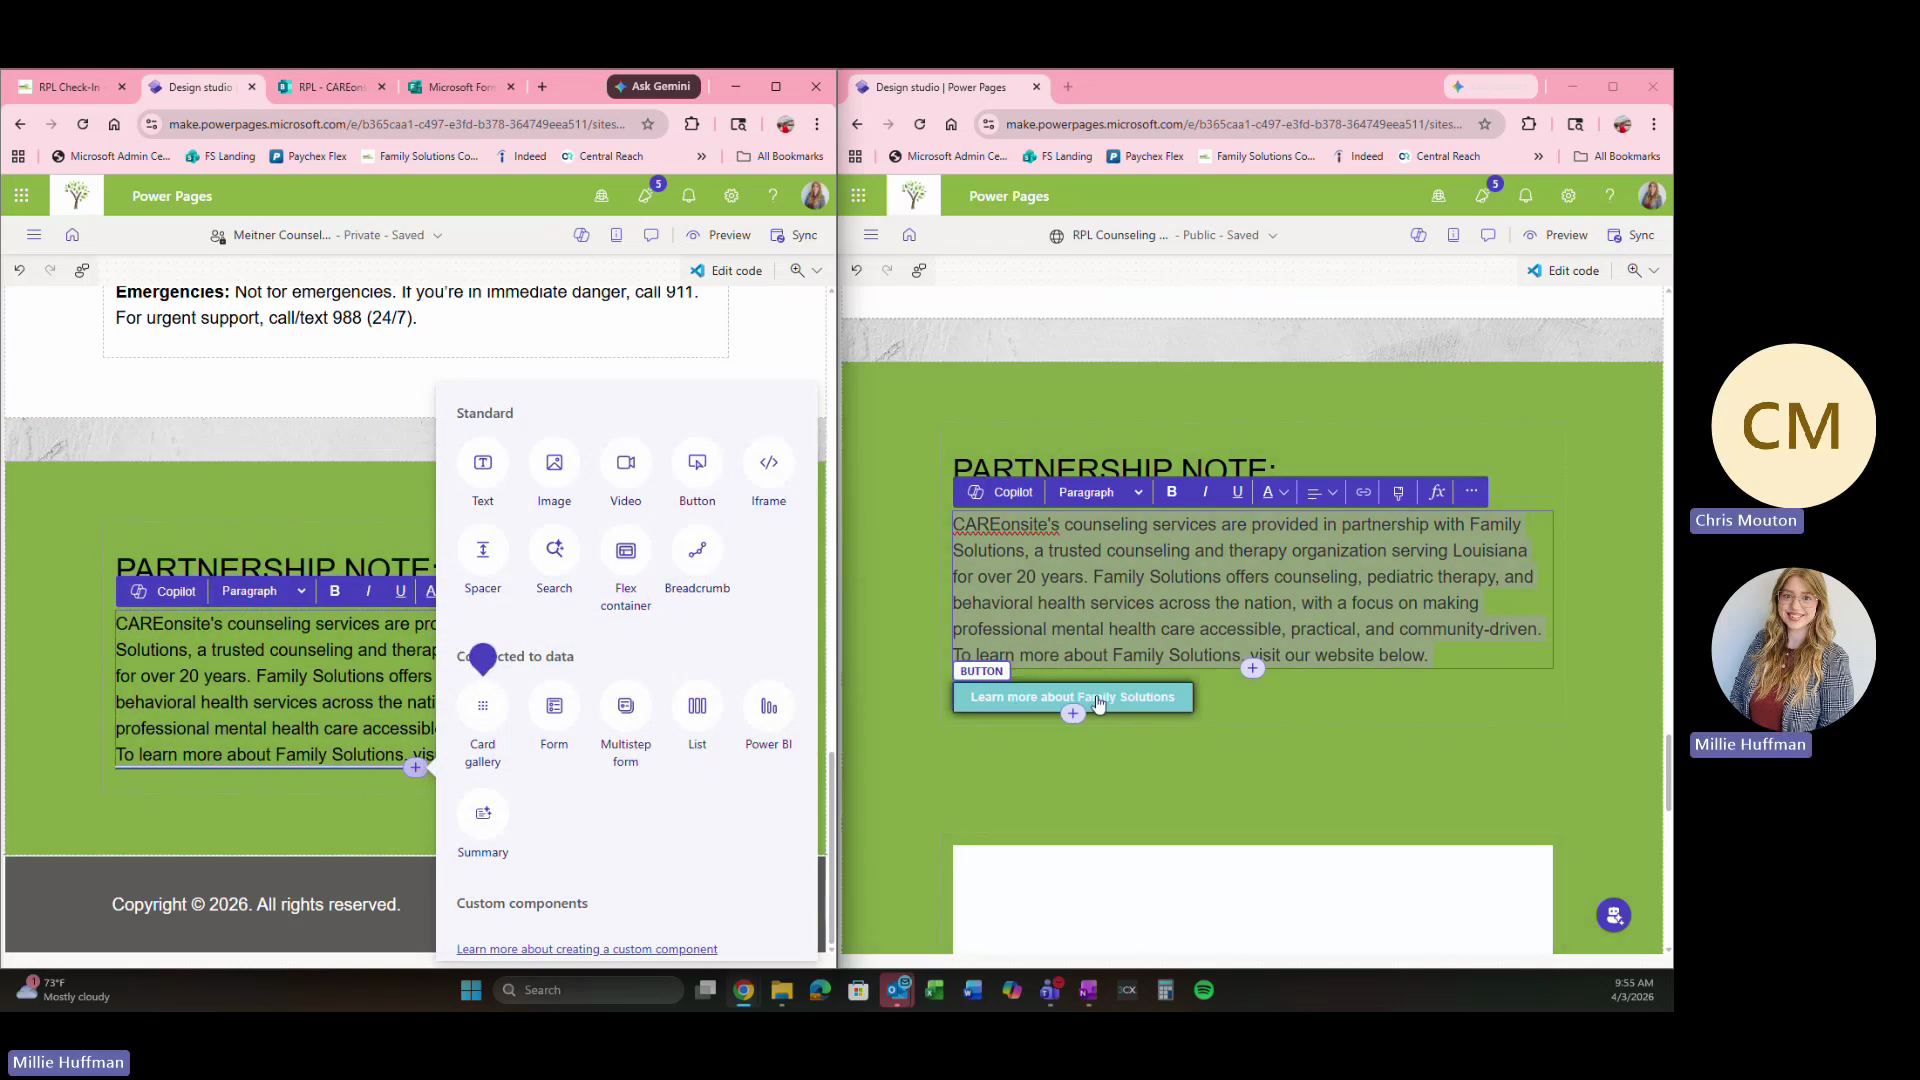
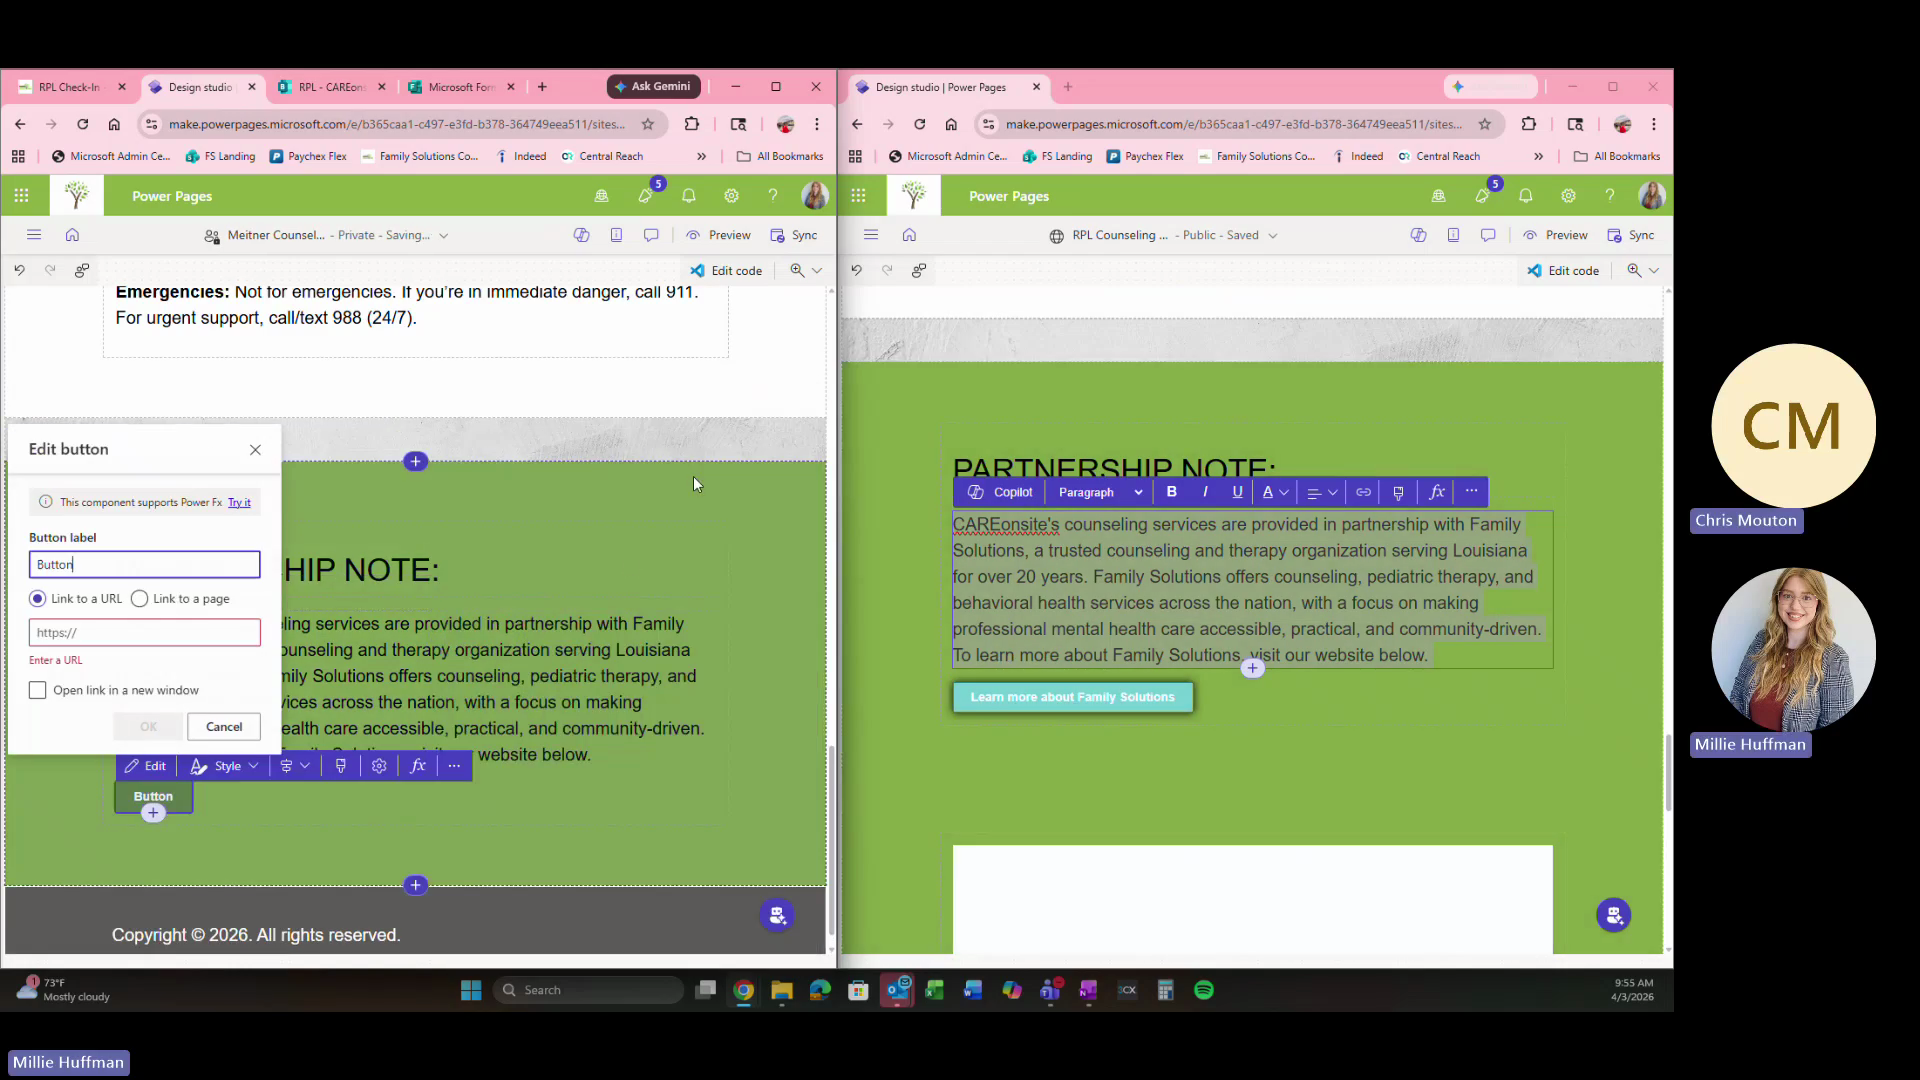
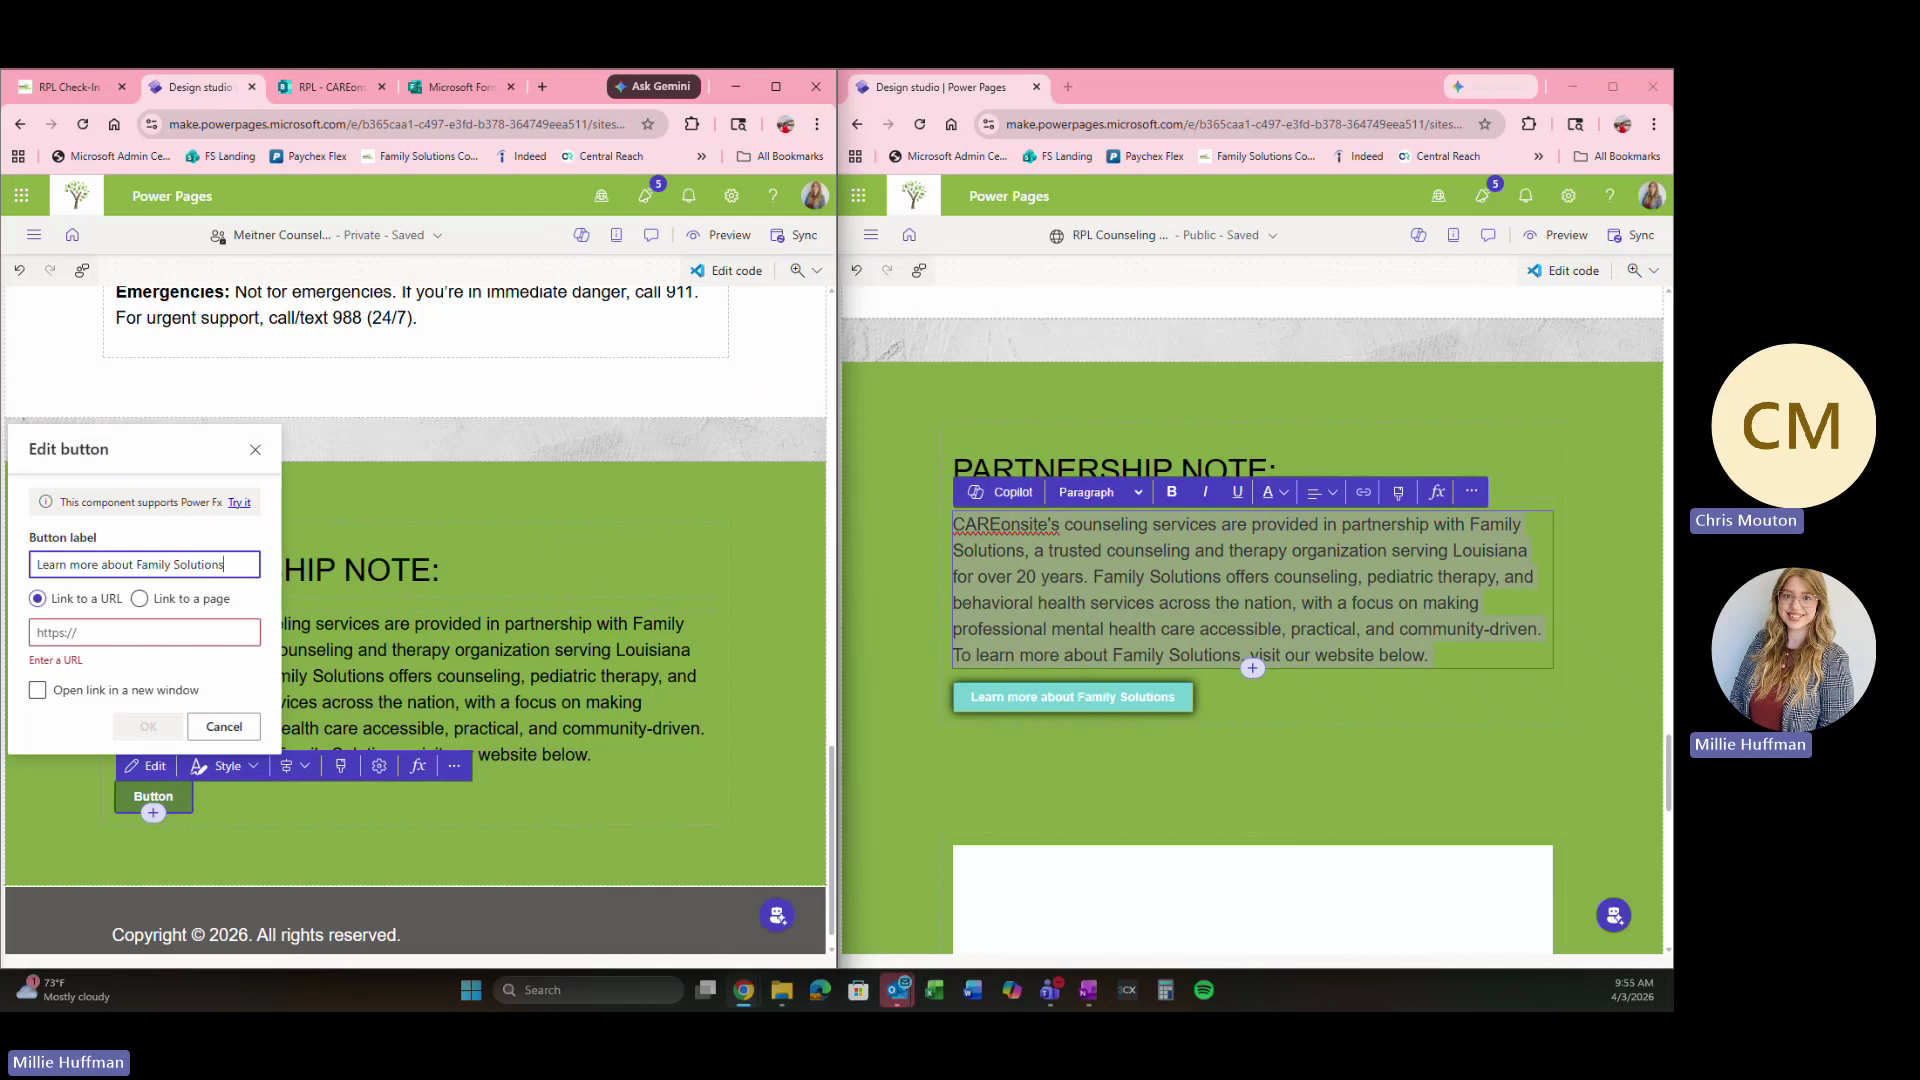
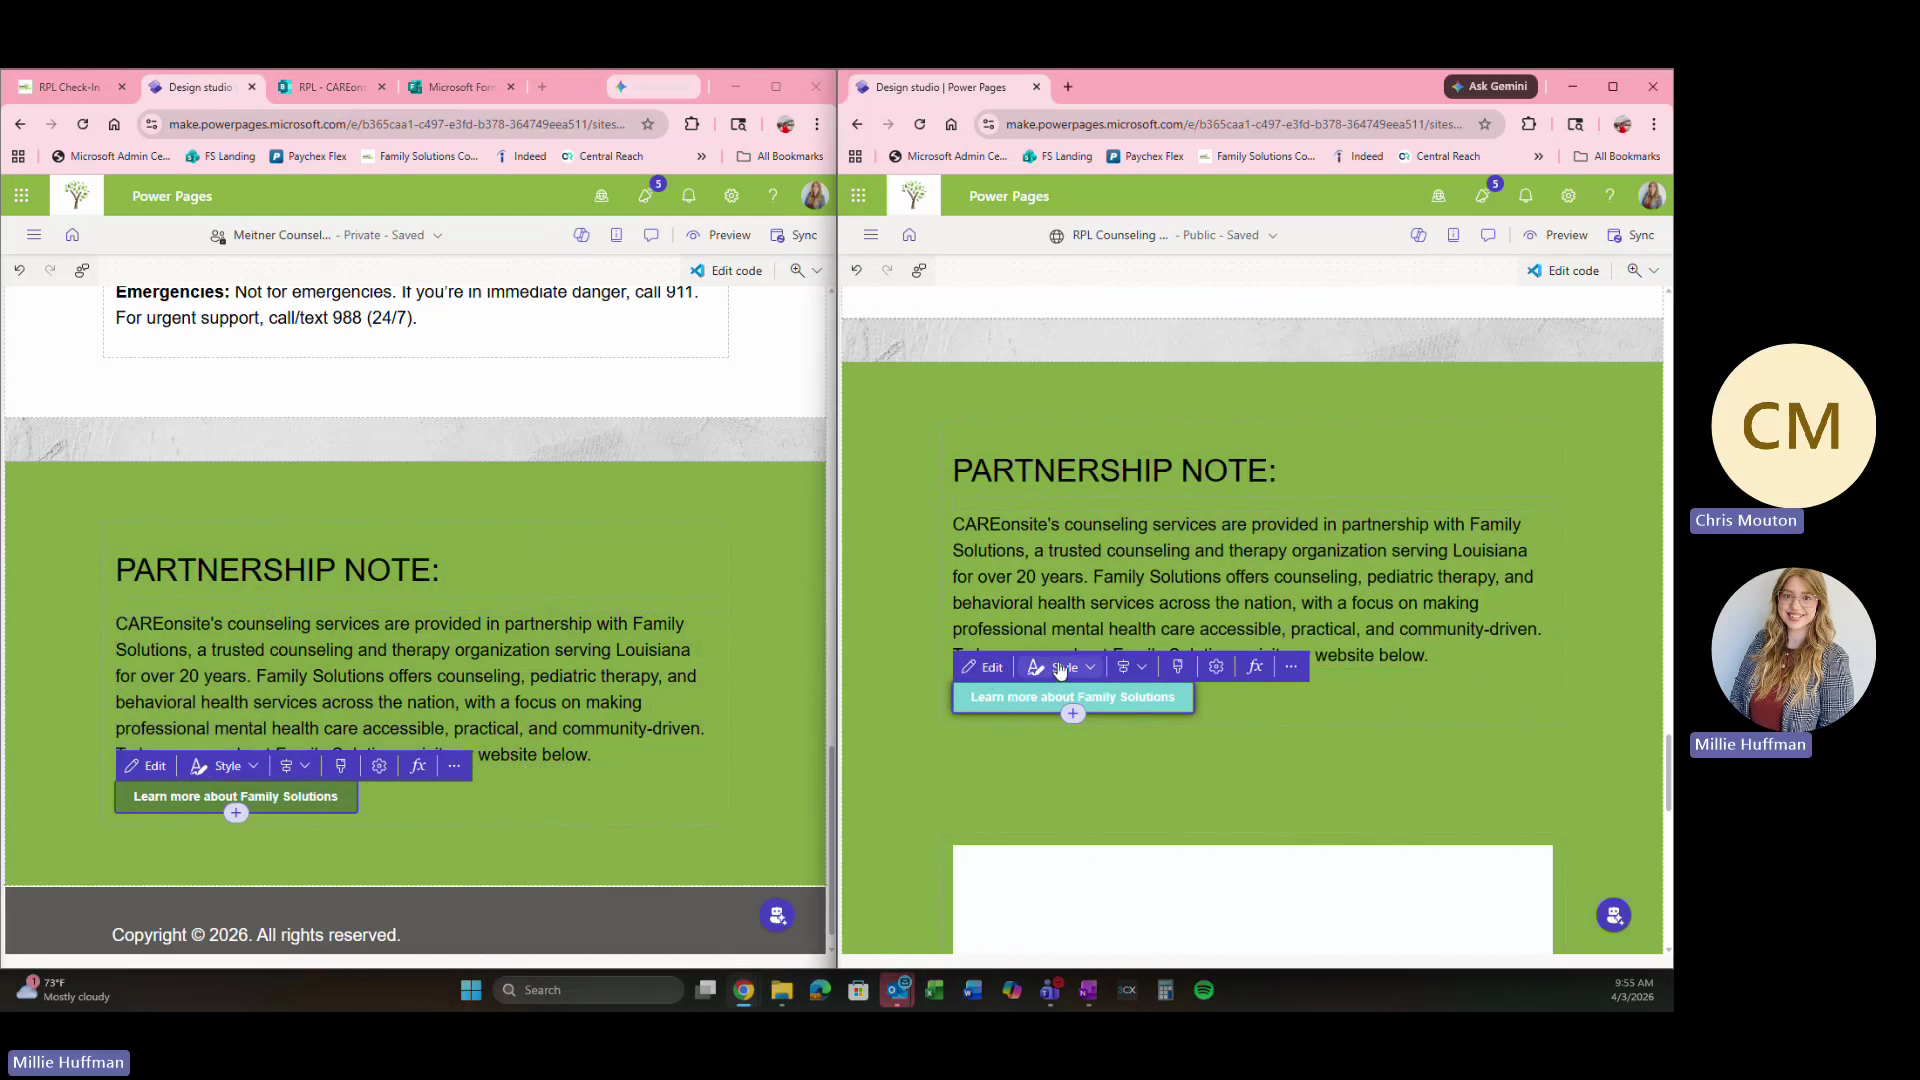
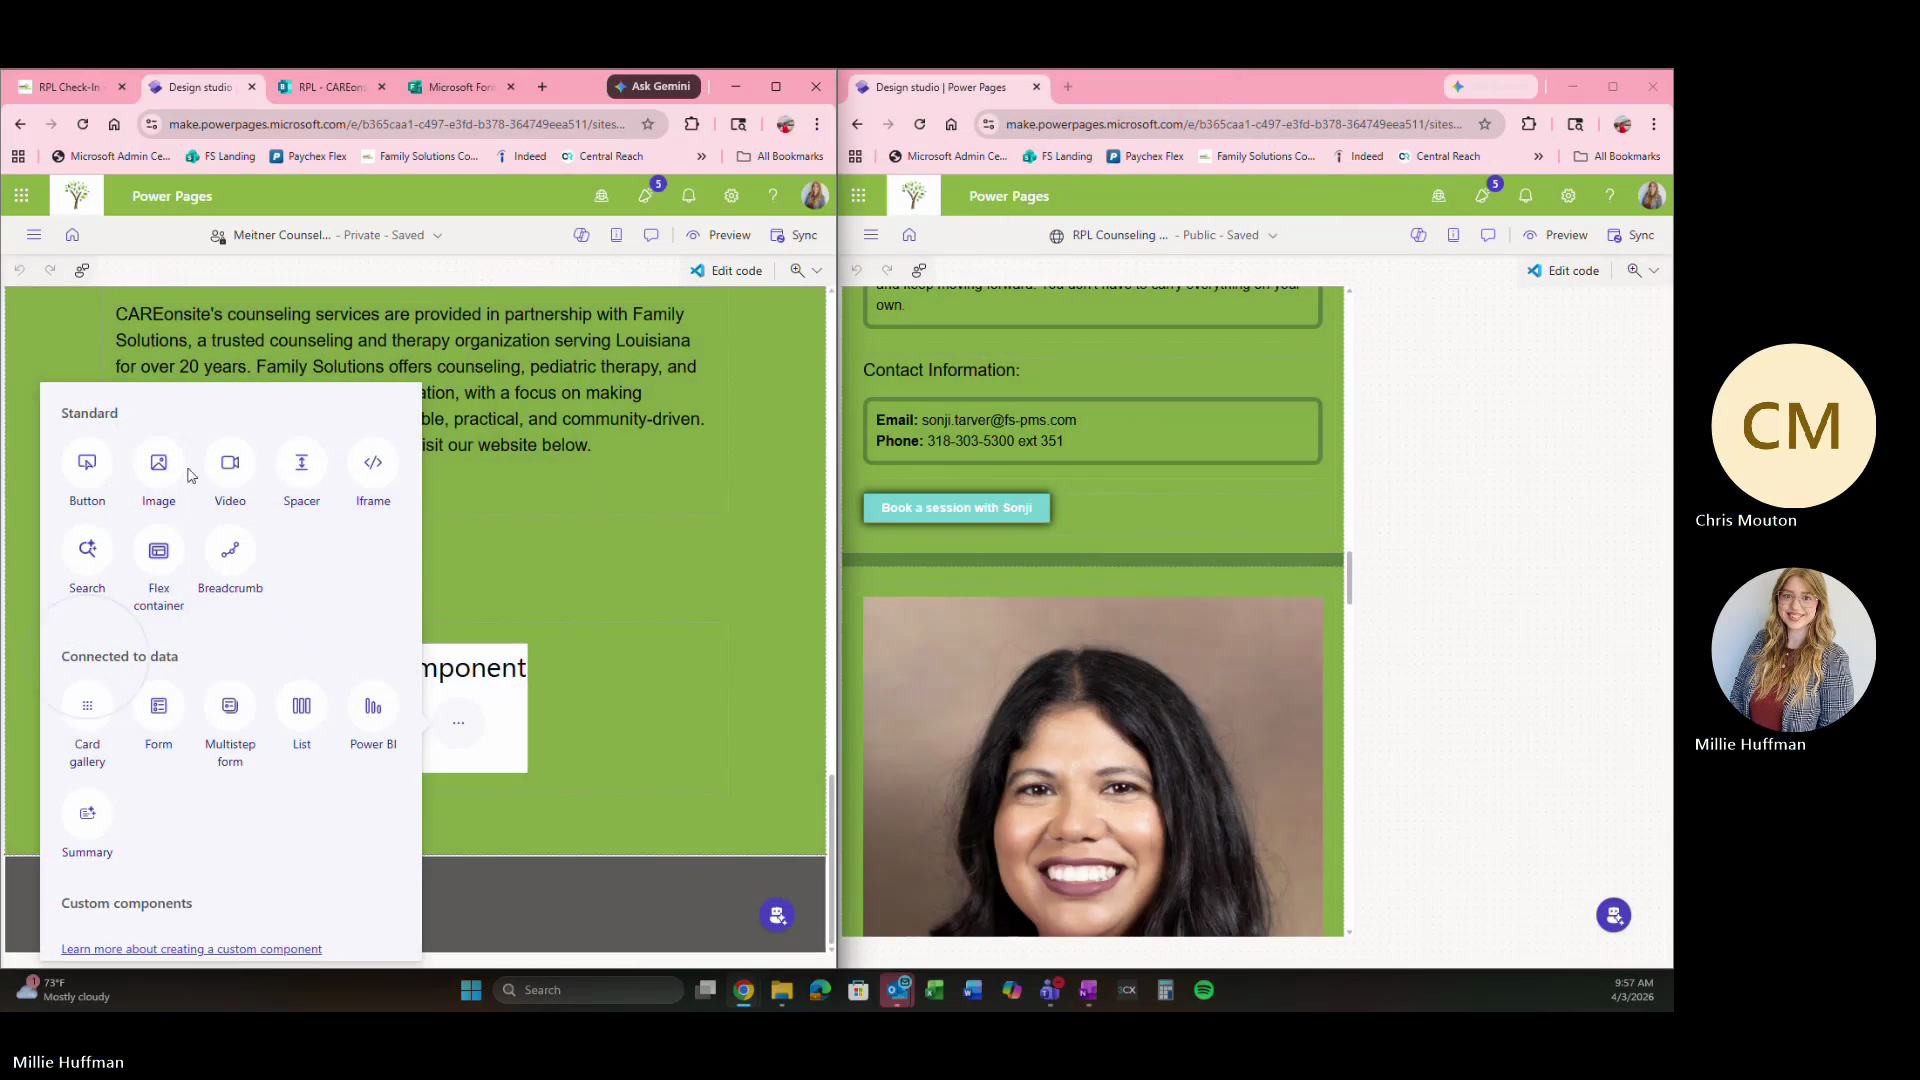
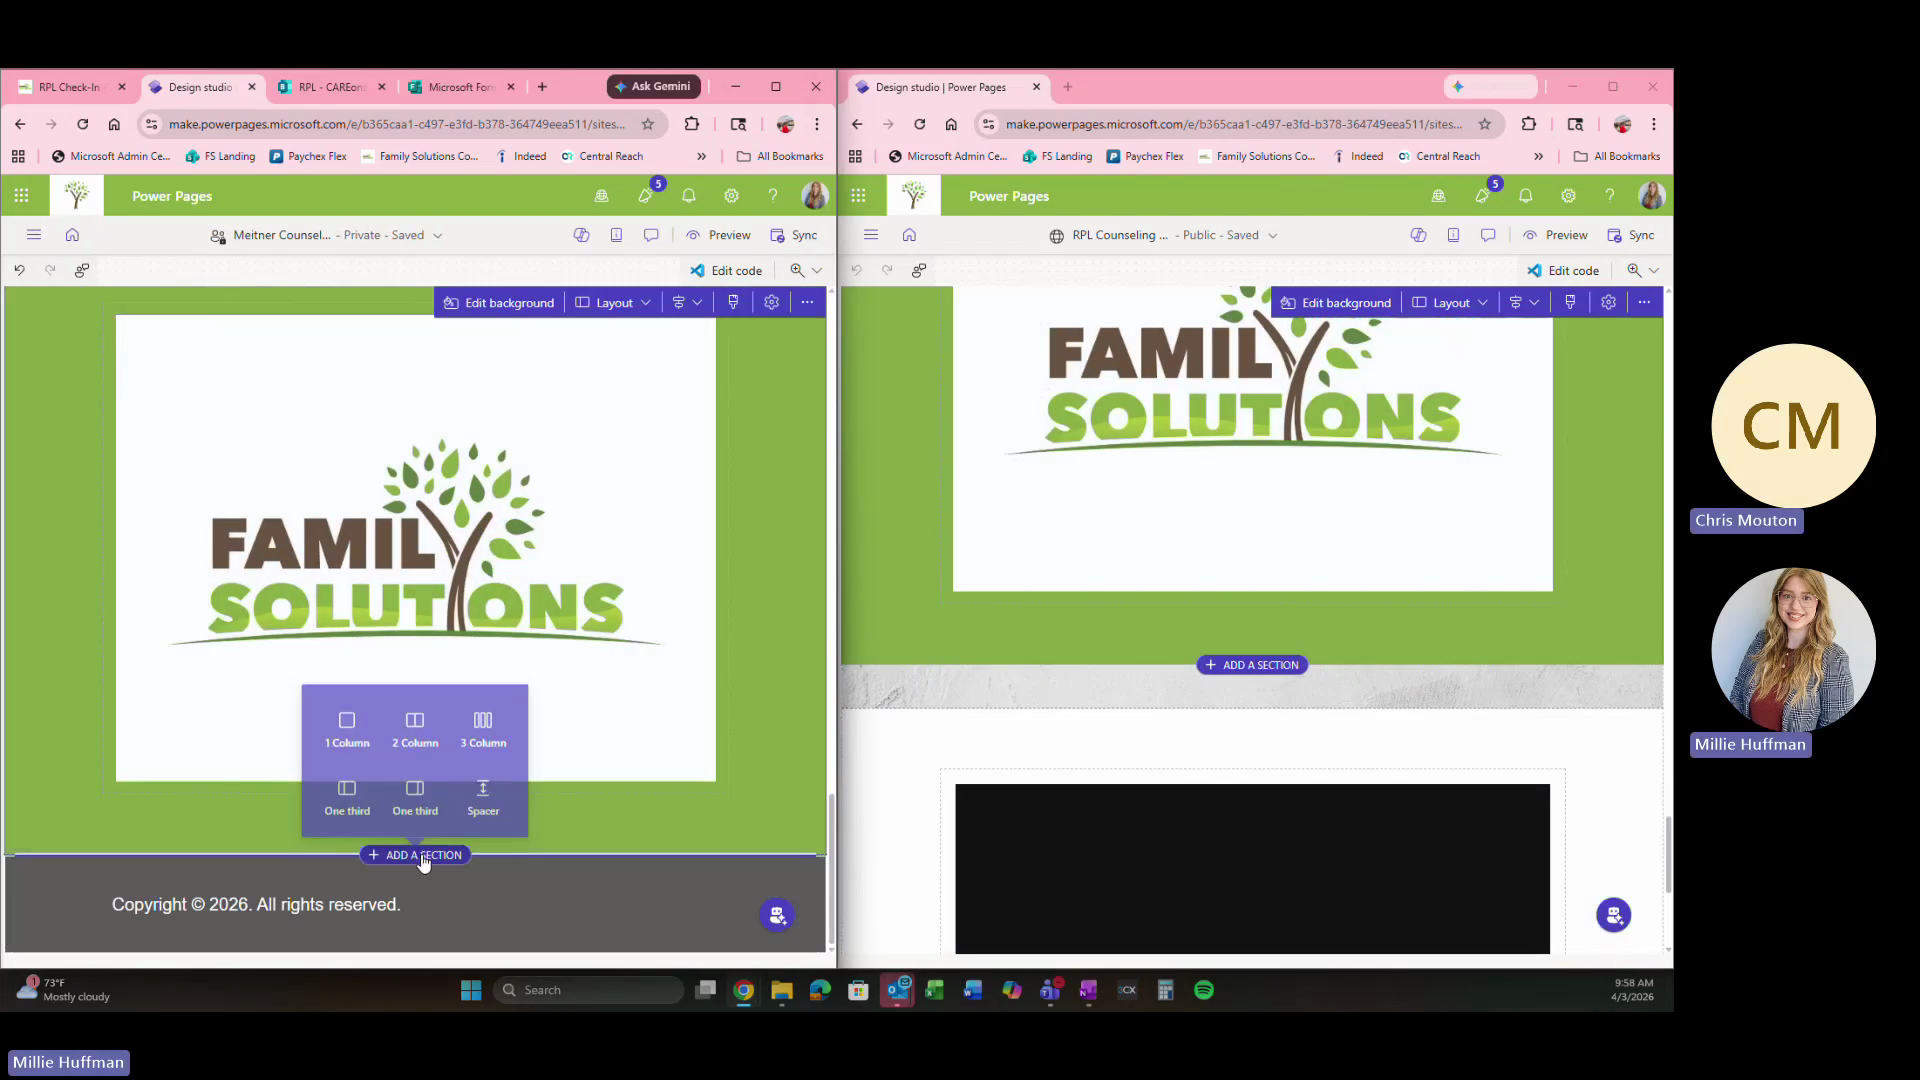
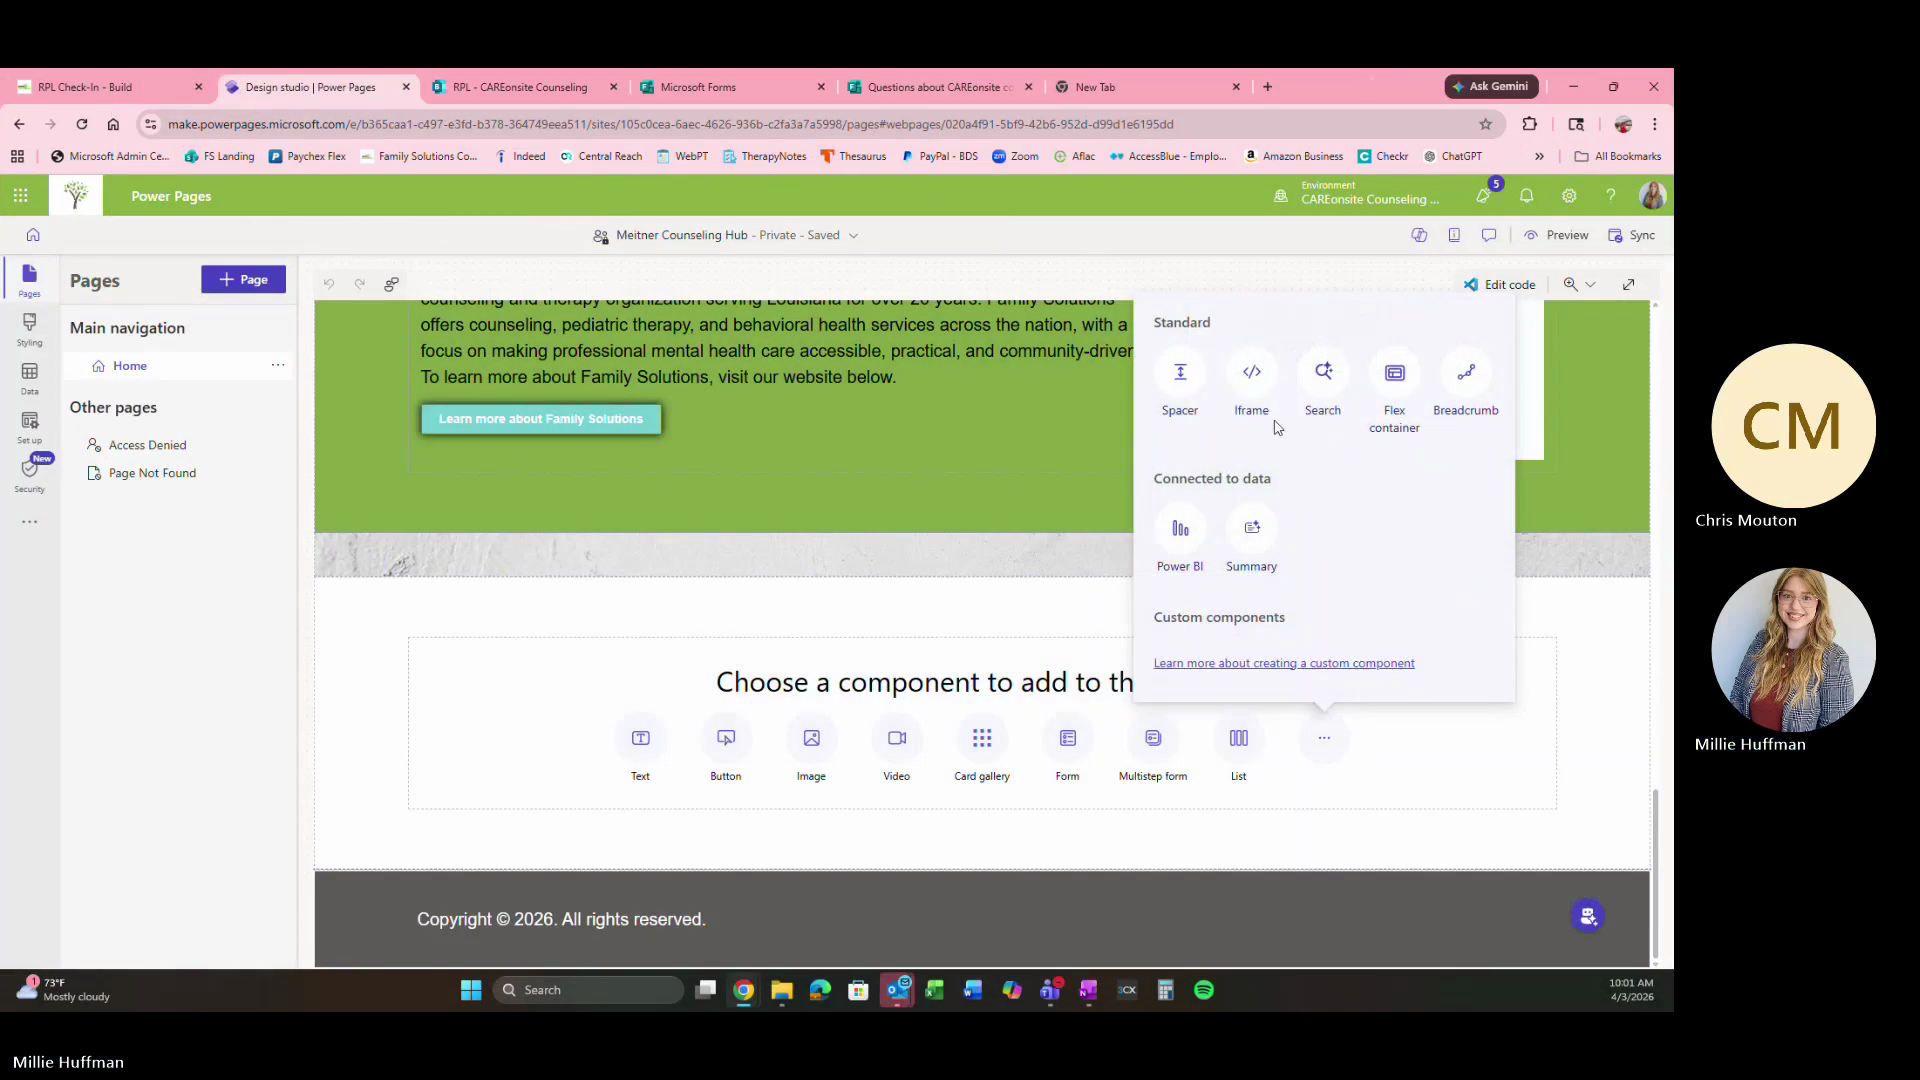
Configuring the Counseling Hub in Power Pages

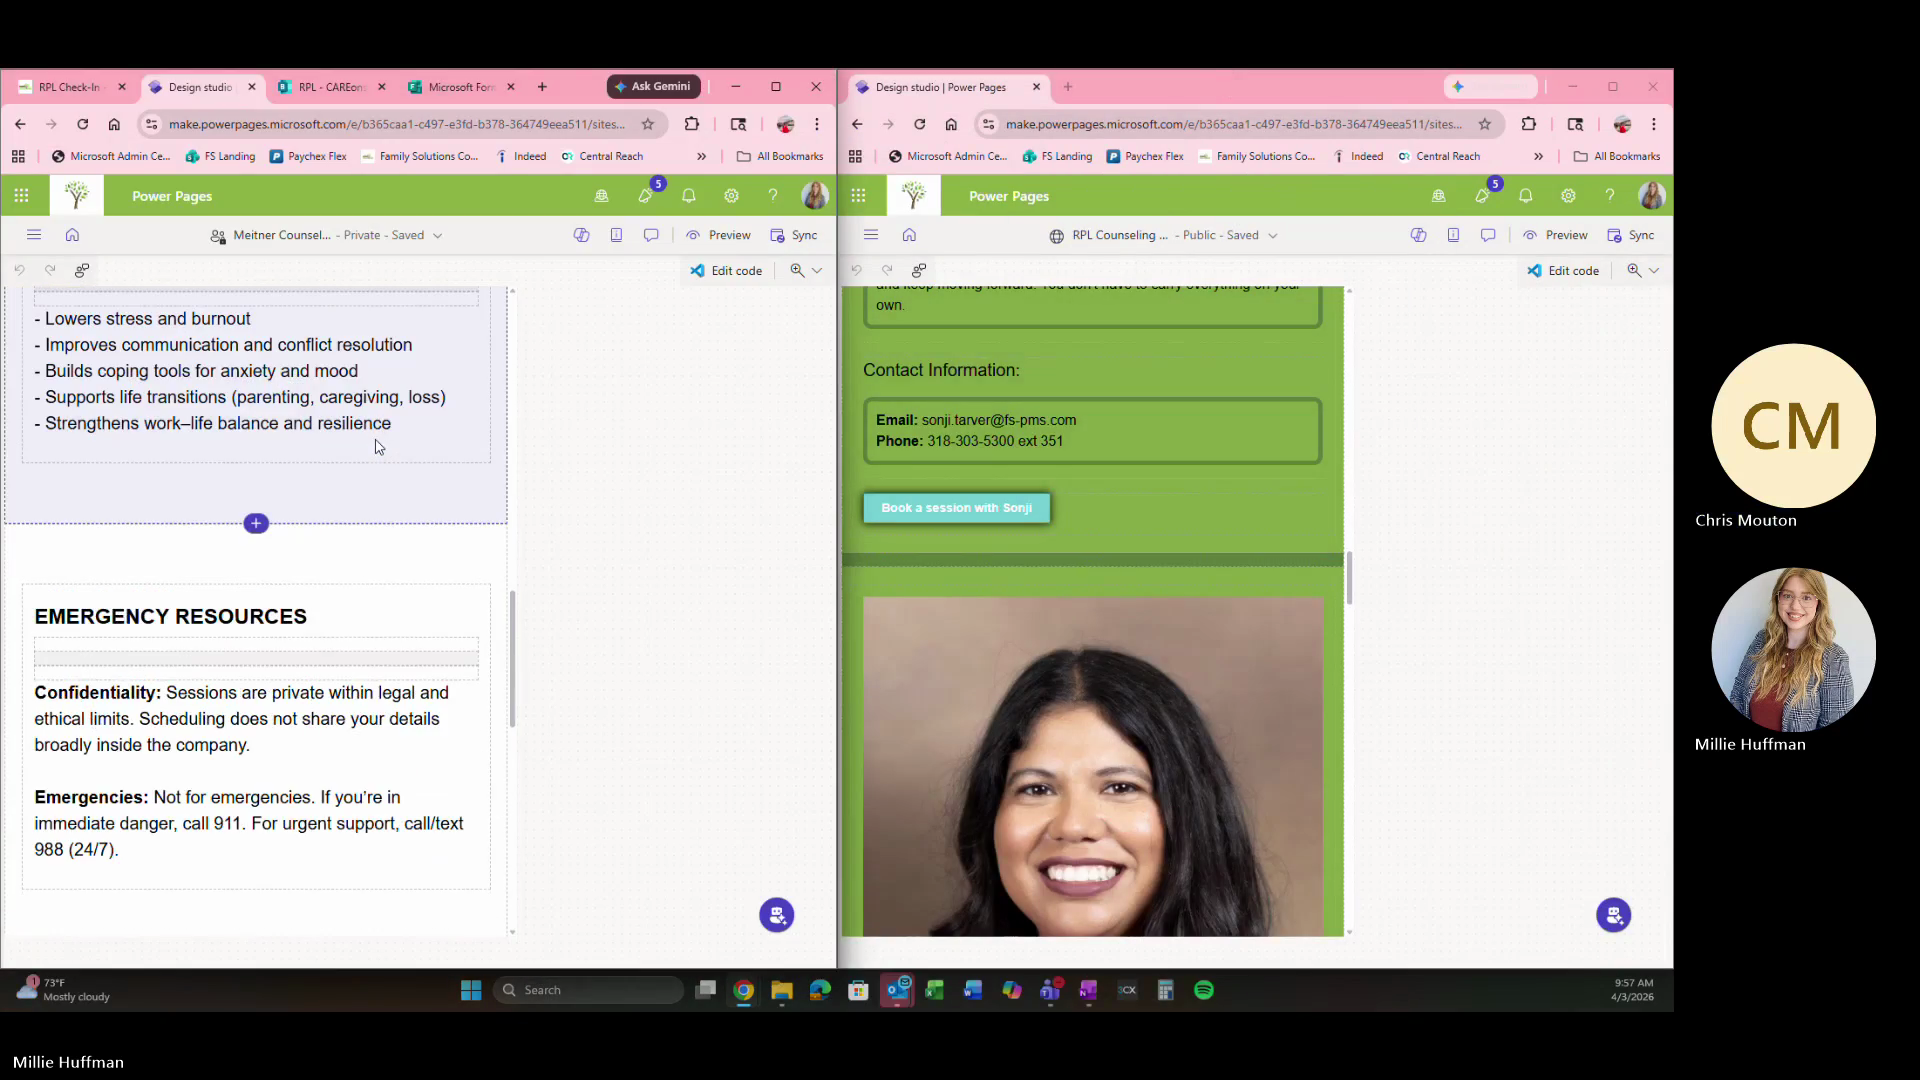
Each site requires a custom web portal (Hub) to host the intake forms, counselor bios, and booking buttons.

2
Log into Microsoft Power Pages and click Edit on a recently built hub (e.g., UNO Counseling Hub) to use it as a reference.
Step #2: Log into Microsoft Power Pages and click Edit on a recently built hub (e.g., UNO Counseling Hub) to use it as a reference.
3
Click the site header and select Title / Logo to adjust the site's specific branding.
Step #3: Click the site header and select Title / Logo to adjust the site's specific branding.
2
Click Edit background on the hero section to update the background image.
Step #2: Click Edit background on the hero section to update the background image.
1
Click Button from the components menu to add a navigation link.
Step #1: Click Button from the components menu to add a navigation link.
2
Enter the link text in the Button Label field.
Step #2: Enter the link text in the Button Label field.
1
Paste the destination URL into the Link to a URL field.
Step #1: Paste the destination URL into the Link to a URL field.
4
Click the Design (paintbrush) icon to match the button styling to the brand colors.
Step #4: Click the Design (paintbrush) icon to match the button styling to the brand colors.
1
Click the + button between sections to add a new component.
Step #1: Click the + button between sections to add a new component.
2
Select Image to upload counselor photos or site graphics.
Step #2: Select Image to upload counselor photos or site graphics.
1
Click Add a section to insert a spacer for layout balancing.
Step #1: Click Add a section to insert a spacer for layout balancing.
2
Click Spacer and adjust the height (e.g., to 50 pixels) for proper spacing.
Step #2: Click Spacer and adjust the height (e.g., to 50 pixels) for proper spacing.

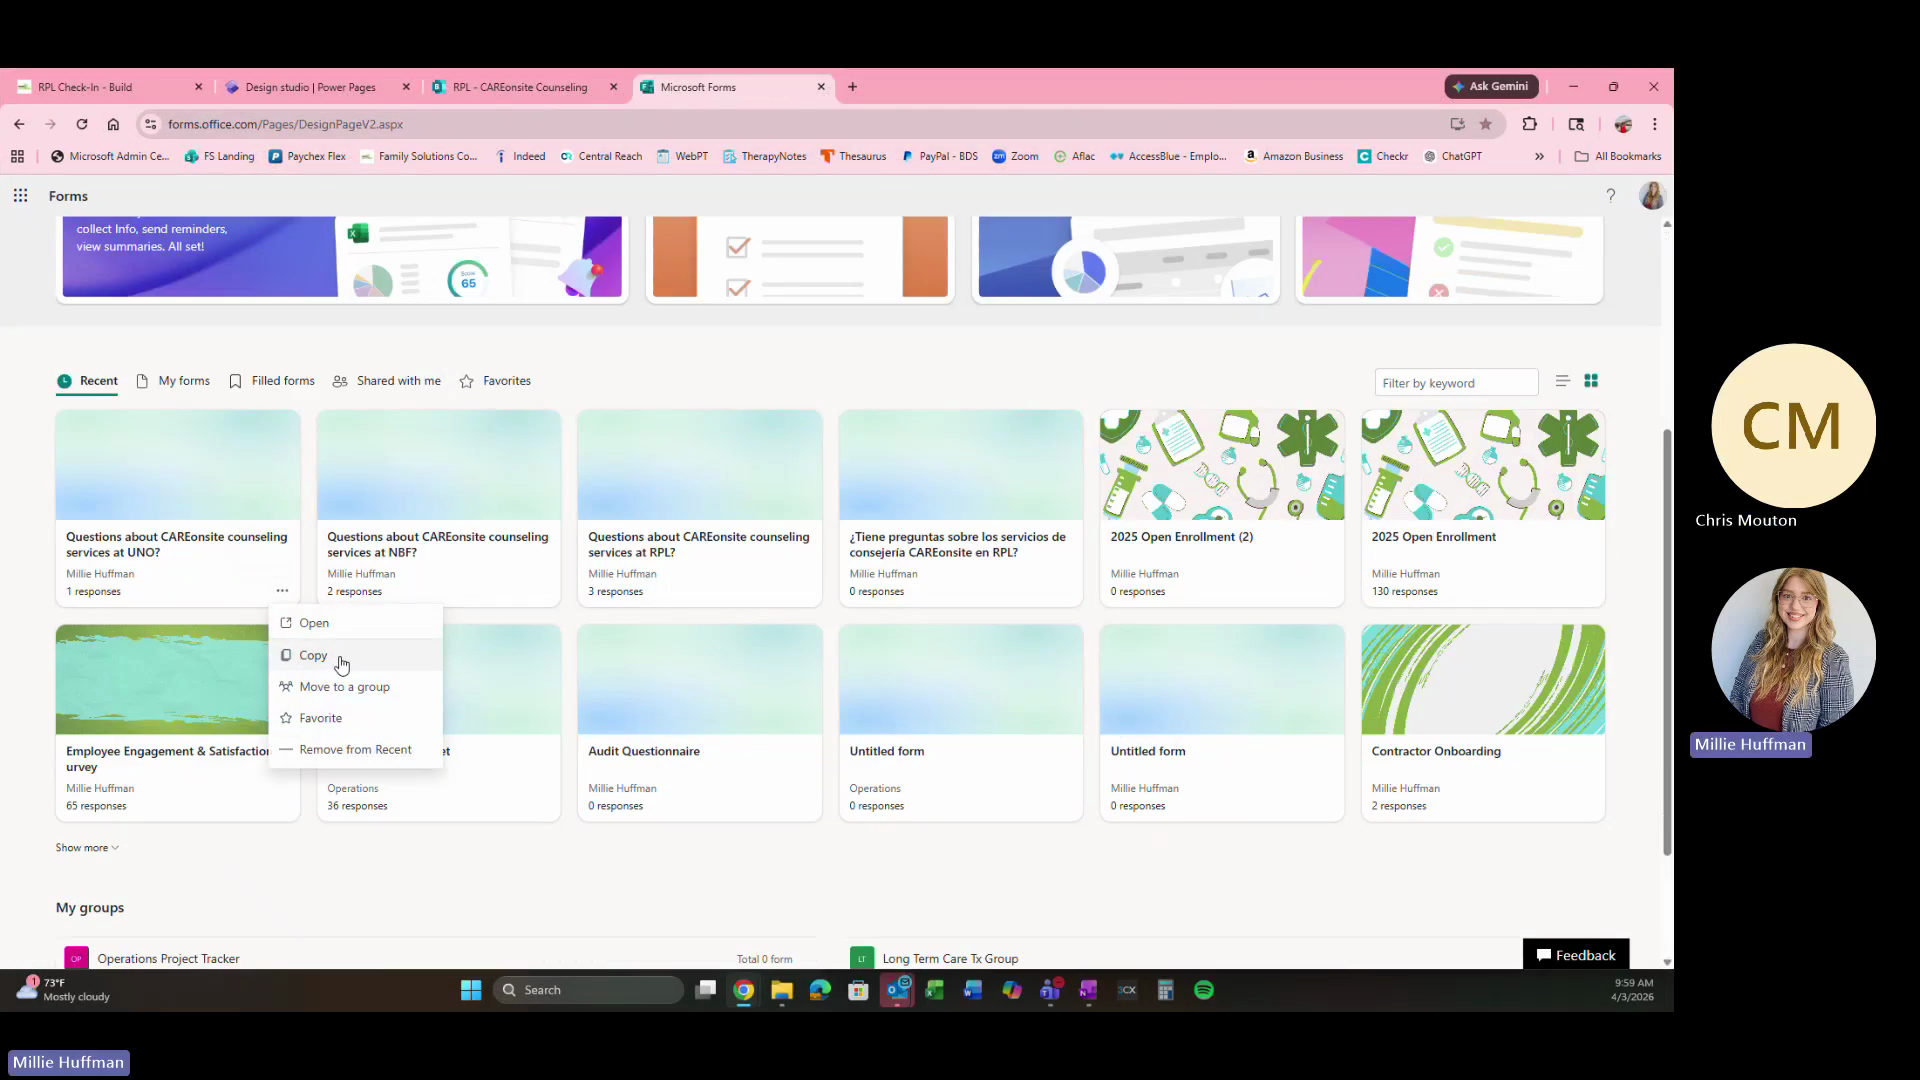
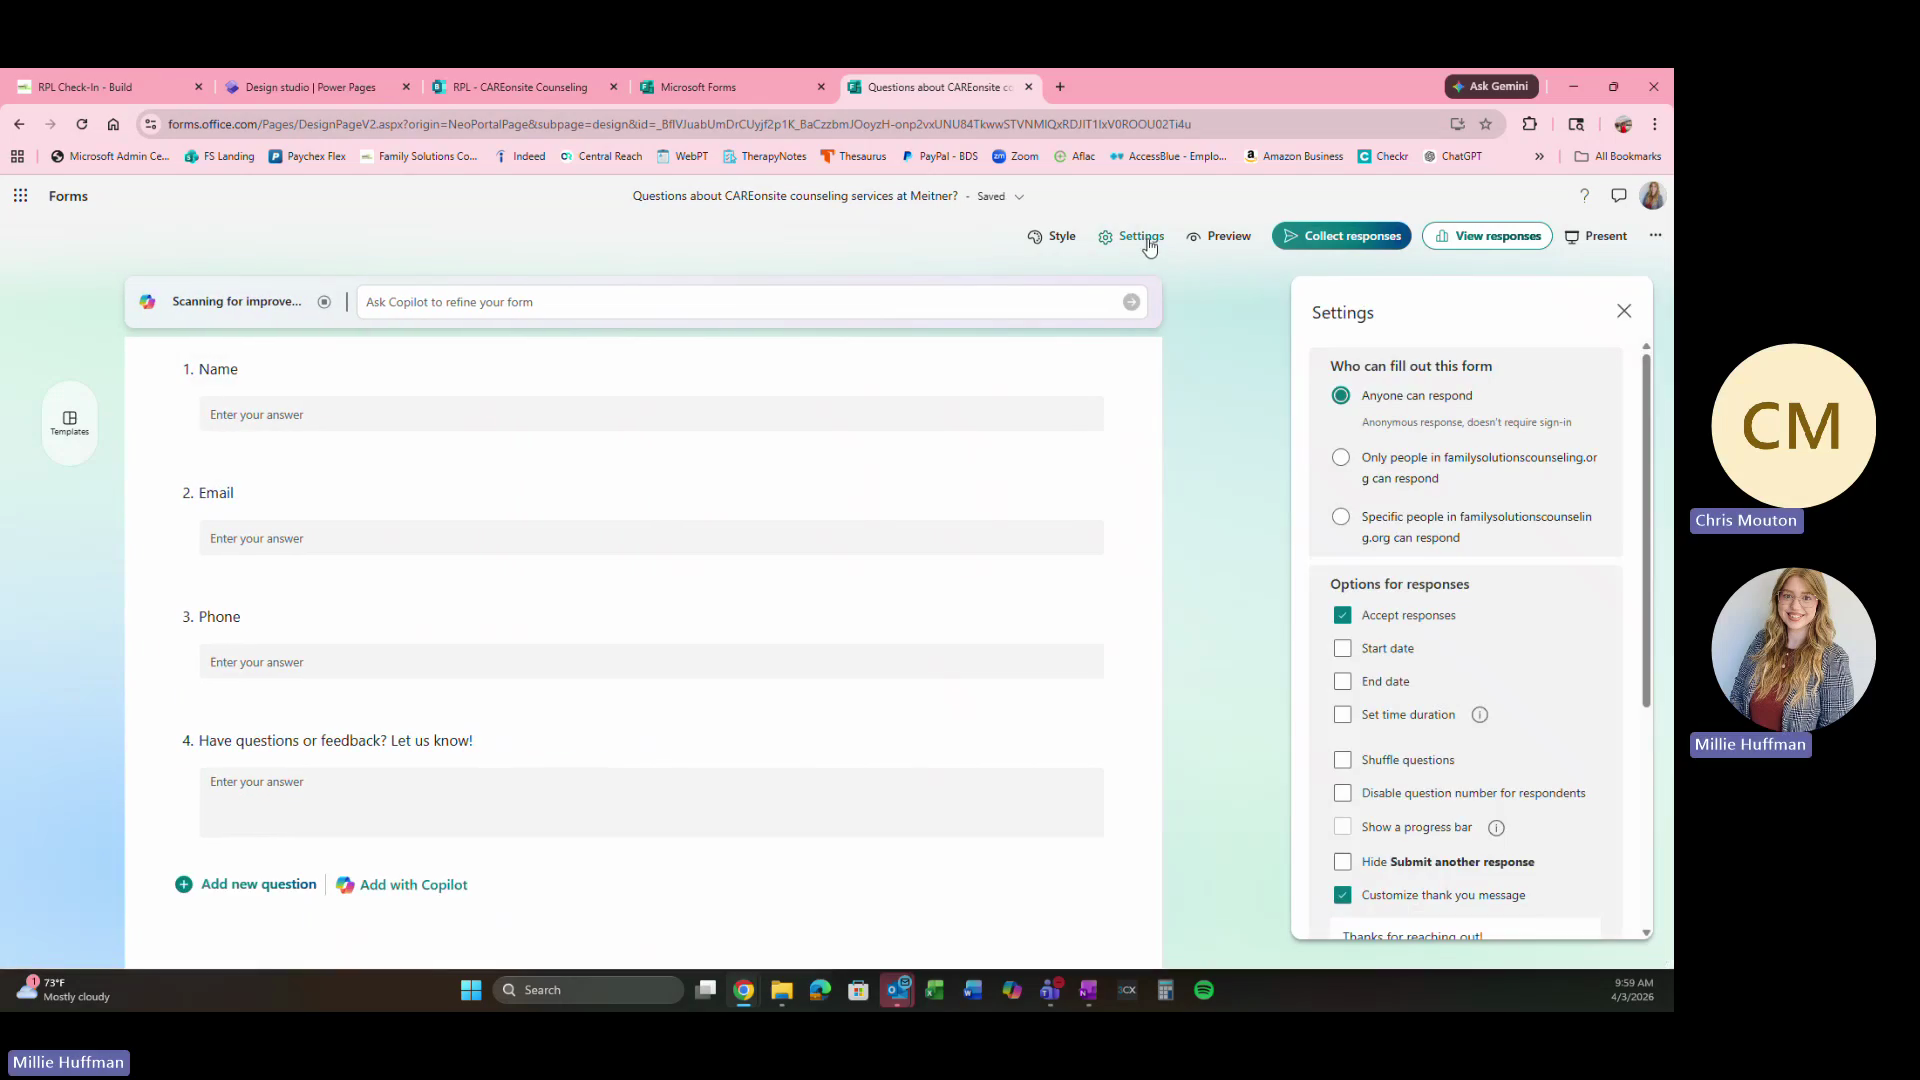
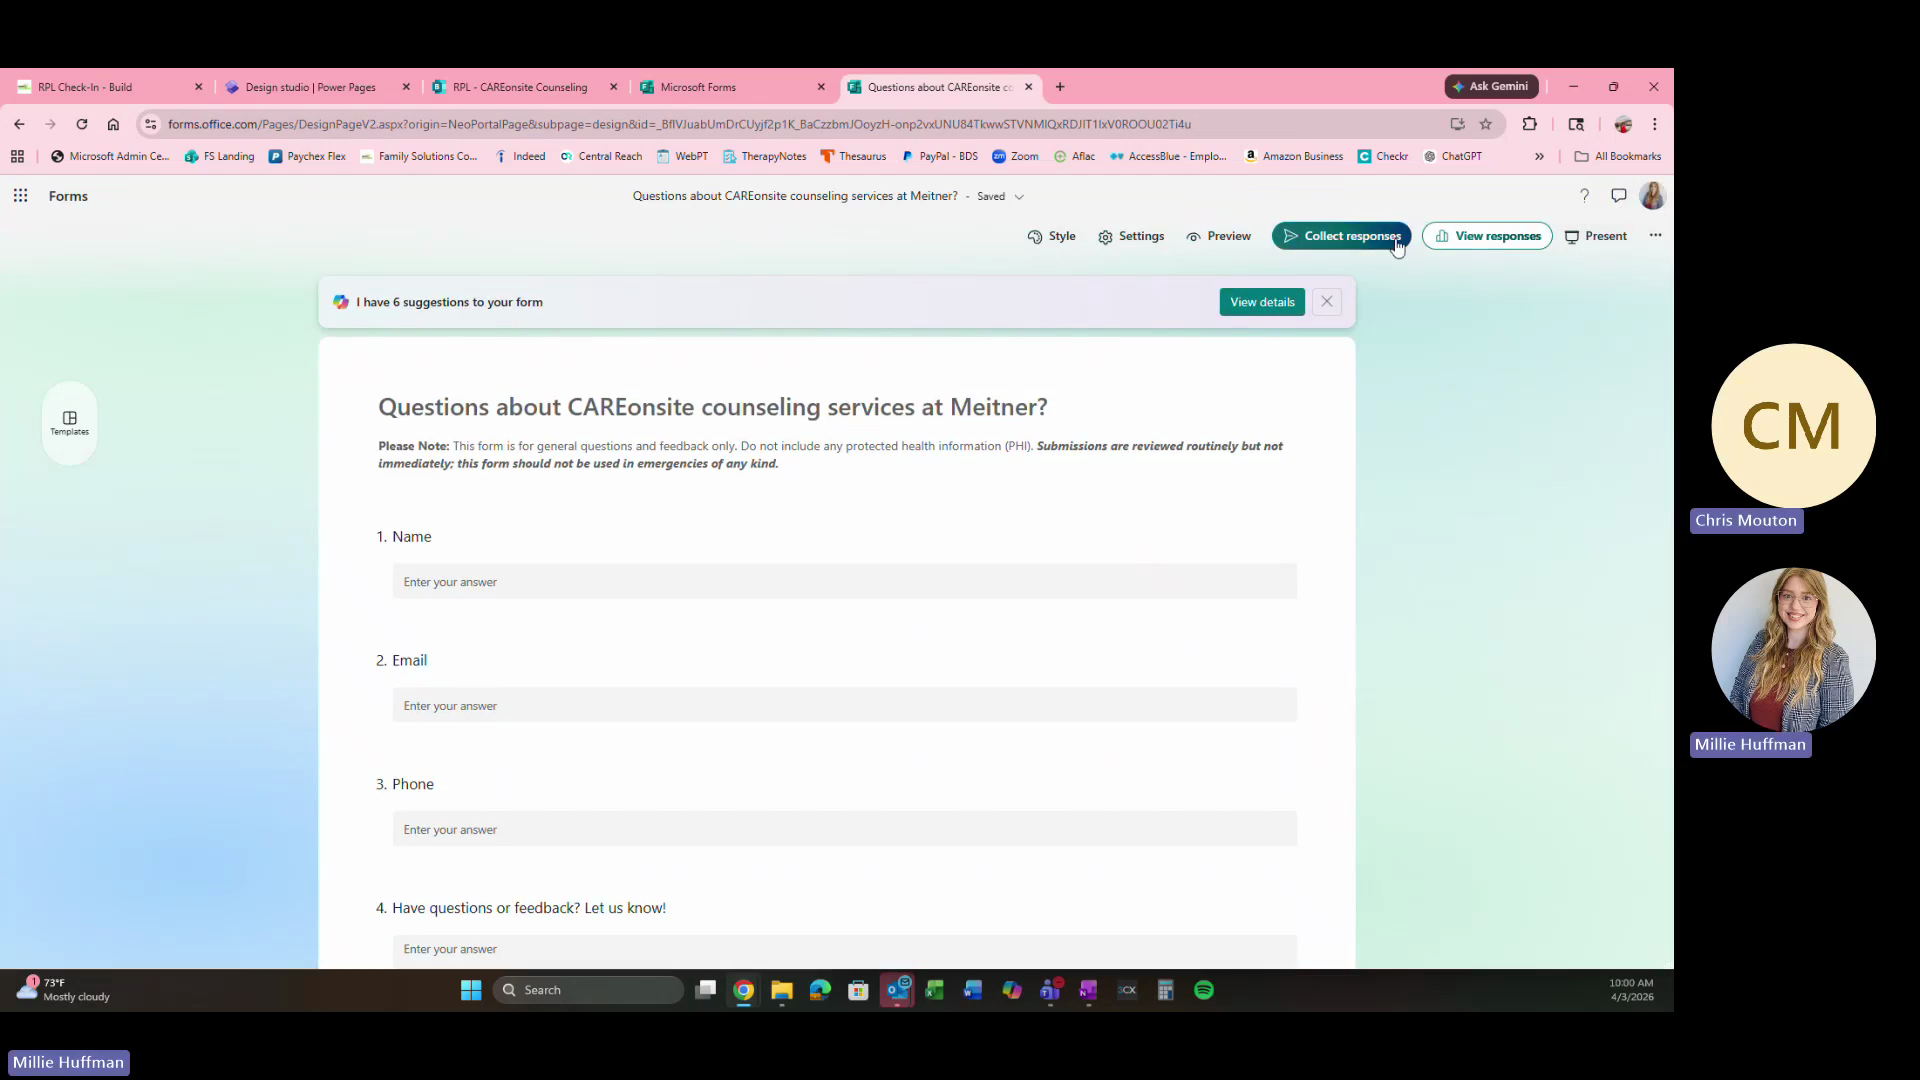
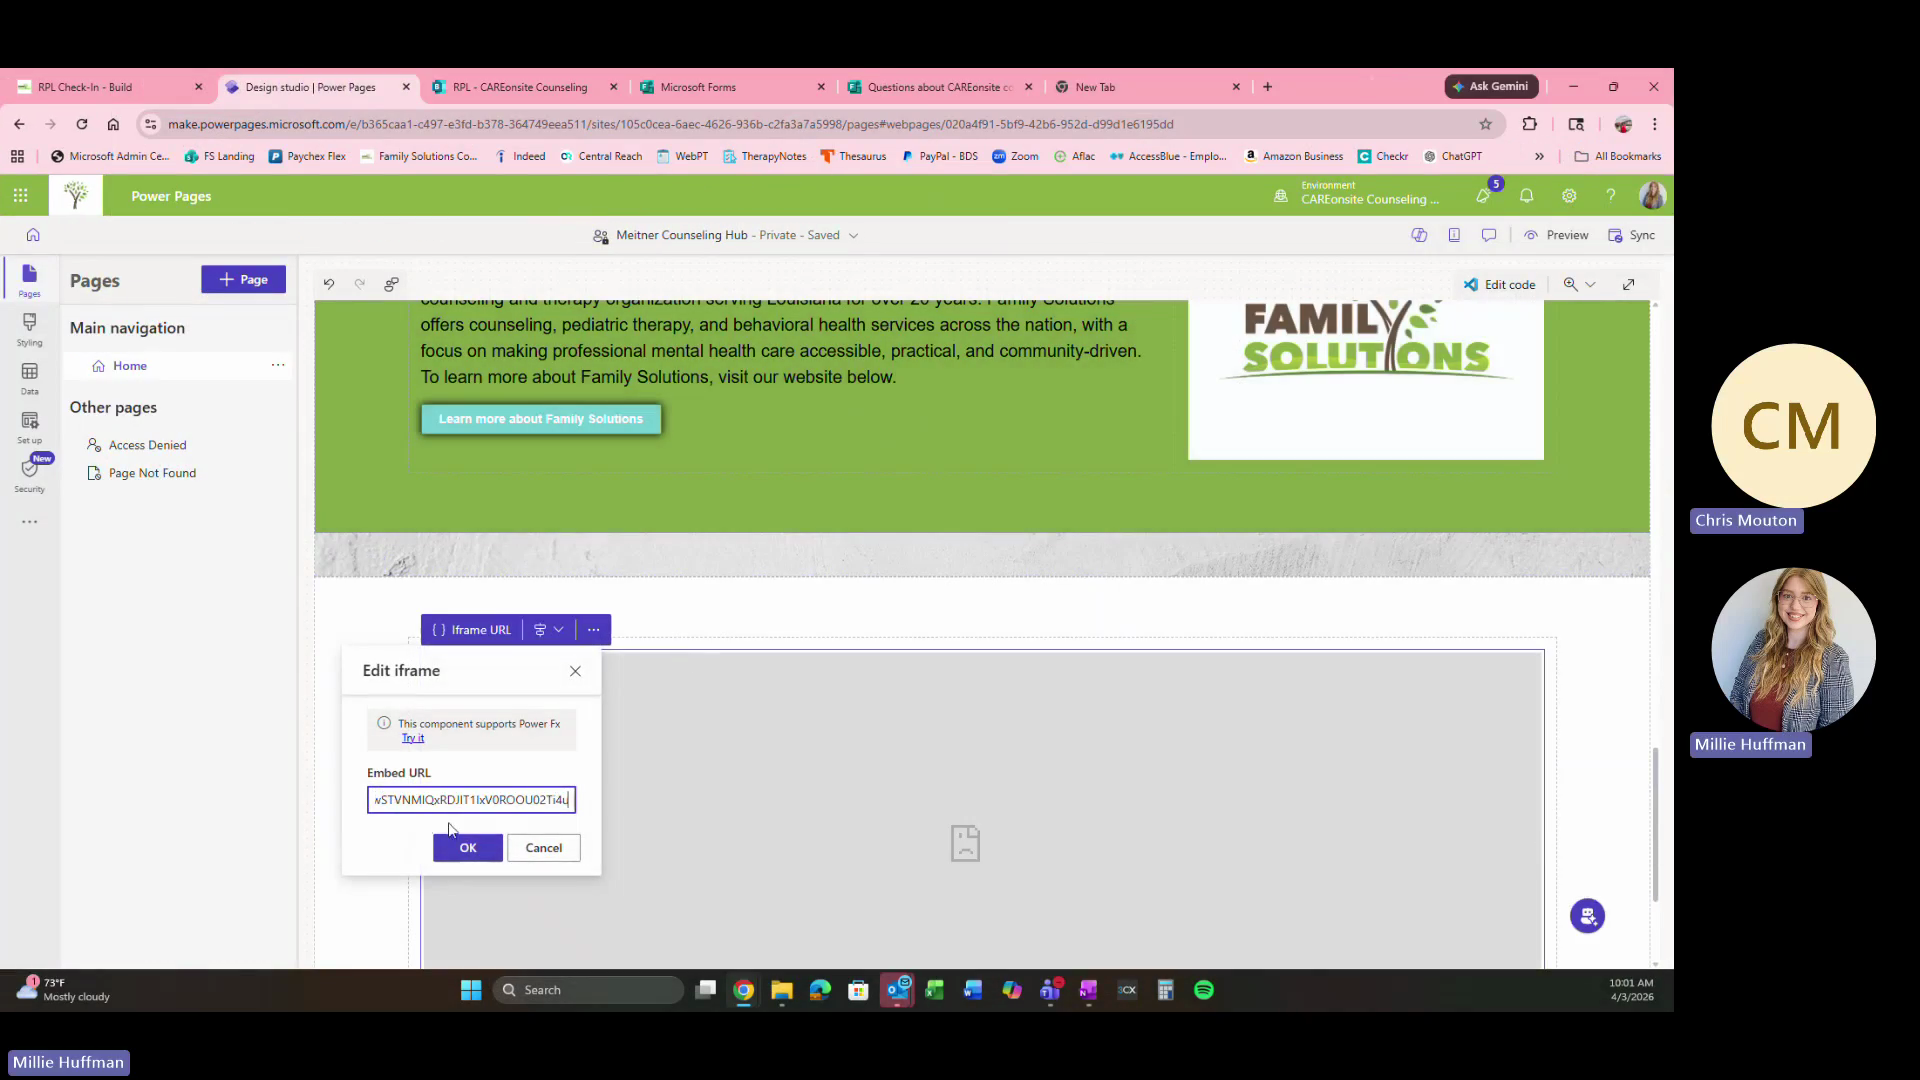
Embedding Feedback Forms via Iframe

For non-clinical feedback (e.g., "Questions about counseling"), embed a Microsoft Form directly into the Power Page.

1
Open a master Microsoft Form template and click Copy.
Step #1: Open a master Microsoft Form template and click Copy.
2
Update the title of the form for the new location.
3
Open Settings and update the email address of the counselor who should receive response notifications.
Step #3: Open Settings and update the email address of the counselor who should receive response notifications.
3
Click Collect responses and click Copy link.
Step #3: Click Collect responses and click Copy link.
1
Return to Power Pages, click to add a new component, and select Iframe.
Step #1: Return to Power Pages, click to add a new component, and select Iframe.
2
Paste the Microsoft Forms link into the Iframe configuration and click OK.
Step #2: Paste the Microsoft Forms link into the Iframe configuration and click OK.

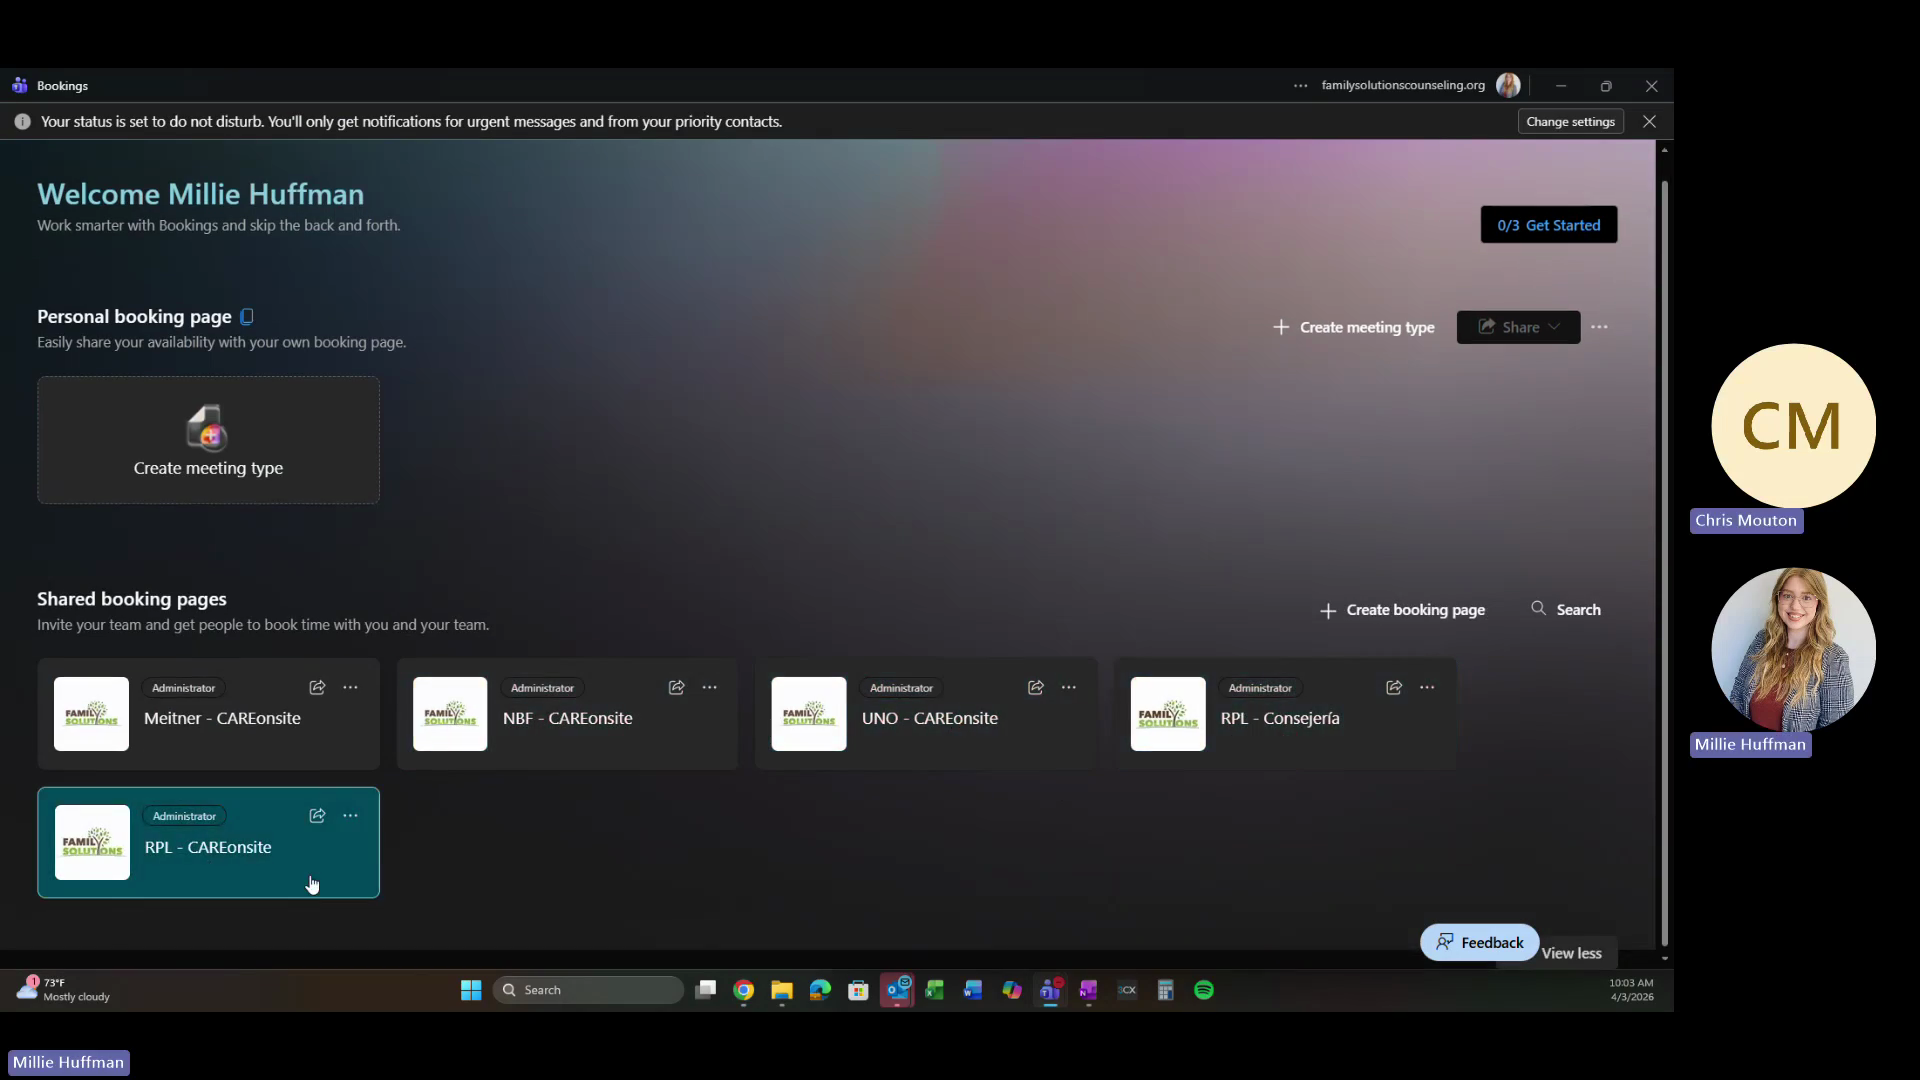
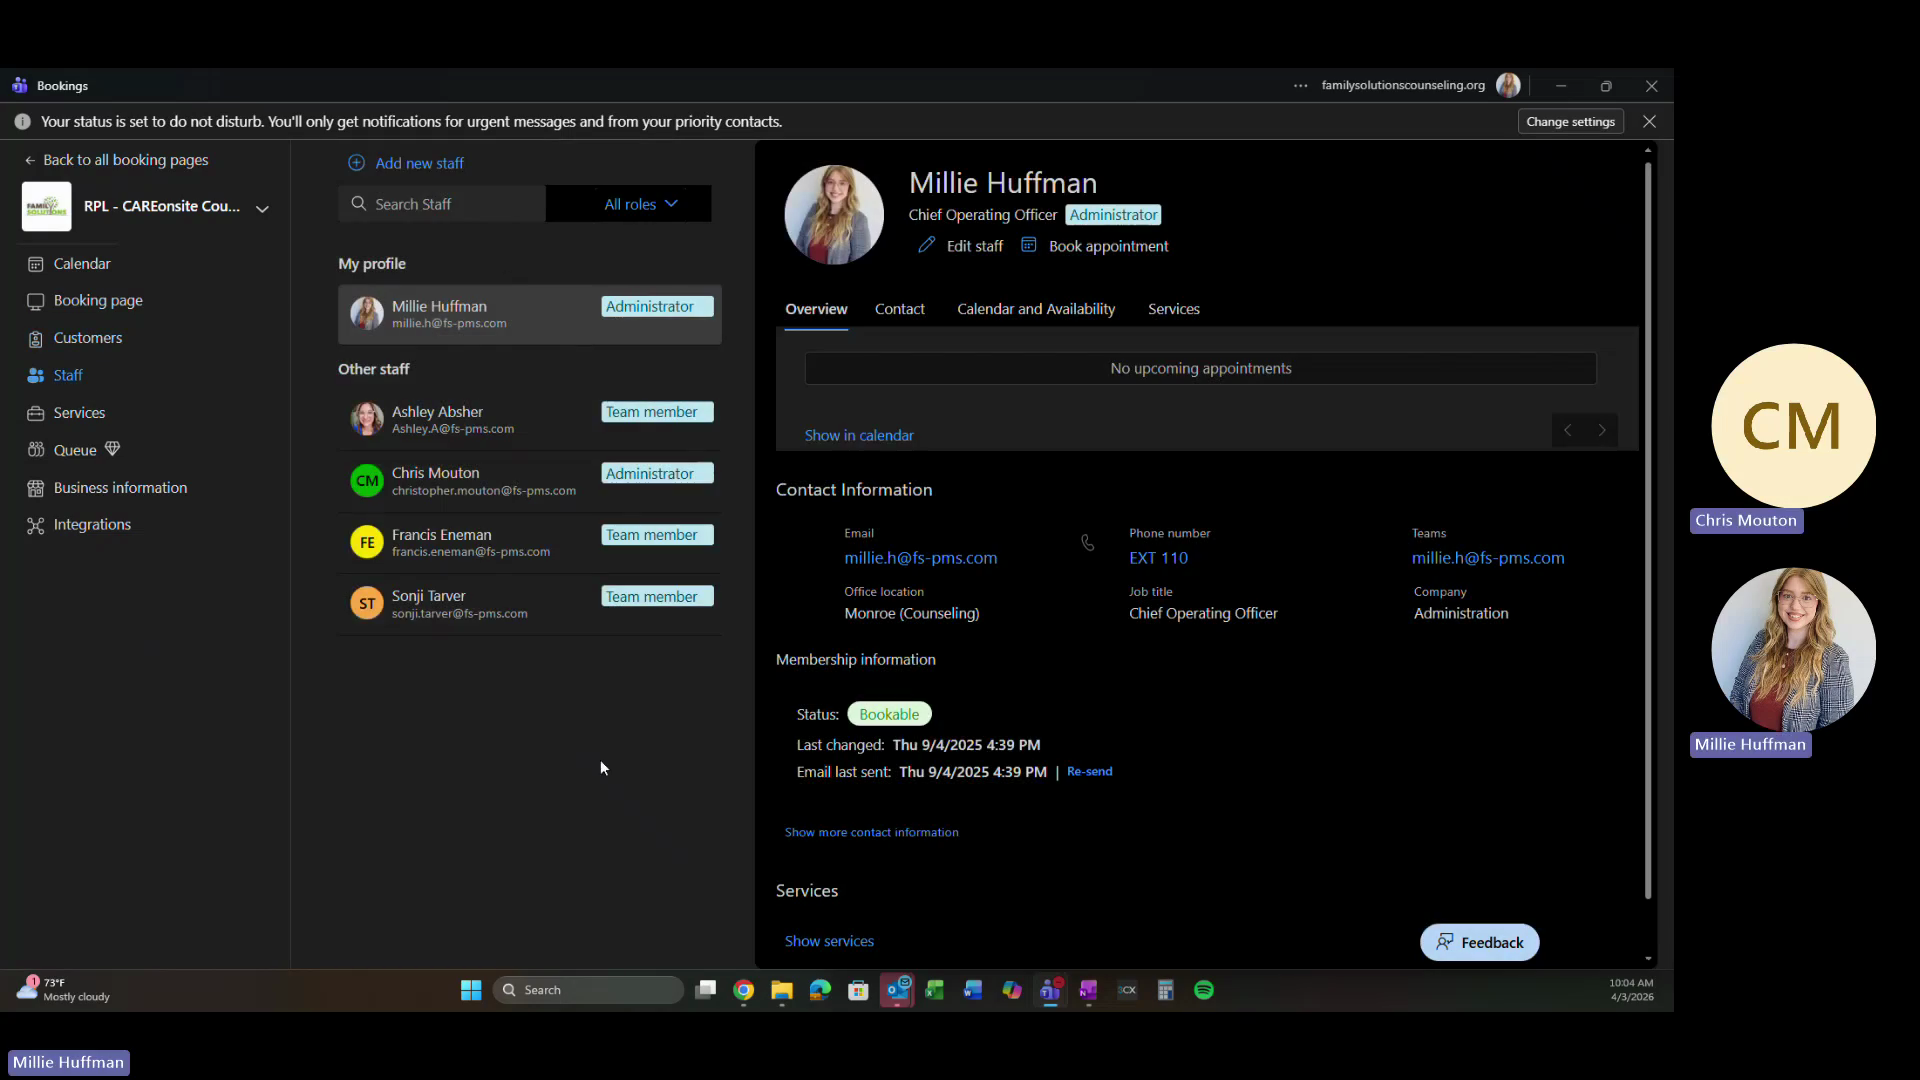
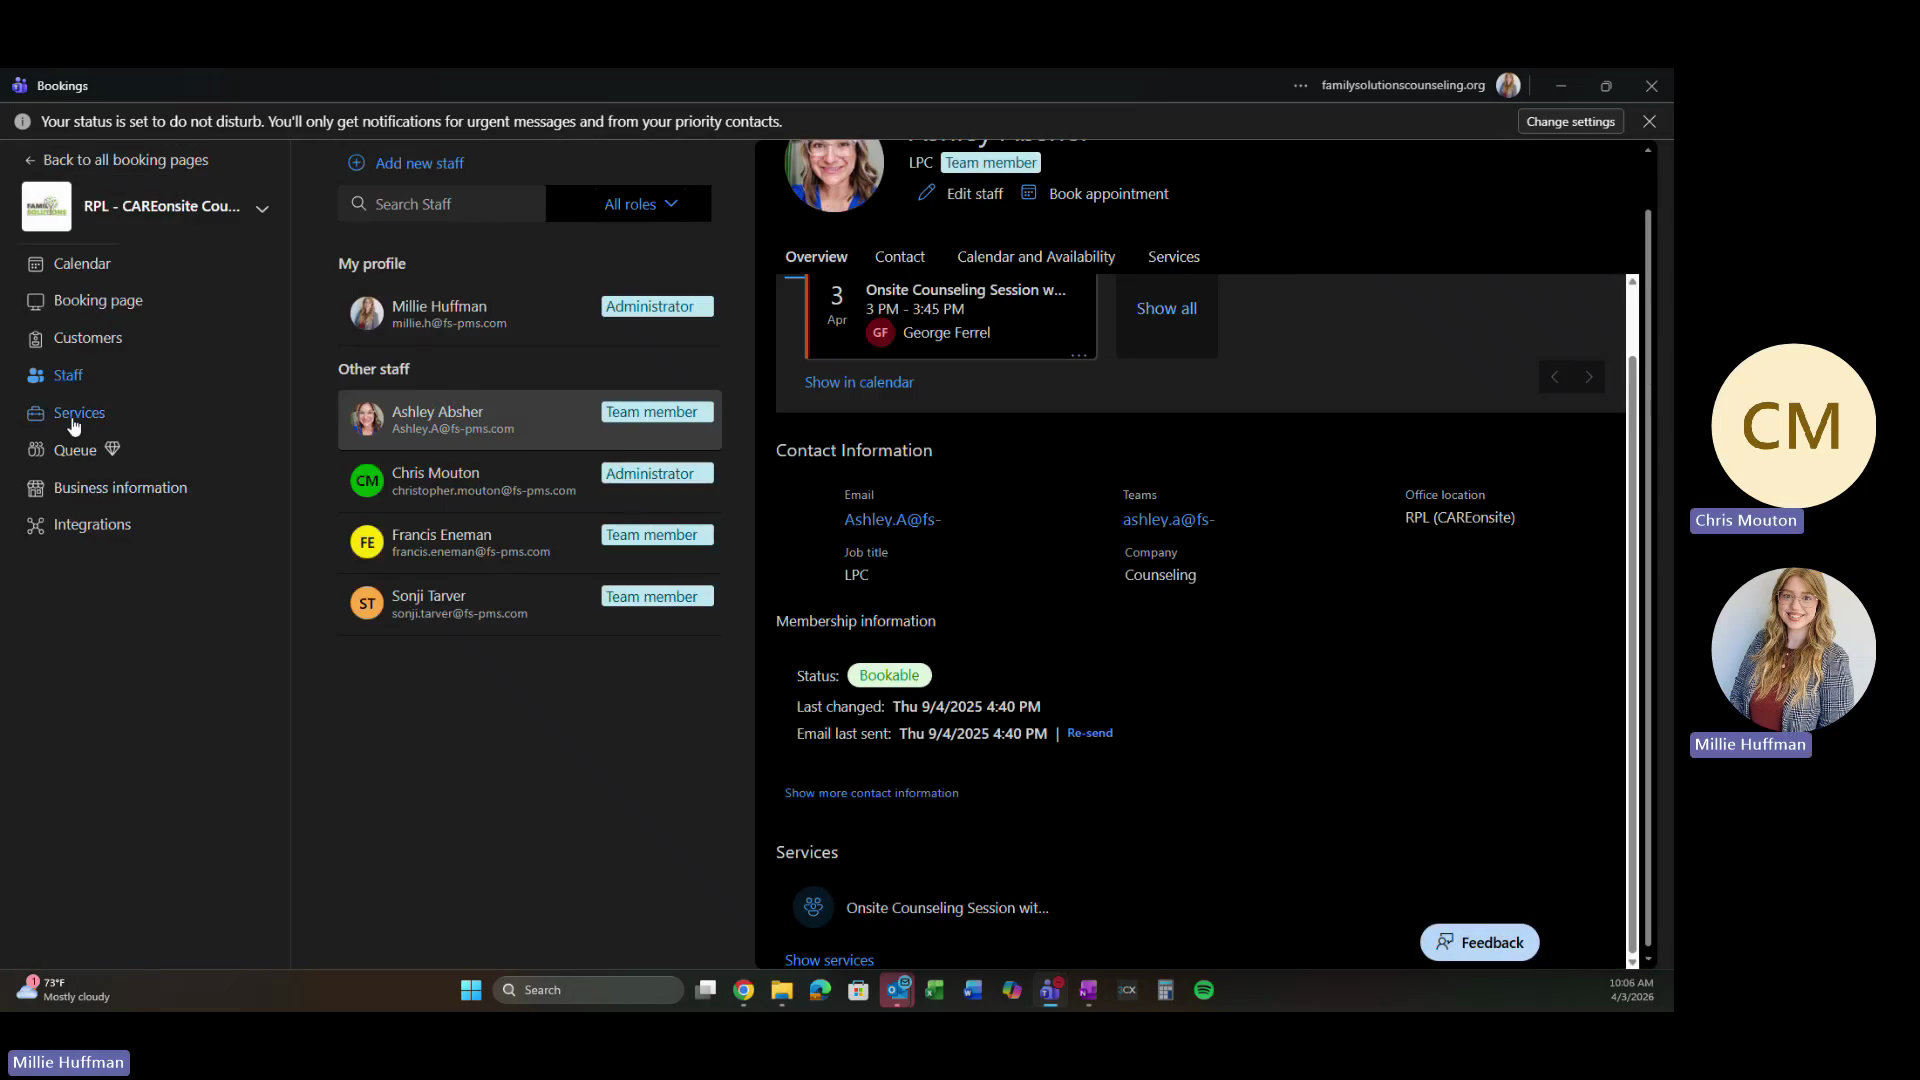
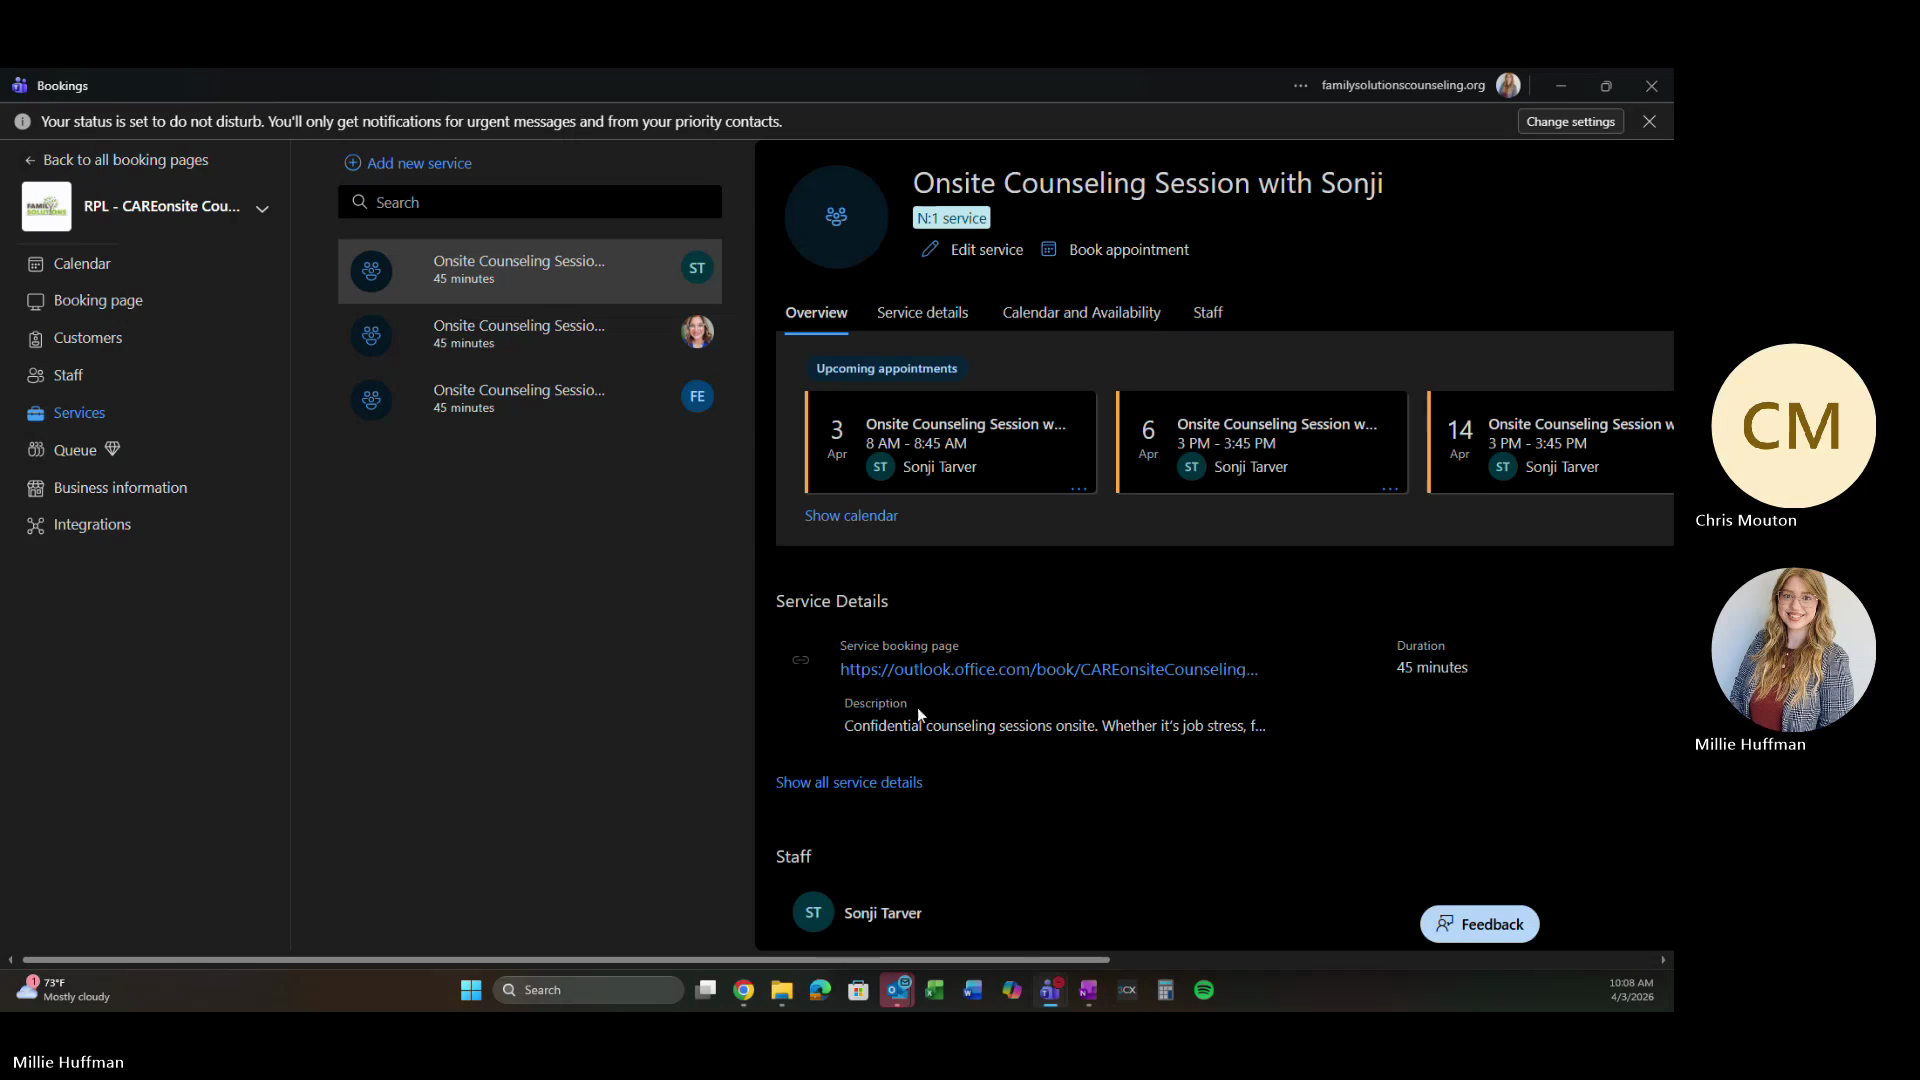
Setting Up Microsoft Bookings

The final step is configuring the scheduling availability for the onsite counselor.

1
Open Microsoft Bookings and select the booking page you wish to edit.
Step #1: Open Microsoft Bookings and select the booking page you wish to edit.
1
Click Staff in the left sidebar to add team members.
Step #1: Click Staff in the left sidebar to add team members.
2
Click the Edit (pencil) icon next to a staff member to adjust their availability.
Step #2: Click the Edit (pencil) icon next to a staff member to adjust their availability.
2
Set their custom daily hours and click Save changes.
Step #2: Set their custom daily hours and click Save changes.
6
Click Services in the left sidebar to configure appointment types.
Step #6: Click Services in the left sidebar to configure appointment types.
1
Click Assign staff to ensure the correct counselor is linked to the location's specific service.
Step #1: Click Assign staff to ensure the correct counselor is linked to the location's specific service.
4
Click Basic details to configure session duration and buffers.
Step #4: Click Basic details to configure session duration and buffers.
1
Set the session duration and buffer times according to the SOW.
Step #1: Set the session duration and buffer times according to the SOW.

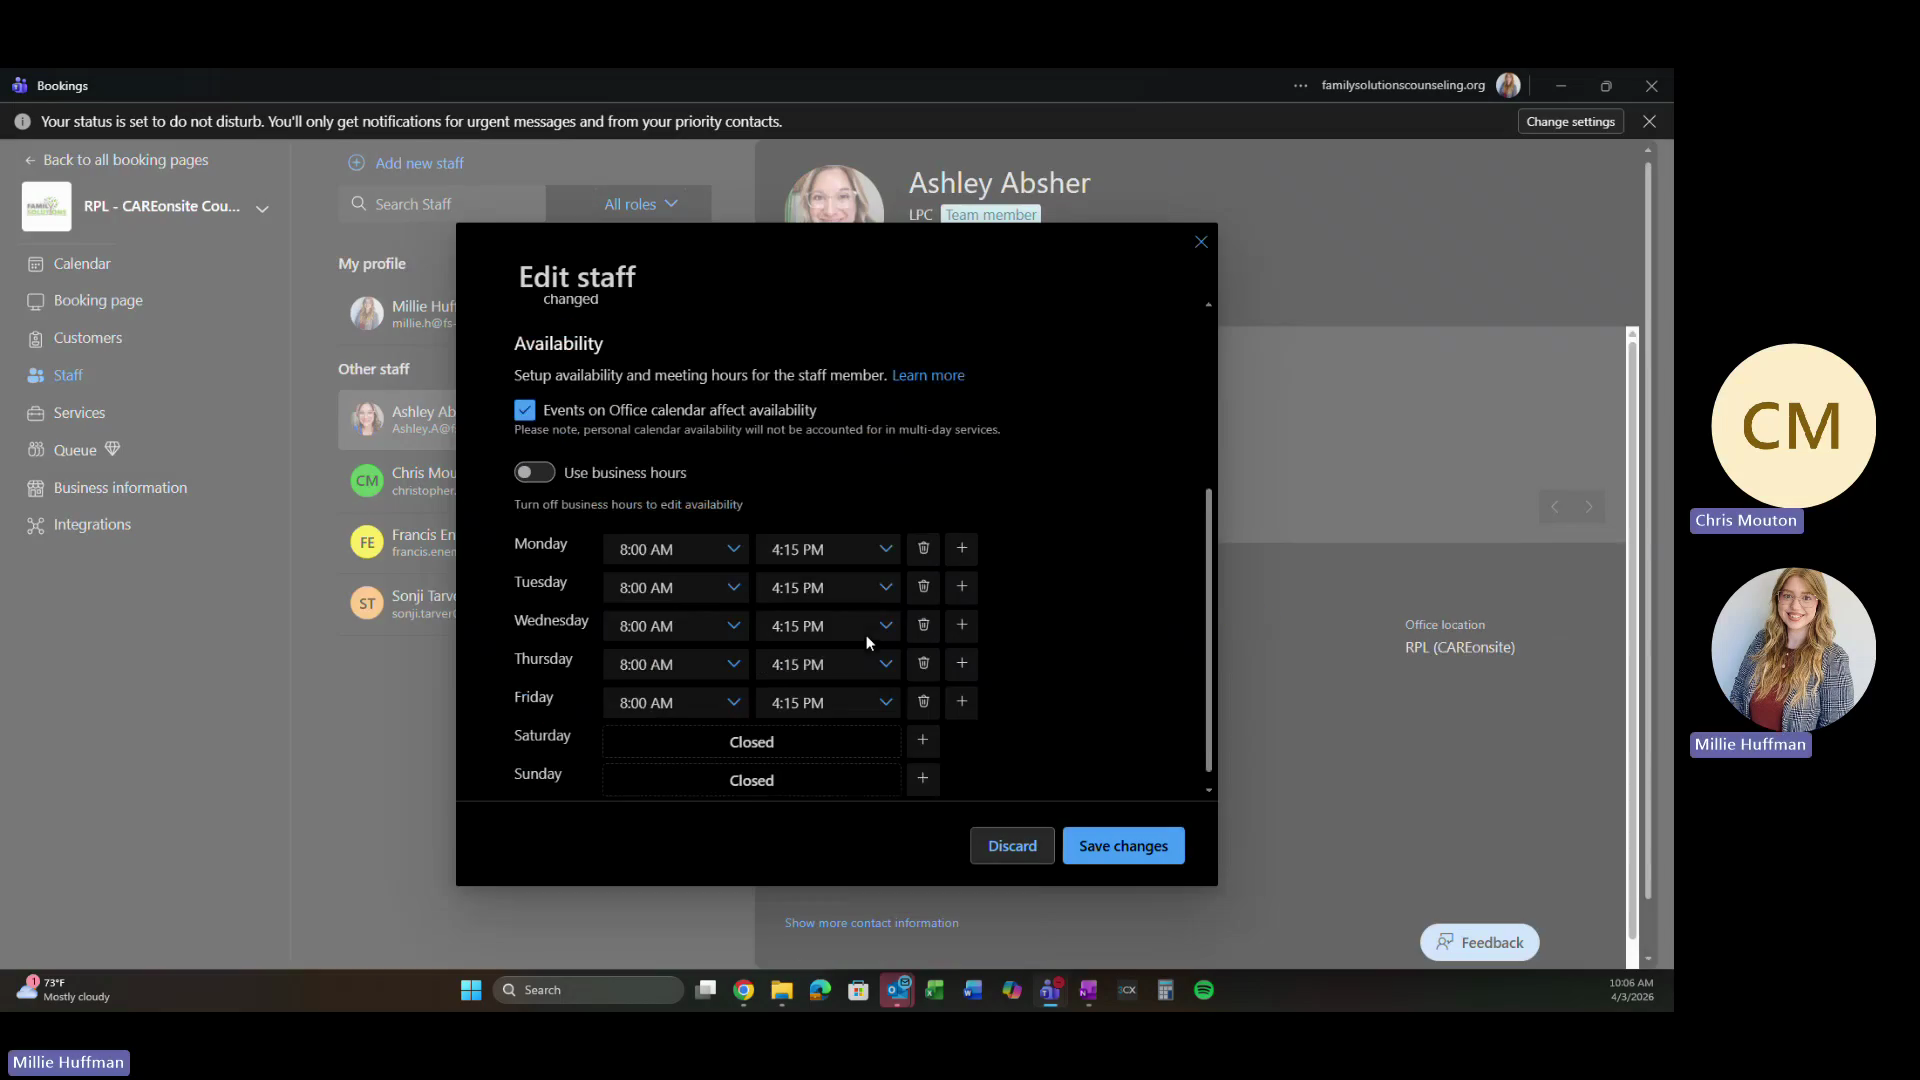
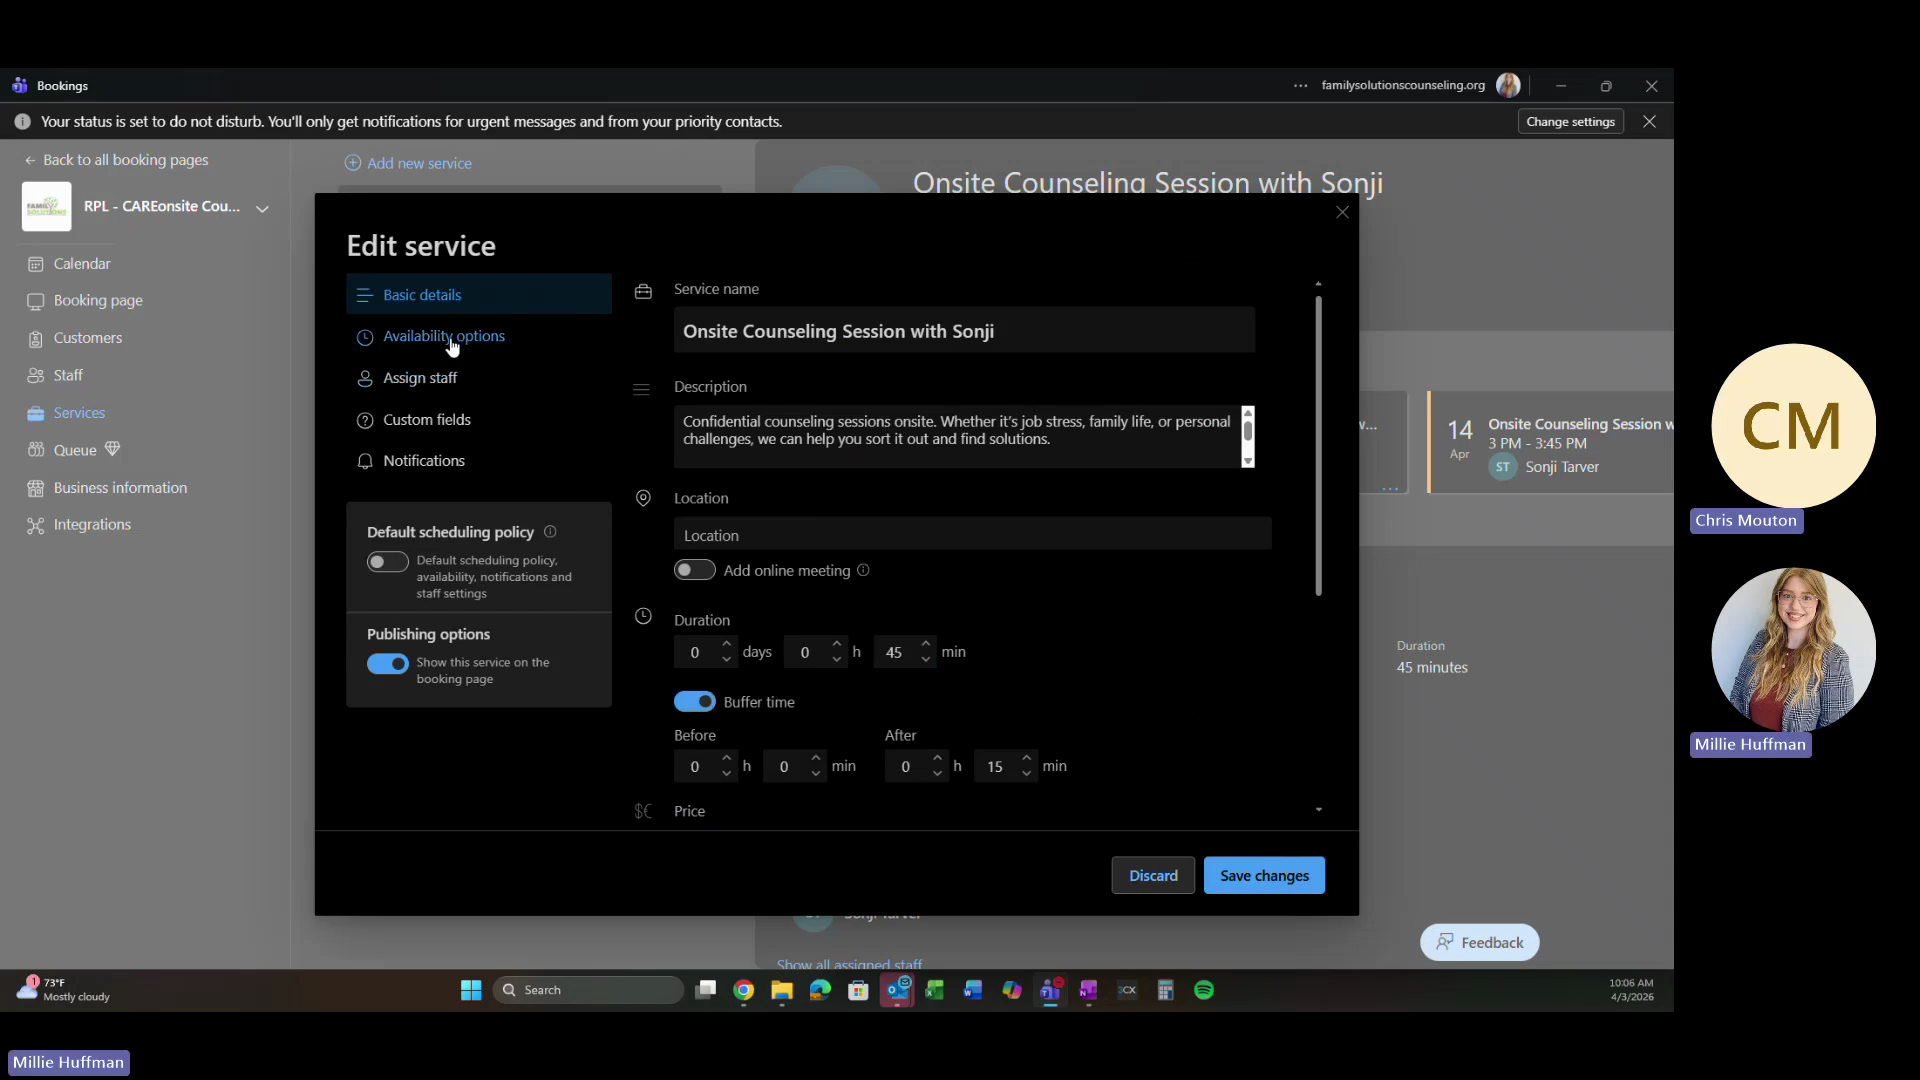
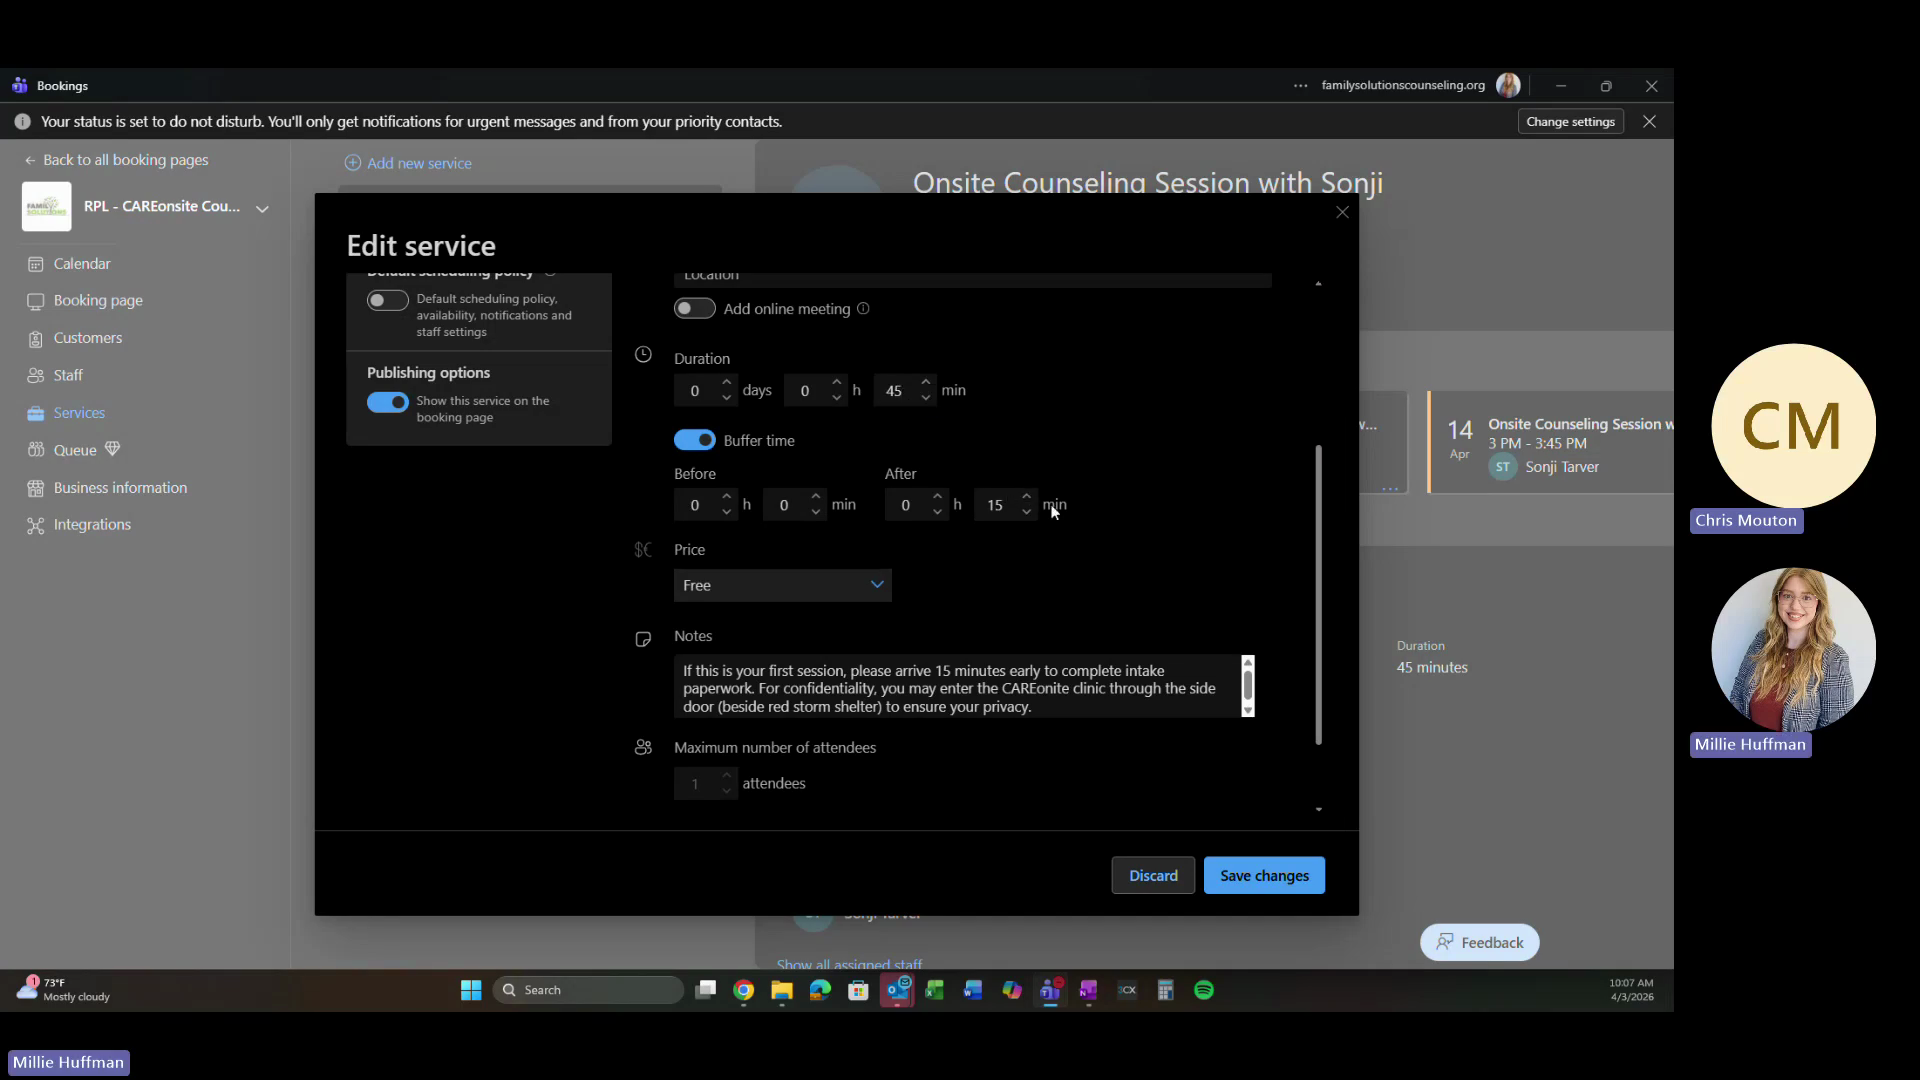
CAREonsite clients dictate the length of available booking sessions. Use this reference when setting the durations and buffers in Bookings:

Site Code

Session Requirement

Configuration (Duration)

Configuration (Buffer)

UNO

30 minutes

15 minutes

15 minutes

NBF

30 minutes

15 minutes

15 minutes

RPL

1 hour

45 minutes

15 minutes

2
Click Business information to verify the logo, policies, and overarching business hours.
Step #2: Click Business information to verify the logo, policies, and overarching business hours.

Q: Why do some counselors require a three-year tail coverage policy?

A: Specific site statements of work (SOWs), such as for construction environments, mandate three-year tail coverage so that any claims made after a policy terminates are still covered for that specific timeframe.

Q: Who processes the background checks and drug tests?

A: Background checks and drug tests are normally handled through Checkr. However, certain sites (like Google sites) require more extensive independent testing, meaning they process and manage their own drug panels.

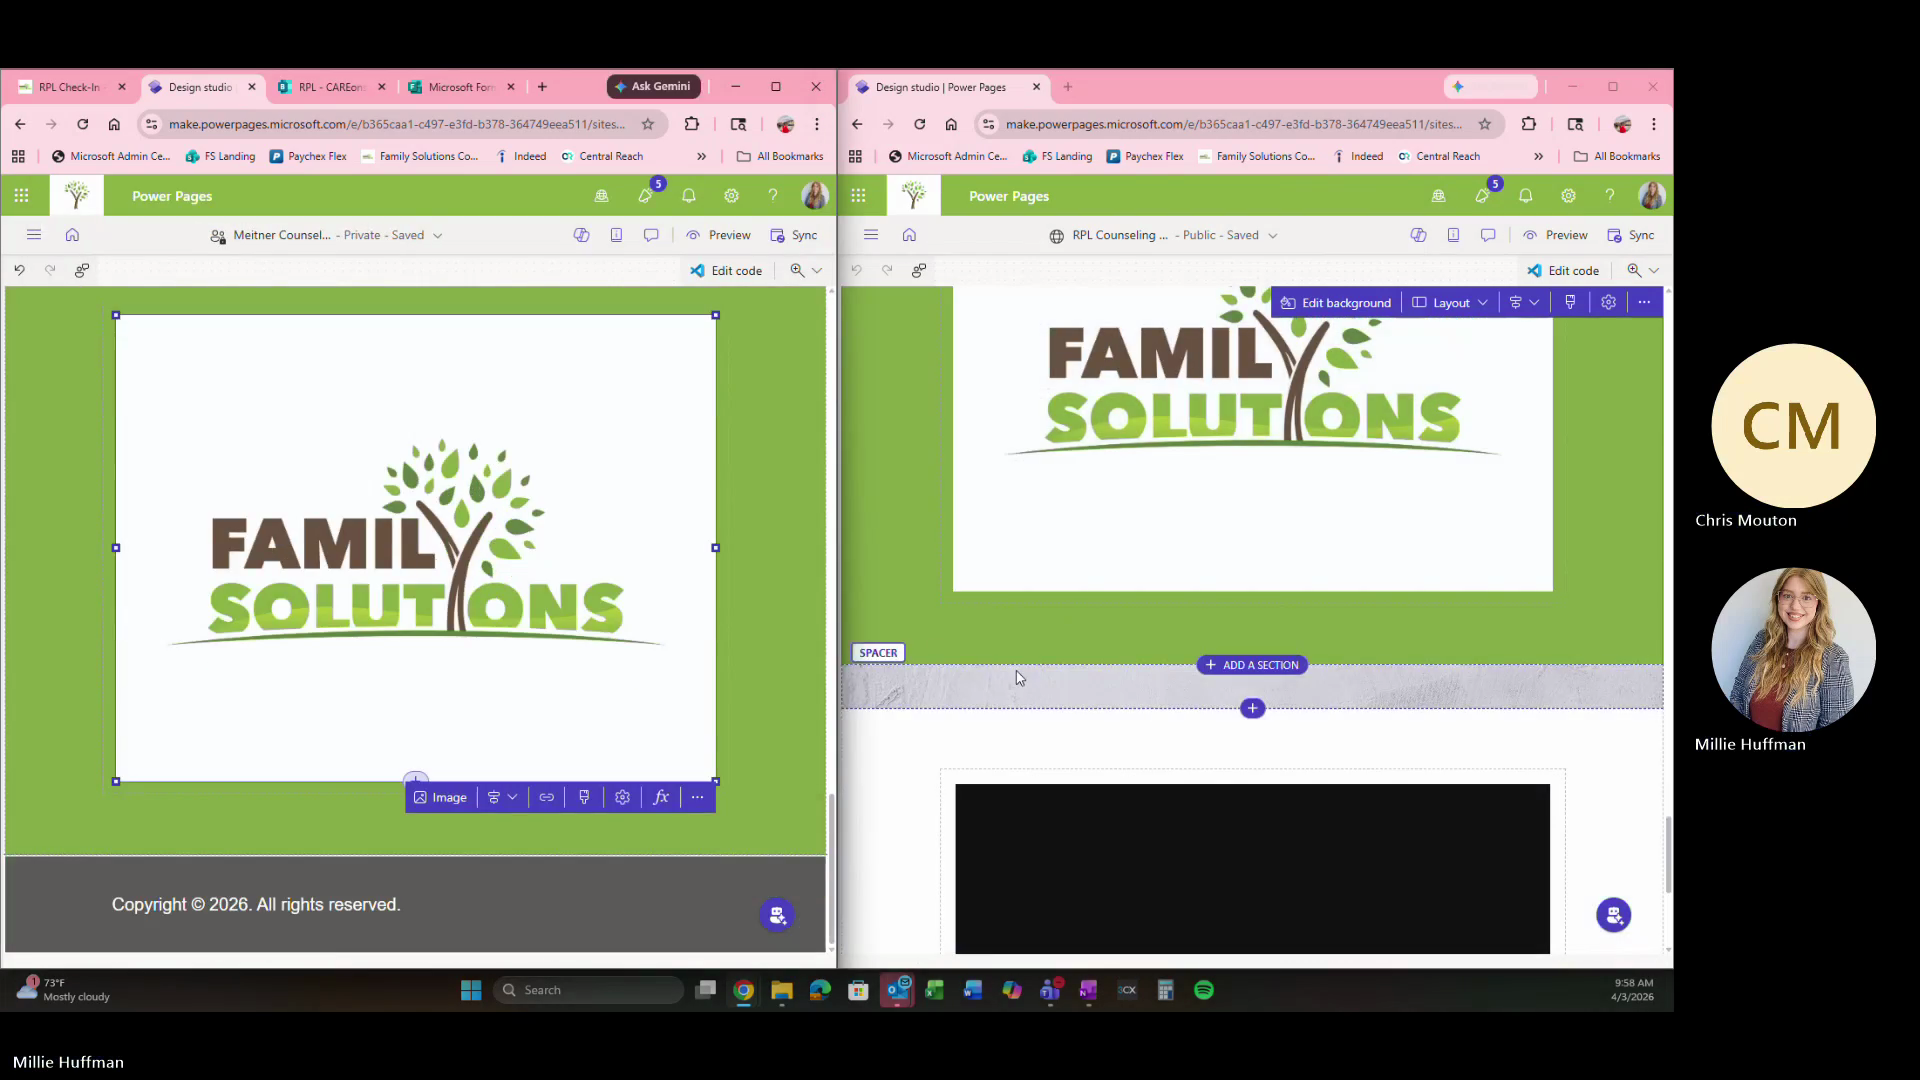
Q: How do we duplicate a Power Pages site for a new location?

A: Power Pages does not currently support simple site duplication. You must open a reference site in one window and build the new site from scratch in another window, manually mirroring the settings, colors, and blocks.

Q: Why are abbreviations like "UNO" or "NBF" used for locations?

A: These abbreviations often reflect the project name or client designations. For example, UNO stands for University of Nebraska Omaha, though some abbreviations like NBF (Lincoln, Nebraska) are arbitrary project names provided by the client.

Q: How are different session lengths handled in Microsoft Bookings?

A: You adjust the duration and buffer times on the service to equal the total required session block. For example, if a client requests a 1-hour session, it is configured as 45 minutes with a 15-minute buffer so that appointments don't run back-to-back without a break.

Term

Definition

SOW (Statement of Work)

A document detailing the specific services, rates, and requirements for a single contract location.

Tail Coverage

An extended reporting period endorsement that covers claims filed after a professional liability insurance policy expires or is canceled.

TherapyNotes

The electronic health record (EHR) system used by clinicians to input and store client notes.

Cognito Forms

The electronic form system used to digitally automate and manage patient intake paperwork.

Power Pages

The Microsoft platform used to build and host custom, public-facing counseling hub websites for each site.

Microsoft Bookings

A scheduling tool integrated with Outlook and Teams that allows clients to book available counseling sessions.

Checkr

The platform used to conduct routine background checks and drug tests for incoming employees.

3CX

The software-based phone system used to provision communication lines for counselors.

NetTech

The IT group responsible for ordering, configuring, and securing company laptops before mailing them to providers.

CAREonsite

The contracting partner providing health teams and services at construction site locations.