
SOV Customization for University of Illinois by OnIndus
Discover how OnIndus customized the SOV app for the University of Illinois, enhancing vendor and sub-vendor management, approval workflows, and contract allocation.
In this guide, we'll learn how to navigate the SOV customization that OnIndus has implemented for the University of Illinois. This customization builds on the original SOV app provided by Kahua, adding new features to manage vendors and sub-vendors more effectively. The goal is to streamline the contract approval process, allowing for individual approvals of vendors and sub-vendors, and to ensure accurate allocation and tracking of contract values and progress.
Let's get started
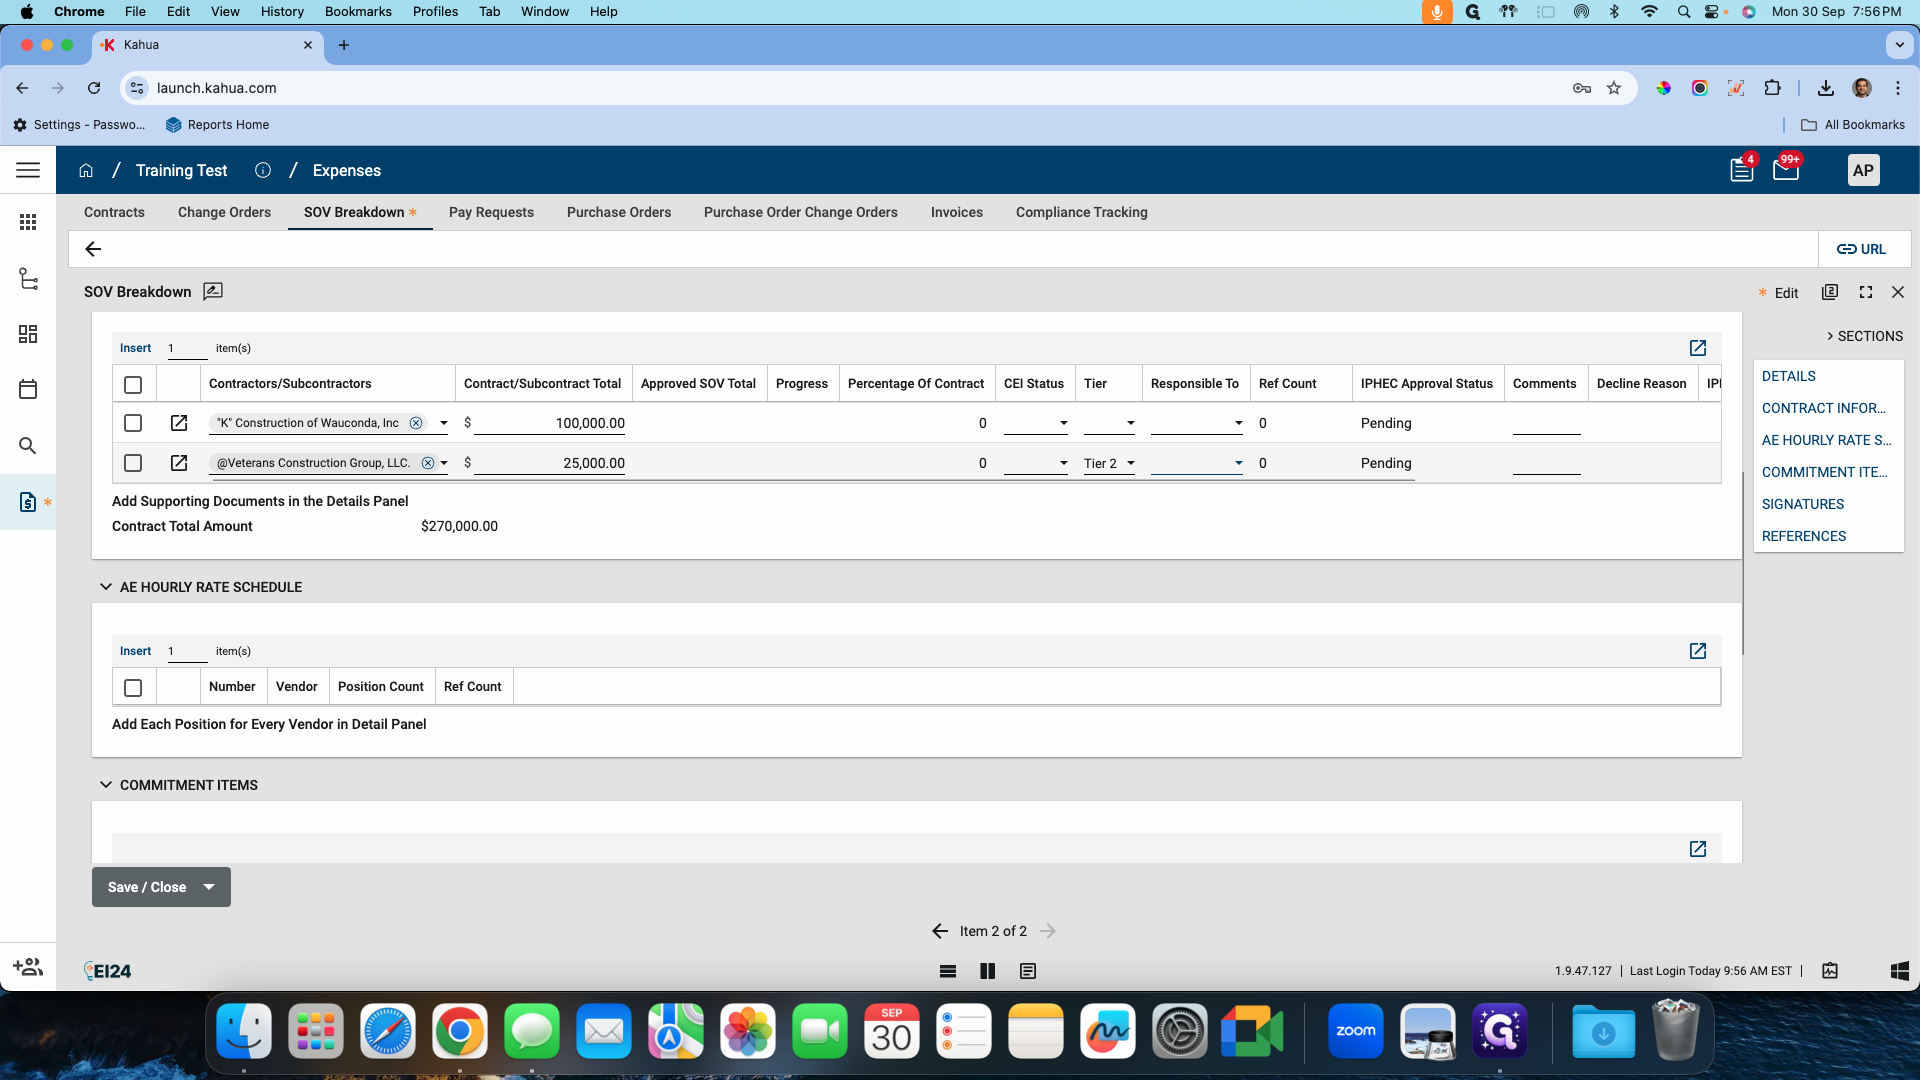
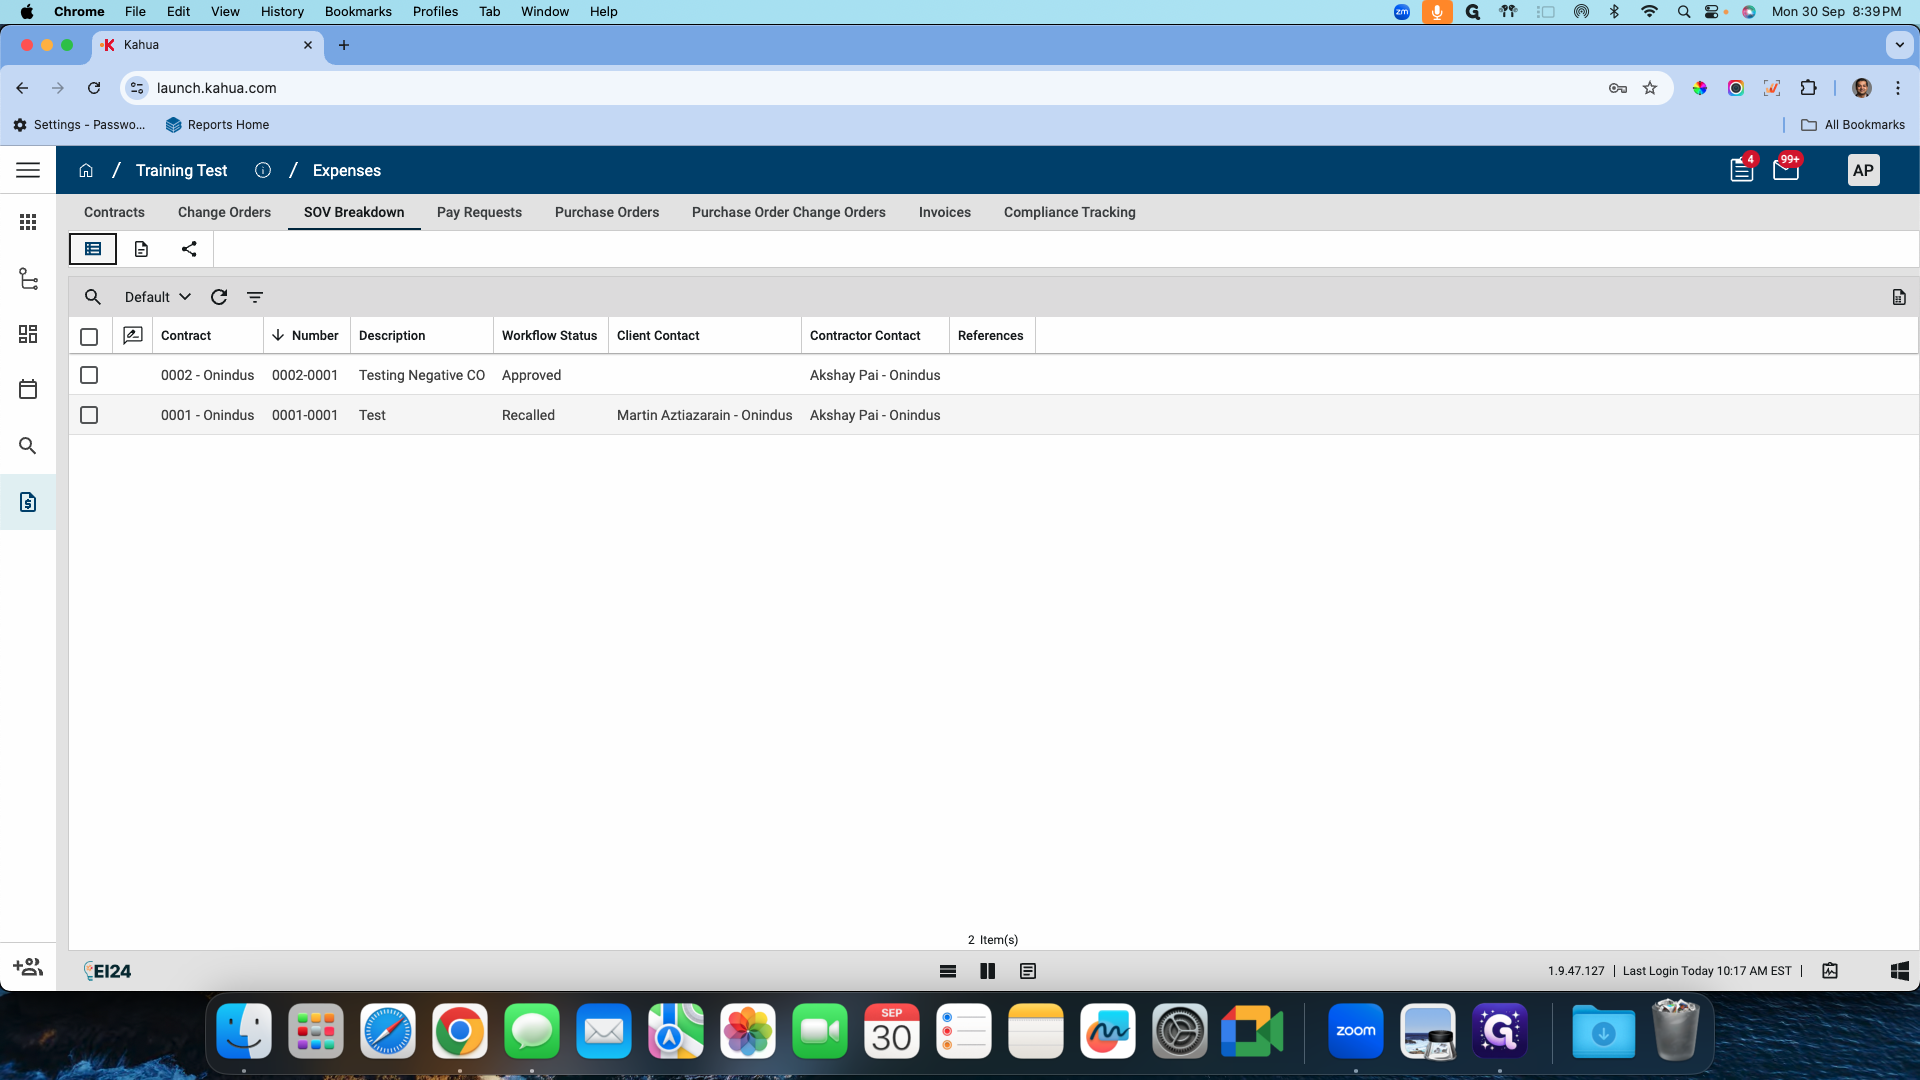
Hi everyone. Today, we'll discuss the SOV customization that OnIndus has done for the University of Illinois. It works off the original SOV app provided by Kahua. As you can see, there are slight differences. The customization adds a new grid, primarily for vendors and sub-vendors, because MBE and DBE are very important for contracts and allocation.
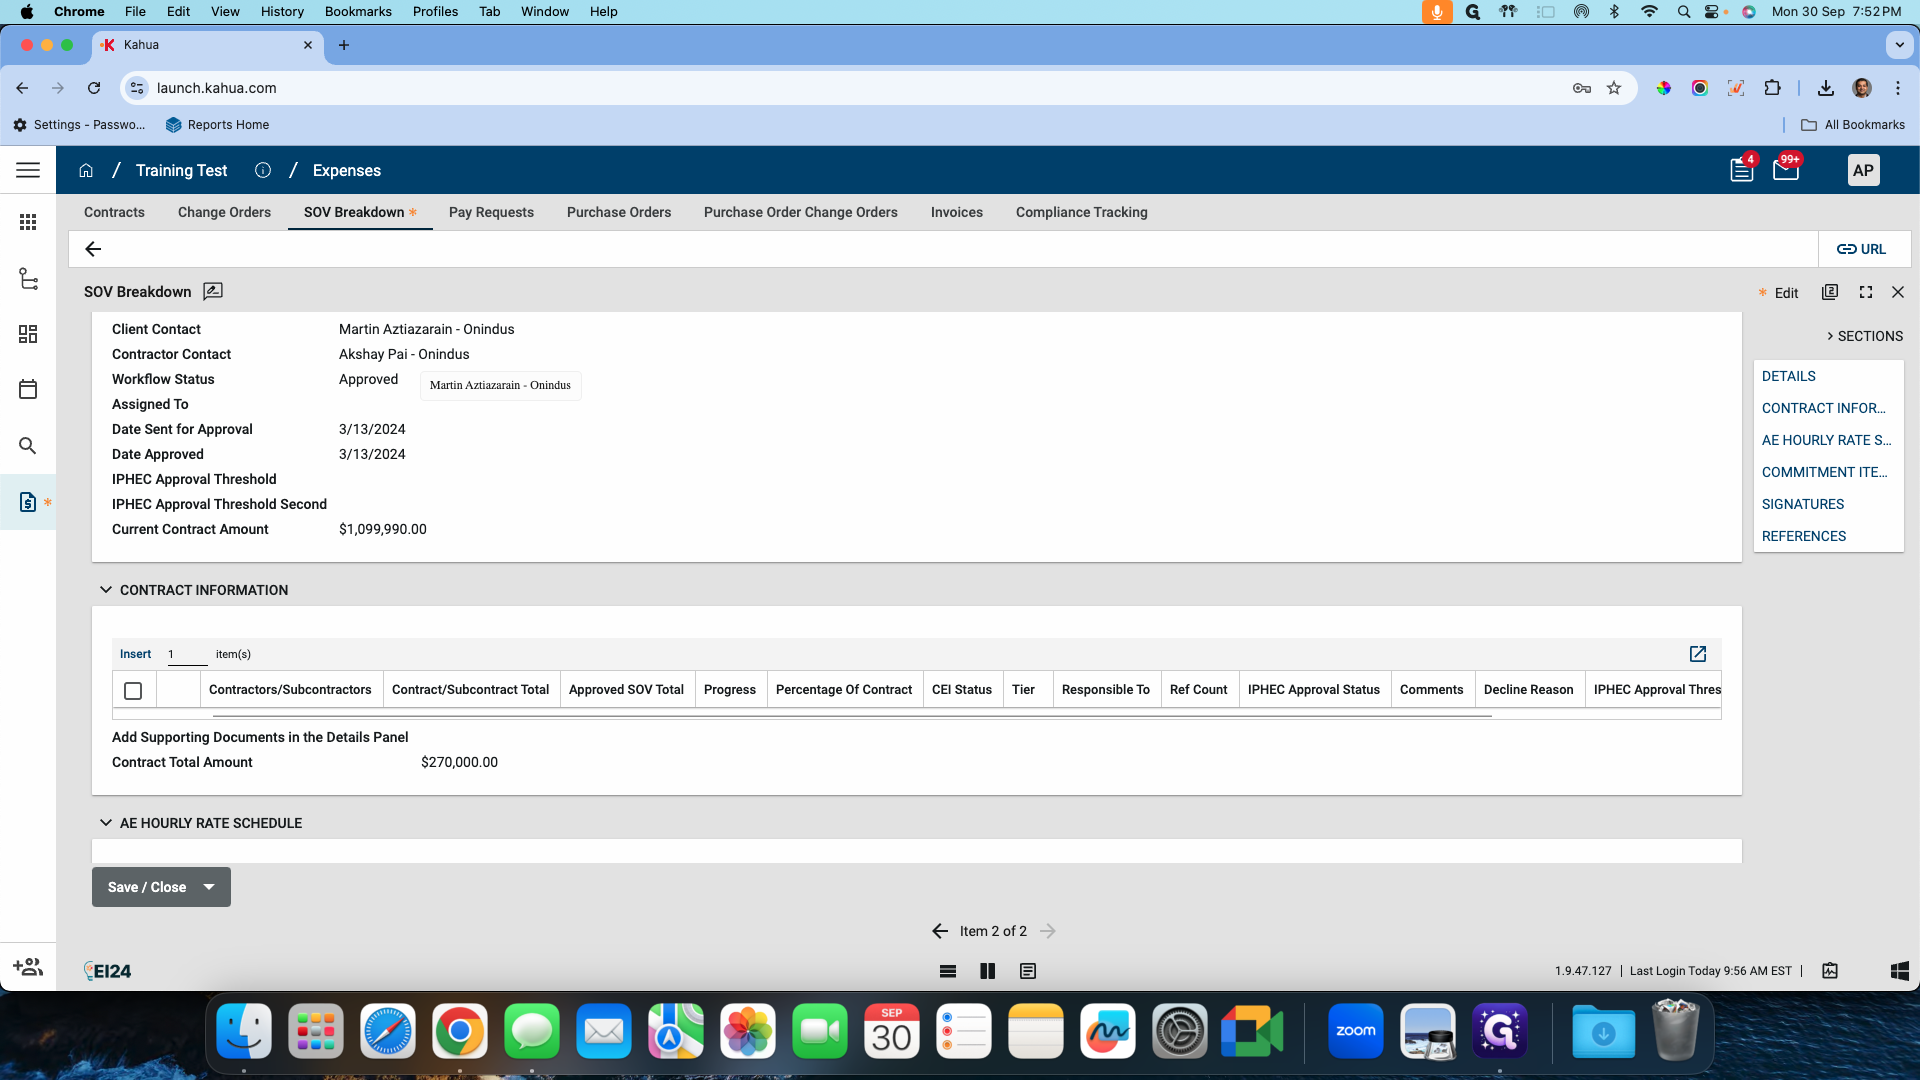

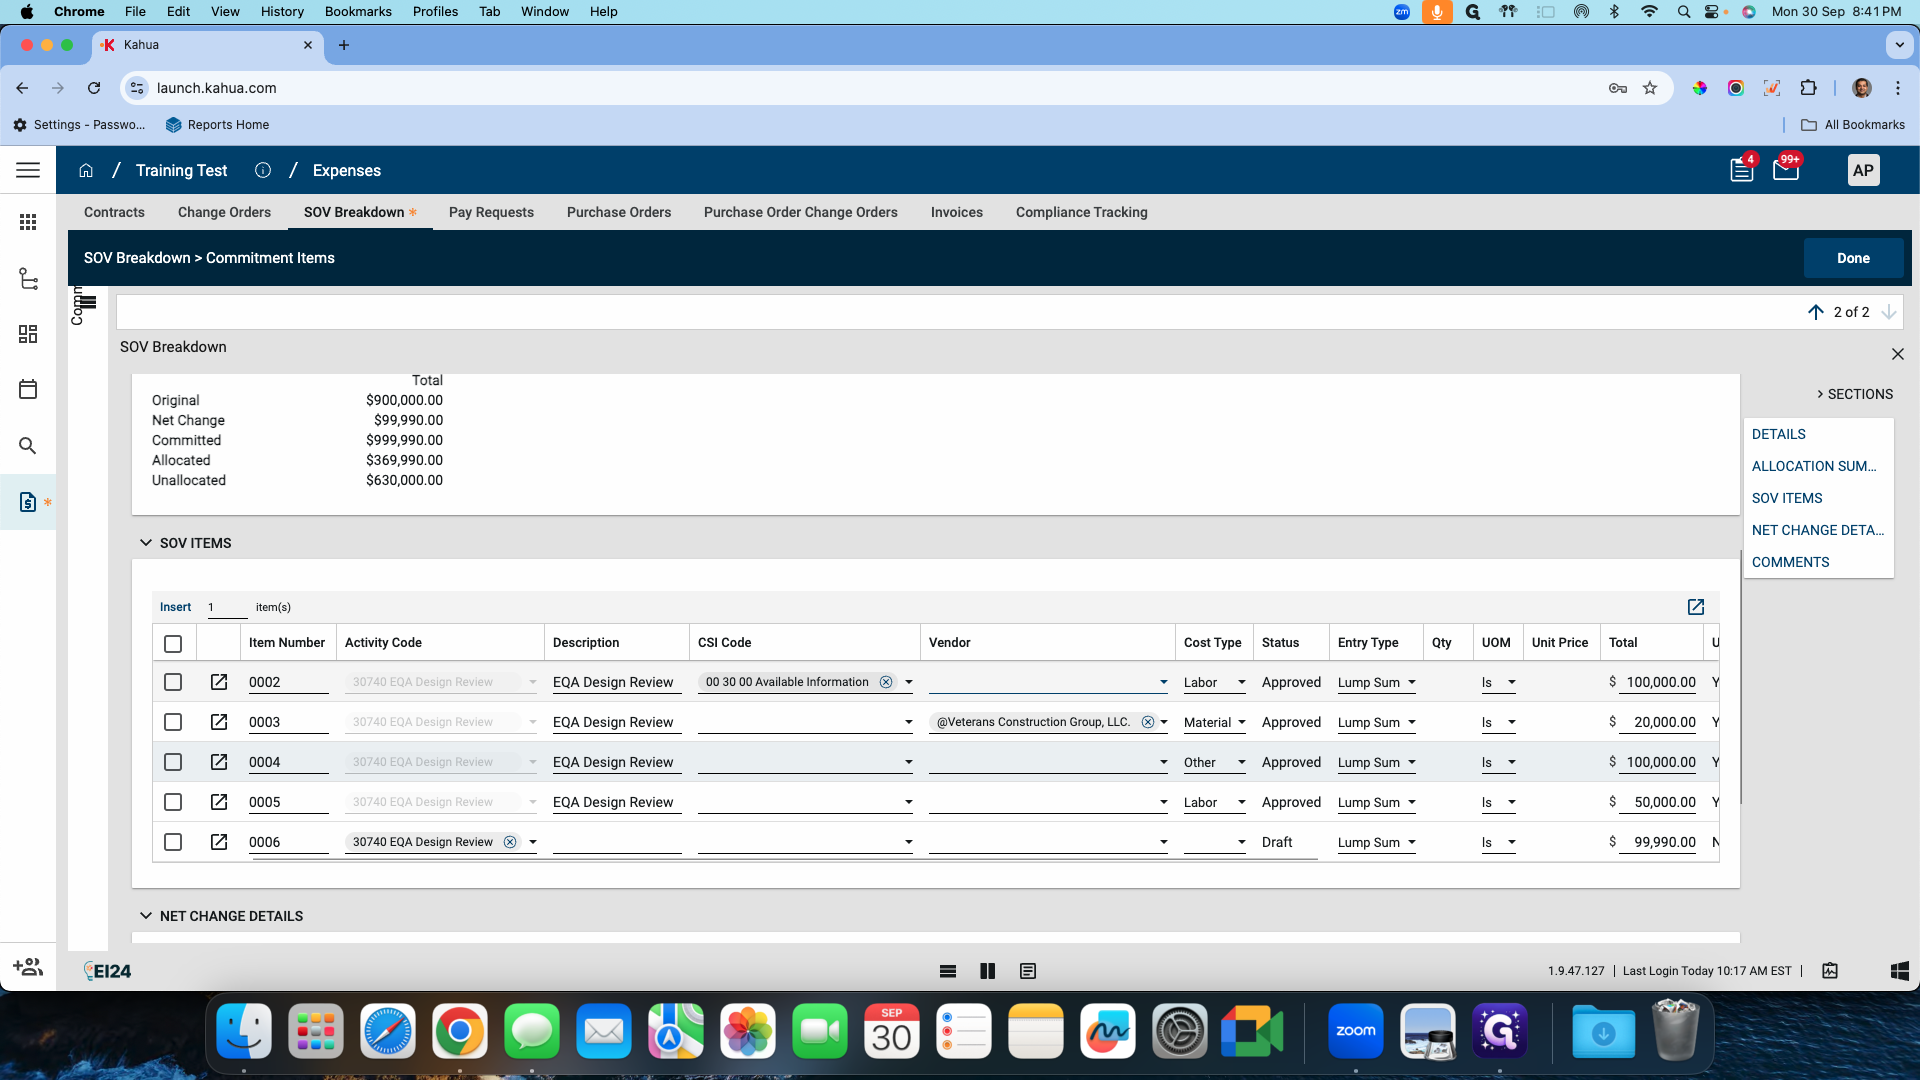
The goal of this customization is to allow the contract to be approved. Using Kahua's SOV breakdown application, the main contractor or the GE can add your subs and allocate the amount of work for each. These subs are then approved individually during the SOV approval process, which has been added during the customization.


By default, the SOV lacks an approval process. You can only approve all at once. Customization includes a Standard Kahua approval workflow. This way, when the SOV goes for approval to the next person, they can submit specific vendors or subs for approval. Each vendor will be approved separately. Once approved, they can be used in the SOV breakdown. As vendors are added to the SOV breakdown, the totals are allocated accordingly.
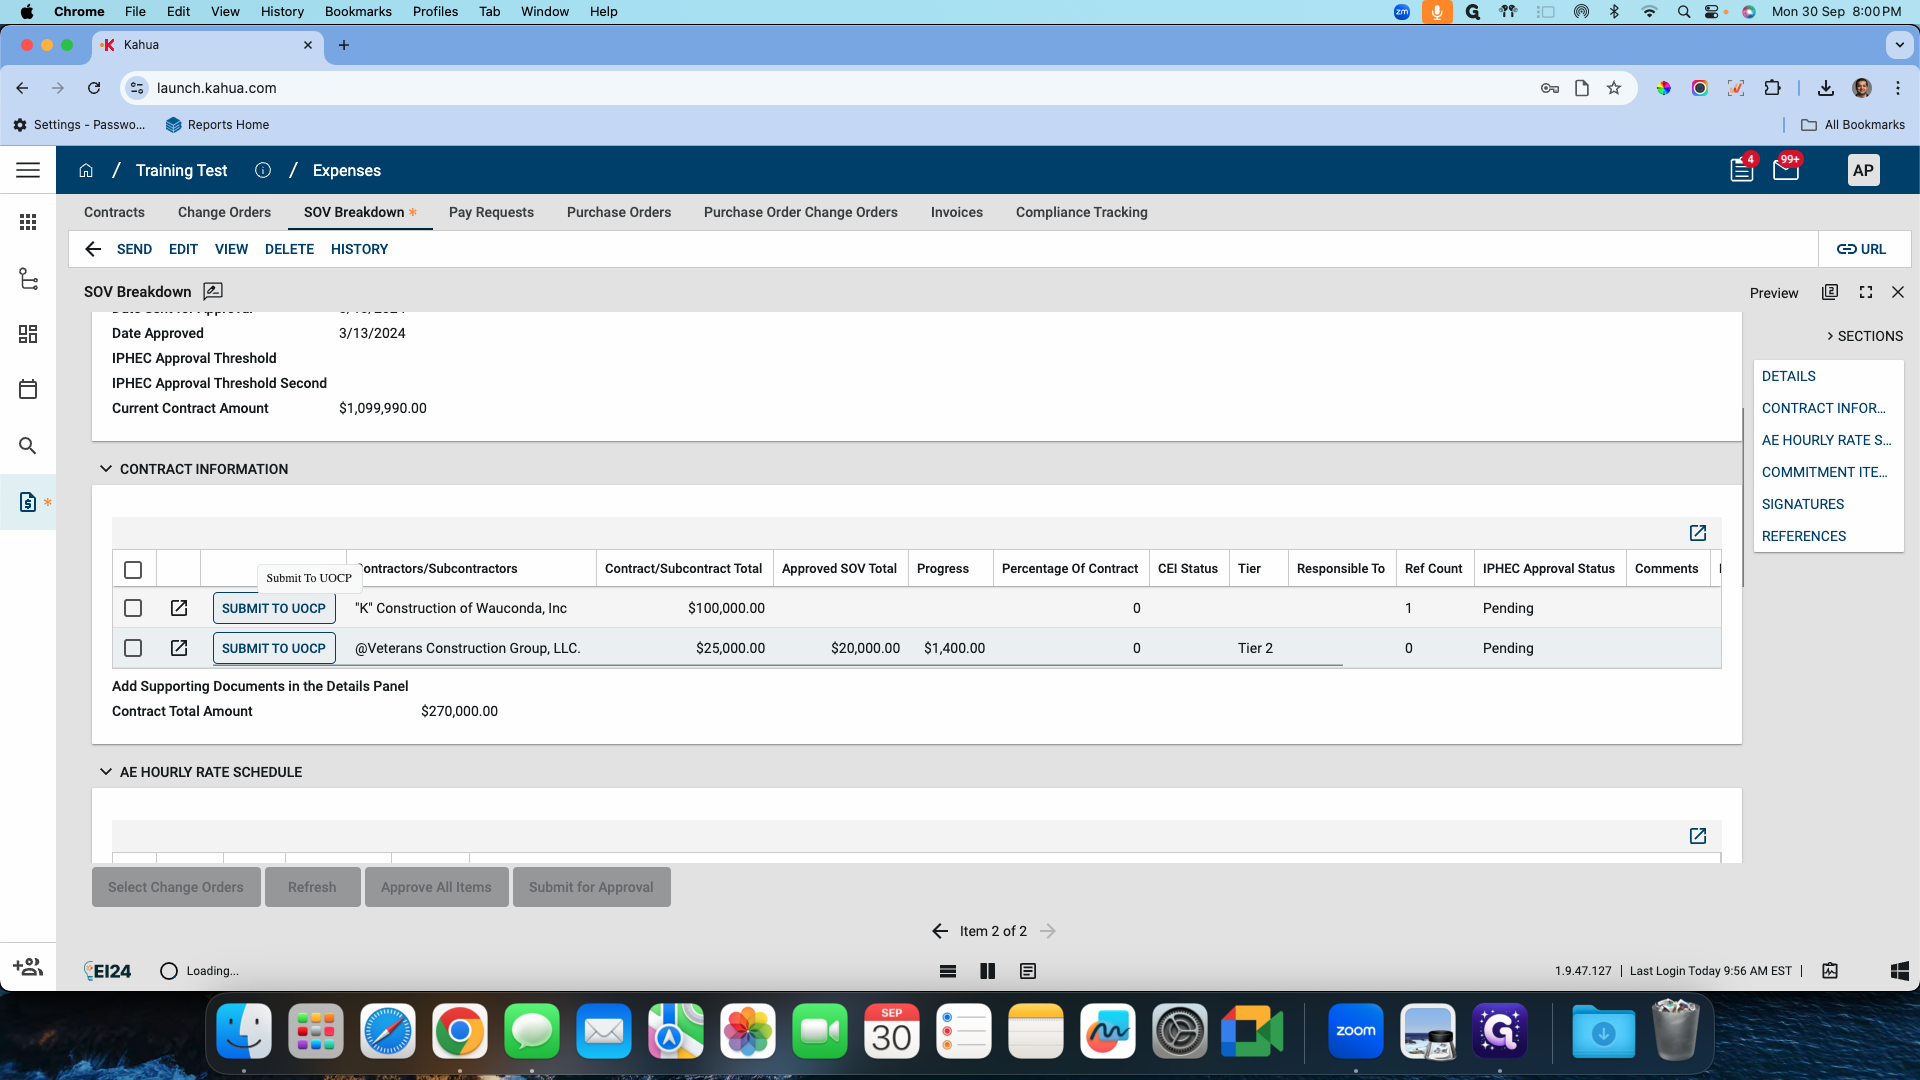
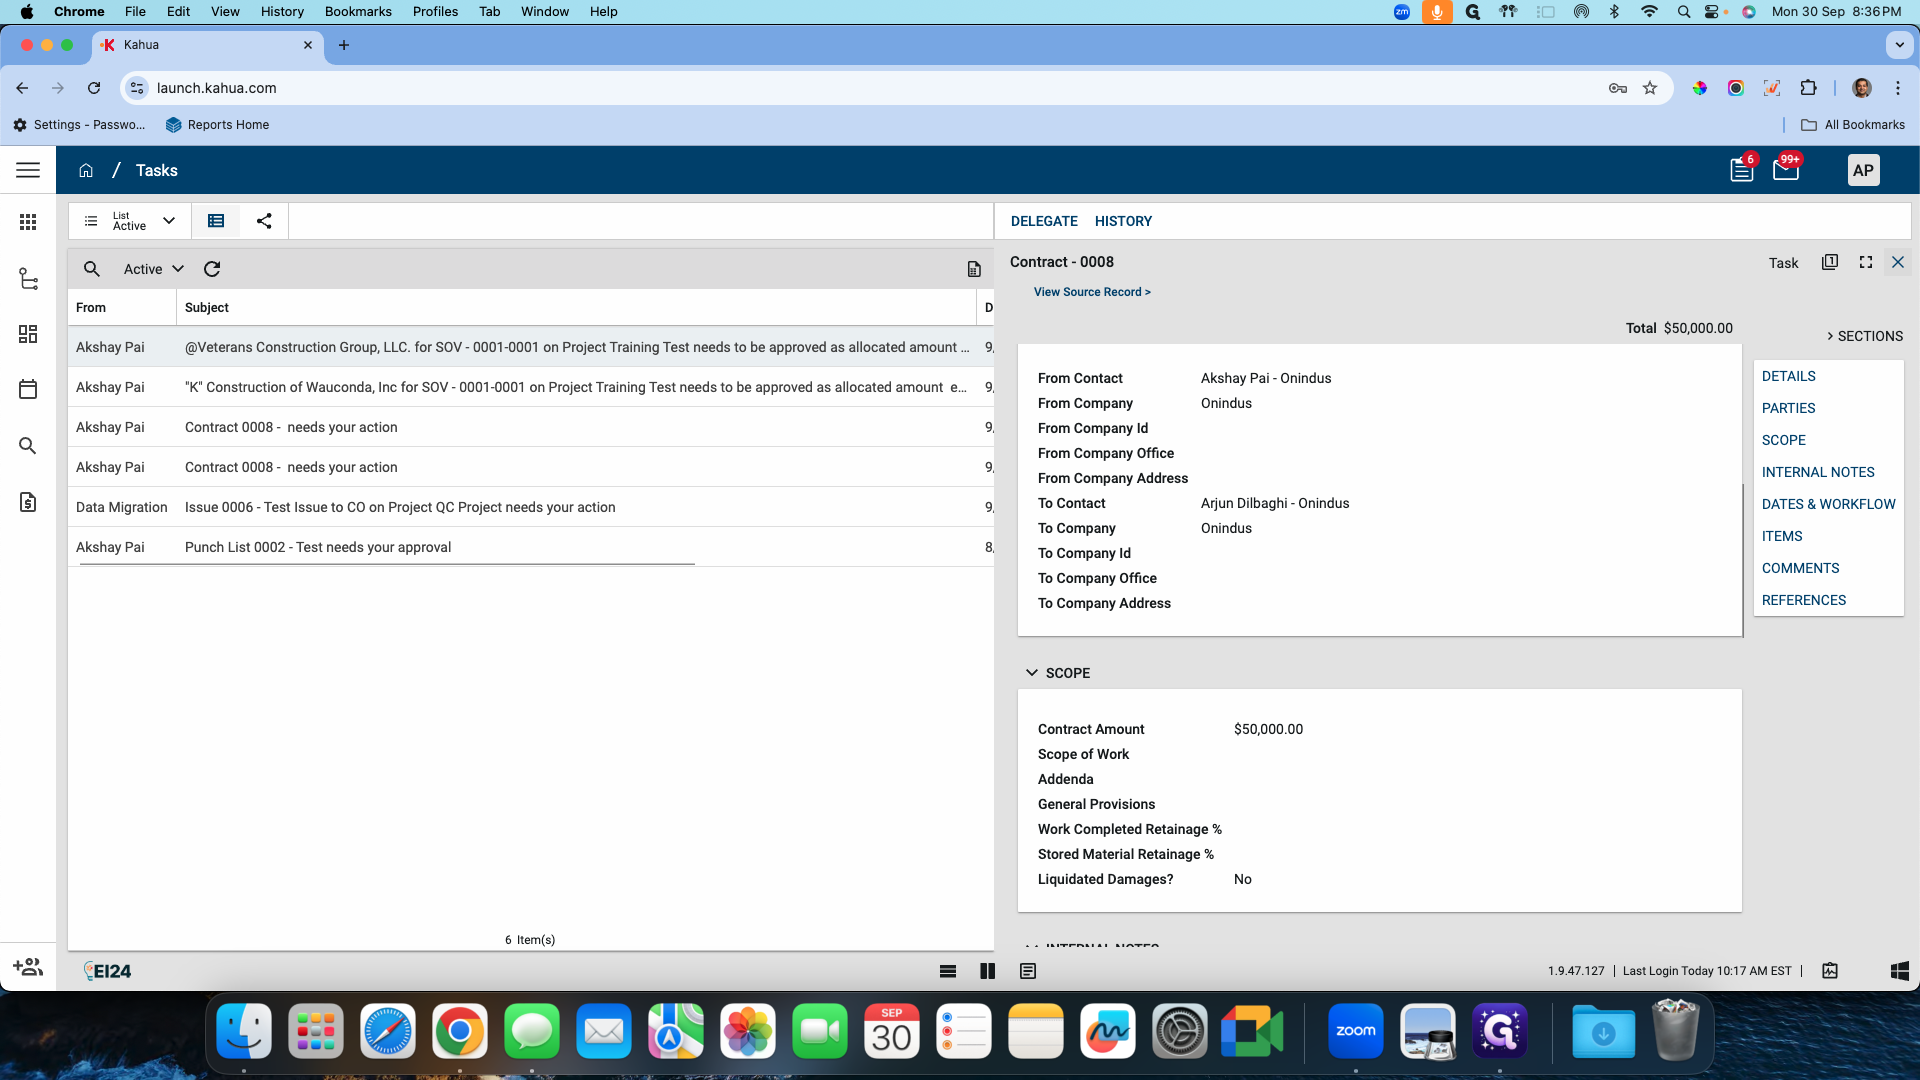
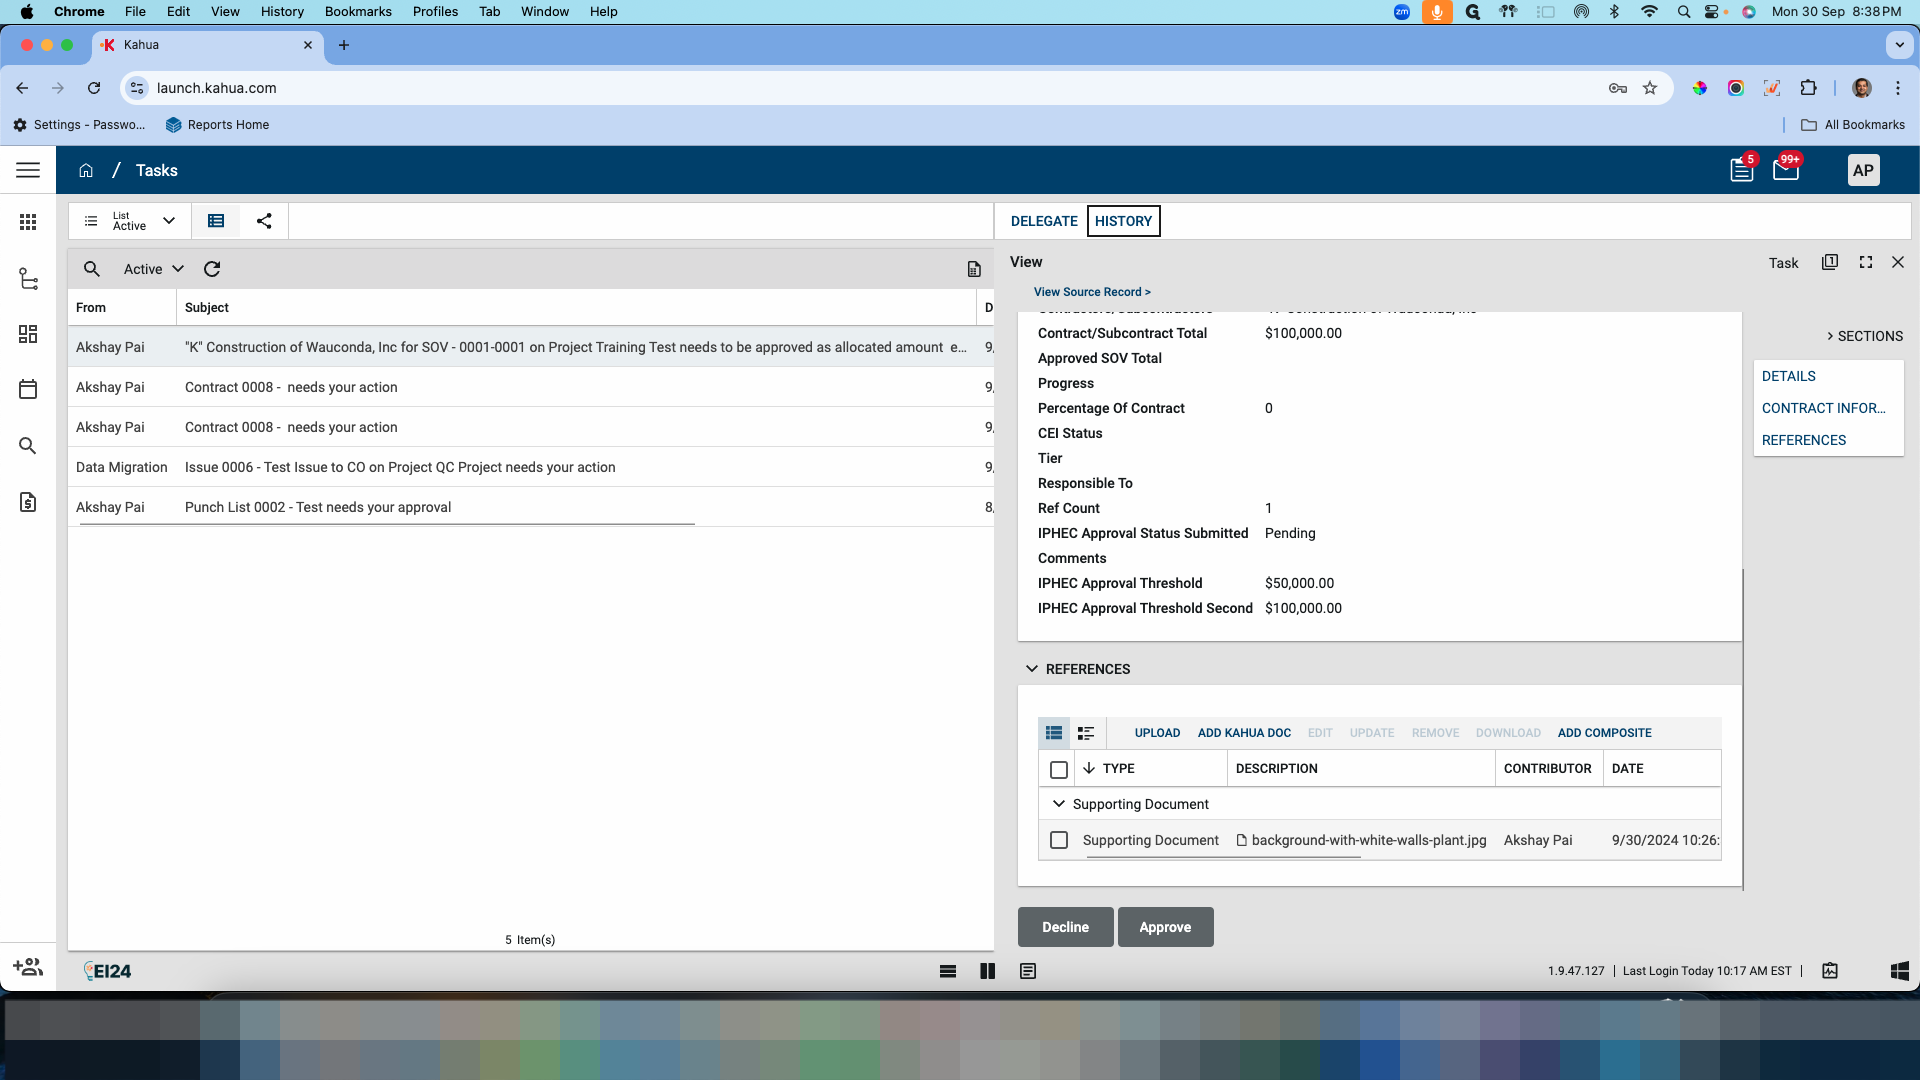
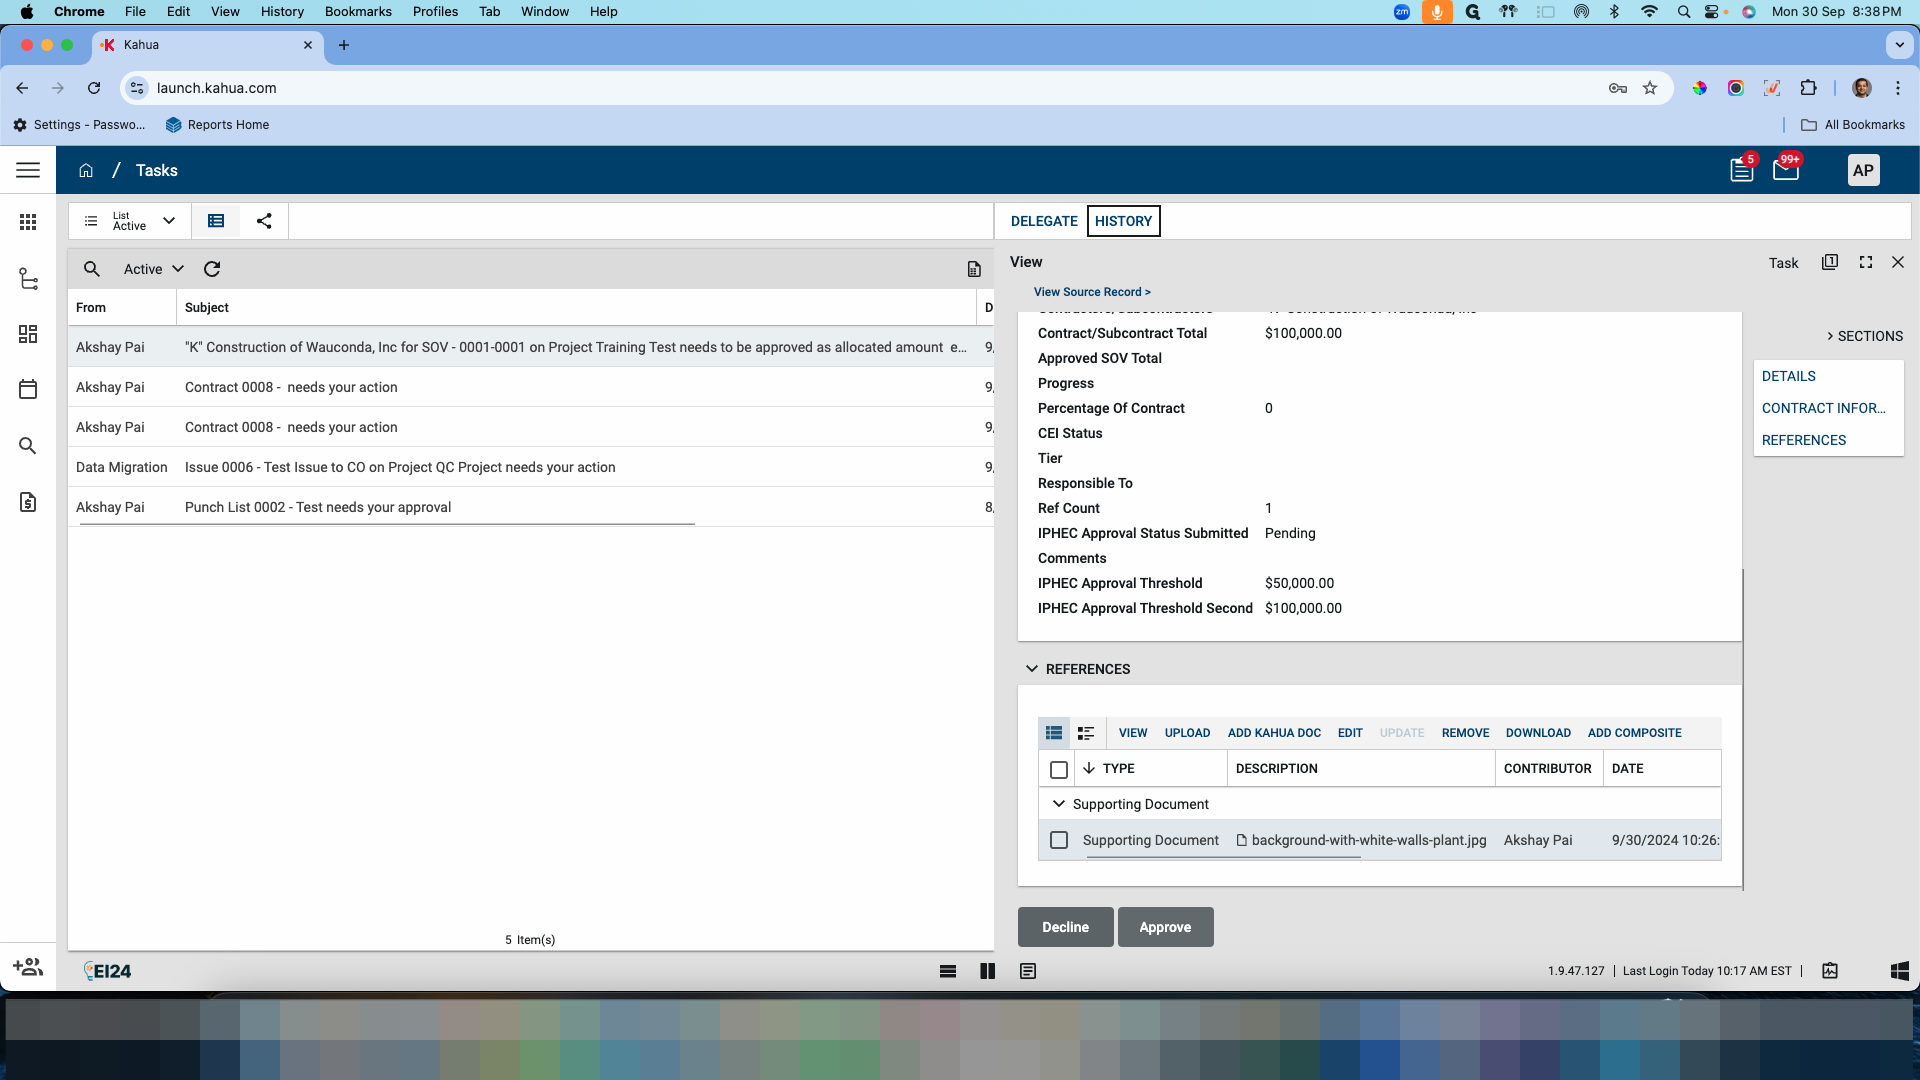
These are then carried forward to the pay request. As the pay requests are billed, the progress and the percentage of the contract keep getting updated. For example, if the contract is $100,000 and $10,000 has already been paid, your progress will be marked up accordingly. Your percentage of the contract will be based on your approved SOV total and the original contract value. You also have the option of selecting the CEI status of the vendor. For tier and responsibility, if you have tier two or tier three subcontractors, you can note them down accordingly.


These are static values. They currently don't affect the workflow but can be used for reporting. A reference counter which shows how many documents have been uploaded for each vendor.
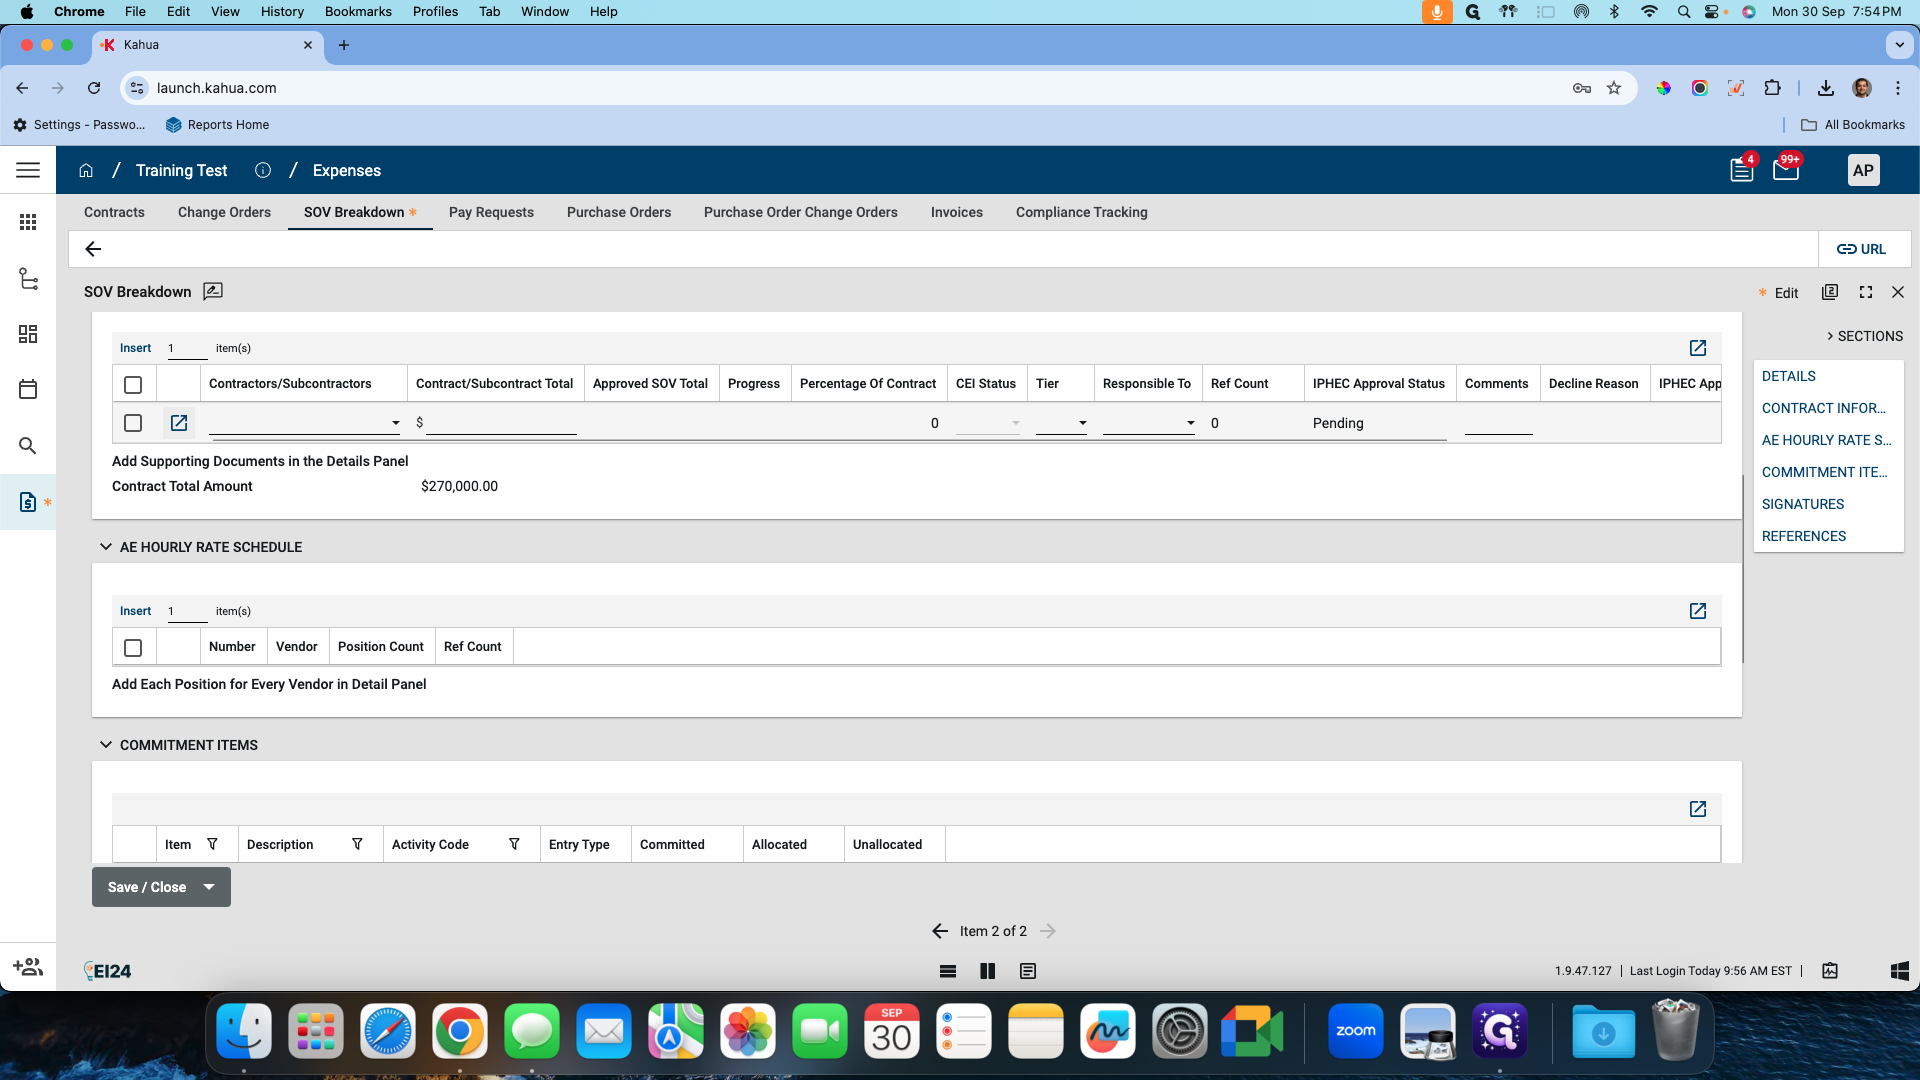
This is also part of the customization. As documents are required to prove their MBE and DBE status, they can be uploaded, and the count will be shown here.

You have comments, and if a particular vendor is declined, the decline reason will be shown here.
As the decline reason is shown, people can update, correct, and resend it for approval. So let's try it out.

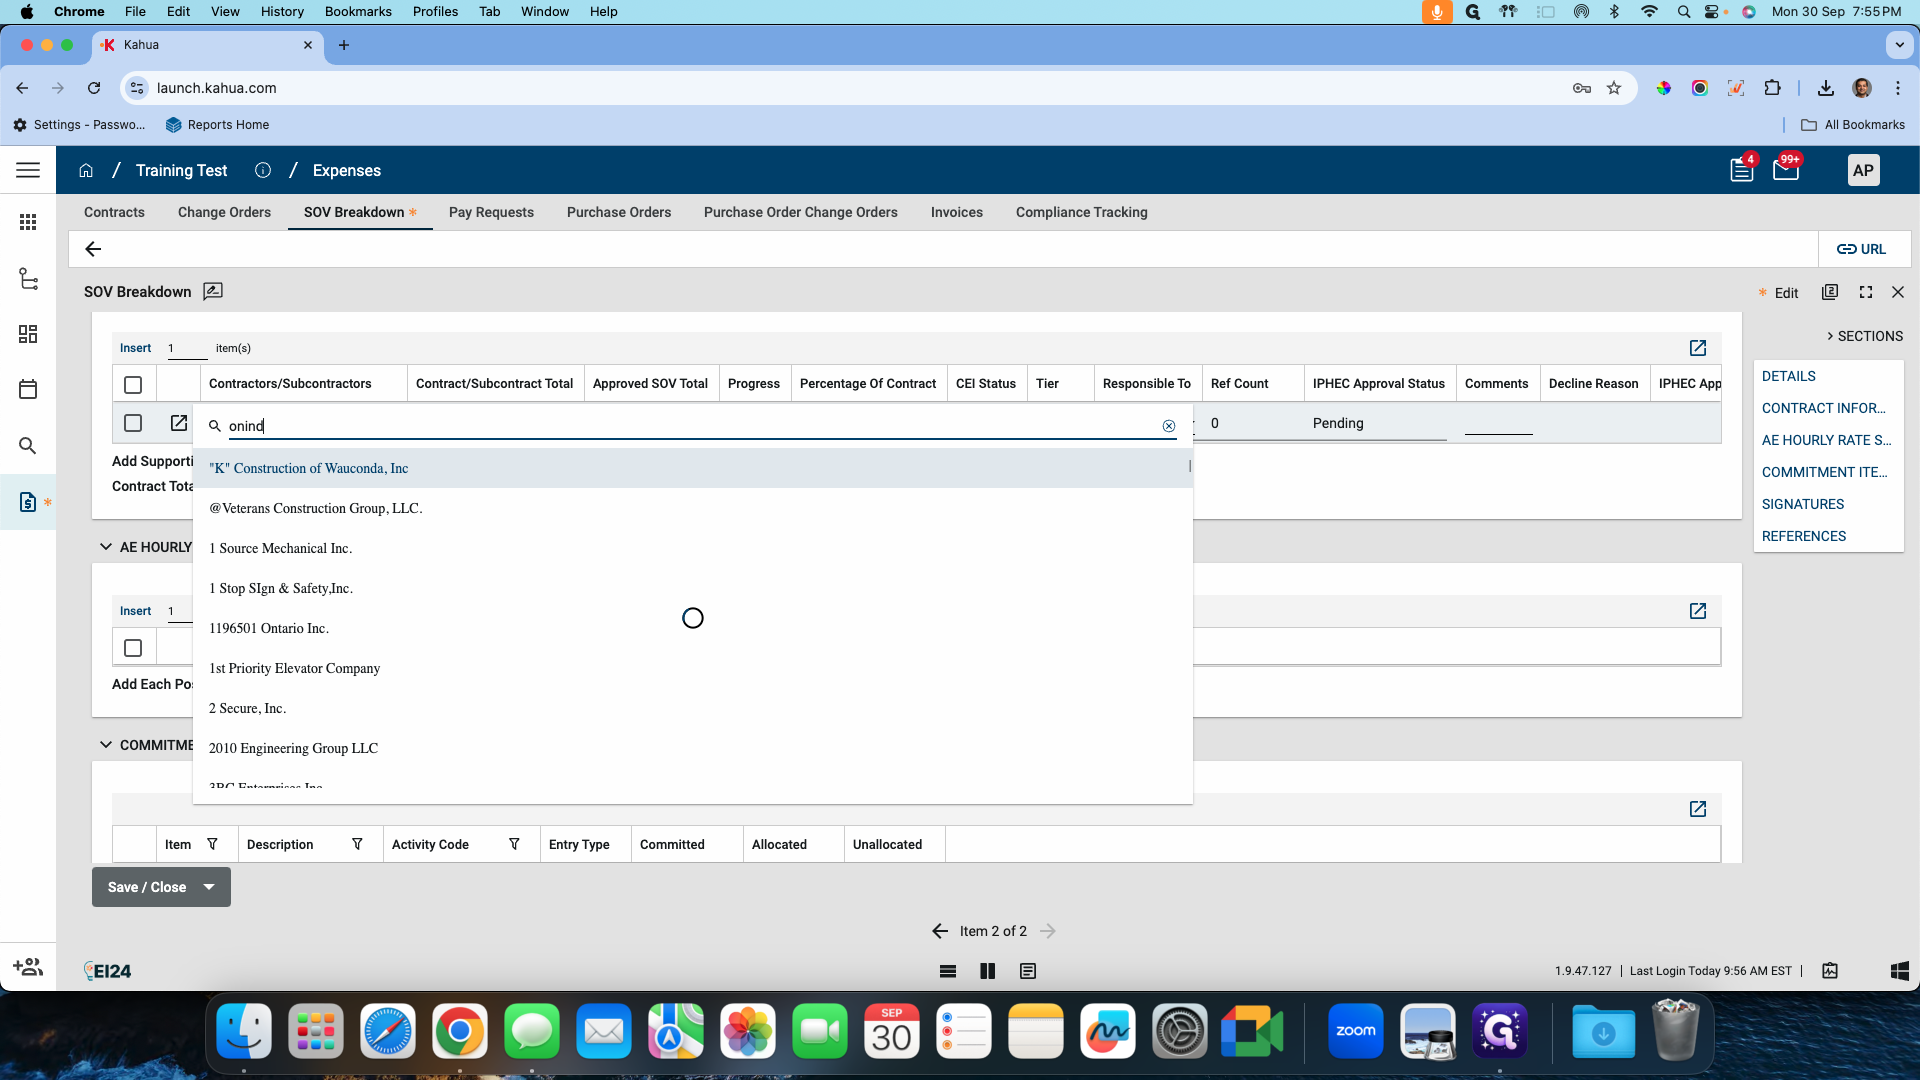
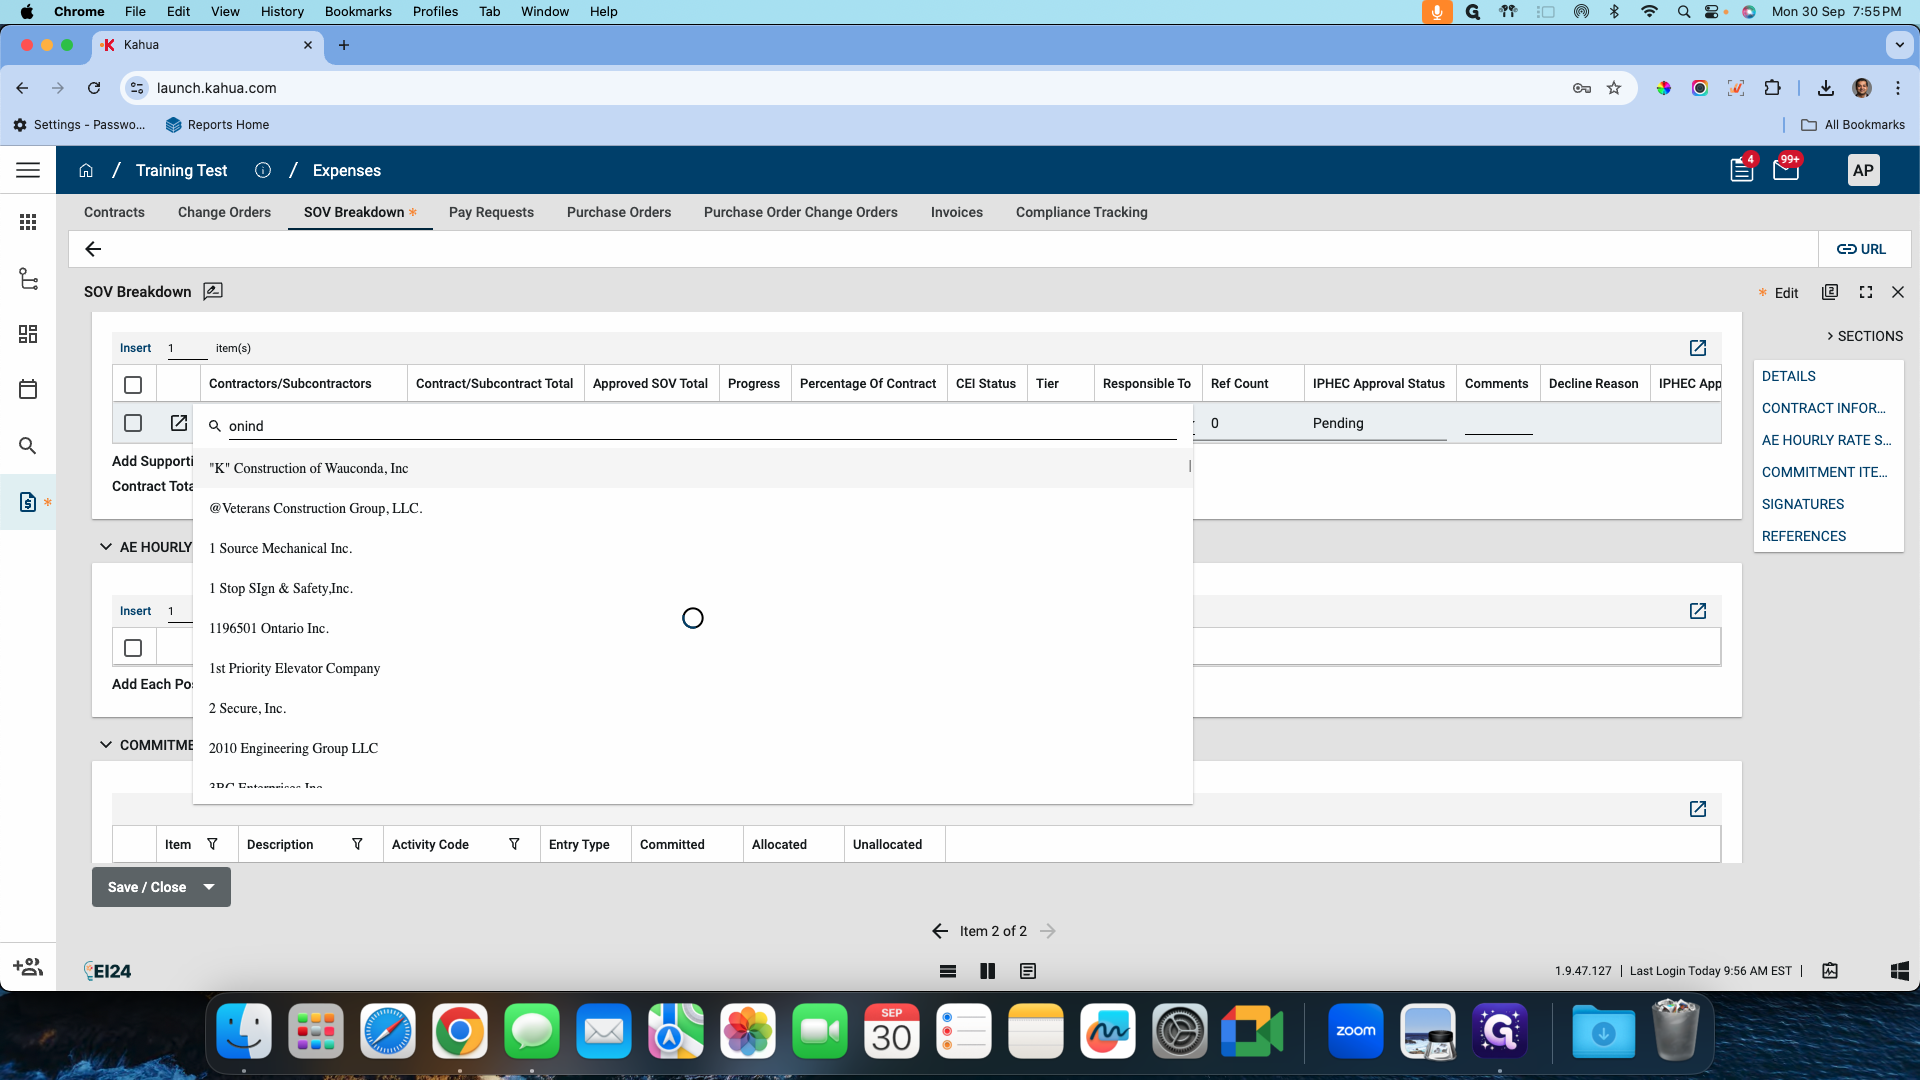
I will choose a specific vendor.

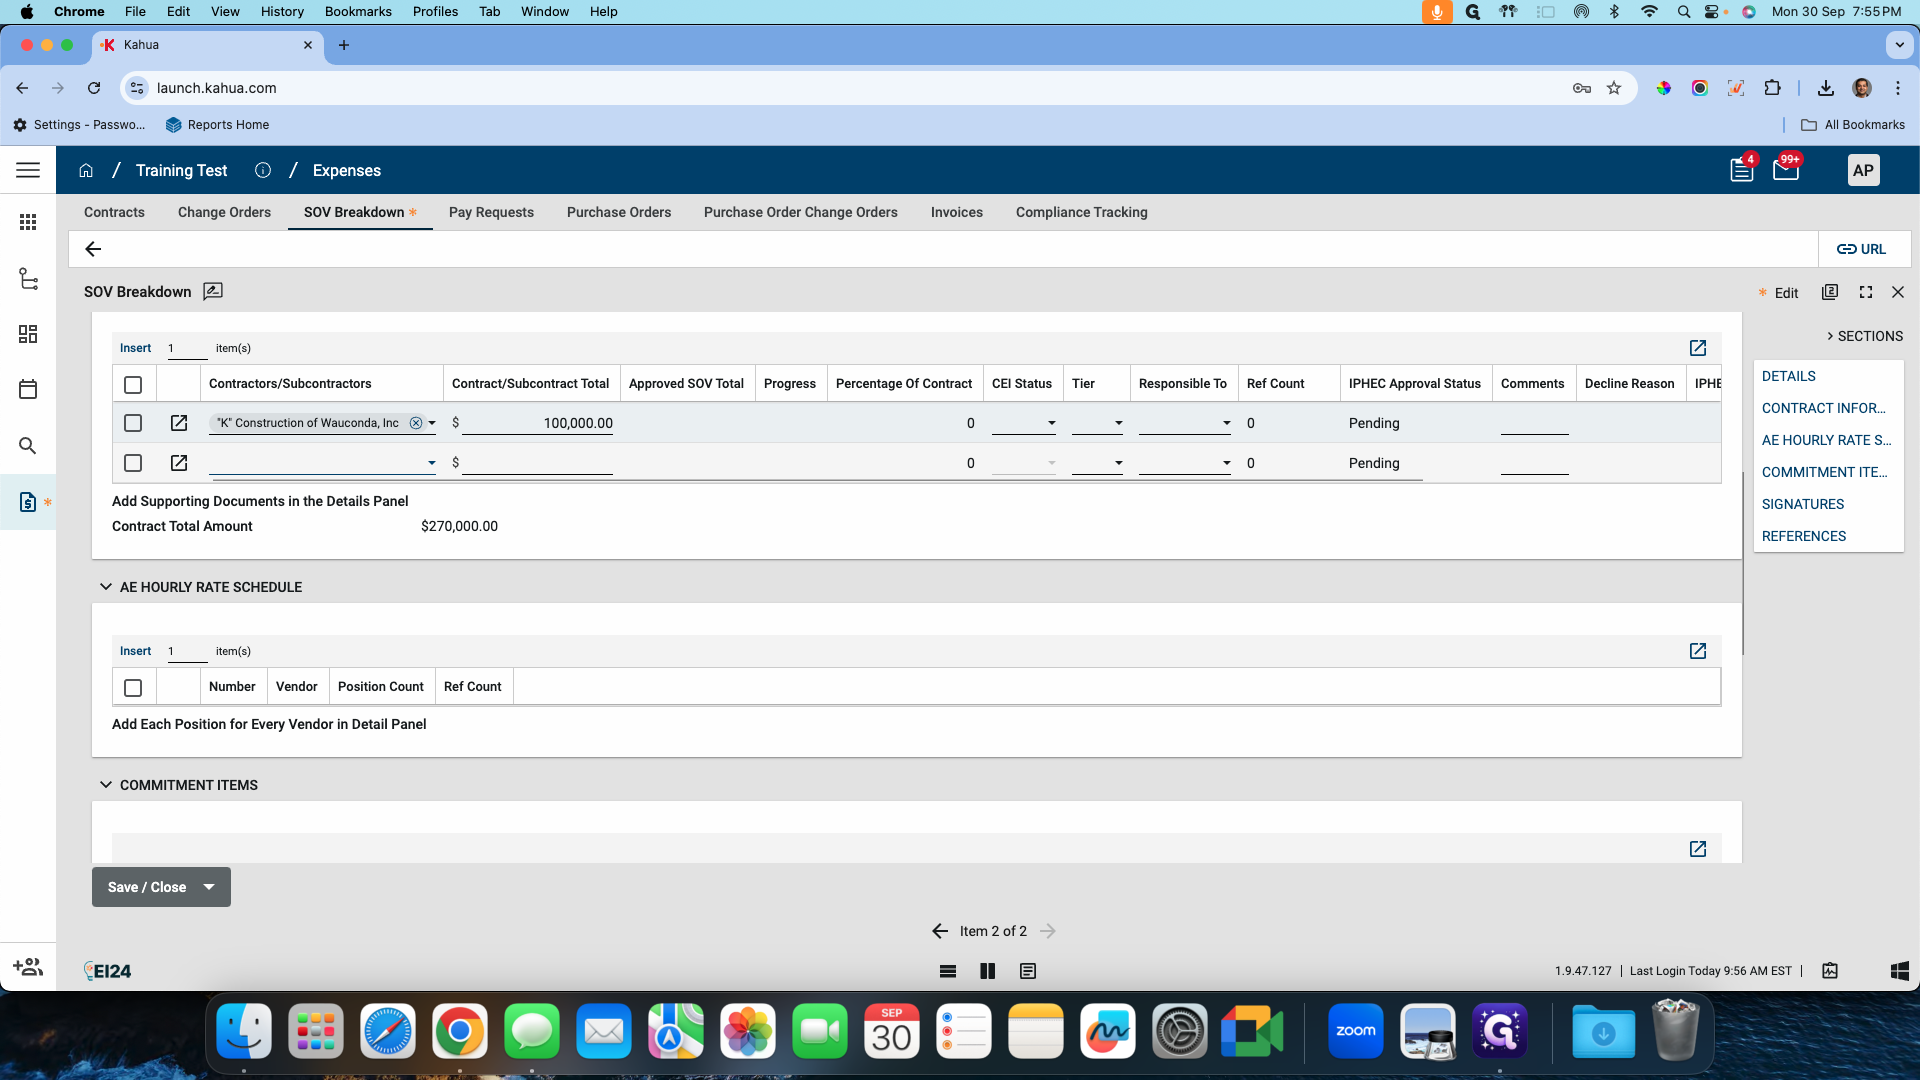
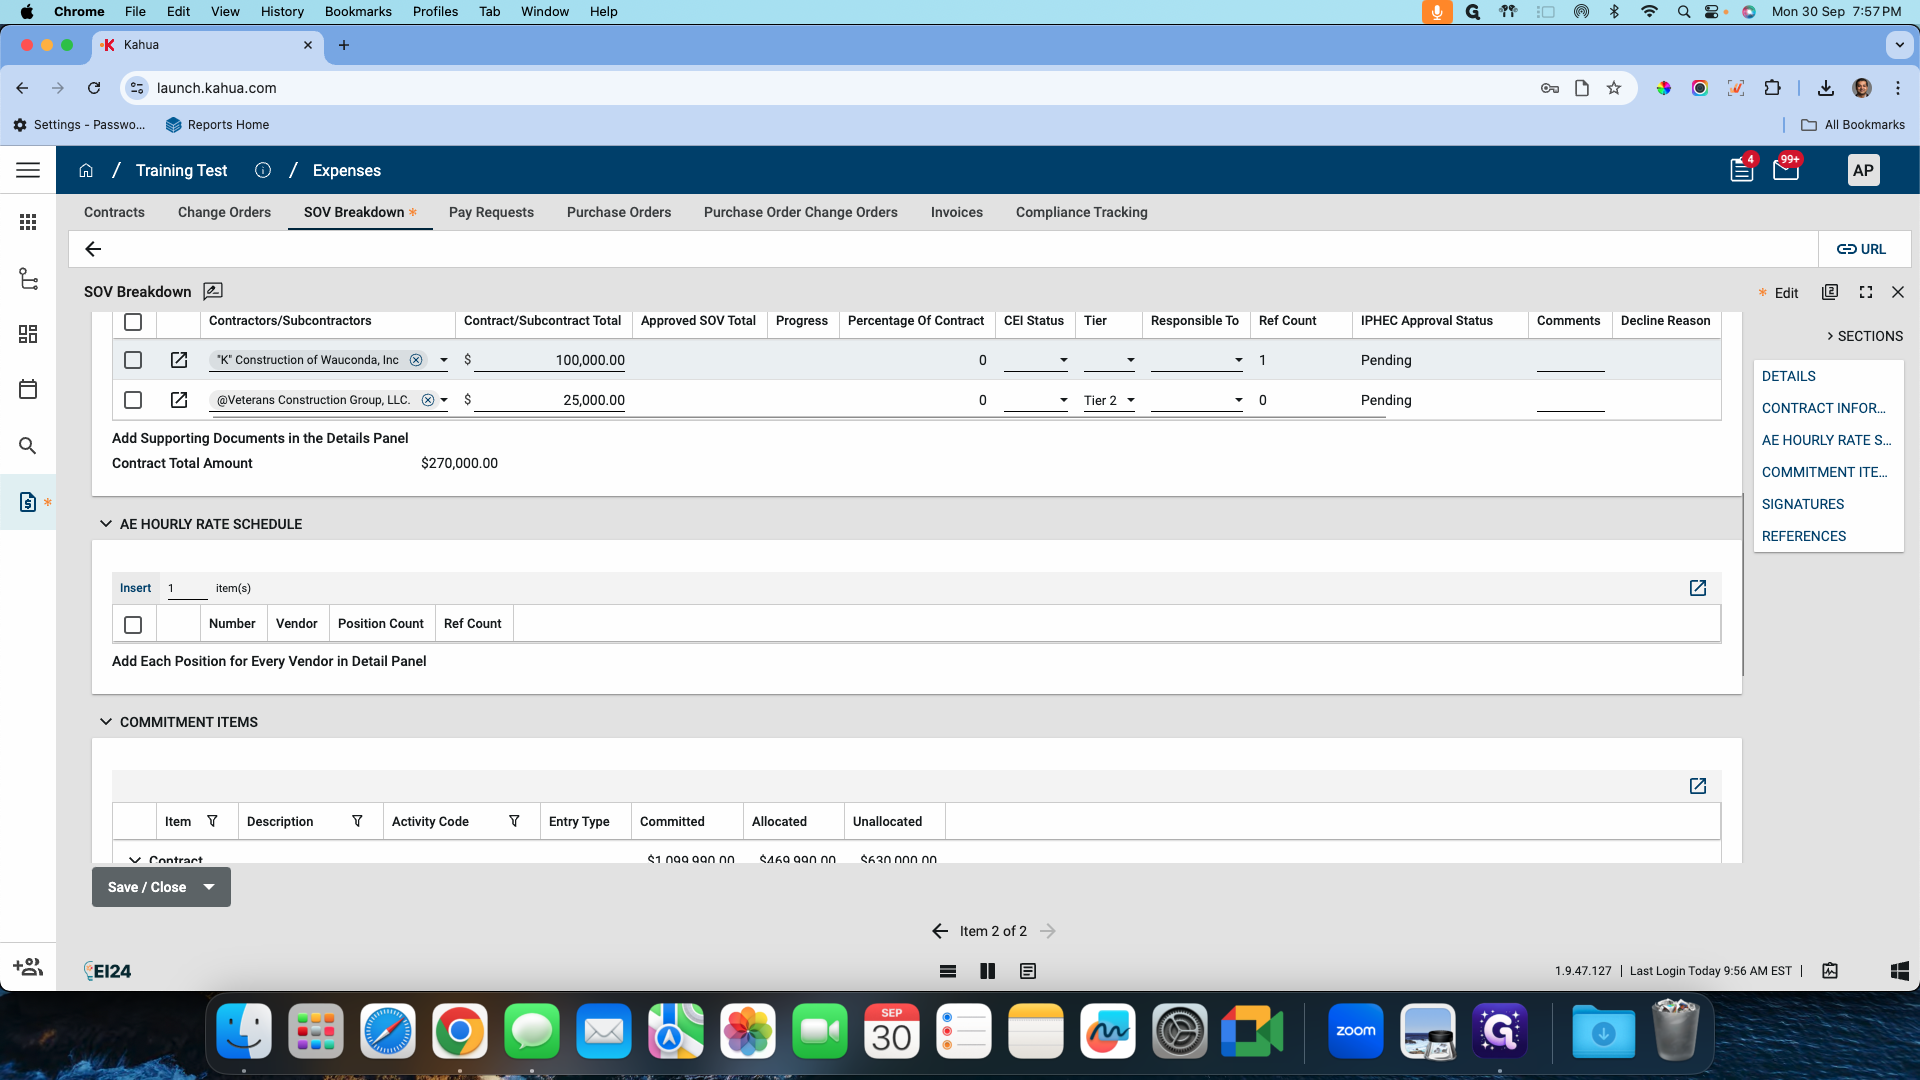
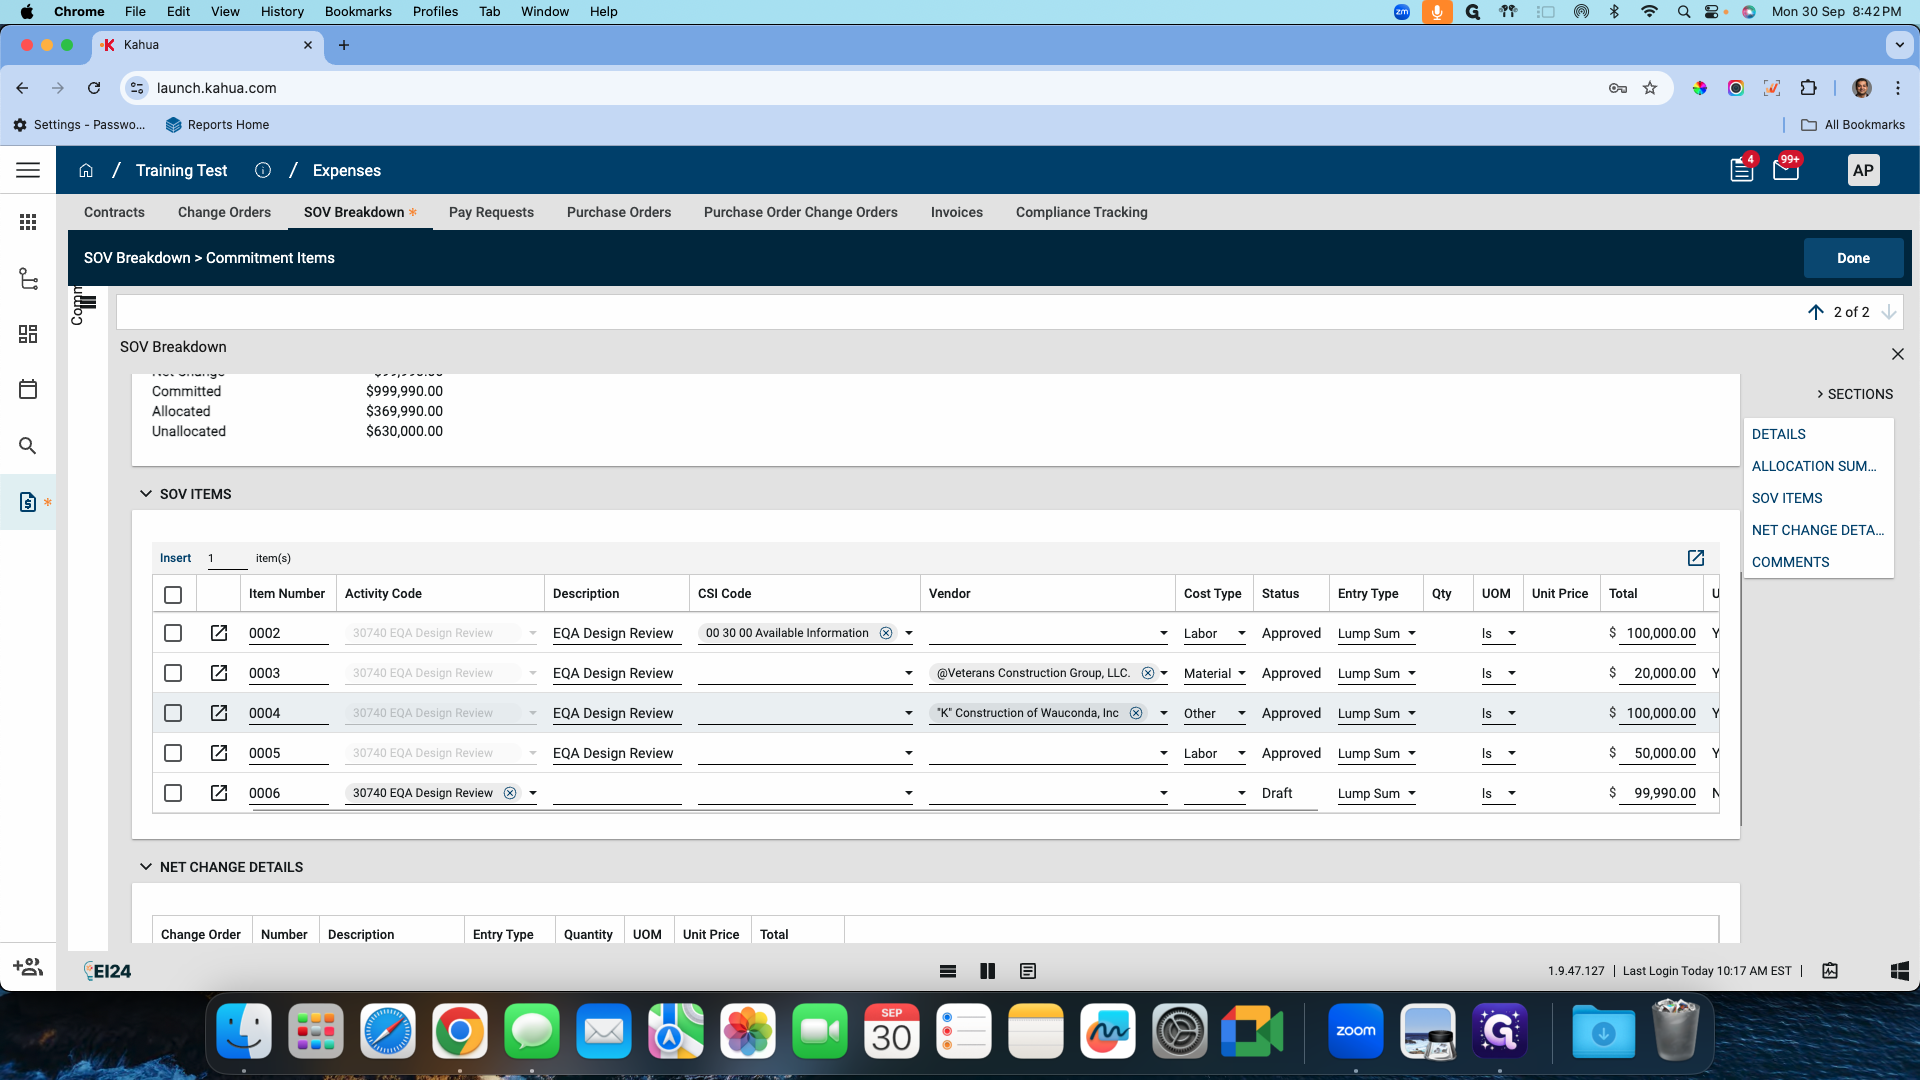
Let's take K Constructions of Wauconda, Inc for now.
Let's say this contract is $100,000.

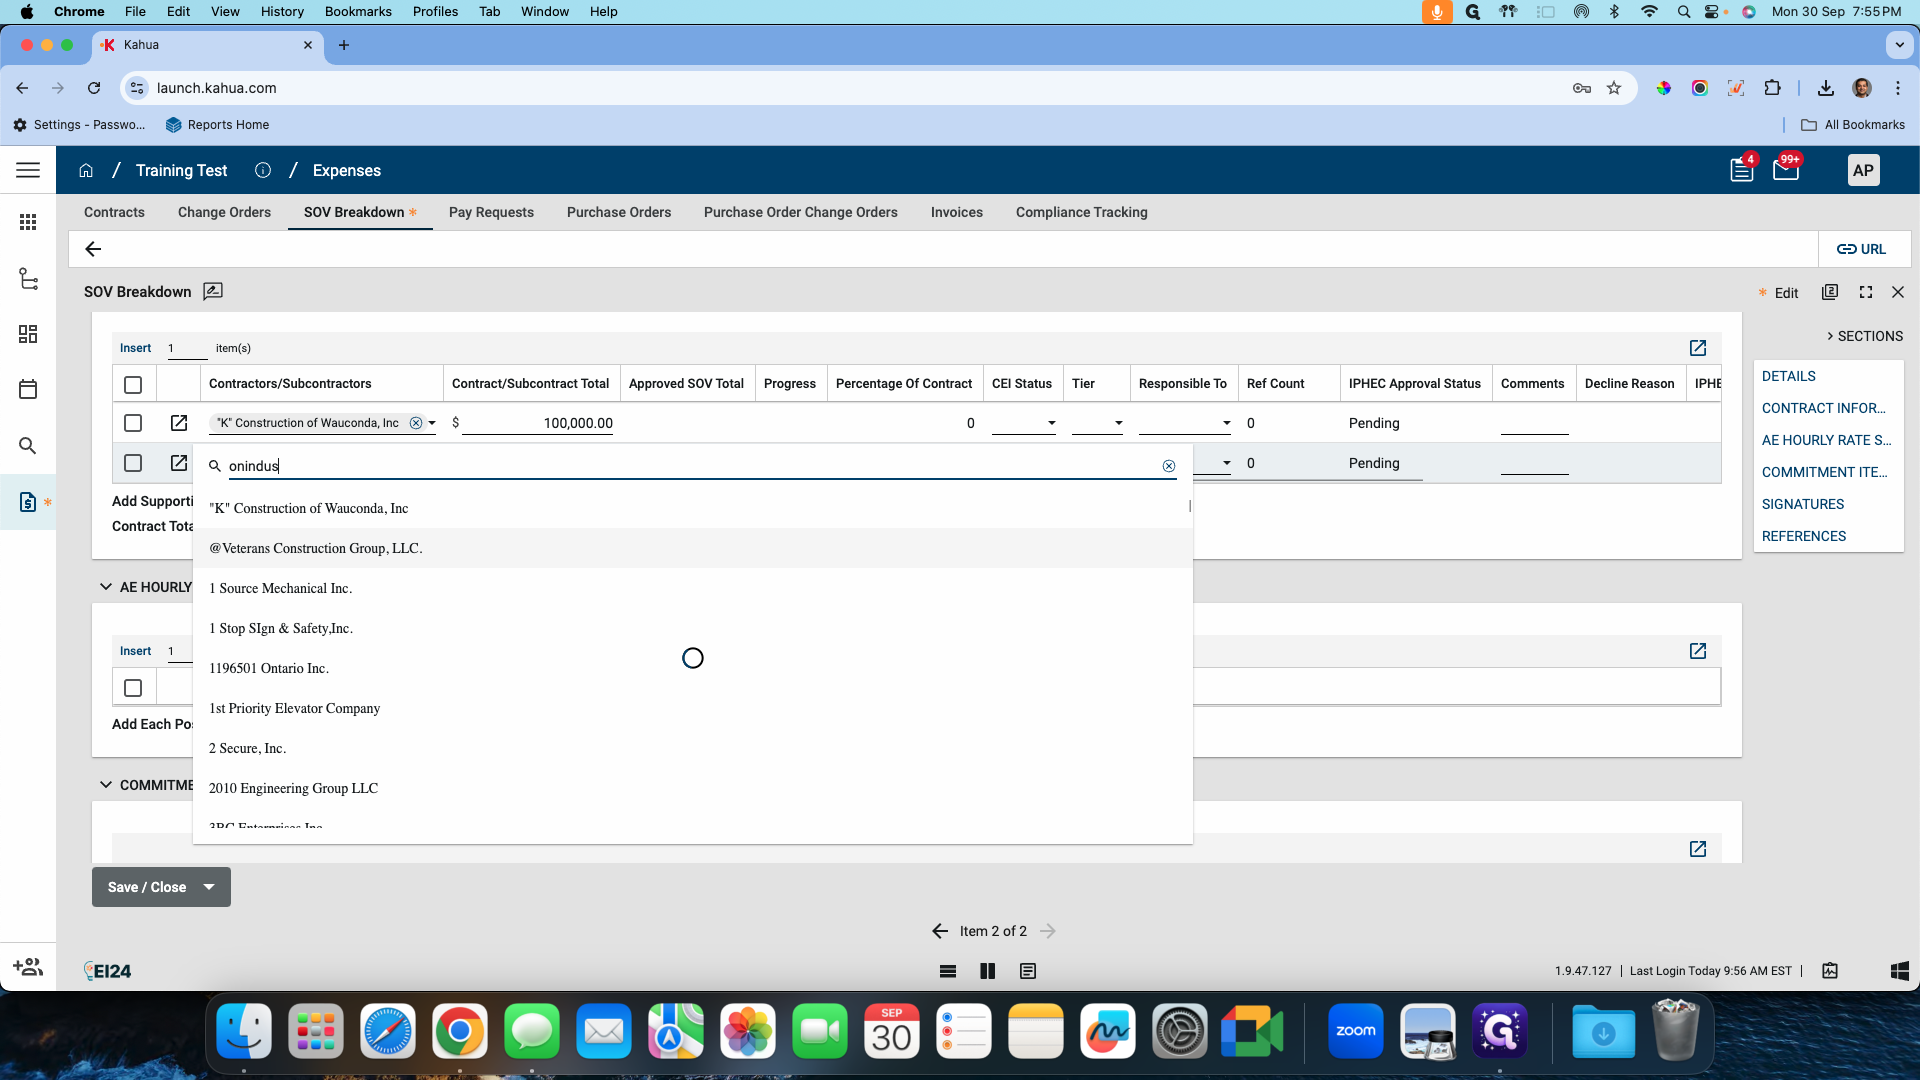
I will insert another vendor.


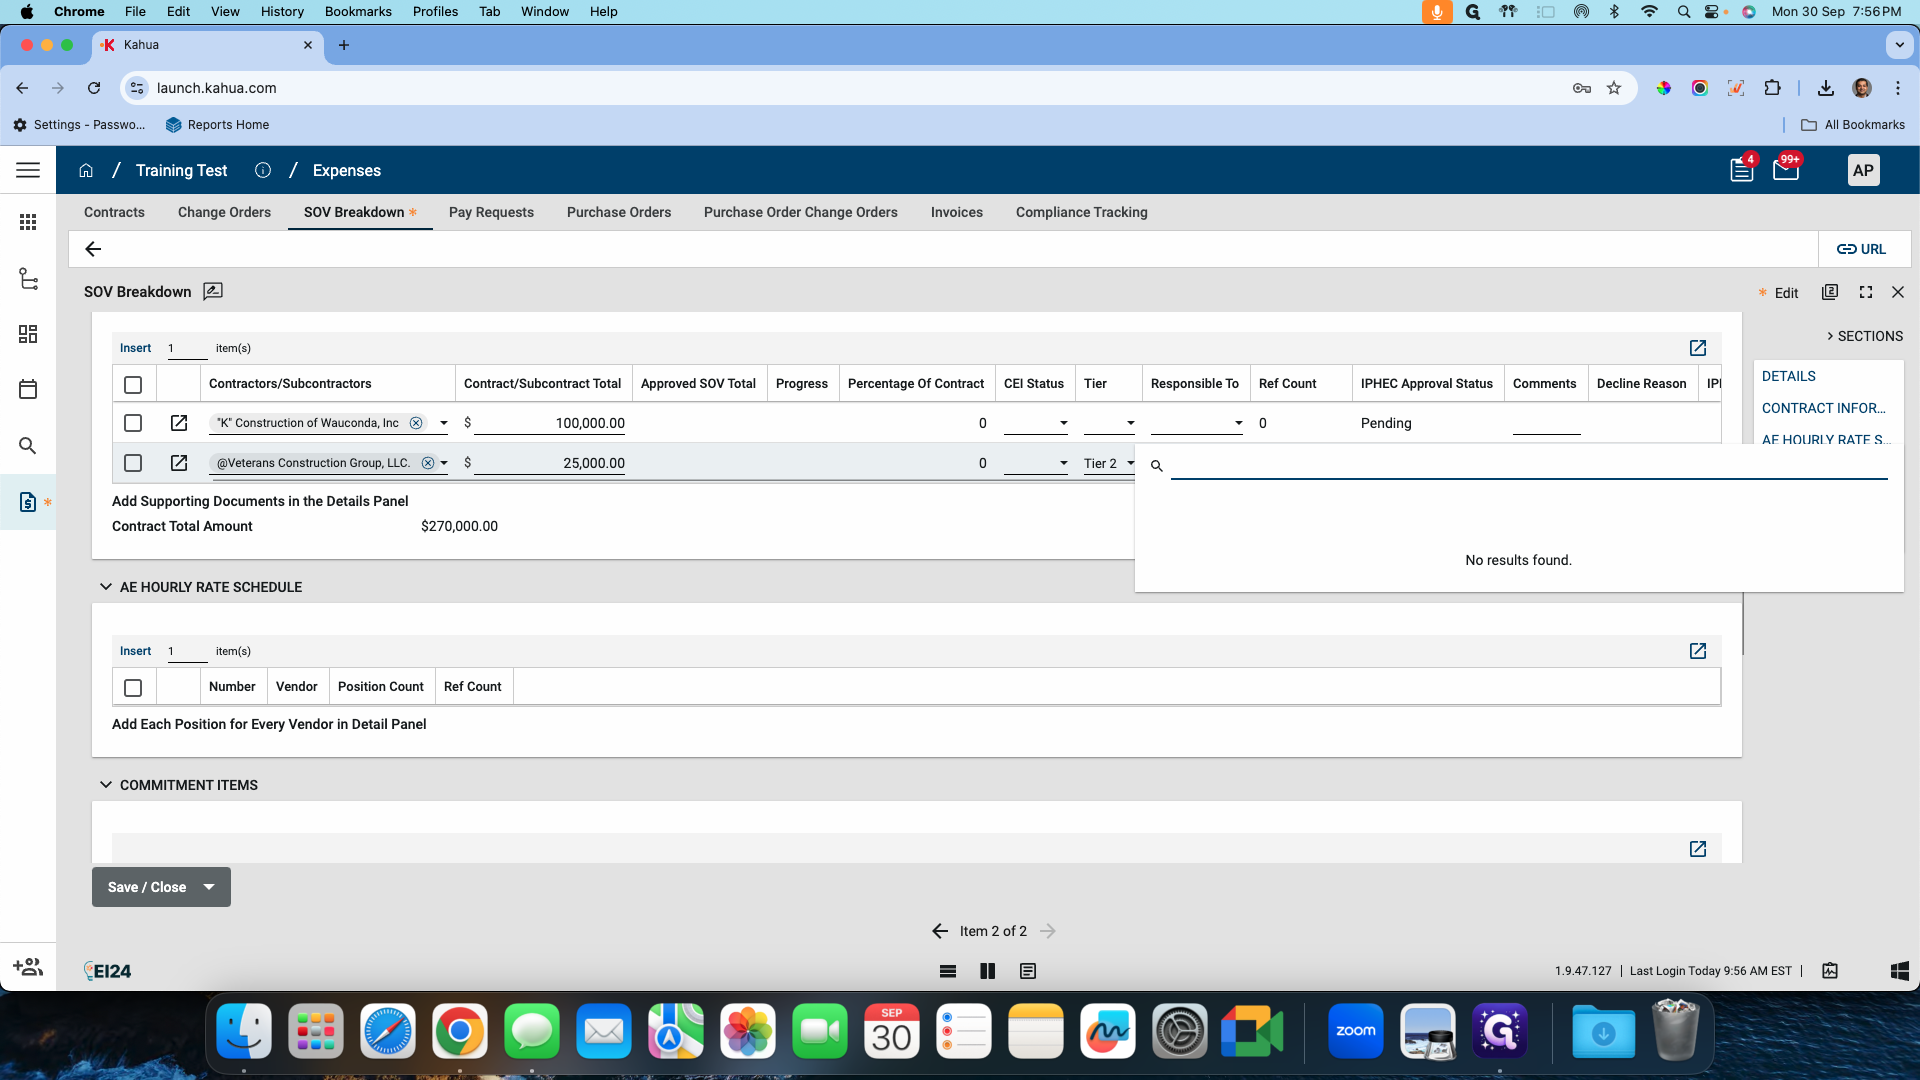
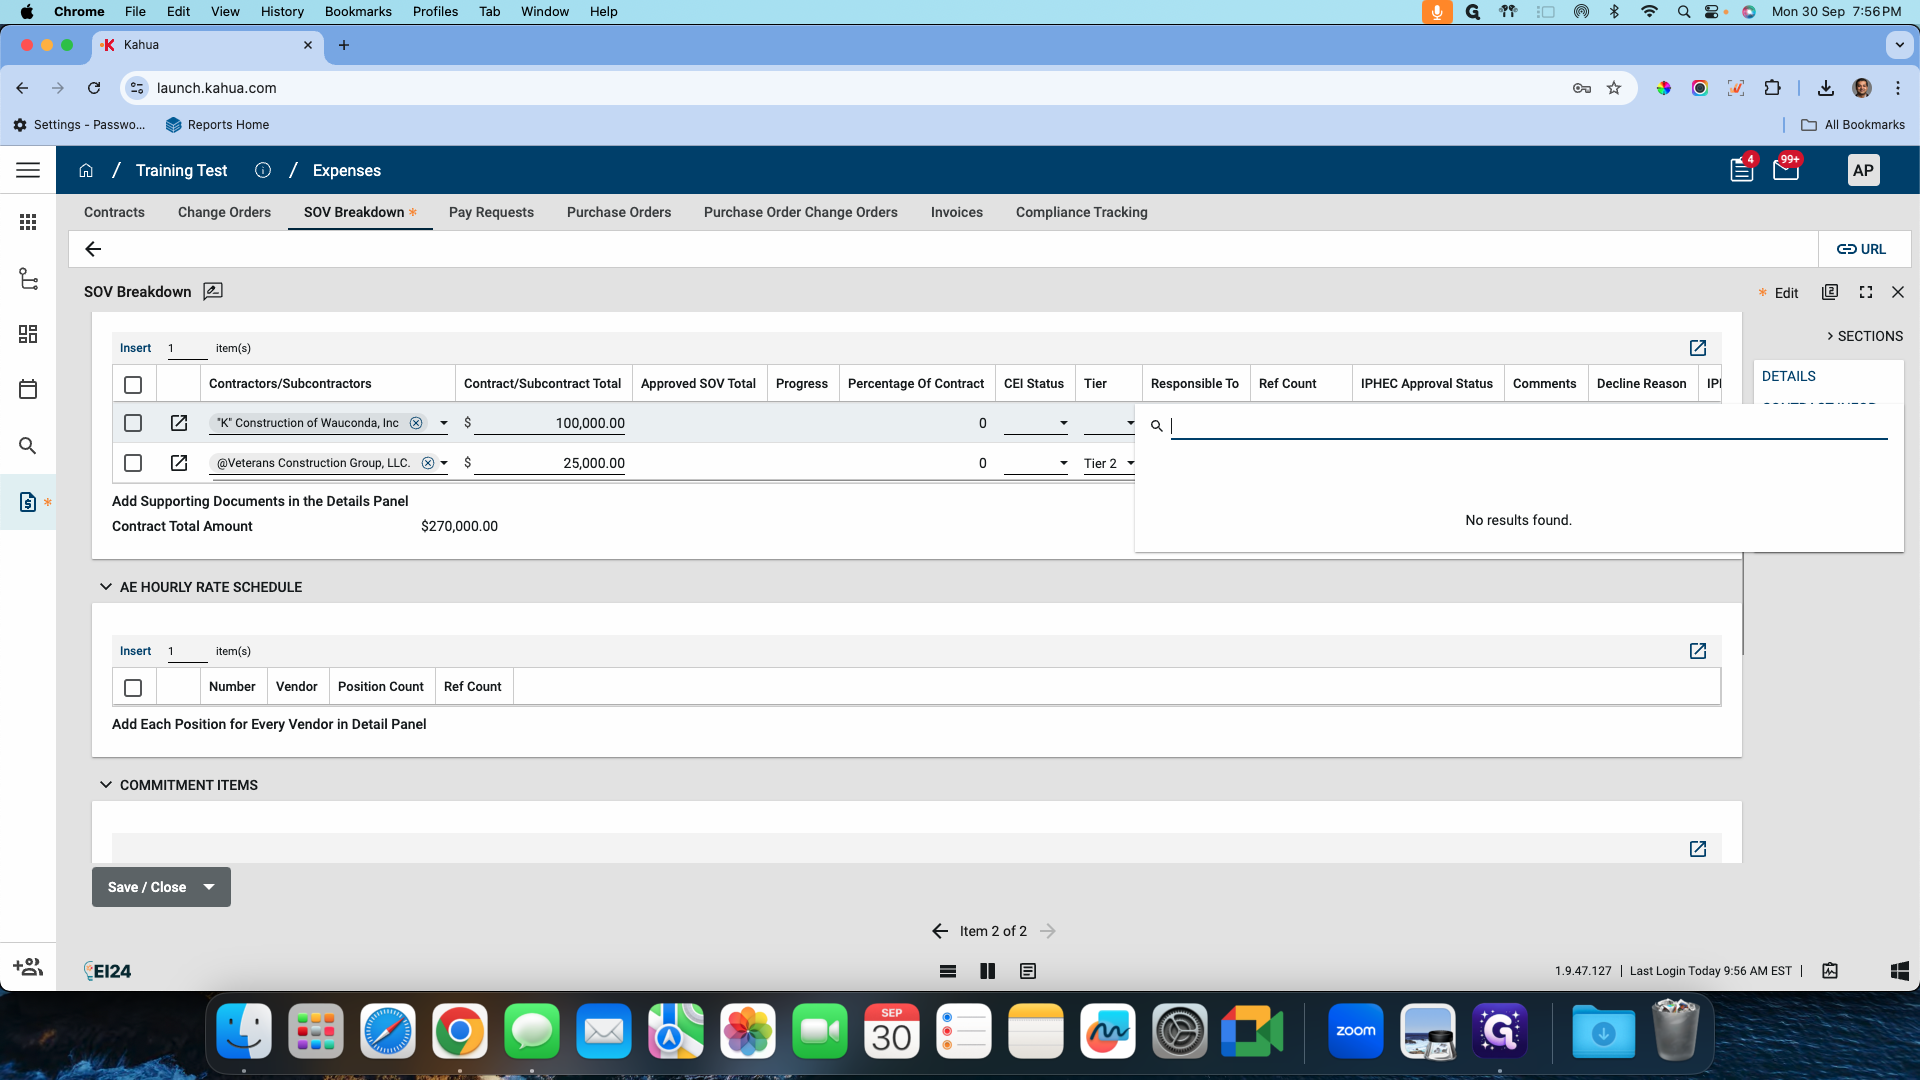
Let me choose Veterans Construction Group.
Okay. $25,000. I'm going to say this is a tier two, and this is responsible.


Okay. I haven't approved any vendor yet, so the responsibility part won't show up.


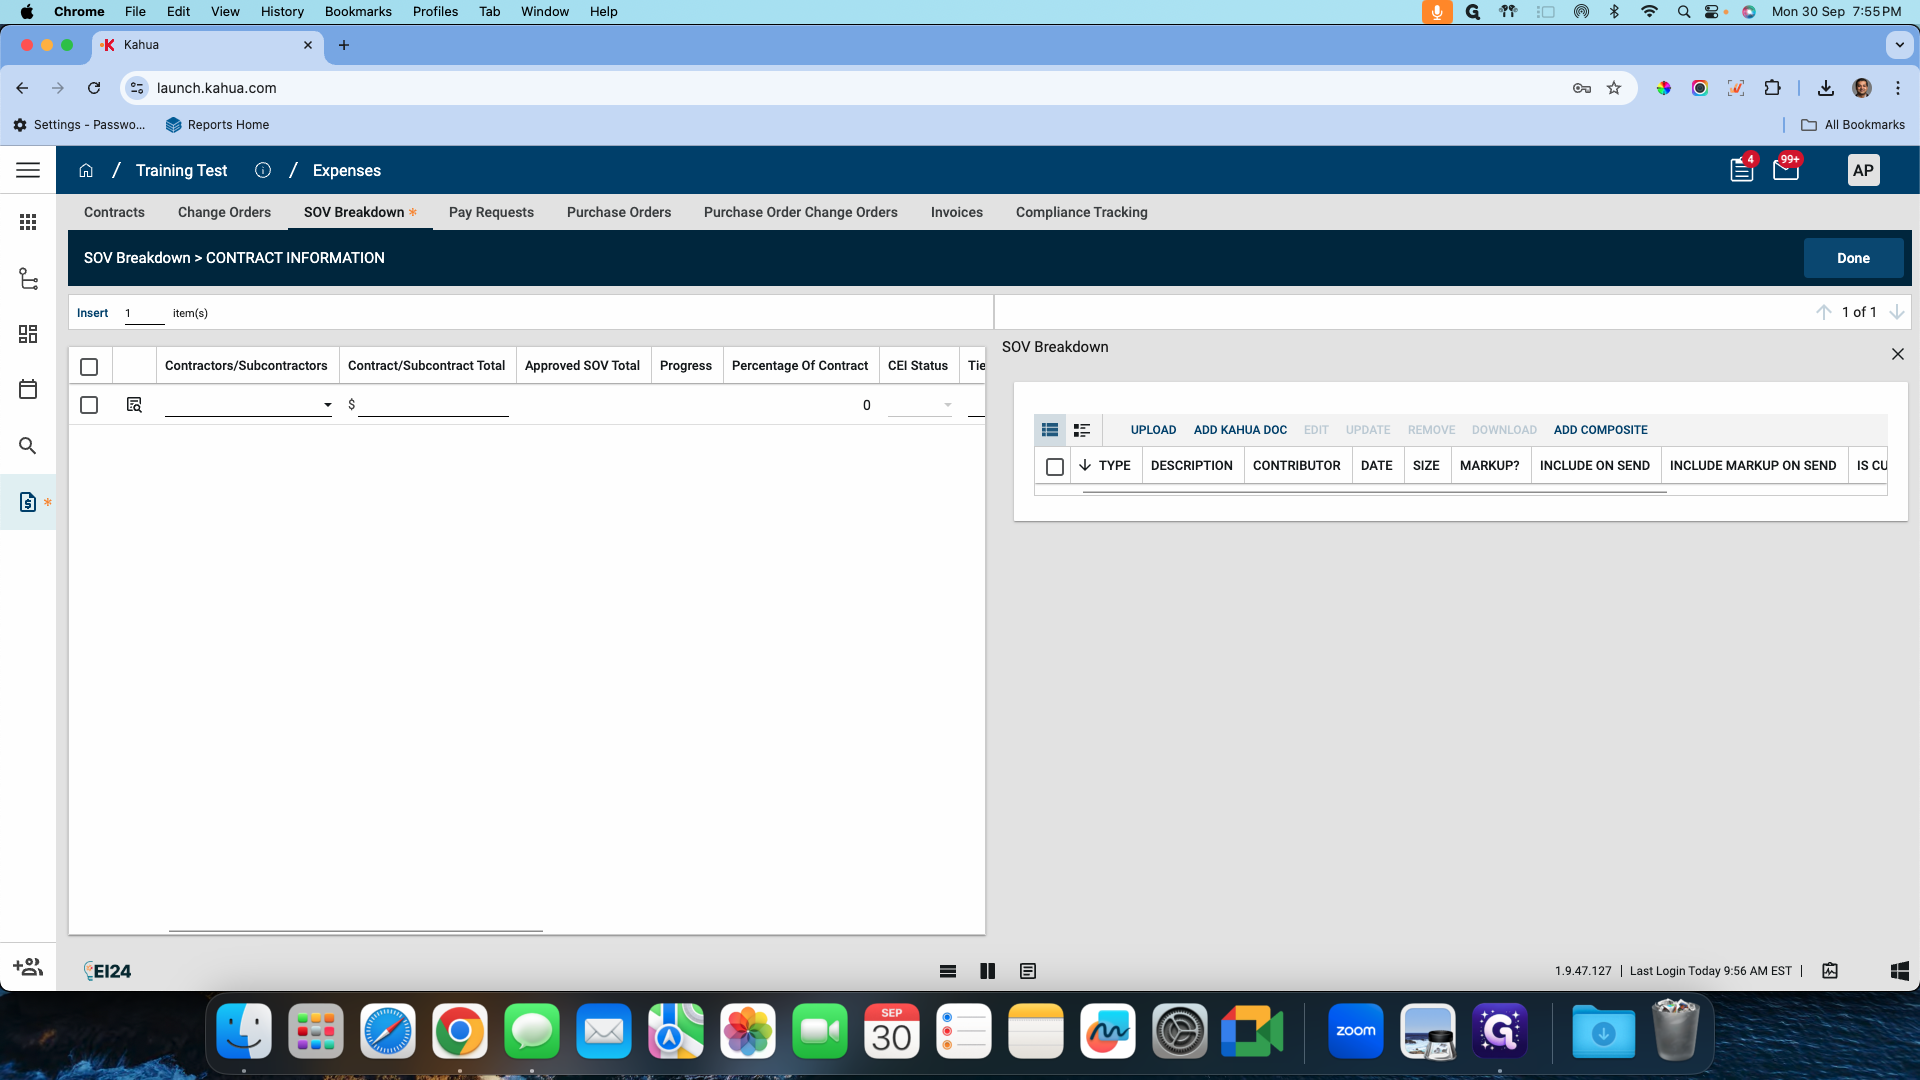
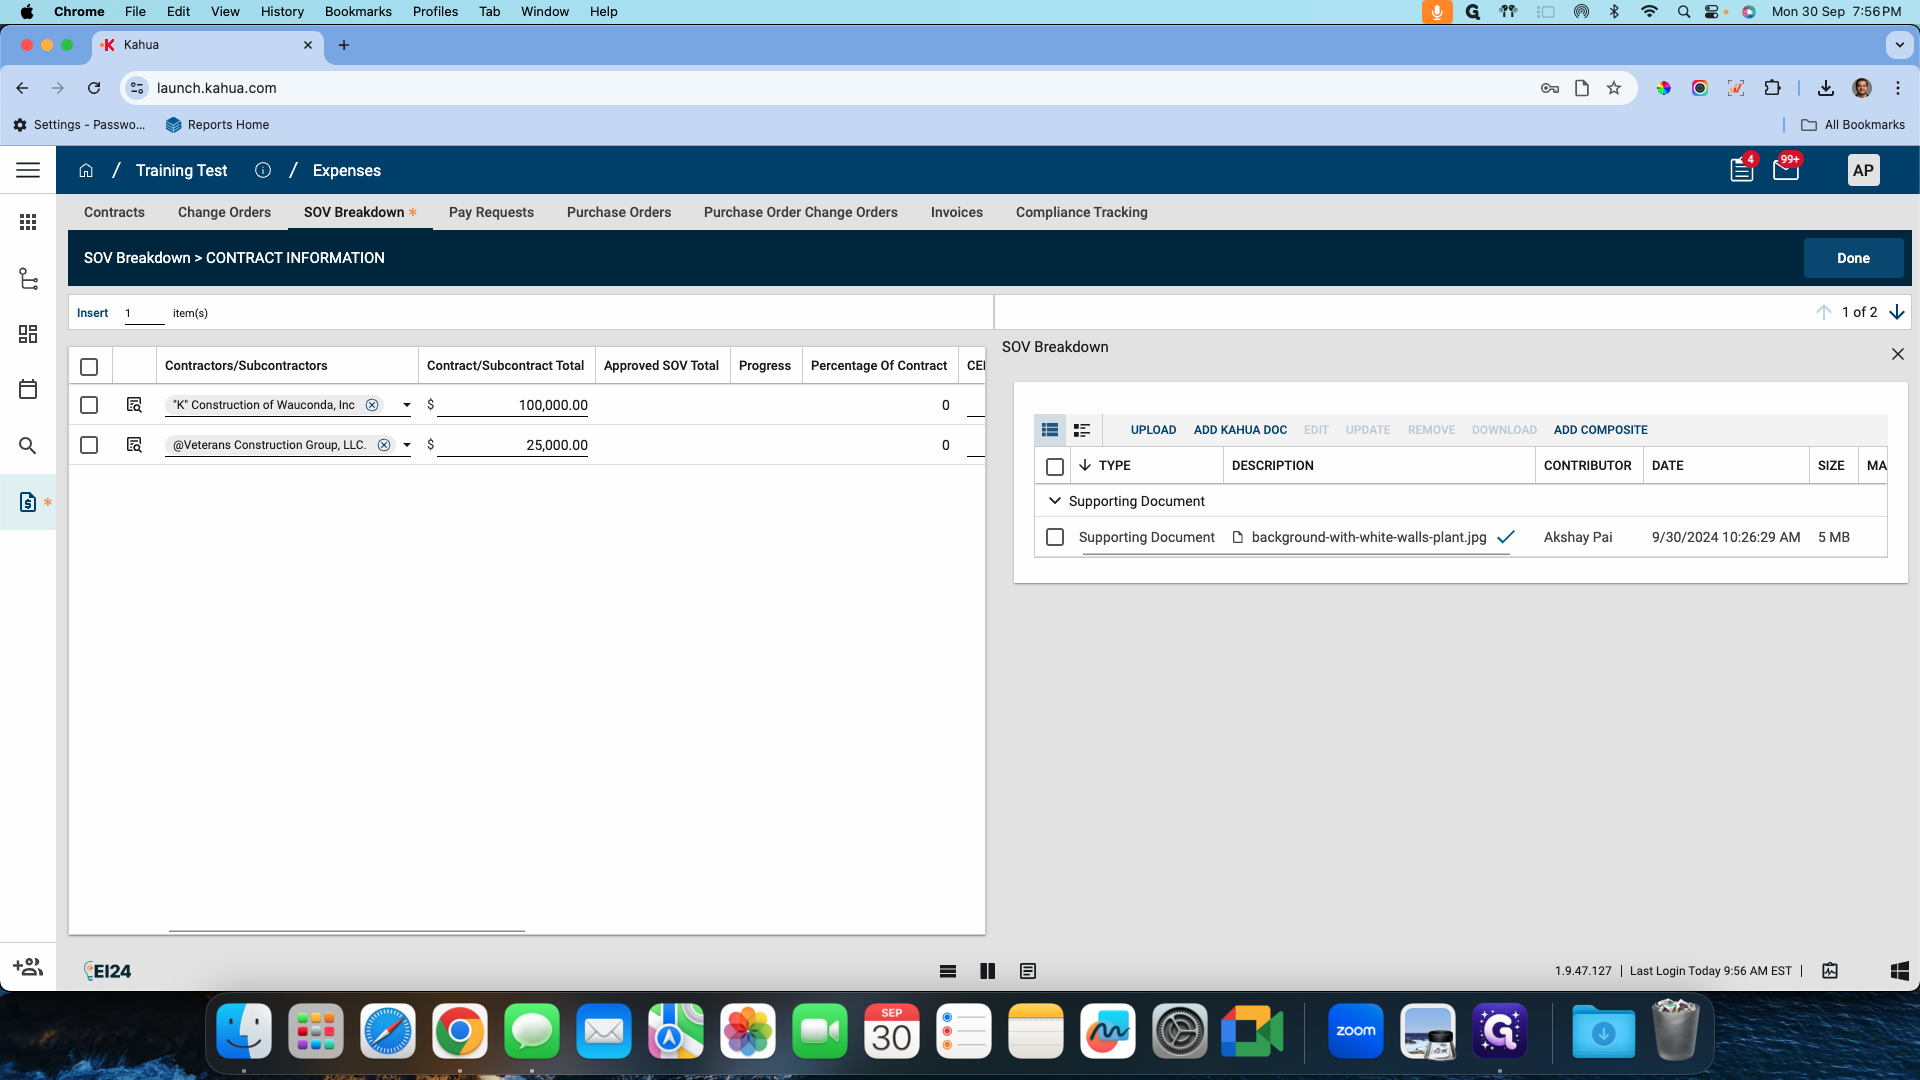
Let me add a couple of documents too.

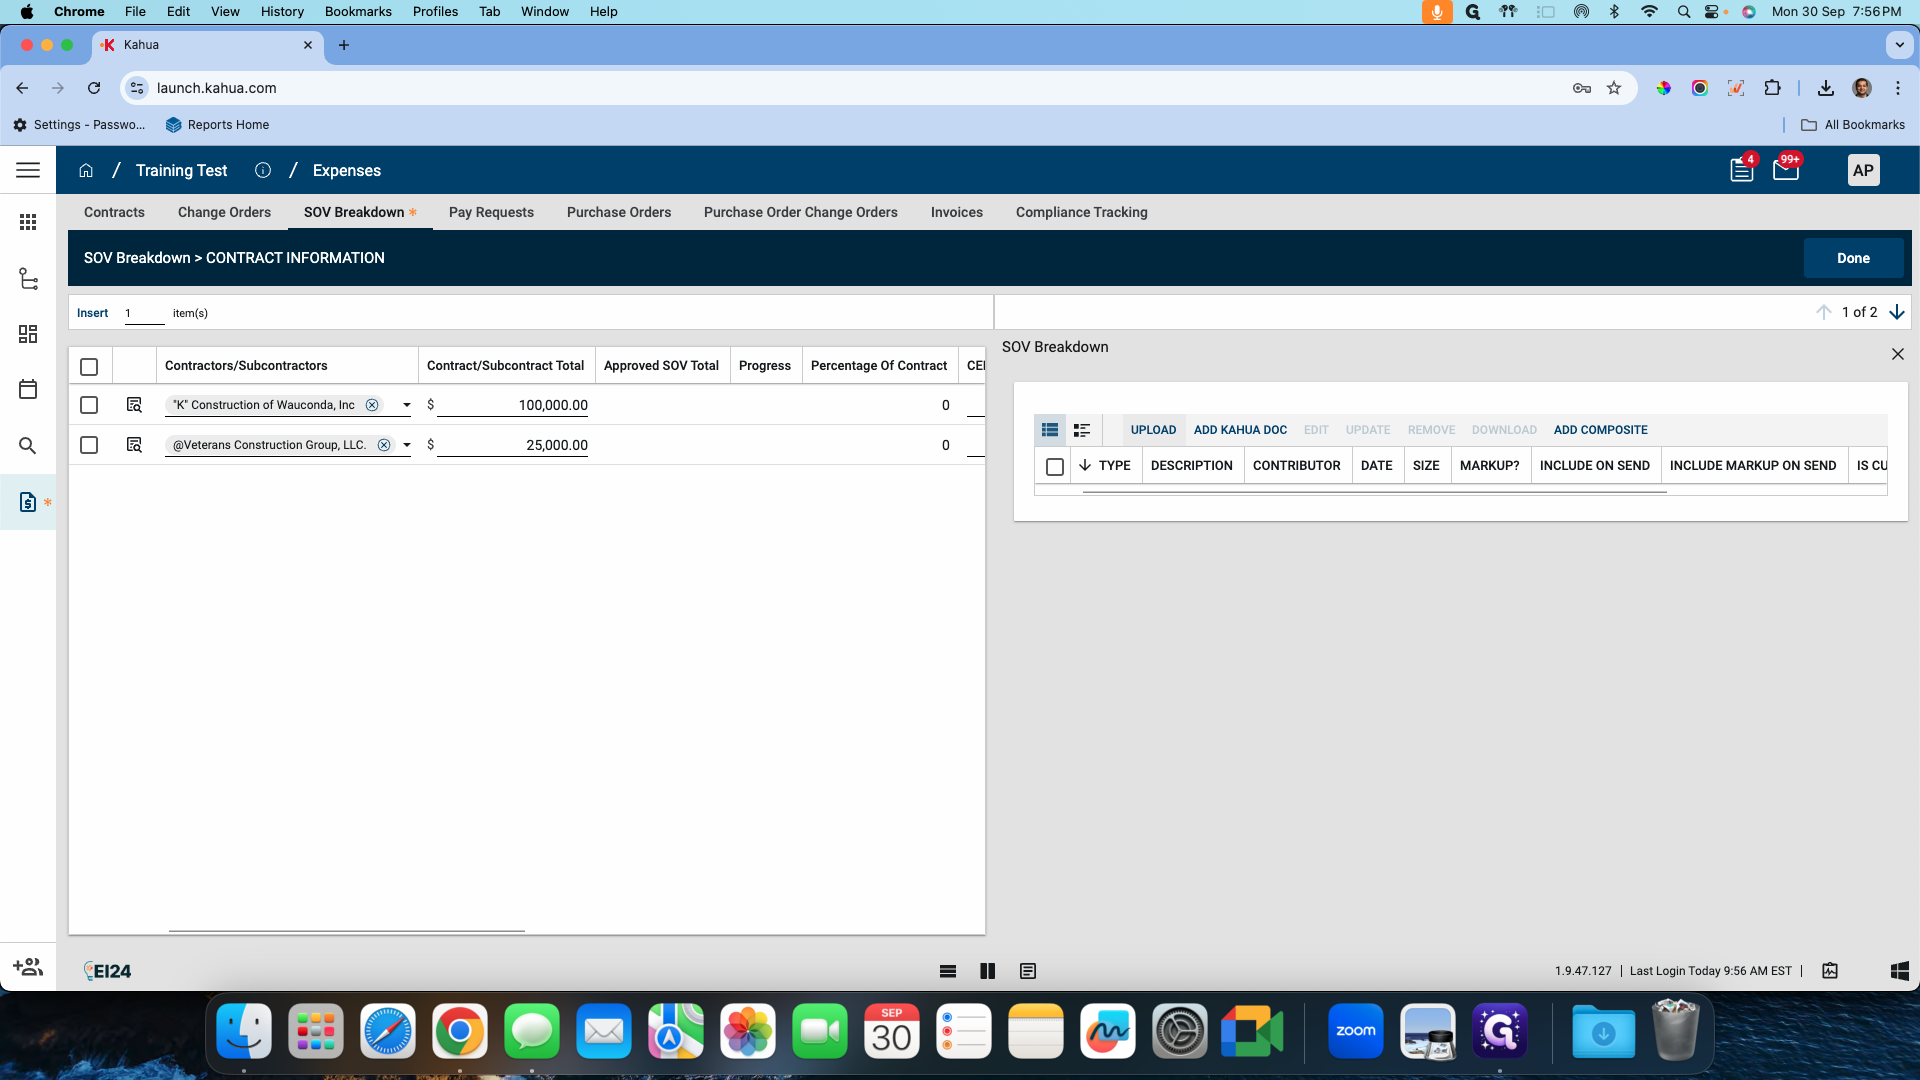
I'll add a simple image as a demo for now.
Hold on, click "Done." You can see the reference count automatically populating.

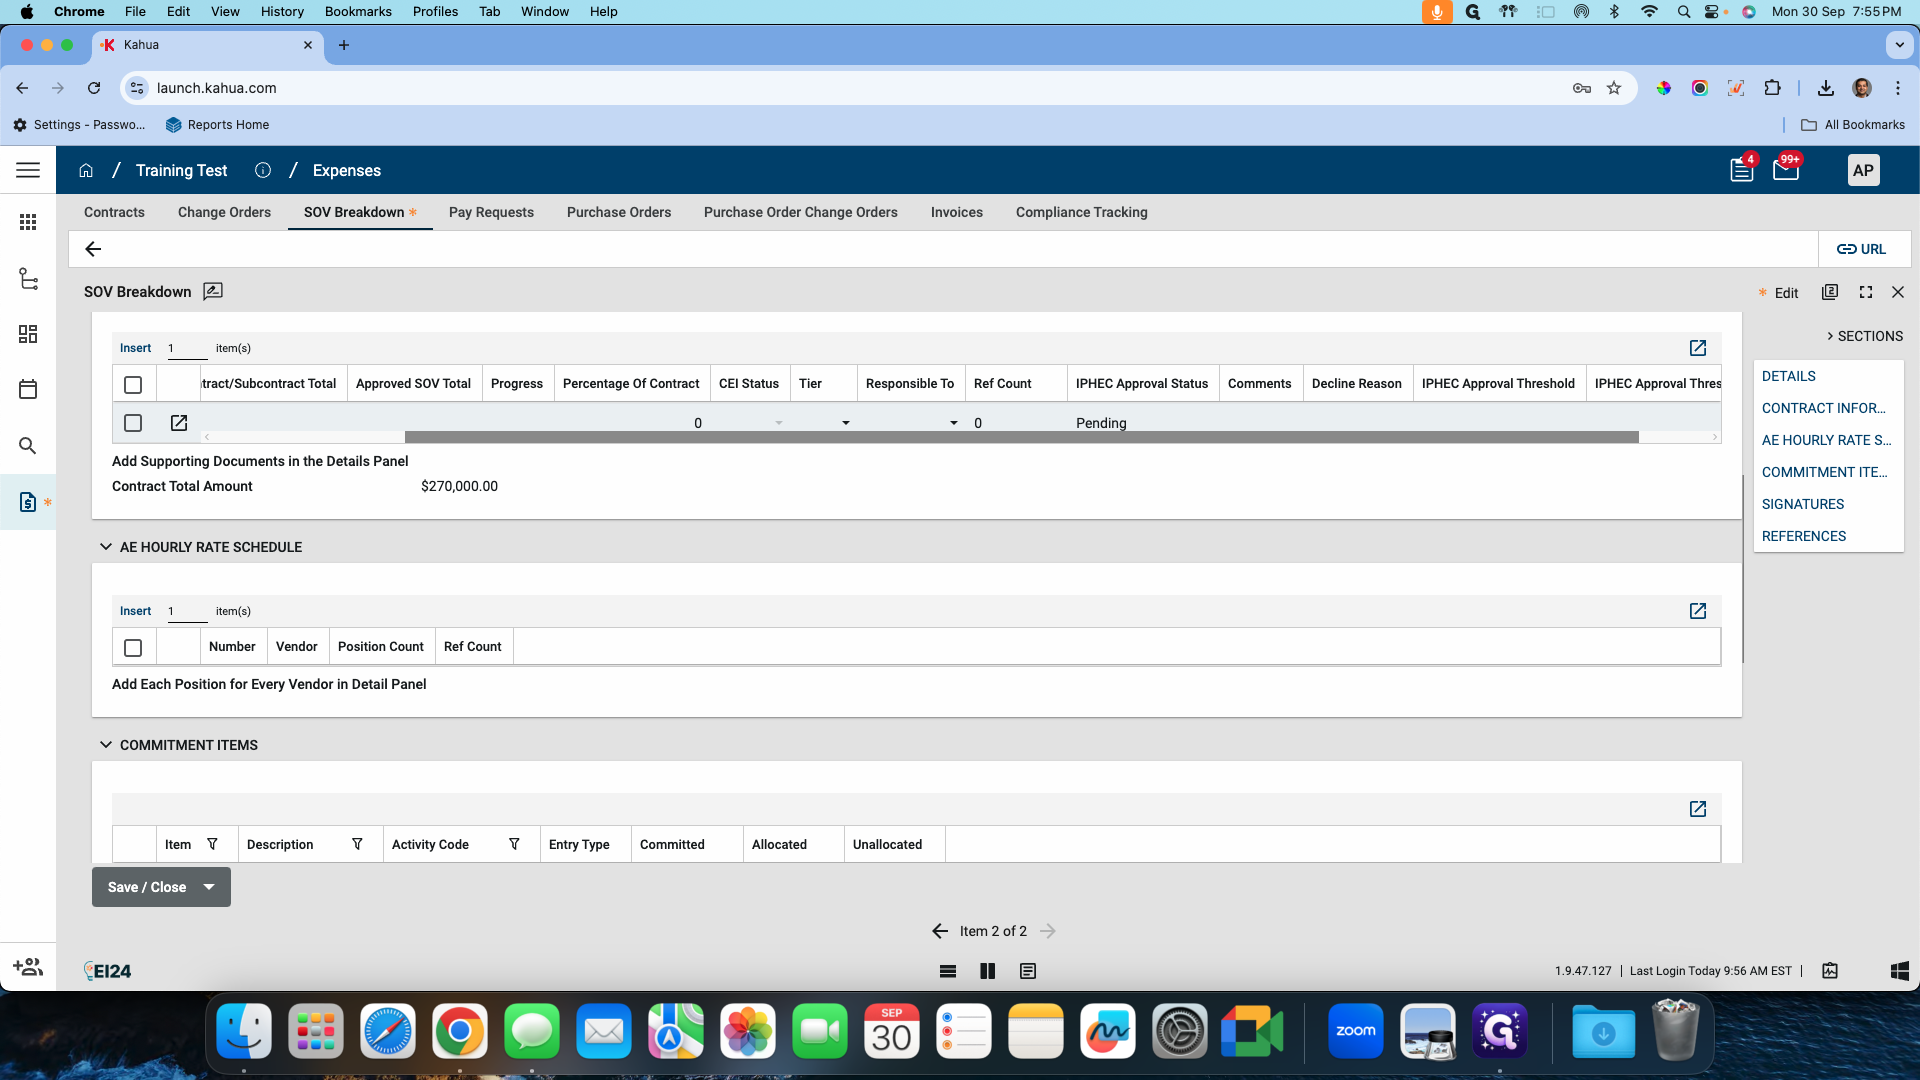
The IPHEC approval status and thresholds are unique to the University of Illinois. If needed, we can create threshold approvals. This means that if a certain threshold is met, approval must be sought again.

Let's say, for example, you have two thresholds: $50,000 and $100,000. When they are below $50,000, they do not need approval. The moment they hit $50,000, they go through one level of approval.


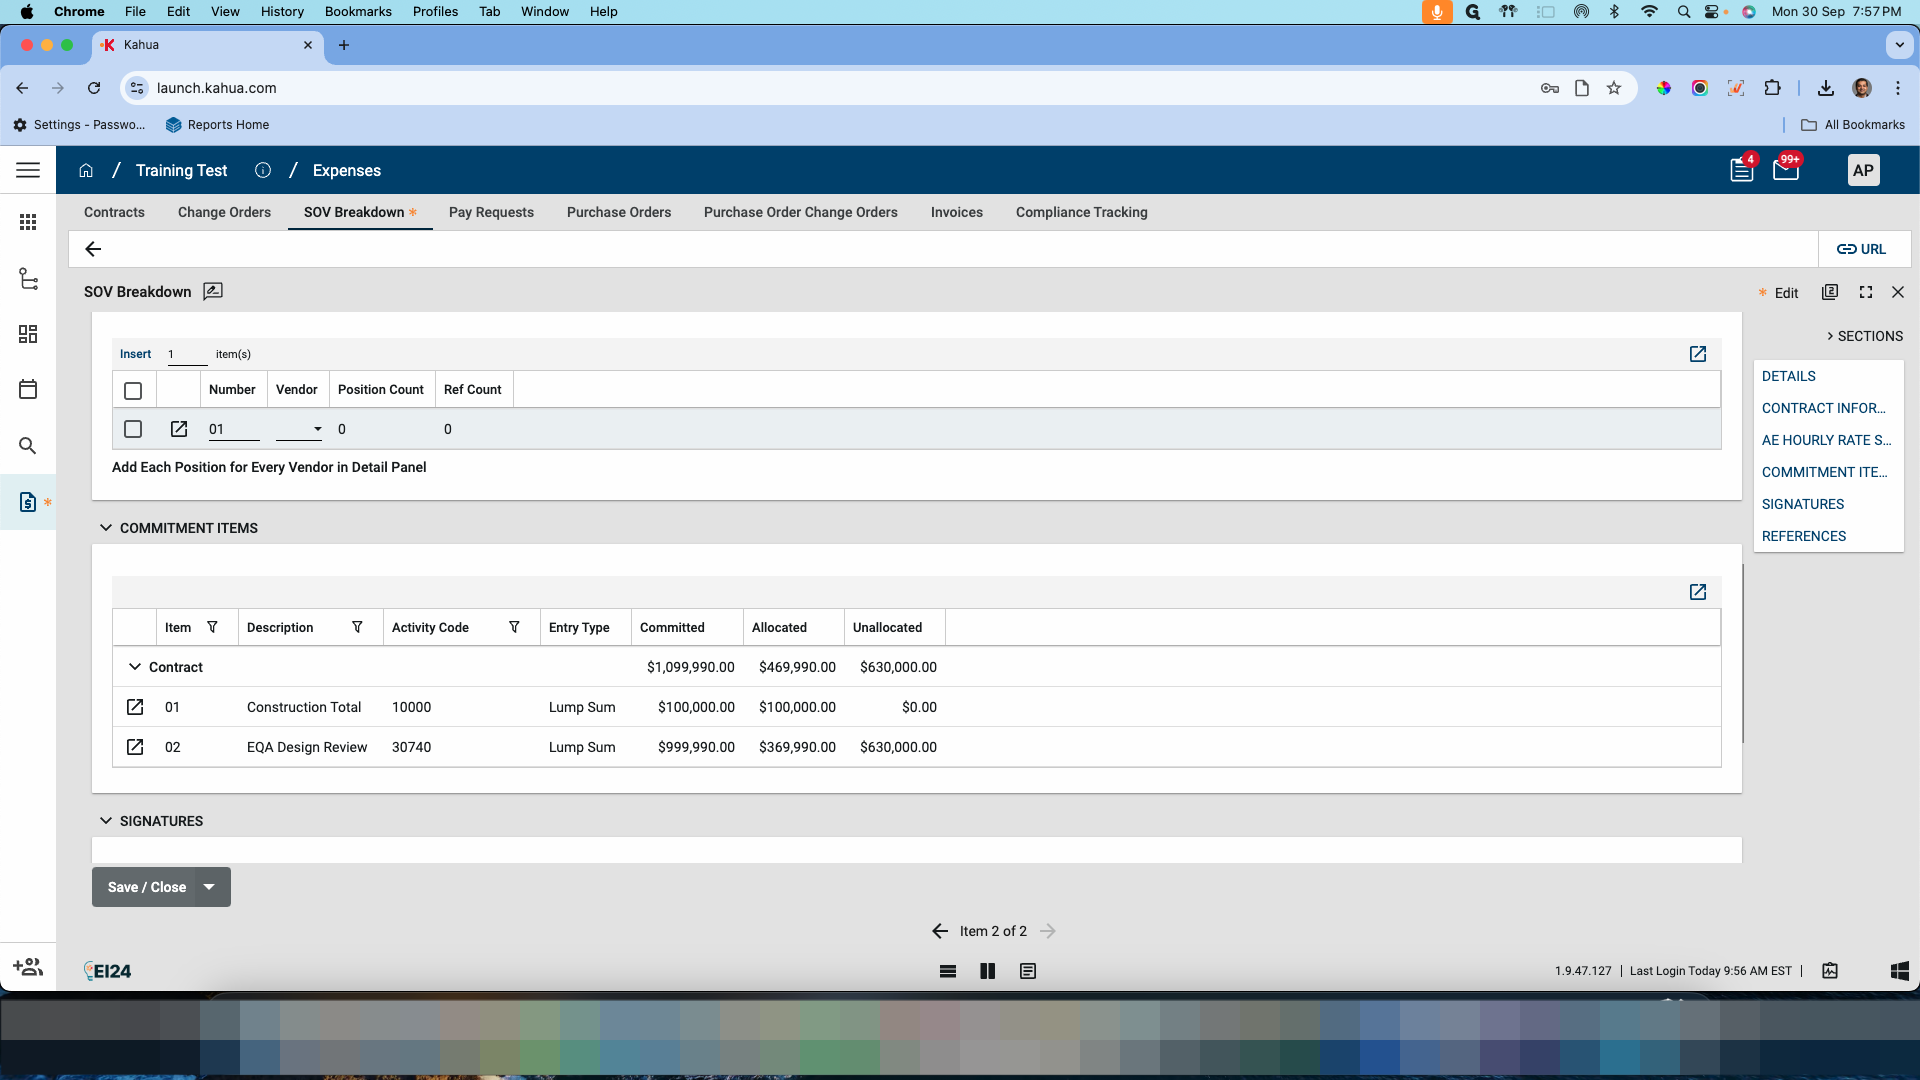
When they reach $100,000, they need a second level of approval. This requires more documents and repeating the entire process. For the hourly rate, since I've taken a PSC contract, I can add vendors and hourly rates as needed.

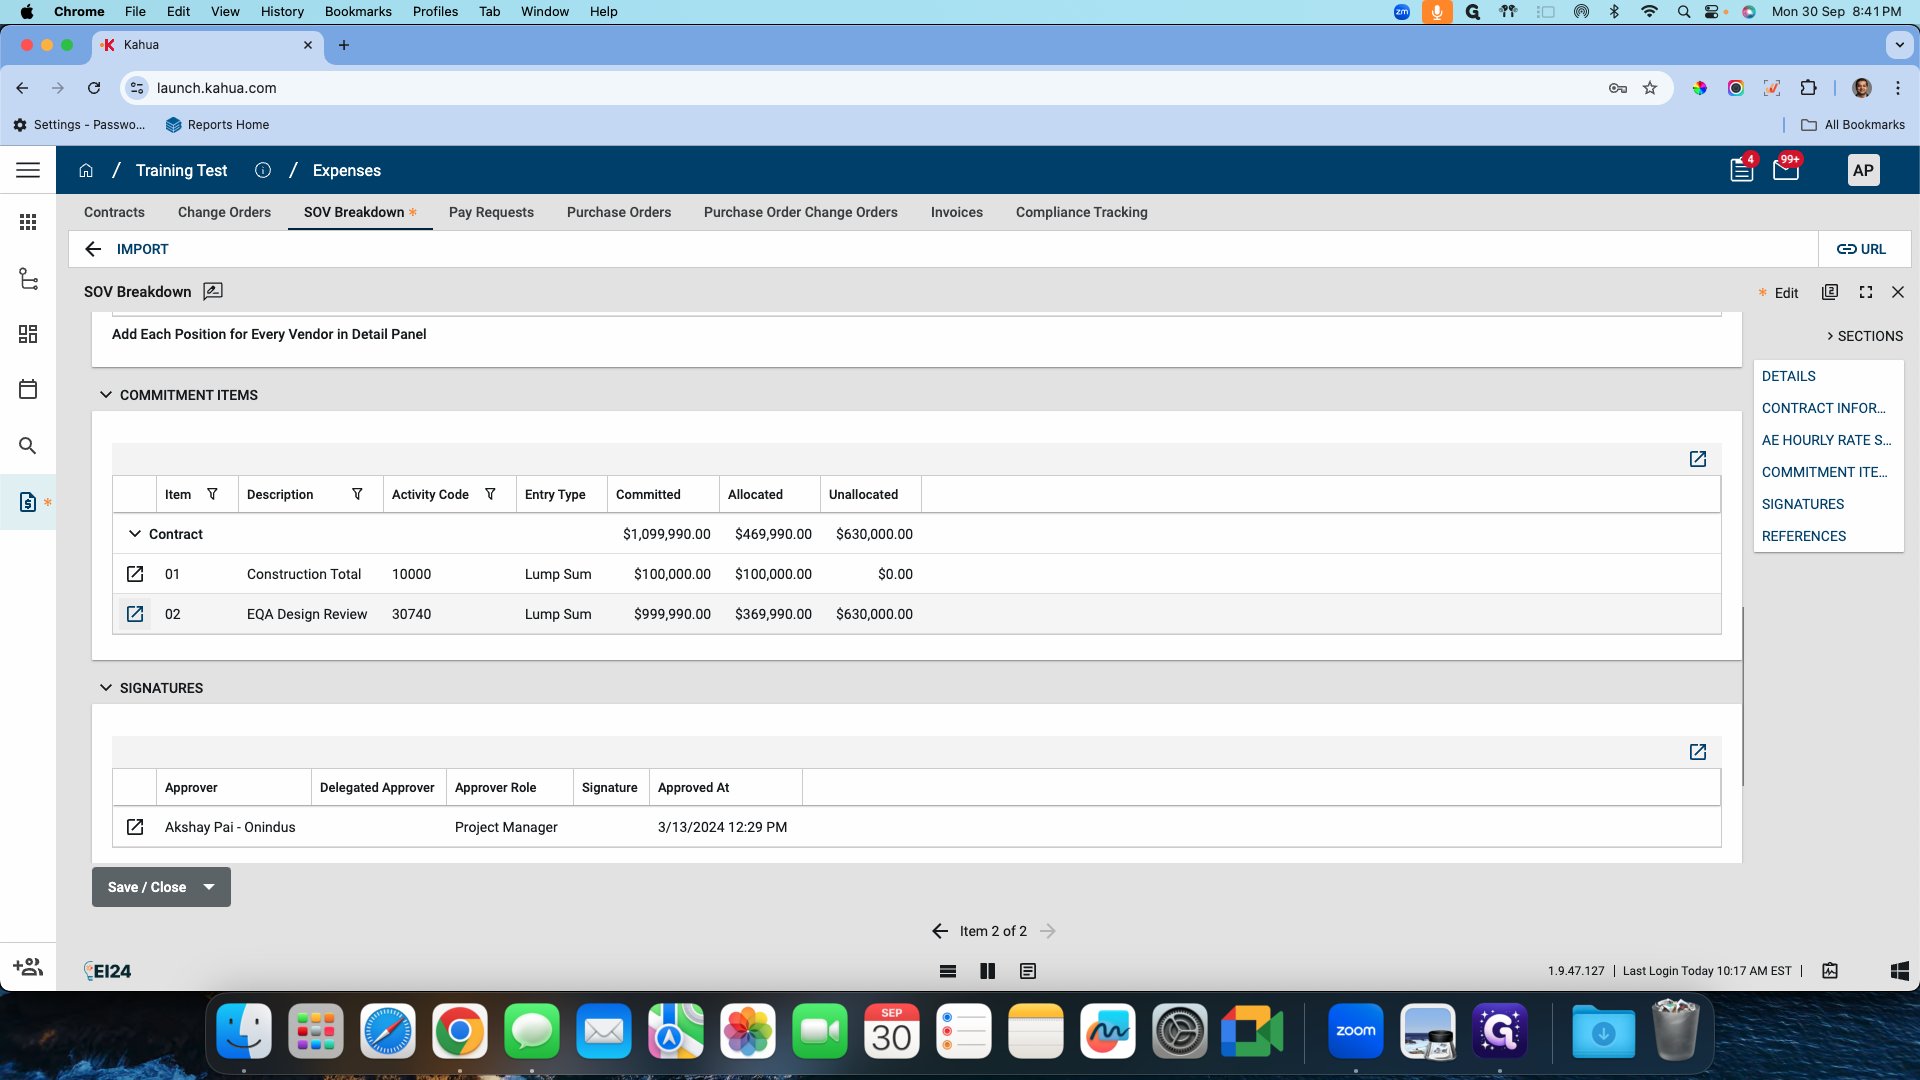
This is unique to the PSC contract for the University of Illinois and is not part of the MB&DB customization. Now, I'm going to save and close this.
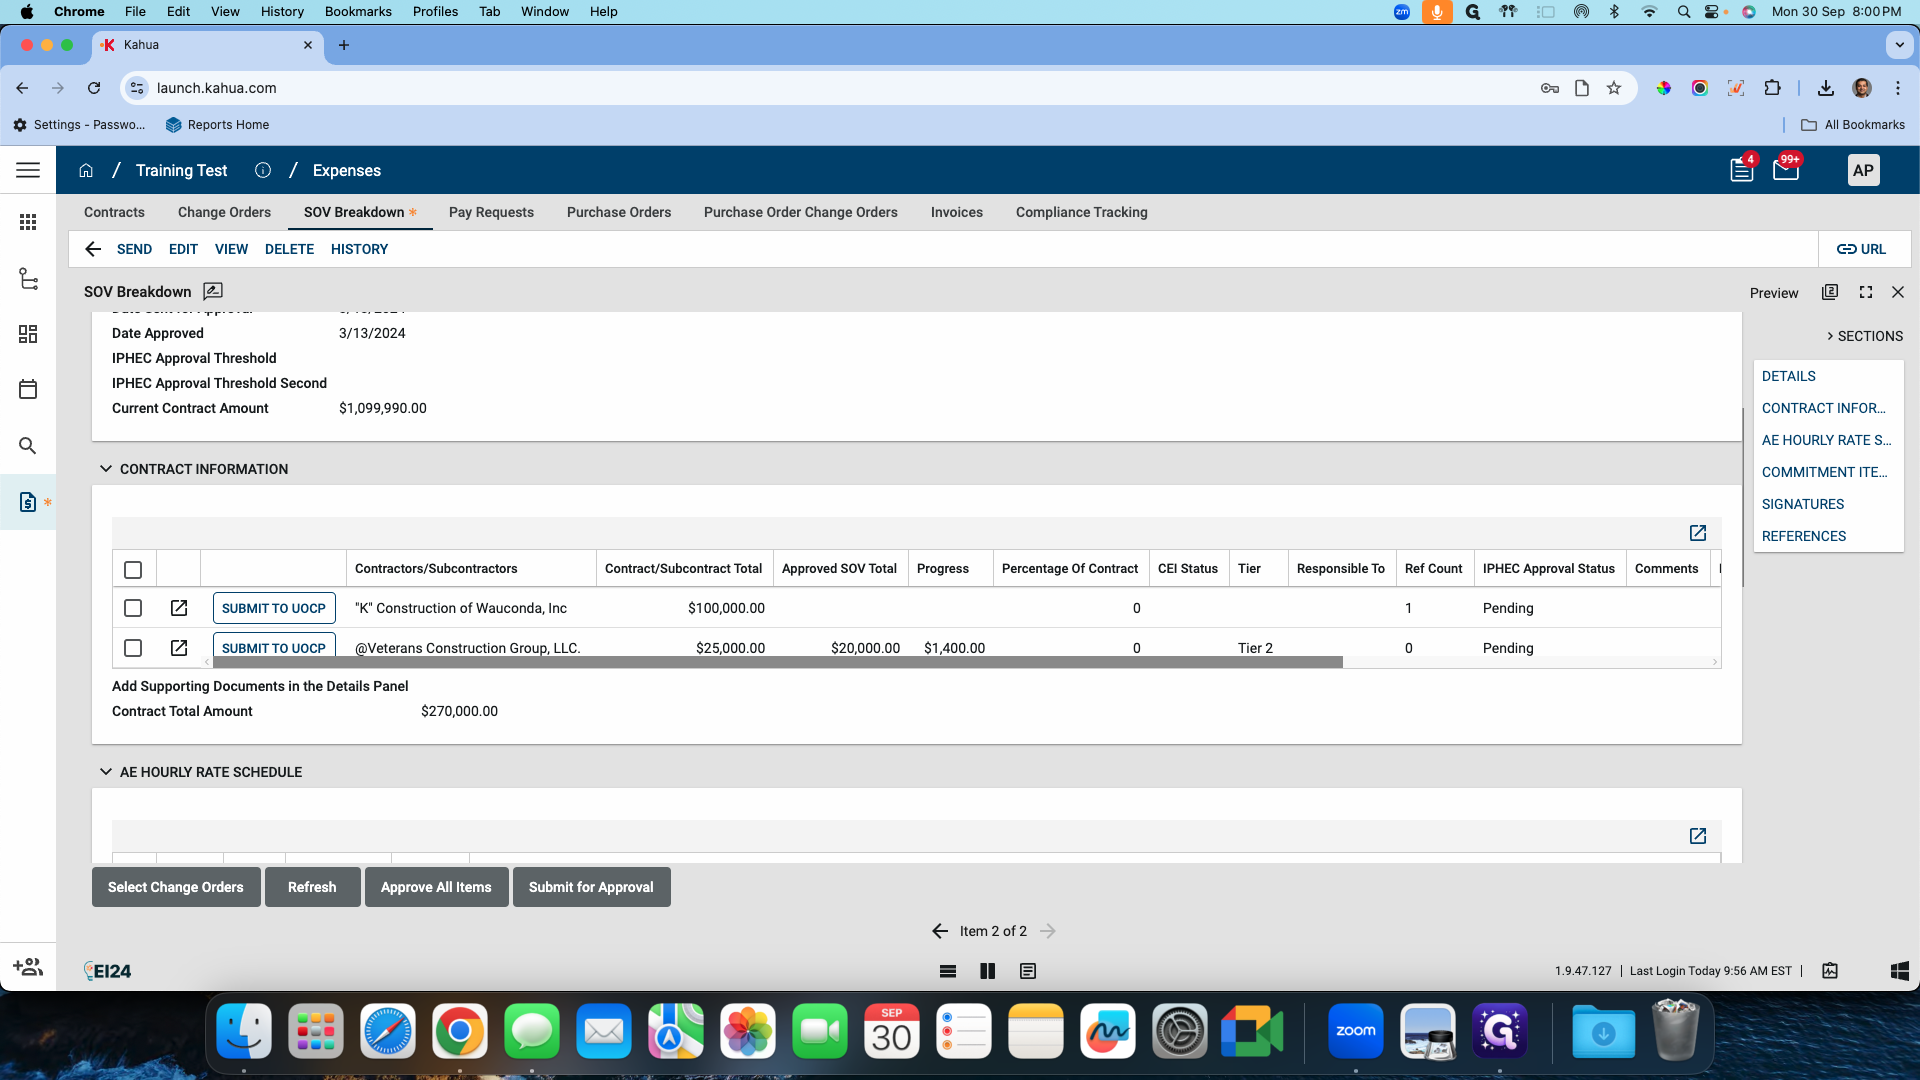
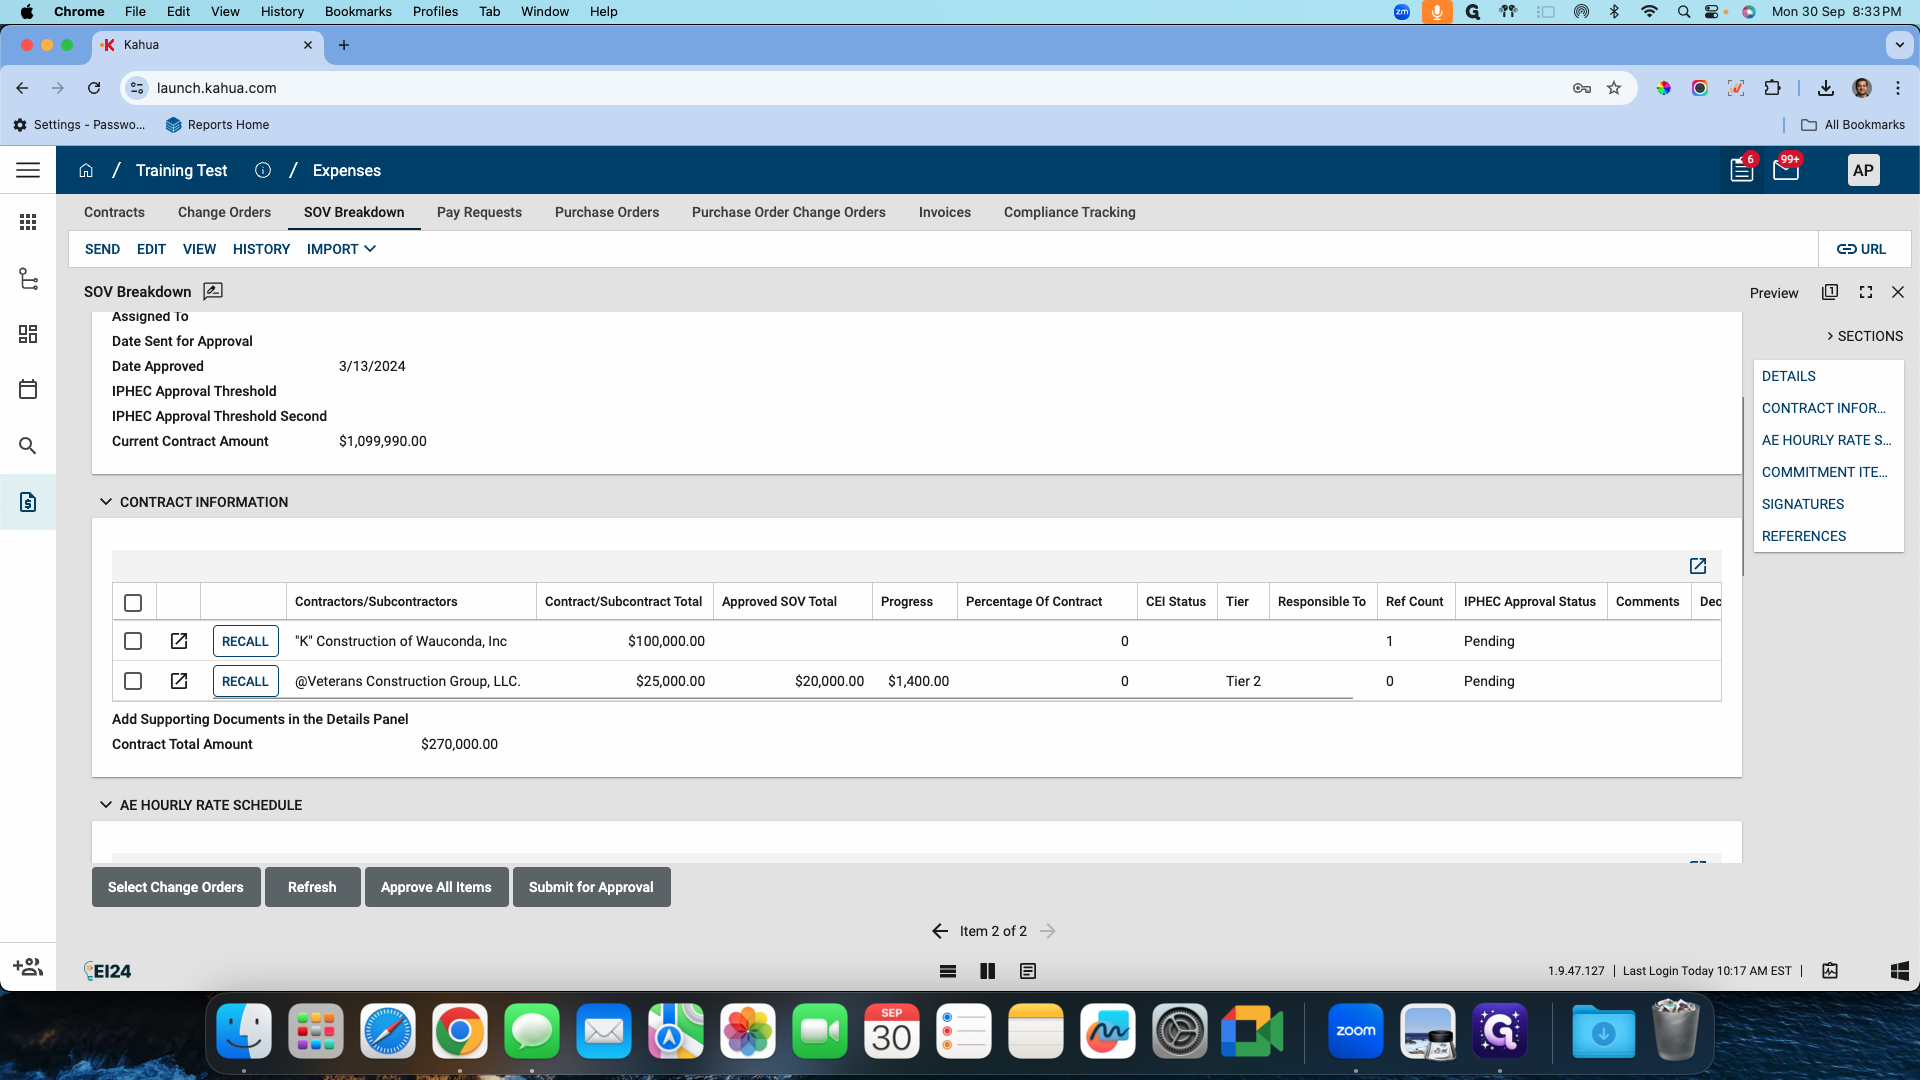
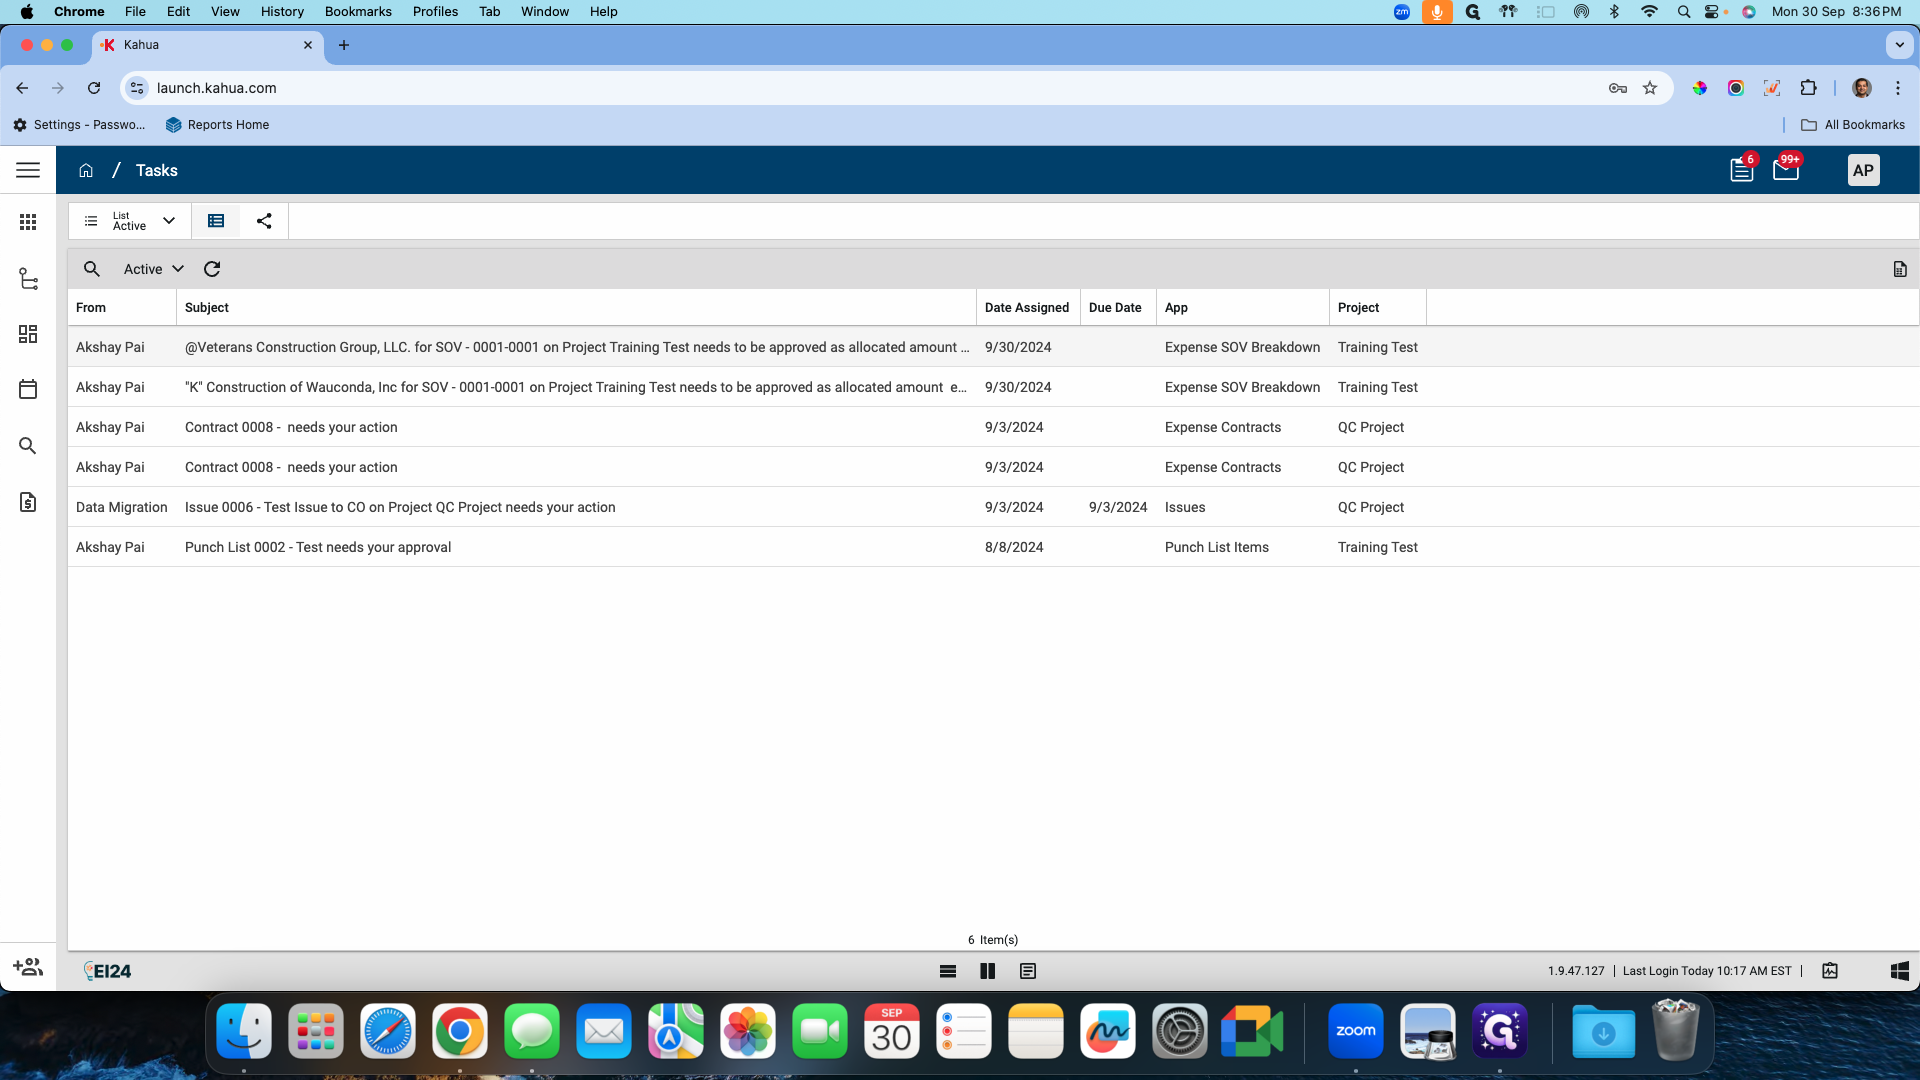
When I save the record, I have the option to submit it to the approving authority. In this case, it's UOCP for the University of Illinois. When these are sent to UOCP or the required designee, they receive a record like a normal Kahua task with all the documents and details provided. This allows them to approve the vendor. I will now submit both records individually. After clicking the submit button, it is sent as a task. Since I saved the record, I have the necessary buttons available.
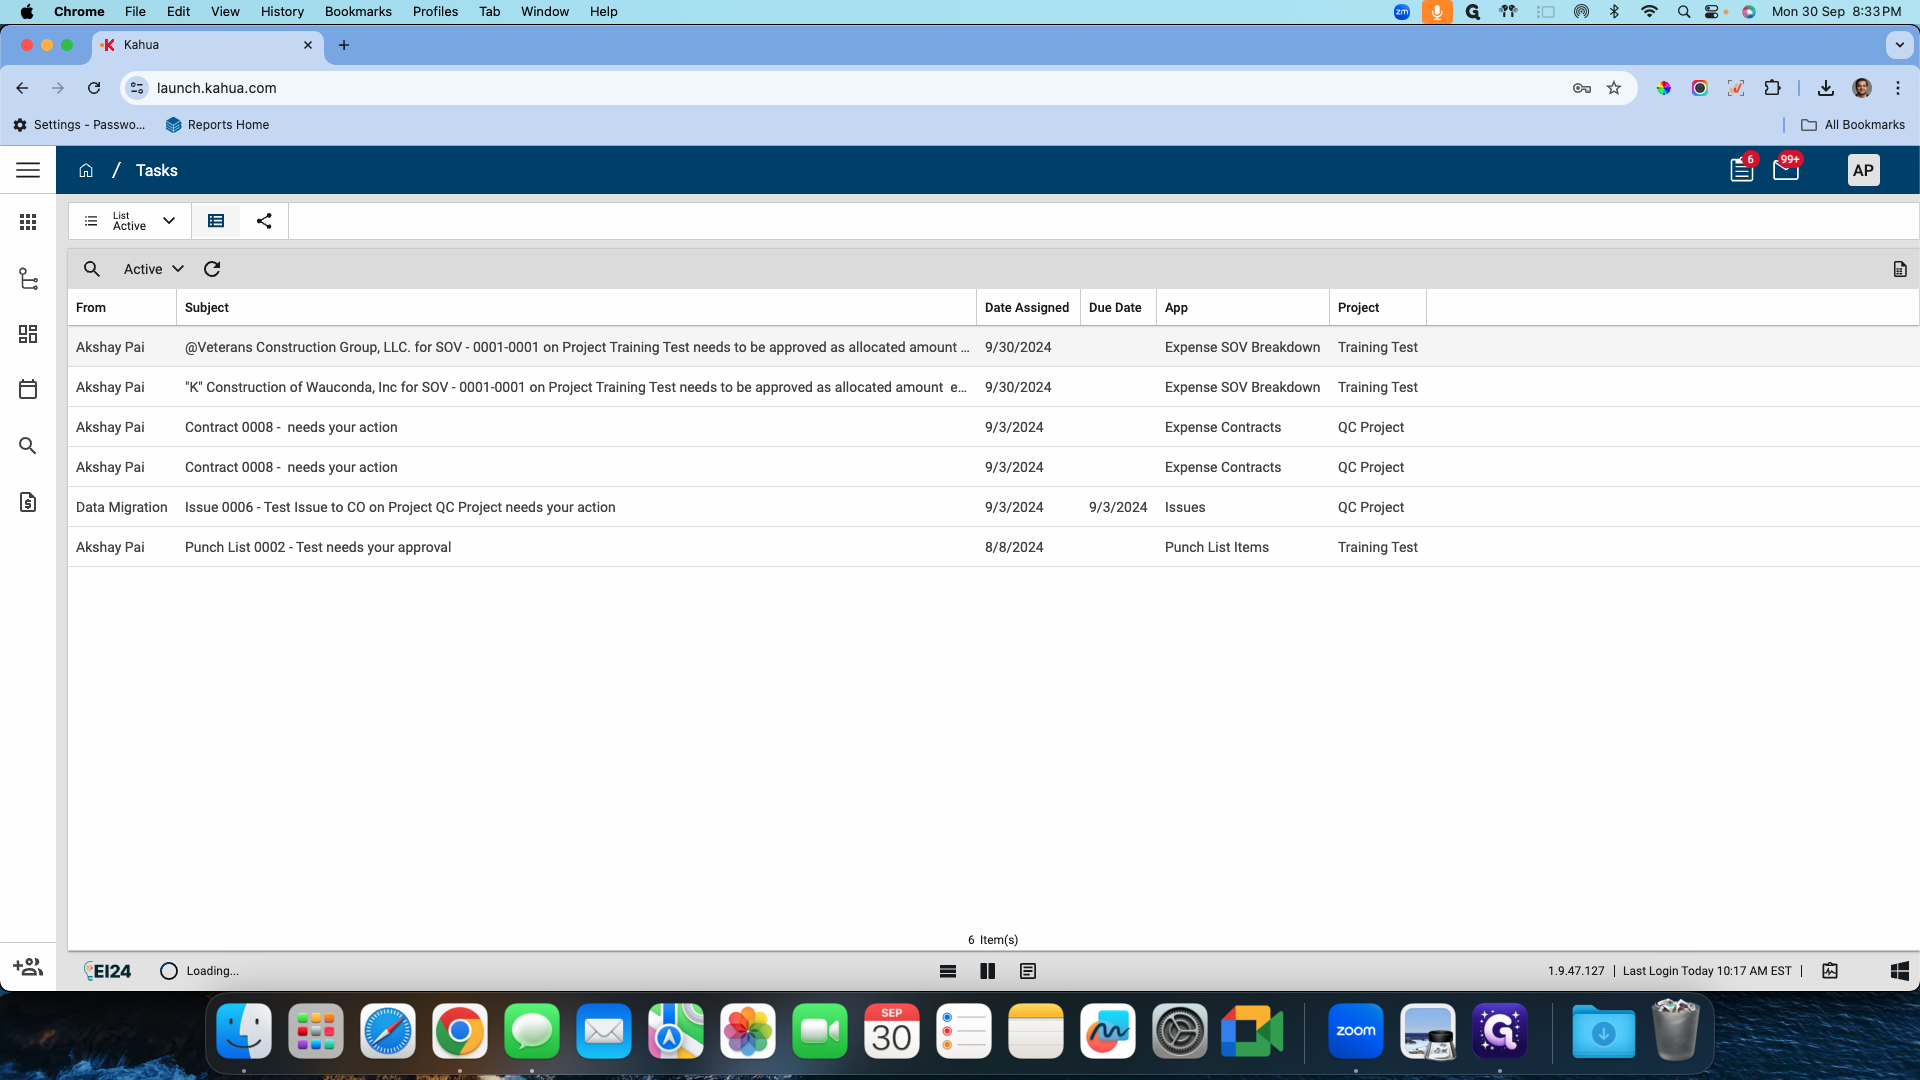
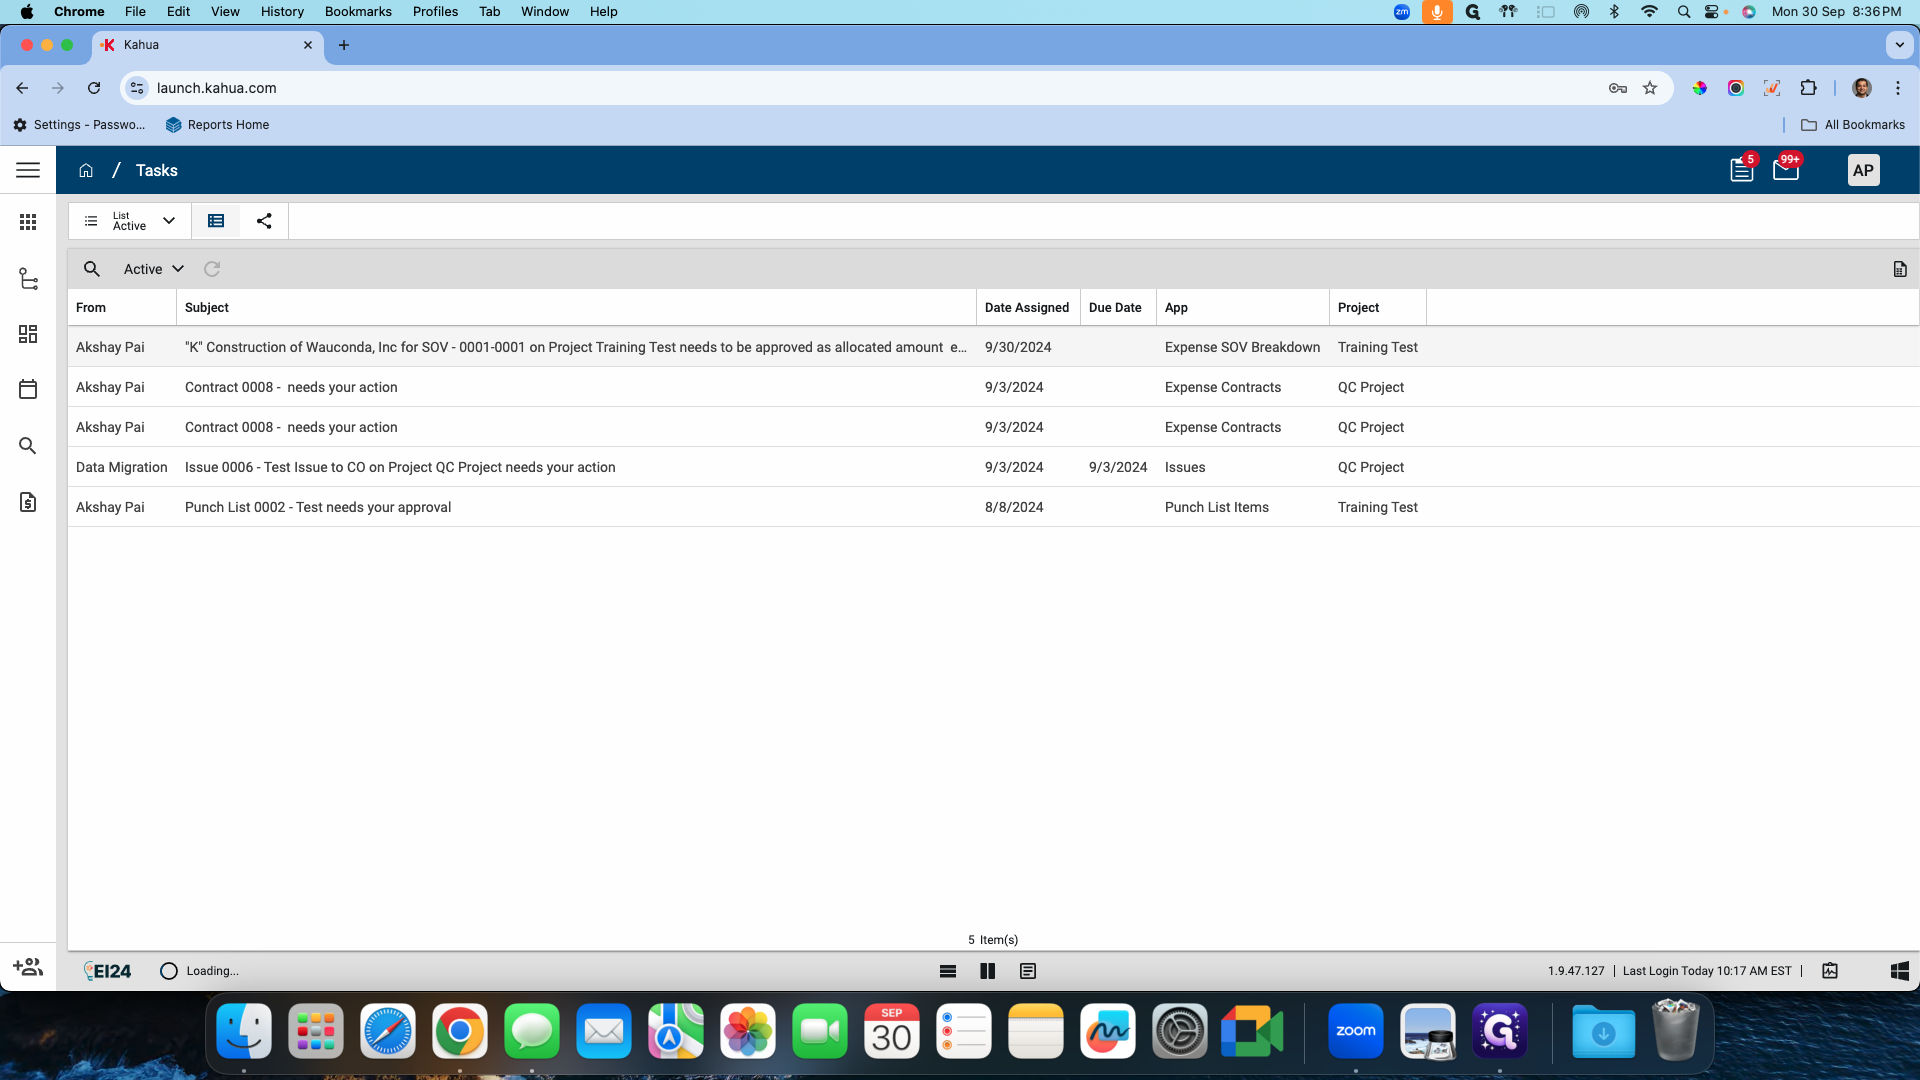
I'm currently an admin, so I have the approval items. A normal user will only have options to select change orders, refresh, and submit for approval. All of this is part of the SOV customization. These two tasks have also been sent to me since I'm playing the role of everyone here. You can load up one of these tasks. As you can see, I have all the details of the SOV as they've been entered.
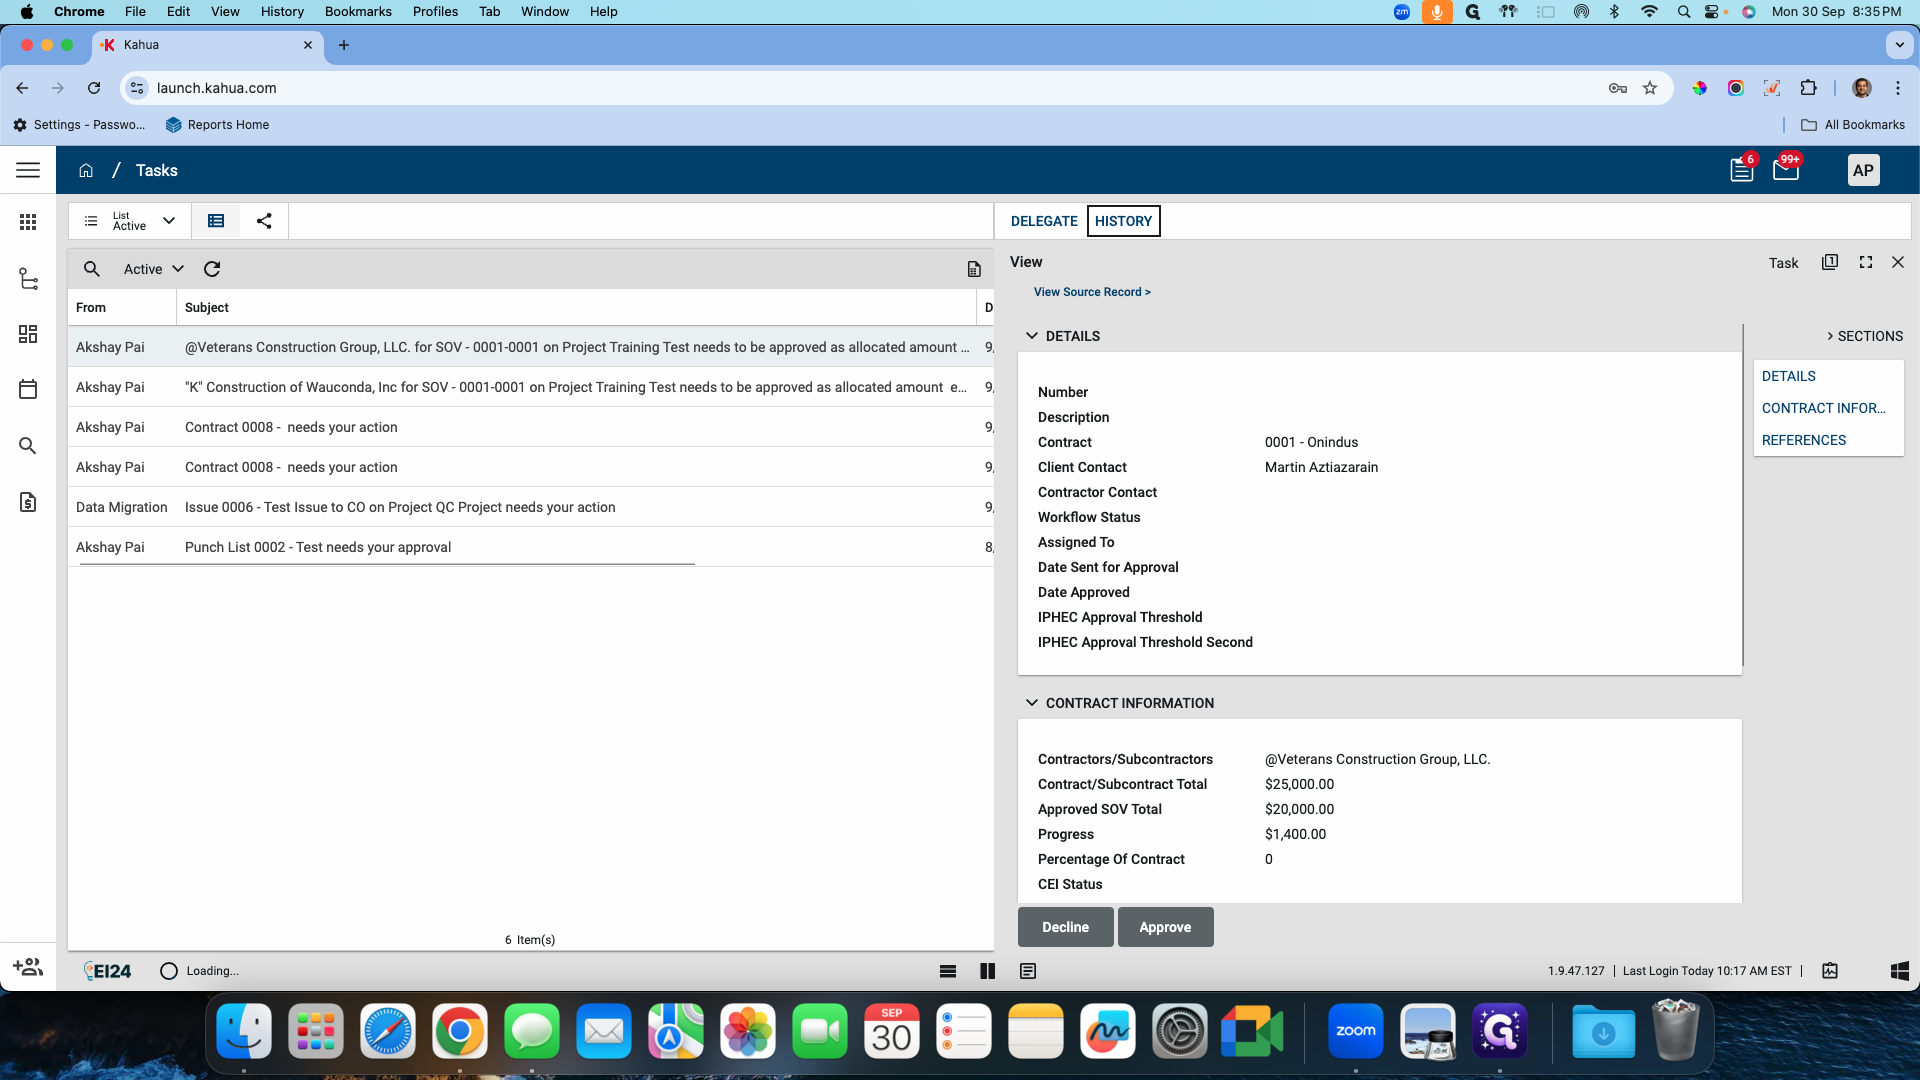
I will reopen this one. I have all the details of the data entered in the grid. I will approve this. I will also click on the second one. For this particular record, we uploaded a document, and it shows up here. I can look at this document if needed.
I'm going to approve this vendor as well. Now that both vendors are approved, I'll return to my SOV record. In our SOV record, we can see these two are approved. The button is no longer here, and it says "accepted." I'll go to one of these line items.
Now that I've approved these vendors, I have the option to add them here as well.

As you can see, I only have two vendor options because these are the only two approved vendors. I will select one of these and click on "Done" for now. Then, I will save and close. Now, I will go back to my SOV record and select one of these.
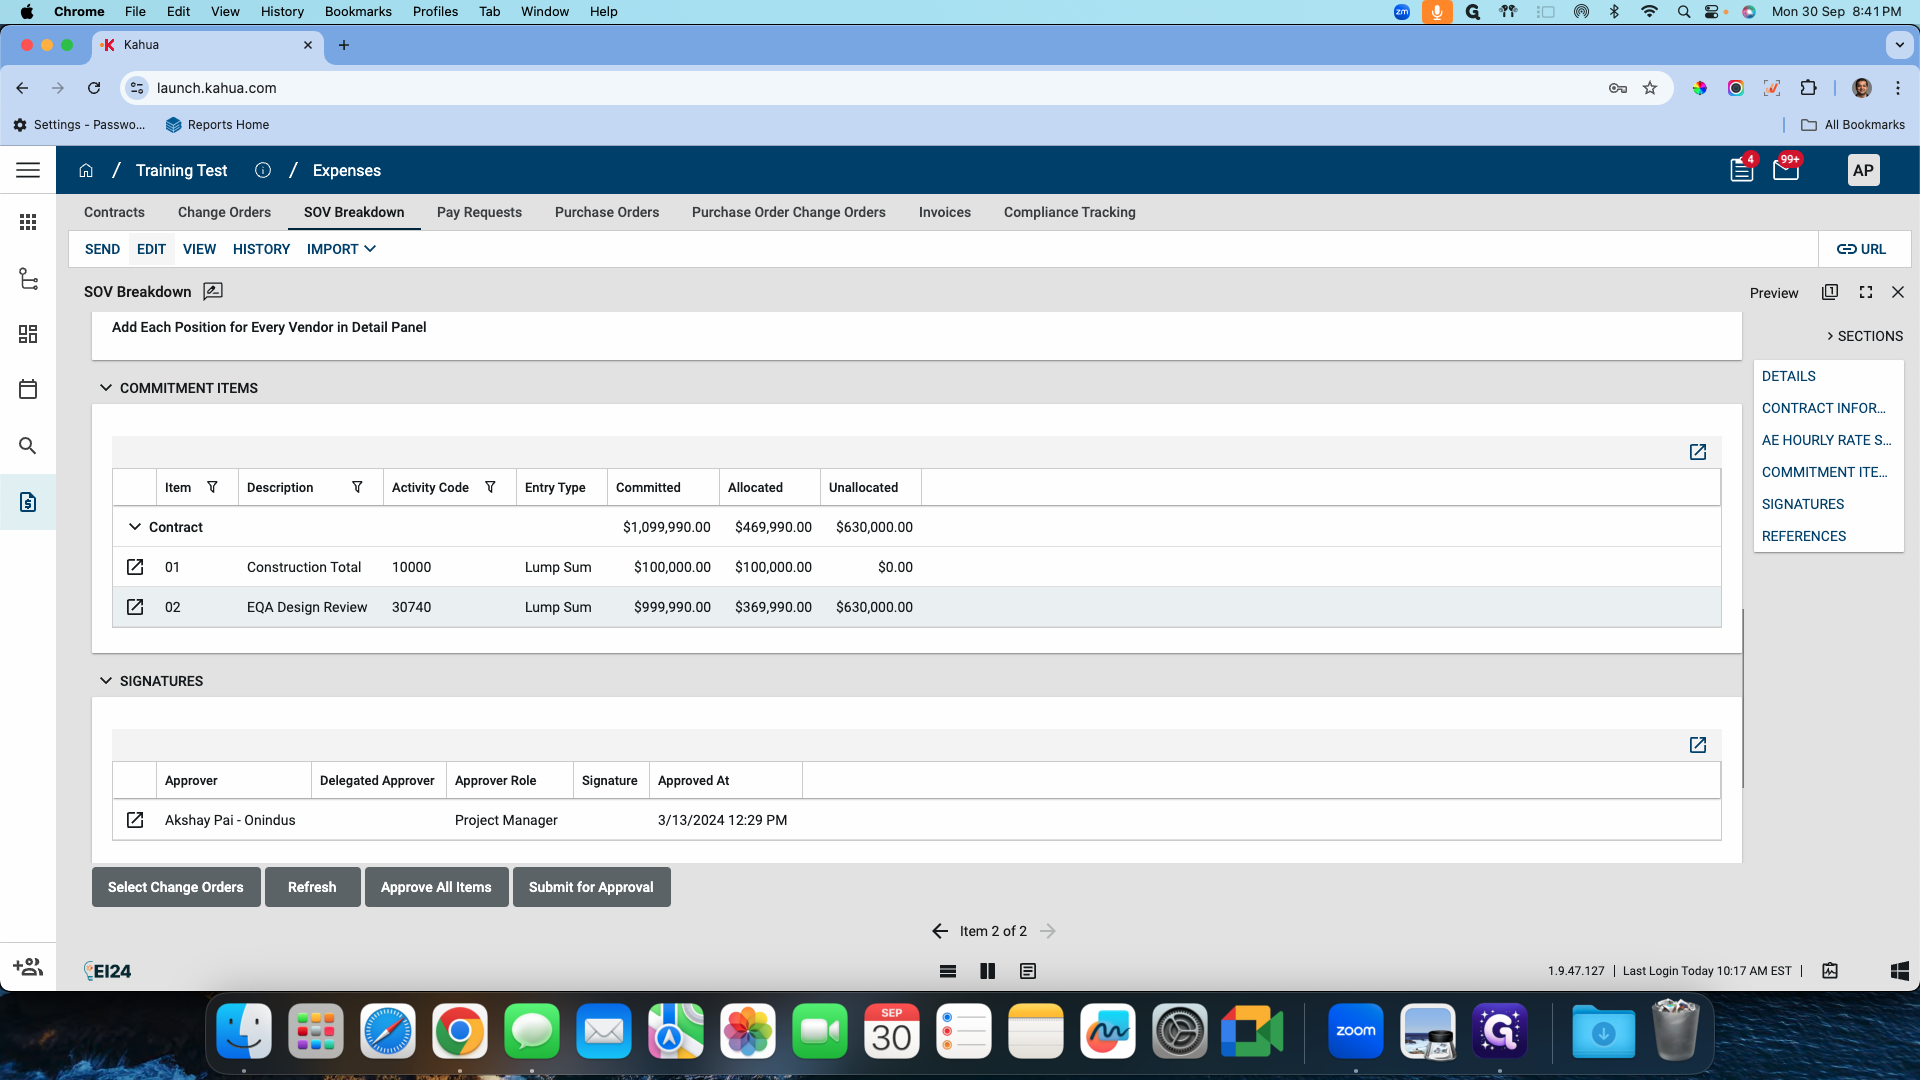
I'm going to click on "Done" for now. I'm going to save and close. As you can see, it's already pulling the approved SOV values. Since I have a pay request running simultaneously, it's also updating the progress and the percentage of the contract based on the approved SOV value and the original contract. This is how the customization works. To summarize, we first add our vendors and subs, including the primary contractor, the GE, in this particular grid.
These vendors are then sent for approval. Once approved, you can select one of these vendors, including the primary, from the SOV values. As the SOV gets approved, these values are updated retrospectively with every refresh. When a pay request is created, the progress and the percentage of contact are displayed. If I go into my record and scroll down to my line items, it shows the status as approved. This is how a vendor can be approved using our SOV customization. With this, you can handle your MB and DB requirements through the SOV app in Kahua.
Thank you.


As I have a Pay Request setup it also shows up the Progress that is based off the Pay Request which can be either Set to Billed/Set to Paid
