
Step 3 How to Finalize and Print Mail Merge Tags Part 2
Learn how to format merge fields, apply next record rules, and finalize a Mail Merge in Microsoft Word to generate printable student car tags.
This guide explains how to format and finalize a Microsoft Word Mail Merge for printing student car tags. By completing these steps, you will ensure tags are correctly sized, visually uniform, and accurately populated for every student.
This process is intended for school administrators or front office staff responsible for managing student pickup logistics and materials at the beginning of a term.
Format Merge Fields
«Car_Rider_» merge field within the document table.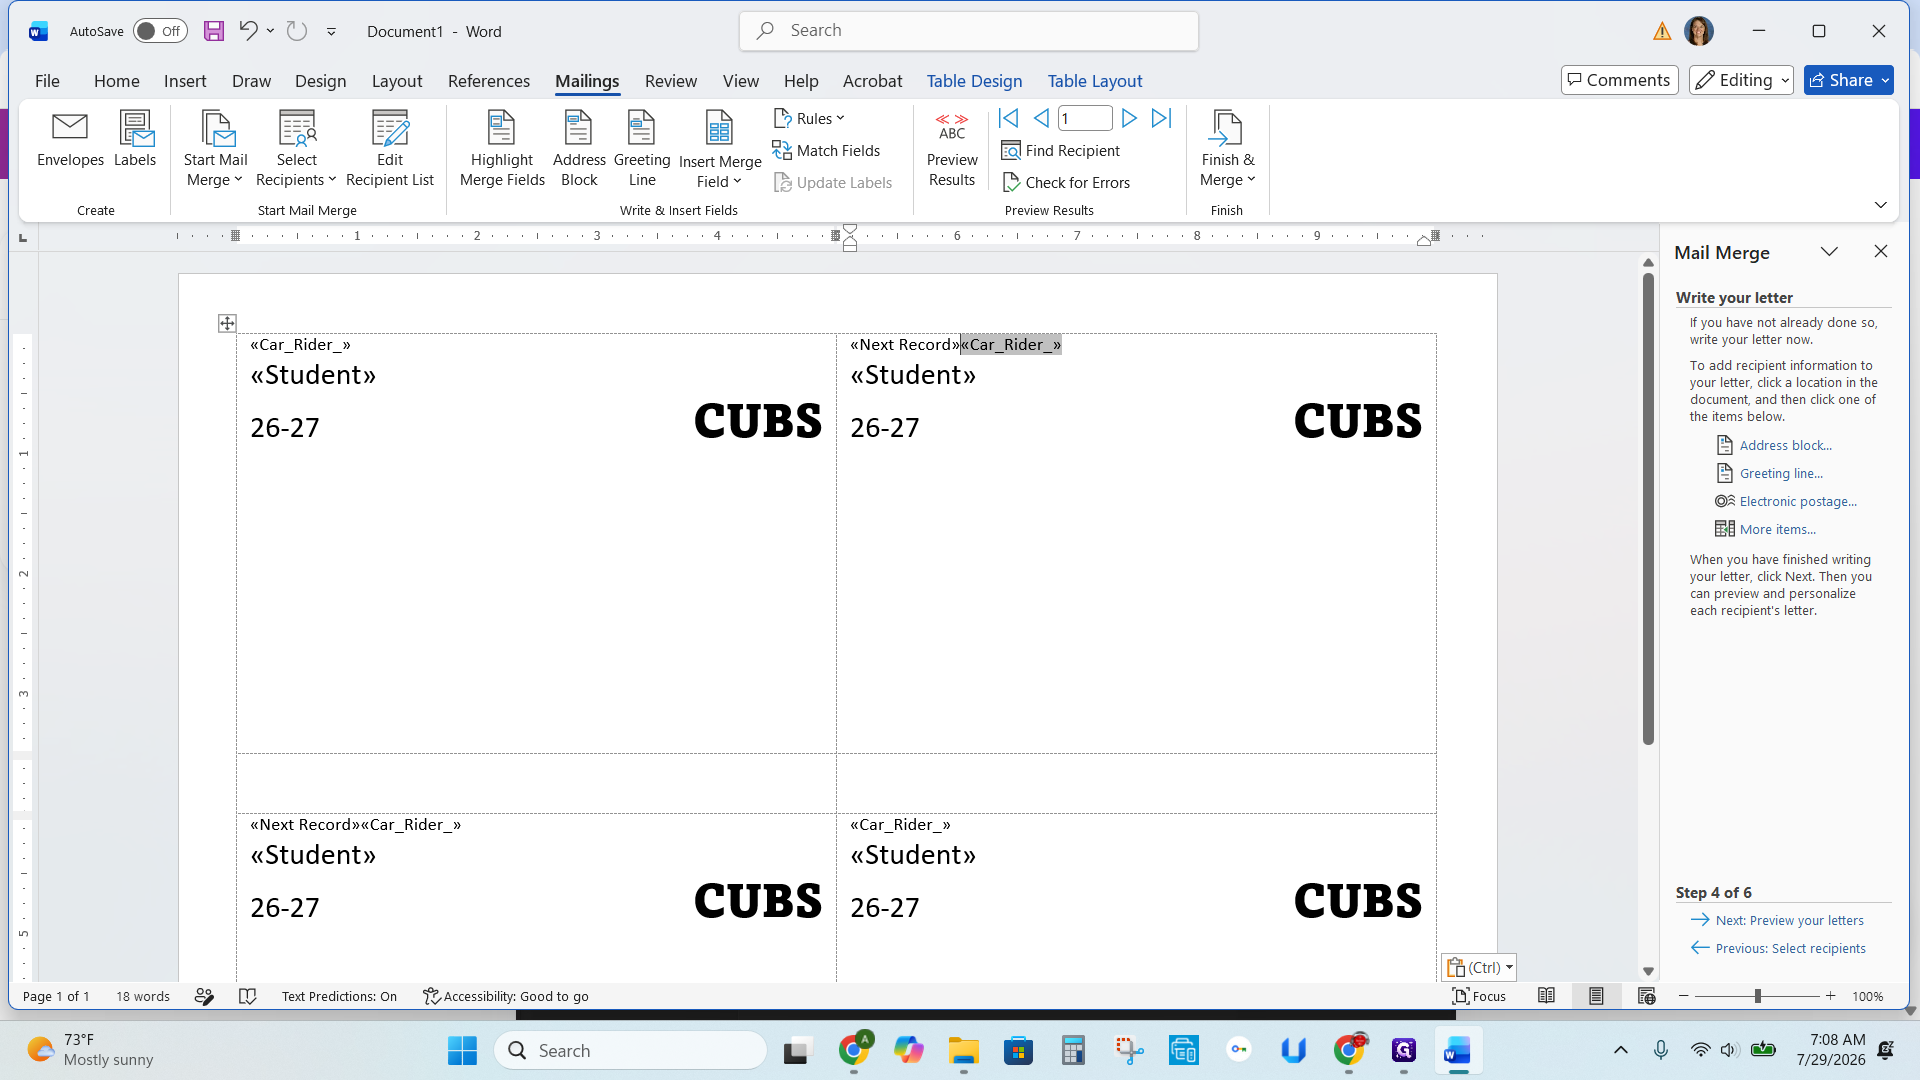
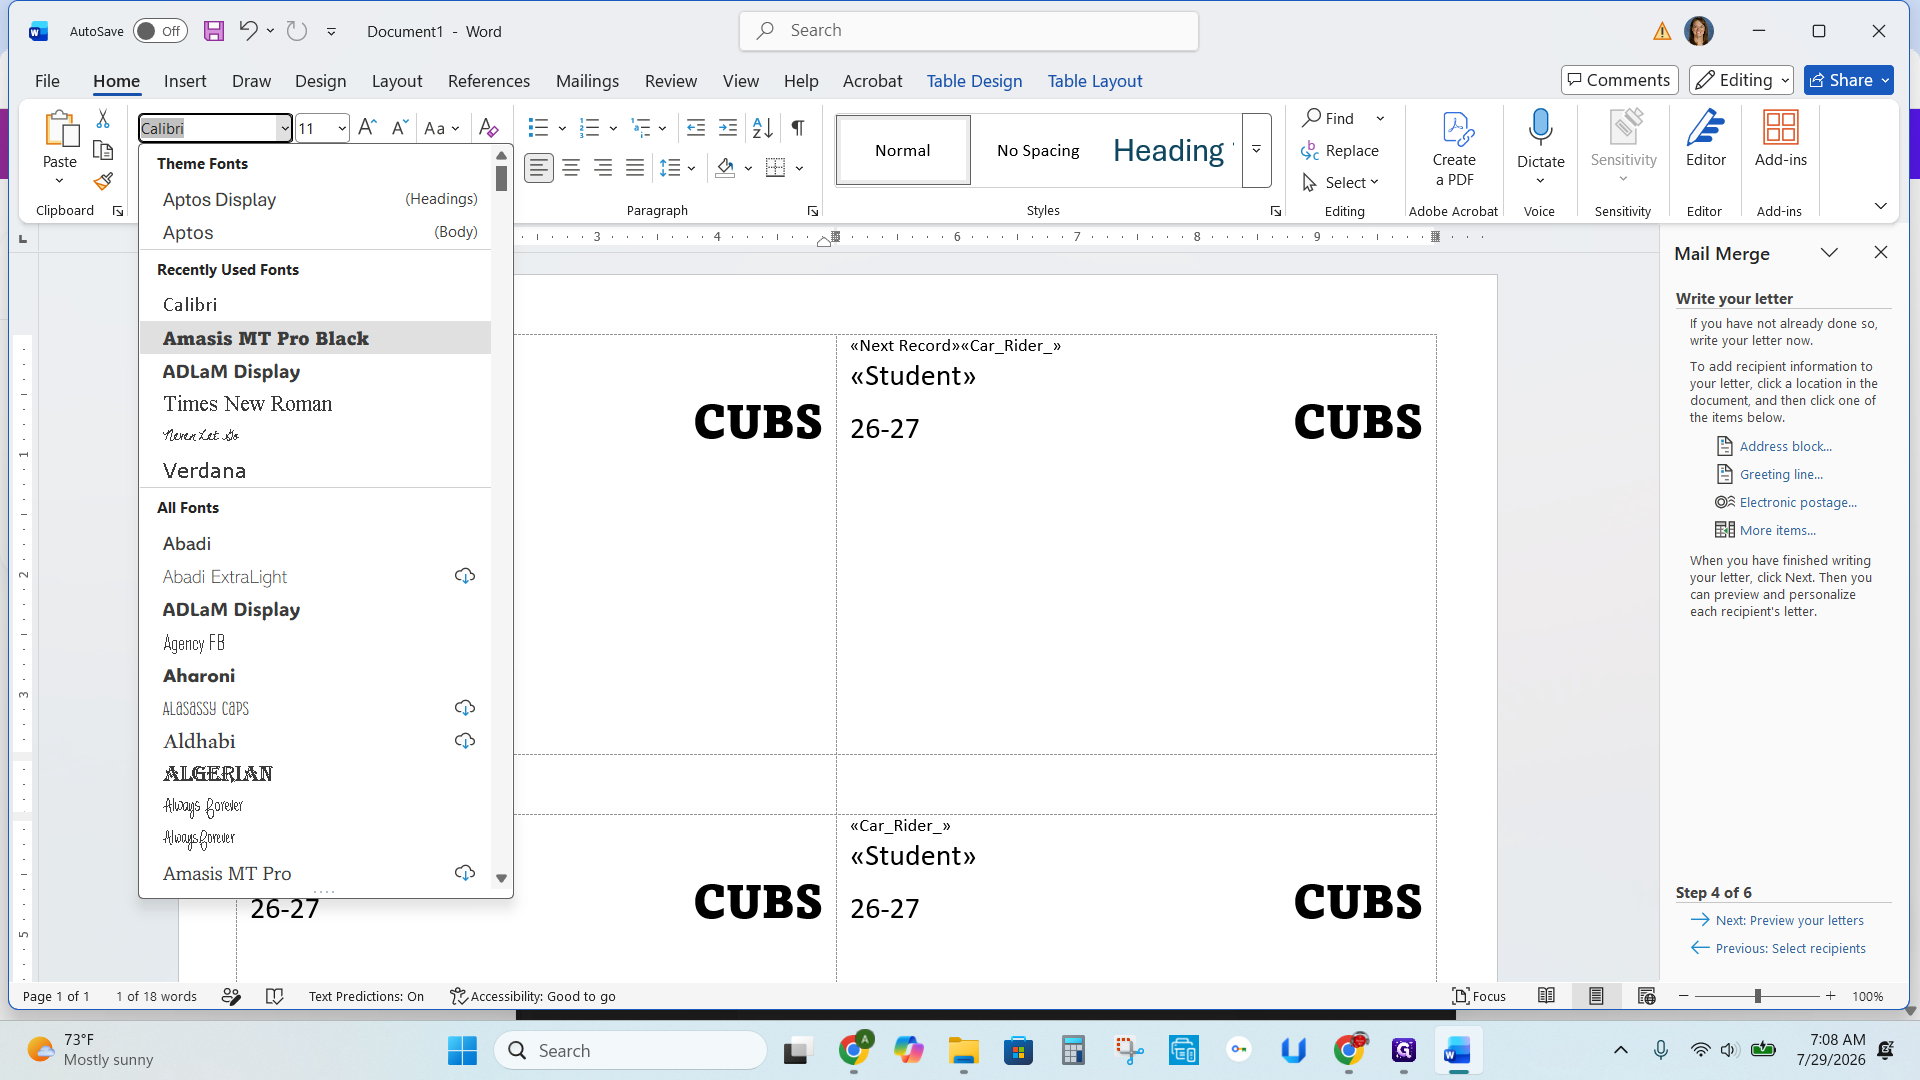
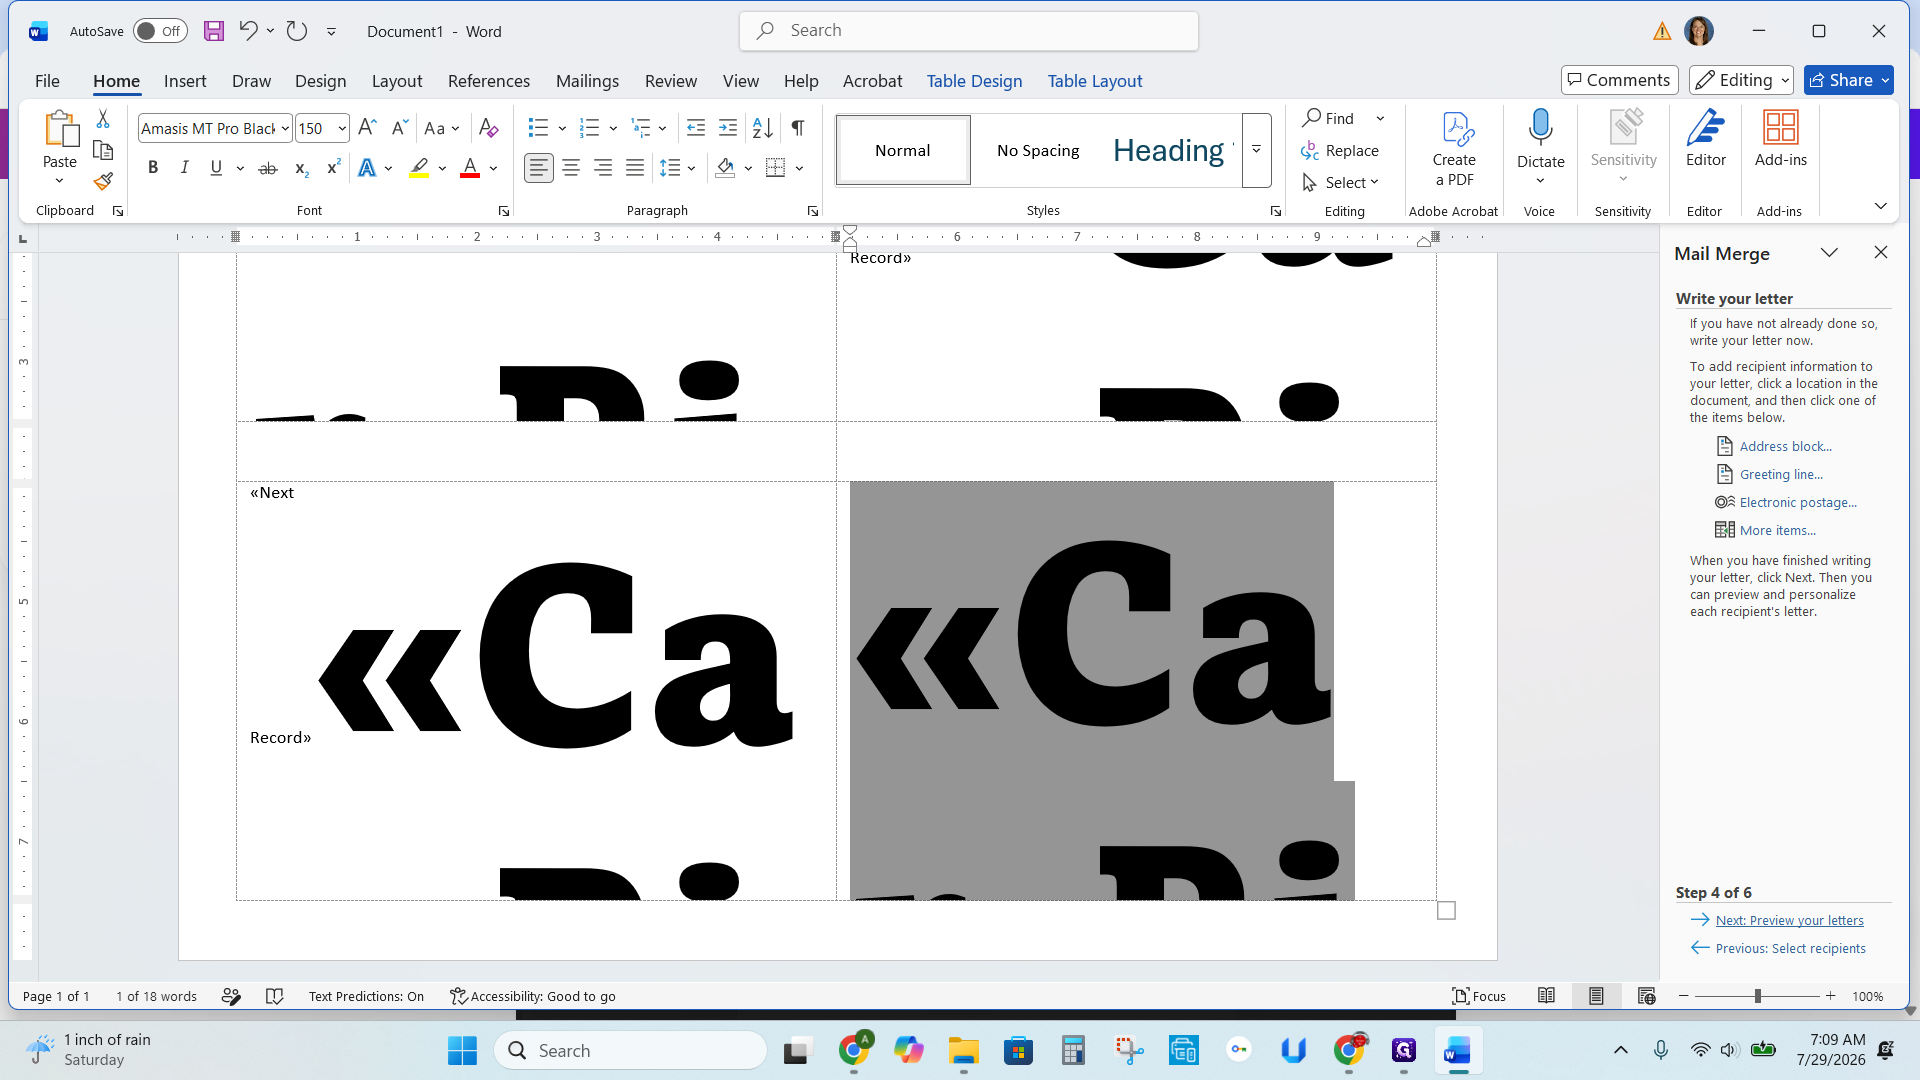
Format Static Labels
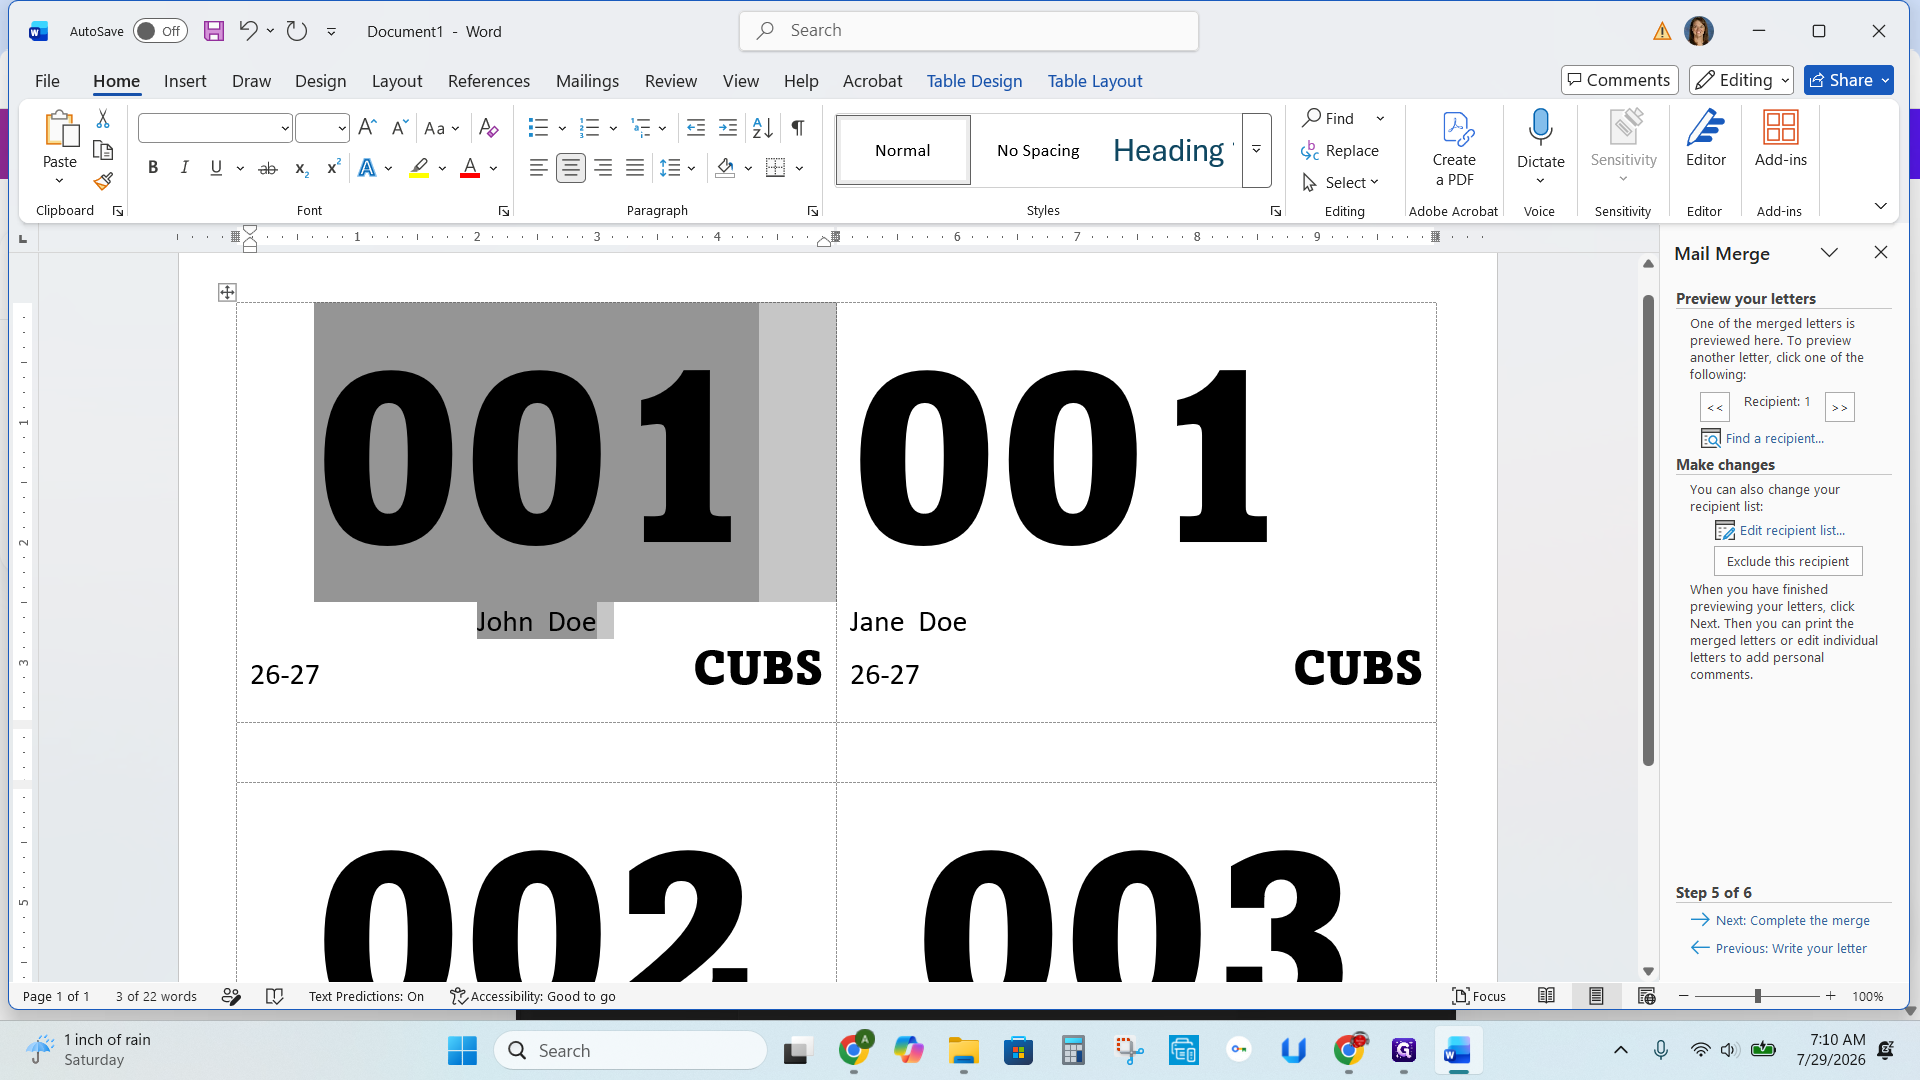
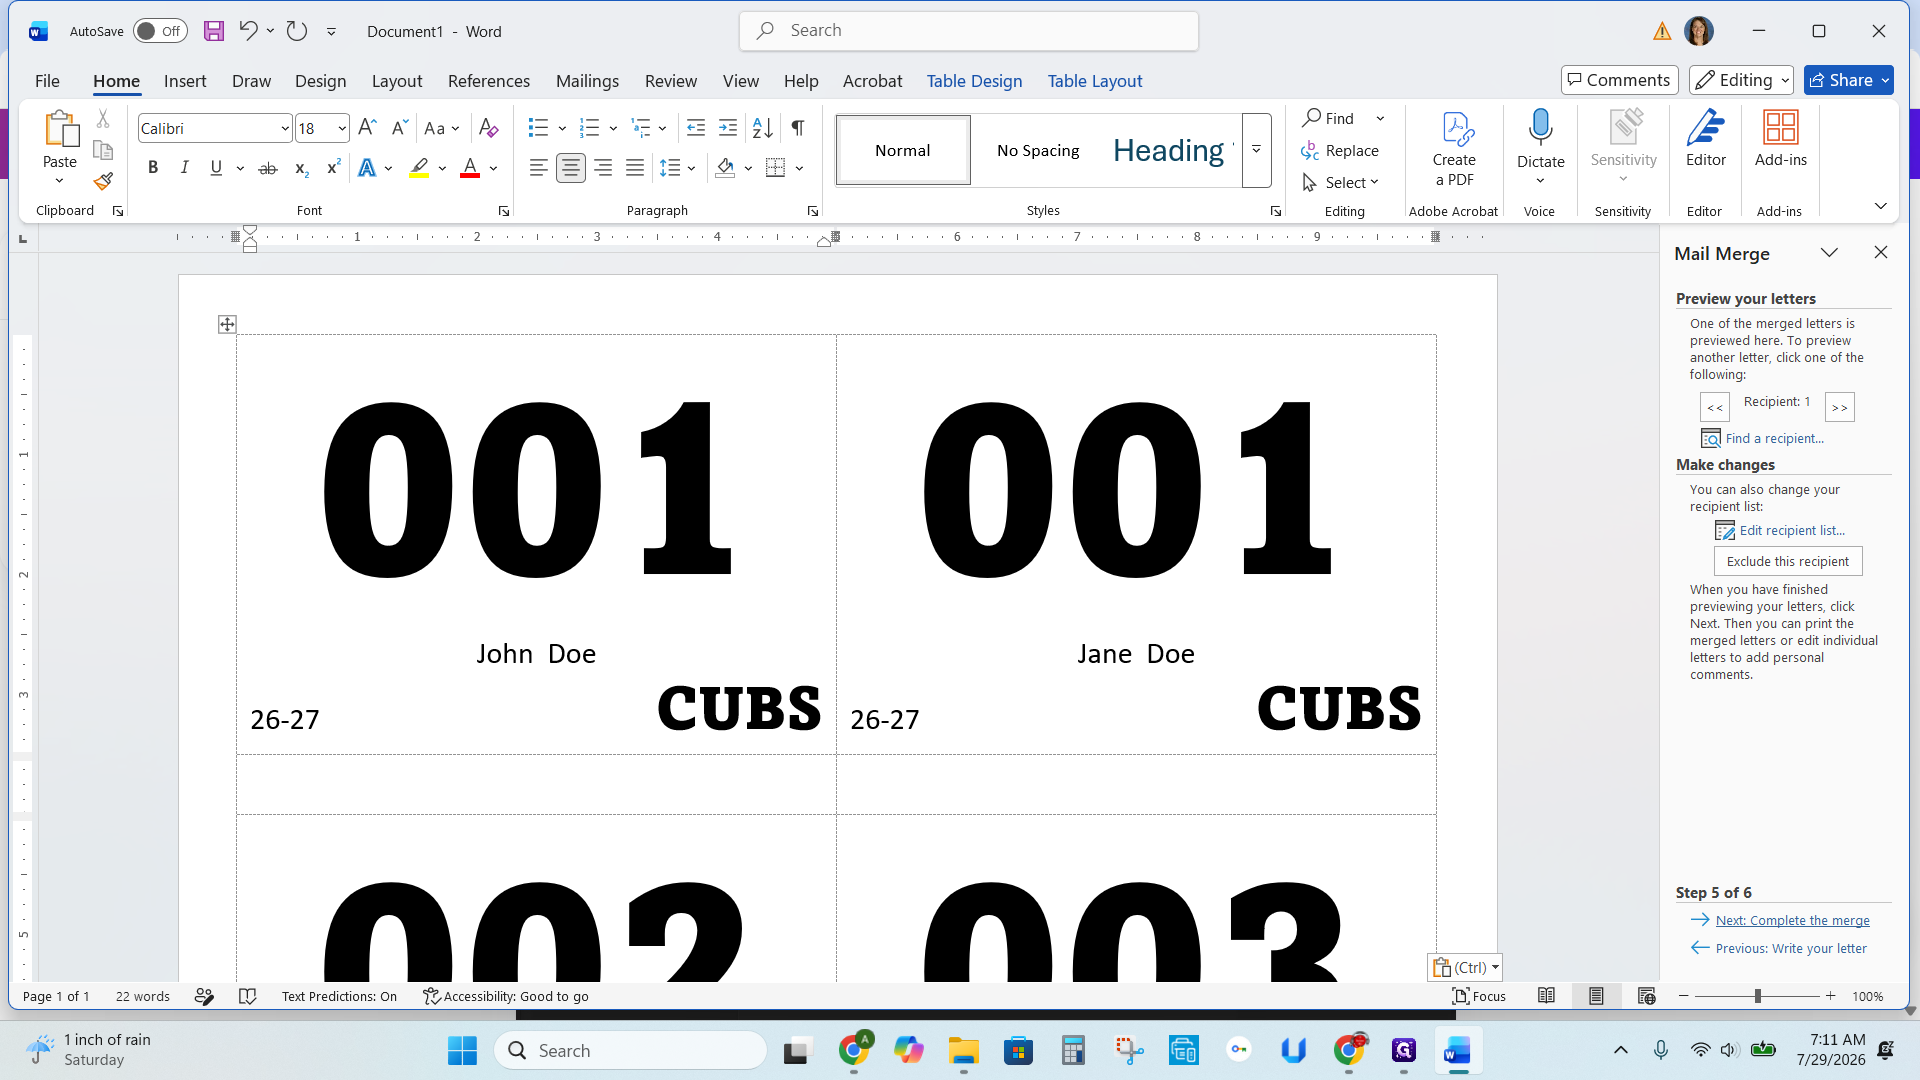
Complete the Merge and Save
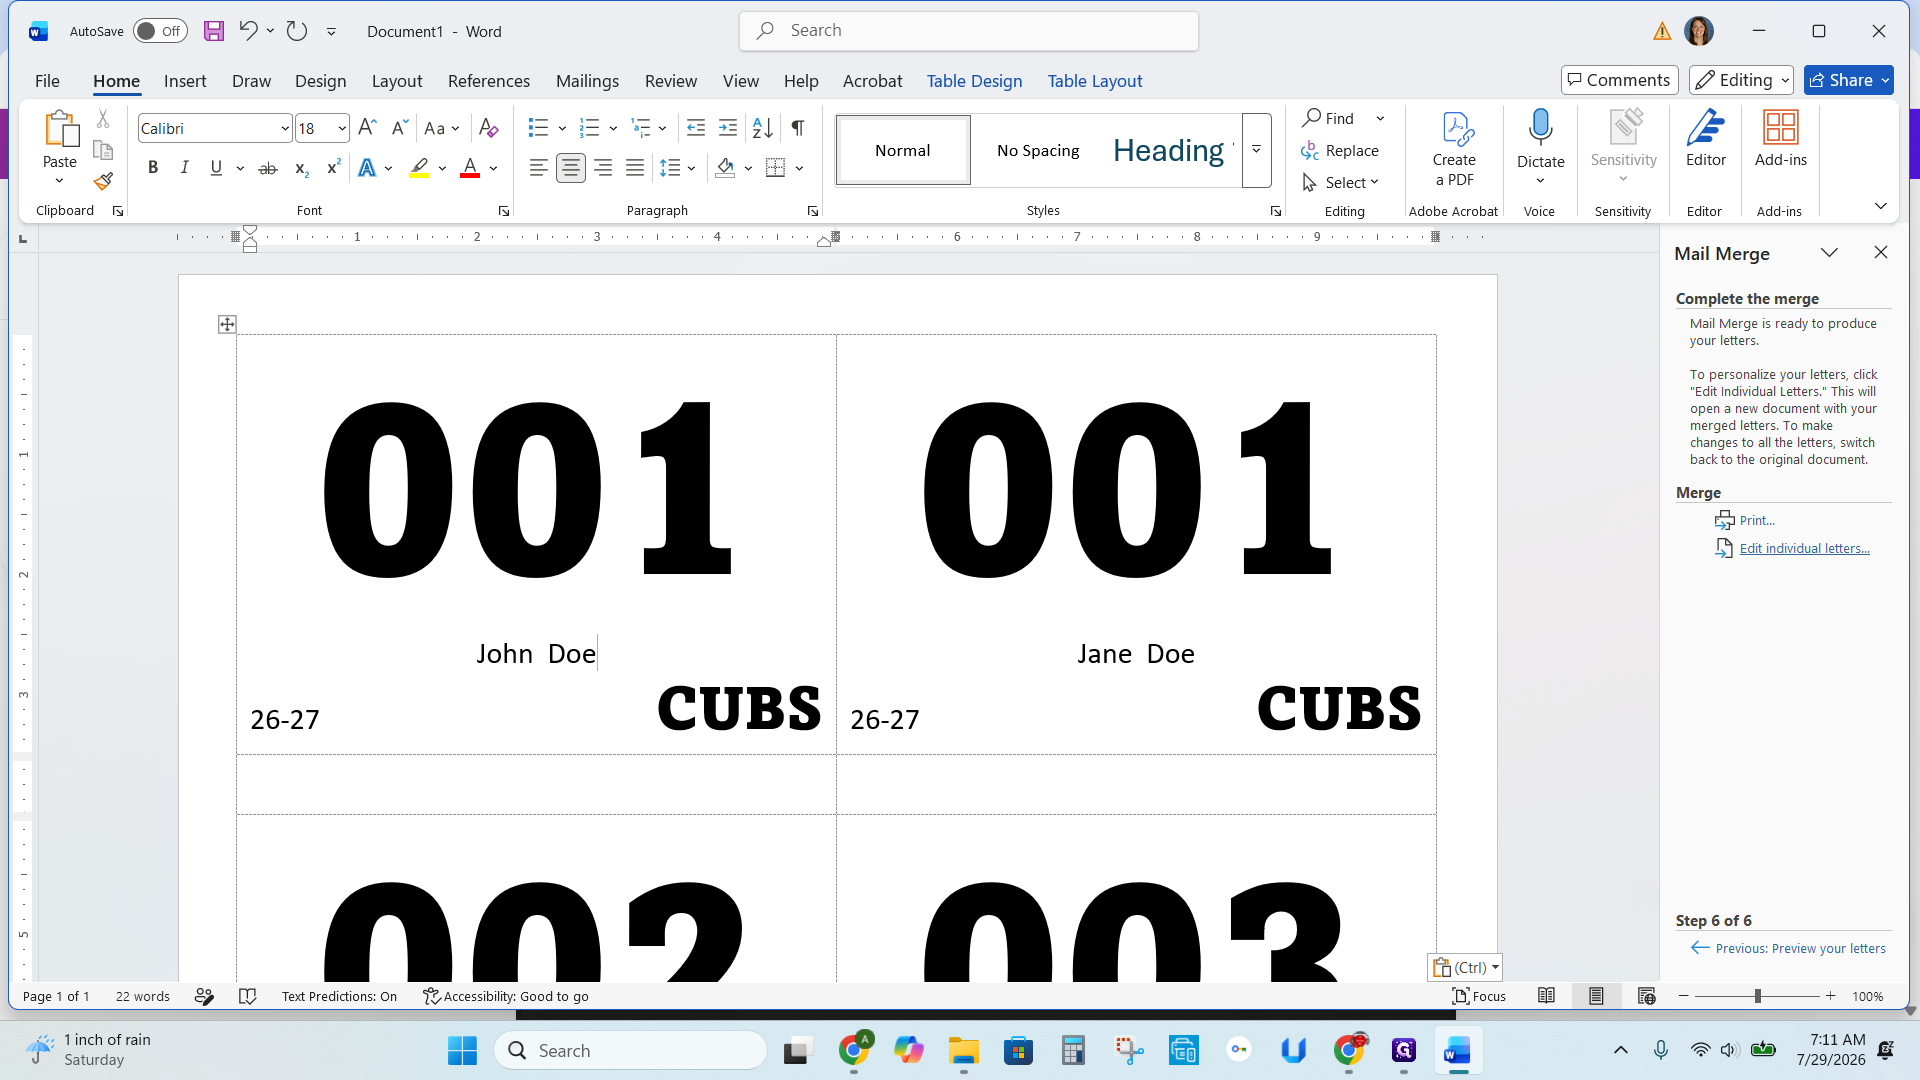
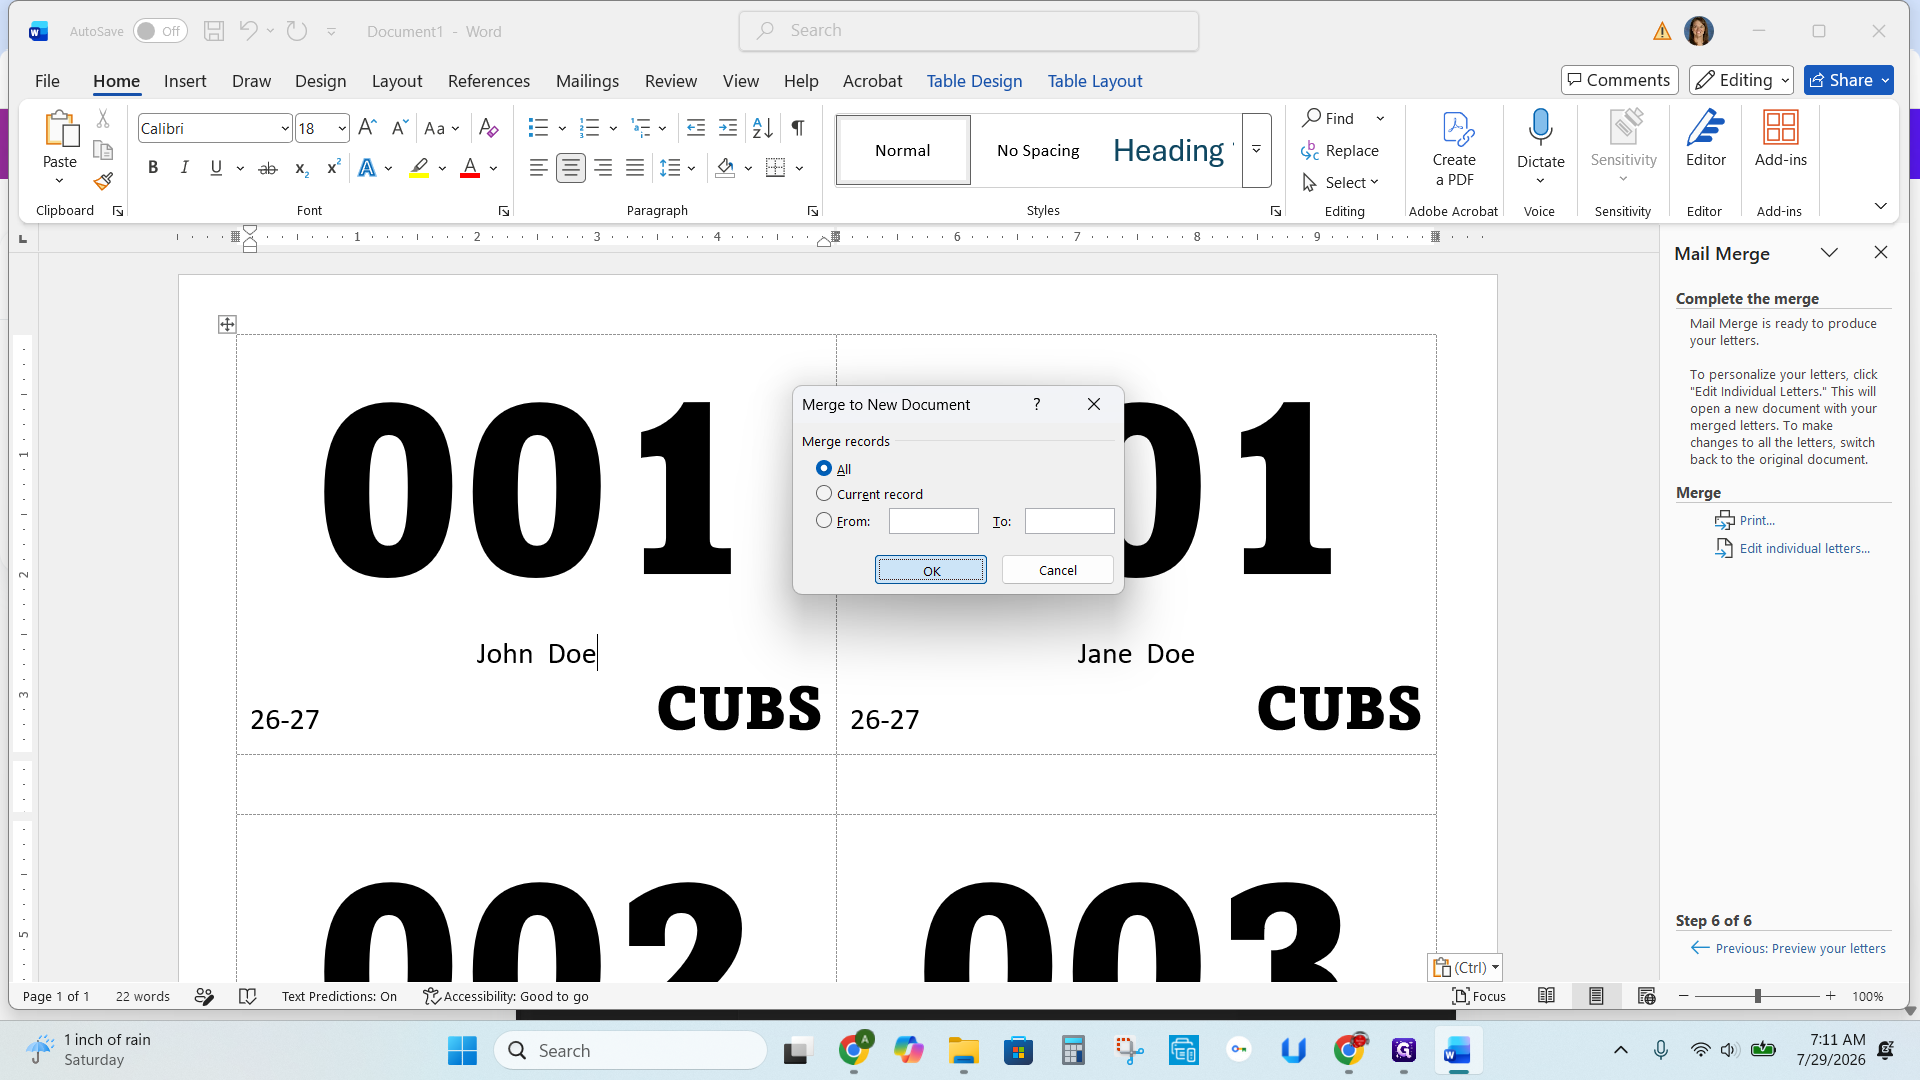
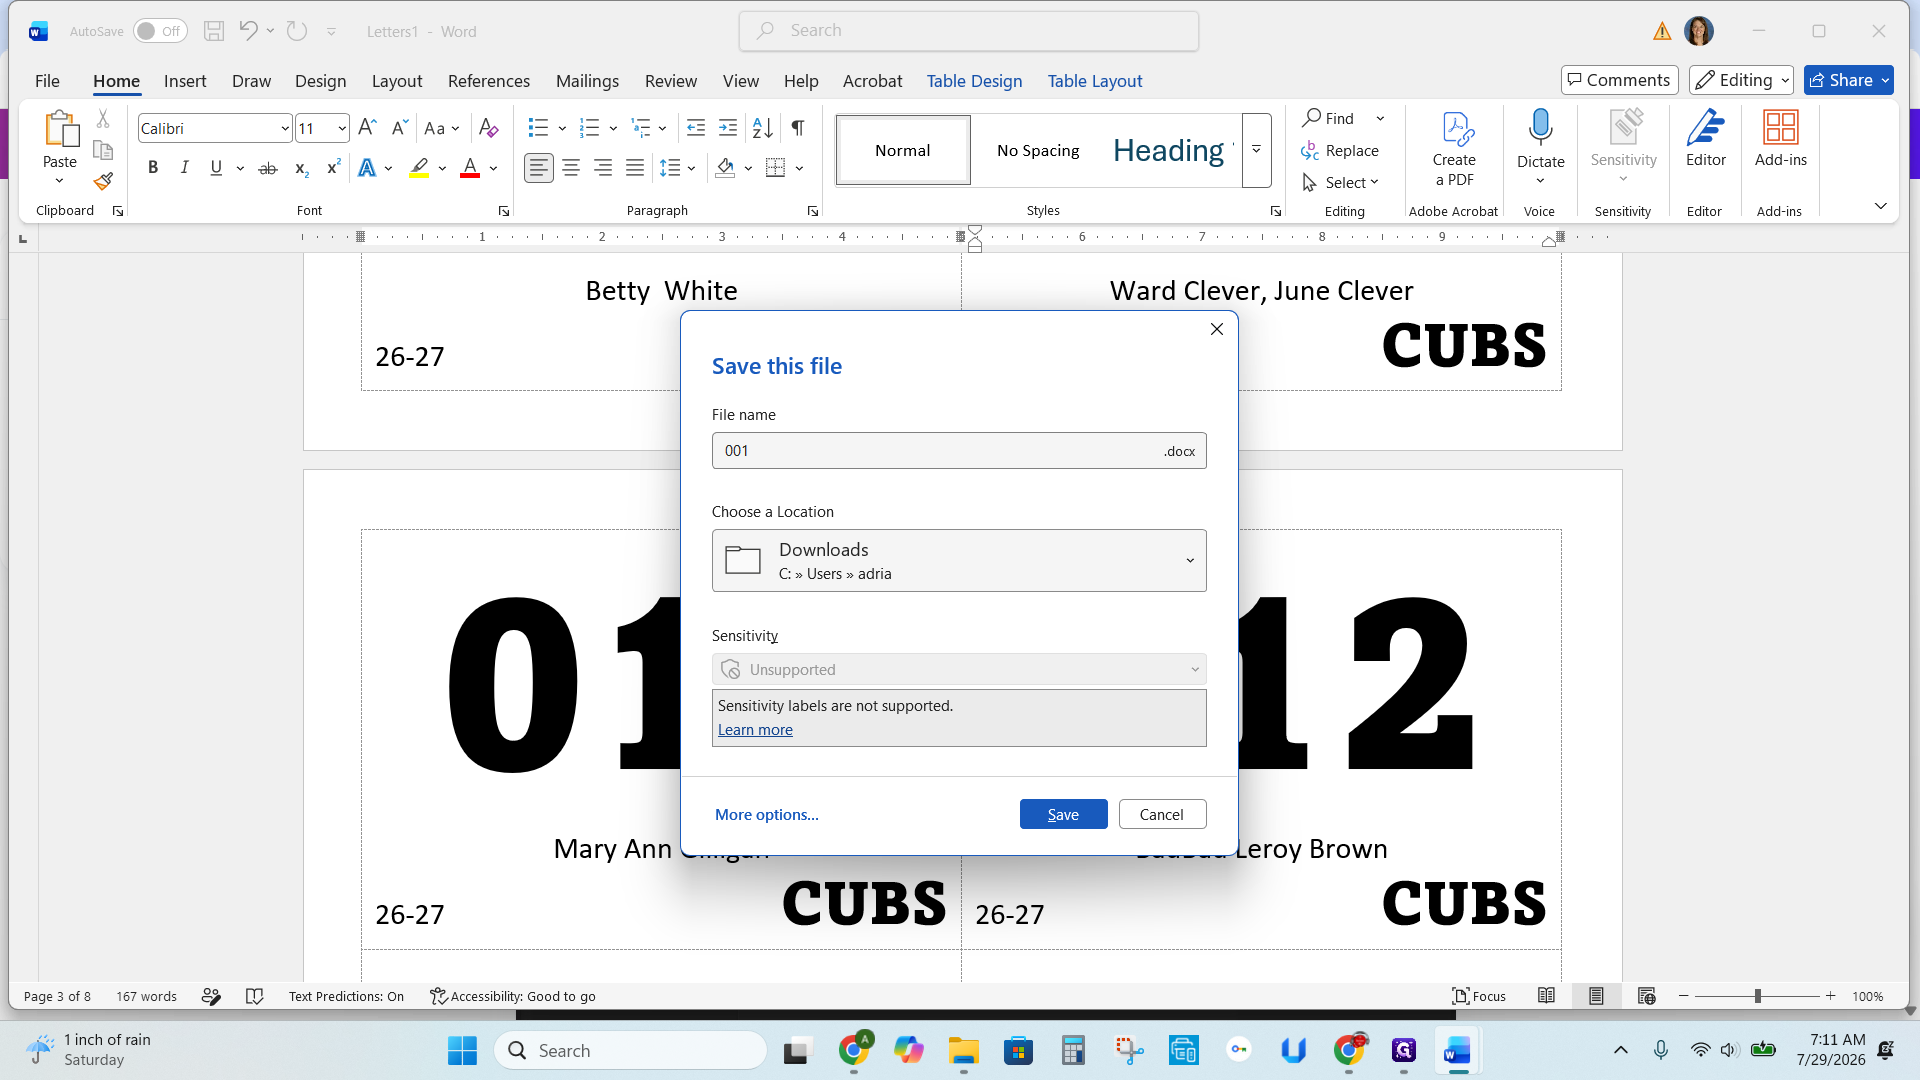
Car Tag Run followed by the current date.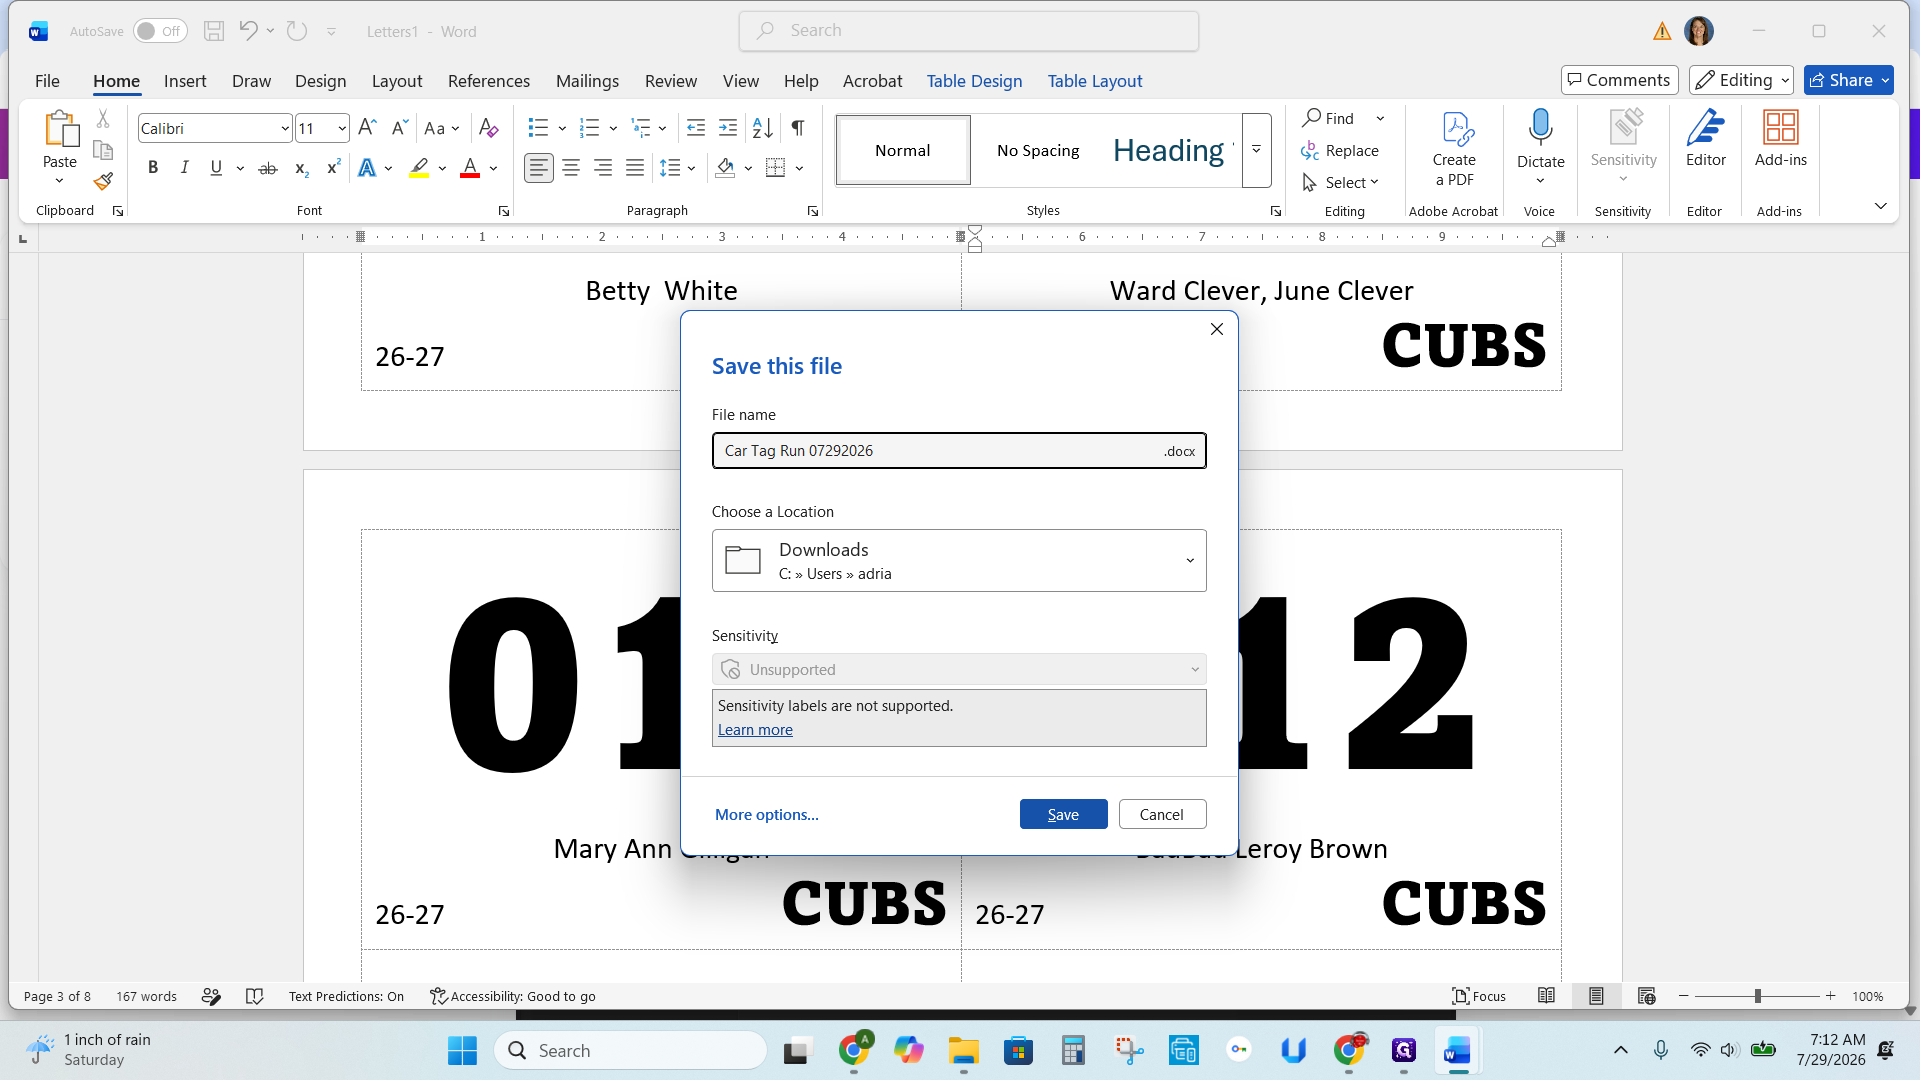
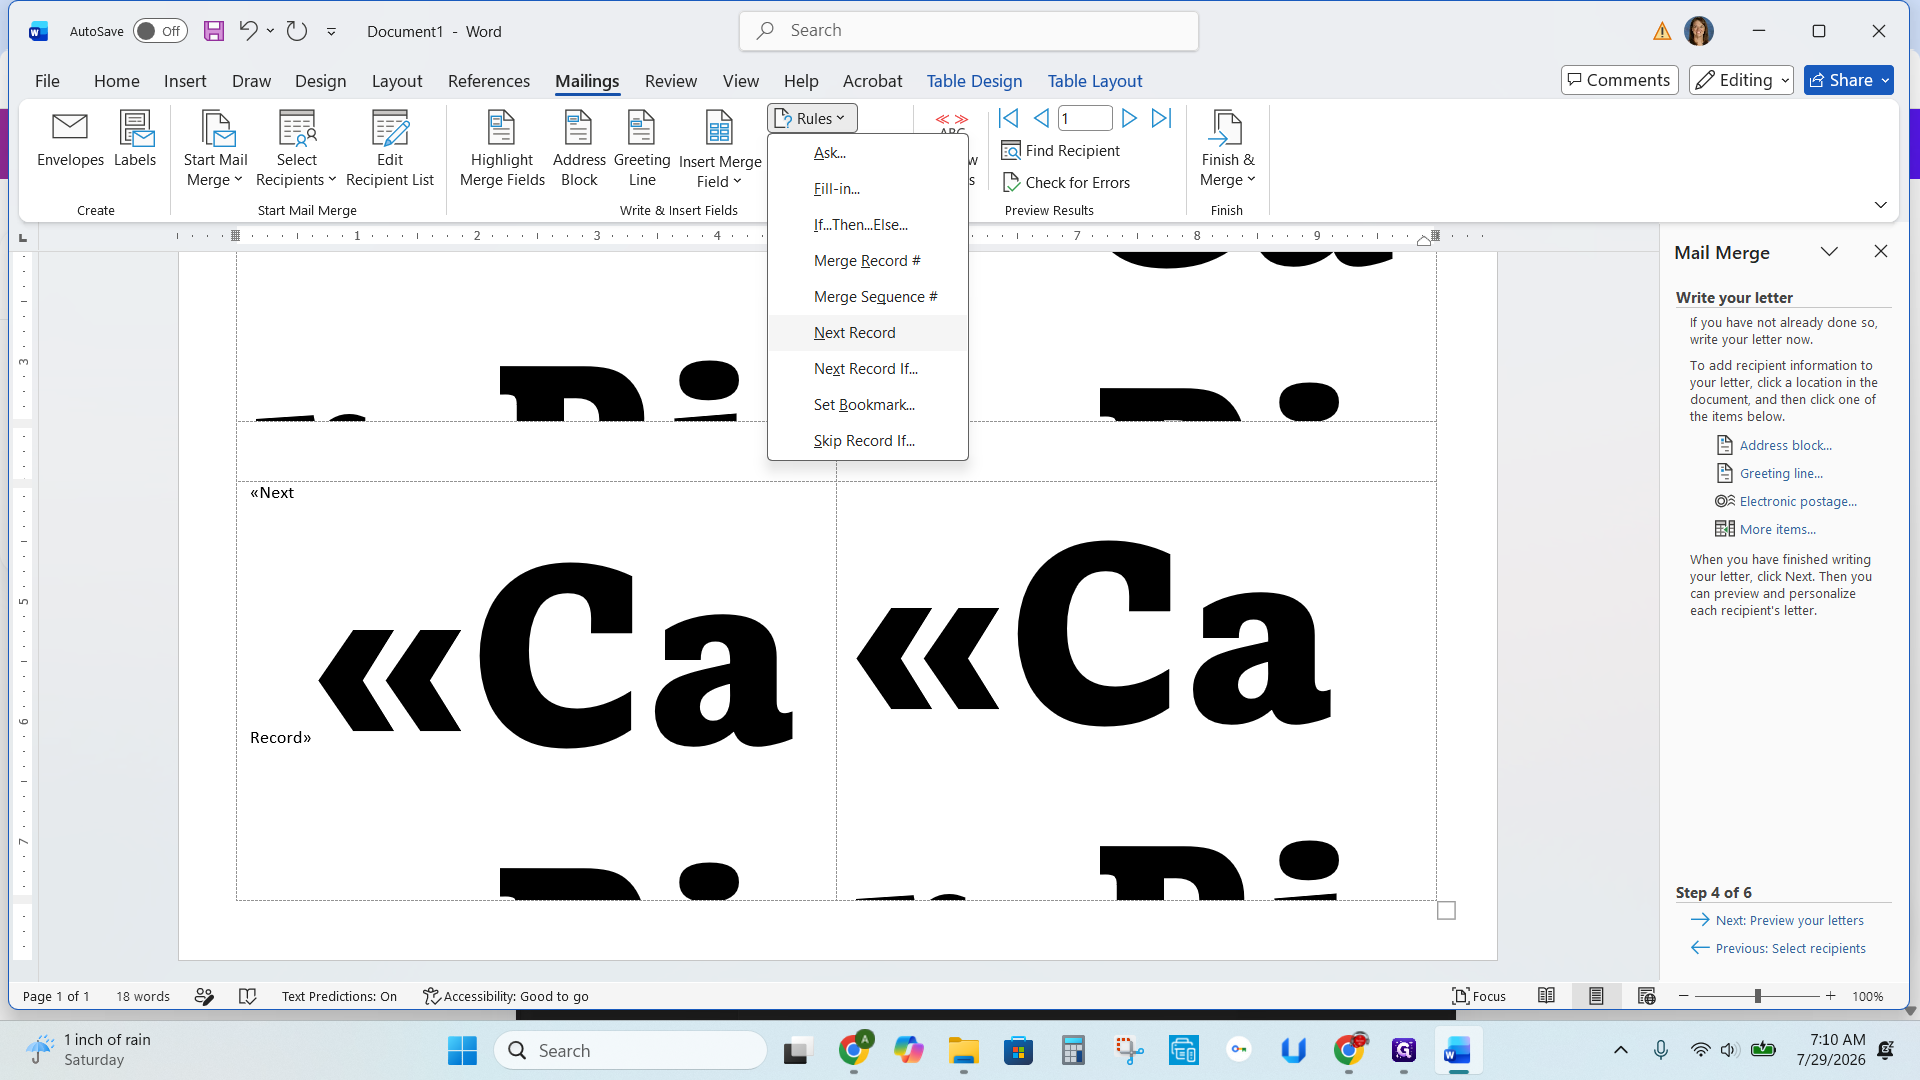
Q: How do I ensure multiple different tags print on a single page?
A: You must insert a "Next Record" rule into the subsequent table cells on the page template. Without this rule, the same student's tag will duplicate across the entire sheet.
Q: What should I do if a tag needs to fit multiple student names?
A: If there are many students on one tag, make the font slightly smaller so the names fit within the printable area, but keep it as large as possible so it can still be seen from a distance in the car line.
Q: What should I do if a blank page prints?
A: The merge automatically skips blank records from your data source. However, if a blank page still generates, you can manually delete it from the final merged document before printing.
Term | Definition |
|---|---|
Mail Merge | A tool in Microsoft Word that automatically populates a single document template with specific data from a spreadsheet or database. |
Merge Field | A dynamic placeholder inserted into a document that tells Word where to map specific information from the data source. |
Next Record | A Mail Merge rule that commands Word to advance to the next row of data rather than repeating the current data point on the same page. |