
Step-by-Step Guide: Made-to-Order Data Workflow Version Four
Learn how to efficiently manage deals, create SKUs, and process orders using the Made-to-Order Data Workflow Version Four. This comprehensive guide covers every step from deal creation in the CRM to finalizing orders in NetSuite.
In this guide, we'll learn how to manage a made-to-order data workflow using your CRM, SIN7, and NetSuite. The objective is to create and track a custom deal from the initial sales pipeline stage through SKU creation, manufacturing, and order processing, all the way to invoicing and payment setup.
This process helps ensure each step is completed in the correct order and that all necessary information is captured for a successful transaction.
Let's get started
Instructions for Made-to-Order Data Workflow Version Four. First, create a deal in the sales pipeline. Go to the CRM and select the company.
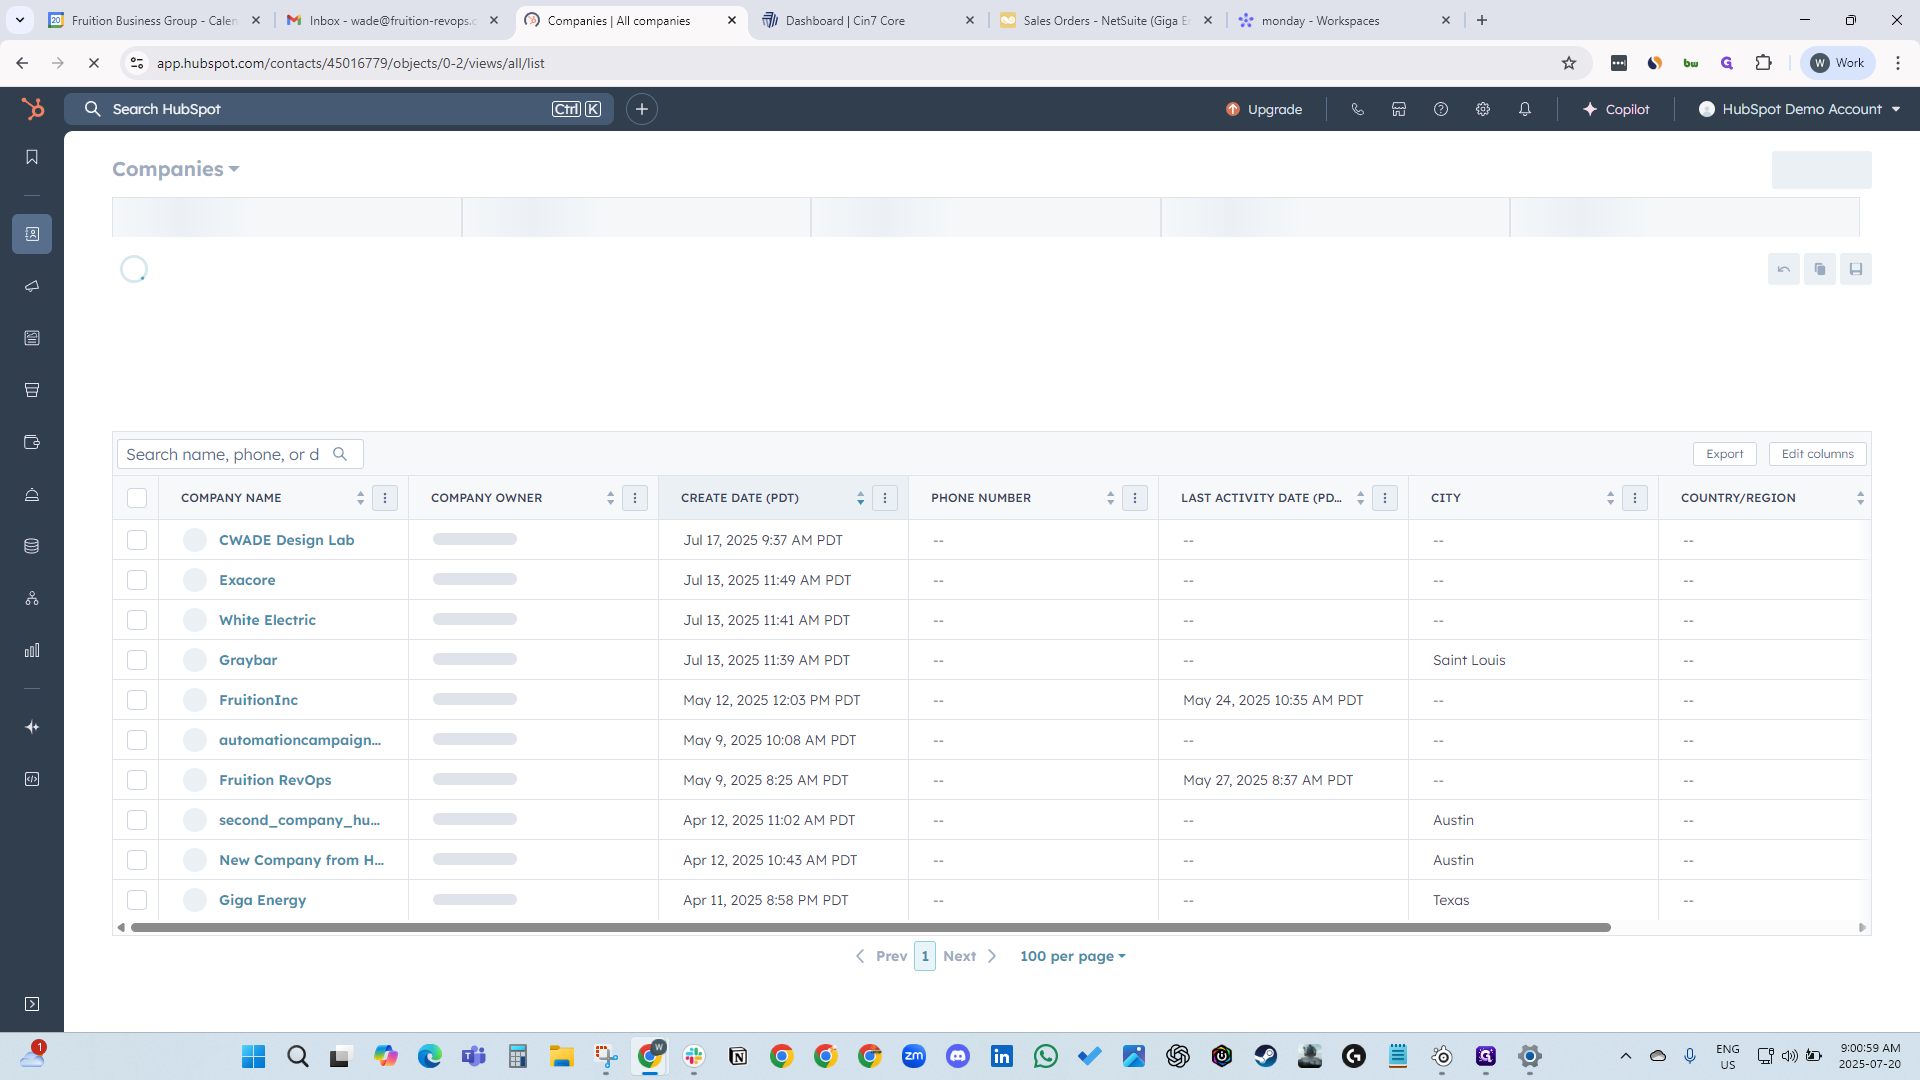
You can search for the customer.
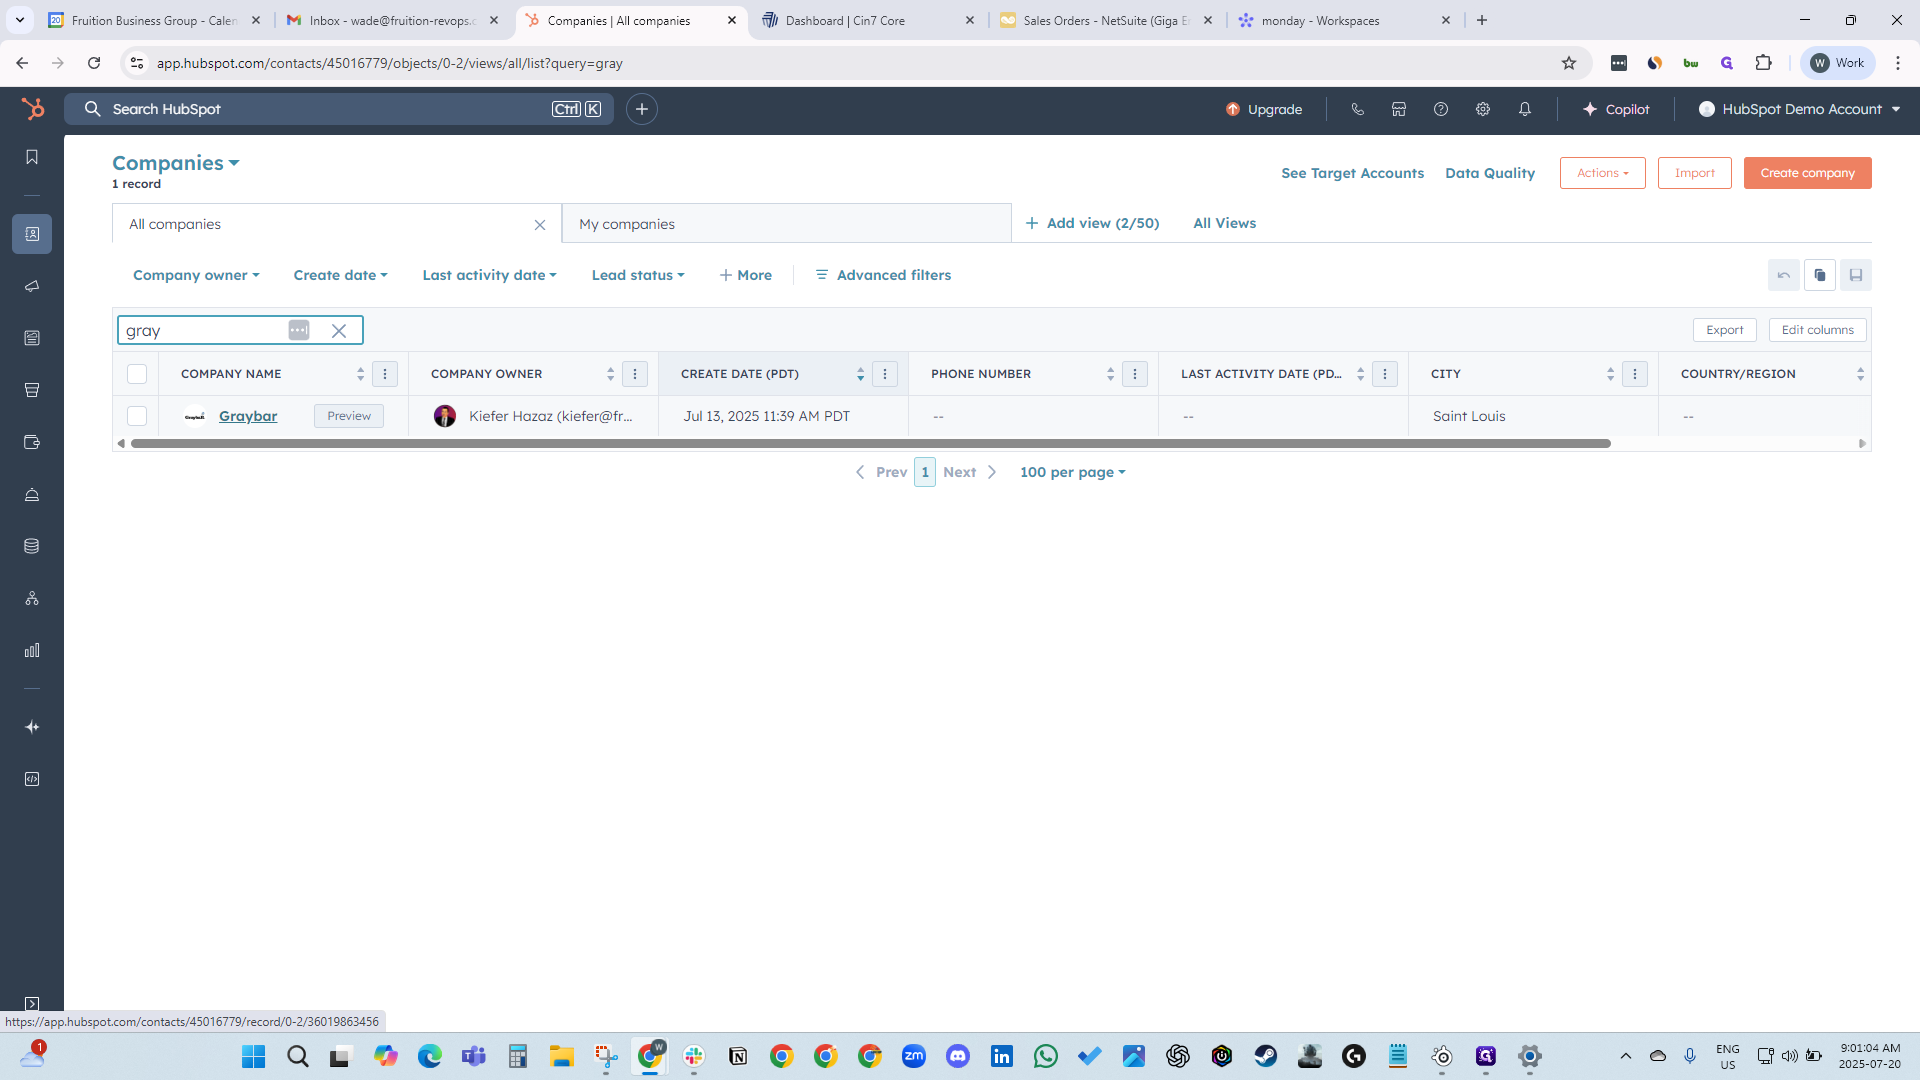
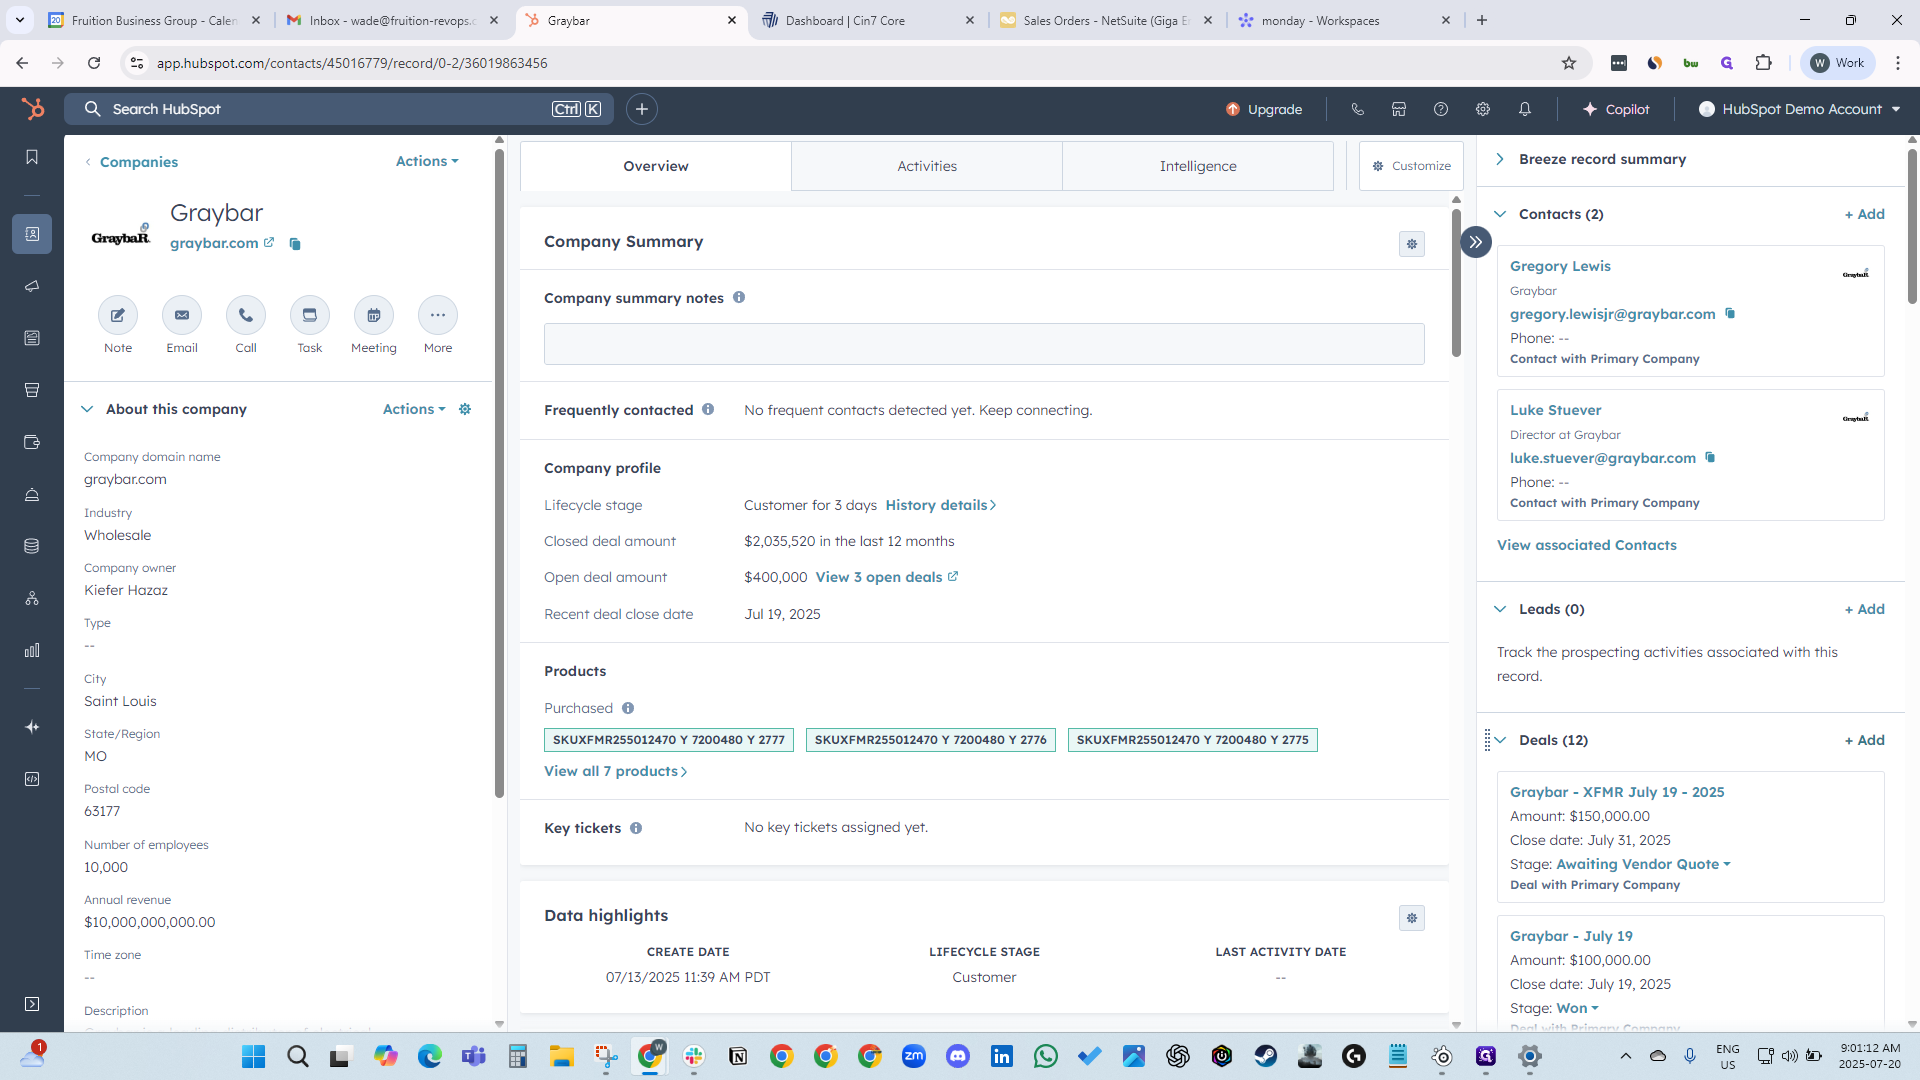
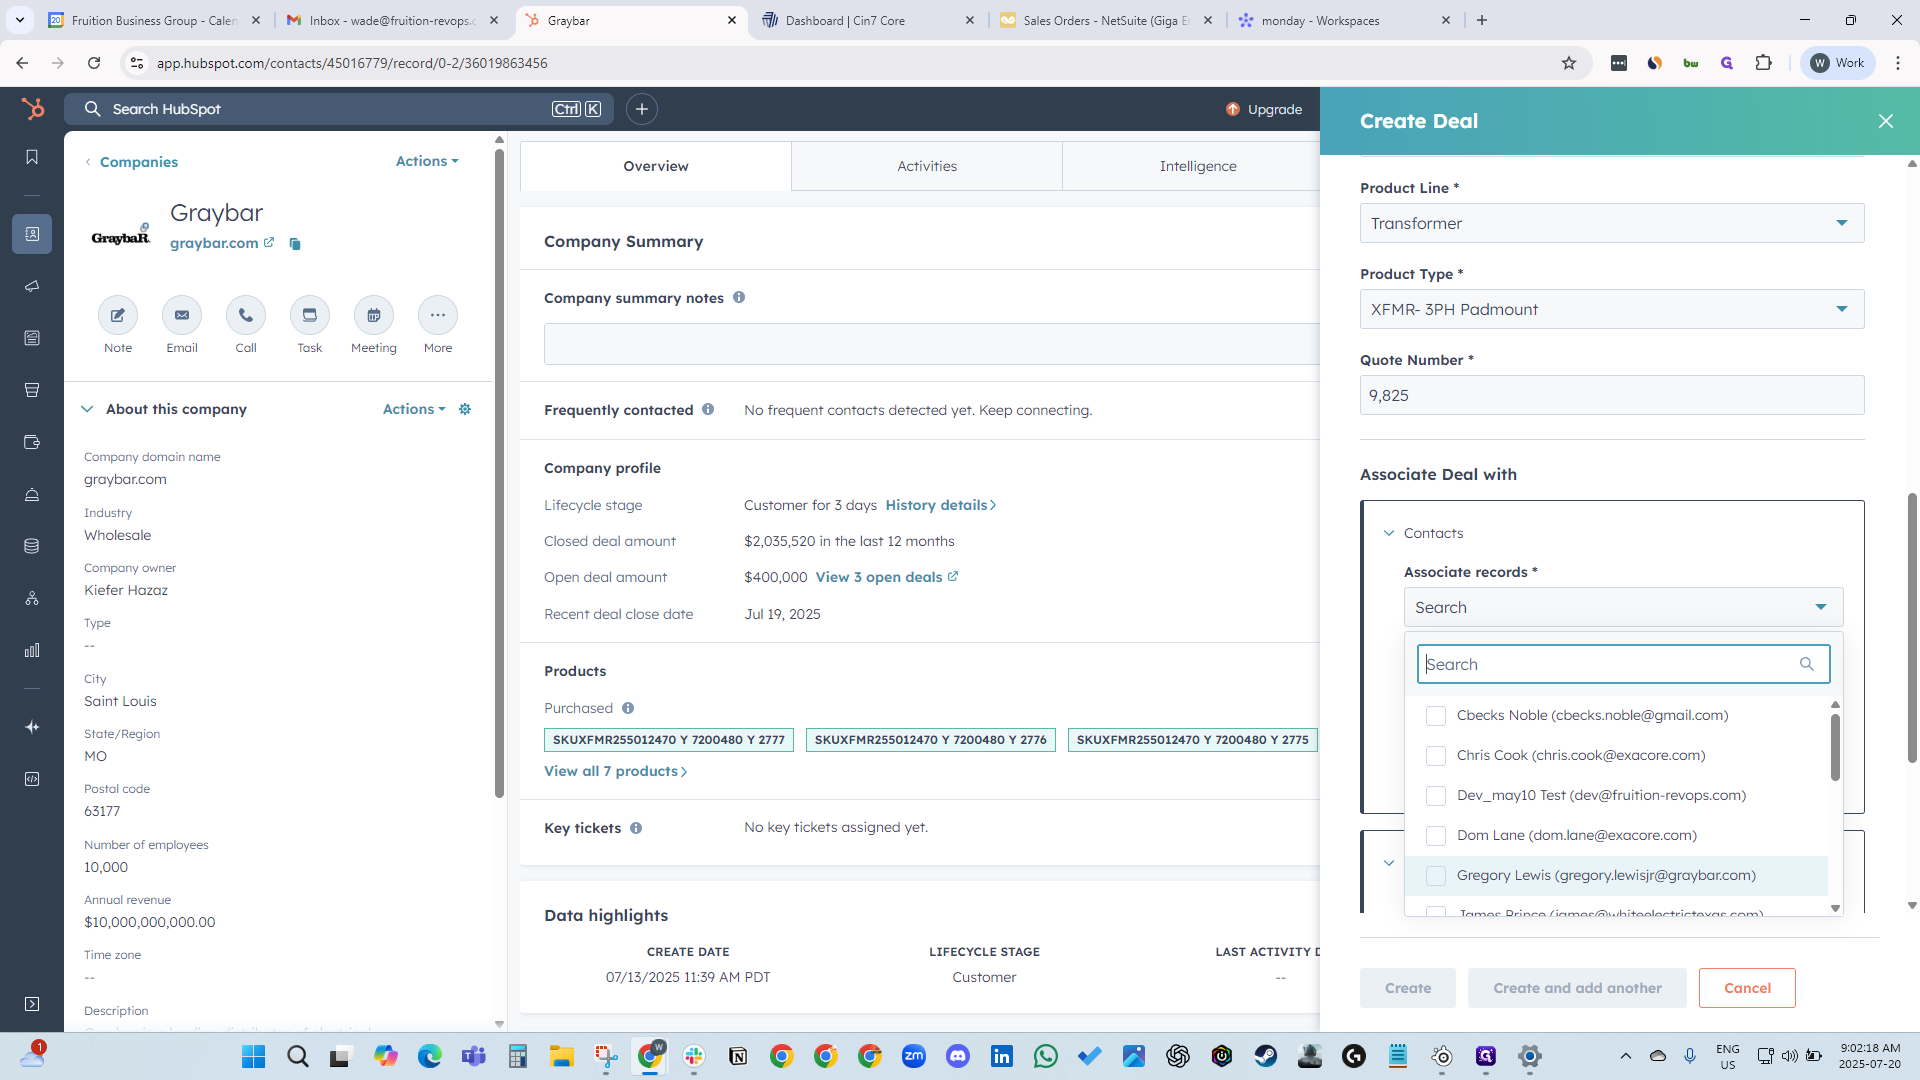
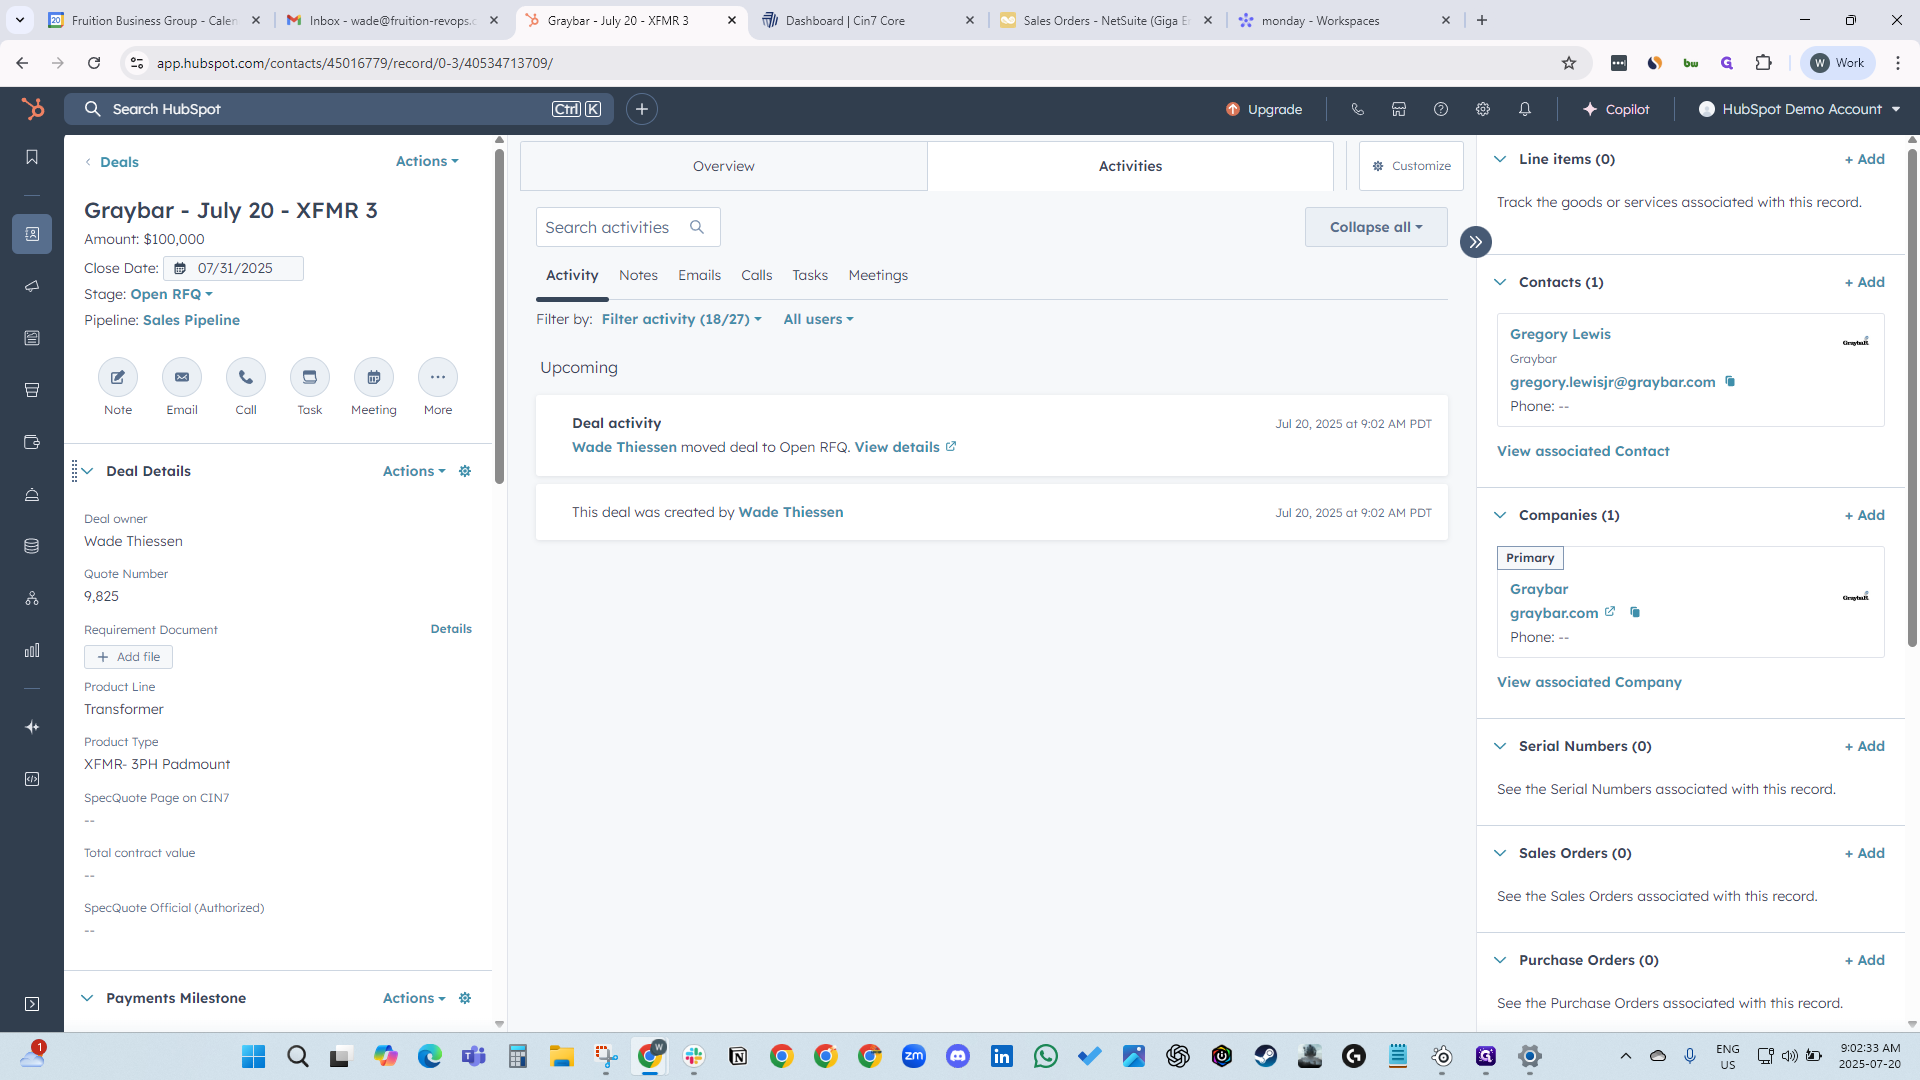
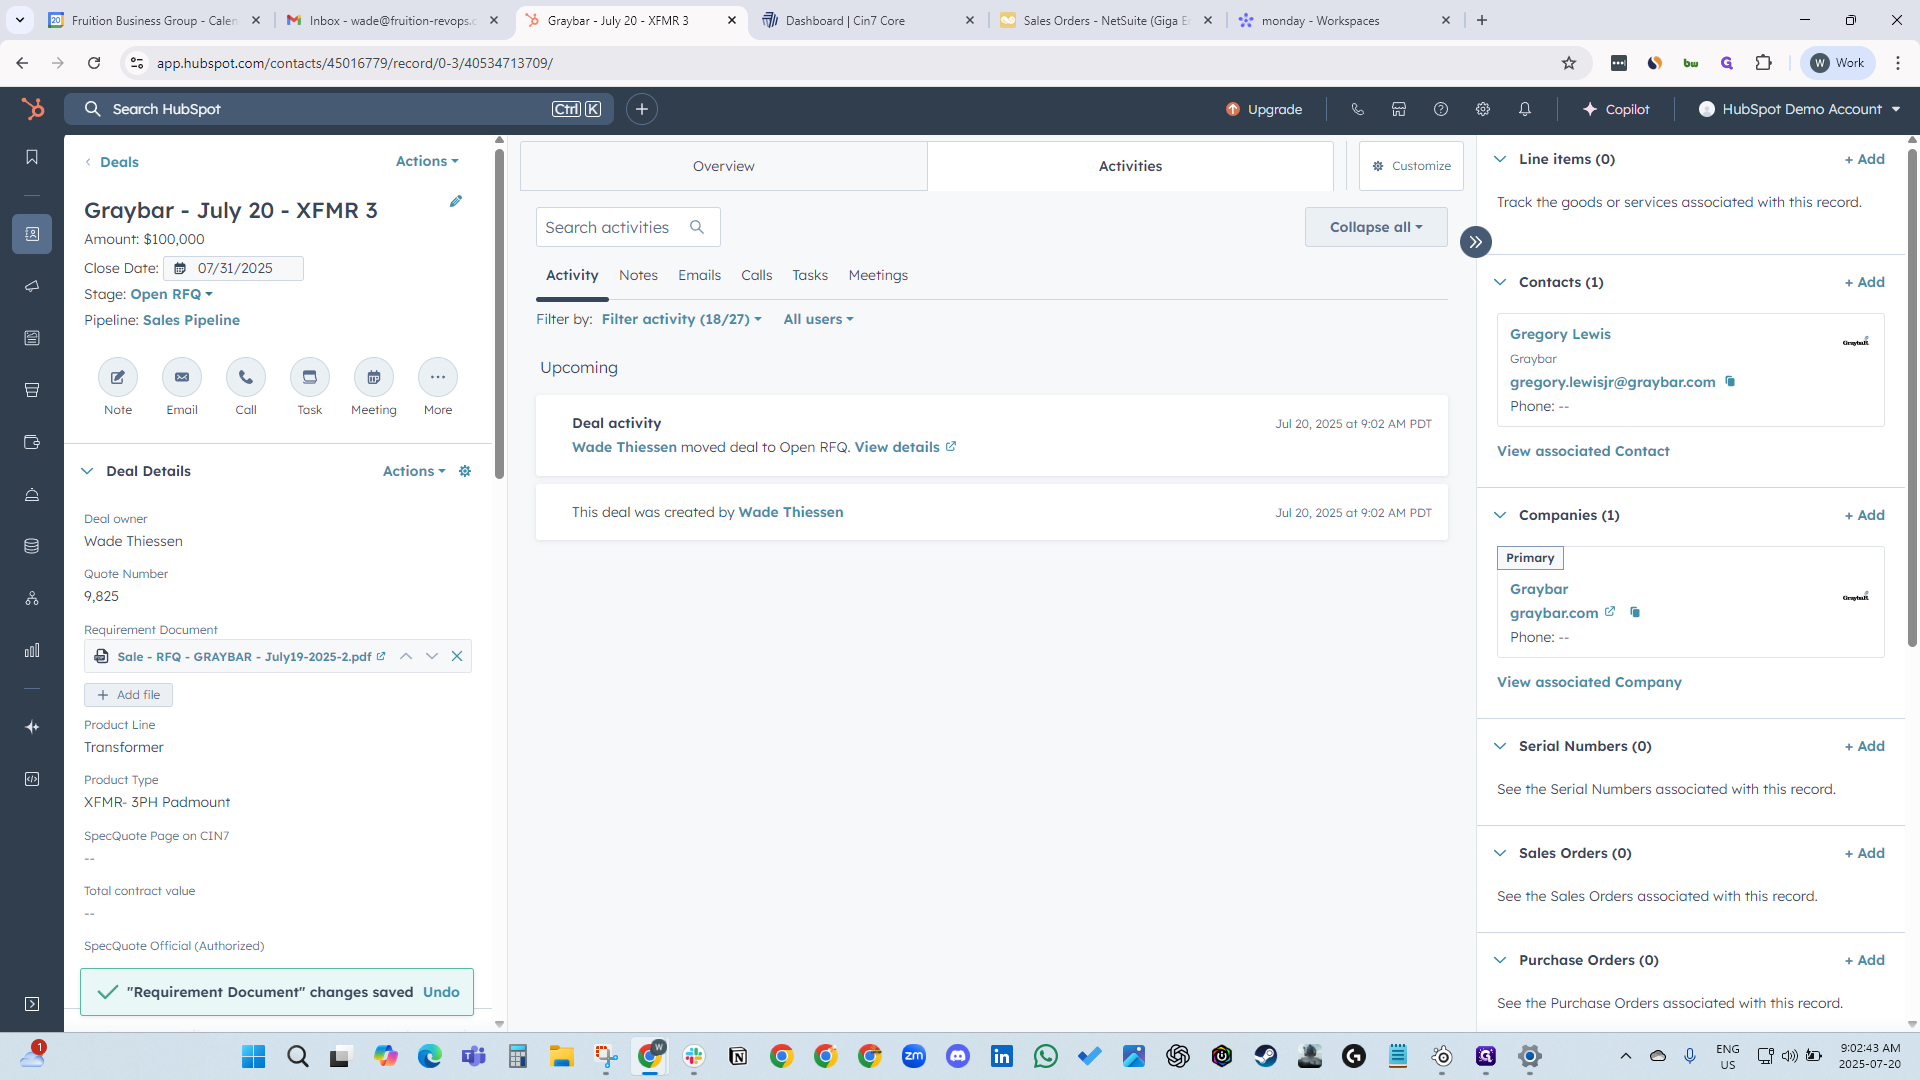
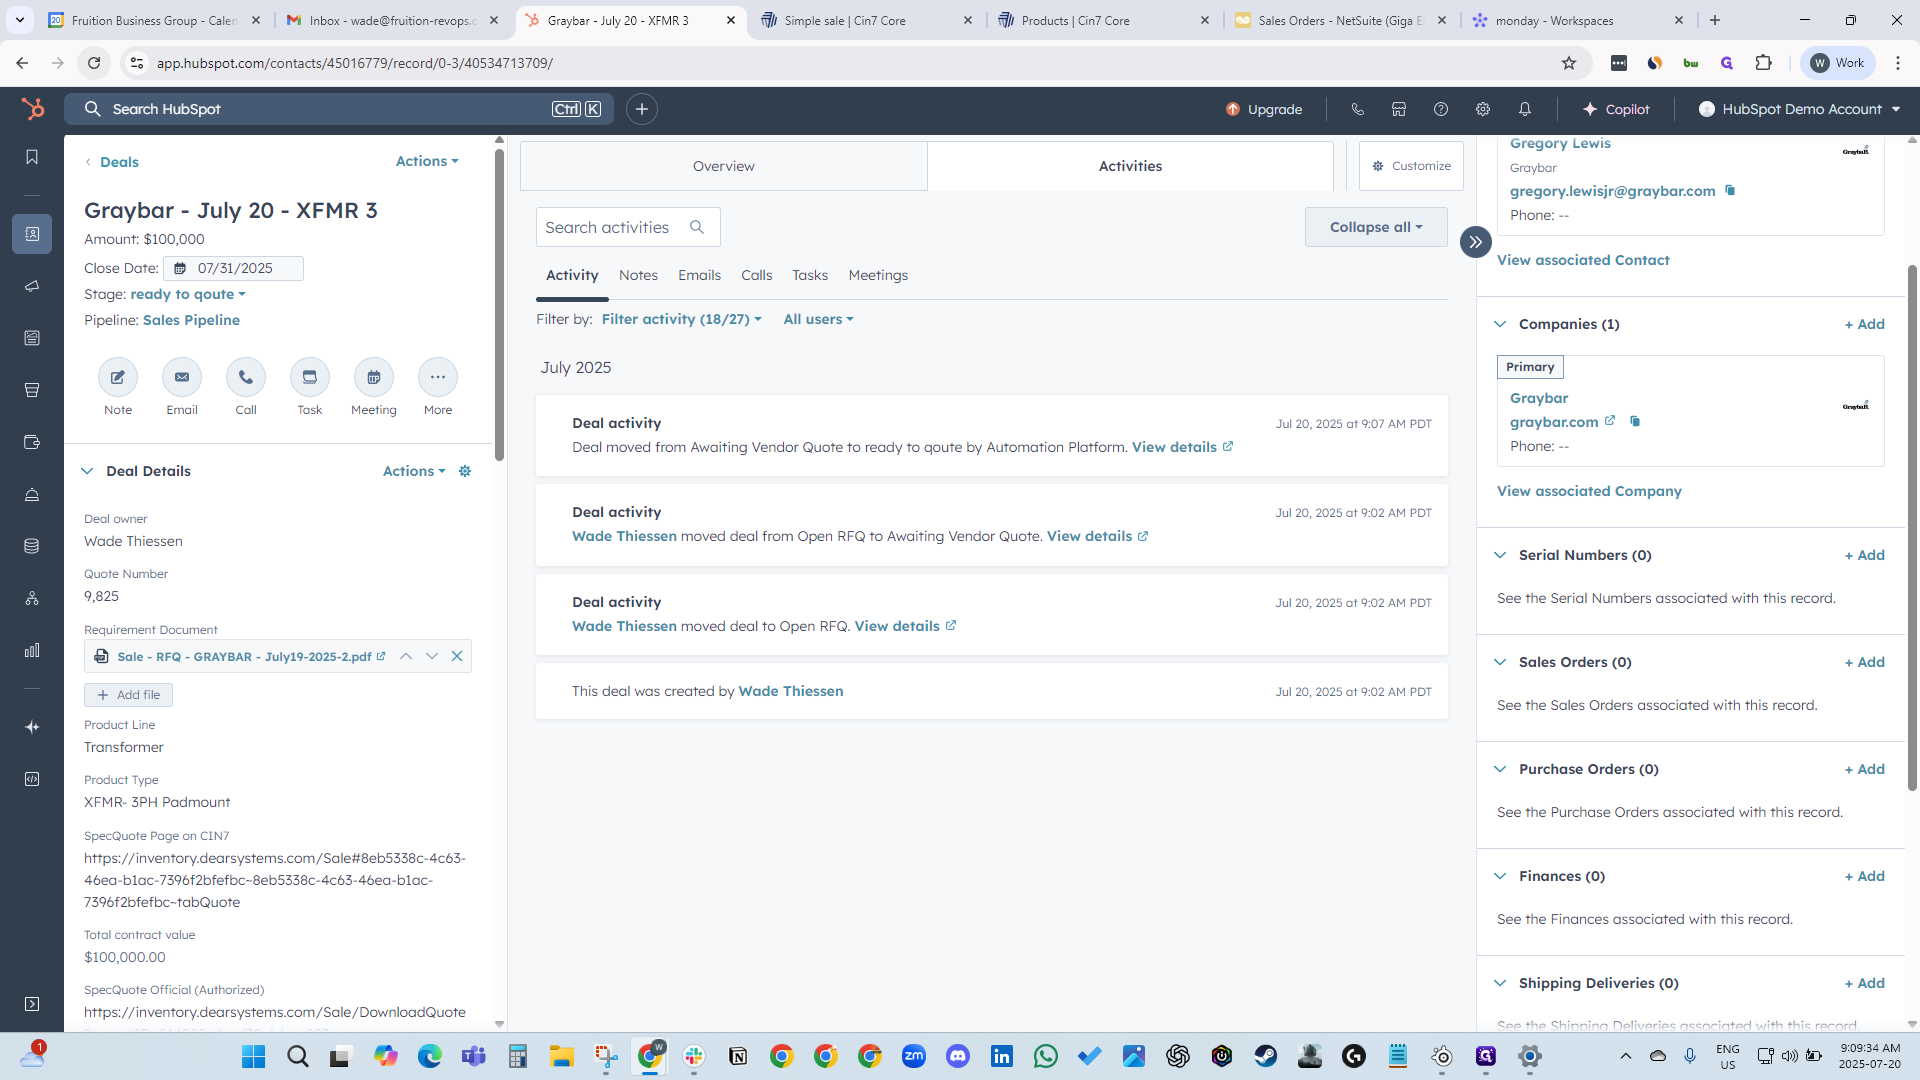
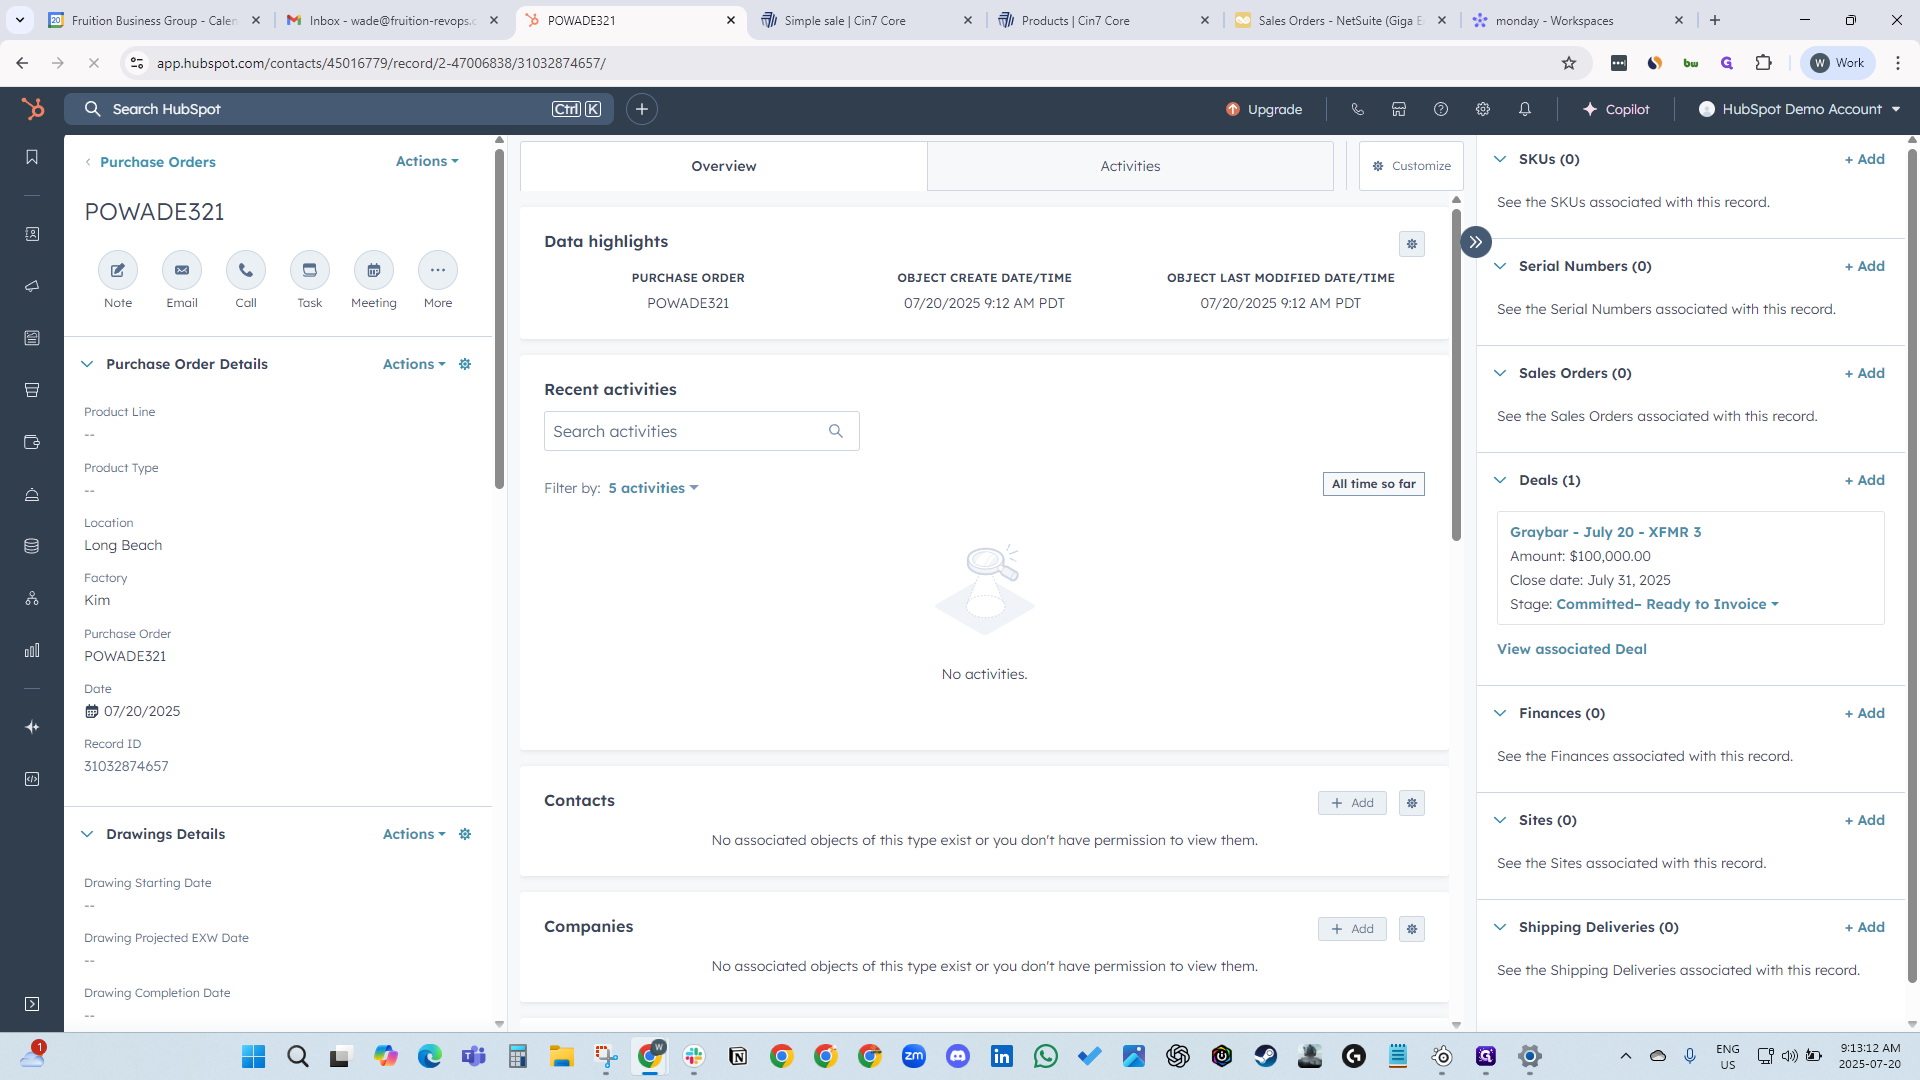
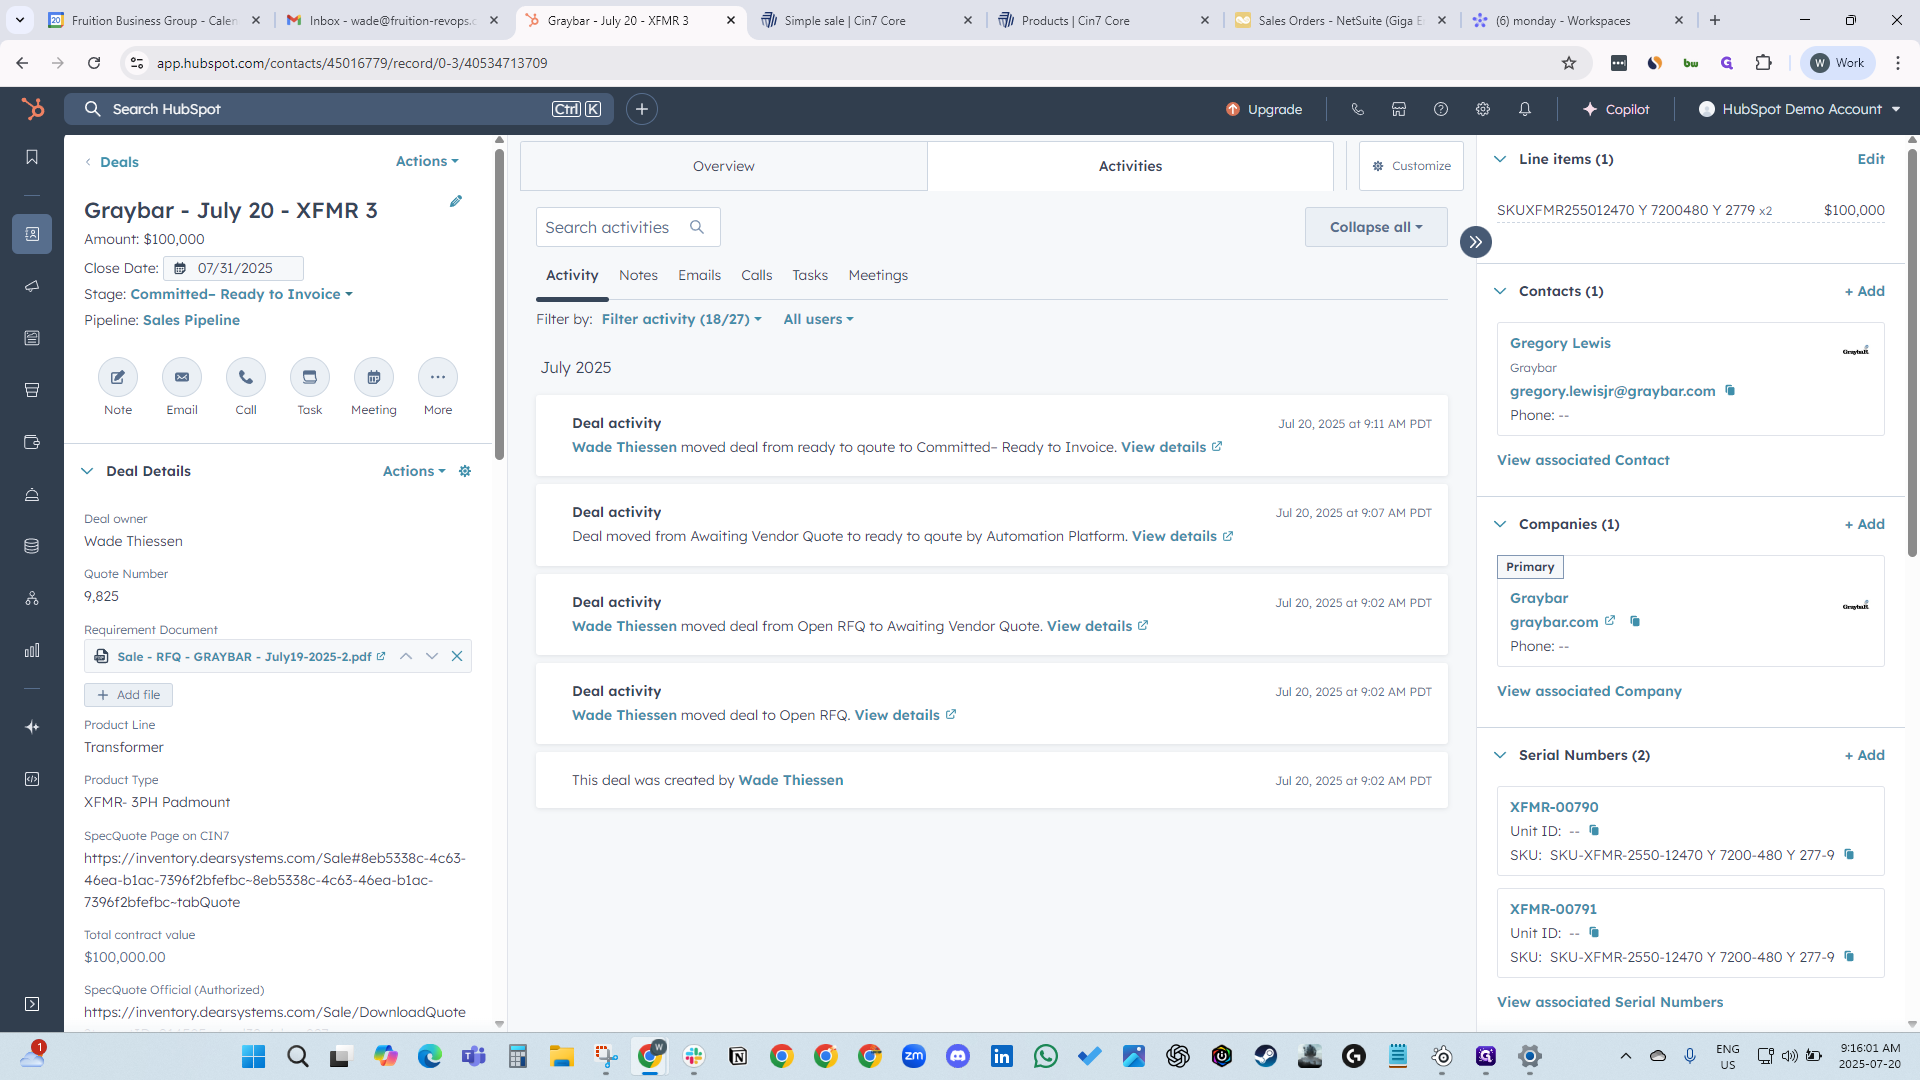
In this case, it is Graybar. On the right-hand side, find "Deals" and select "Add Deal." Here, you can begin entering information about your deal.
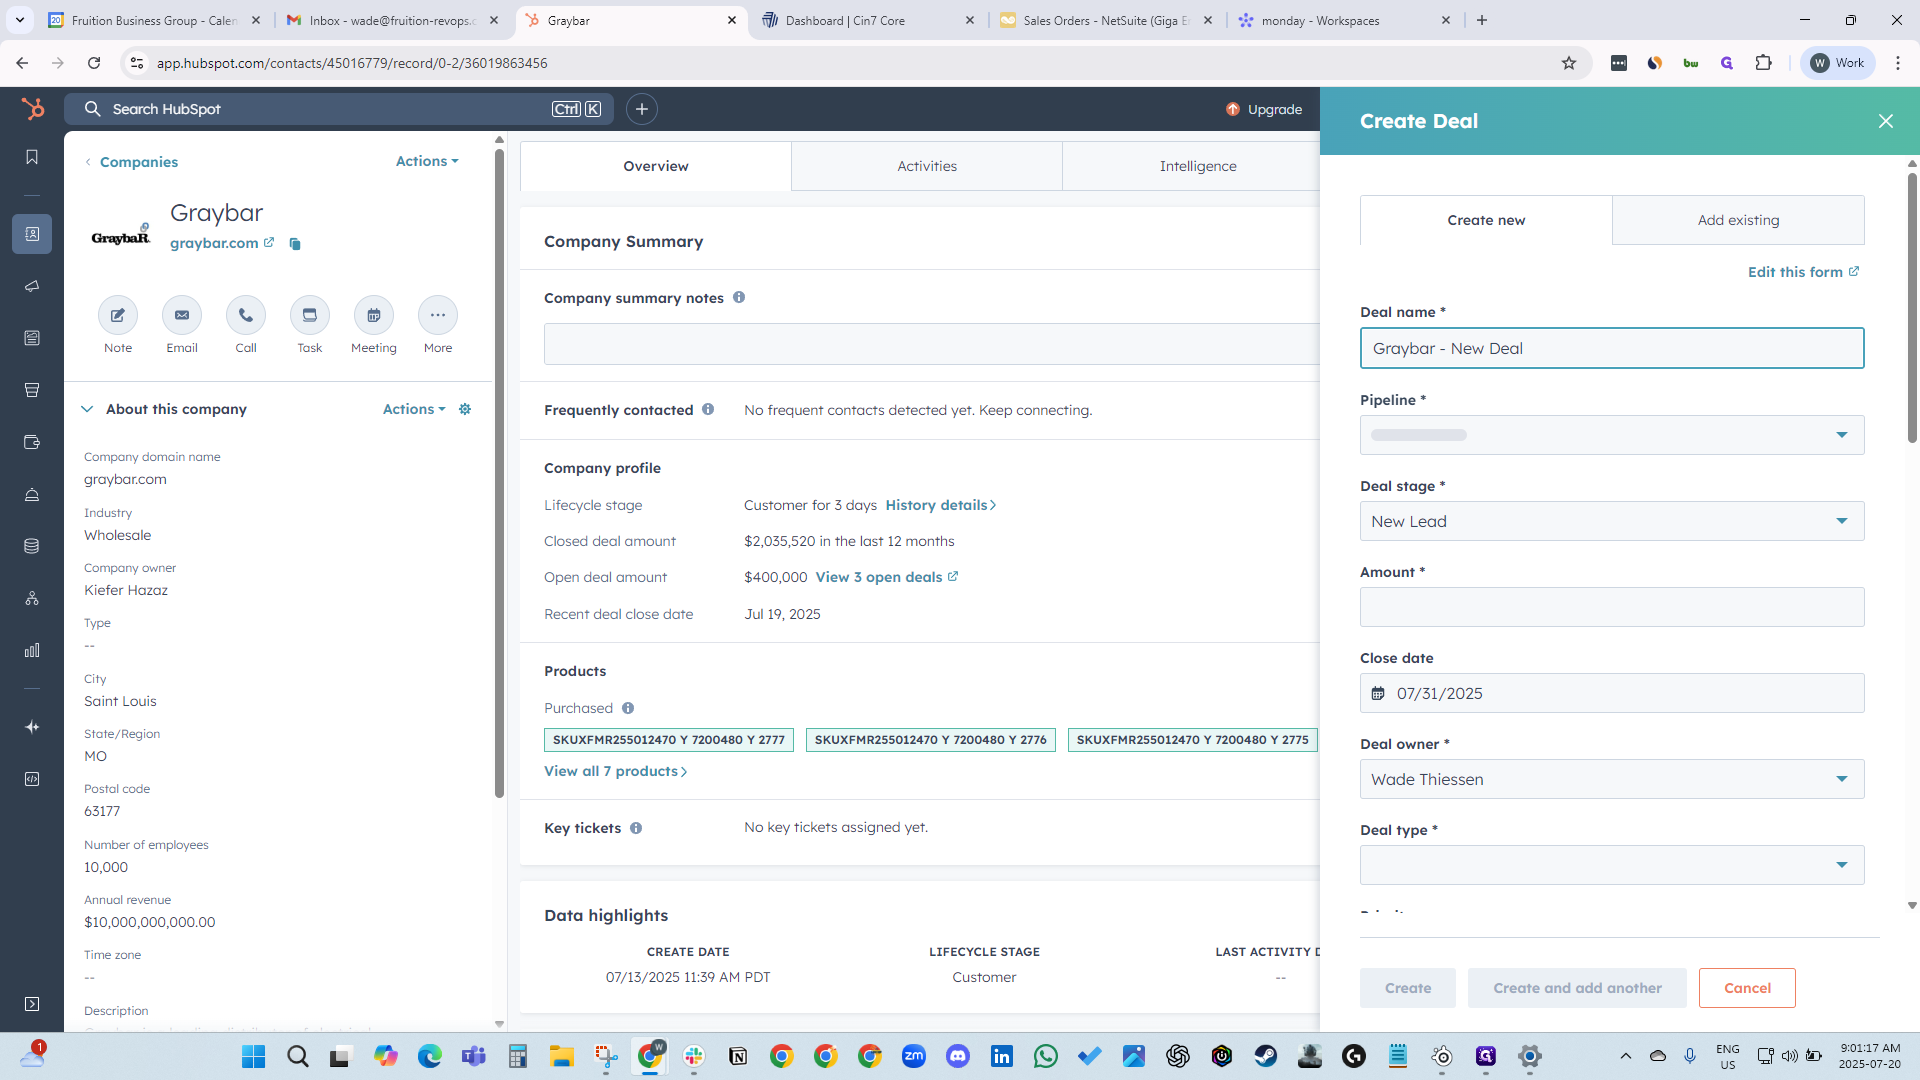
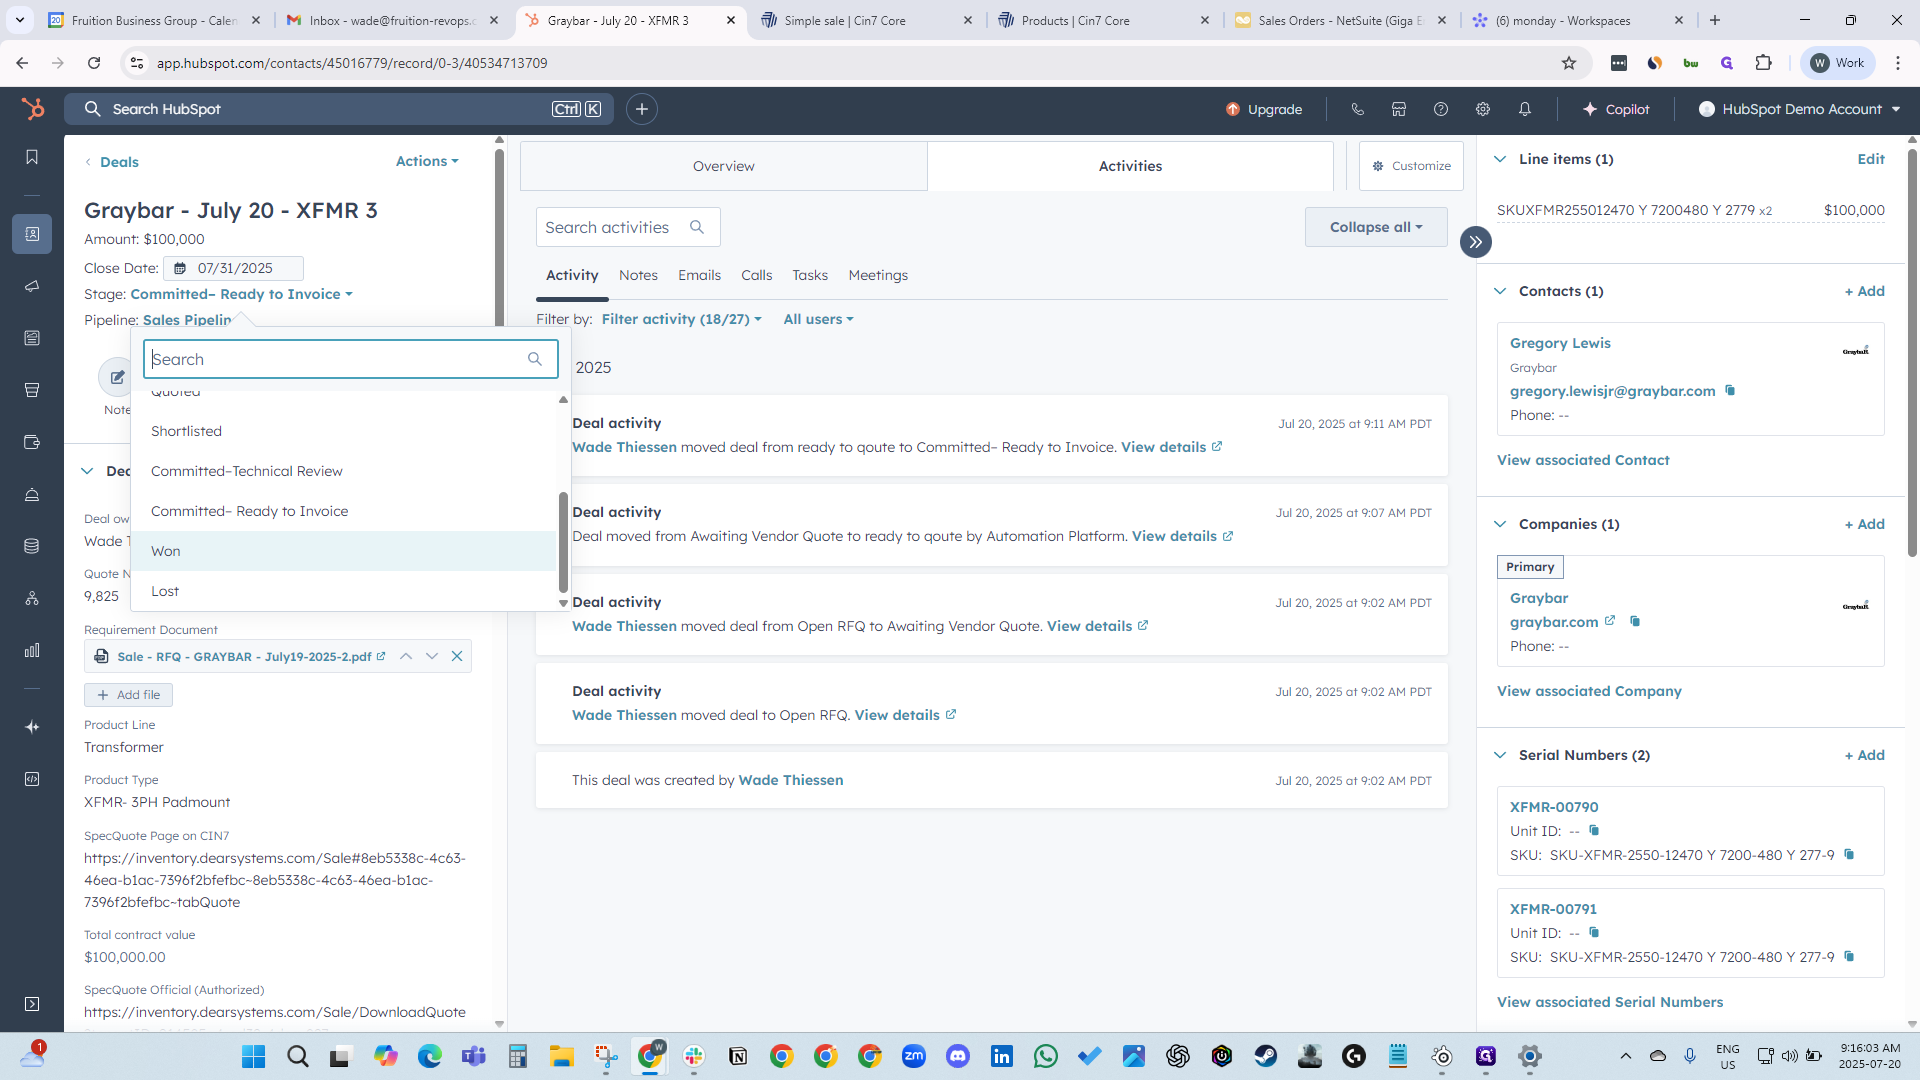
July 20th and XFMR 3. Make sure it is in the correct pipeline.


Leave it set to Open RFQ. The total deal amount will be $100,000.


Deal type: new business.
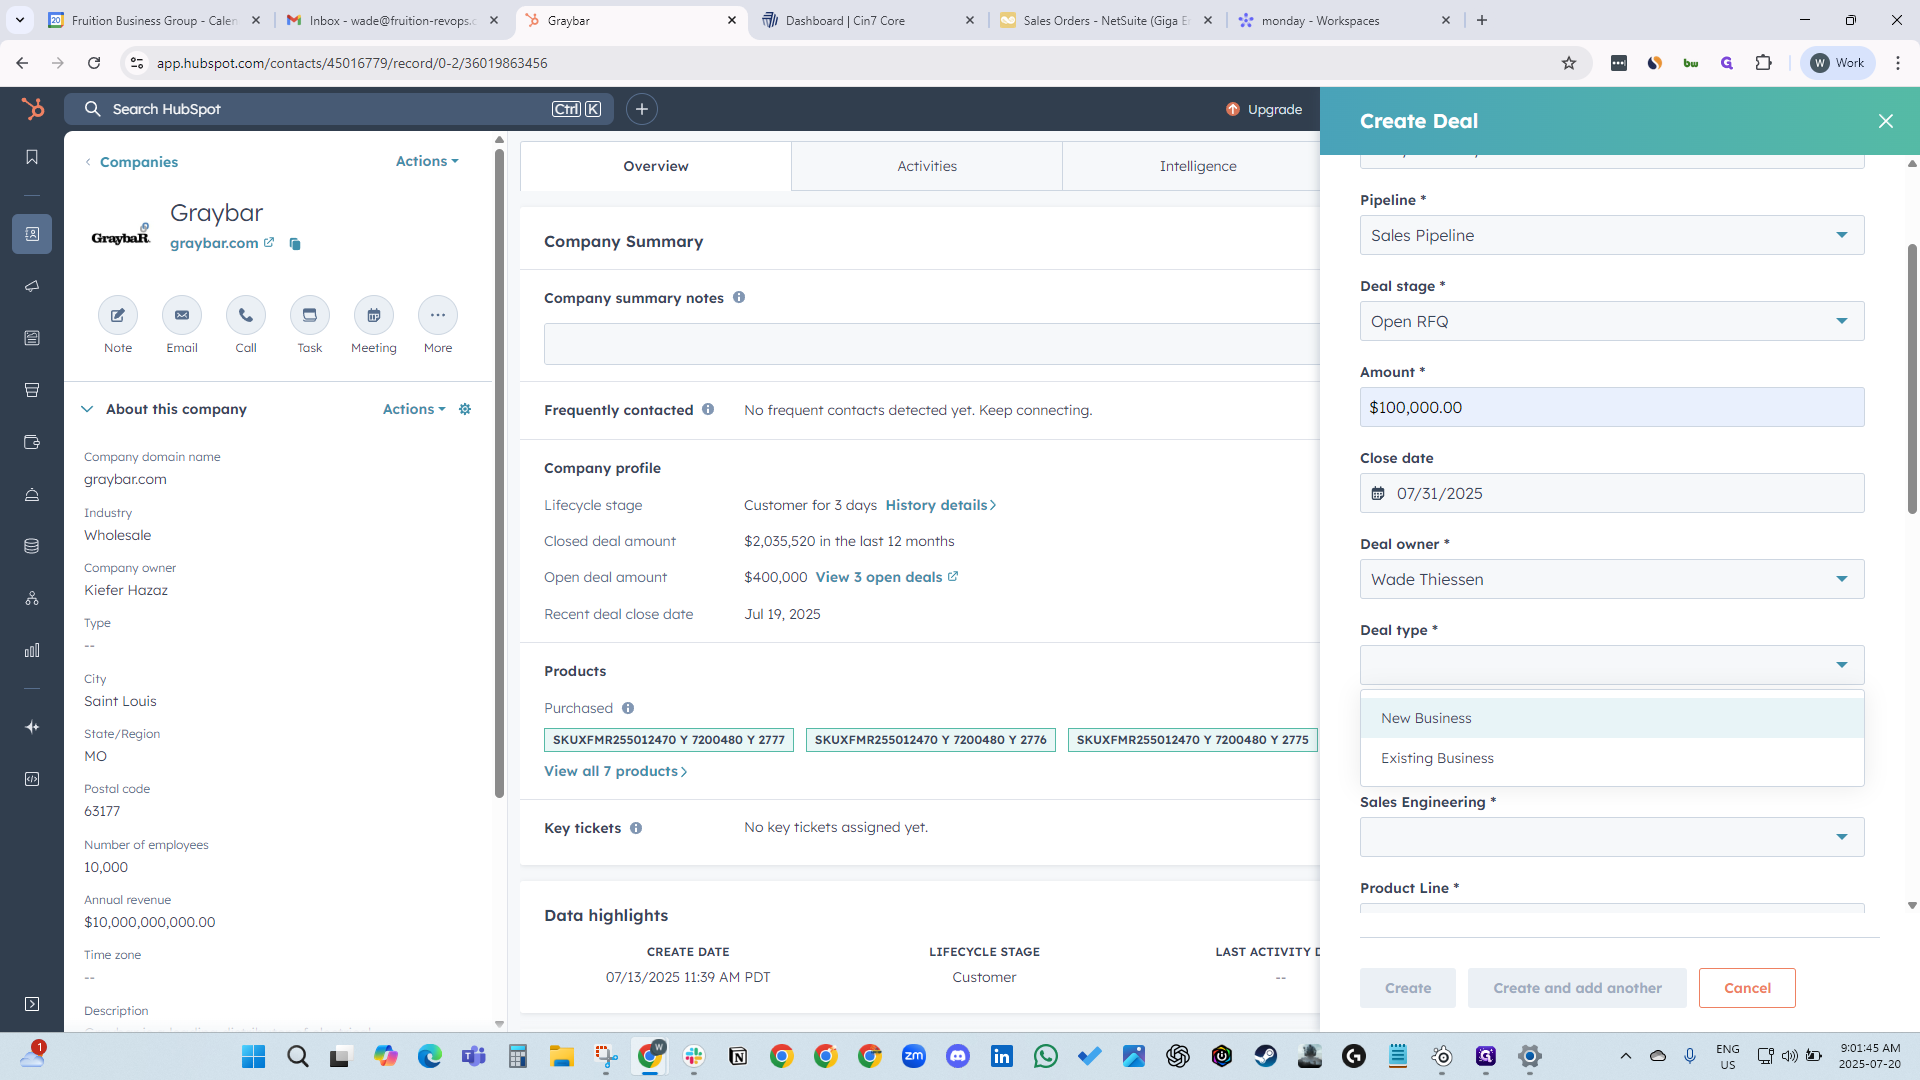

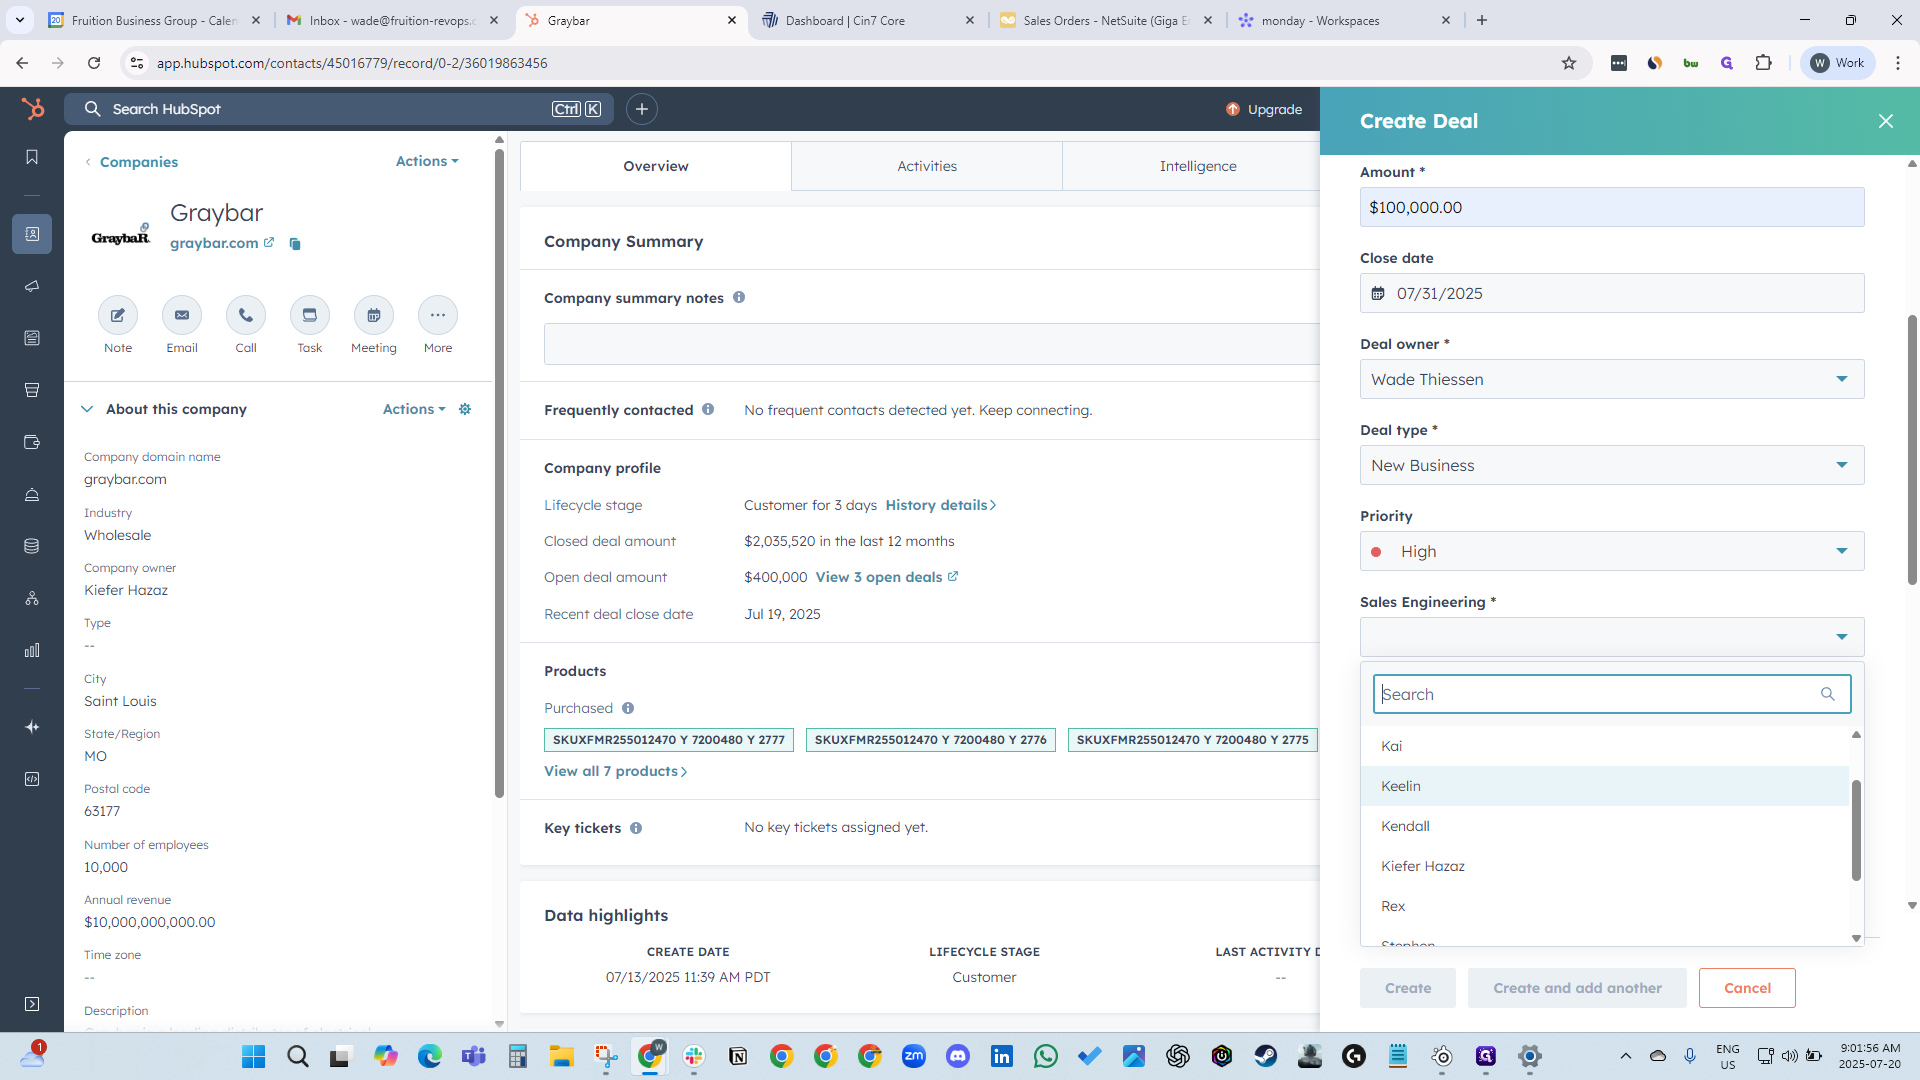
Priority: high.

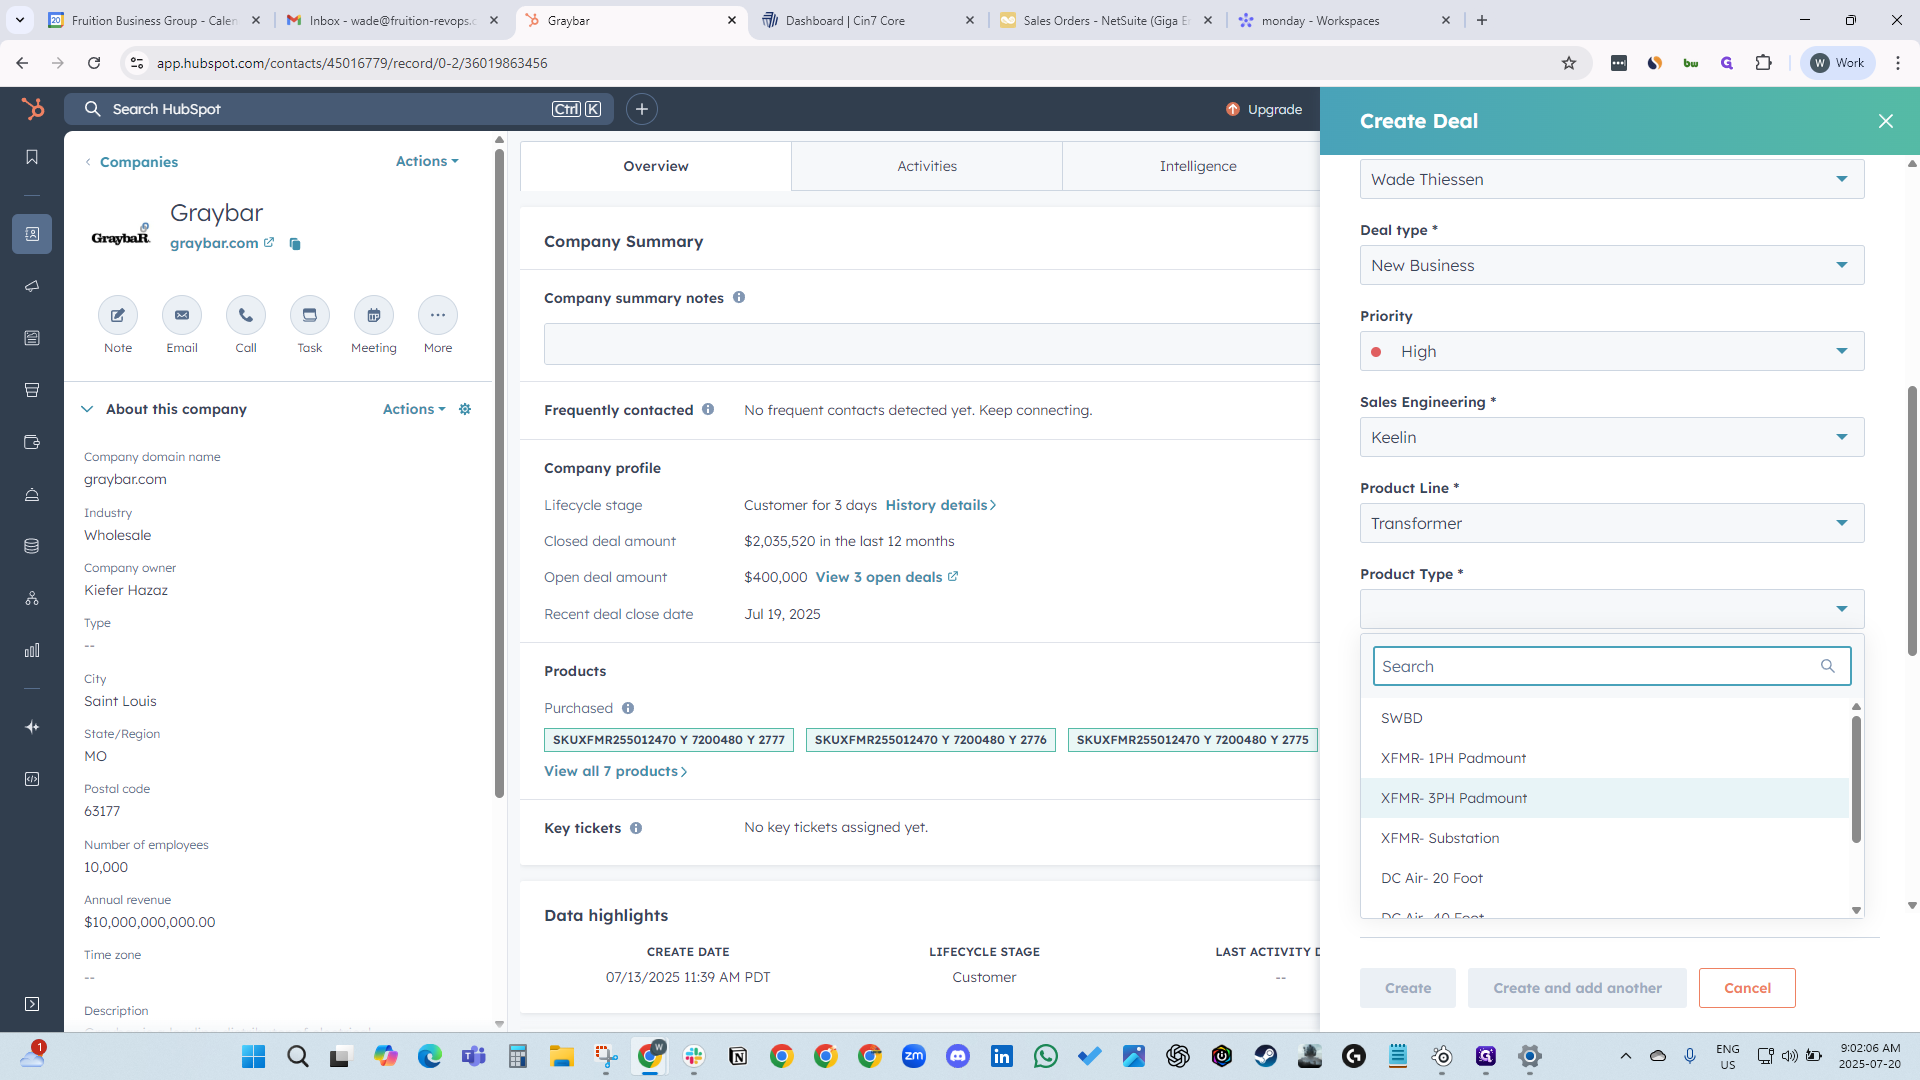
Select the sales engineer, then choose the product line and product type.


It's a three-phase pad mount. Enter your quote number.


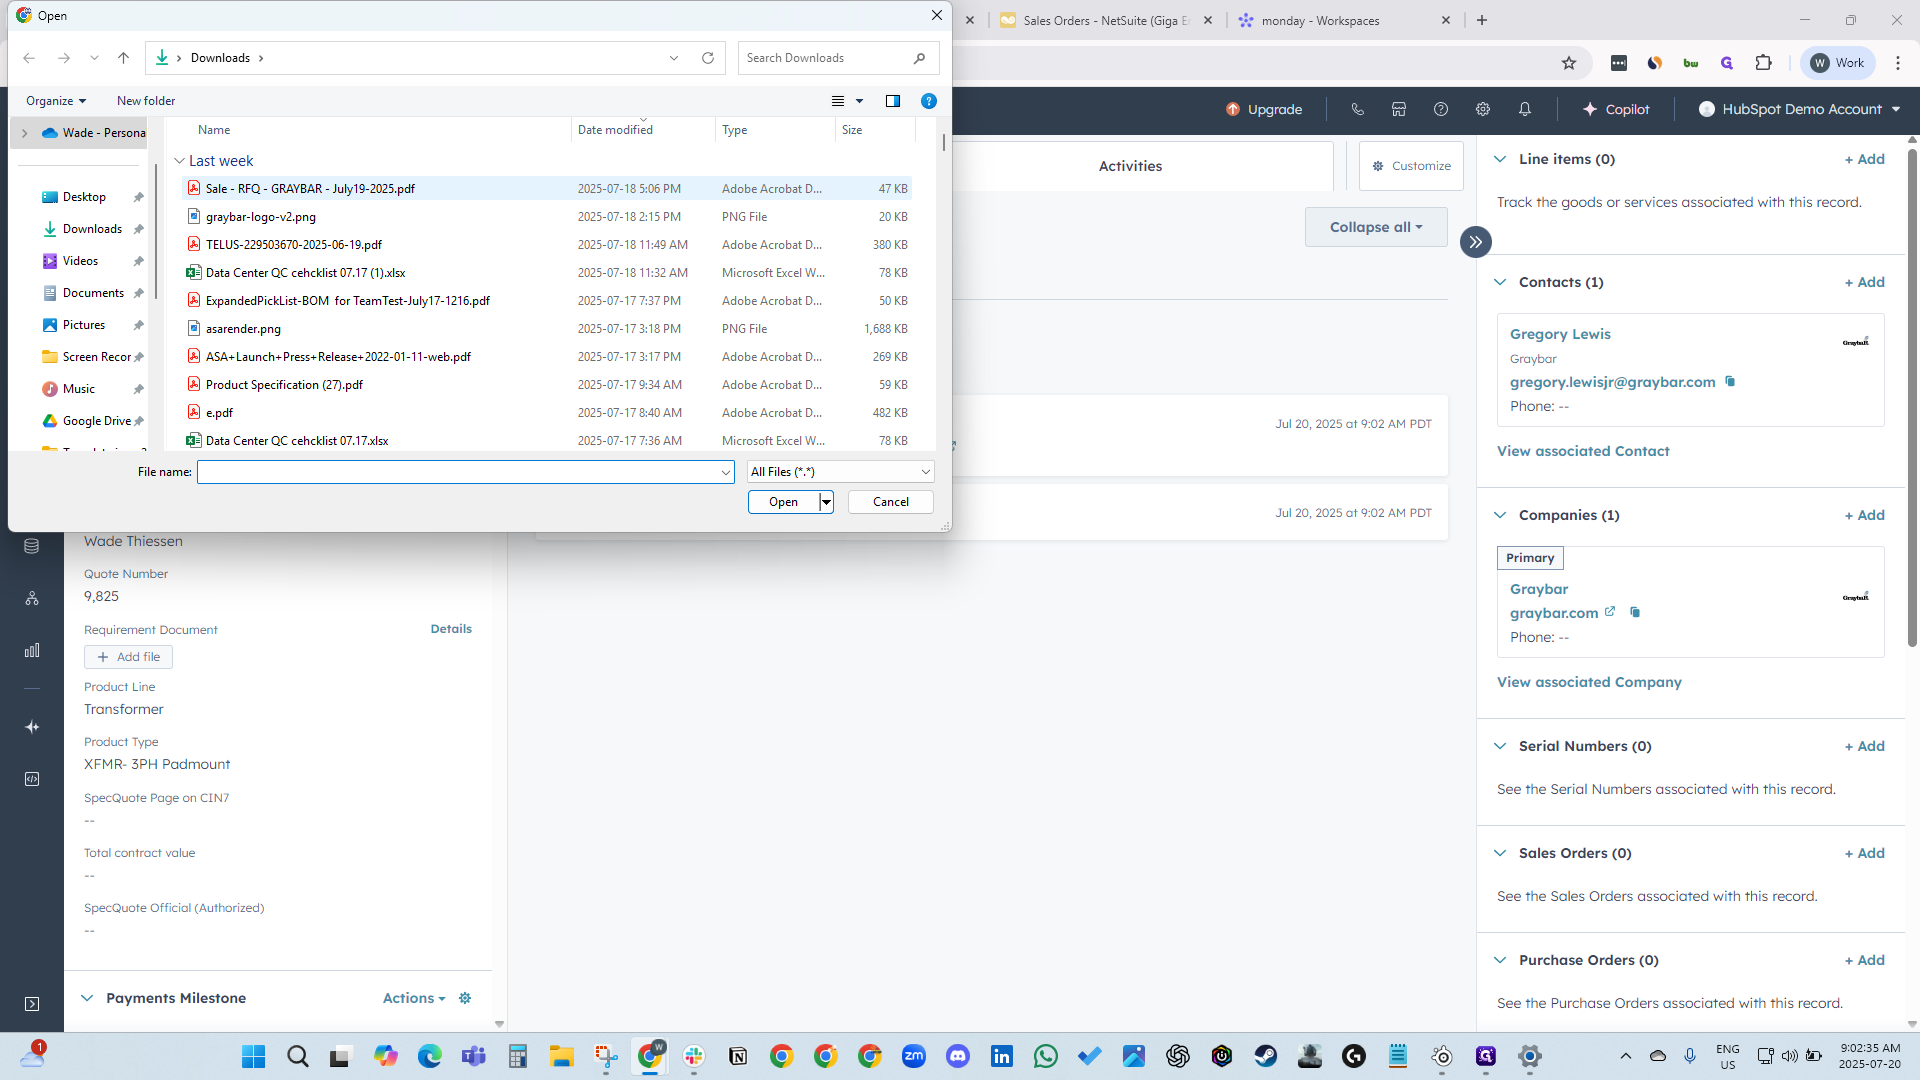
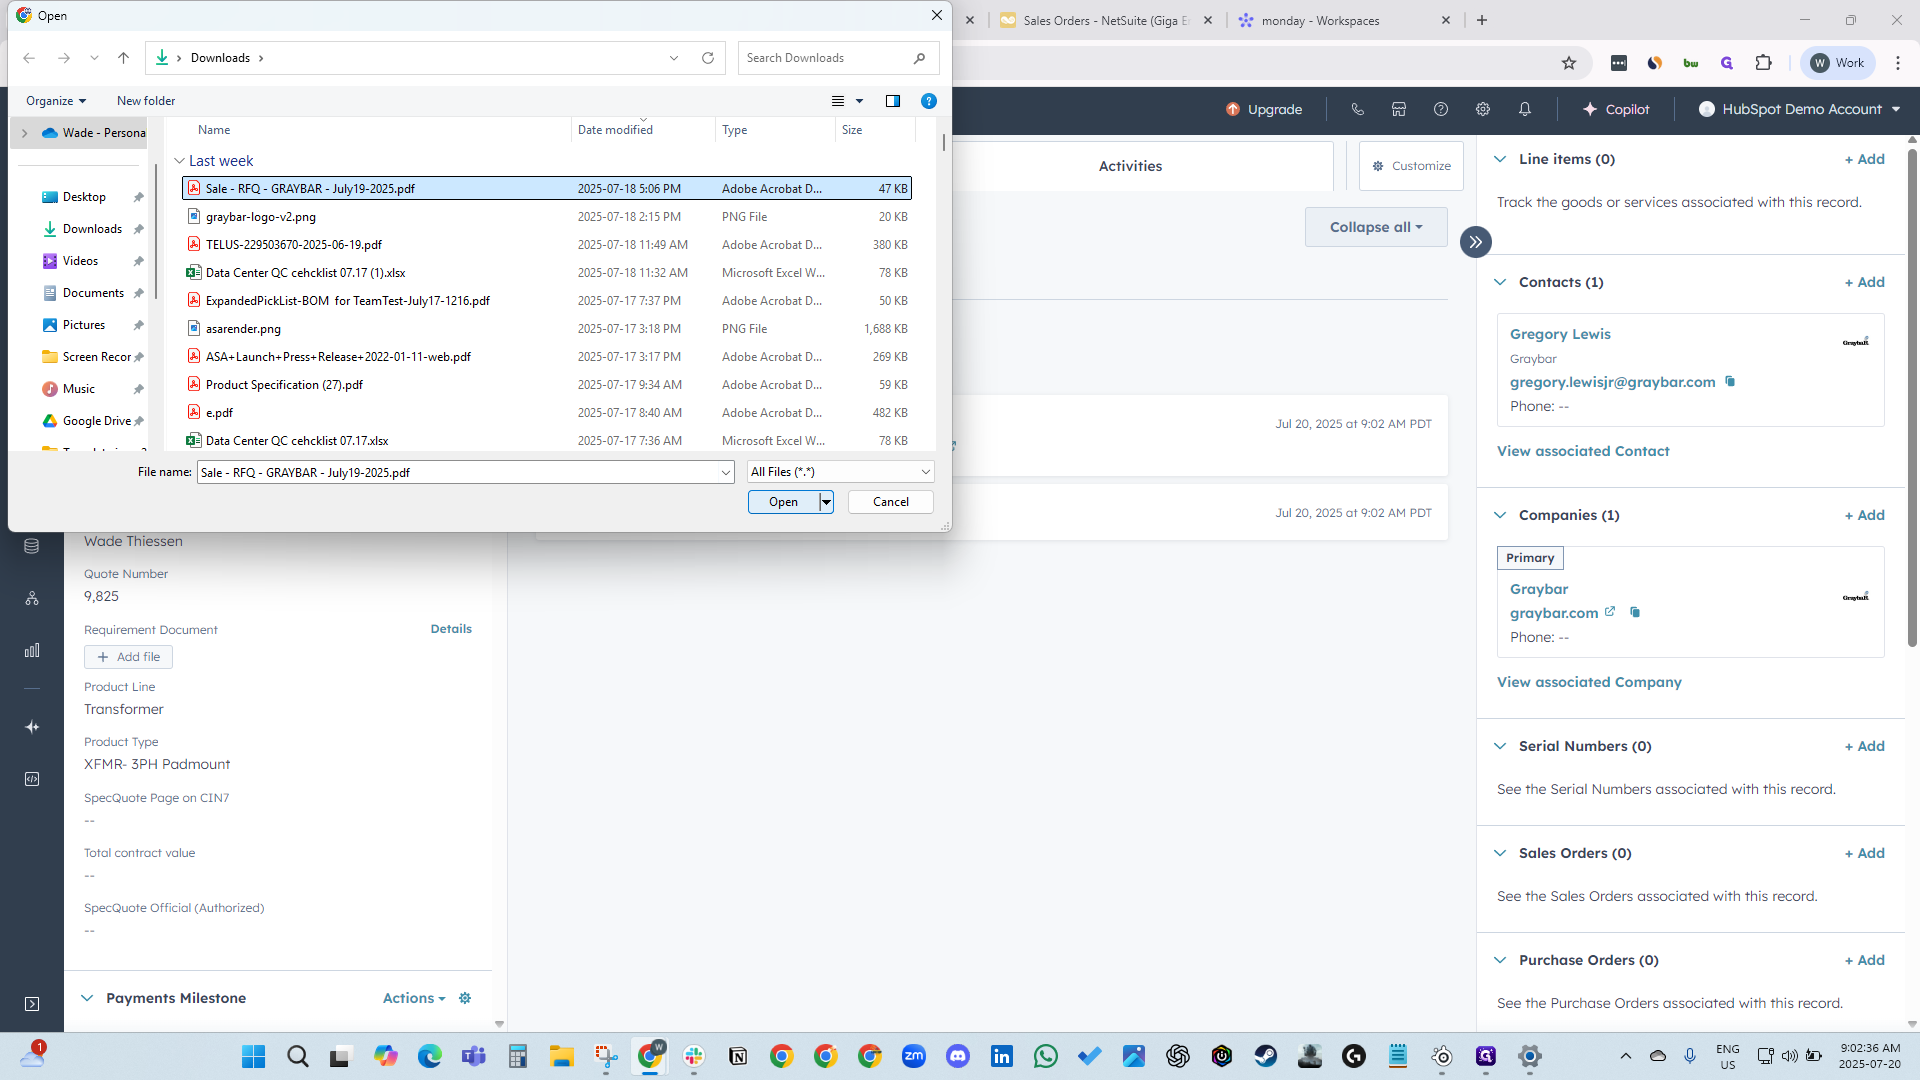
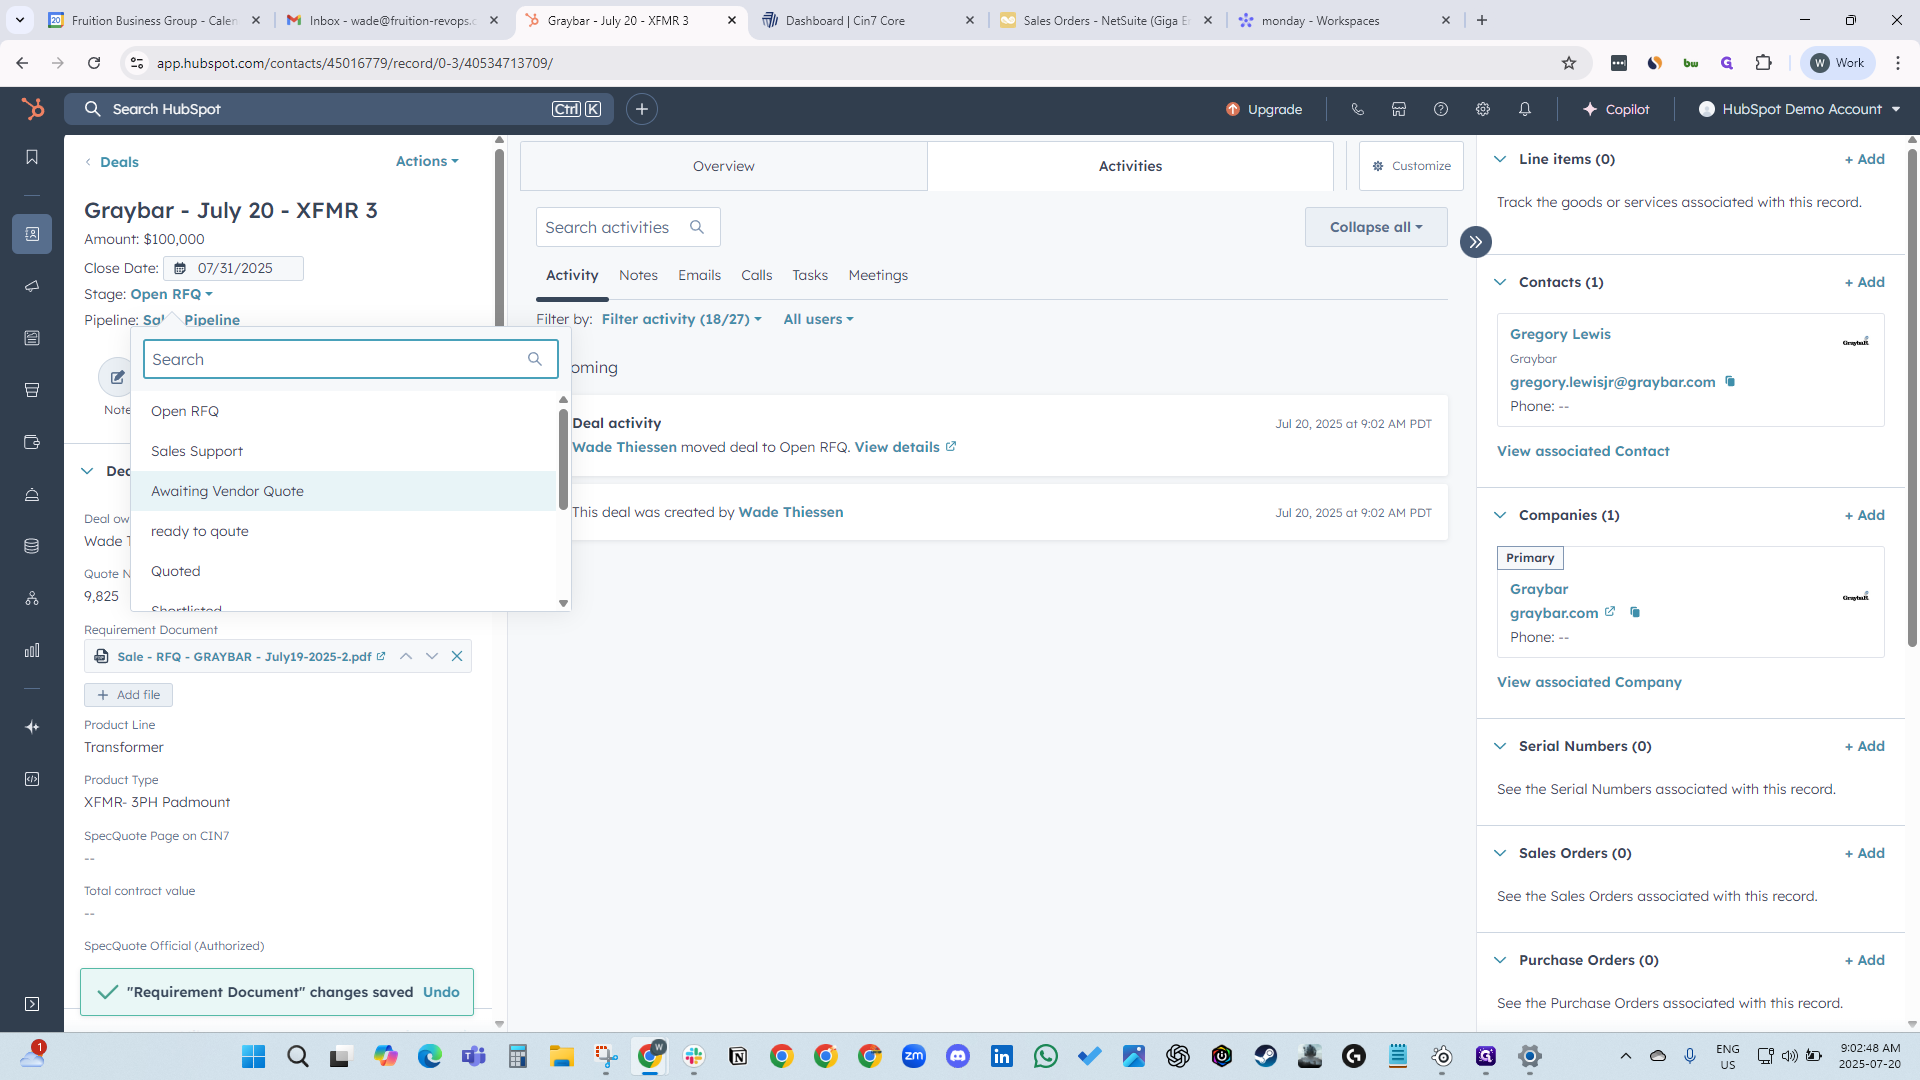
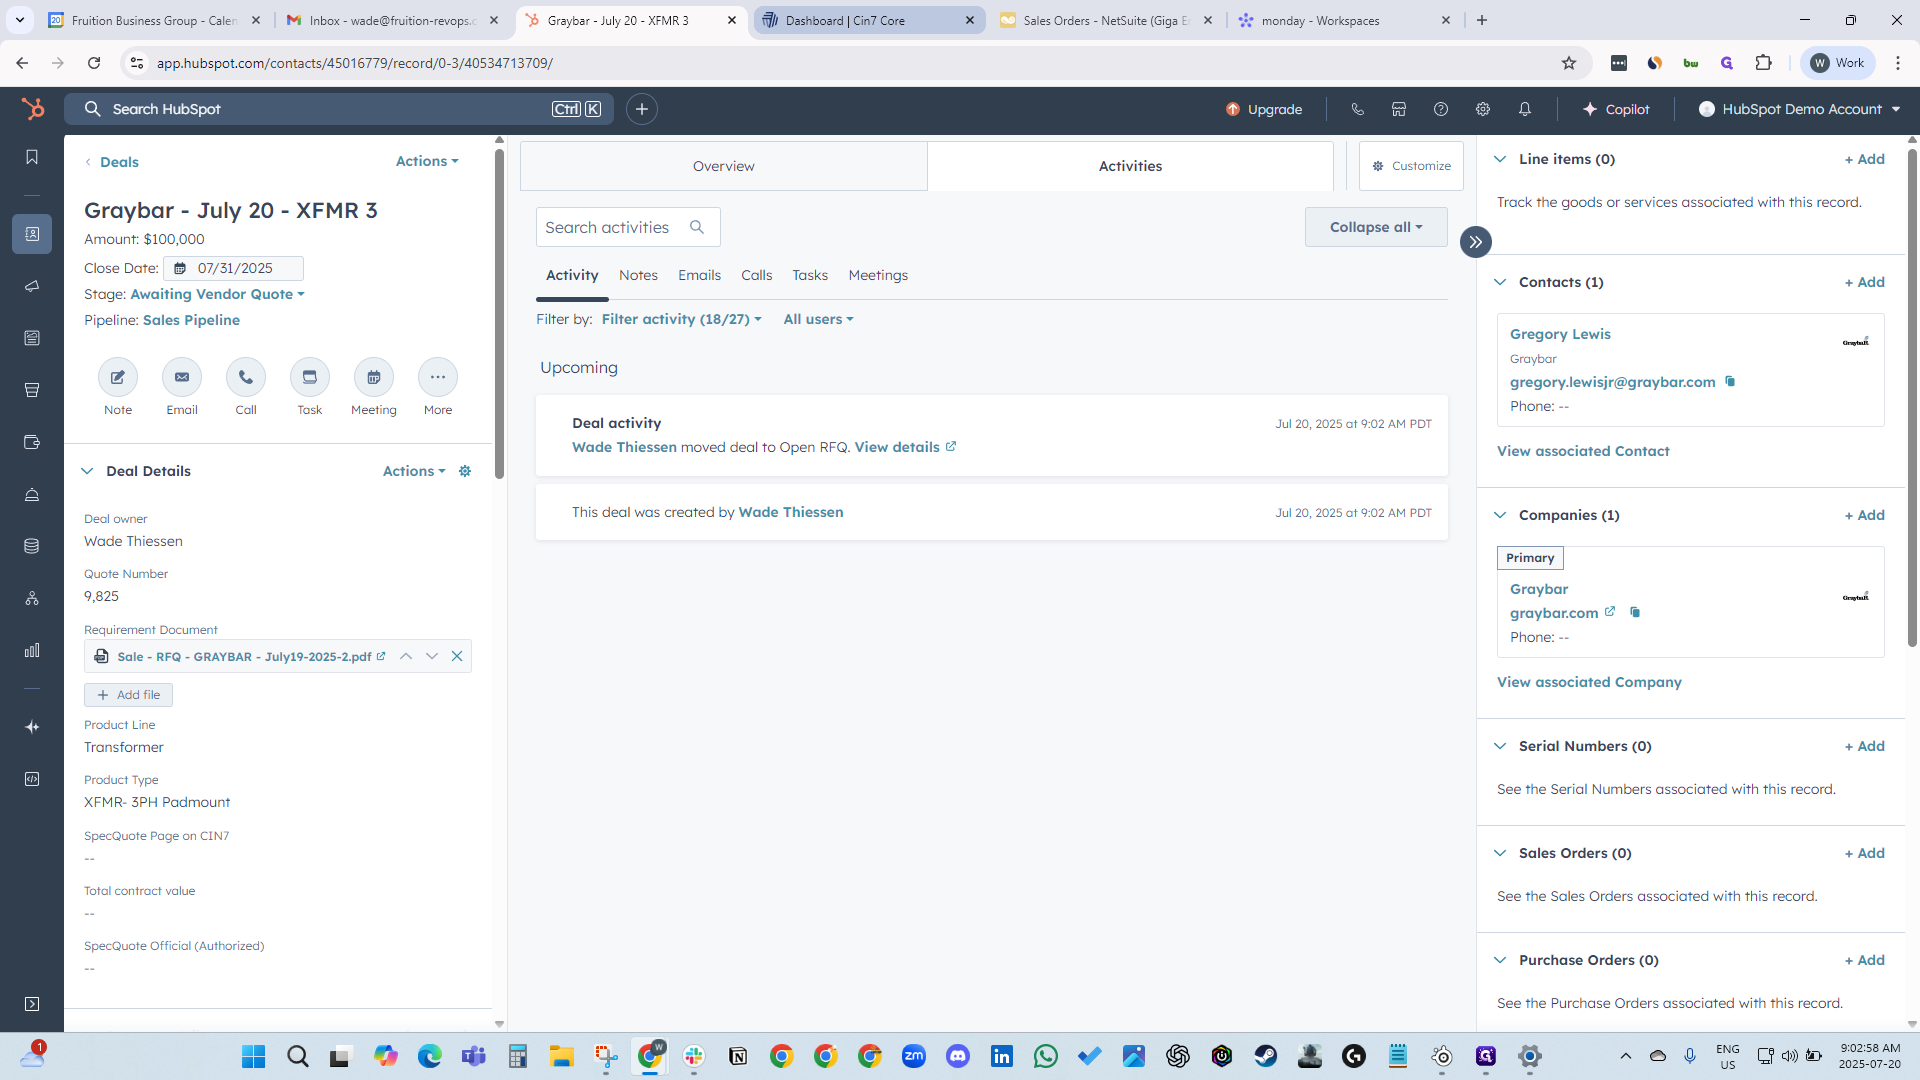
Now that you have created a deal, upload your requirements document with all specifications. Then, move the deal to the "awaiting vendor quote" stage.
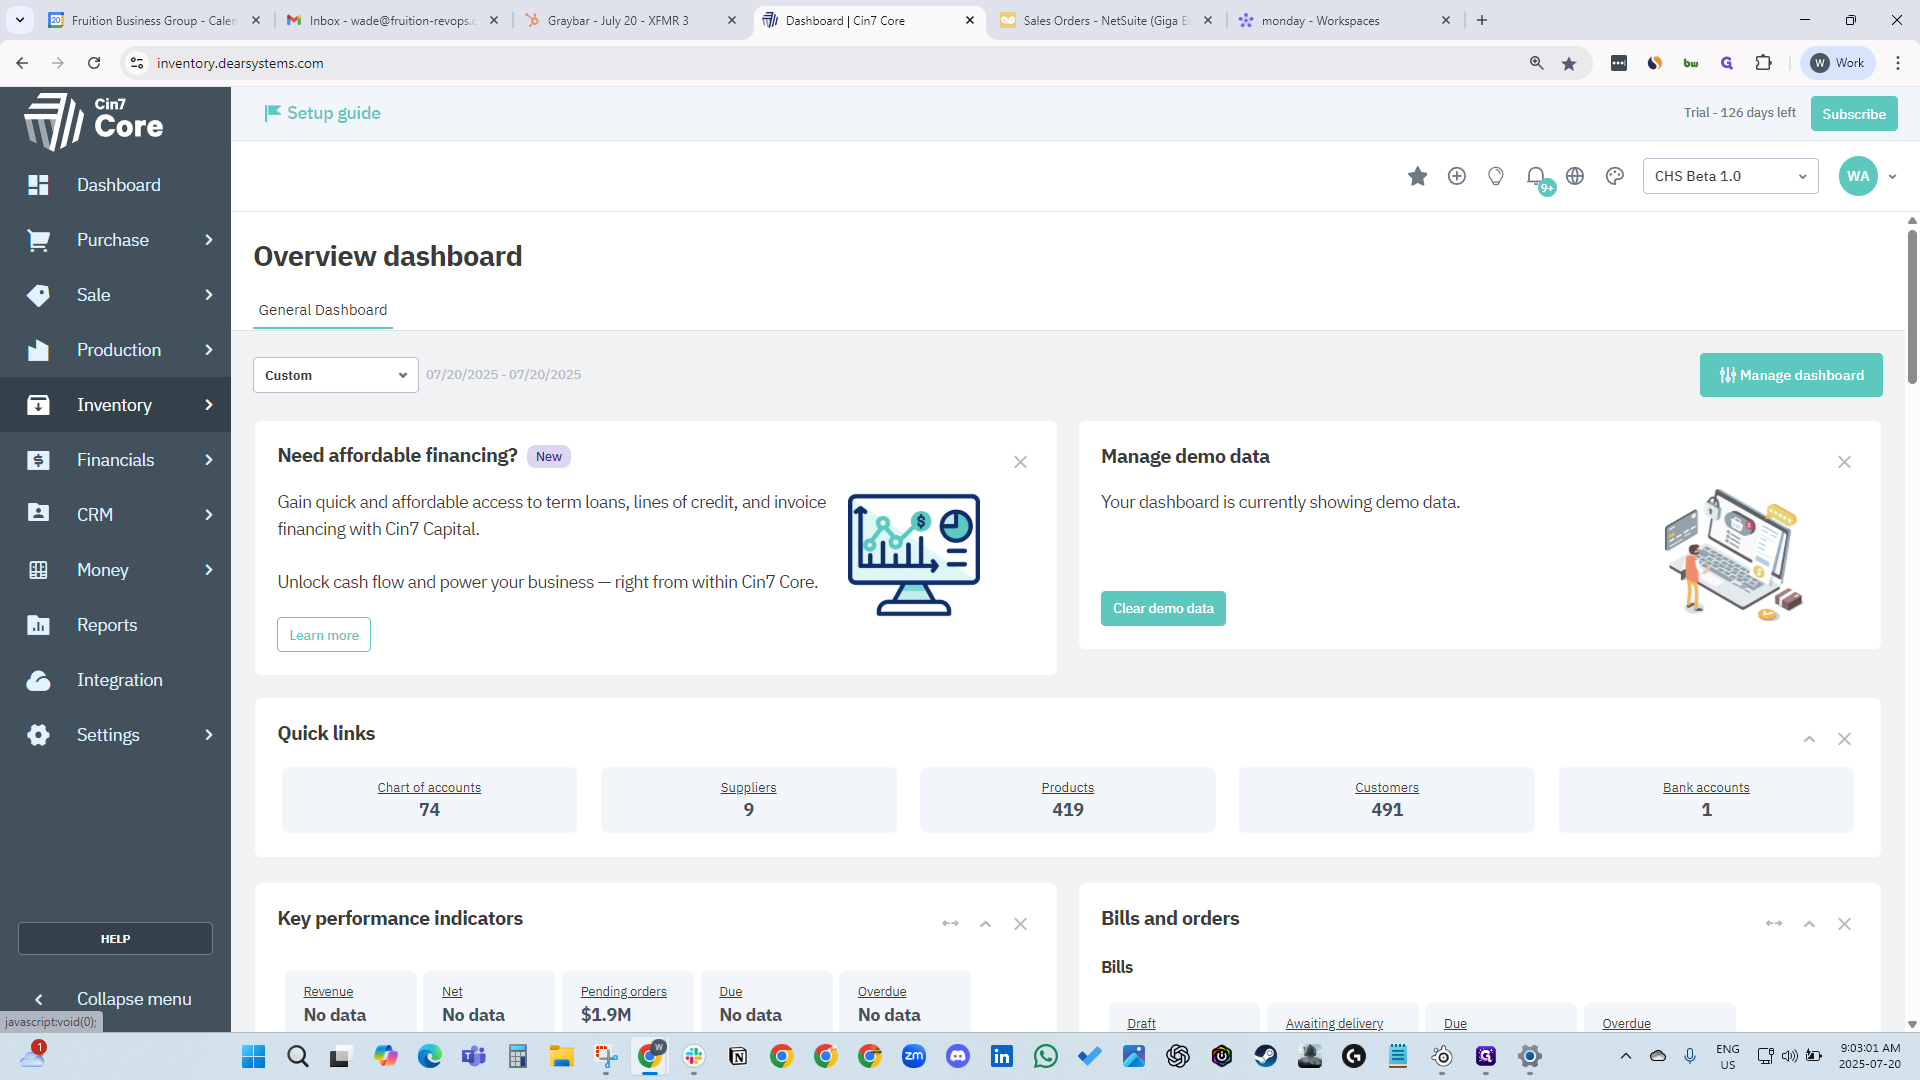
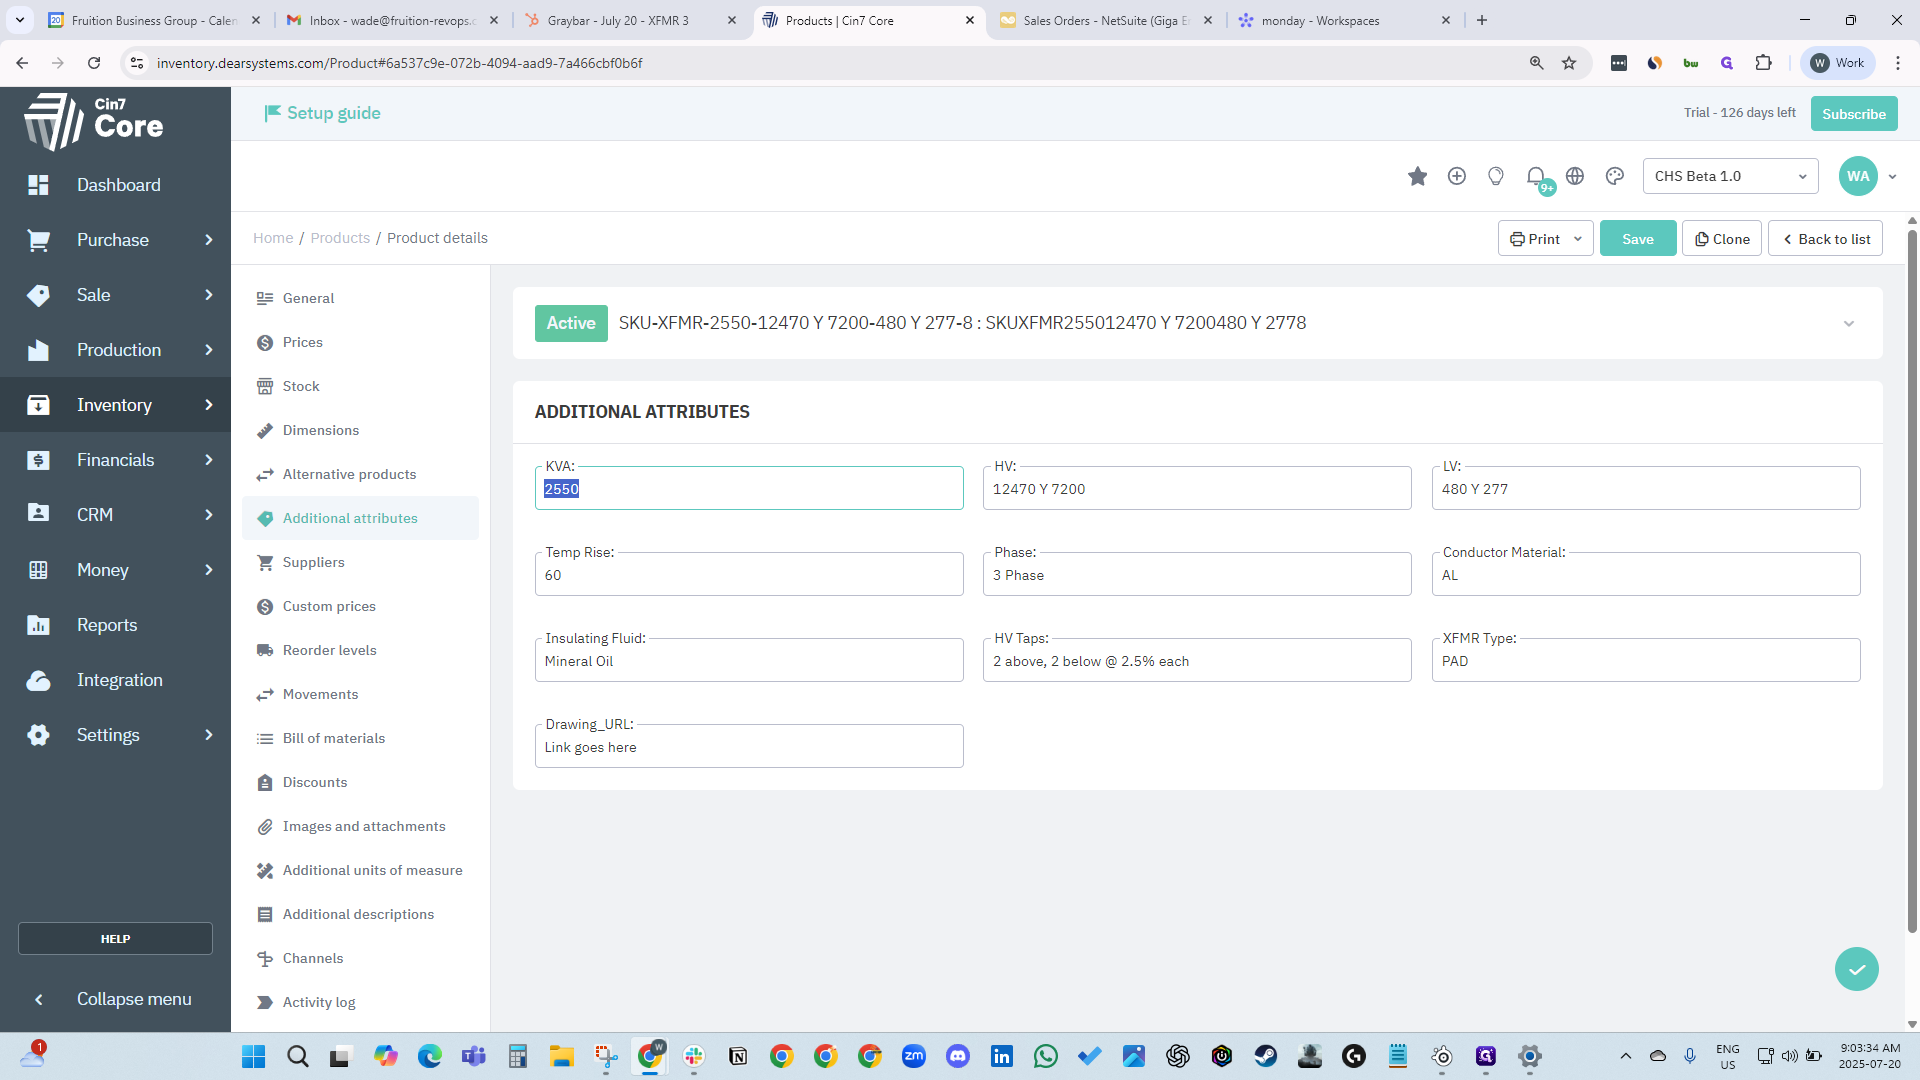
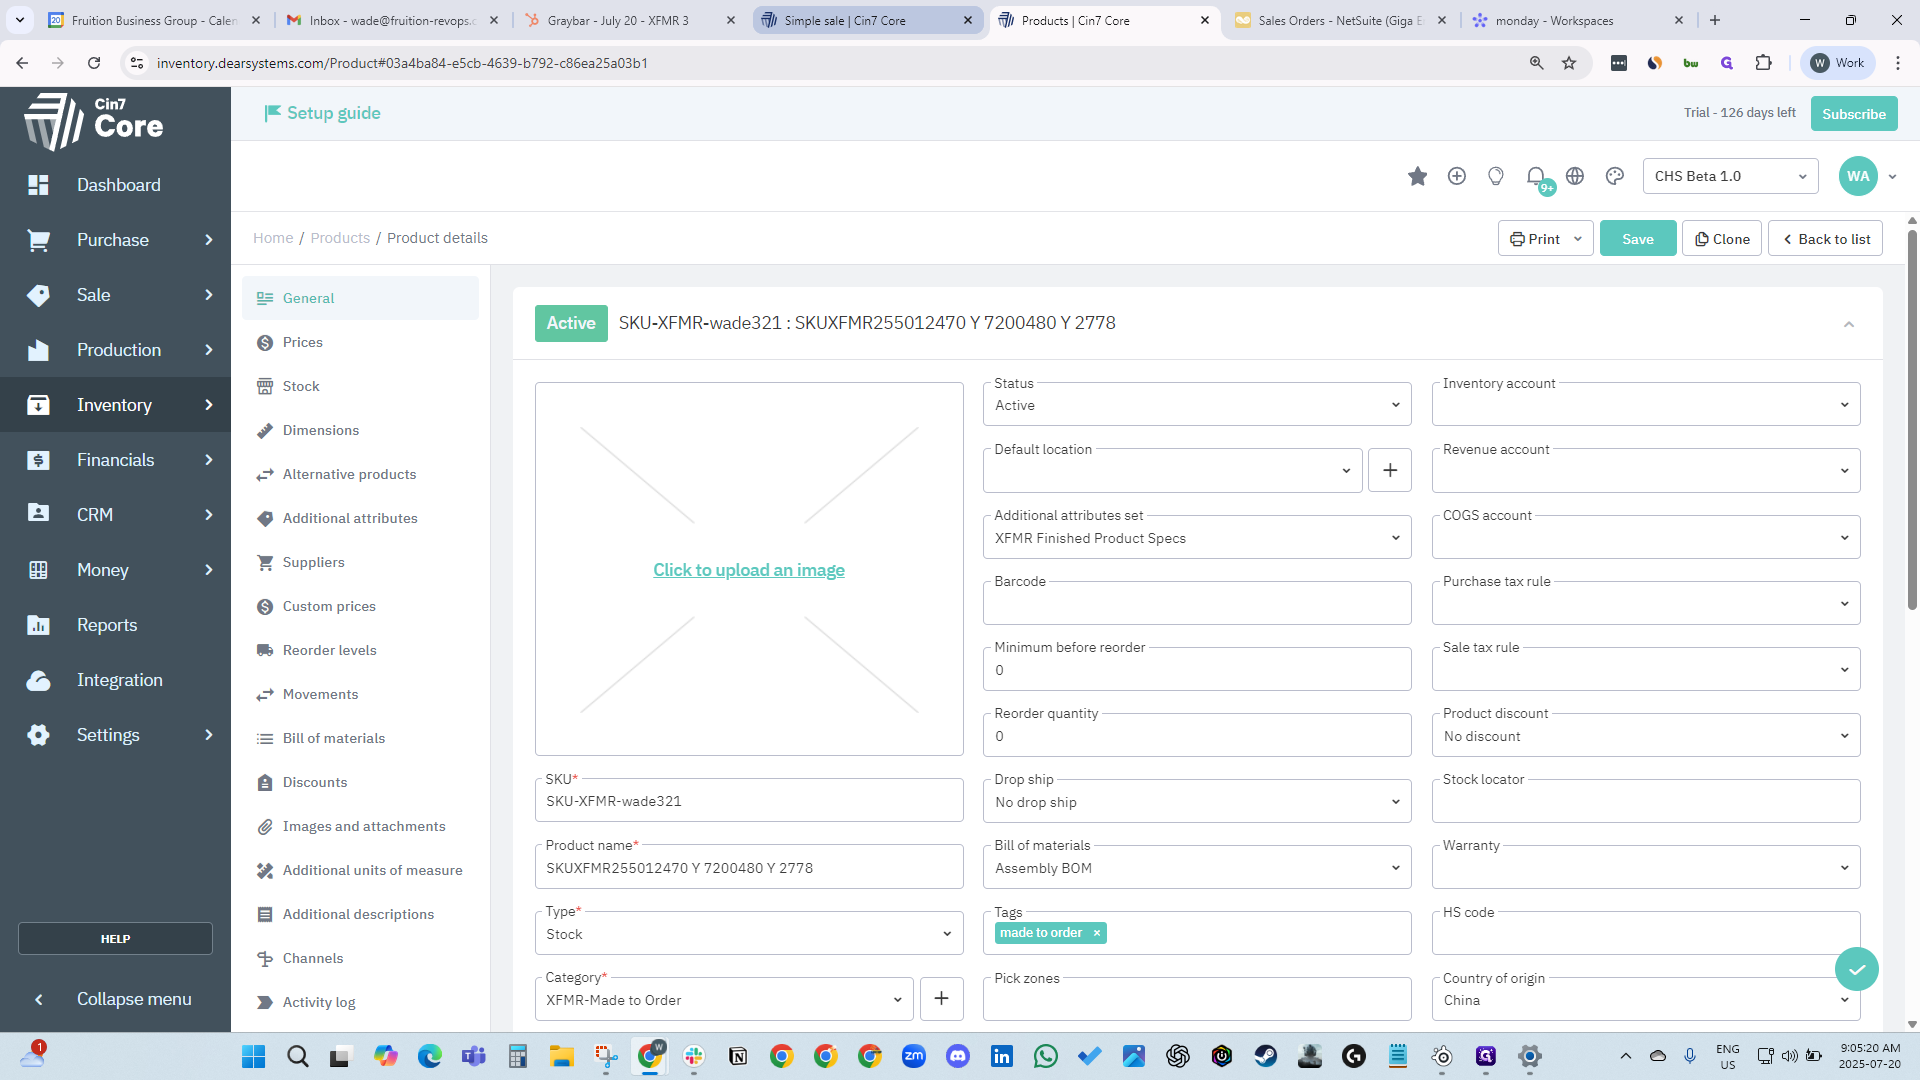
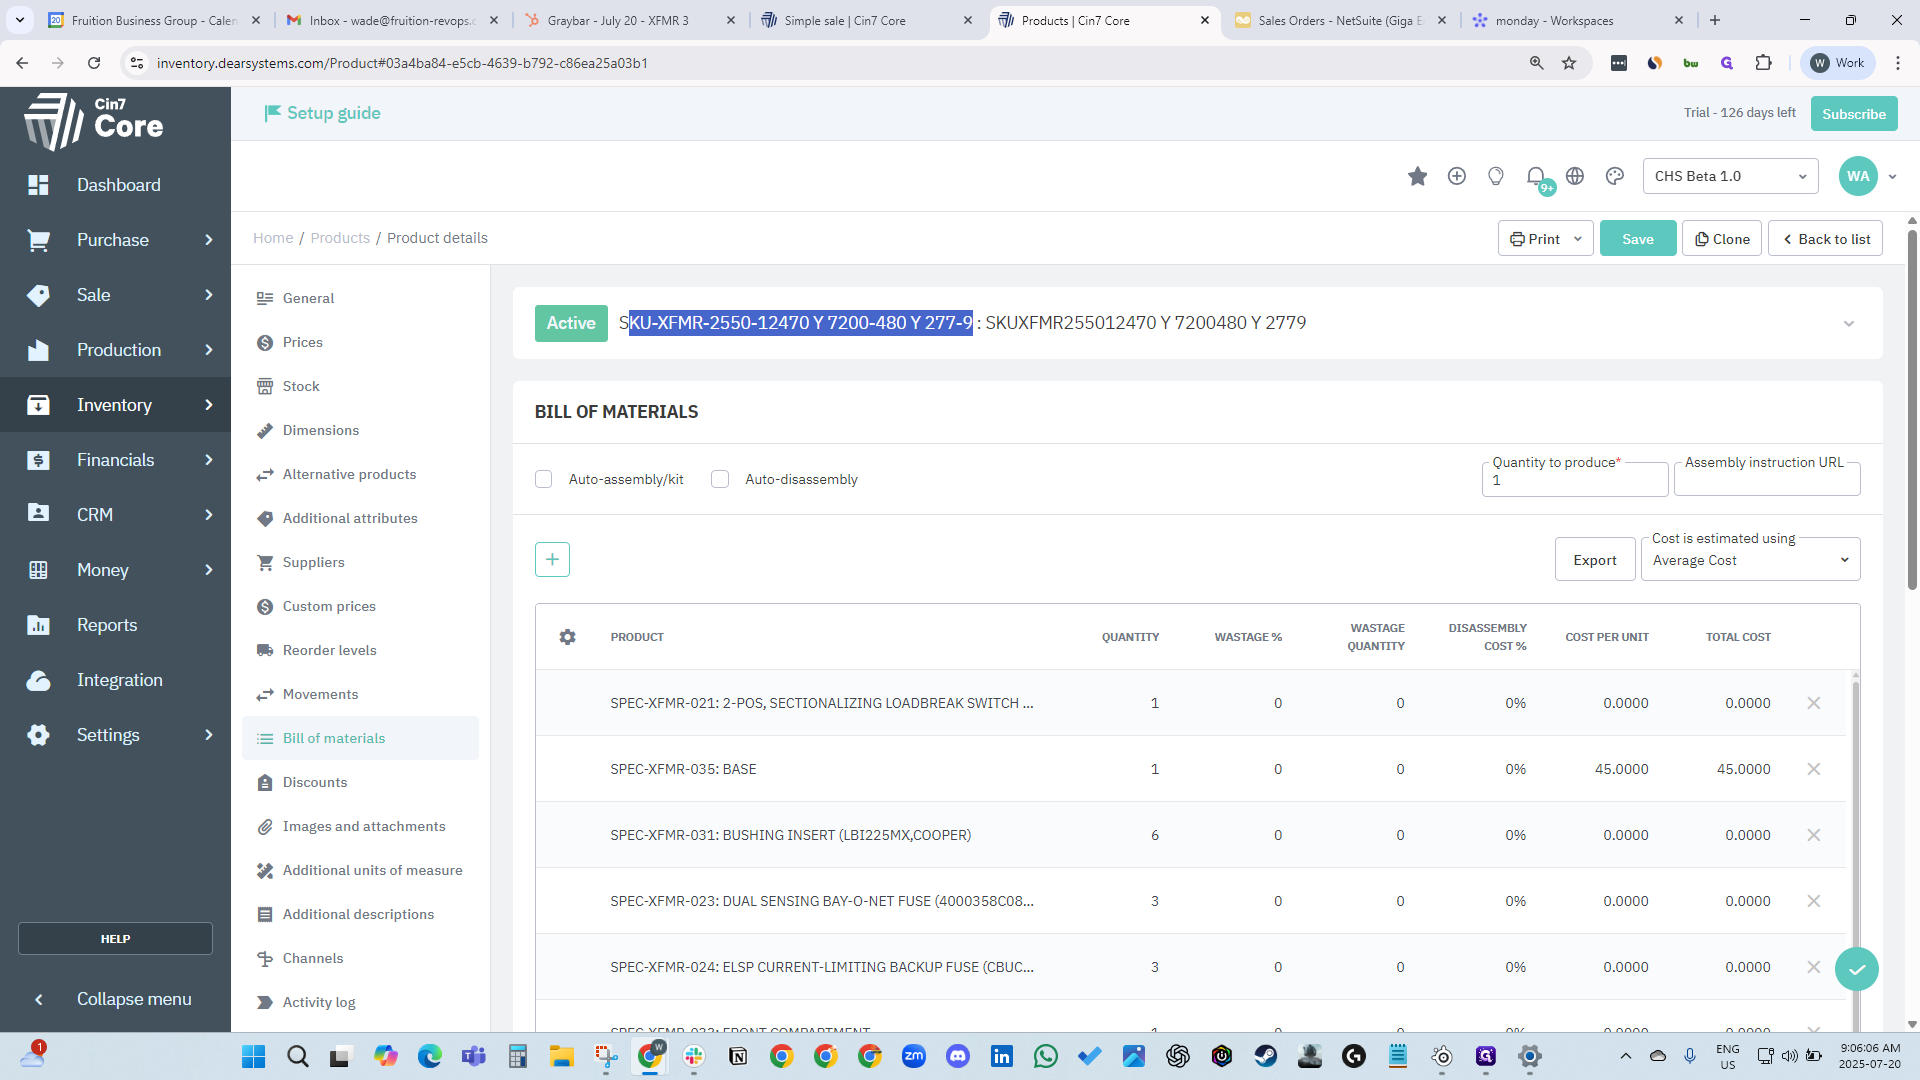
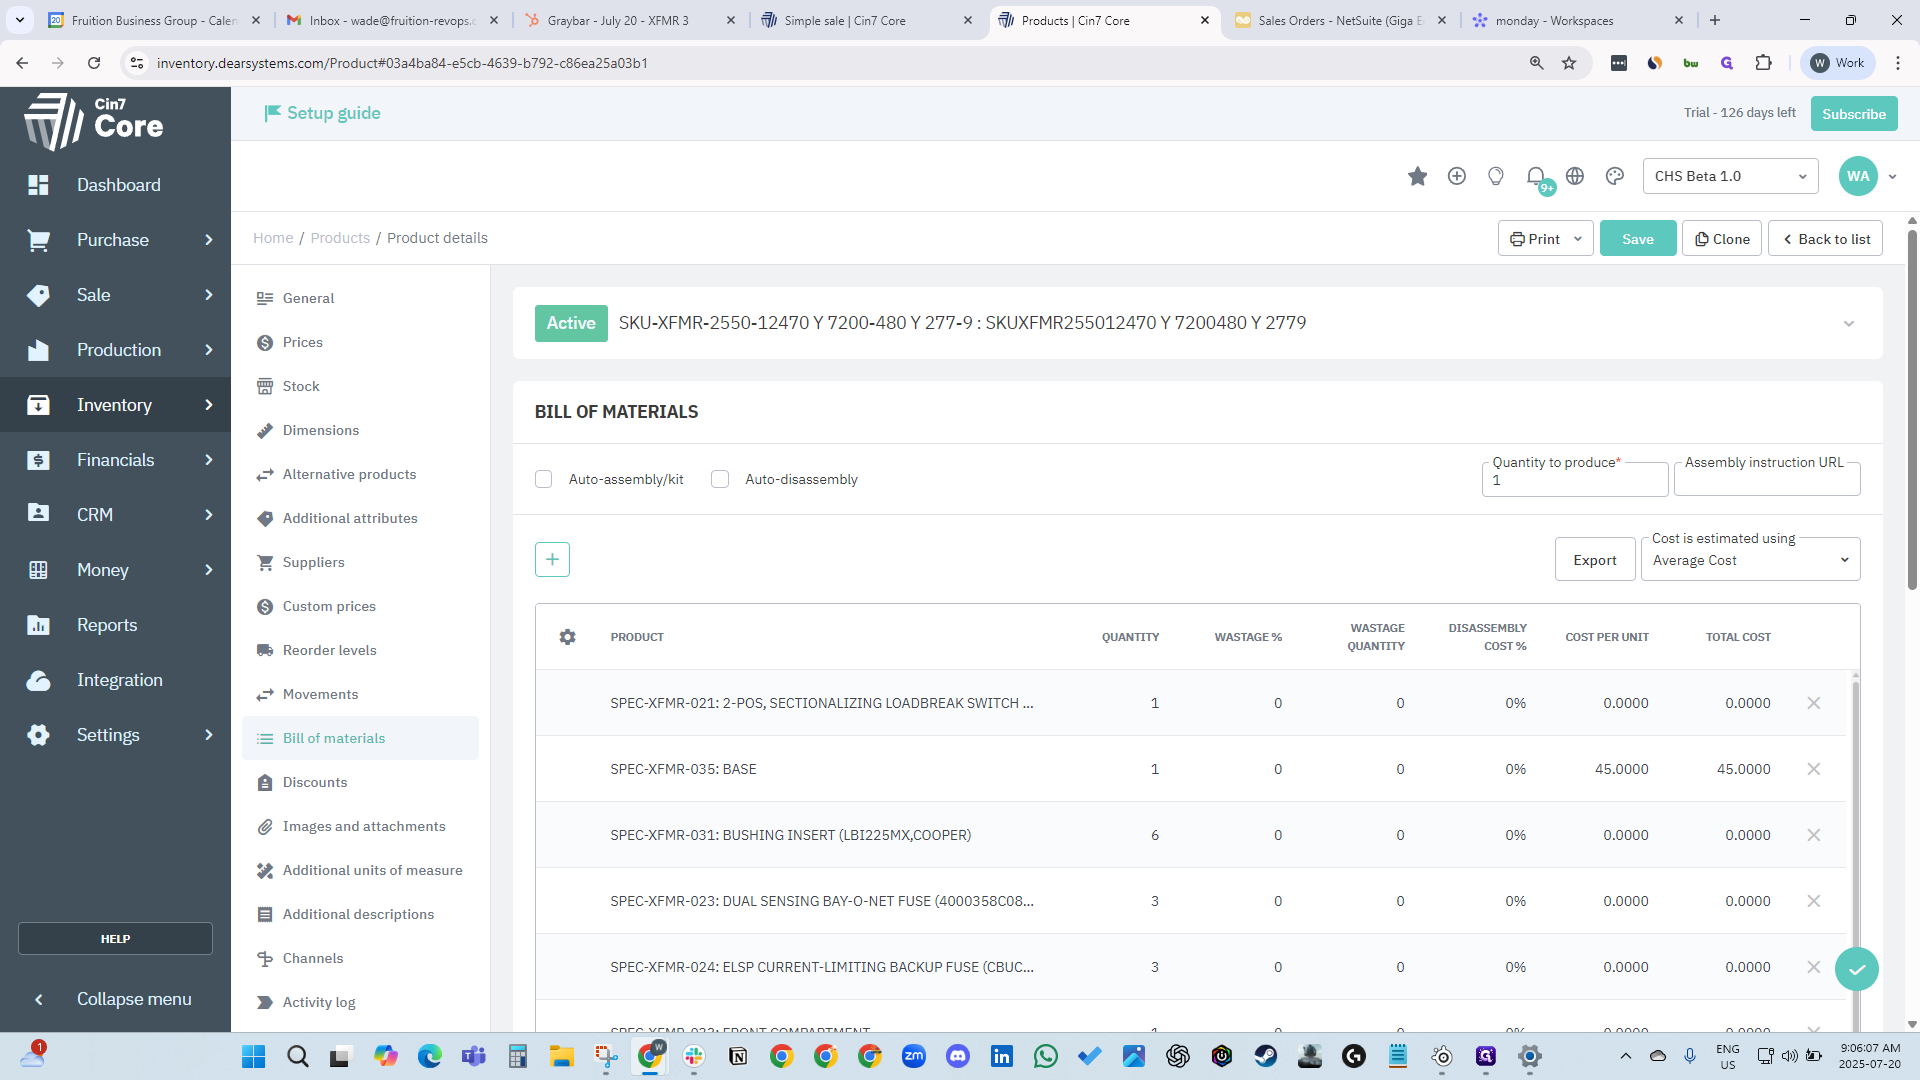
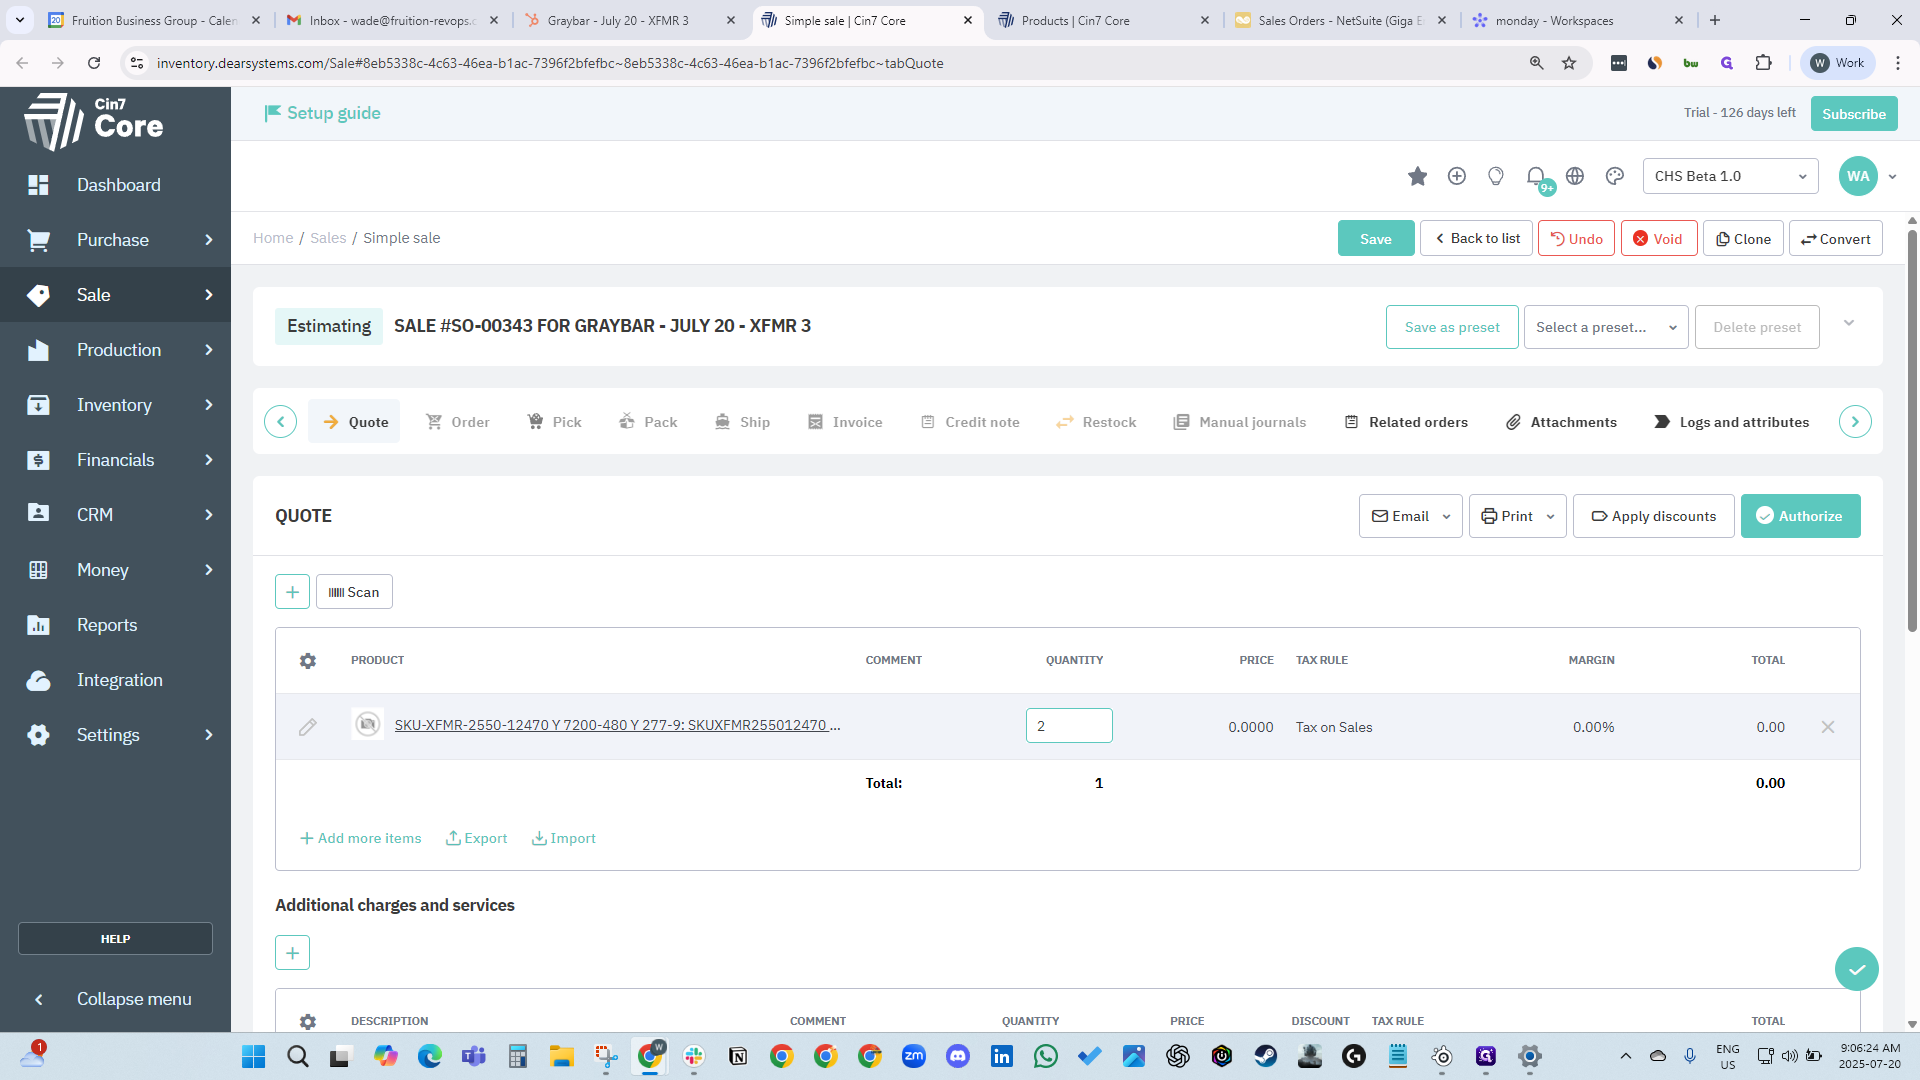
Now we need to create our SKU. We go into SIN7 and products, then search for "made to order."
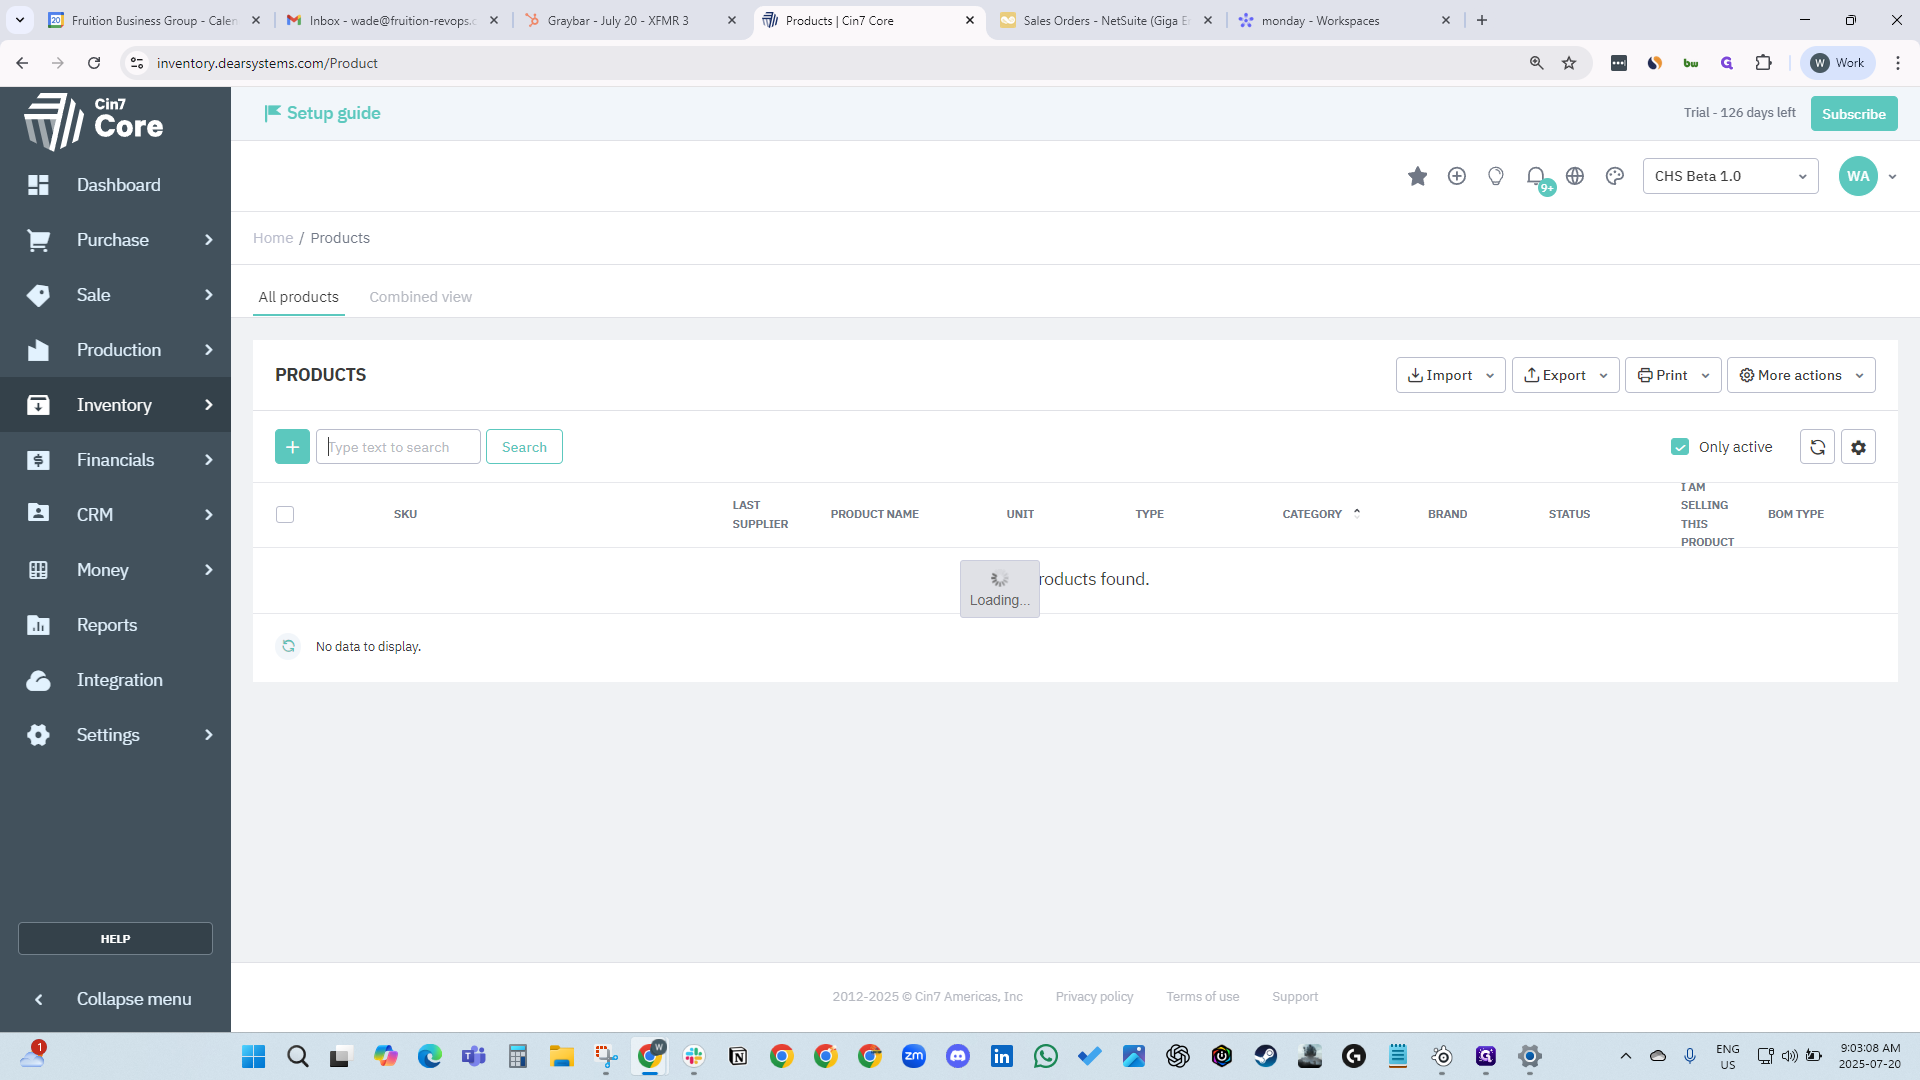
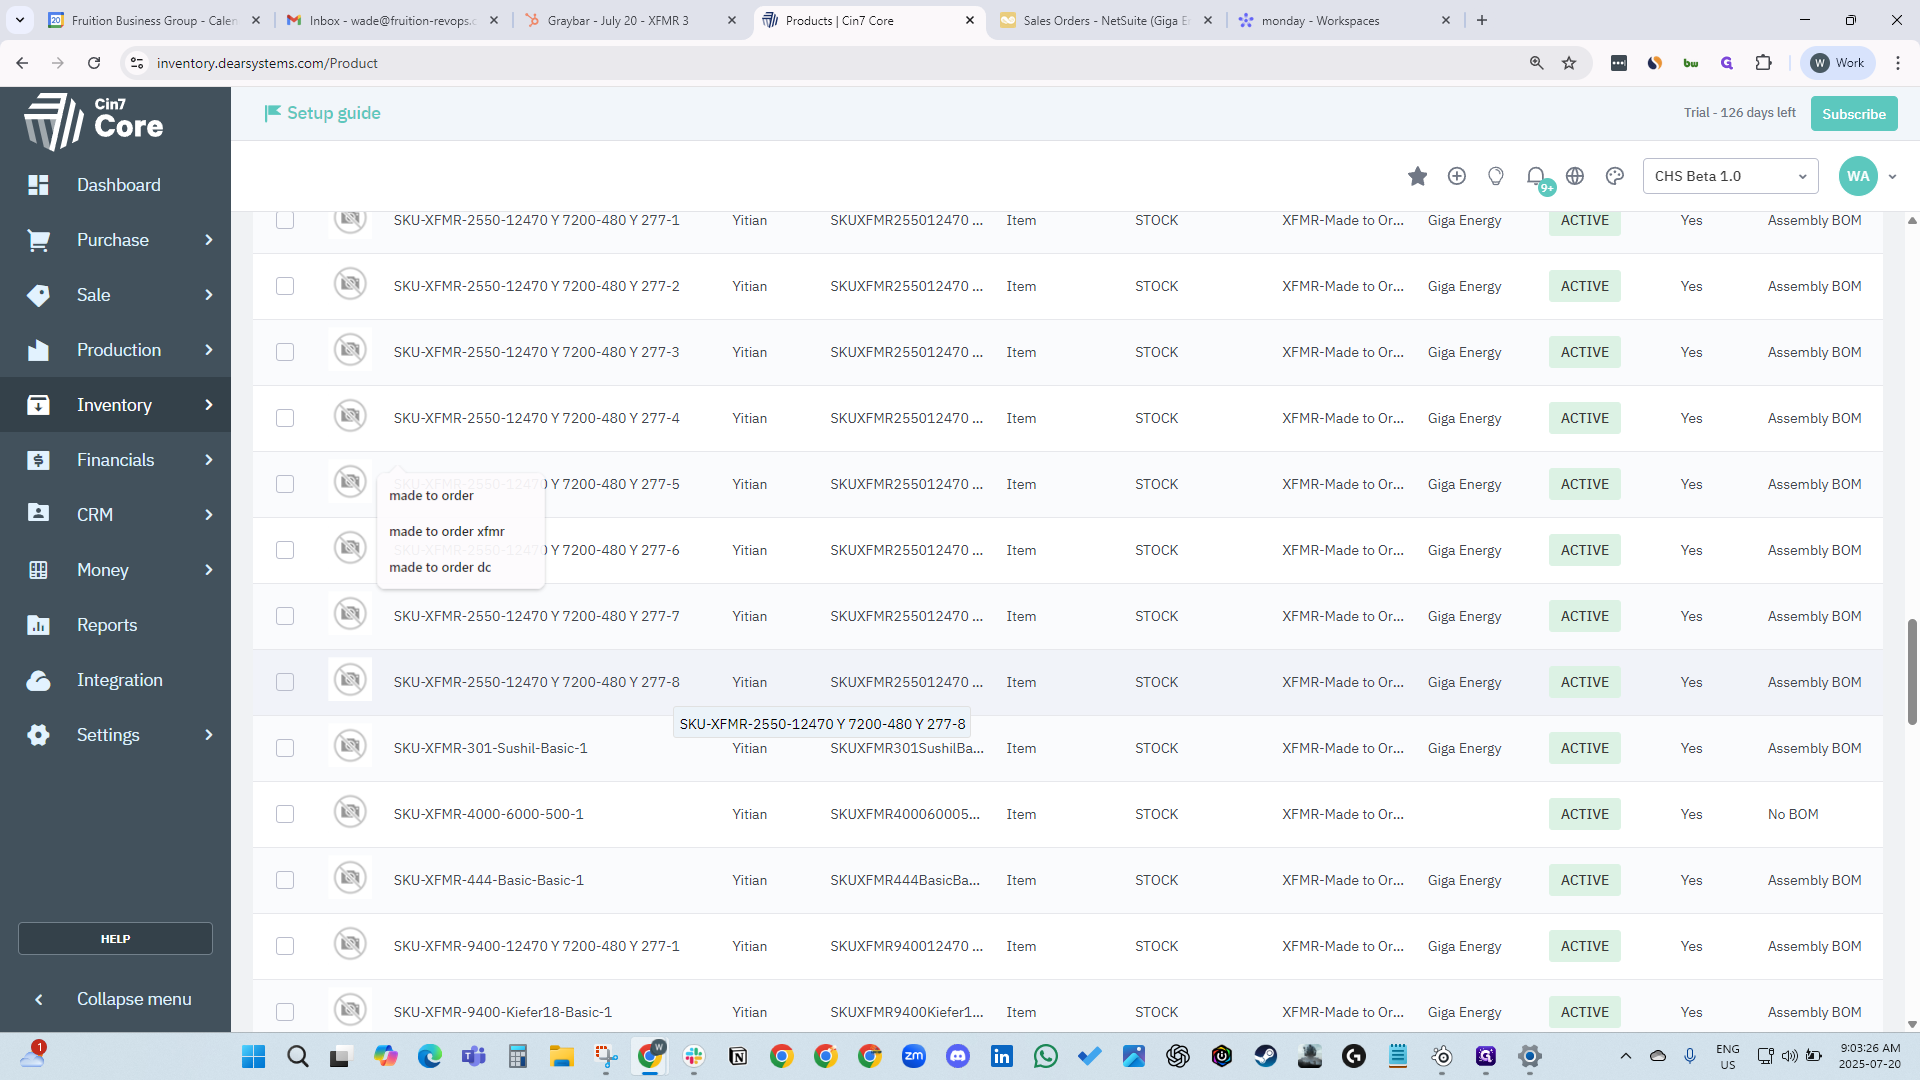
Type "made to order" in the search bar. All made-to-order SKUs will appear.
Find the SKU you will use for this deal. When you find one with the attributes you want, you can copy and clone it.
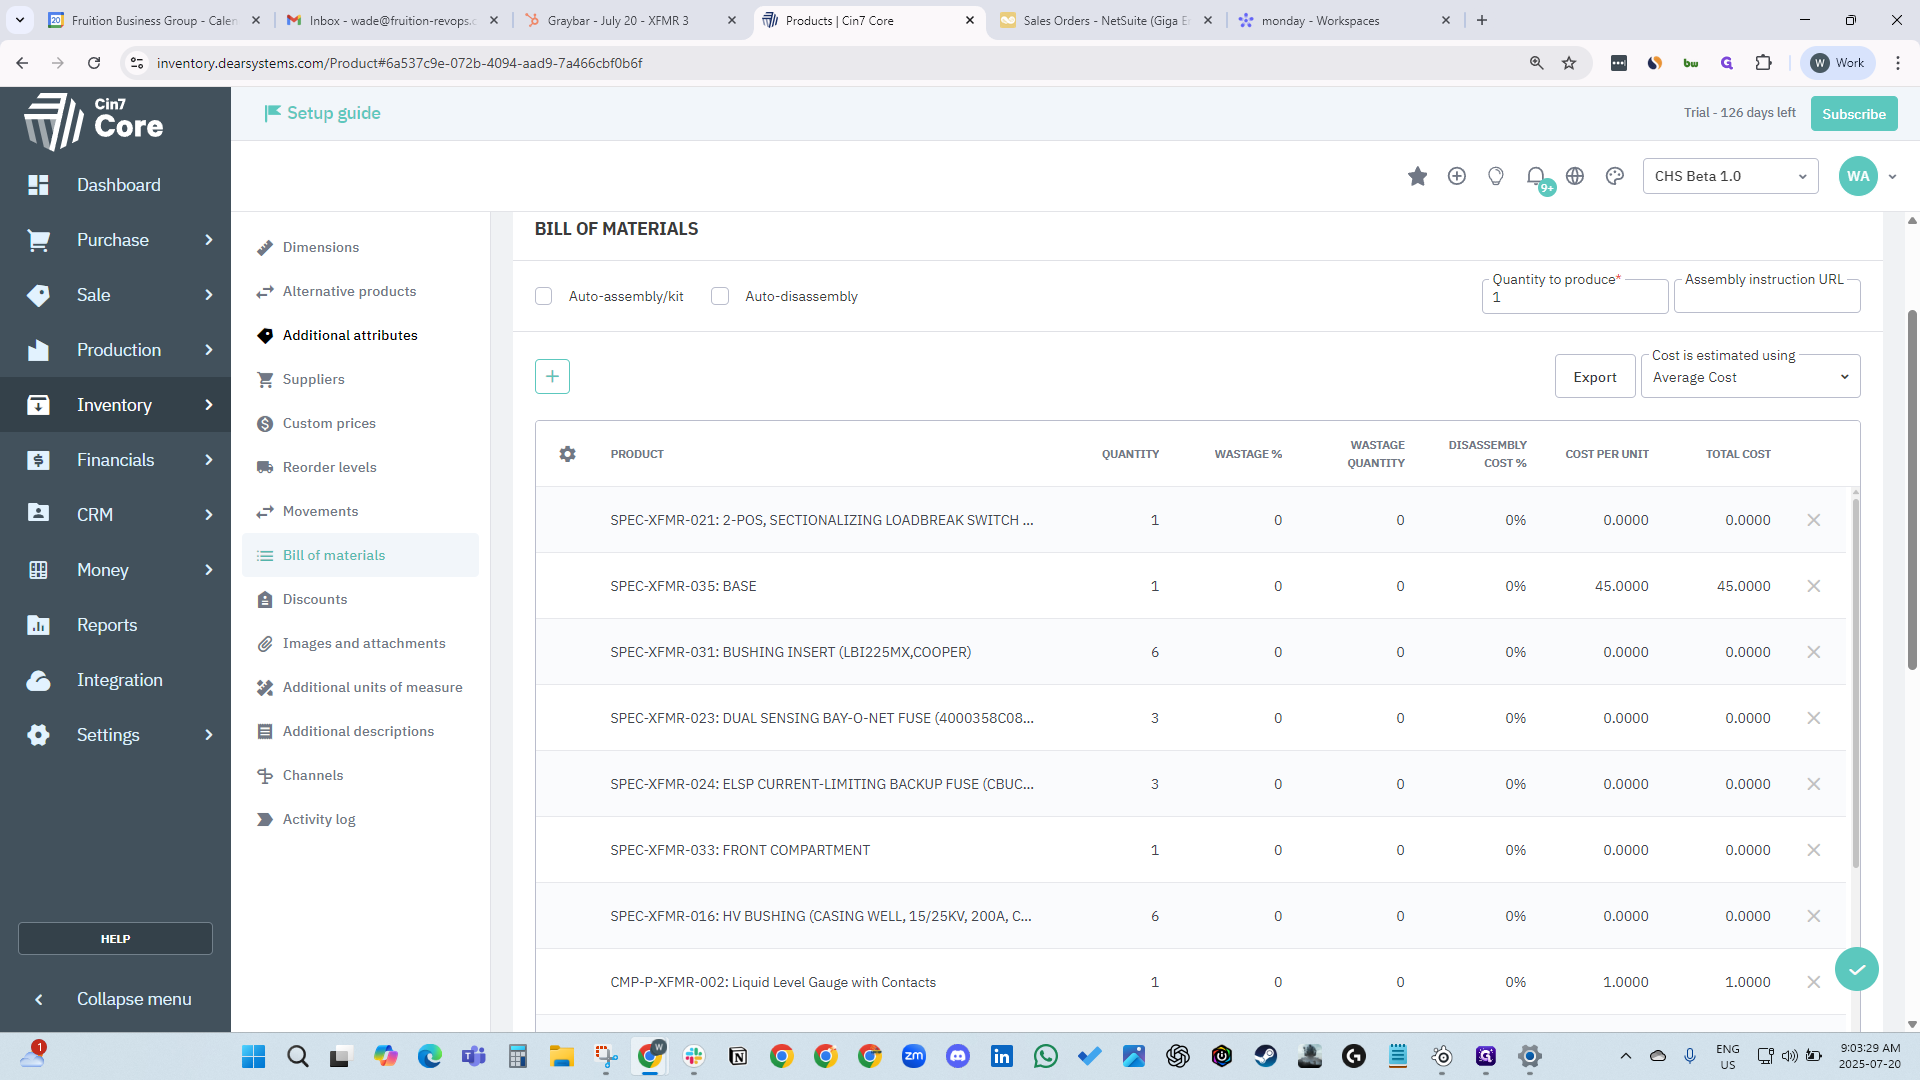
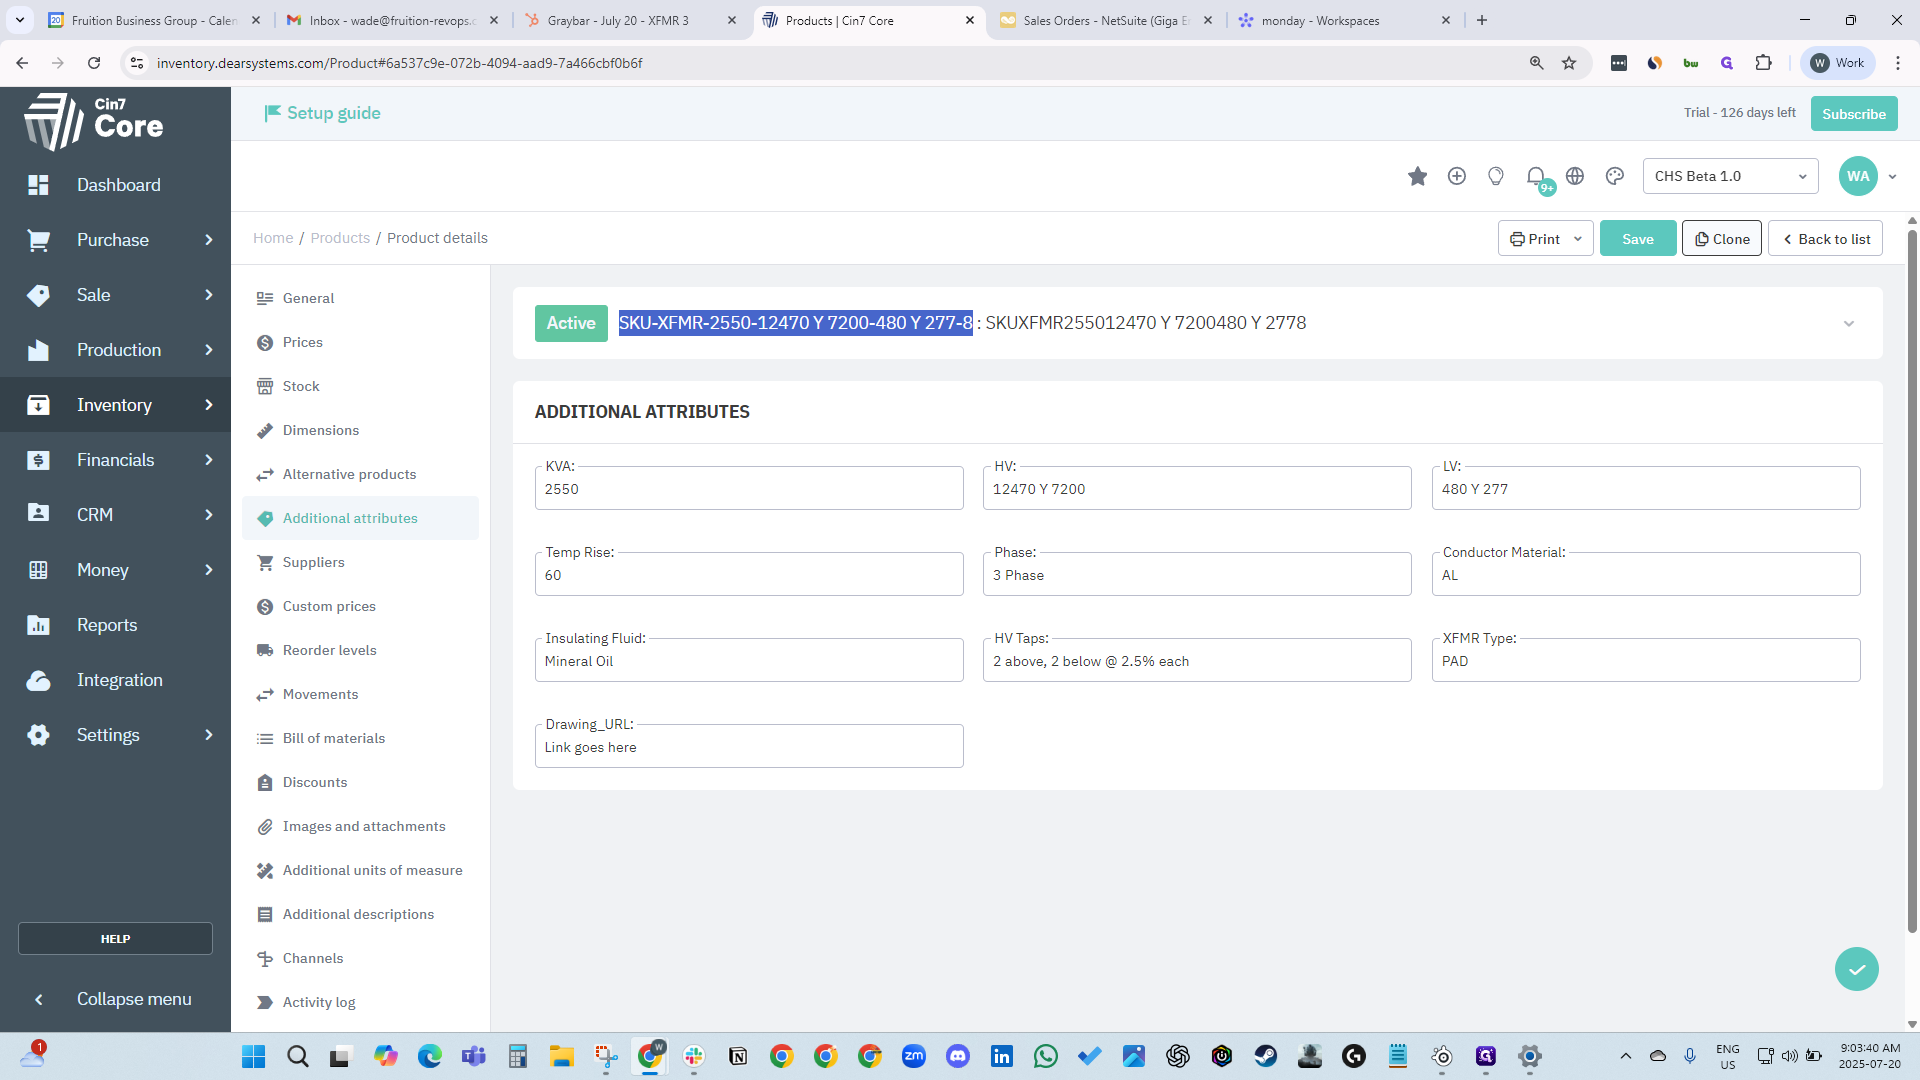
It creates a complete clone of it.

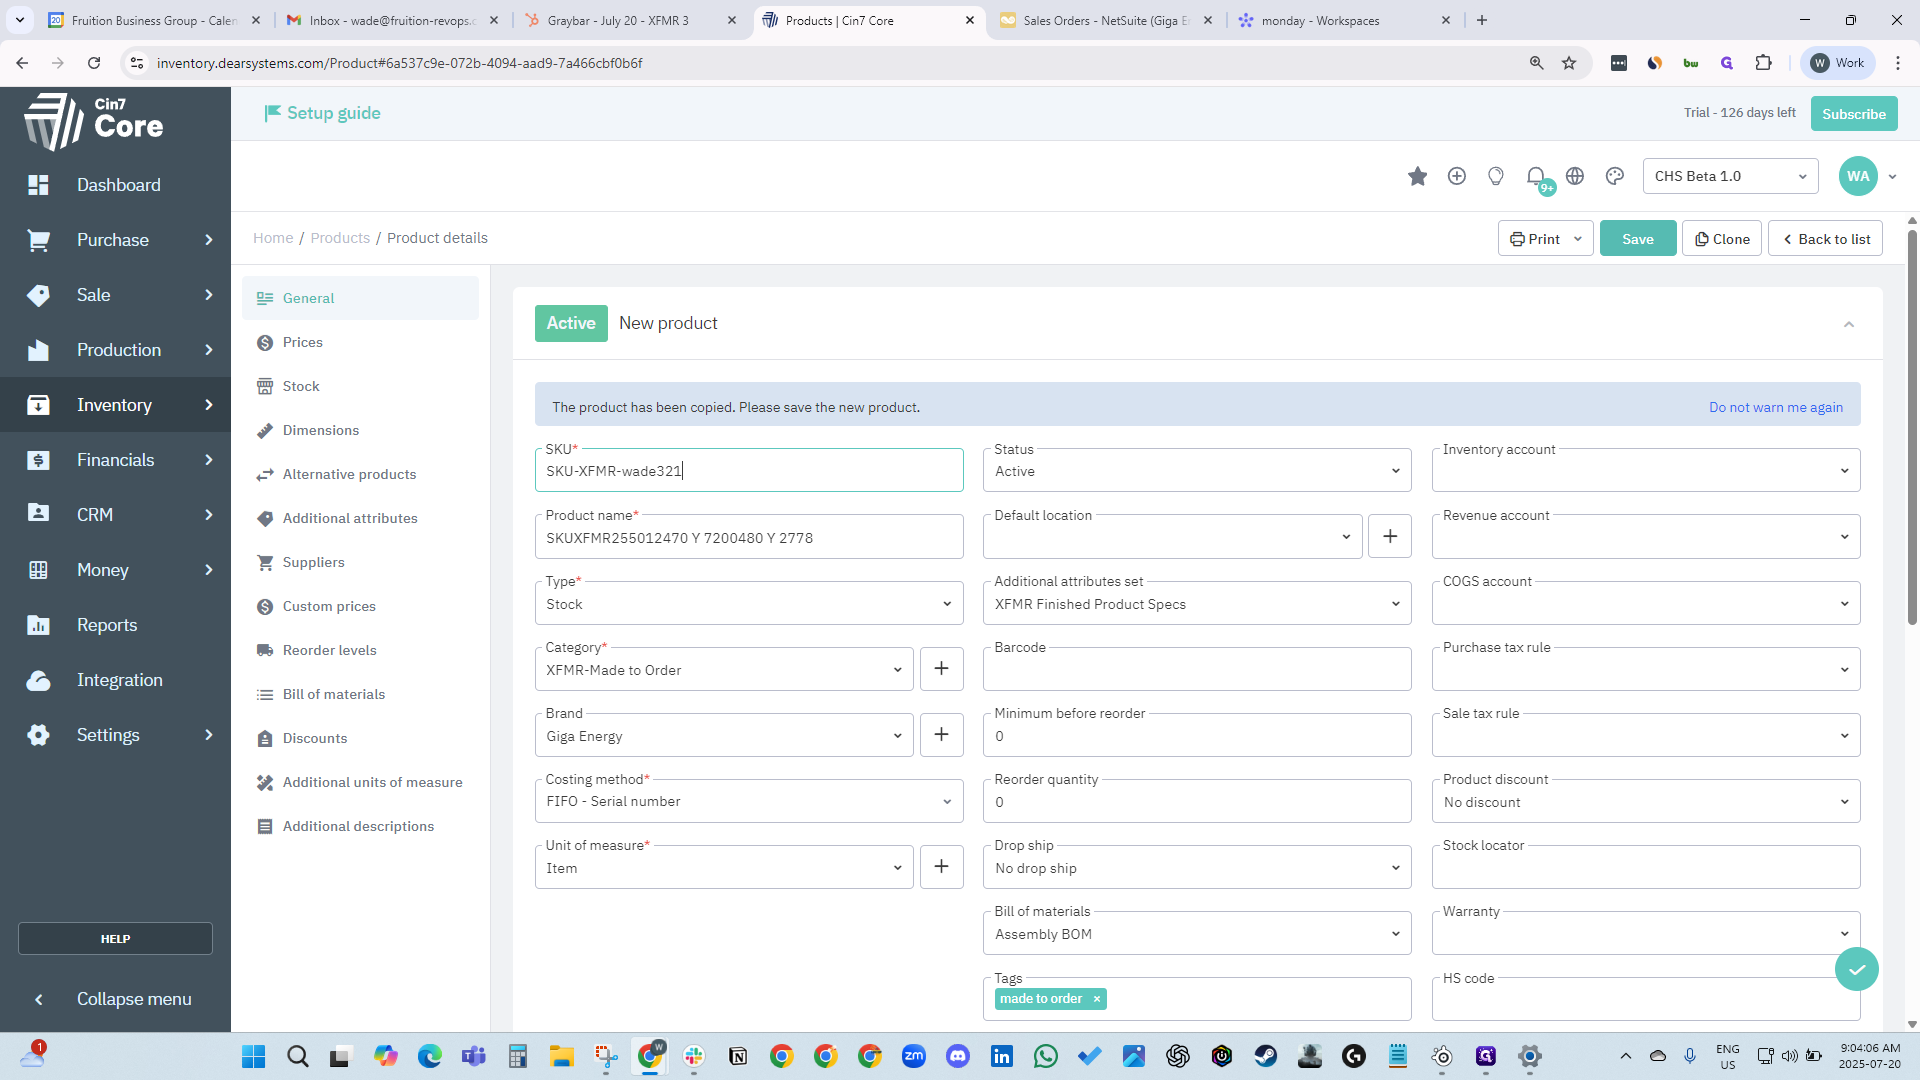
Our system will create a new version of it.

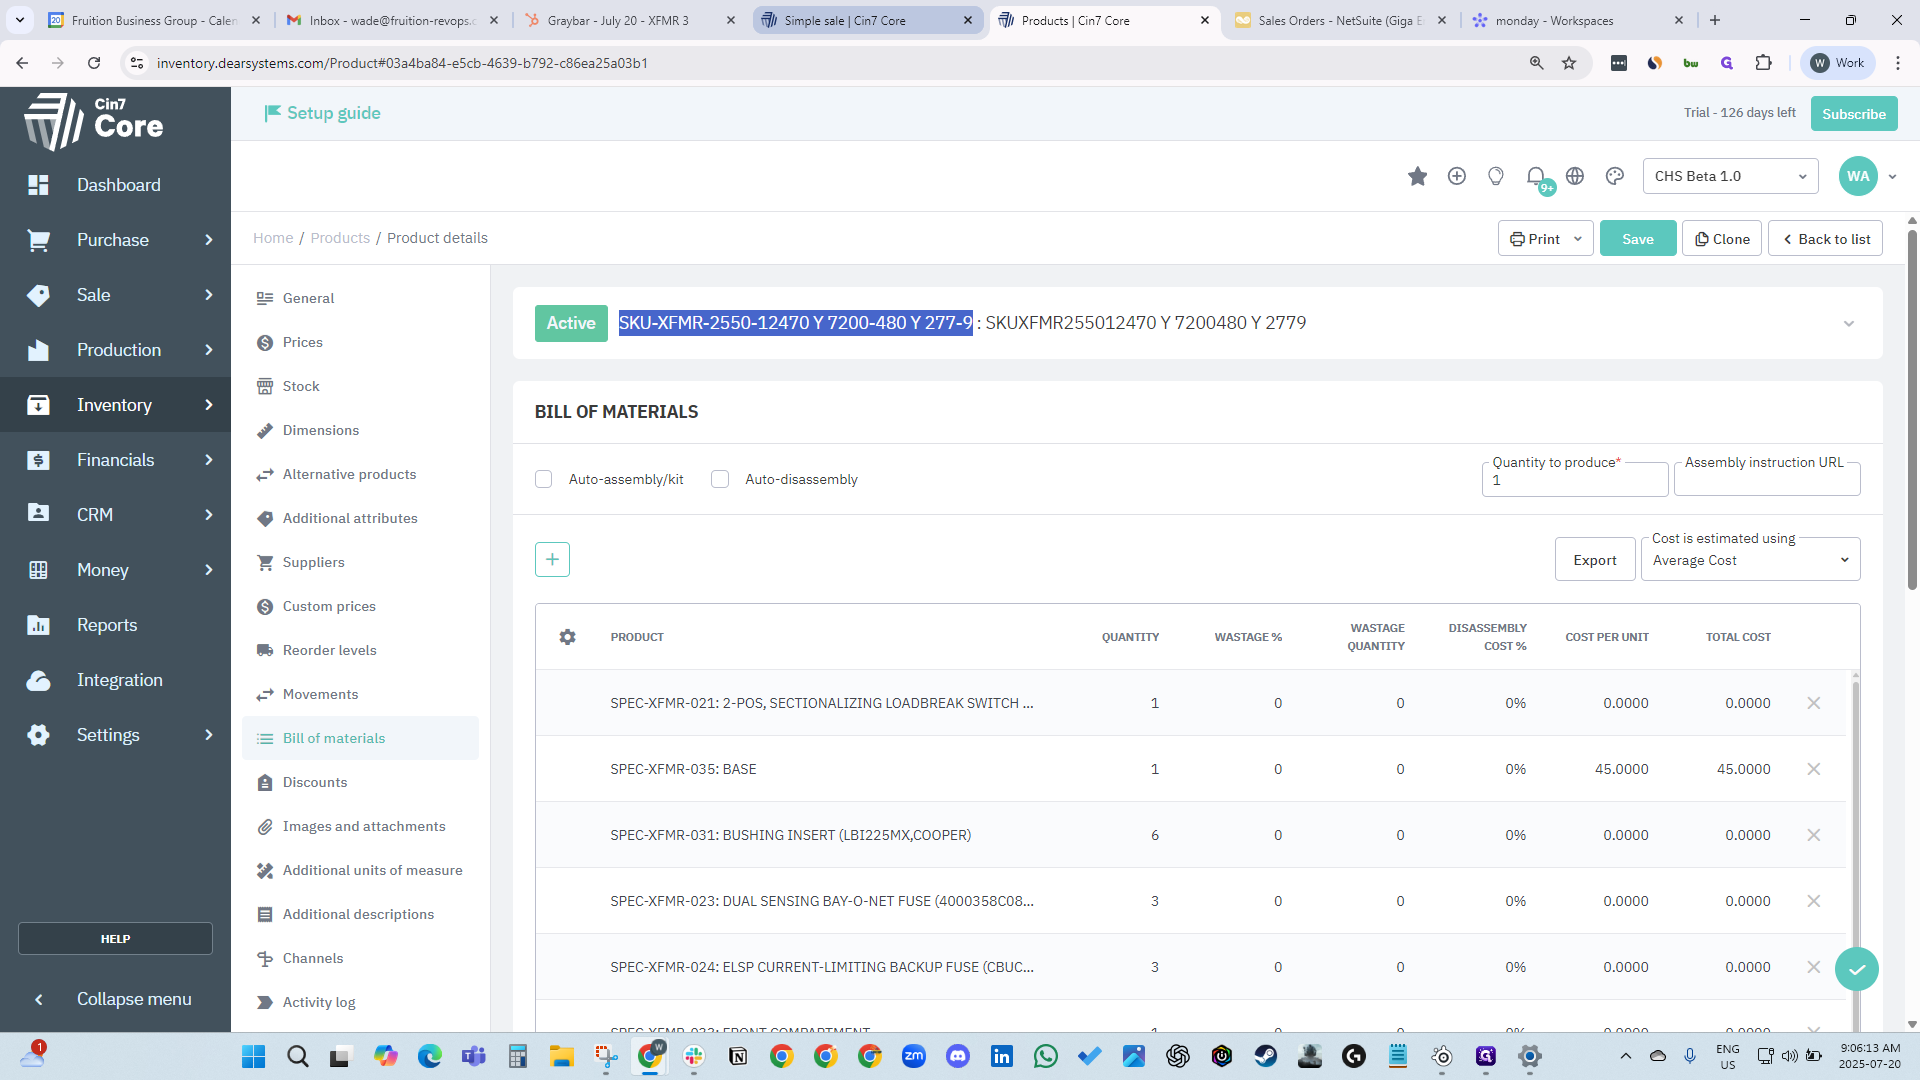
Enter SKU-XFMR and the weight: three, two, one.
It can be any name and combination of numbers. In this case, just click Save.
While we wait for the SKU to be created, we can return to our deal.

Now, it will automatically create the... It will automatically create the manufacturing order. To access it, just click the button. The link appears automatically and opens the order. Now we are waiting for our SKU.
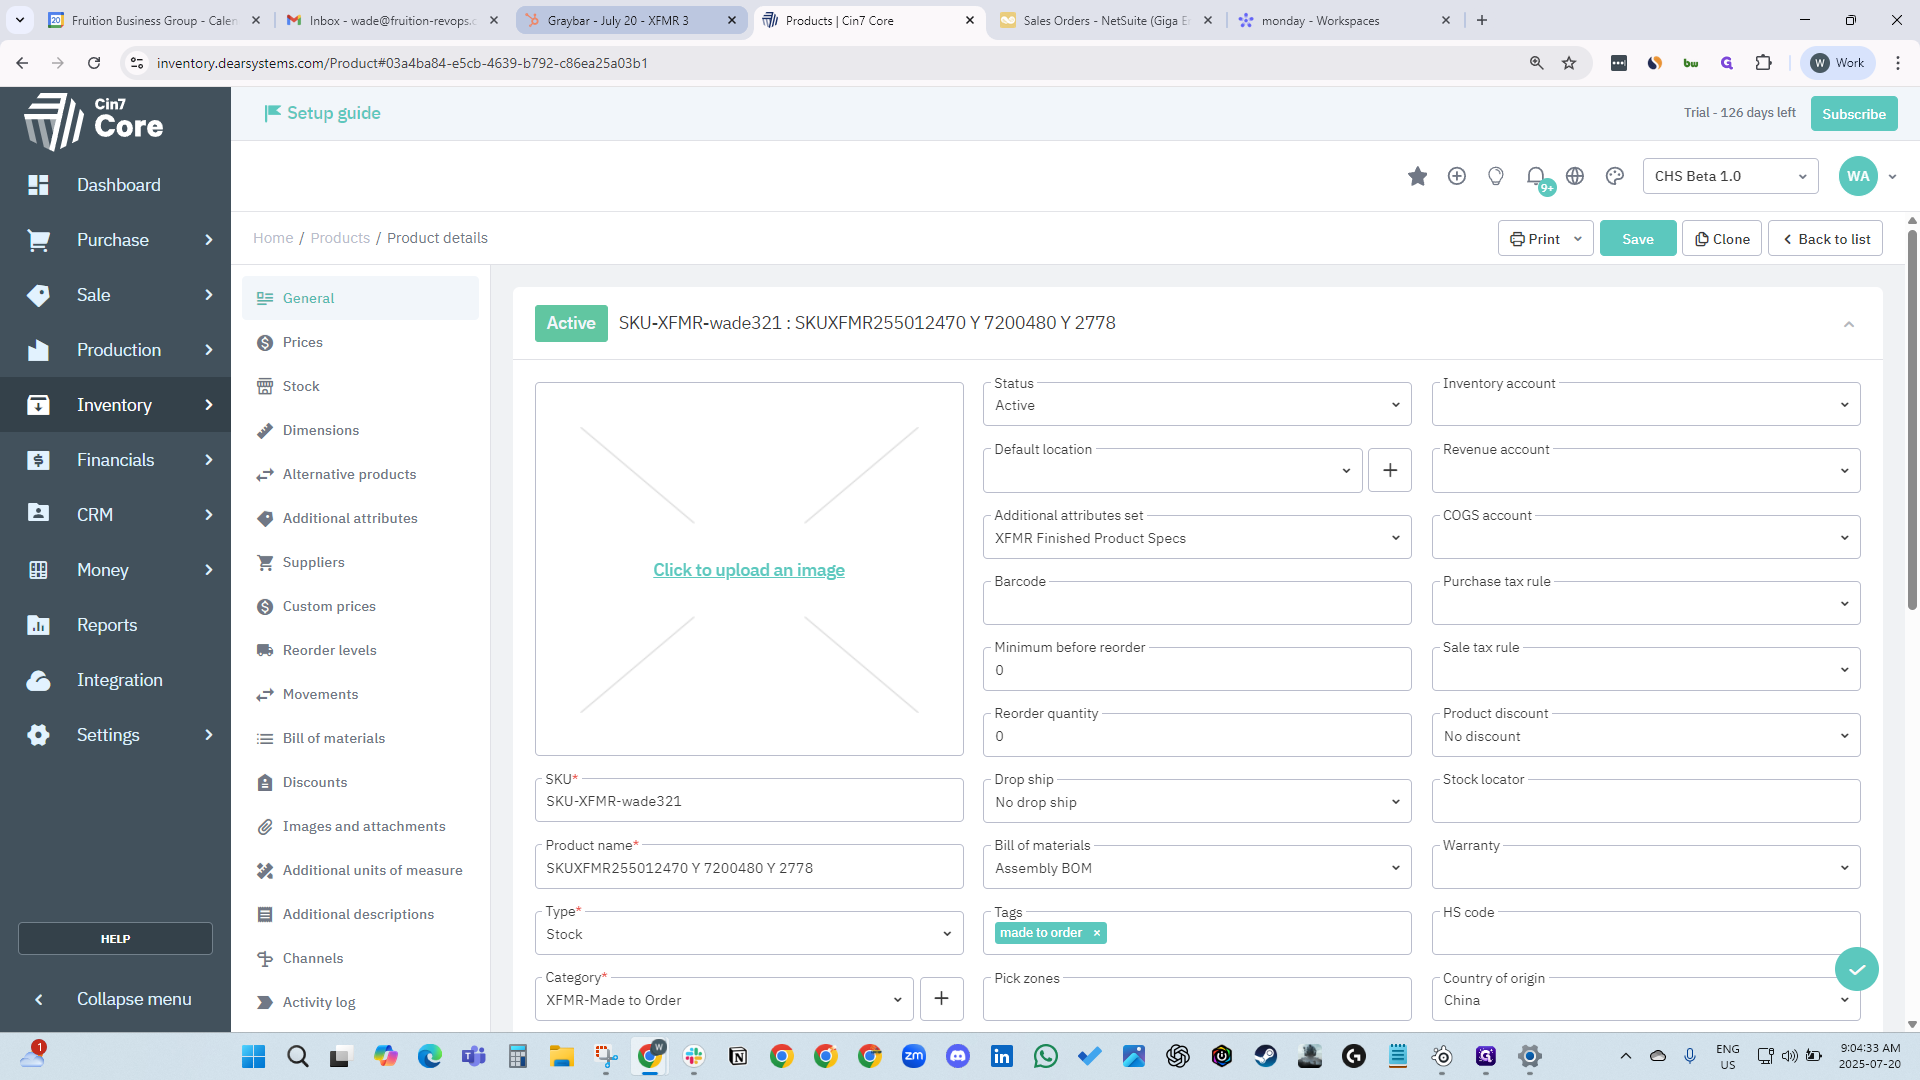
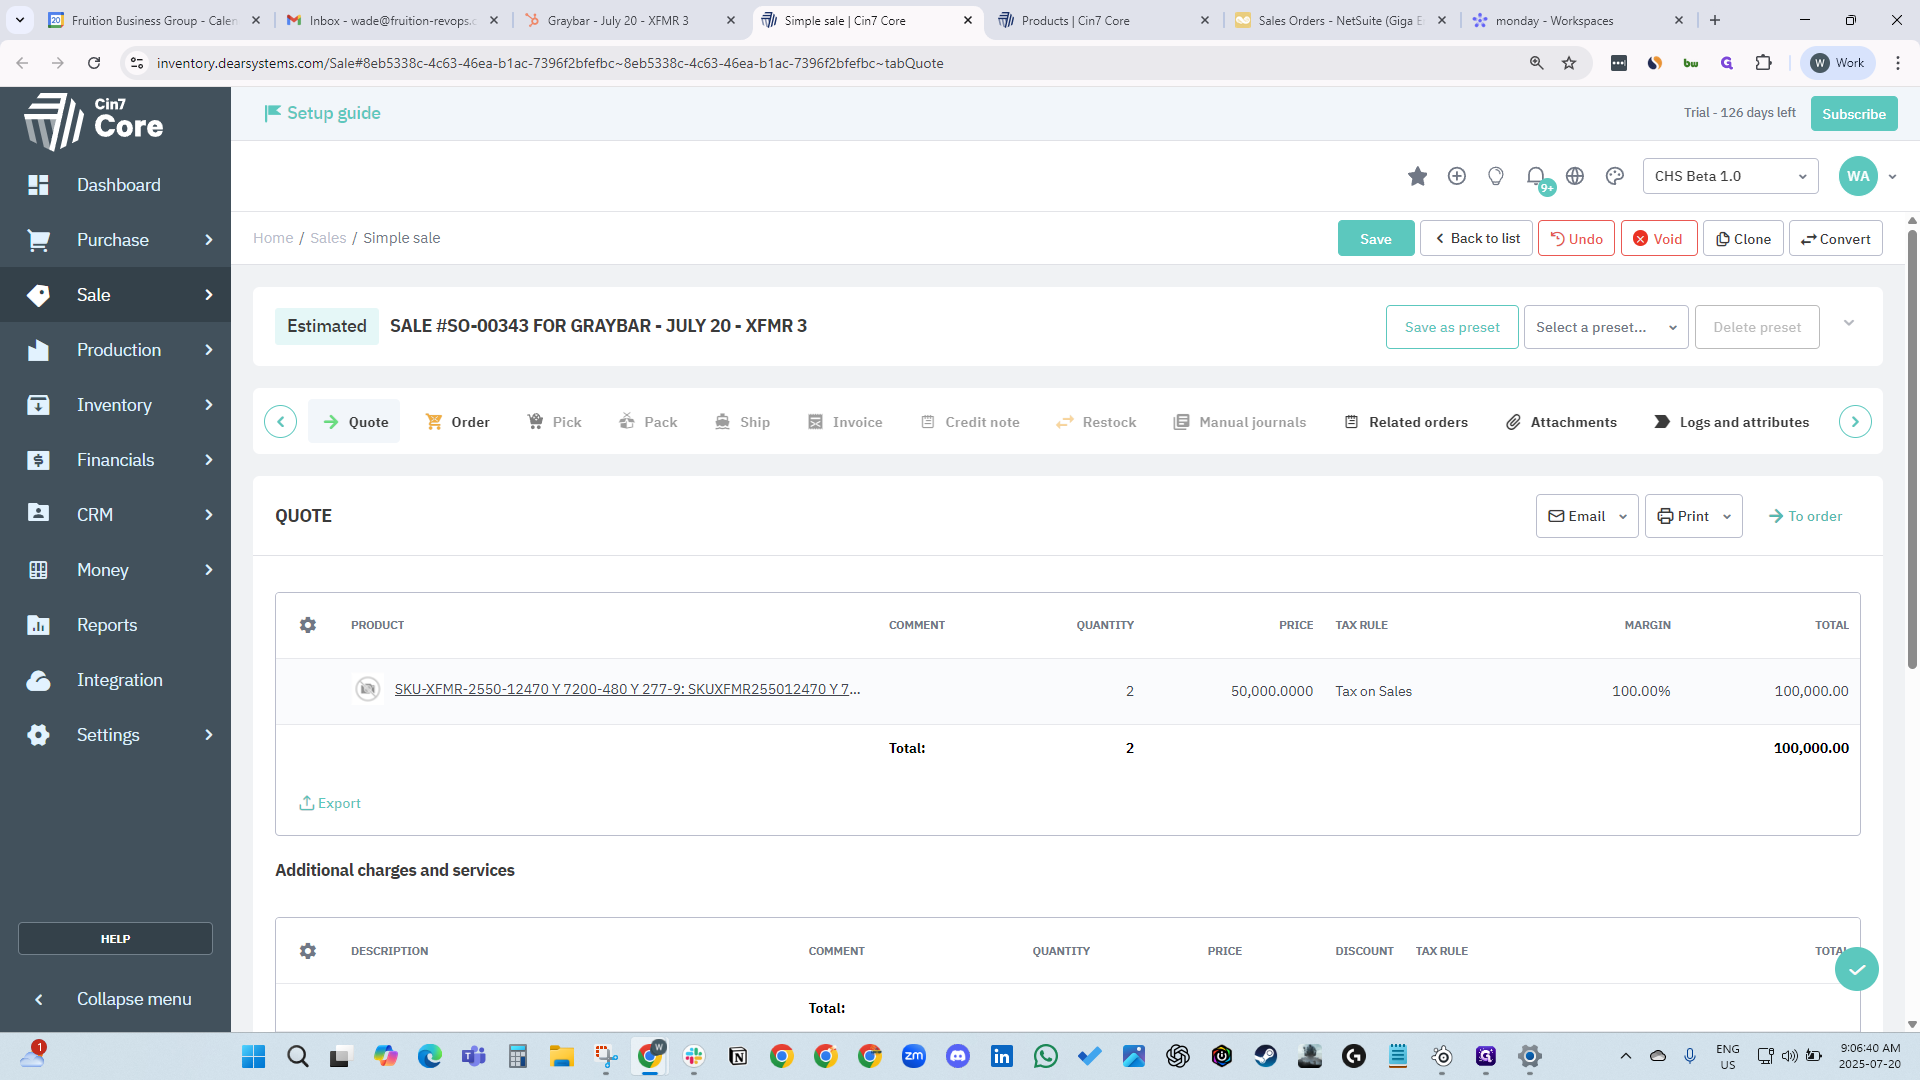
Our SKU is created and saved automatically. It is assigned the number nine because it is the ninth version.

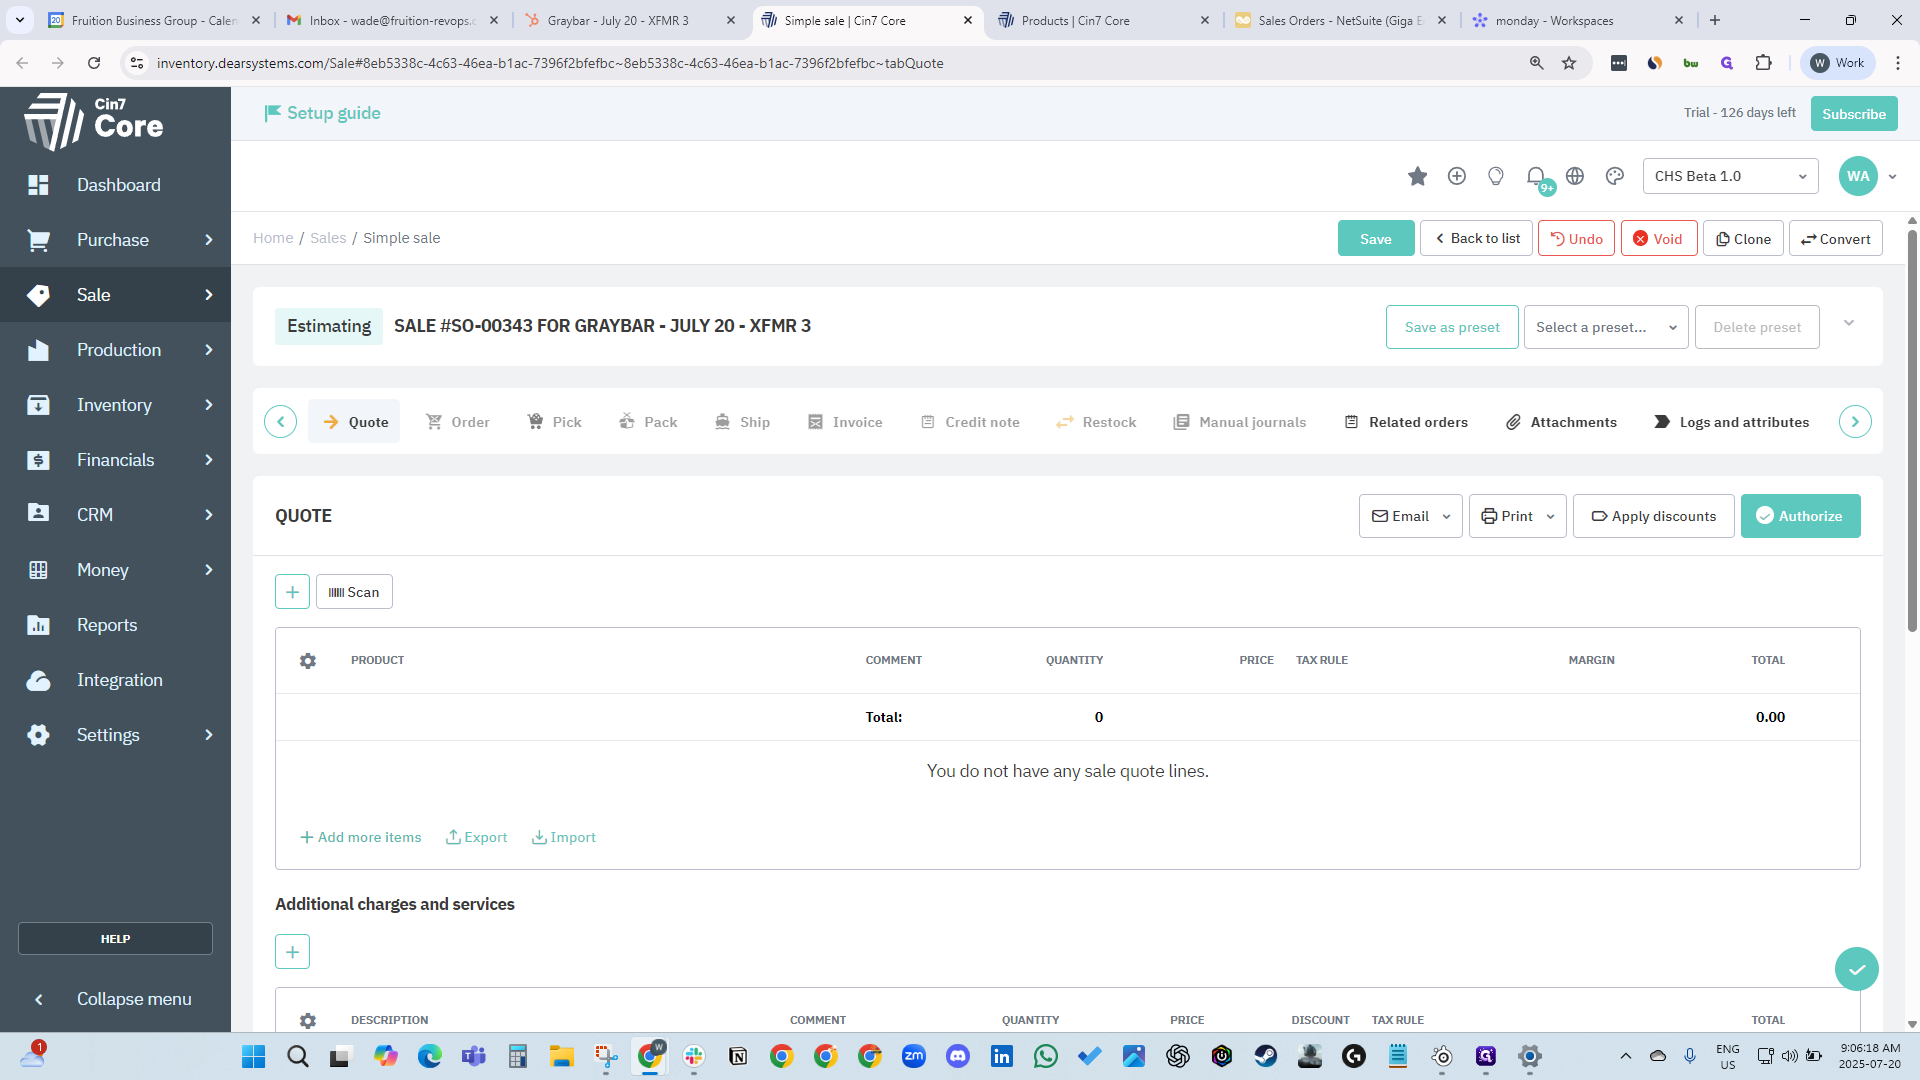
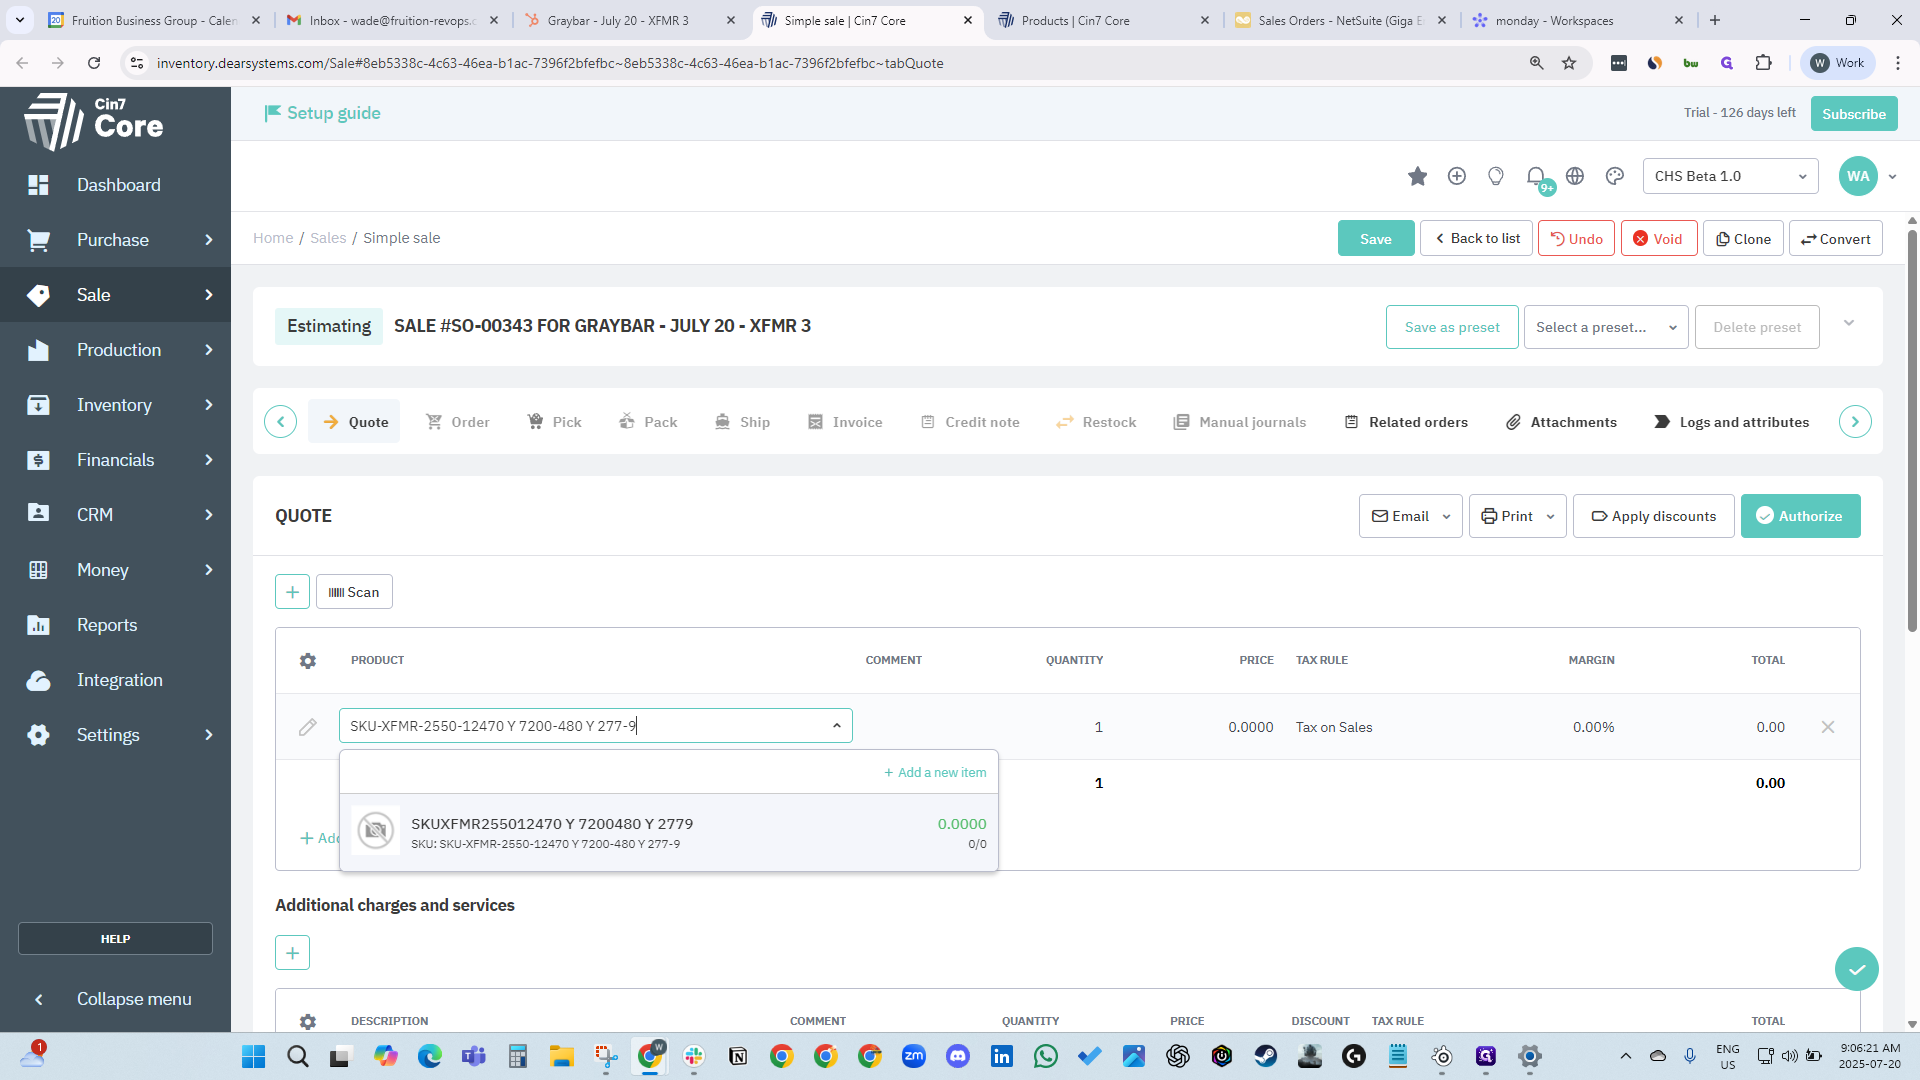
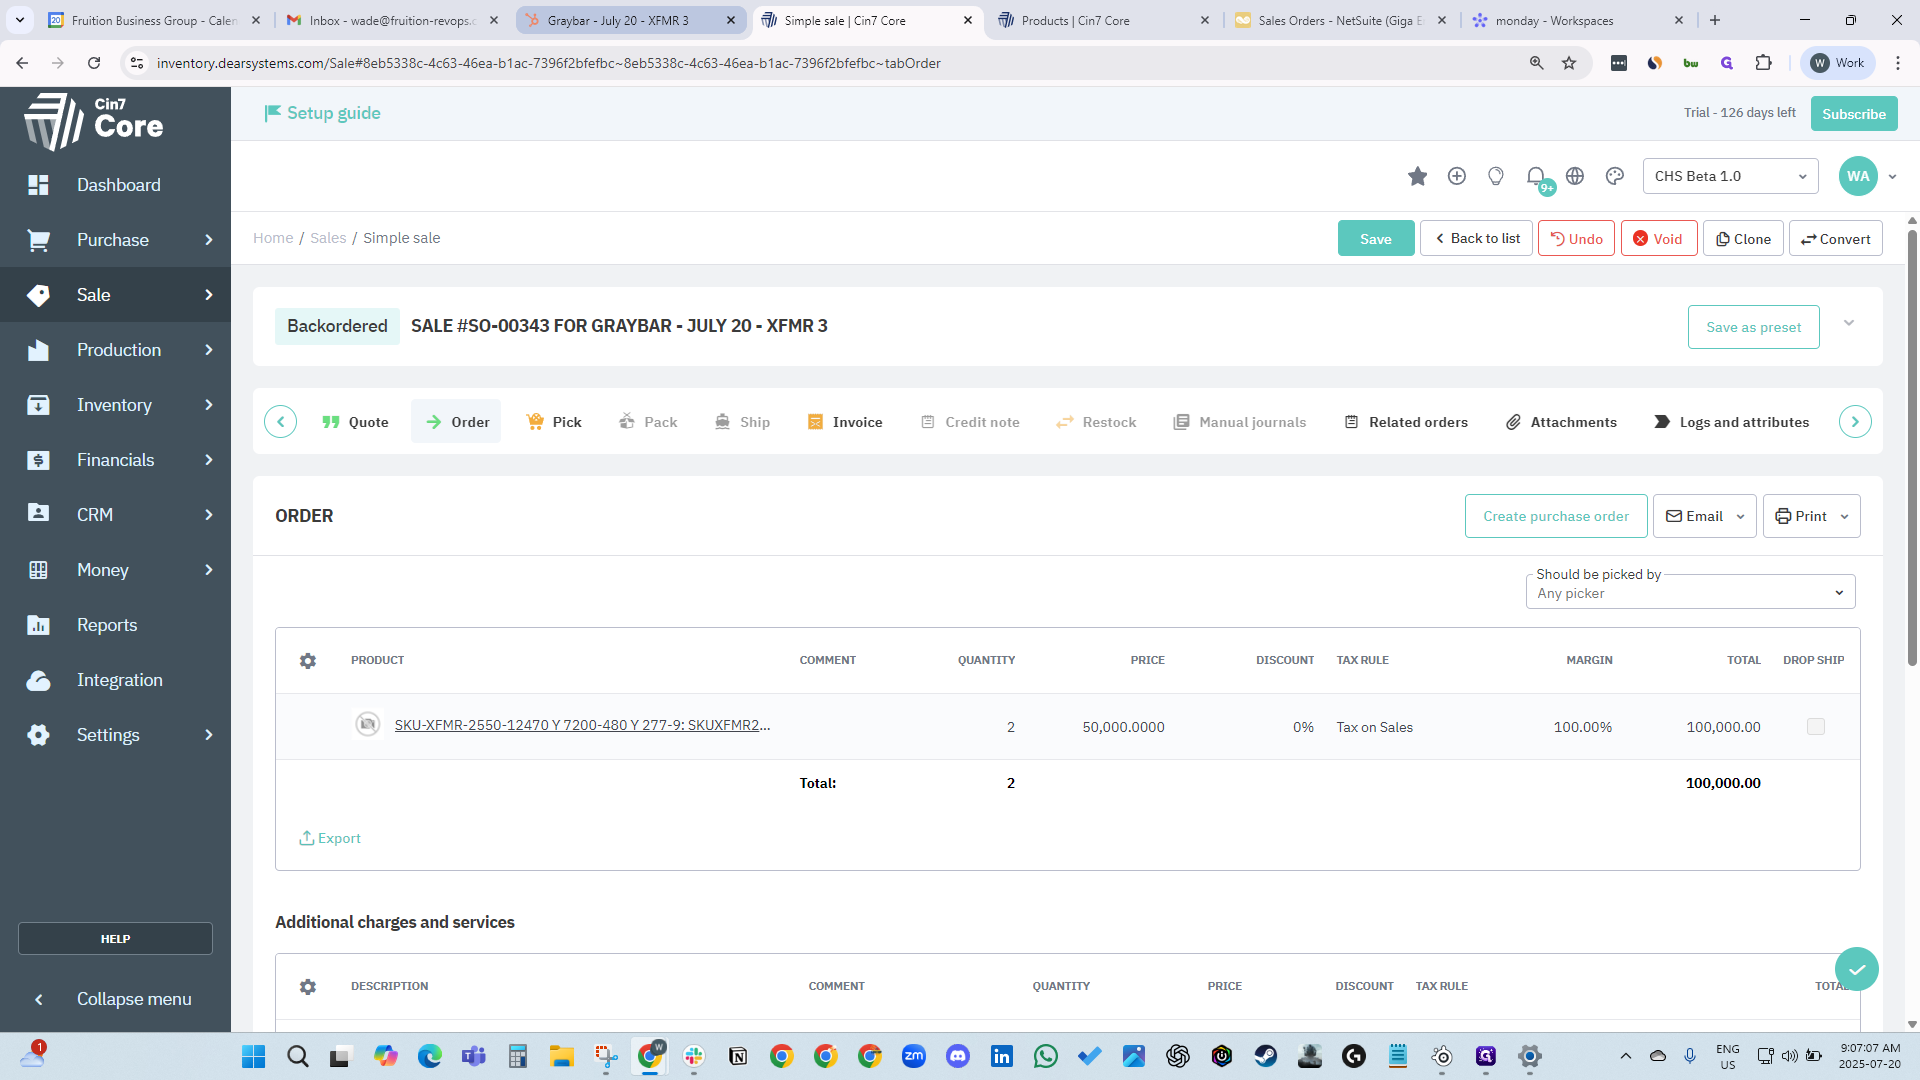
Go back to the manufacturing order. Enter nine, with a quantity of two. The price is 50,000. Since there are two, we hit Authorize.

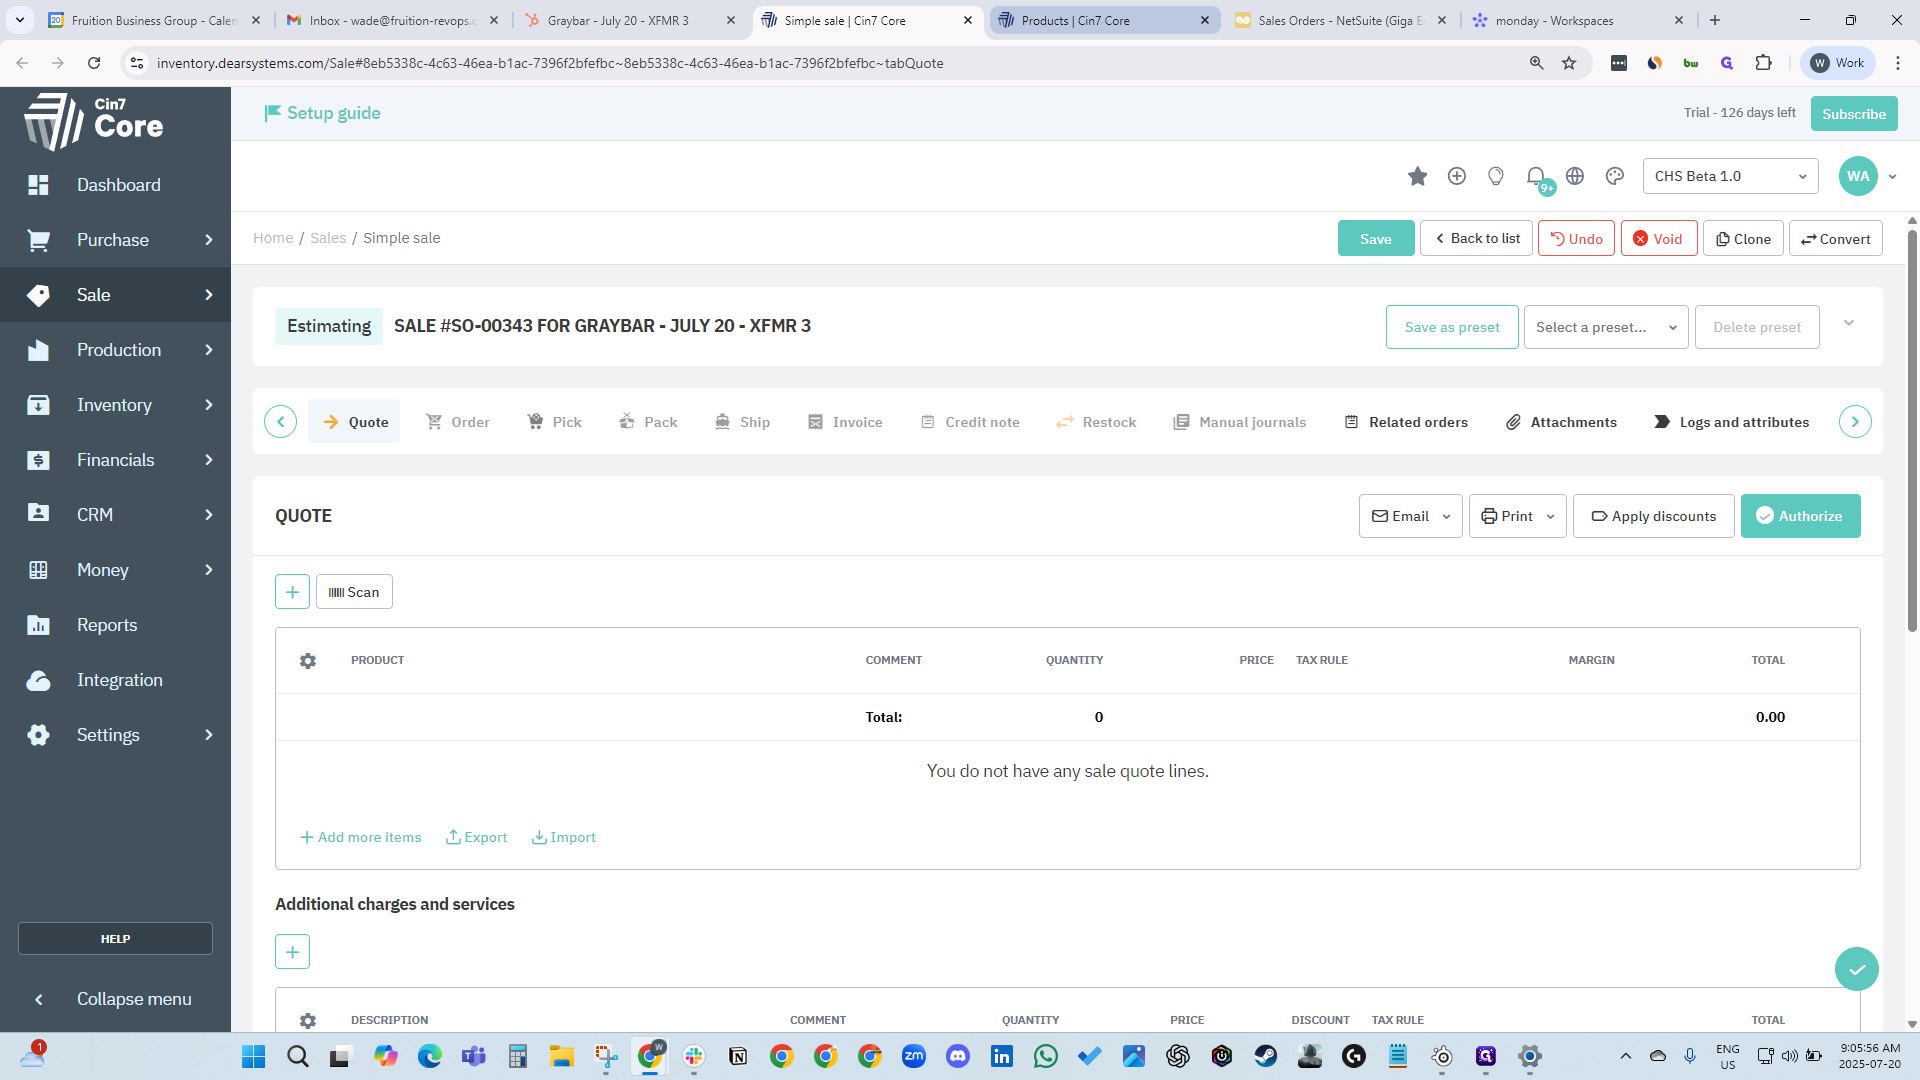
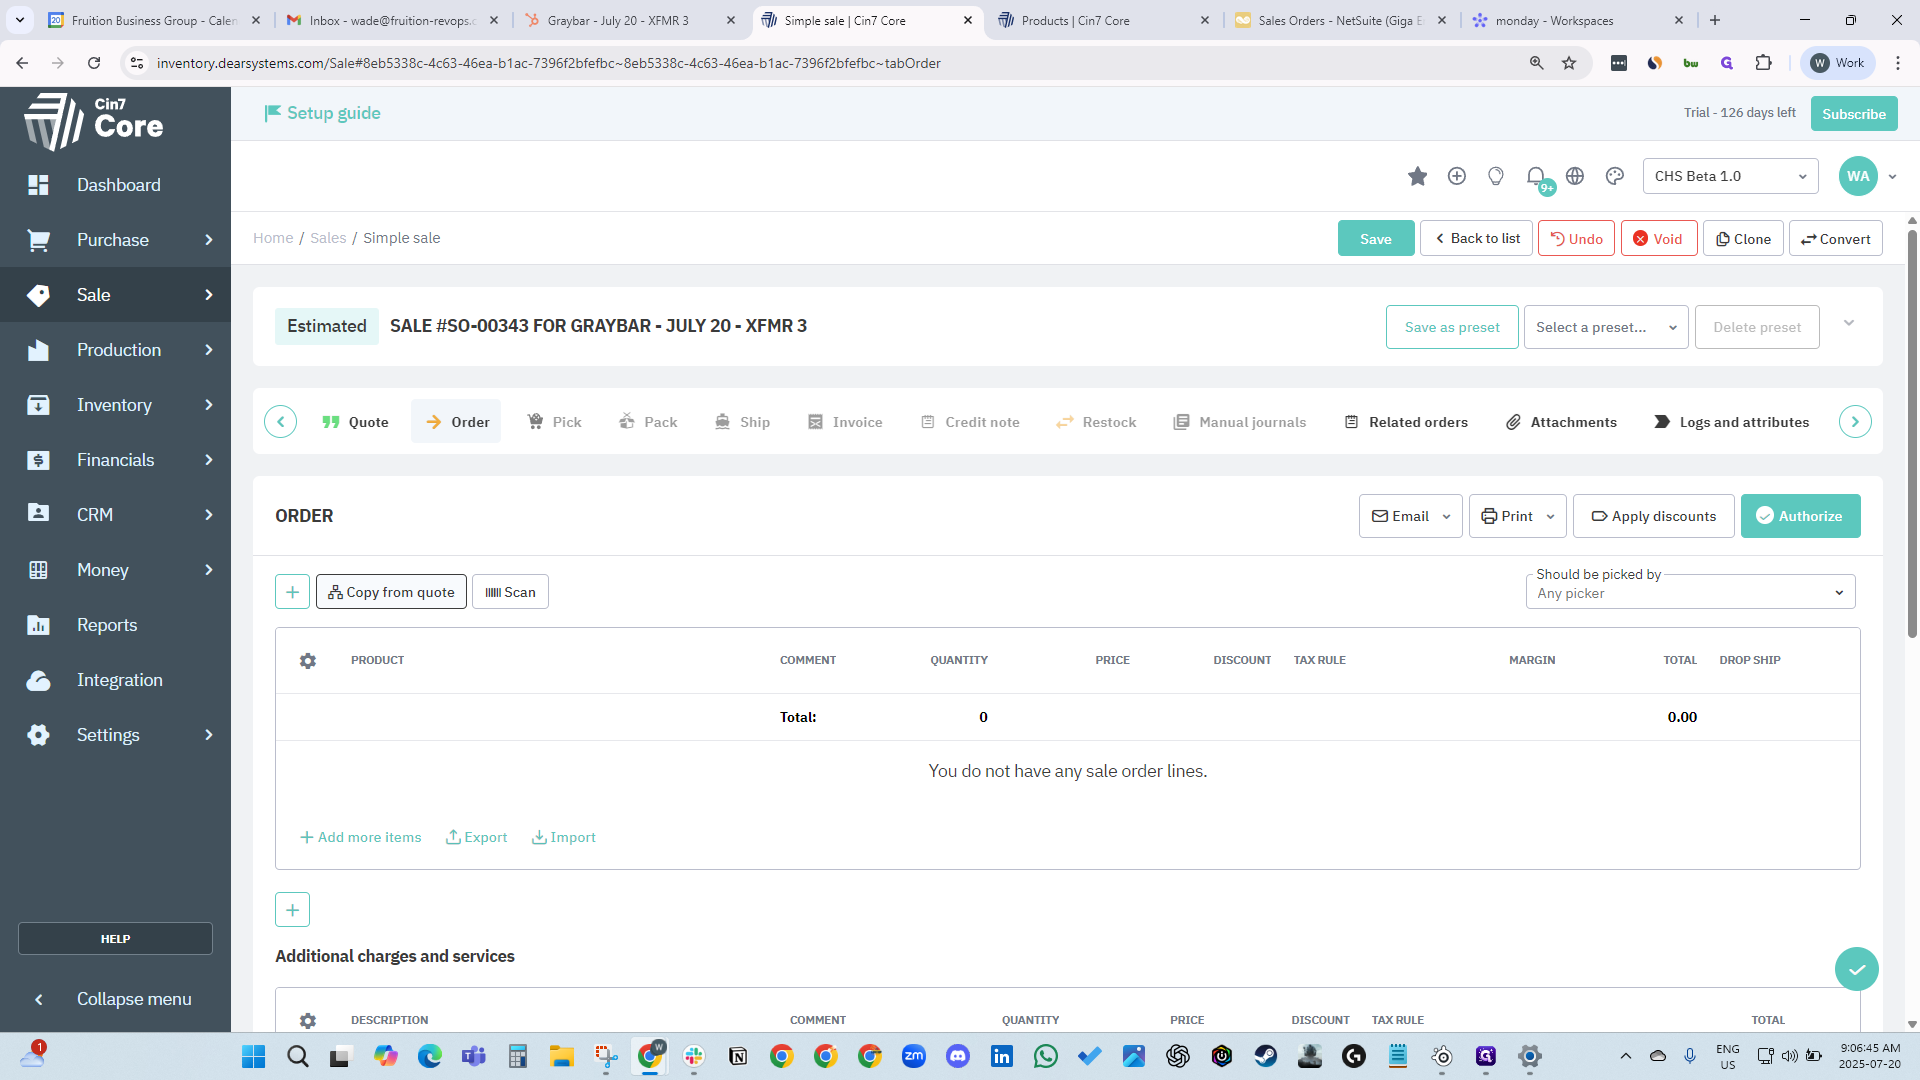
Click "To Order" to move to the order stage. Then, click "Copy From Quote."

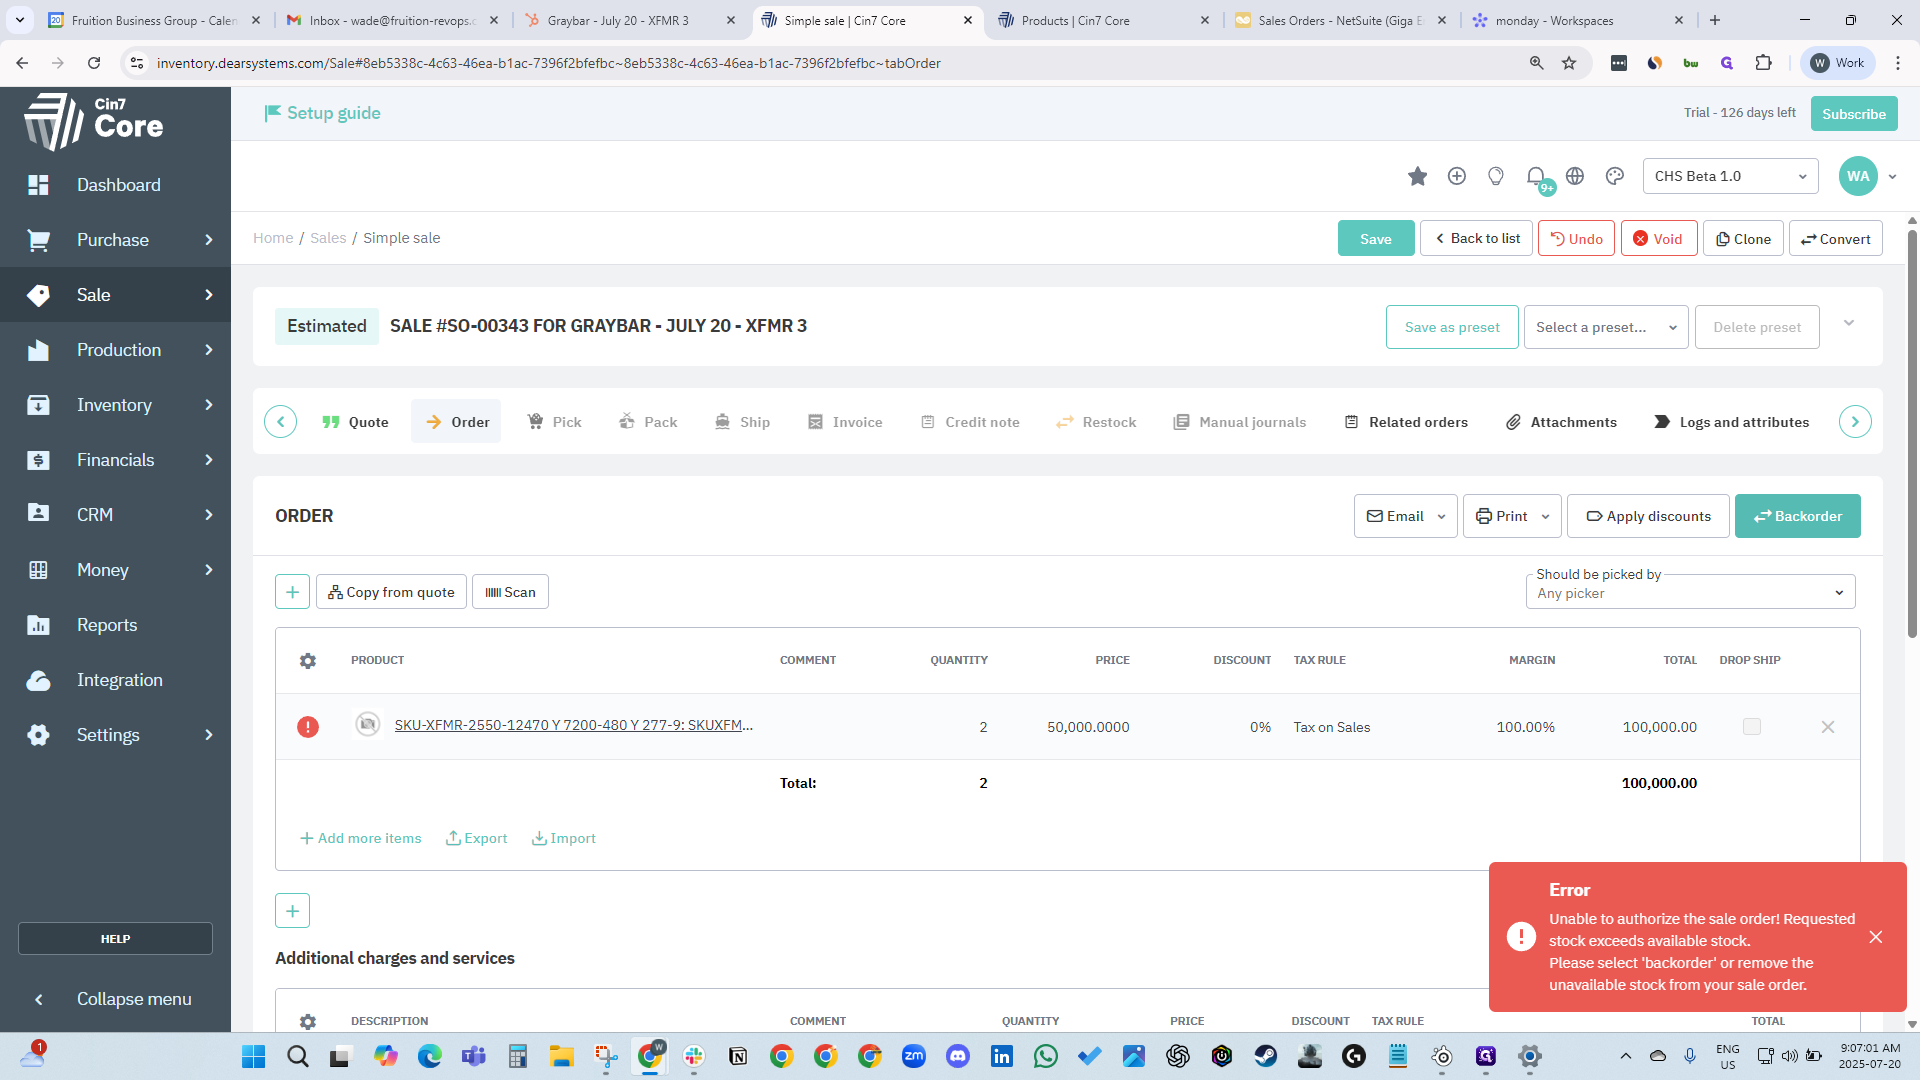
All the information is correct, so click Authorize.
Since it's made to order, you don't need to worry.
Since we don't have the stock yet, click on Back Order to proceed.

It is saved.

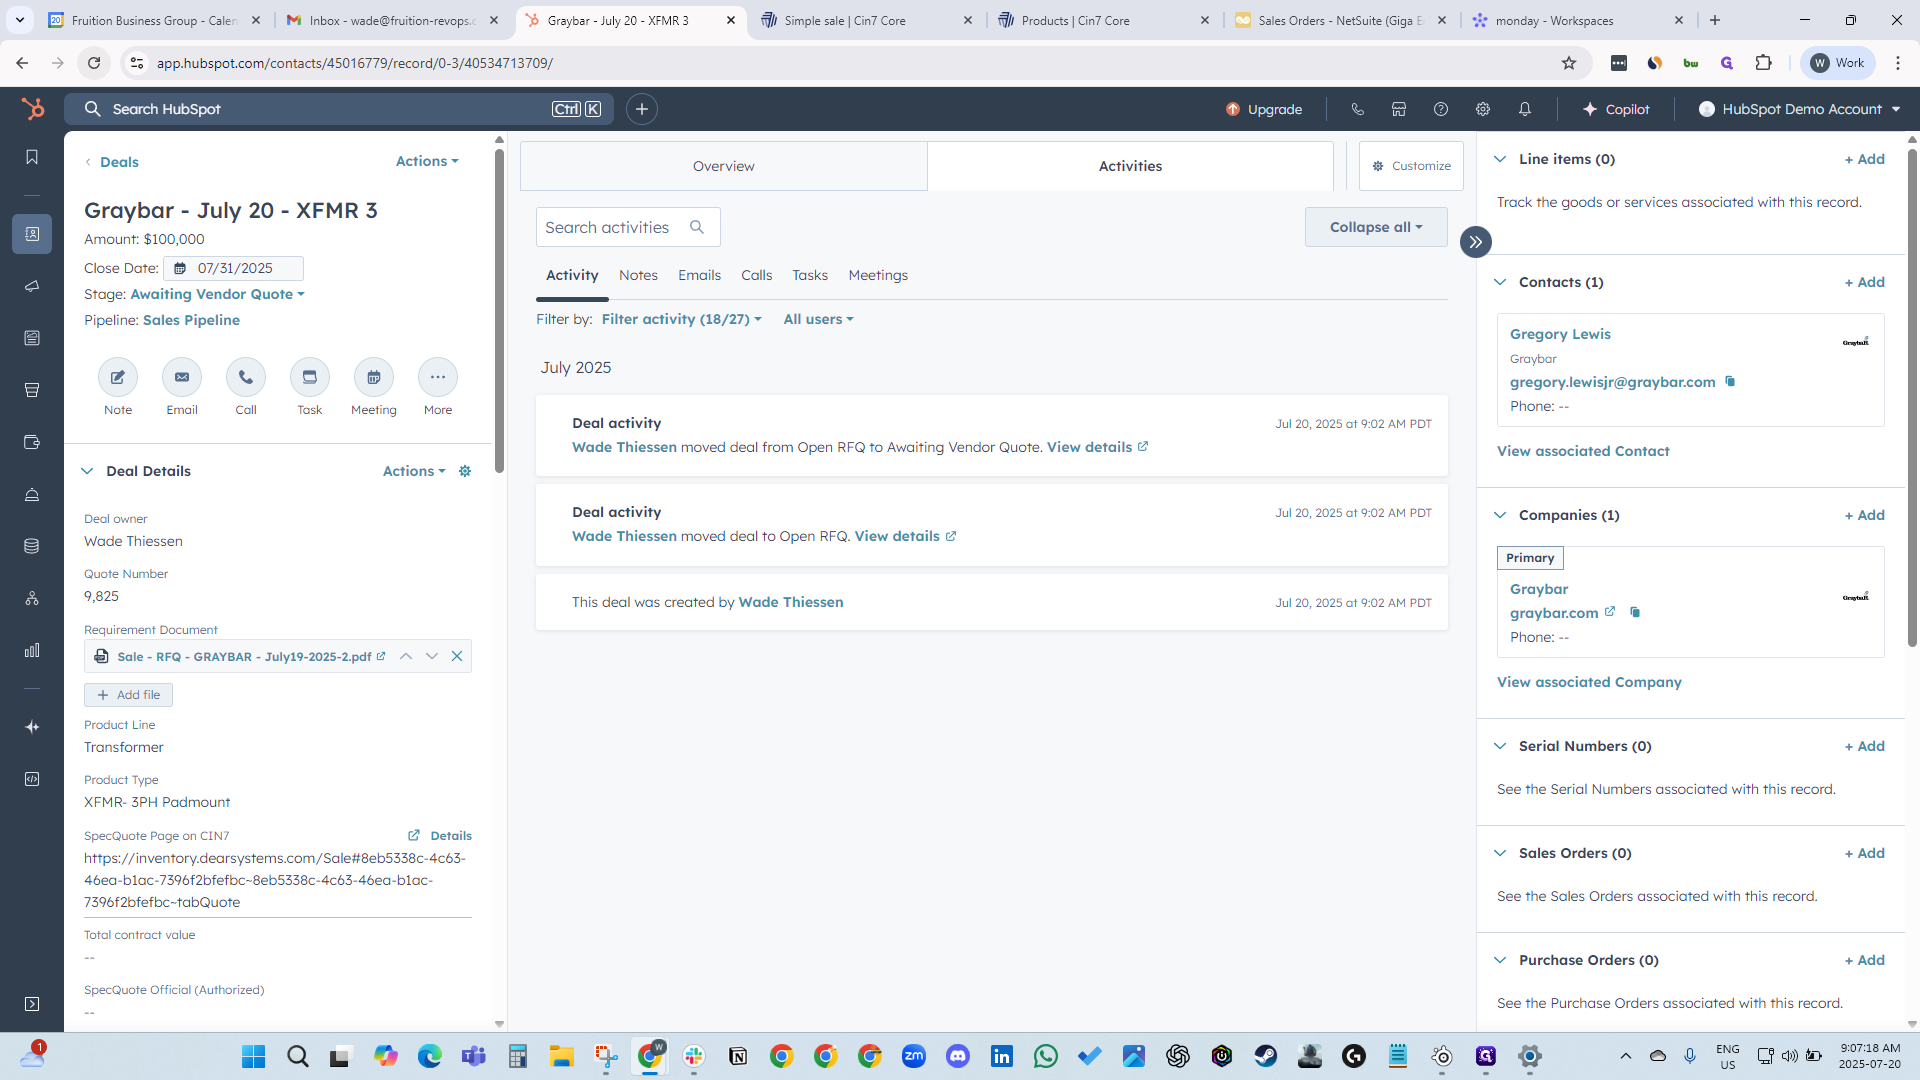
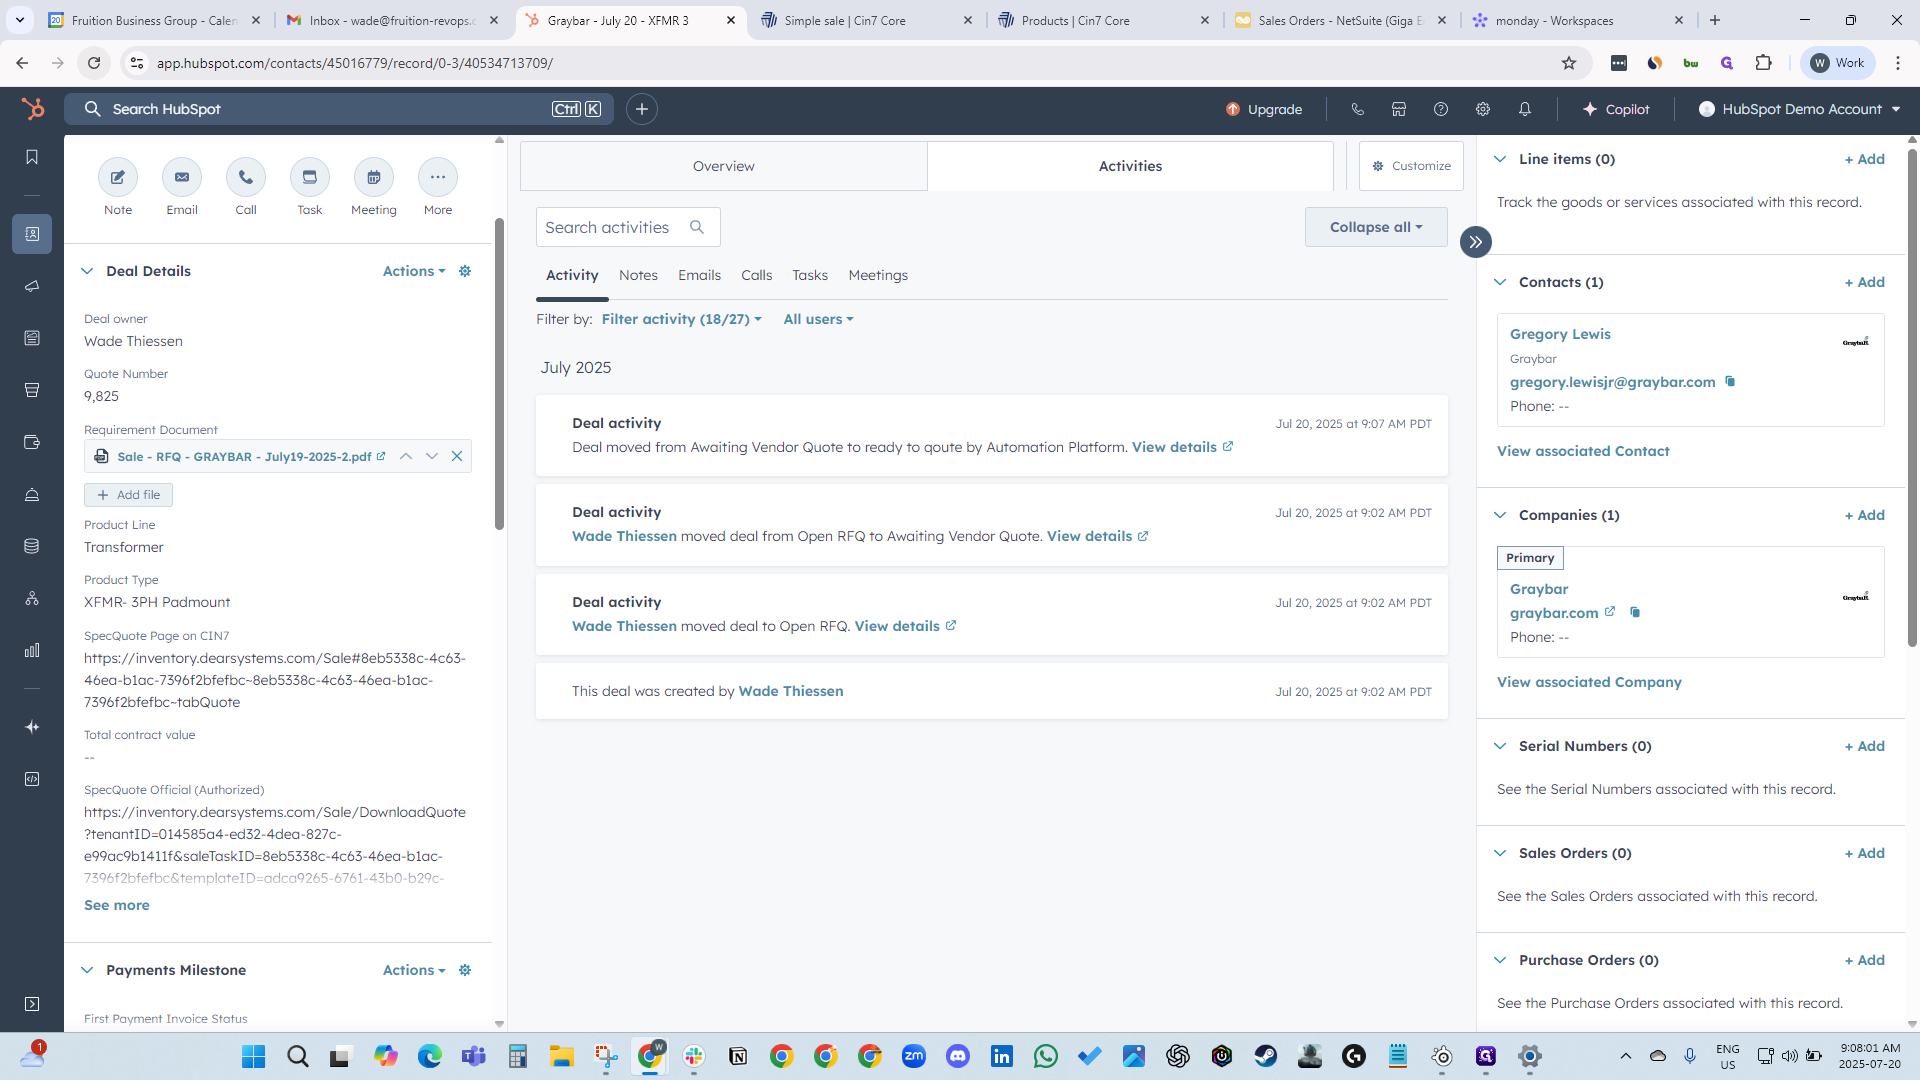
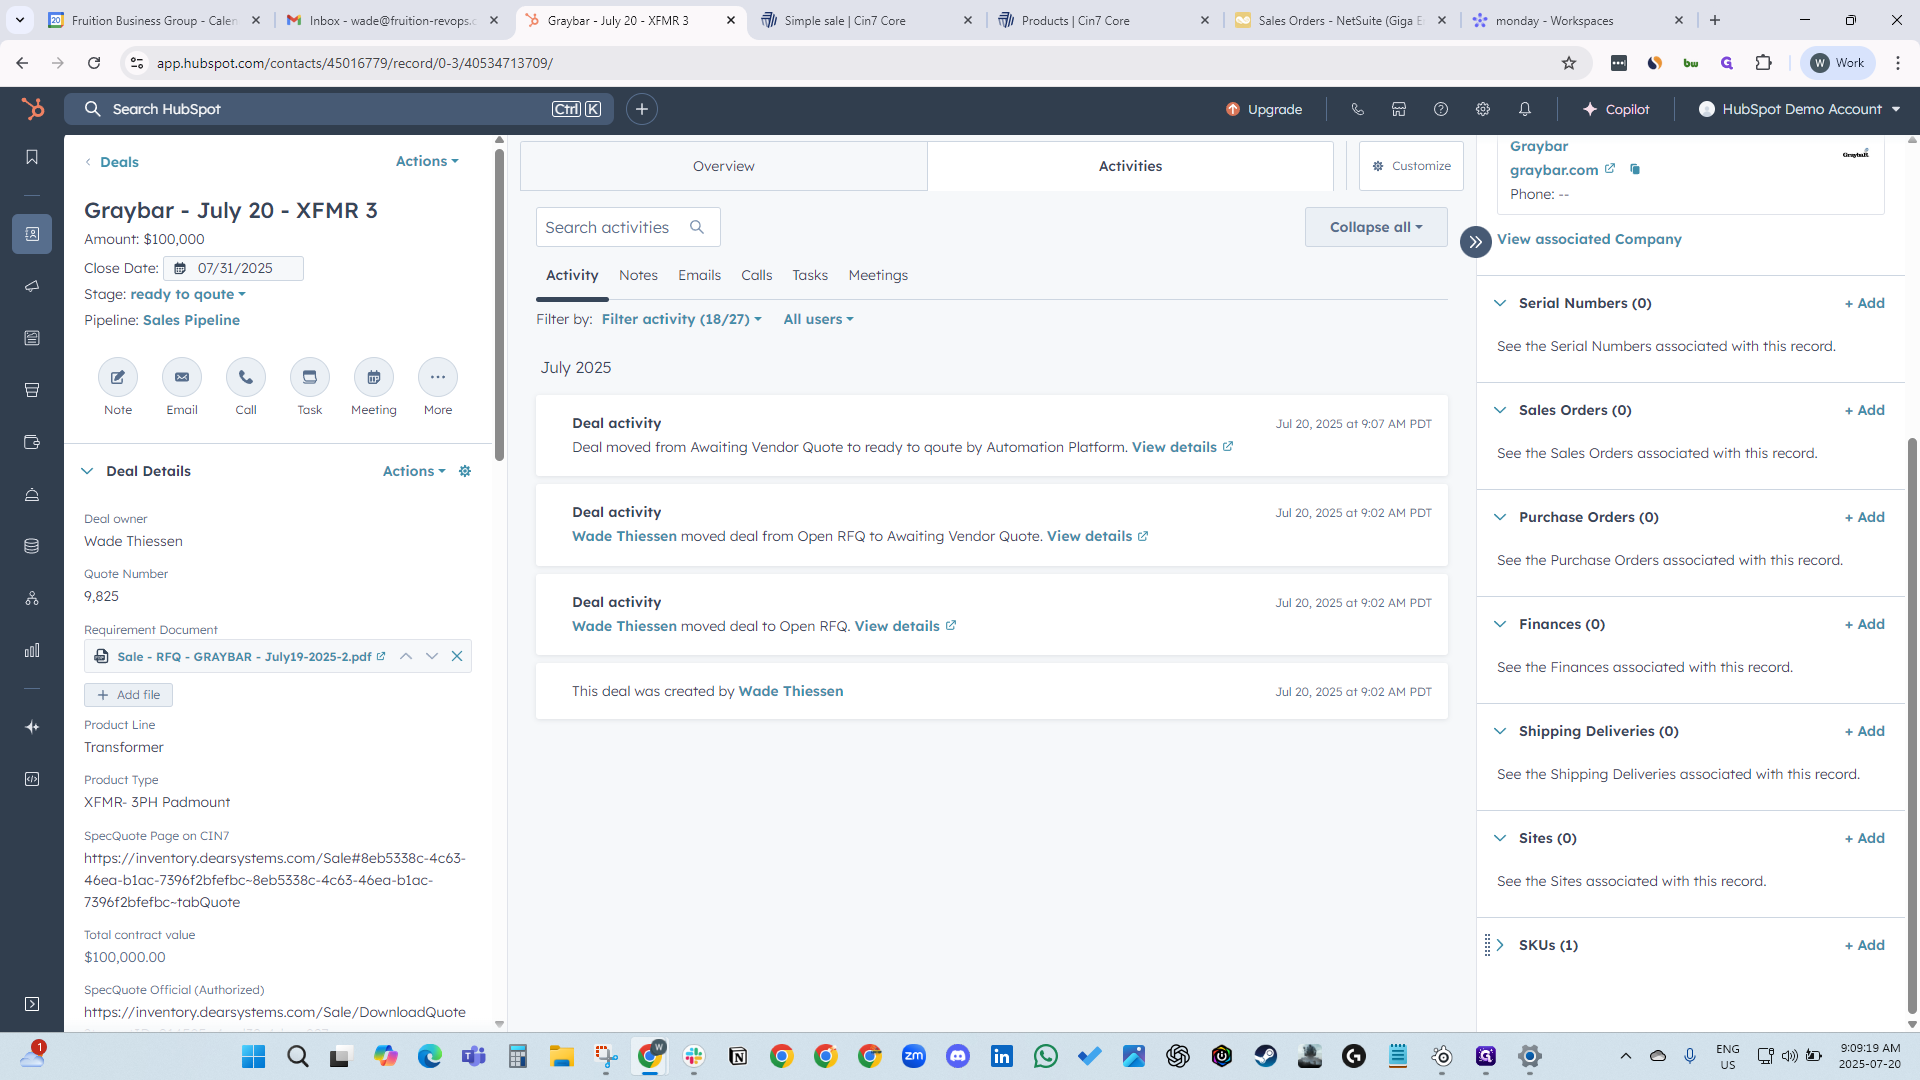
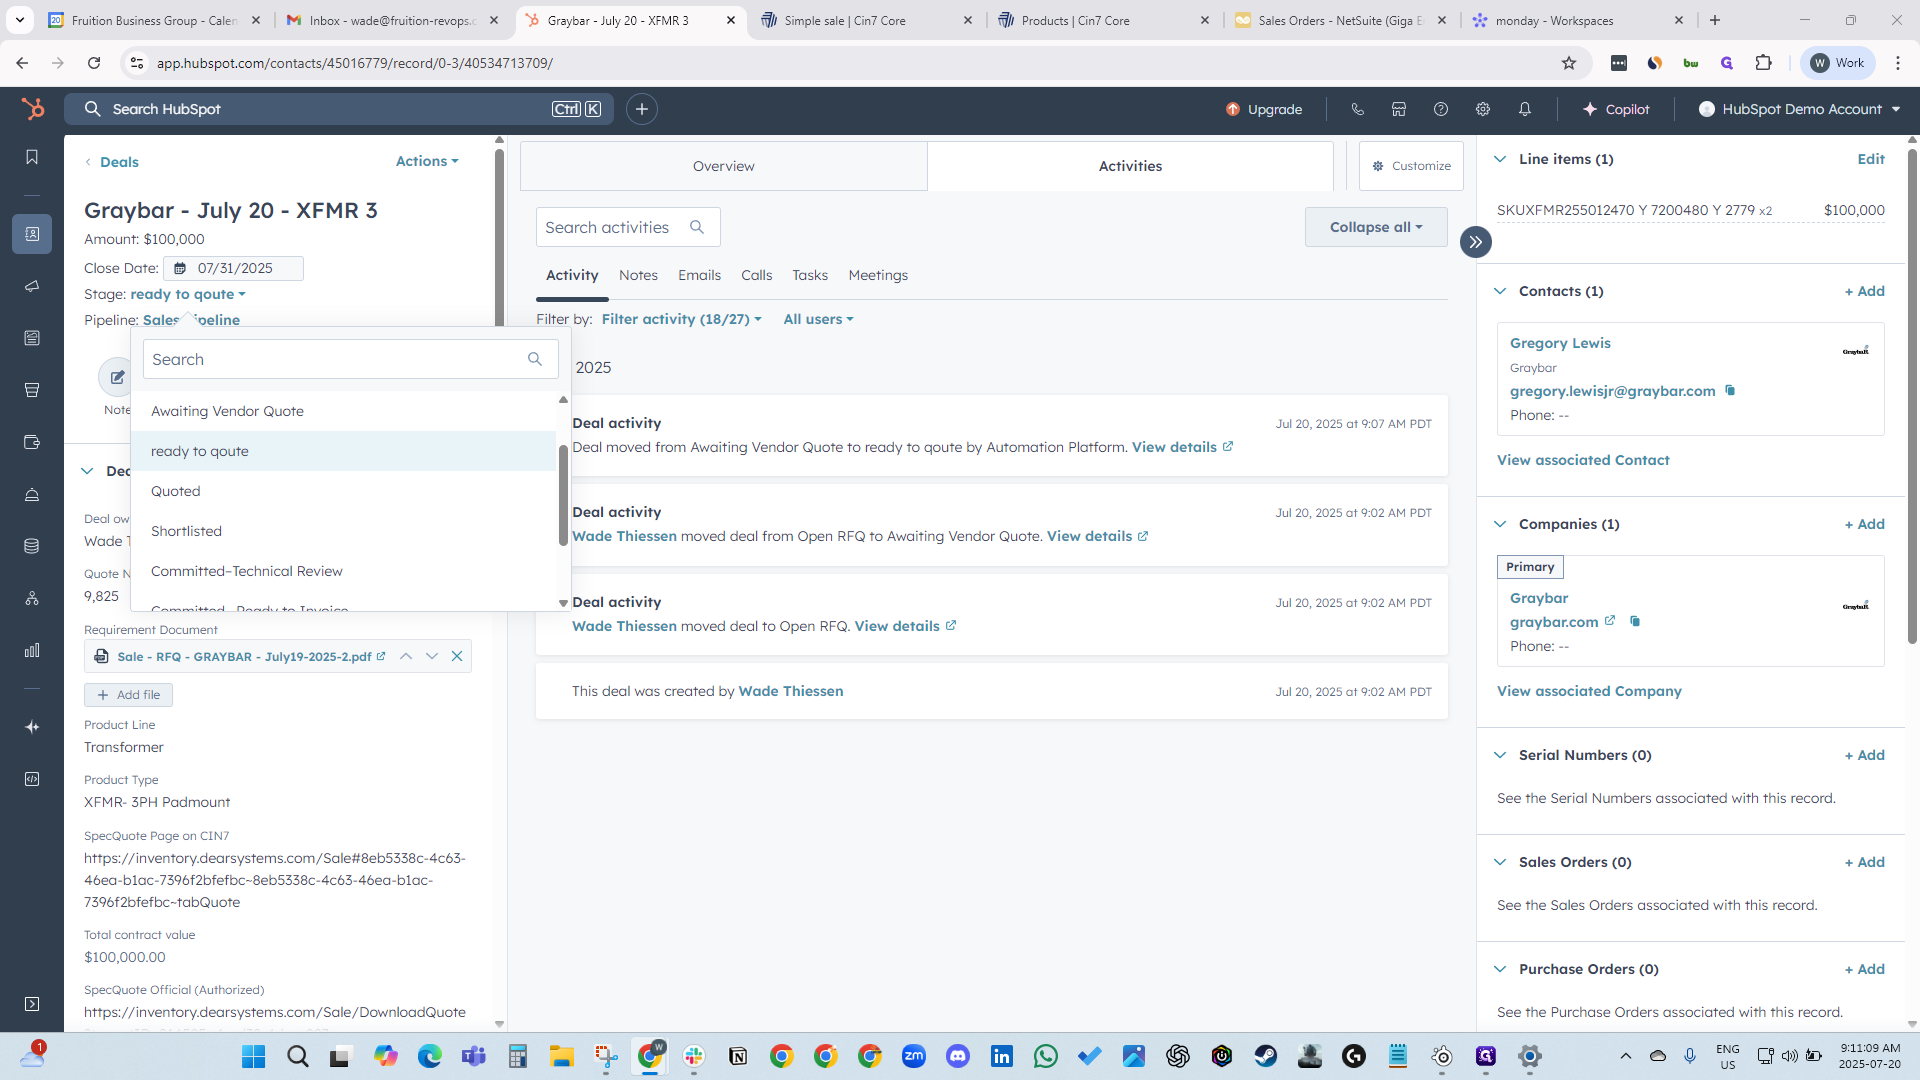
When you return to the deal, the stage will automatically update to Ready to Quote. You can see it has changed to Ready to Quote here.


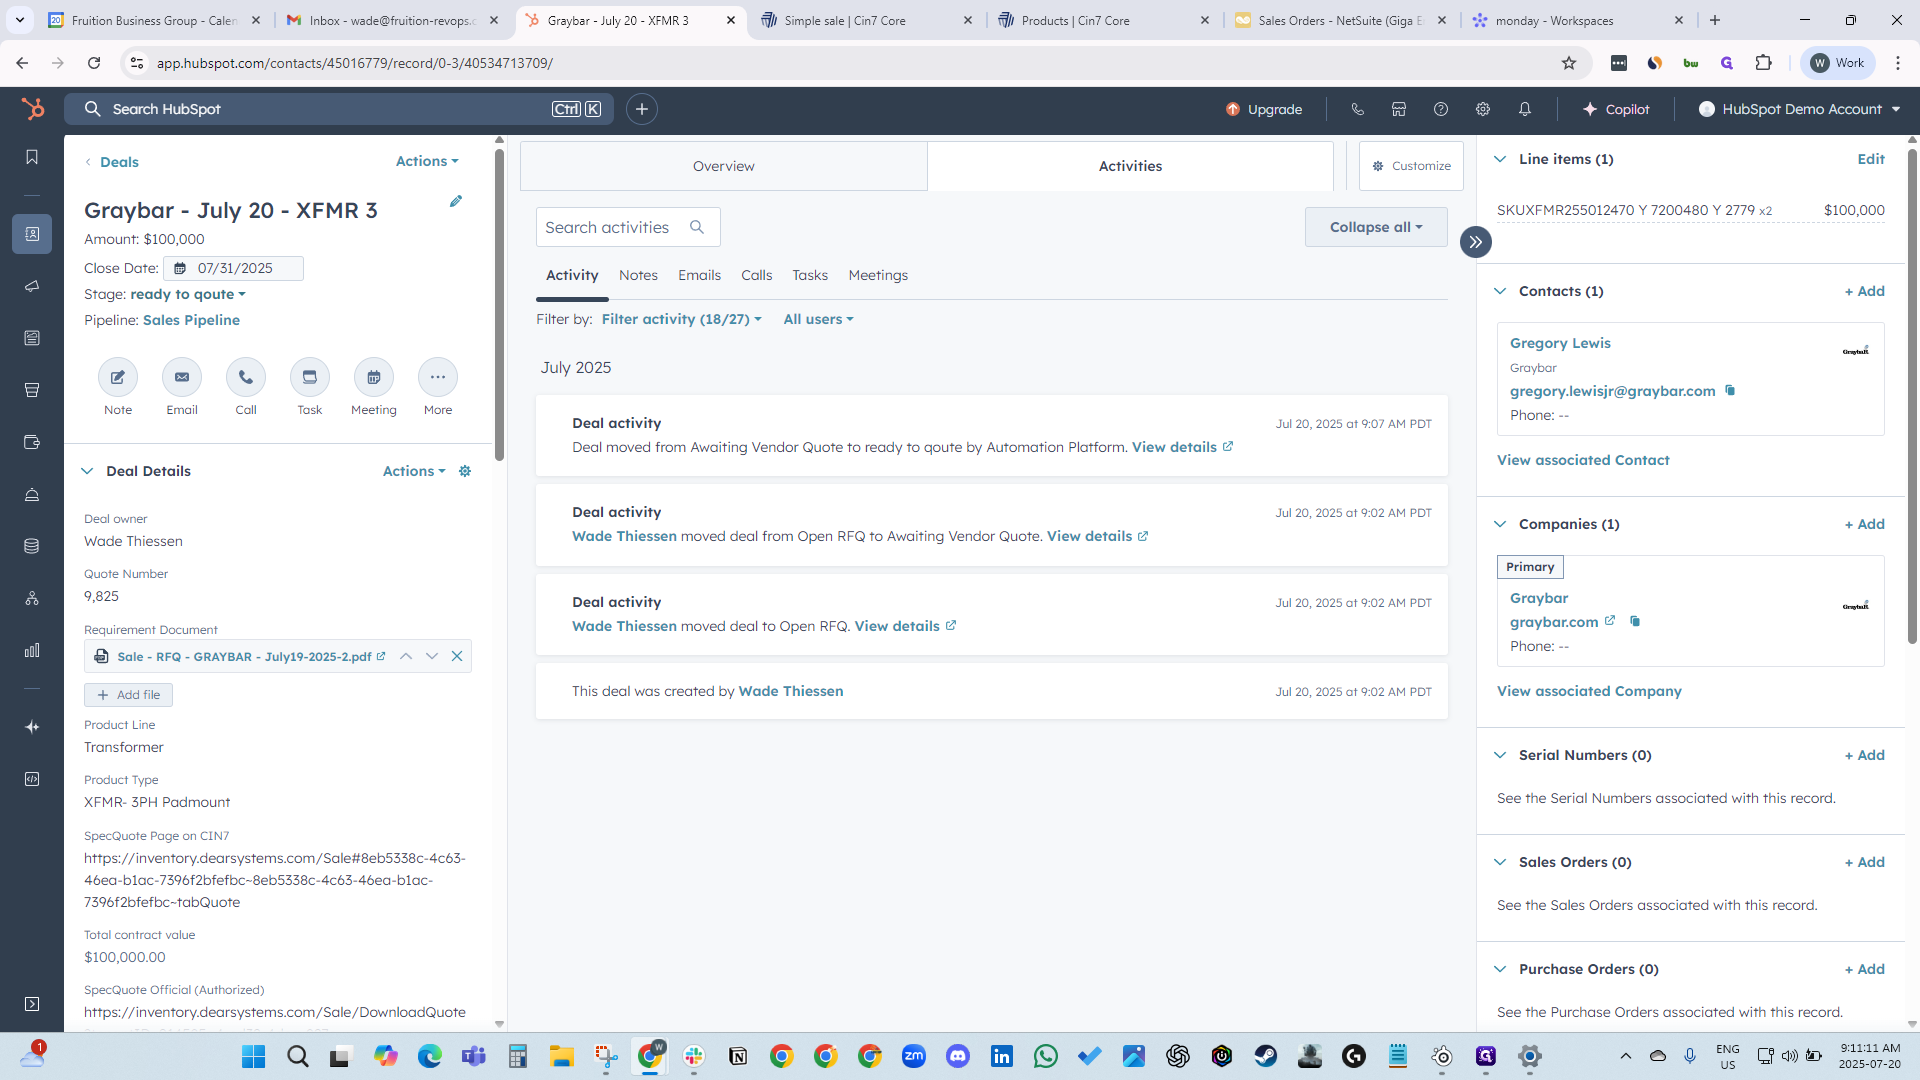
And now... You can see that the URL for the spec quote was created.
We are waiting for the line item and the SKU.
We are waiting for a sales order ID.

Our line item automatically appears and is associated with the SKU.
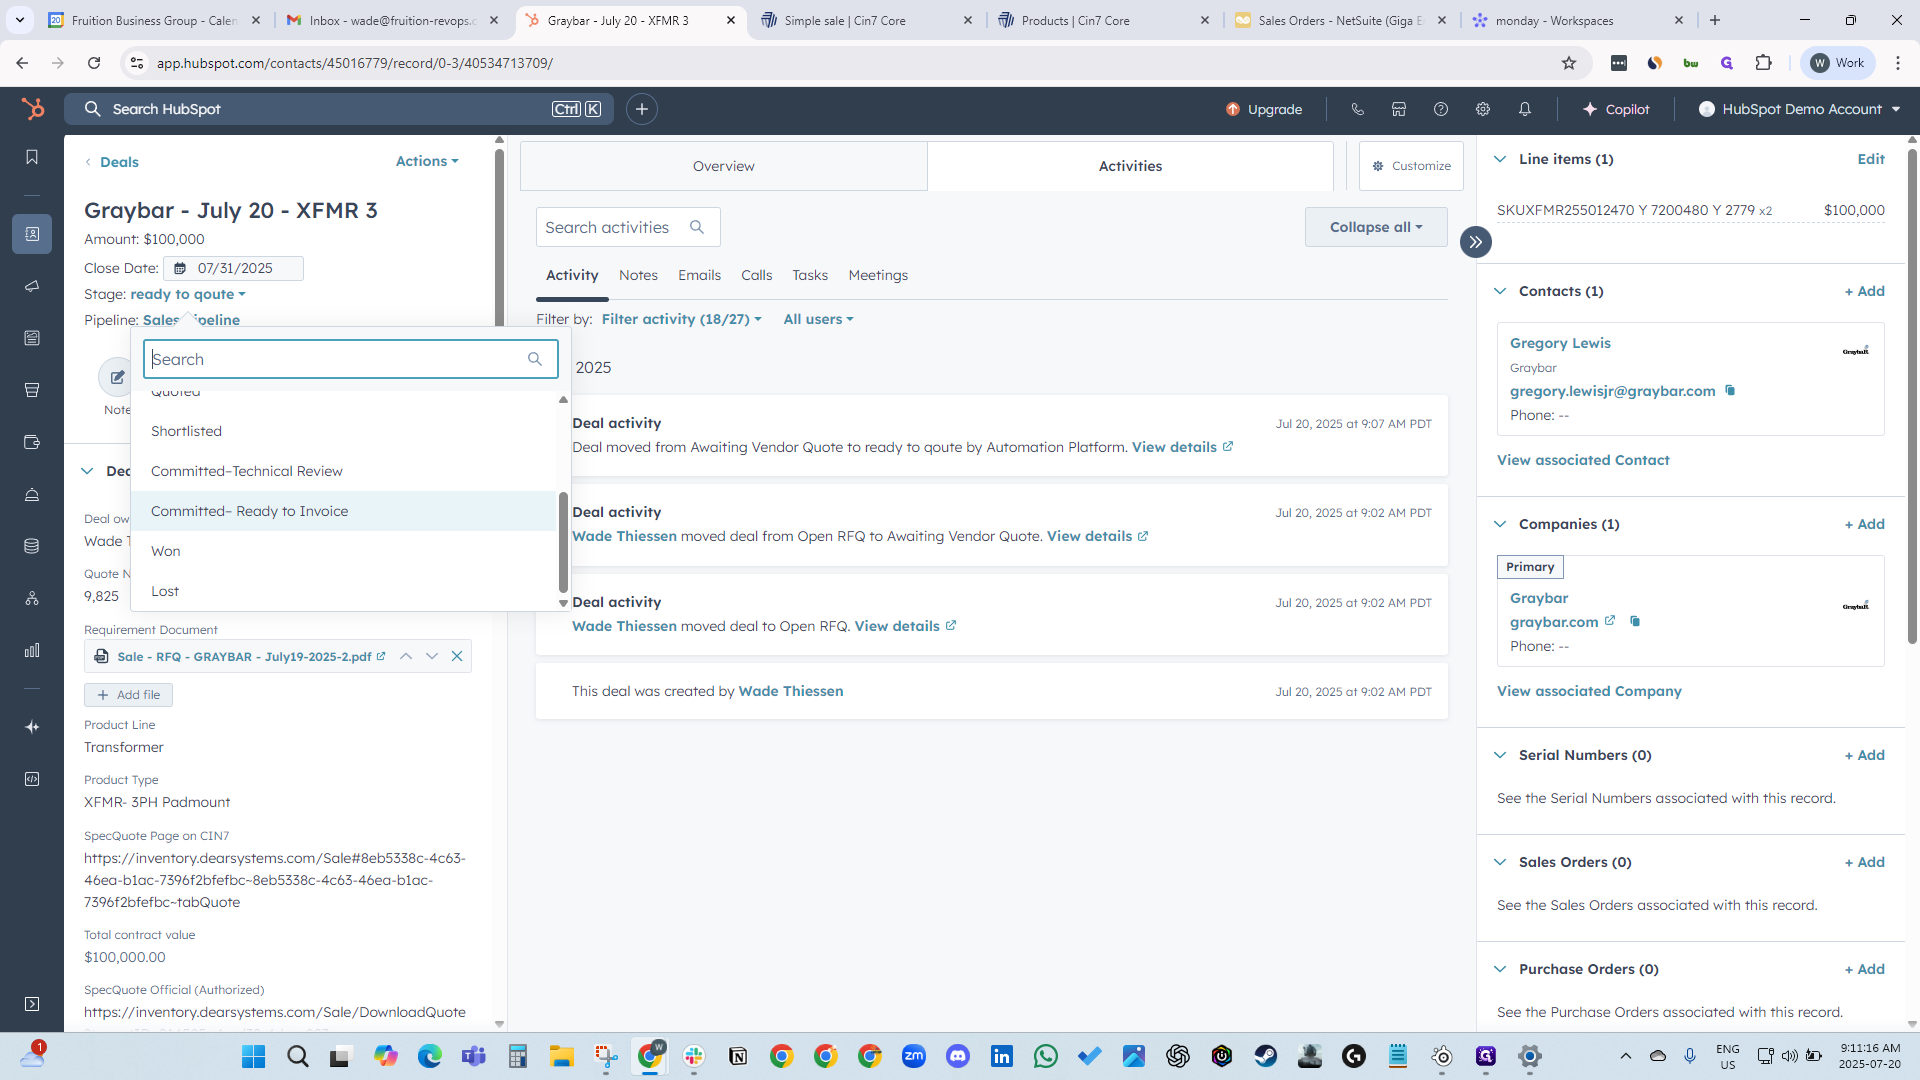
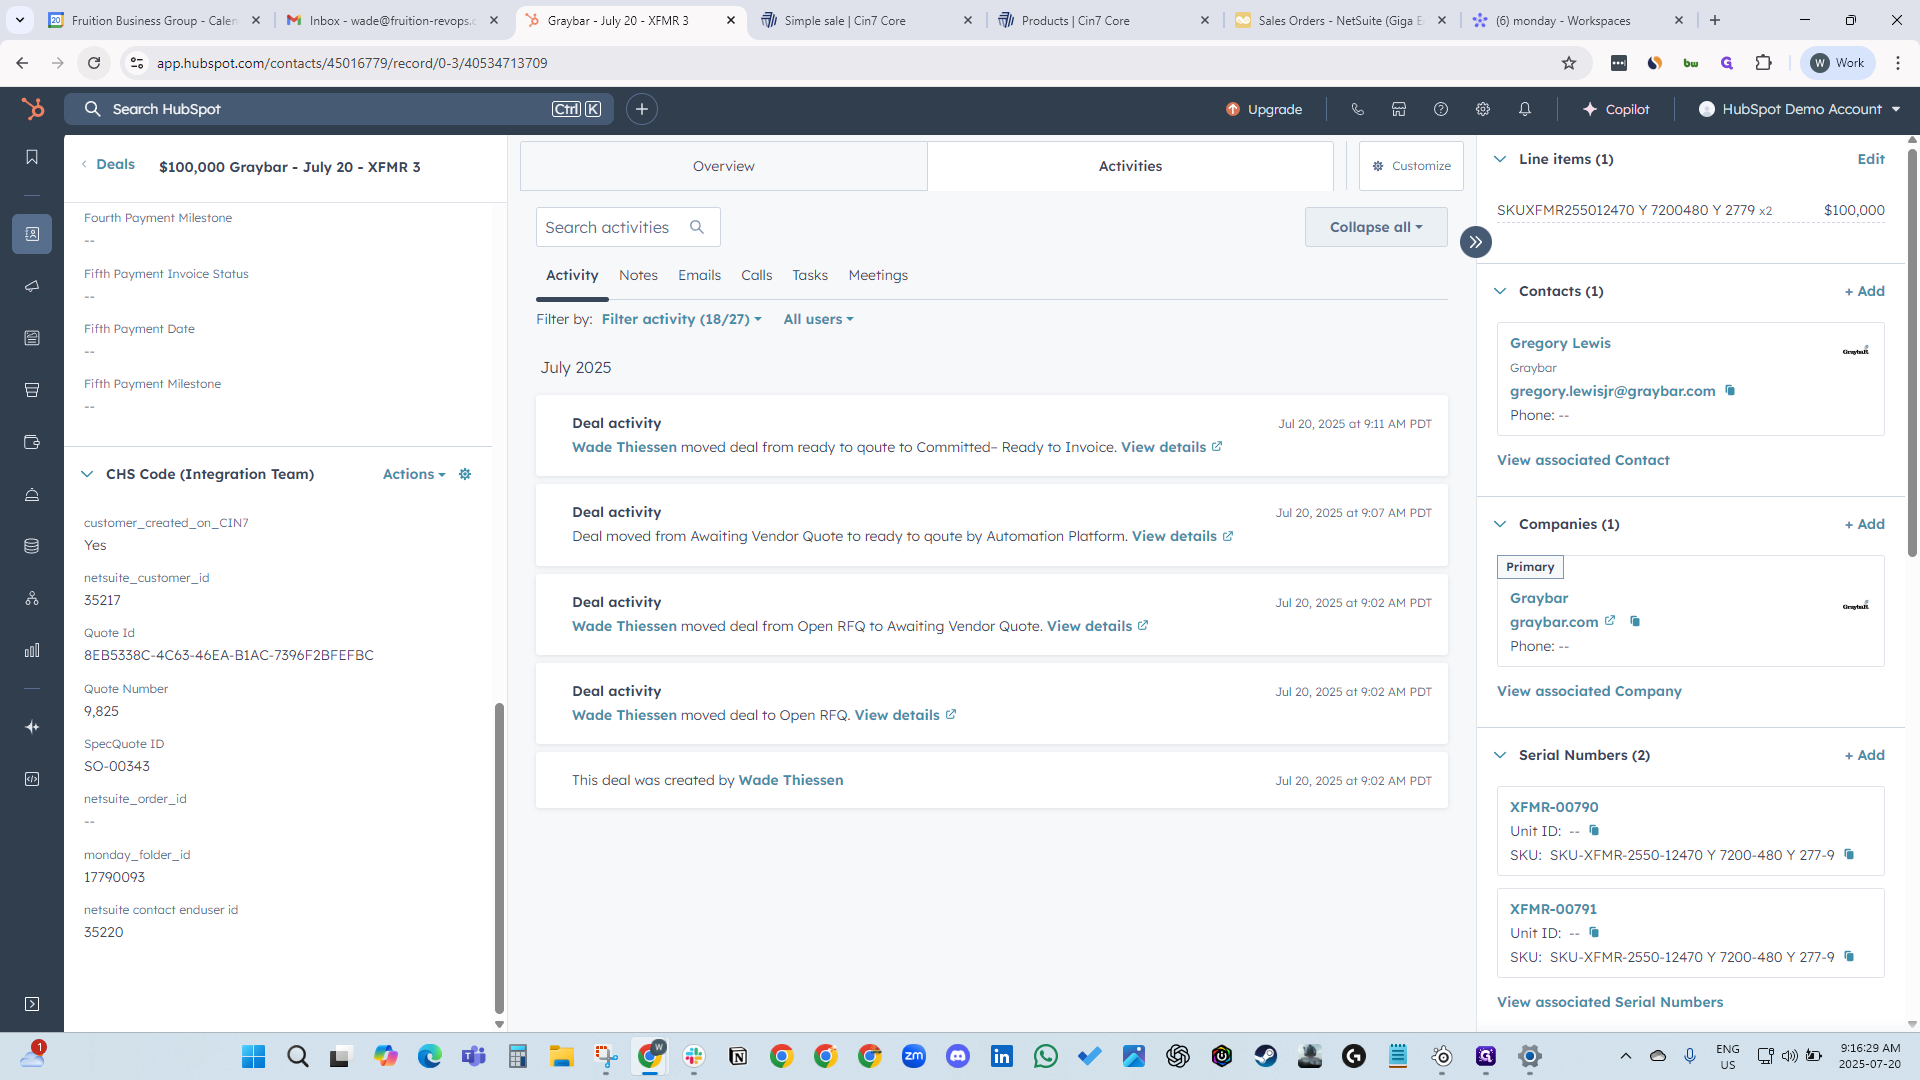
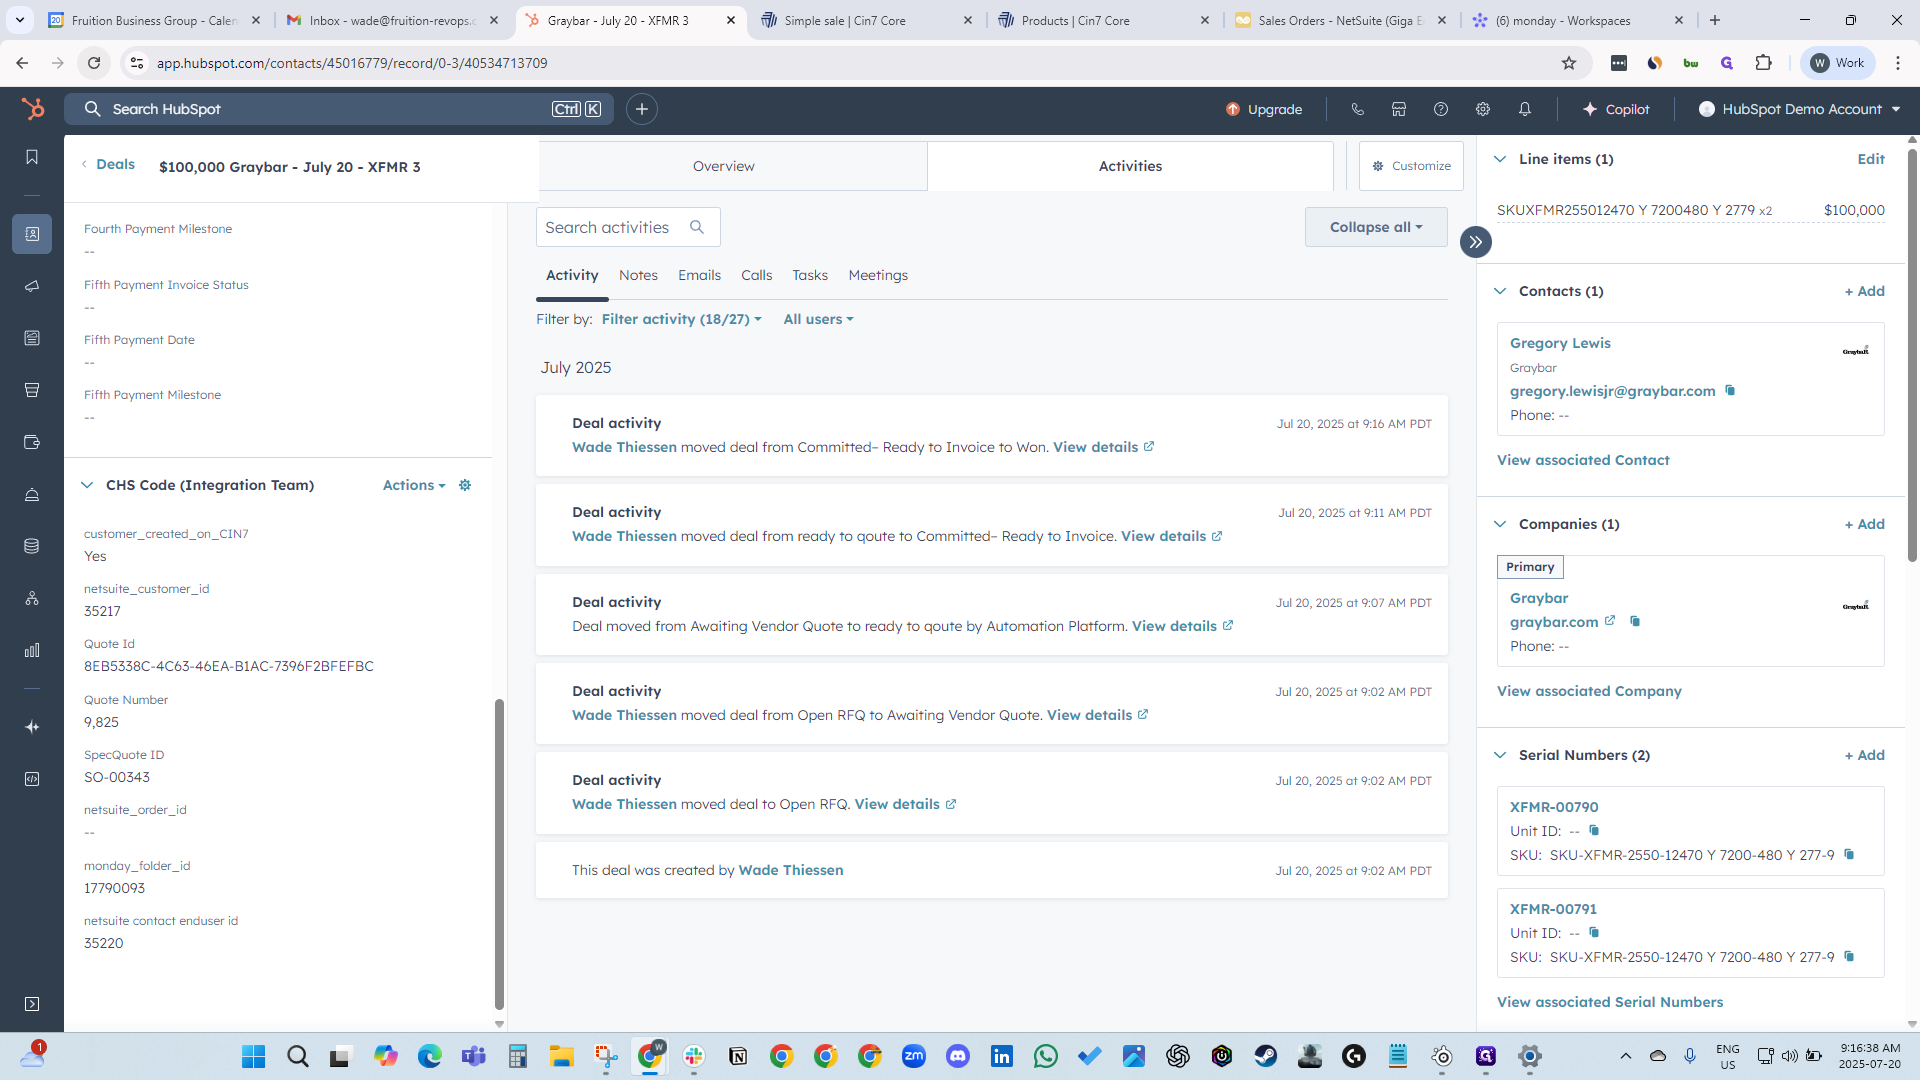
Now that we have our line item and SKU, we are just waiting for our sales order. Now, we move to Committed/Ready to Invoice.


When we do that, the sales order is created.
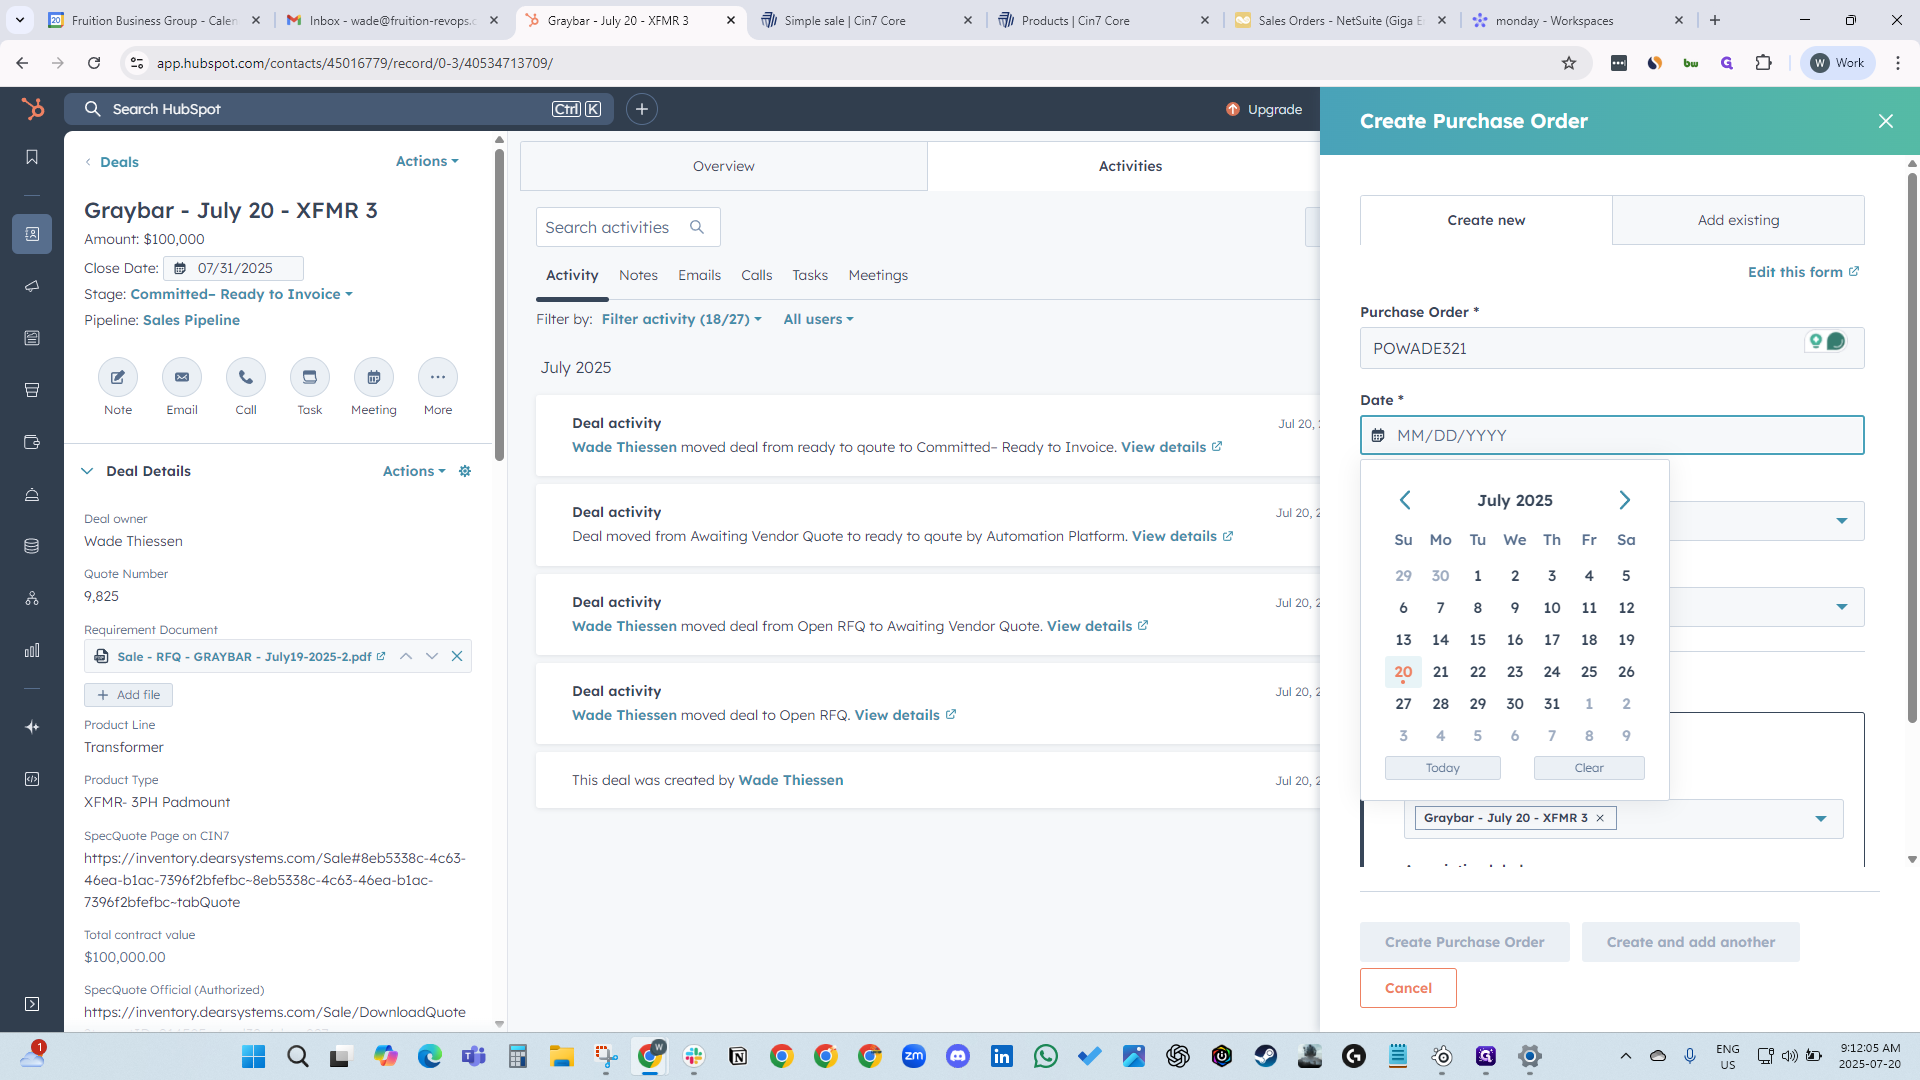
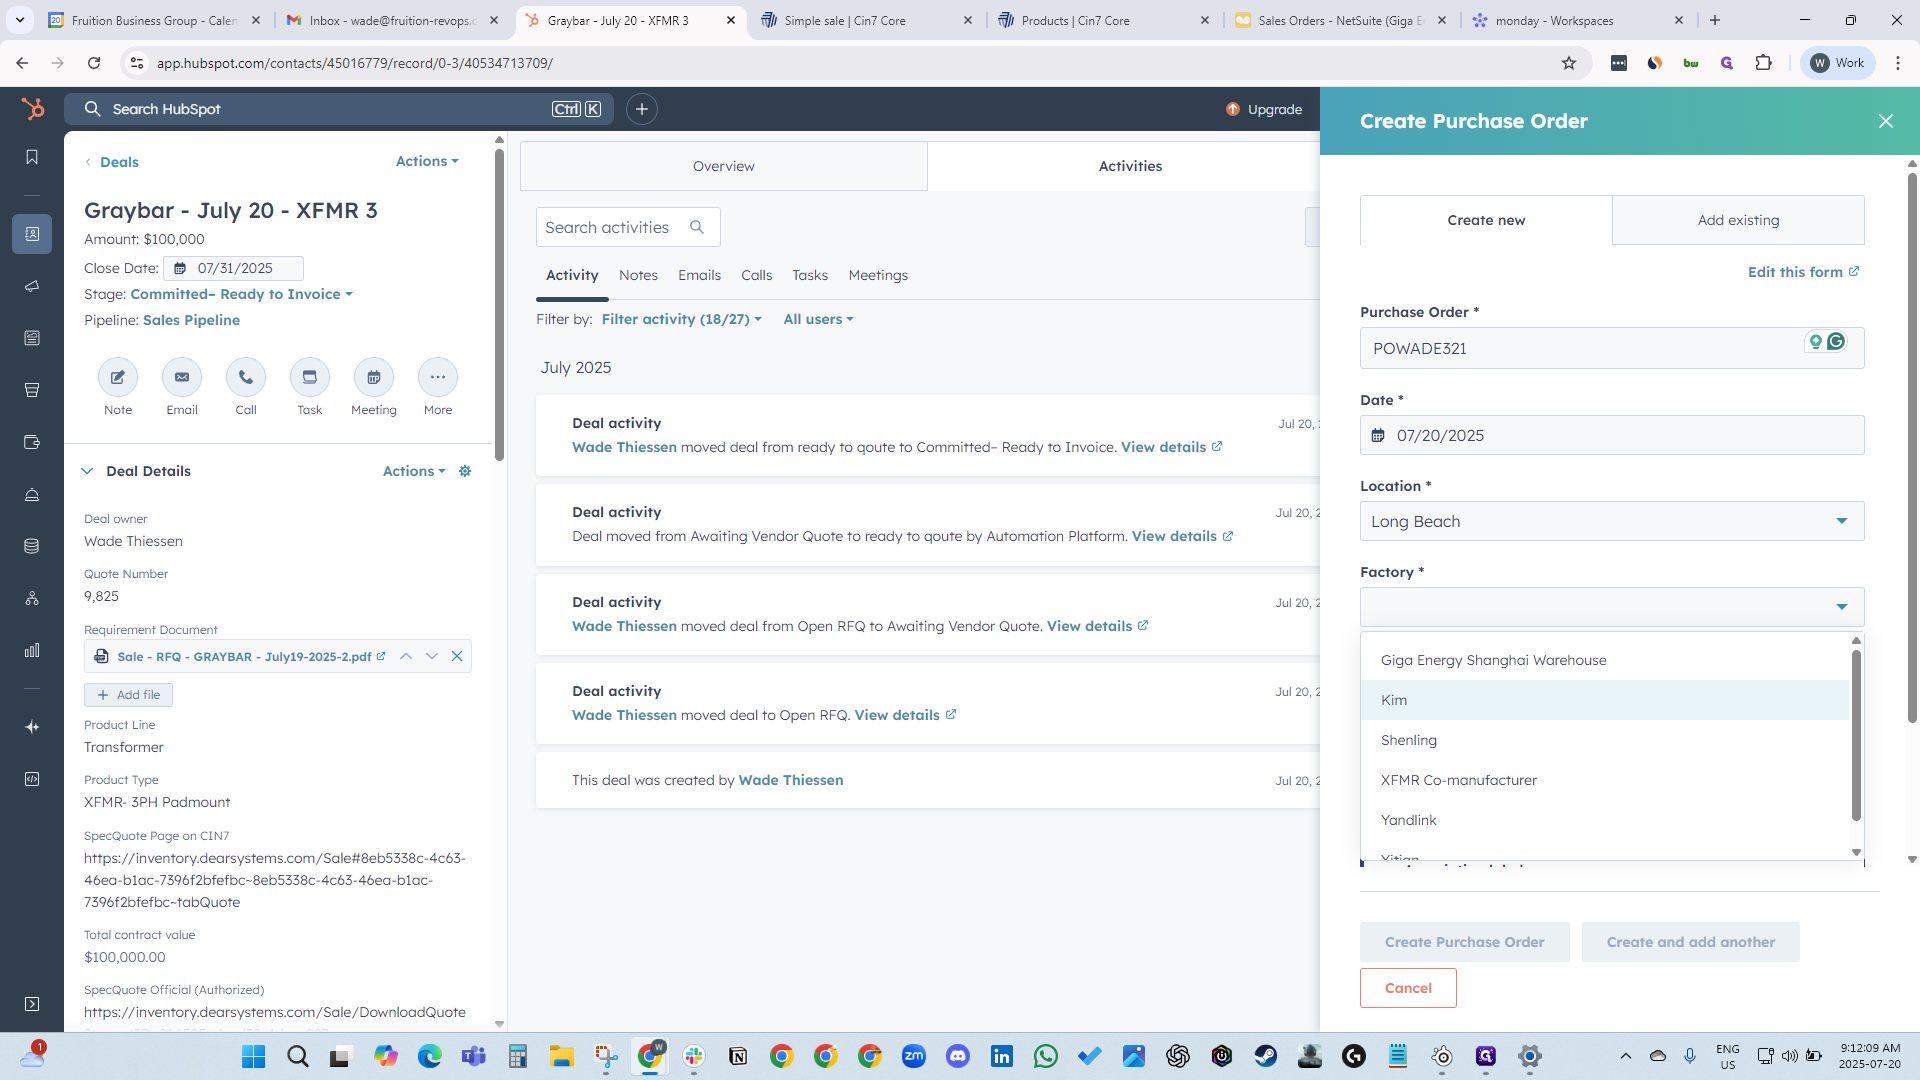
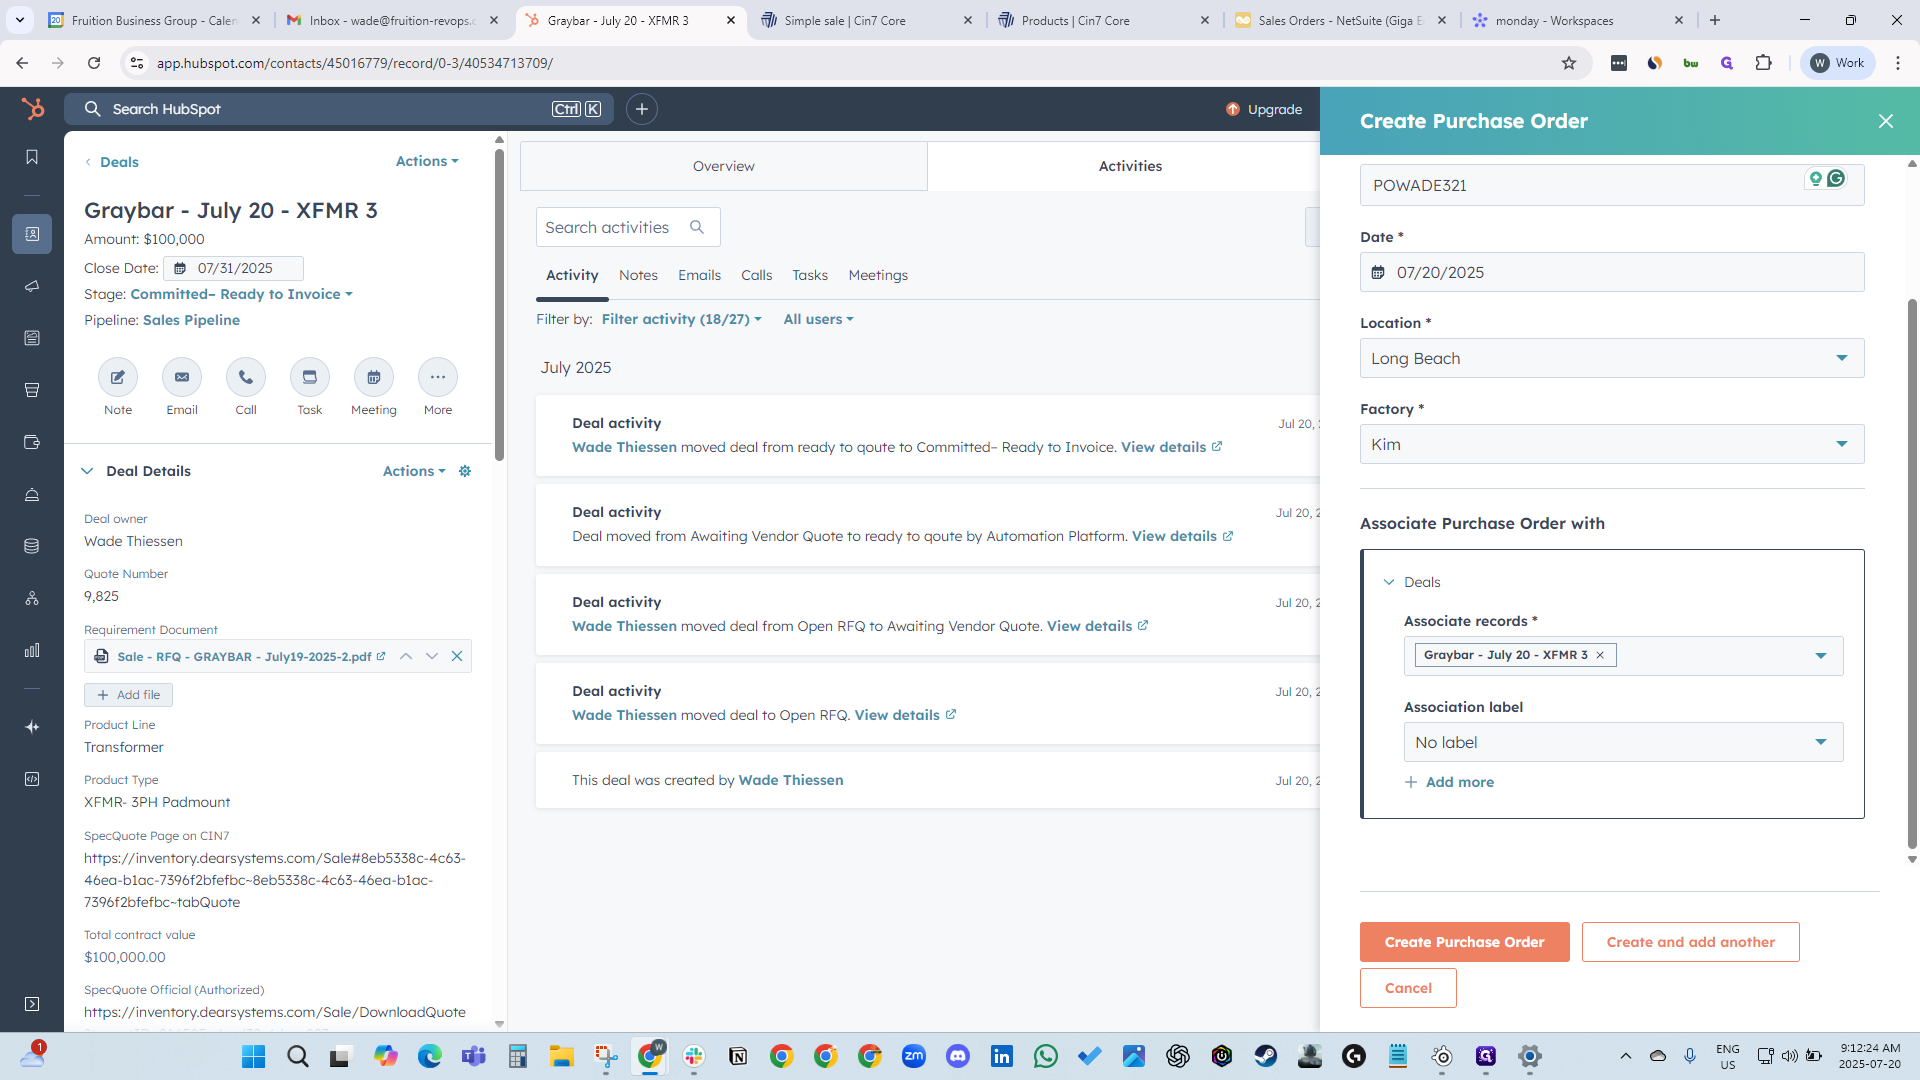
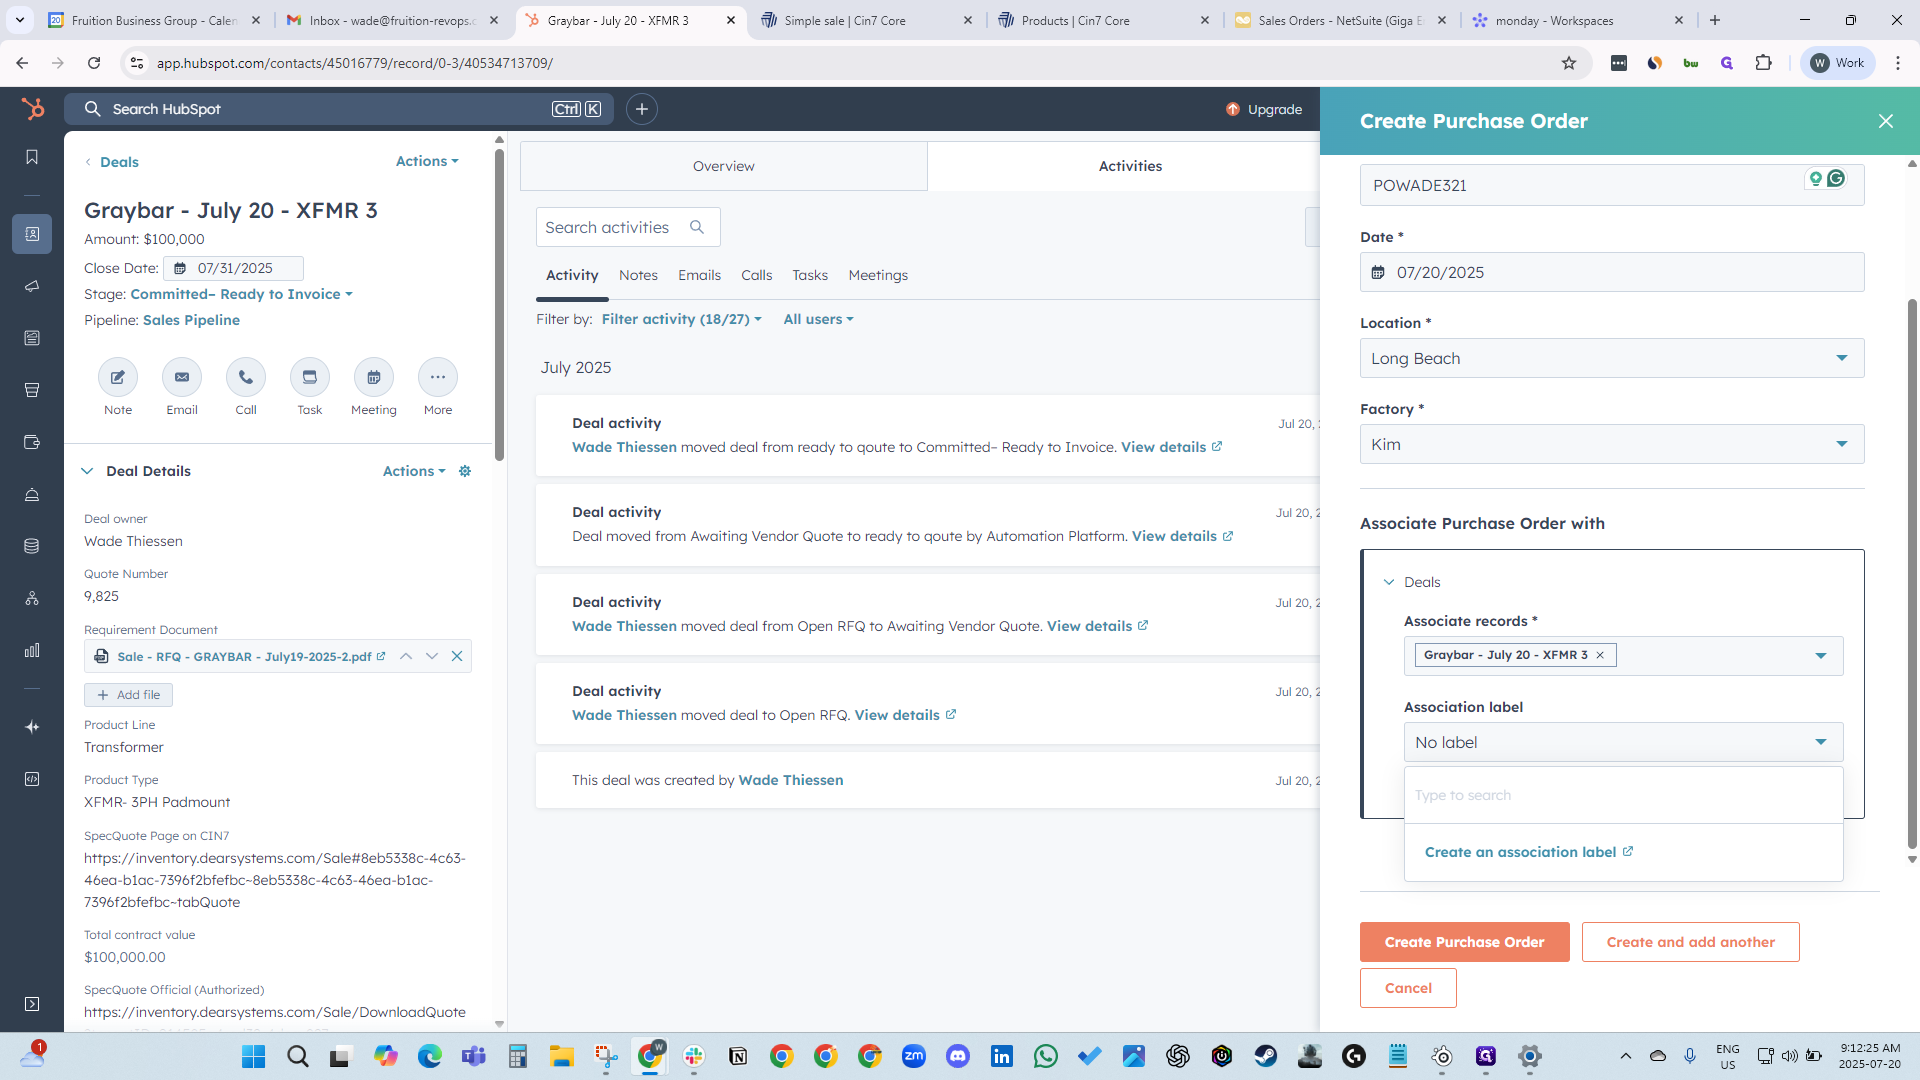
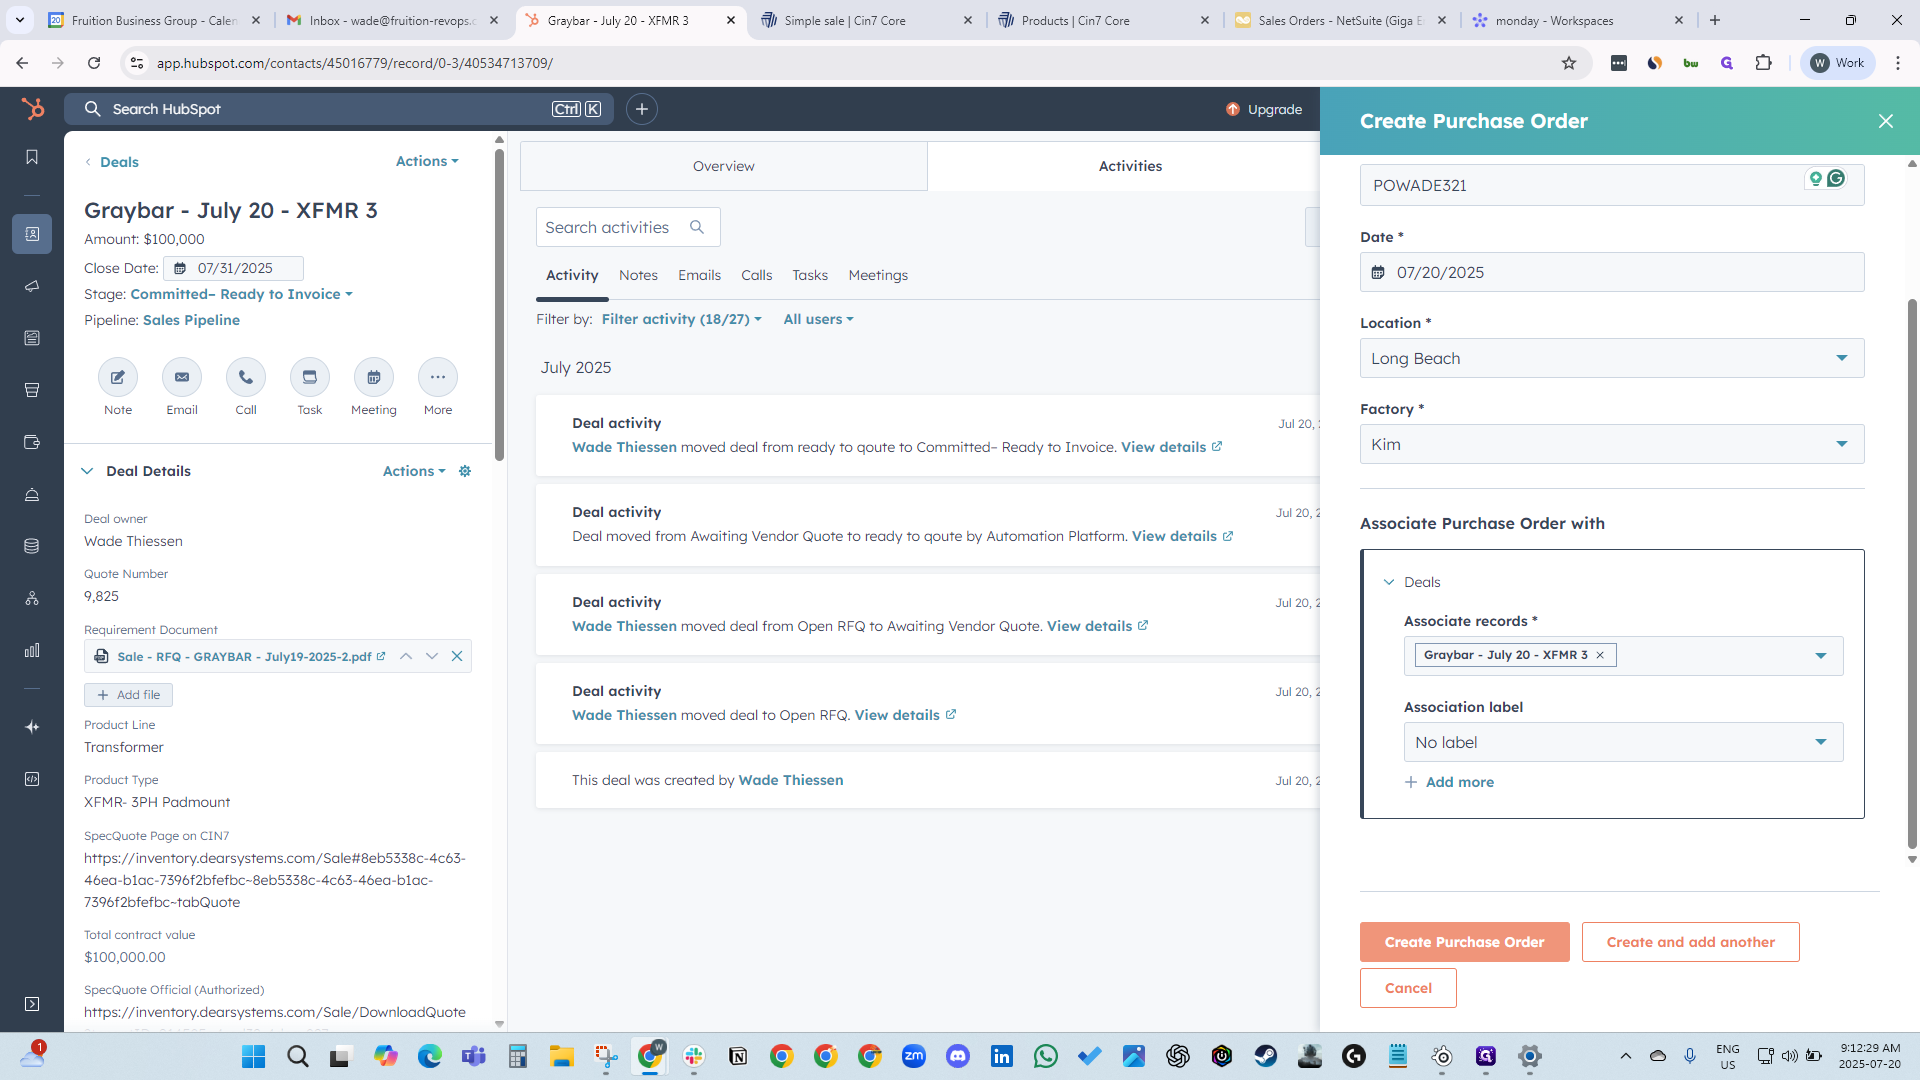
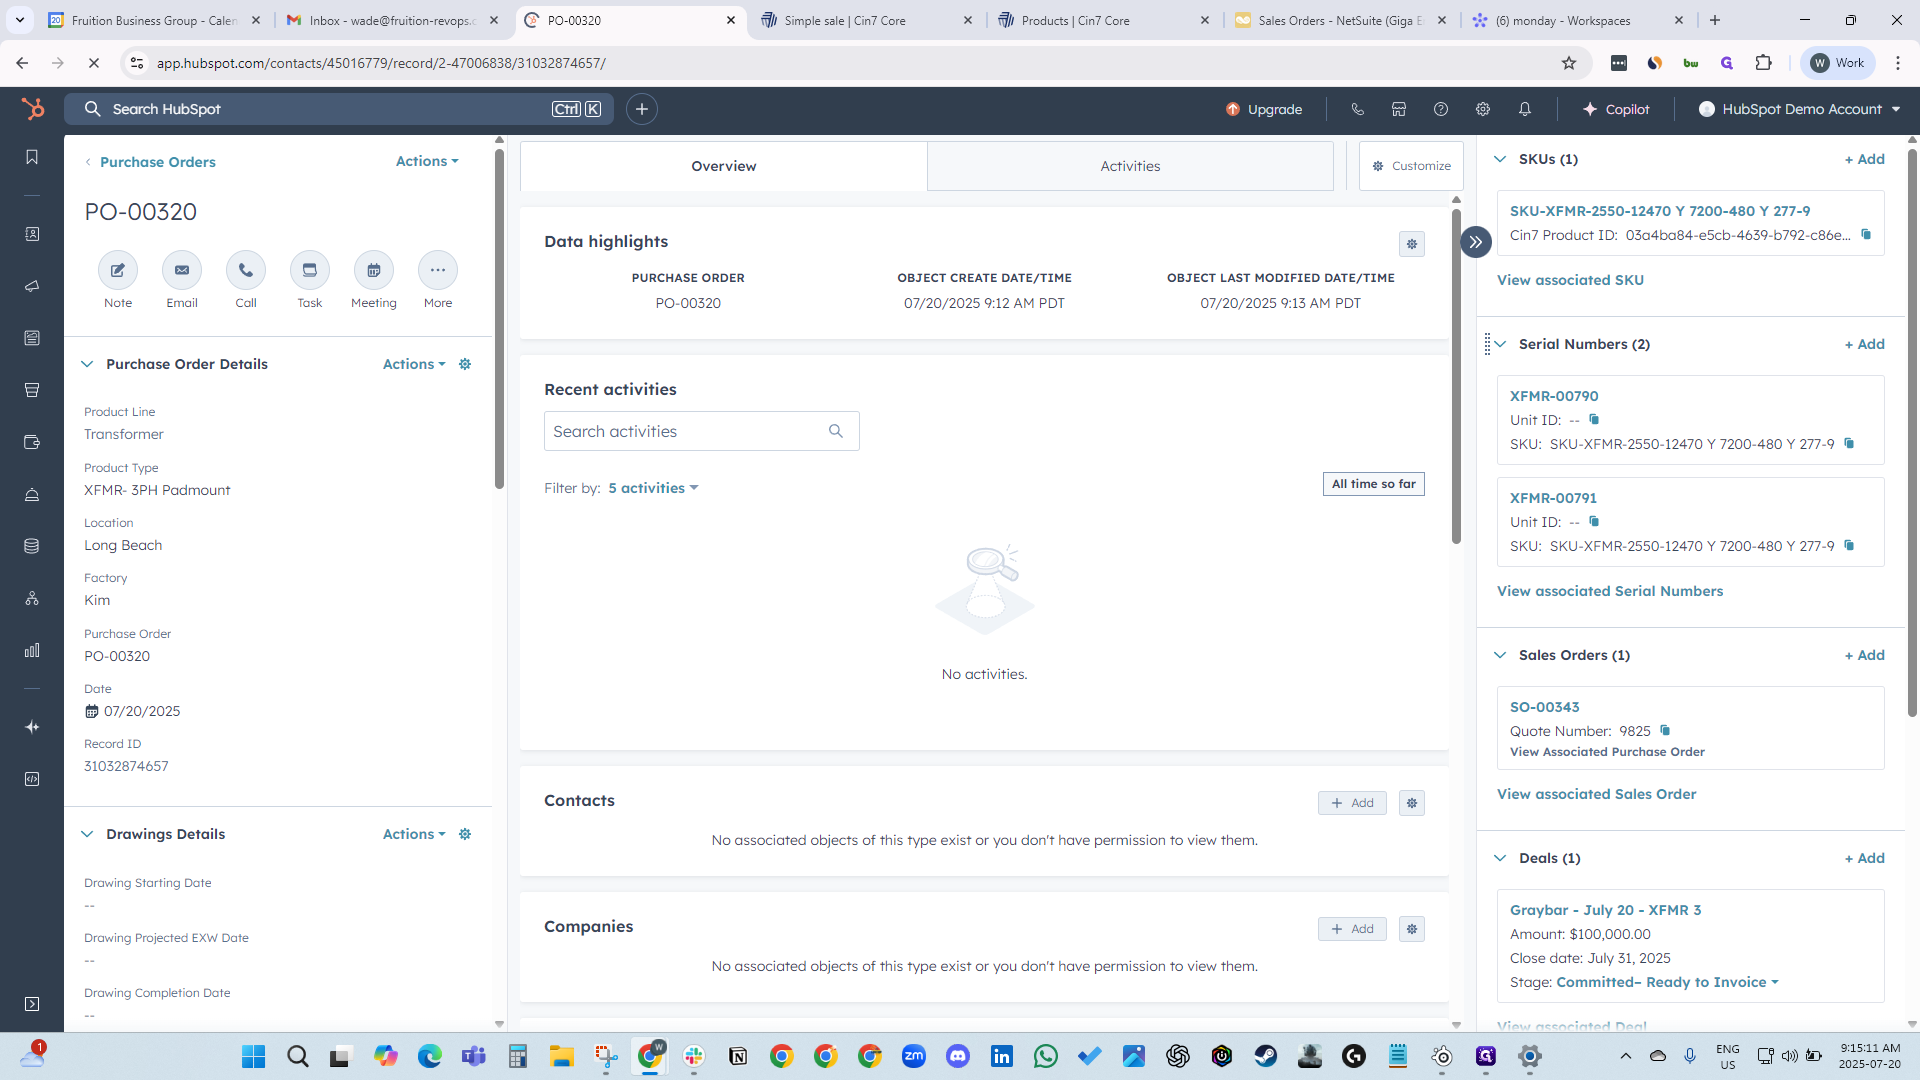
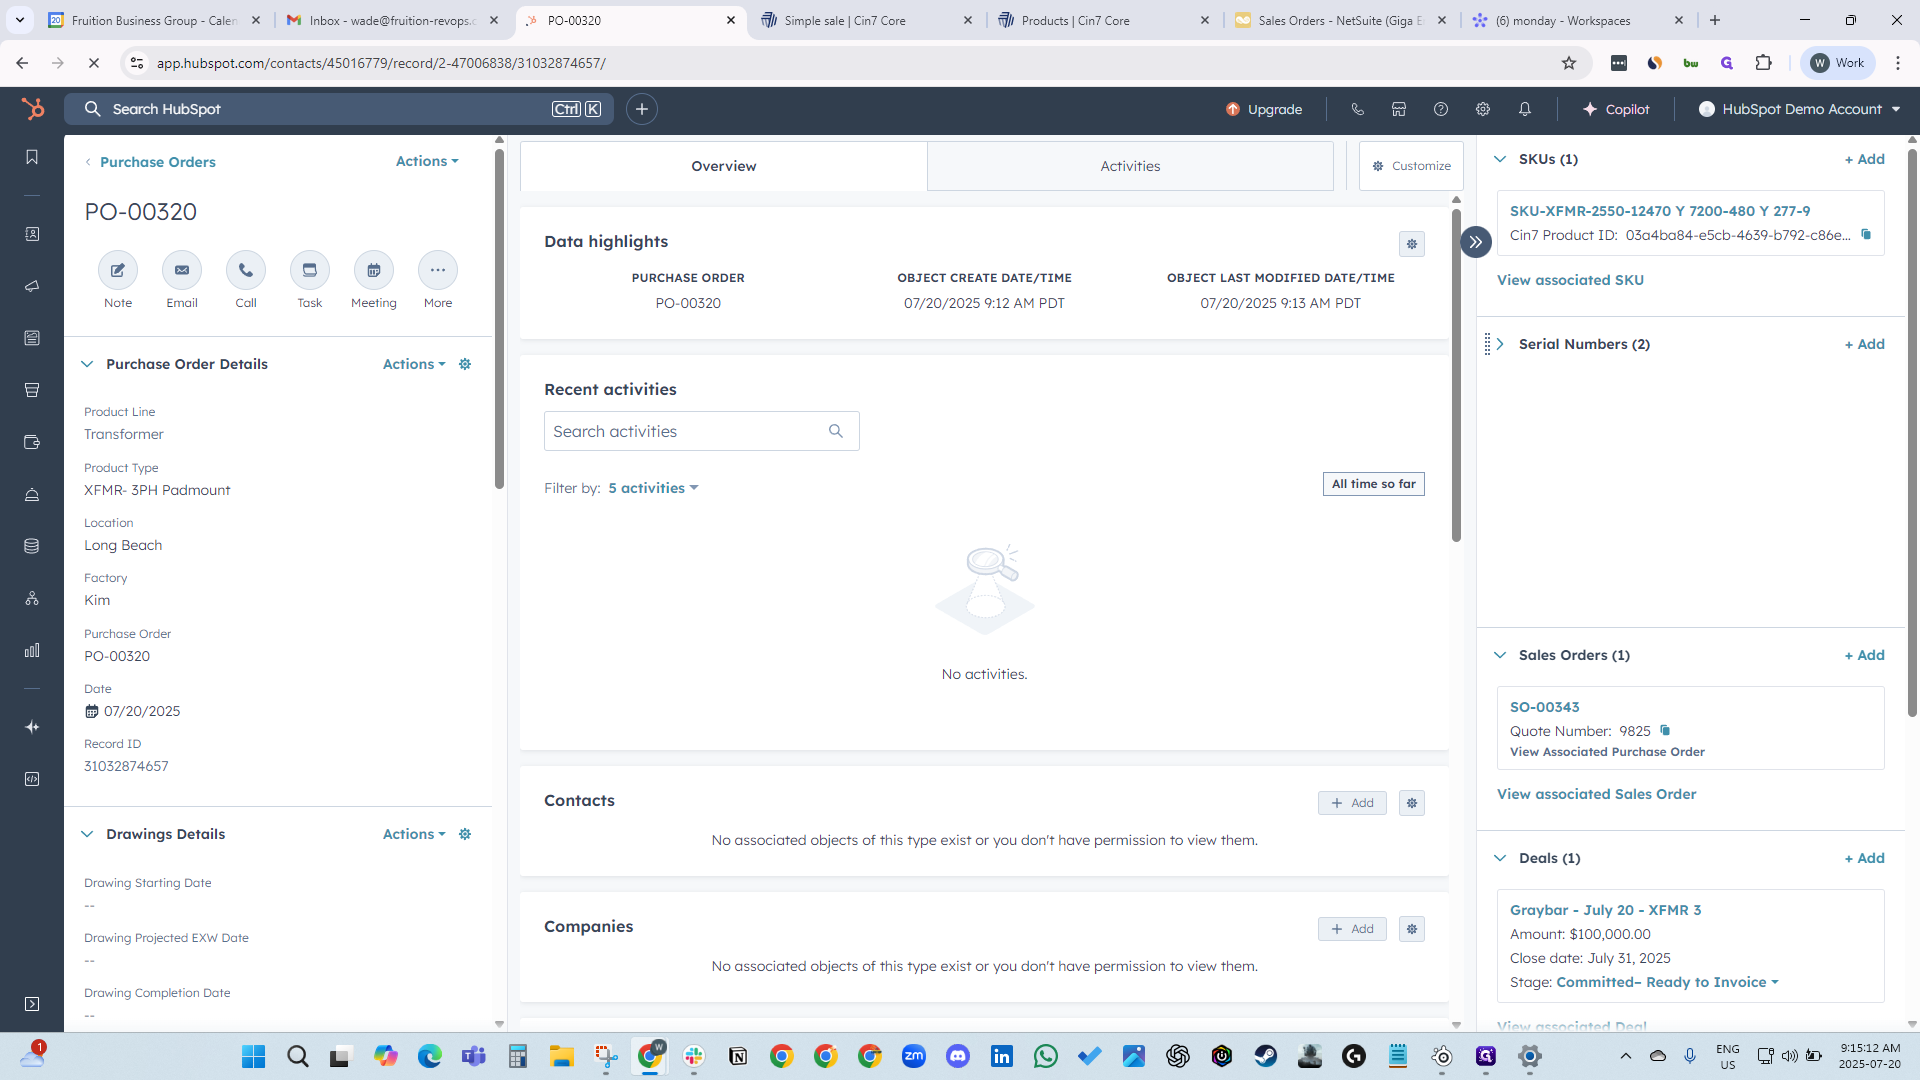
We now have a sales order number. Next, create a purchase order.
Click Add Purchase Order. The system will automatically select the next purchase order number, so you can enter PO Wade 321.


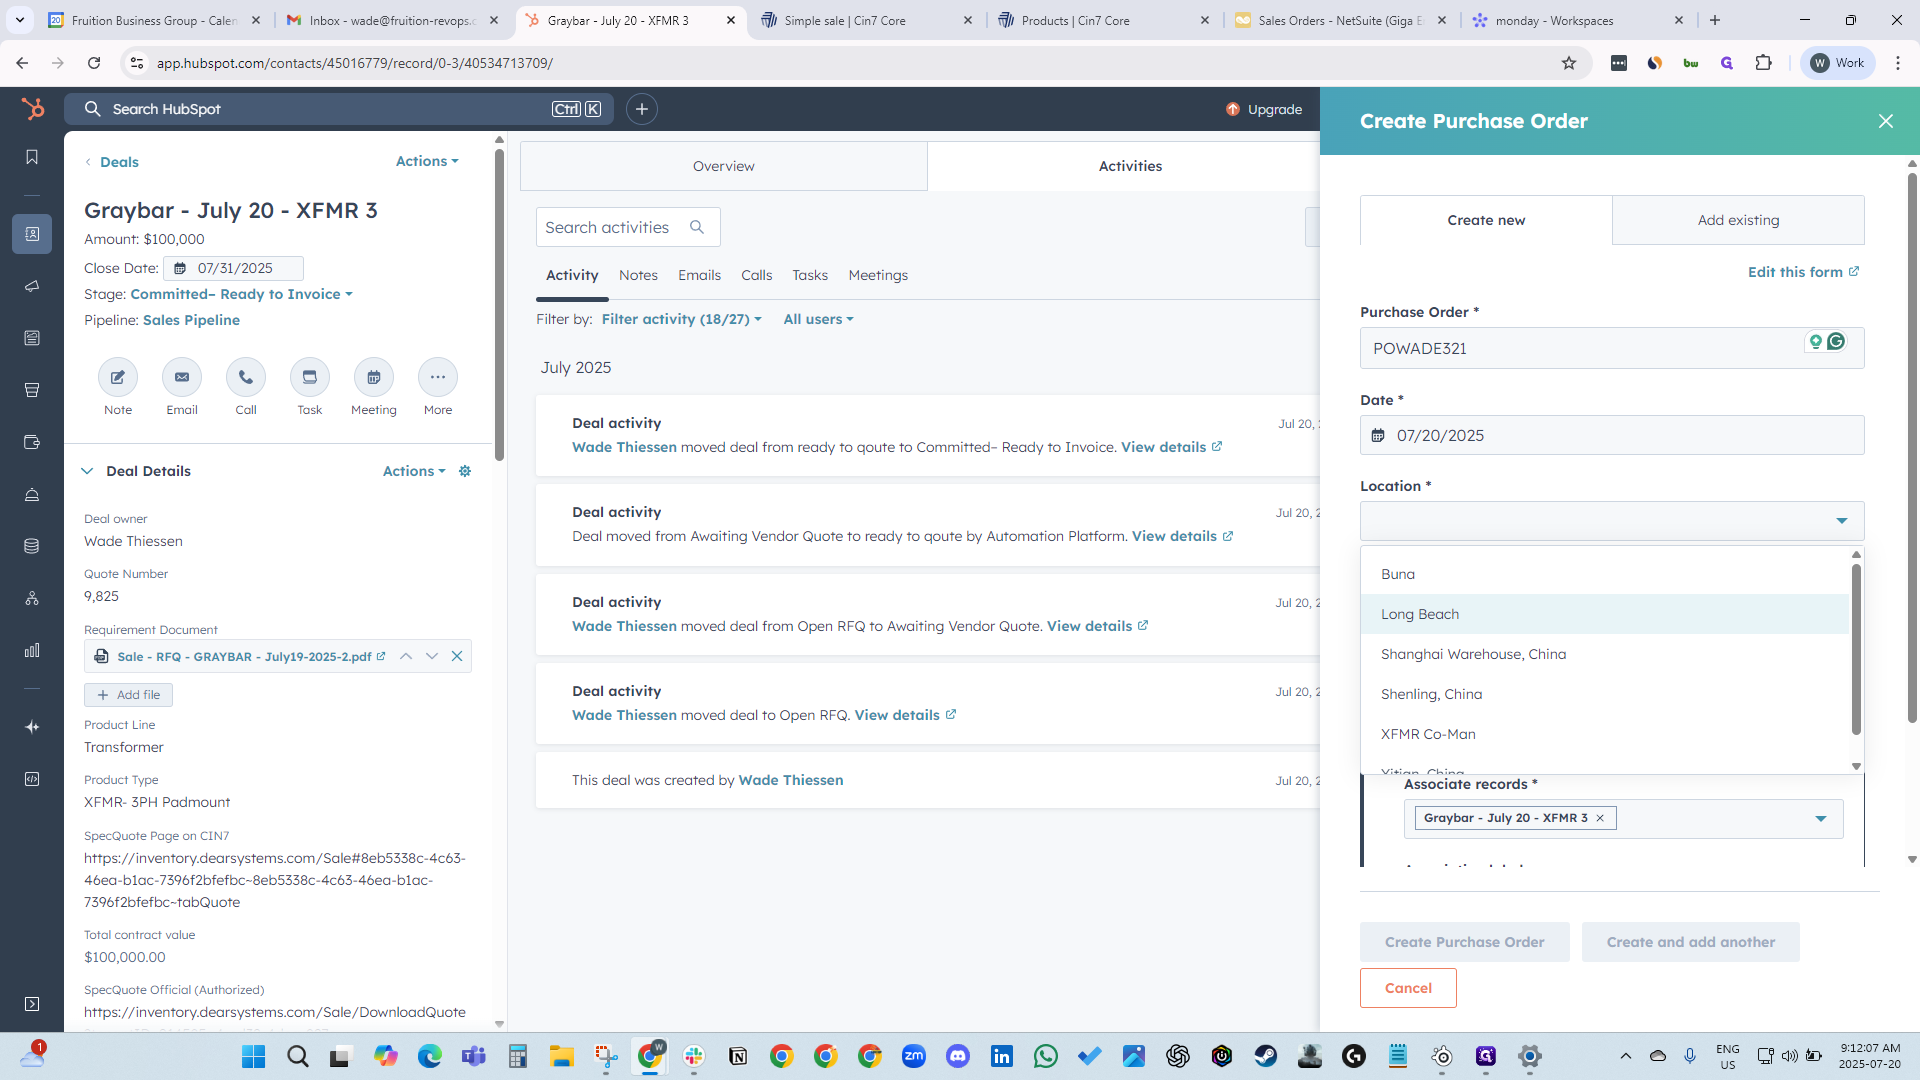
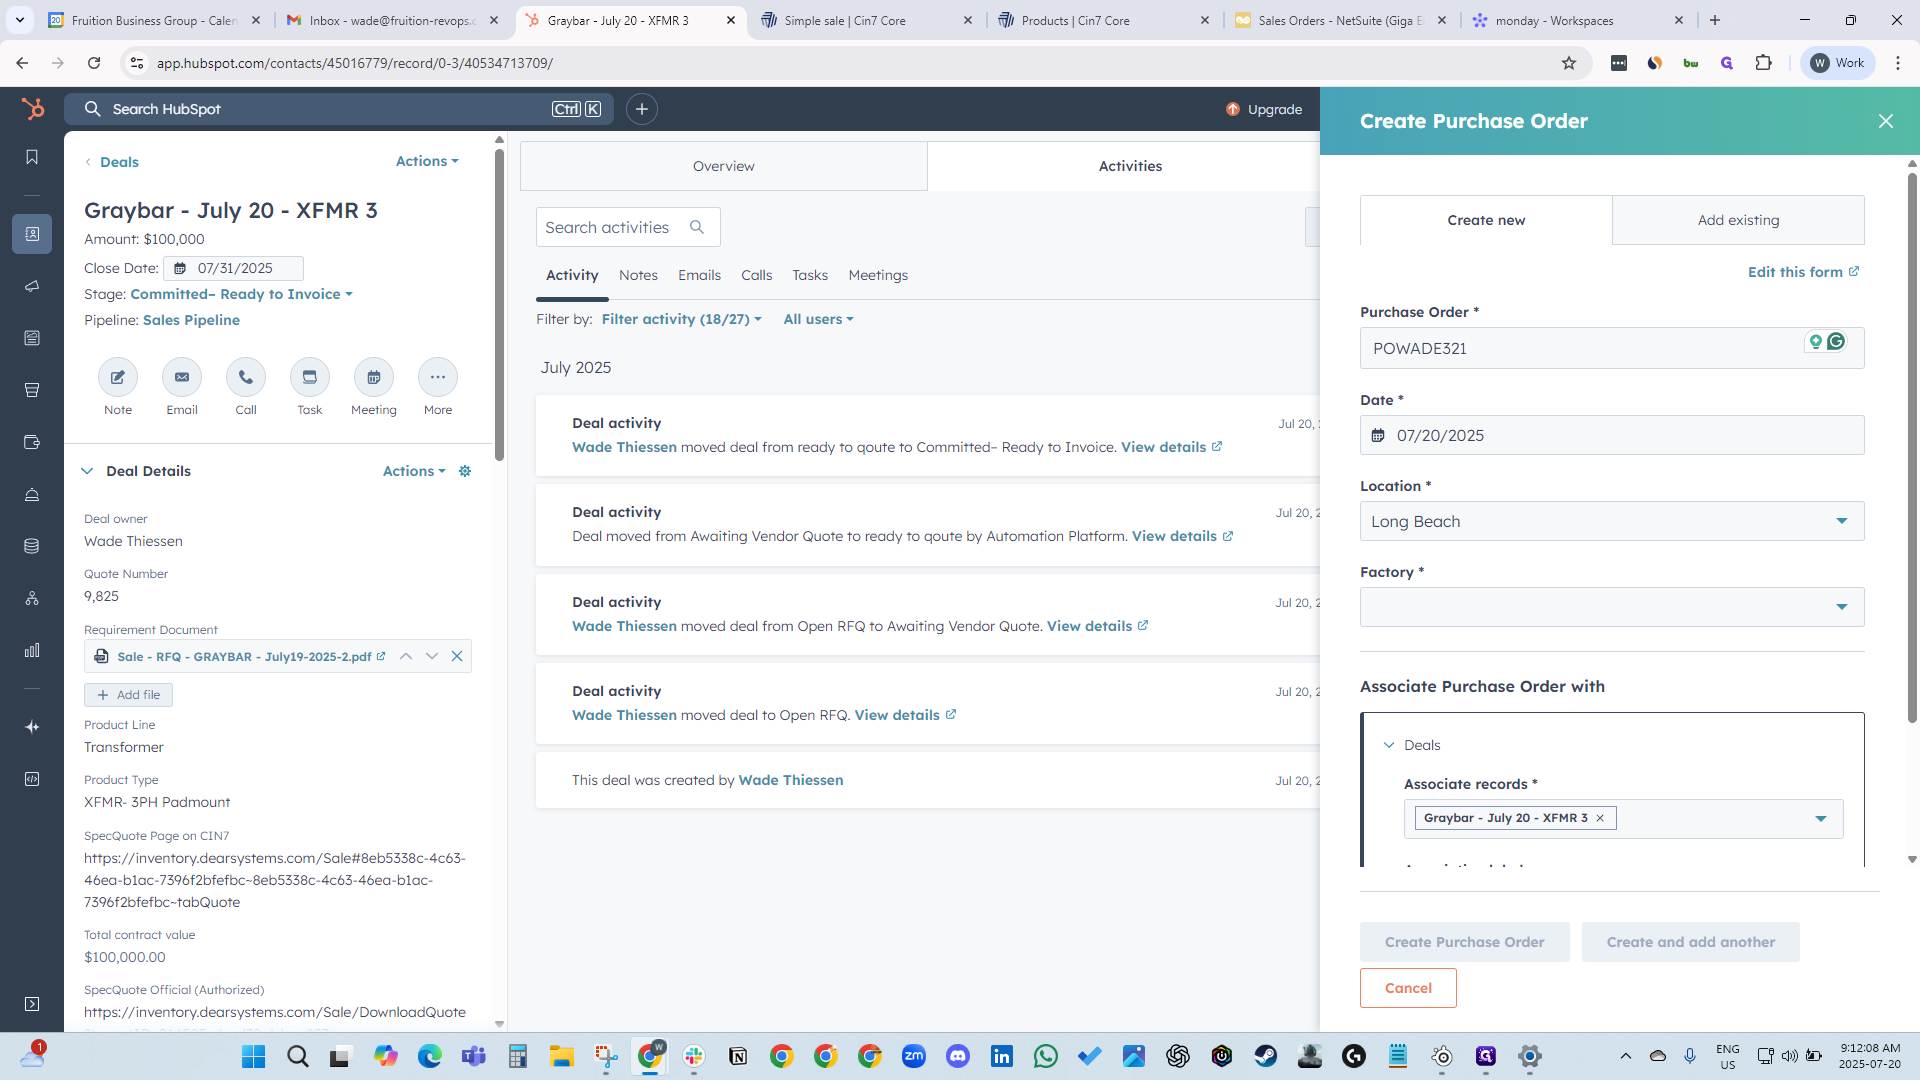
Select the date and location where the XMFR transformer is being manufactured. Specify the factory. The transformer is already linked to the Graybar deal.

Then, just click Create Purchase Order. Waiting for the purchase order to create the SIN numbers. Serial numbers. Now we see that our two serial numbers have been created and linked to the PO.

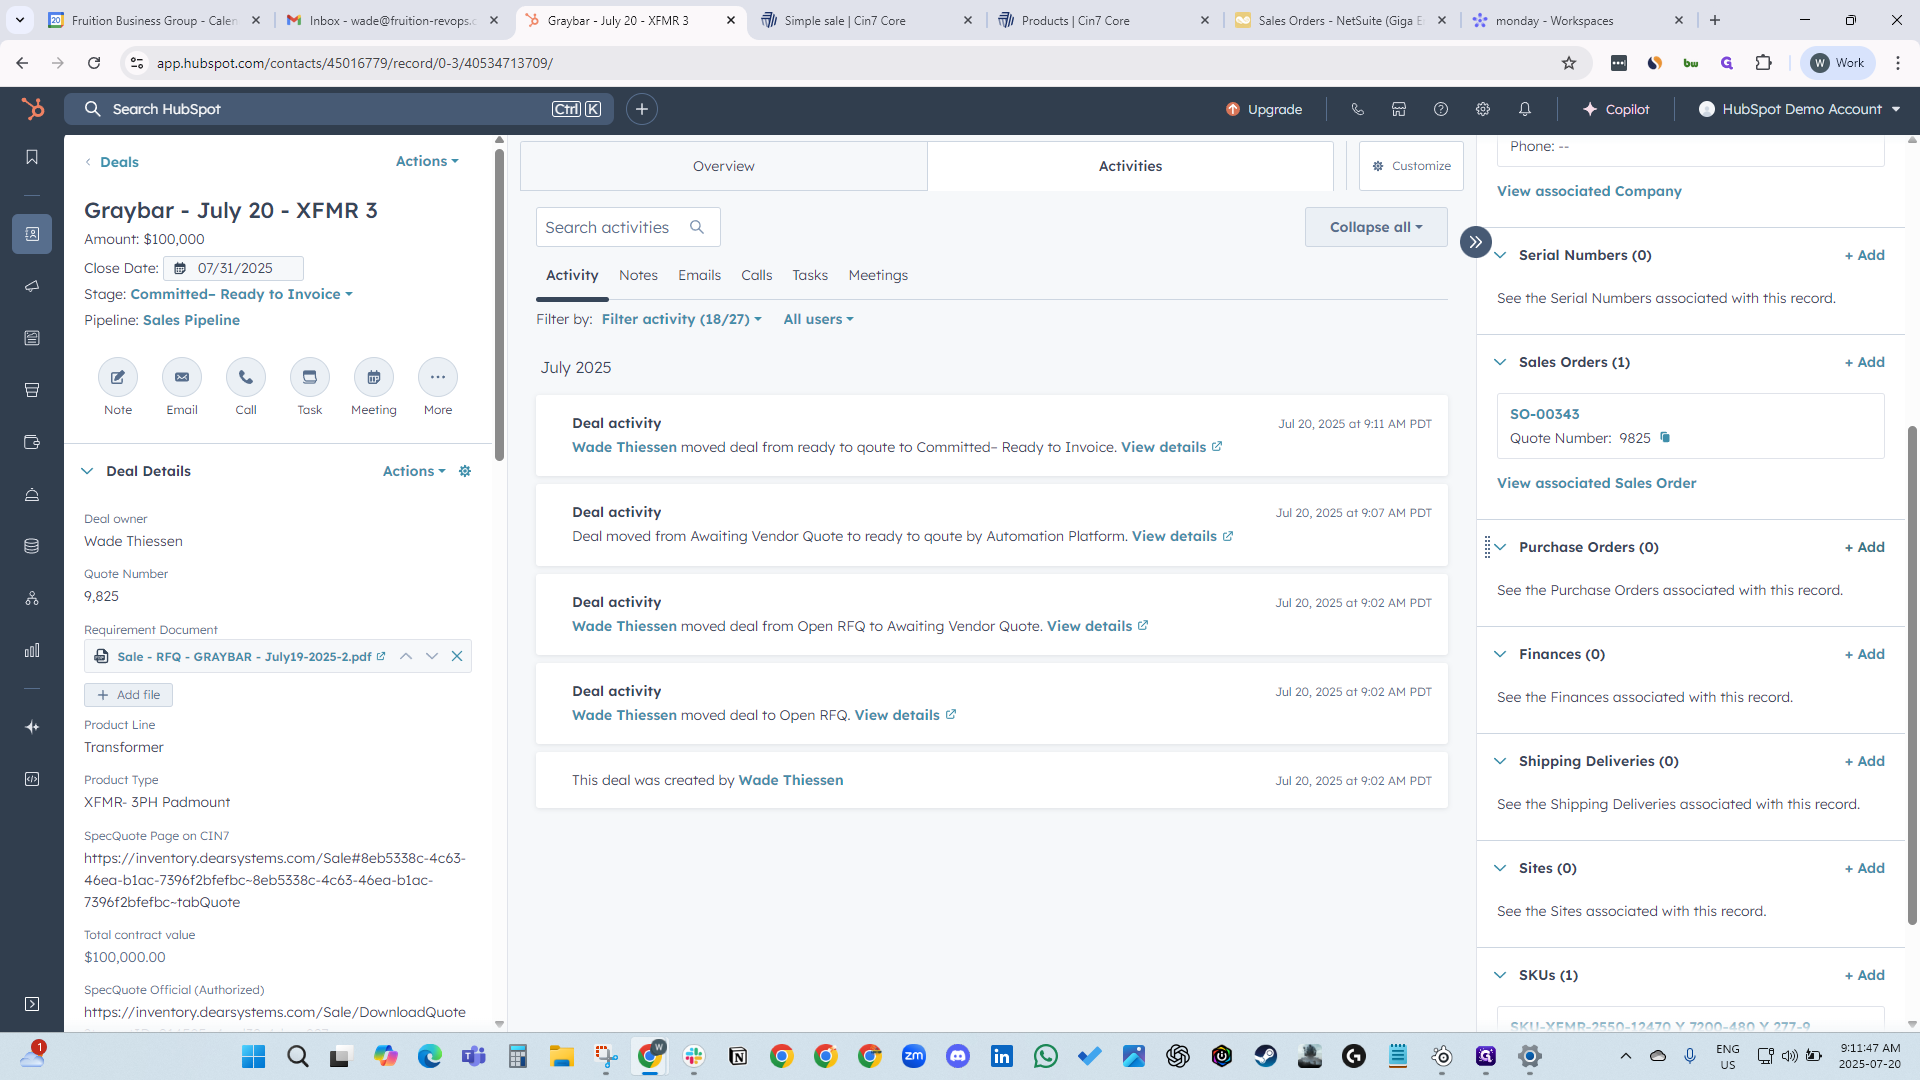


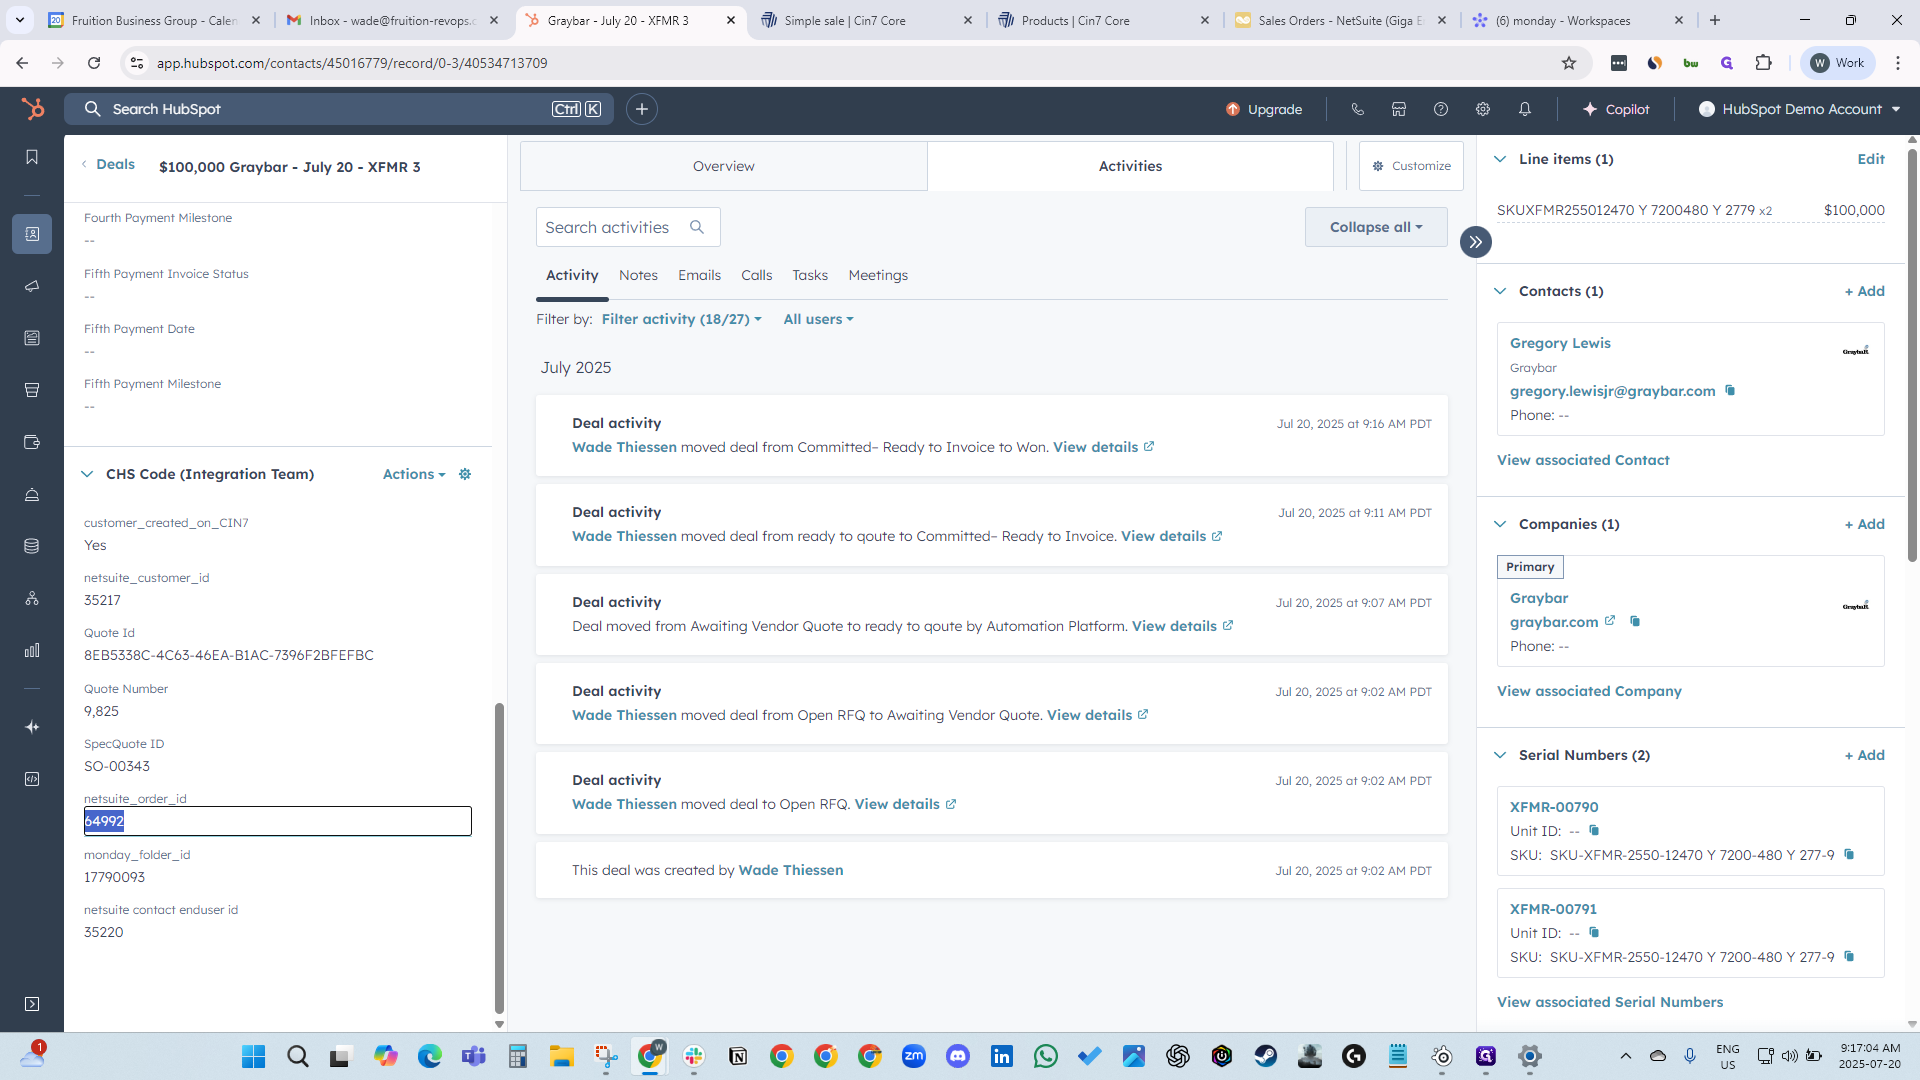
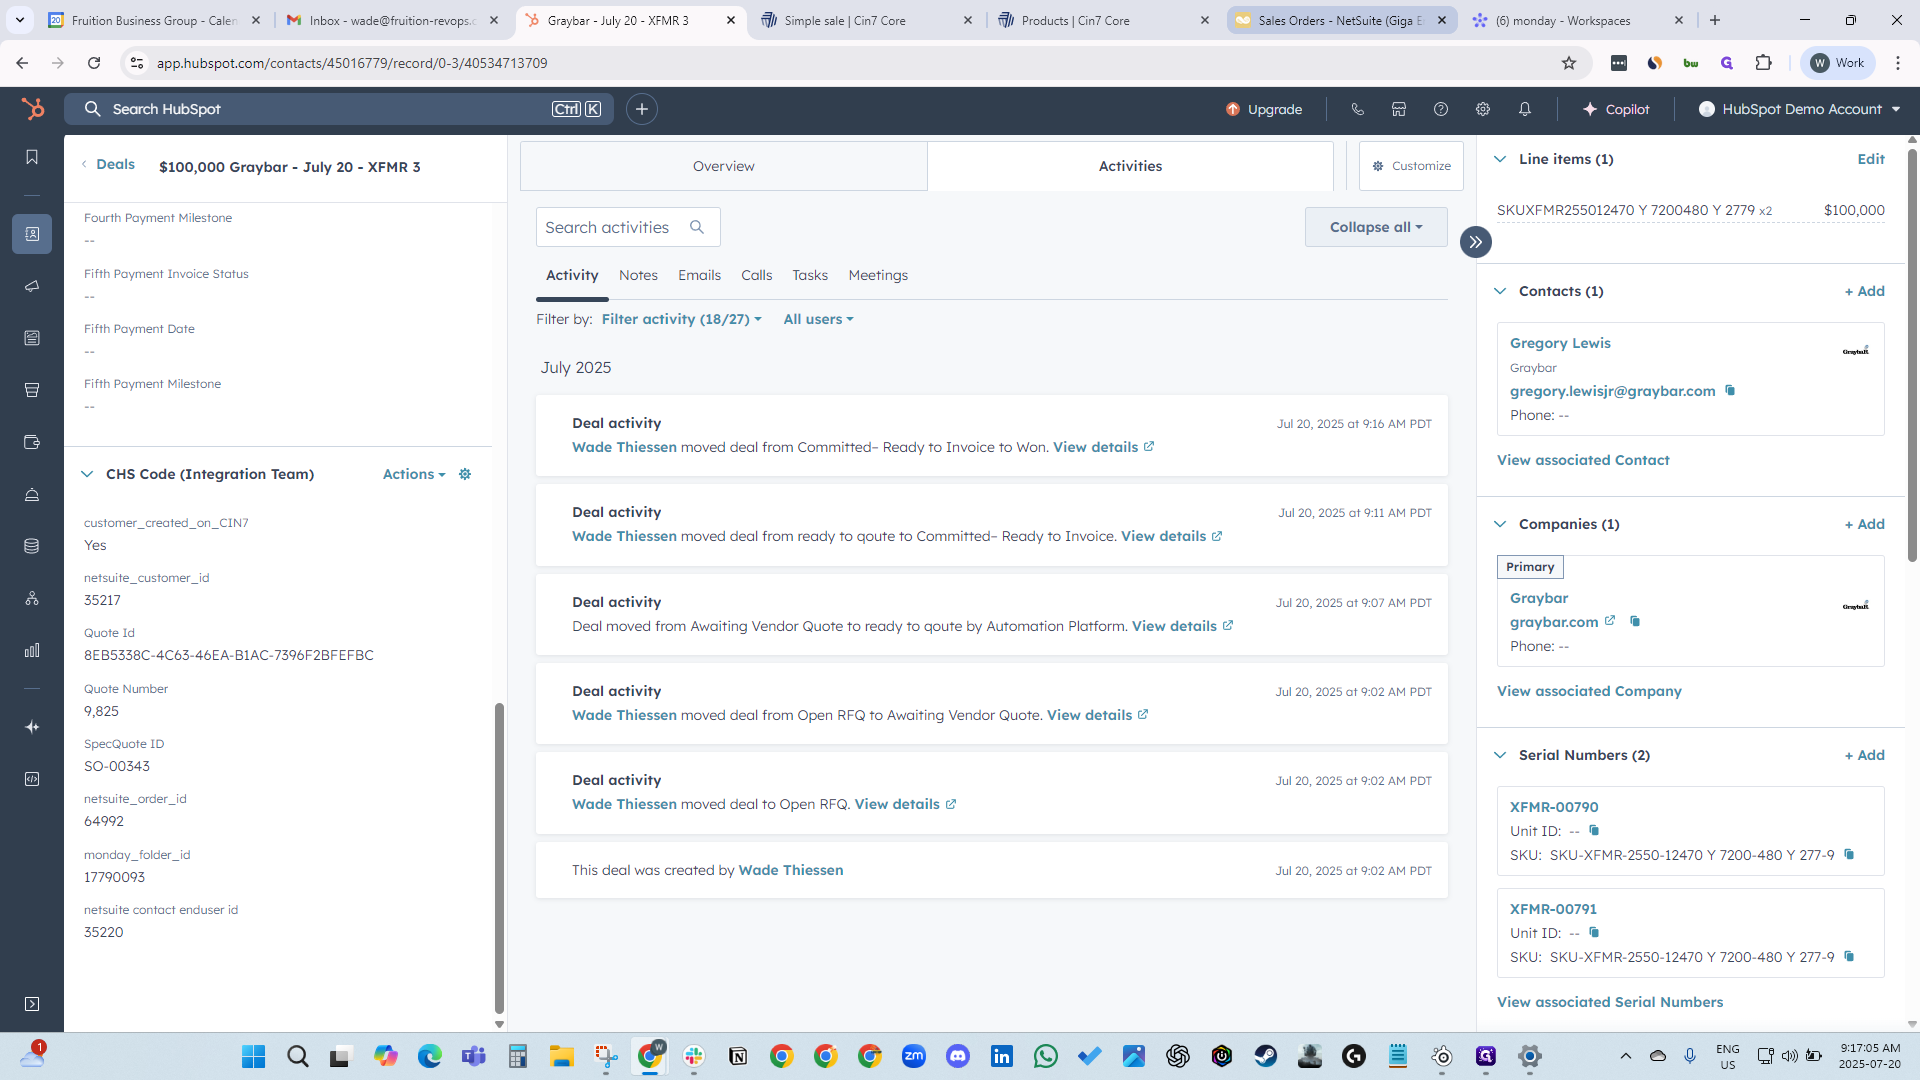
Going back to the deal, you can see the quote number. We also have a spec quote Monday folder.
Now that we have the serial numbers, we can move the deal to step one.

When we change the deal to one, it will create a NetSuite order number.

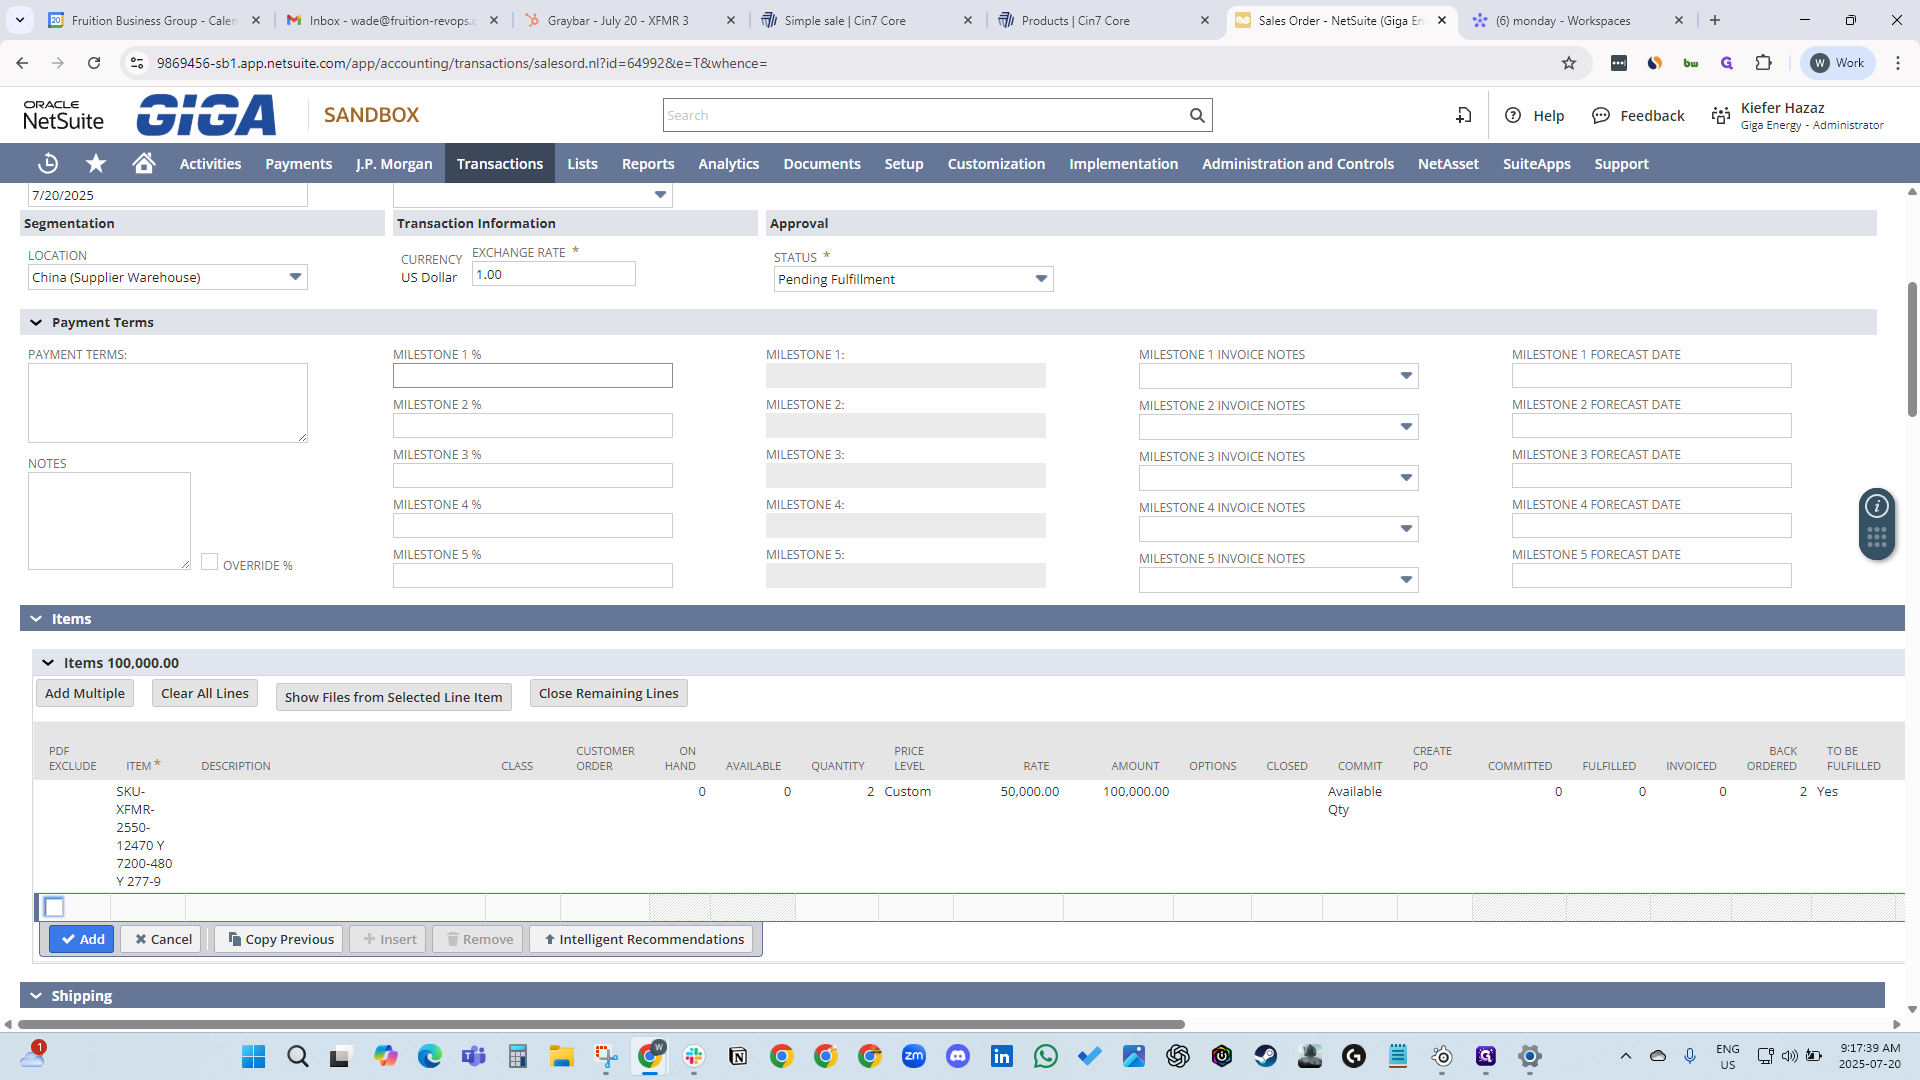
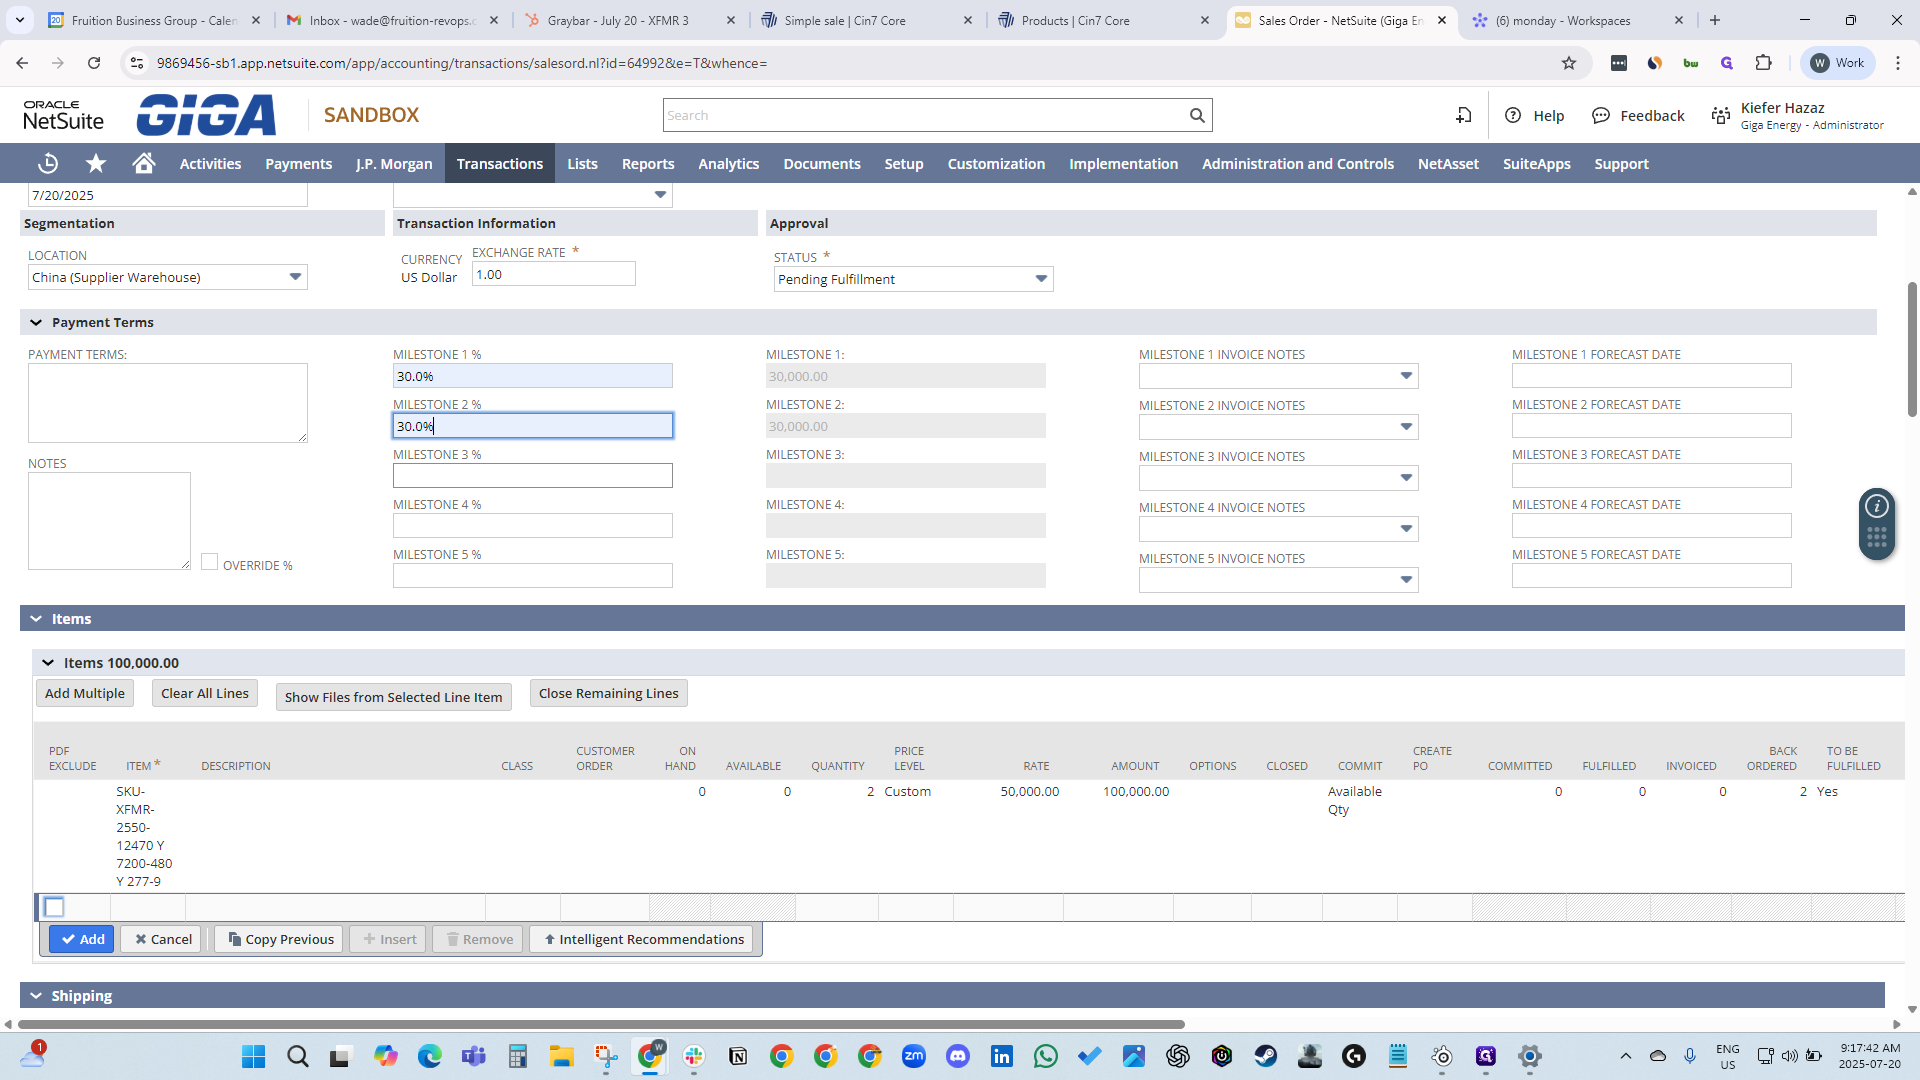
Once the order number is created, we can go into NetSuite to set up the payment.


There we go.


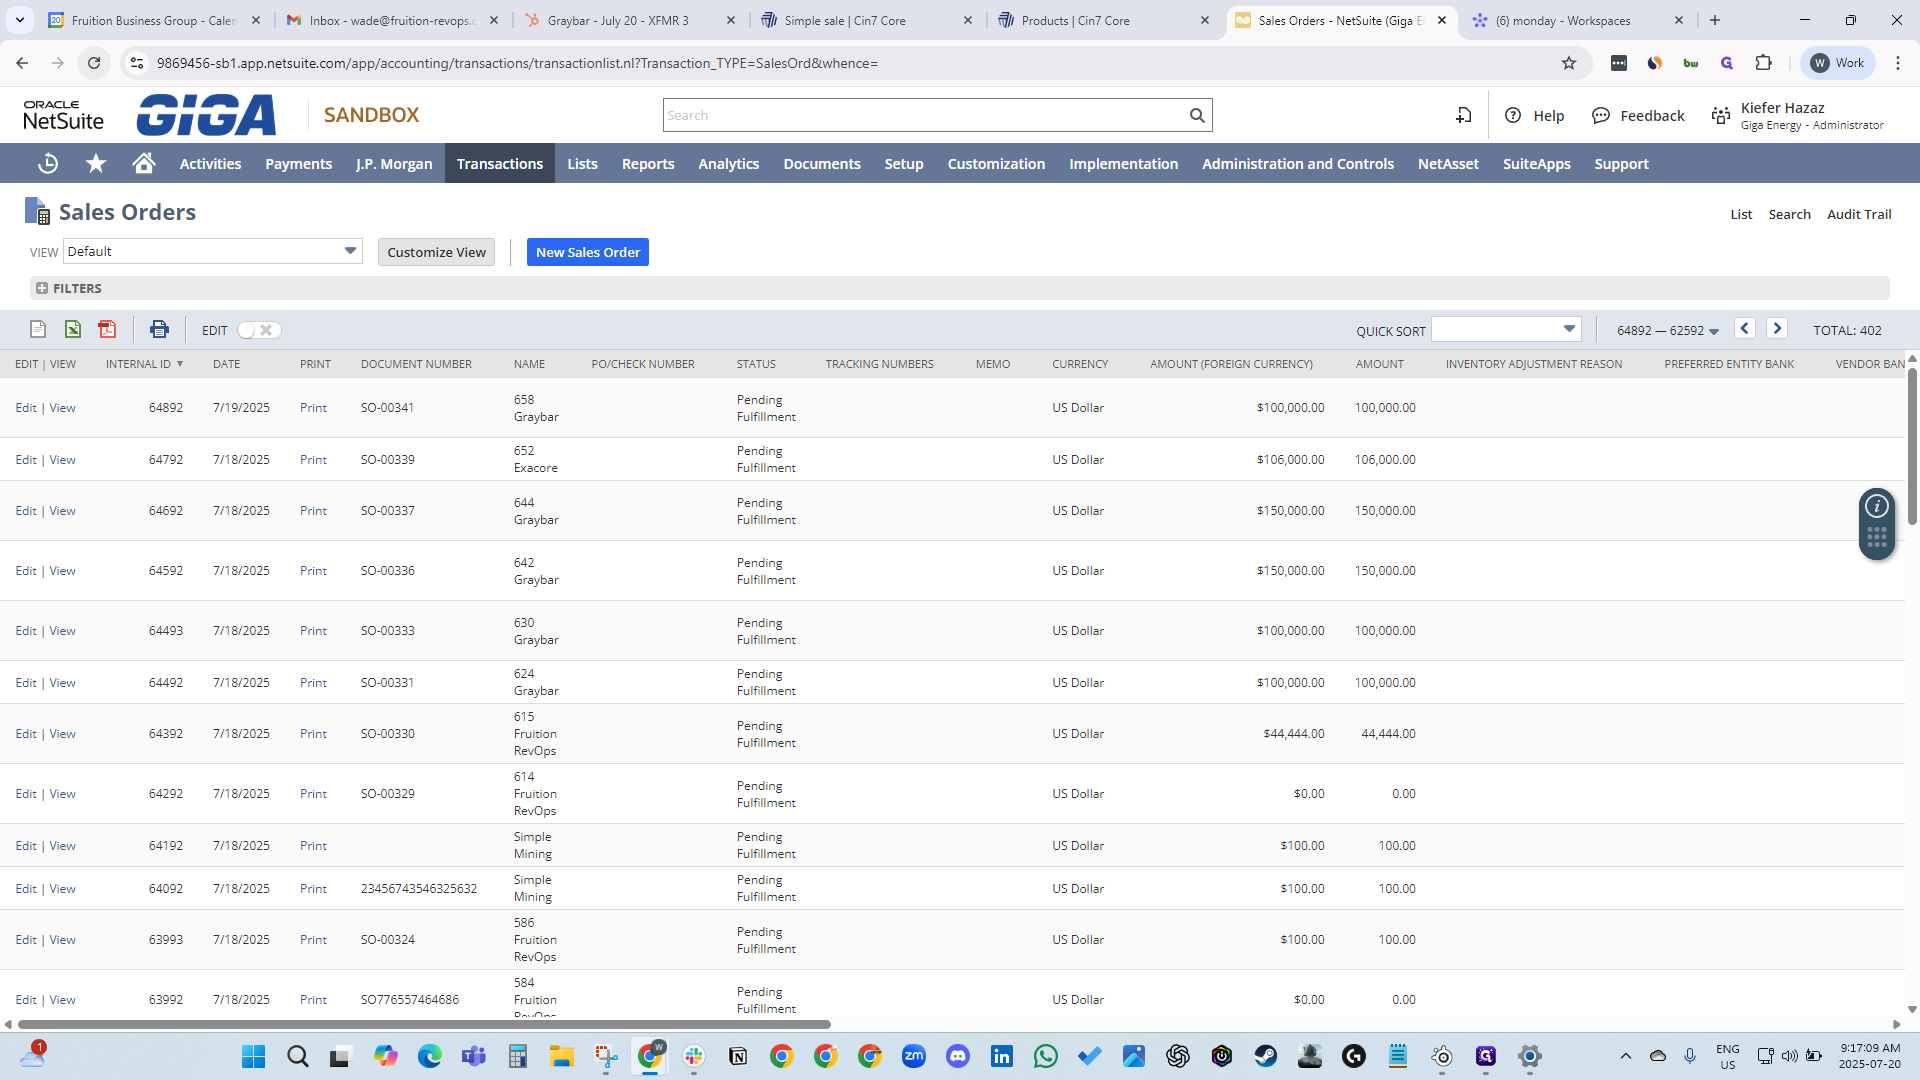
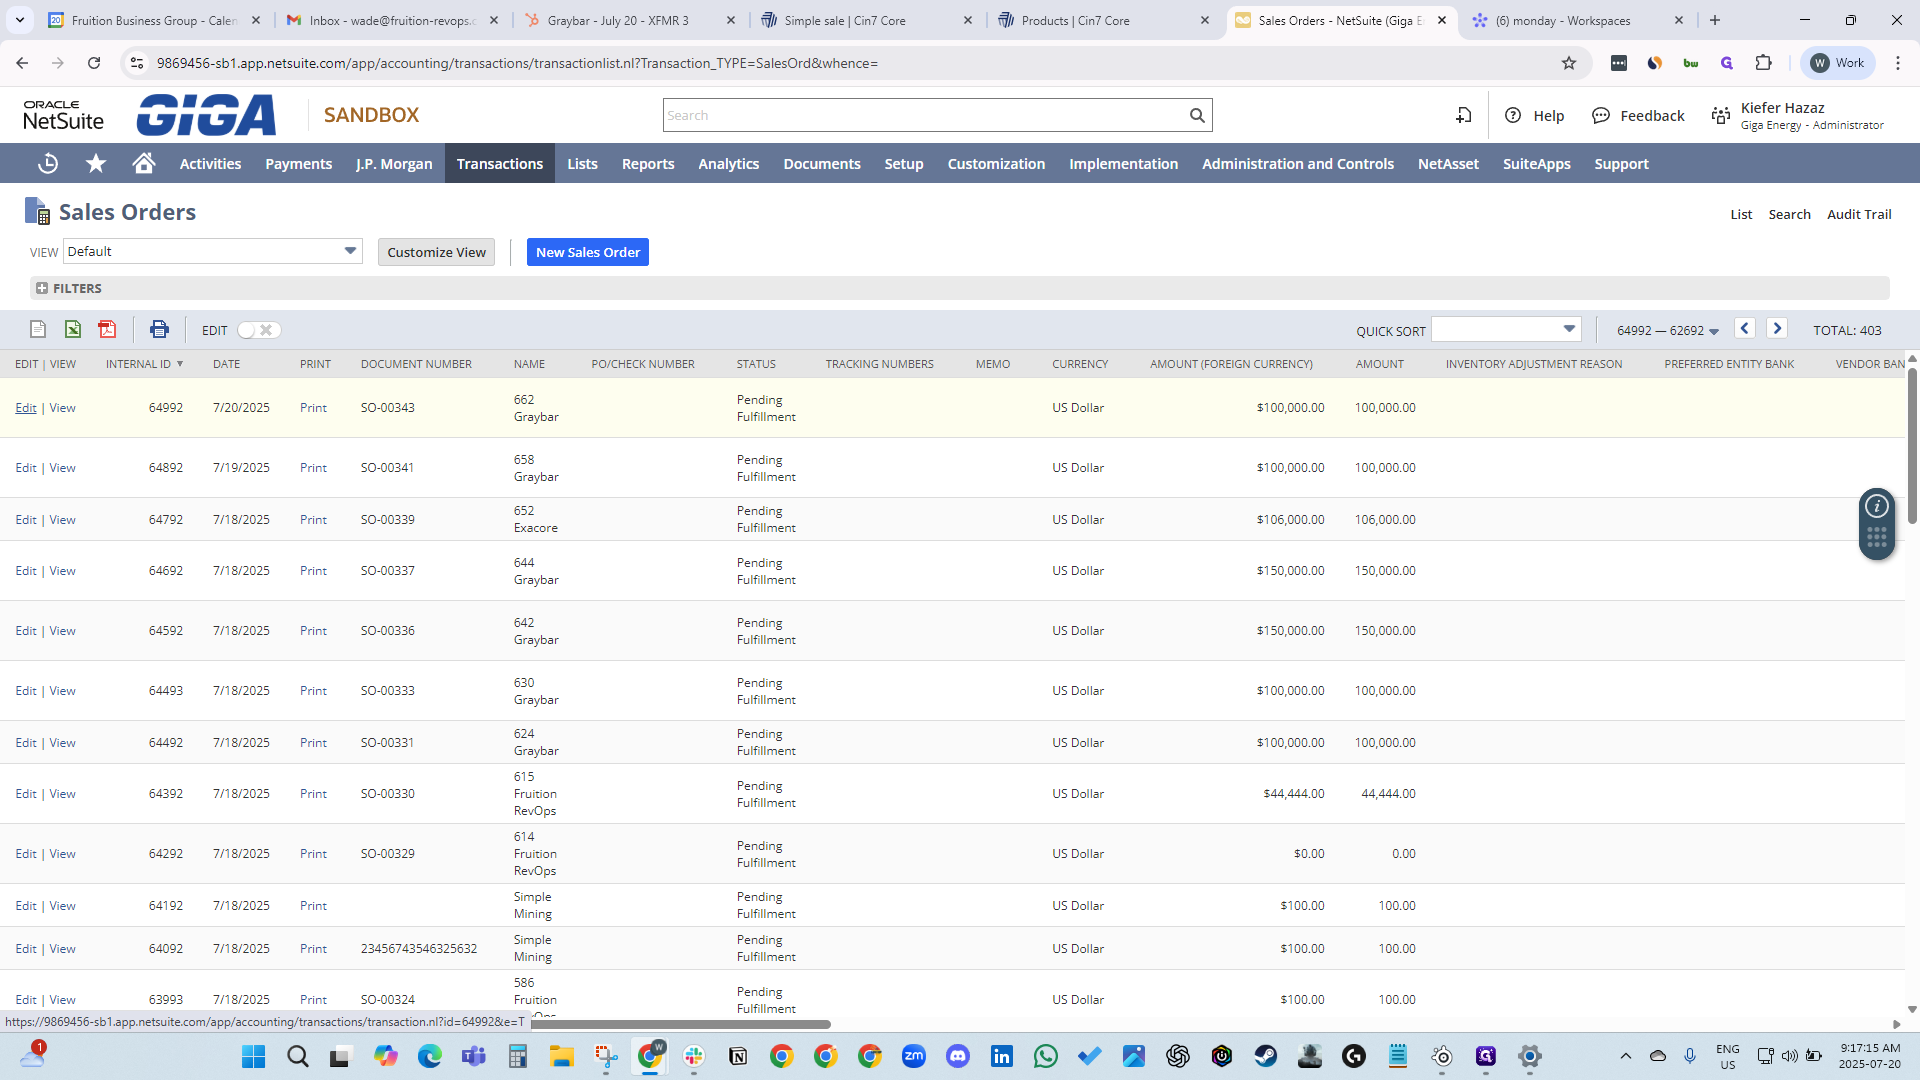
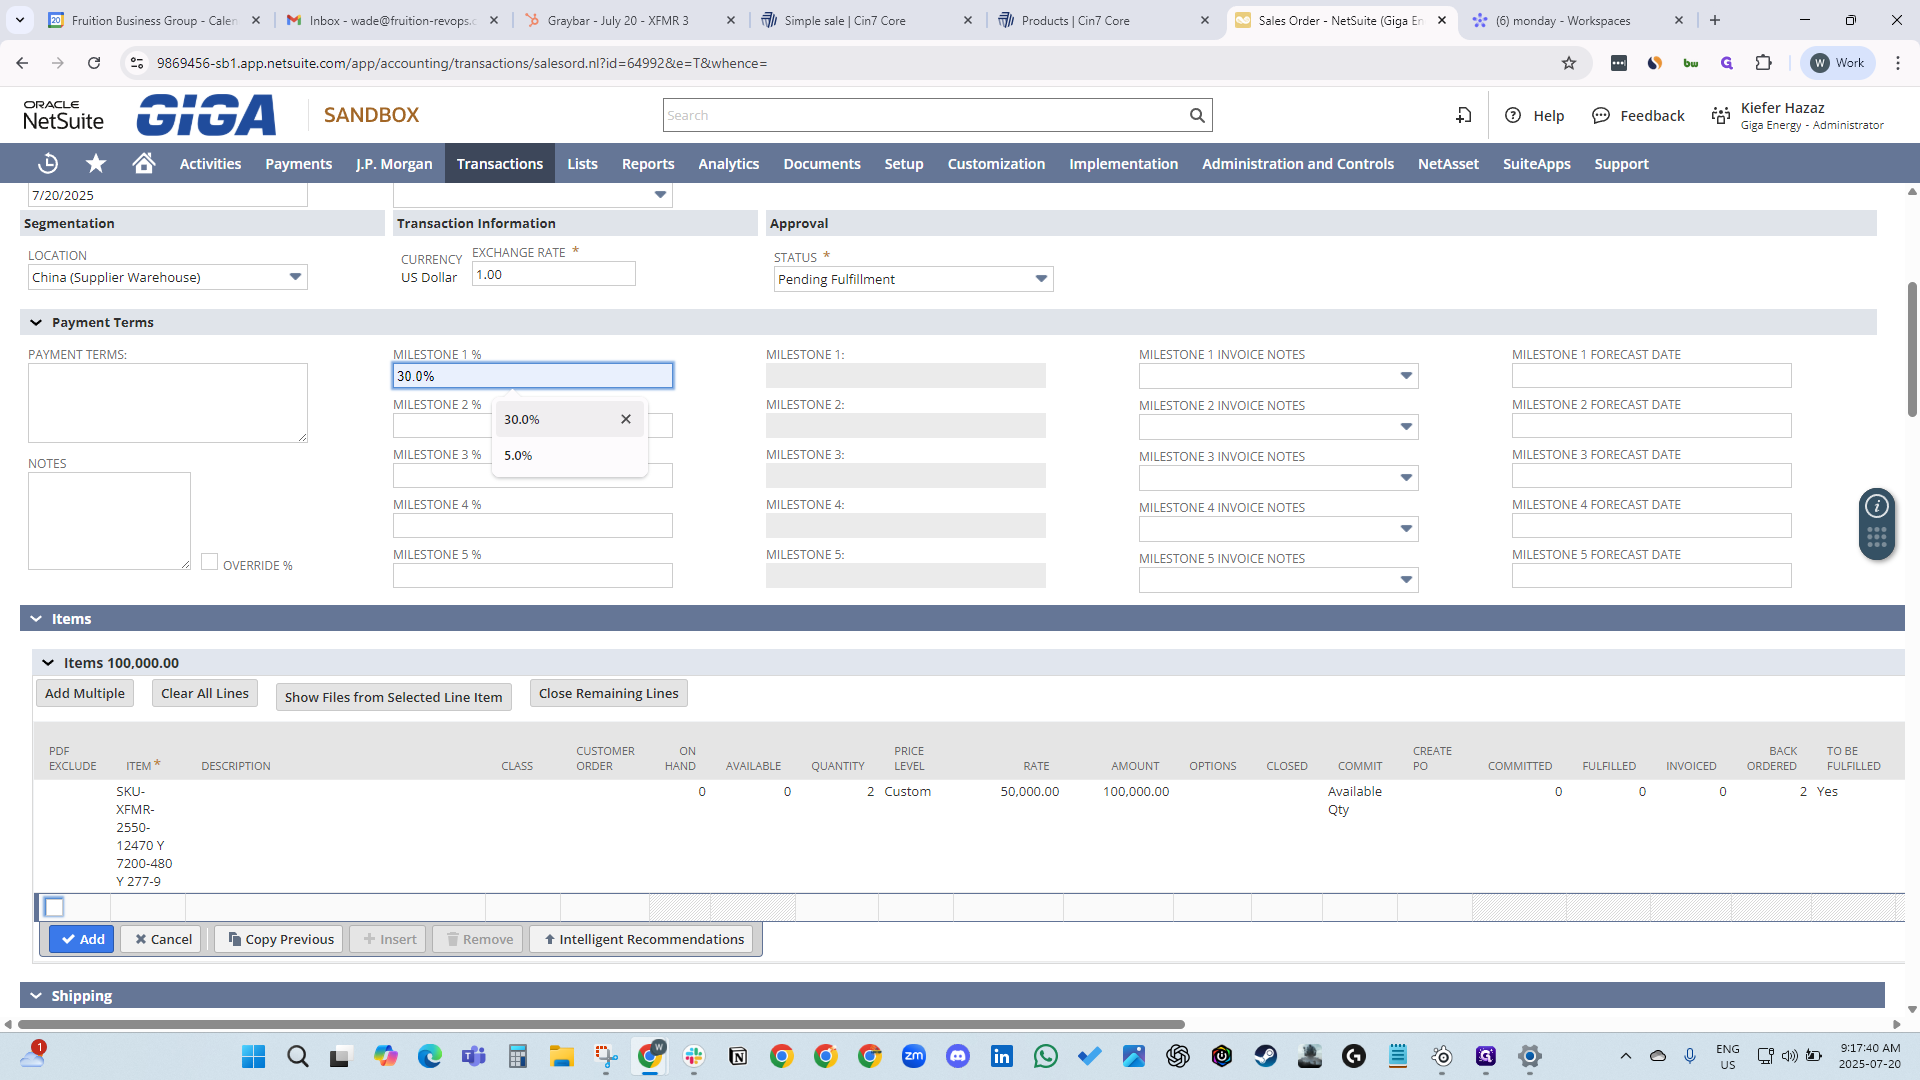
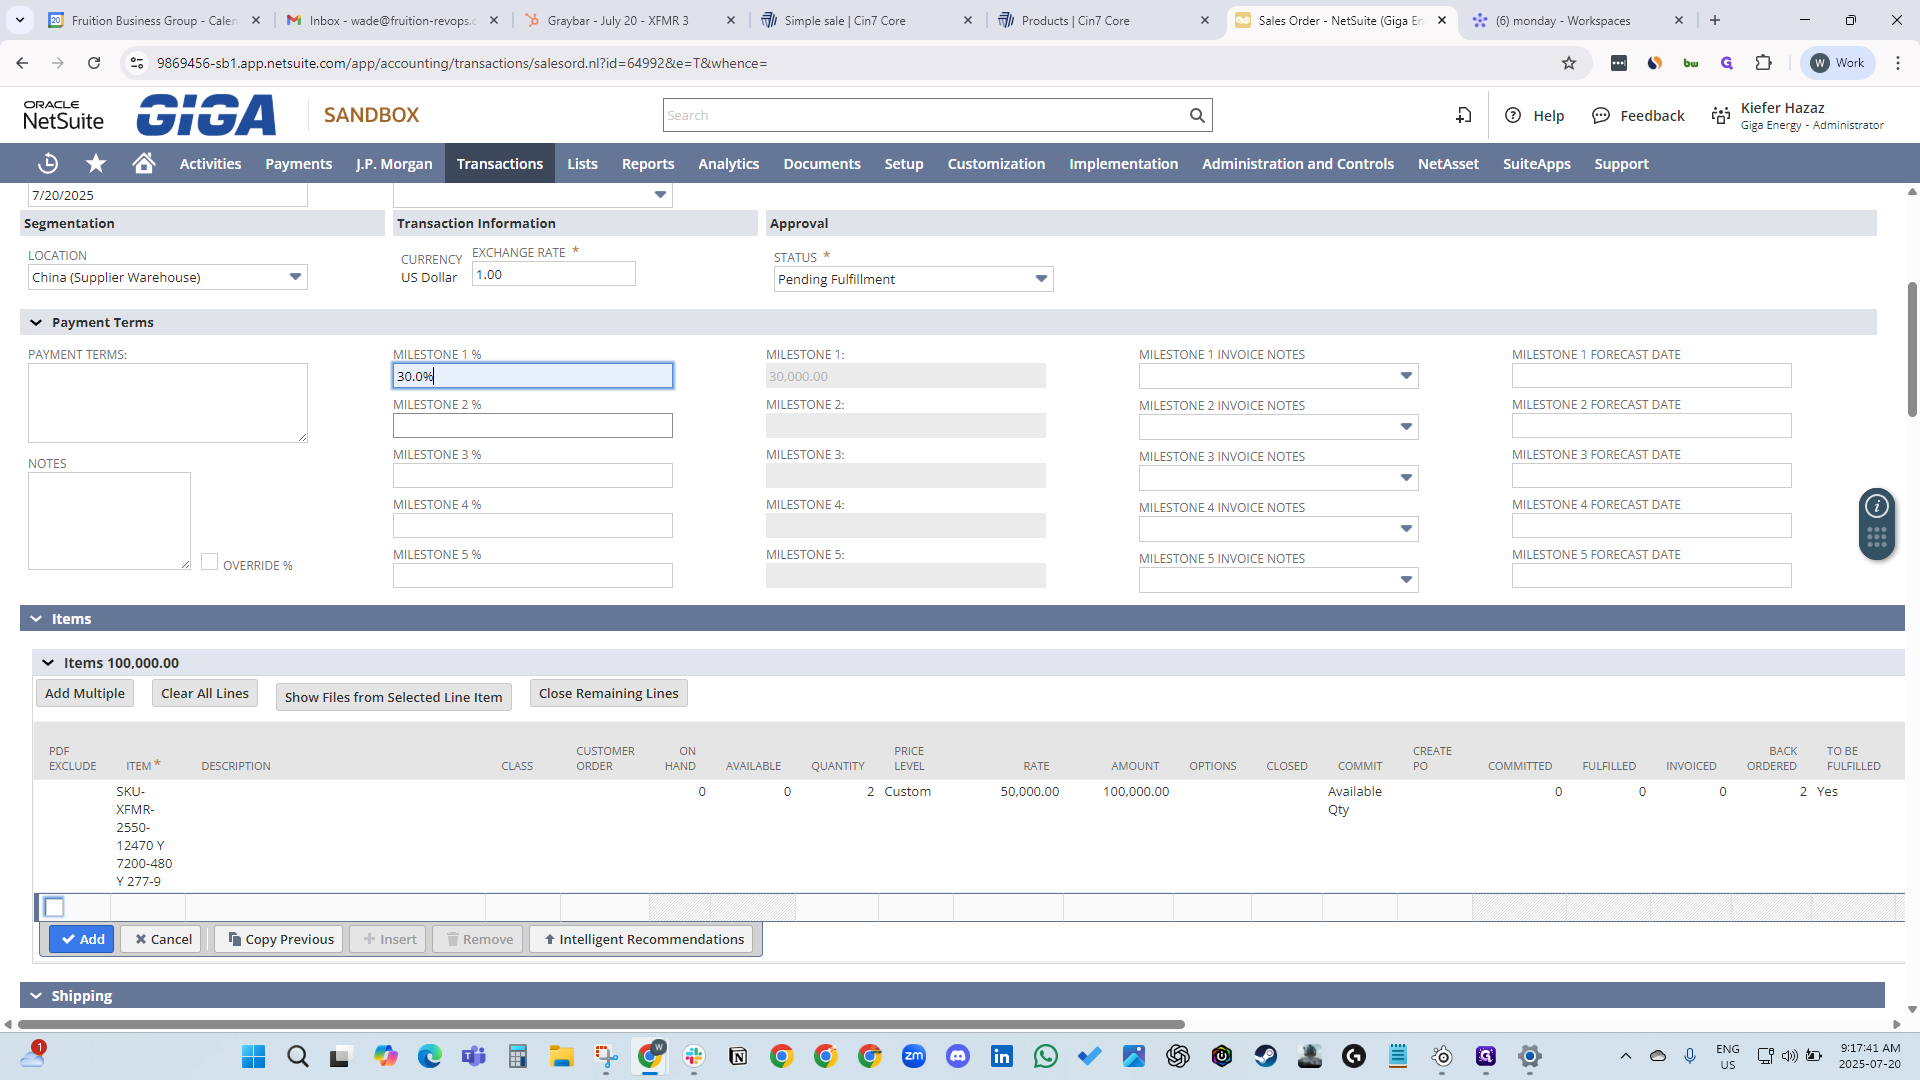
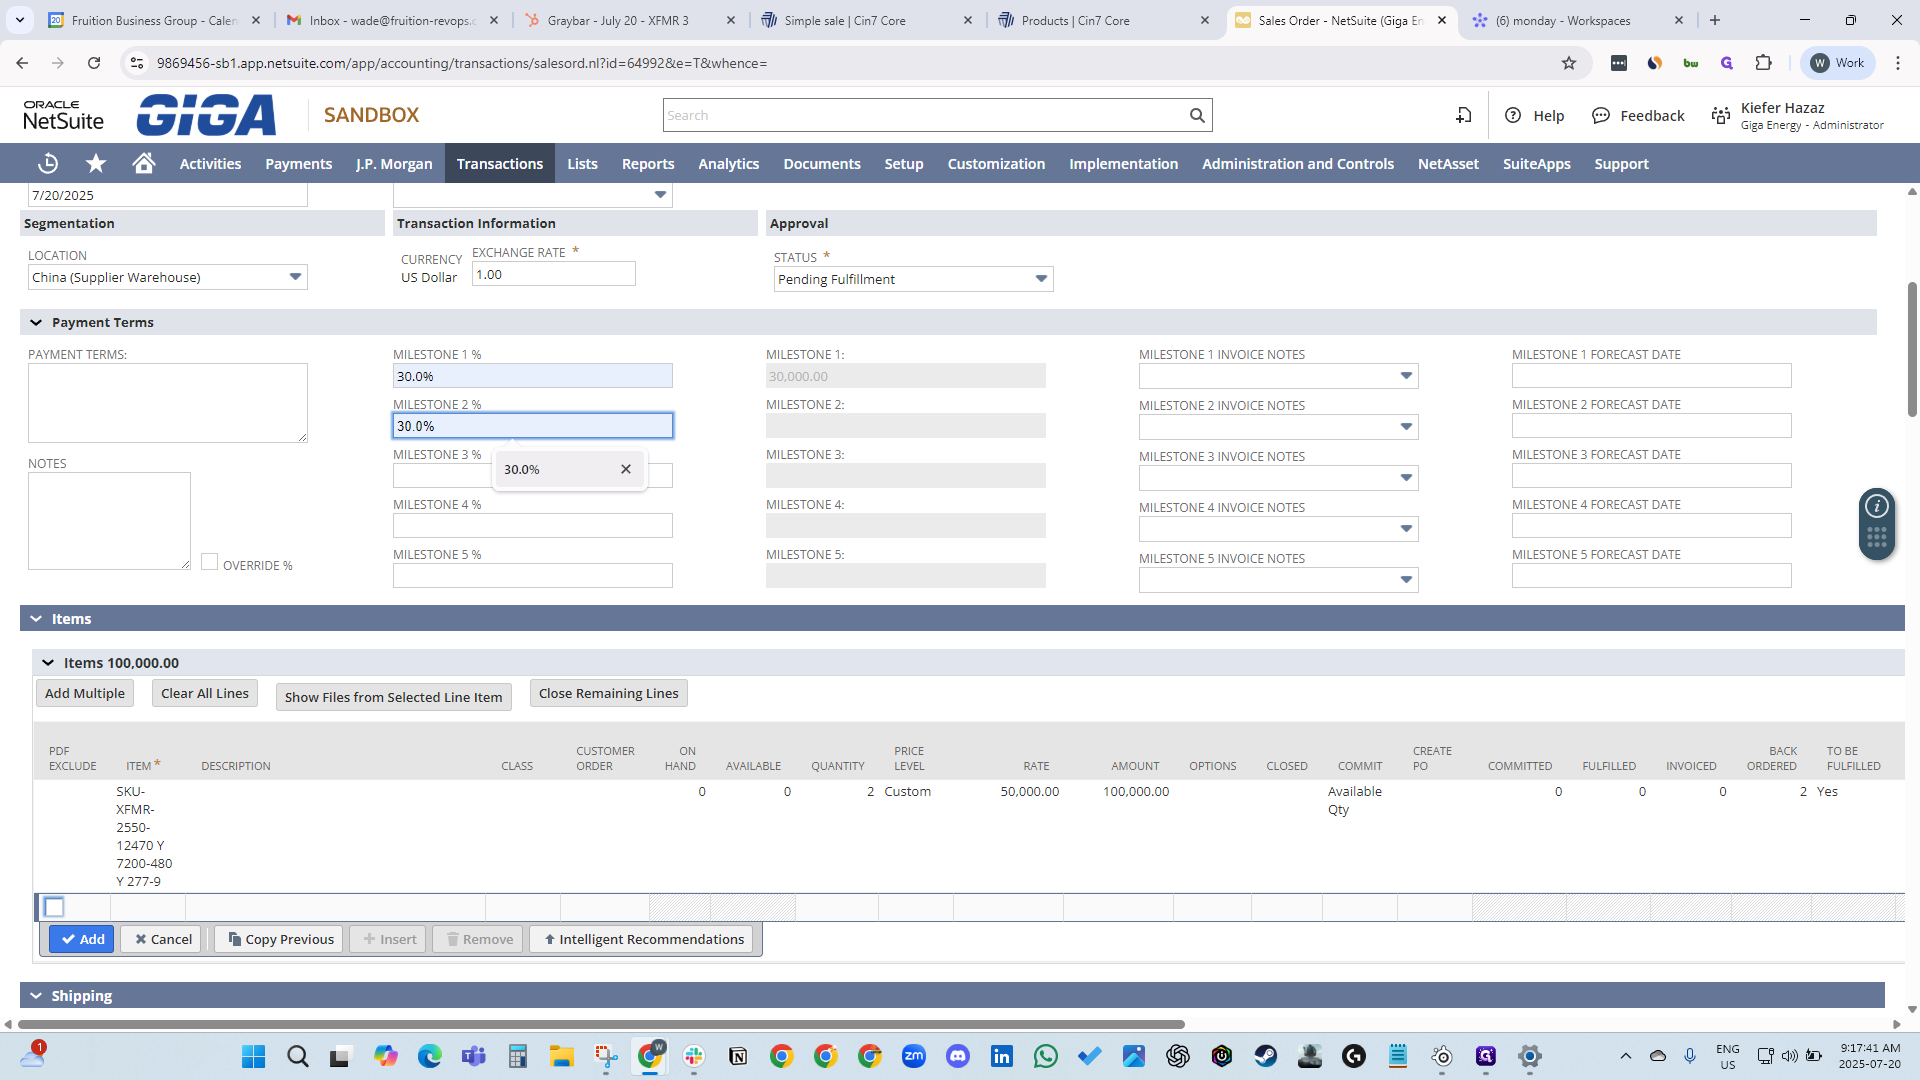
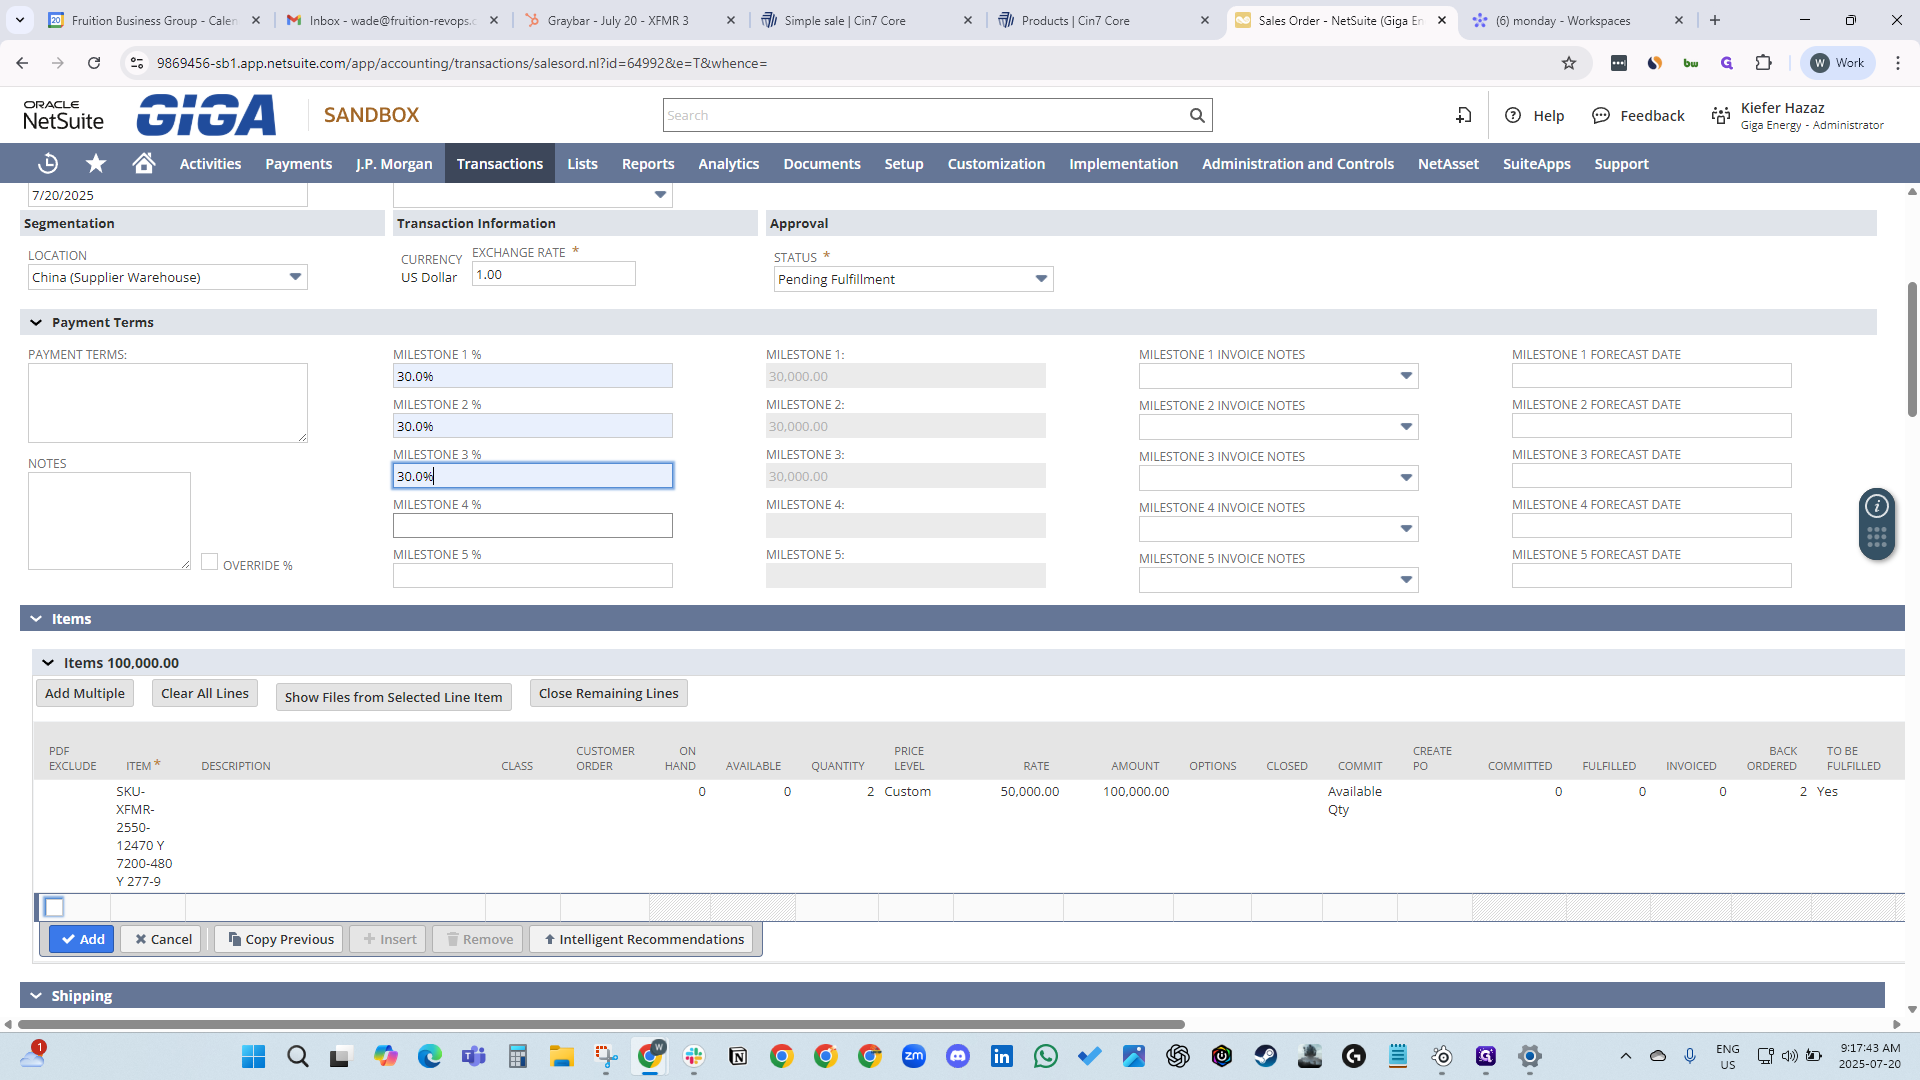
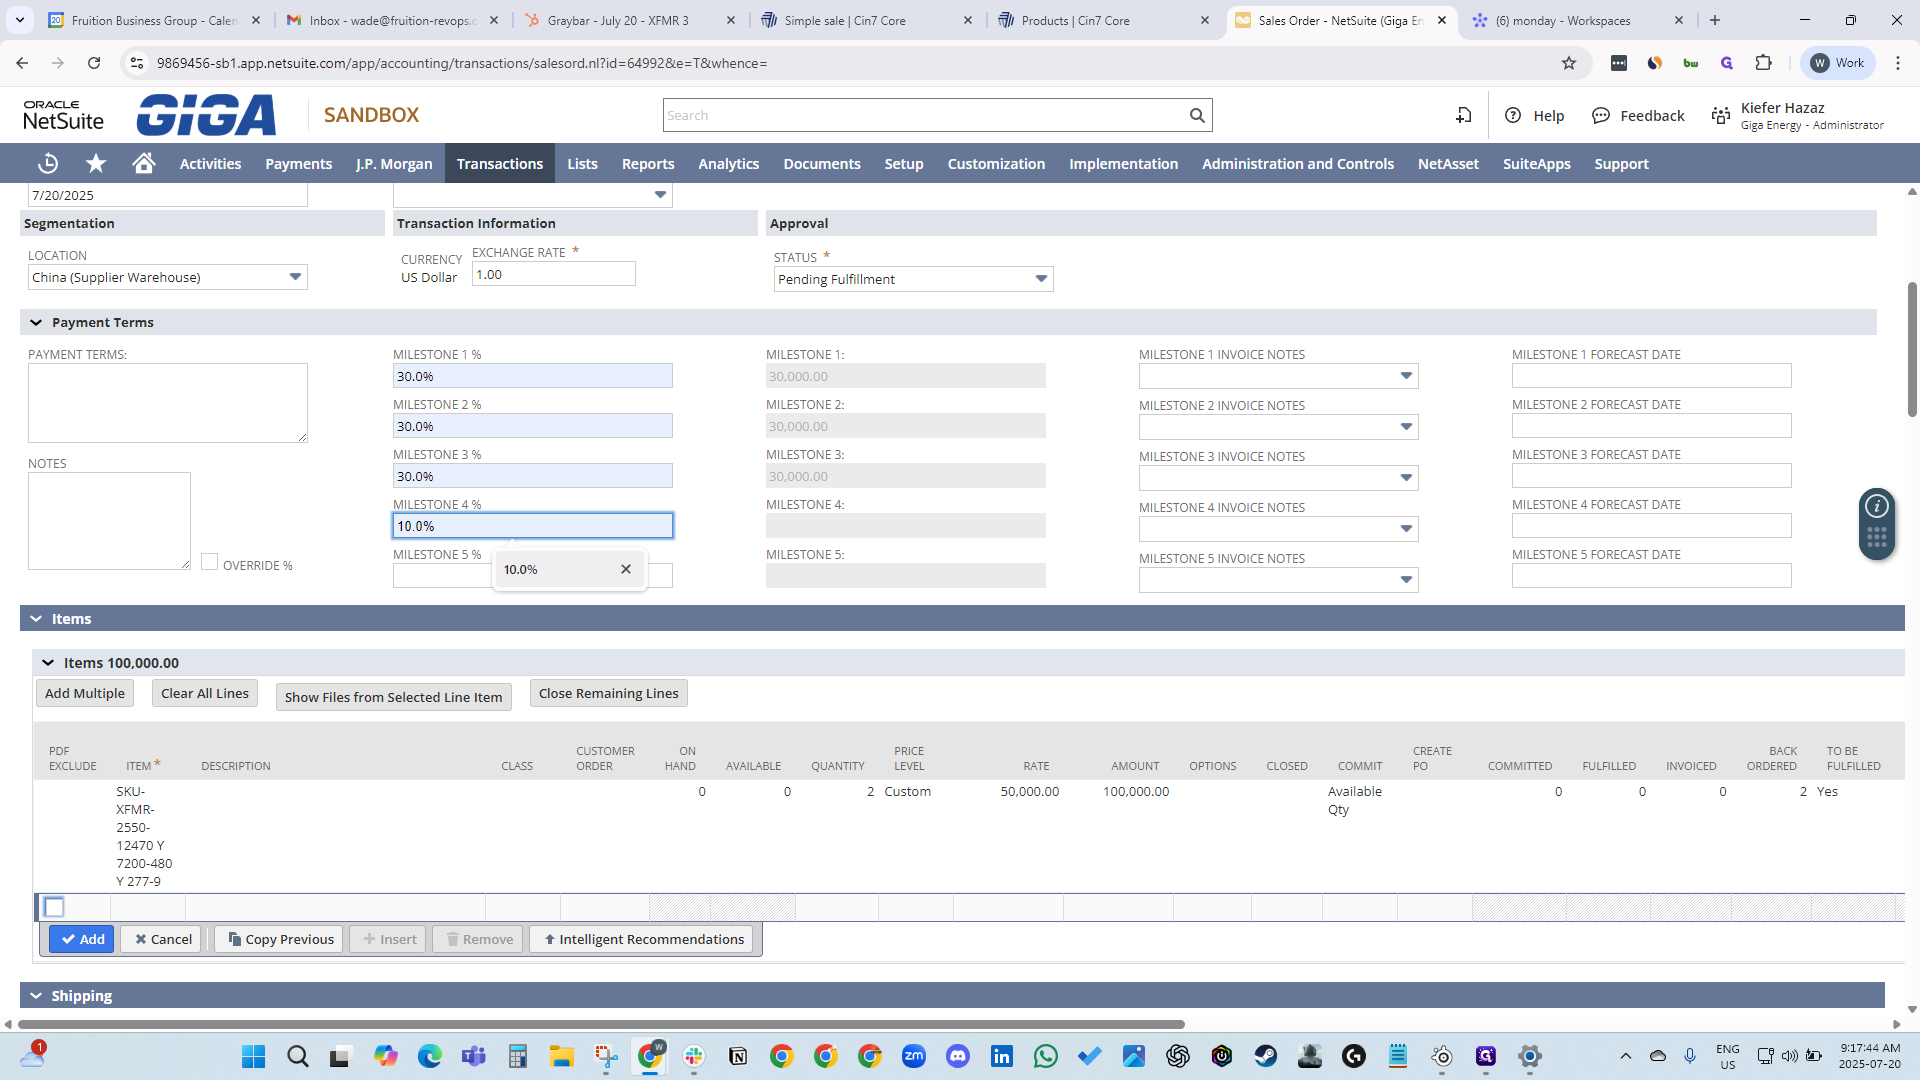
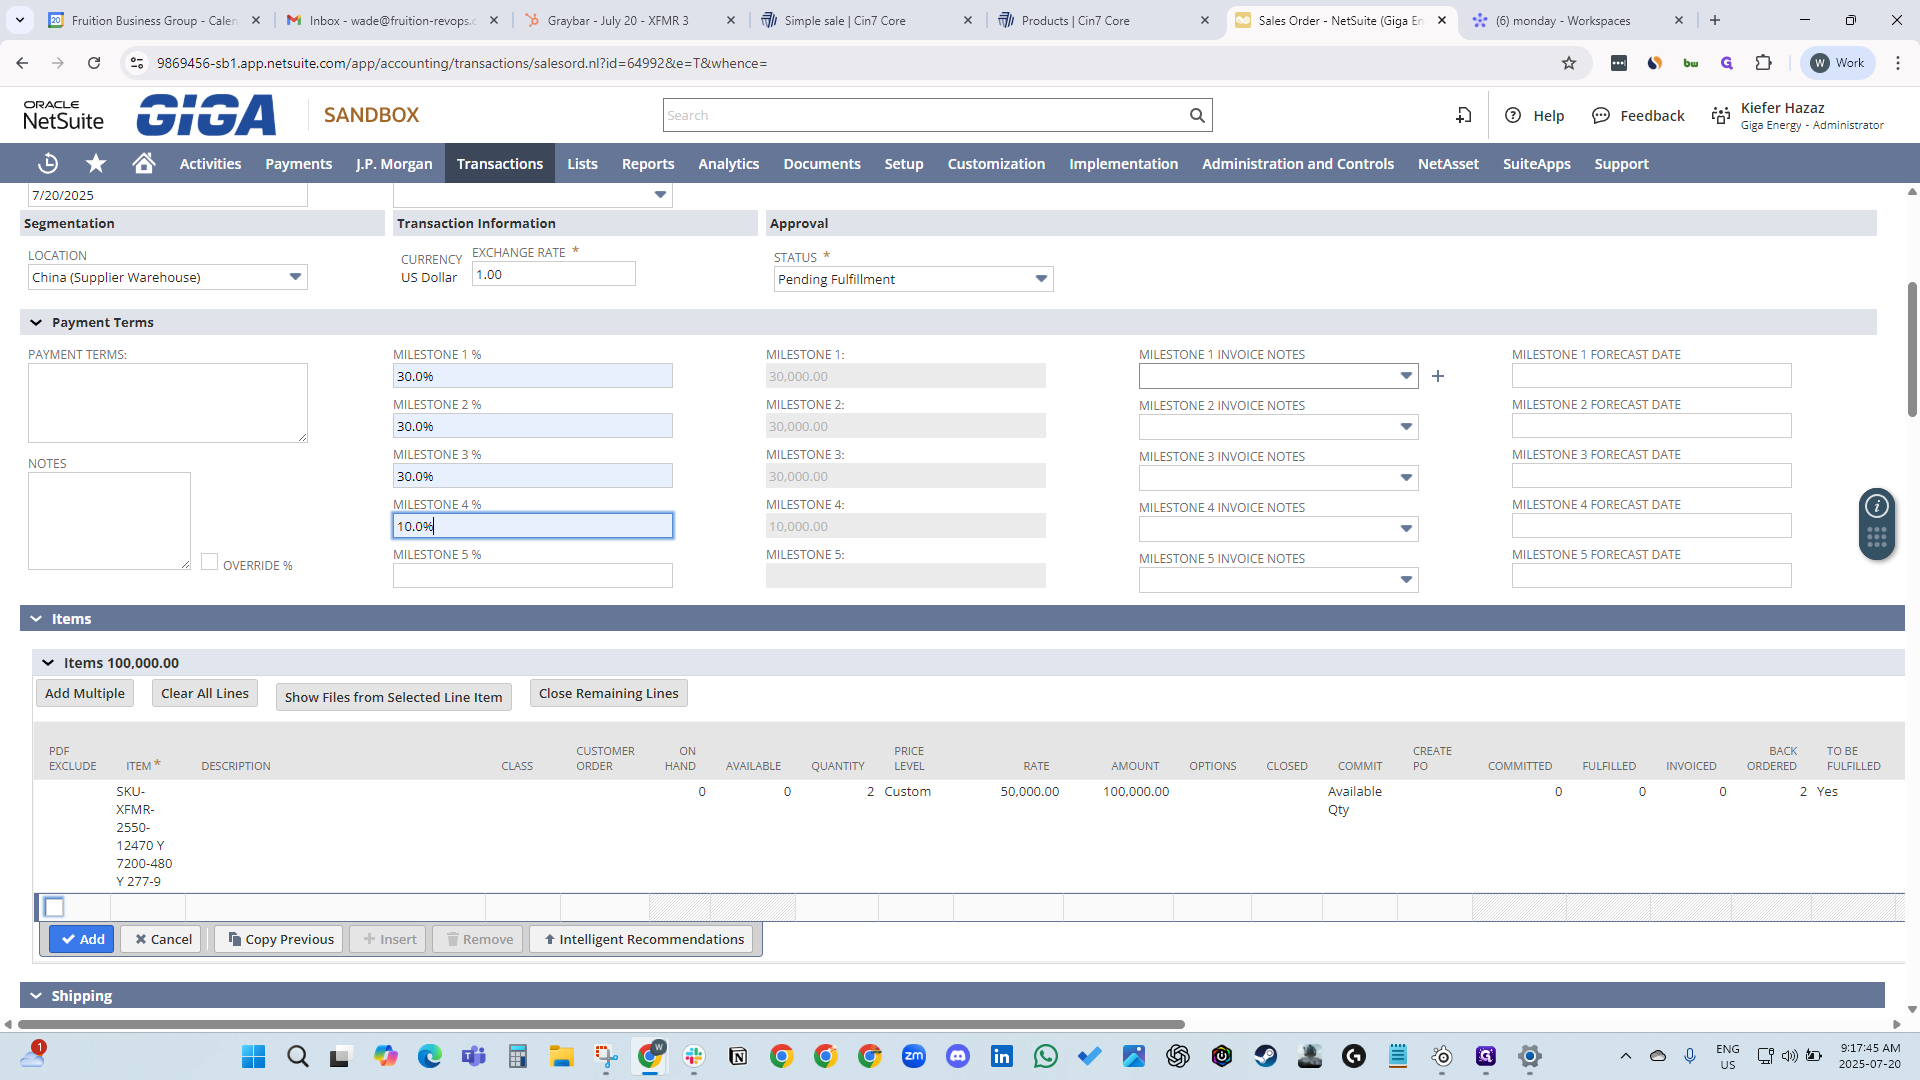
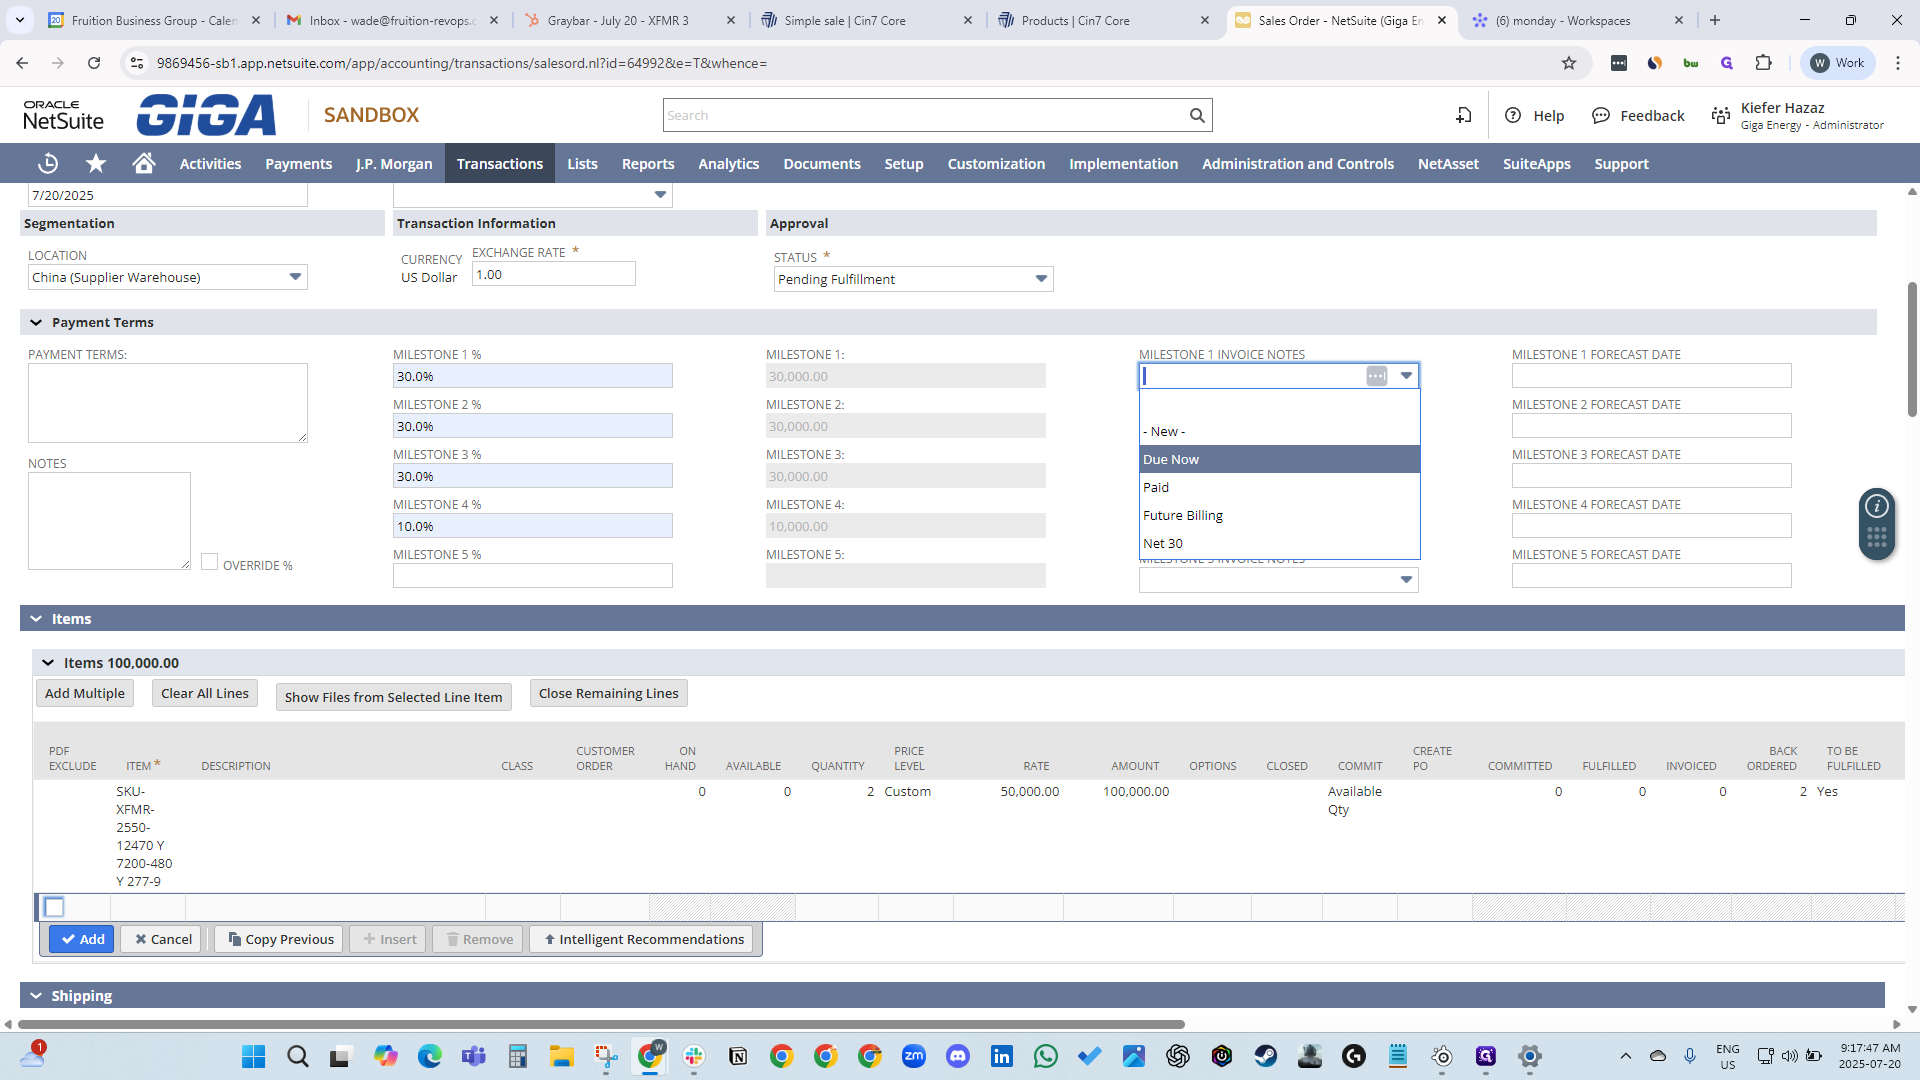
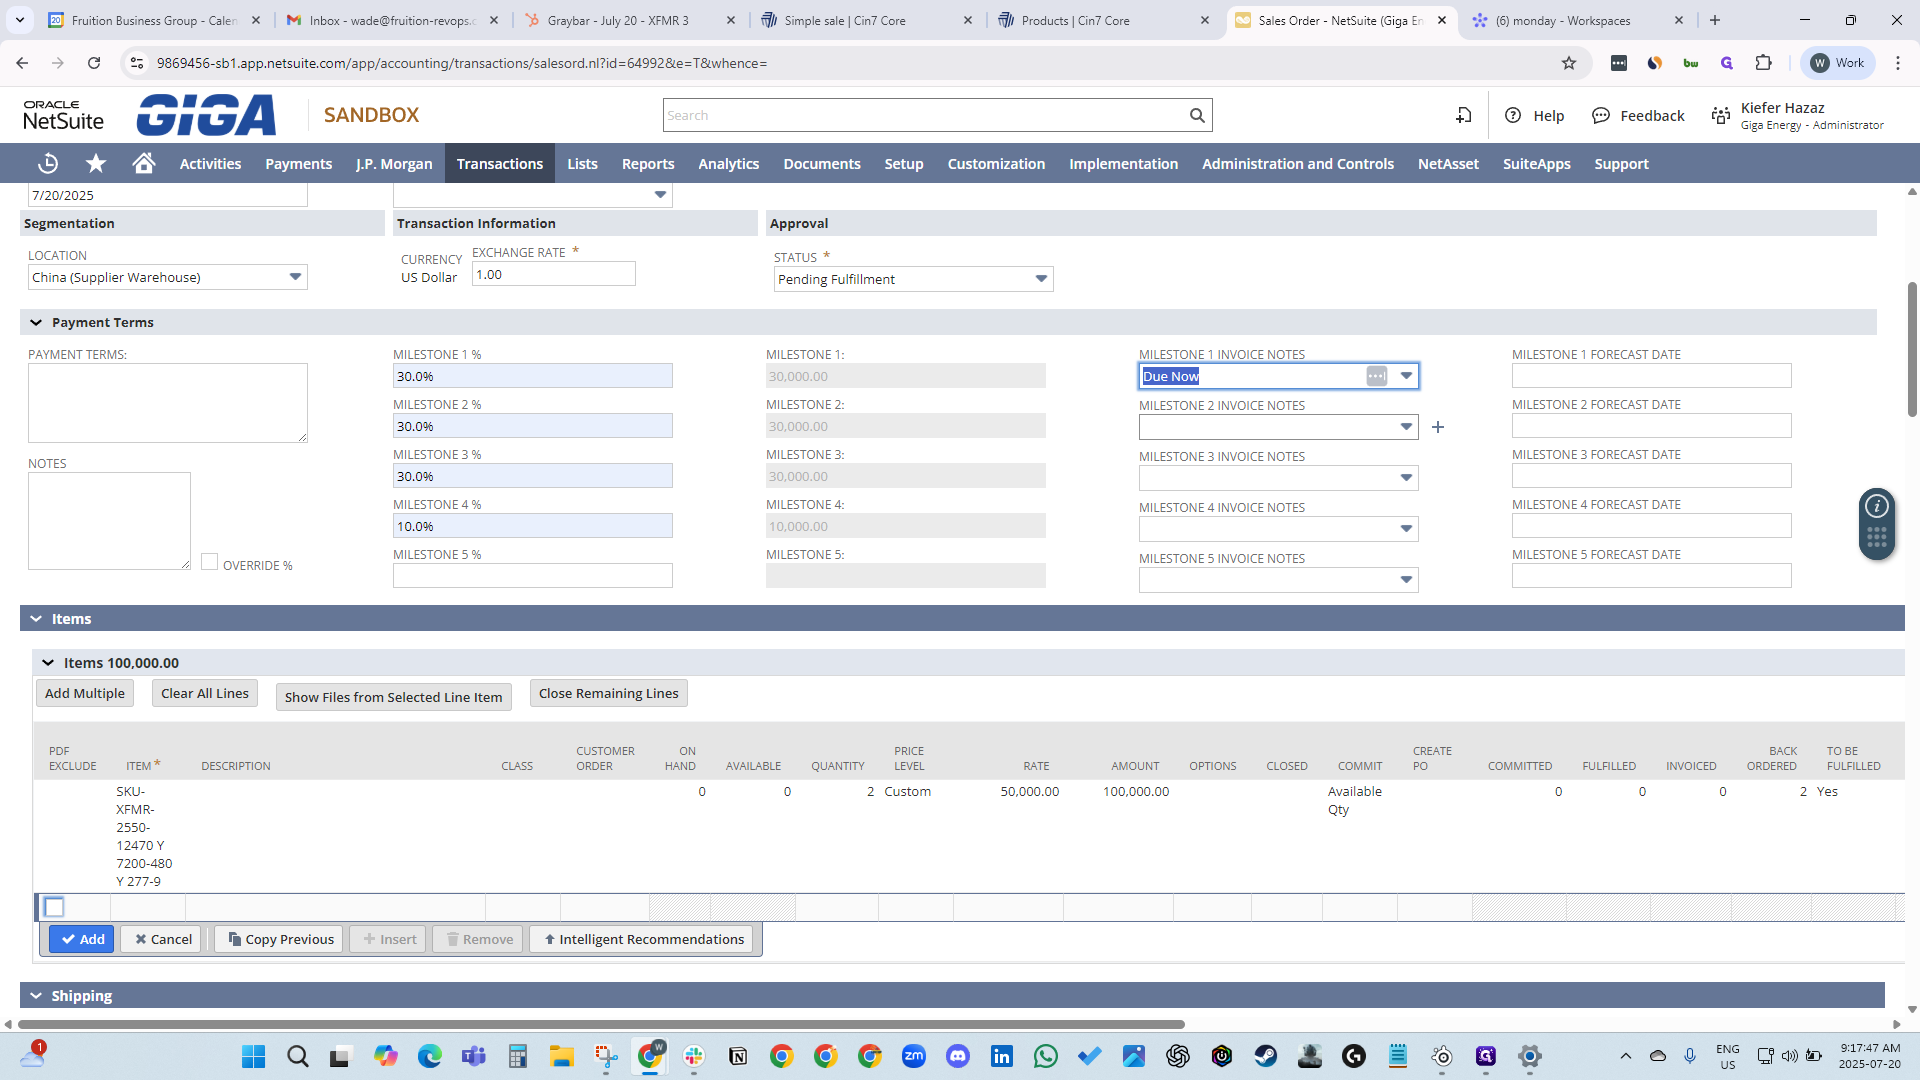
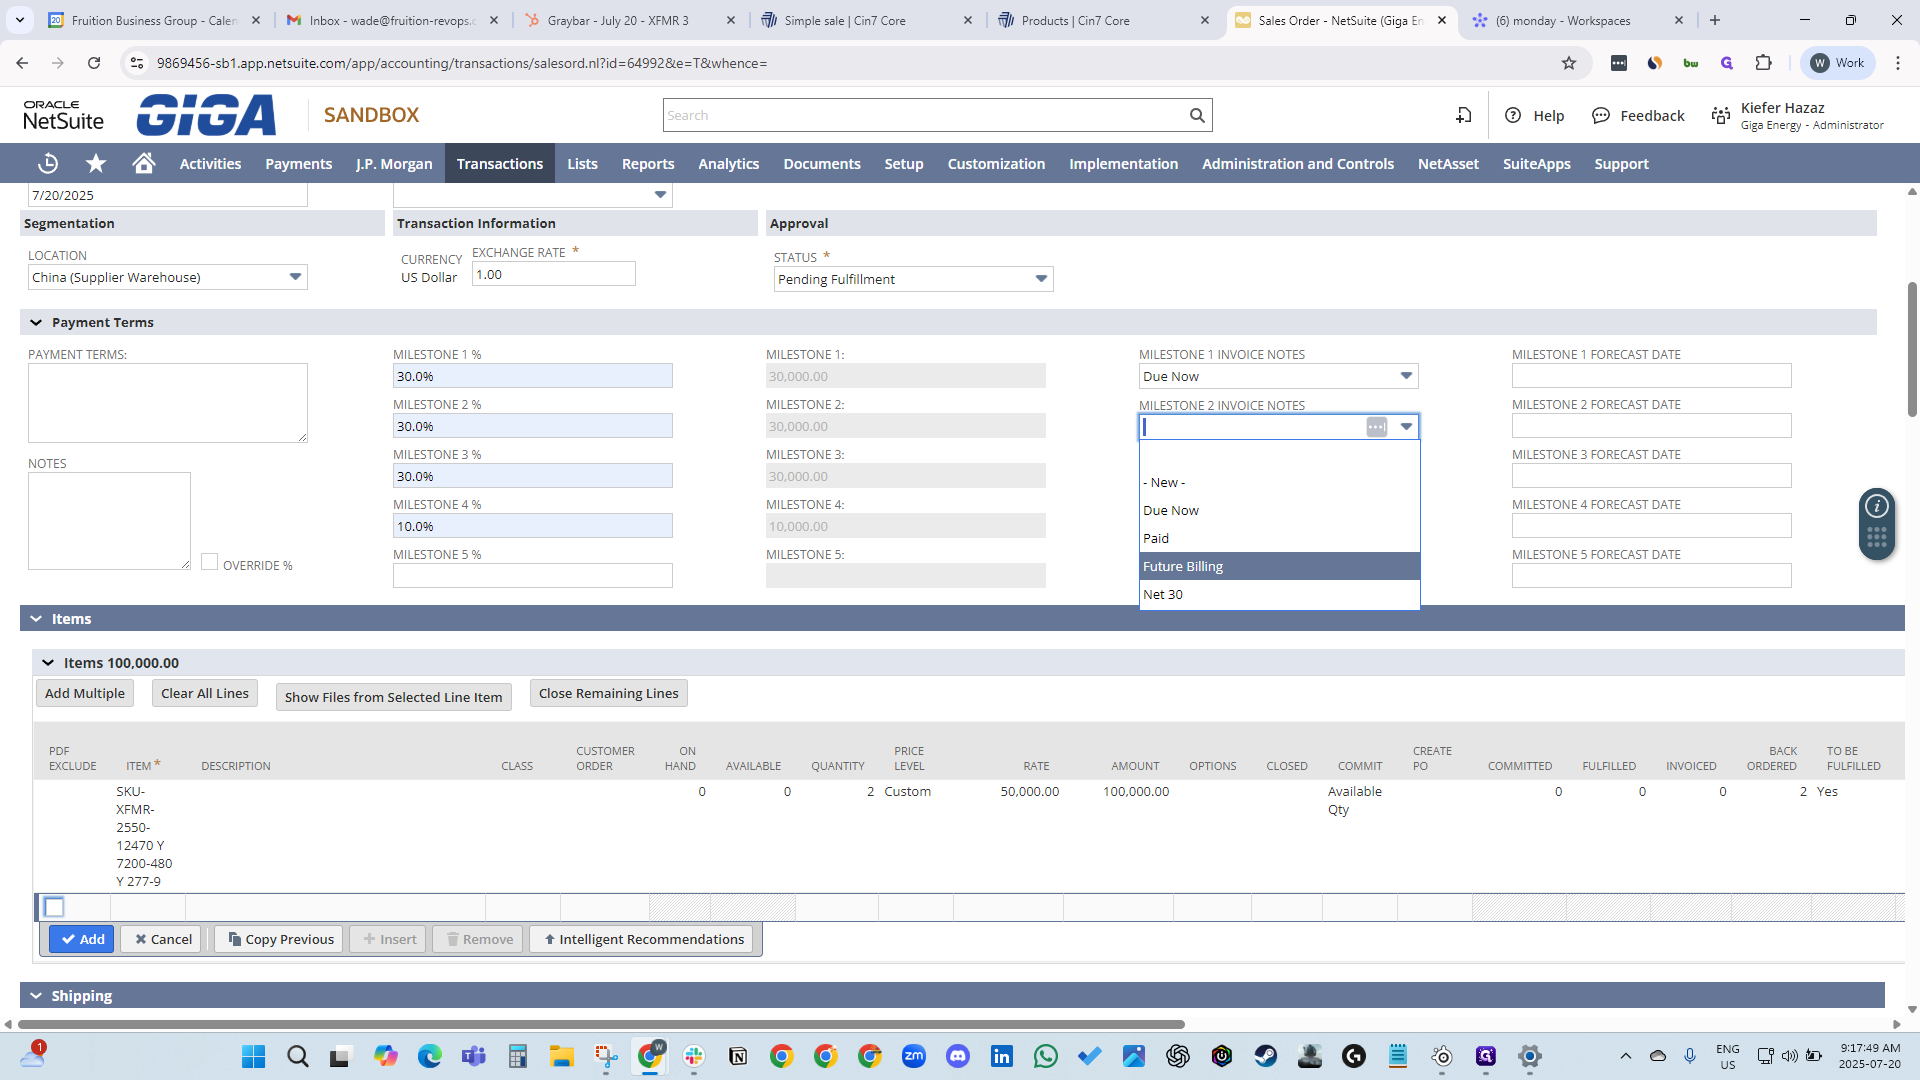
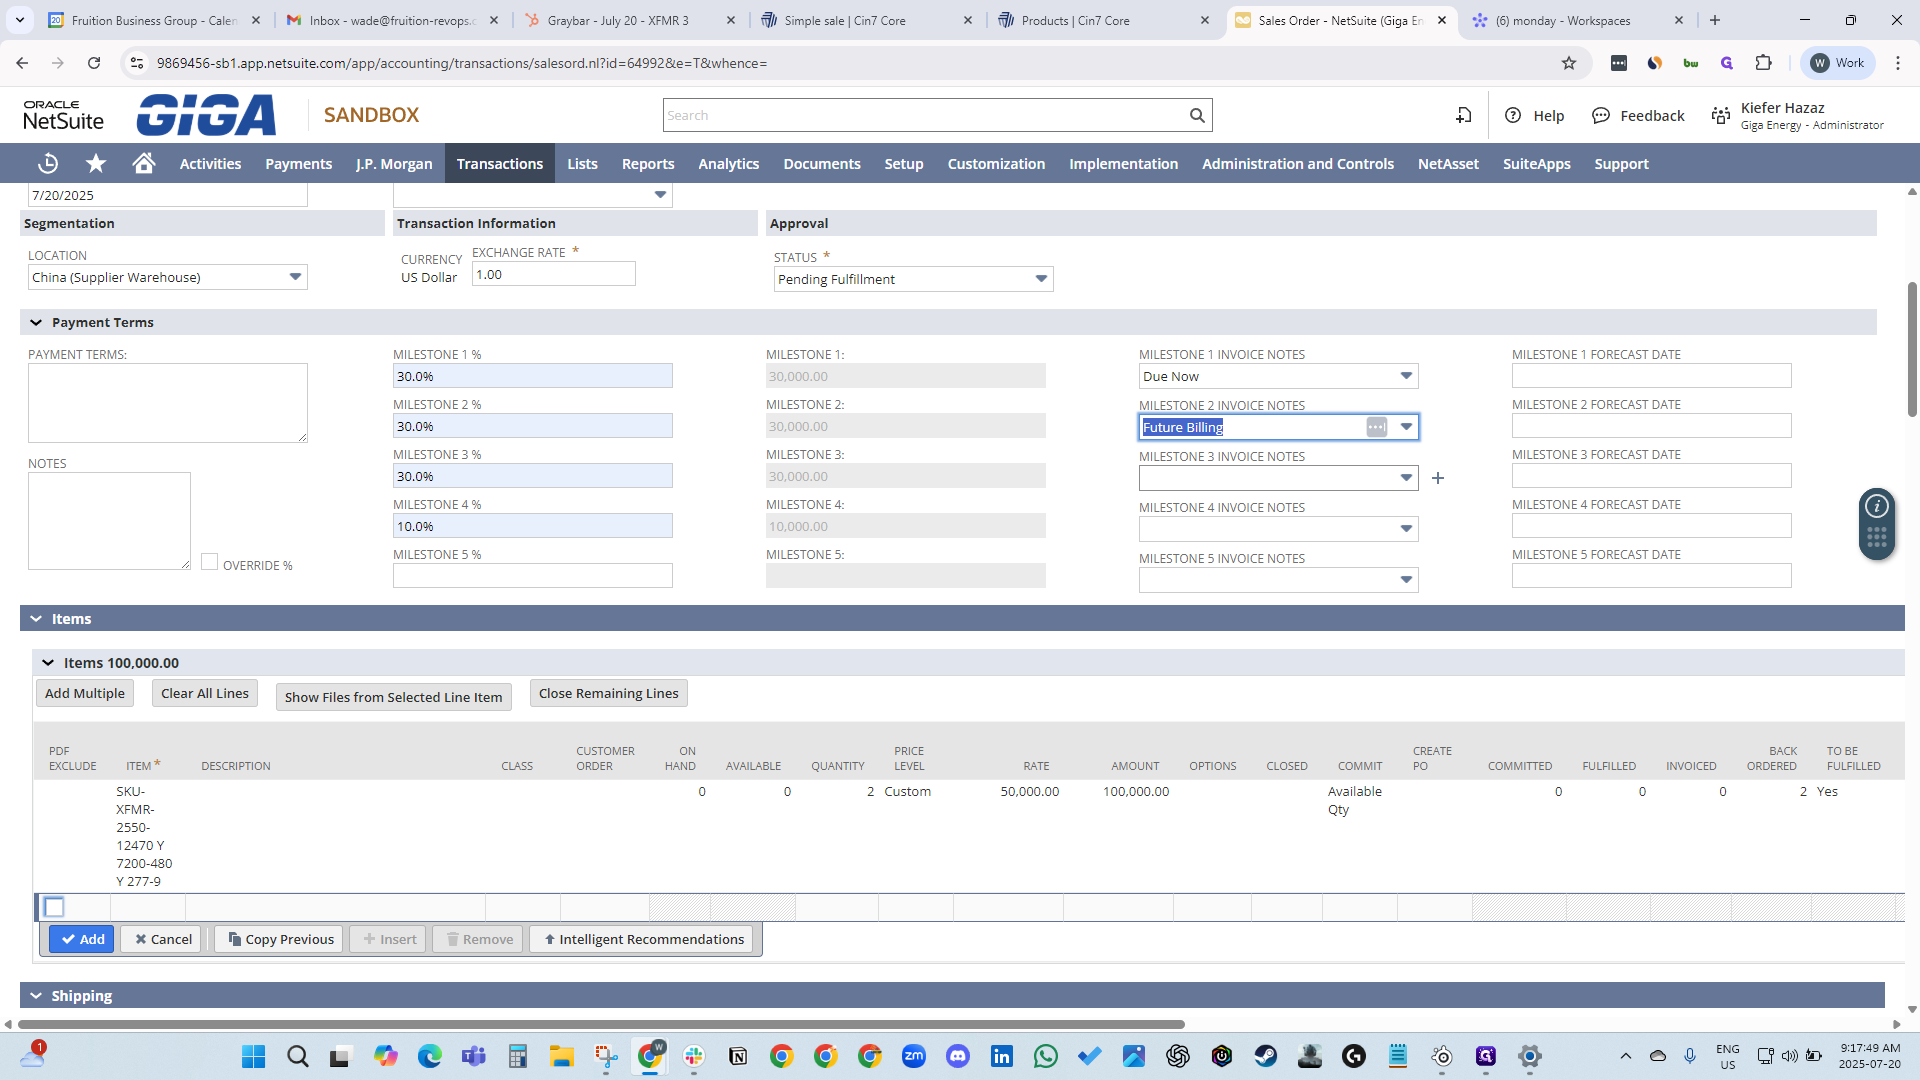
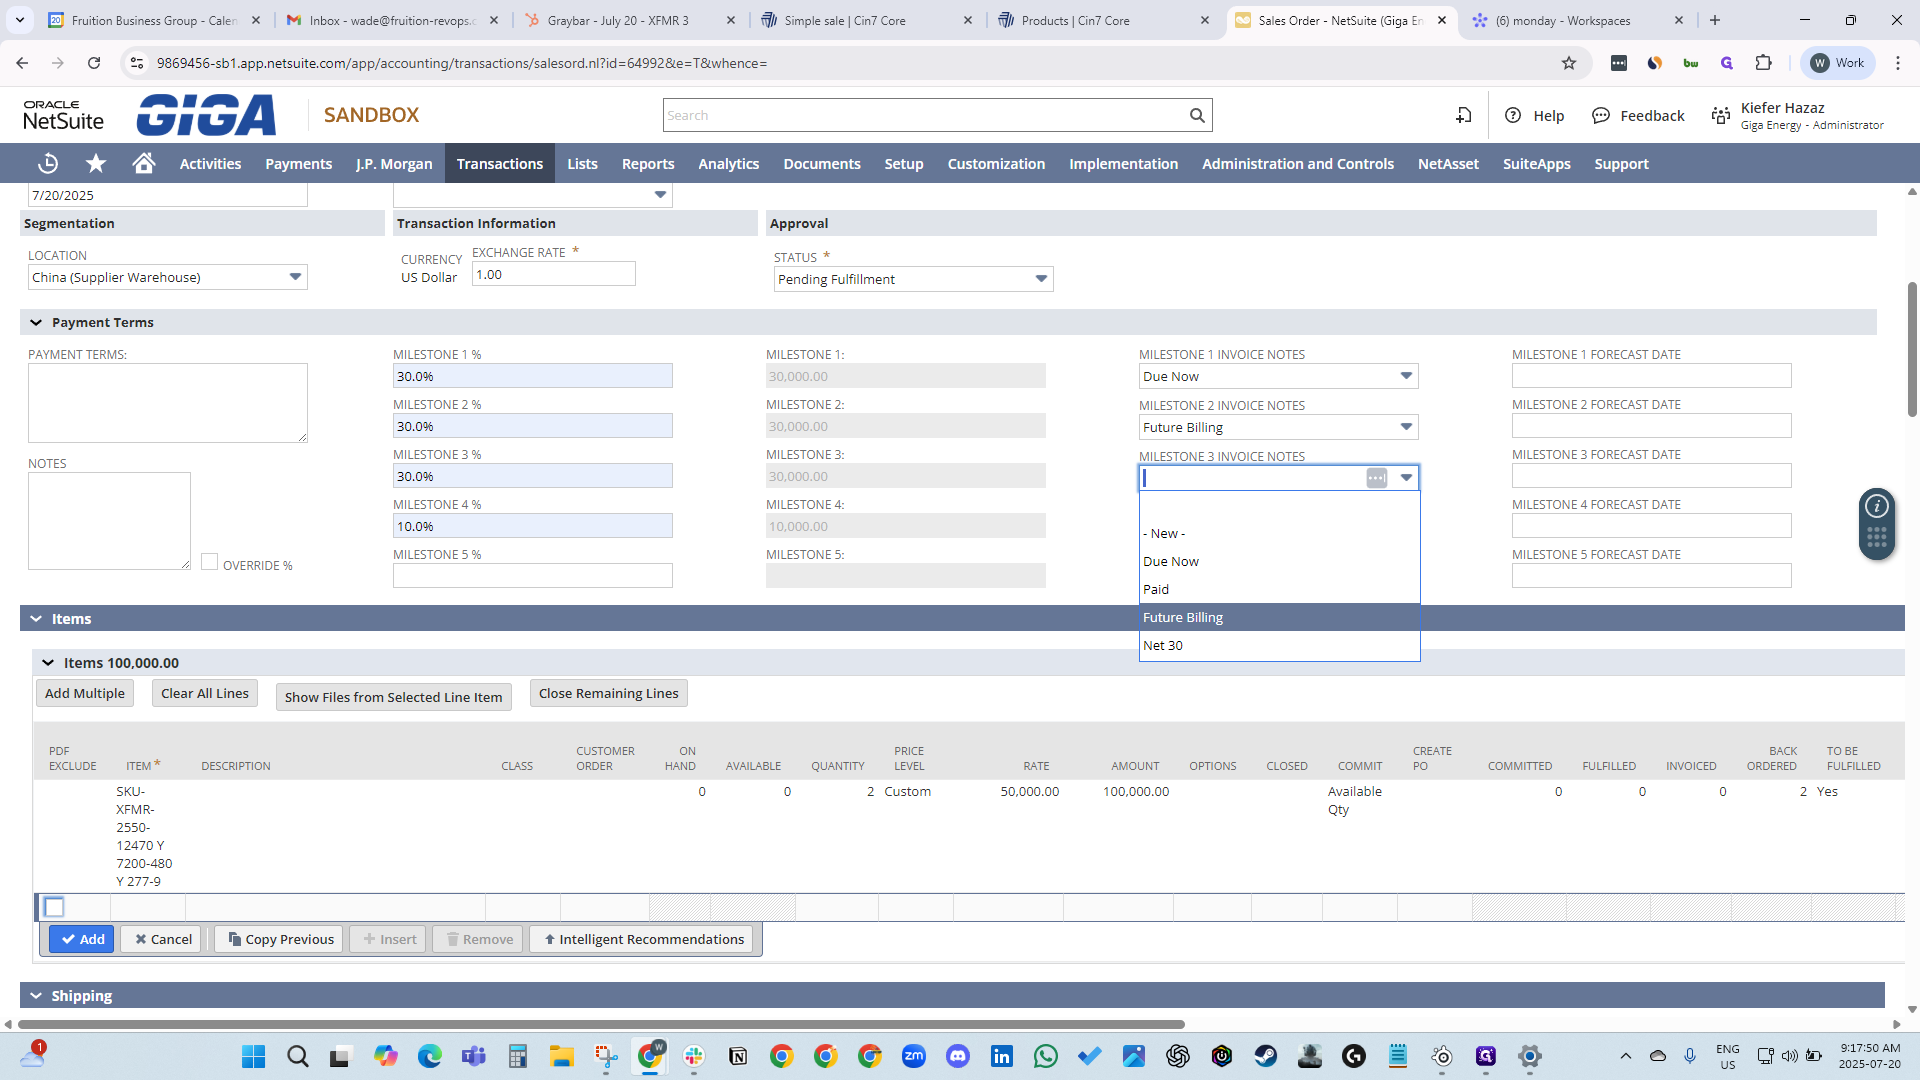
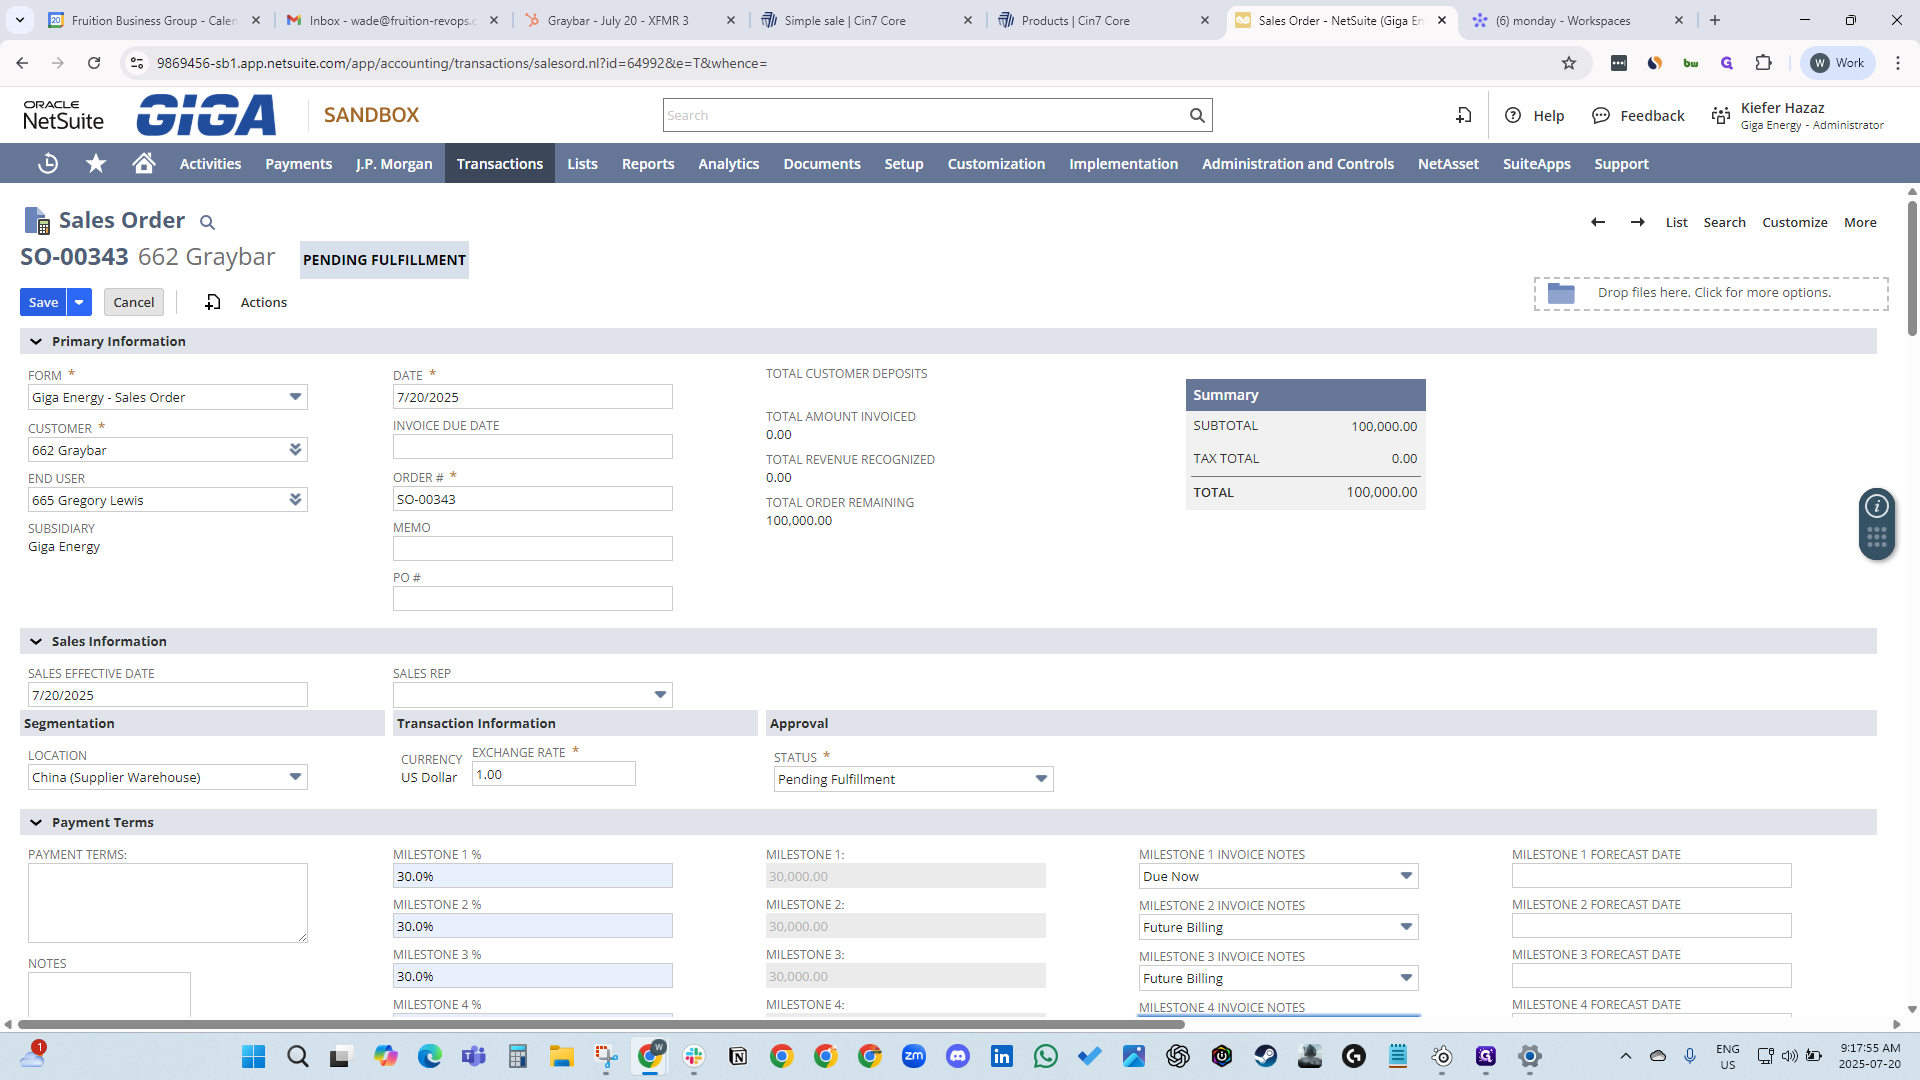
Our NetSuite order number is 64992. Go to NetSuite, enter 64992, and click Edit. Ensure all information for Gregory Lewis is correct. We have two transformers, and the amount is already filled in. Now, we need to set our milestones: 30, 30, 30, and 10. Assign these to current and future billing periods. Go to the top and click Save.


Associate the deal with your contact at the company, then click Create.
