SOP: AR Reporting Process
Learn how to efficiently manage AR reporting by exporting, cleaning, and summarizing accounts receivable data in Excel. This guide covers best practices for daily updates, handling payments, and preparing reports for accounting.
In this guide, we'll learn how to prepare and export an AR Aging Detail Report, organize the data in Excel, and finalize the report for review and distribution. The steps include running the report, cleaning and sorting the data, using formulas and macros, and saving the final version as a PDF. This process helps ensure accurate and efficient AR reporting each week.
Let's get started
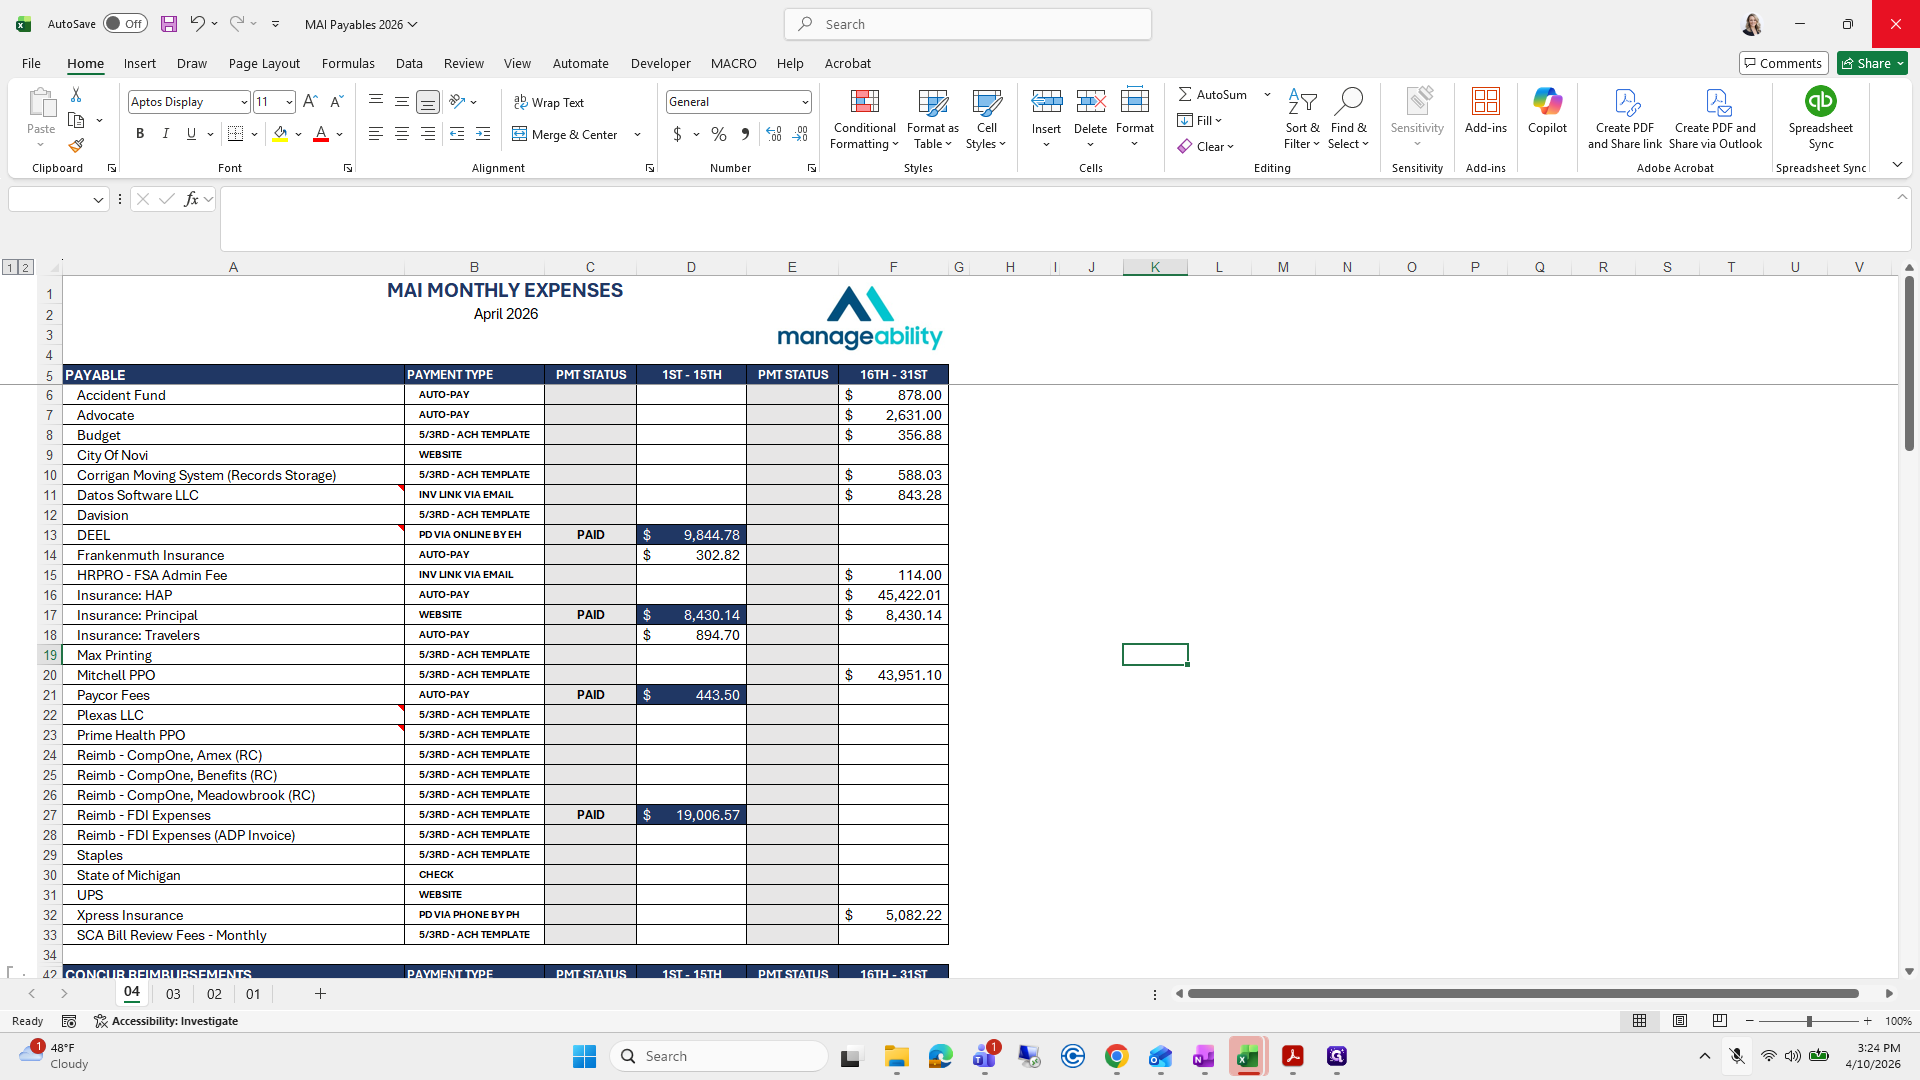
Okay. For AR reporting, enter all AR, ACH payments, and check deposits for the week. I recommend updating these daily to avoid spending two hours on Friday. Excuse me.
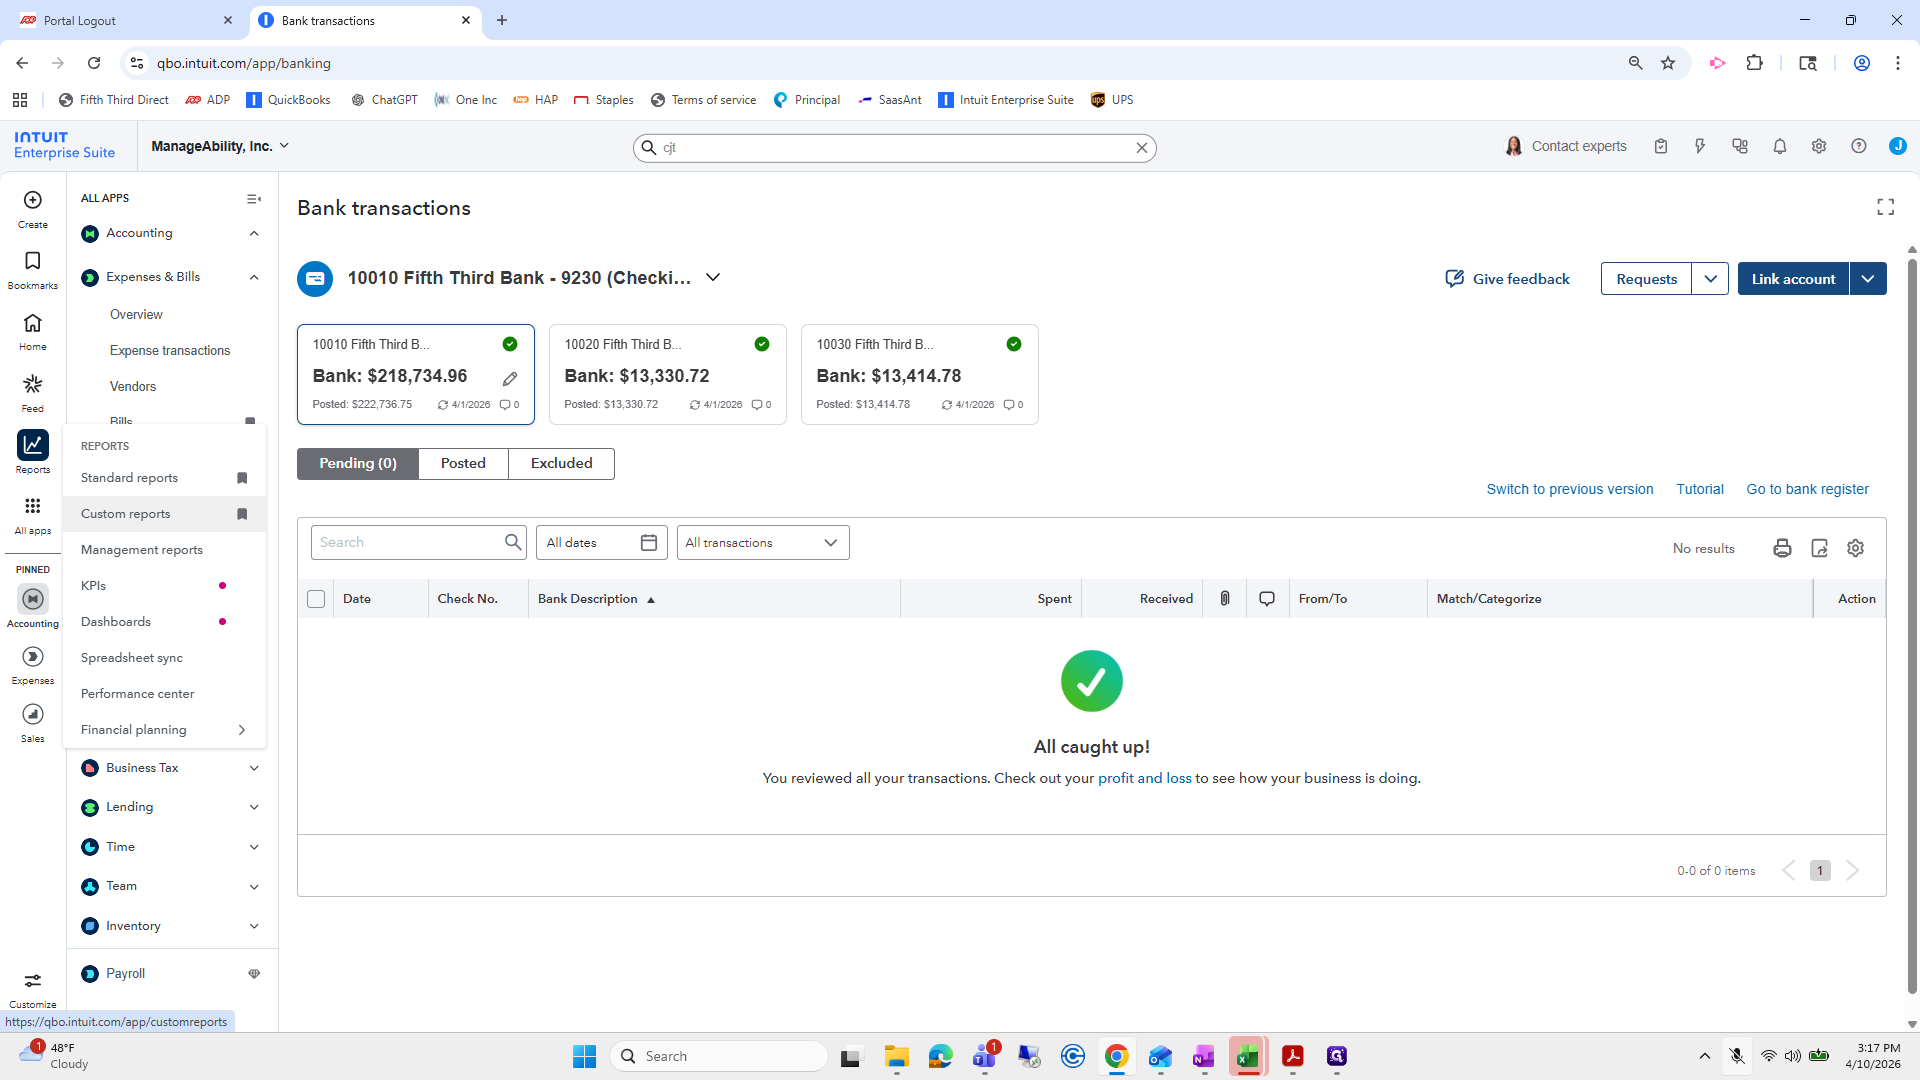
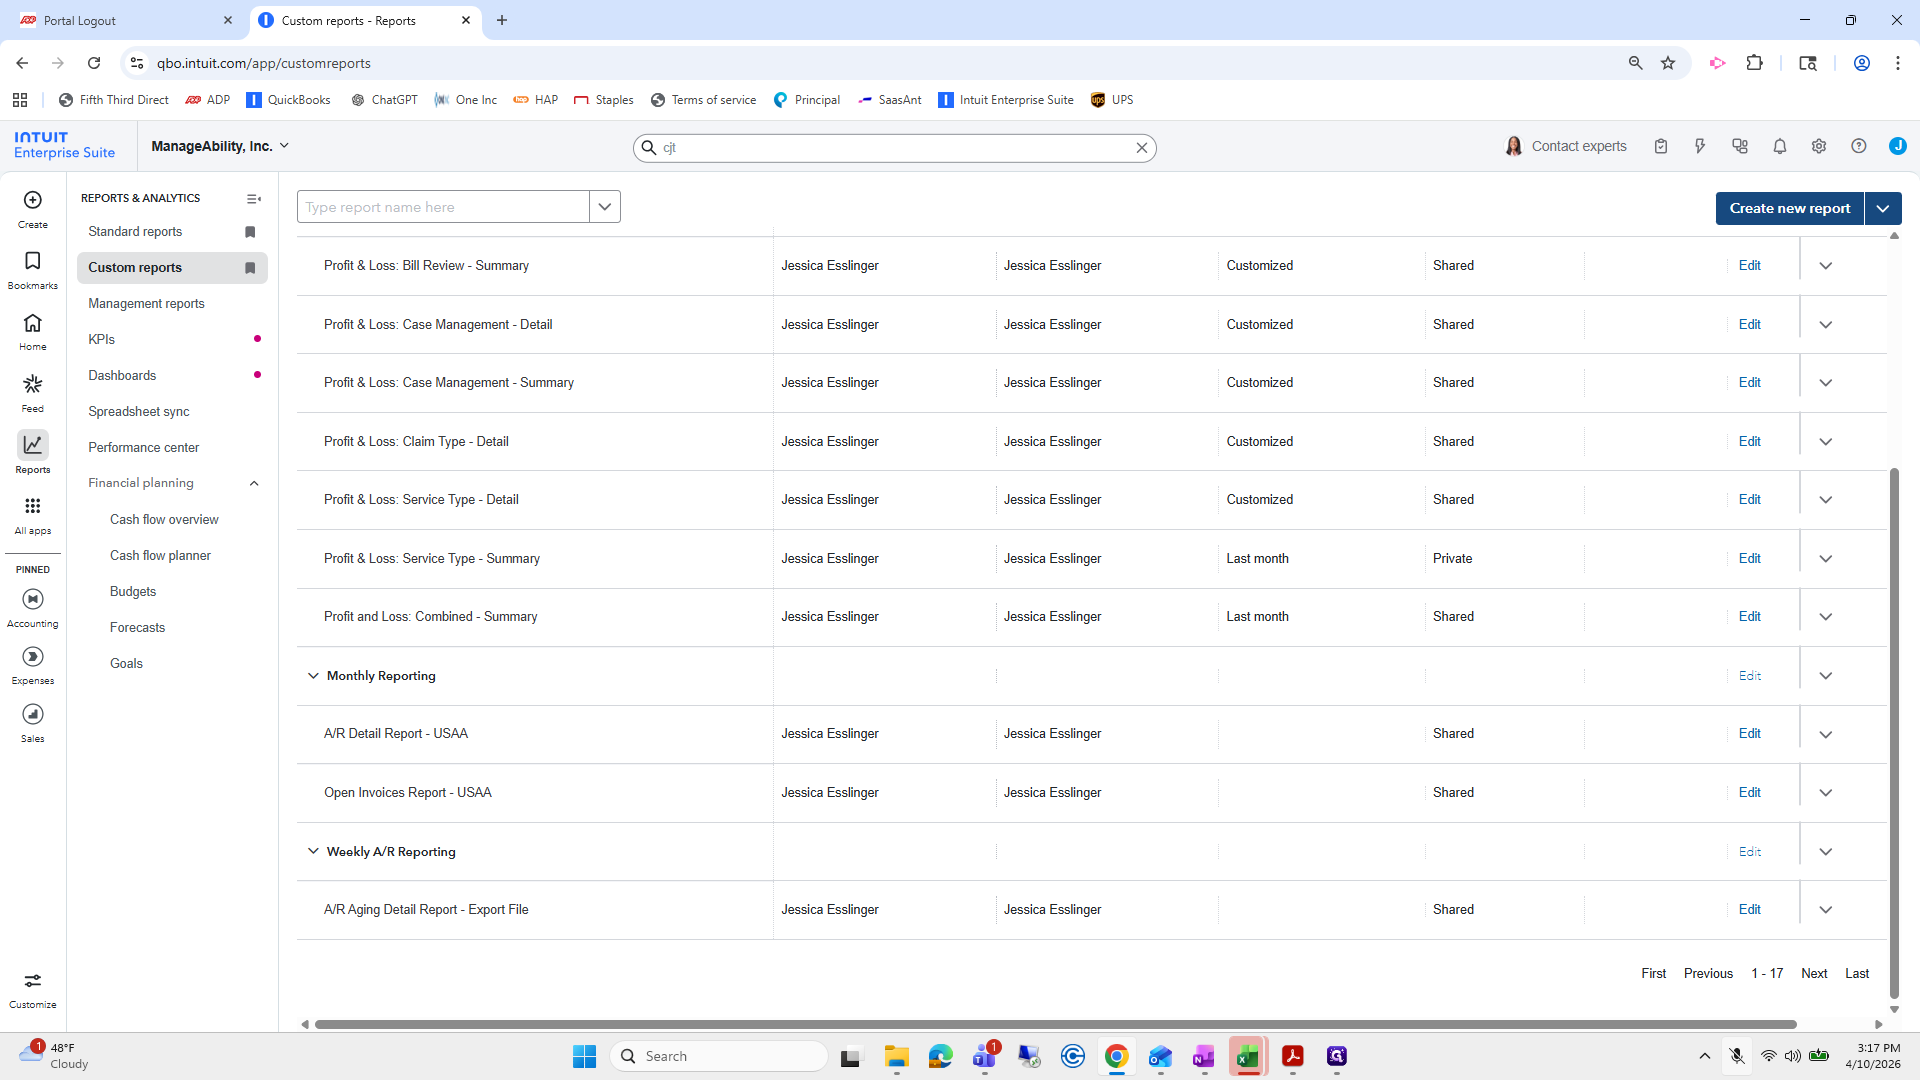
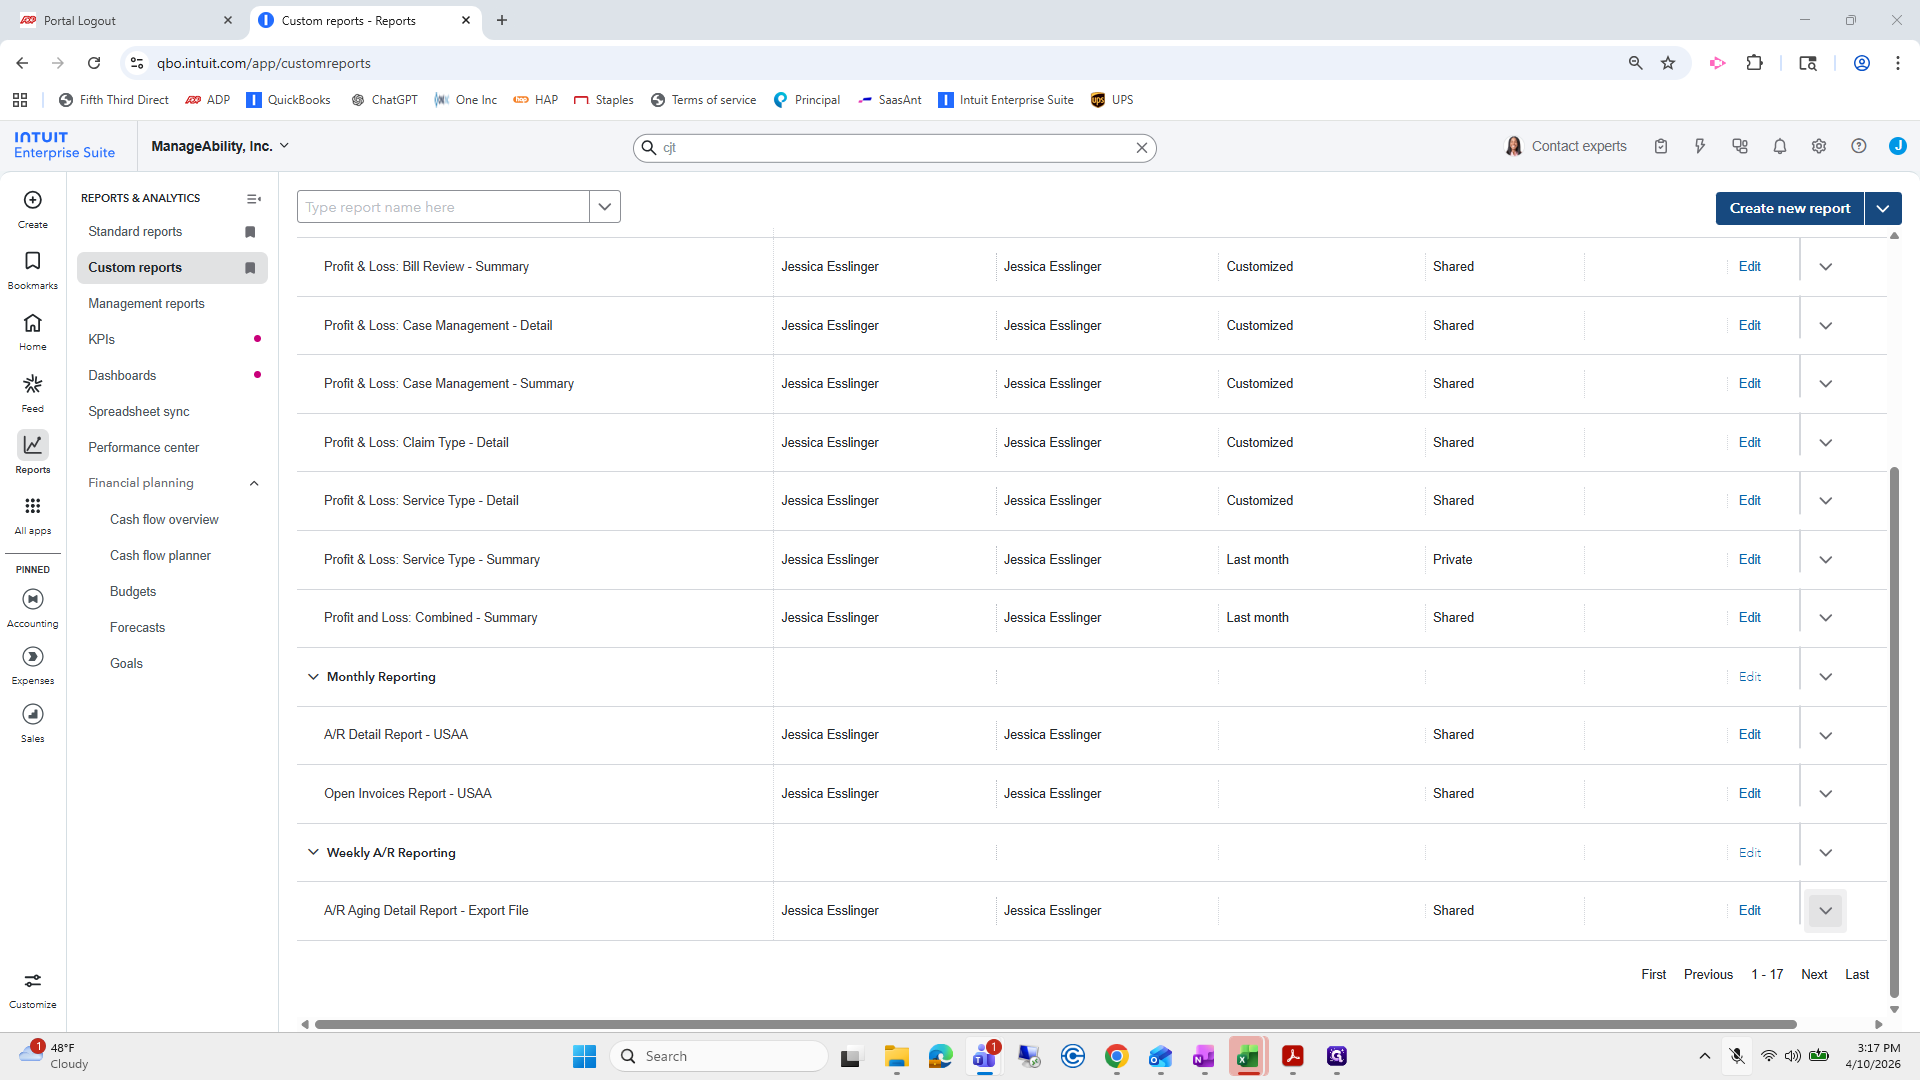
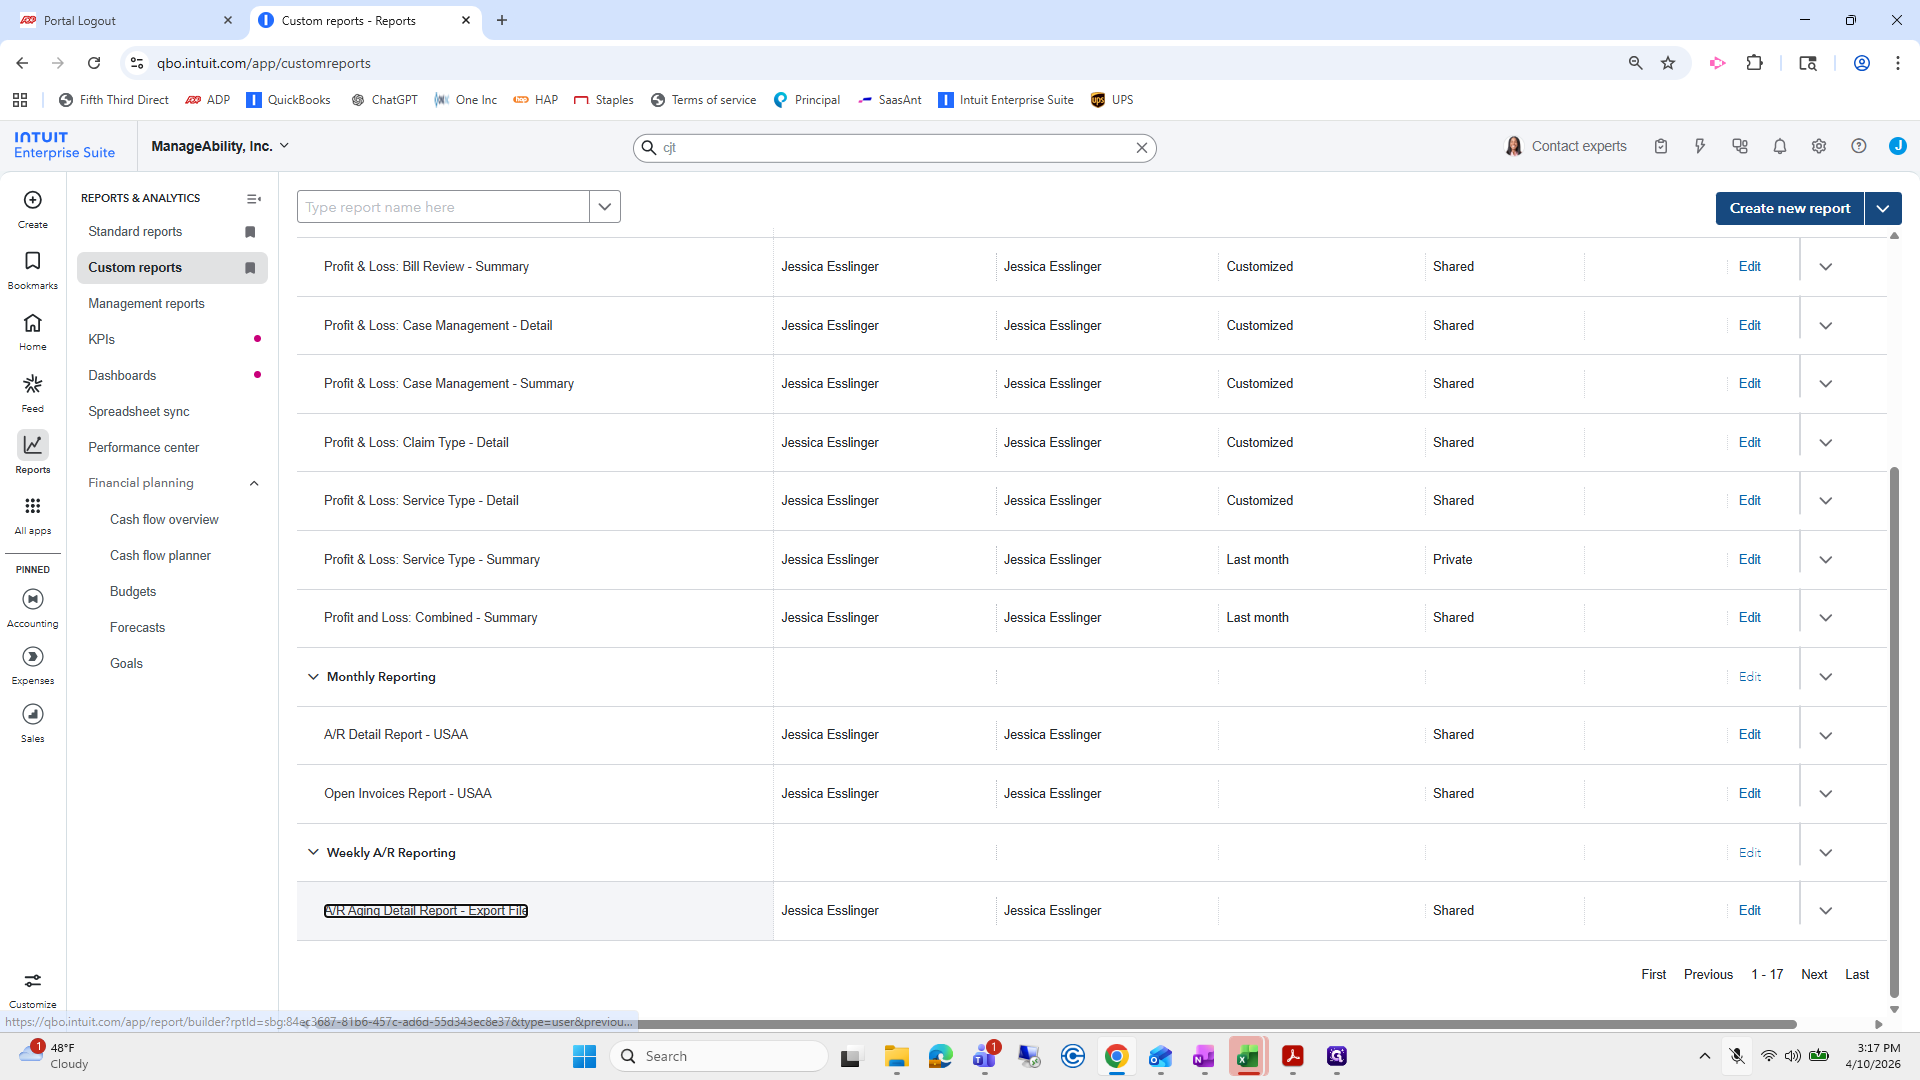
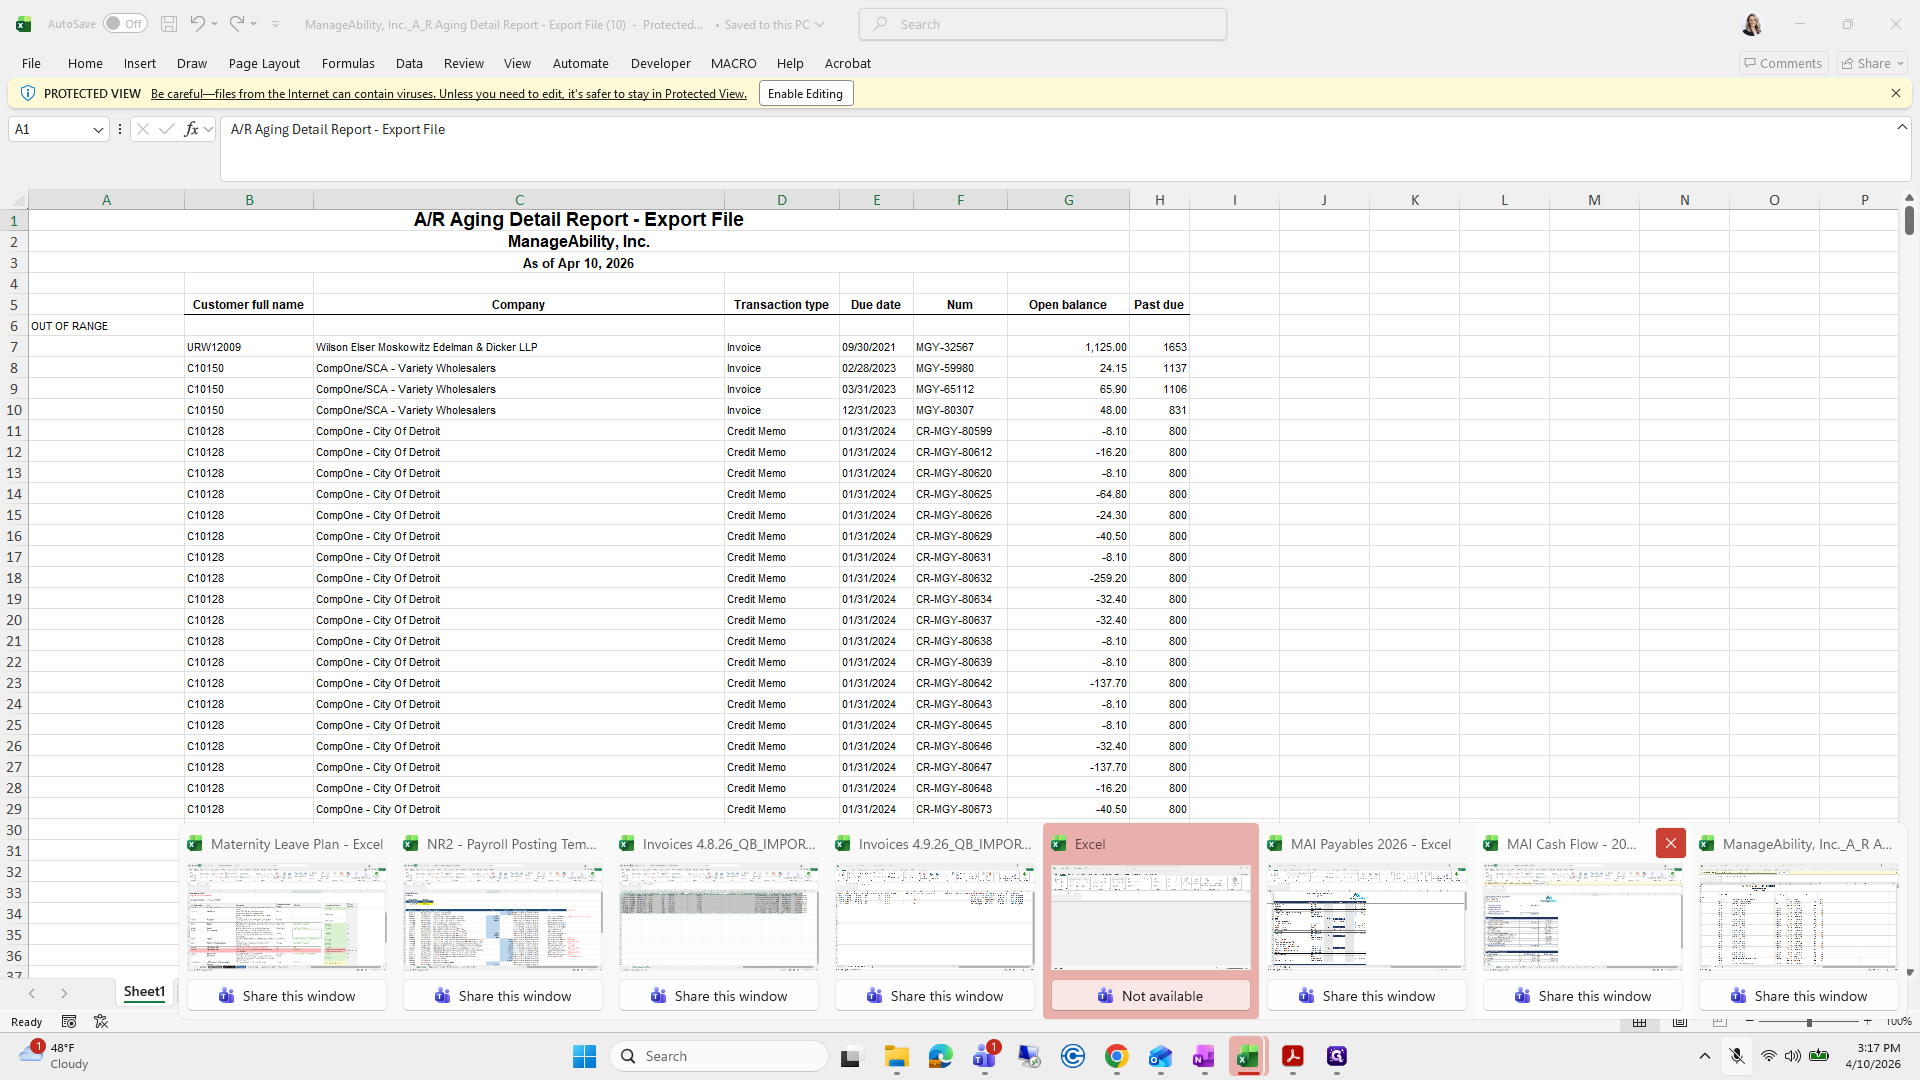
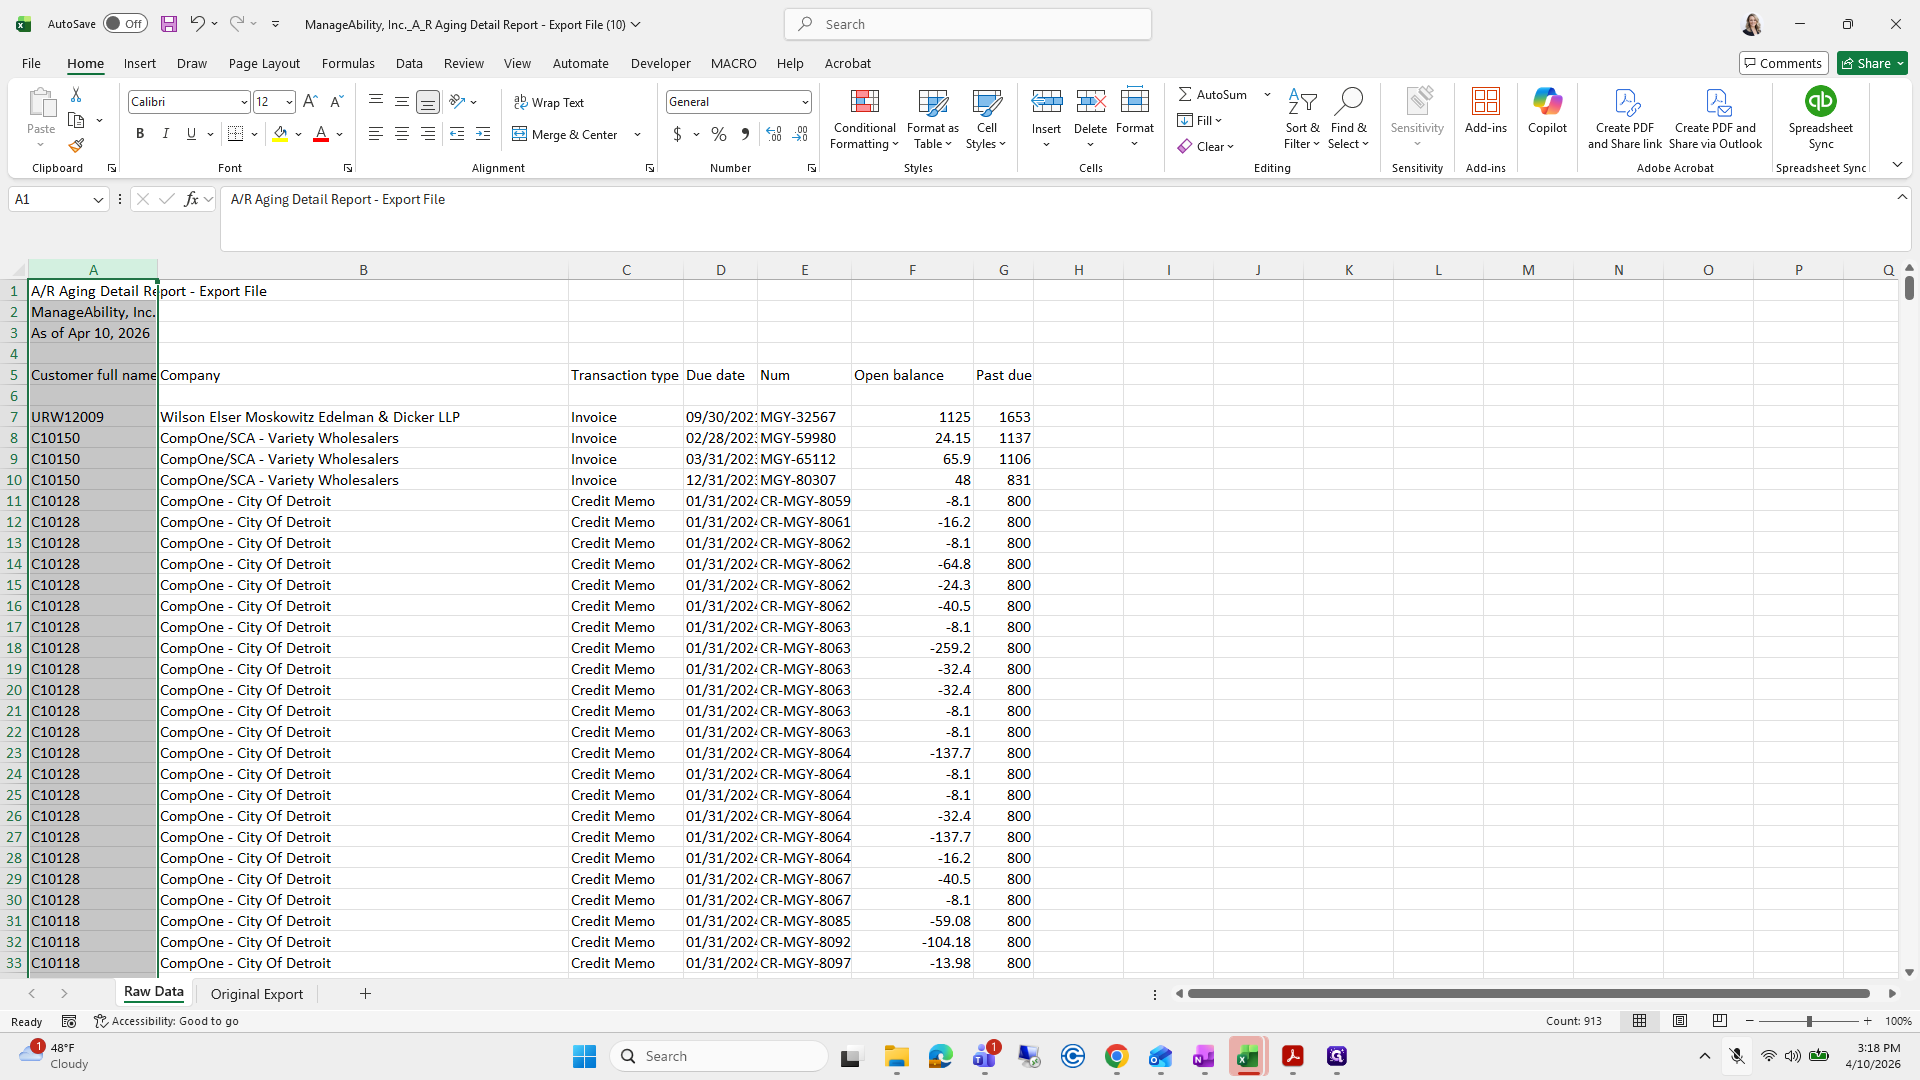
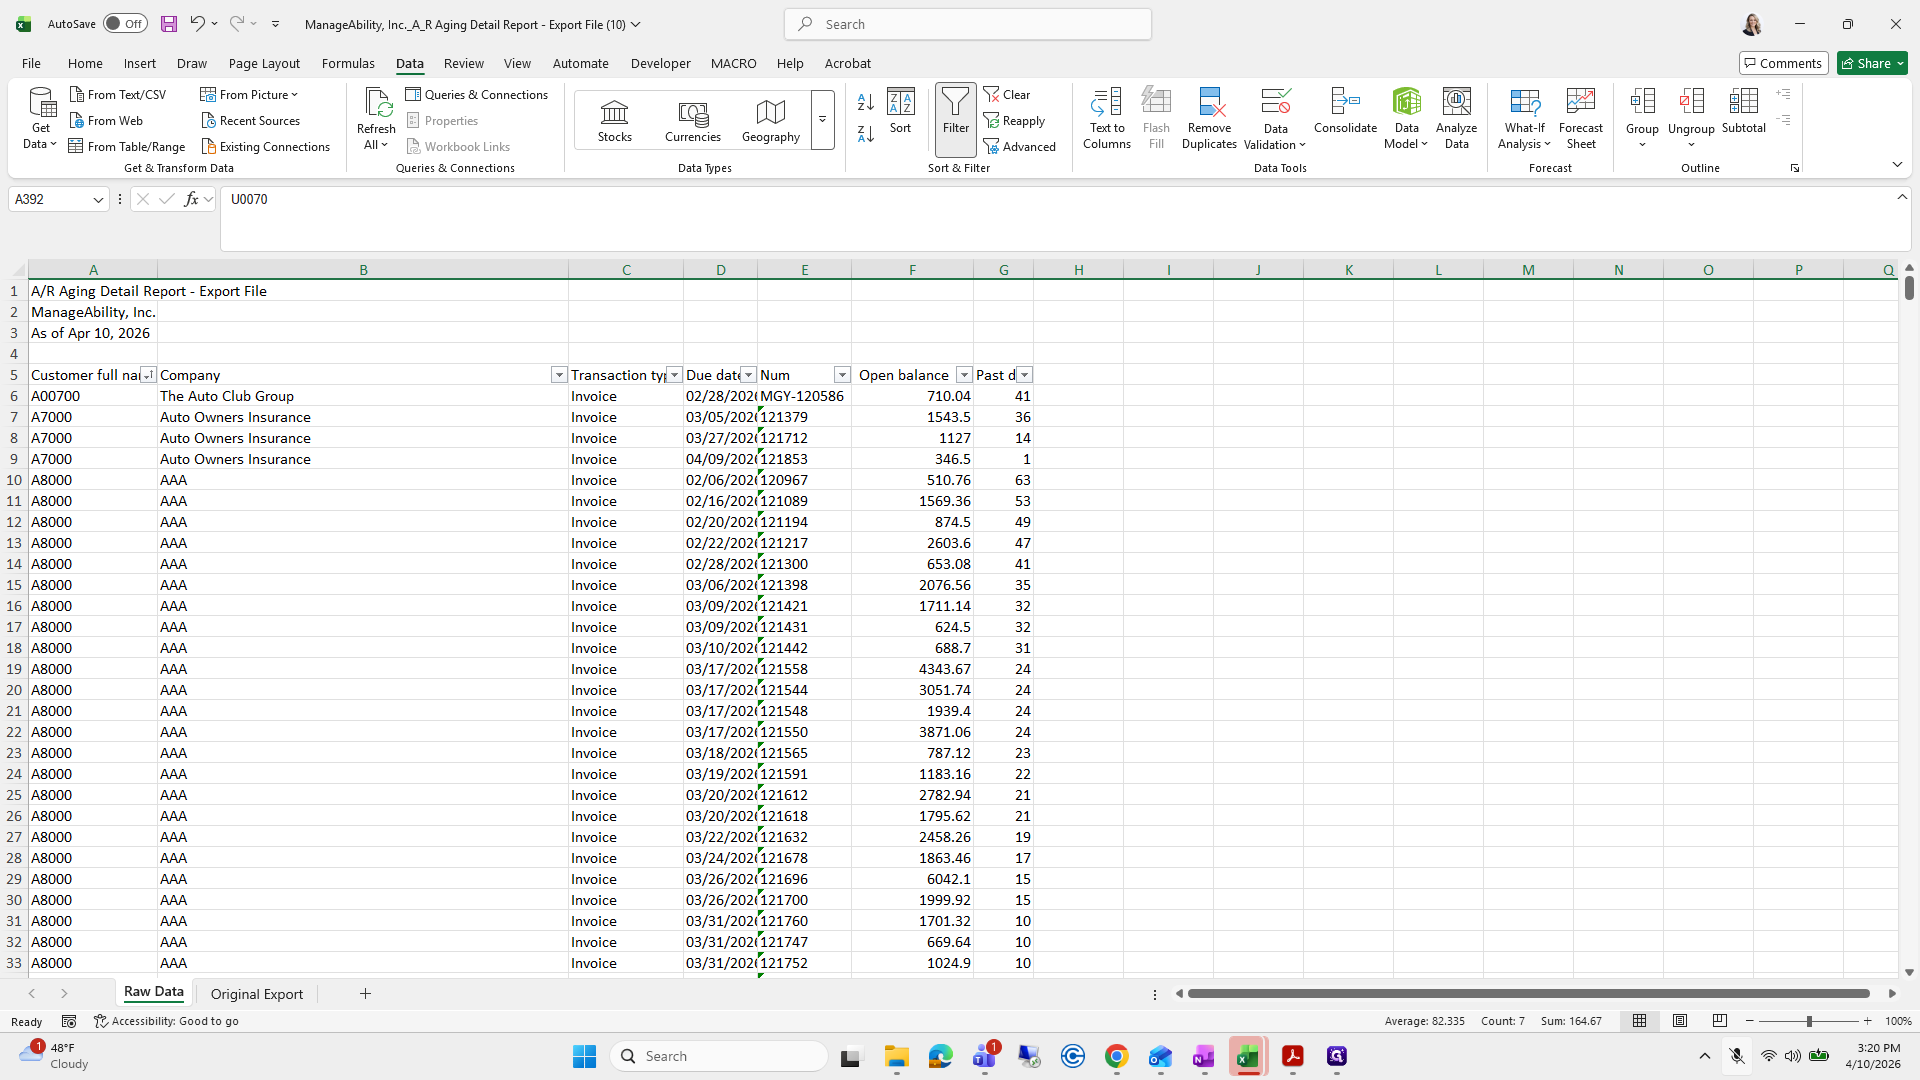
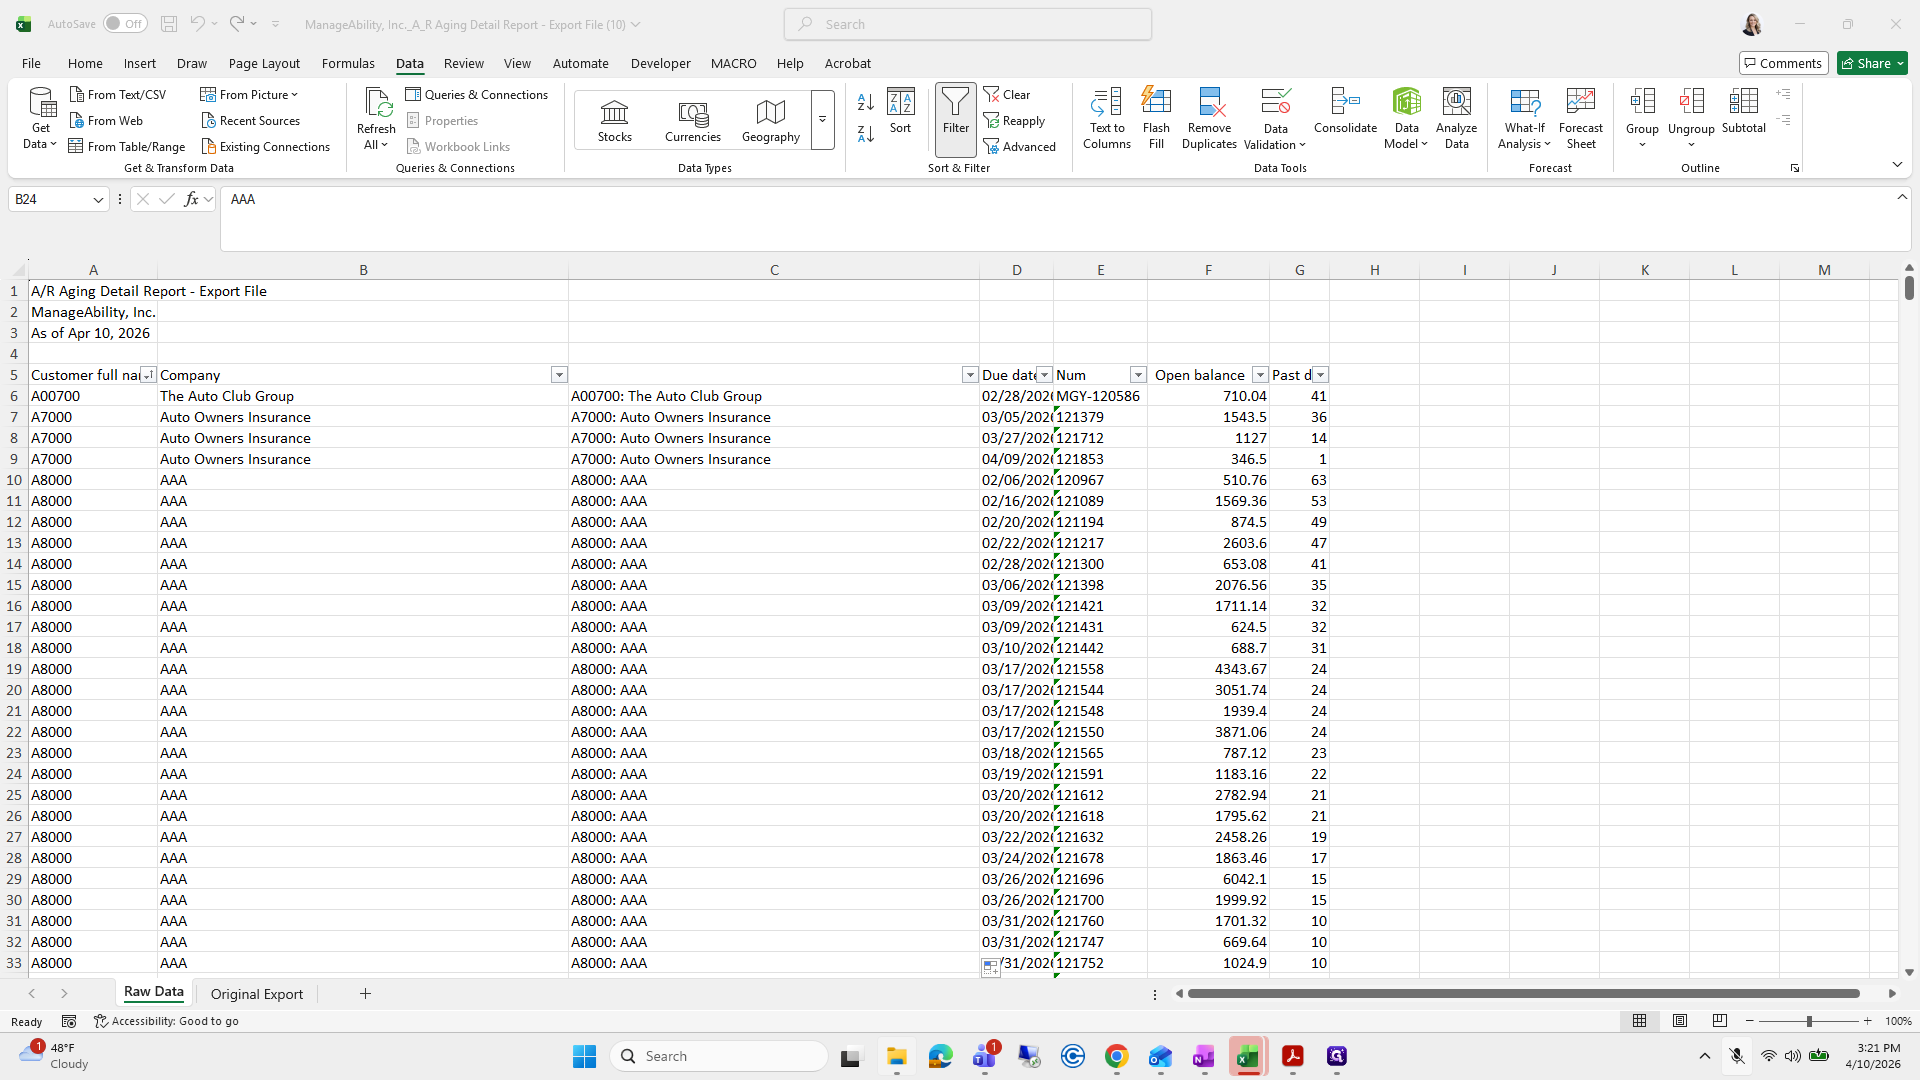
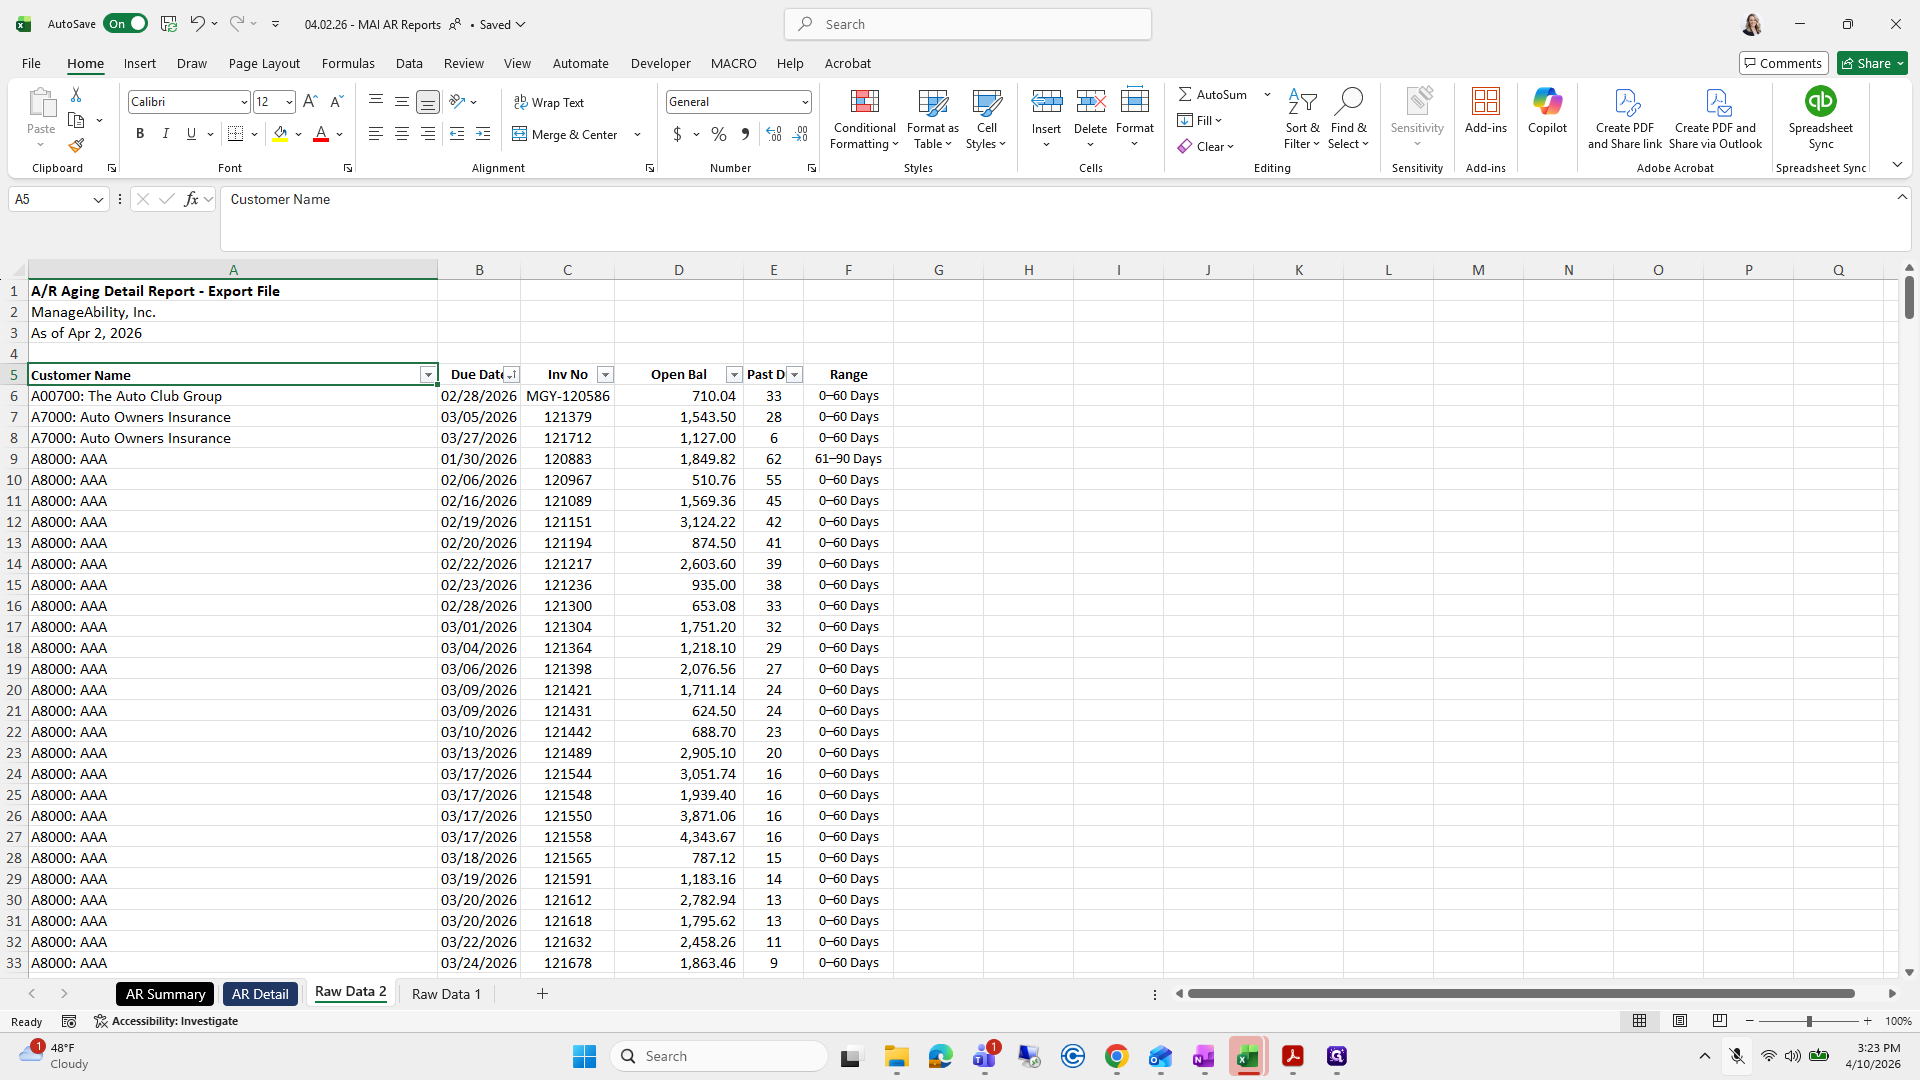
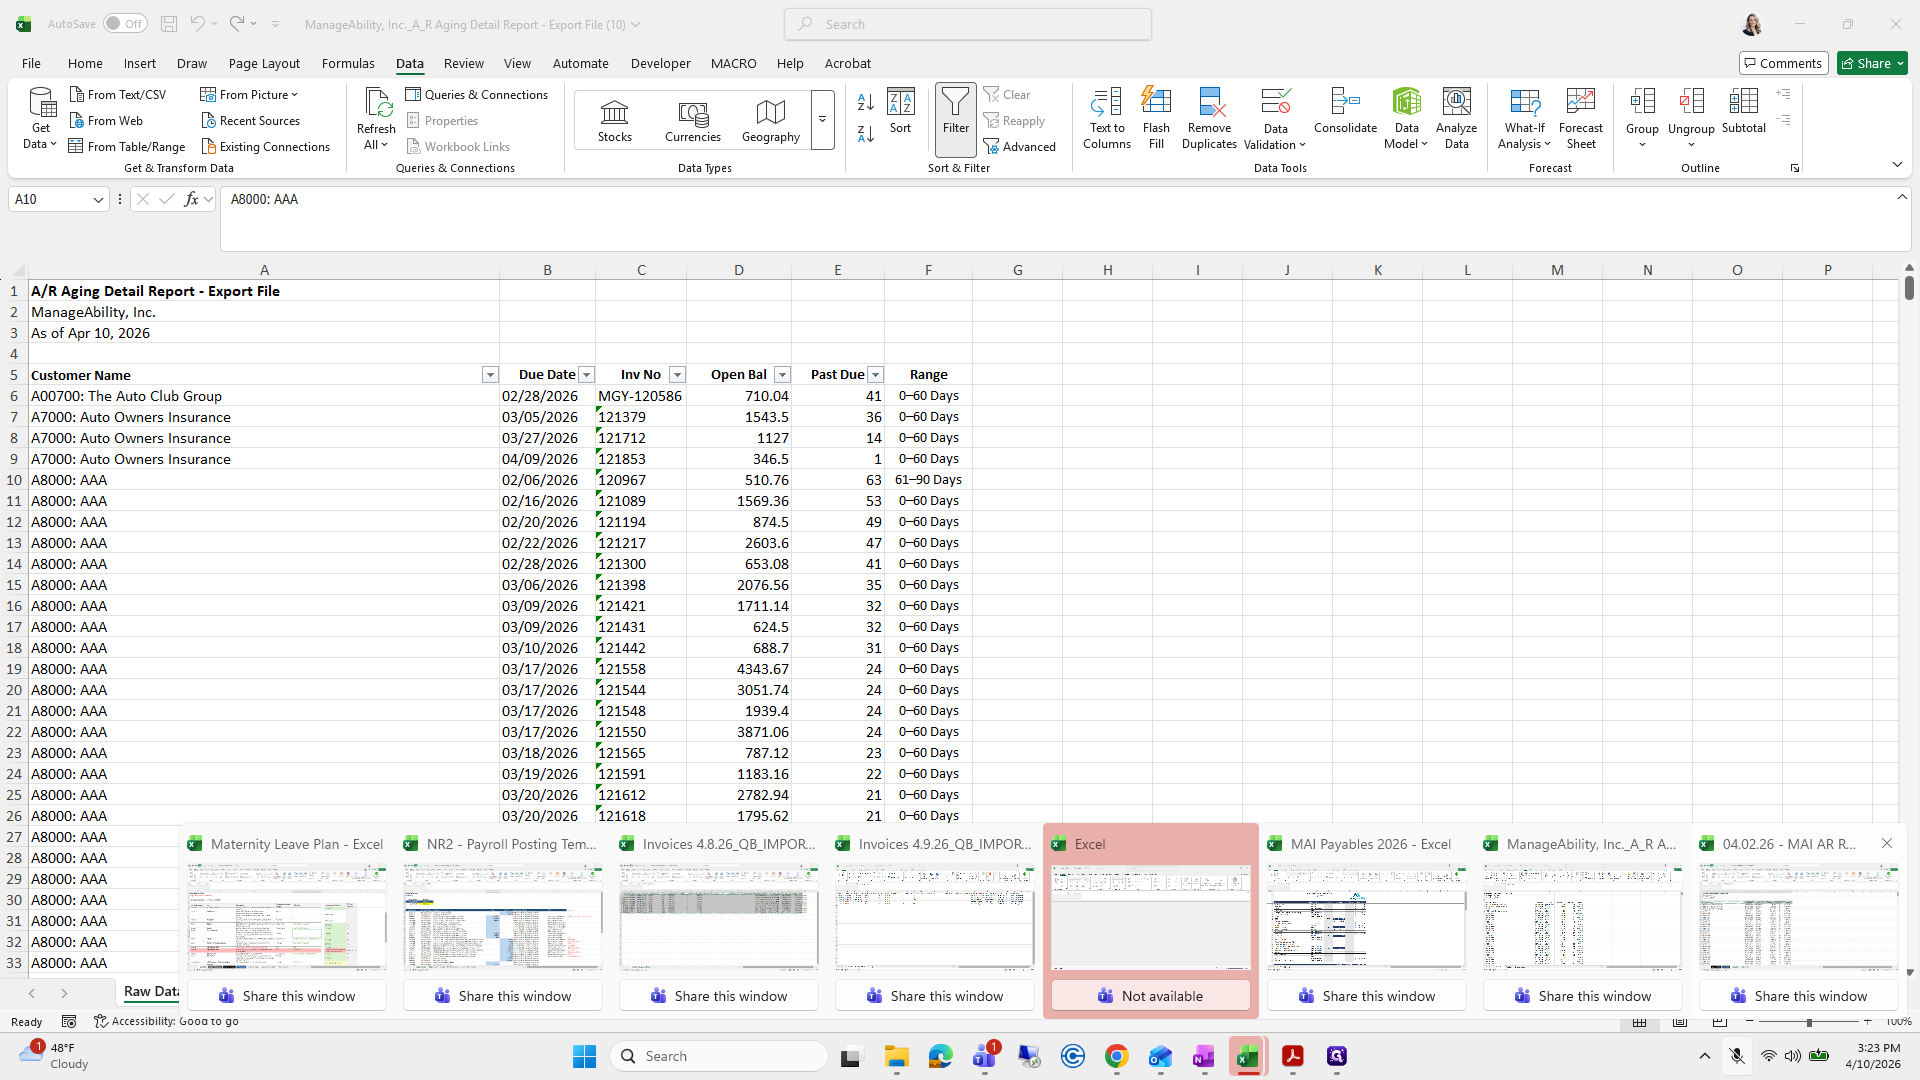
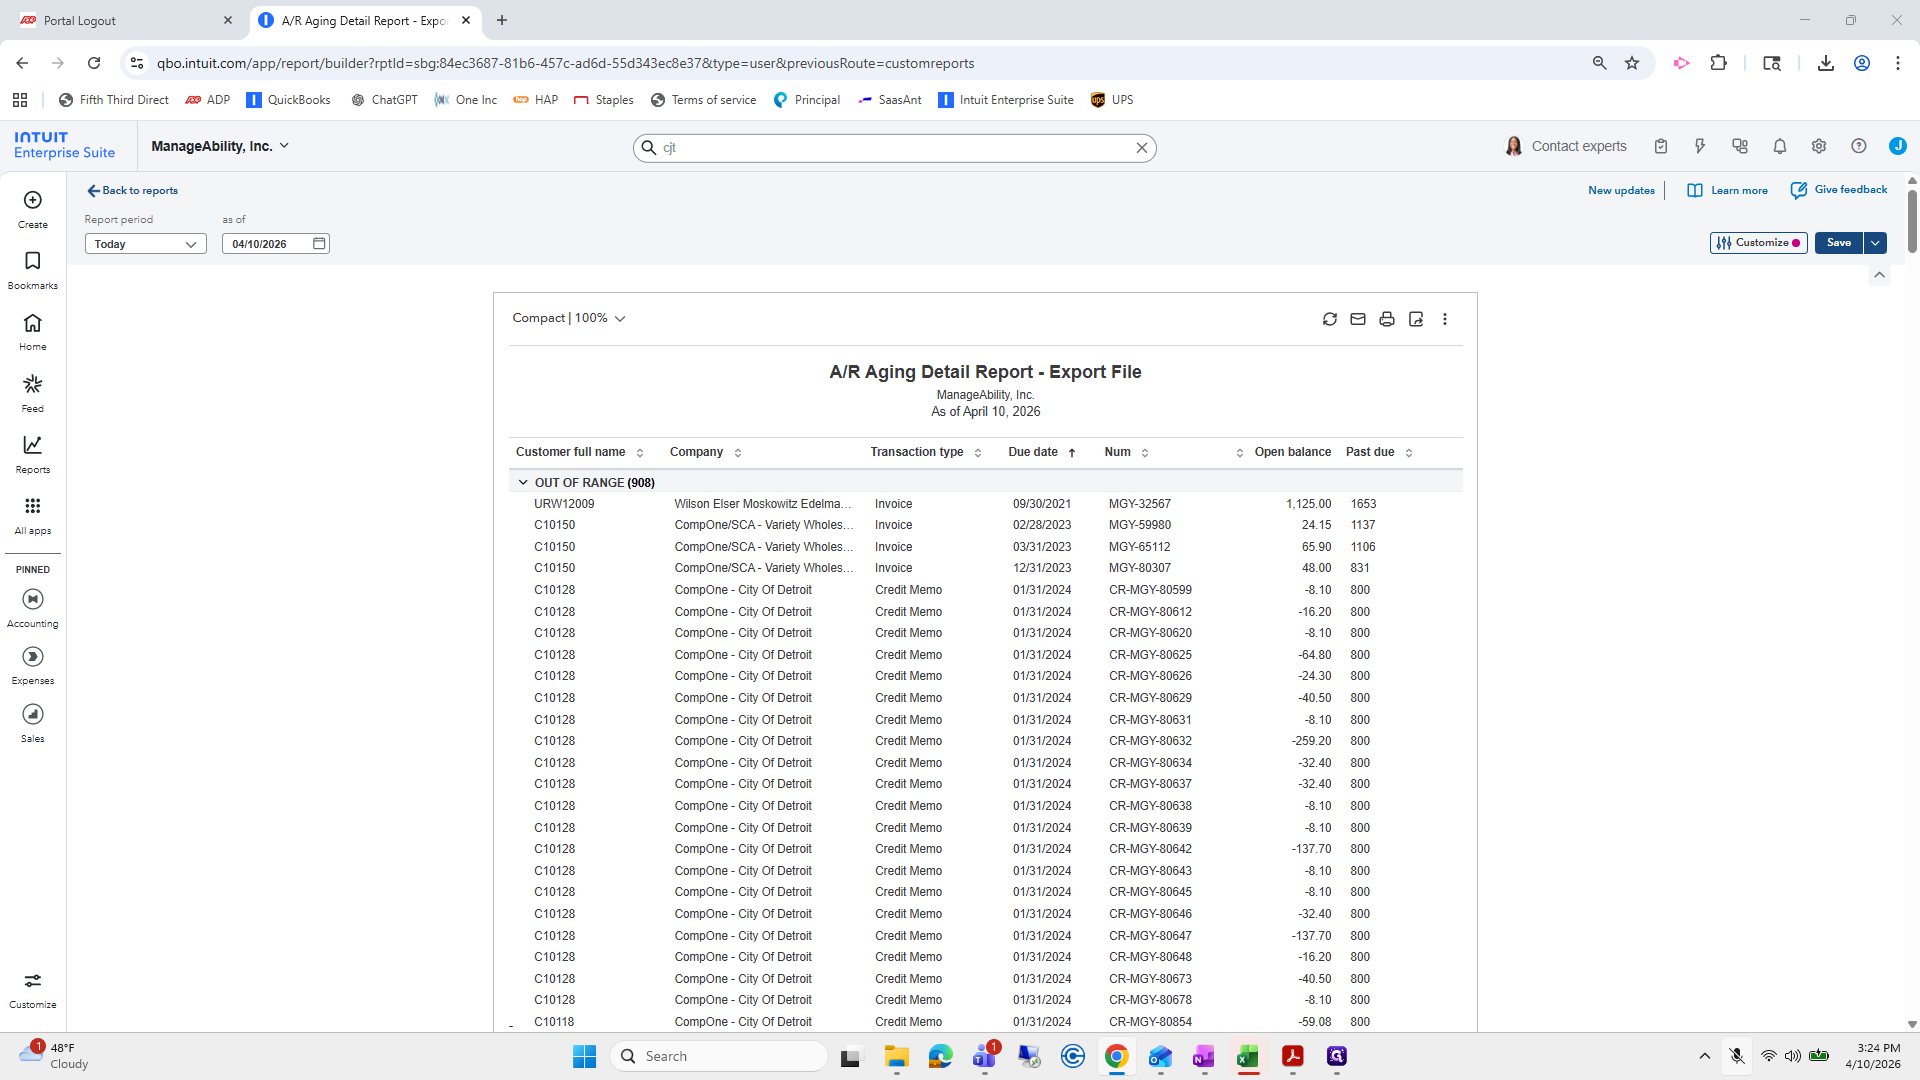
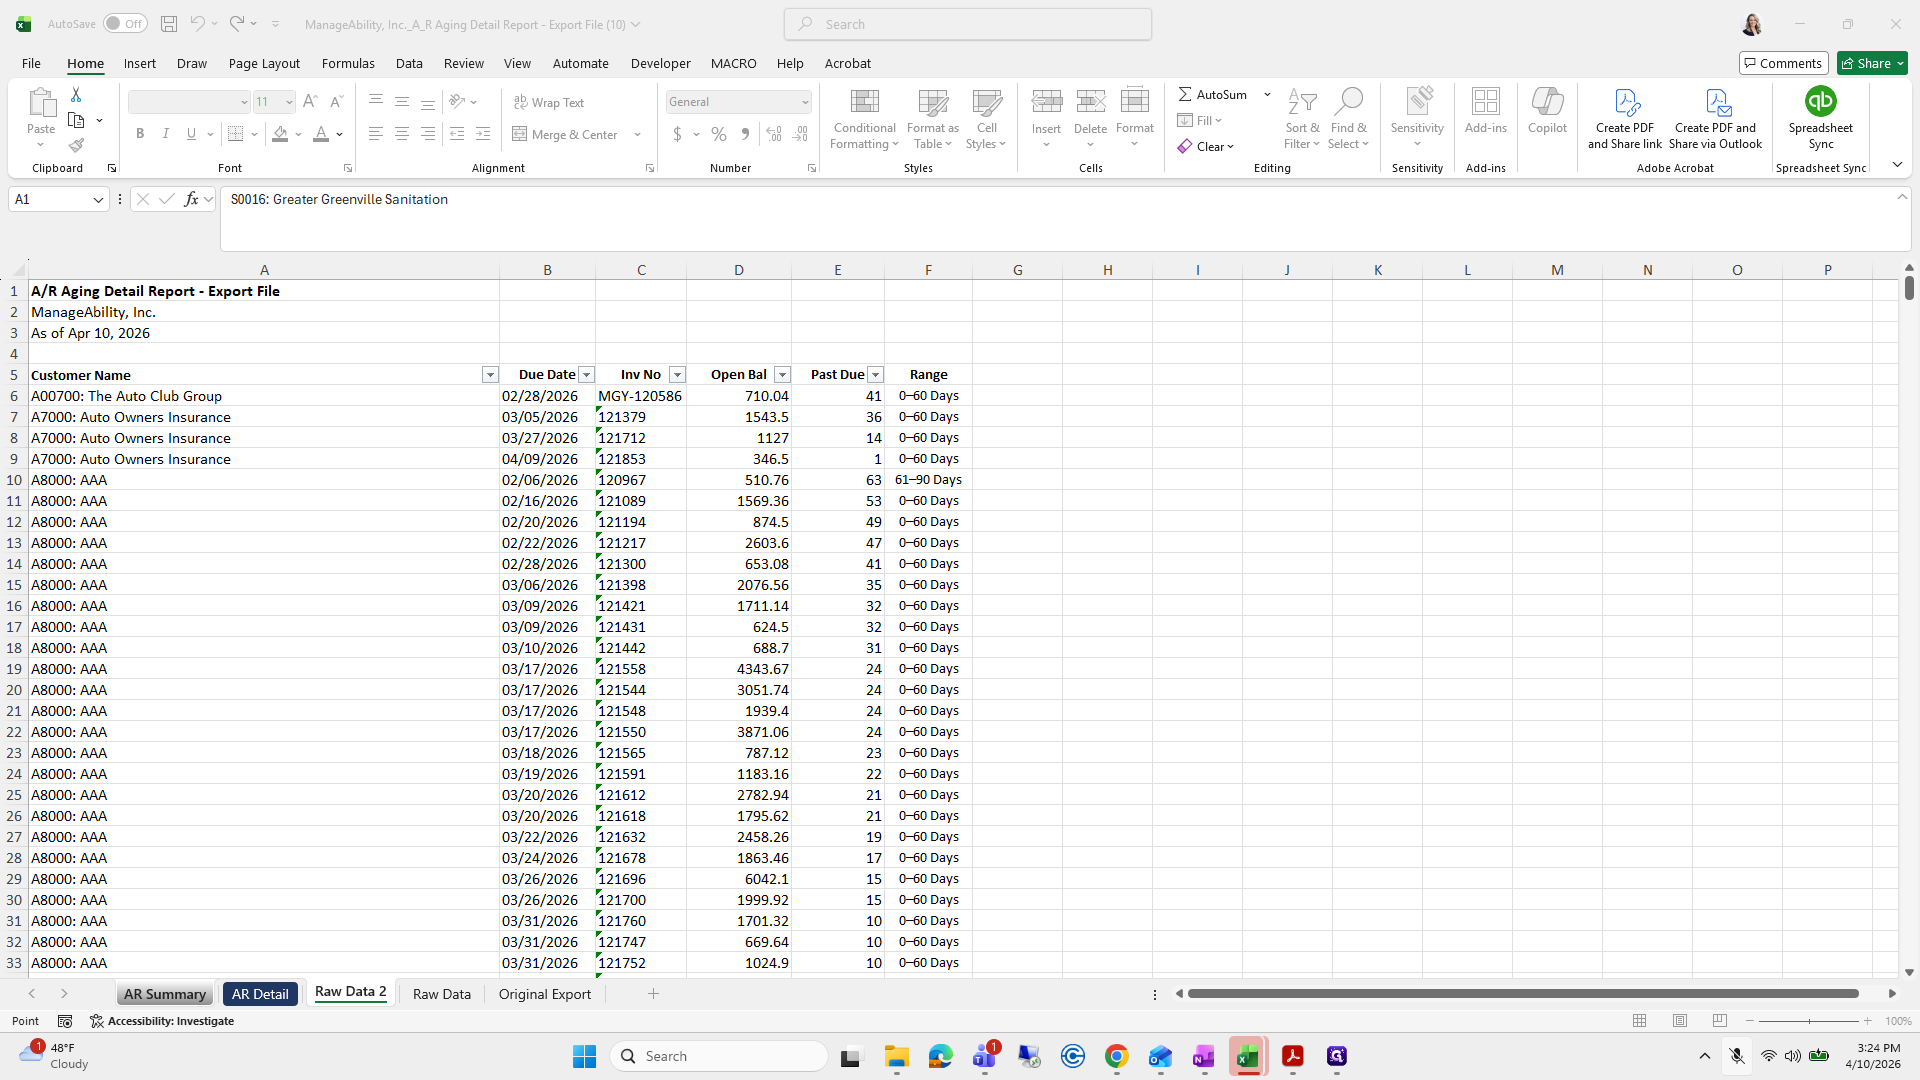
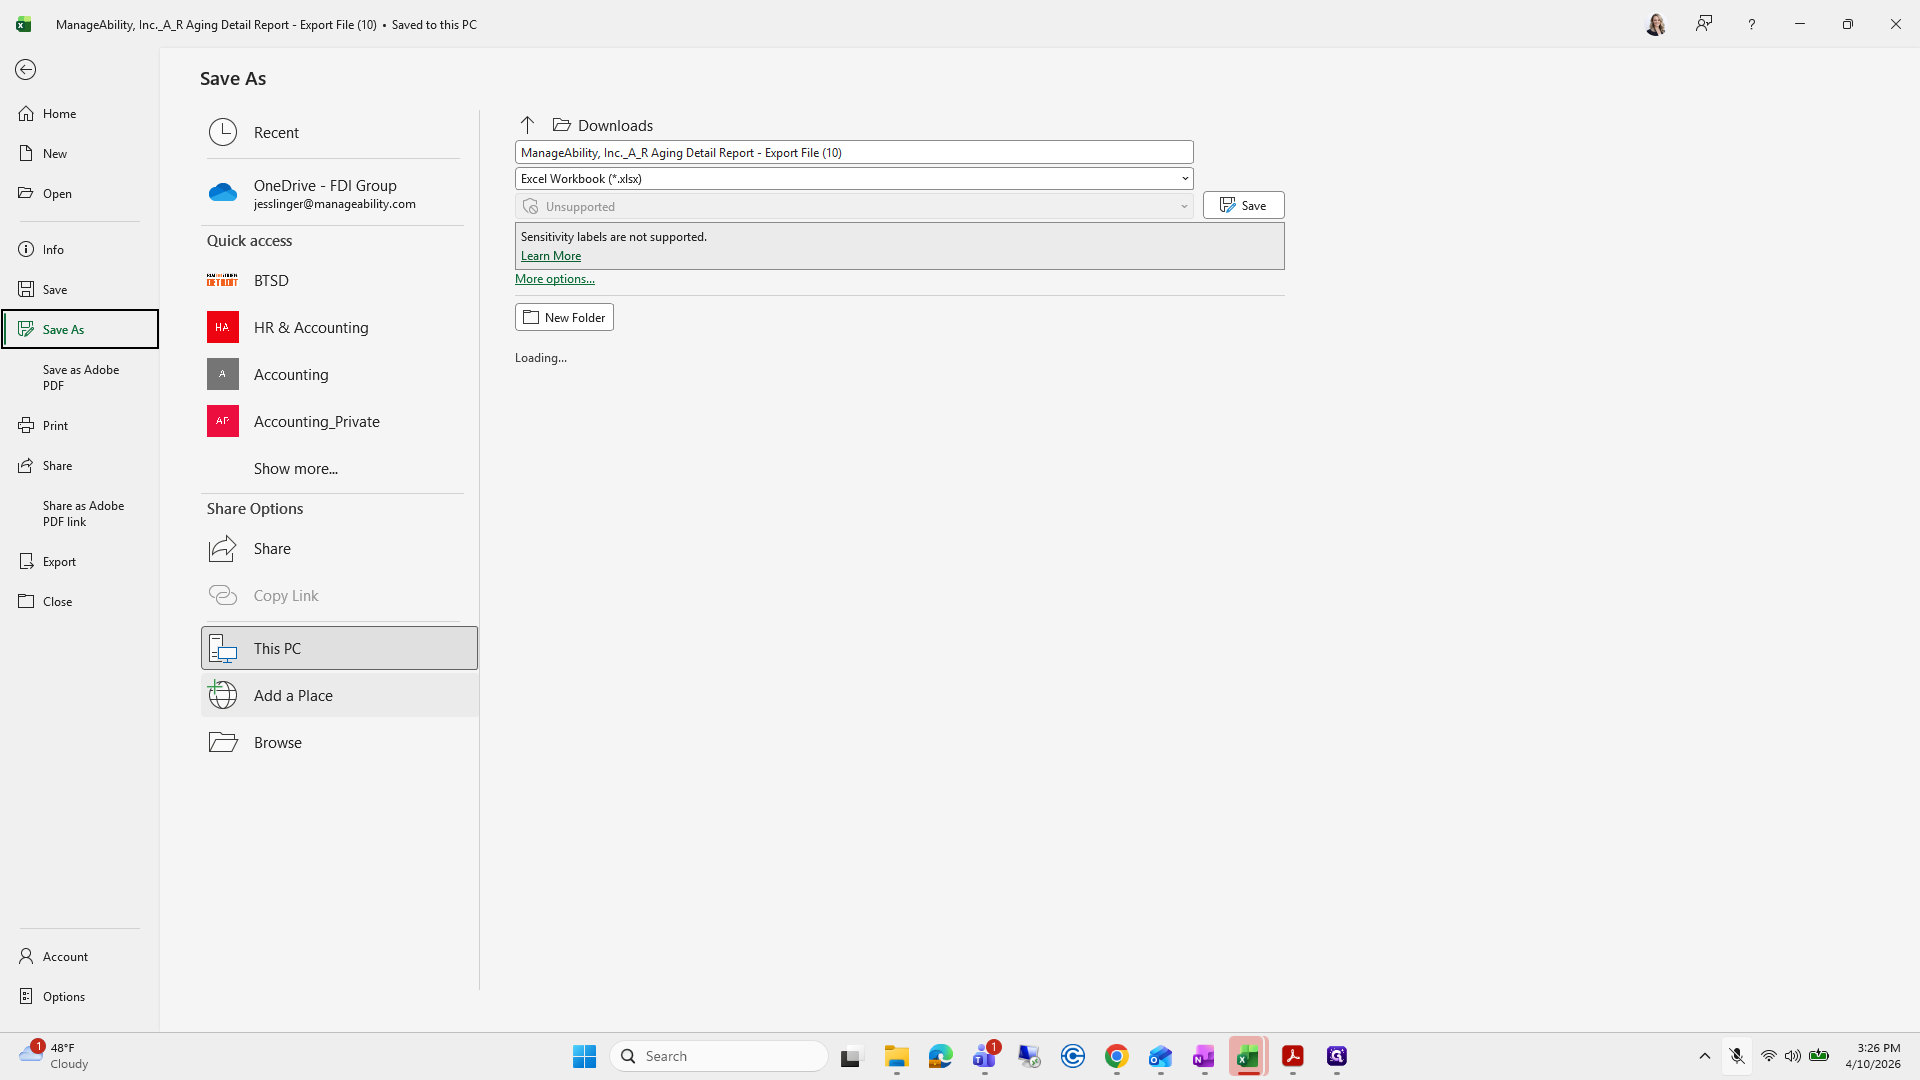
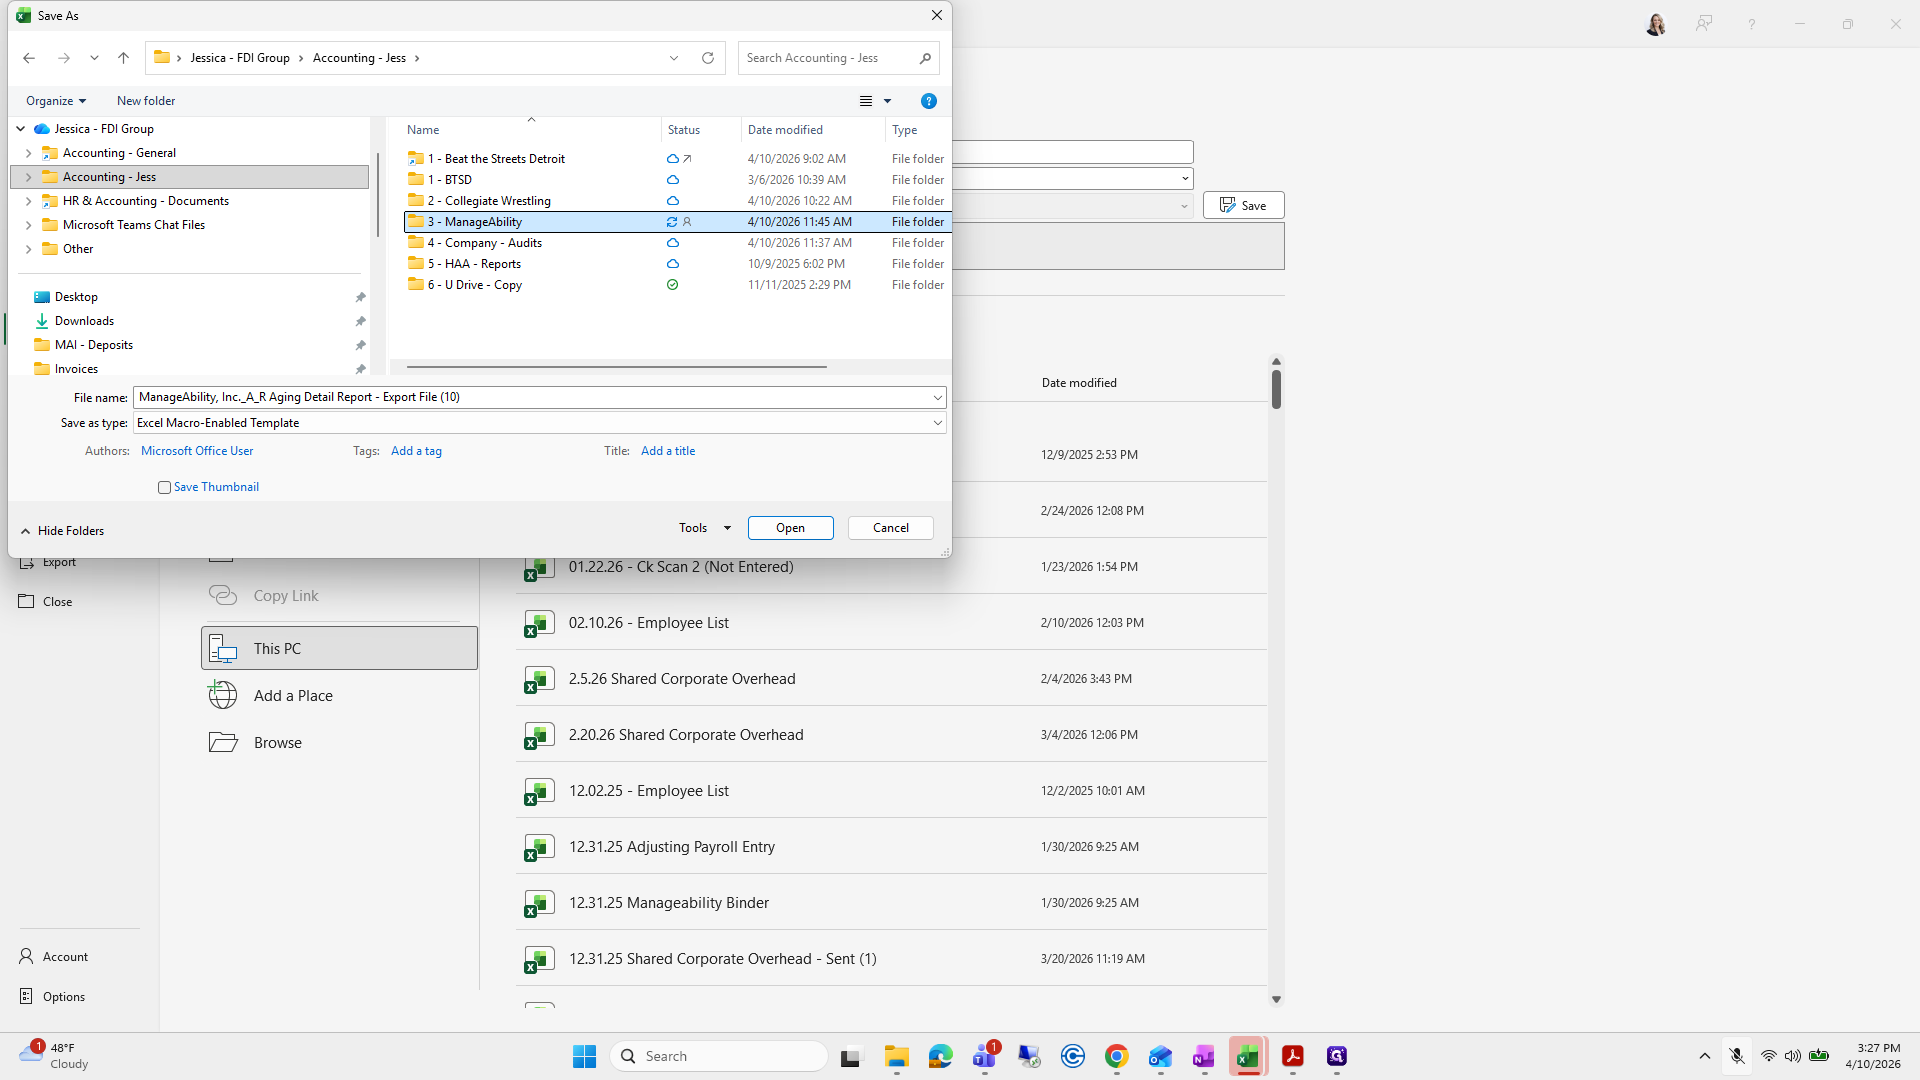
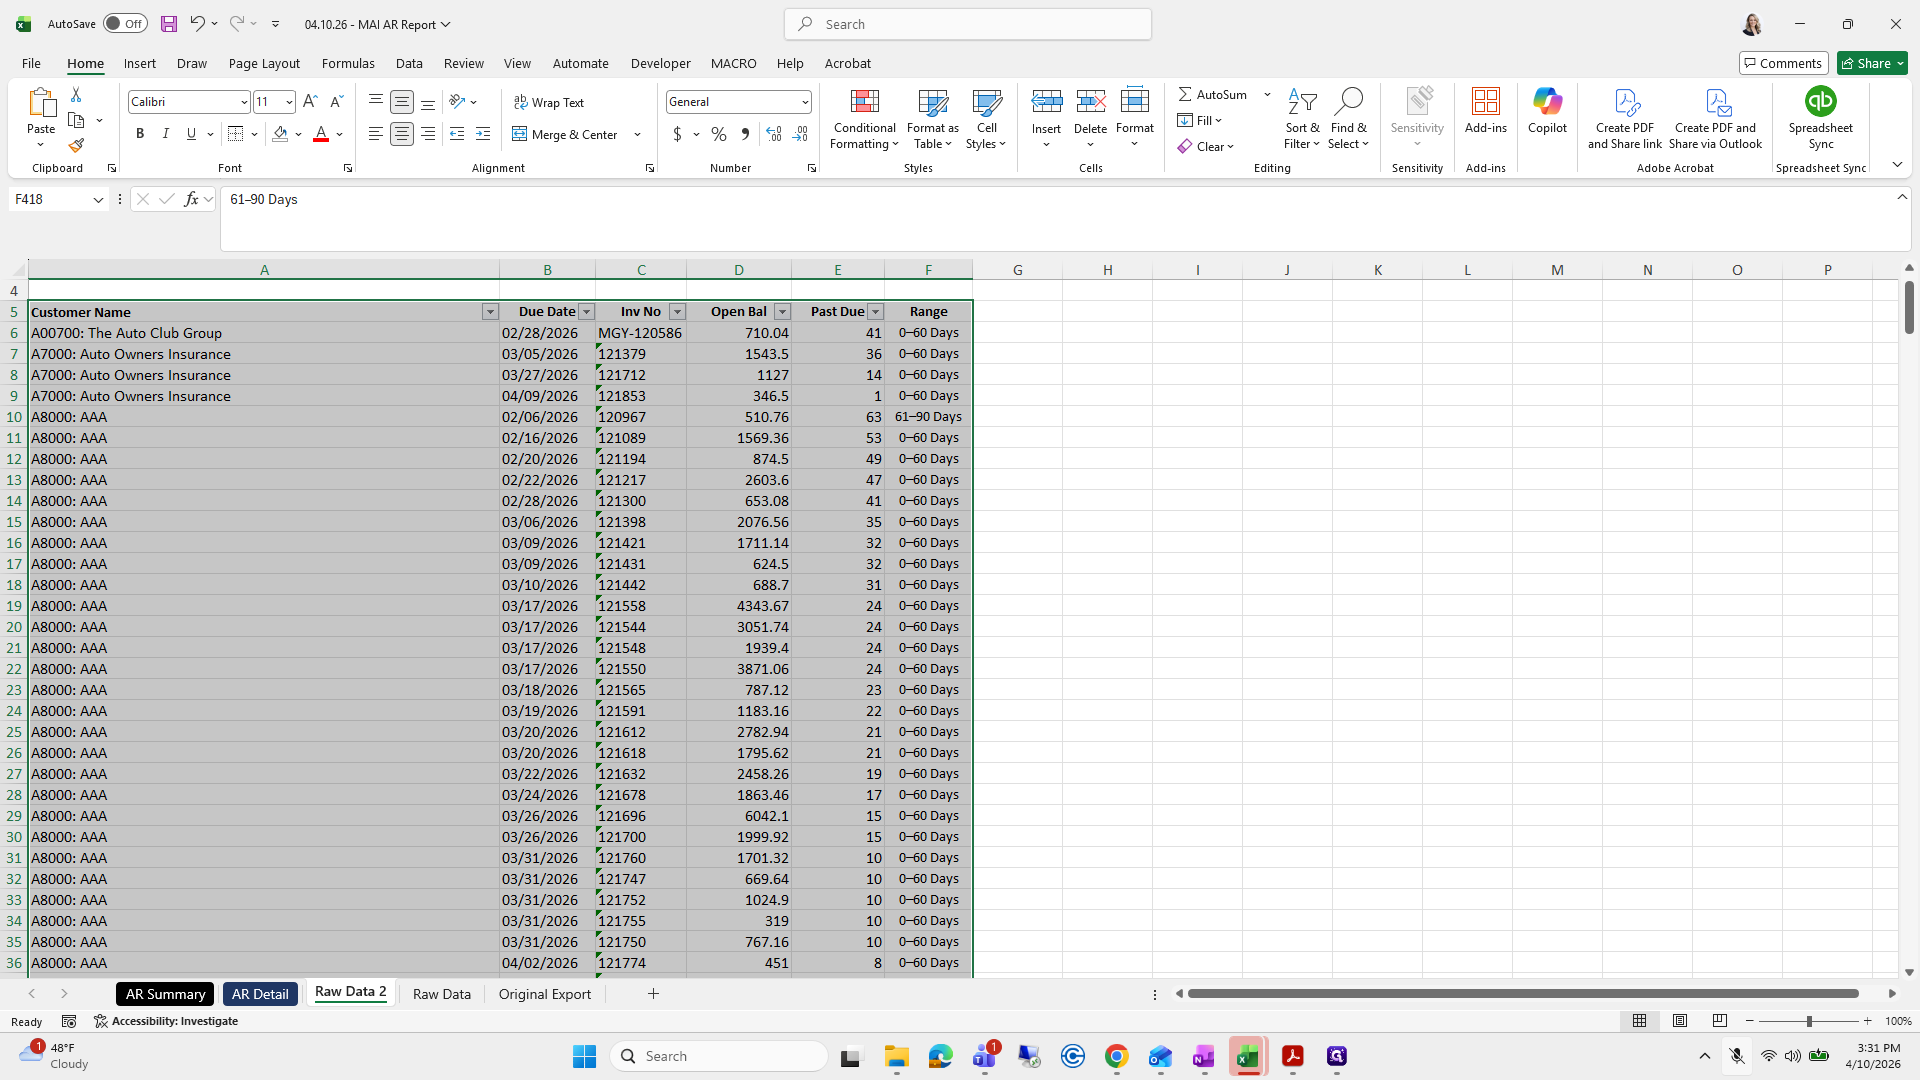
Go to Reports, then Custom Reports. Find the AR Aging Detail Report Export File.
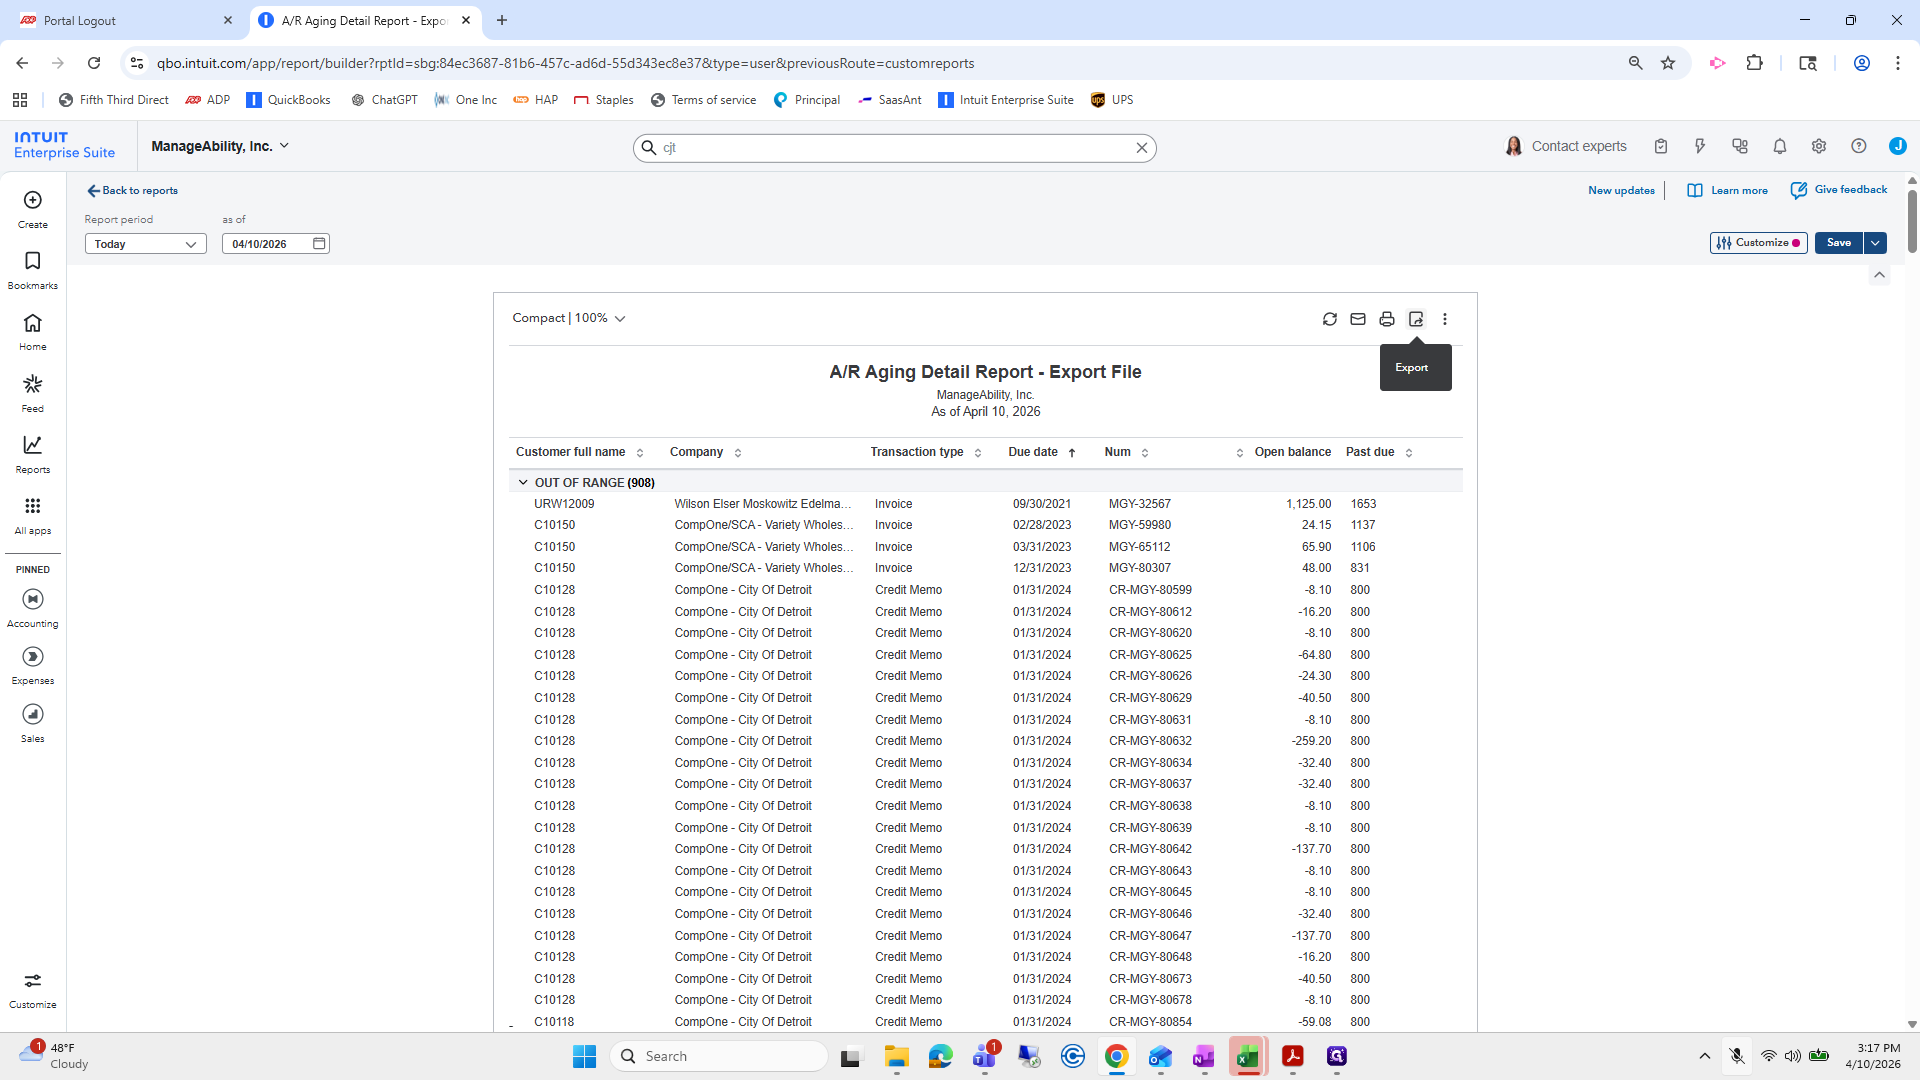
We are going to run it. I could have just clicked Run on the side, but I prefer to do it manually.
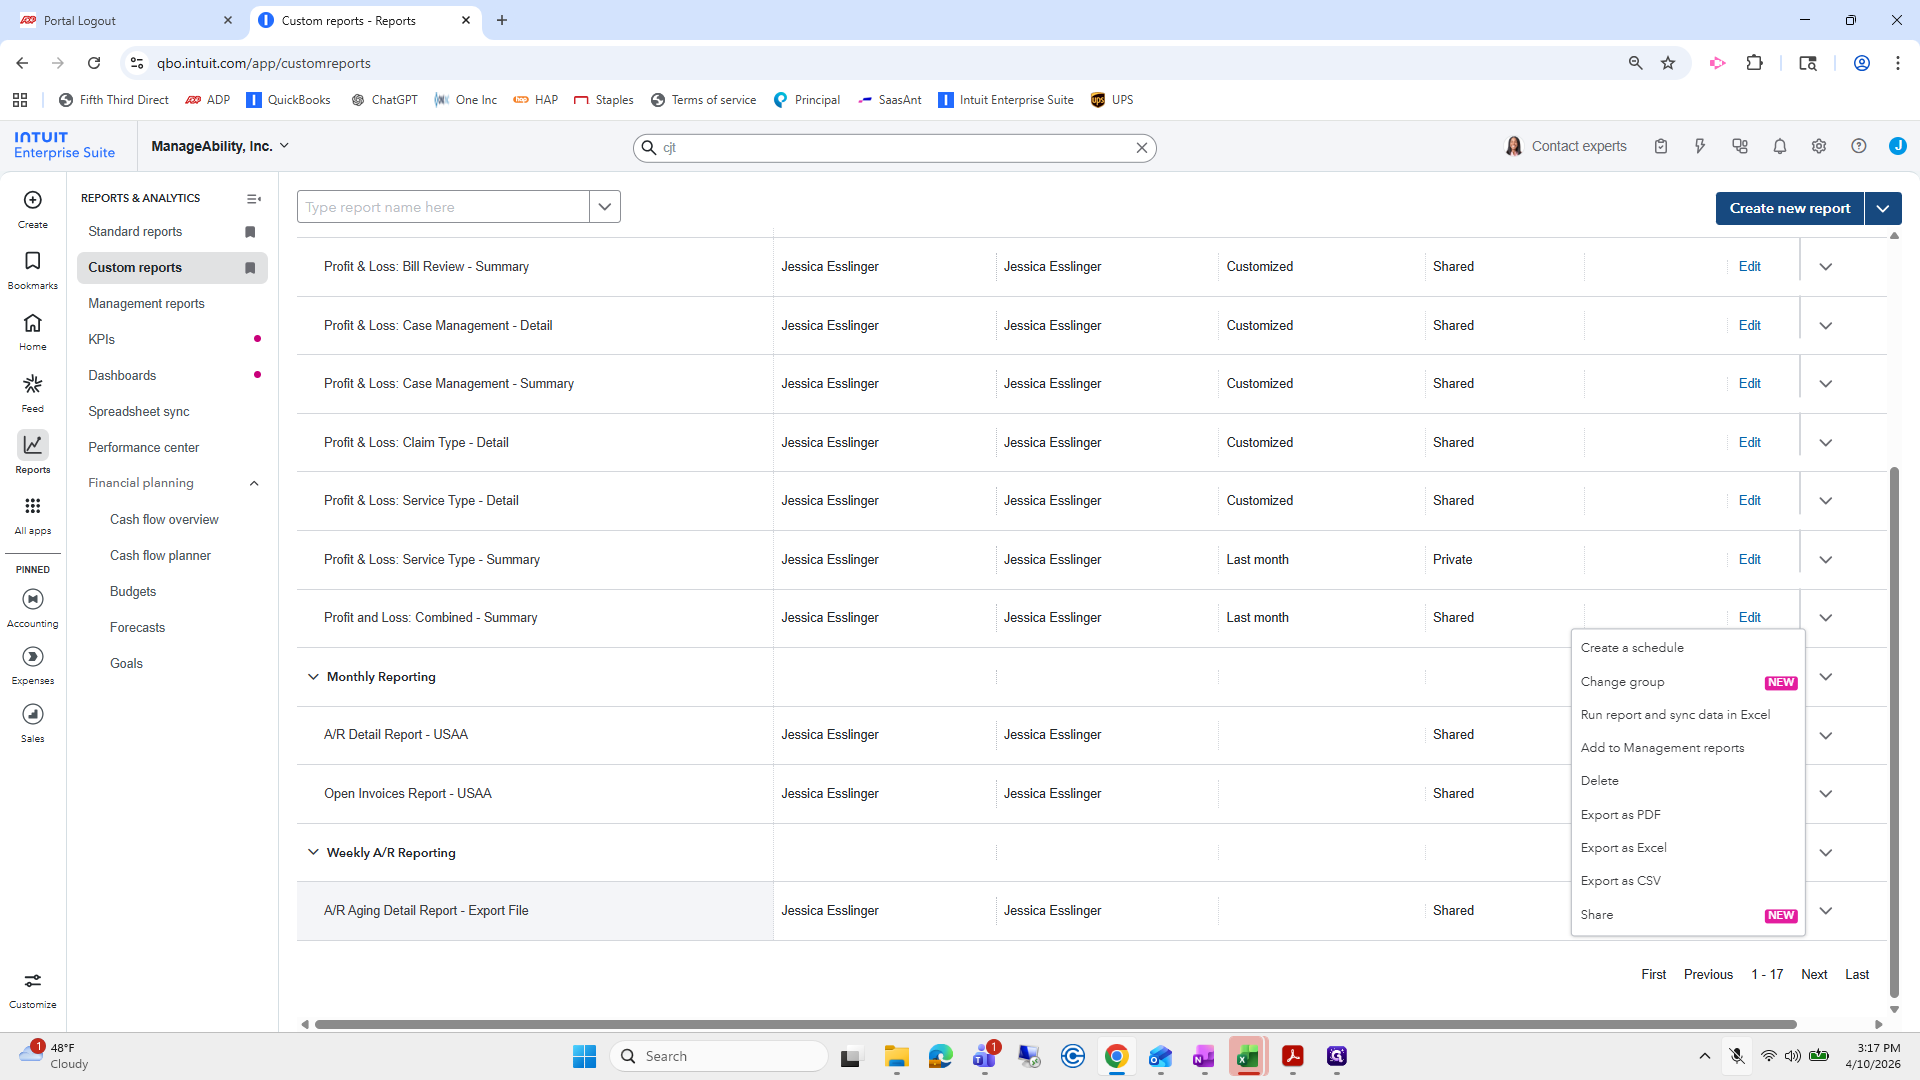
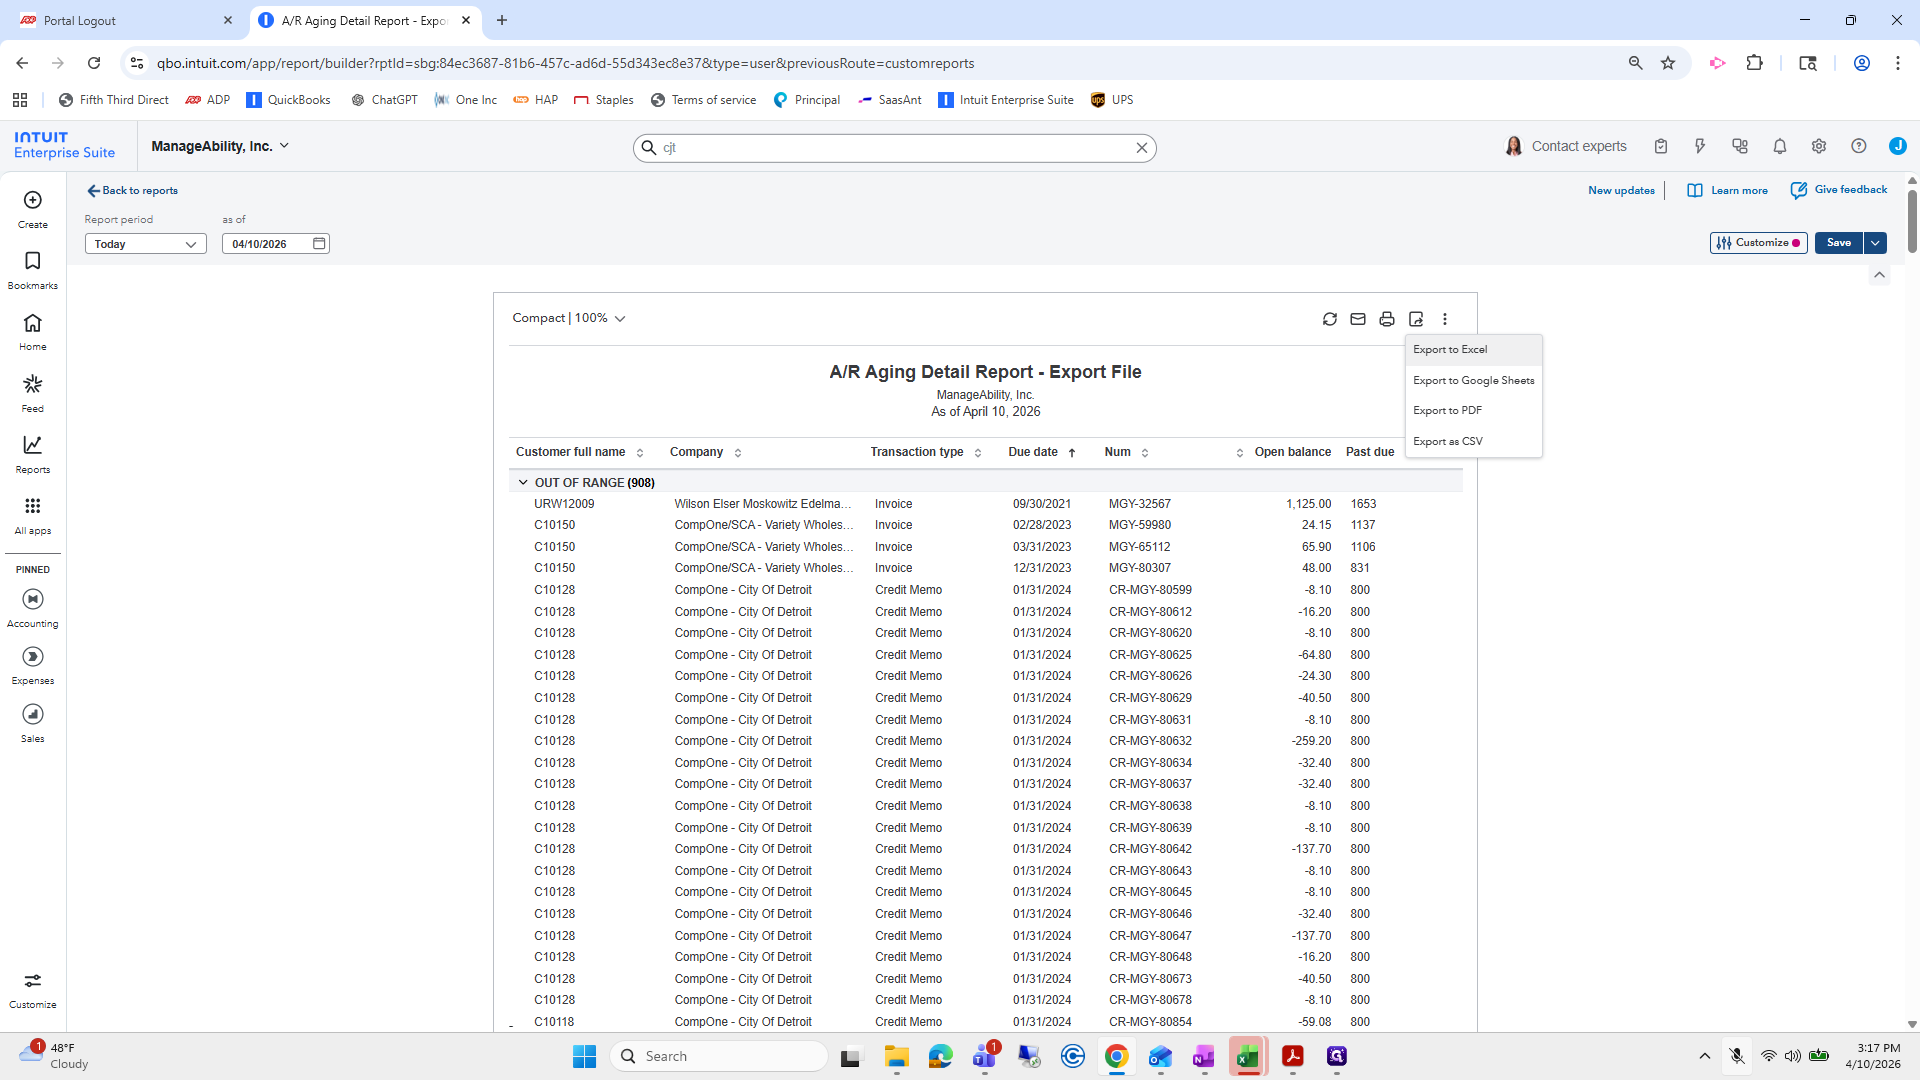
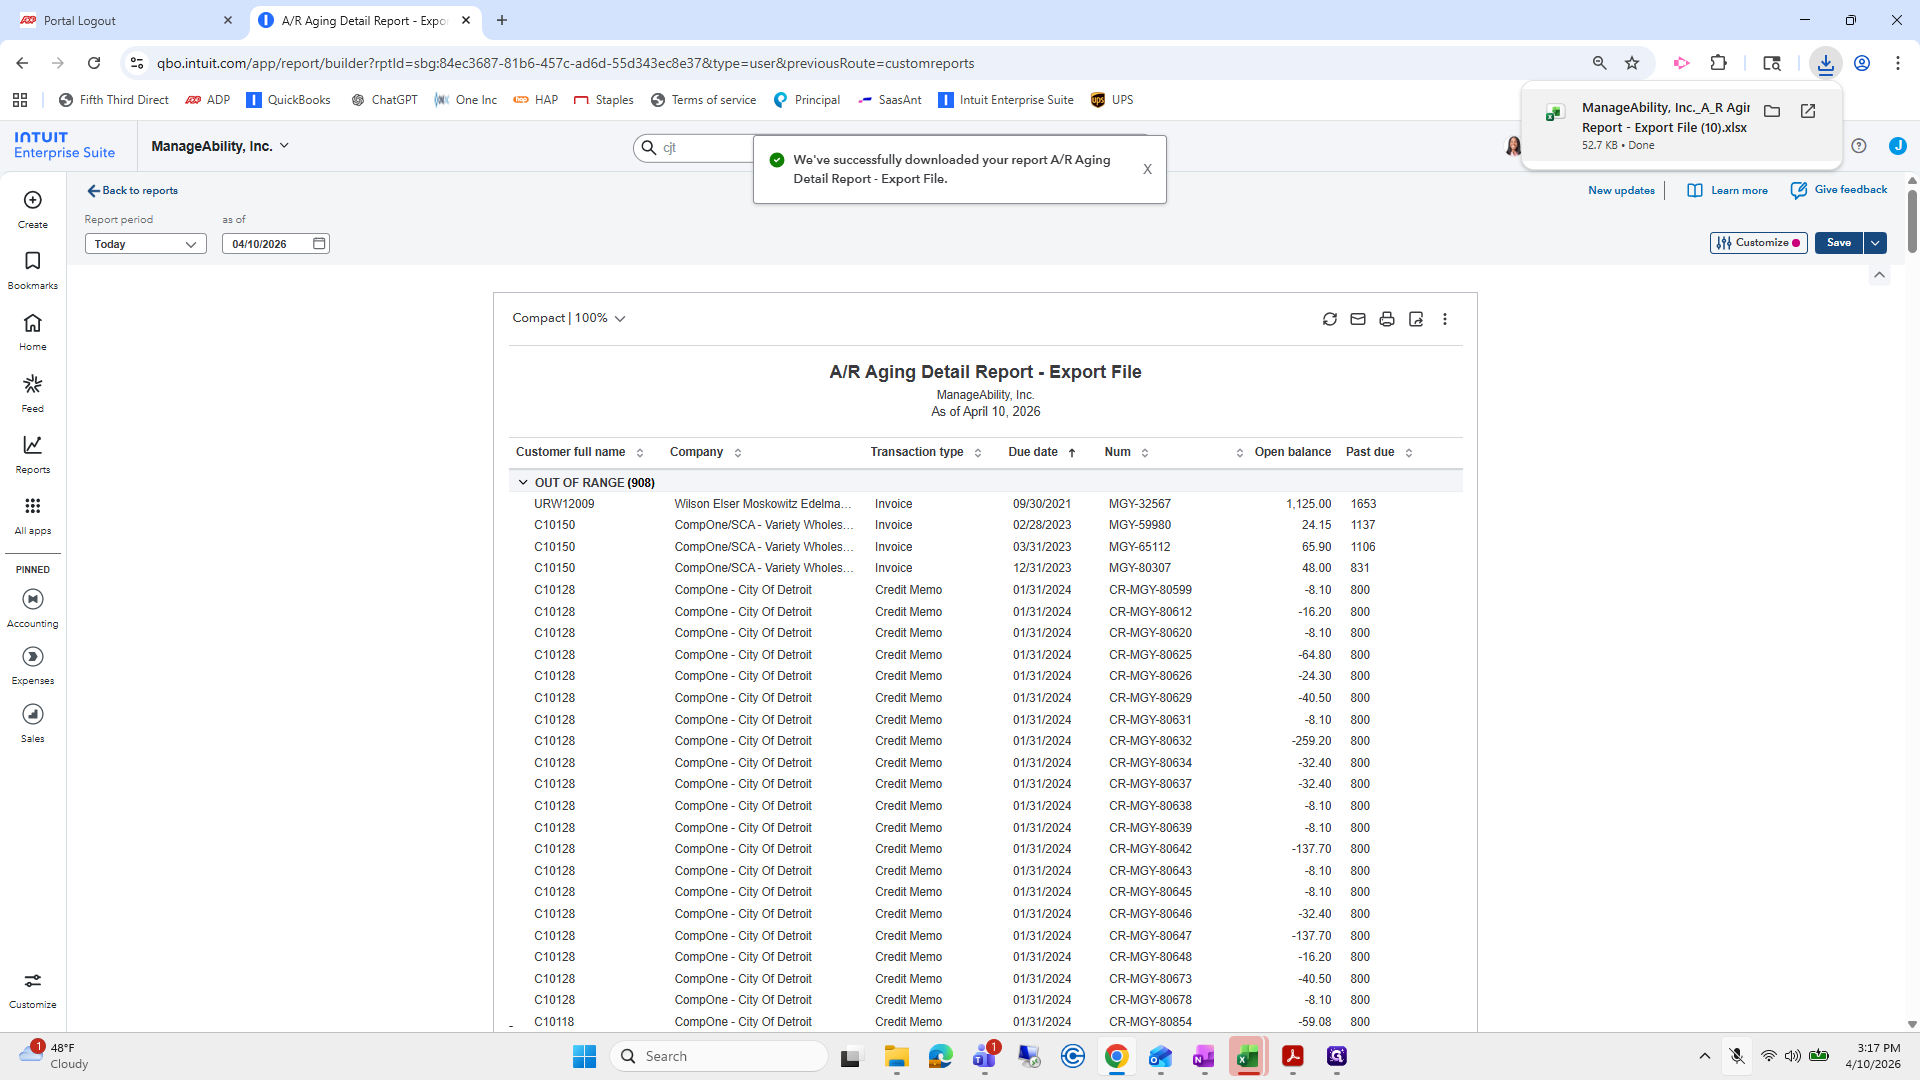
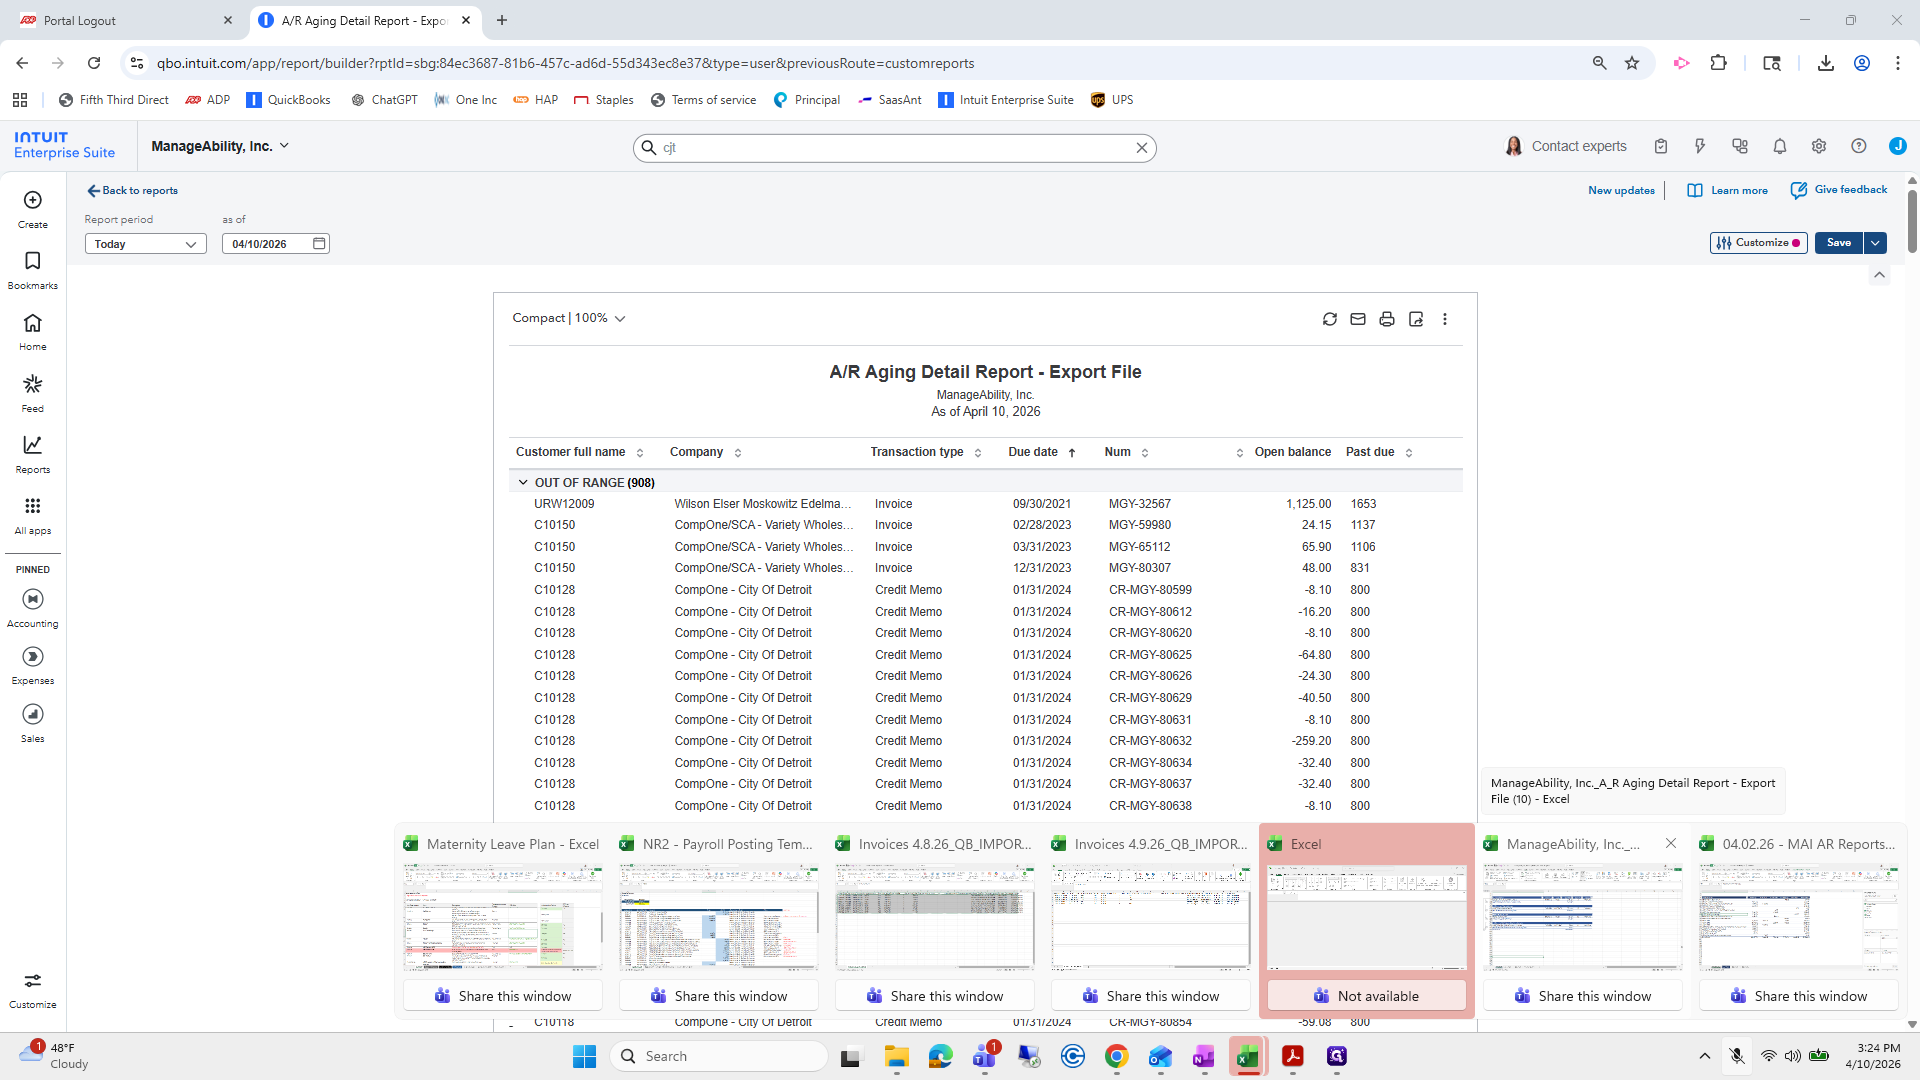
We will export using Excel instead of CSV. Excel is recommended because using tabs in CSV can cause you to lose your work if you forget, which can be very frustrating.
That's harsh. . Okay.
I'll enable editing.
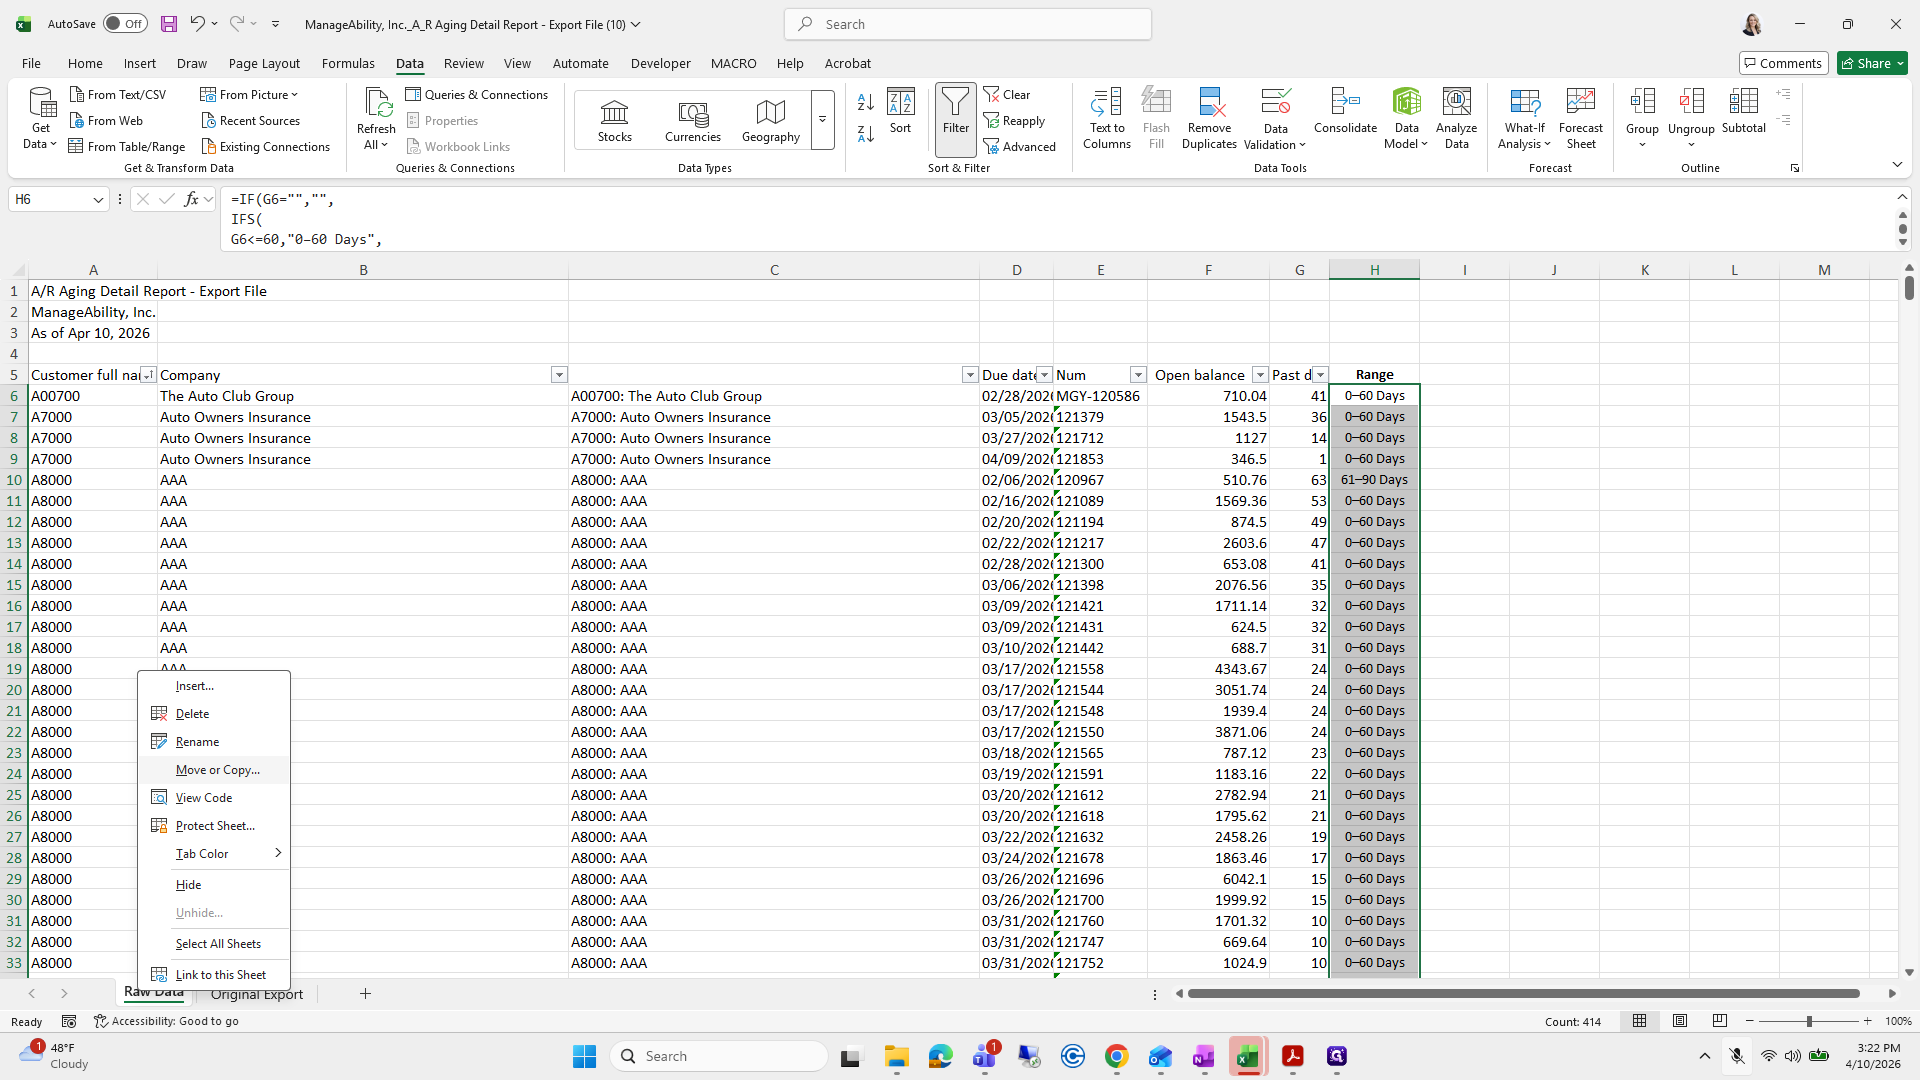
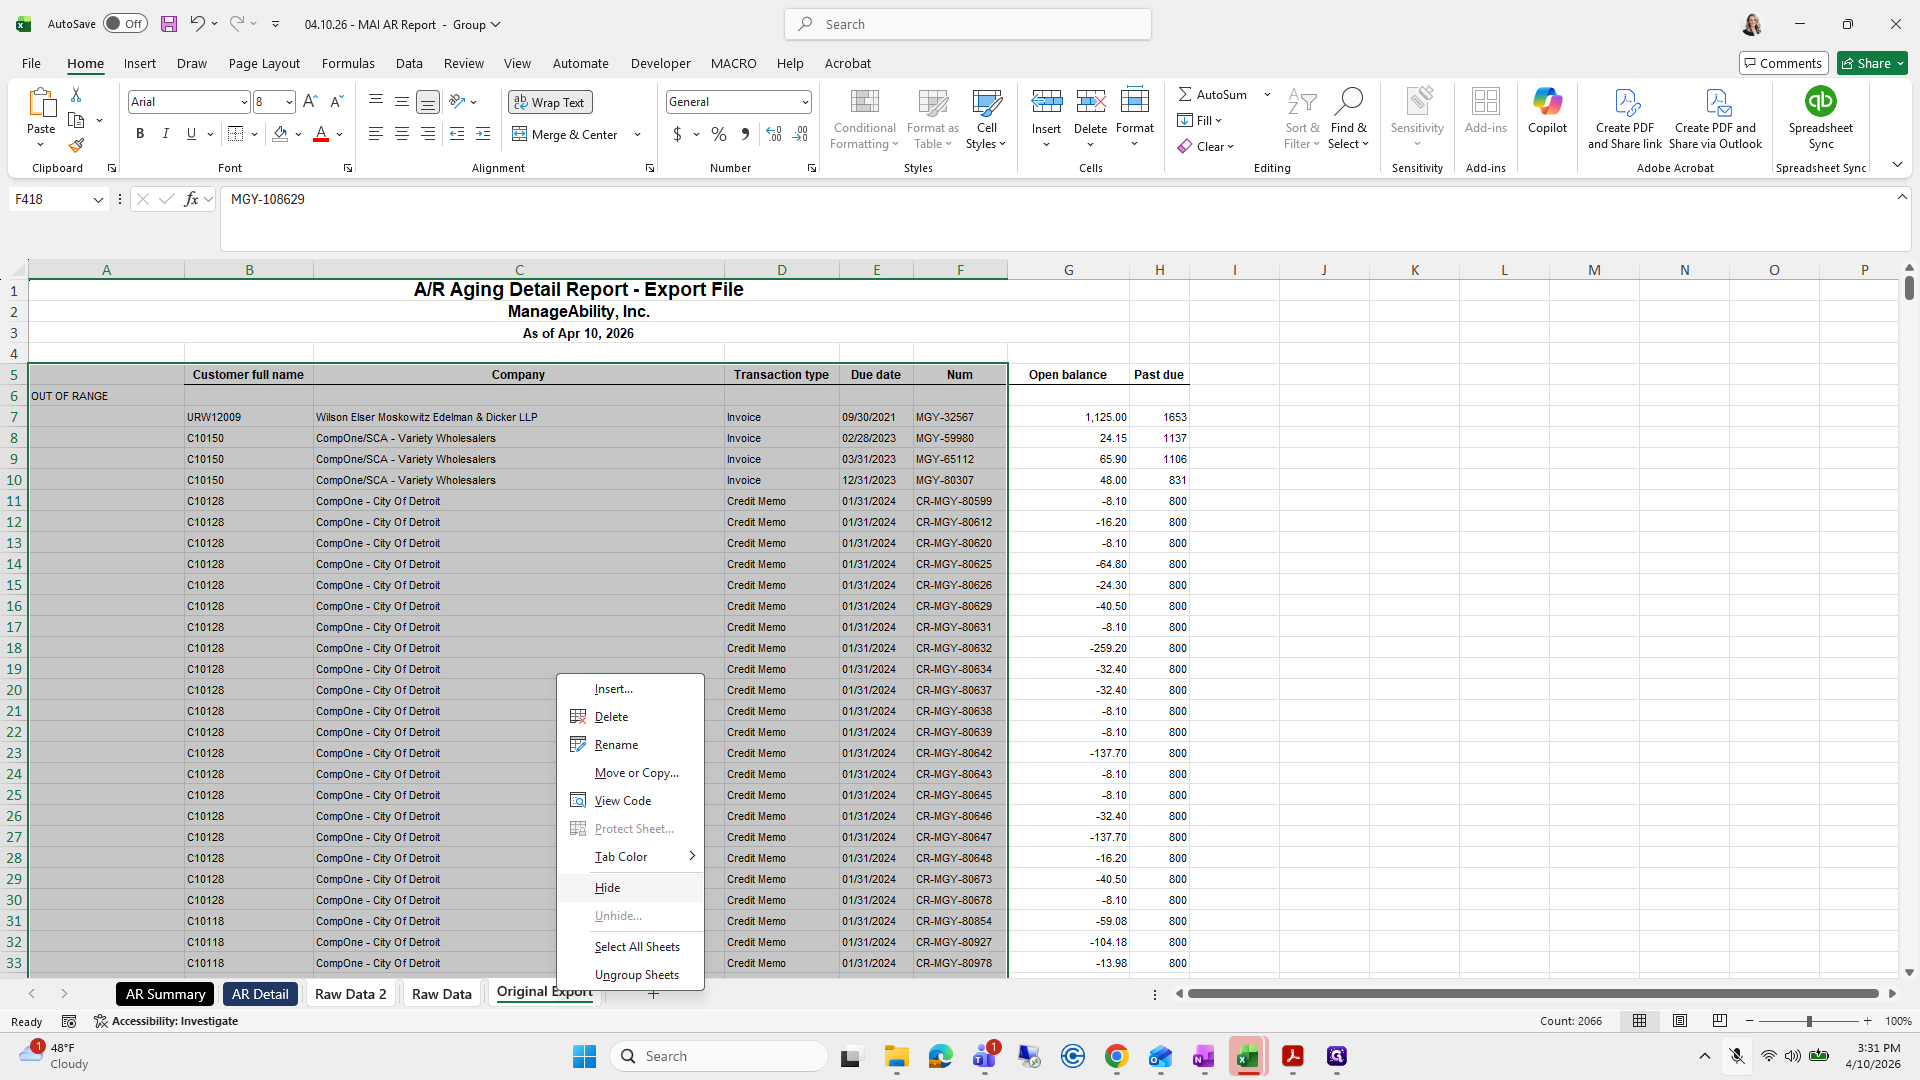
I'll label this one as Original Export.
I'll leave that as it is. Sometimes I make mistakes.


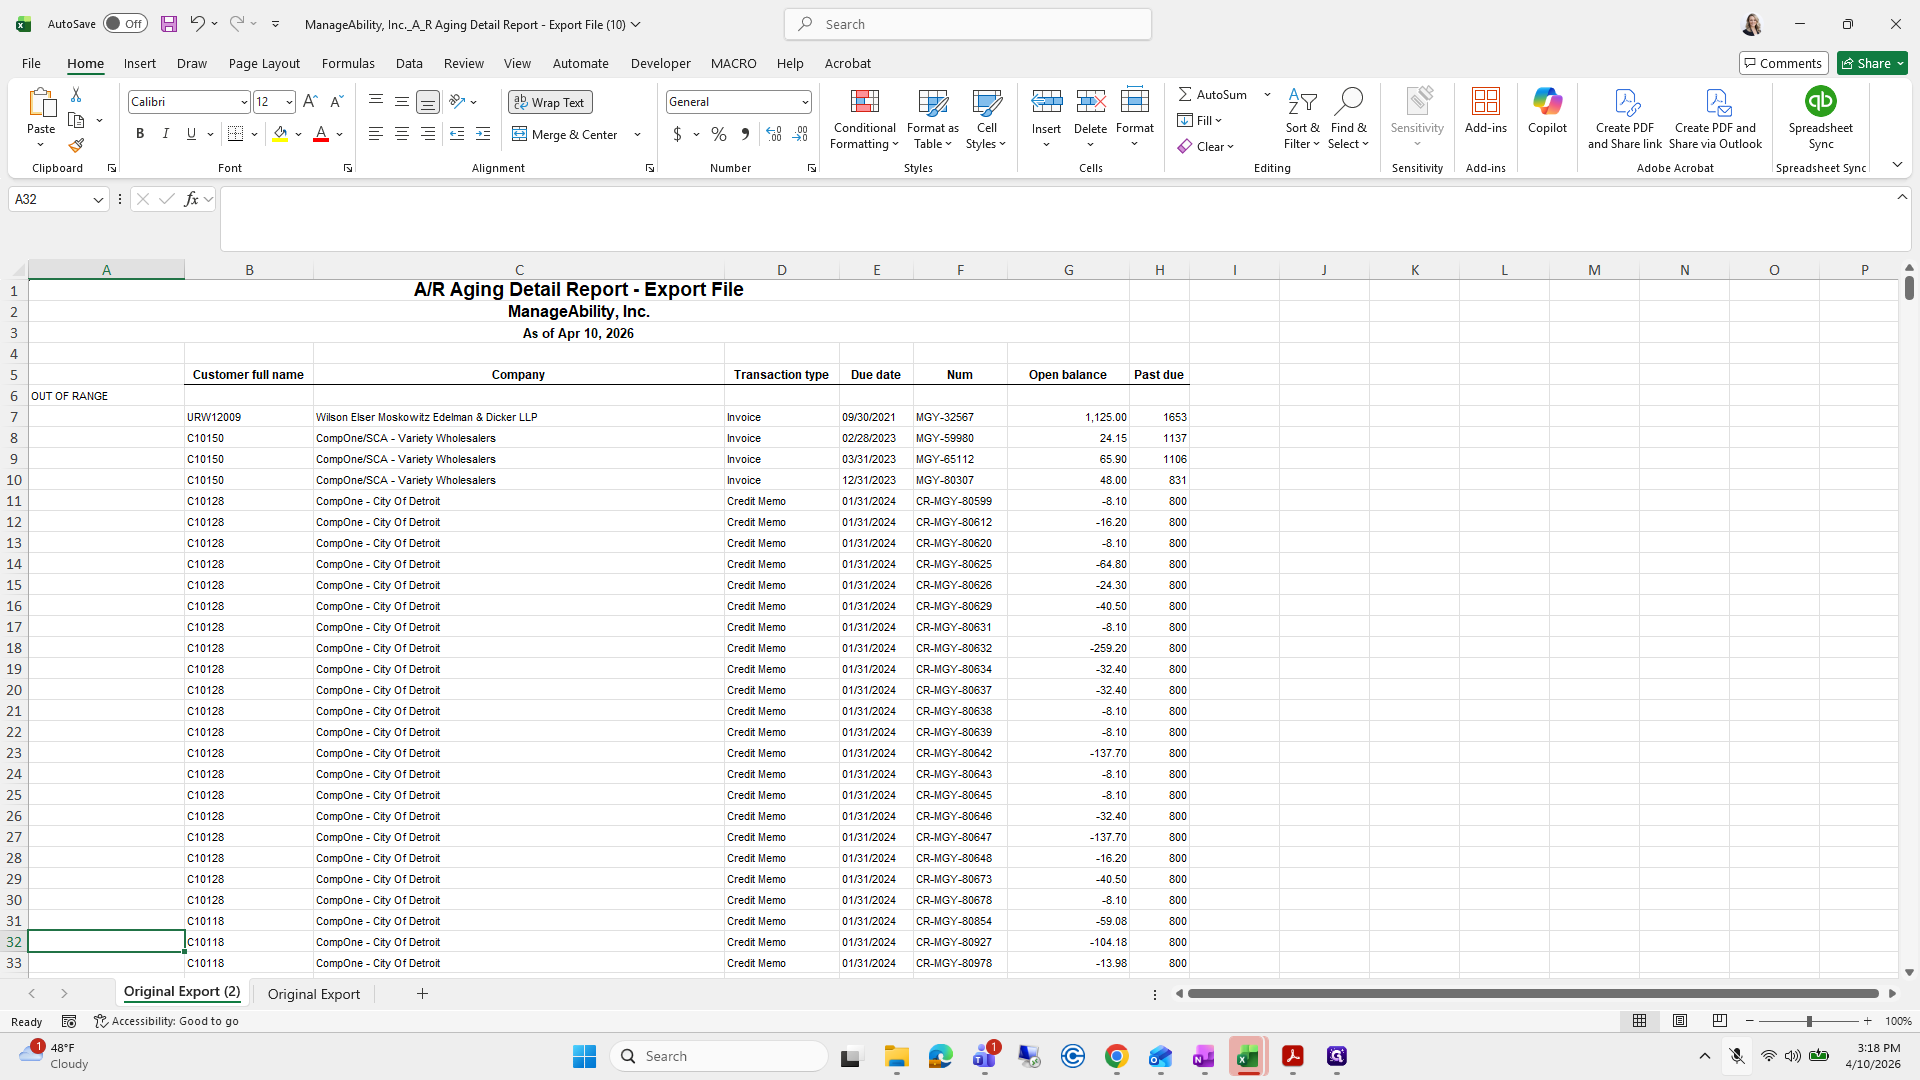
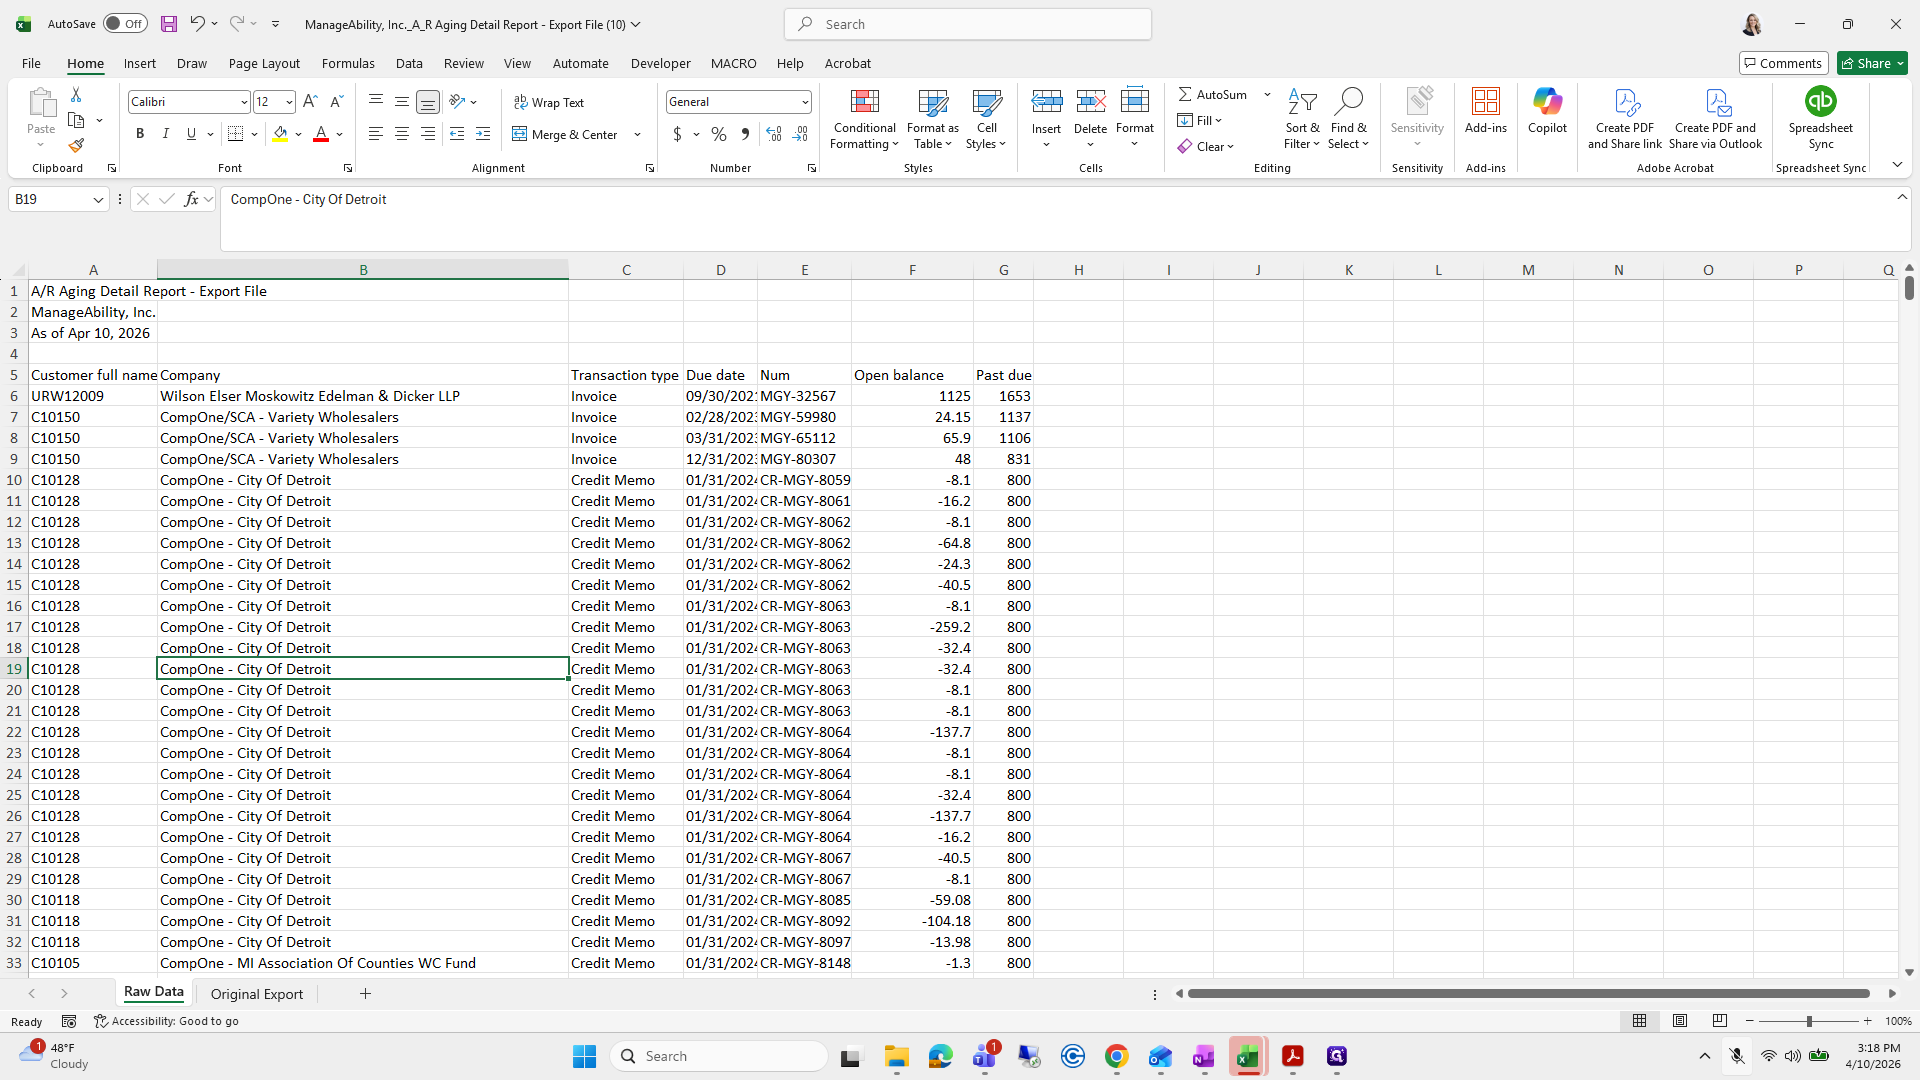
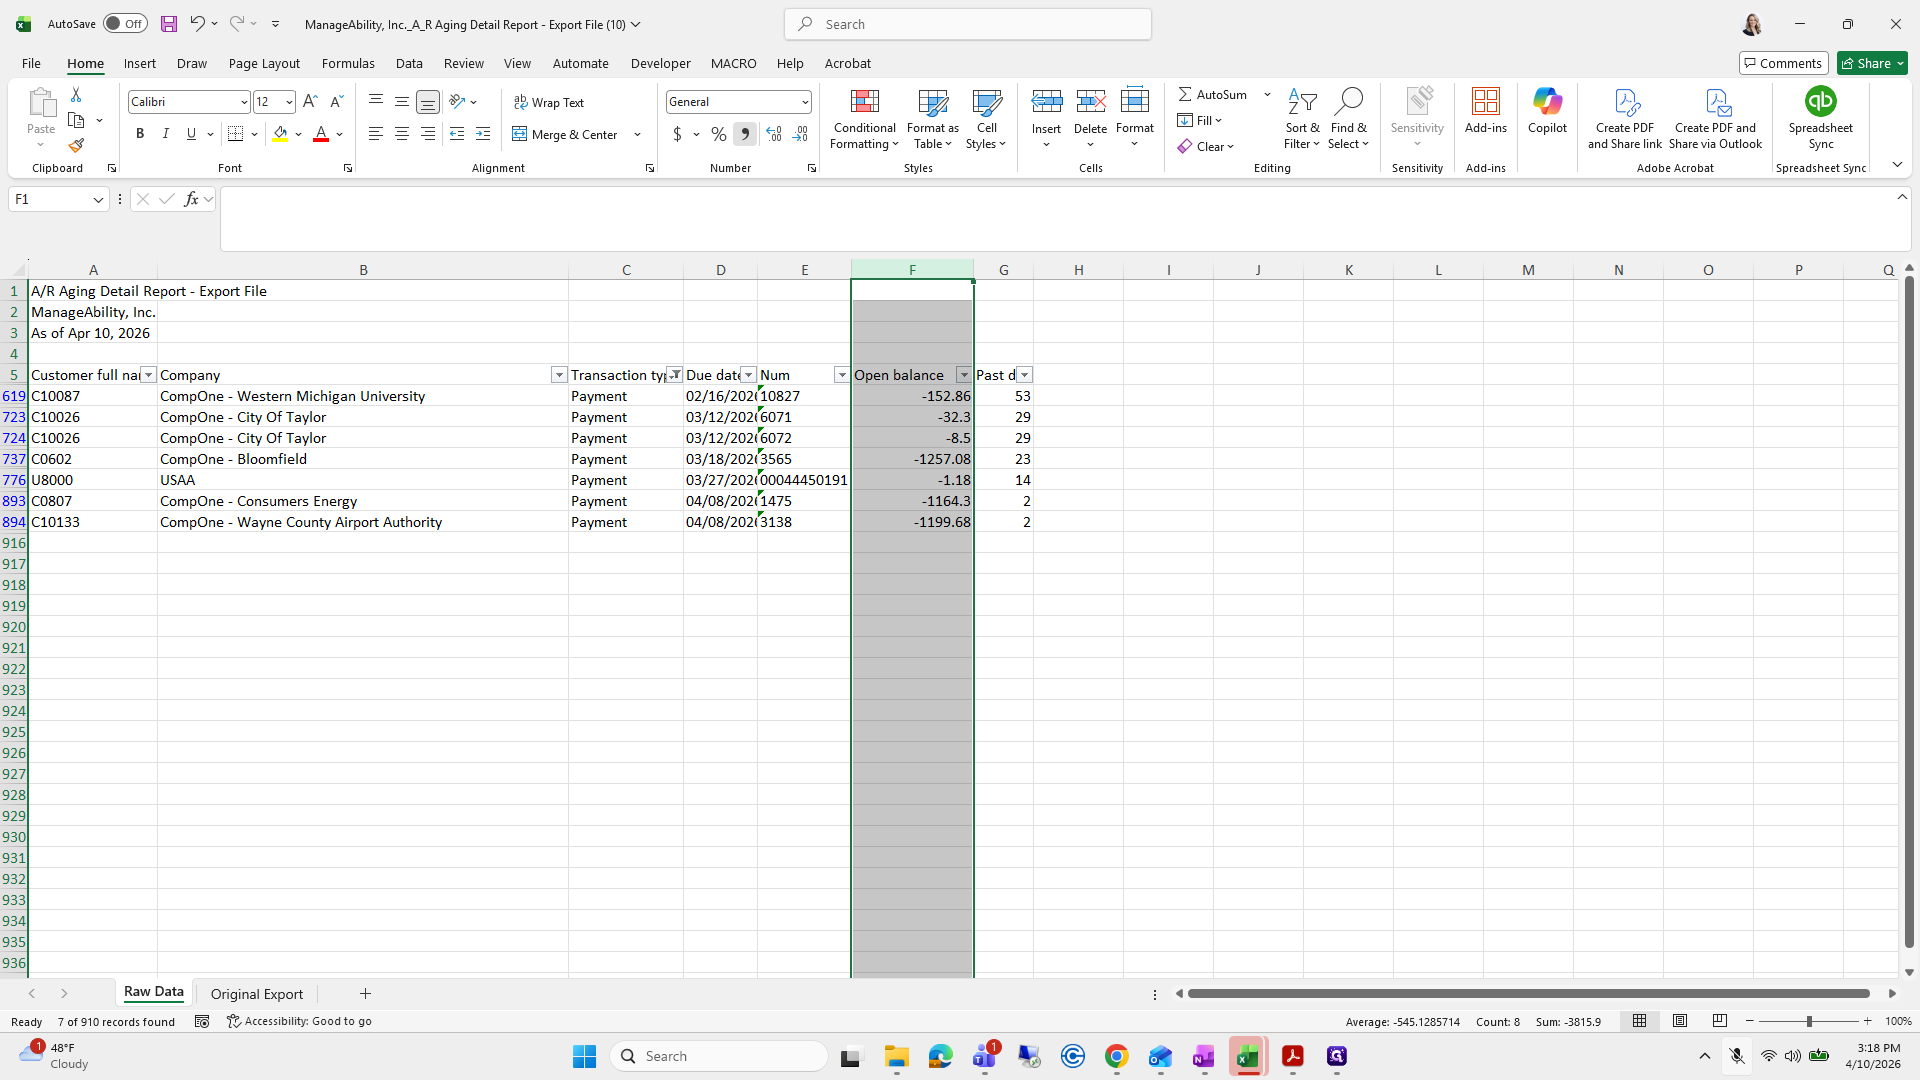
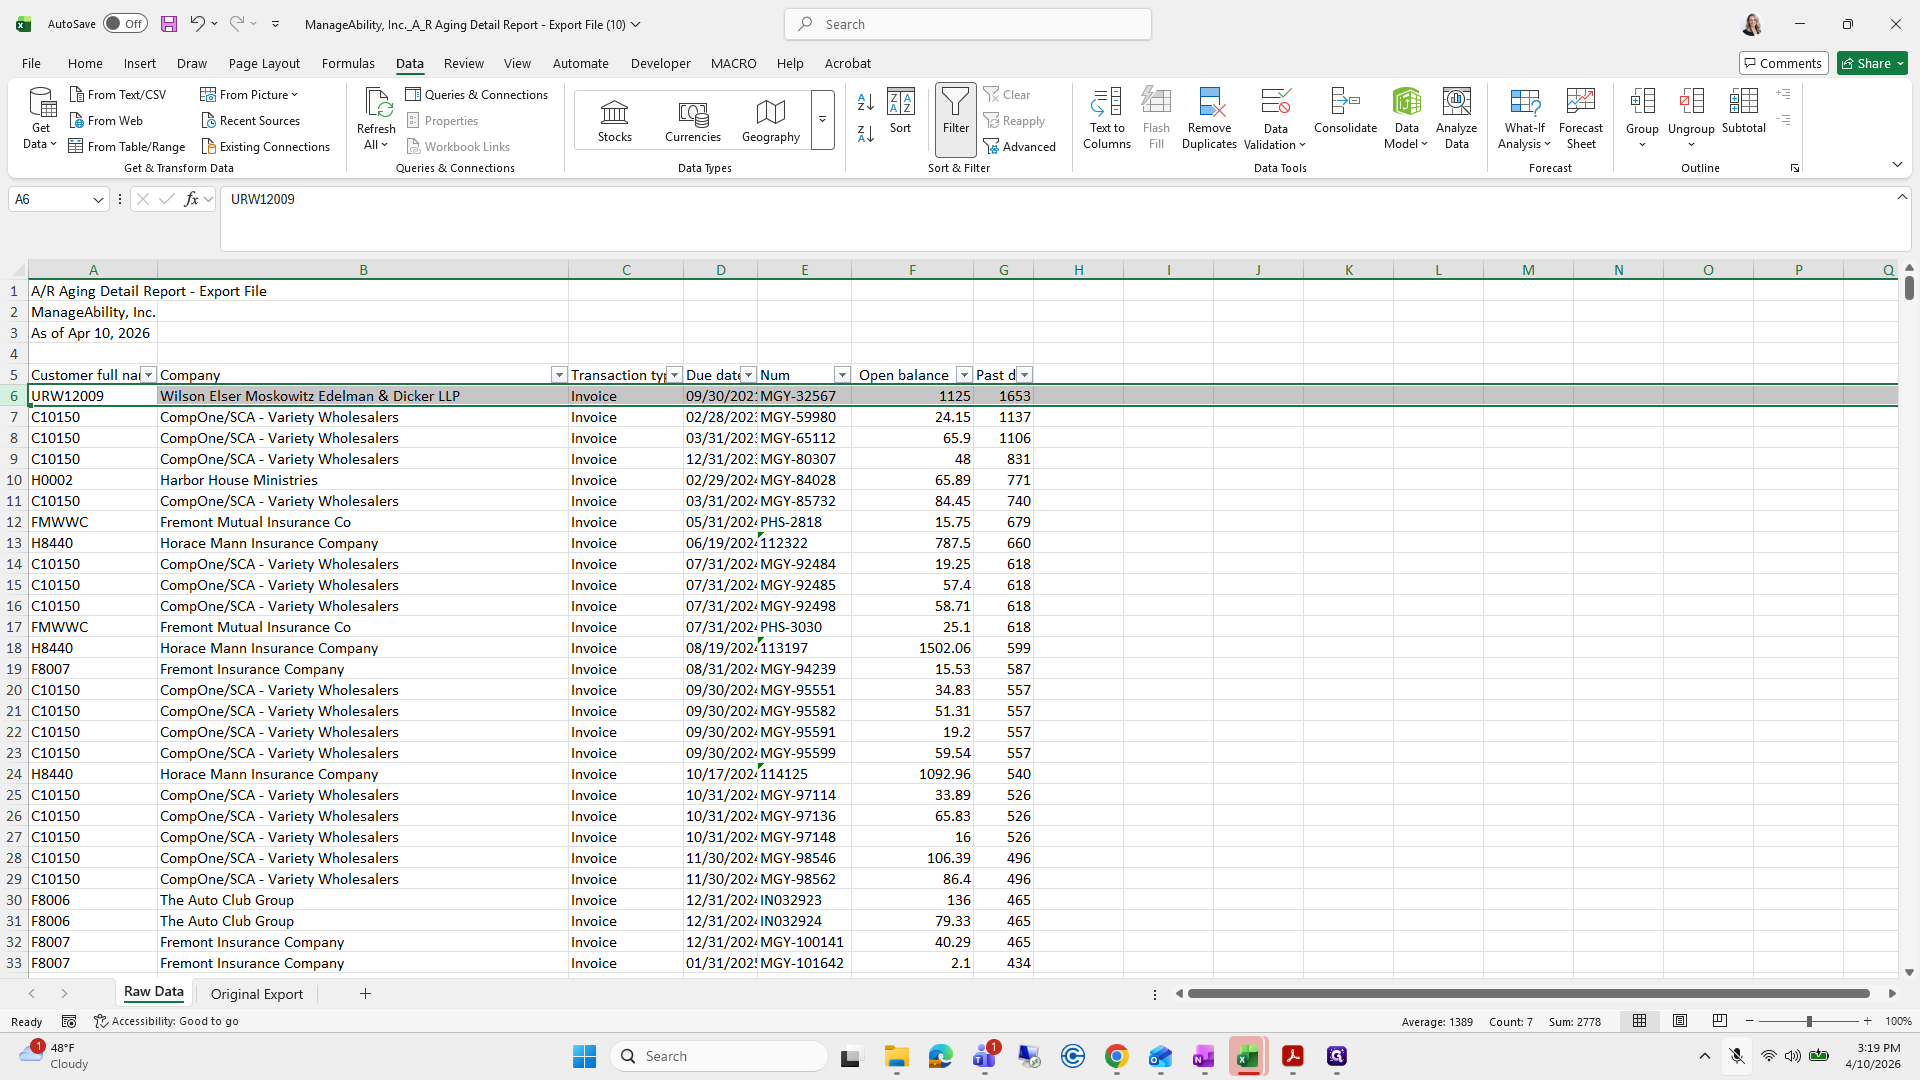
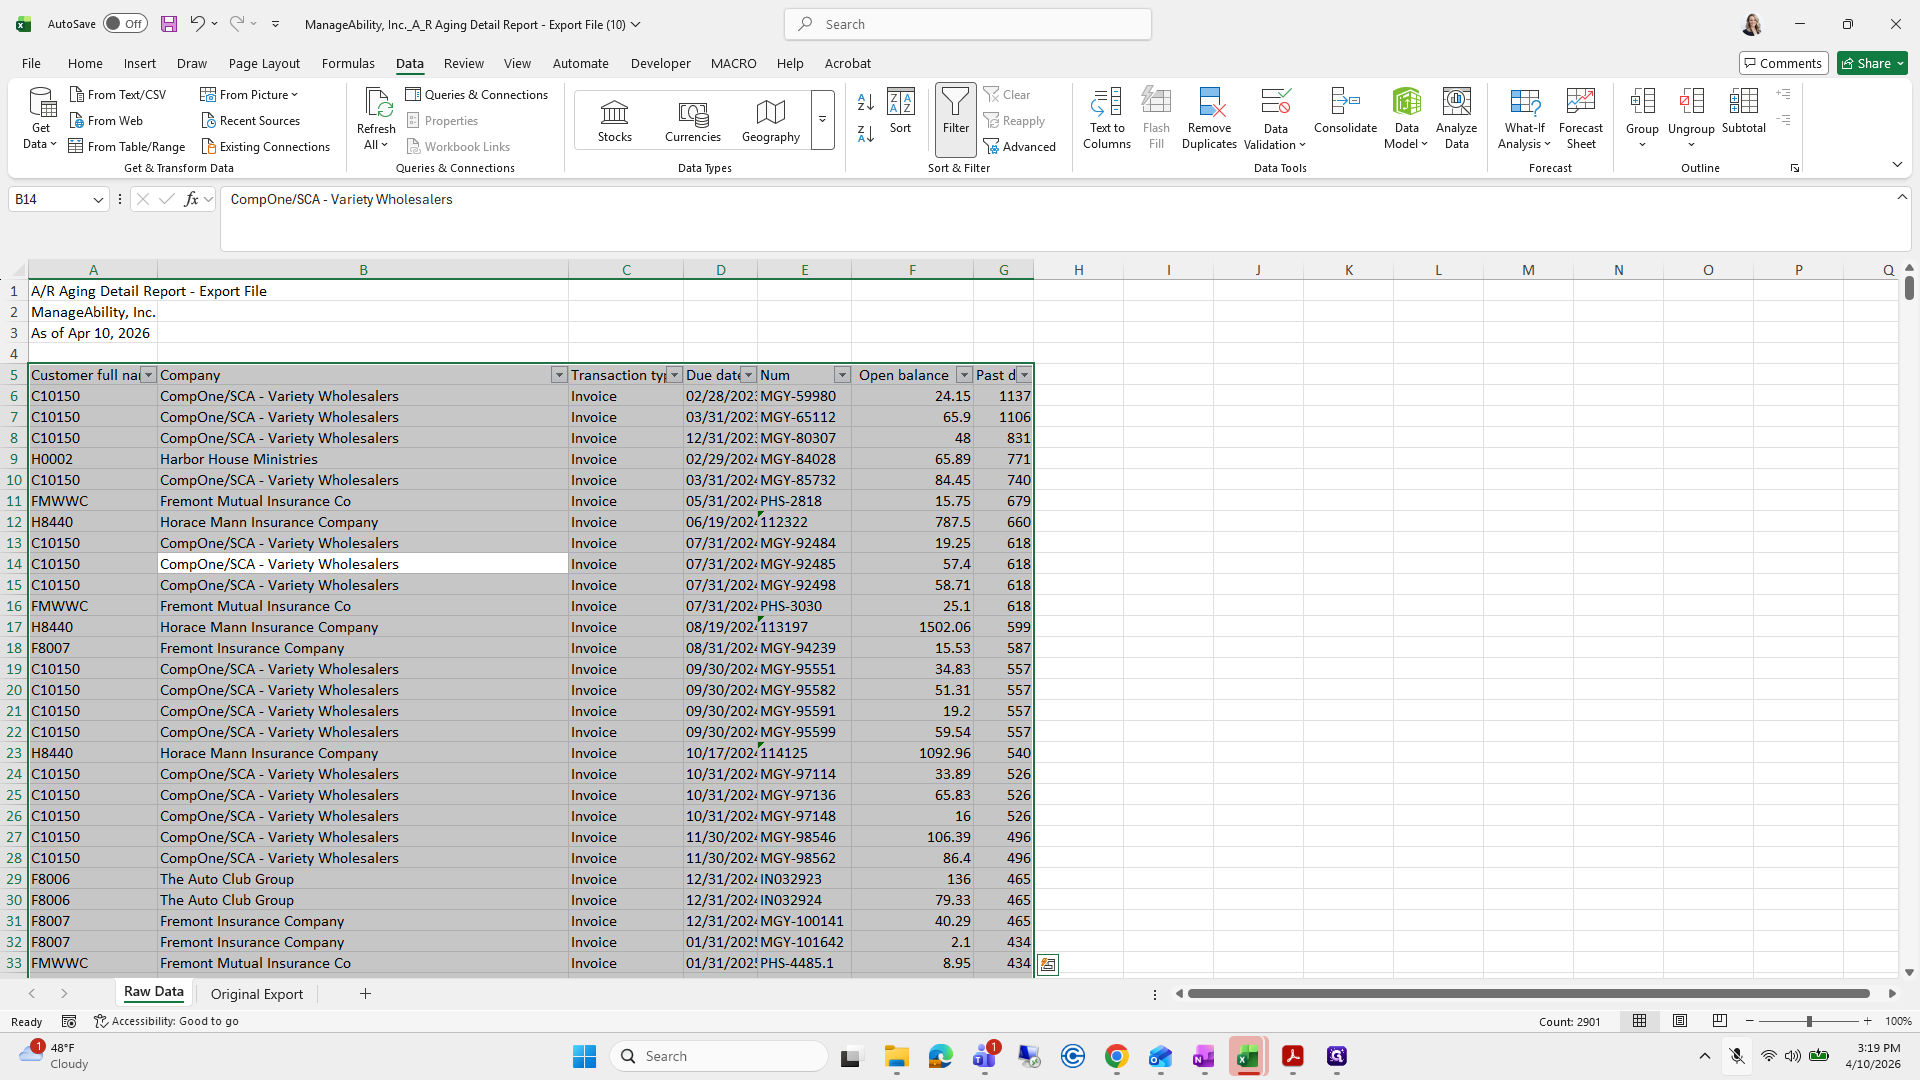
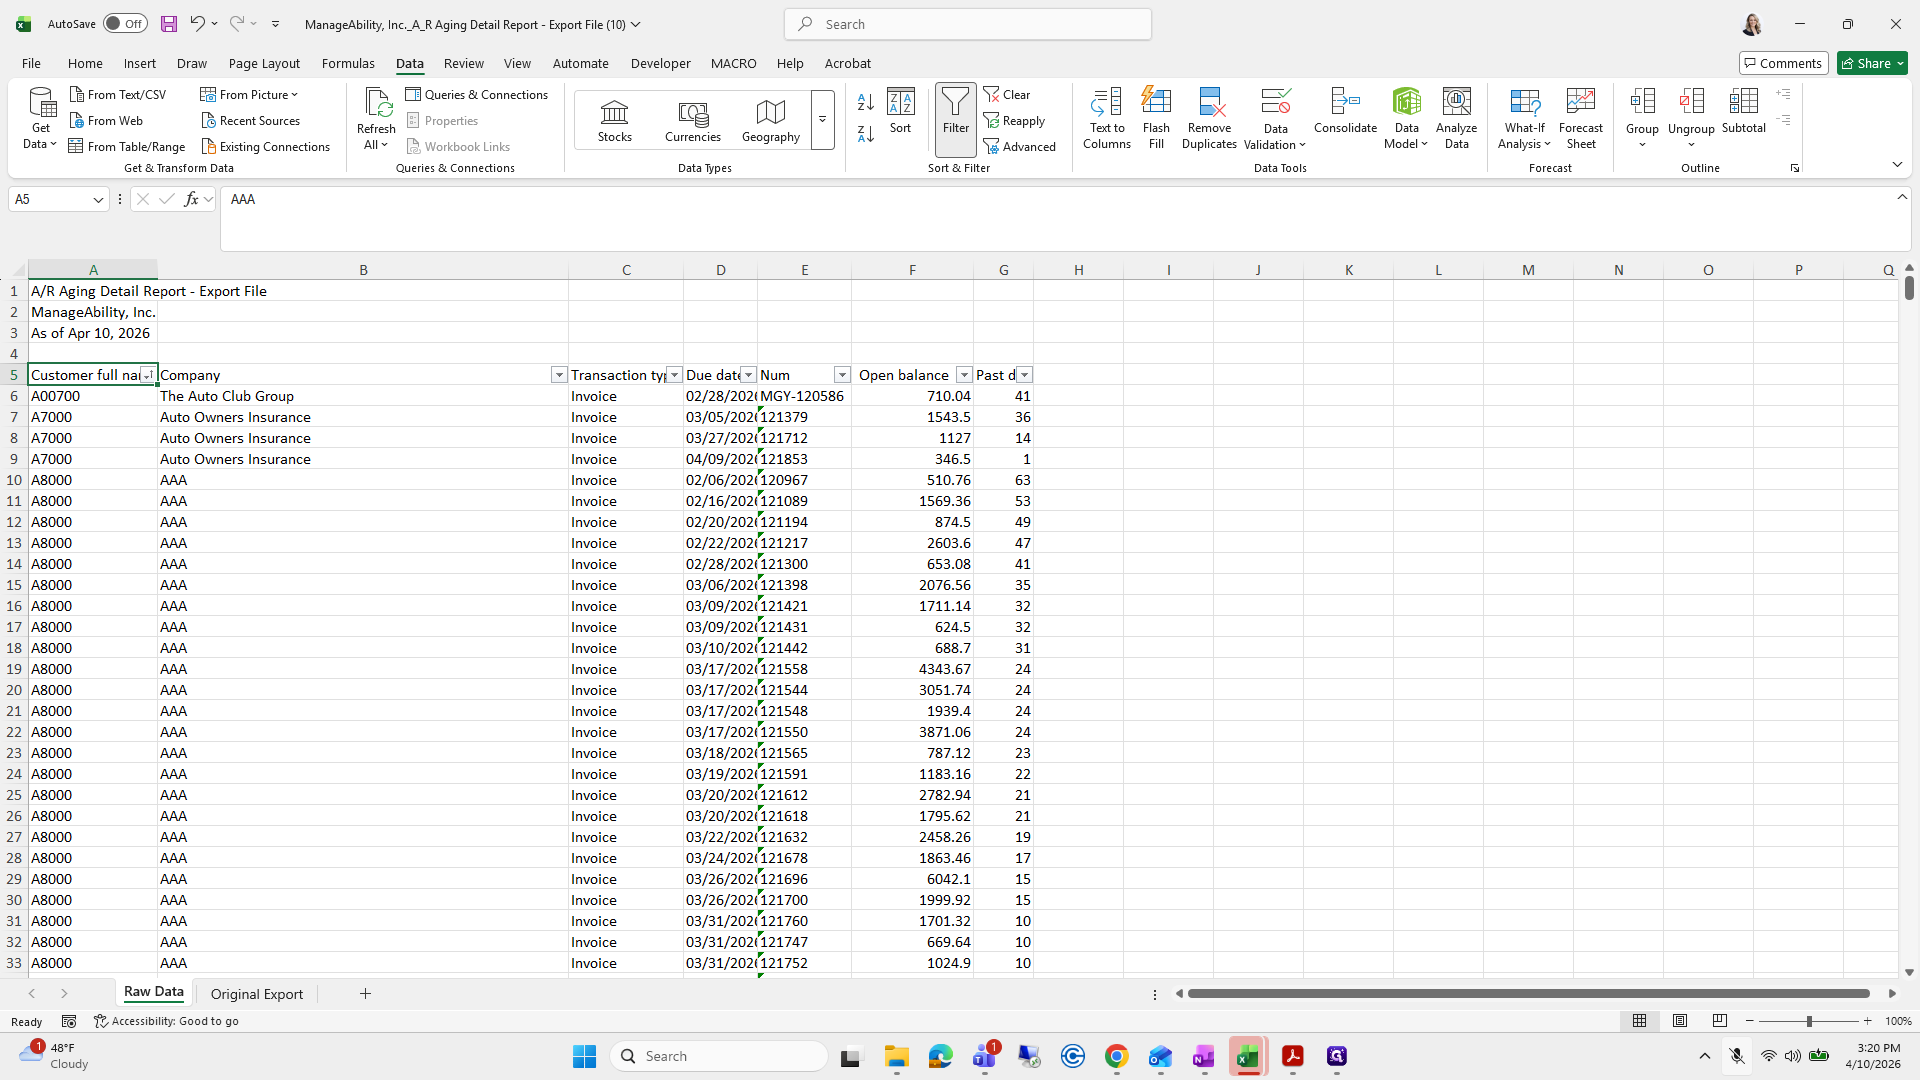
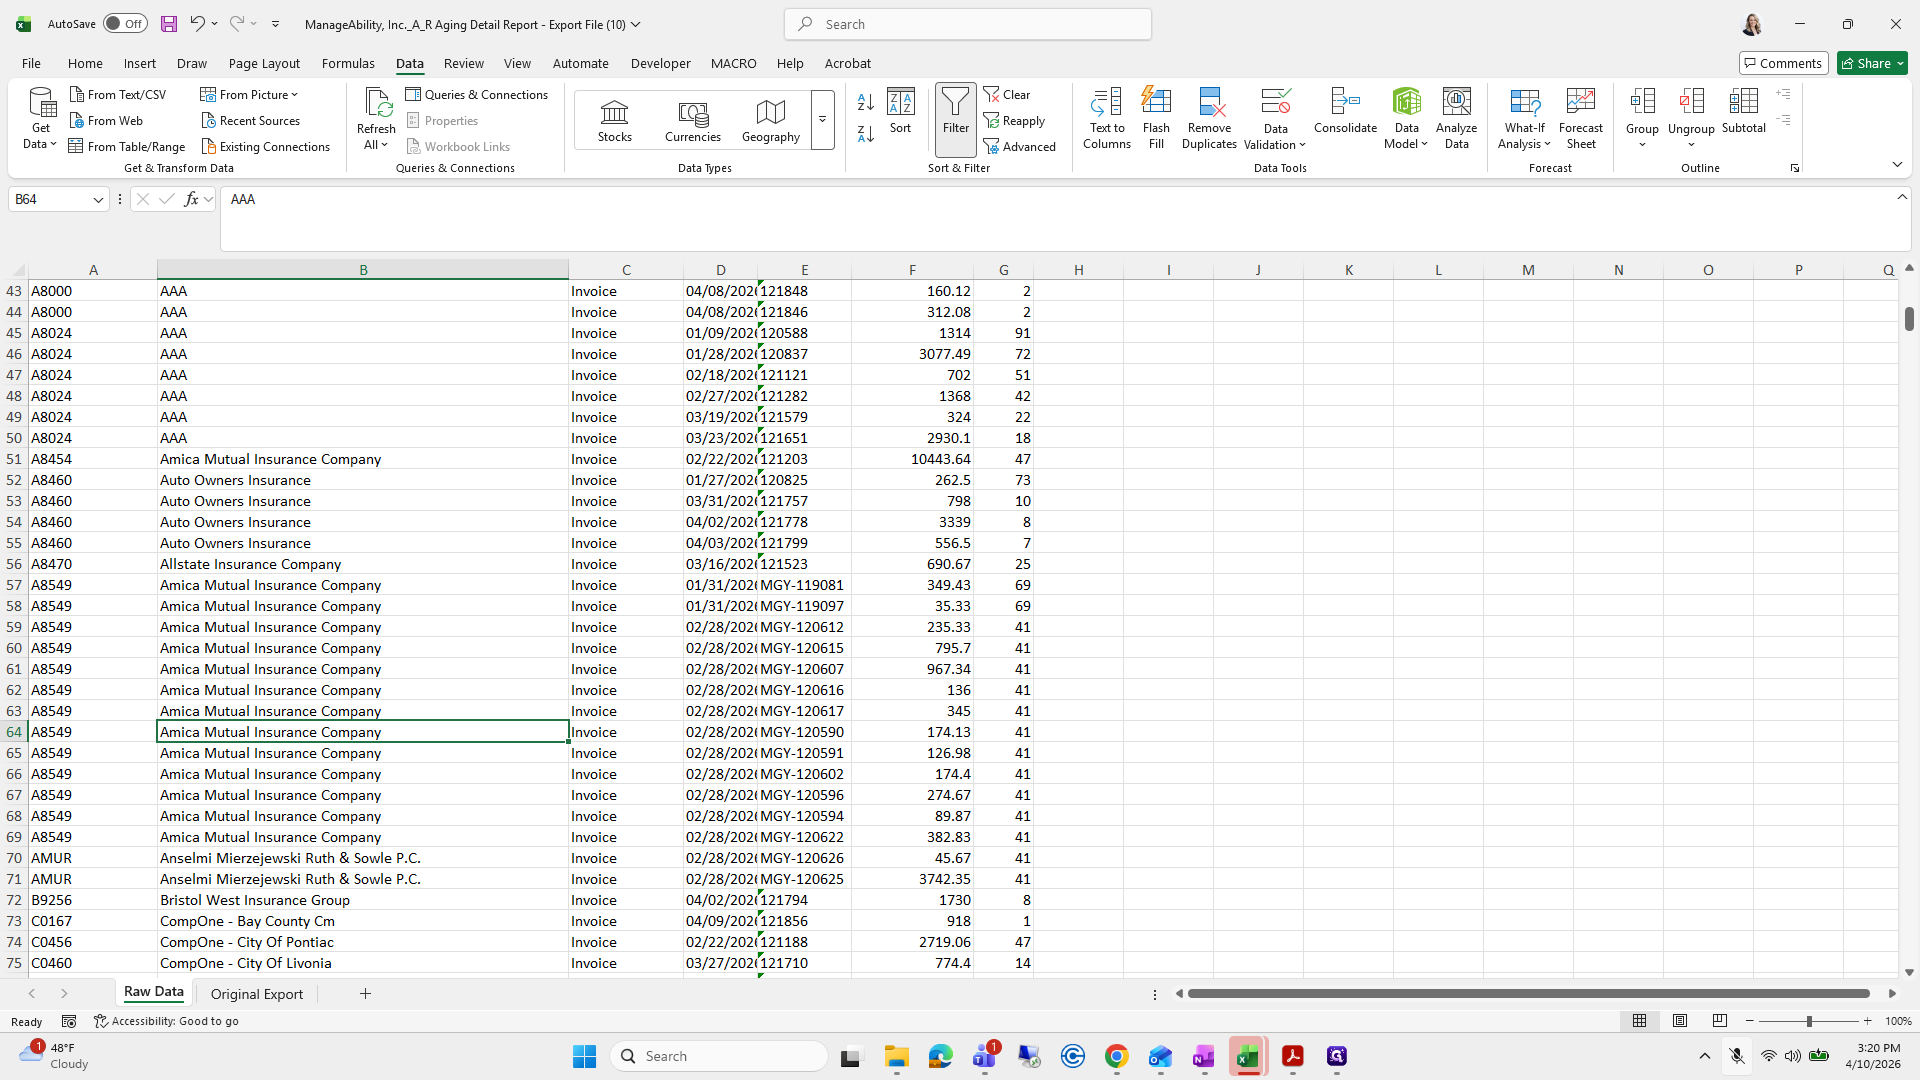
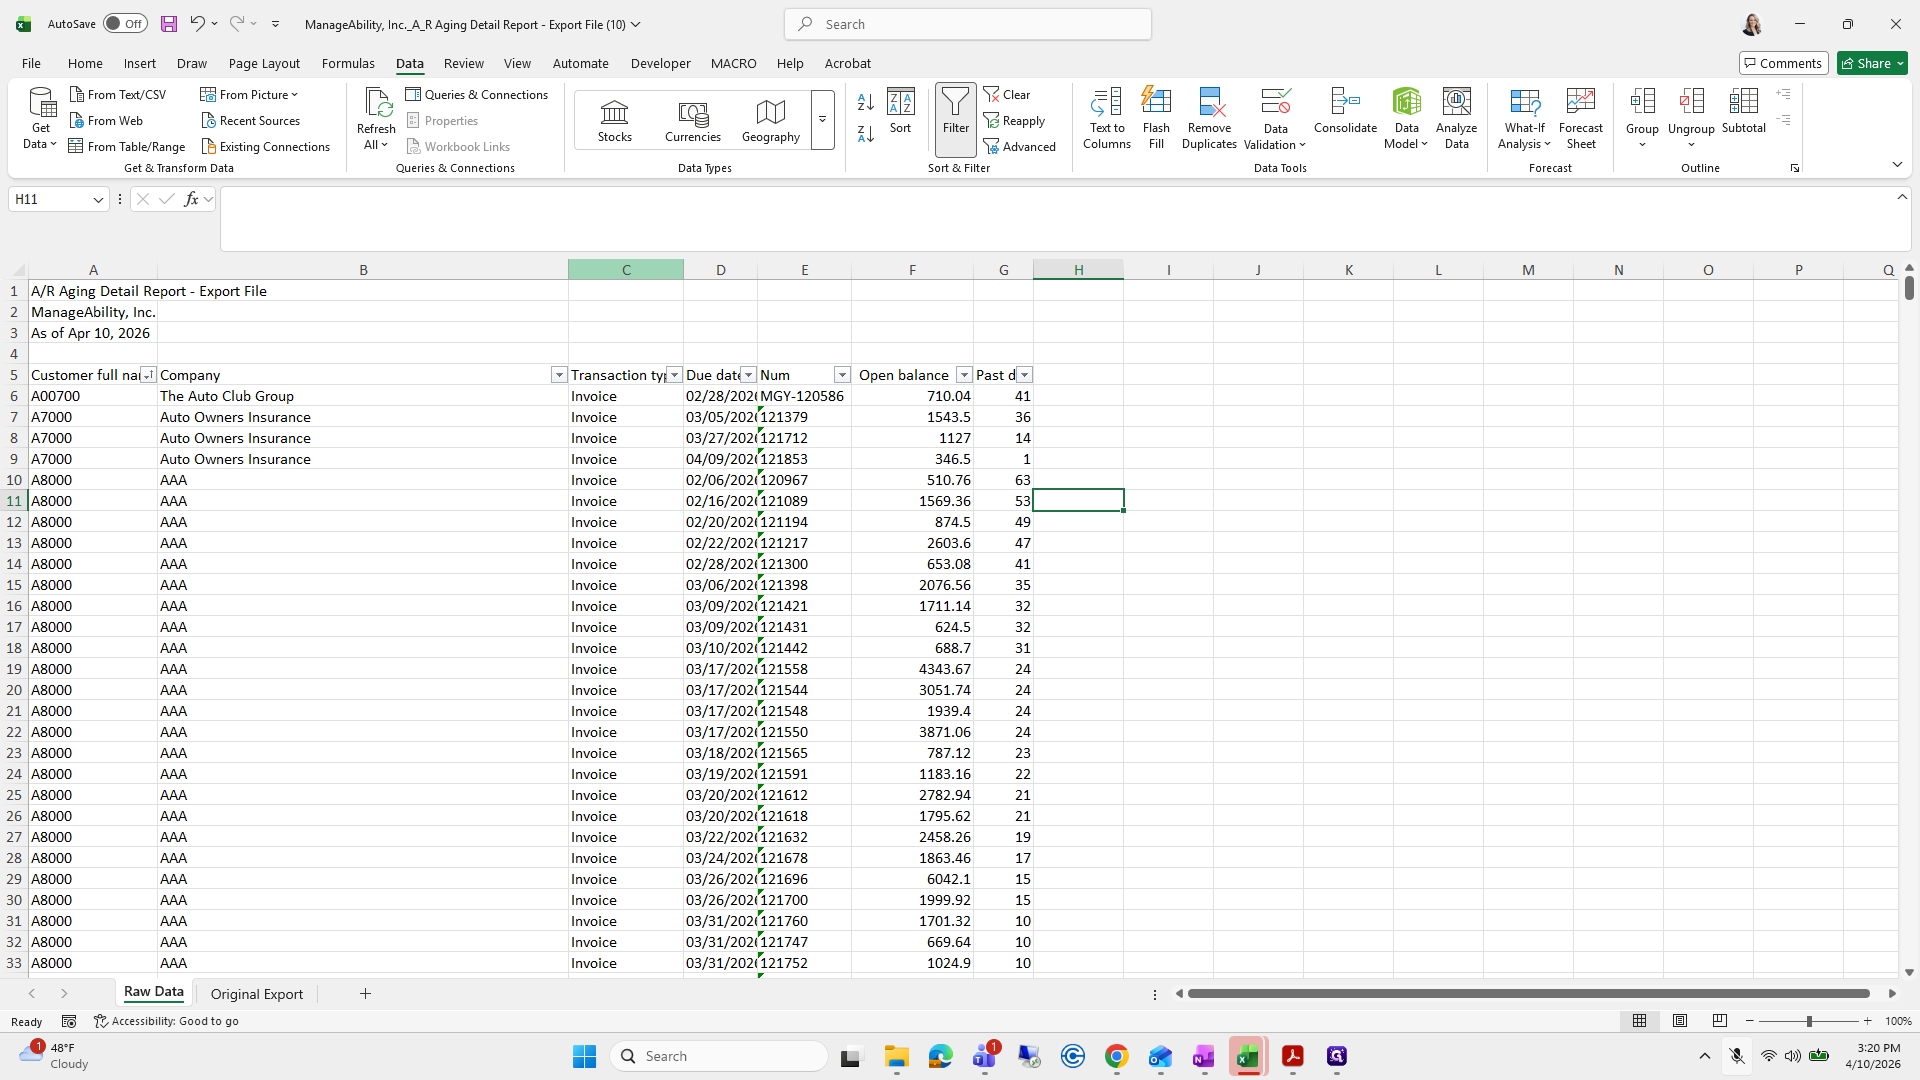
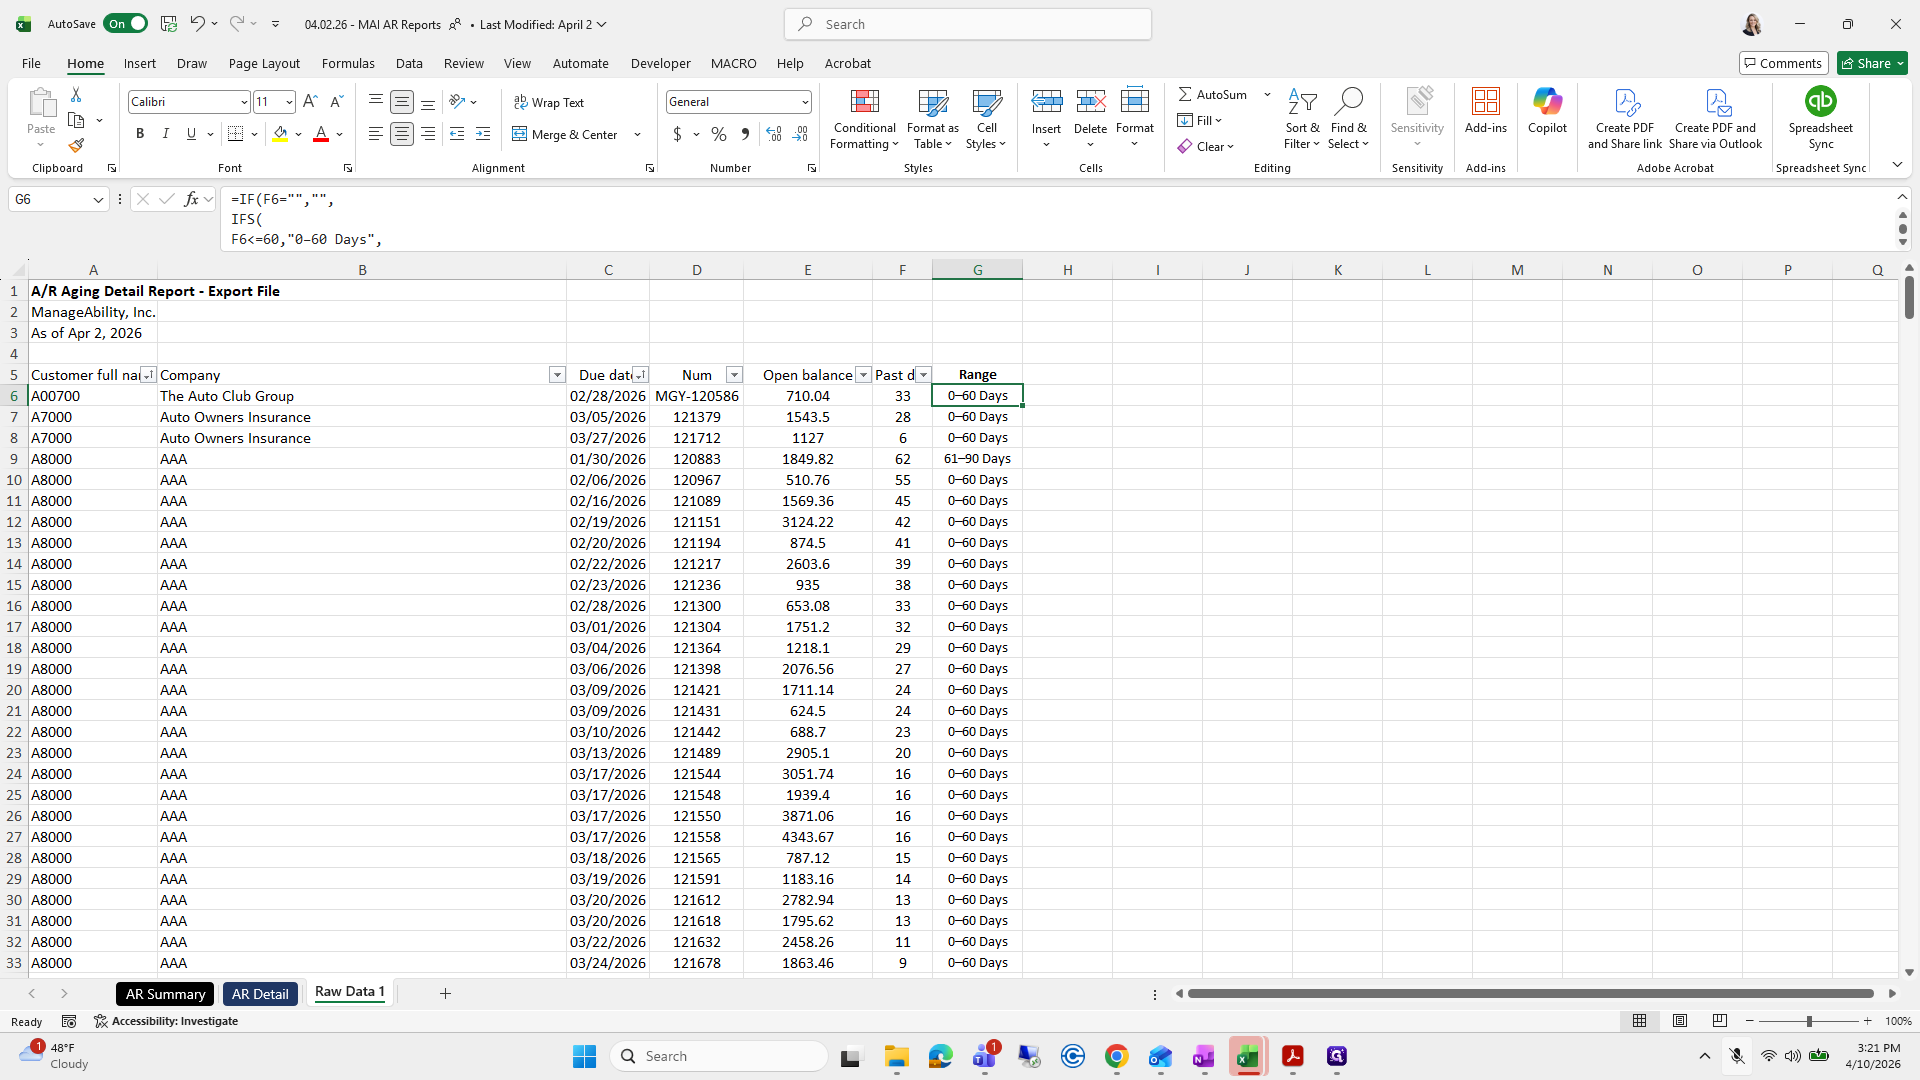
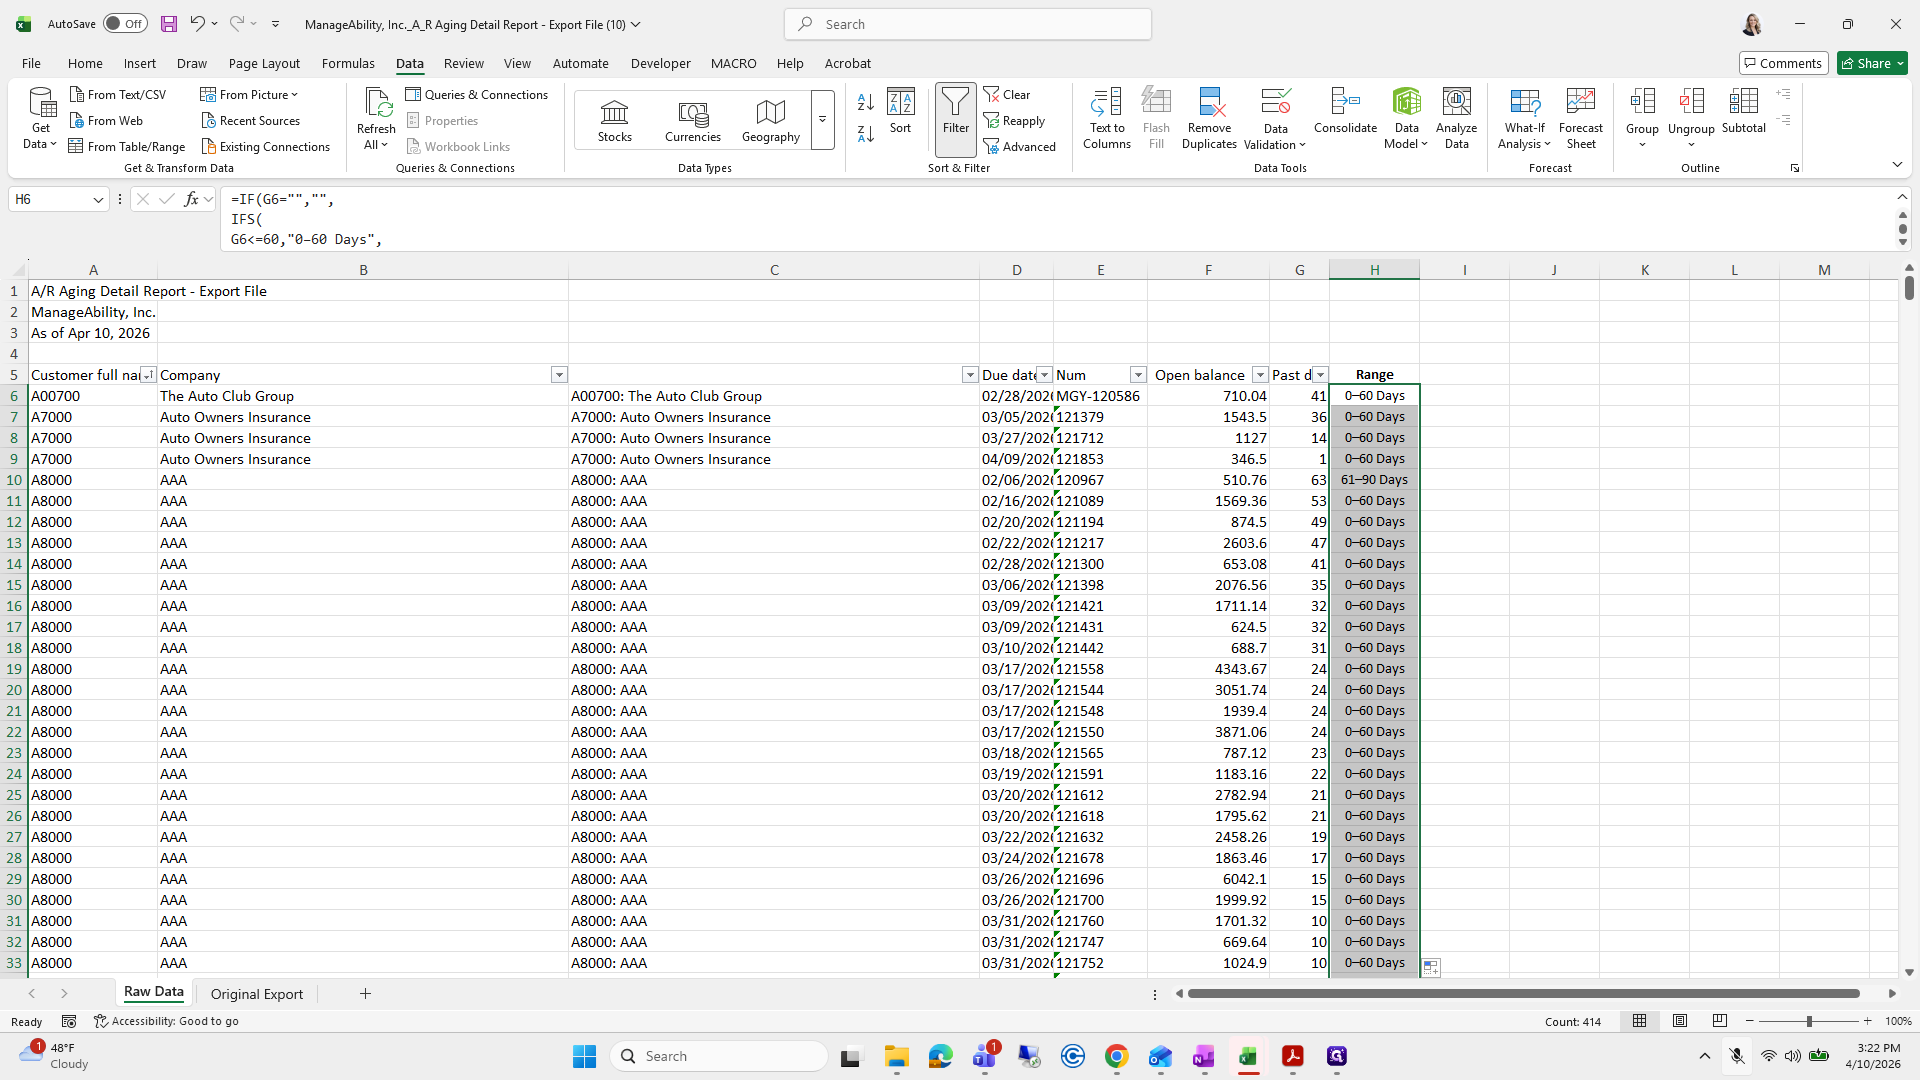
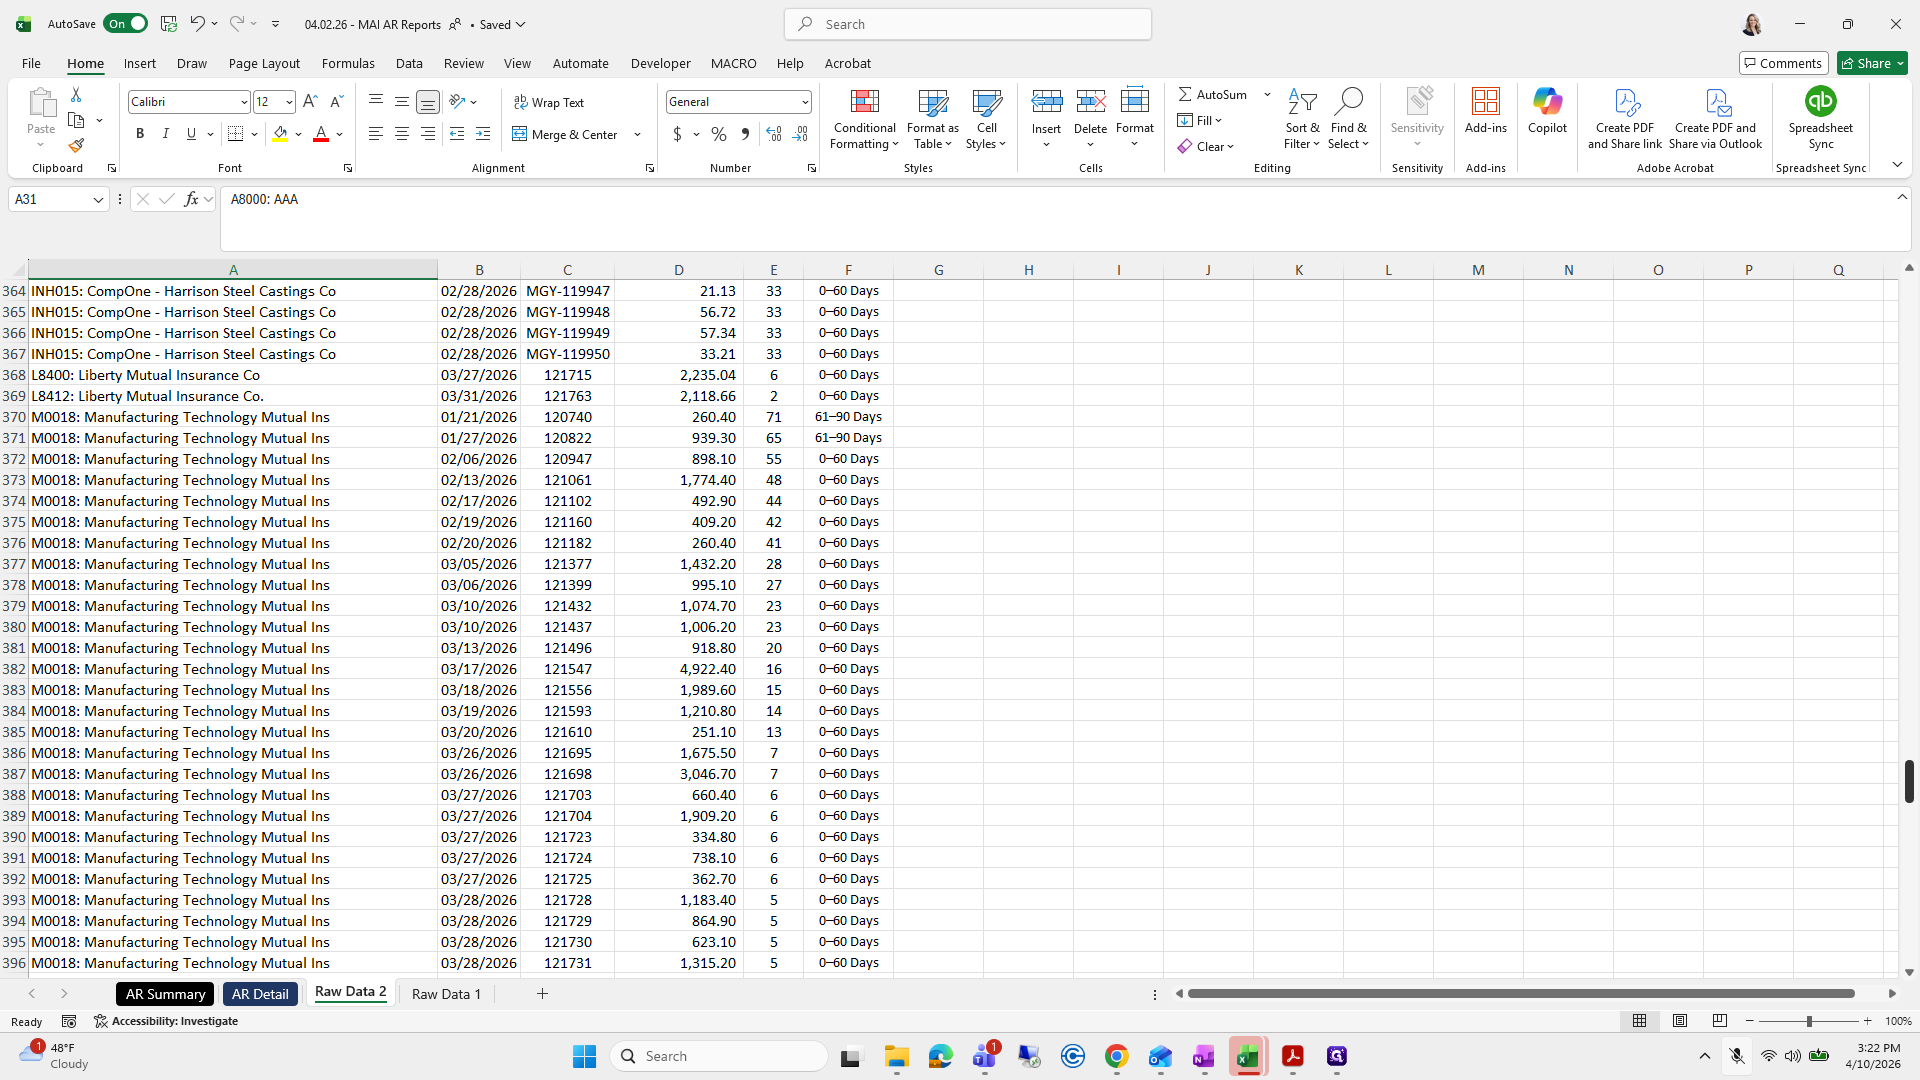
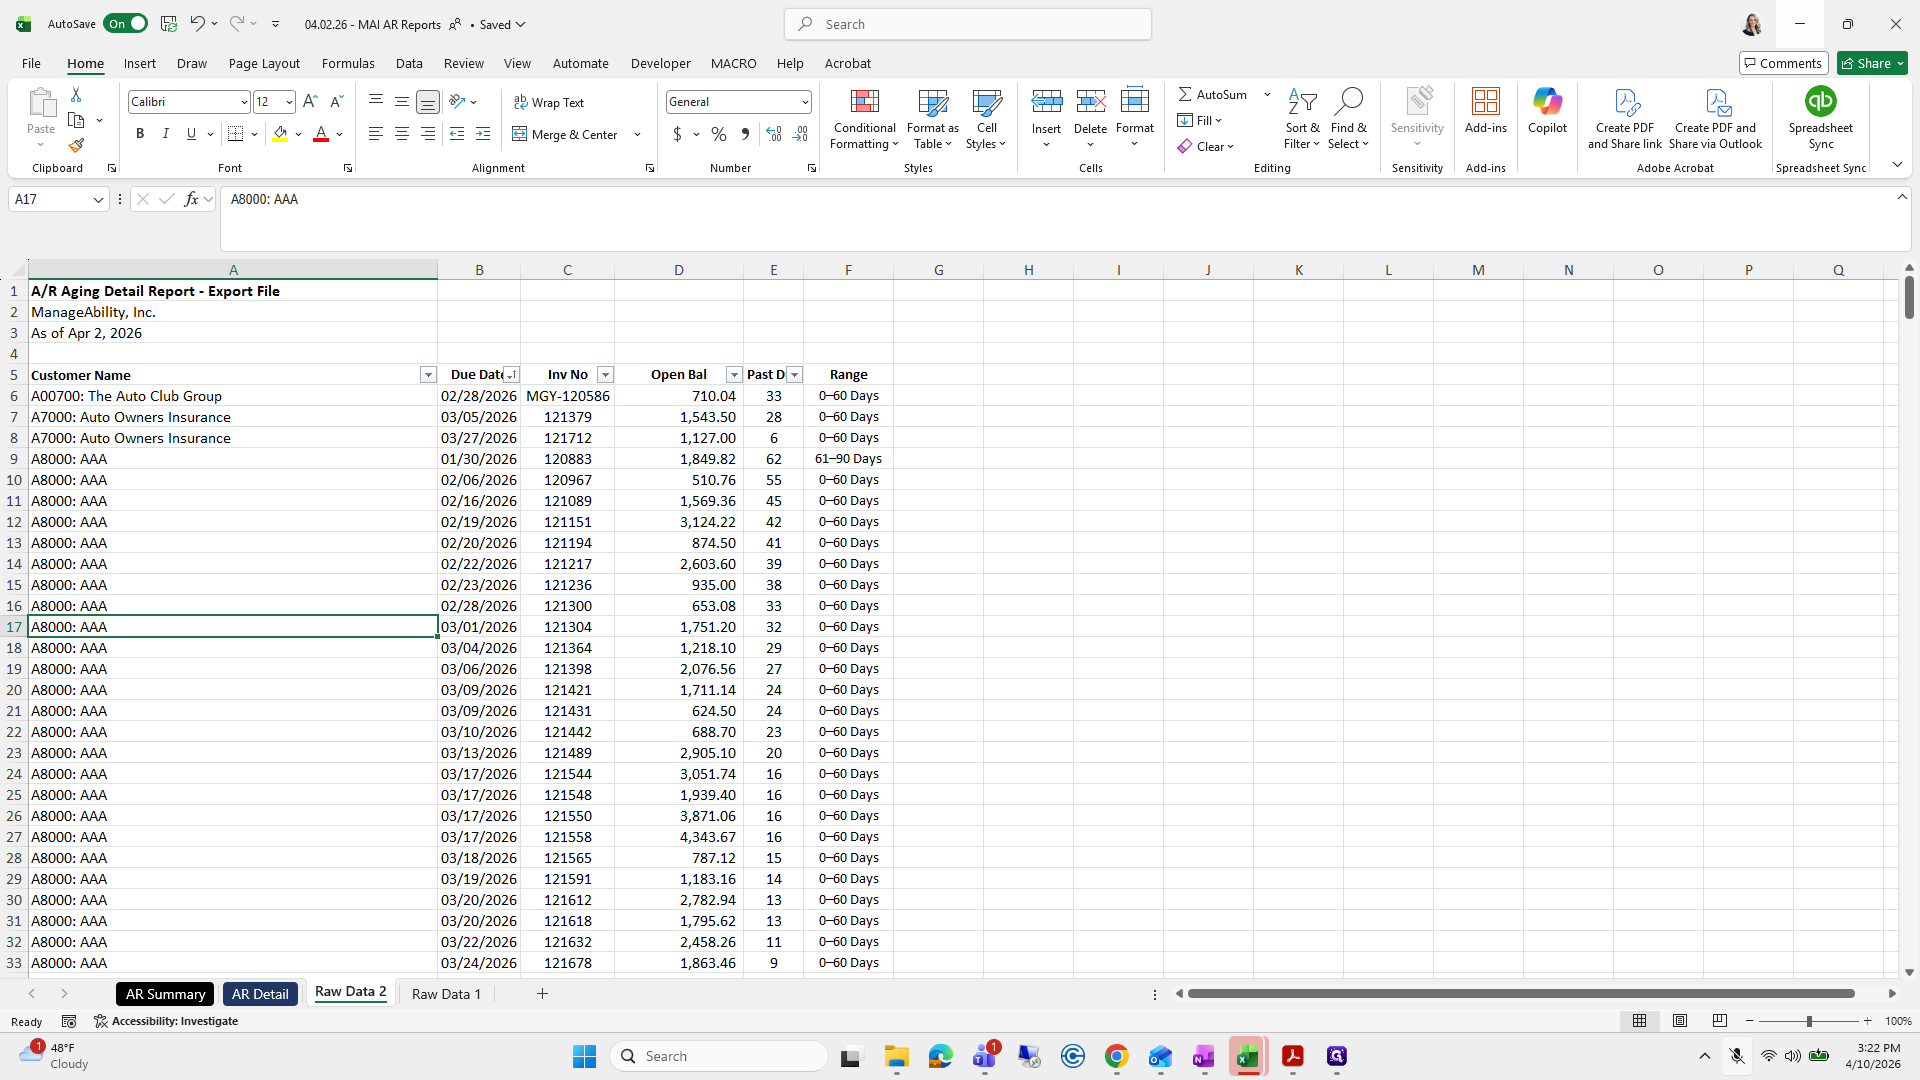
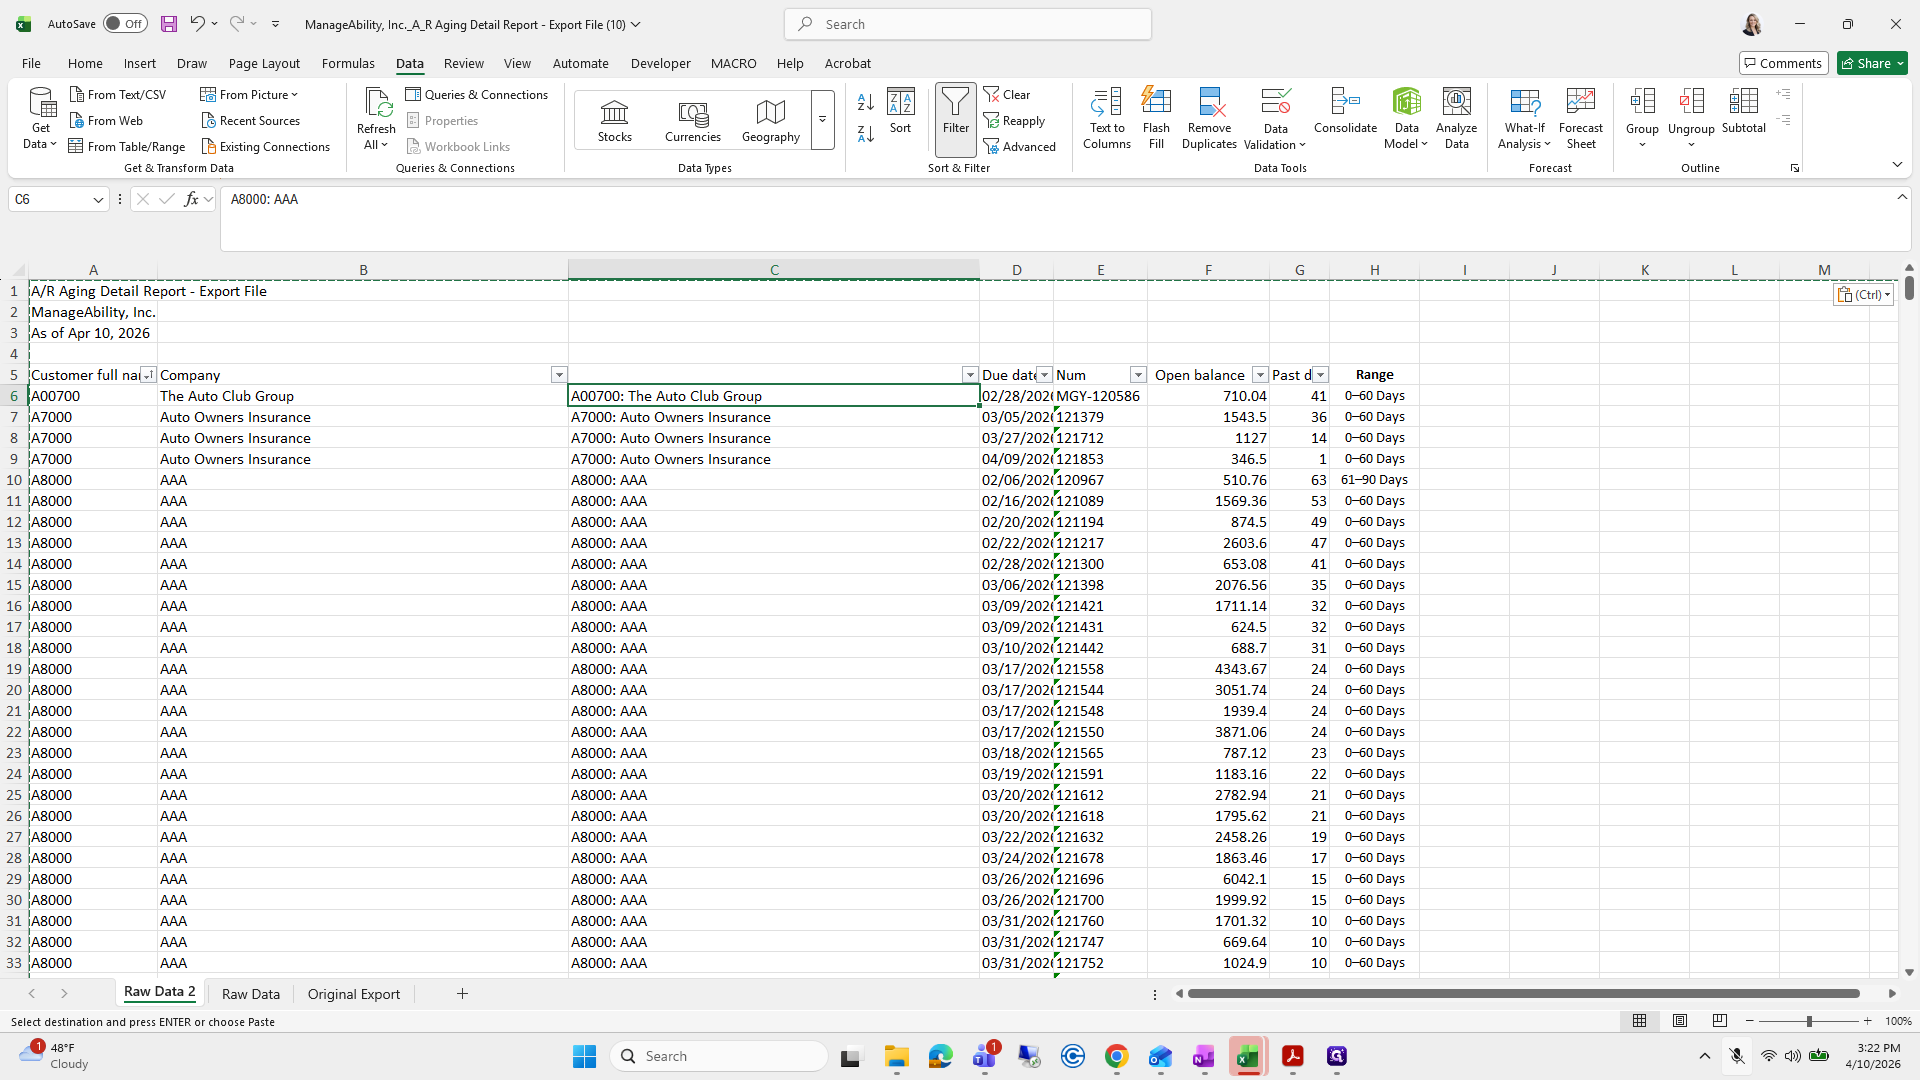
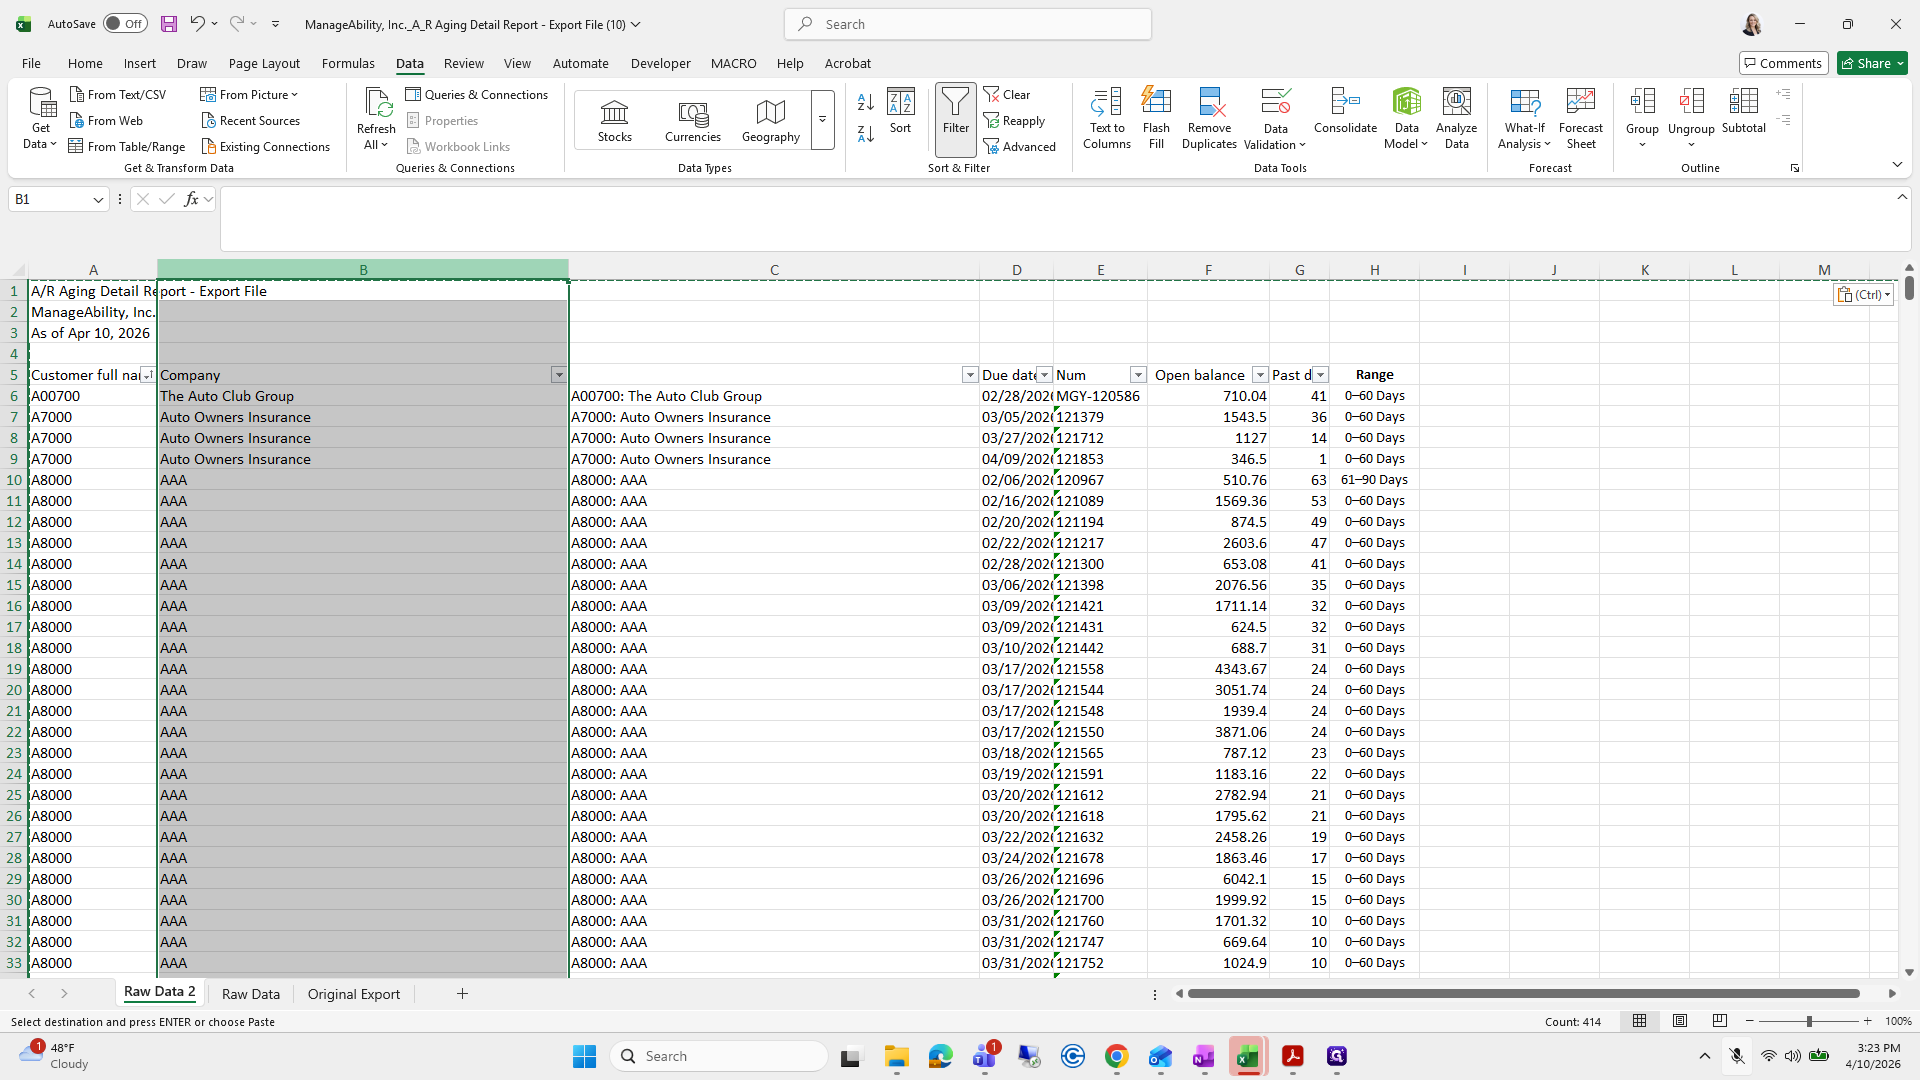
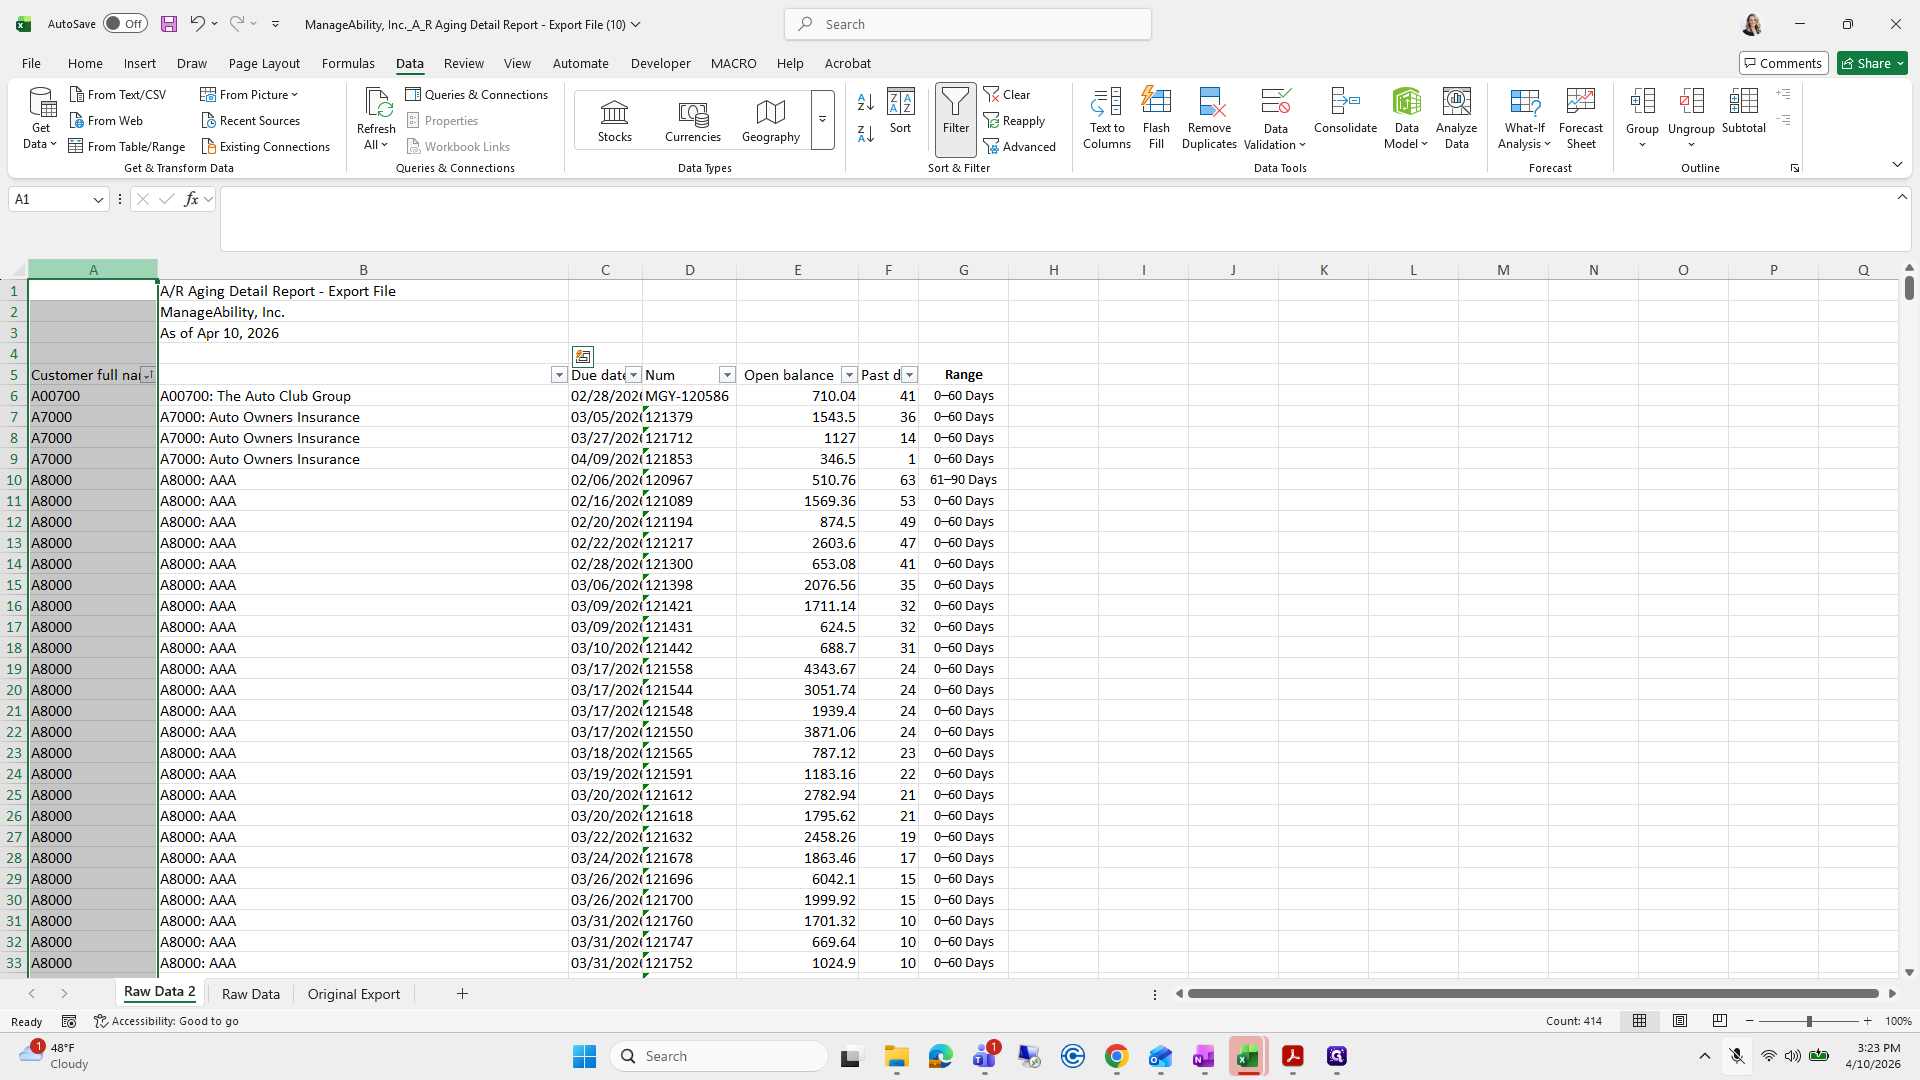
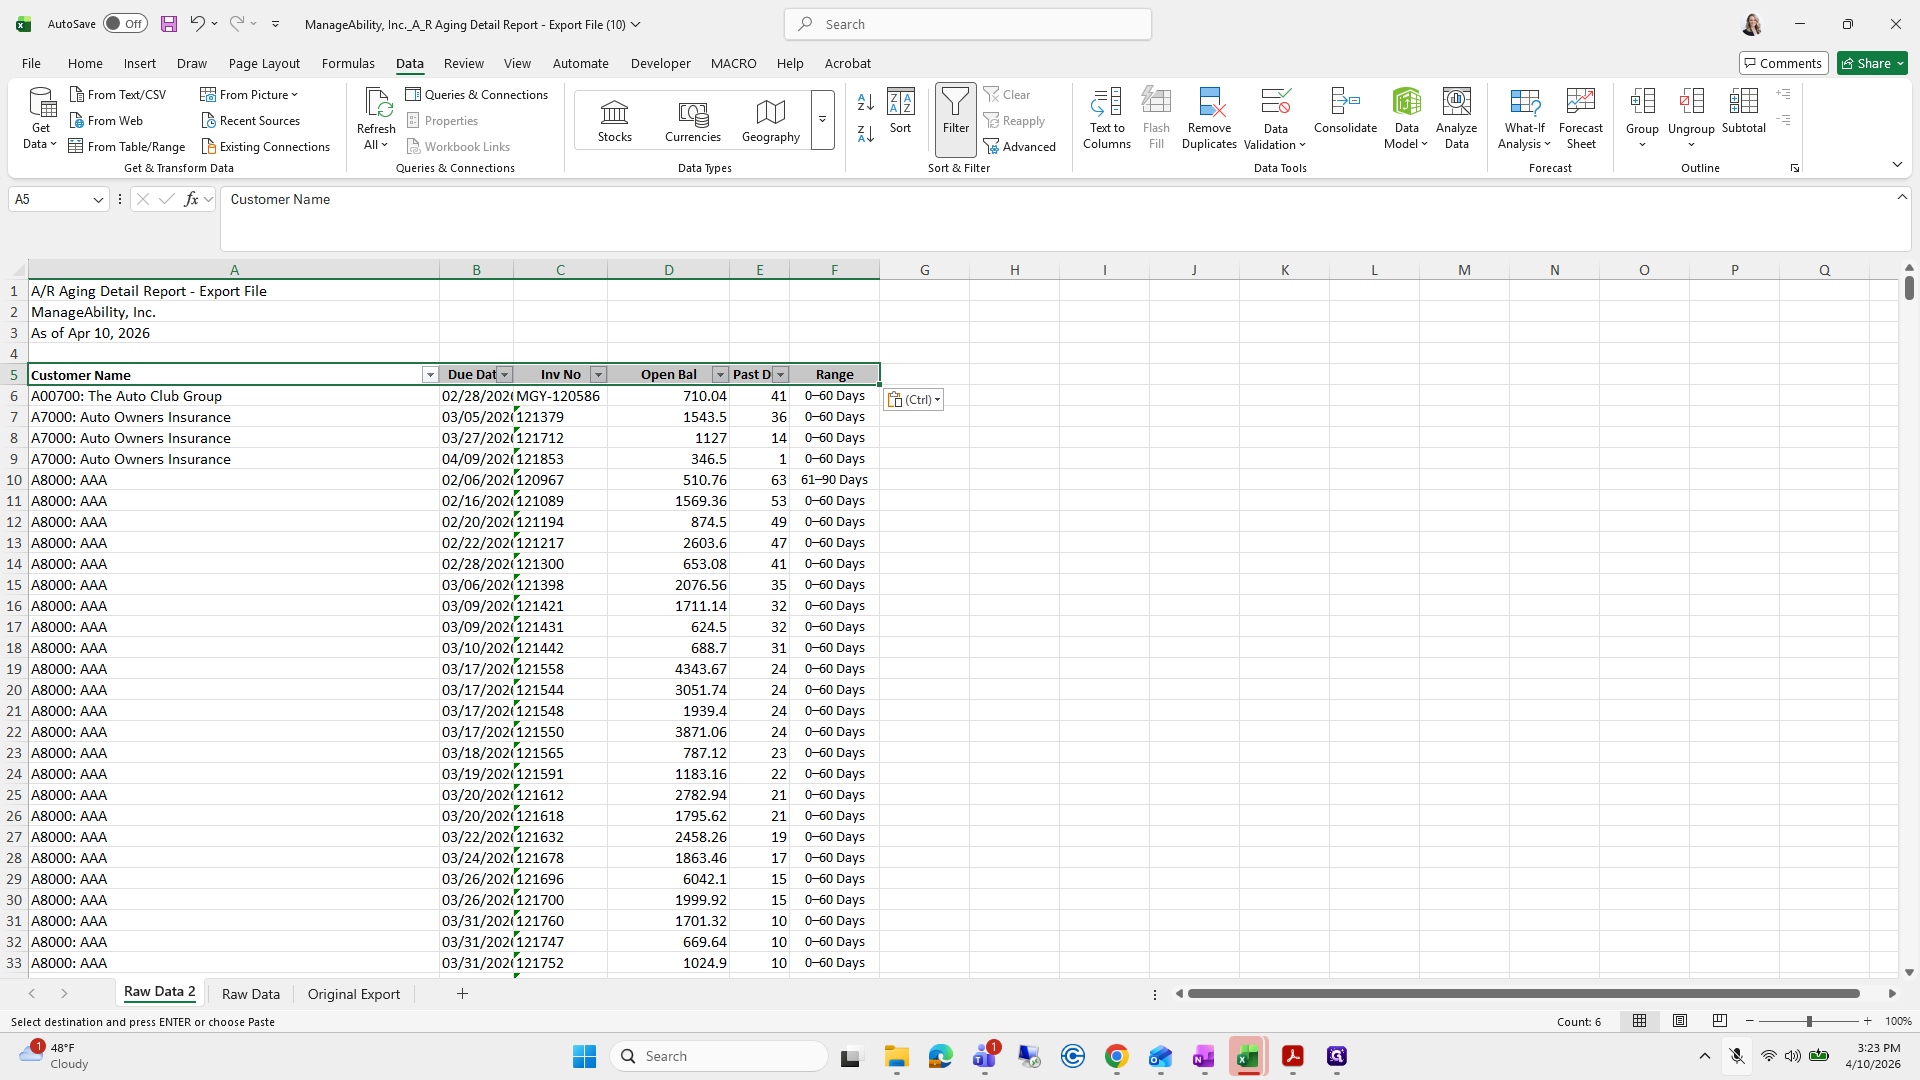
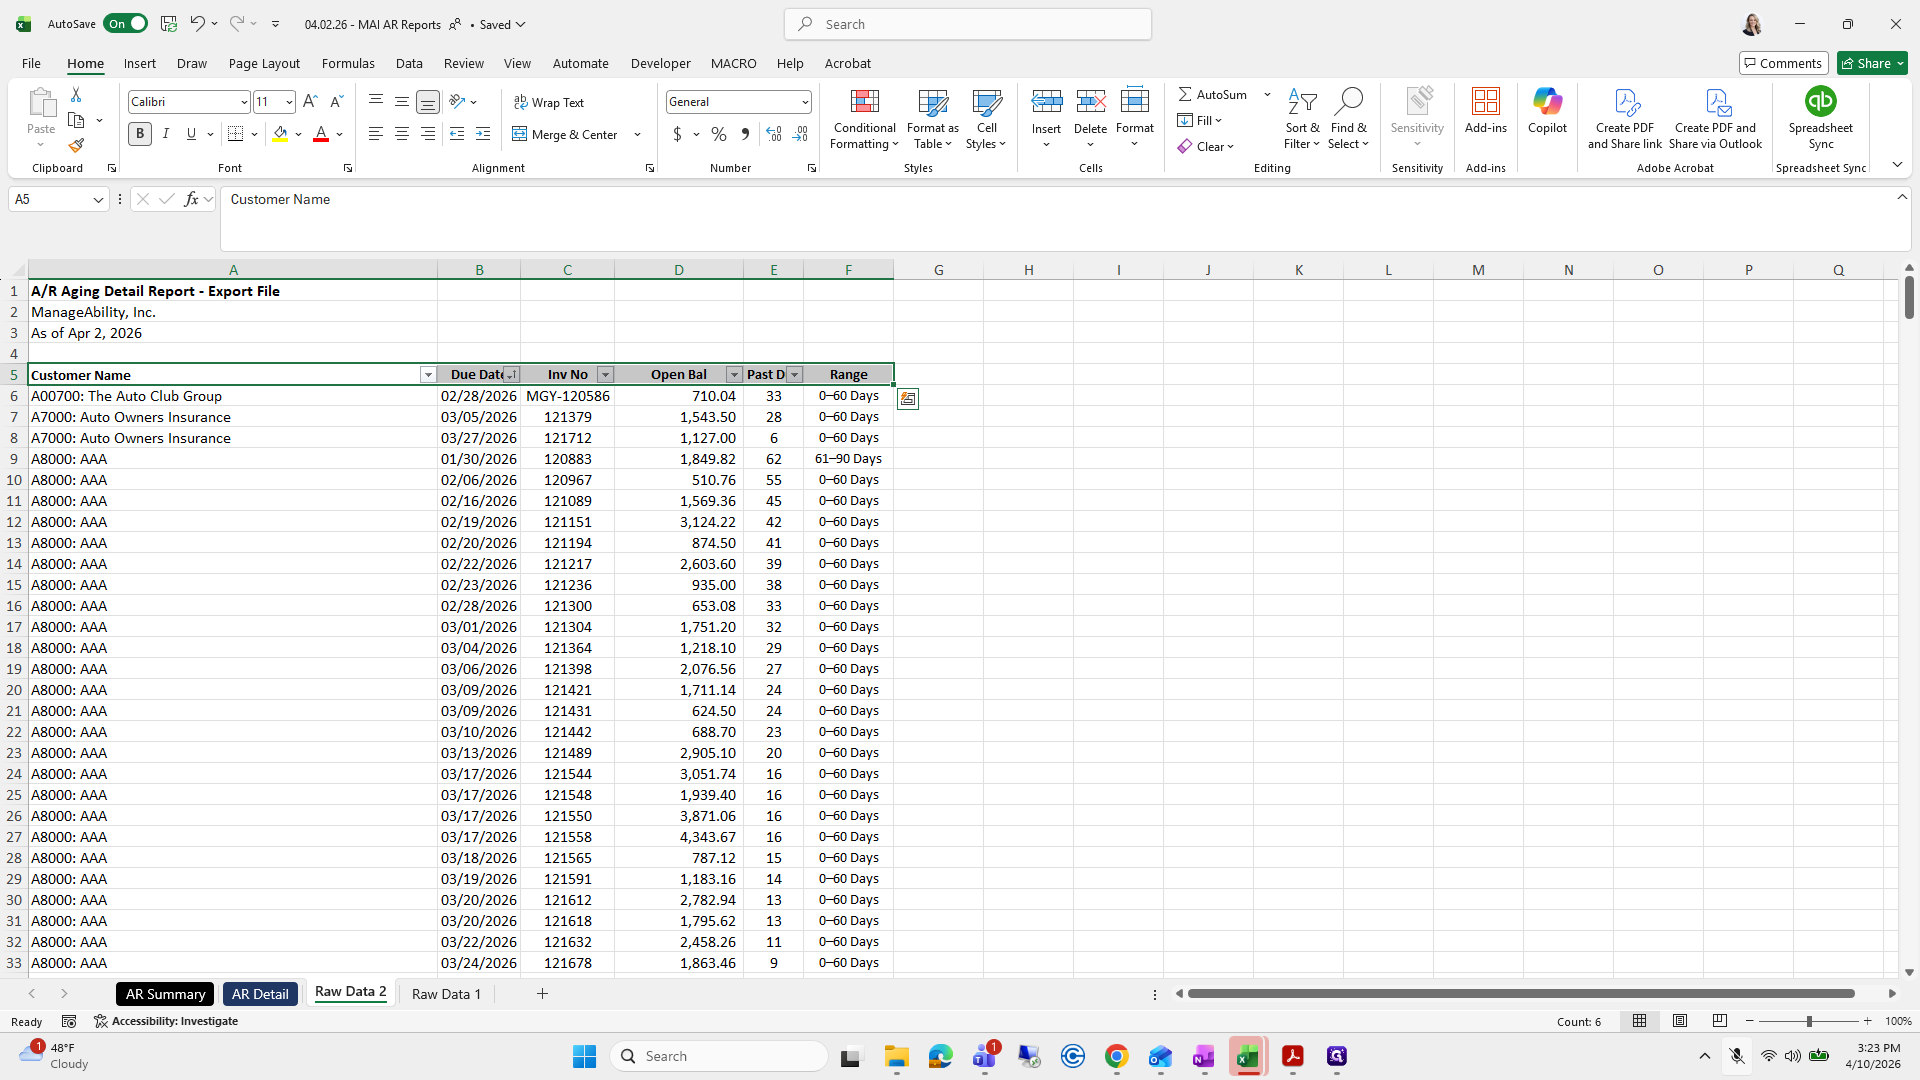
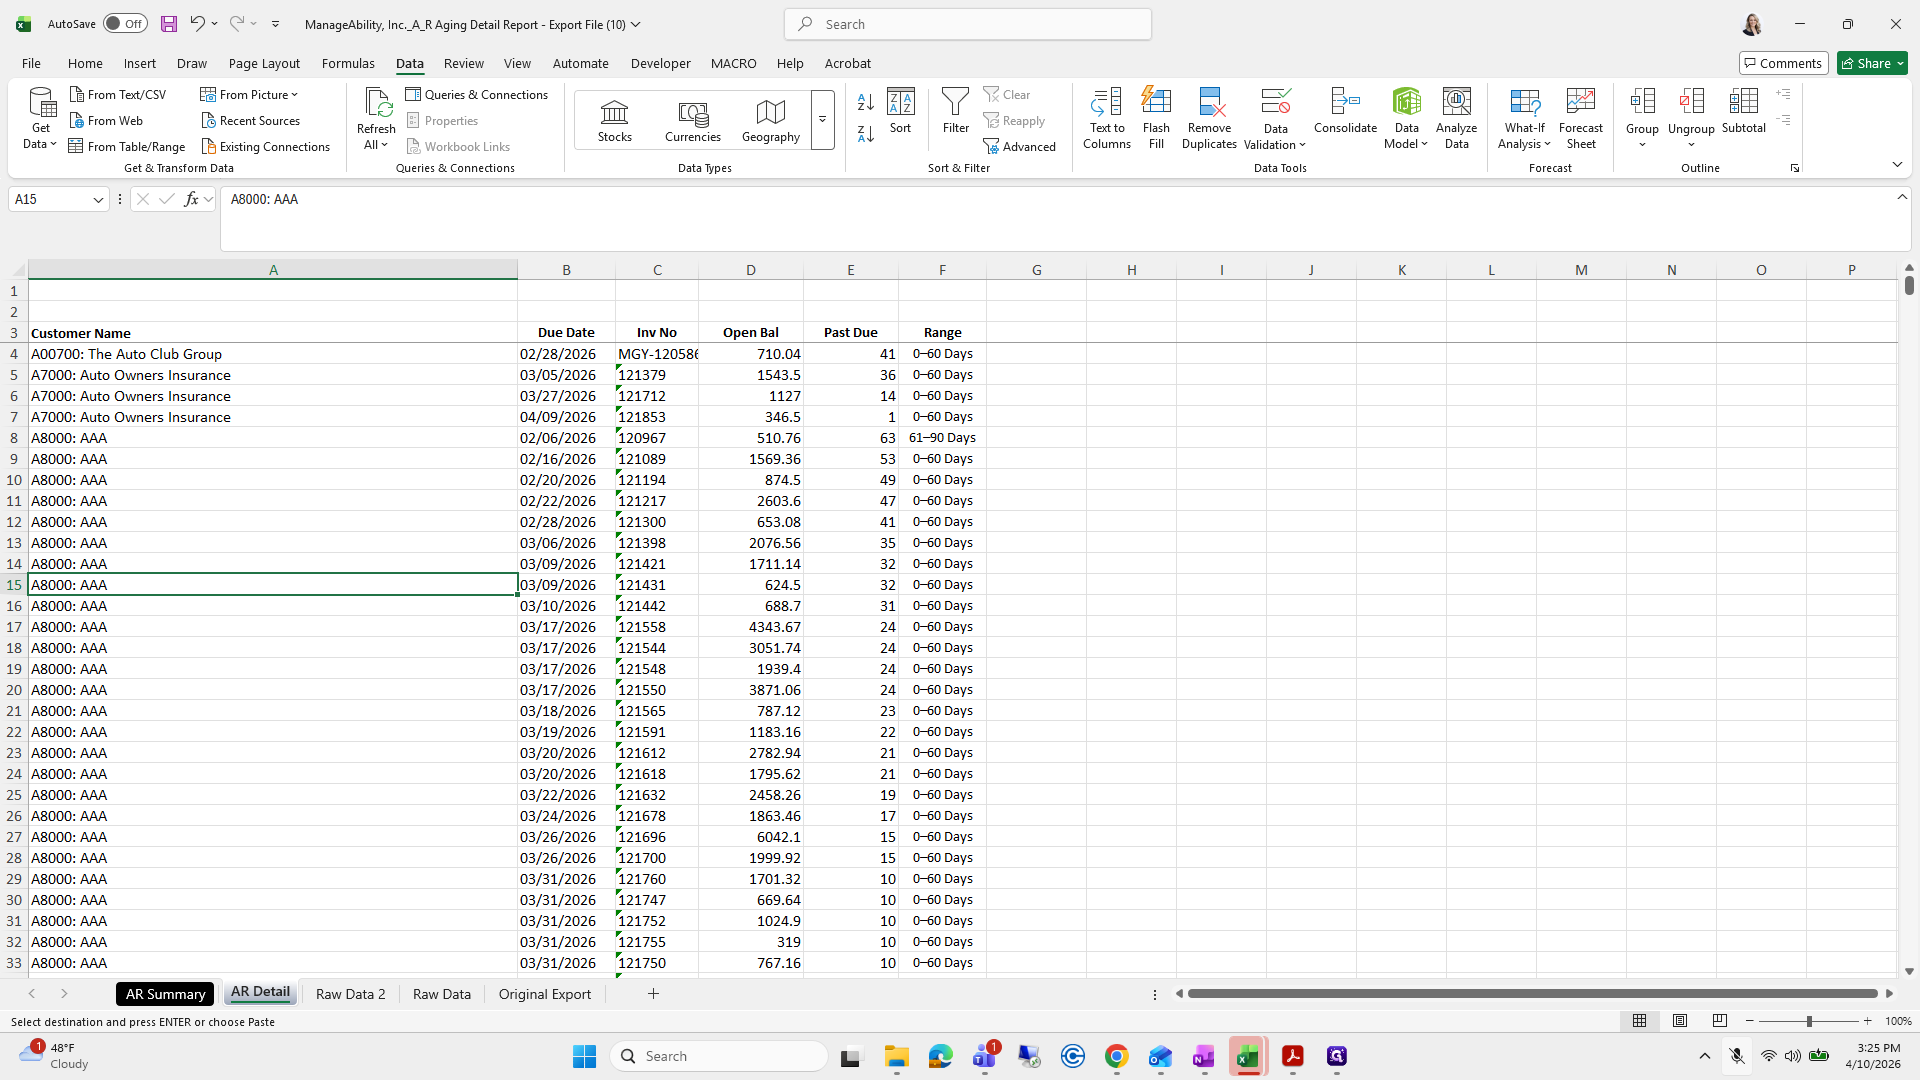
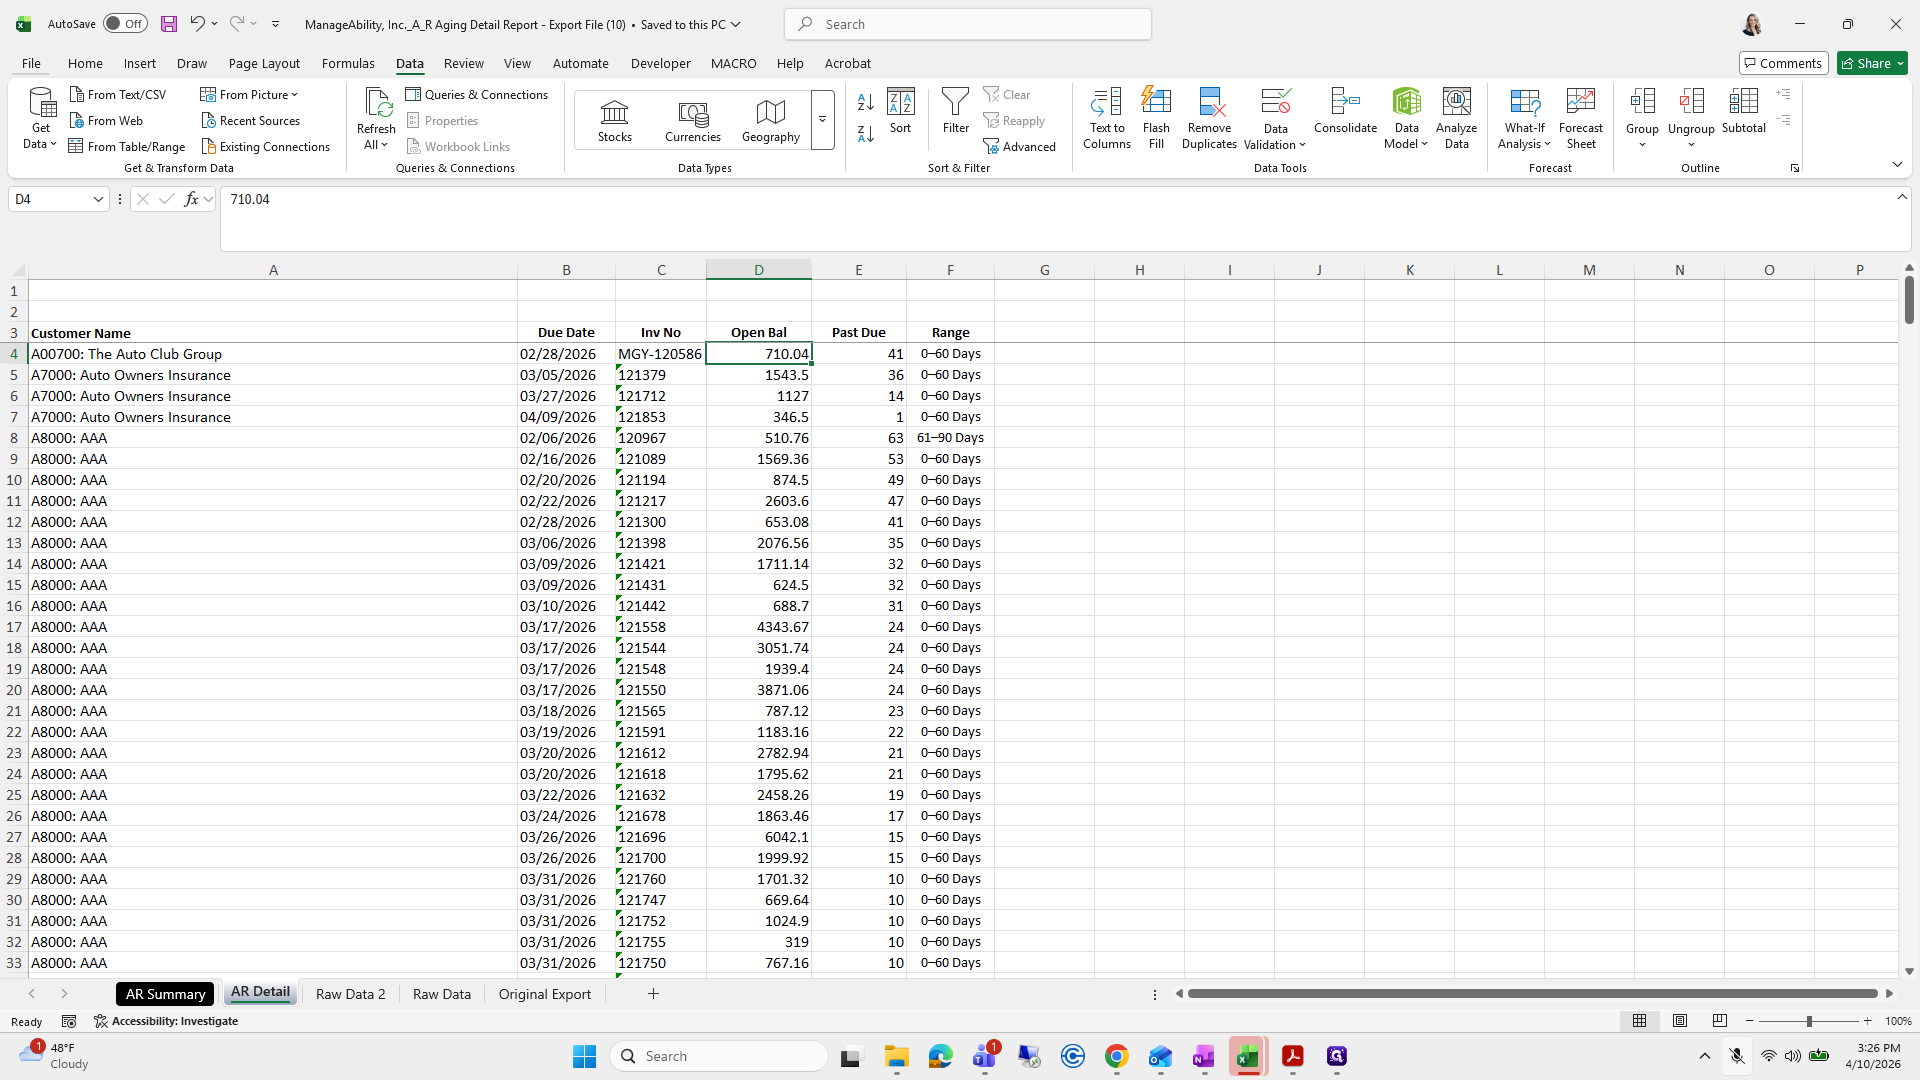
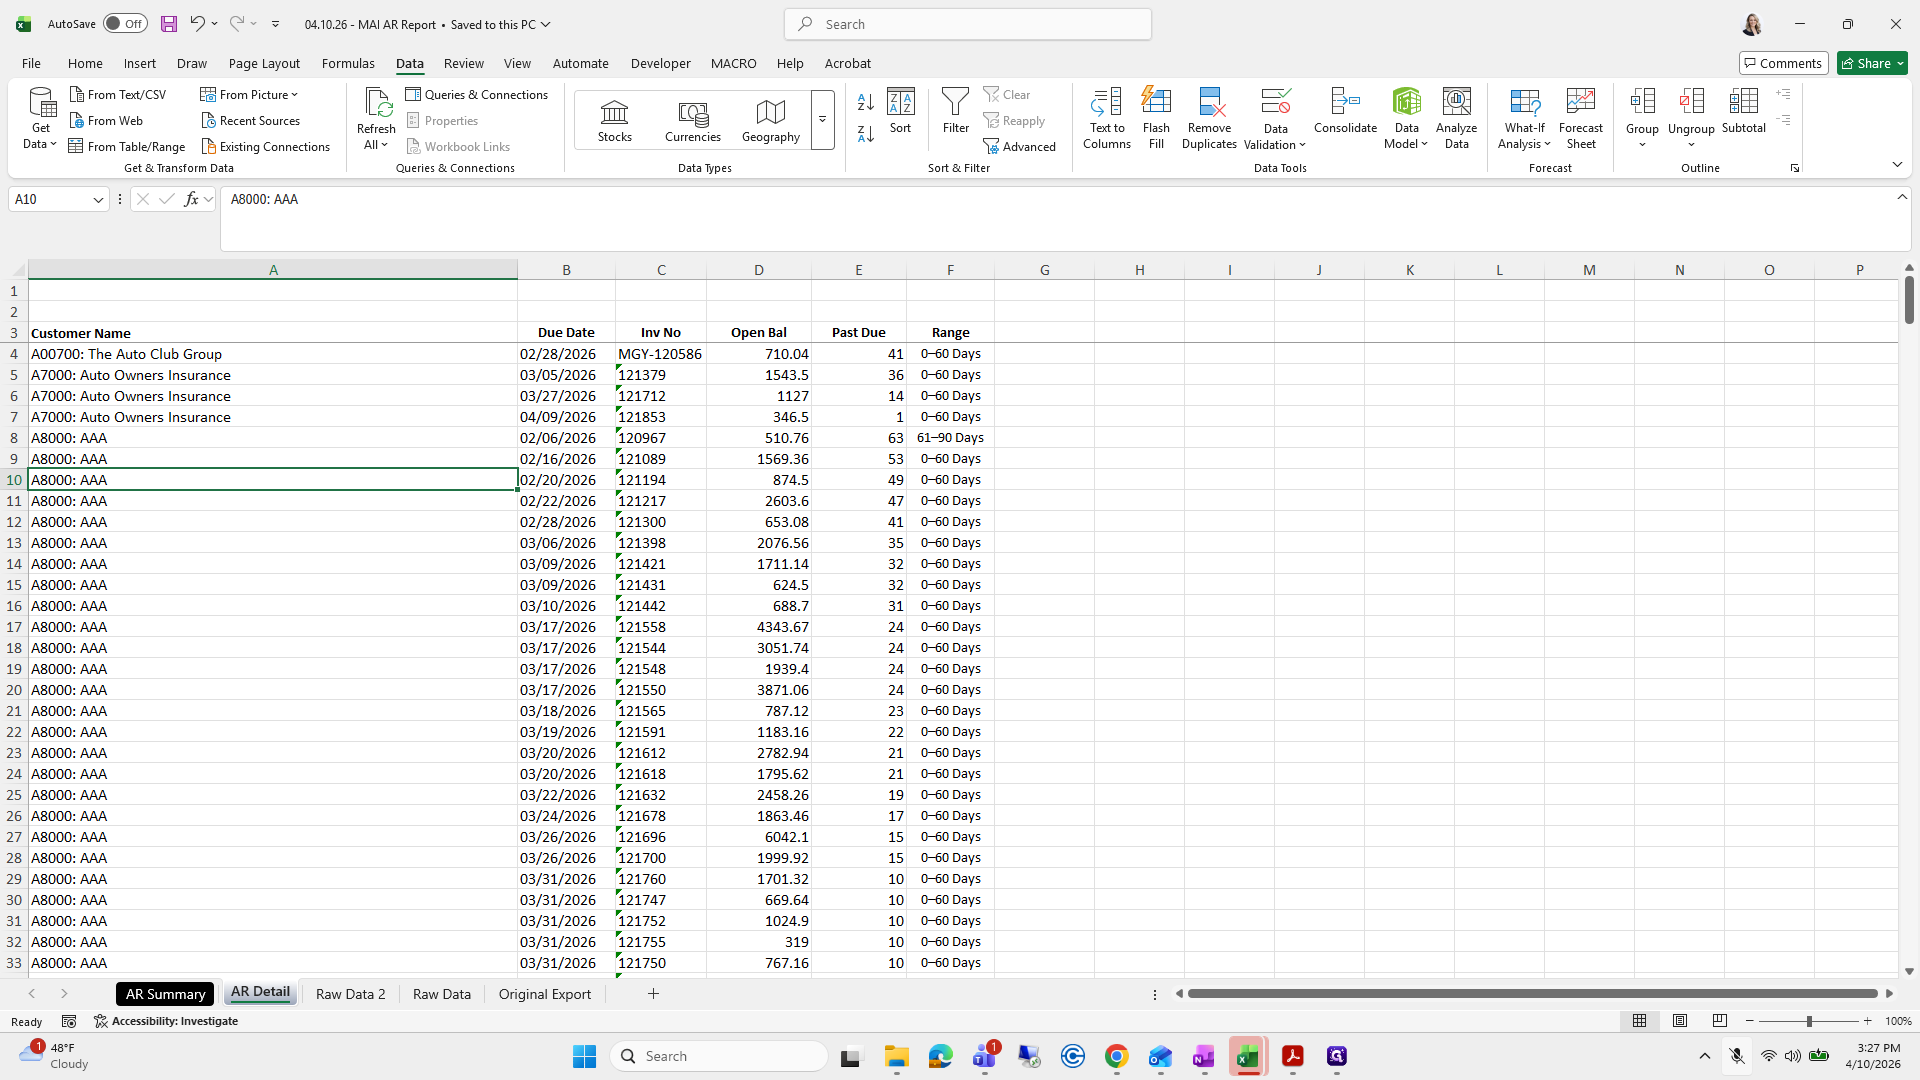
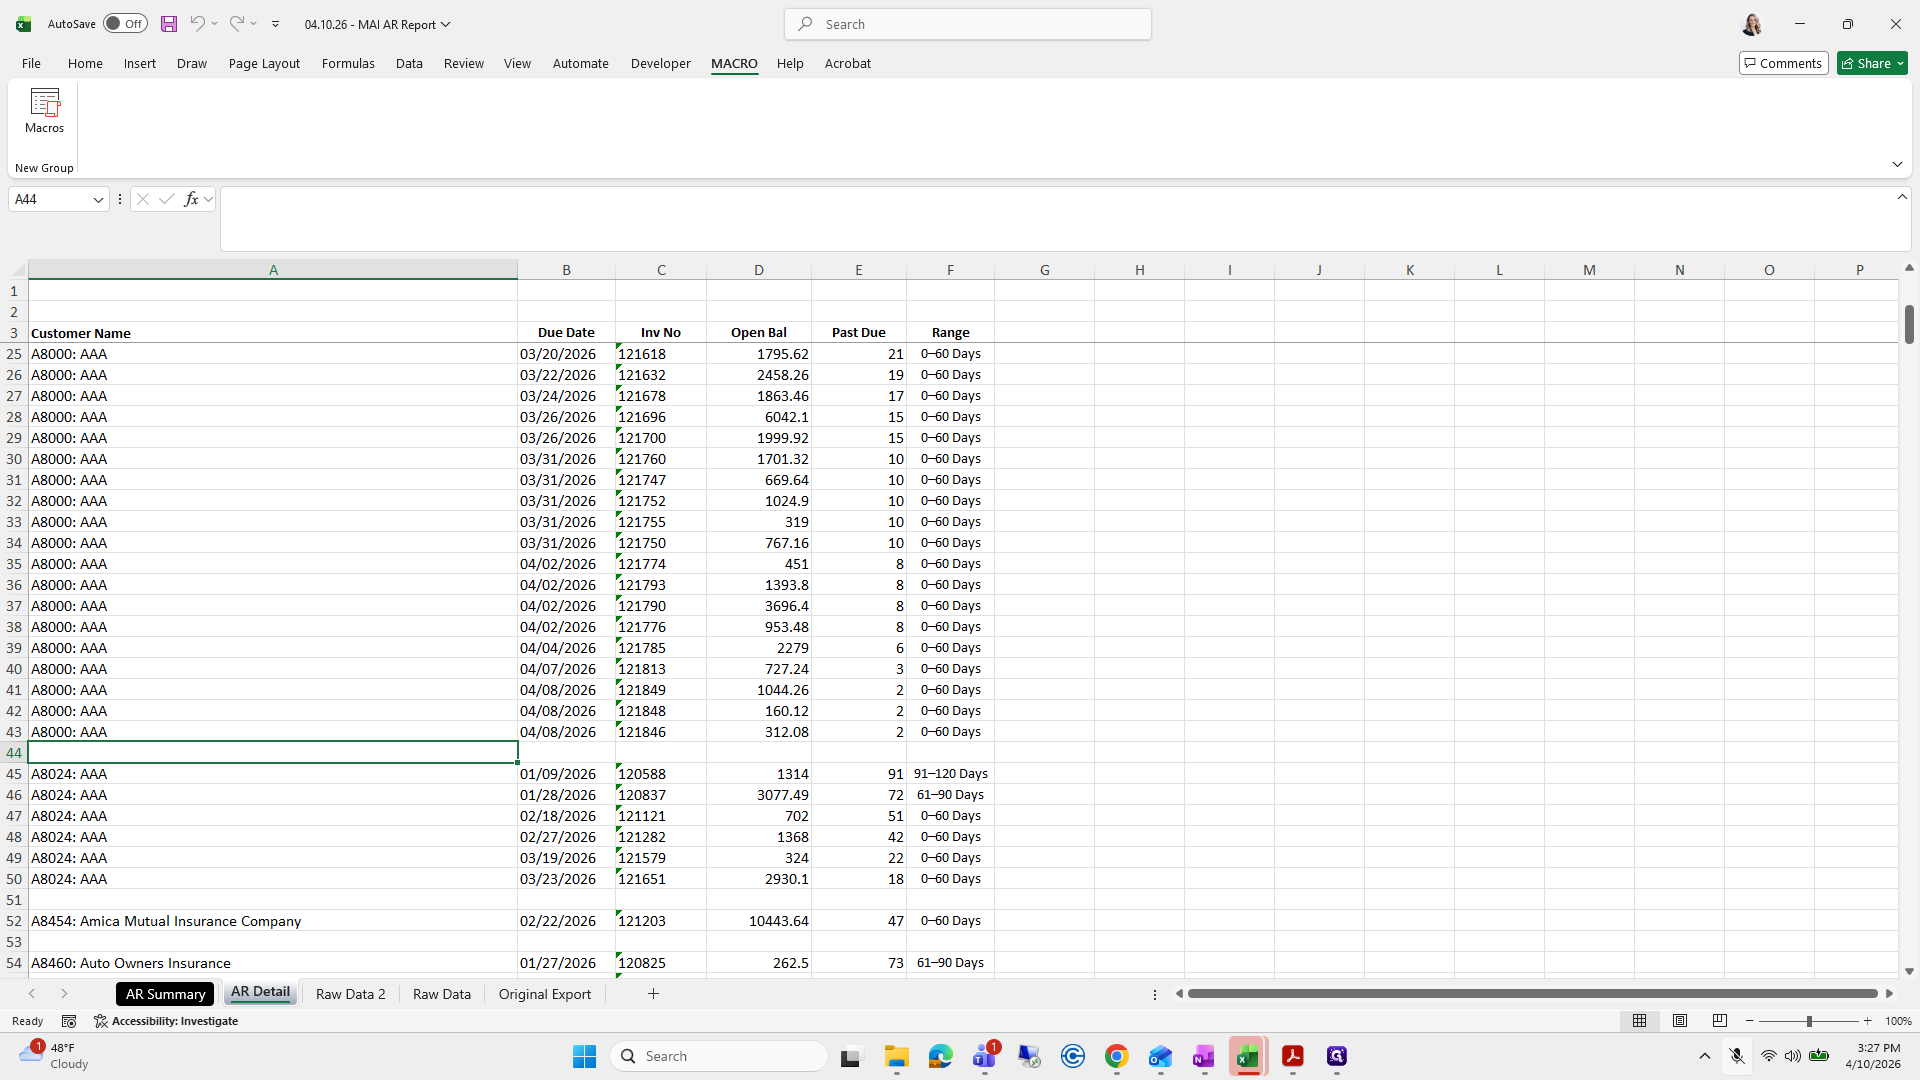
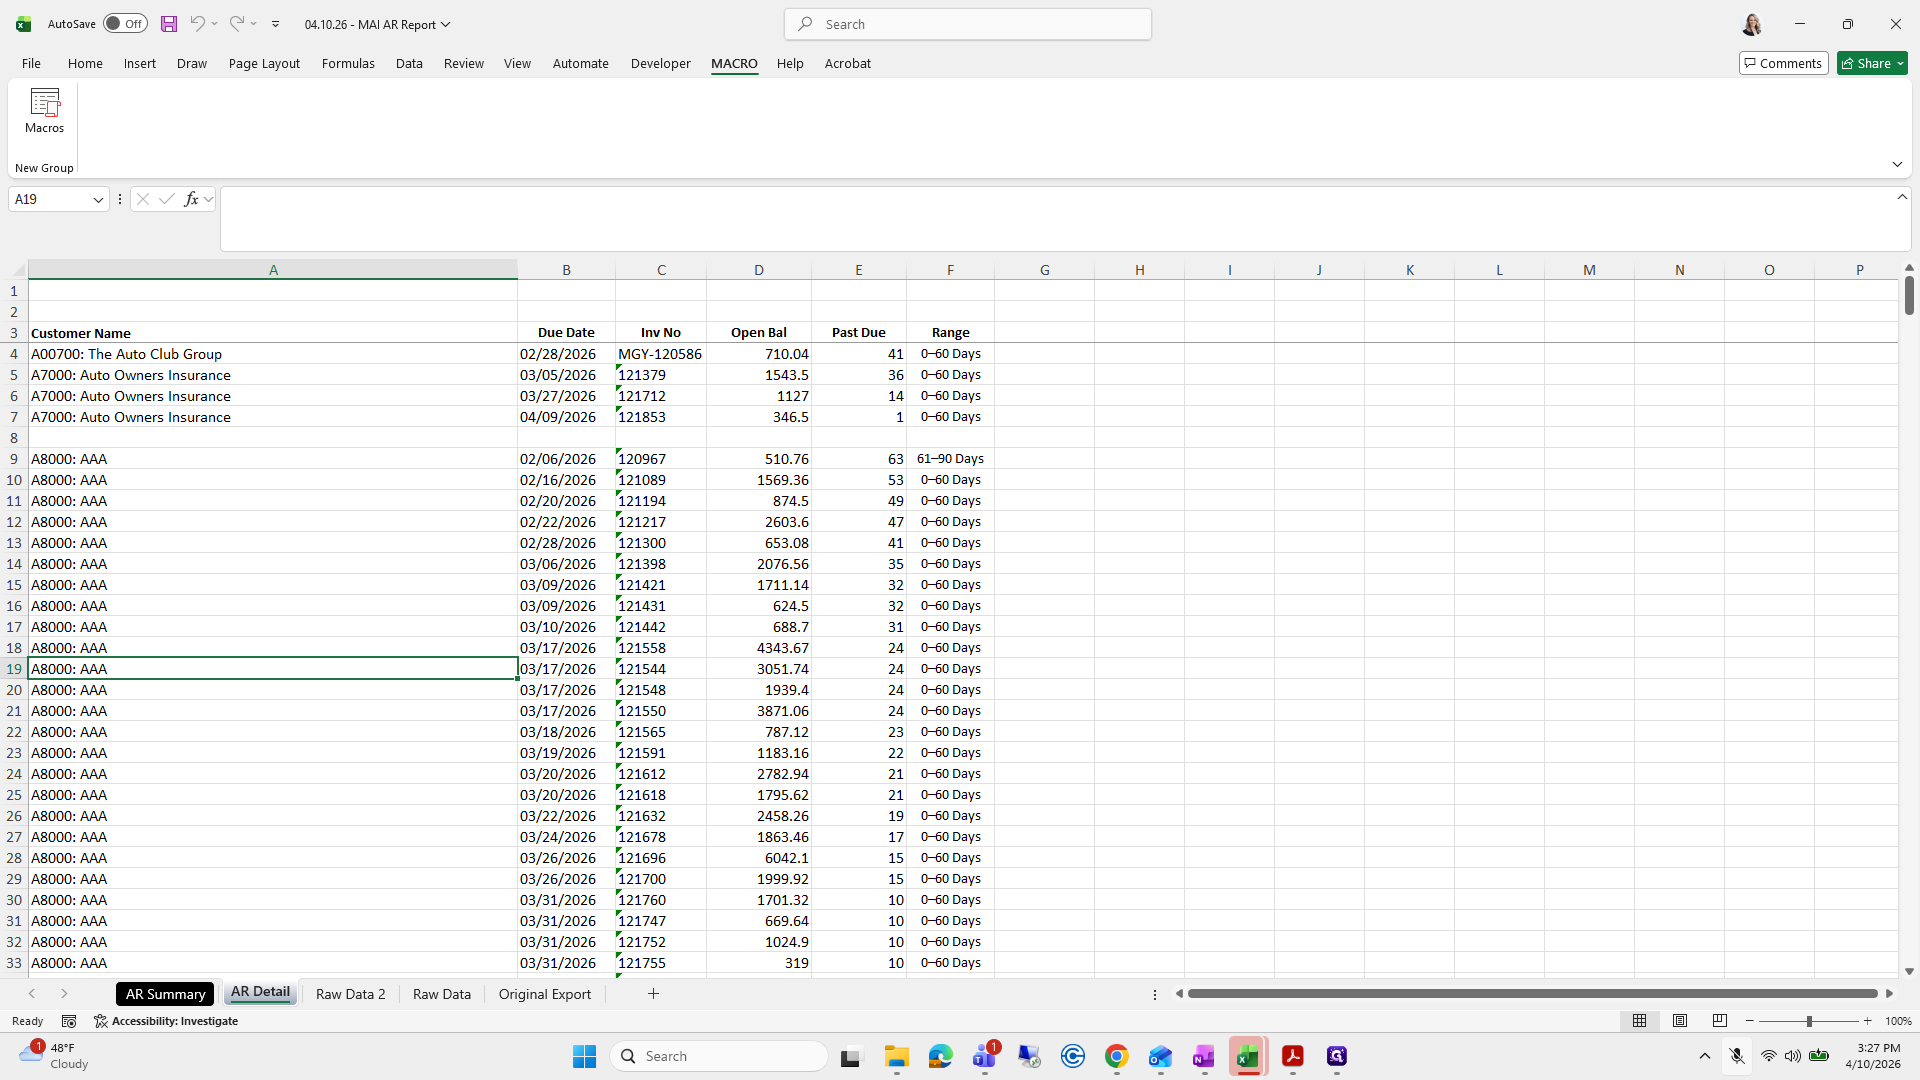
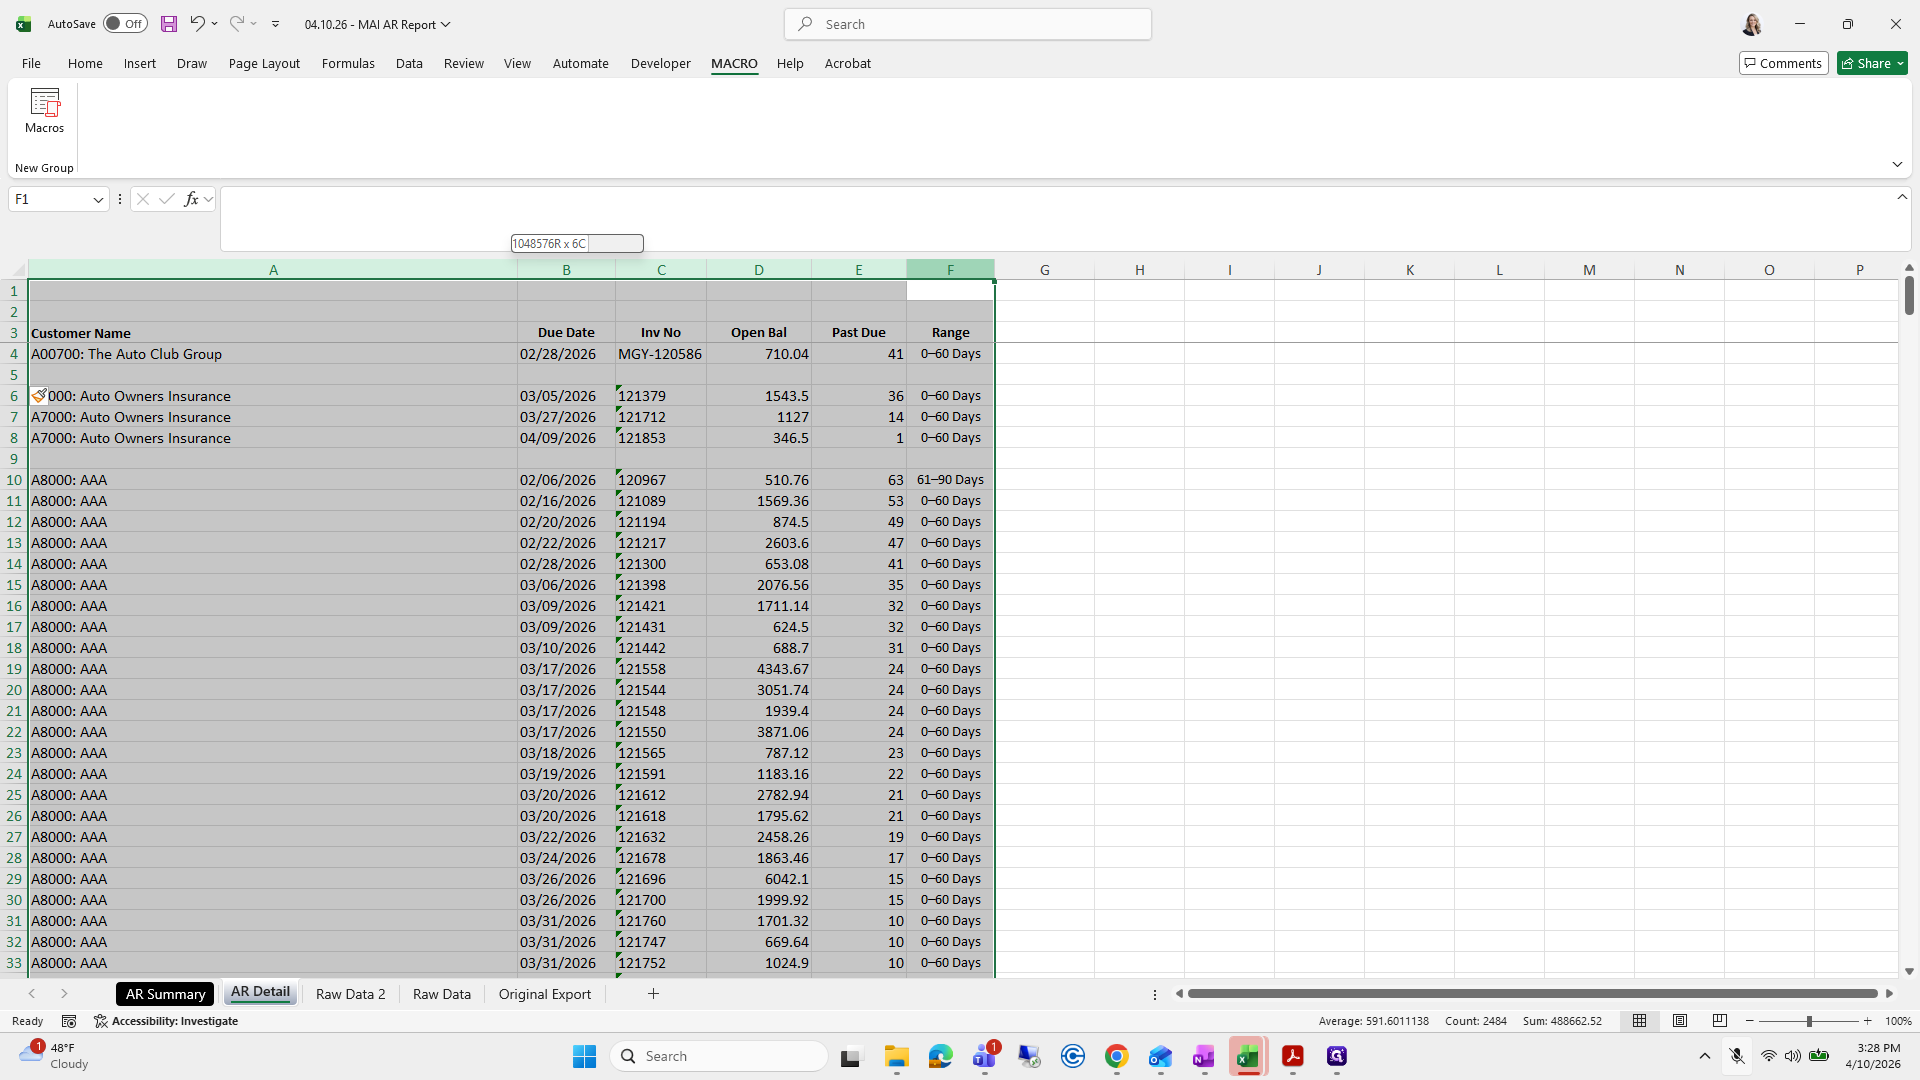
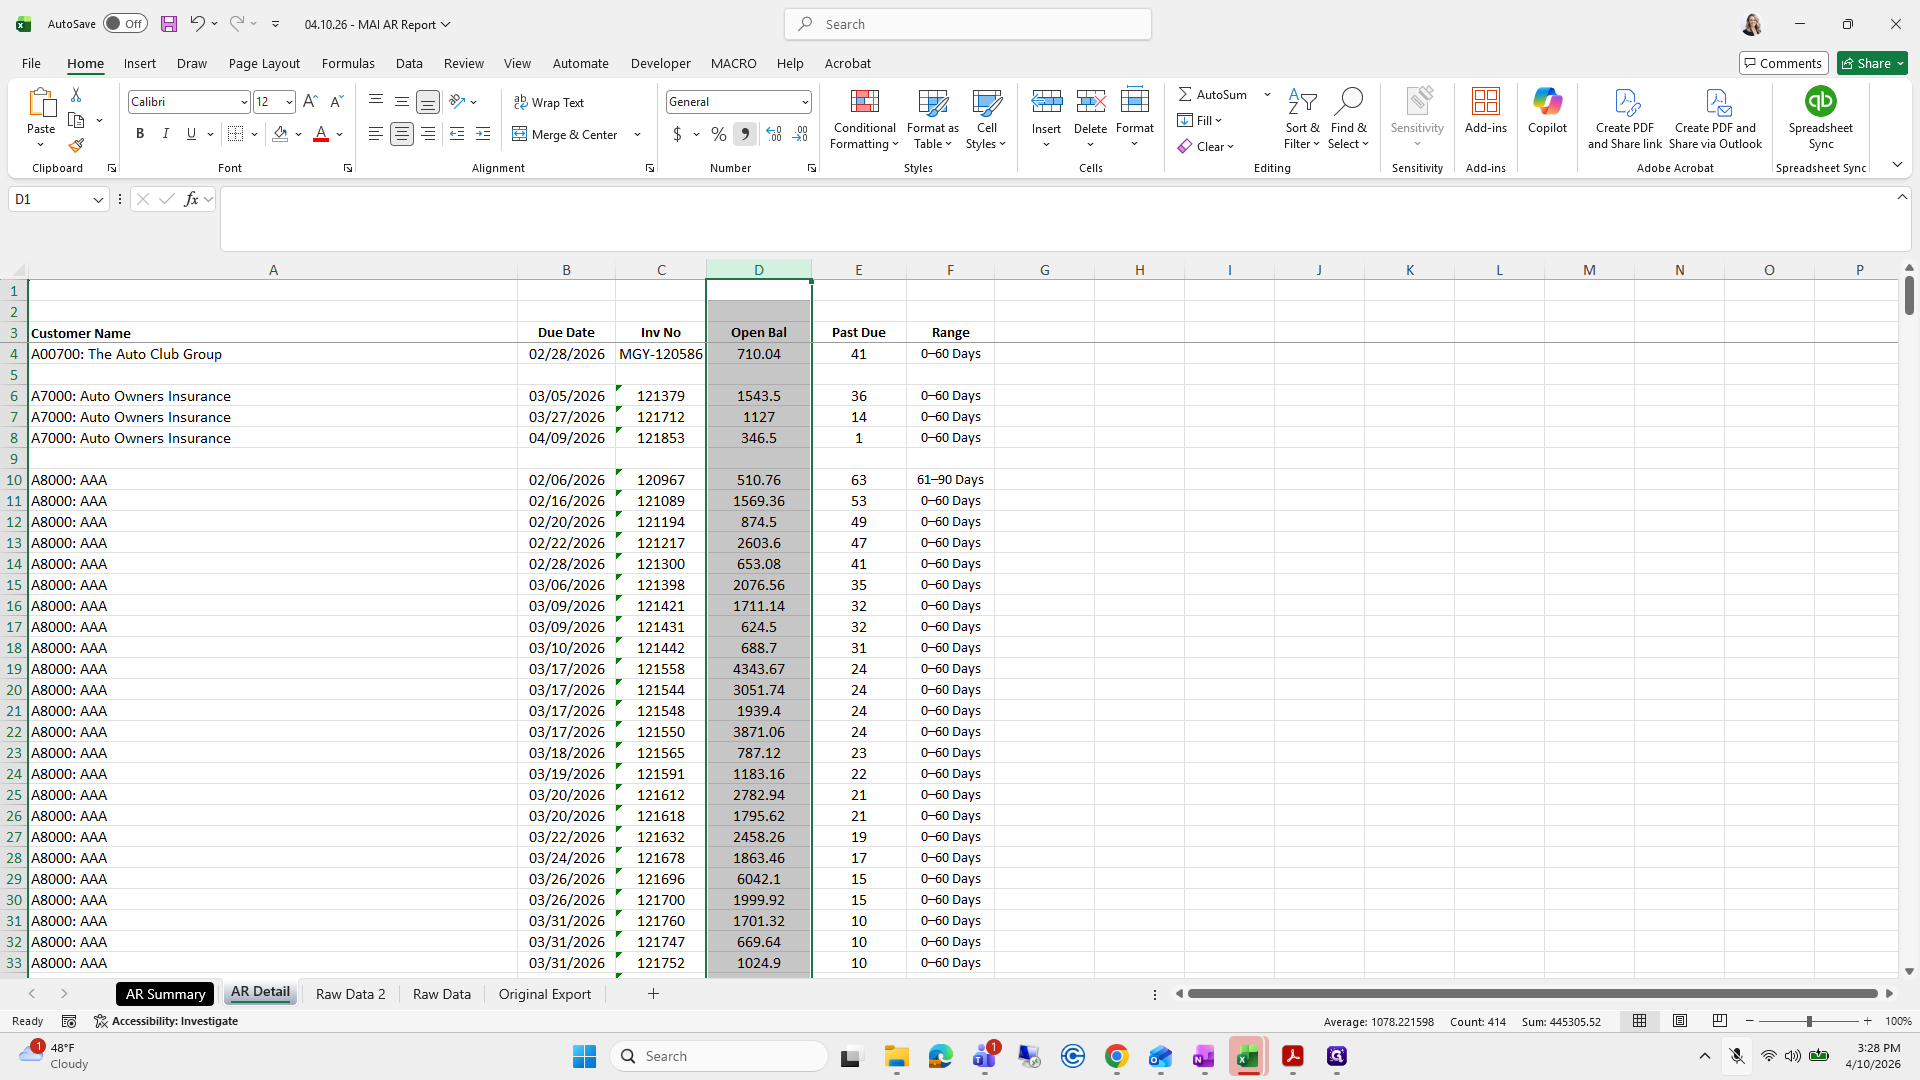
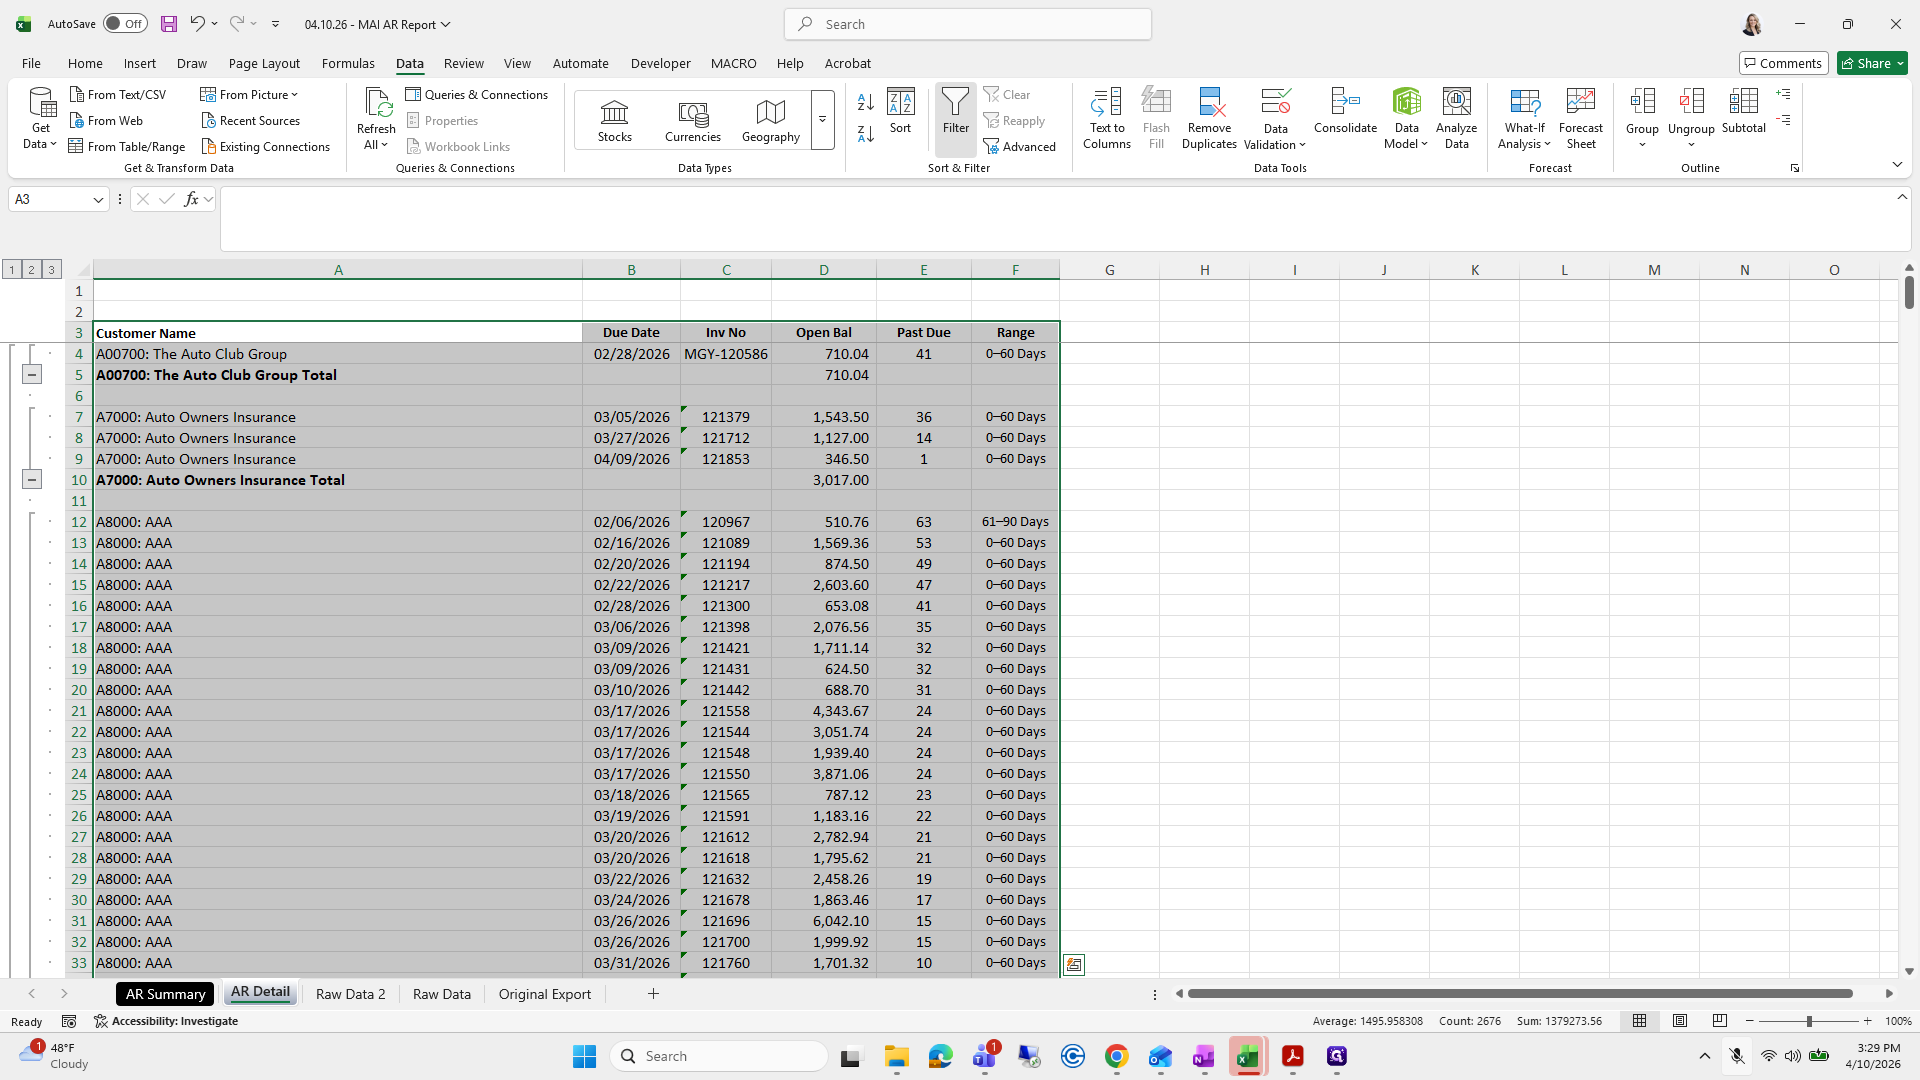
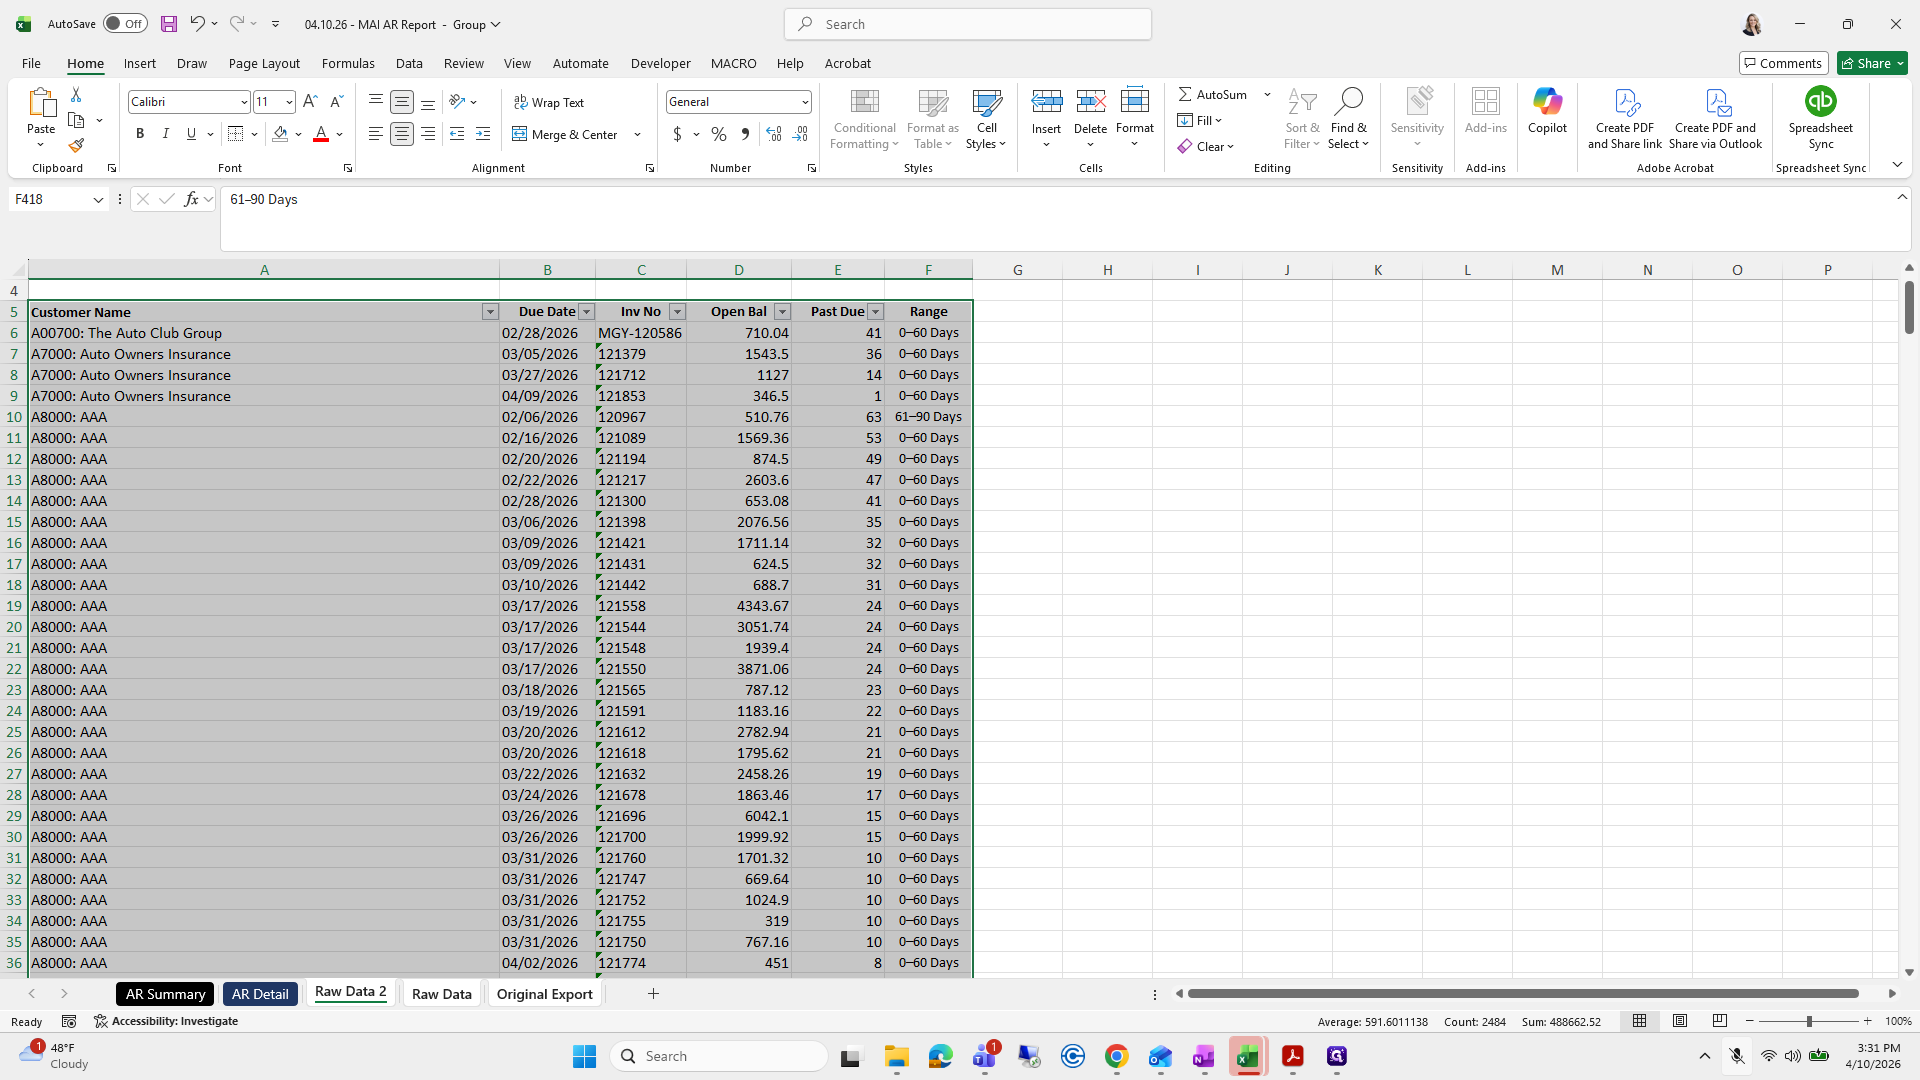
This is raw data.
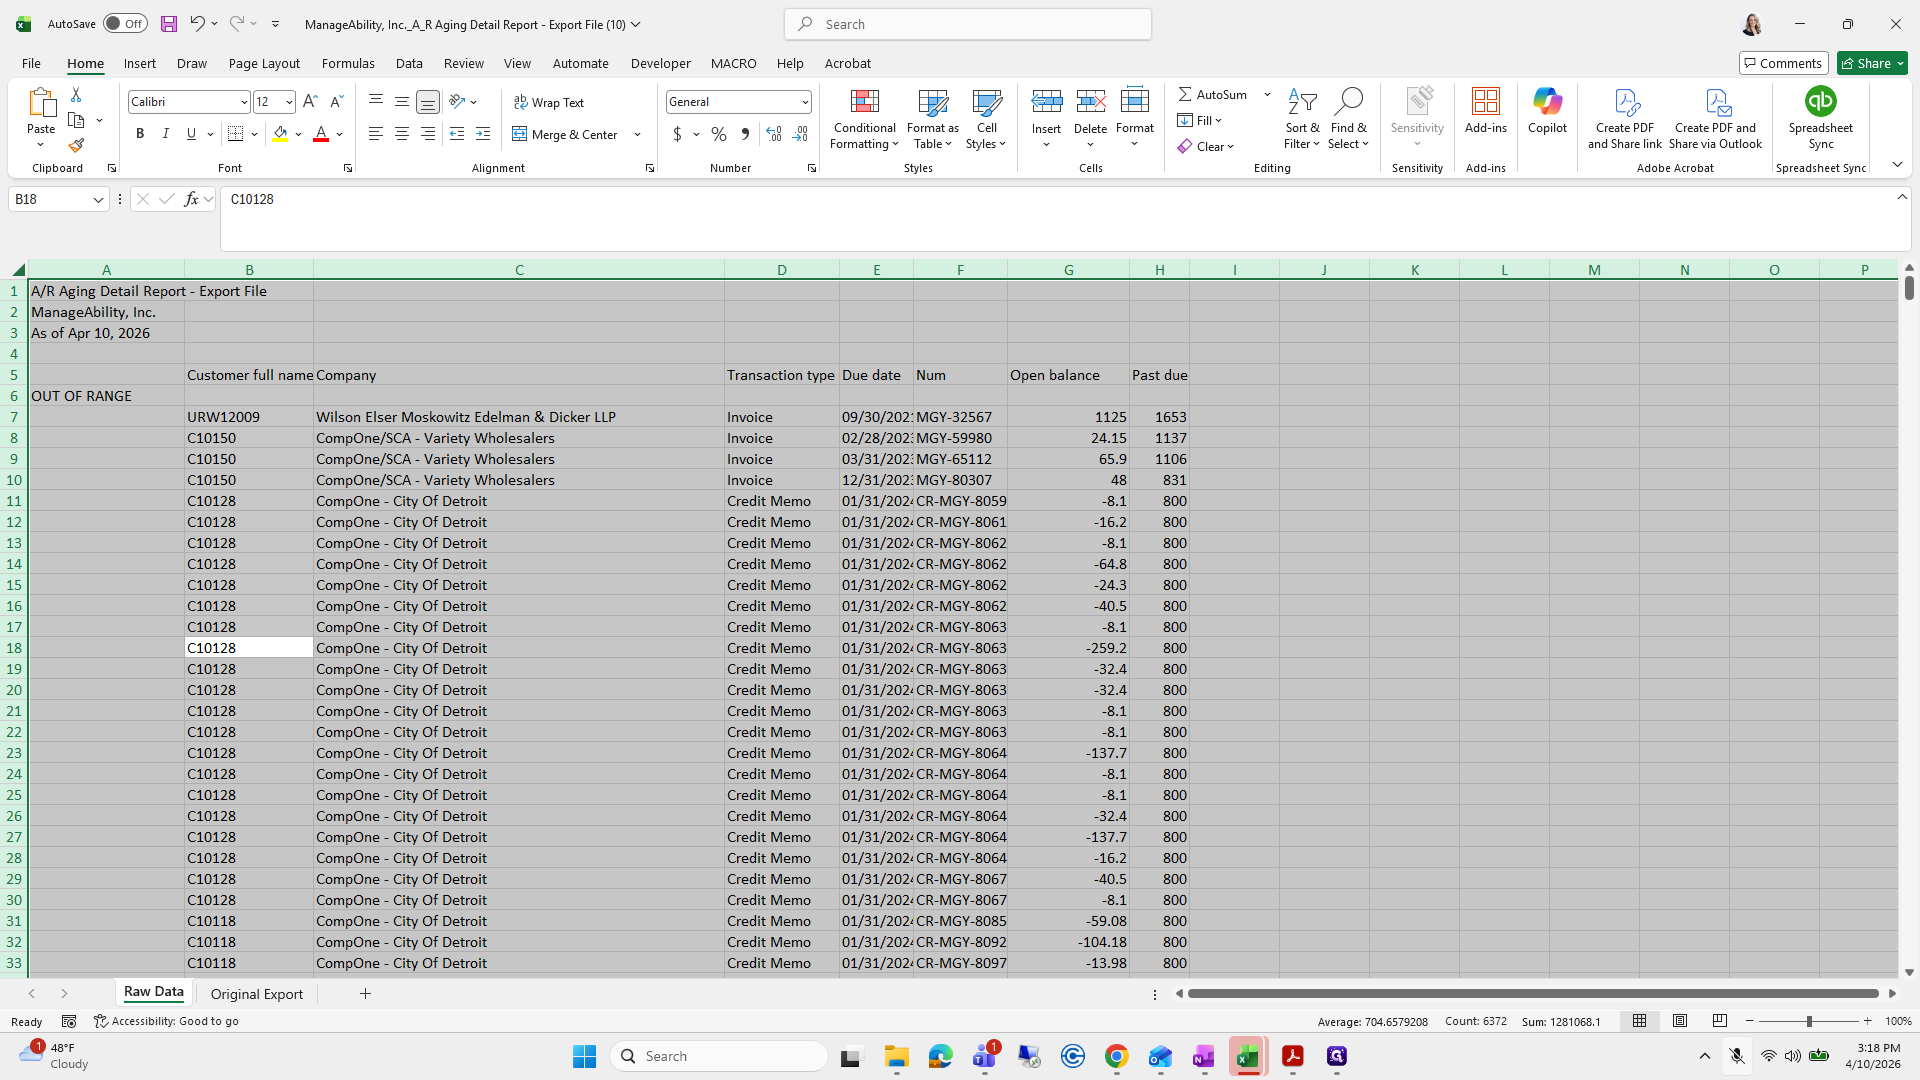
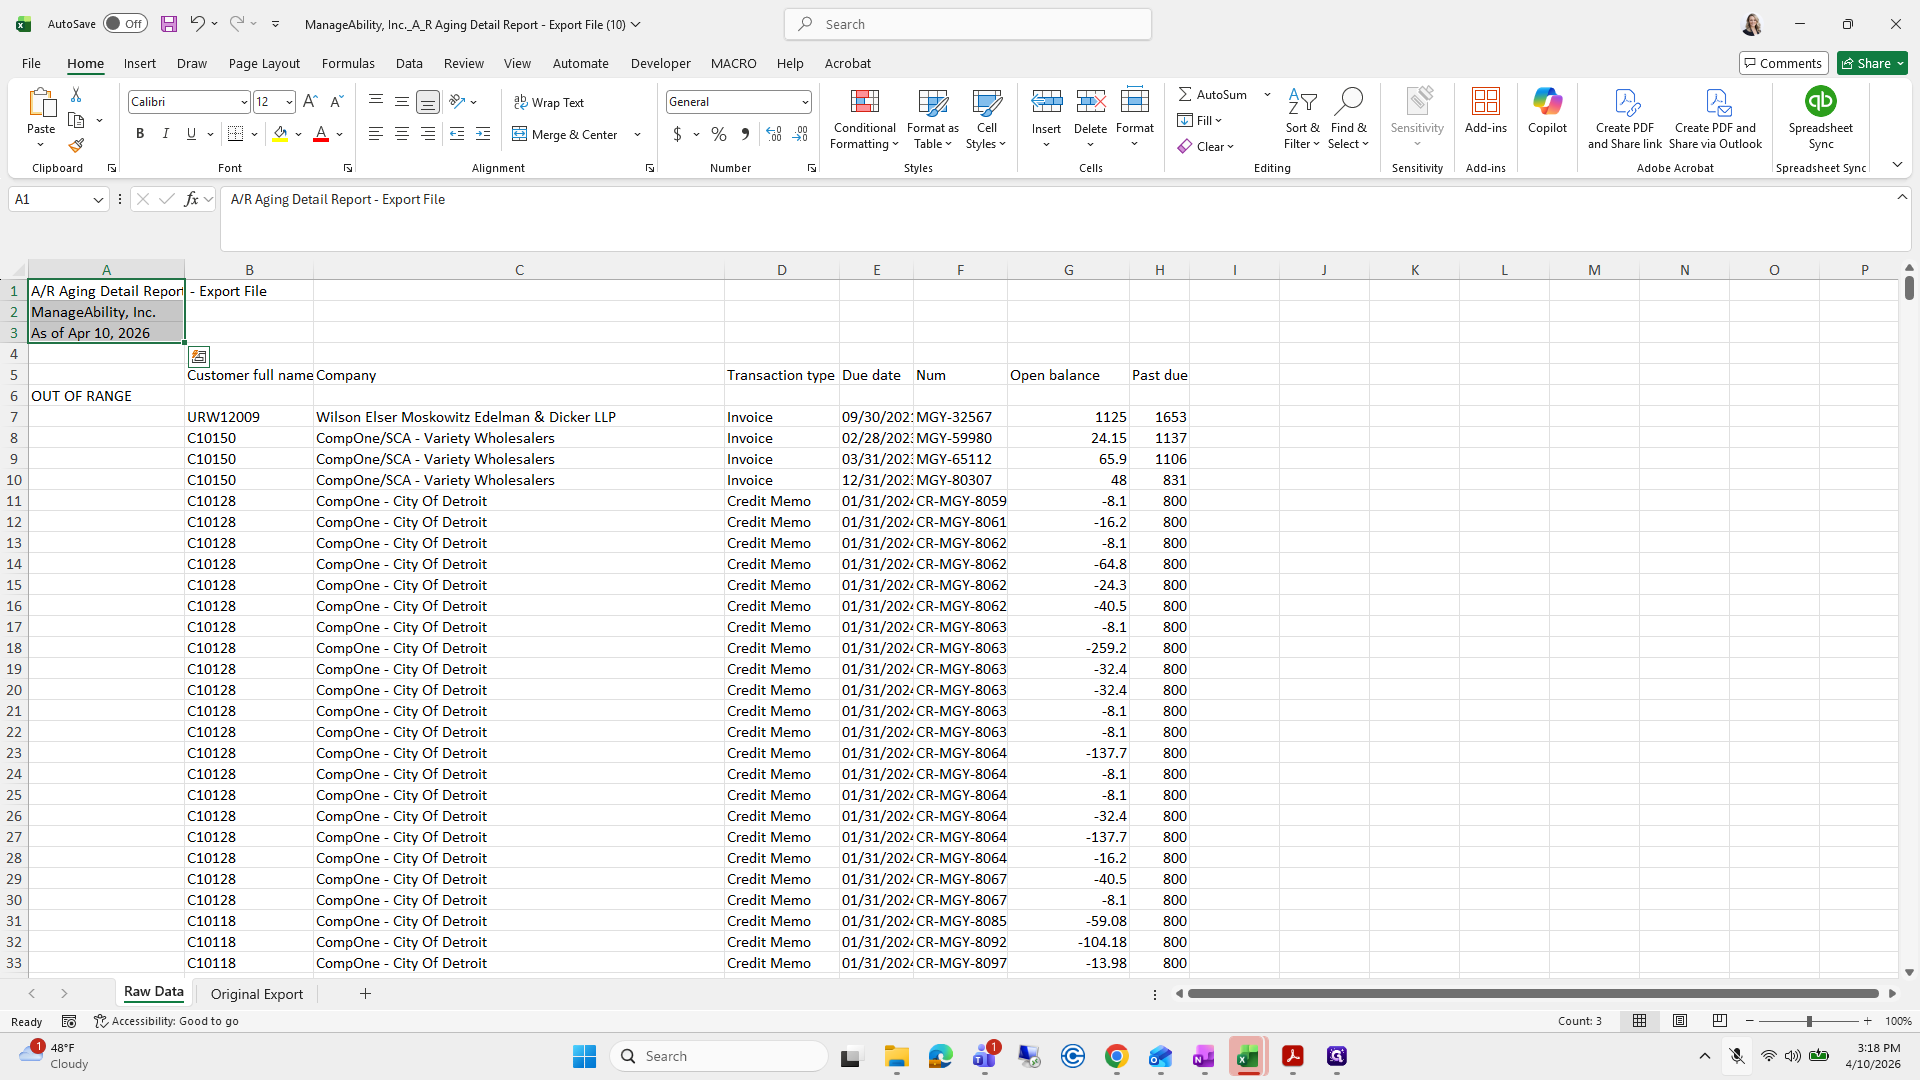
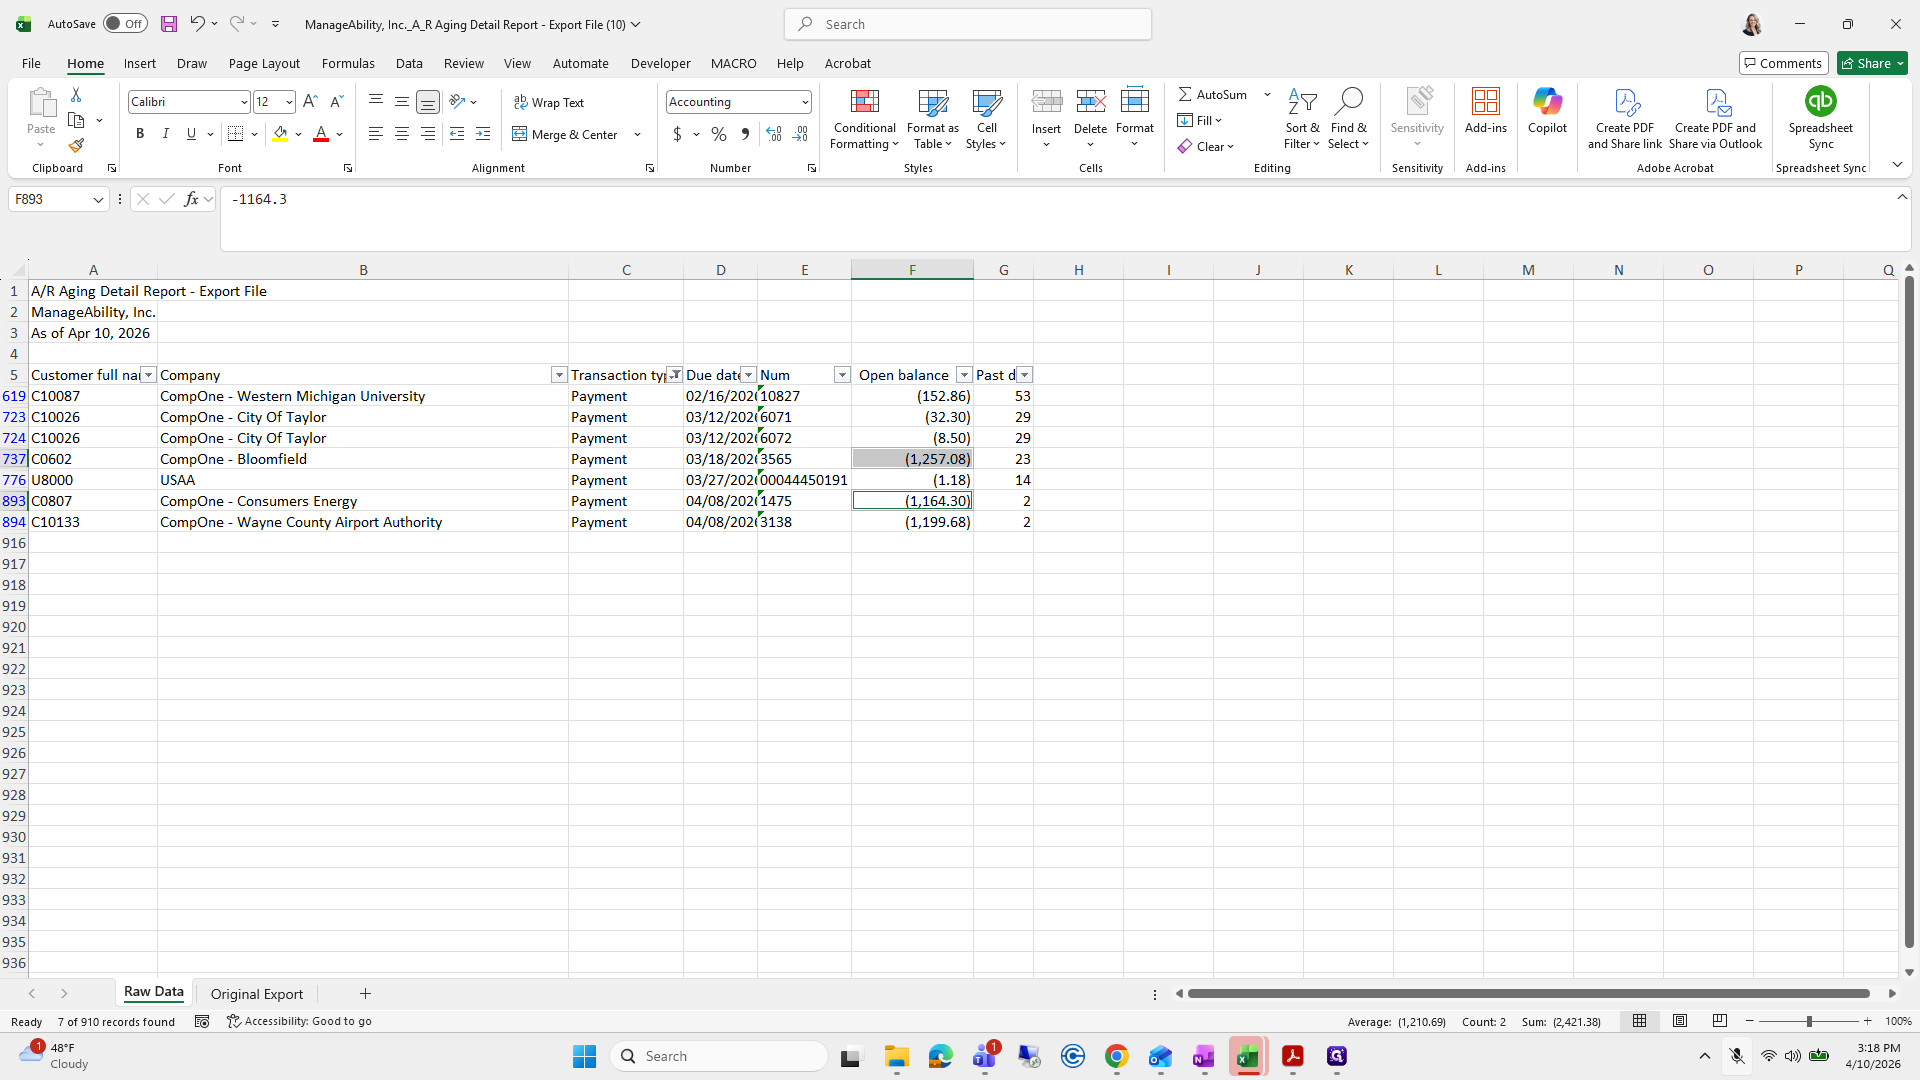
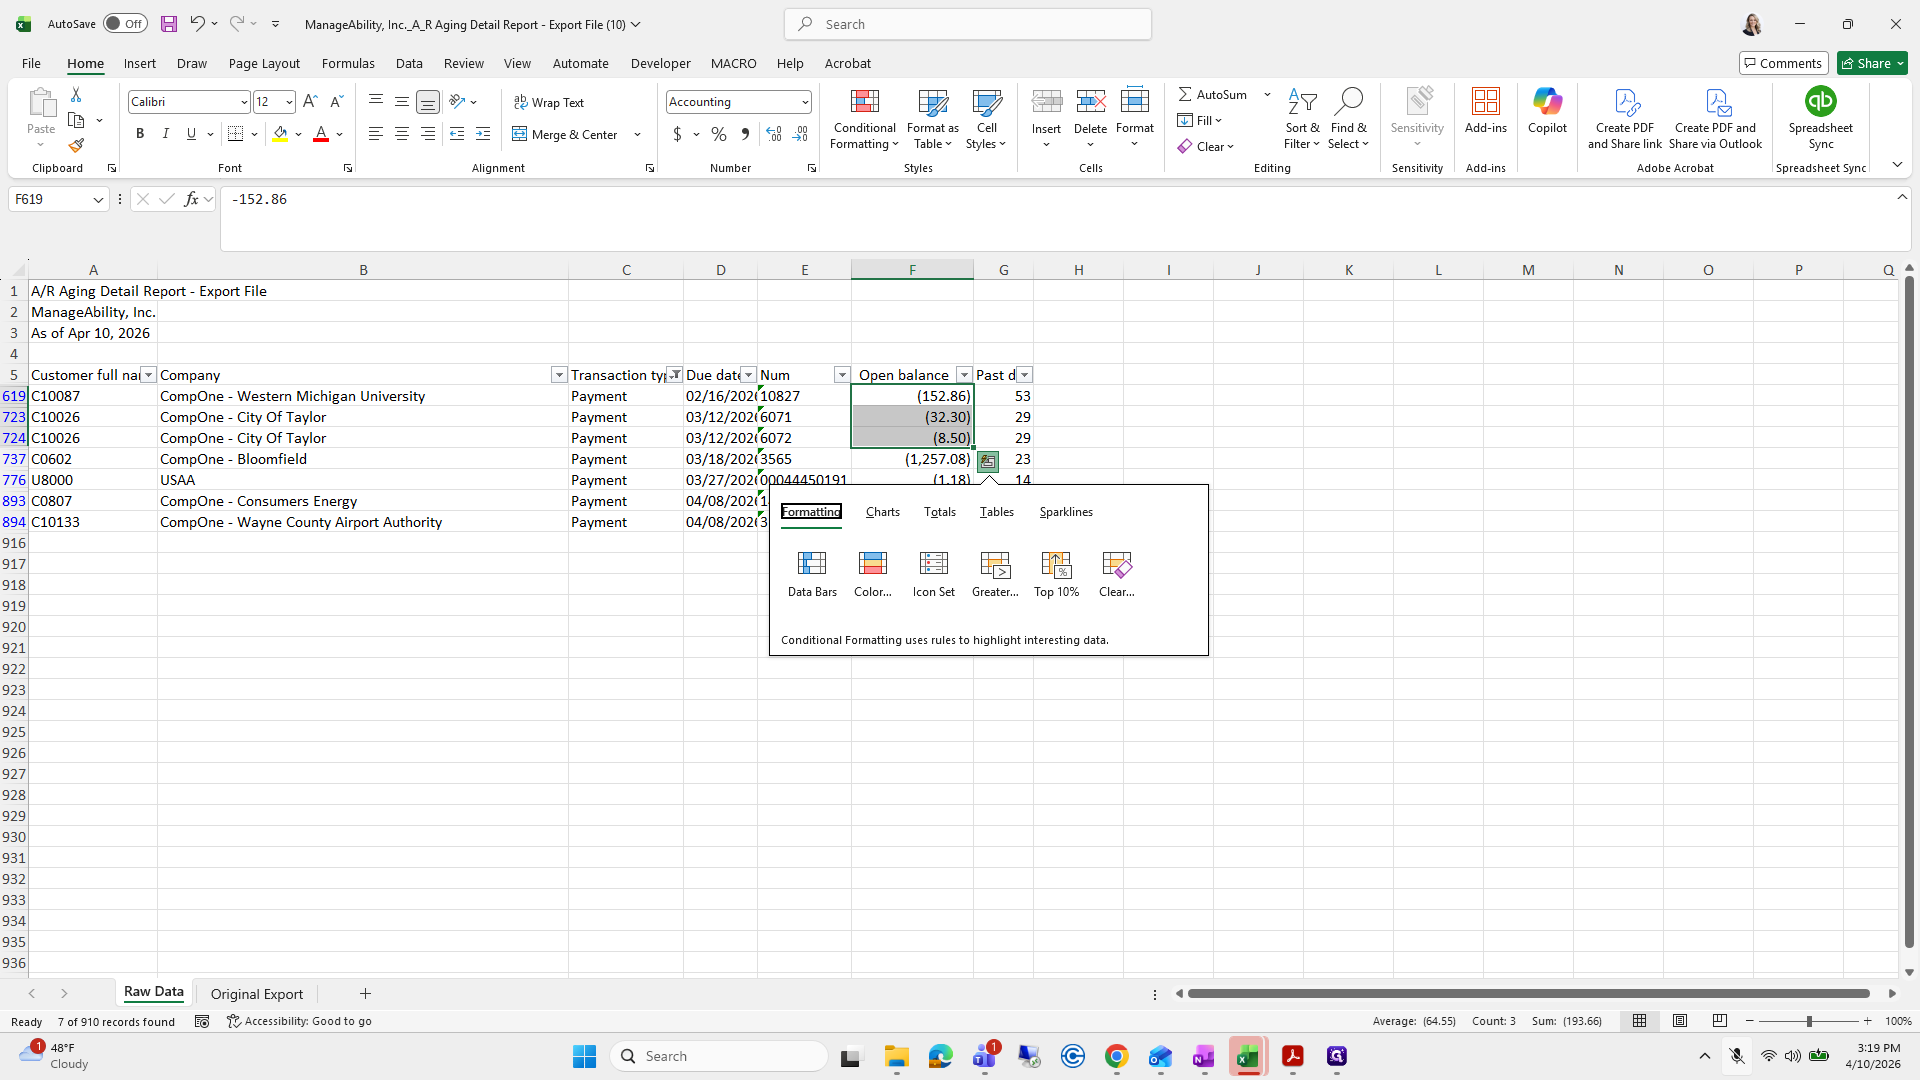
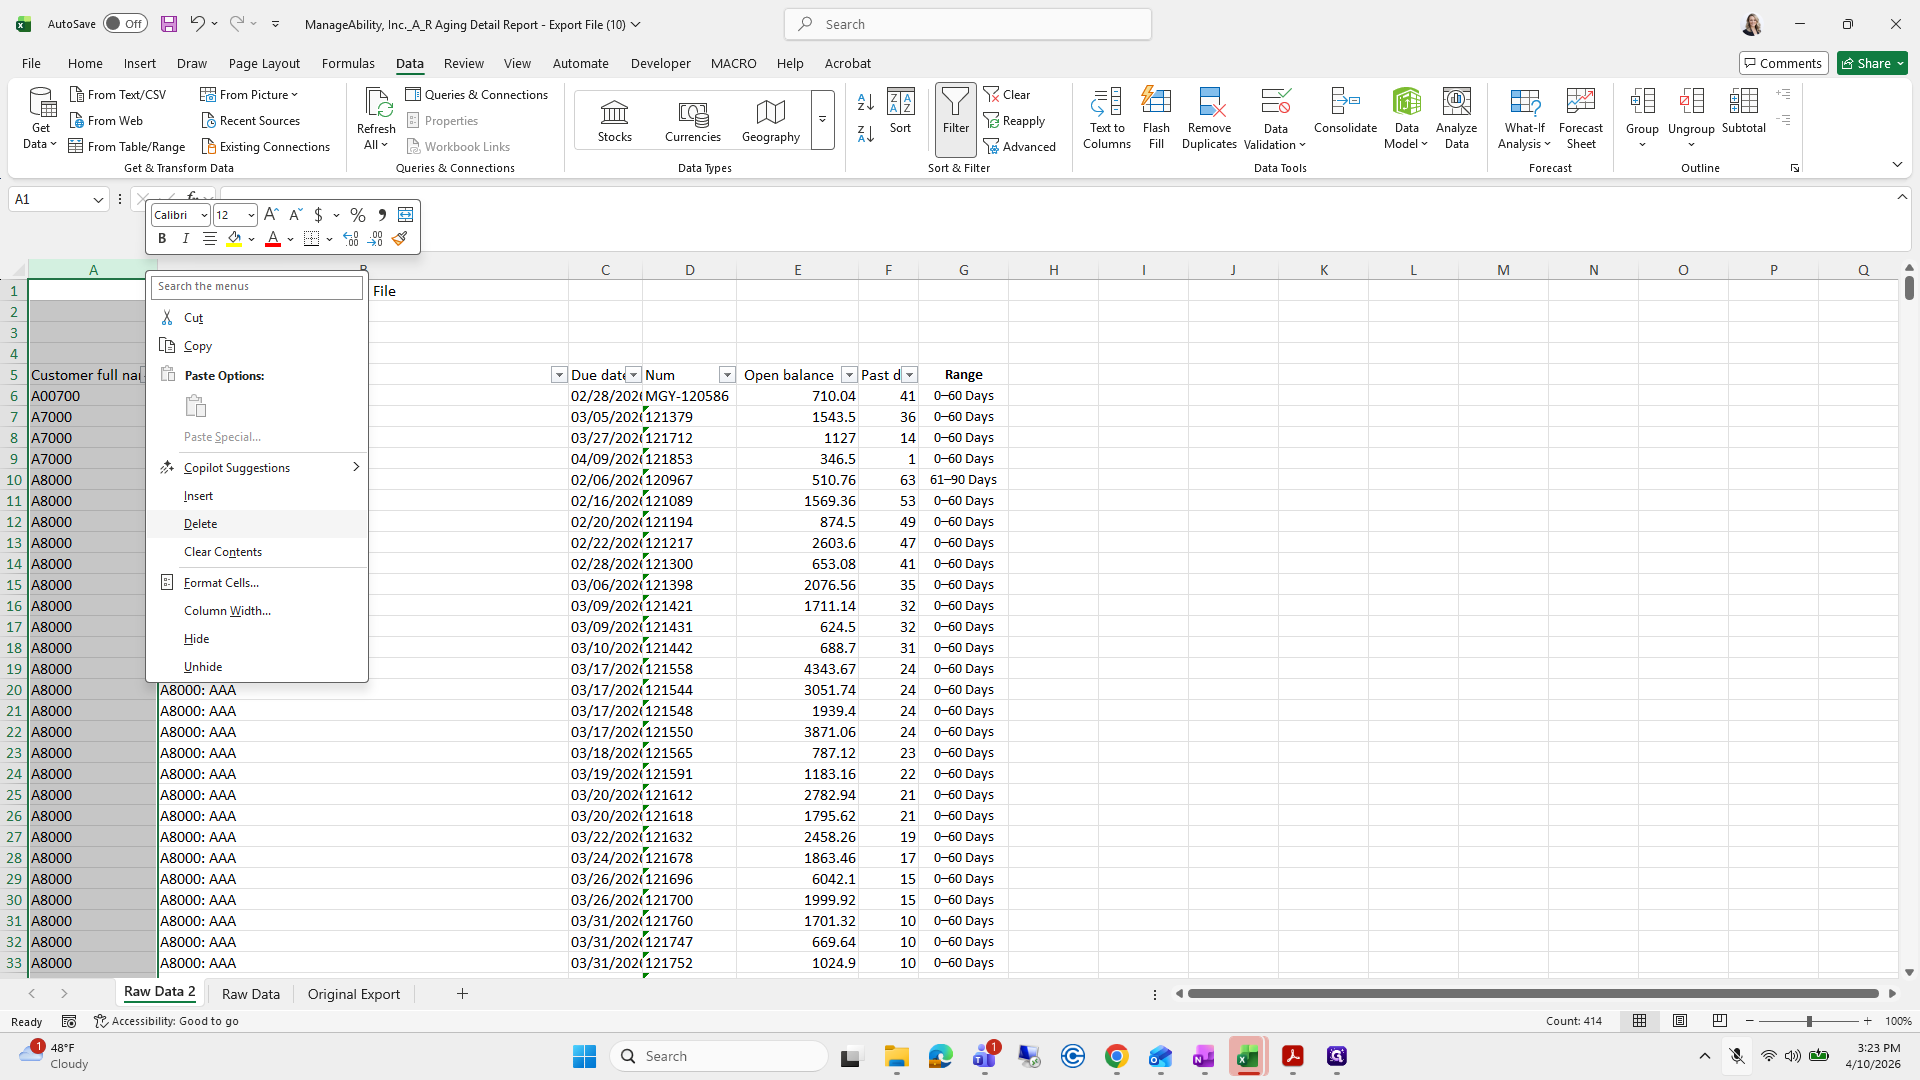
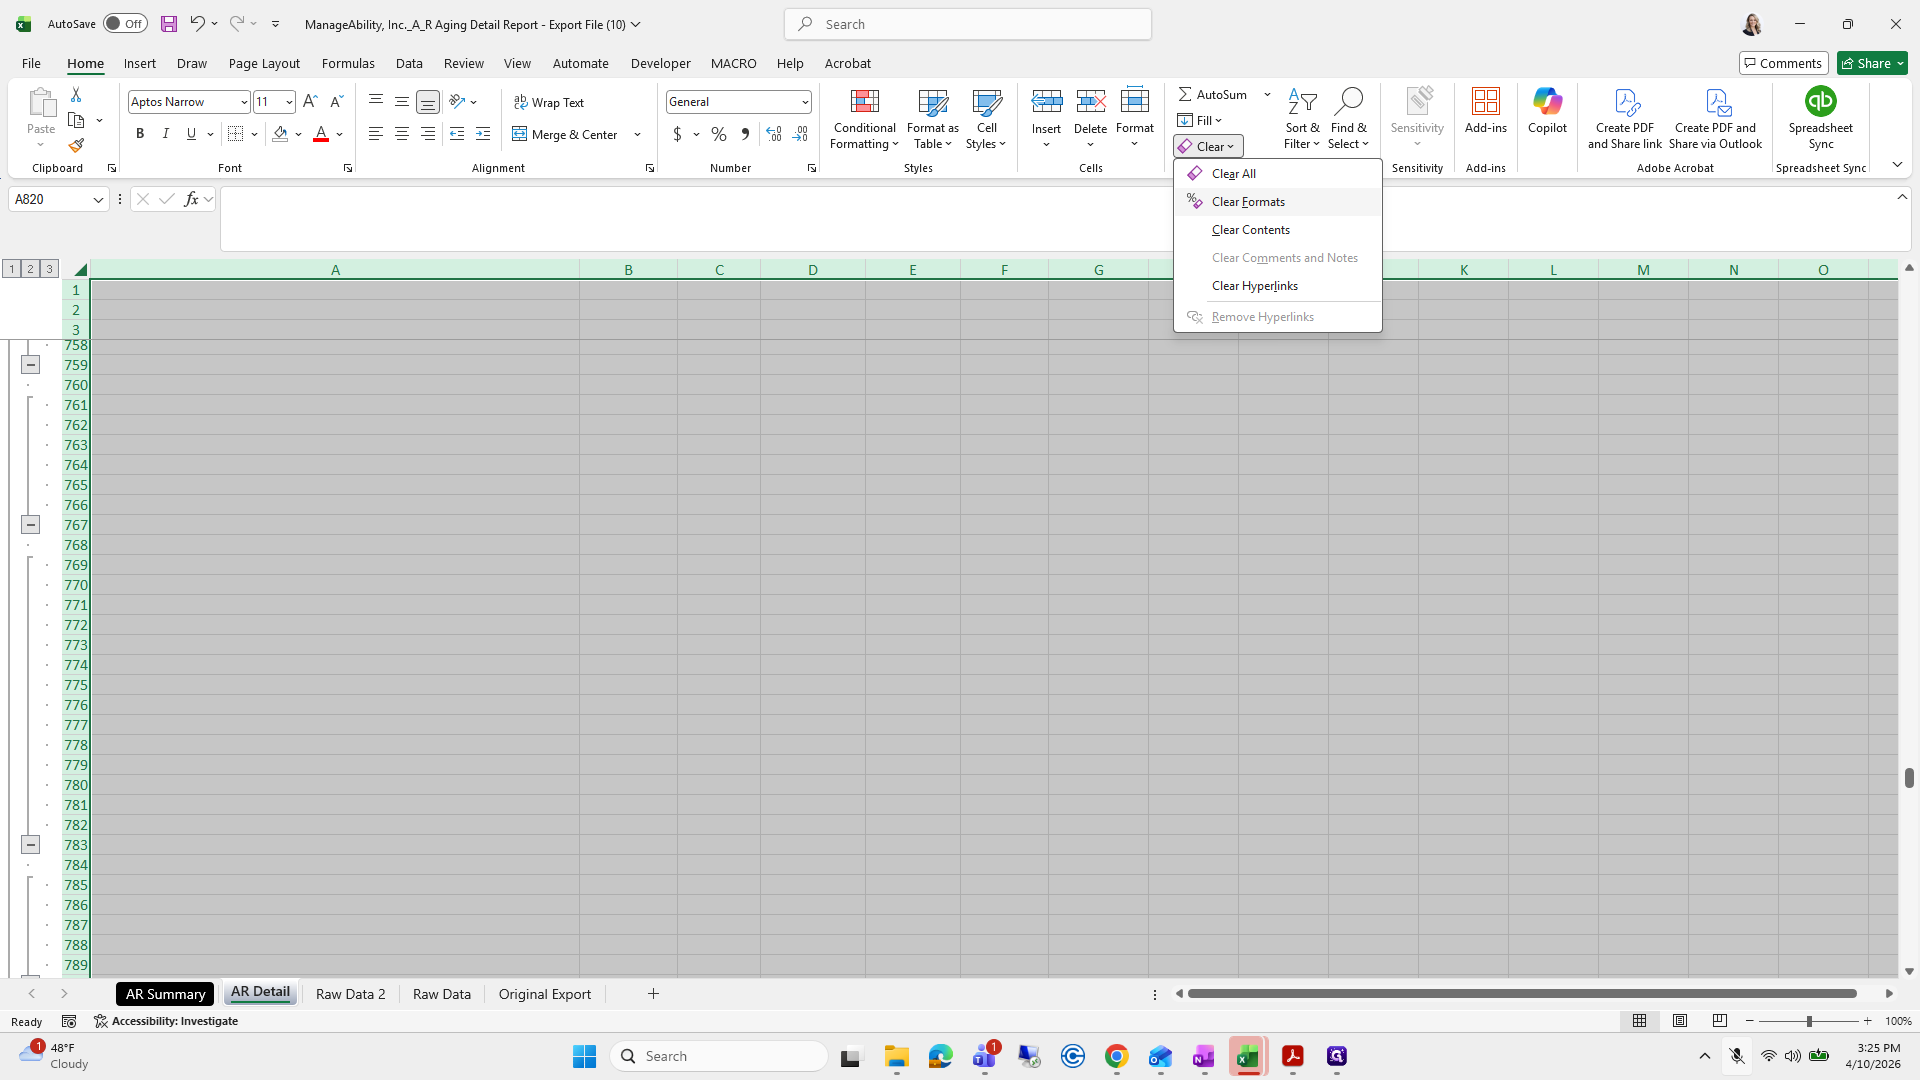
I select all, go to Home, click Clear, then Formats.
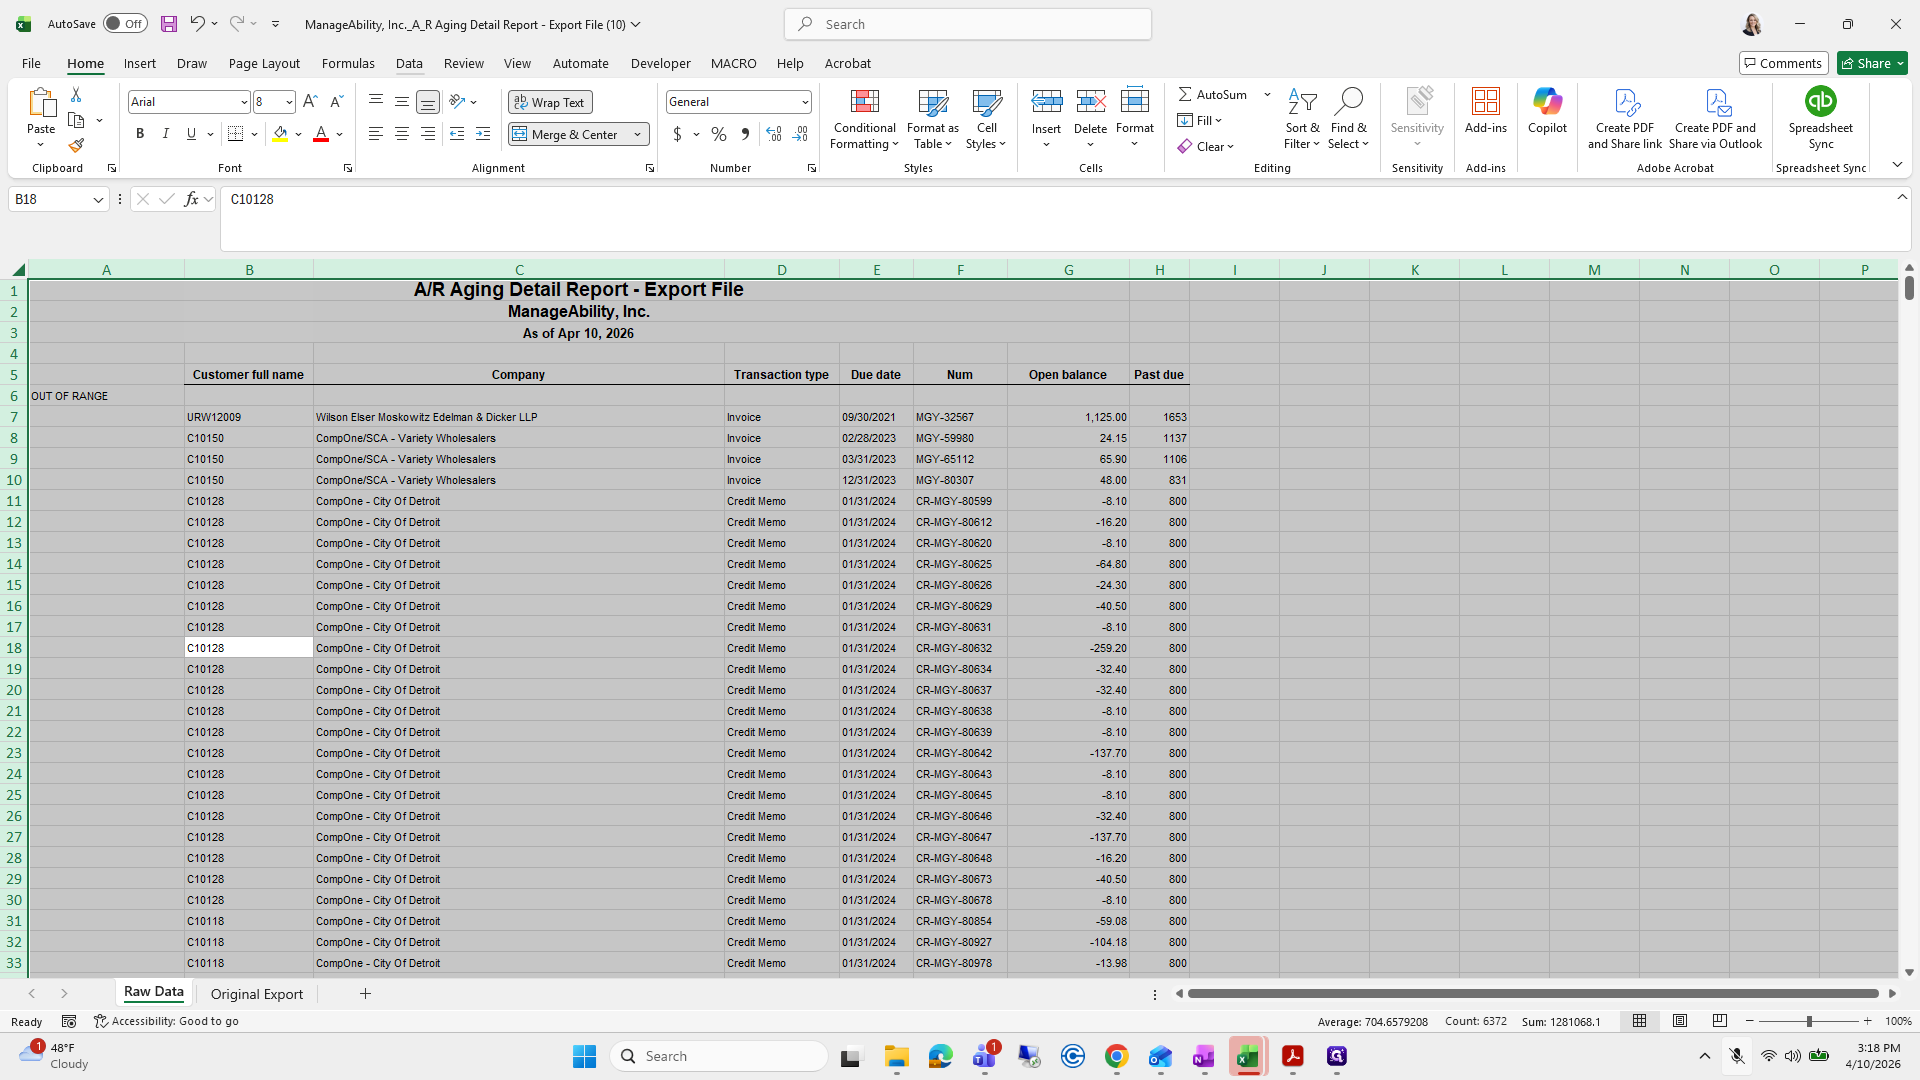

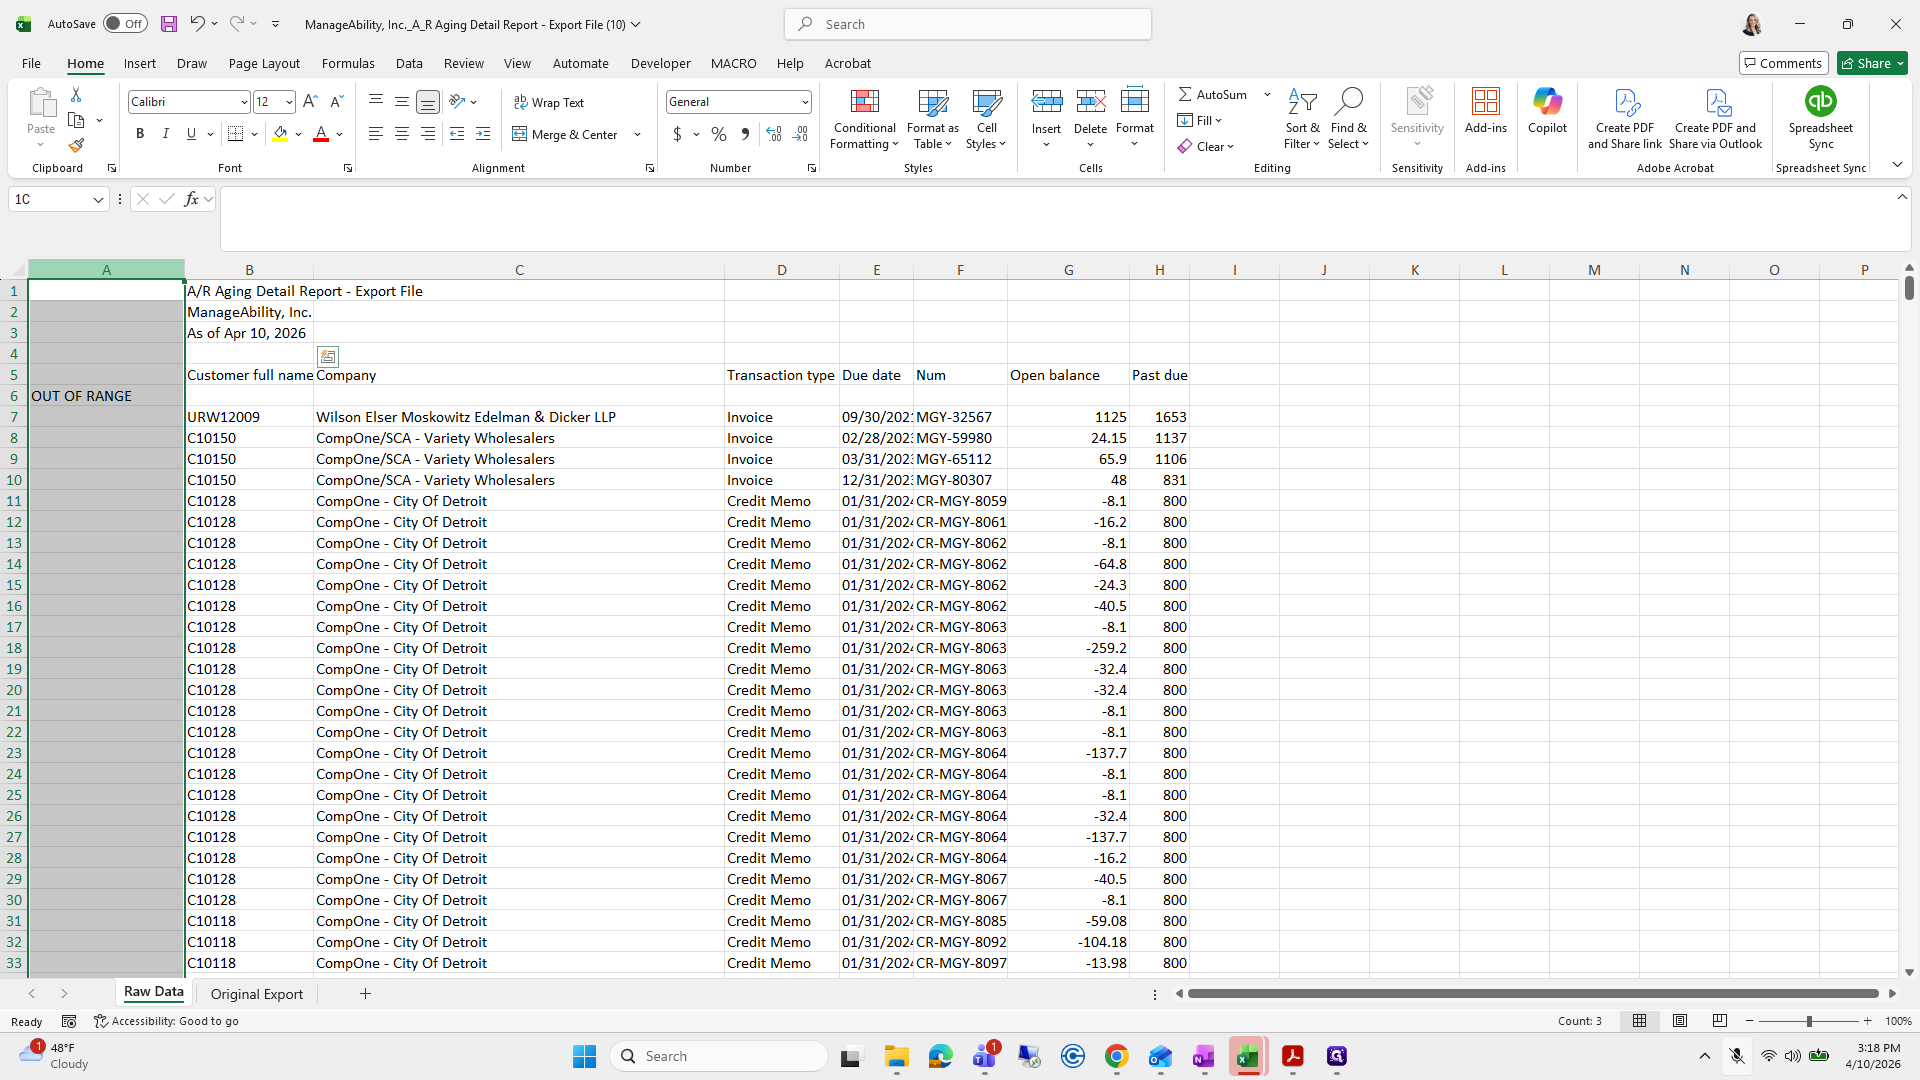
Then I grab this section and bring it over.
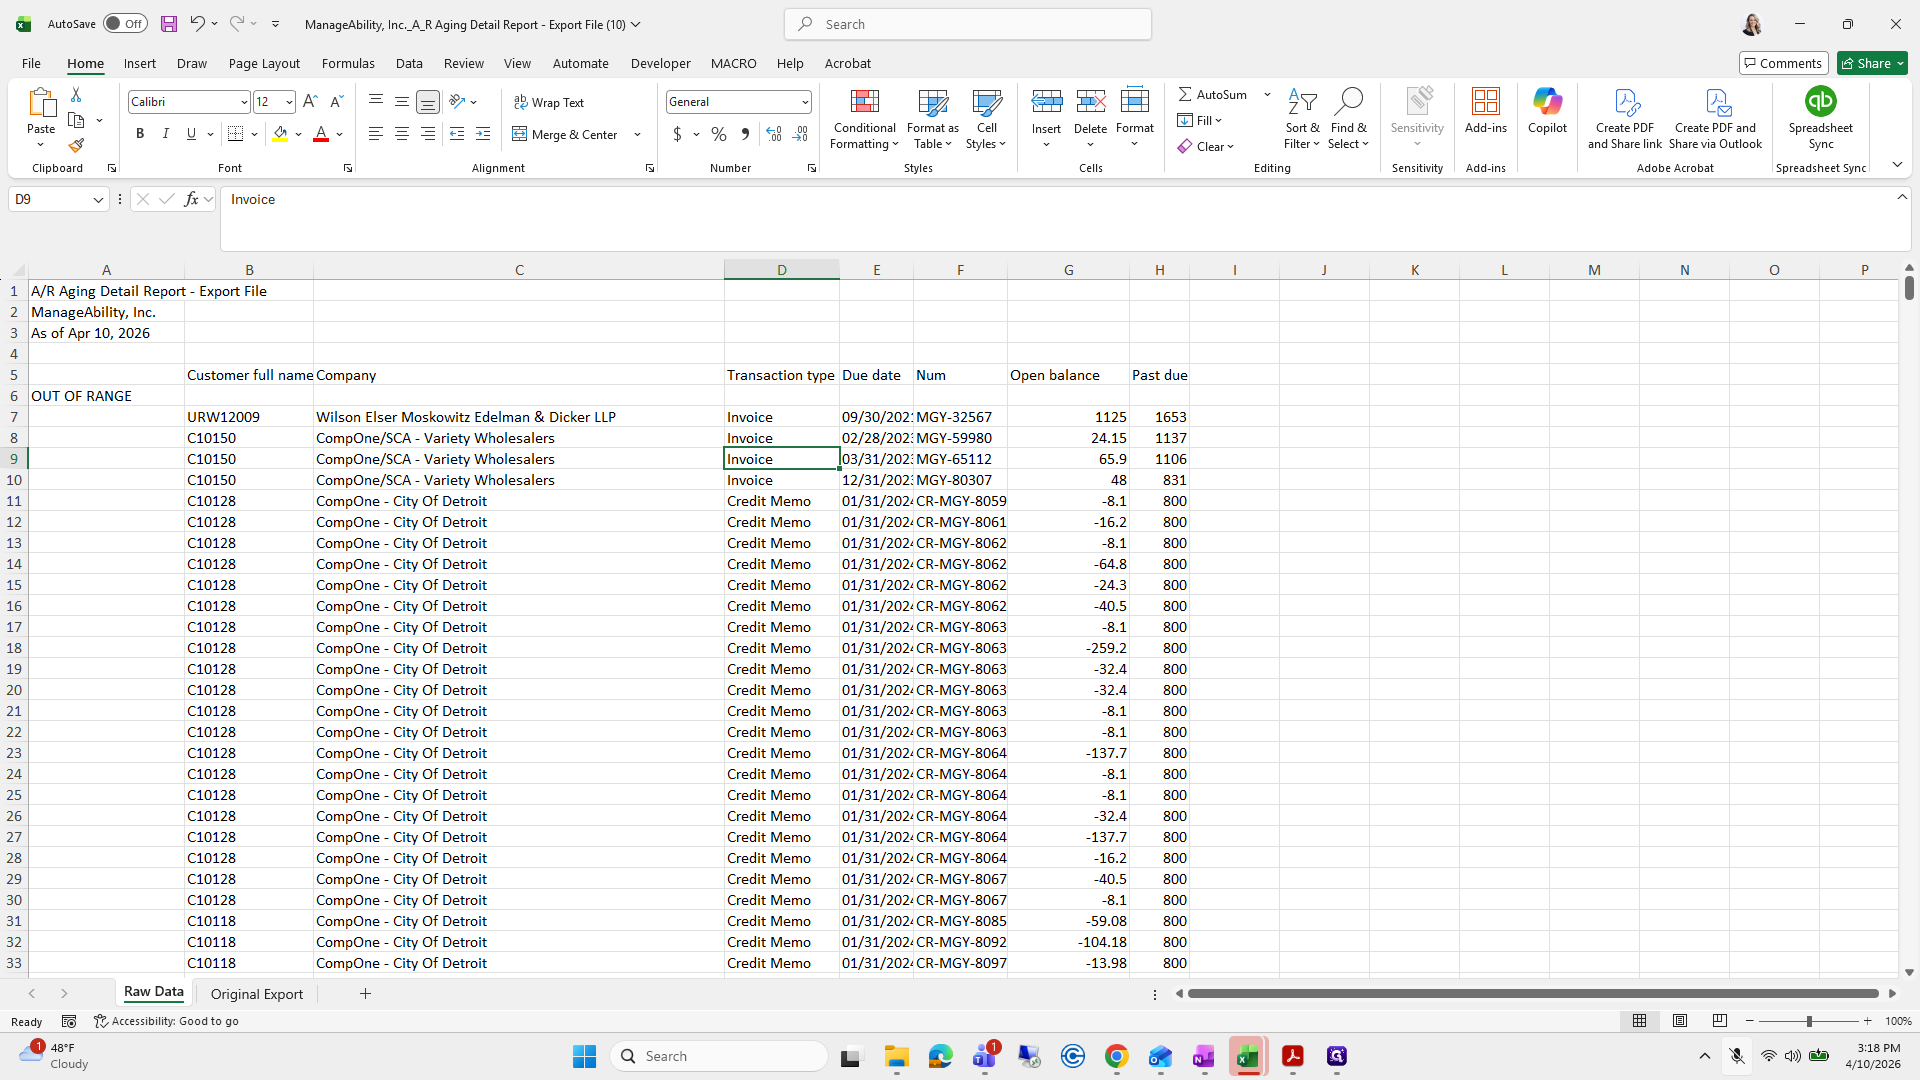
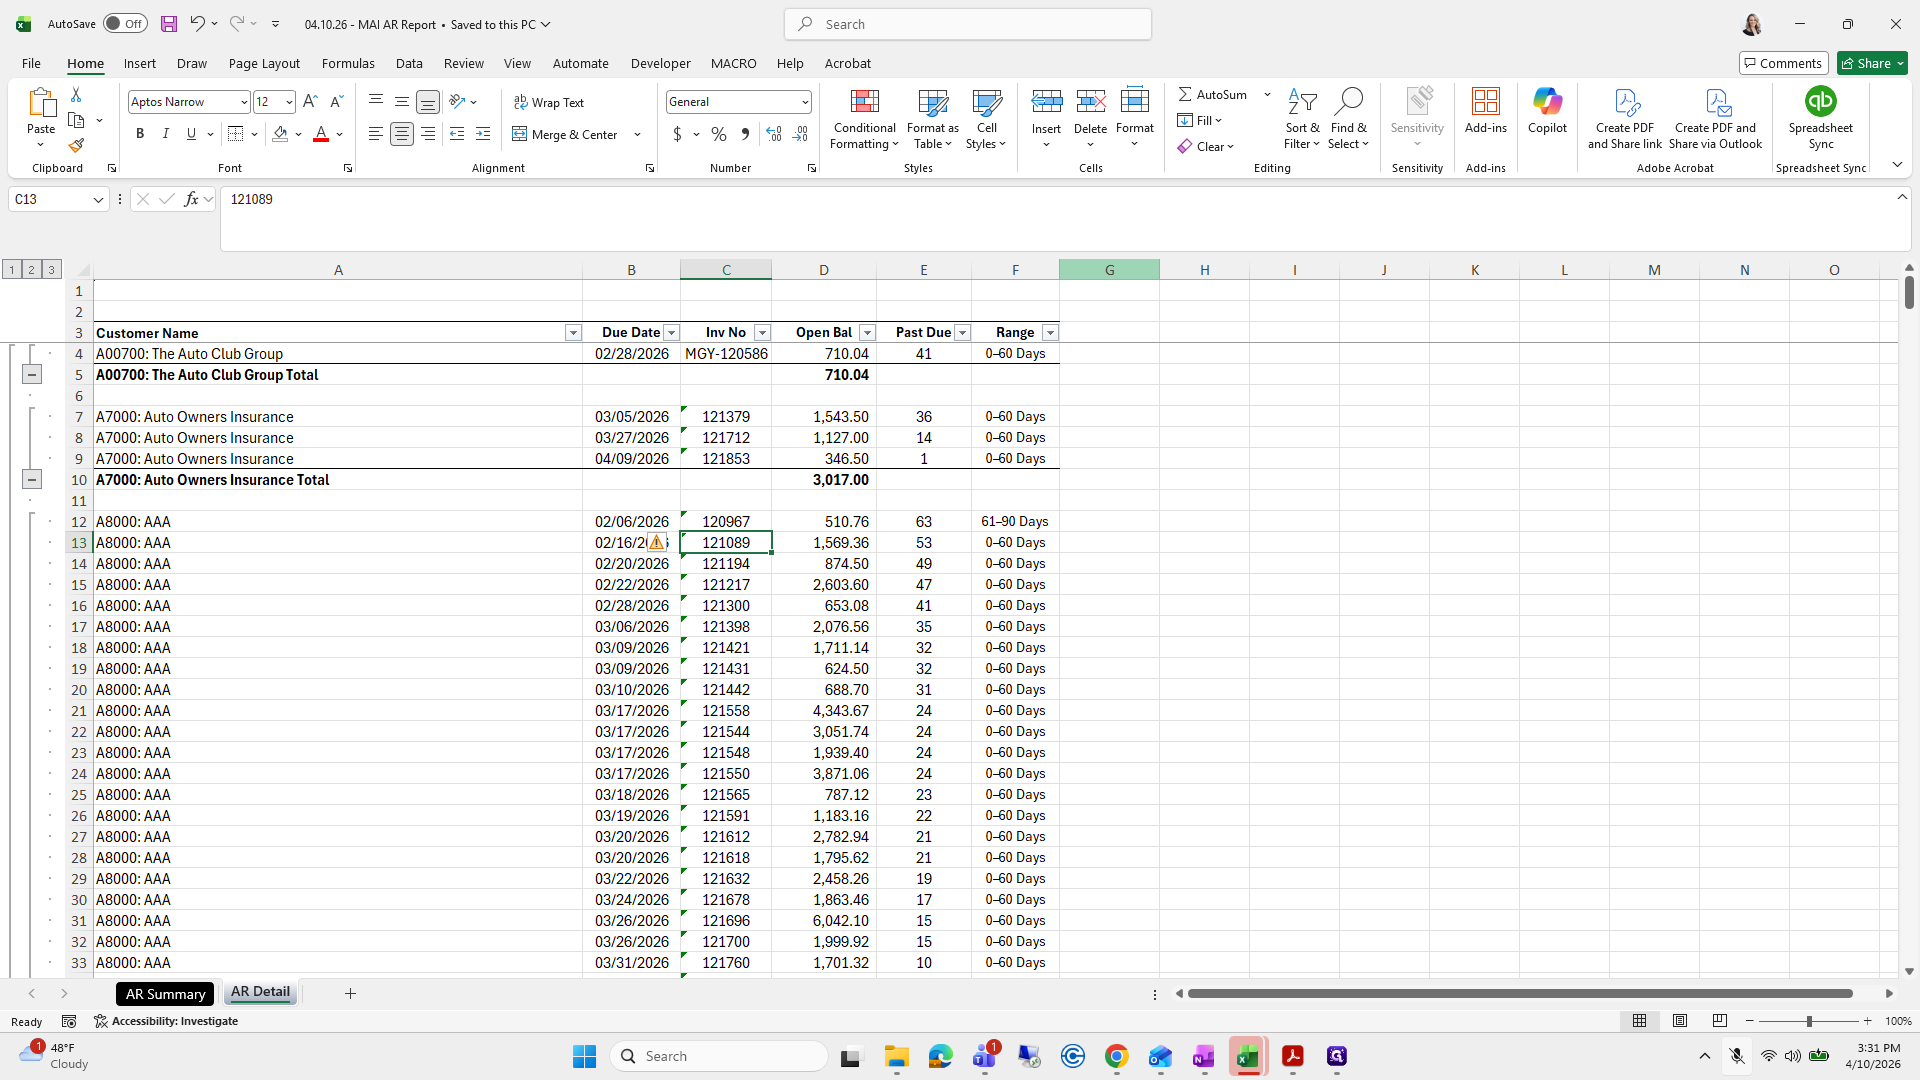
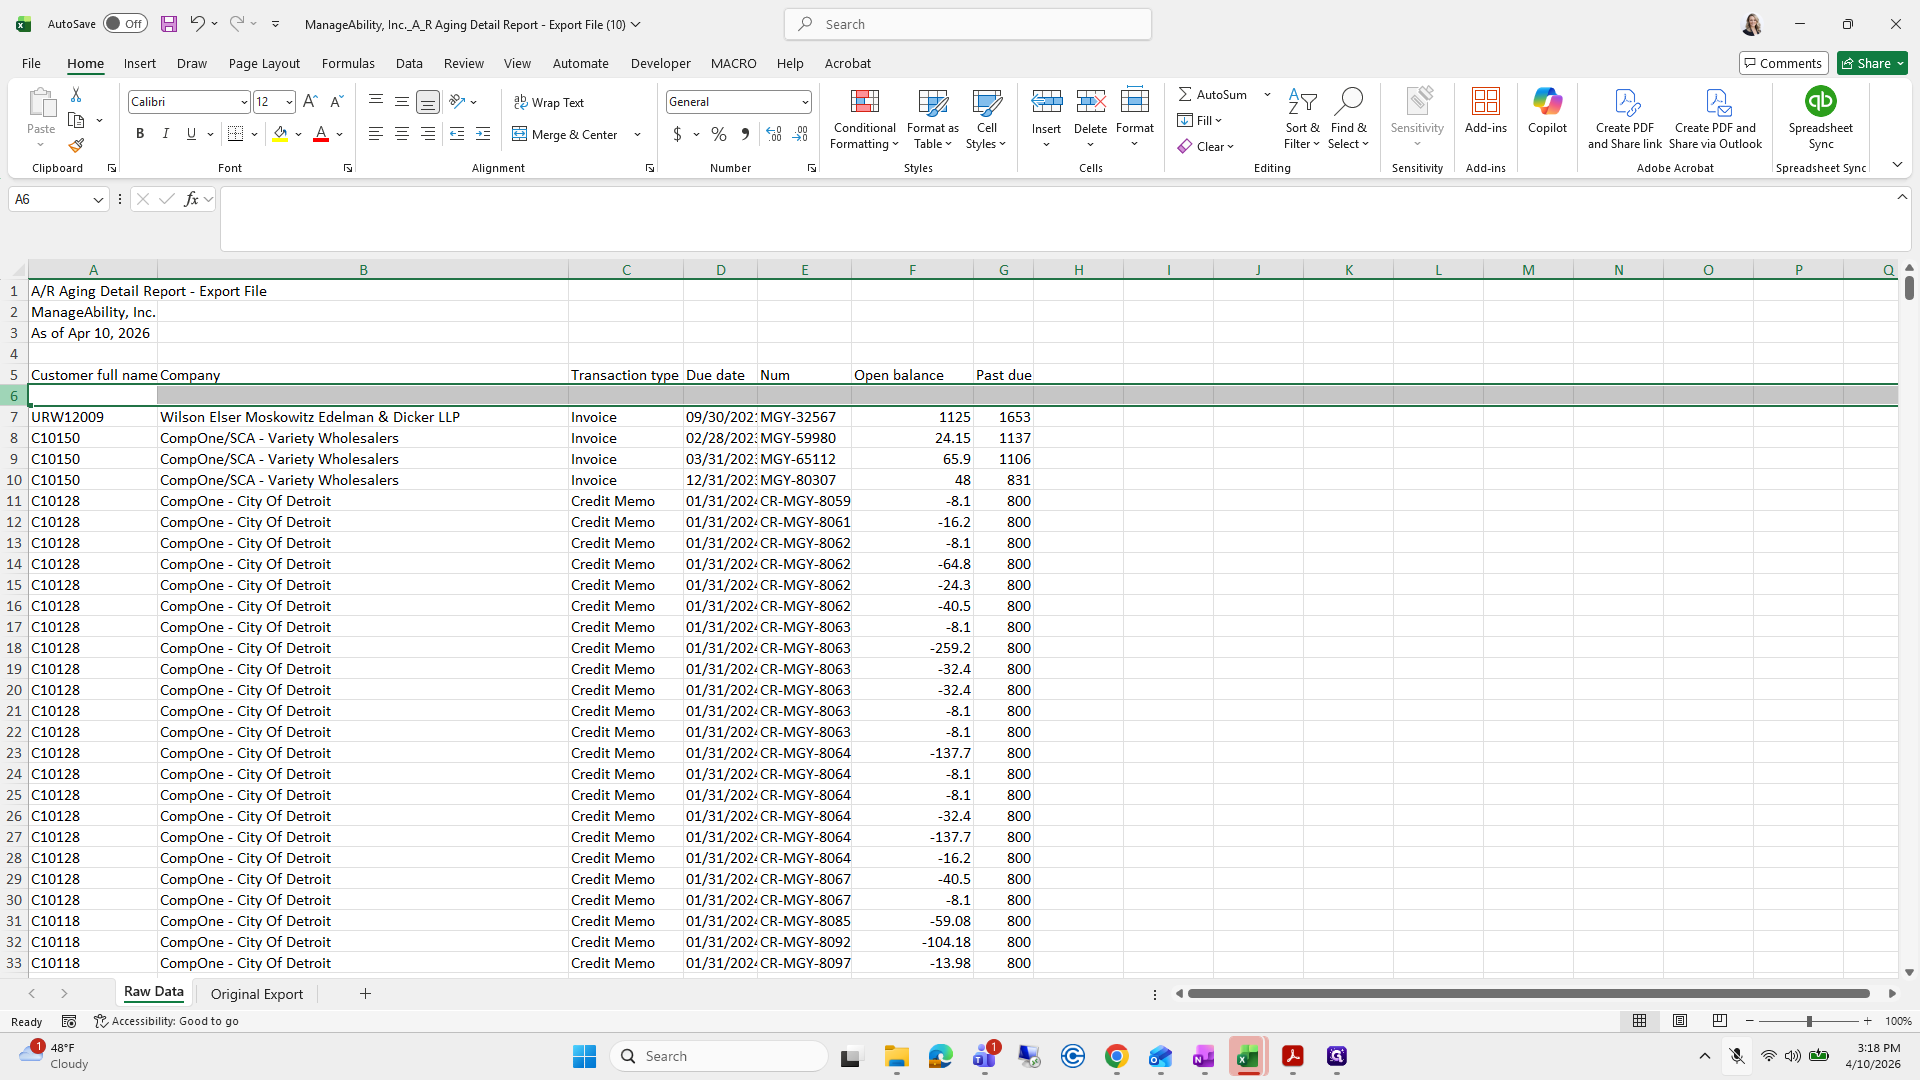
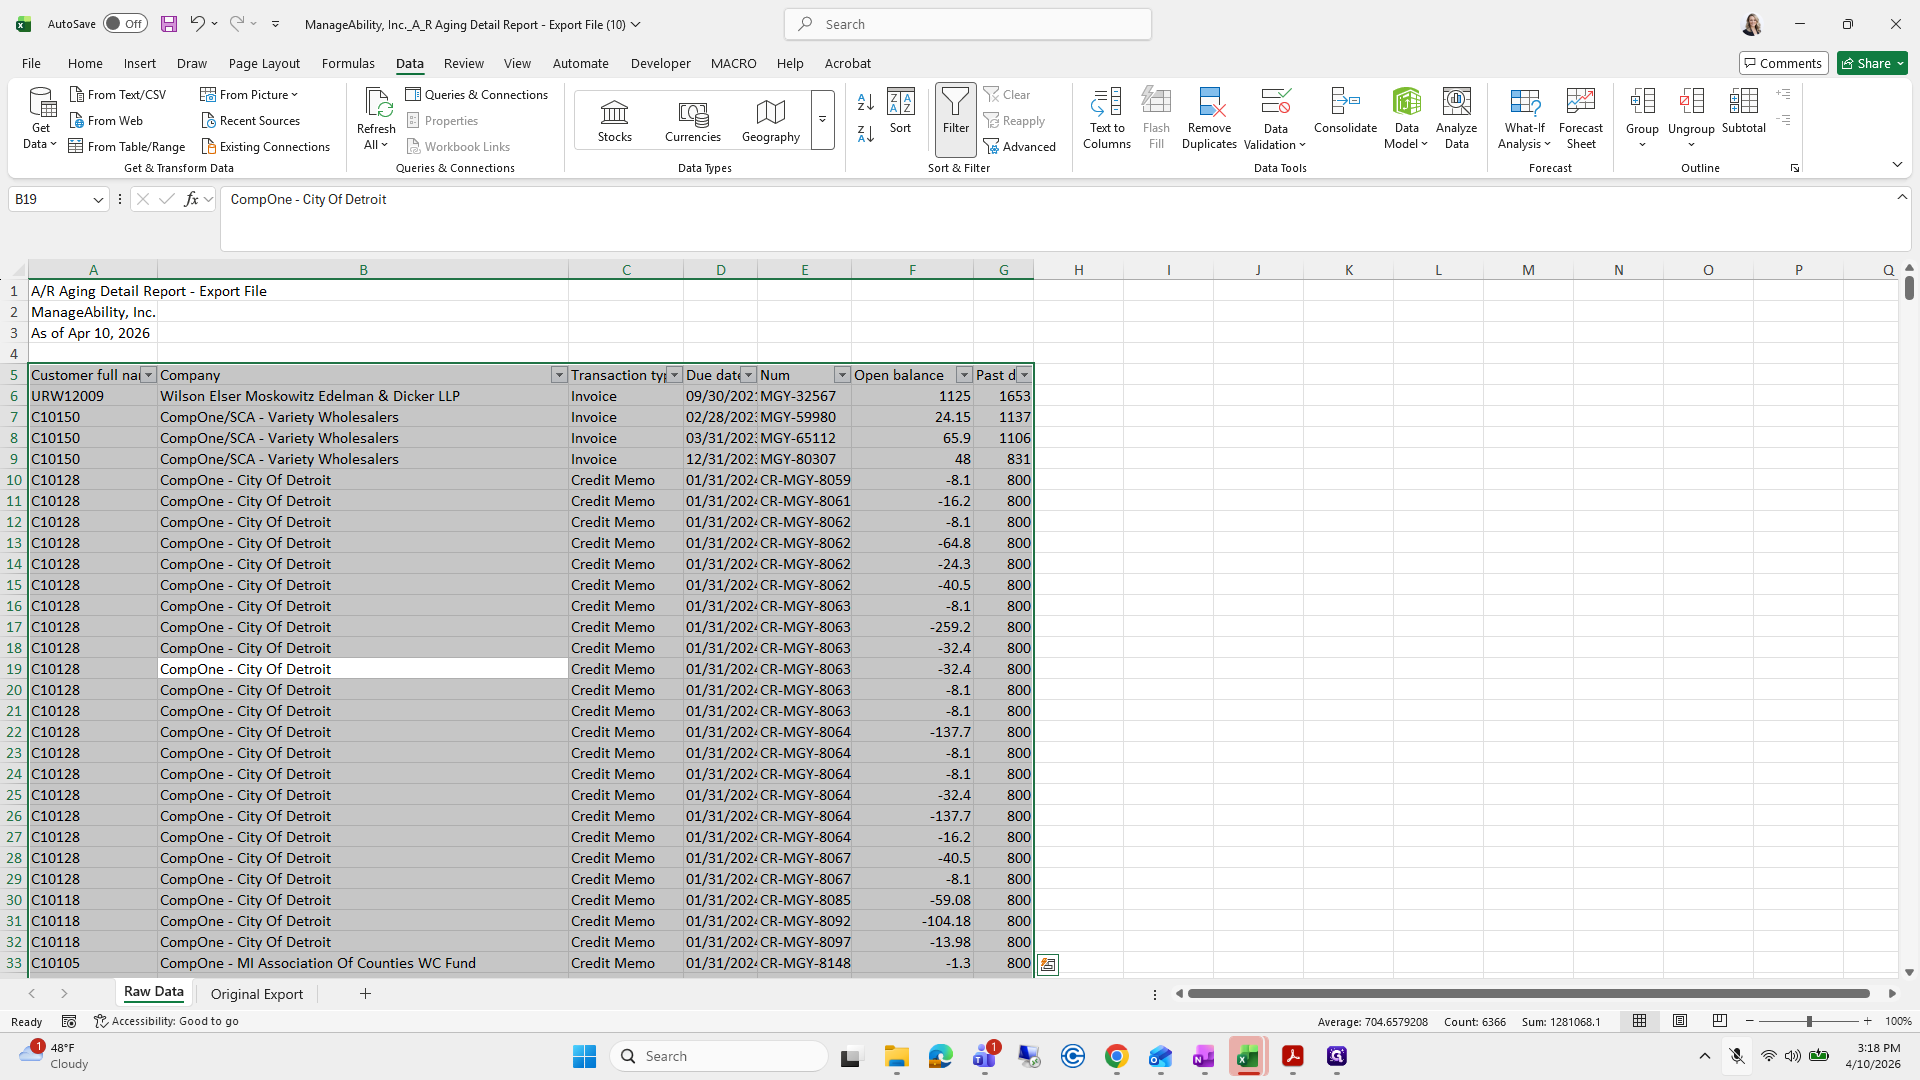
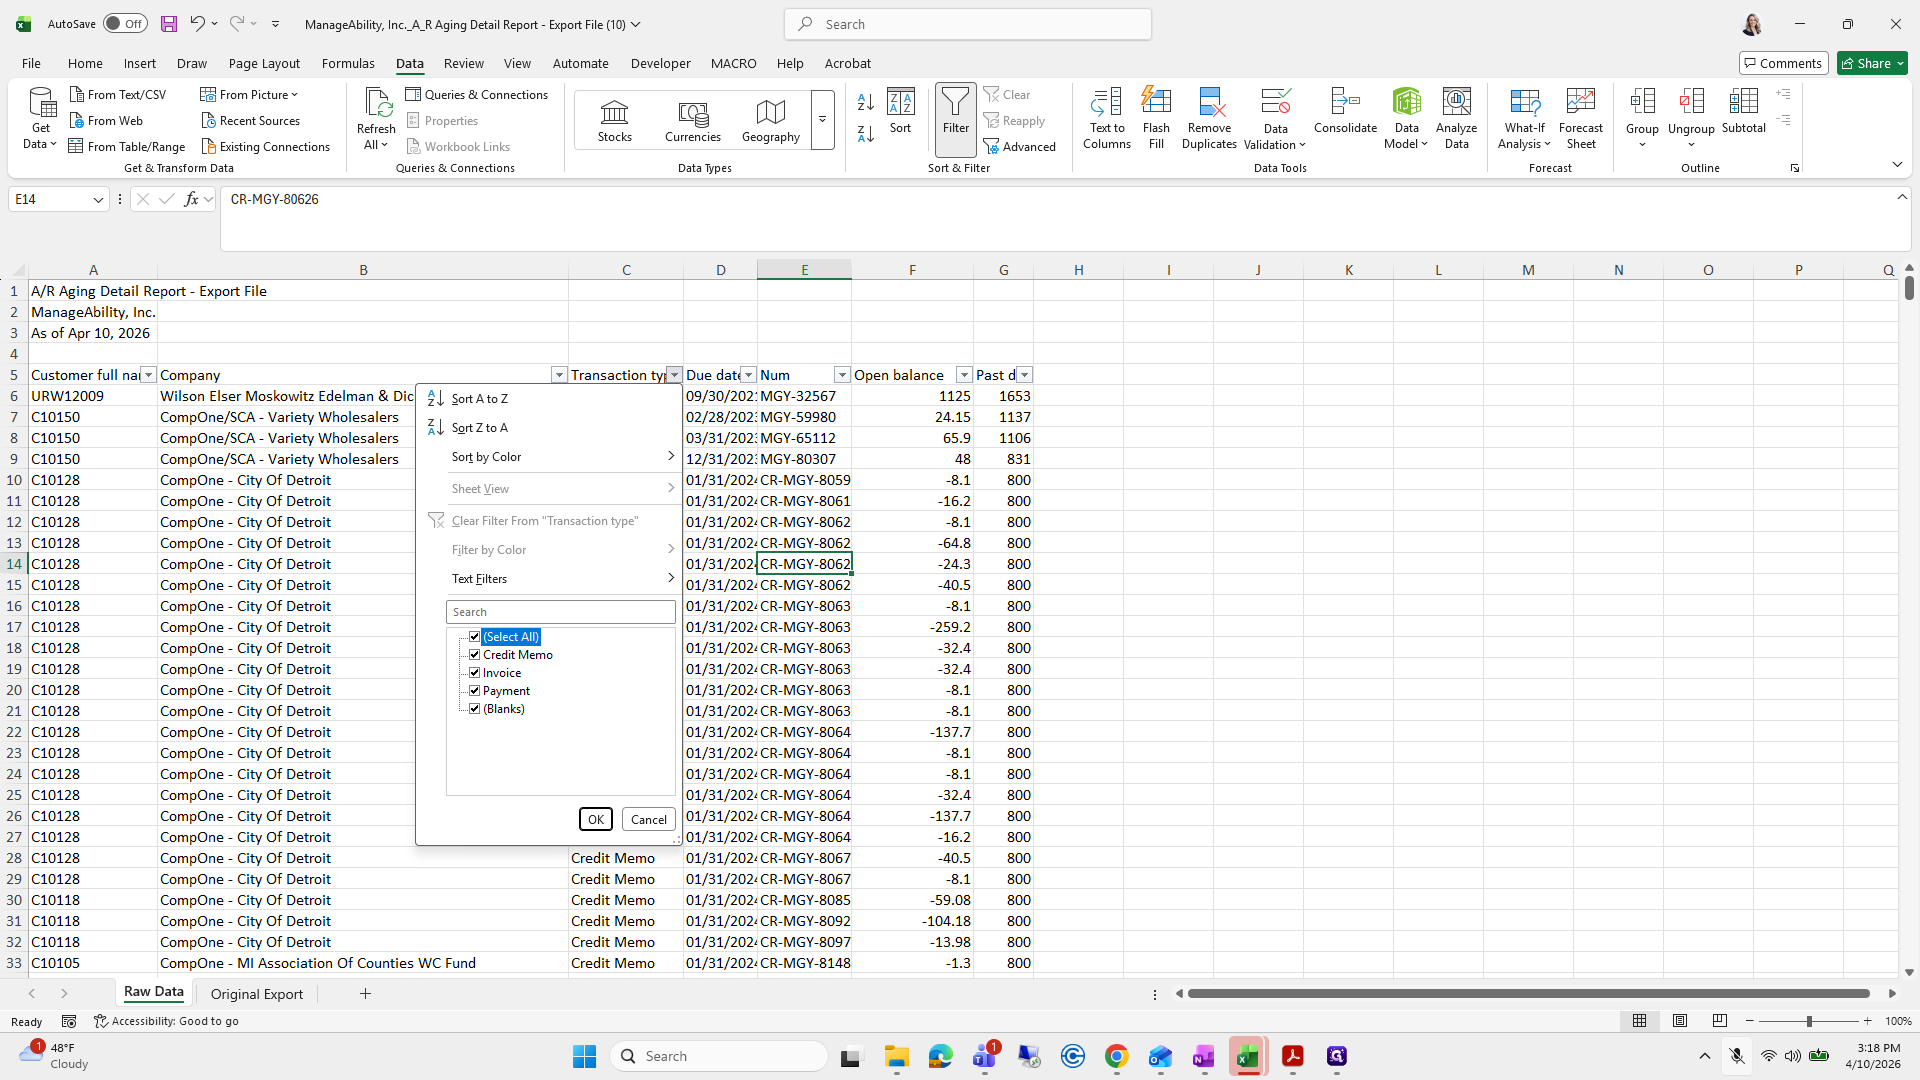
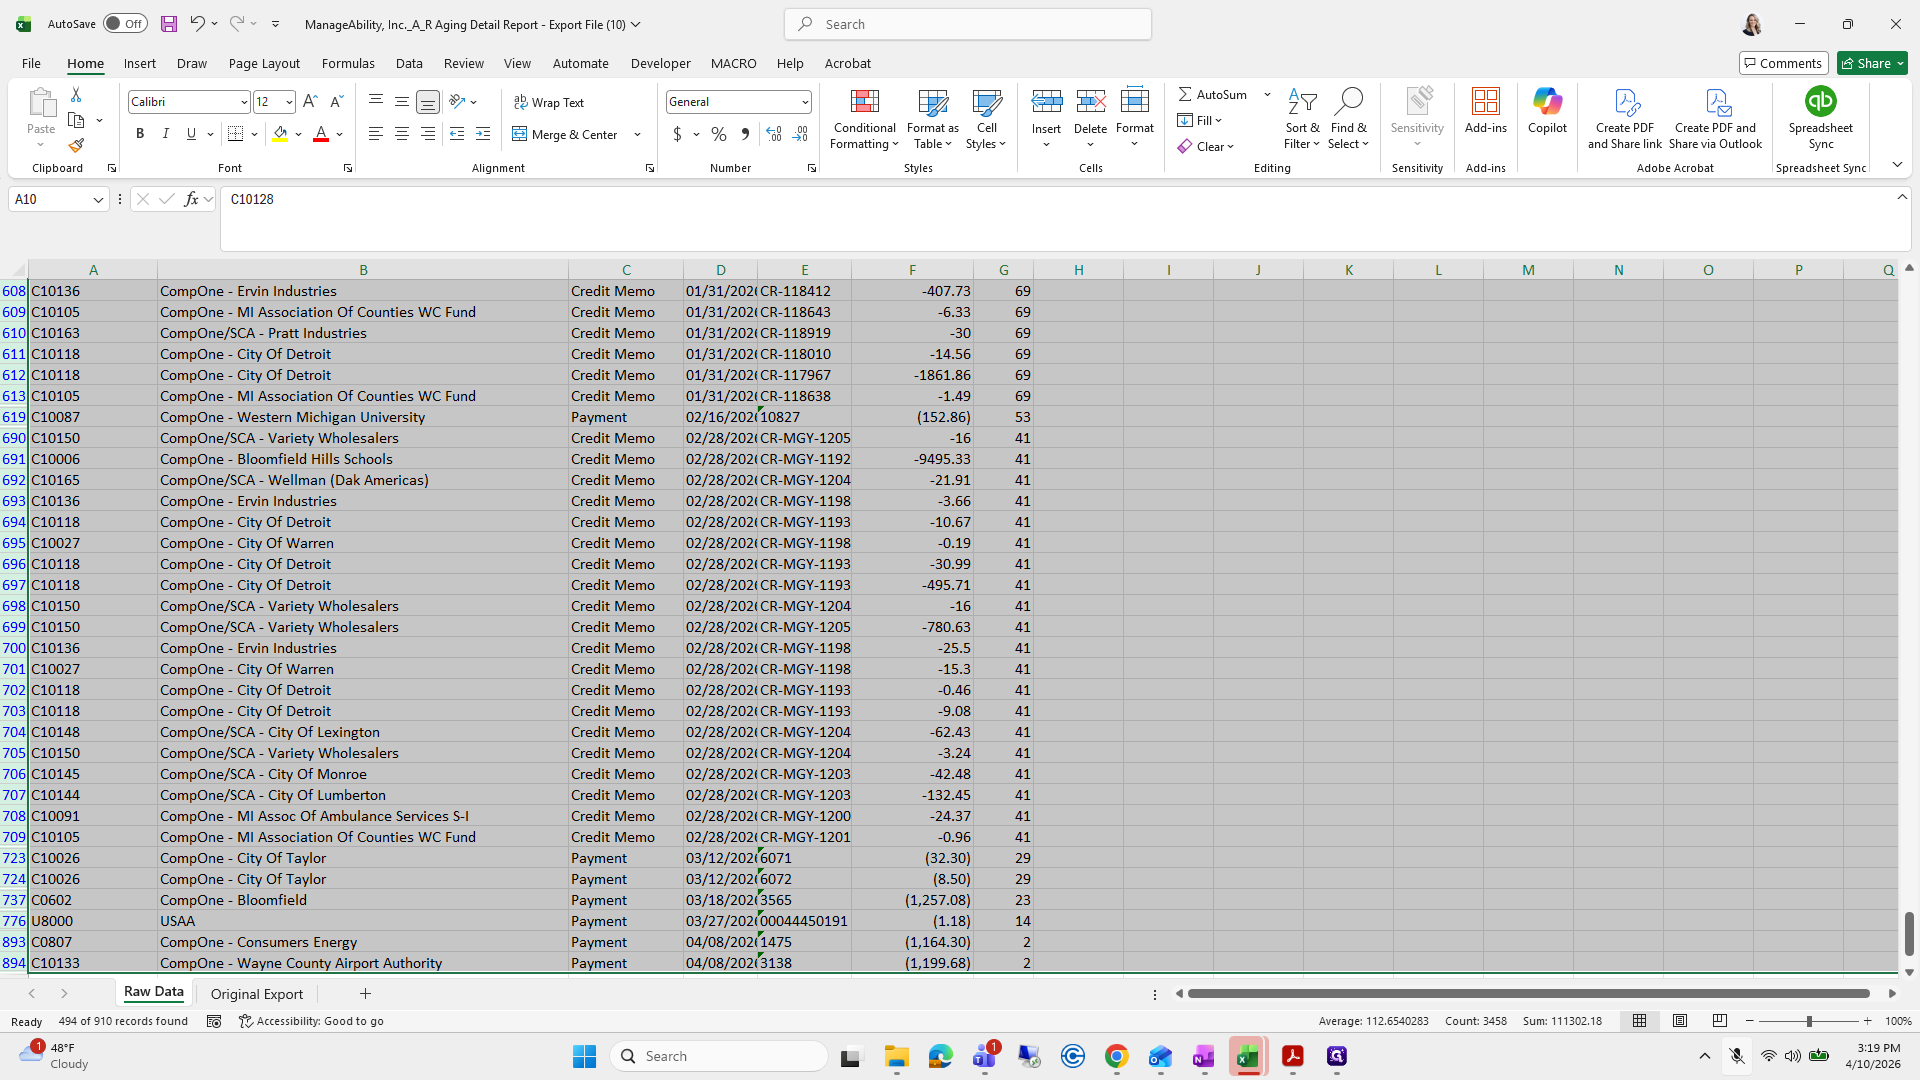
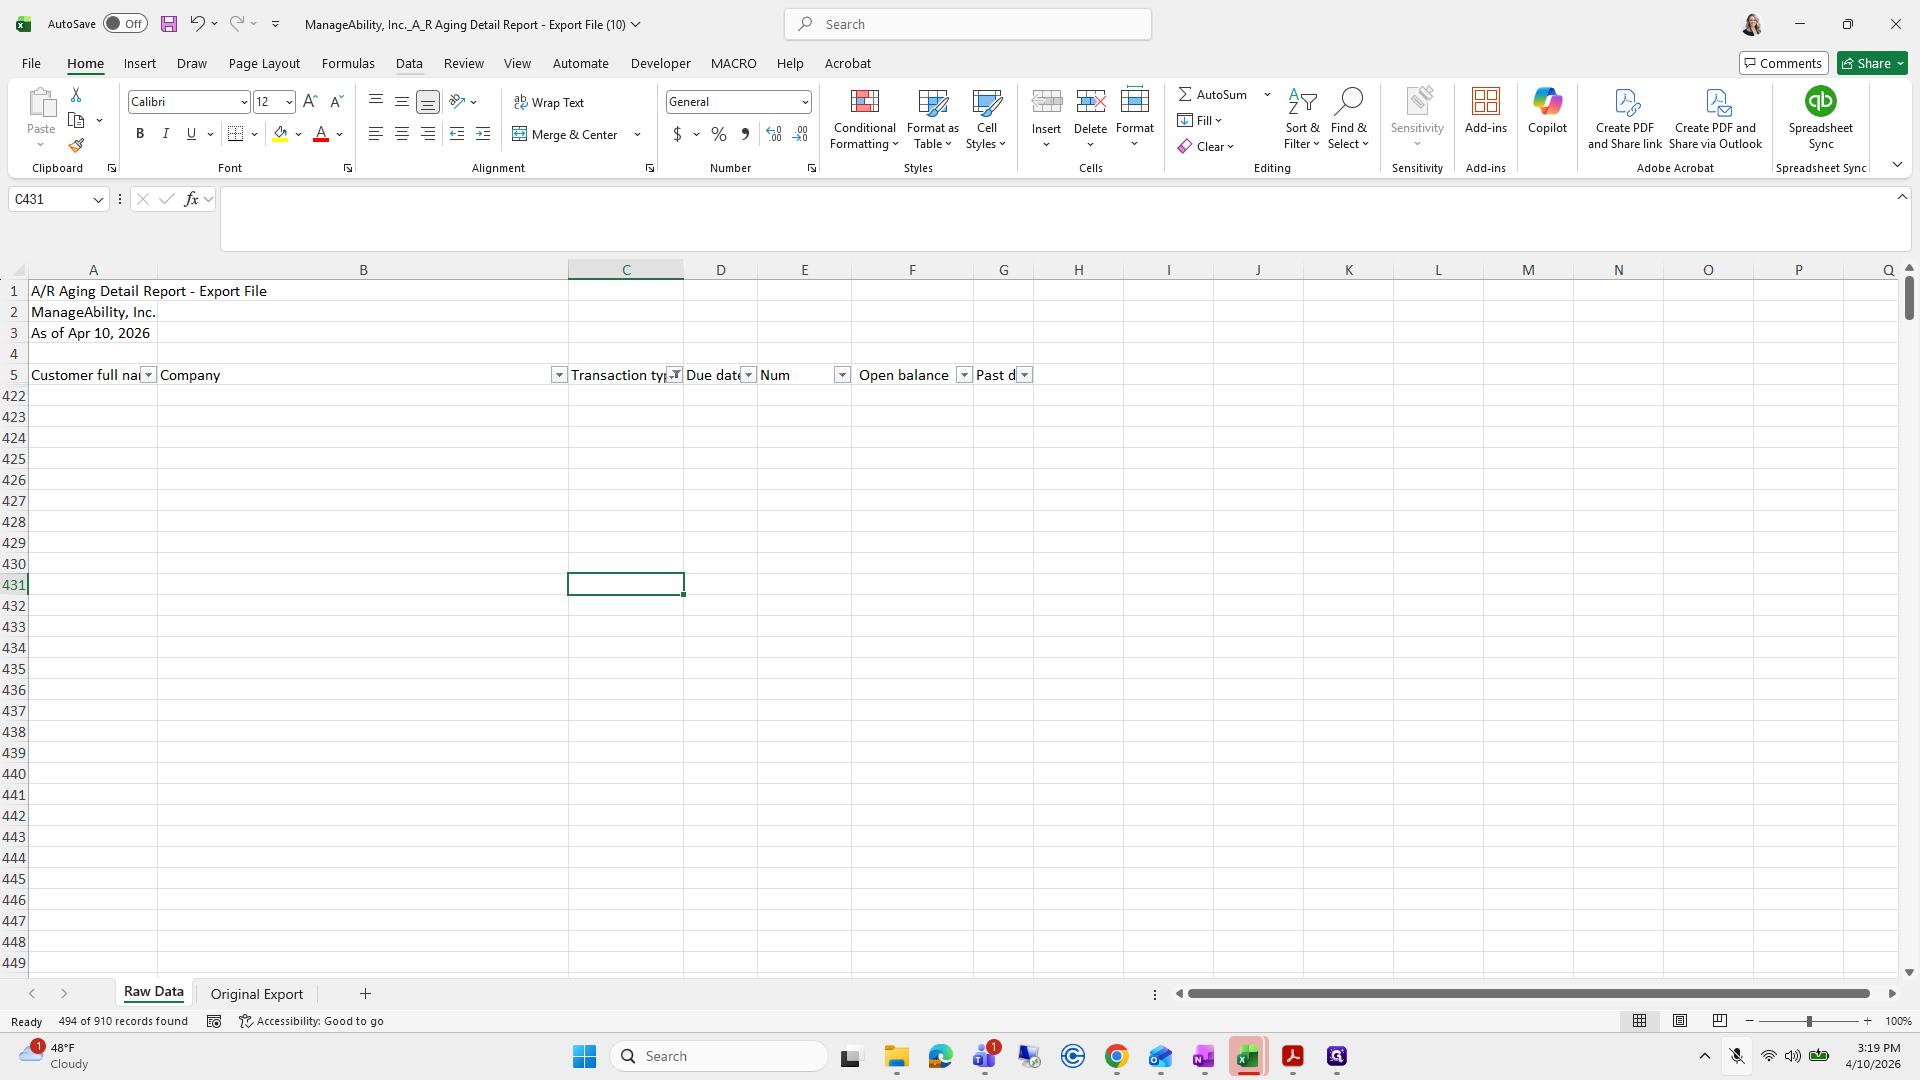
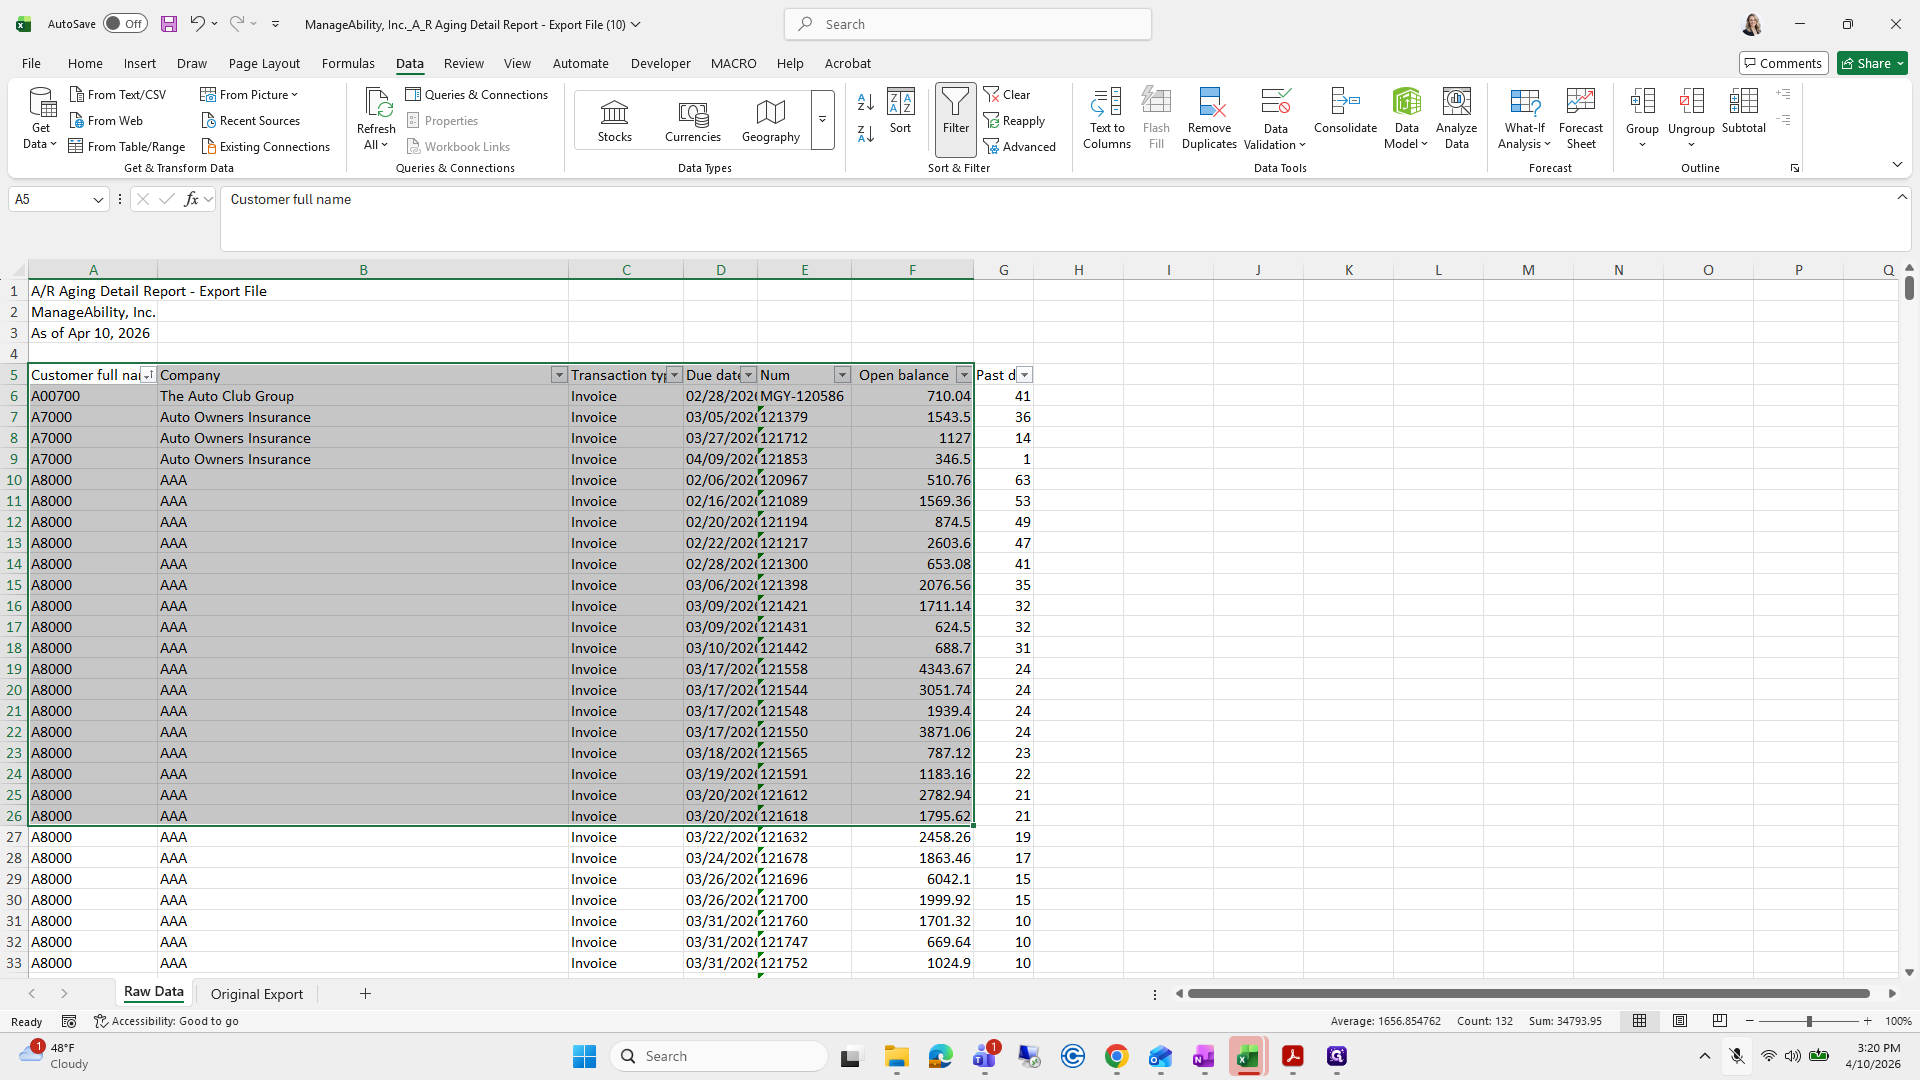
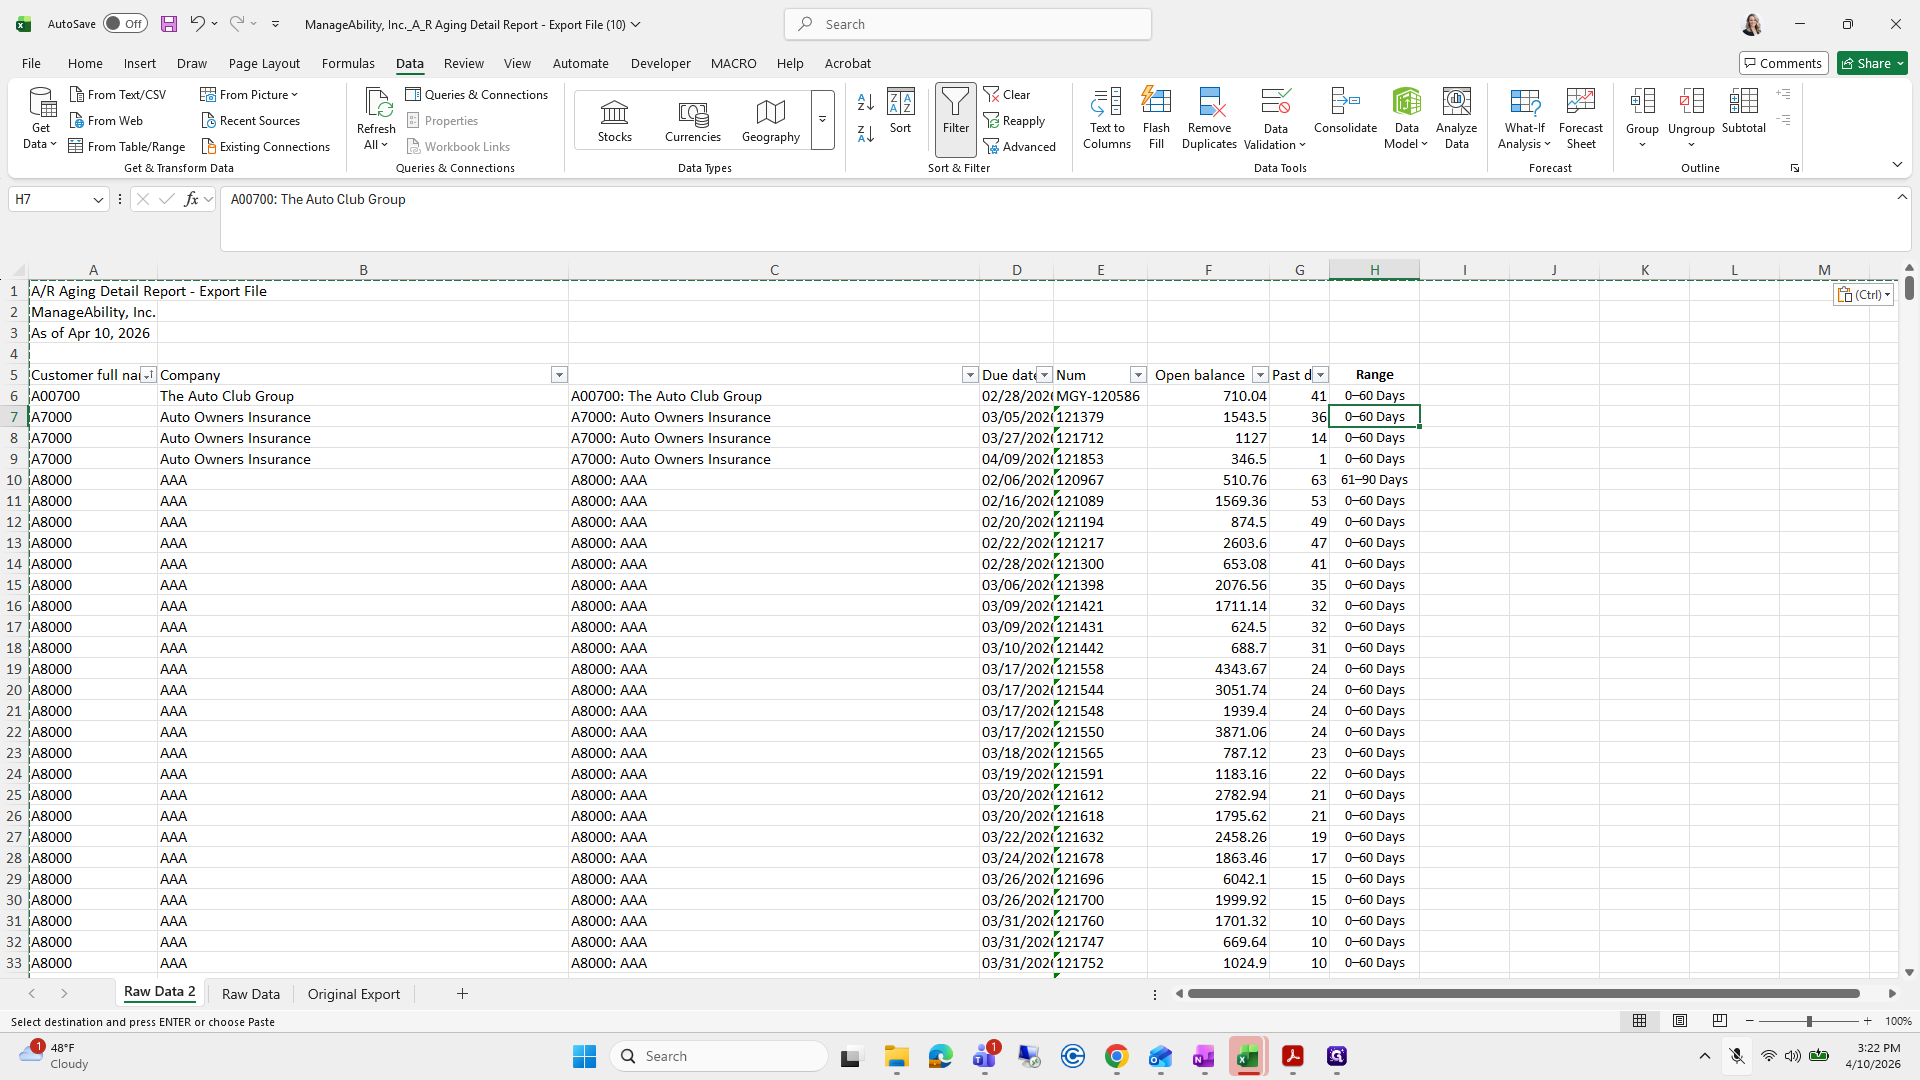
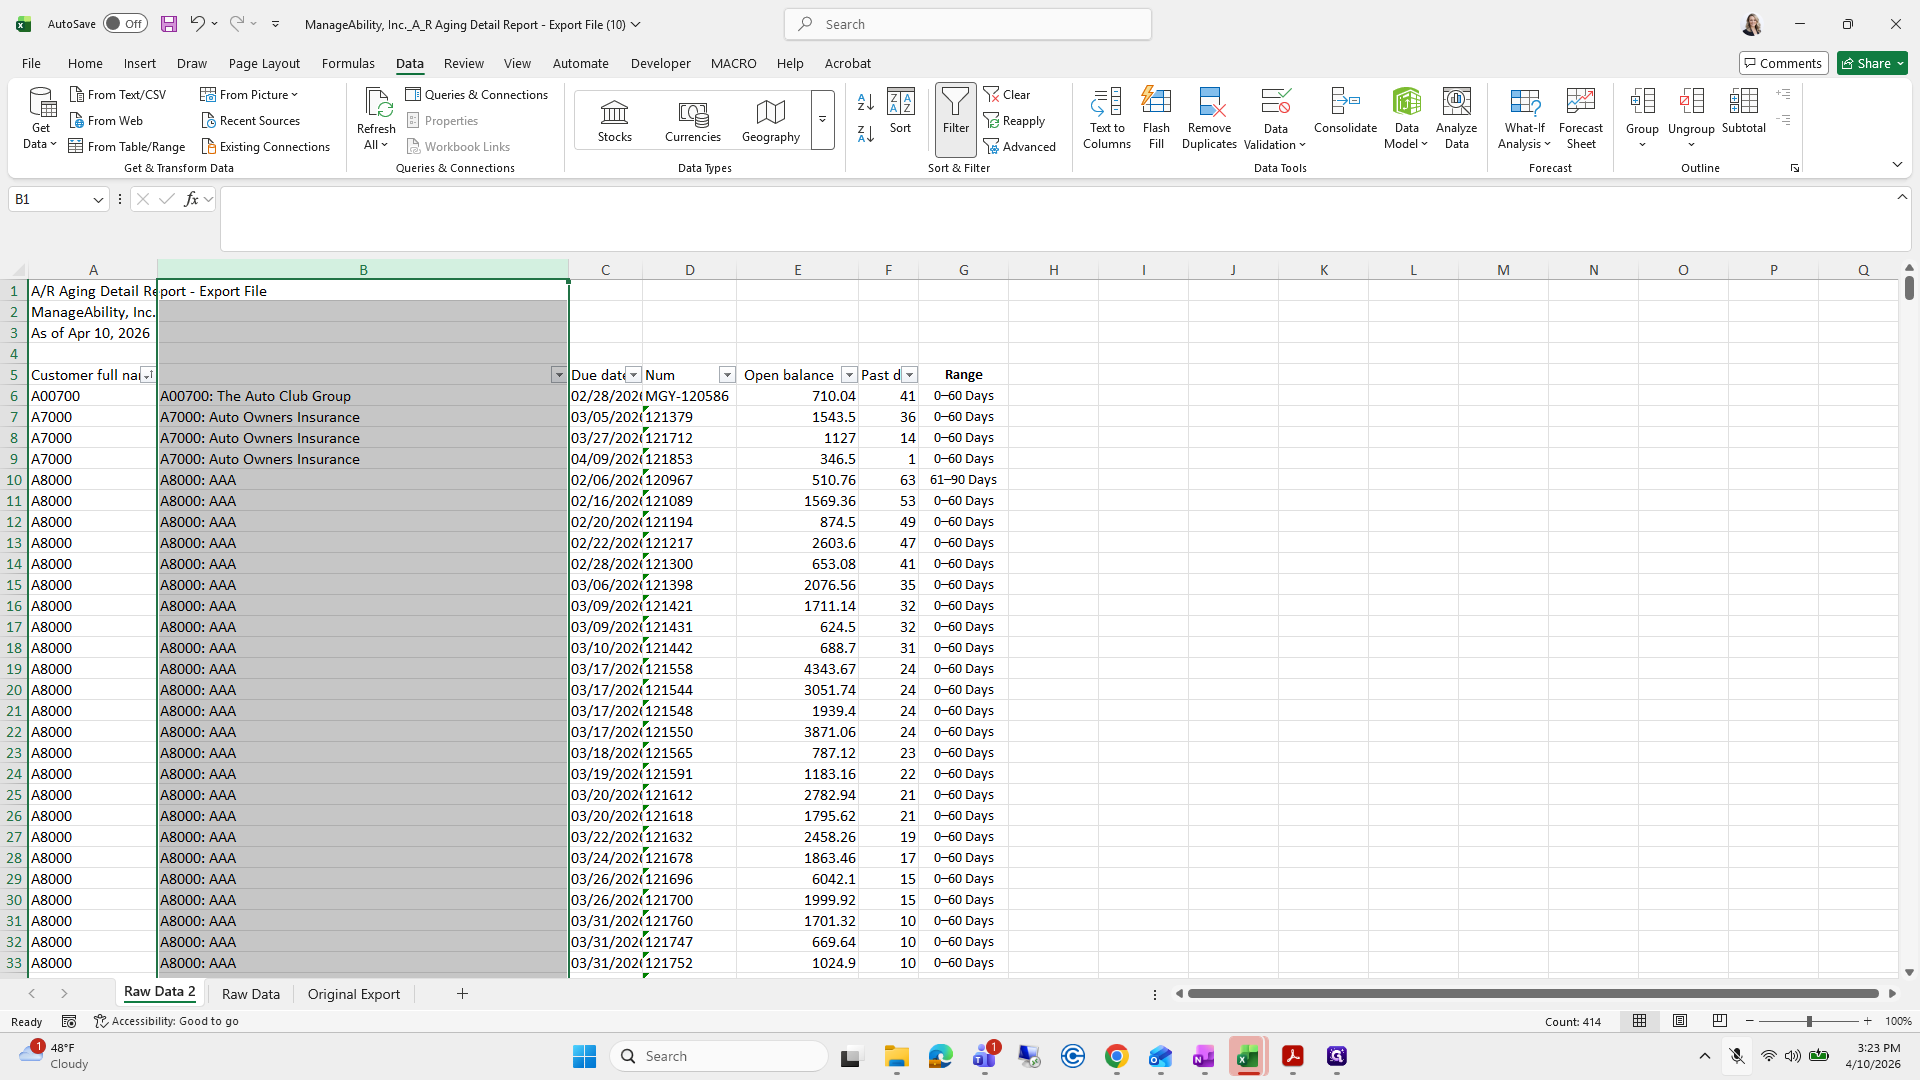
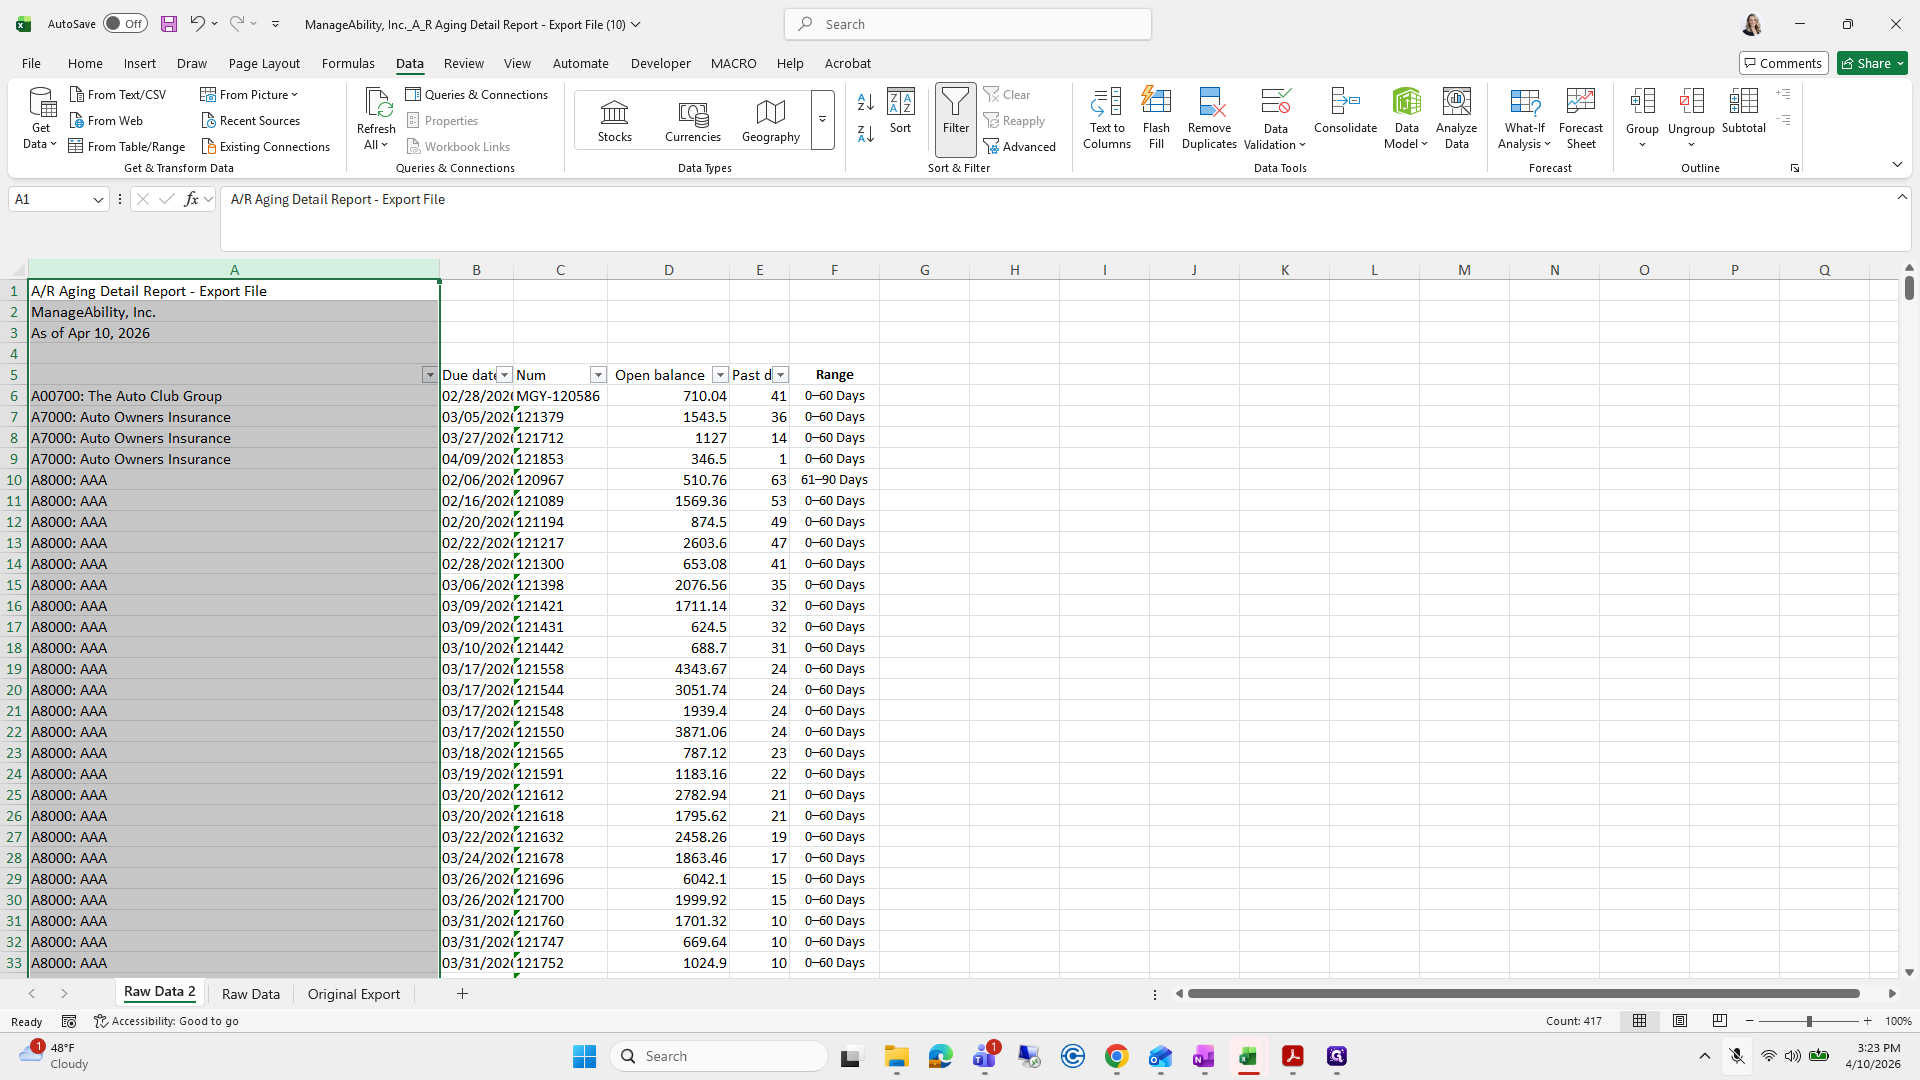
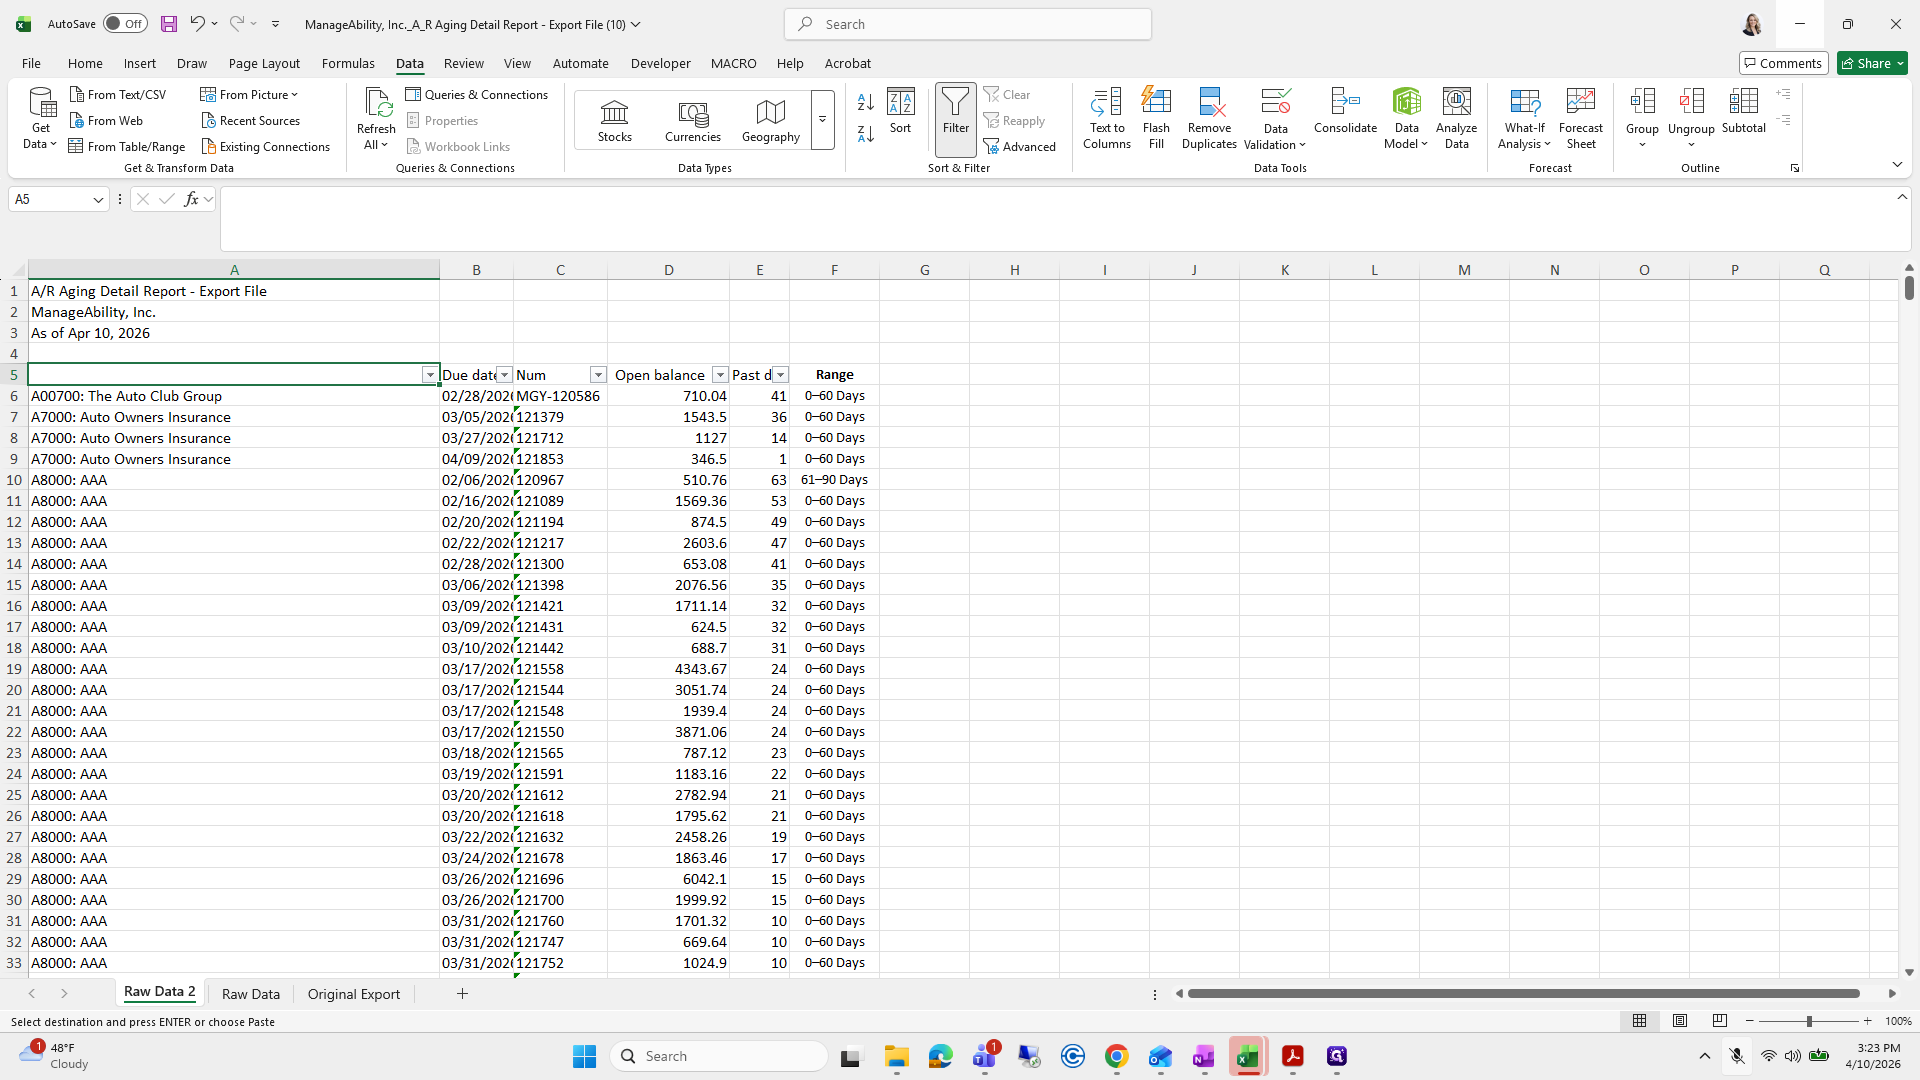
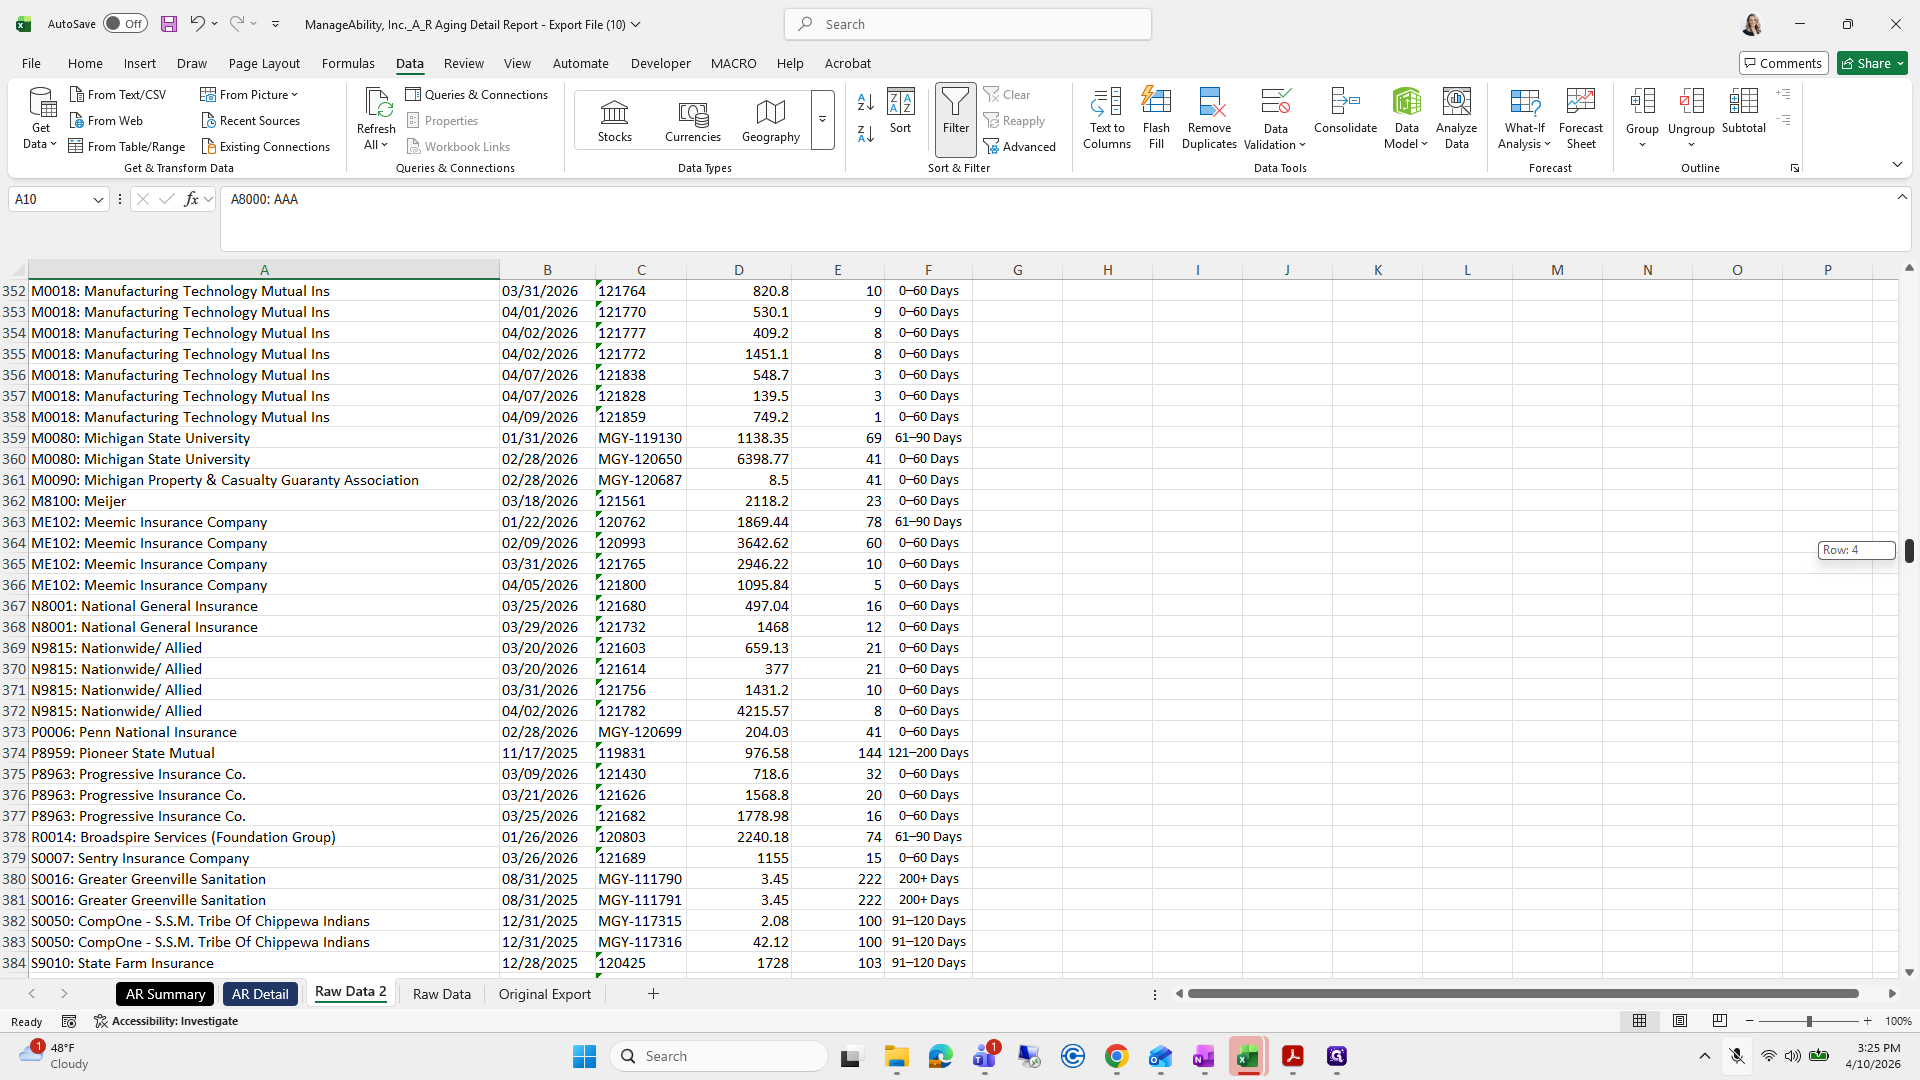
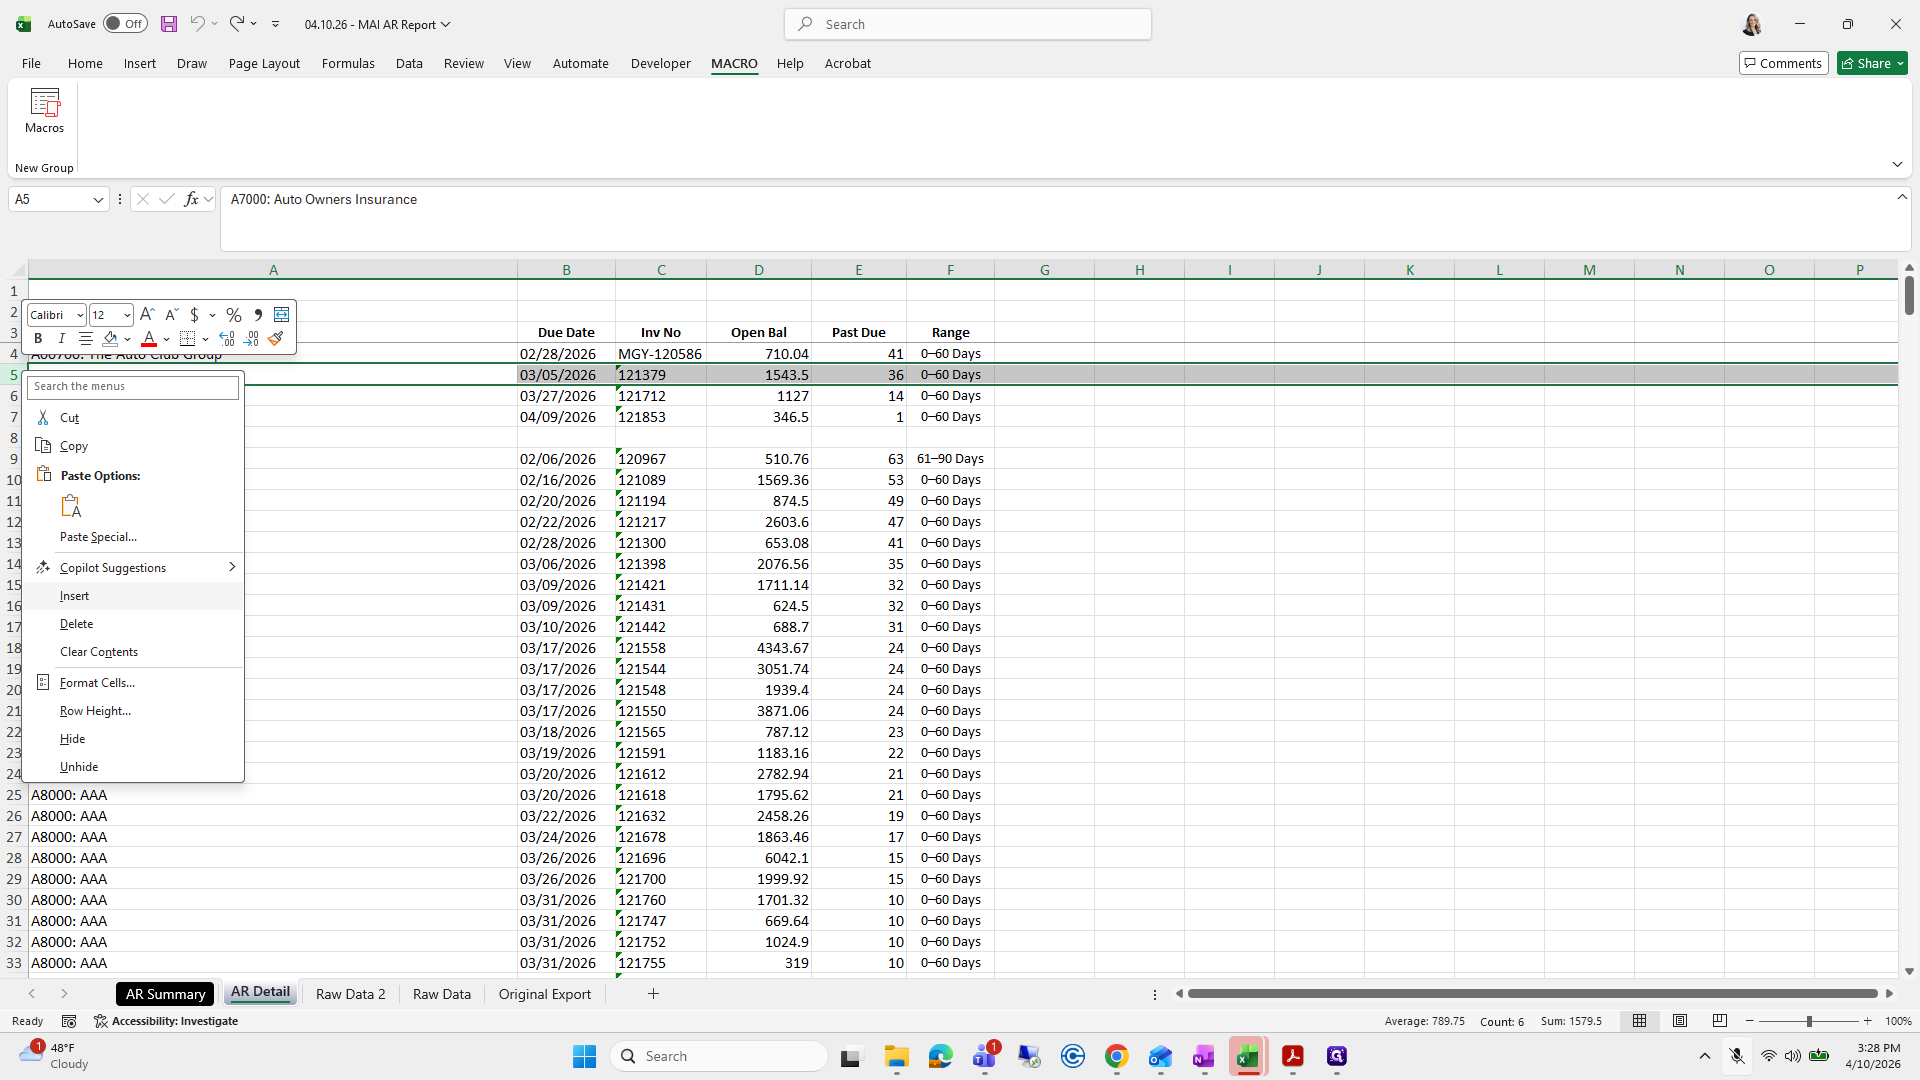
I will delete column A, then delete row six. This allows me to select all the data and apply Data > Filter.


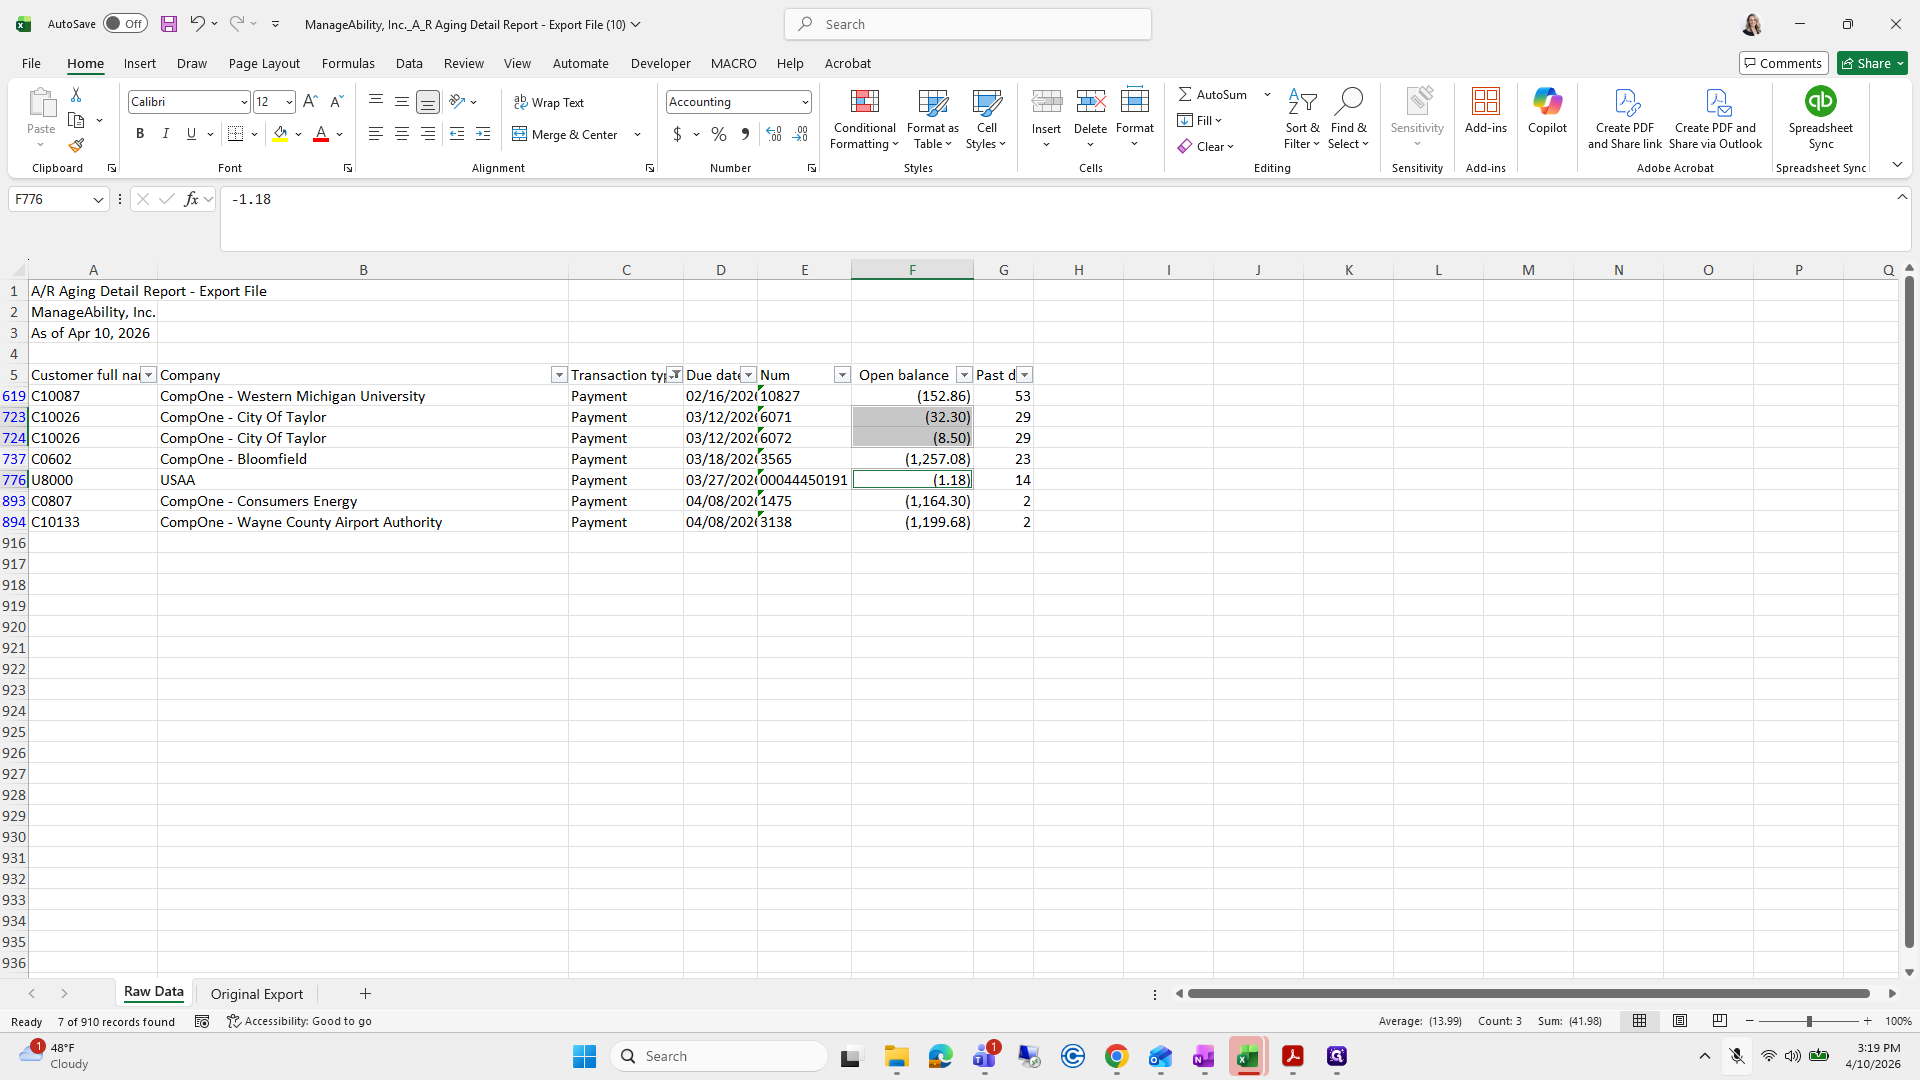
From here, I will review my payment in My Payments first.
Some payments have not been applied yet.


These are duplicate payments I entered today. I have inquiries with Michelle Hibbard about them. These three need to be booked to interest, and this one is an overpayment.


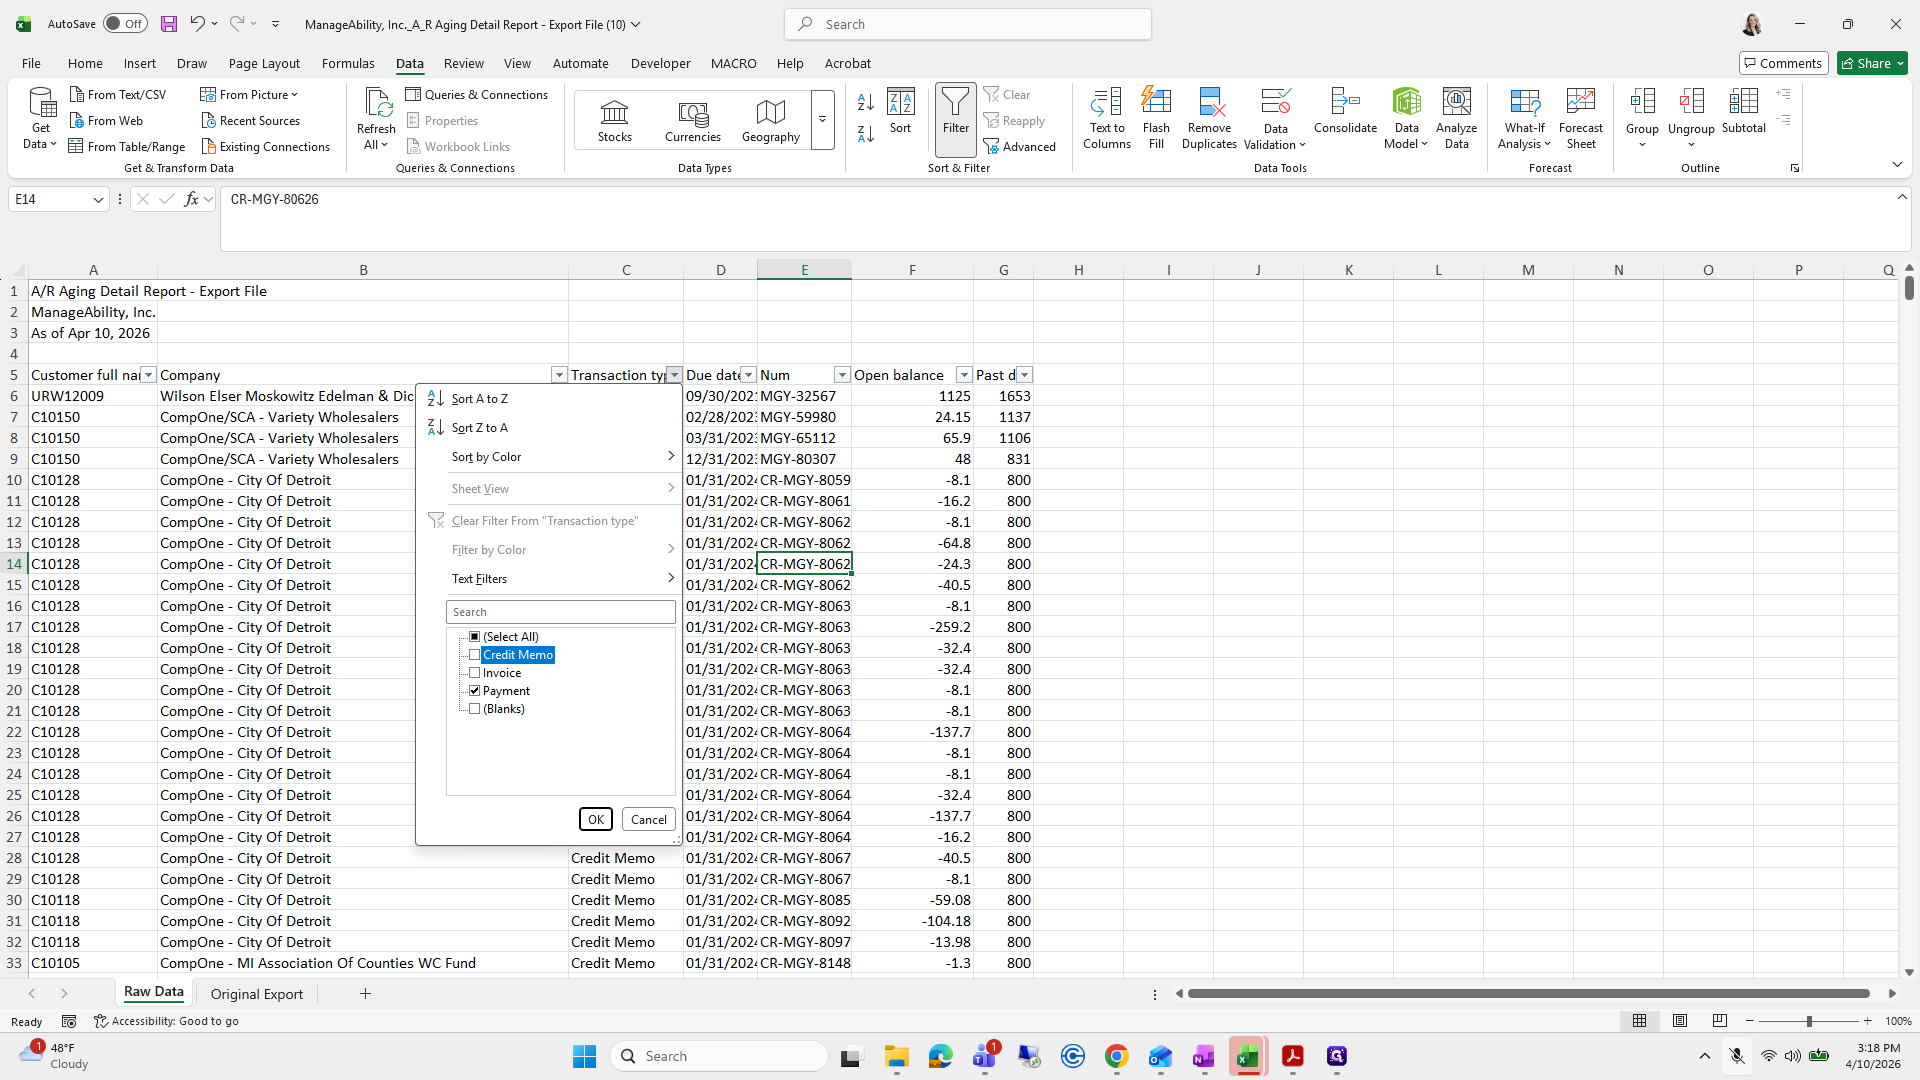
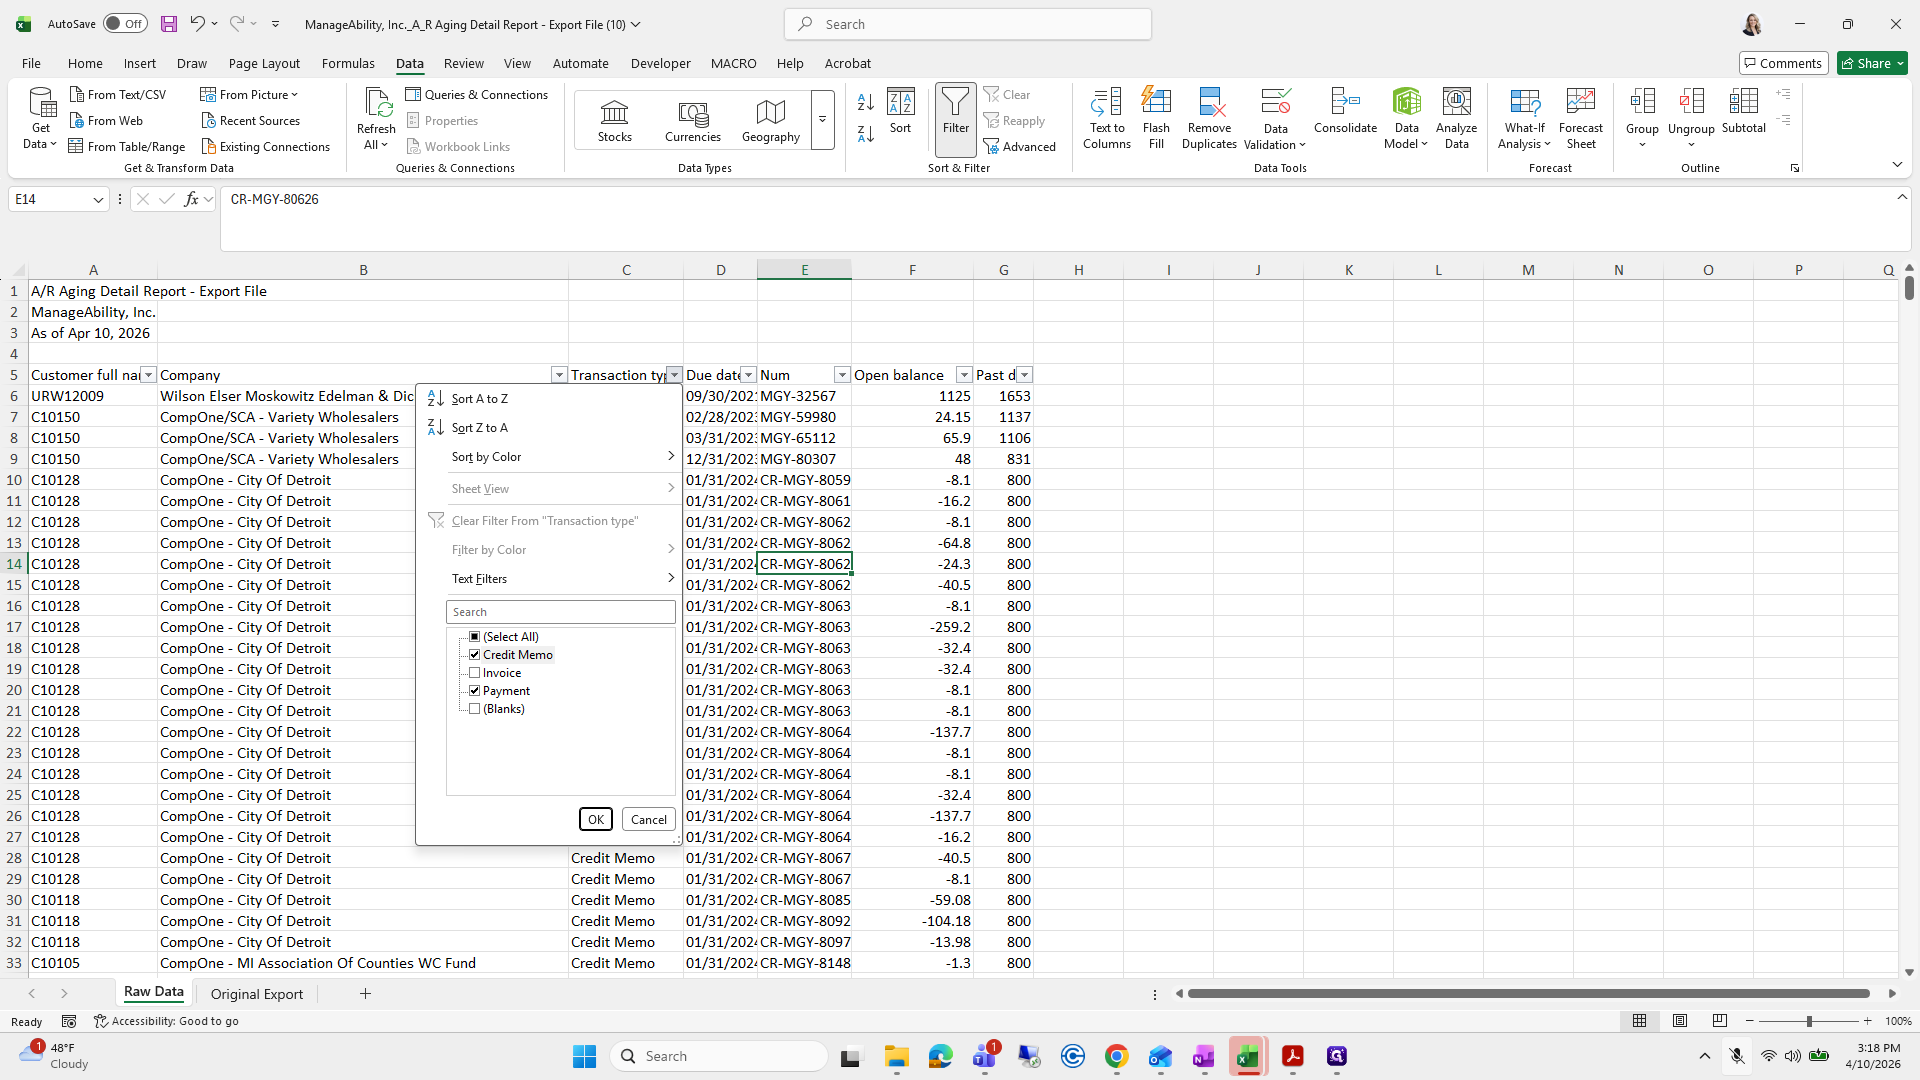
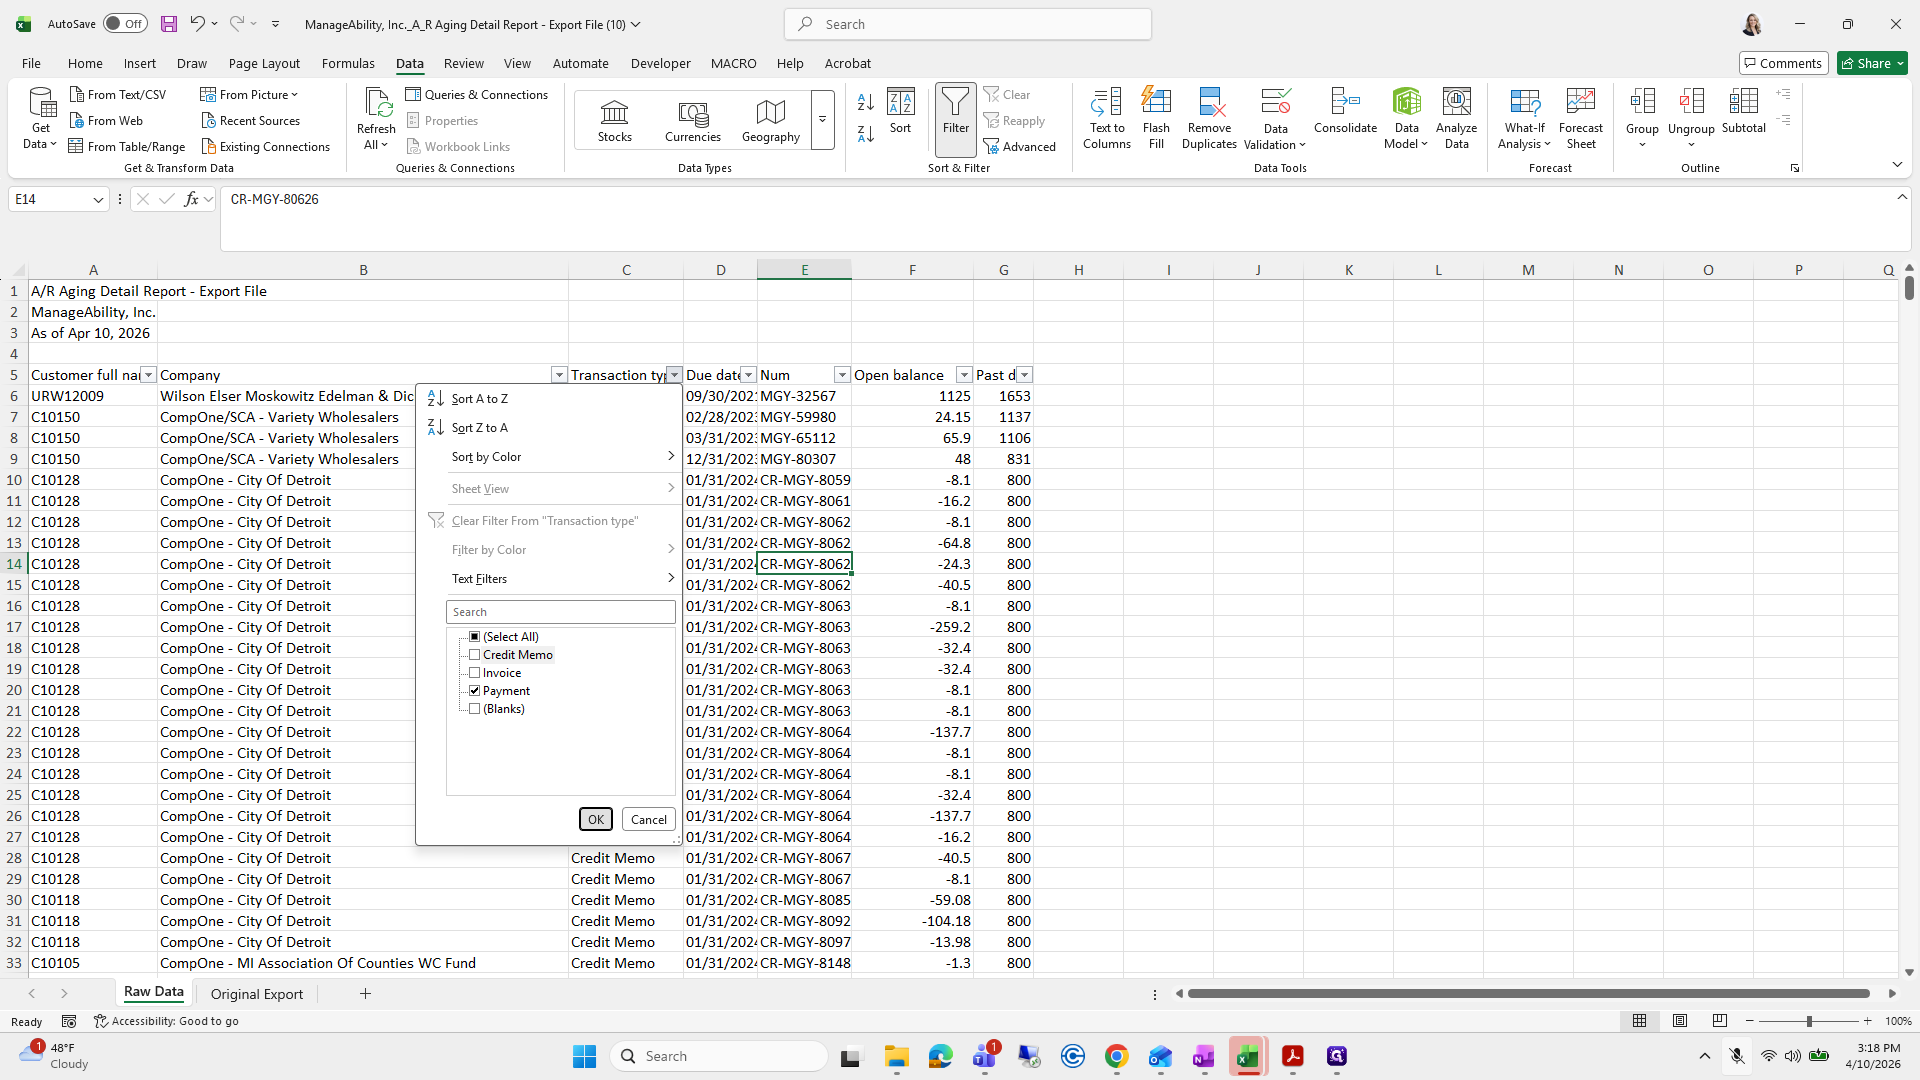
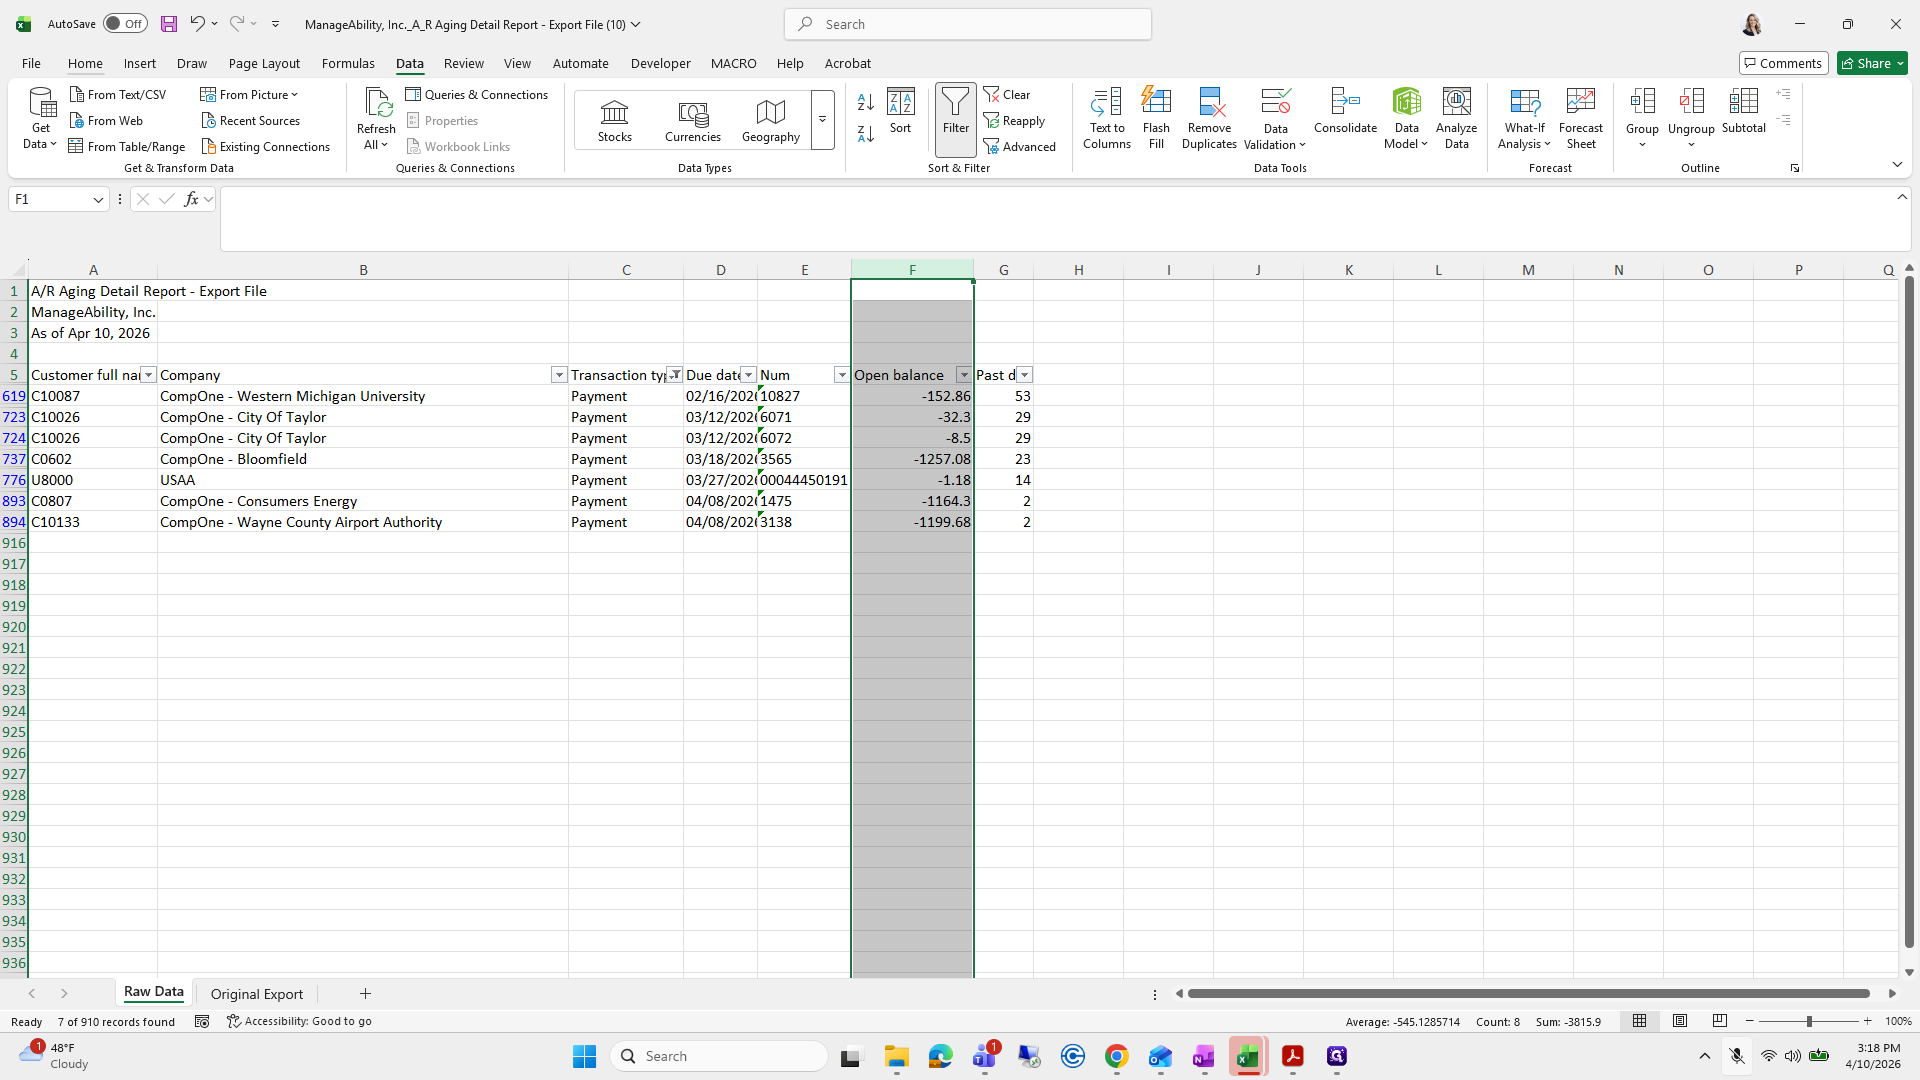
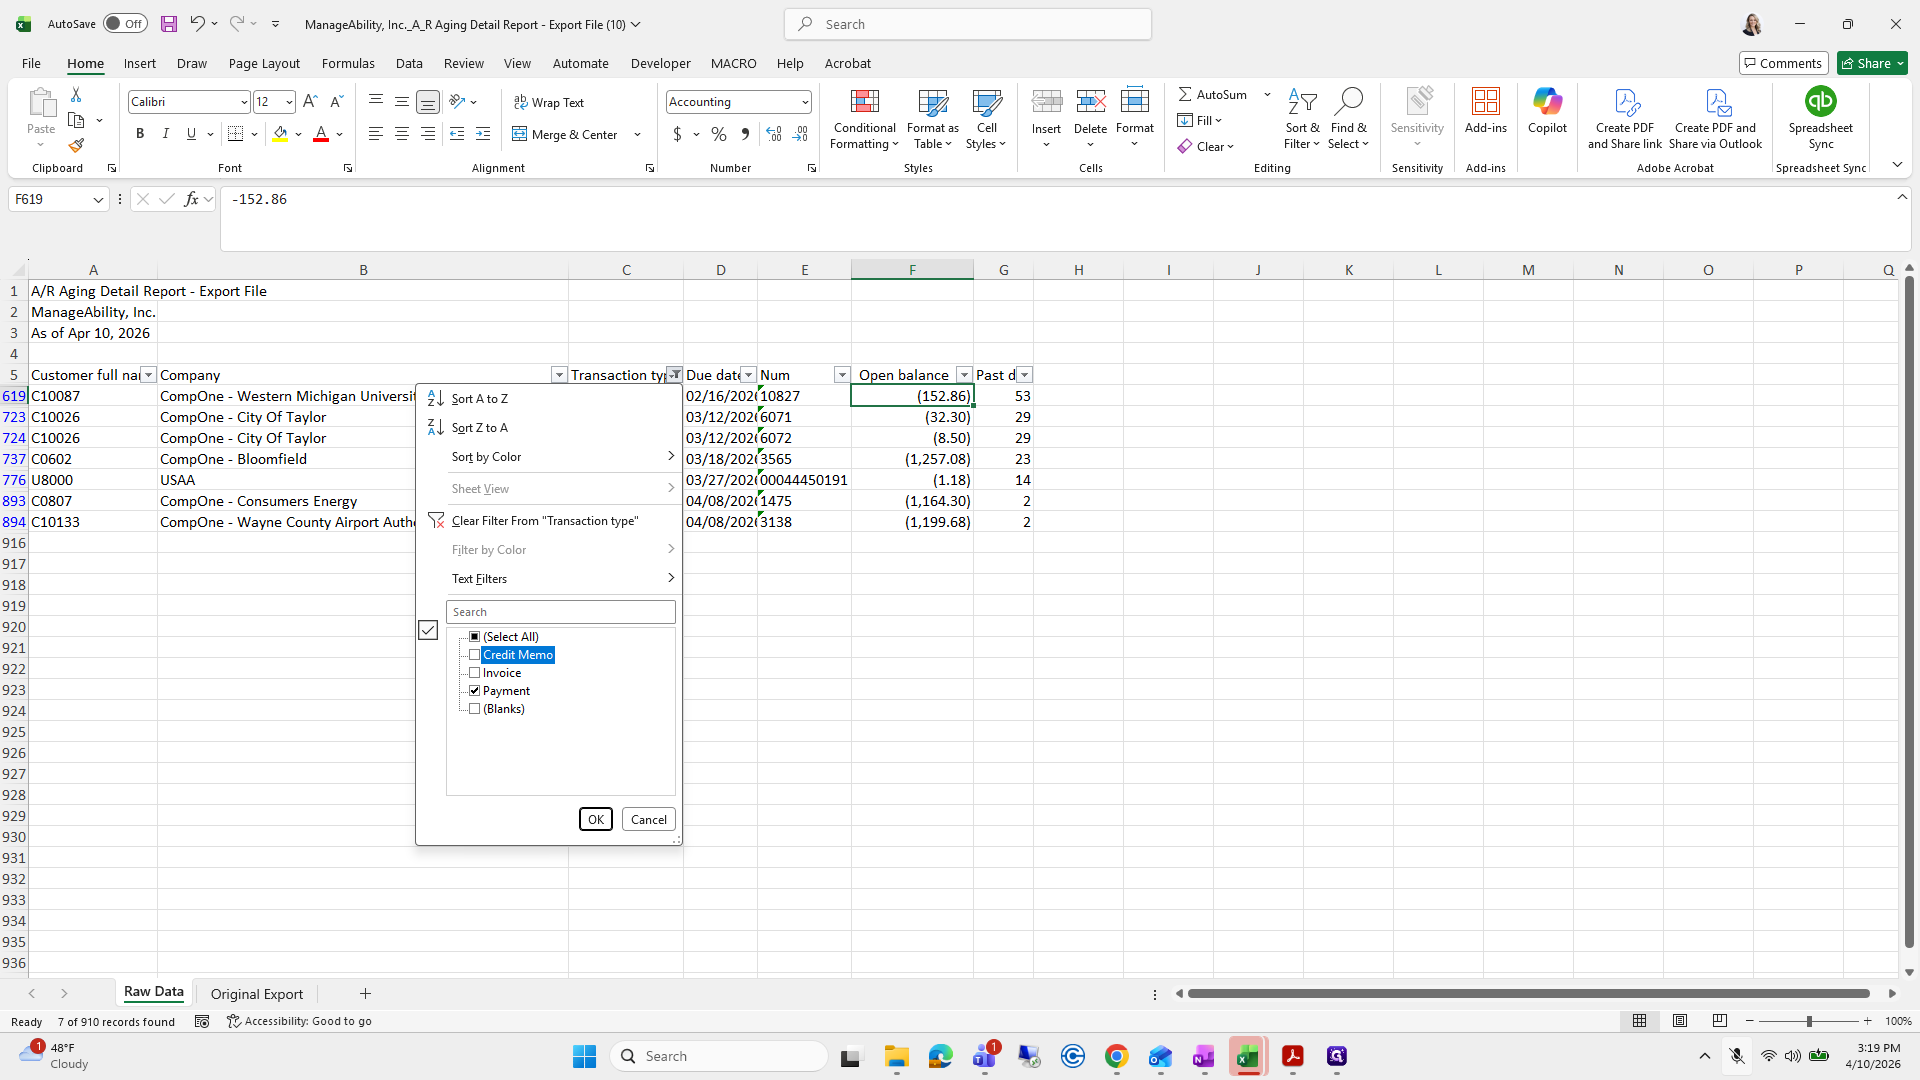
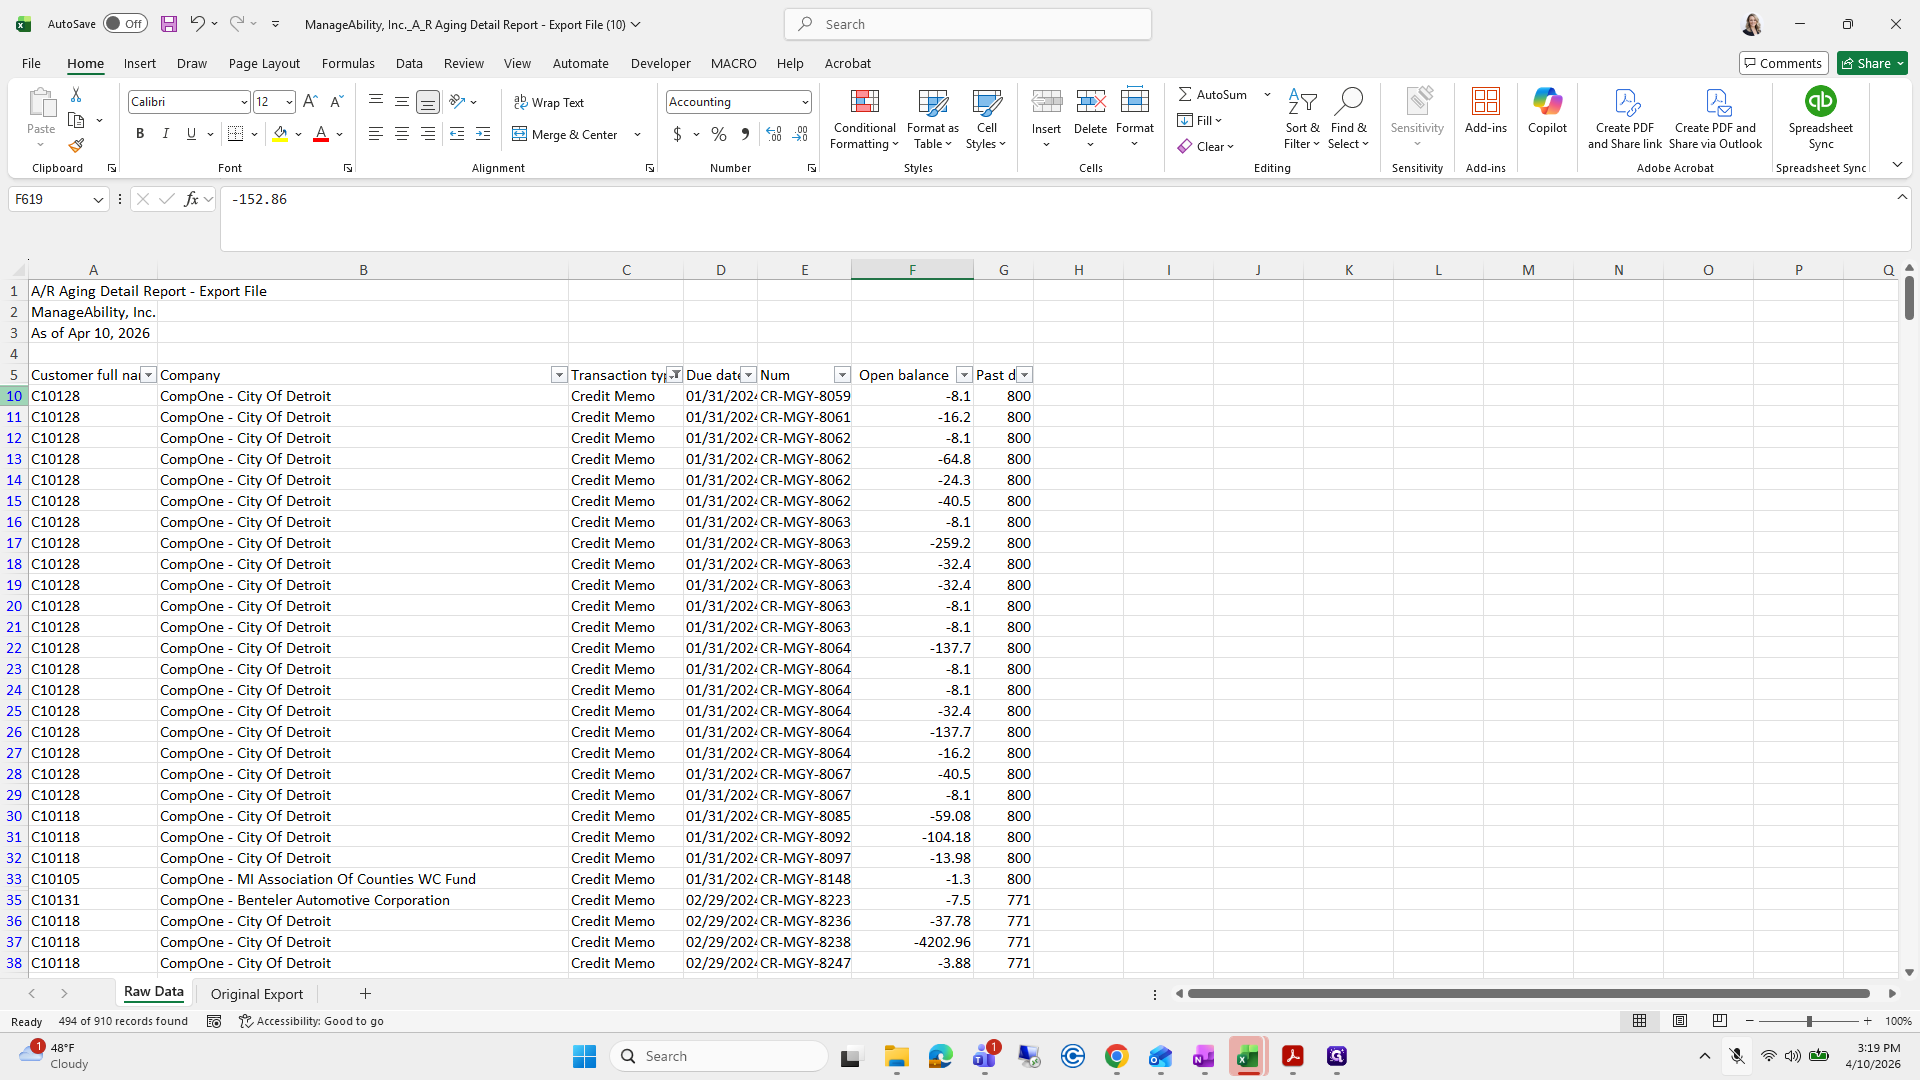
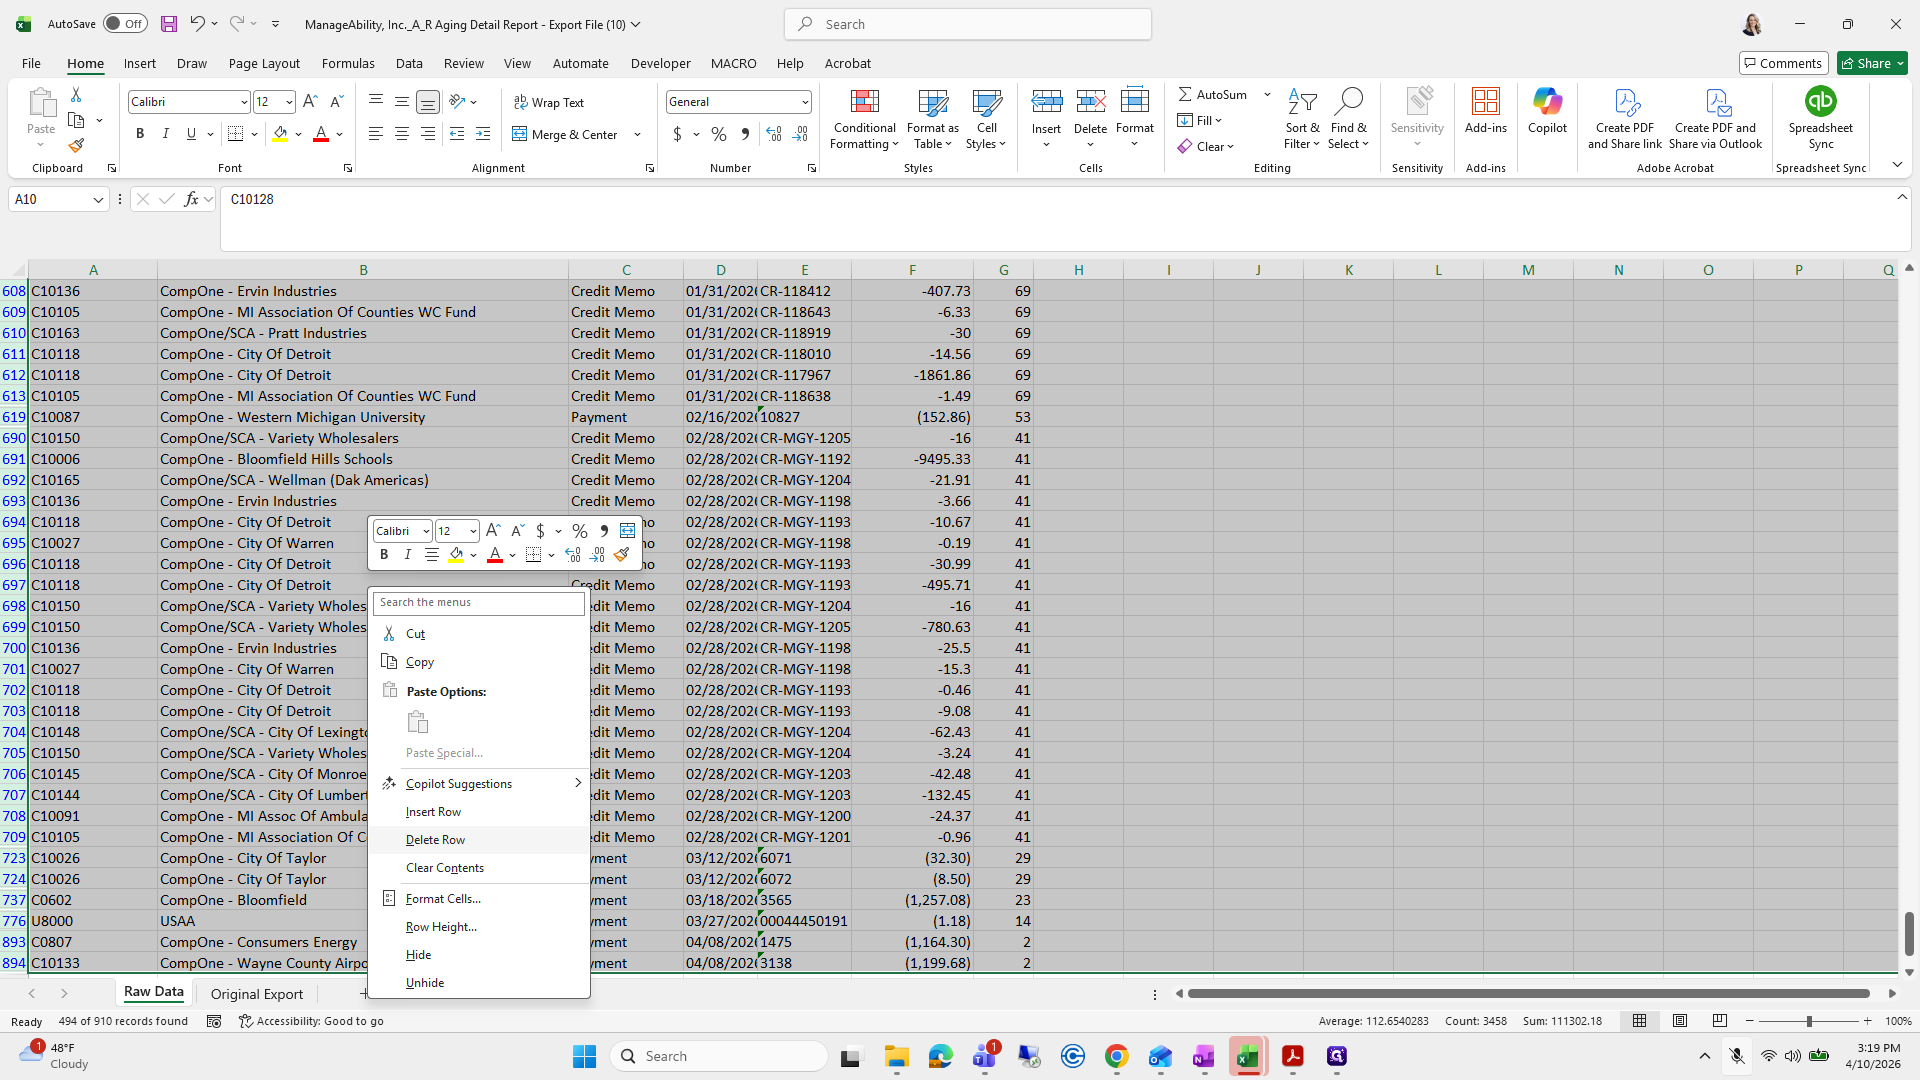
I will make sure those are taken care of. If they are not handled before maternity leave, filter Credit Memo and Payments. Start from the top left and drag all the way down.


It... Can I go any further? No.
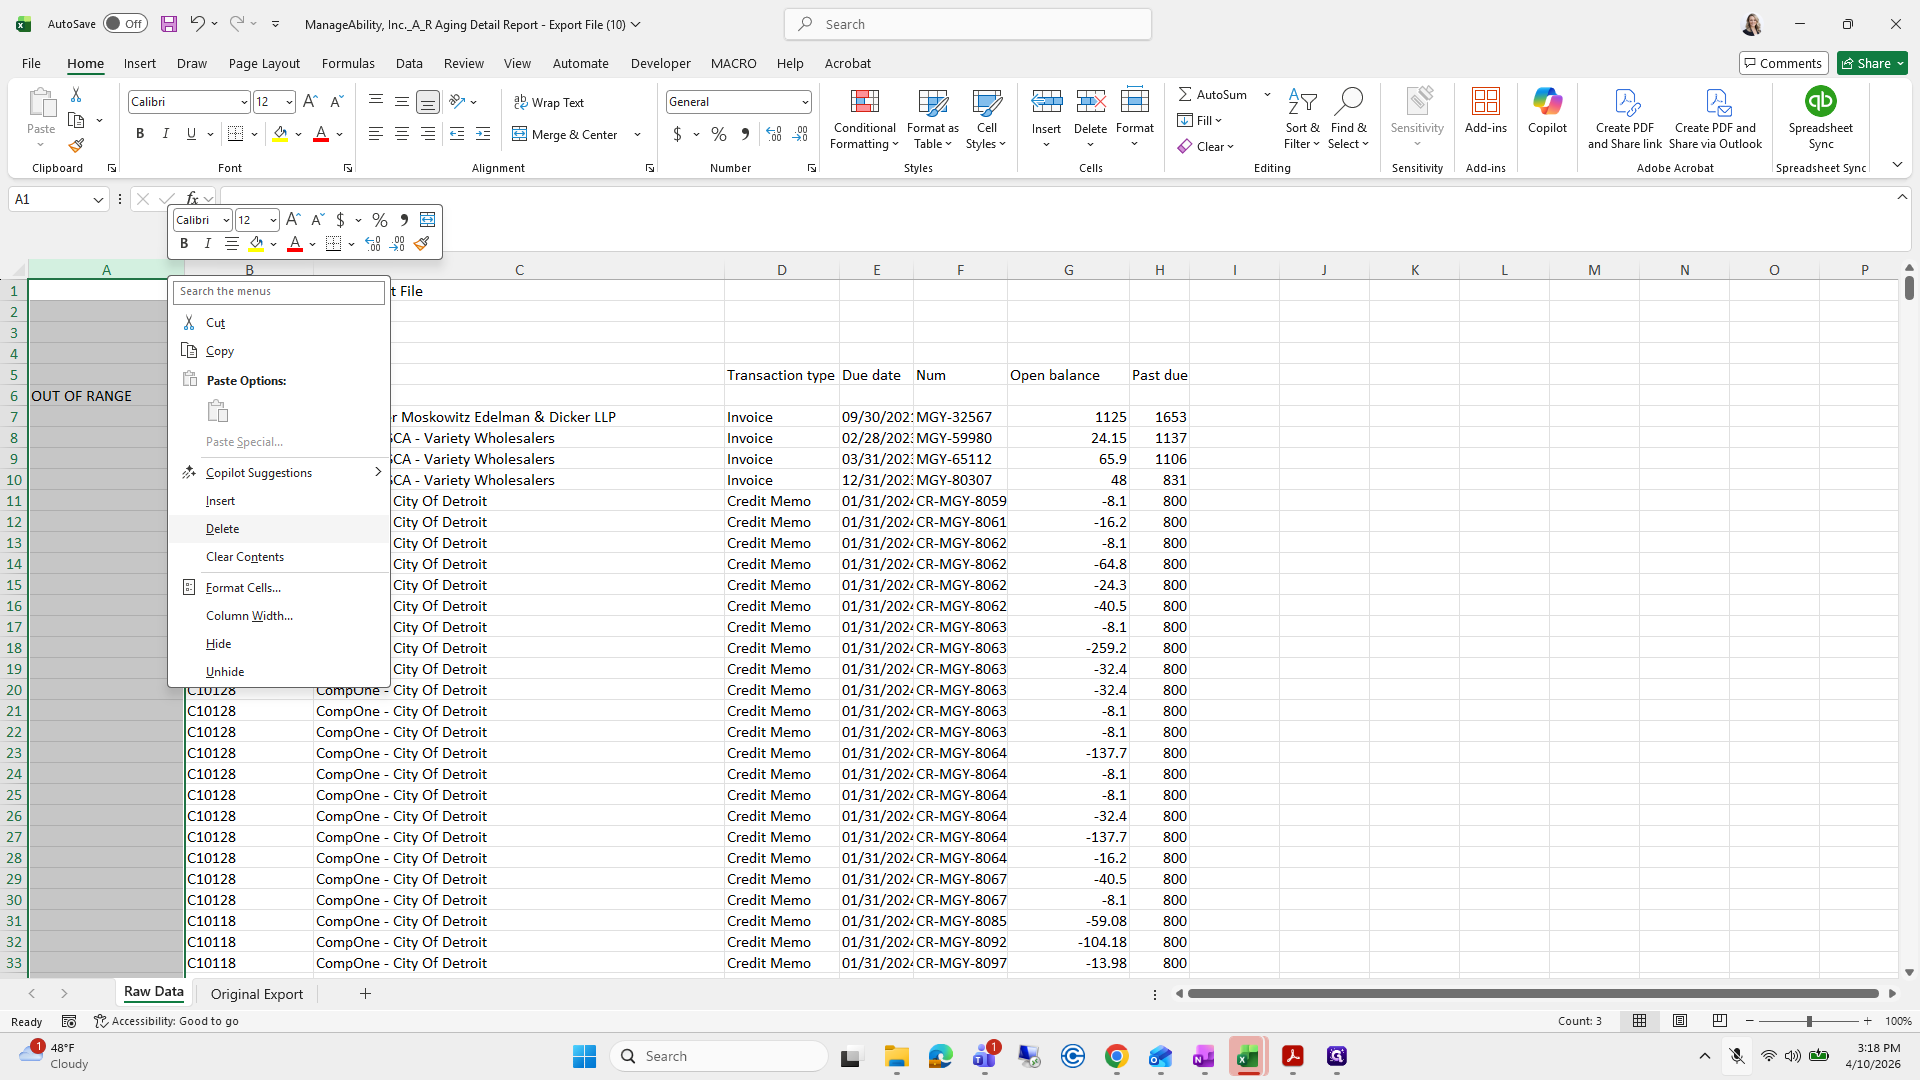
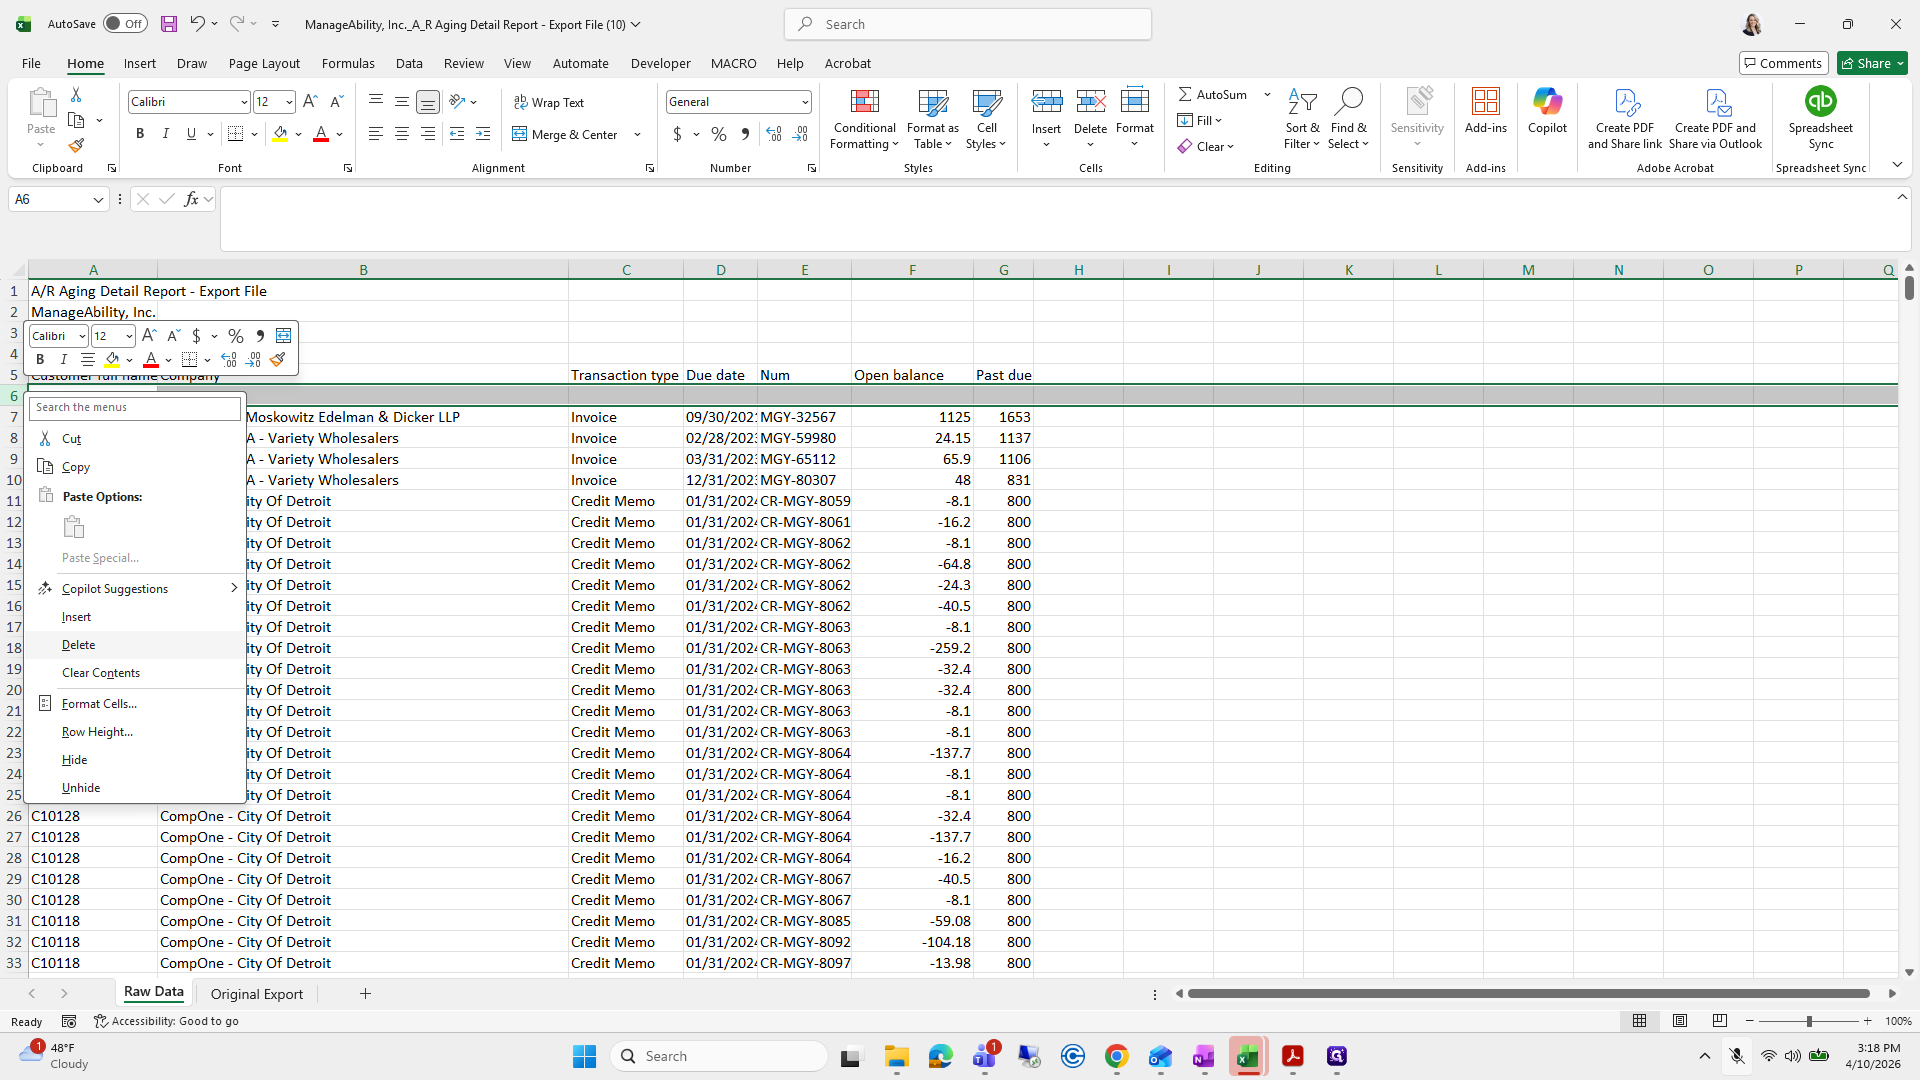
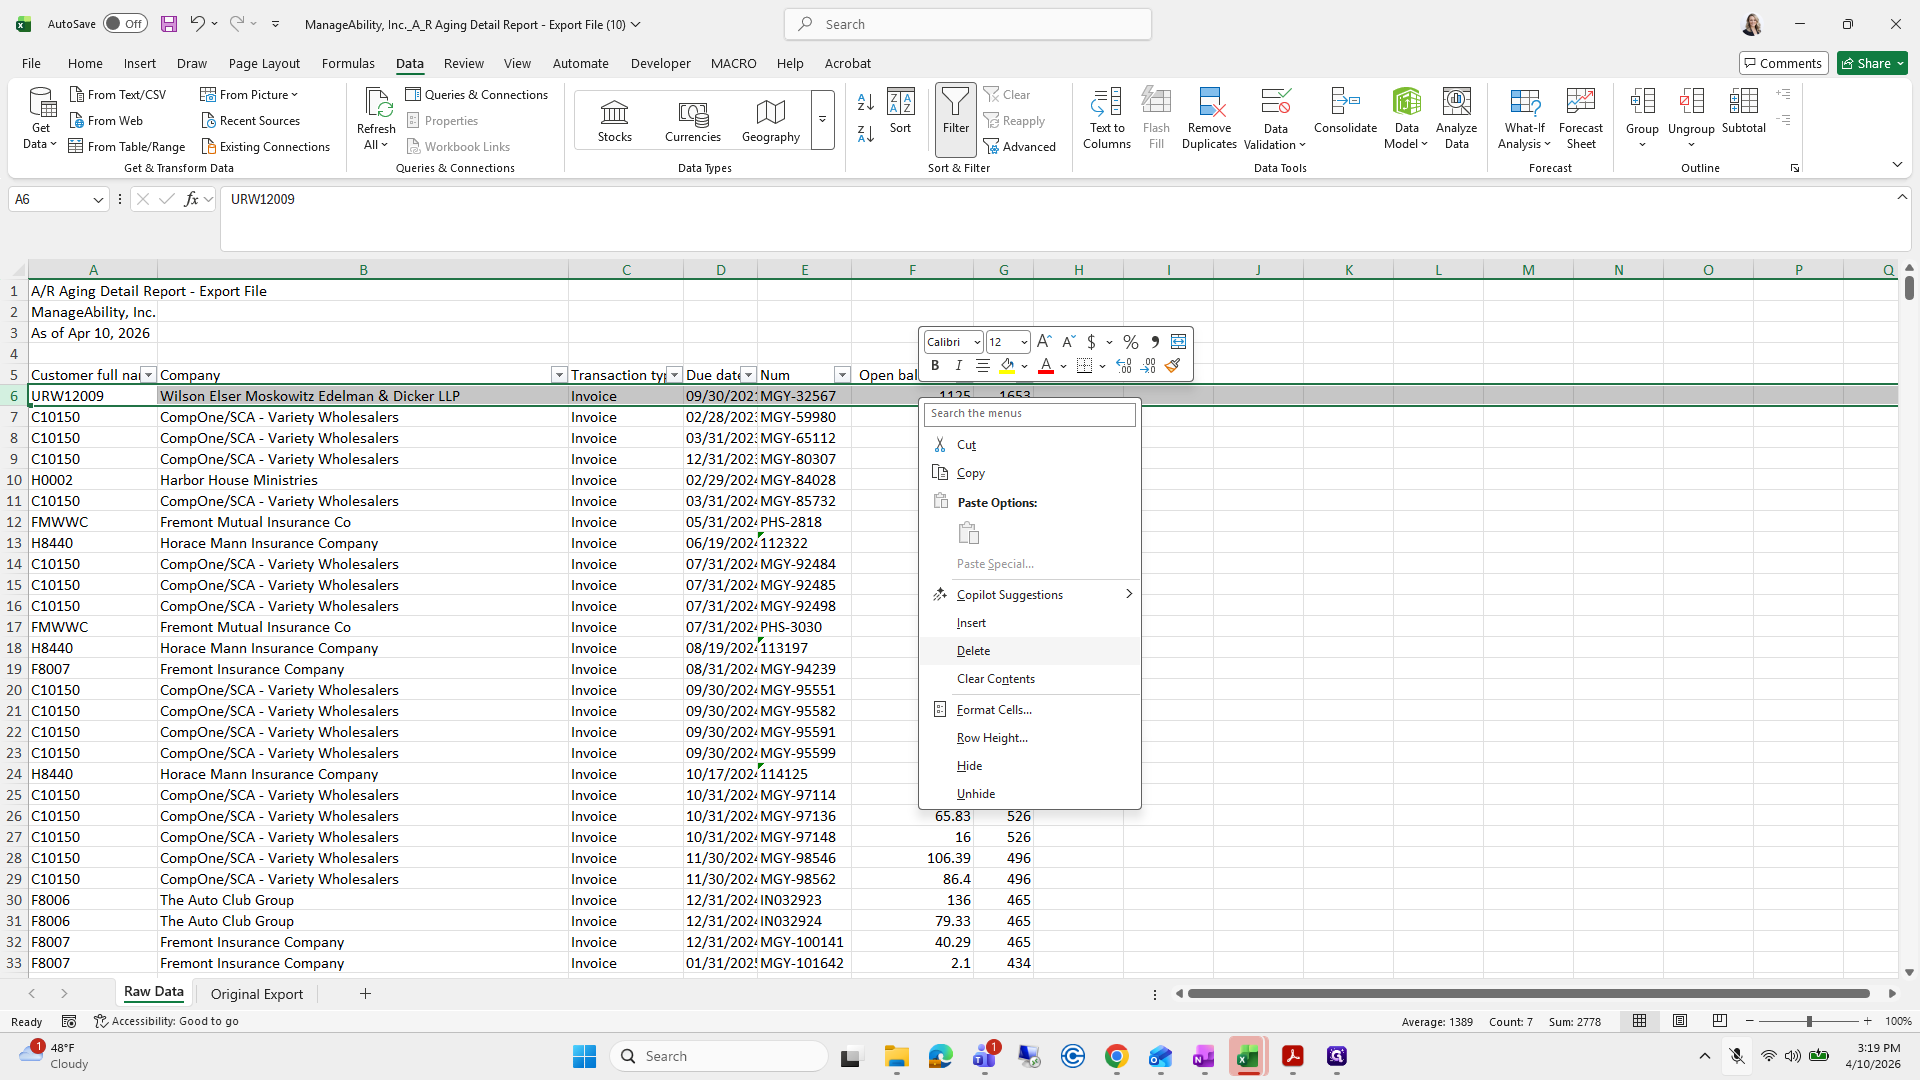
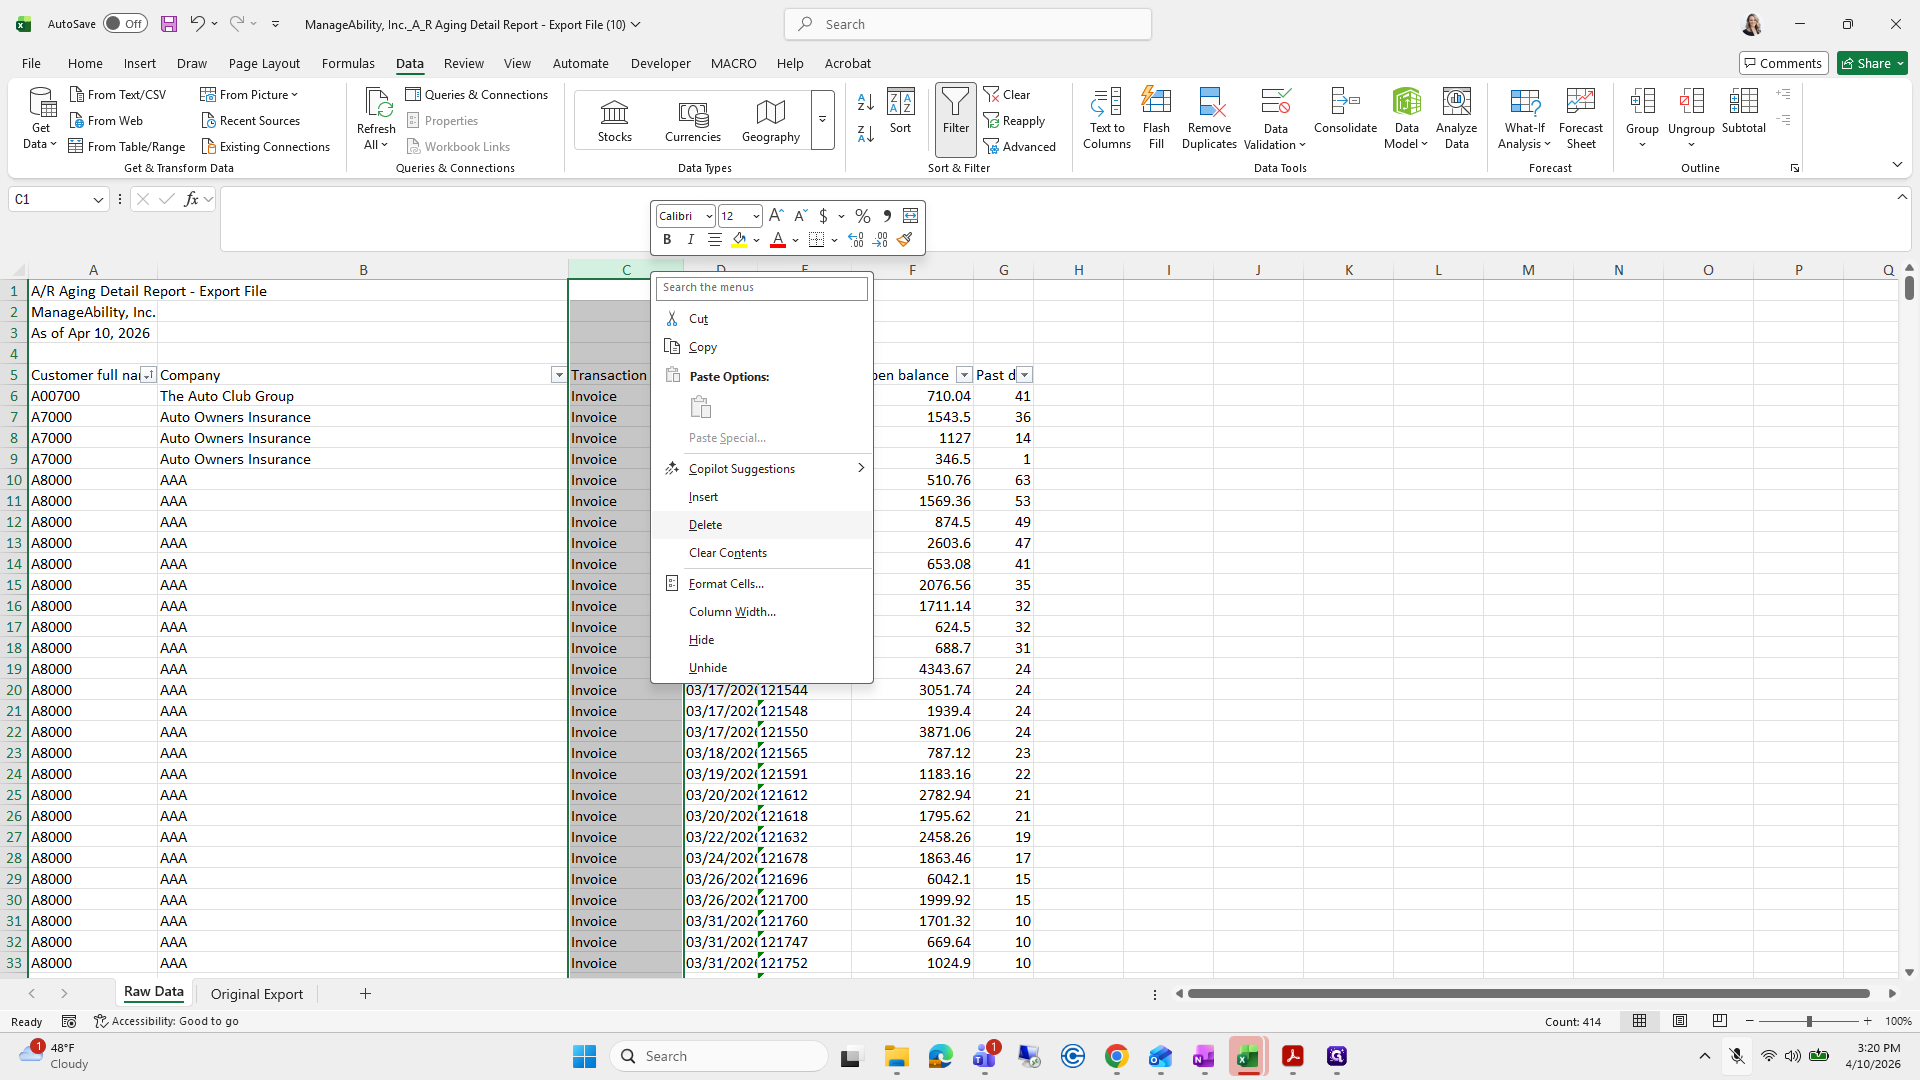
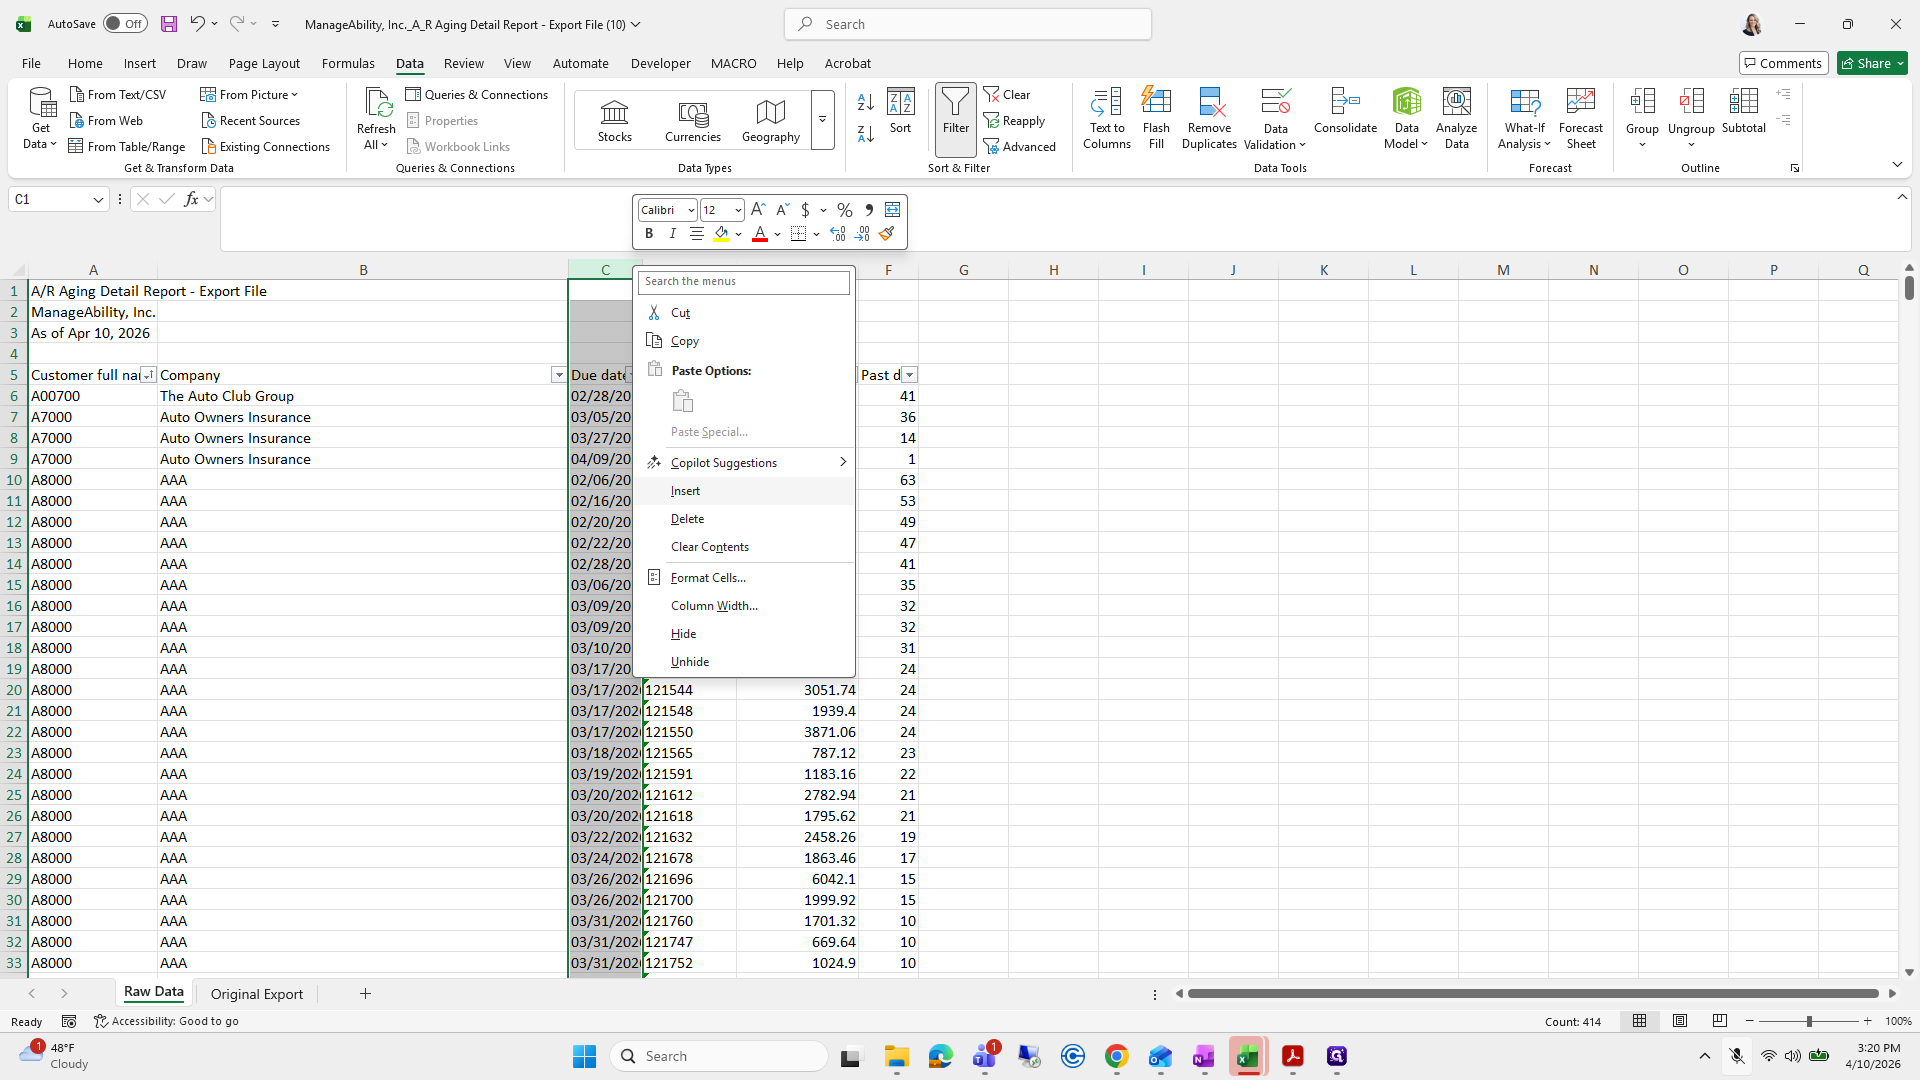
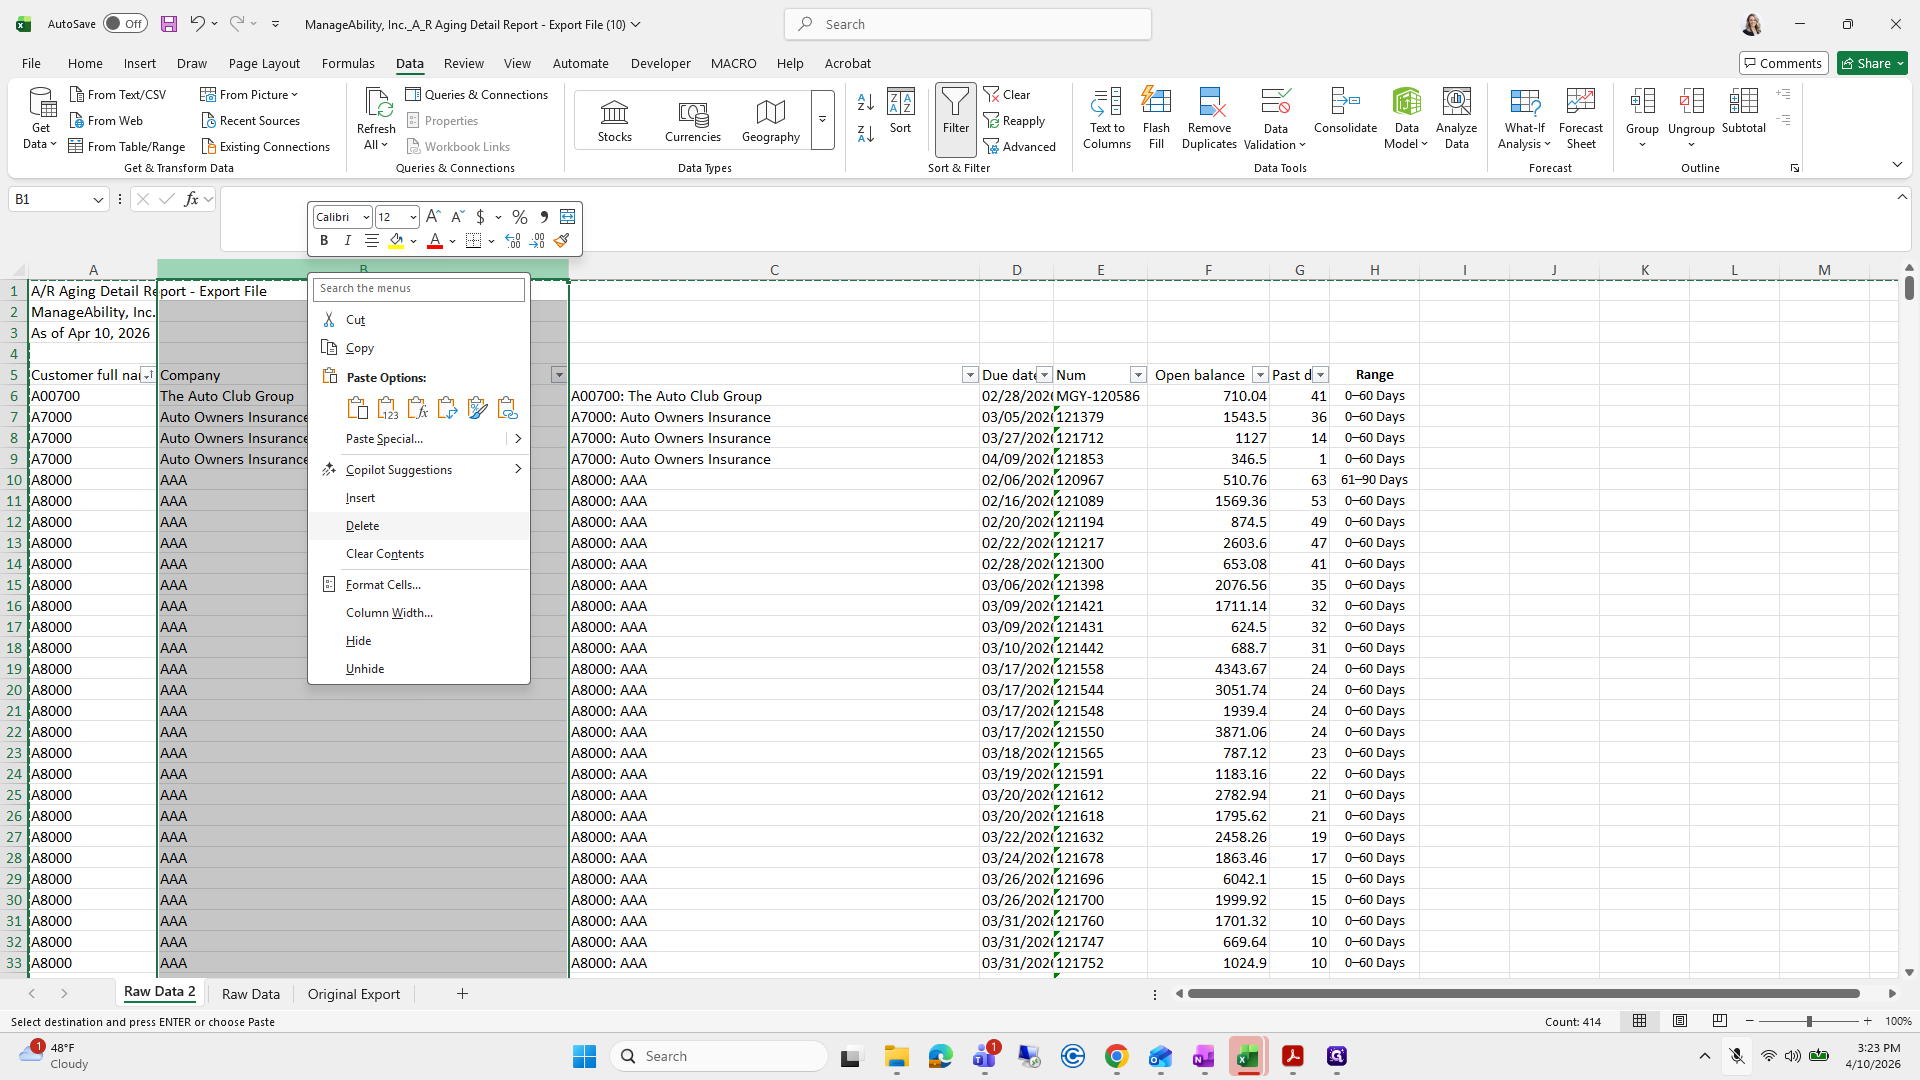
Right-click Delete, then press...

Where is my data?
Clear it, and then there's this person I haven't written off yet, which I need to do. Don't forget to delete it, because JB will notice.


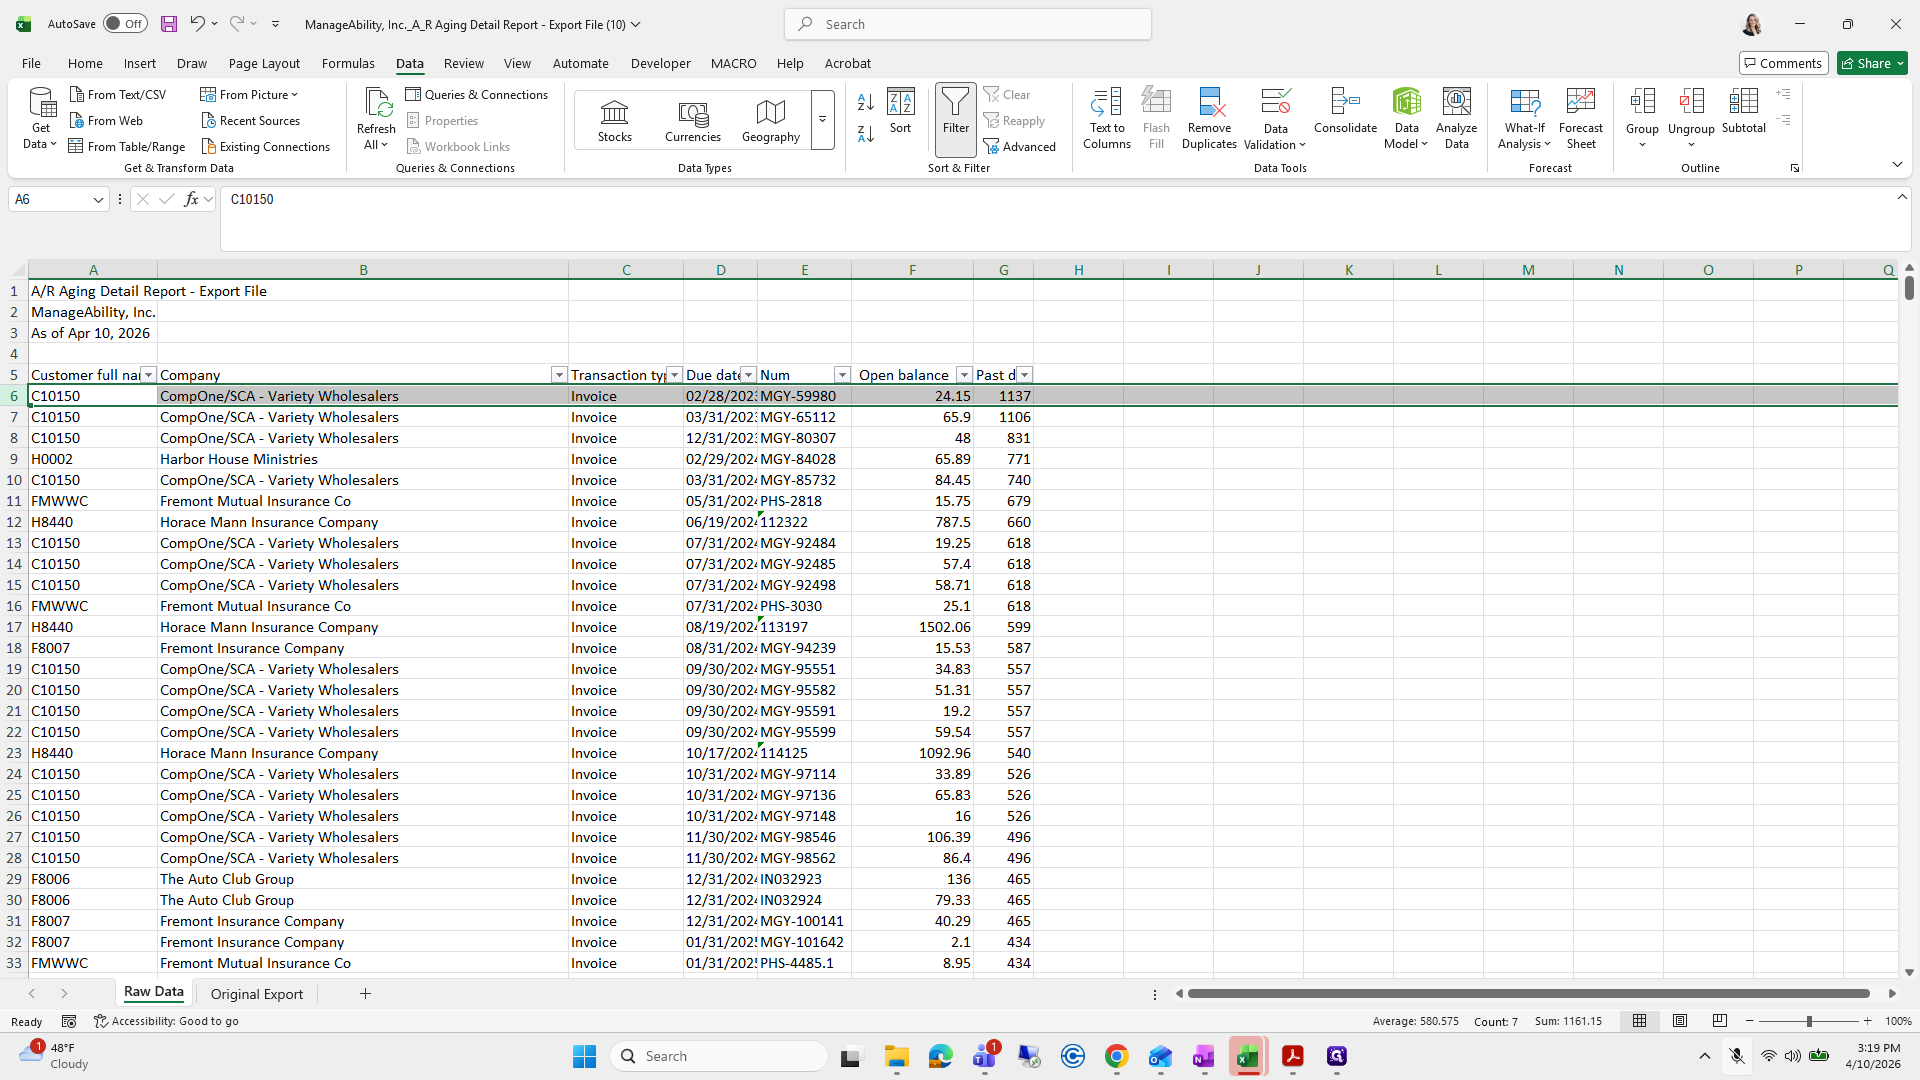
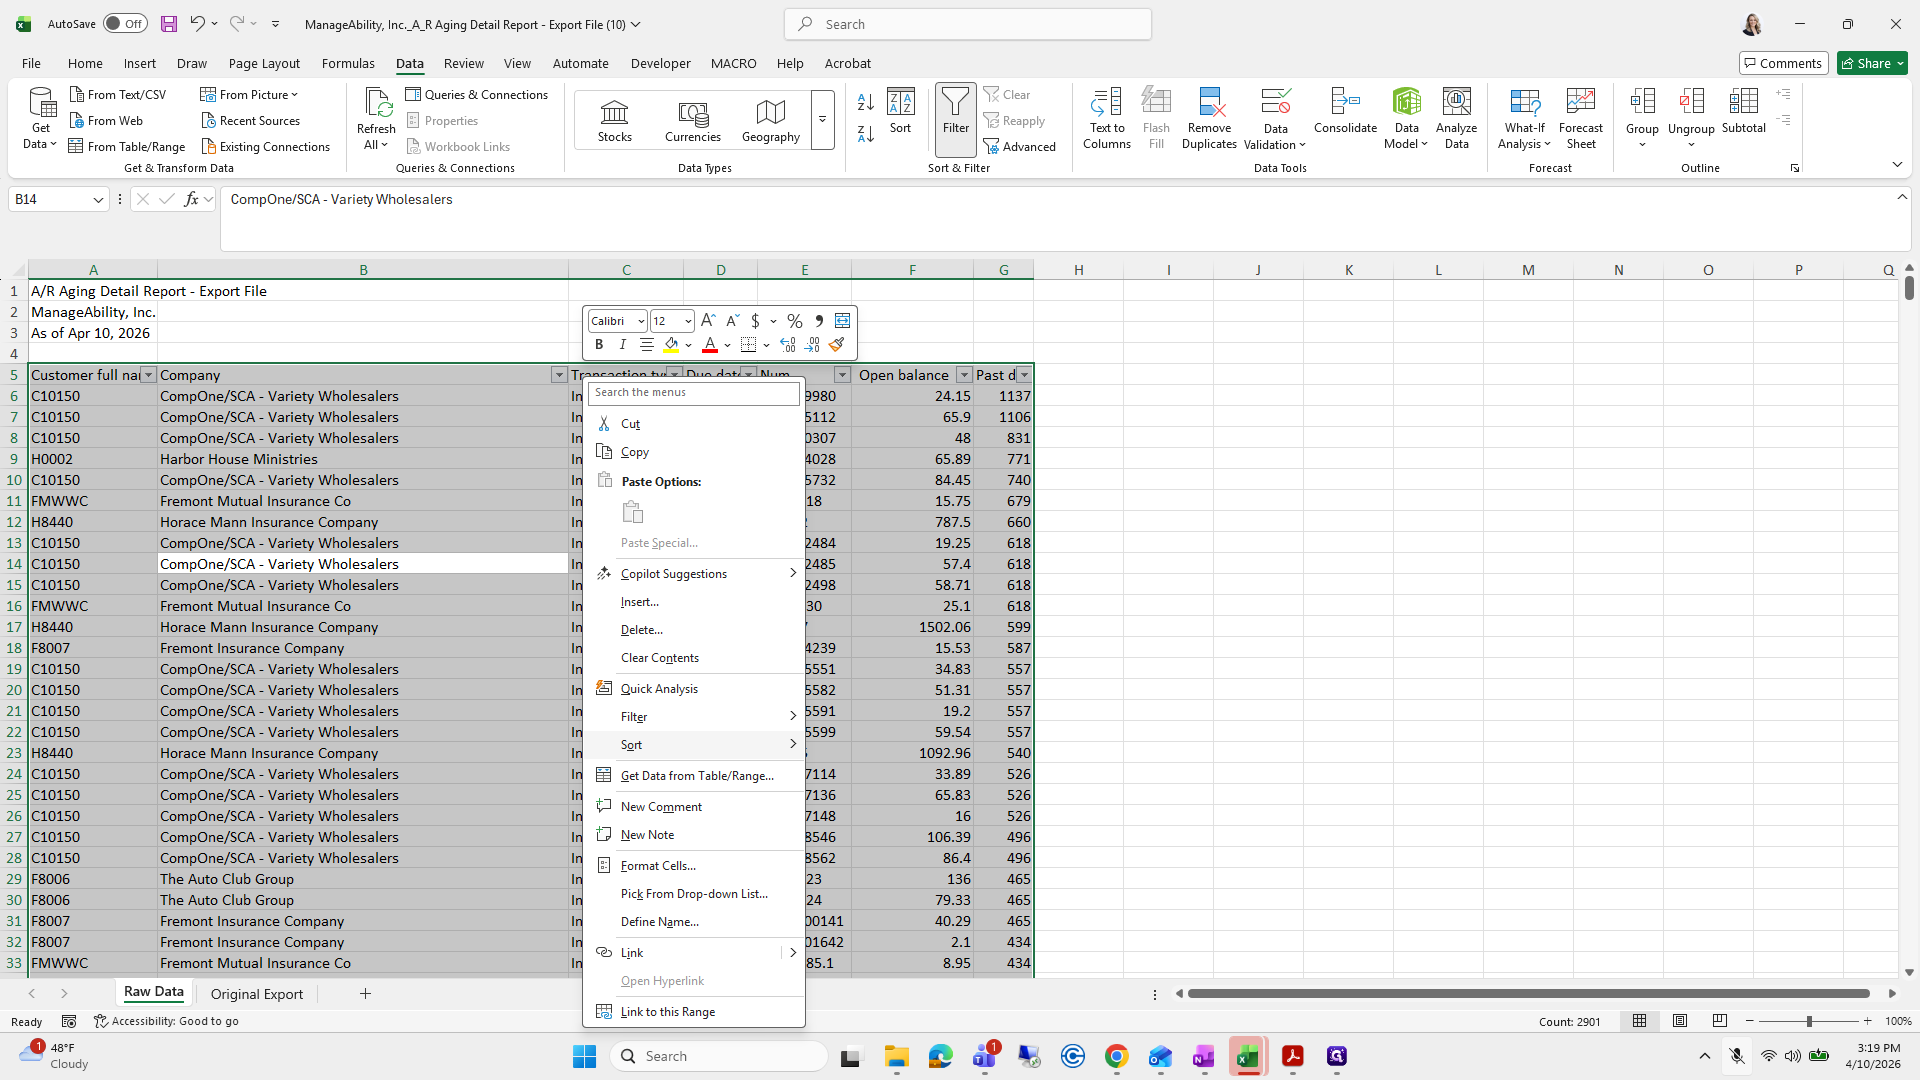
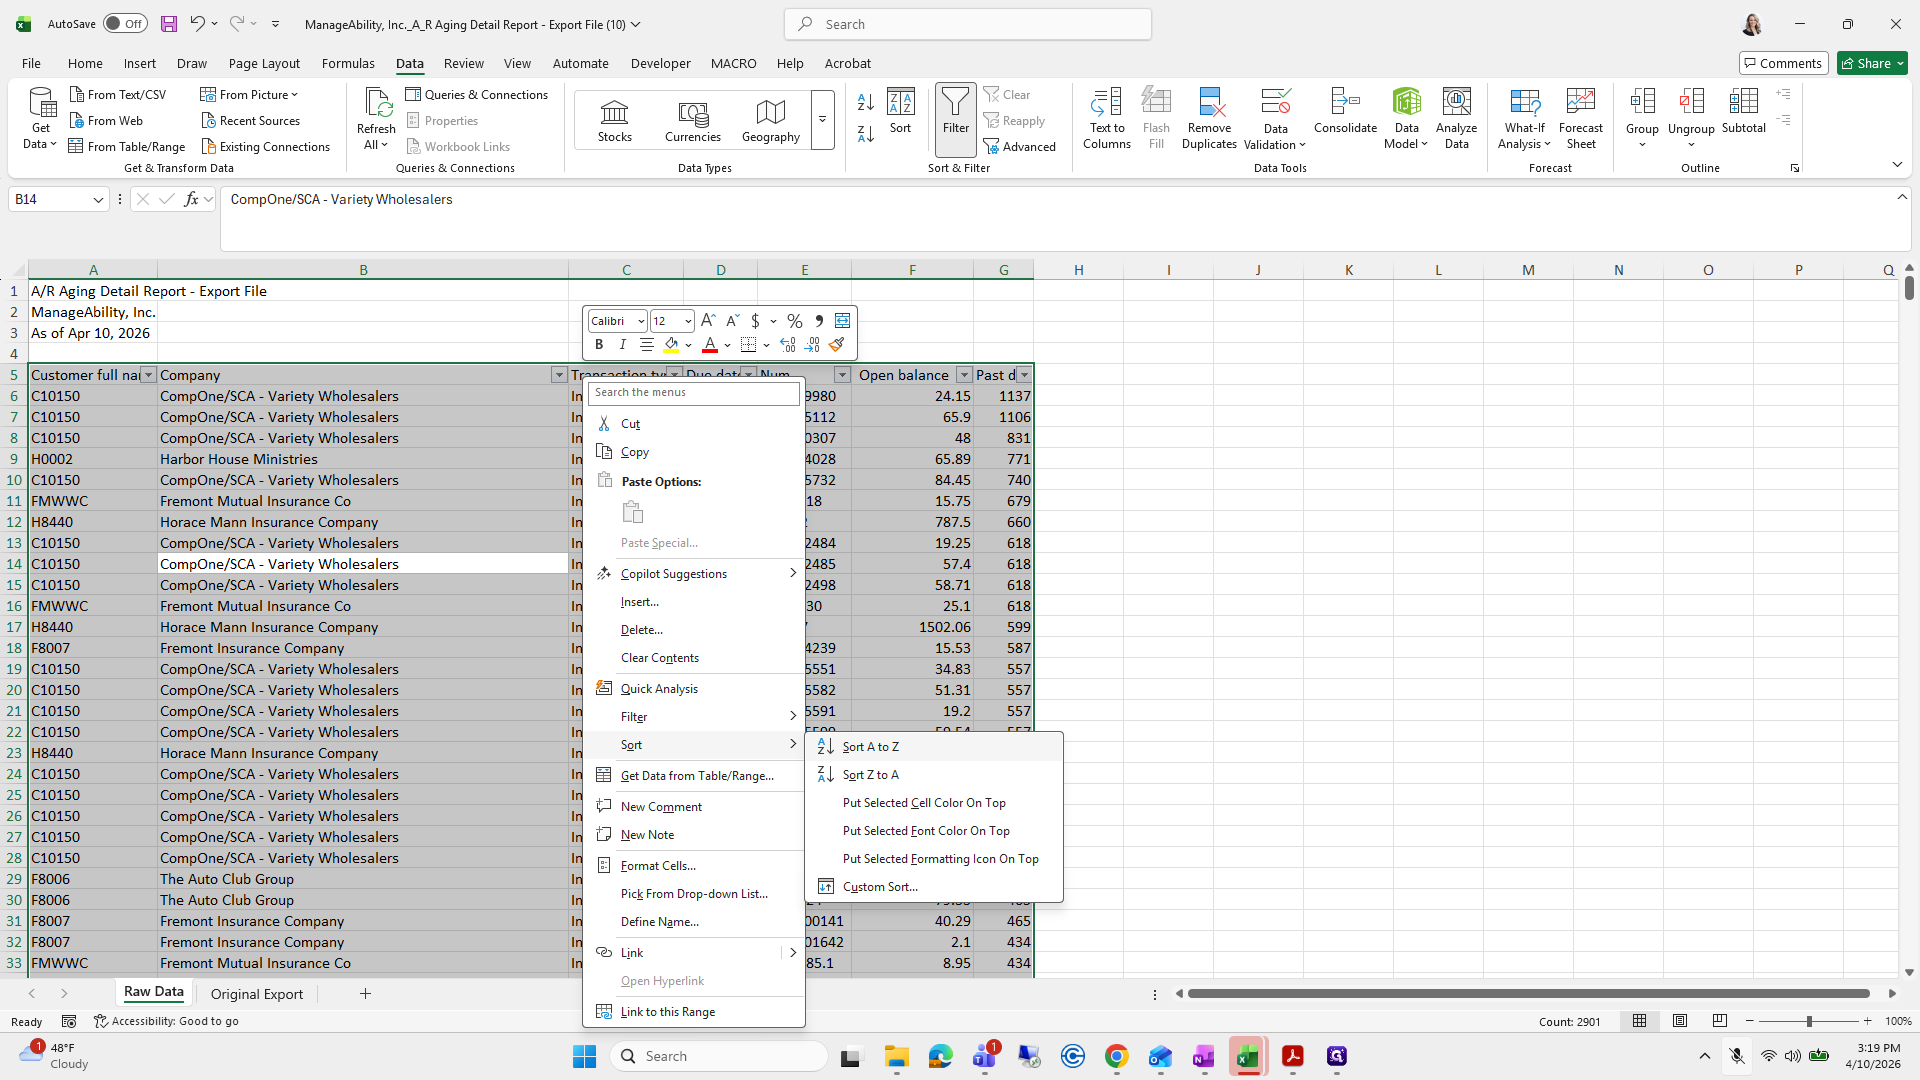
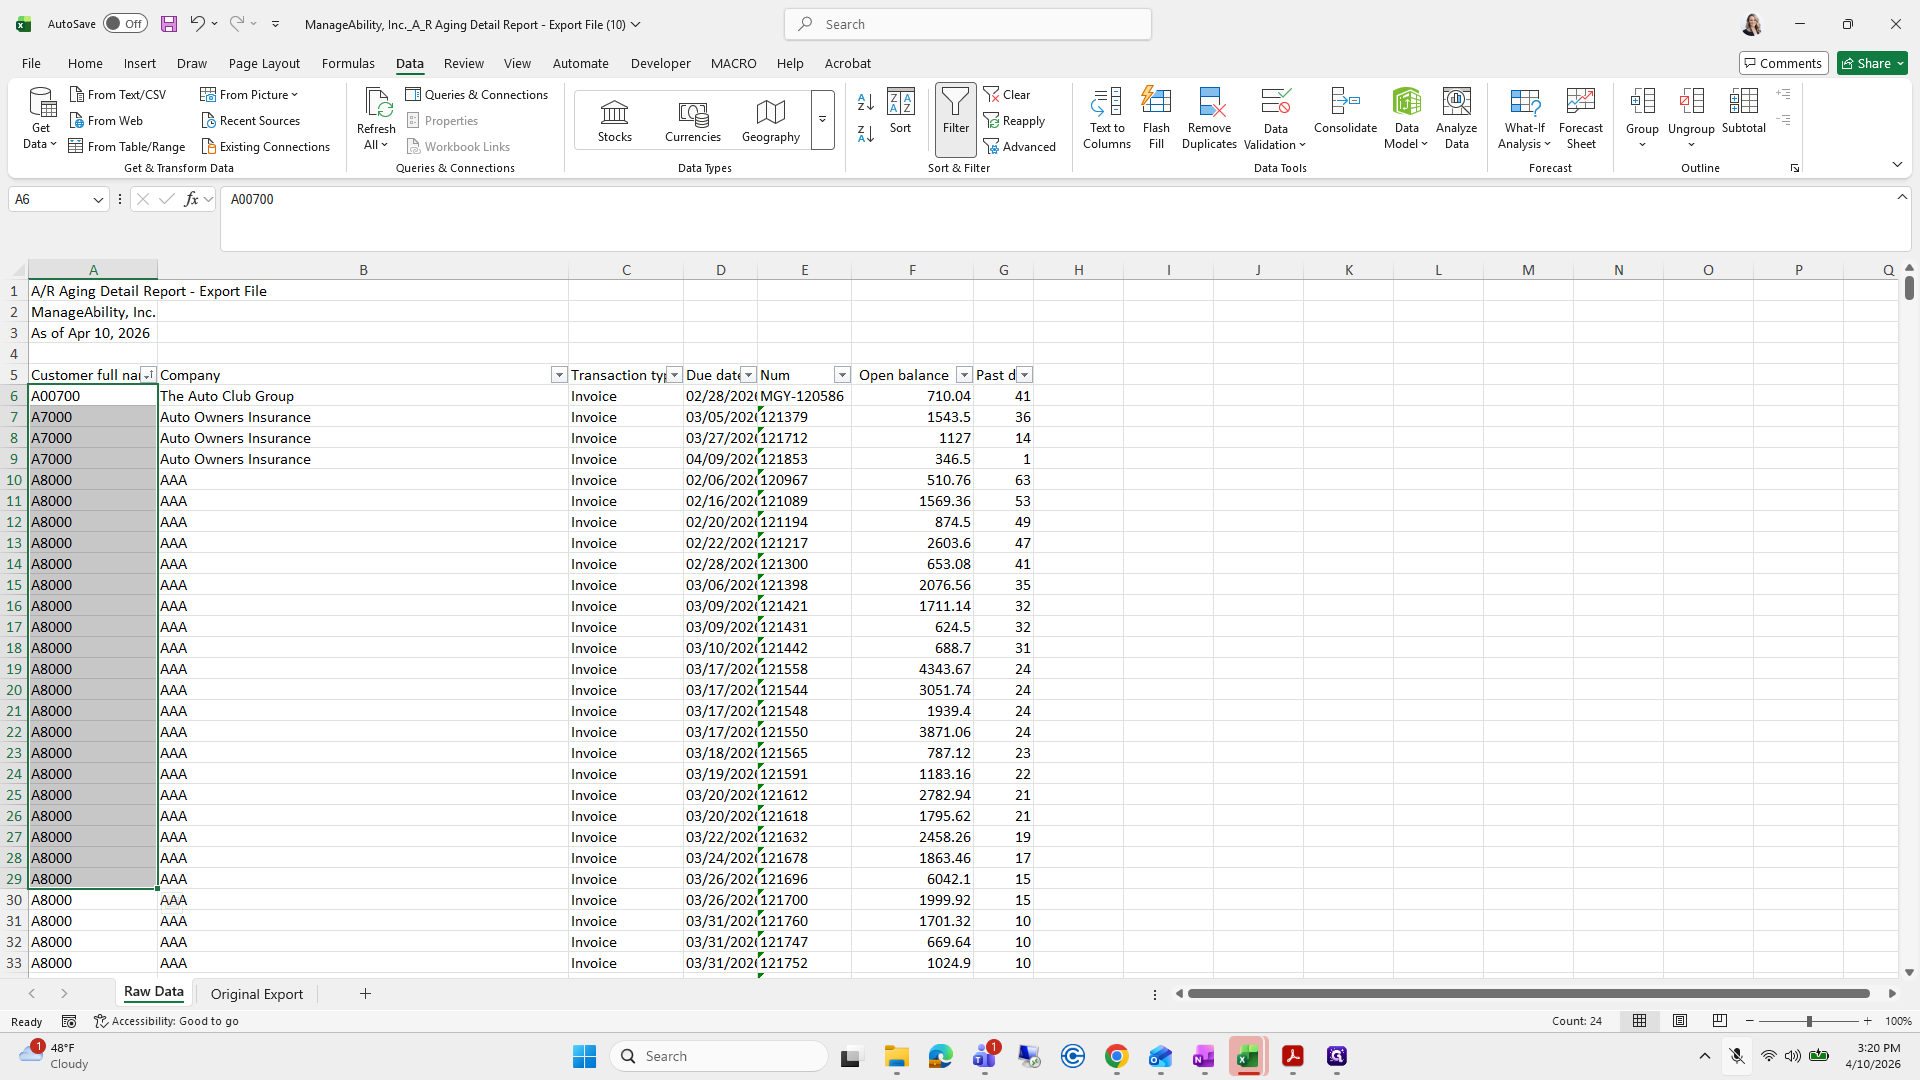
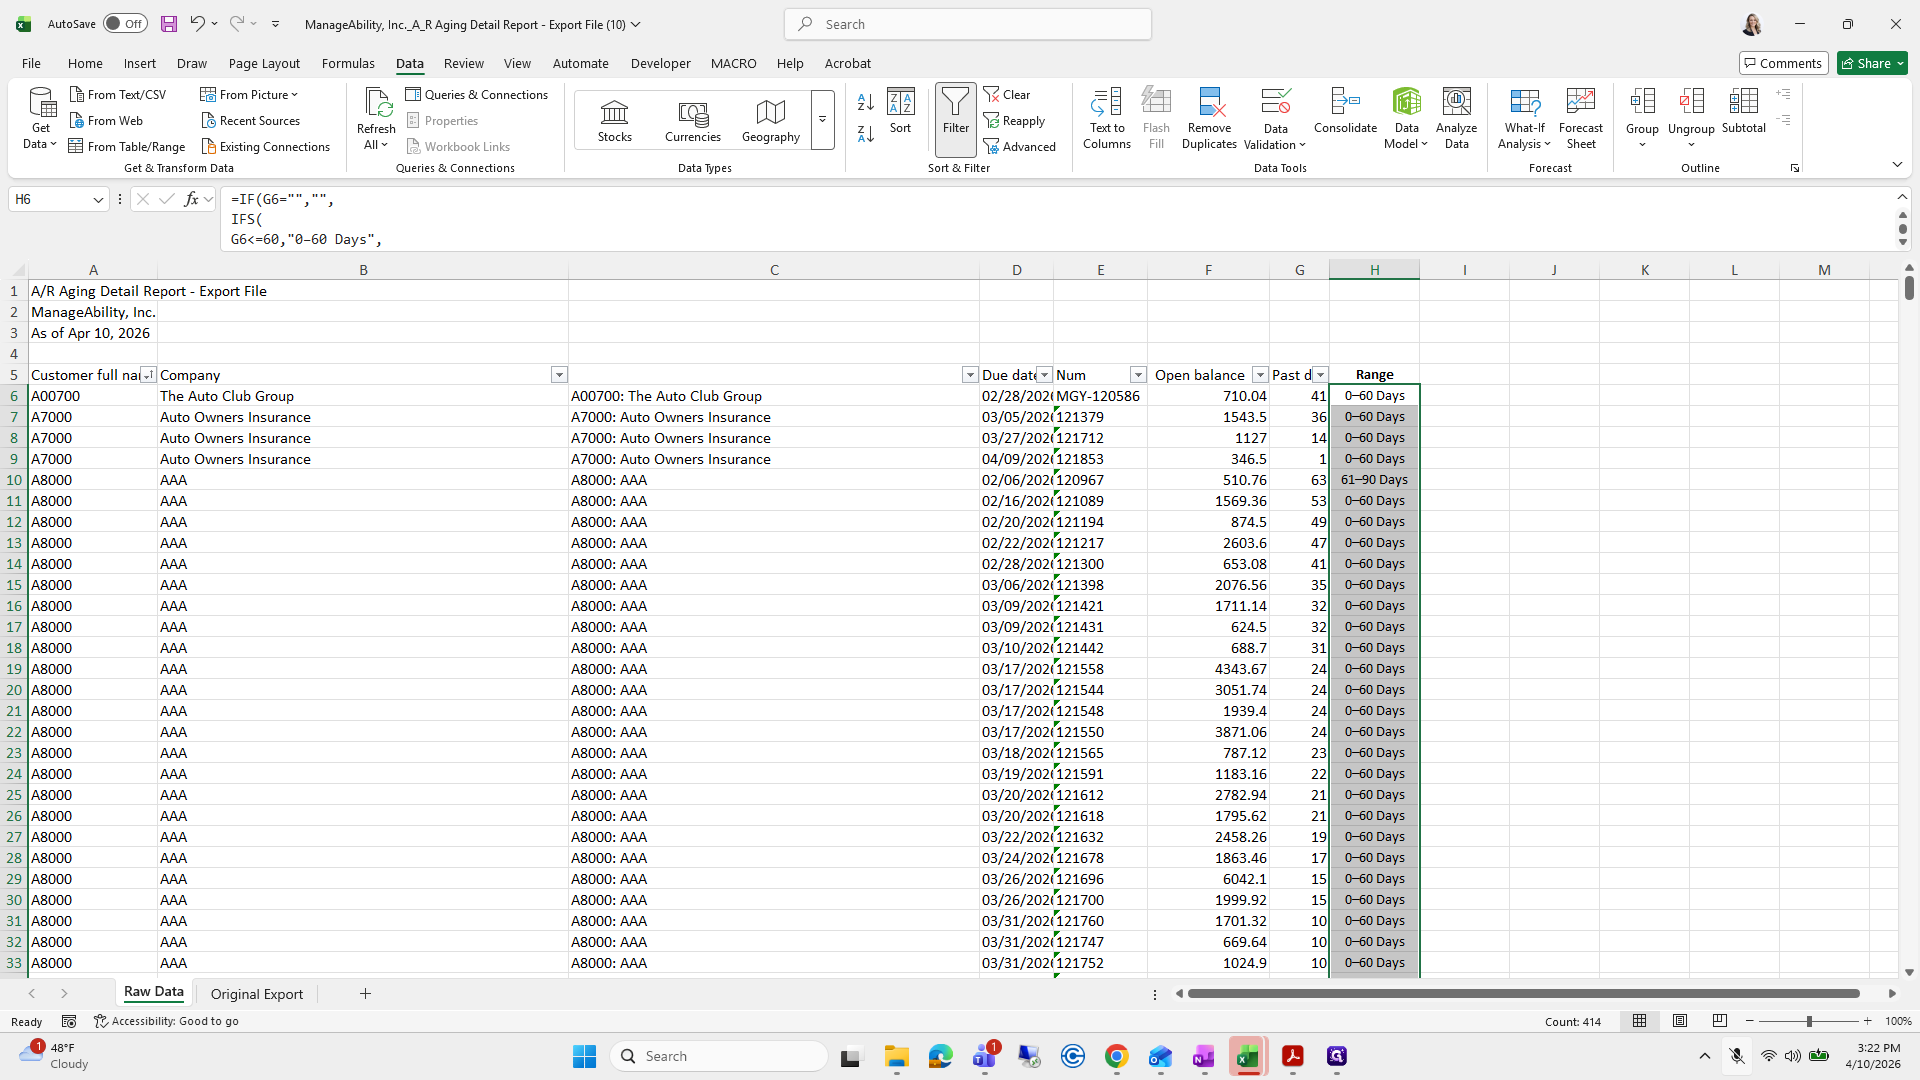
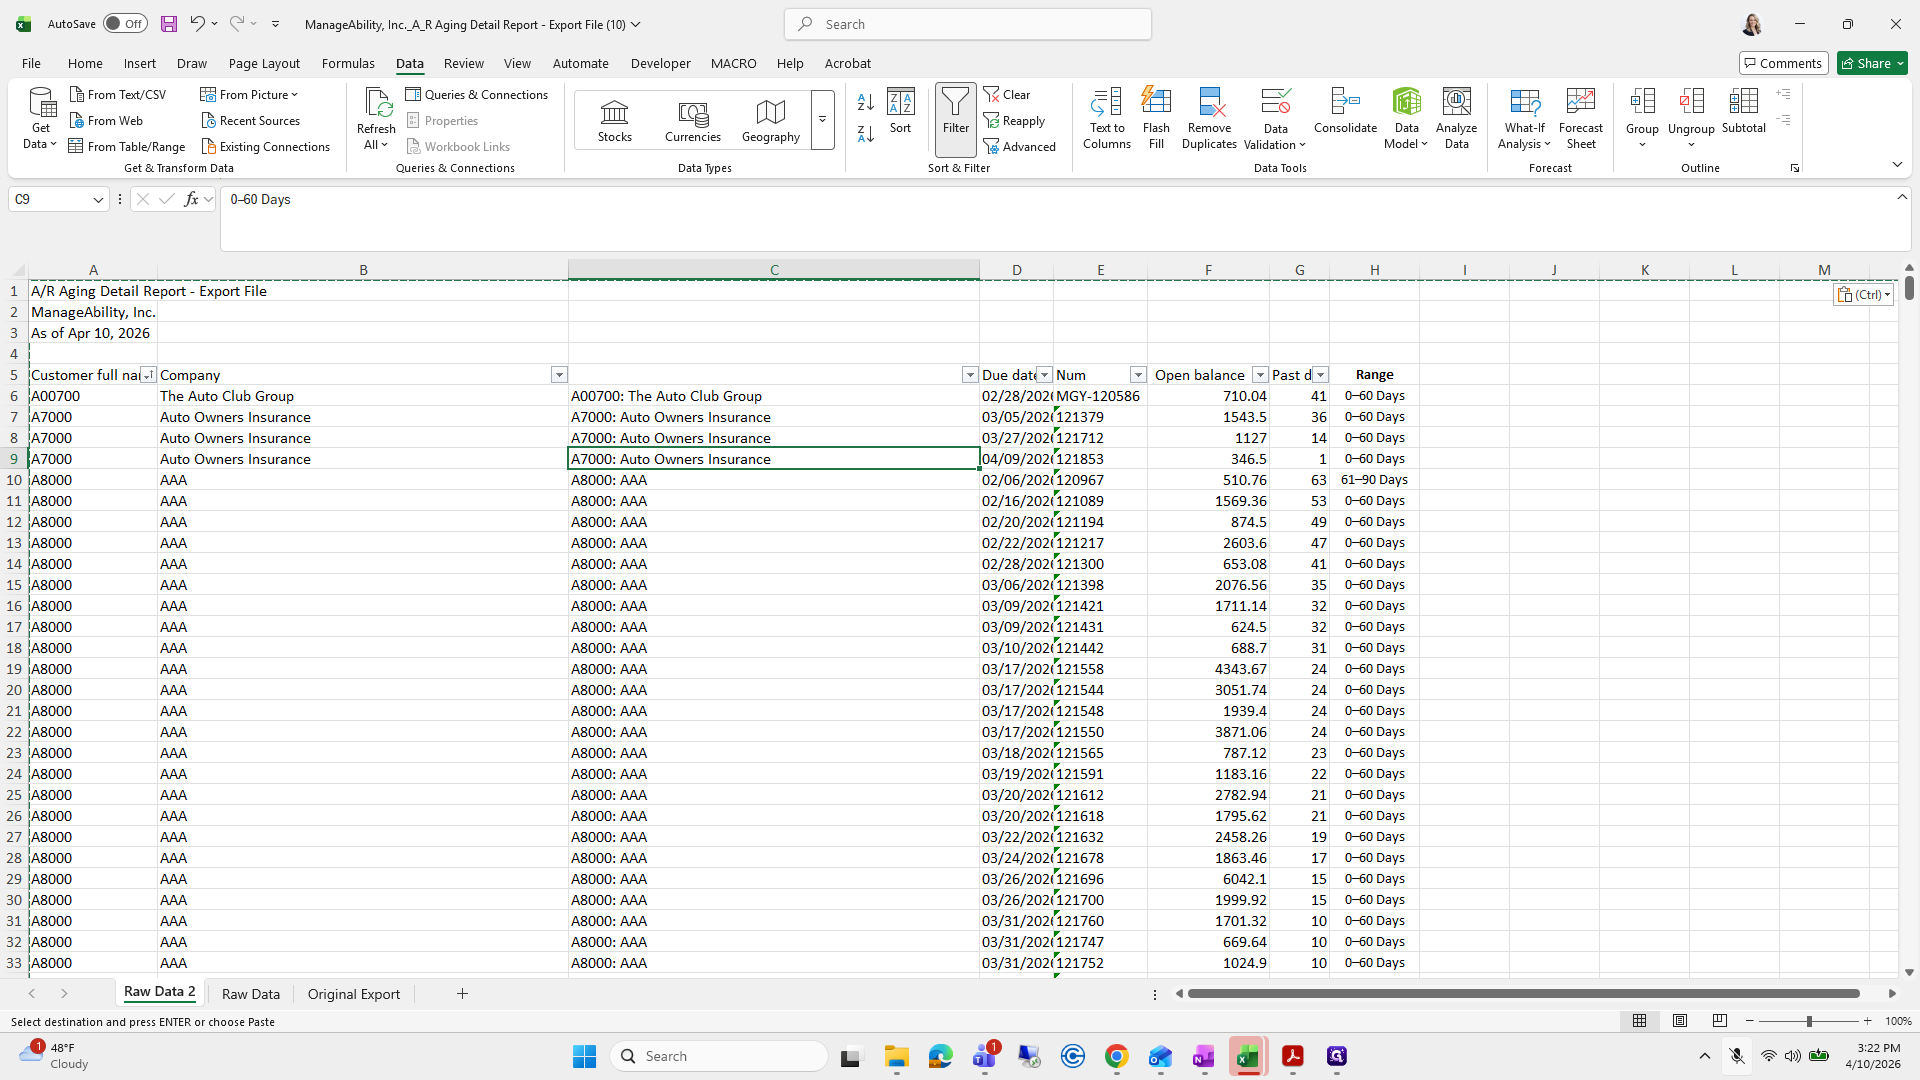
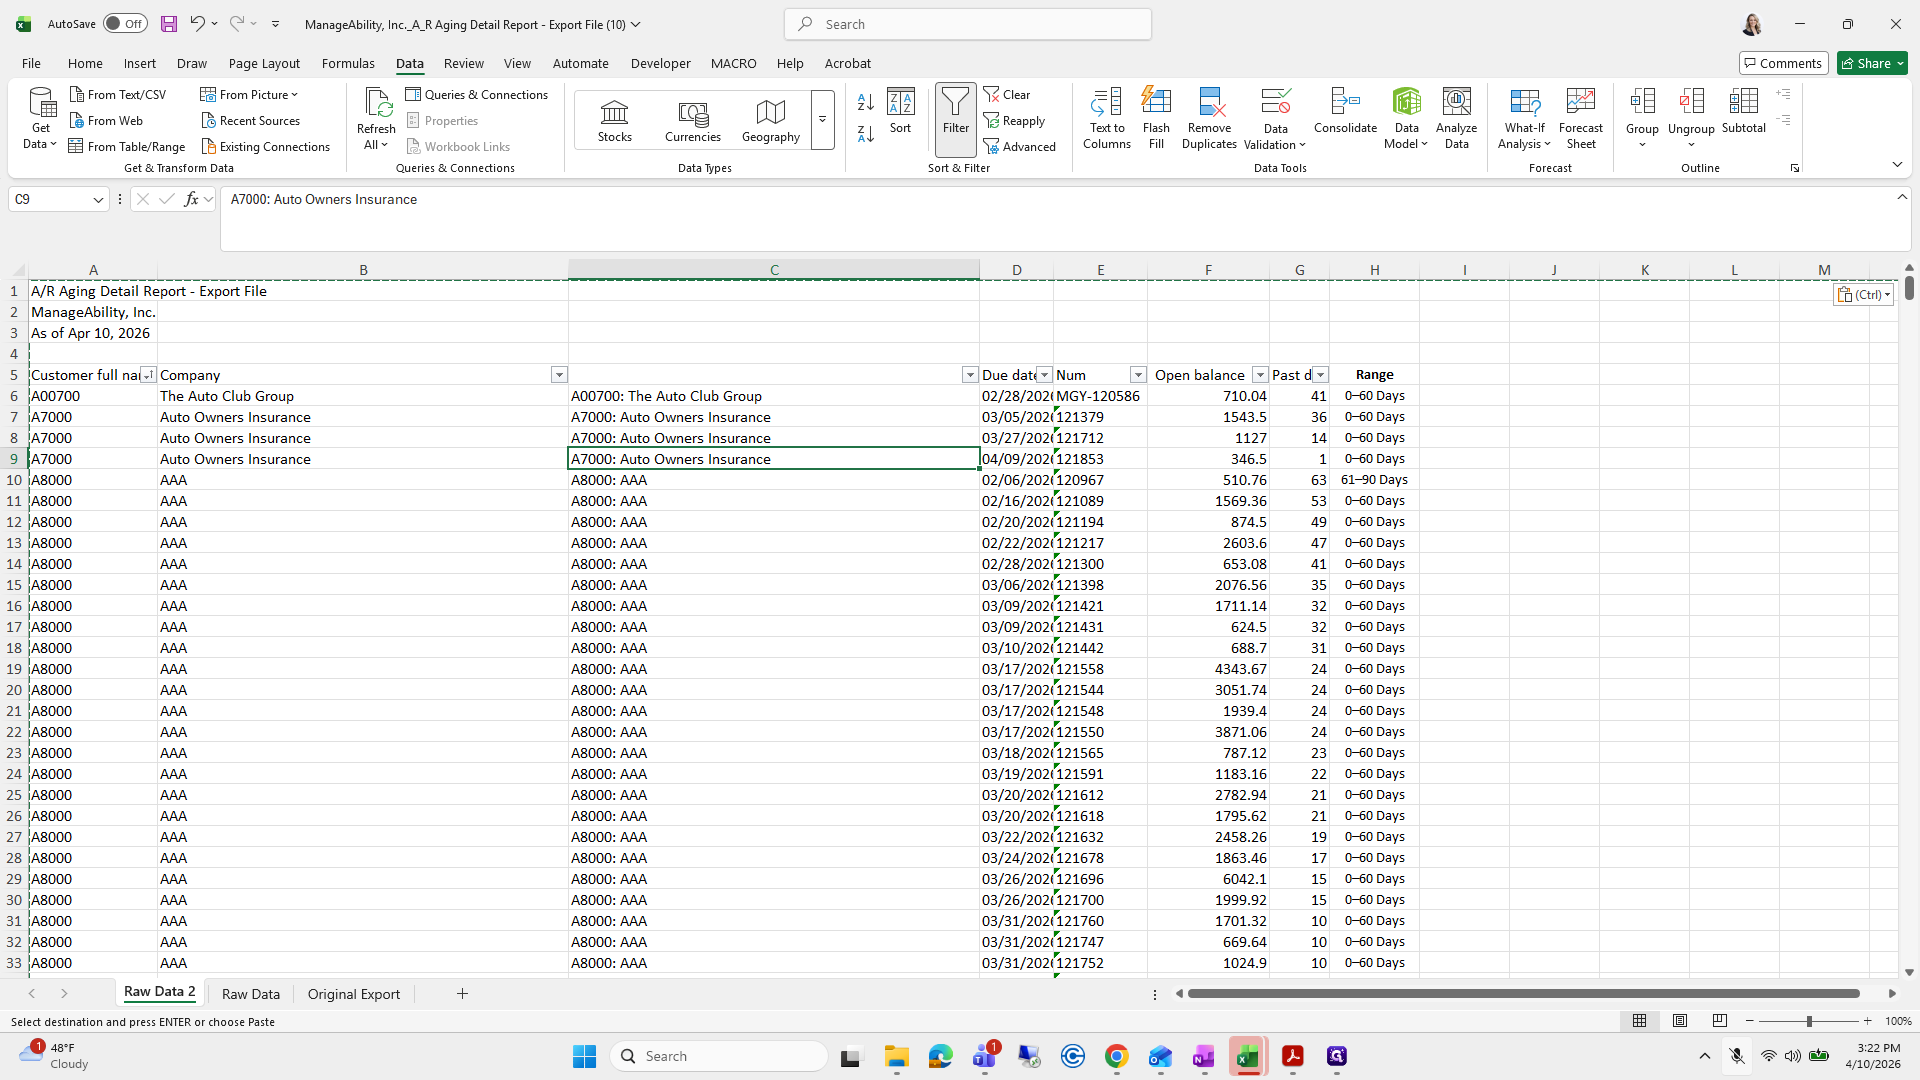
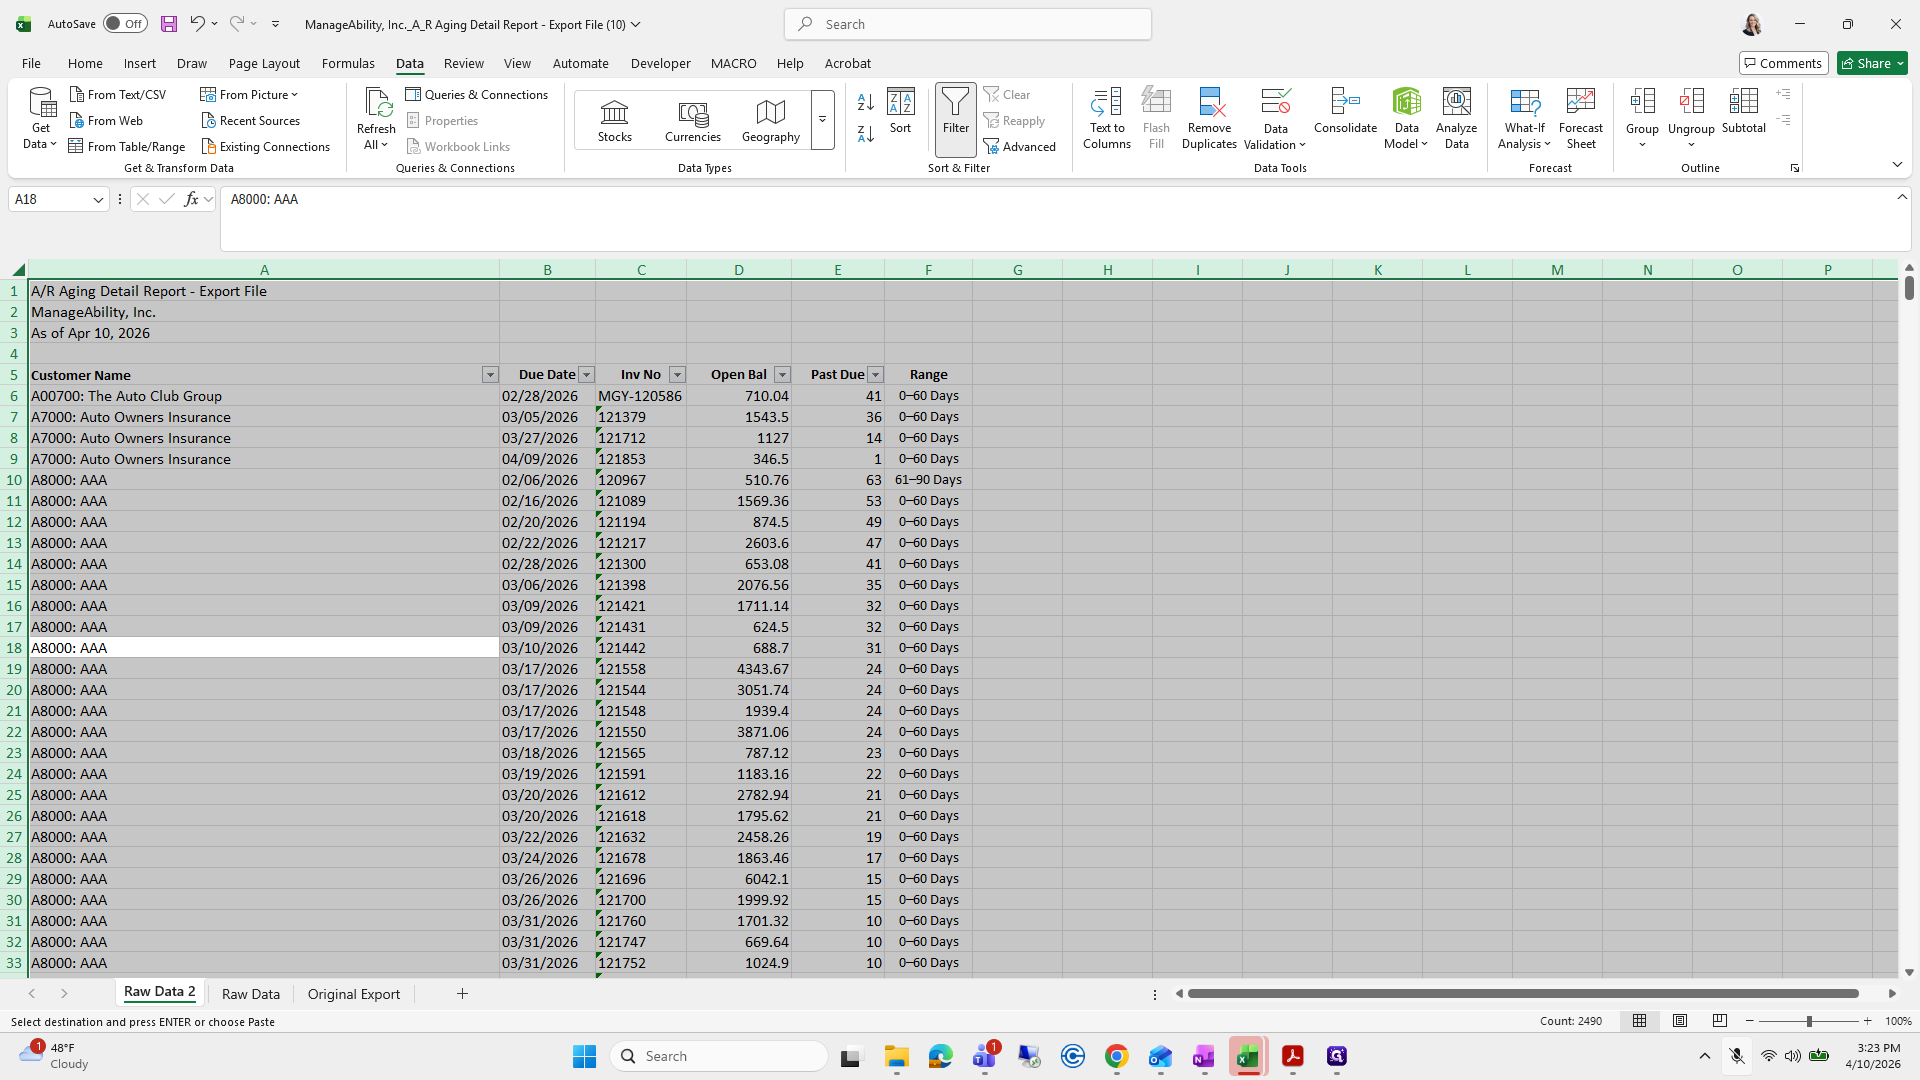
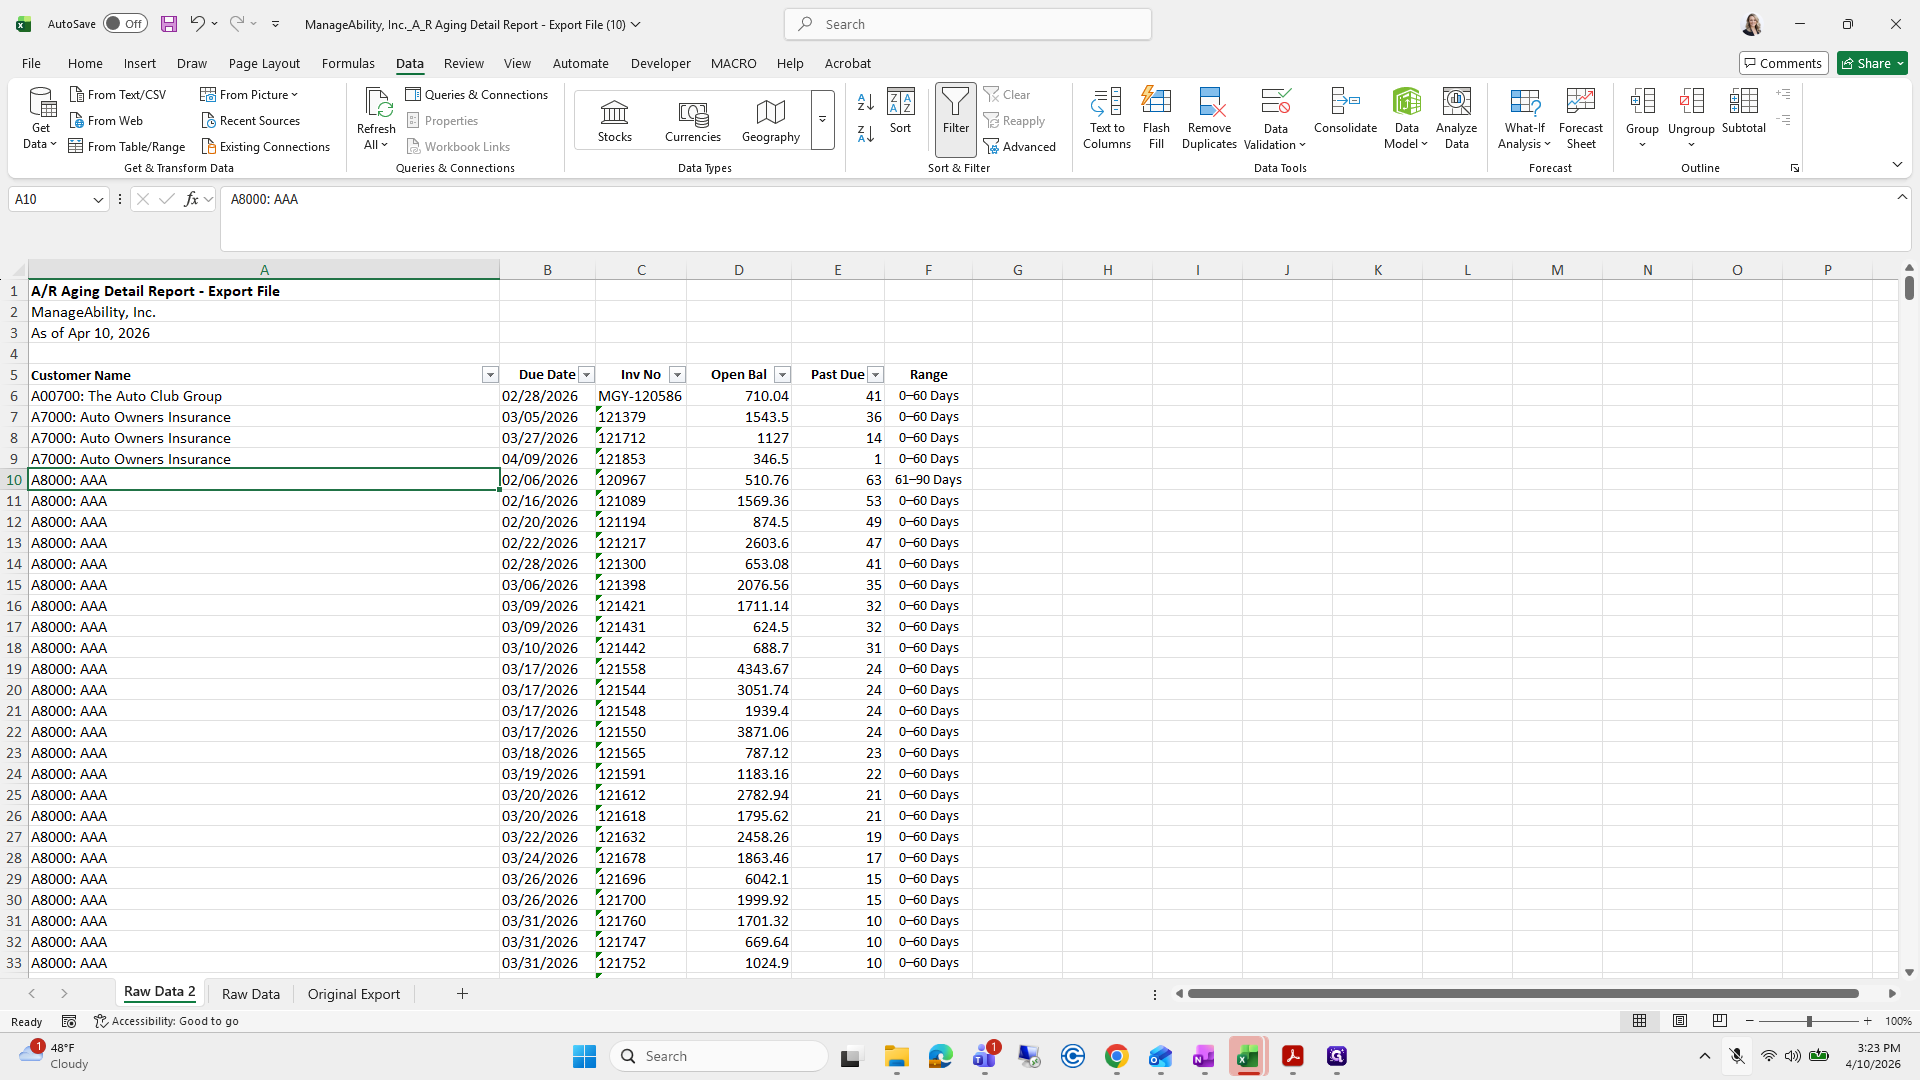
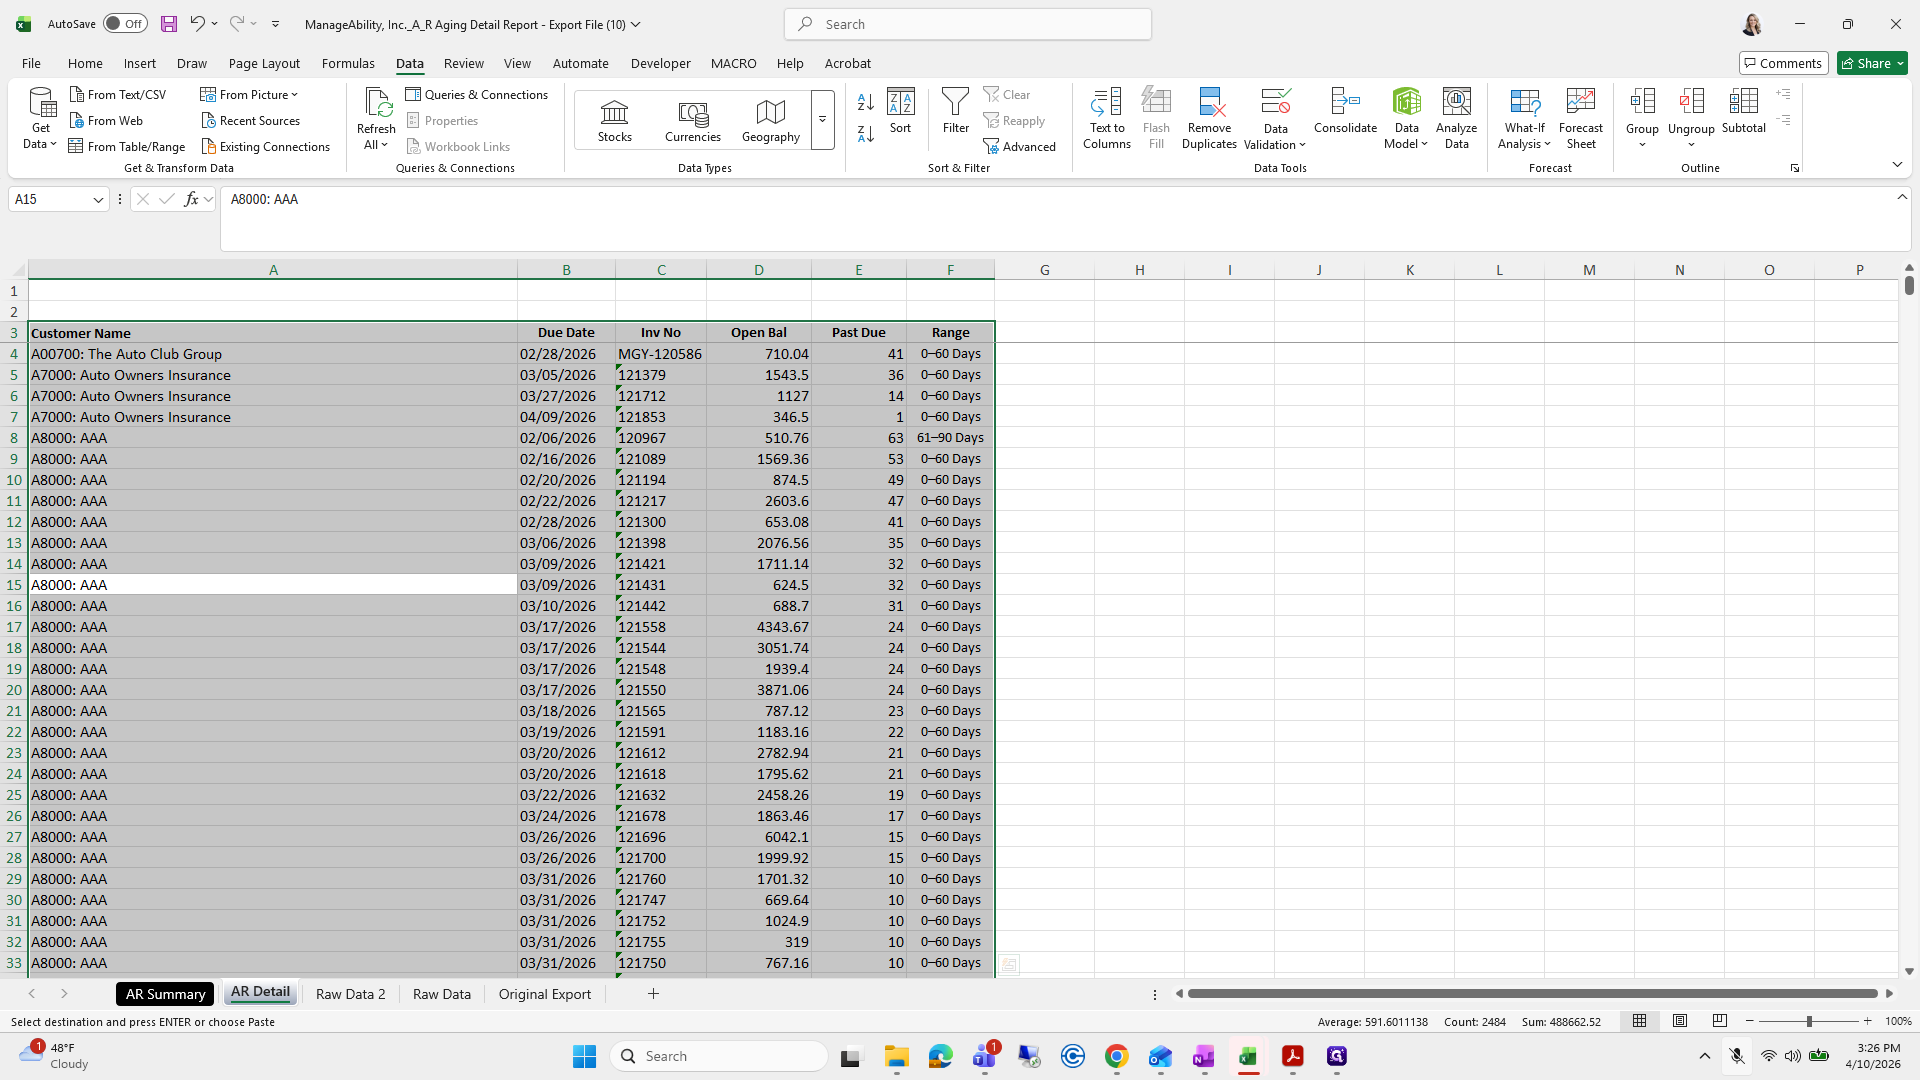
I select all, then sort A to Z by customer name. I don't think I did it correctly.
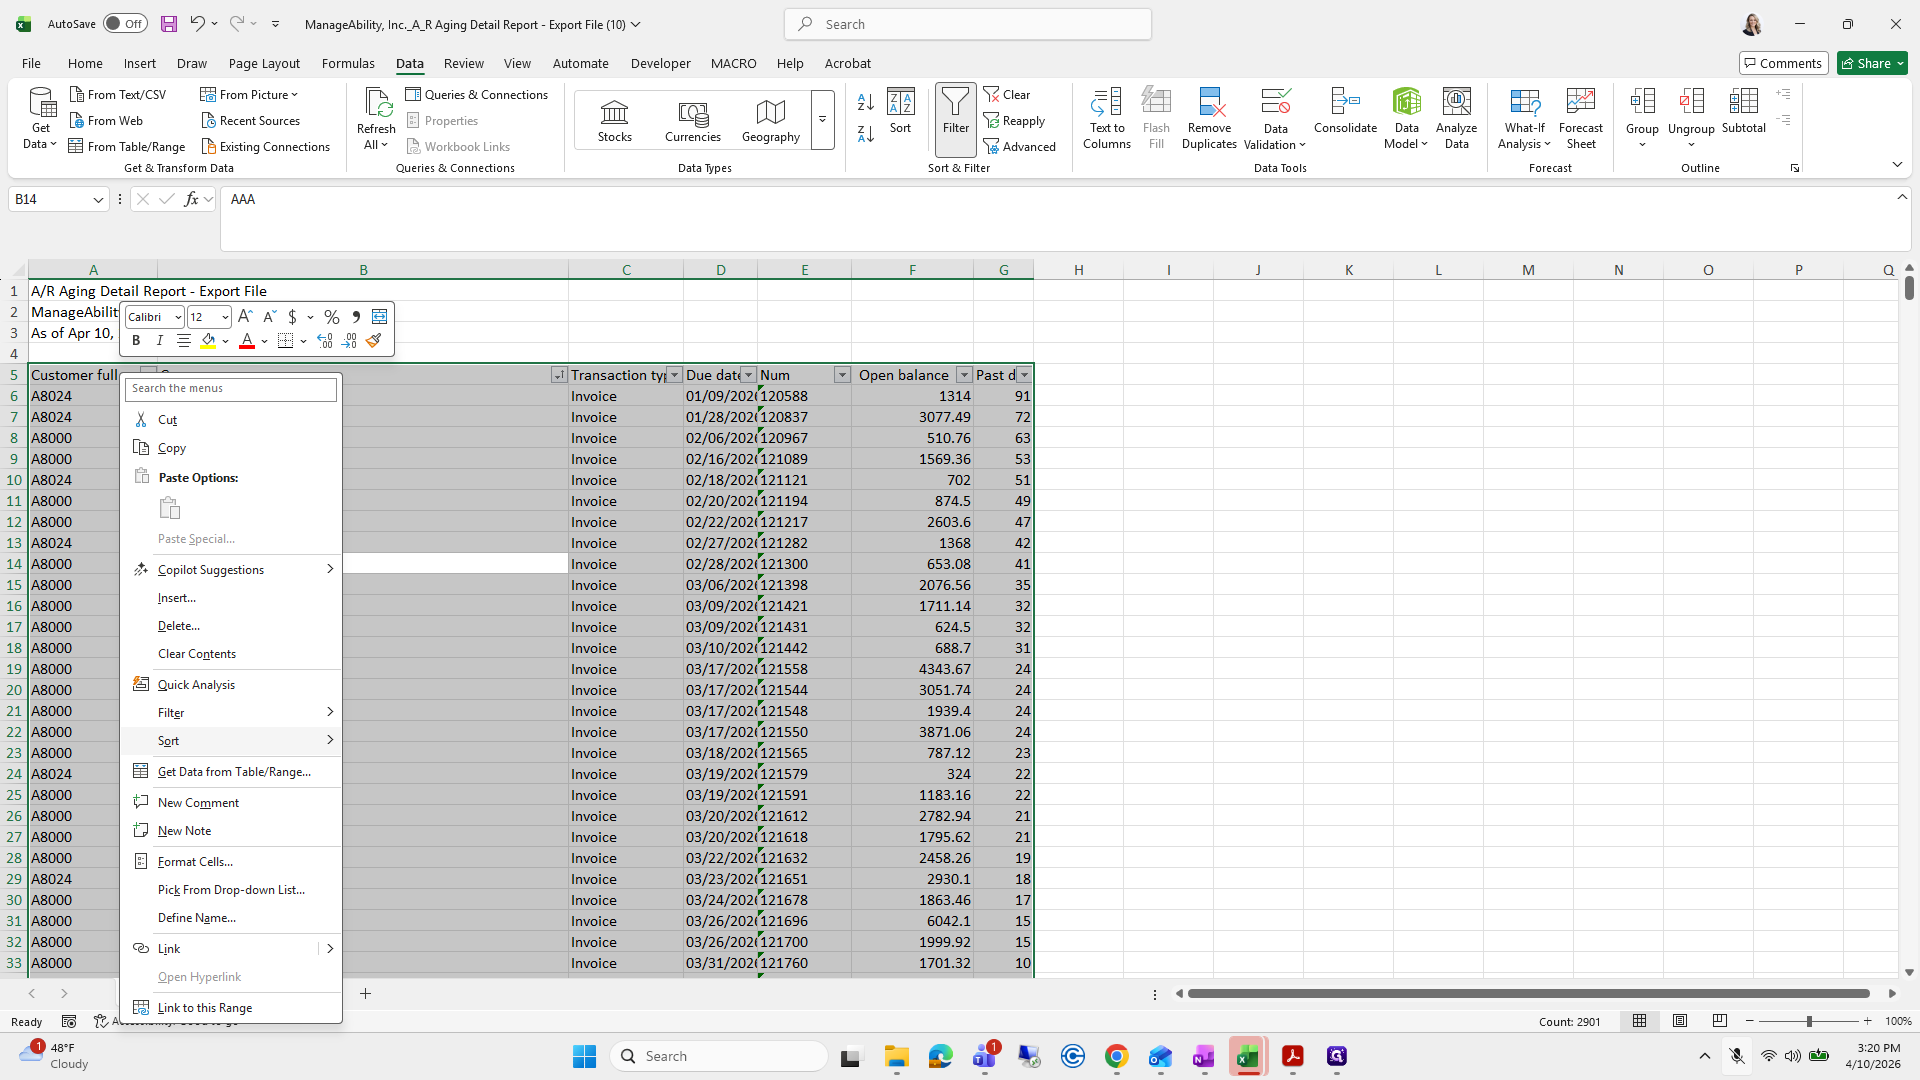
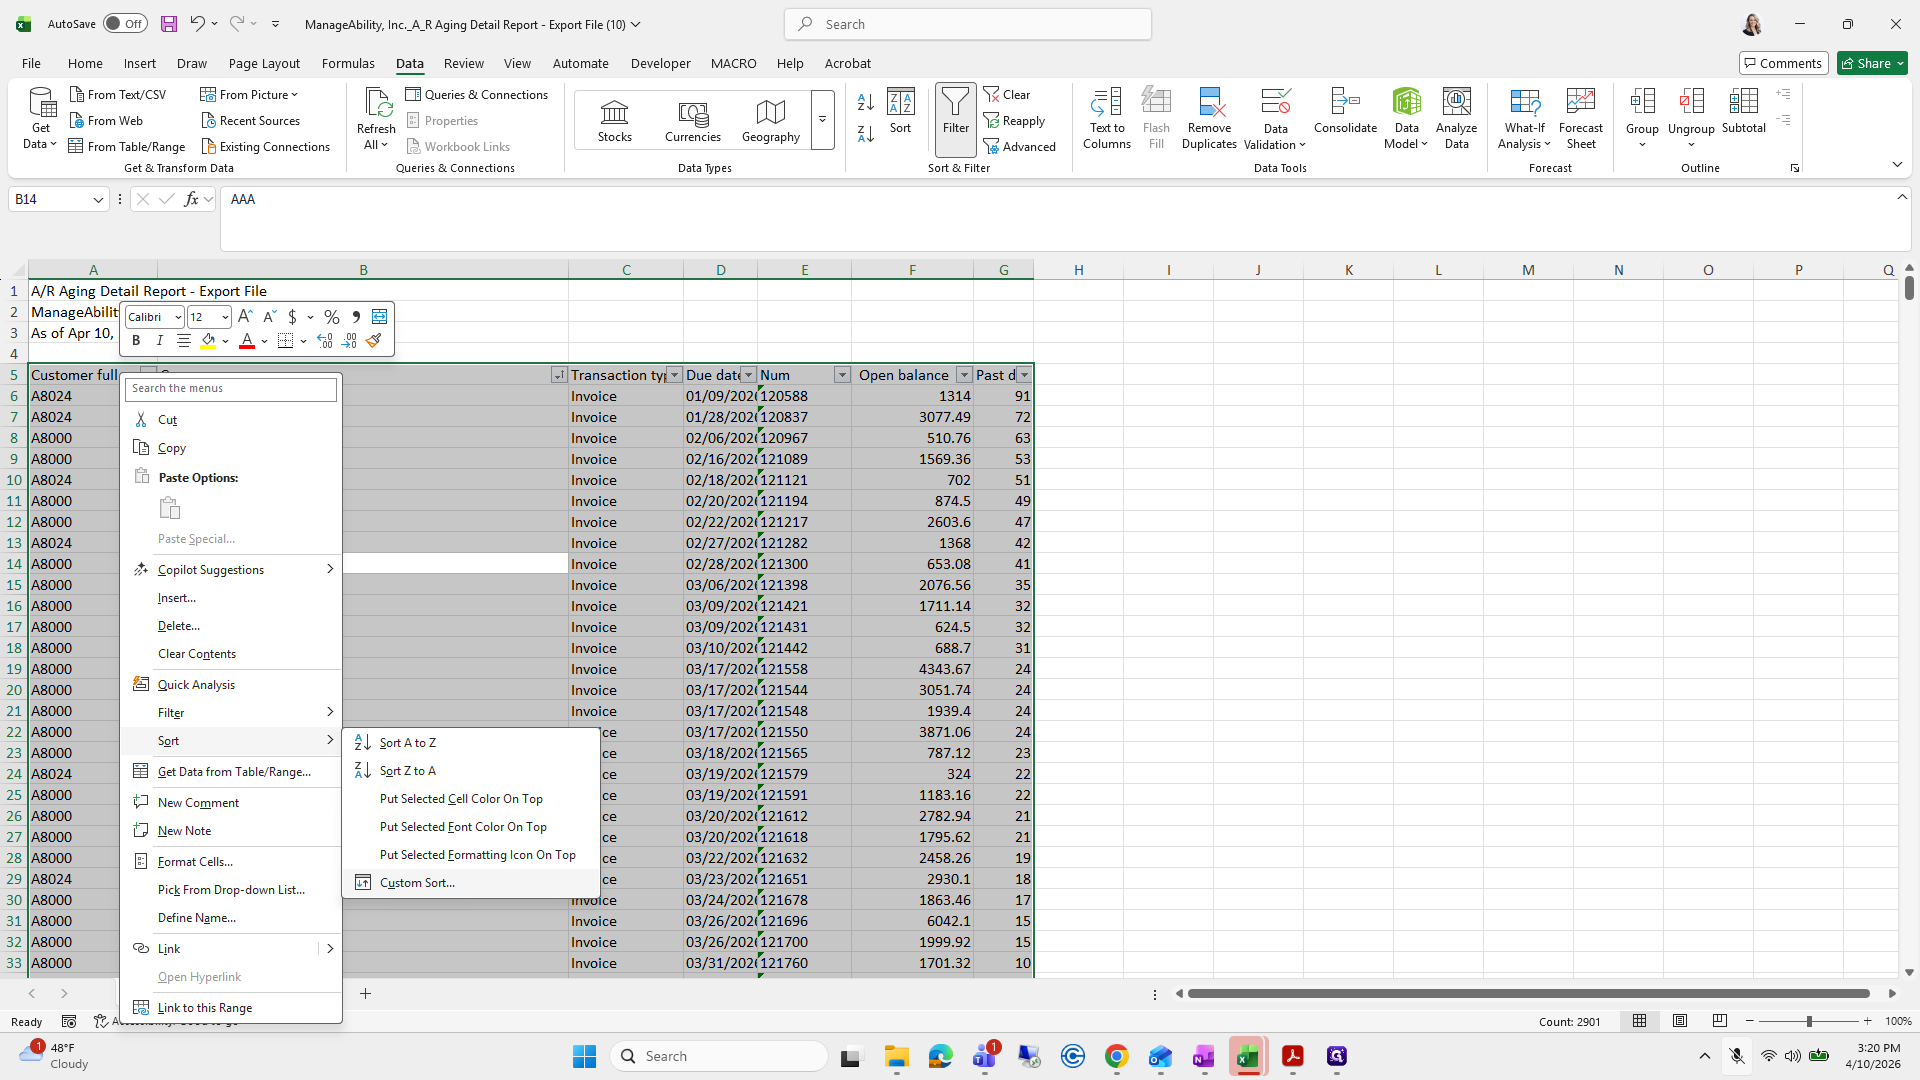


Customer full name.
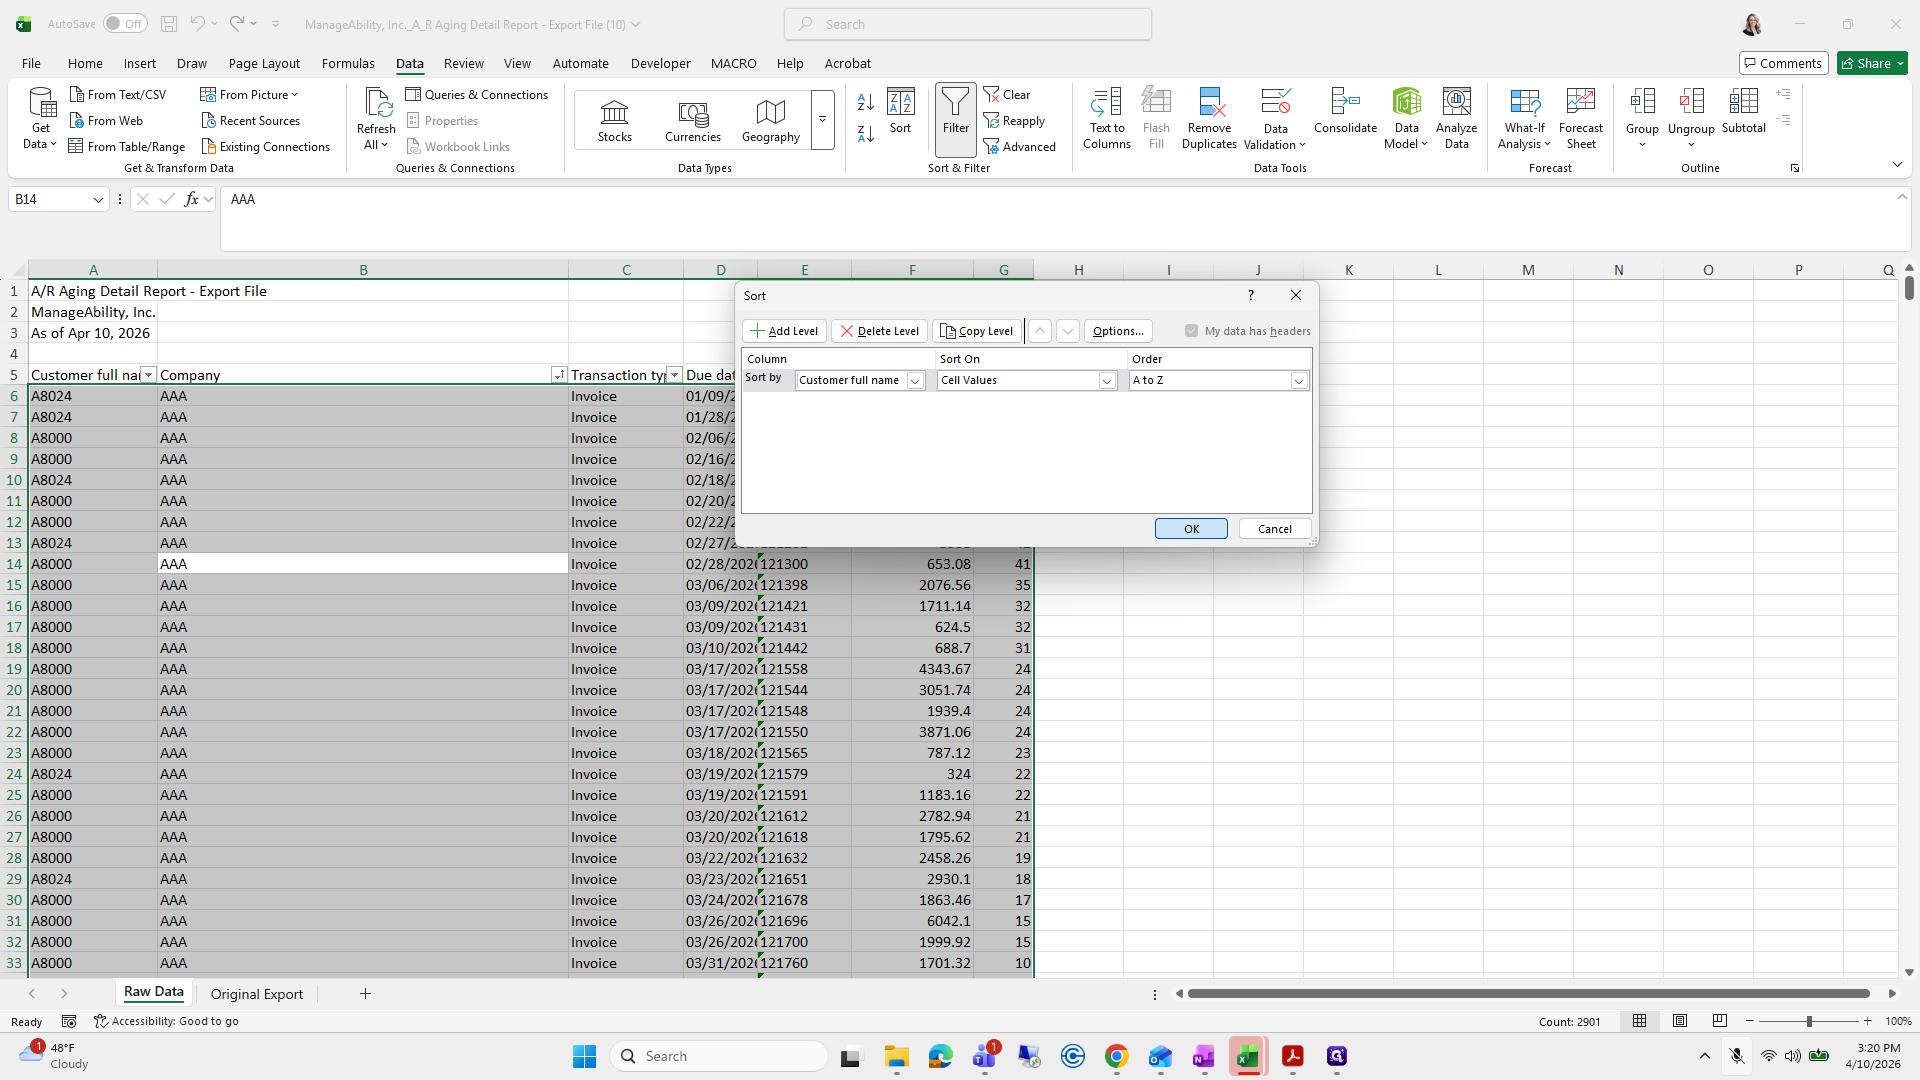
Press OK.
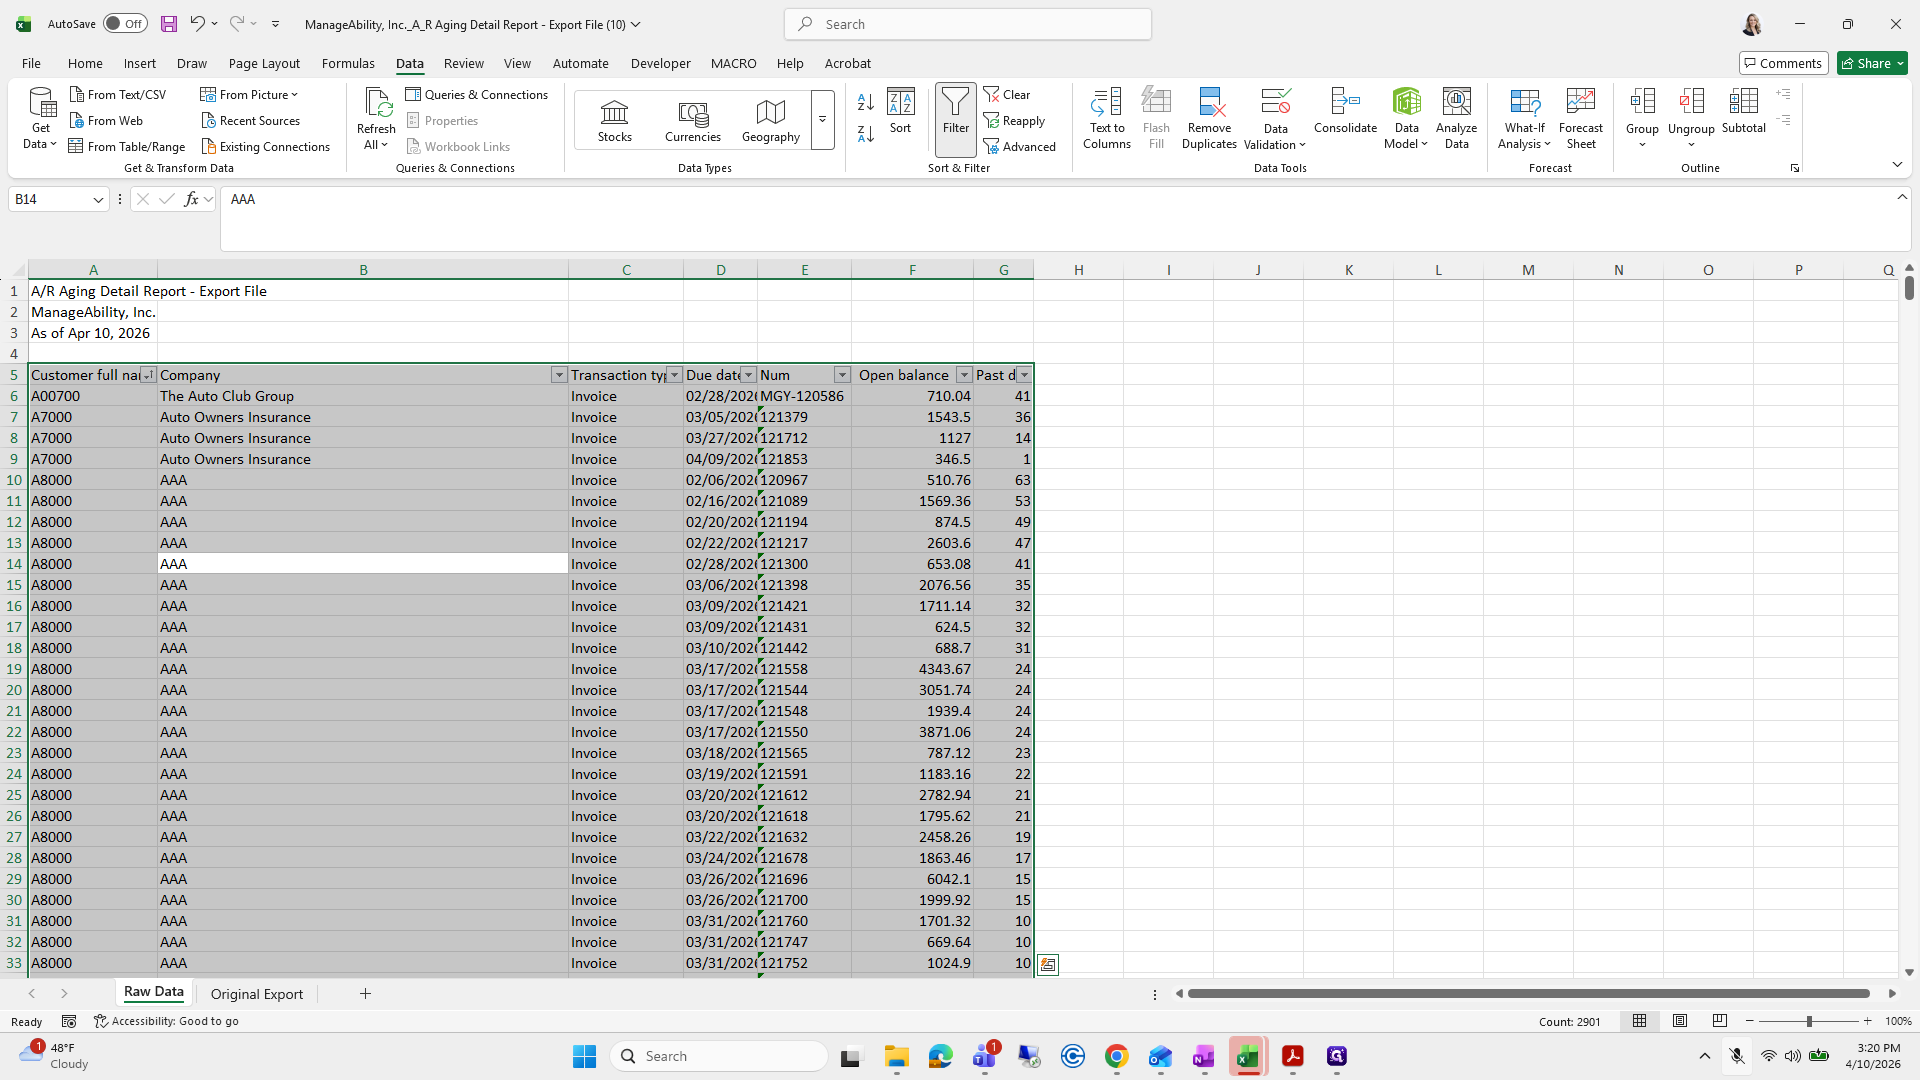
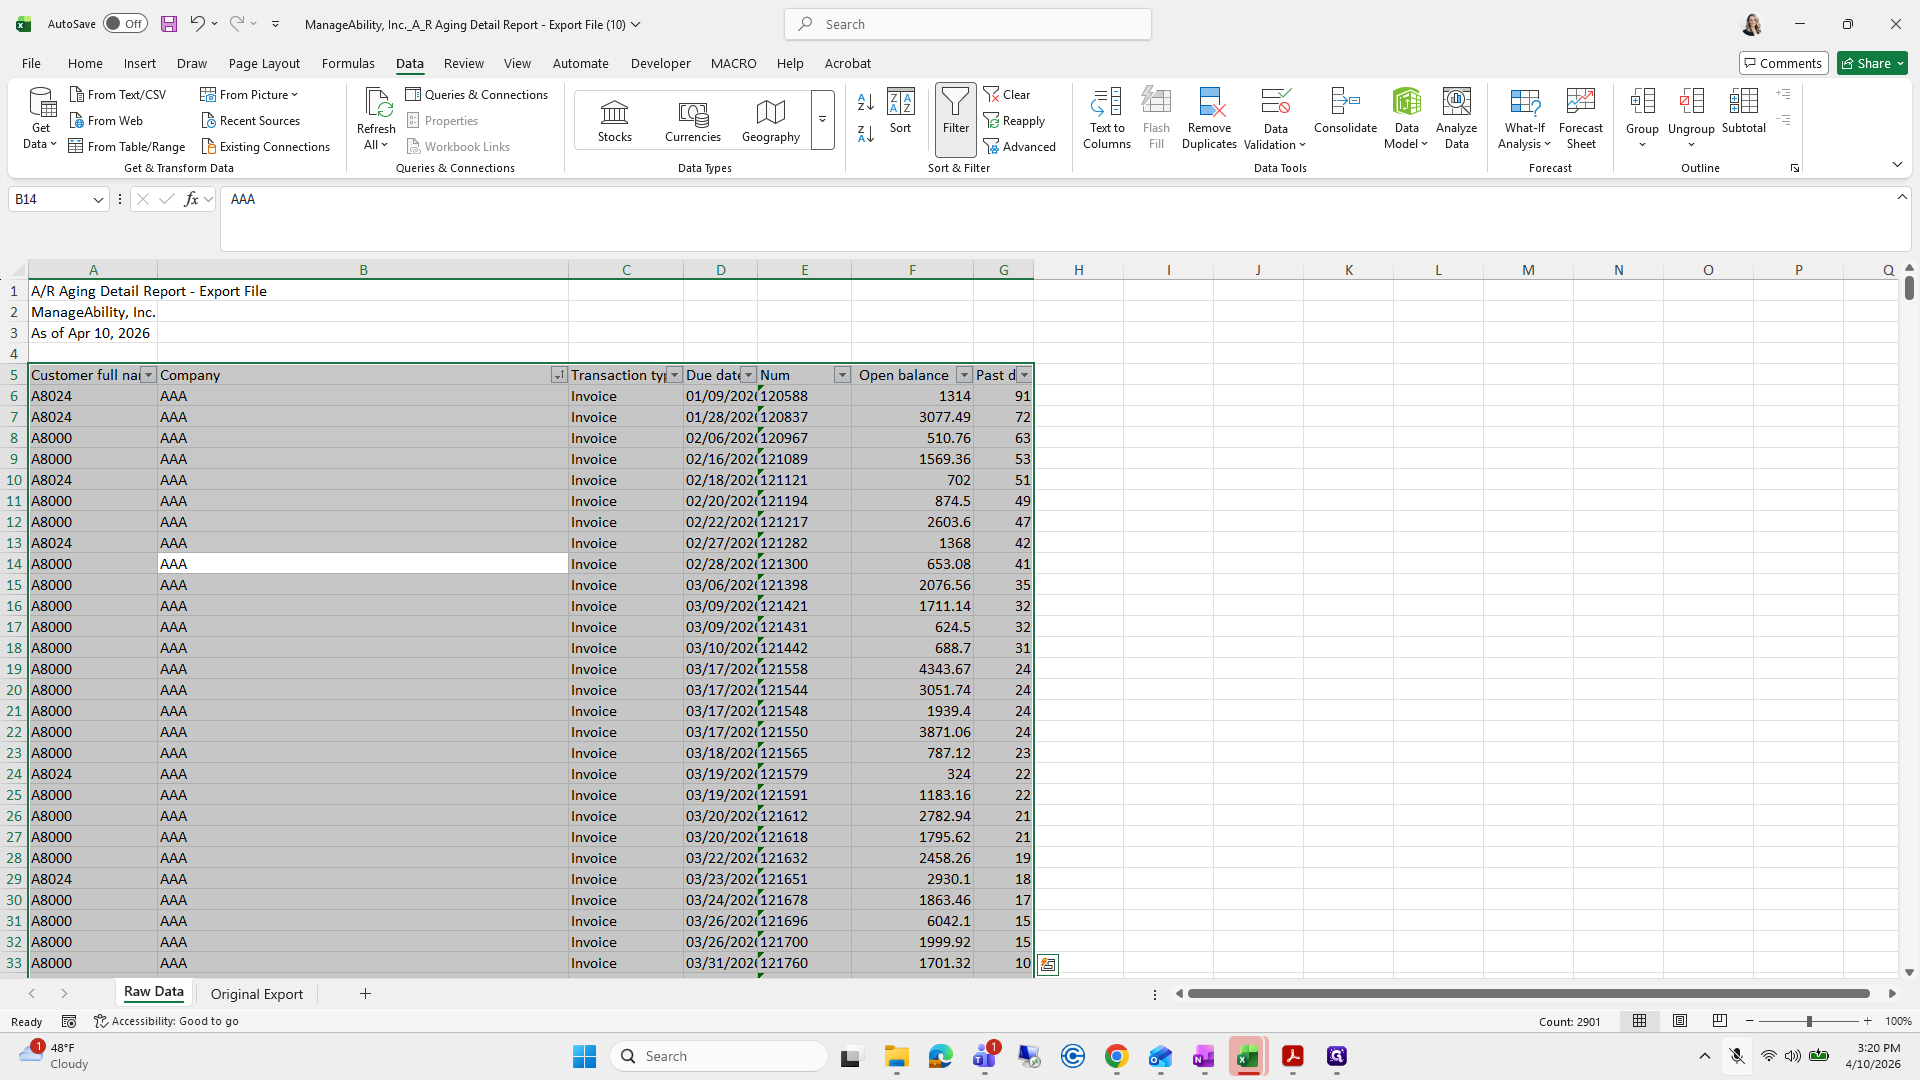
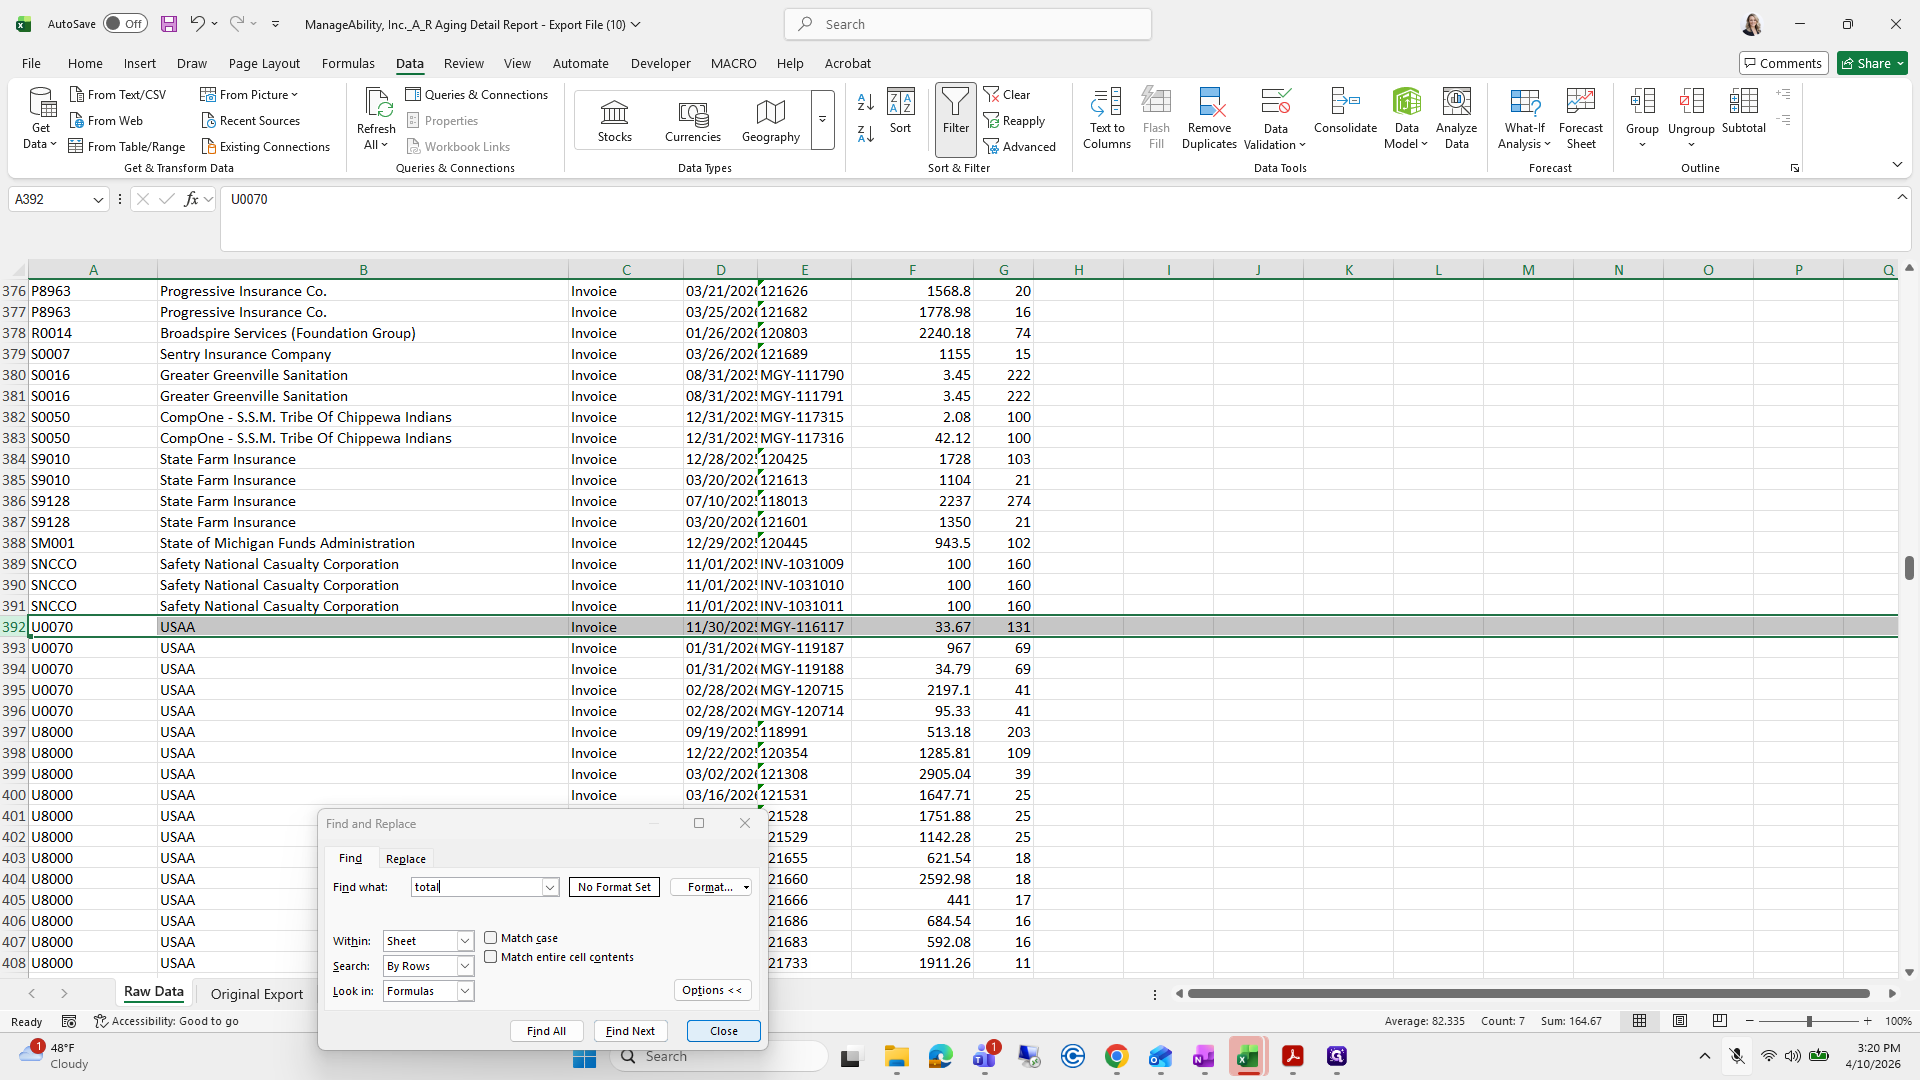
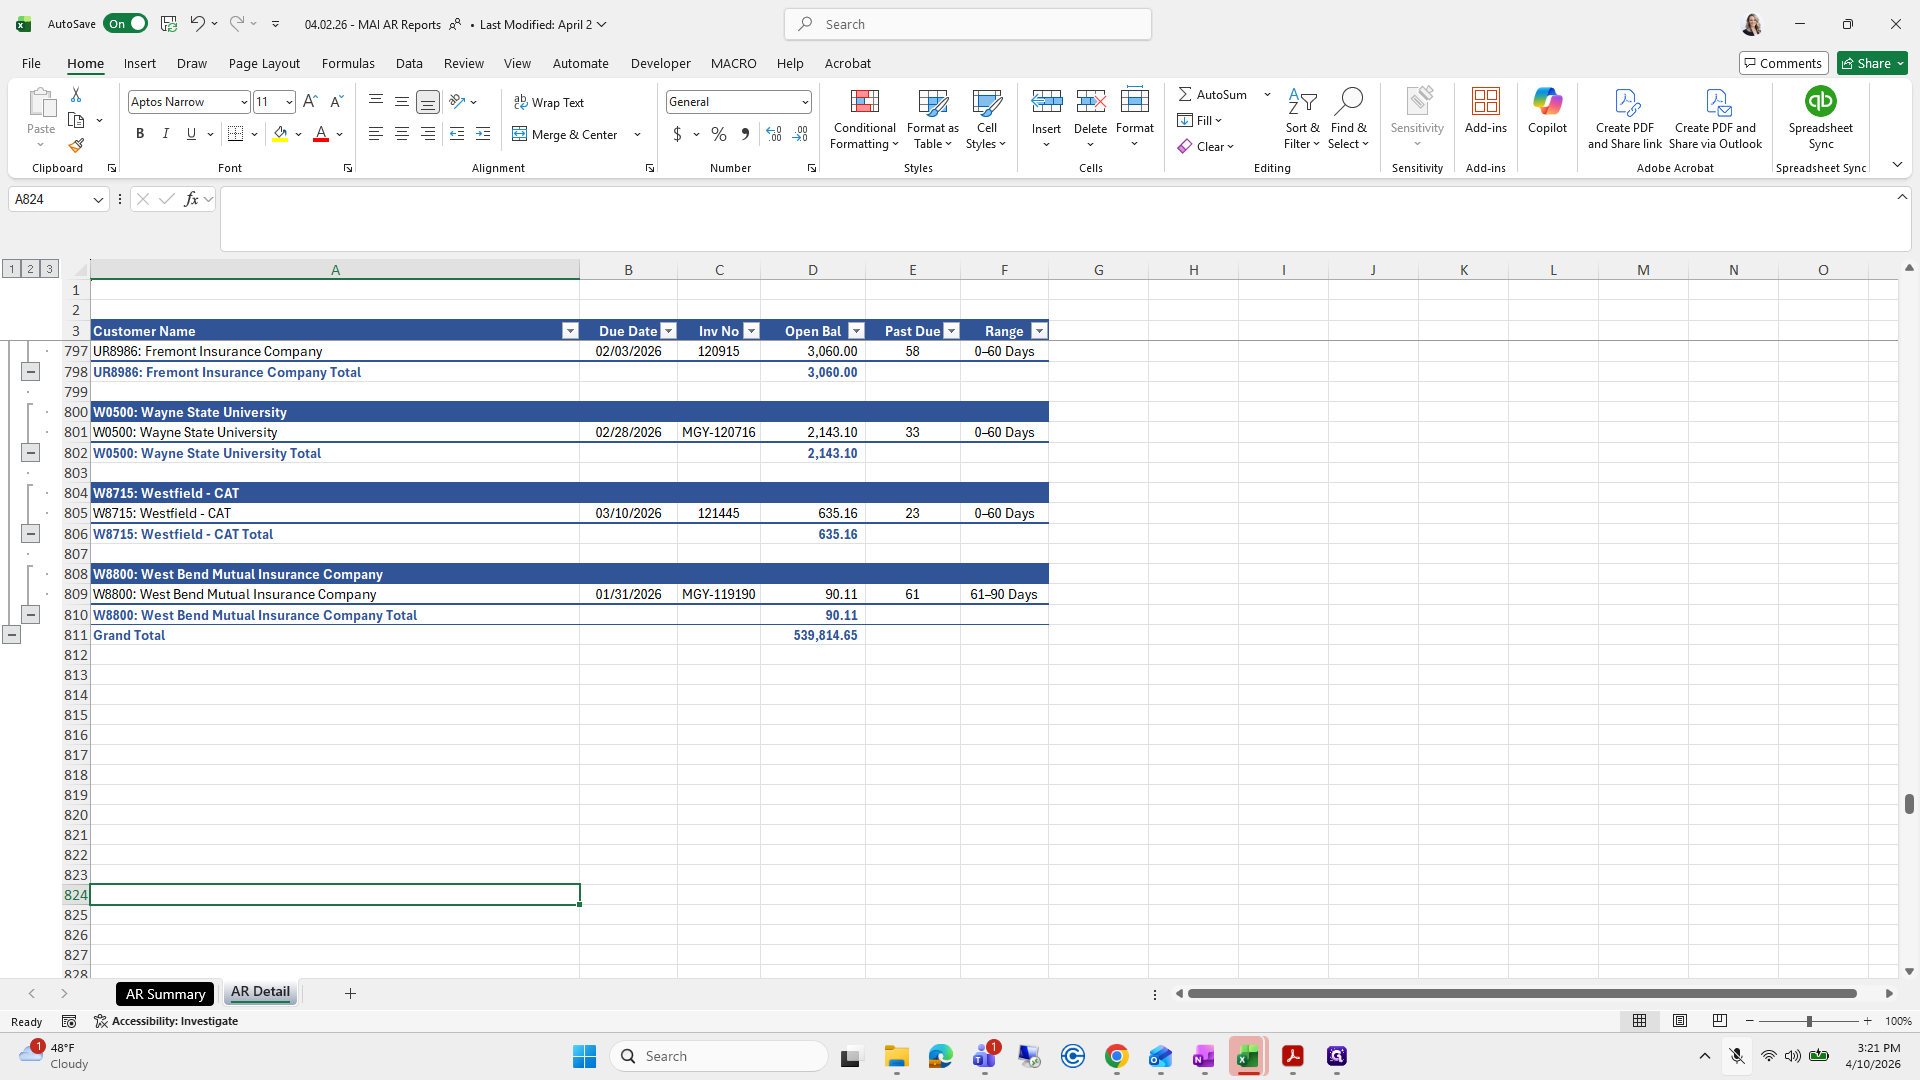
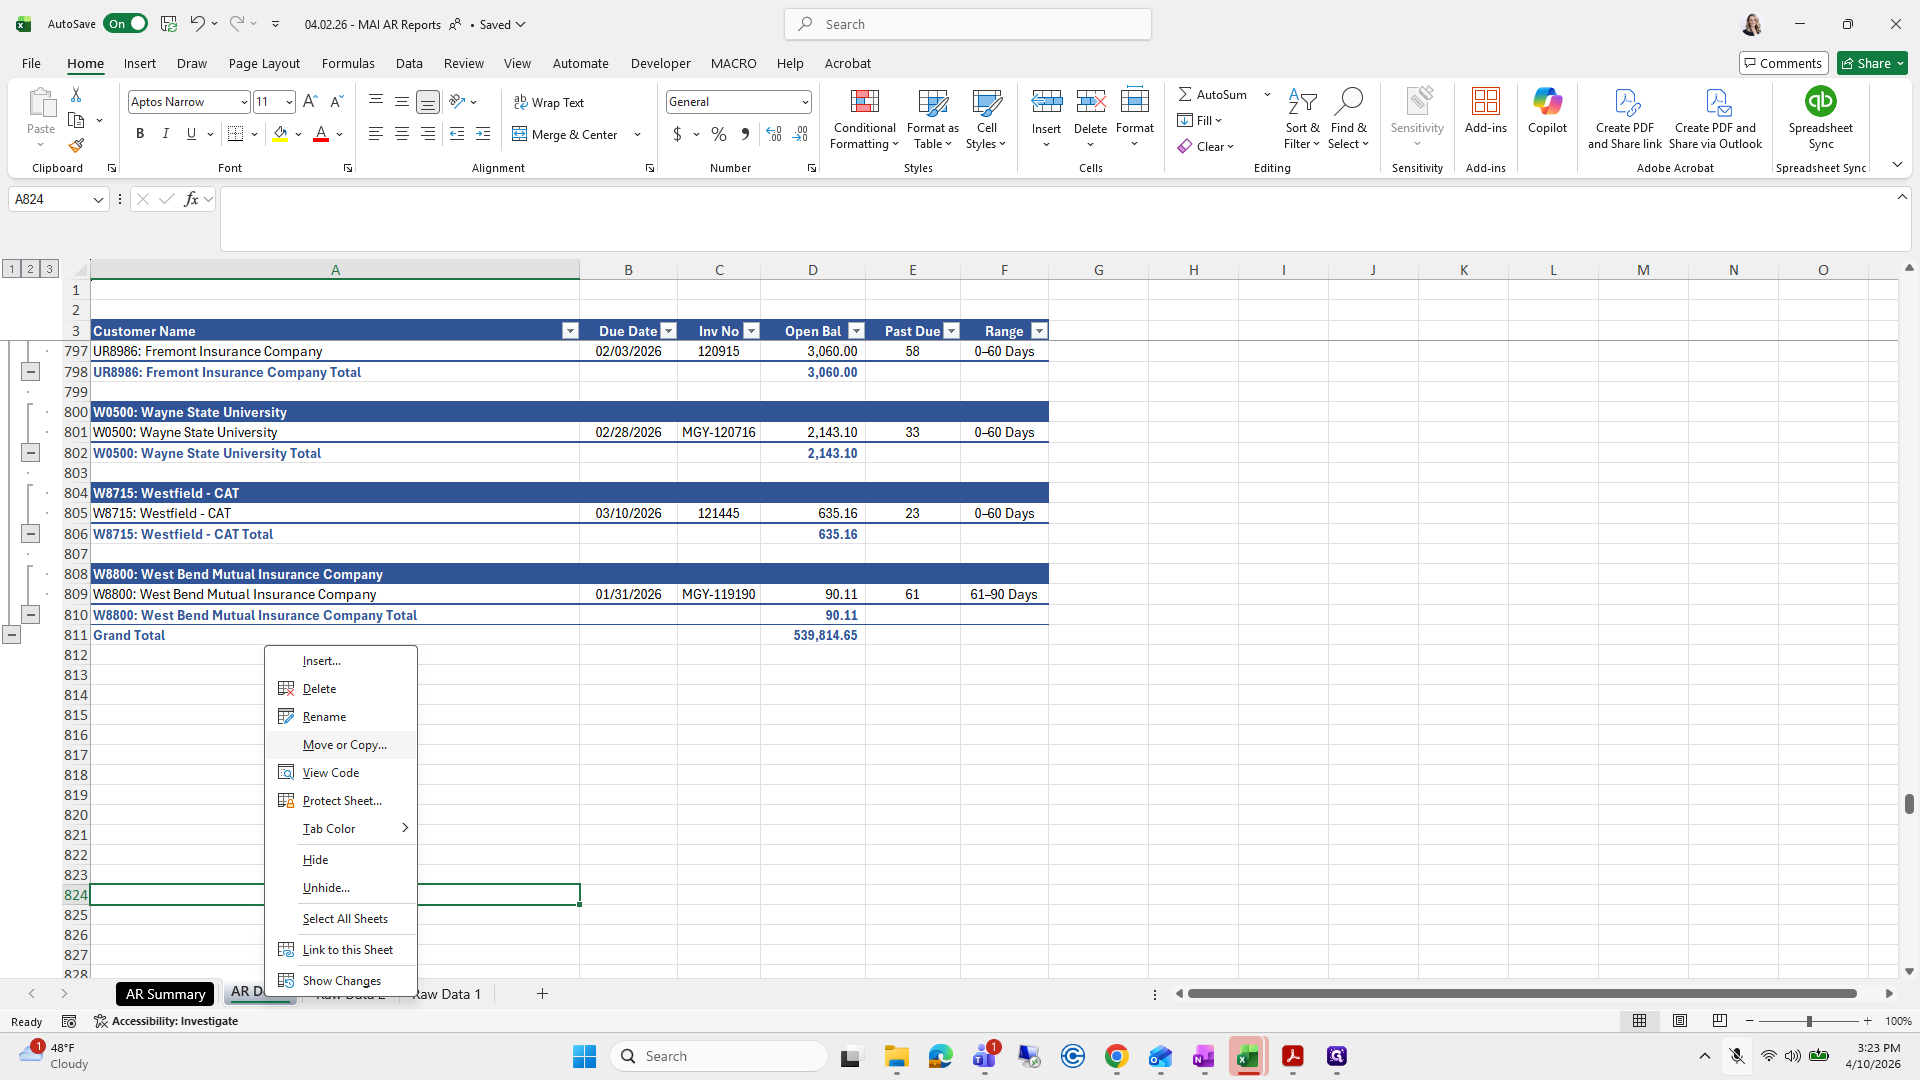
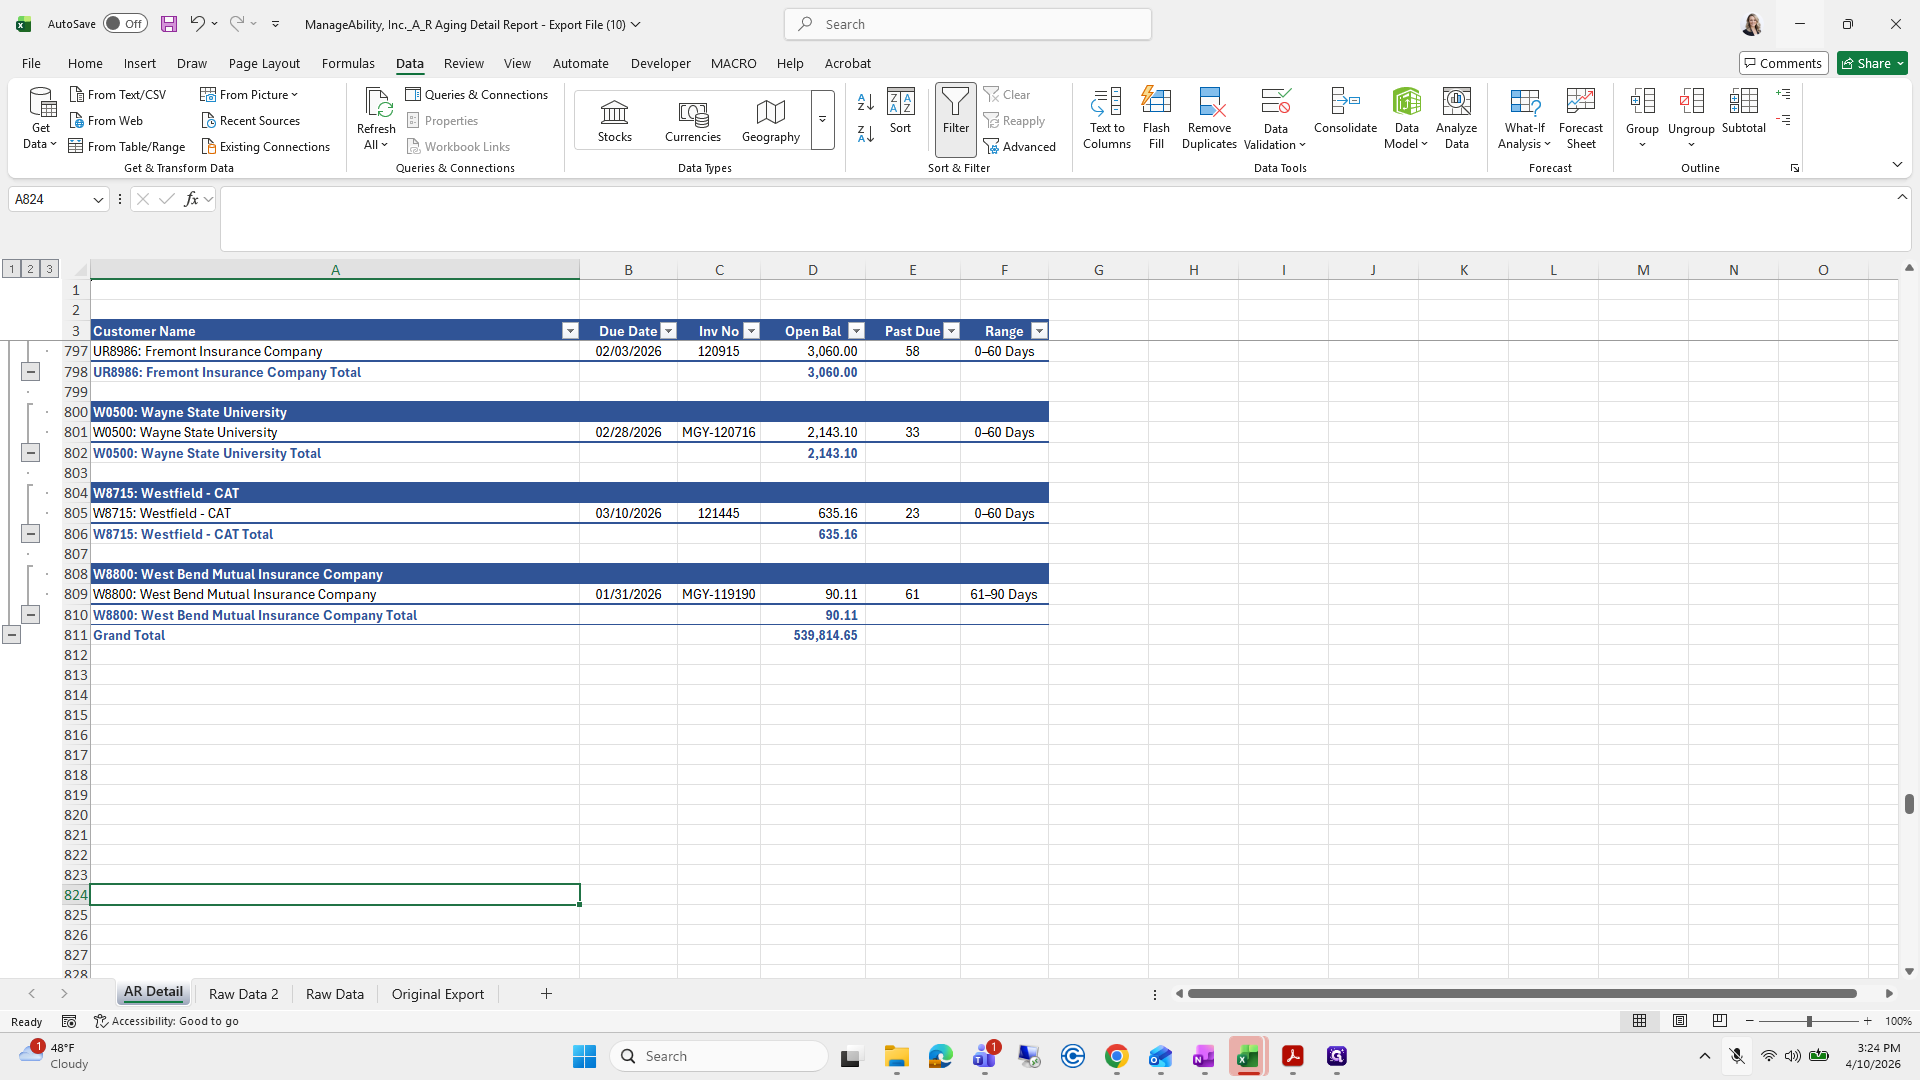
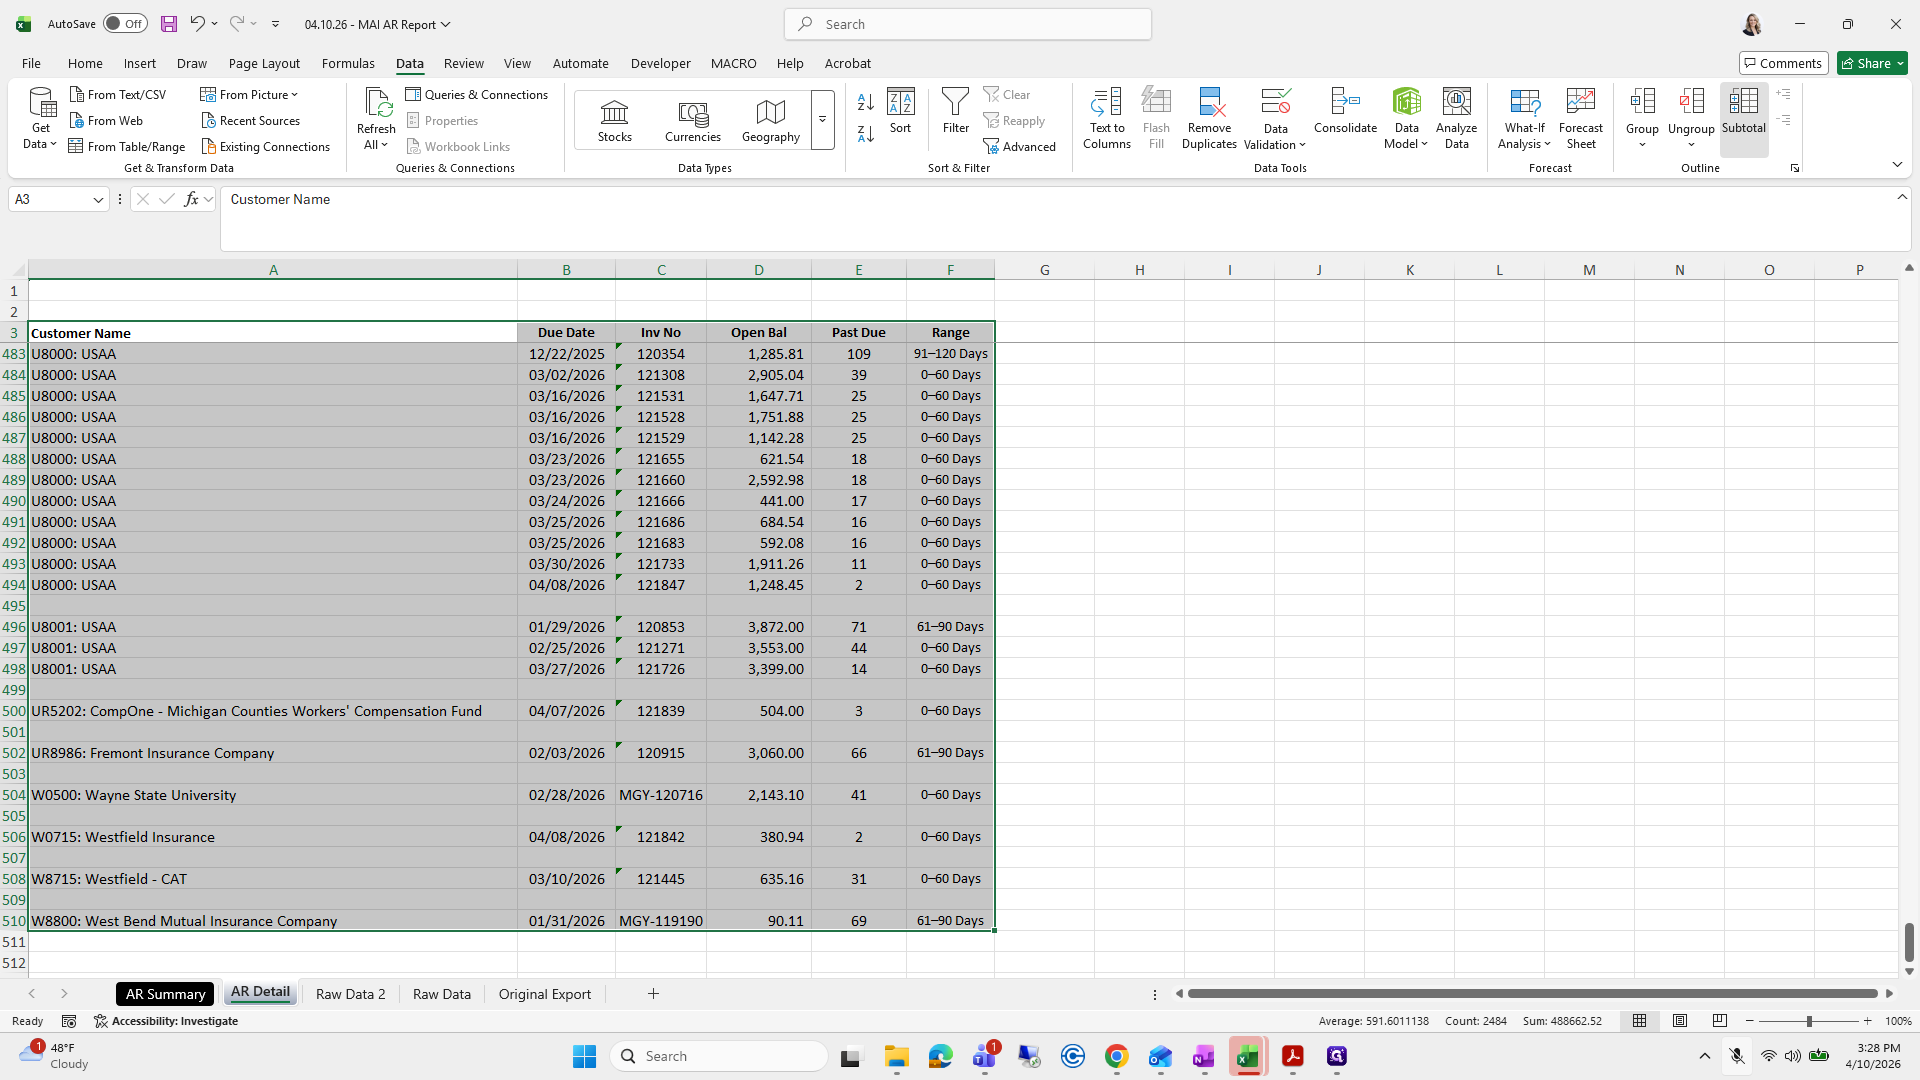
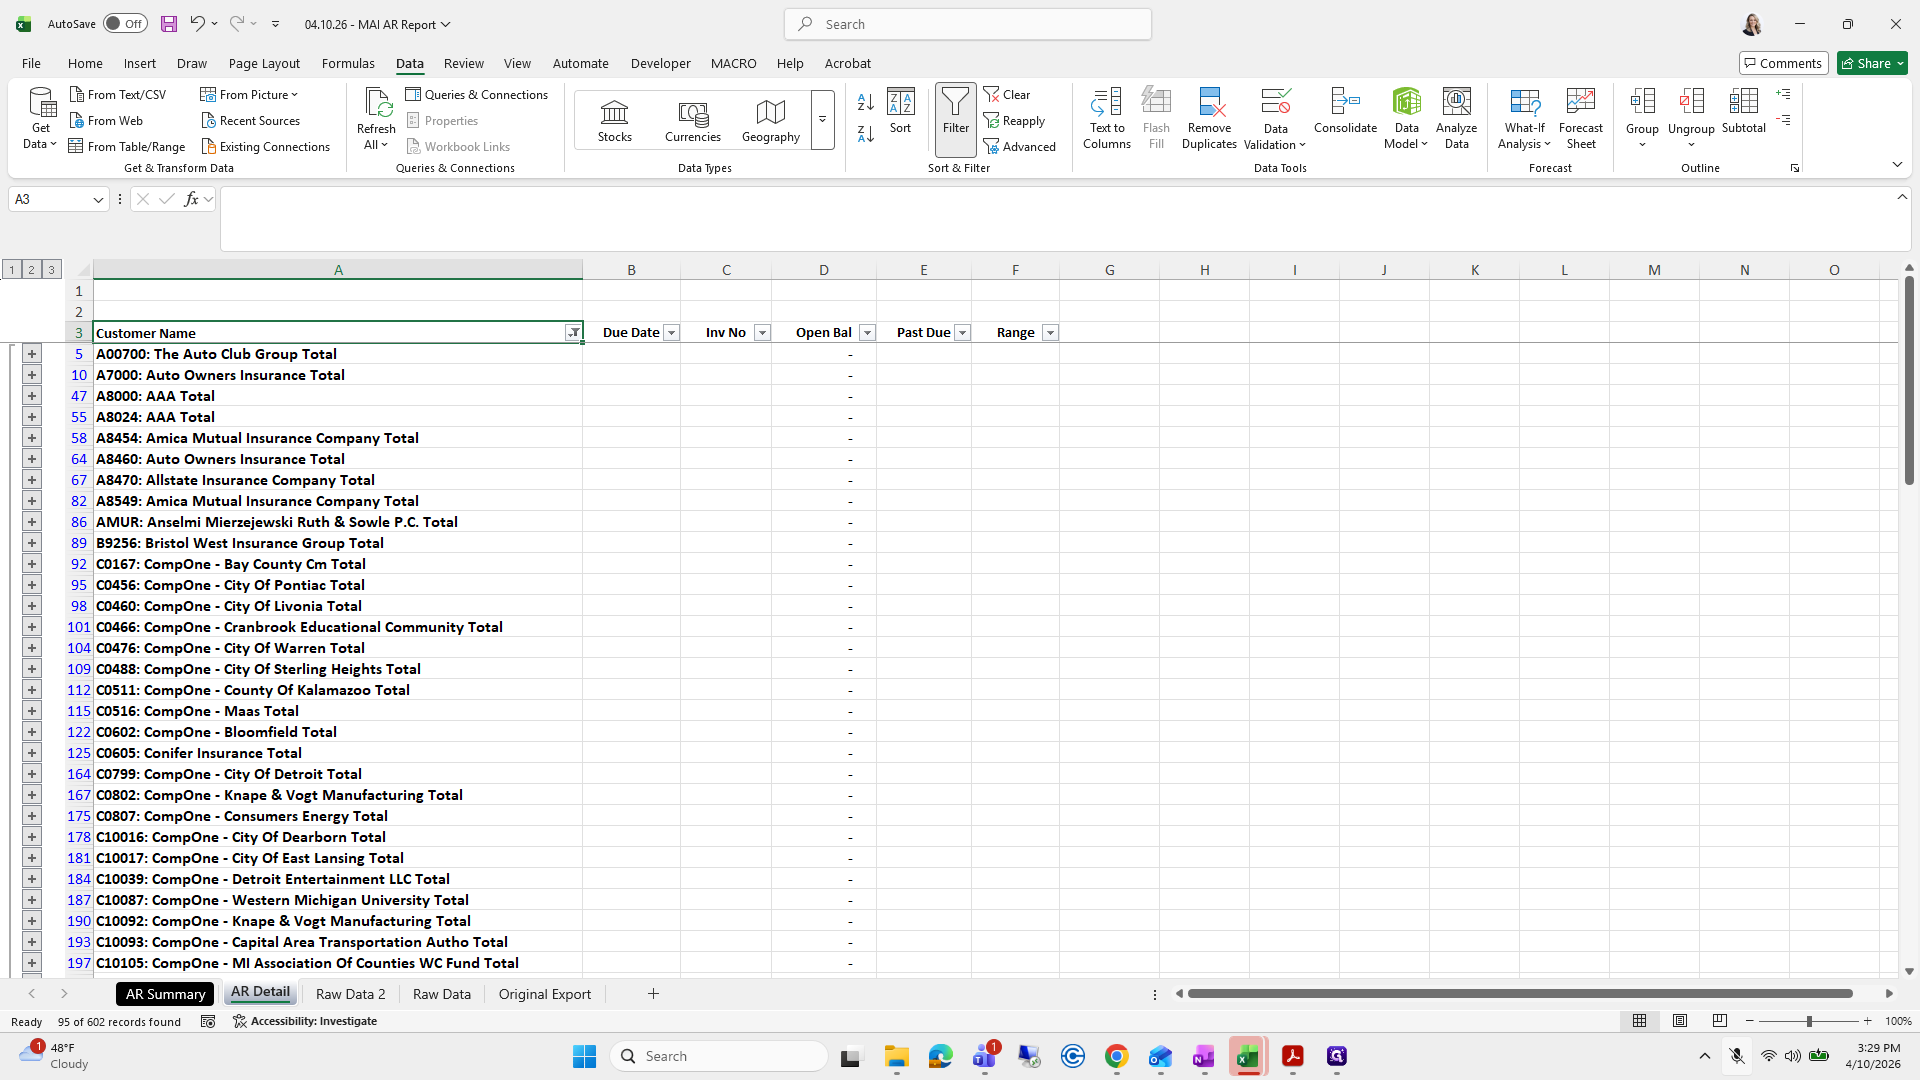
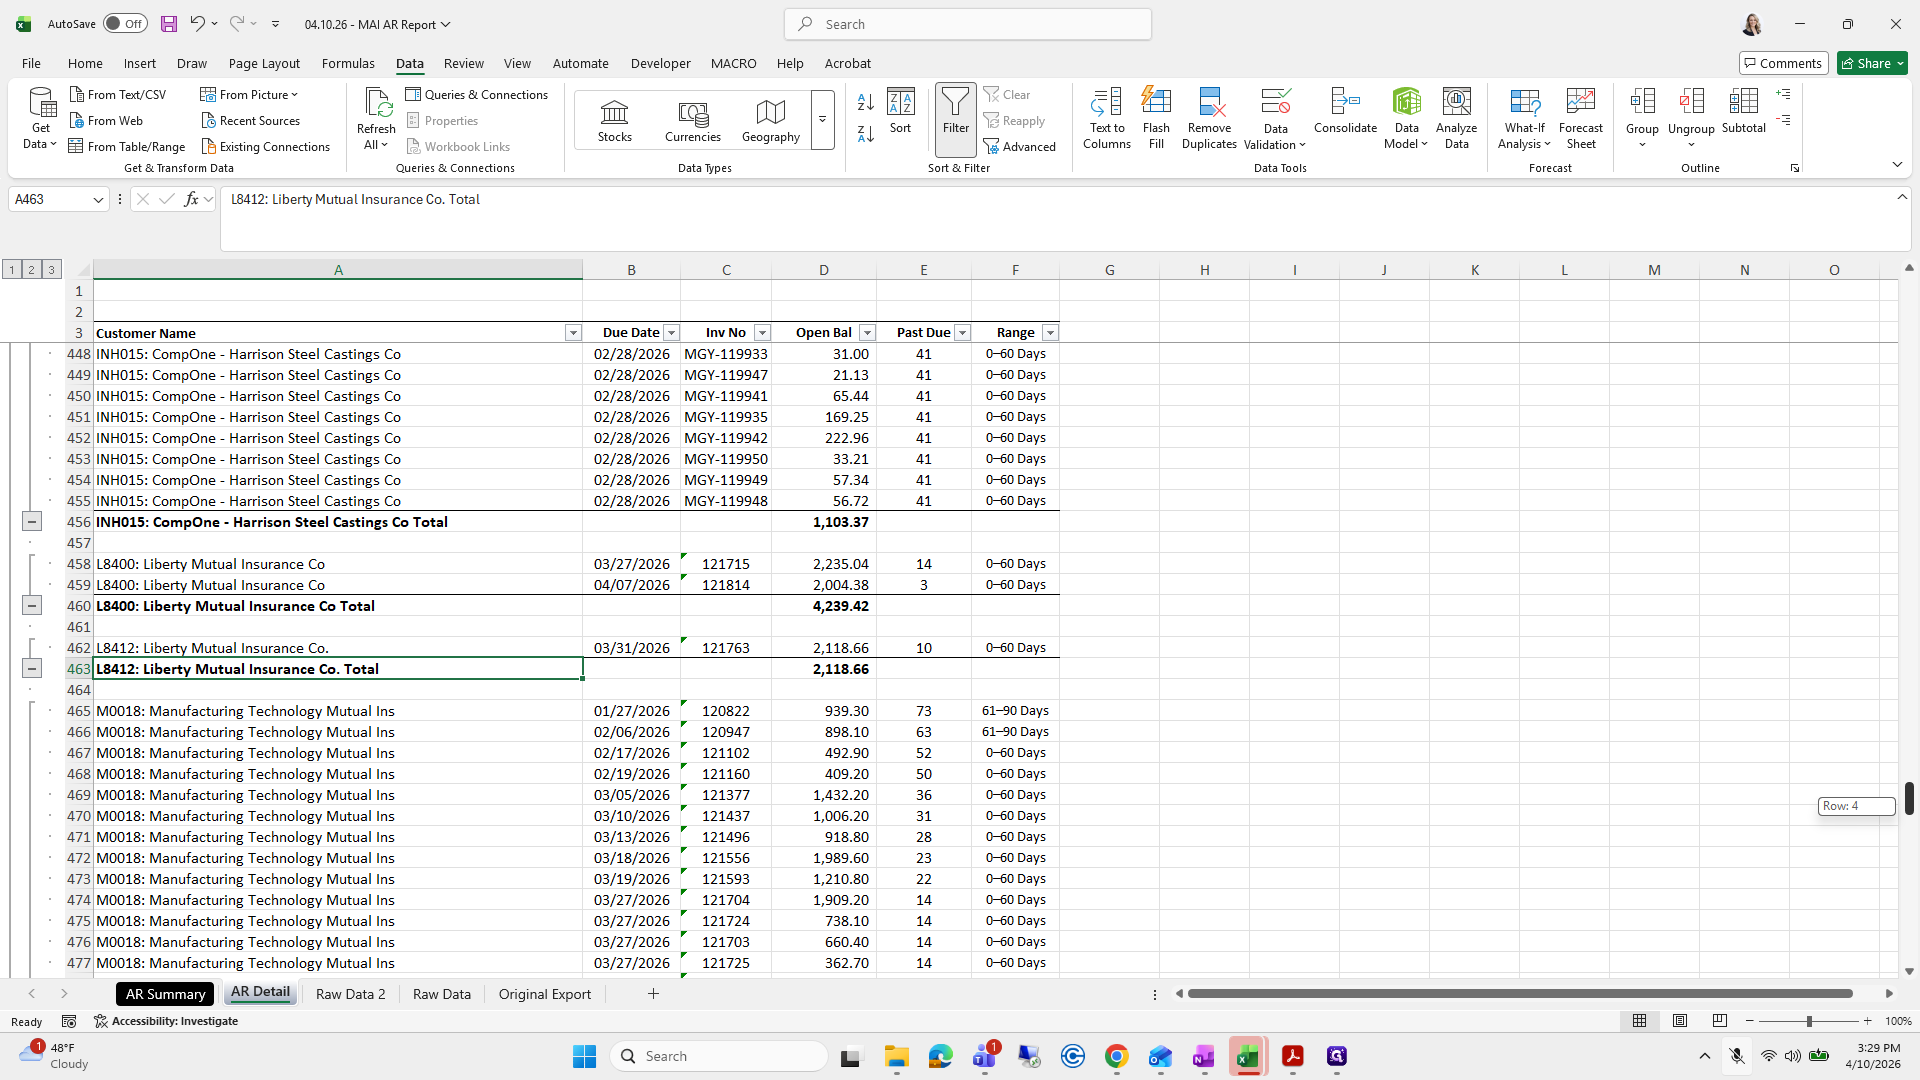
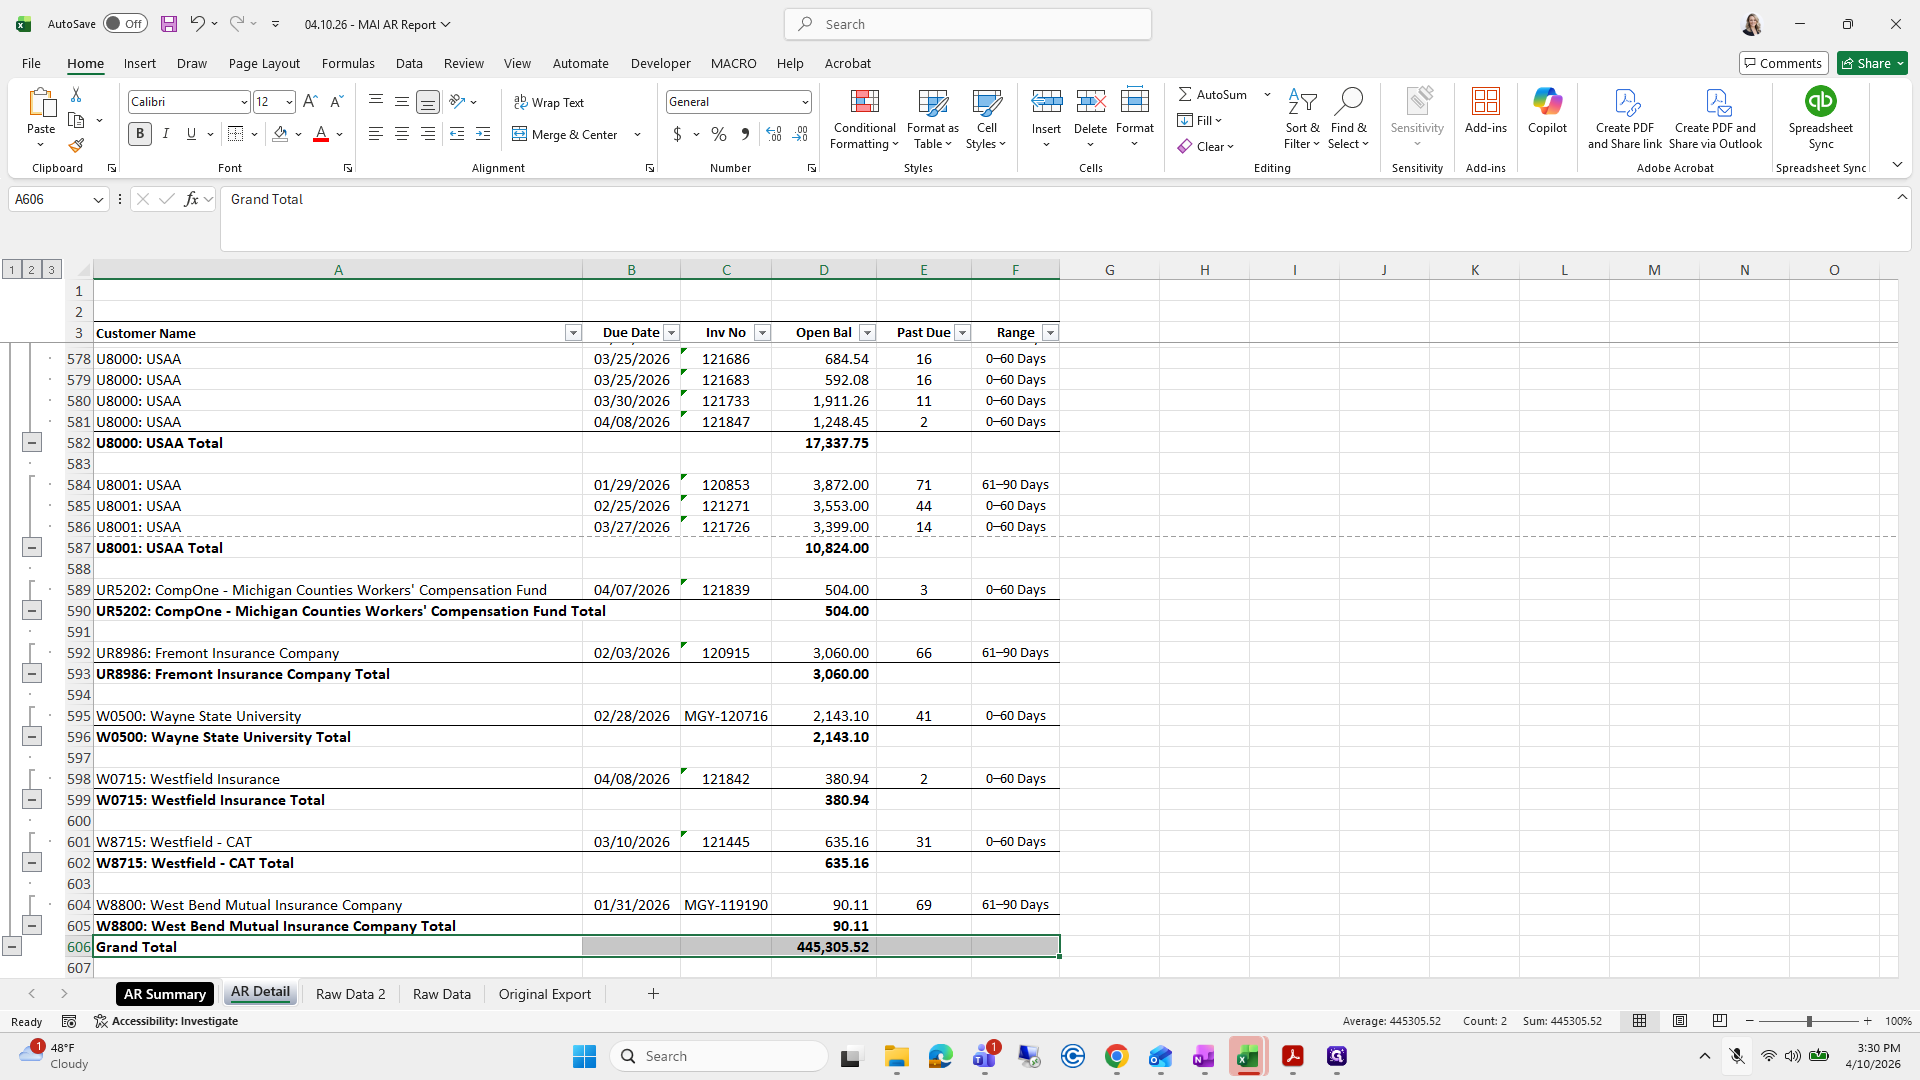
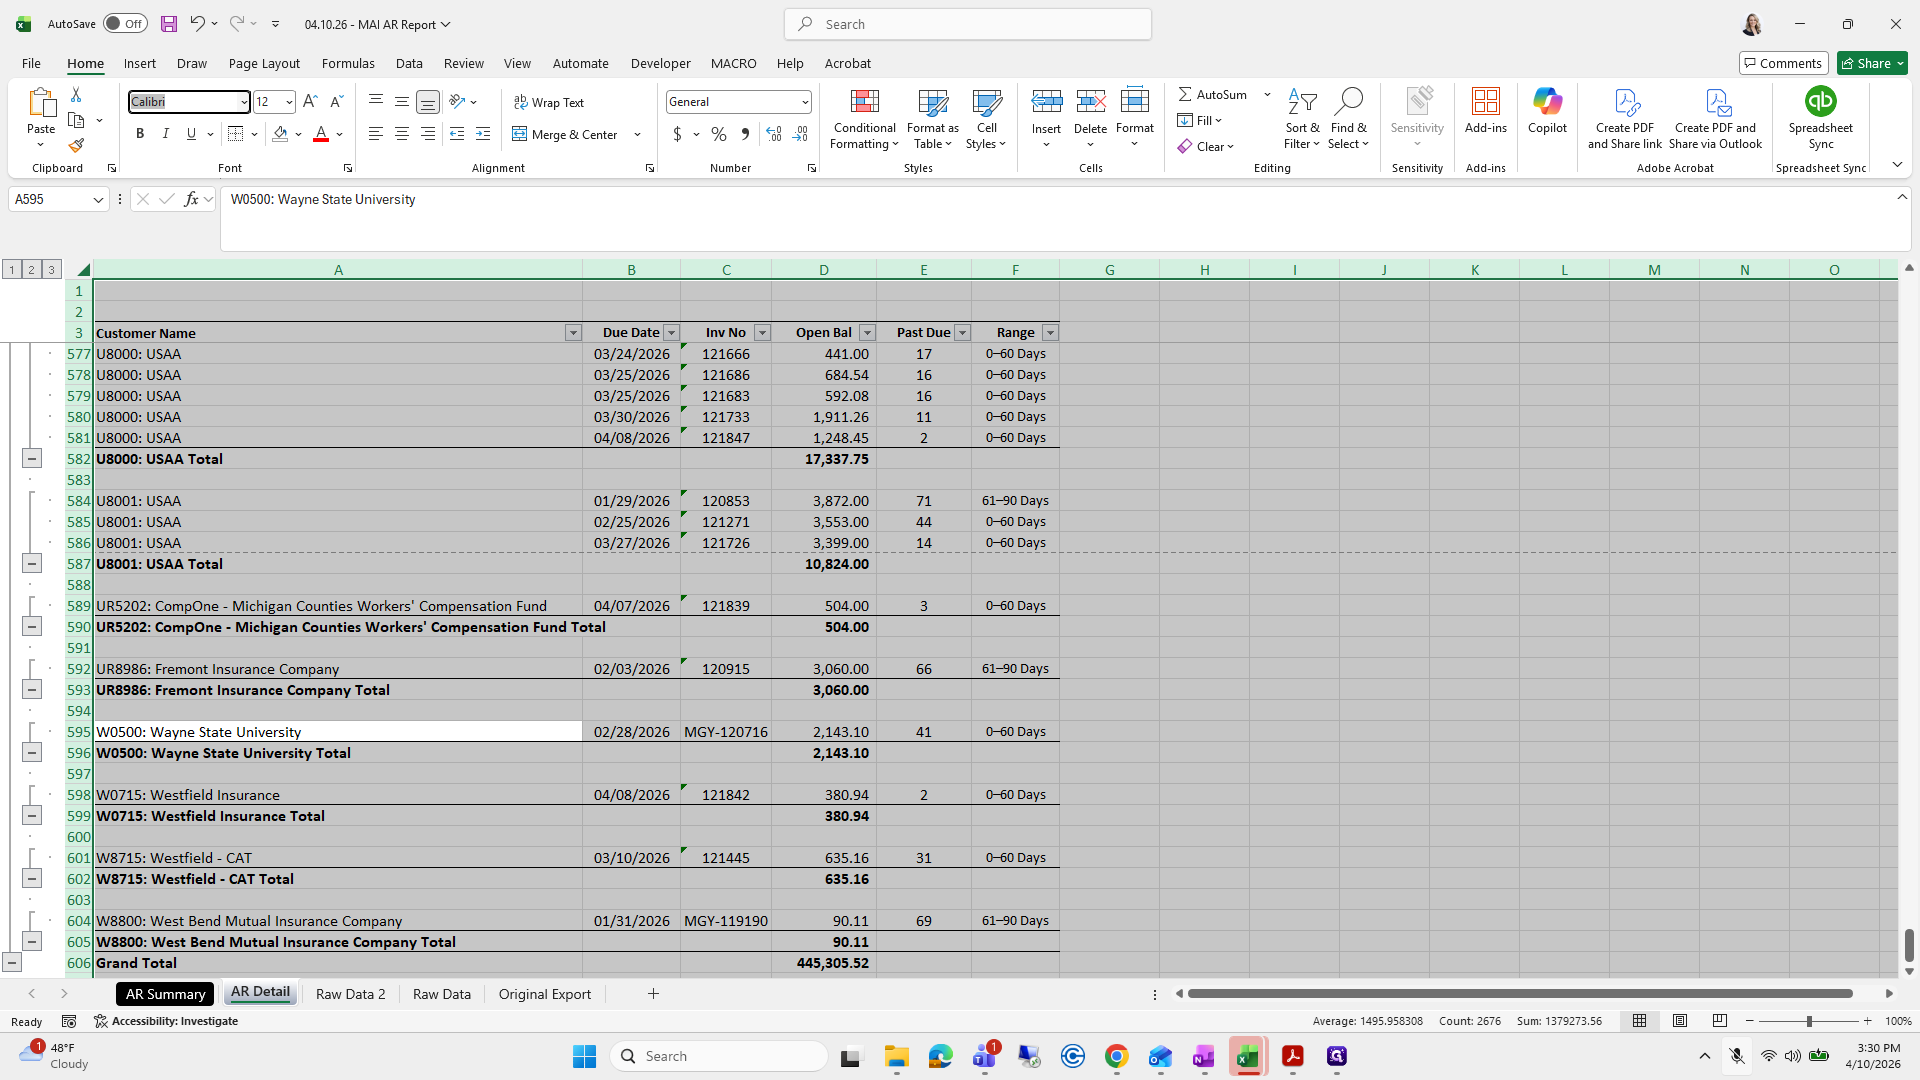
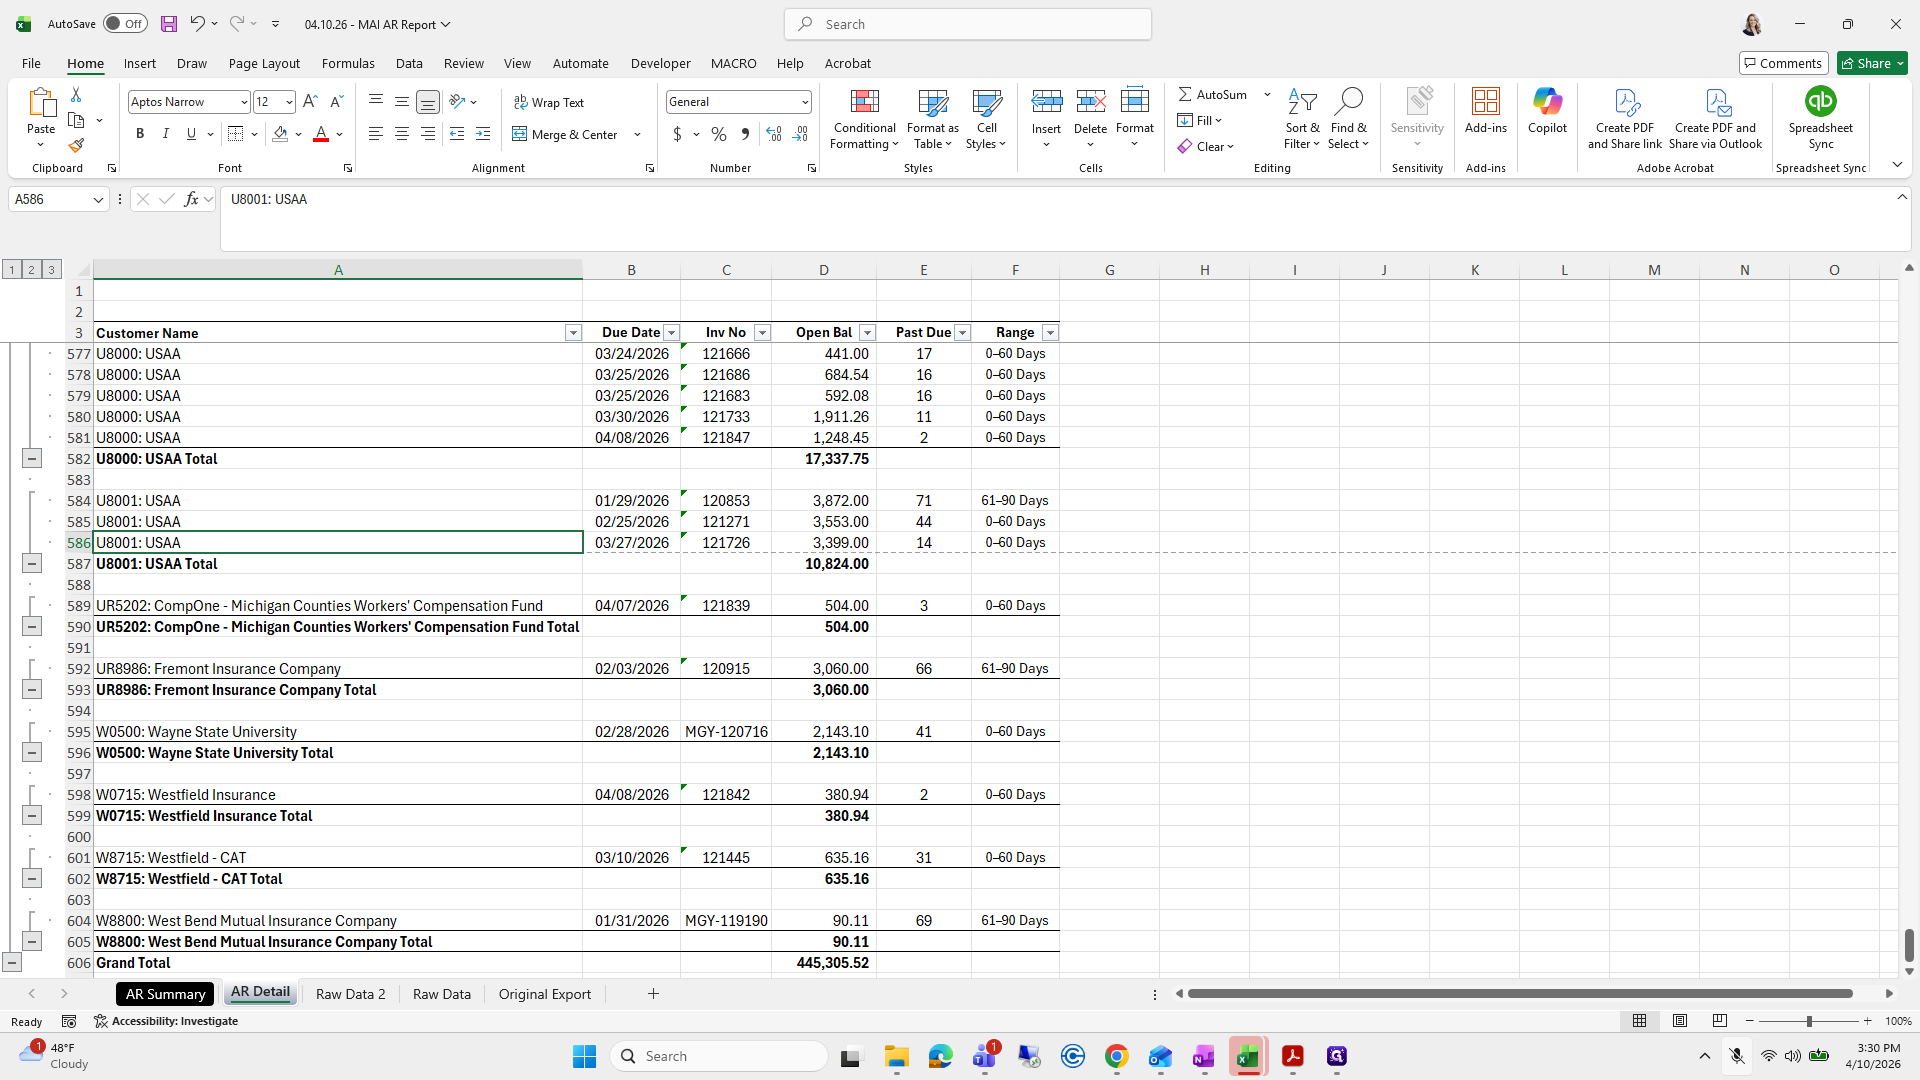
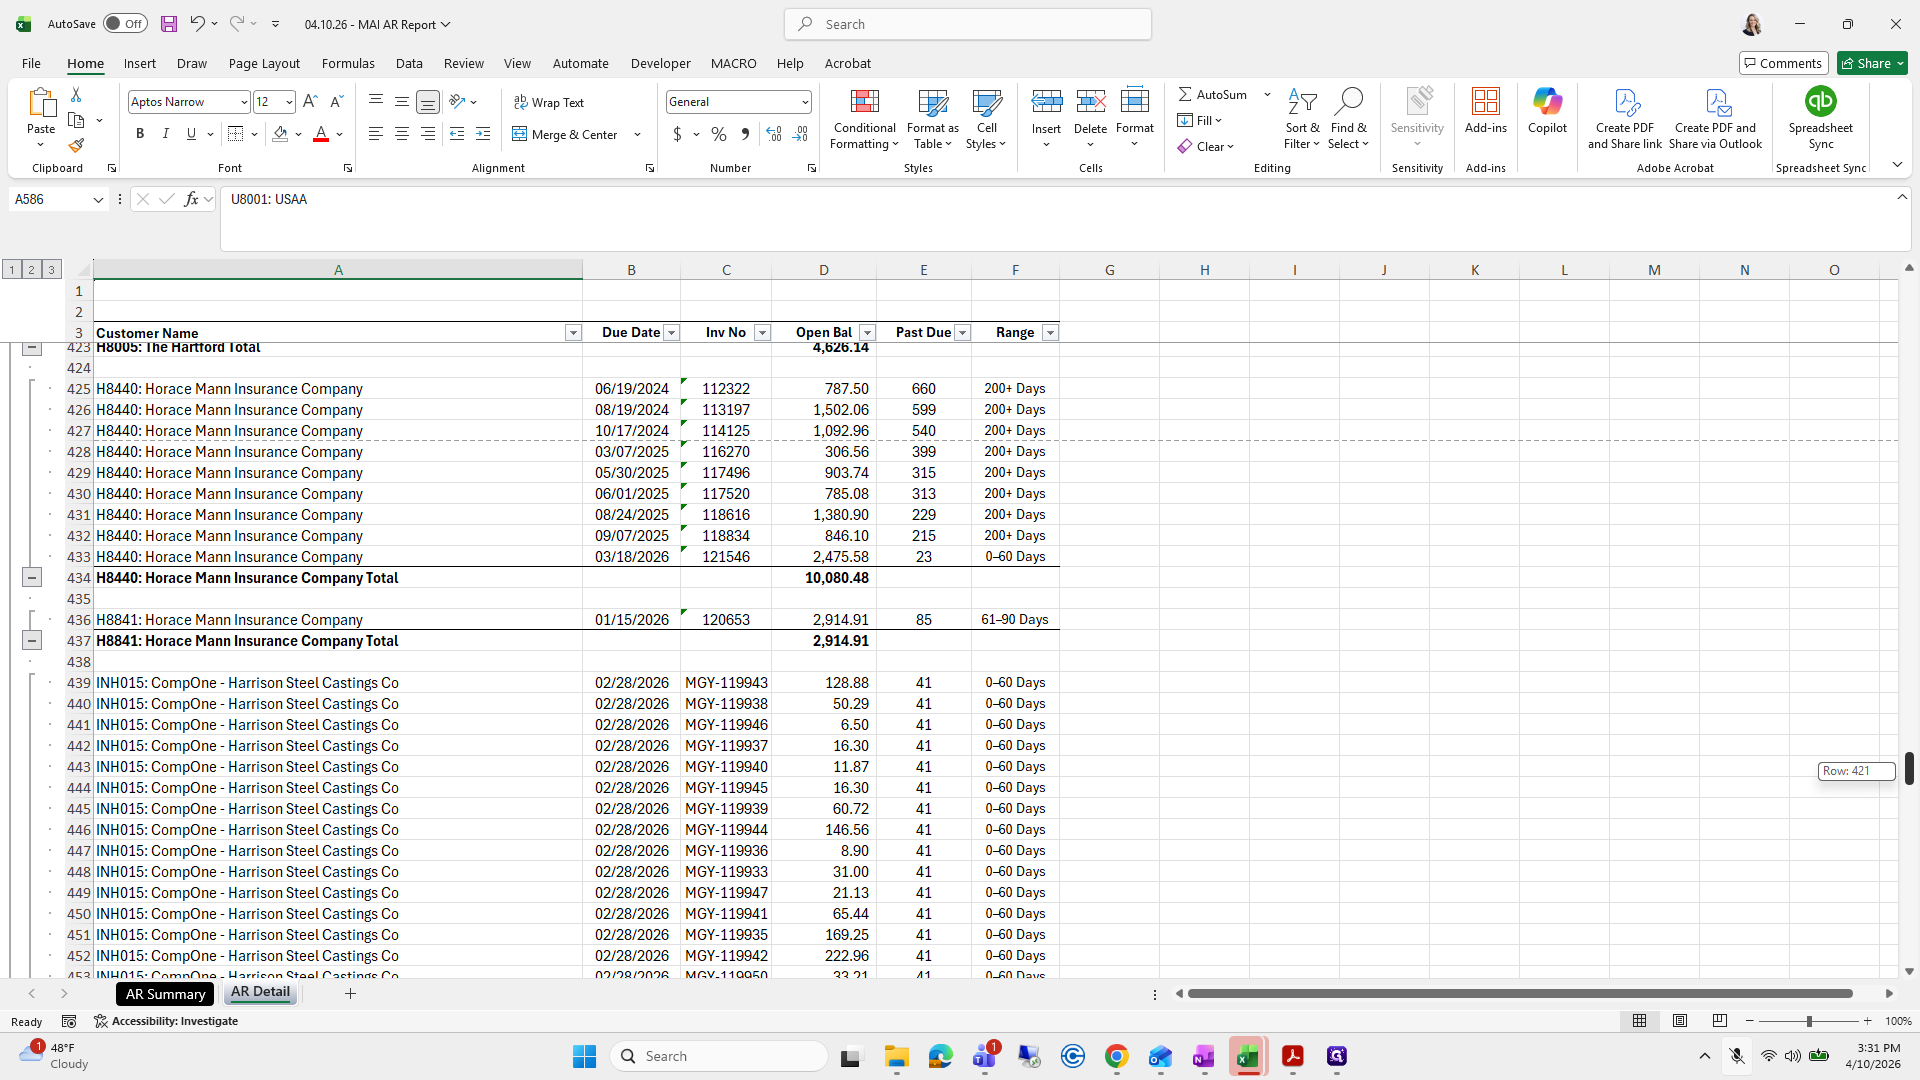
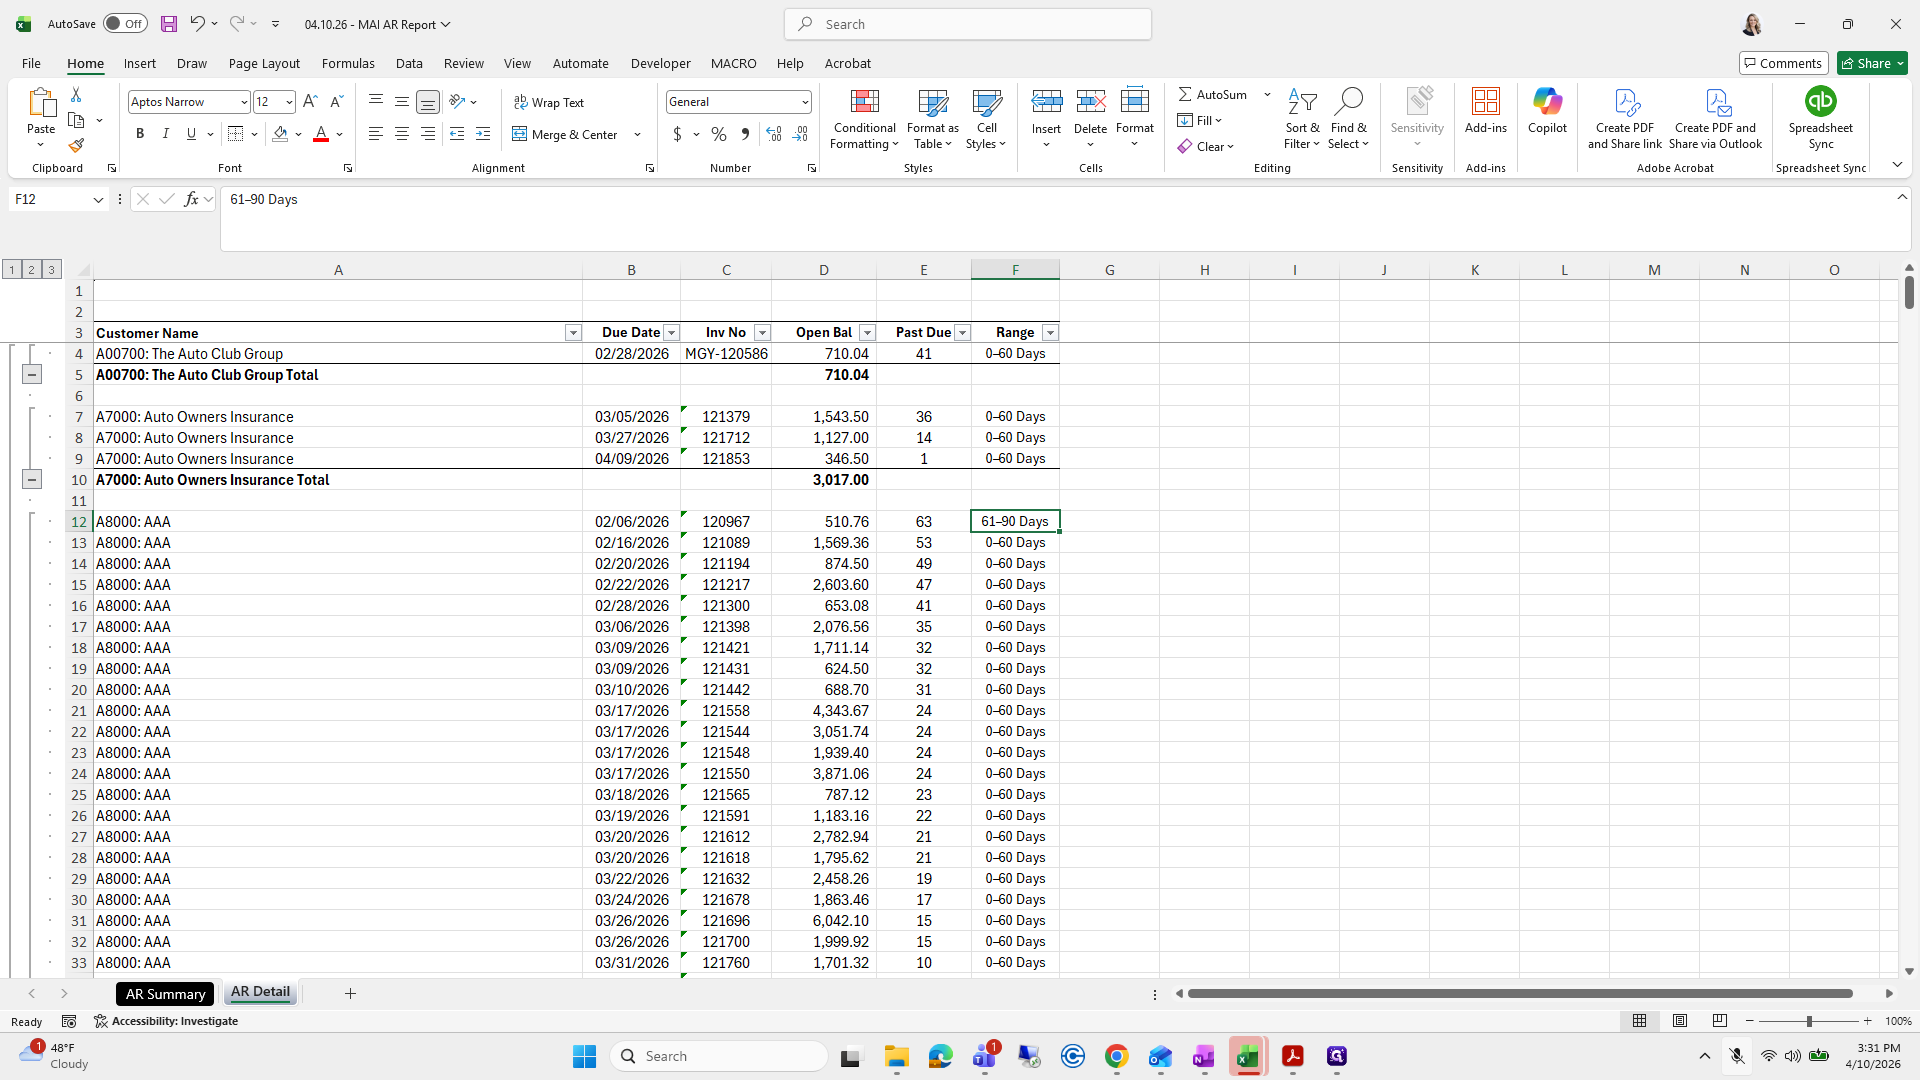
Make sure the entire table is sorted by the customer number for John Bradley. Also, check that there is no total hidden in the table.
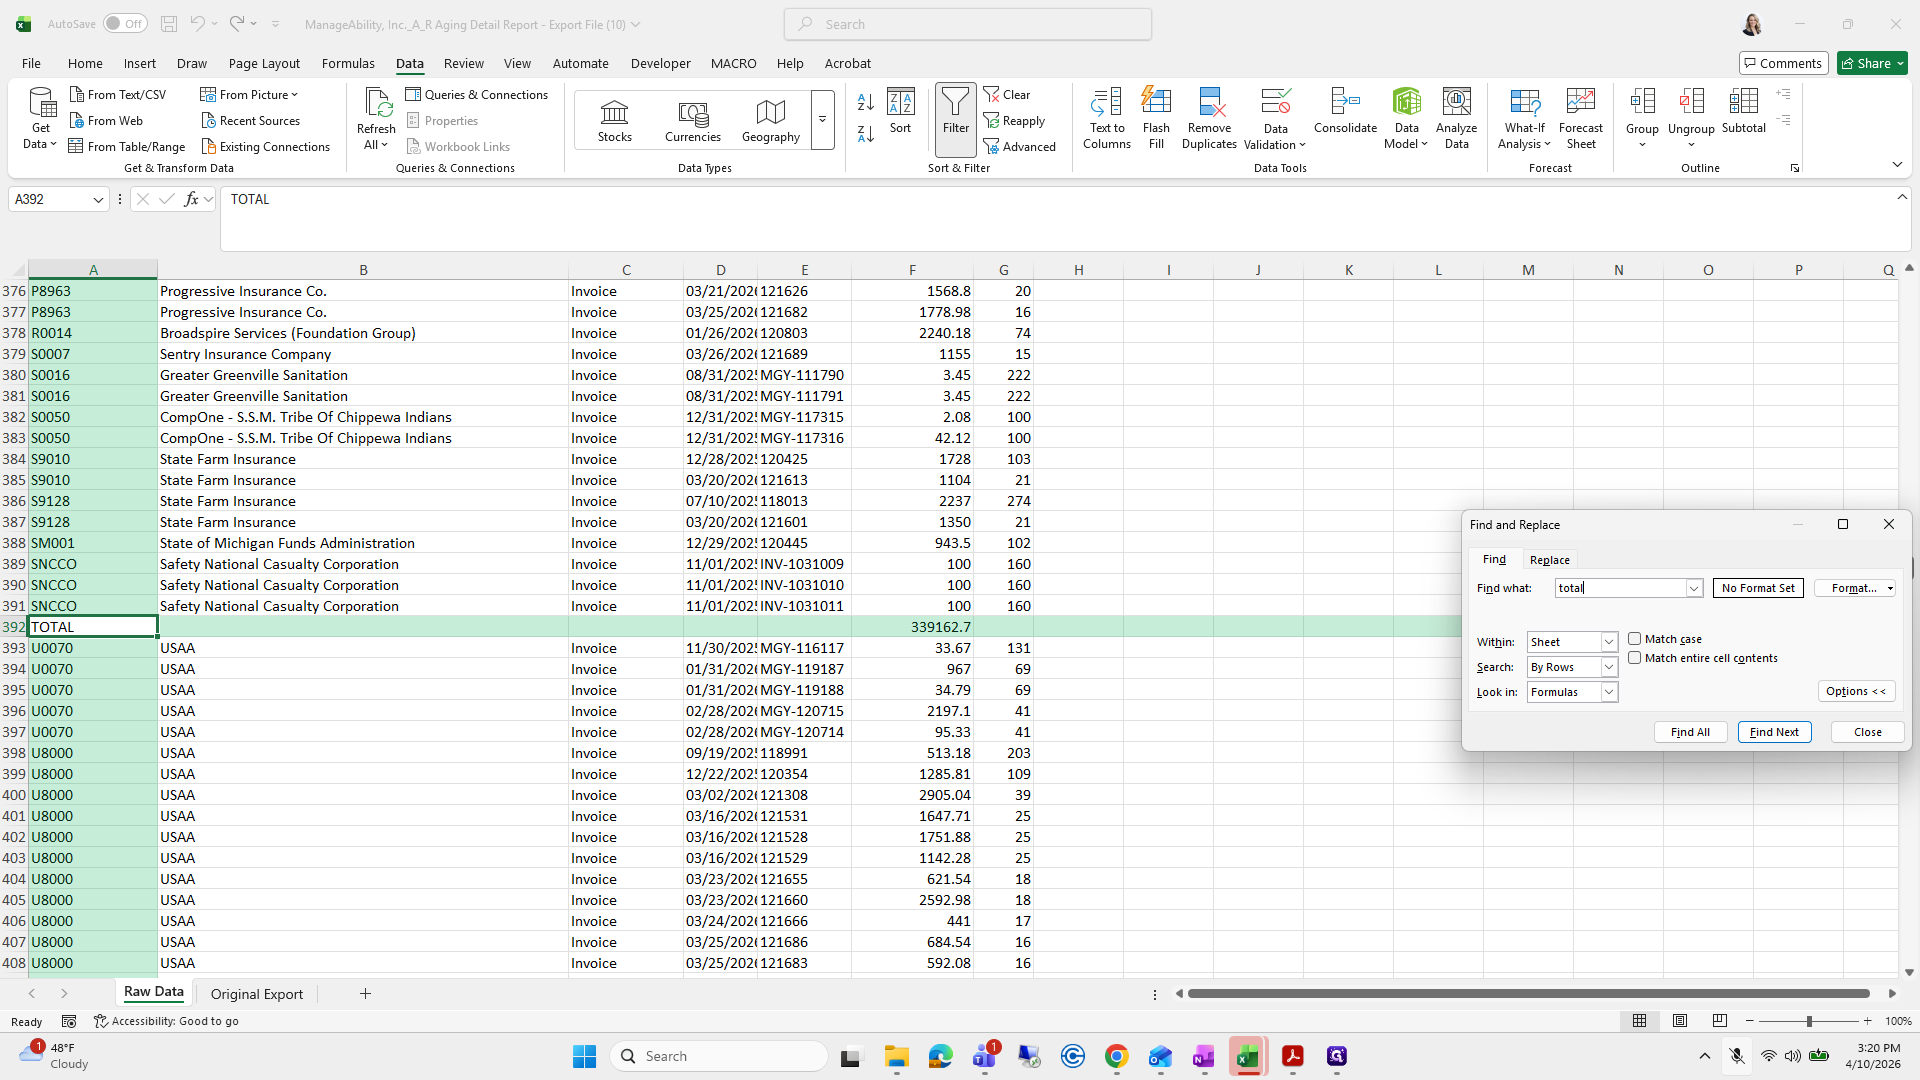
Yes. Sometimes I forget to delete this total line.
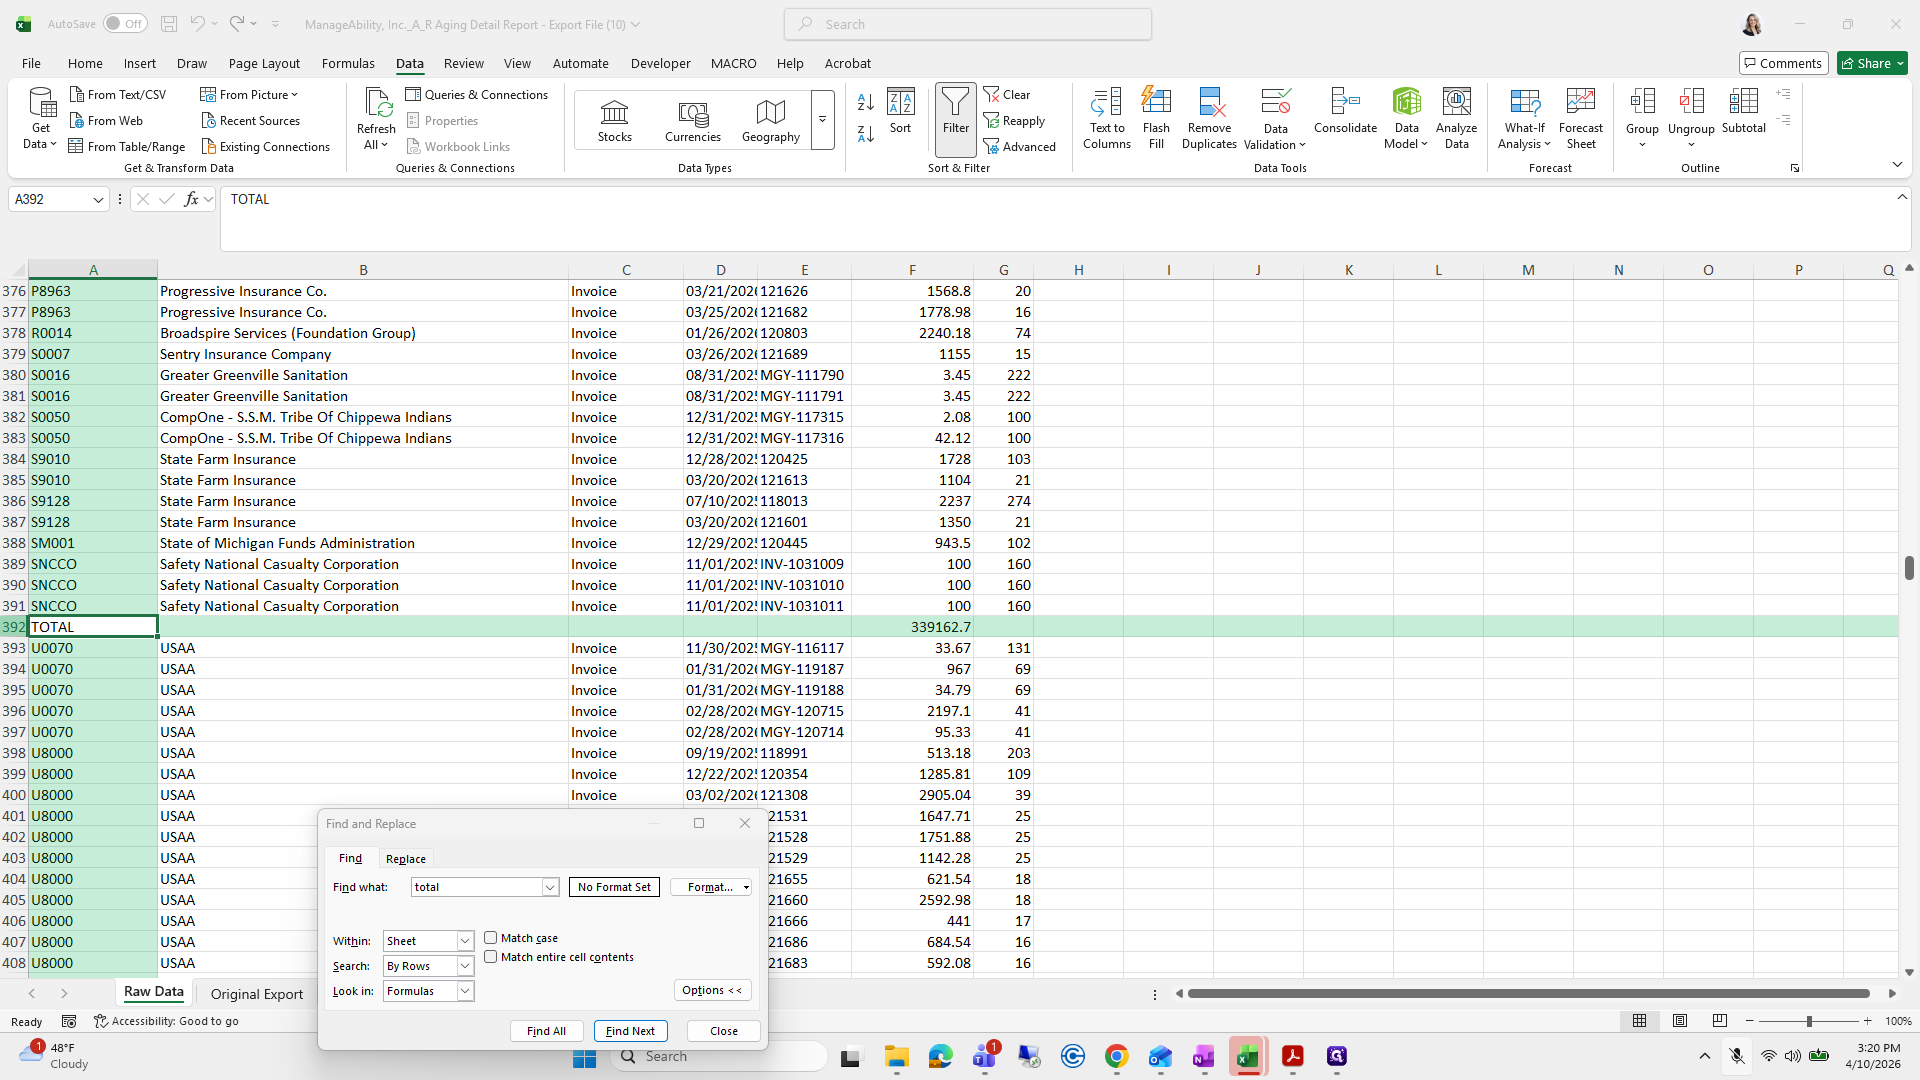
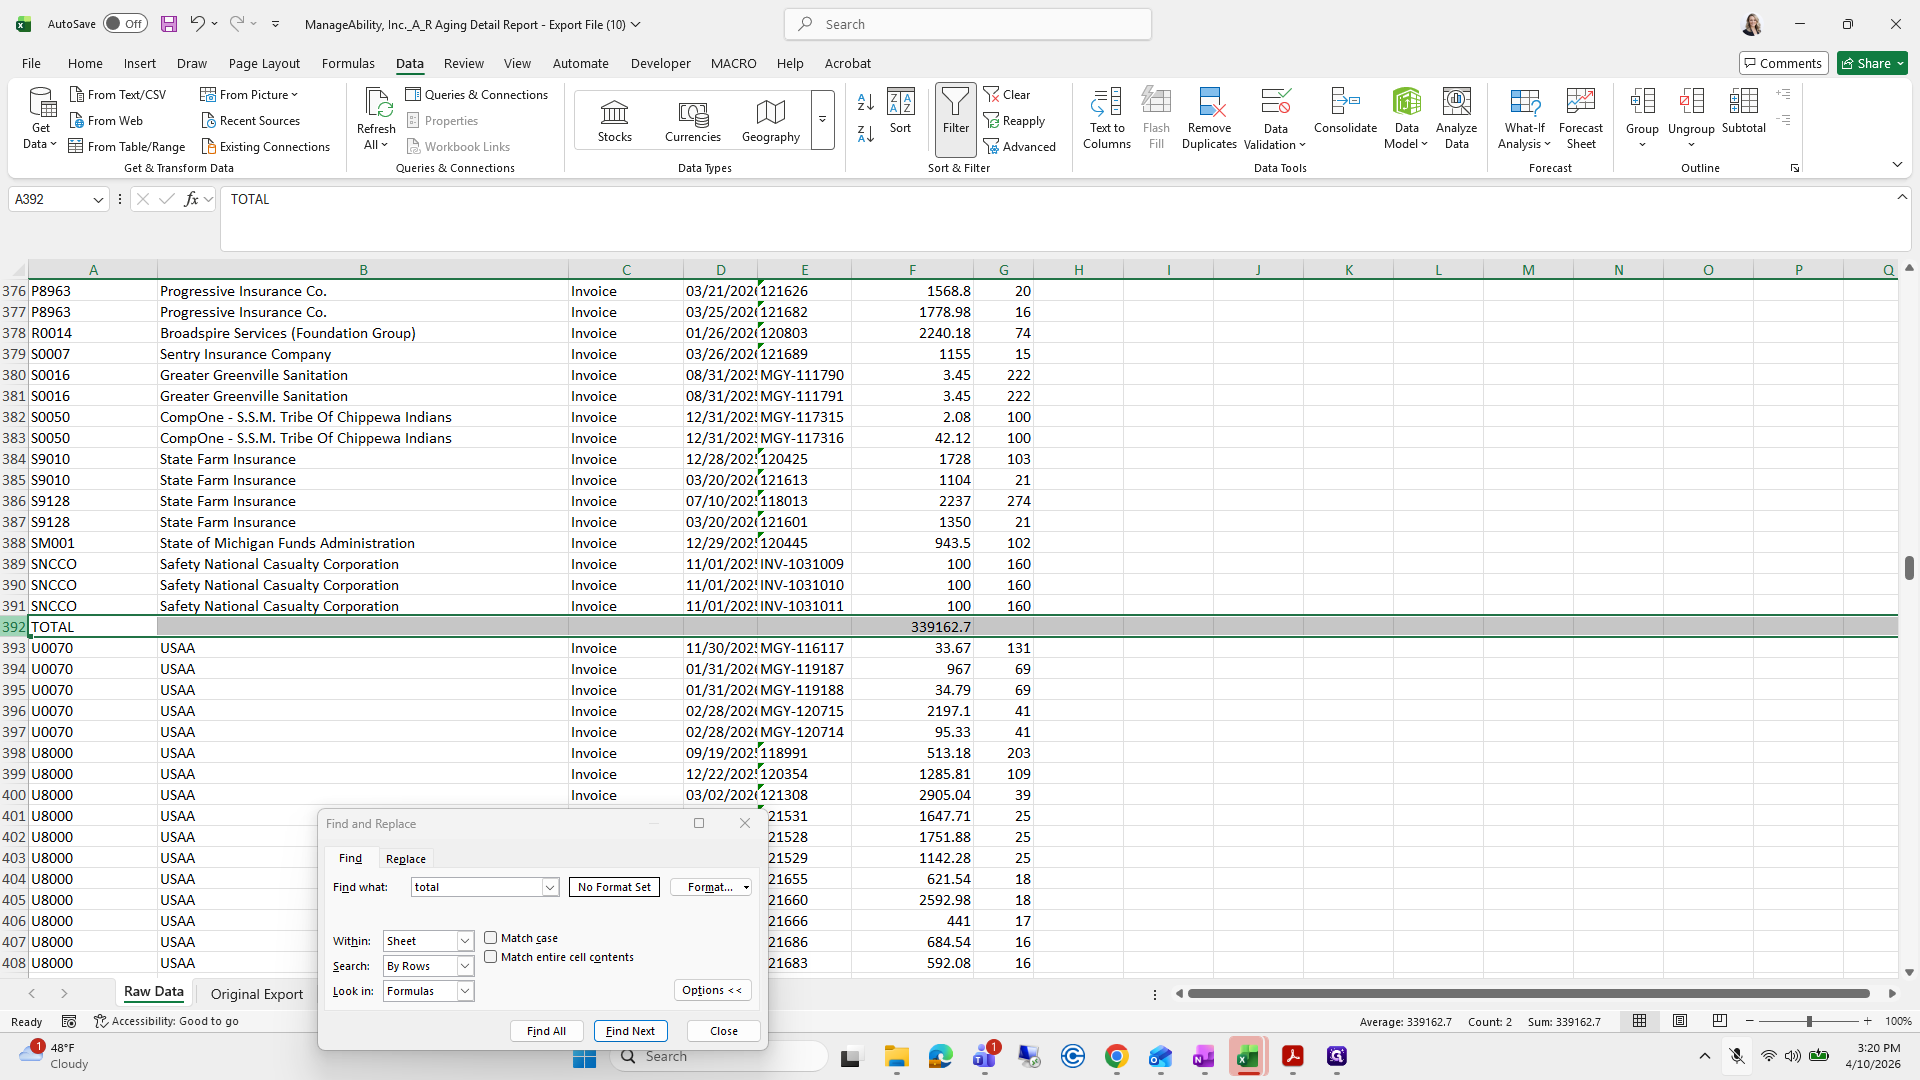
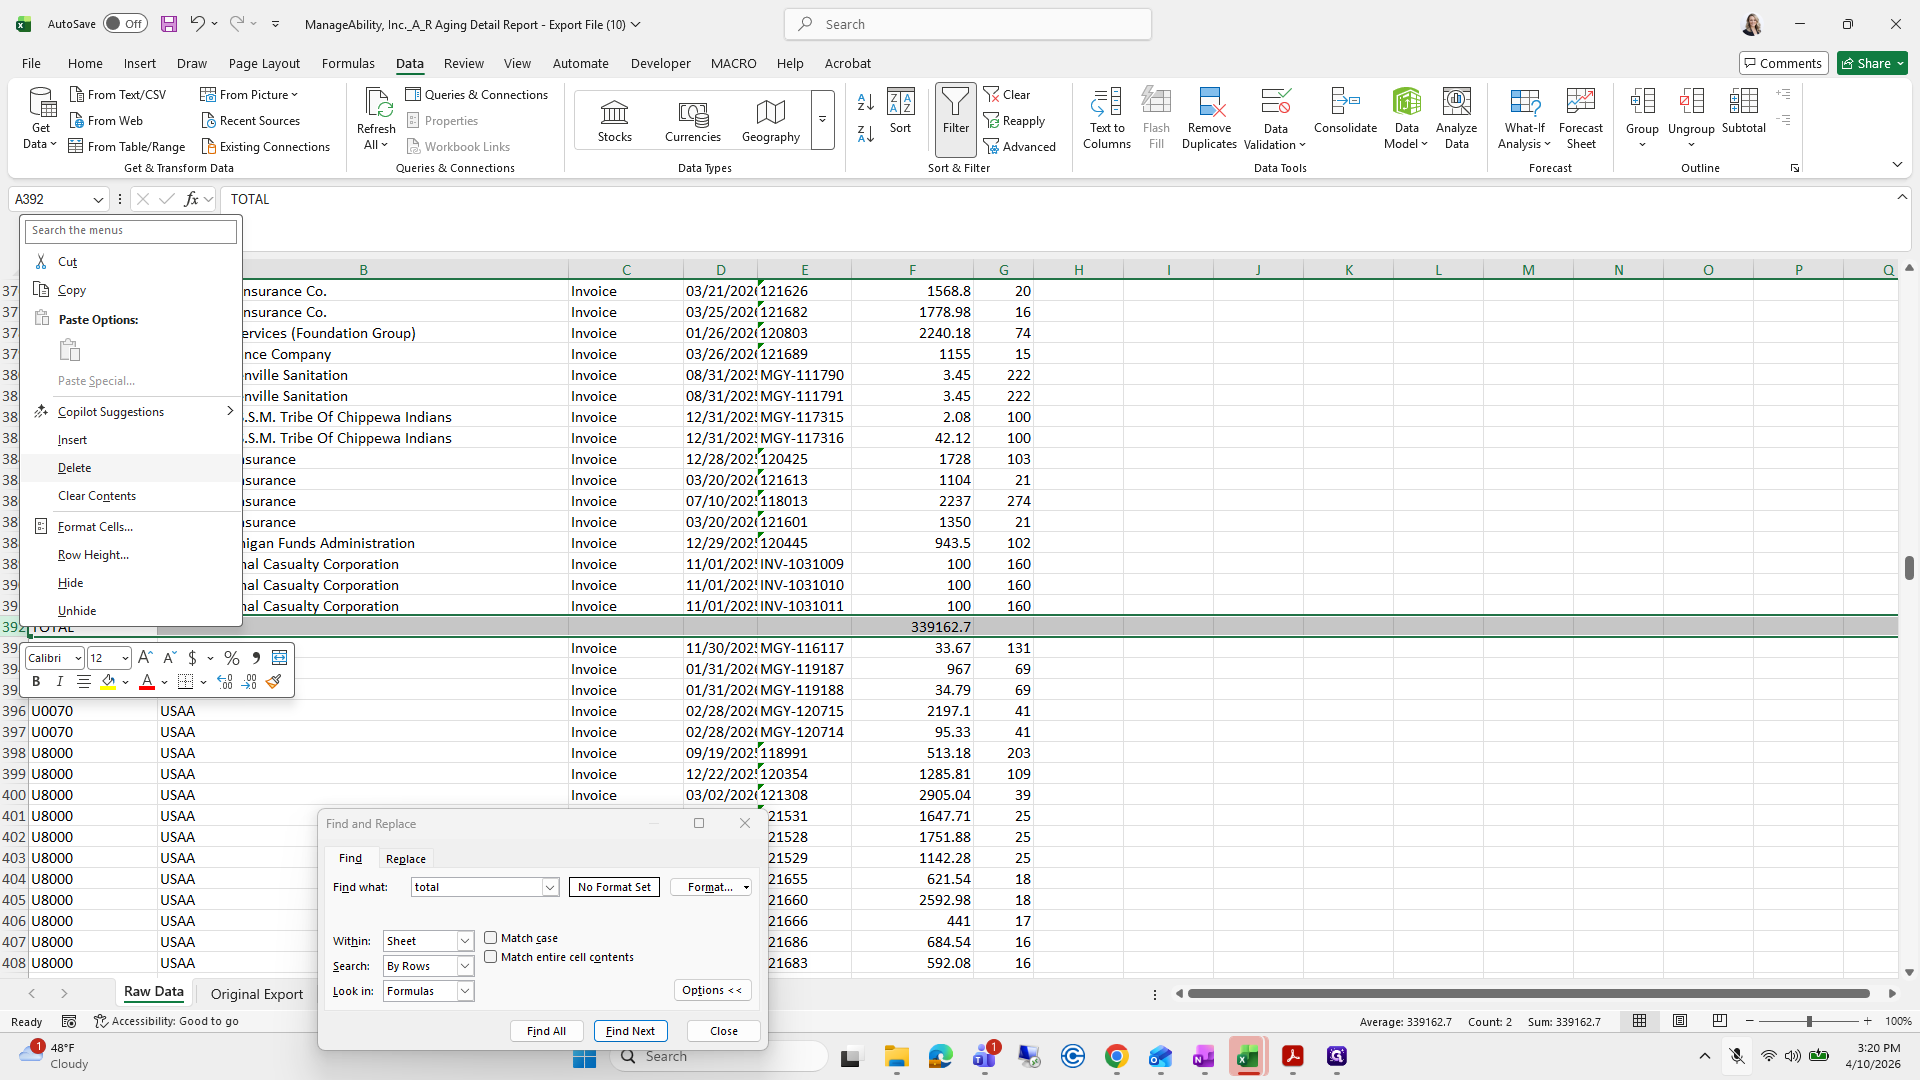
Make sure you delete that.
Okay.
Now we have a bit of fun.
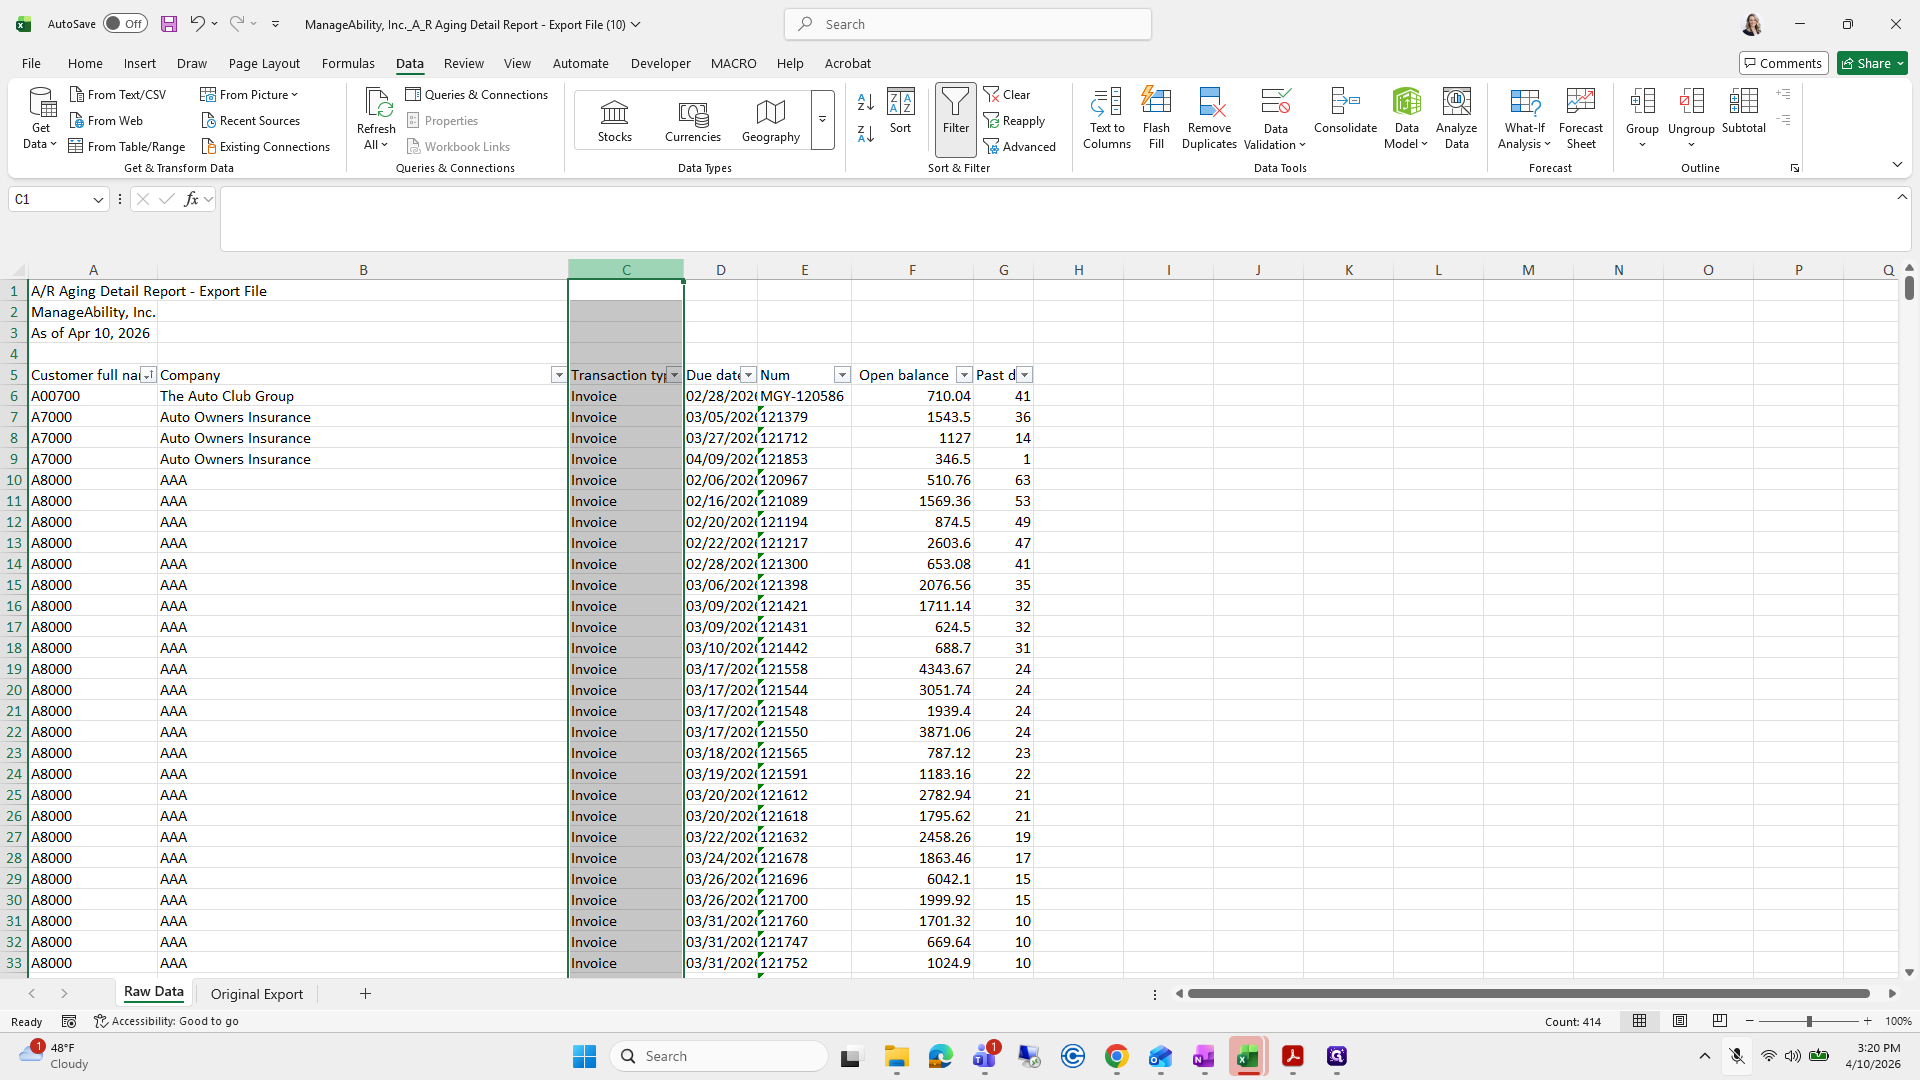
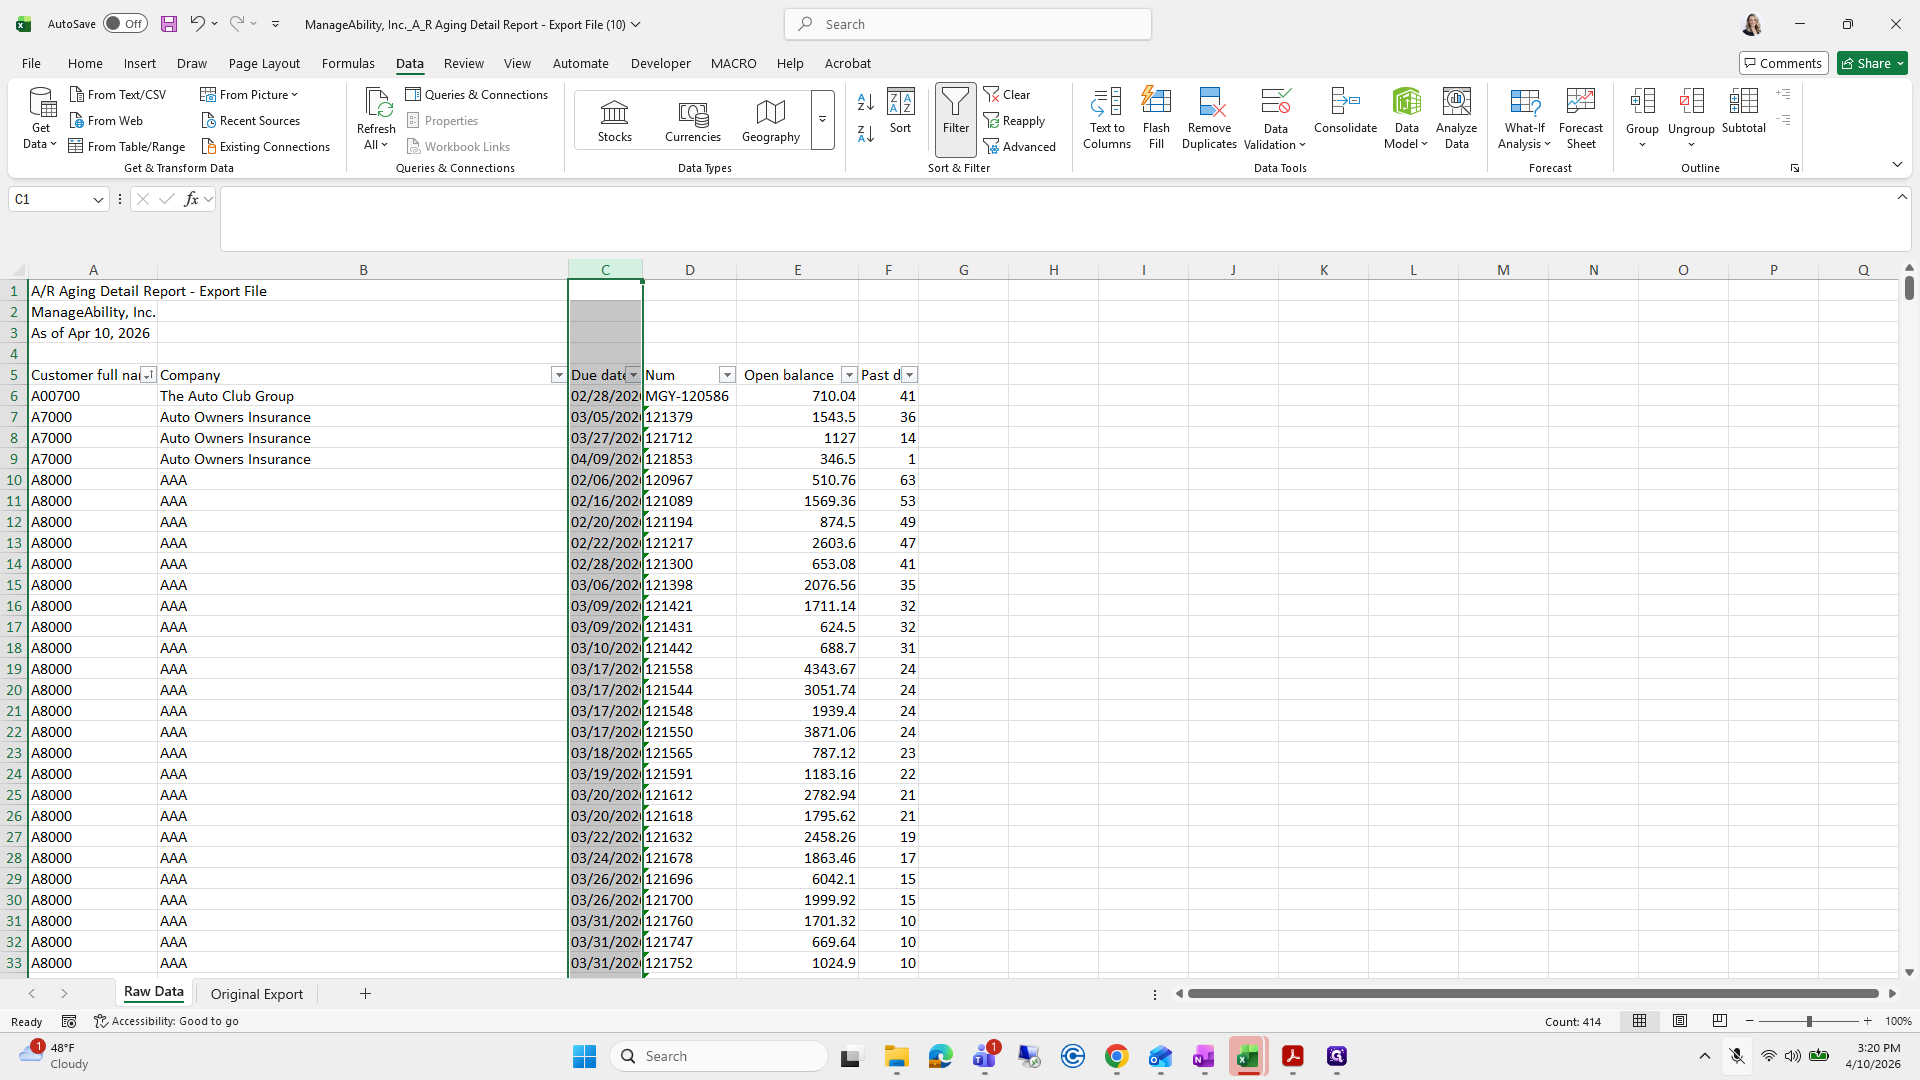
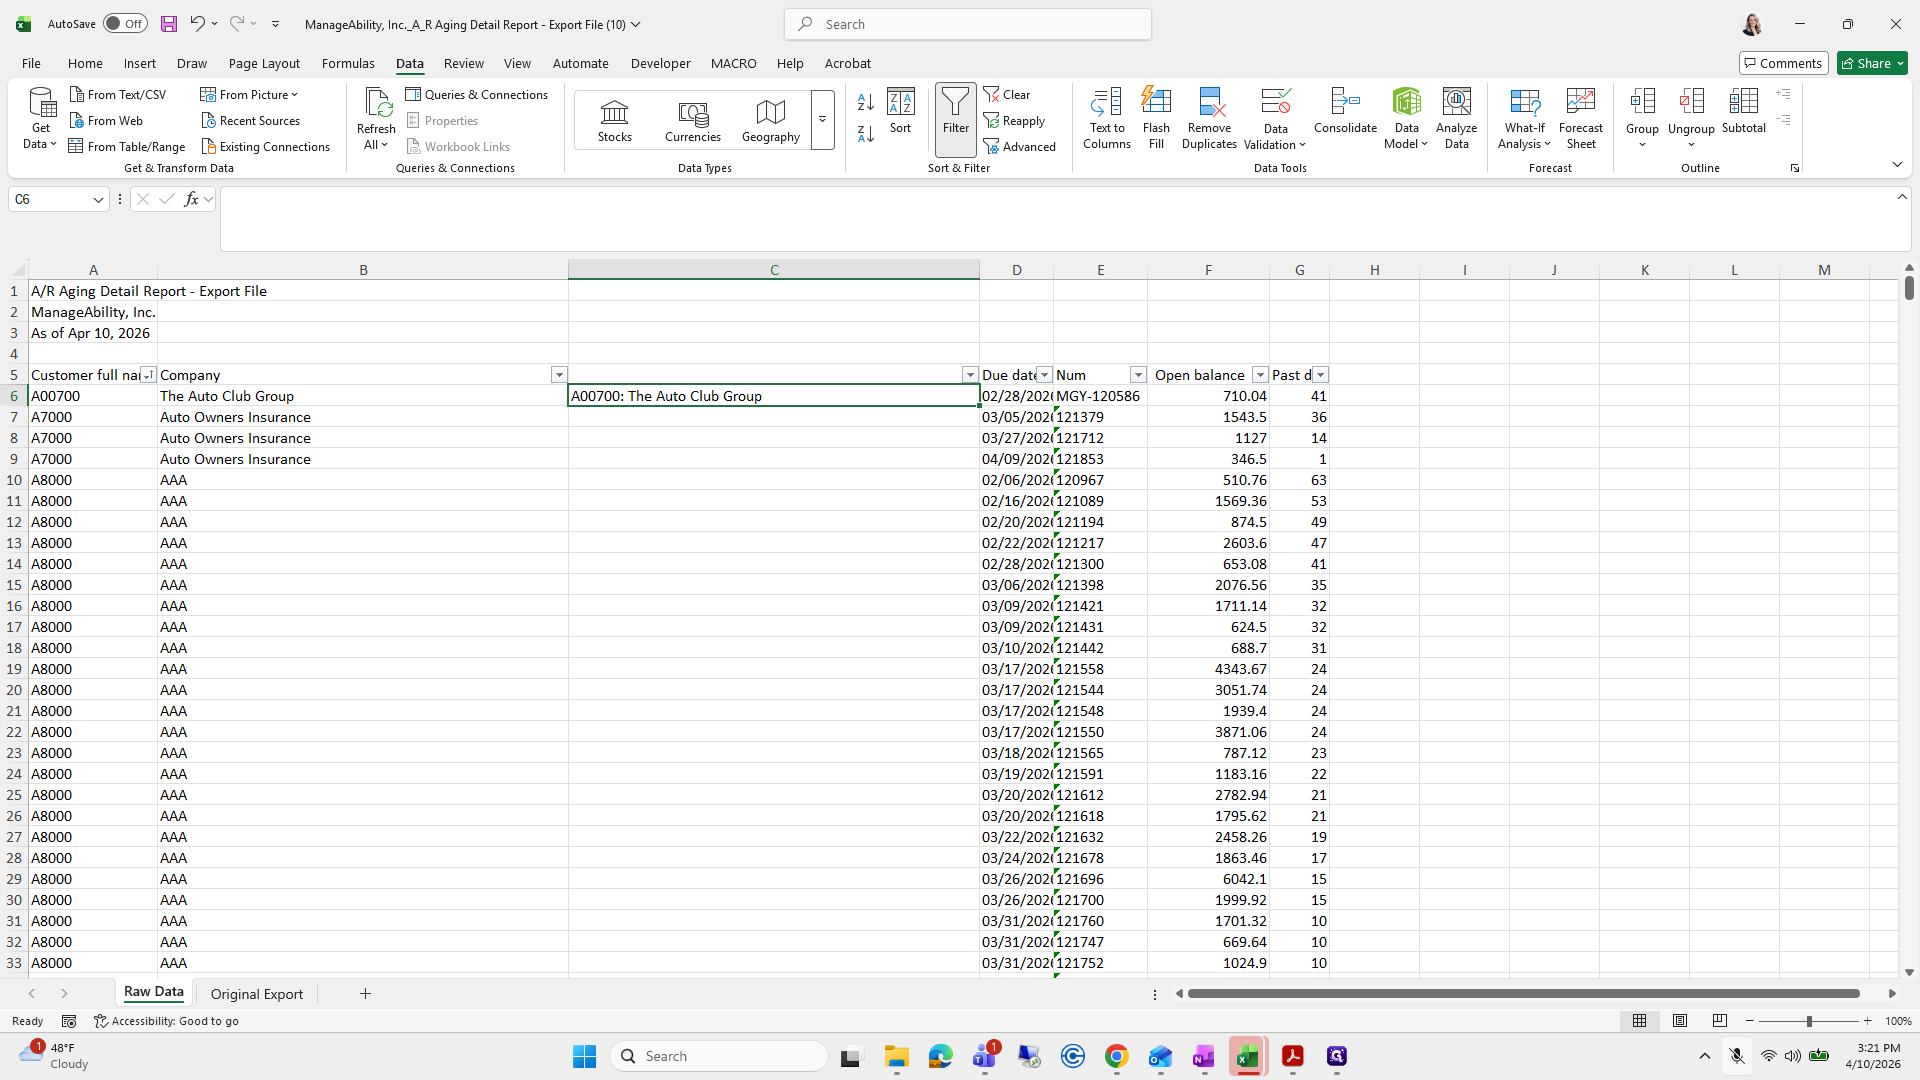
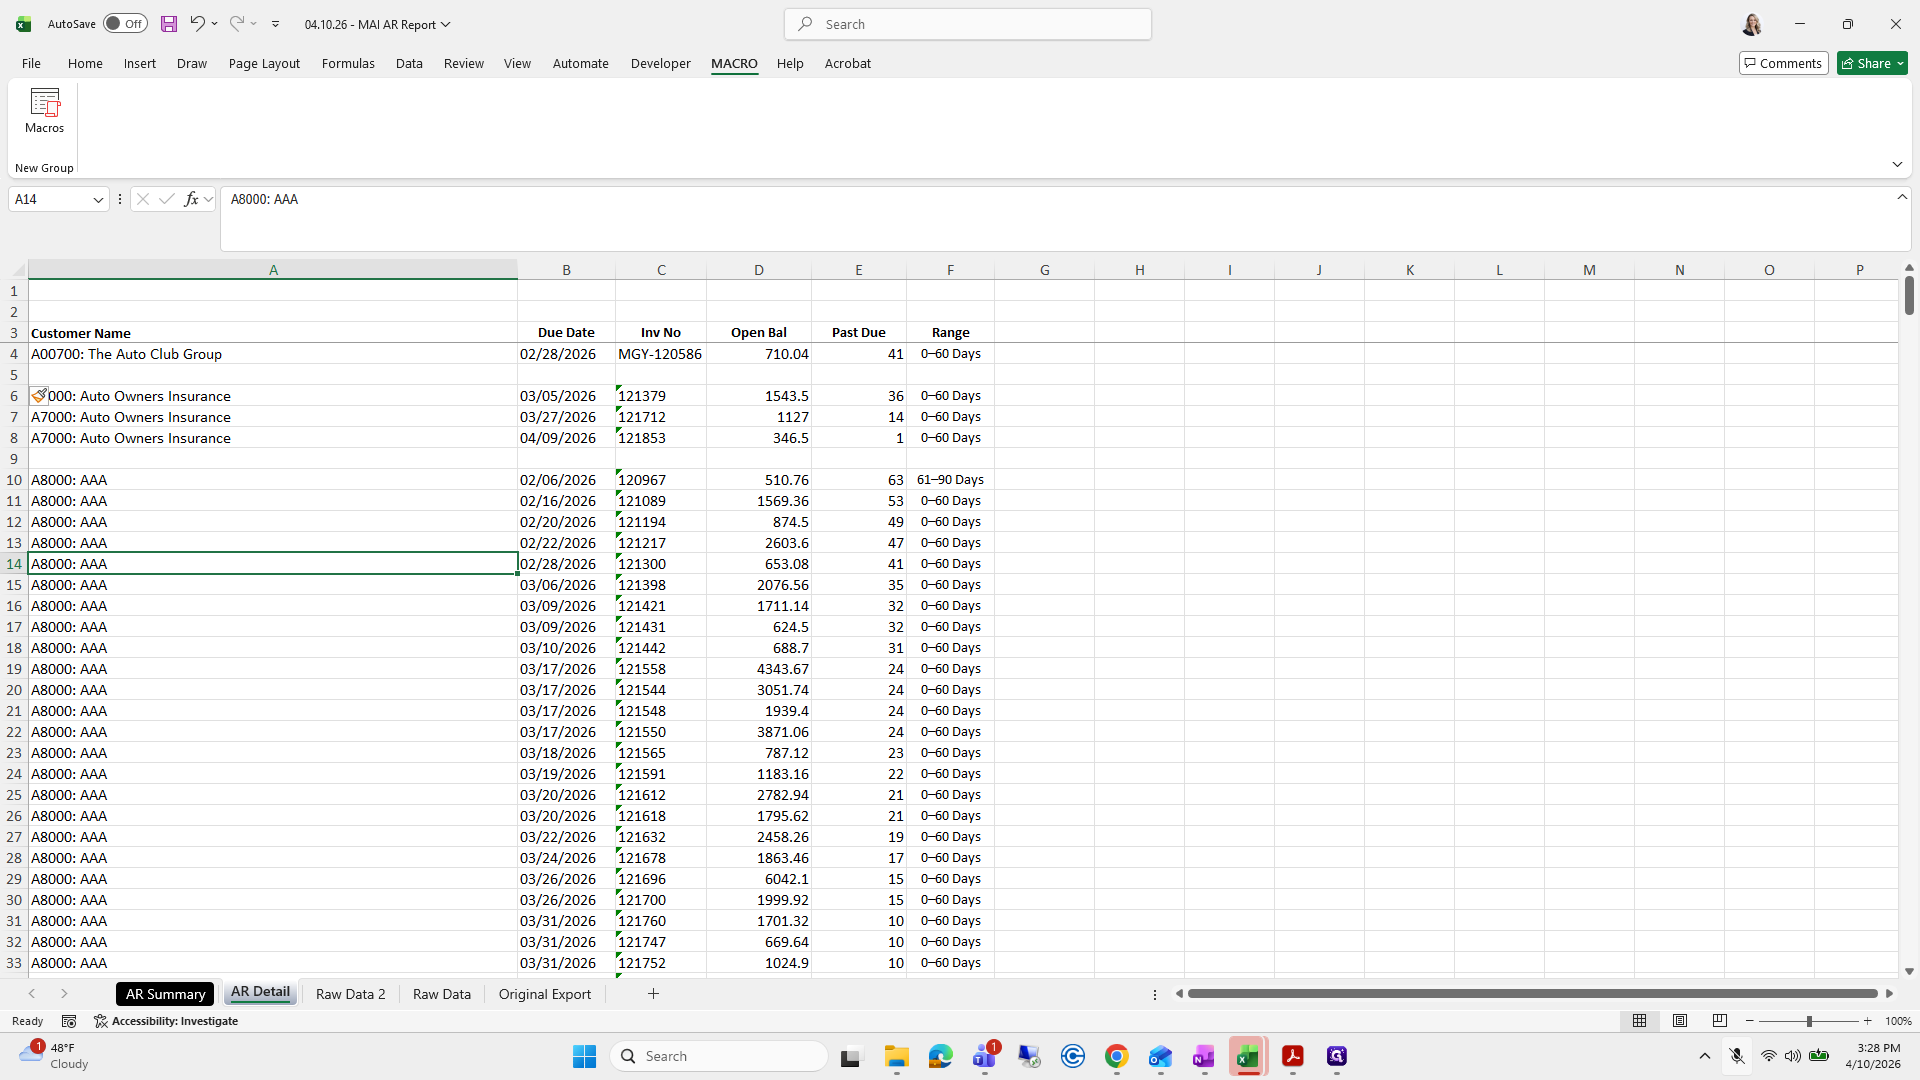
Now we can delete column C, Transaction Type. Then, we'll add it back and update it as needed.
Conjugate, grab the customer code, comma, quotation mark, add a space, then conjugate.
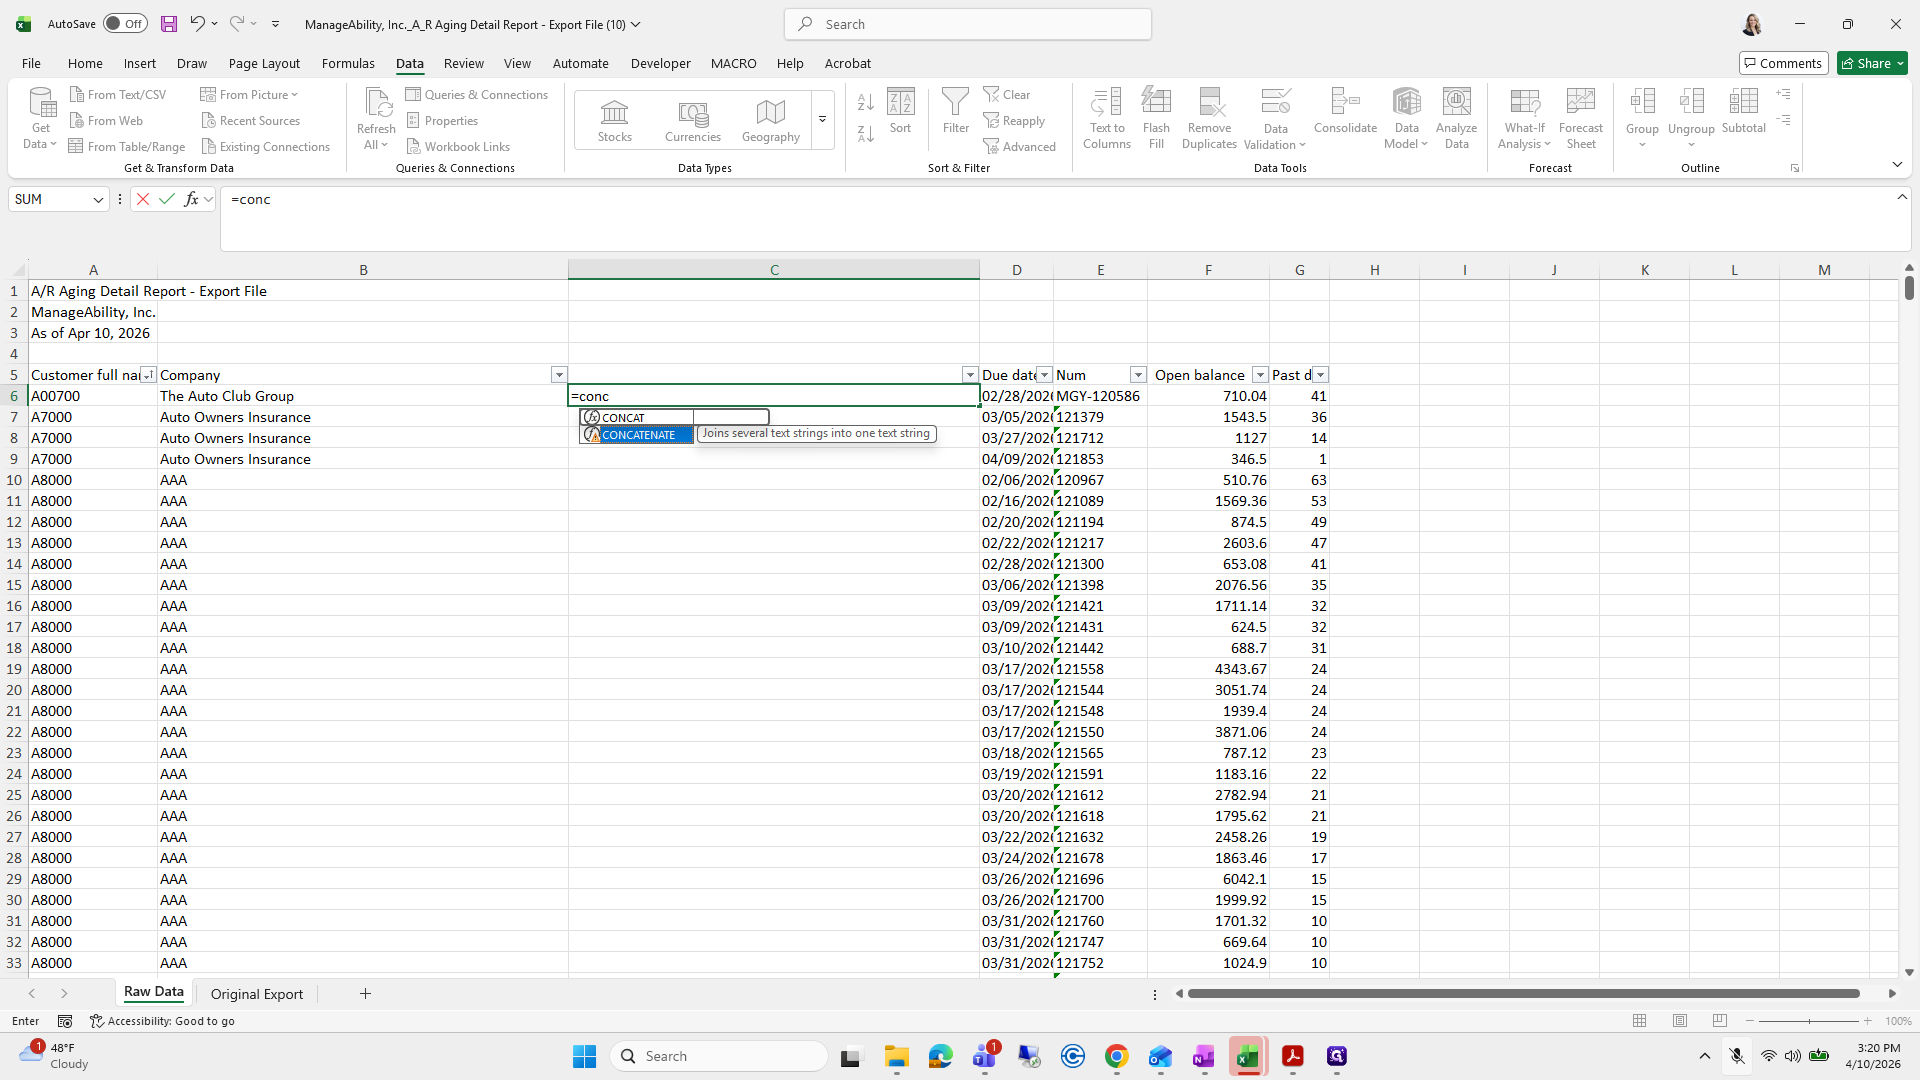
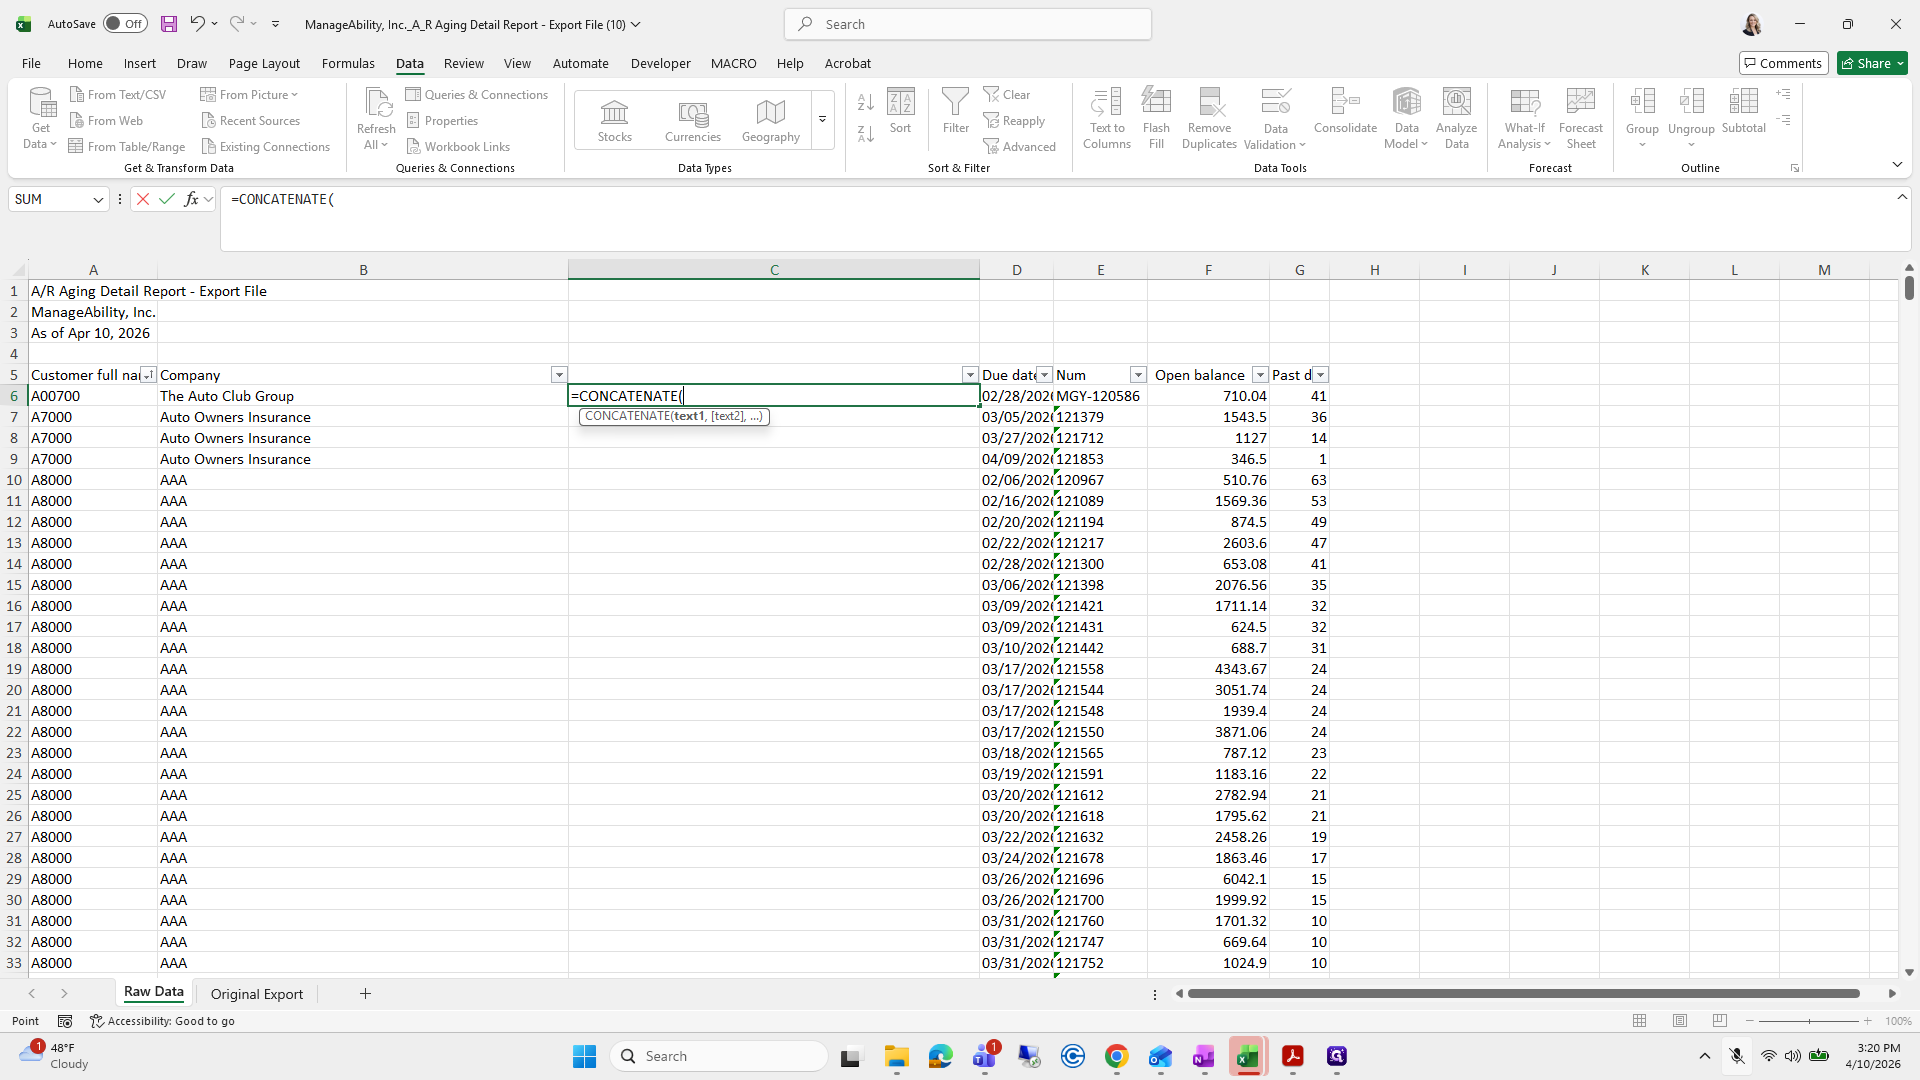
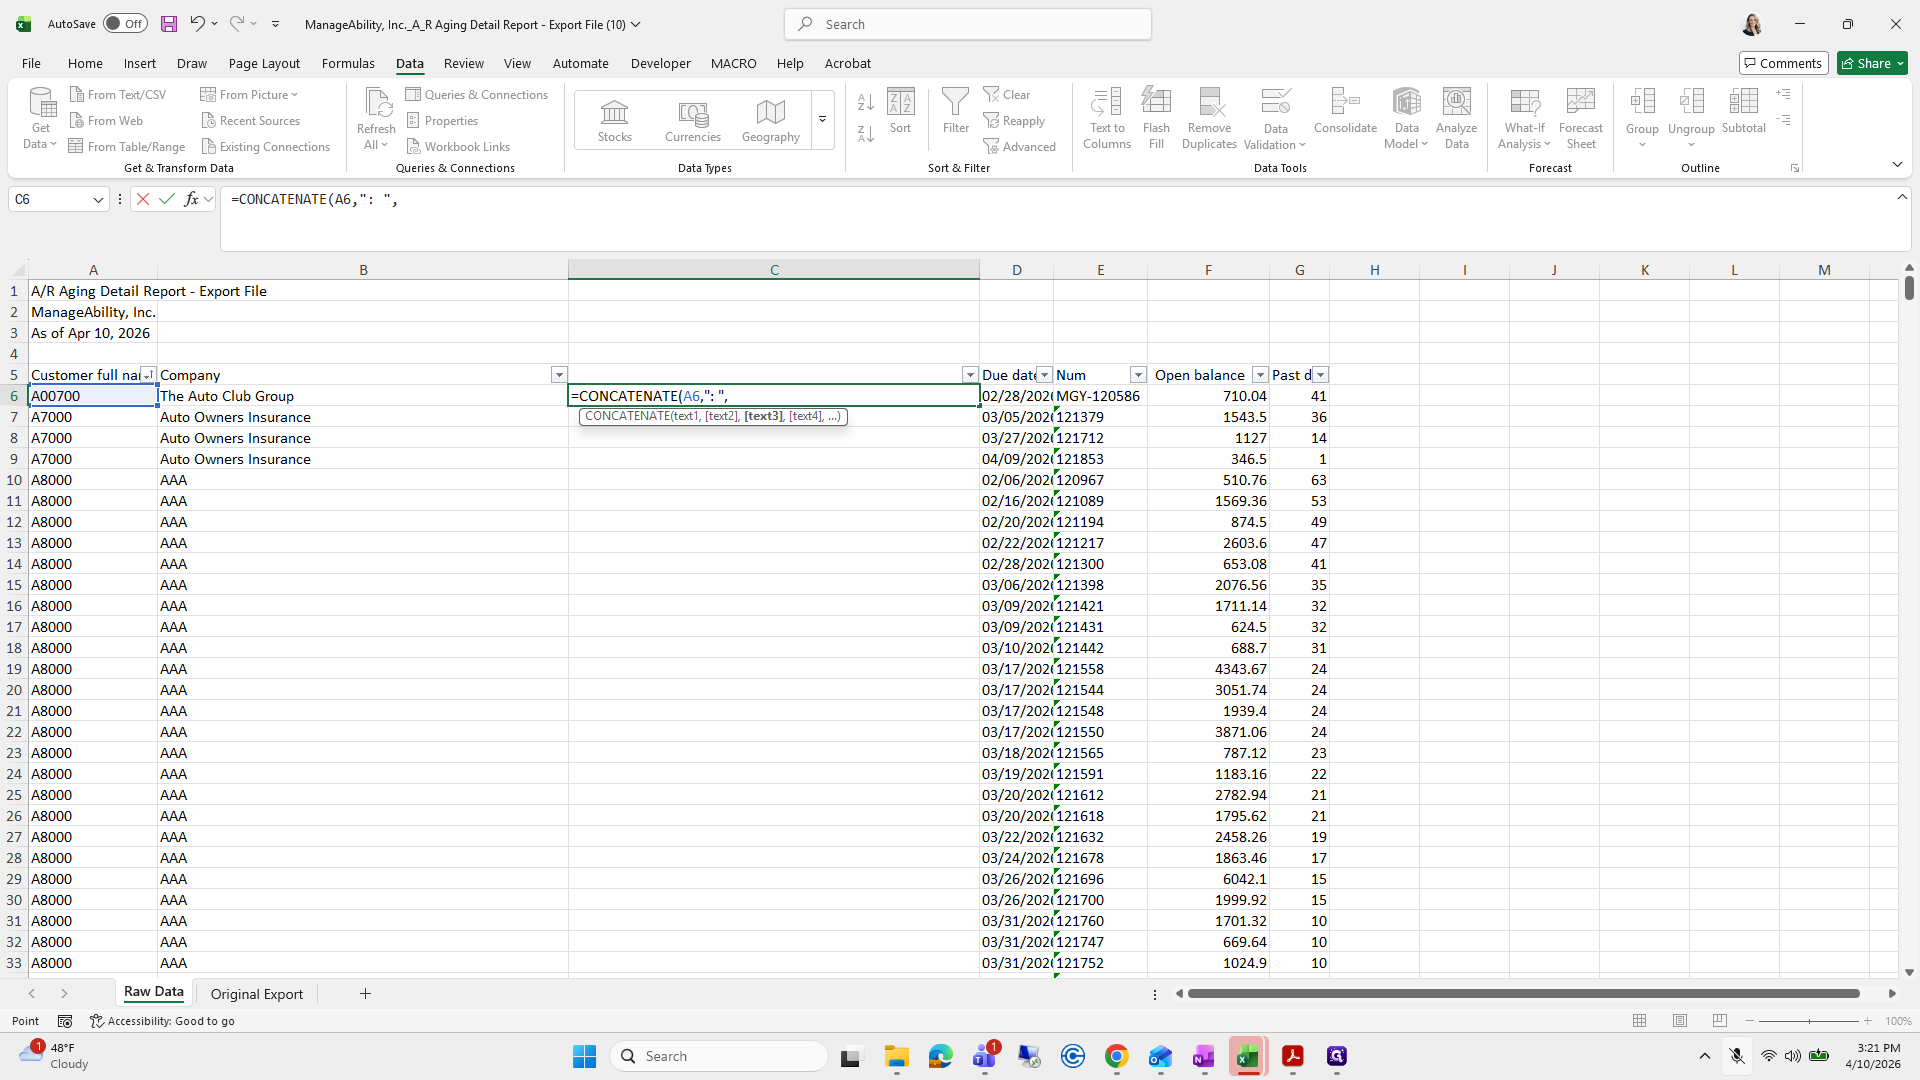
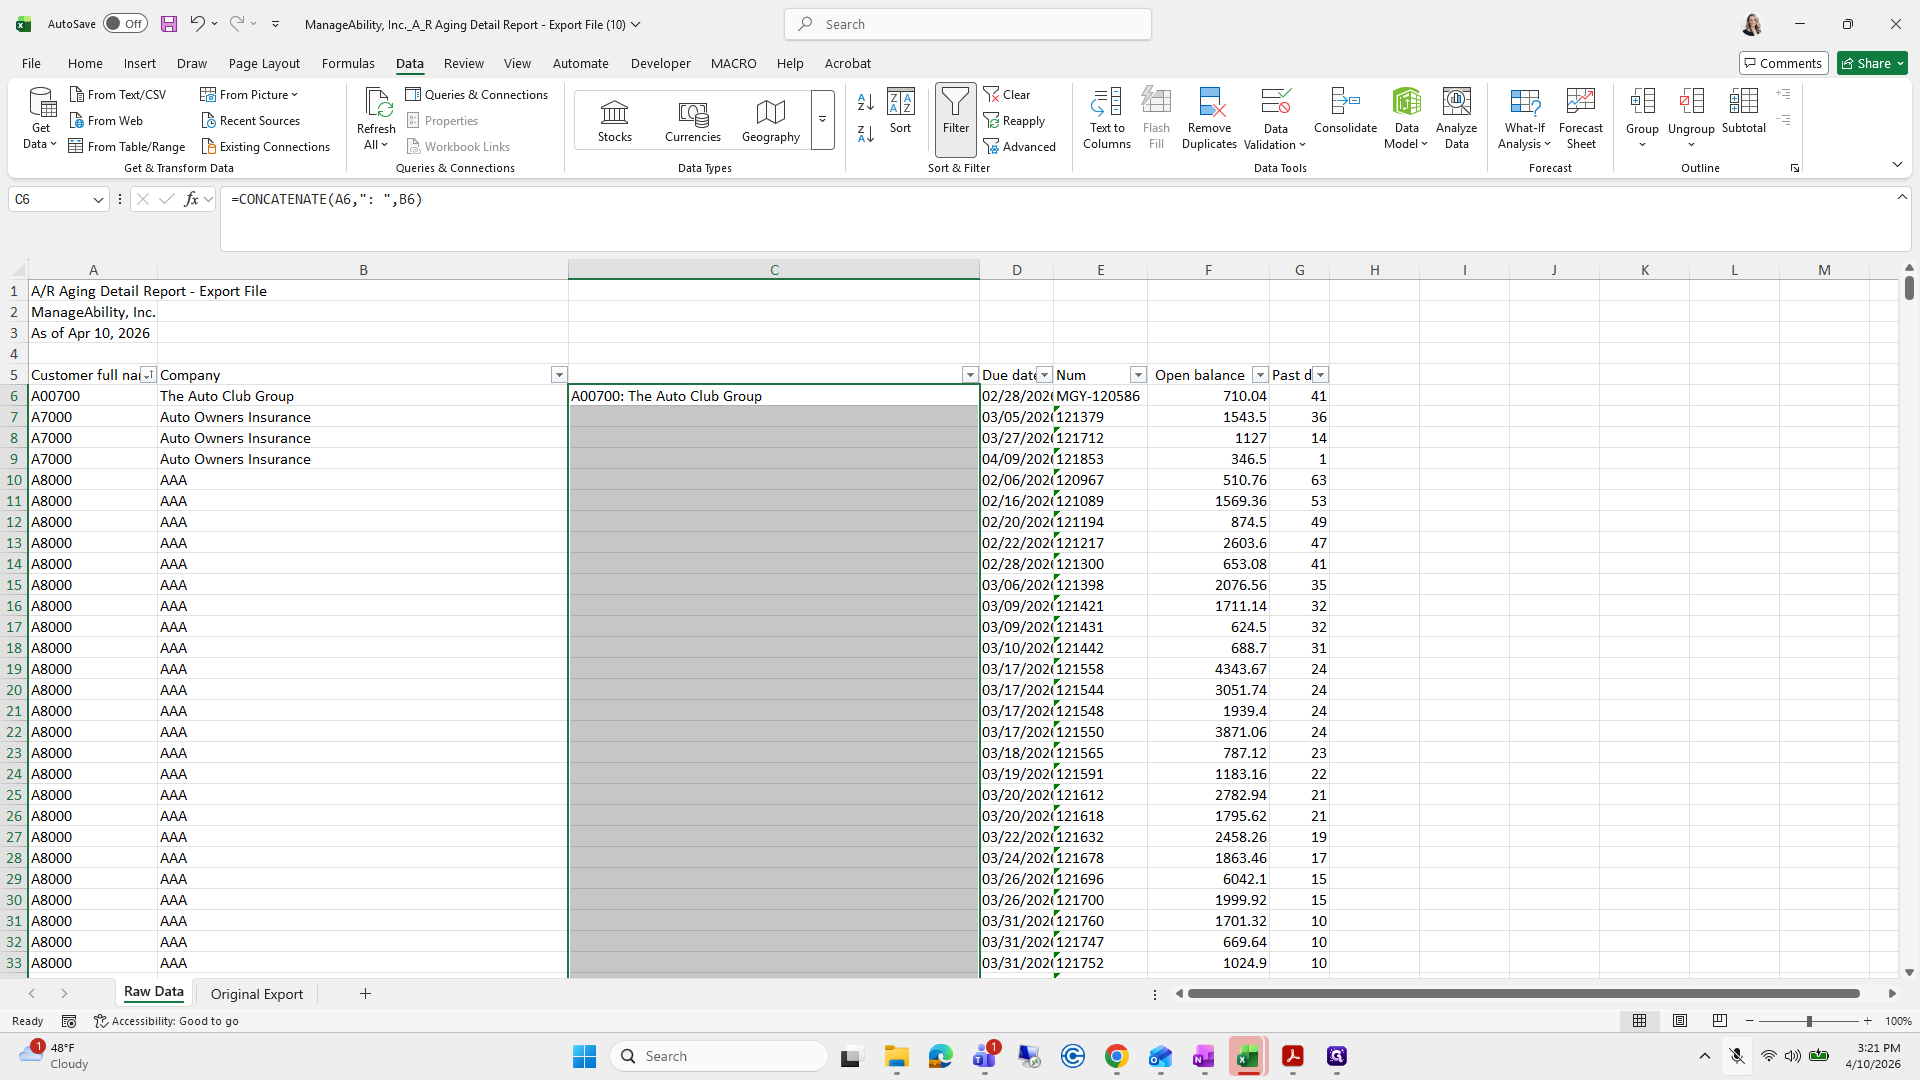
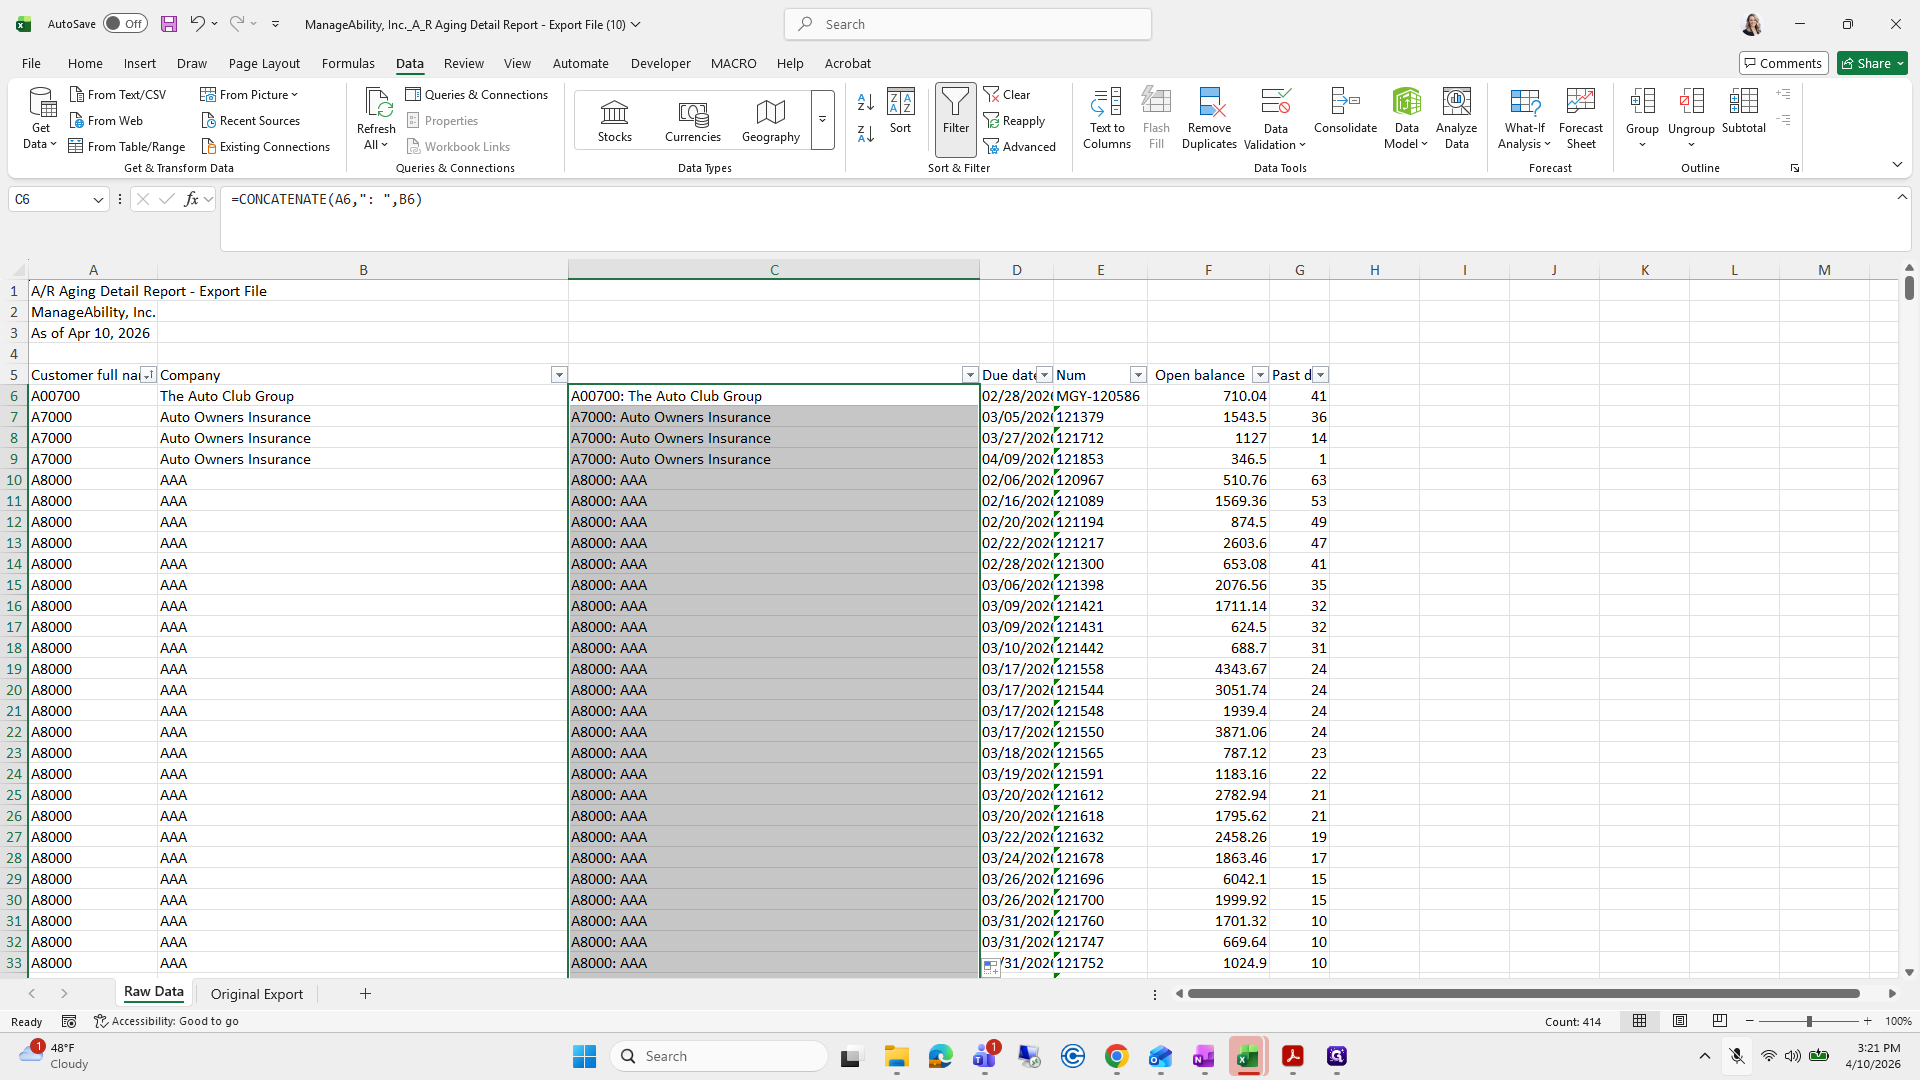
That combines the items with a colon, and then we will drag it down.
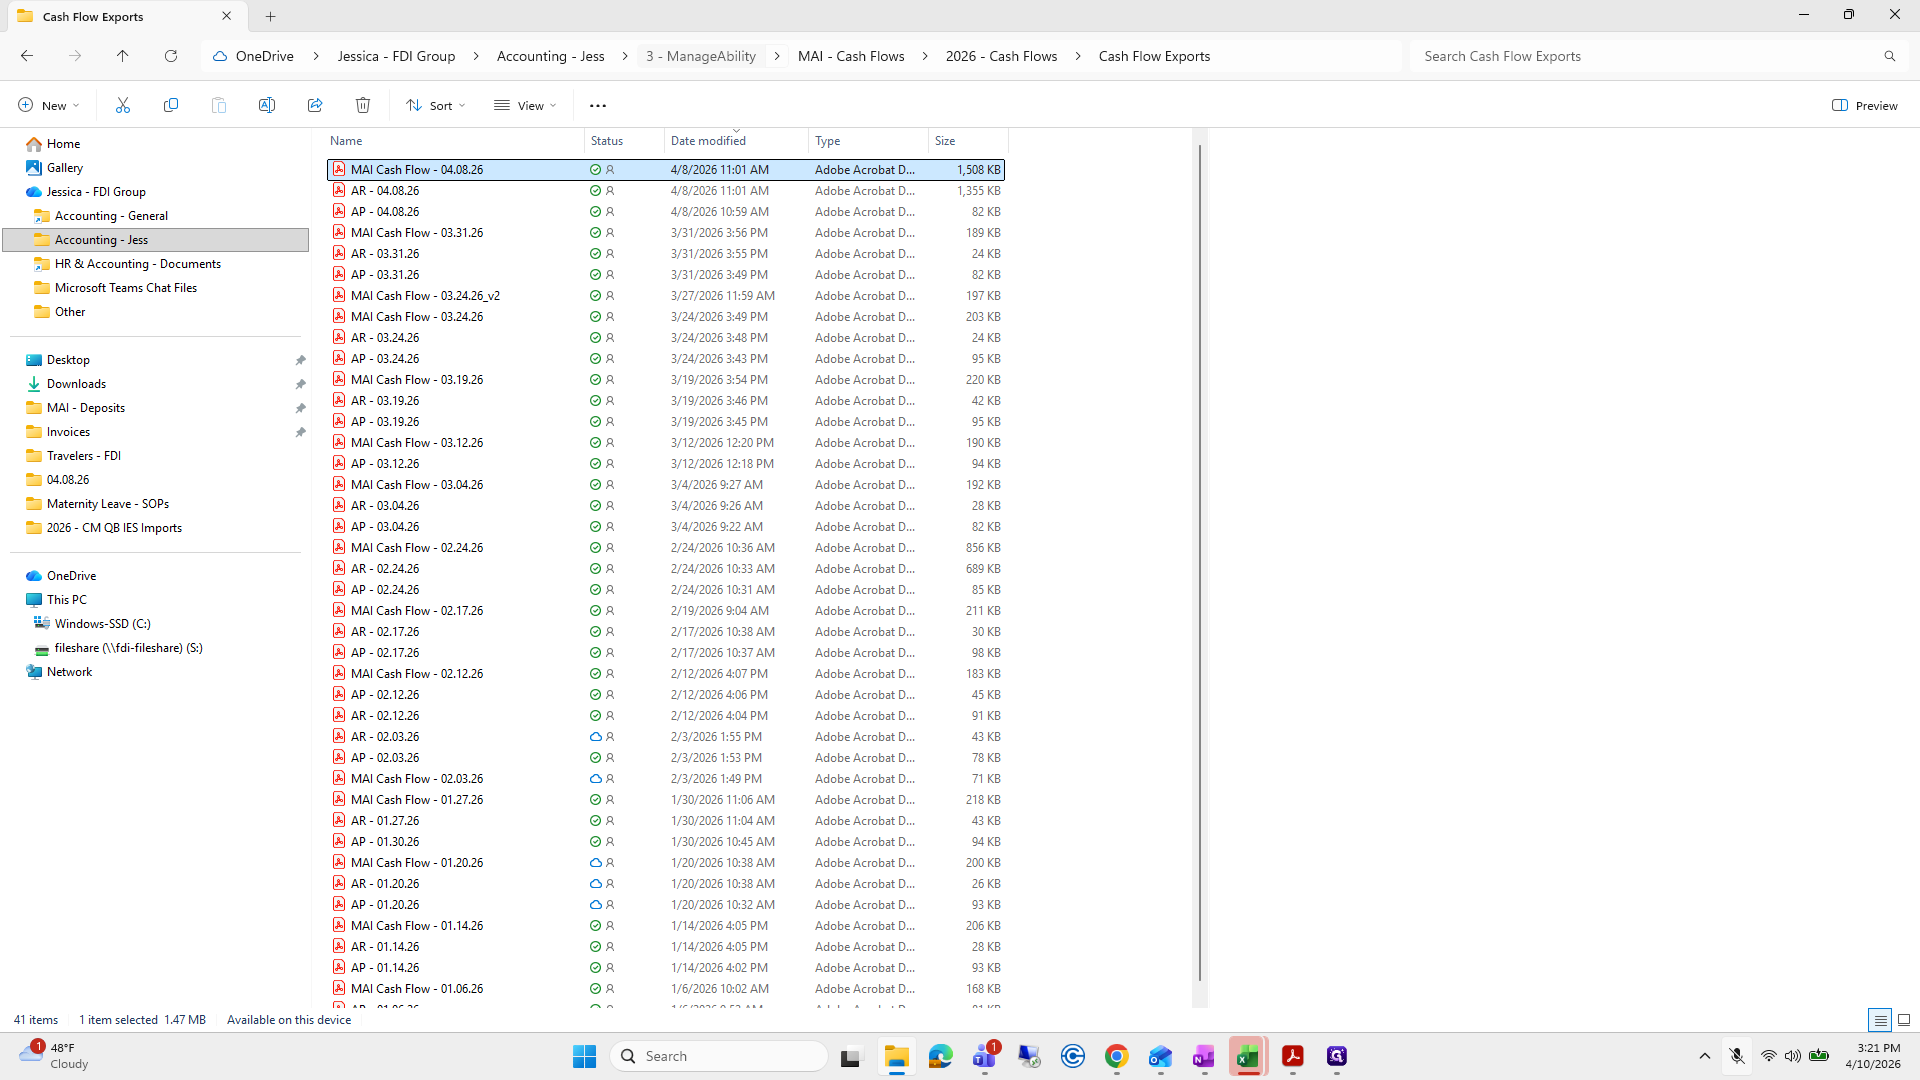
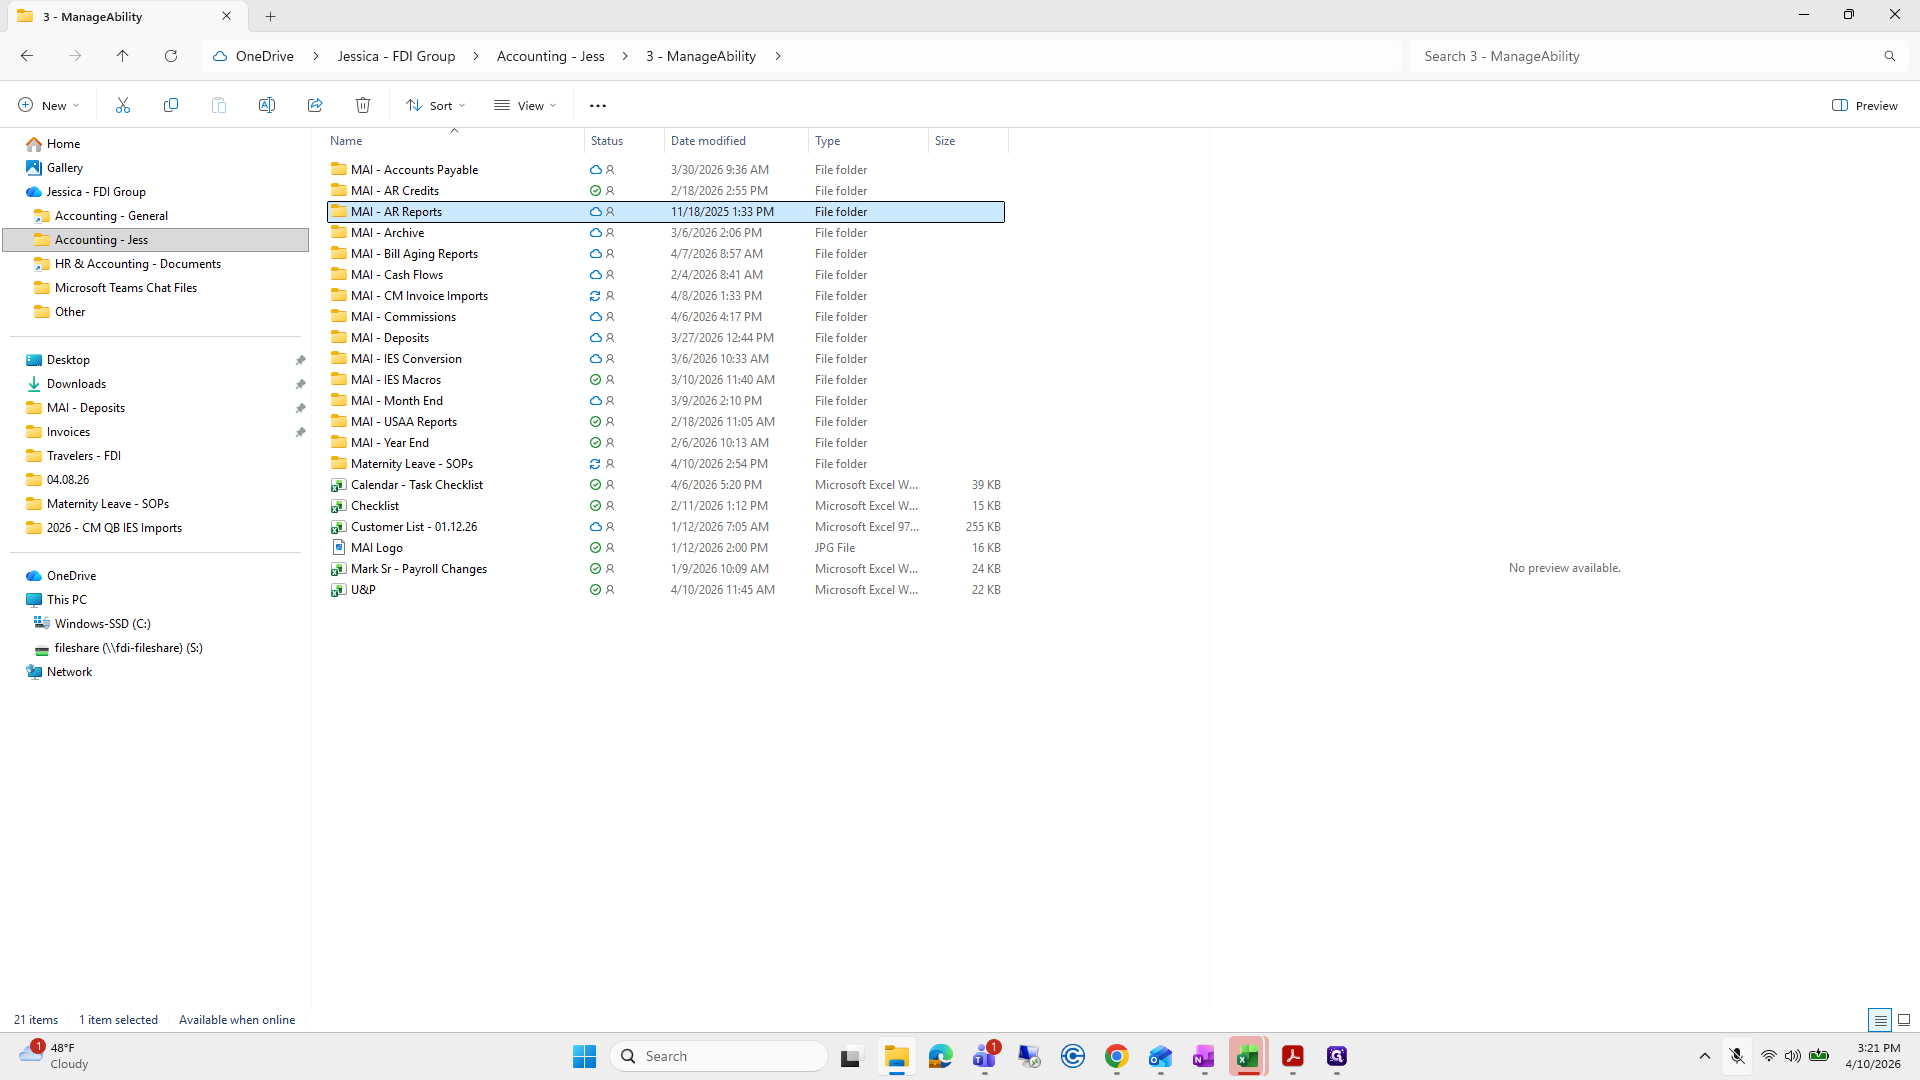
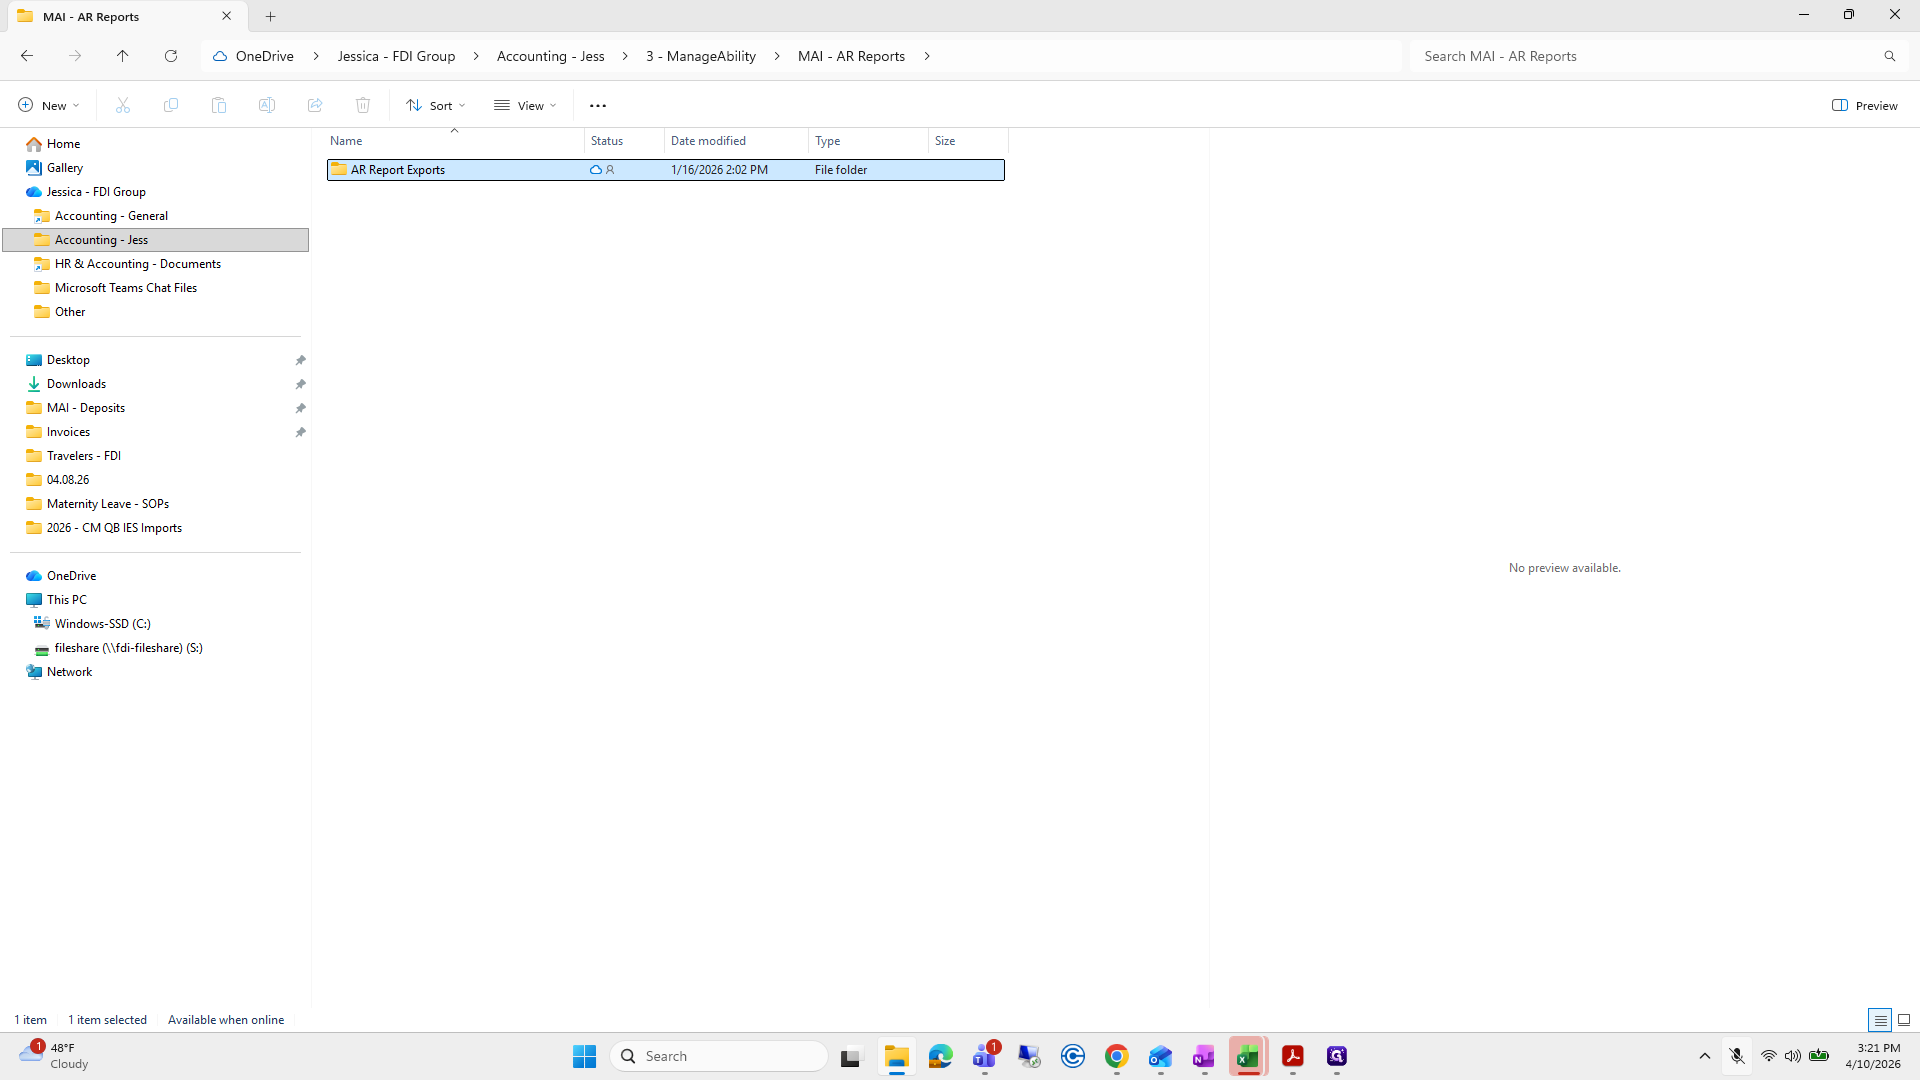
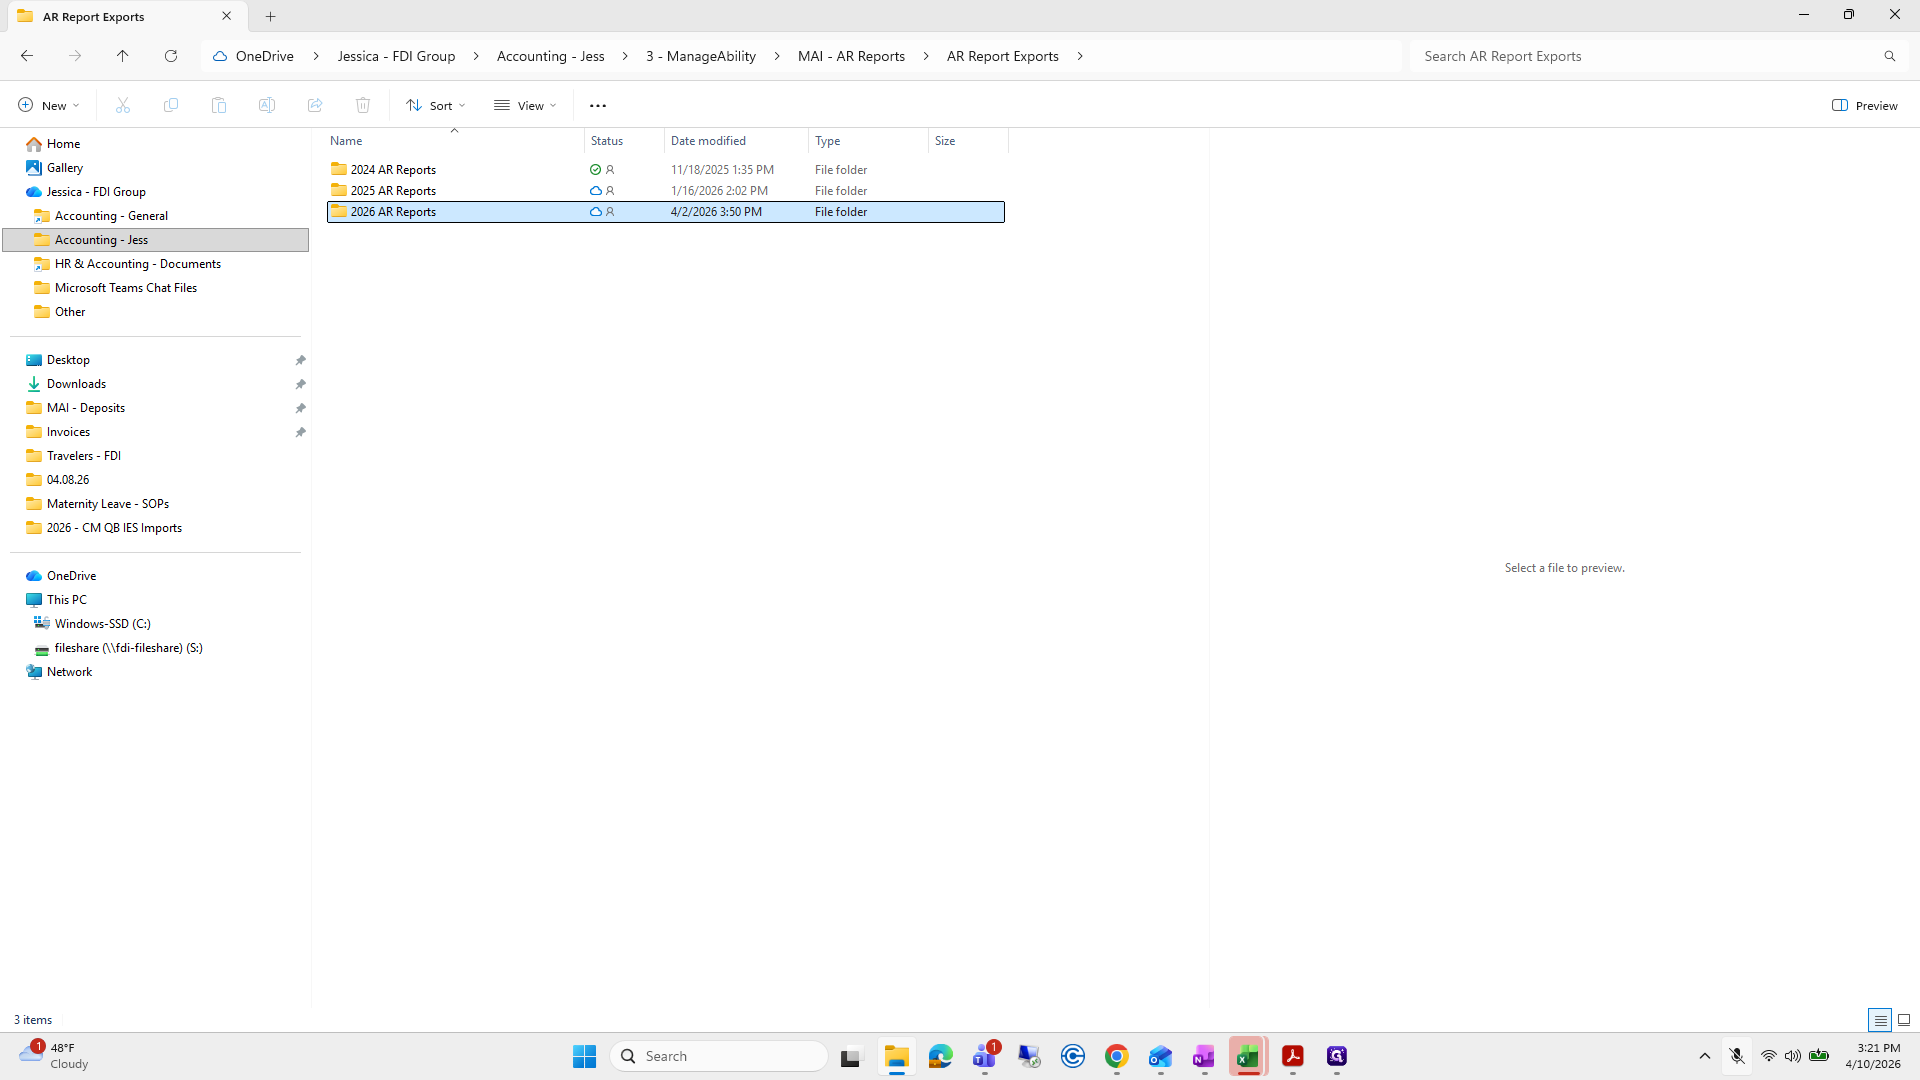
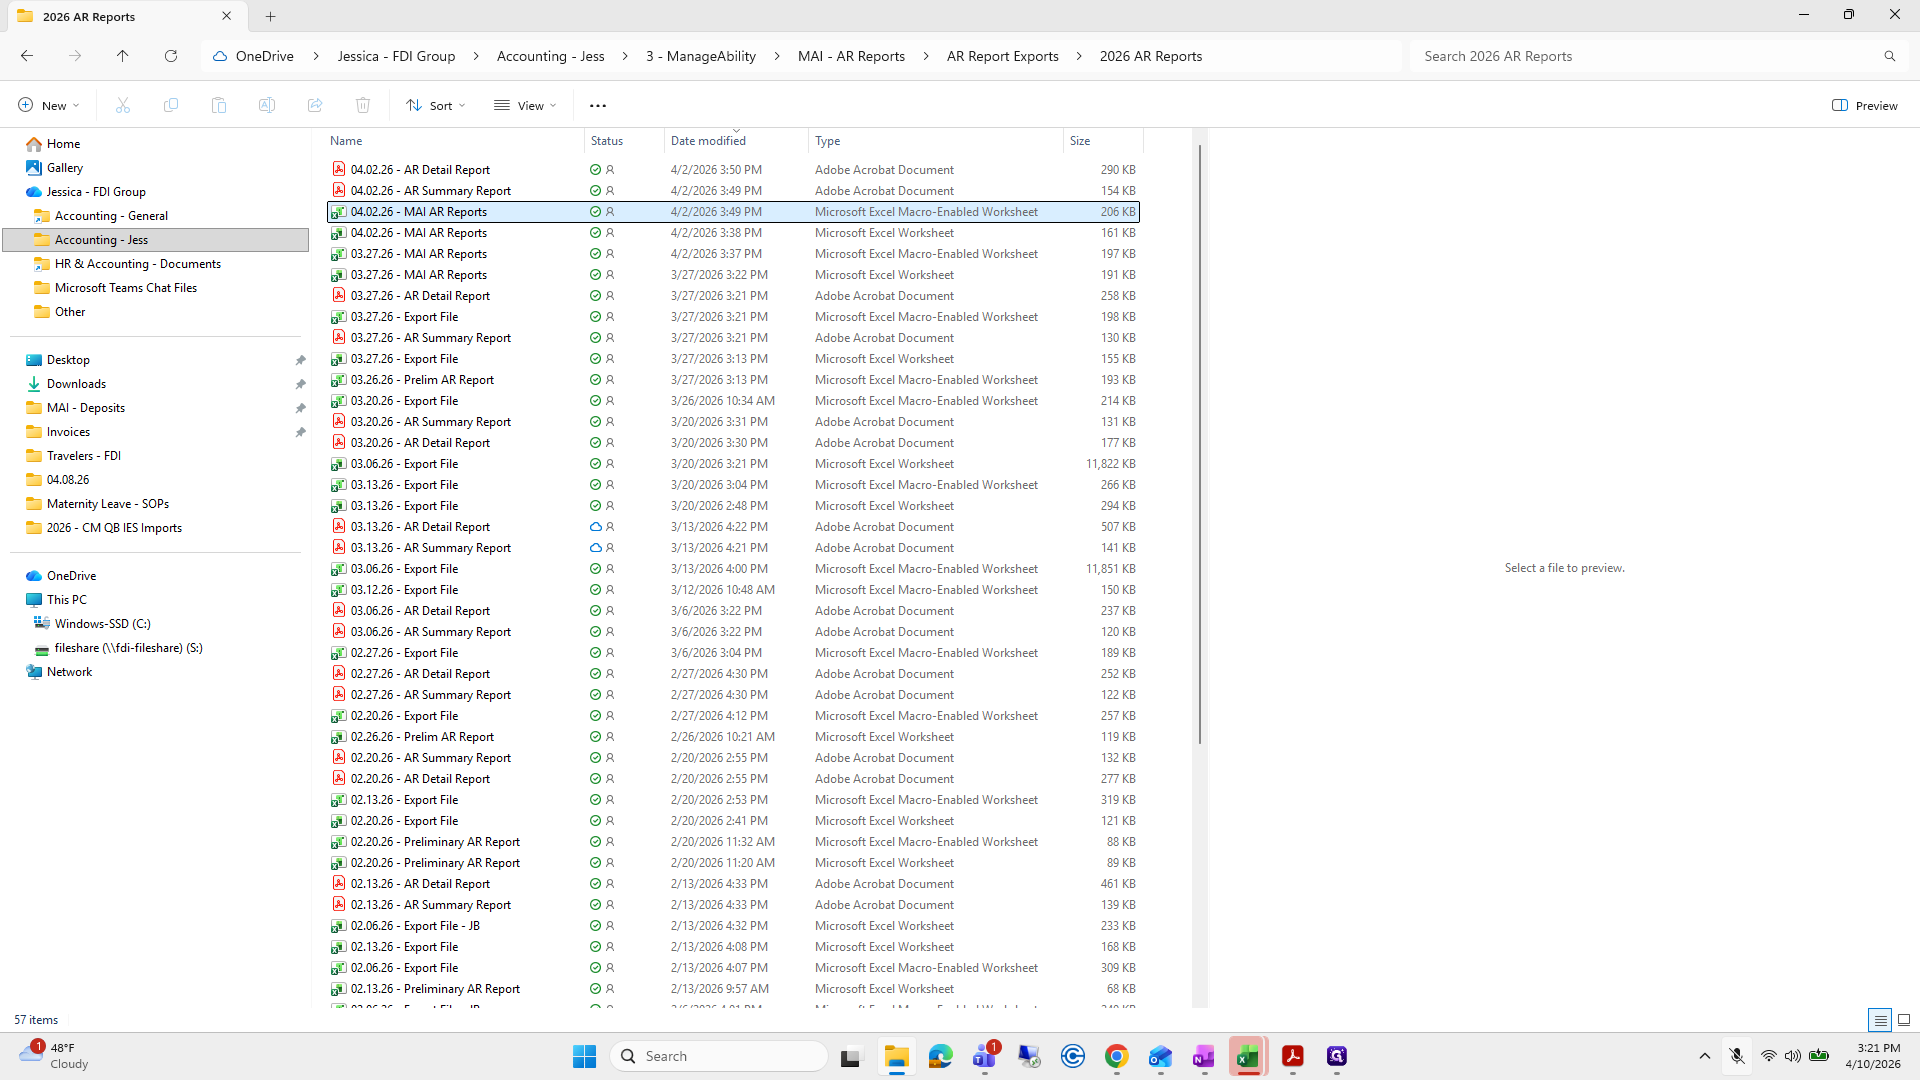
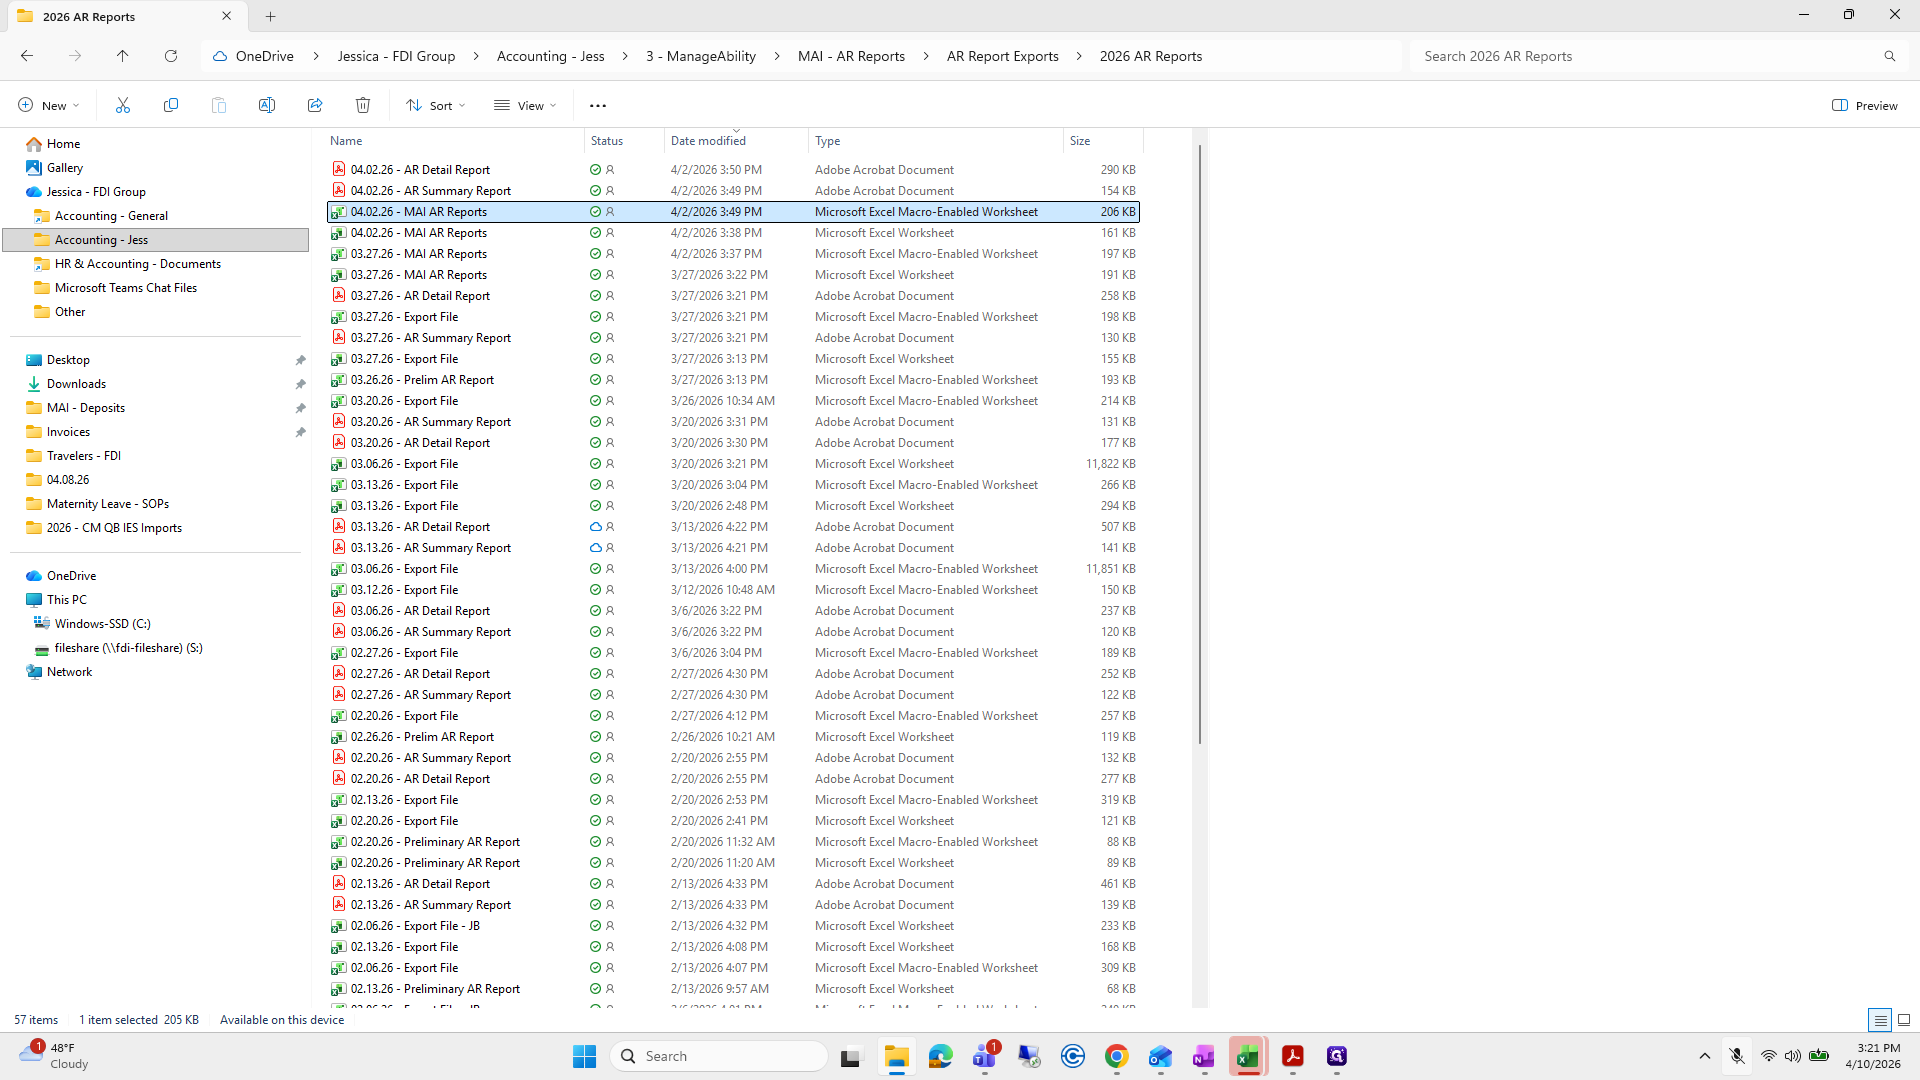
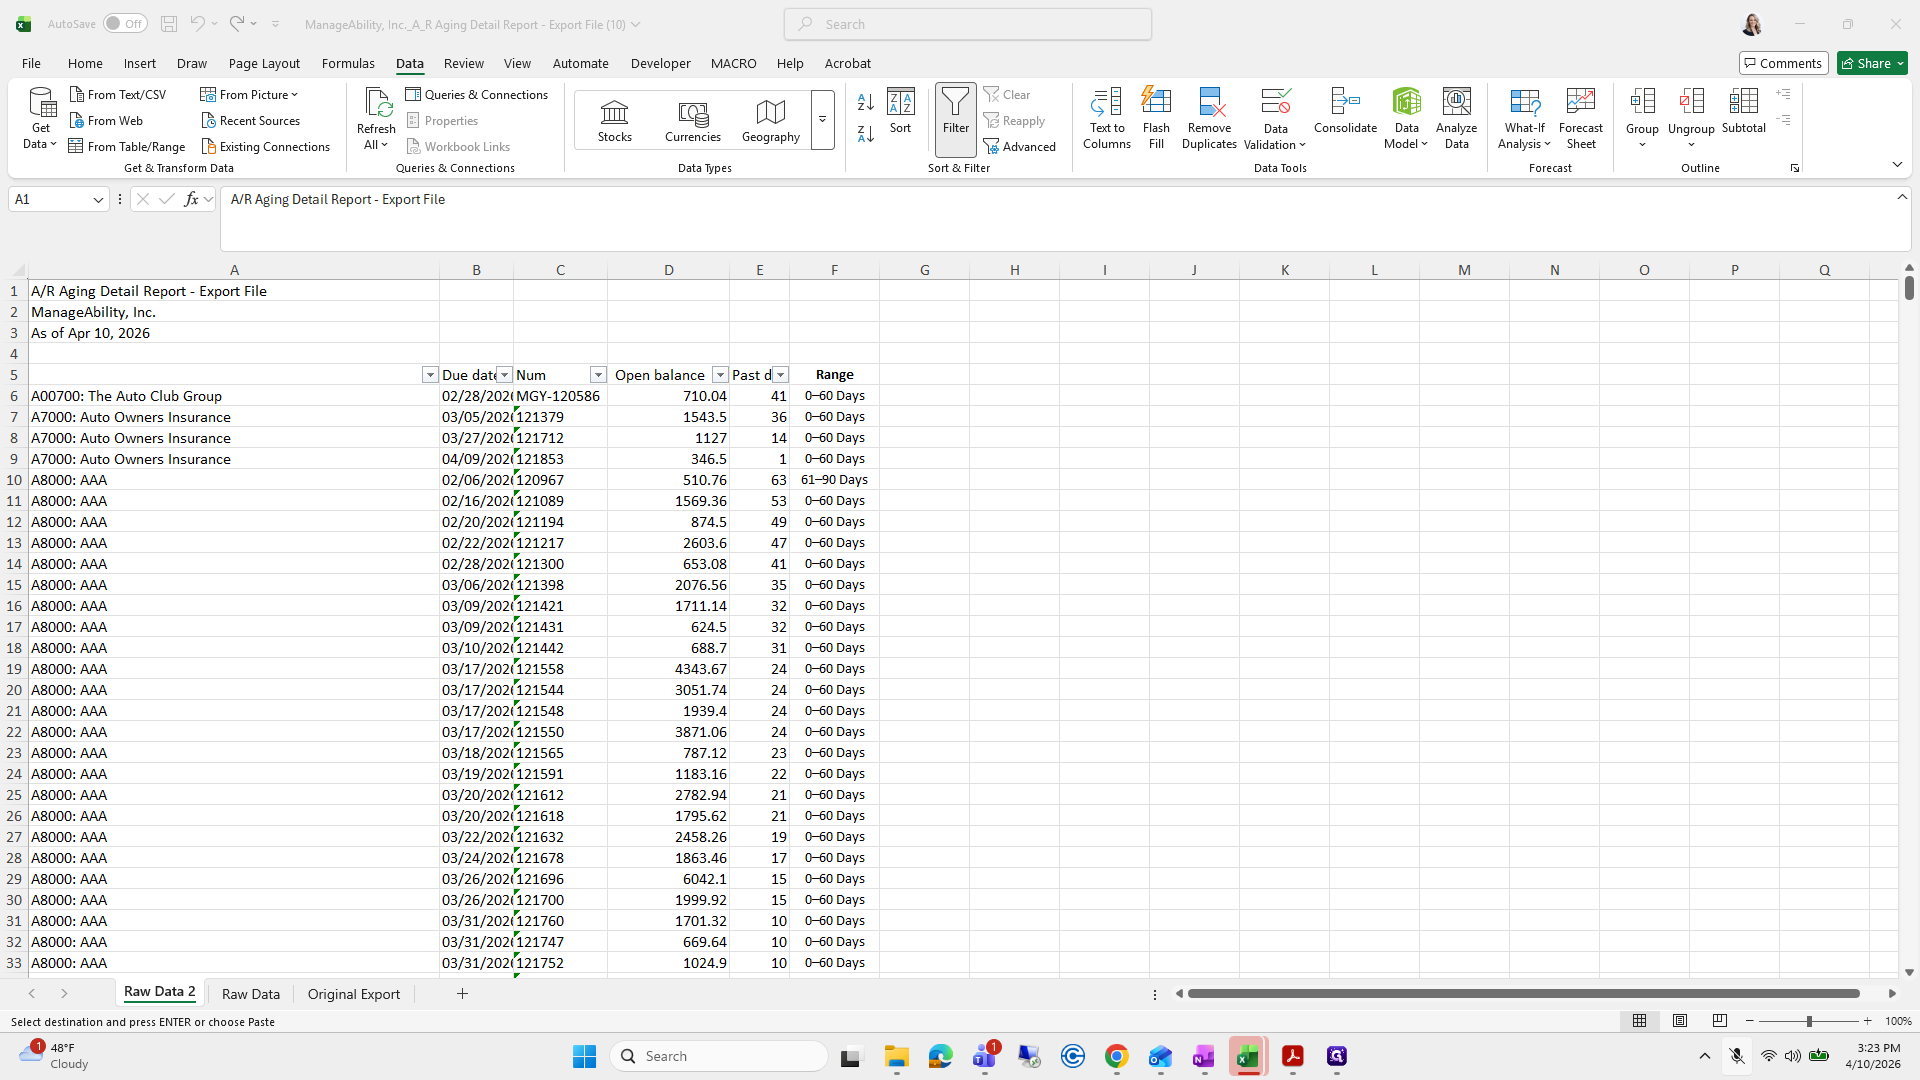
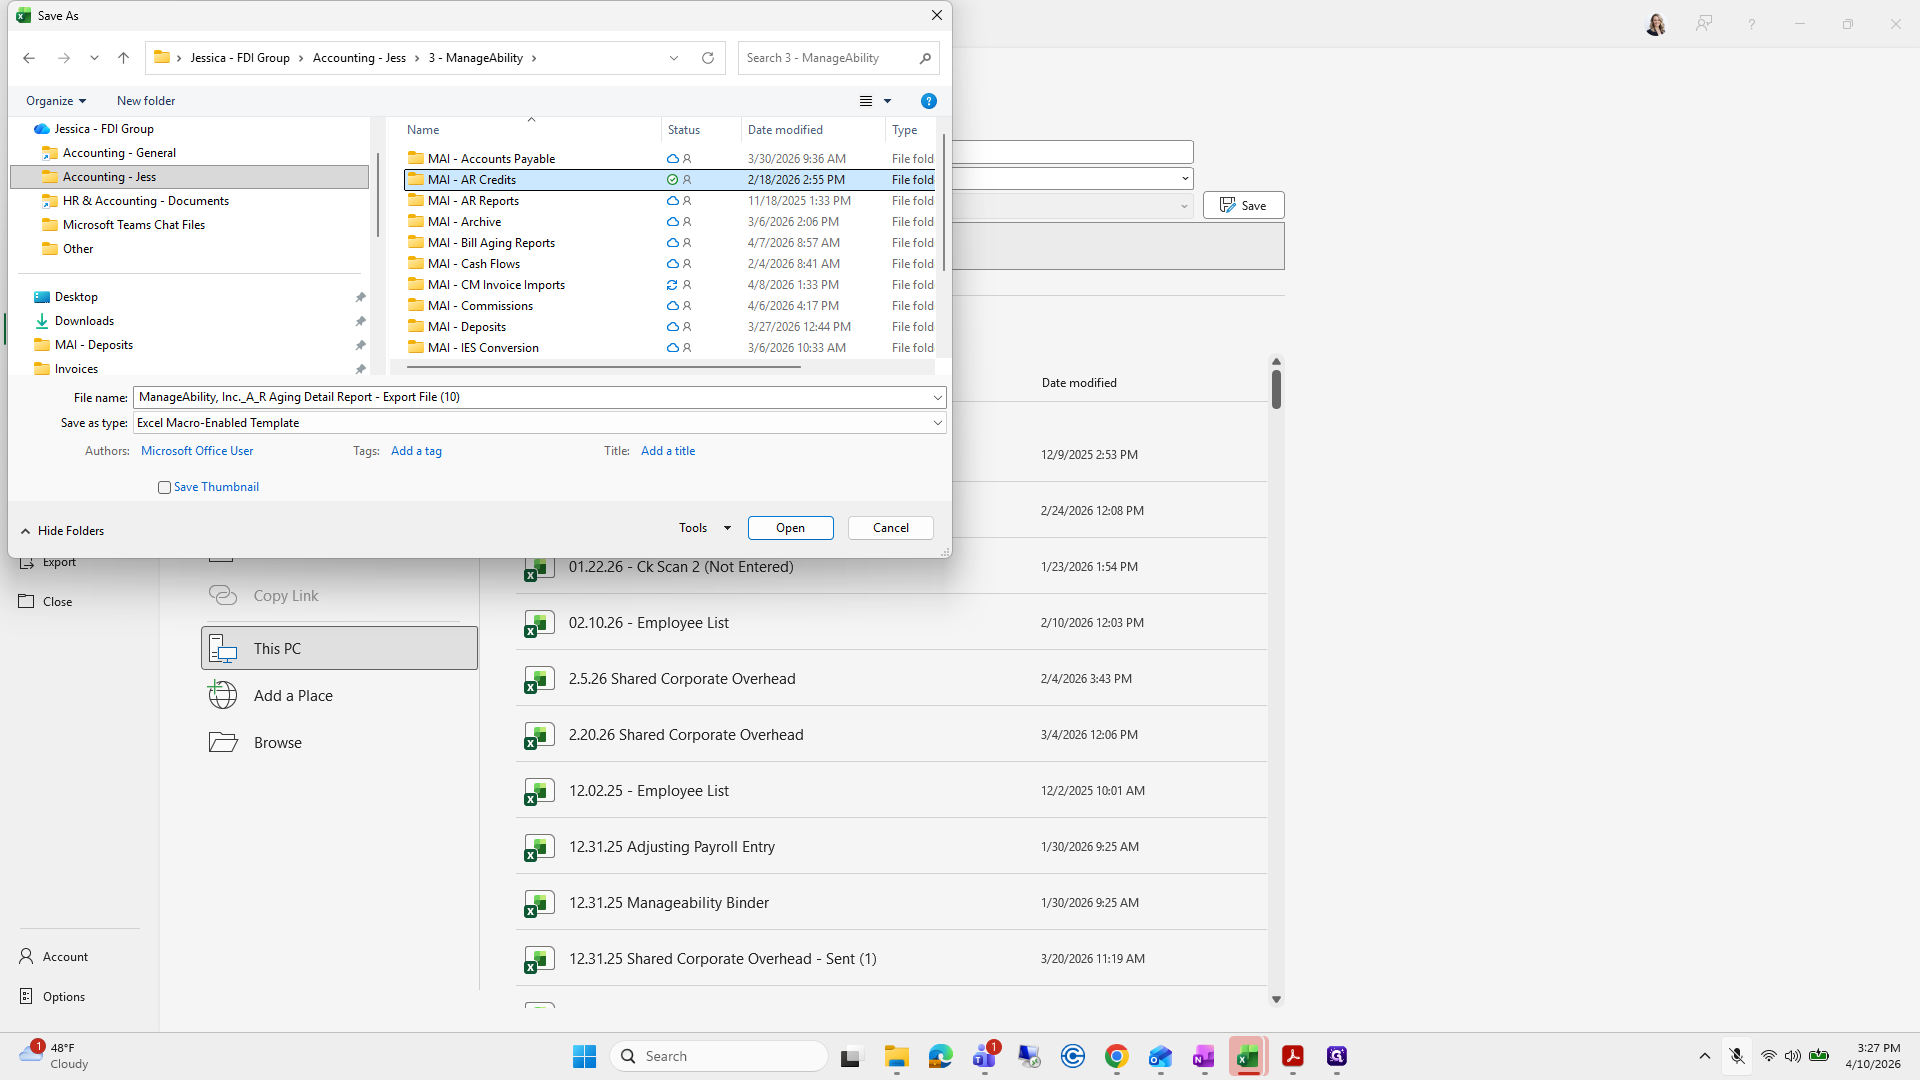
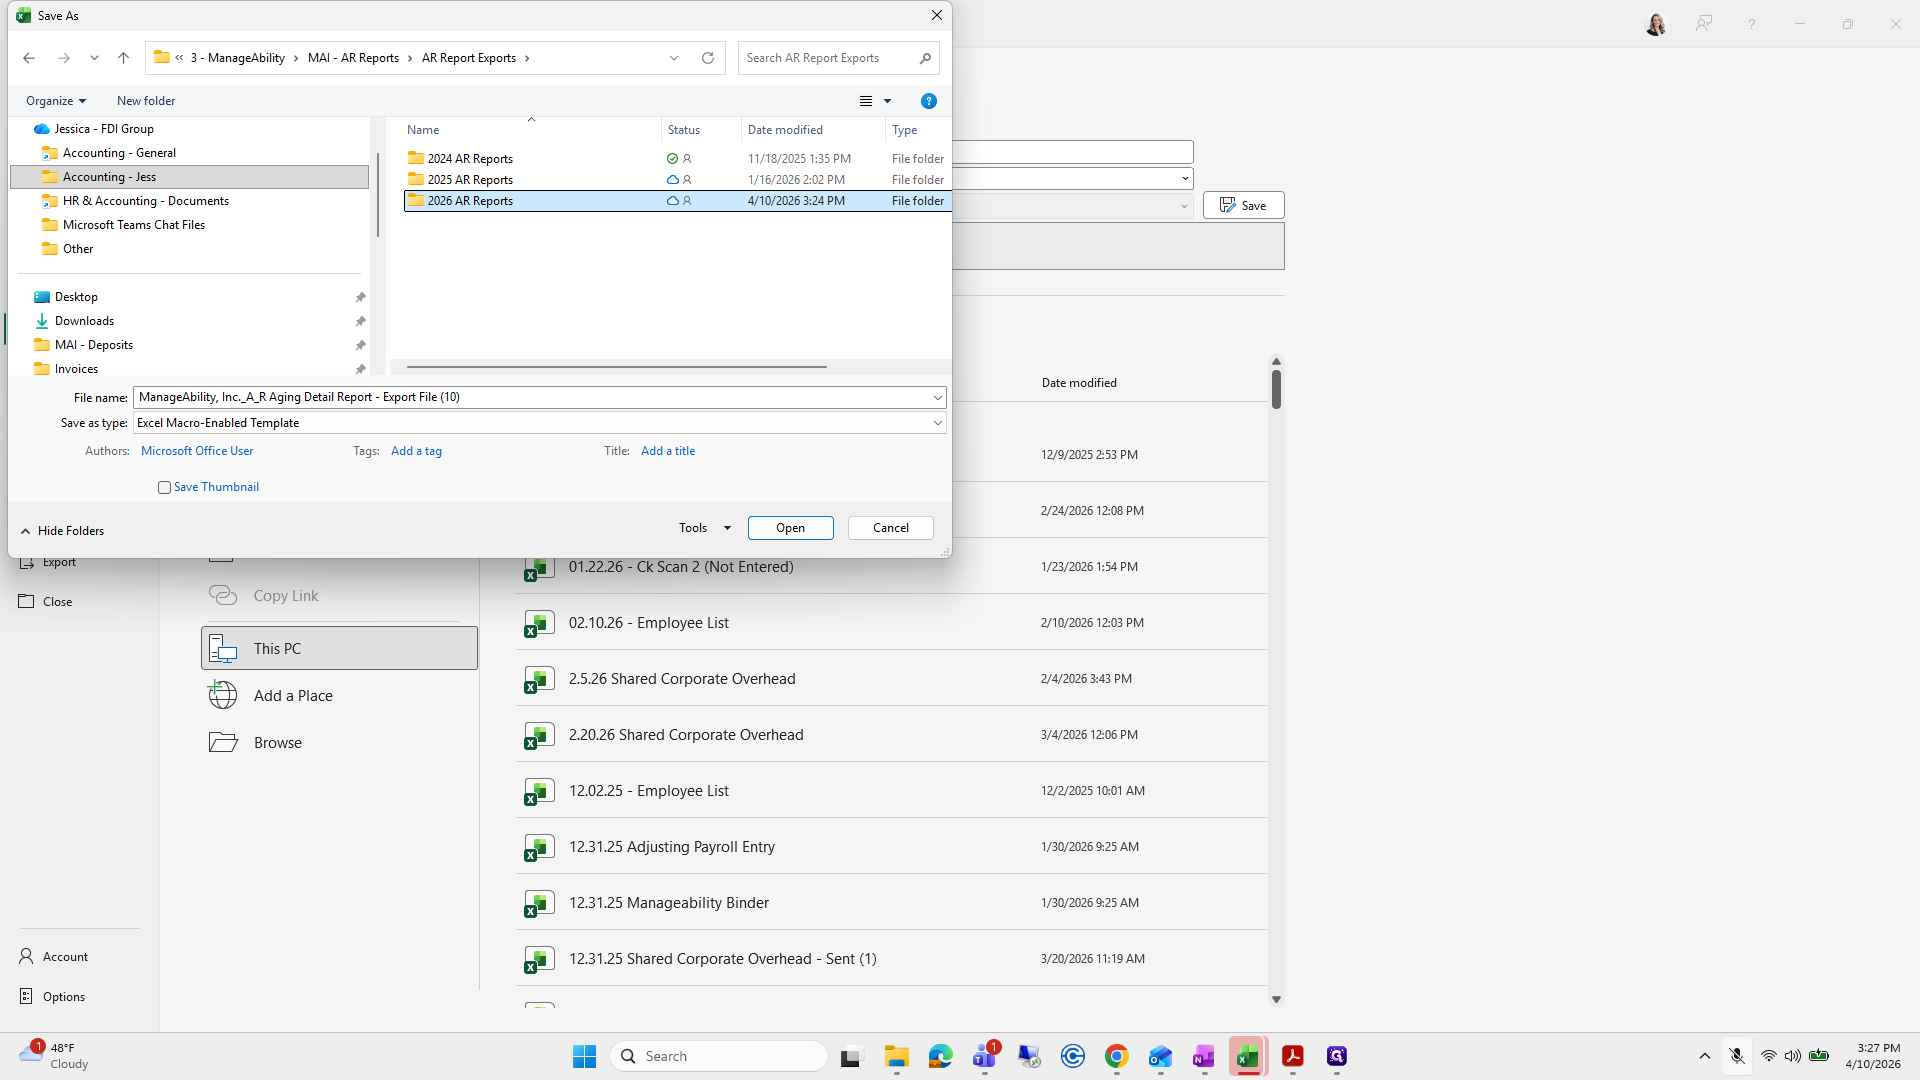
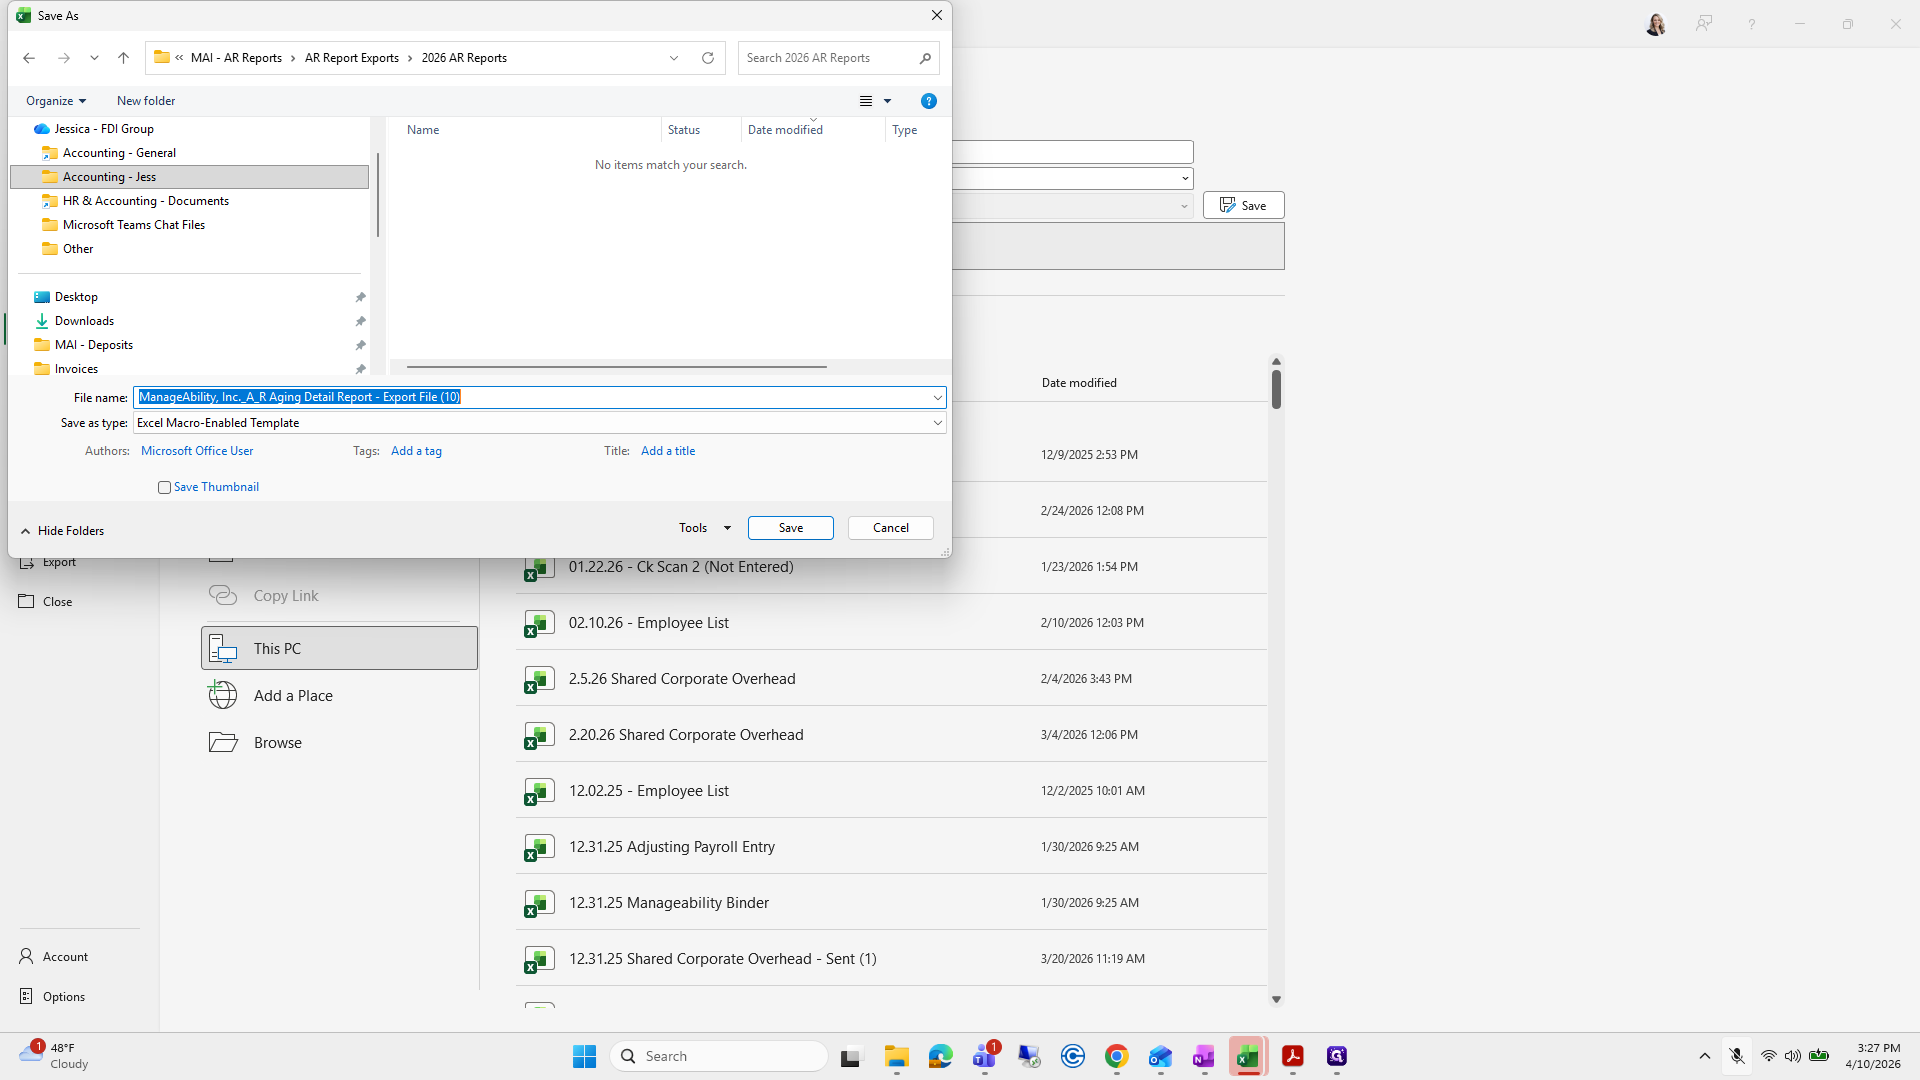
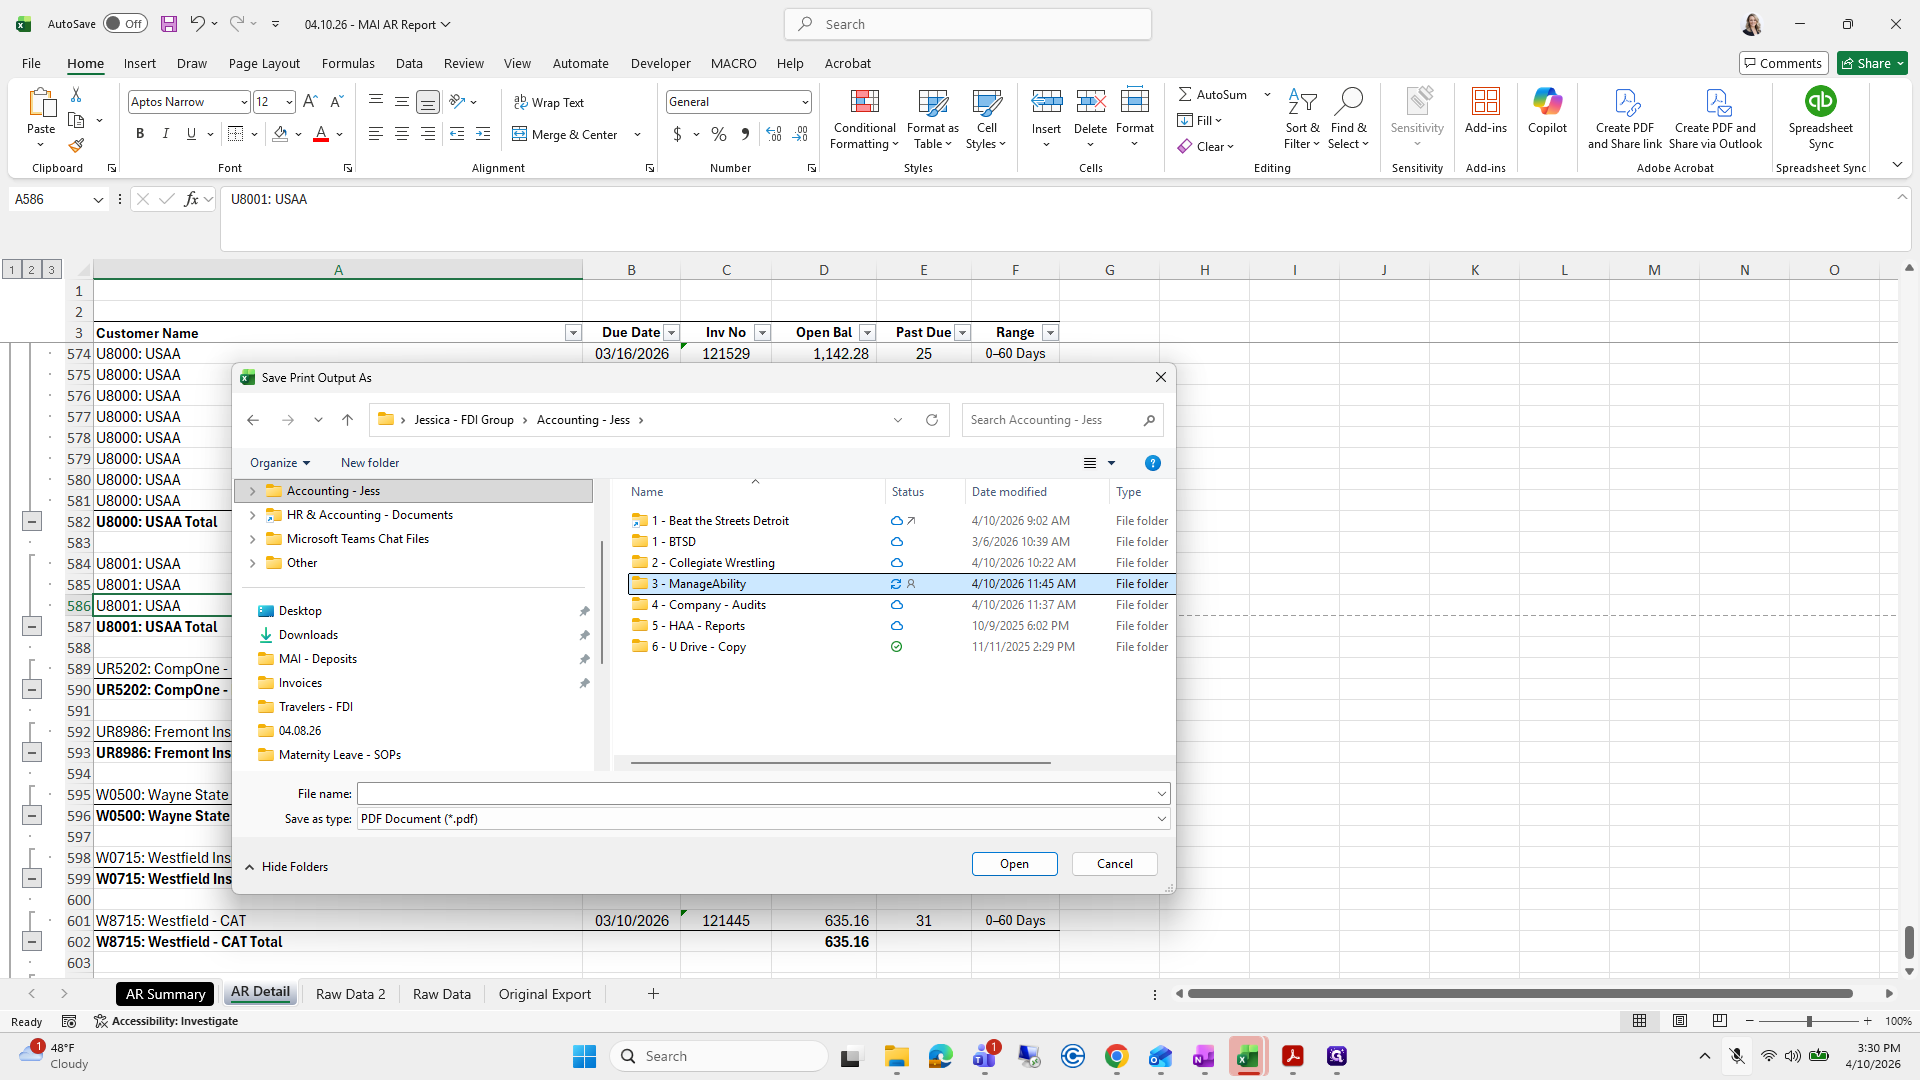
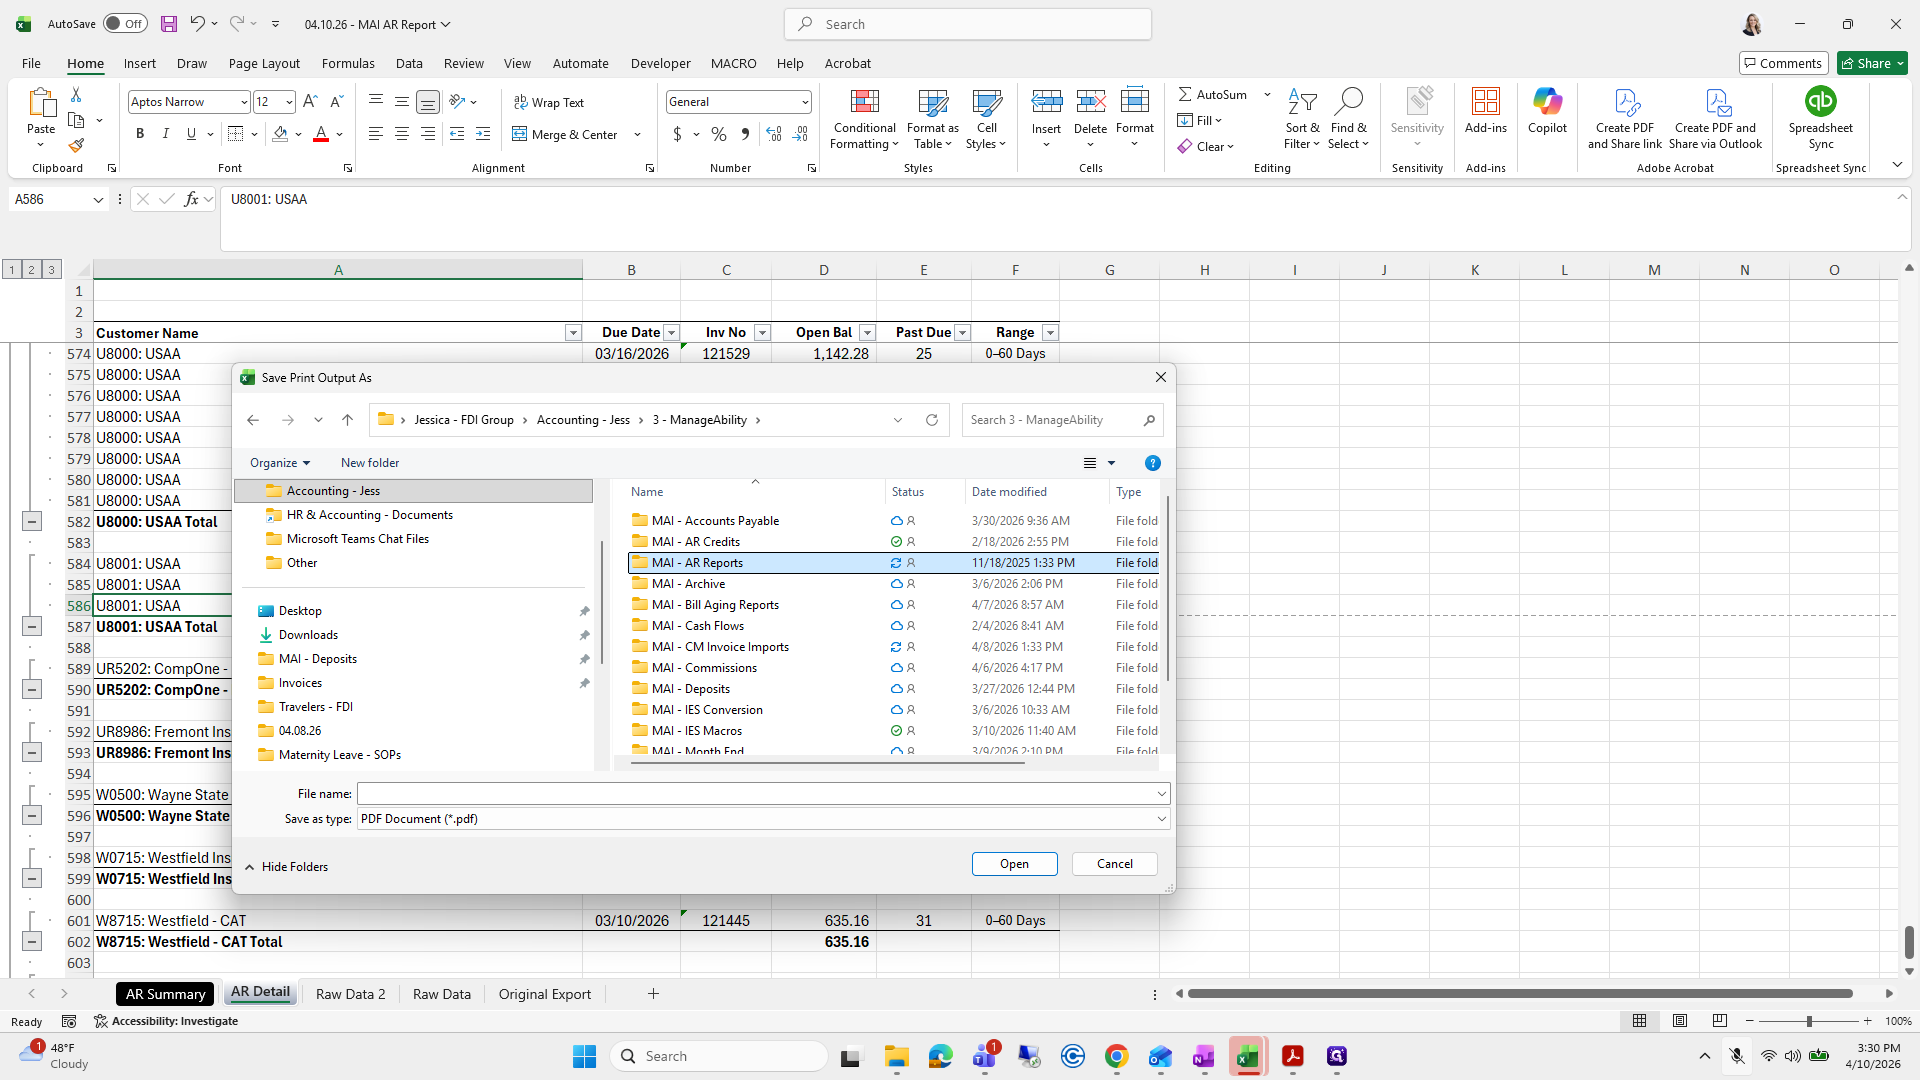
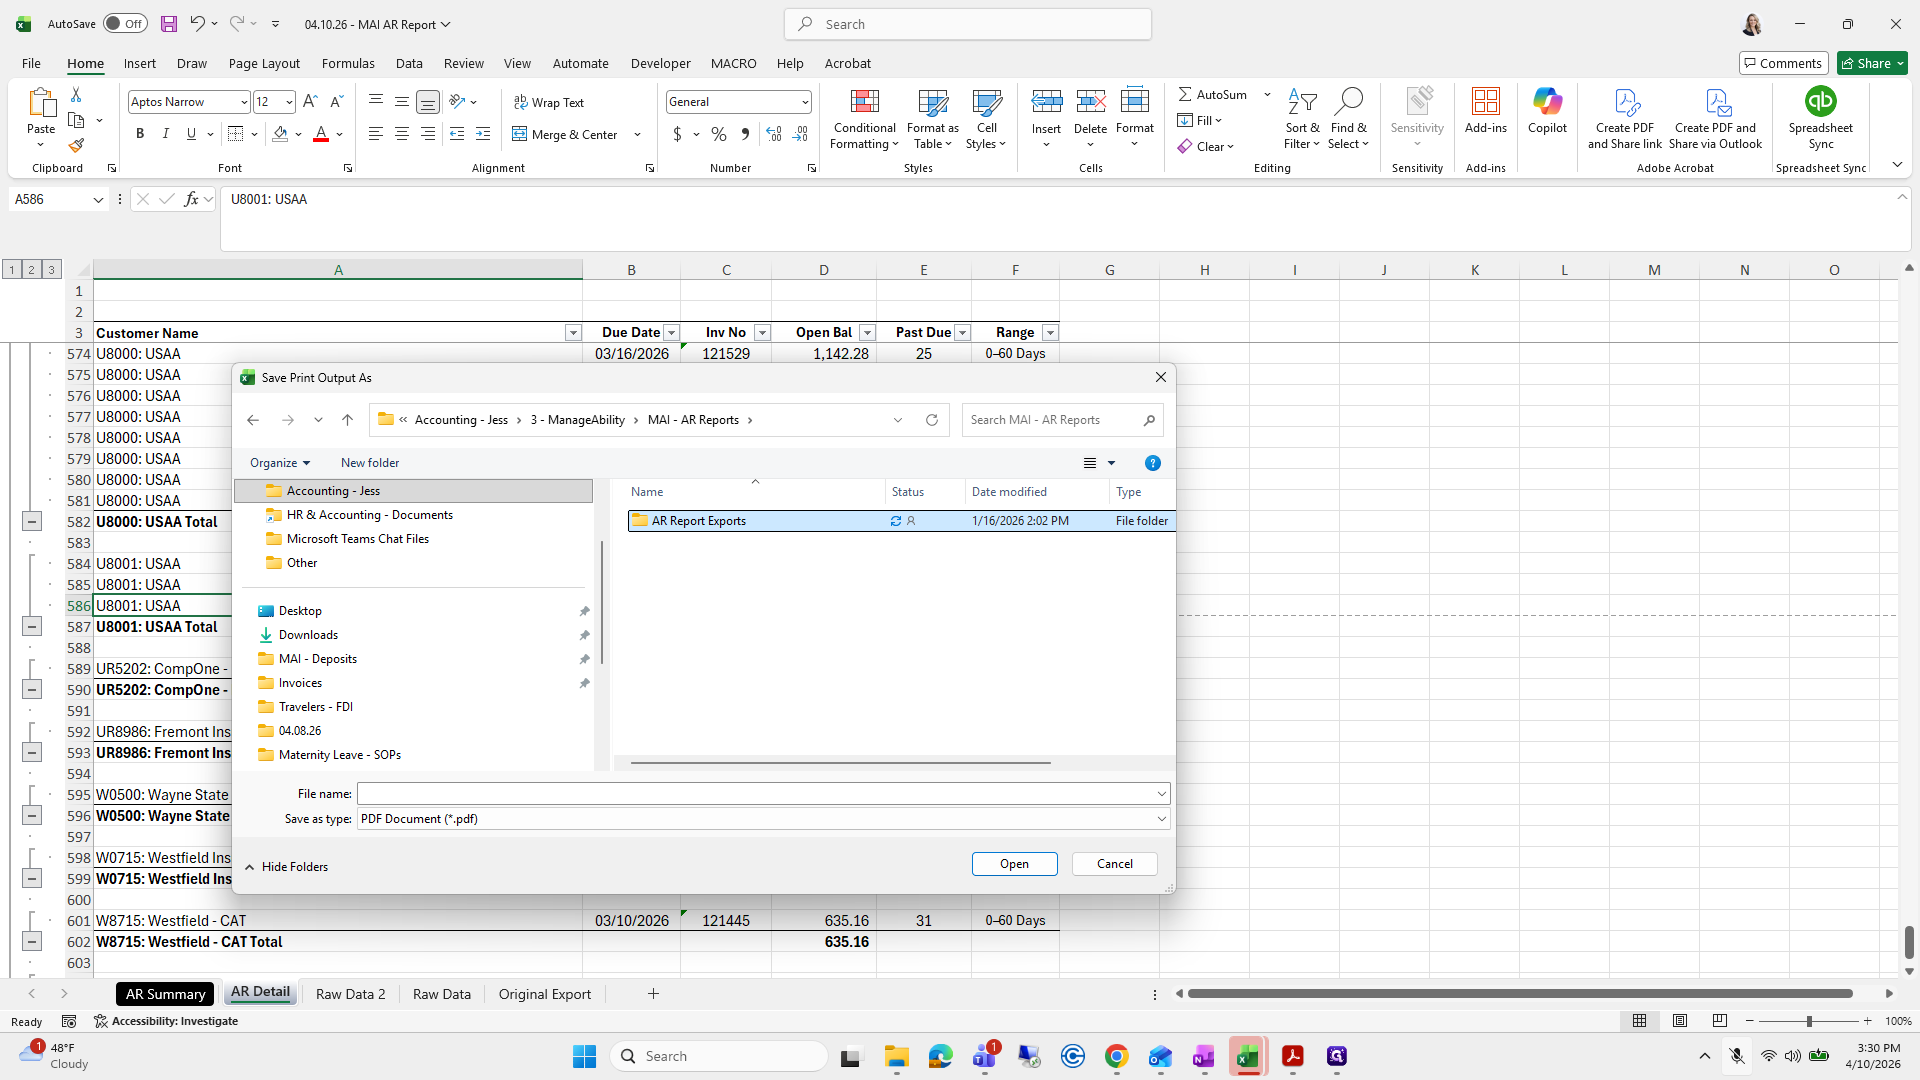
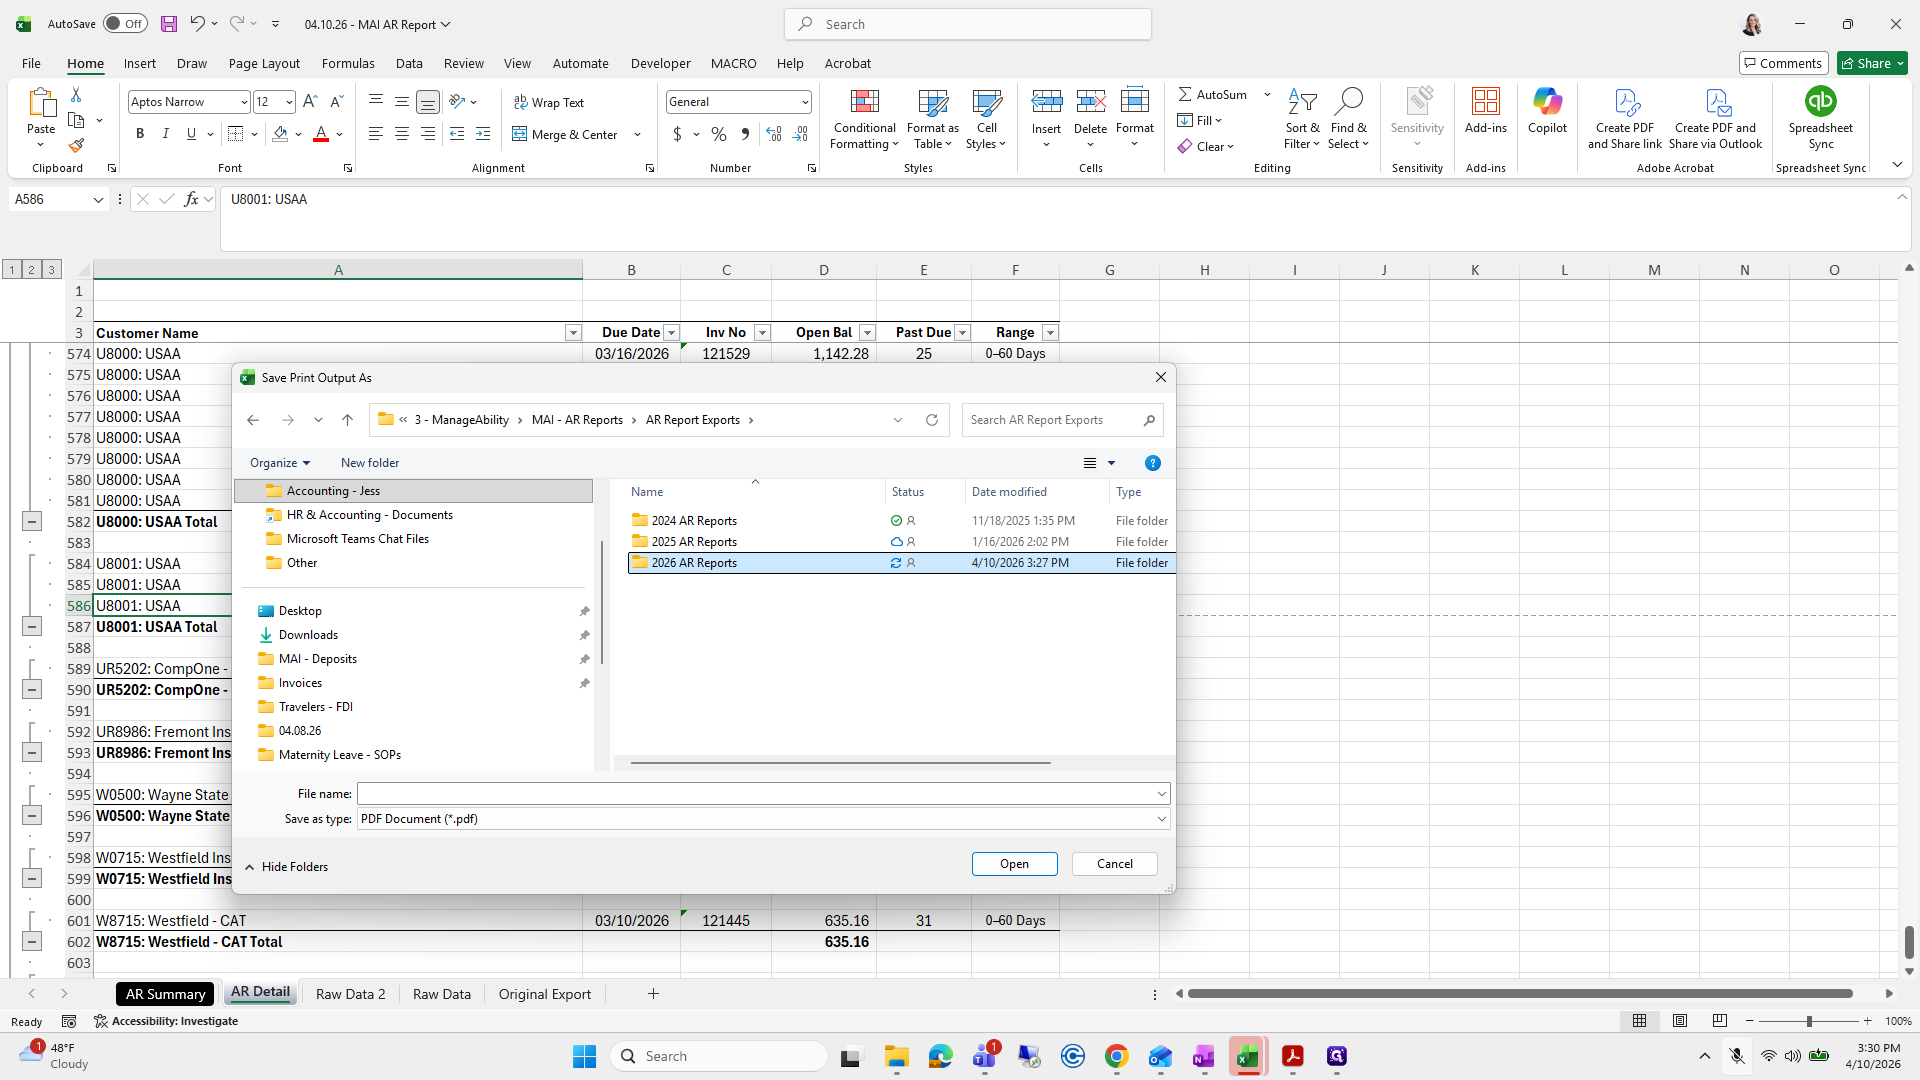
Next, go to the Manageability folder, open AR Reports, and select 2026. Then, choose the latest macro-enabled report from that folder.
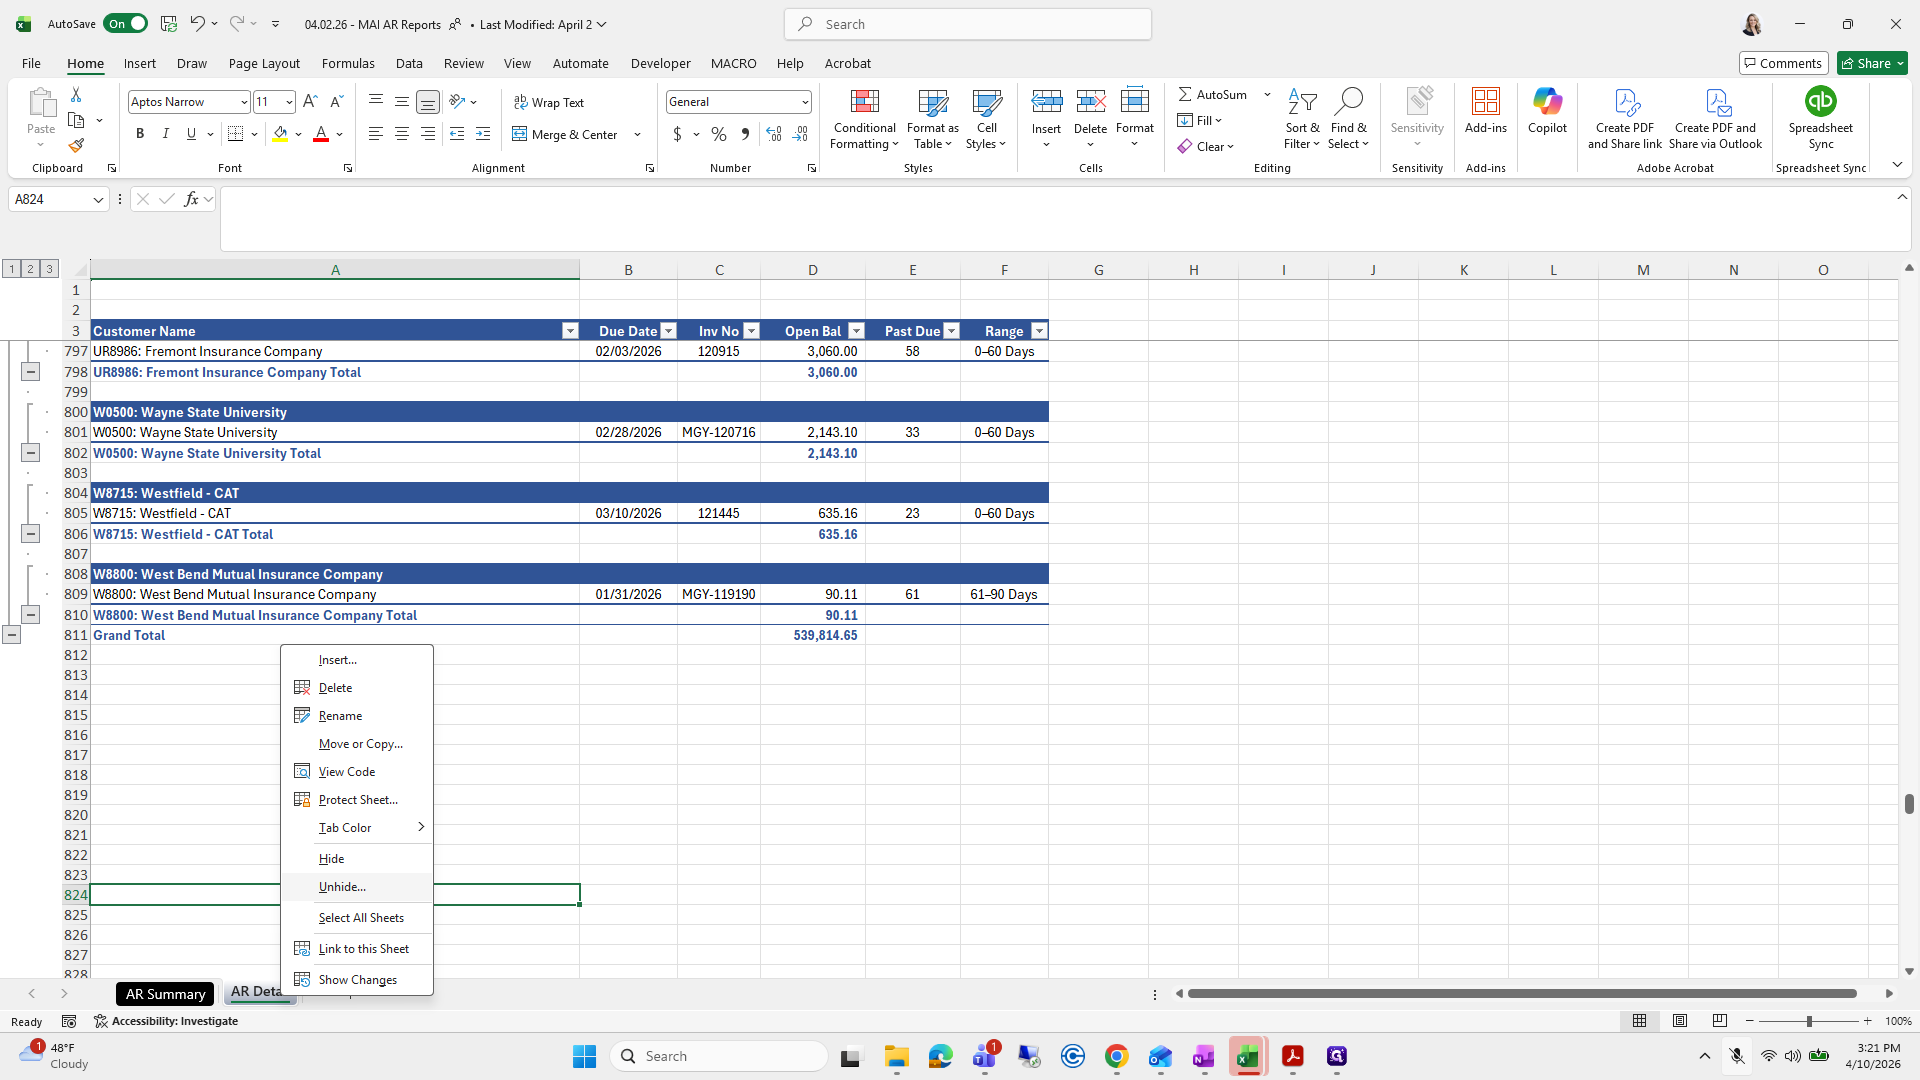
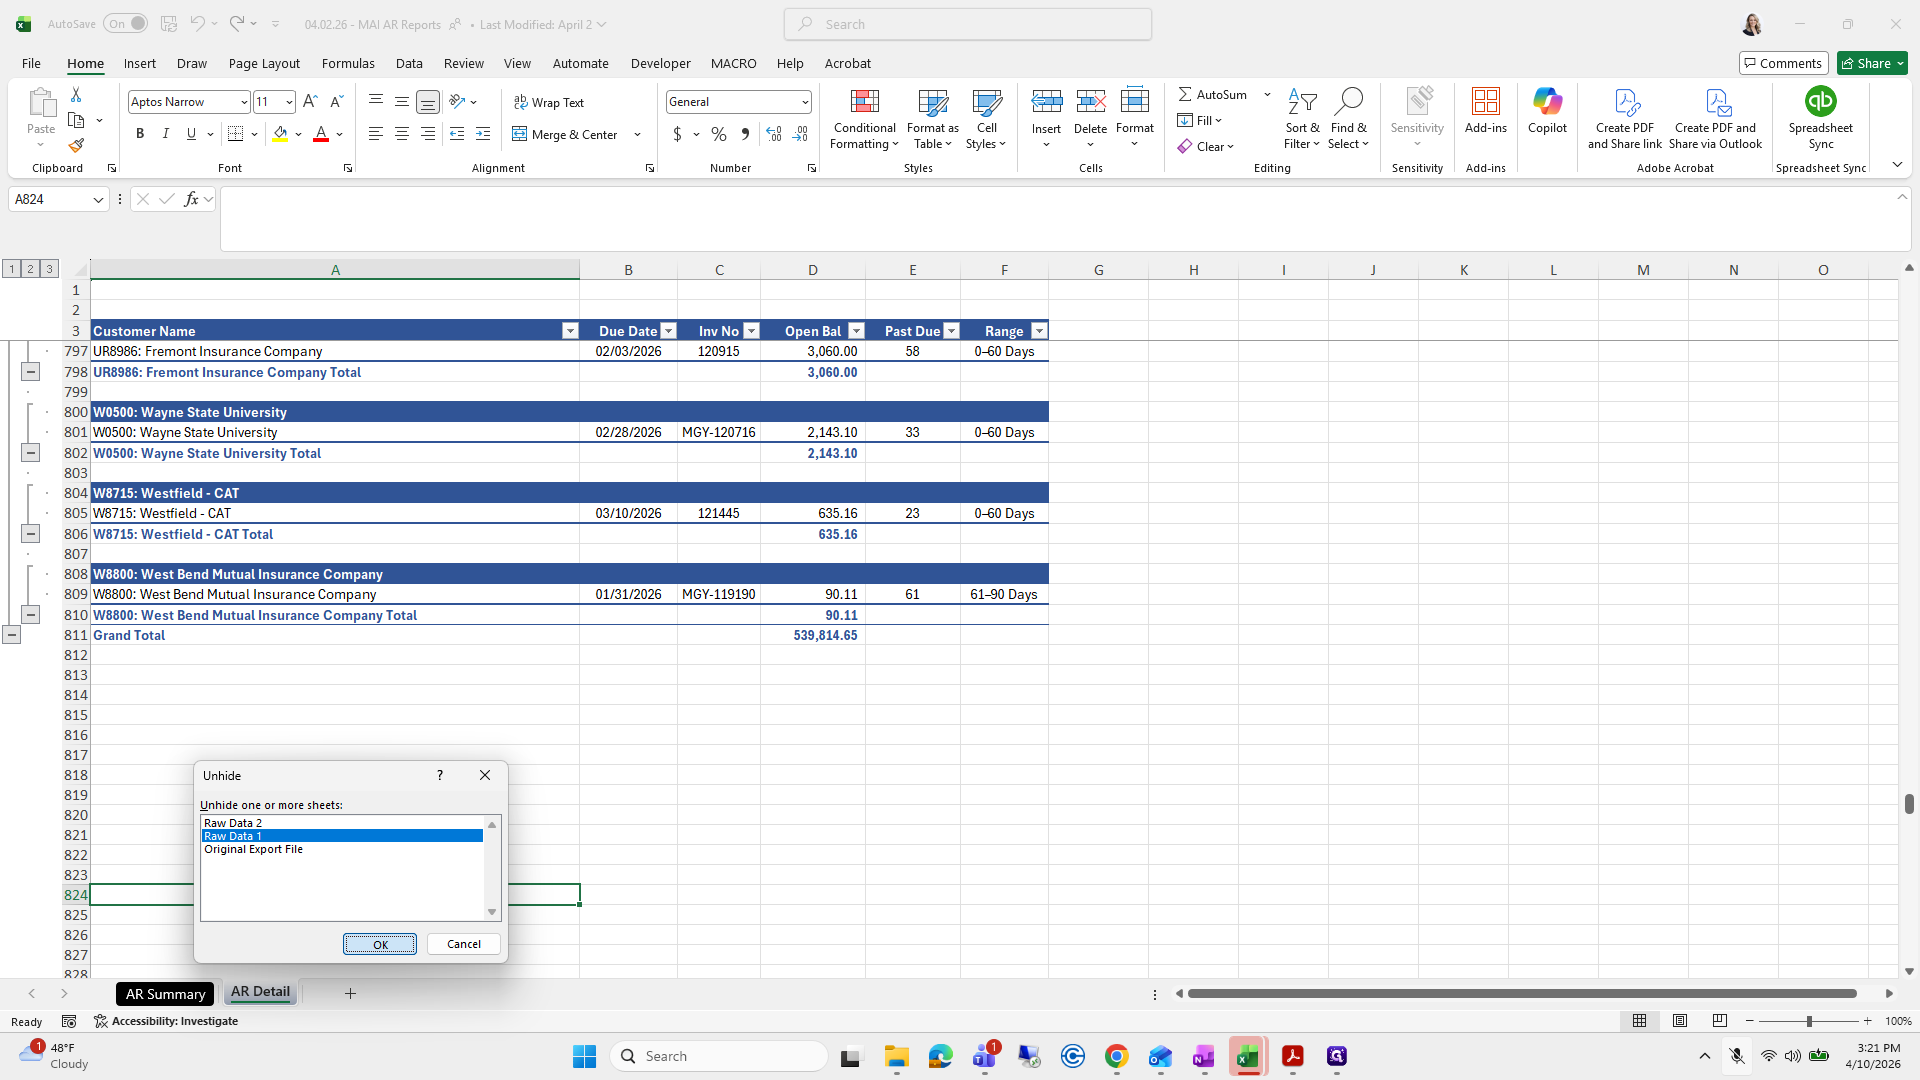
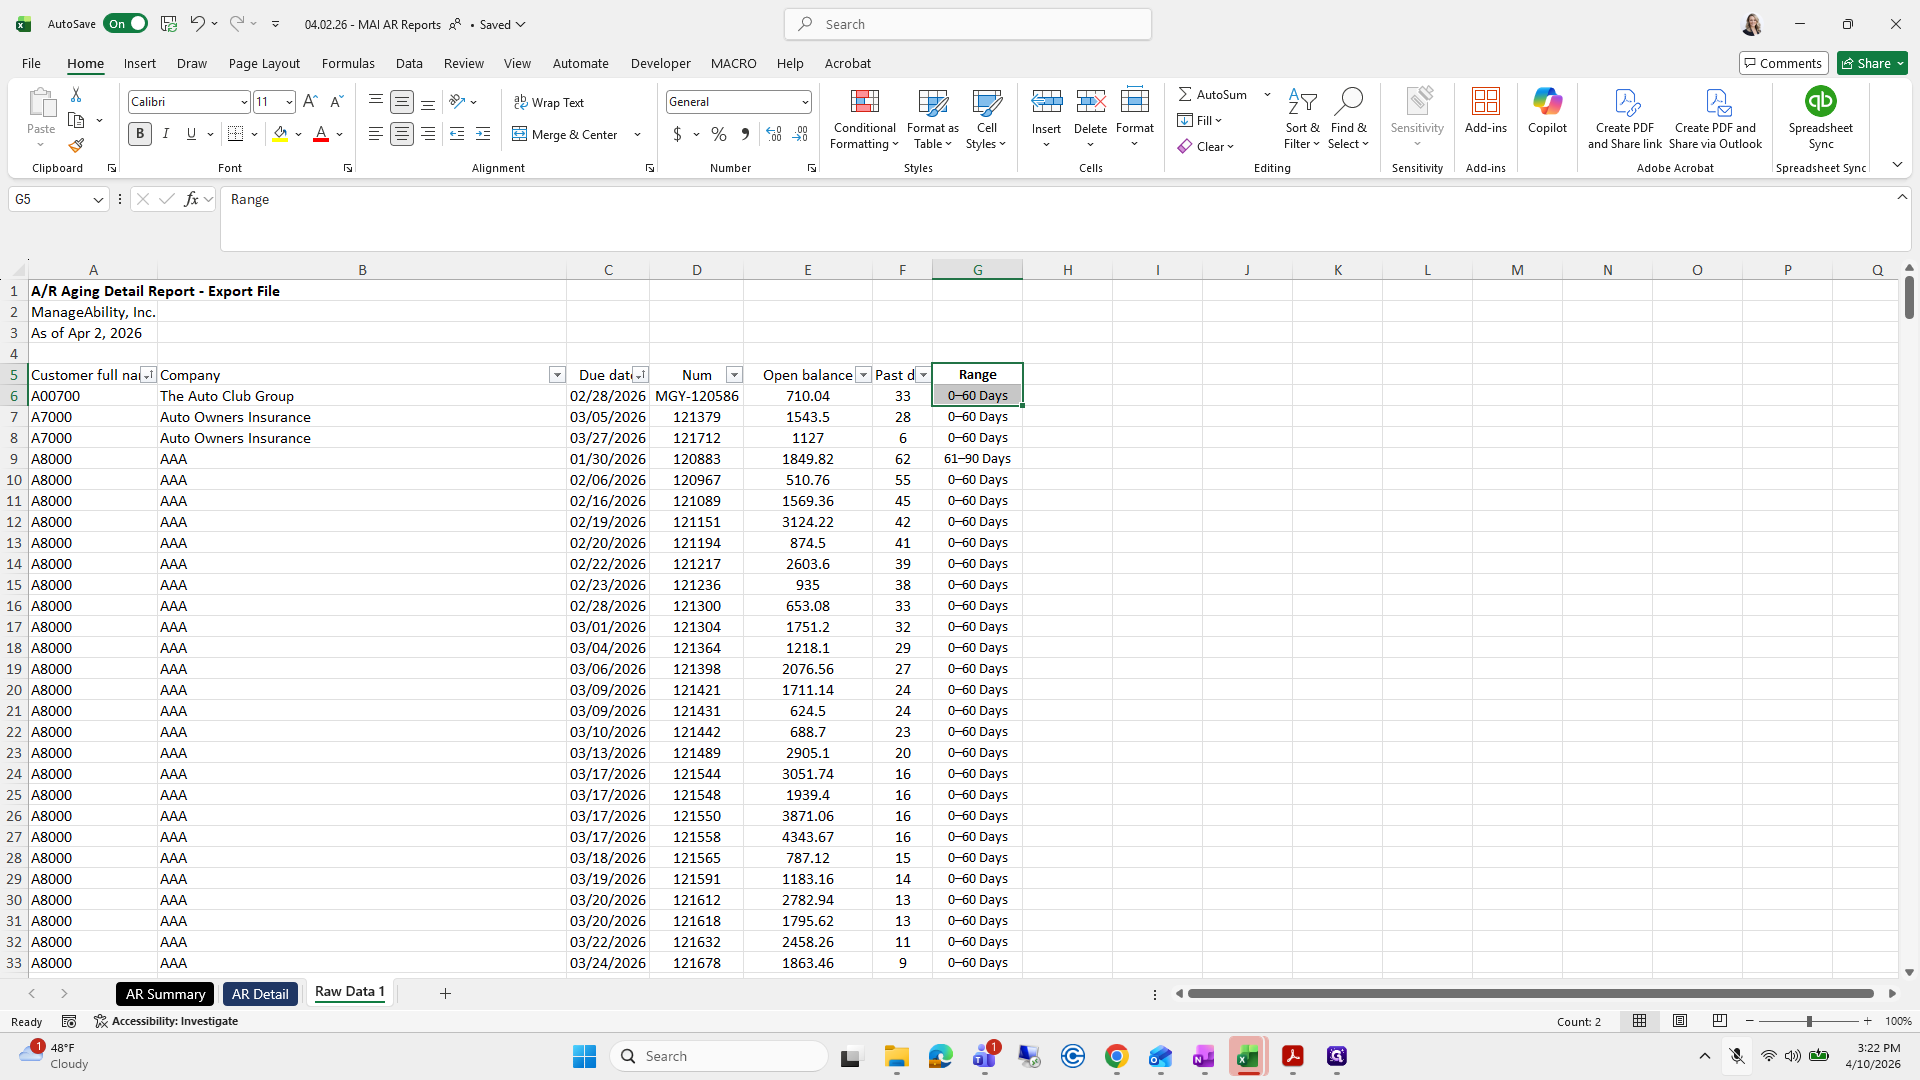
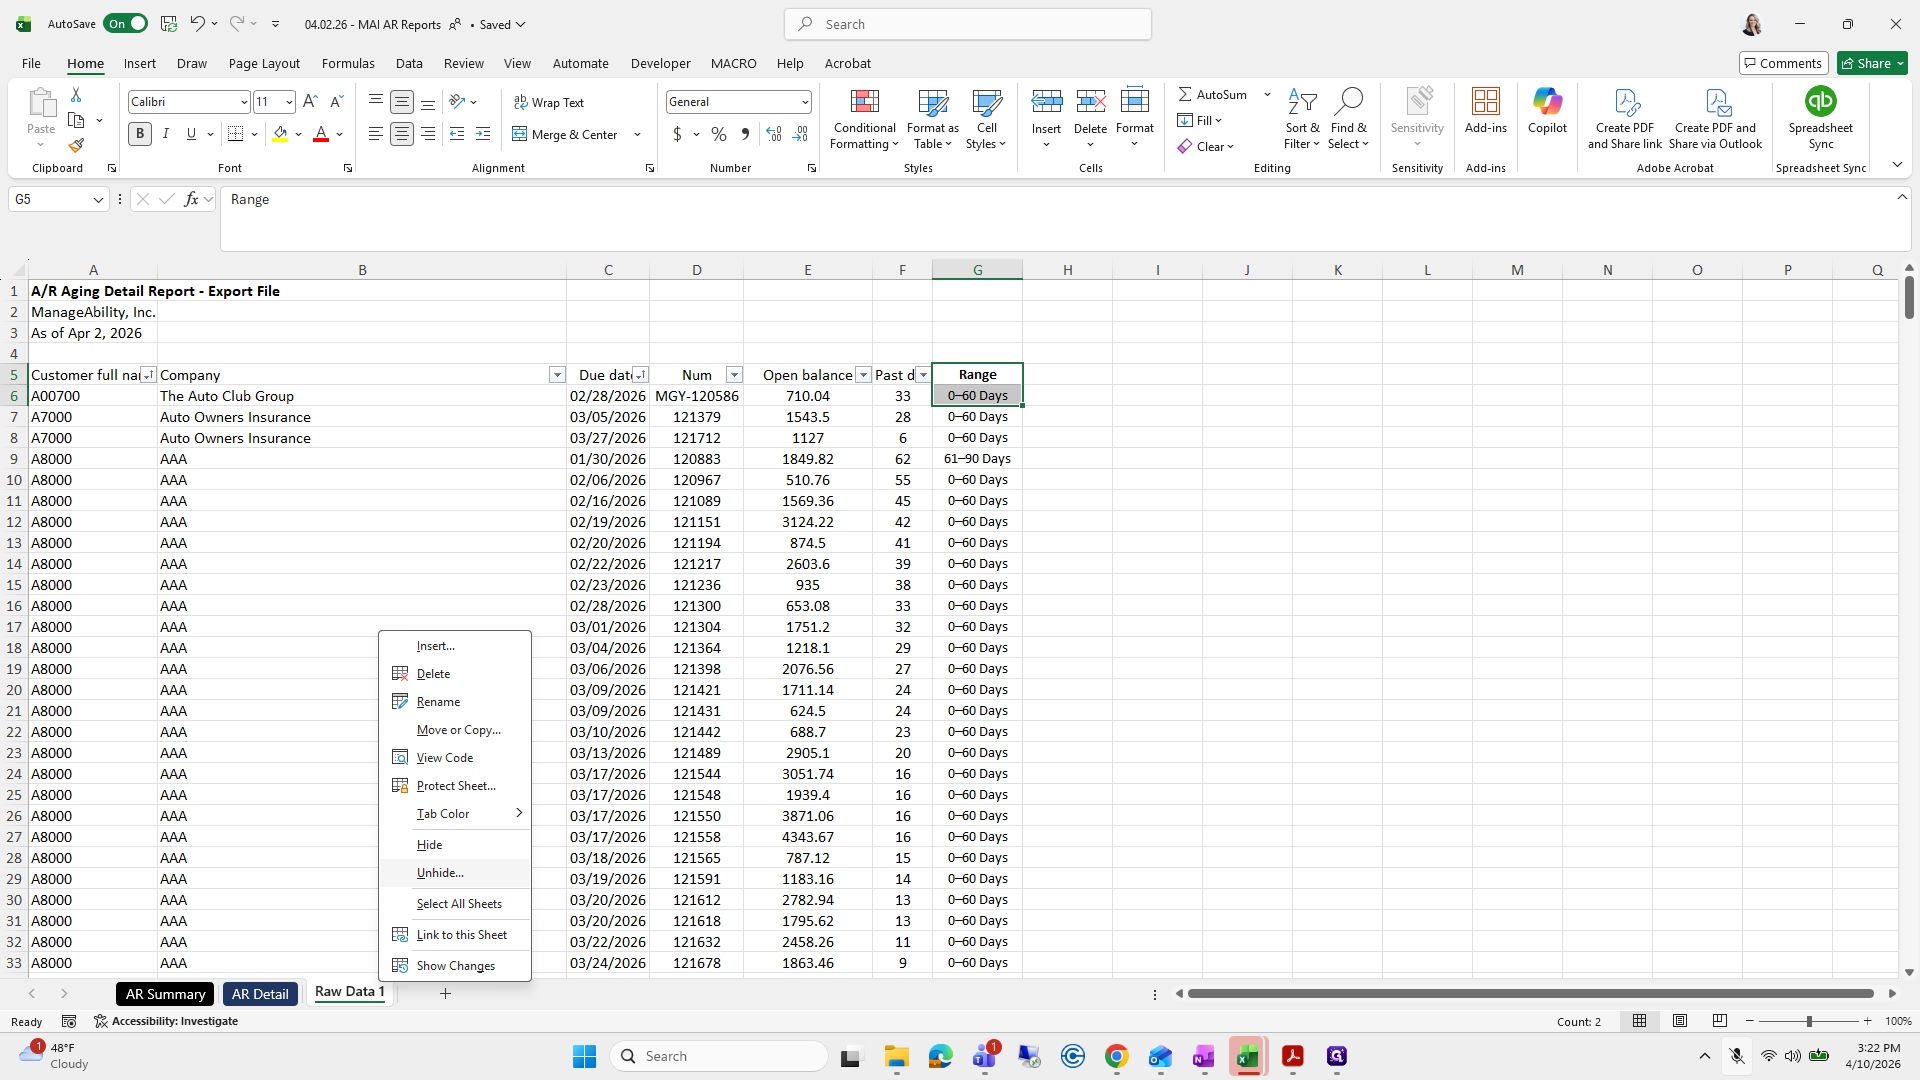
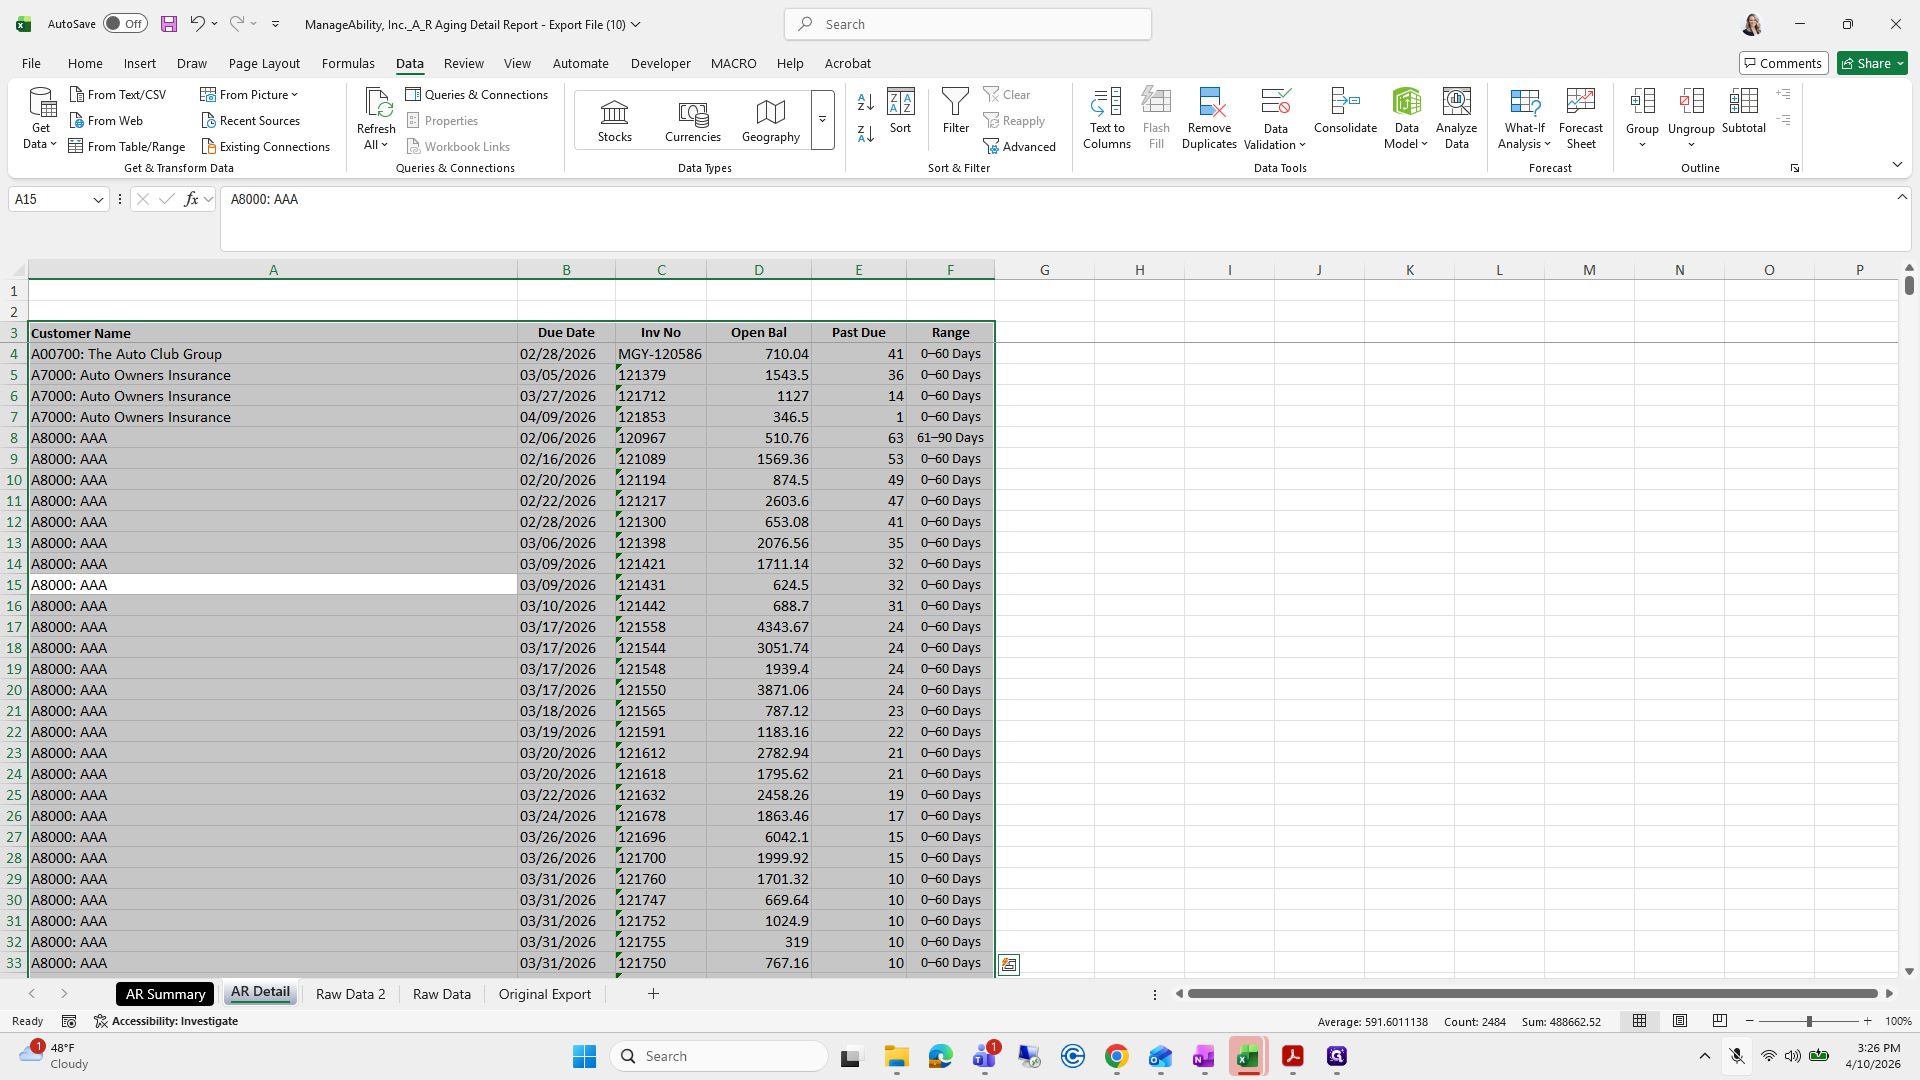
I will unhide my Raw Data tab because it contains formulas I want to copy and paste.

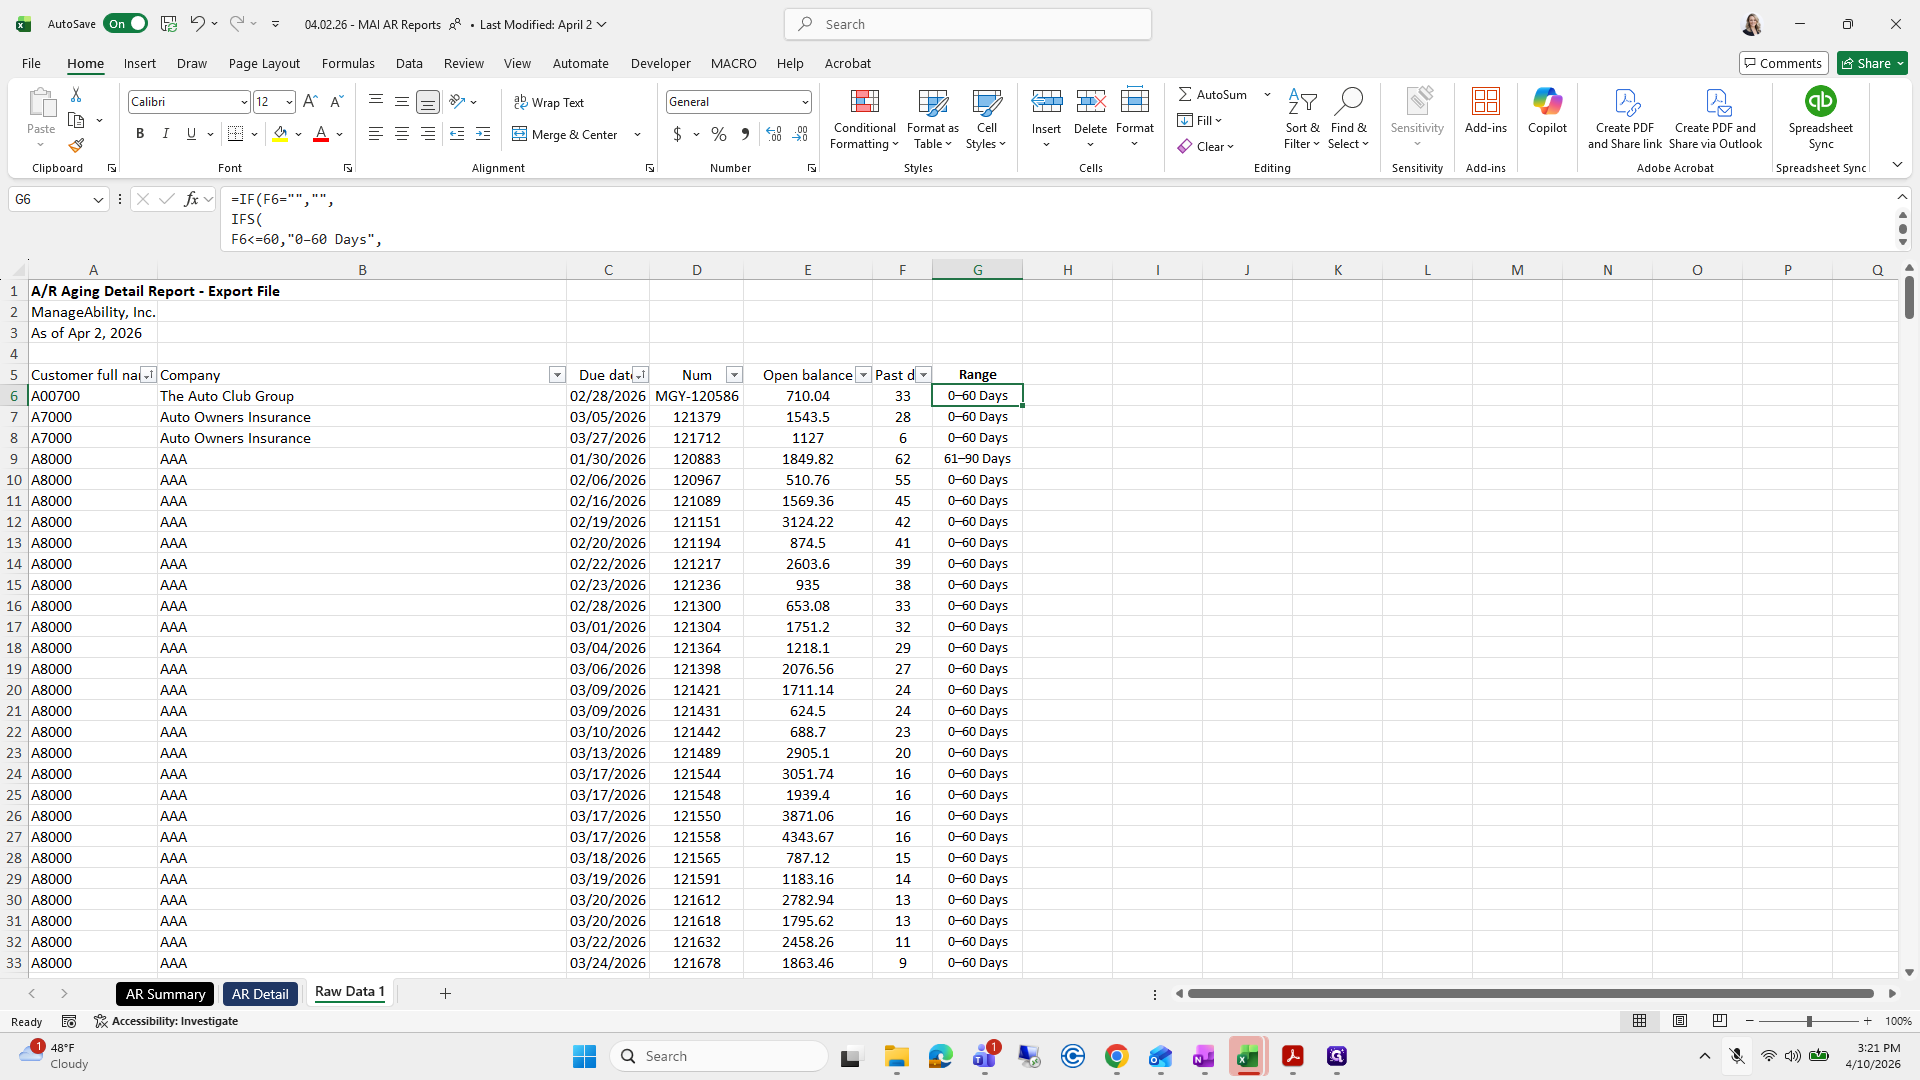
I will take Range and G, and copy it.

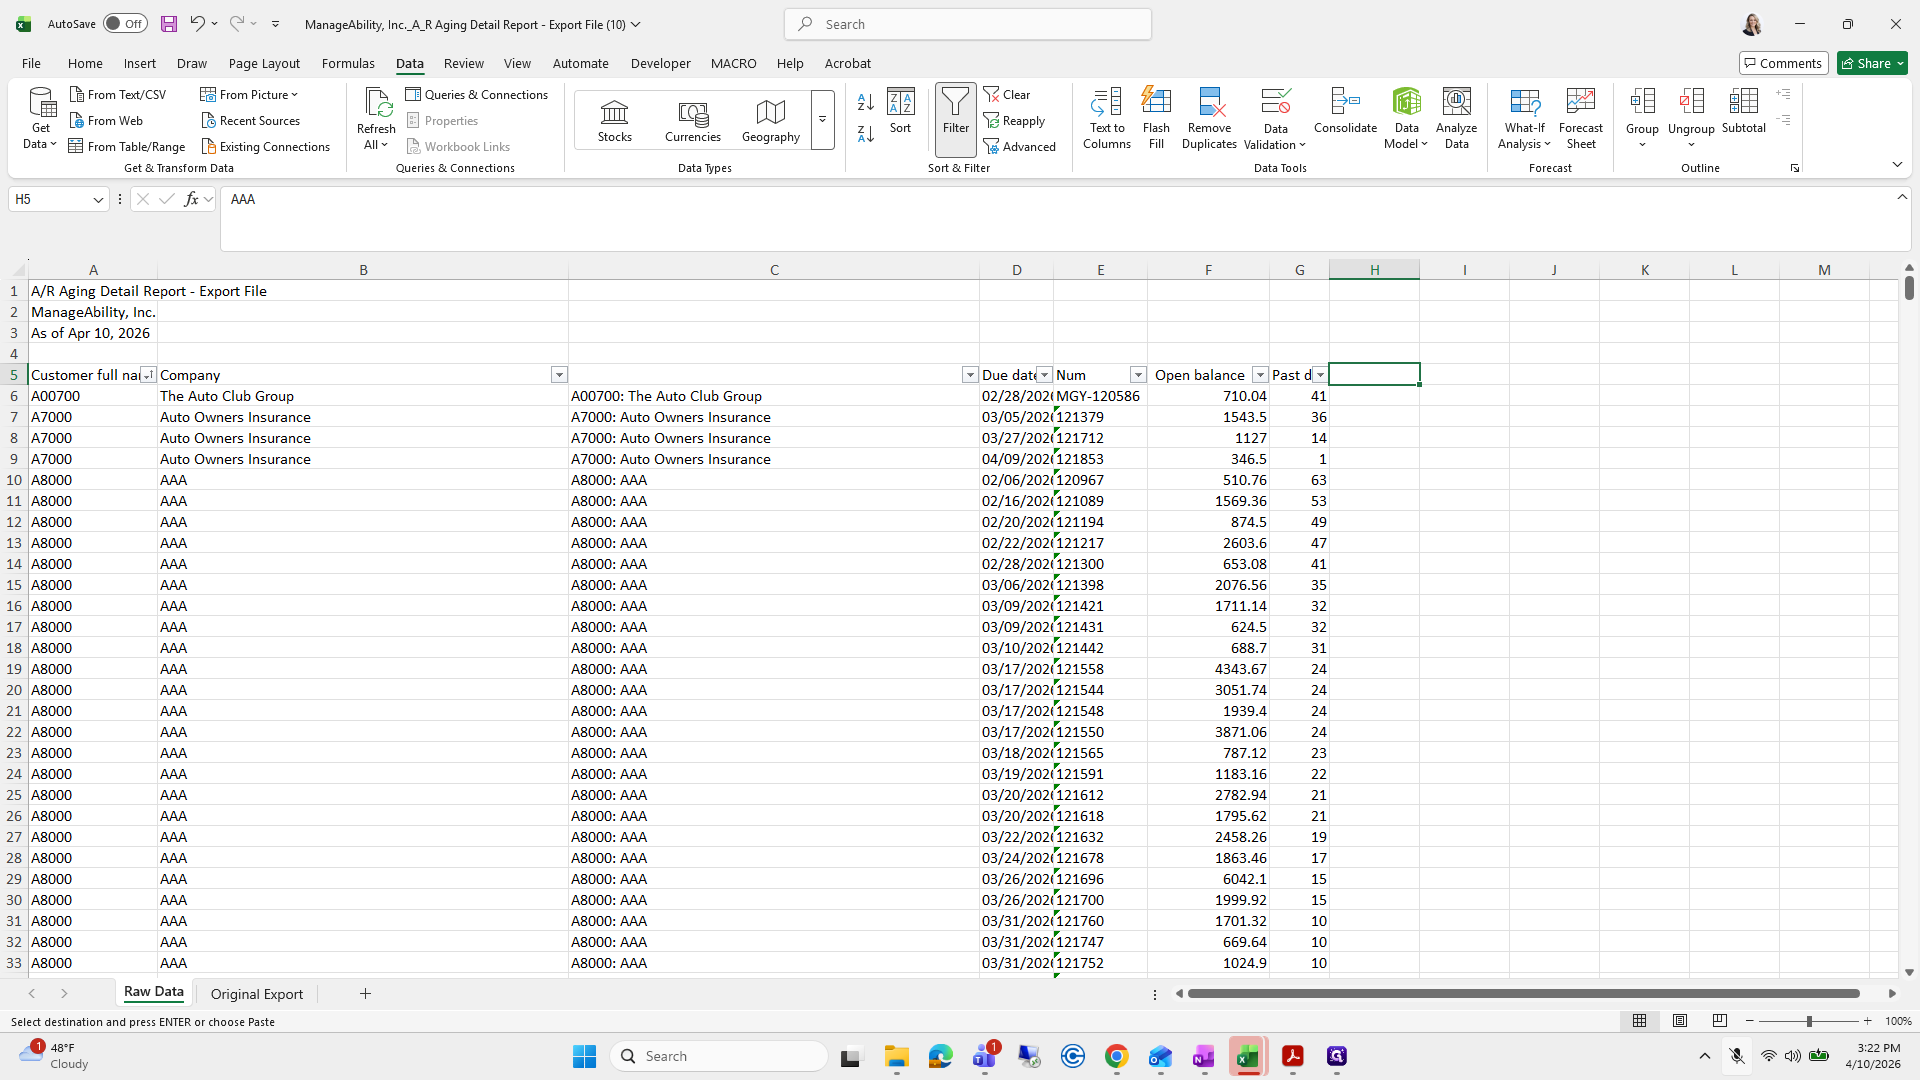
I'm going to paste it and make sure that it...
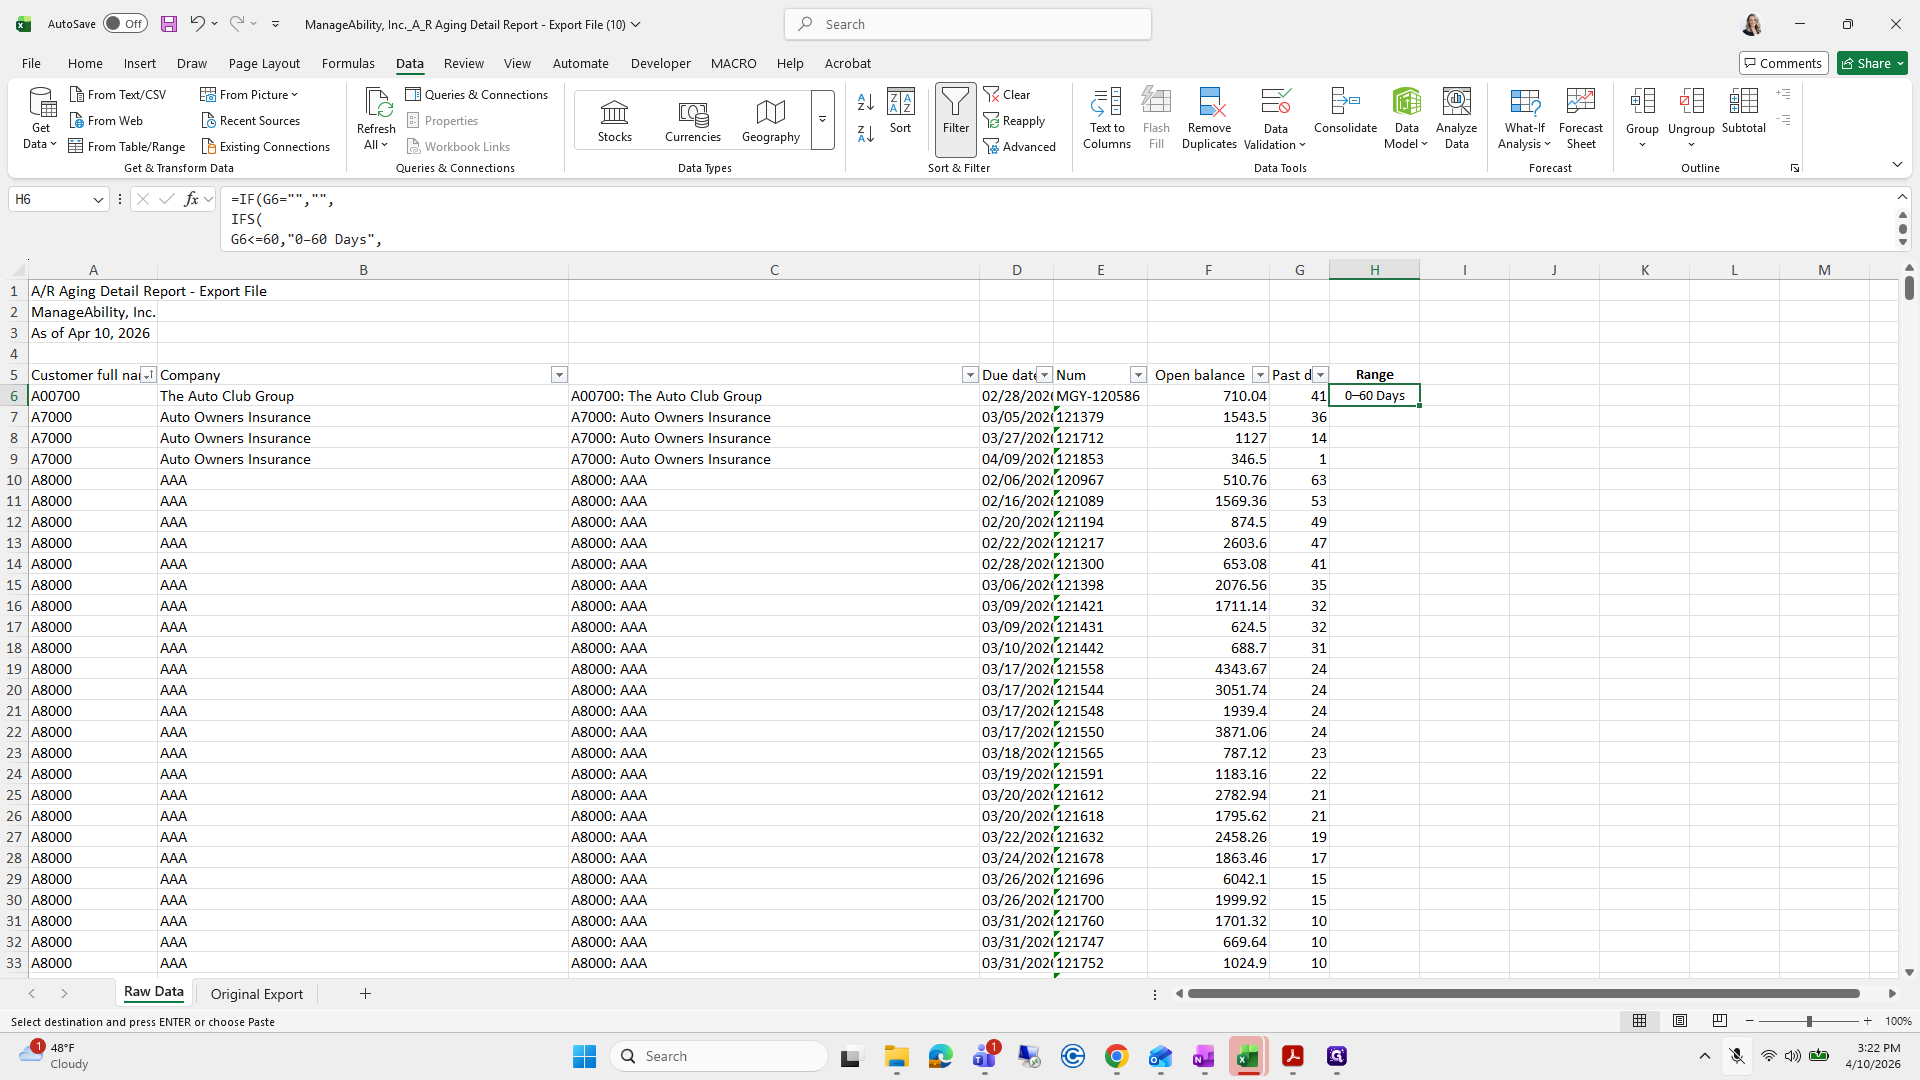
Just paste, and do not use Control+P or Paste Special. I have tried that before, and it does not work well.
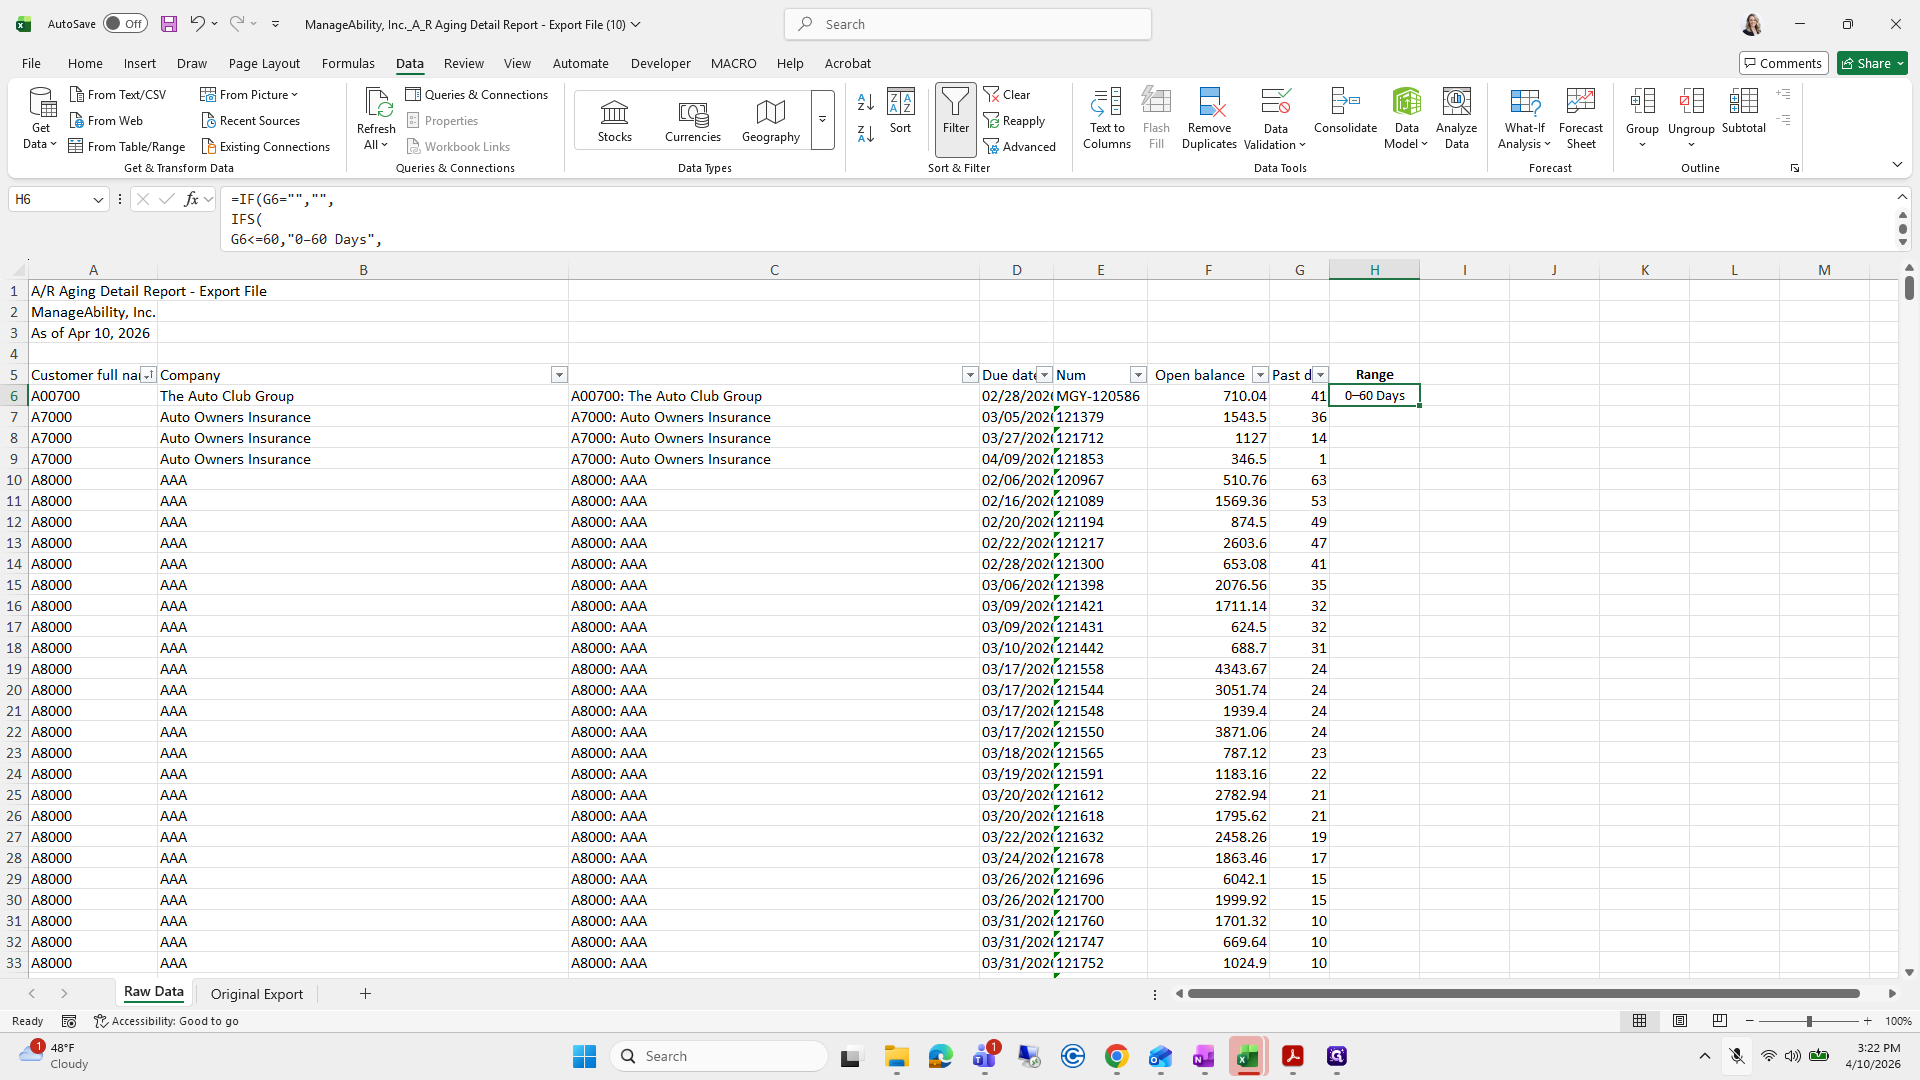
Then I will drag it down. Then I will go back to my other sheet.
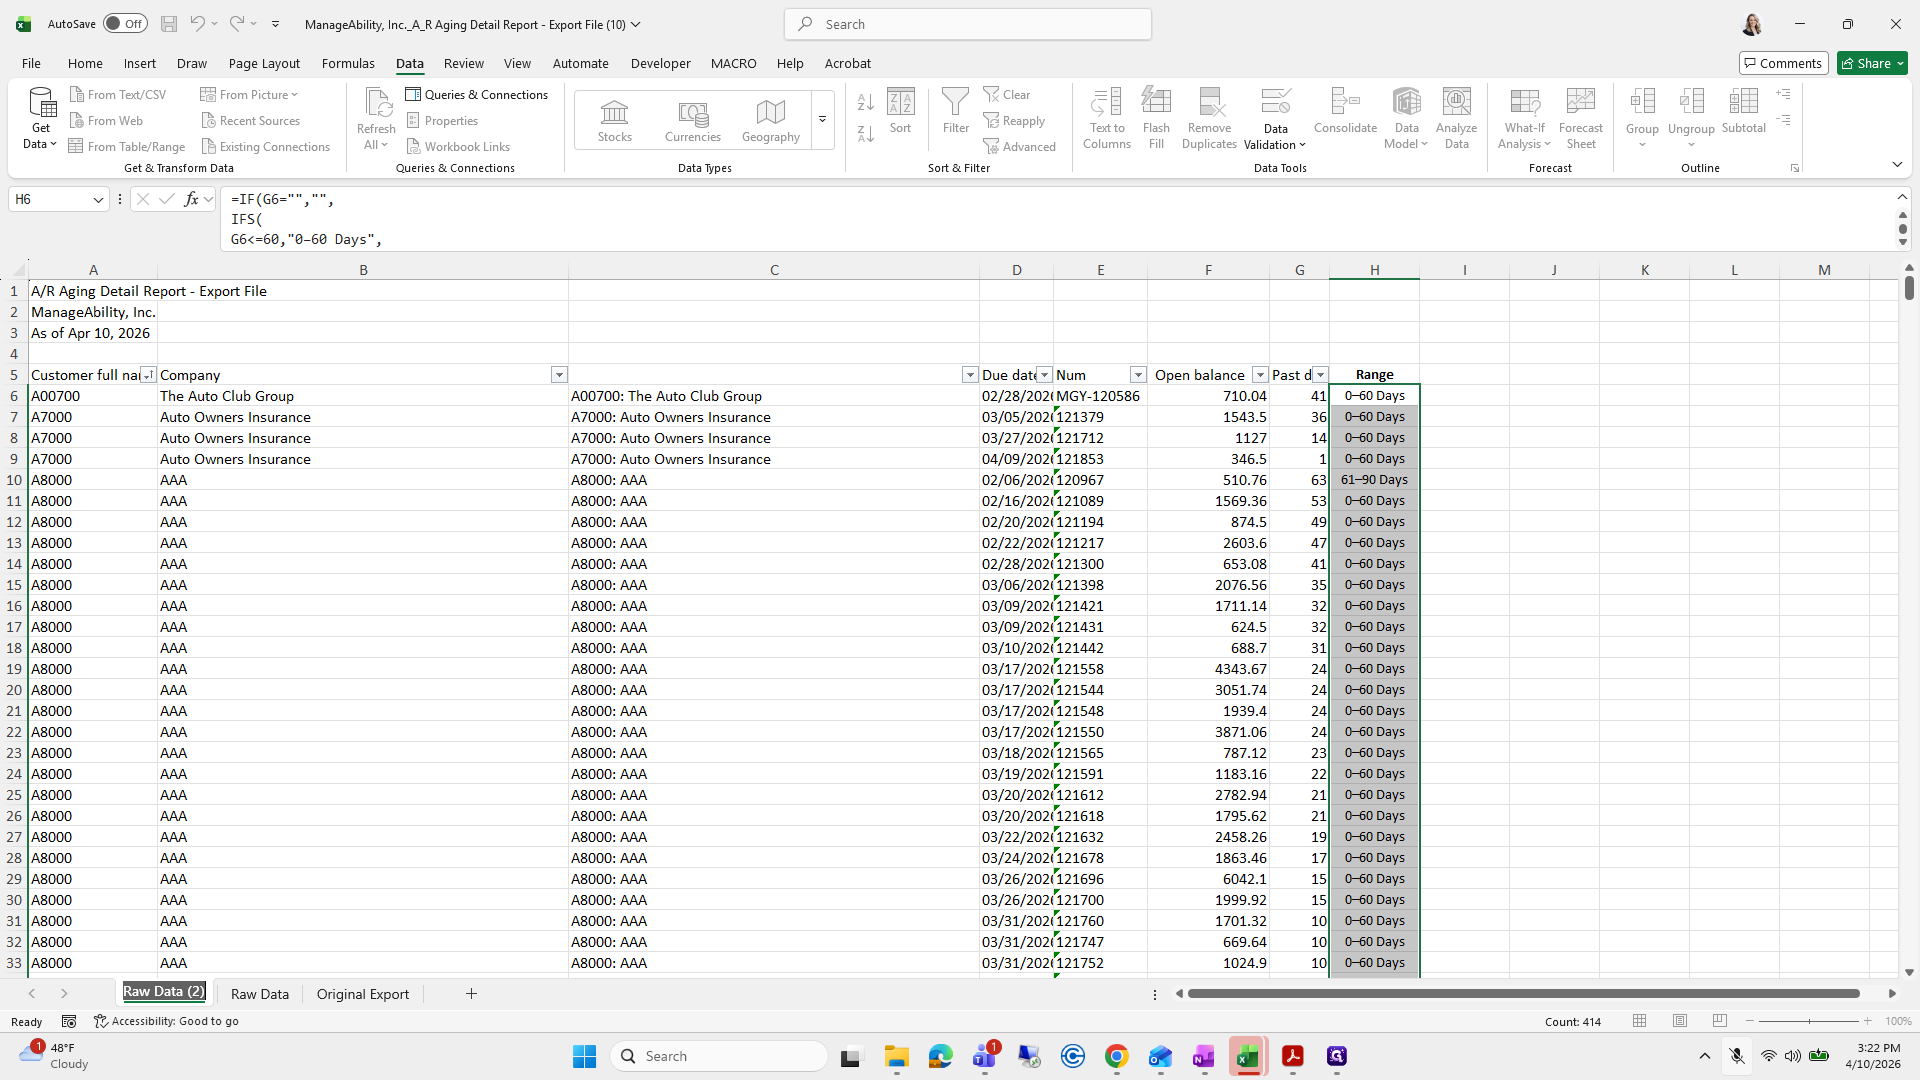
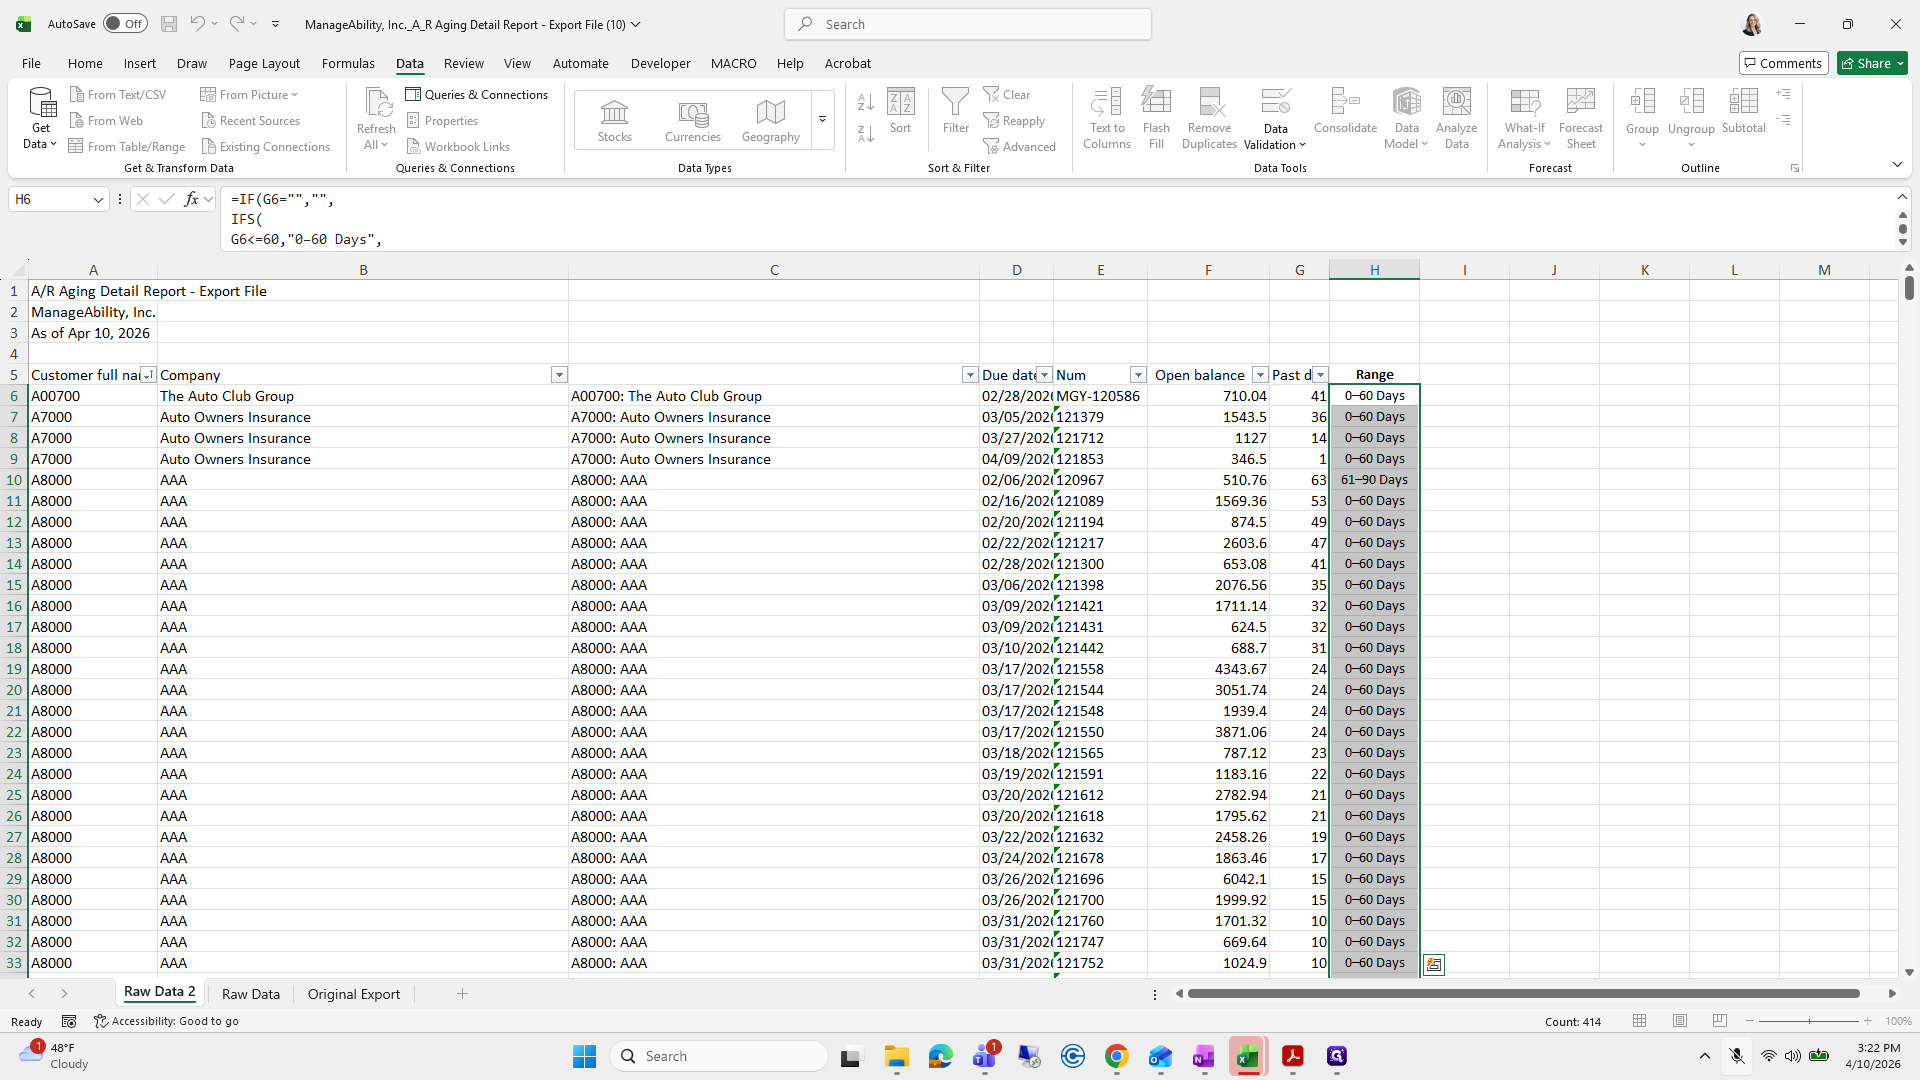
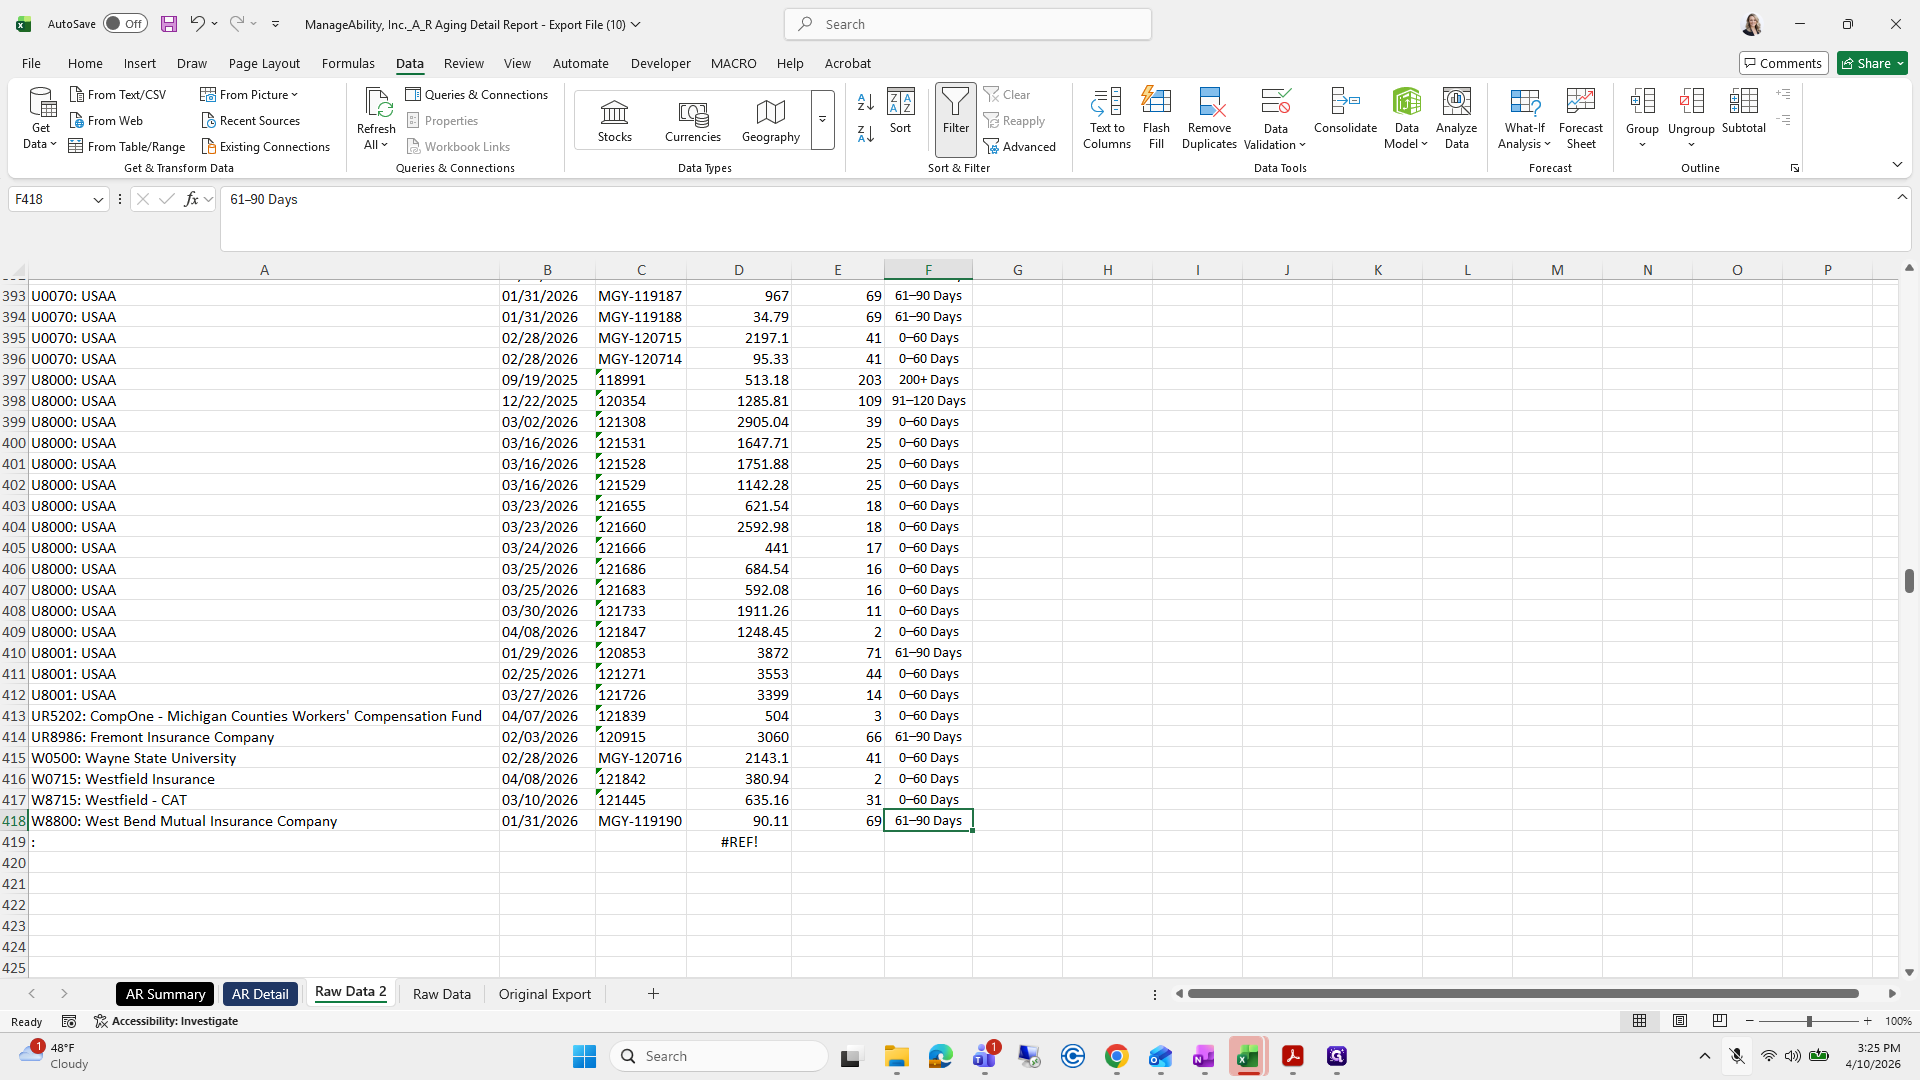
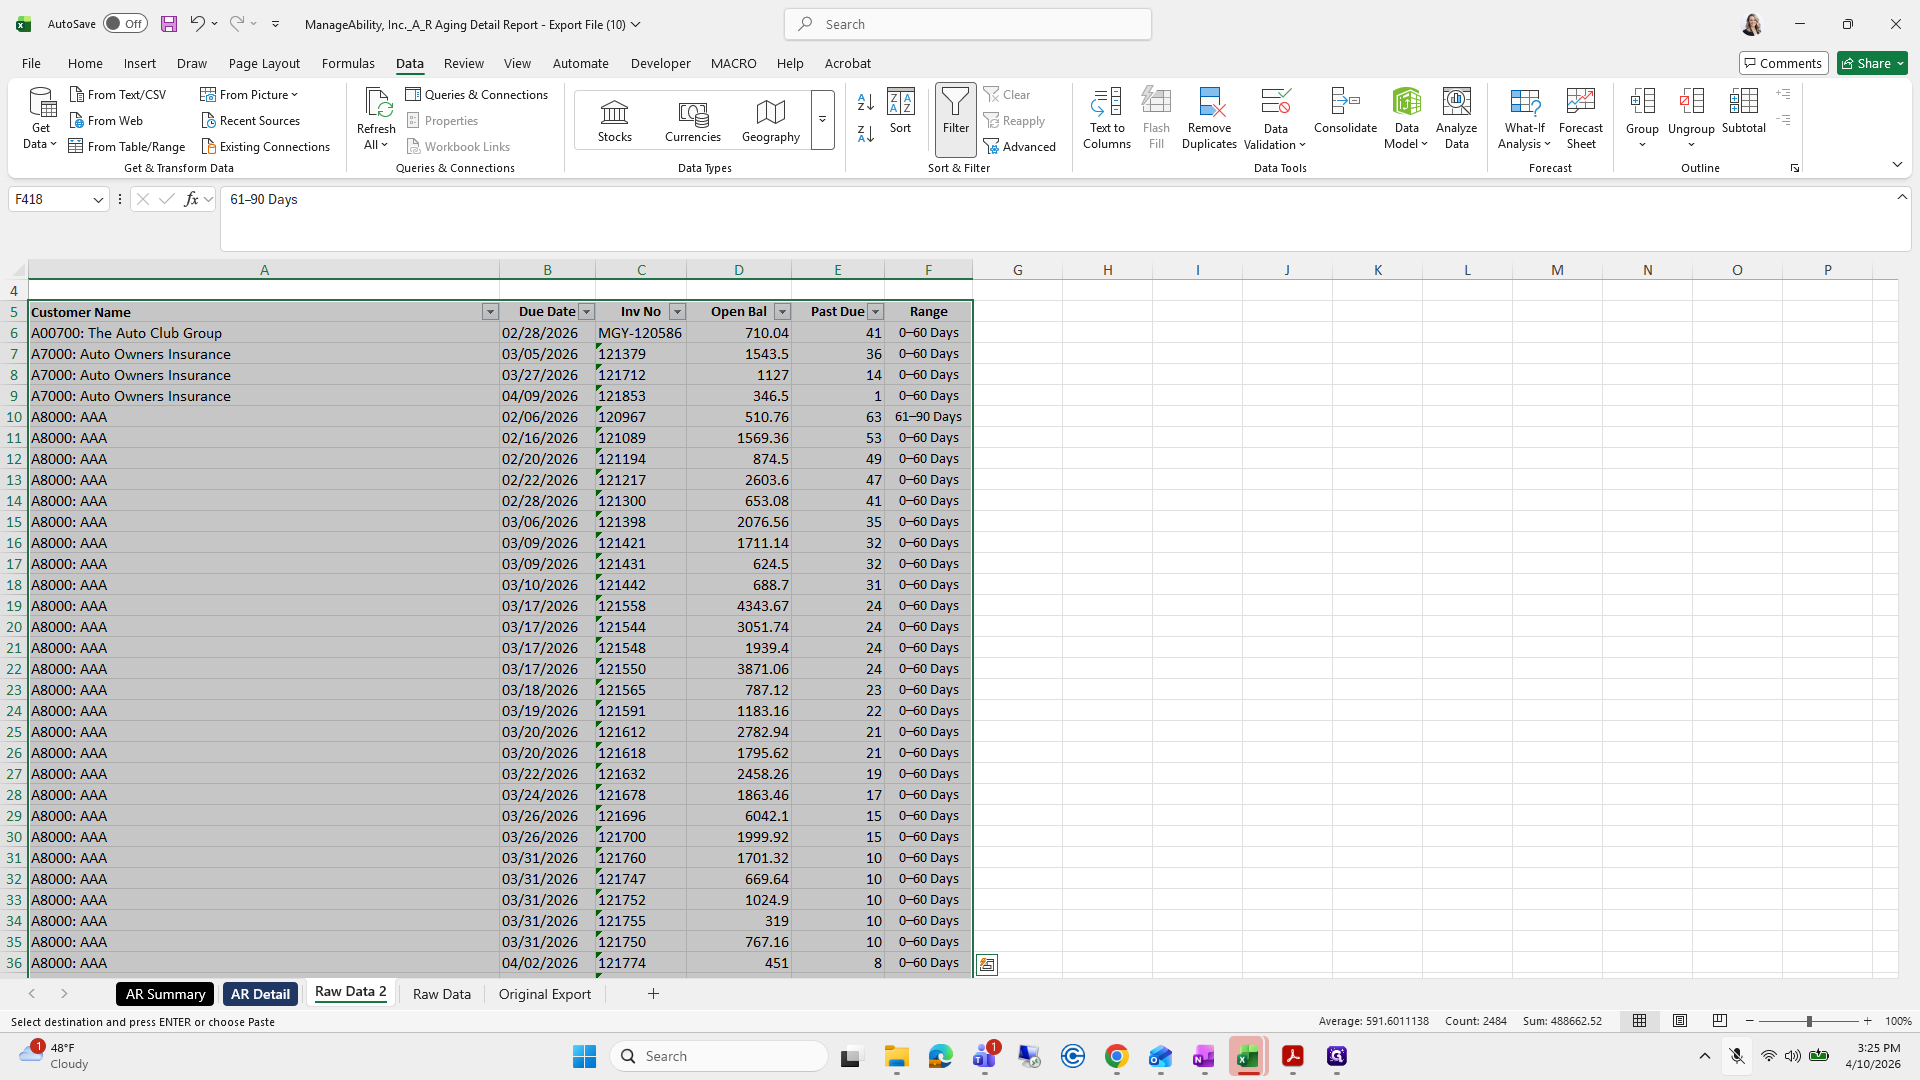
Here we go. I will unhide Raw Data 2 because this is how we want it to look.


I will go back to this sheet, copy it quickly, and create a new one.

I will copy and paste special the entire content so my conjugate and range remain unchanged.

I will remove this column and 80.
Now I'll go back and start copying and pasting, which is probably a relief. I enjoy copying and pasting.
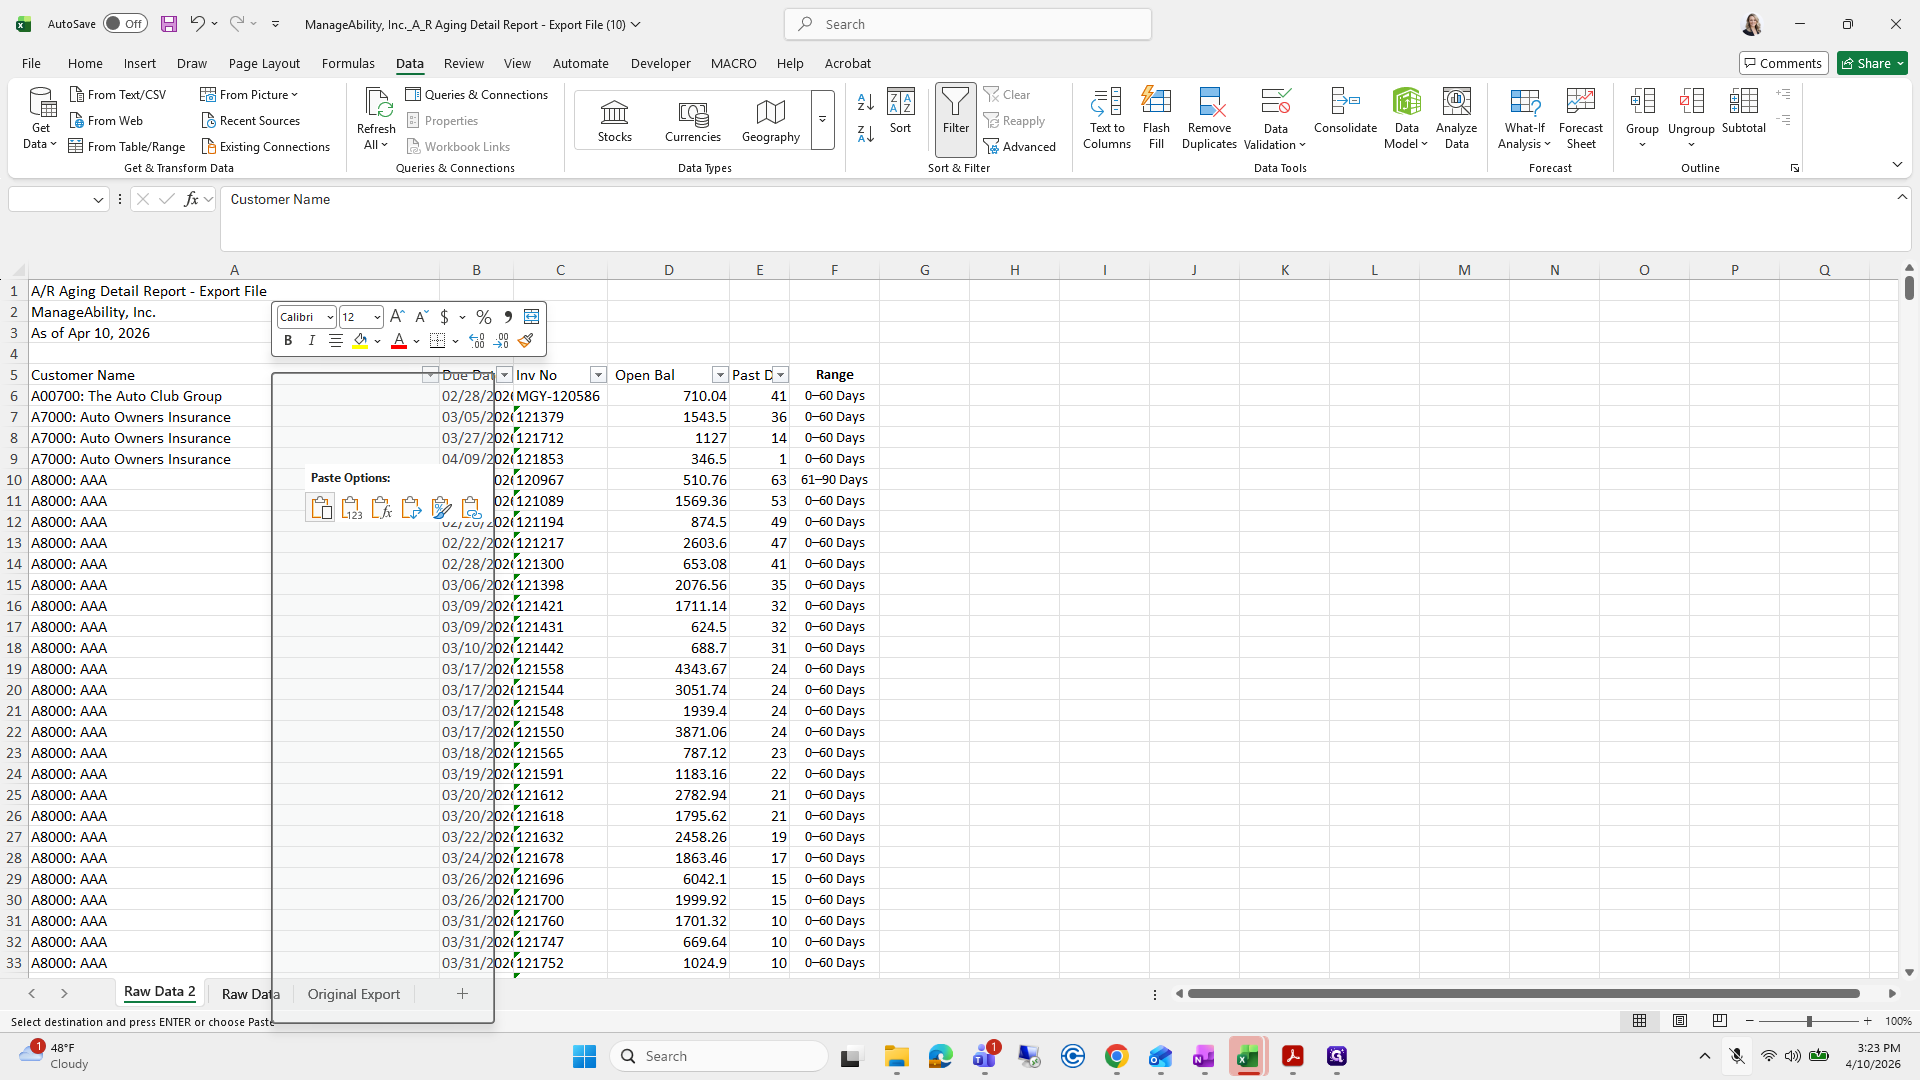
Paste.
Everything looks good.

You don't need to worry about how this one looks. It's just your raw data.
Next, go back to the other file and copy and paste the AR data.


You might want to skip this one, but we don't need to make it look perfect.

I'll show you the bare minimum.
I didn't put it in the other one.
Don't save that.


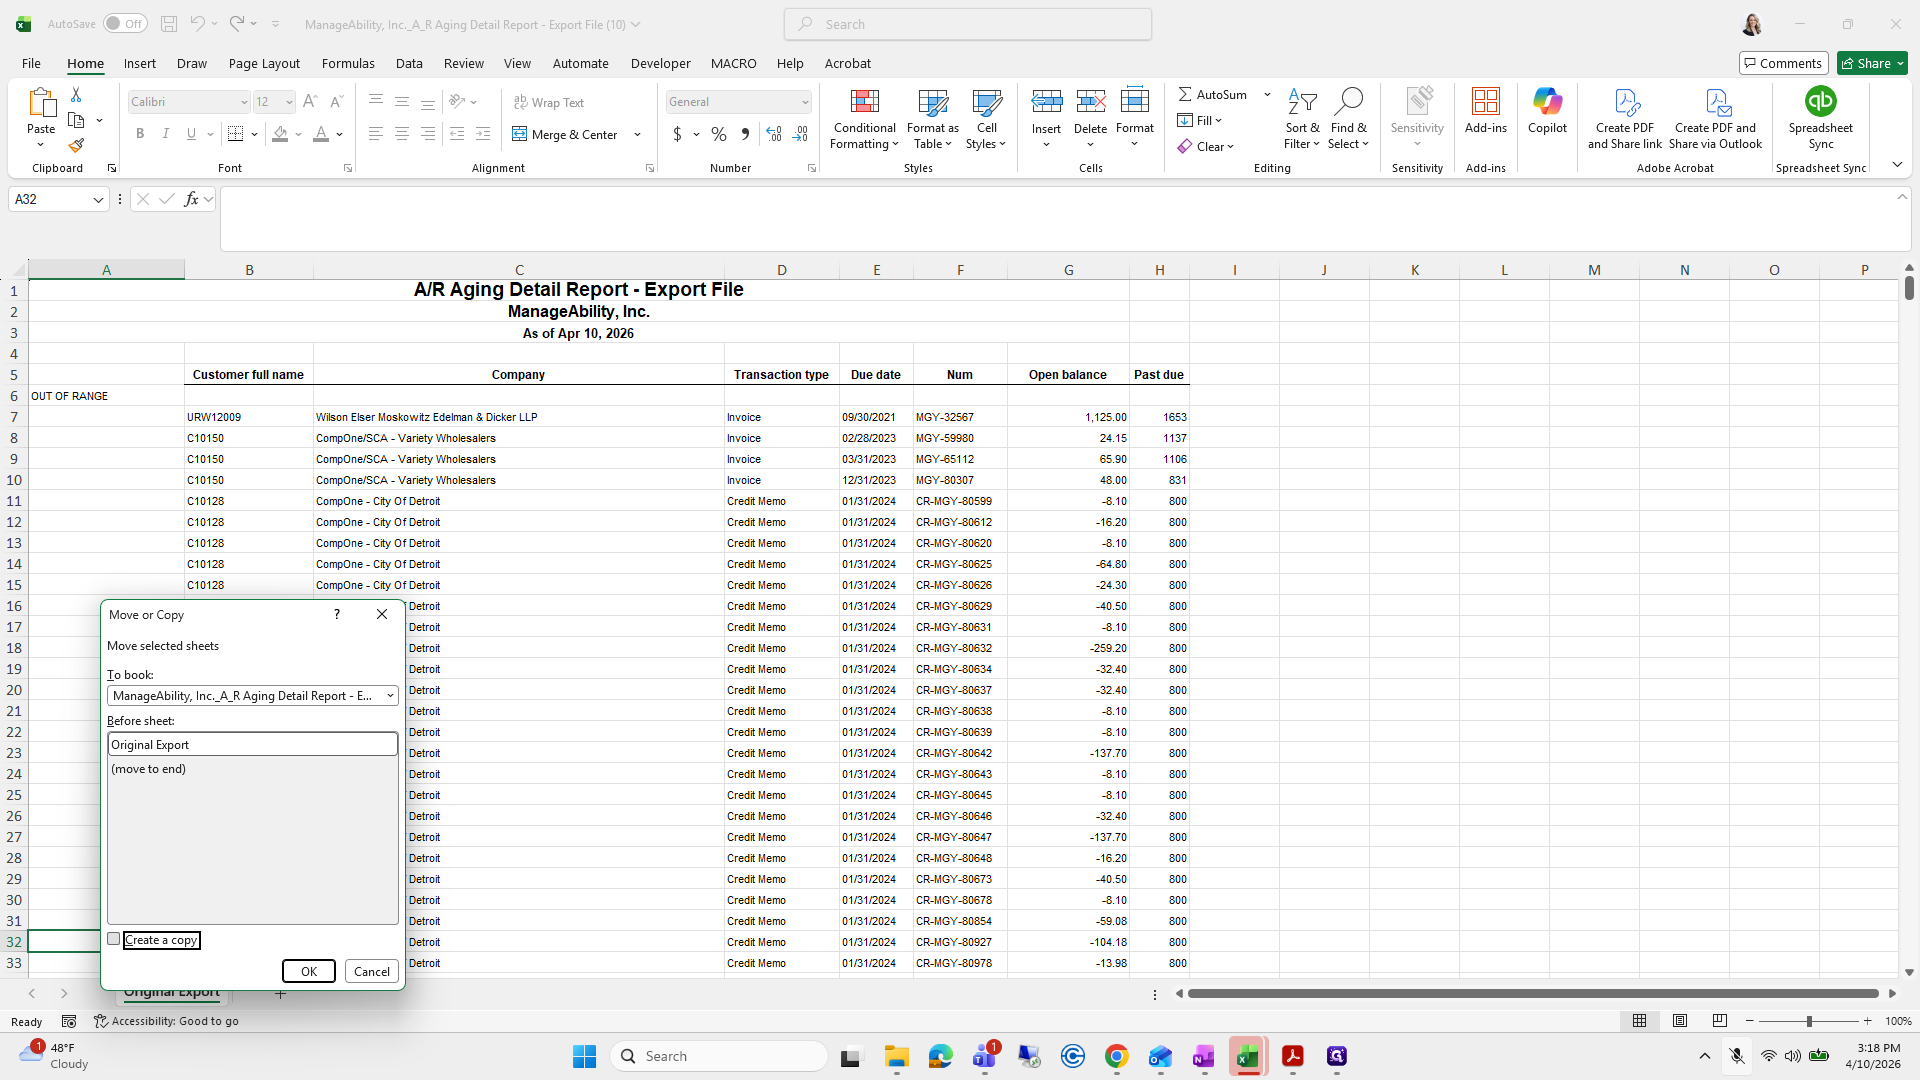
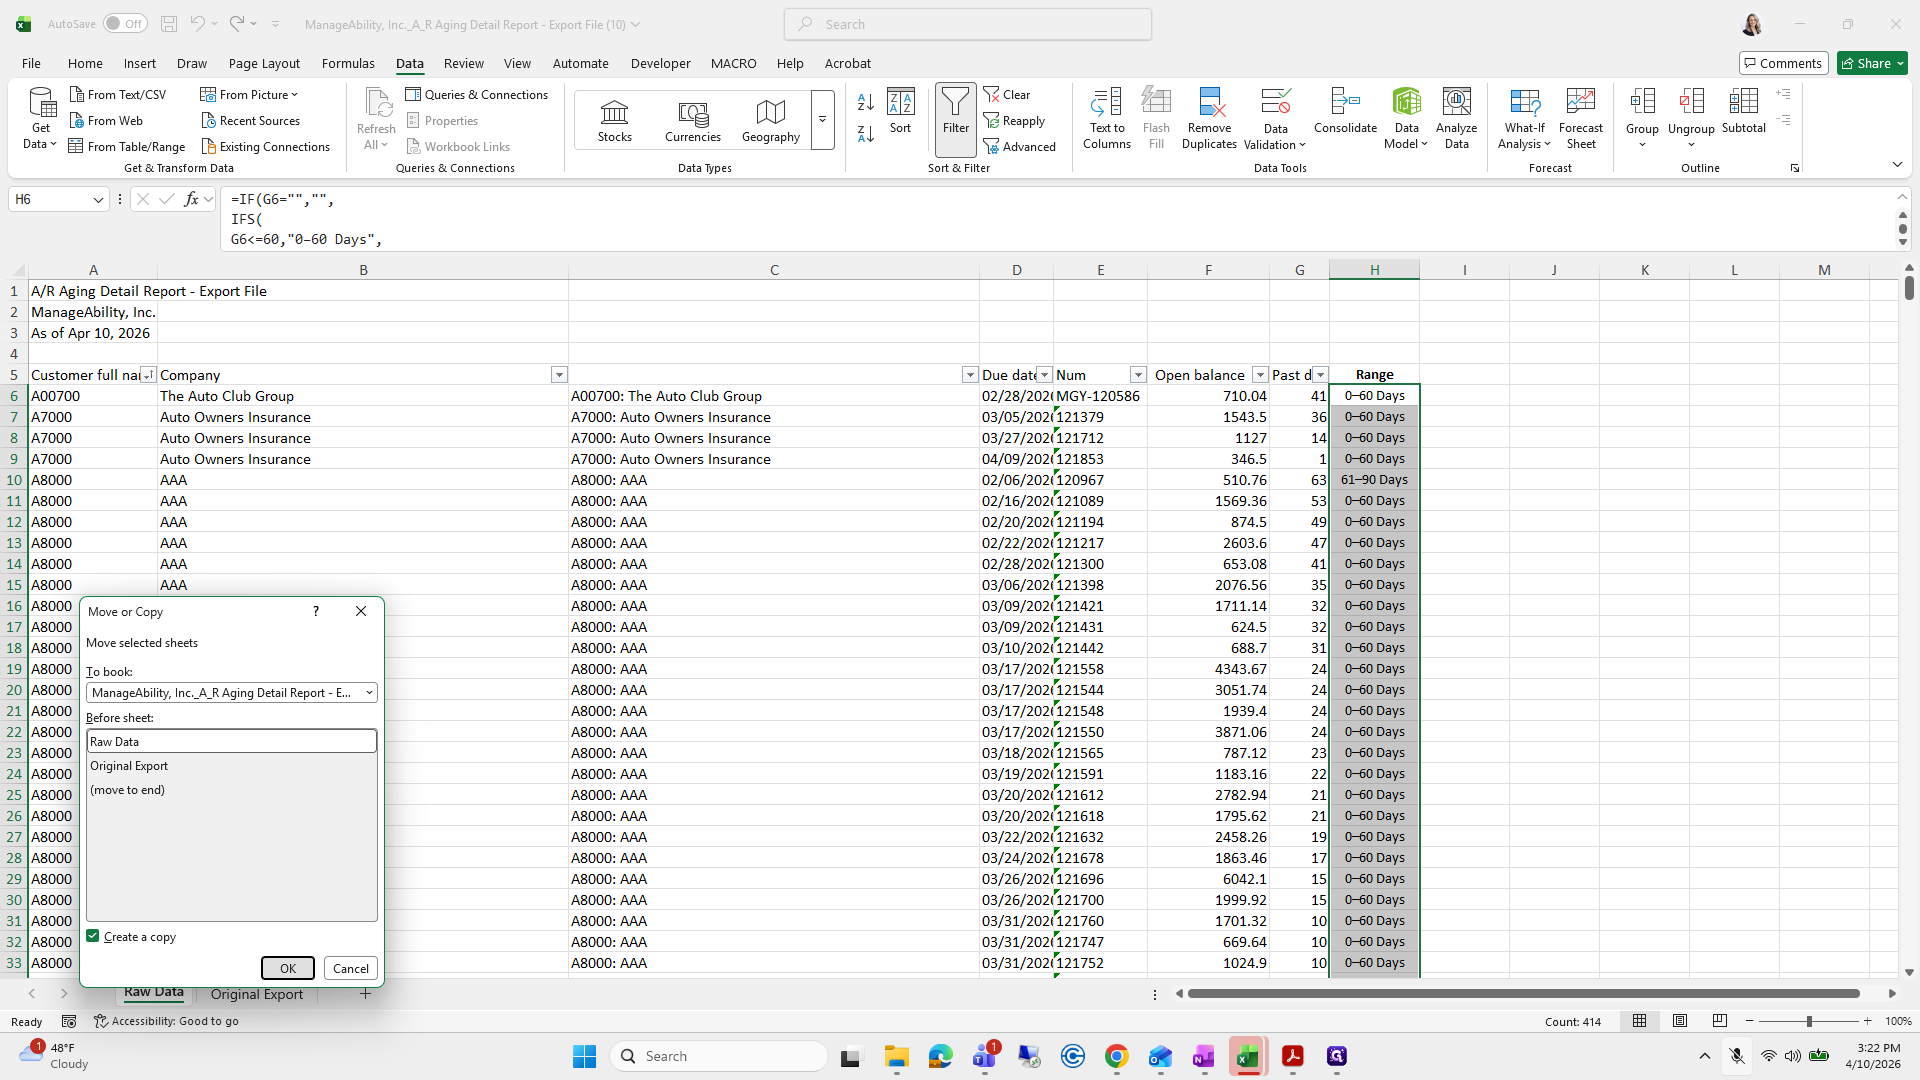
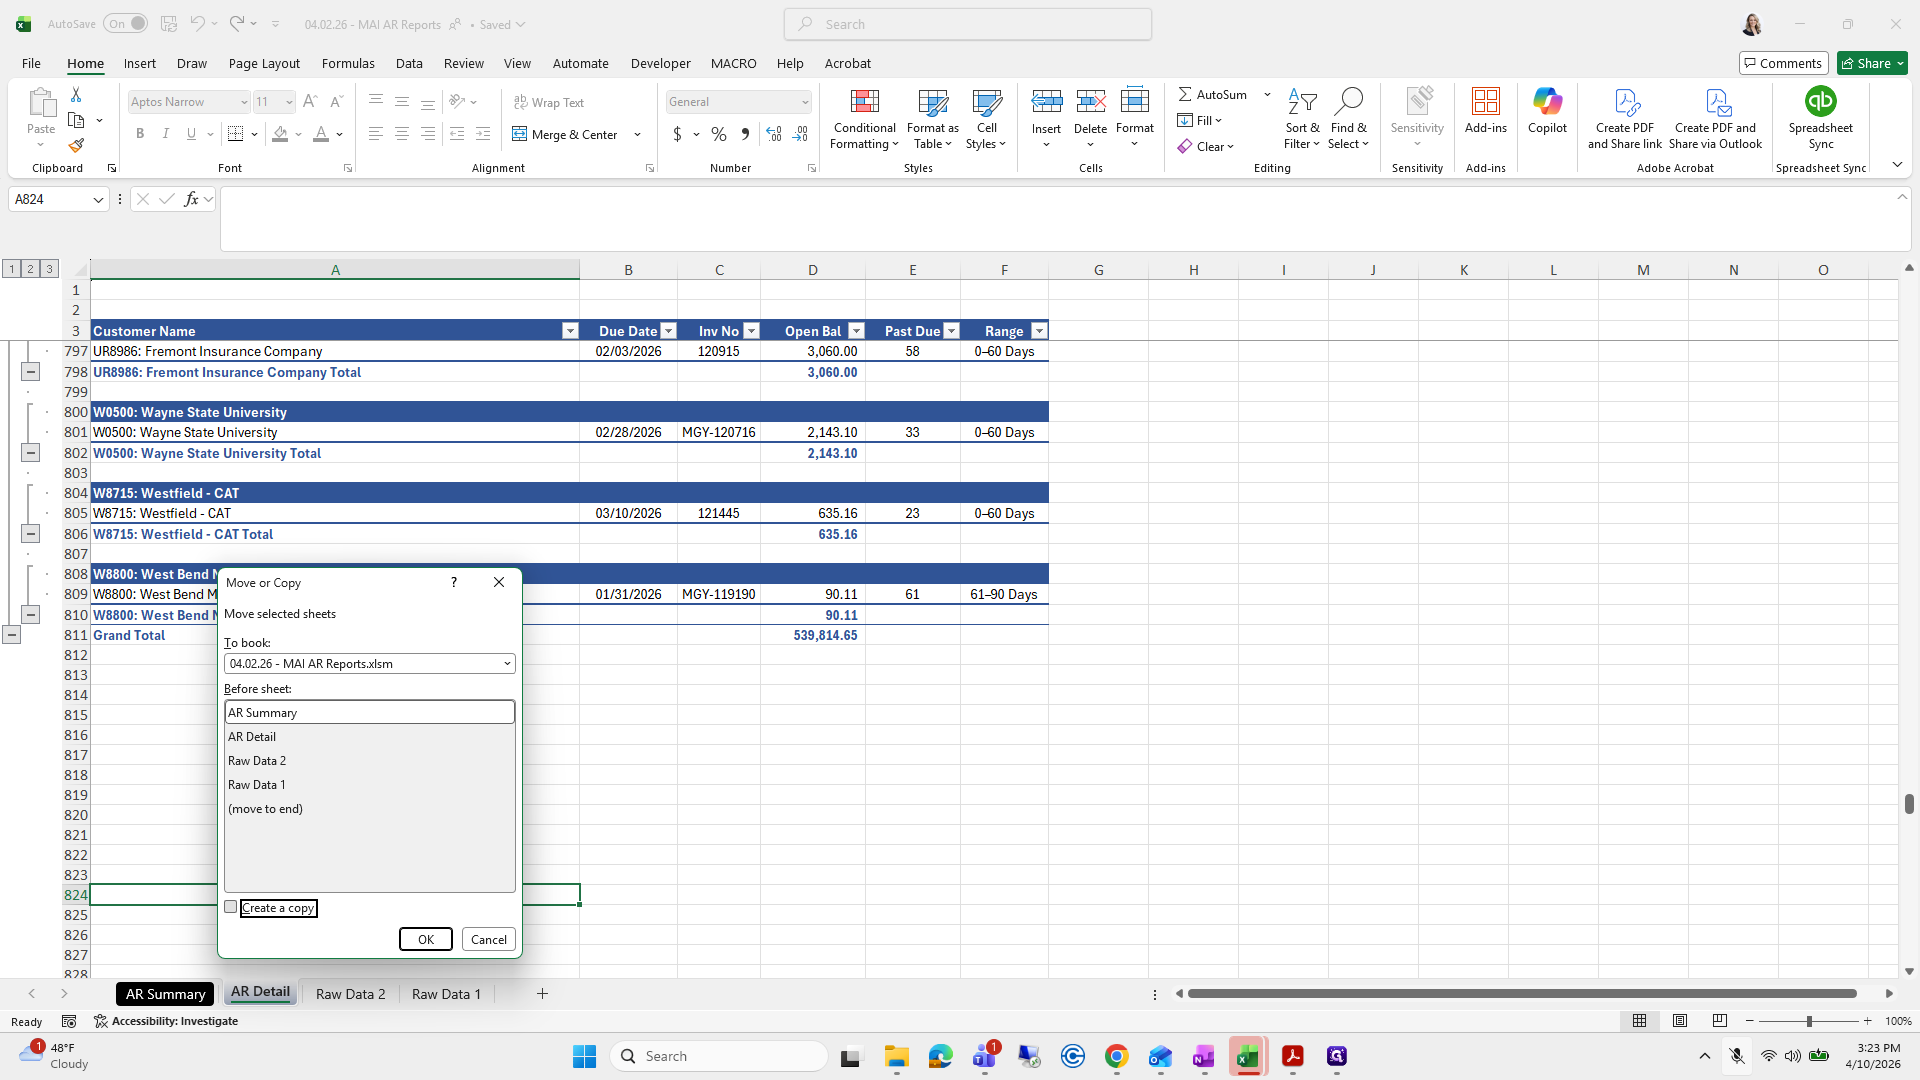
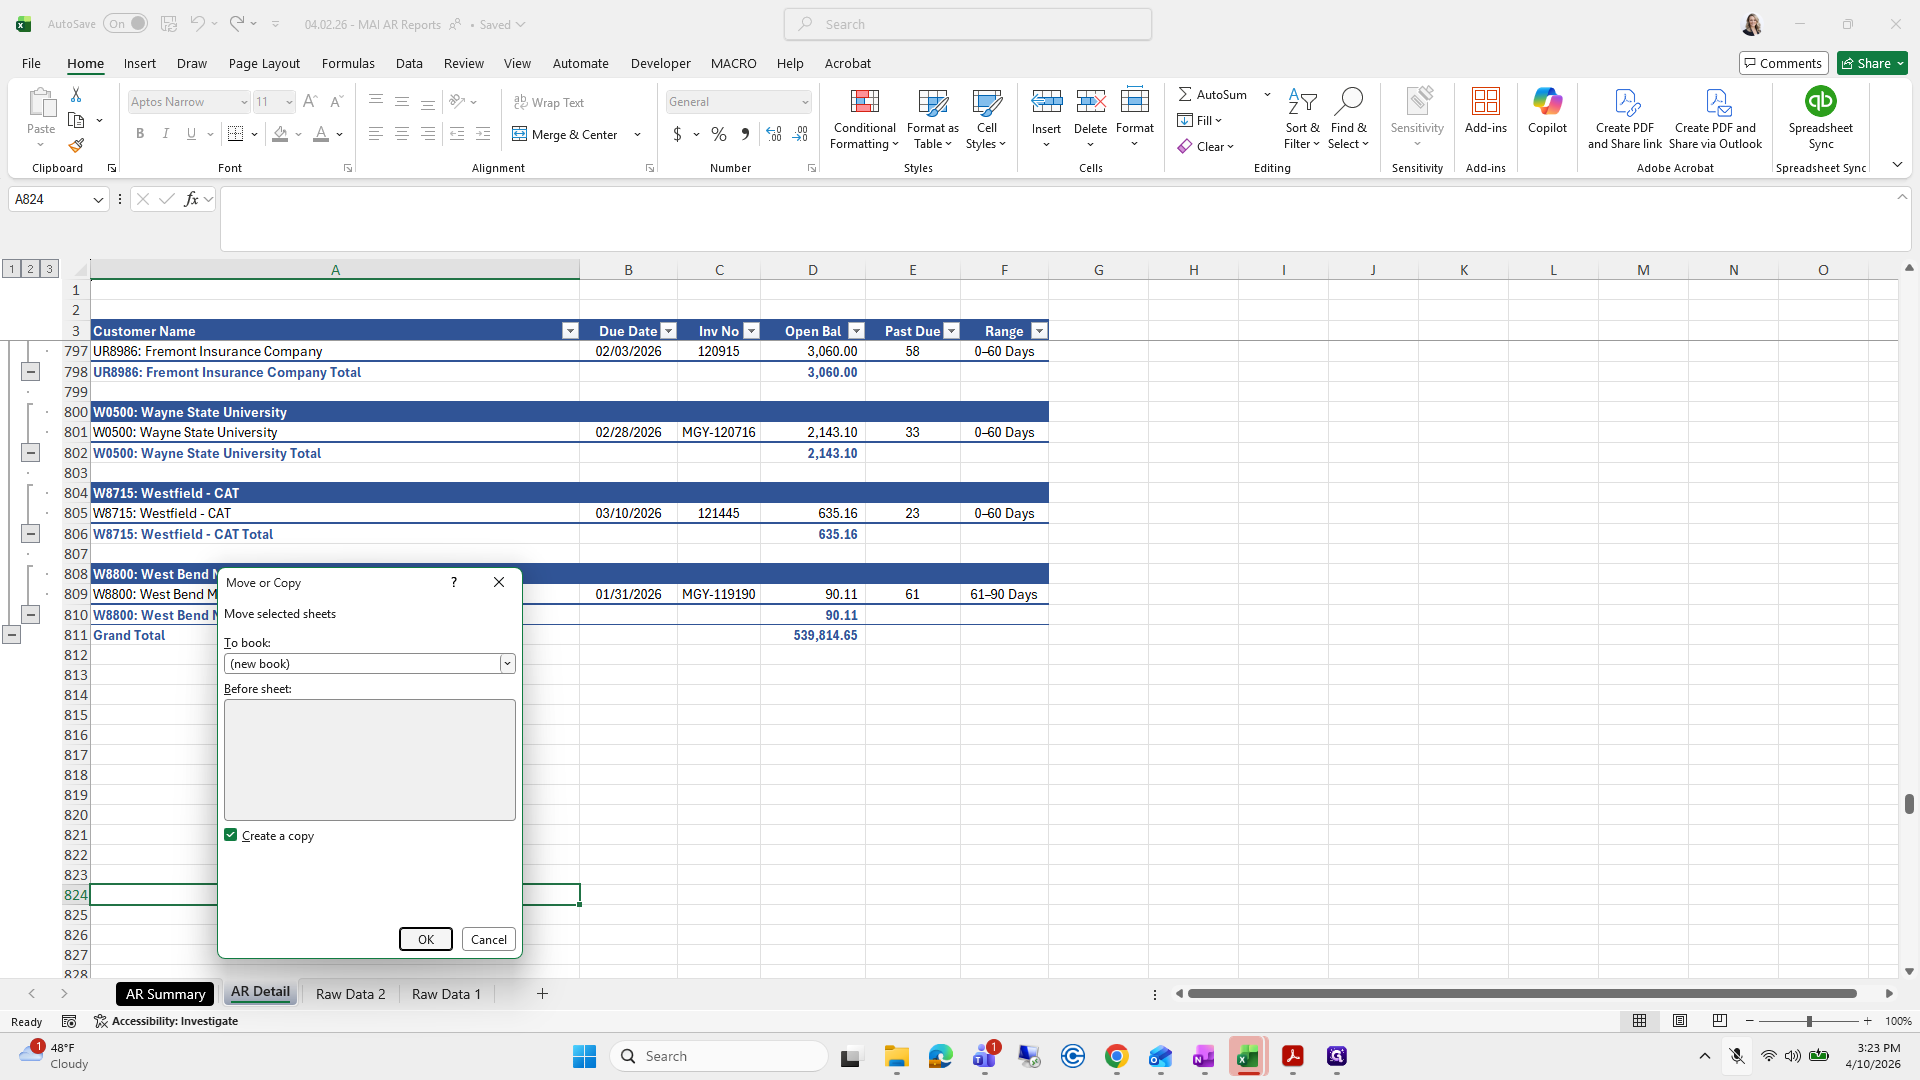
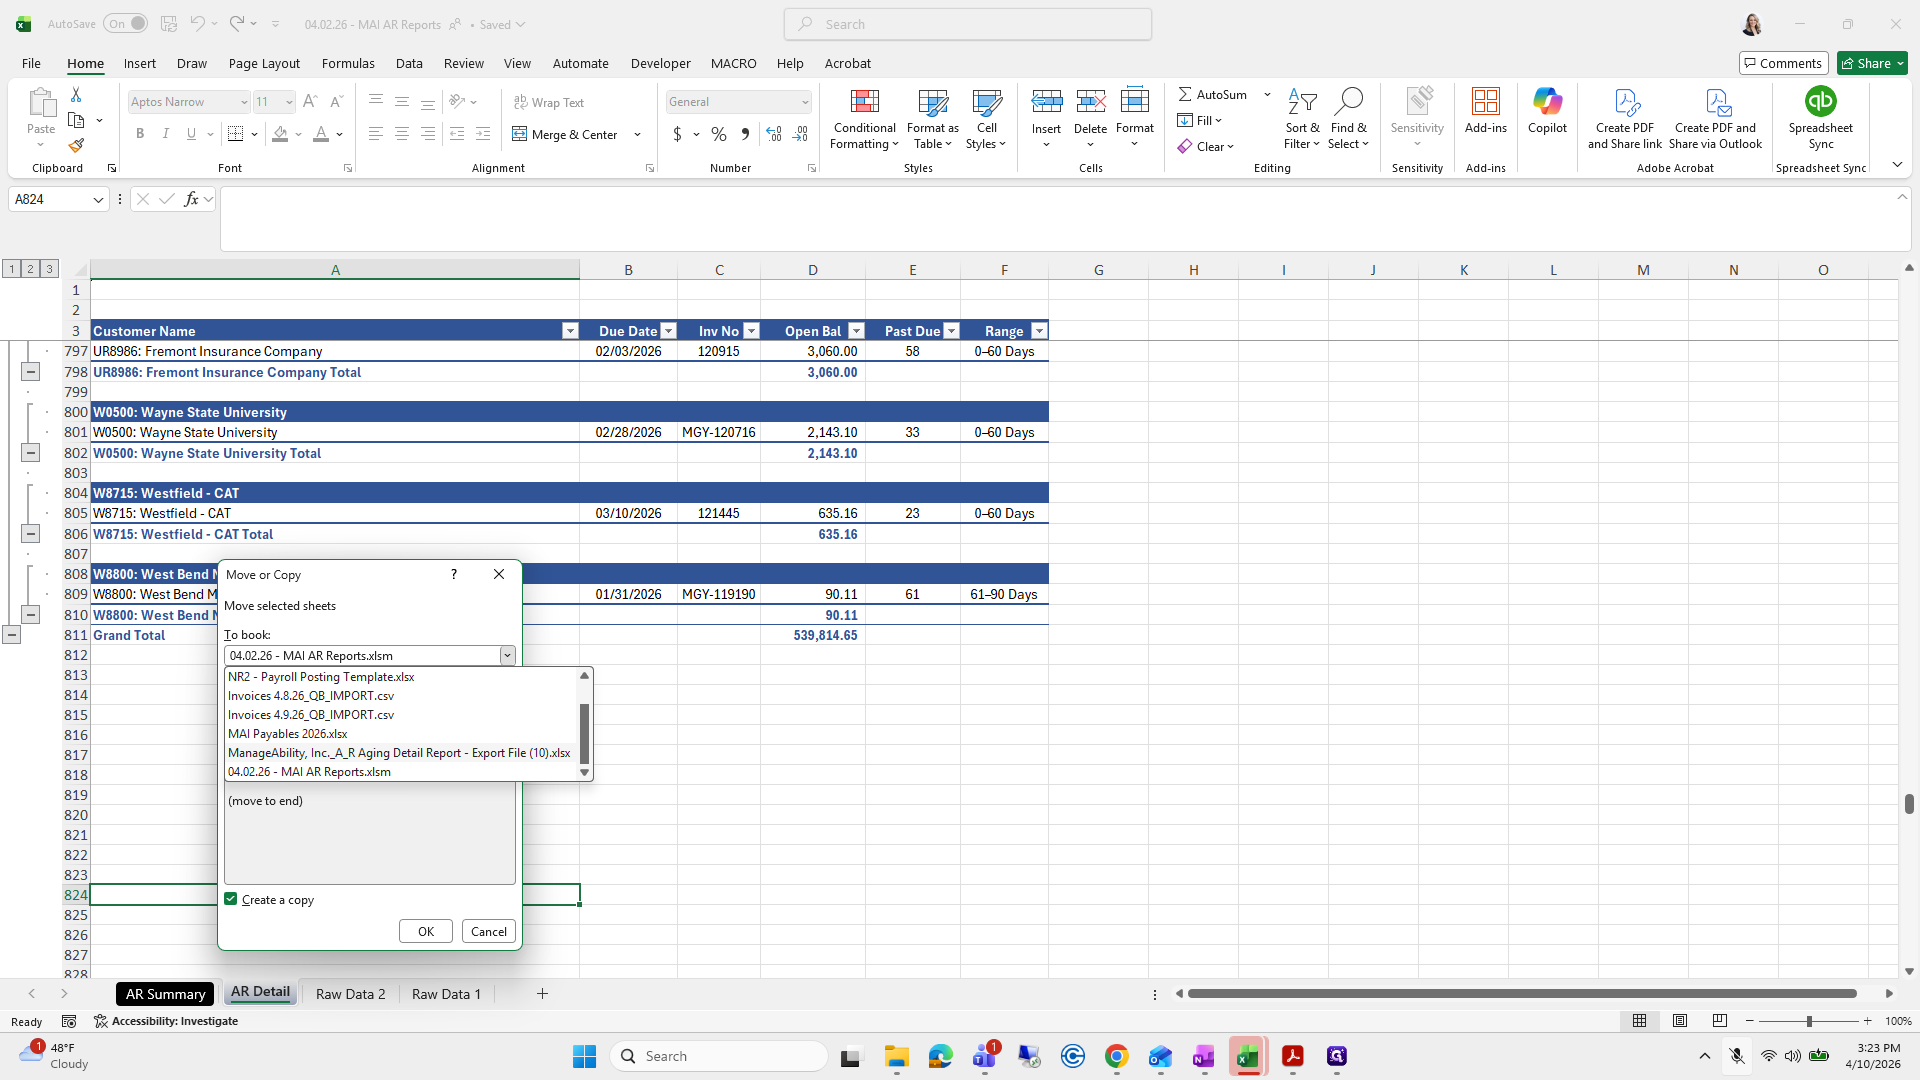
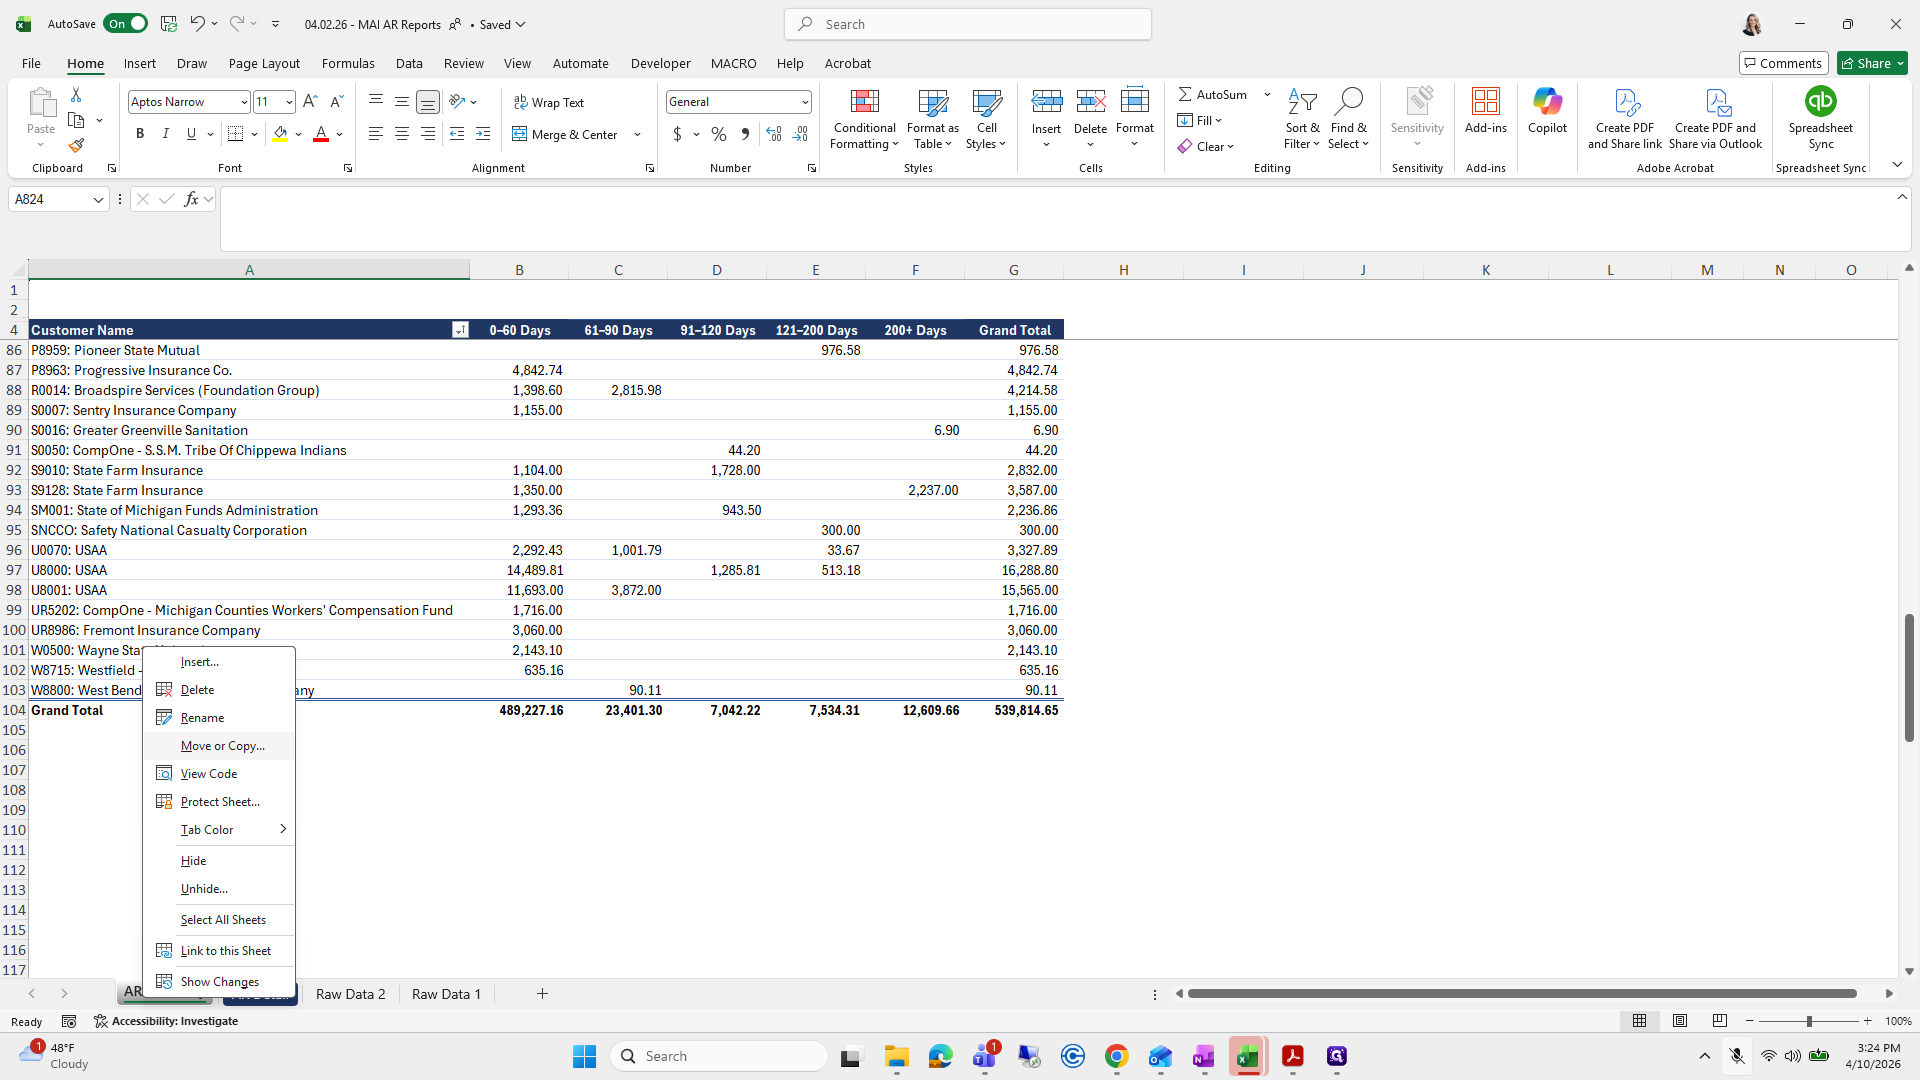
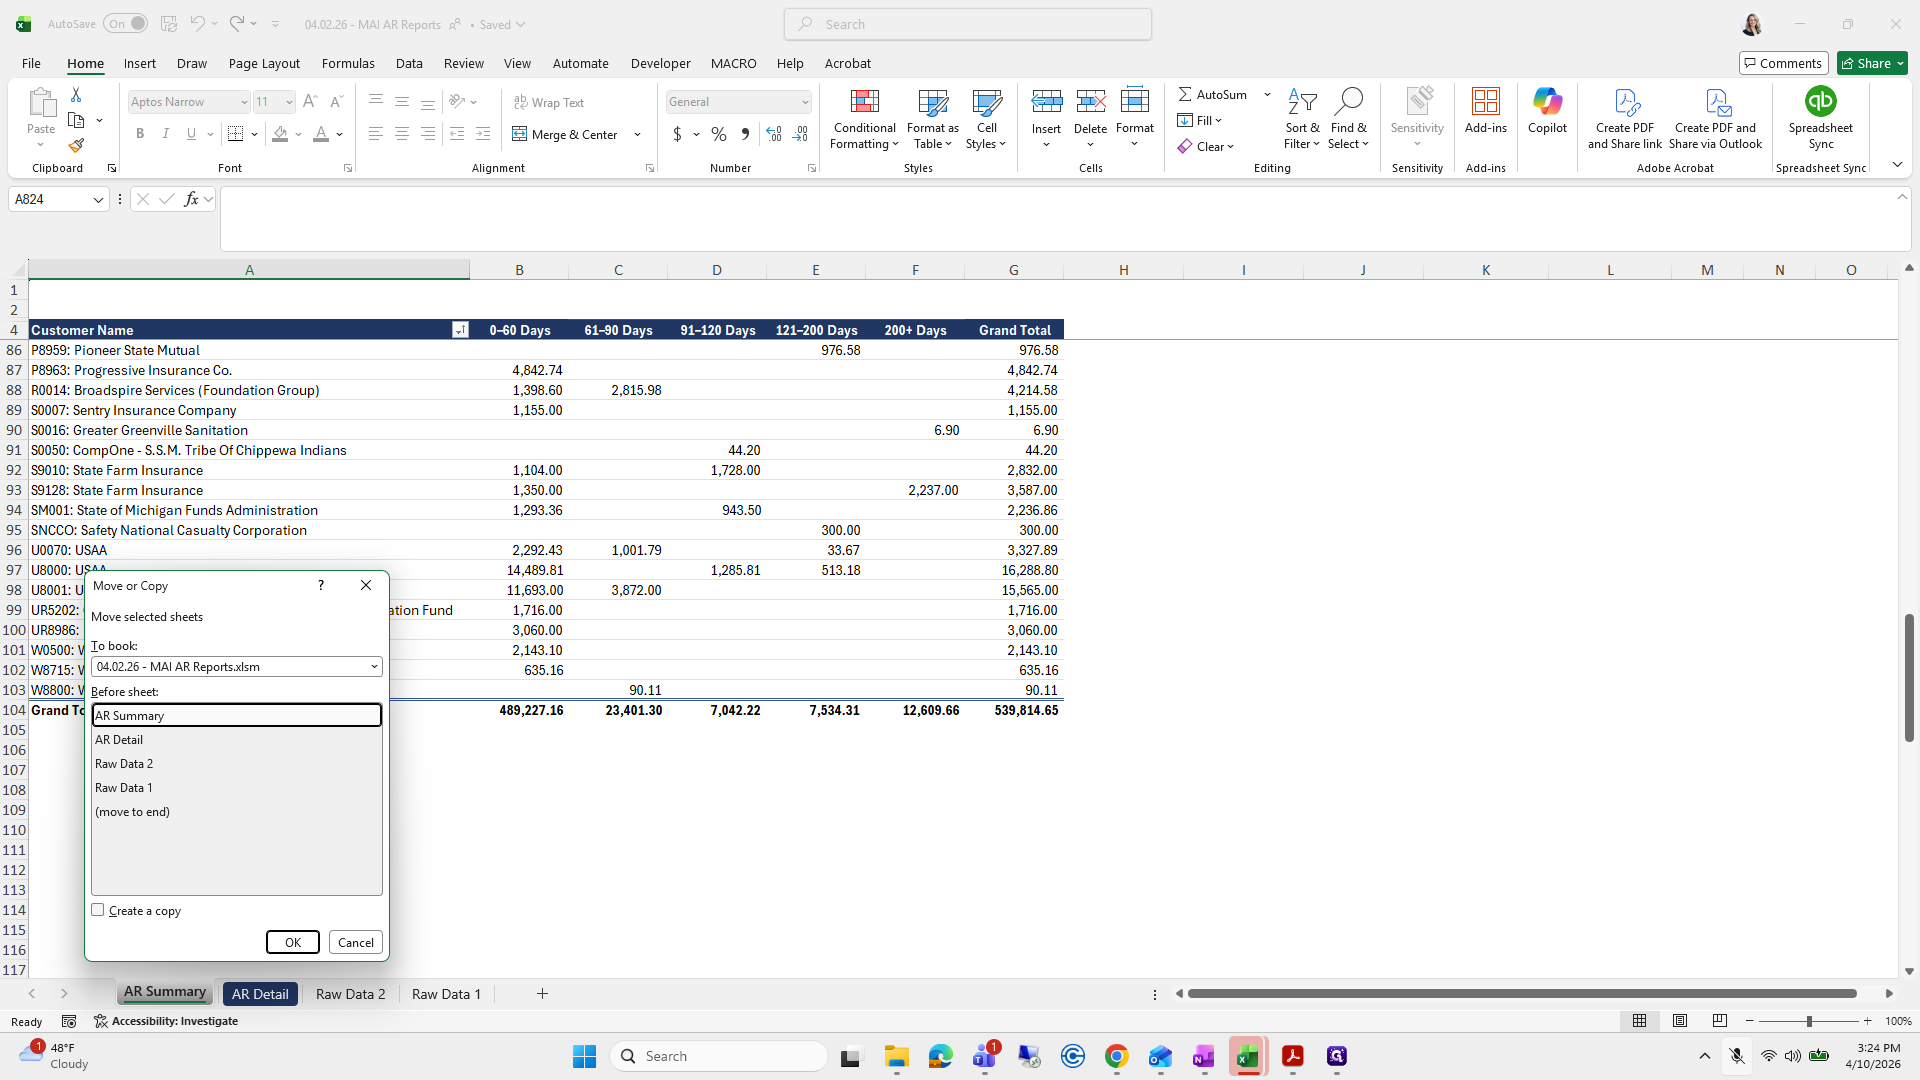
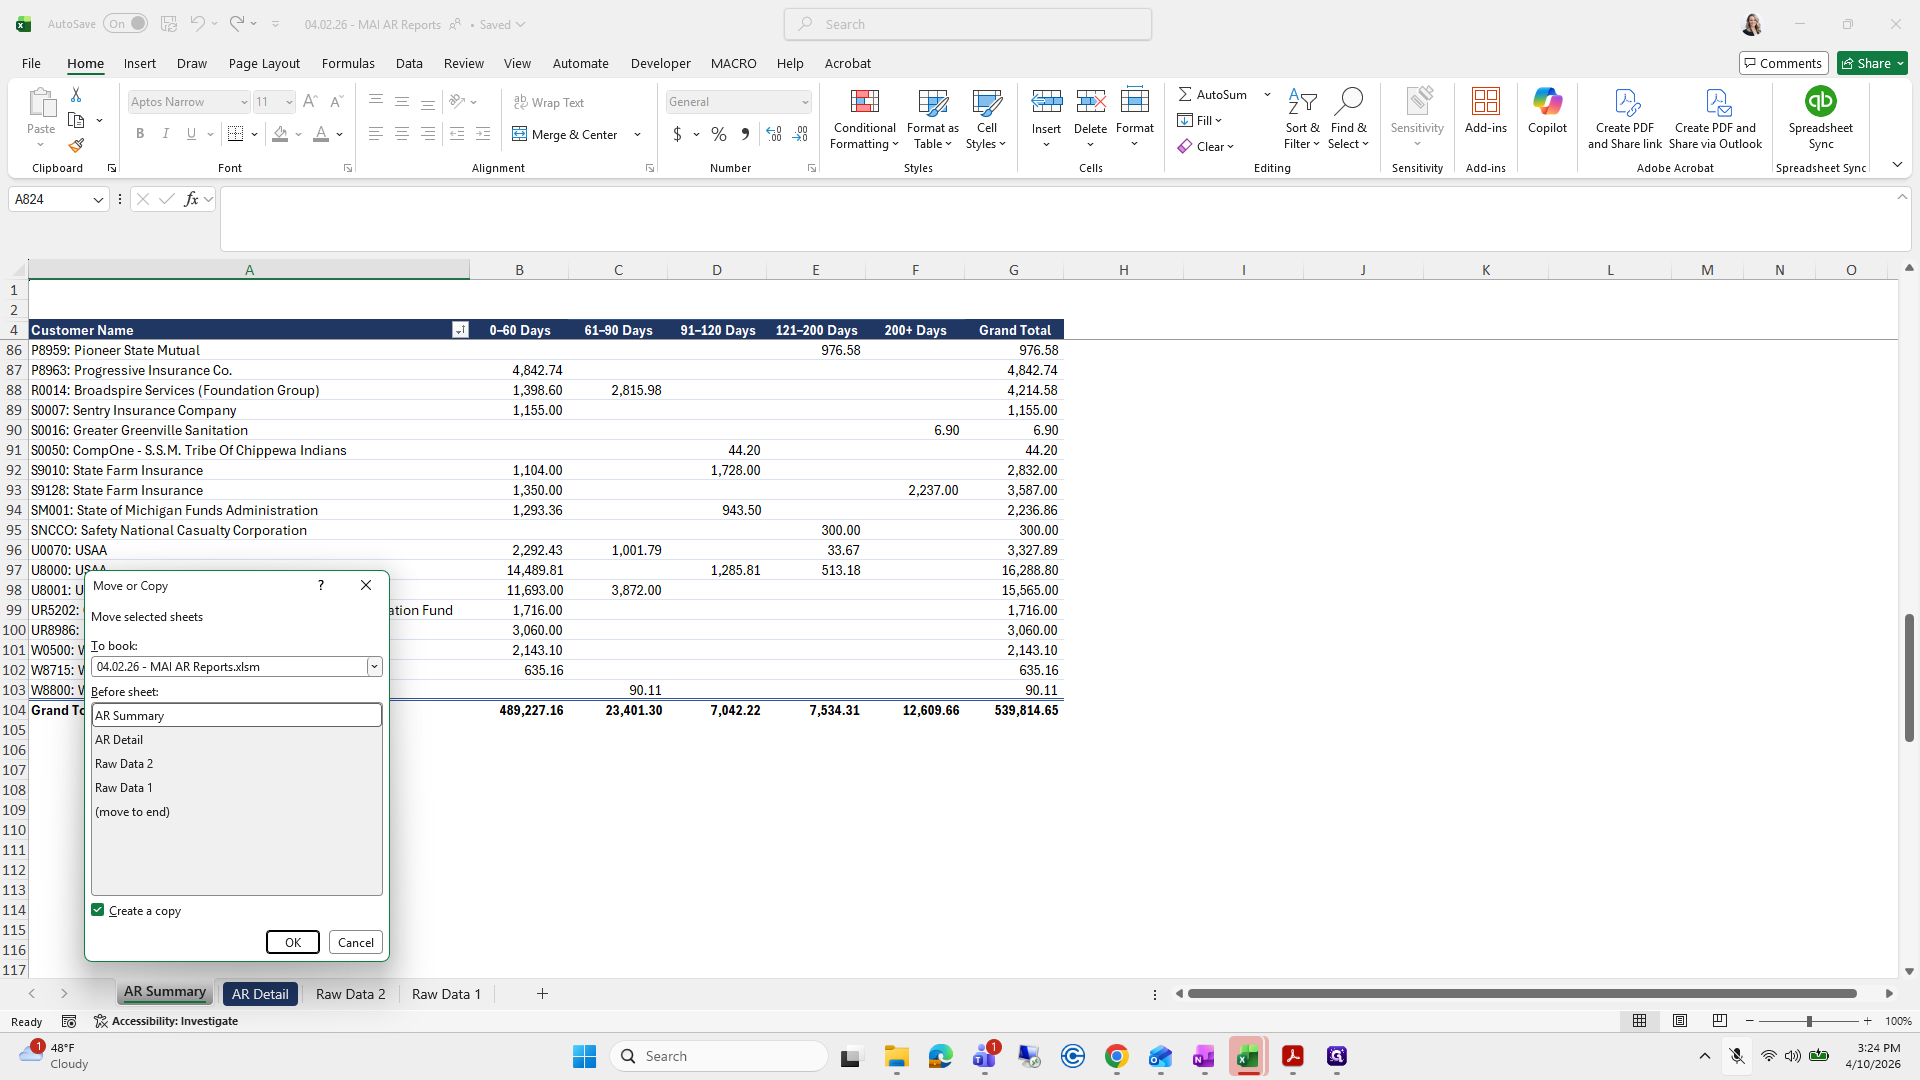
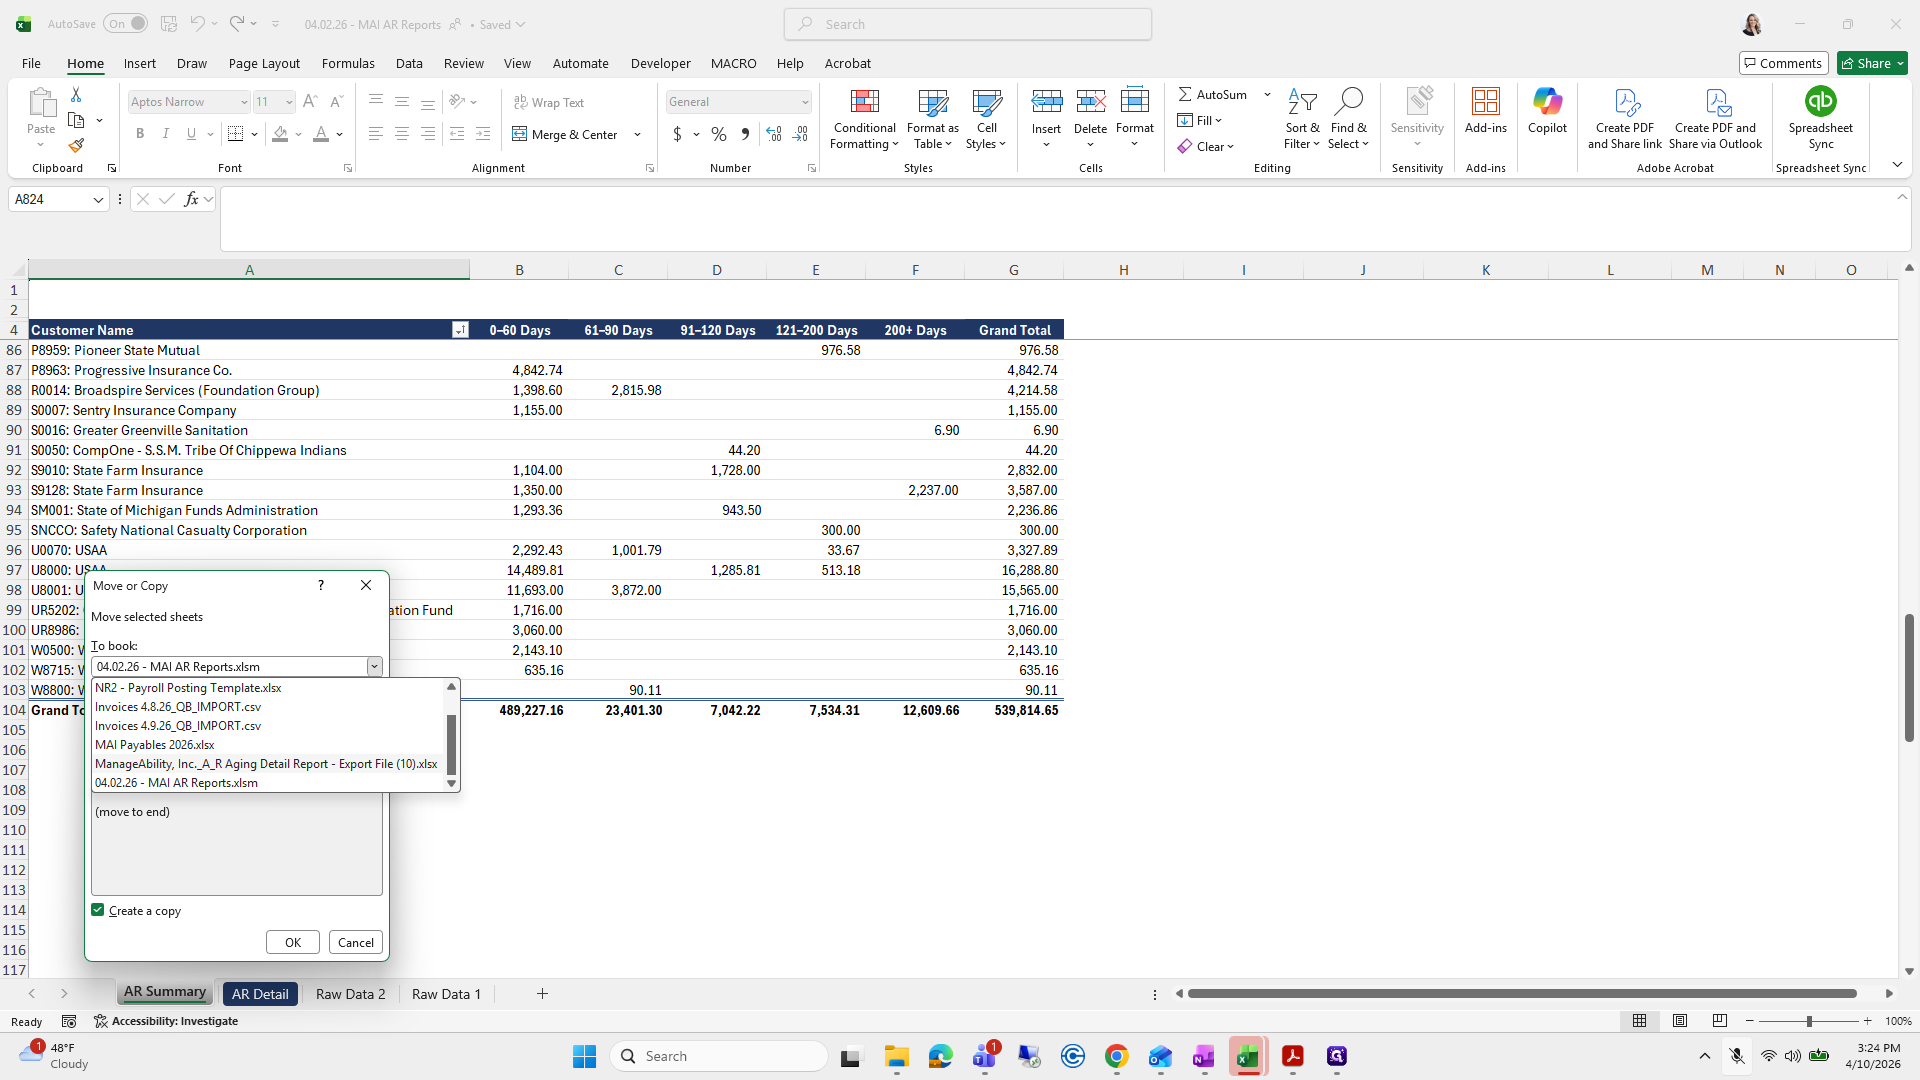
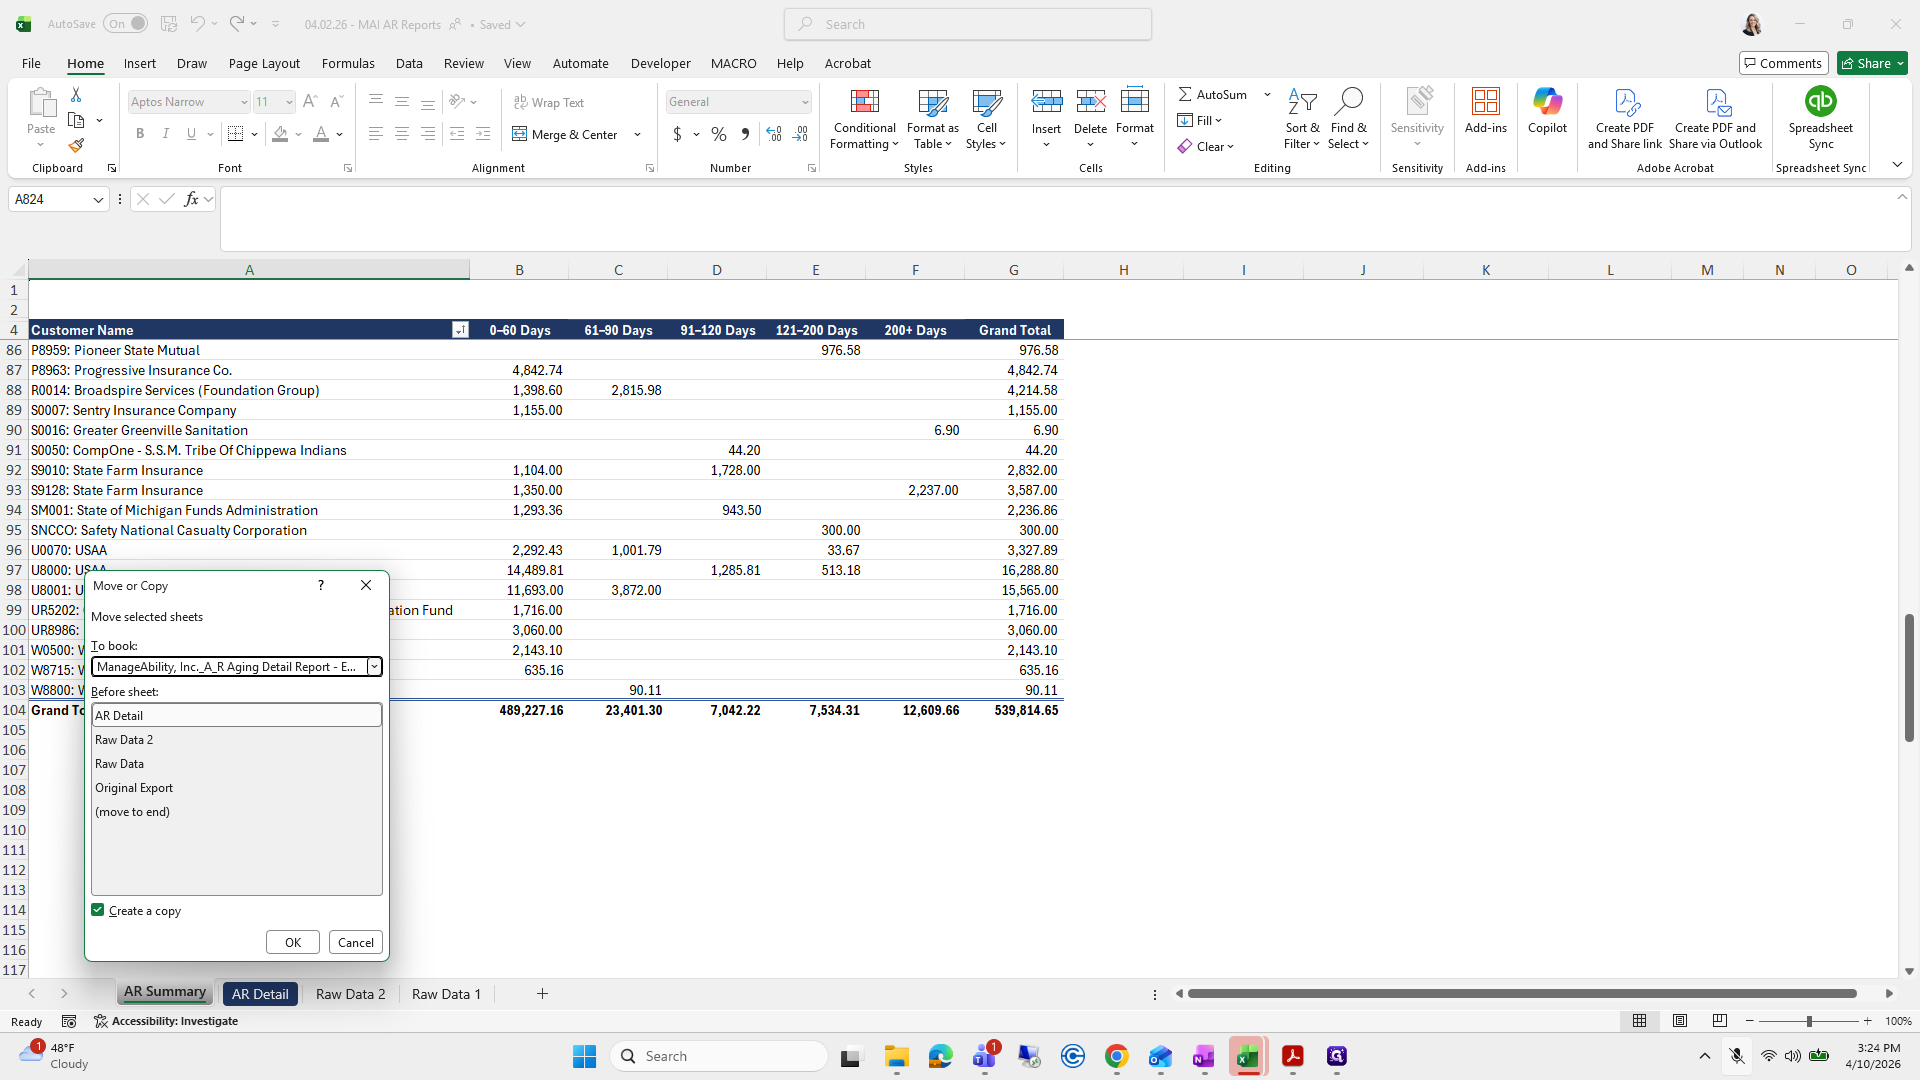
We will move and copy, create the copy, and place it in our...


Did I sort the...
We should have renamed our export file before proceeding, but we didn't.
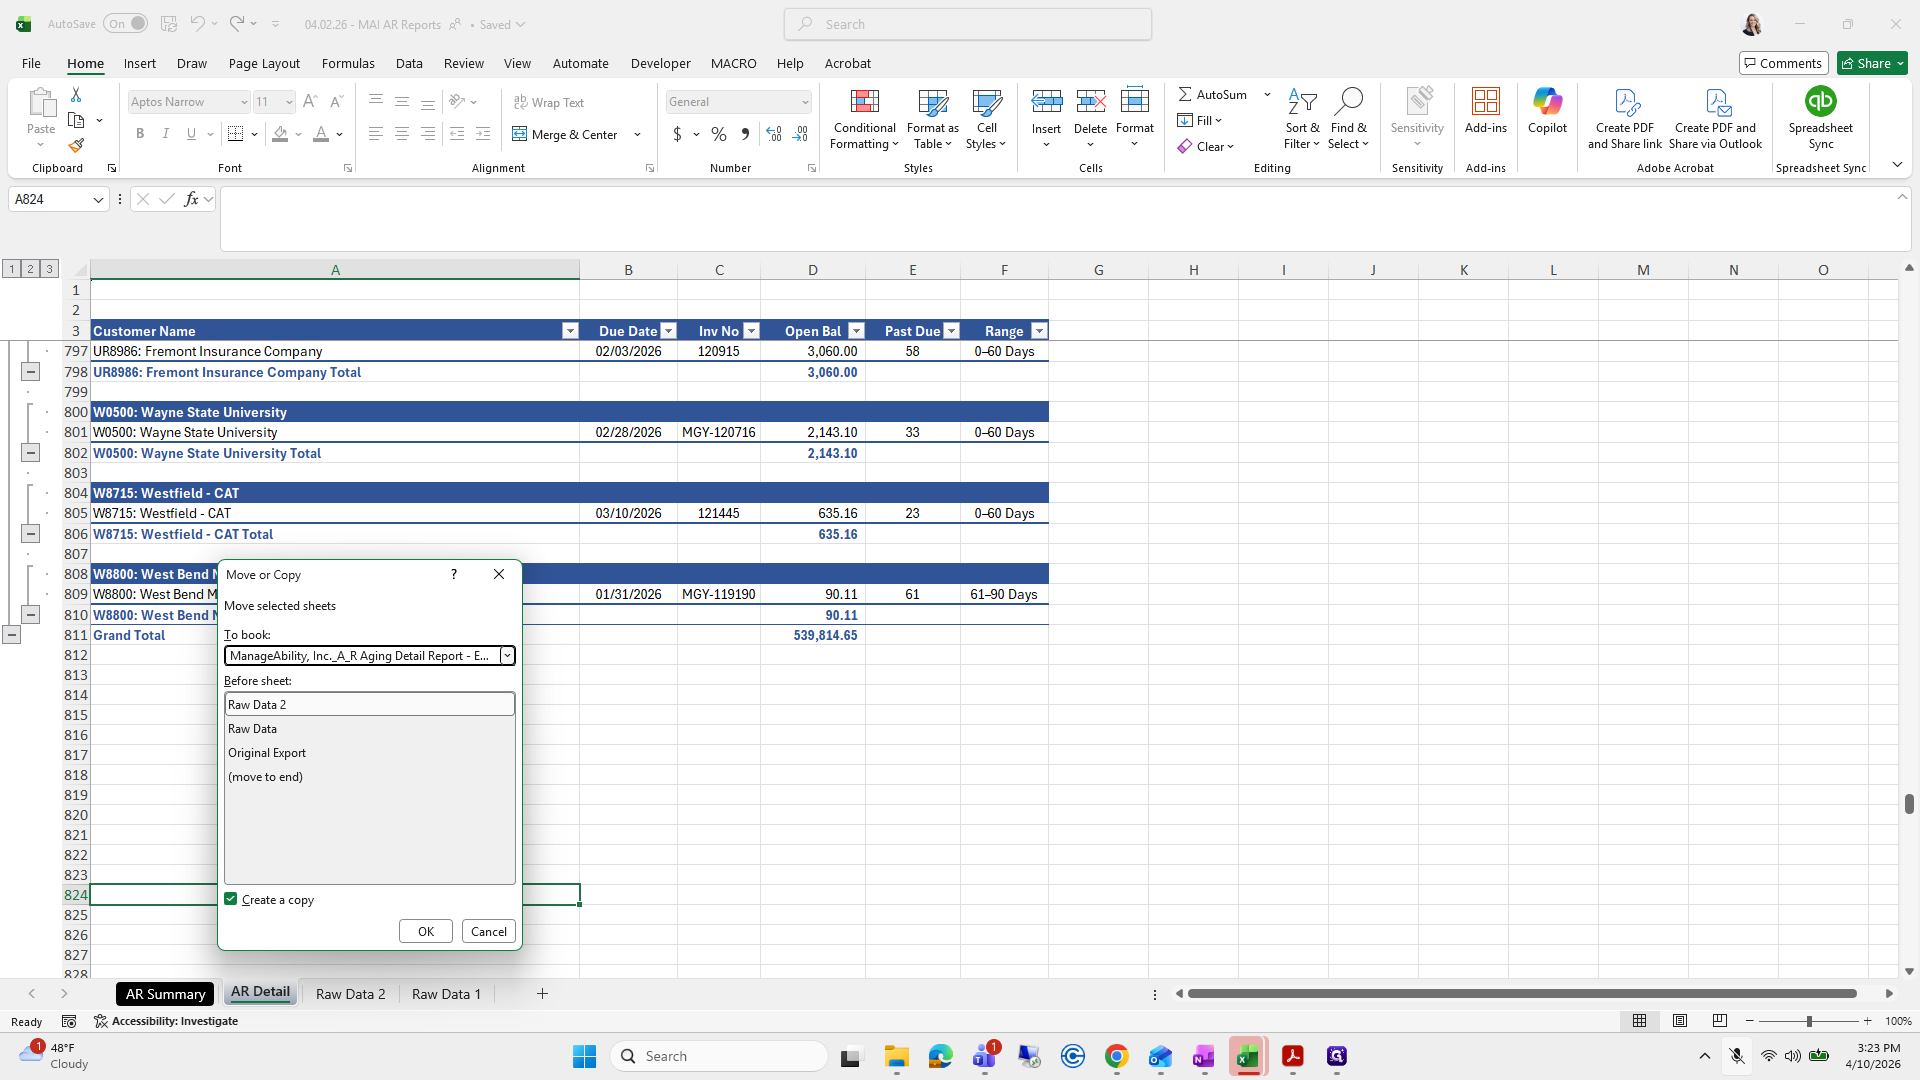
Next, do the same with the AR summary. Use move and copy, create a copy, and place it in our file before that sheet.

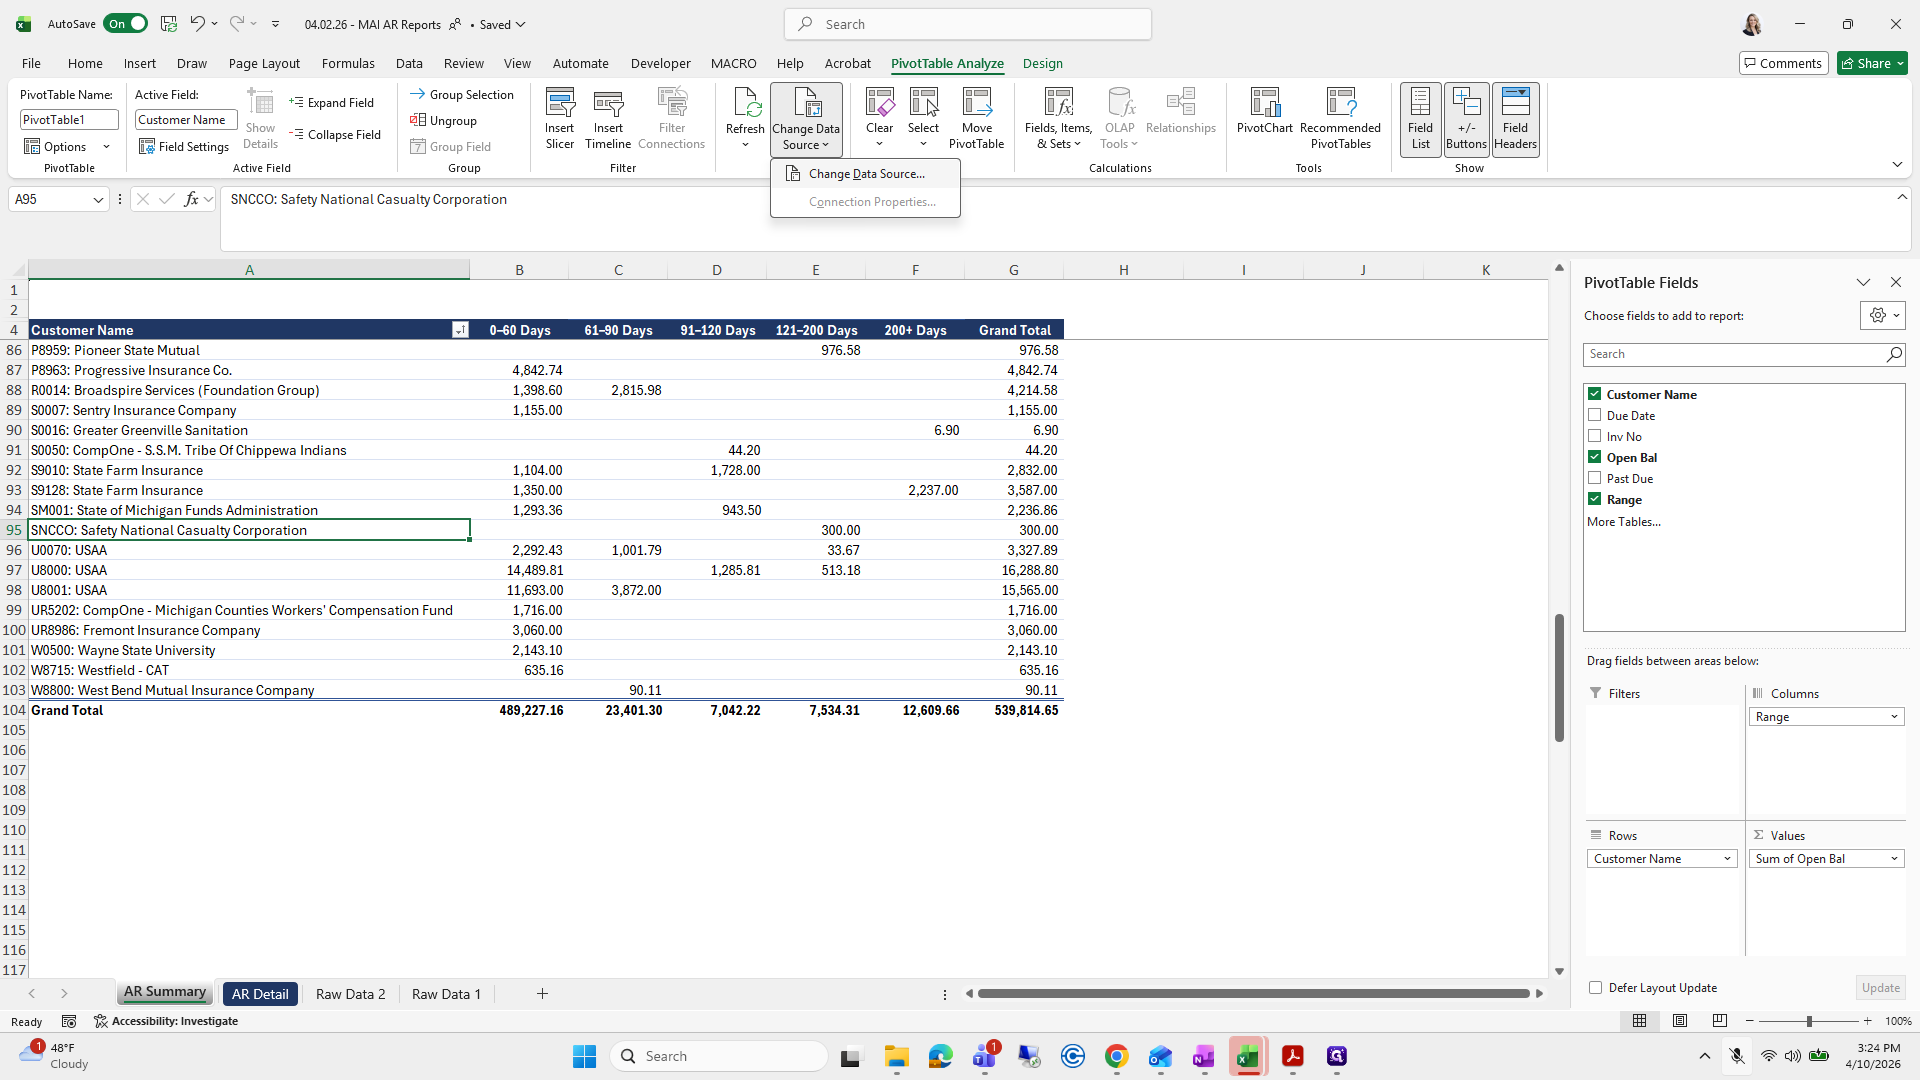
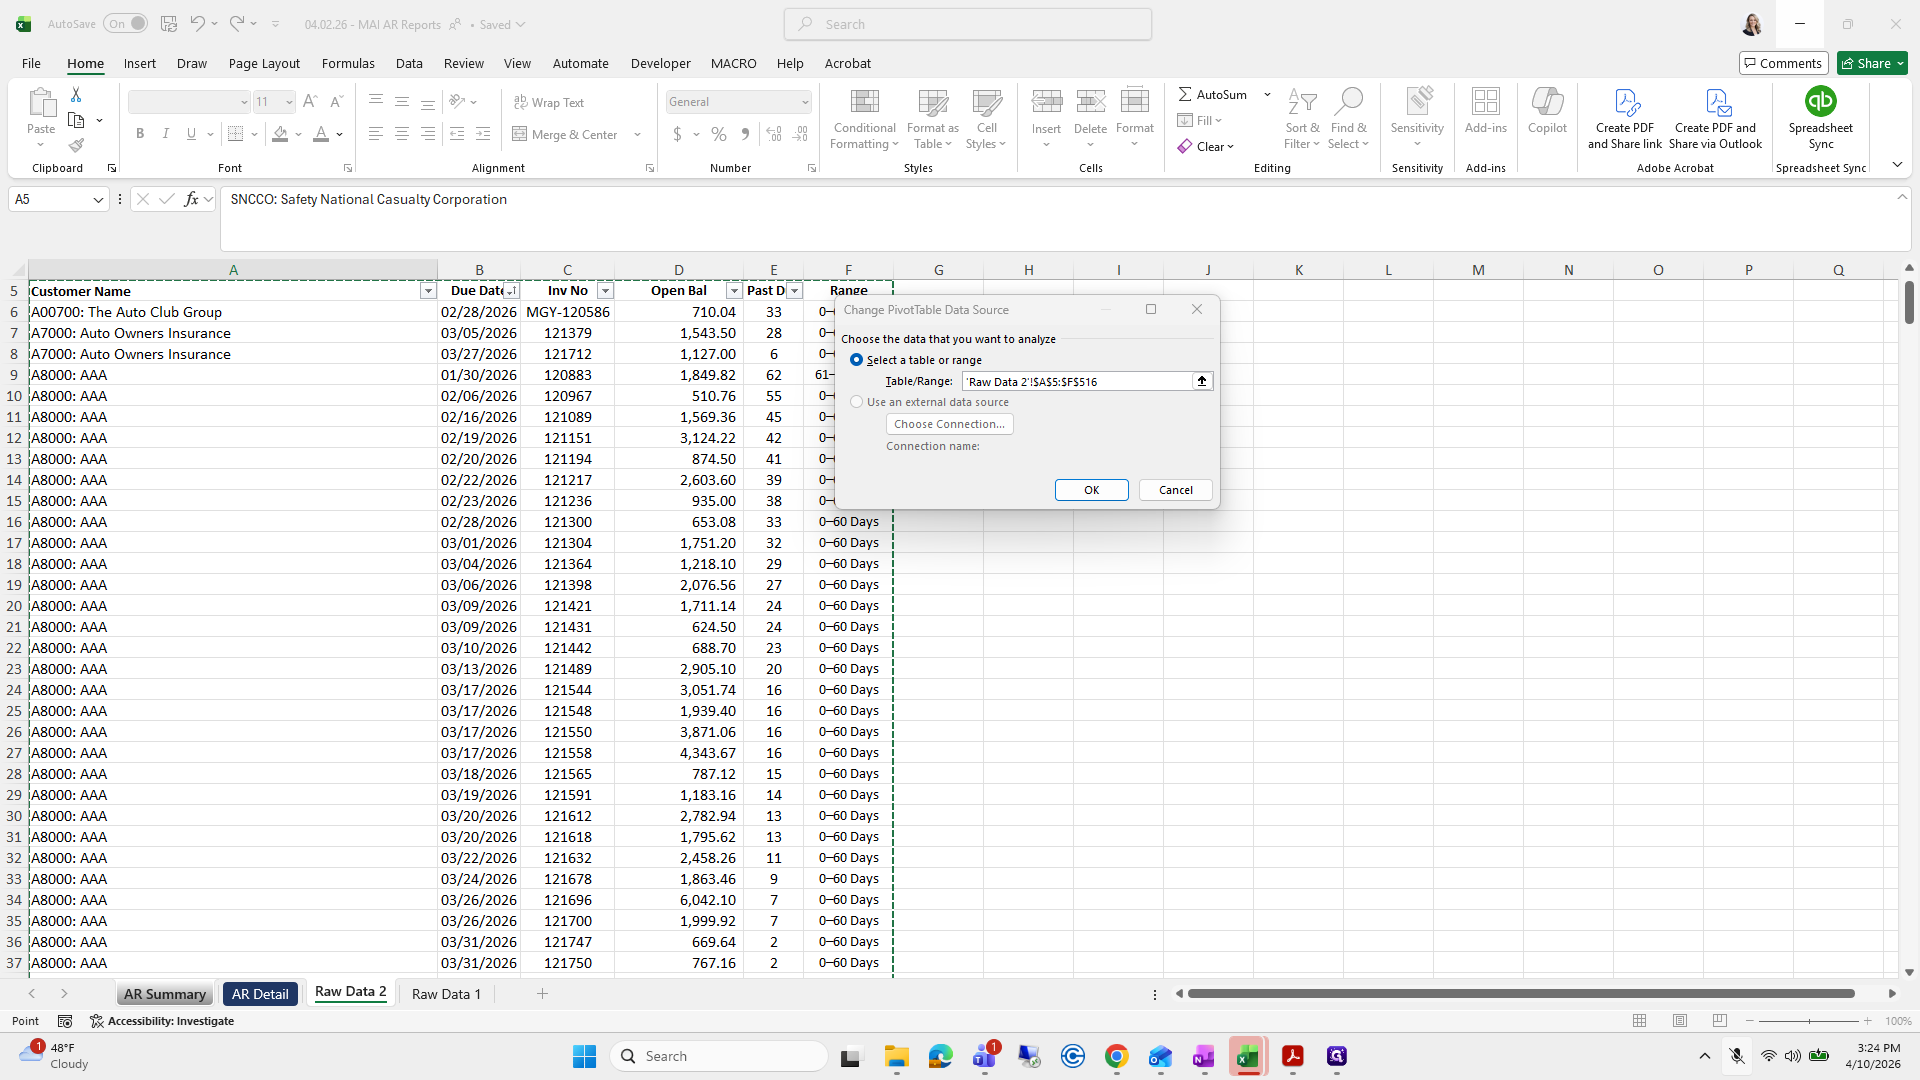
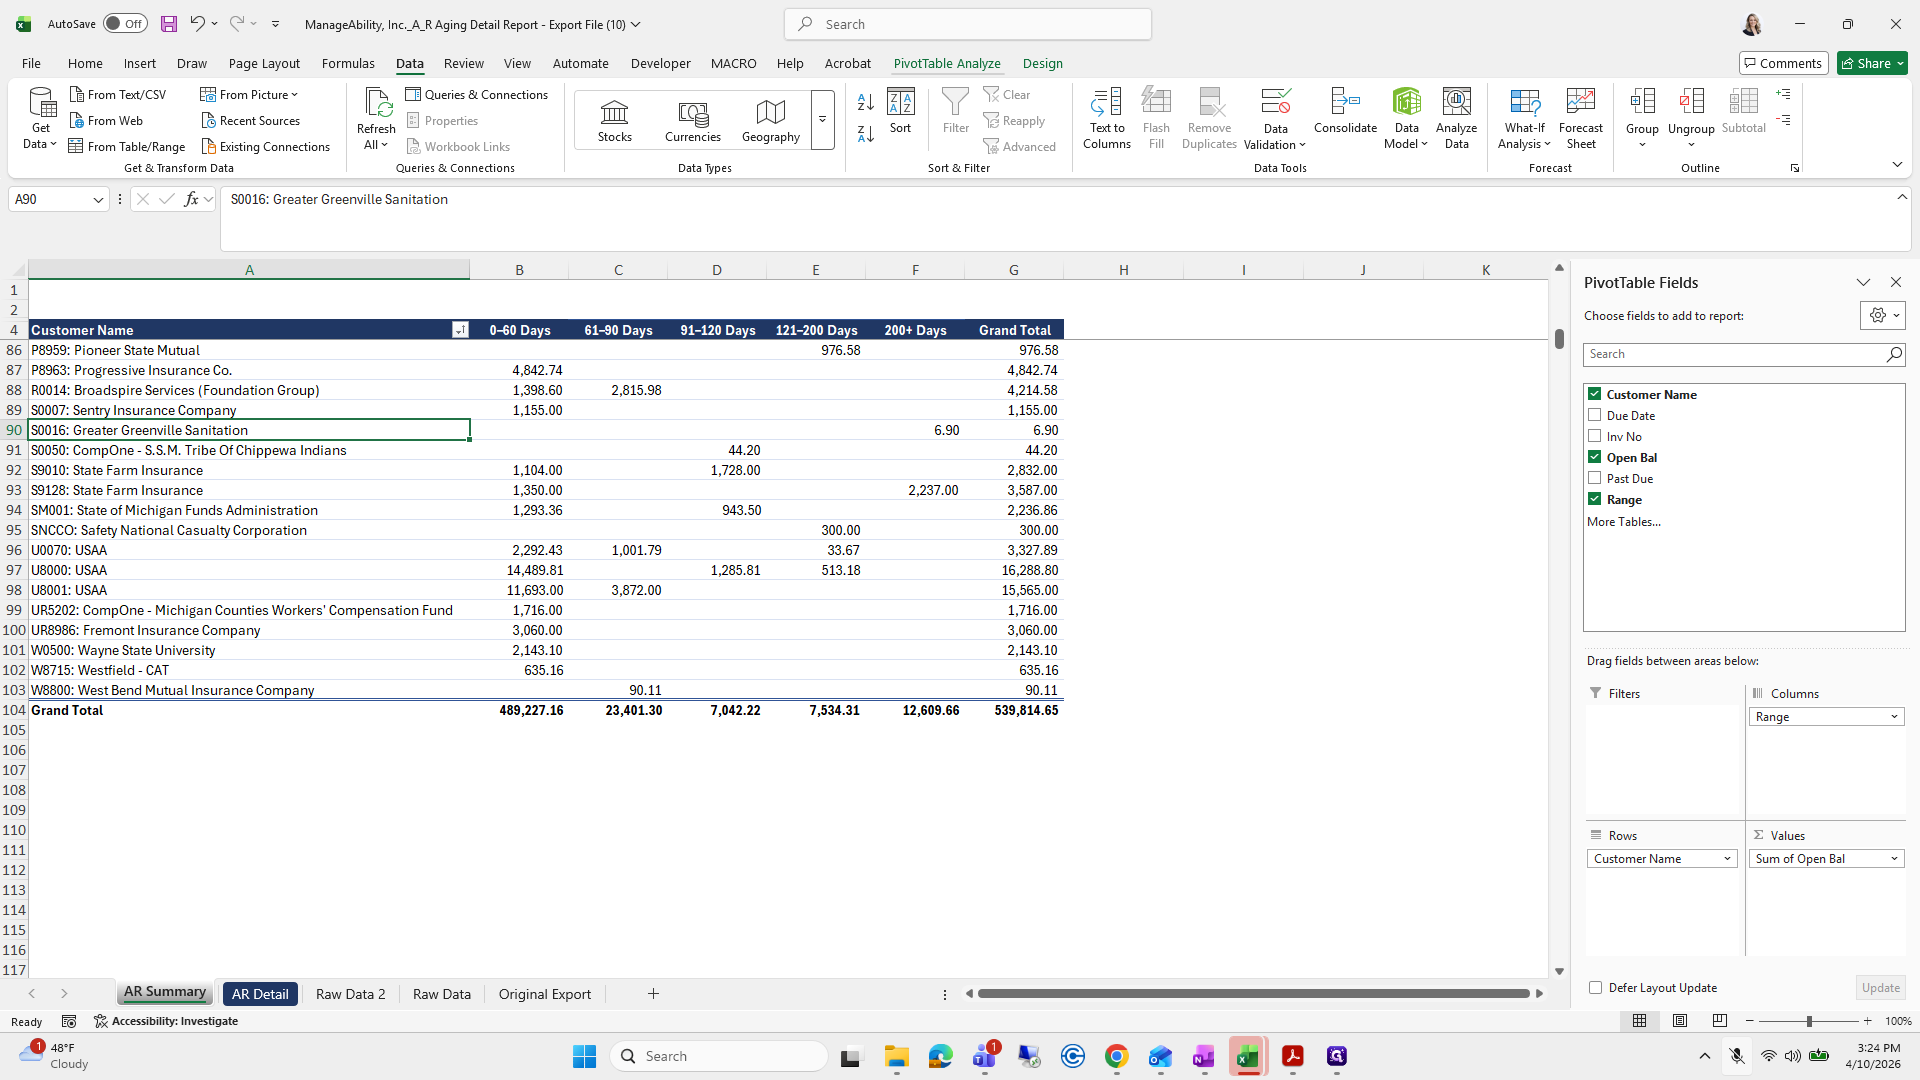
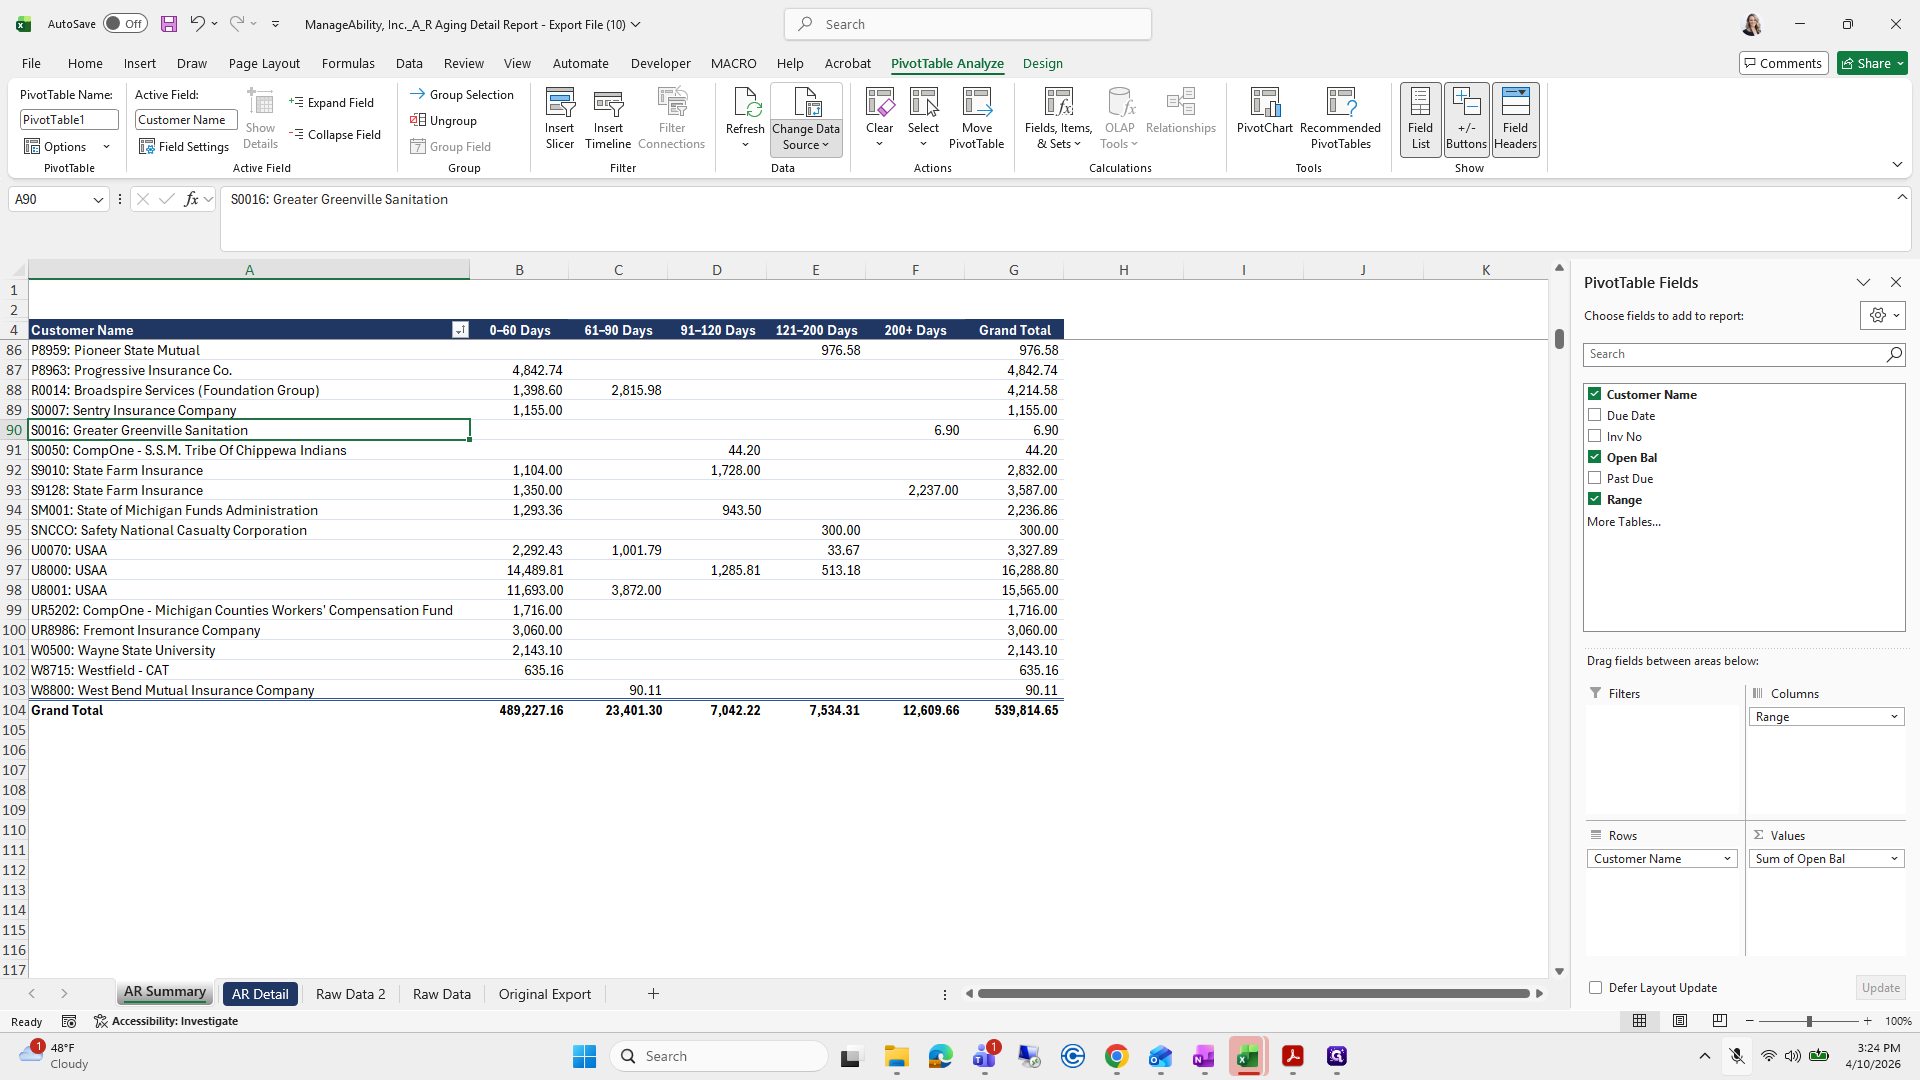
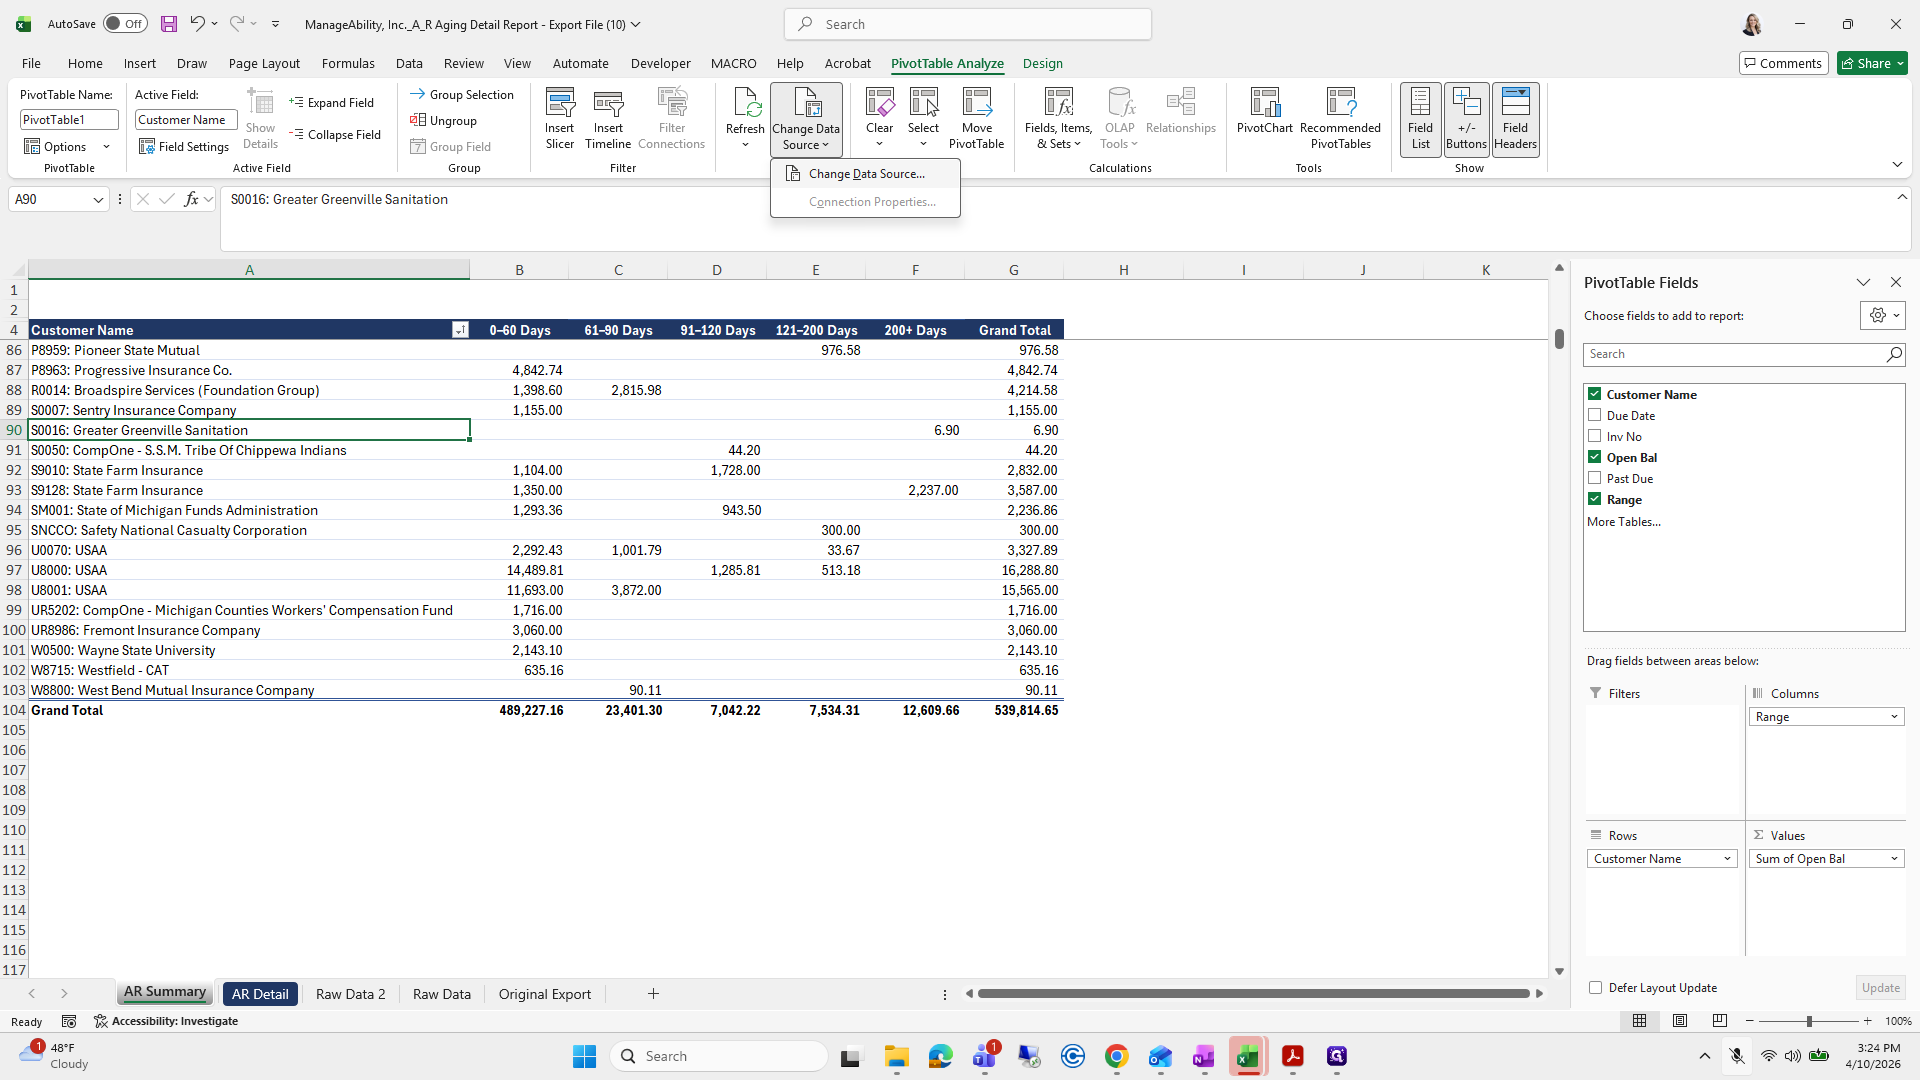
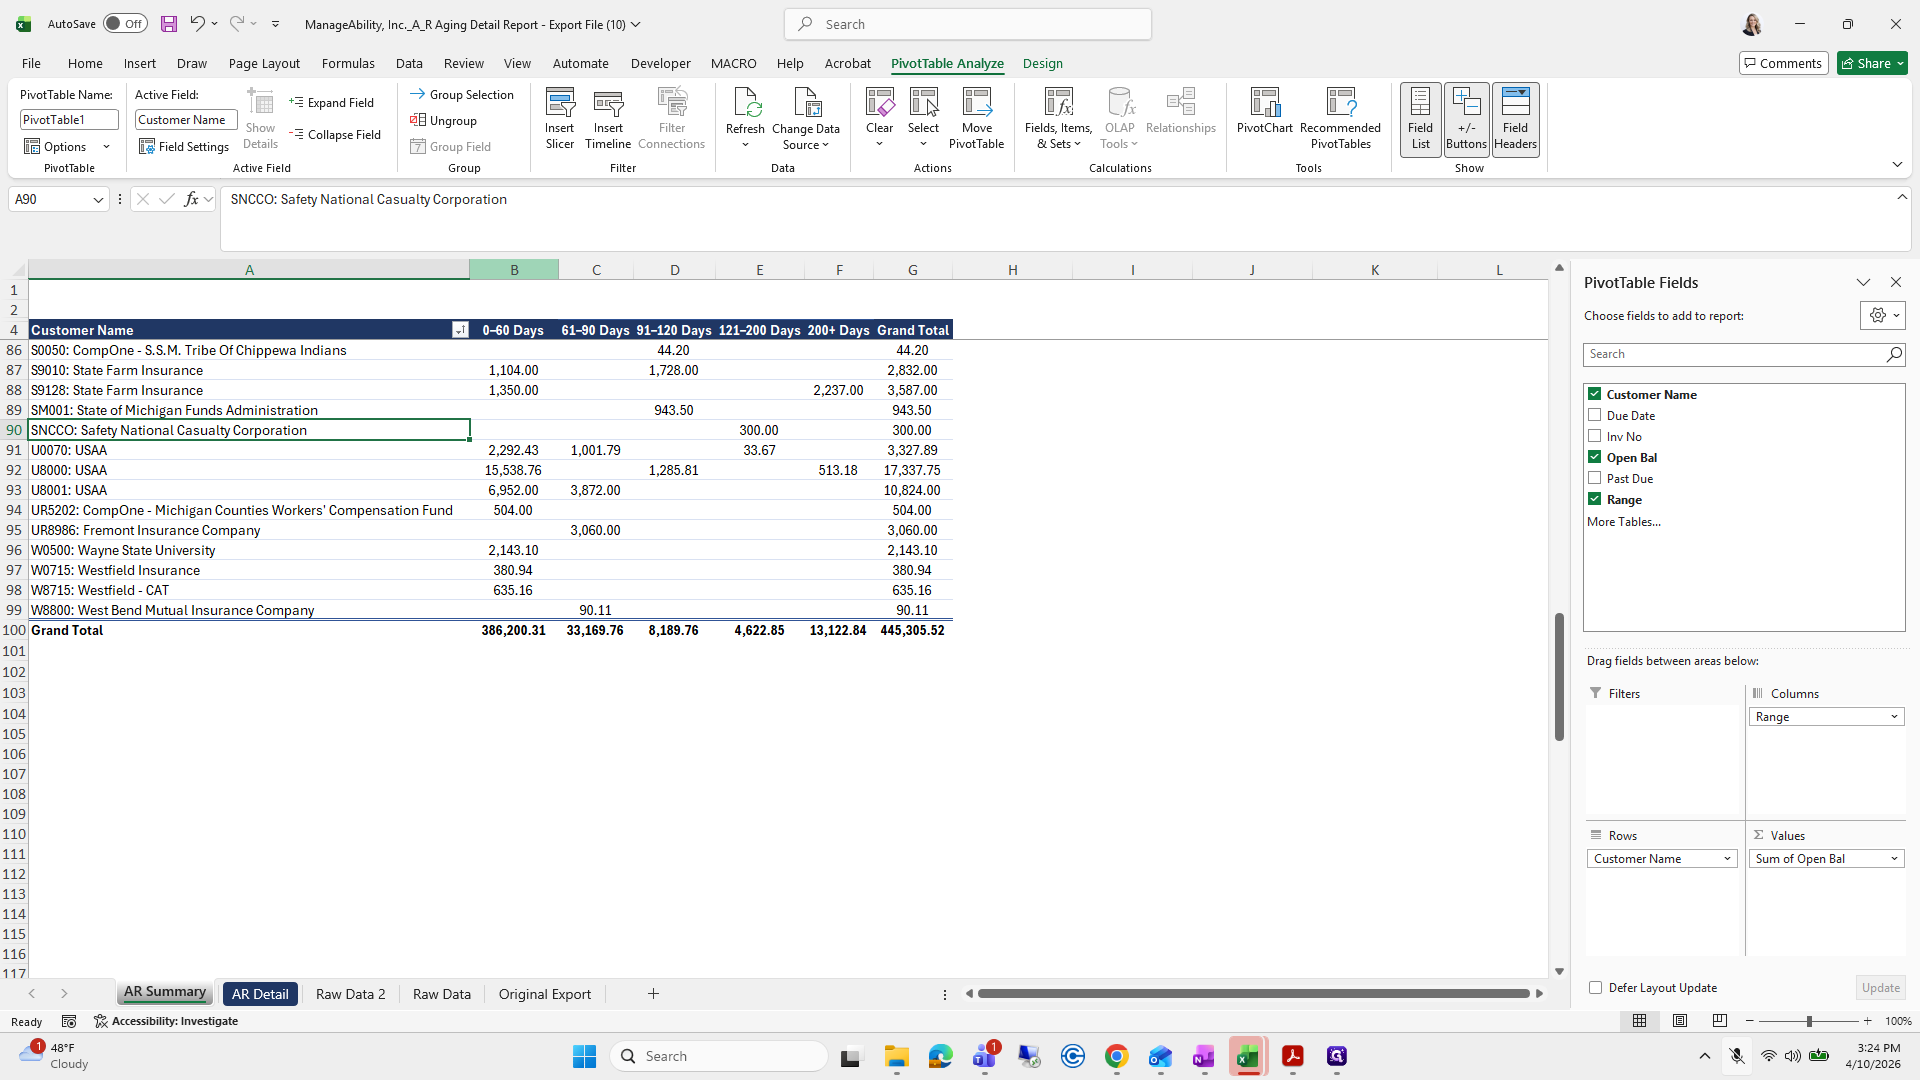
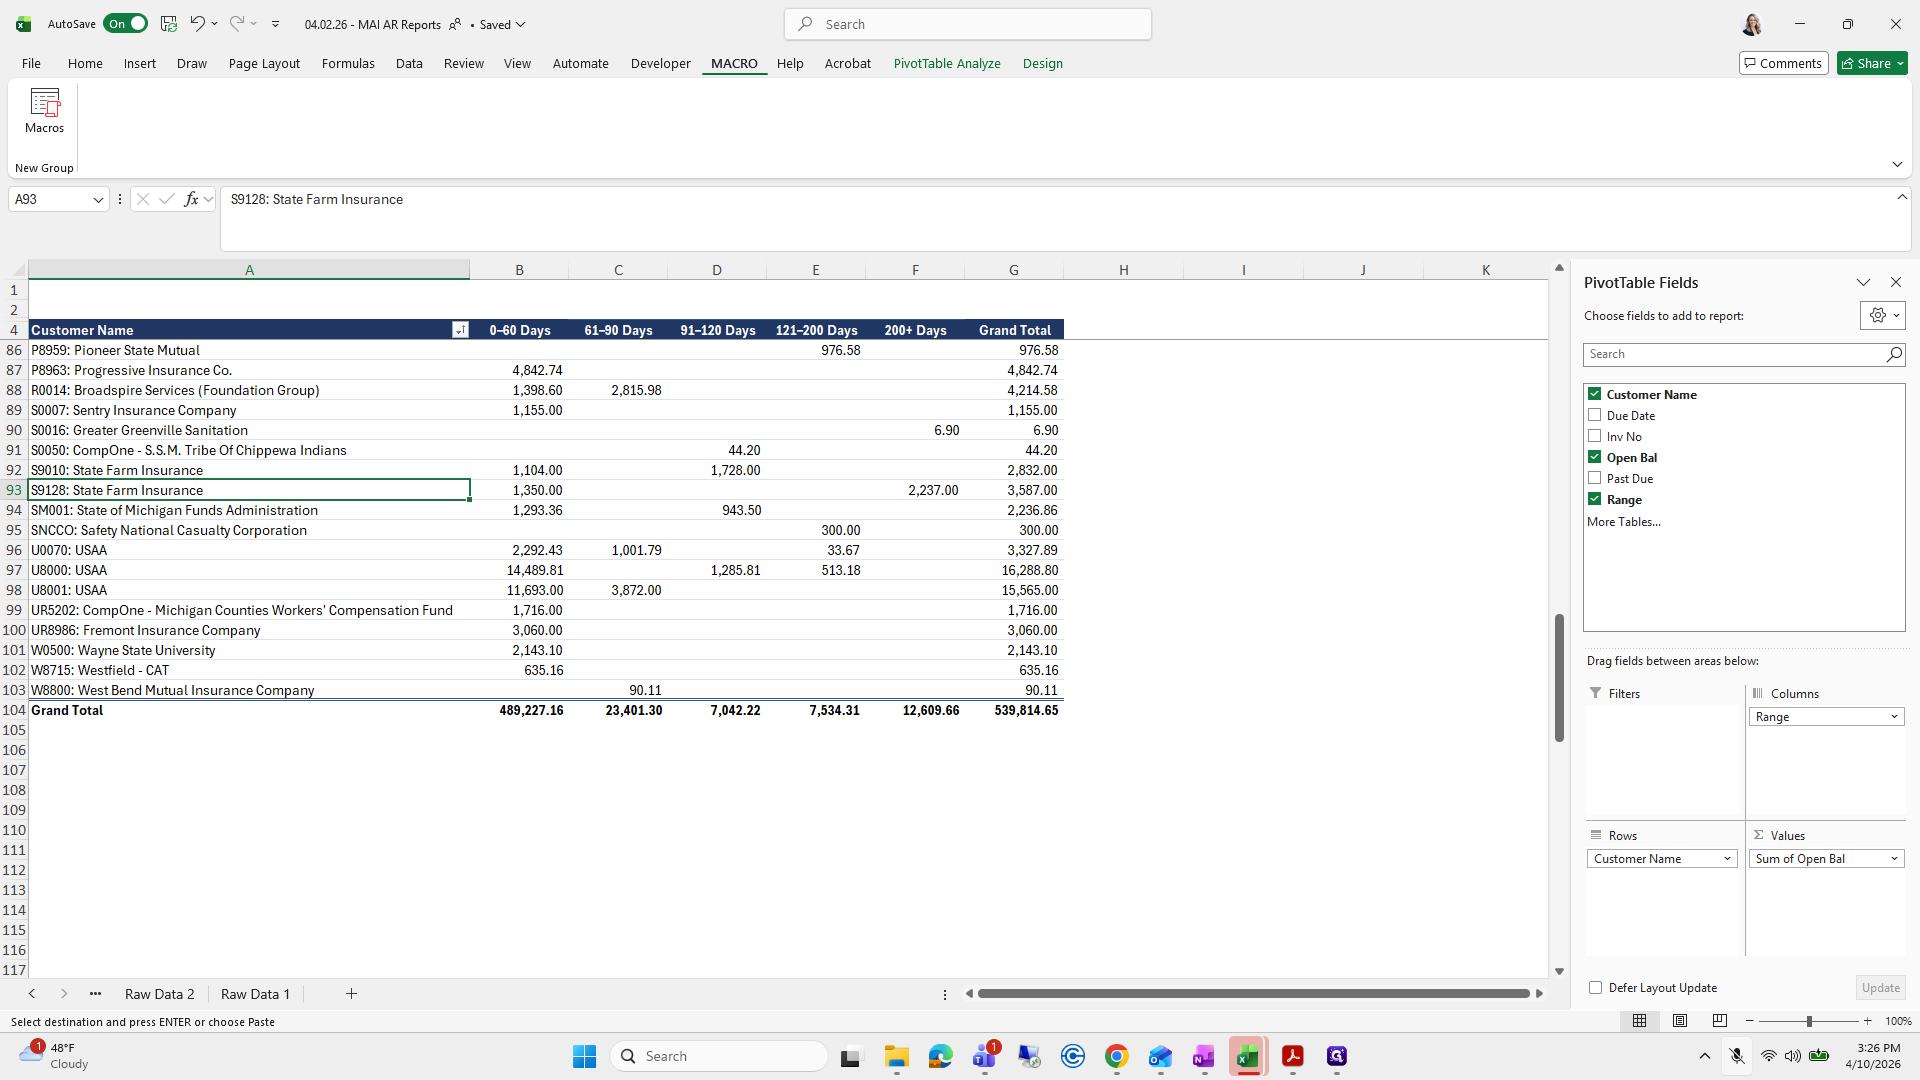
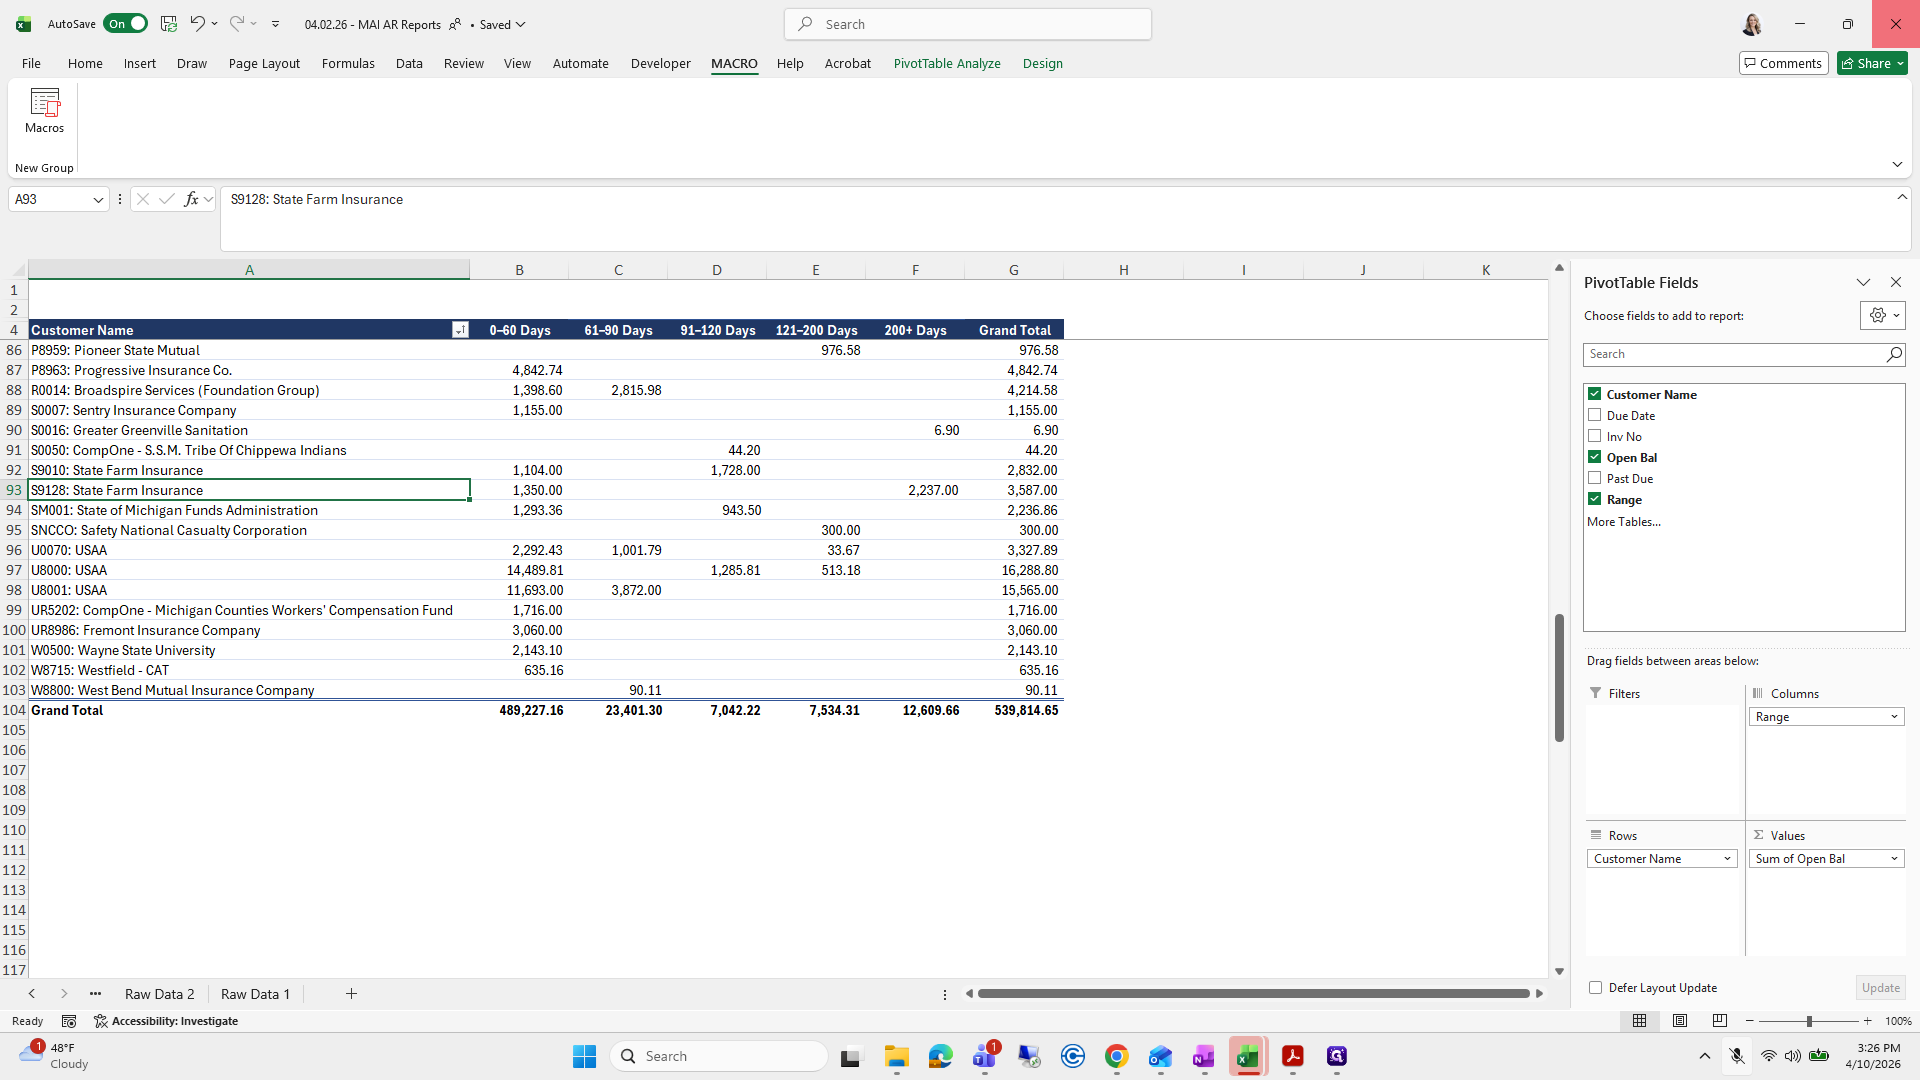
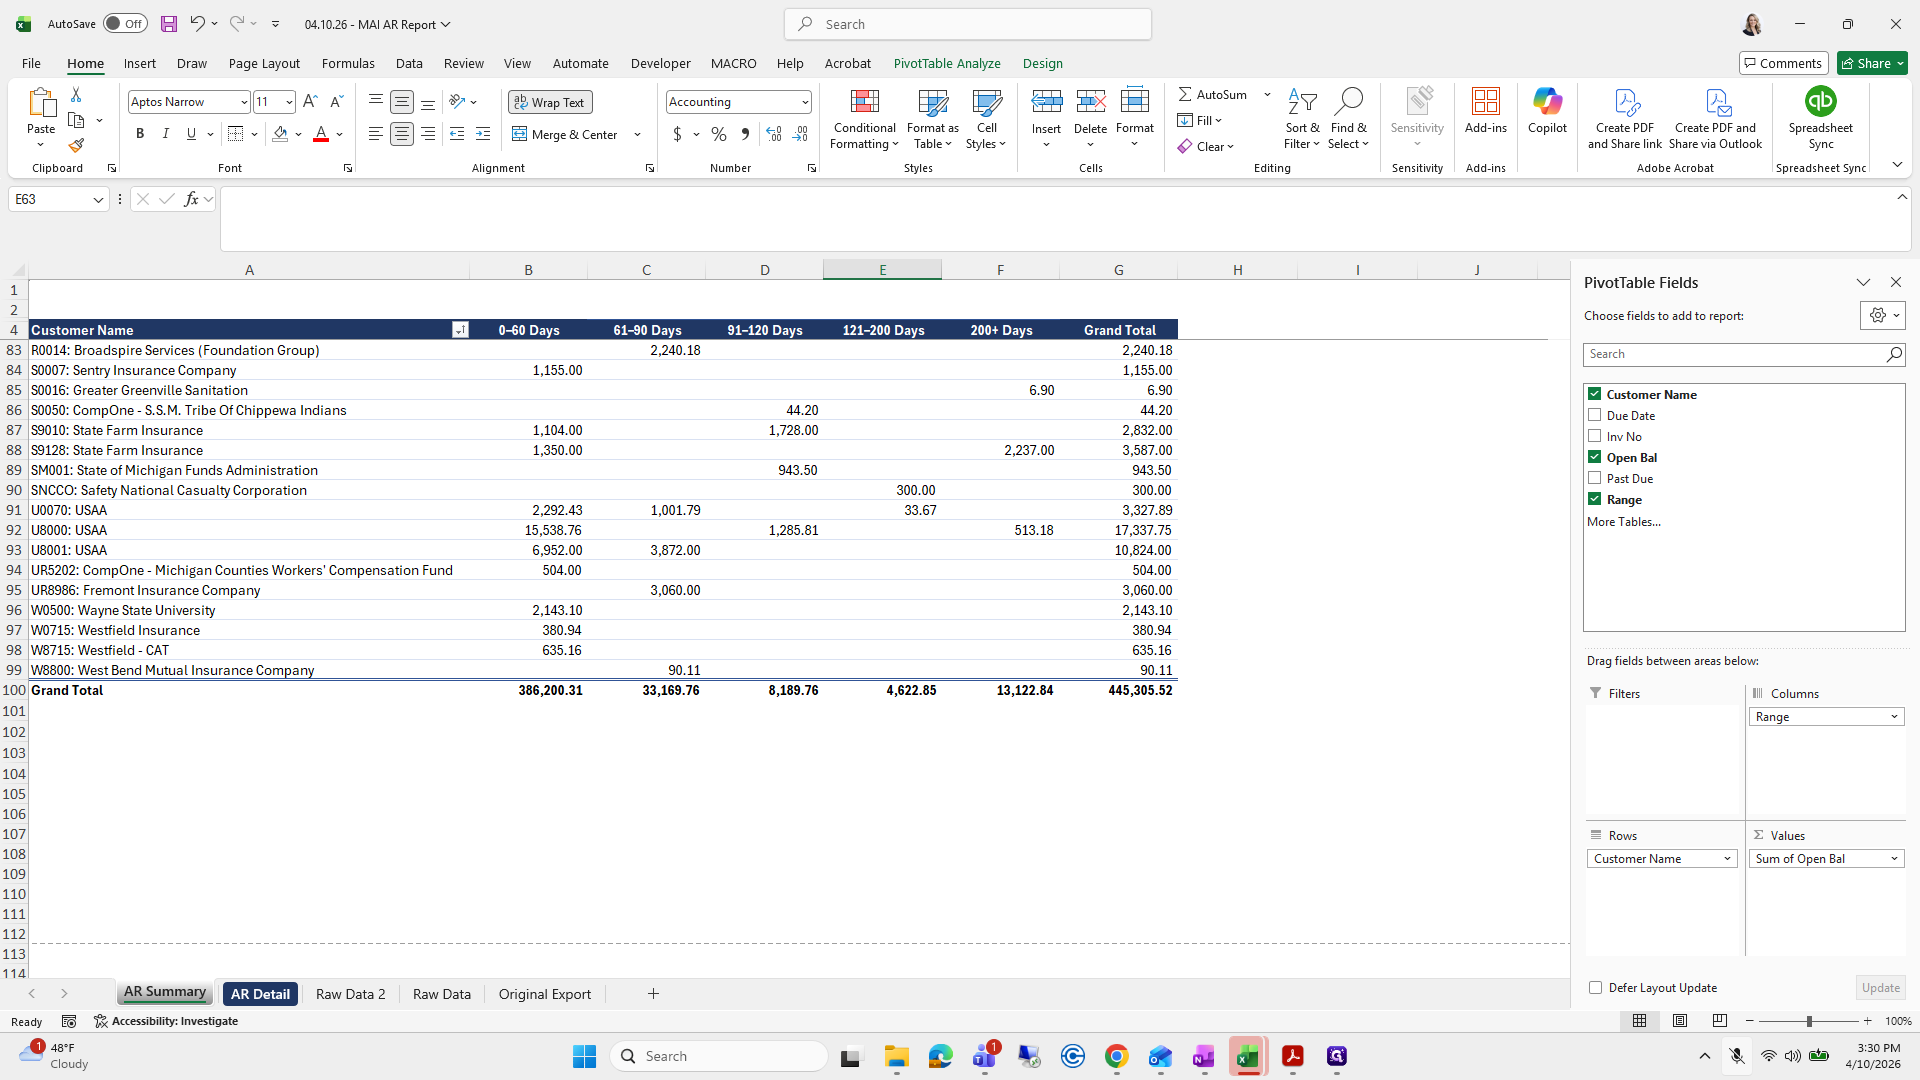
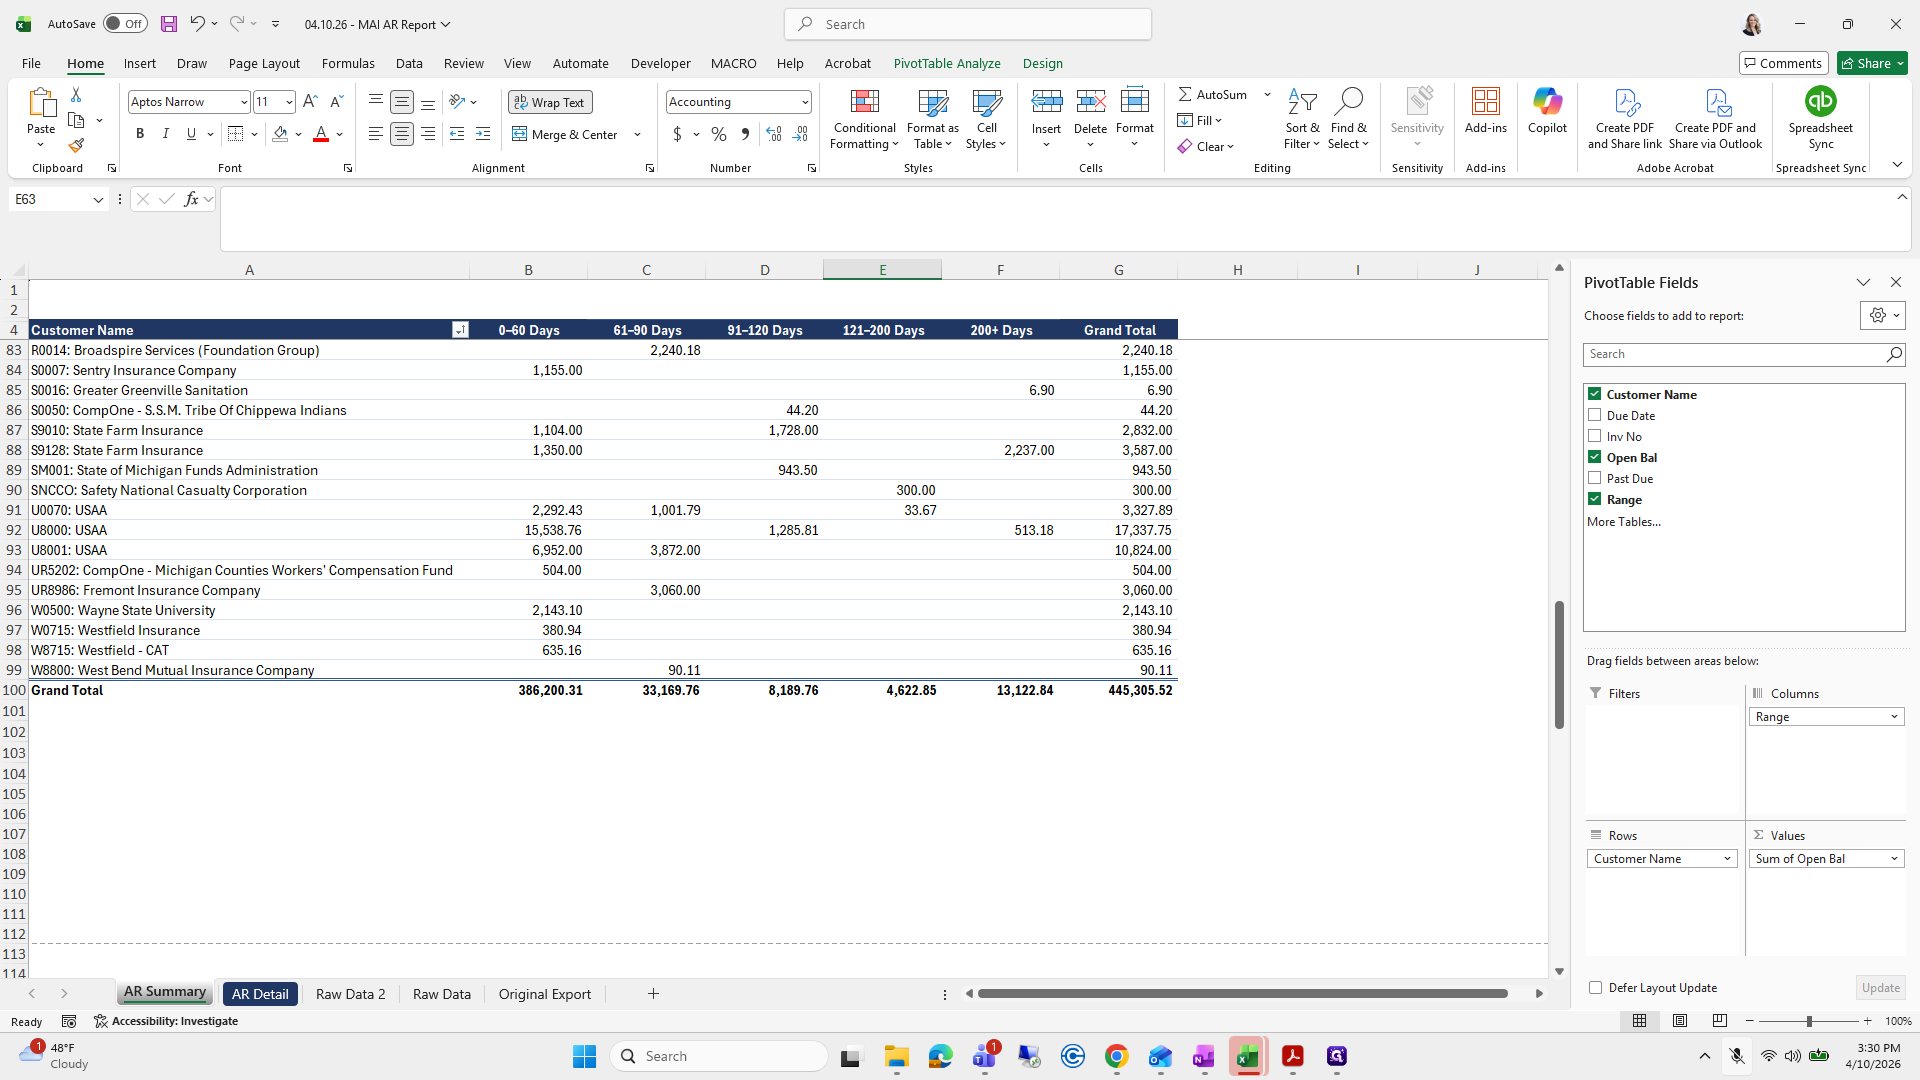
For this step, go to Pivot Table, then select Analyze and Design.

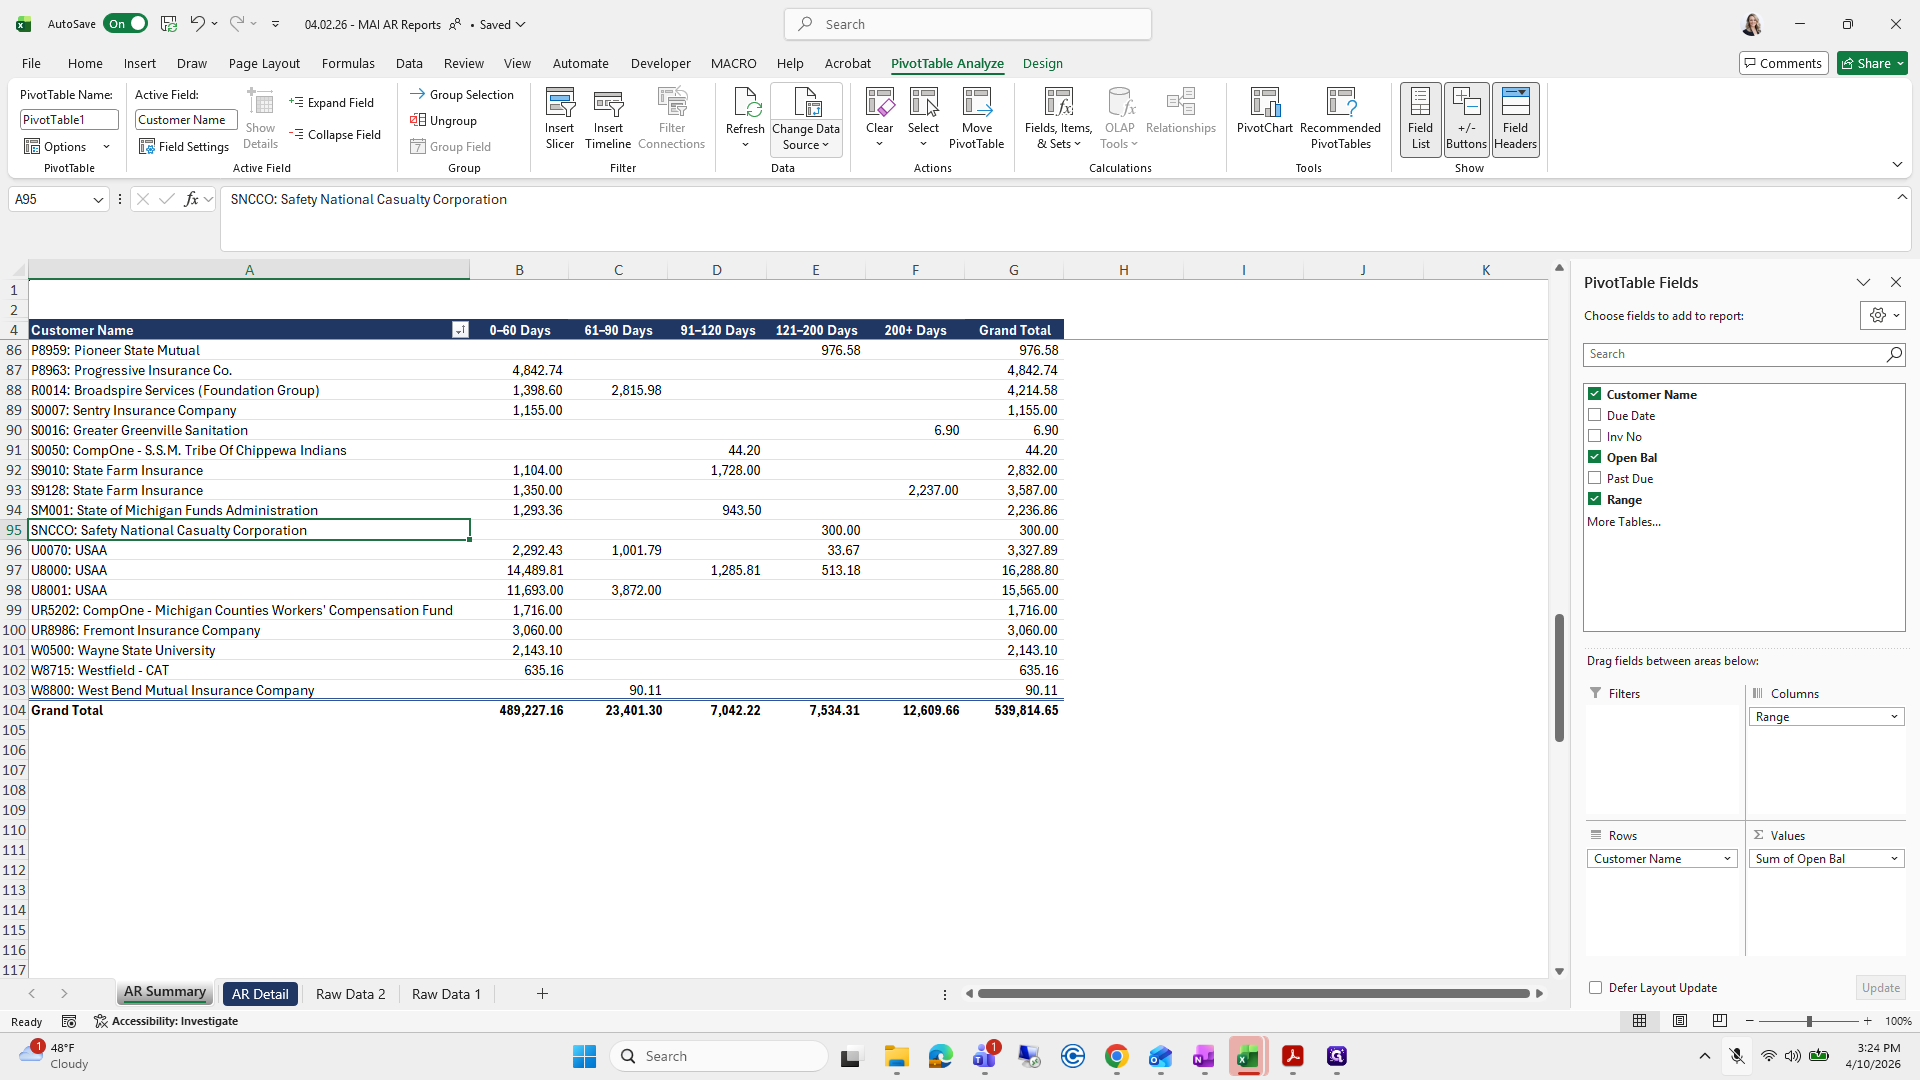
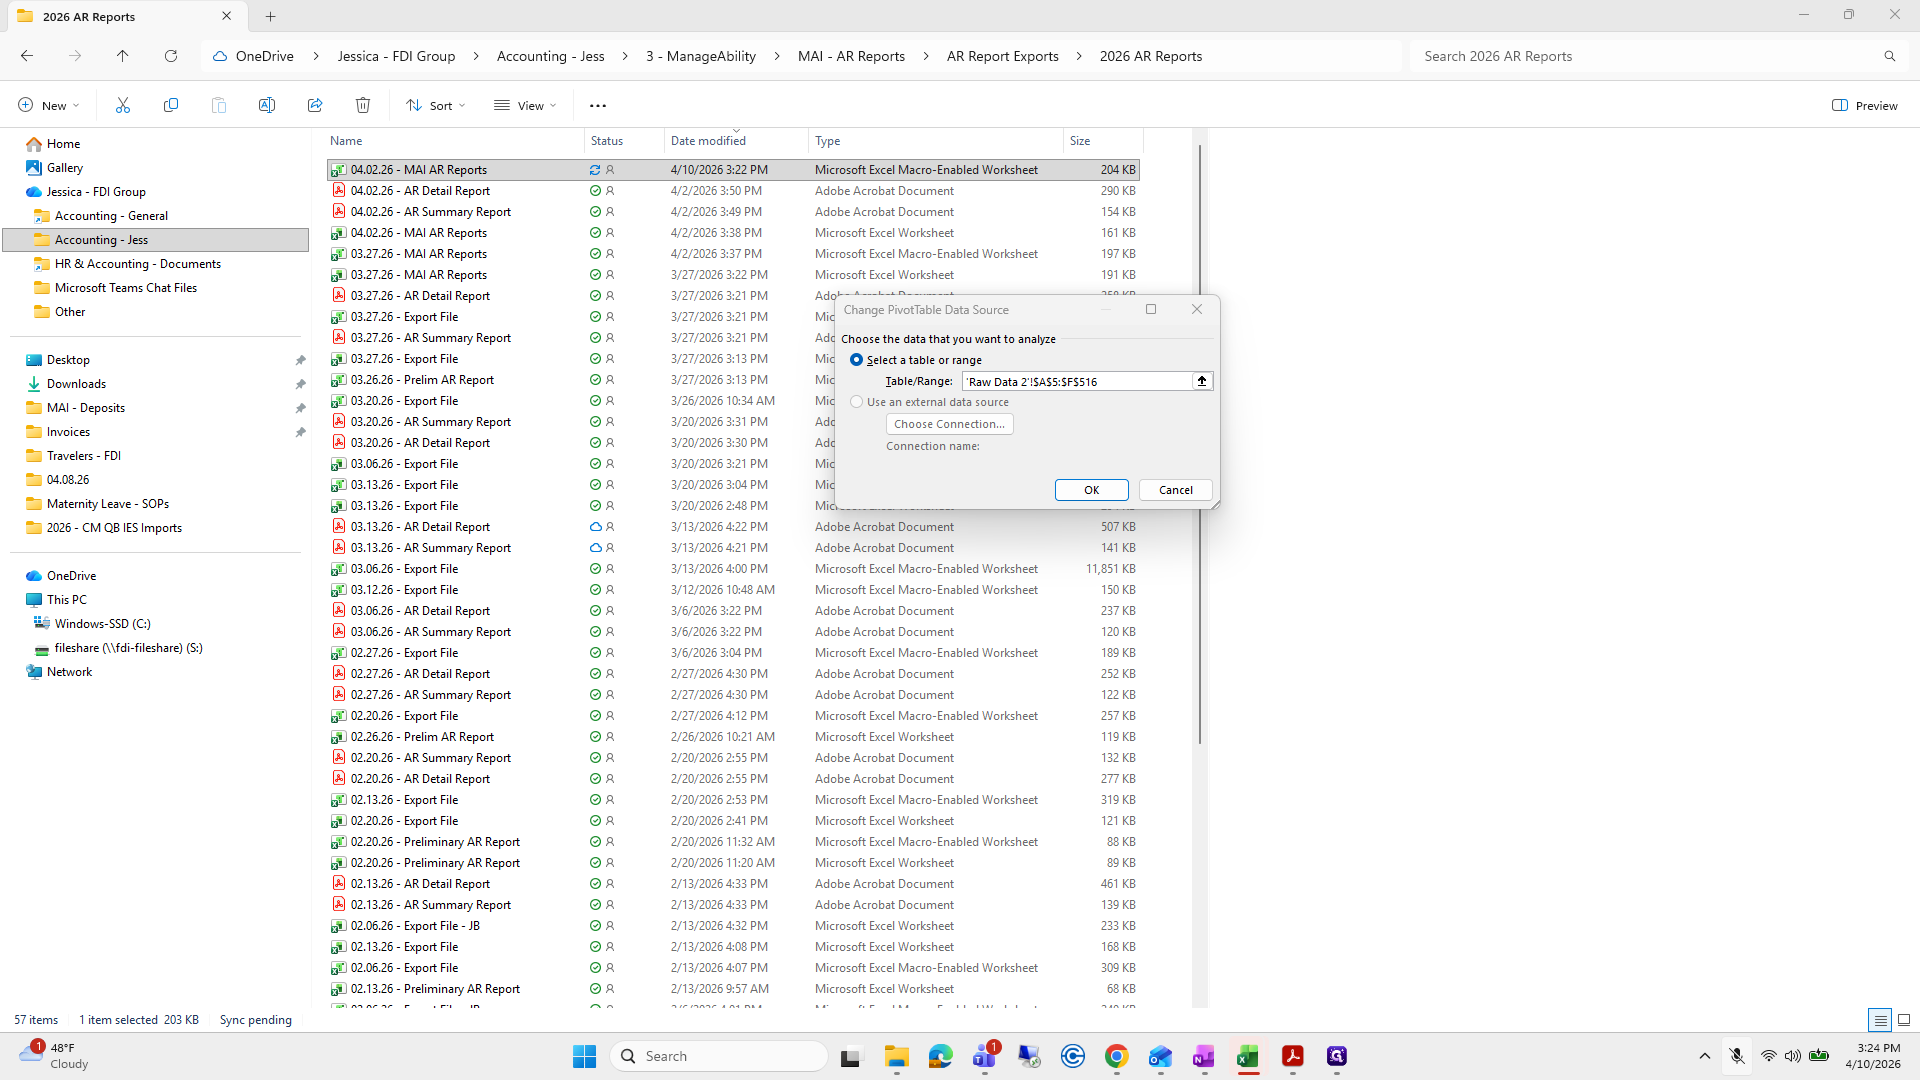
We will change the data source and ensure we are selecting the correct file source.
Did I do it?
Ugh, where'd it go?

Where'd it go? Go away. This one?

This one. We will change the data source by selecting raw data two and dragging it all the way down.

Then press Enter and everything updates.
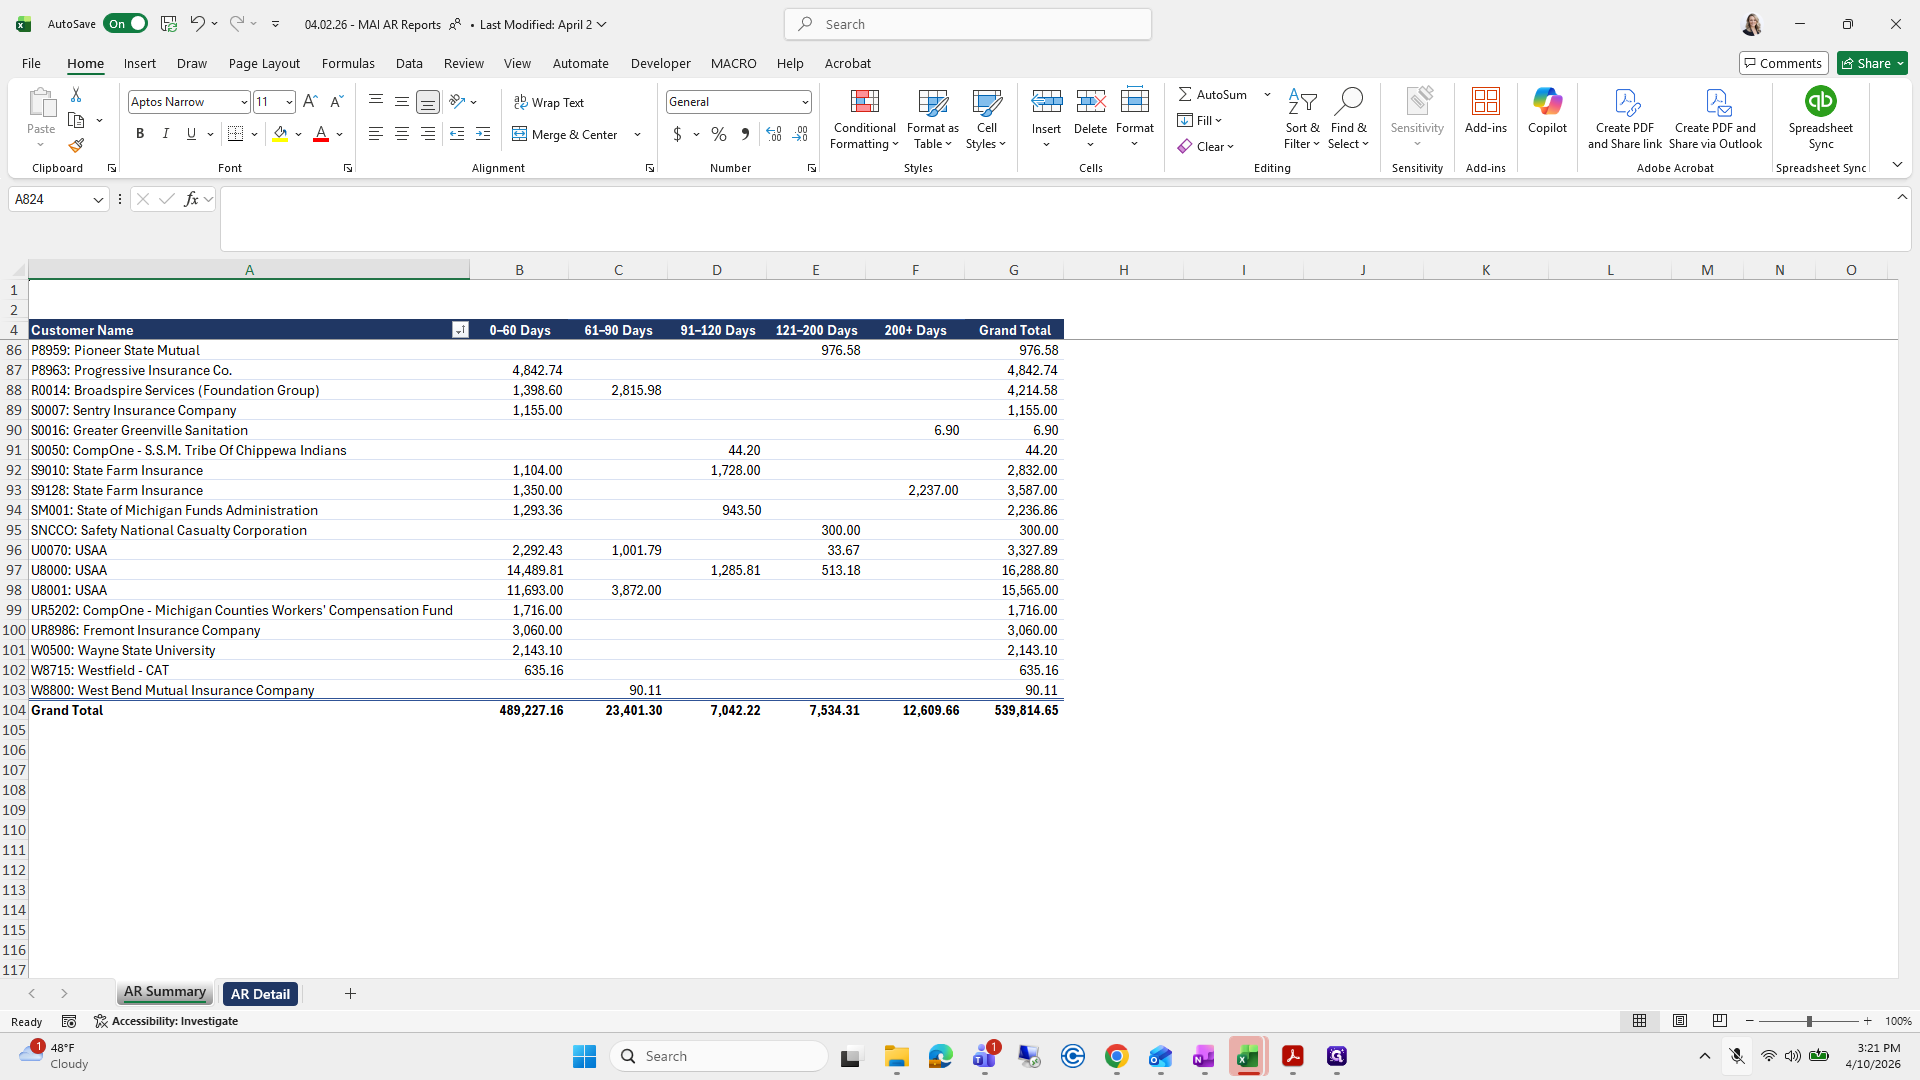
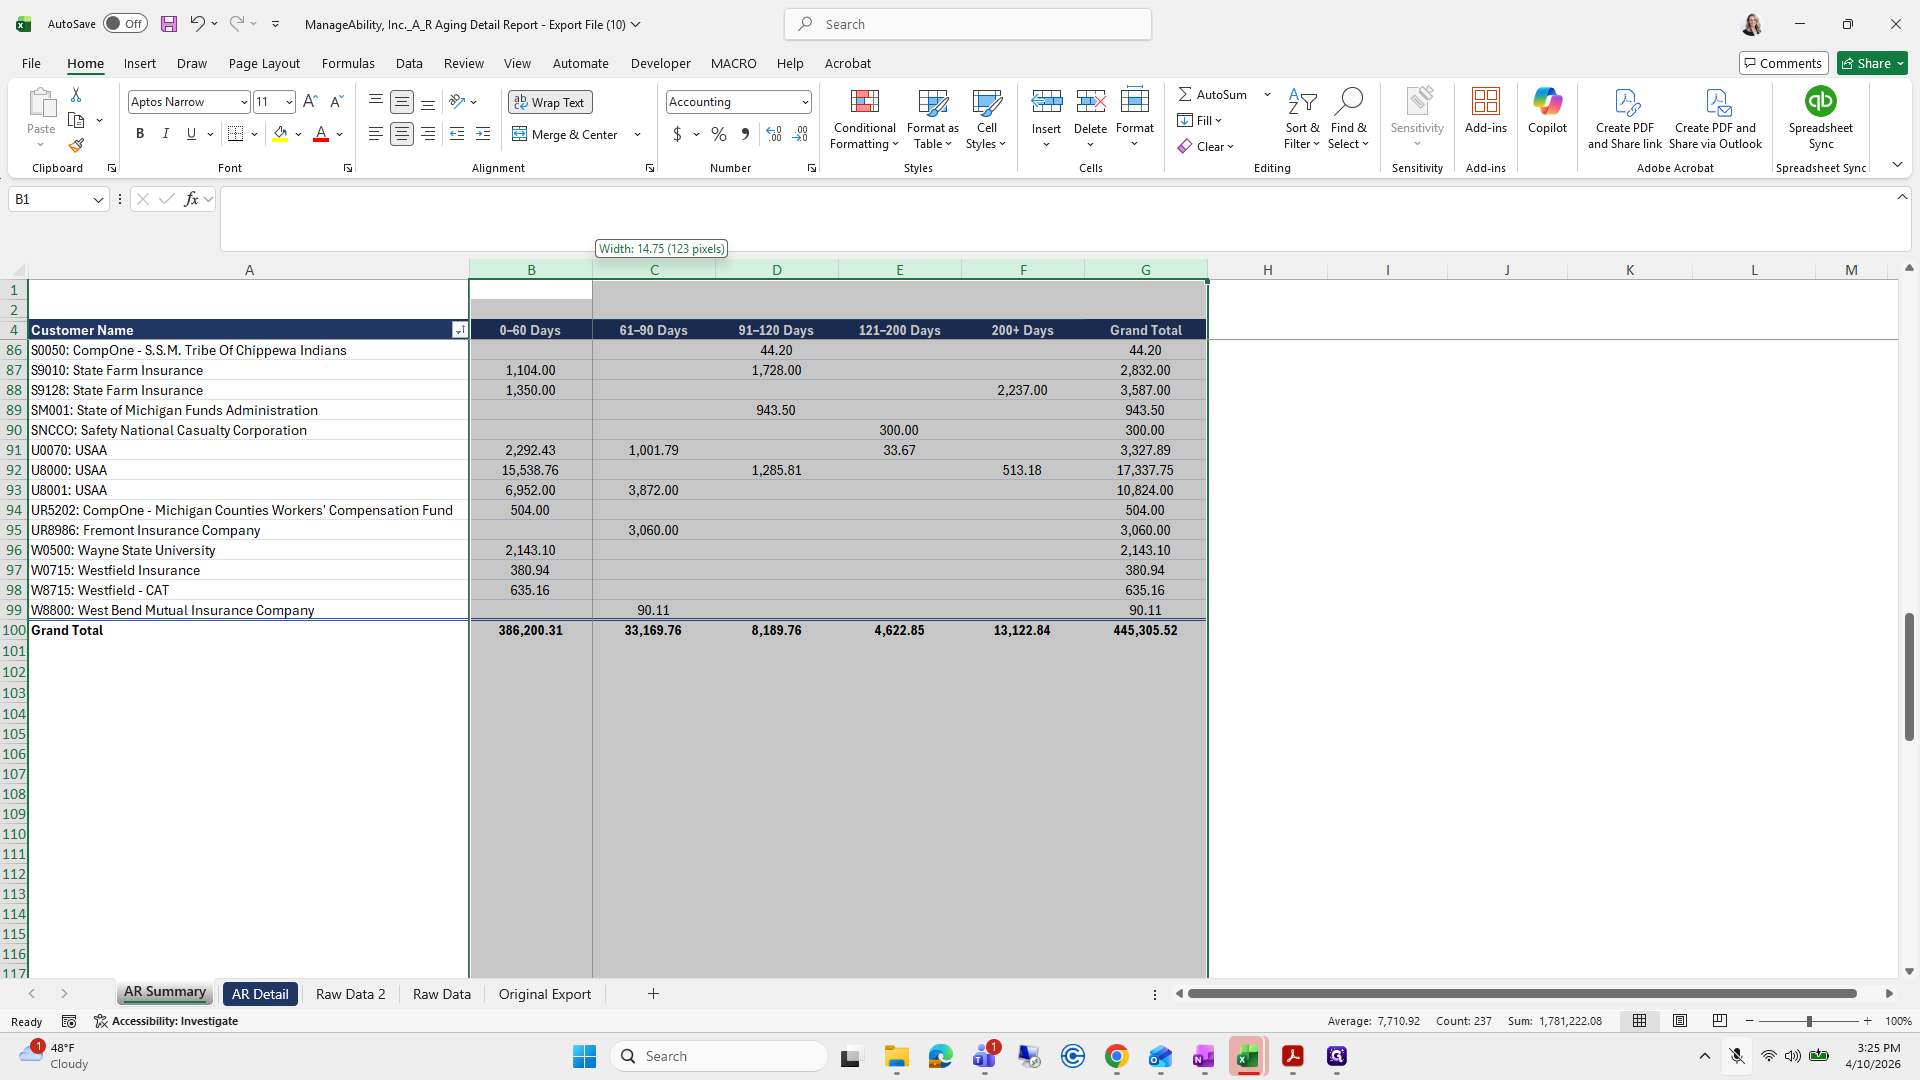
I quickly make it look presentable, and then the page is finished.
When you save this, it is ready to go.
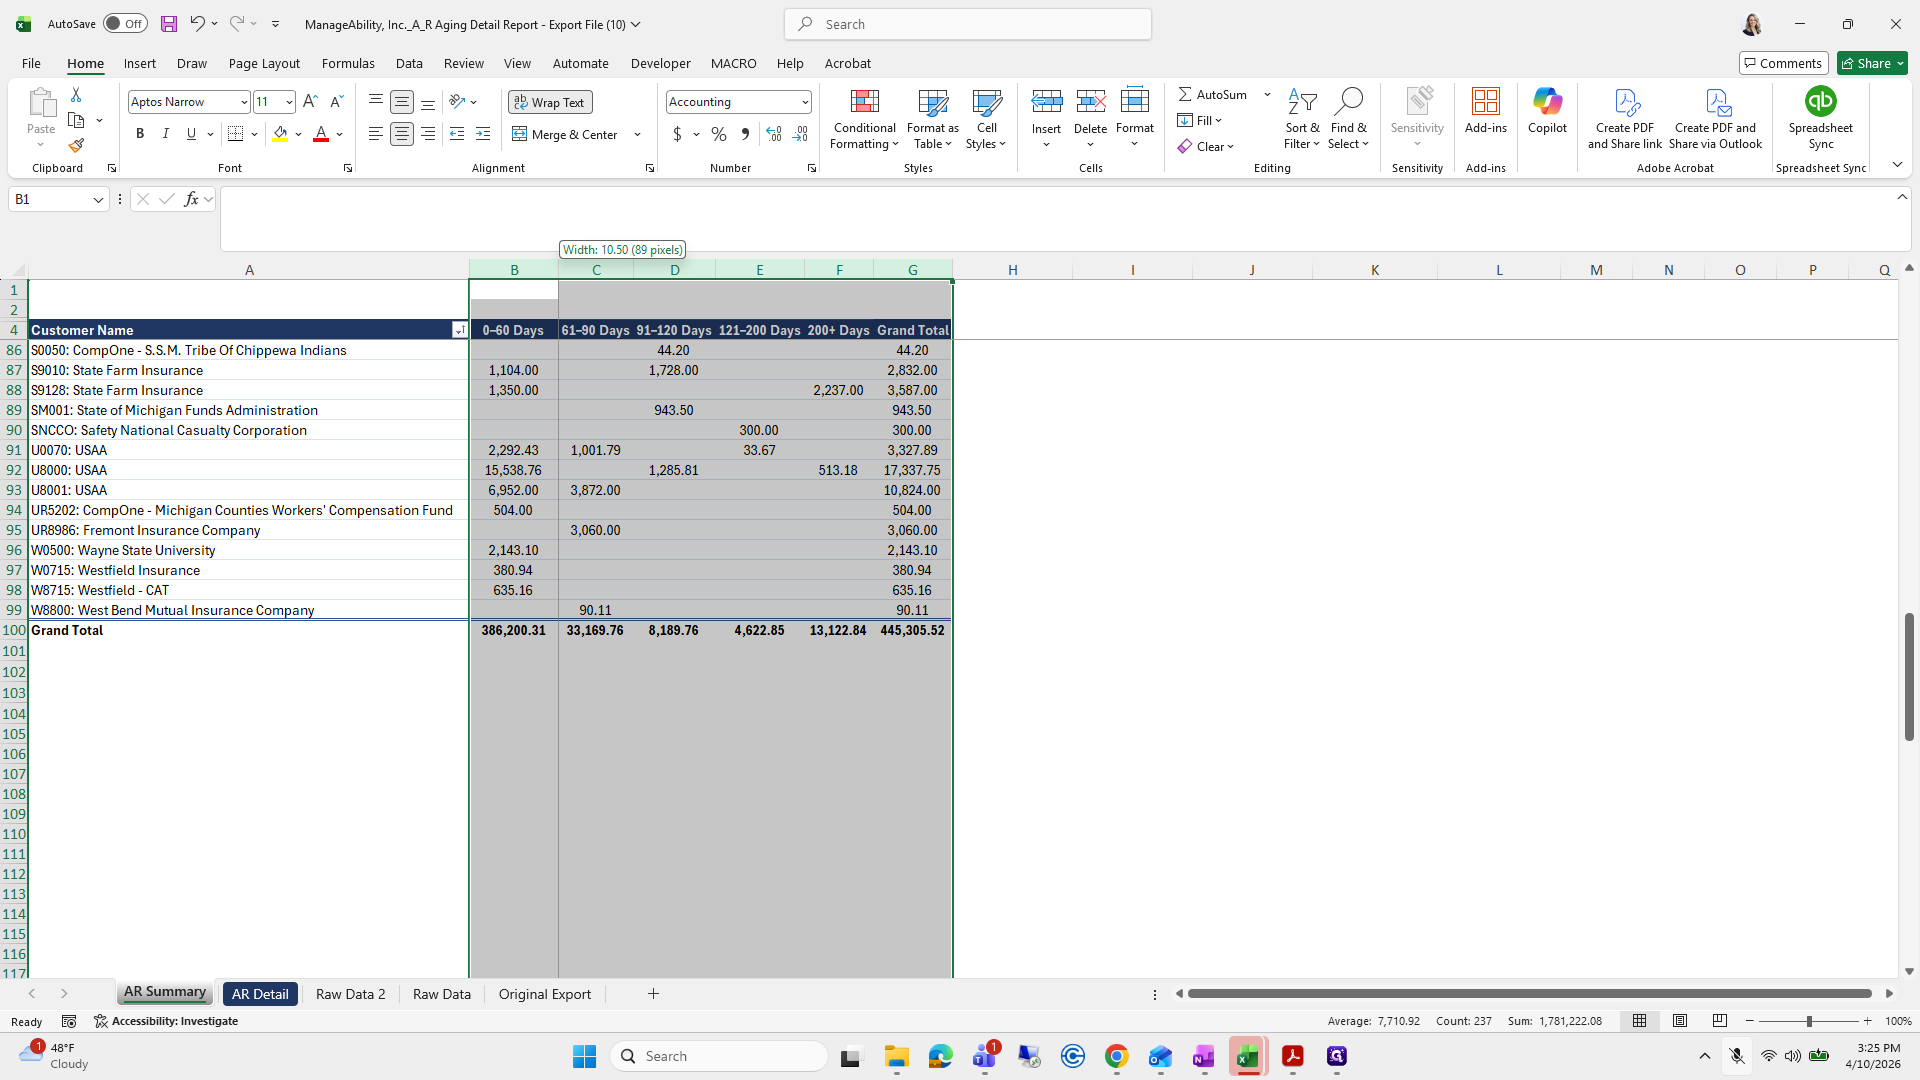
Beautiful.
This one is a bit more difficult, but it's okay.
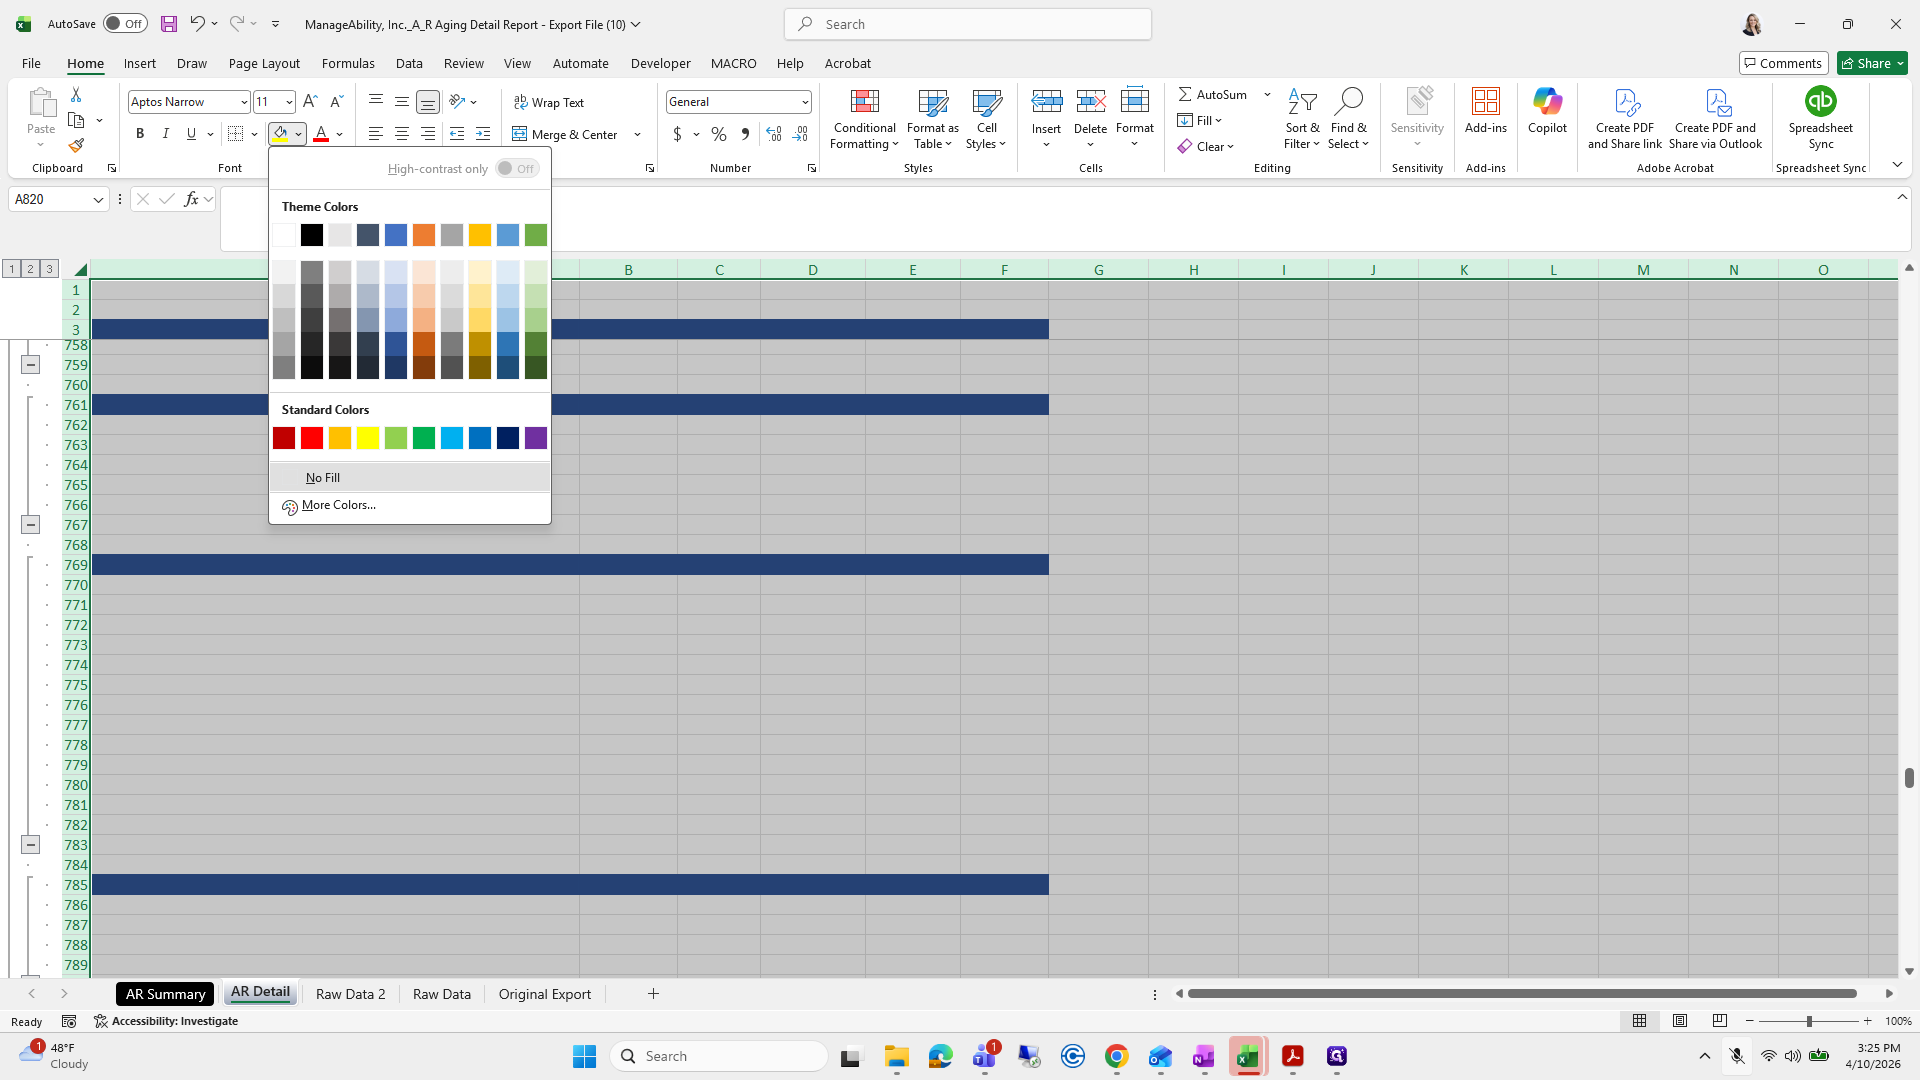
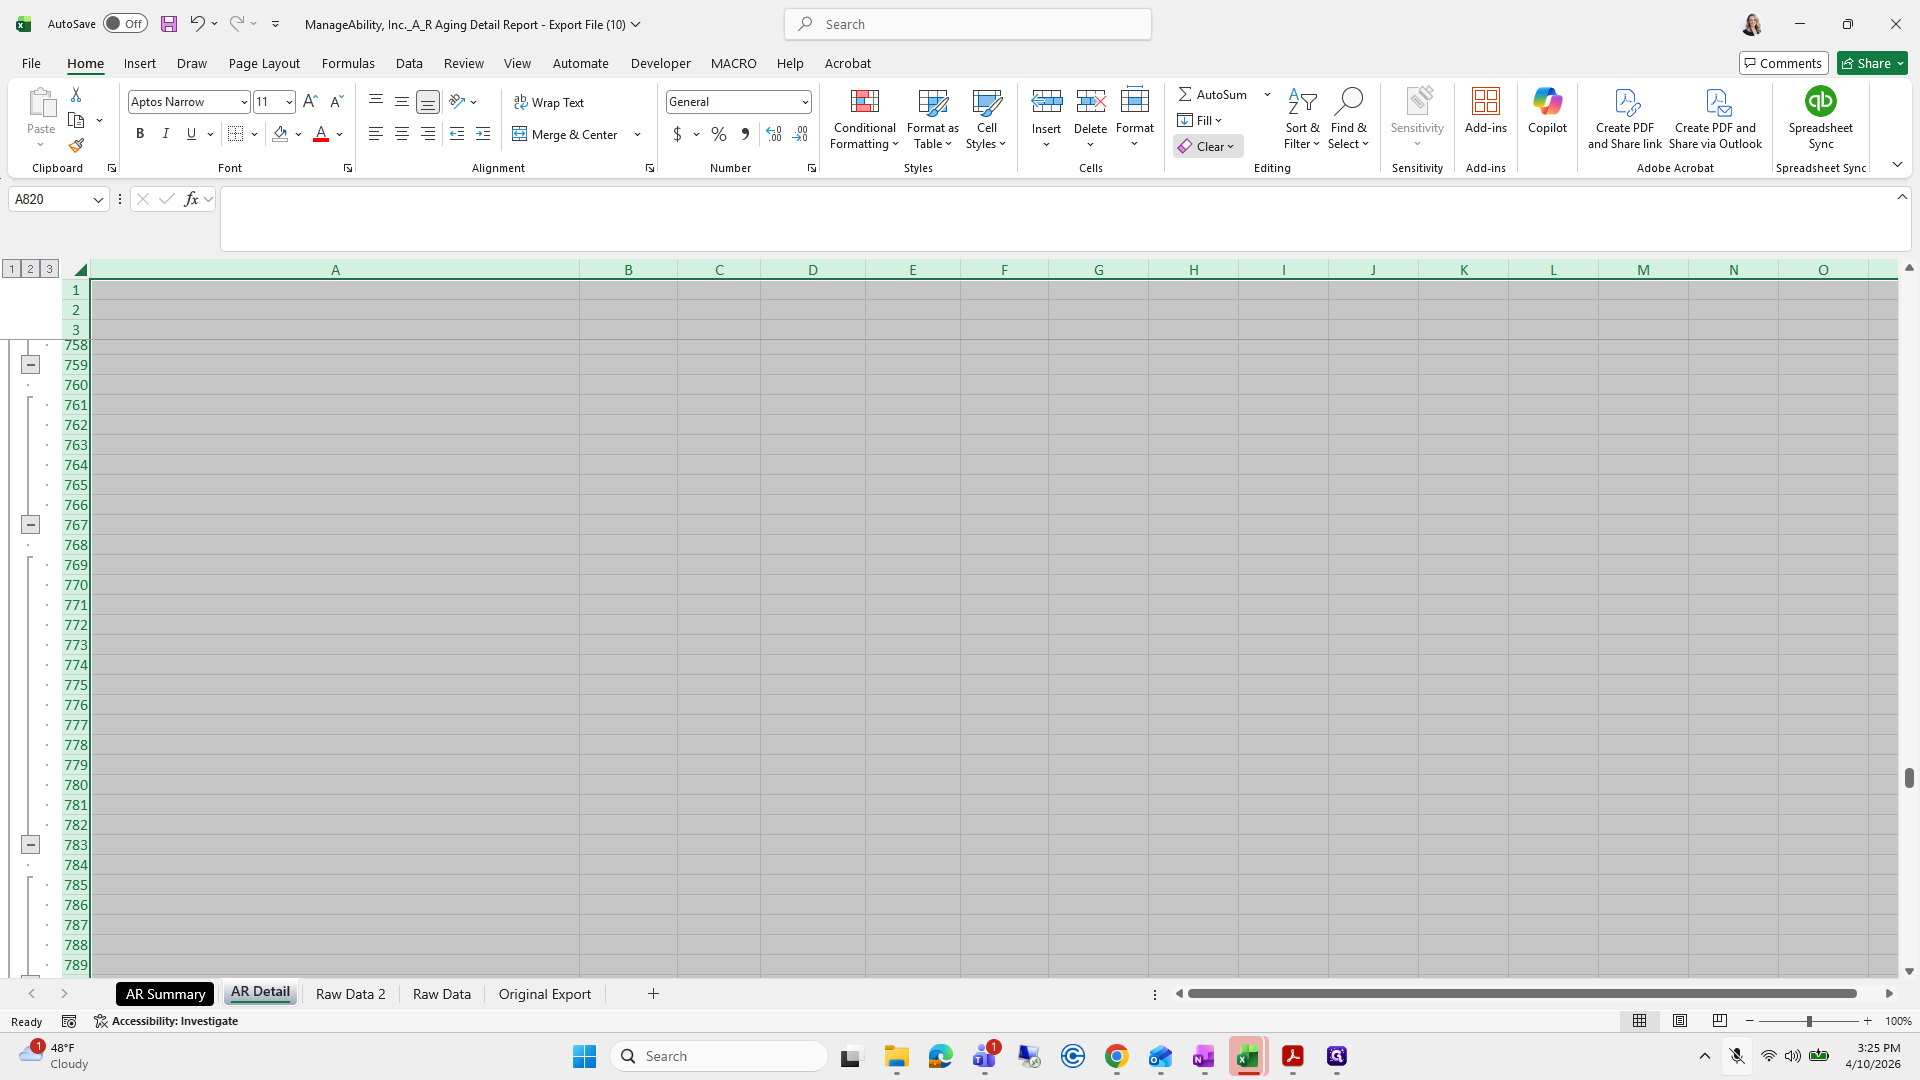
We're going to delete and get rid of all the...

We will use no border and no fill.
I could have just used "Clear Formats" because that's the best way to do it.
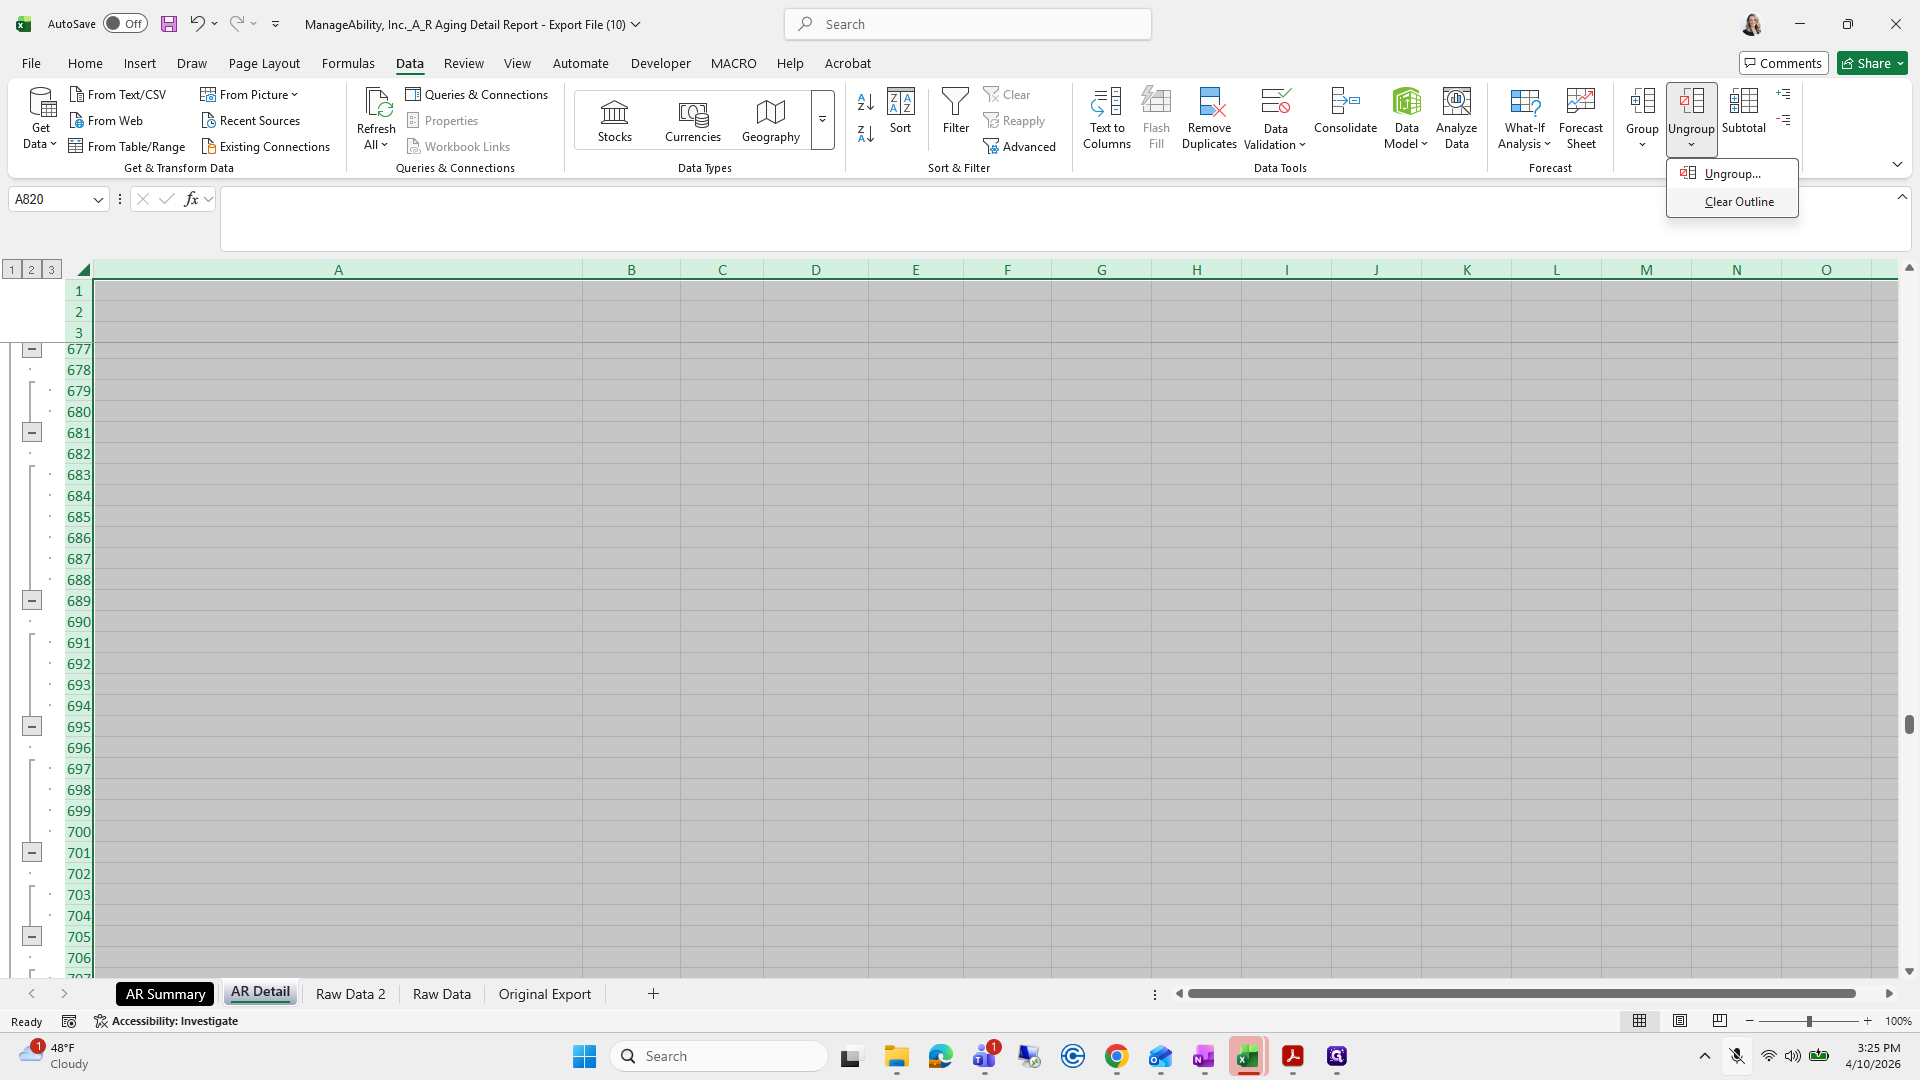
We also have these small items here, which are for grouping.


I'm going to clear that outline.
You don't need to worry about formatting. You can simply say, "I'm taking over, Jessica," and it may not look as polished.
Copy the raw data two and paste it here.
What do I do next?
What should I do? We are going to...
I can't remember the next step.
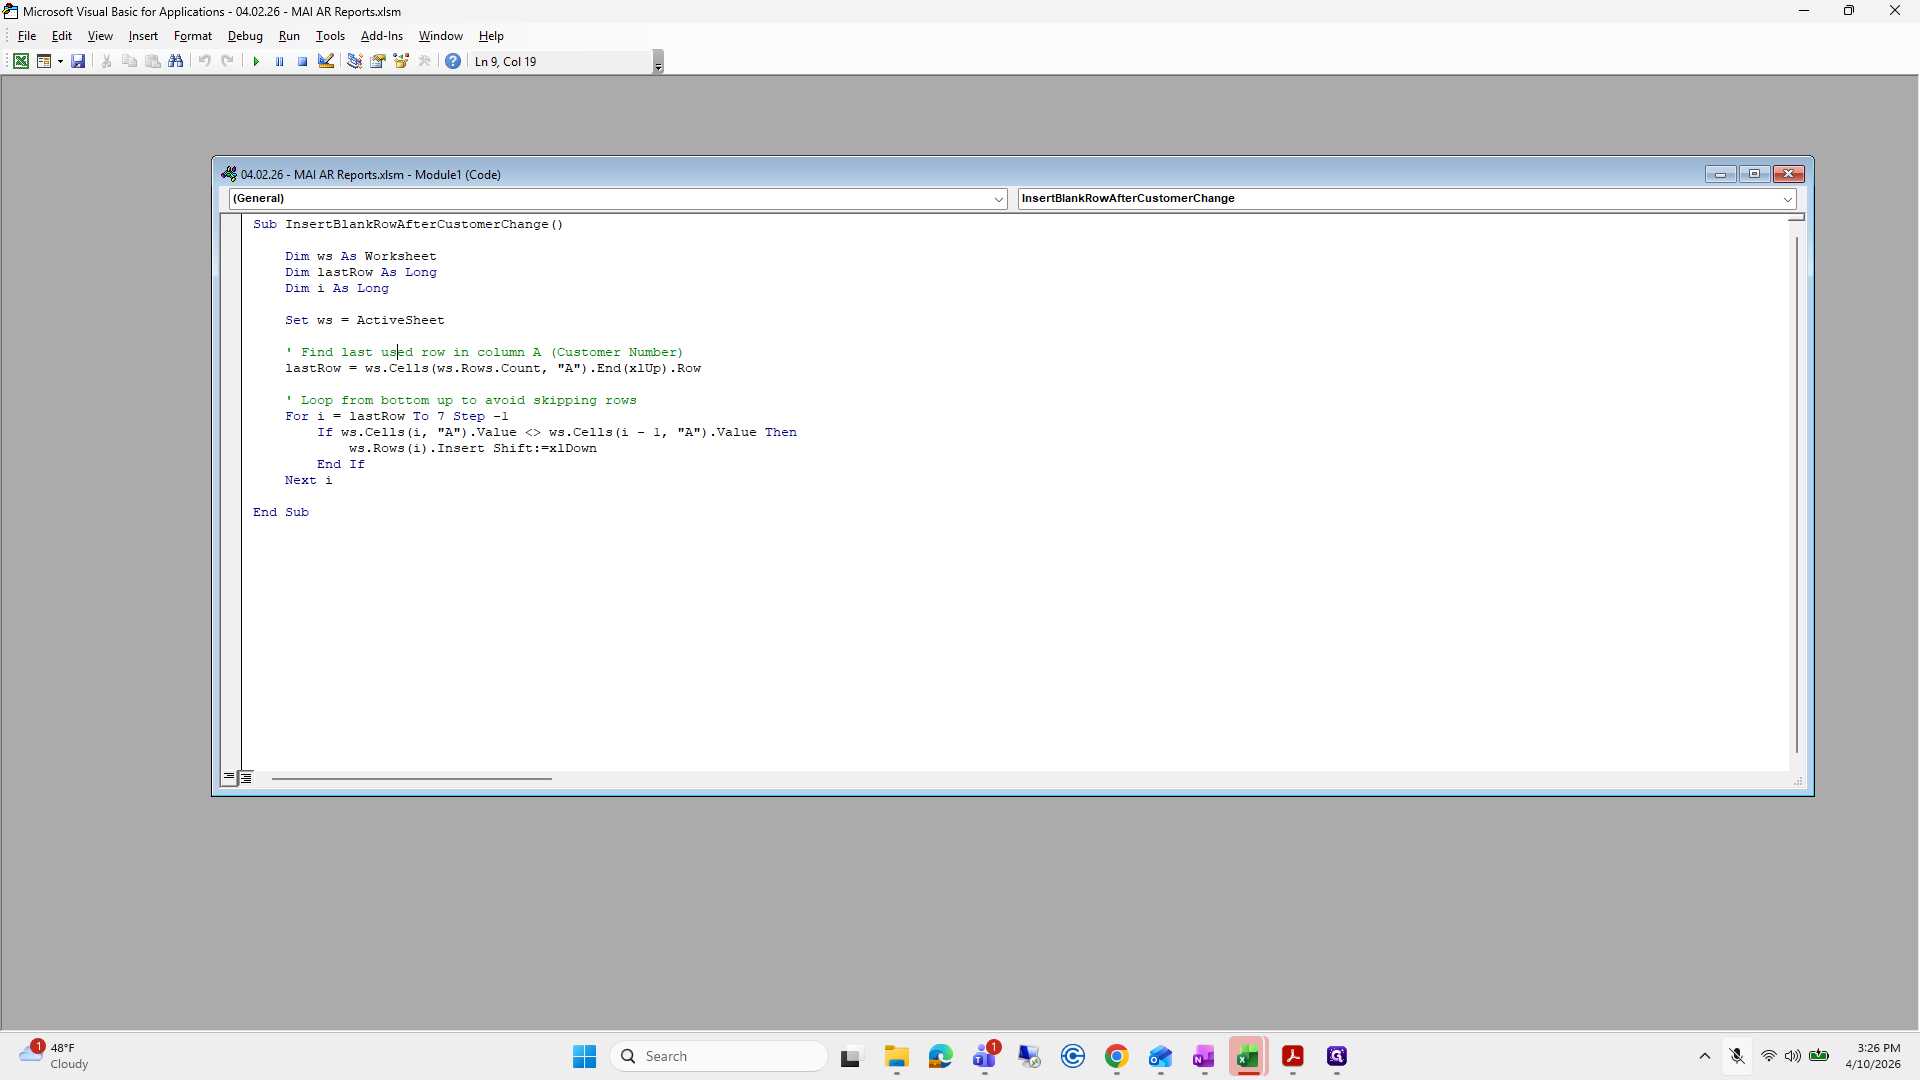
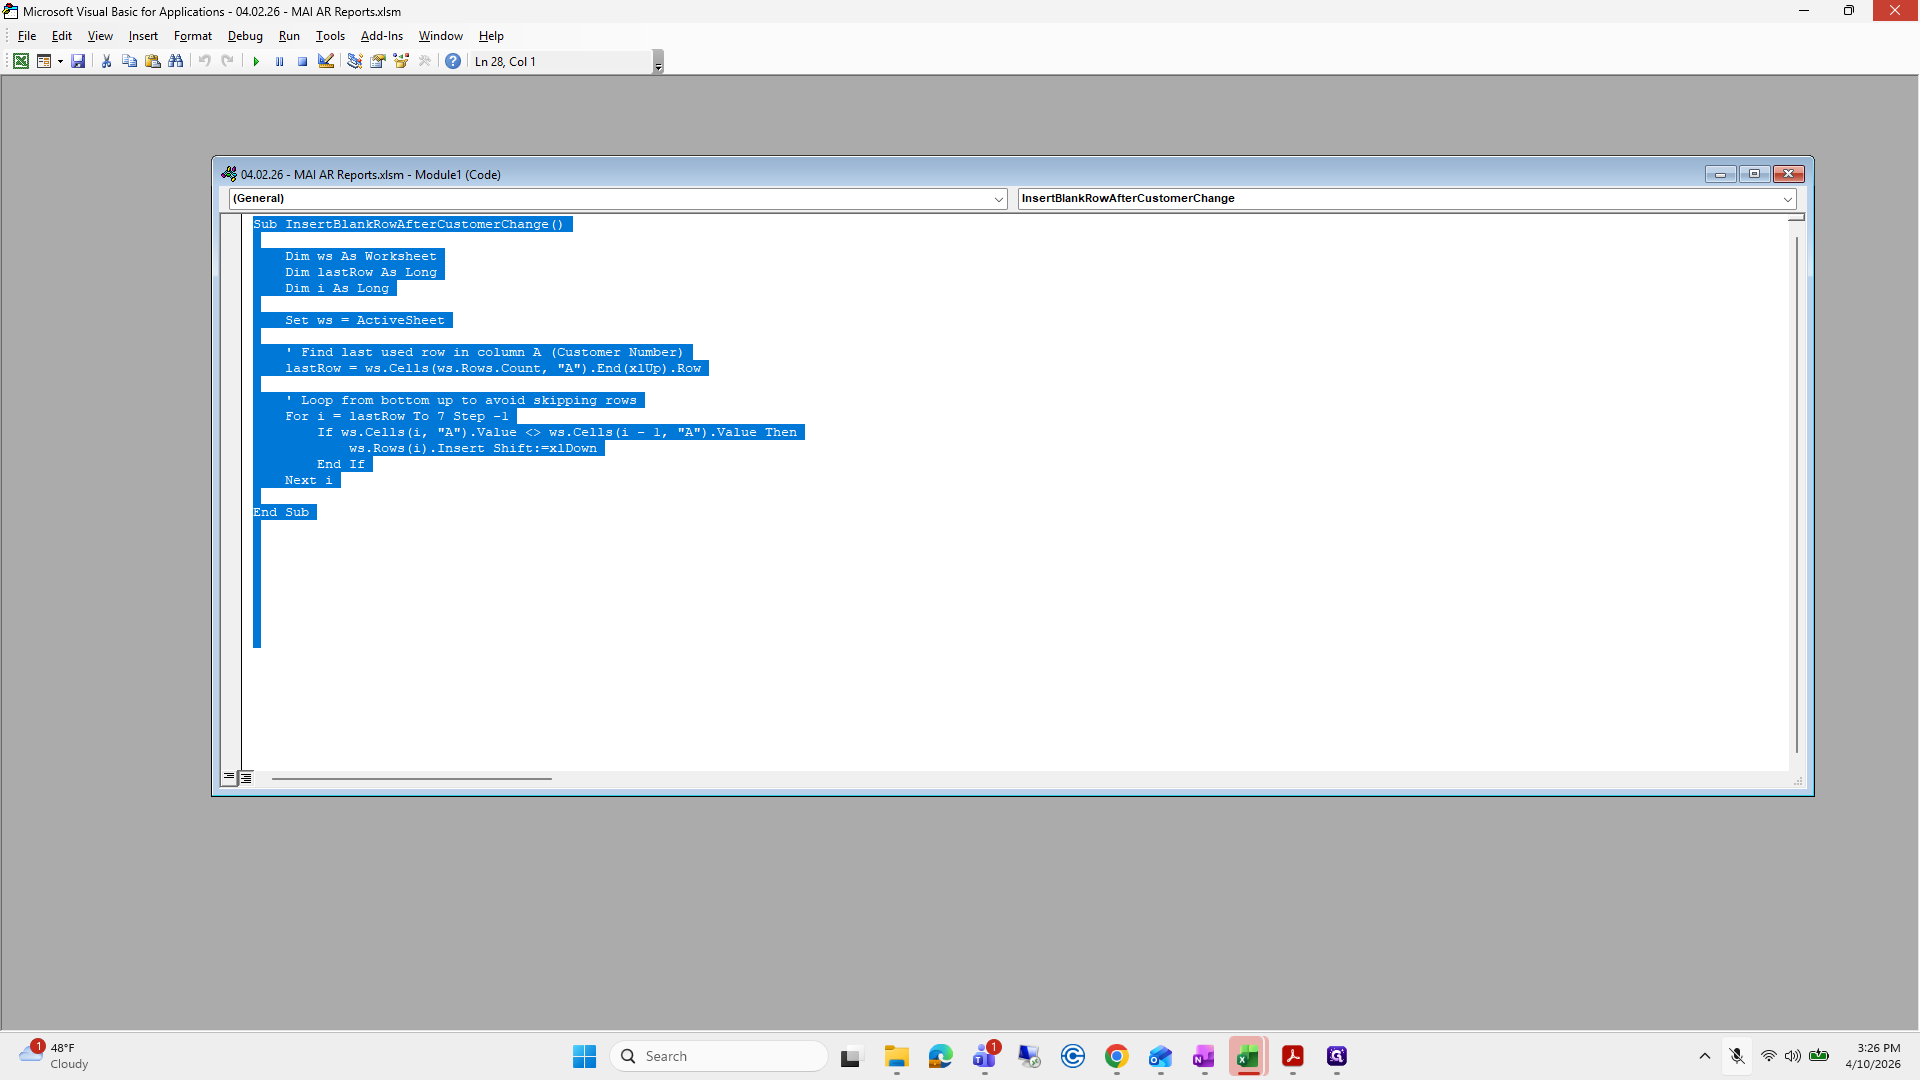
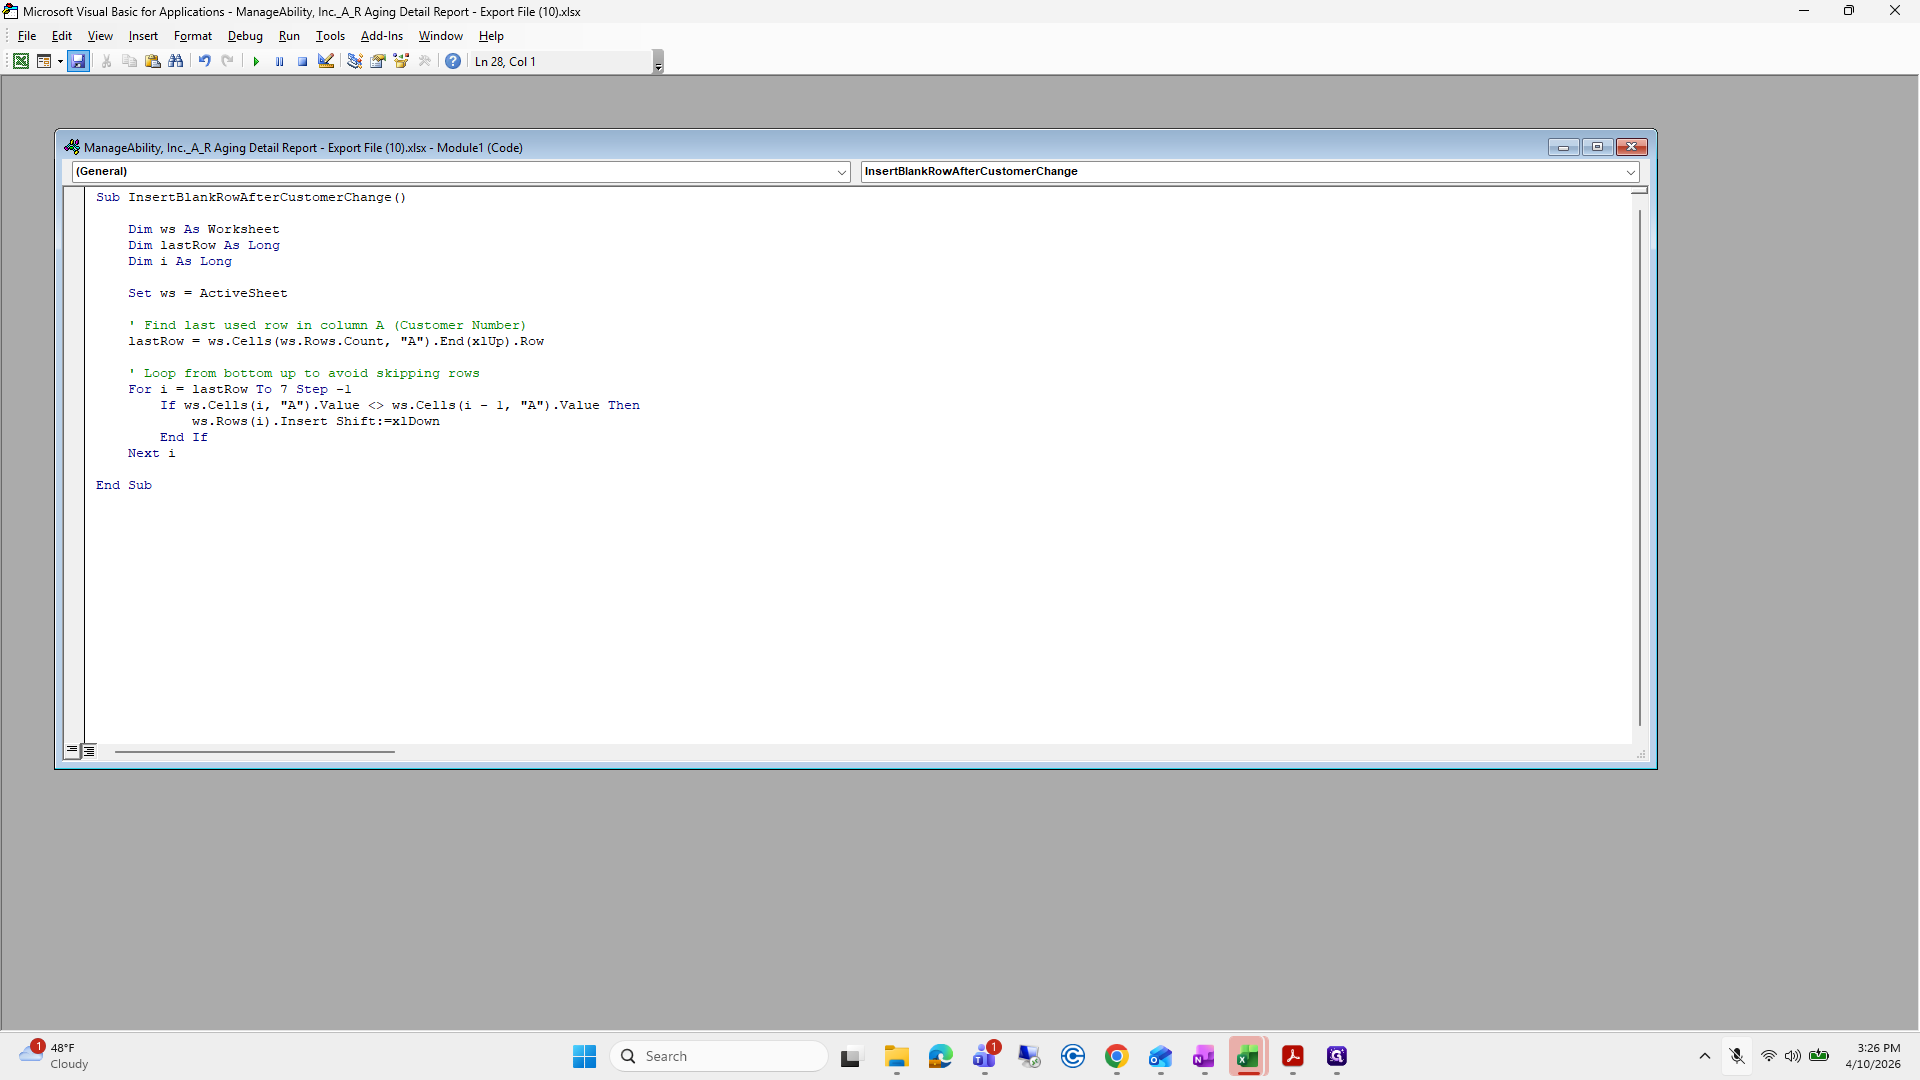
I think I go like this. Copy or select all. I will quickly open the other file to get a macro from it. I'm going to macros, then edit, but you don't need to do this part.
I don't think it will let me do it.
Select all, then copy.
Then you will exit the four-two, just like before.
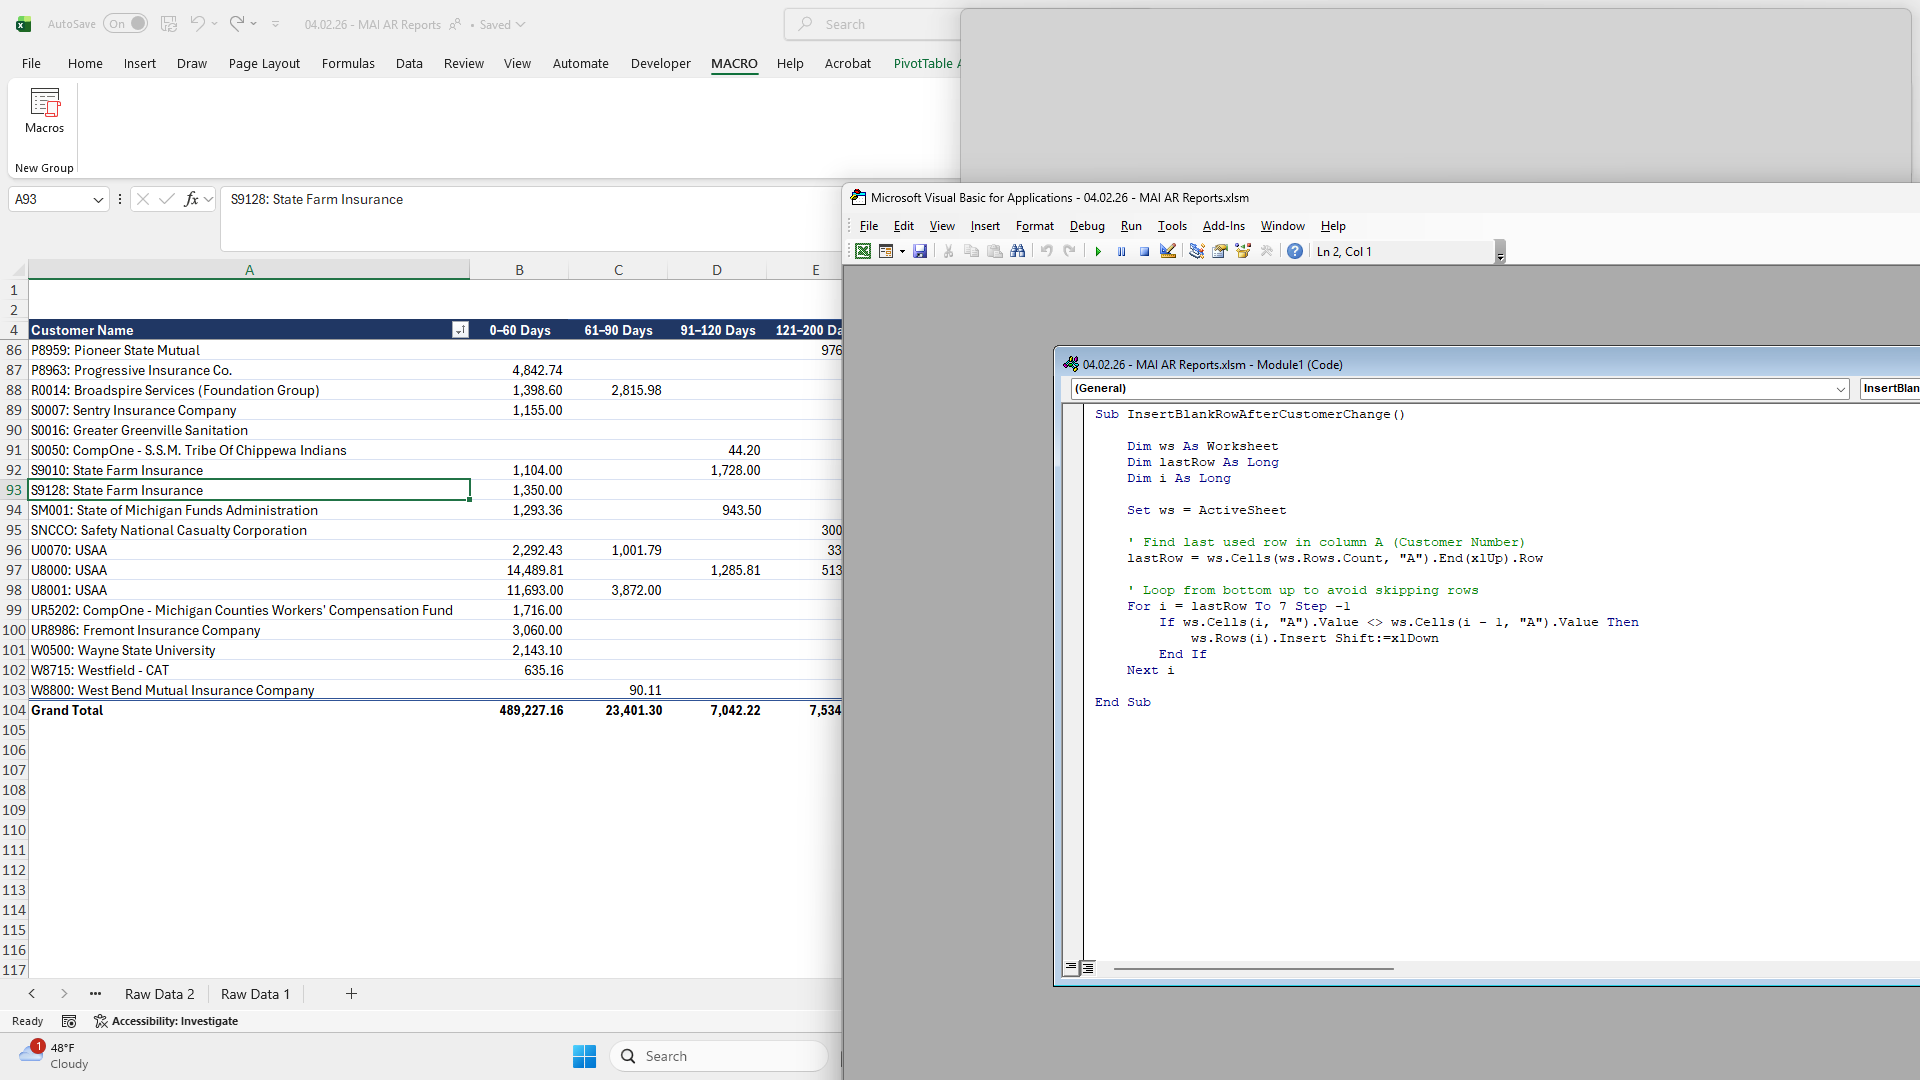
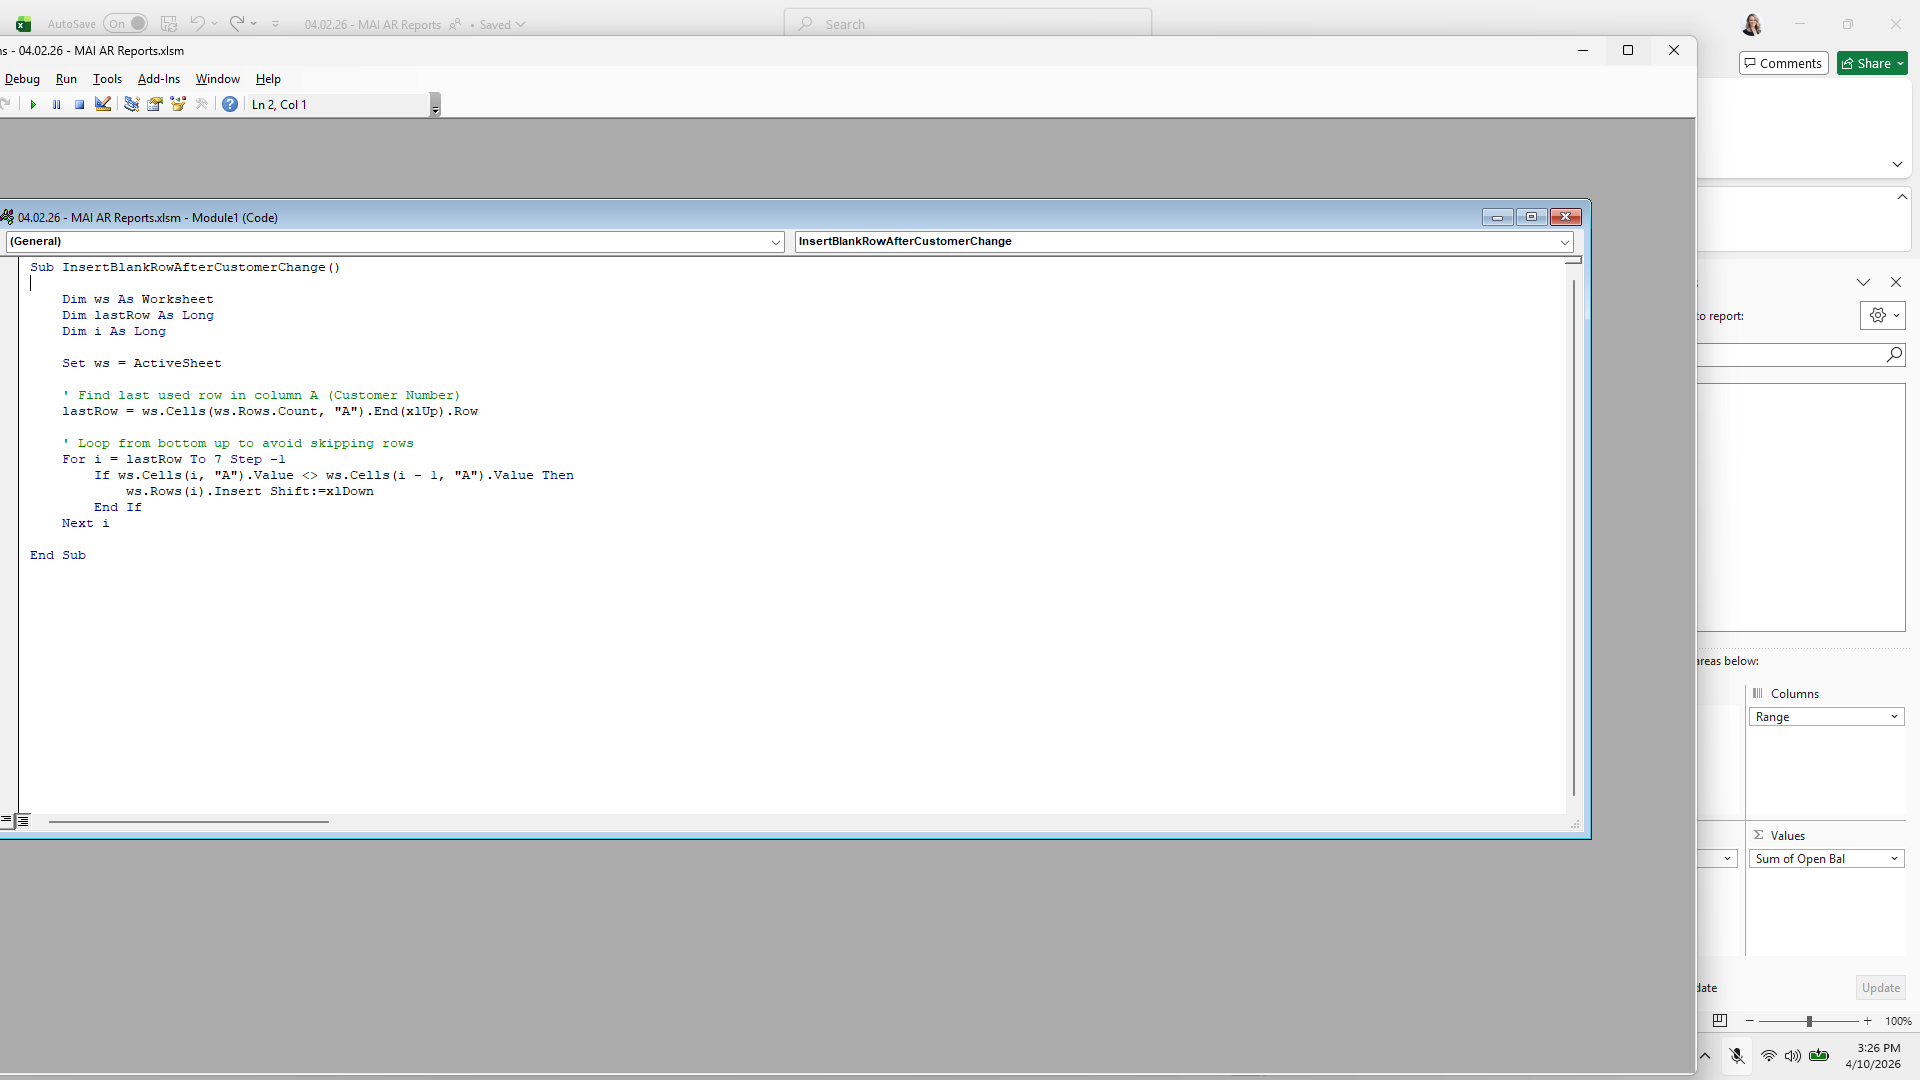
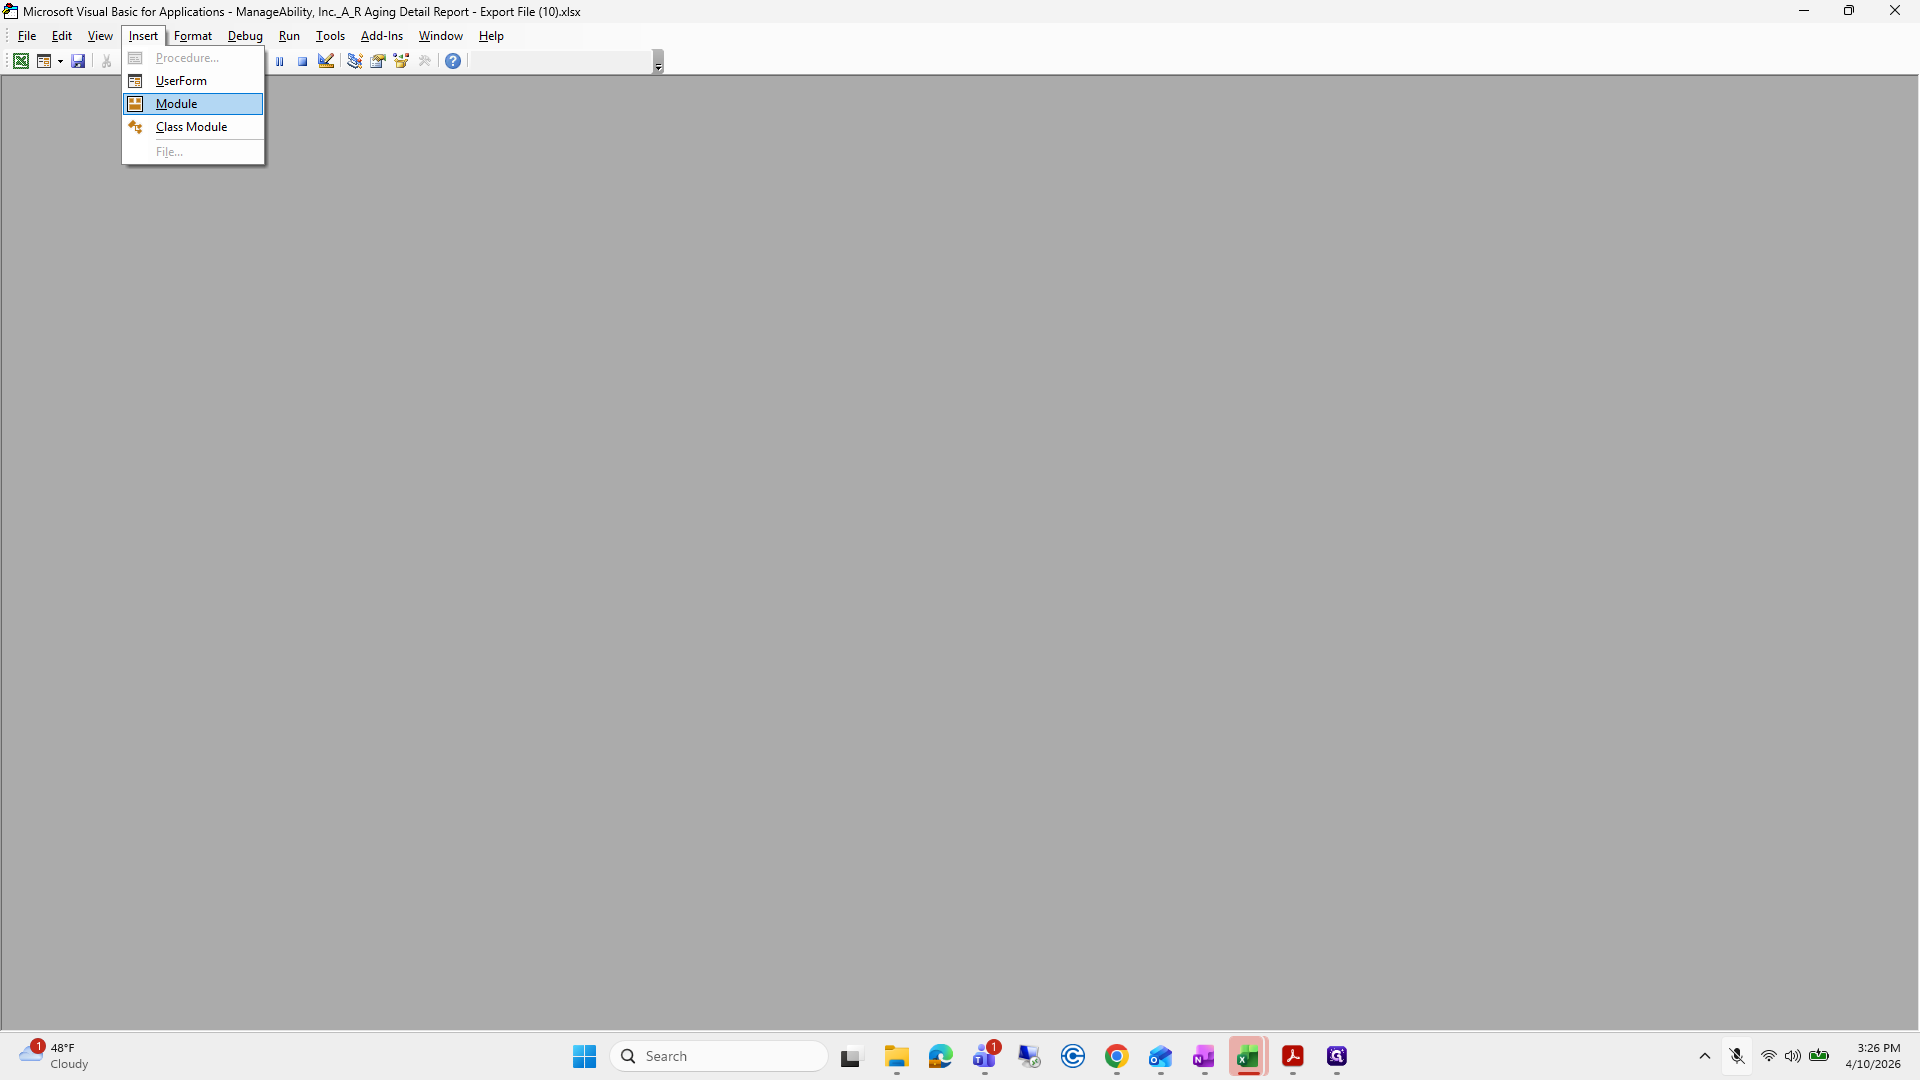
Press Alt+F11, insert a module, paste the code, and save.
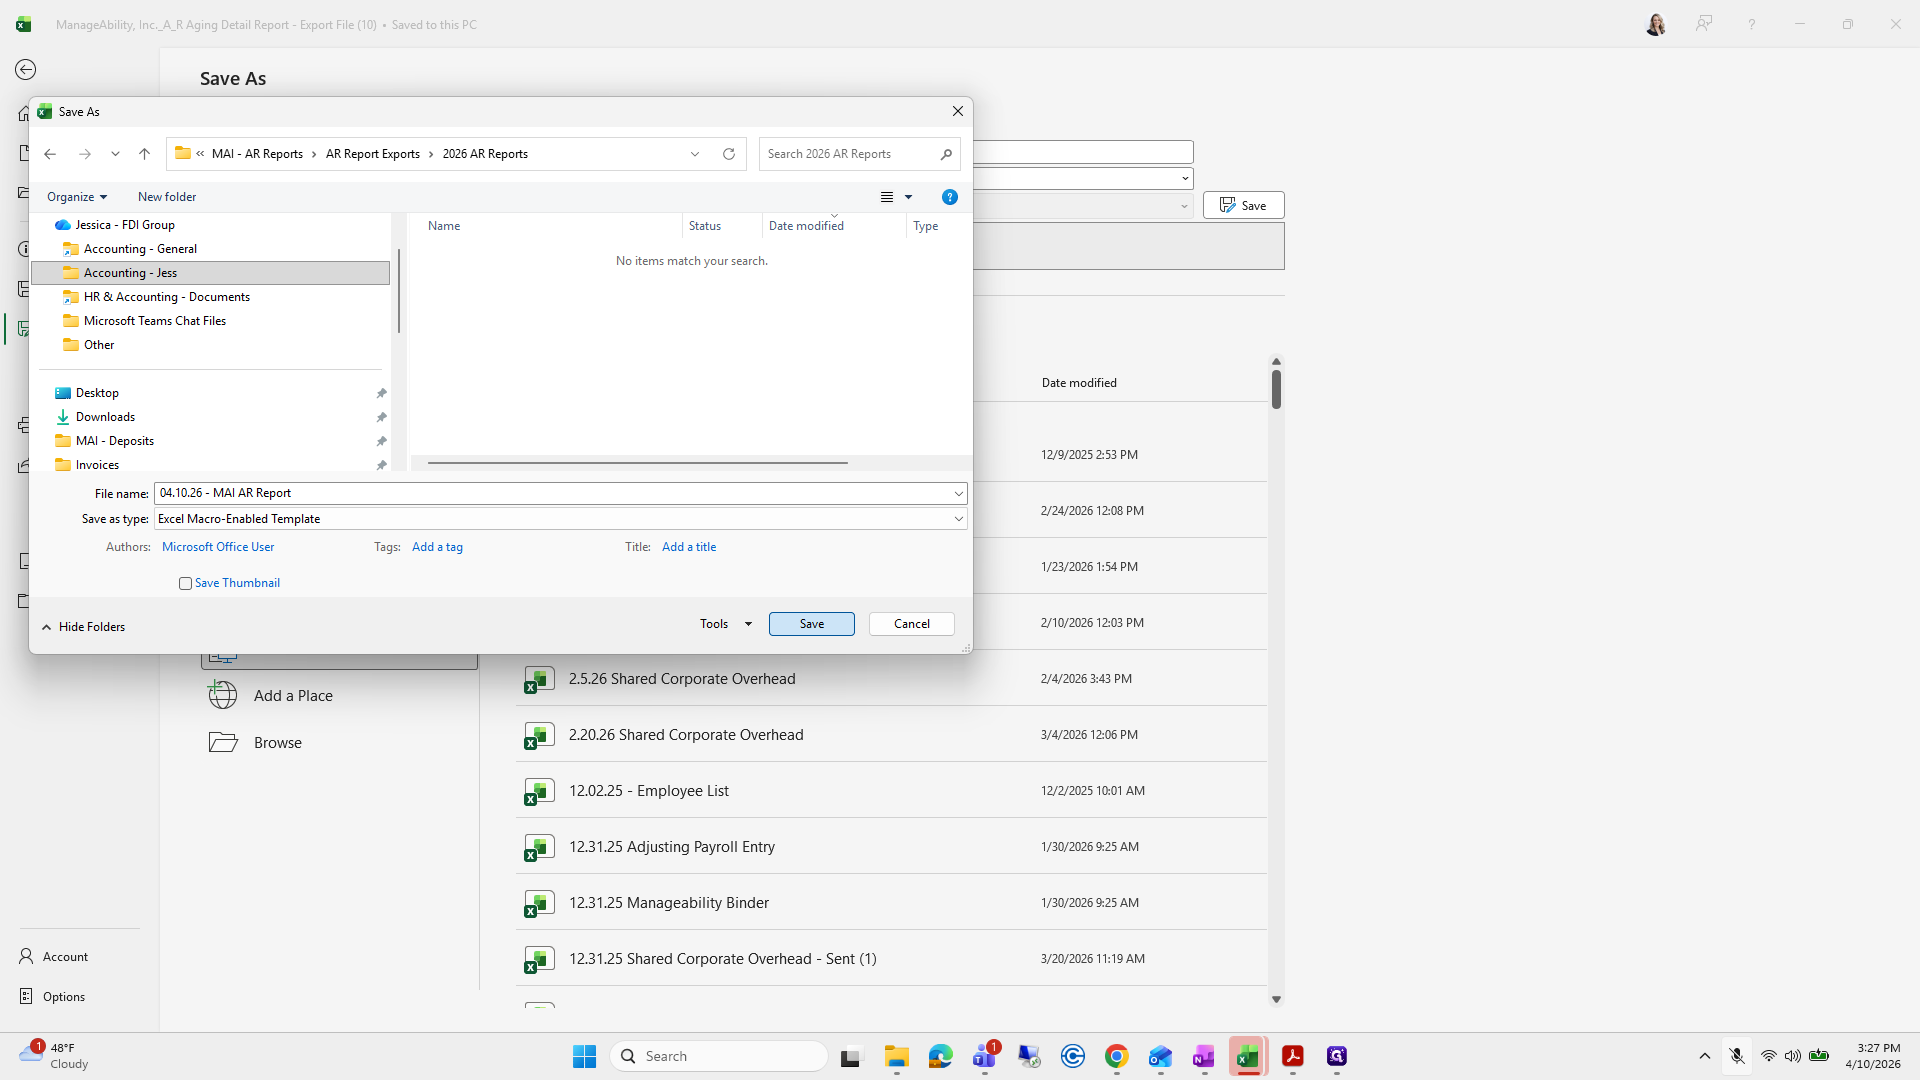
But I forgot to save it as a macro. I will save this file as a macro.
If you want to skip this part, you can and move on to the next section.


Account manage, manageability AR.
Oops.
Let's... Oh, God.
Sometimes I don't know why I am like this.

And then 04-10-26 AR...
I can't remember the name of the file.

""
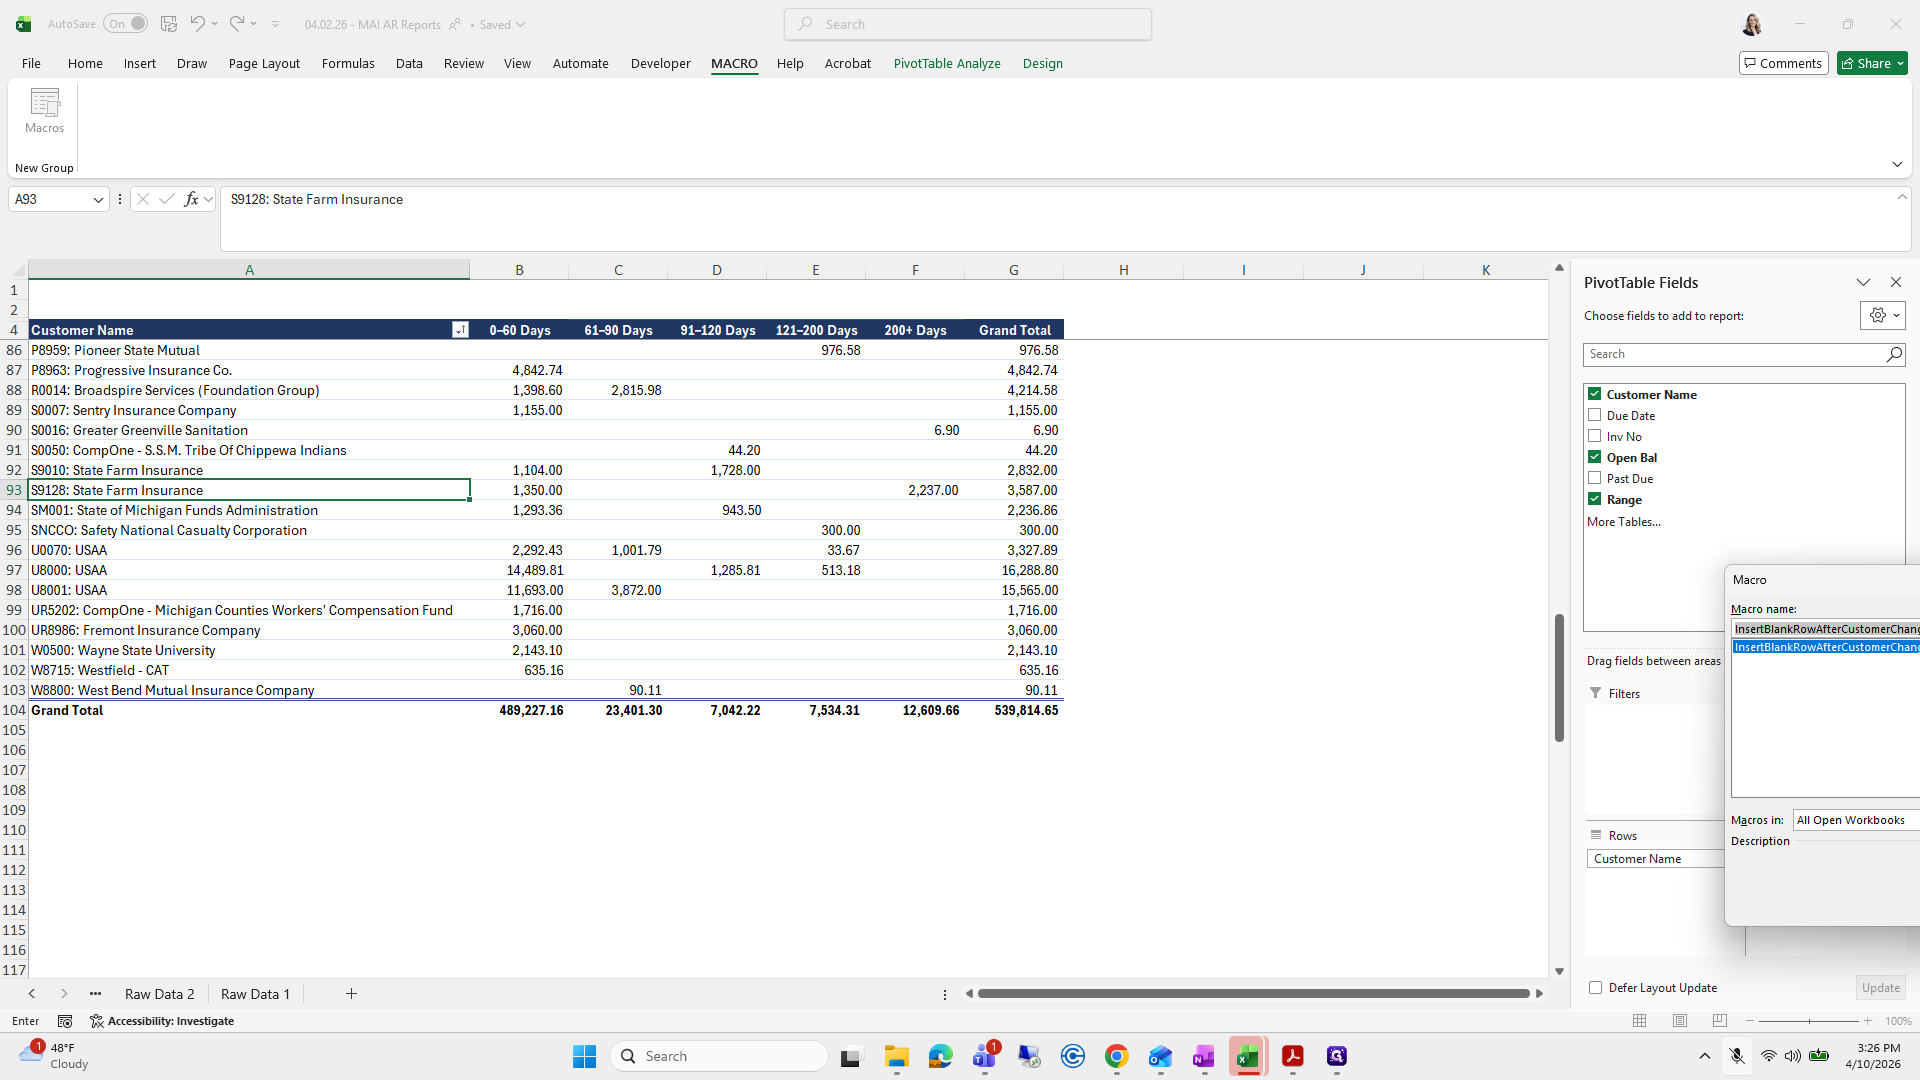
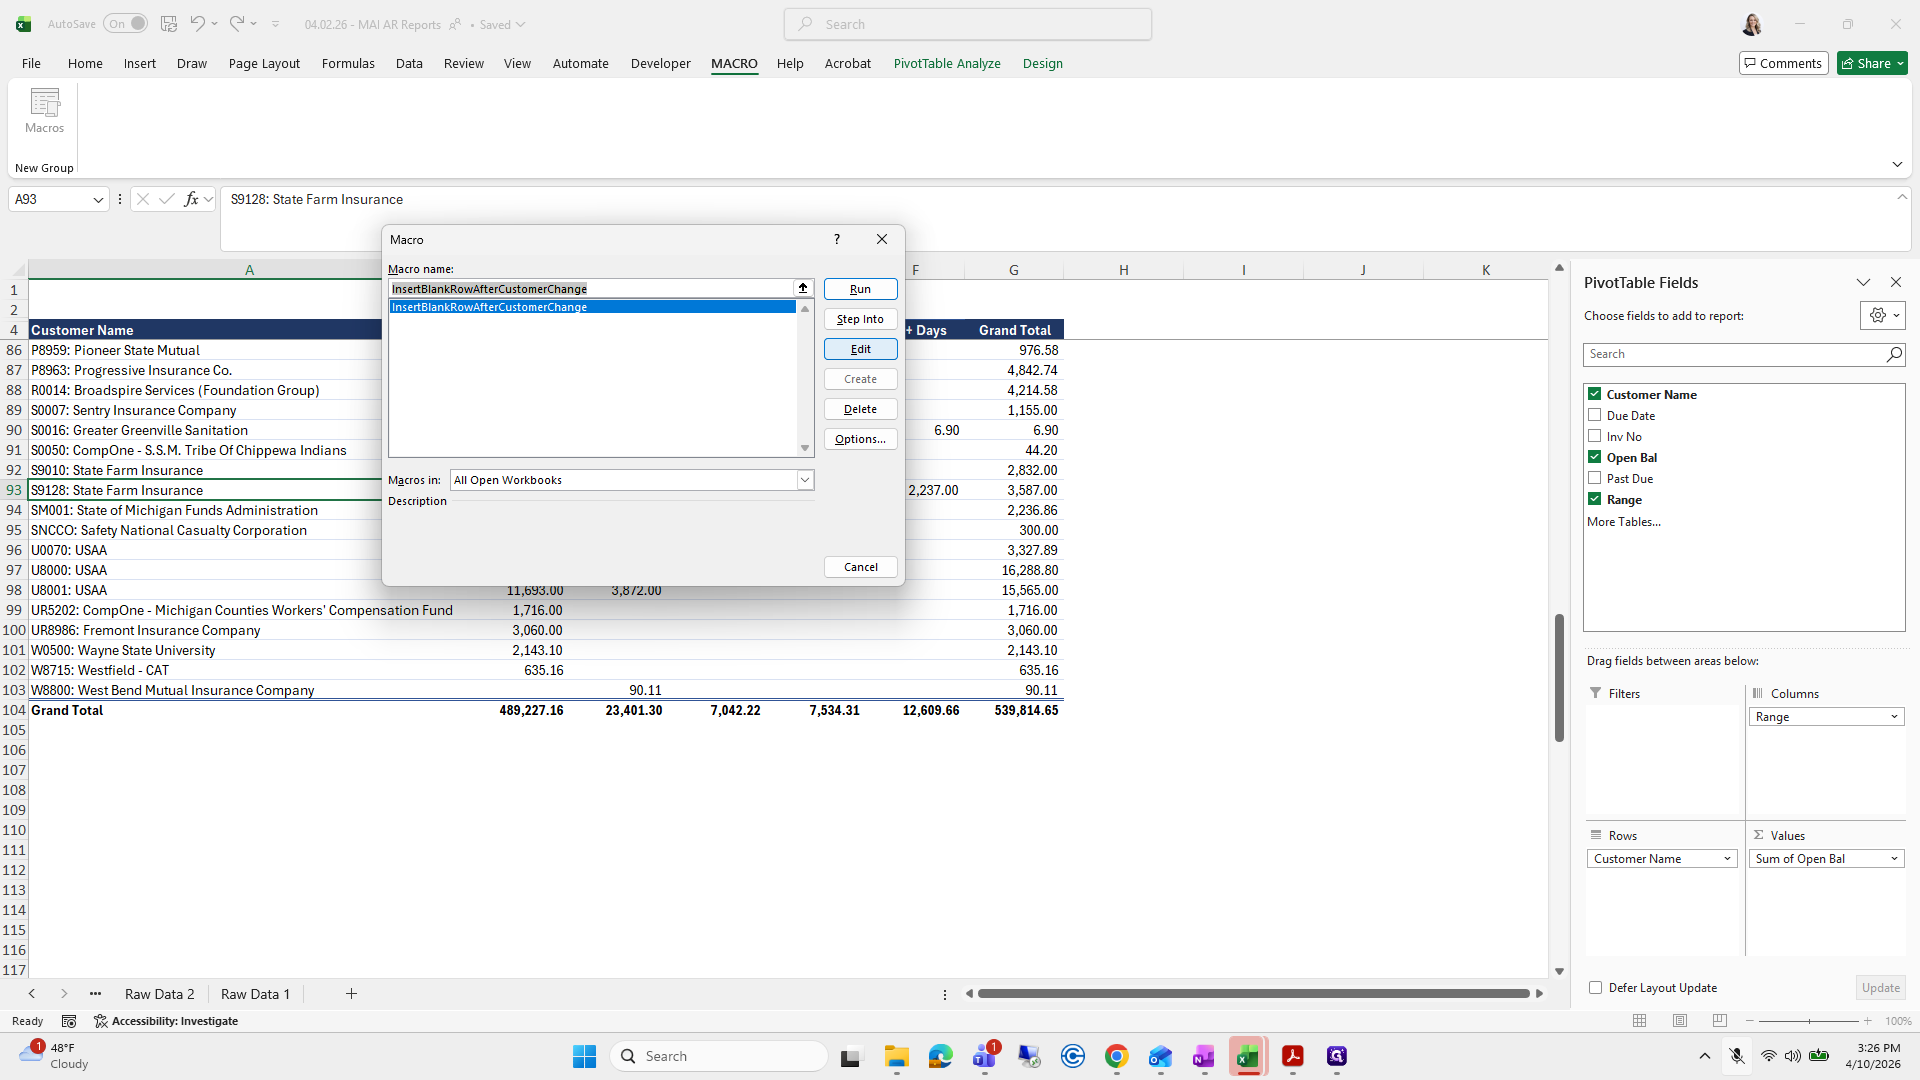
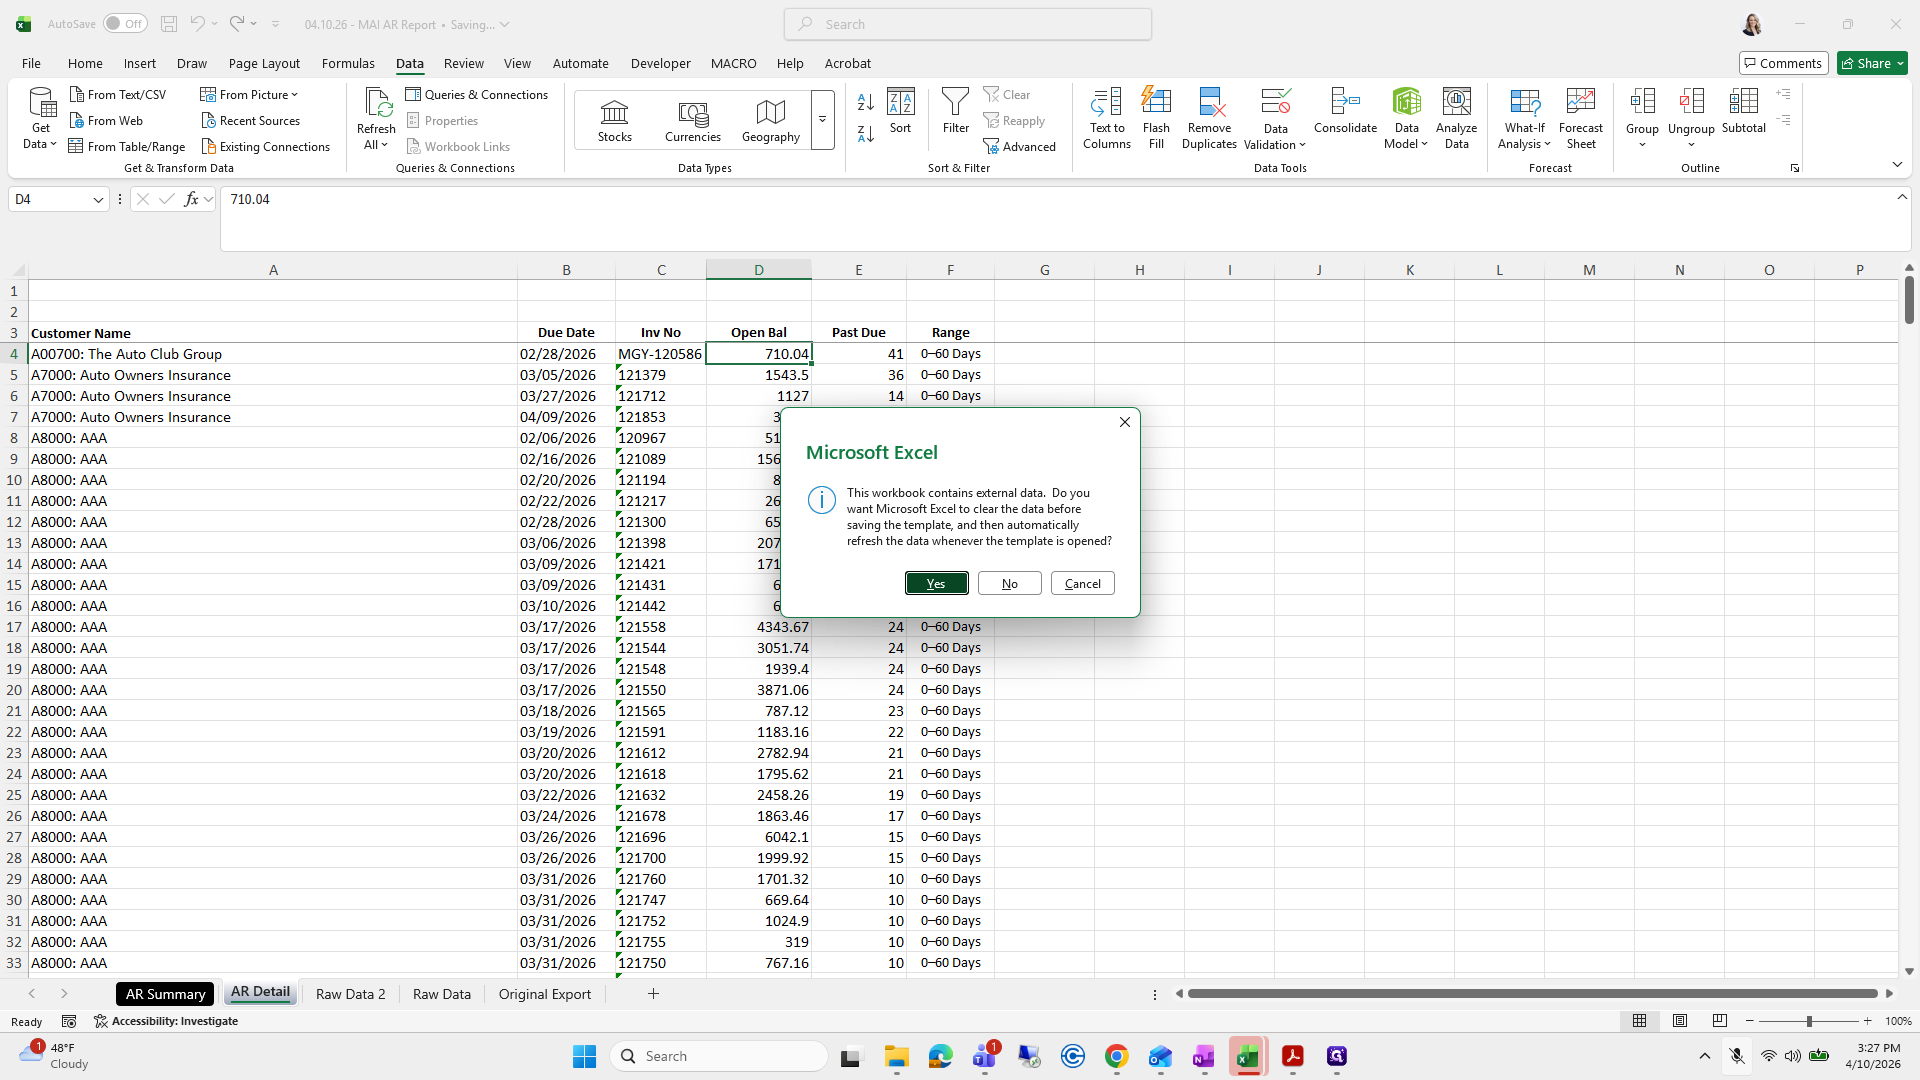
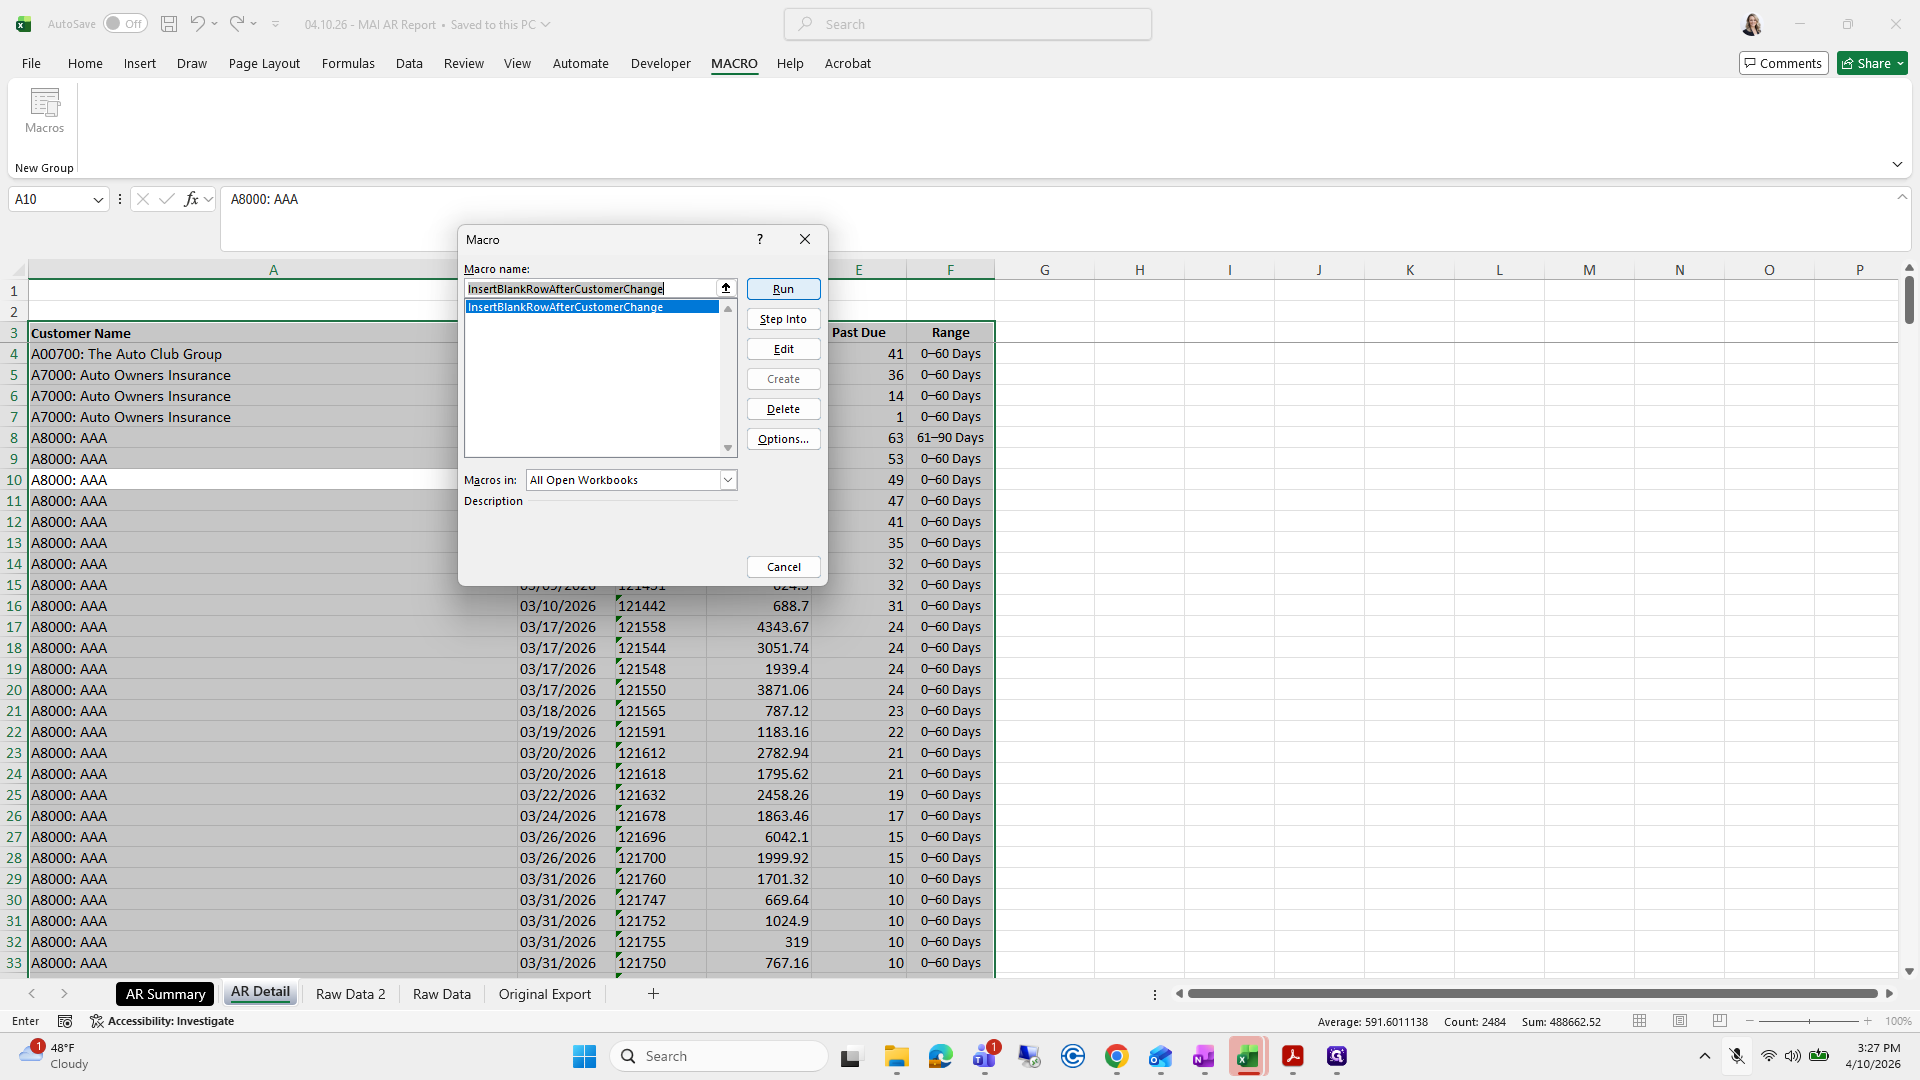
Maybe. I don't know. And then I will select all, macros, and run.
It places a, what's it called?
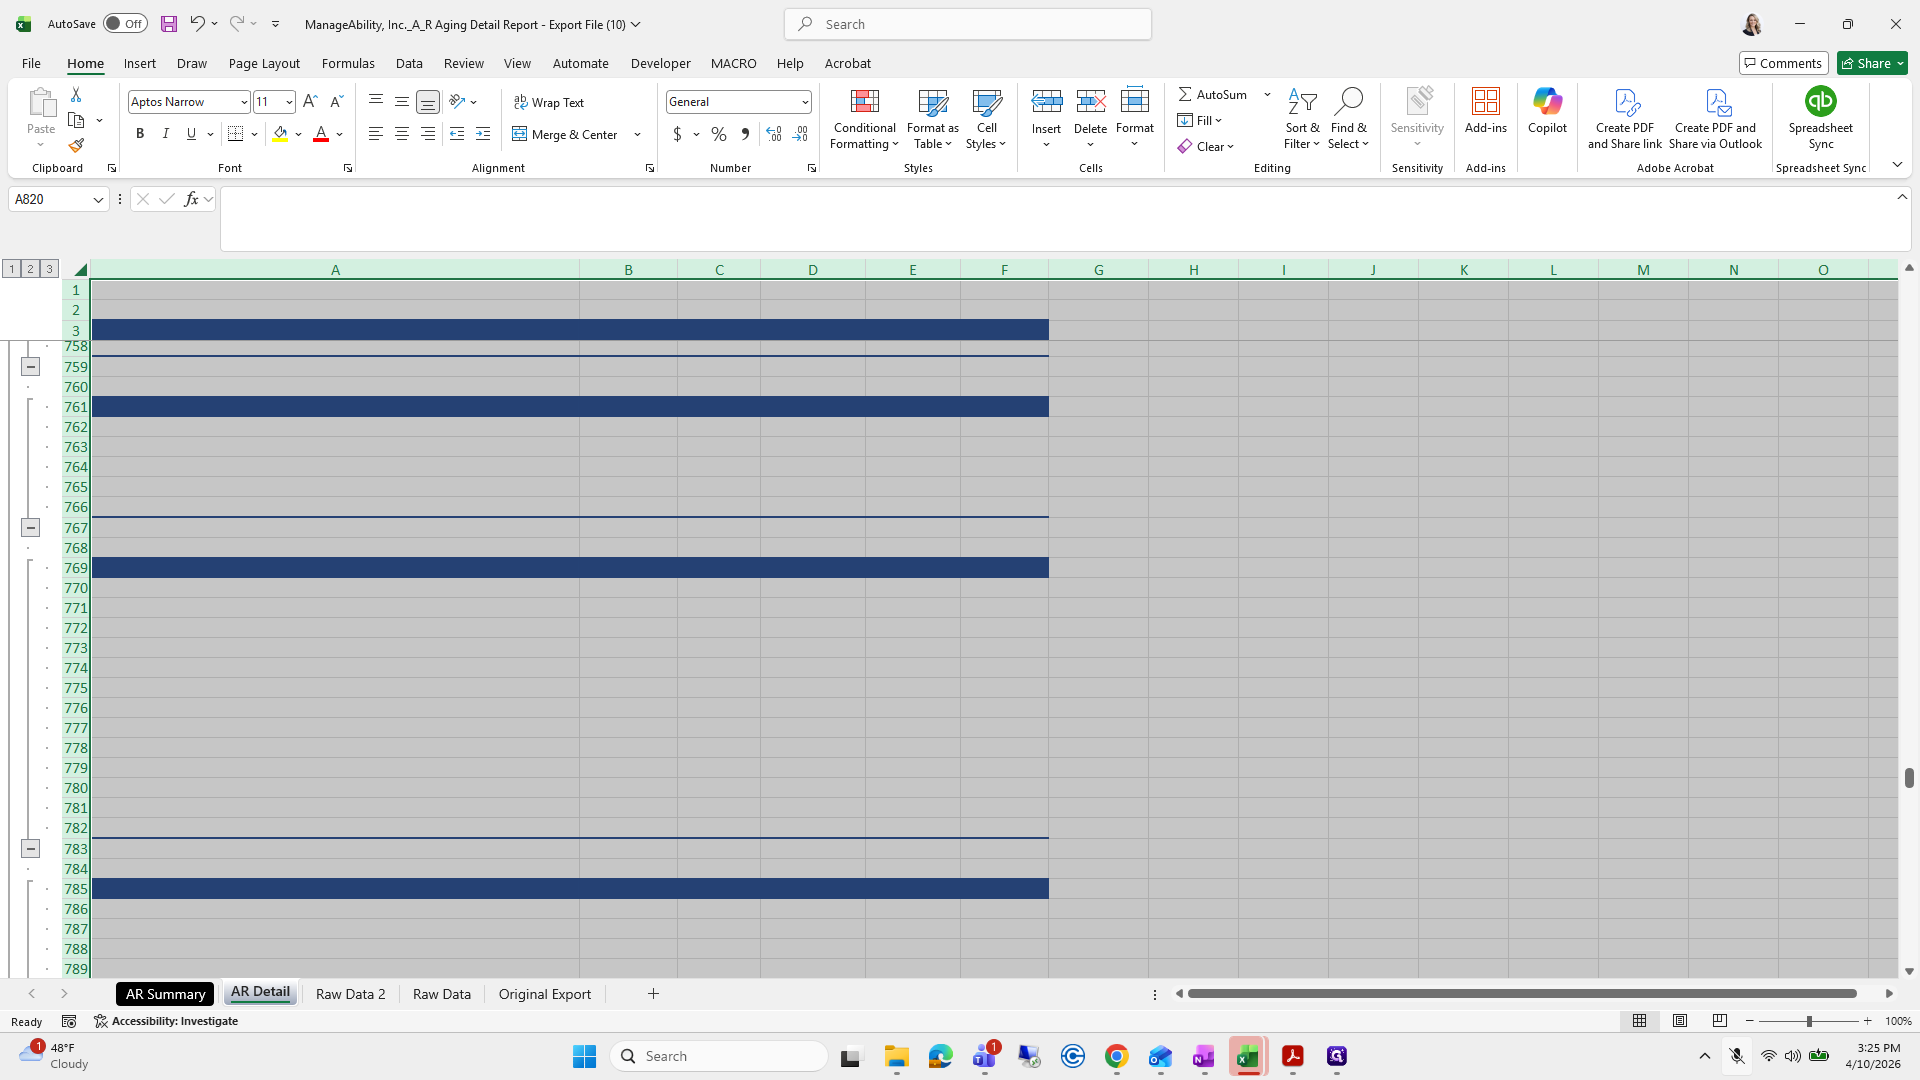
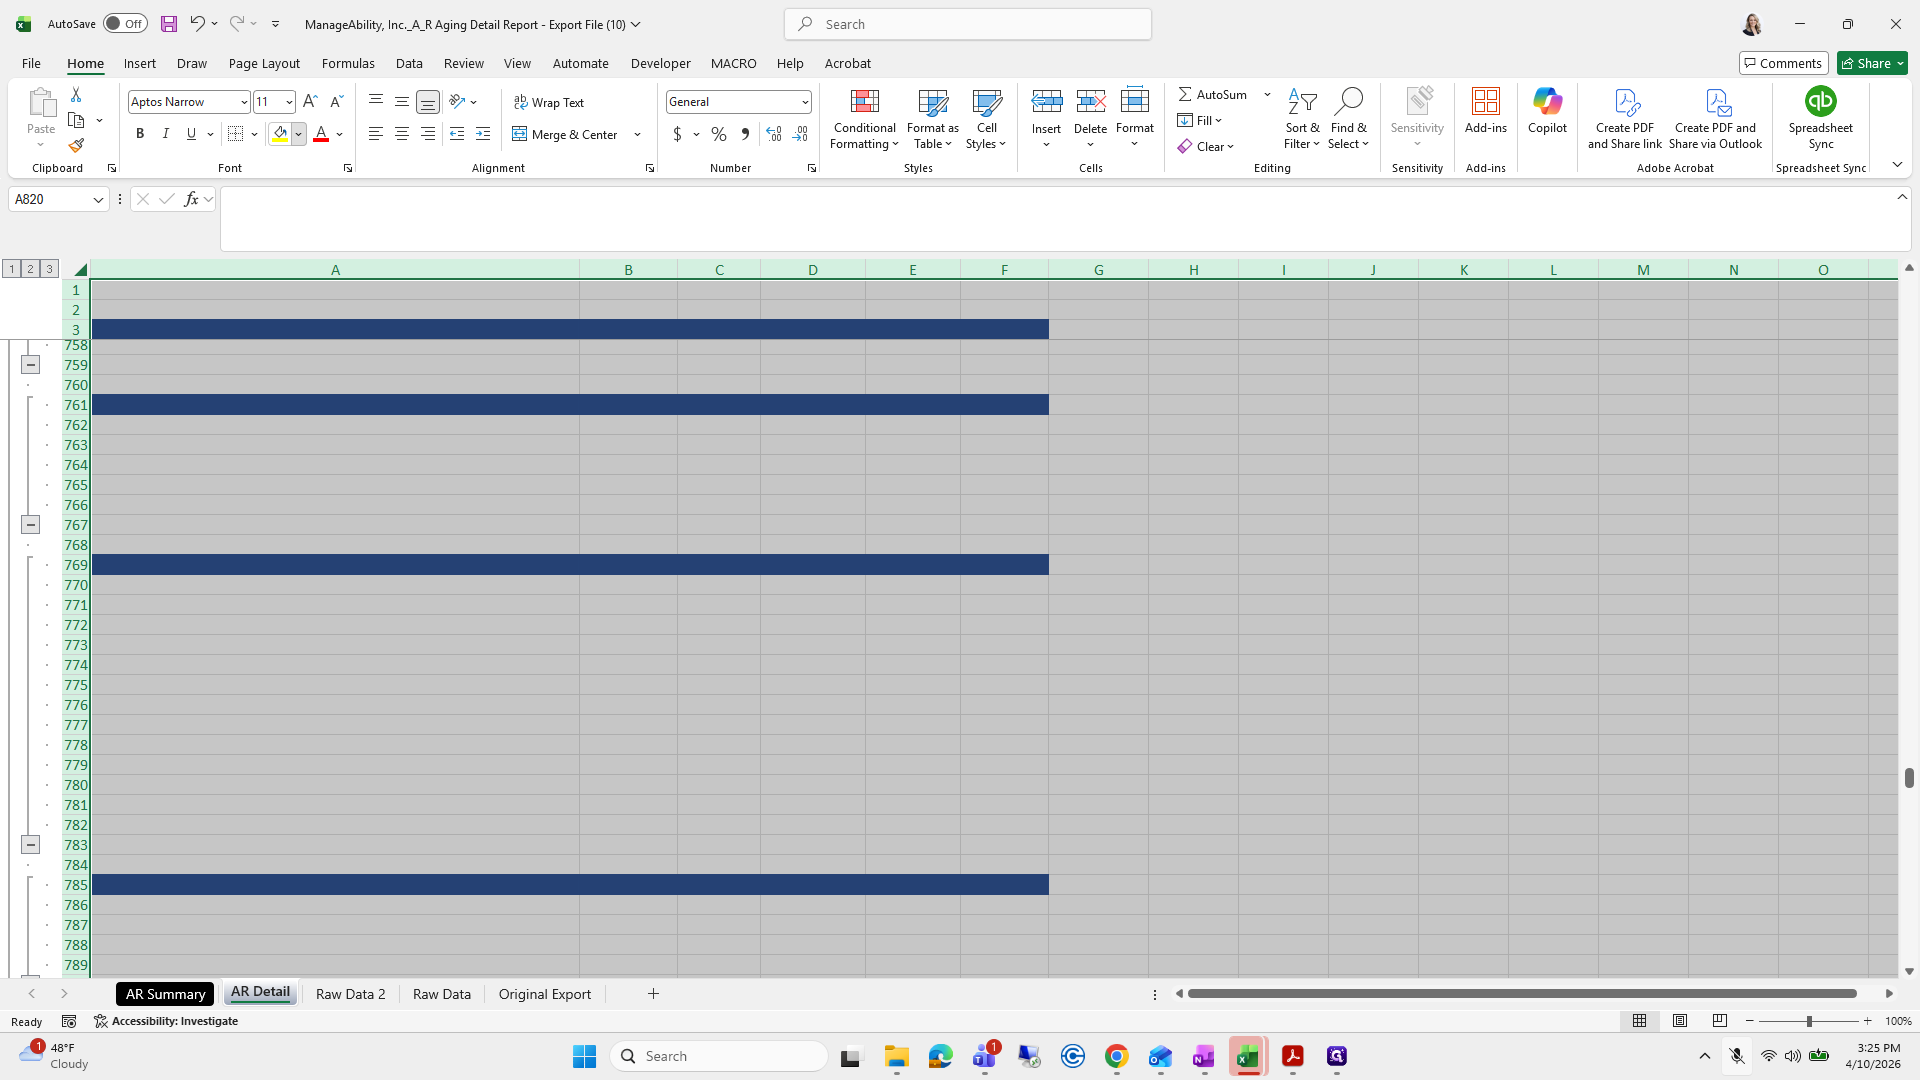
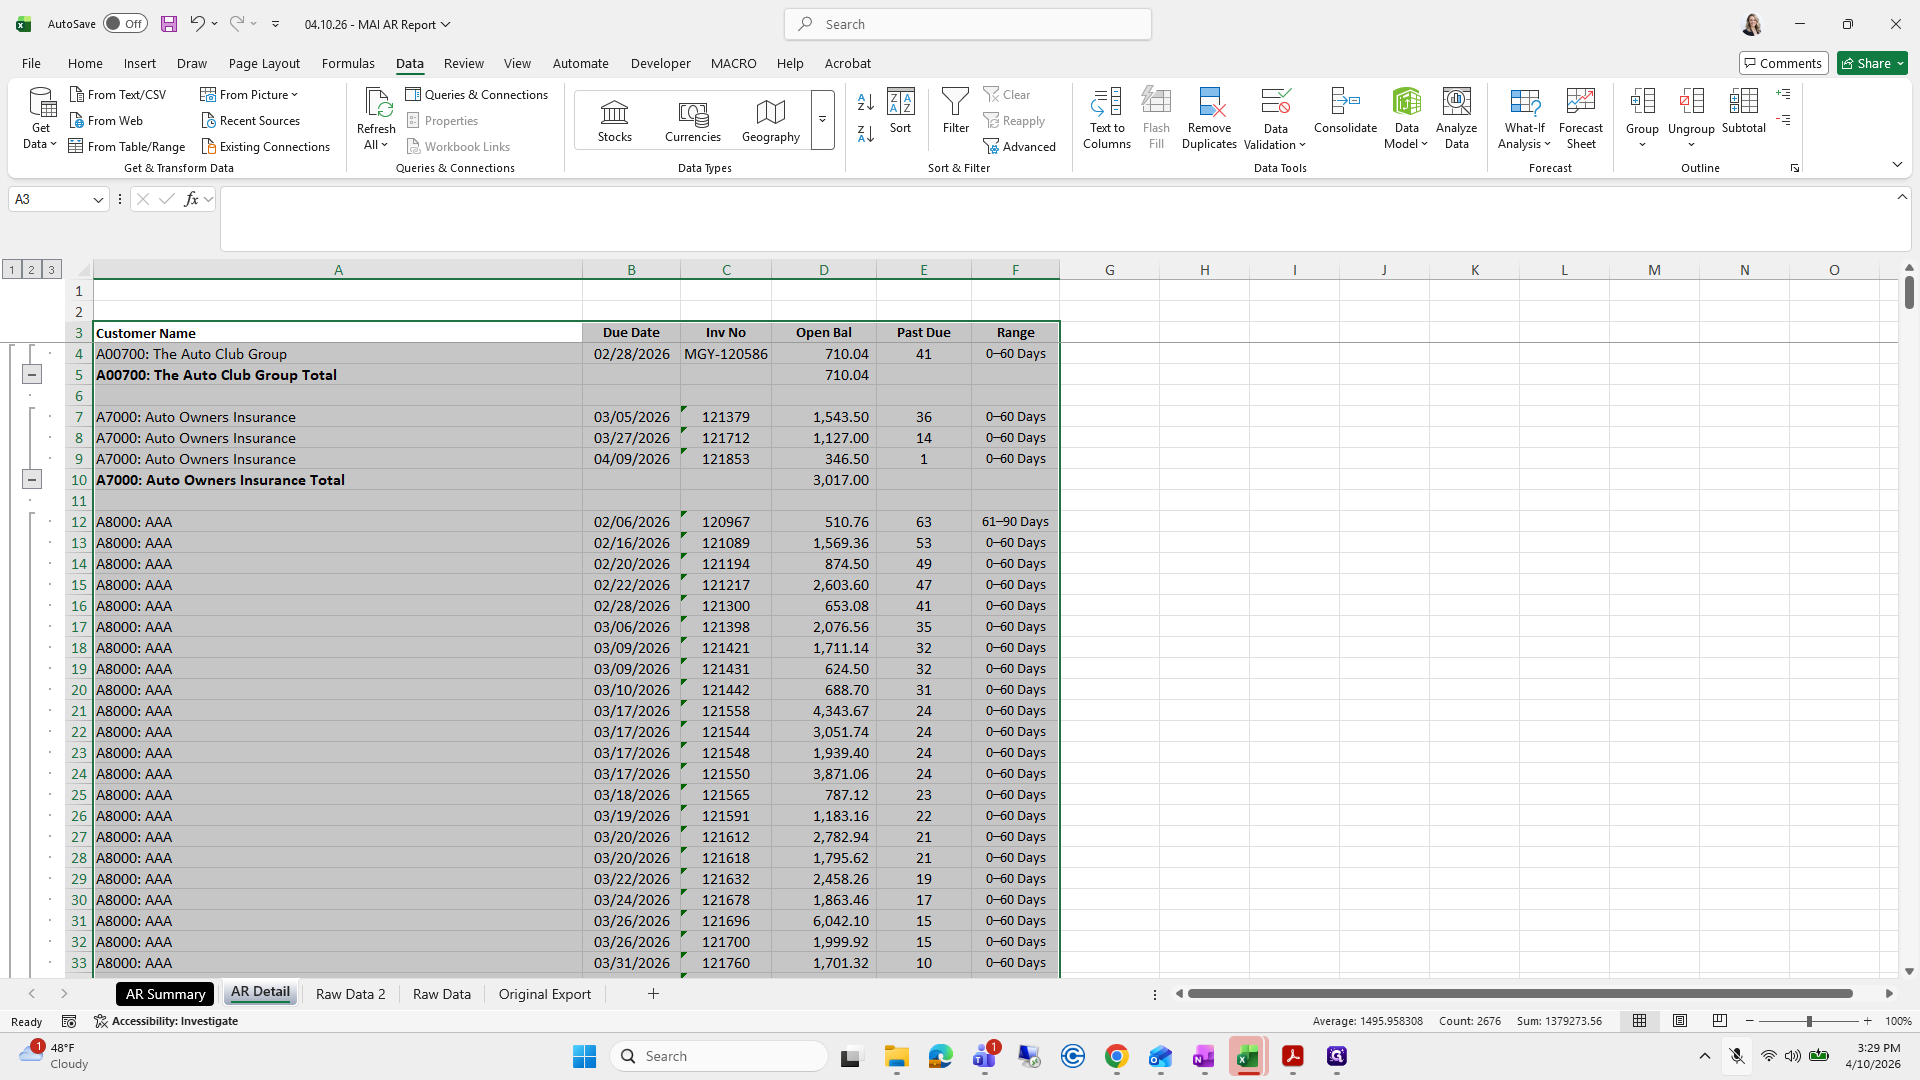
Insert a row between each customer change.
I just deleted that.

If you want to skip formatting, you can do so now to save time and make things easier.

We want to grab it all.


What do I usually do?

It's okay.
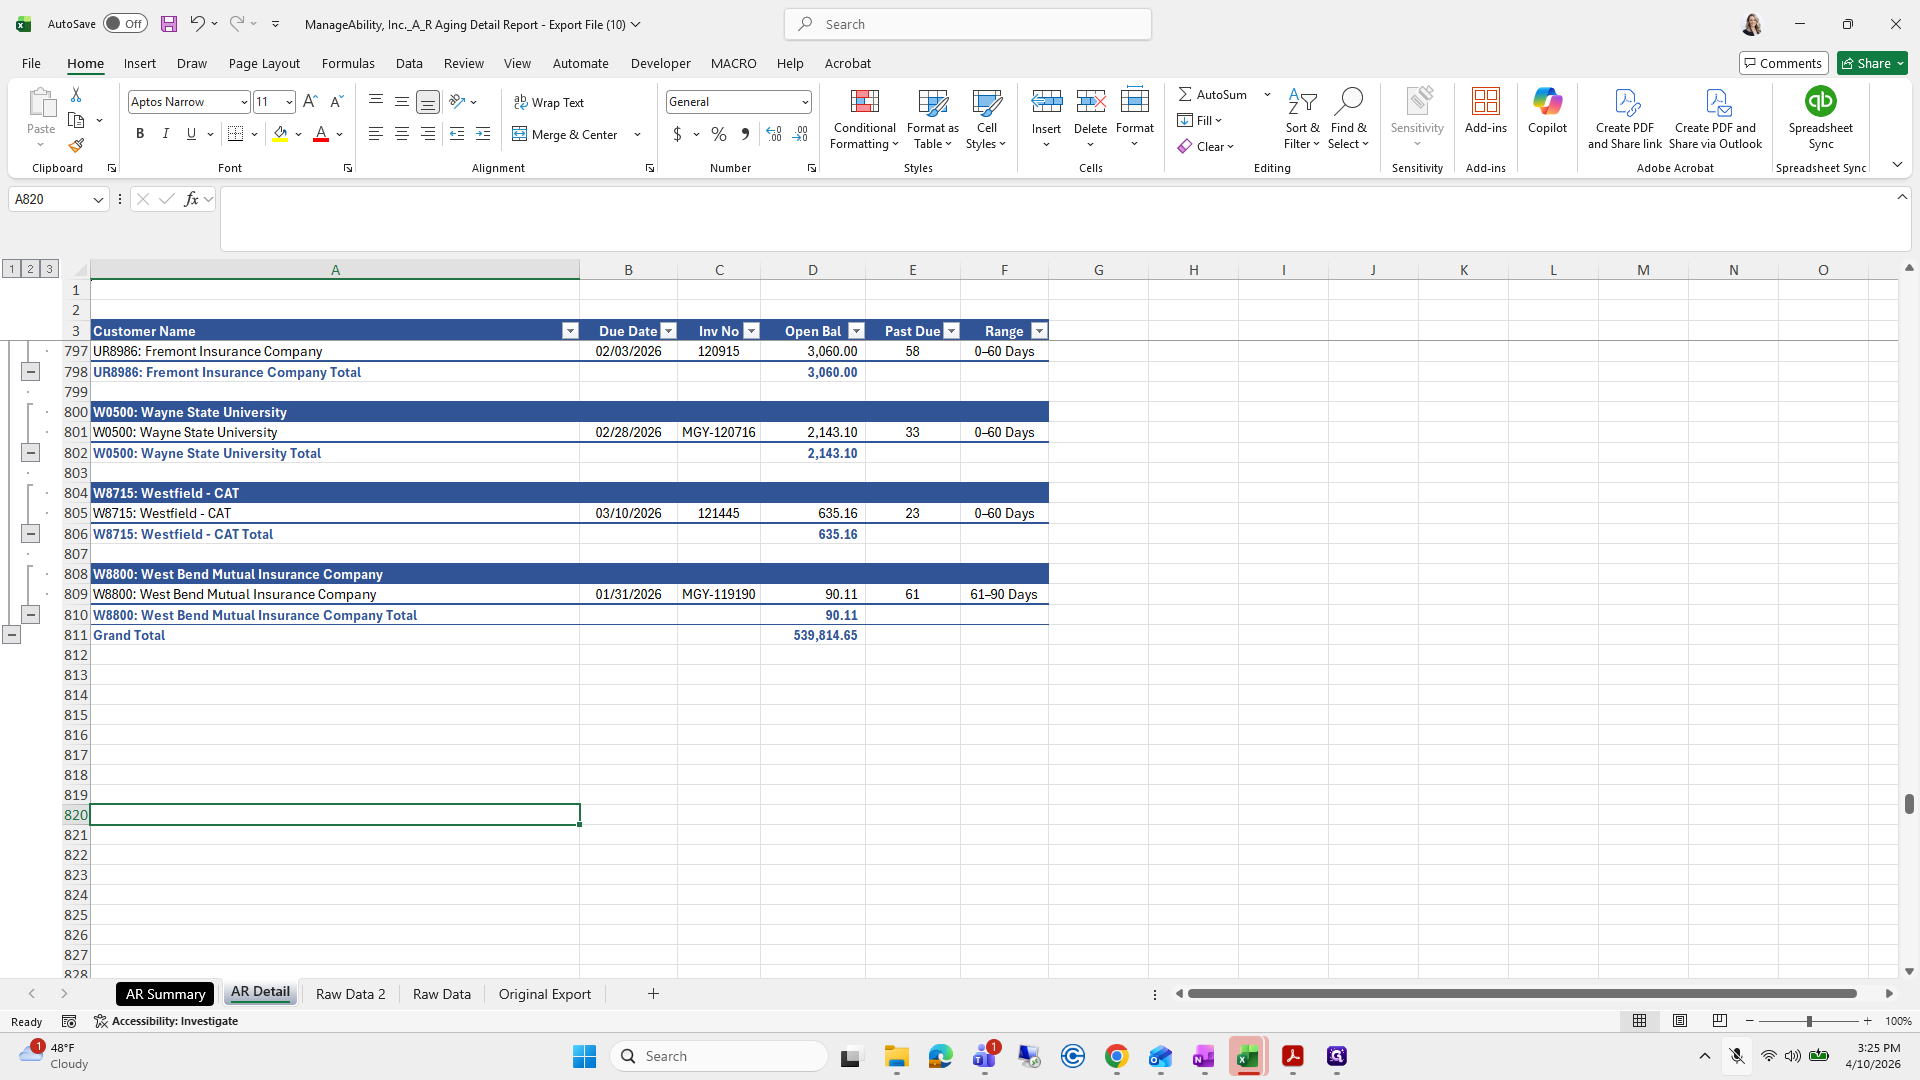
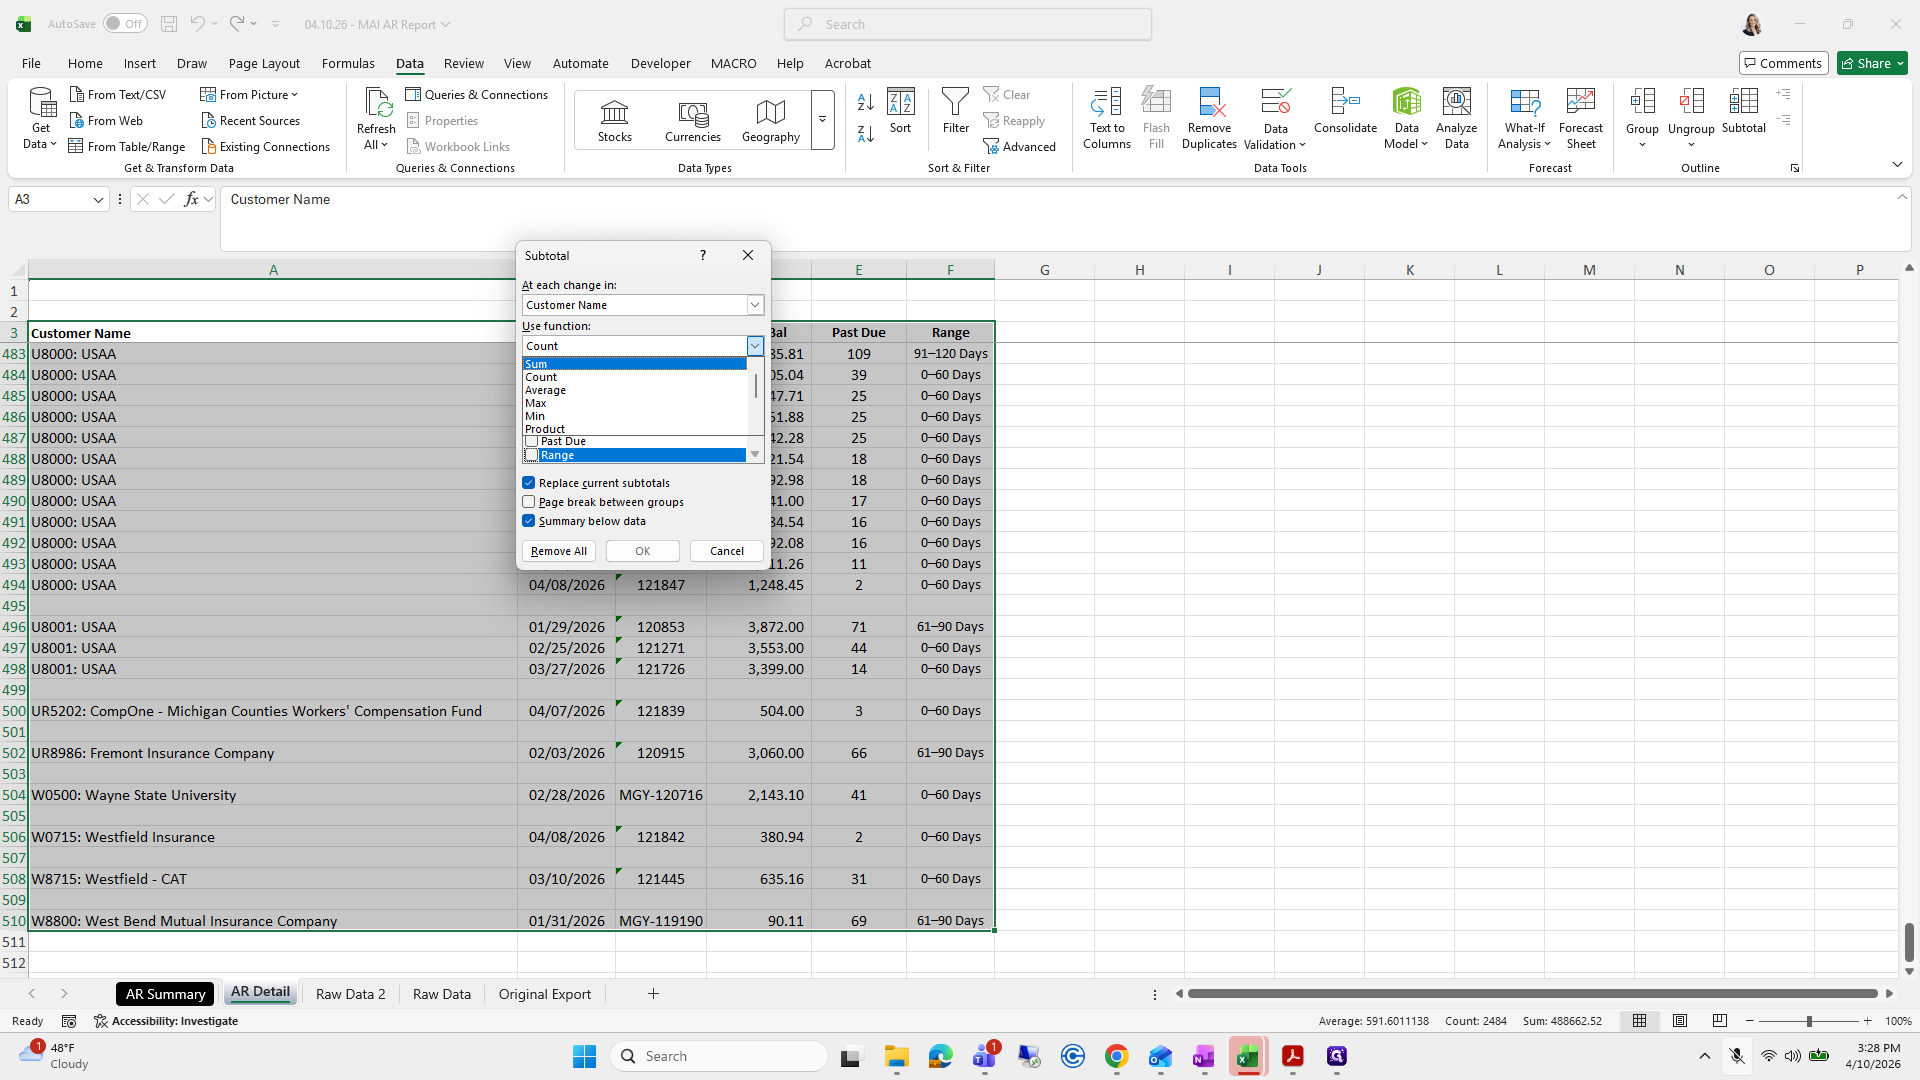
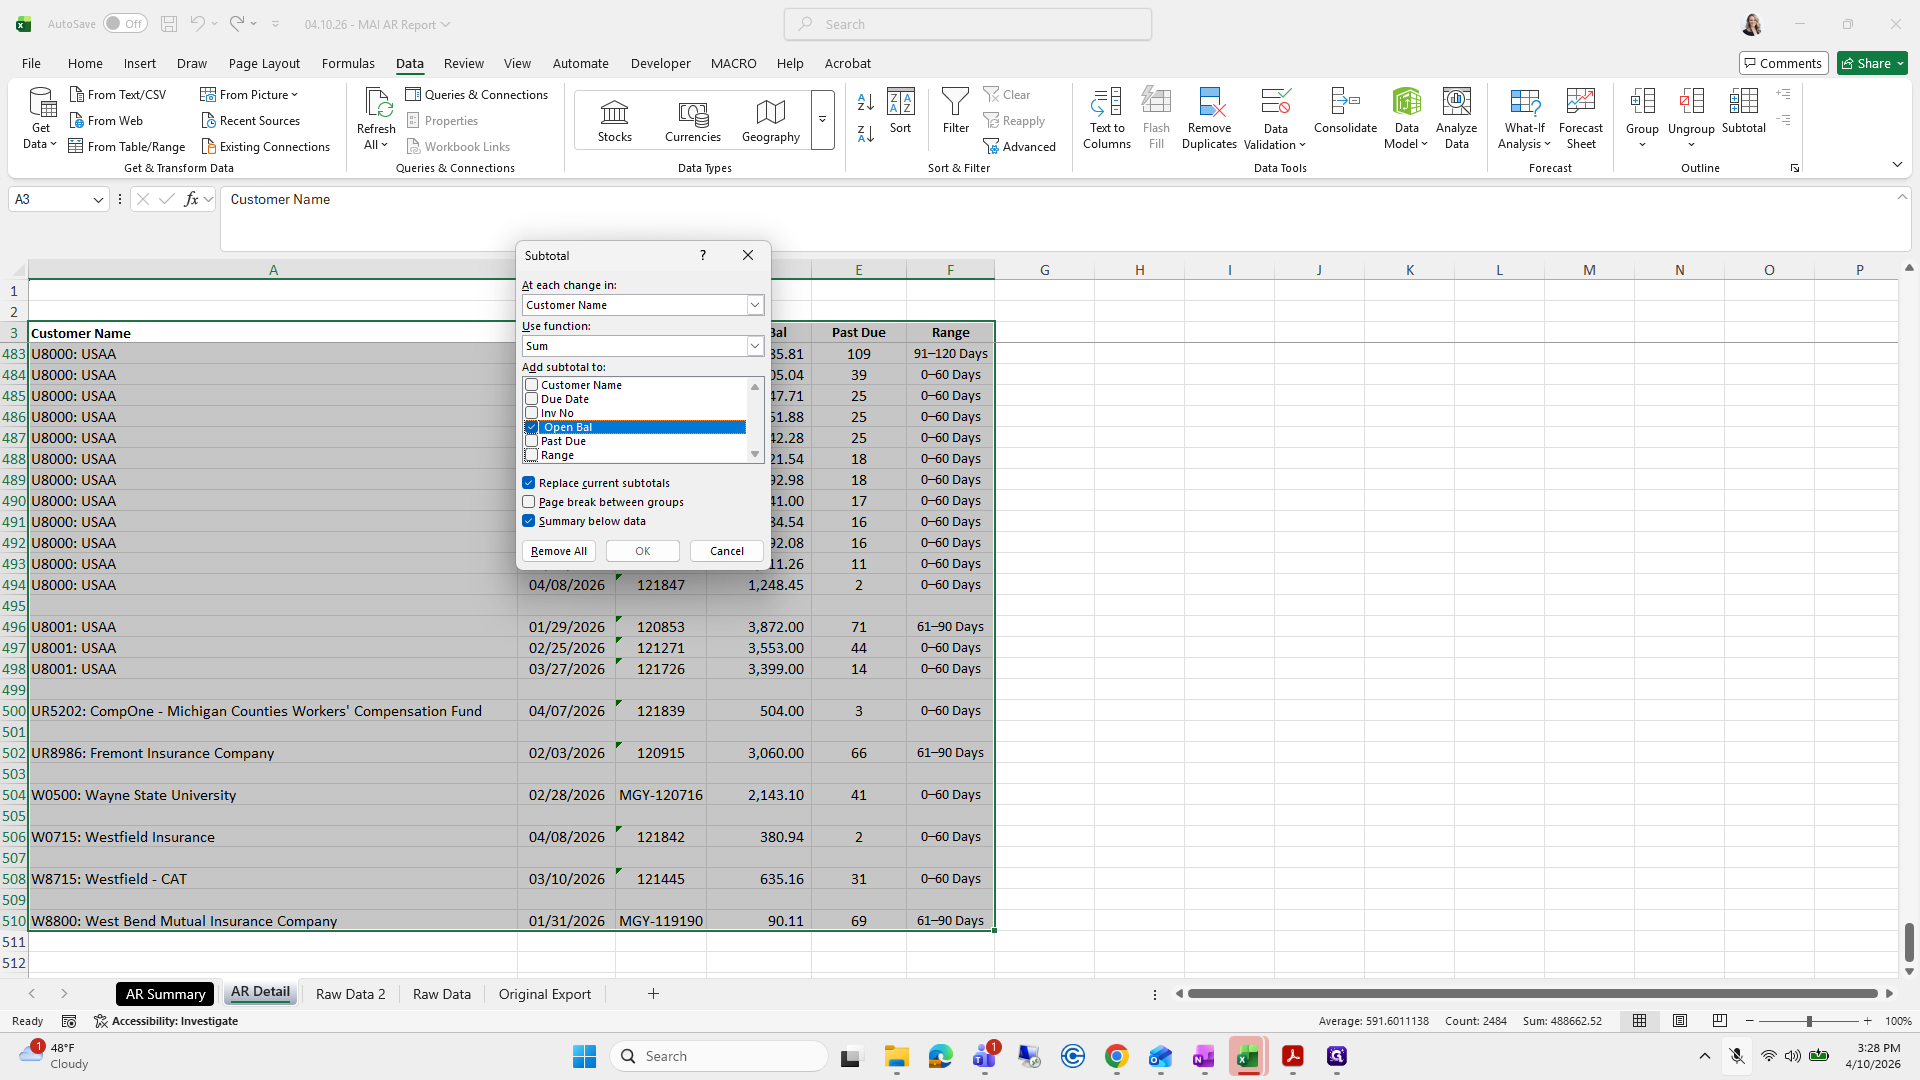
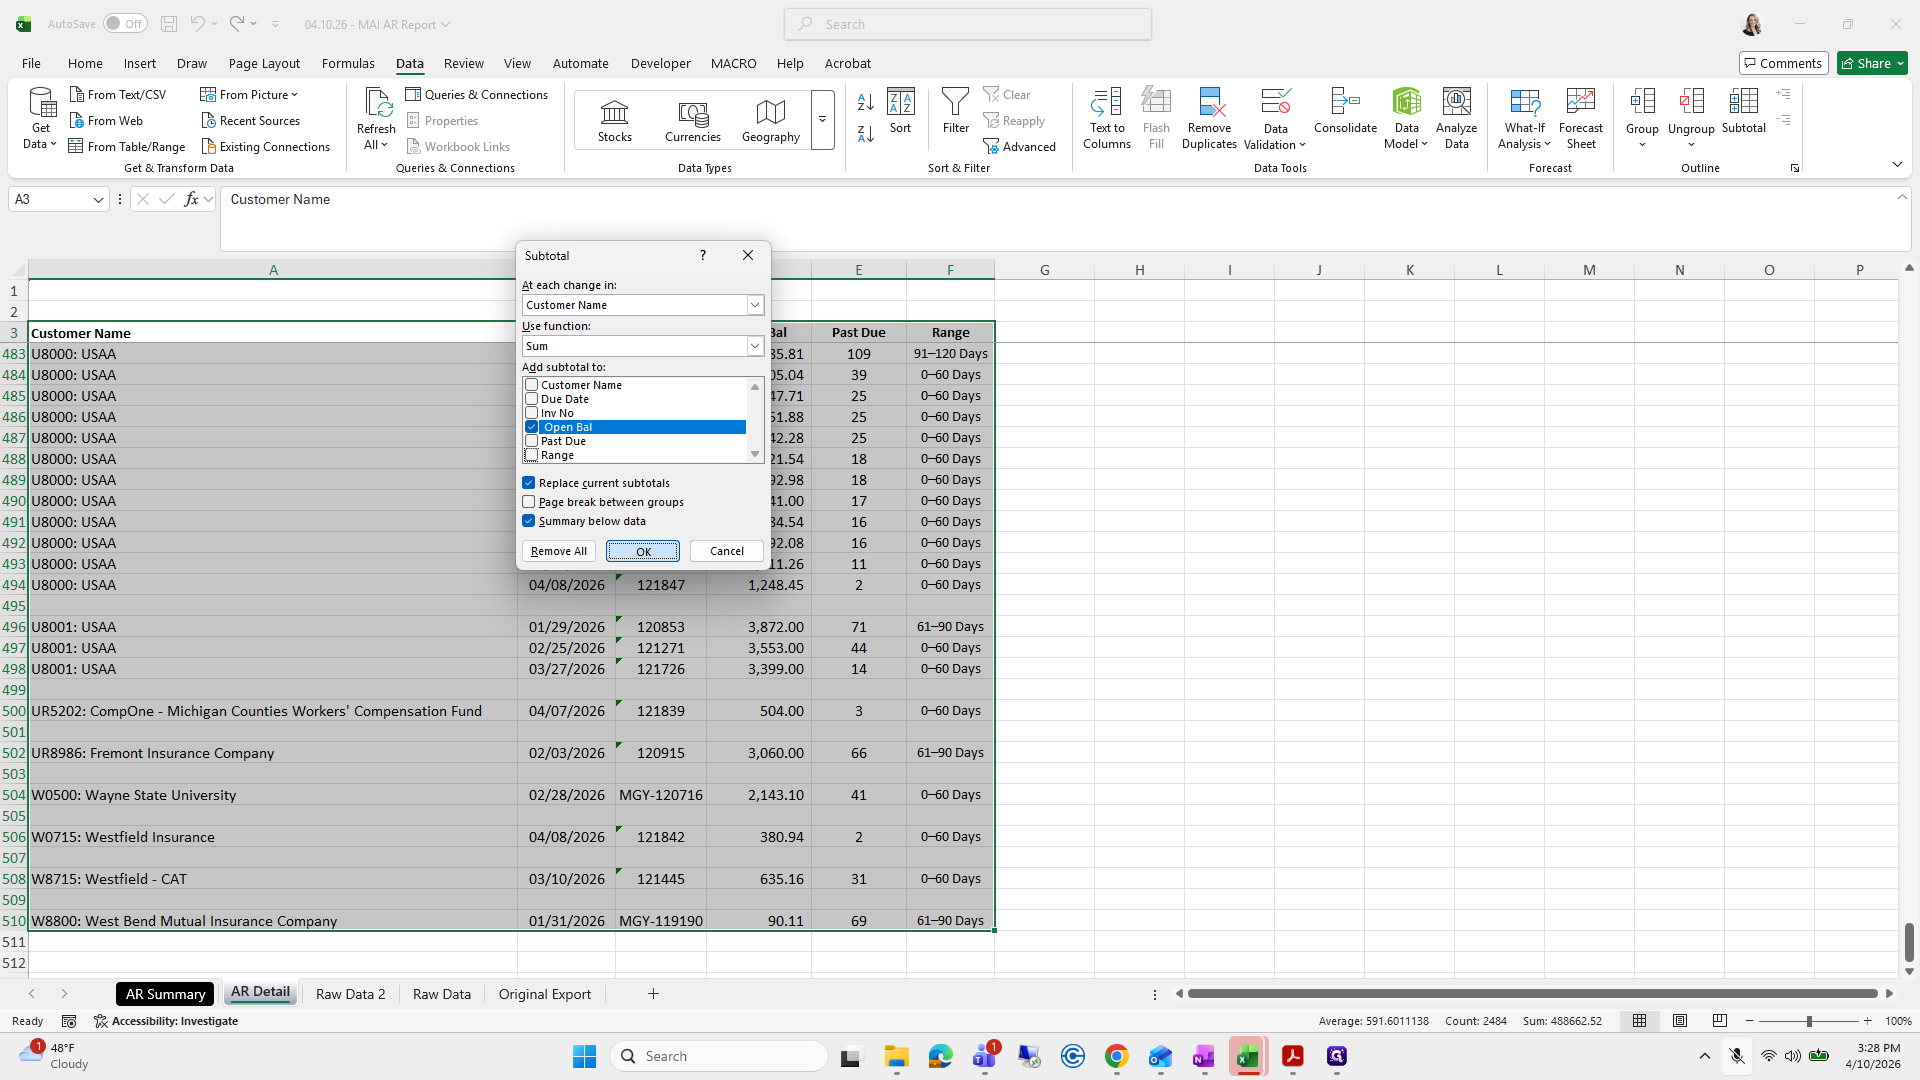
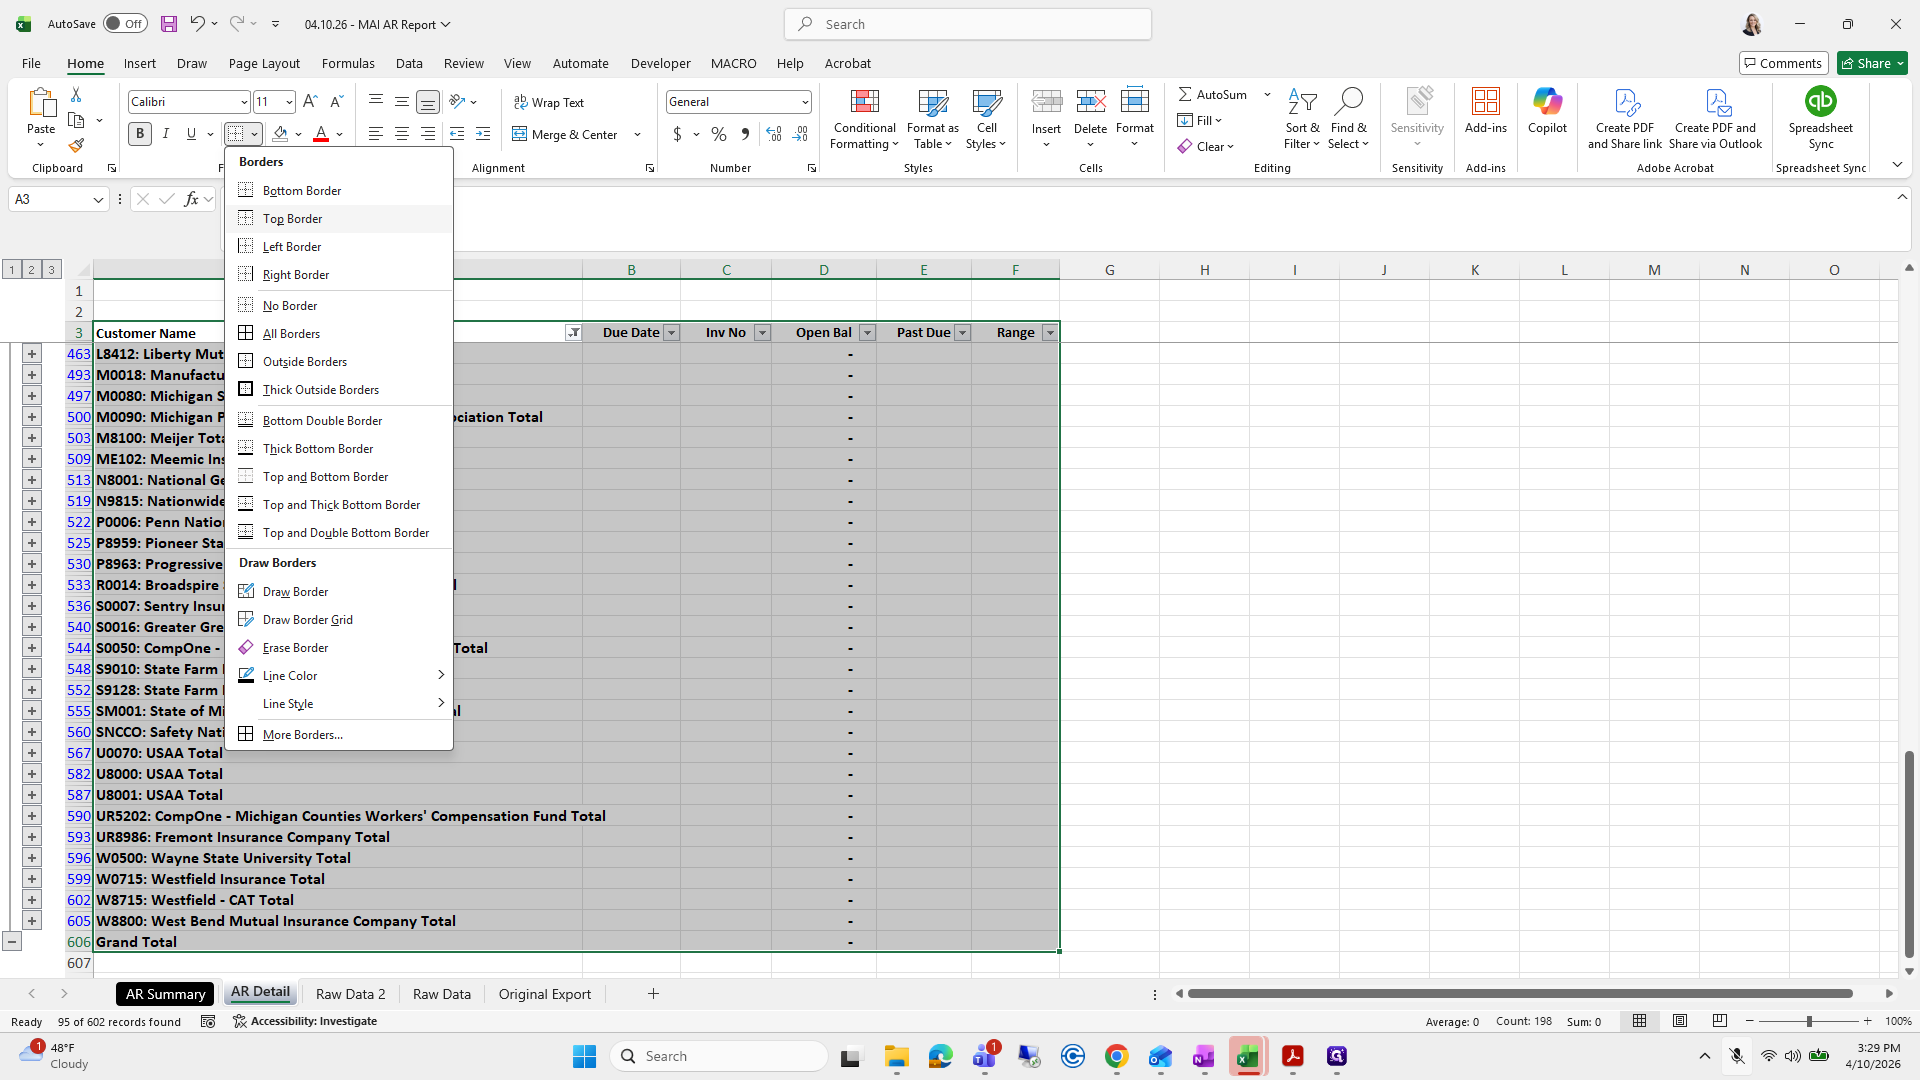
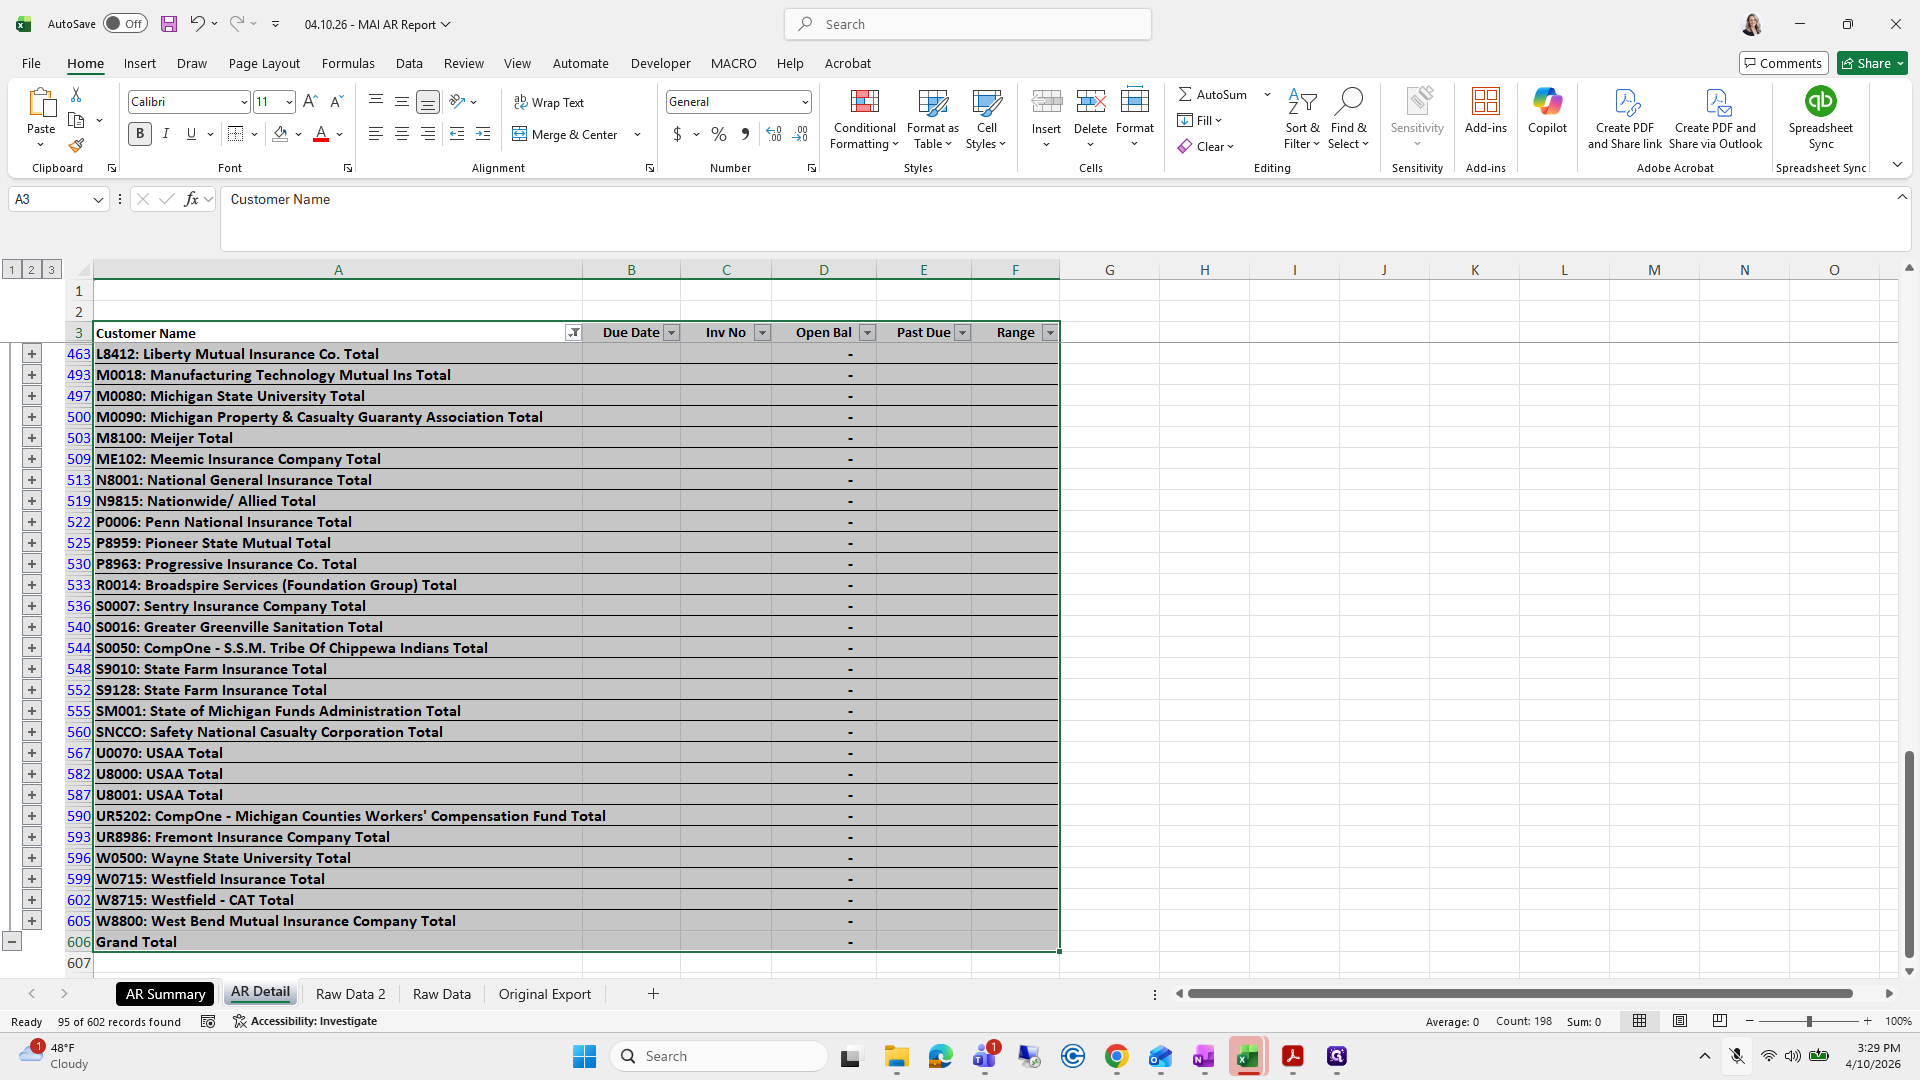
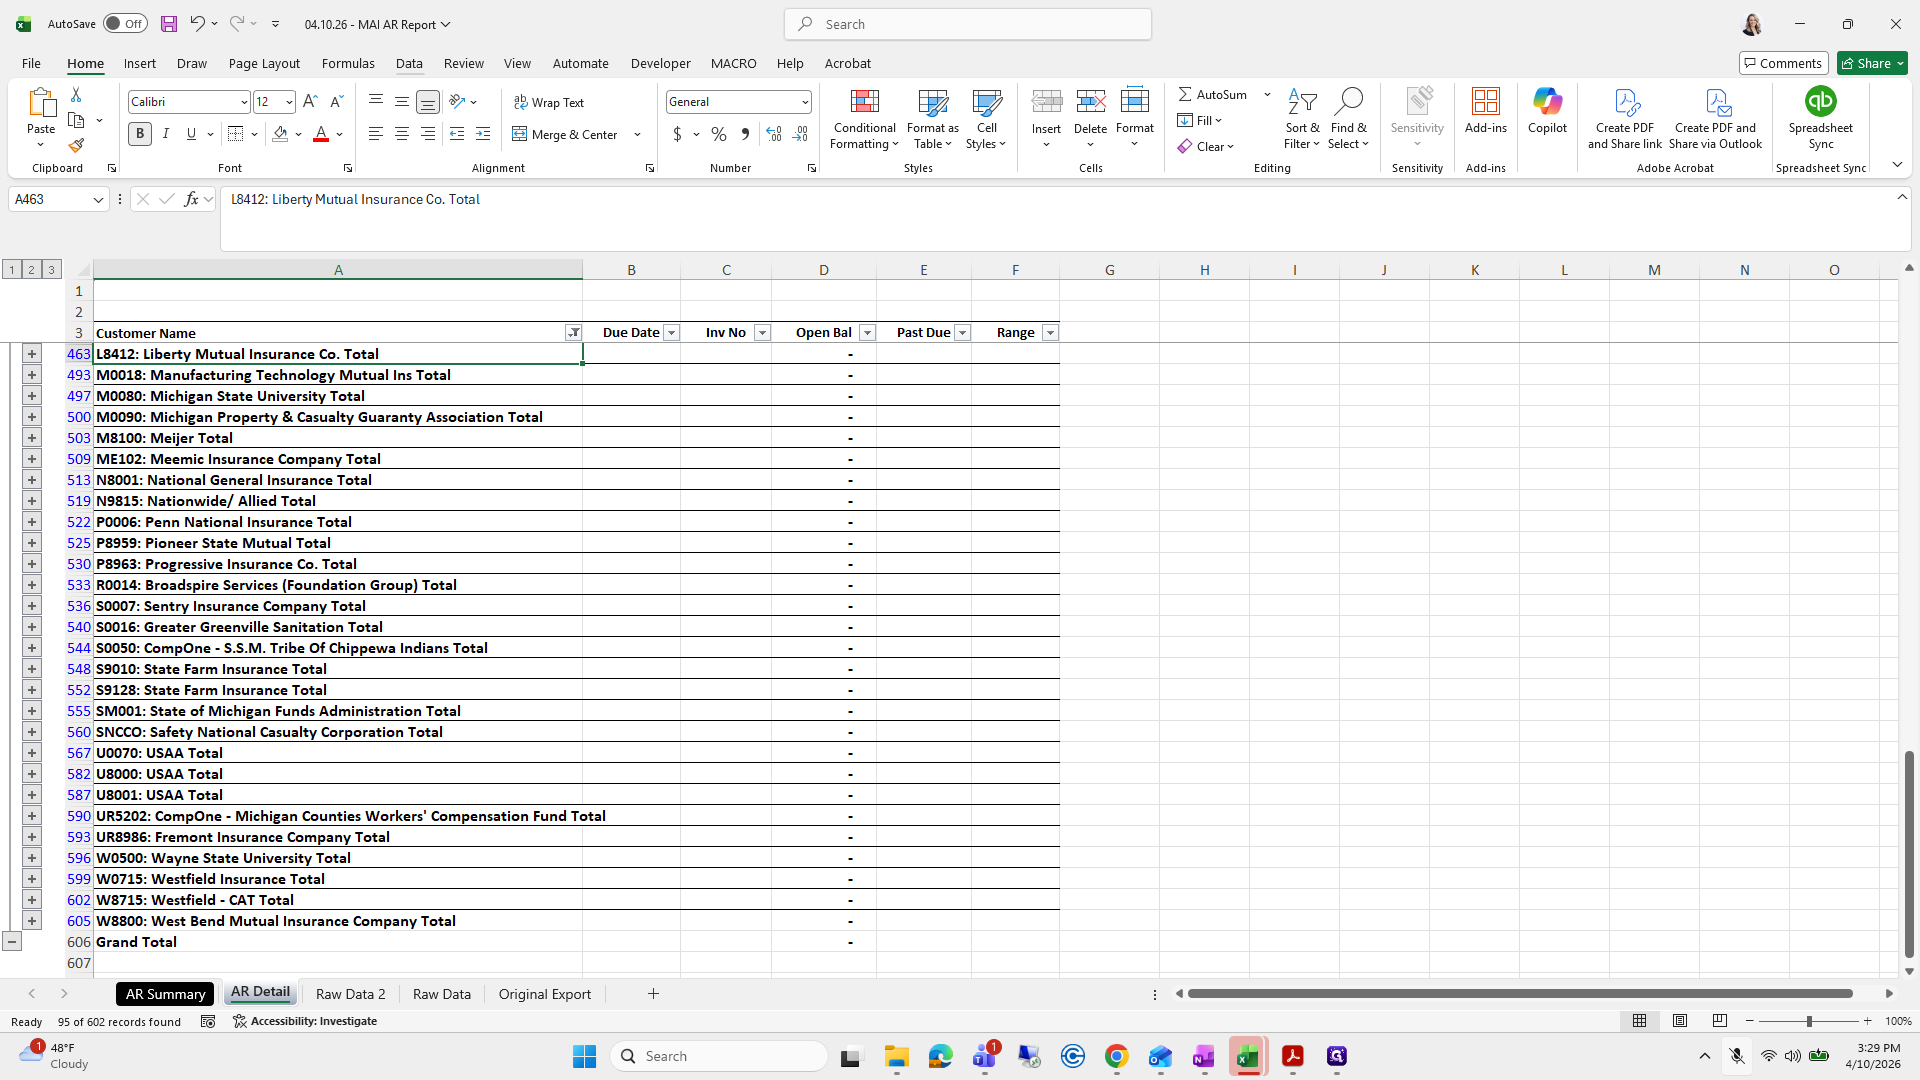
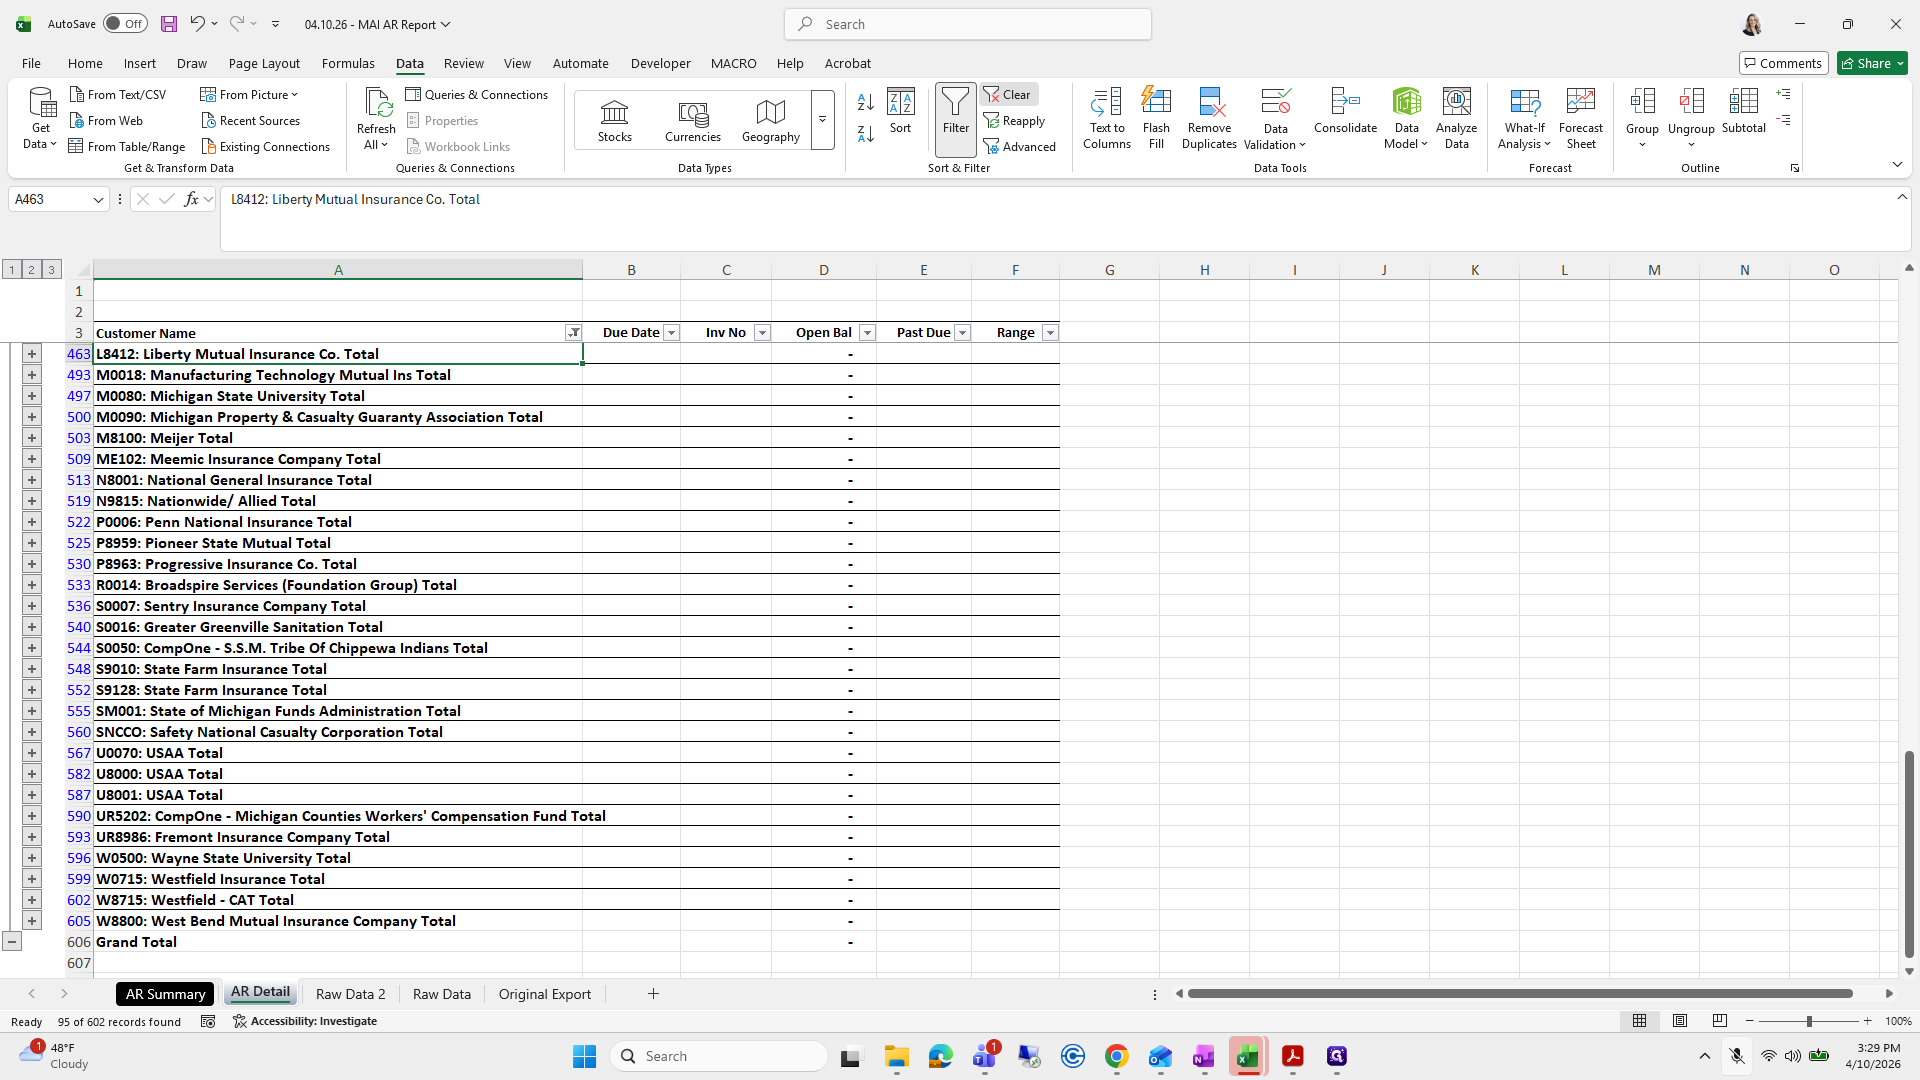
Next, go to Data and select Subtotal. You can skip the macro I just used if you prefer. Since we're not doing formatting on this one.
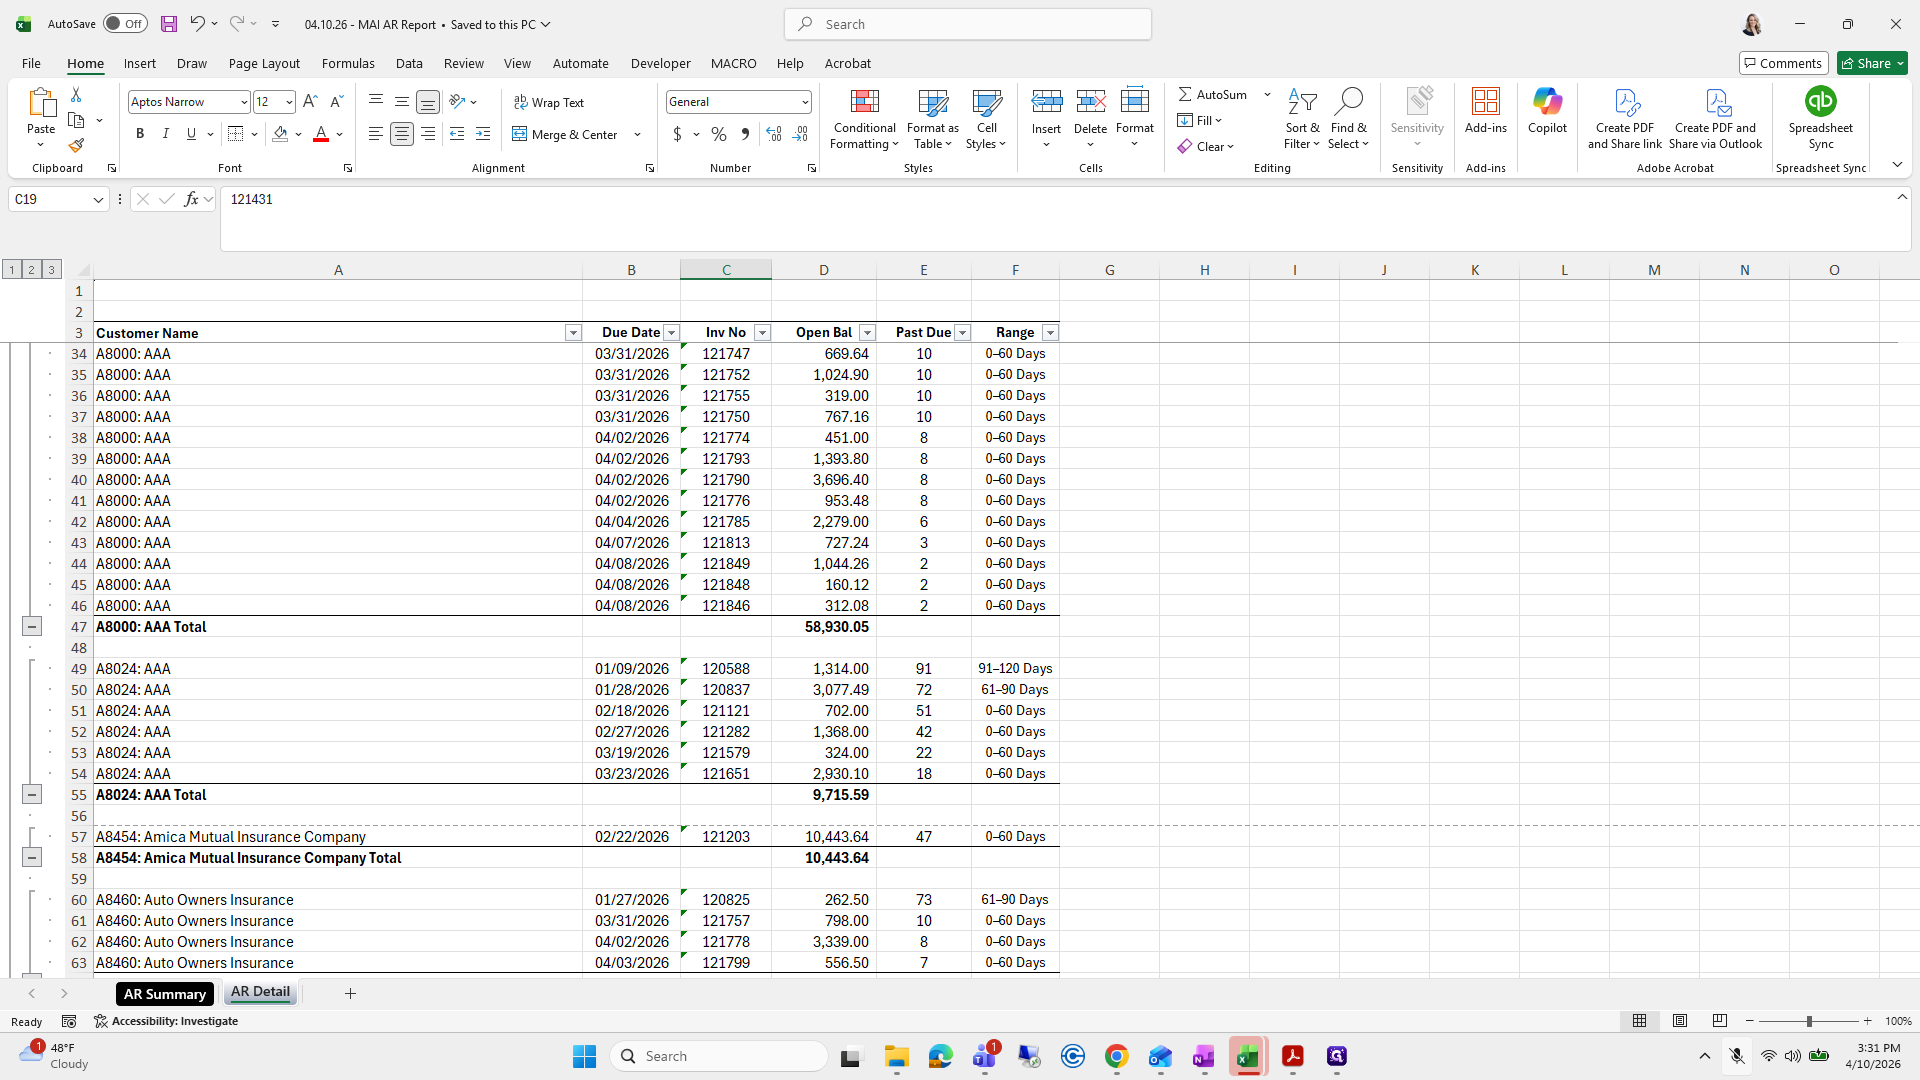
We will change the customer name sum. Select open balance and press OK.


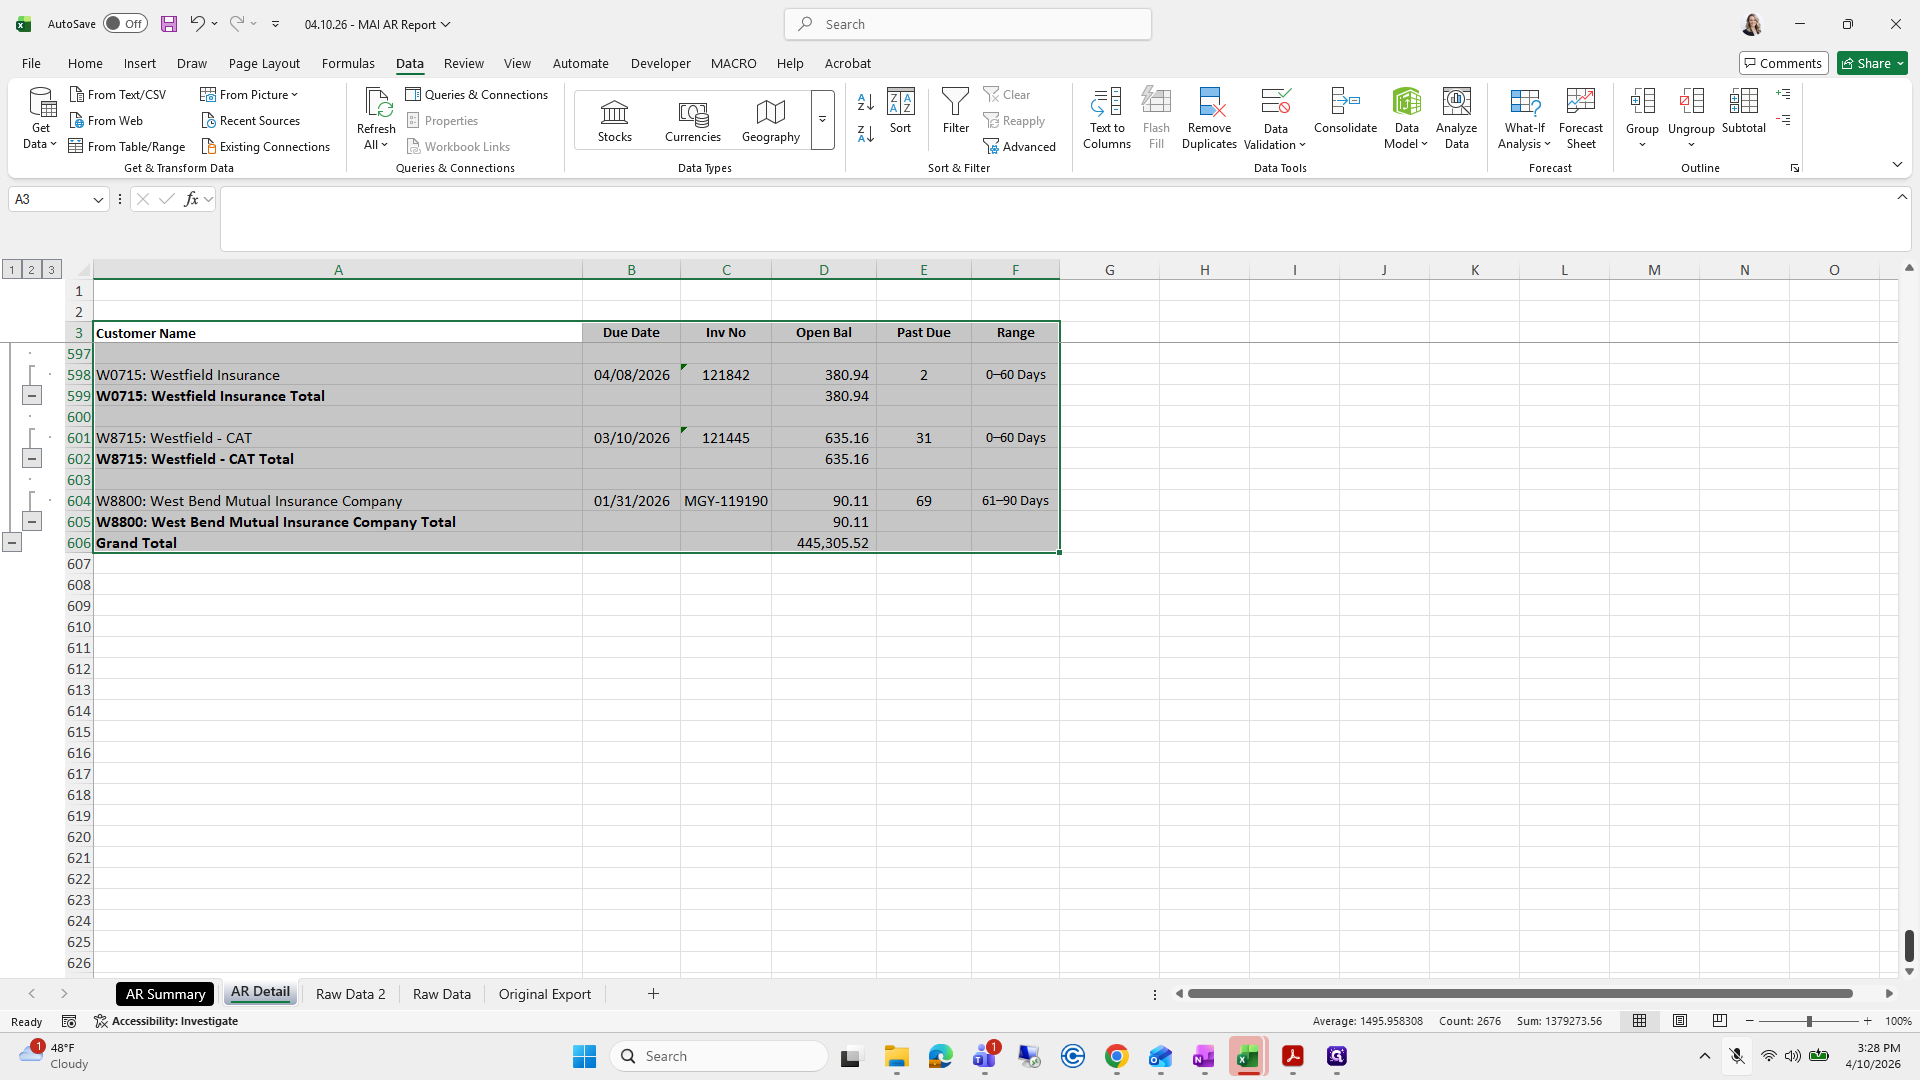
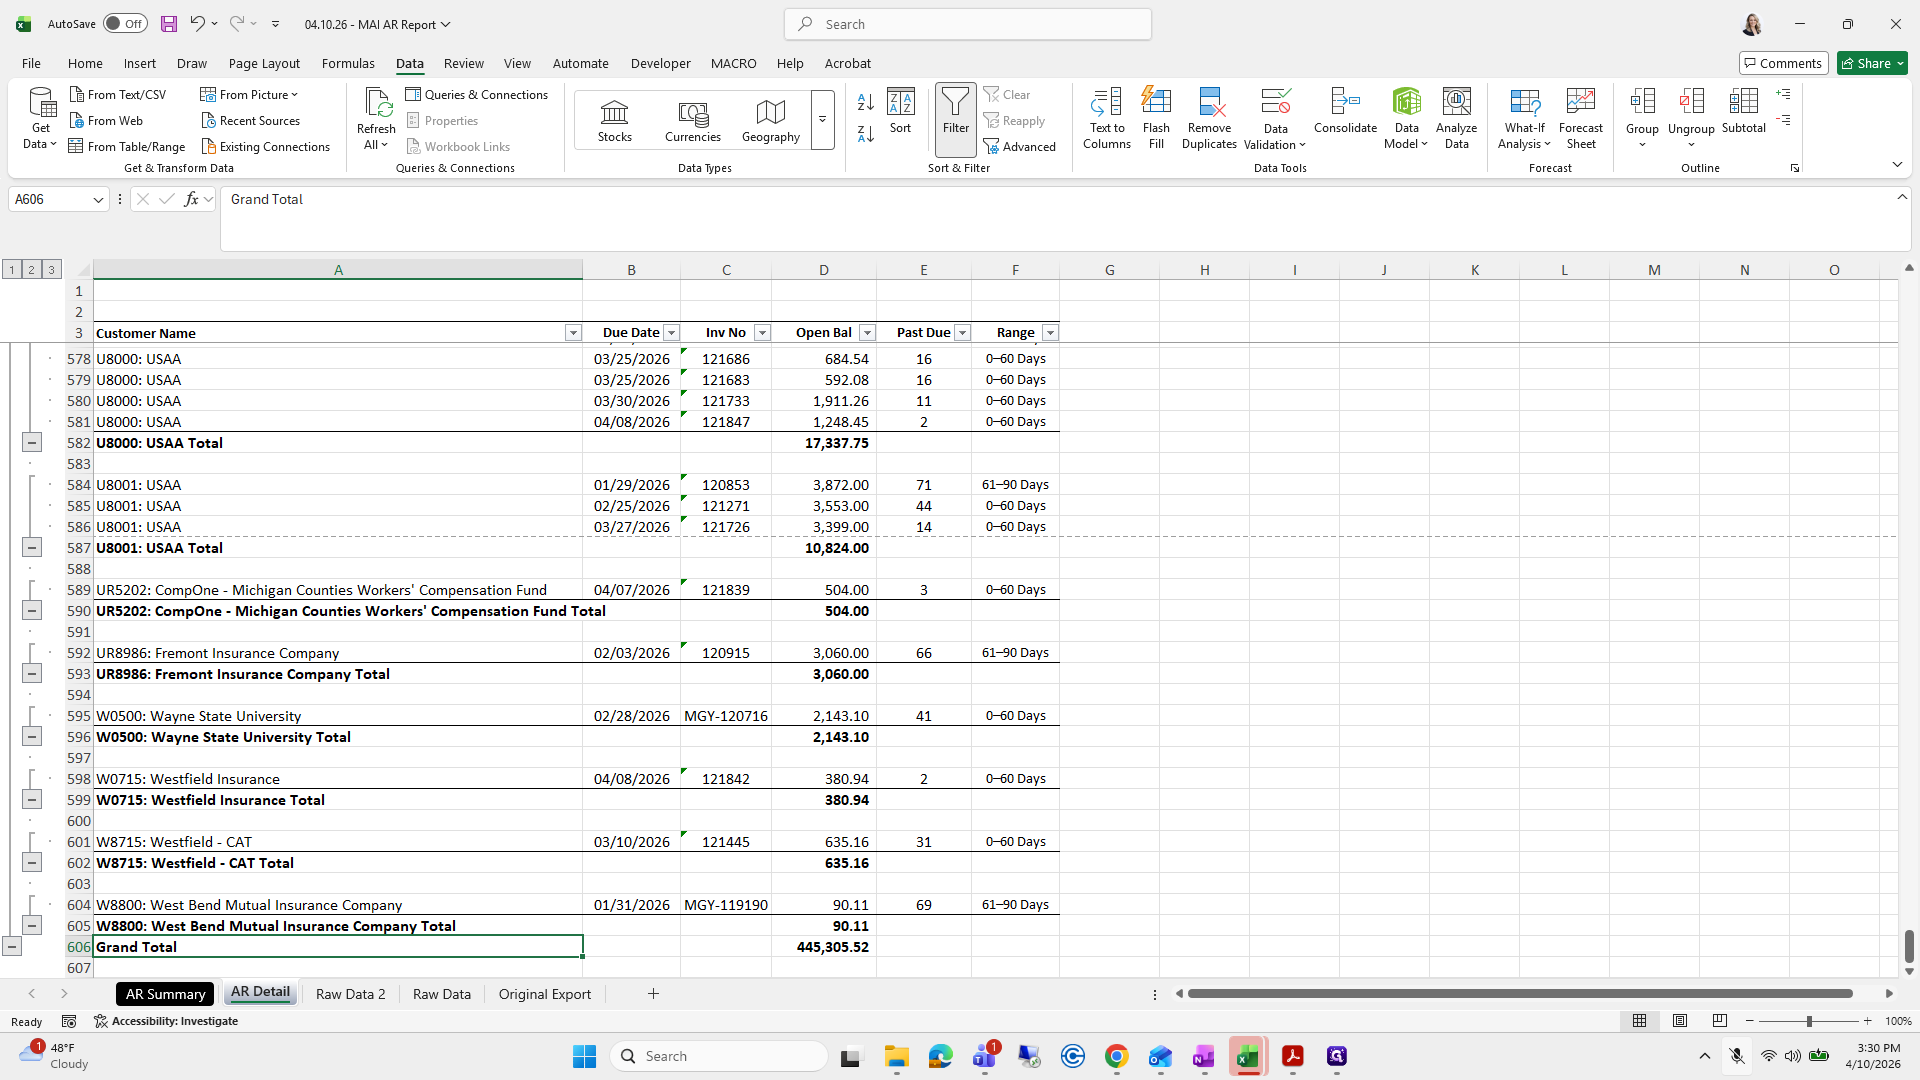
It gives you the total at the end of each customer transaction.

If you want...
Go back. Did I just undo it? I did.
Xfinity, why are you calling me?

Oops.
Okay. I put it back, then quickly filter by Total to make all these bold.
We'll do a quick line.


Then I'll select Data, Clear.
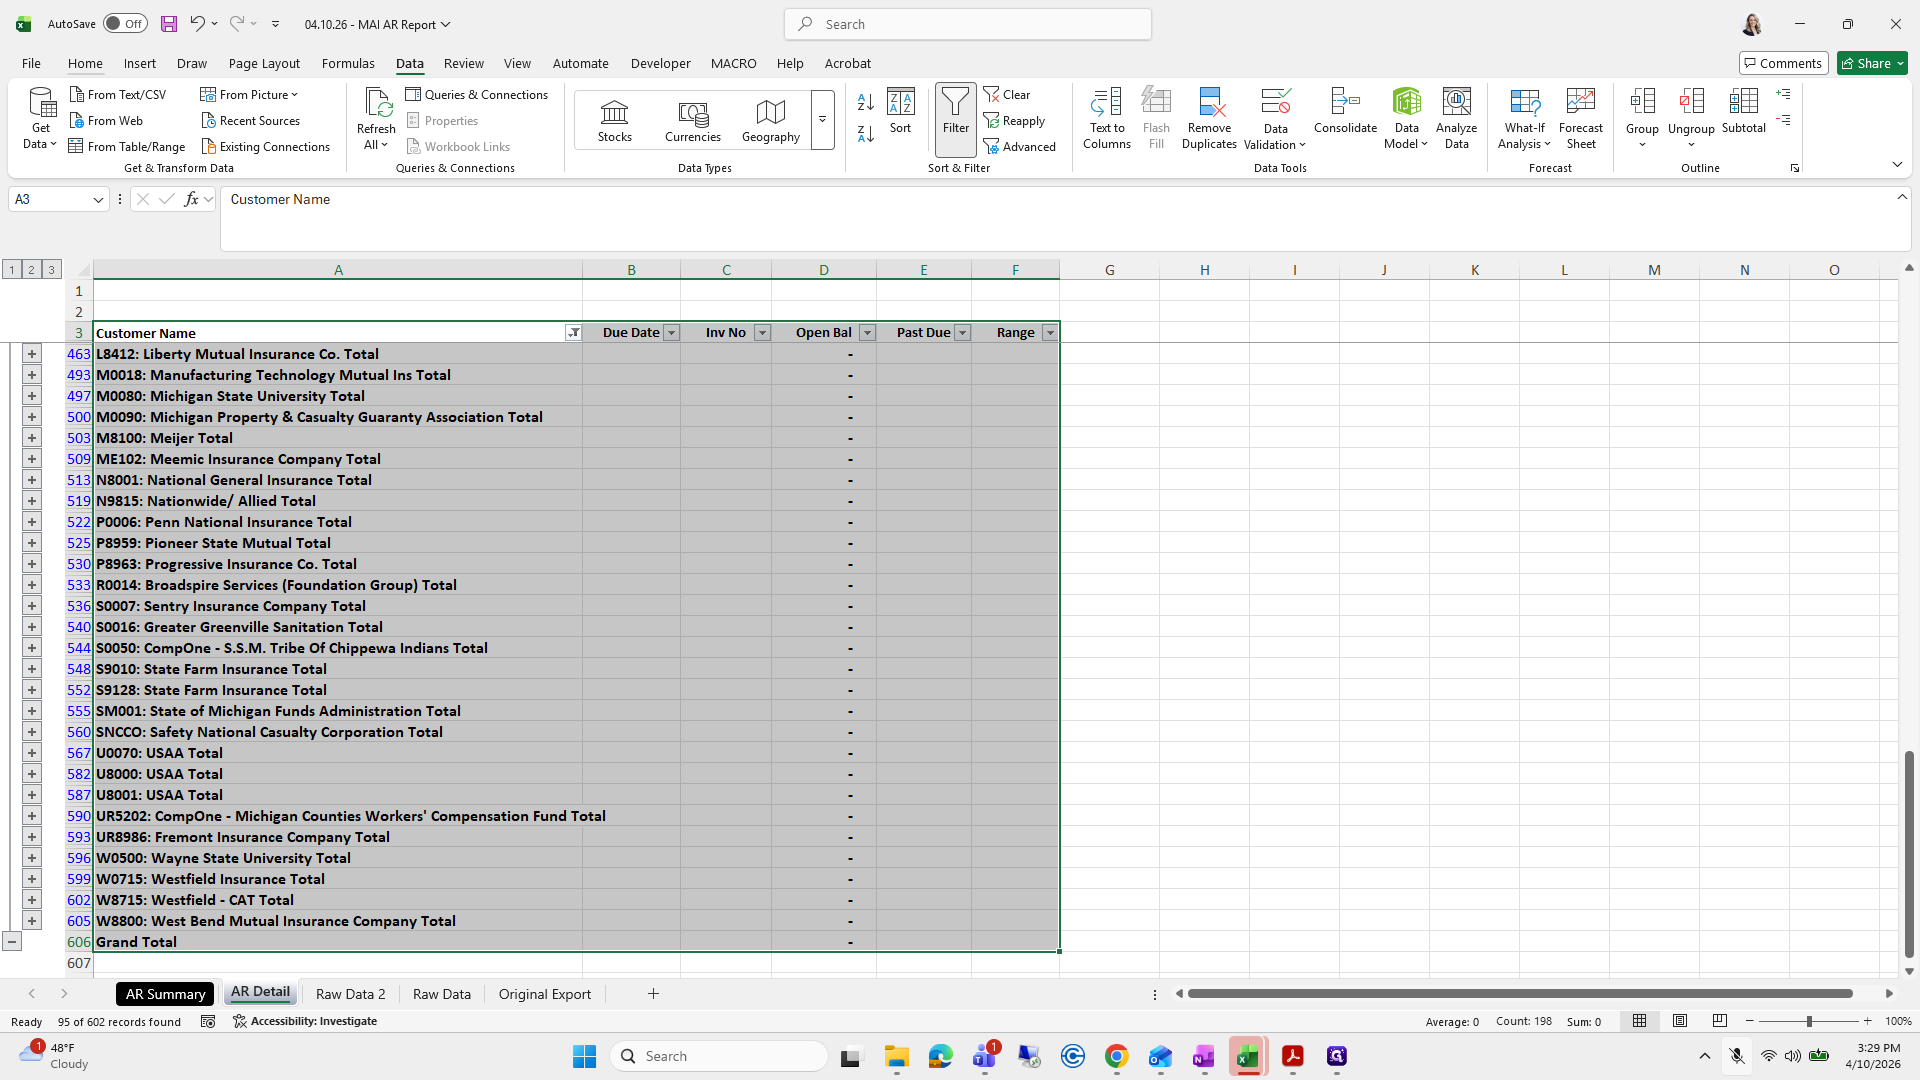
This is a quick and simple version, which you can use when it doesn't need to look perfect.
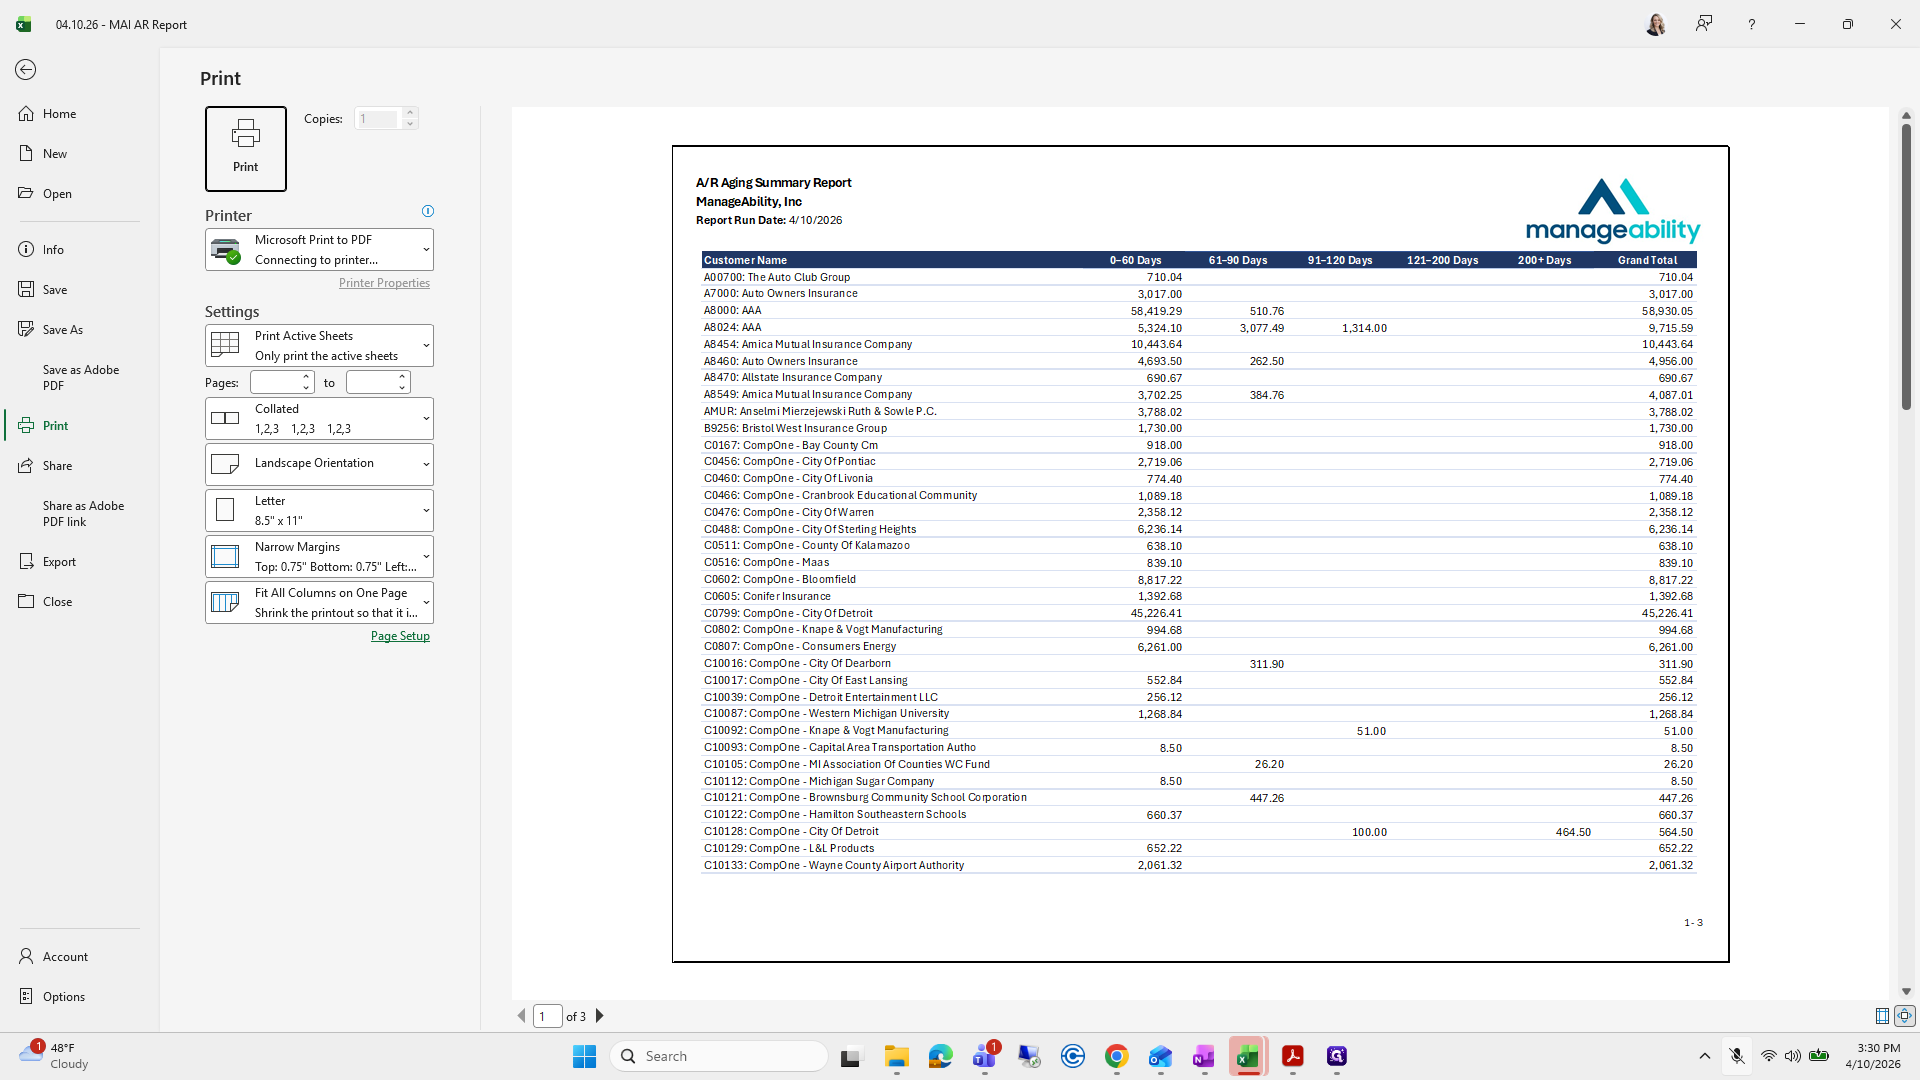
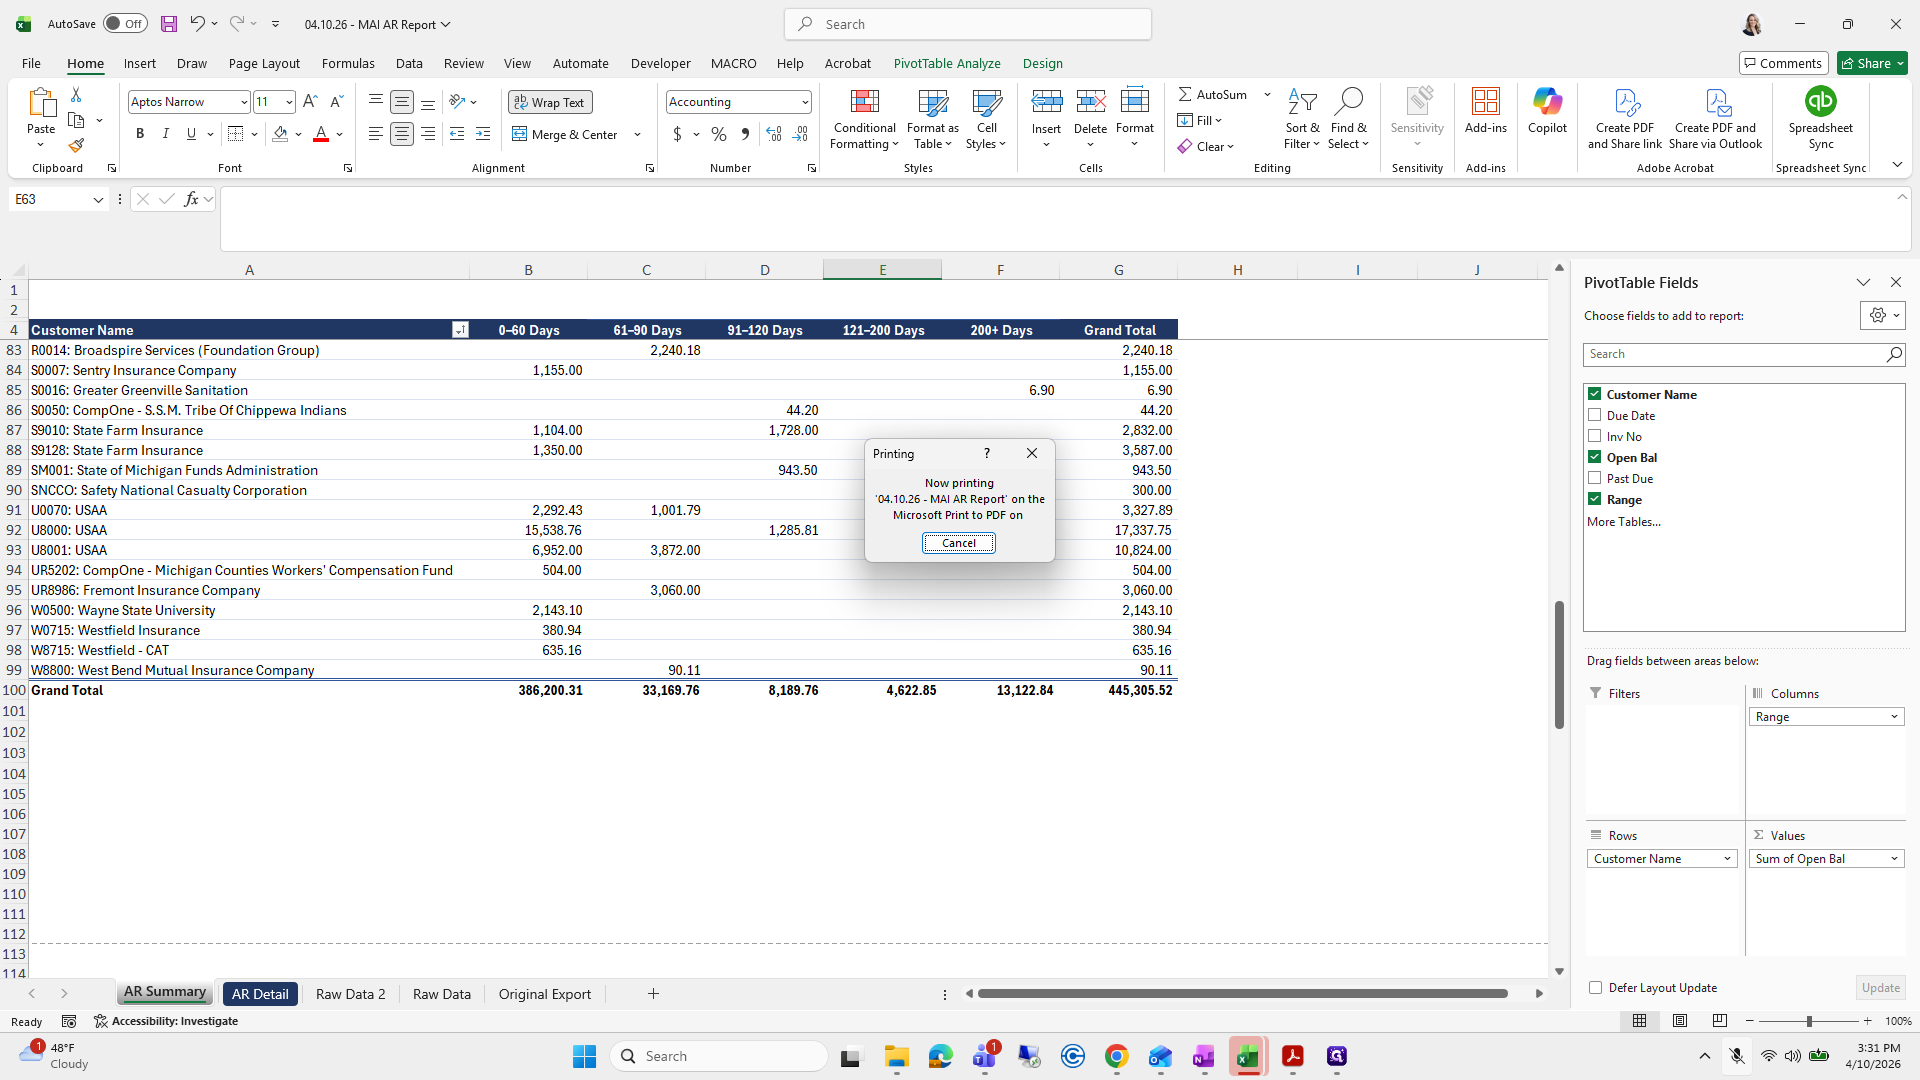
If you press Print, the document is already ready to go.
Amazing.
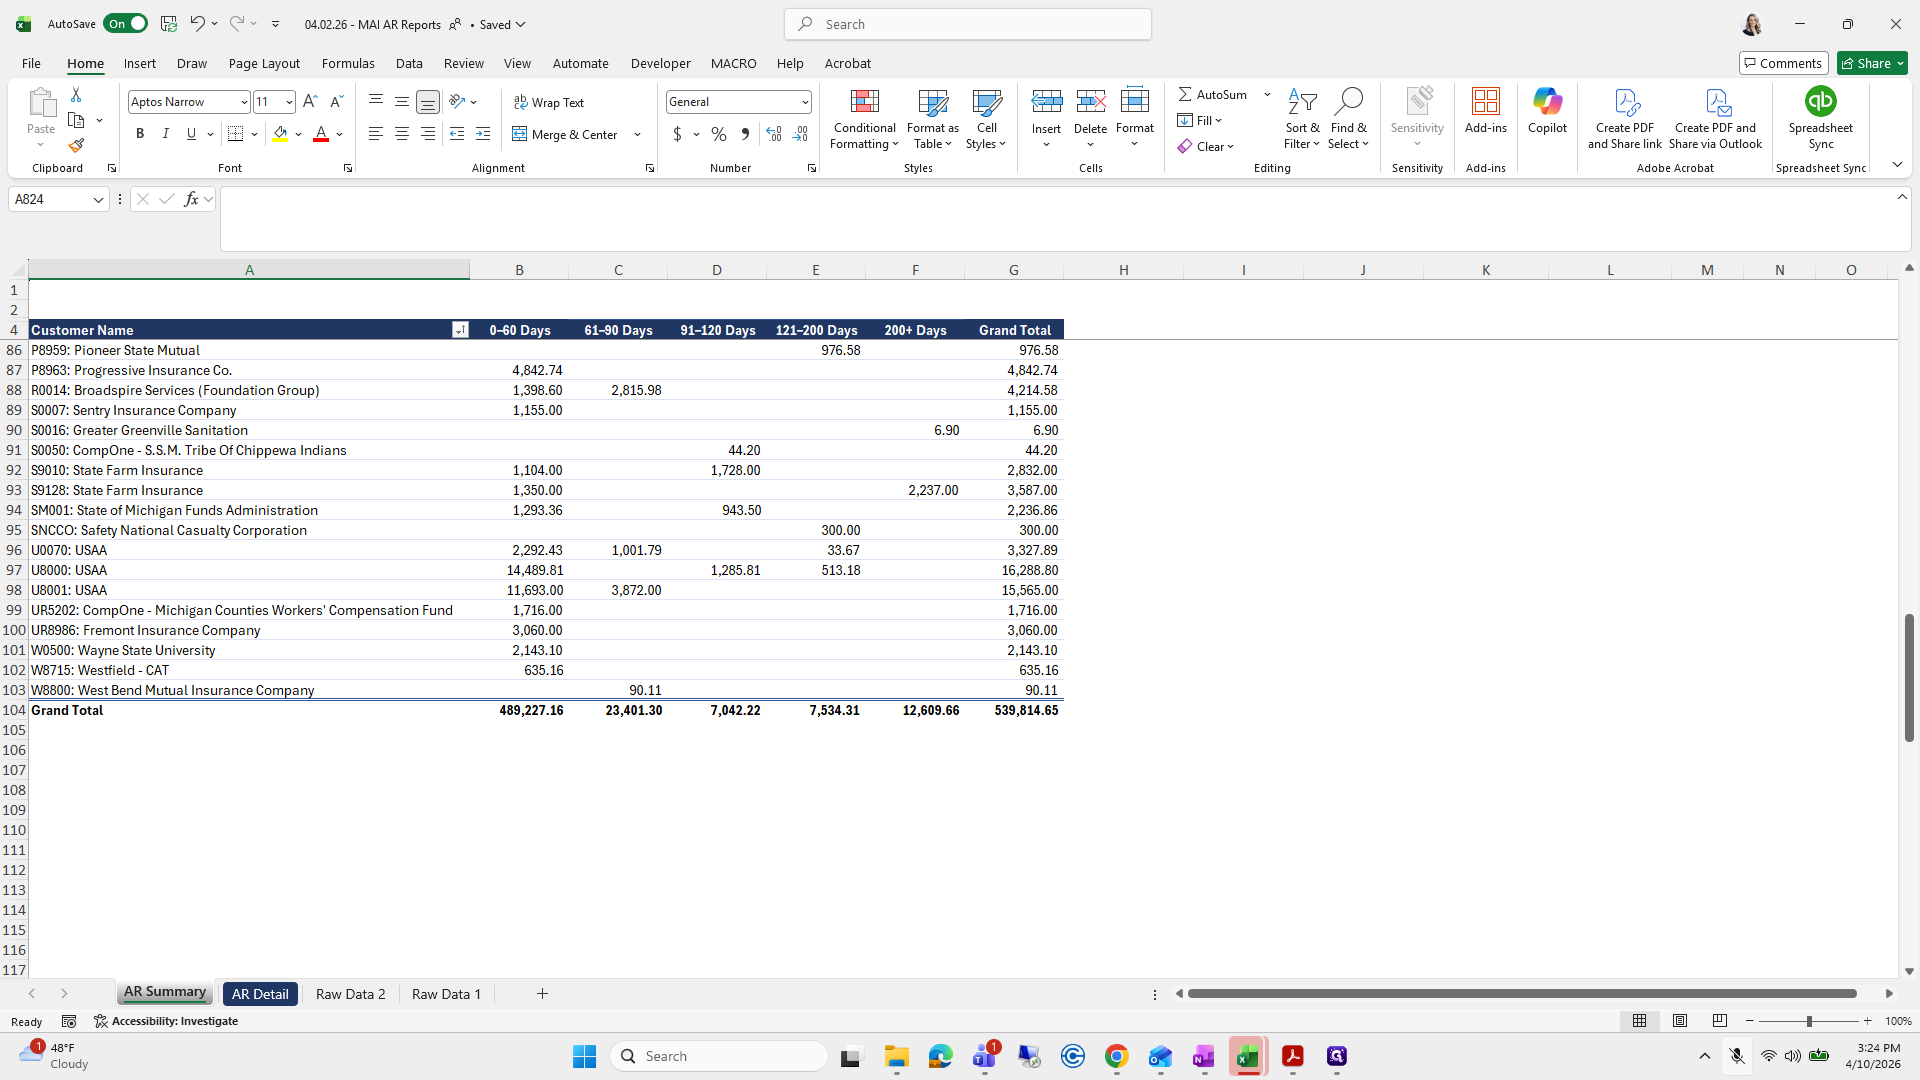
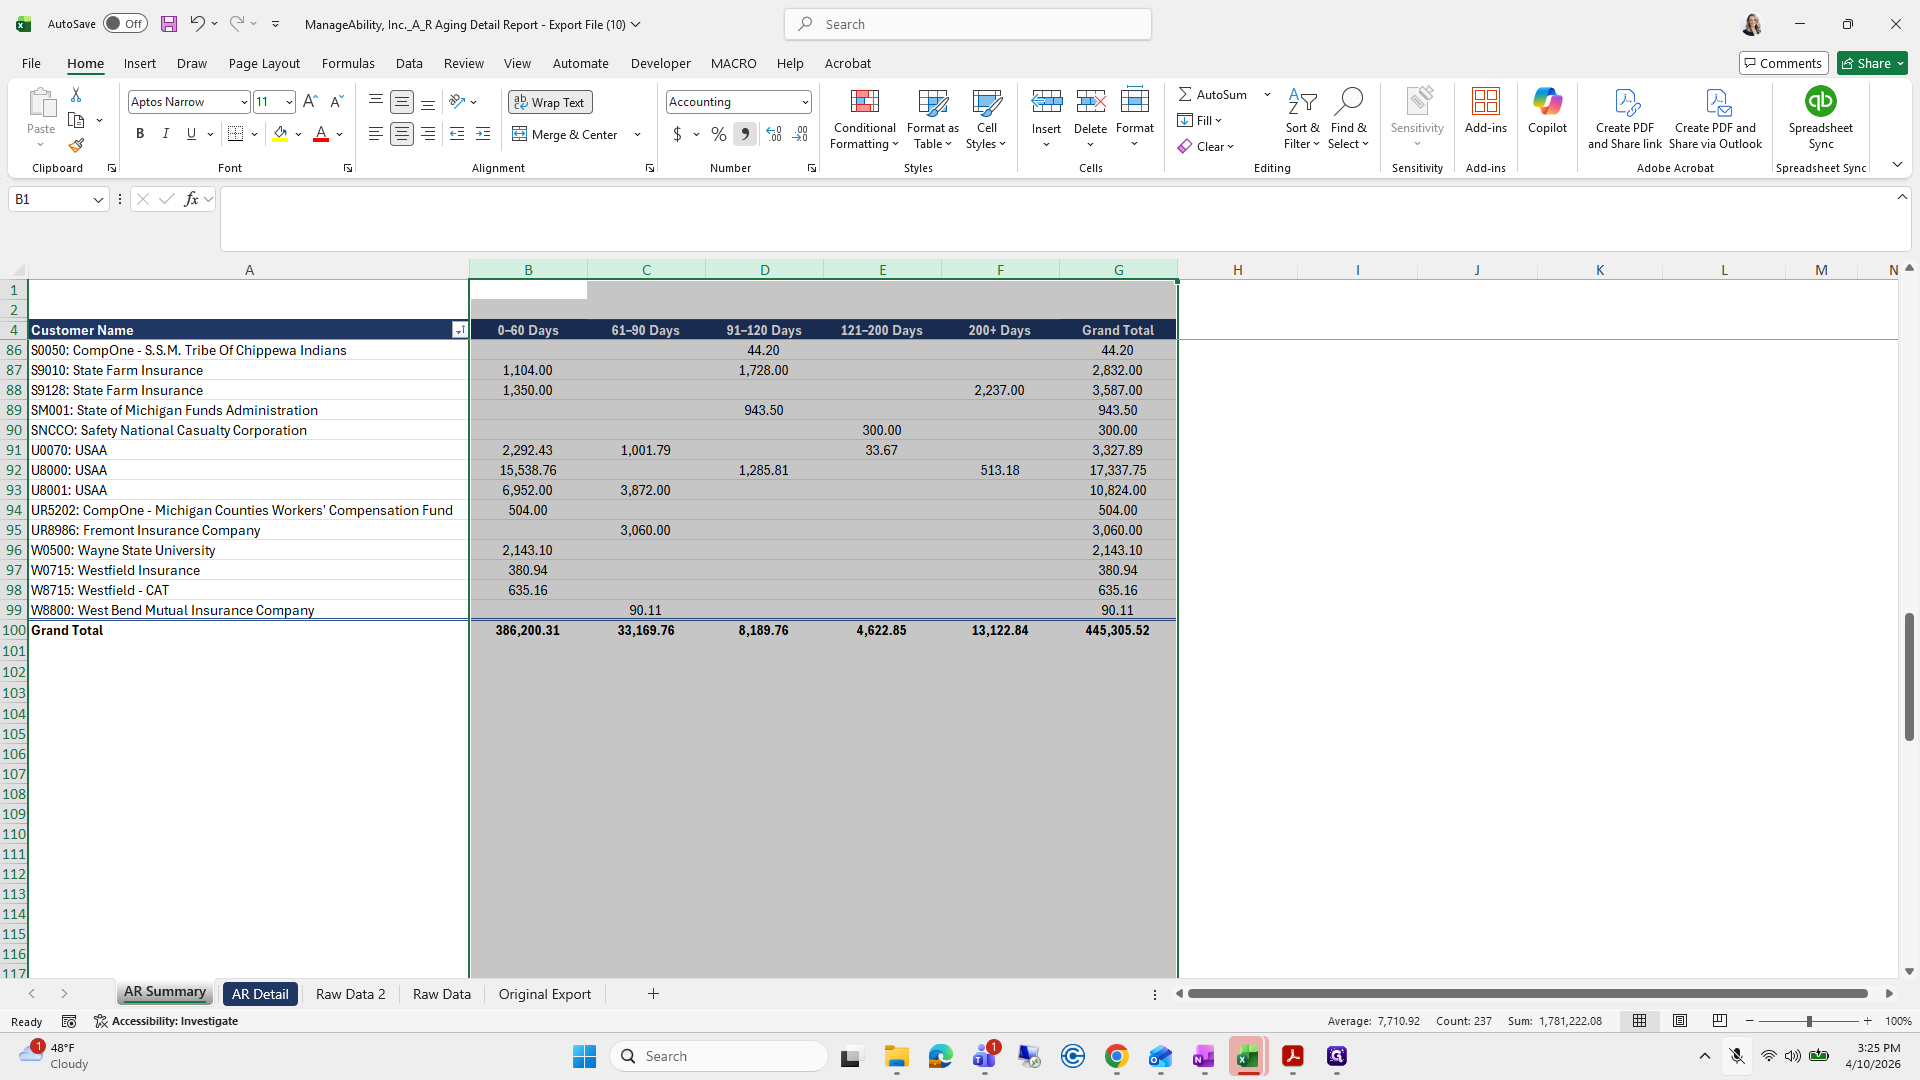
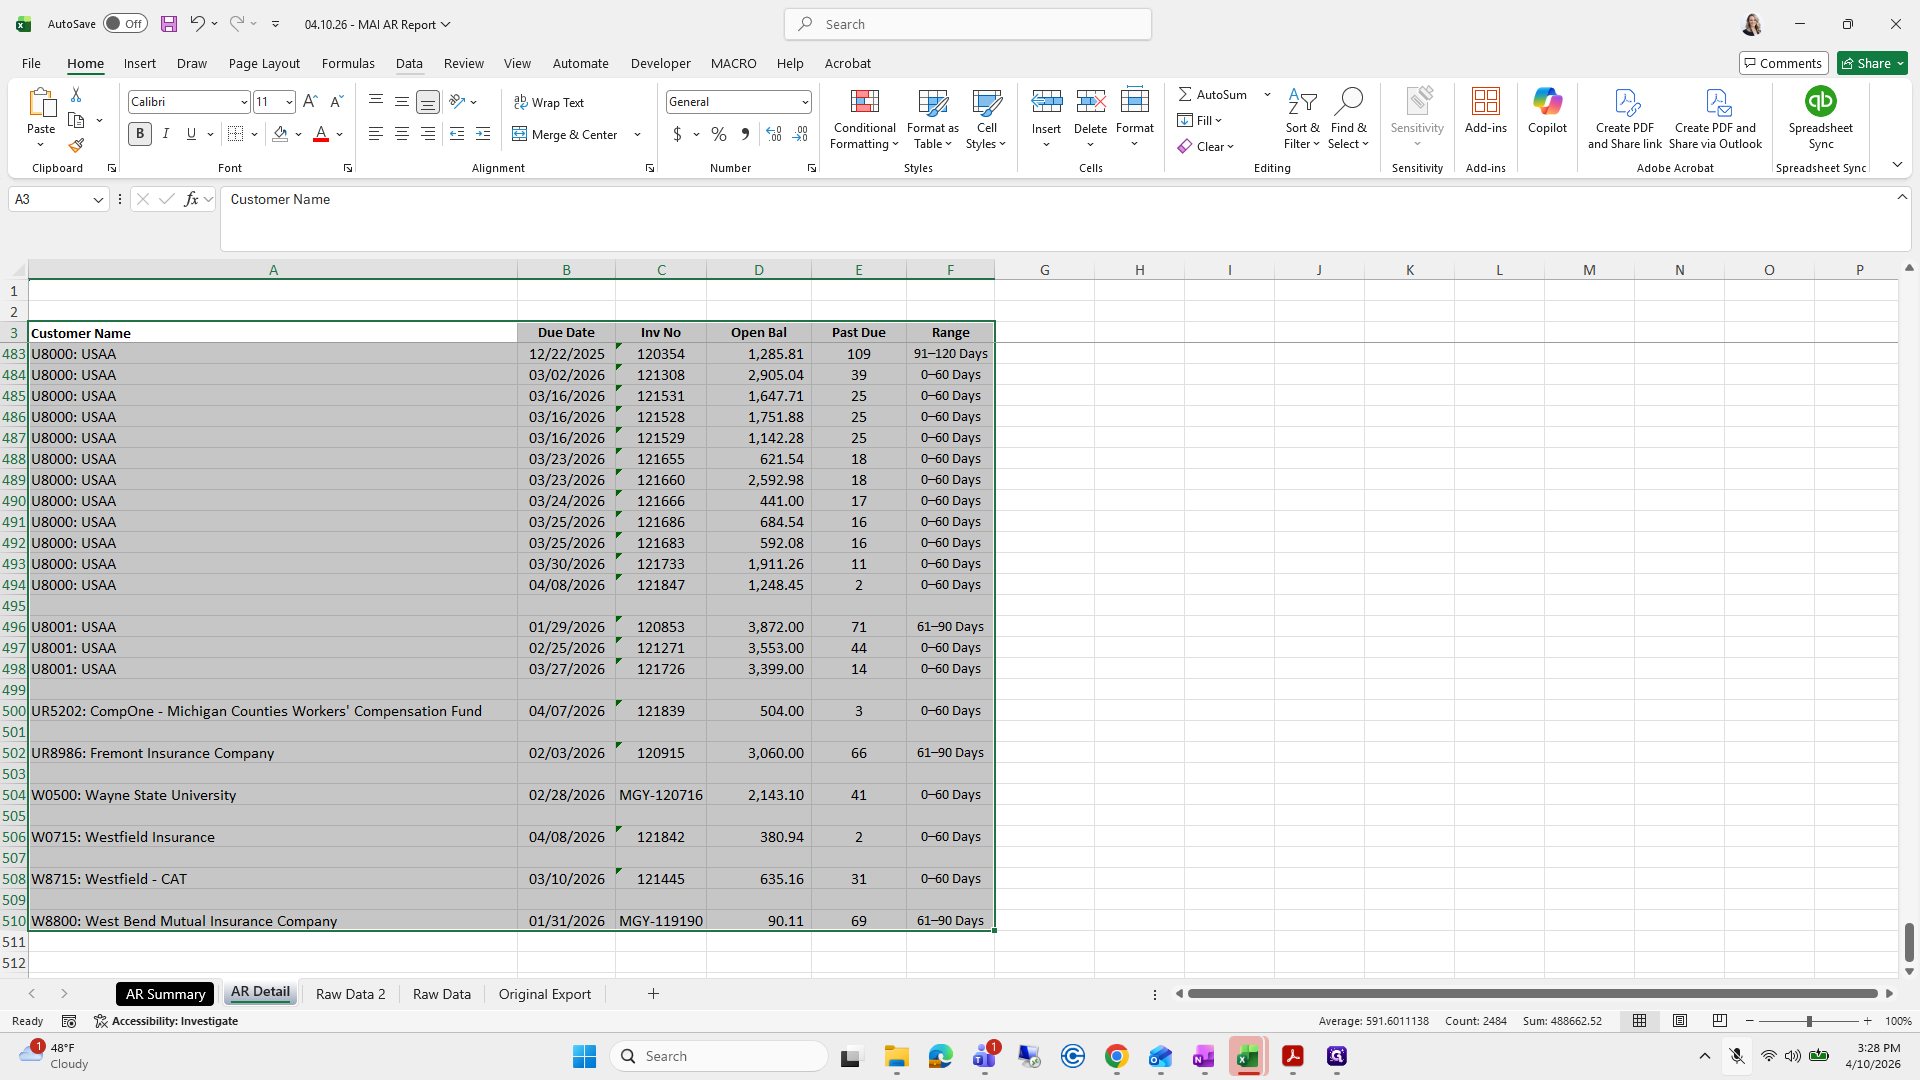
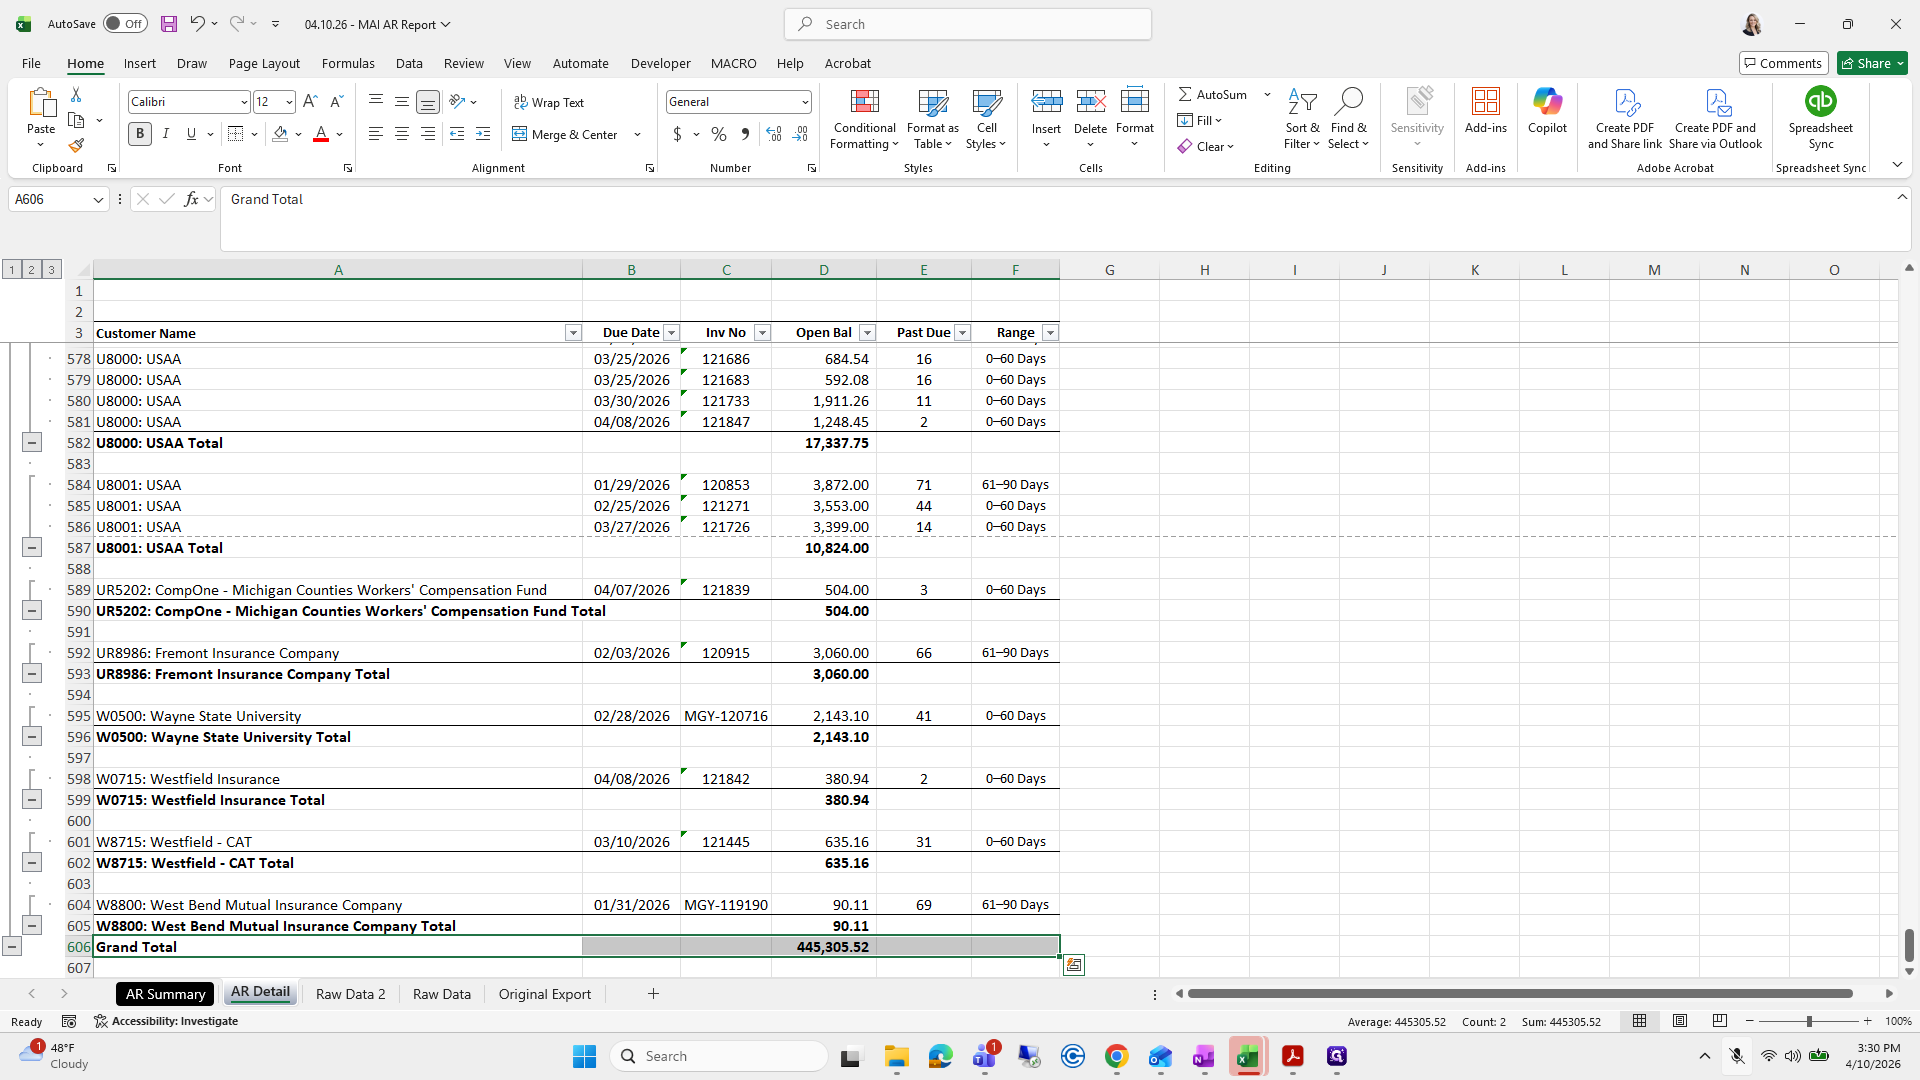
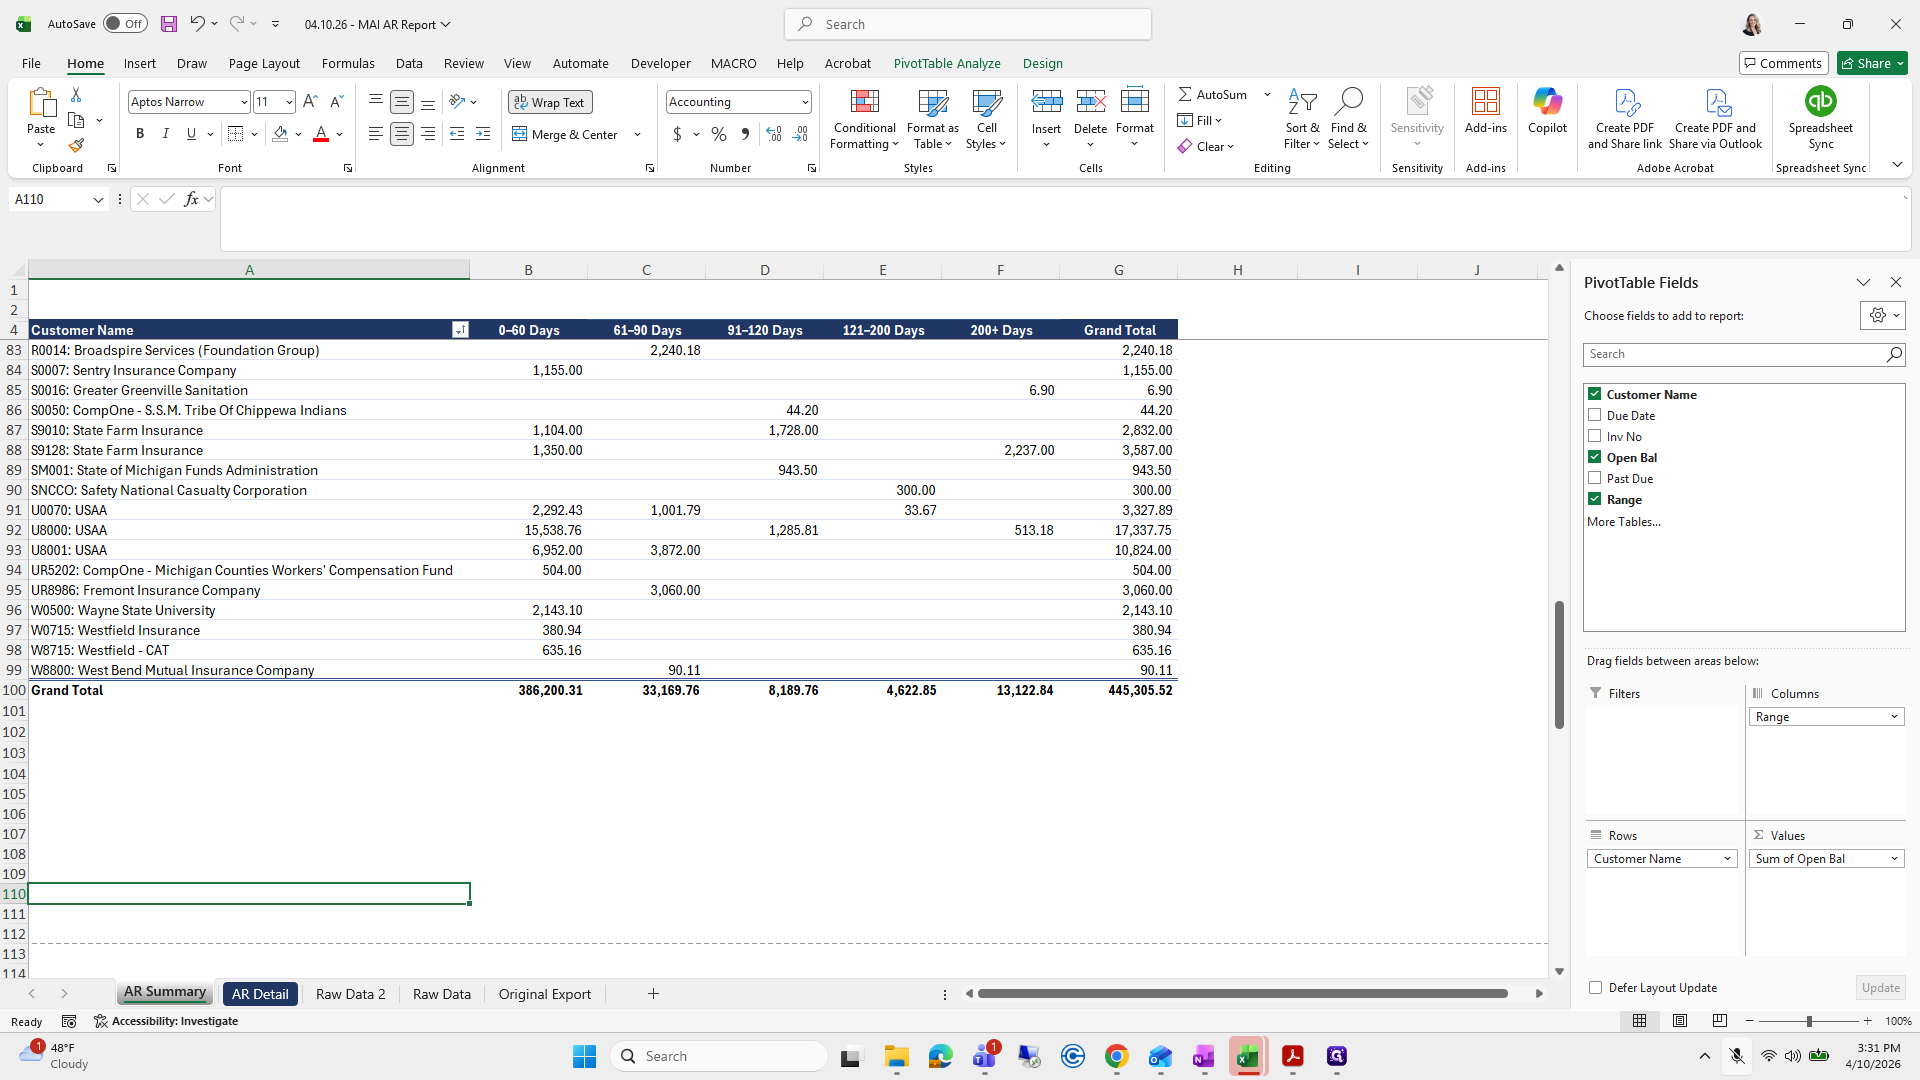
I always double-check that the grand total at the bottom matches the total in the AR summary: 444, 445, 305.52.

Yeah. We don't need to do any formatting.

Don't worry about it.
I like to make things look nice, which is not a big deal.
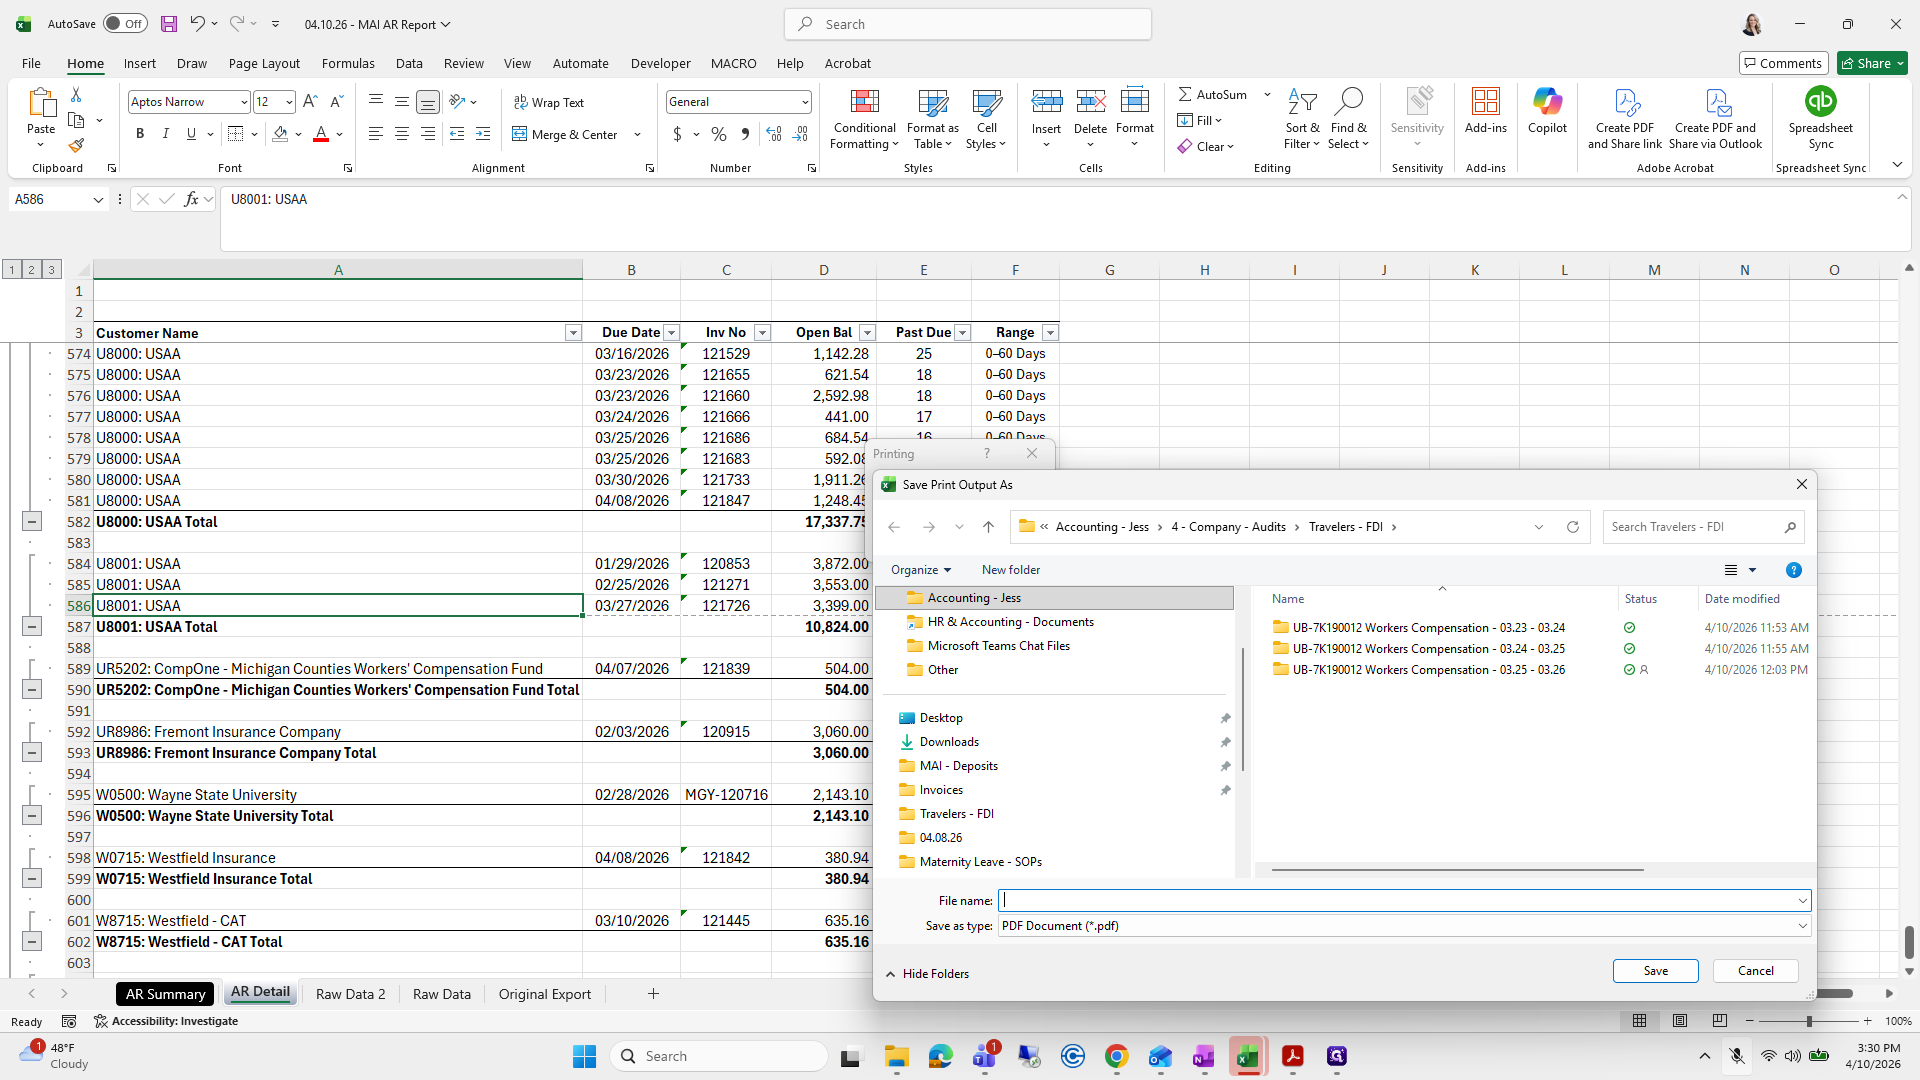
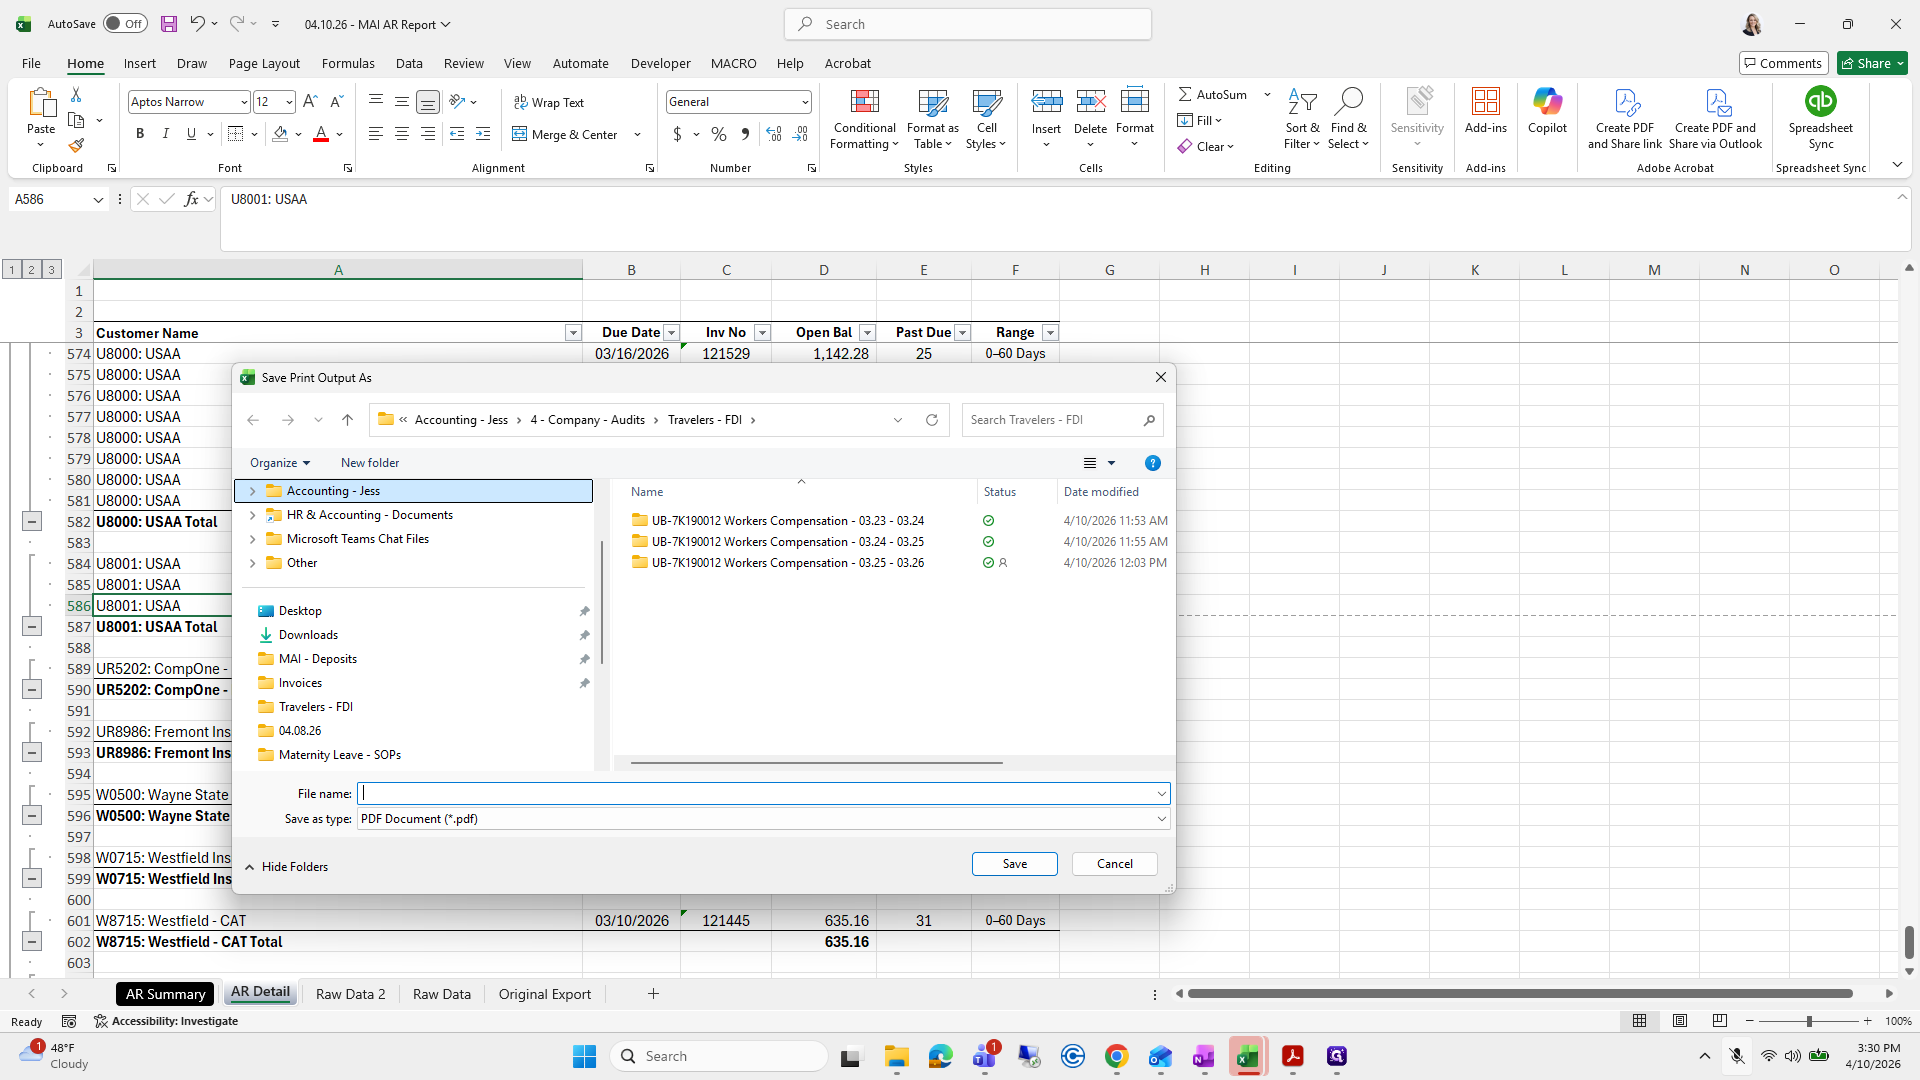
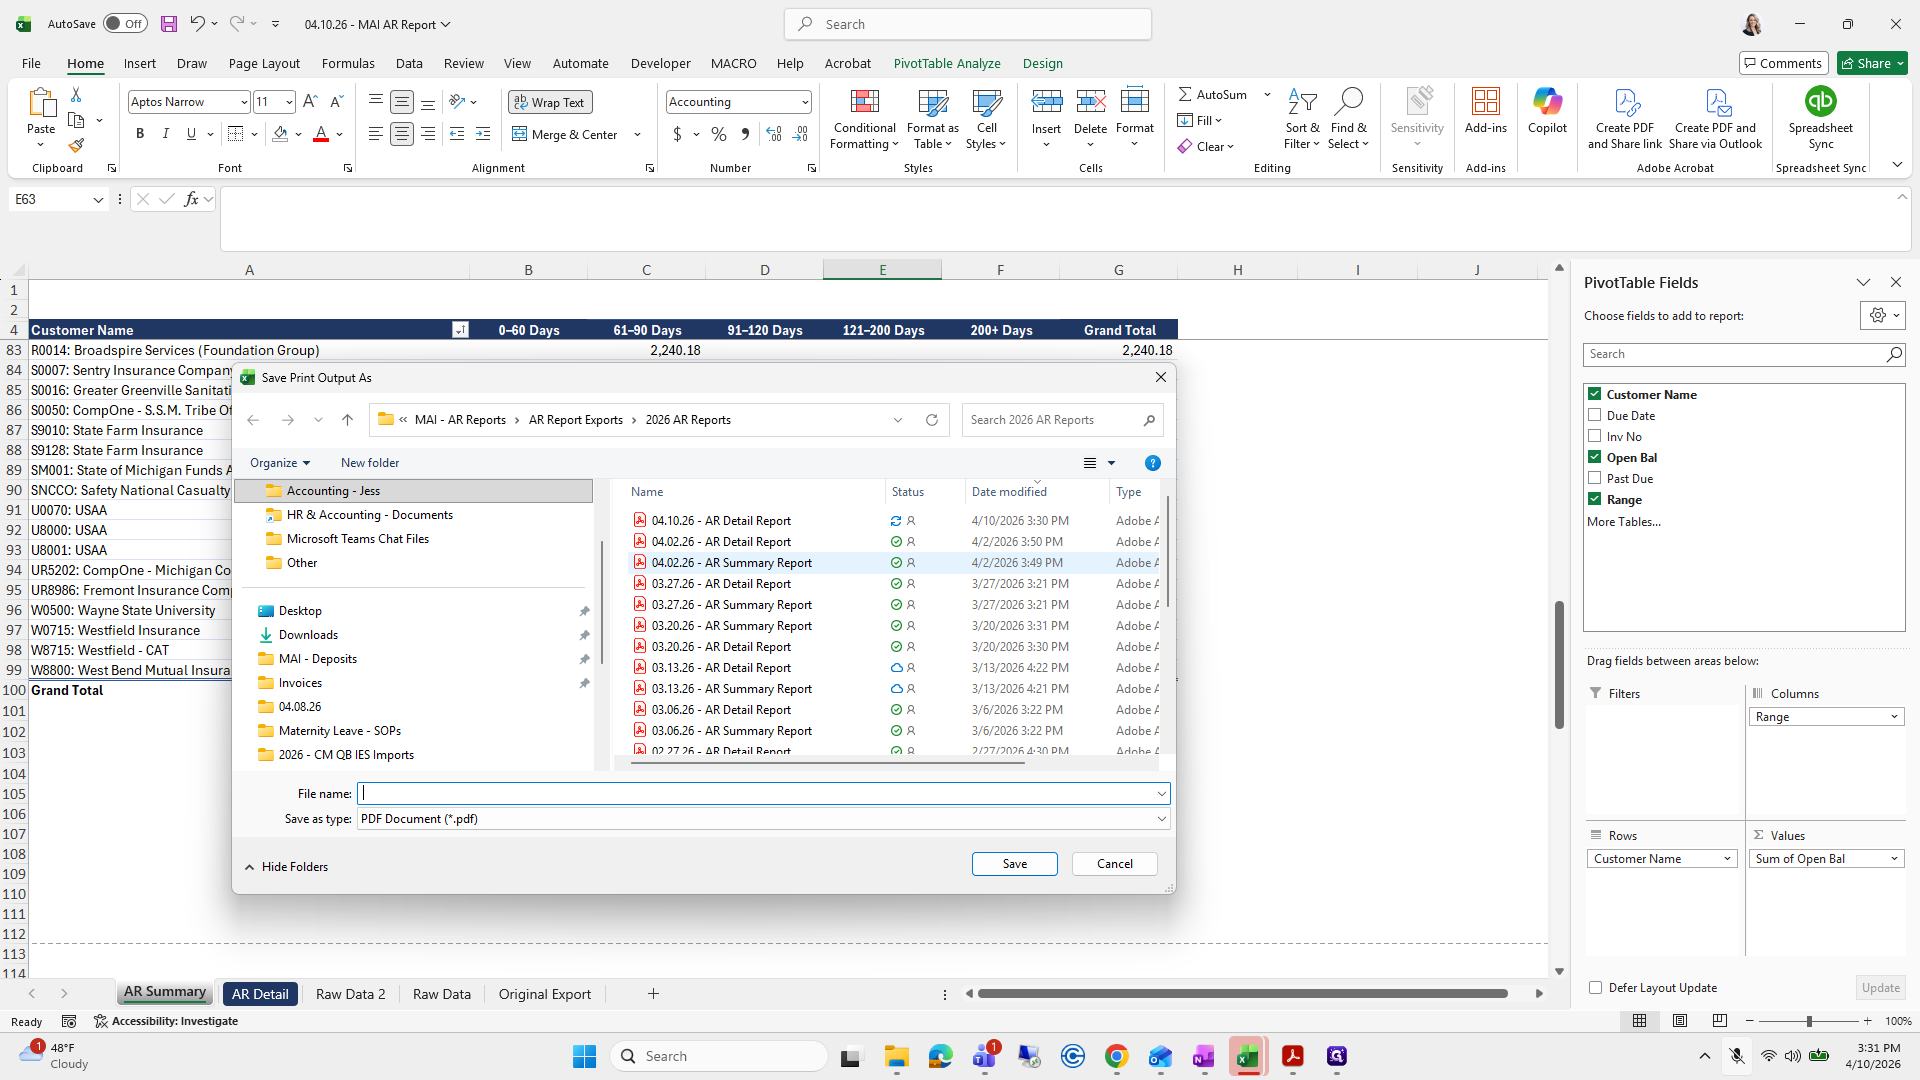
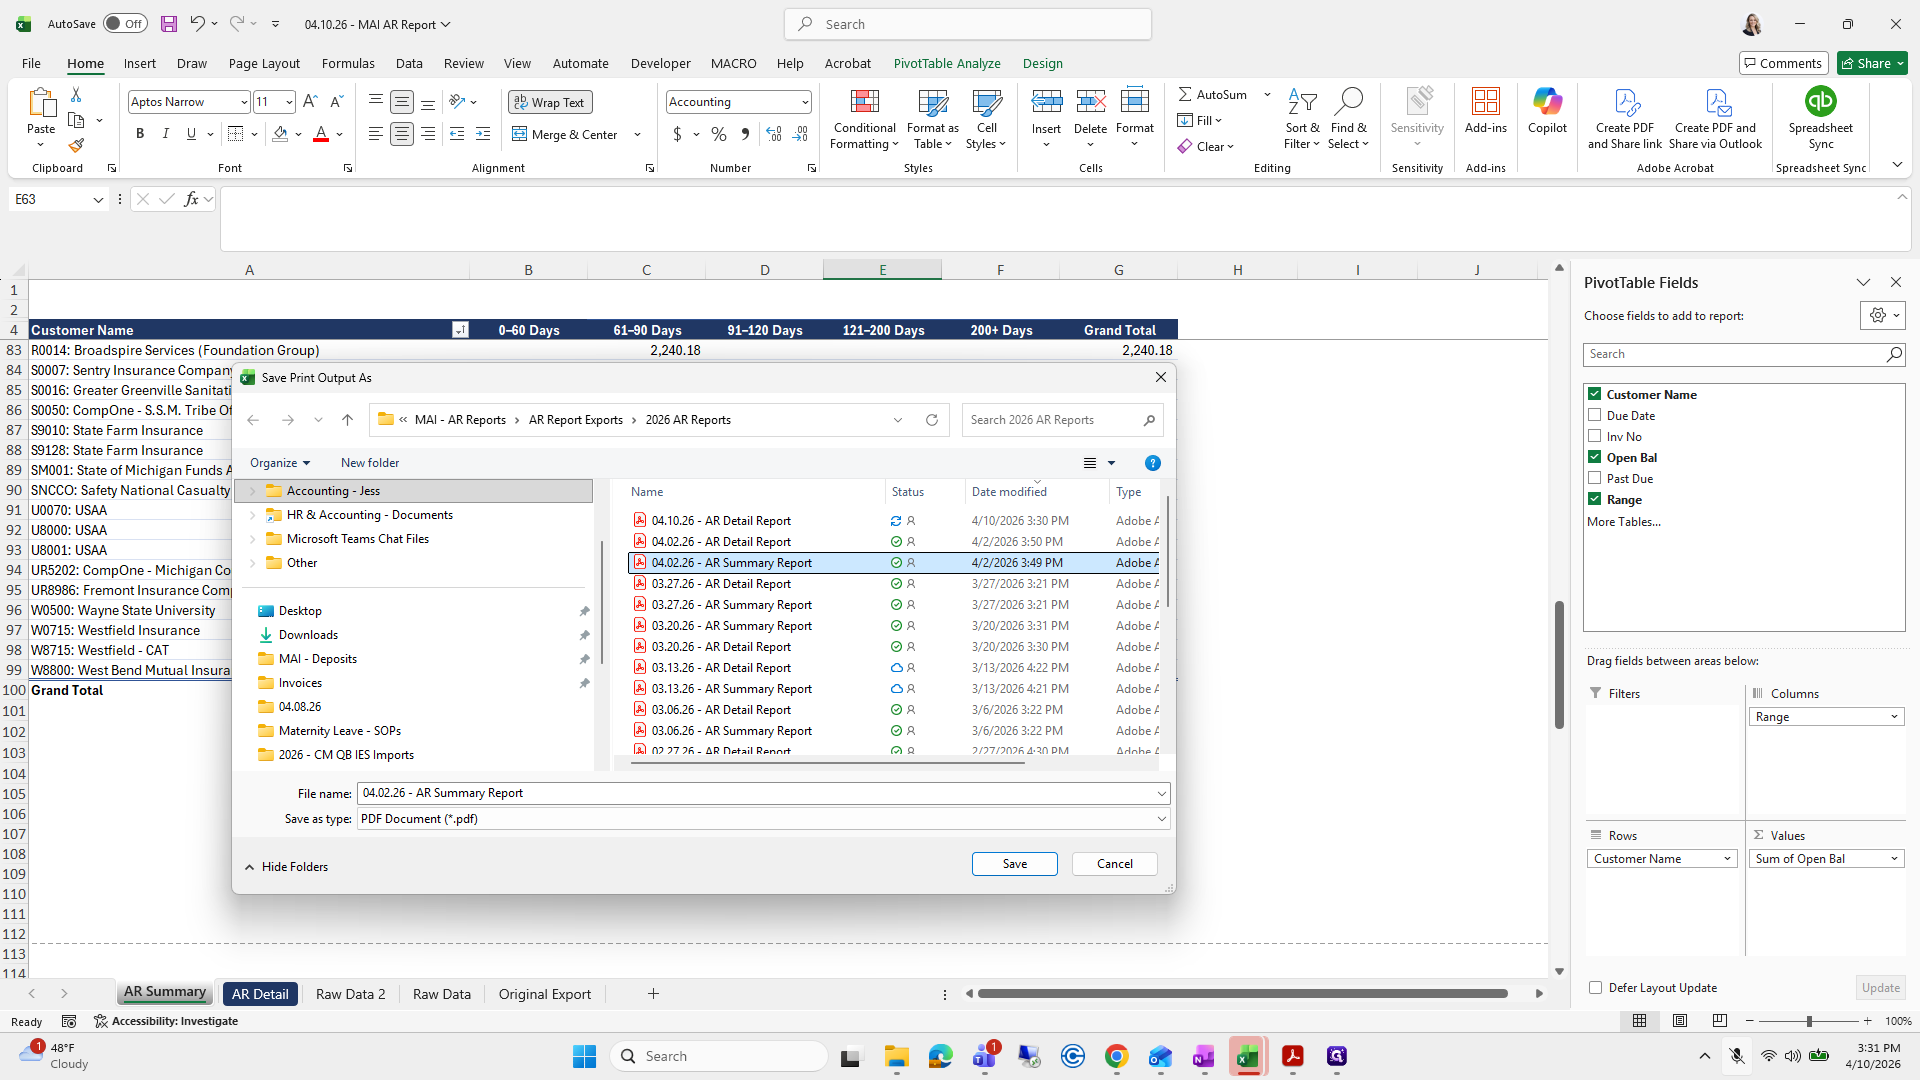
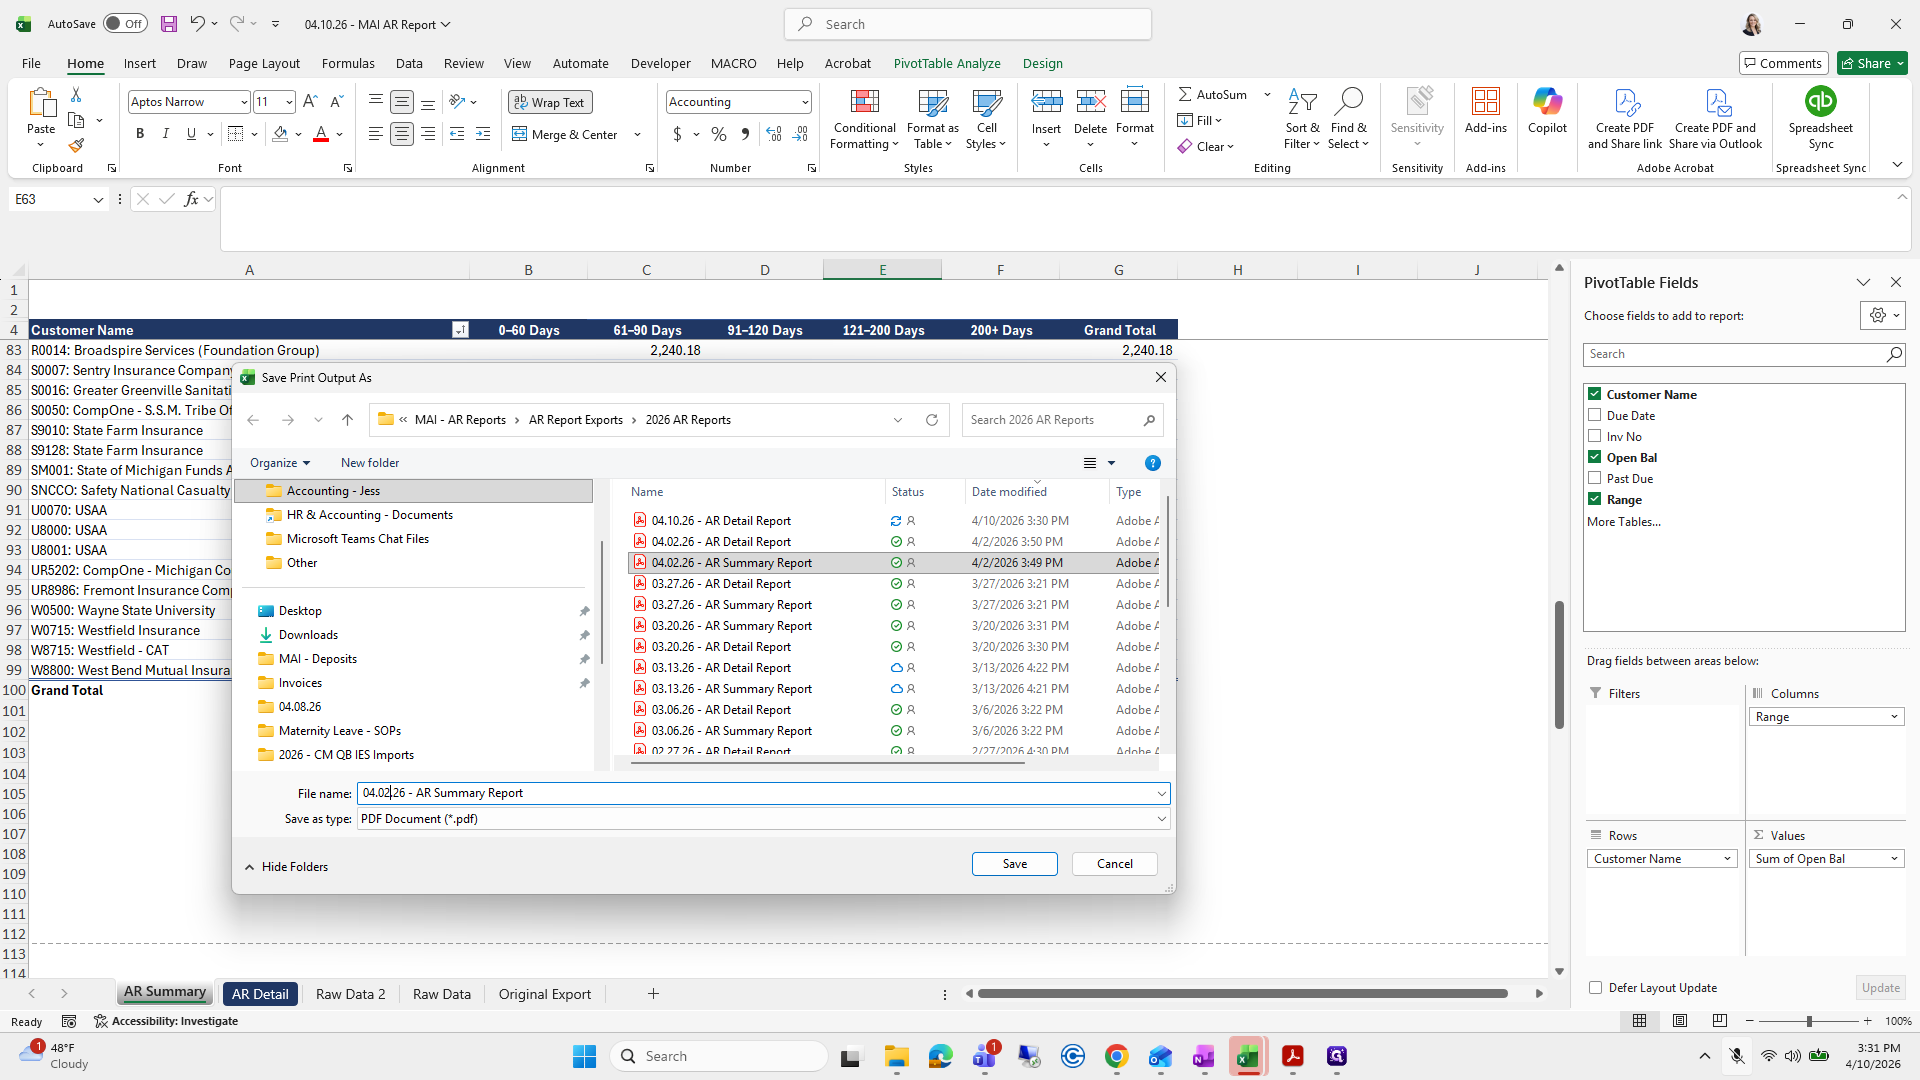
Then I will save this as a PDF.
Everything looks good.
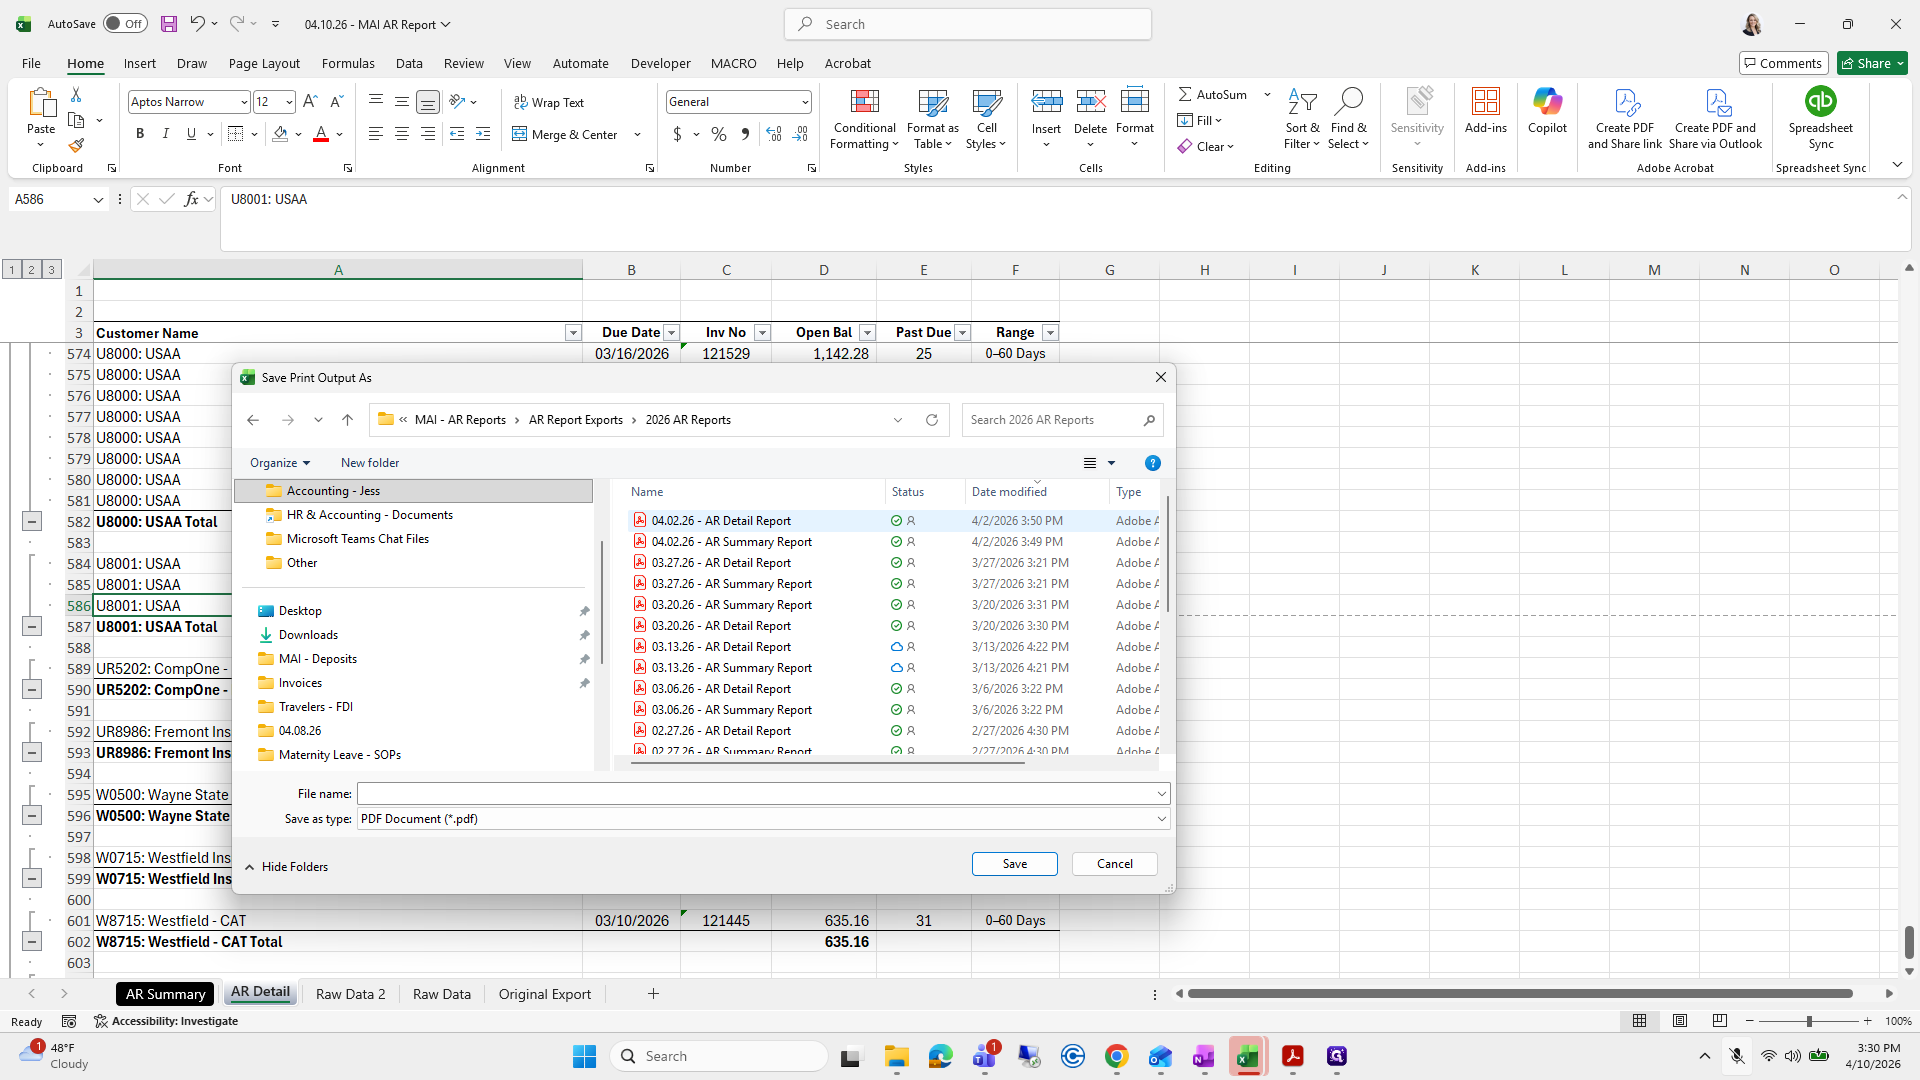
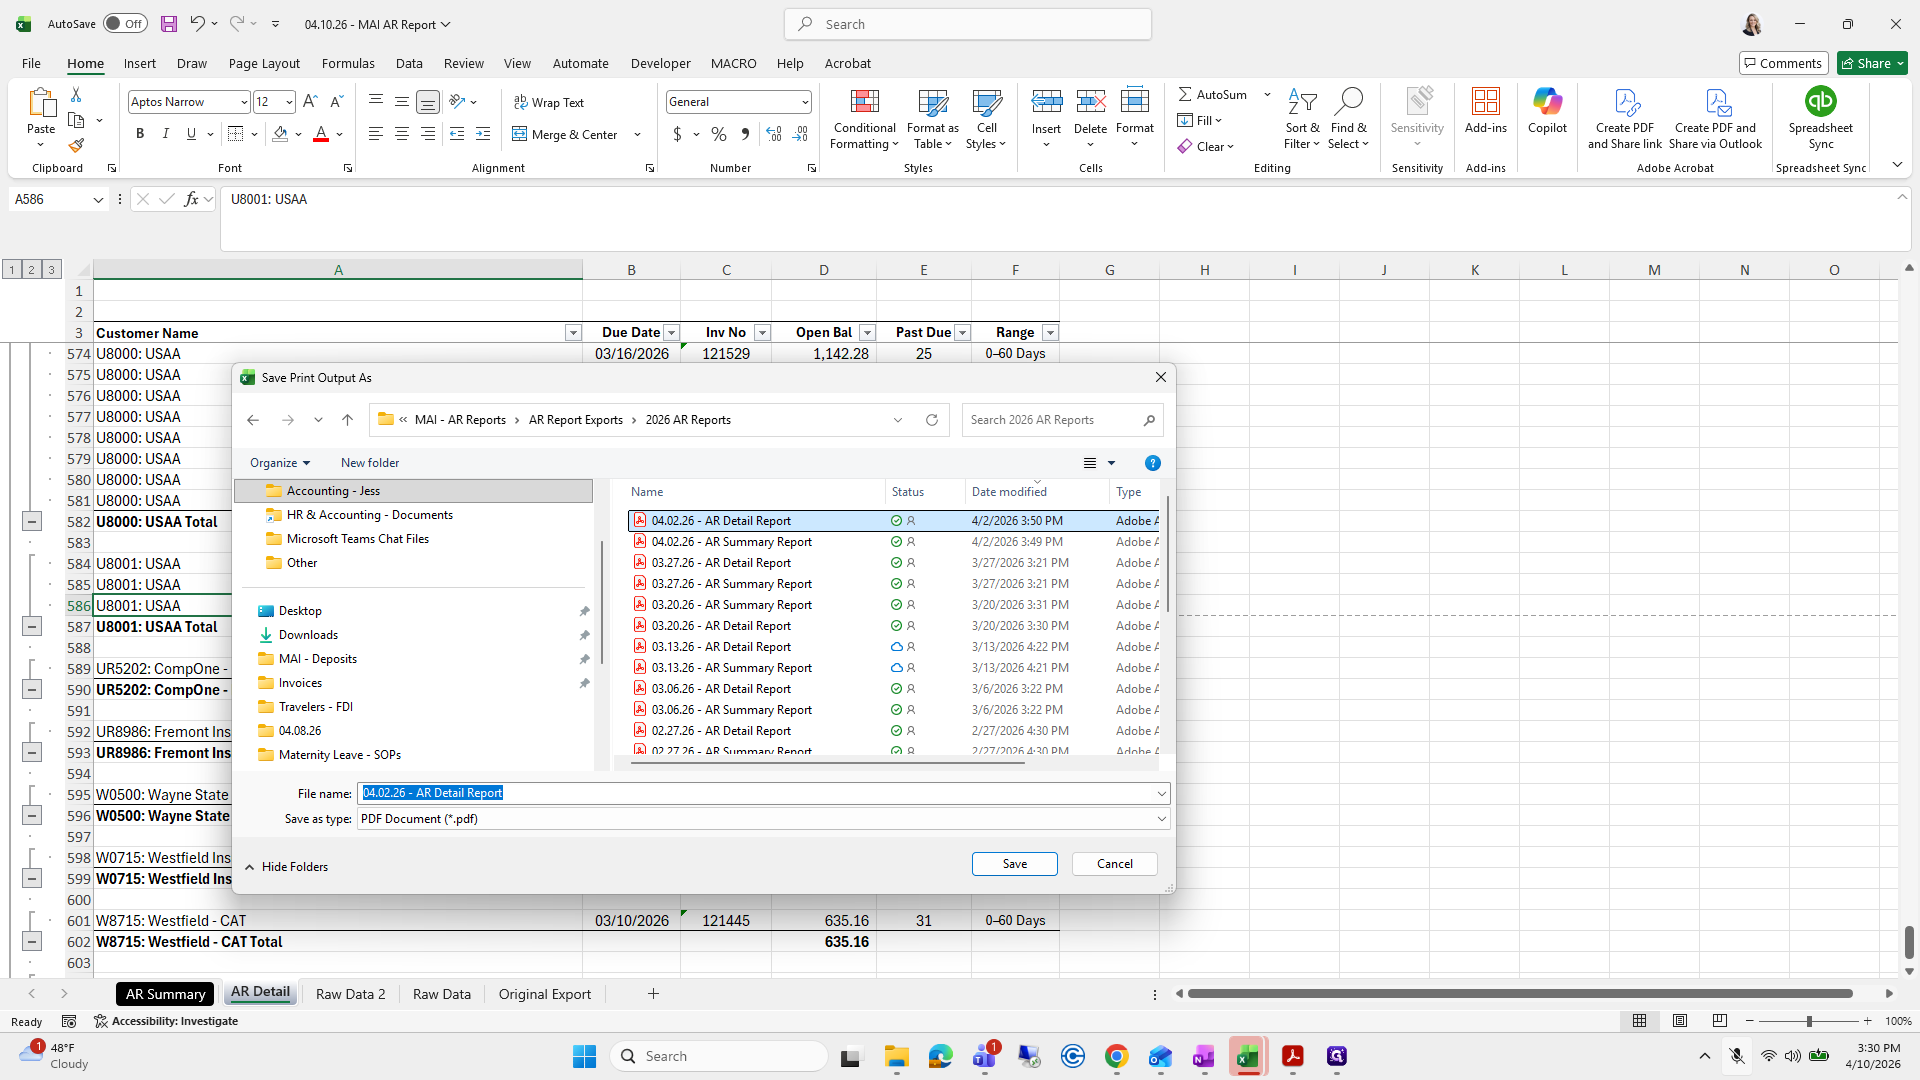
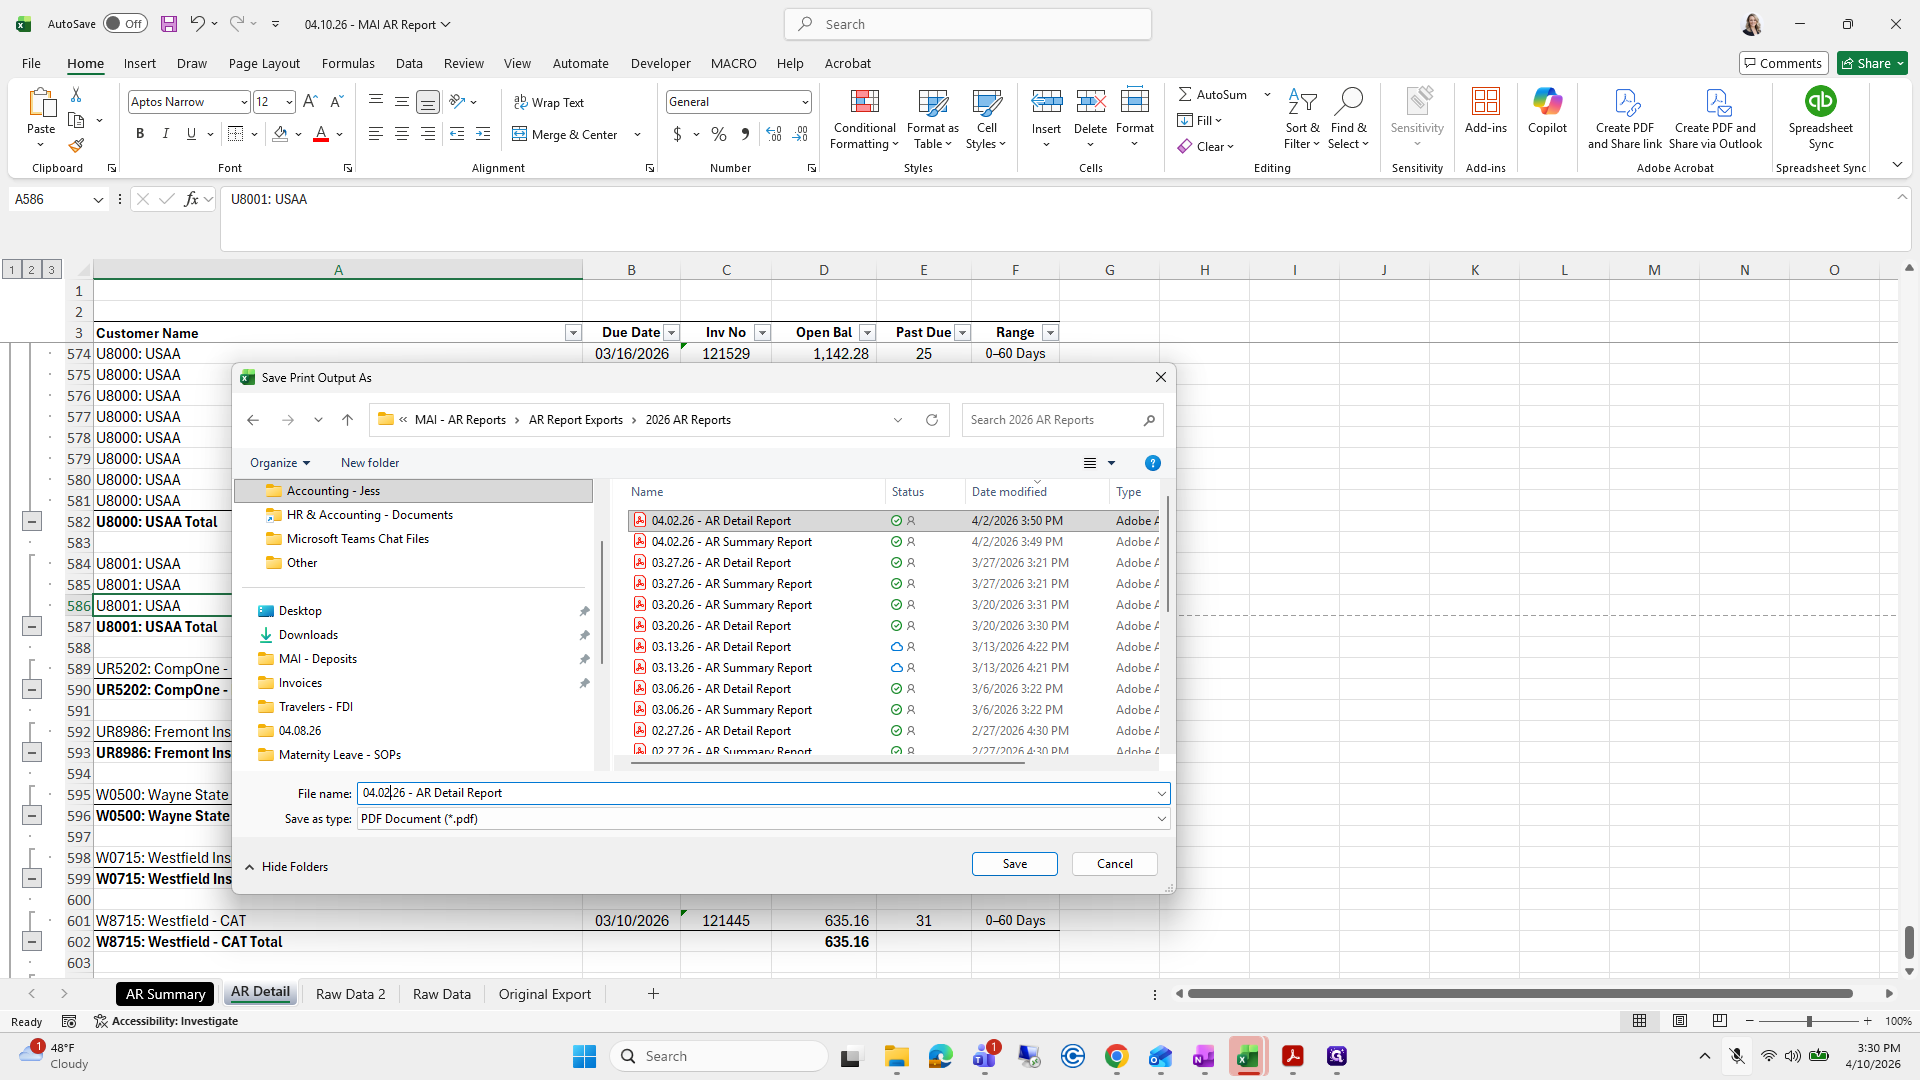
Accounting Task, Manageability, AR Reports, PDF.
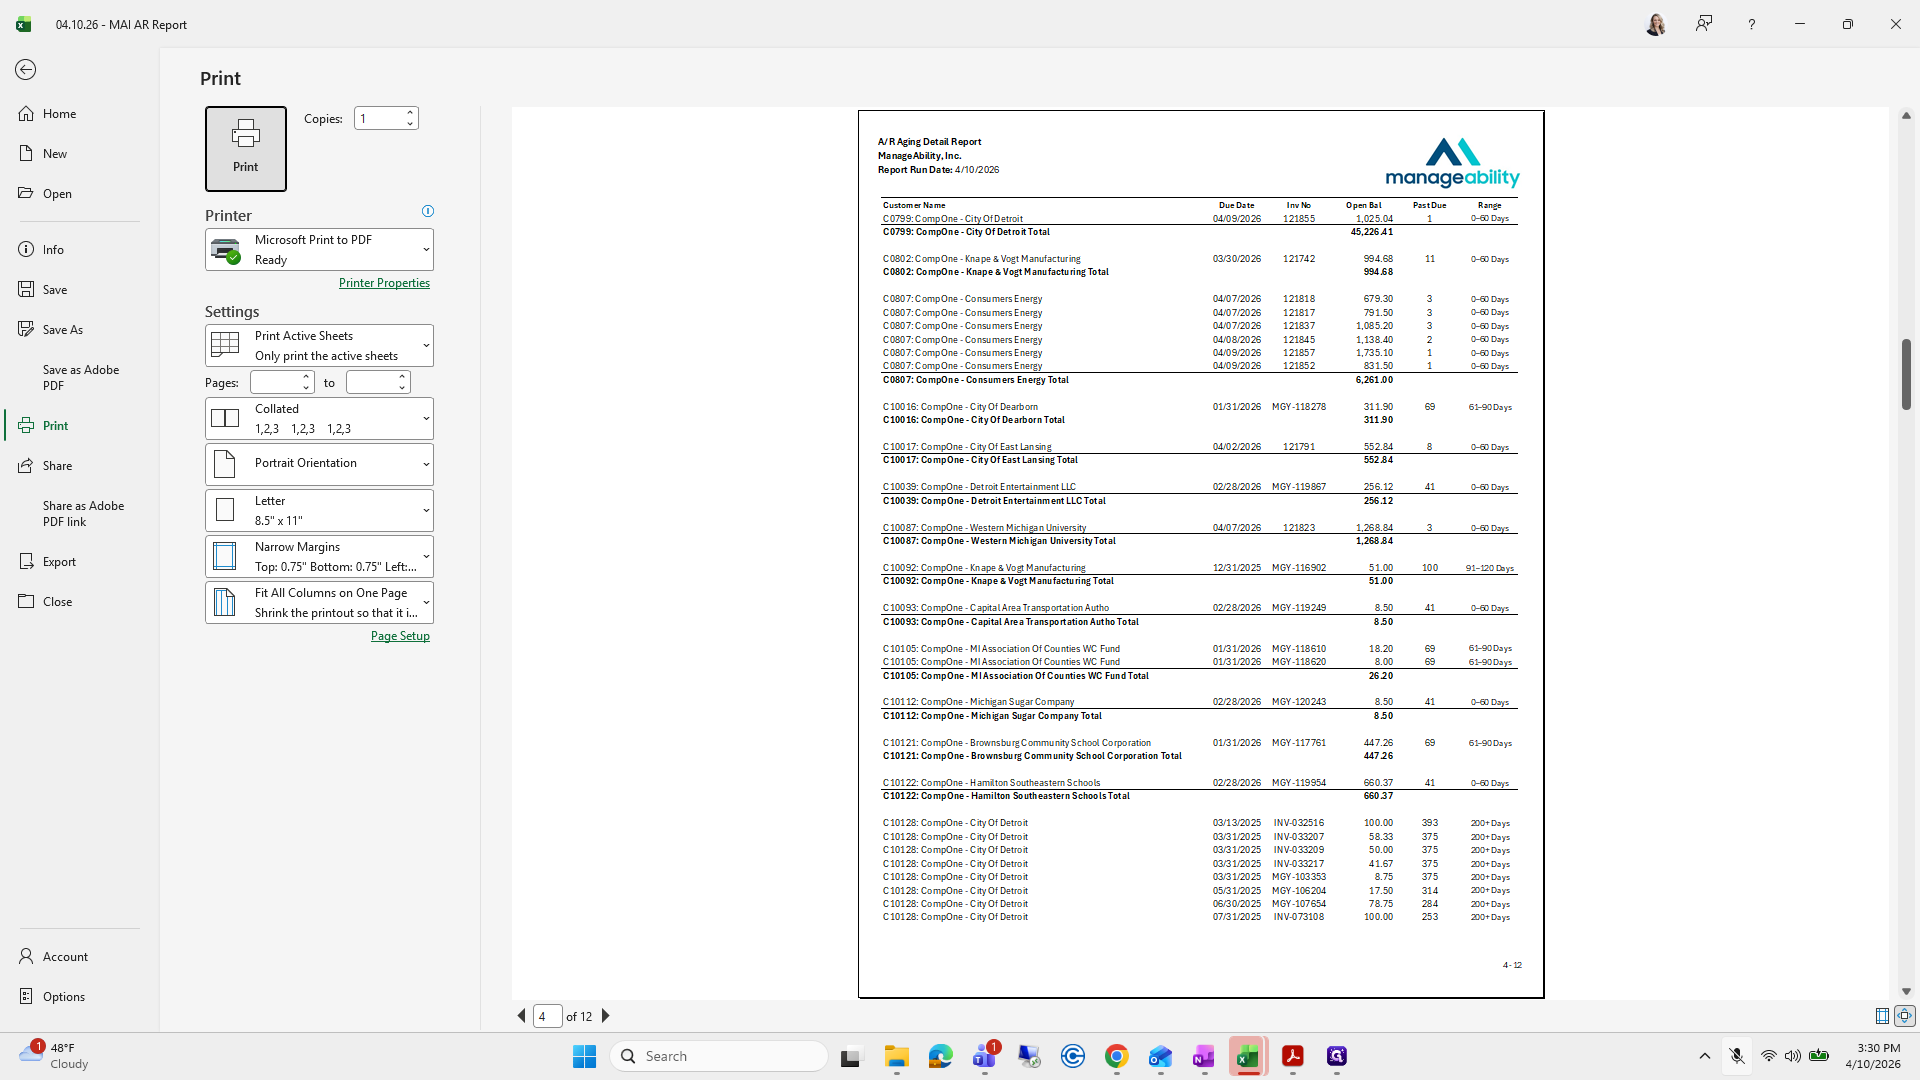
I usually grab the Detail Report and change the date.
The next one will be the same.
Boop, boop, boop.
What is it called?
I'll hide these.
Then at some point... That's it.
I'll double-check that I saved this one.
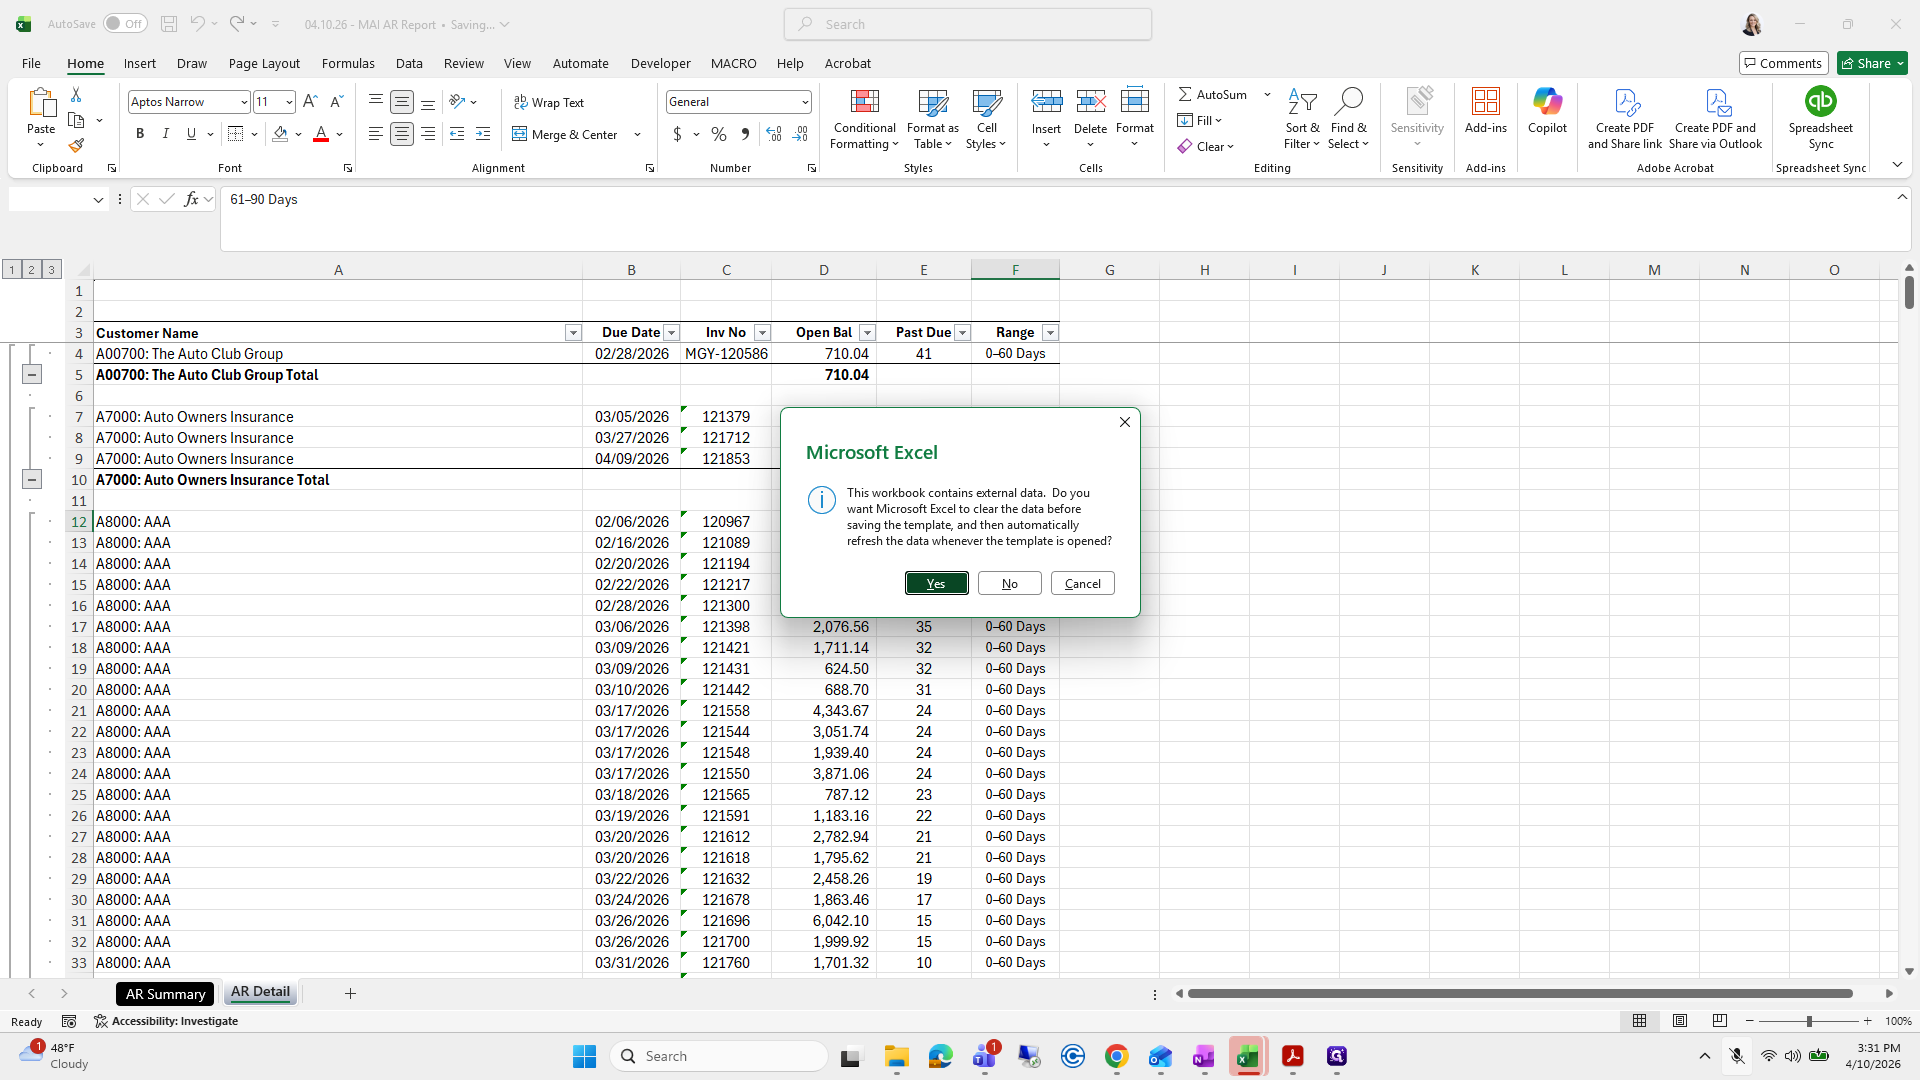
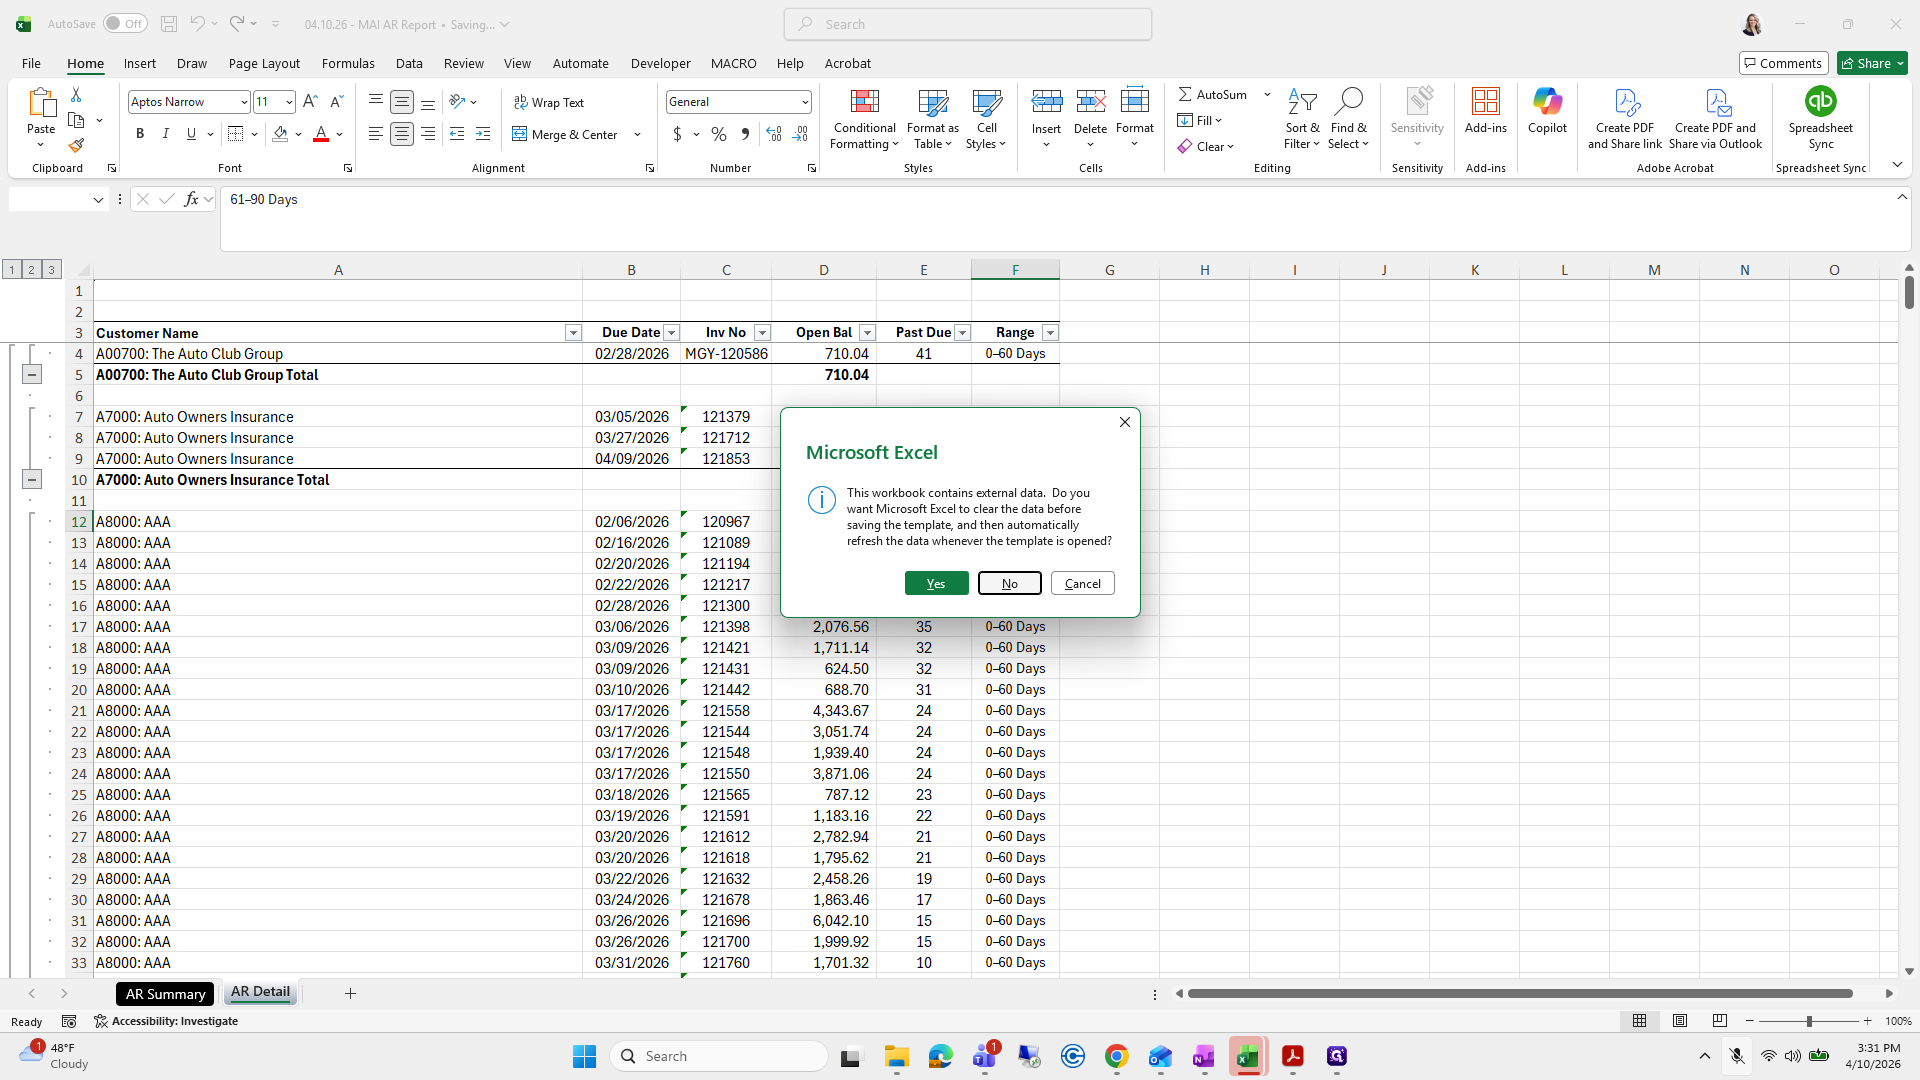
Do you want Microsoft Word or Clear Data?
No, I'm going to re-save this as... I don't know.

I'll just click Save, then Yes.

I will send out this file with two PDFs. Jon Bradley specifically likes this page.


And that's it.