Automatic job allocation and Creating a "ship together sheet".
Learn how to efficiently manage warehouse pick sheets and customer orders with this comprehensive step-by-step guide.
By Josh Robinson
In this guide, we'll learn how to print the automatic job for the AM shift. The process involves navigating through different systems, such as Microsoft Word and Excel, to organize and document necessary information. We'll also explore how to use the Island Pacific system to create a "Ship together" and manage warehouse operations. This guide aims to streamline the workflow for handling pick sheets and ensure efficient order processing.
Let's get started
Click on IP direct.
1
Open Island Pacific.

2
Sign in.

3
Click on "19. Direct Menu"

4
Click on "13. Whittle Flow Menu"

5
Click on "4. Allocate Customer Orders"

6
Click the box for process only same day shipping orders, change this to N.

7
Click "OK"

8
Tick the box for "Multiple warehouse fulfillment"

9
Click the first box for issuing/destination warehouses and type "00999".

10
Click the second box and type "10600"

11
Click "OK"

12
Click "OK"

13
Click "Cancel"

14
Click on "1. System Set Up"

15
Click on "7. Work with monitored batch Jobs"

16
Your user should appear EG: "JCS"

17
Double-click IPDIRECT

18
Click "Pick Sheet Reprint."

19
Select your warehouse.

20
999 or 10600, This will depend on what picks you want to pull off. In this guide we will be doing 10600

21
Click the batch to box, a drop down menu will appear.

22
Grab a screenshot of your picks

23
Open Microsoft Word.

24
Click on "Blank Document."

25
Then paste into the document.

26
Click the batch to box again.

27
This time select the bottom batch number.

28
Click on "OK"

29
After loading your pick sheets, click "Print,"

30
Click Printer.

31
Choose your printer.

32
Click "Print" again.

33
Return to the IP dashboard.

34
Click on "John Lewis Pick Sheet." and repeat steps 5, 6,9,10,11,12,13,14 and 15

35
Open Excel.

36
Open "Run Sheet NEW"

37
Add a white line to signify a new day.

38
In column A below type today's date.
39
Click here and add your batch number from your screenshot.

40
Click here, you will see a small box

41
Drag down a few cells.

42
Click this box.

43
Click on " Fill Series"

44
Click the box in the corner again and drag down until you get the last batch number you need.

45
Click here and add your delivery method fill in accordingly.

46
Click here and add quantities, Be sure to add next and John Lewis into their correct columns.

47
Head back to IP Click refresh and your username should have dissapeared, if it hasn't, keep clicking refresh until it has.

48
Once this has finished, click Exit.

49
Click Exit again.

50
Click on "Yes"

51
Click on "3. Distribution menu"

52
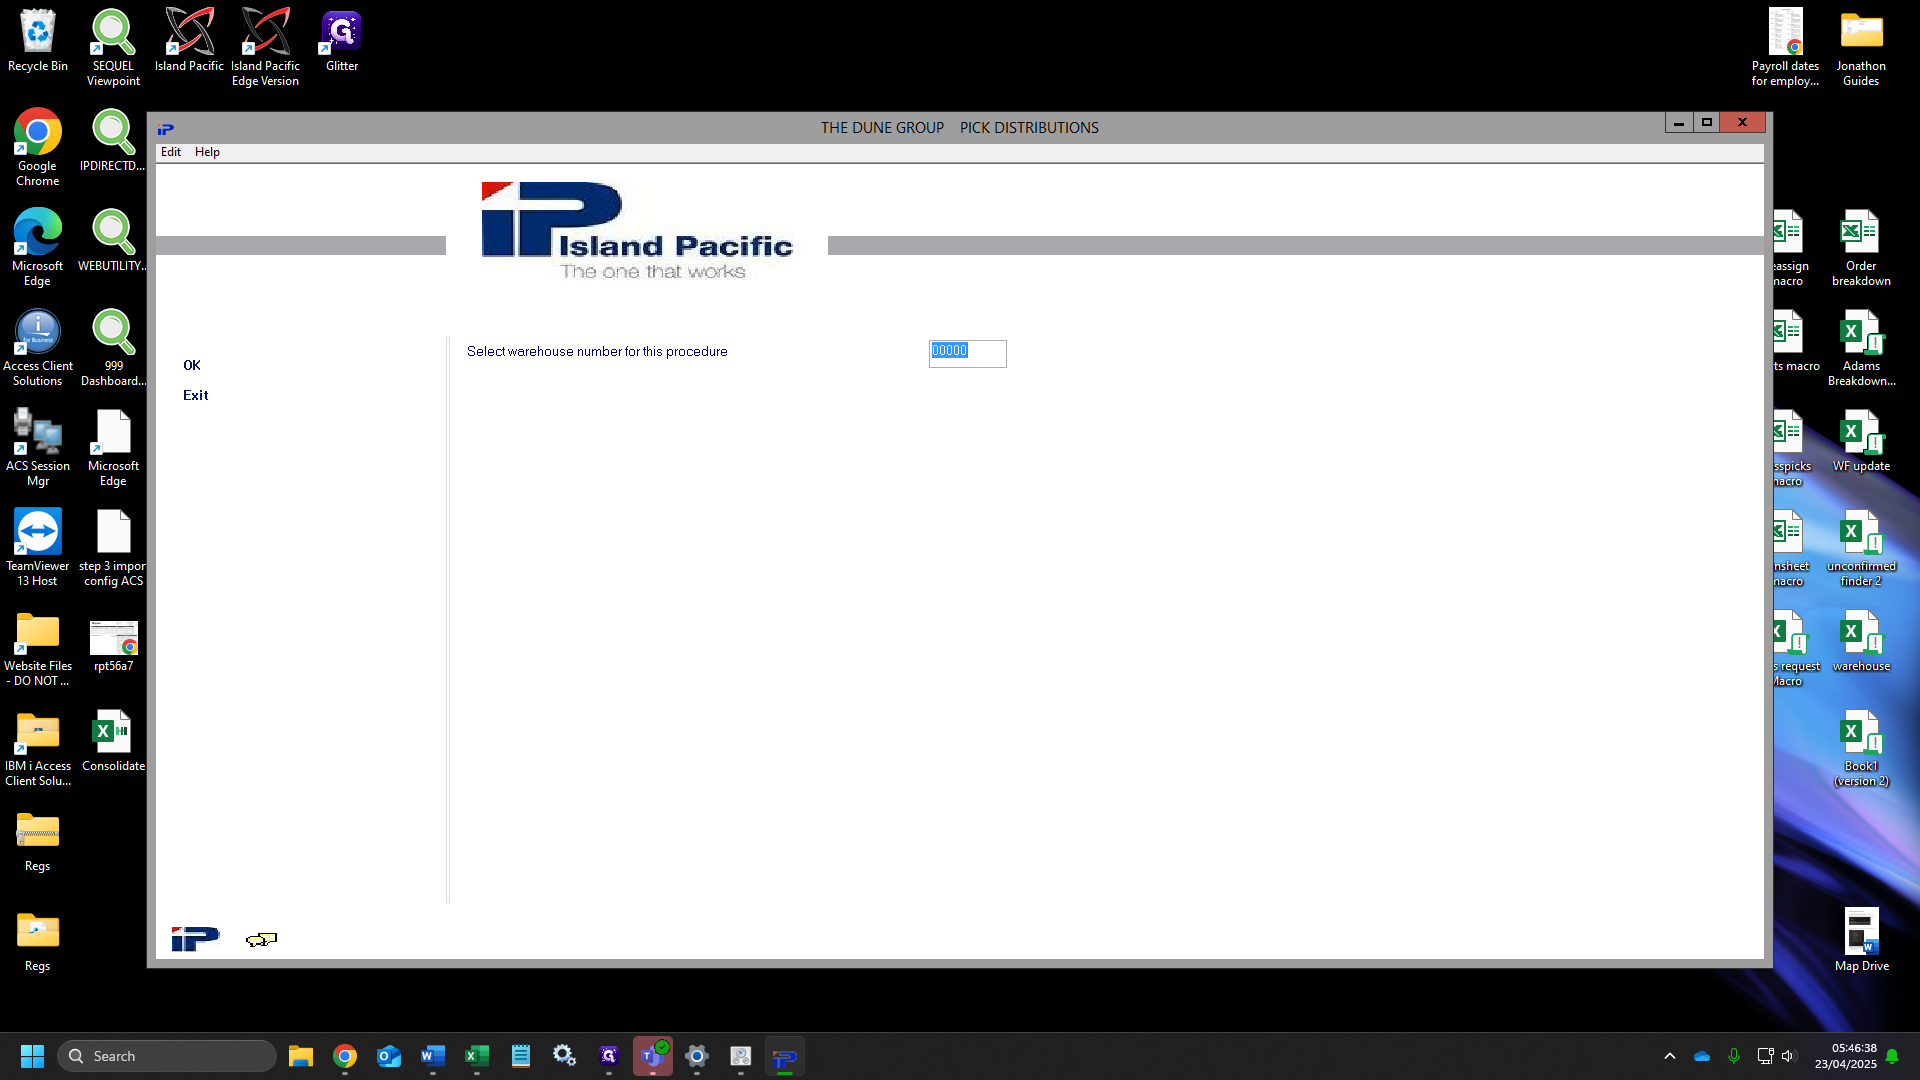
Click on "24. Stock Inquiry"

53
Click Select warehouse number for this procedure box, type "10600".

54
Click on "OK"

55
Click on "O Pending stock"

56
Click "OK"

57
Click the transfer from store box and type "00999".

58
Click "OK"

59
Your allocation number should always be at the bottom.

60
To check this click on the bottom allocation number and then click "Detail"

61
Press F9, If customer order numbers appear, this is the correct allocation number, Go back.

62
Go to your word document or open a notepad.

63
Type your allocation number and the quantity here.
64
Click "Exit"

65
Click on "4. Pick Demand"

66
For select warehouse number for this procedure, type "00999" press Enter

67
Click the shipping schedule name box and type "10600"

68
For the box next to the magnifying glass and blue image, type your allocation number.

69
Tick "Add to demand"

70
Untick "Packaging type"

71
Tick "Wave"

72
Tick "Sequence"

73
Untick "Use picking maximums"

74
Click "OK"

75
Click "OK" again.

76
Click "OK" for a third time.

77
Click on "7. Pick Distributions"

78
Click the select warehouse number for this procedure box and type "00999" then press "Enter"
79
Click the shipping schedule name and type "10600"

80
Click the first box for include allocation control numbers and add your allocation number.

81
In the second box, add the same allocation number.

82
Click "OK"

83
Click "PICK FROM OUTSIDE SEARCH SEQ"

84
Click on "Select"

85
Click "OK"

86
Go back to IP DIRECT DASHBOARD.

87
Click on "MC Pick Sheet Reprint"

88
Click "Pick Date" and scroll up until you find today's date.

89
Click Allocation number, Scroll down until you find you allocation number.

90
Click on "OK"

91
Open up "SERVICES"

92
Click on any line with text, type "P".

93
Click on Print Spooler, then click "Restart"

94
Once this has loaded, Click print.

95
Click on "Print"

96
After you have printed all of the picks, we can now print the manifests for John lewis, ASOS and Fenwick.

97
After Picks have been printed, we ill now want to load and print the manifests. go back to IP dashboard and click "Manifest Print". Repeat steps 3 and 5.

98
To get the manifests to actually open we will need to stop something called the "Print spooler" to do this enter "Services" in the search bar and click the icon with the gears

99
A window like below will pop up. click anywhere in the menu and type "P"

100
Find print spooler and click "Stop" after manifests have loaded and opened make sure to start the spooler again otherwise you will be unable to print

101
Once loaded they will look like this. GENXD and only GENXD get printed to a specific printer. press the arrow key until you get to the last GENXD manifest

102
in the below you can see it stops being GENXD at page 16. Press print button

103
You want to change the Printer to B2M-WEB-LABEL, change 2Pages" to custom range and enter the page range for the GENXD manifests. in below example its pages 1-16. then press print.

104
Go back to the manifests and press print again and choose a printer other than B2M-WEB-LABEL. Either B2M-WEB-02 or B2M-WEB-03 this time changing custom pages to X-500 X being what ever the page number is after the GENXD manifests. The printers can only print a maximum of 500 pages at a time. if the number of manifests you have exceed that amount after that pint Job has ran you will need to print again this time custom range being 501-1000

105
Once you have received the paperwork for Ship together's back, Go to trailer manifest

106
Once this menu appears, click the drop down menu for "Trailer number between" and find the number on wrote on your ship together sheet.

107
Next, click the drop down box for "And" and find your number again then click "OK"

108
This will load up the below report, Print this off with a landscape orientation.

109
Go to IP and click 7. Returns Menu.

110
Now click "21, Enter item acknowledgements"

111
Click "OK"

112
Tick "Clear the file group prior to this request"

113
Now we will add the destination store as "10600" and the issuing store as "00999", Lastly we will add the distribution number in the last box, this can be found on the top left of the trailer manifest sheet we printed off. then we can click "OK" for the rest of the steps.

114
Next we will click "22. Process item acknowledgements" and click "OK" for the rest of the steps.
