
Step-by-Step Guide to Navigating the SafeIdea Interface
Learn how to use the SafeIdea app with this comprehensive step-by-step guide. Discover how to access projects, create tasks, use AI skills, manage documents, adjust settings, and more for an efficient workflow.
In this guide, we'll learn how to navigate and use the SafeIdea interface after logging in. You will see how to access your projects, create new ones, start tasks, and use skills designed to make legal work easier. We will also cover how to manage documents, adjust settings, and find help or account options.
Let's get started
Let's look at the SafeIdea interface step-by-step after you log in. Start at the sidebar on the left. This sidebar gives you quick access to everything. At the top, you will see options to view projects and browse skills.
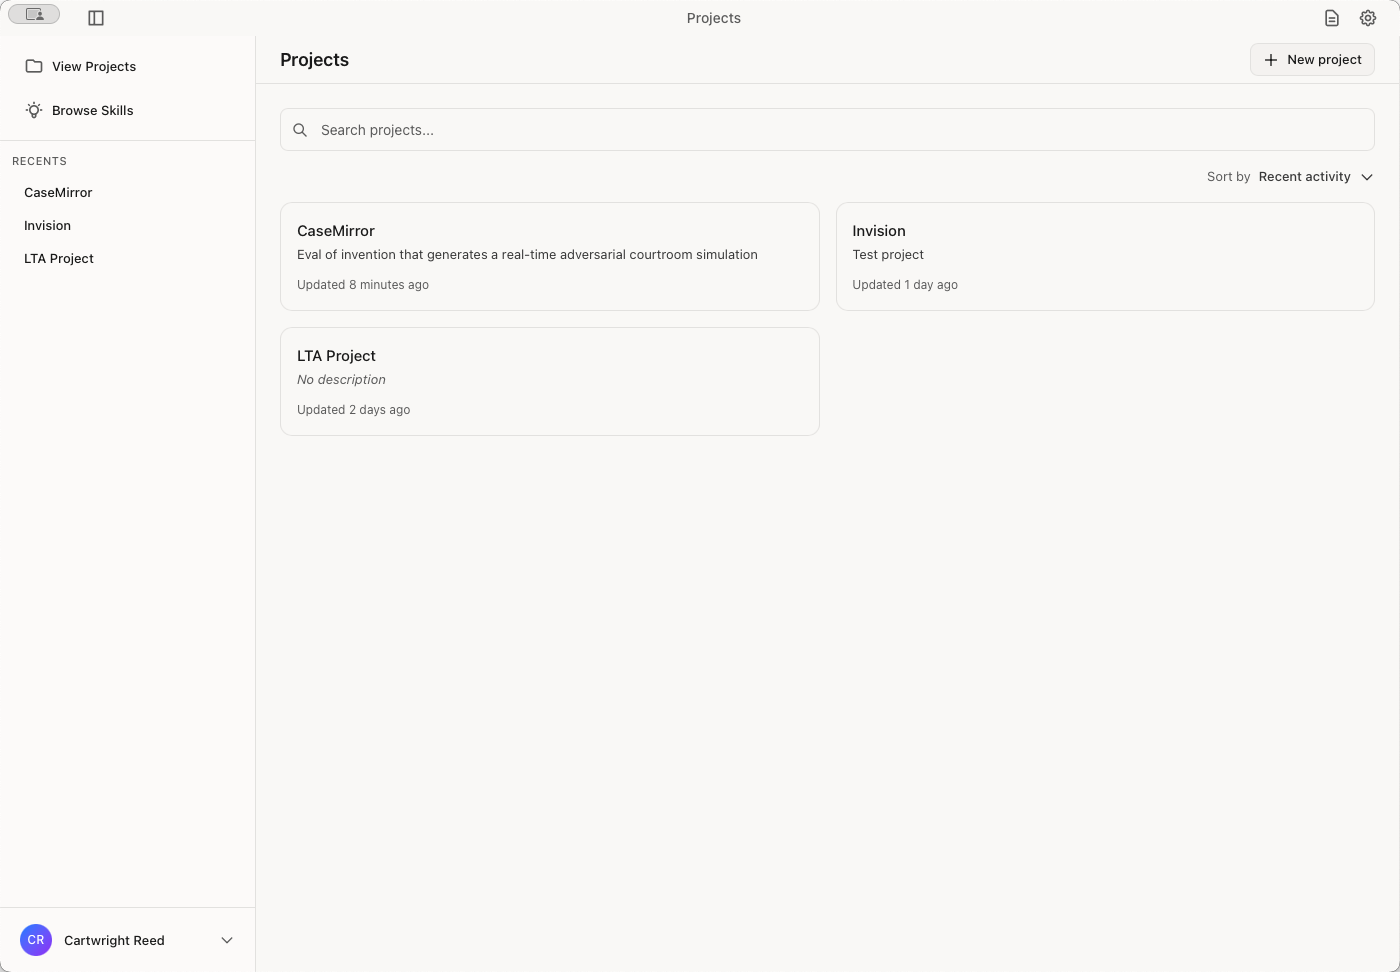
Below that, your most recent projects are easily accessible. Your account menu is located at the bottom. Click View Projects to open a grid of all your projects. Each card displays the project name, description, number of conversations, and the last update date.

To open a grid of all your projects. Each card displays the project name, description, number of conversations, and the last update date.
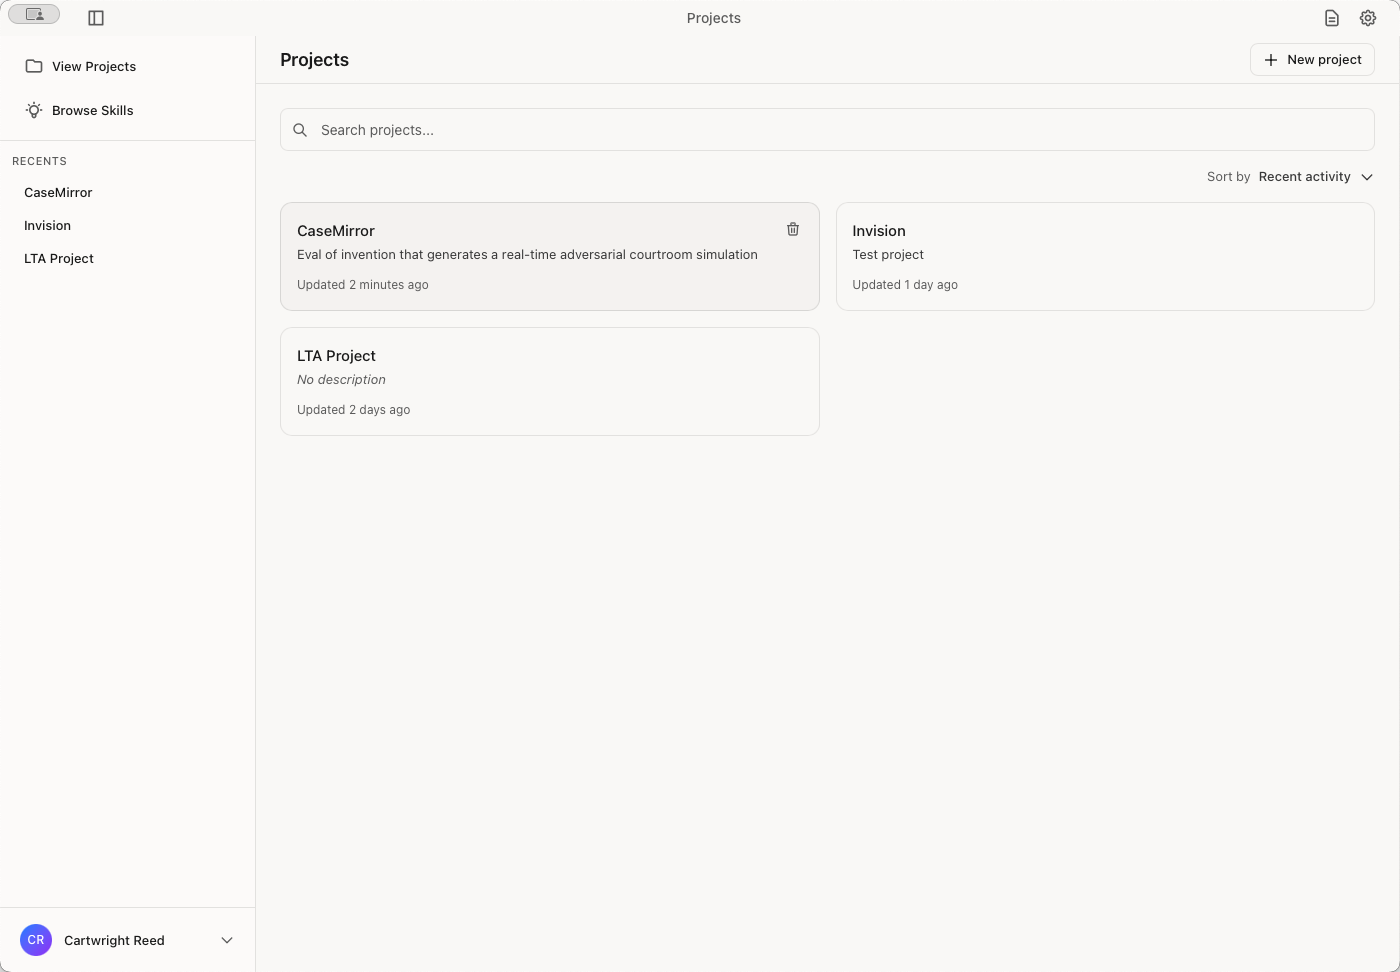
Click any project to get additional details and the list of tasks that you're working on.
Let's create a sample project.
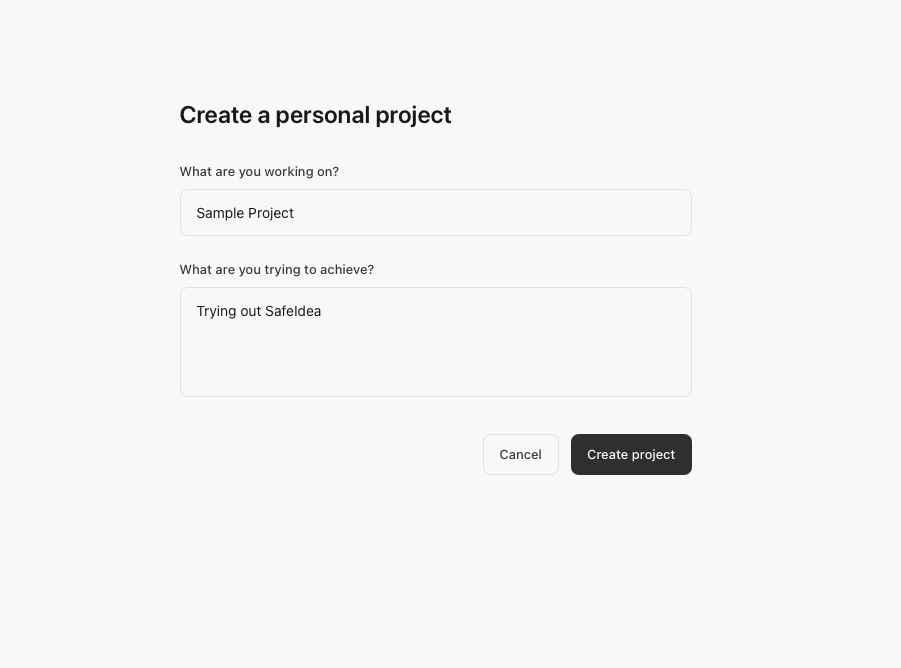
Click the New Project button.
Then name your project. Enter the information in the text field. Then click "Create Project."
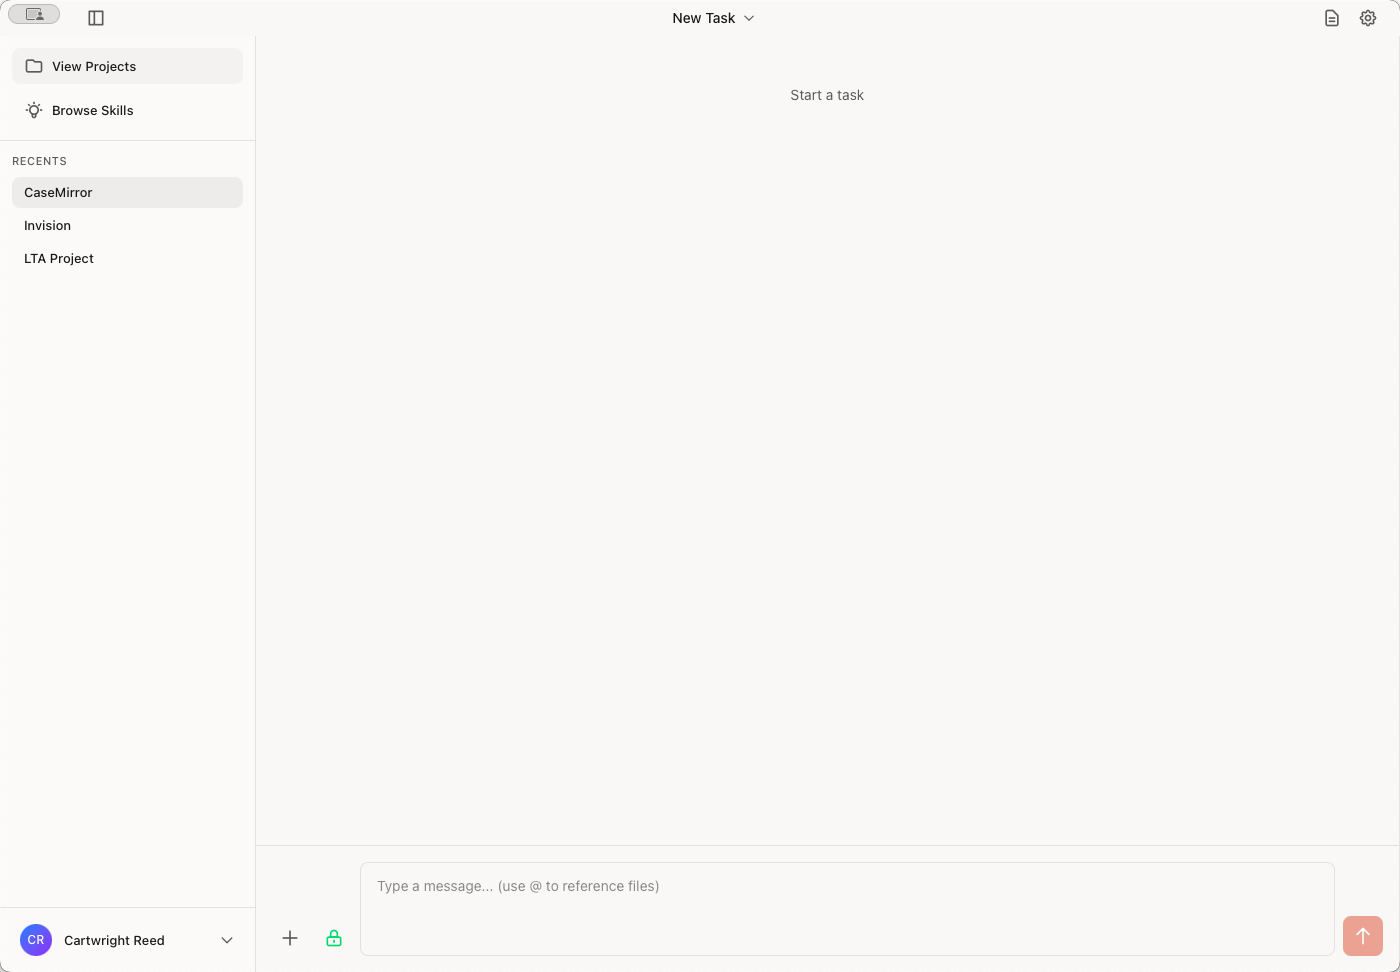
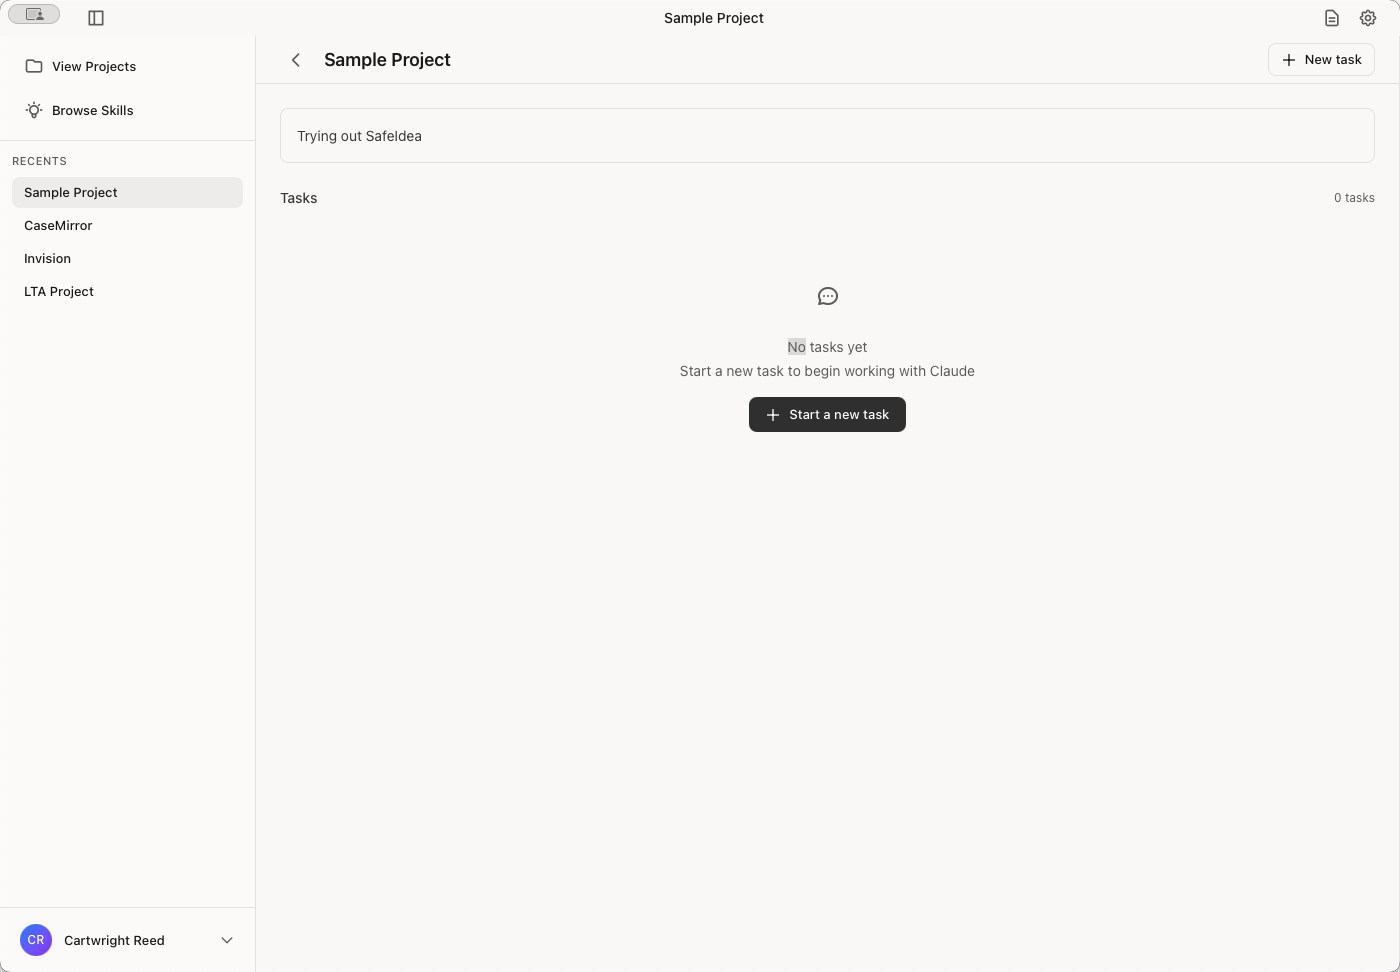
Let's give it a try. Once you open the project, you will see the tasks you are working on listed. Since it's new, you have no tasks. Let's make one.
Click the "Start a New Task" button to begin.
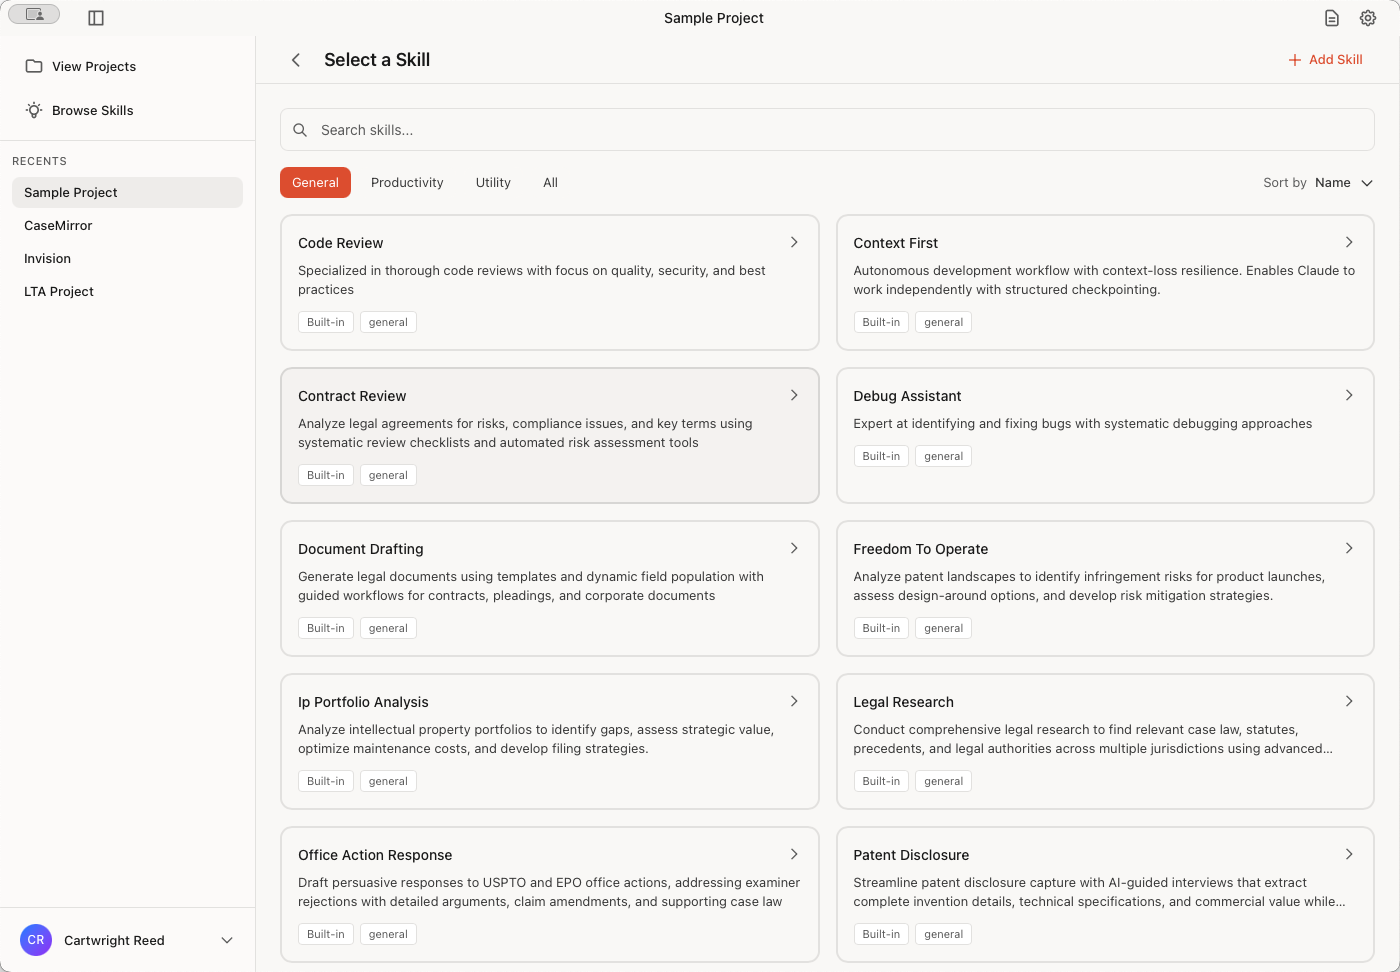
First, select a skill.
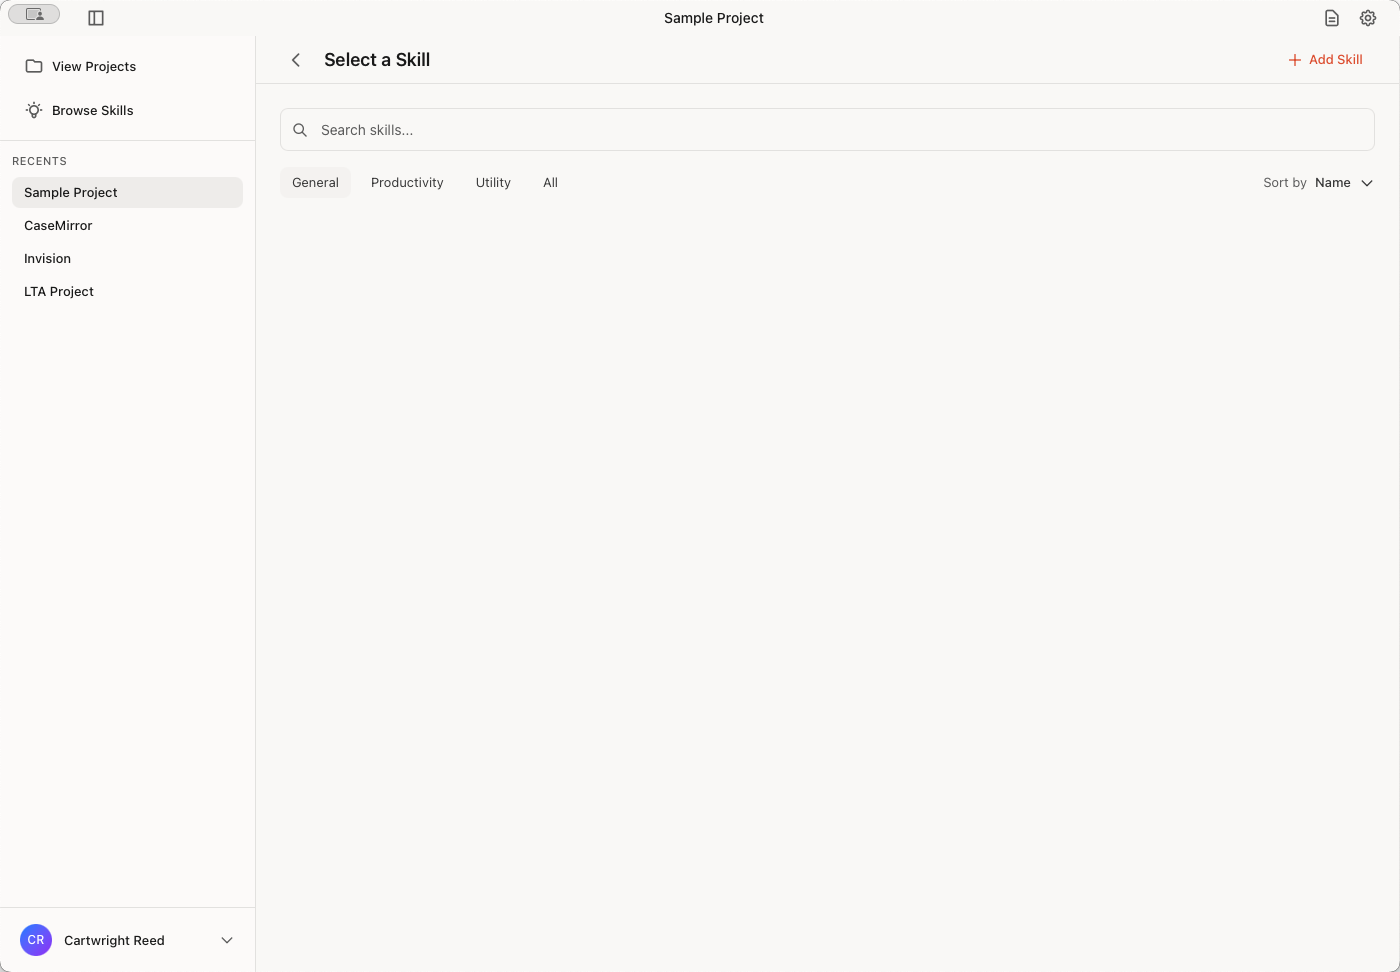
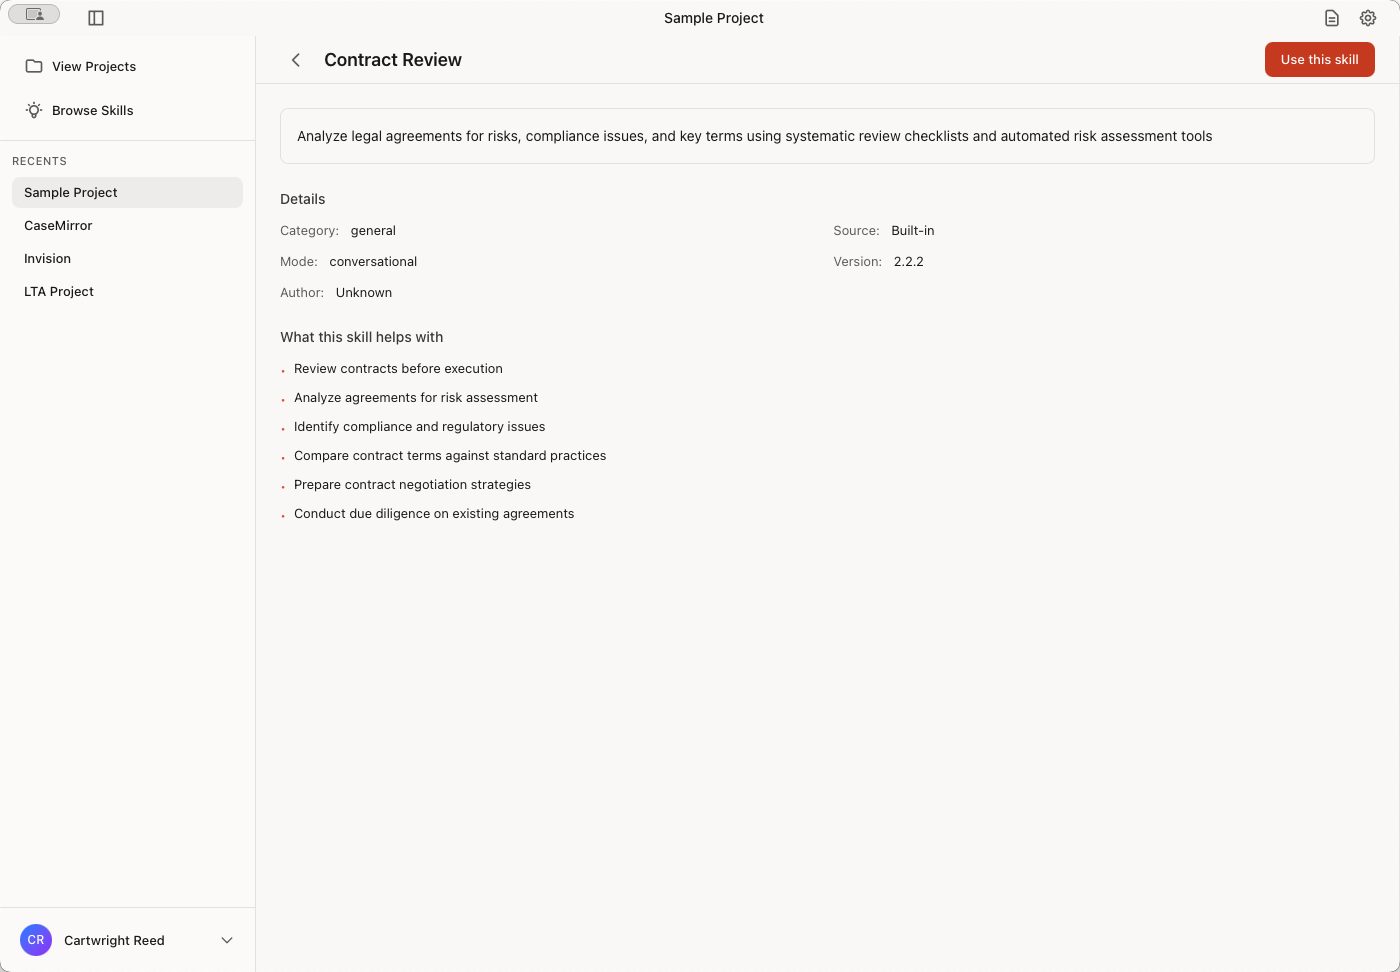
For example, you might need to review a contract. Click on the Contract Review skill.
Then click "Use this skill."
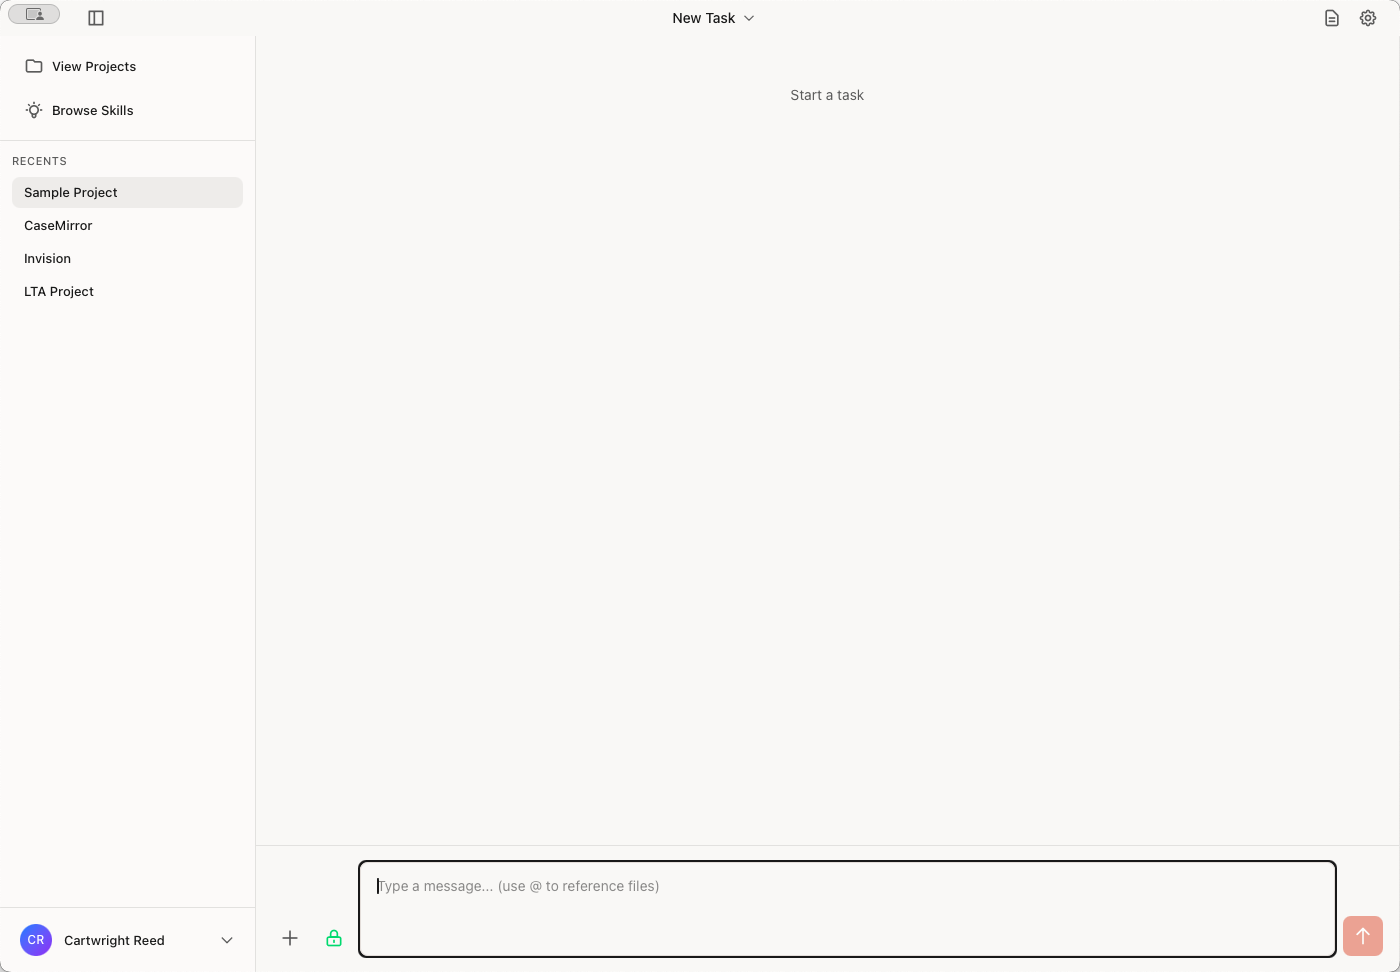
This is where your conversation with the AI begins. You’ll see the chat area in the center. Type your message at the bottom. Claude will respond above, using the skills workflow to guide you. Responses support rich formatting, markdown, code blocks, and diagrams.
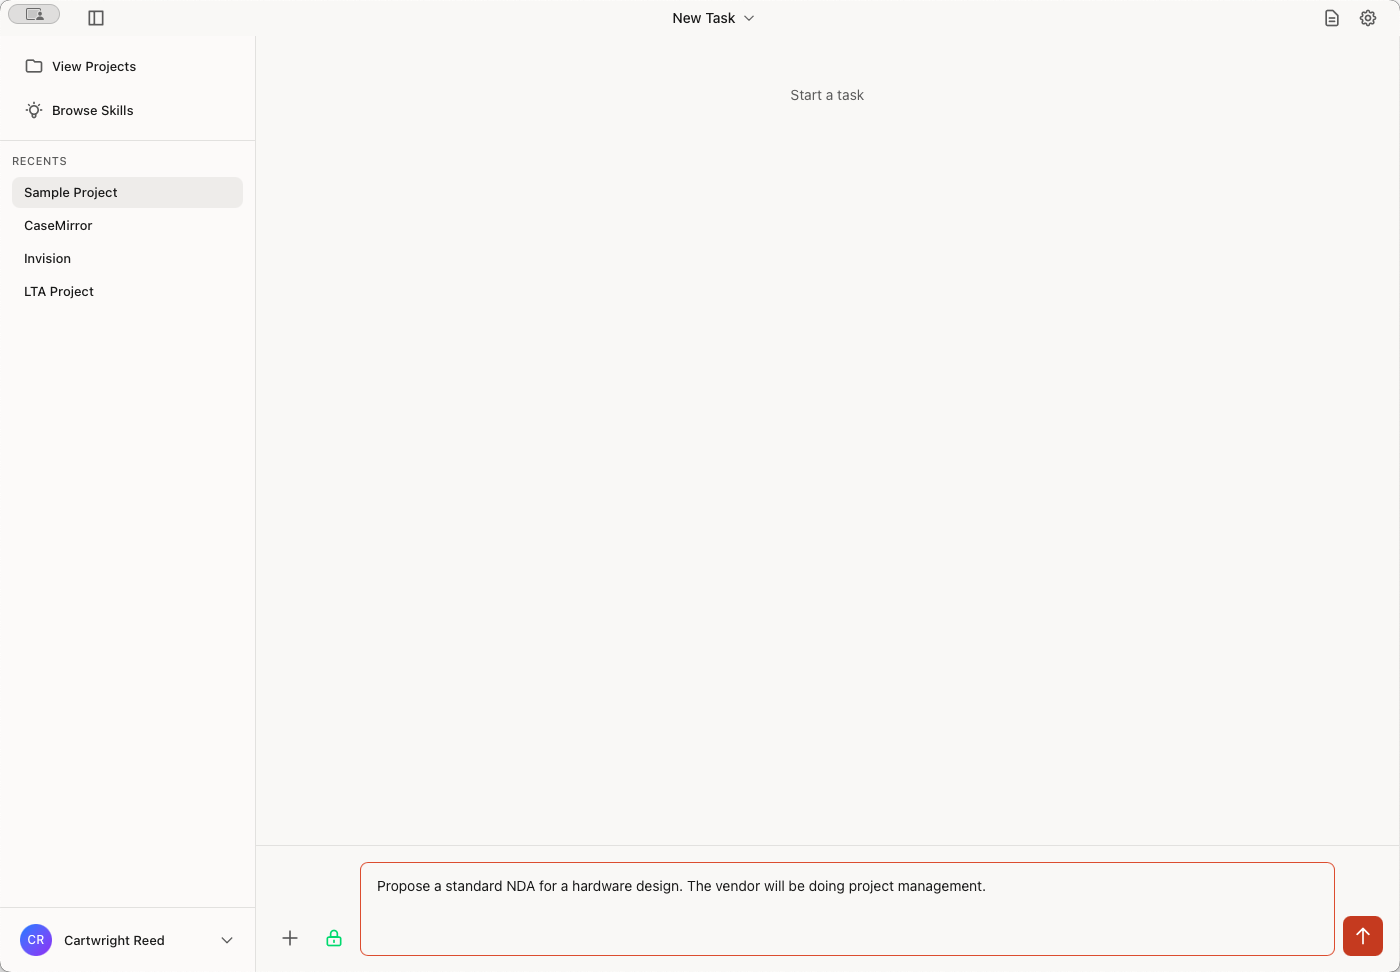
Enter your request, then click the orange button to submit it. The AI will respond.
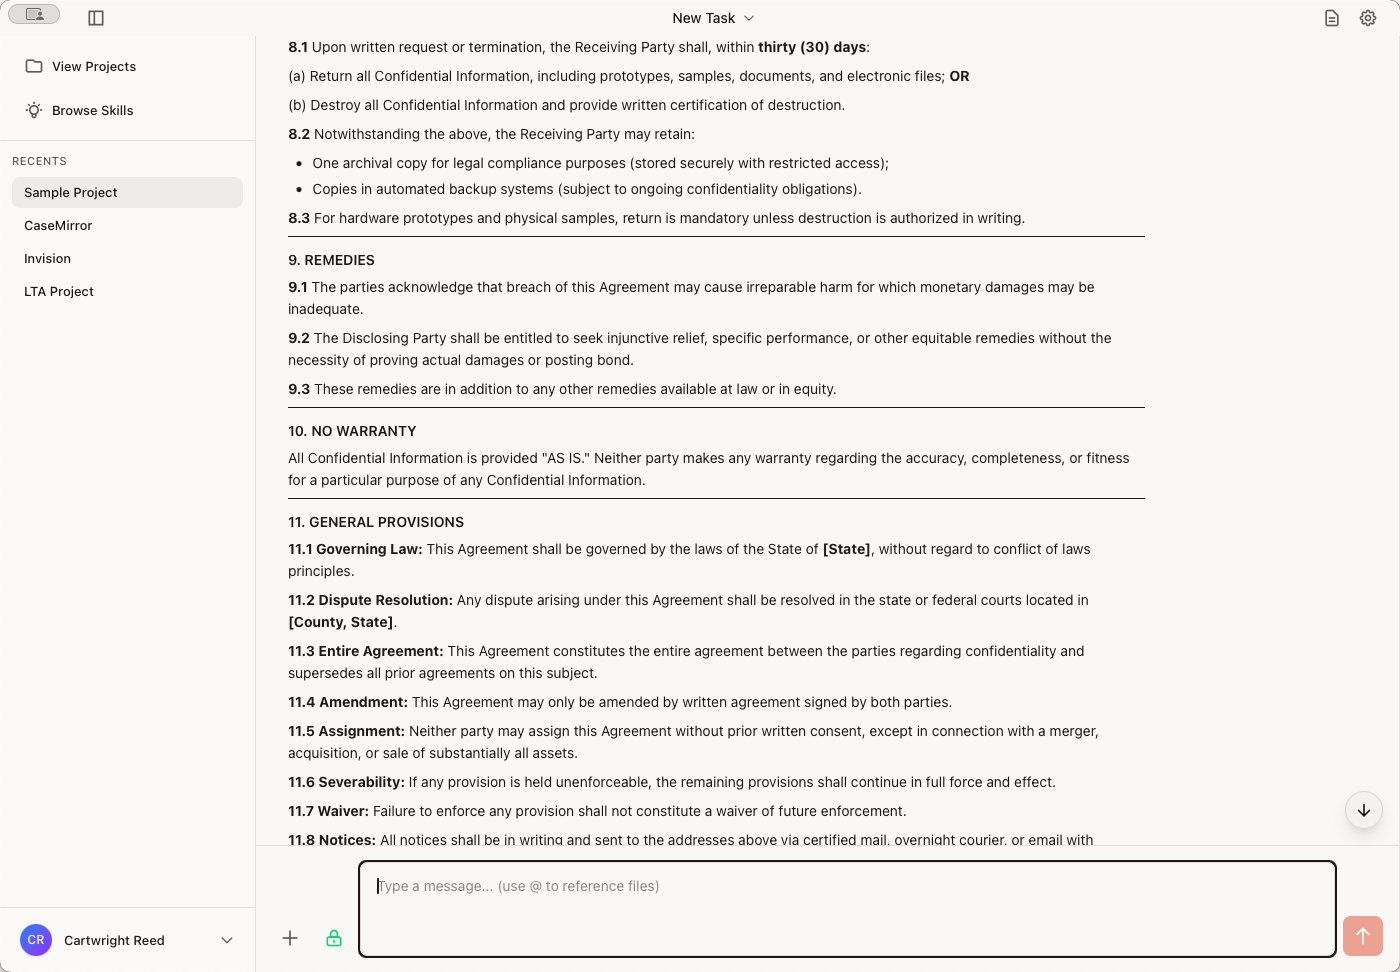
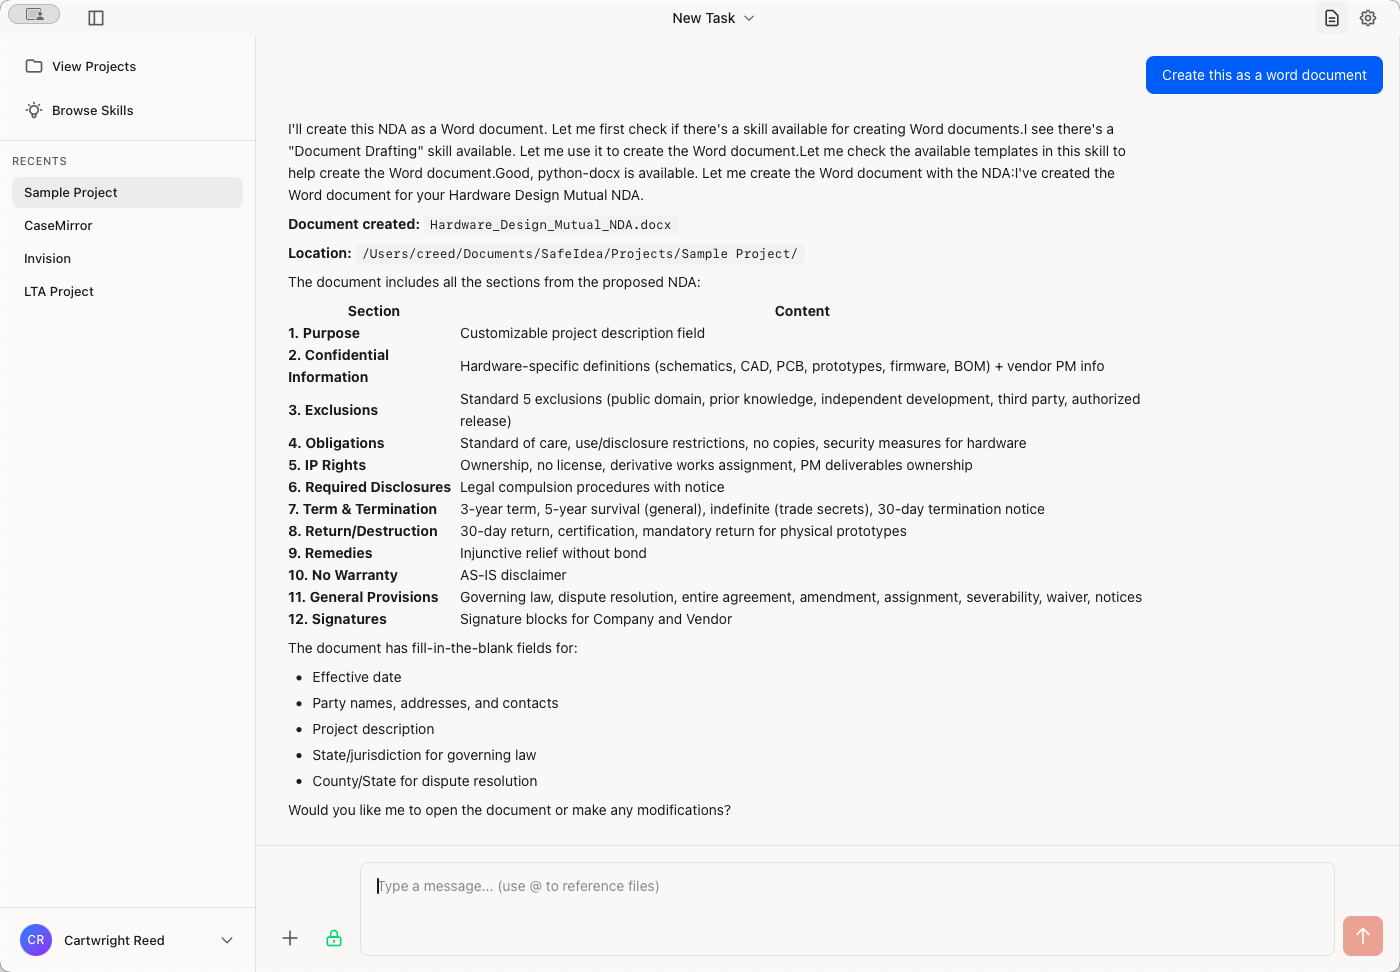
After a short time, the AI will respond. In this case, it created an NDA for your review. You can choose to iterate on this by asking for changes in the chat window. When you're satisfied, you can say something like, "Create this as a Word document," and then click the button (you can also just hit the enter key).
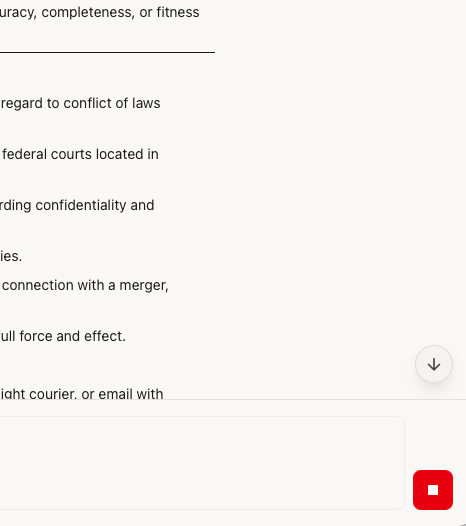
Note that the button on the right now turns red. That indicates the AI is processing your request. You can press the down arrow to view the current work in progress.
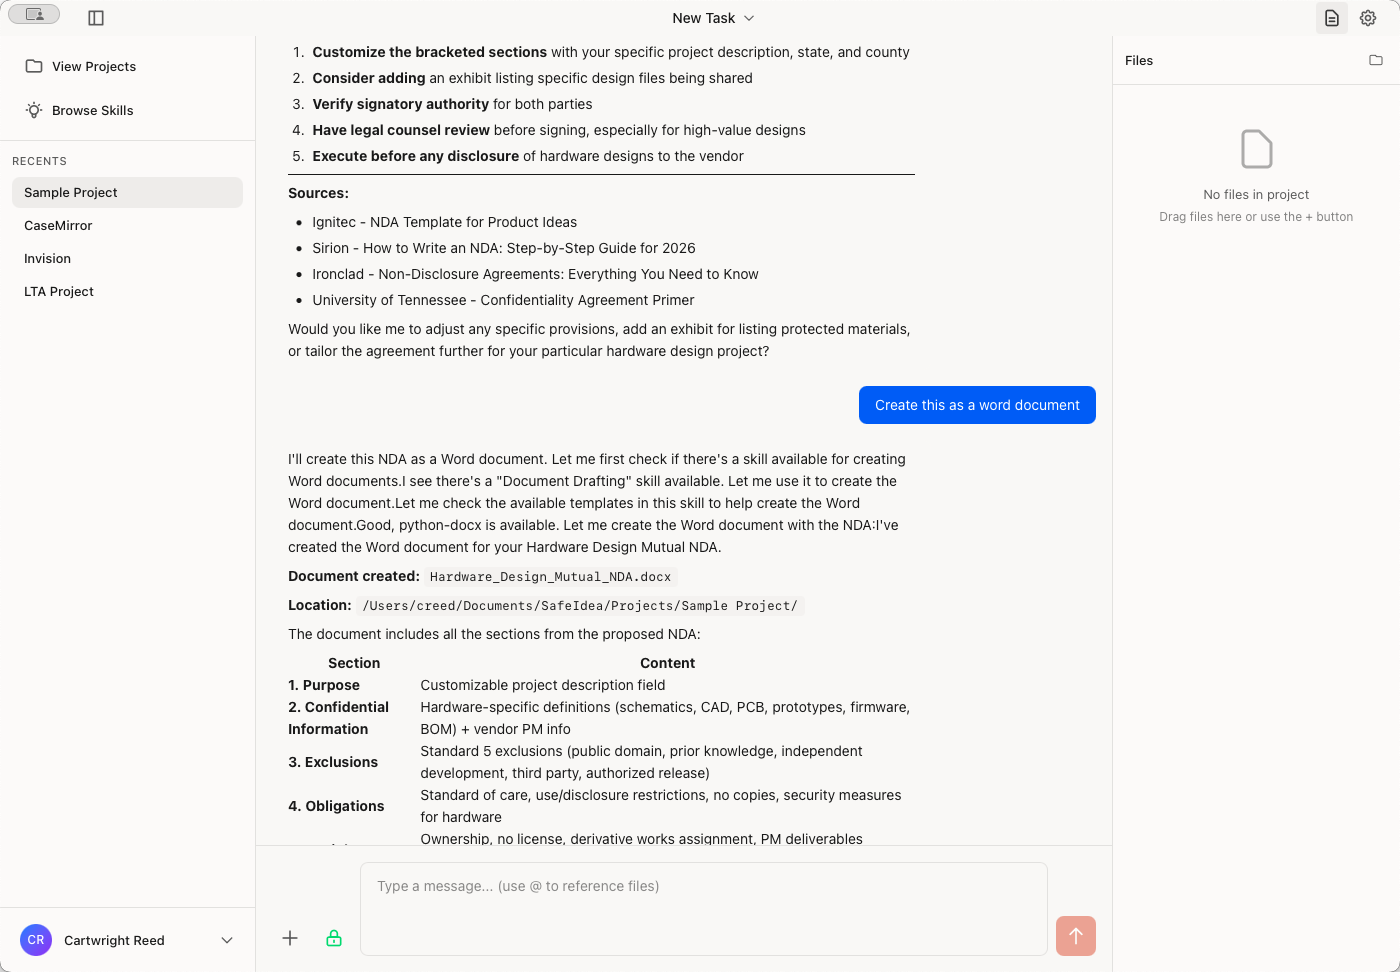
It has now created an NDA in Word document format. To view your work documents, click the document icon in the upper right corner to open the content panel.
The Hardware NDA has been created as a DOCX file.
Click the file icon to display the location of the file on your PC.

Let's try out a few other things. You can show and hide the left sidebar to get more space to work.


You can also hide the File Sidebar on the right.
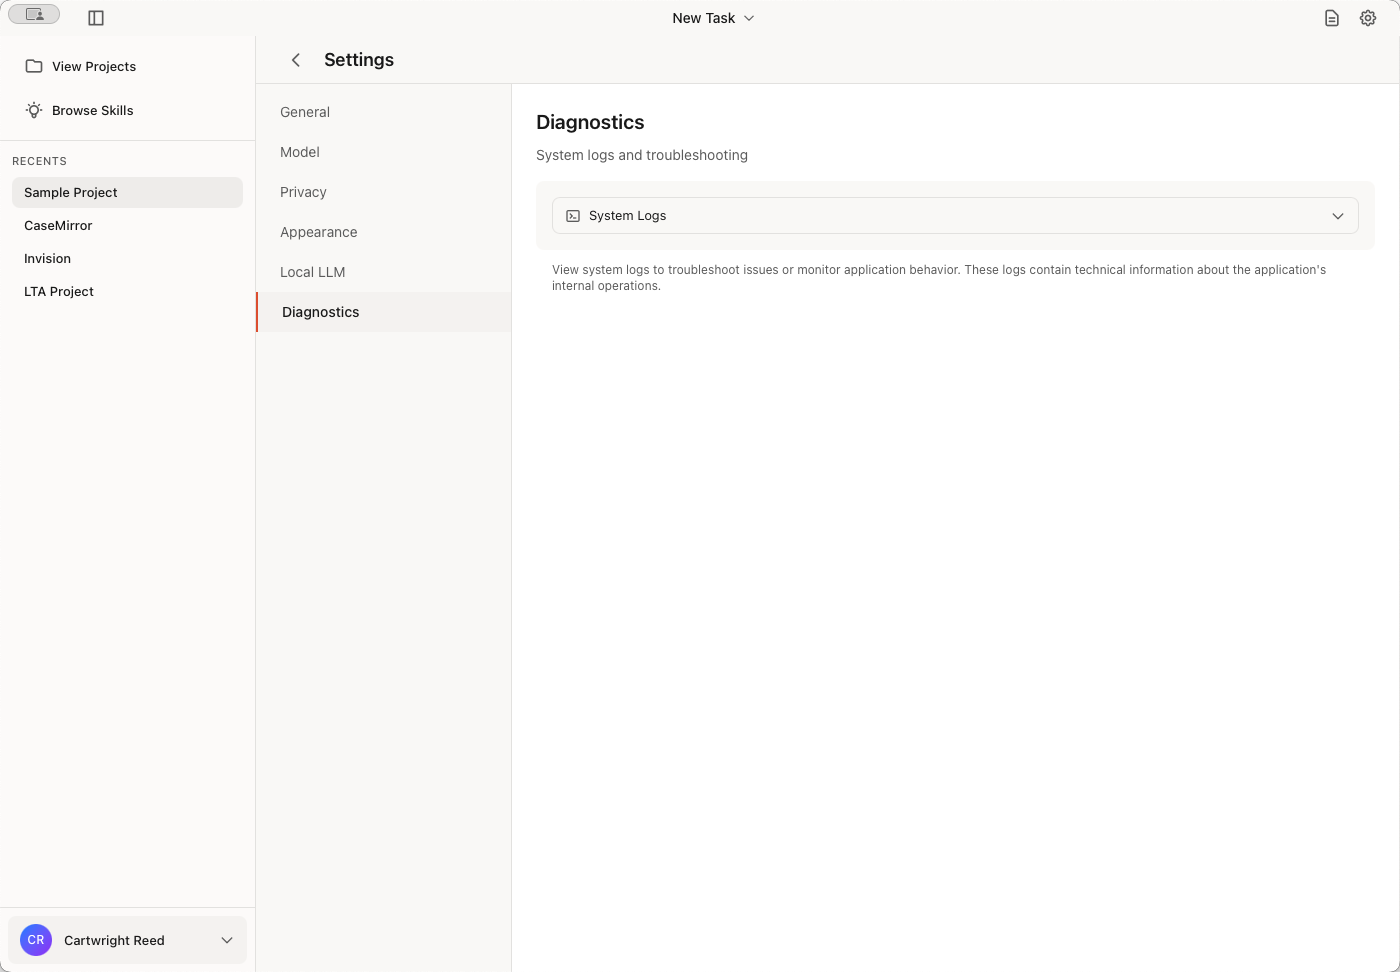
You can access Settings by clicking the gear icon in the top right. After you click on that, you'll see a list of things you can review. We'll focus on Model and Privacy.
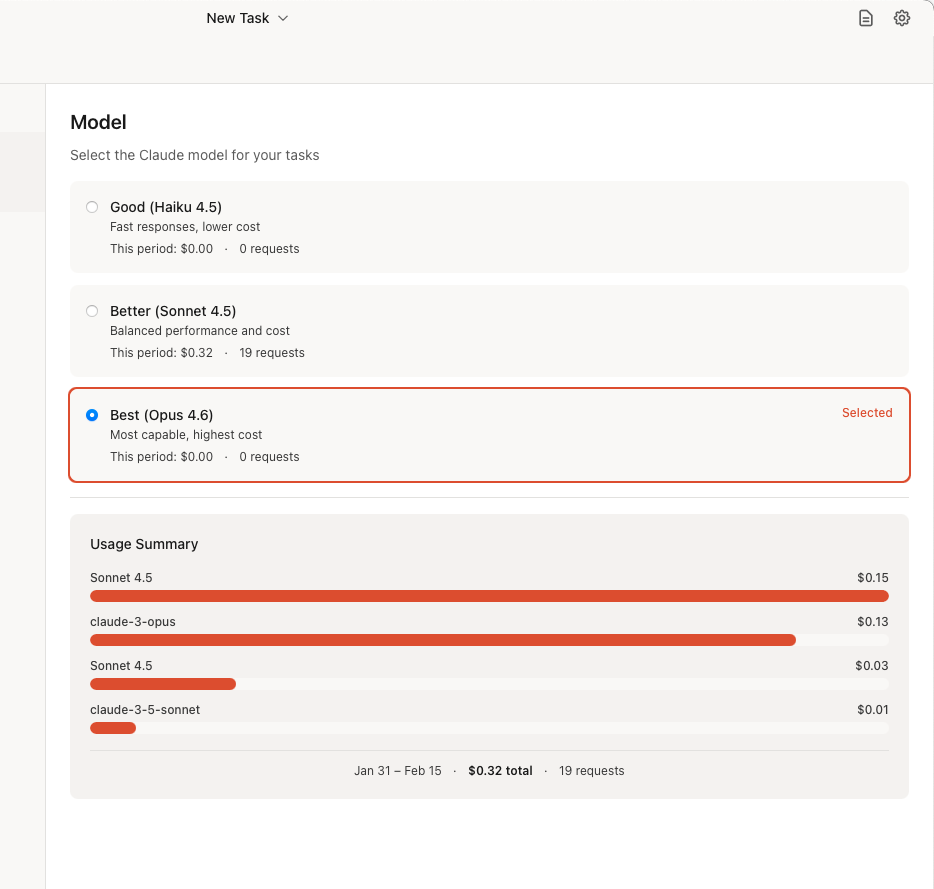
Click on Model to choose the Claude AI model you want to use.
You should choose either "Better" or "Best" for legal work. note that this changes the model for all projects going forward. You can change models on the fly, but you will generally see better performance if you stick to one model in a particular task.
Click on Privacy to see the setting for the masking system that SafeIdea uses. It is enabled by default. If you turn it off, it will not mask. If you have projects that don't require masking, here's how to turn it off.
Account Access
Finally, let's quickly review your account access. That's at the bottom of the left sidebar. Click on it to open the available options.
You will stay logged for a week. After that, you will need to re-validate your license by logging in.
And that's It!
I hope you enjoy using SafeIdea Assistant. Please let us know if there is anything we can improve.