Icon

Continuation of Payroll Processing: SAGE and ADP Sync

Learn how to efficiently process payroll, manage payroll deductions, and sync data between SAGE and ADP. Follow best practices for record-keeping, trial compute, and file management to ensure accurate payroll processing.

By Elisha Hicks

In this guide, we'll learn how to finalize payroll processing by preparing and syncing payroll data between SAGE and ADP. This includes verifying payroll records, handling payroll deductions, checking leave benefits, and using the ADP to SAGE sync tool. We will also cover how to prepare files for upload and ensure all data is accurate before processing payroll.

Let's get started

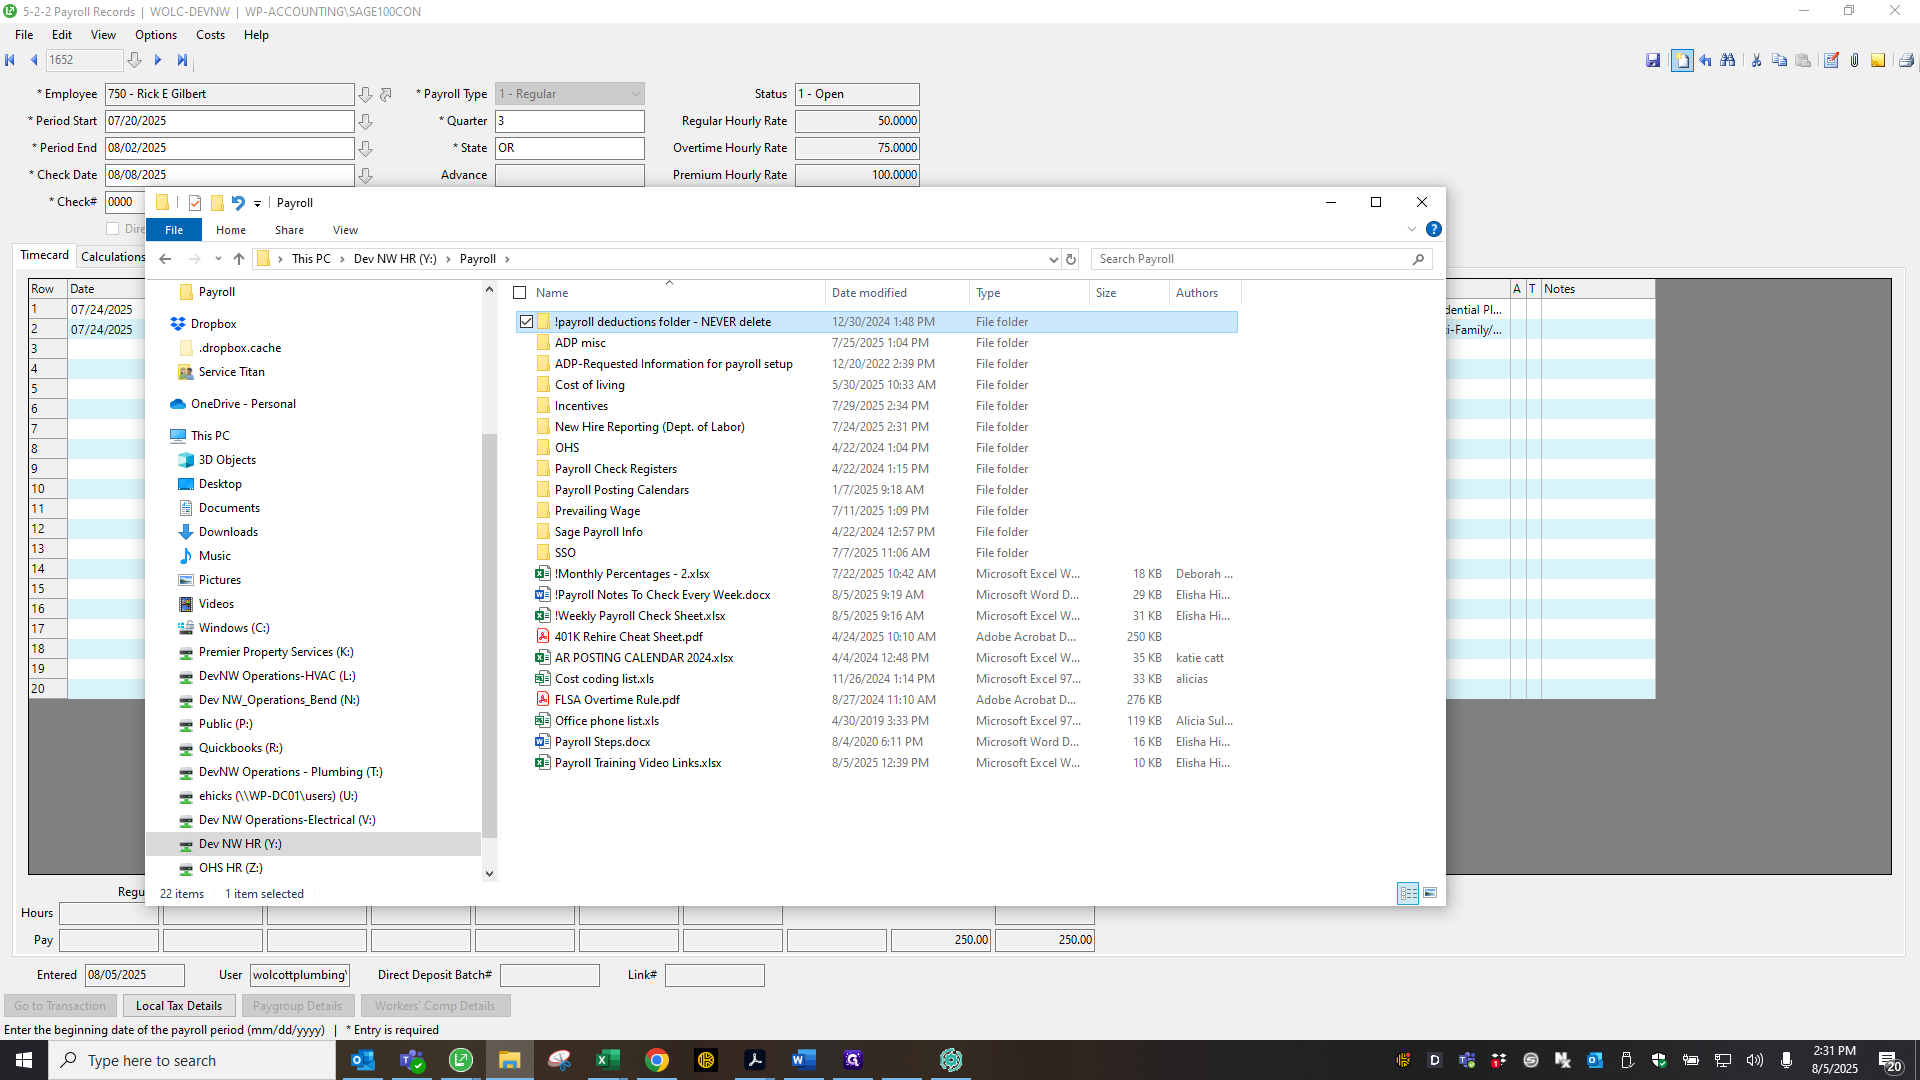
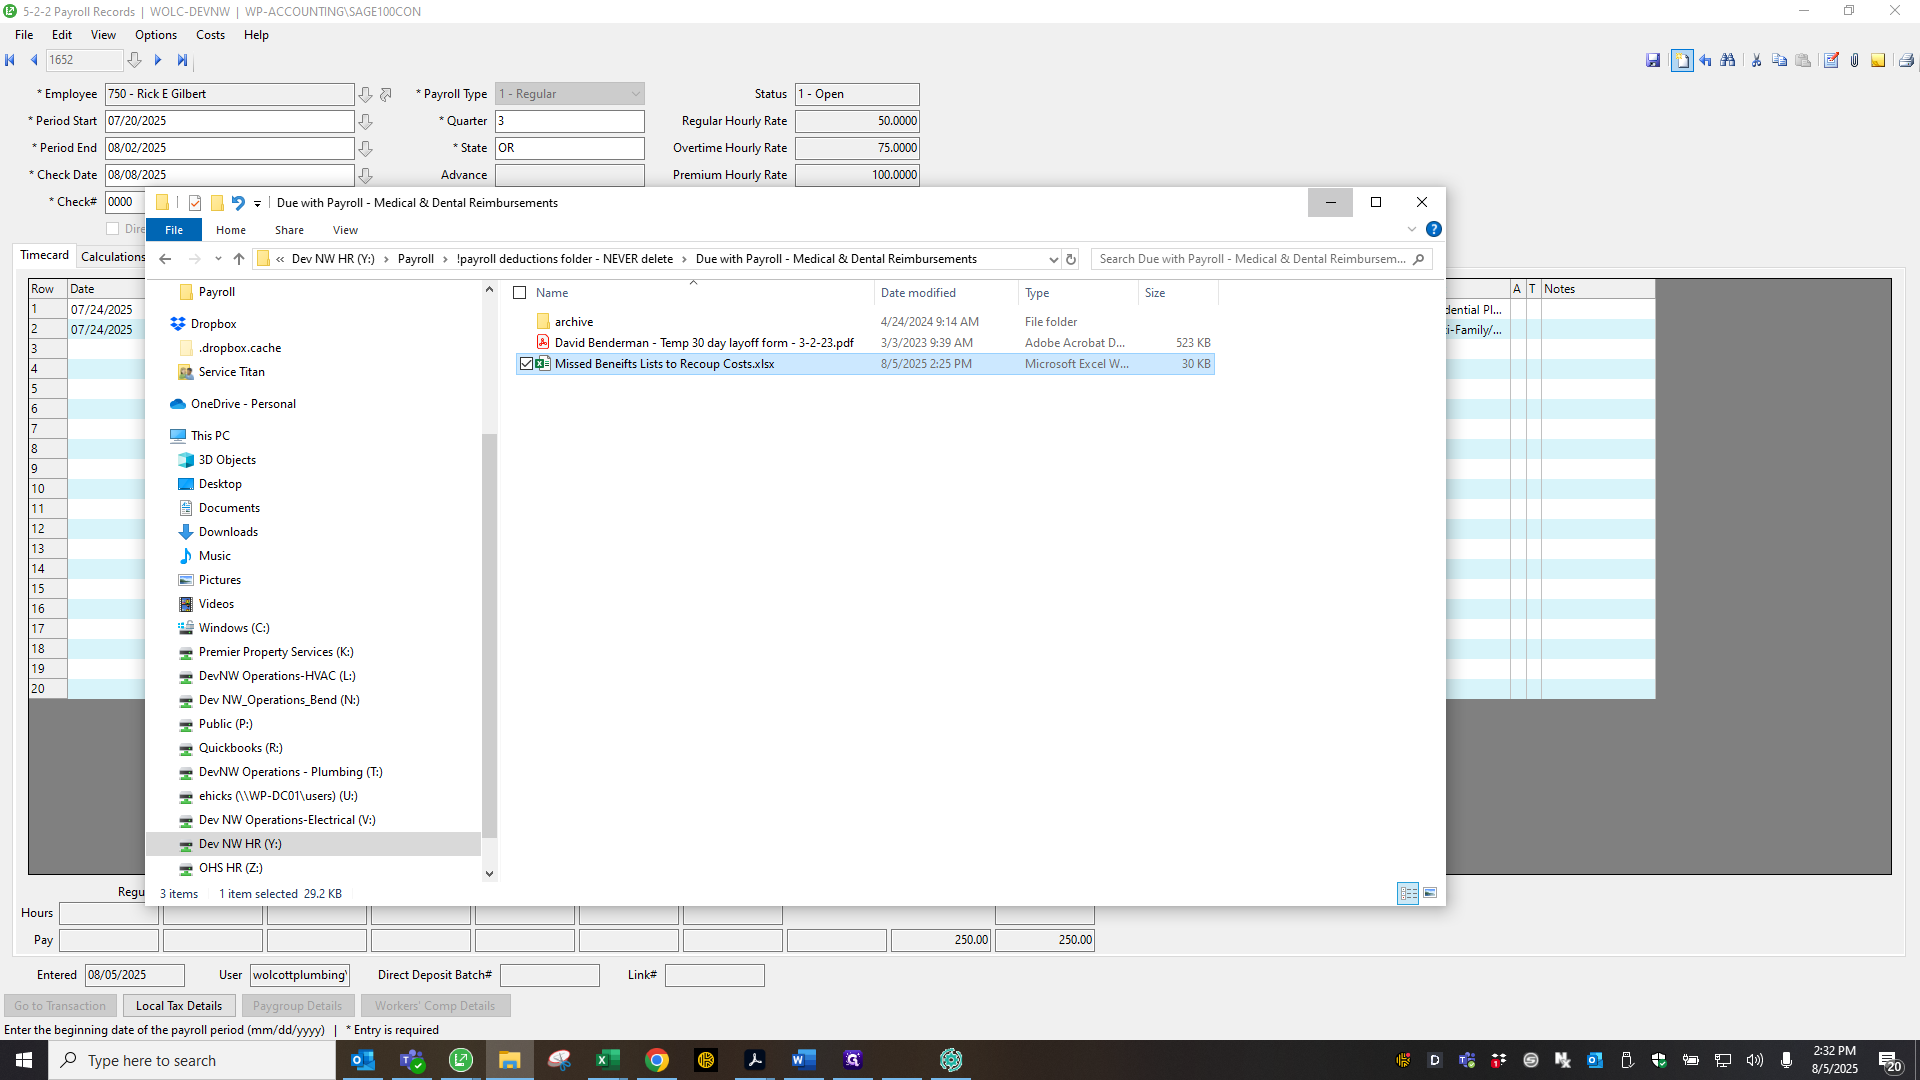
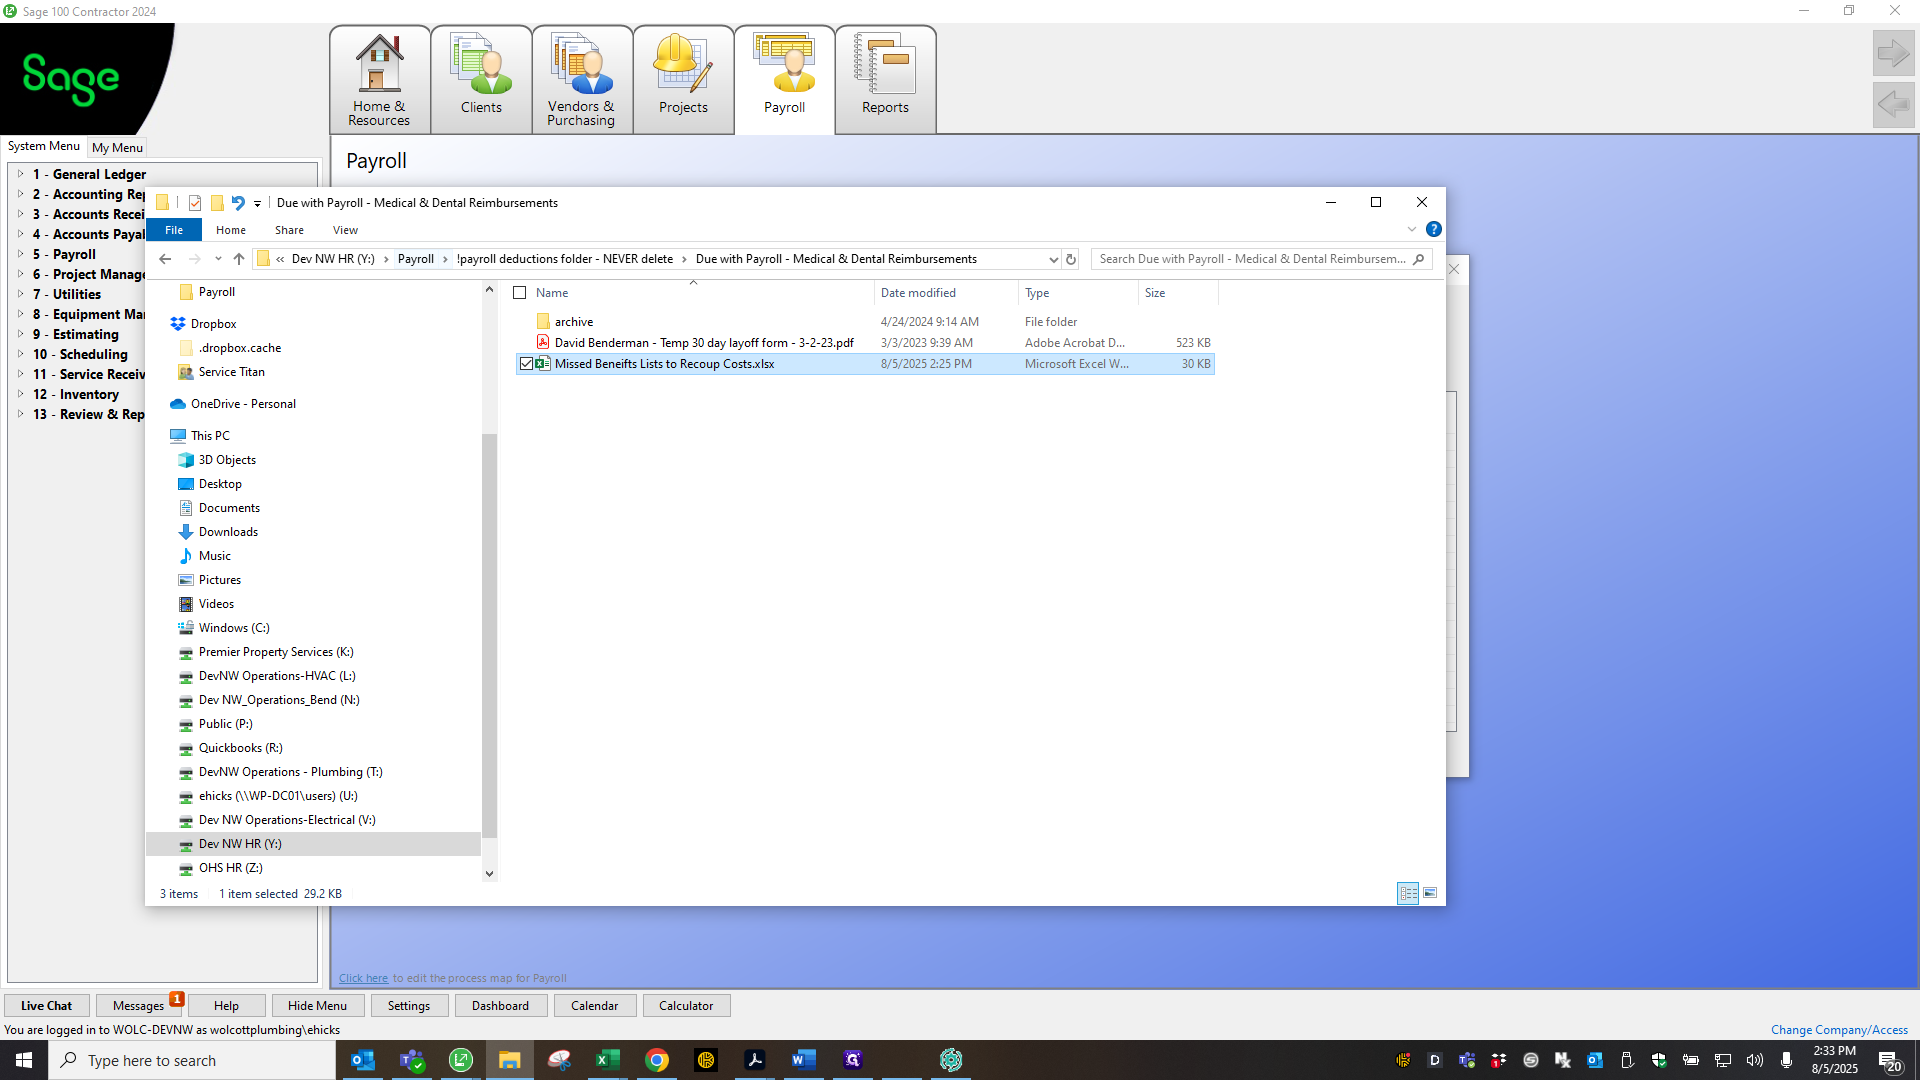
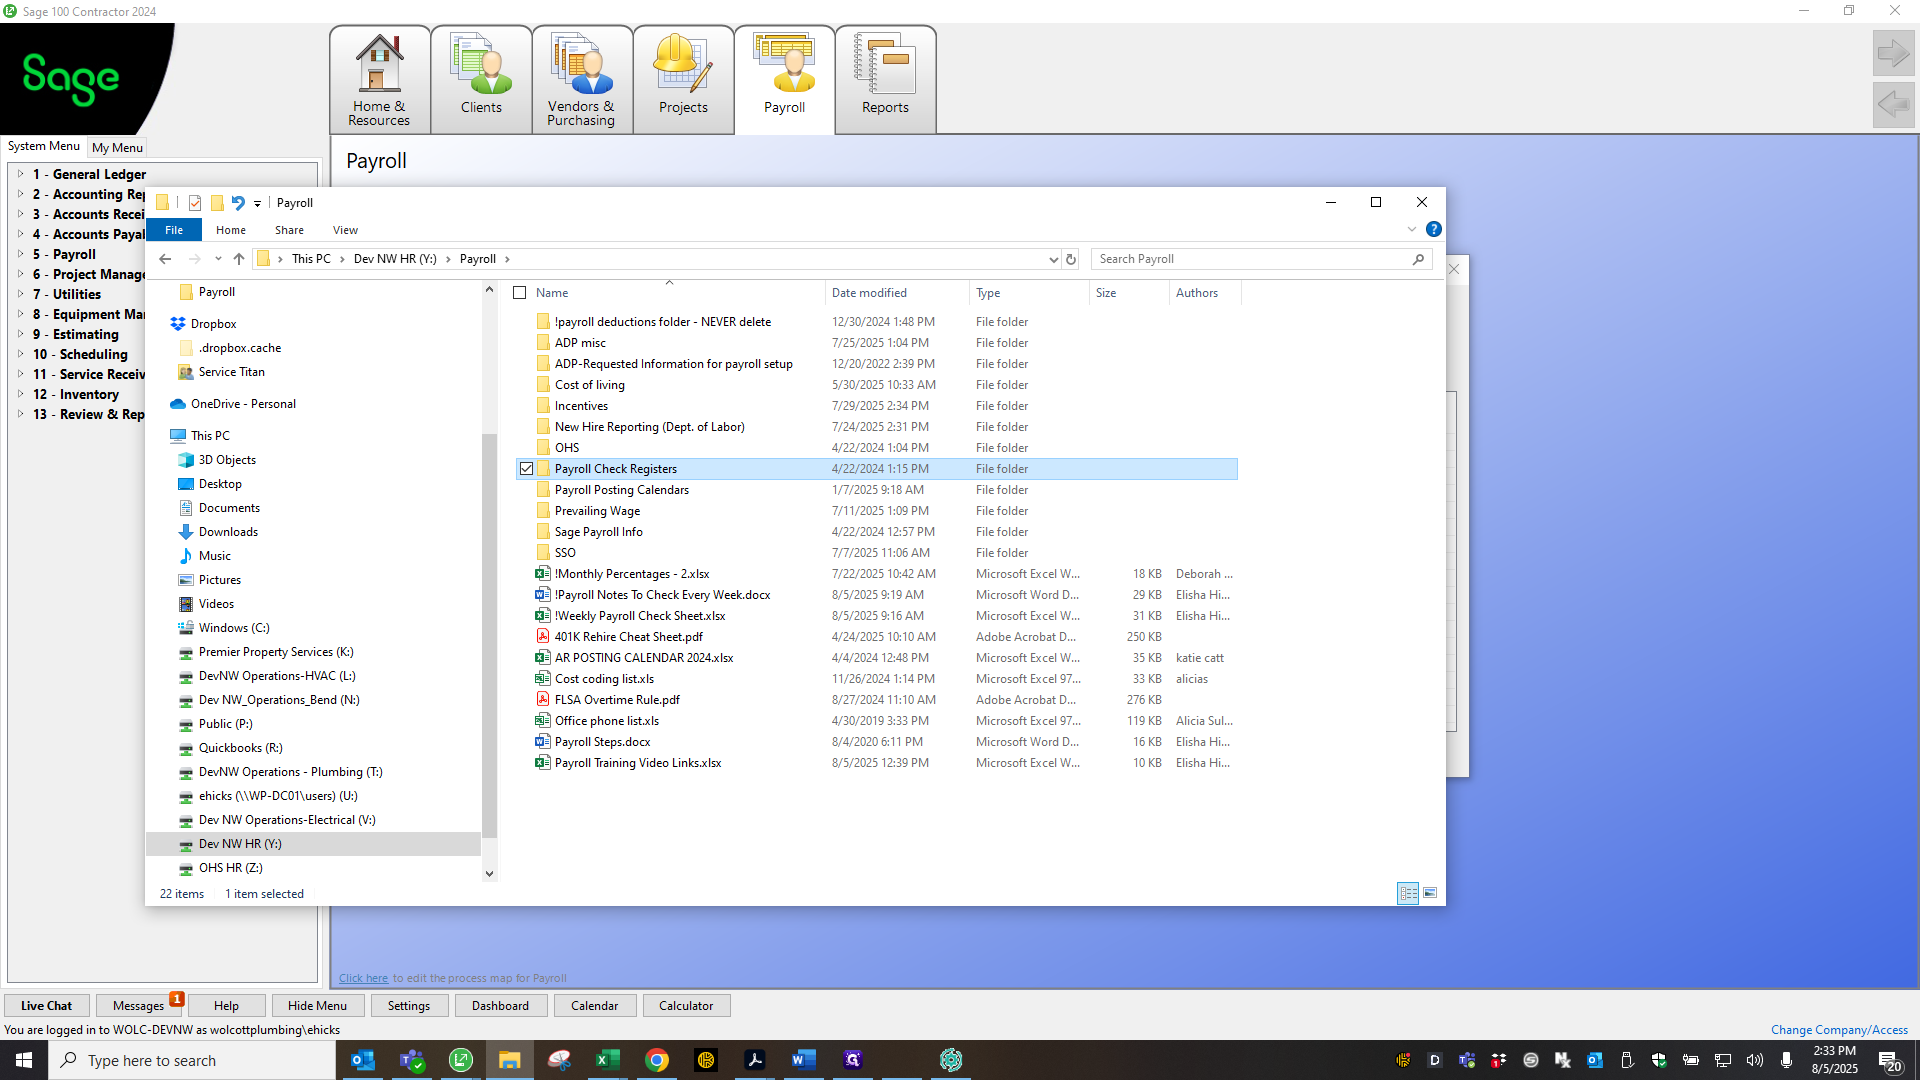
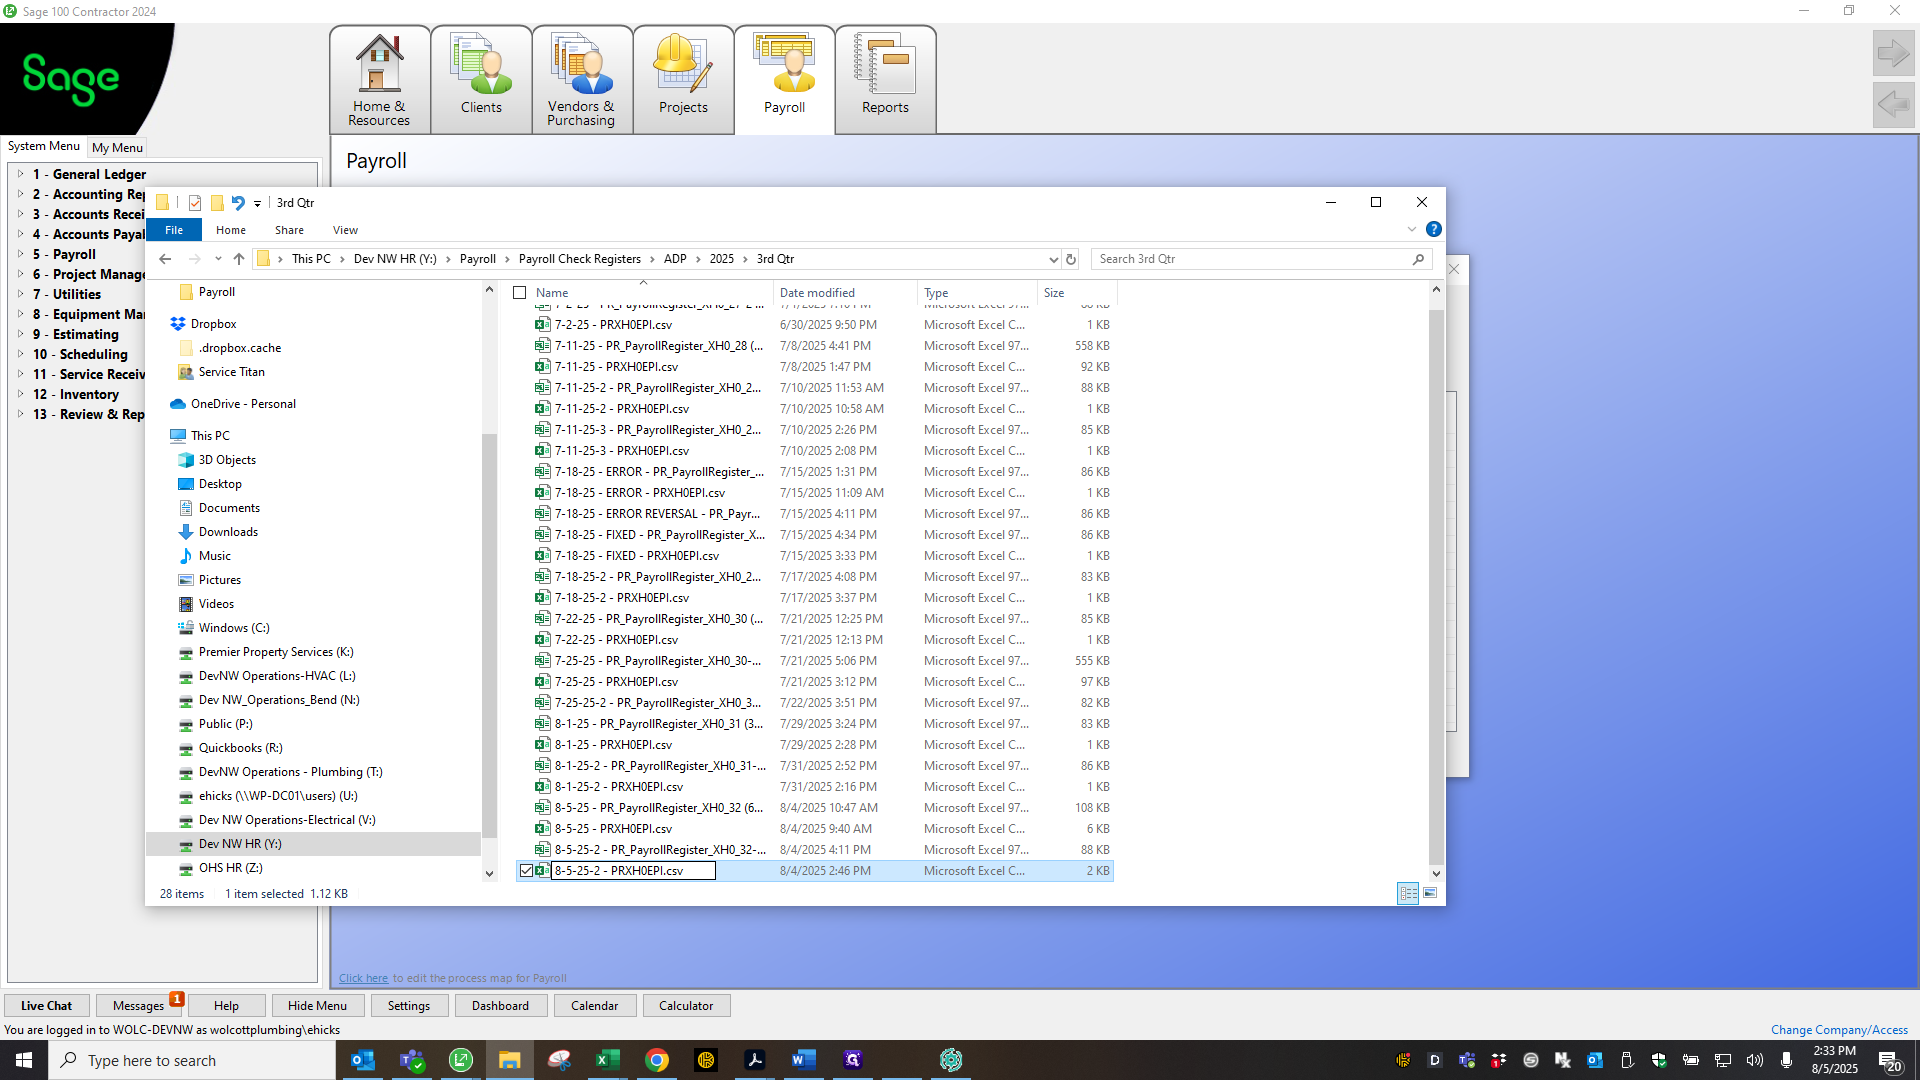
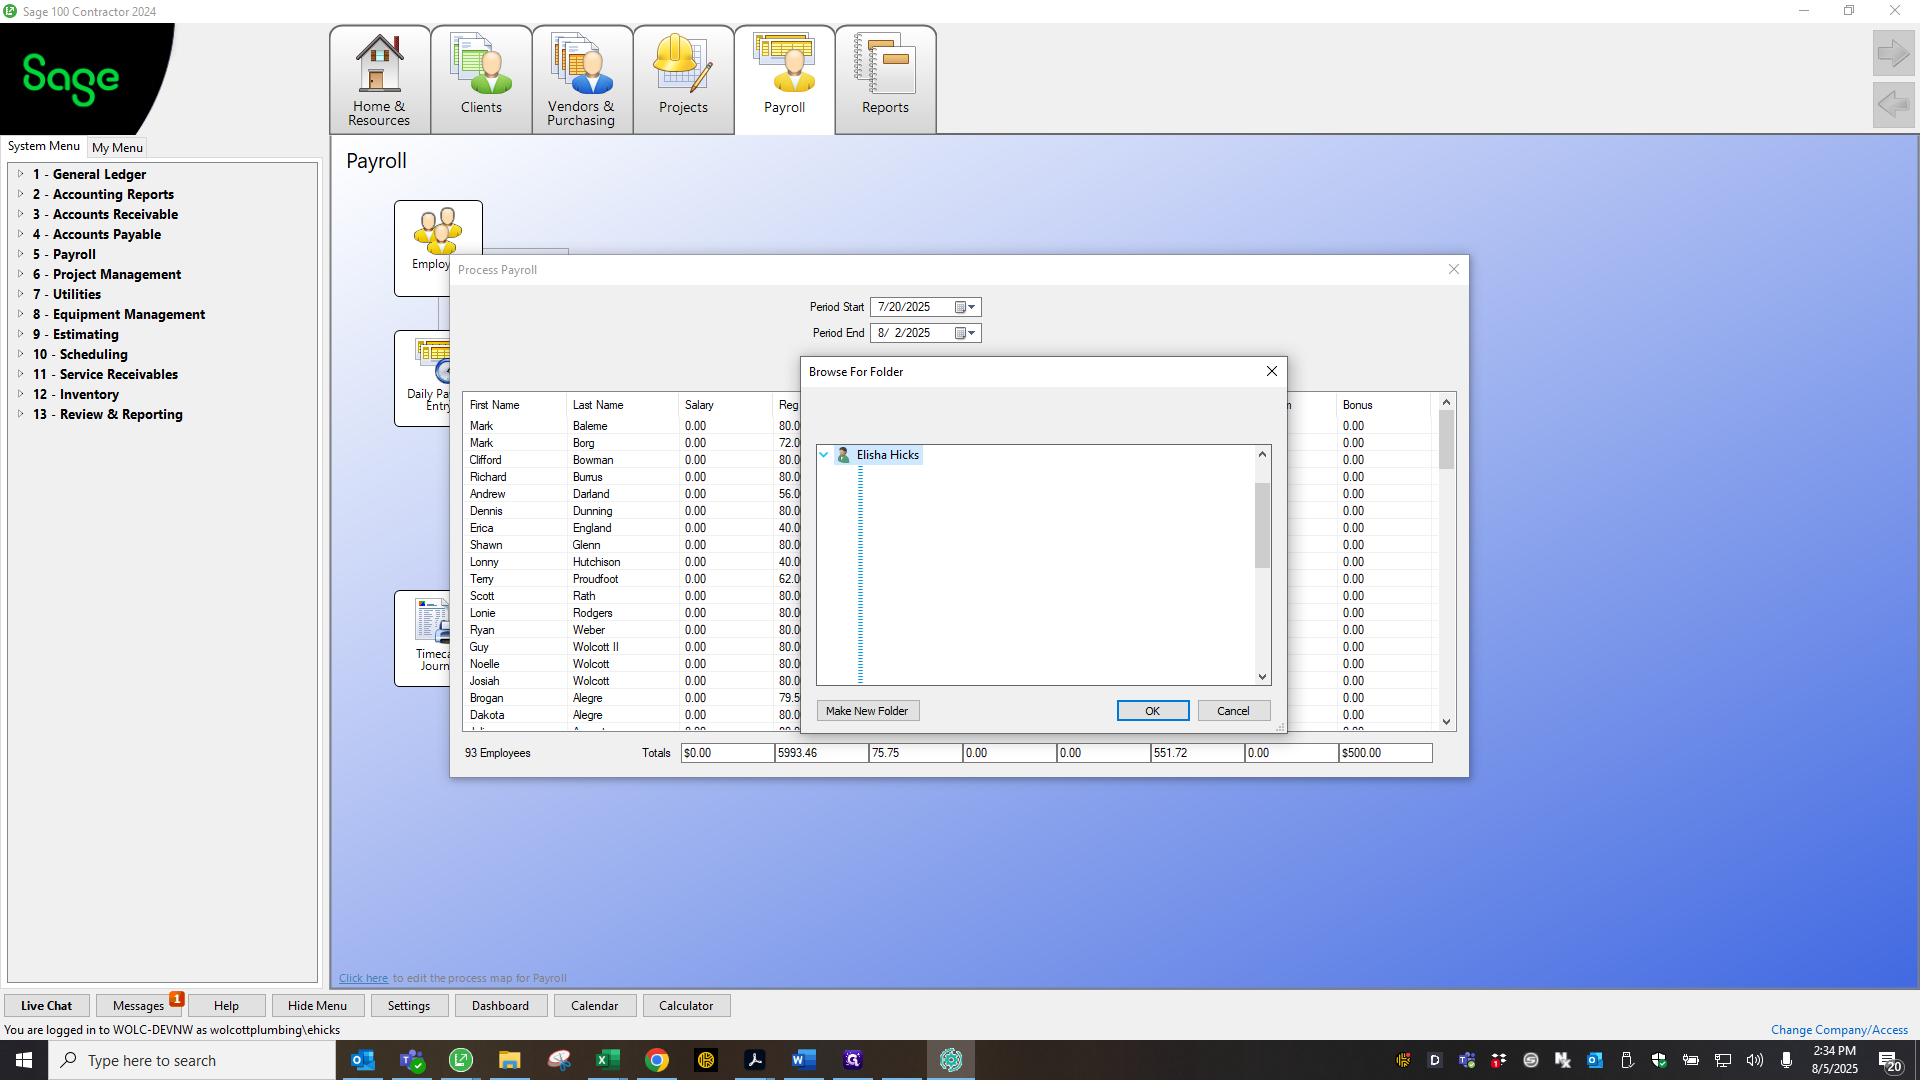
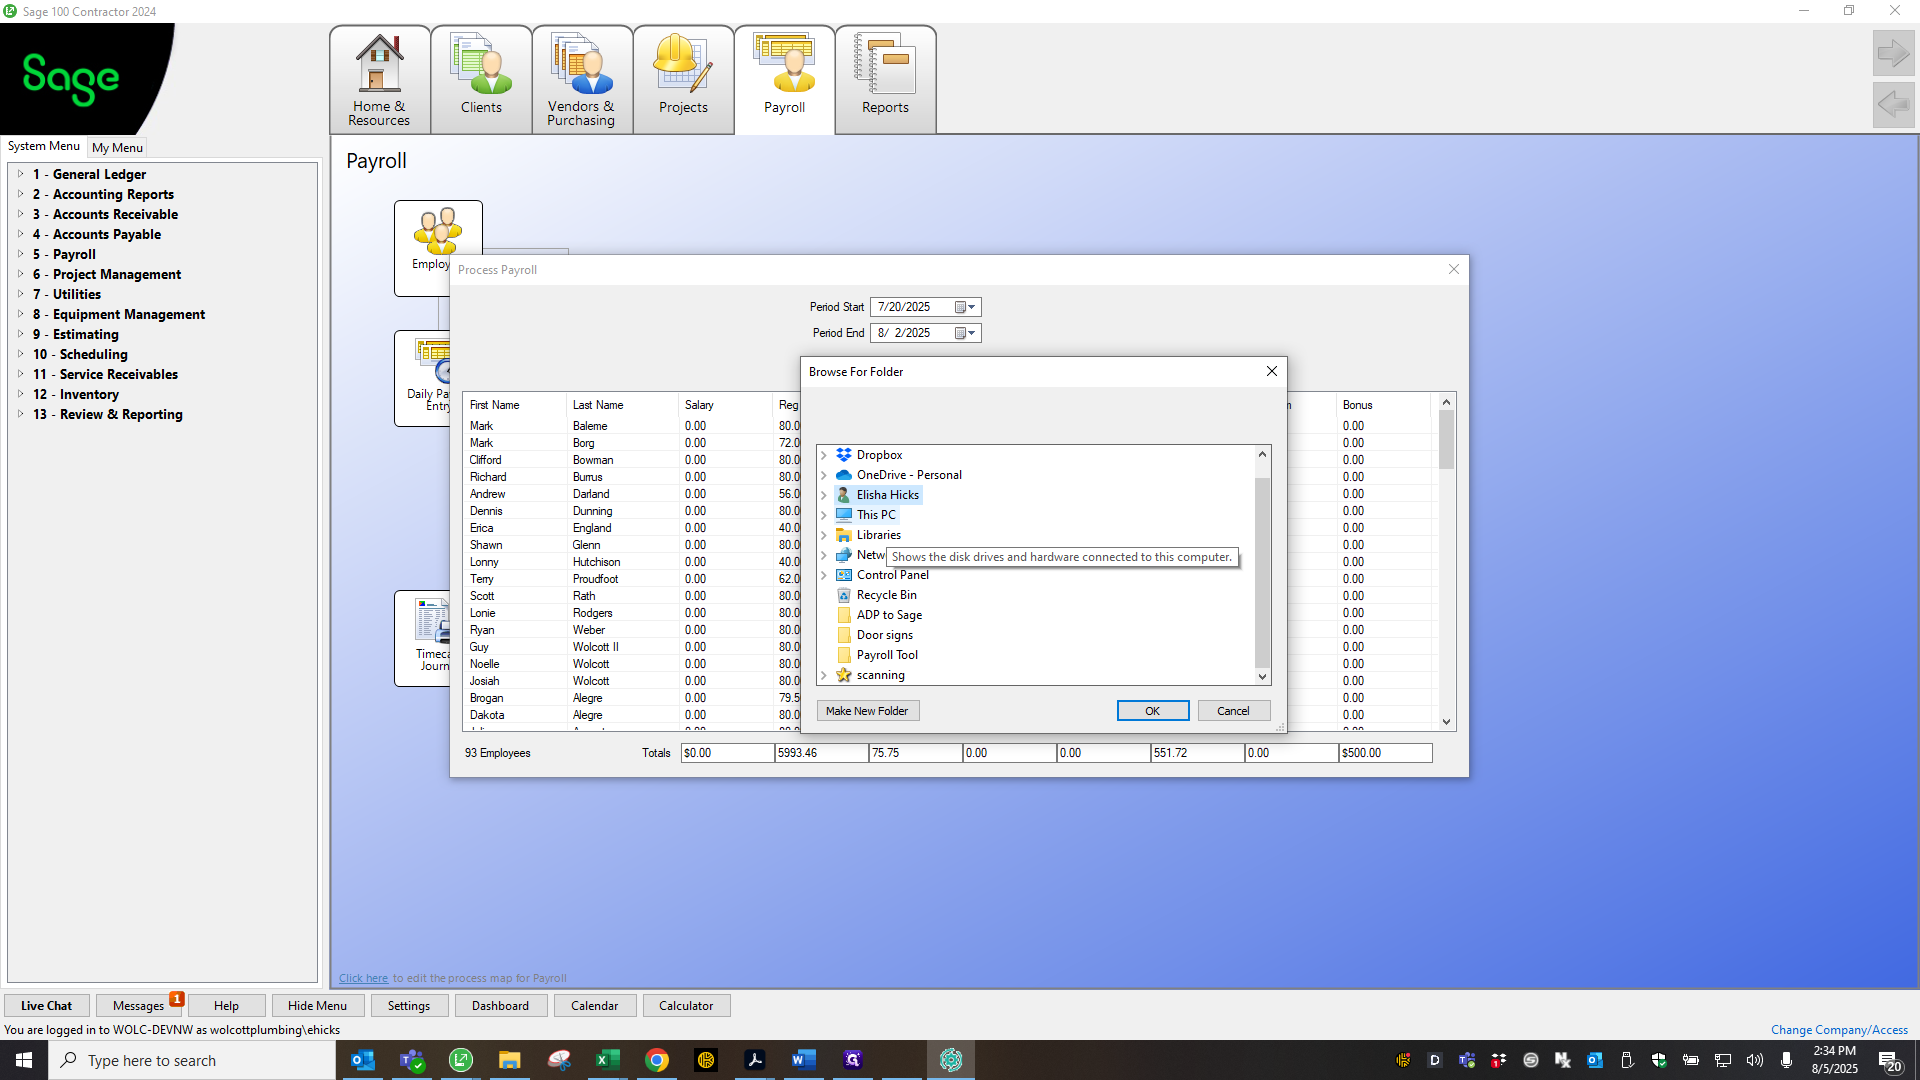
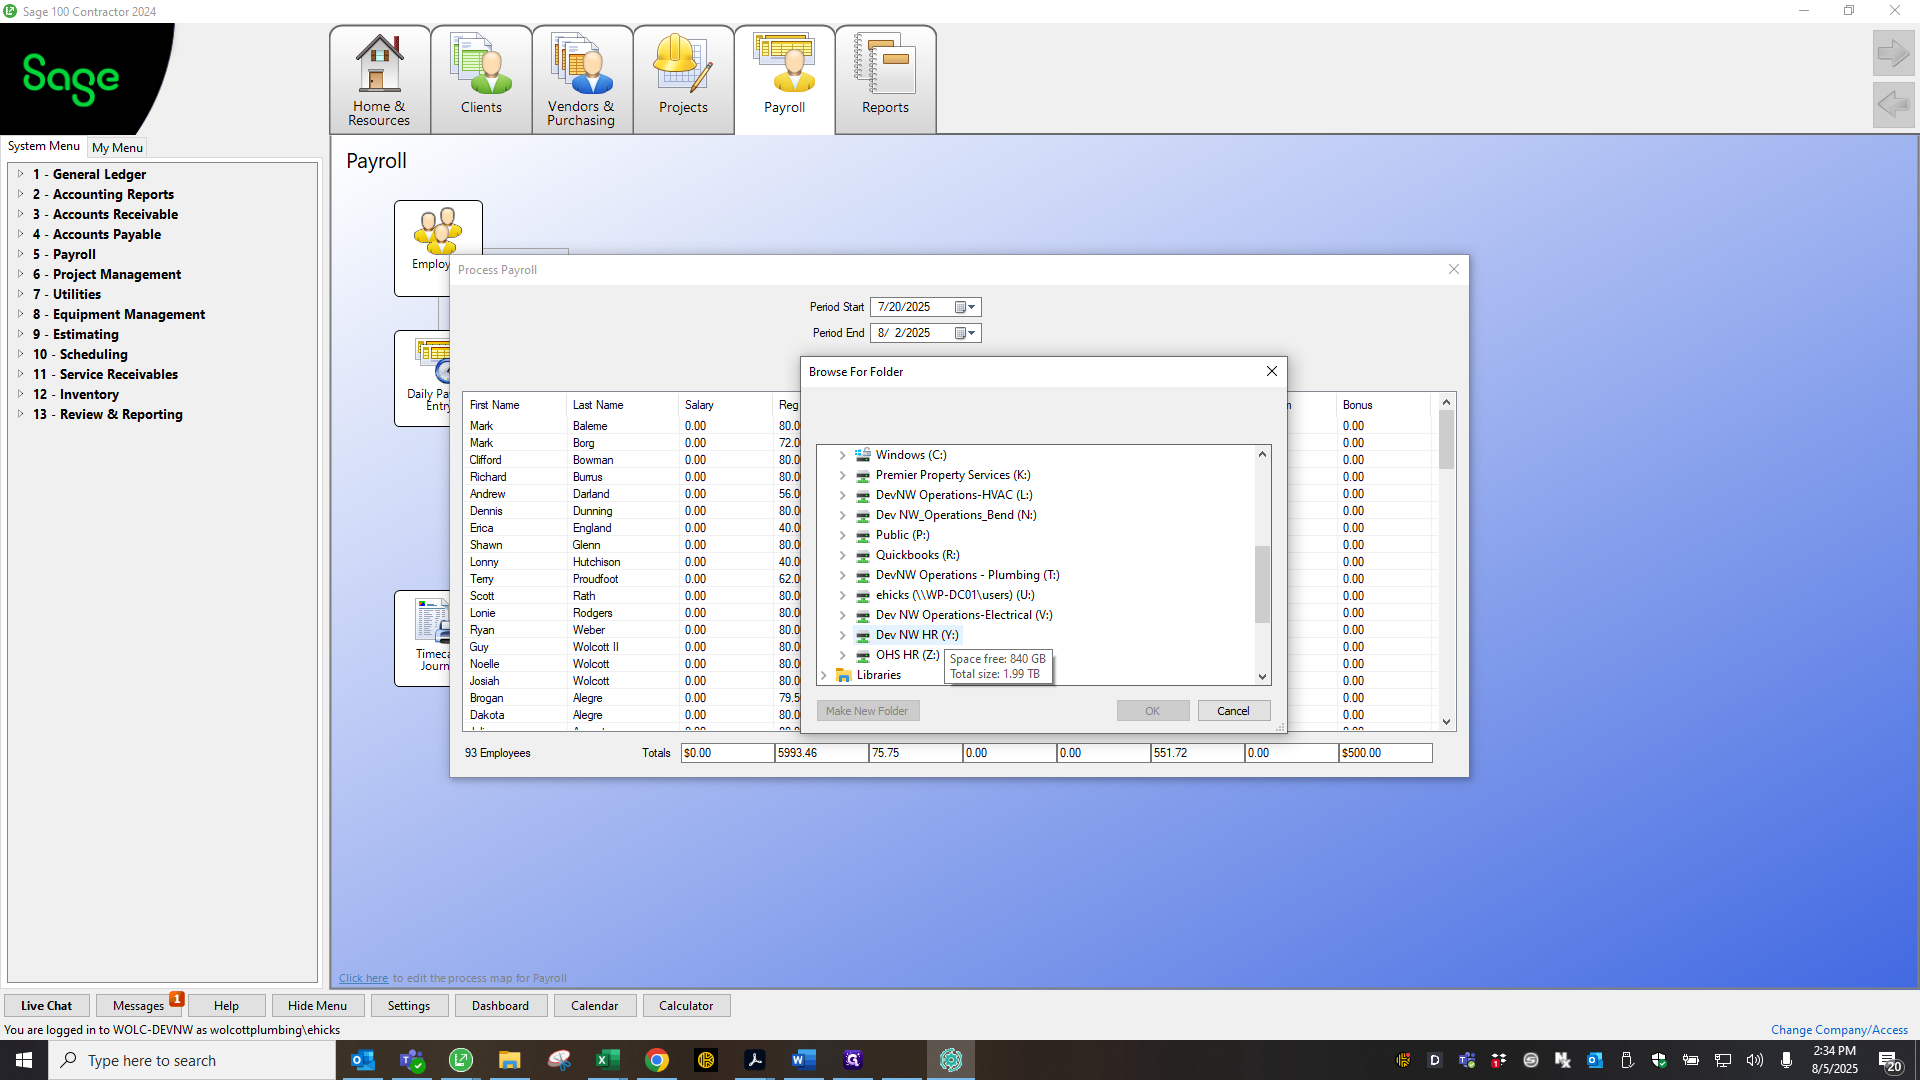
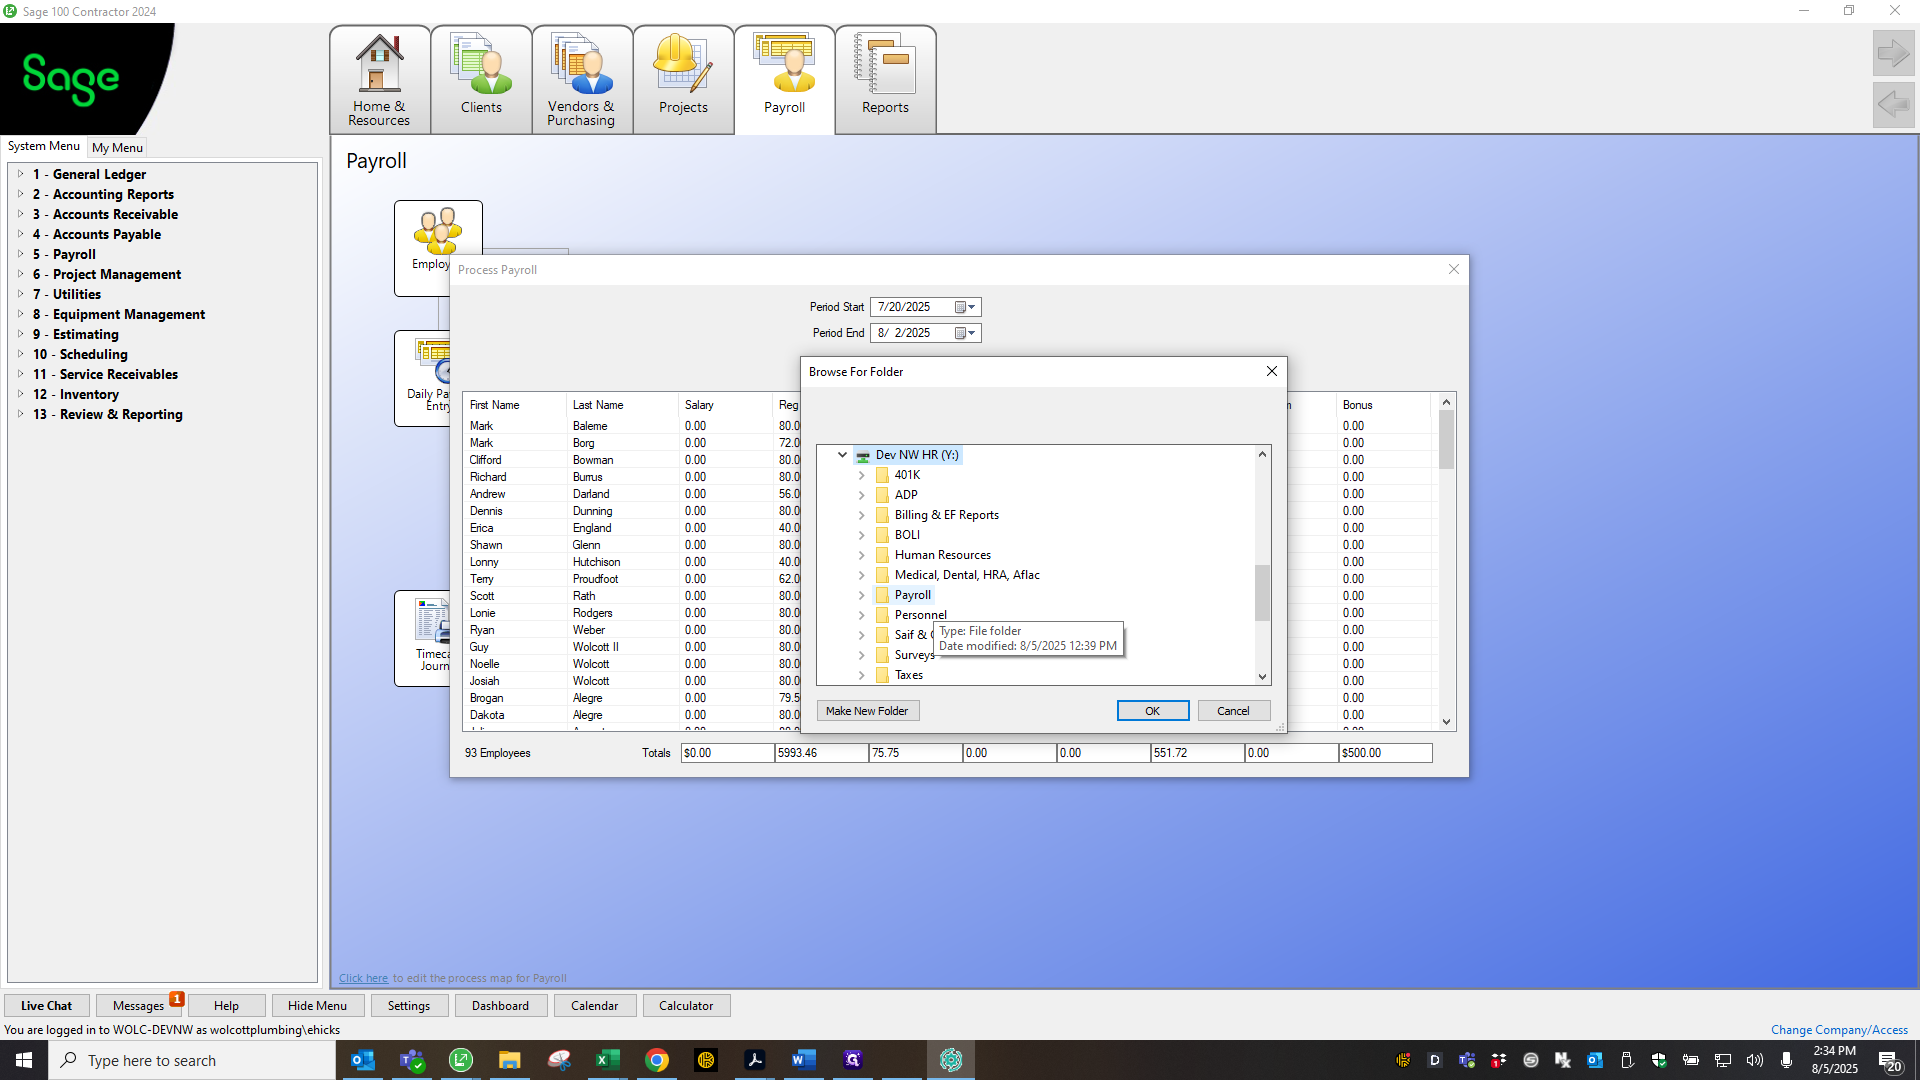
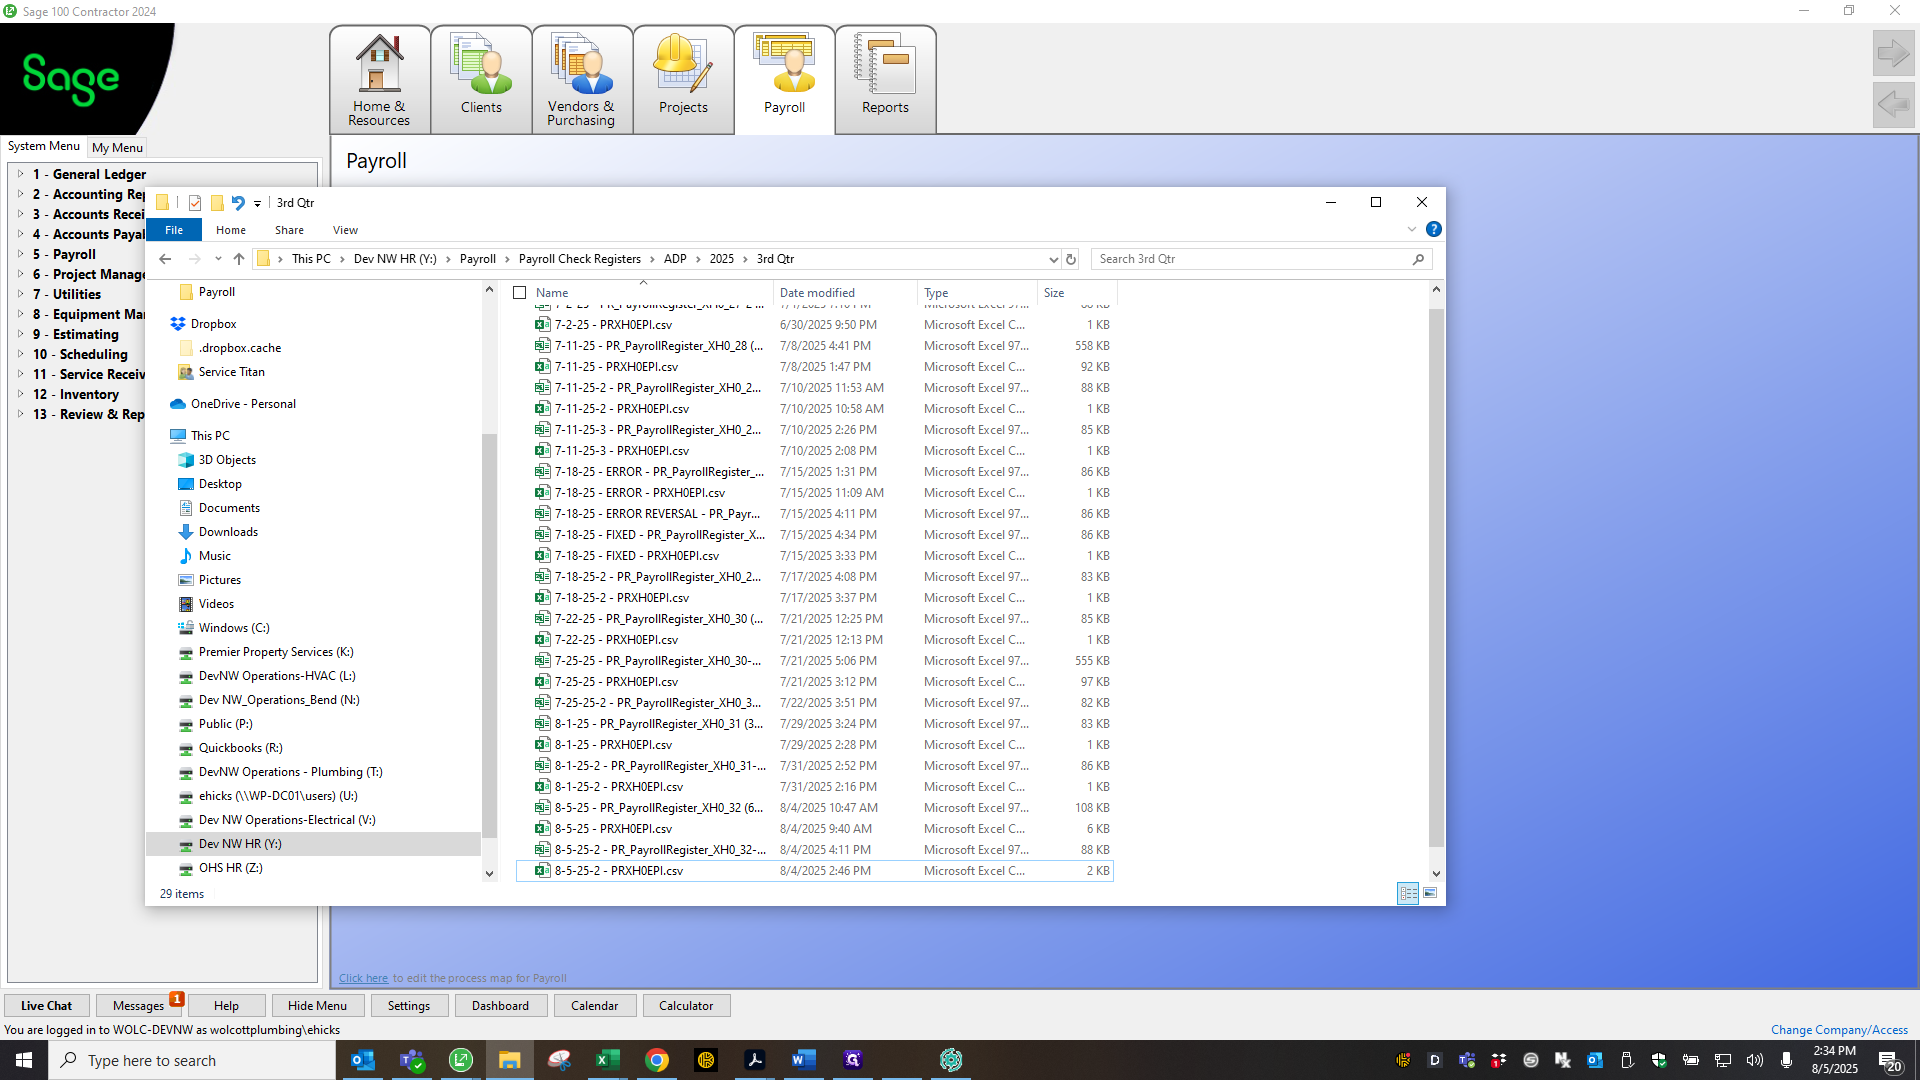
Hello. We are continuing with payroll processes. After reviewing and cleaning all the records, and making any necessary fixes, I also have a folder under payroll.

1
Click here
Step #1: Click here
2
Drag here
Step #2: Drag here
3
Click on "deductions folder - NEVER delete"
Step #3: Click on "deductions folder - NEVER delete"
4
Click on "Payroll"
Step #4: Click on "Payroll"

Never delete the payroll deductions folder.

5
Double-click on "ADP misc"
Step #5: Double-click on "ADP misc"

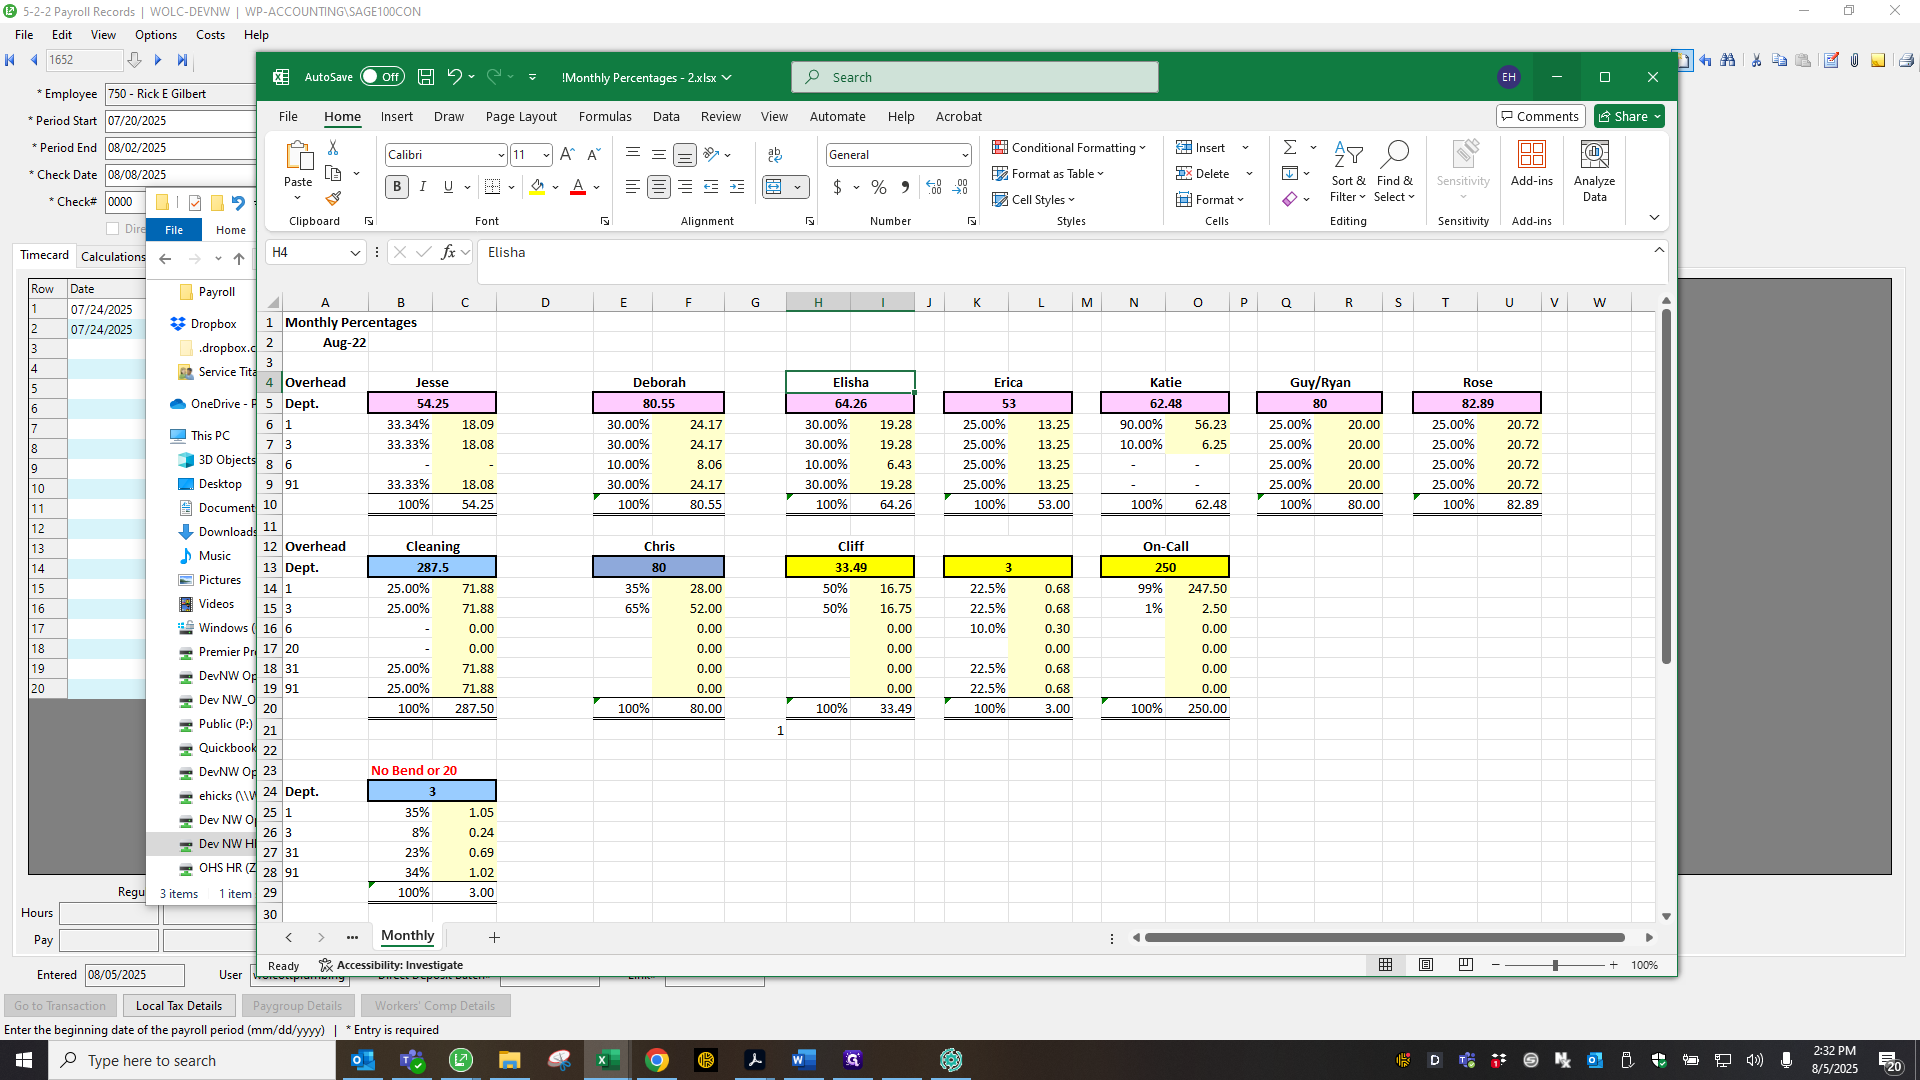
I triple-check any raises to ensure they are correctly entered into SAGE and make adjustments as needed. I do this every payroll by reviewing that folder.

6
Double-click on "Raise forms - PTO"
Step #6: Double-click on "Raise forms - PTO"
7
Click on "payroll deductions folder - NEVER delete > Due with Payroll - Raise forms - PTO - triple check"
Step #7: Click on "payroll deductions folder - NEVER delete > Due with Payroll - Raise forms - PTO - triple check"

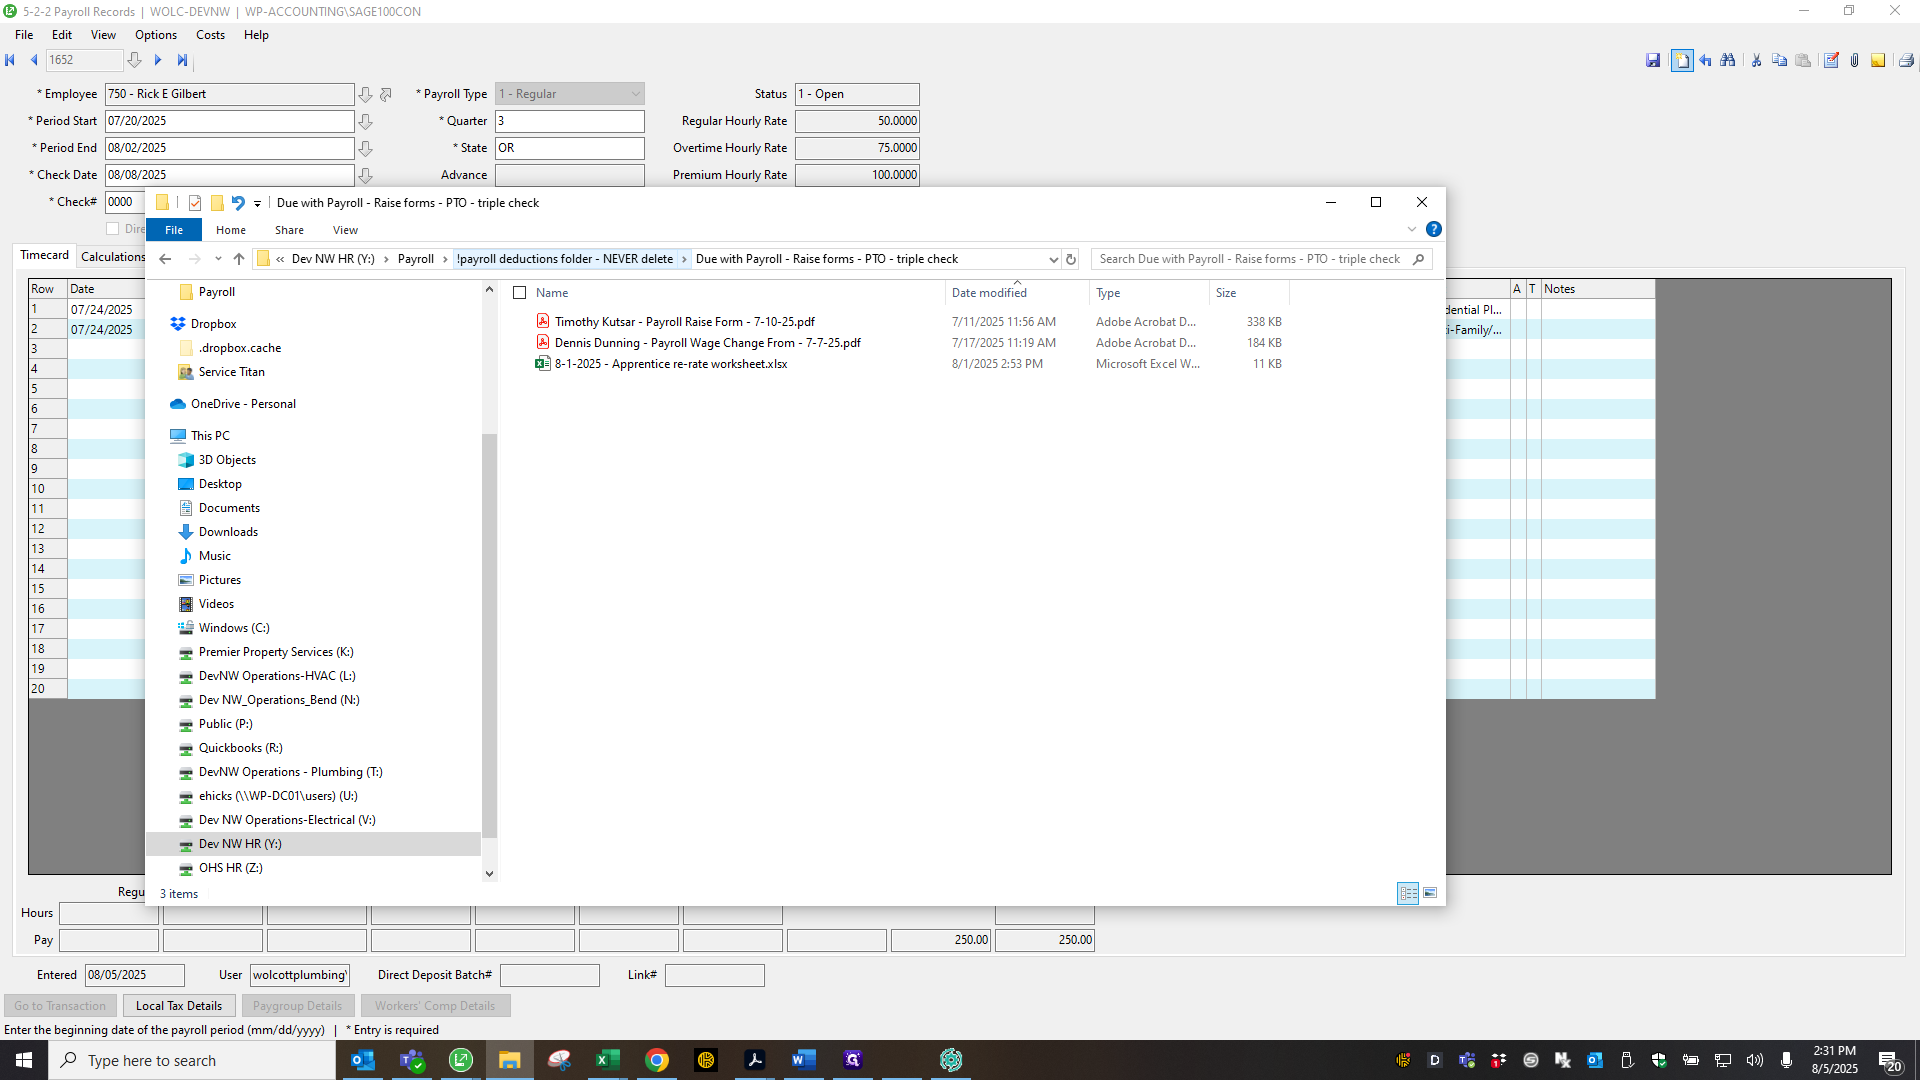
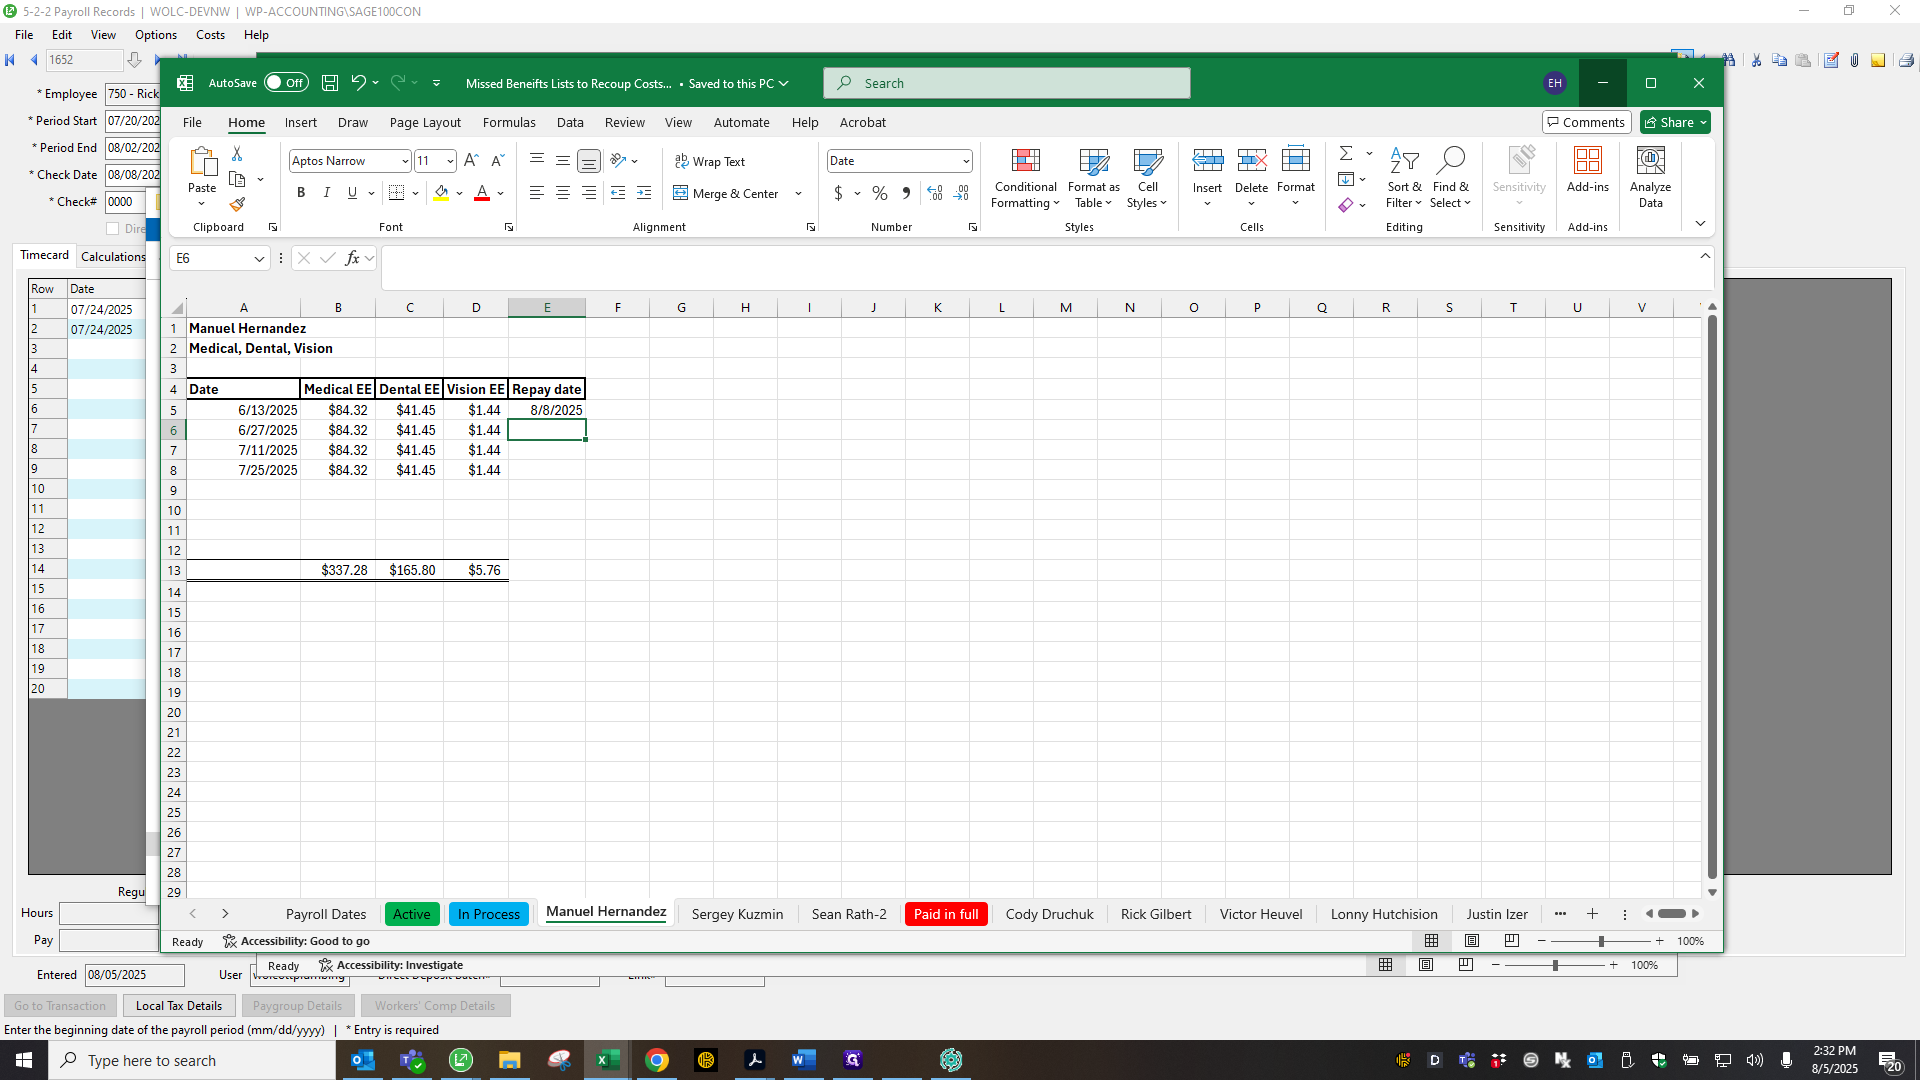
Also, check every payroll in this folder for employees who have been on leave.

8
Double-click on "Due with Payroll - Medical & Dental Reimbursements"
Step #8: Double-click on "Due with Payroll - Medical & Dental Reimbursements"
9
Double-click on "Lists"
Step #9: Double-click on "Lists"
10
Drag here
Step #10: Drag here

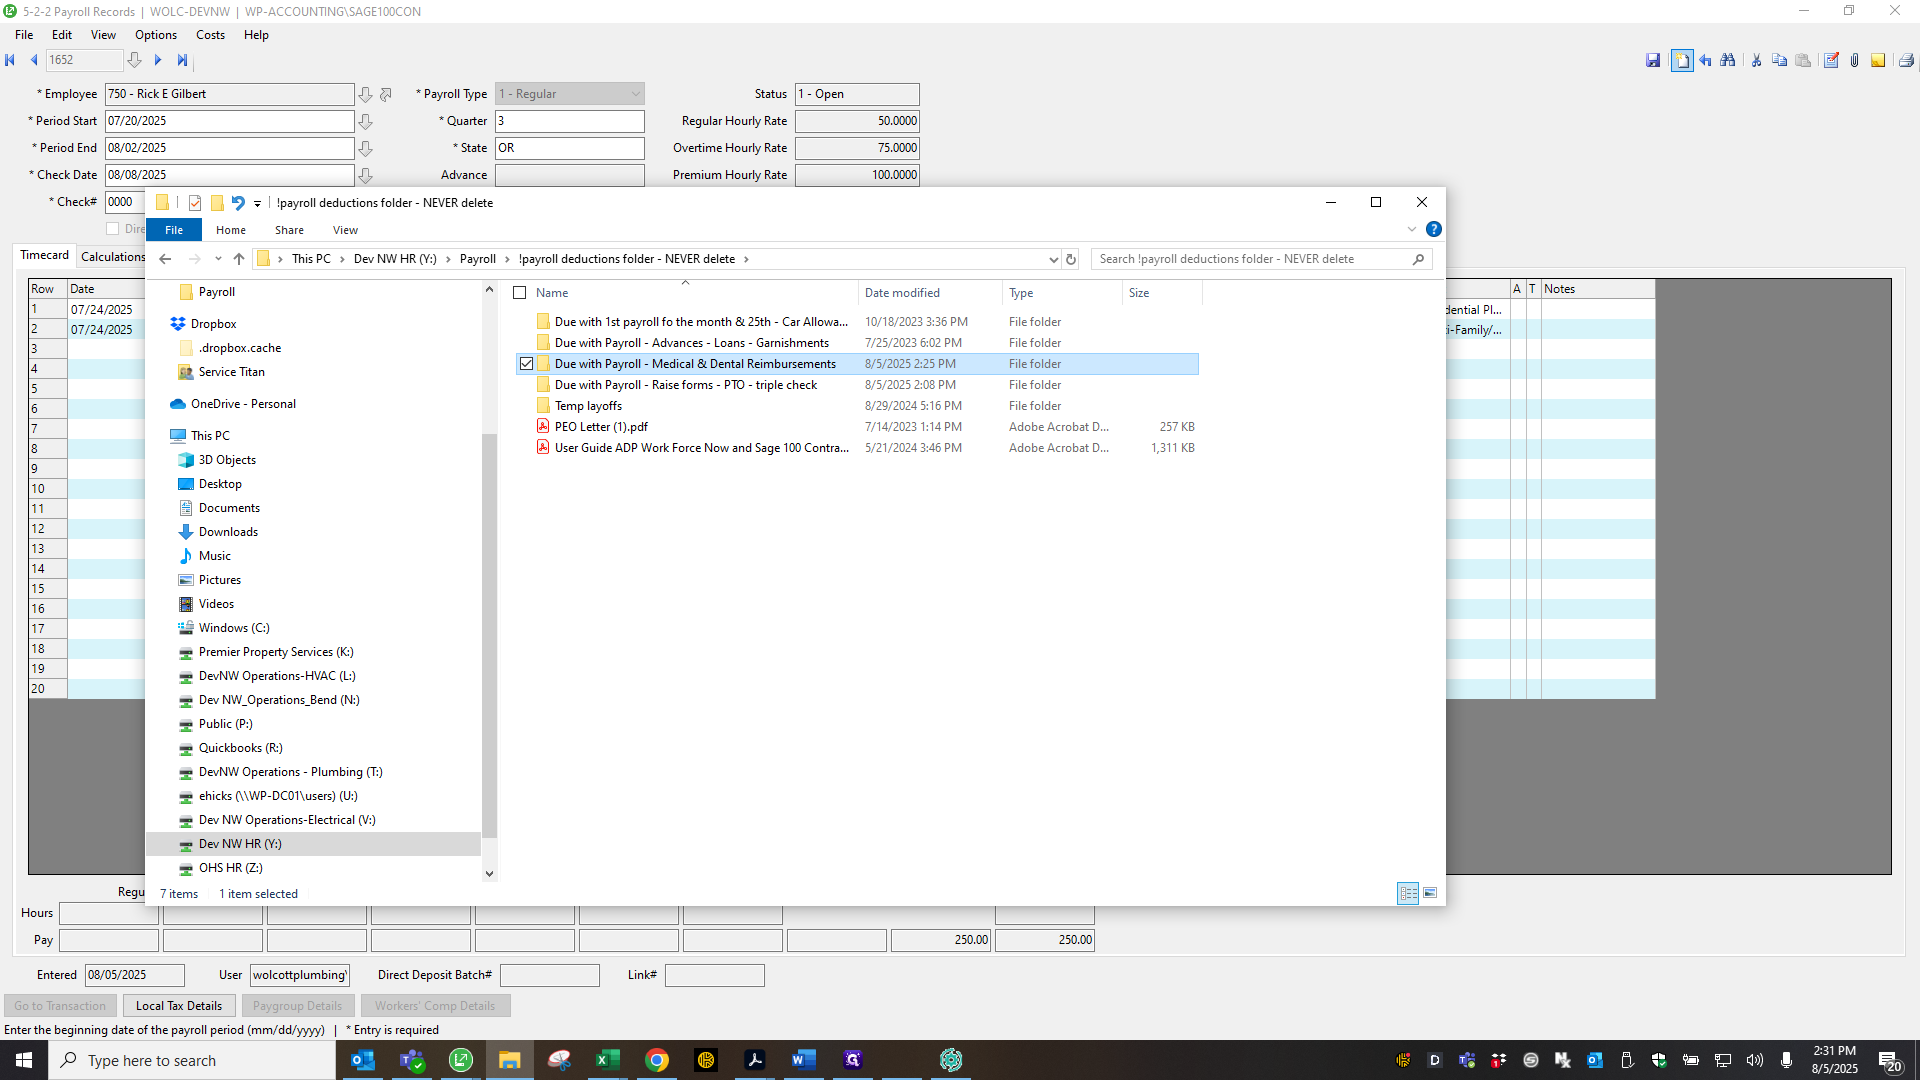
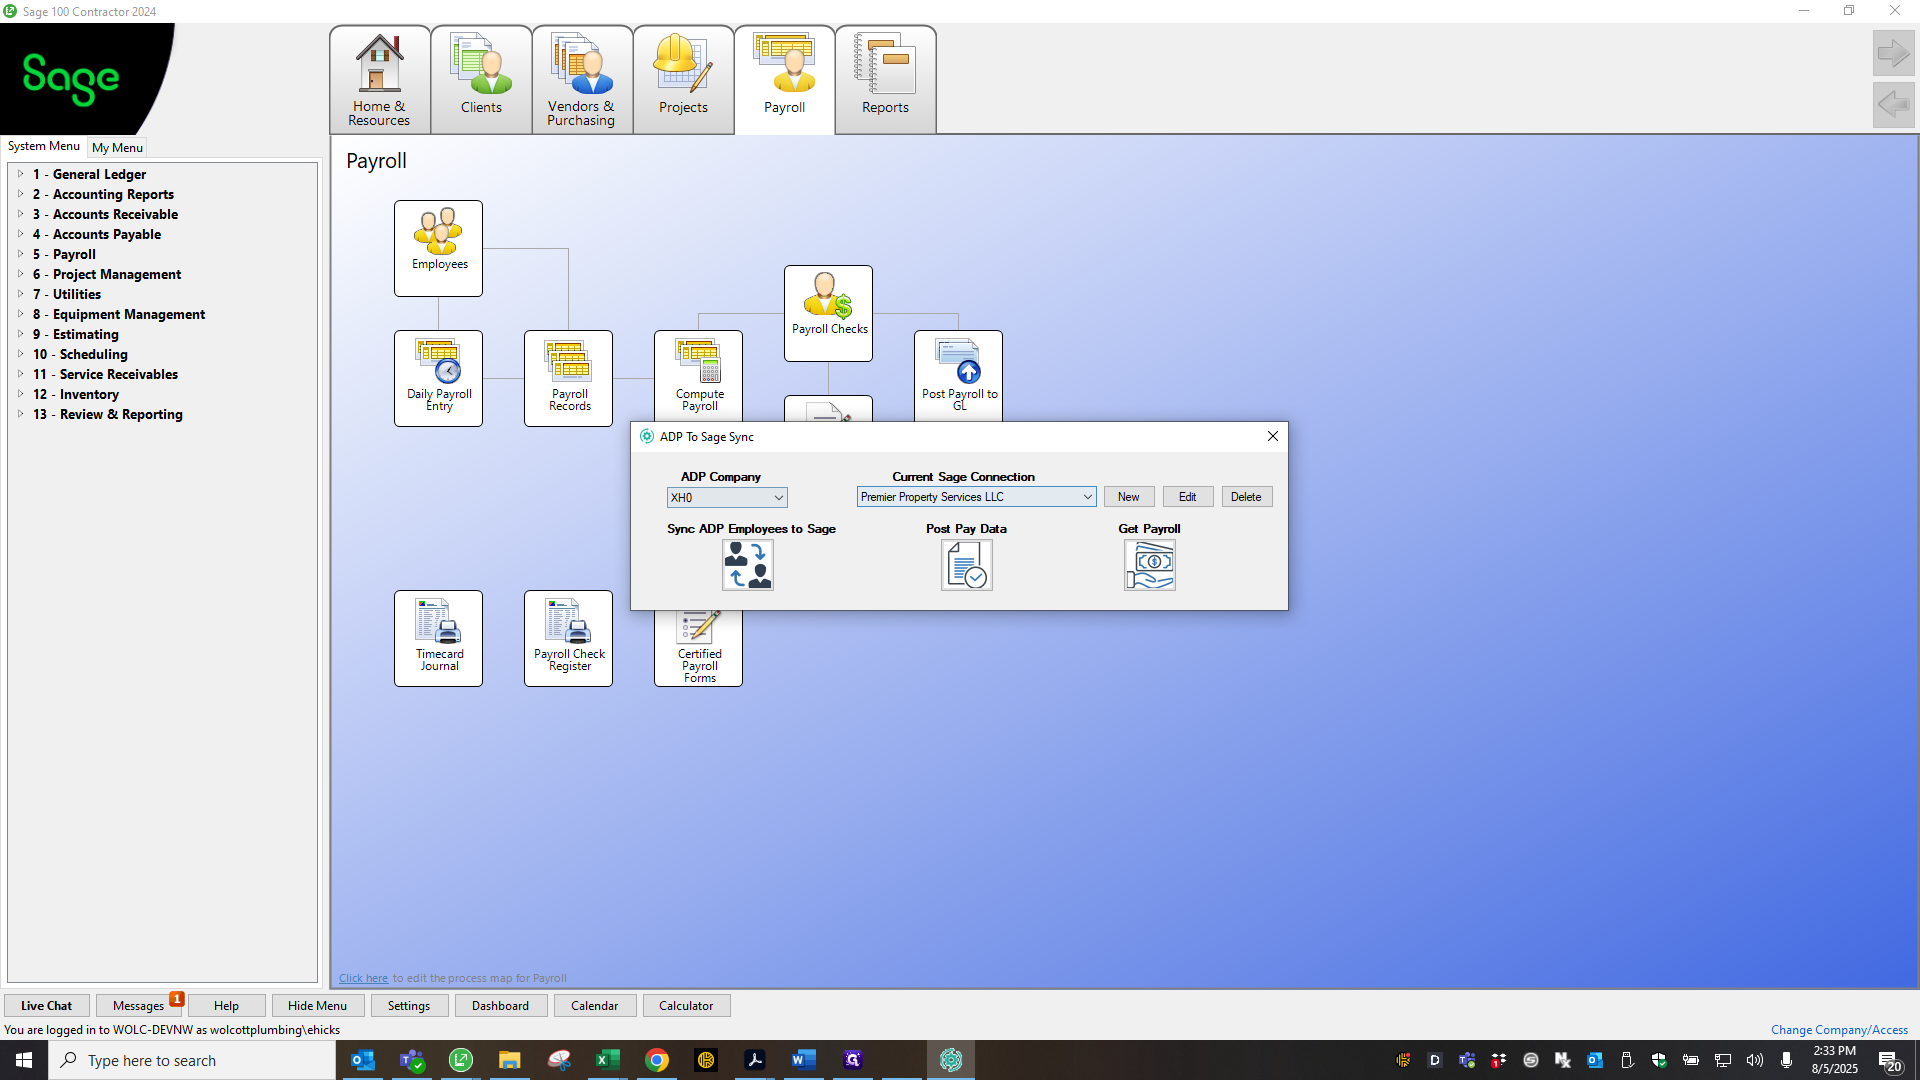
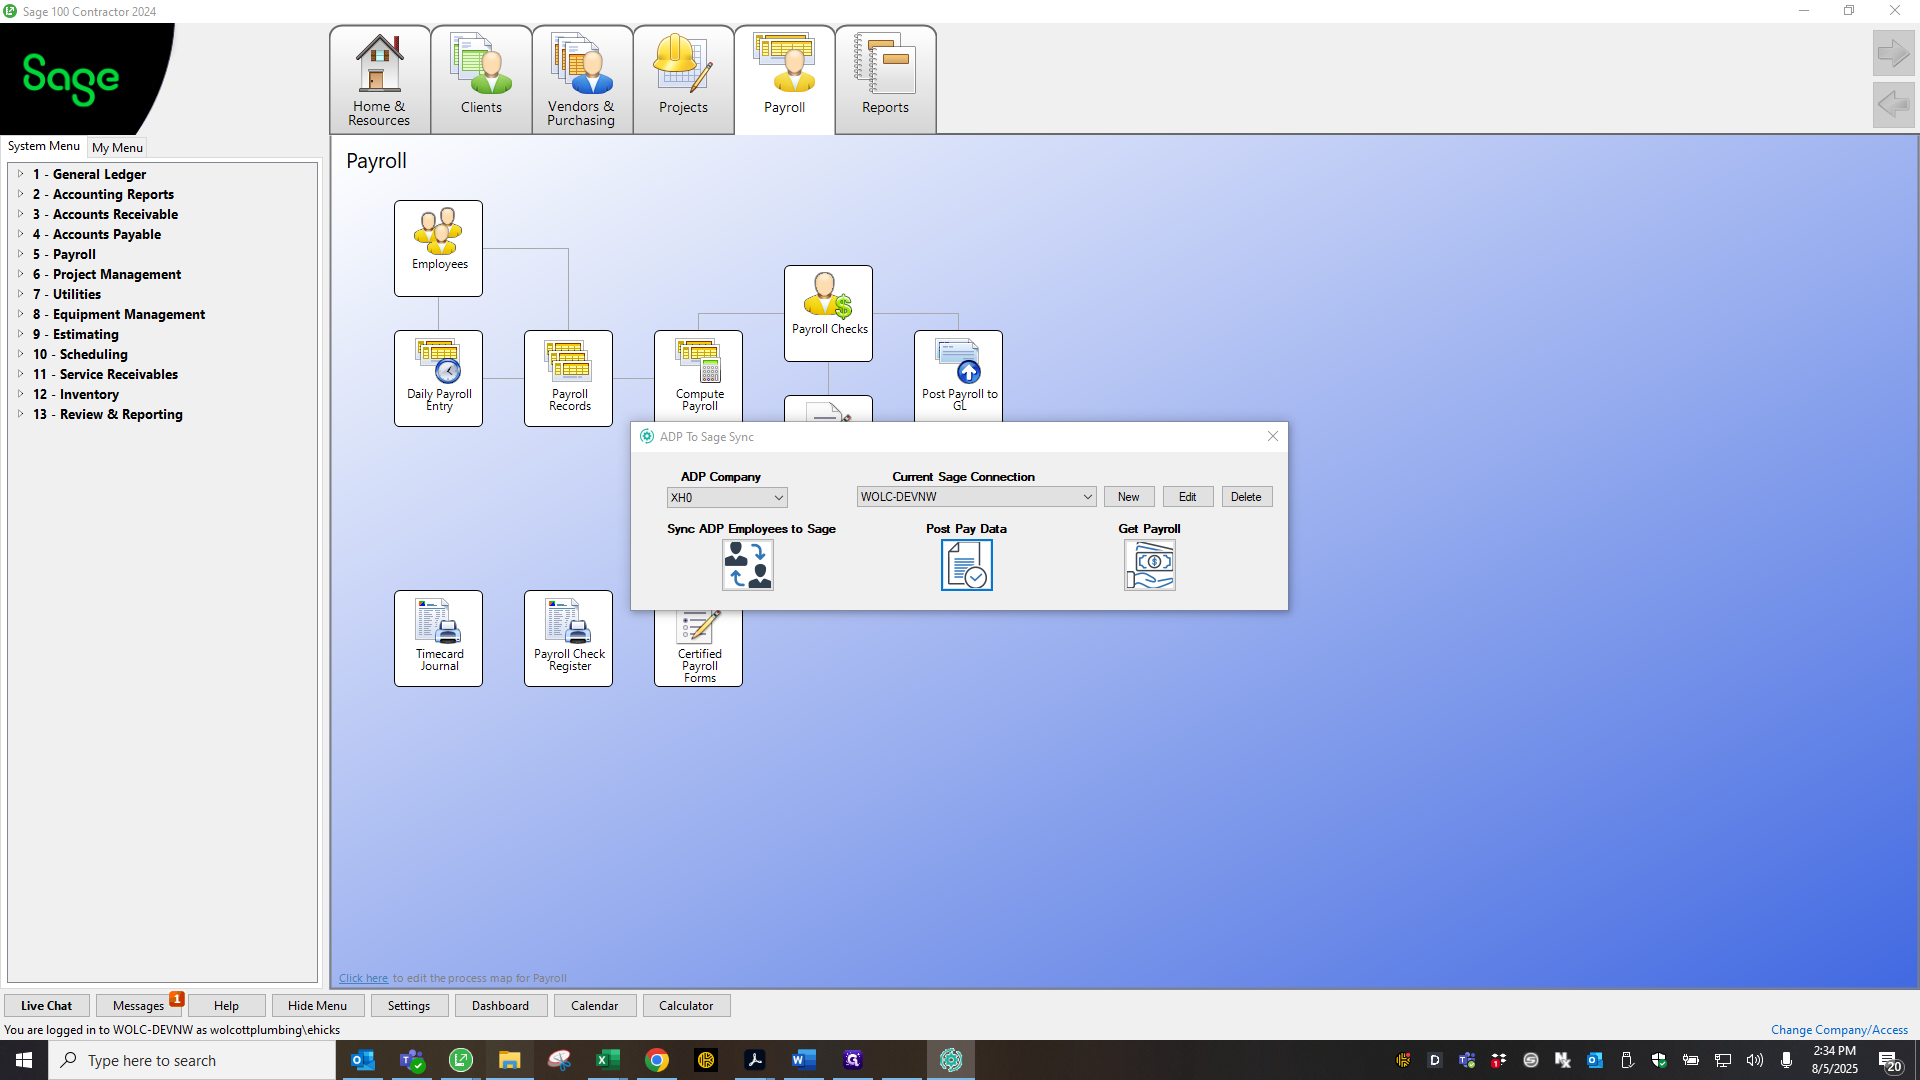
I keep track of their benefits to recover those costs. After everything is set up, open the ADP to SAGE sync program.

11
Click here
Step #11: Click here
12
Click here
Step #12: Click here
13
Click here
Step #13: Click here
14
Click here
Step #14: Click here
15
Click here
Step #15: Click here
16
Click here
Step #16: Click here

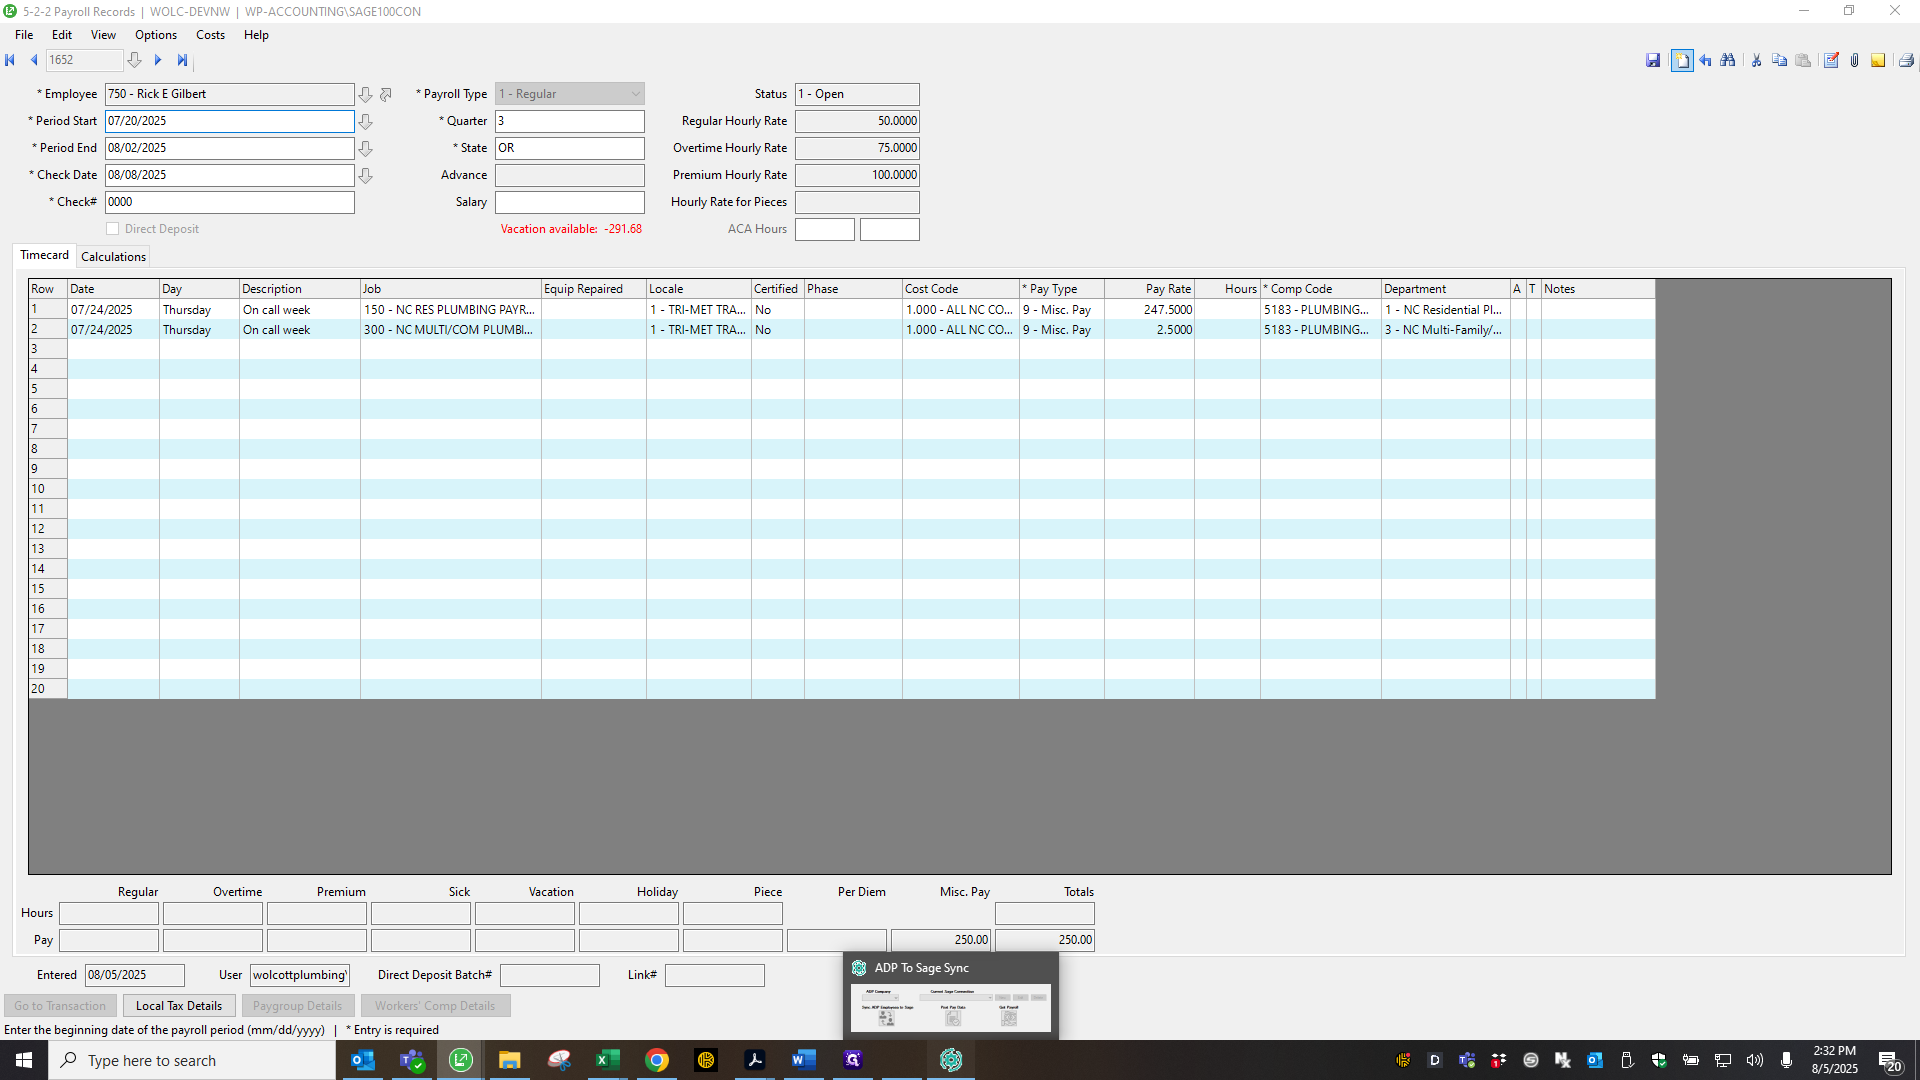
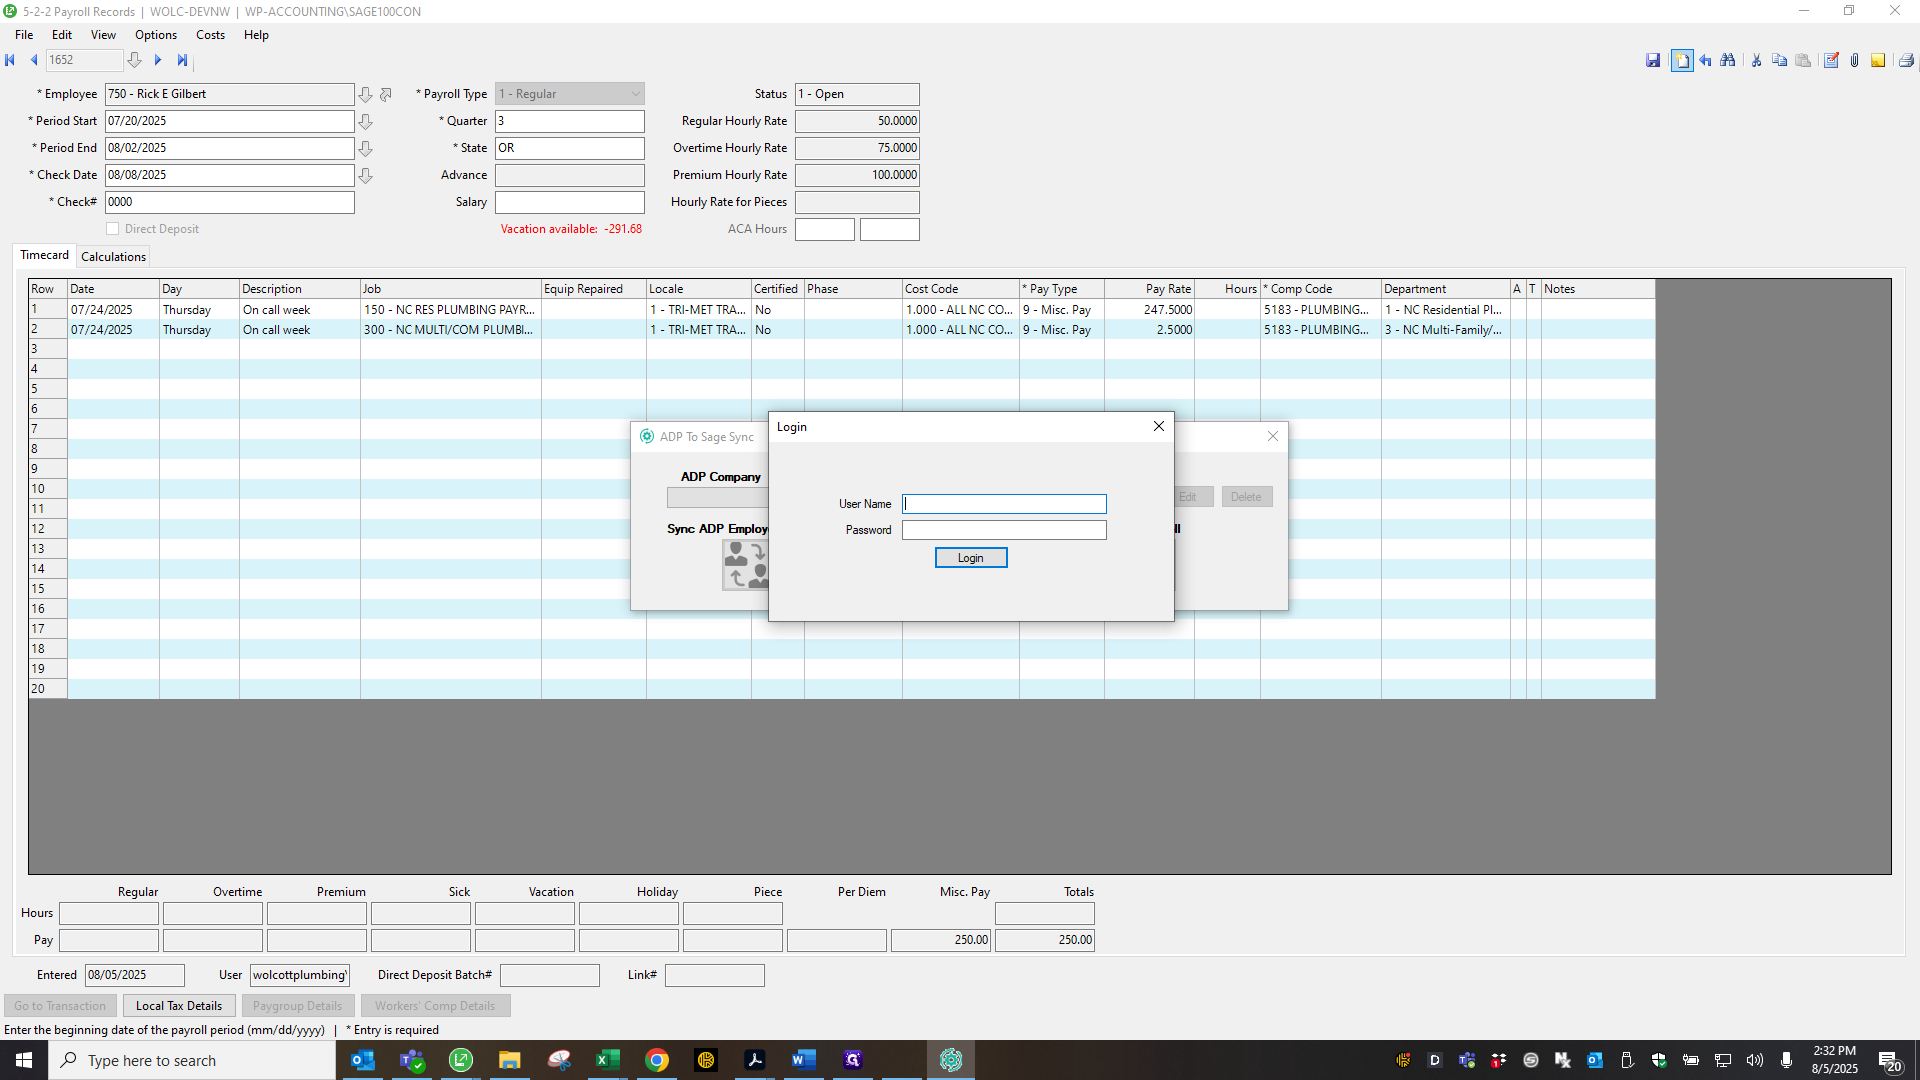
We need to install this on Deborah's computer. Oops. Sorry, let me go back.

17
Type "WPdevnw + TabWPwp22!! + Enter"
18
Click here
Step #18: Click here

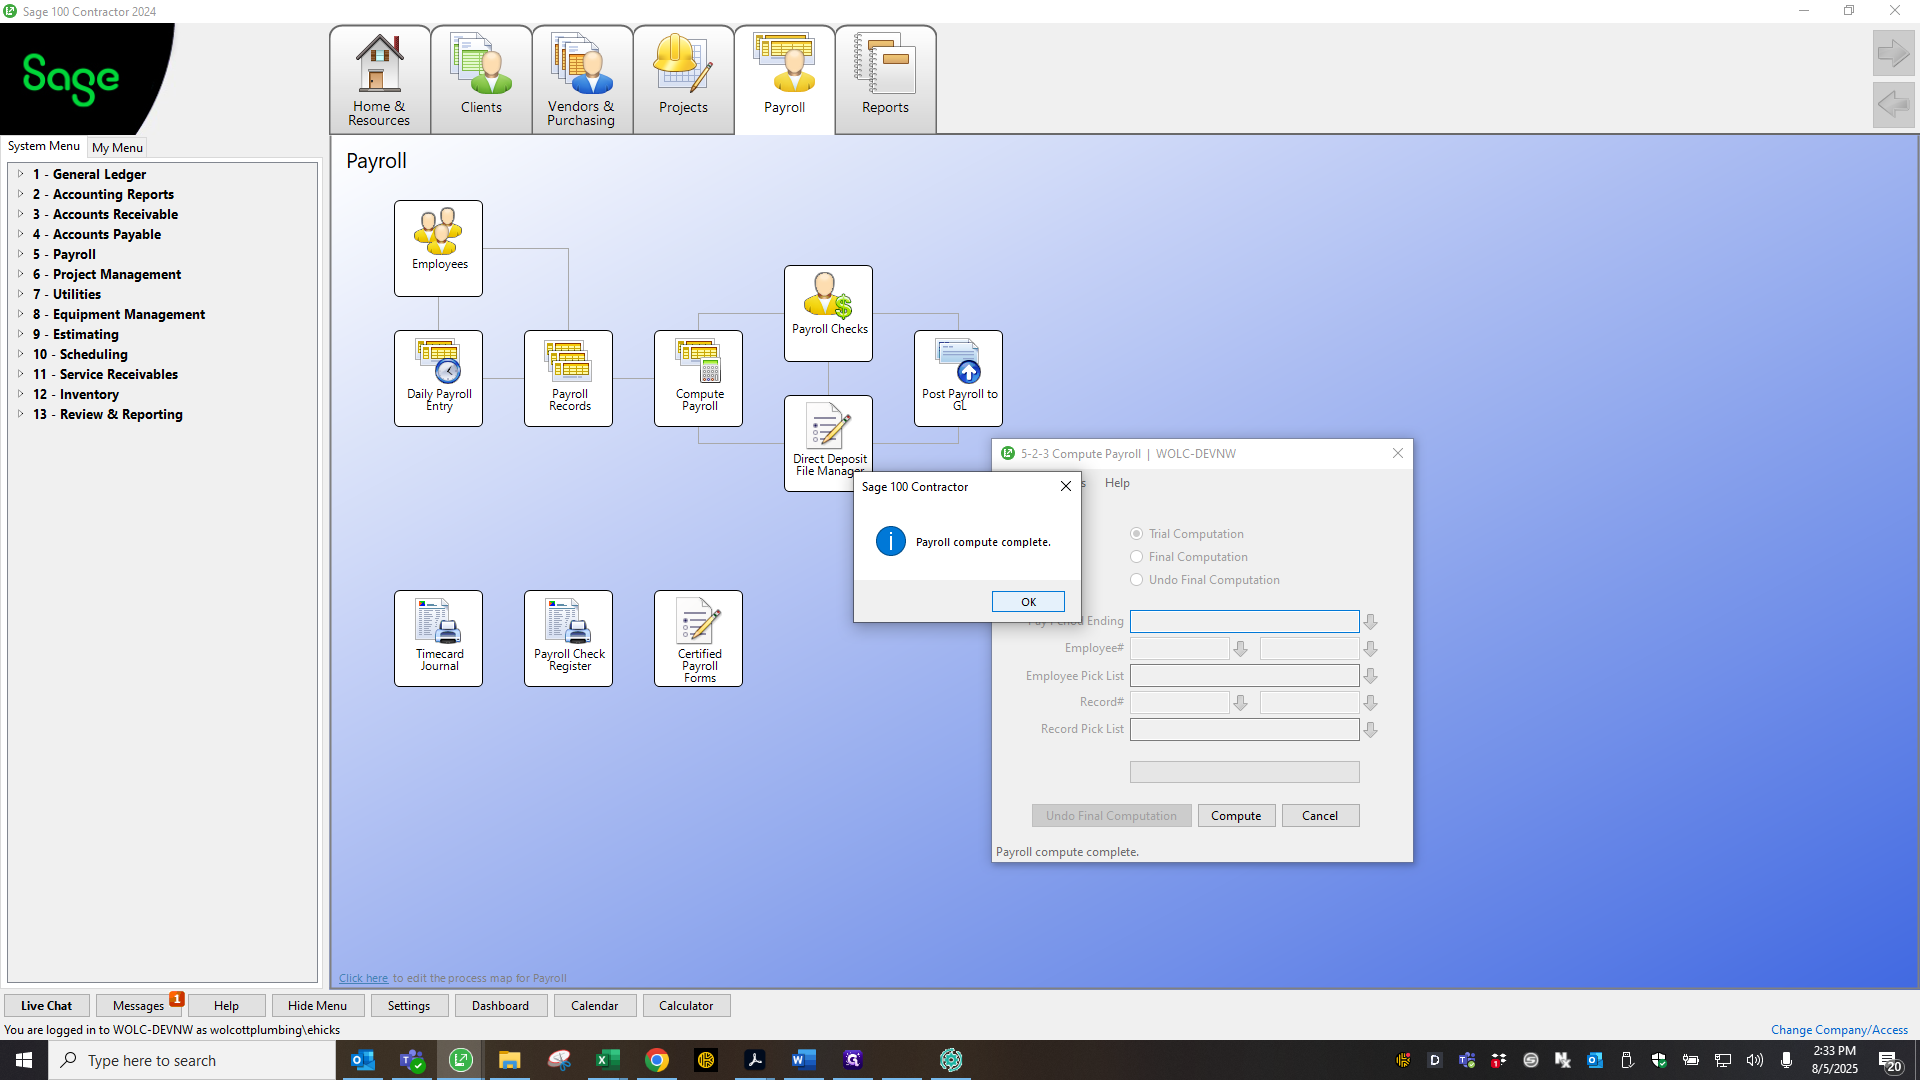
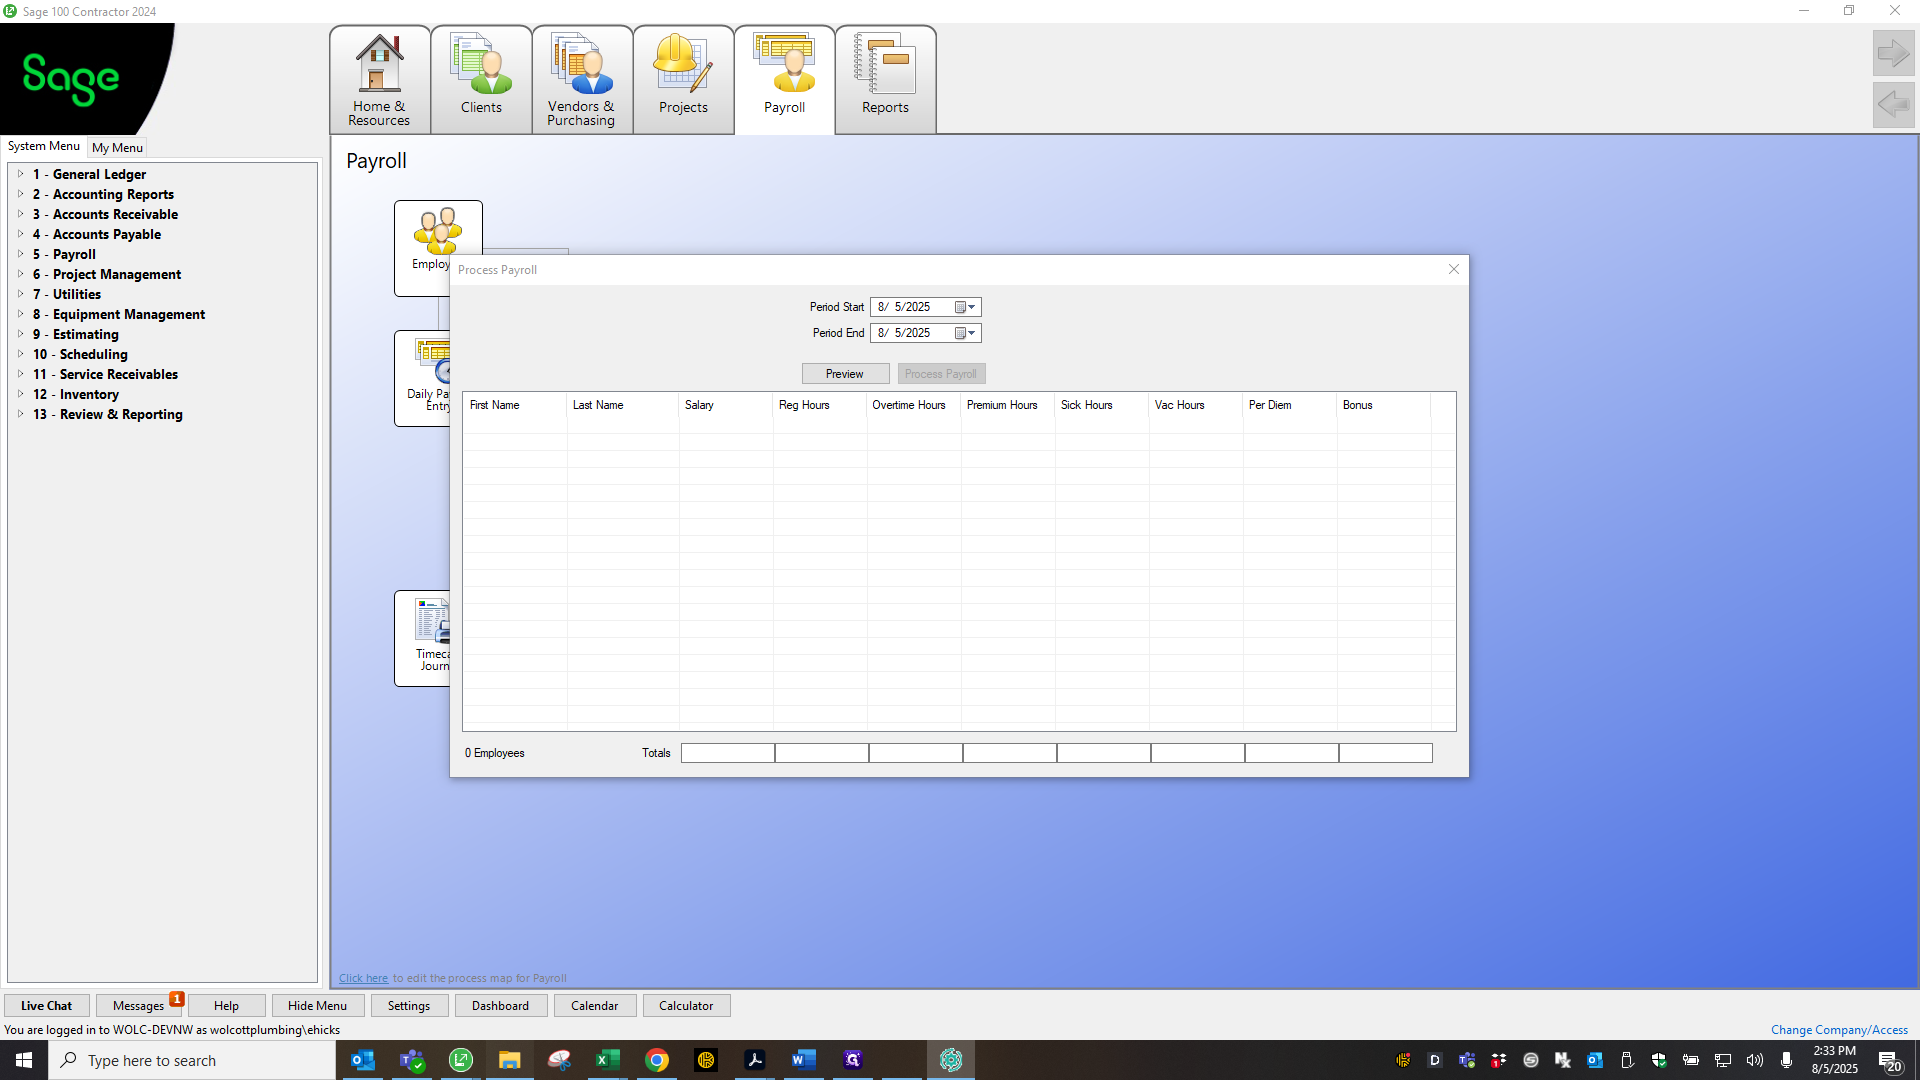
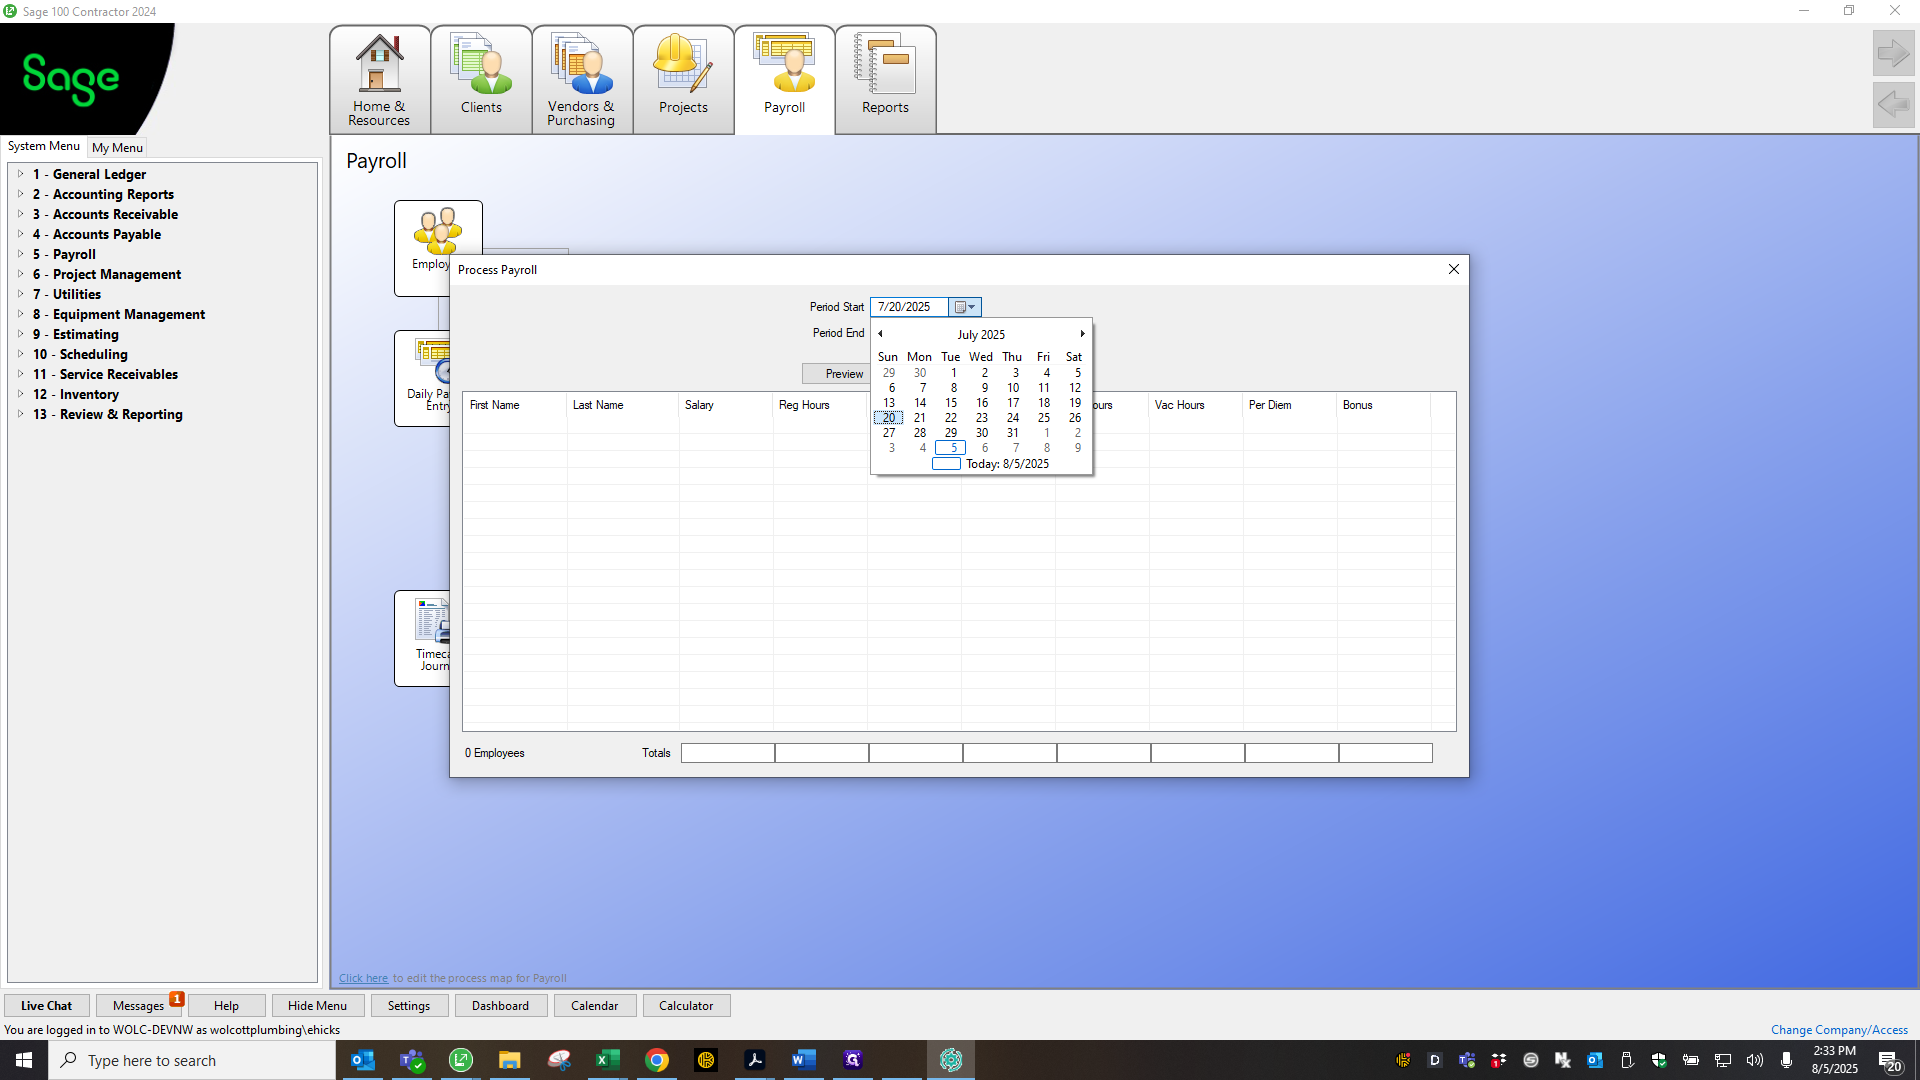
After you've finished squaring up, be sure to trial compute everything.

19
Click here
Step #19: Click here
20
Click here
Step #20: Click here
21
Double-click here
Step #21: Double-click here
22
Click on "Compute"
Step #22: Click on "Compute"
23
Click on "OK"
Step #23: Click on "OK"

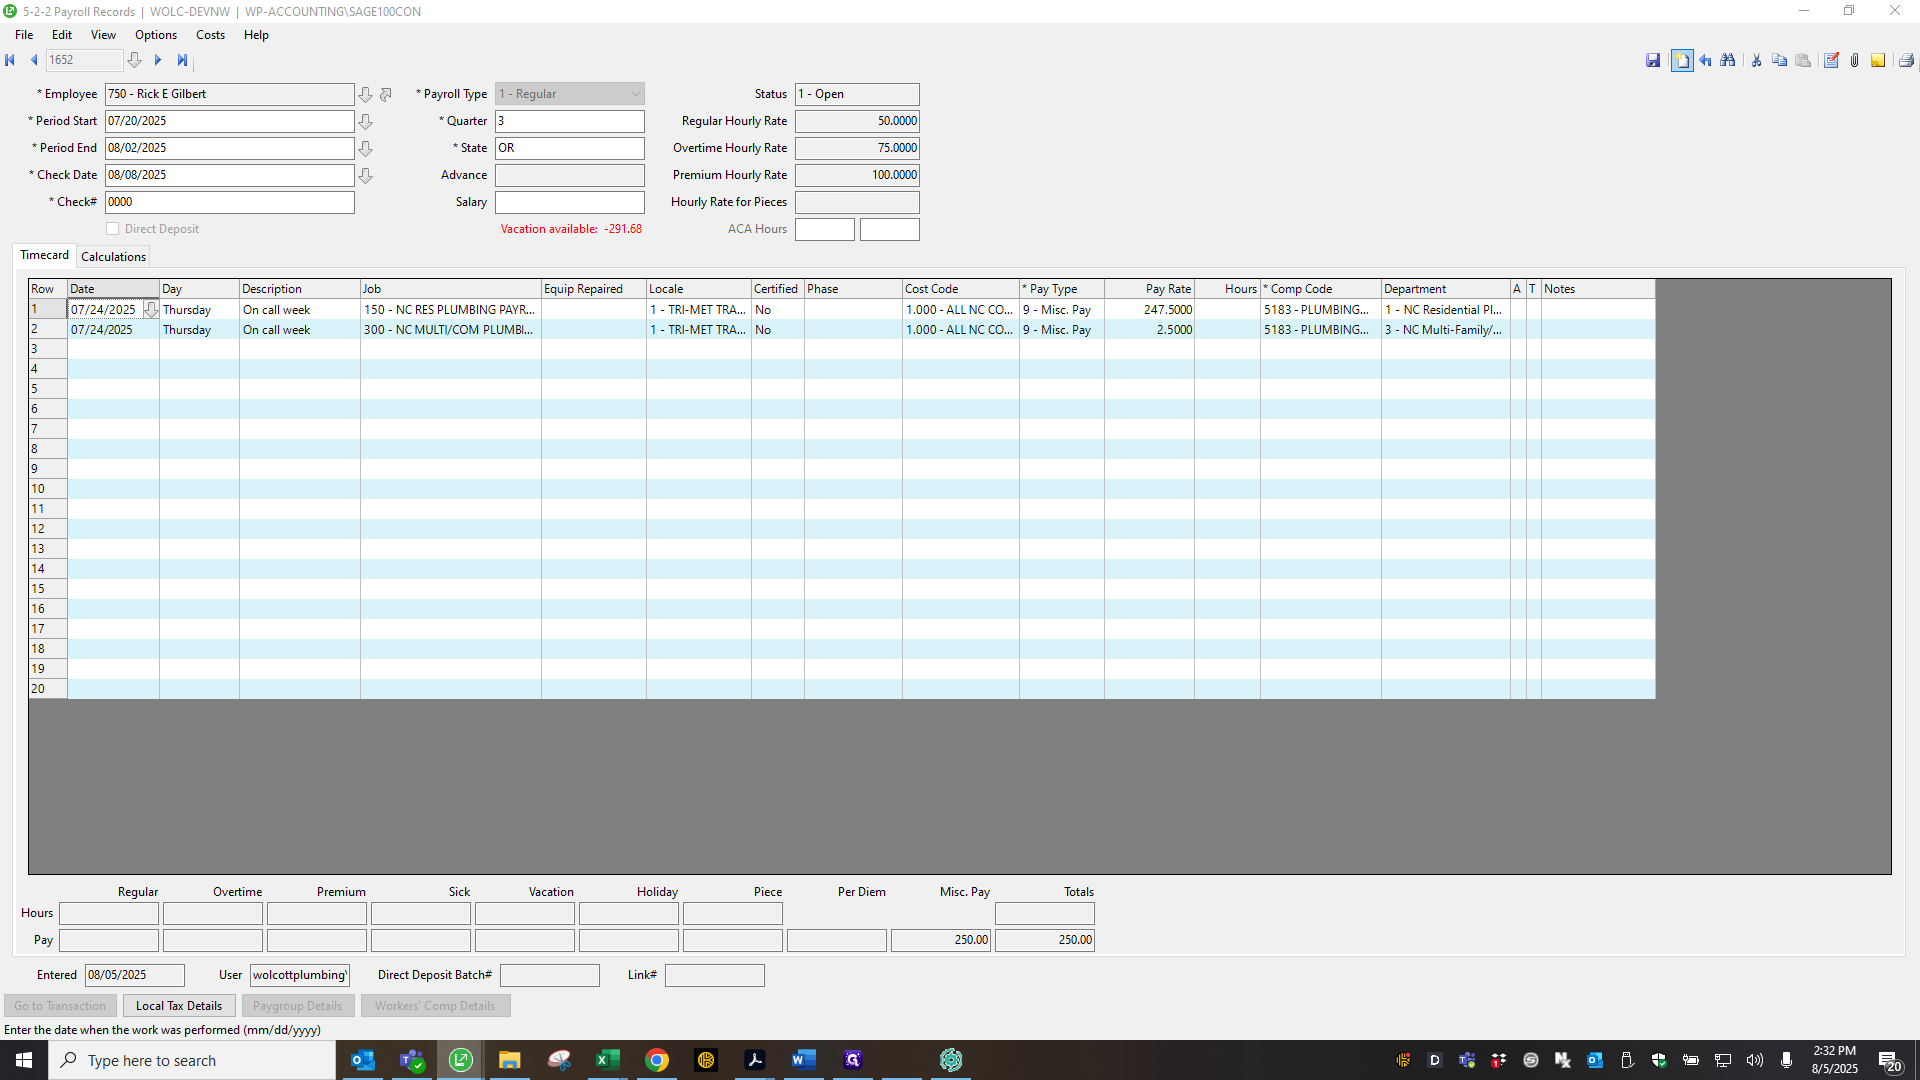
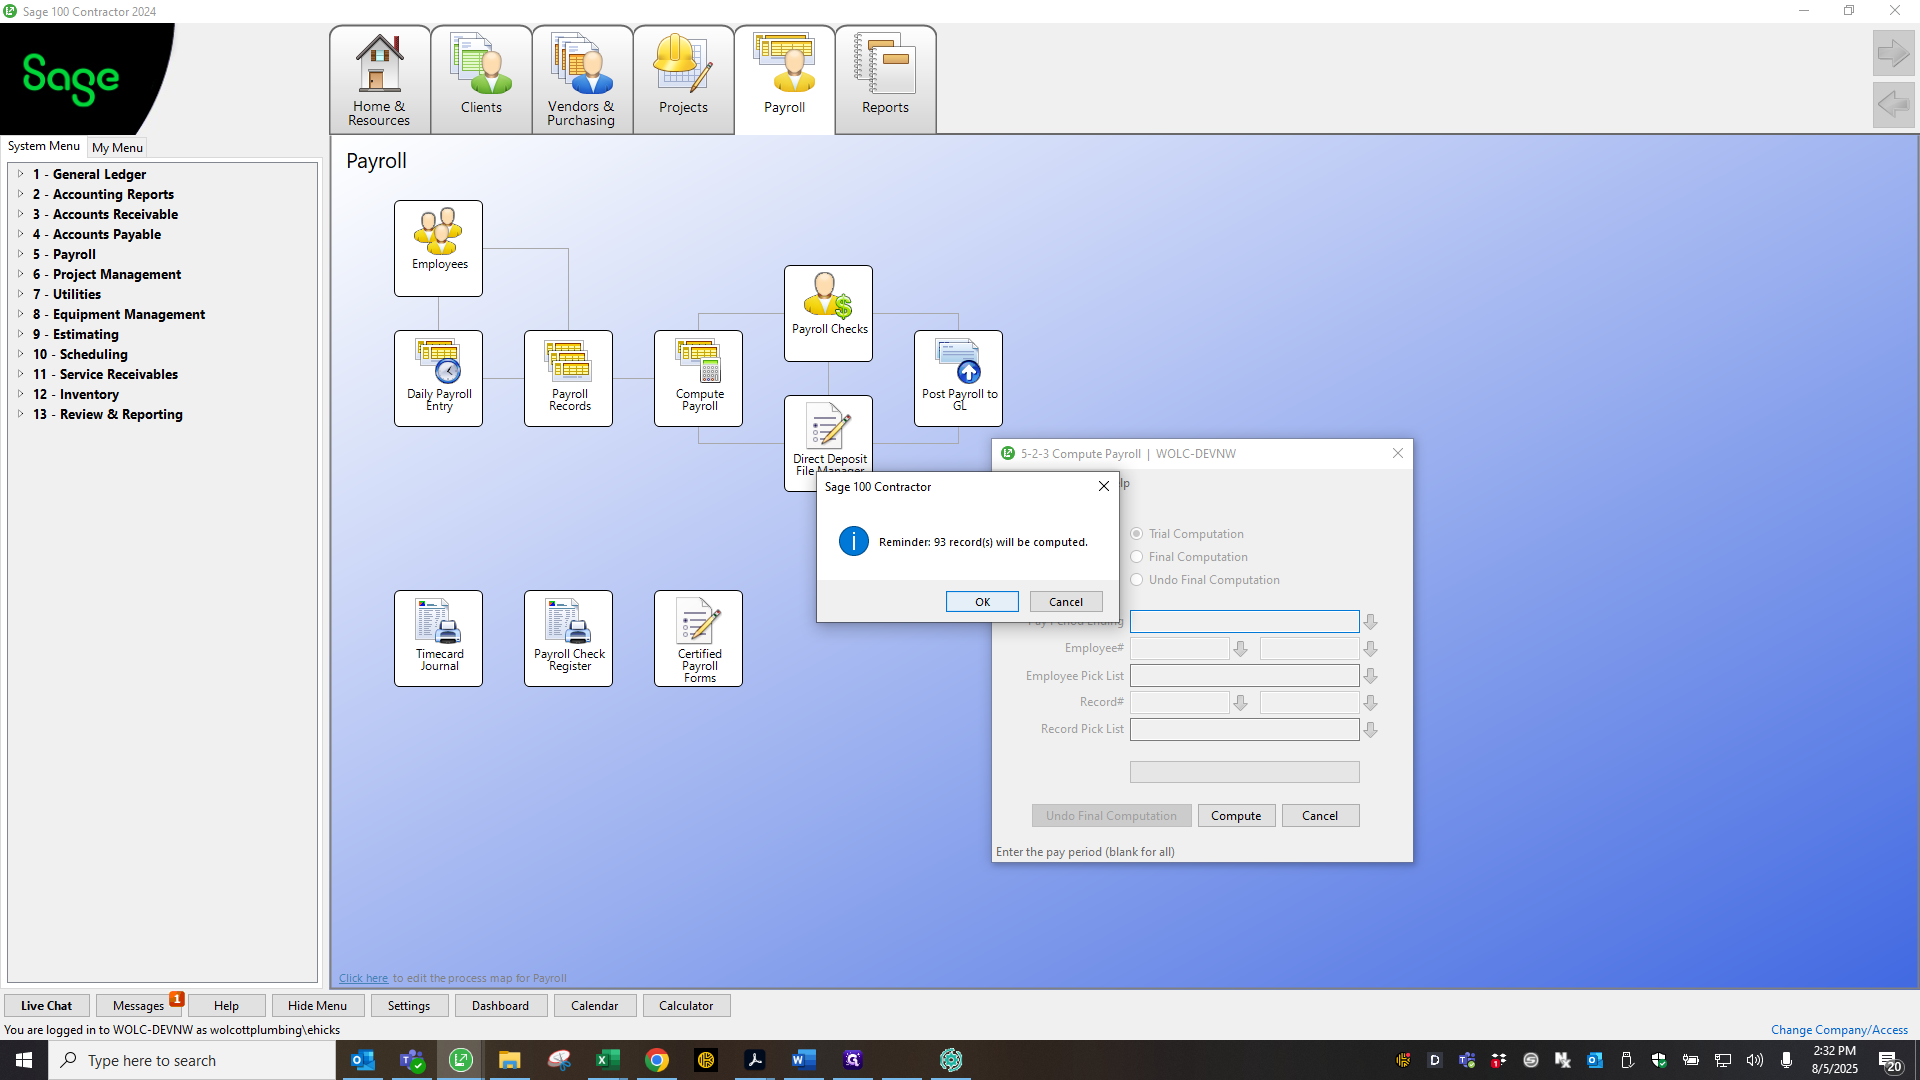
If trial compute has not been completed and you process payroll to ADP and try to sync it back, it will not work. You can fix it by doing a trial compute and syncing again. I usually make sure to do this beforehand.

24
Click on "OK"
Step #24: Click on "OK"
25
Click here
Step #25: Click here

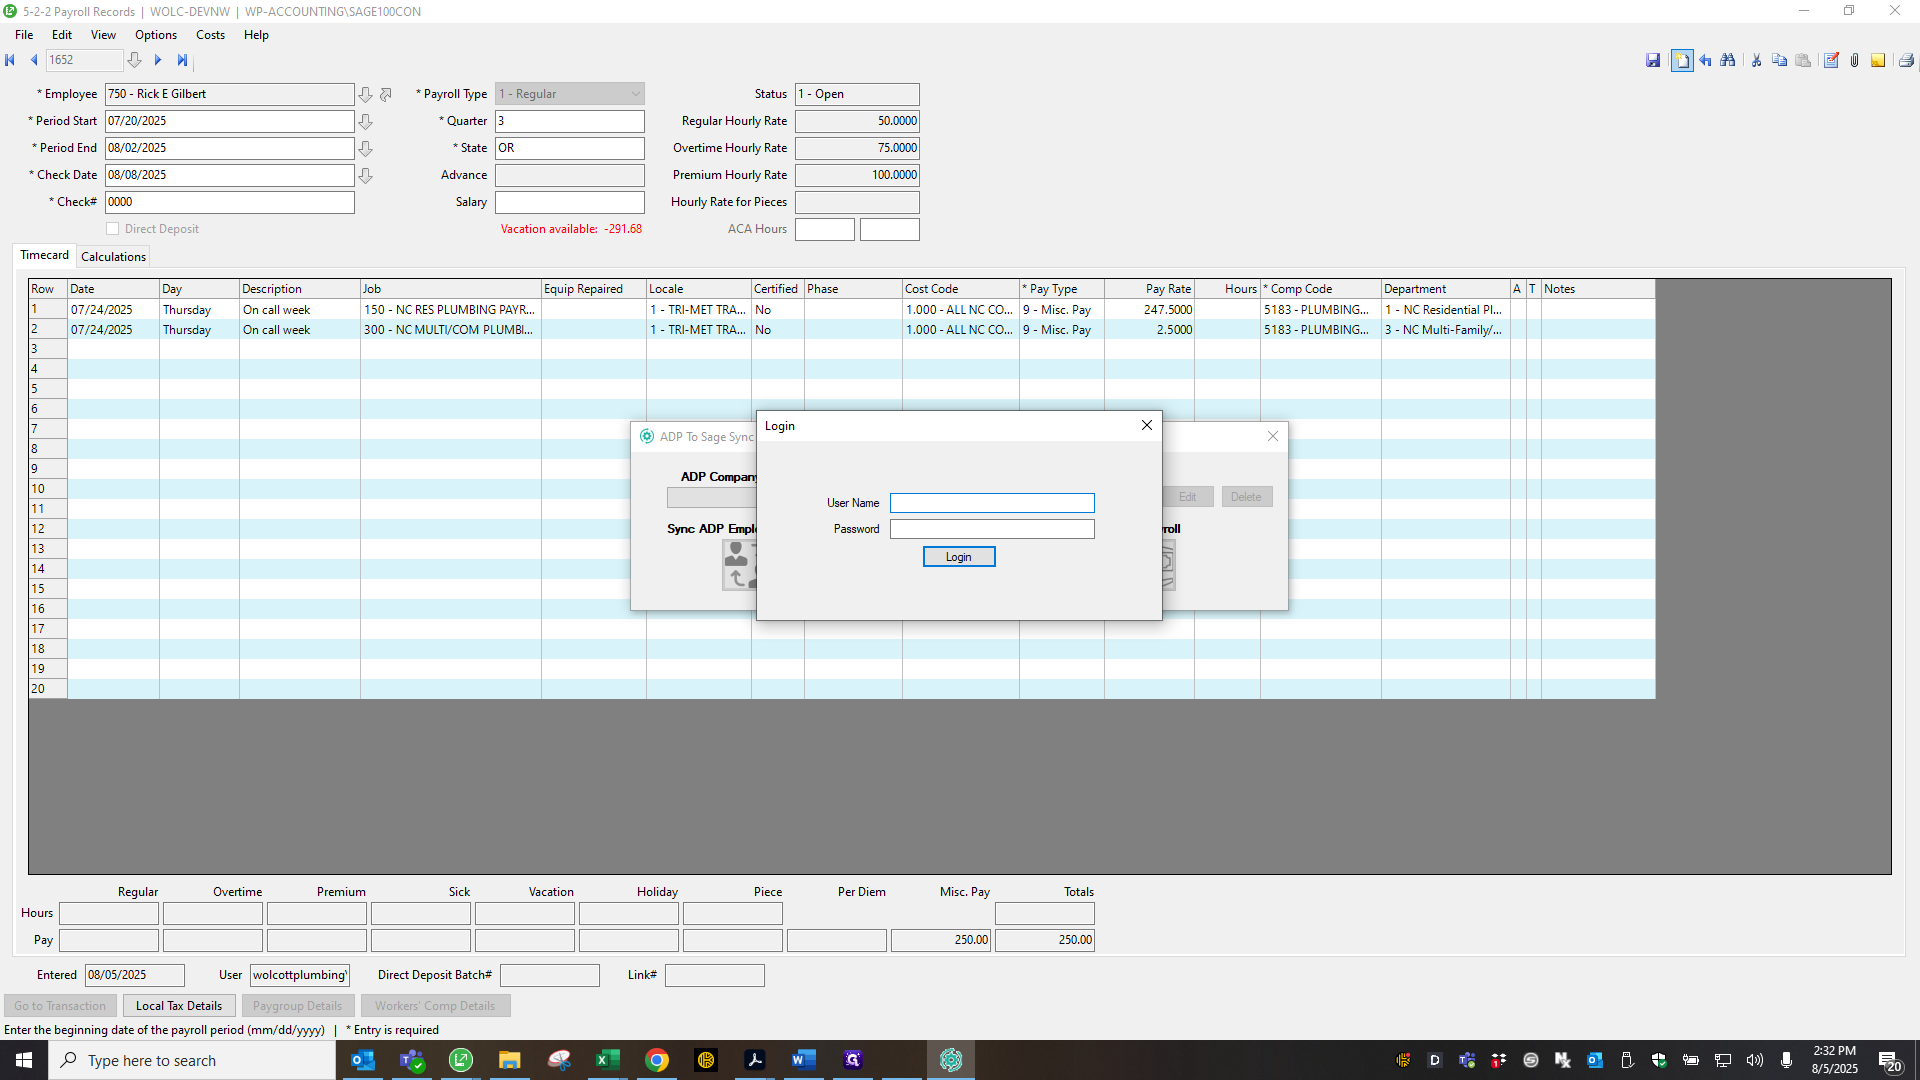
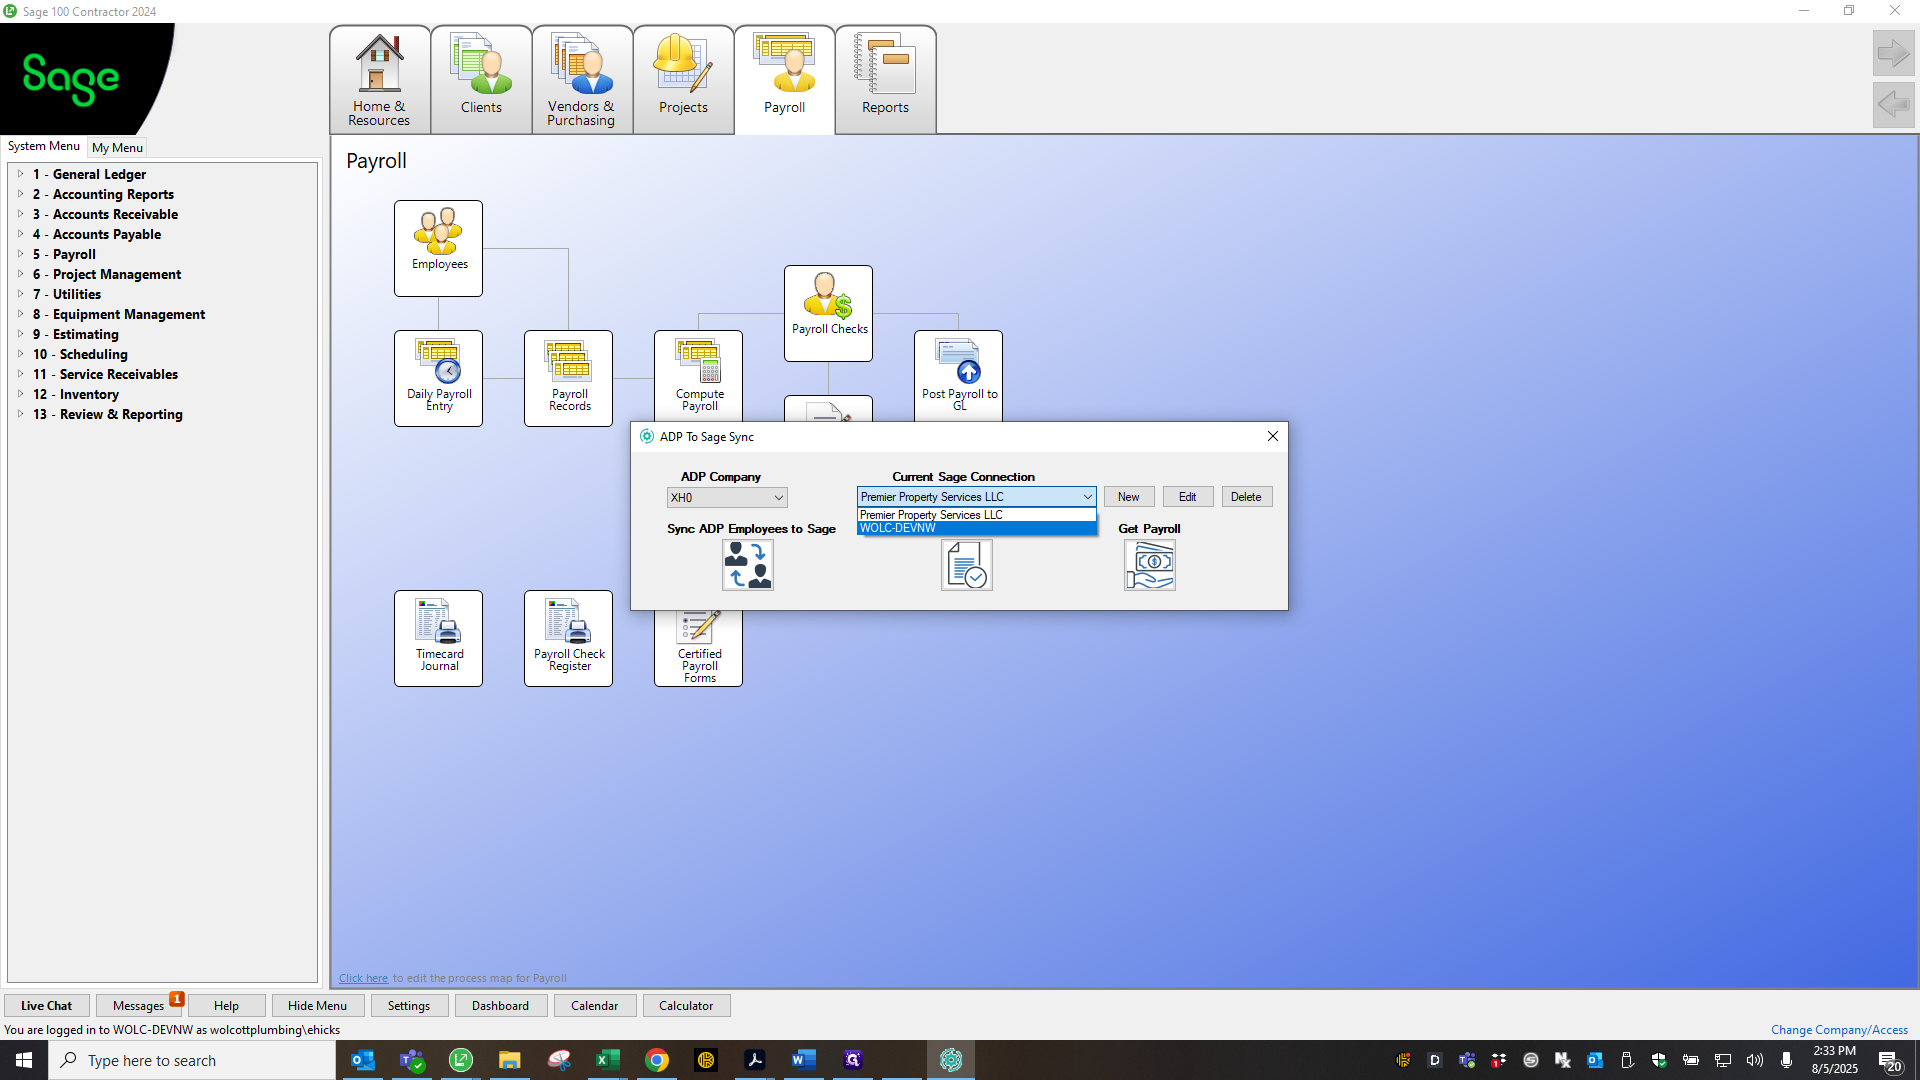
When you log into ADP SAGE Sync or the bridge...

26
Click here
Step #26: Click here
27
Click on "ADP Company"
Step #27: Click on "ADP Company"

Select your company code and company, then choose post pay data.

28
Click here
Step #28: Click here
29
Click on "Premier"
Step #29: Click on "Premier"
30
Click on "WOLC - DEVNW"
Step #30: Click on "WOLC - DEVNW"
31
Click here
Step #31: Click here

Actually, I'm going to go here to make sure that...

32
Click here
Step #32: Click here
33
Click on "Payroll"
Step #33: Click on "Payroll"
34
Double-click on "Payroll Check Registers"
Step #34: Double-click on "Payroll Check Registers"

You cannot change a file name.

35
Double-click on "7-26-23- Employee Rates.xlsx FMLI tax owed XH0 and XH1.xlsx"
Step #35: Double-click on "7-26-23- Employee Rates.xlsx FMLI tax owed XH0 and XH1.xlsx"
36
Double-click here
Step #36: Double-click here
37
Double-click here
Step #37: Double-click here

You need to save it as it loads. I did this one yesterday.

38
Click on "PRXHOEPI.csv"
Step #38: Click on "PRXHOEPI.csv"
39
Click on "PRXHOEPI.csv"
Step #39: Click on "PRXHOEPI.csv"

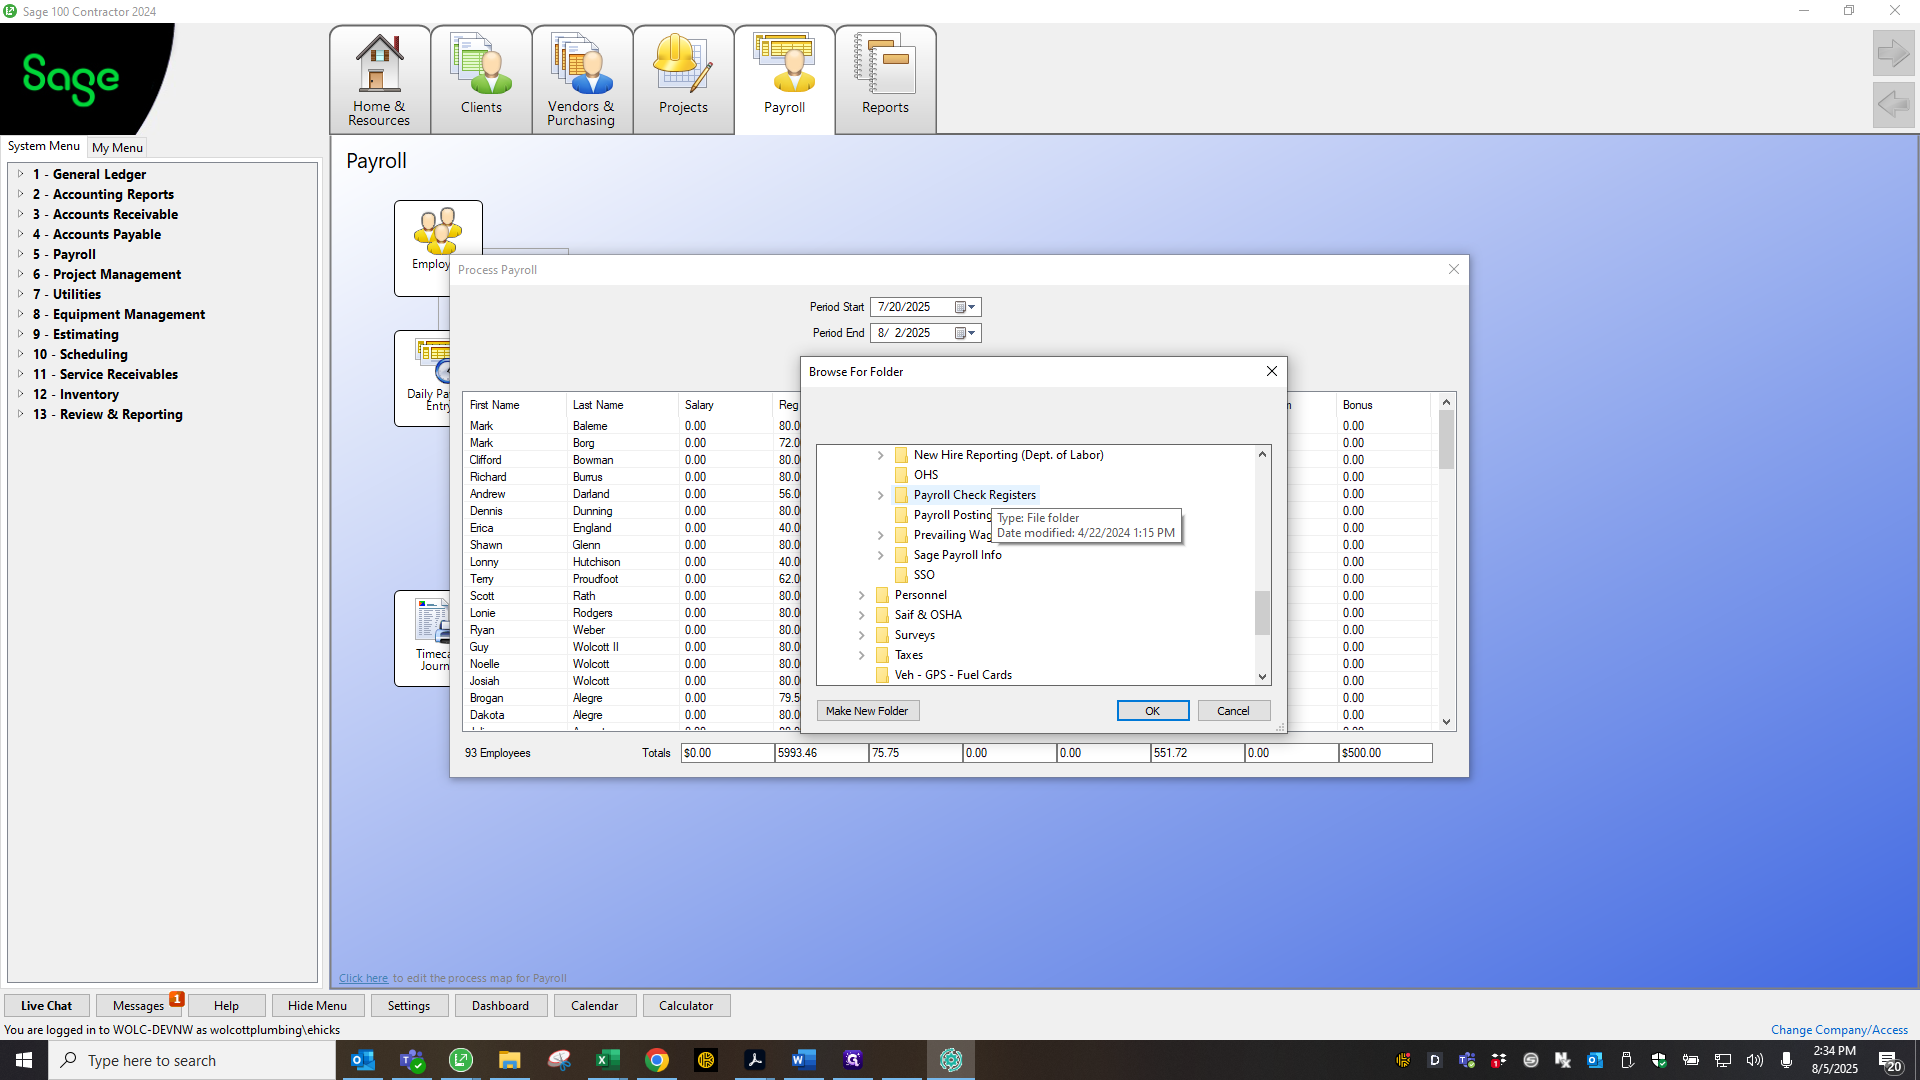
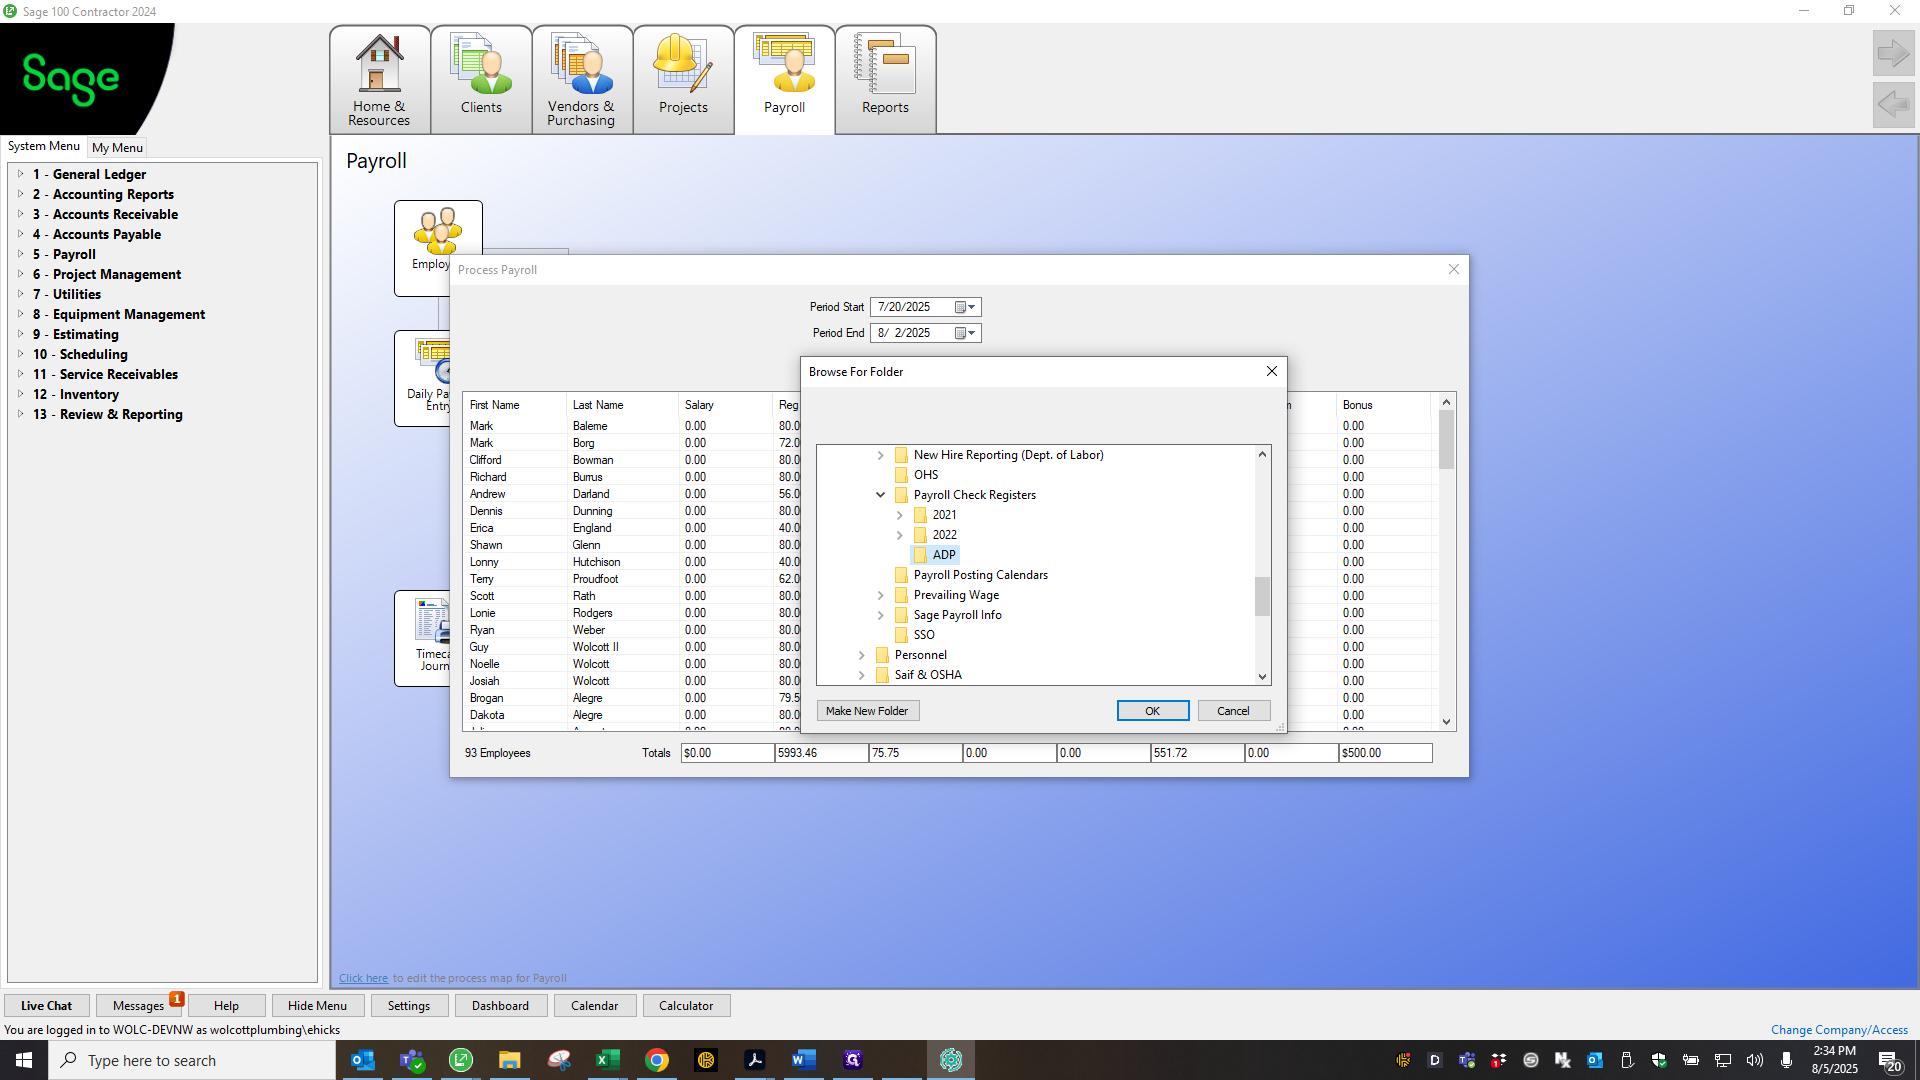
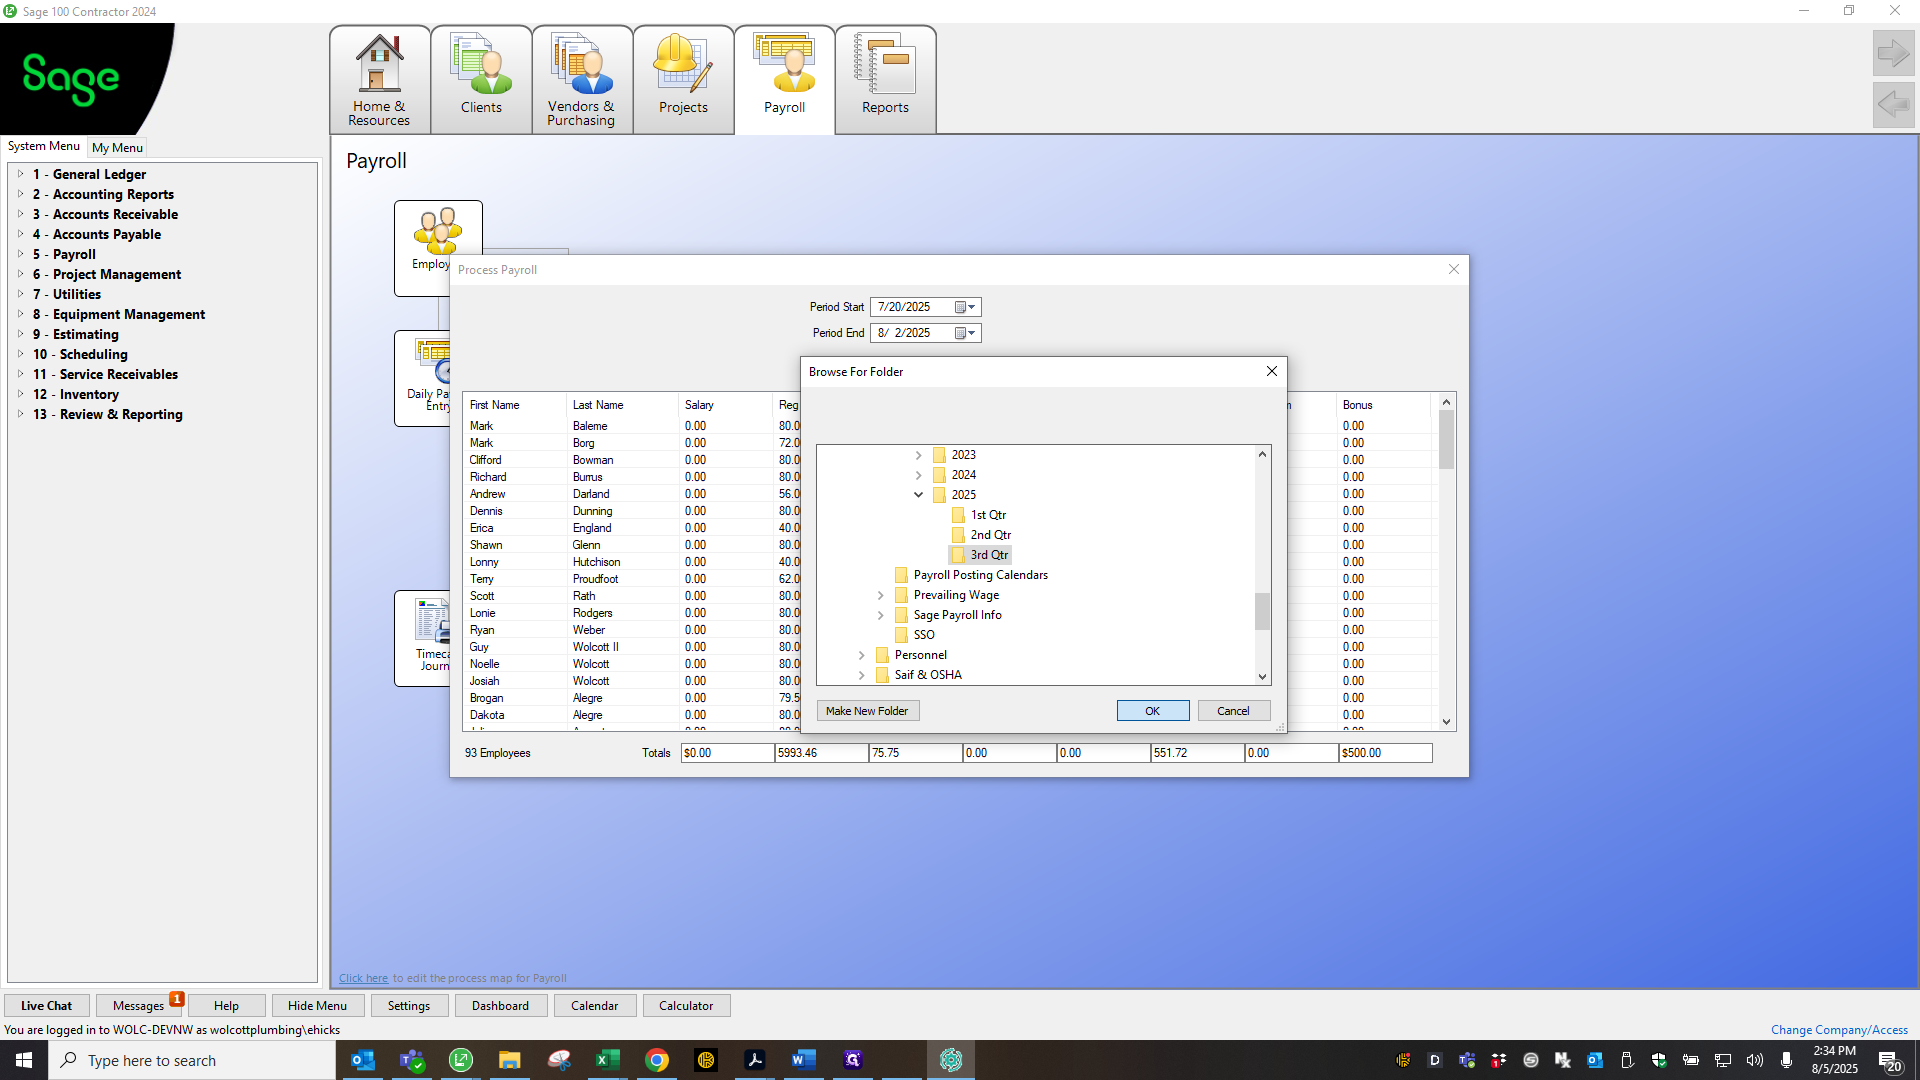
I need to add the date to prevent overwriting and to keep a copy. Choose your payroll period dates.

40
Type "8-5-25-2 - "
41
Click here
Step #41: Click here
42
Click here
Step #42: Click here
43
Click here
Step #43: Click here
44
Click here
Step #44: Click here
45
Click on "13"
Step #45: Click on "13"

Come here and start the process.
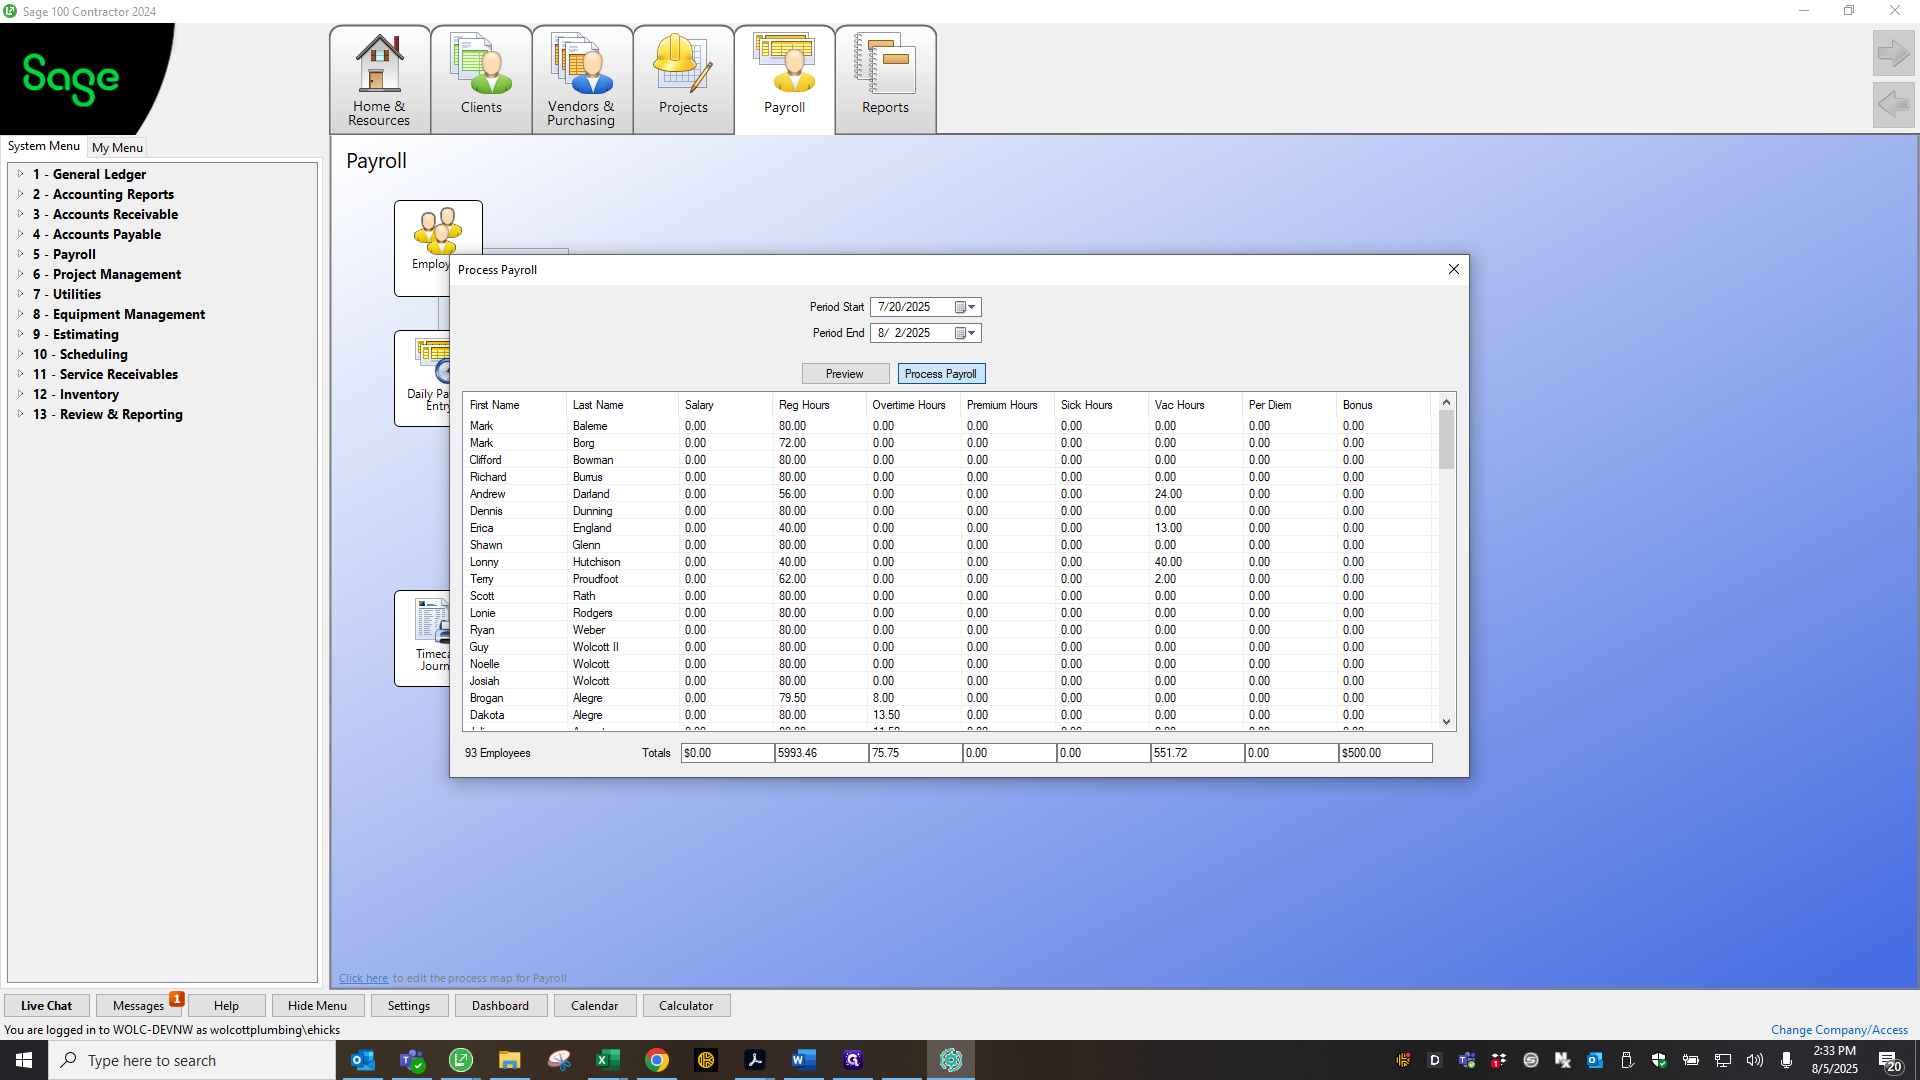
46
Click here
Step #46: Click here
47
Click on "2"
Step #47: Click on "2"
48
Click on "Preview"
Step #48: Click on "Preview"
49
Click on "Process"
Step #49: Click on "Process"

Yes.

50
Click on "Yes"
Step #50: Click on "Yes"

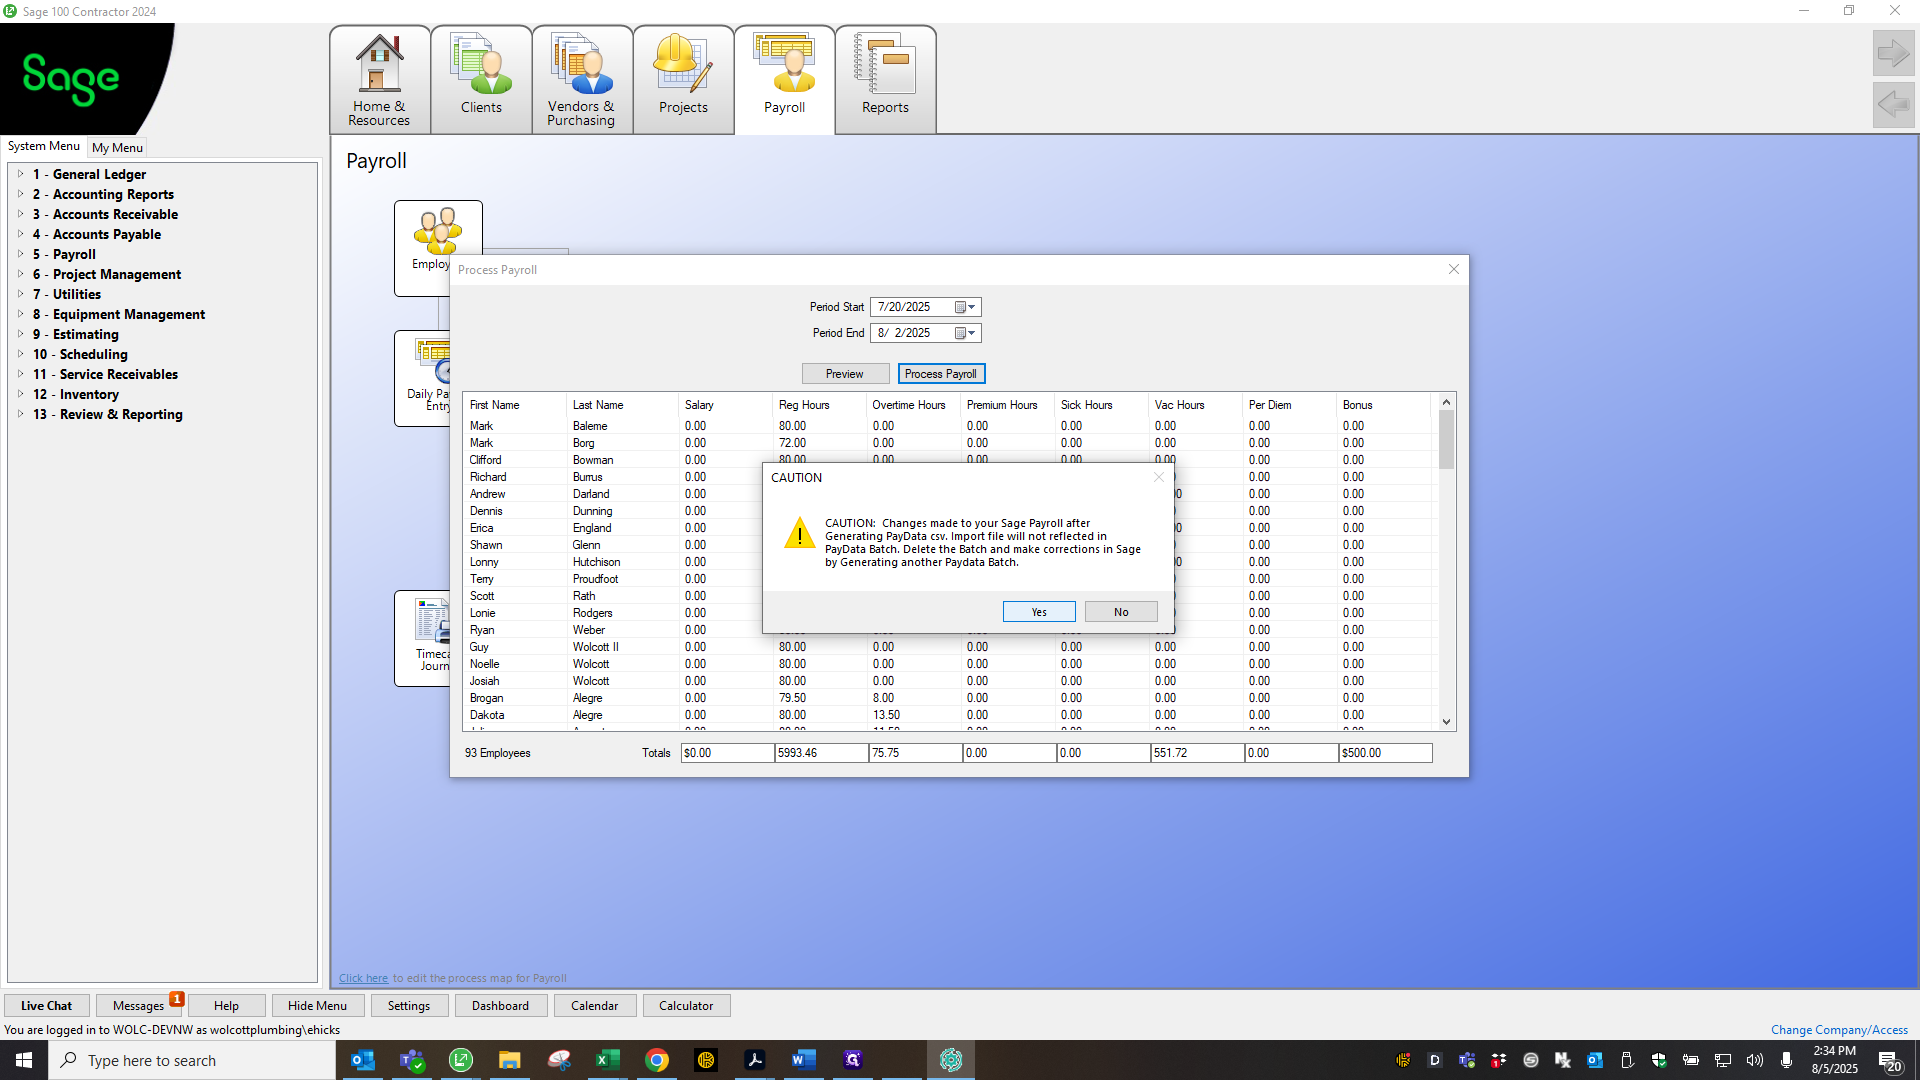
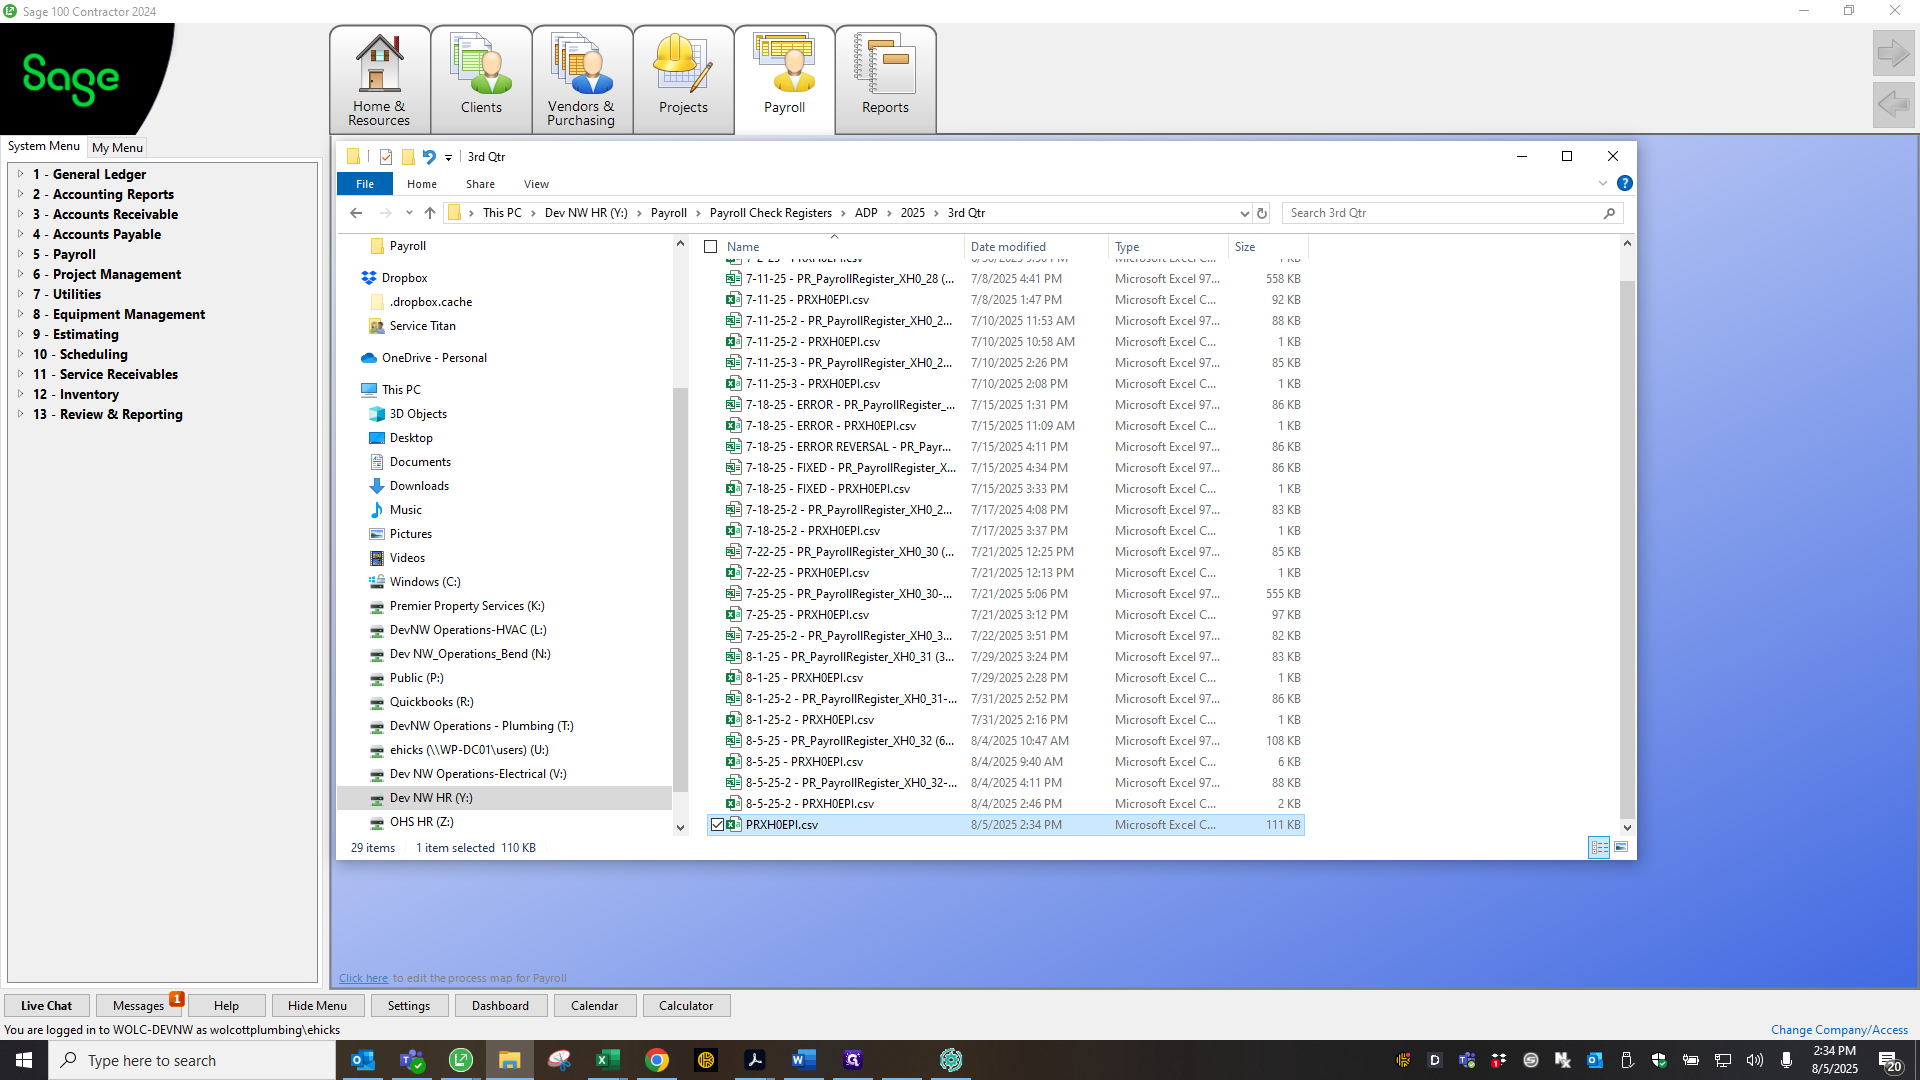
Save it to the payroll checks folder.

51
Click on "Elisha"
Step #51: Click on "Elisha"
52
Click here
Step #52: Click here
53
Click on "This PC"
Step #53: Click on "This PC"
54
Click on ":)"
Step #54: Click on ":)"

Check that the source time is in the correct year and quarter.

55
Click on "Payroll"
Step #55: Click on "Payroll"
56
Click on "Check"
Step #56: Click on "Check"
57
Click here
Step #57: Click here
58
Click on "2024"
Step #58: Click on "2024"
59
Click on "Qtr"
Step #59: Click on "Qtr"
60
Click on "OK"
Step #60: Click on "OK"

Okay, it's saved. Now, return to that folder and open it again.

61
Click here
Step #61: Click here
62
Drag here
Step #62: Drag here
63
Double-click on "PRXHOEPI.csv"
Step #63: Double-click on "PRXHOEPI.csv"

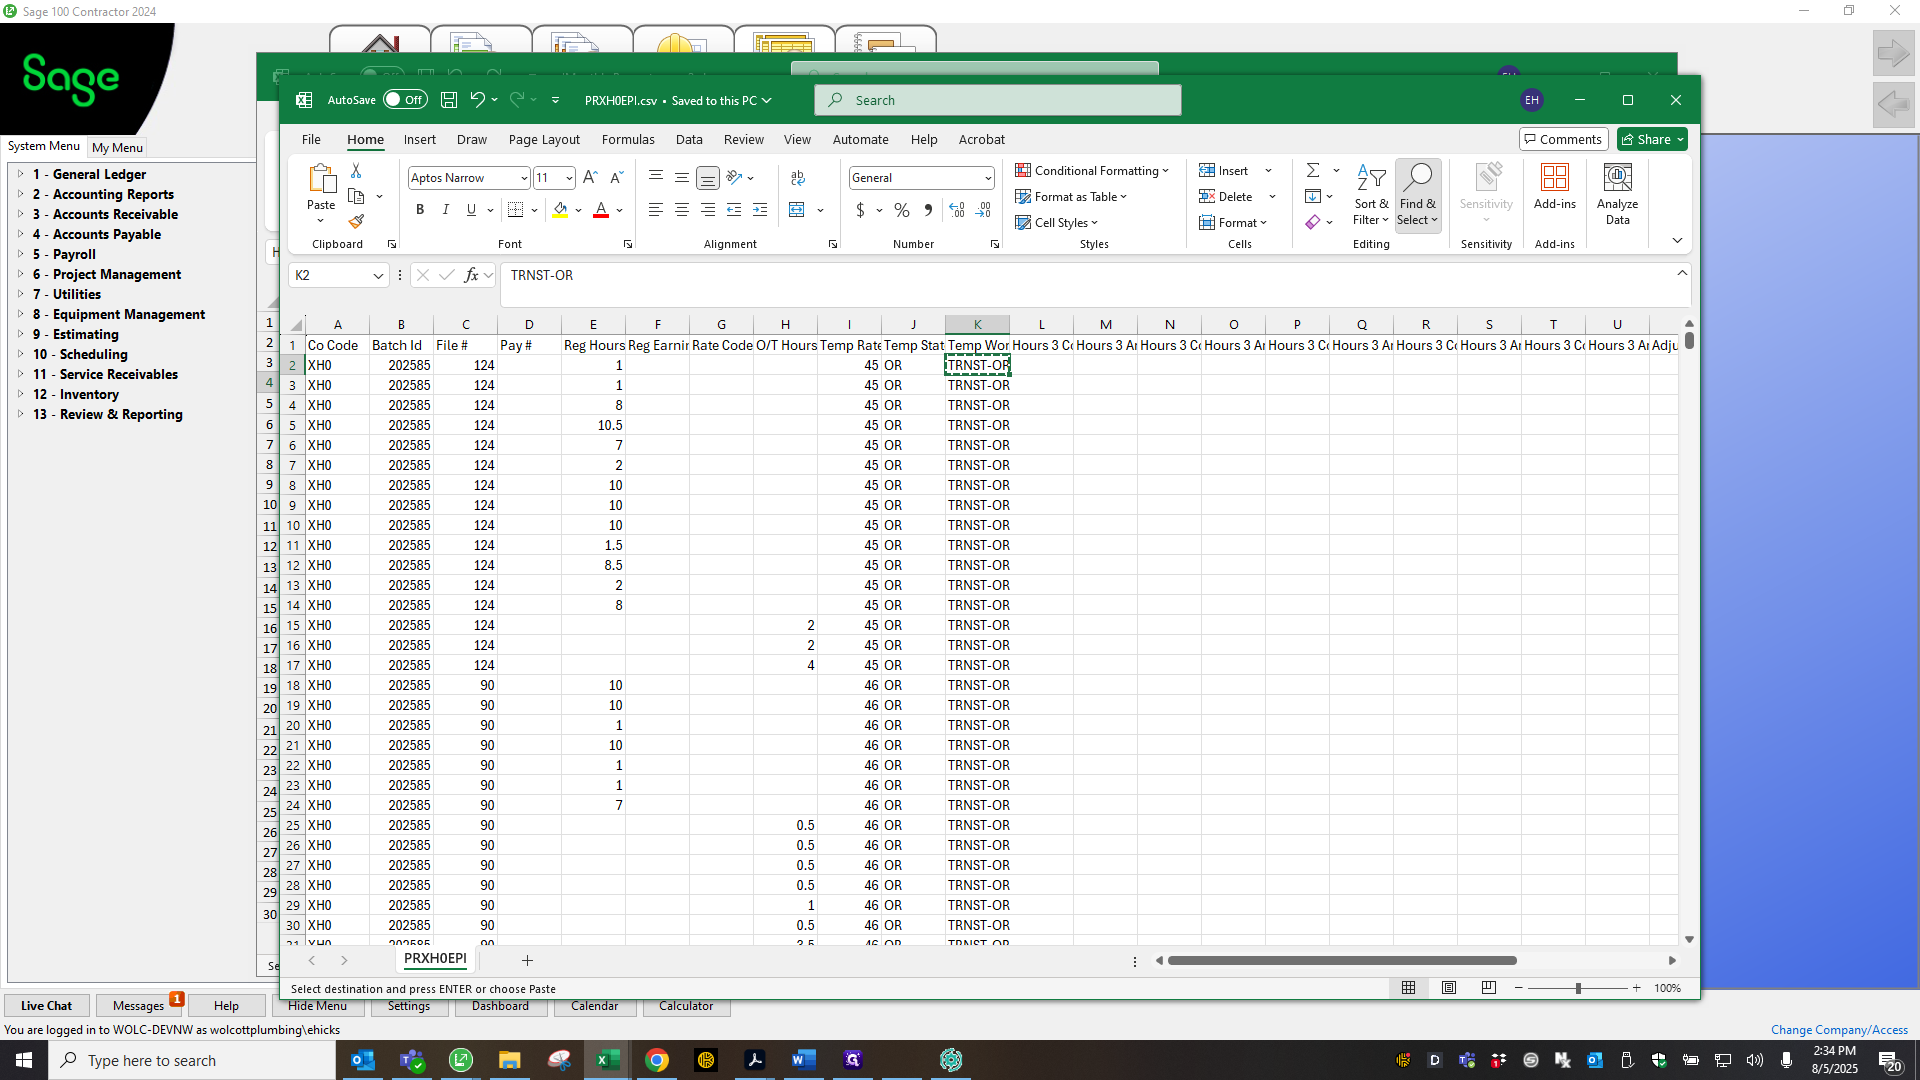
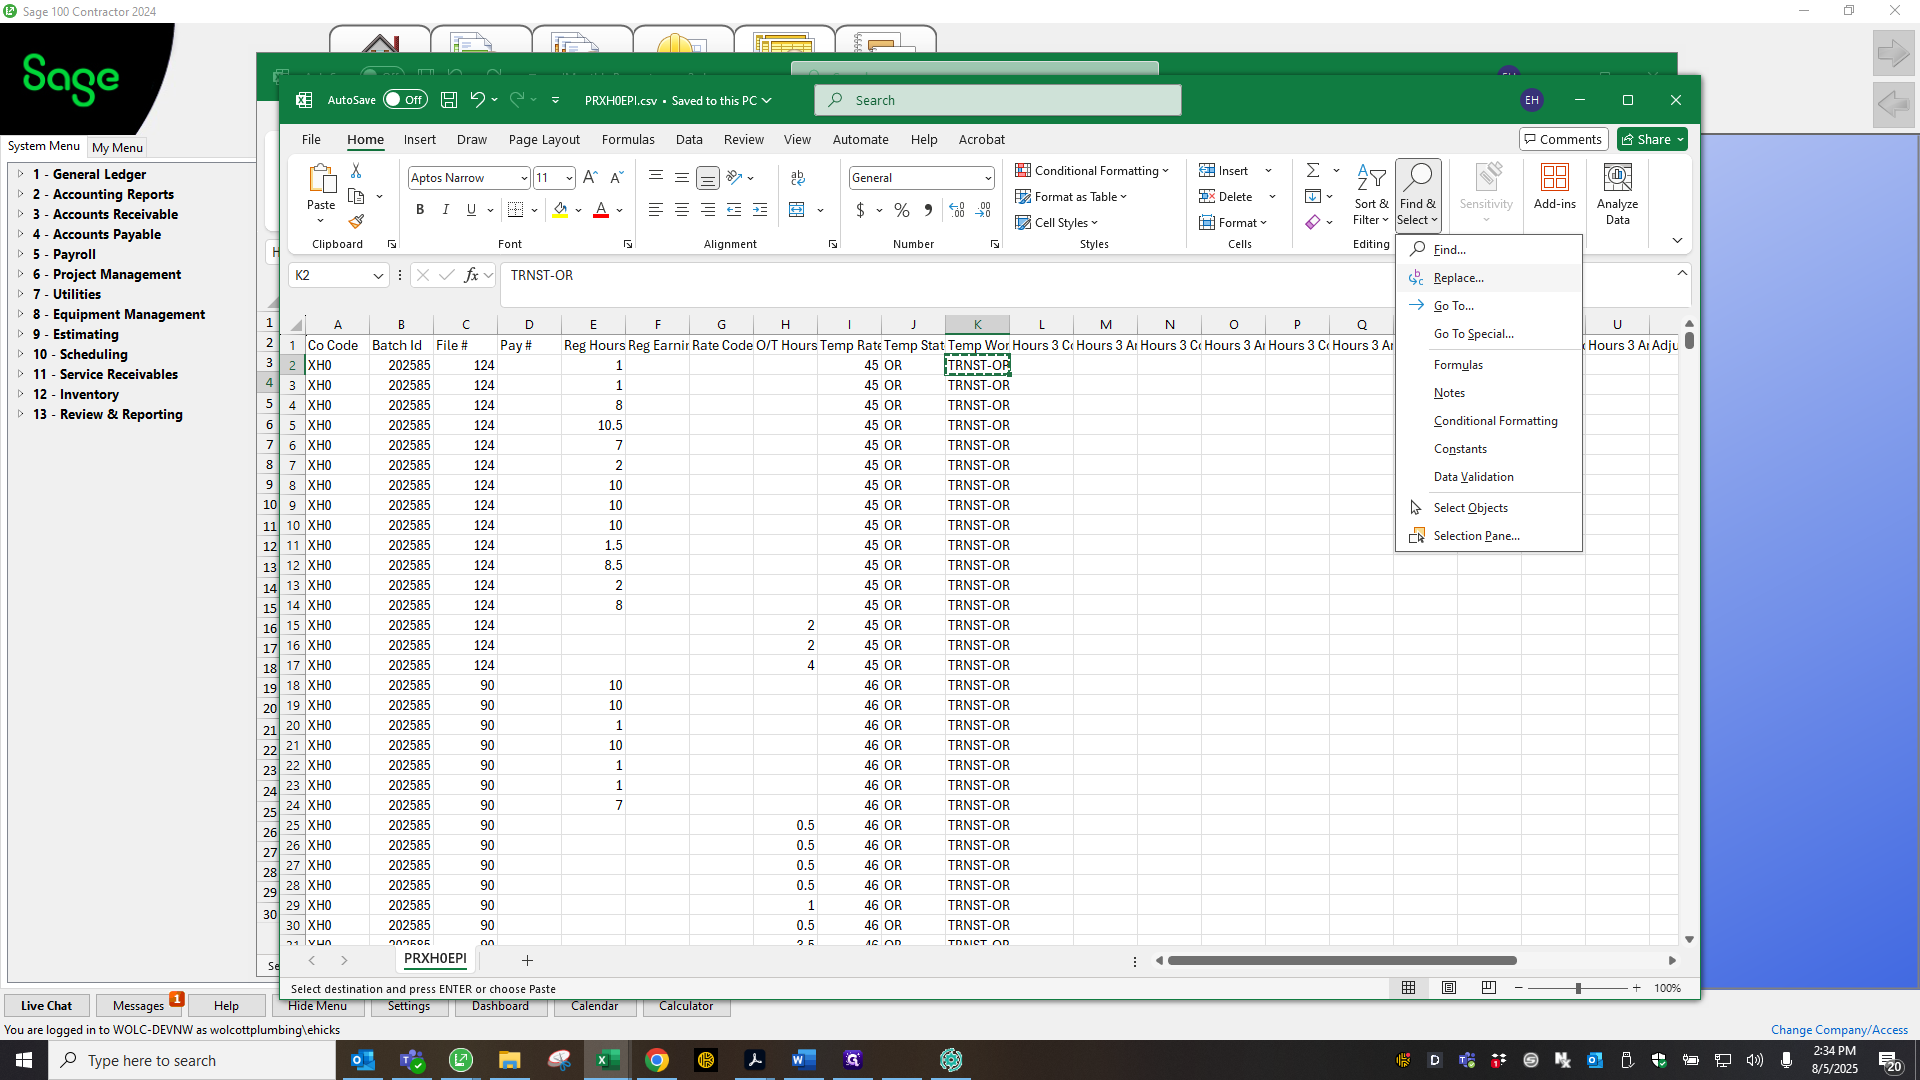
You need to make changes to this file before uploading it. Click "Convert," then remove all of these.

64
Click on "Convert"
Step #64: Click on "Convert"
65
Click on "Temp Wor Hours 3 C Hours 3 Ar Hours 3 C Hours 3 Ar Hours 3 C Hours 3 Ar Hours 3 C Hours 3 Ar Hours"
Step #65: Click on "Temp Wor Hours 3 C Hours 3 Ar Hours 3 C Hours 3 Ar Hours 3 C Hours 3 Ar Hours 3 C Hours 3 Ar Hours"
66
Click on "TRNST -"
Step #66: Click on "TRNST -"

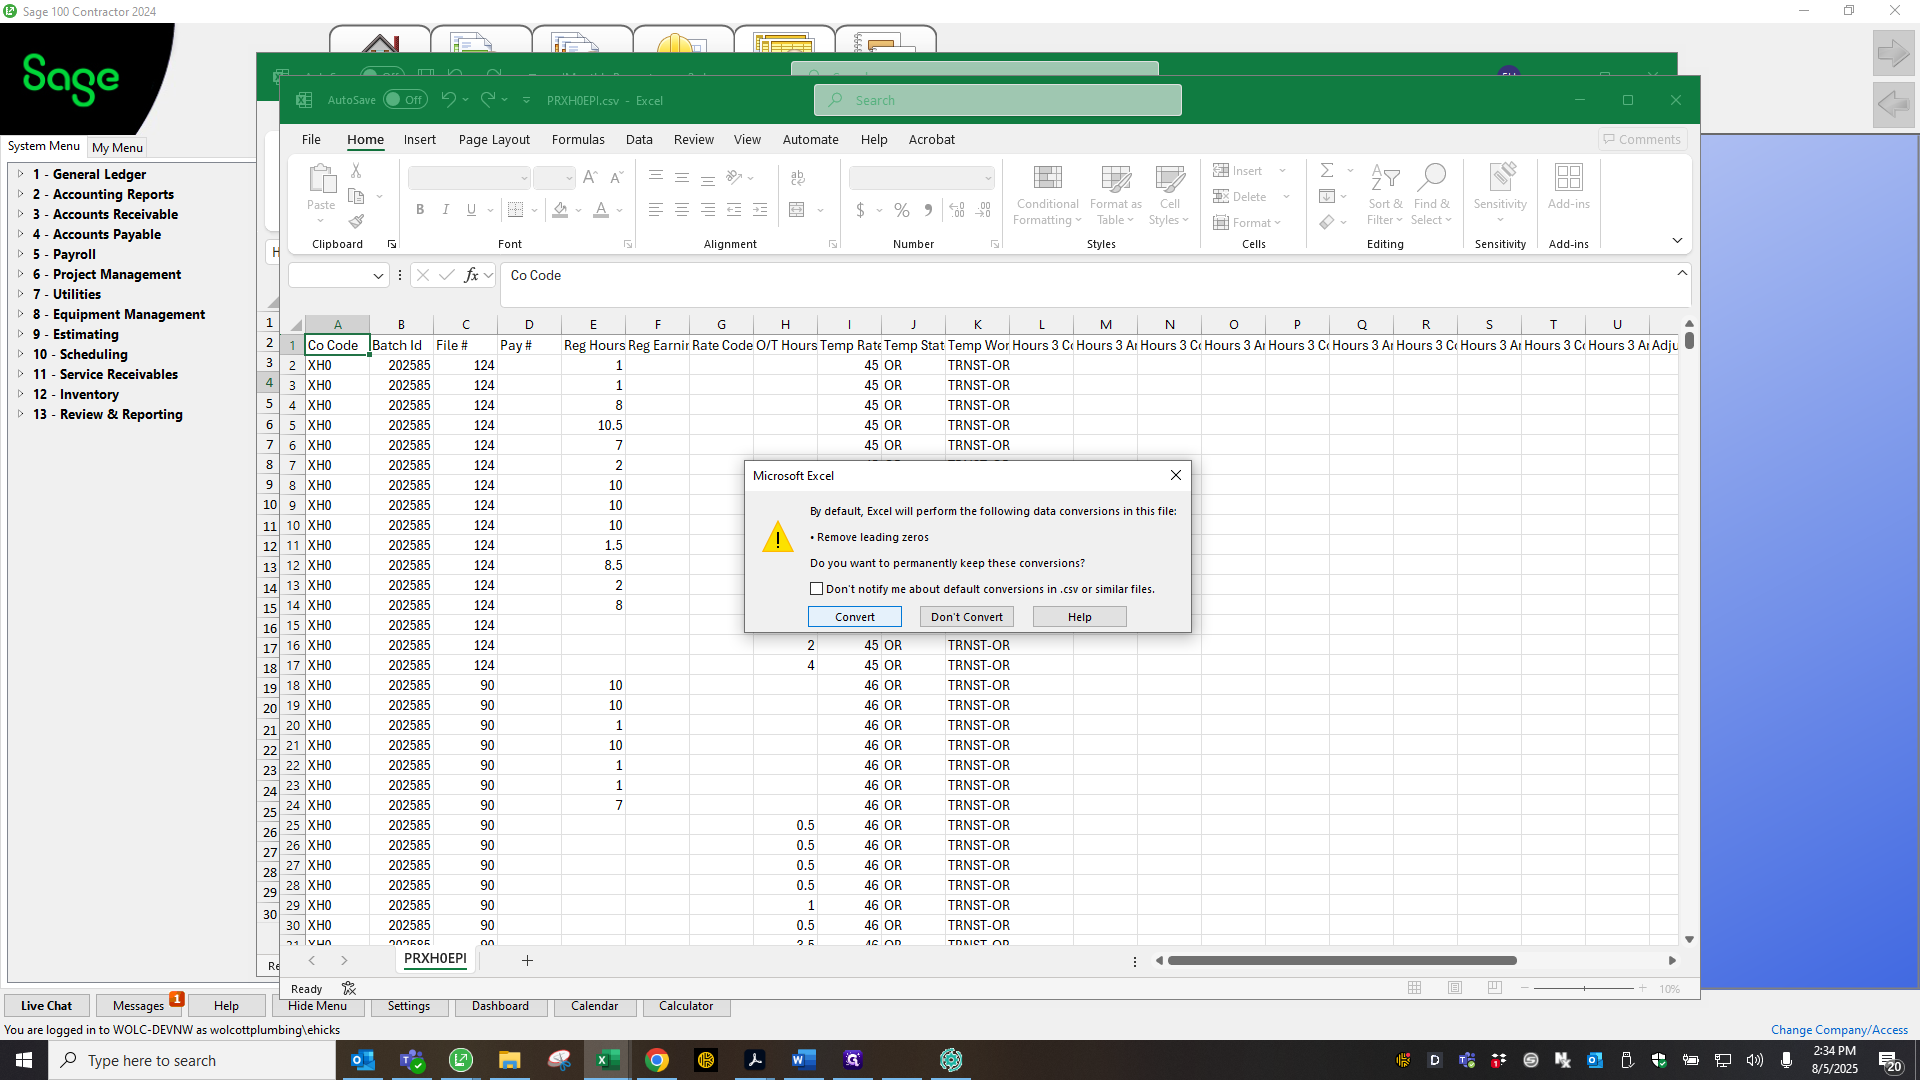
Copy the text, use find and replace, enter what you want to find, and replace it with nothing.

67
Type "Ctrl + C"
68
Click on "Sort & Find &"
Step #68: Click on "Sort & Find &"
69
Click on "Replace"
Step #69: Click on "Replace"
70
Type "Ctrl + V"

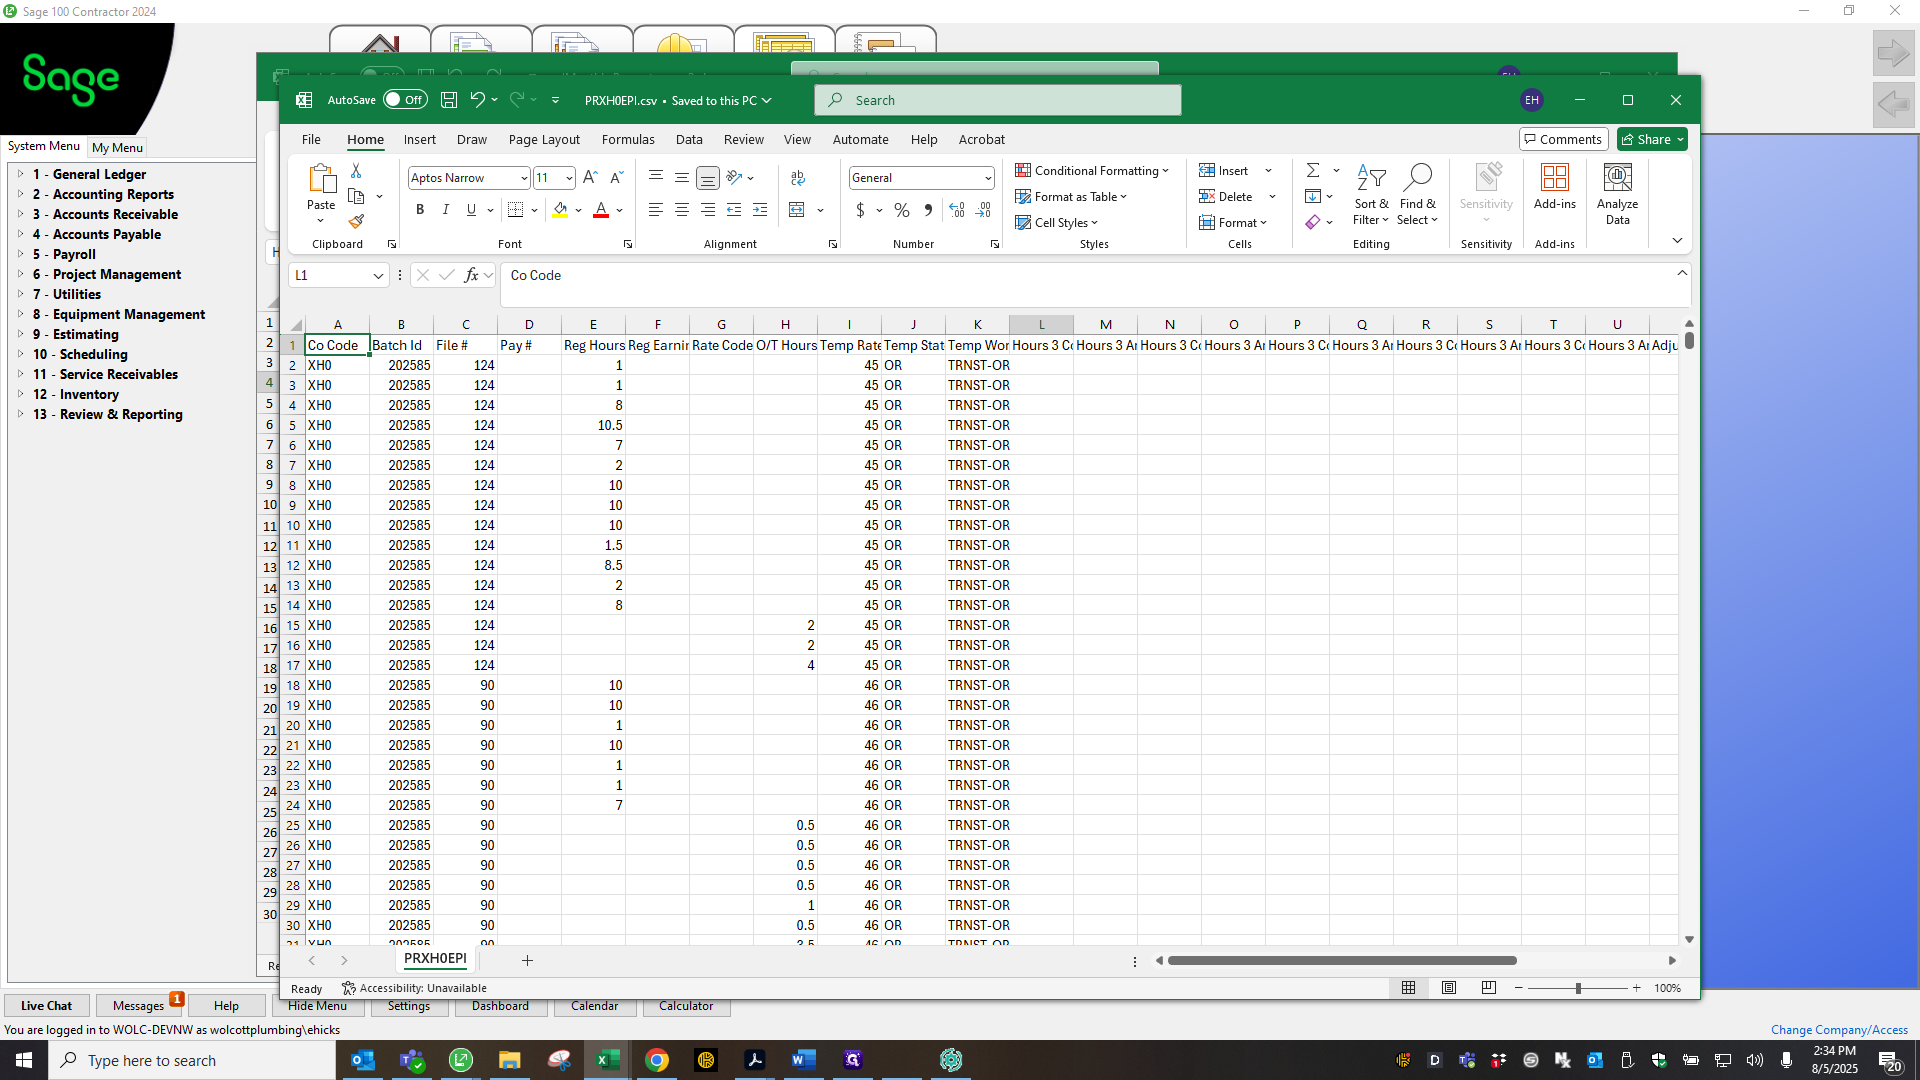
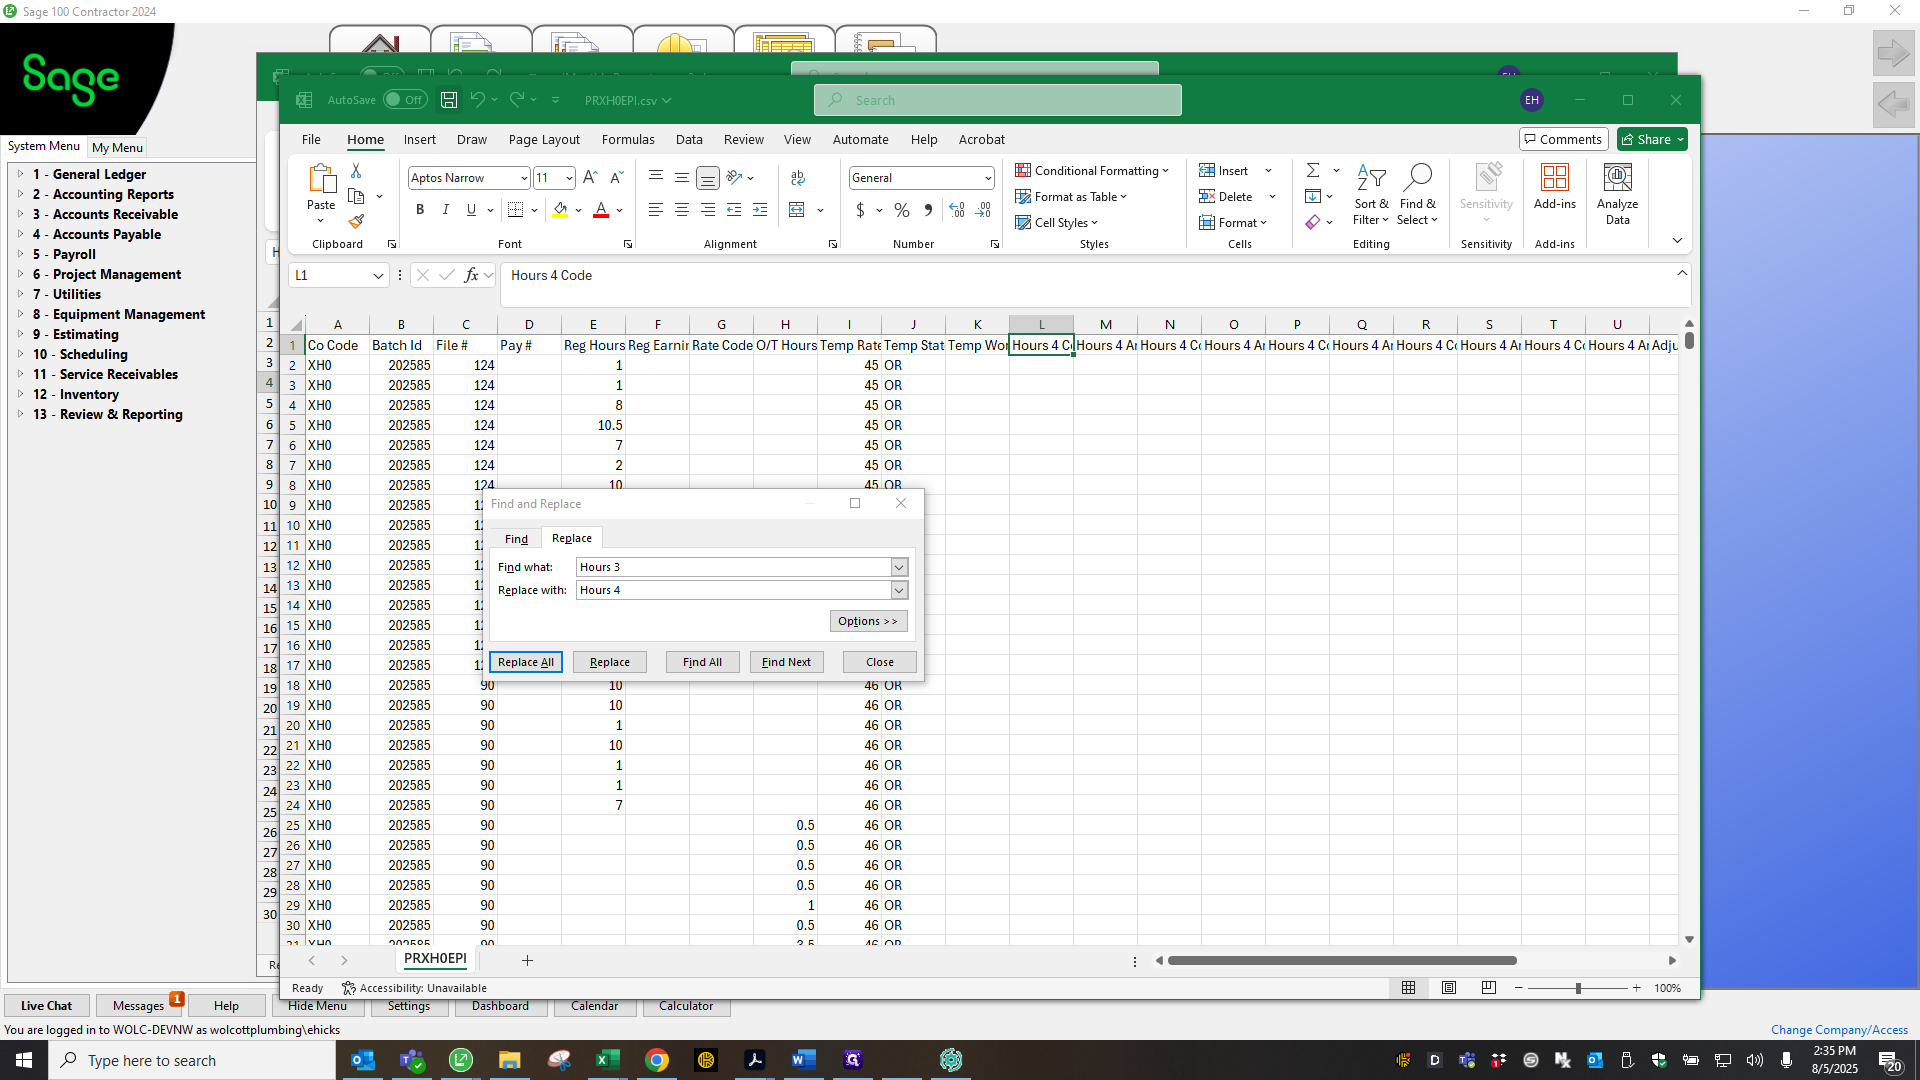
Also, update this section: change "hours three, cost and fee" to "hours four."

71
Click on "Replace"
Step #71: Click on "Replace"
72
Click on "OK"
Step #72: Click on "OK"
73
Click on "Reg Hours Reg Earnir Rate Code O / T Hours Temp Rate Temp Stat Temp Wor Hours 3 C Hours 3 Ar Hours 3 C Hours 3 Ar Hours 3 C Hours 3 Ar Hours 3 Cc Hours 3 Ar"
Step #73: Click on "Reg Hours Reg Earnir Rate Code O / T Hours Temp Rate Temp Stat Temp Wor Hours 3 C Hours 3 Ar Hours 3 C Hours 3 Ar Hours 3 C Hours 3 Ar Hours 3 Cc Hours 3 Ar"
74
Drag "Hours 3 Code"
Step #74: Drag "Hours 3 Code"
75
Click on "Hours 3 Code"
Step #75: Click on "Hours 3 Code"
76
Click on "Hours 3 Code"
Step #76: Click on "Hours 3 Code"
77
Type "Ctrl + C"

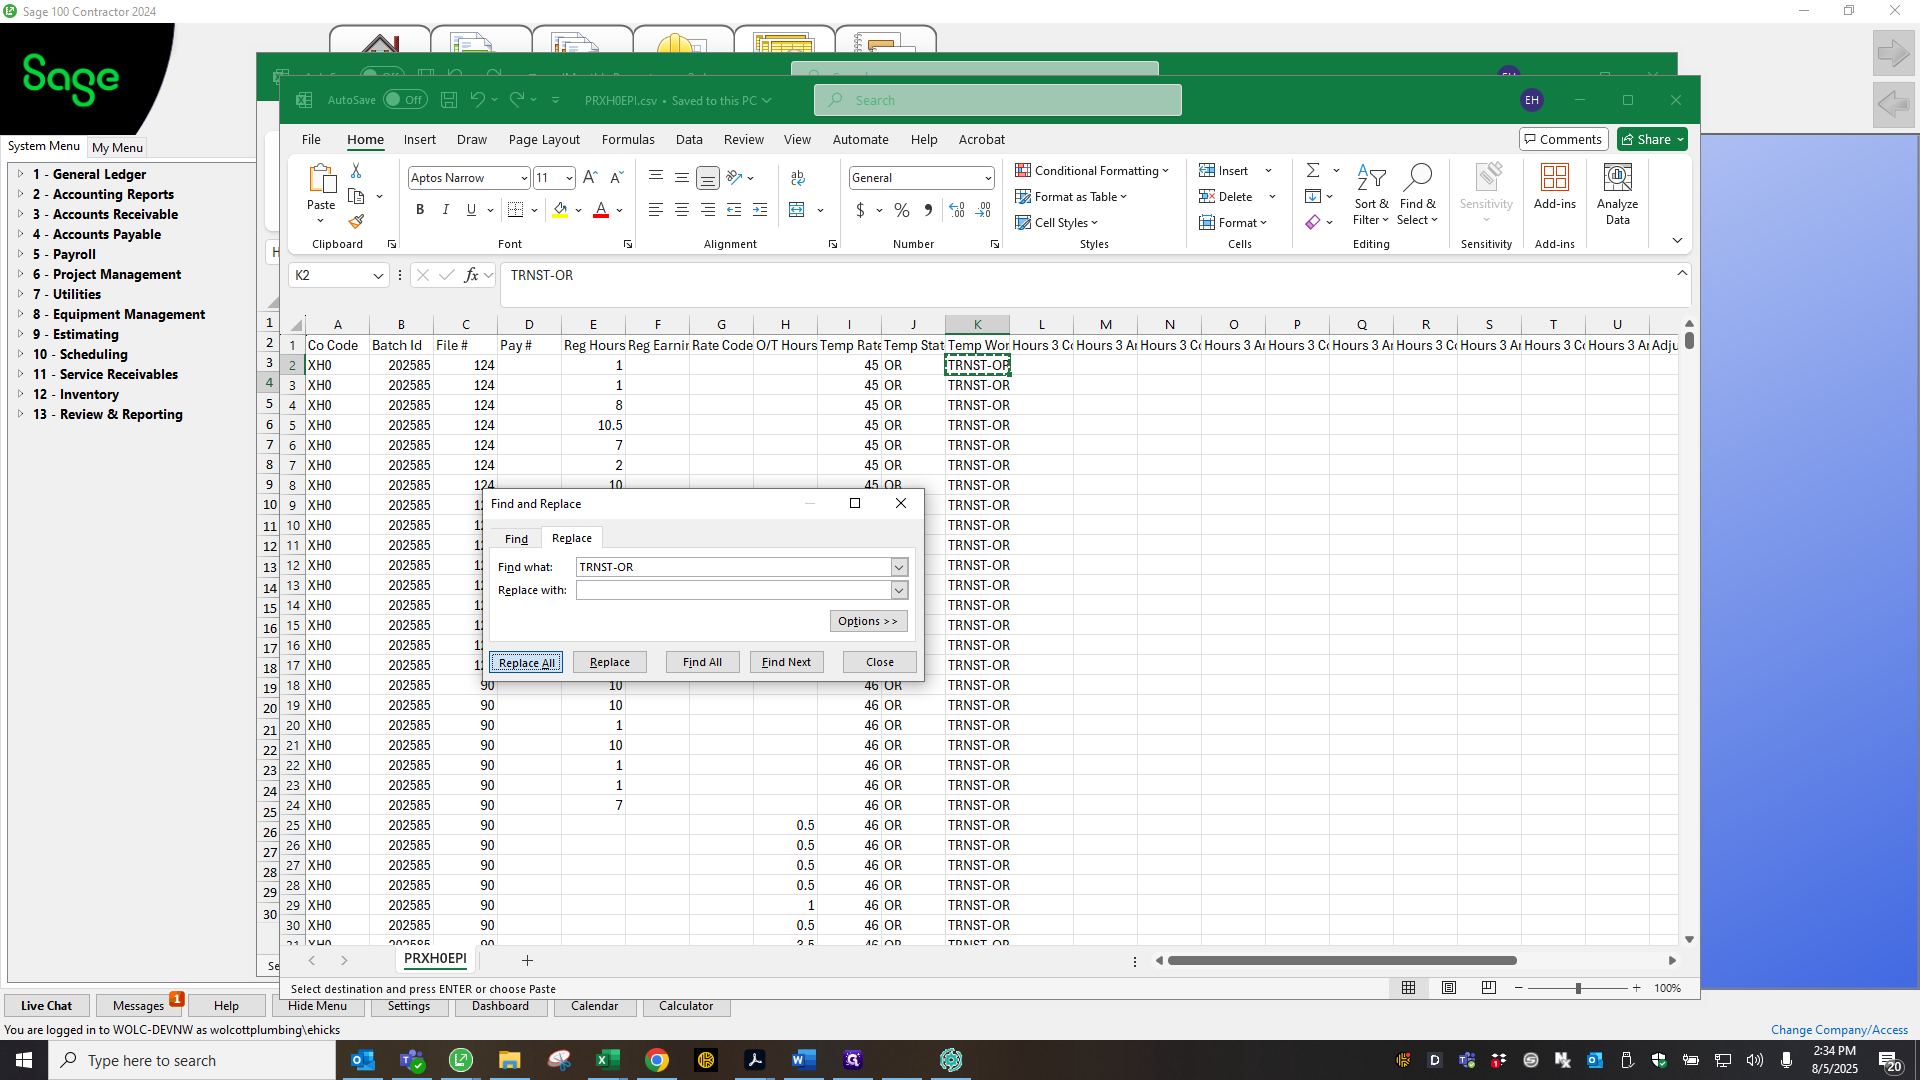
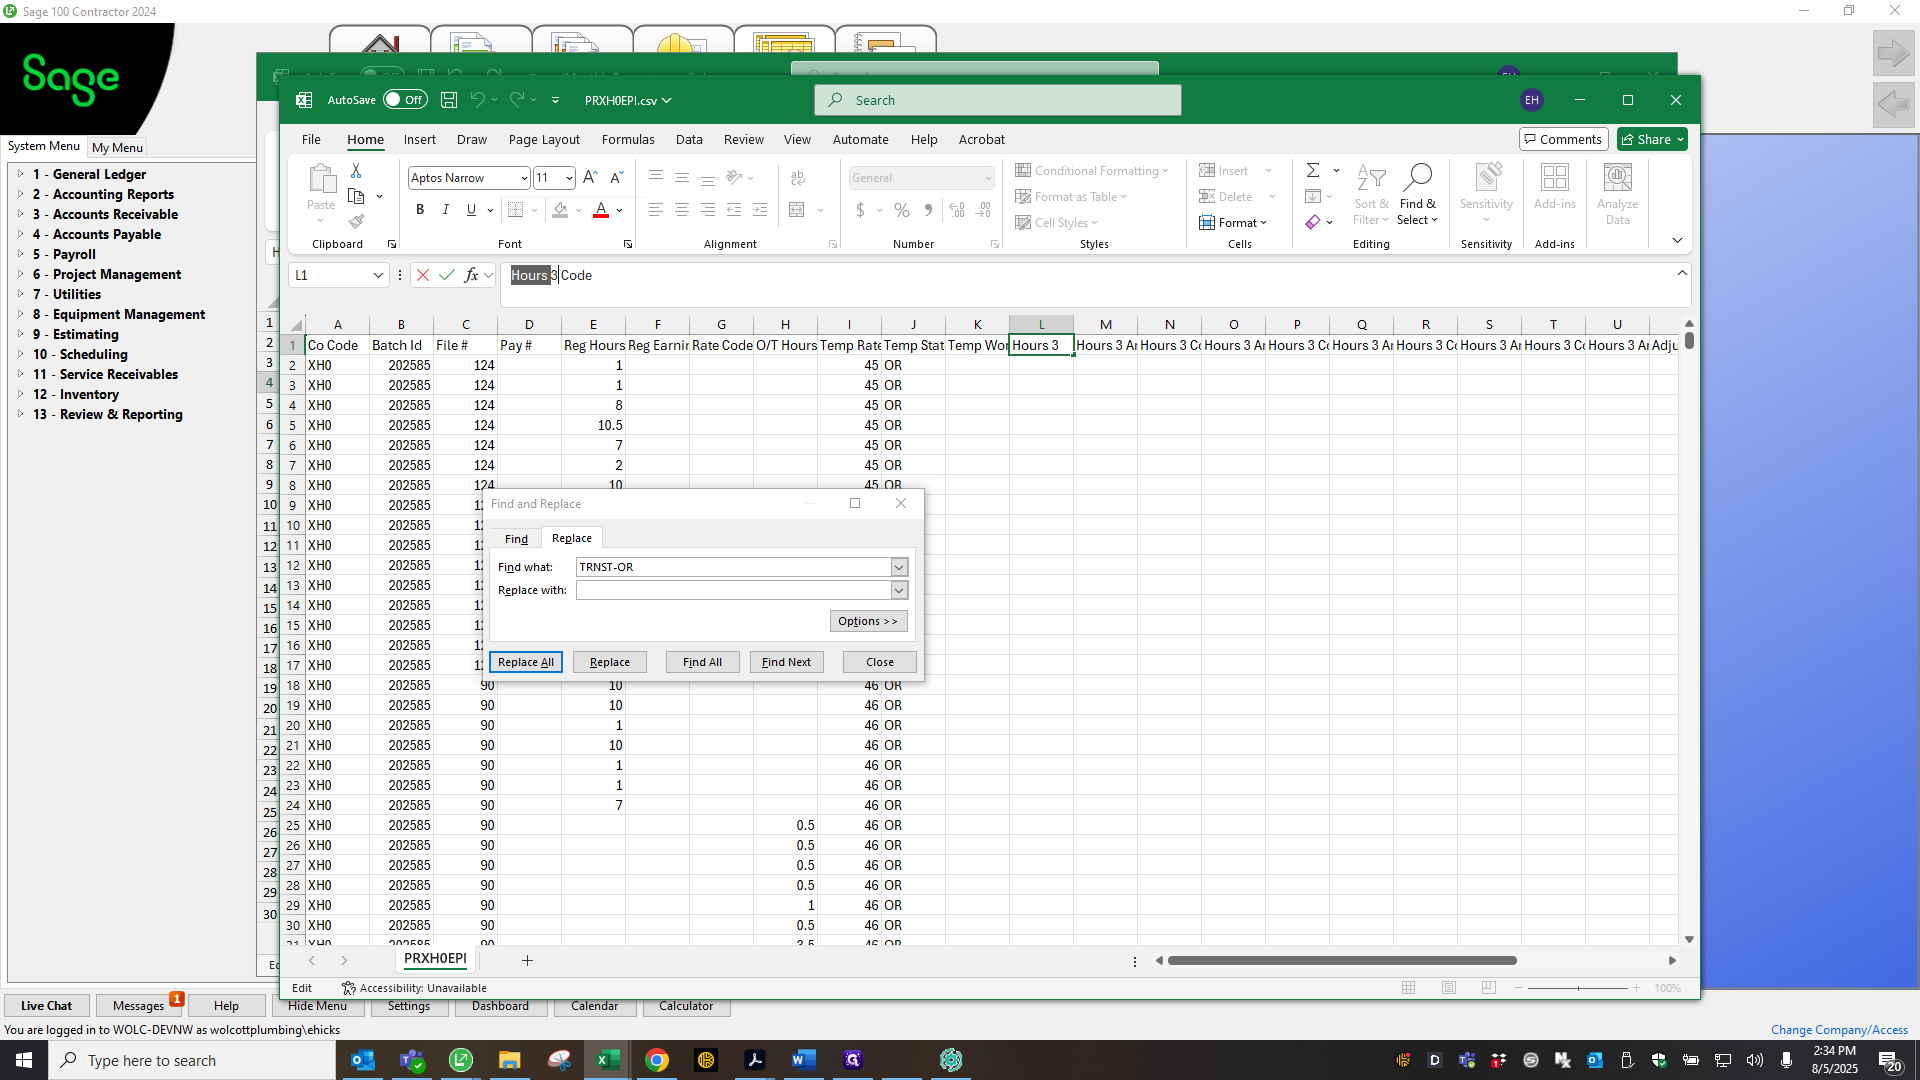
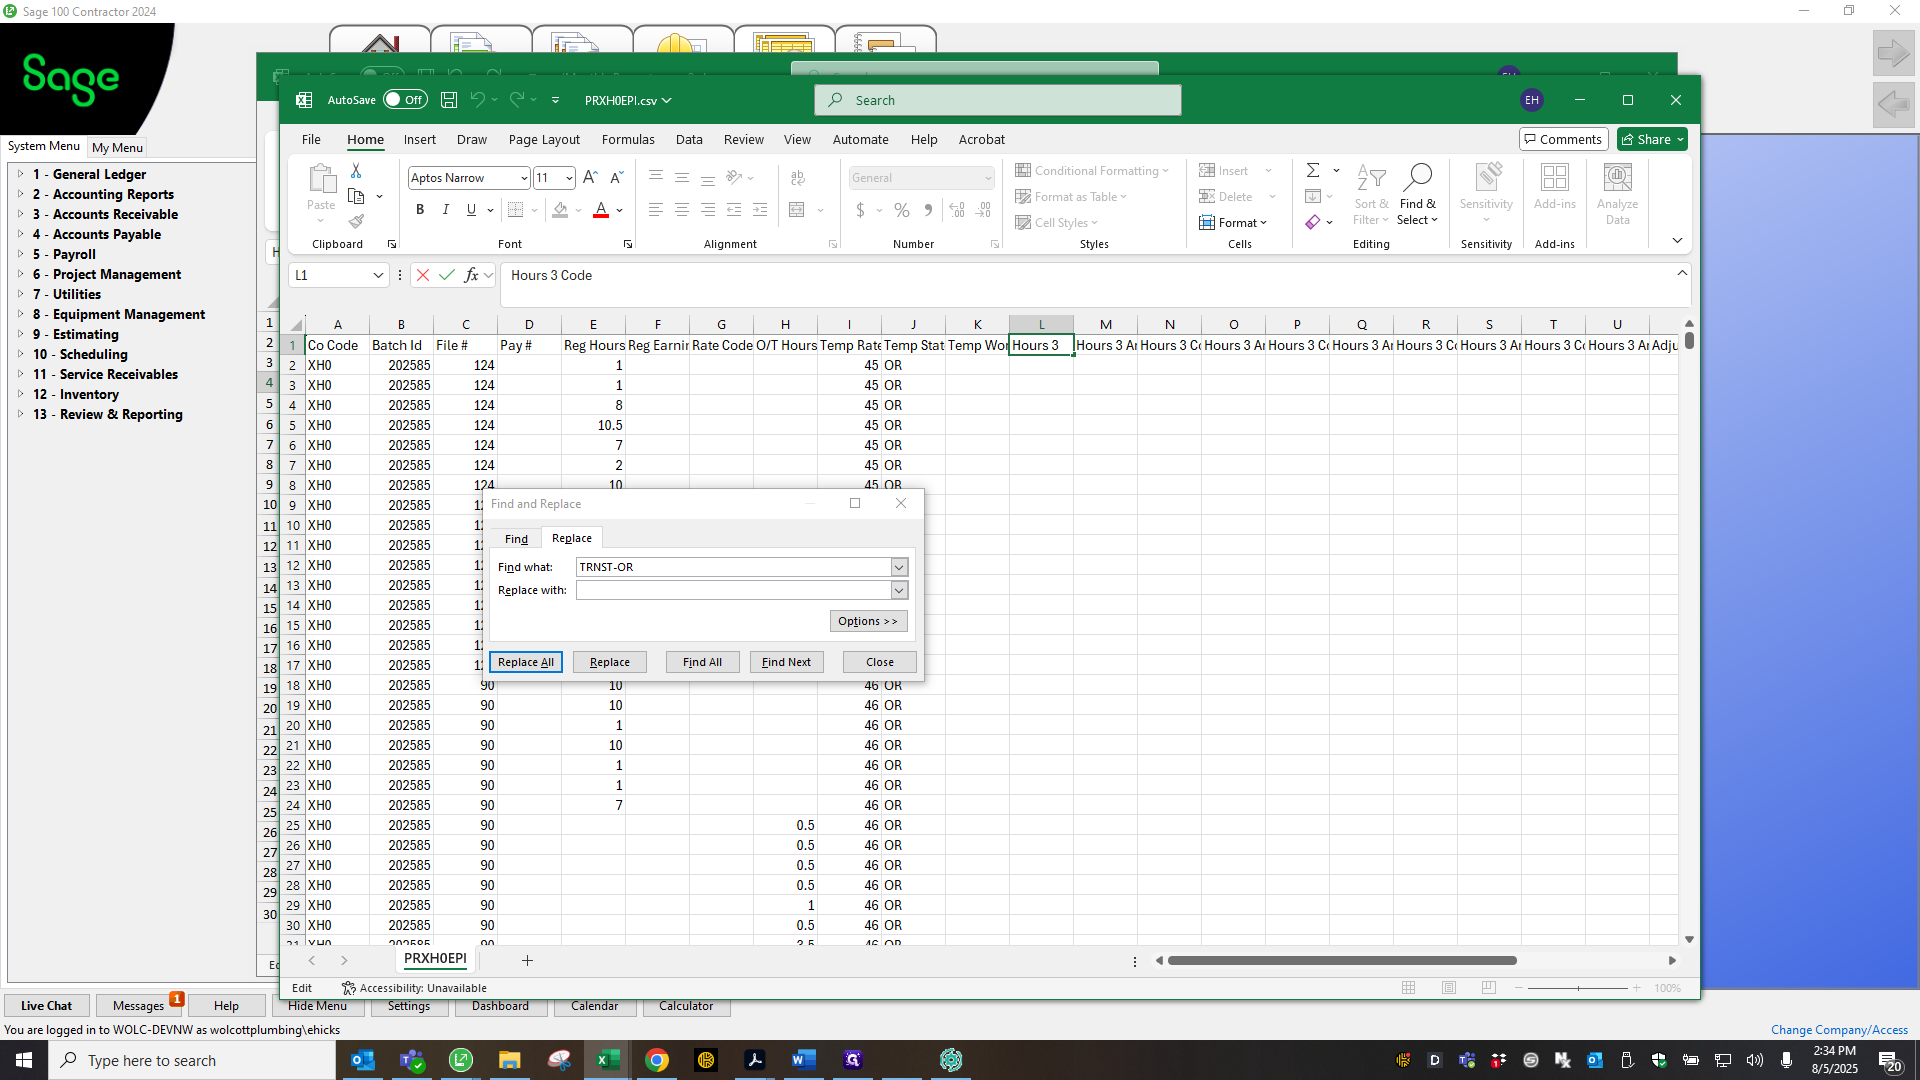
To do this, use the find and replace feature, then select "replace all."

78
Drag here
Step #78: Drag here
79
Type "Ctrl + V"
80
Click here
Step #80: Click here
81
Type "Ctrl + V"
82
Type "Backspace"
83
Type "4"
84
Click on "Replace"
Step #84: Click on "Replace"

""

85
Click on "OK"
Step #85: Click on "OK"

Save.

86
Click here
Step #86: Click here

Save again.

87
Click here
Step #87: Click here
88
Click here
Step #88: Click here

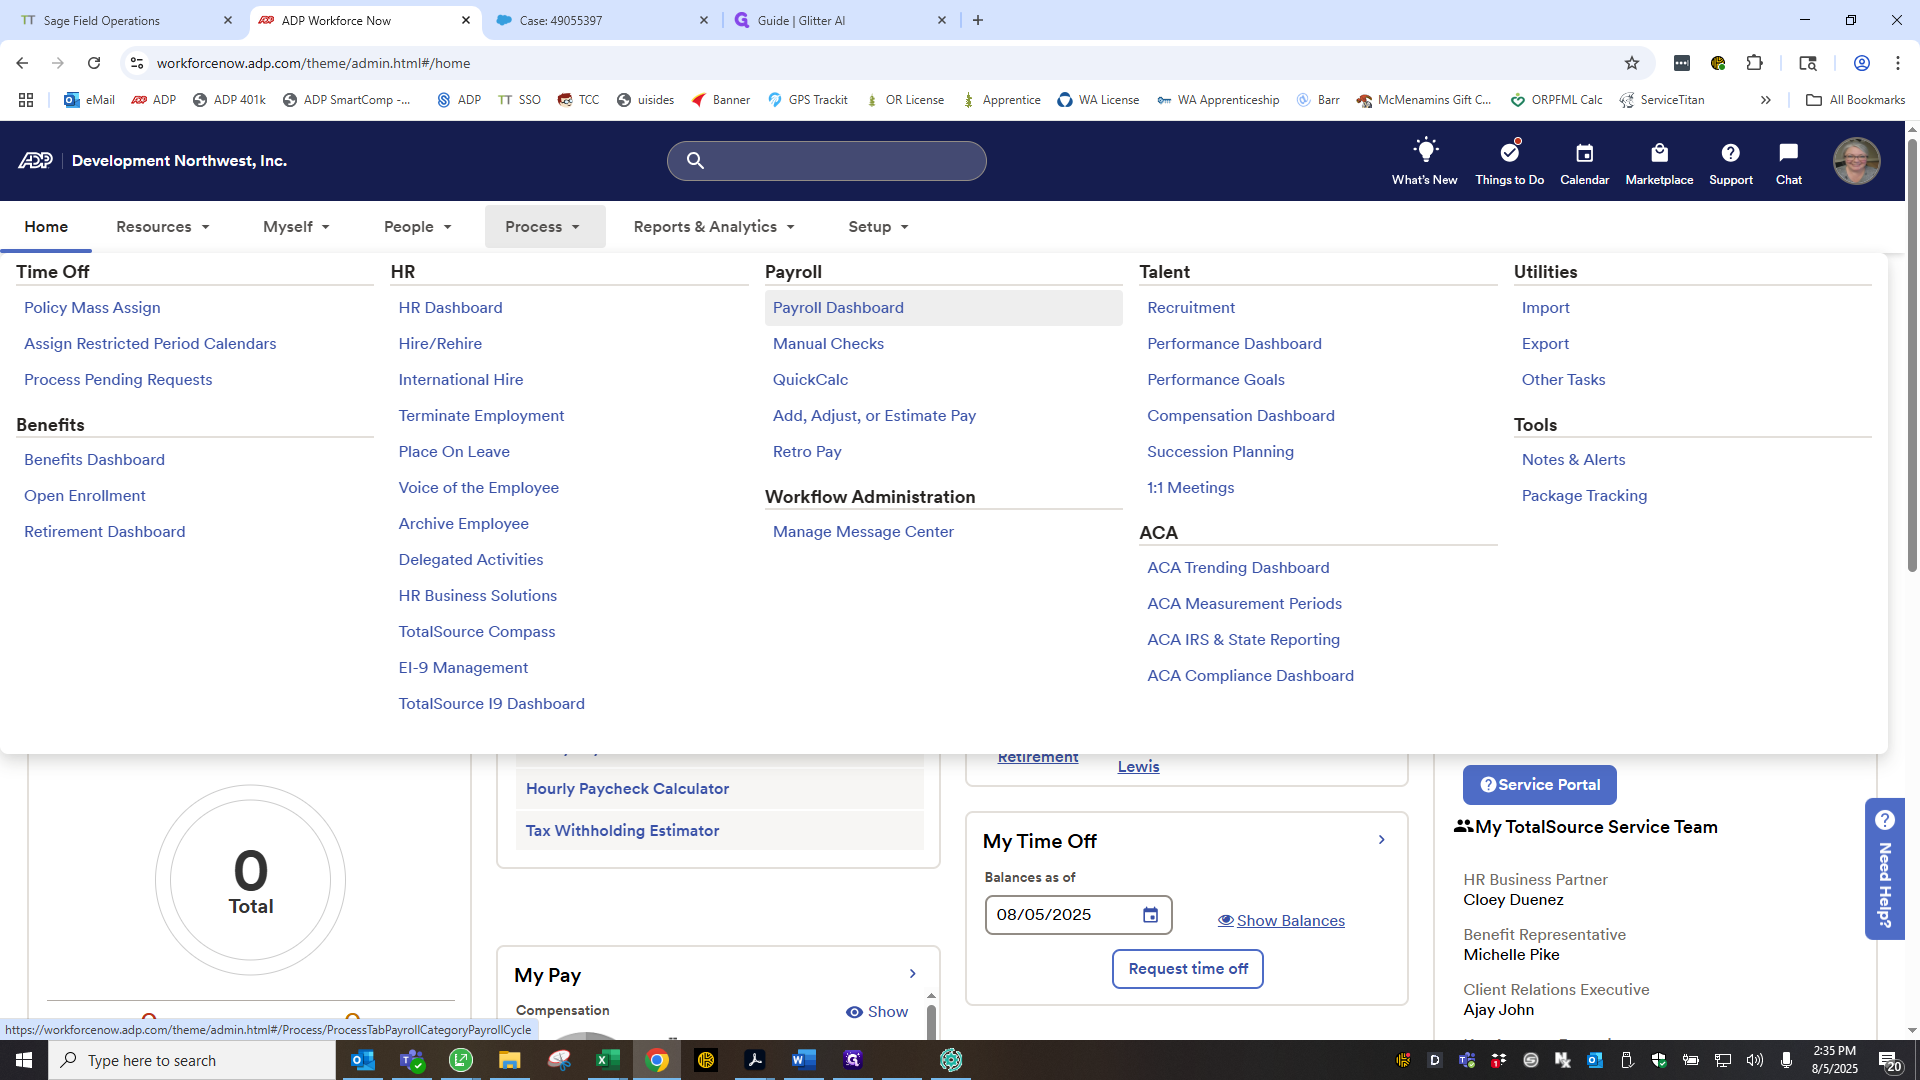
Okay. Close that, then go to the ADP Process Payroll dashboard.

89
Click on "Х"
Step #89: Click on "Х"
90
Click here
Step #90: Click here
91
Click here
Step #91: Click here
92
Click on "Process ▾"
Step #92: Click on "Process ▾"
93
Click on "Payroll Dashboard"
Step #93: Click on "Payroll Dashboard"

I'm running out of time on this video, so I'll start another one to show how to upload the file to ADP and what steps to take with the worksheet in ADP for payroll.