Step-by-Step Guide to the New Loaner Hearing Aid Workflow
Learn how to efficiently use the new loaner hearing aid workflow, including scanning QR codes, updating device status, and tracking loan duration for all devices.
By Megan Strobel
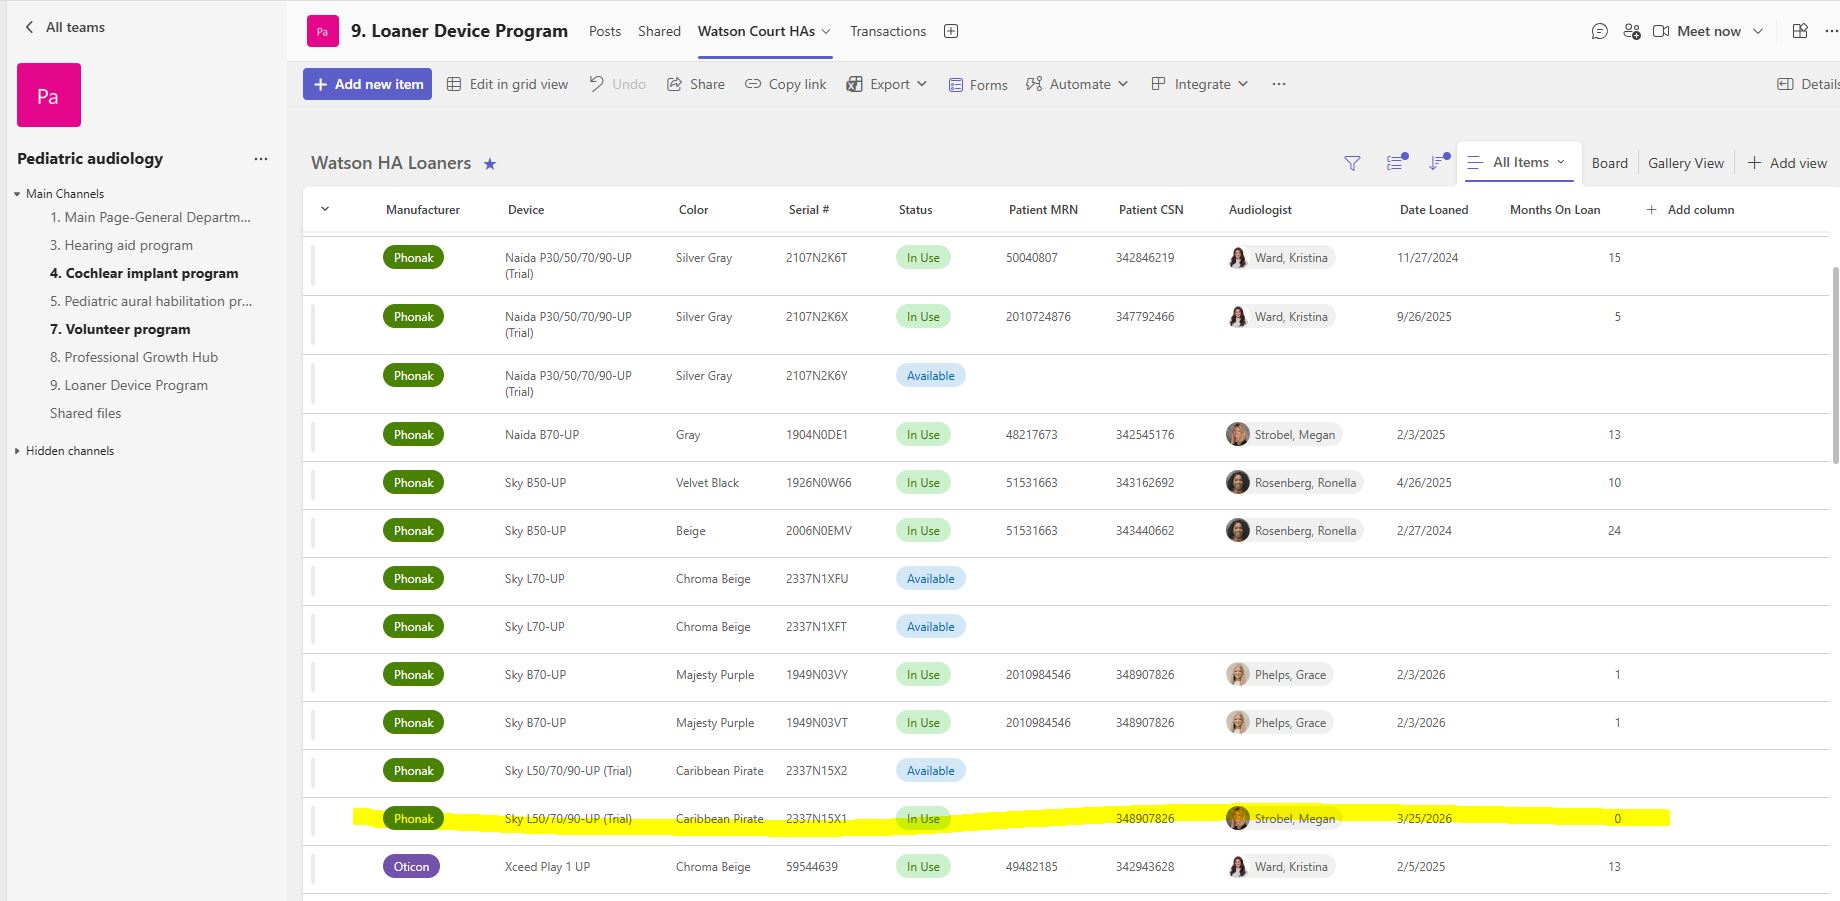
In this guide, we'll learn how to process a new loaner hearing aid using a browser and a QR scanner. This workflow helps you track the location, status, and user of each hearing aid by autofilling key information in your team's document. You will also see how the system updates the device status and calculates the loan duration.
This guide explains the new loaner hearing aid workflow.
1
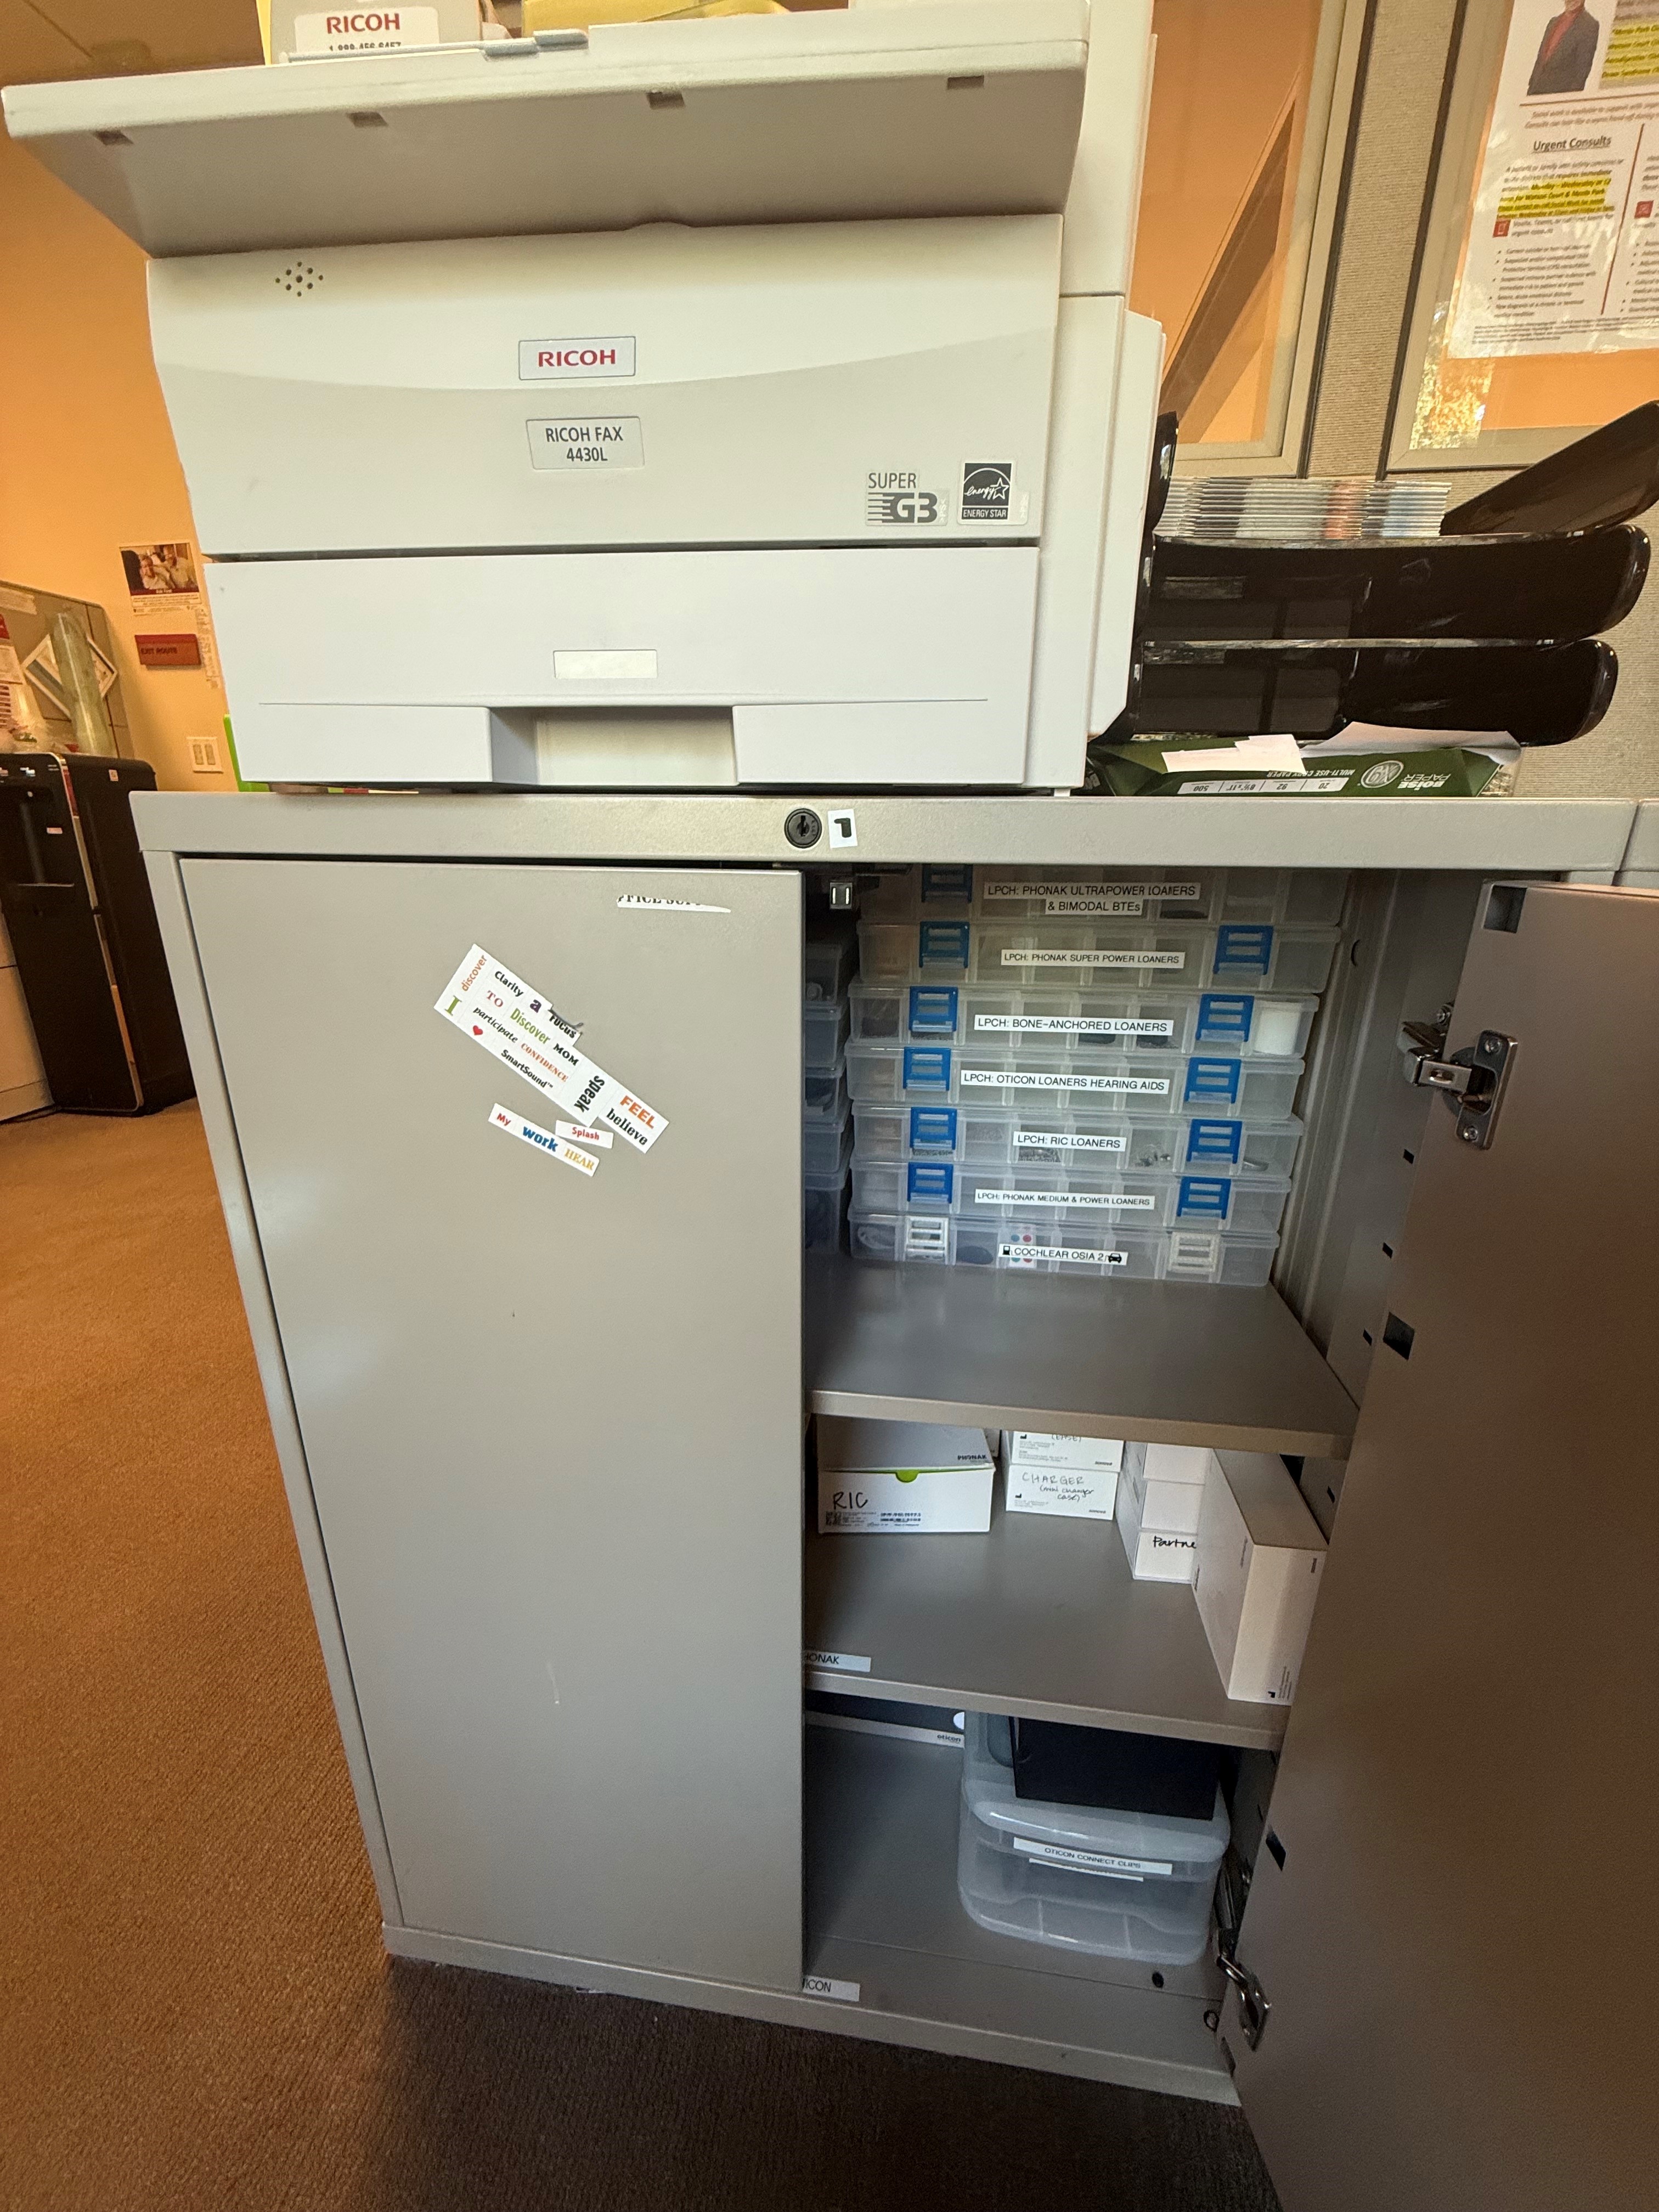
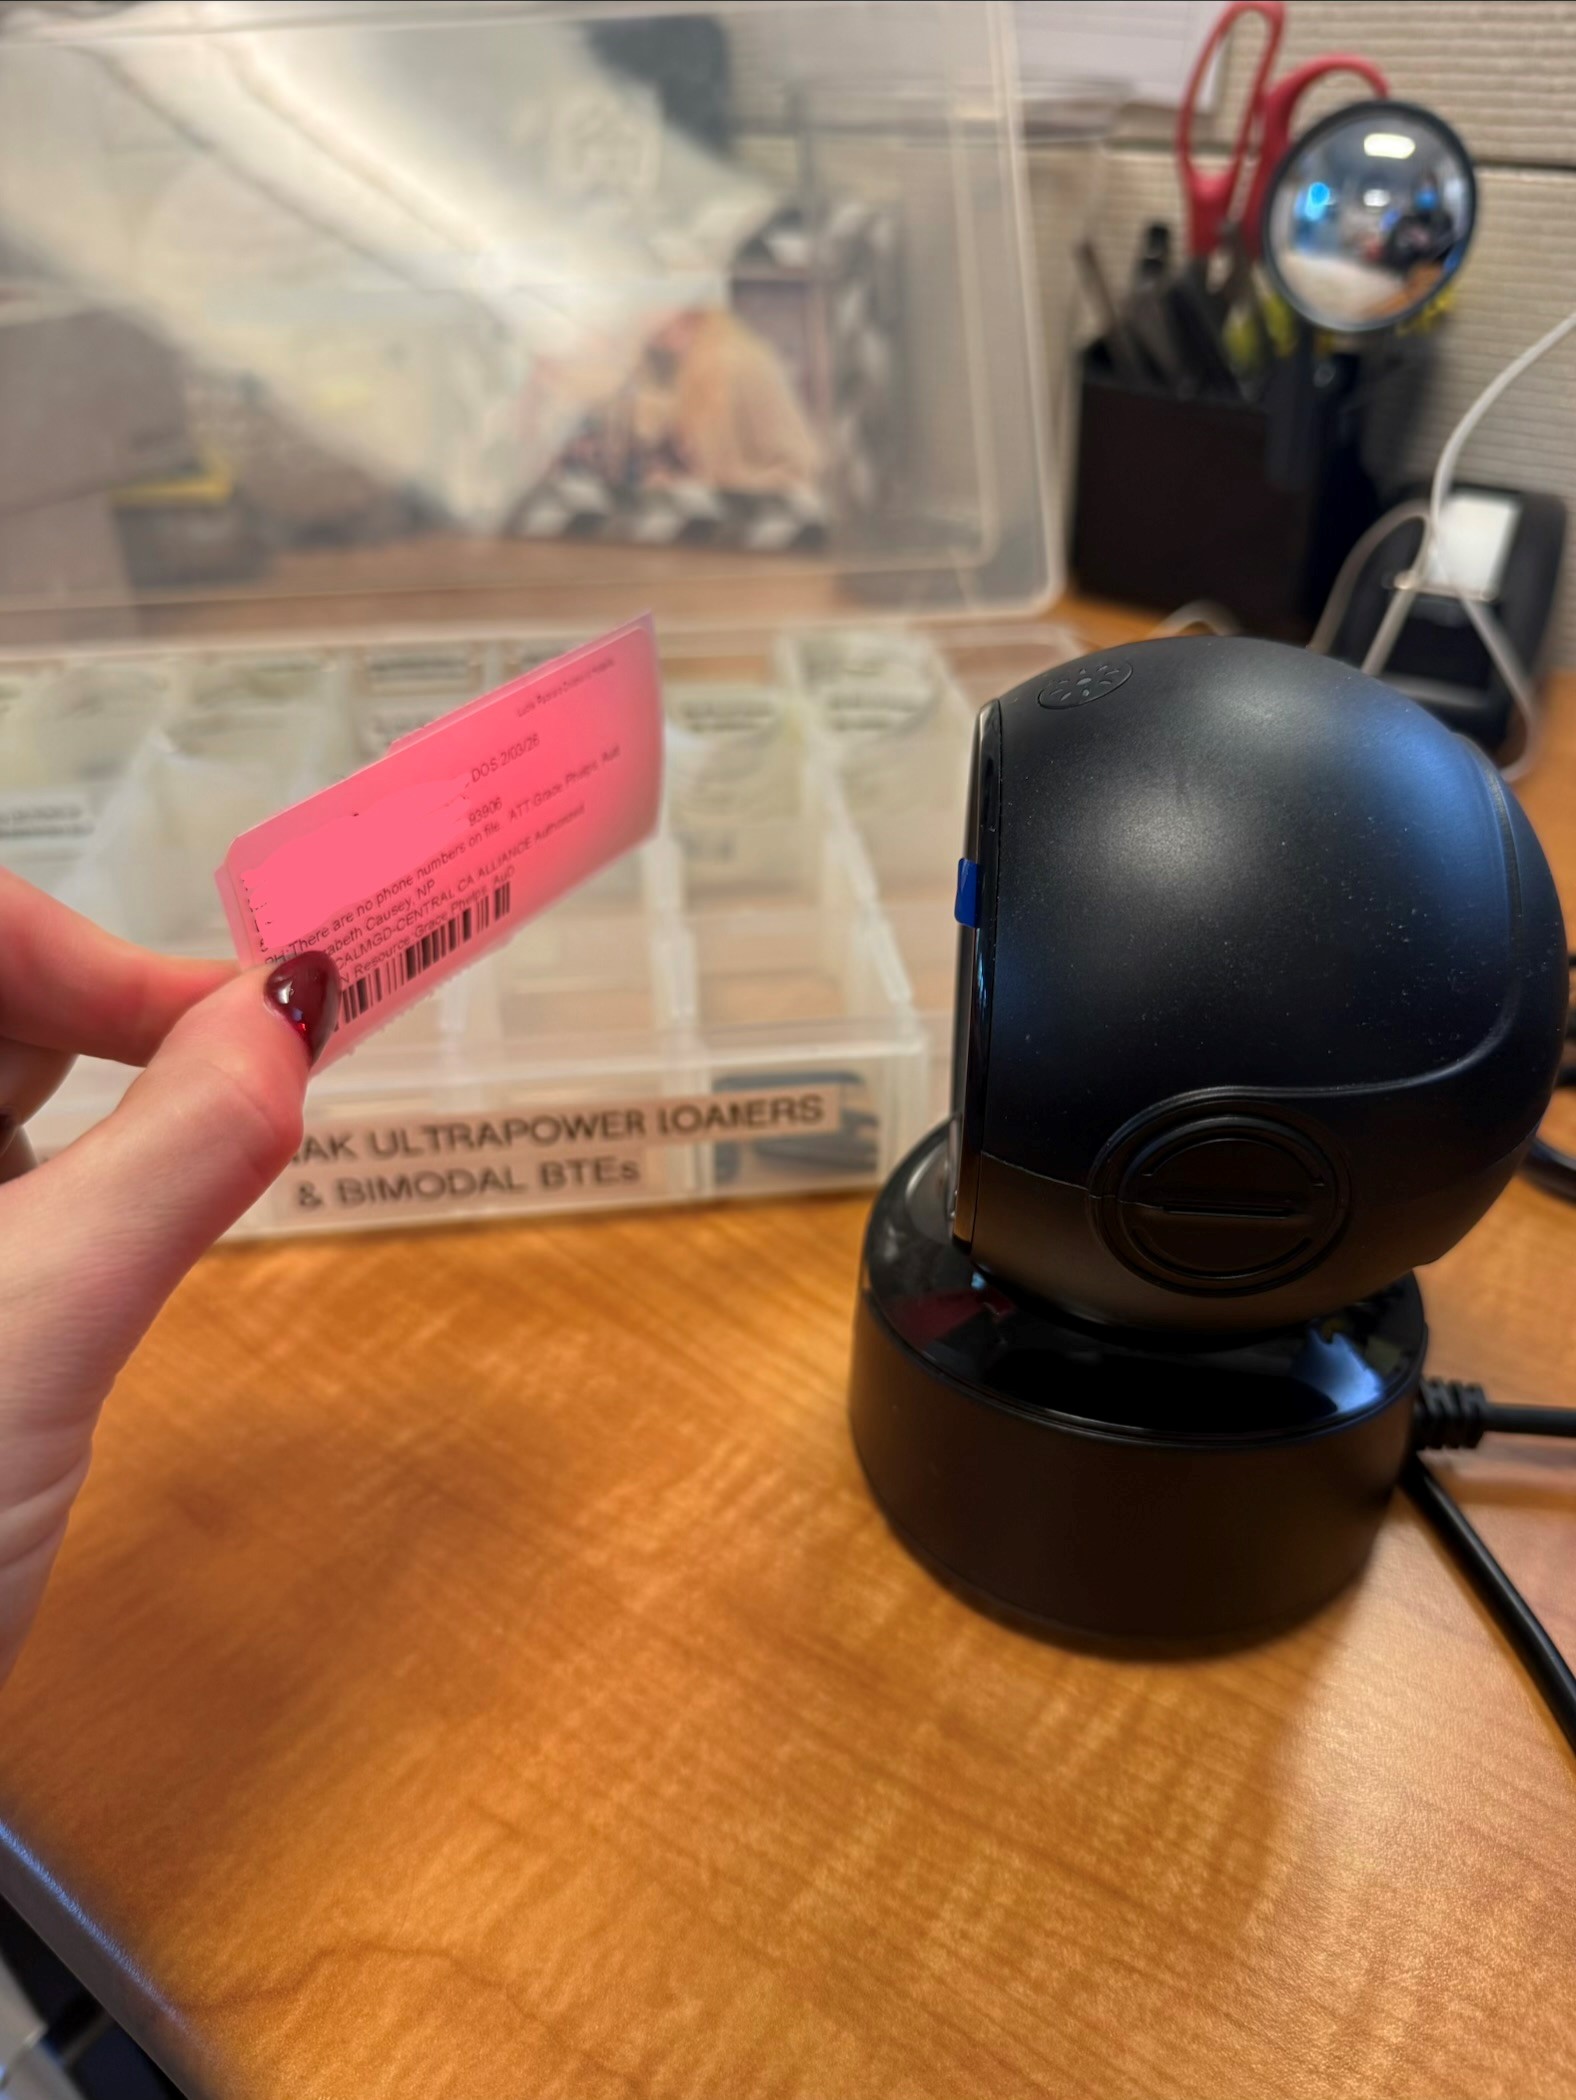
Loaners are located underneath the Fax Machine in the back office space. Pull out the loaner bin and identify which hearing aid(s) is to be loaned out.
2
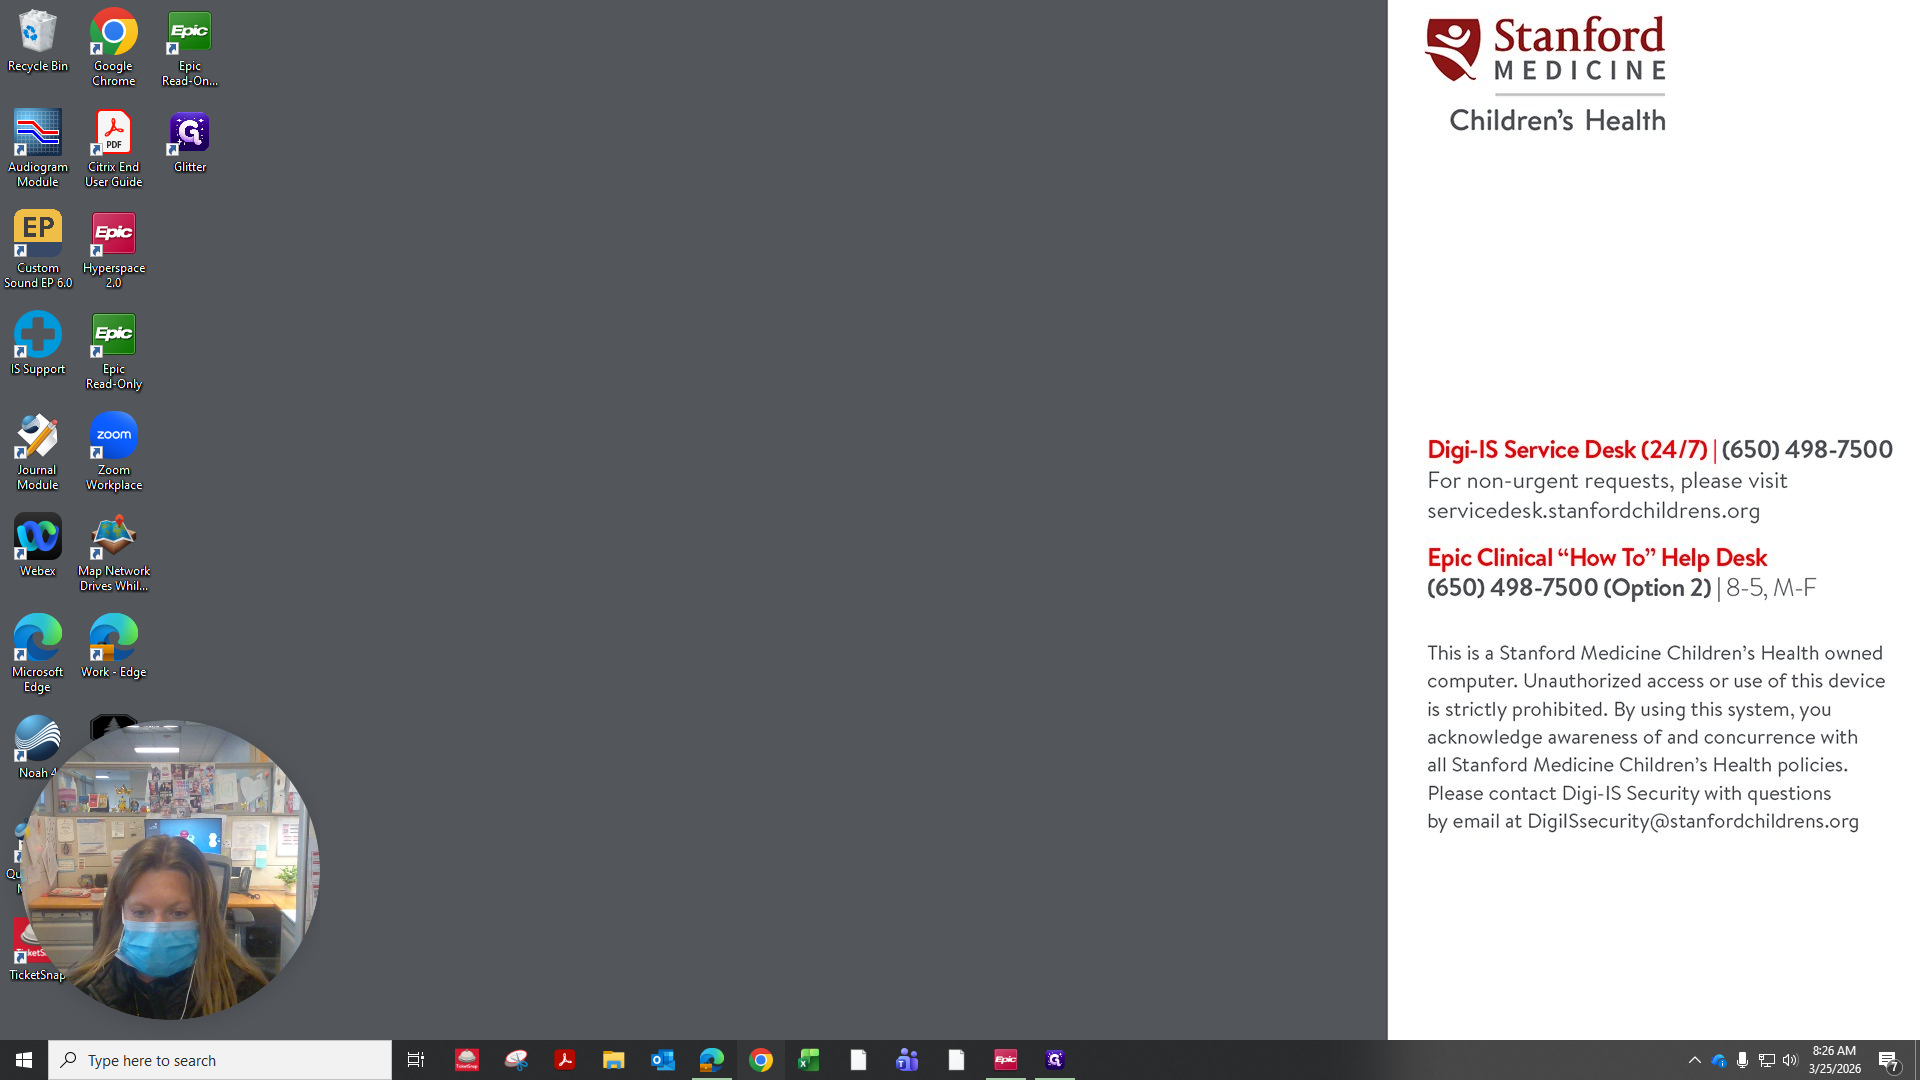
Open a new browser.
3
Click in the search bar and delete its contents.

4
With the cursor in the blank search bar of the new tab, use the scanner to scan the QR code in the corresponding device storage square.
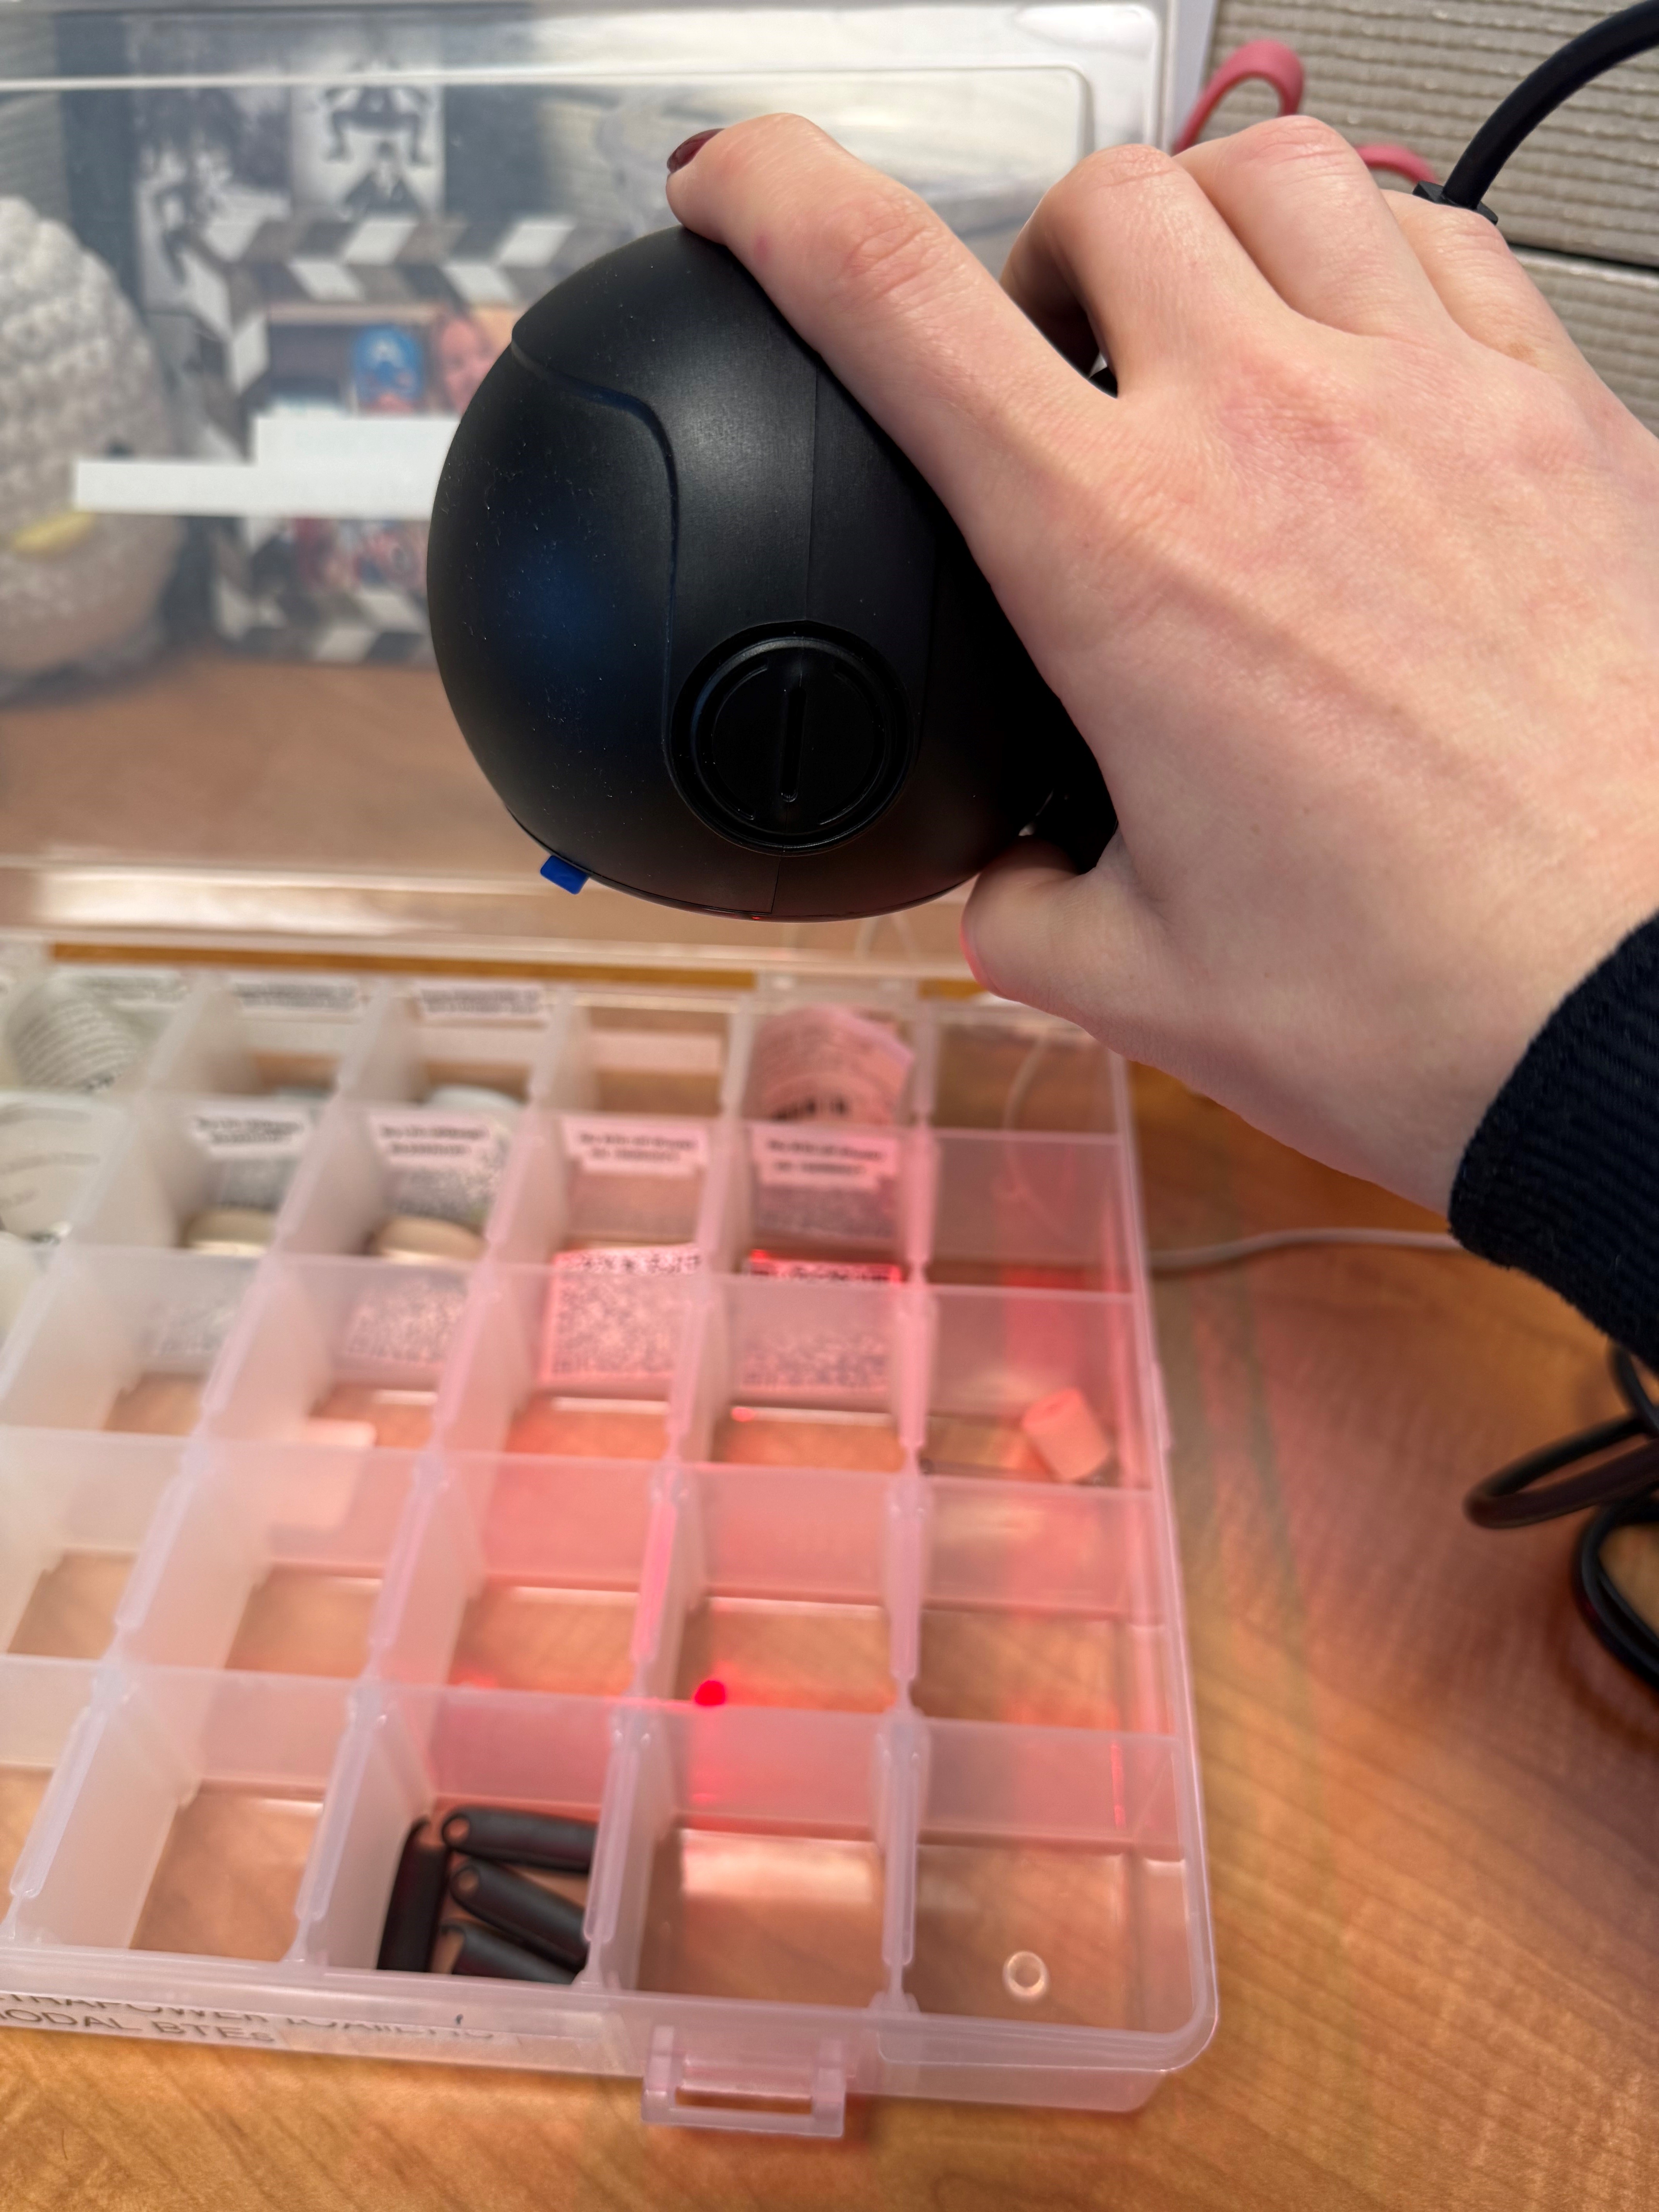
That scan will auto-fill and direct you to an editable form for that specific device.
5
Click into "Patient CSN"
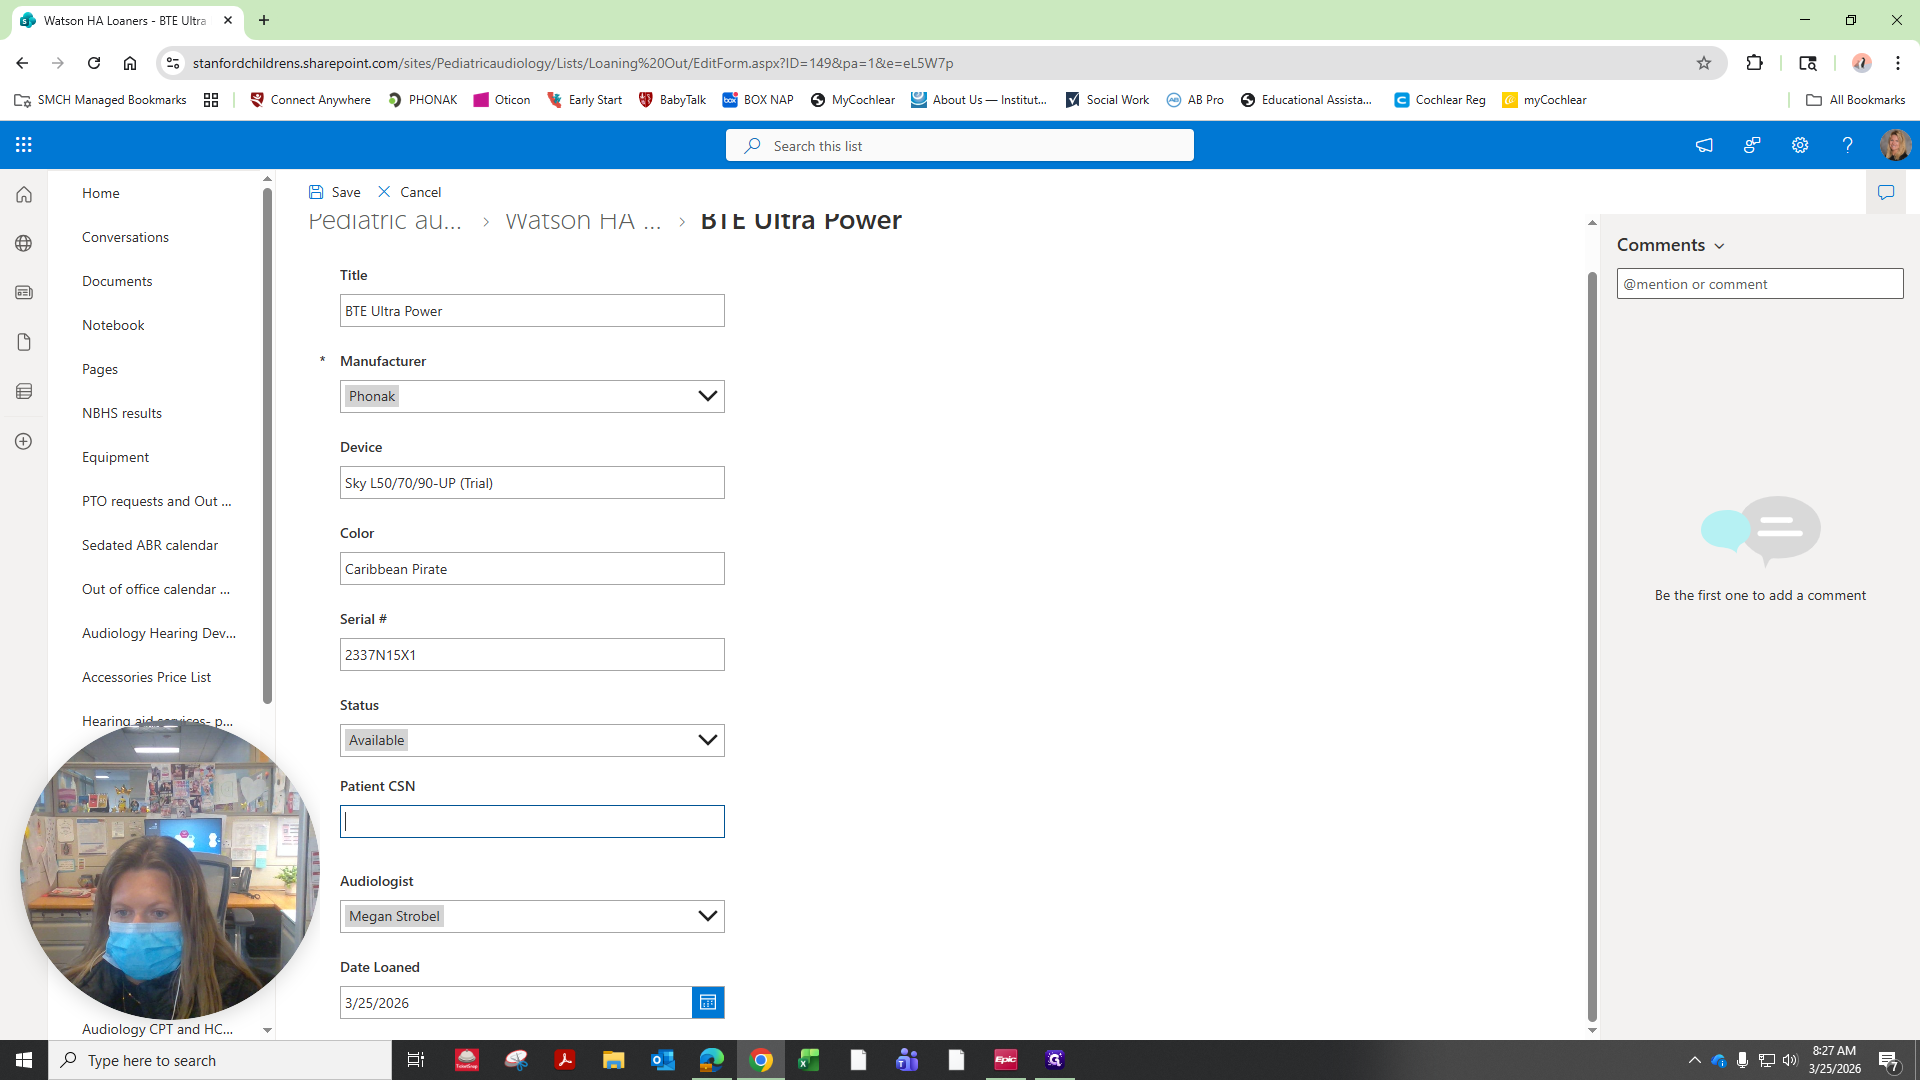
6
With the cursor in the blank CSN box, use the scanner to scan the barcode on the patient label.
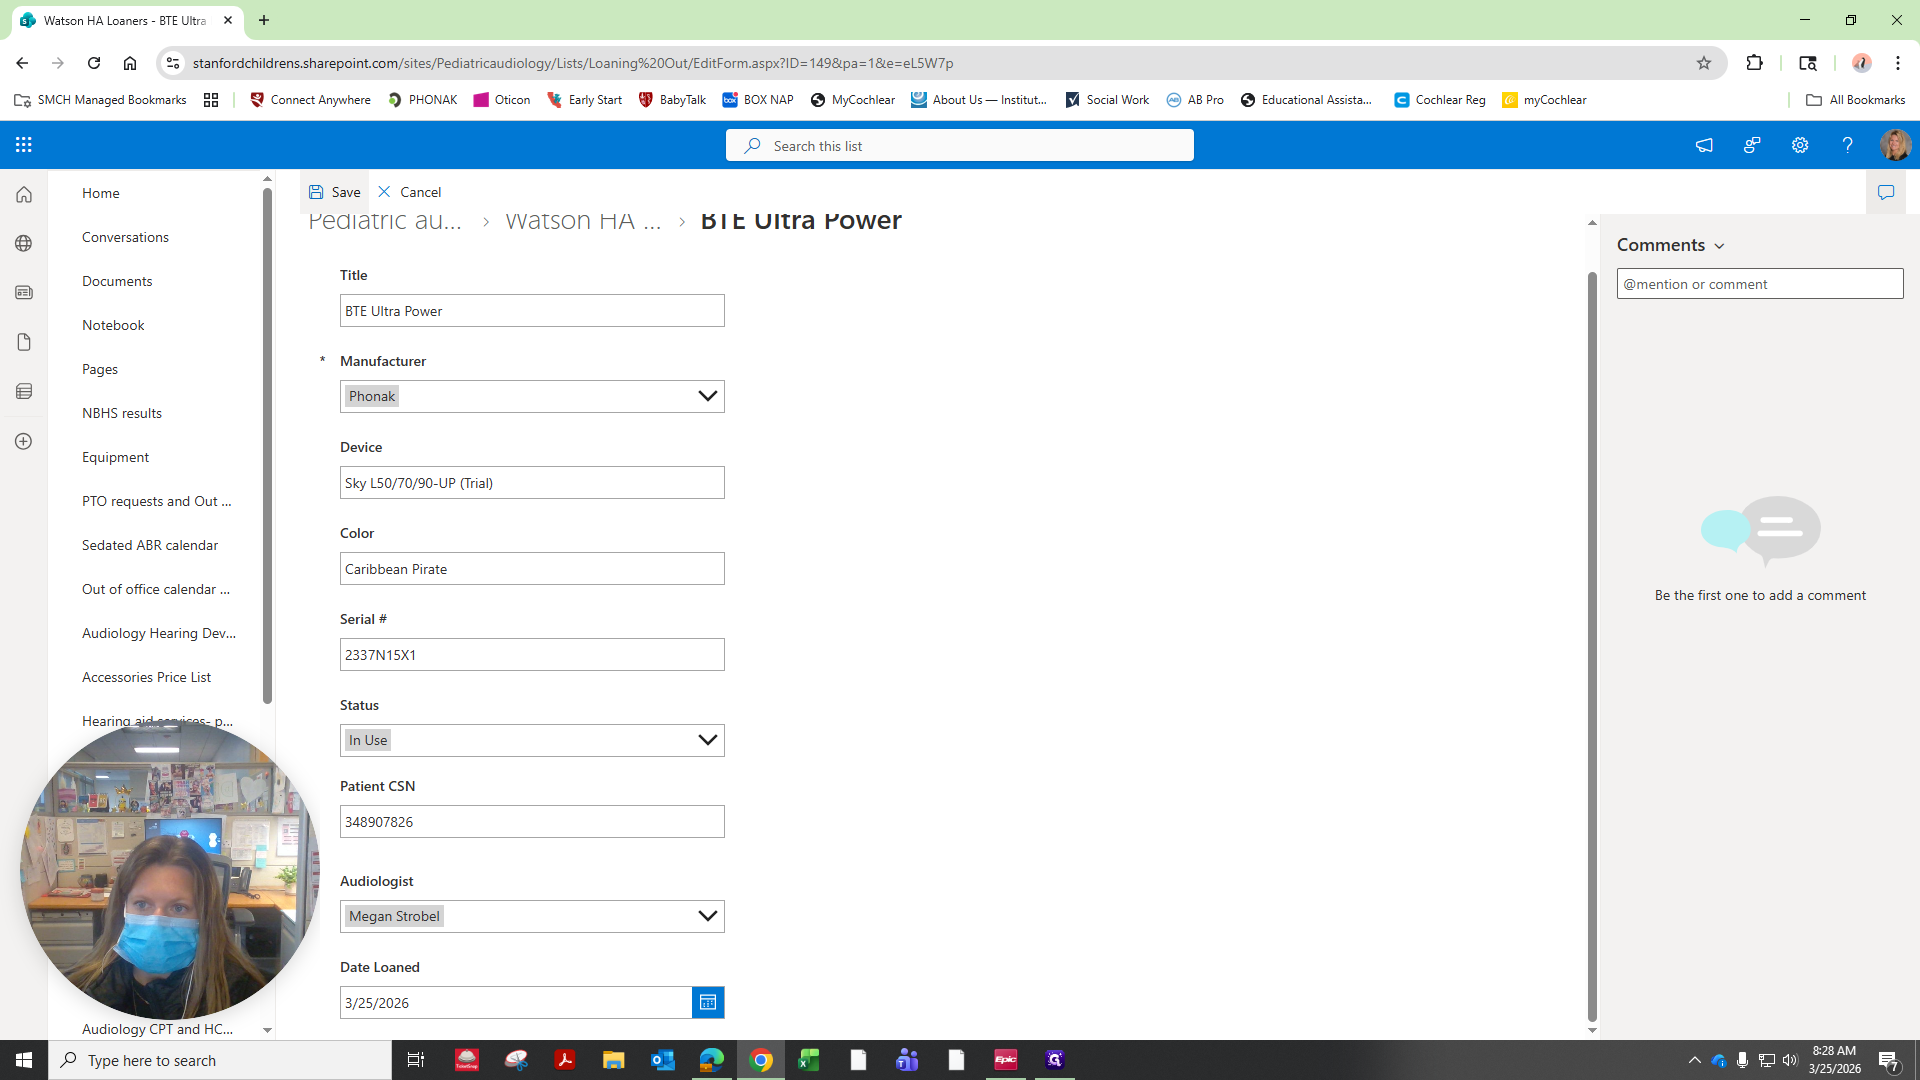
This will auto-fill the patient's EPIC locator (CSN). Notice that the device Status automatically changes to "In Use" with the patient's CSN.
7
Click "Save"
8
Optional: If you want to cross-check, the row for that specific hearing aid should be saved with the updated information.