SUB-ASSY-HAND KNOB-V1: Step-by-Step Guide
Learn how to assemble a hand knob with a stud using a thread bonding compound. Follow this easy step-by-step guide for proper assembly and curing.
By Rhonda Chisholm
In this guide, we'll learn how to assemble a hand knob and stud using a pick list and thread bonding compound. This process ensures the parts are securely joined and ready for use. Each step will help you prepare, assemble, and allow proper curing time for the best results.
Let's get started
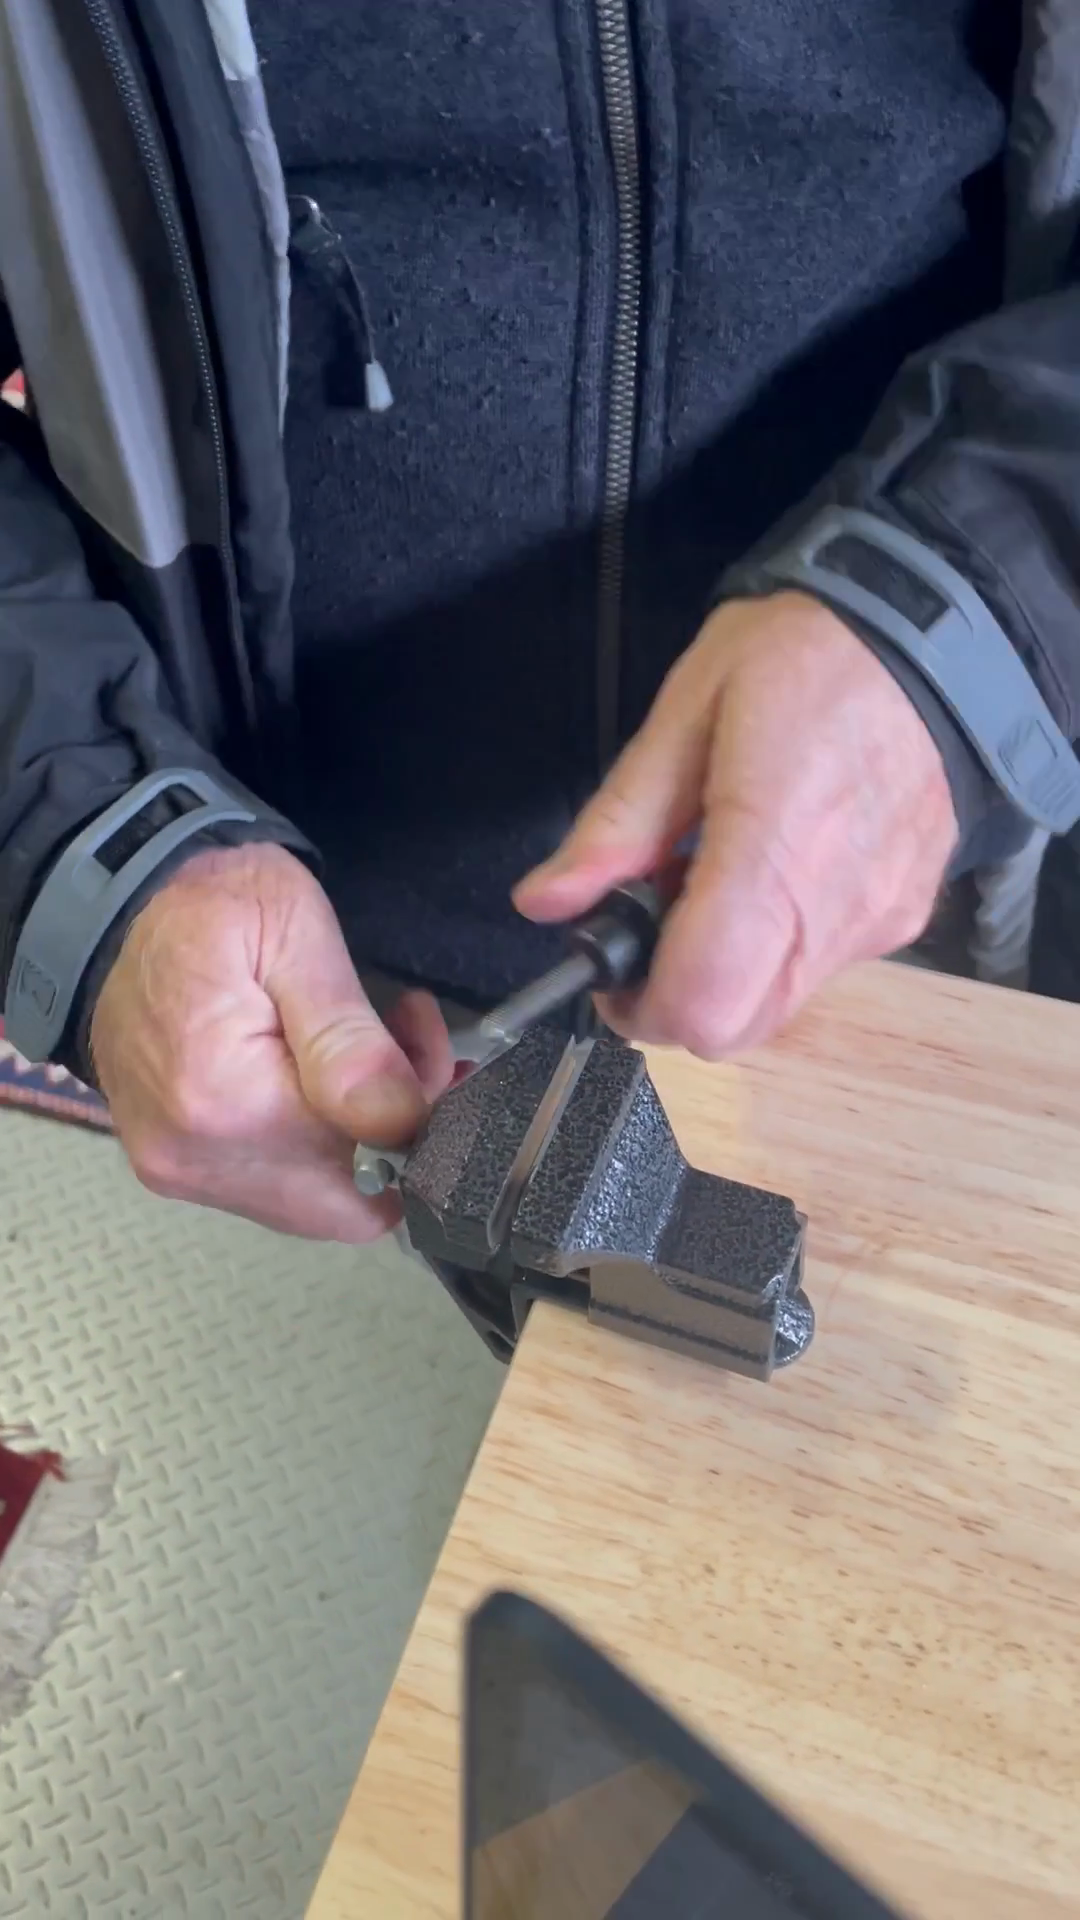
1
Collect parts required for the assembly using the pick list and take it to the workbench.
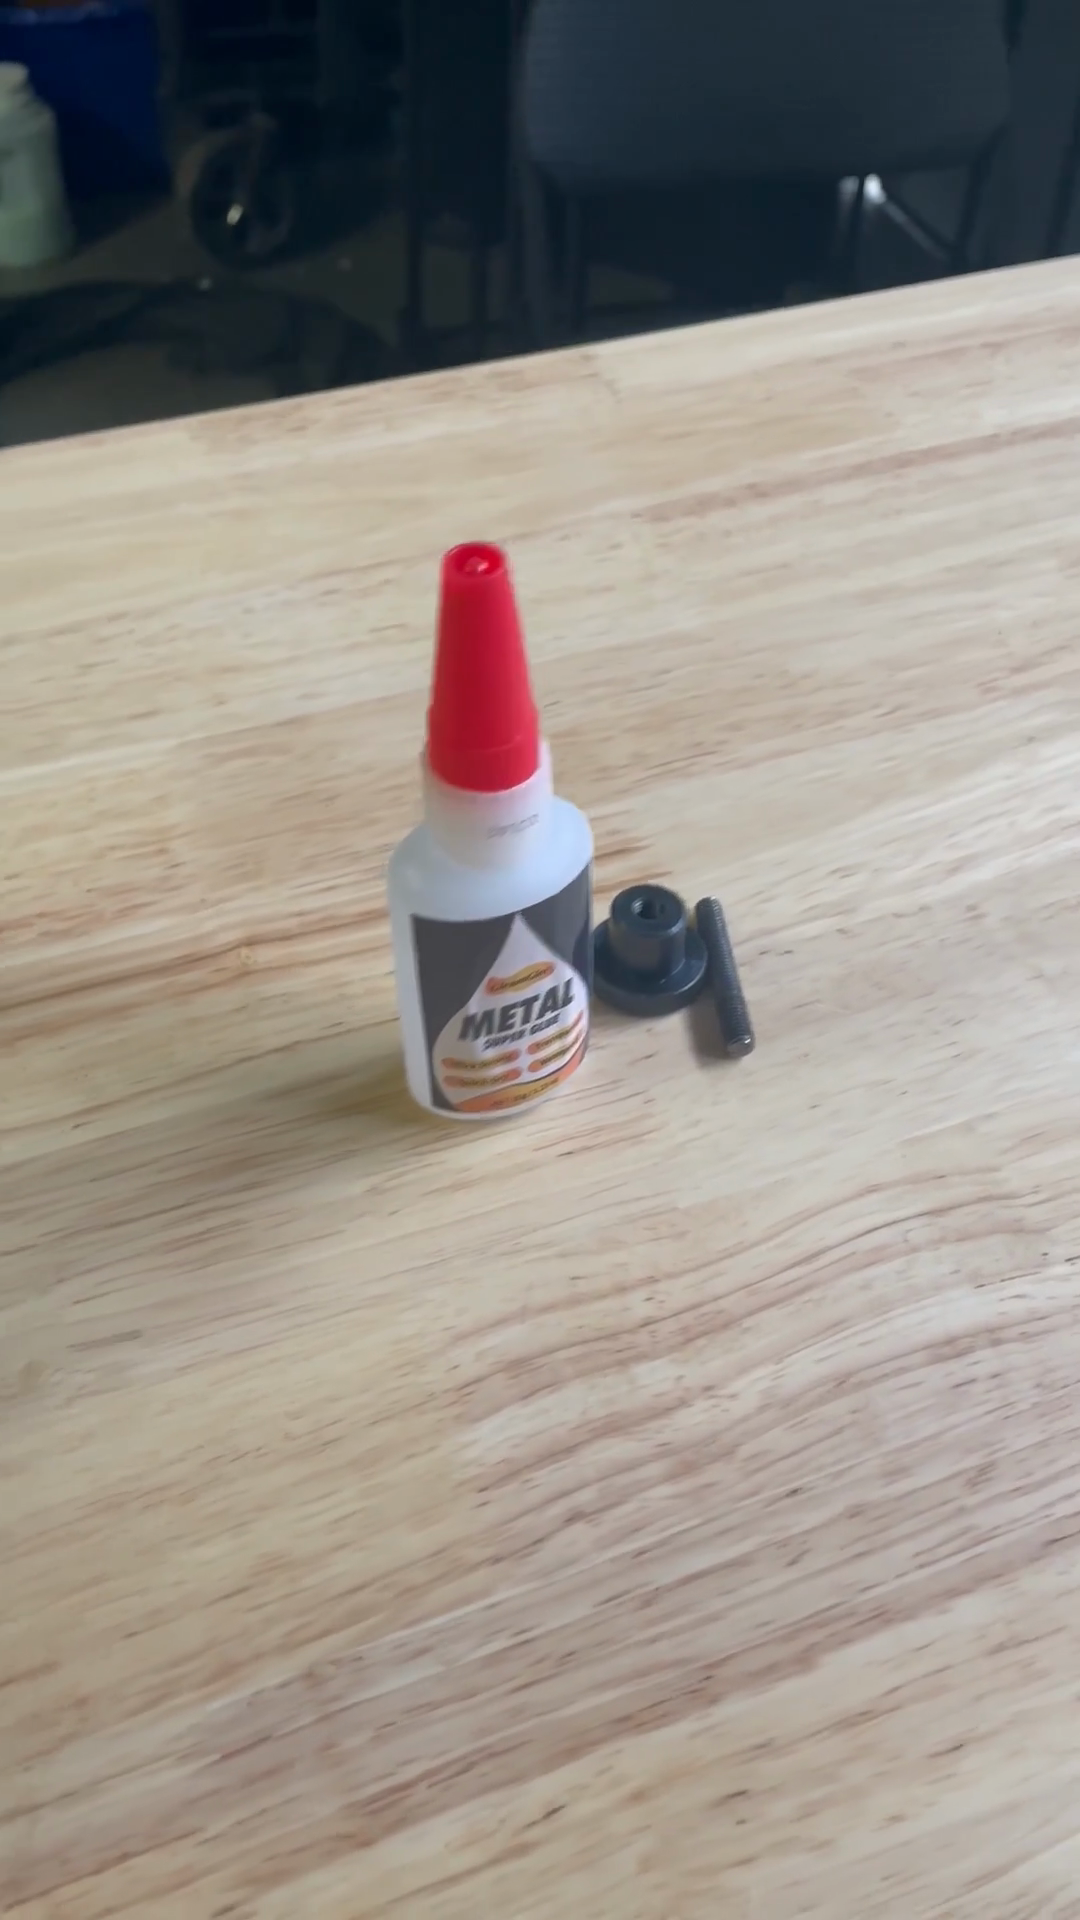
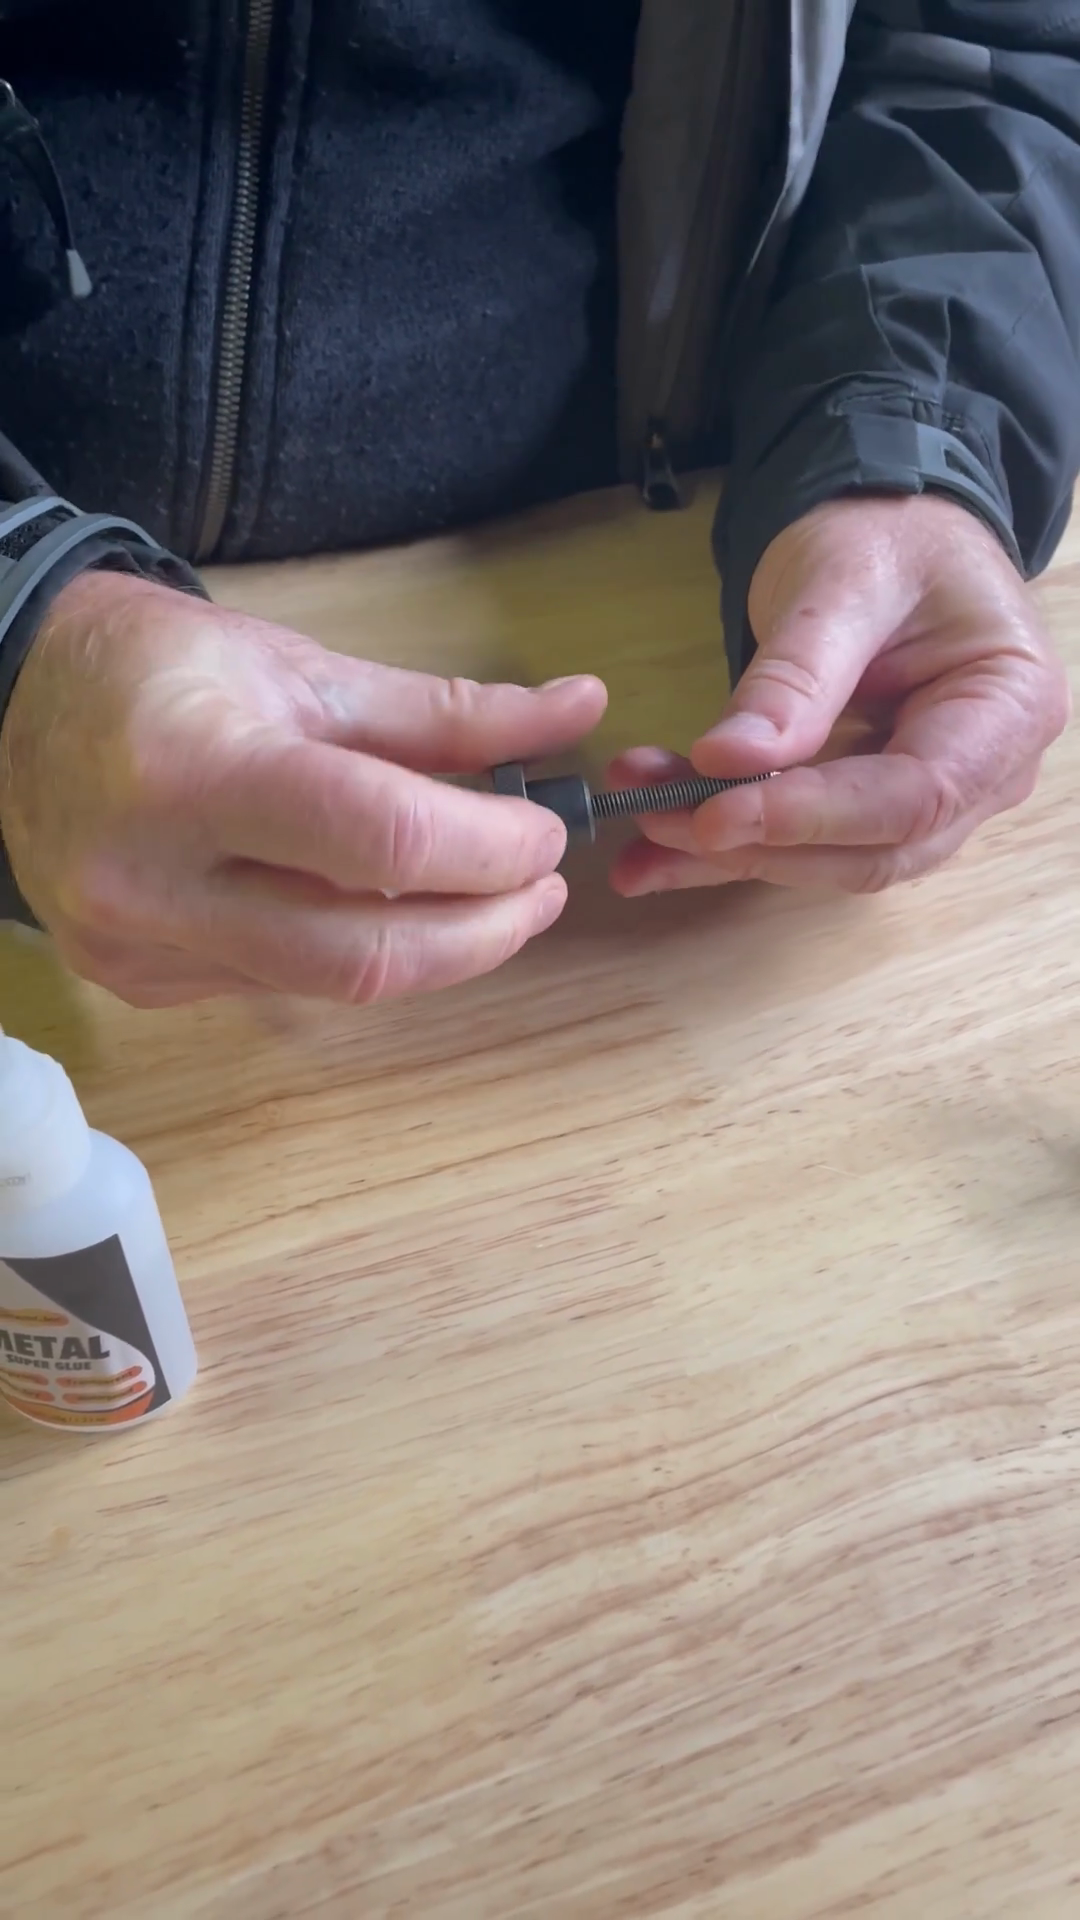
2
Apply thread bonding compound to the first four threads of the non-pointed end of the stud.
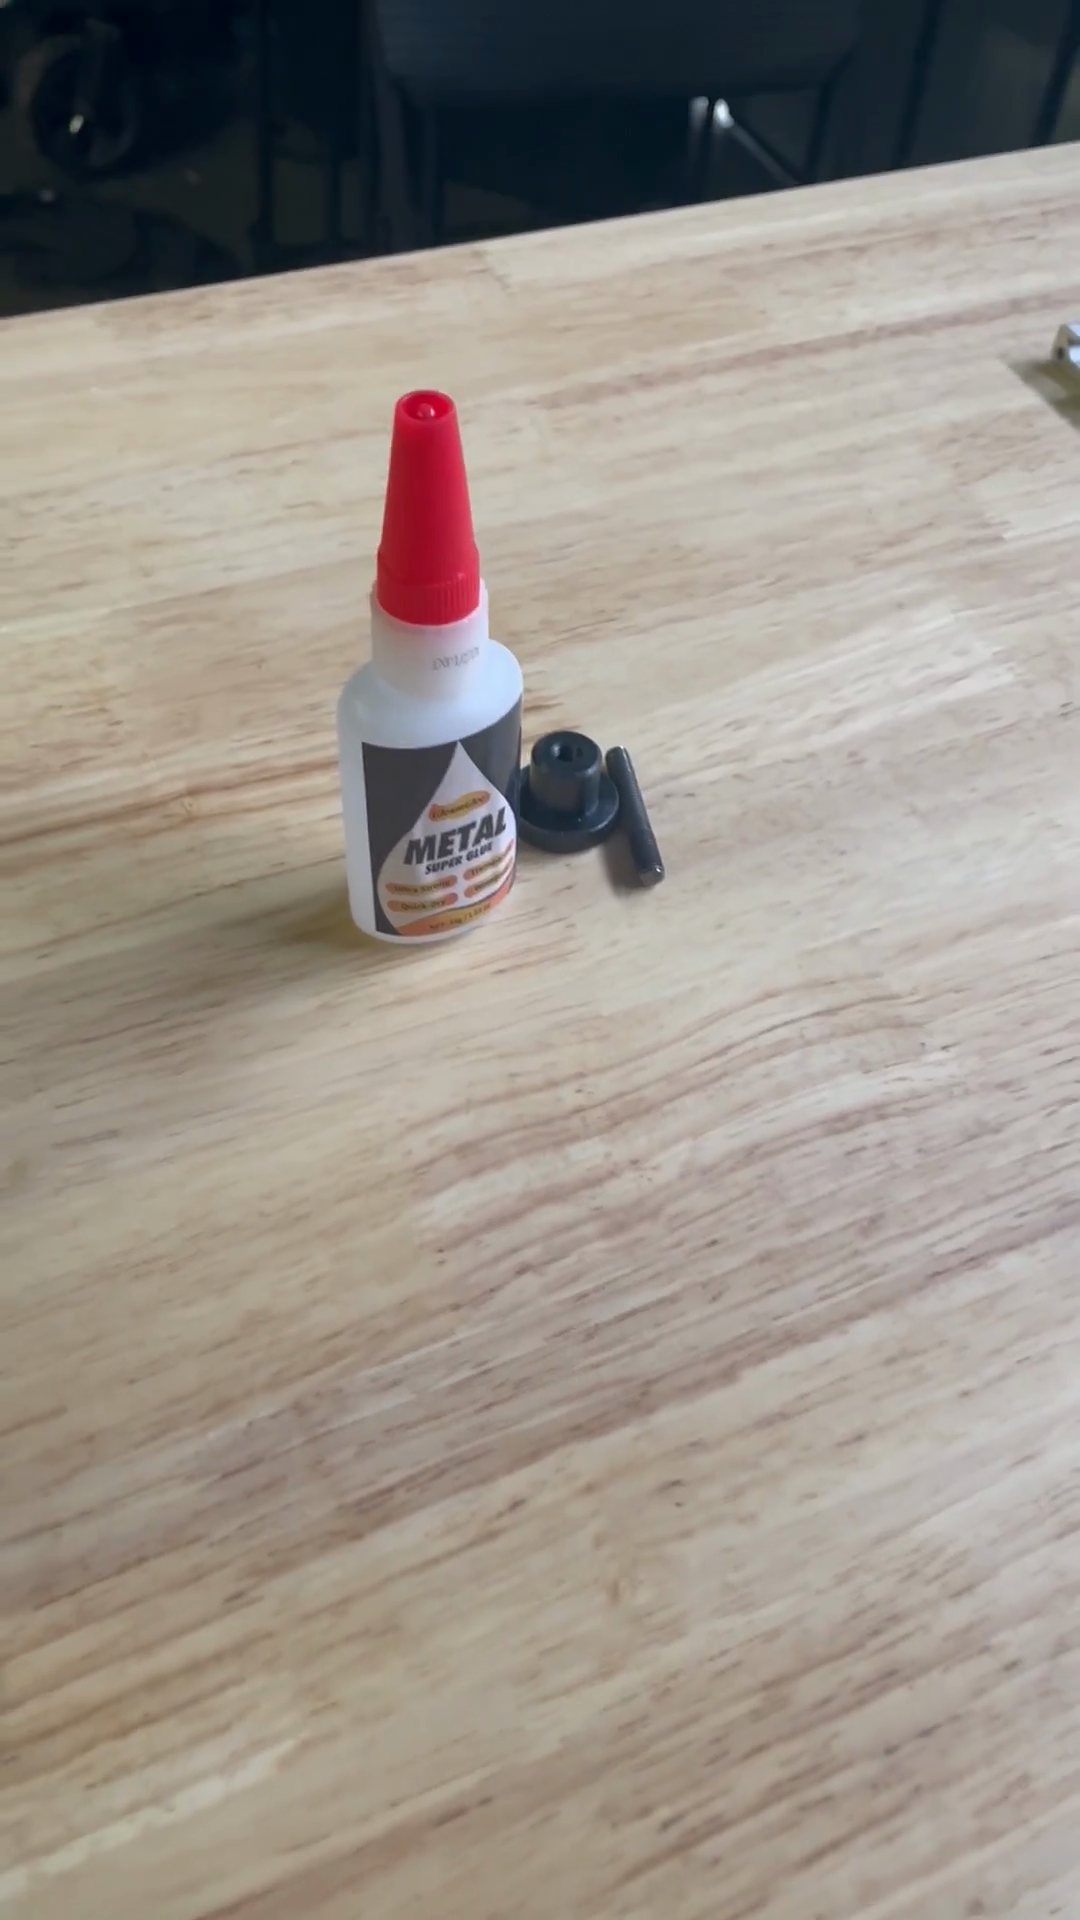
3
Apply a couple drops of thread bonding compound internally on the threads of the knob.
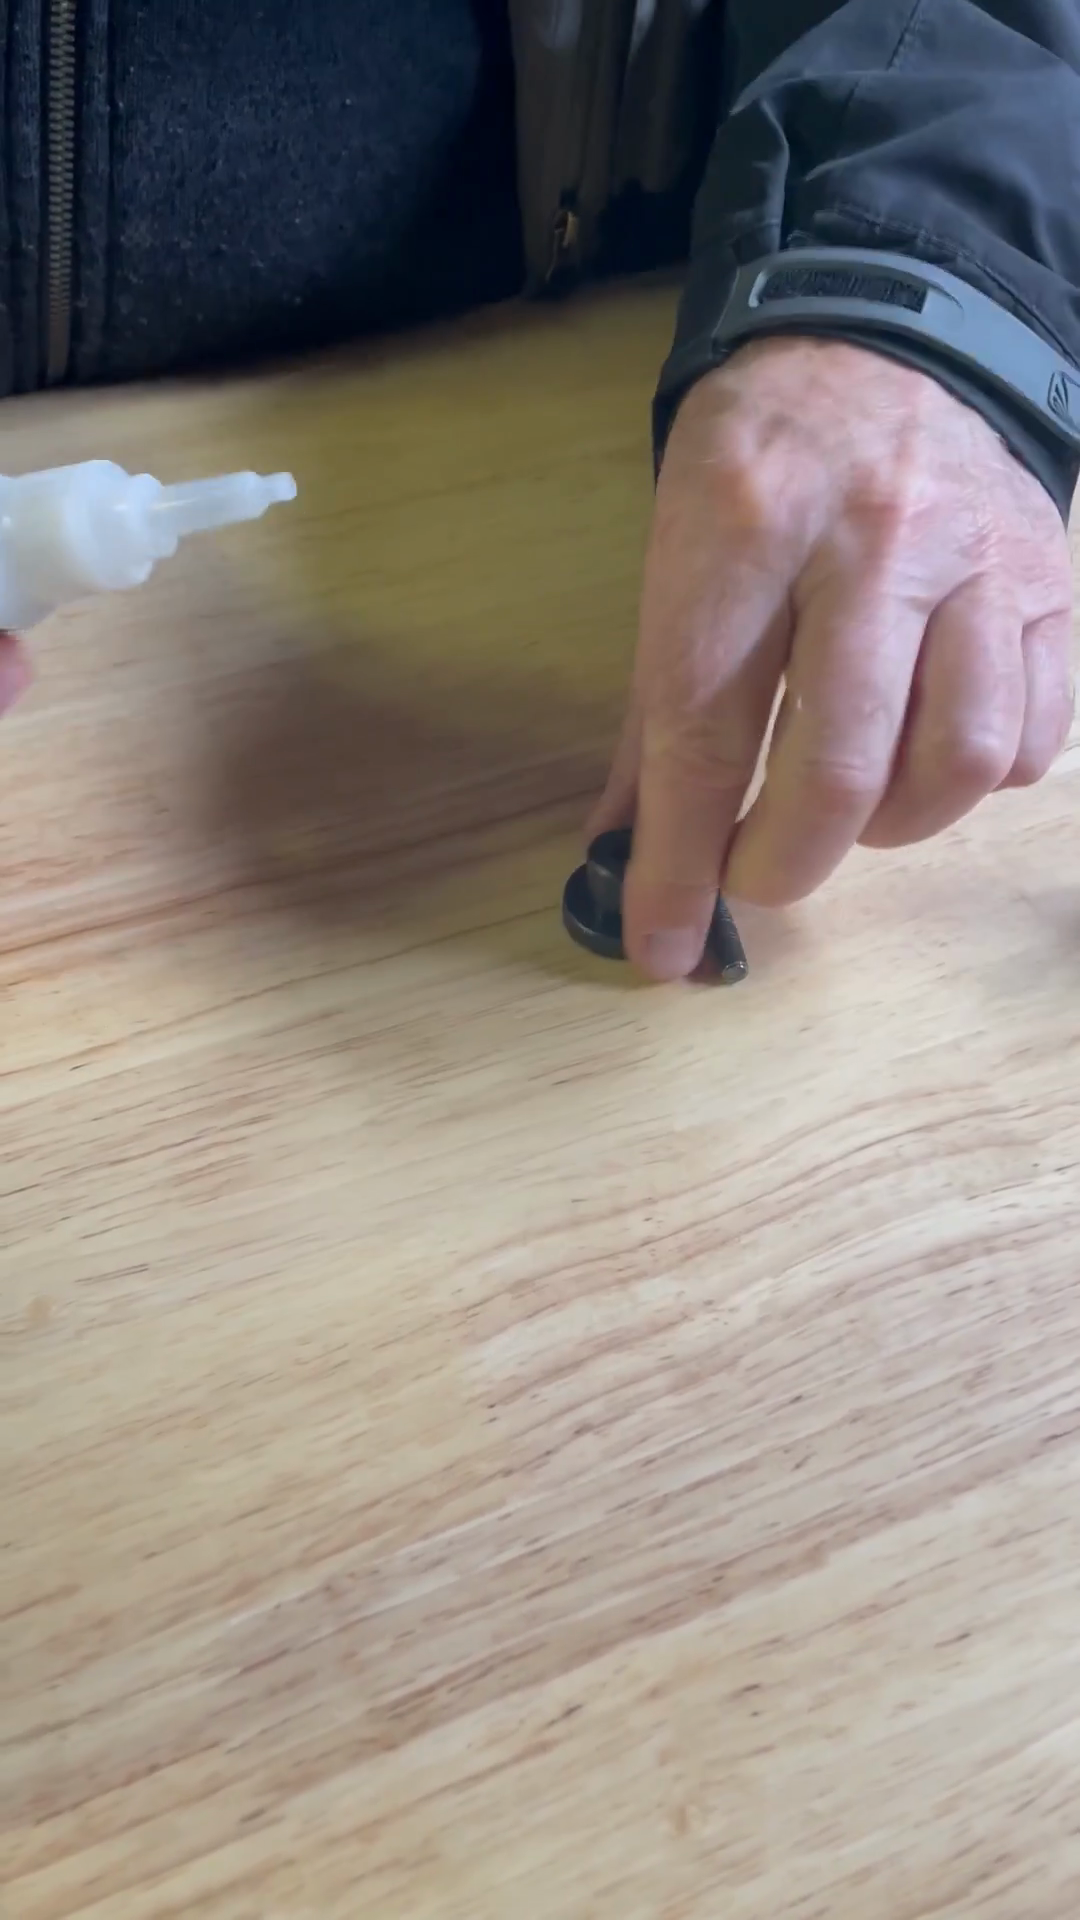
4
Thread the stud into the hand knob until it bottoms out.
5
Let it cure for 24 hours.