
Supervisor Guide: Using the Falcon Instrument Booking System
Learn how supervisors can access, manage students, set PINs, book instruments, and update profiles in the Falcon instrument booking system at Carleton University.
In this guide, we'll learn how to access and use the Falcon system as a supervisor. We will cover how to log in, set PIN numbers for students, create new users, view assigned students and their sessions, check facility status, and book instruments. We will also look at how to update your profile to ensure your information is current for invoicing purposes.
Let's get started
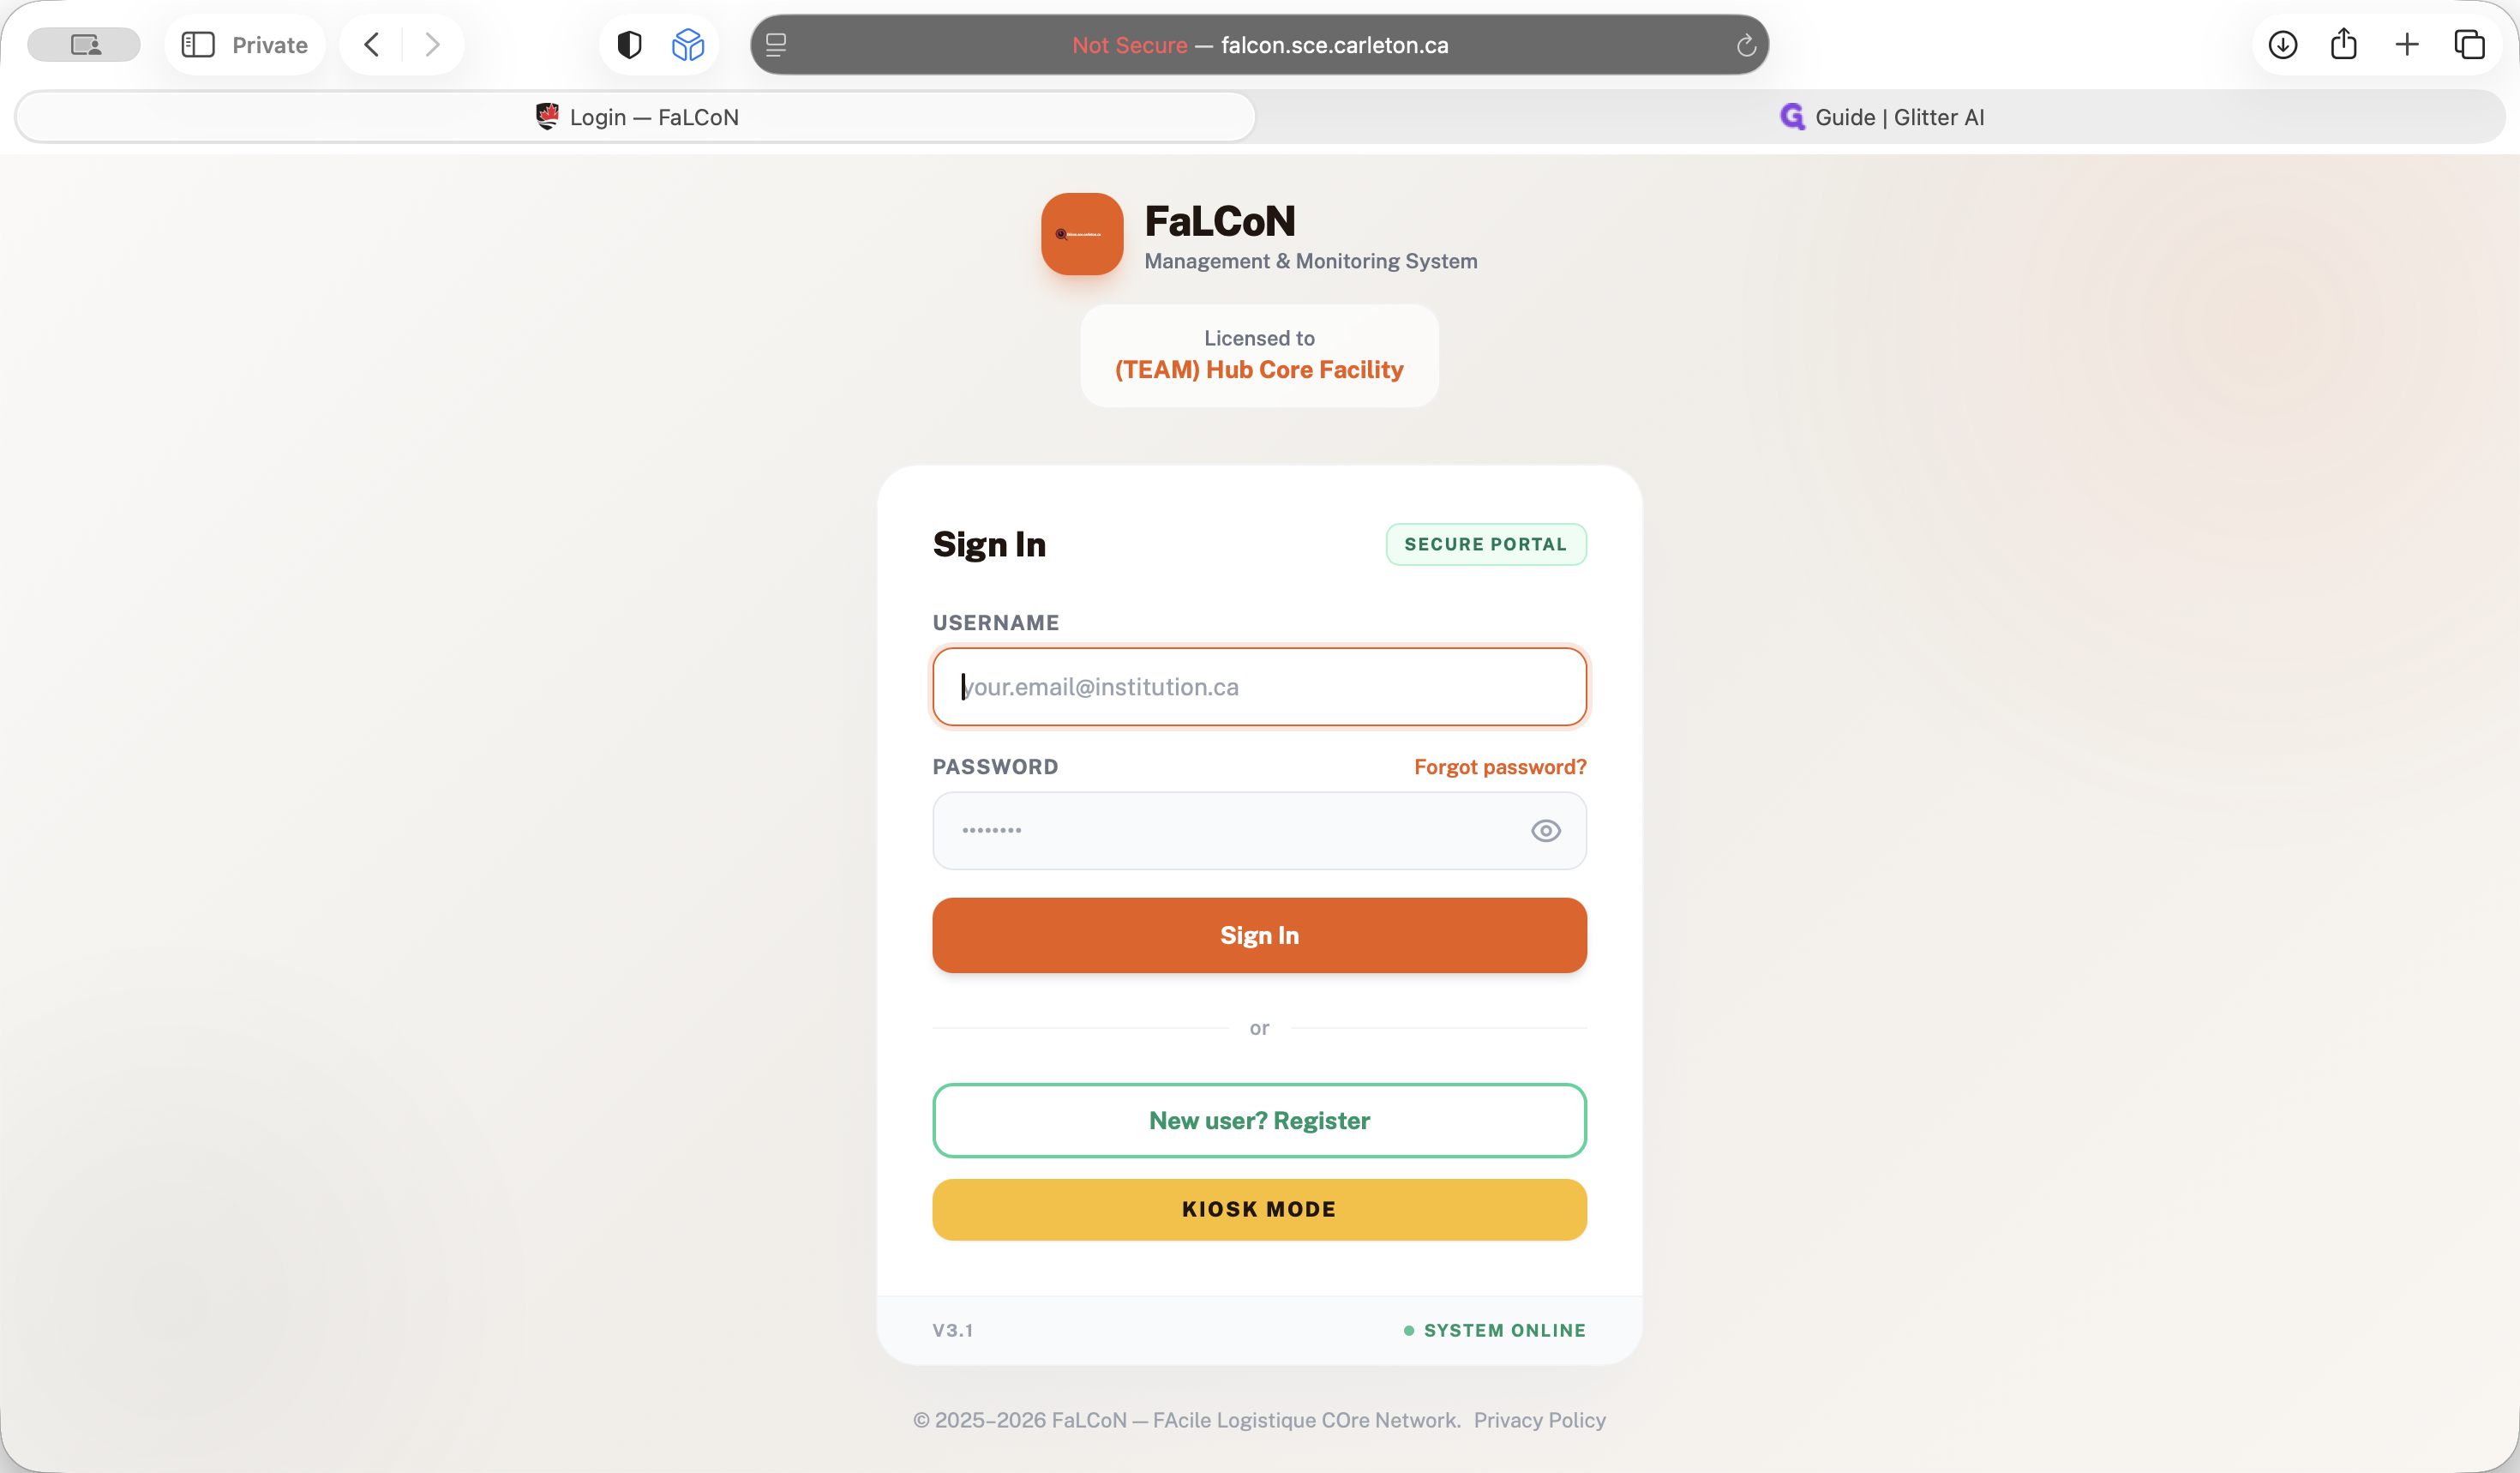
To access our system as a supervisor, go to falcon.sce.carleton.ca. Enter your username and password, then sign in.

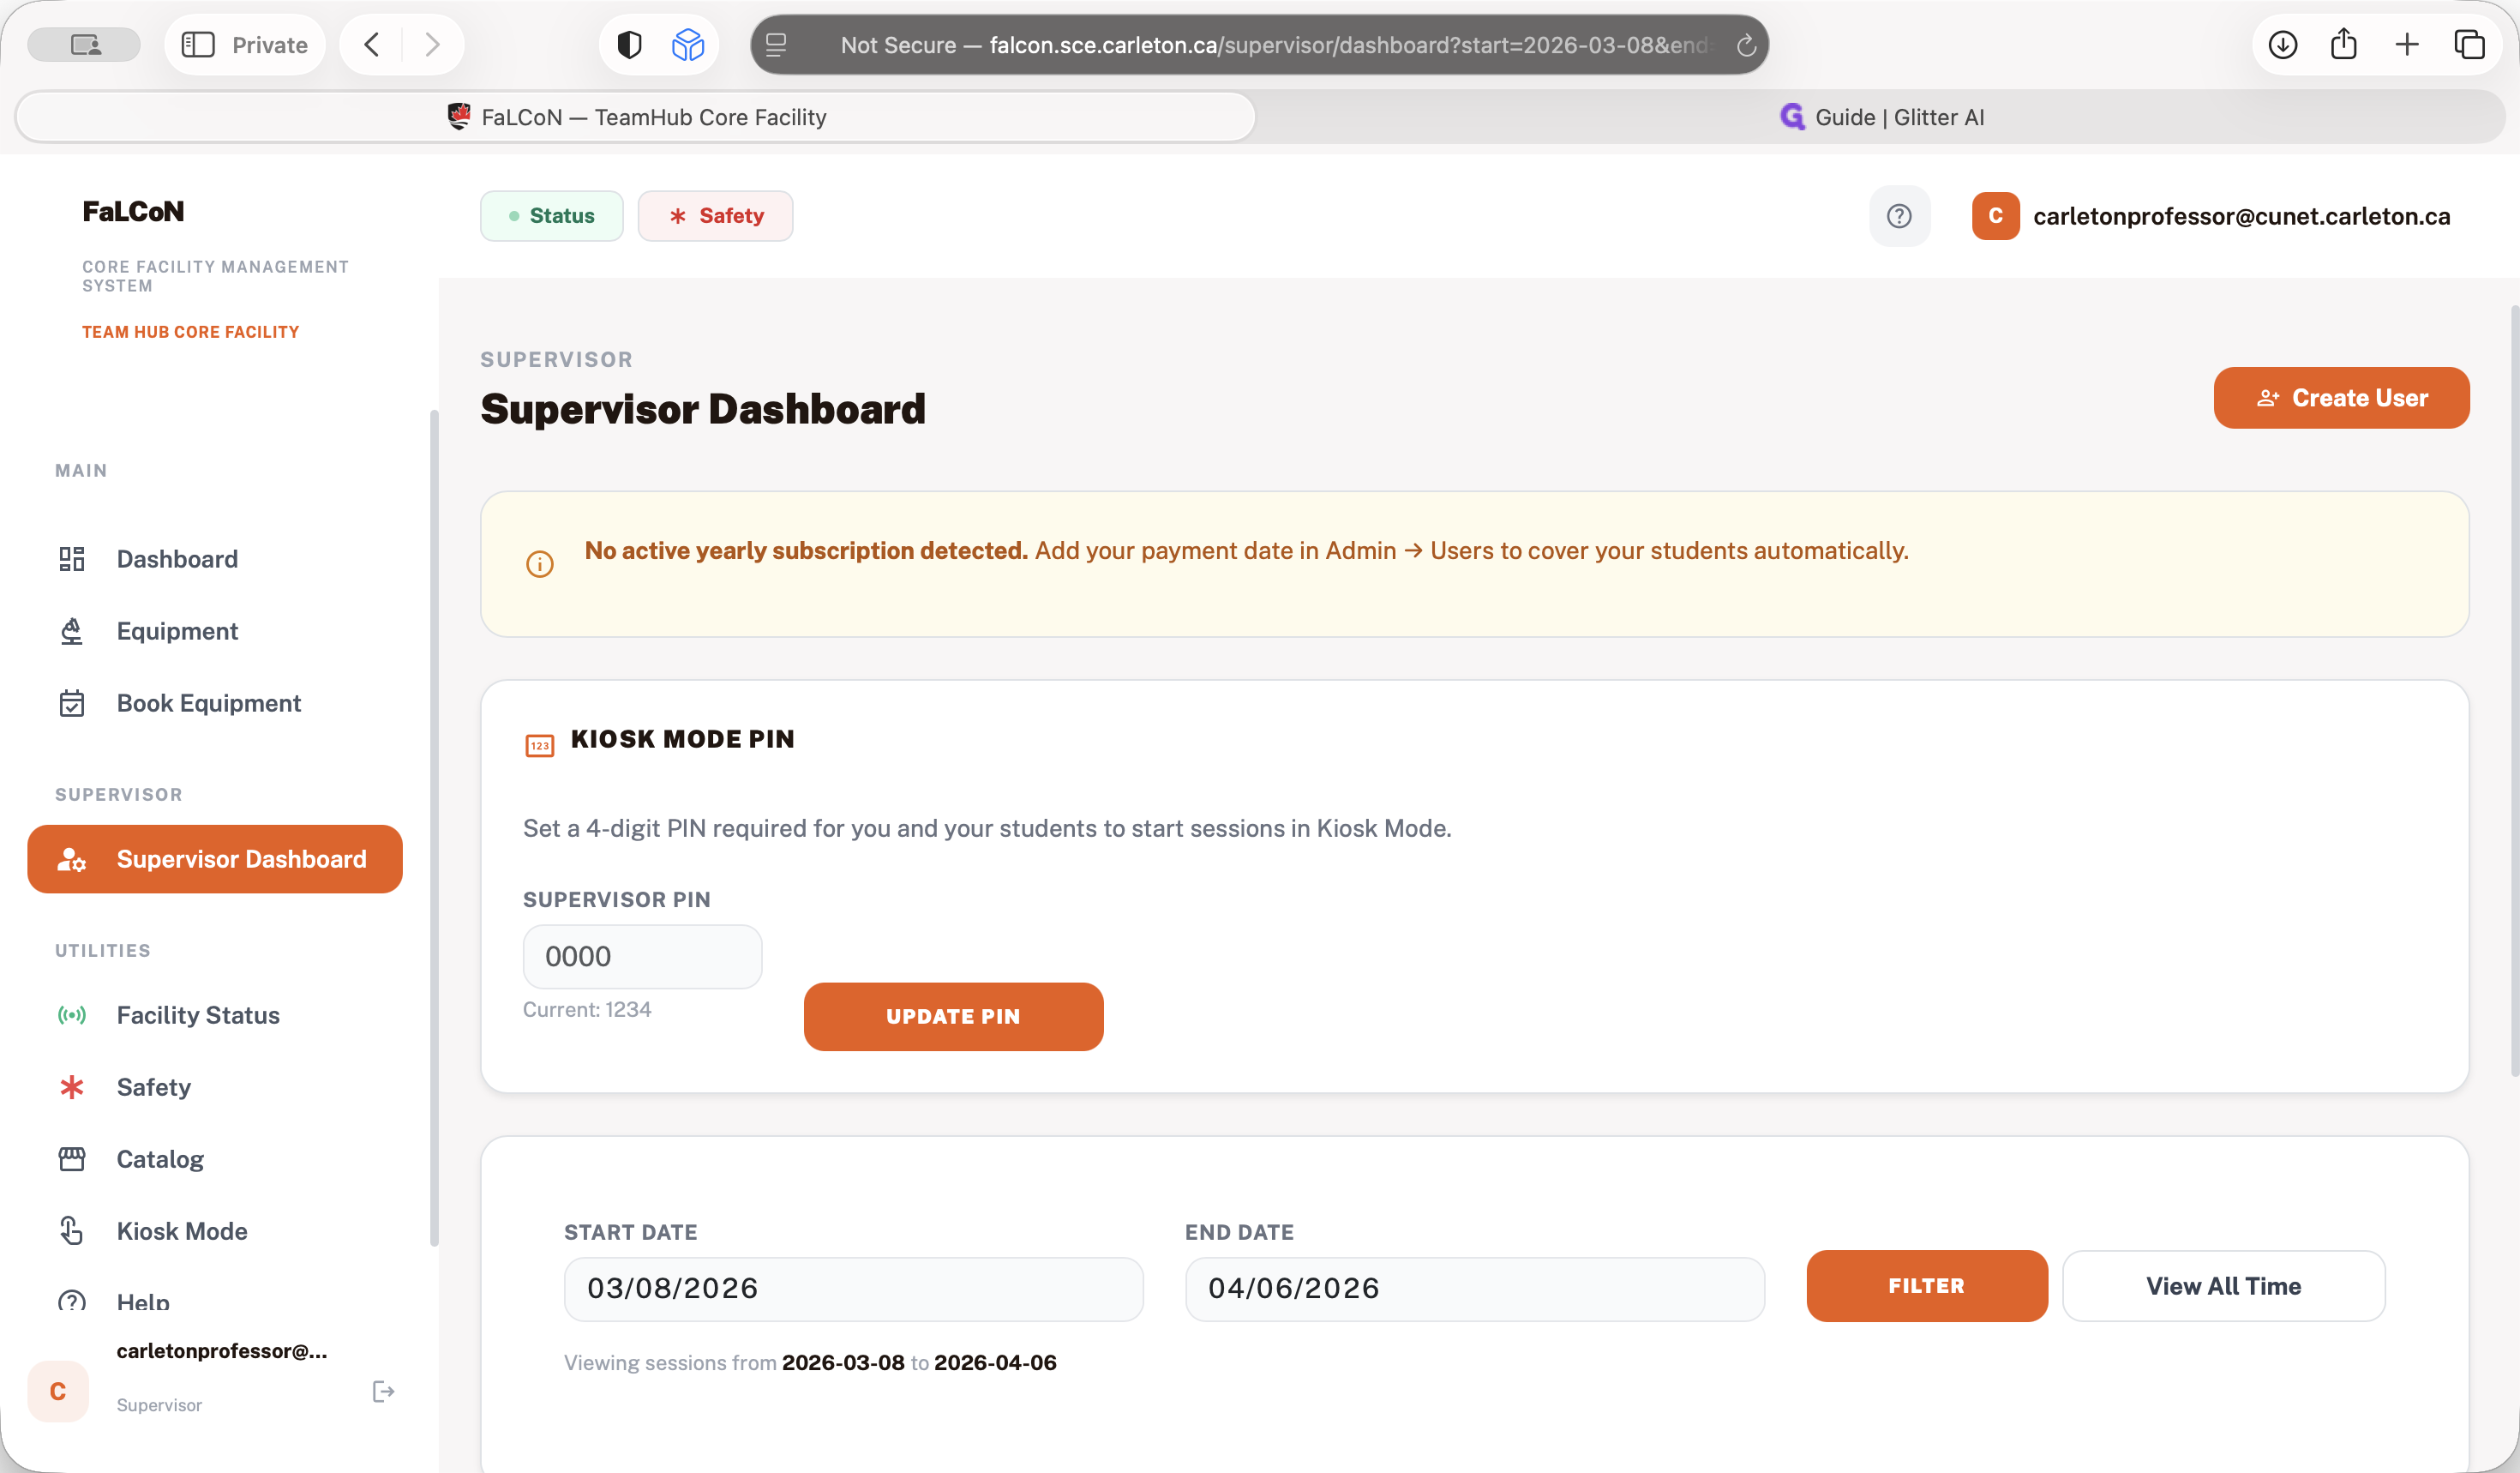
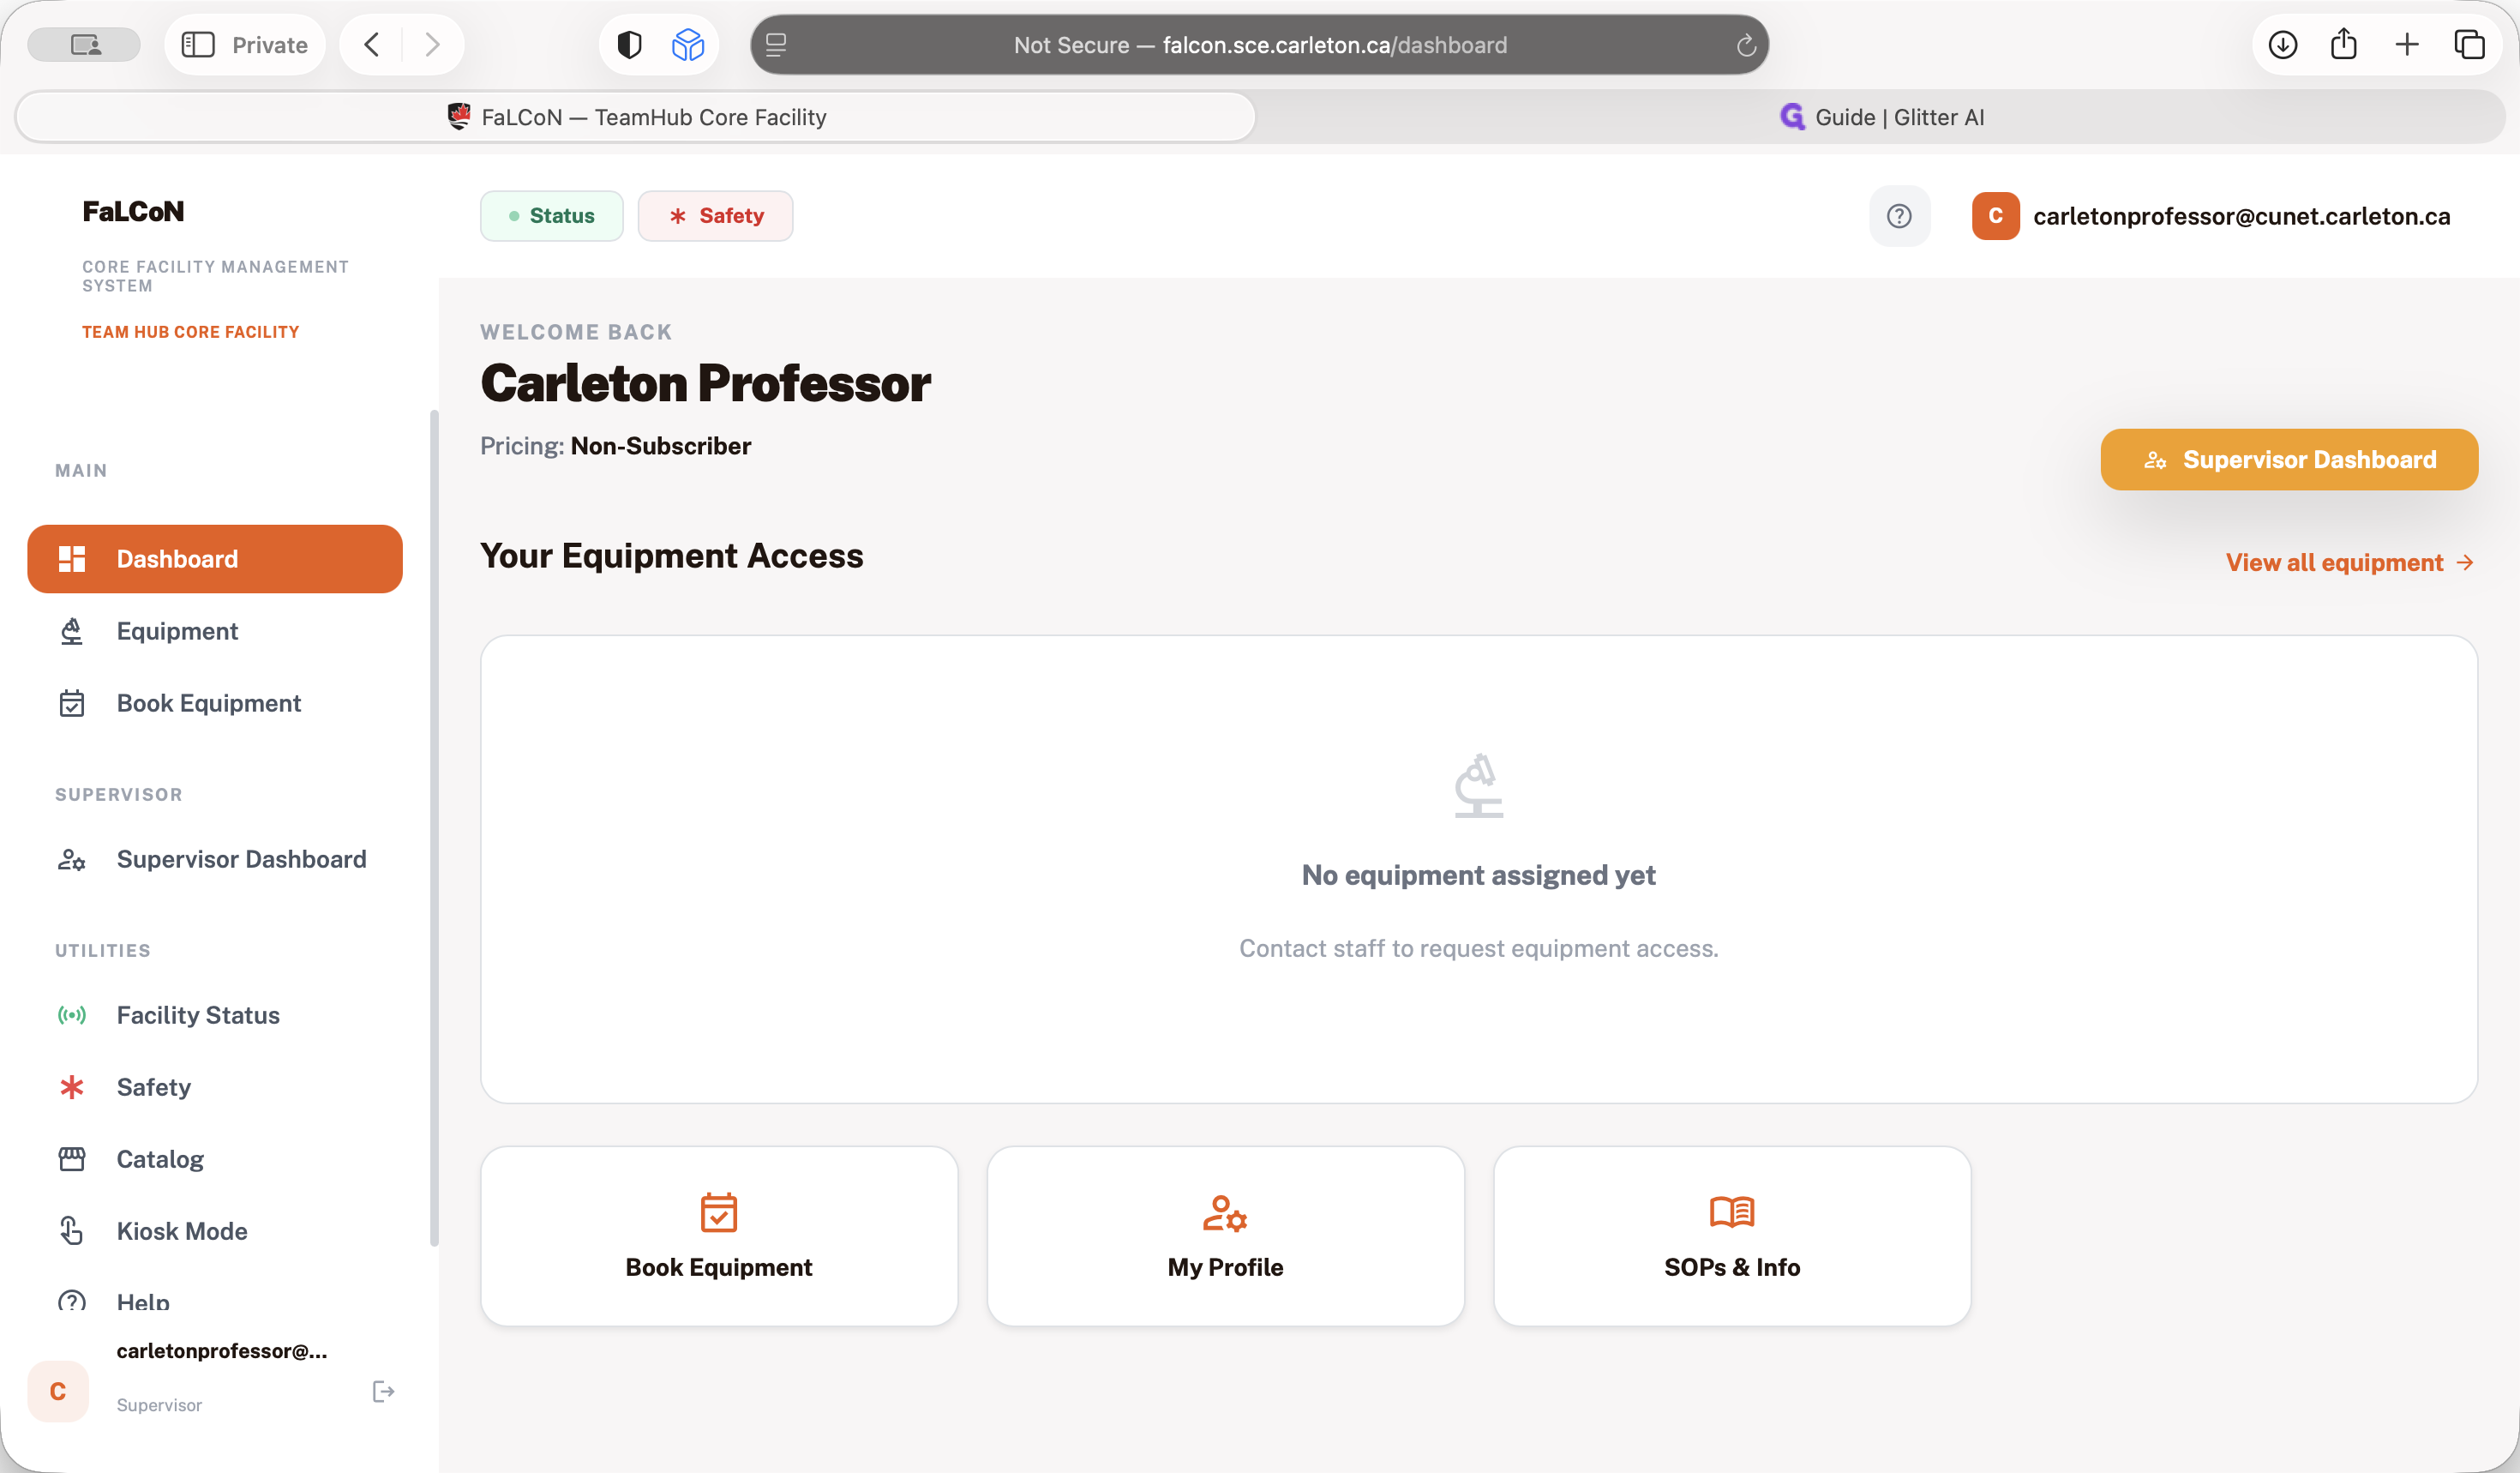
After you sign in, you will see the dashboard. That's mainly for students to begin their instruments. You will see the supervisor dashboard.
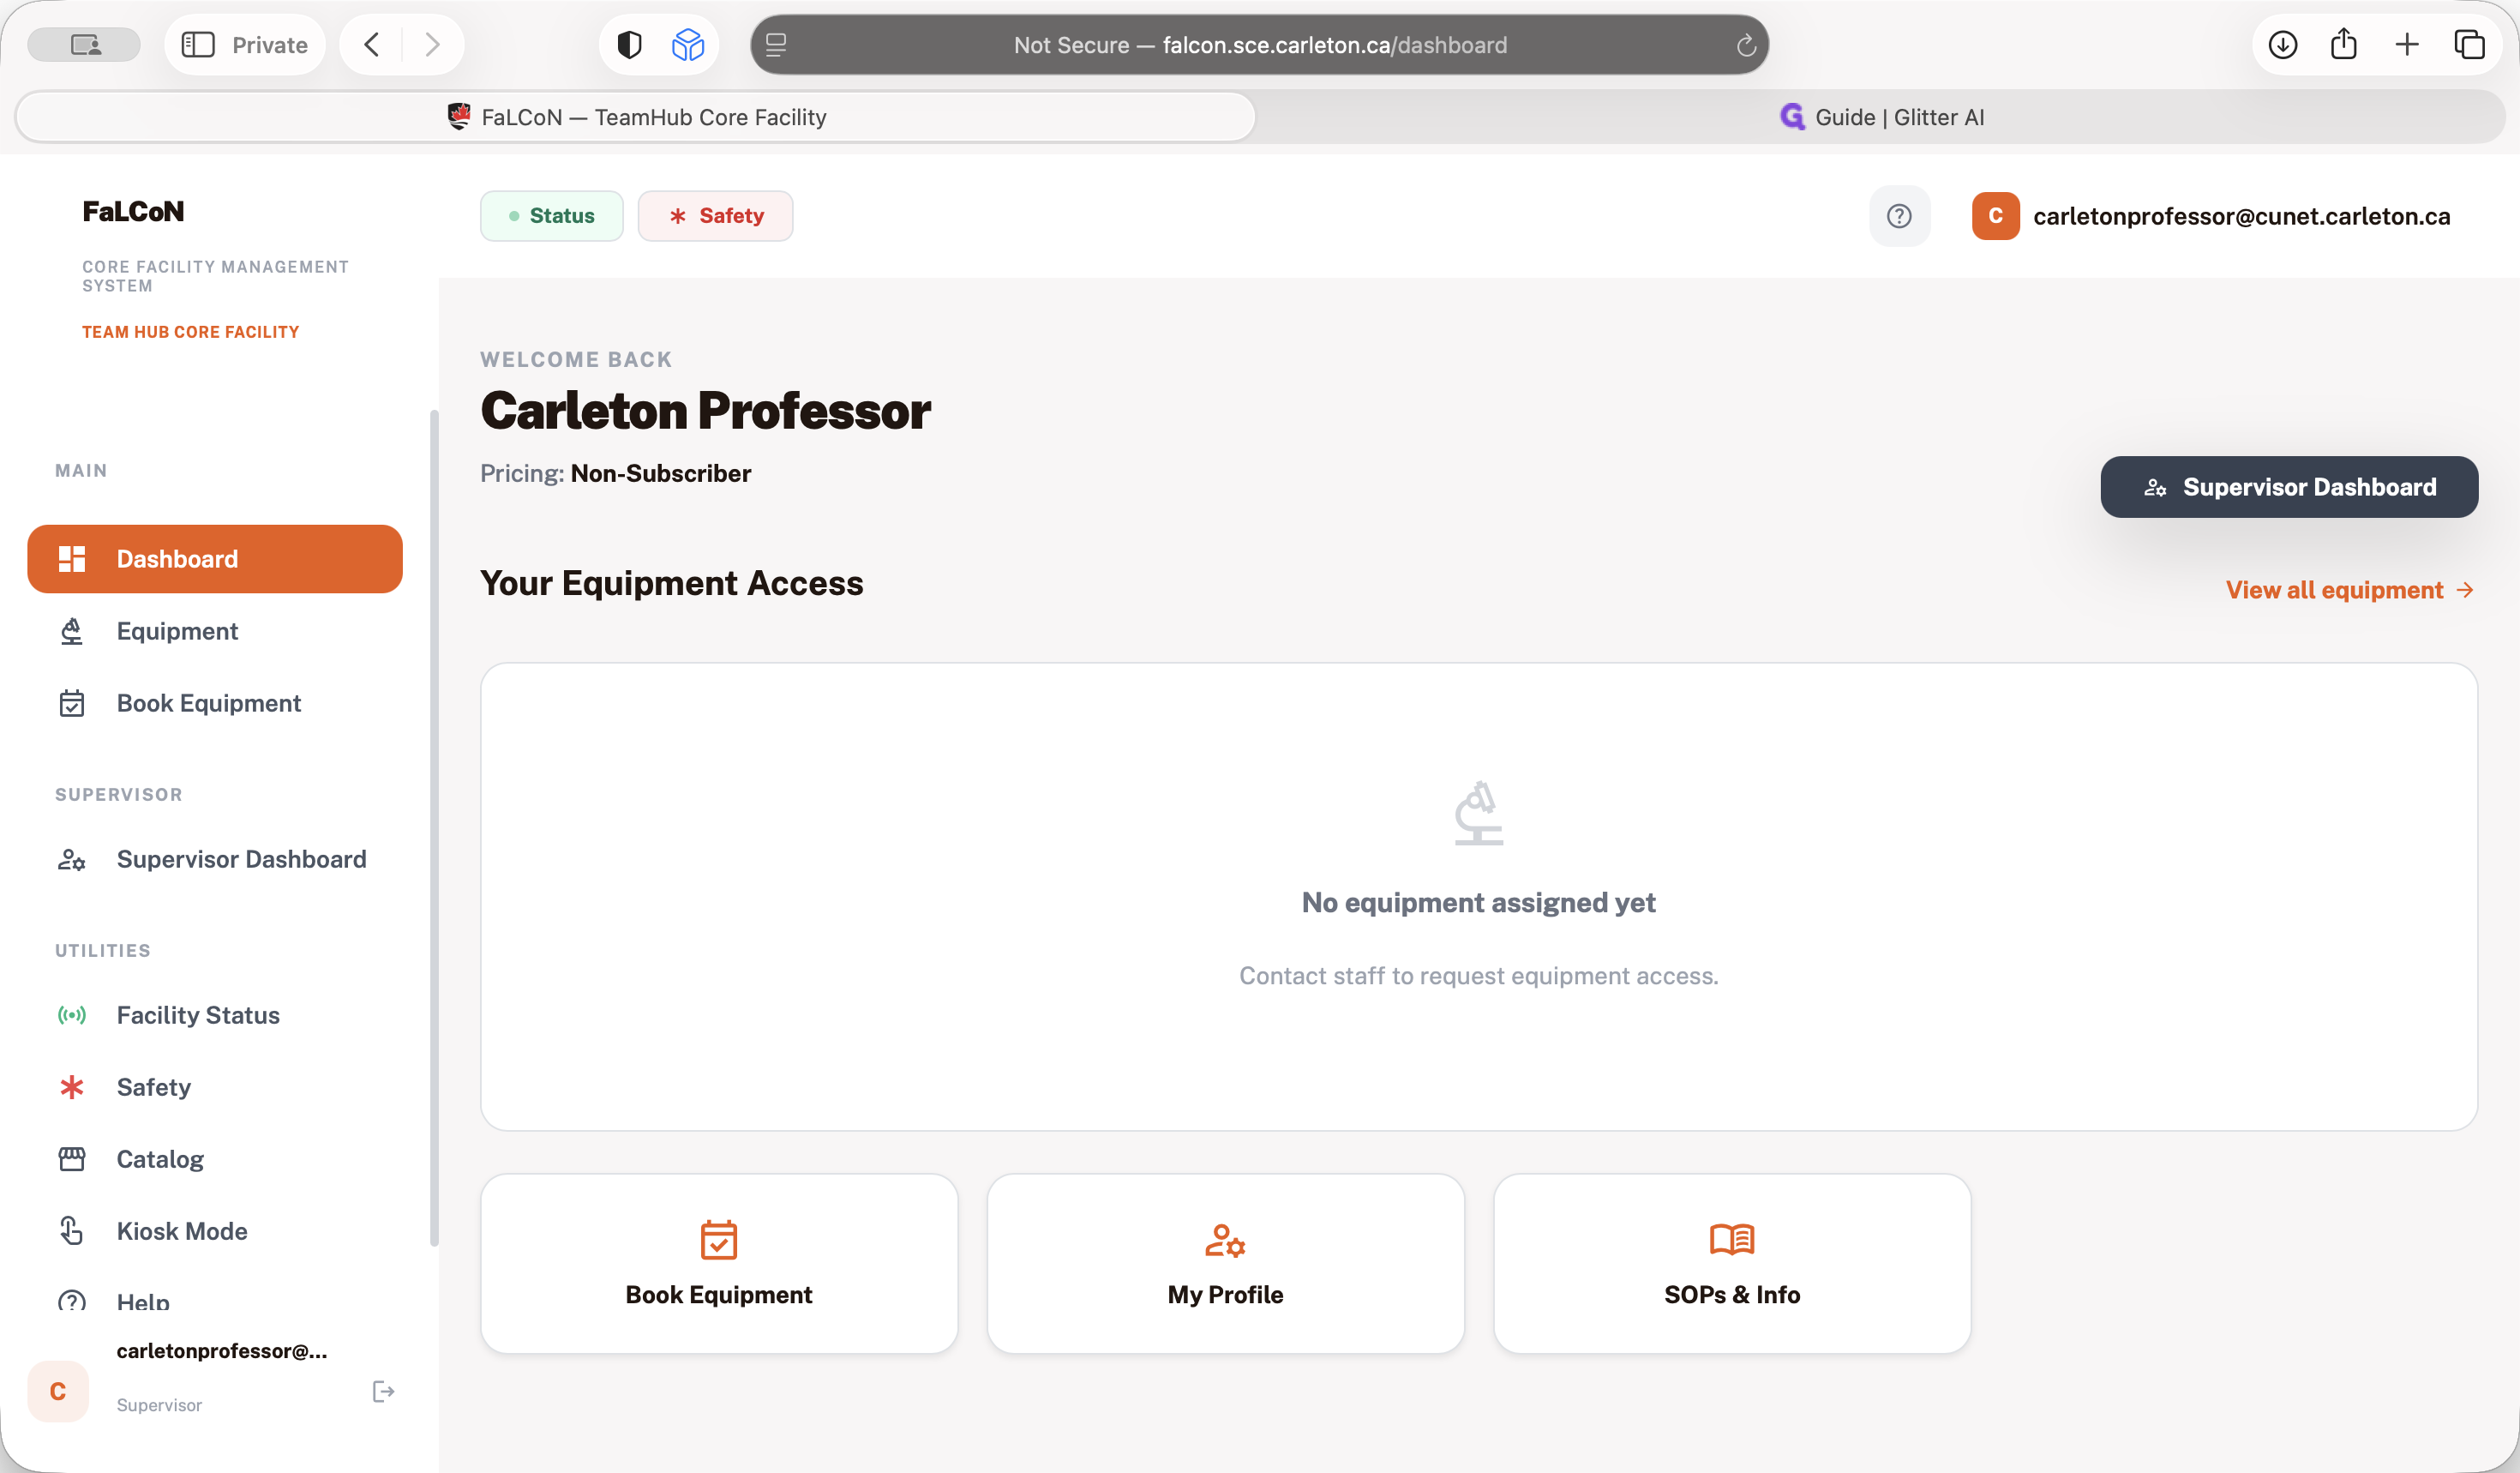
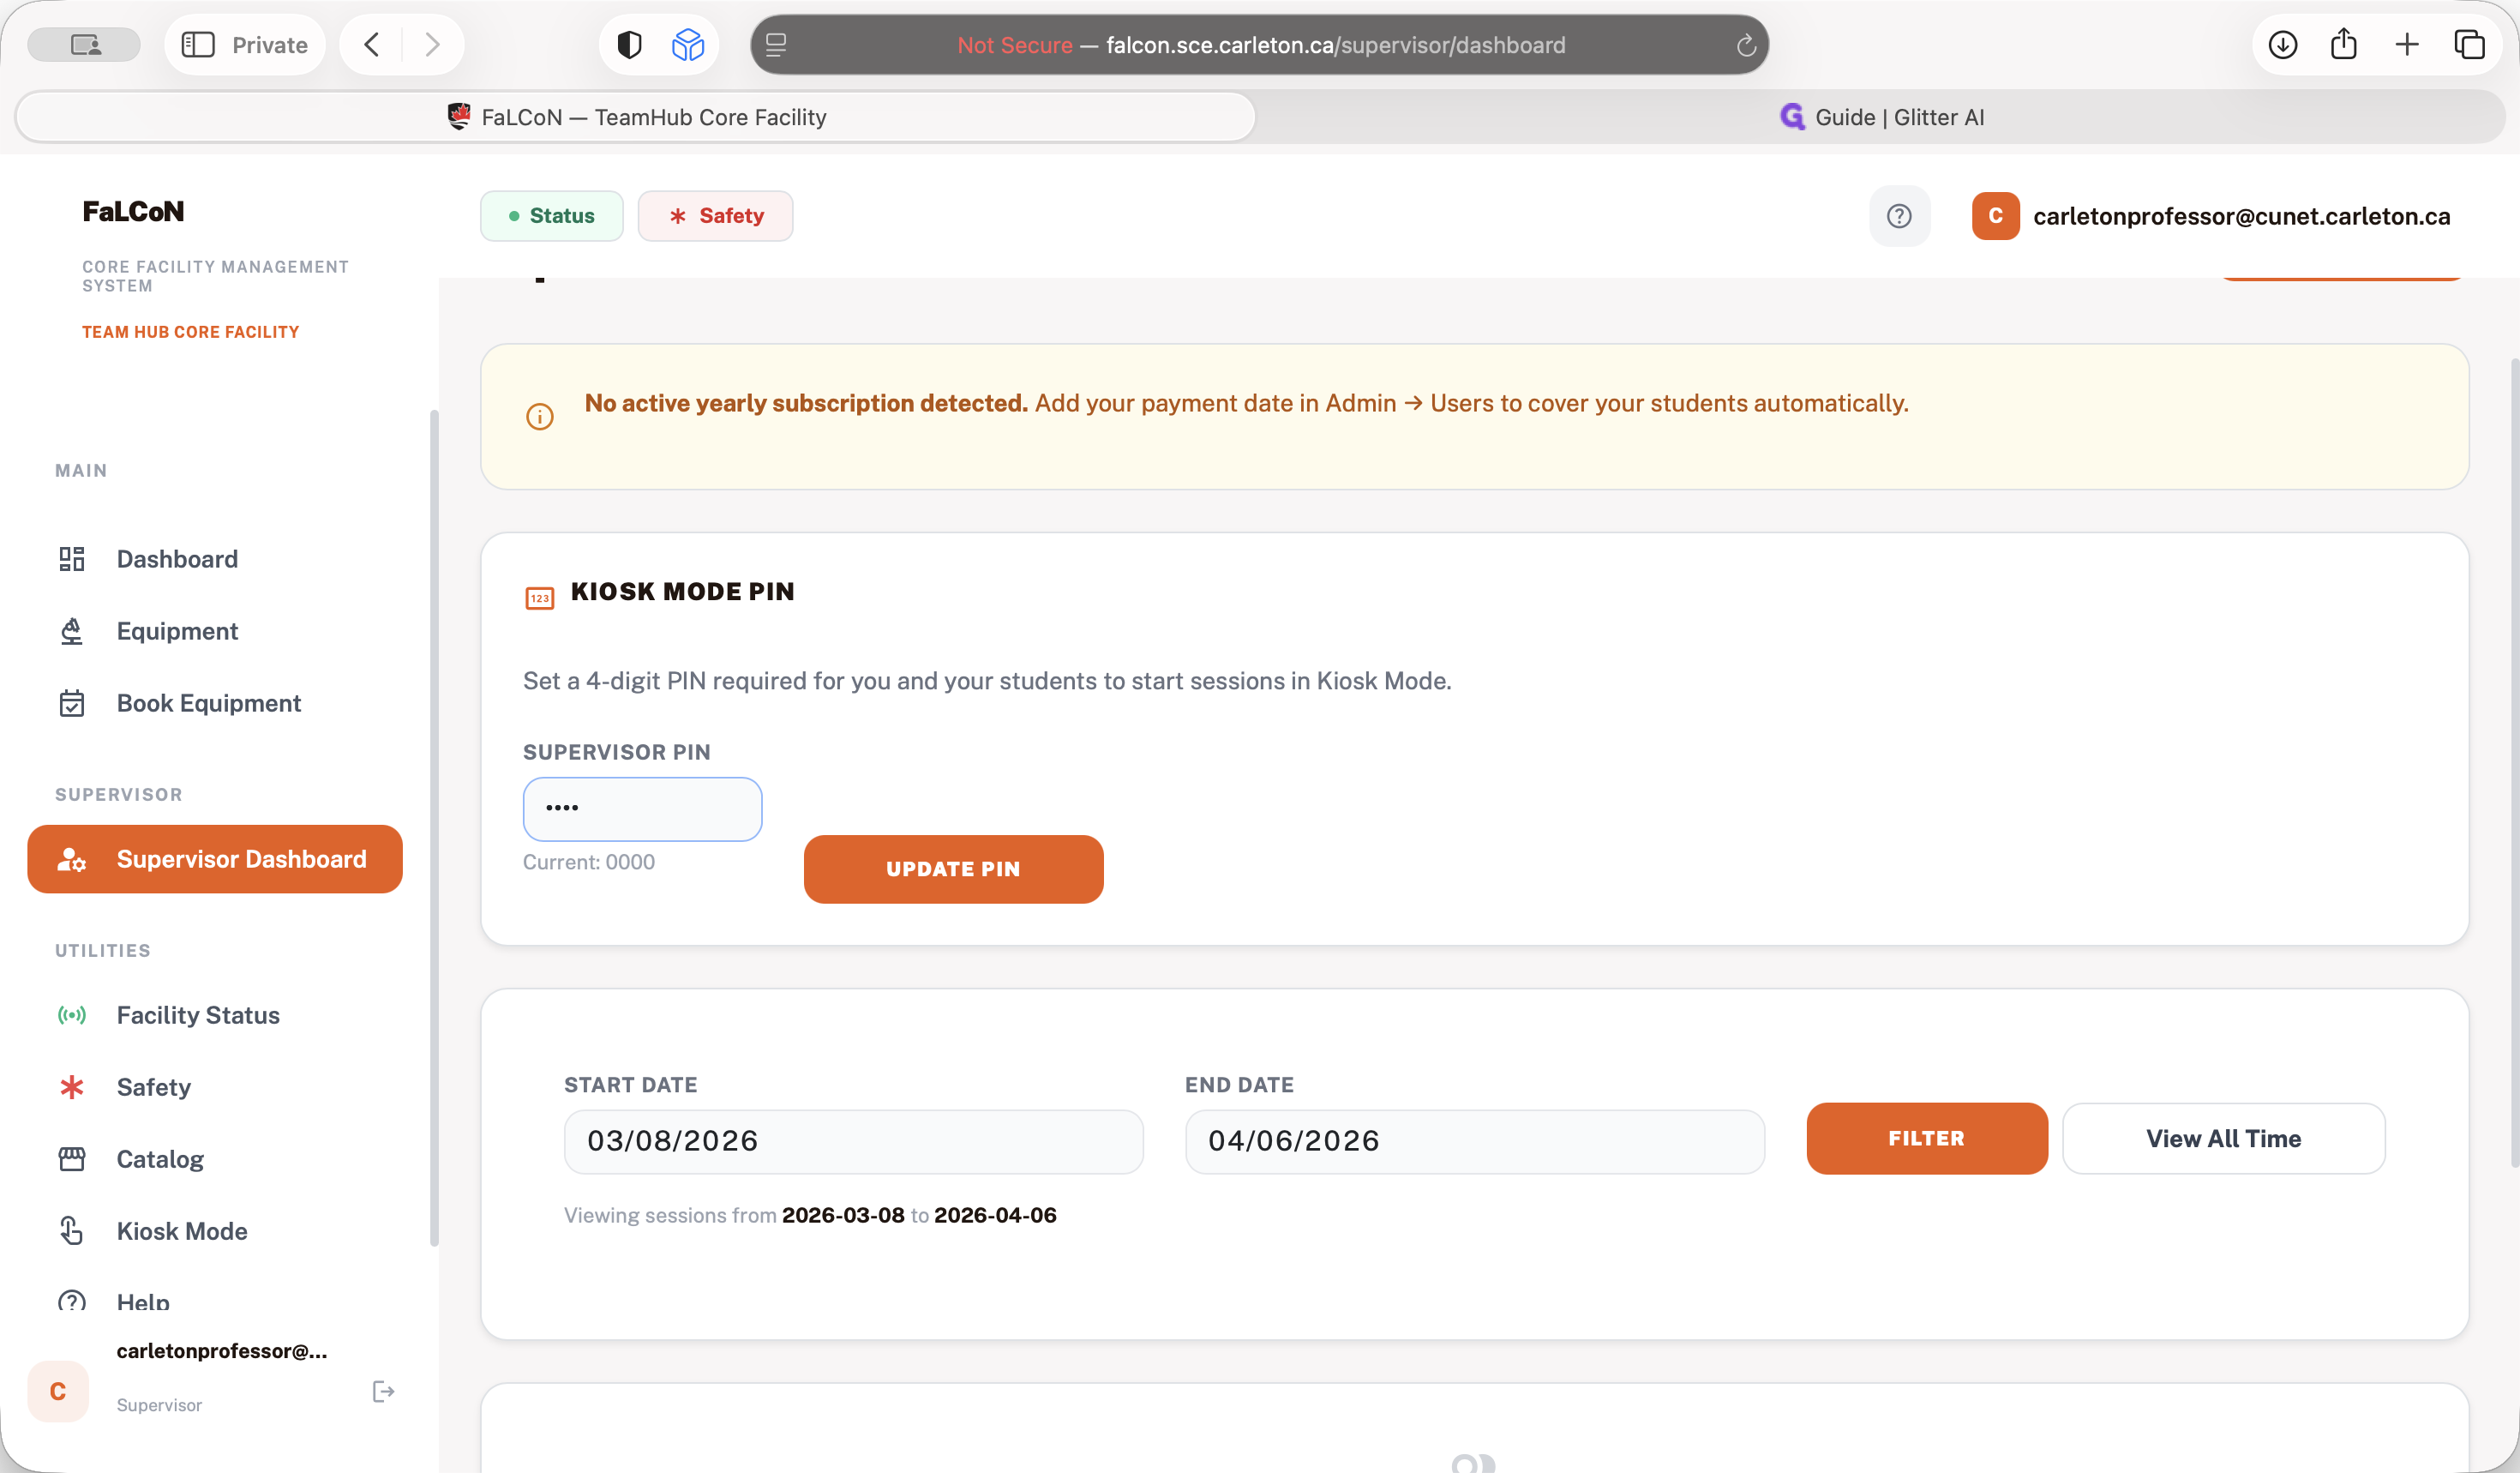
In the supervisor dashboard, you need to set the PIN for your students.
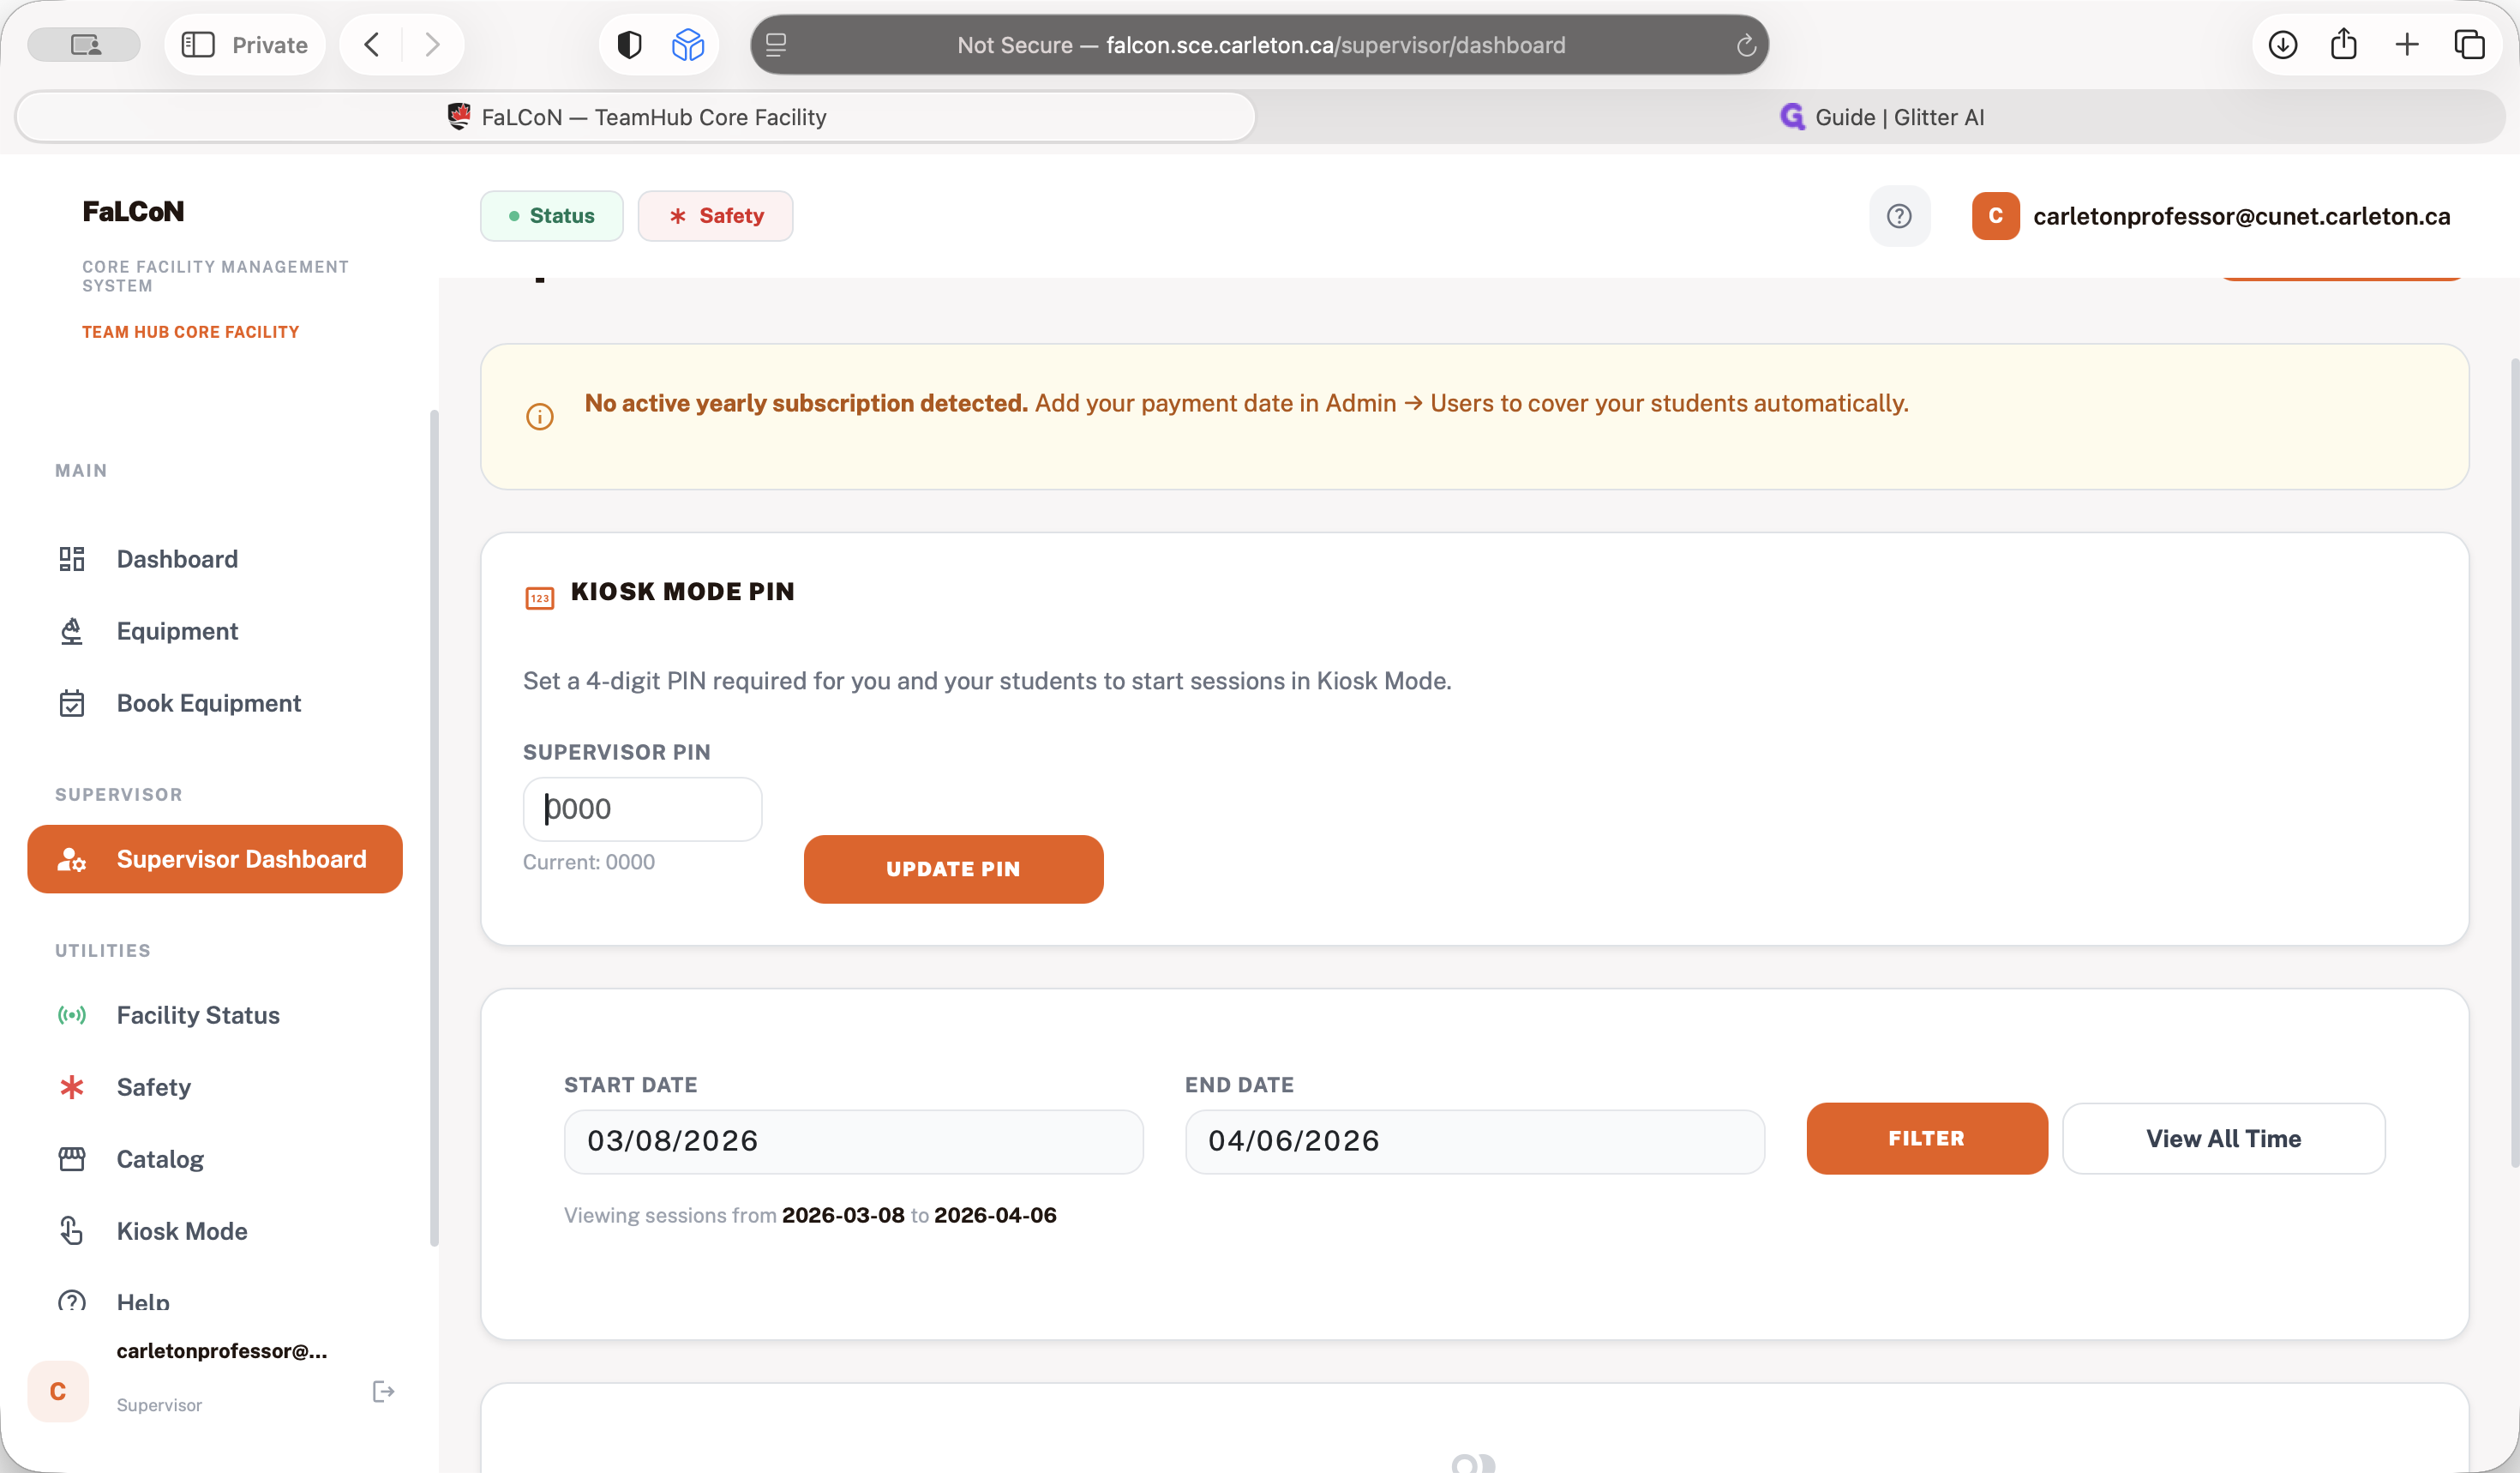
You can set any four-digit PIN. After you set up your PIN, your students can use this number to start their session.
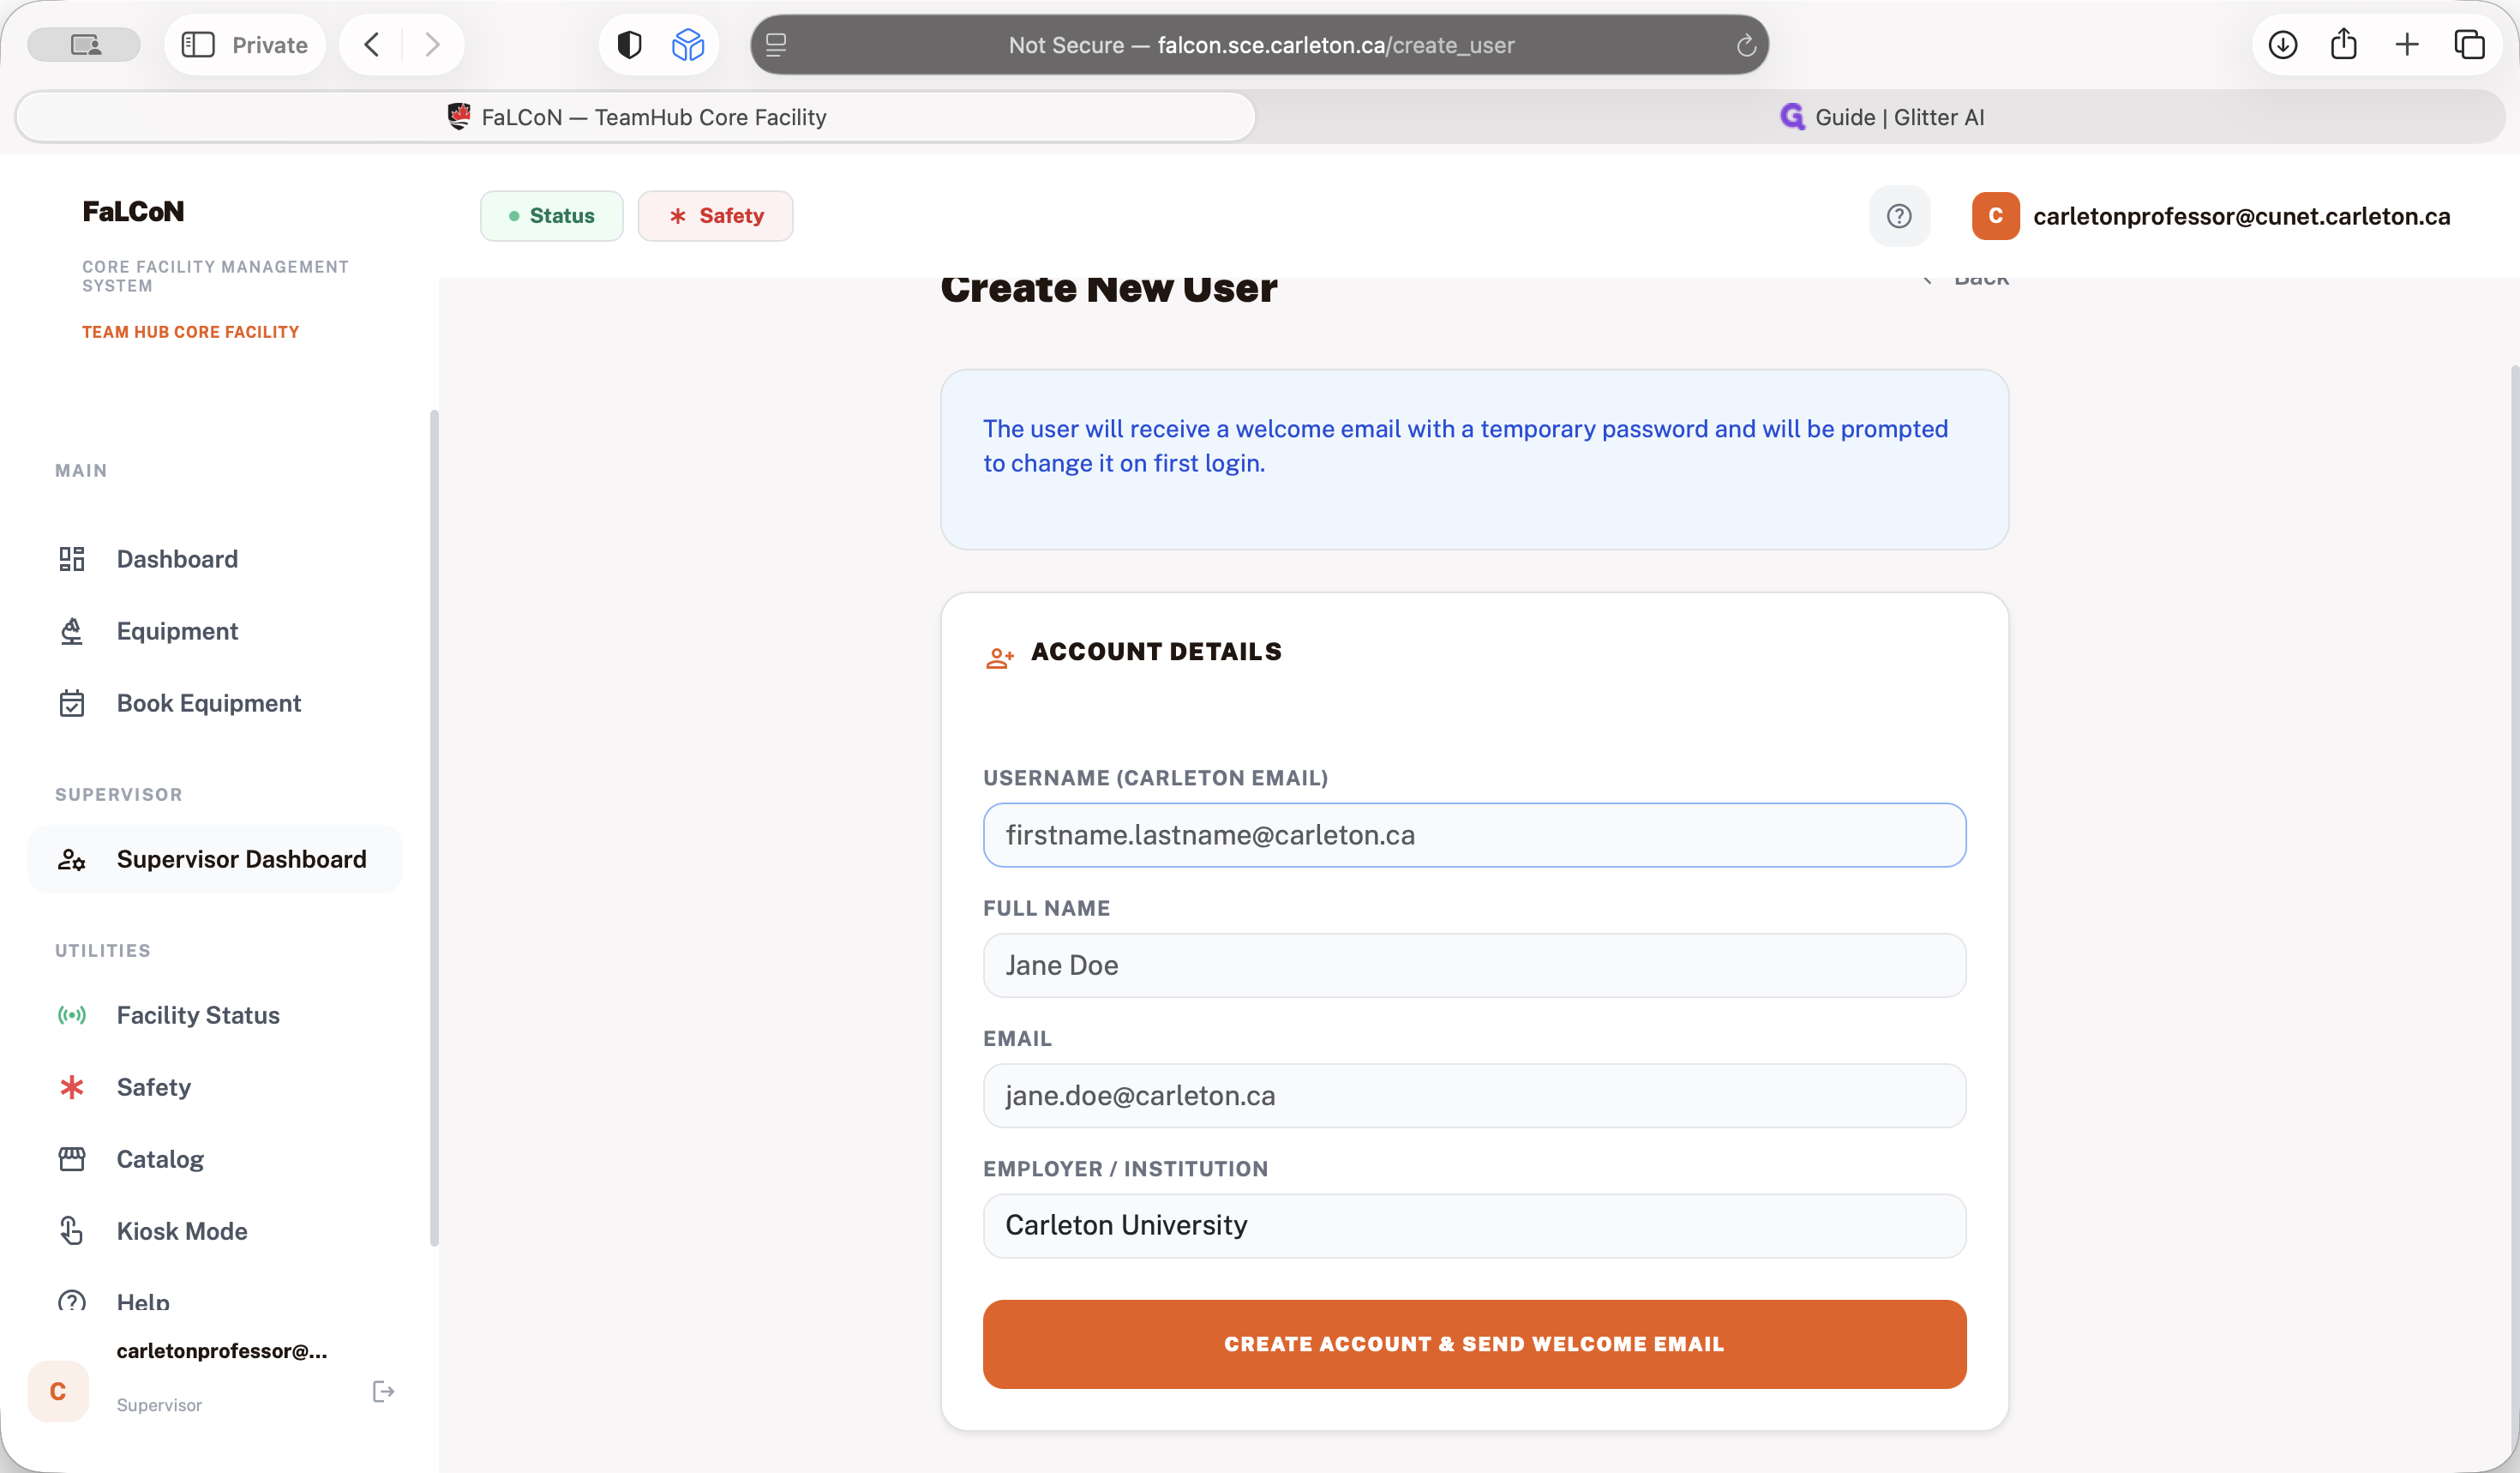
In the supervisor dashboard, you can create users.
If you want to assign a new student a user account, they will receive an email to create their password. After that, they will be assigned directly to you.

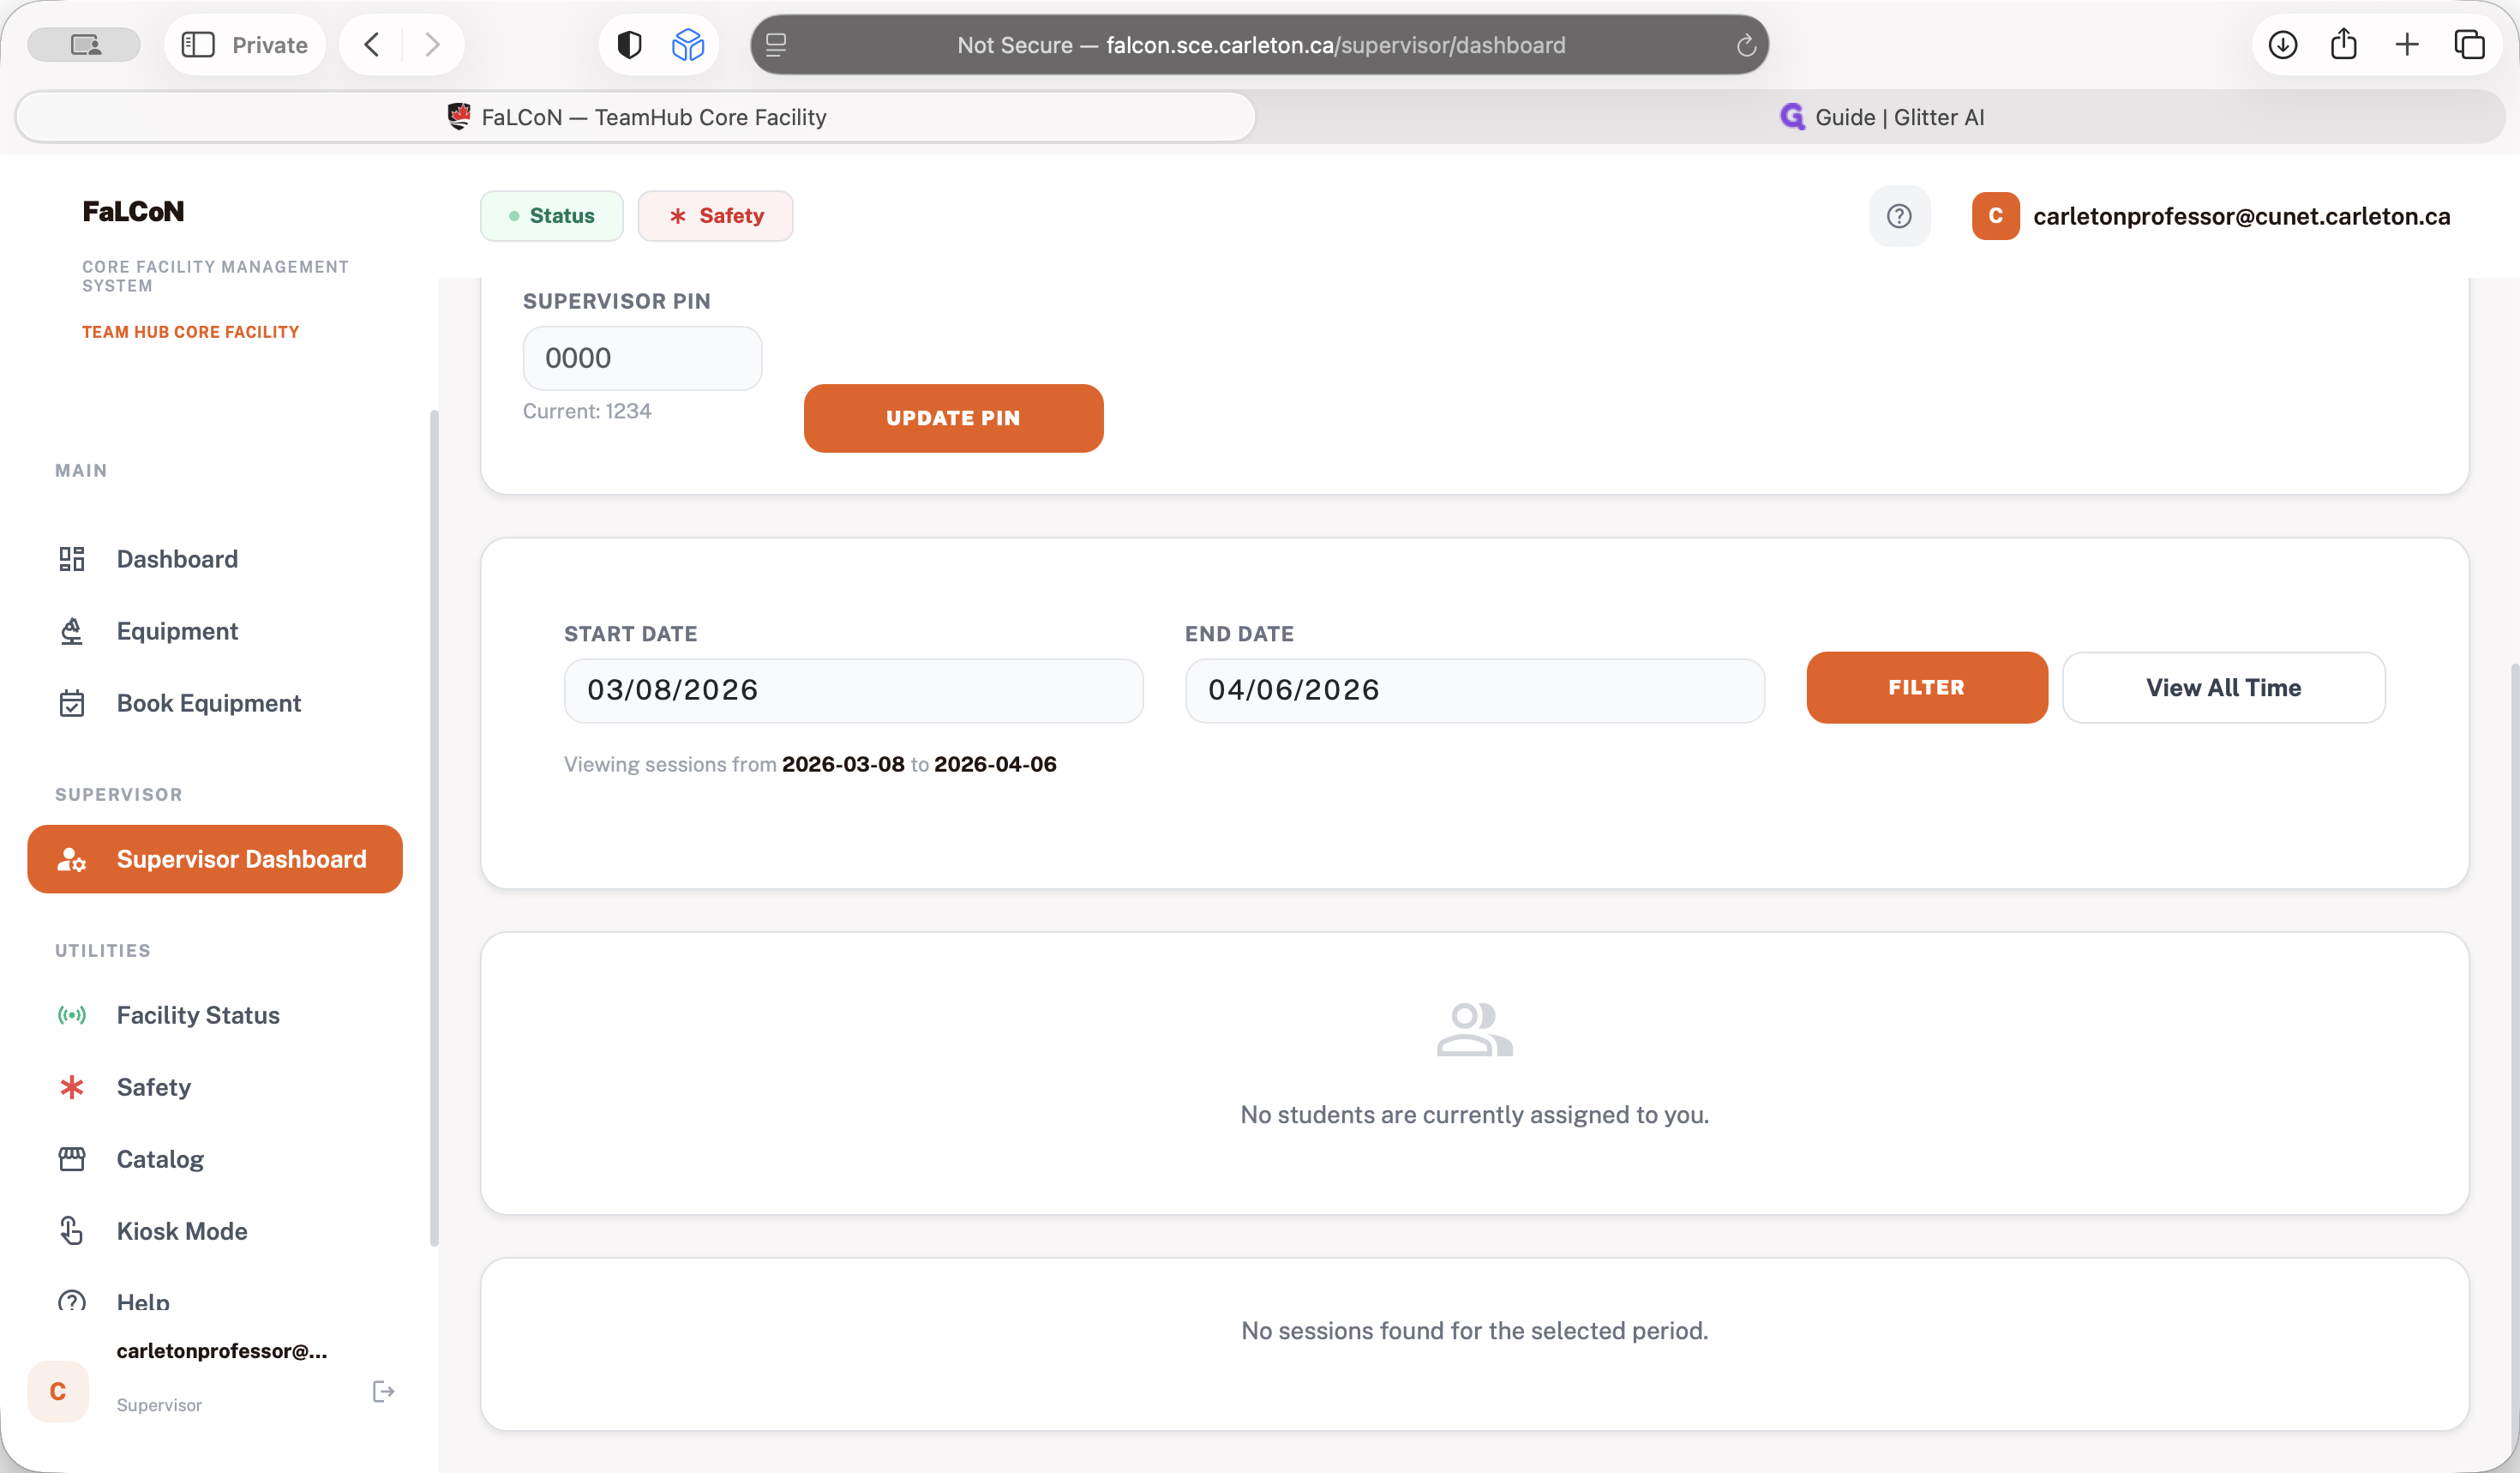
In your supervisor dashboard, you can see all the students assigned to you and all the sessions they have completed in the last period. You can also filter and view different dates.
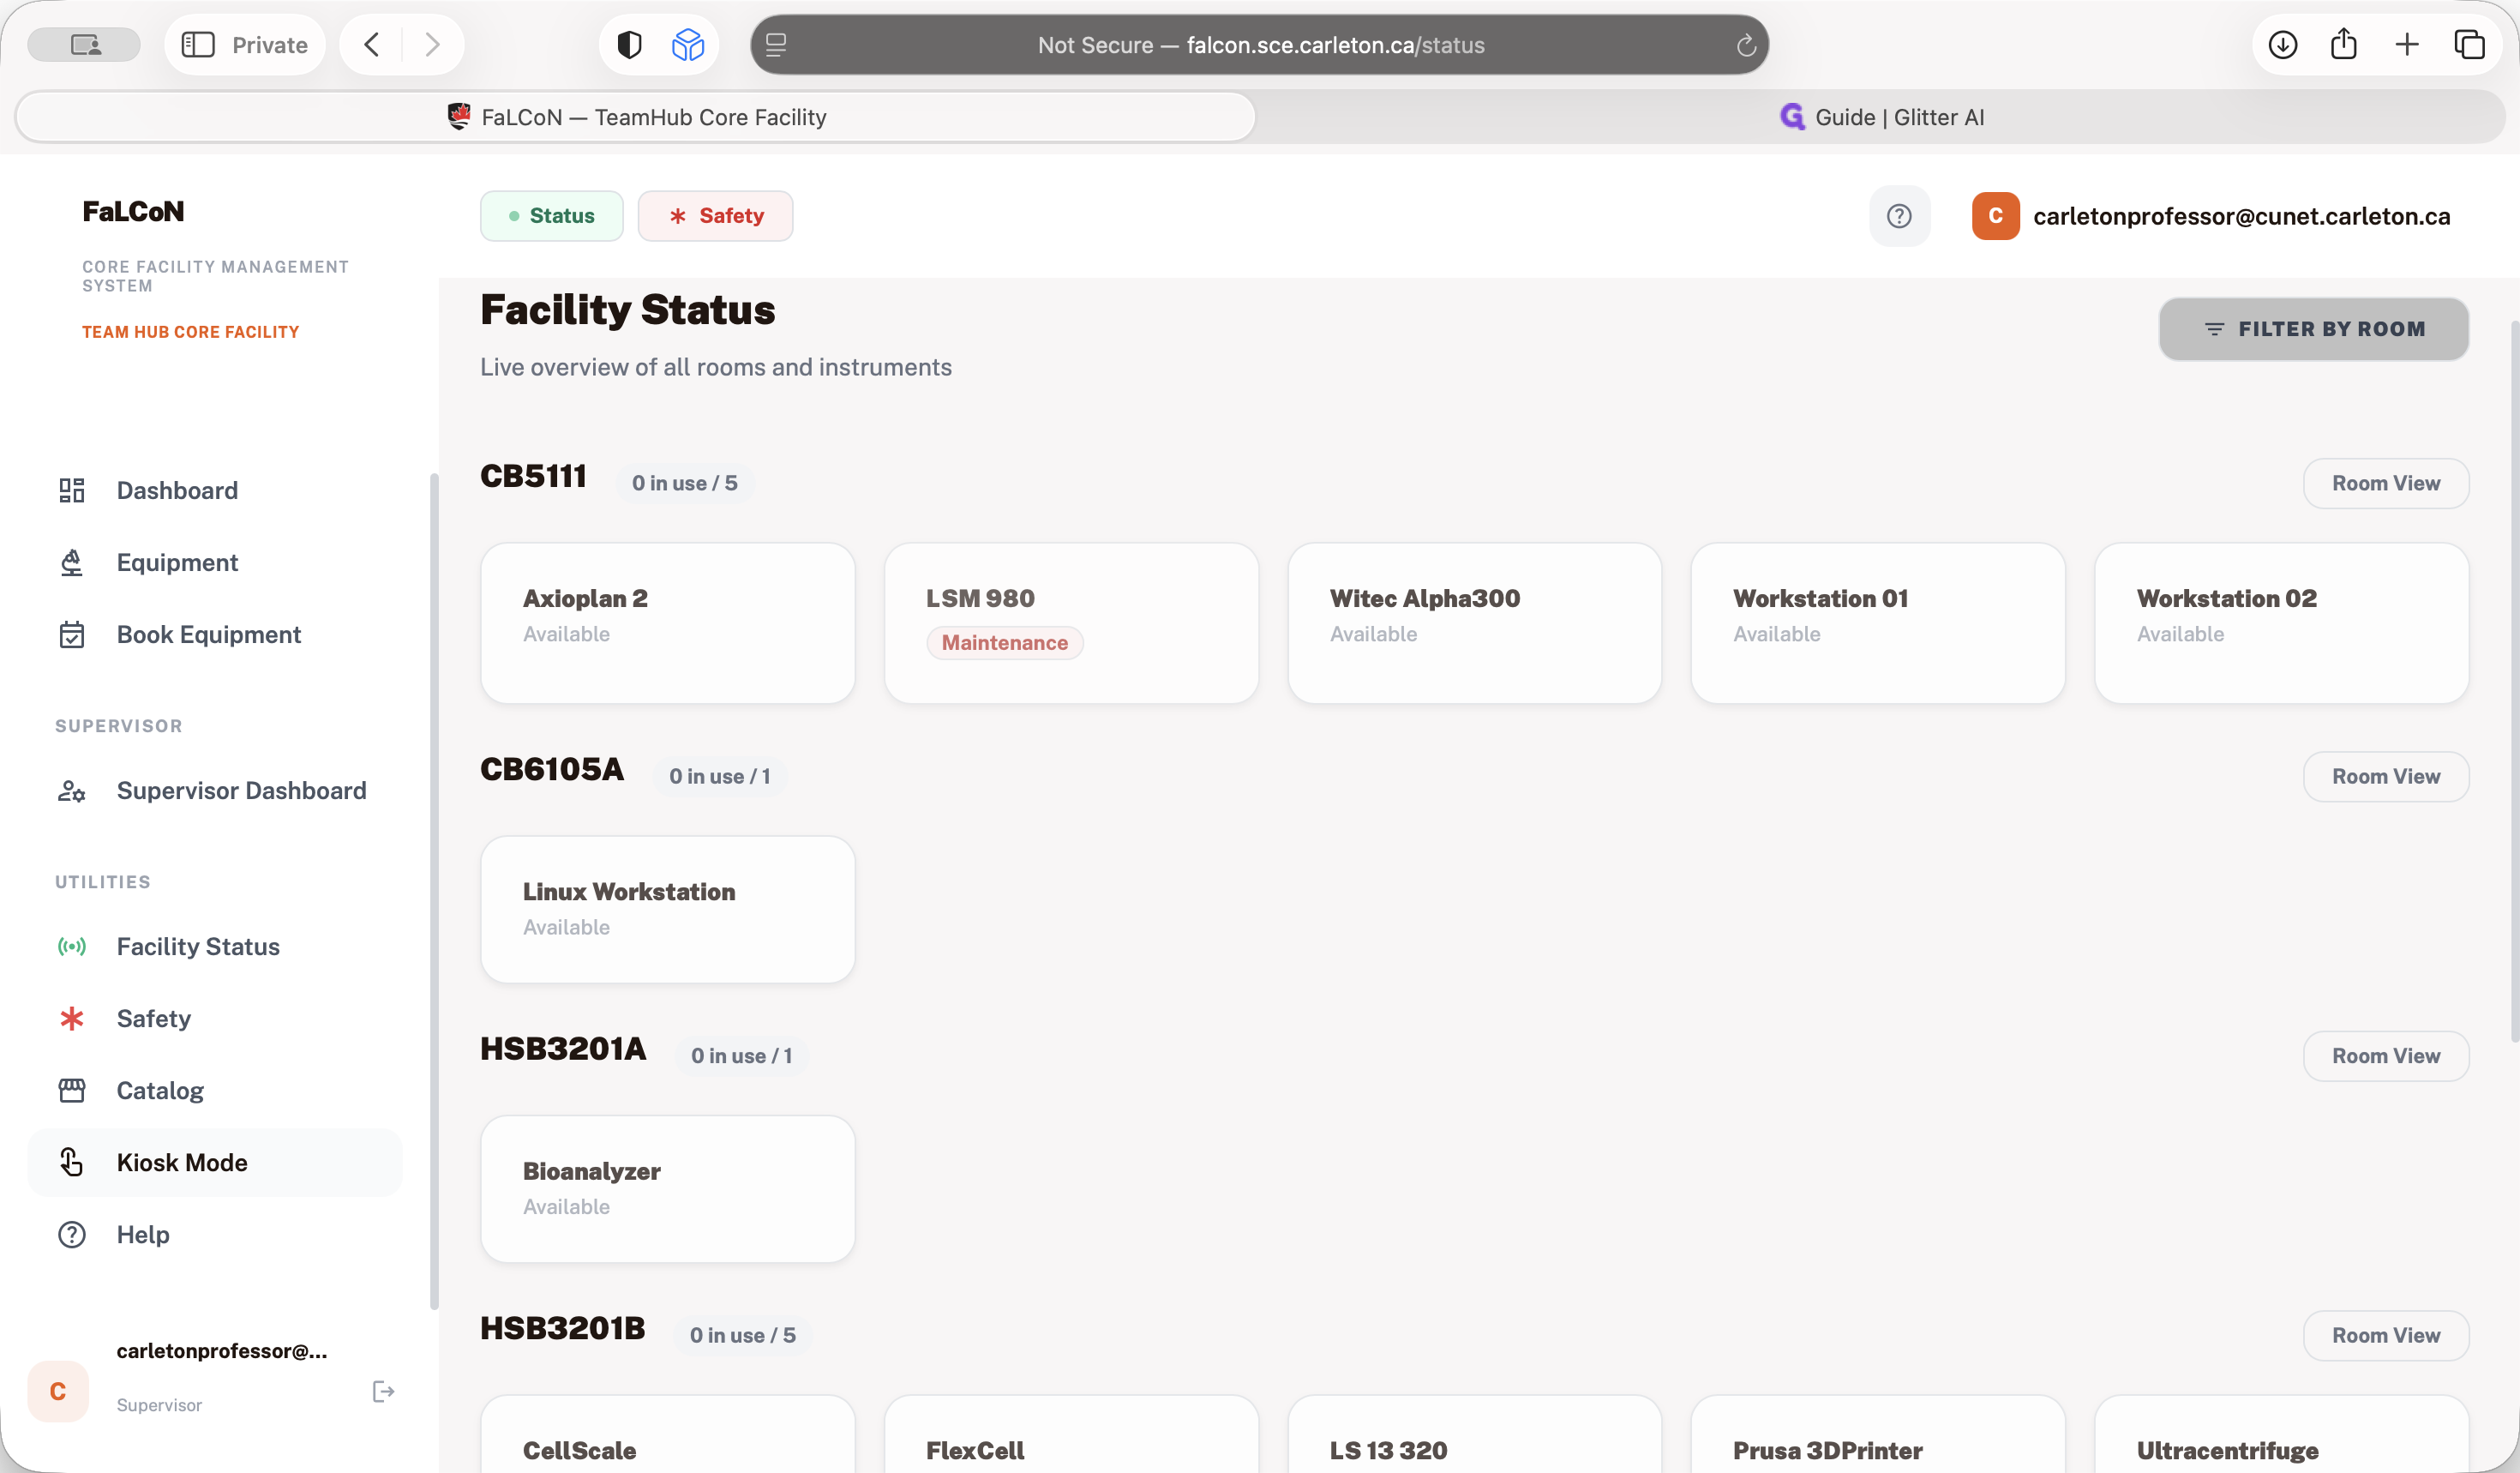
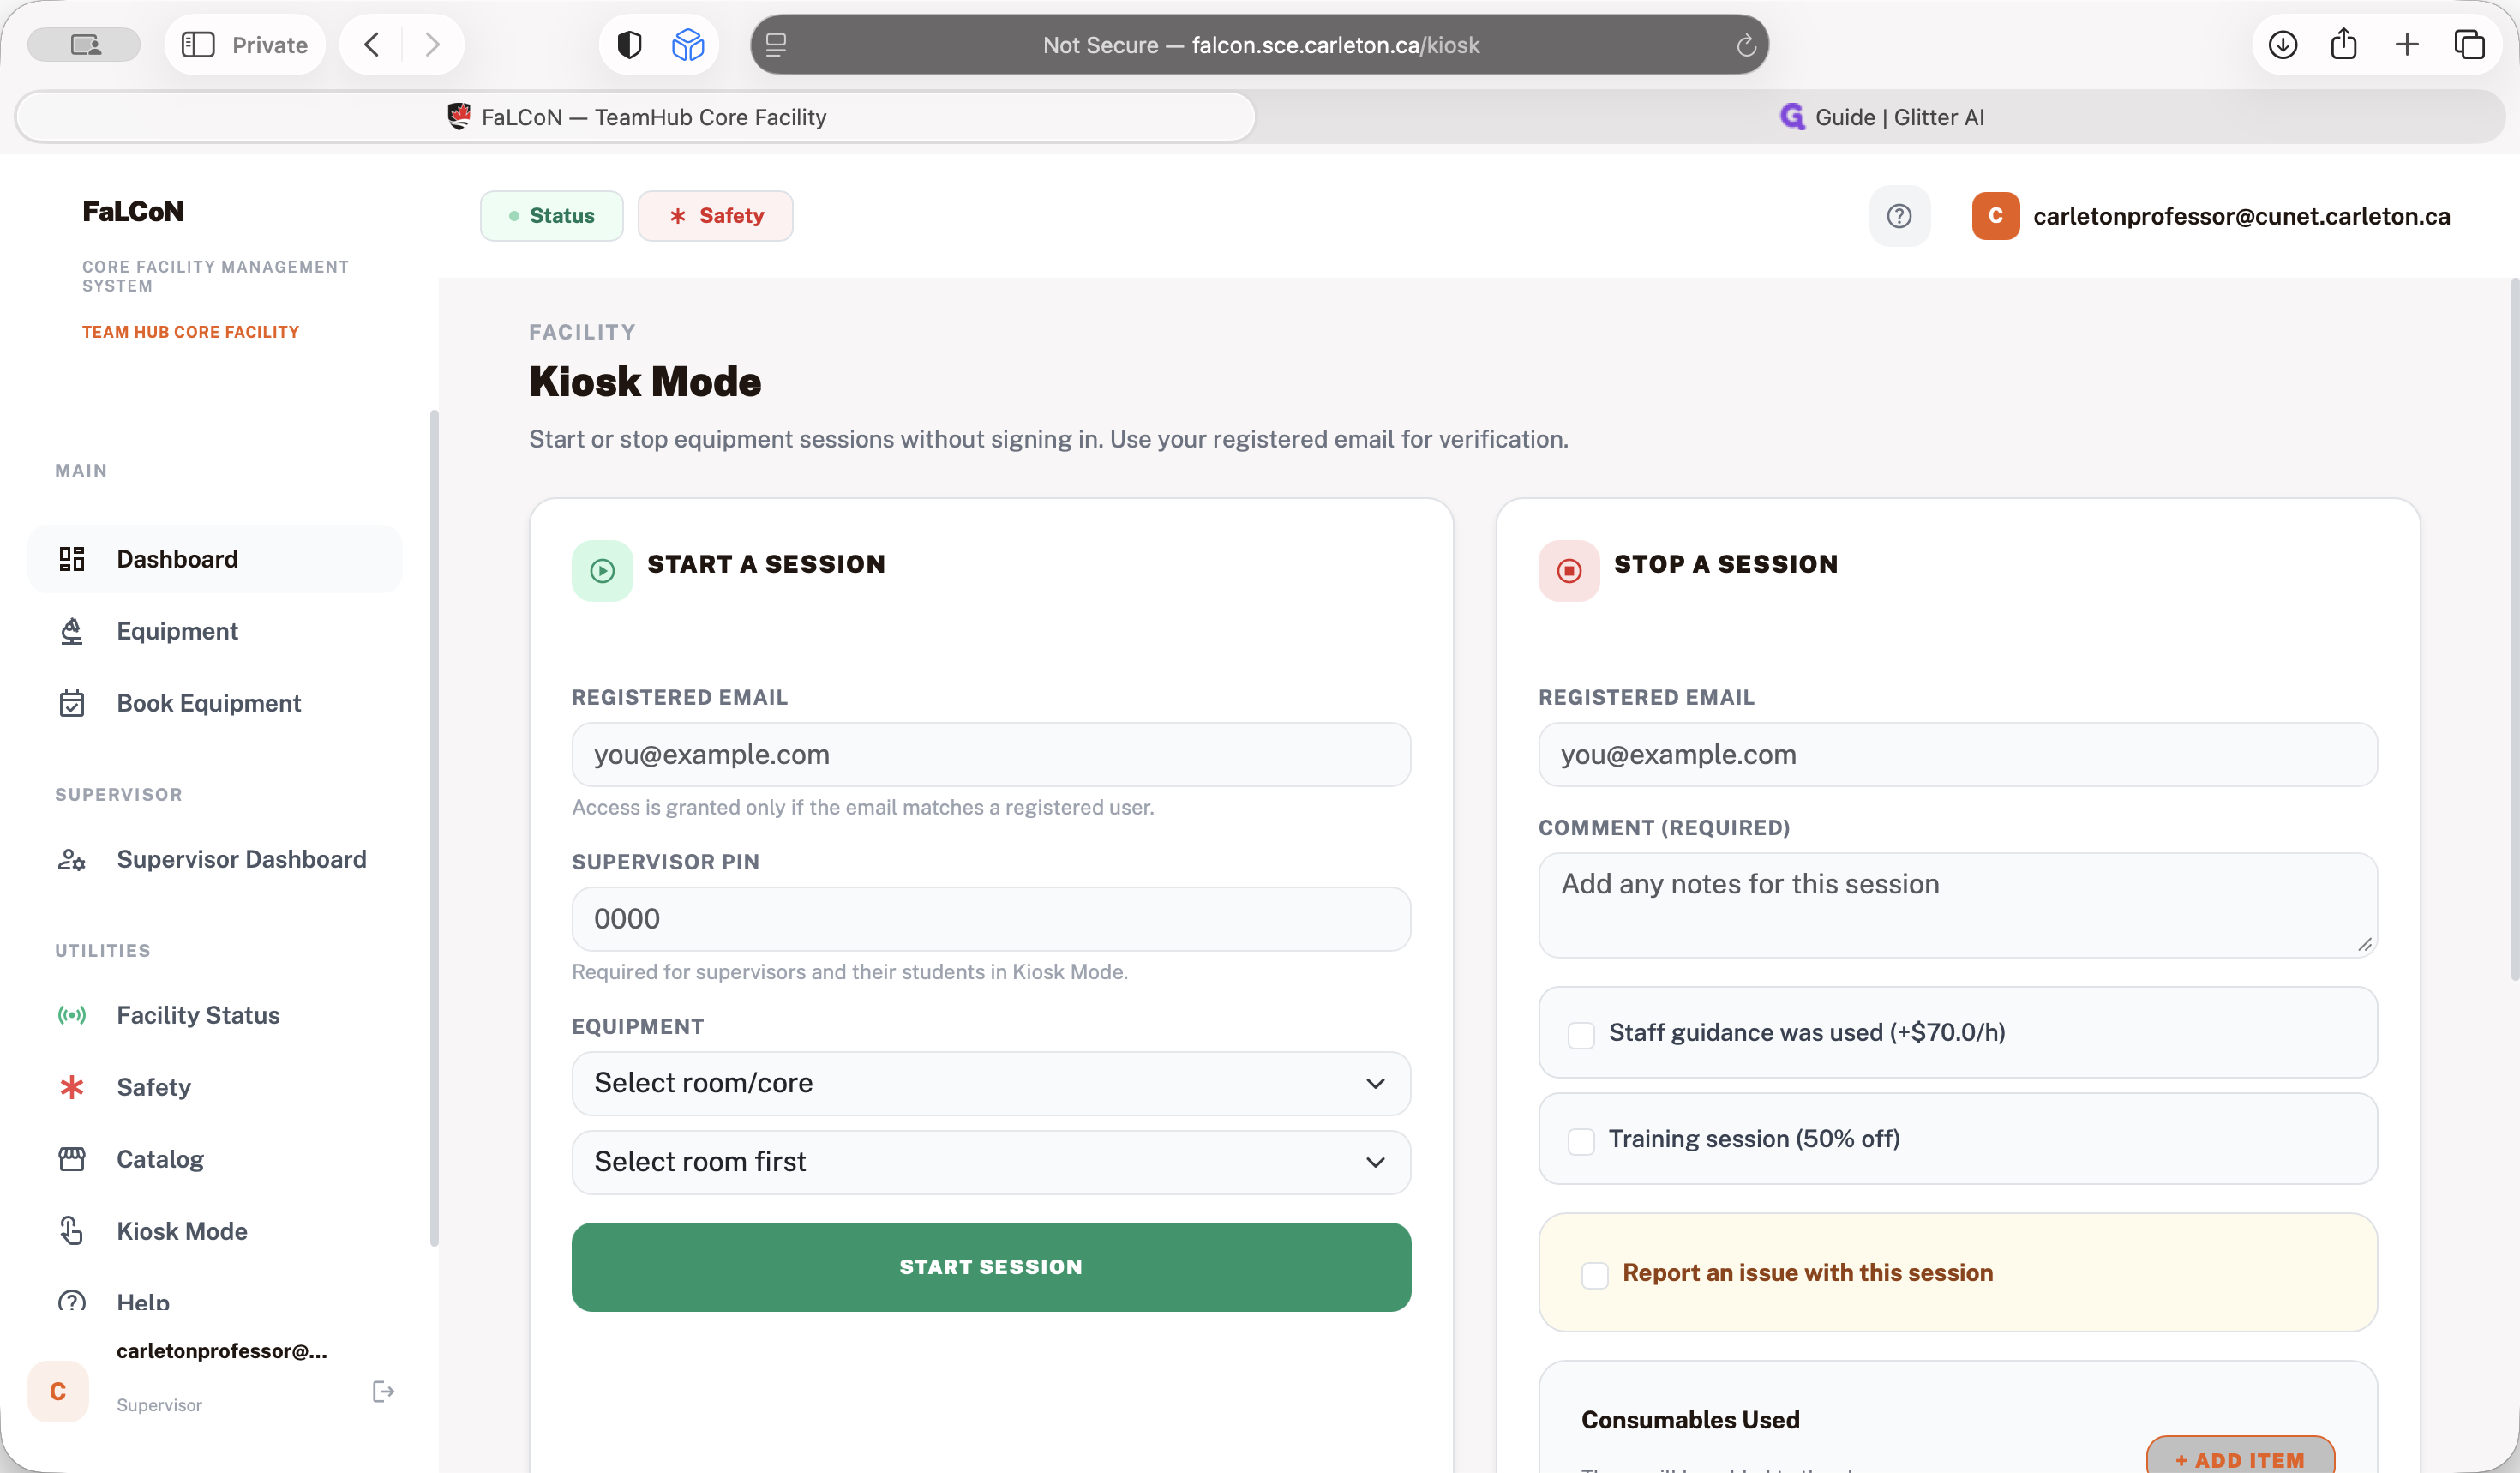
You can also view the facility status.
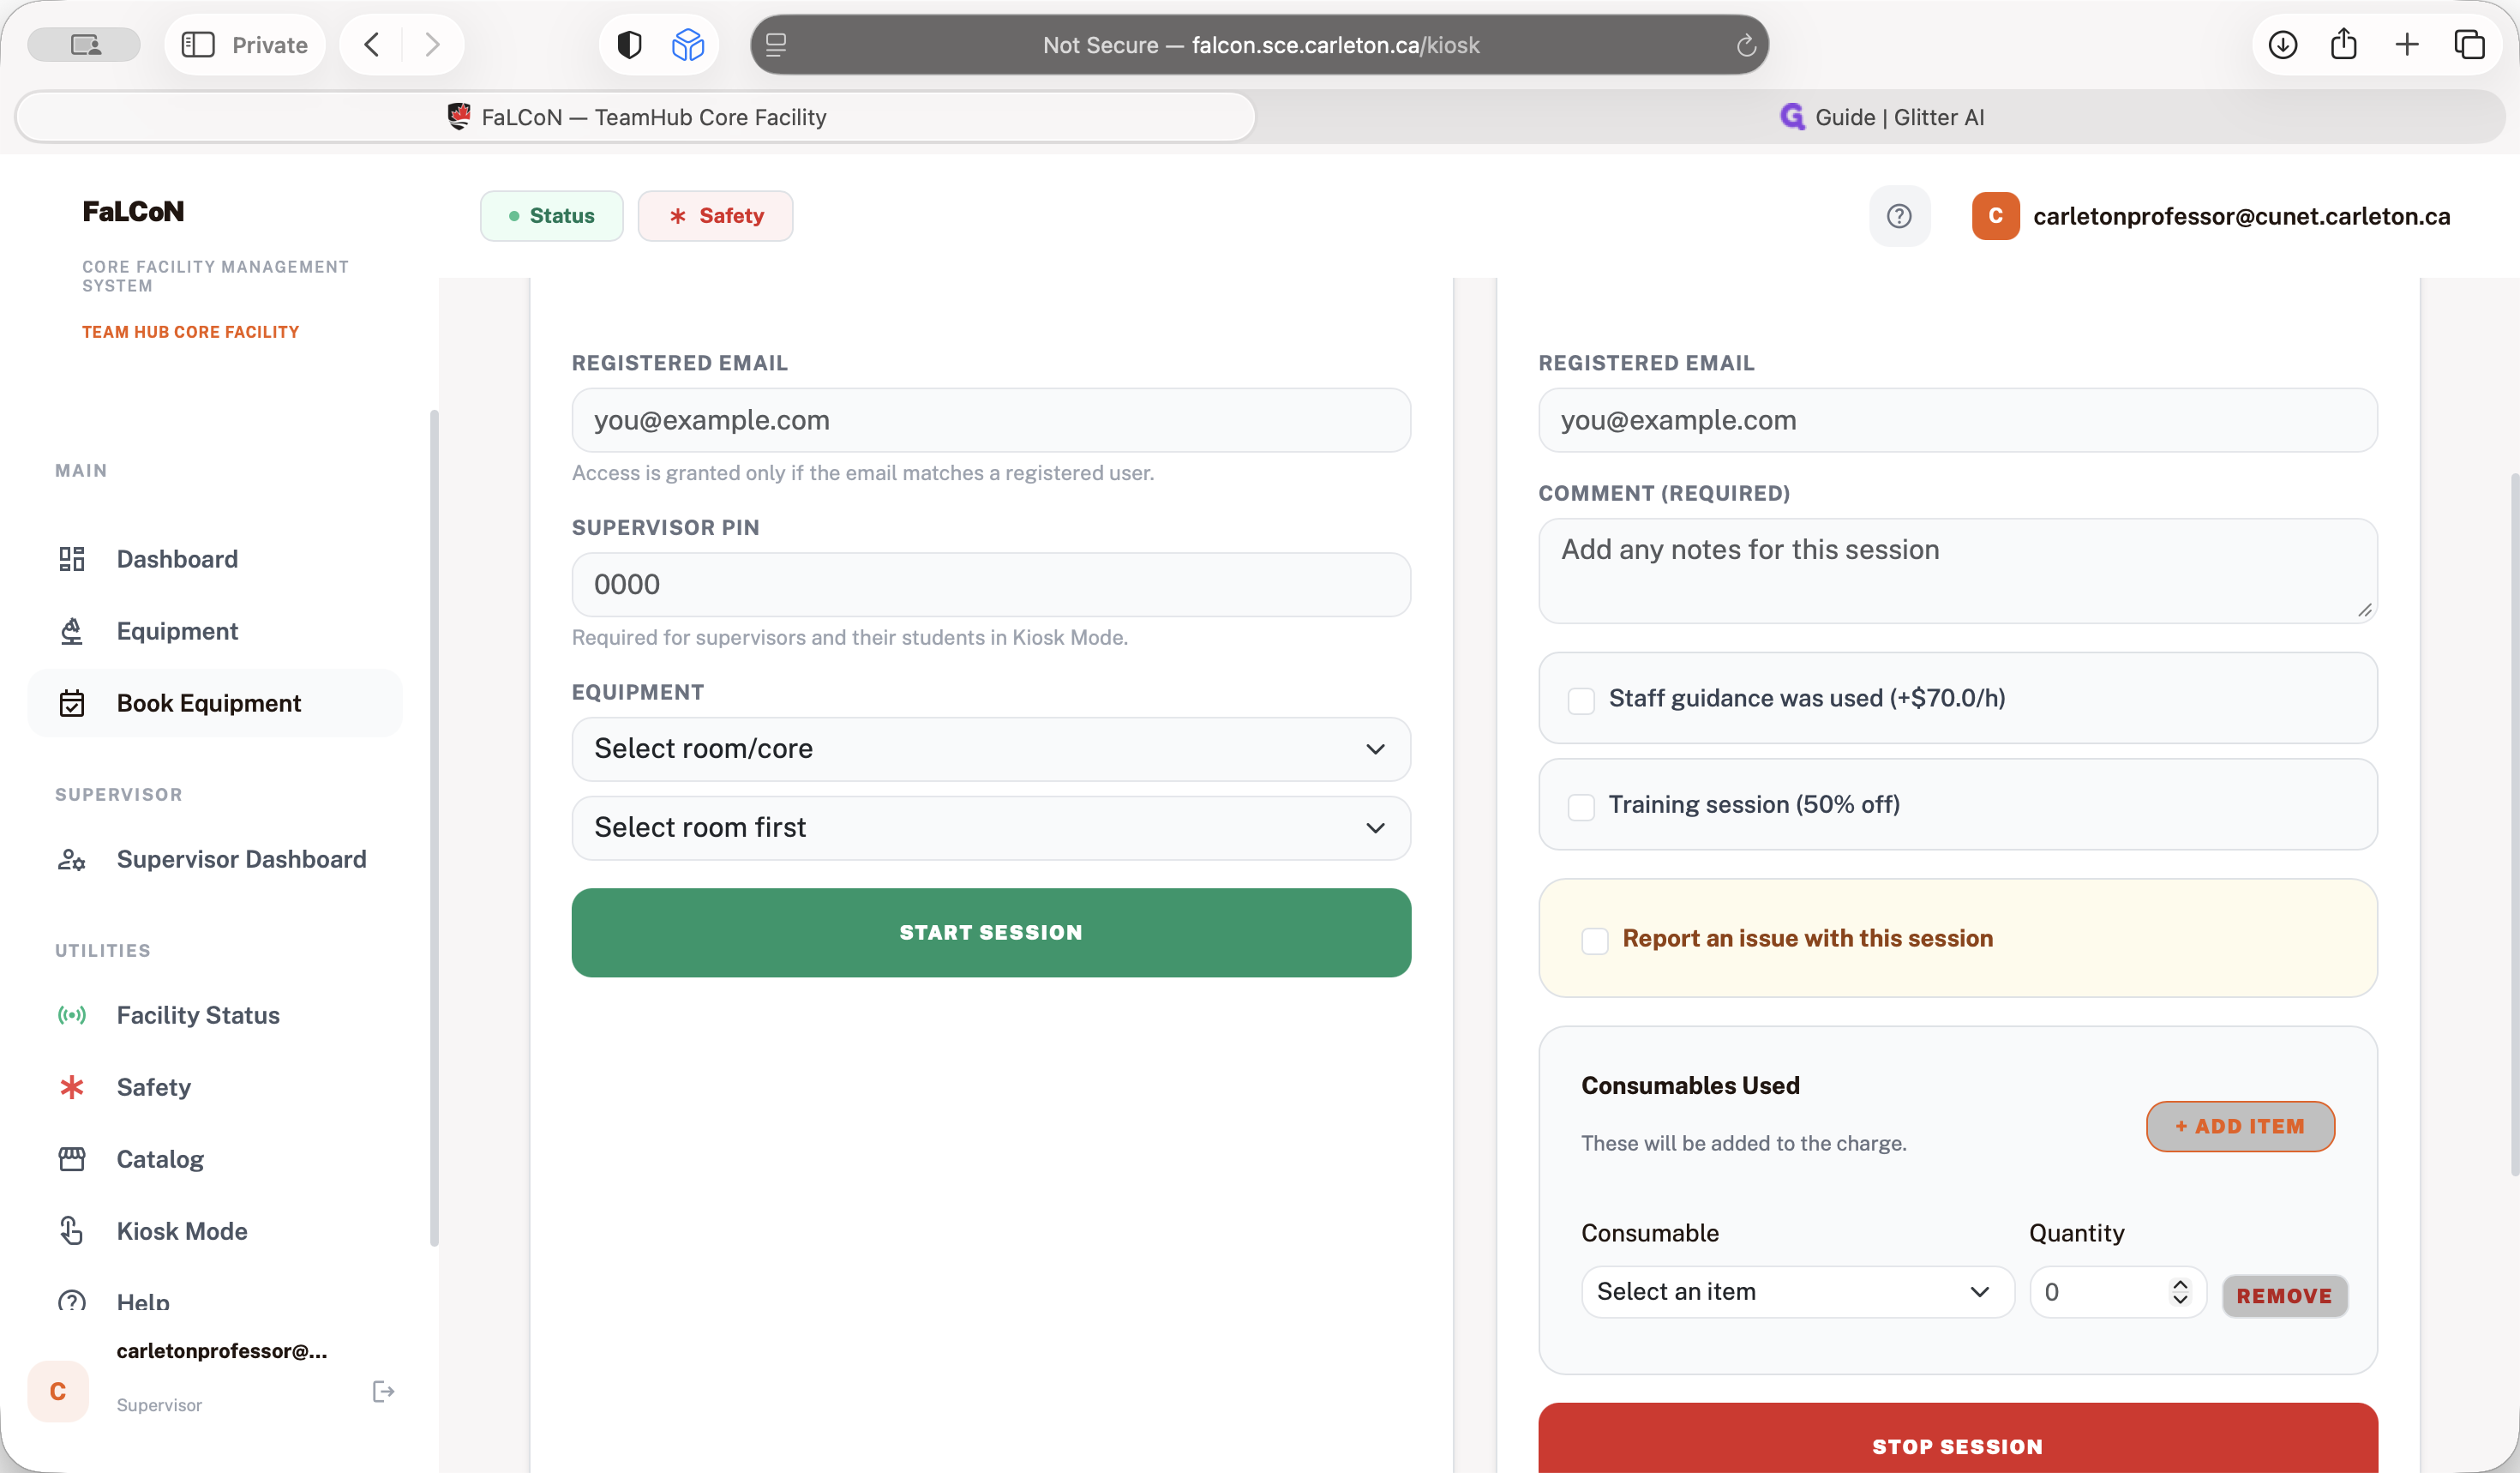
You can see all the instruments in different rooms. If you want to use an instrument you have been trained on, you are welcome to use the kiosk mode.
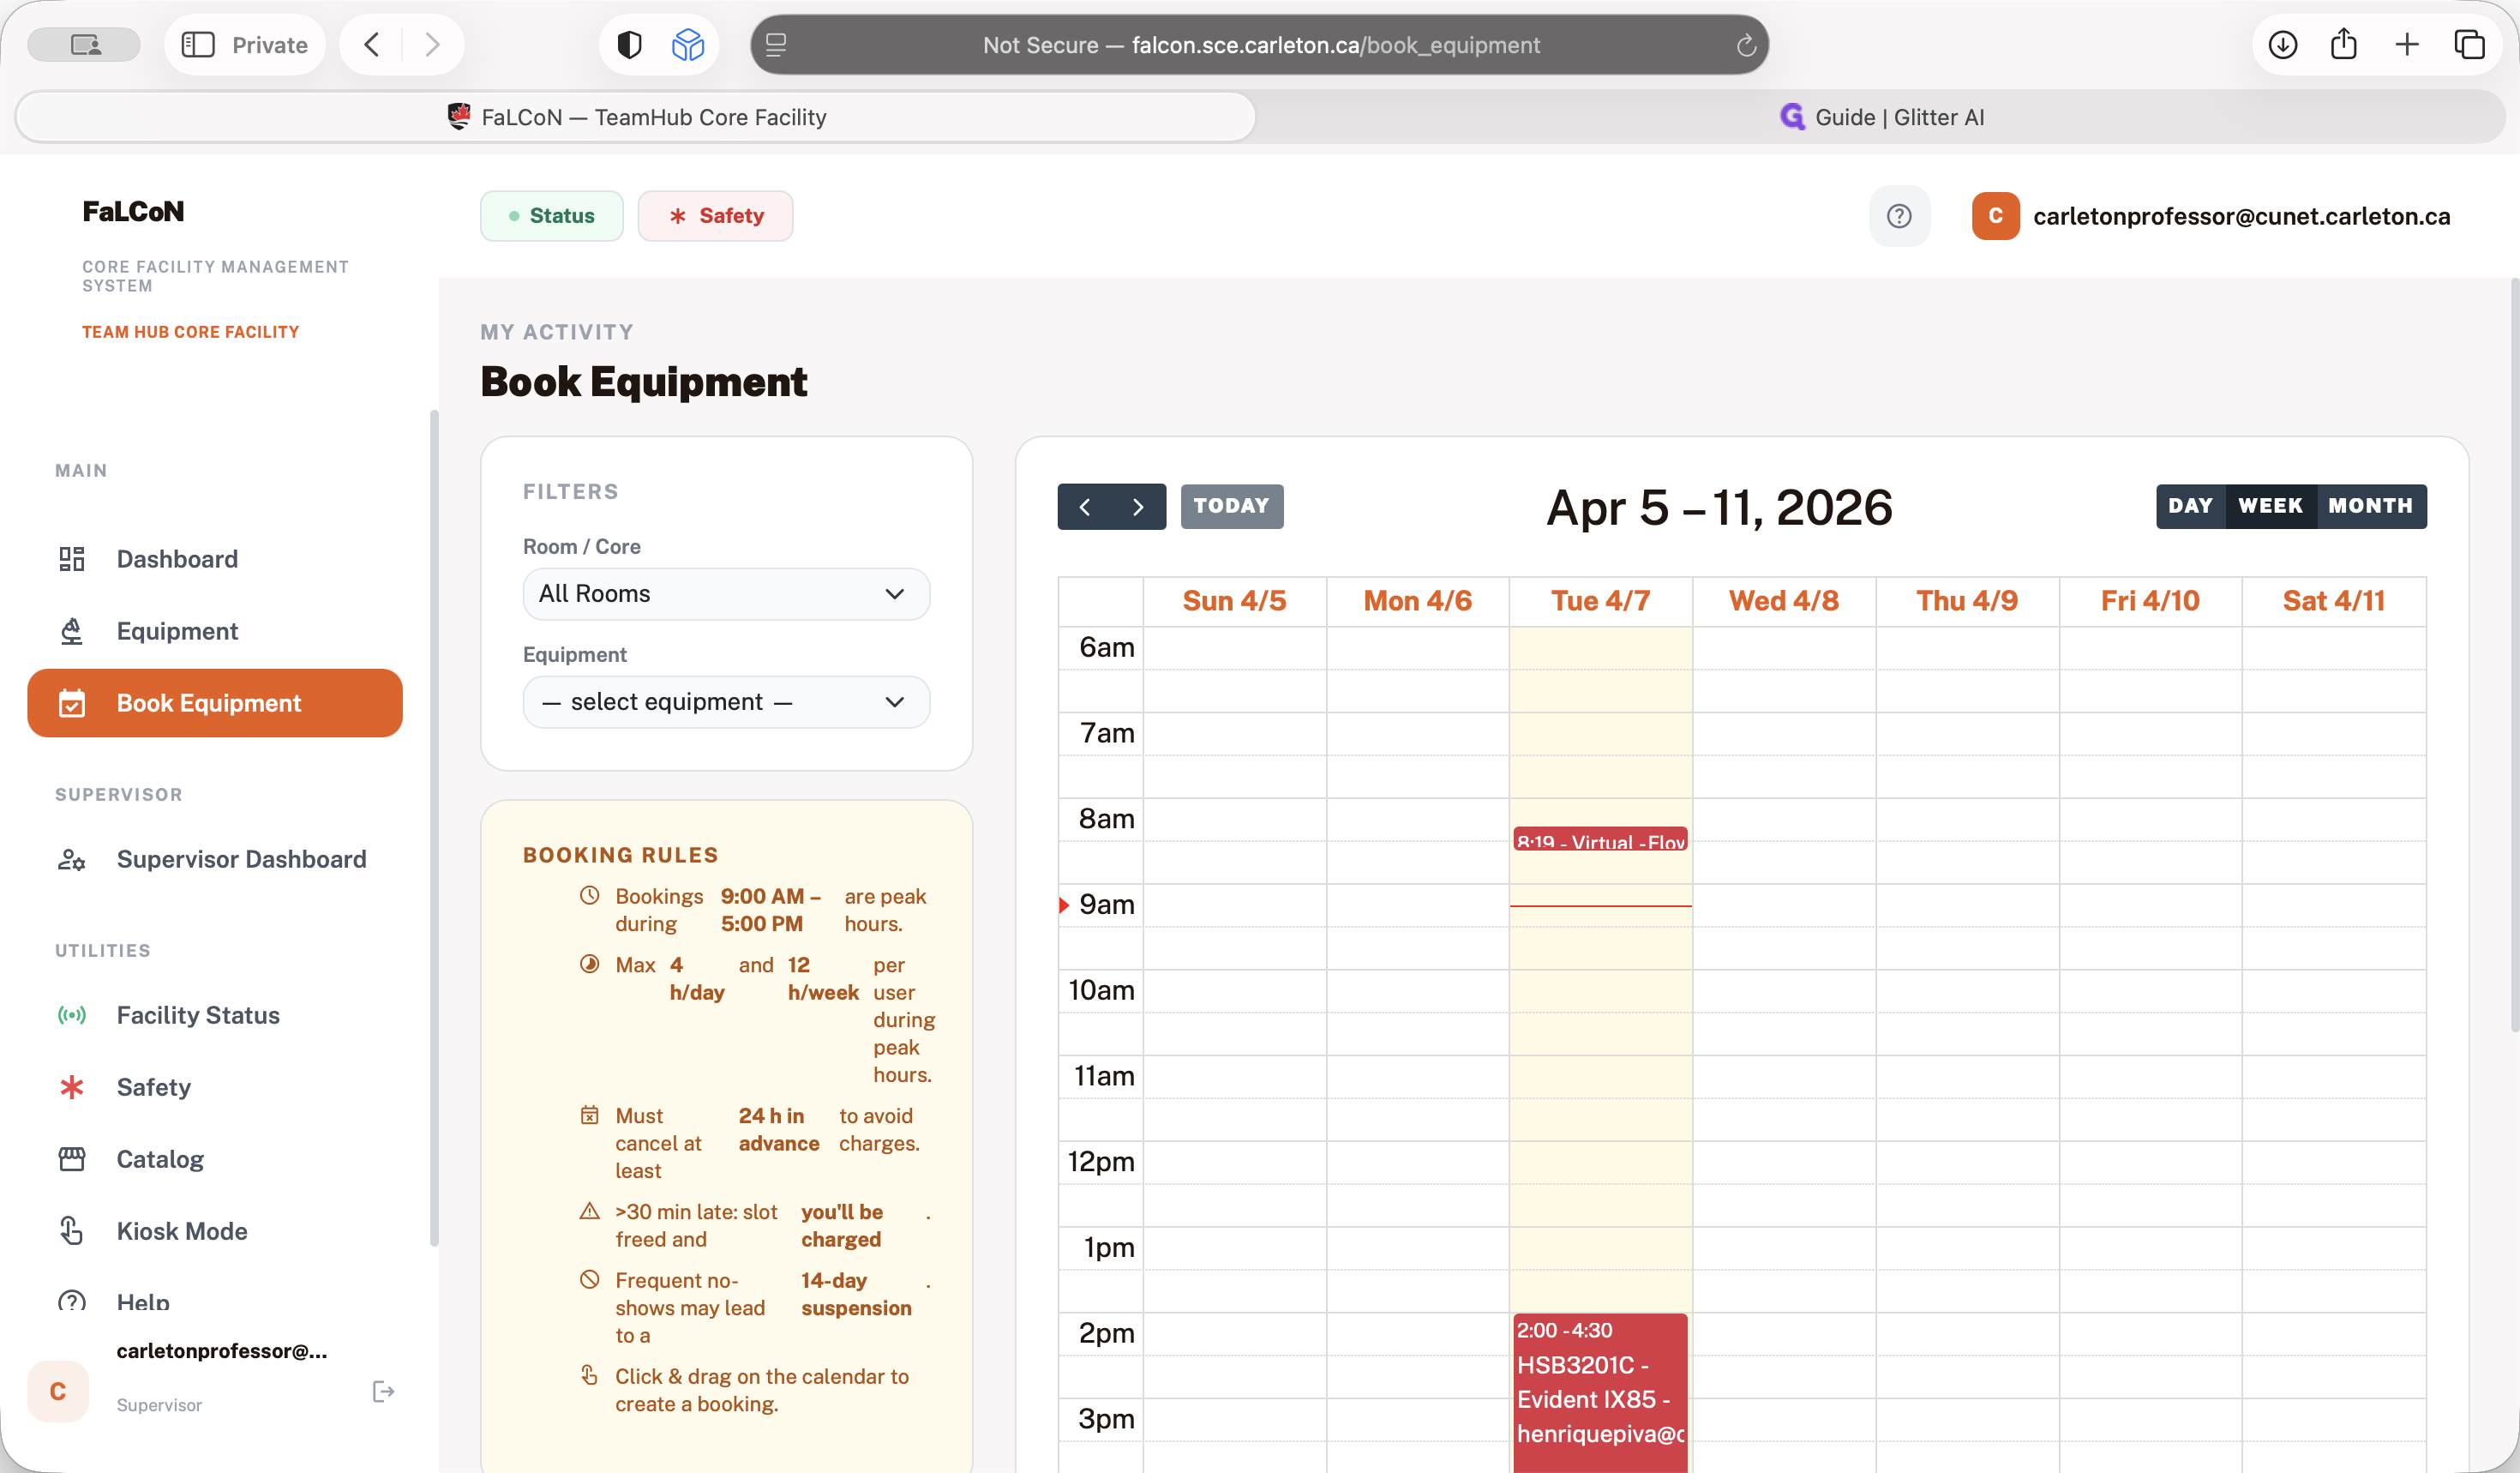
If you have booked the instrument, you can also book instruments for different rooms, similar to the students' dashboard.
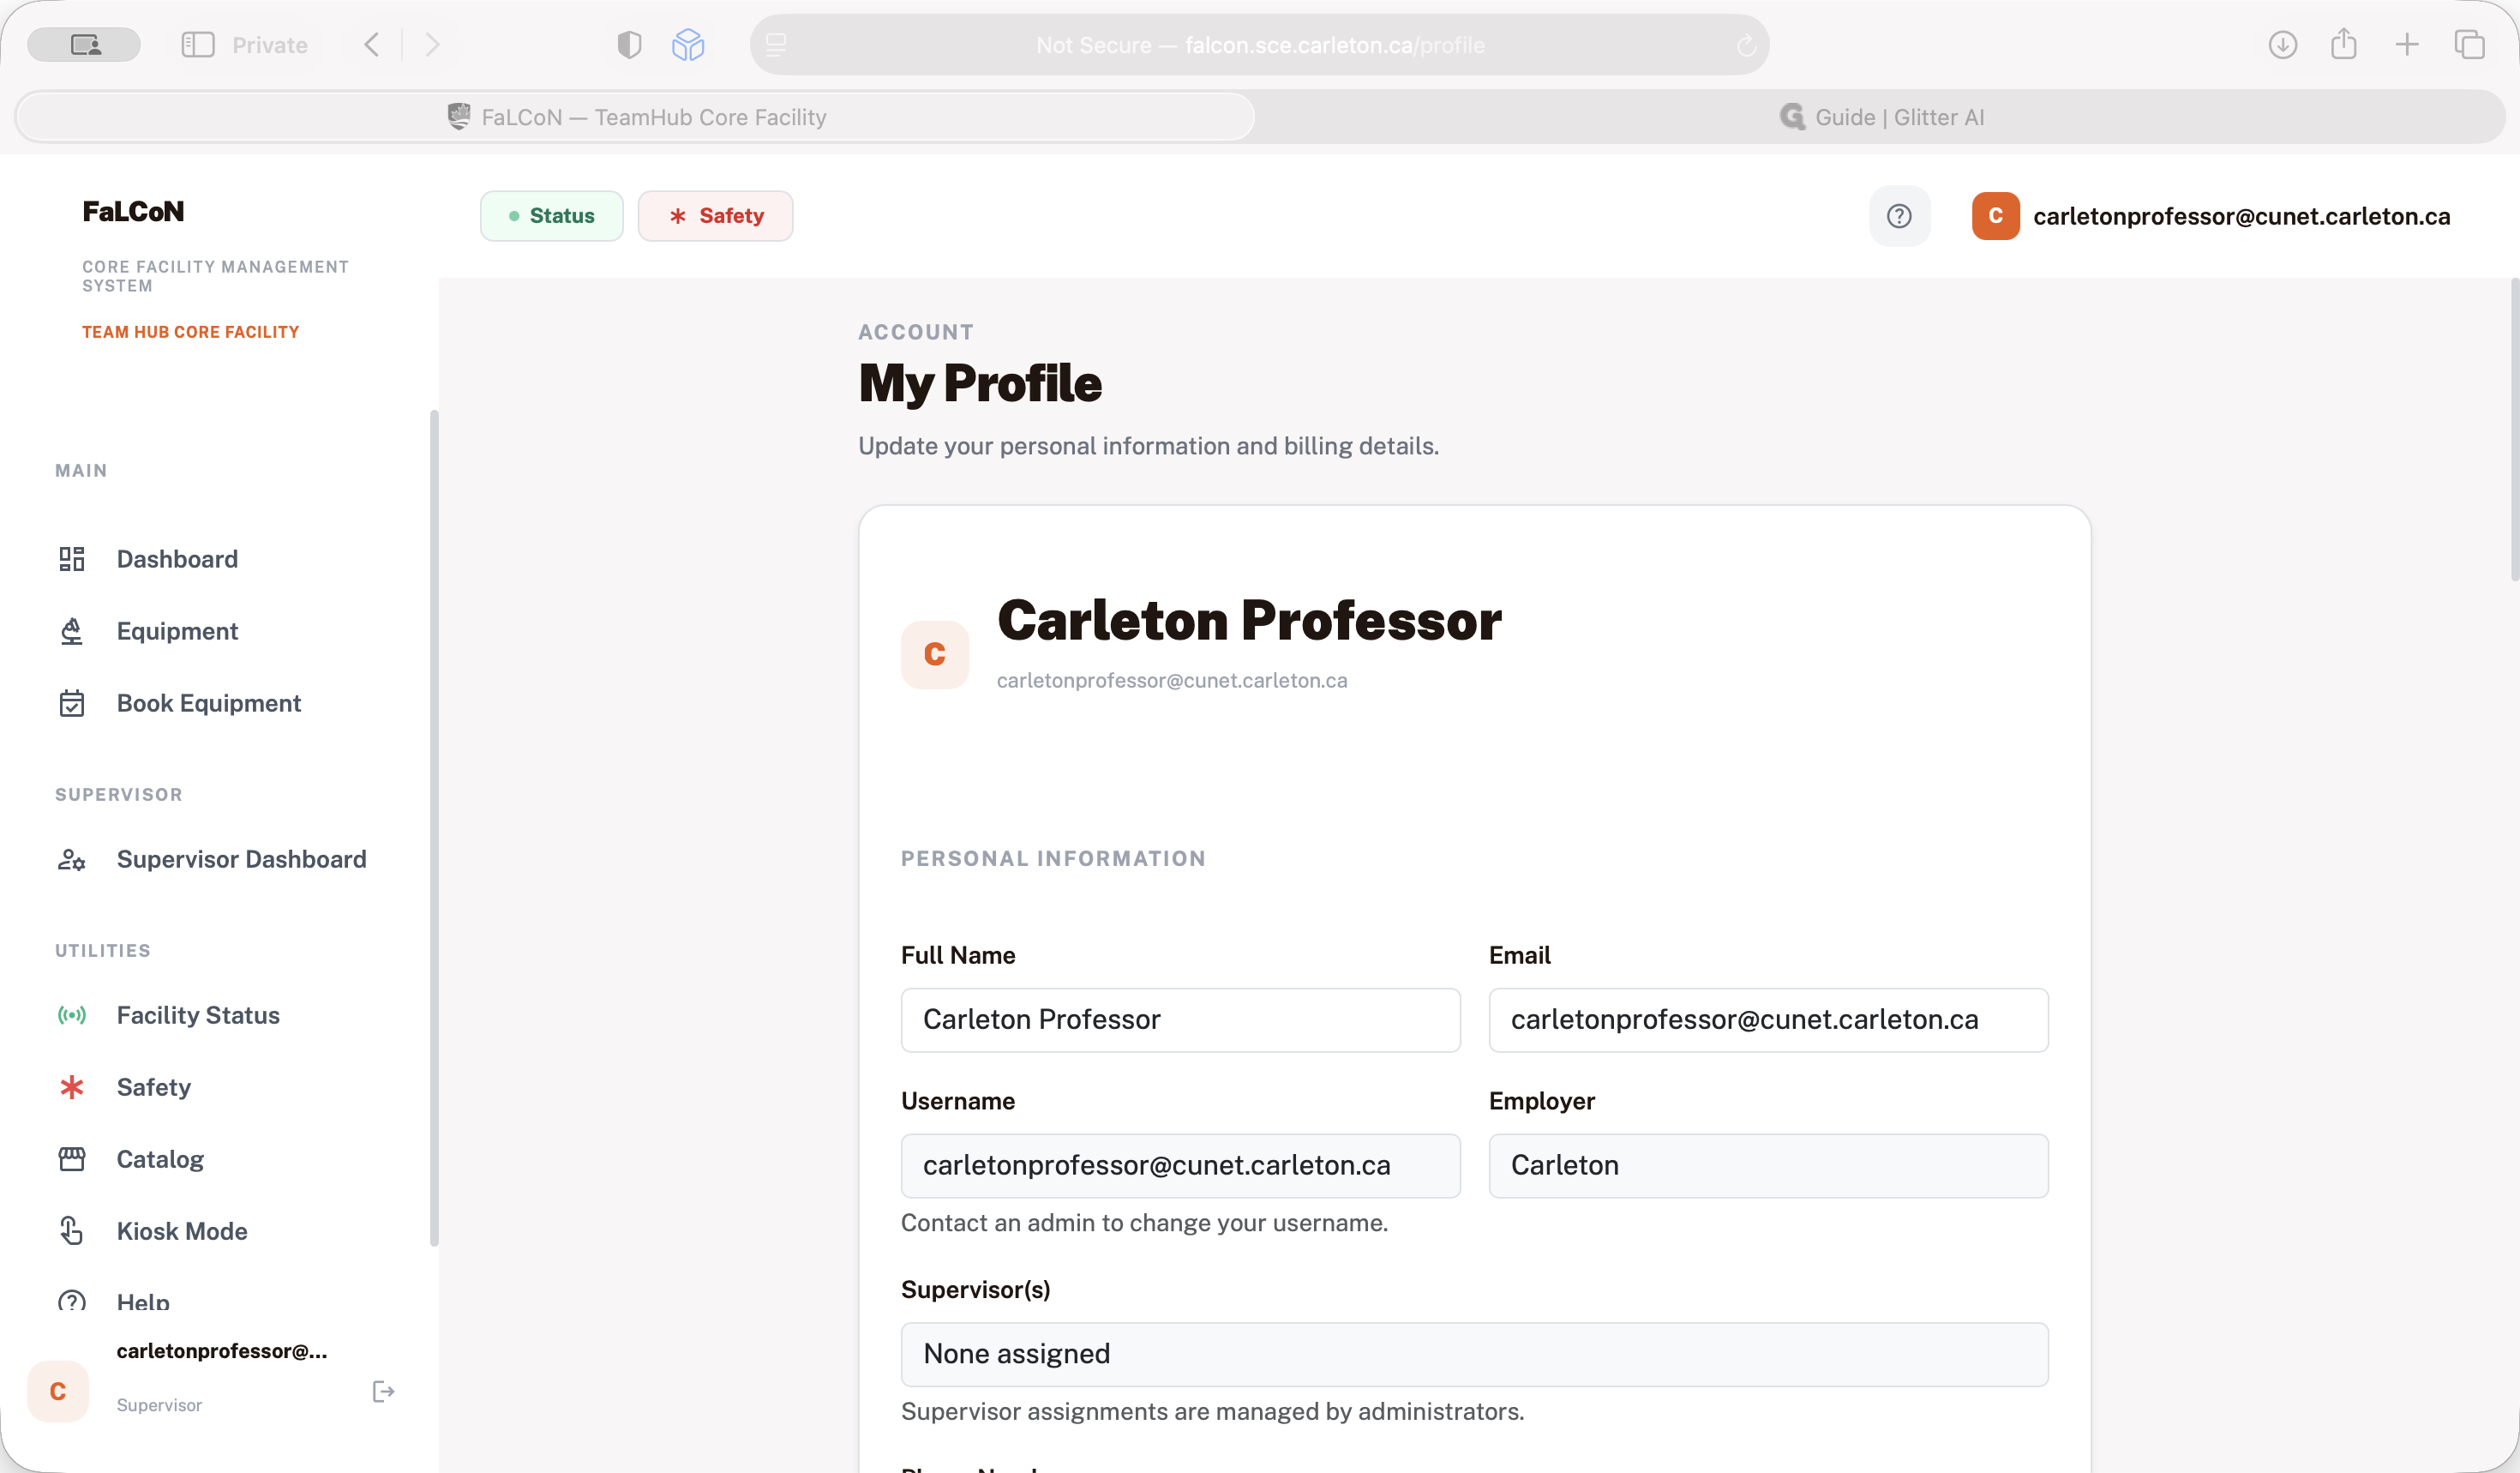
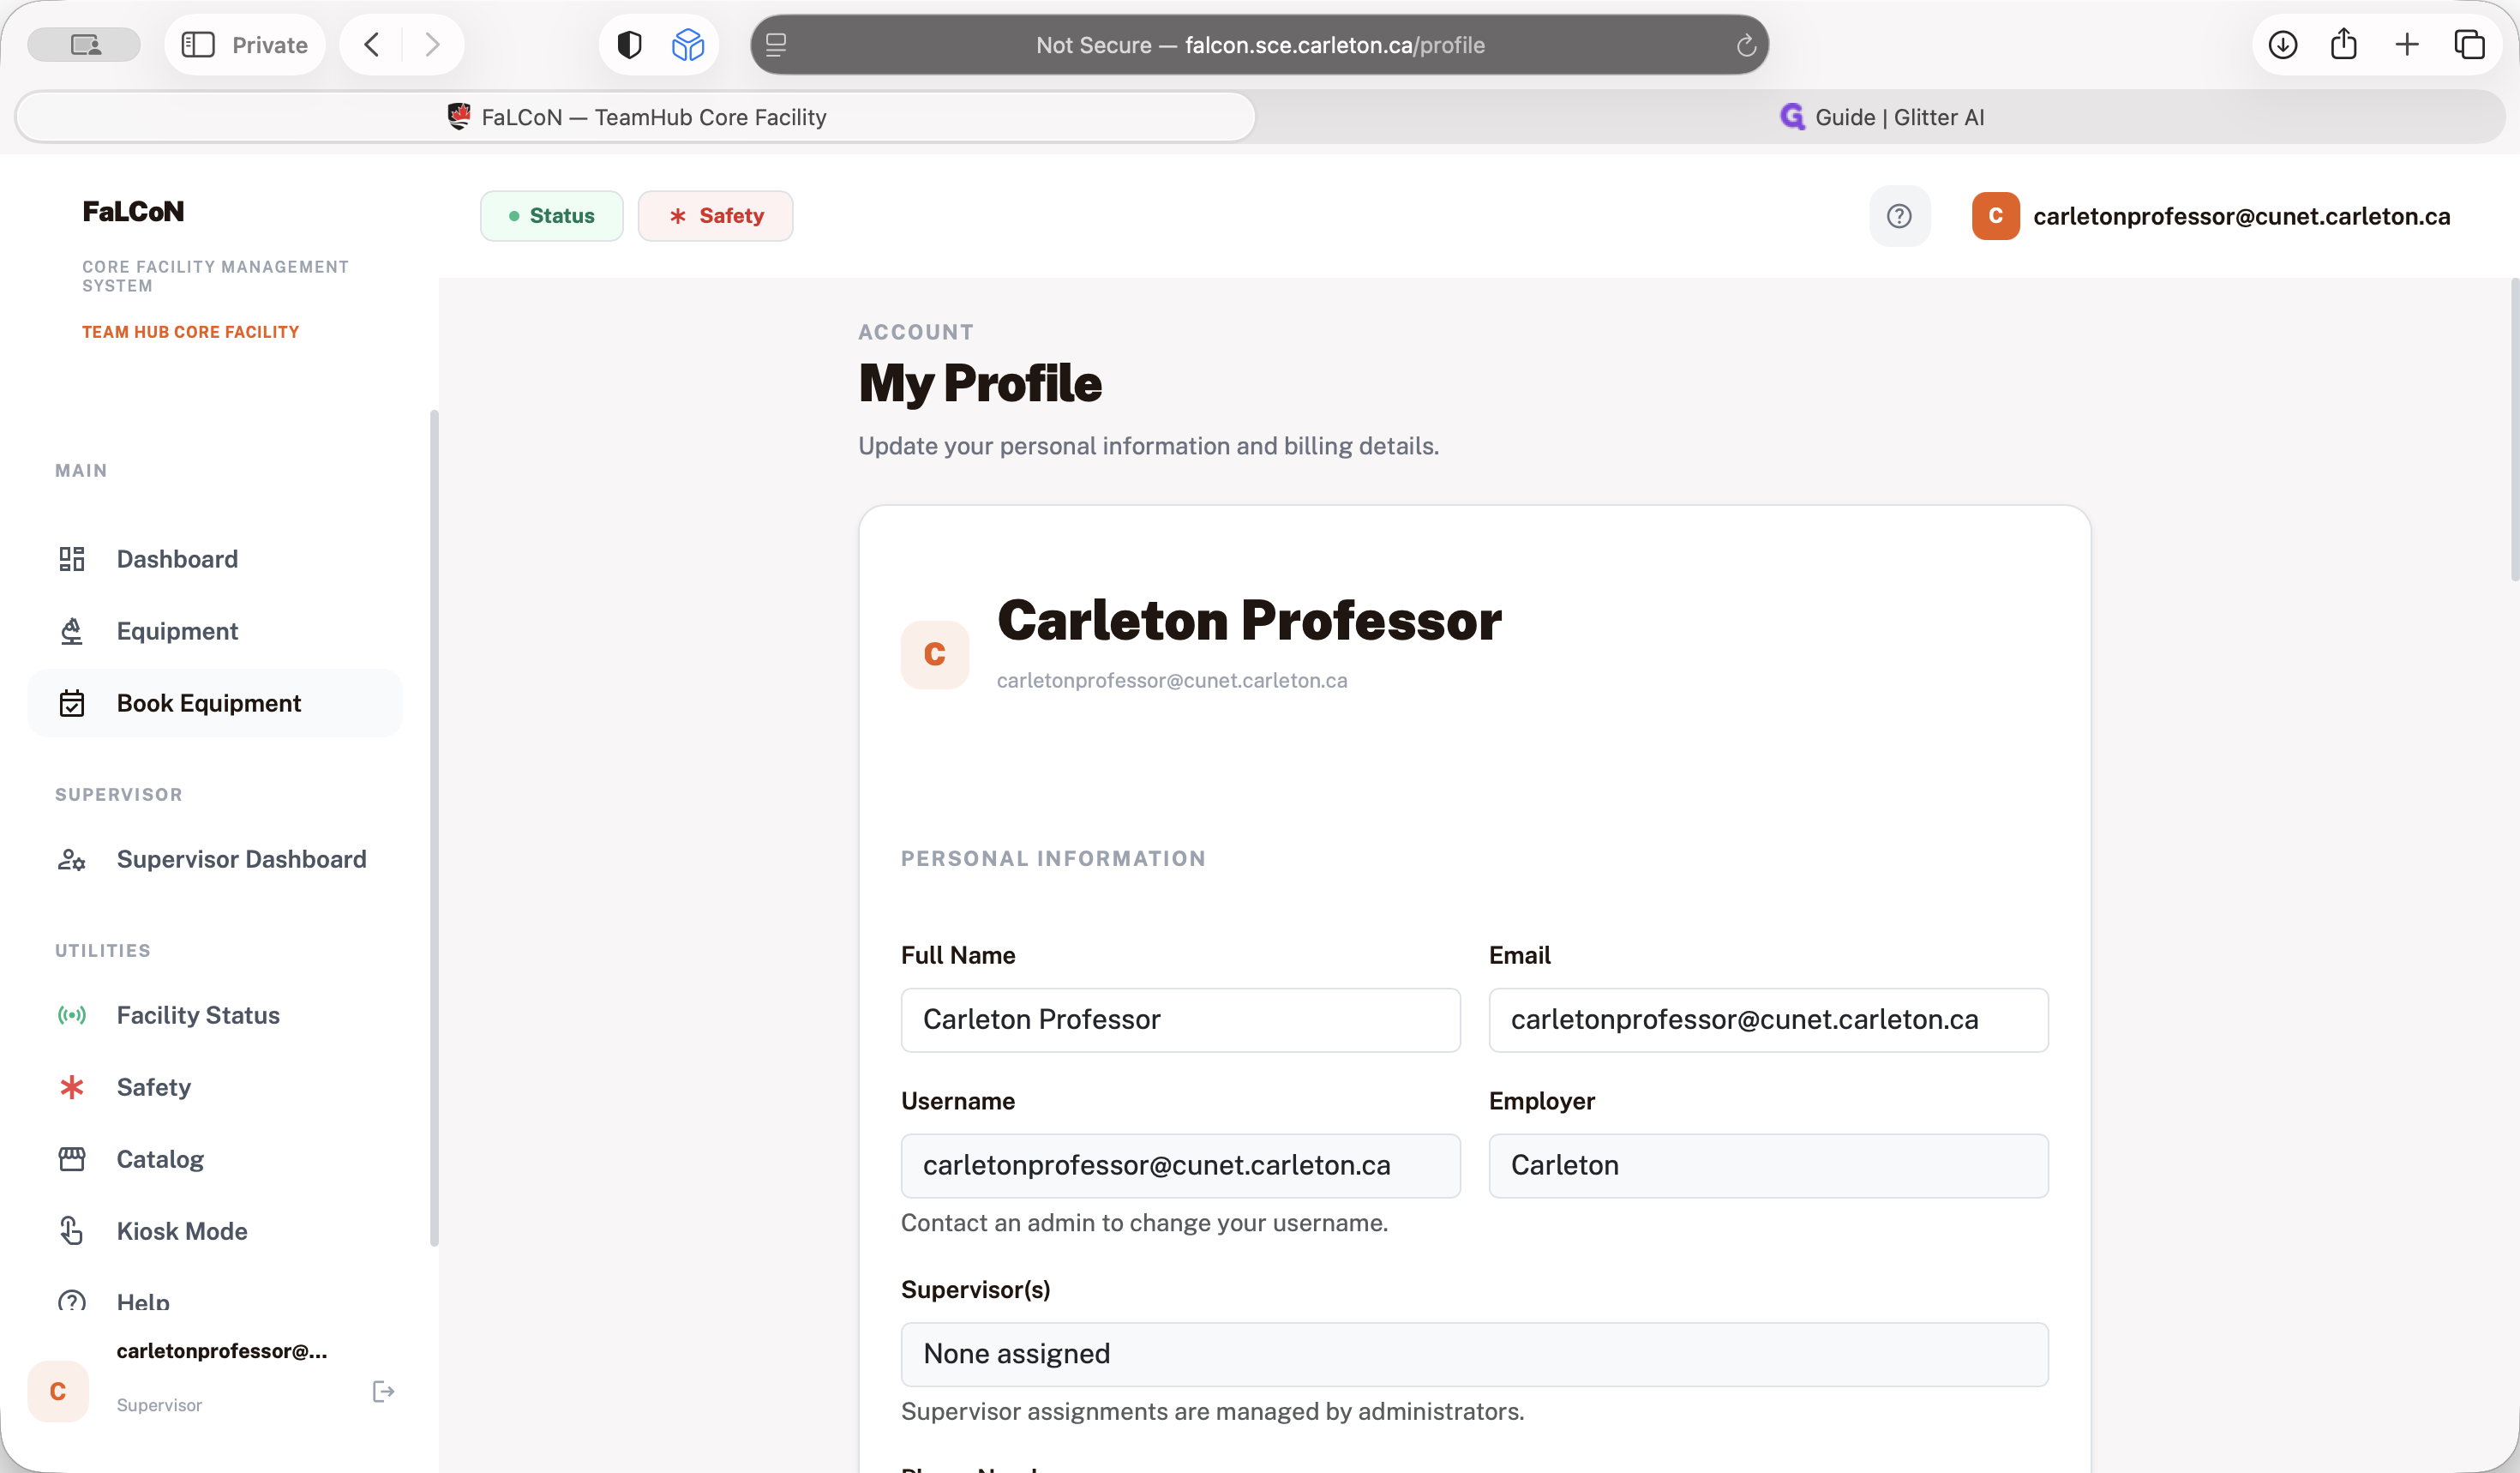
The most important part for supervisors is to update their profiles with current information. This ensures they receive invoices for instruments that are charged, such as those in the system.

building. All the instruments in the health sciences will not be charged. They will continue the same way they have for the past years. The idea is to use our Falcon system, which we developed for booking and managing instruments. Similar to the student setup, after booking the instrument, it appears in the calendar. You are only allowed to use the instrument if you have booked it or if it is available.
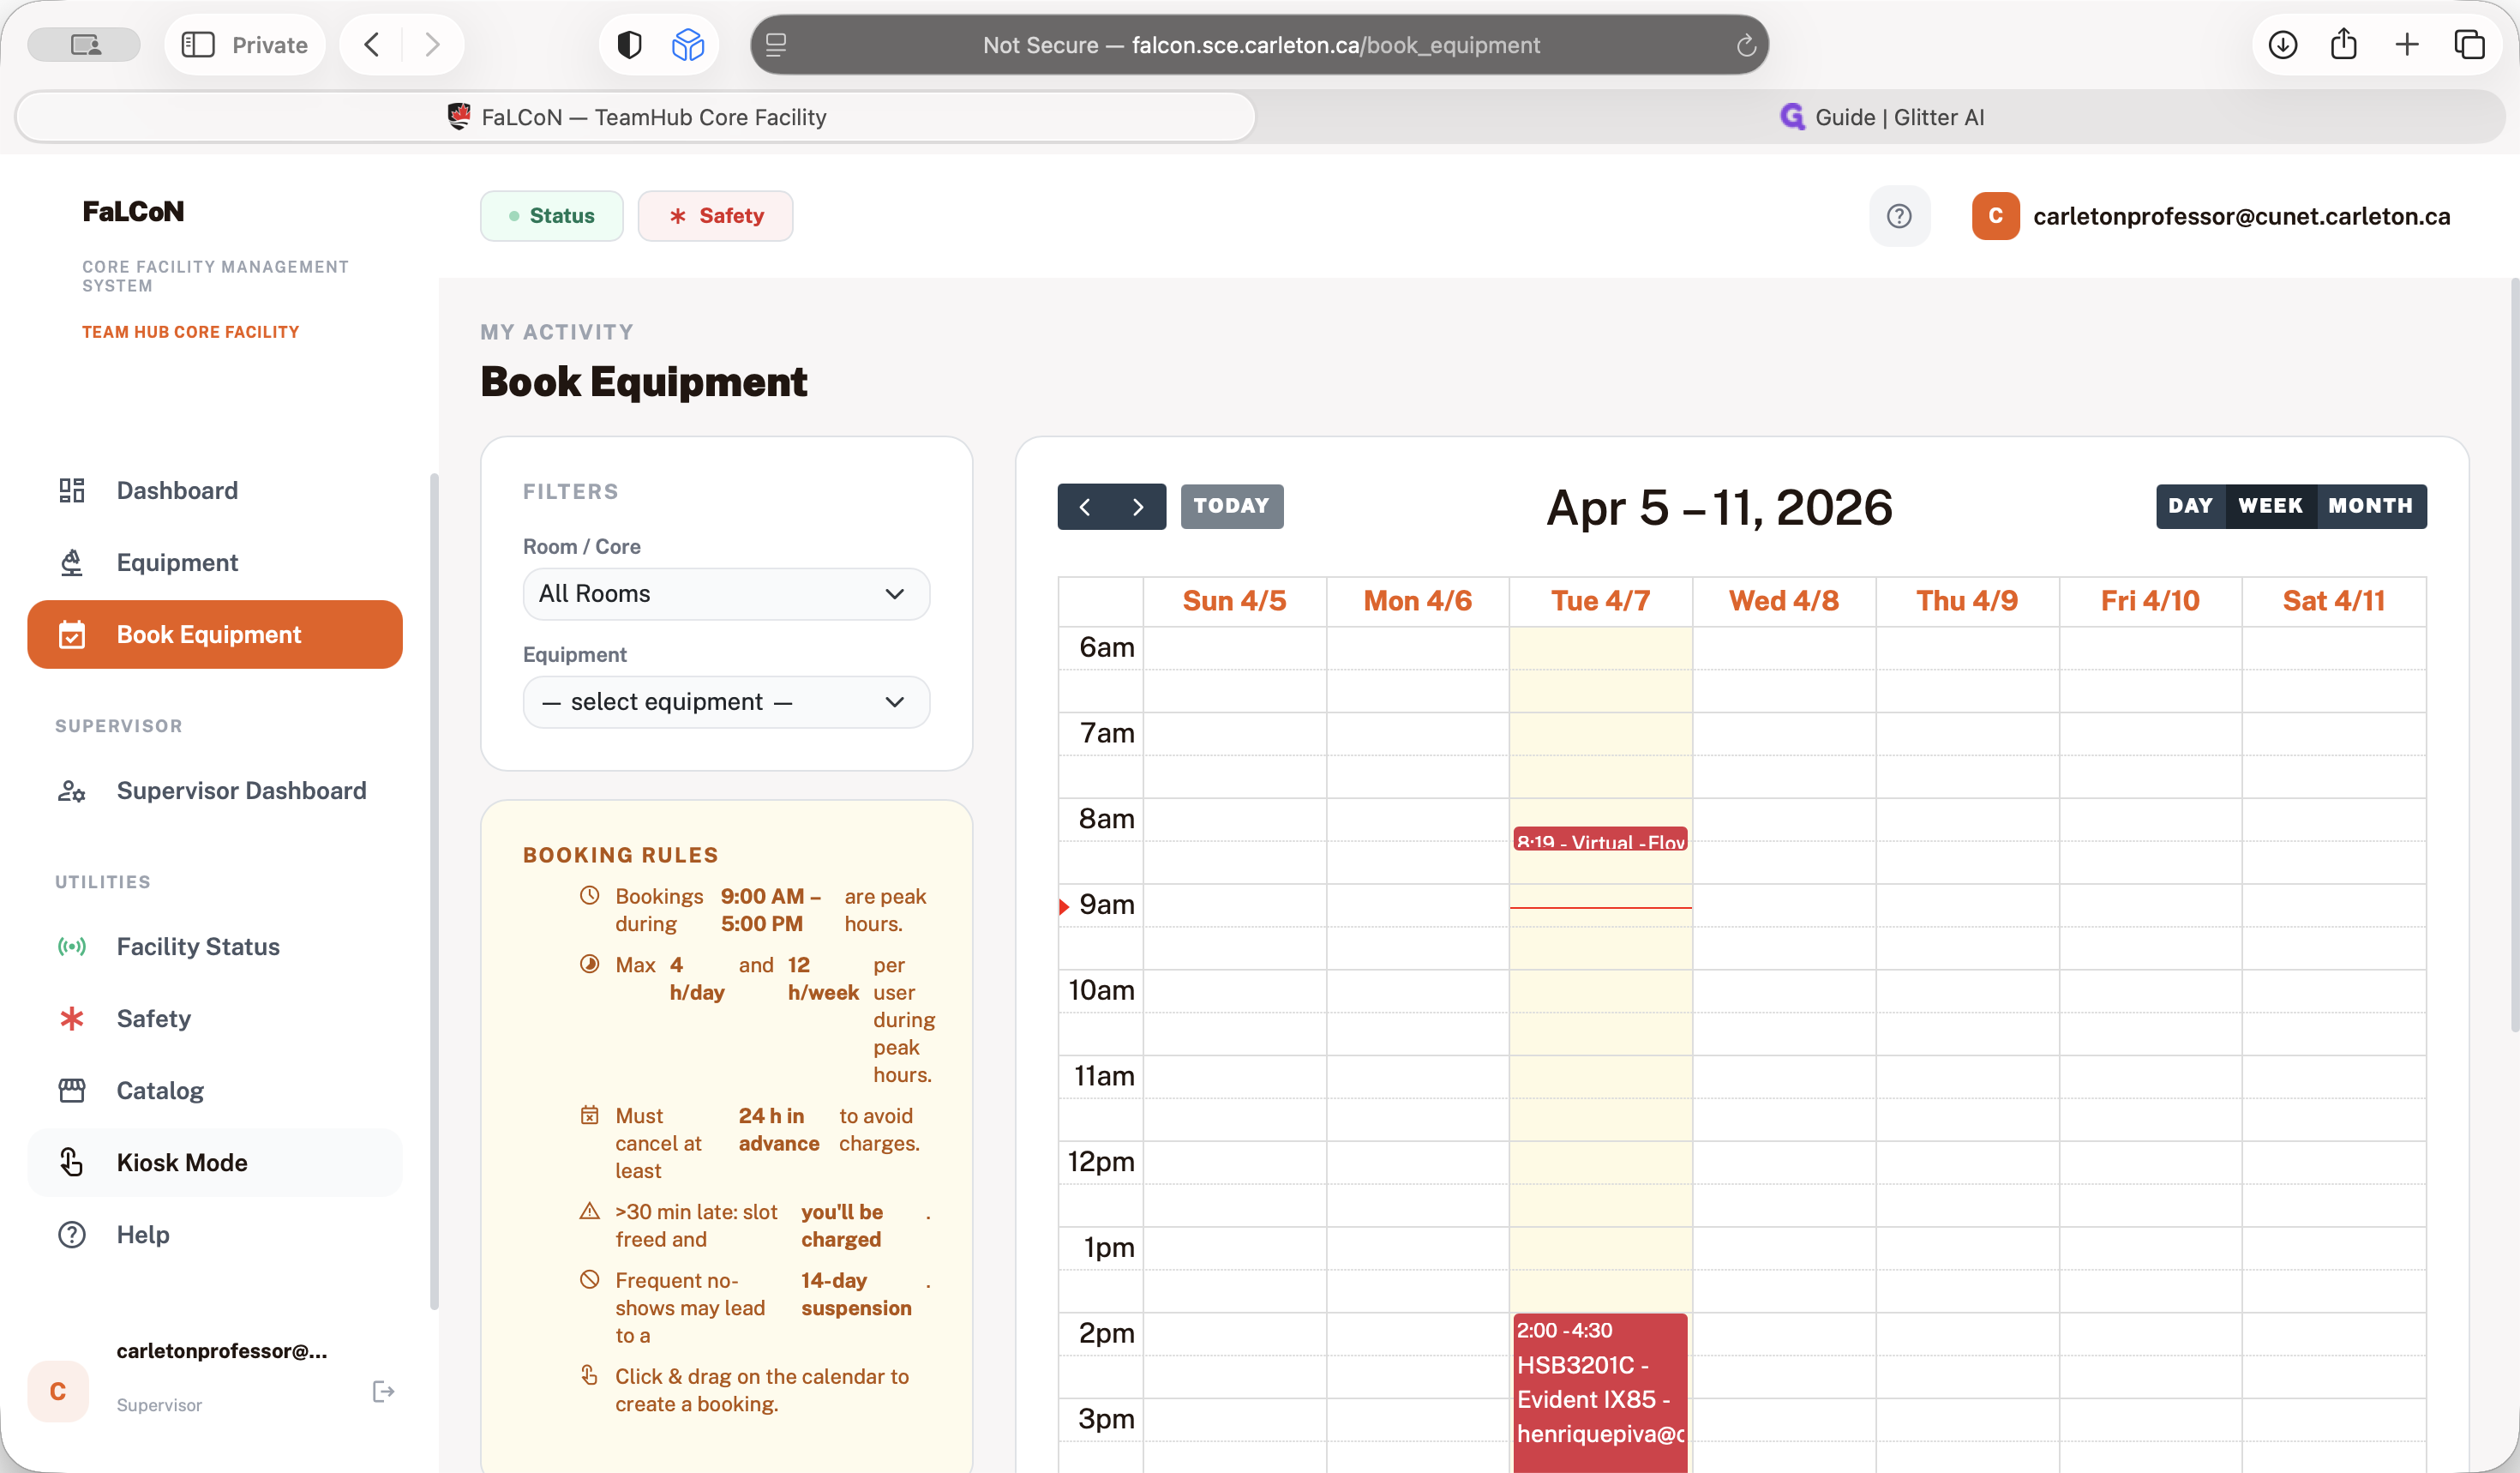
If someone tries to use the instrument while it is booked by someone else, the system will block access and notify you that it is already reserved. That's the basics of the system.
Please log in, use the system, and update your information. Thank you.