
Tape Cracking and Comparison - Initial Seller Data to Post DD TPR Data
Learn how to normalize loan data using tape crackers, load it into a standard BI format tape, and run a macro to compare seller data against post-TPR files.
This guide explains how to format and load new loan data into a standard BI format tape and run a macro to compare the initial seller data against post-Third-Party Review (TPR) data. Completing this process ensures that all loan attributes are accurately tracked and any discrepancies are highlighted before activation.
This workflow is intended for capital markets or data analysts responsible for boarding new loans and reconciling pre-close and post-close loan data. It should be performed whenever a new loan tape is received from a seller or warehouse lender.
This process is split into three main phases: normalizing the seller tape, normalizing the TPR (Third-Party Review) tape, and running the comparison macro.
Phase 1: Format the Seller Tape
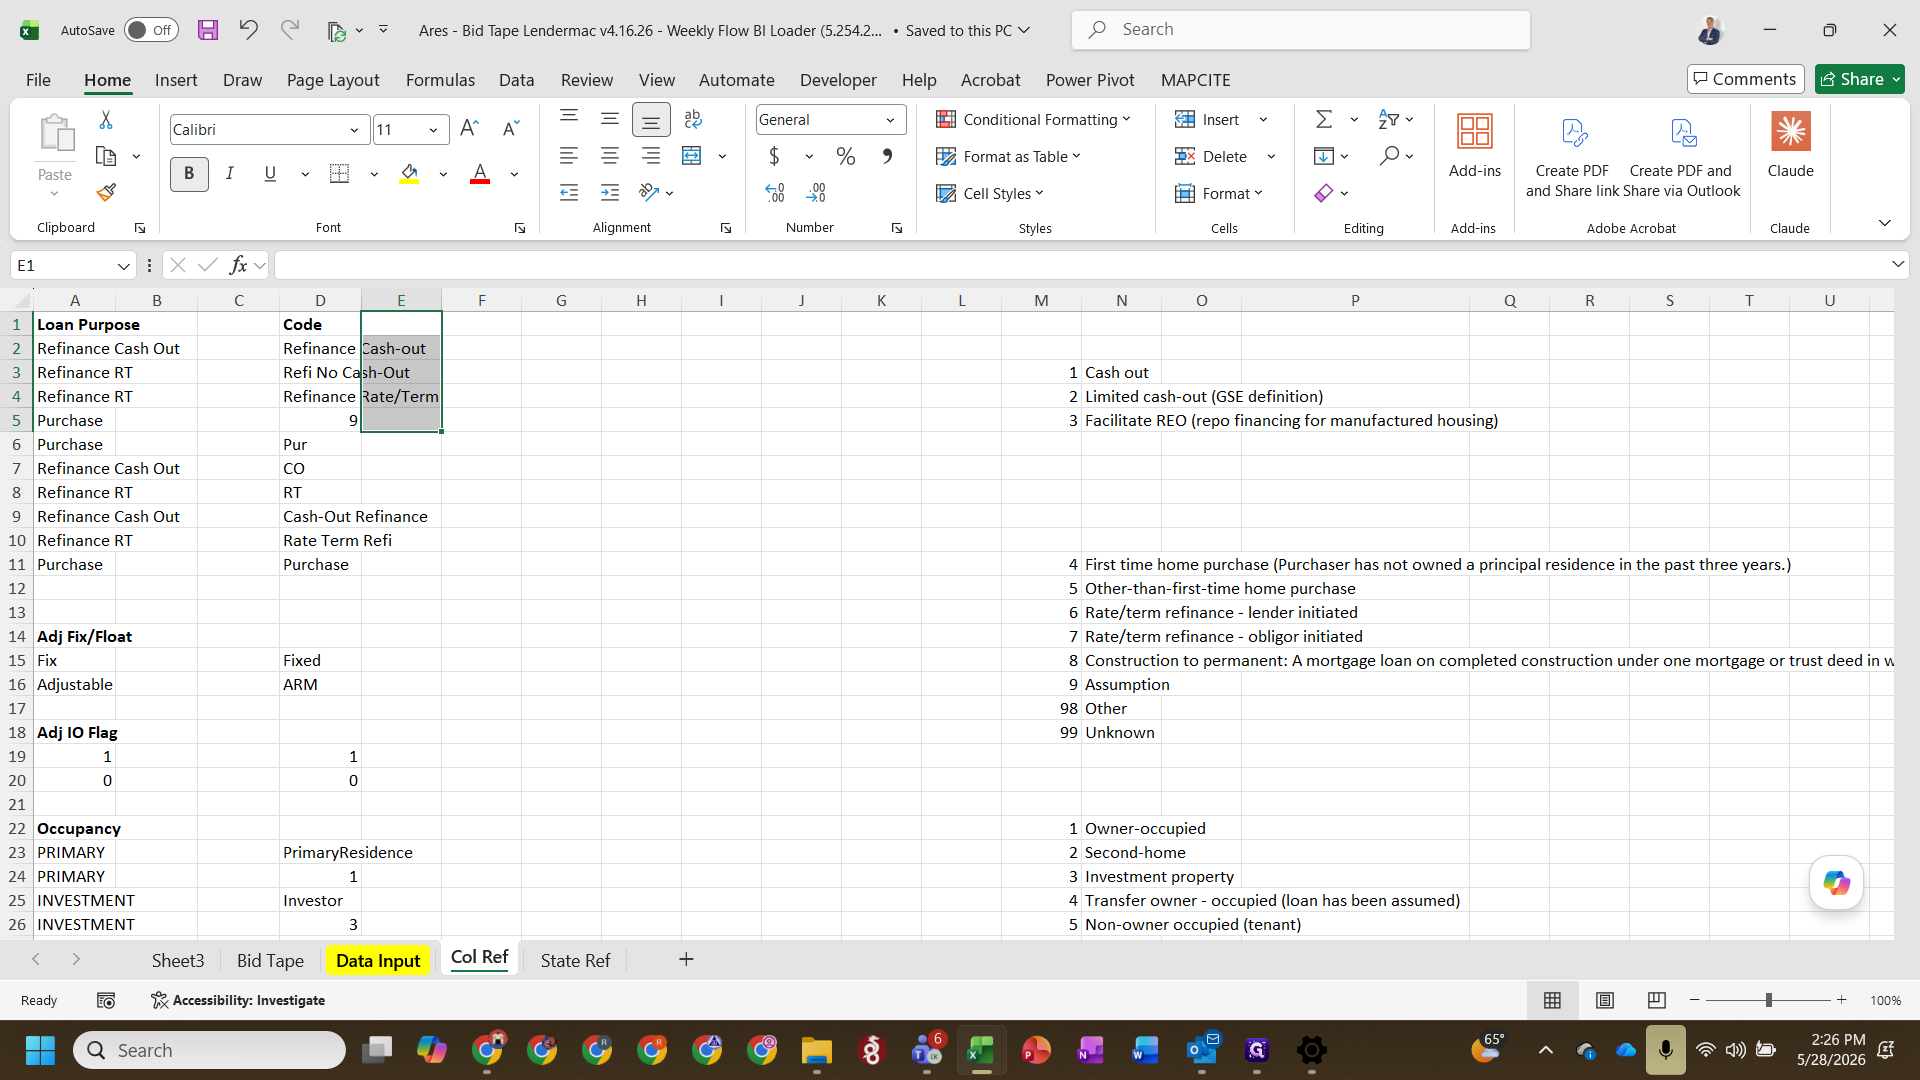
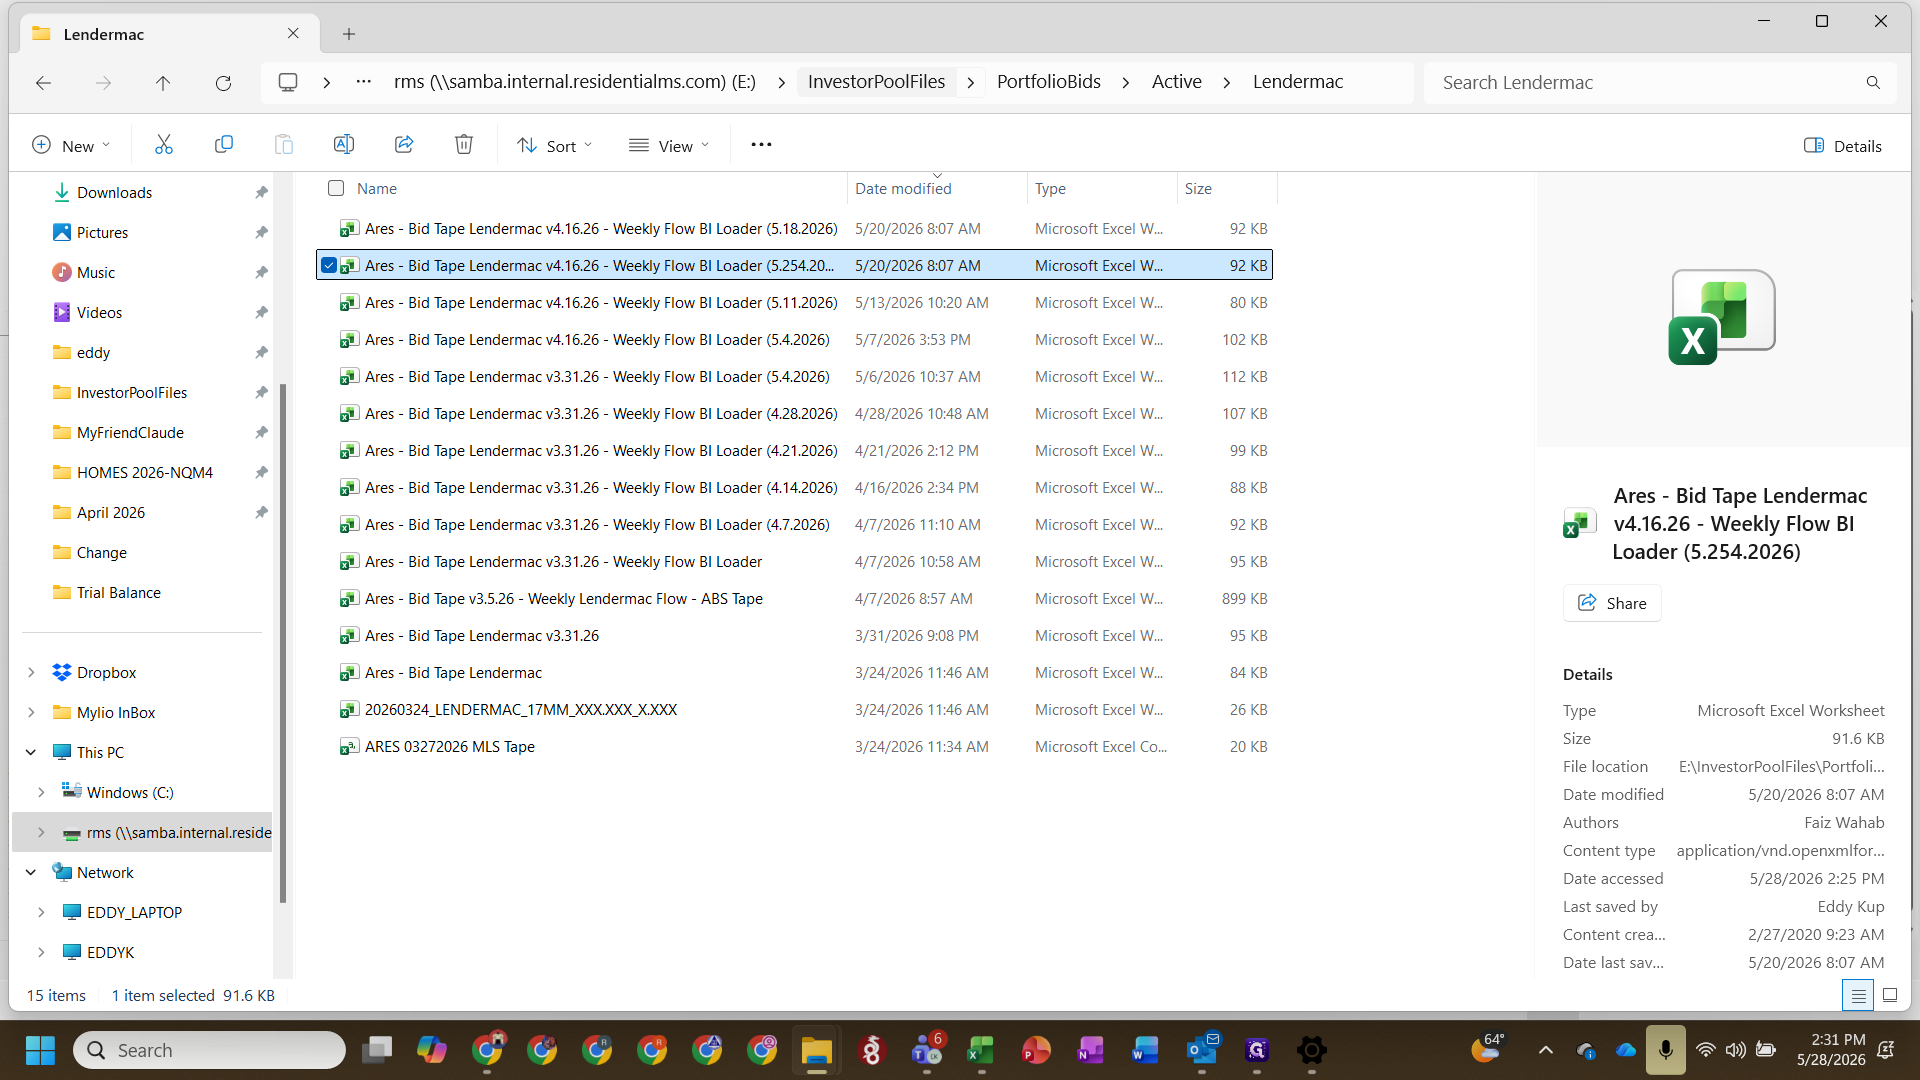
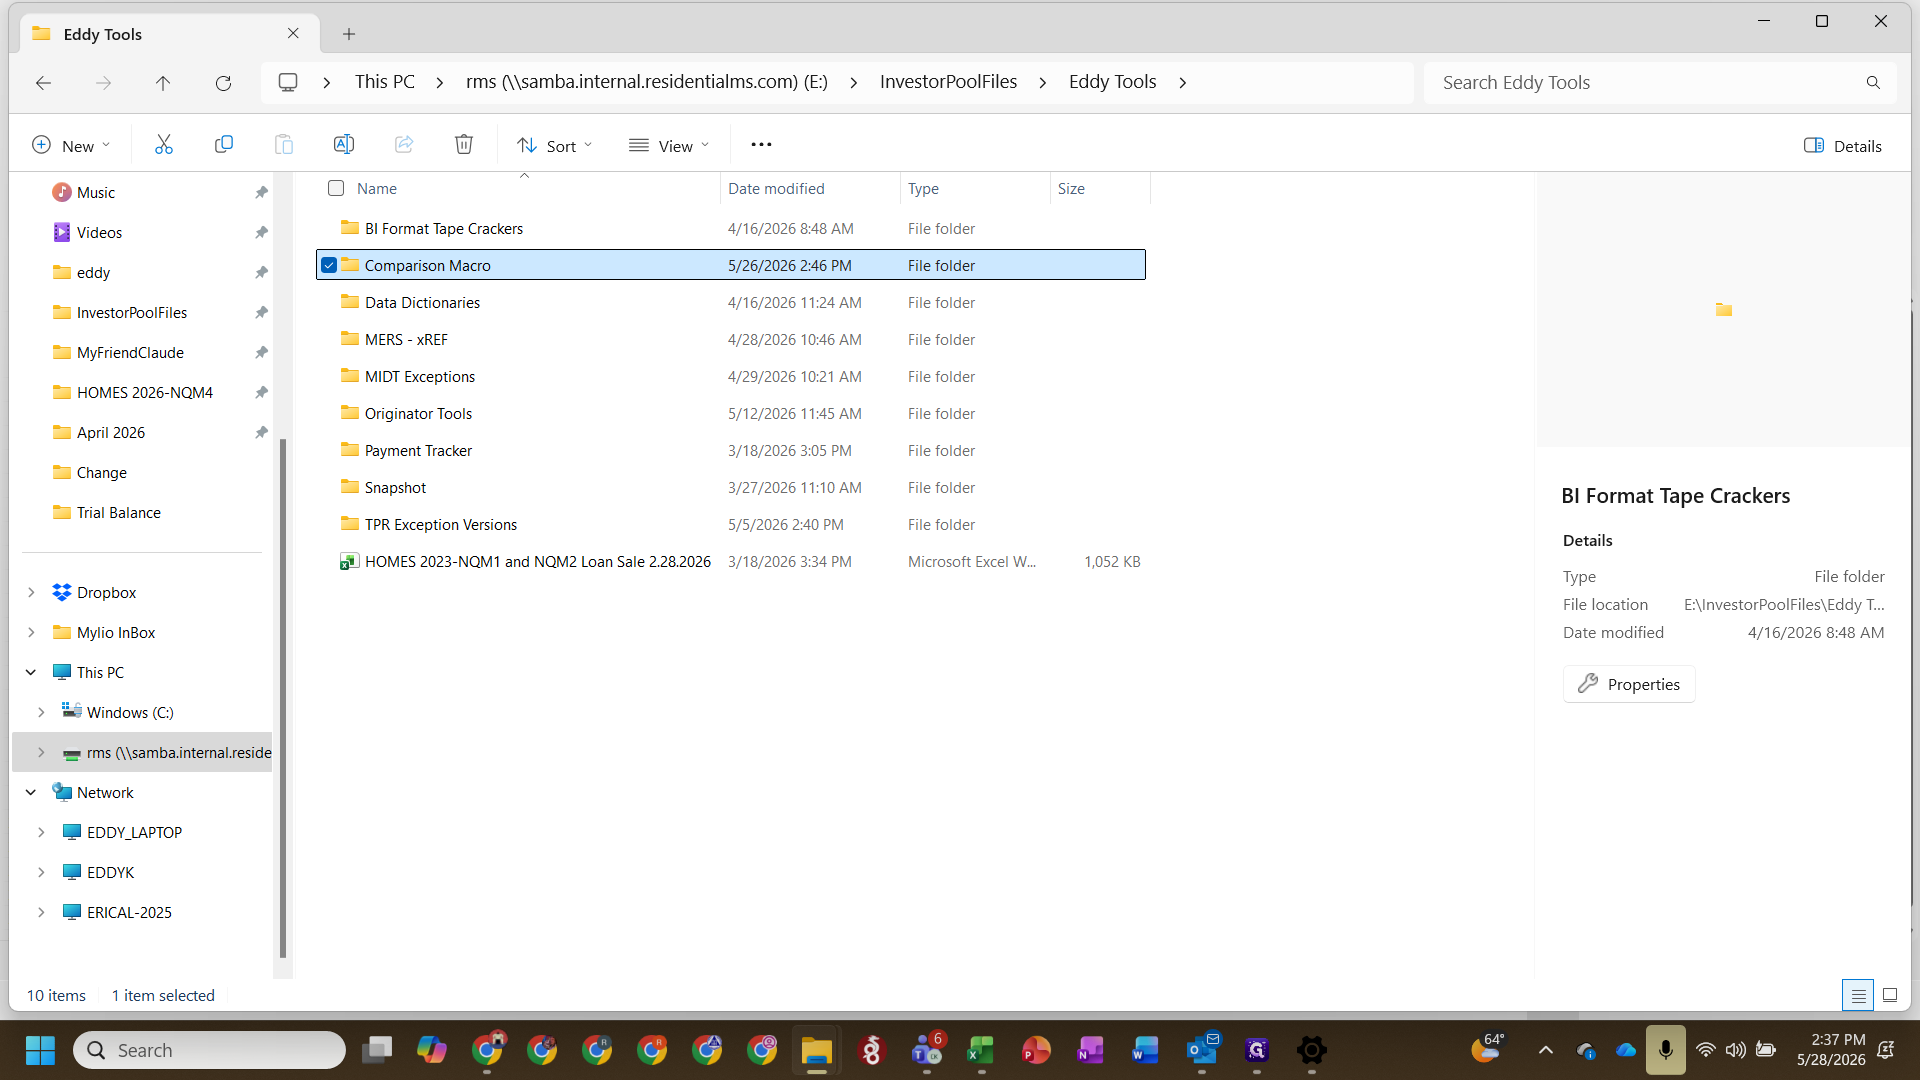
Copy the raw data from the seller's MLS tape and paste it into the Data Input tab.
=if(B16=B1,0,1) and press Enter to quickly verify column alignment across the dataset.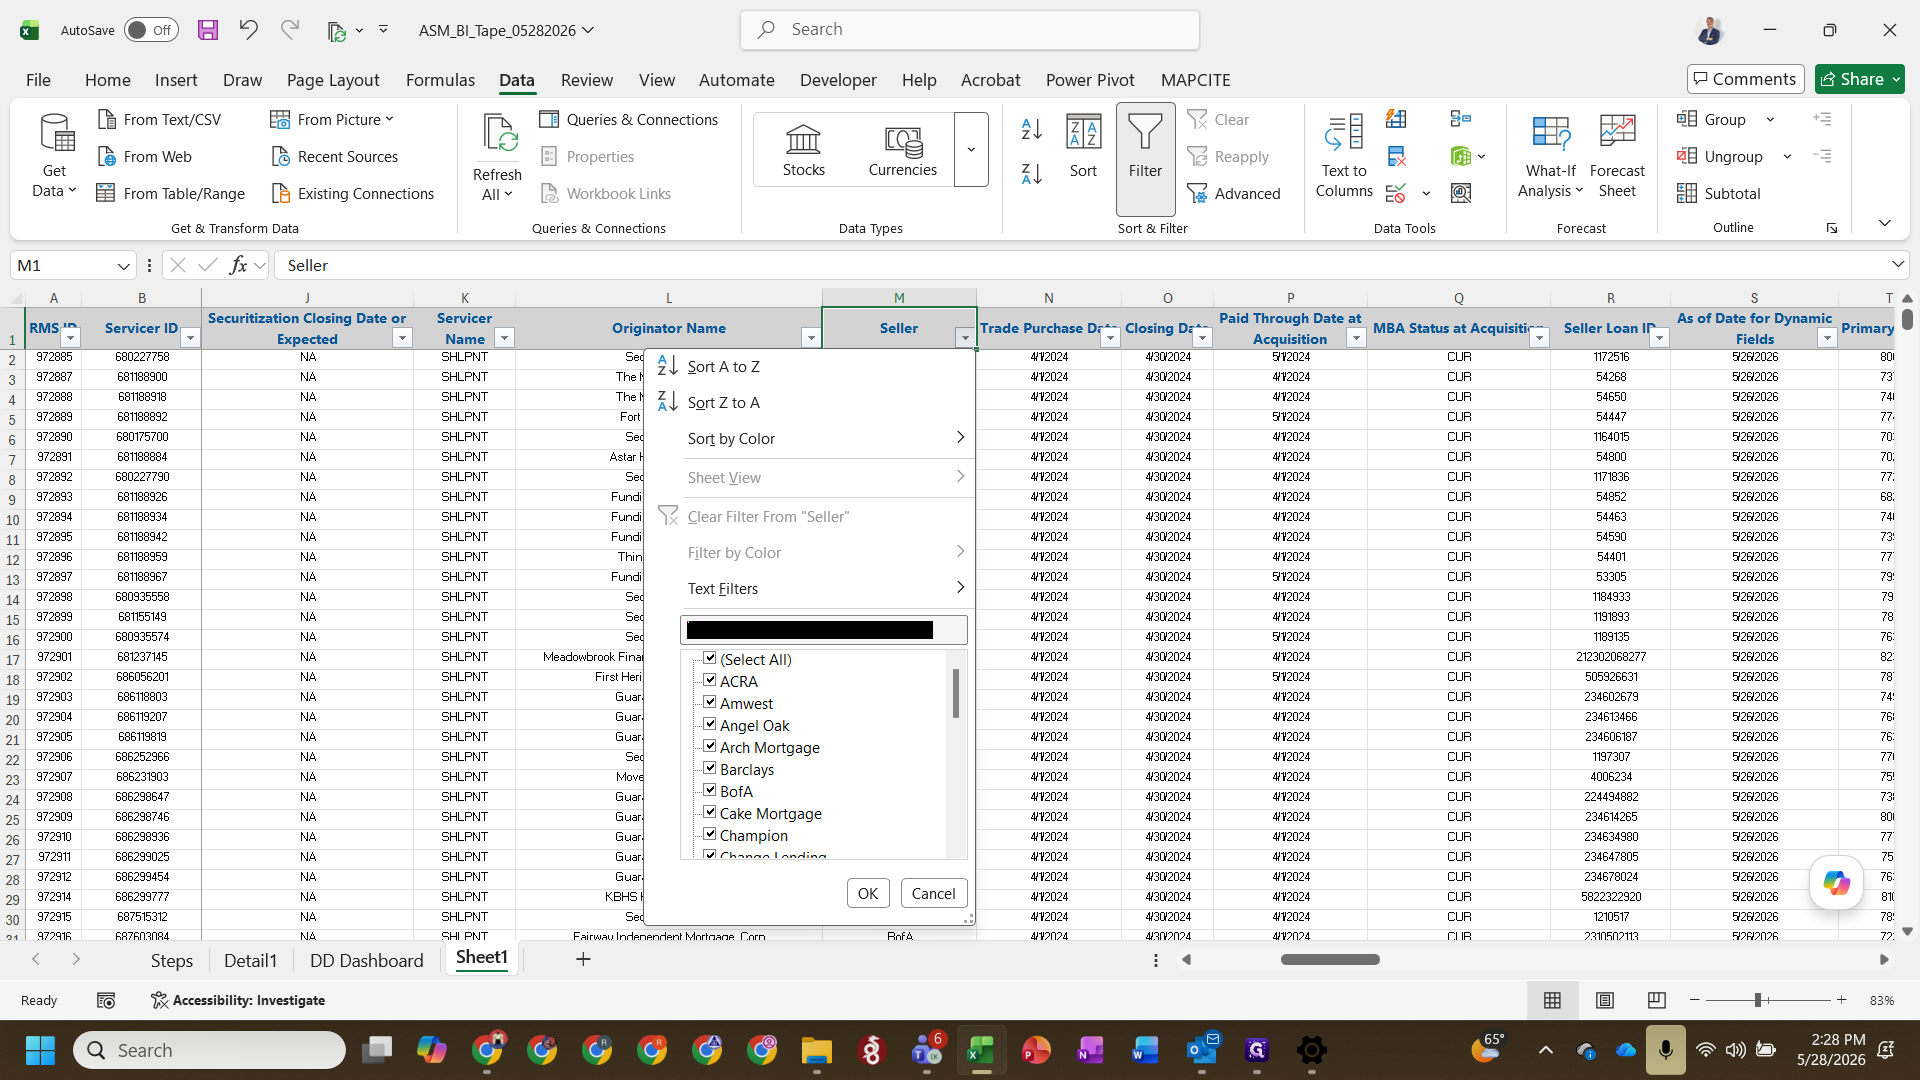
Phase 2: Format the TPR Tape
Next, process the post-diligence data (often in ASF format) from the warehouse lender.

Paste the TPR data into the file, verify the columns match exactly as you did for the seller tape, and clear out any extraneous rows from previous runs.
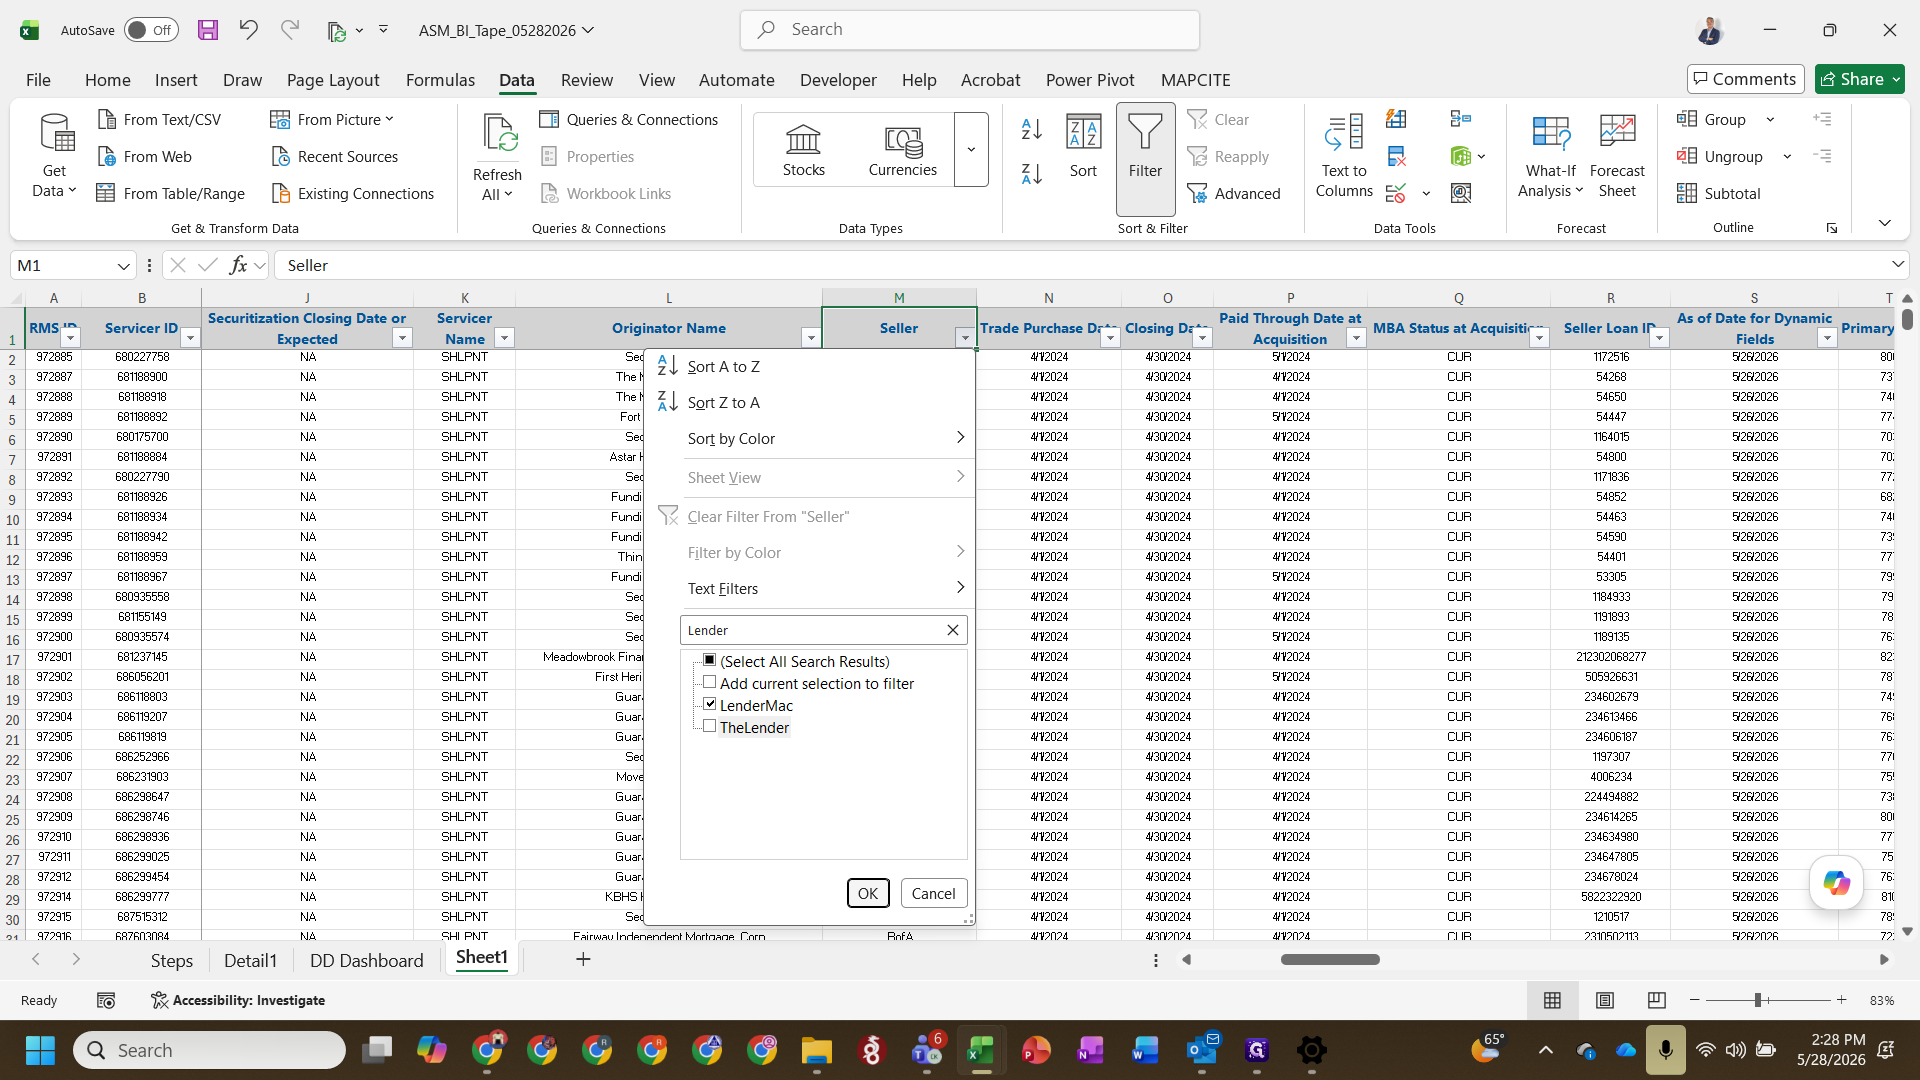
Phase 3: Compare Seller Data to TPR Data
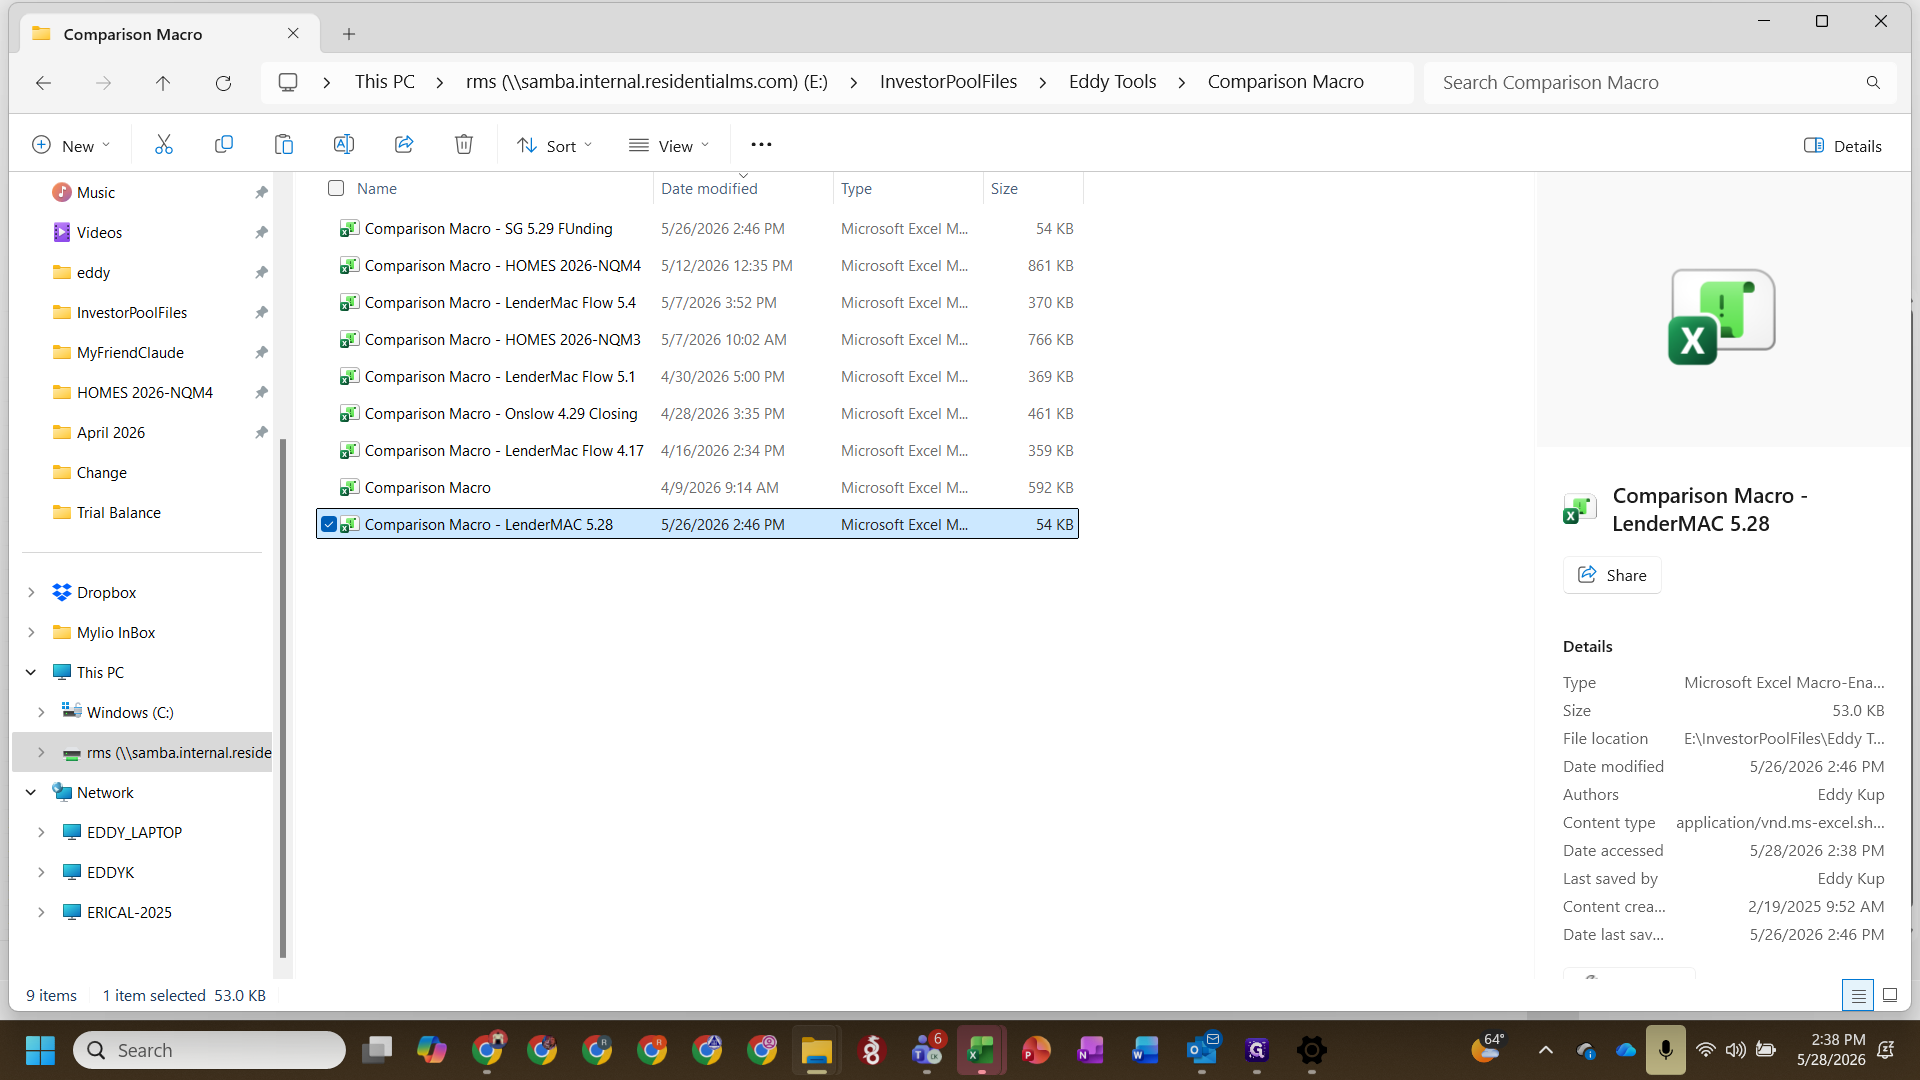
With both tapes standardized, you can run the comparison macro.
Paste the normalized seller data into the BI tab and the normalized TPR data into the TPR tab within the macro workbook.
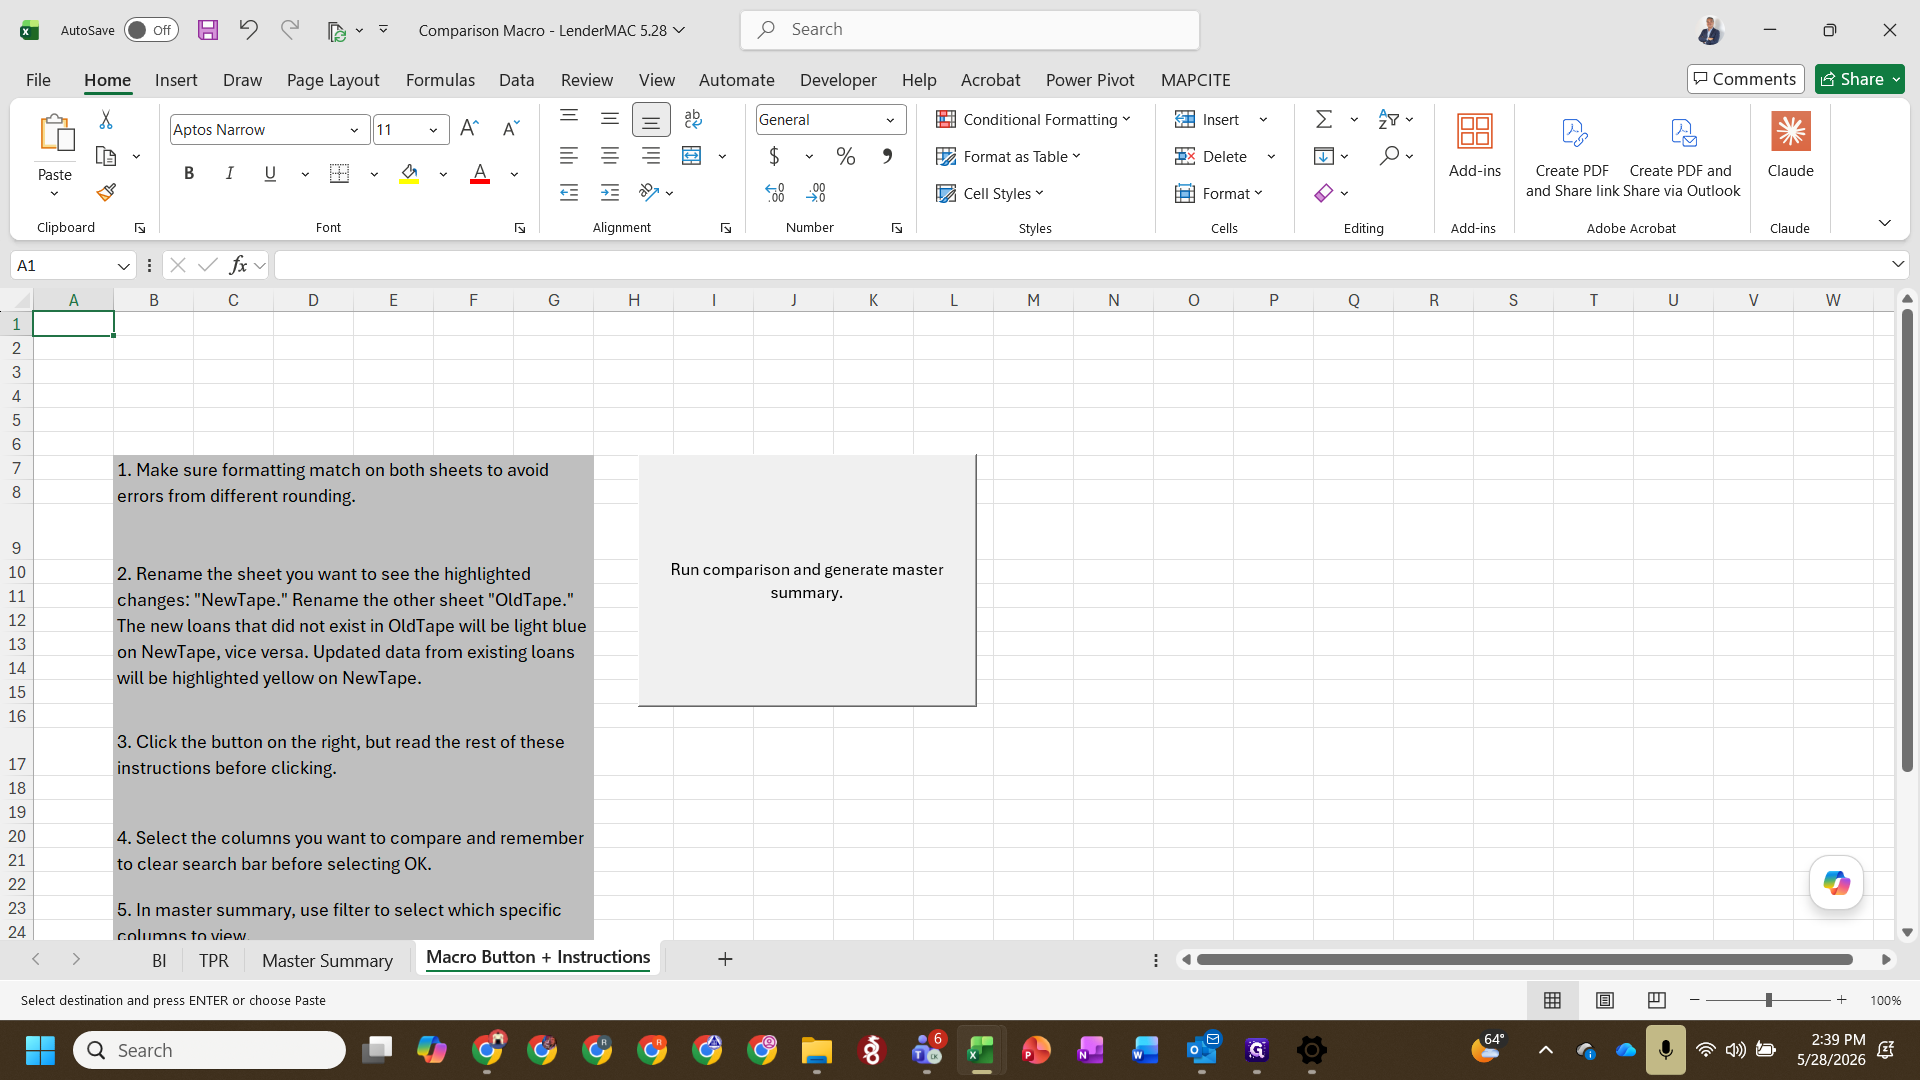

The macro generates a Master Summary tab. This tab provides a clear inventory of all differences between the pre-close seller tape and post-TPR tape (such as property types or program flags). Review these discrepancies and update your final BI format tape accordingly.
Q: What happens if data from the seller tape is not defined in the tape cracker?
A: If the data is not mapped in the tape cracker's column references, you will get an error when loading it. You must ensure the seller format matches the expected template.
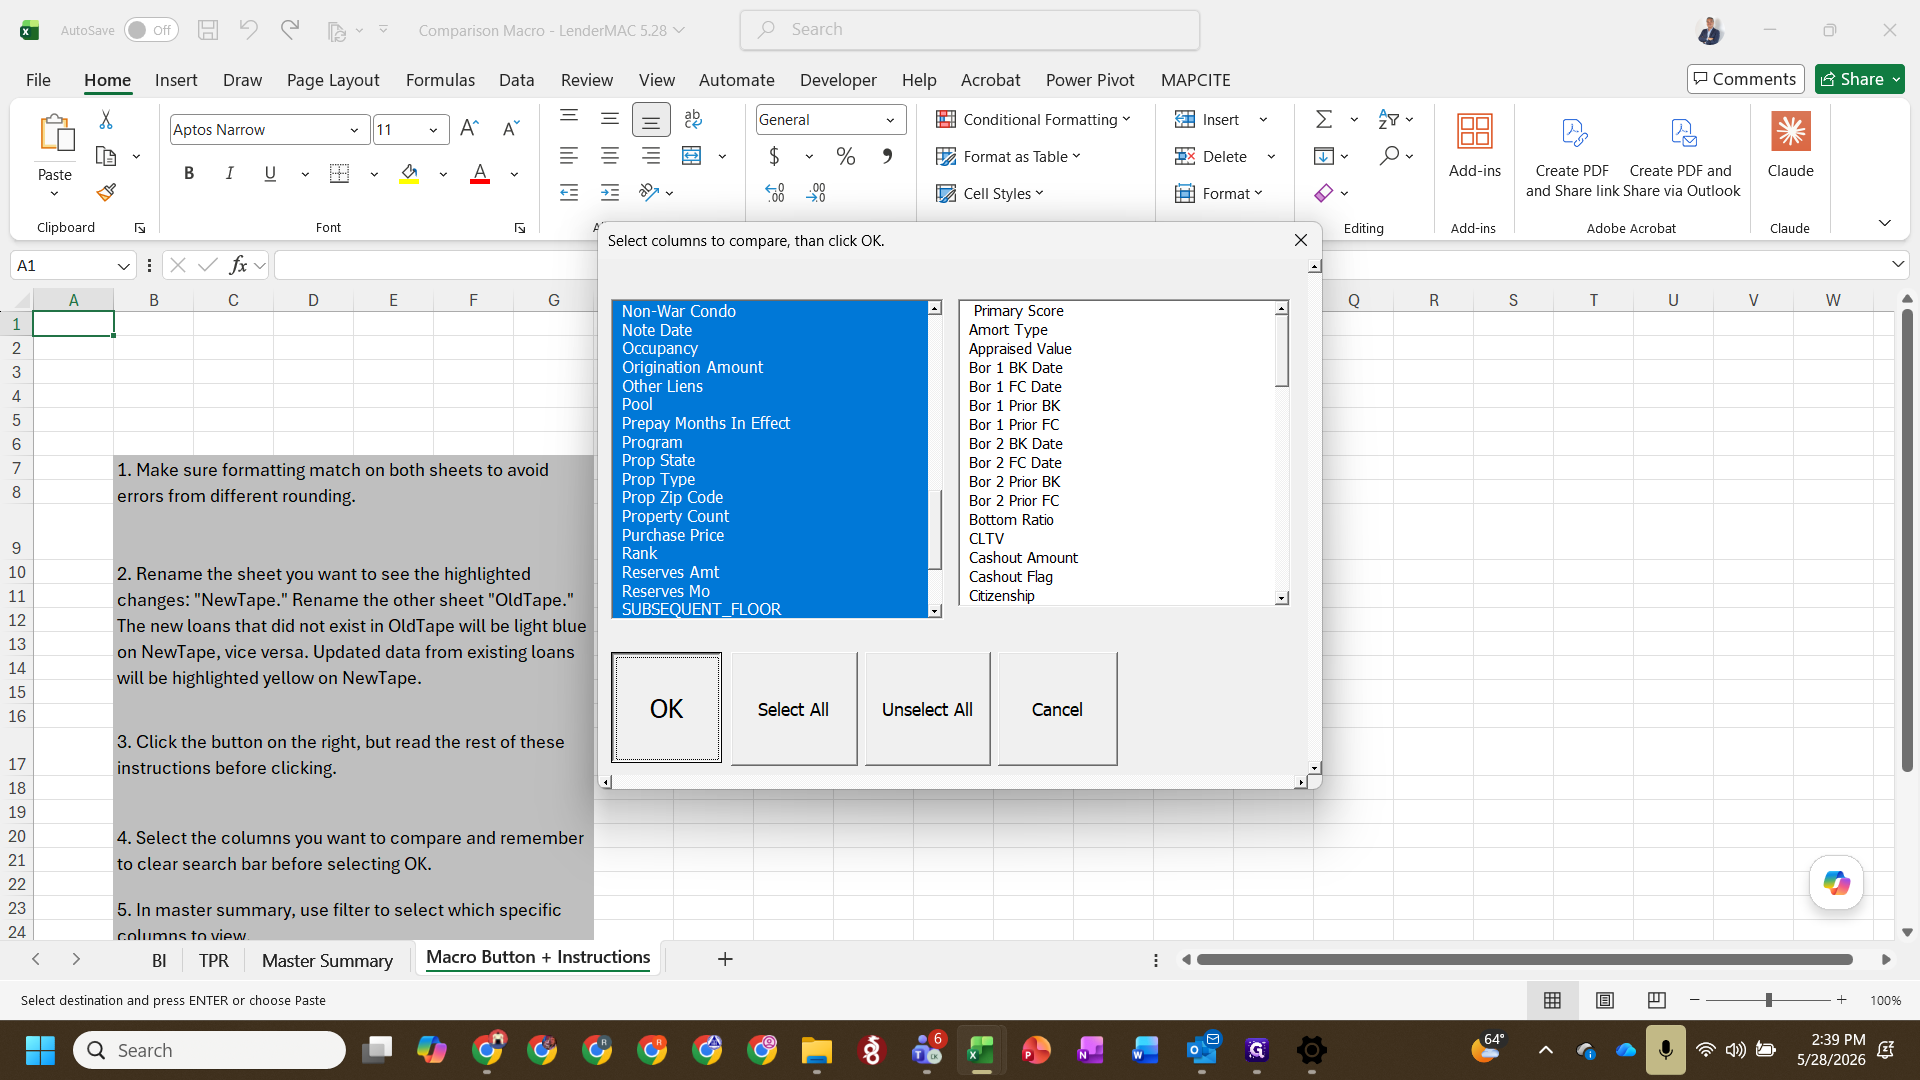
Q: Which fields should I select to compare?
A: You can select all fields. The macro is highly efficient, though in practice you may choose to ignore fields like current loan amount, which are expected to change over time.
Q: What if a value is blank in the TPR tape but exists in the seller tape?
A: The comparison process will highlight it, but you typically do not overwrite existing seller data with a blank value from the TPR tape.
Term | Definition |
|---|---|
Tape Cracker | A customized spreadsheet or tool that normalizes repetitive and varied MLS data formats into a standardized structure. |
TPR | Third-Party Review; refers to the post-diligence data verified by an external party before loan activation. |
ASF | American Securitization Floor; a standard data format commonly required by warehouse lenders. |
BI Tape | Business Intelligence tape; the standardized format used internally to track loan portfolios. |